mrmike
-
Posts
5,325 -
Joined
-
Last visited
Content Type
Profiles
Forums
Events
Gallery
Everything posted by mrmike
-
Nice collection of MOPARS! Great job!!!
-
Thank you David, Garry and Tom! In spite of its shortcomings, the car came out just as I wanted it.
-

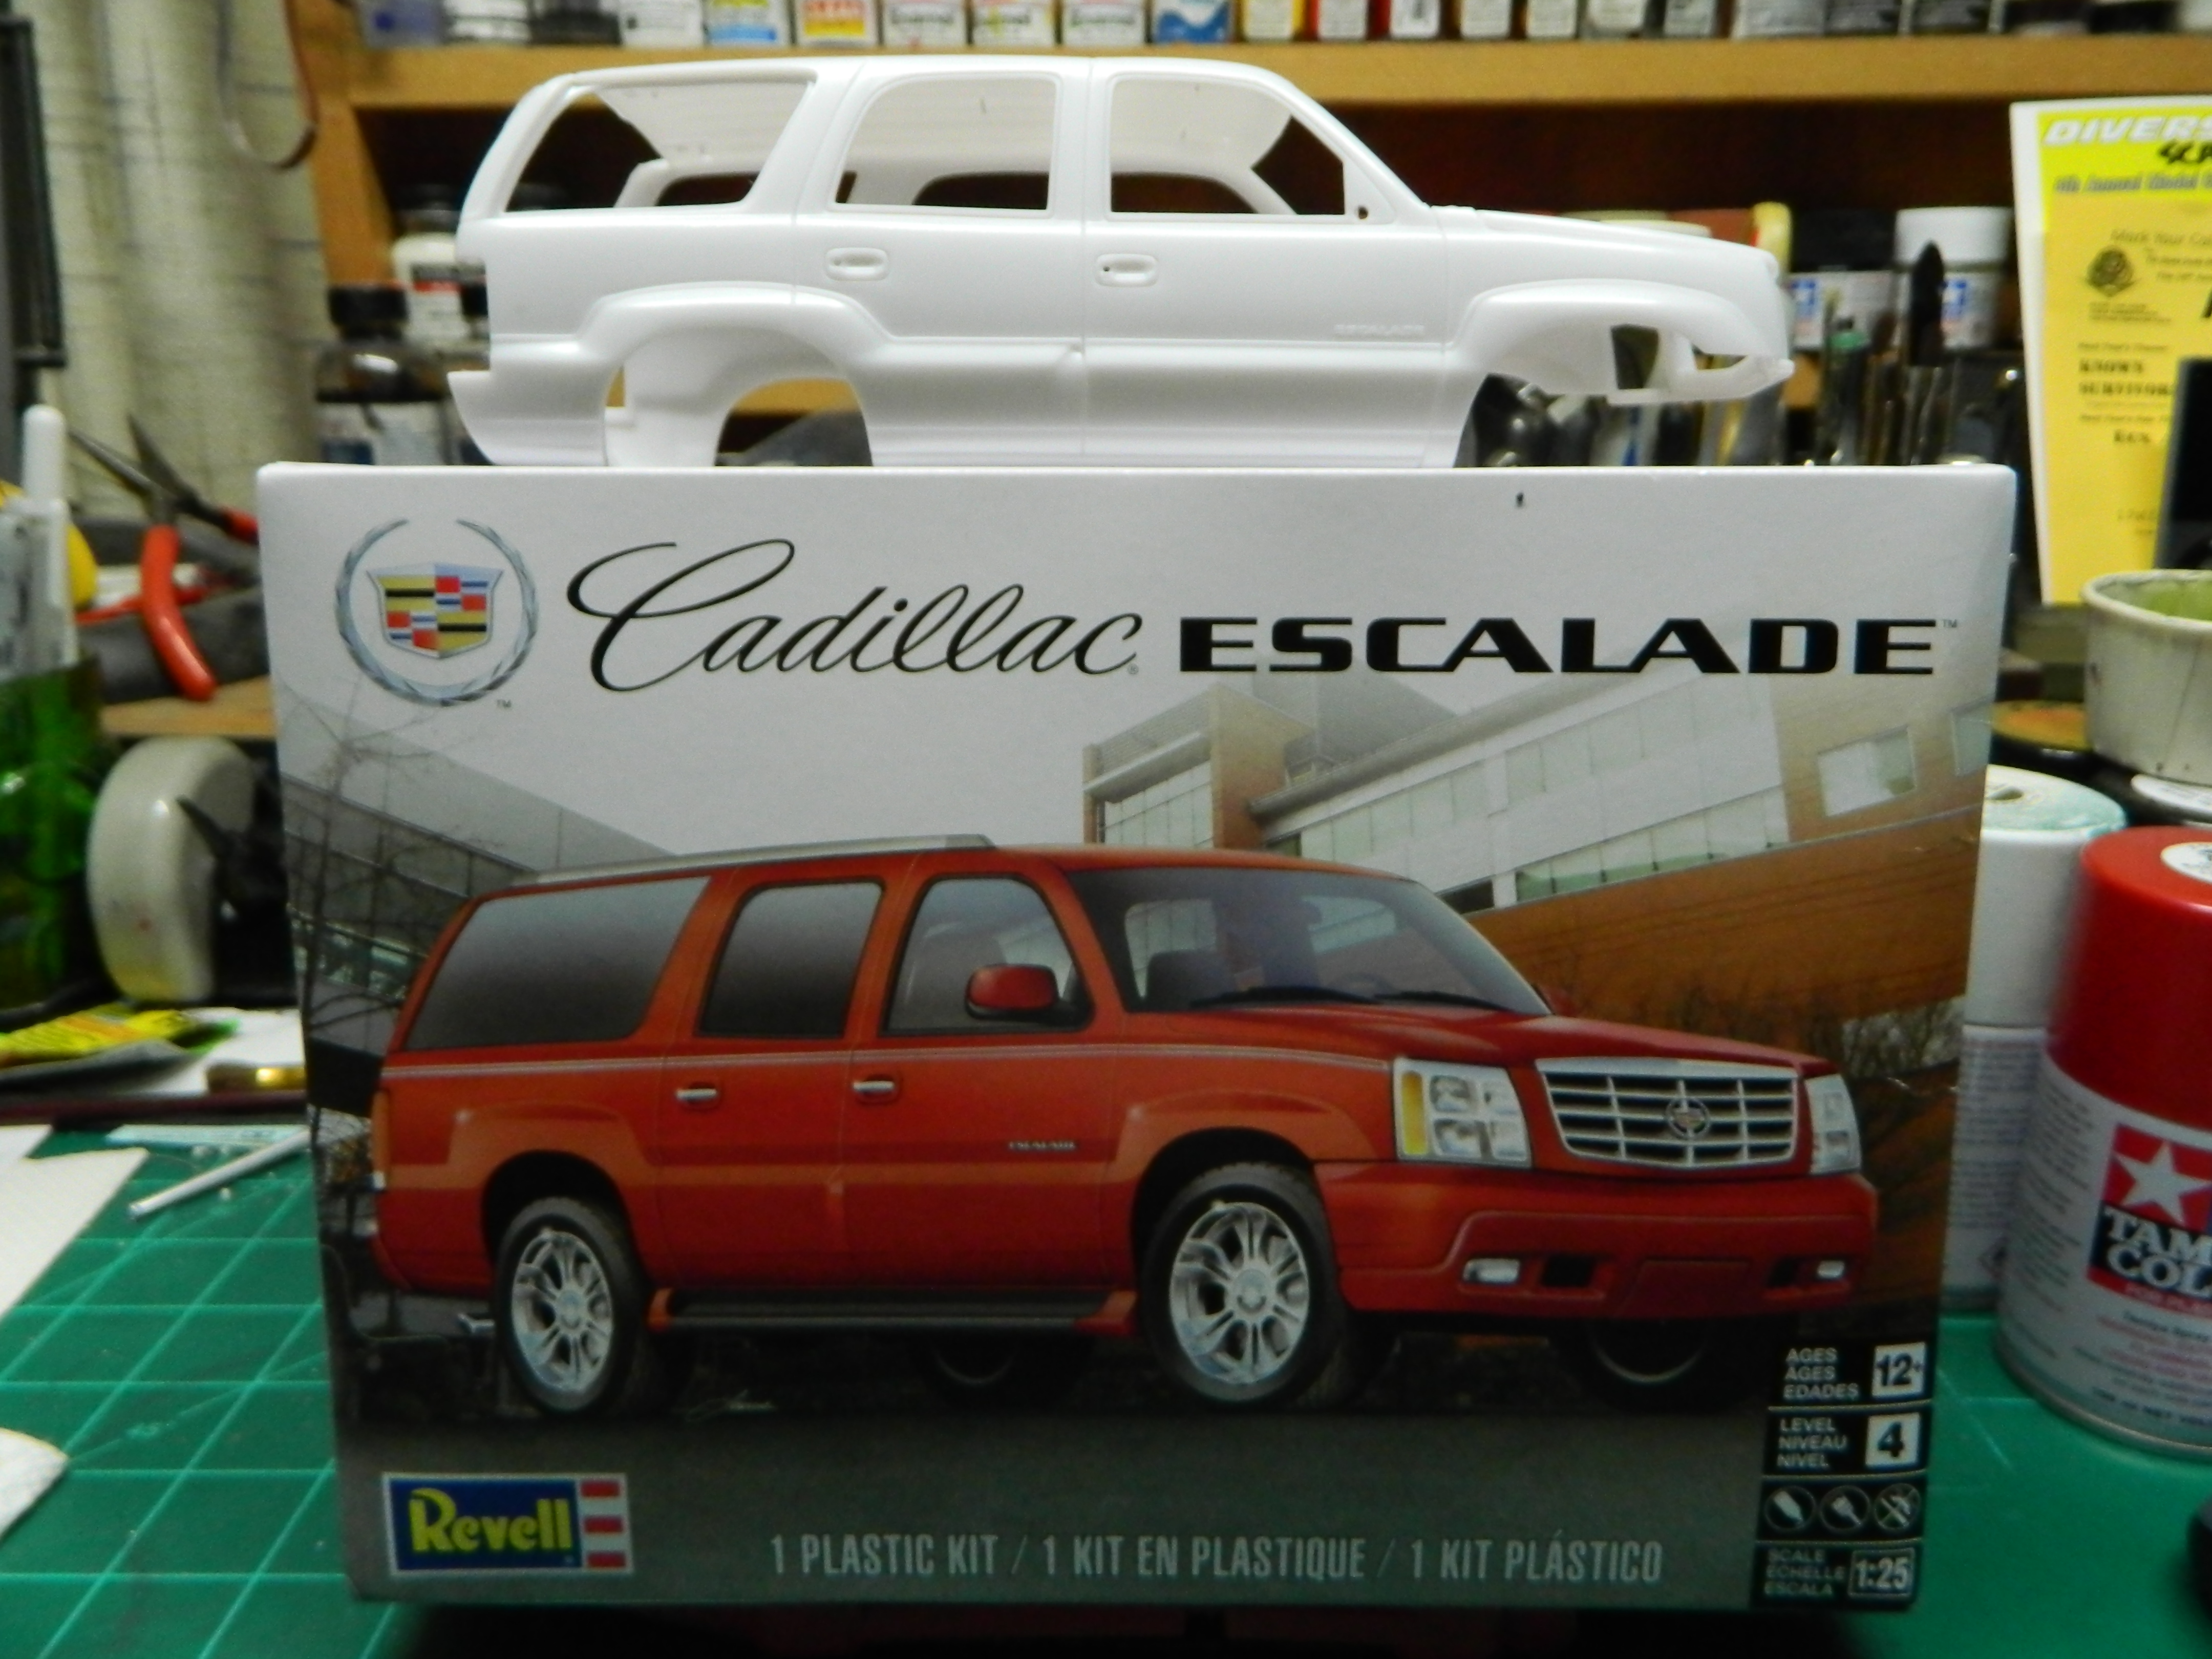
2006 Cadillac Escalade
mrmike replied to mrmike's topic in WIP: Model Trucks: Pickups, Vans, SUVs, Light Commercial
Thanks Jacob, Keith and Andrew! It sure makes me happy to see that some people enjoy reading my McNally stories. I do try to keep them interesting as I have deleted a couple of stories over the years that didn't have any connection to a model in the stash or on the bench and I got "stuck" writing them. Out of curiosity, I just checked my box and the side of the box says, "MOLDED IN: White." The longer wheelbase ESV model would have been nice to have, but come on Revell, how about some truth in advertising. Is that too hard to accomplish? -
Thank you Mark!
-
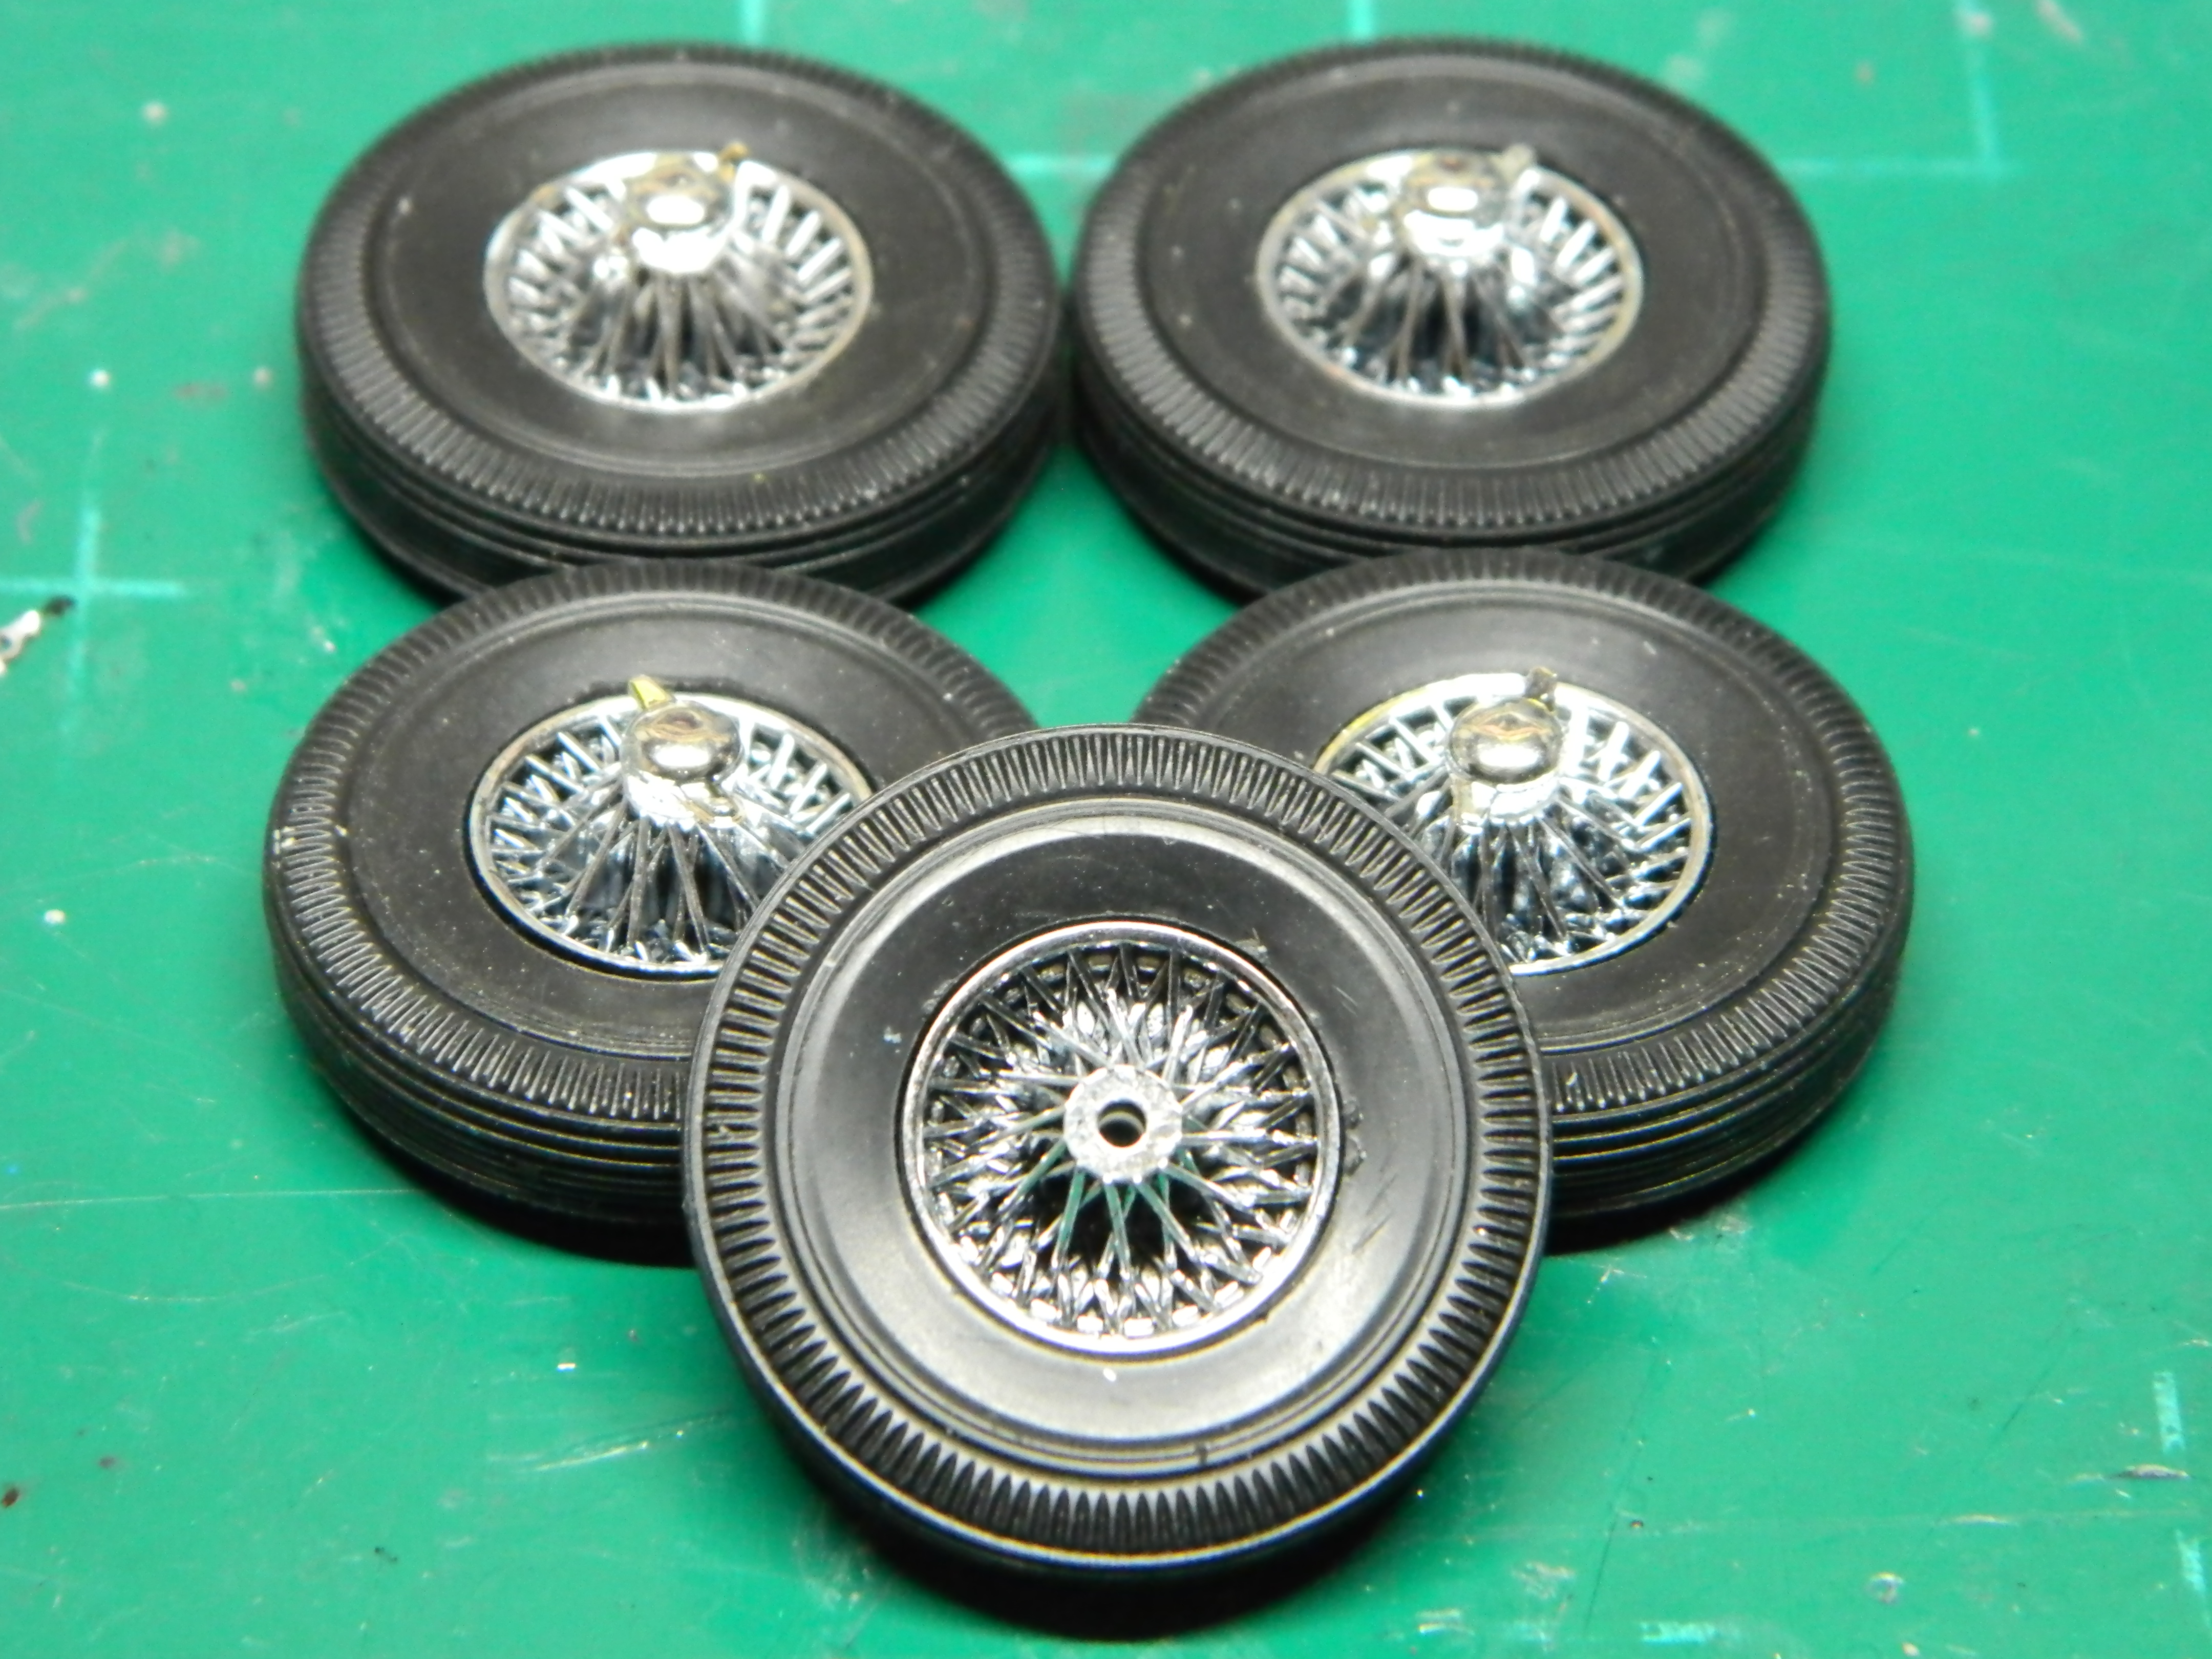
I had filled a couple of sink marks in the rear fenders of the DB4 with Mr. Dissolved Putty. Great stuff, but does it ever smell! I painted the whitewall insert with Tamiya Semi-Gloss Black and reversed the tires and assembled the wire wheels and knock-offs. More to come...

-
2006 Cadillac Escalade
mrmike replied to mrmike's topic in WIP: Model Trucks: Pickups, Vans, SUVs, Light Commercial
I am curious about the orange plastic kit you saw. Every kit I have seen has been white plastic. The box art should match the product inside the box. I bought the kit based on the box art on the front of the box and was a little disappointed when I notice the differences between the two. But, I now have the kit and it is nicely detailed, so it's going to be built! -
Thank you Larry and Scott!
-
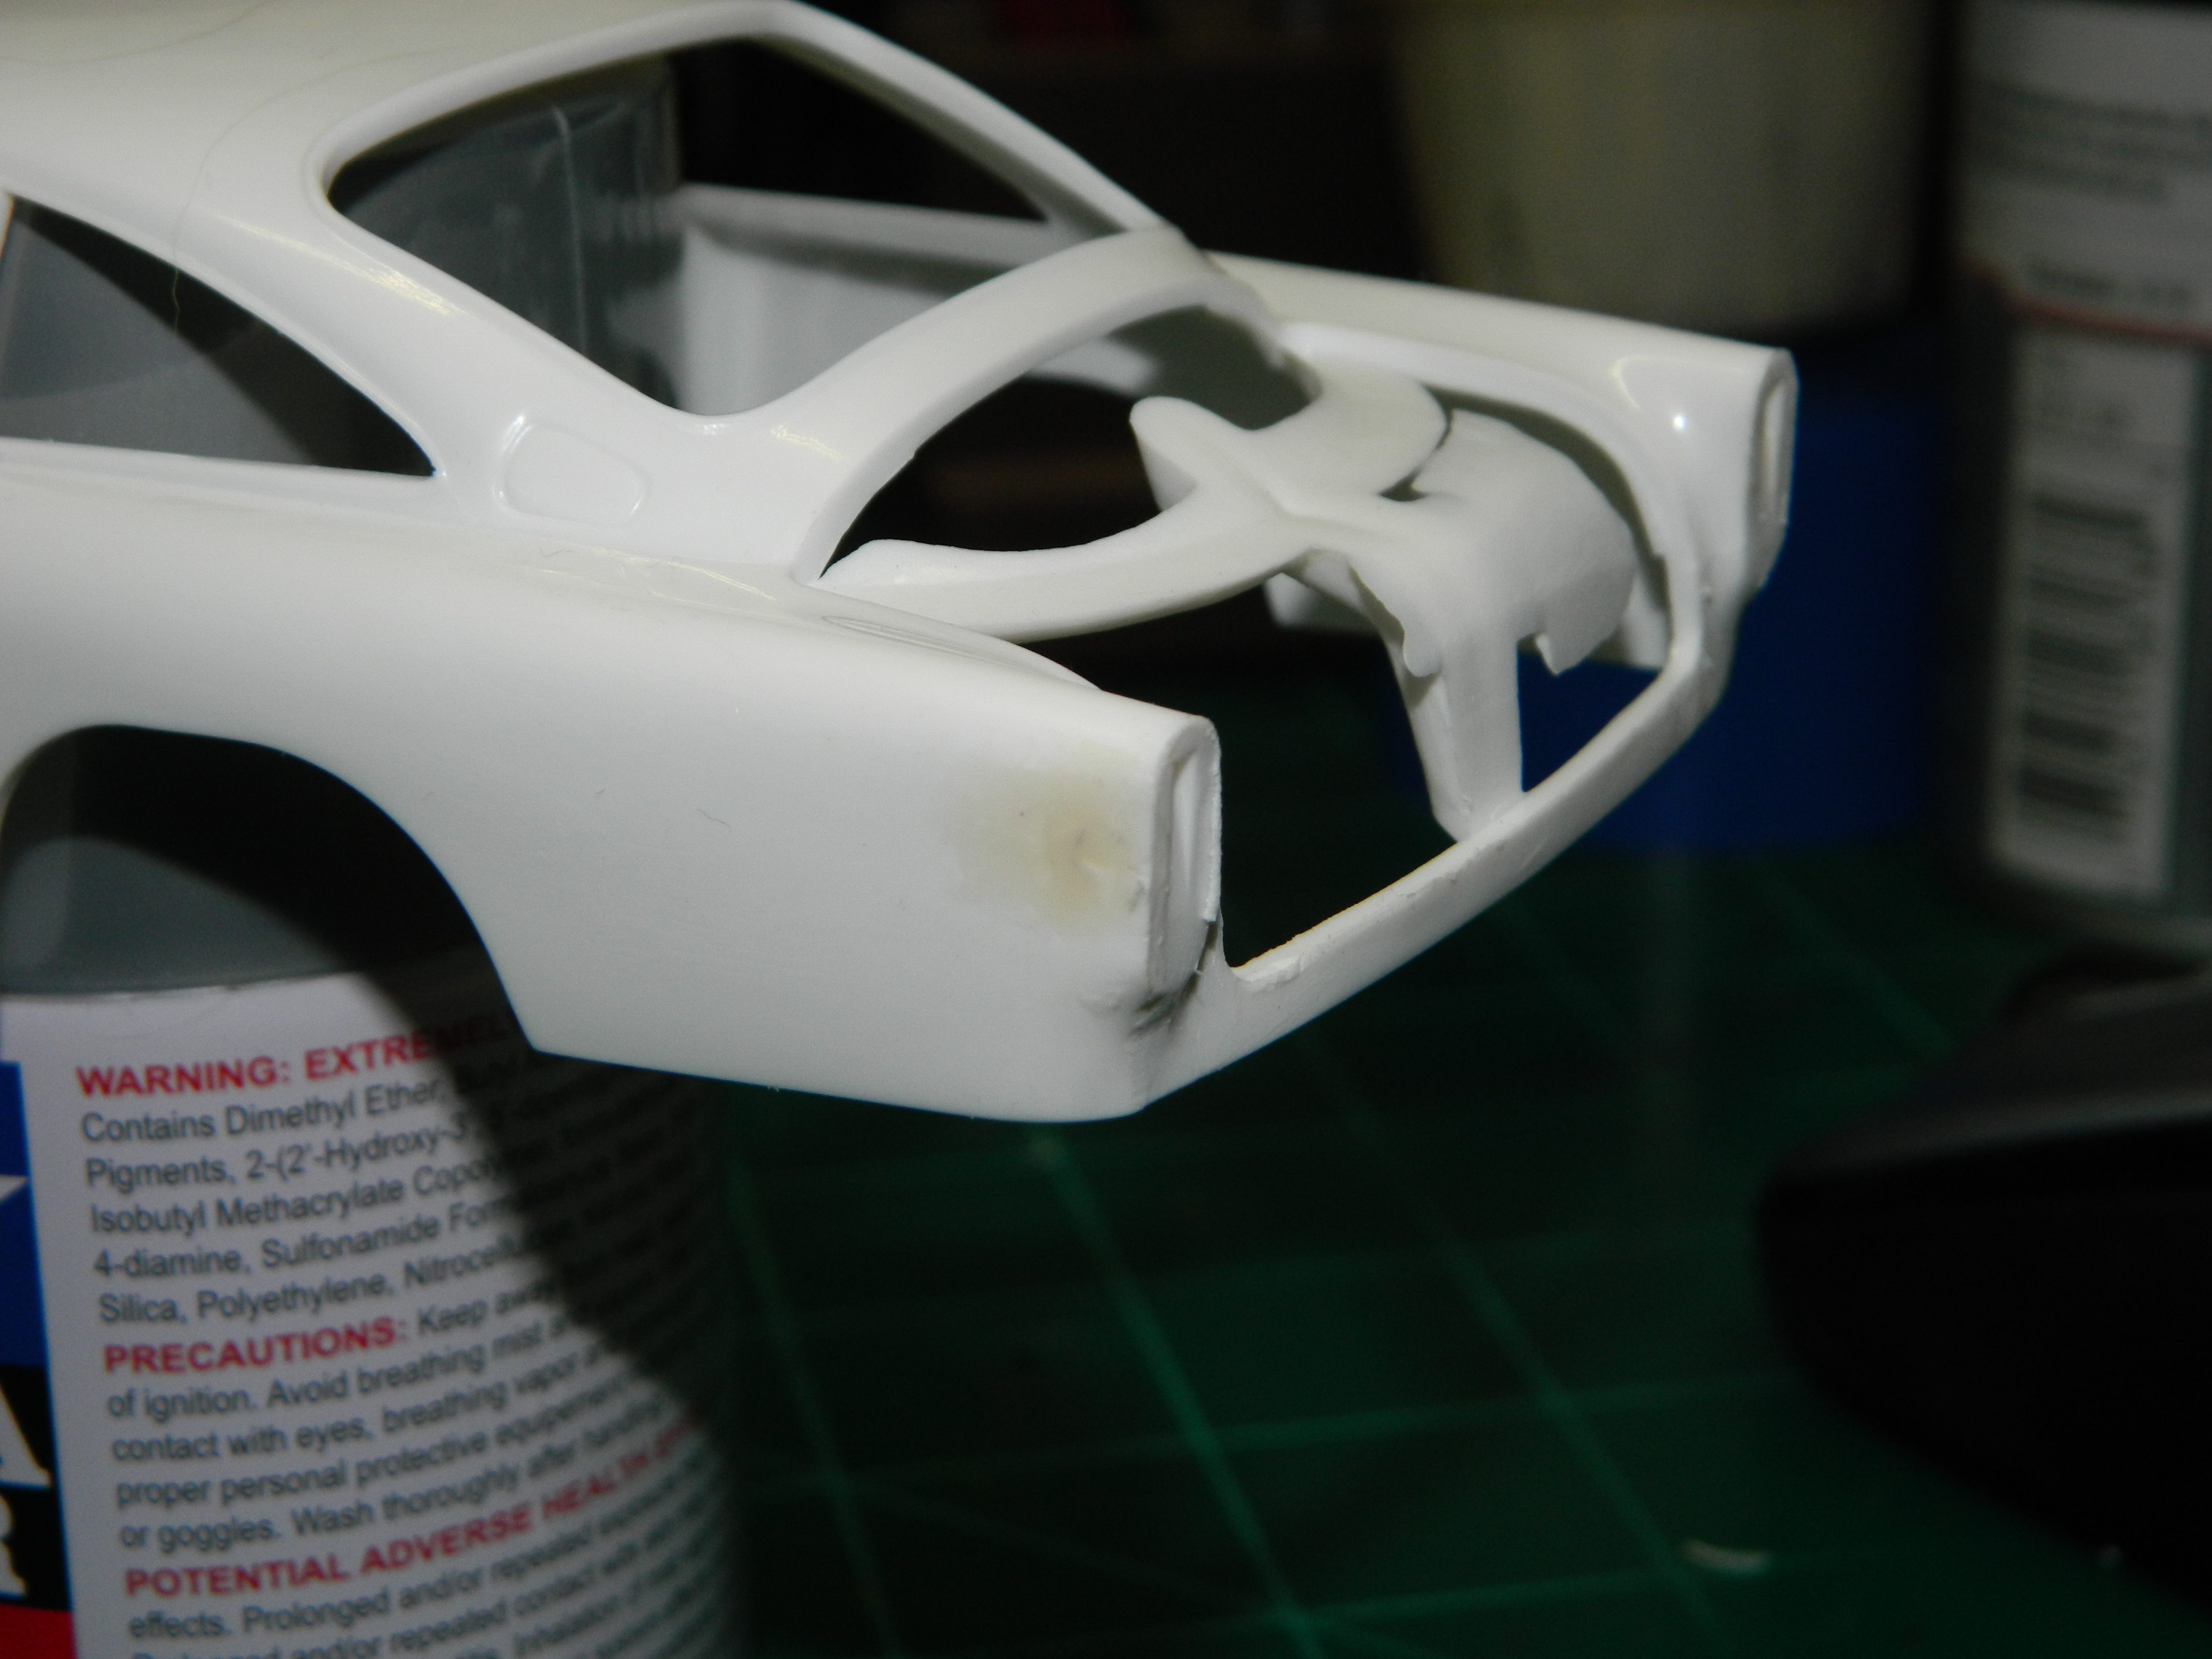
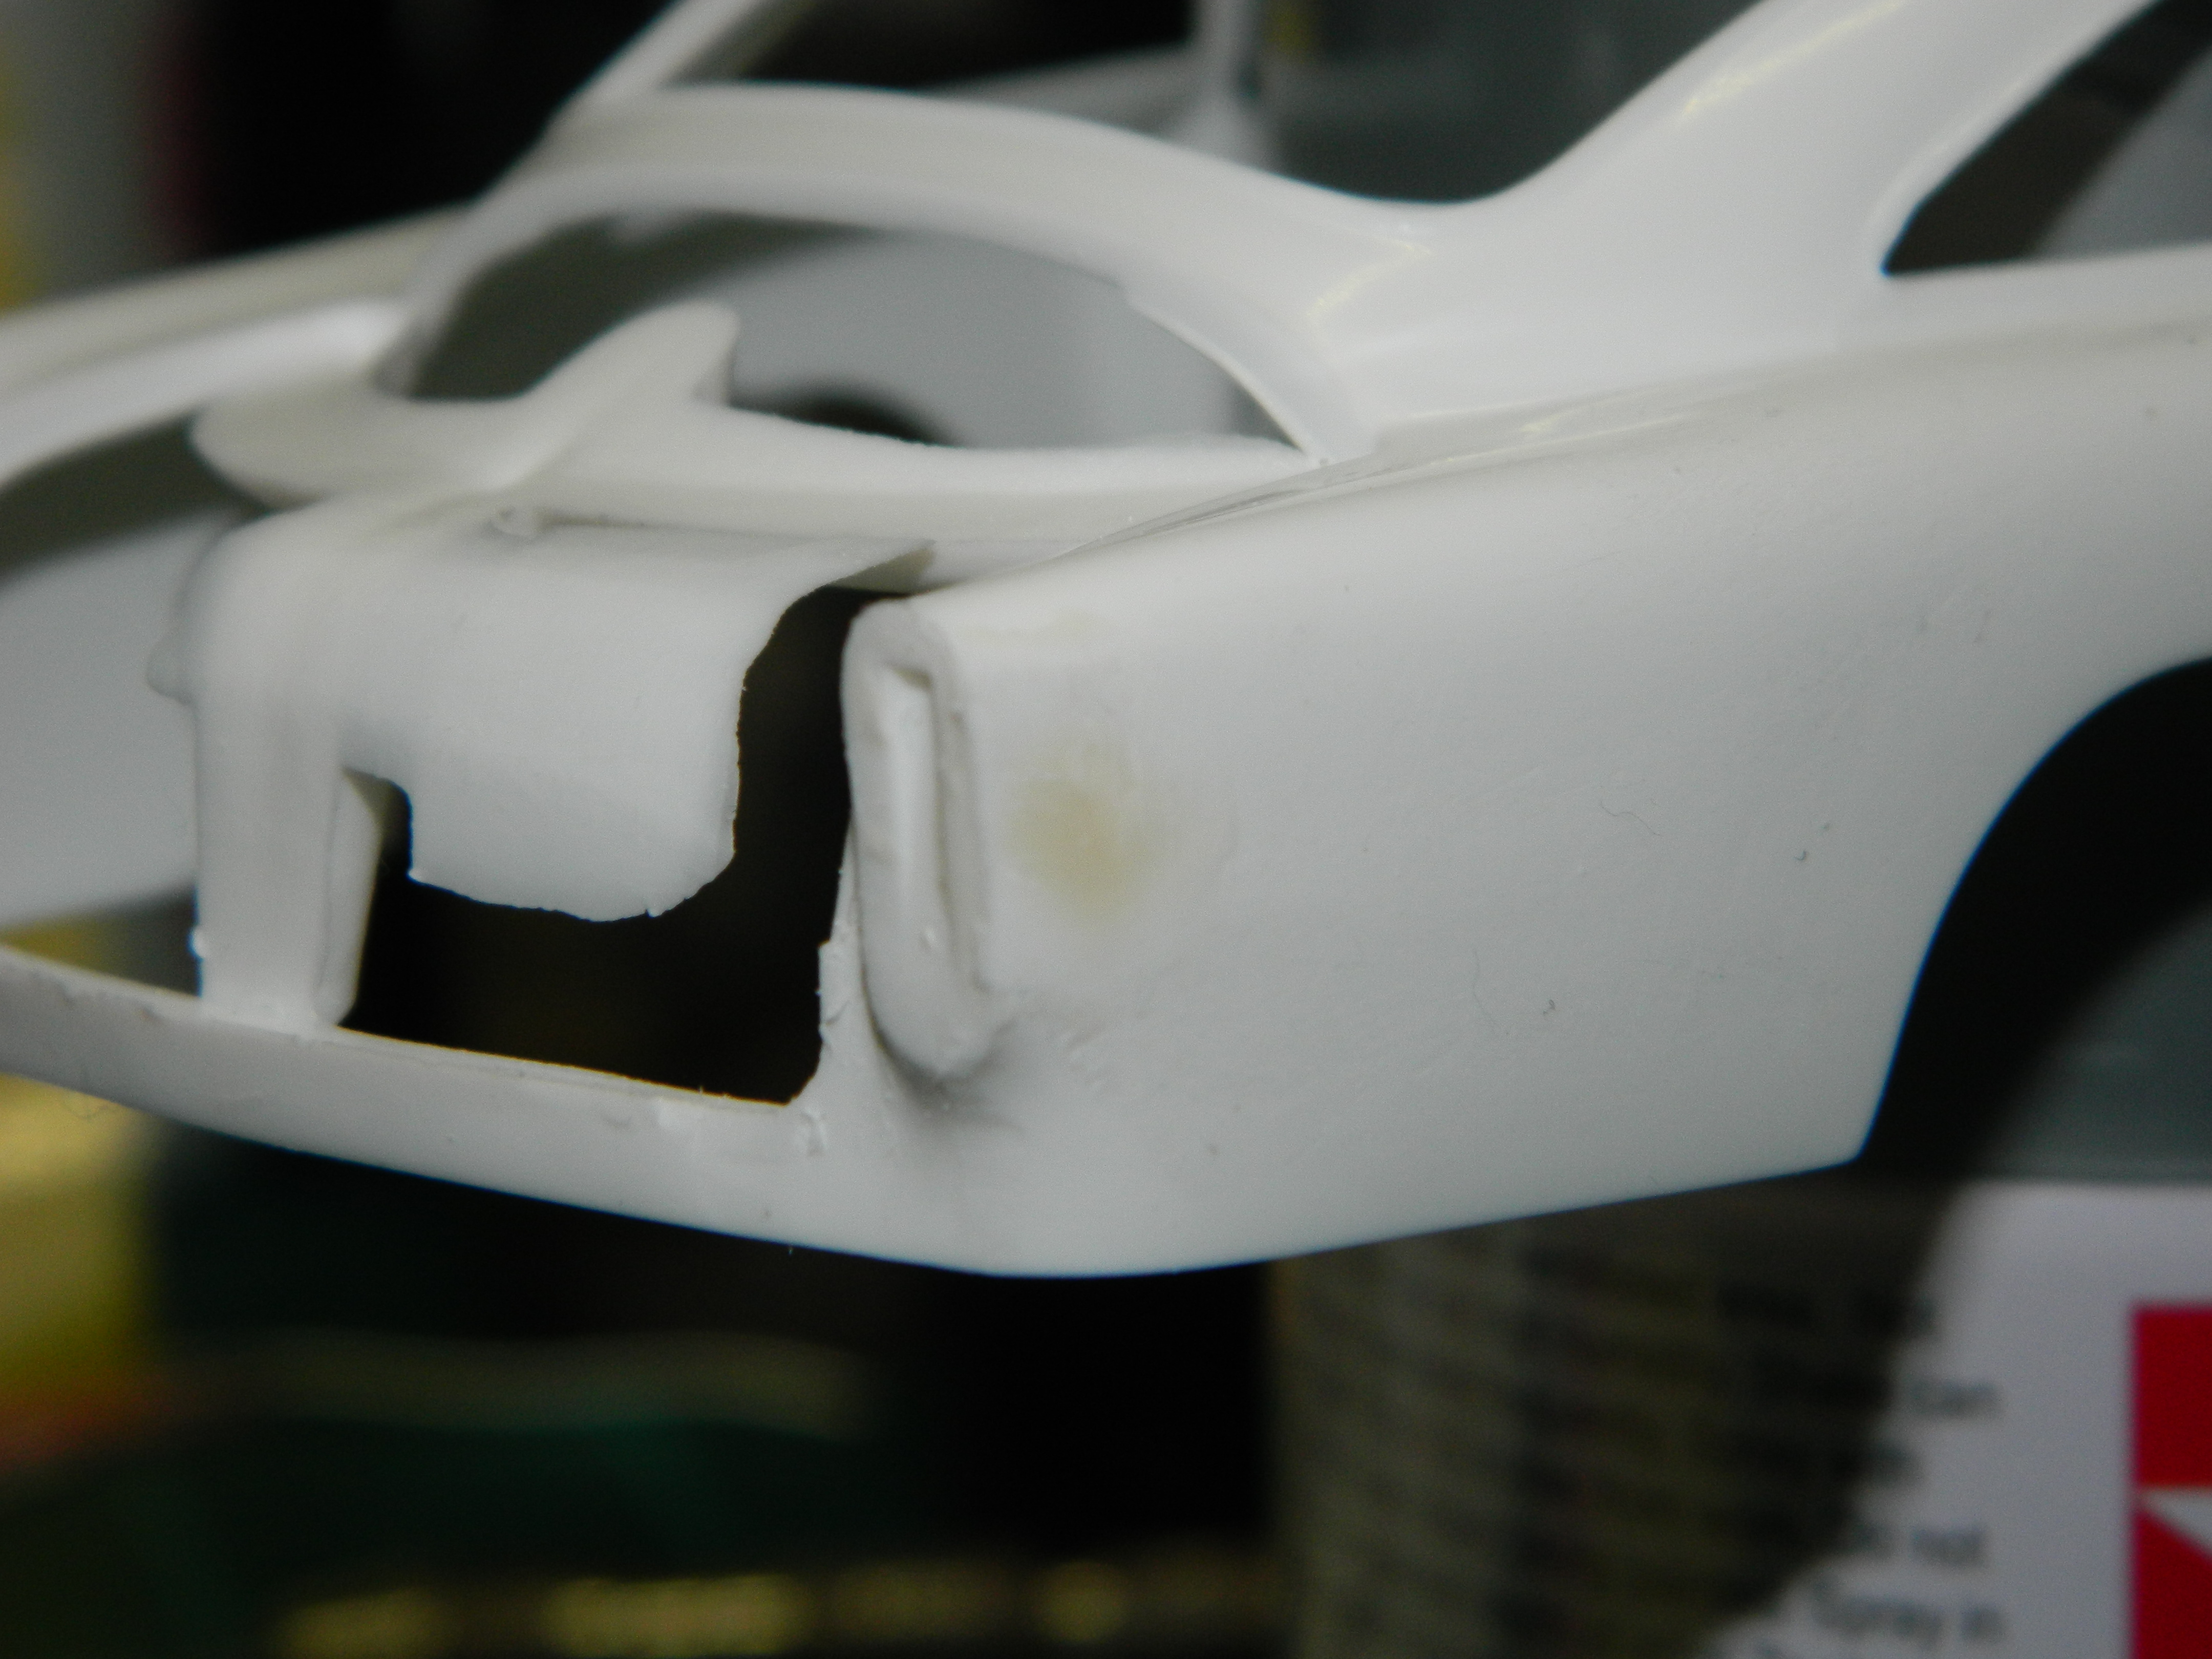
Thank you guys! I inverted the stock kingpins. Guys, this kit is a mixed bag to me. Everything from the interior seats to the wheels and tires and the wheel openings just seem off to me. The bucket seats seem like they came from an old AMT kit and mount directly to the interior floor. The model sits too high, especially in the back. If you really want this kit, spend some time on it and work slowly and carefully and you will have a nice looking model when you are done with it.
-
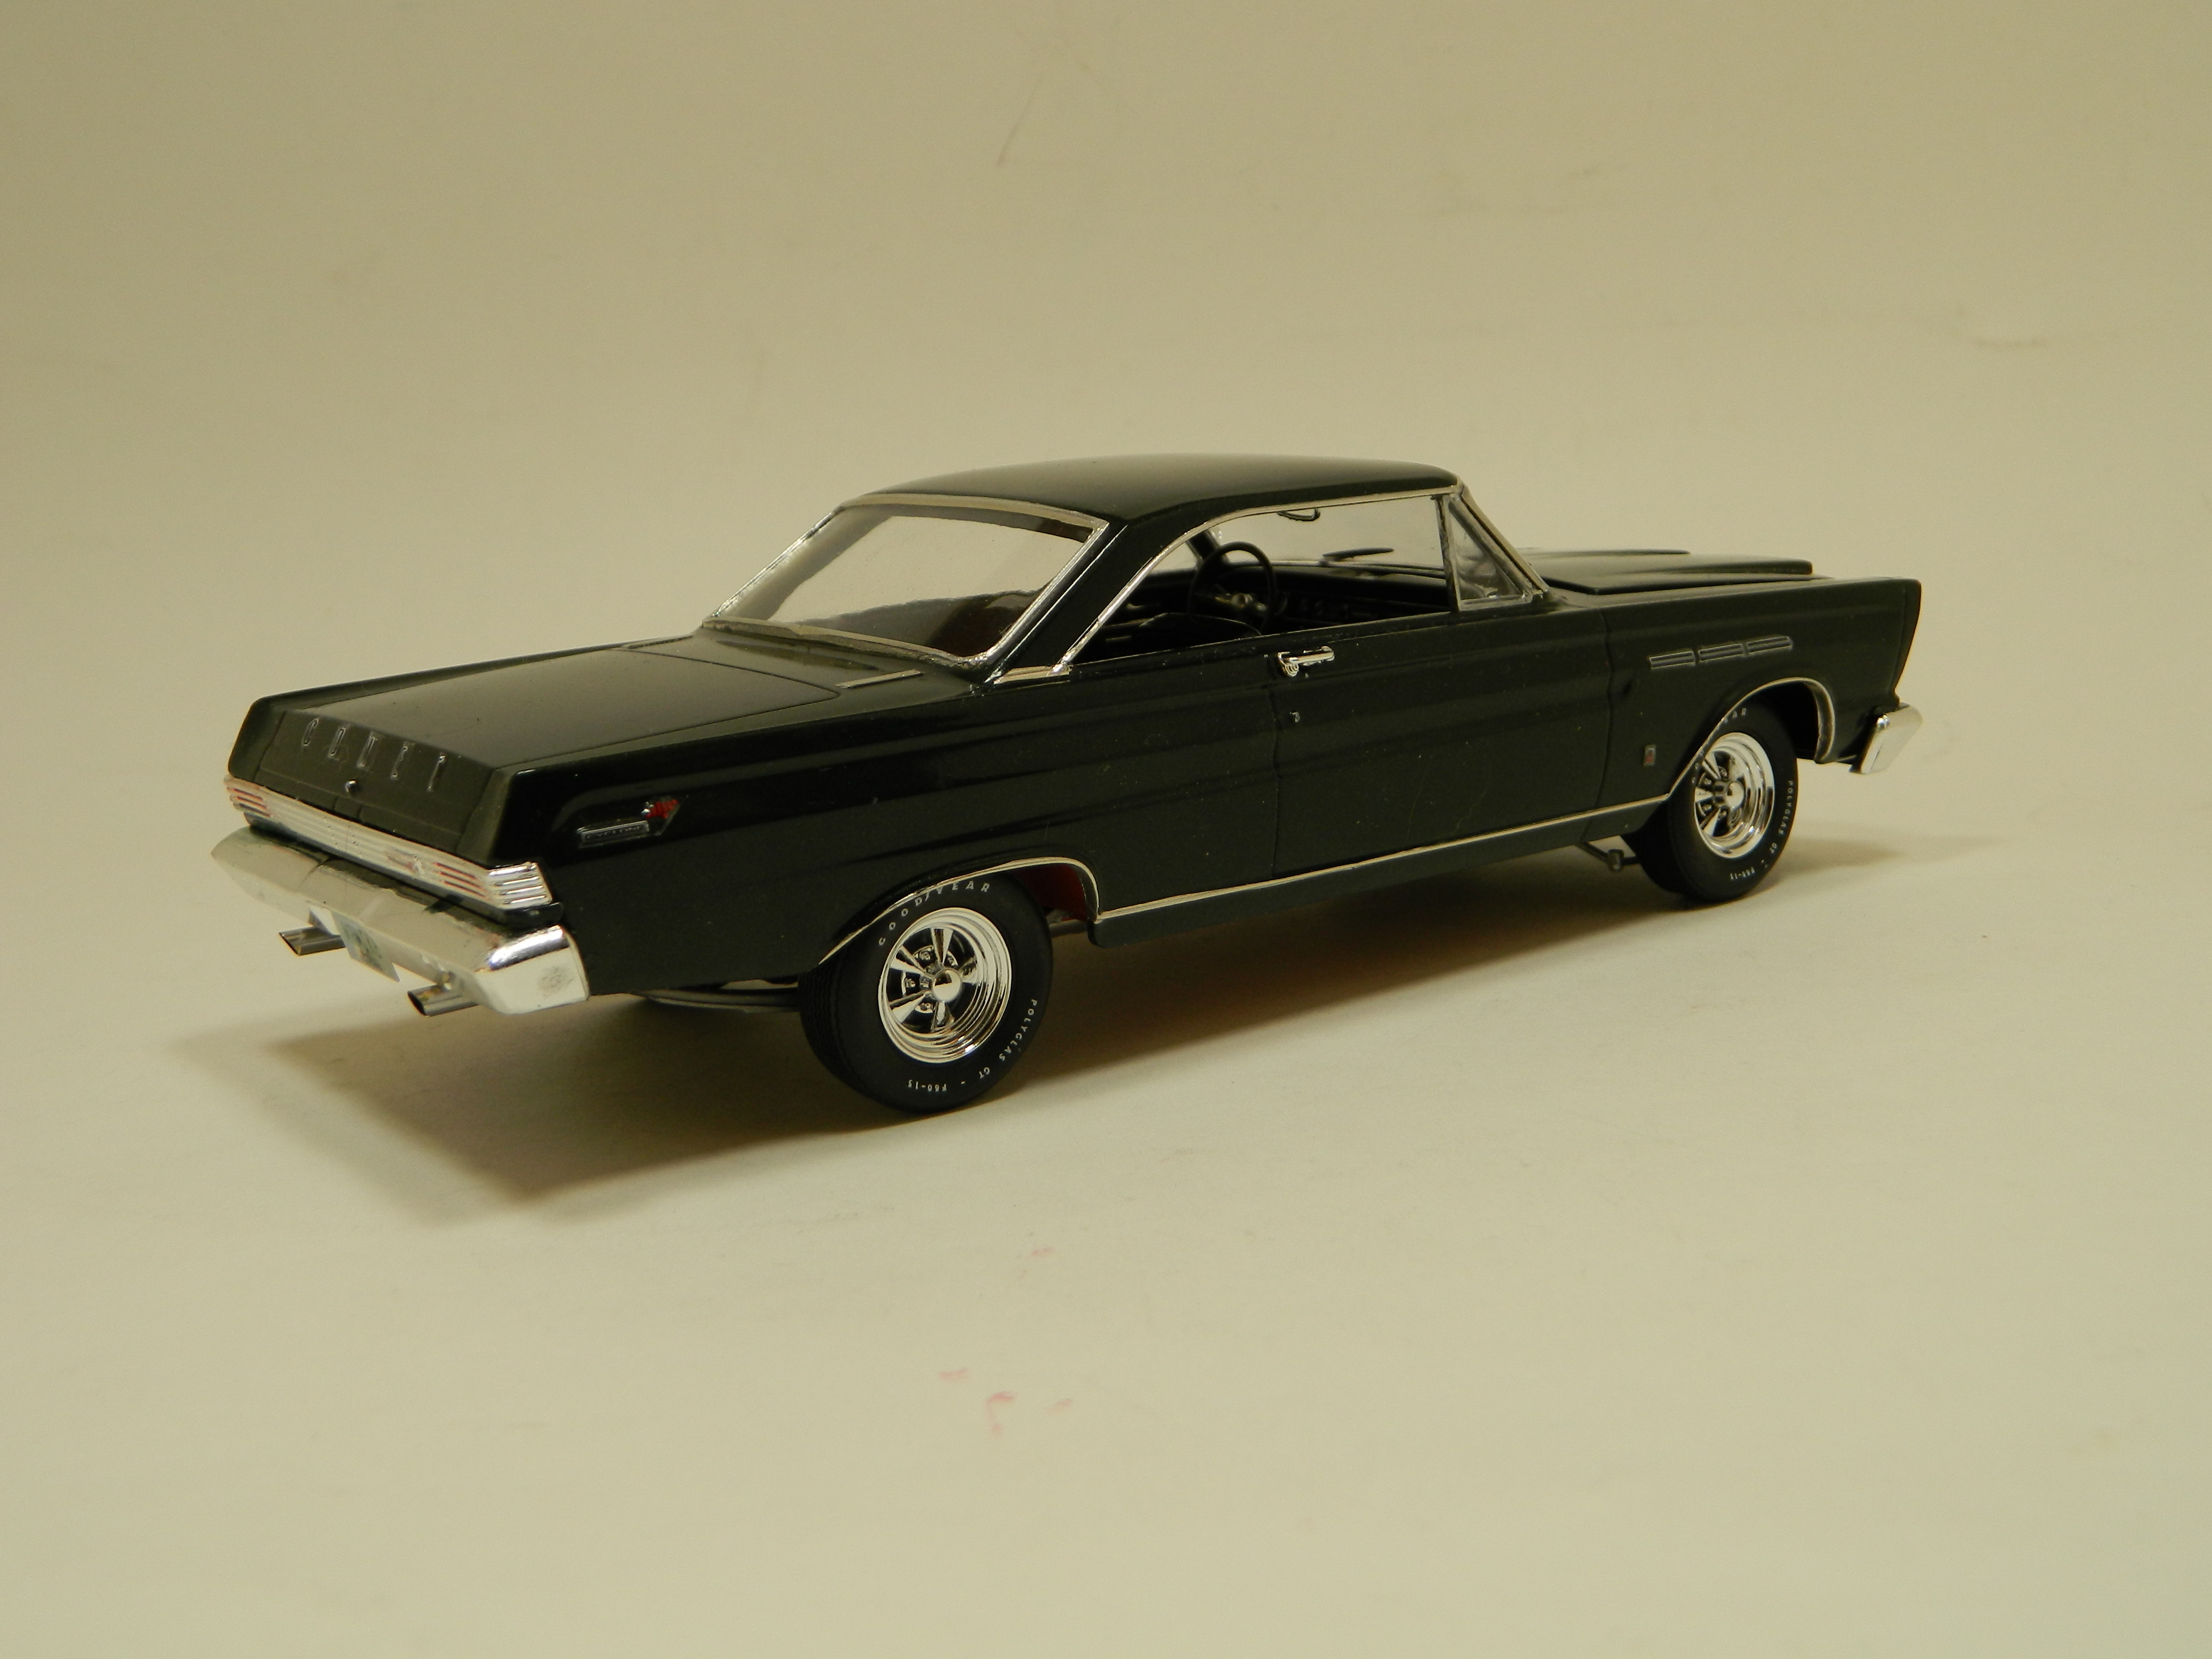
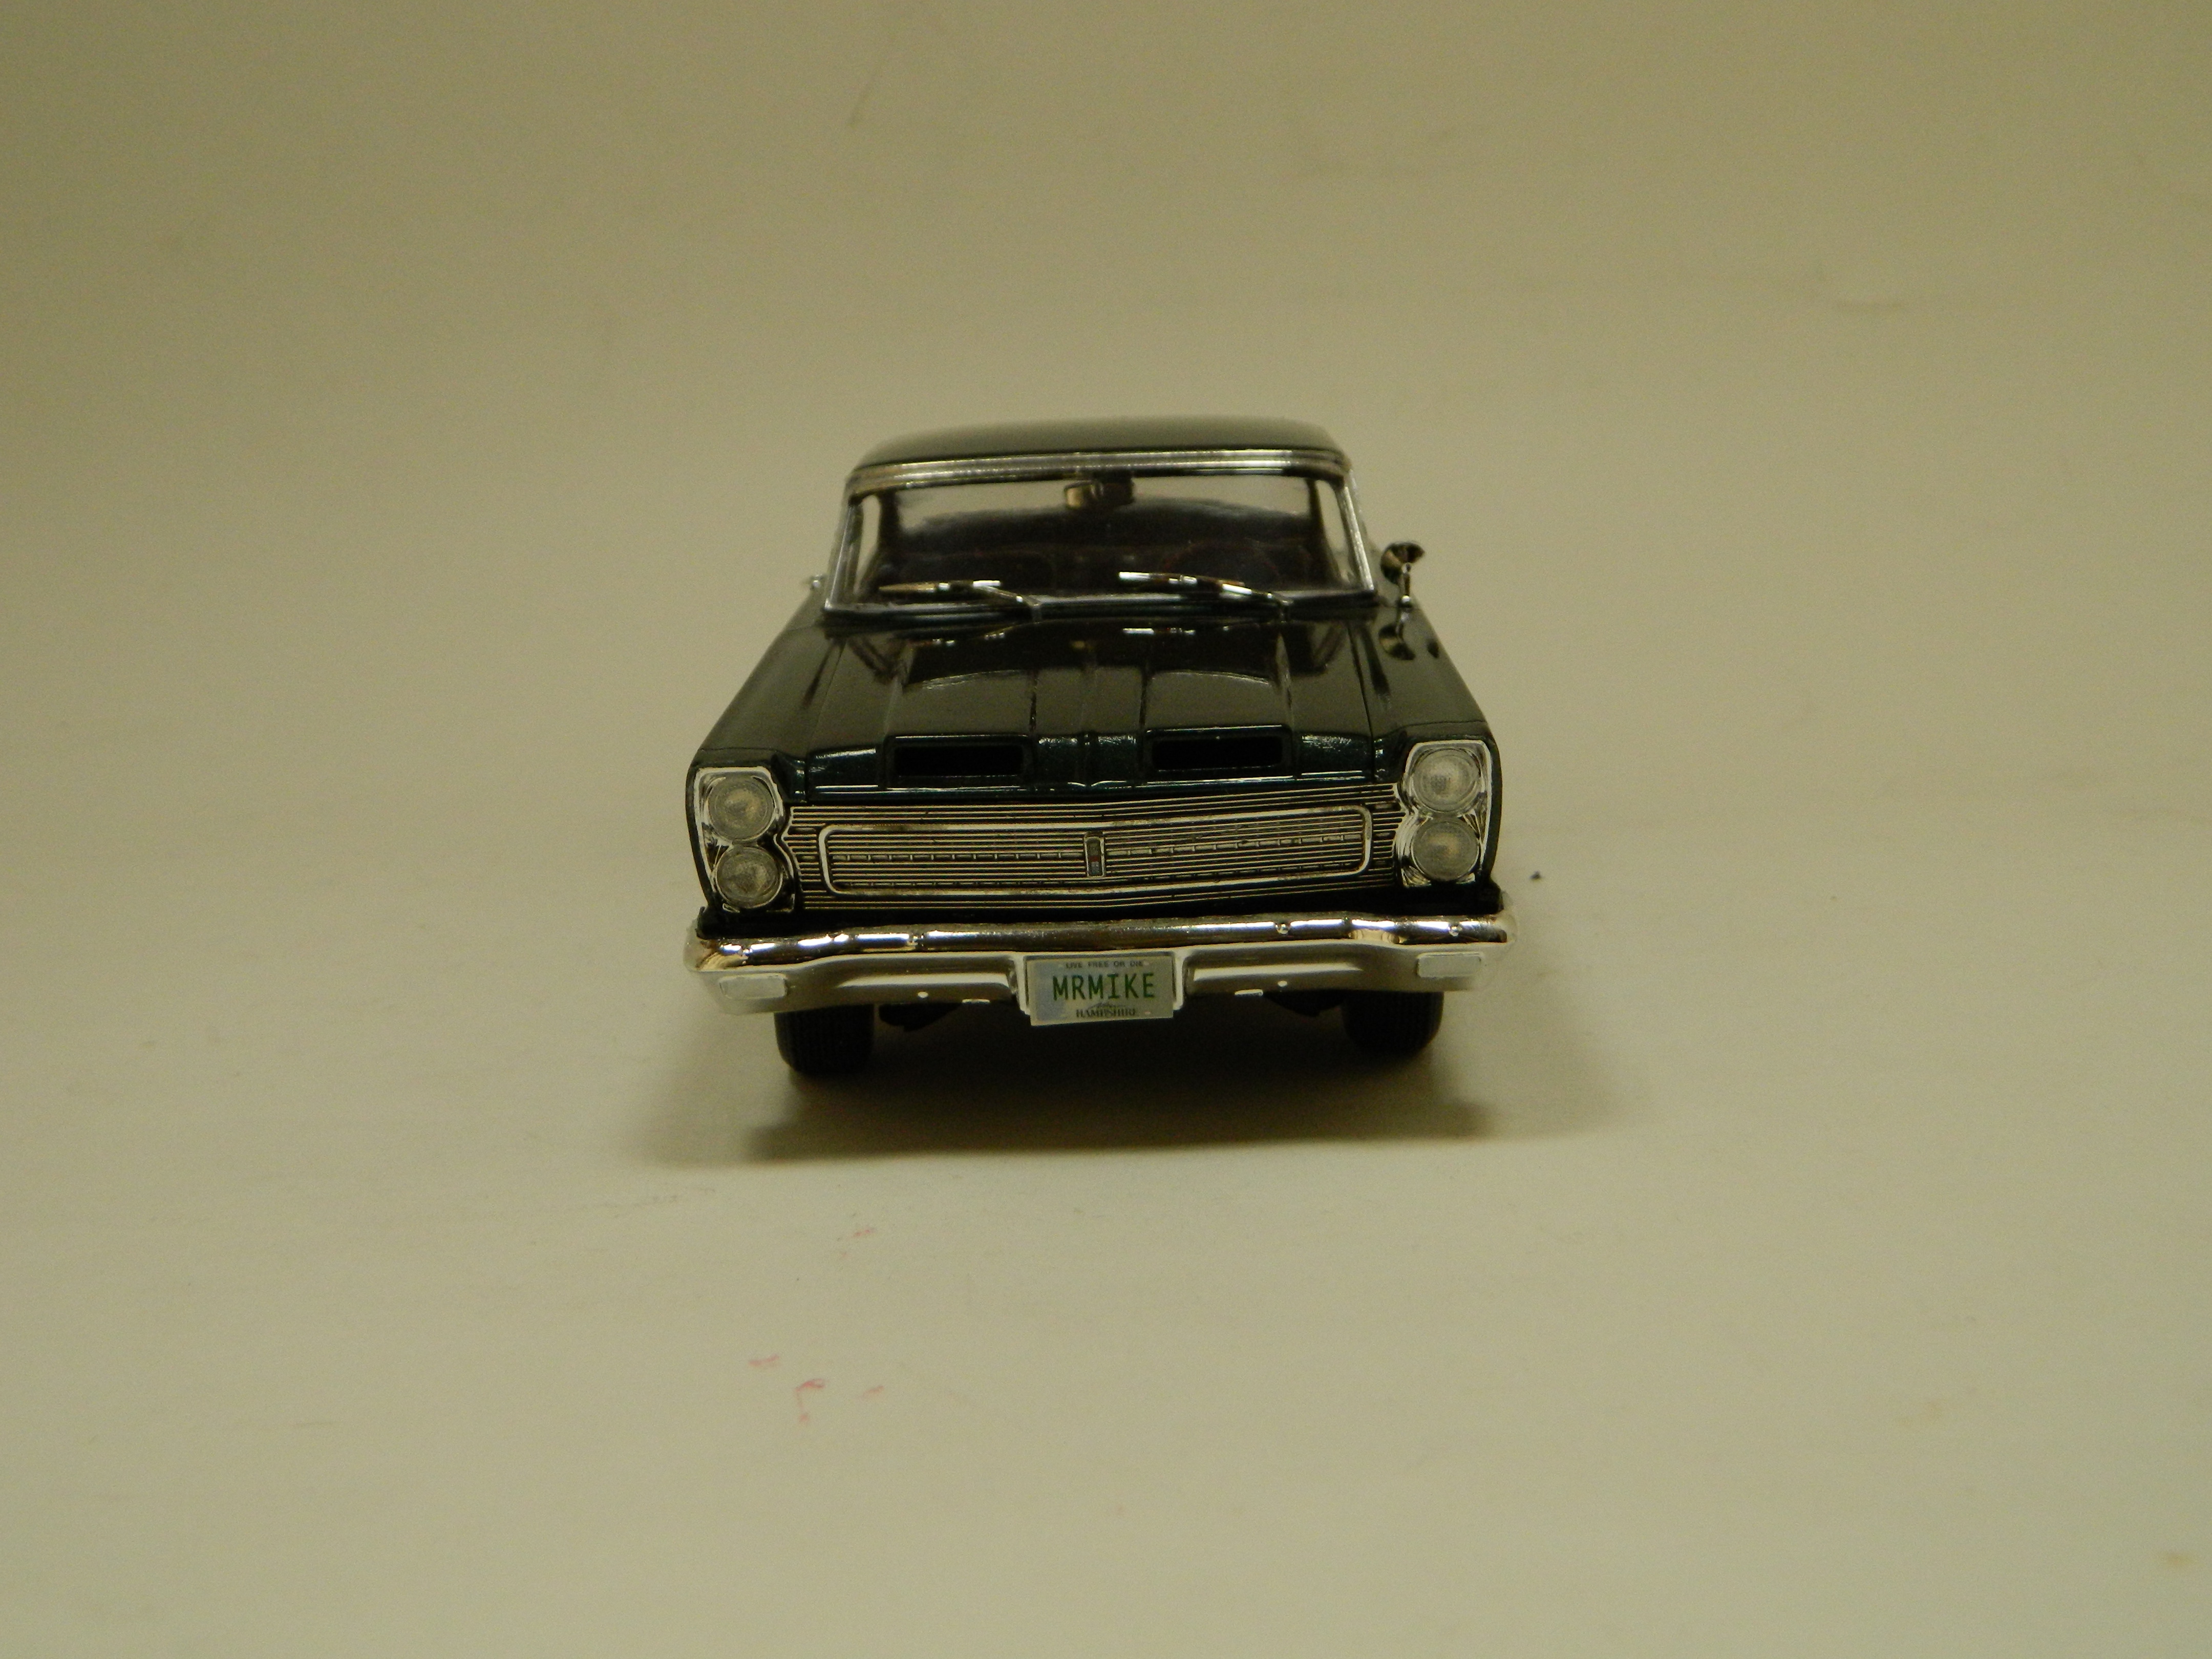
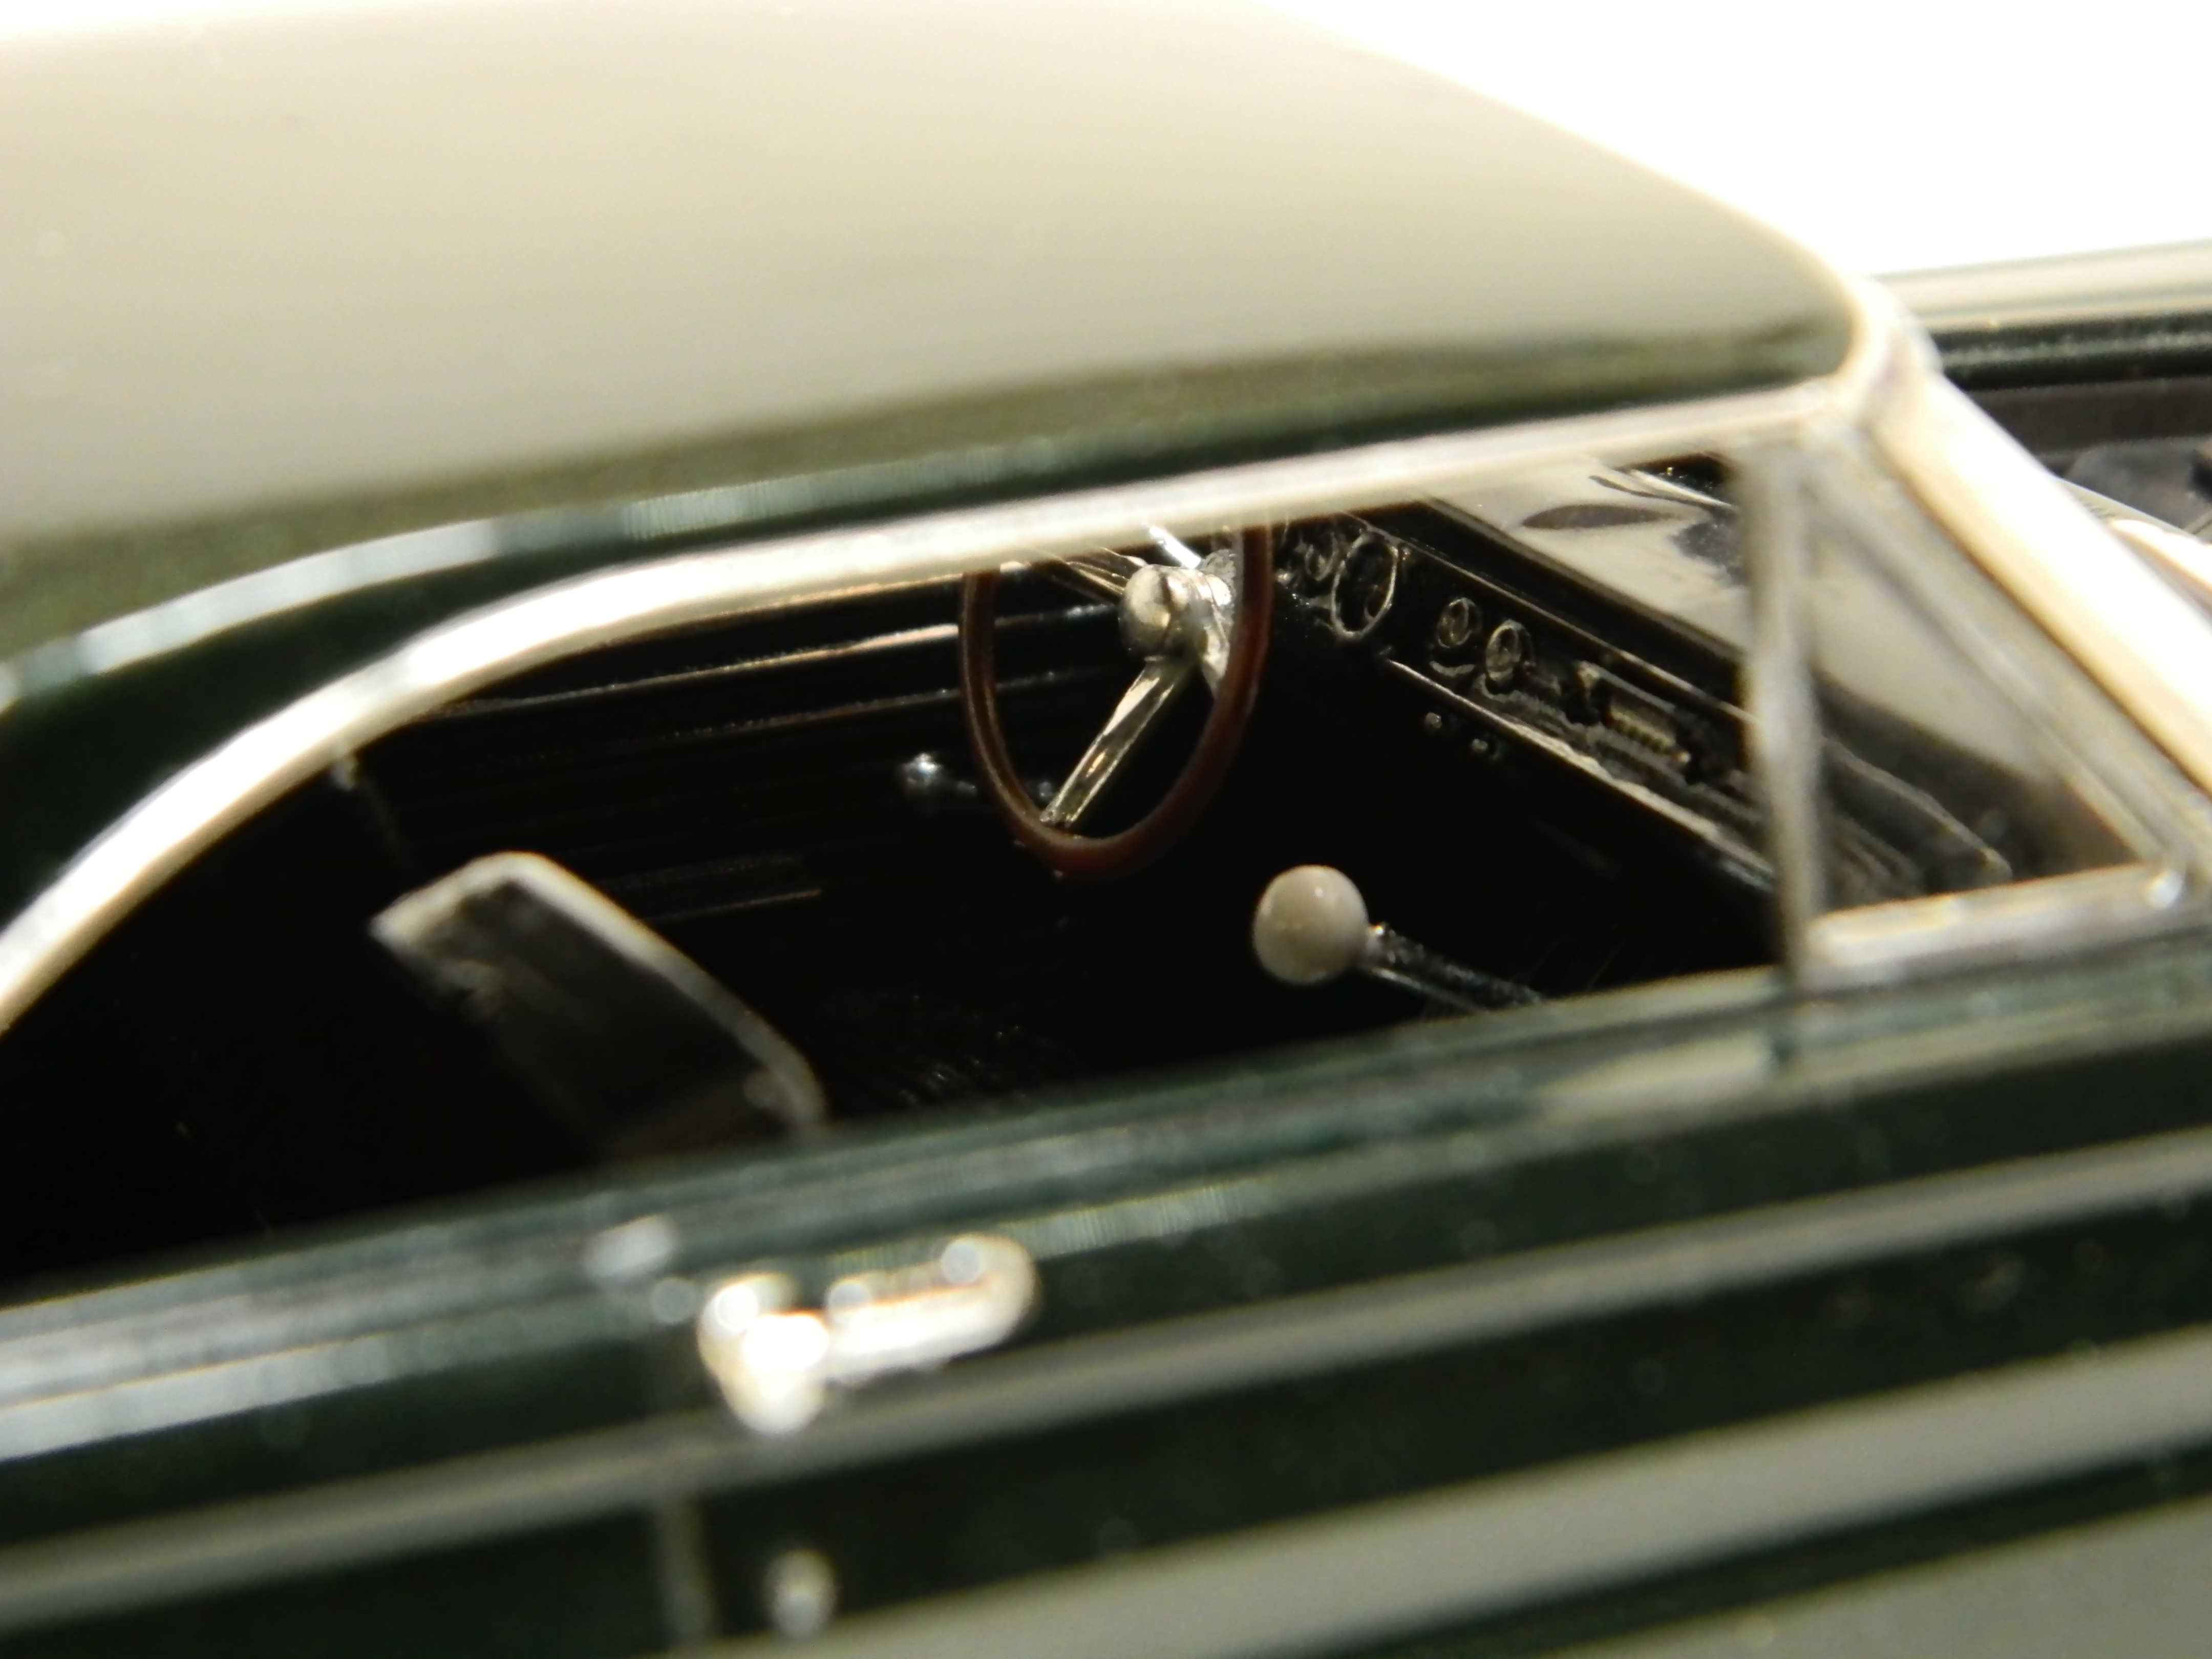
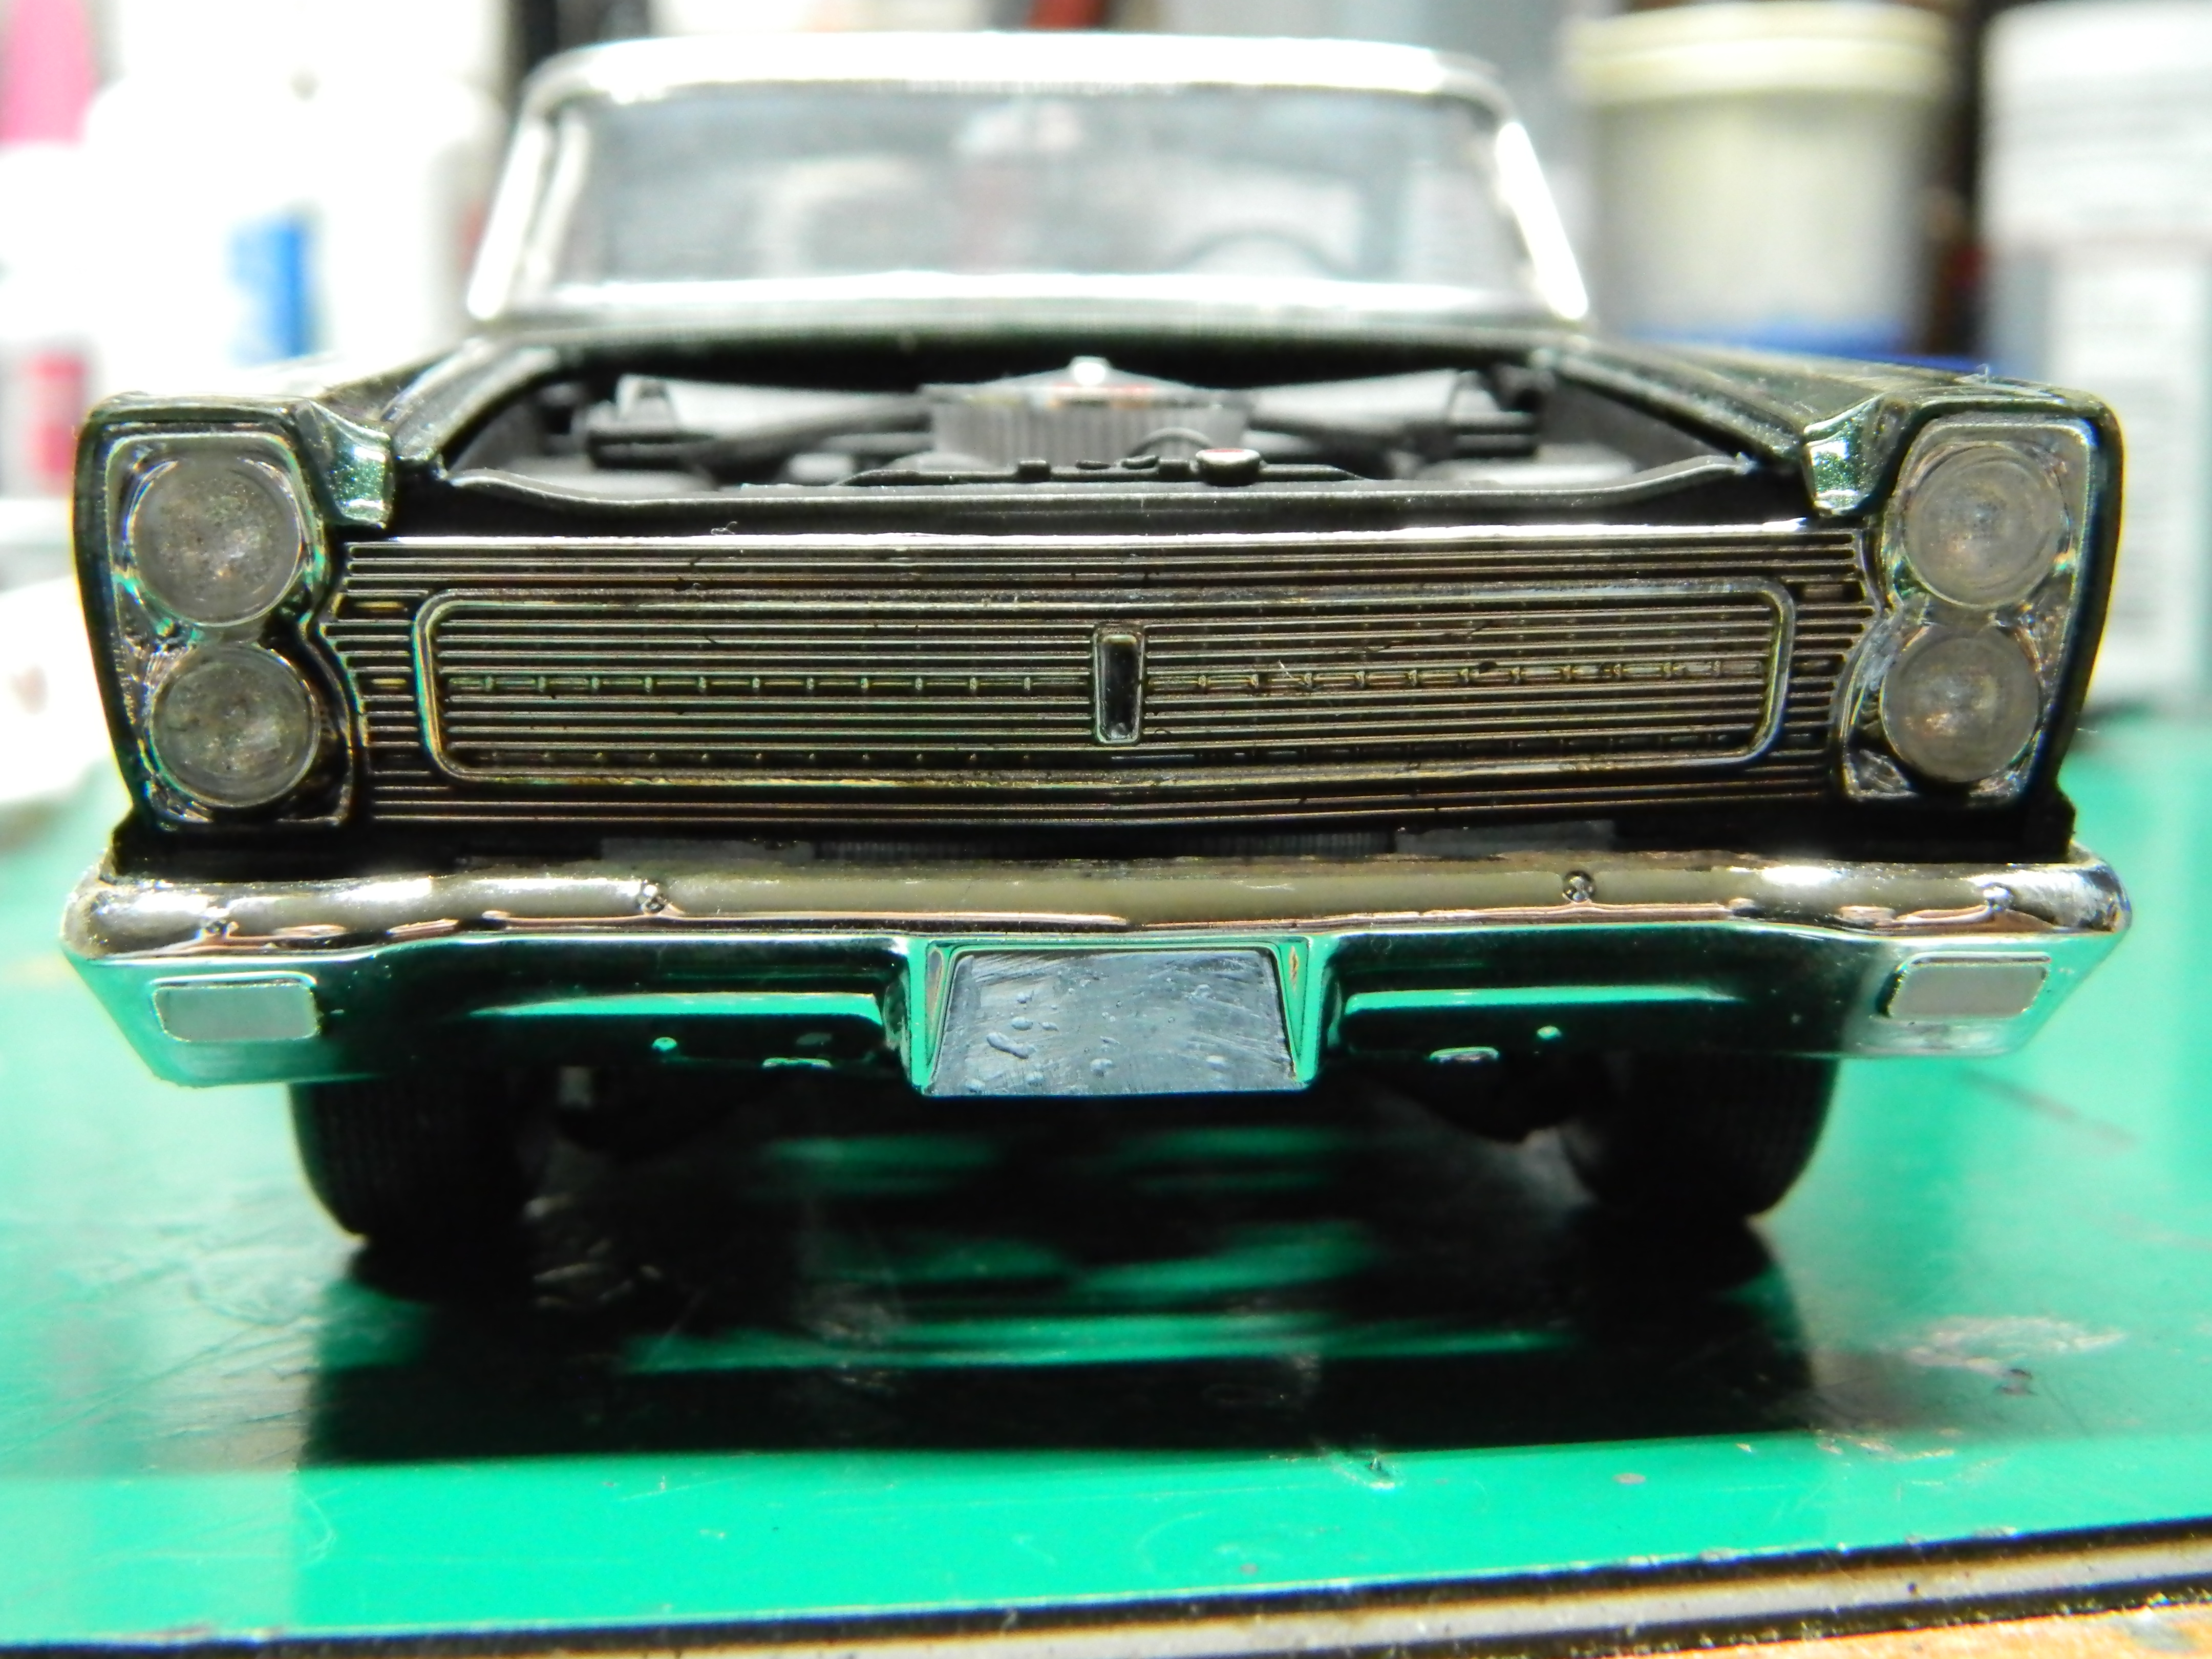
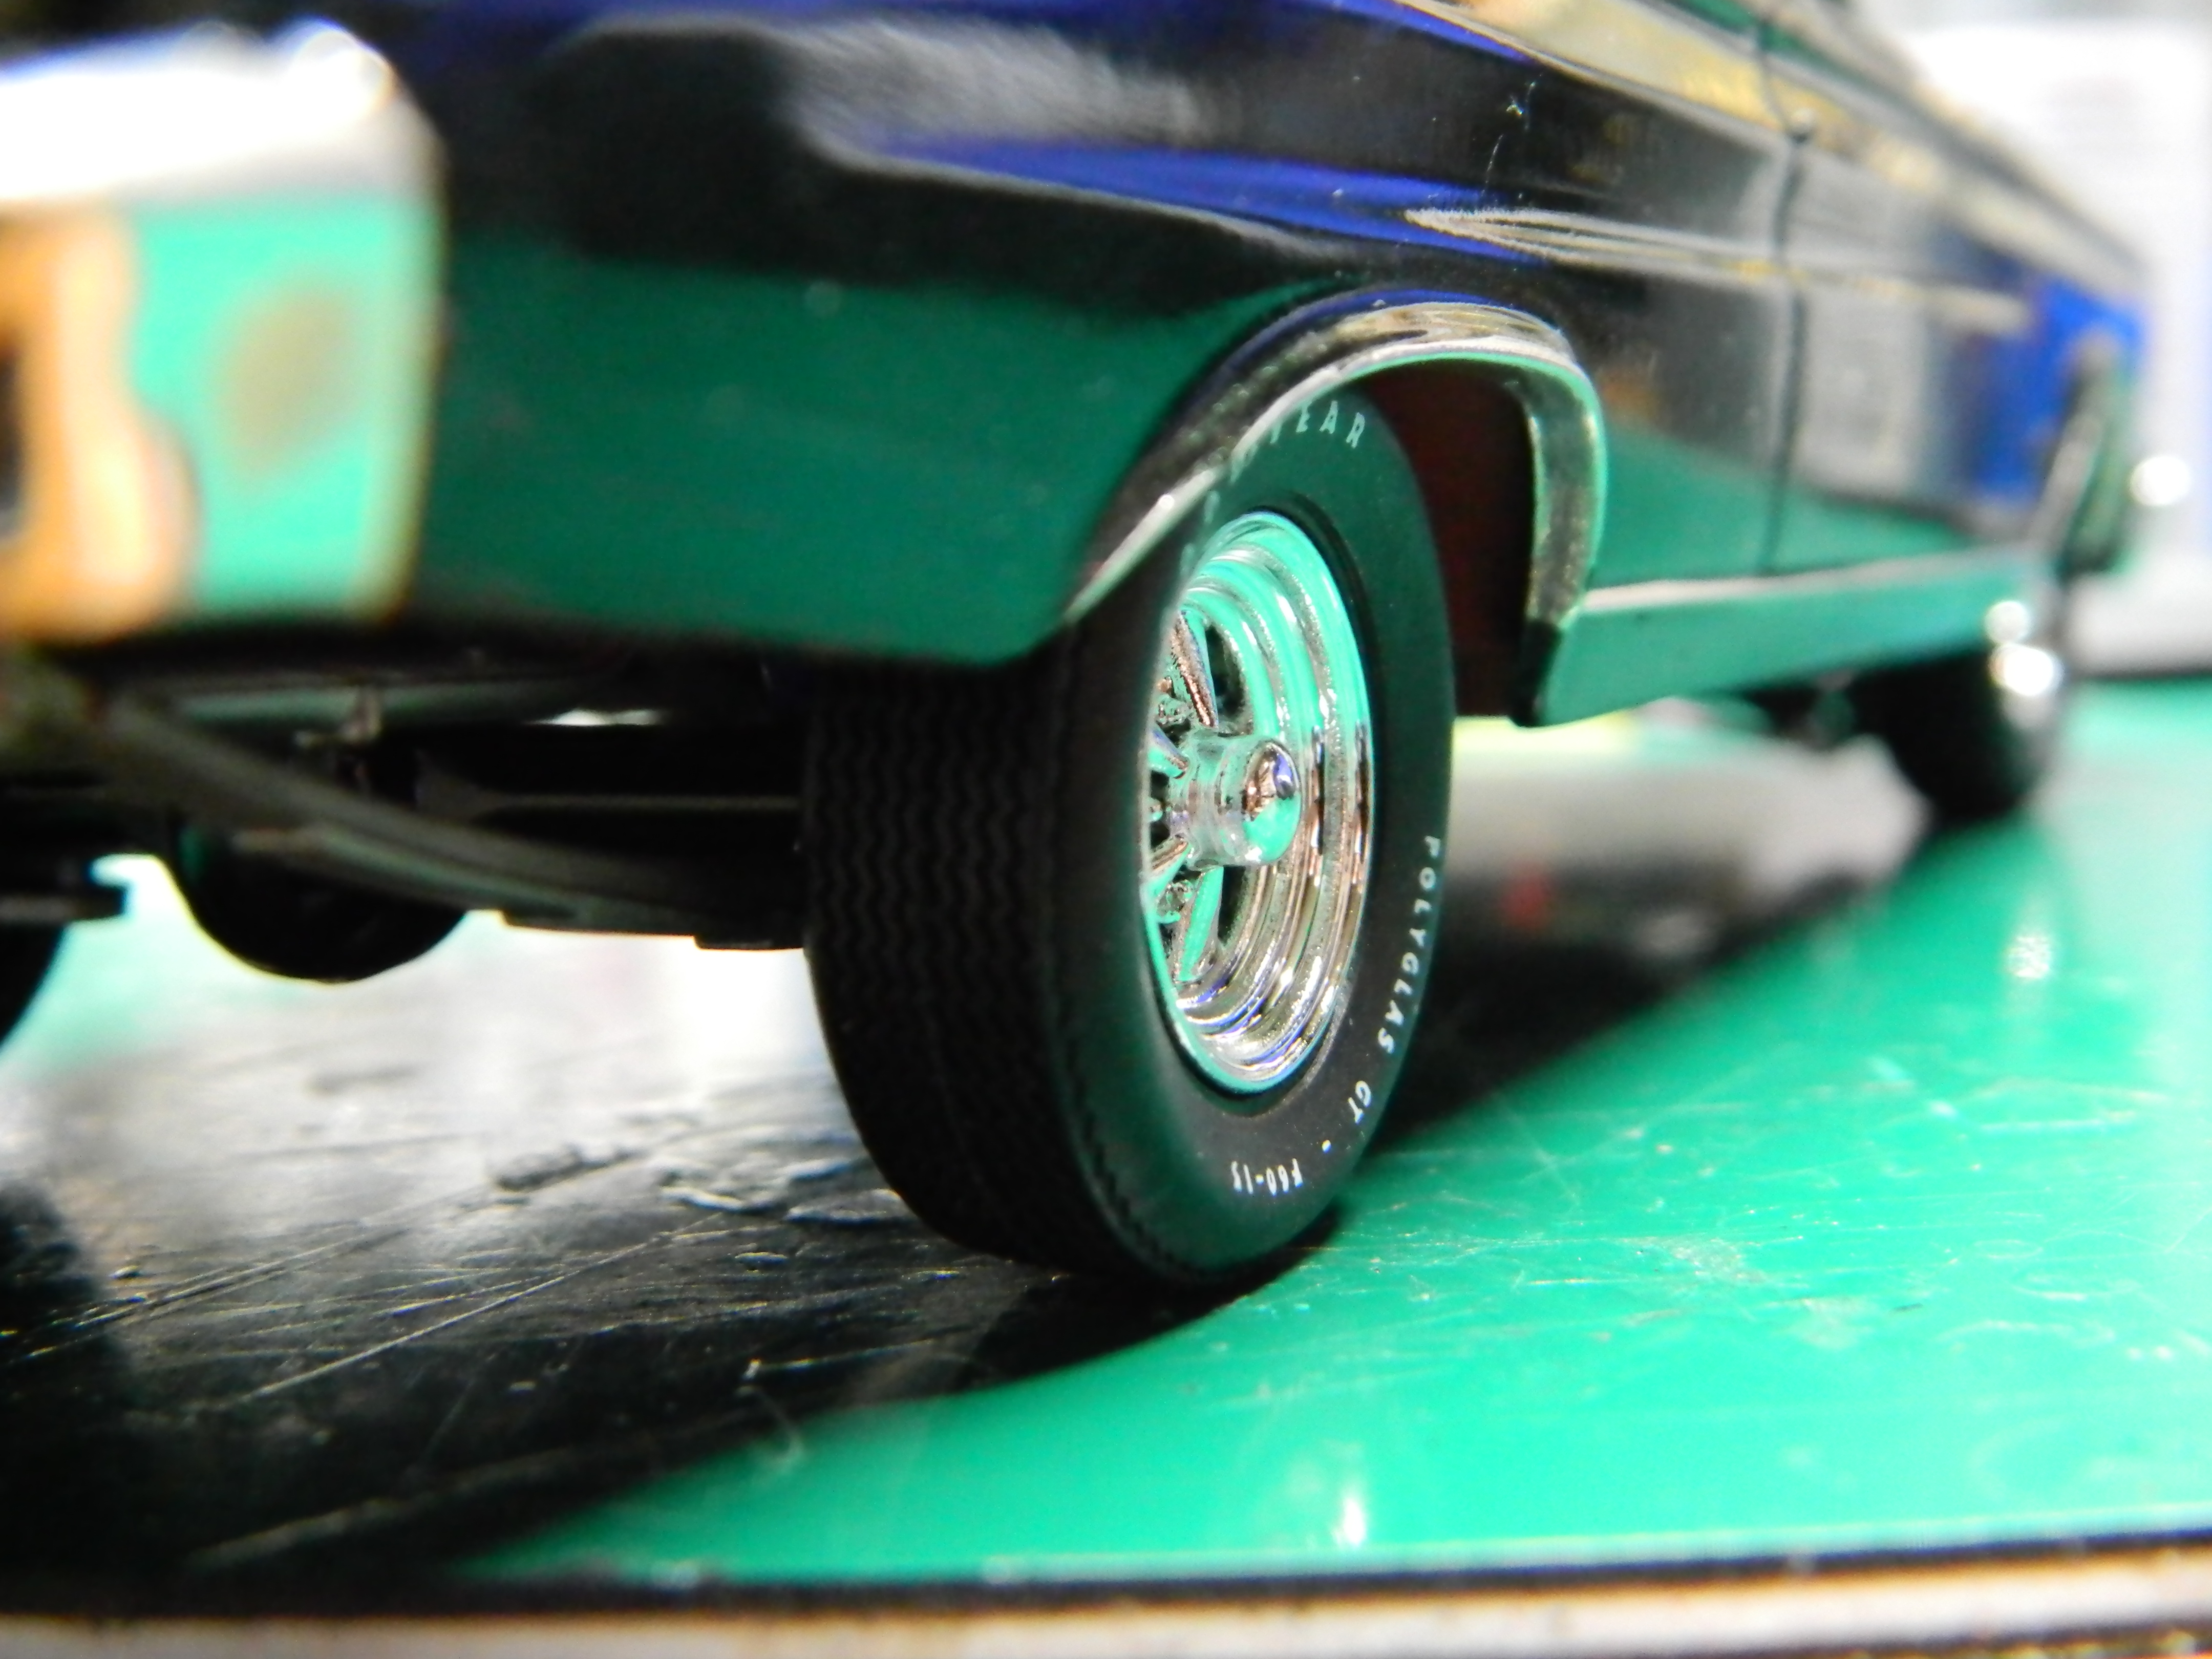
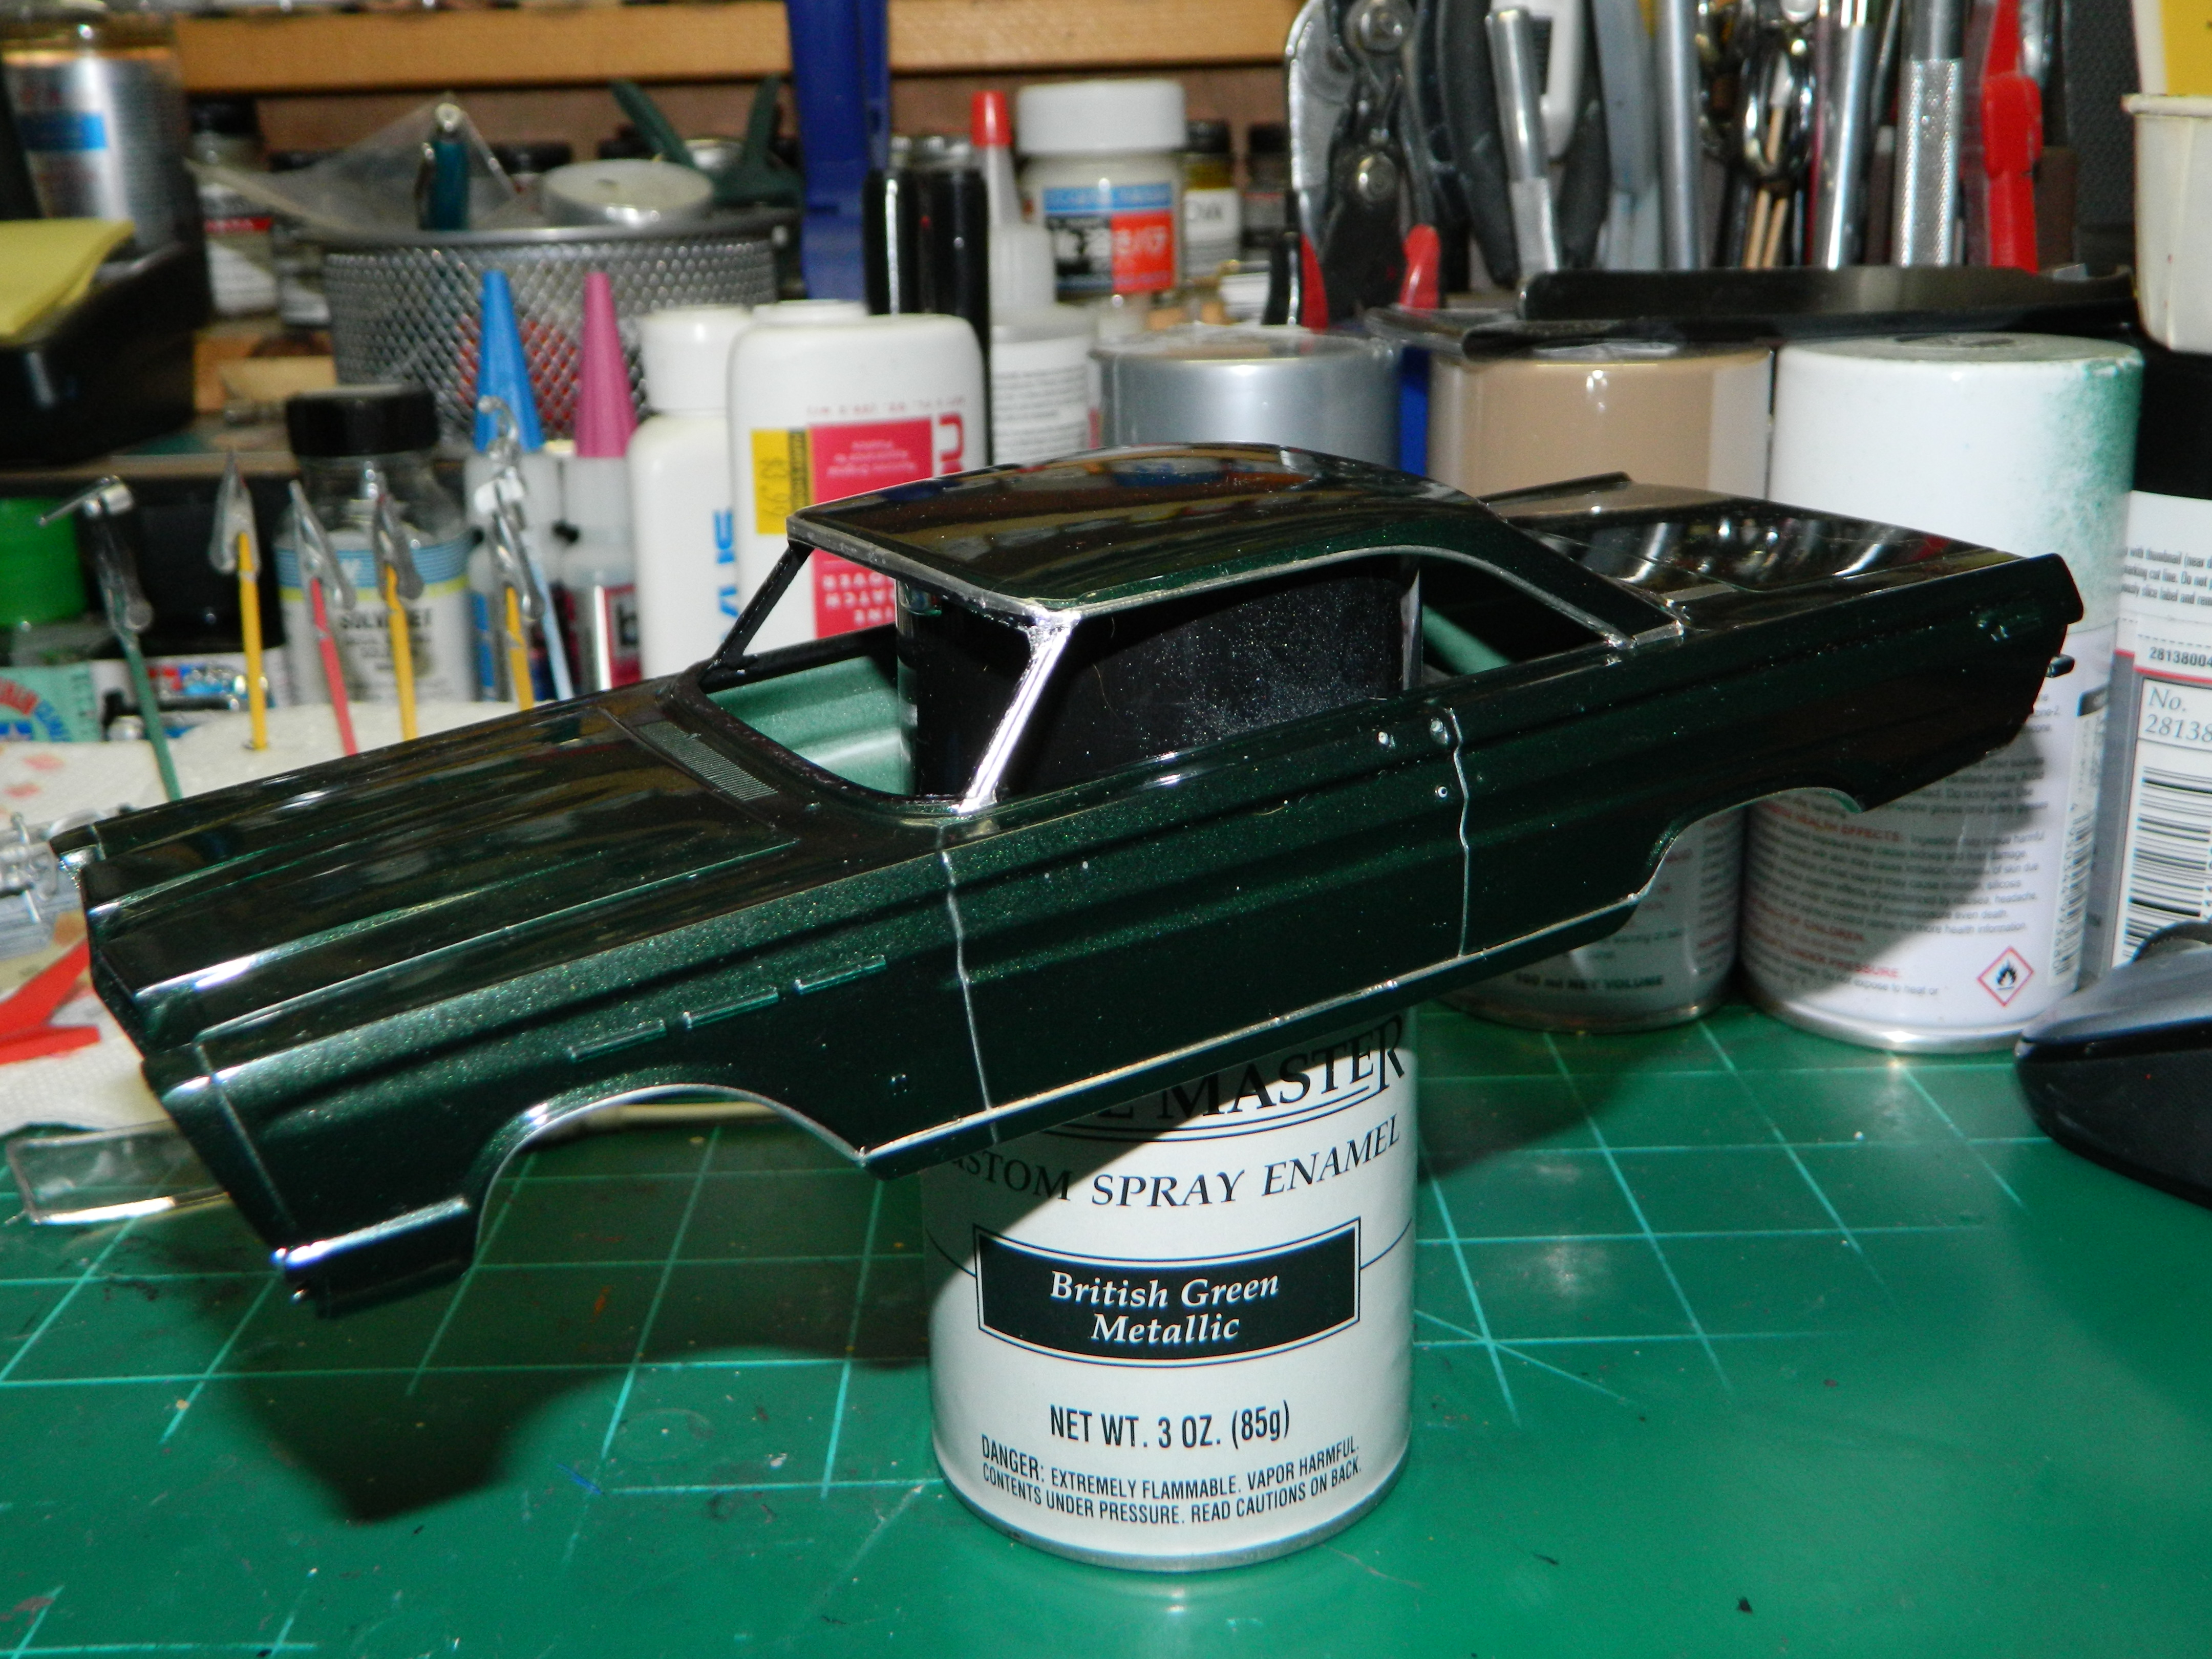
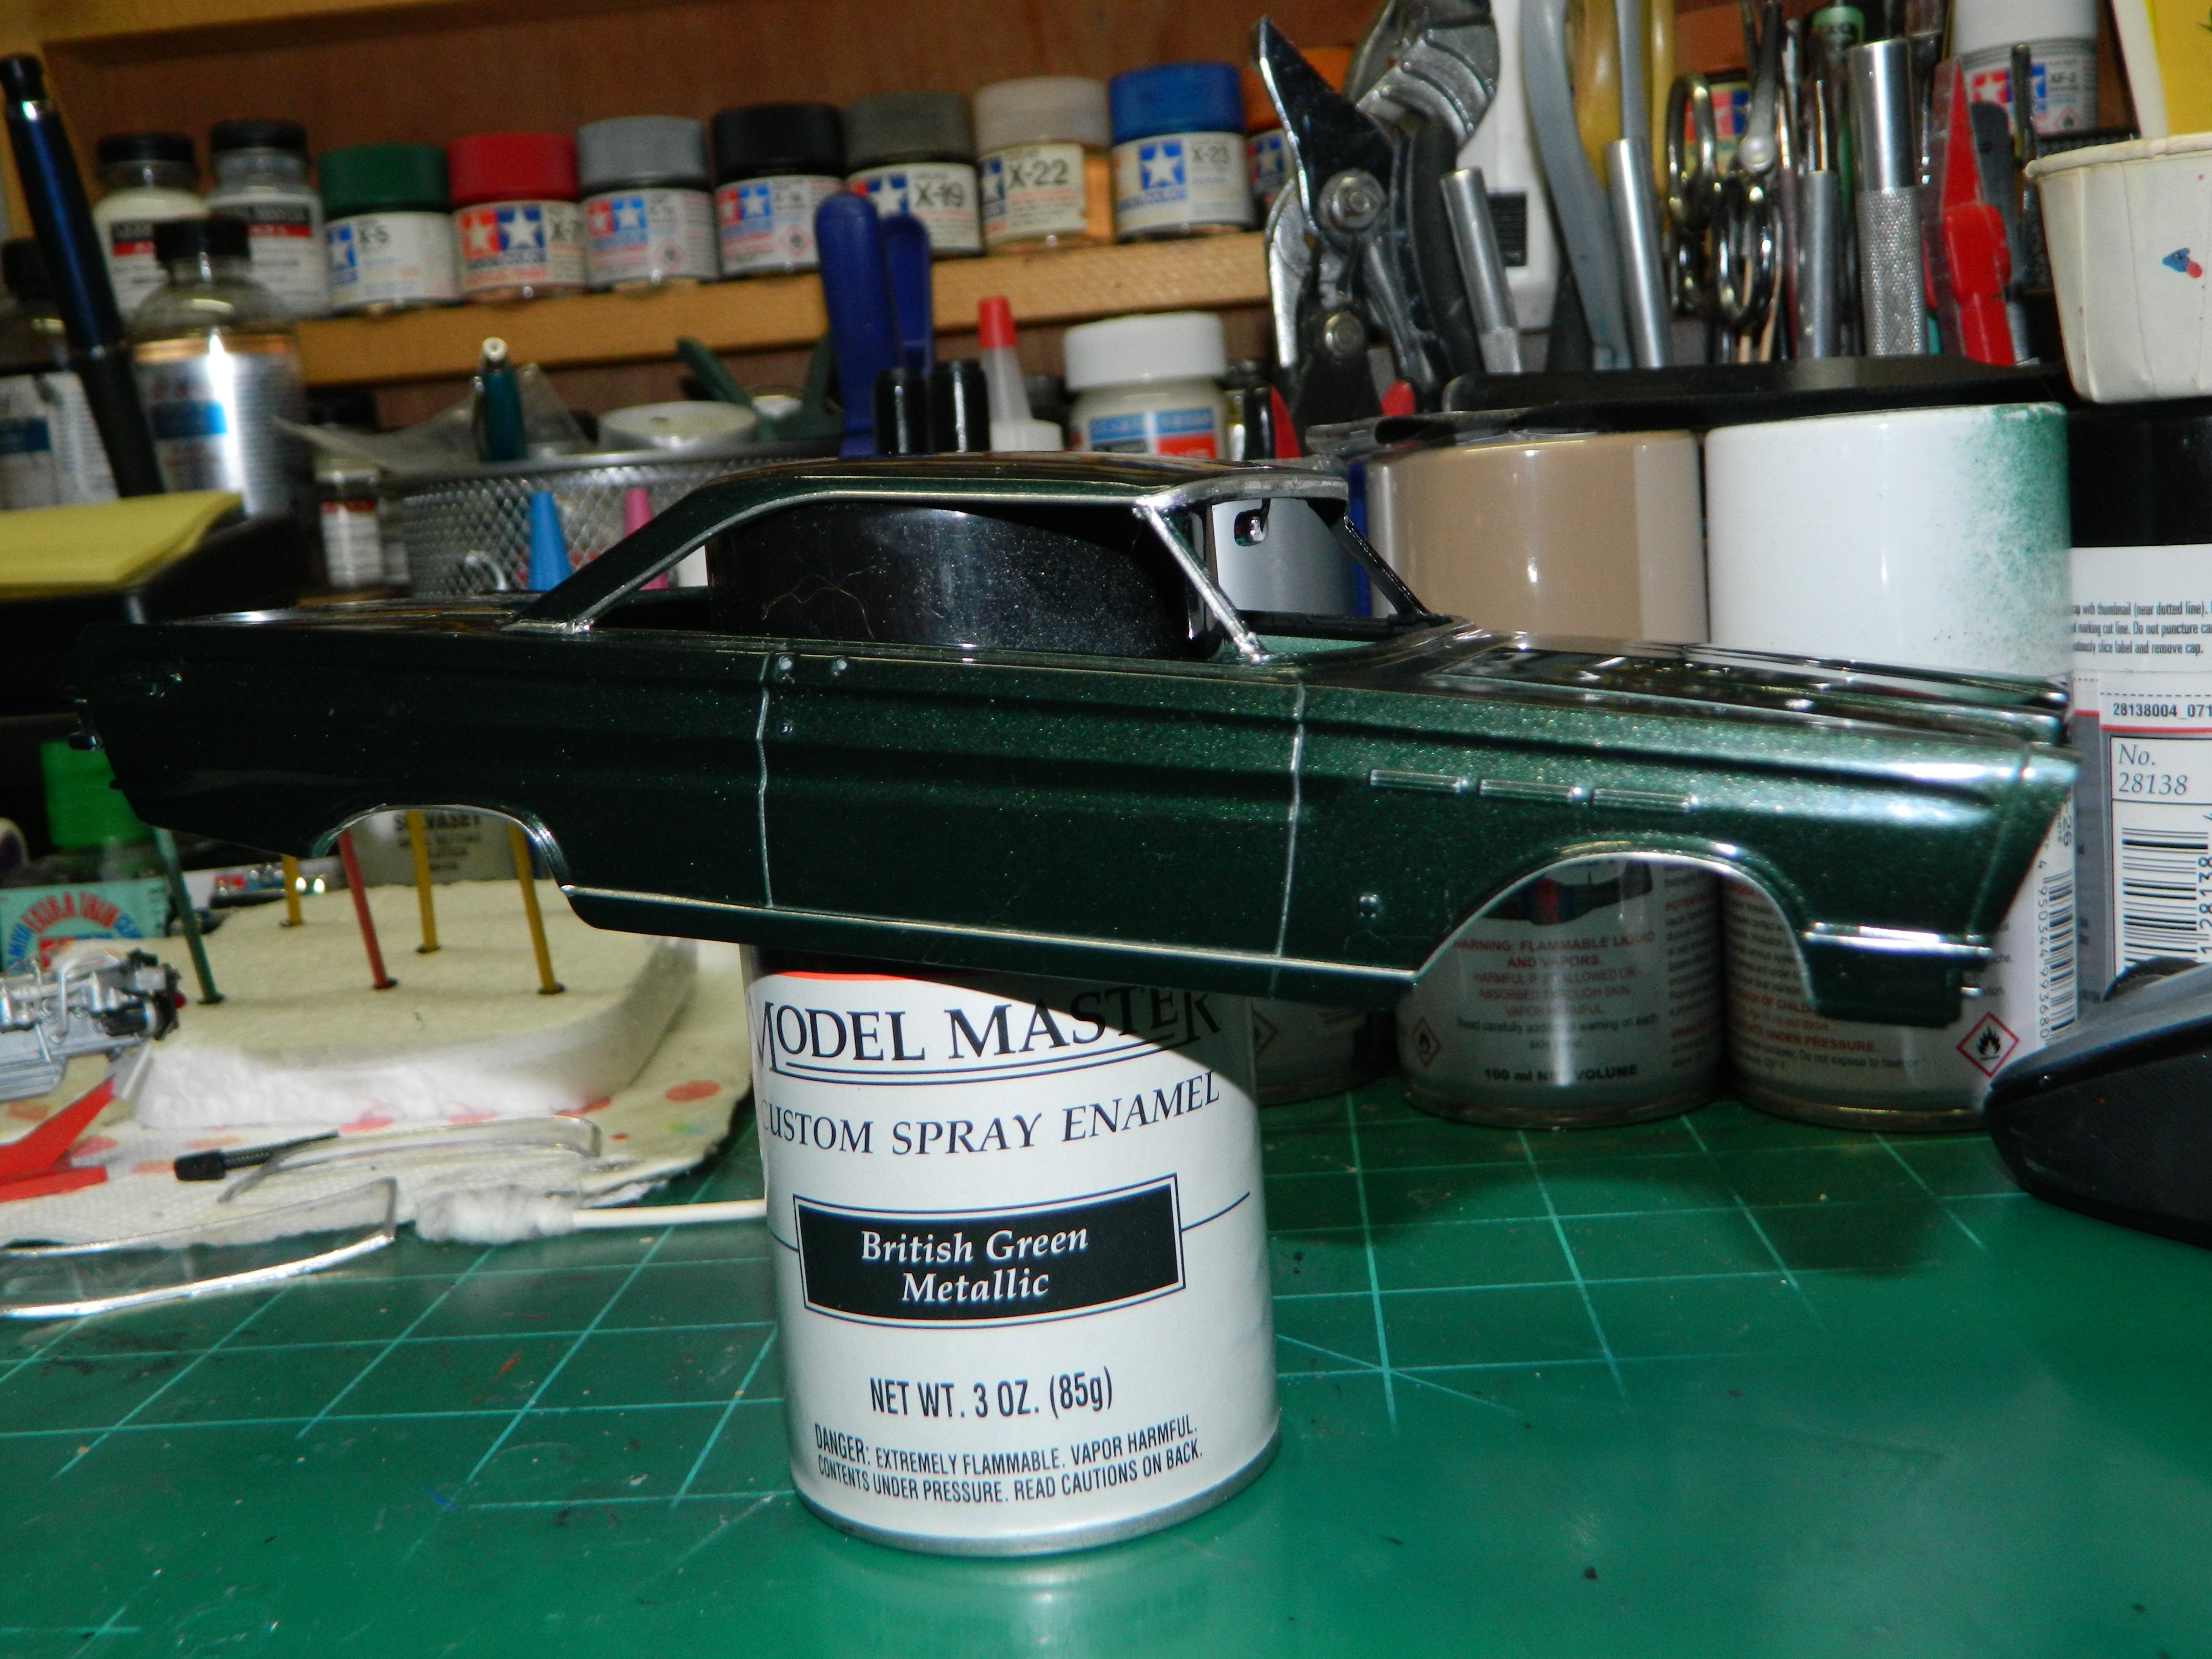
This is my '65 Comet Cyclone painted in Scalefinishes Highland Green Metallic with a Tamiya Semi-Gloss Black interior, dual scoop hood from the Moebius Cyclone Drag Racing kit, AMT pad-printed white letter tires, and lowered front suspension.
-
I have finished my '65 Comet Cyclone and it is posted in Under Glass. I would like to thank all those who have taken the time to view and to comment on my WIP.
-
Thank you Keith, Ron and Don!
-
I am almost done with my '65 Merc Cyclone. I forgot to take some pictures while I was assembling the Cyclone. Just a few more pieces and decals to add, so here's a few pictures to whet your appetite... More to come...
-
My new project and the return of McNally, Boston PI. This story is called The Other Woman and it is a work of fiction. All persons described in this story are not related to any one living or deceased. The Build Revell's Cadillac Escalade kit #85-4482. My paint will be Tamiya TS-18 Metallic Red with Tamiya AS-15 Tan (USAF). Upon opening this kit, I was kind of disappointed that this kit is a curbside and not a full detail kit. The box art is deceiving as well. The box art shows a long wheelbase Escalade and the model is a standard wheelbase model. I need to find some mesh for the grille and I may attempt to convert the exhaust system to a true dual tailpipe system. The Story The tall and well dressed man walks off the elevator and into Attorney Charlotte Rothmann's new office suite and he checks in with Mandi, Charlie's receptionist. He is about 50 years old, but he looks much younger than he actually is. Charlie calls him into her office and offers him a seat across from her desk. "I have been served with papers for divorce by my wife, Liza." He presents her with the papers and Charlie quickly reads through them. "I need all your financials and assets papers if we are to move forward," says Charlie. Damian Williston agrees to Charlie's request and then they discuss her fees and the process ahead. Damian says thank you and he leaves Charlie's office. McNally is sitting outside in the waiting room and Charlie calls him in. "I have a new assignment for you," she says. McNally will return...
-
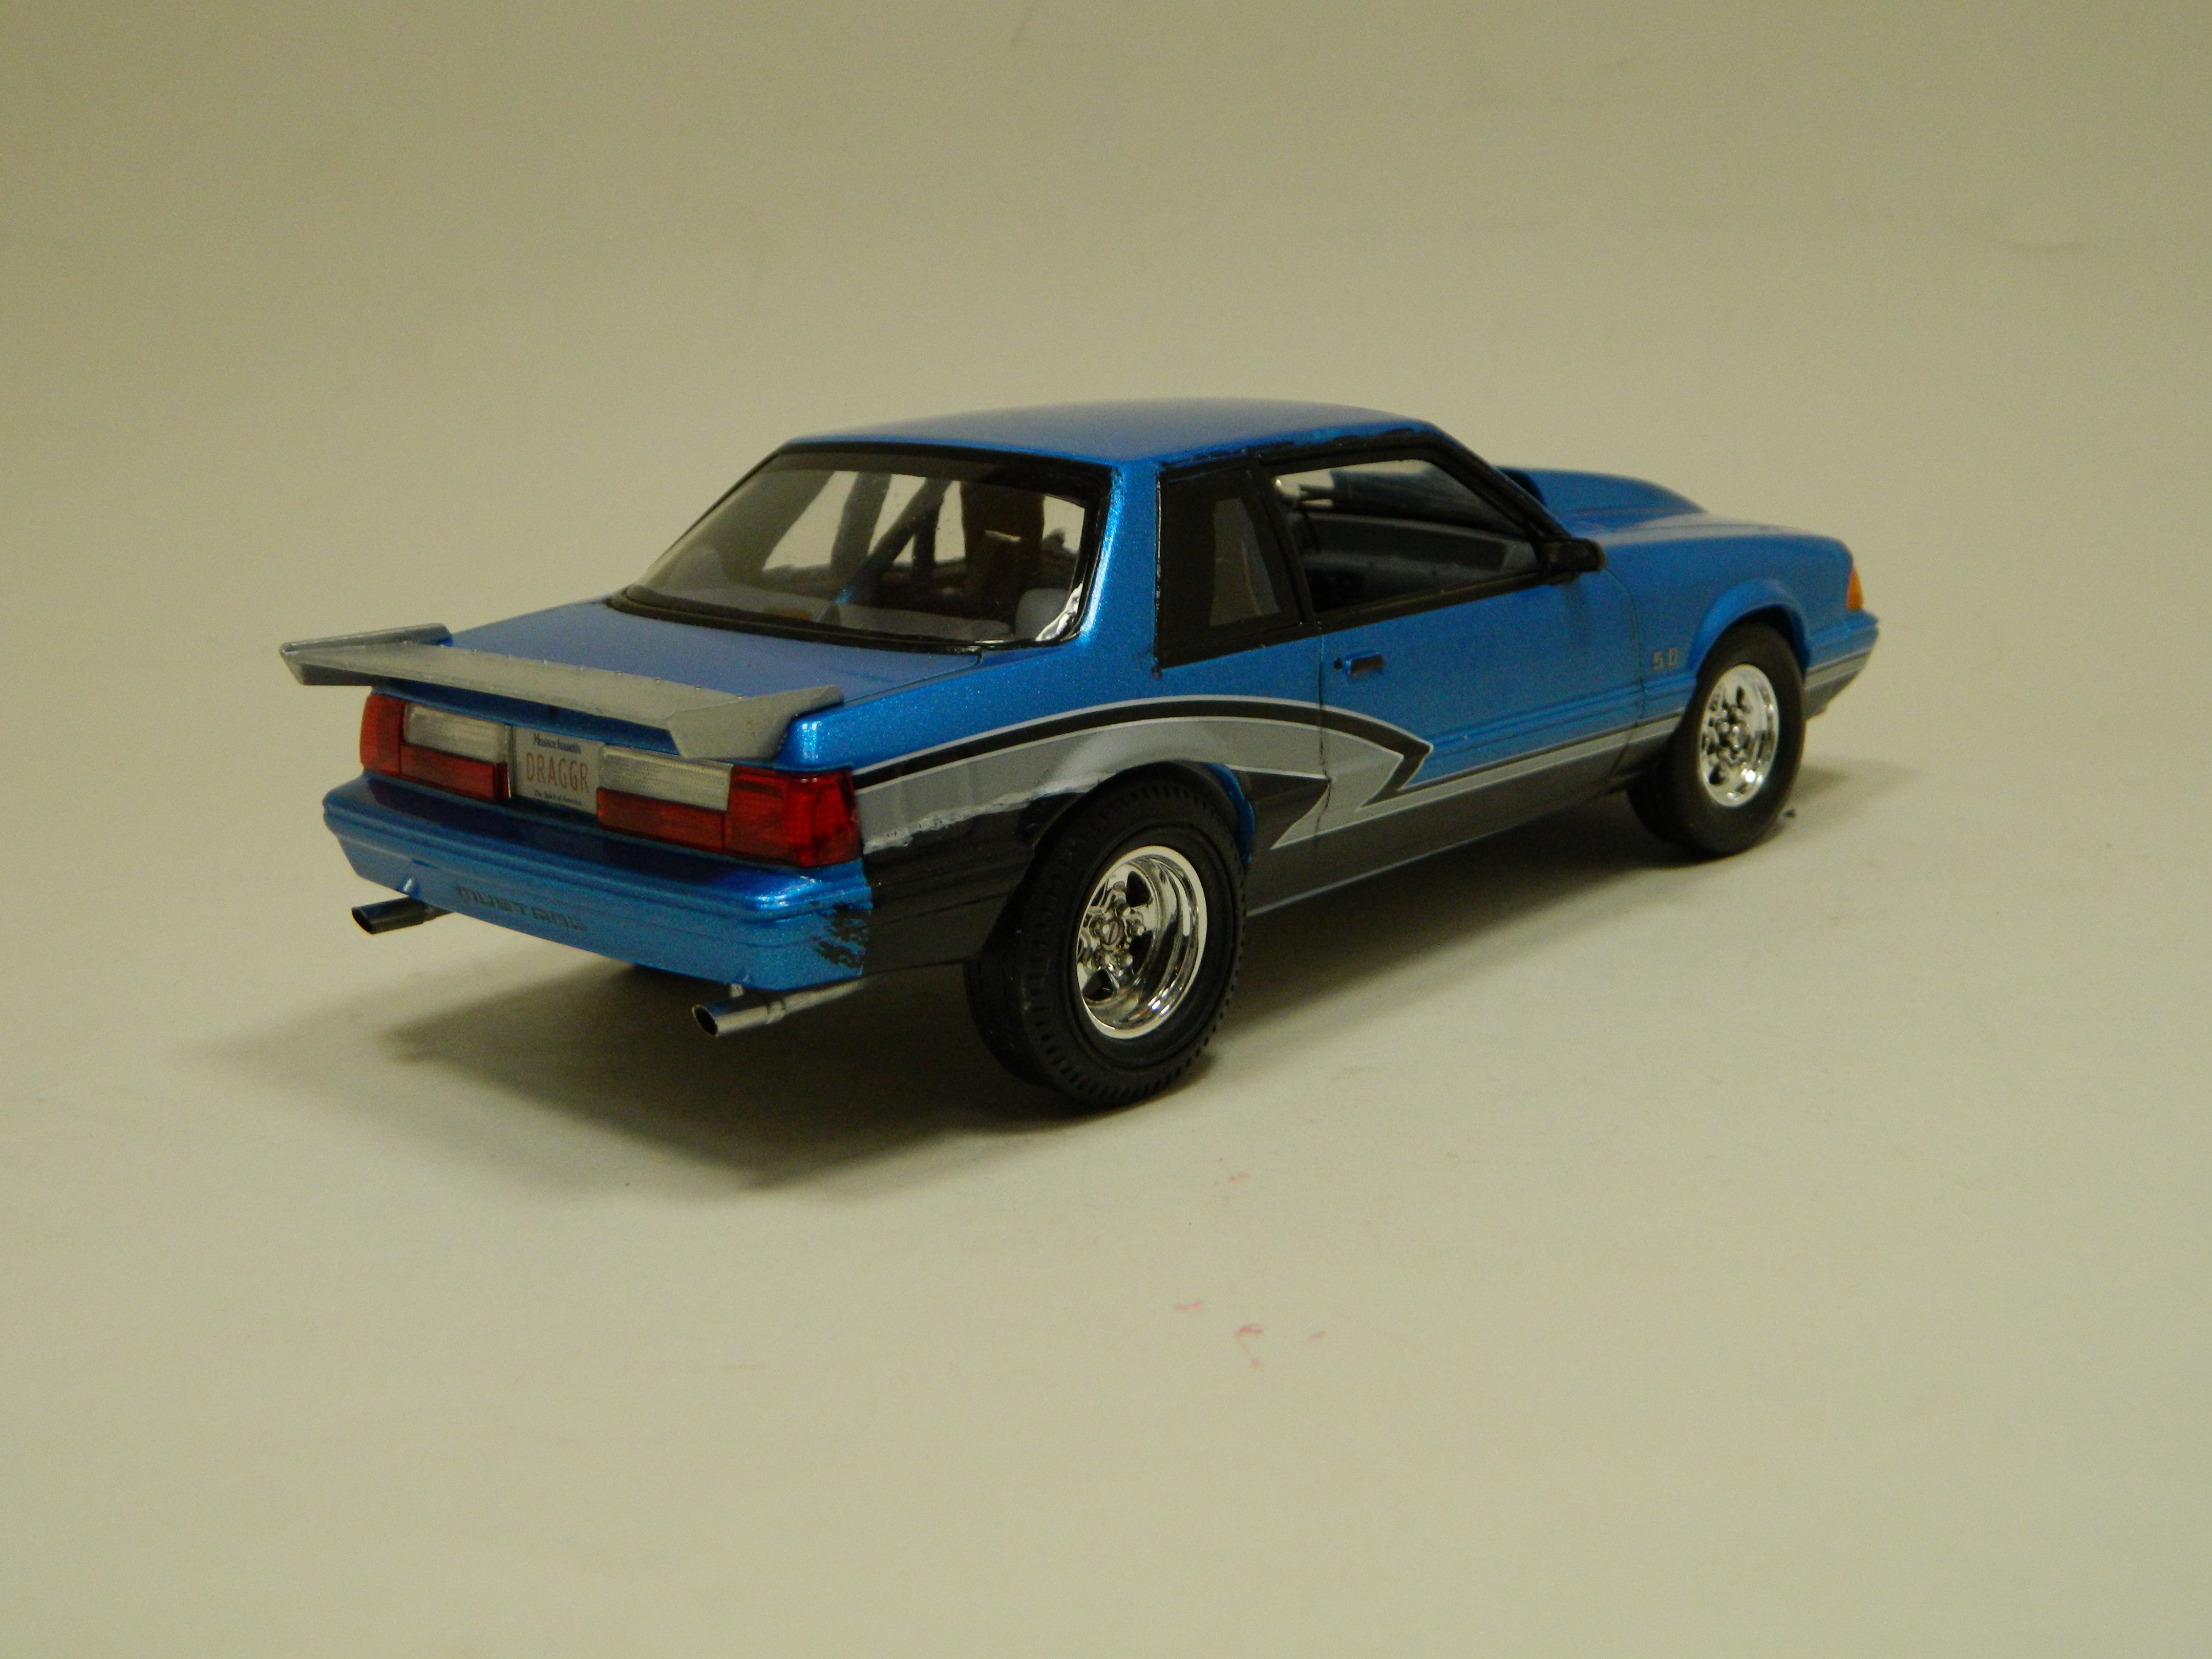
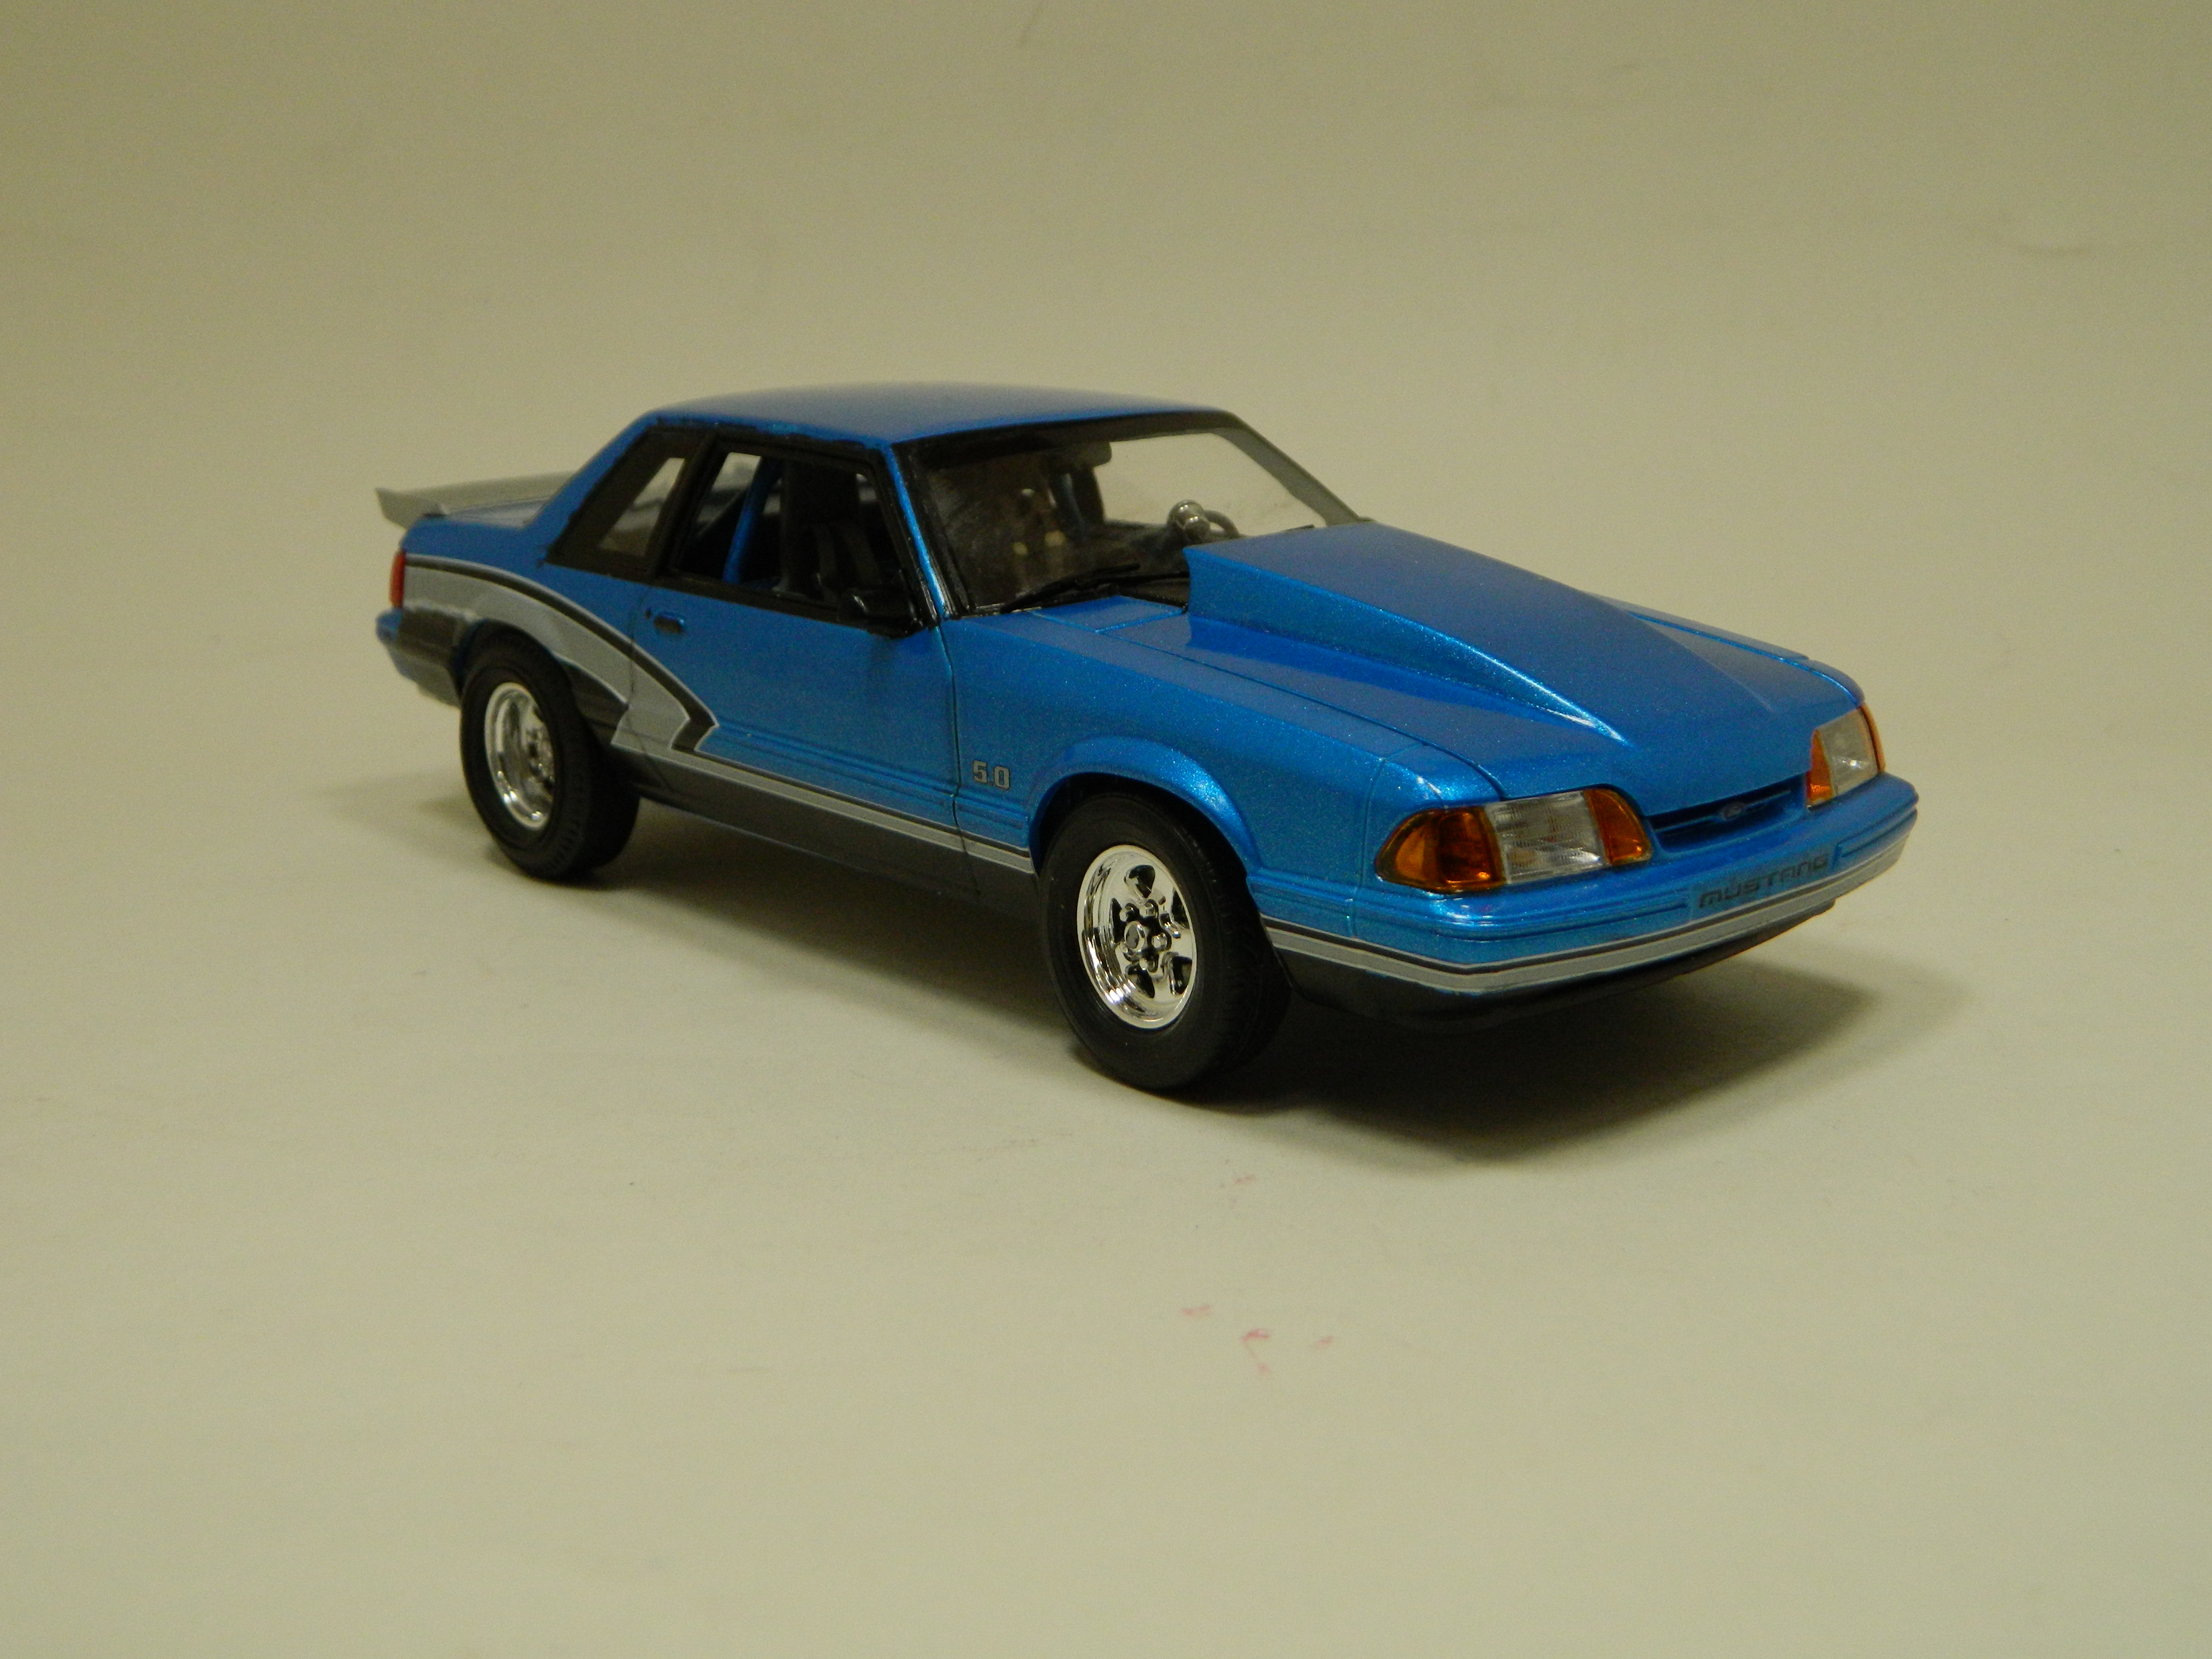
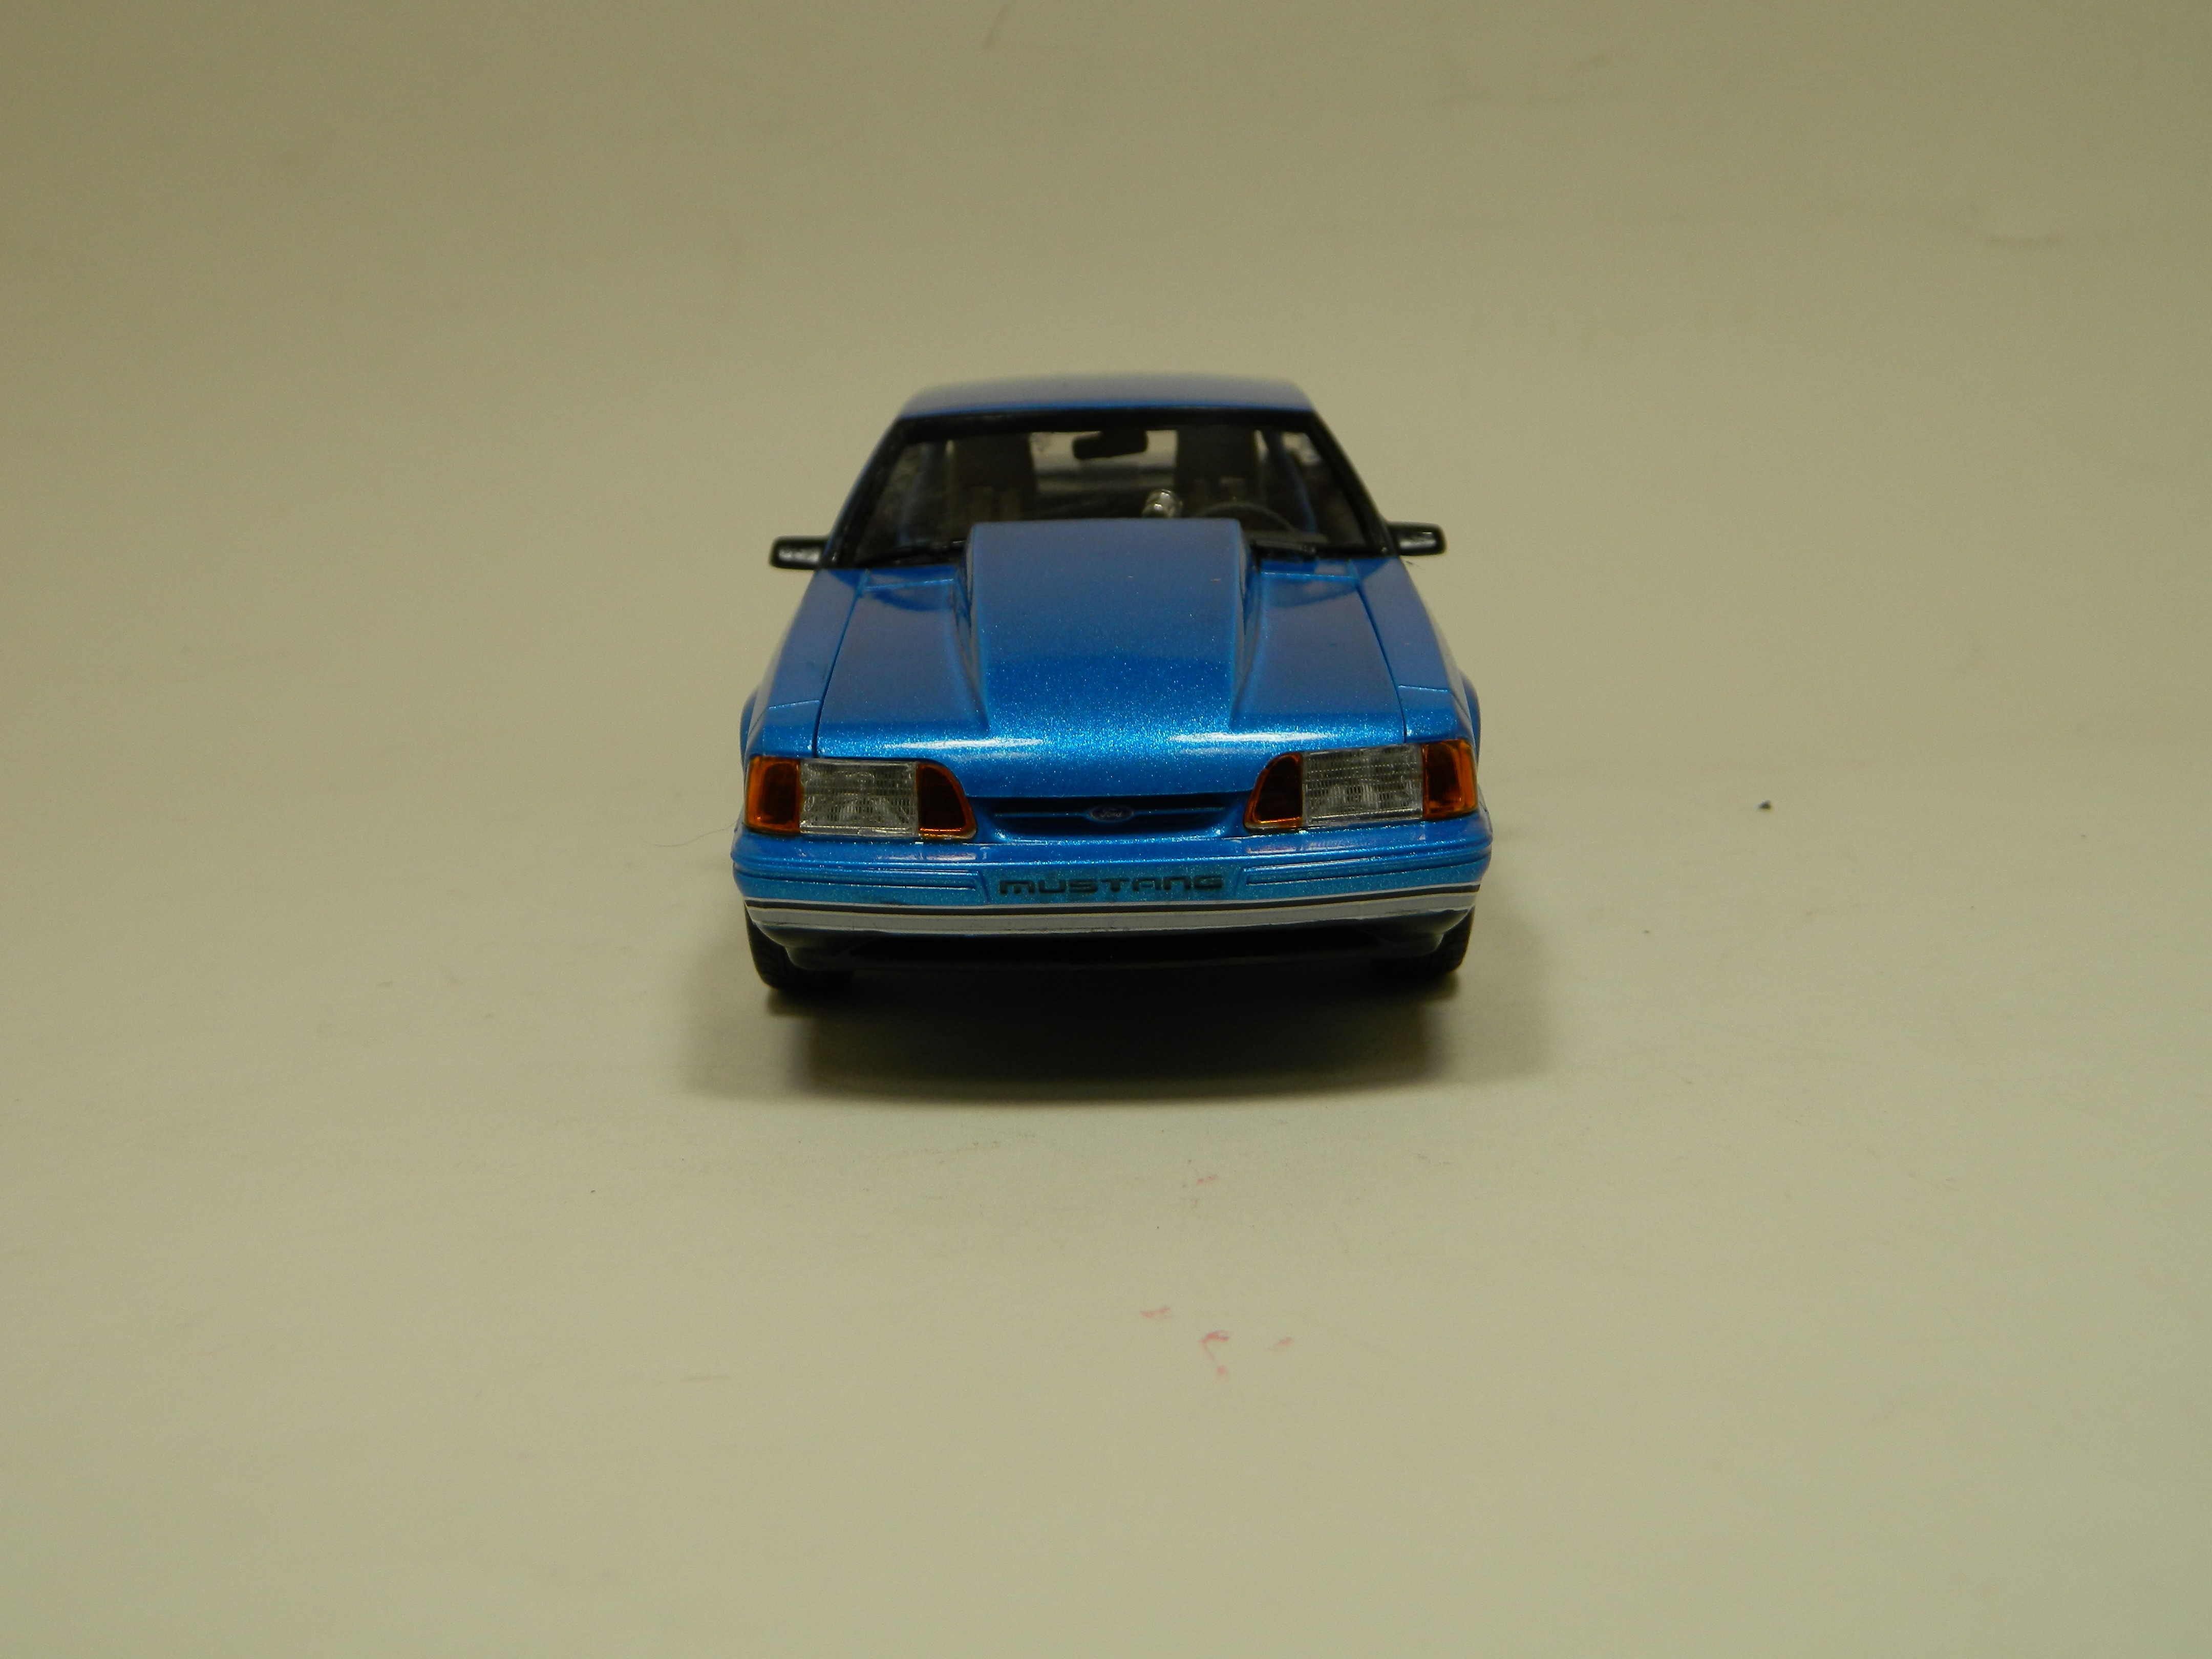
The Story McNally stops at a church near his home and he goes inside. Halfway inside the church, he stops and sits in a pew and he starts to pray for Artie Jacobson. First time for everything. After about 15 minutes, he gets up and leaves the church and drives to see his attorney, Charlotte Rothmann at her office. He is looking for some work and to talk with her. Charlie doesn't have any work for the Boston PI, so he bends her ear for a few minutes. He tells her about the entire incident and the end result from last night. He tells her about ending a life that shouldn't have ended, but the choices that Artie made set him up for failure. After hearing his tale, Charlie gets up from her desk and hugs McNally, telling him that he did right and that he stopped a criminal from doing more harm. McNally thanks Charlie for listening and he leaves her office and heads for home. The Build I have finished my WIP of a '90 Mustang LX 5.0 Racer. I would like to thank all those who have taken the time to view and to comment on my WIP.
-
Great job, Jeremy!
-
Thank you Carl and Charlie!
-
Thanks Vince and Gary!
-
Thank you Lee and Atin!
-
I've got foiling about 98% done. My research says these plates on the rear deck are chrome plated, and it was done! [More to come...
-
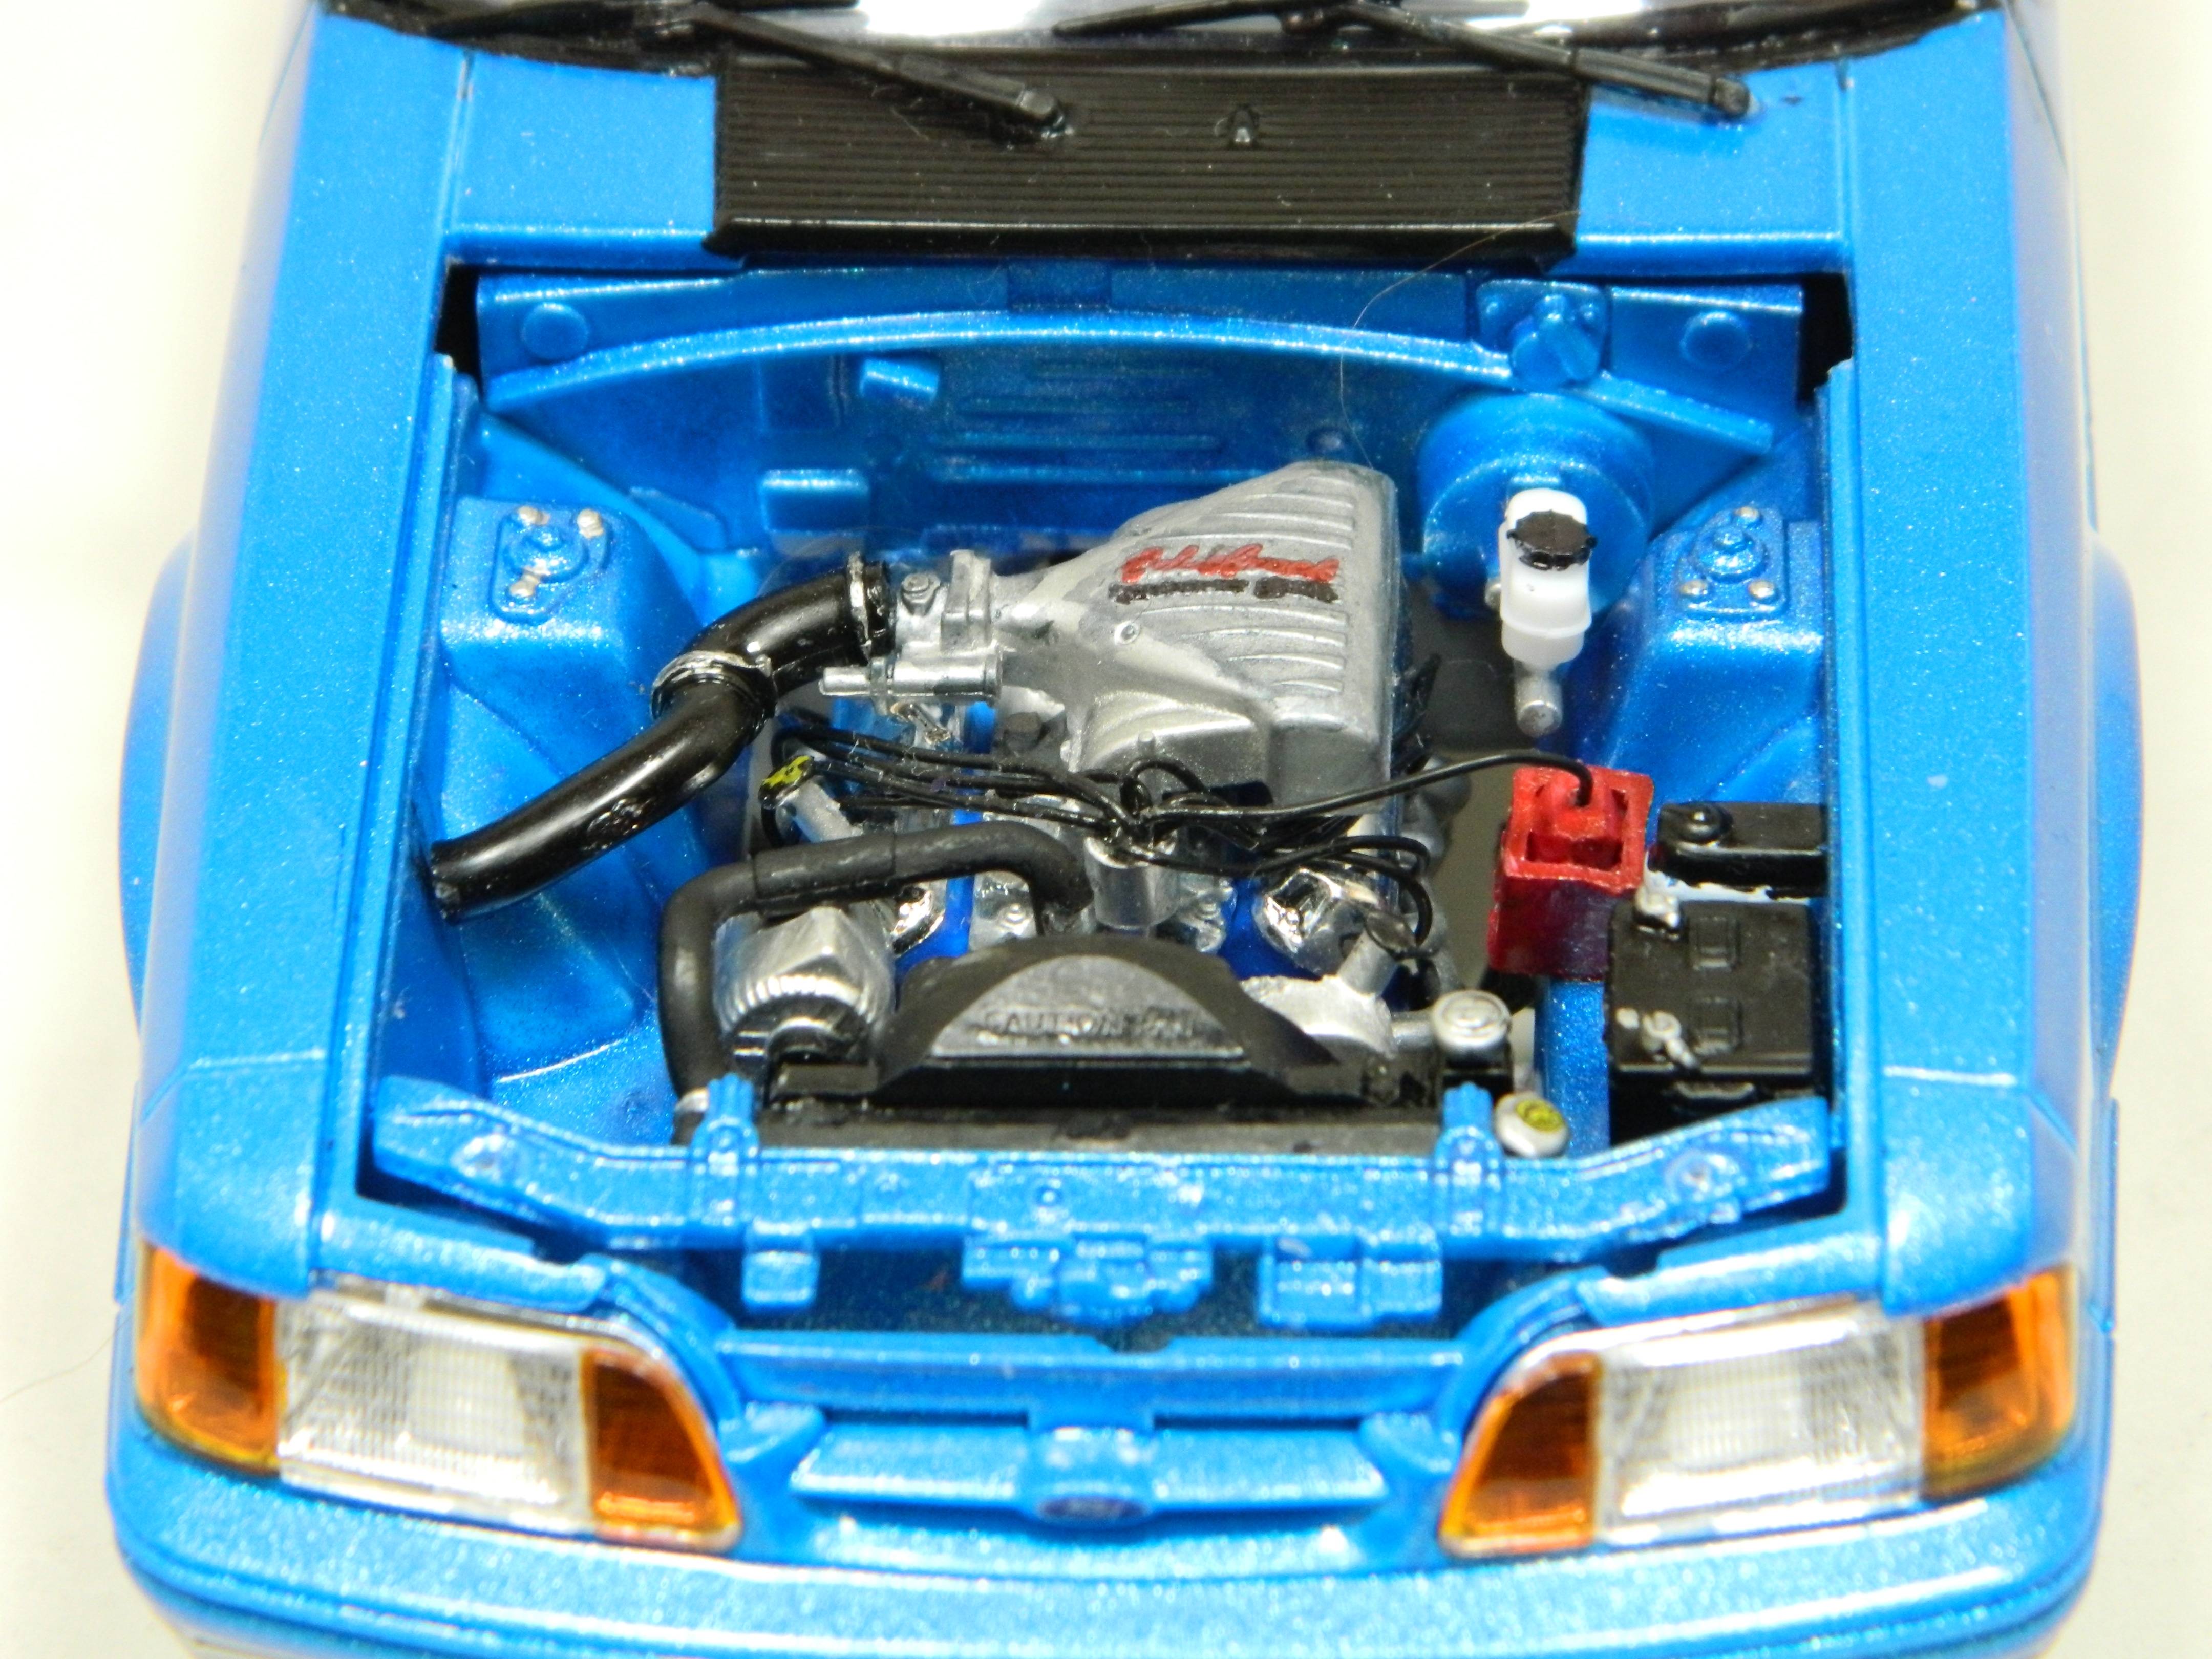
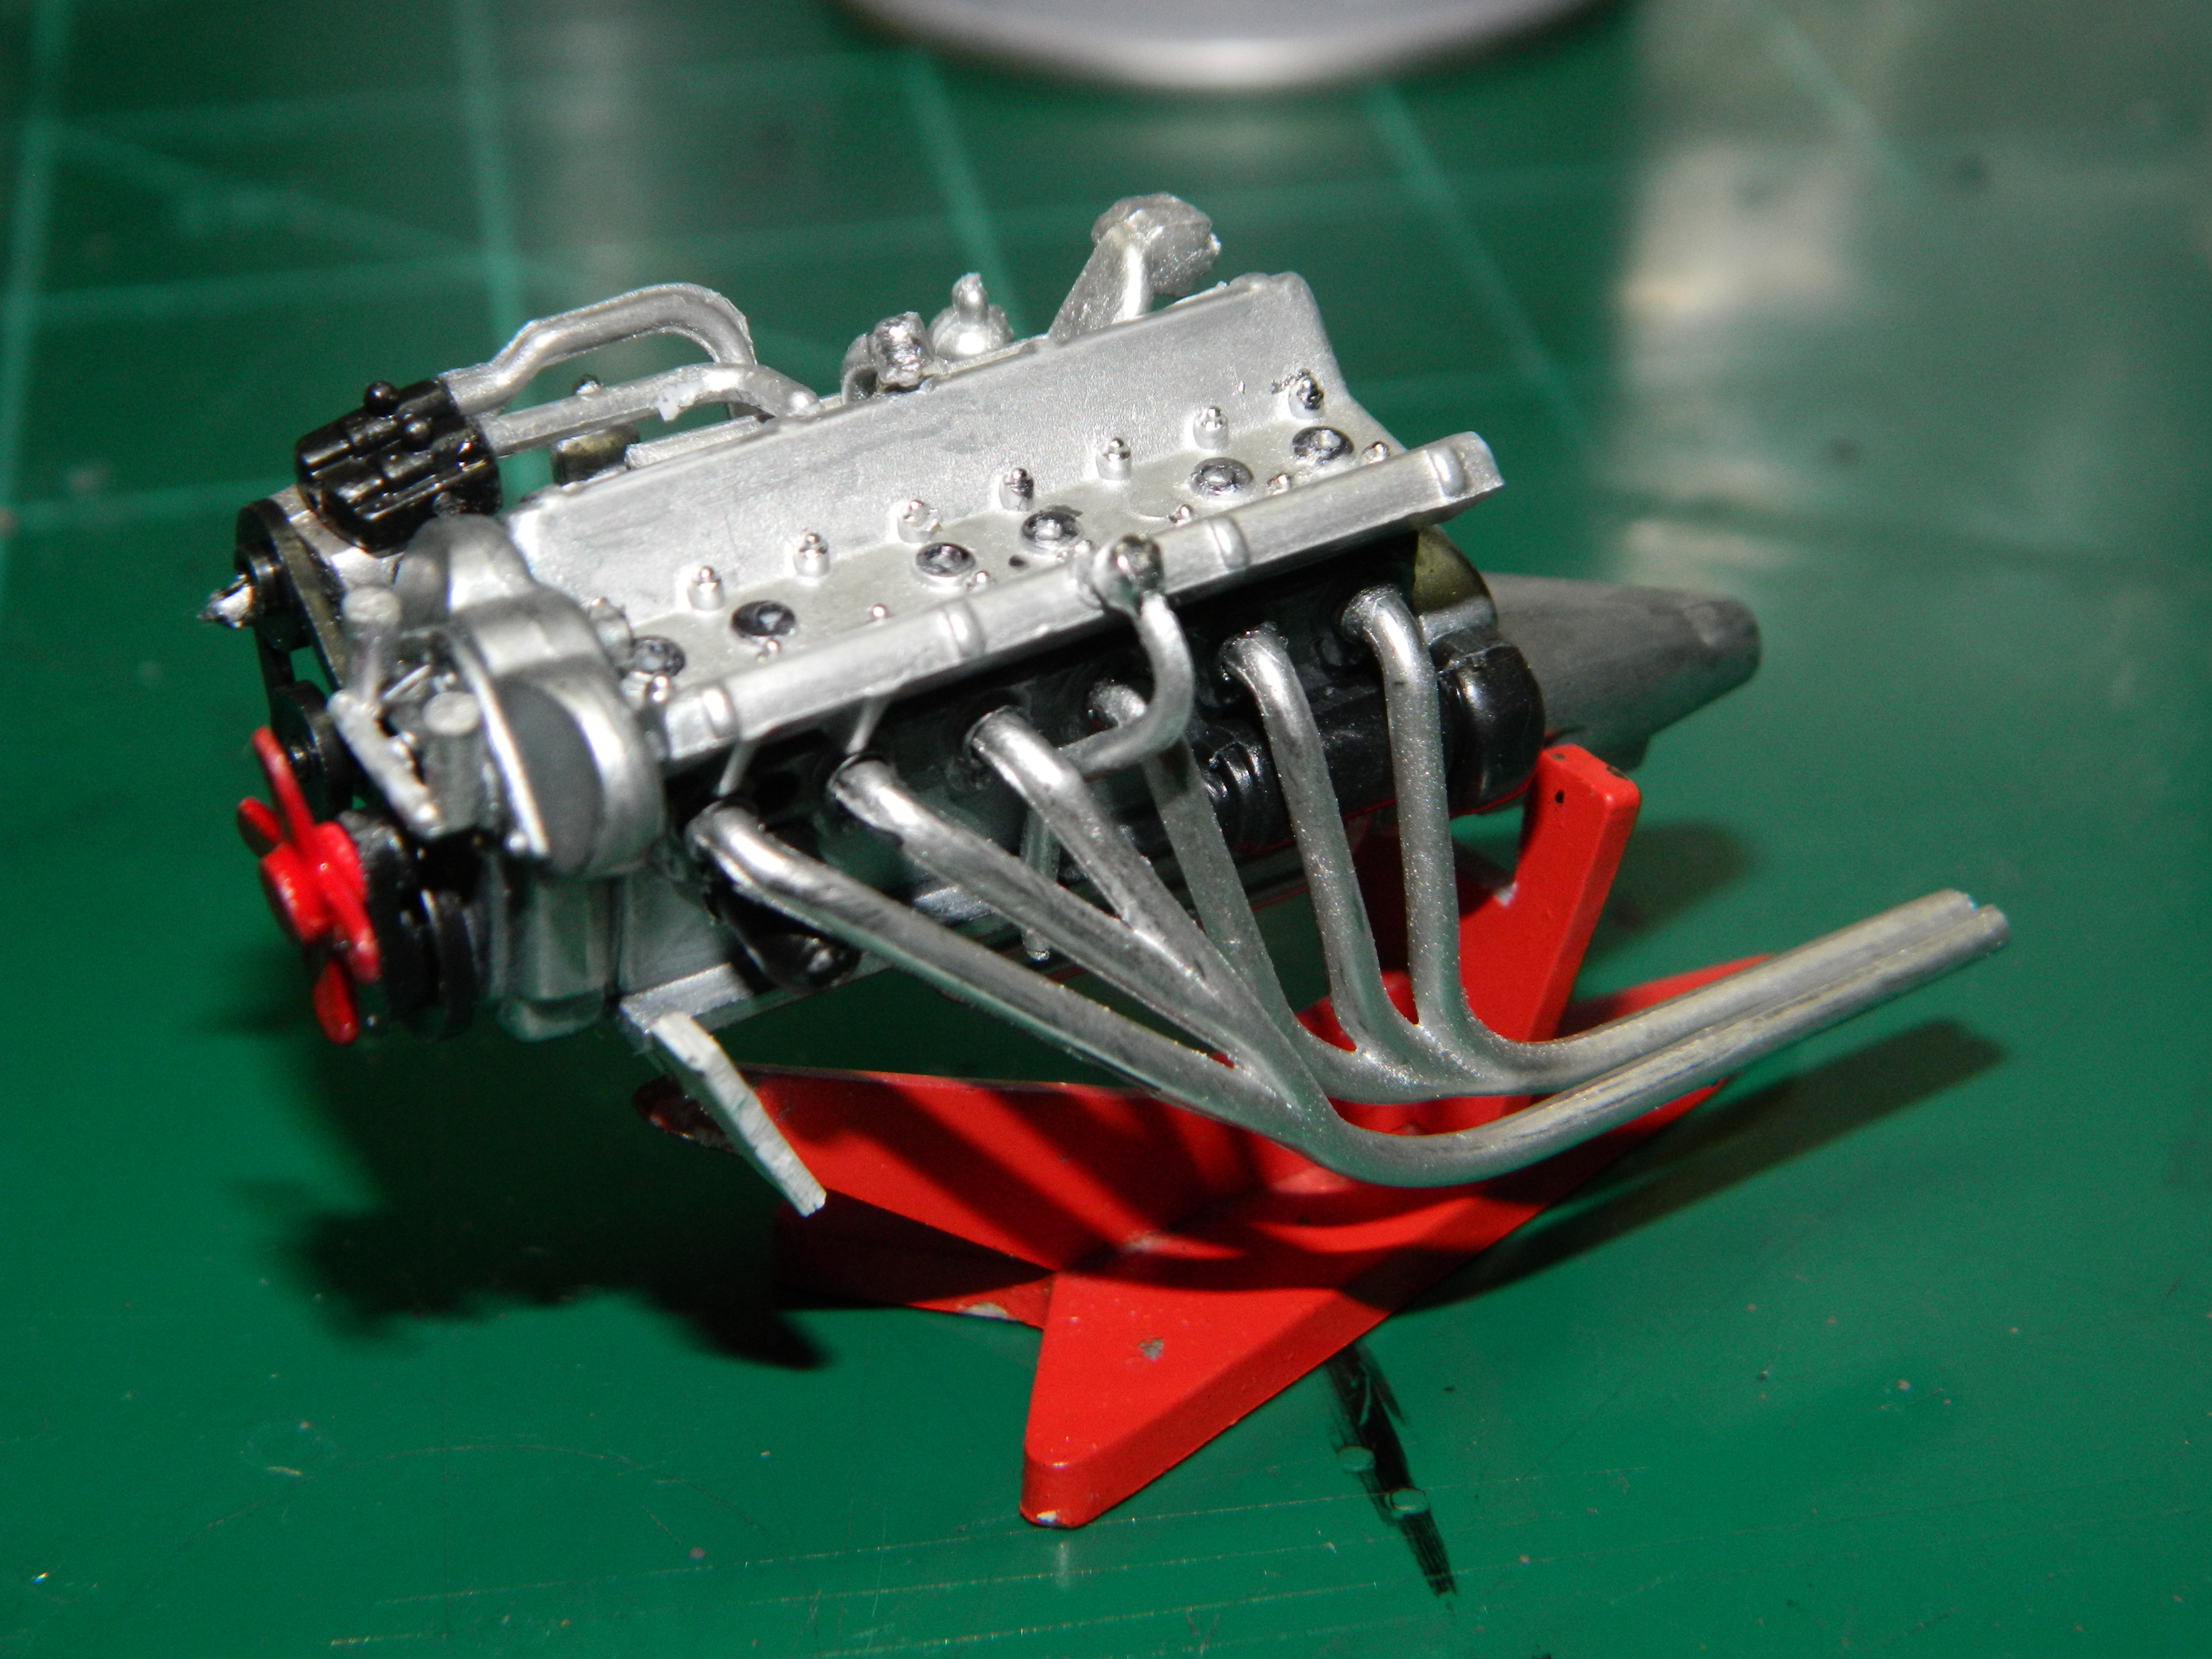
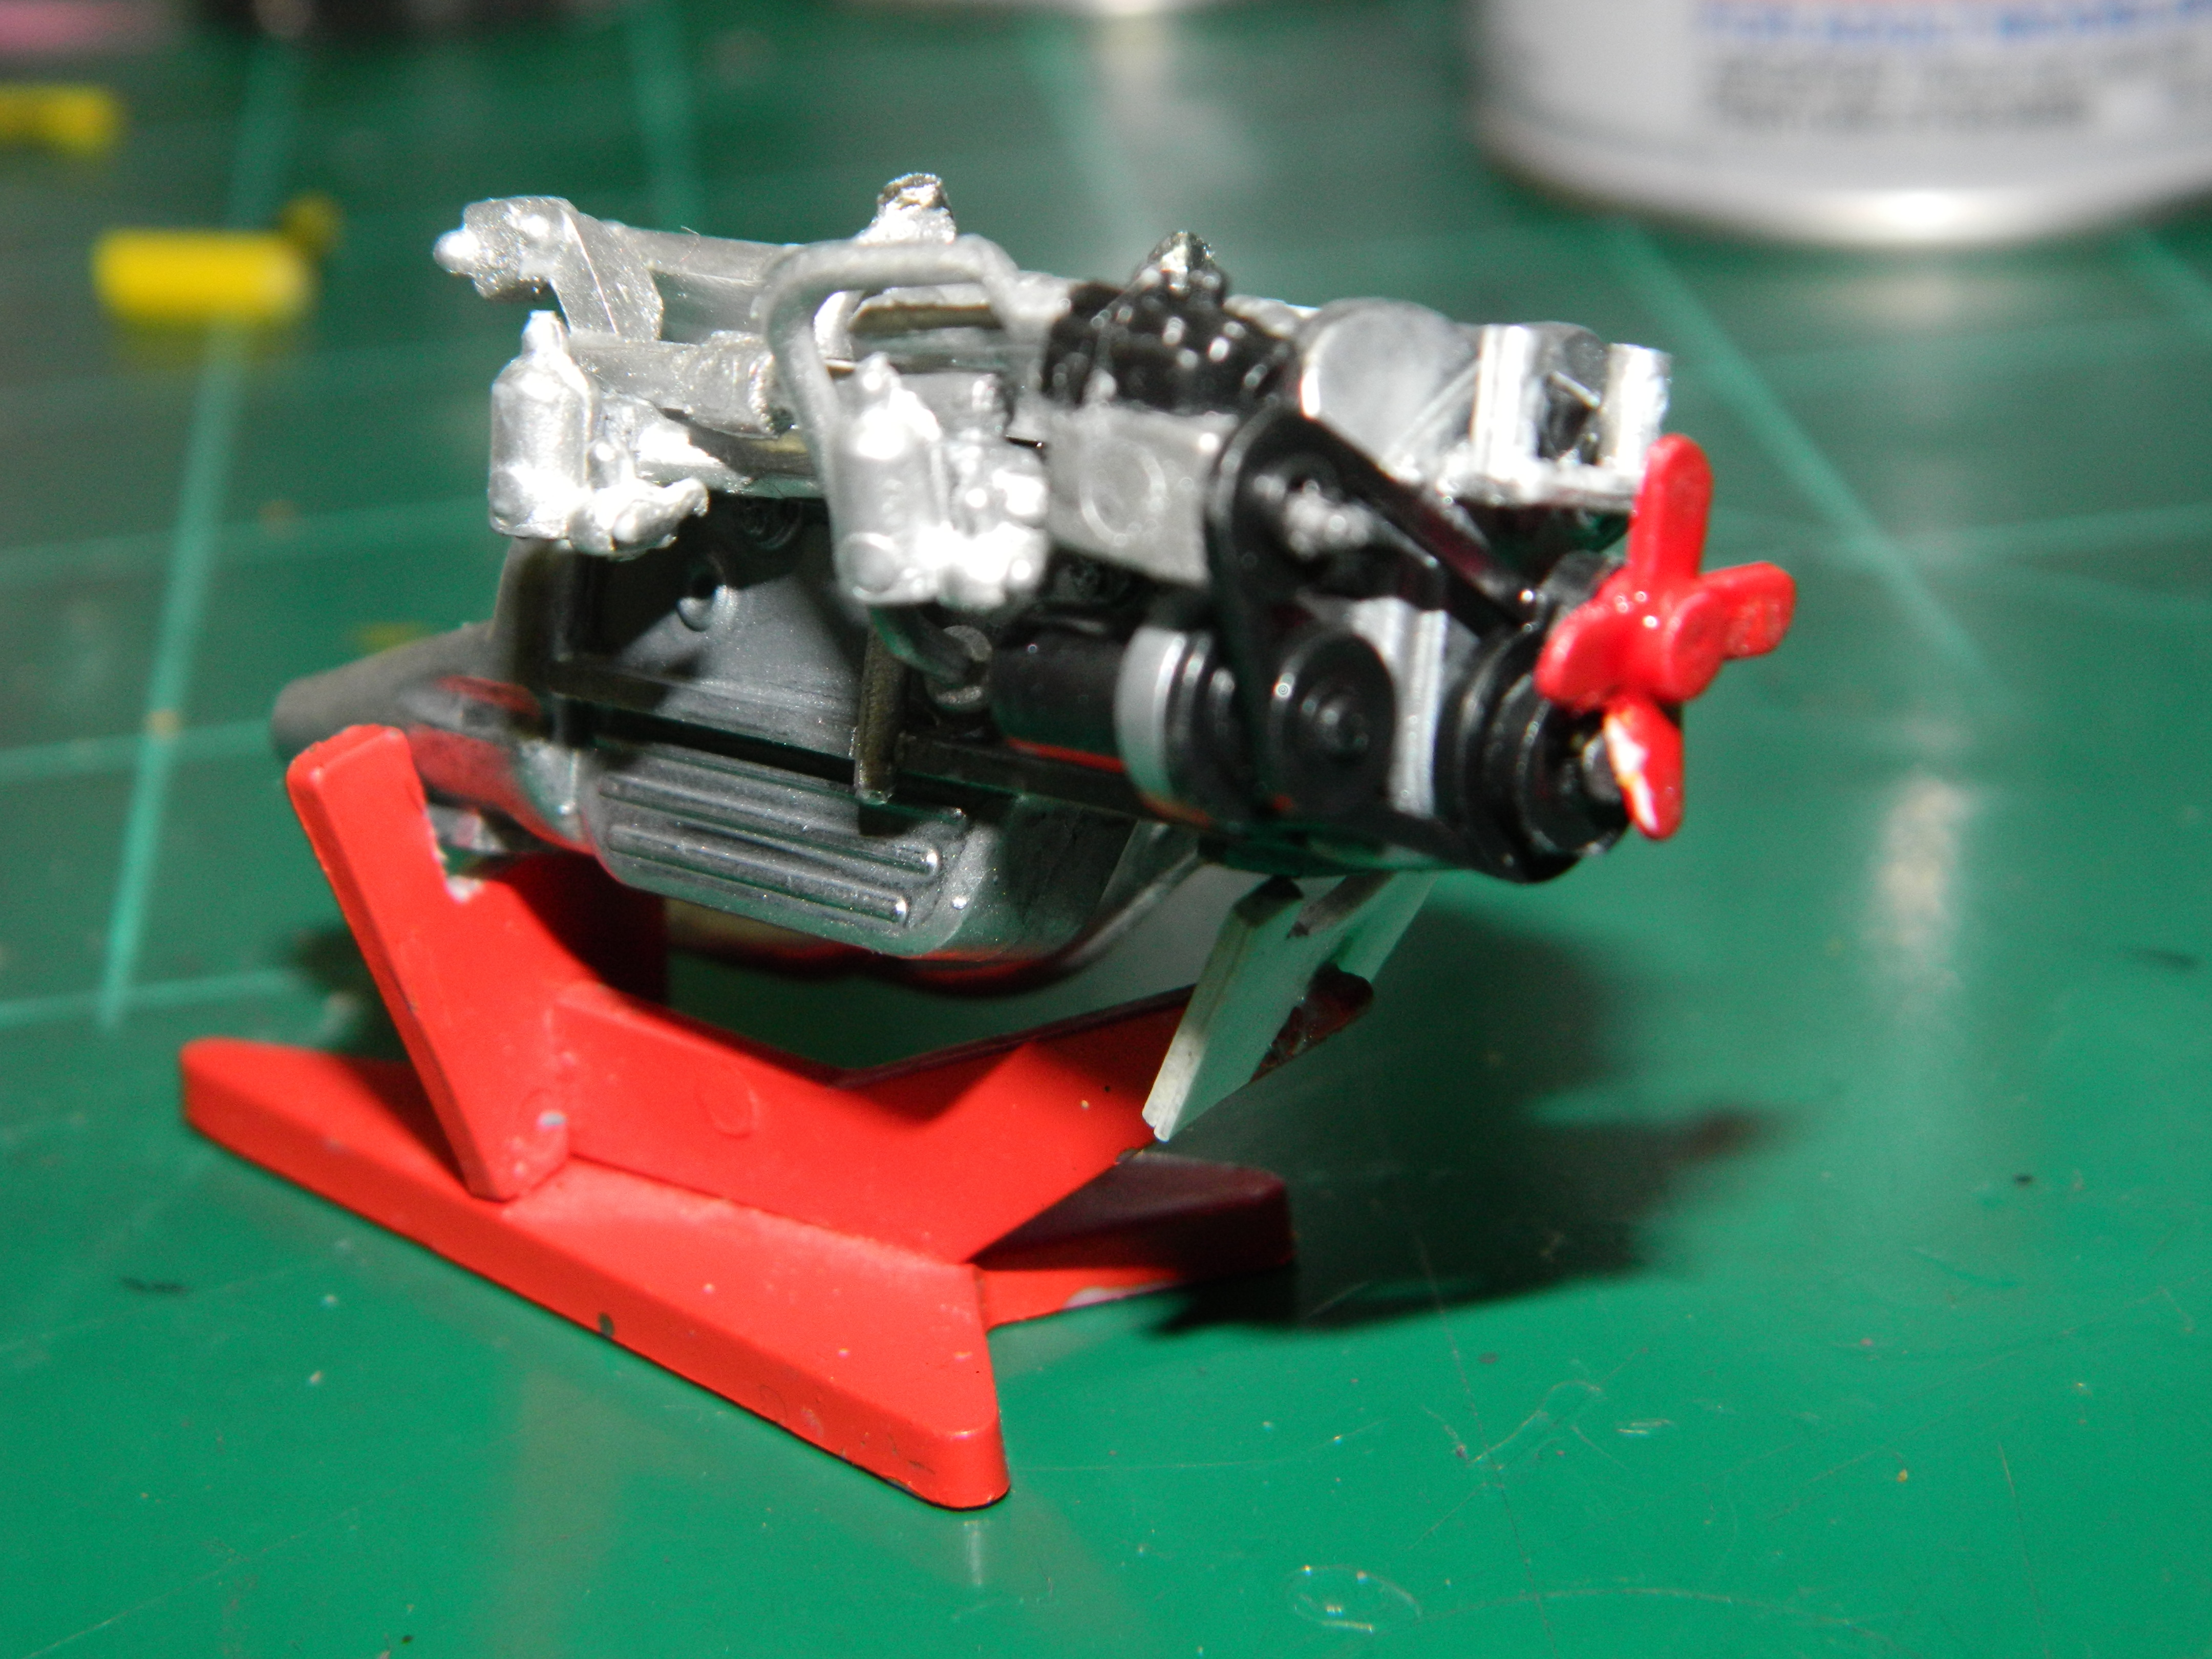
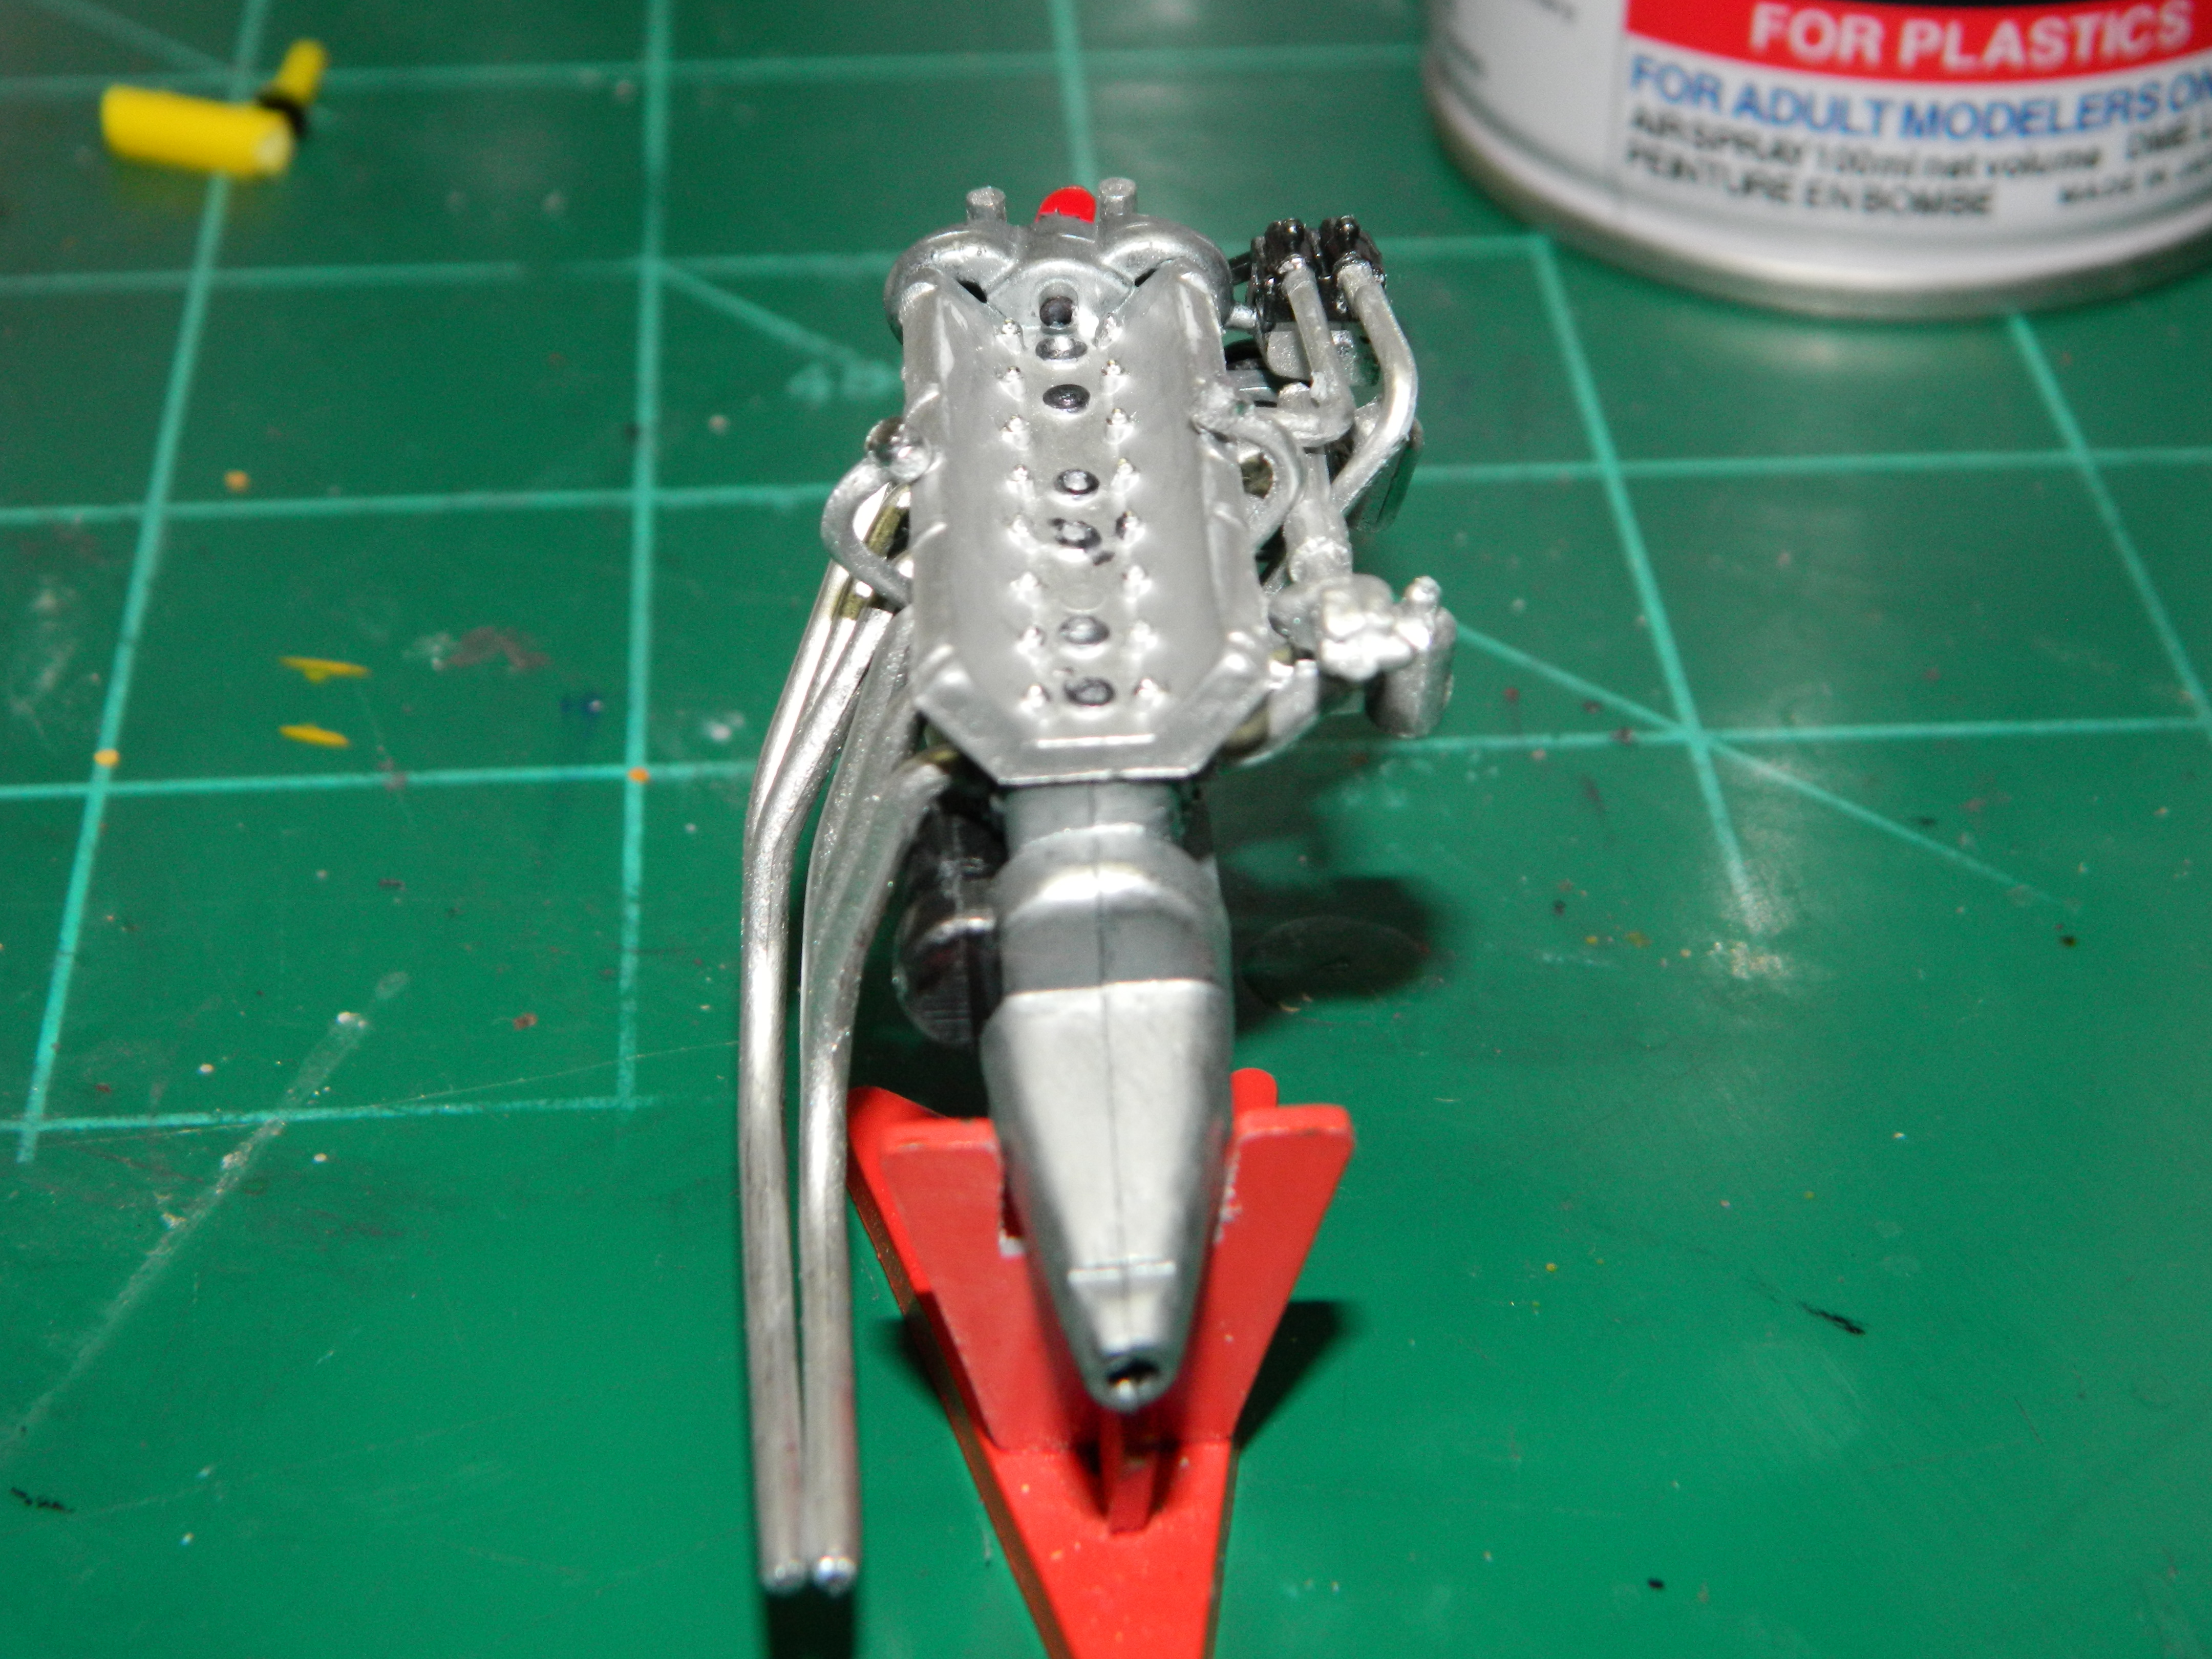
I've been working on assembling the 3.7 Liter engine this afternoon. Mostly assembled. Just need the distributor and ignition wire tube added, plug wires and some touchups! More to come...
-
Thanks guys! McNally has his hands full with a street racer who wants him deceased! You can check out the story in Drag Racing Models.
-
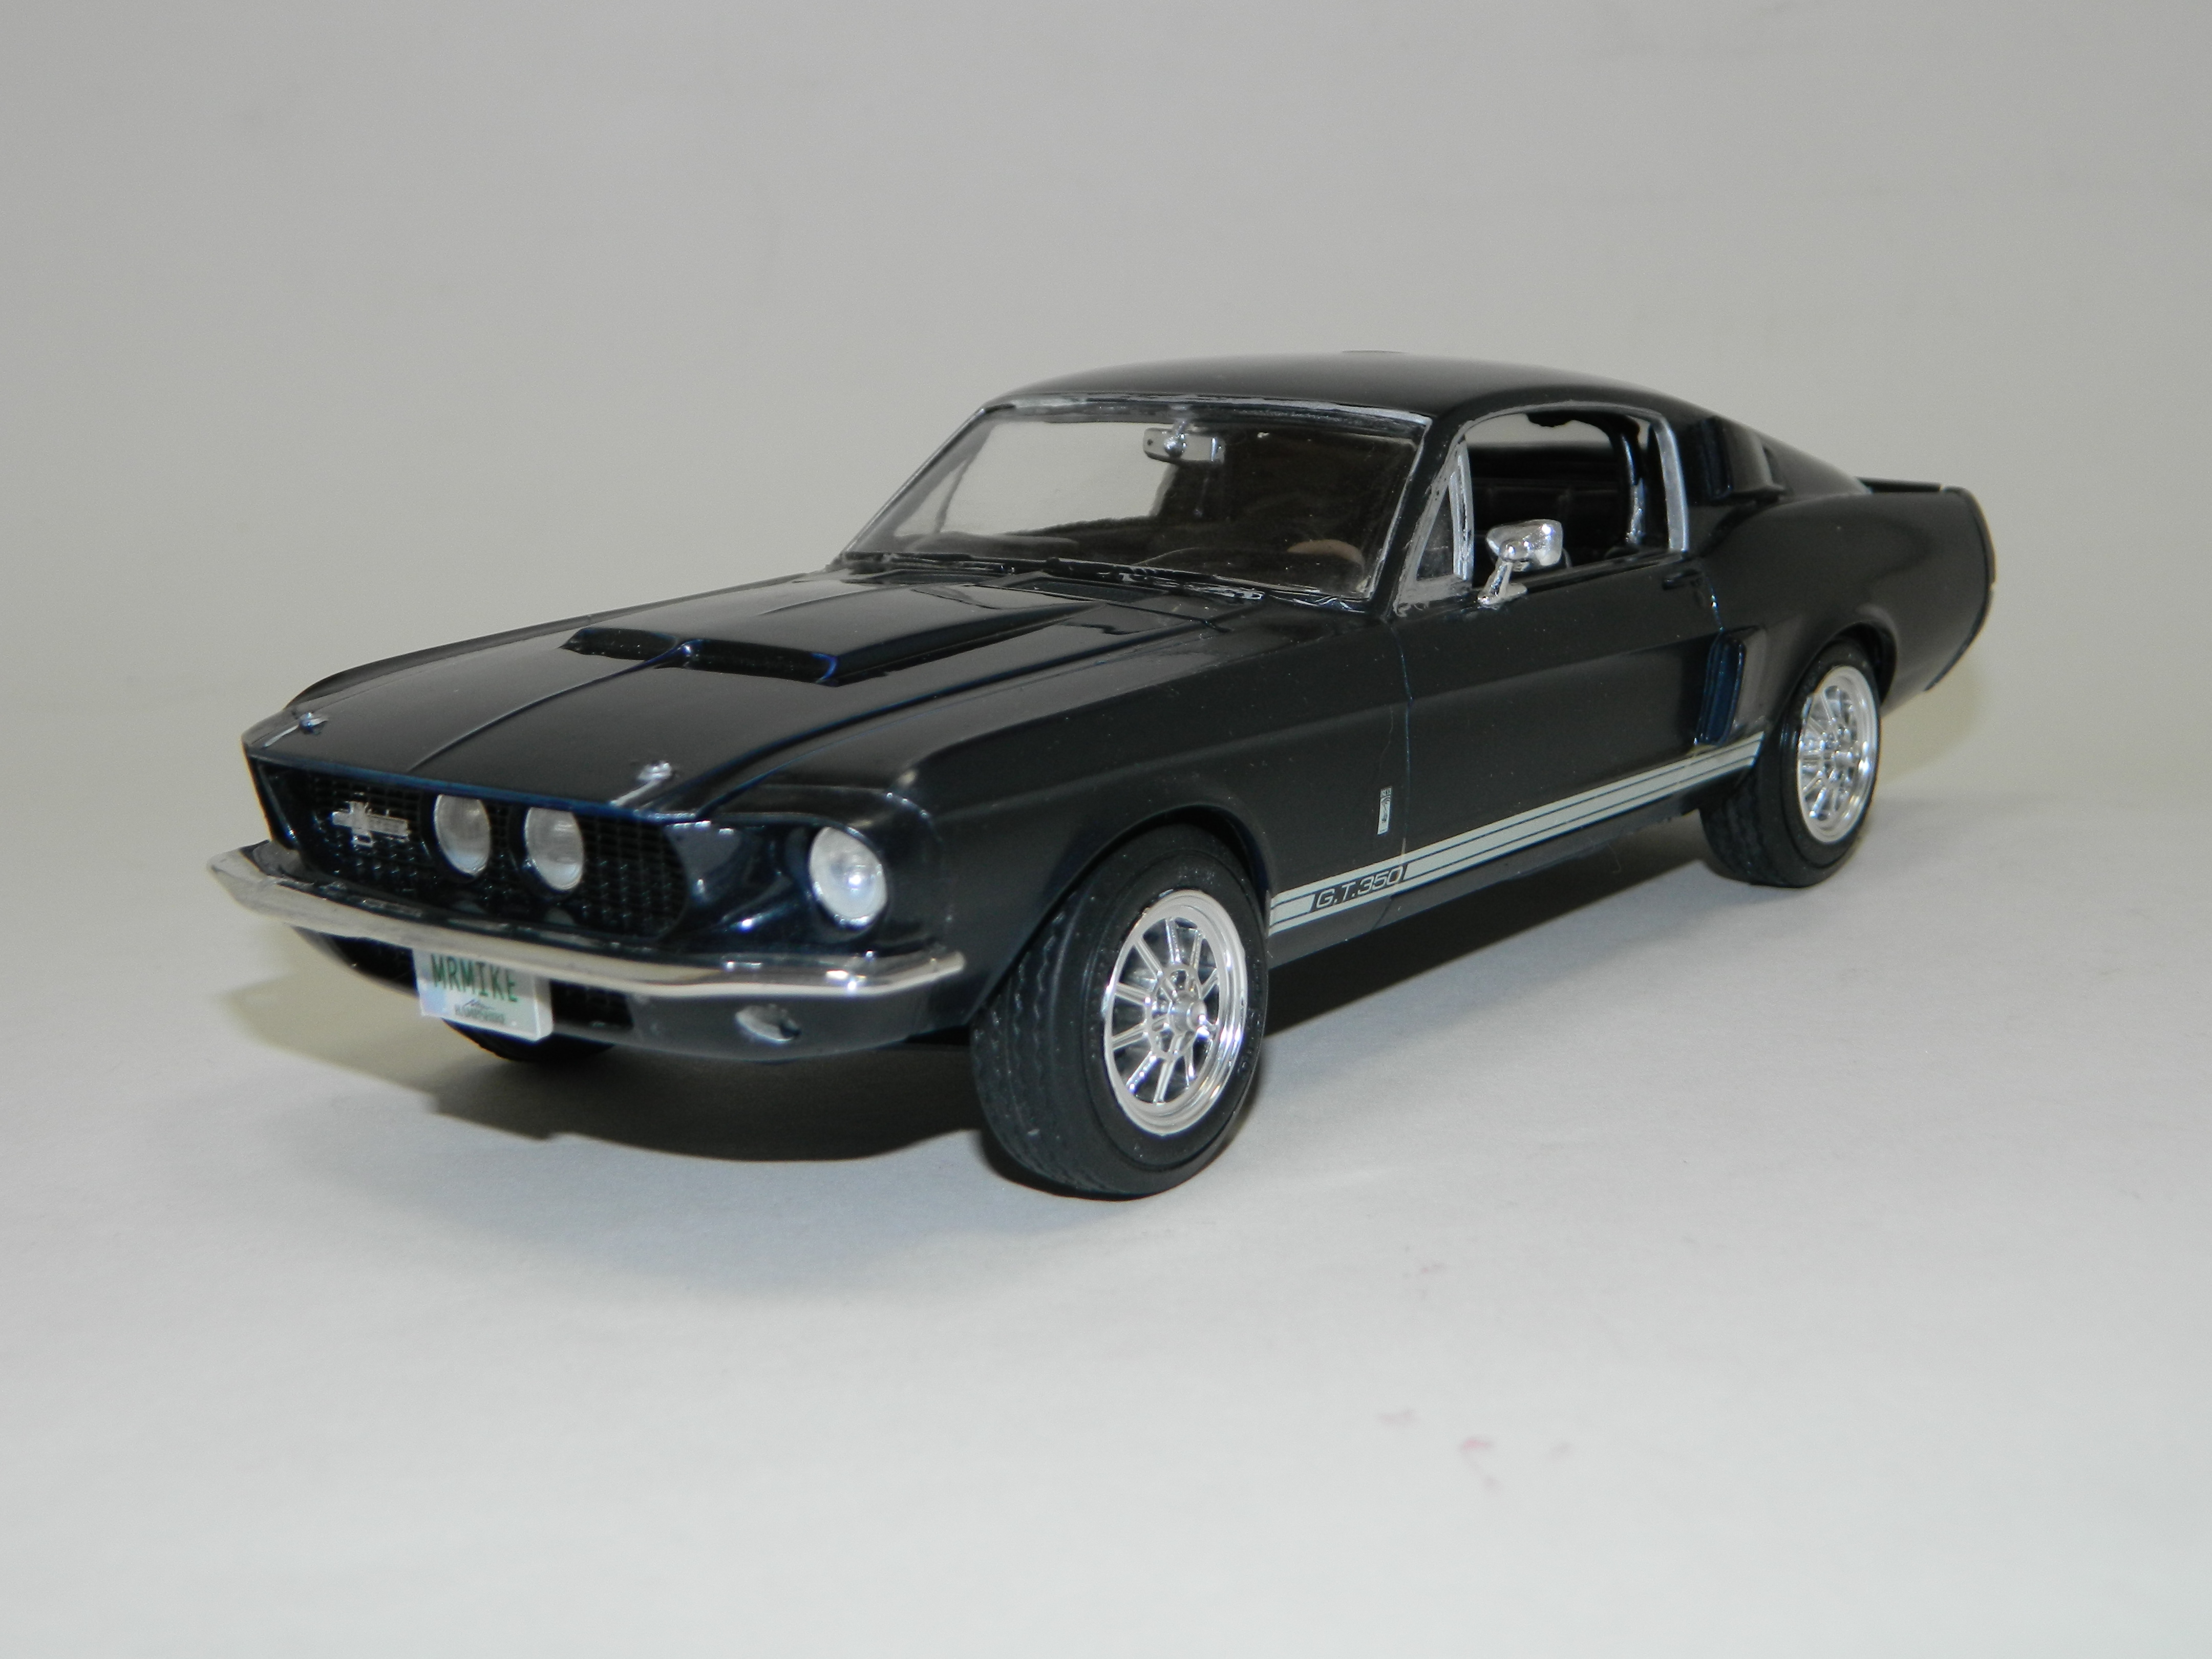
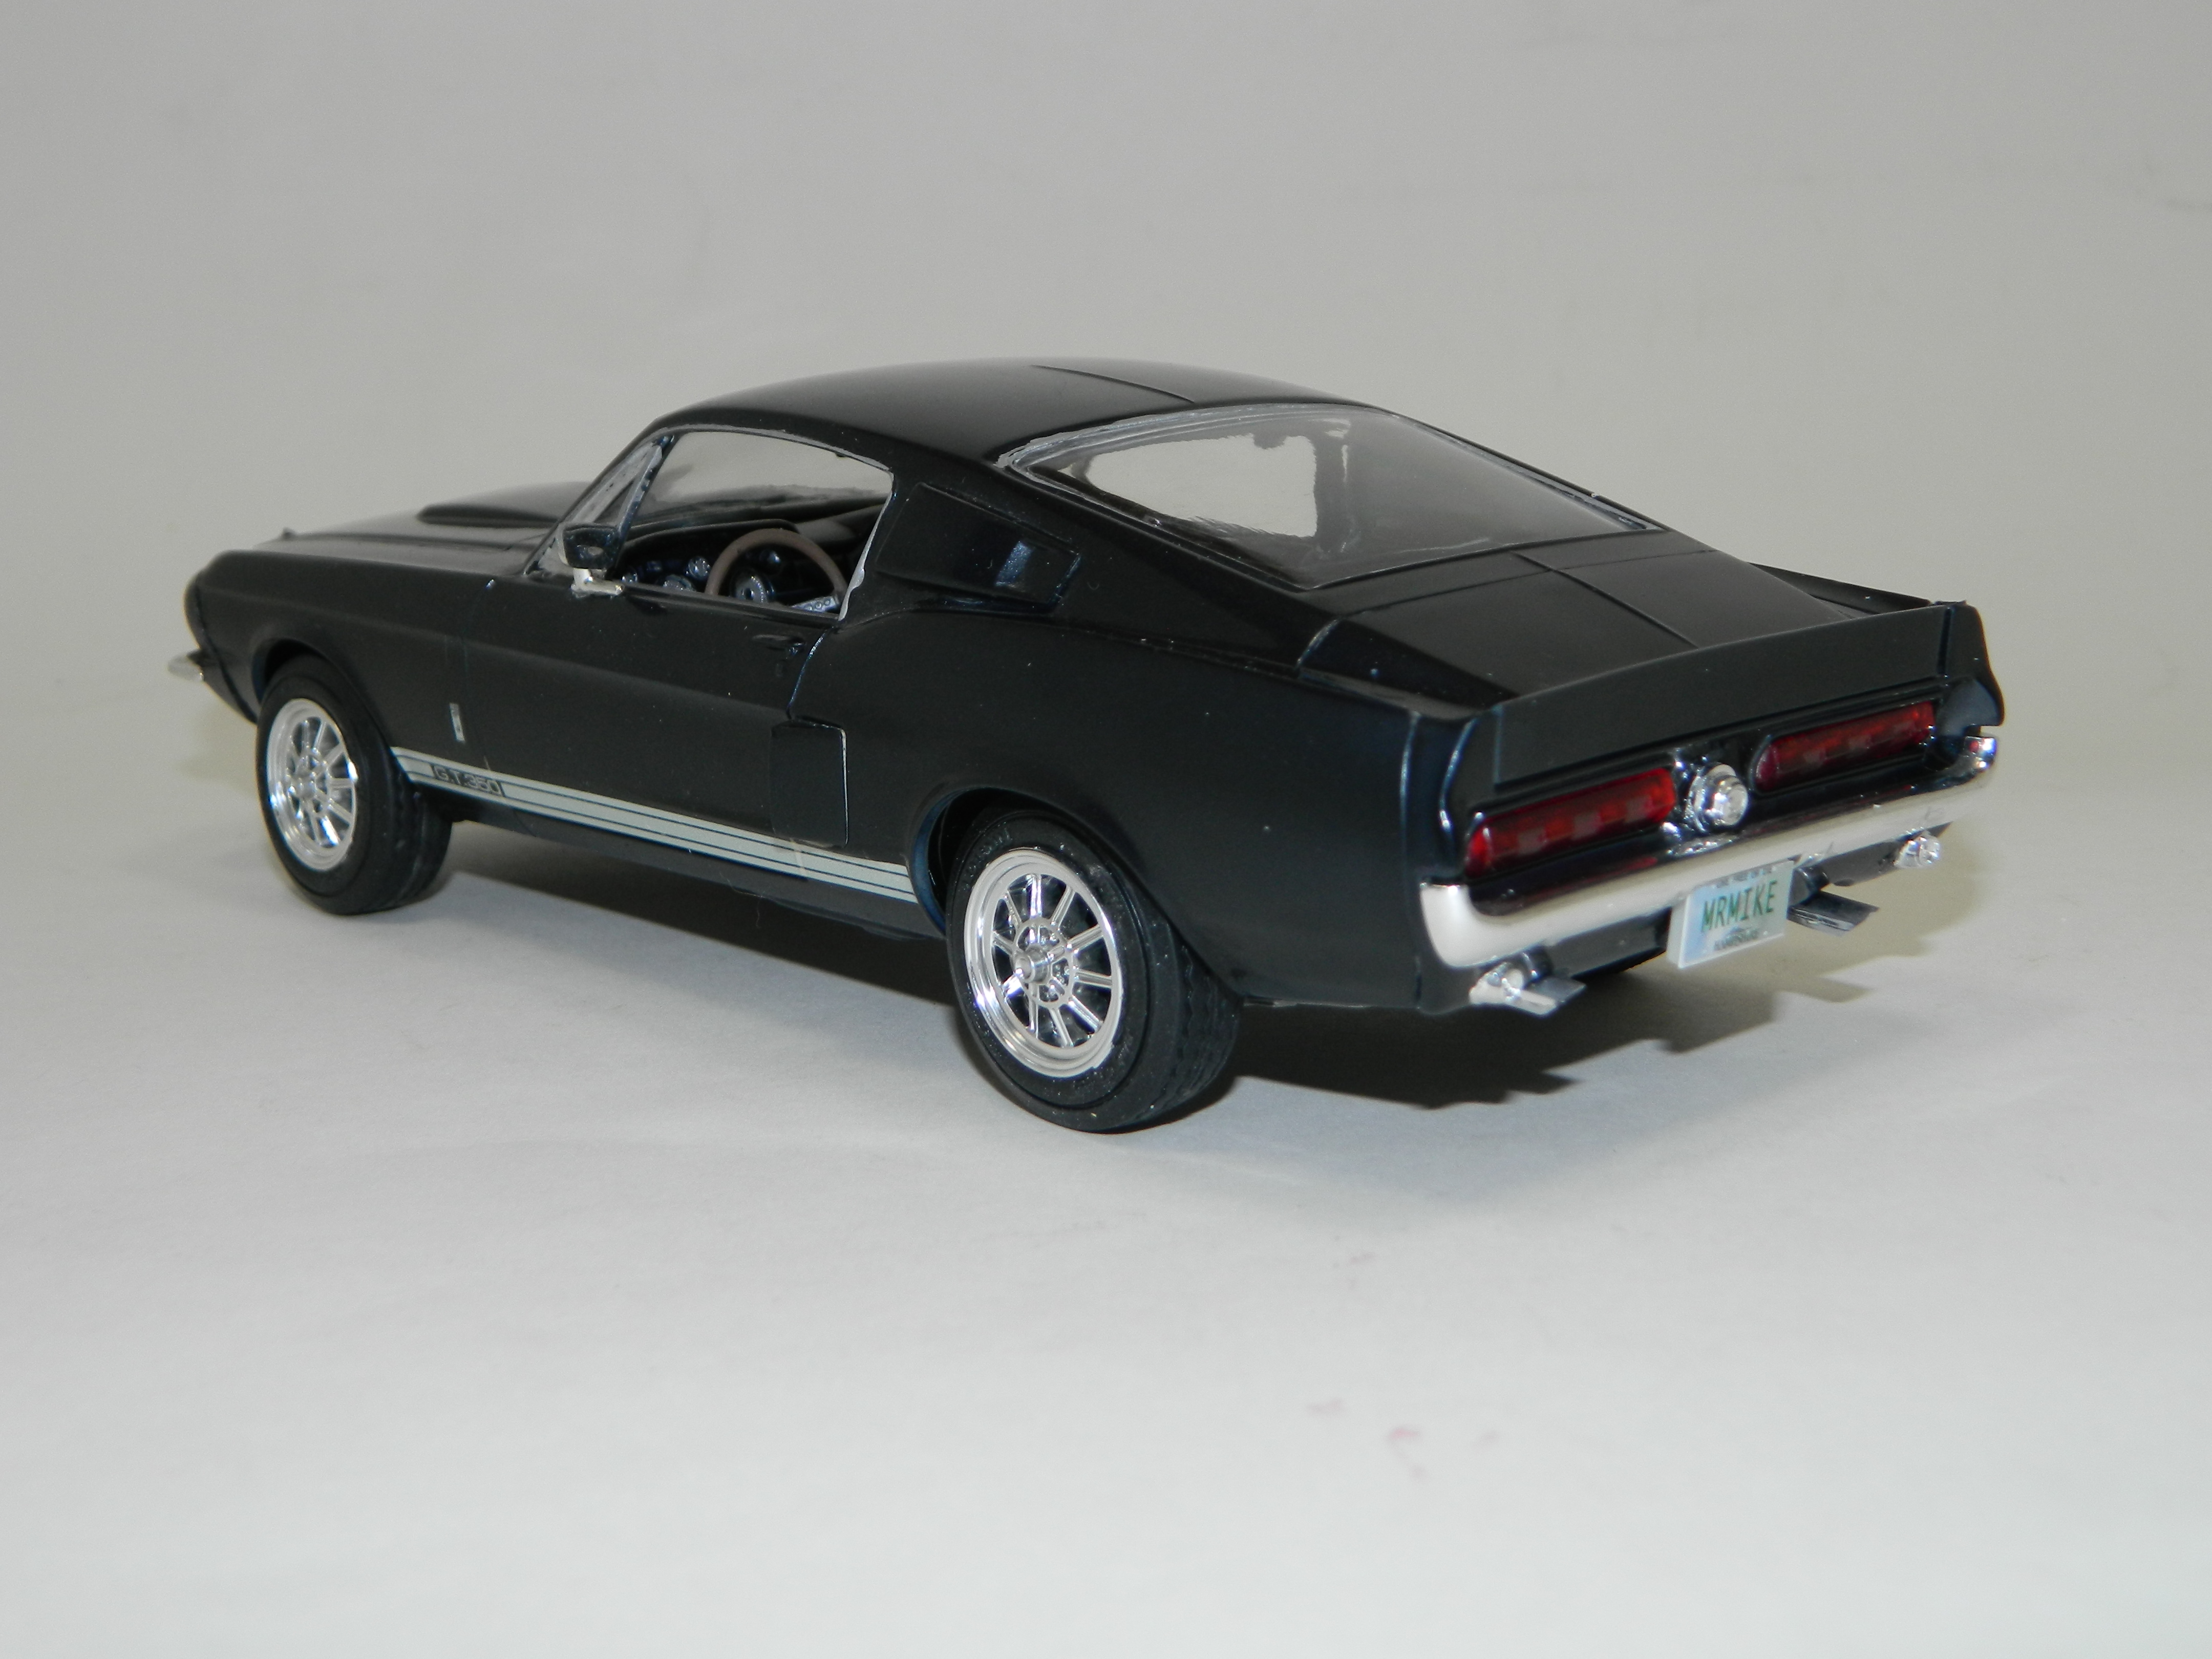
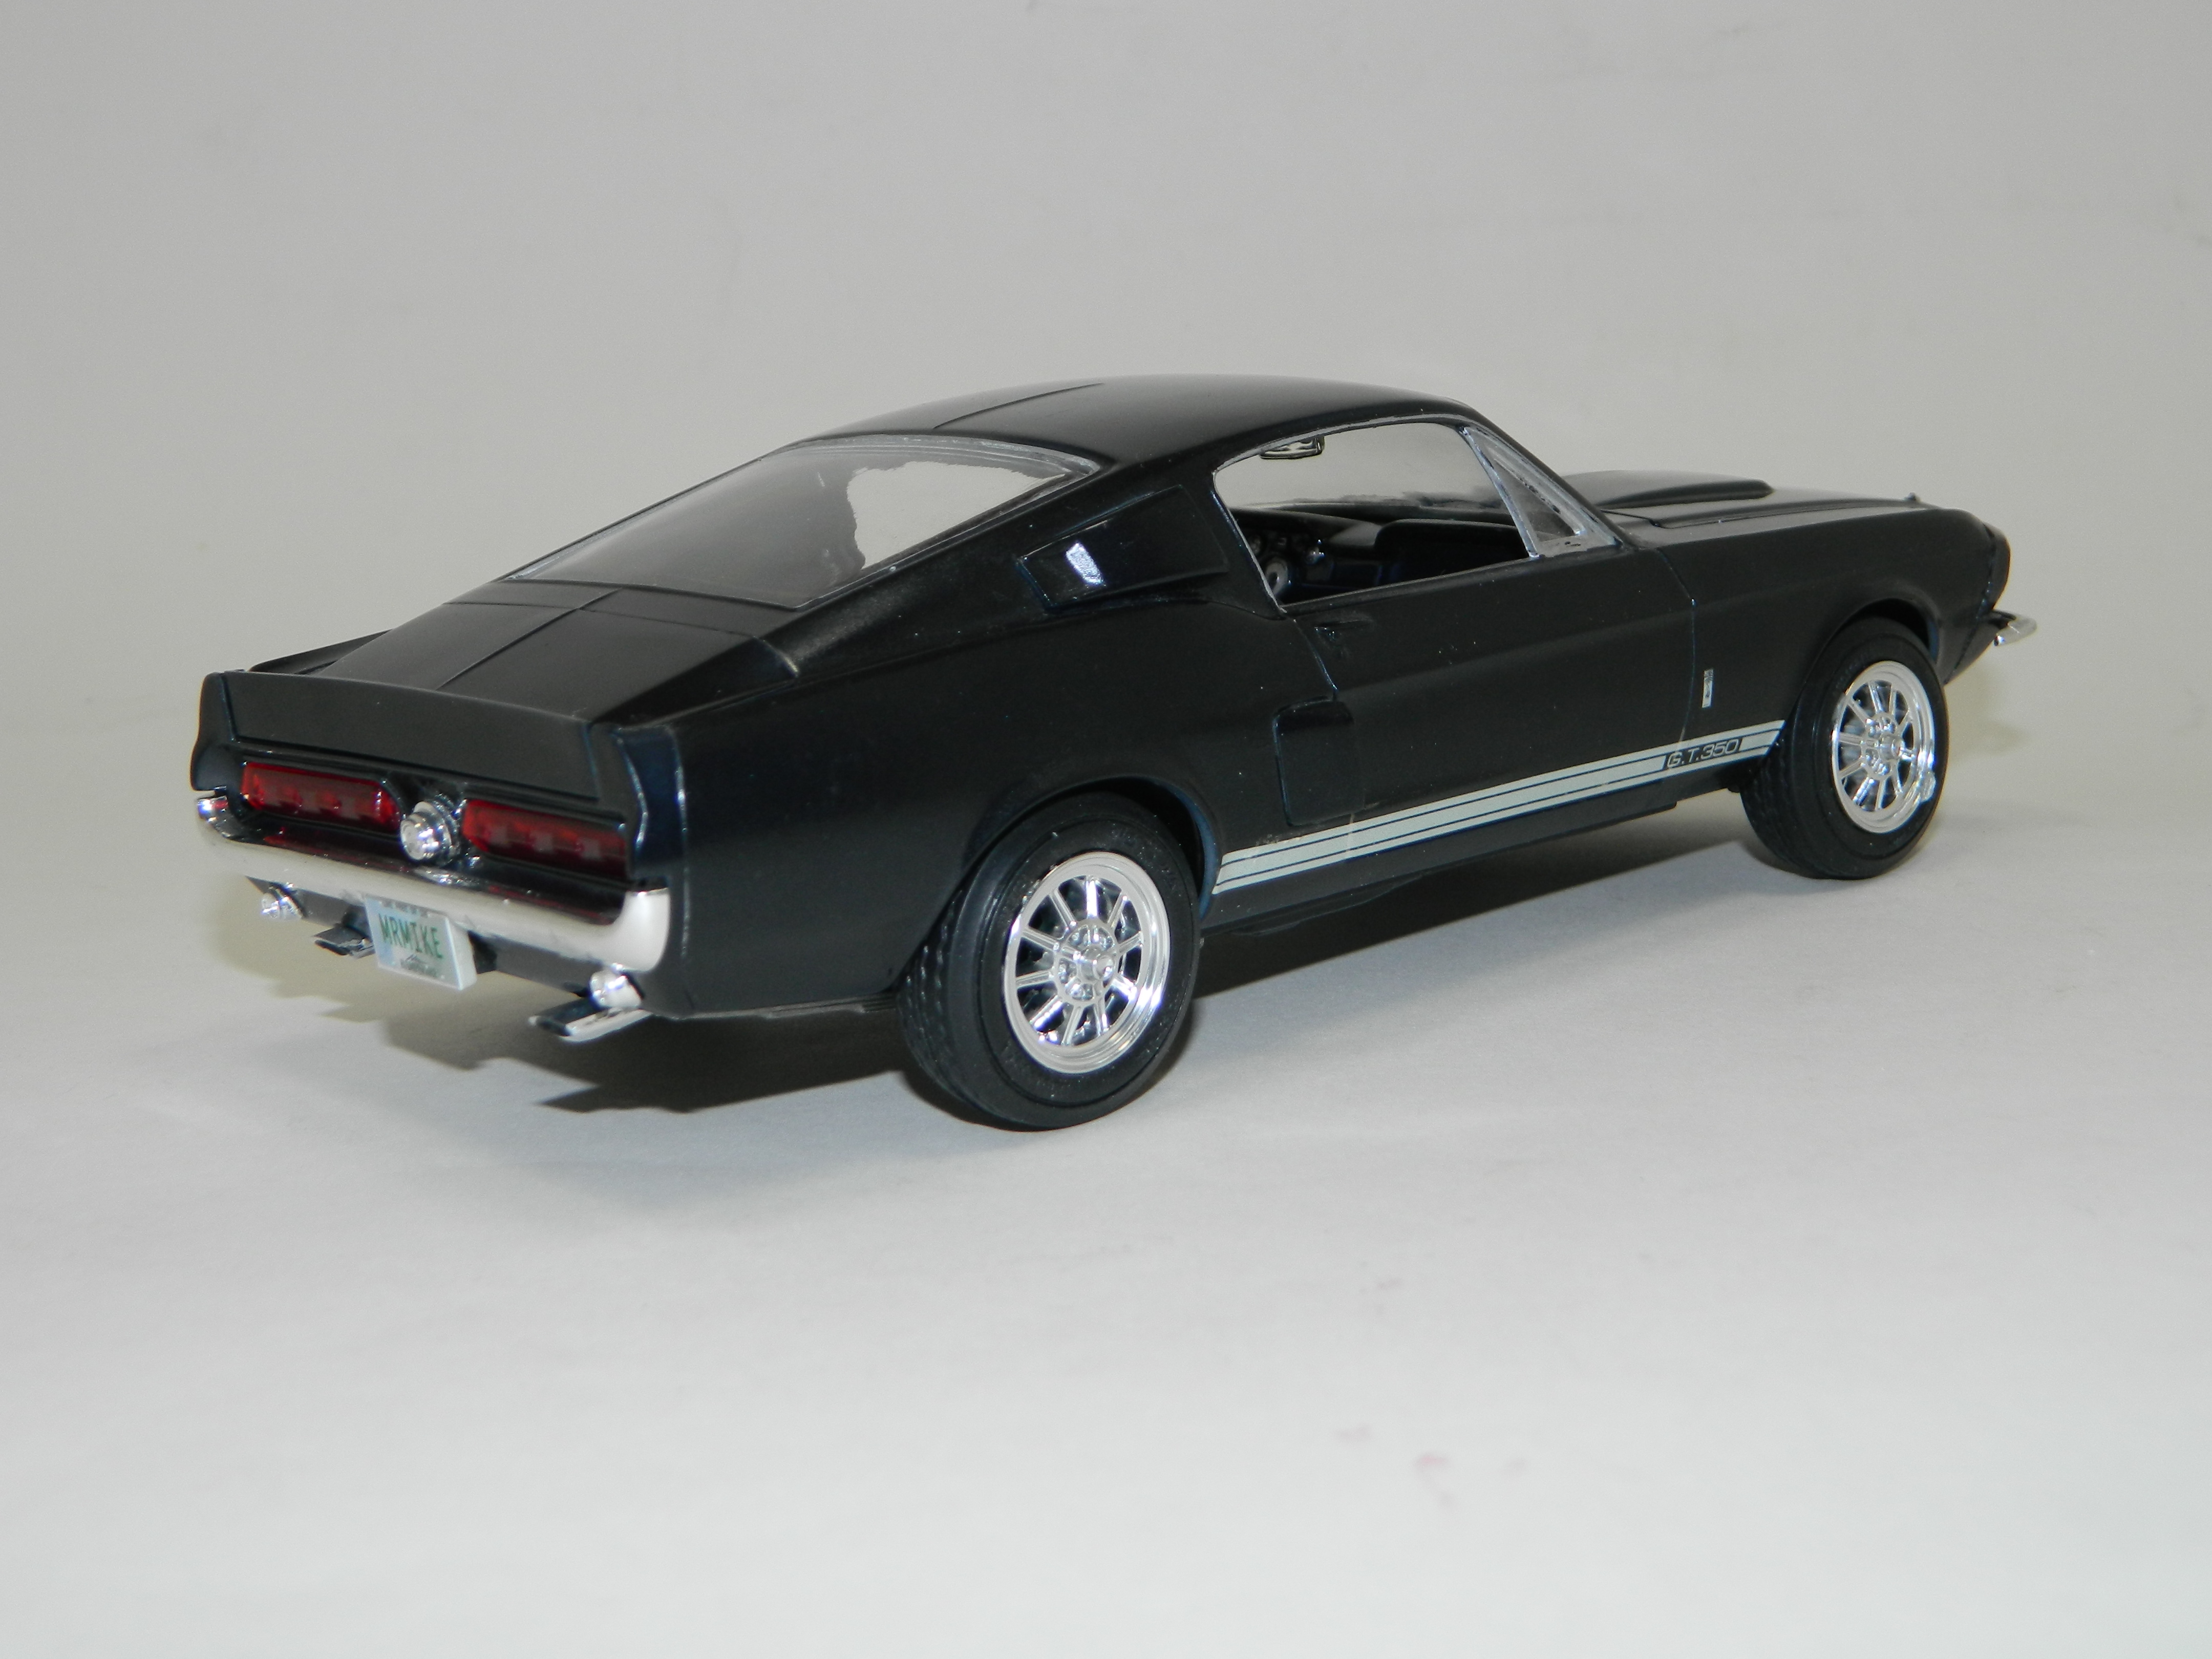
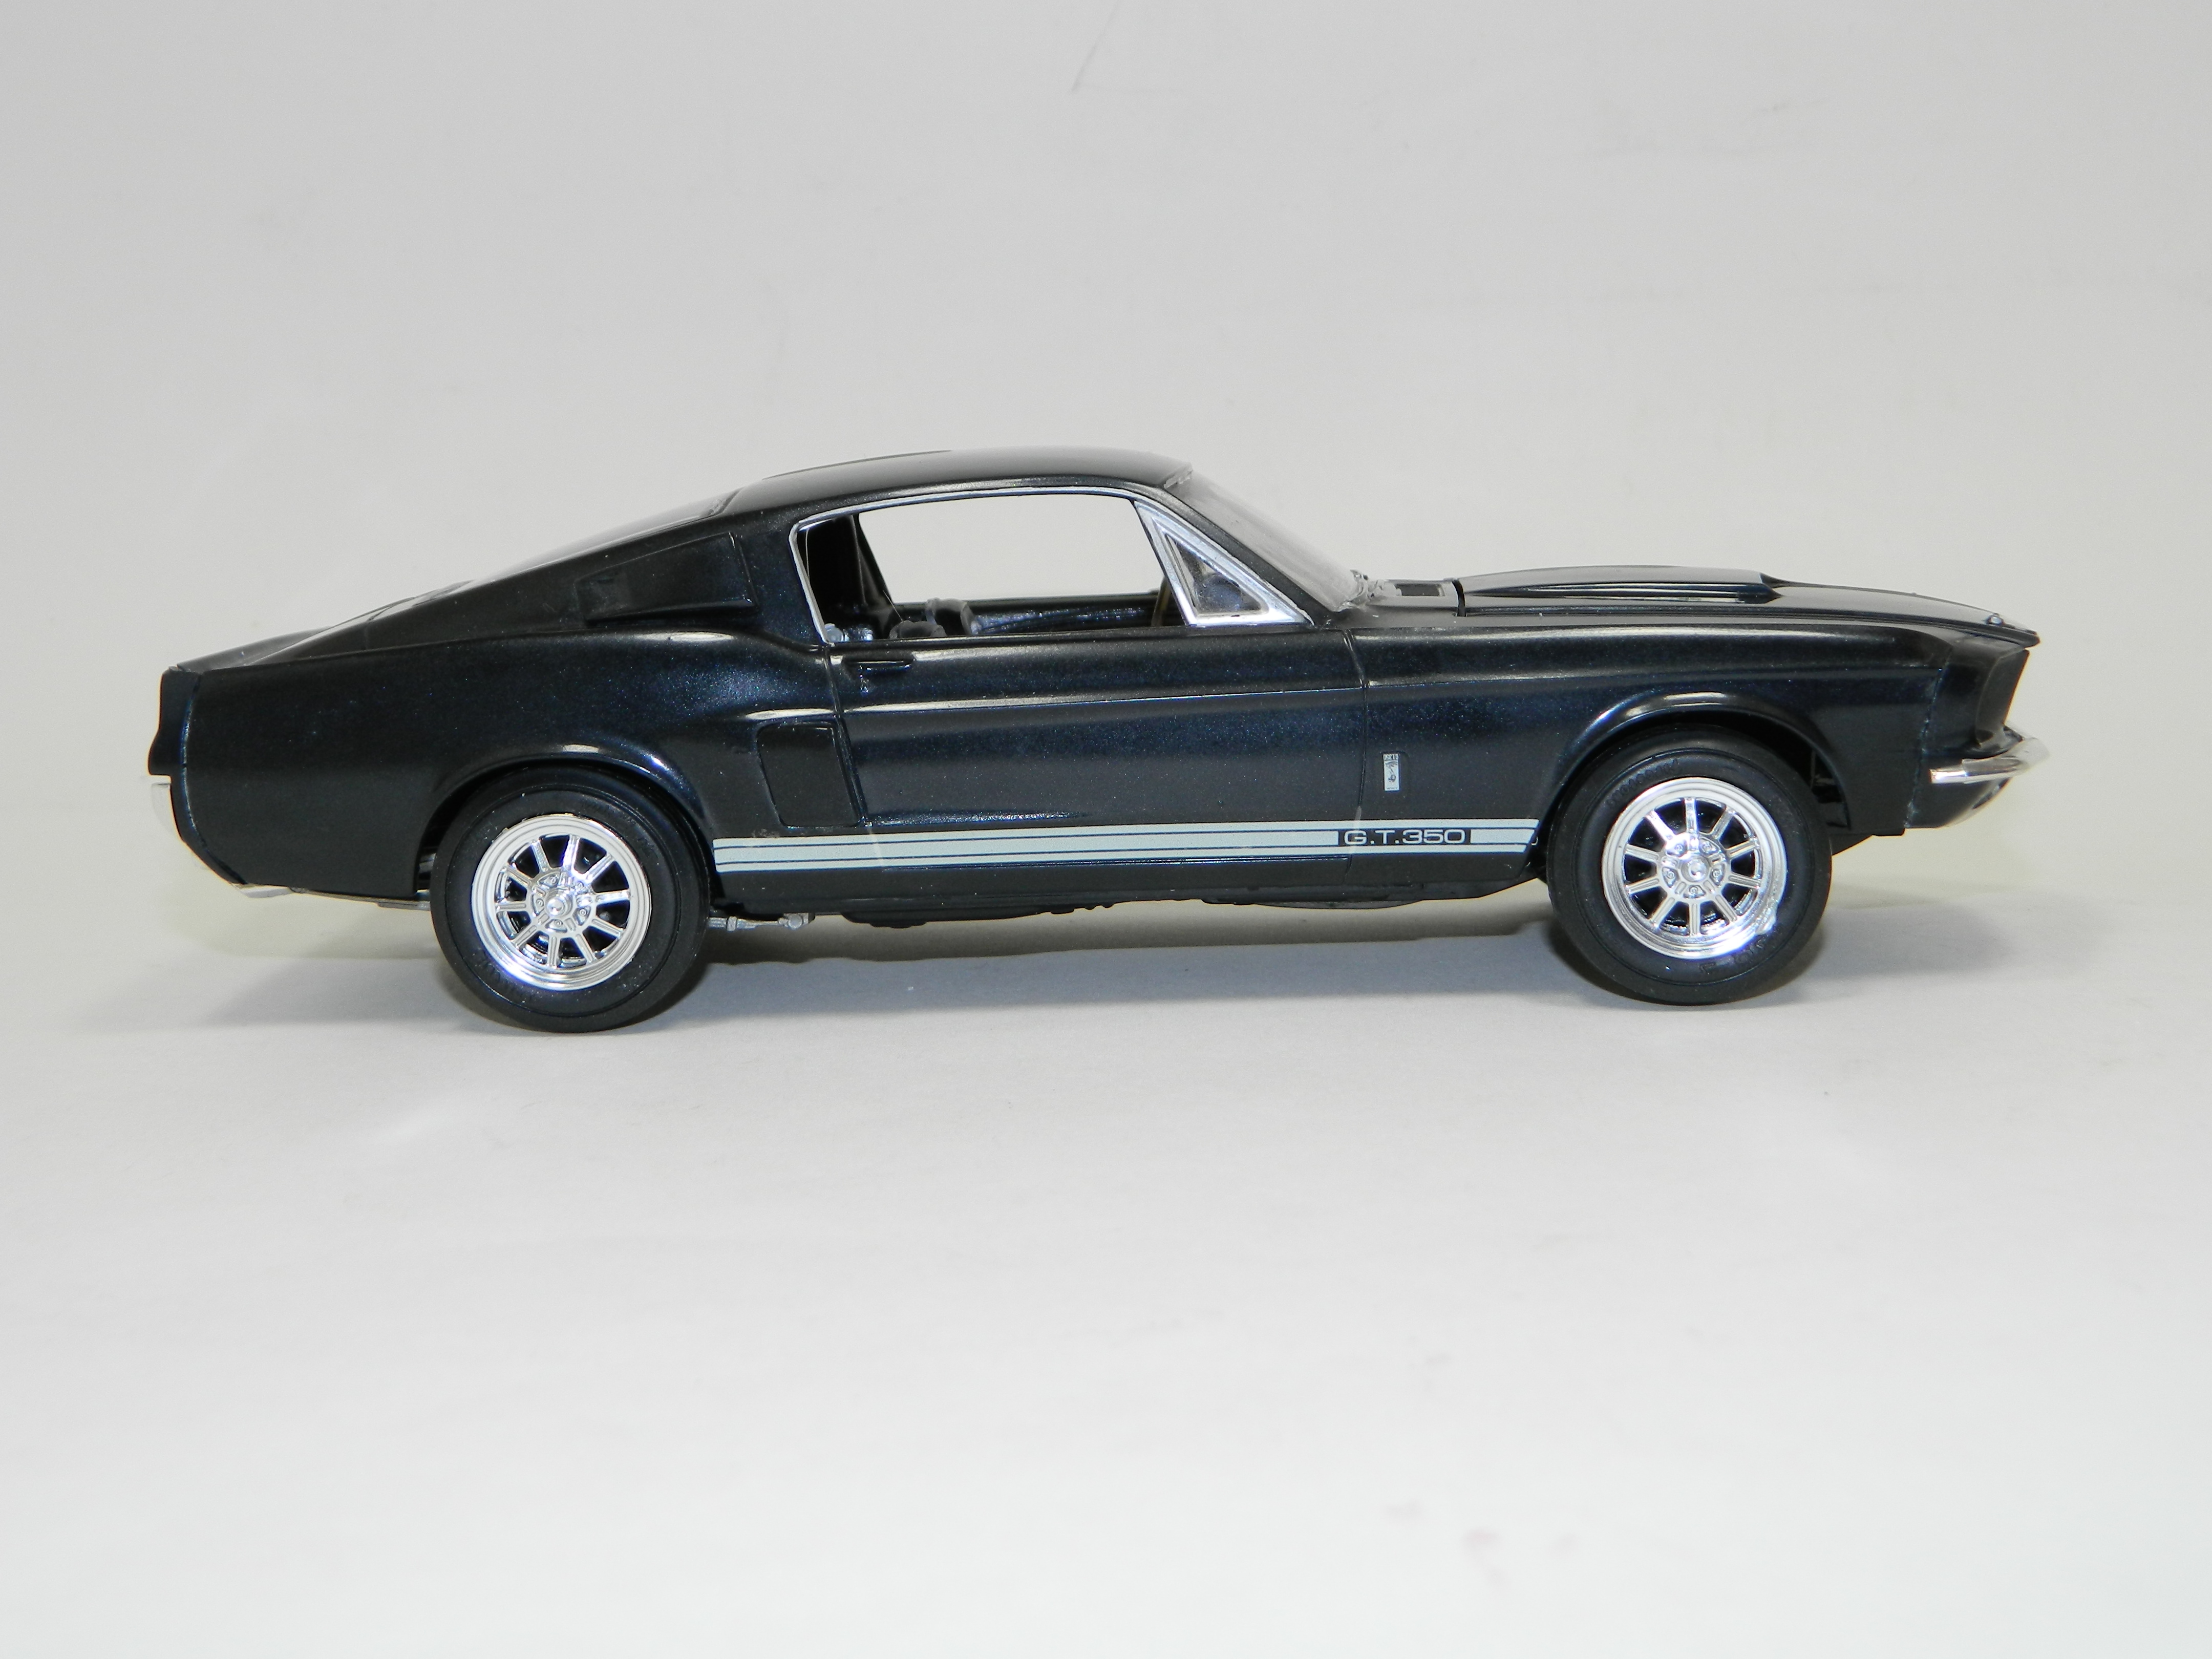
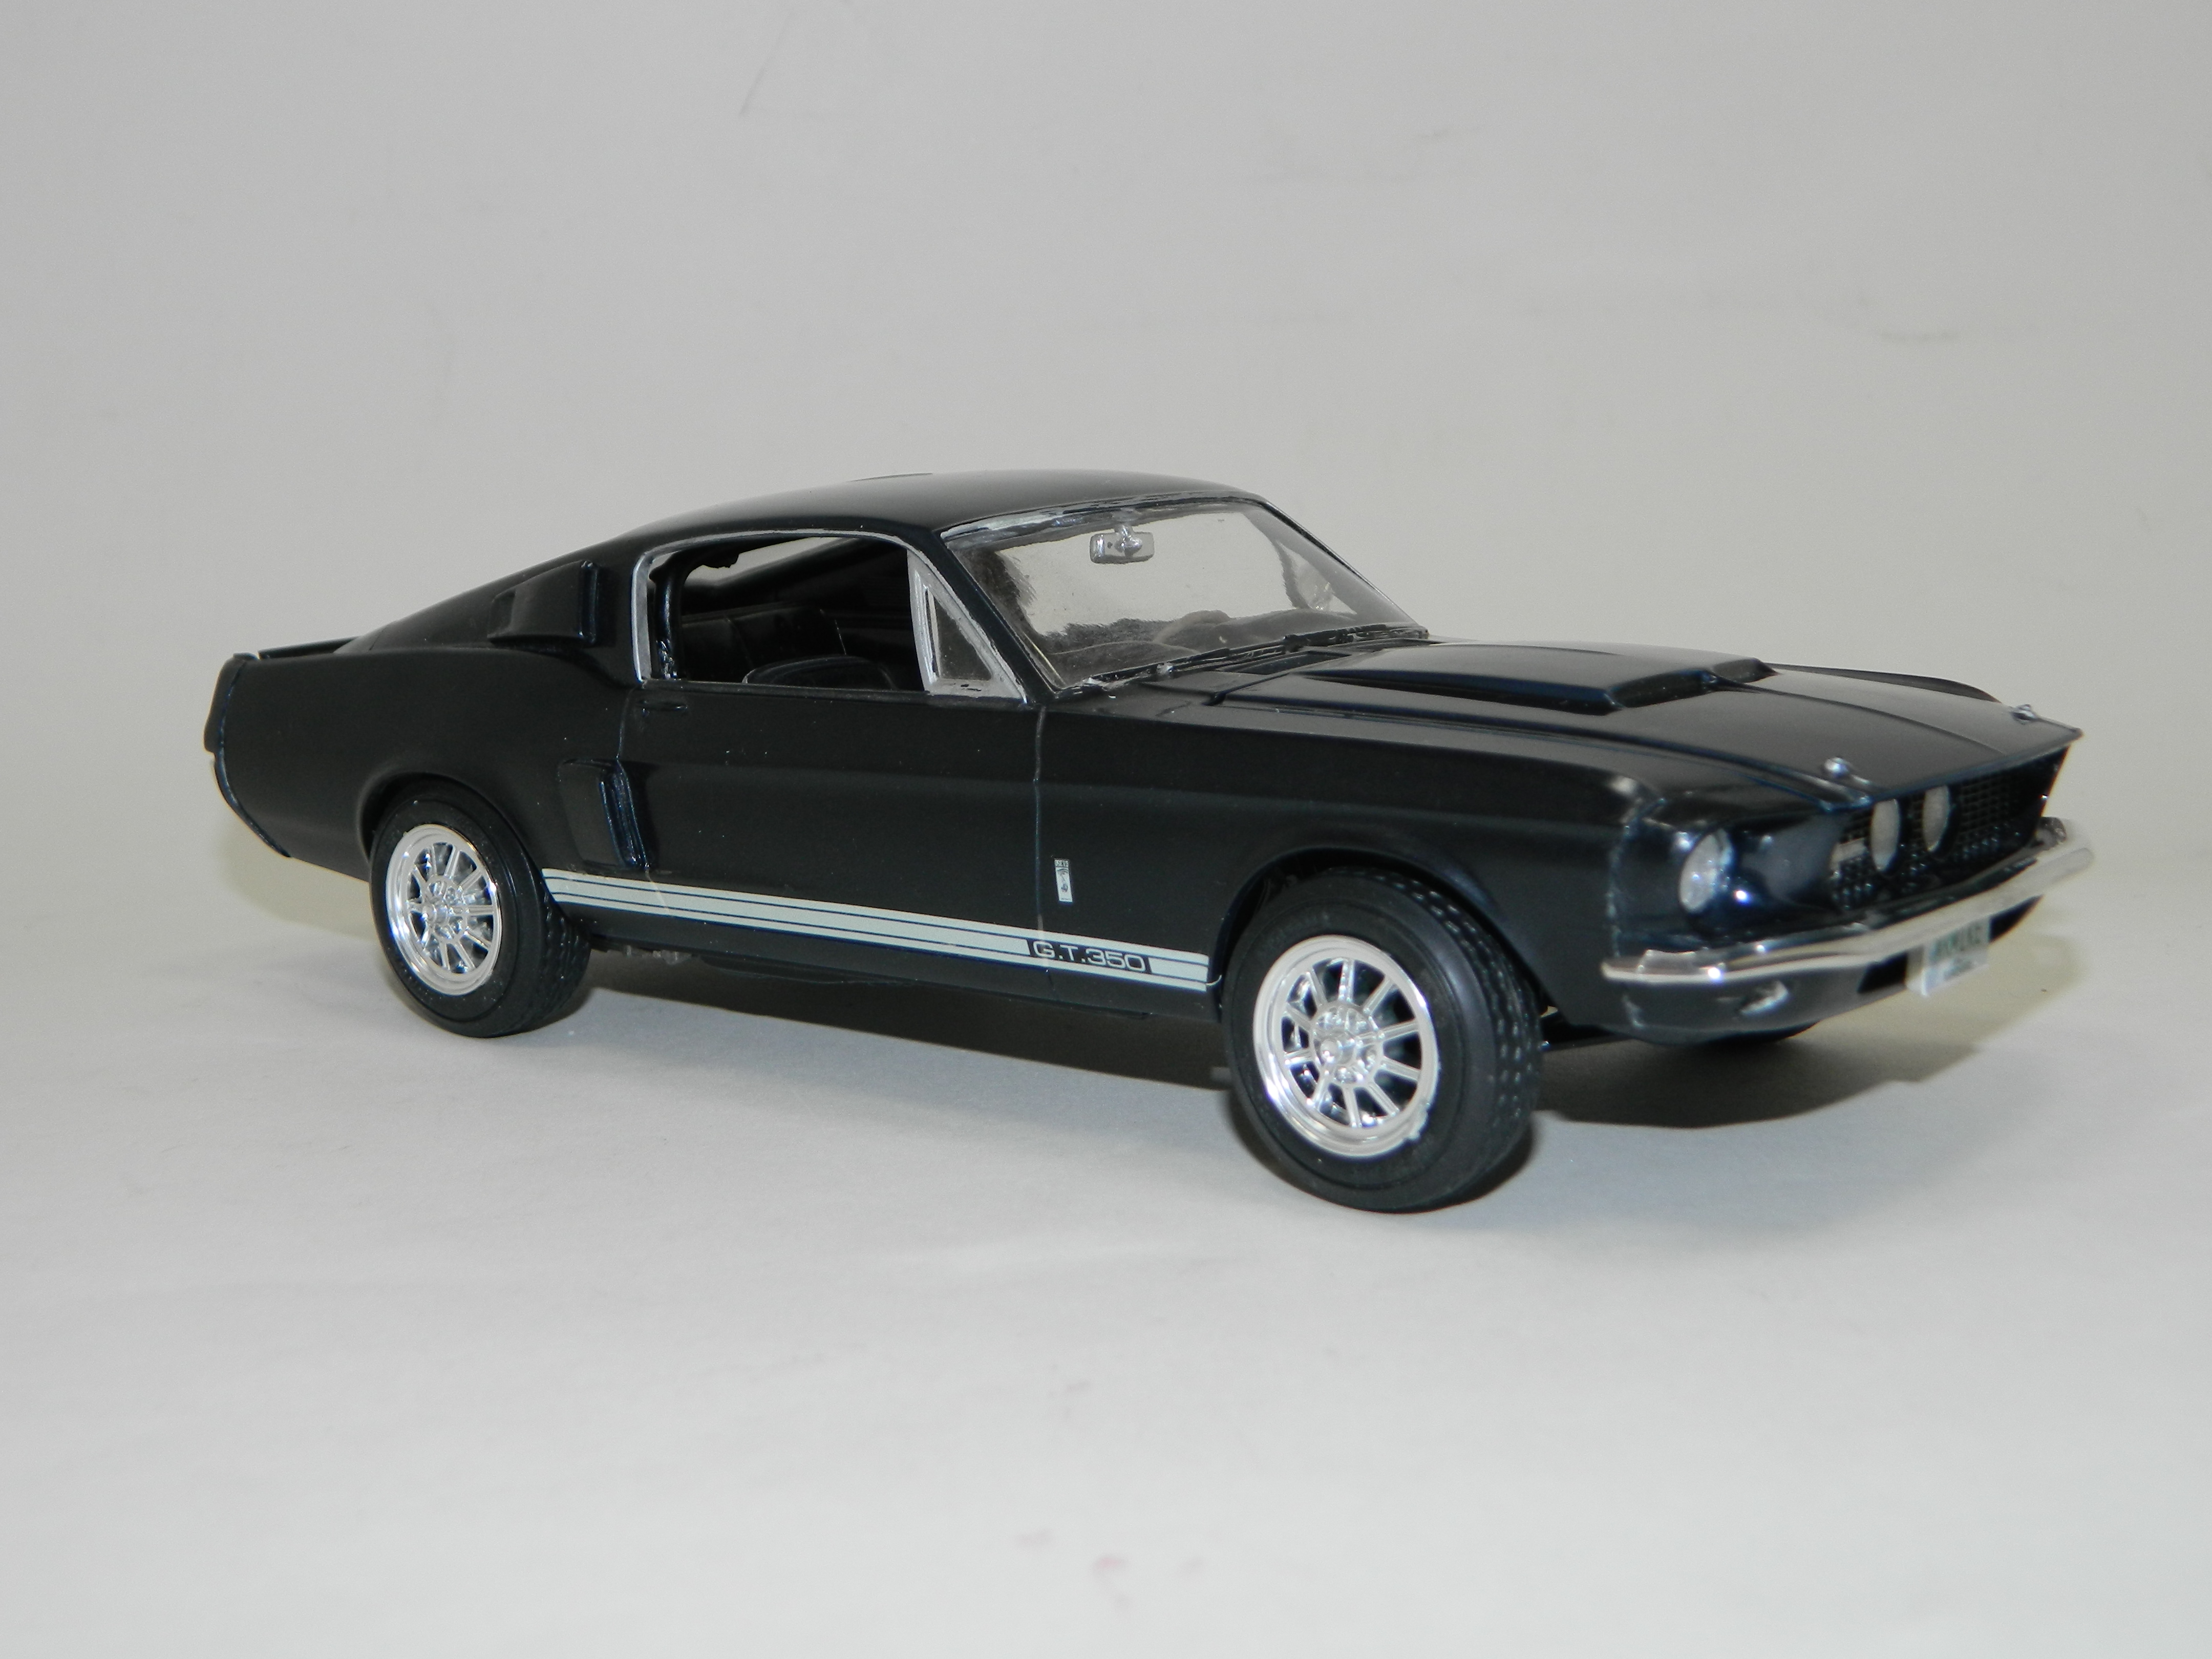
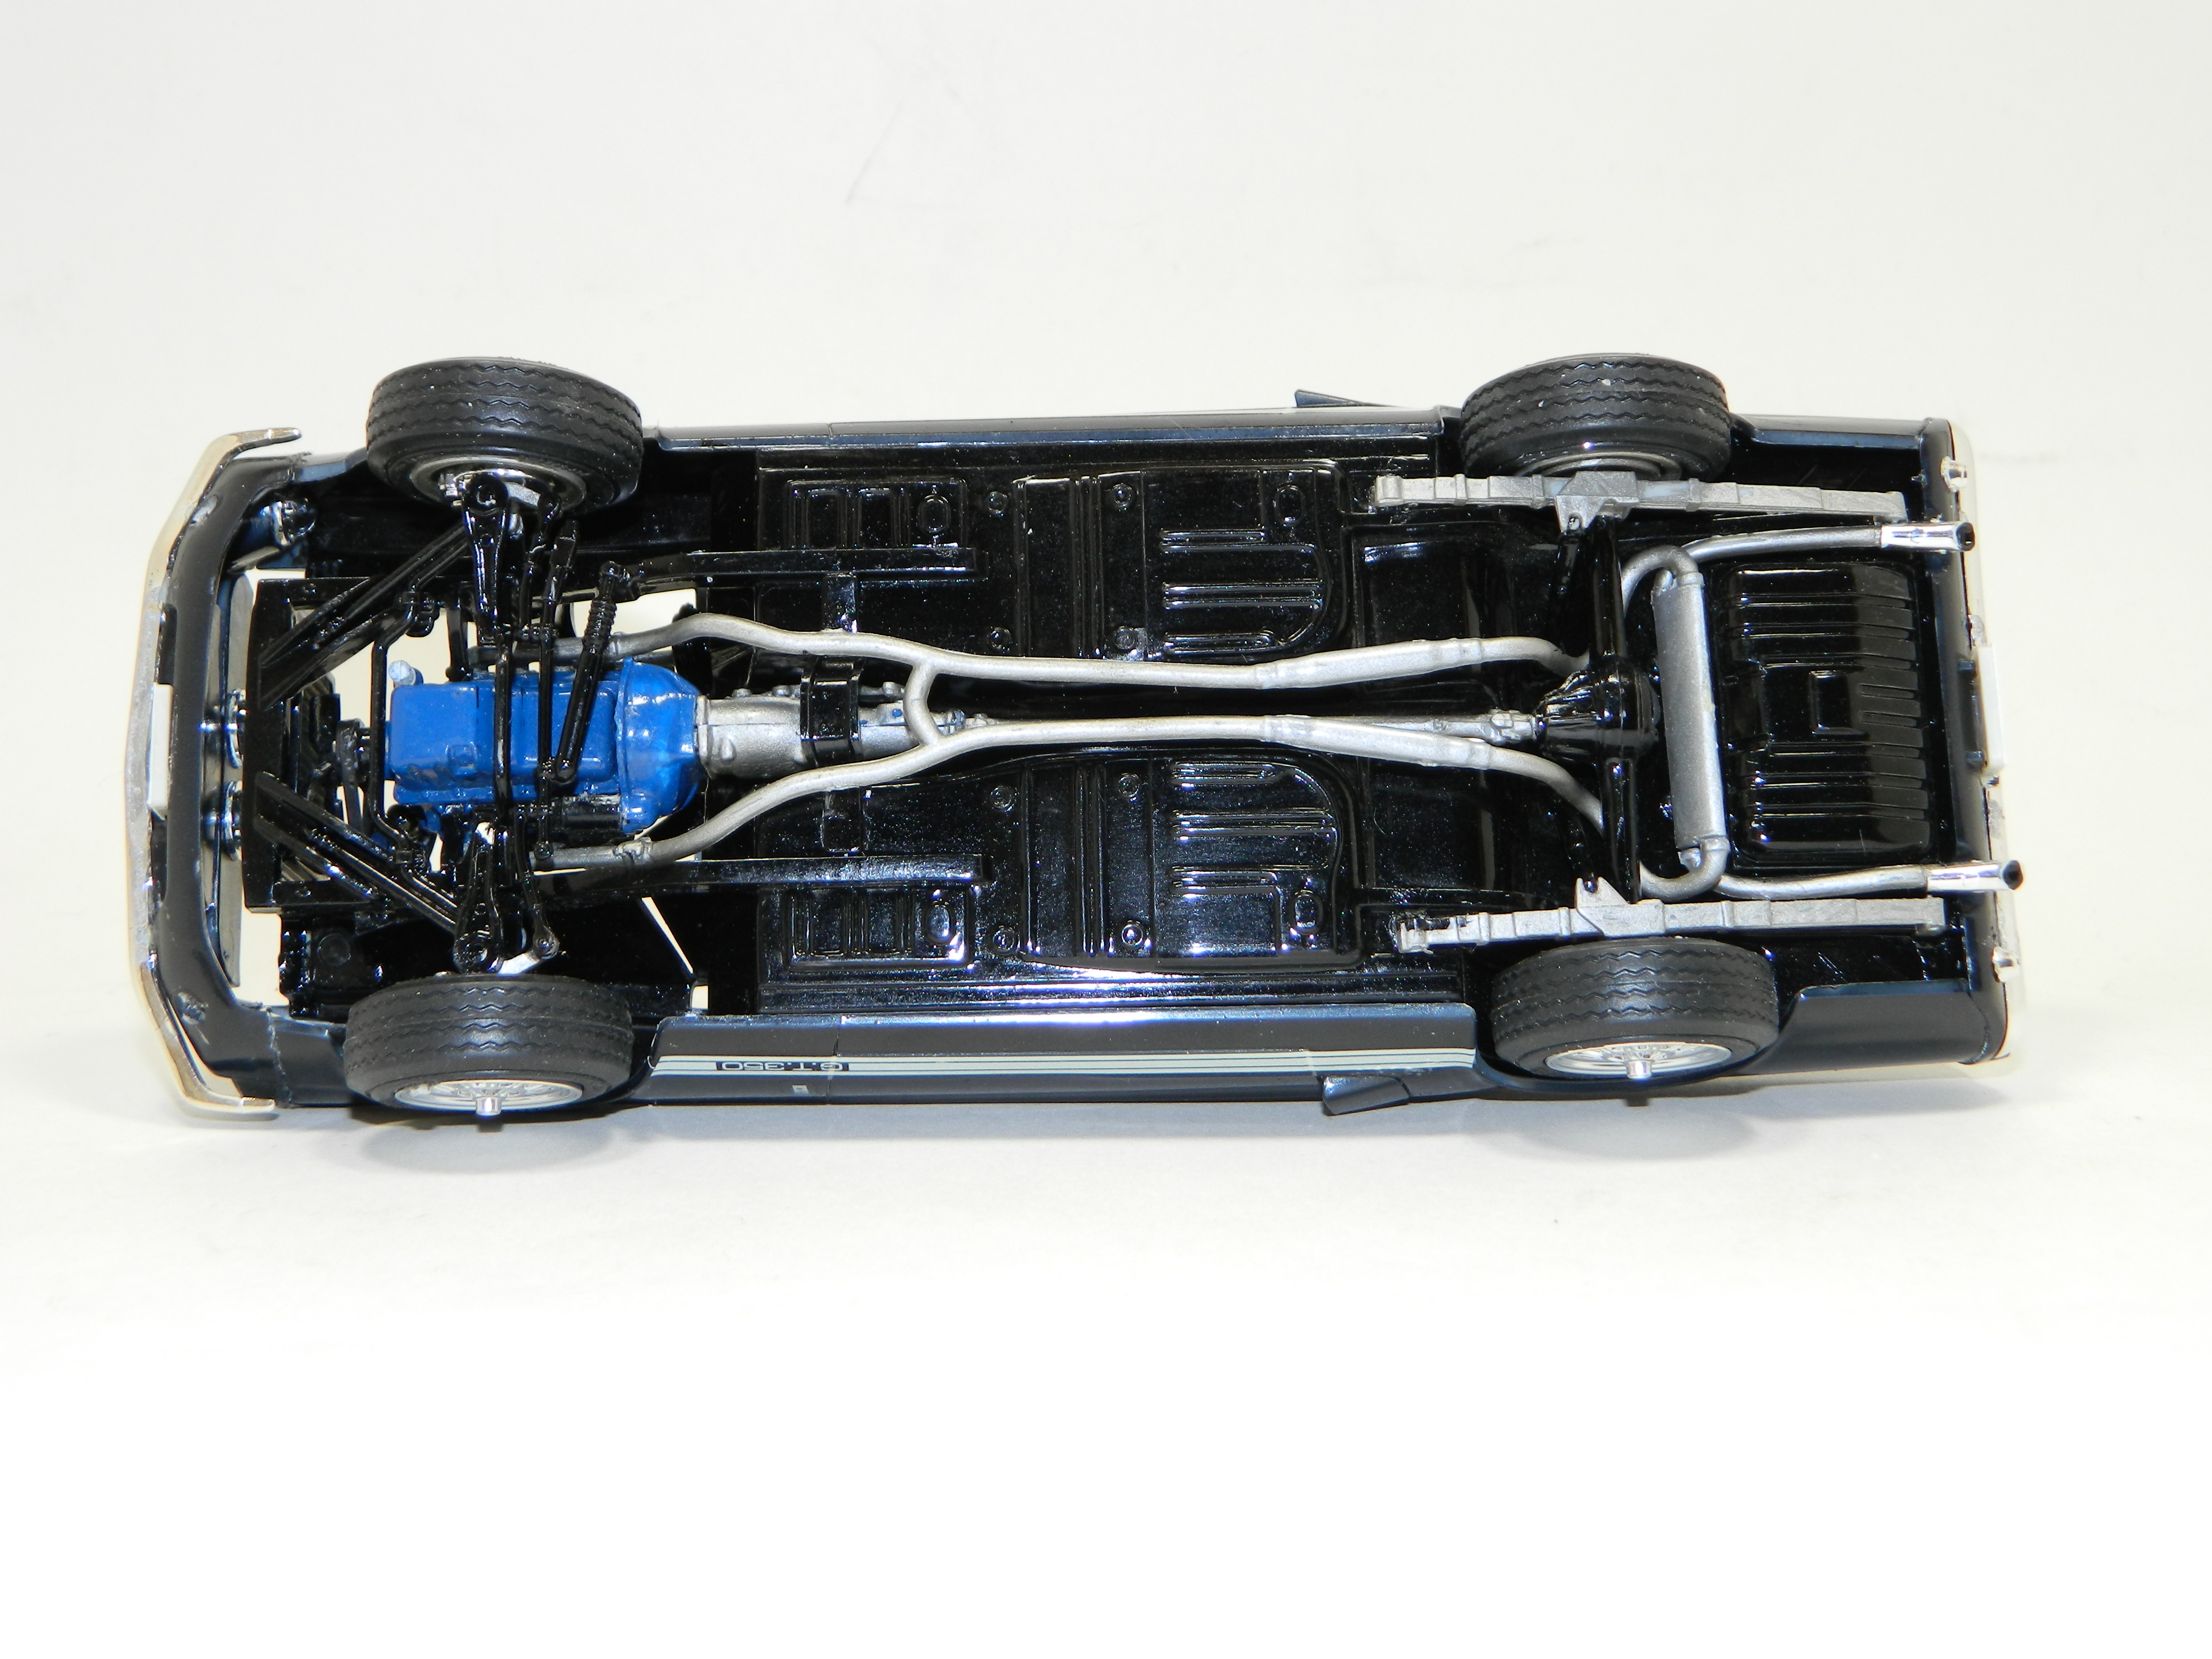
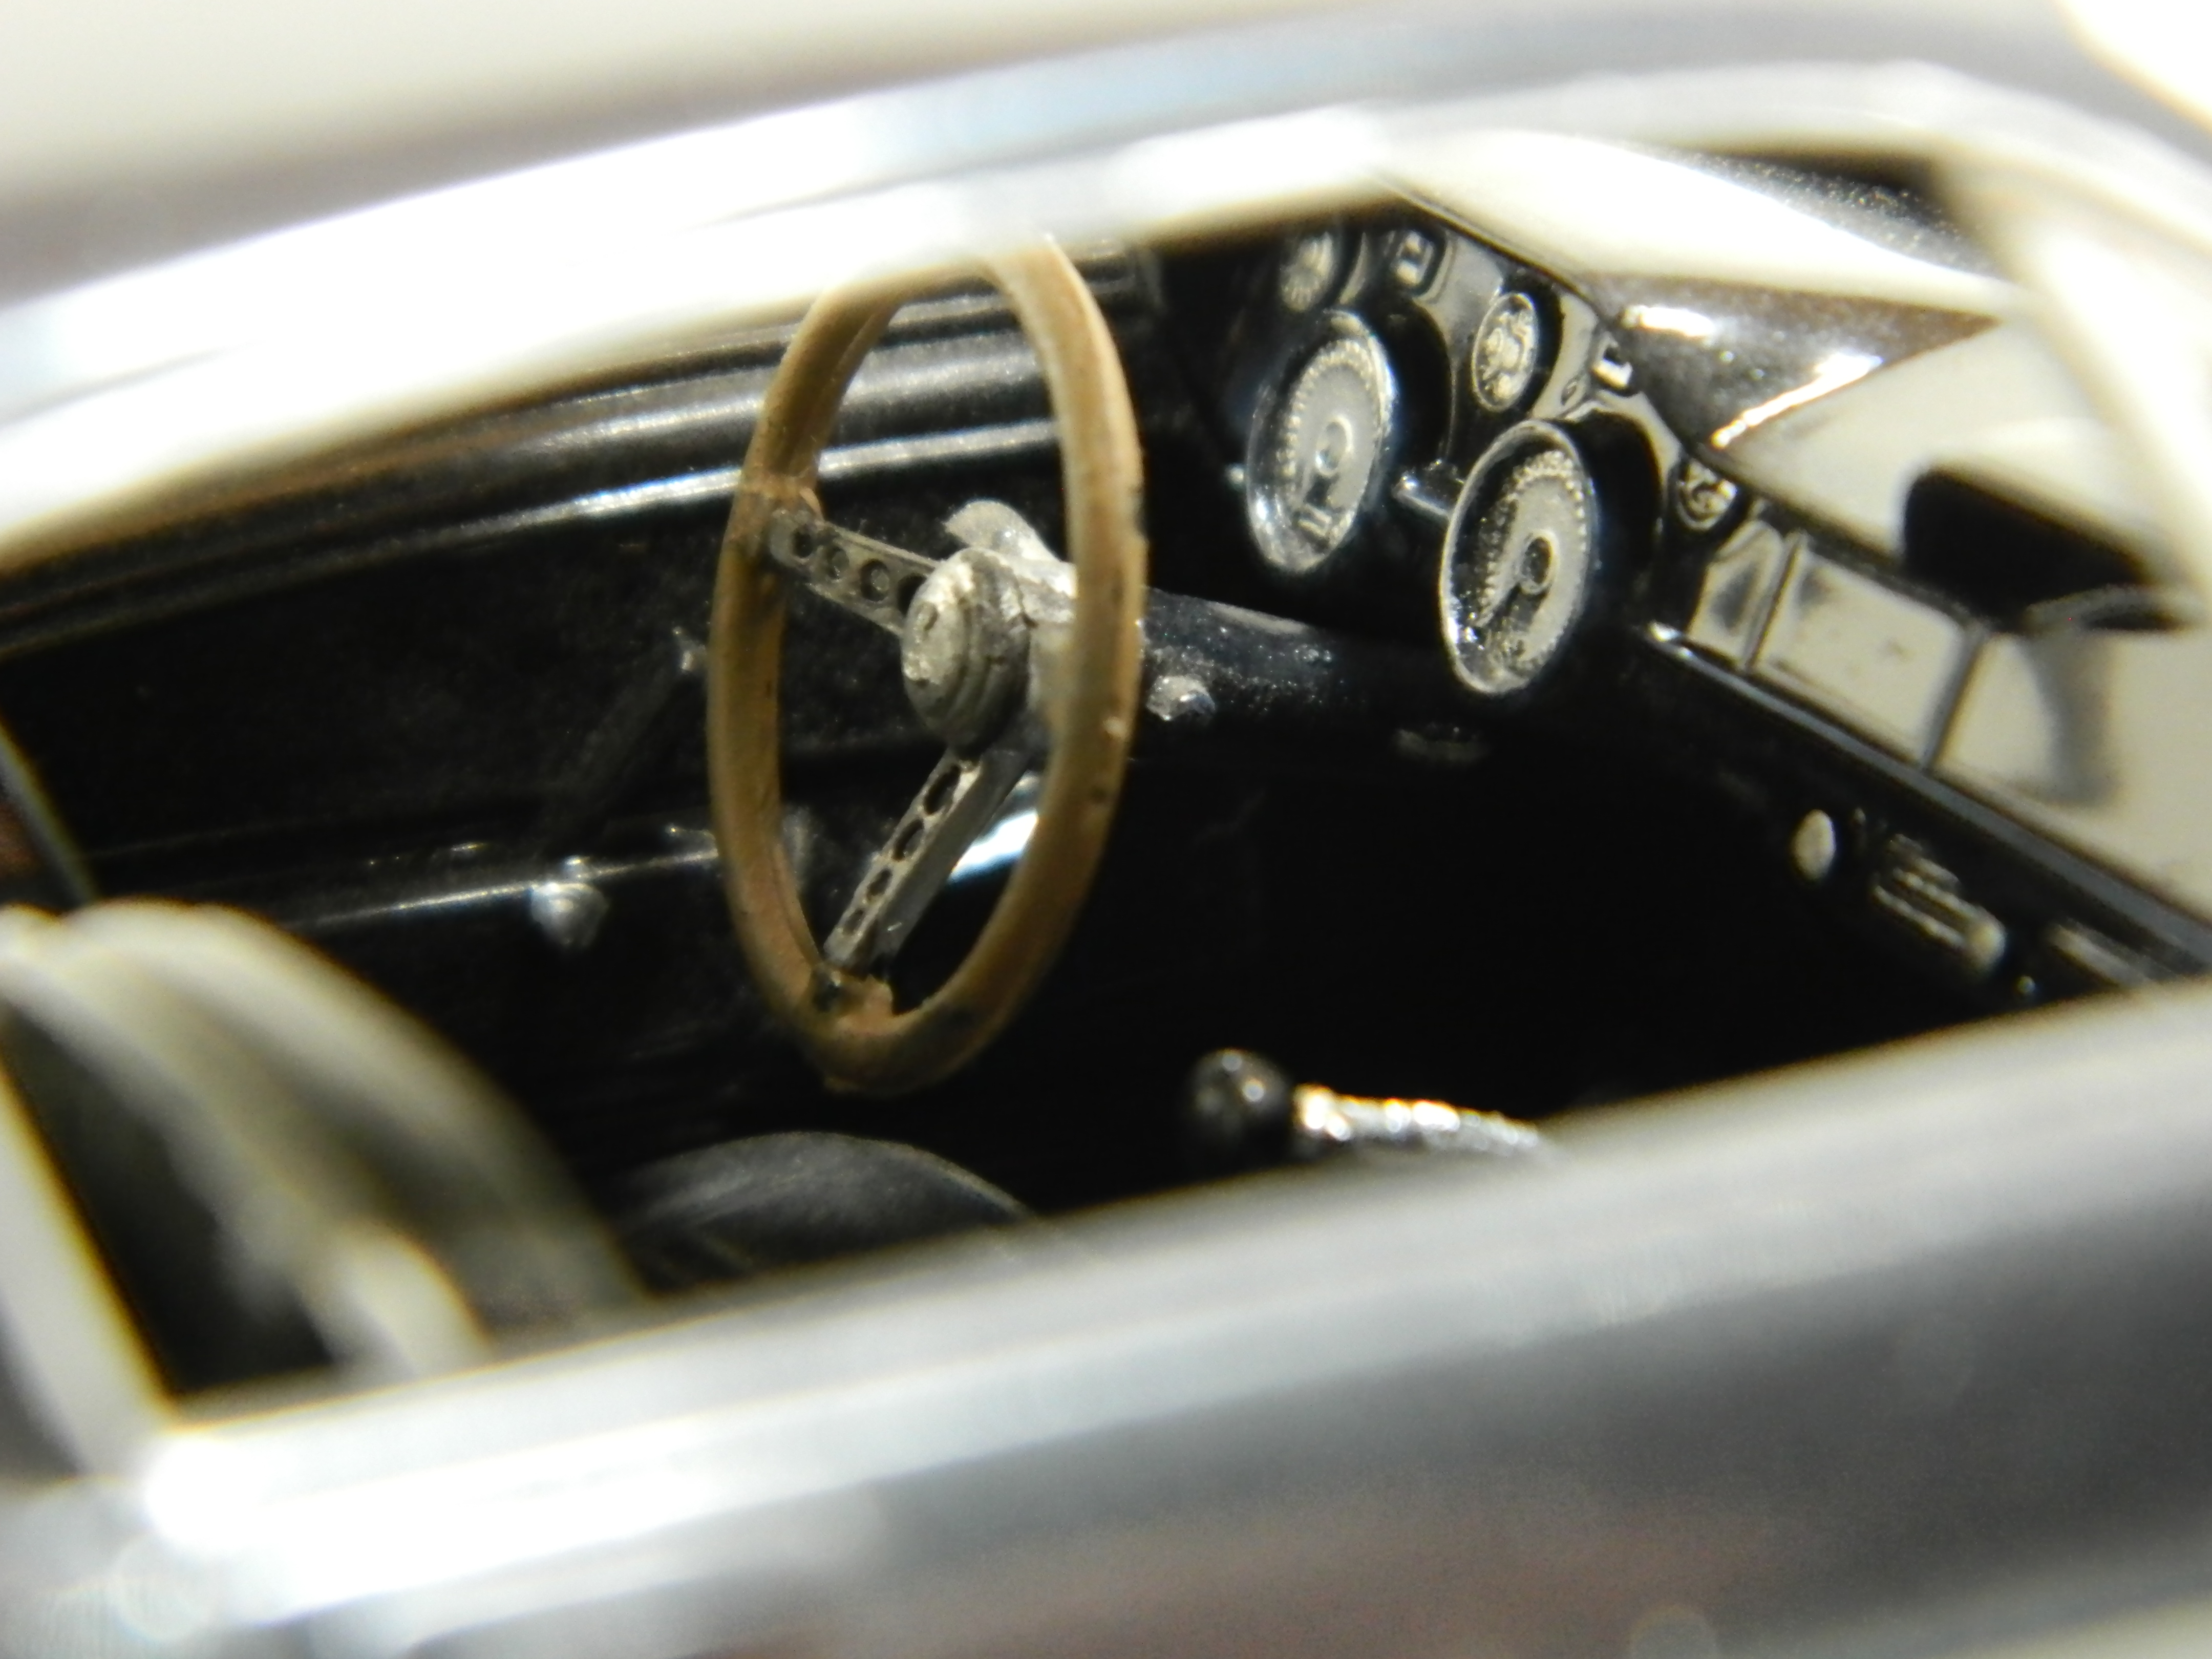
Well guys, it's like this...I built this model many, many years ago and long before I was concerned with adding detail and such. There is no Bare Metal Foil on the trim of this Shelby. I can't even remember if there were decals in this kit when I bought it! I can't get the paint I used anymore as it has been discontinued! I have corrected most of the issues with this model after I took the pictures and yes, those big pictures are merciless! Thank you all for pointing out these things to me. I appreciate the help!
-
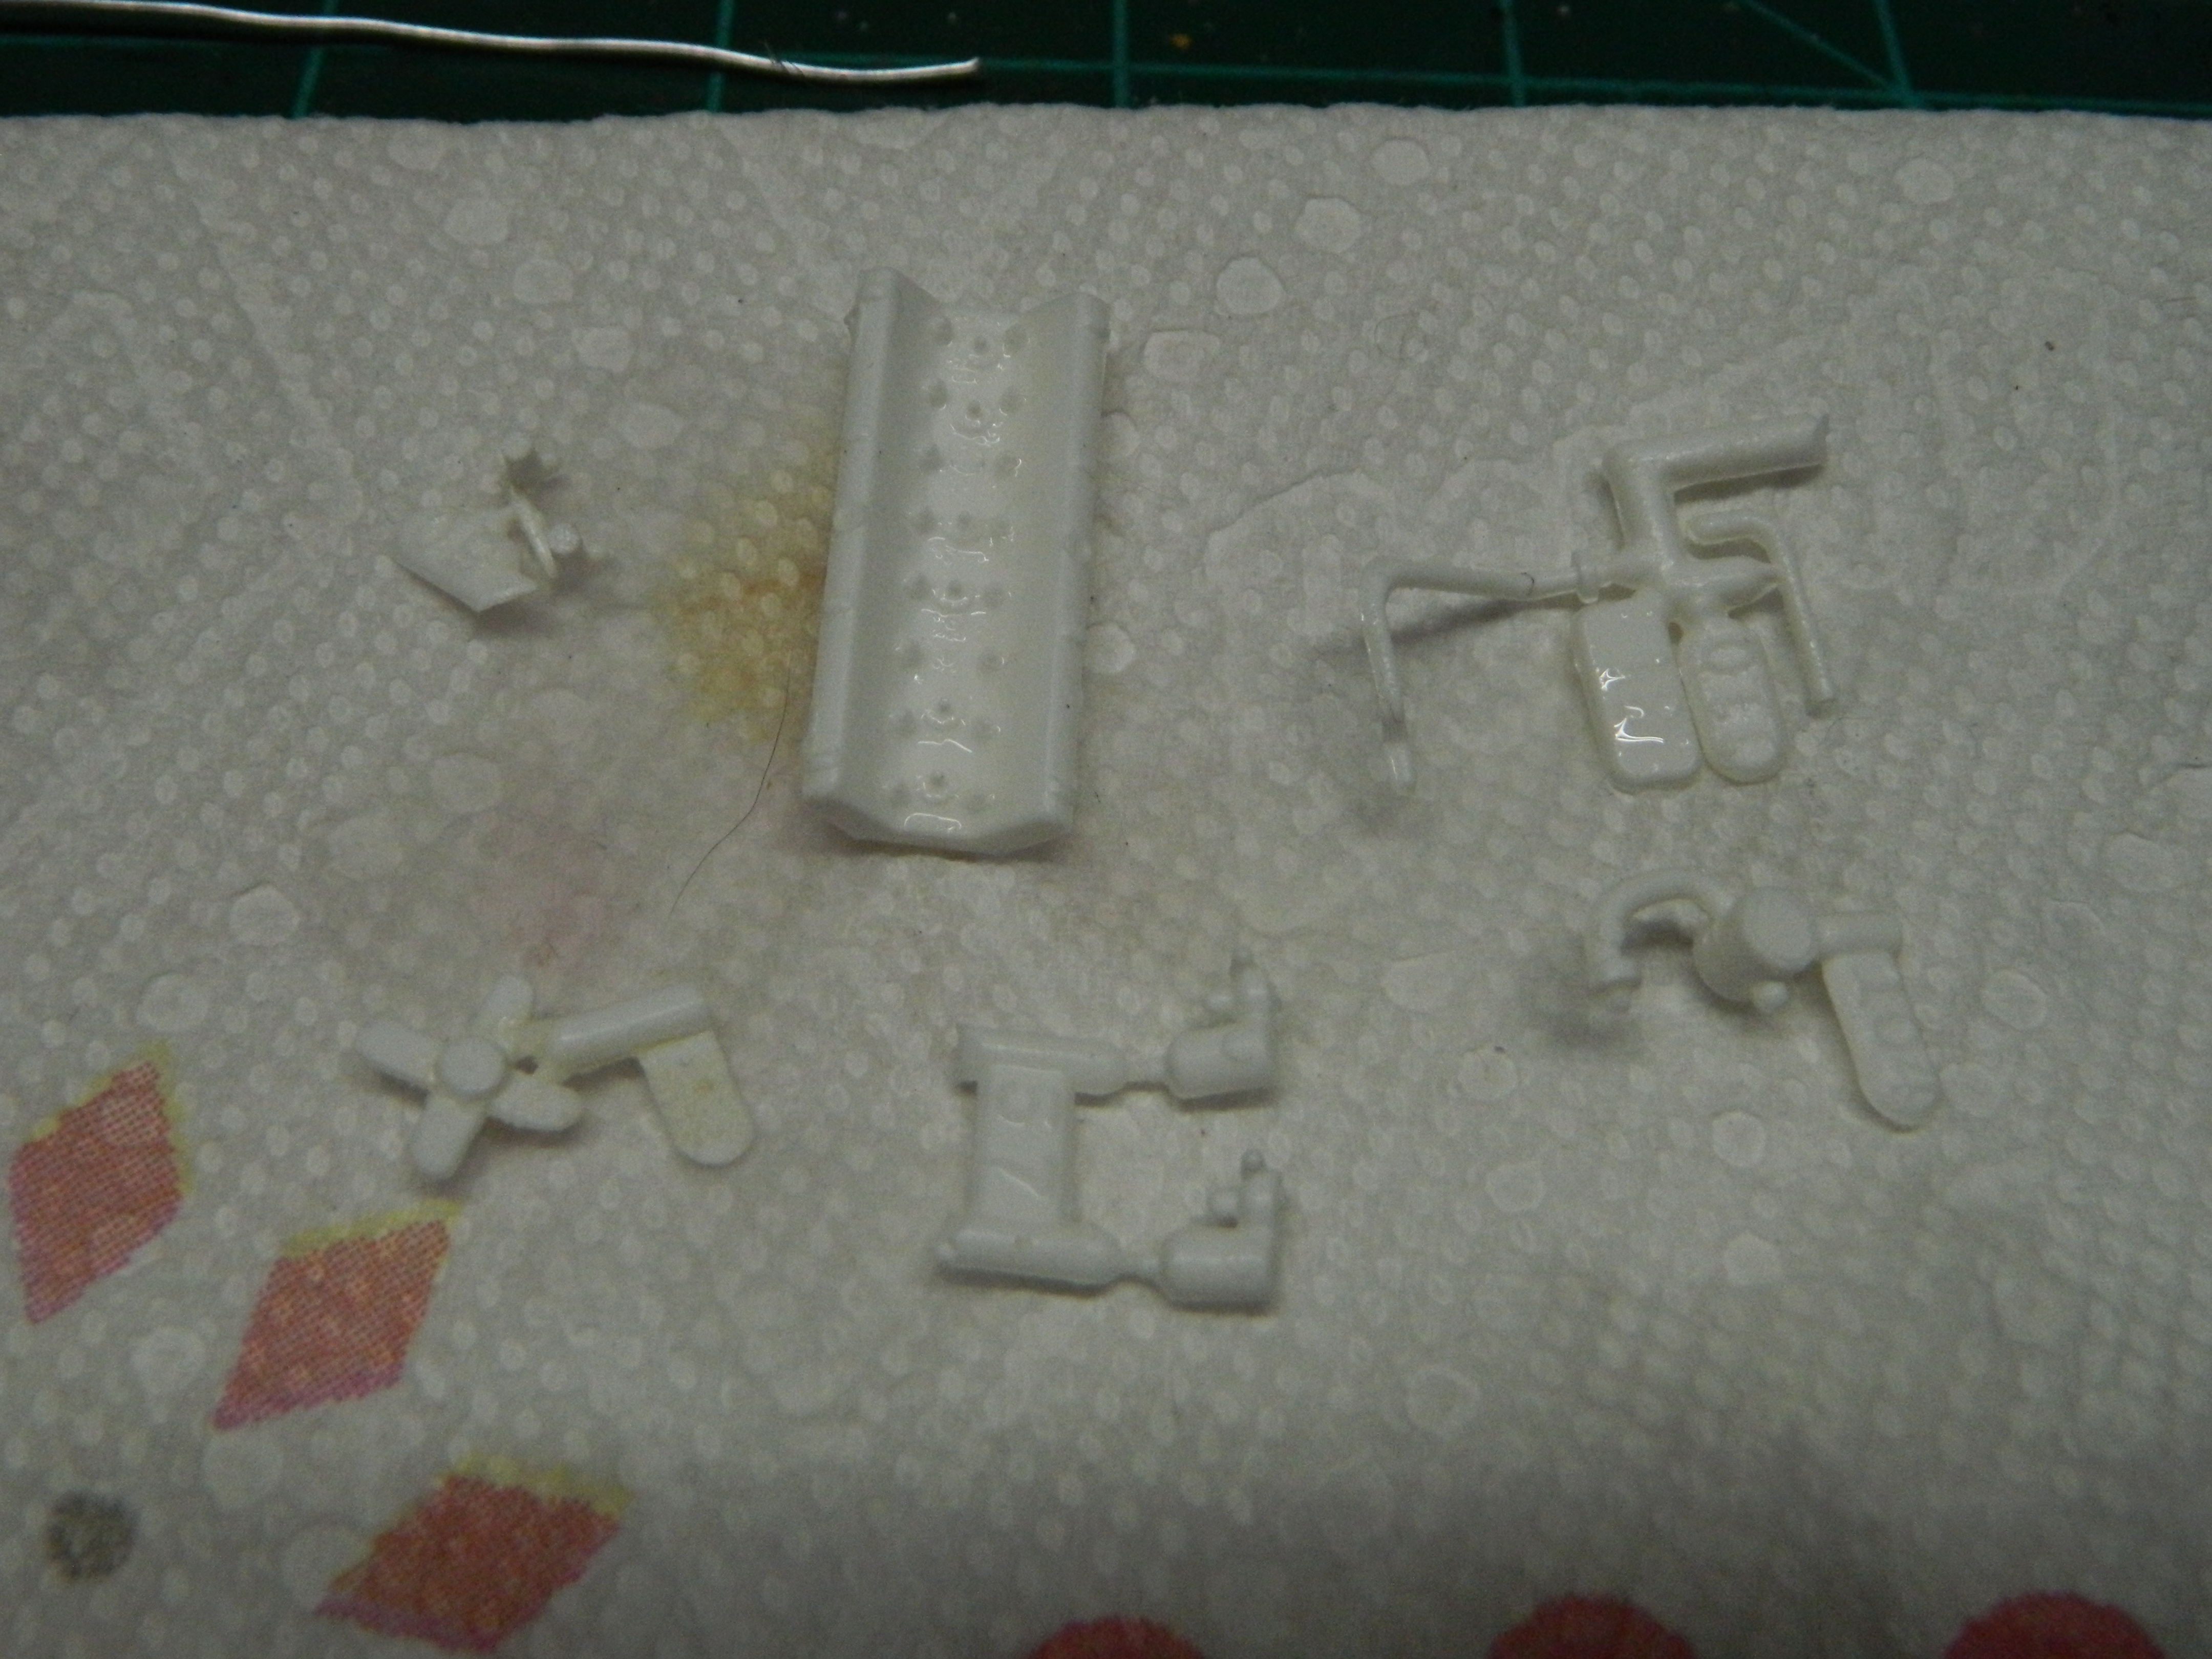
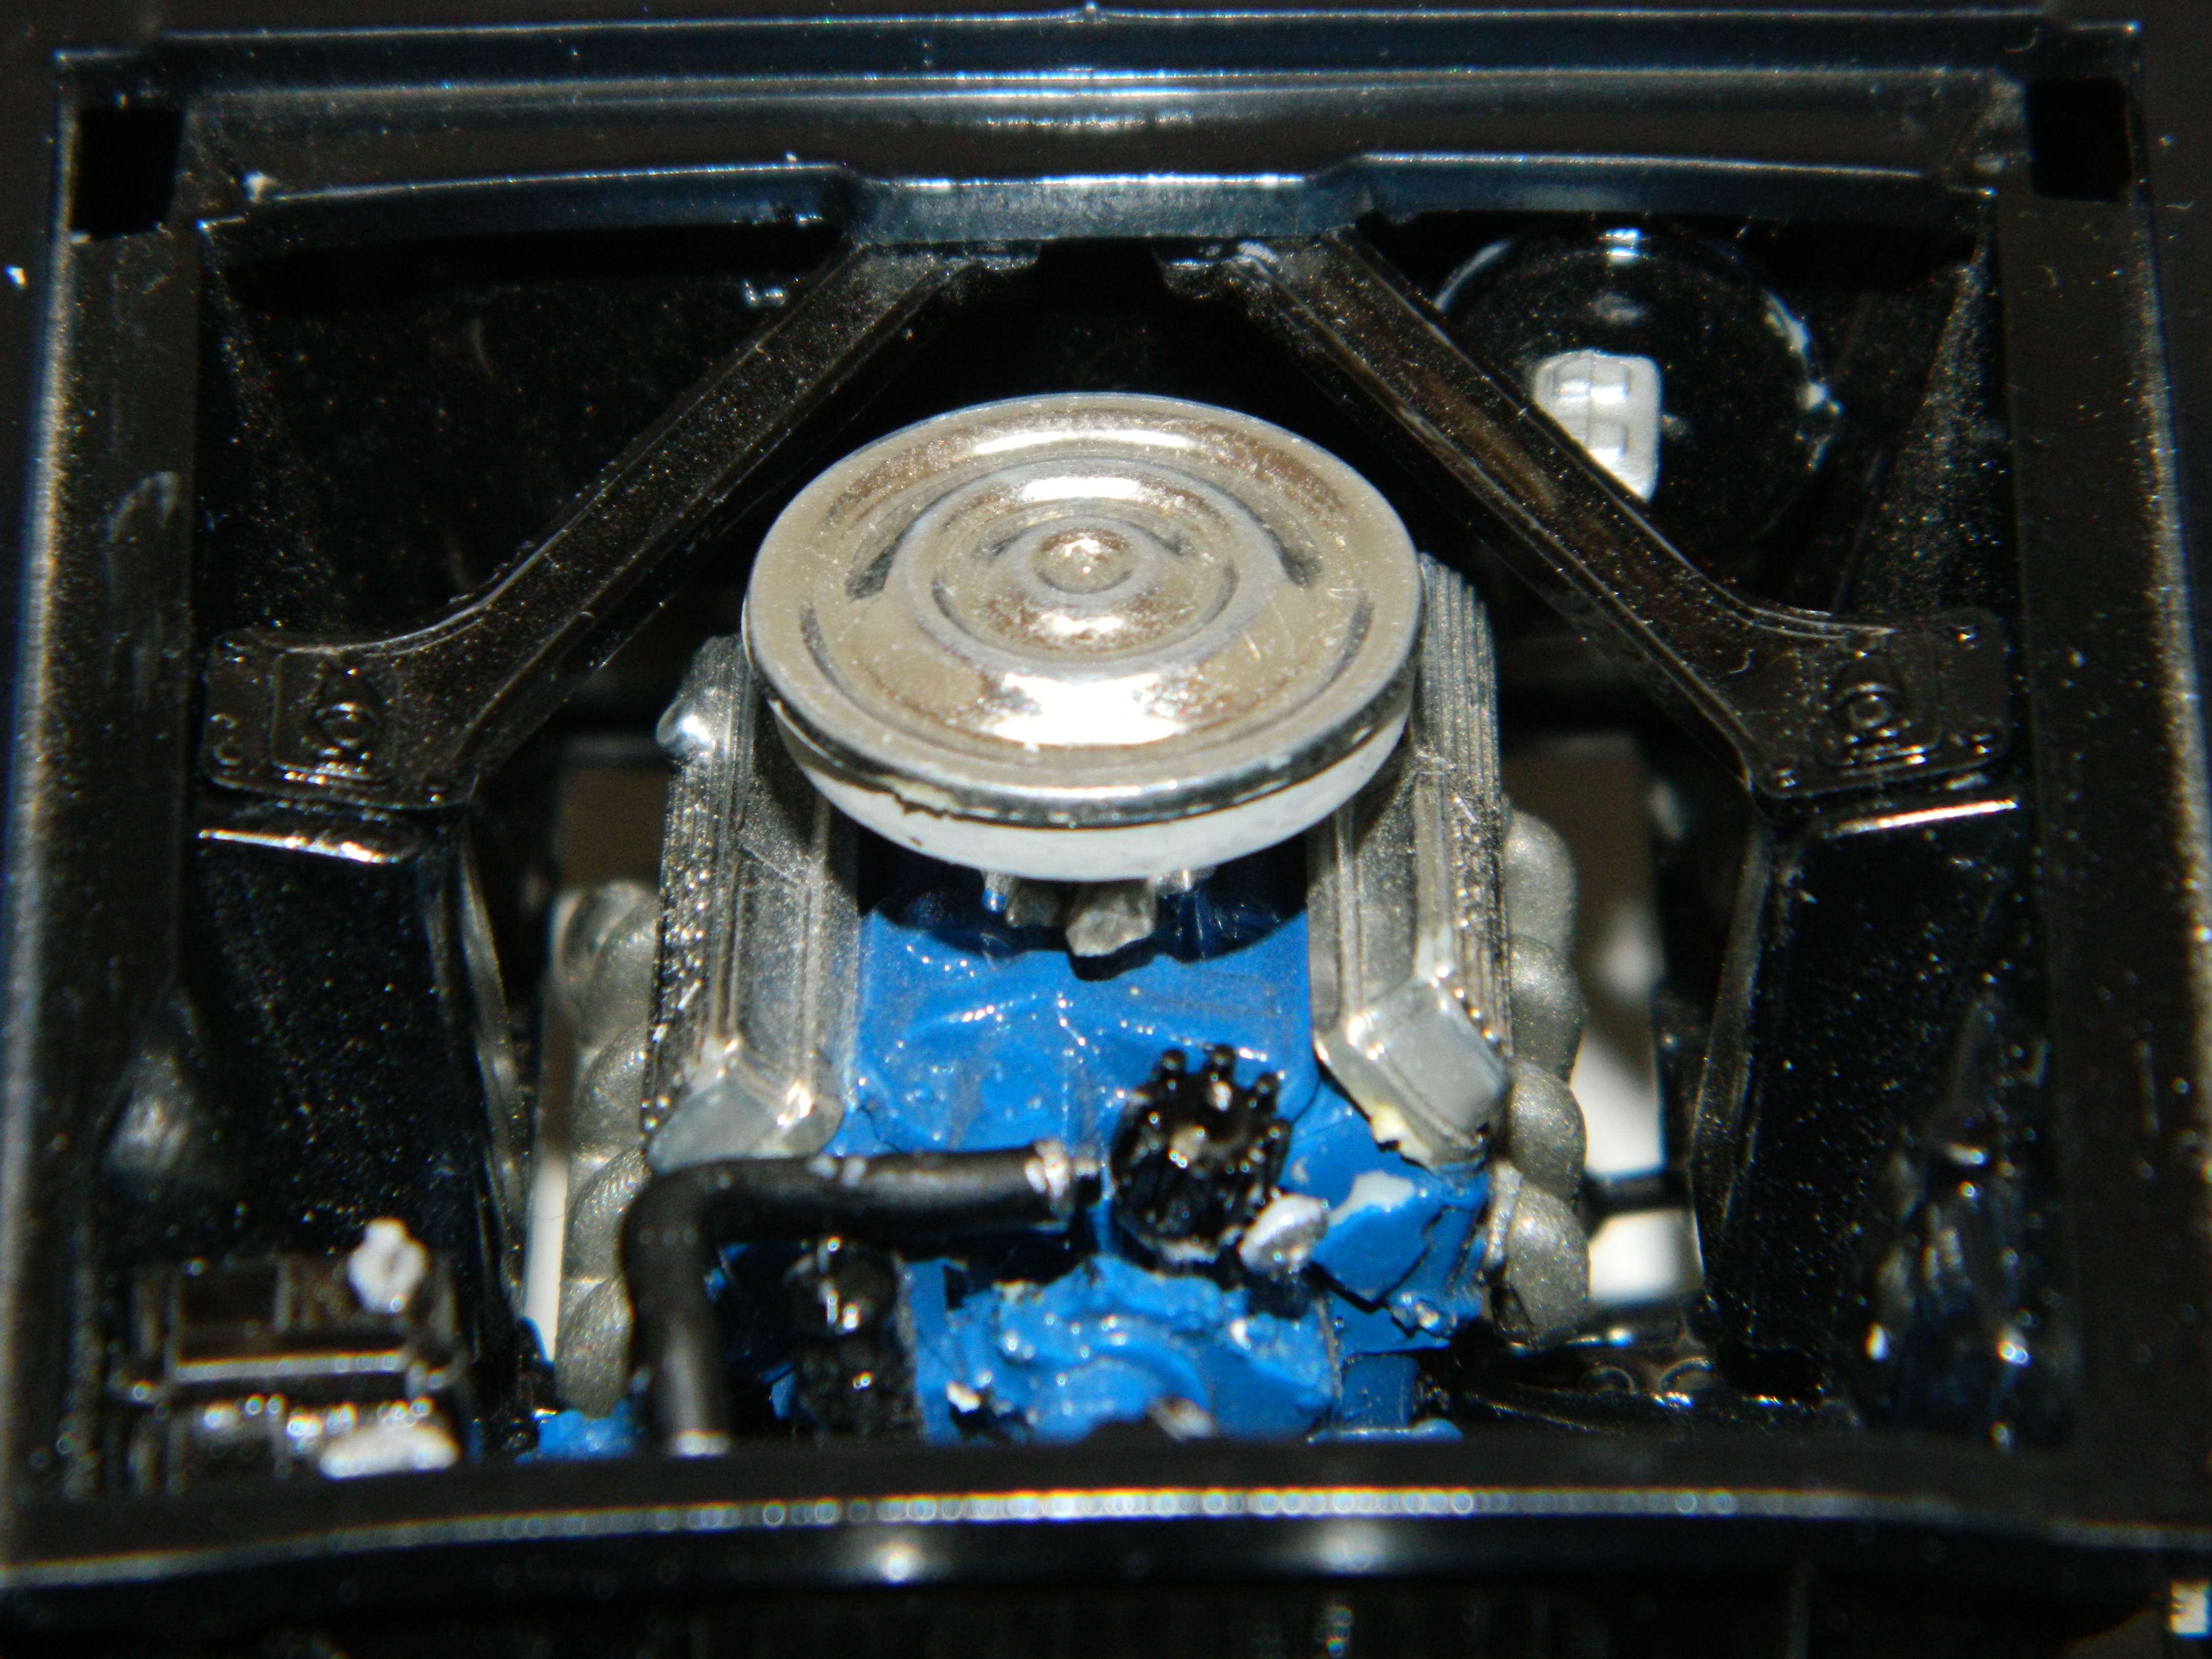
Thanks Robert! I took a bunch of the chrome pieces for the engine and dechromed them. I'll paint them up later after I have washed them thoroughly with water and Dawn Dish Detergent. I've got a long ways to go with this one! I clipped these parts for the engine from the chrome tree and dechromed them. Now for some cleanup and painting. More to come...
-
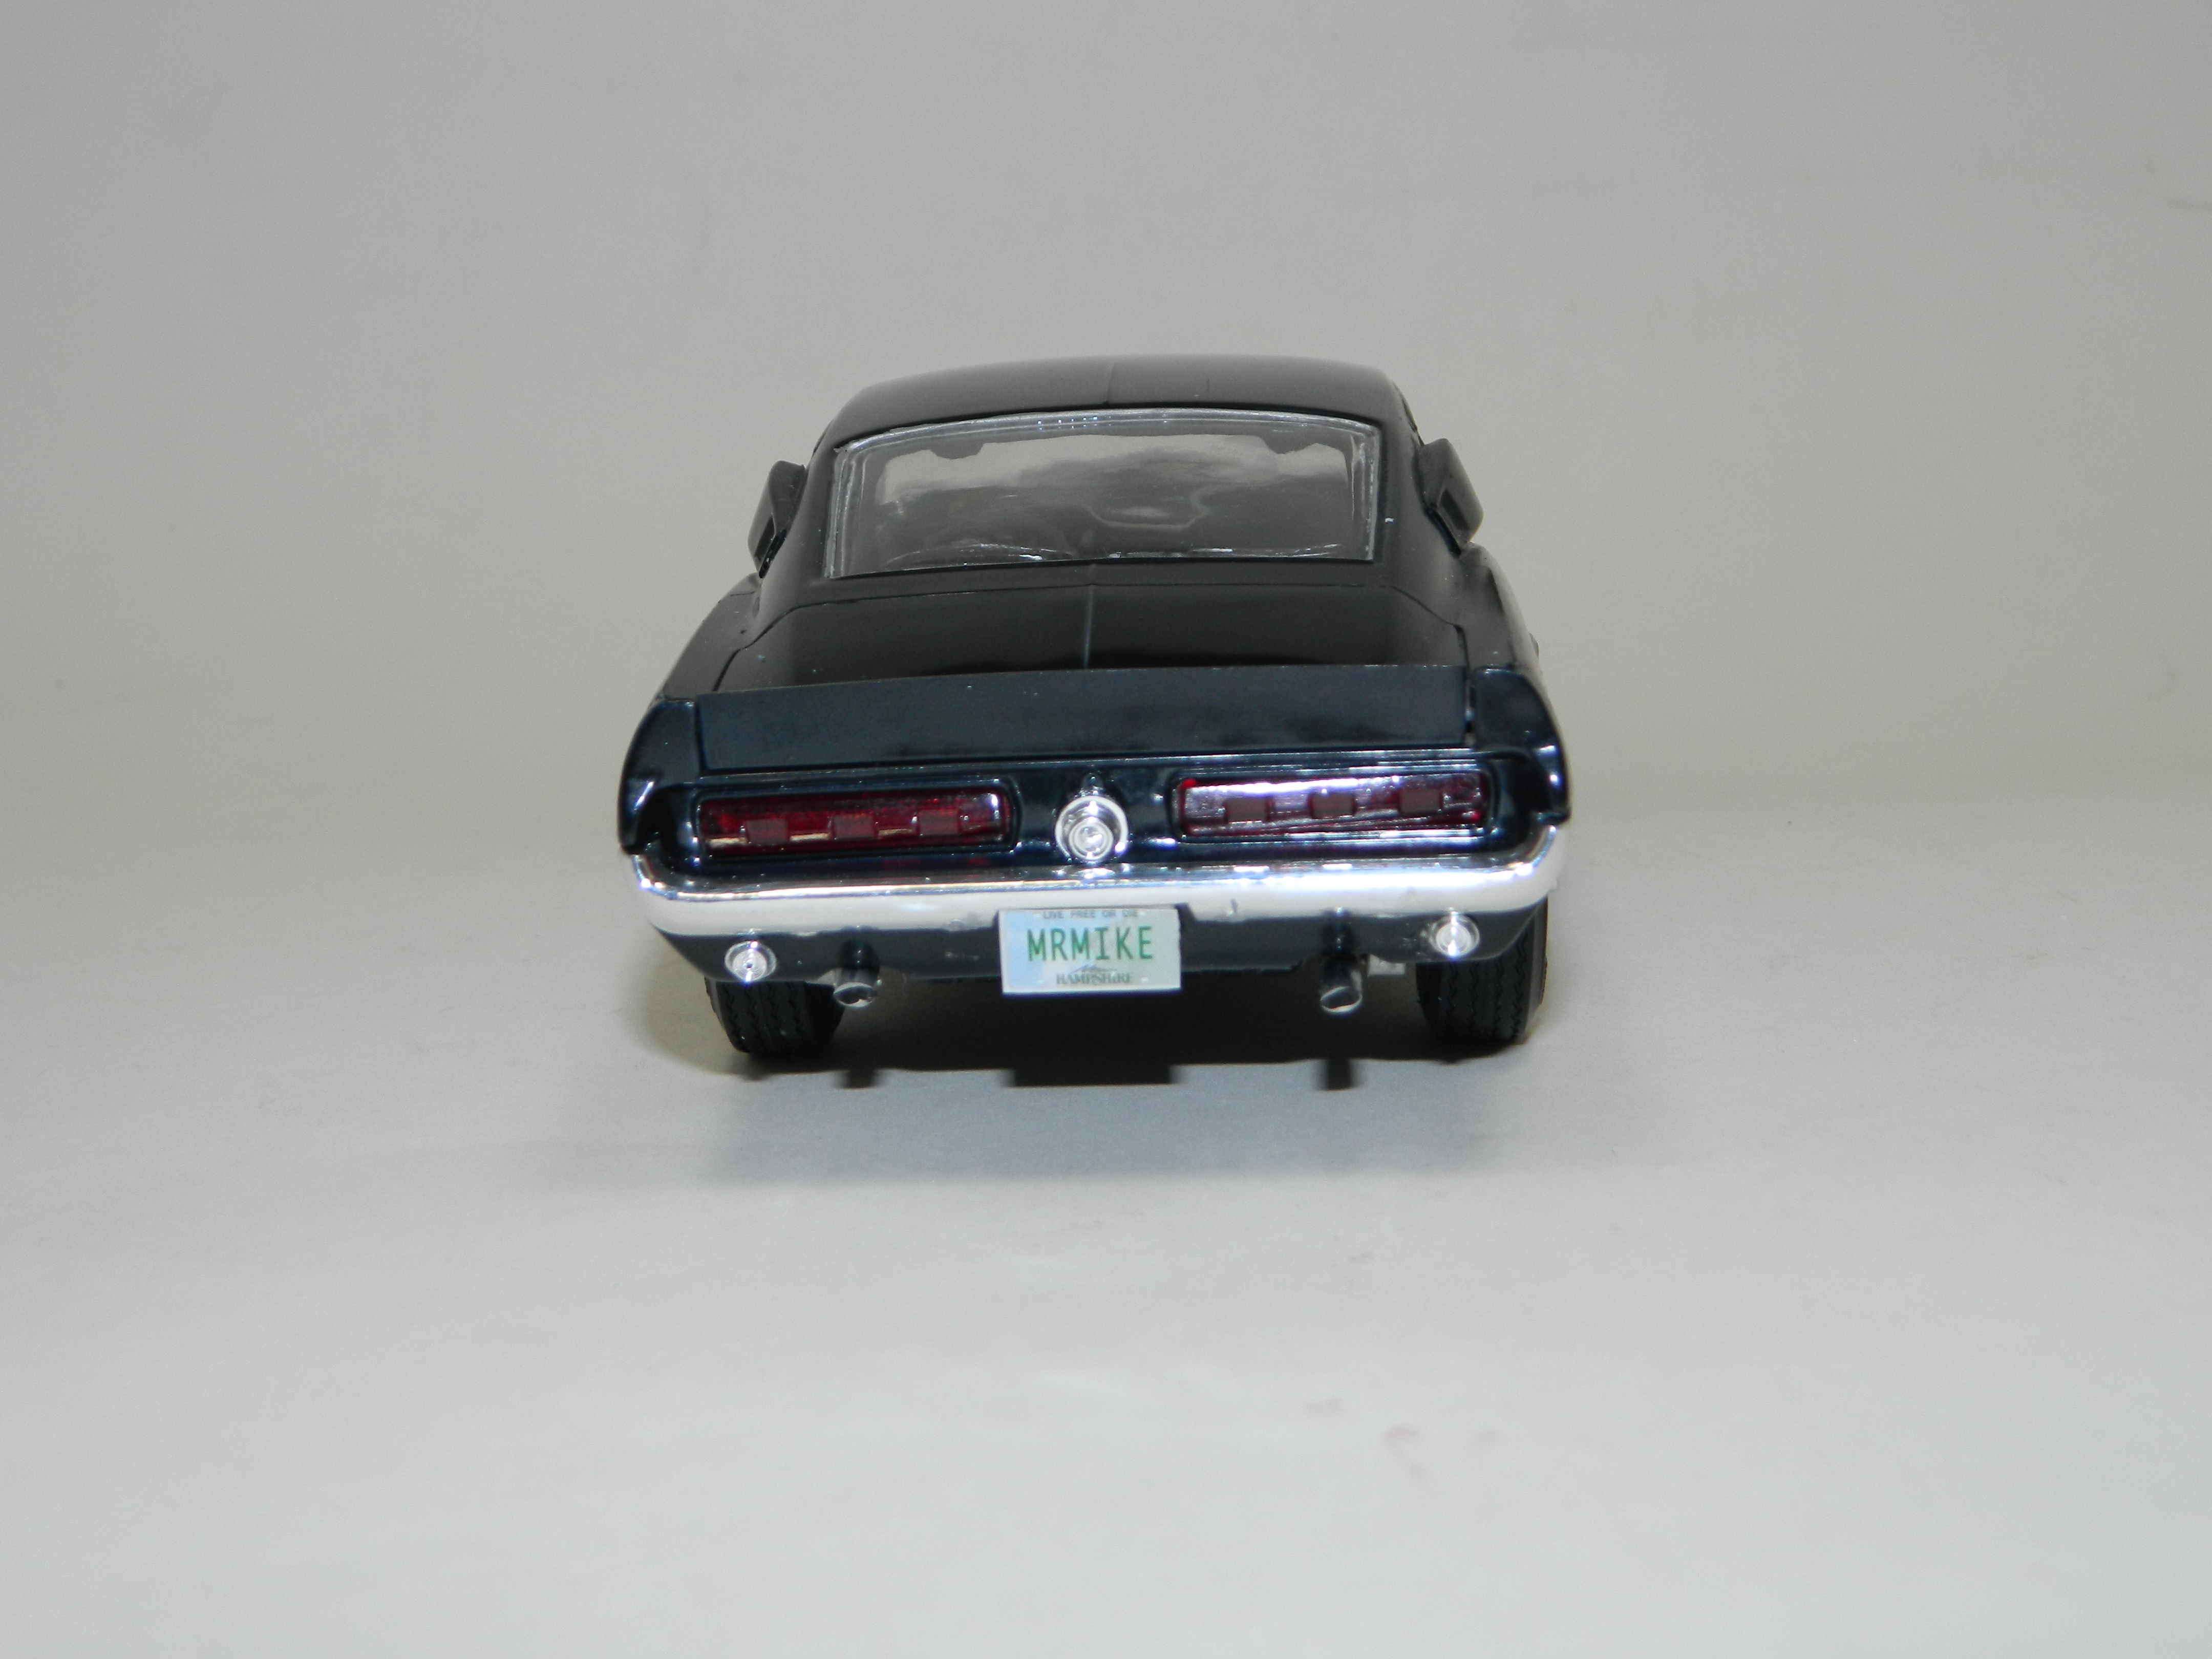
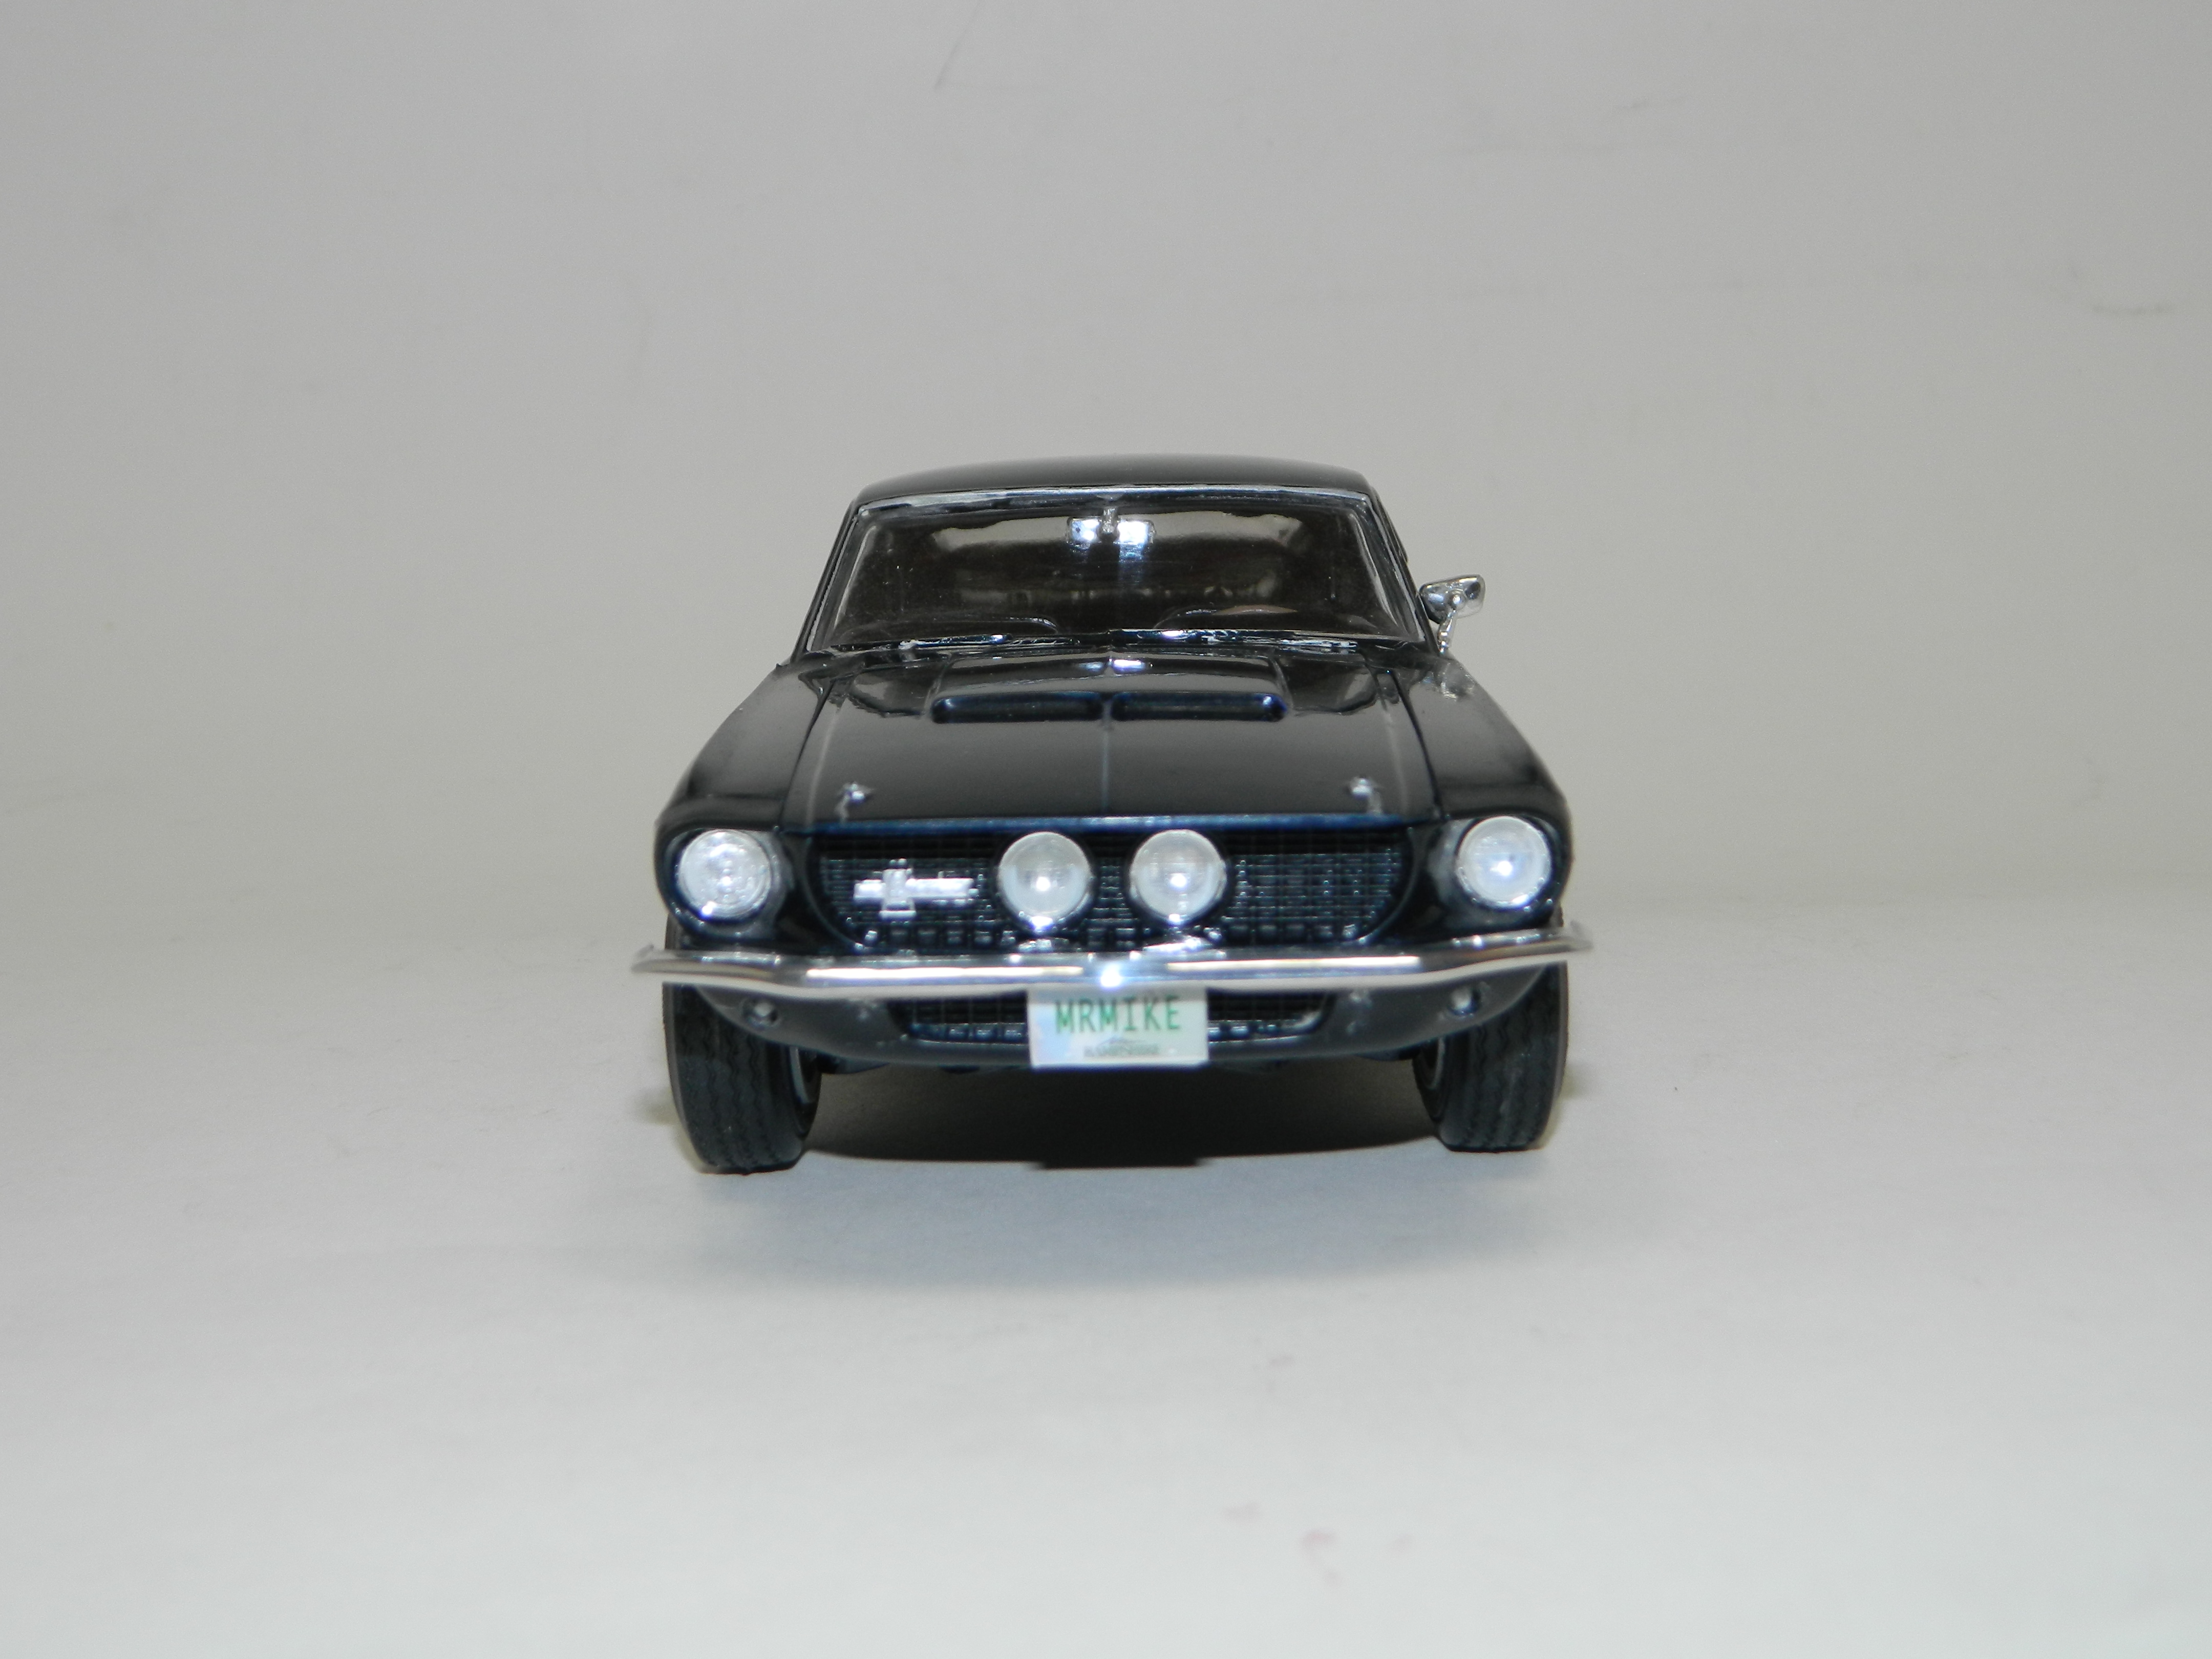
This Shelby has been sitting on the shelf just covered in dust and dirt and screaming for a good cleaning and a rebuild. I also had to search for the engine that I removed for another project and never used it. After a couple of days of cleaning and rebuilding, I finished the GT350 this morning. The paint was cleaned and polished, the engine was reinstalled, and I replaced the kit wheels with the optional wheels from the AMT' 66 Mustang since they are close to the '68 Shelby wheels that I have been viewing lately. I treated the wheels to a good coating of Model Master Acryl Semi-Gloss Clear to knock down some of the shine from the chrome.
-
New model @ Michaels ( YEP )
mrmike replied to shoopdog's topic in General Automotive Talk (Trucks and Cars)
The orange Escalade surprises me since I picked up an Escalade kit at NNL East and it is all white plastic.