mrmike
-
Posts
5,325 -
Joined
-
Last visited
Content Type
Profiles
Forums
Events
Gallery
Everything posted by mrmike
-
Thanks Robert! This kit, like any other, will have it's challenges. To me, it's a fair build with the doors and the trunk lid being the more difficult itms to assemble and properly placed on the body. I haven't gotten very far yet since I have been busy on finishing other projects. It will be built out of box with some added detail like plug wires. The inline 6 will probably get a lot of attention for detailing.
-
The Story McNally heads back to Boston and stops at Boston Police Headquarters. In Lt. Det. Troy's office he fills out a statement and signs it for Adam. As he is leaving, Det. Darvell stops him out in the hallway. "Did you bait him to come in?" "No detective, I didn't. He broke in on his own." "You sure you didn't bait him?" "If you have evidence that says I did, then arrest me, Darvell!" Darvell who was surprised by McNally's statement to him, just turns and waddles back into Homicide. The Build One down, one to go... McNally will return...

-
With a new can of Tamiya TS-13 Gloss Clear in my hand, I fired up the paintbooth and clearcoated the Cyclone again. A mist coat followed by a medium coat of clear. I'll add another heavier coat of clear later. More to come...
-
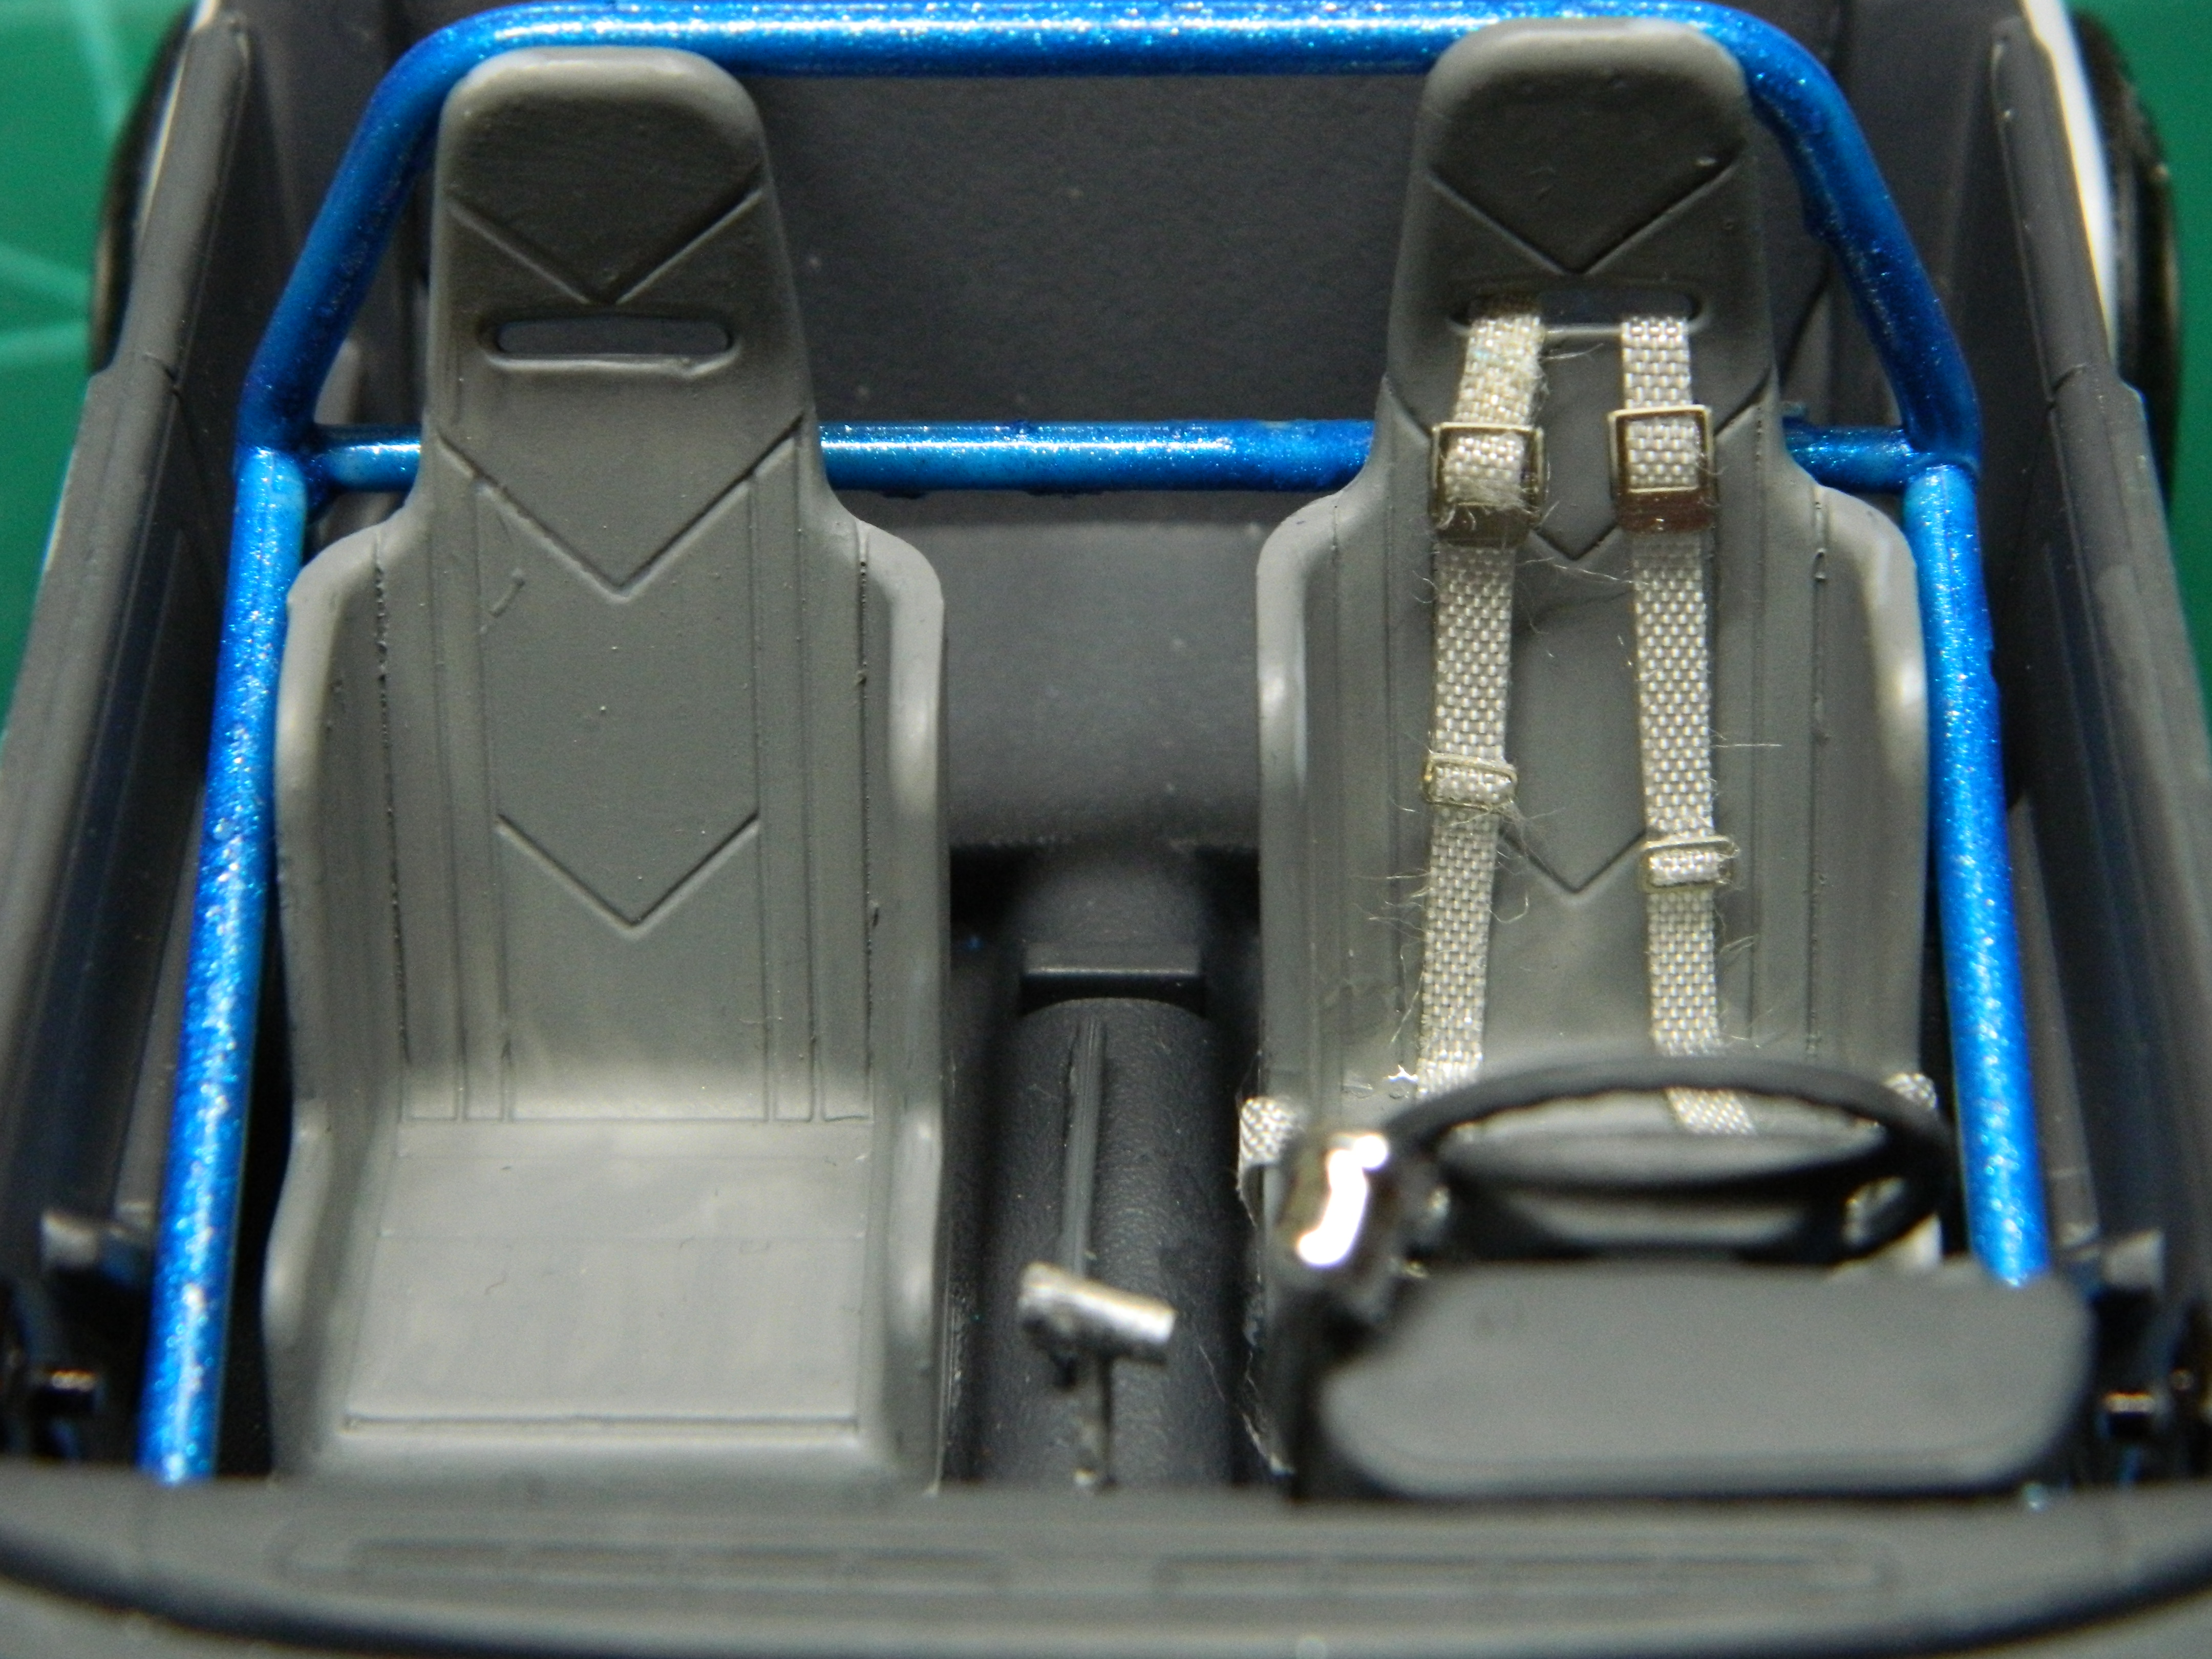
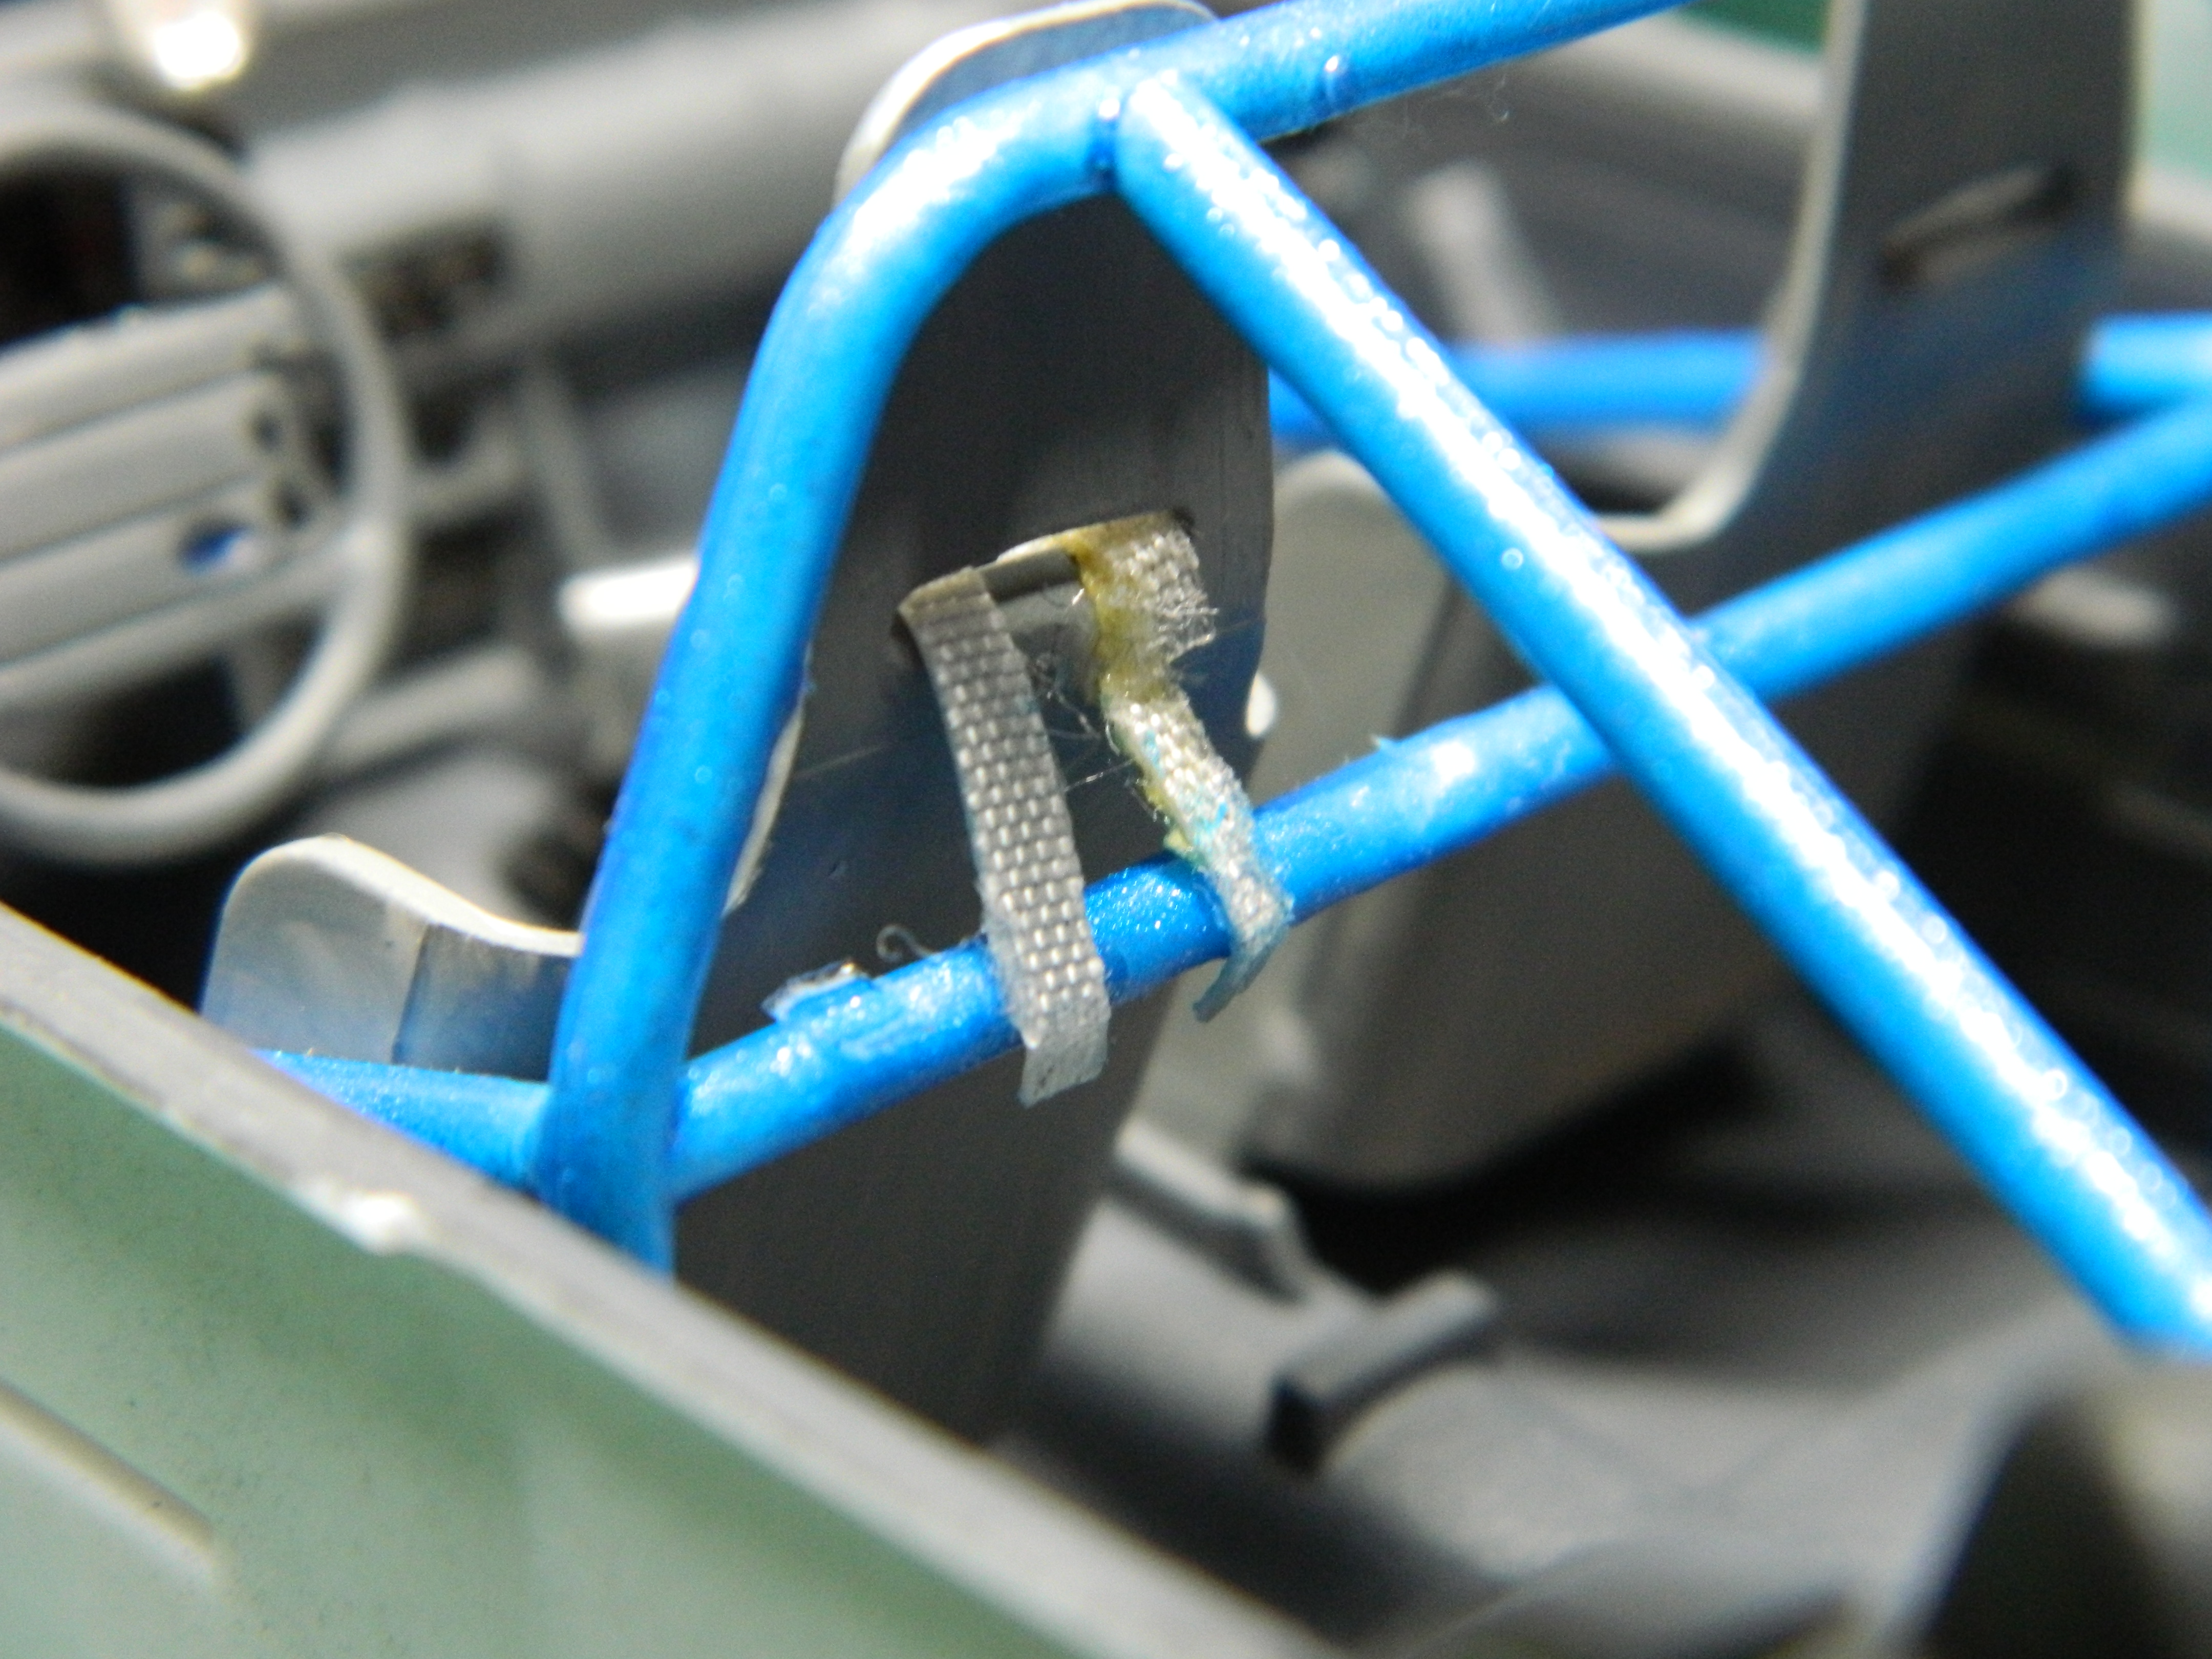
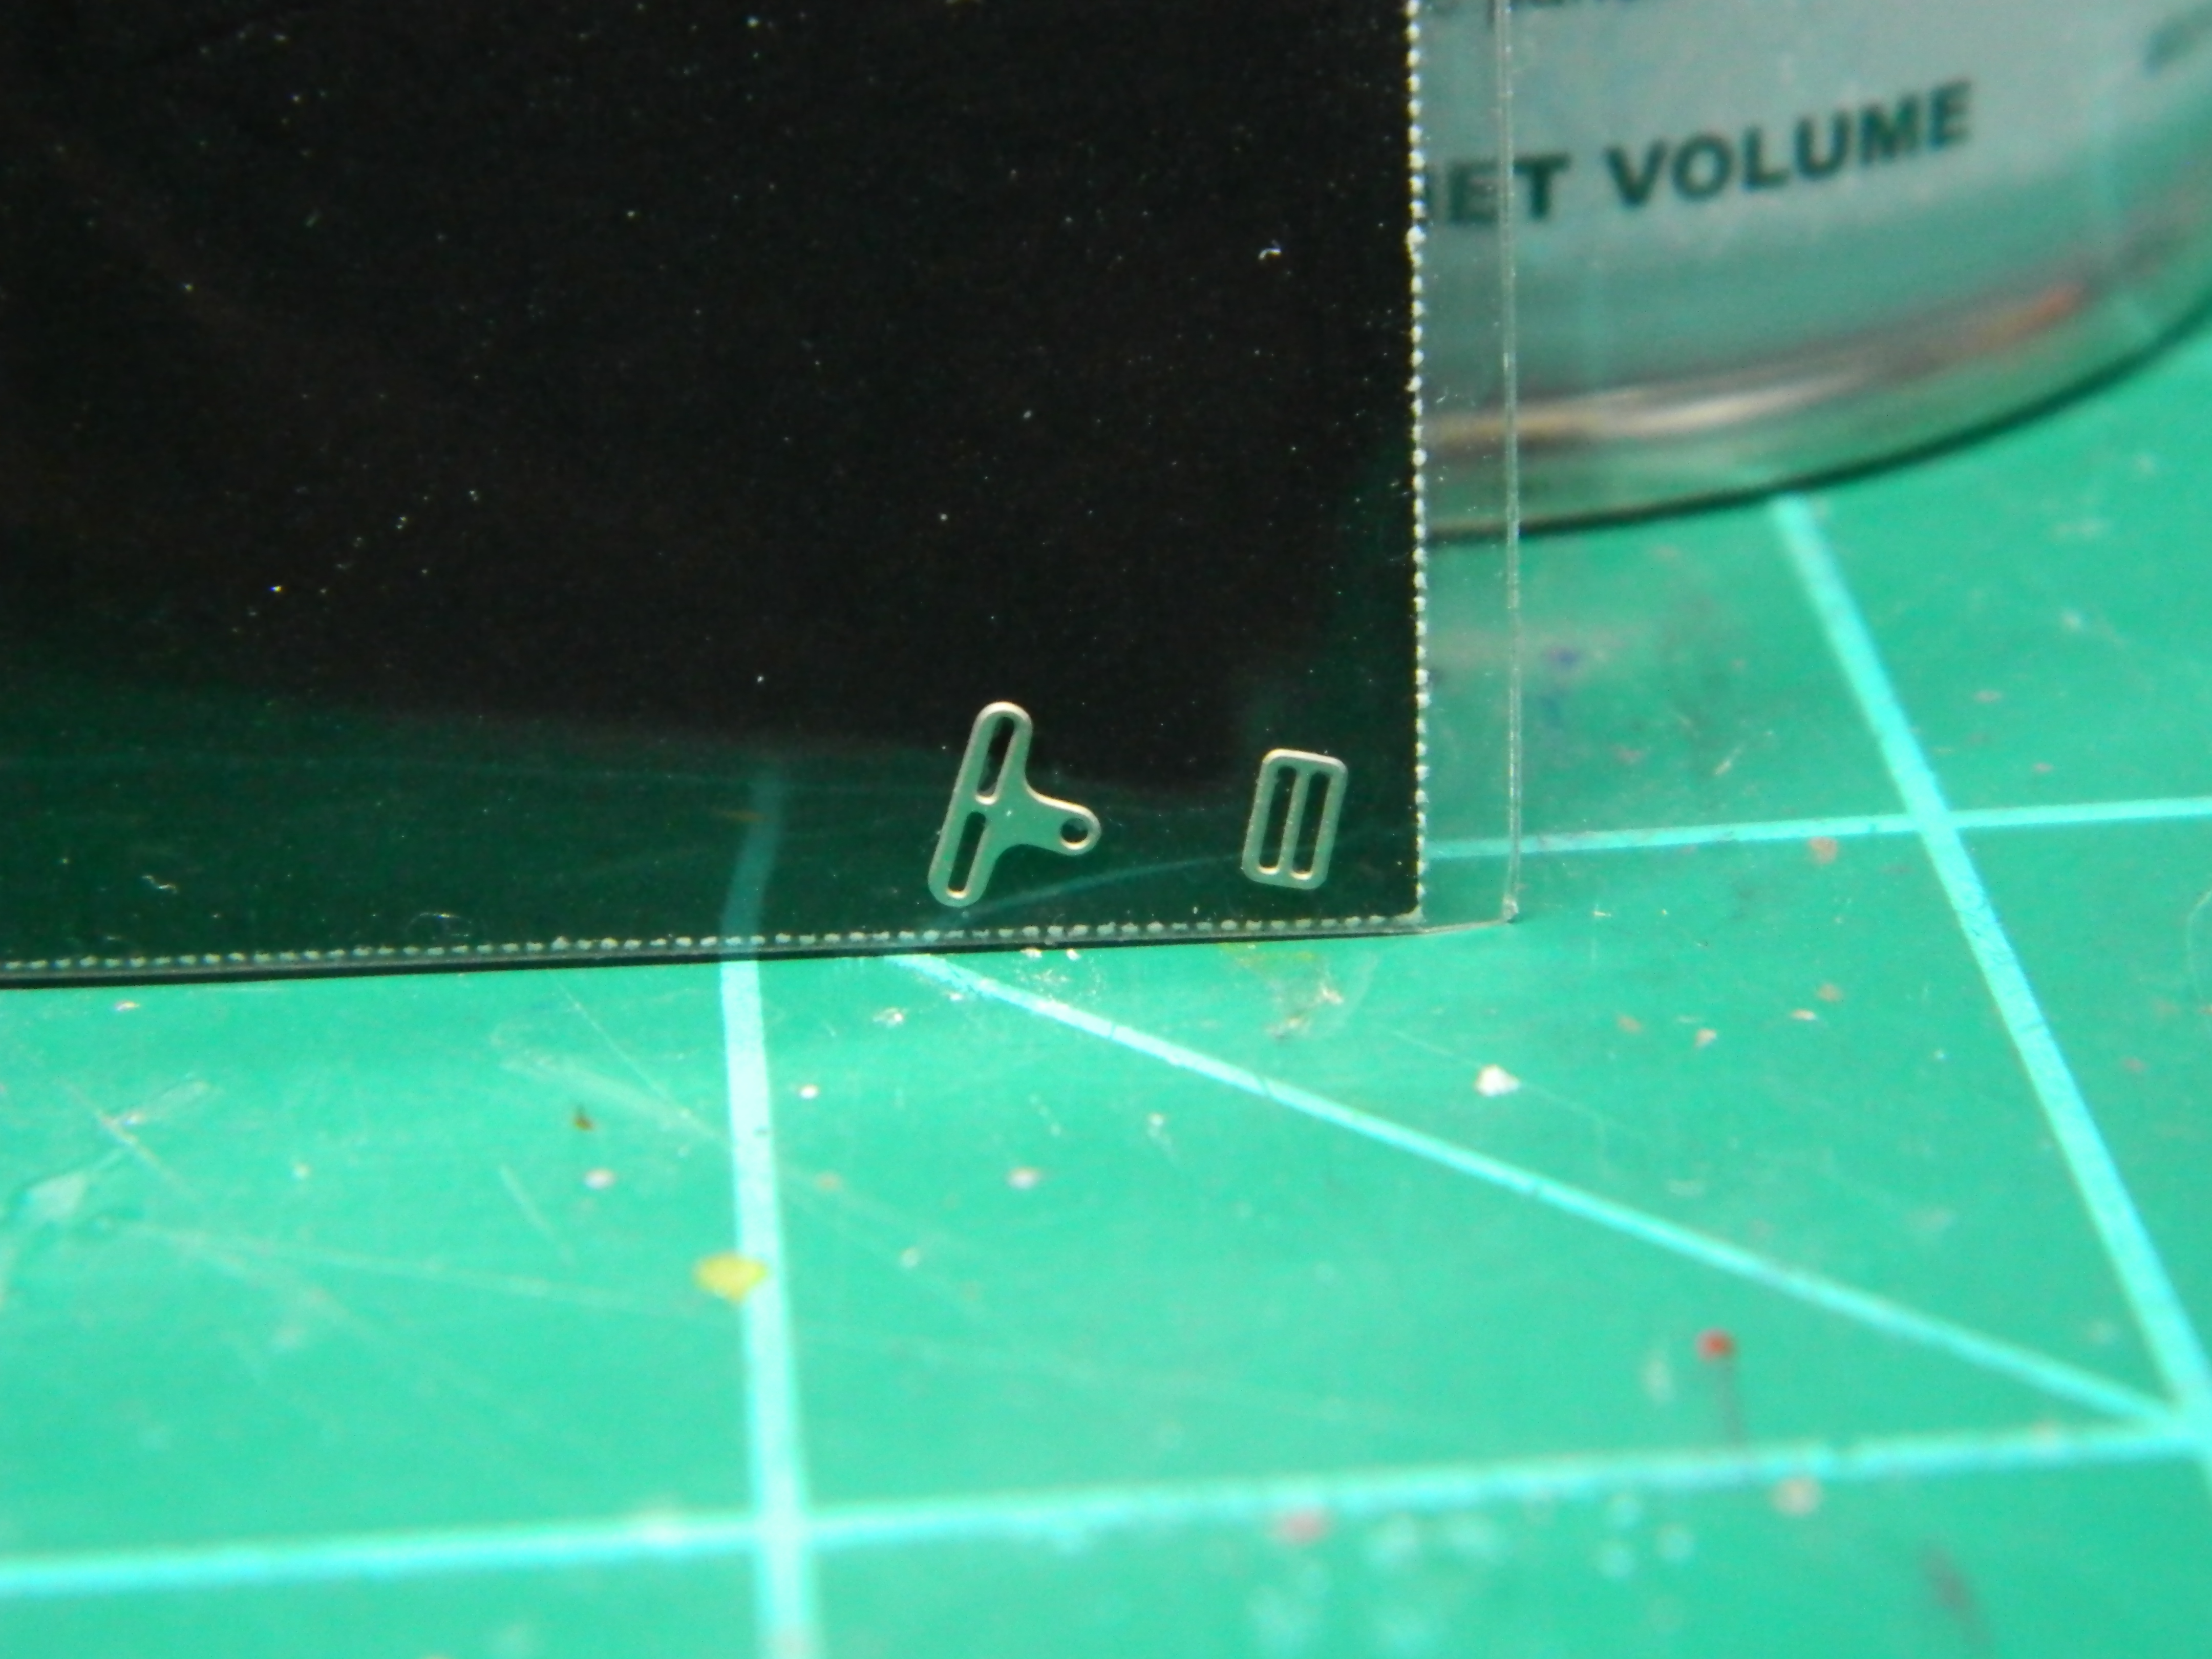
The Story McNally's neighbor Calvin comes out of his house after wondering why all the flashing lights. McNally explains that Artie had broke into his house again and he had shot him. Cal says that if McNally needs anything, to just come on over and knock on his door and McNally thanks him for the offer. Det. Darvell calls Lt. Troy into the house and the Boston PI stands in his driveway thinking and staring at the flashing lights on the Coroner's van. The next morning finds McNally driving to Artie's apartment in Chelsea. He goes up to Artie's apartment and finds the hallway filled with some furniture and other stuff. Artie's girlfriend is in the process of moving out. She has had enough of Artie's racing and his single minded foolishness. McNally tries to talk to her and explain why he shot him, but she wasn't stopping to listen. She wanted out of the apartment. The Build I spent almost an hour trying to assemble the racing harnesses. This is as far as I got. The second belt was a little easier once I figured out a way to get it assembled. These little pieces went flying into the air and I knew I had to stop when that happened. I'll get back to these soon. McNally will return...
-
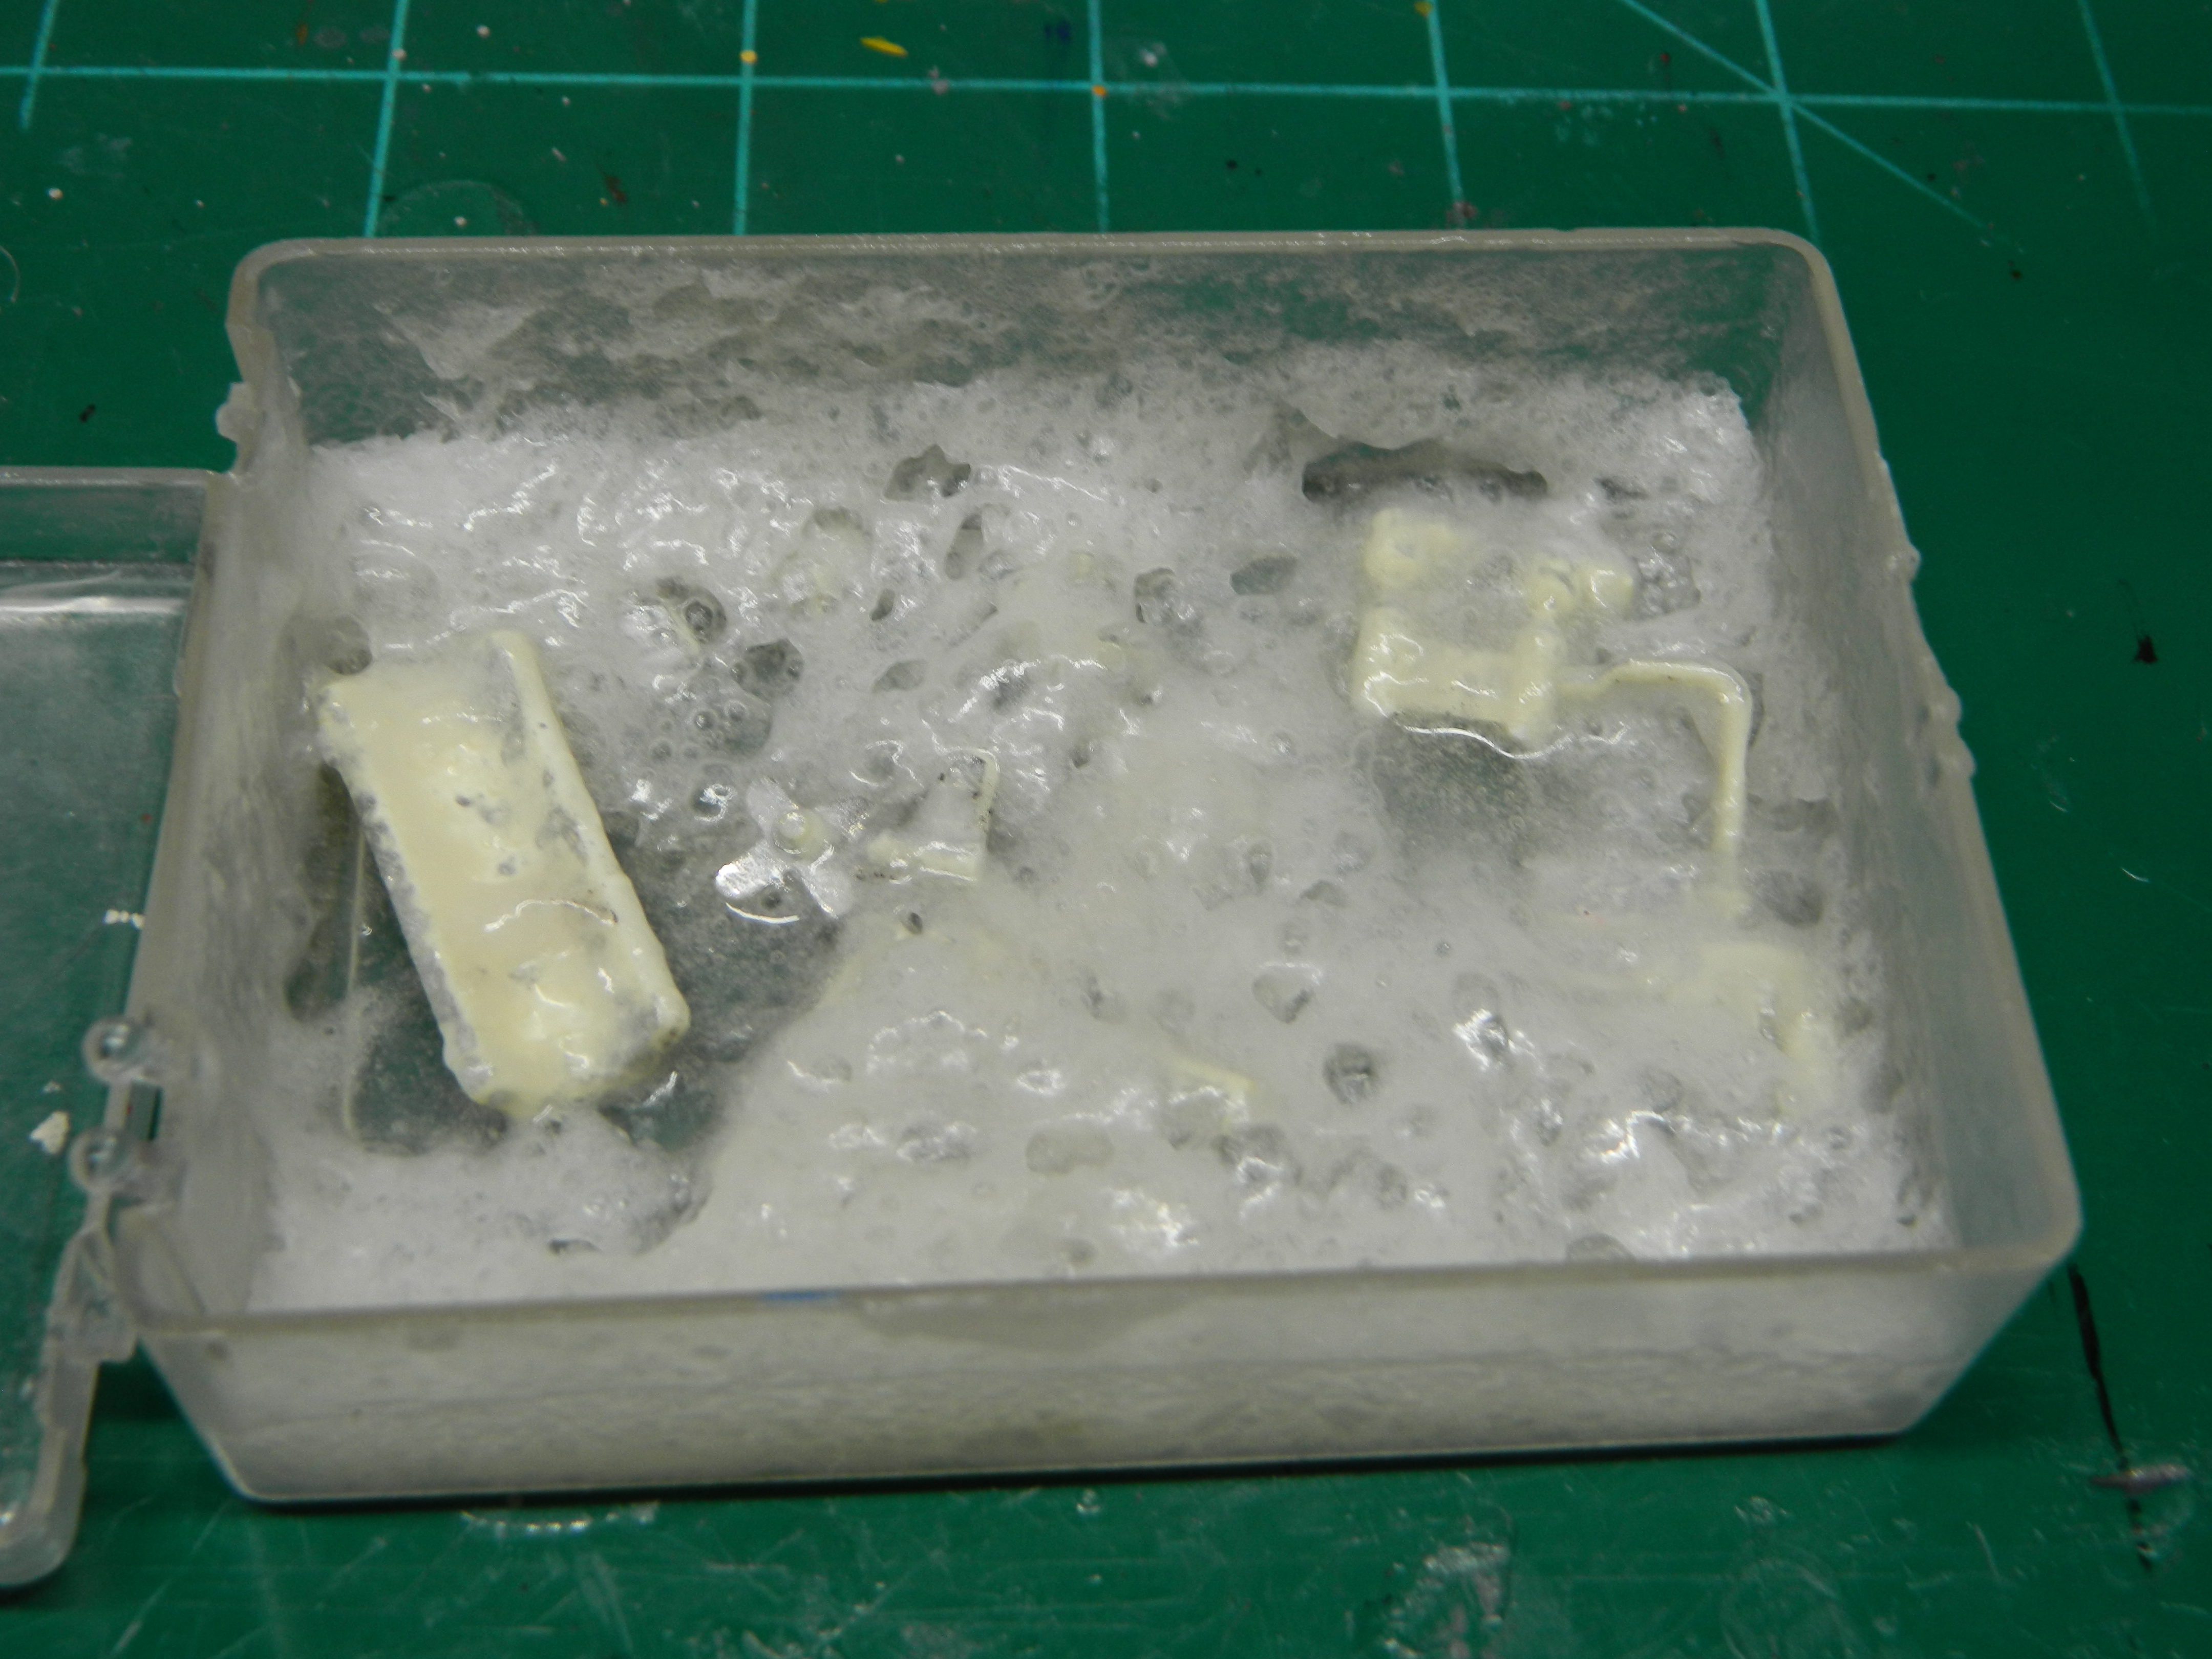
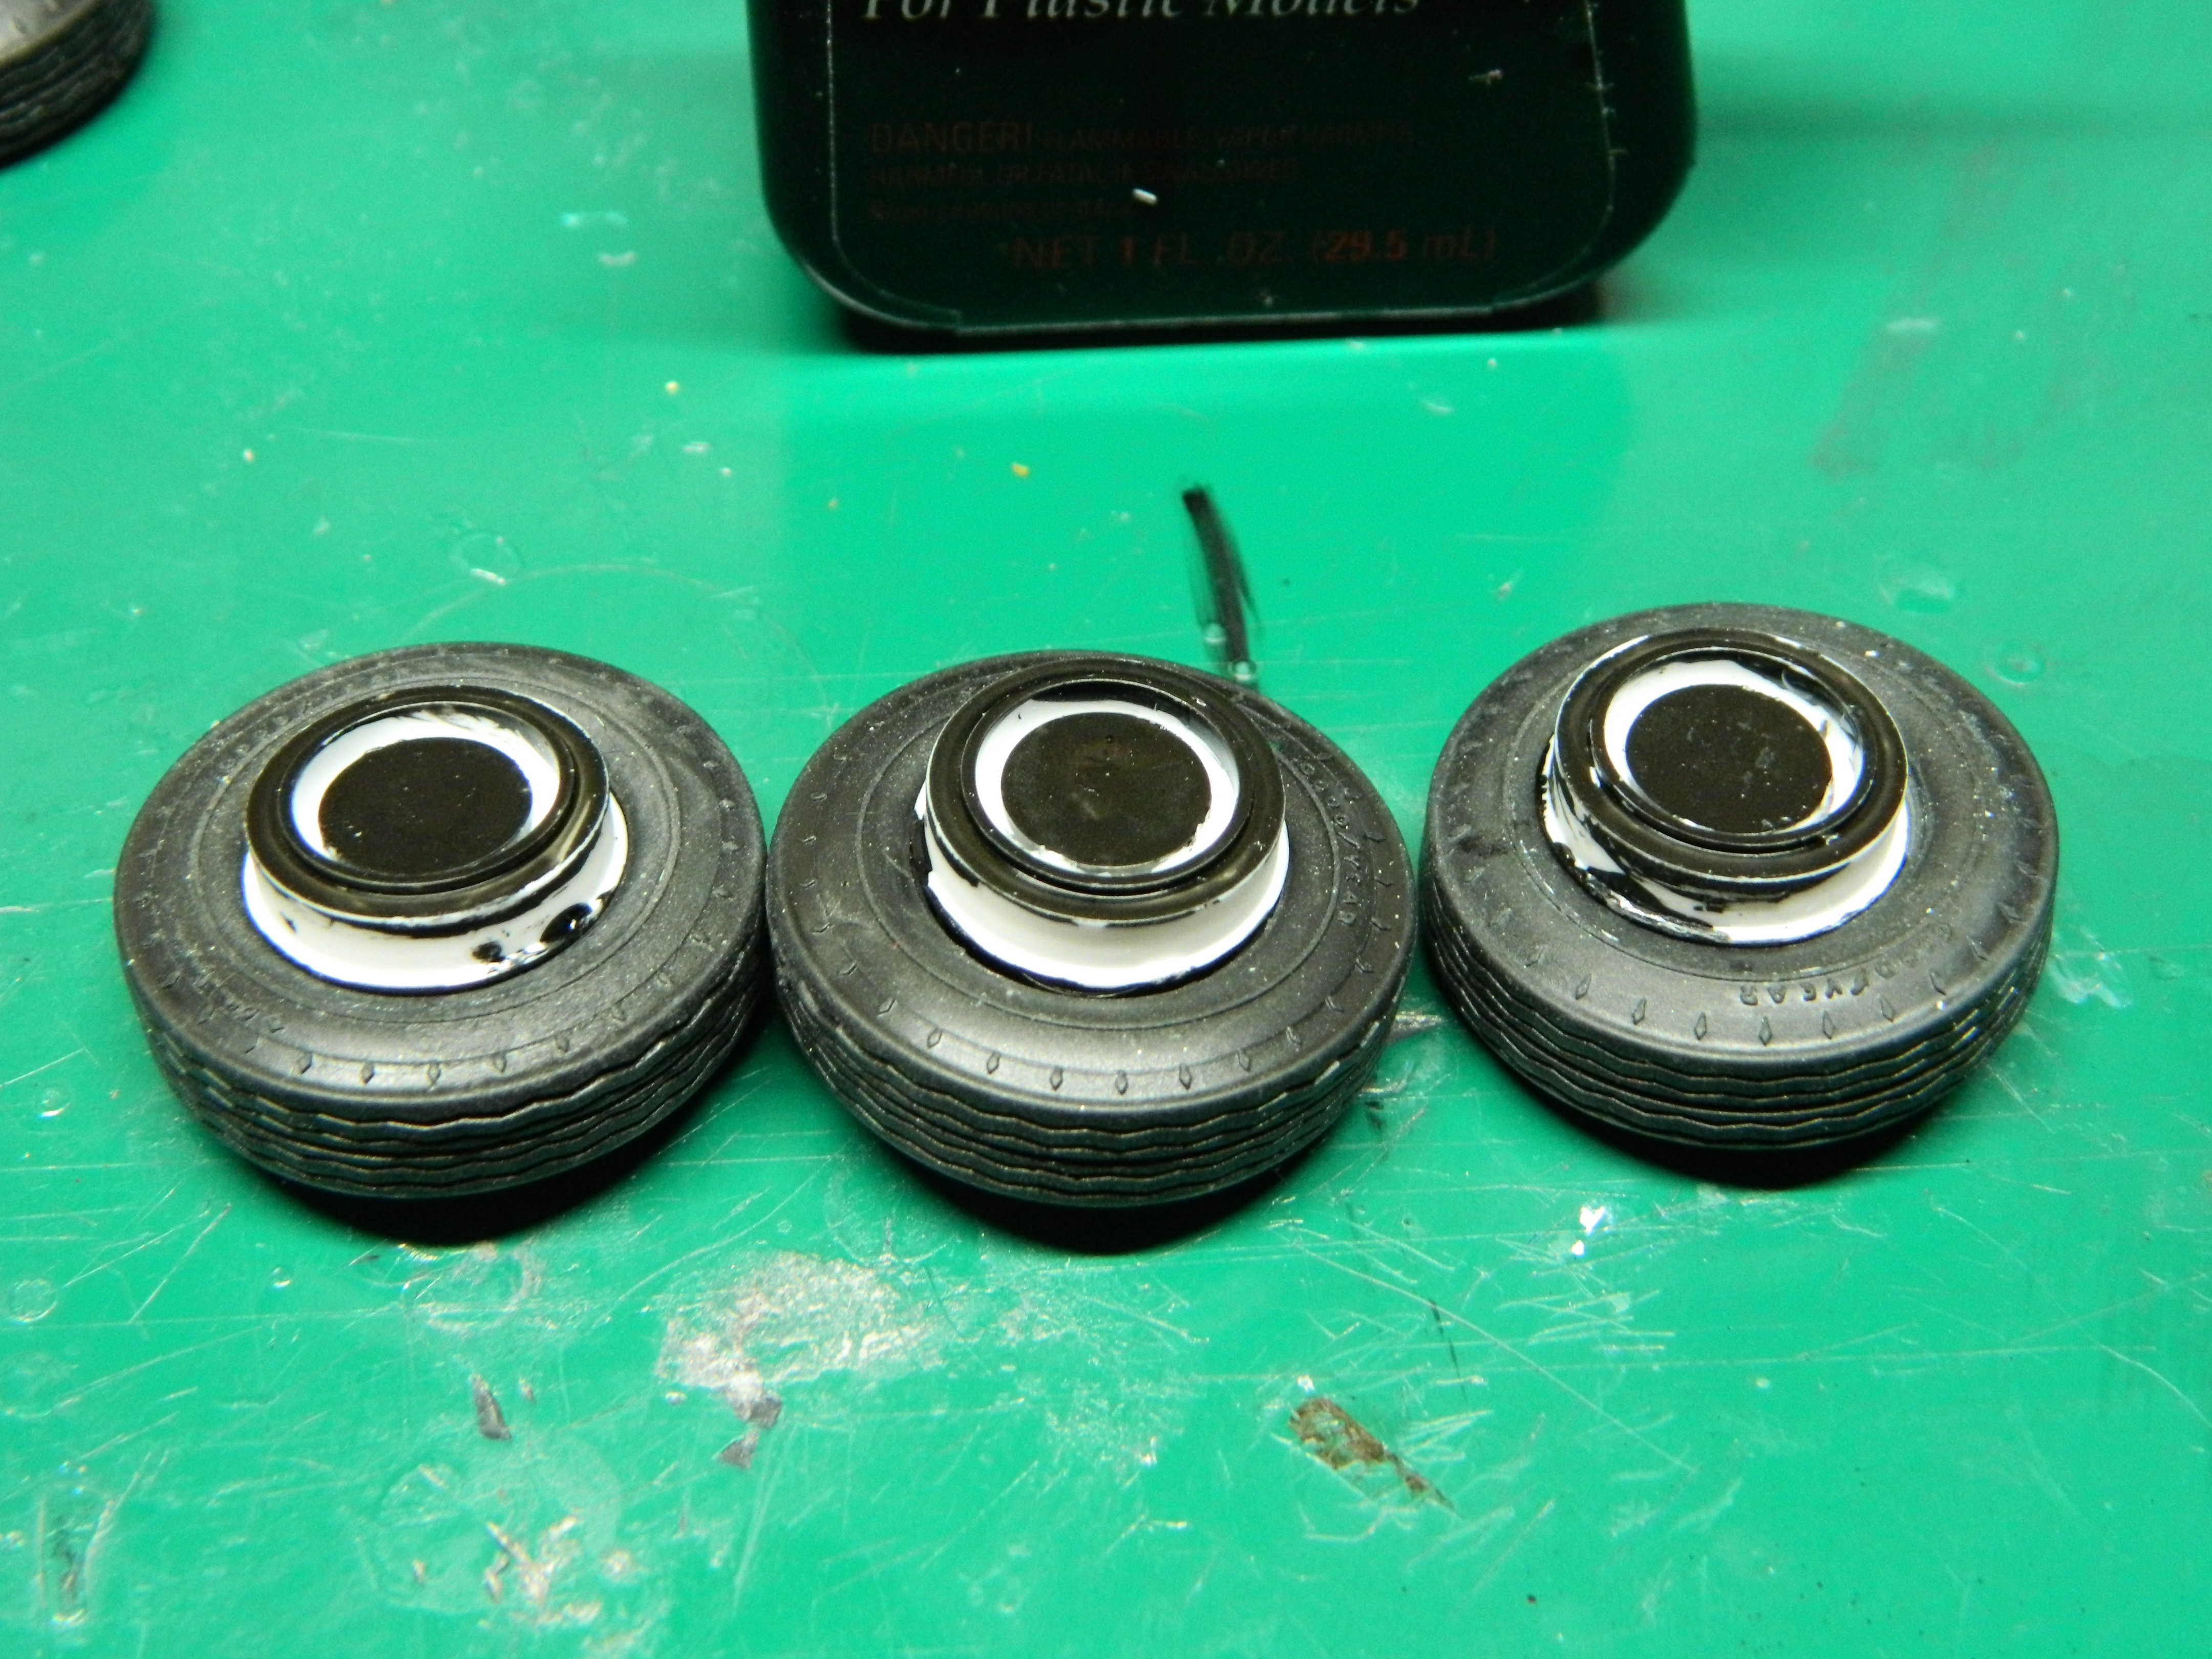
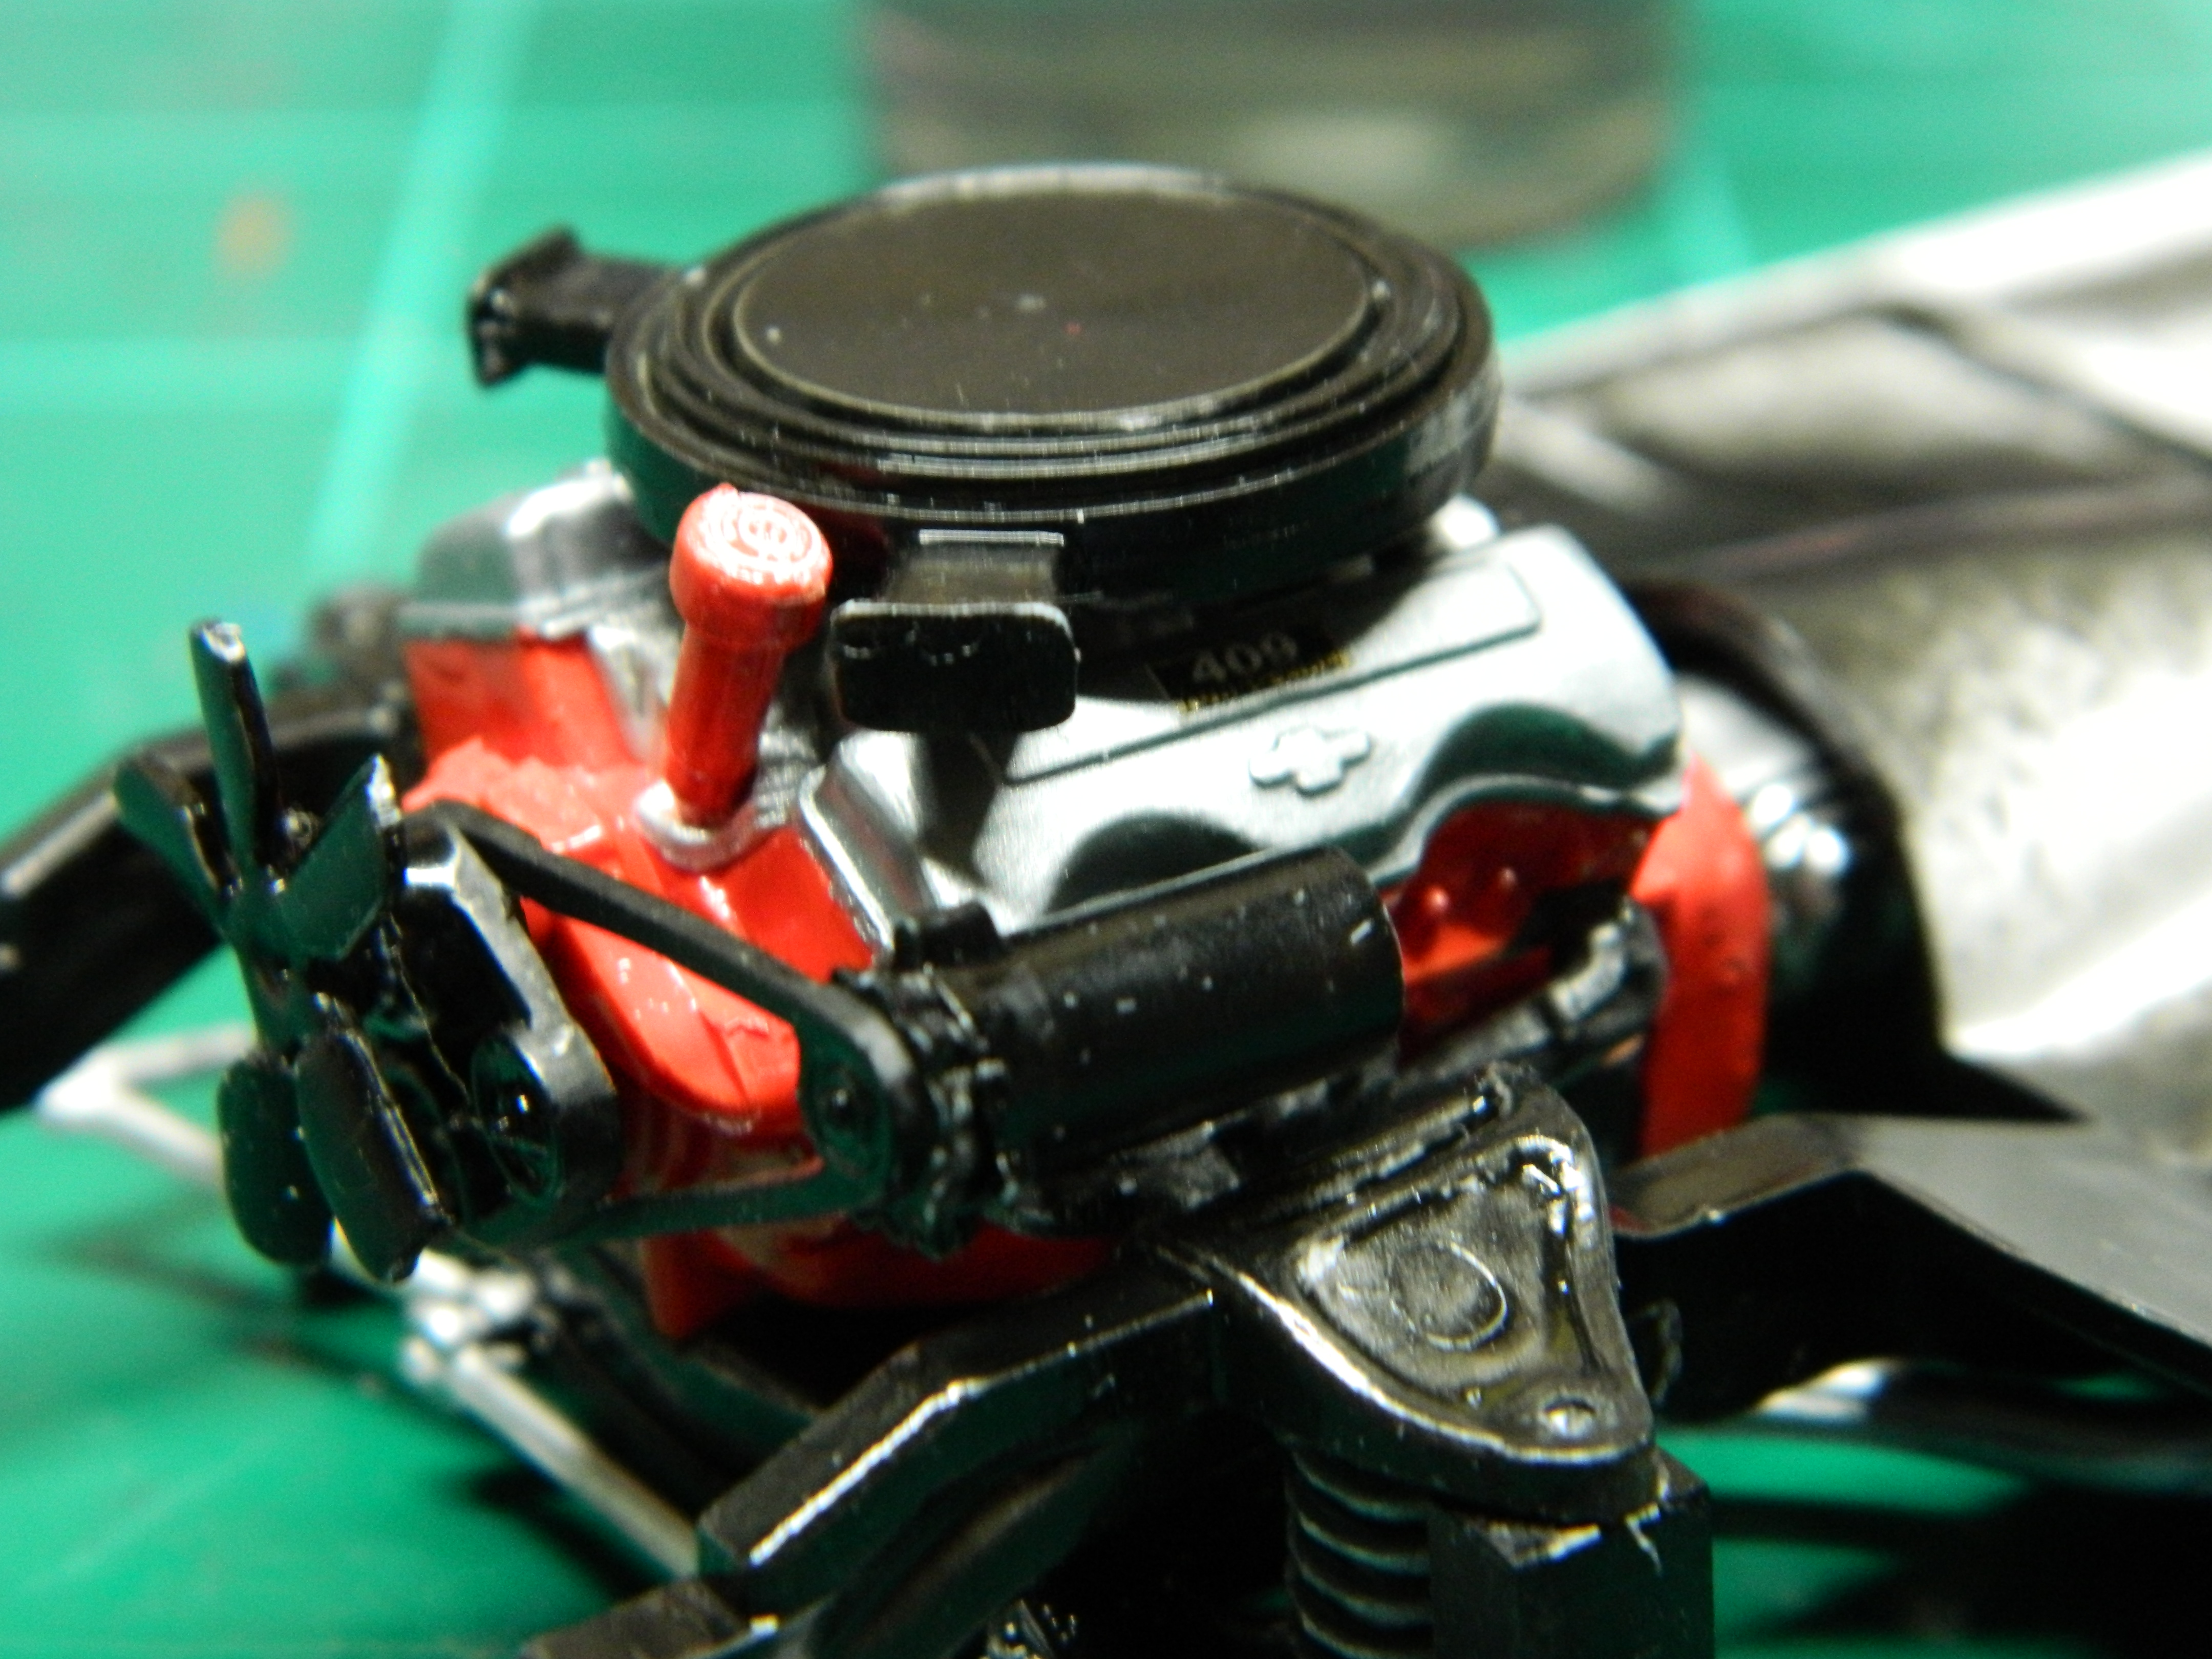
I decided to play around with this kit a little bit this afternoon. I assembled the whitewalls, but I'll turn the tires backwards and paint the whitewalls flat black or rubber color to hide them. Whitewalls on a sports car? Must be a '60s thing. I thought I was going to assemble a good part of the engine only to discover that many parts are chrome plated. I removed those parts from the main sprue, leaving the number tags on them and gave them a bath in Easy-Off Oven Cleaner. More to come...
-
Thanks guys! I need to get more clear so I can finish this Cyclone. I love how the color has gotten richer with clear added to it!
-
I fired up the paintbooth again and clearcoated the Cyclone with Tamiya TS-13 Gloss Clear until I ran out of clear. Off to the LHS for more clear and a few other items. More to come...
-
Thanks Ron! I started on some racing seat harnesses this afternoon and got two shoulder straps made in an hour. Not bad when you consider that I have never made these before. I was going for the crotch belts when that piece went flying through the air, so I decided to quit. I found the crotch buckle later when I was cleaning up the bench. I'll give it another go tomorrow.
-
Thanks Tom! Yes, the shifter ball is on the large size. I was tempted to try and draw a 4-spped shift pattern on the ball, but opted not to since I did seem to be a little unsteady that day. If I had an extra 4-speed decal, I would have used that.
-
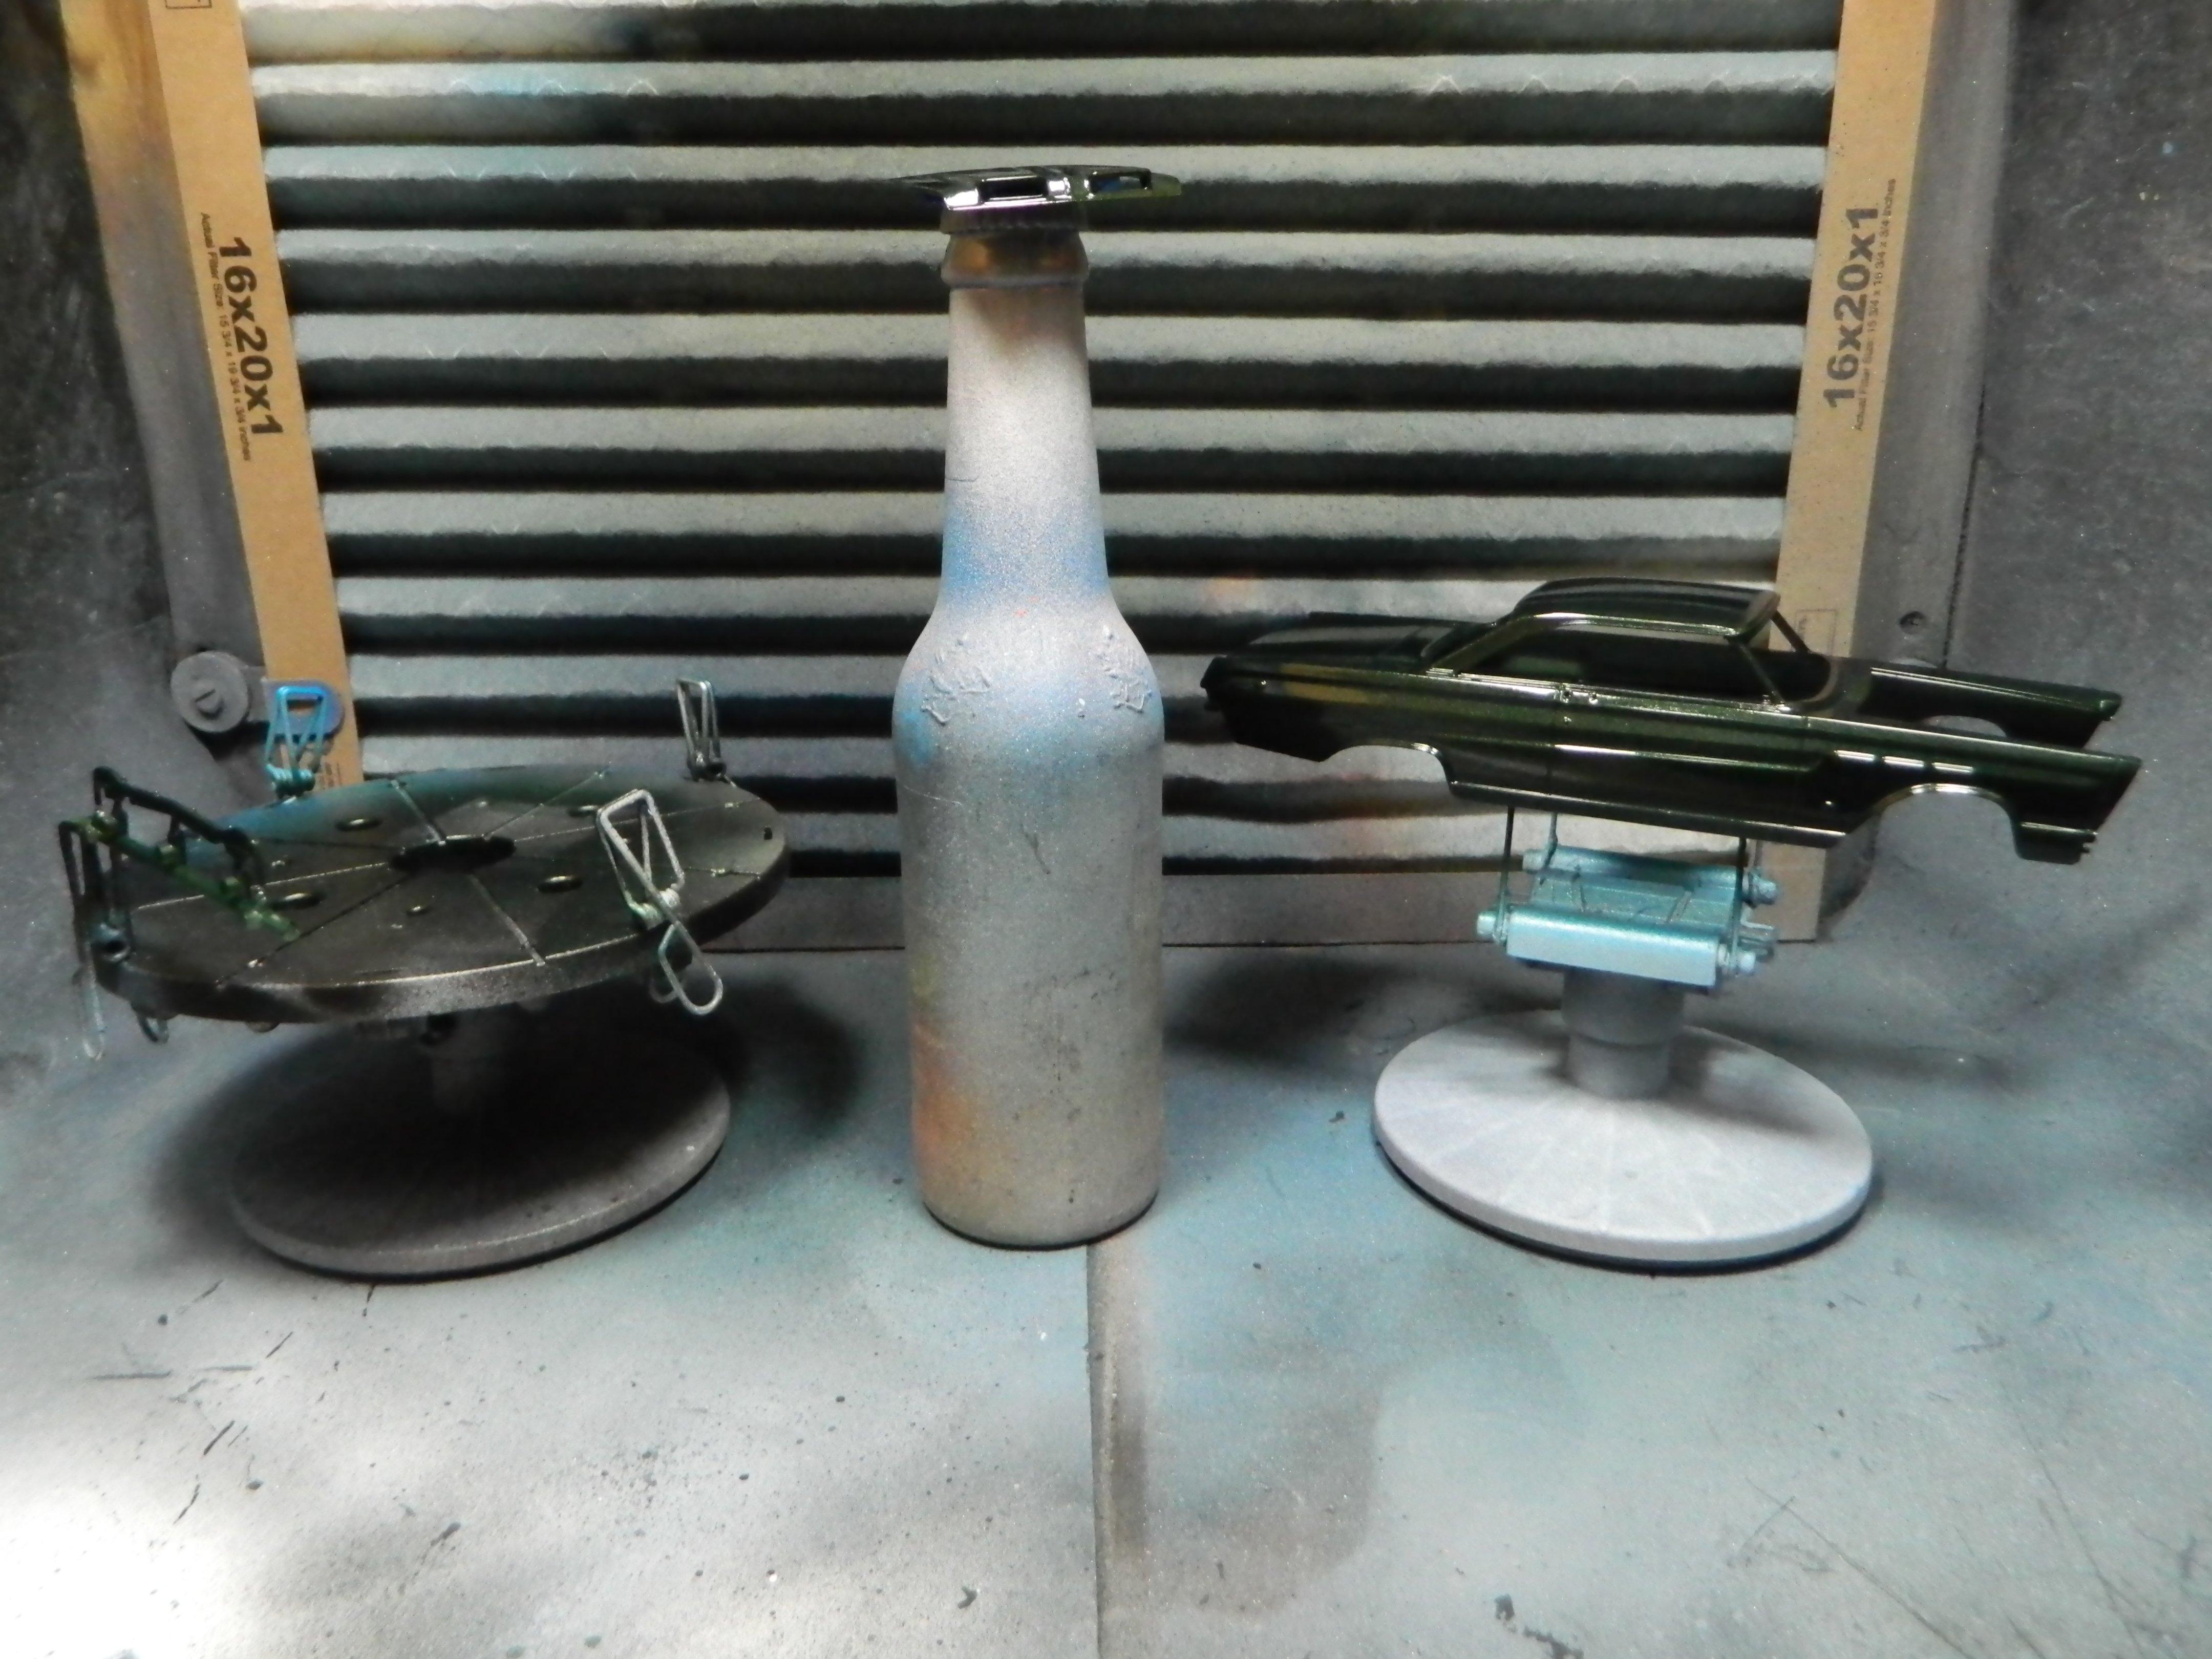
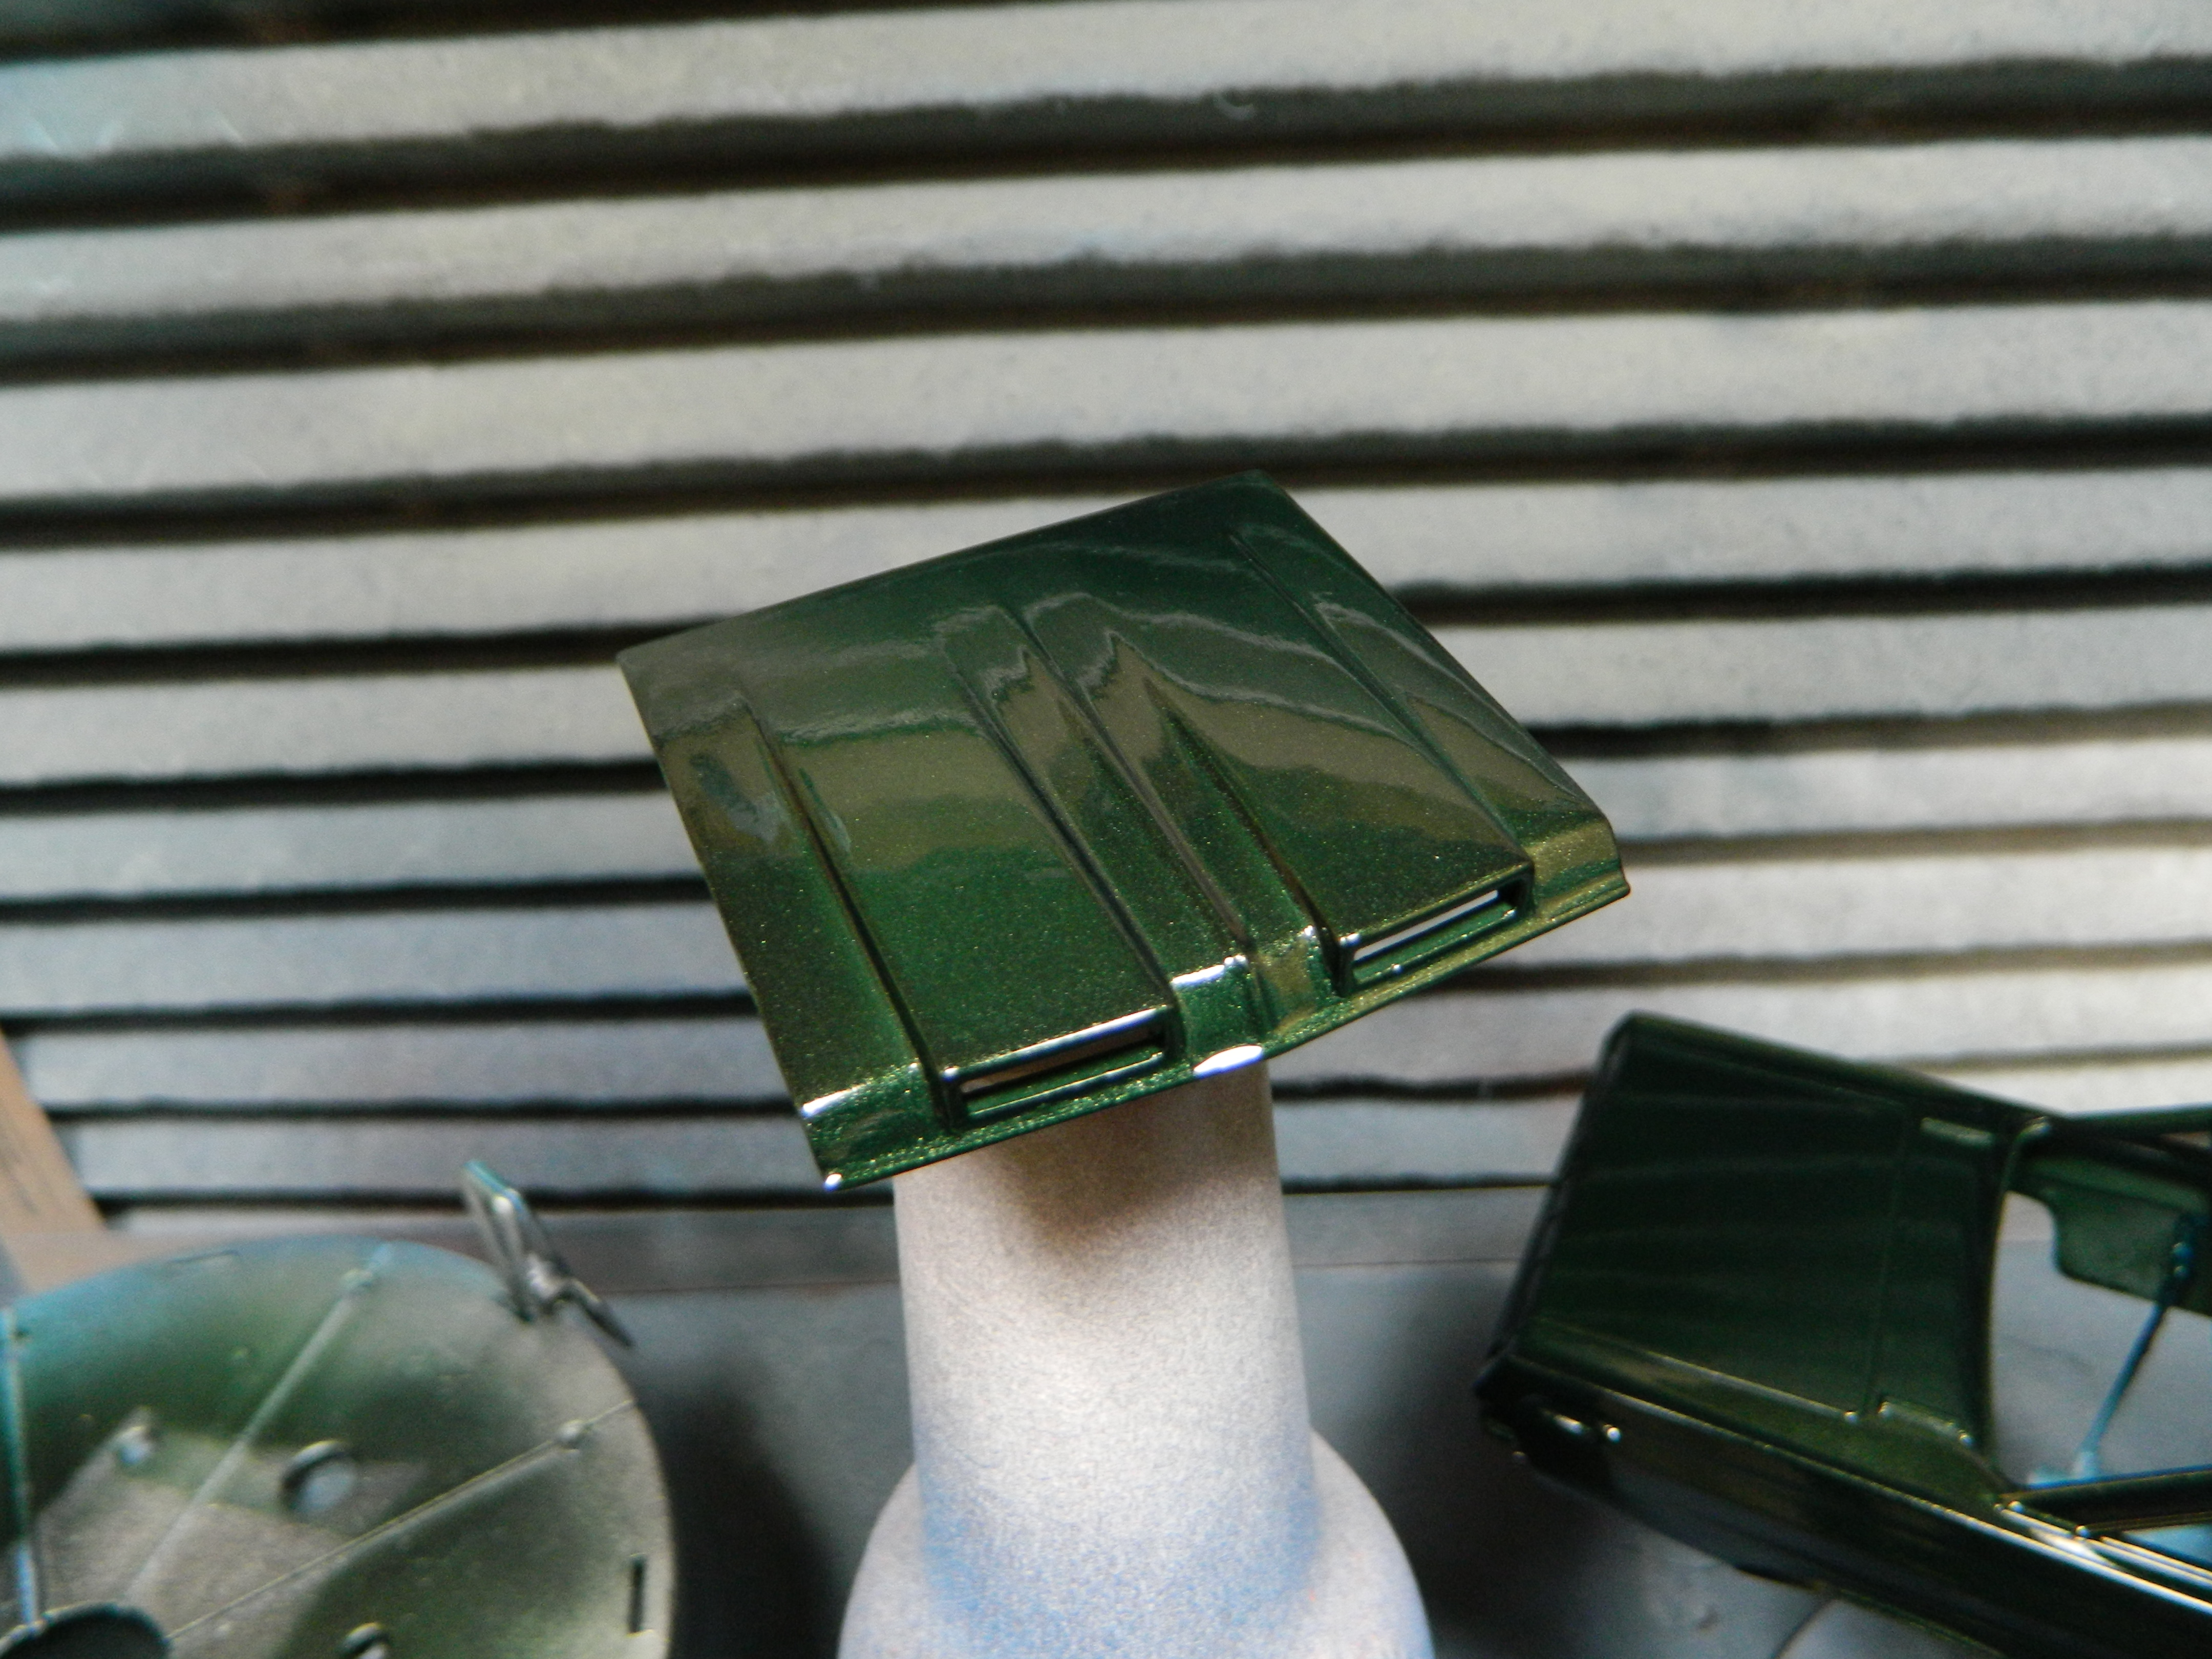
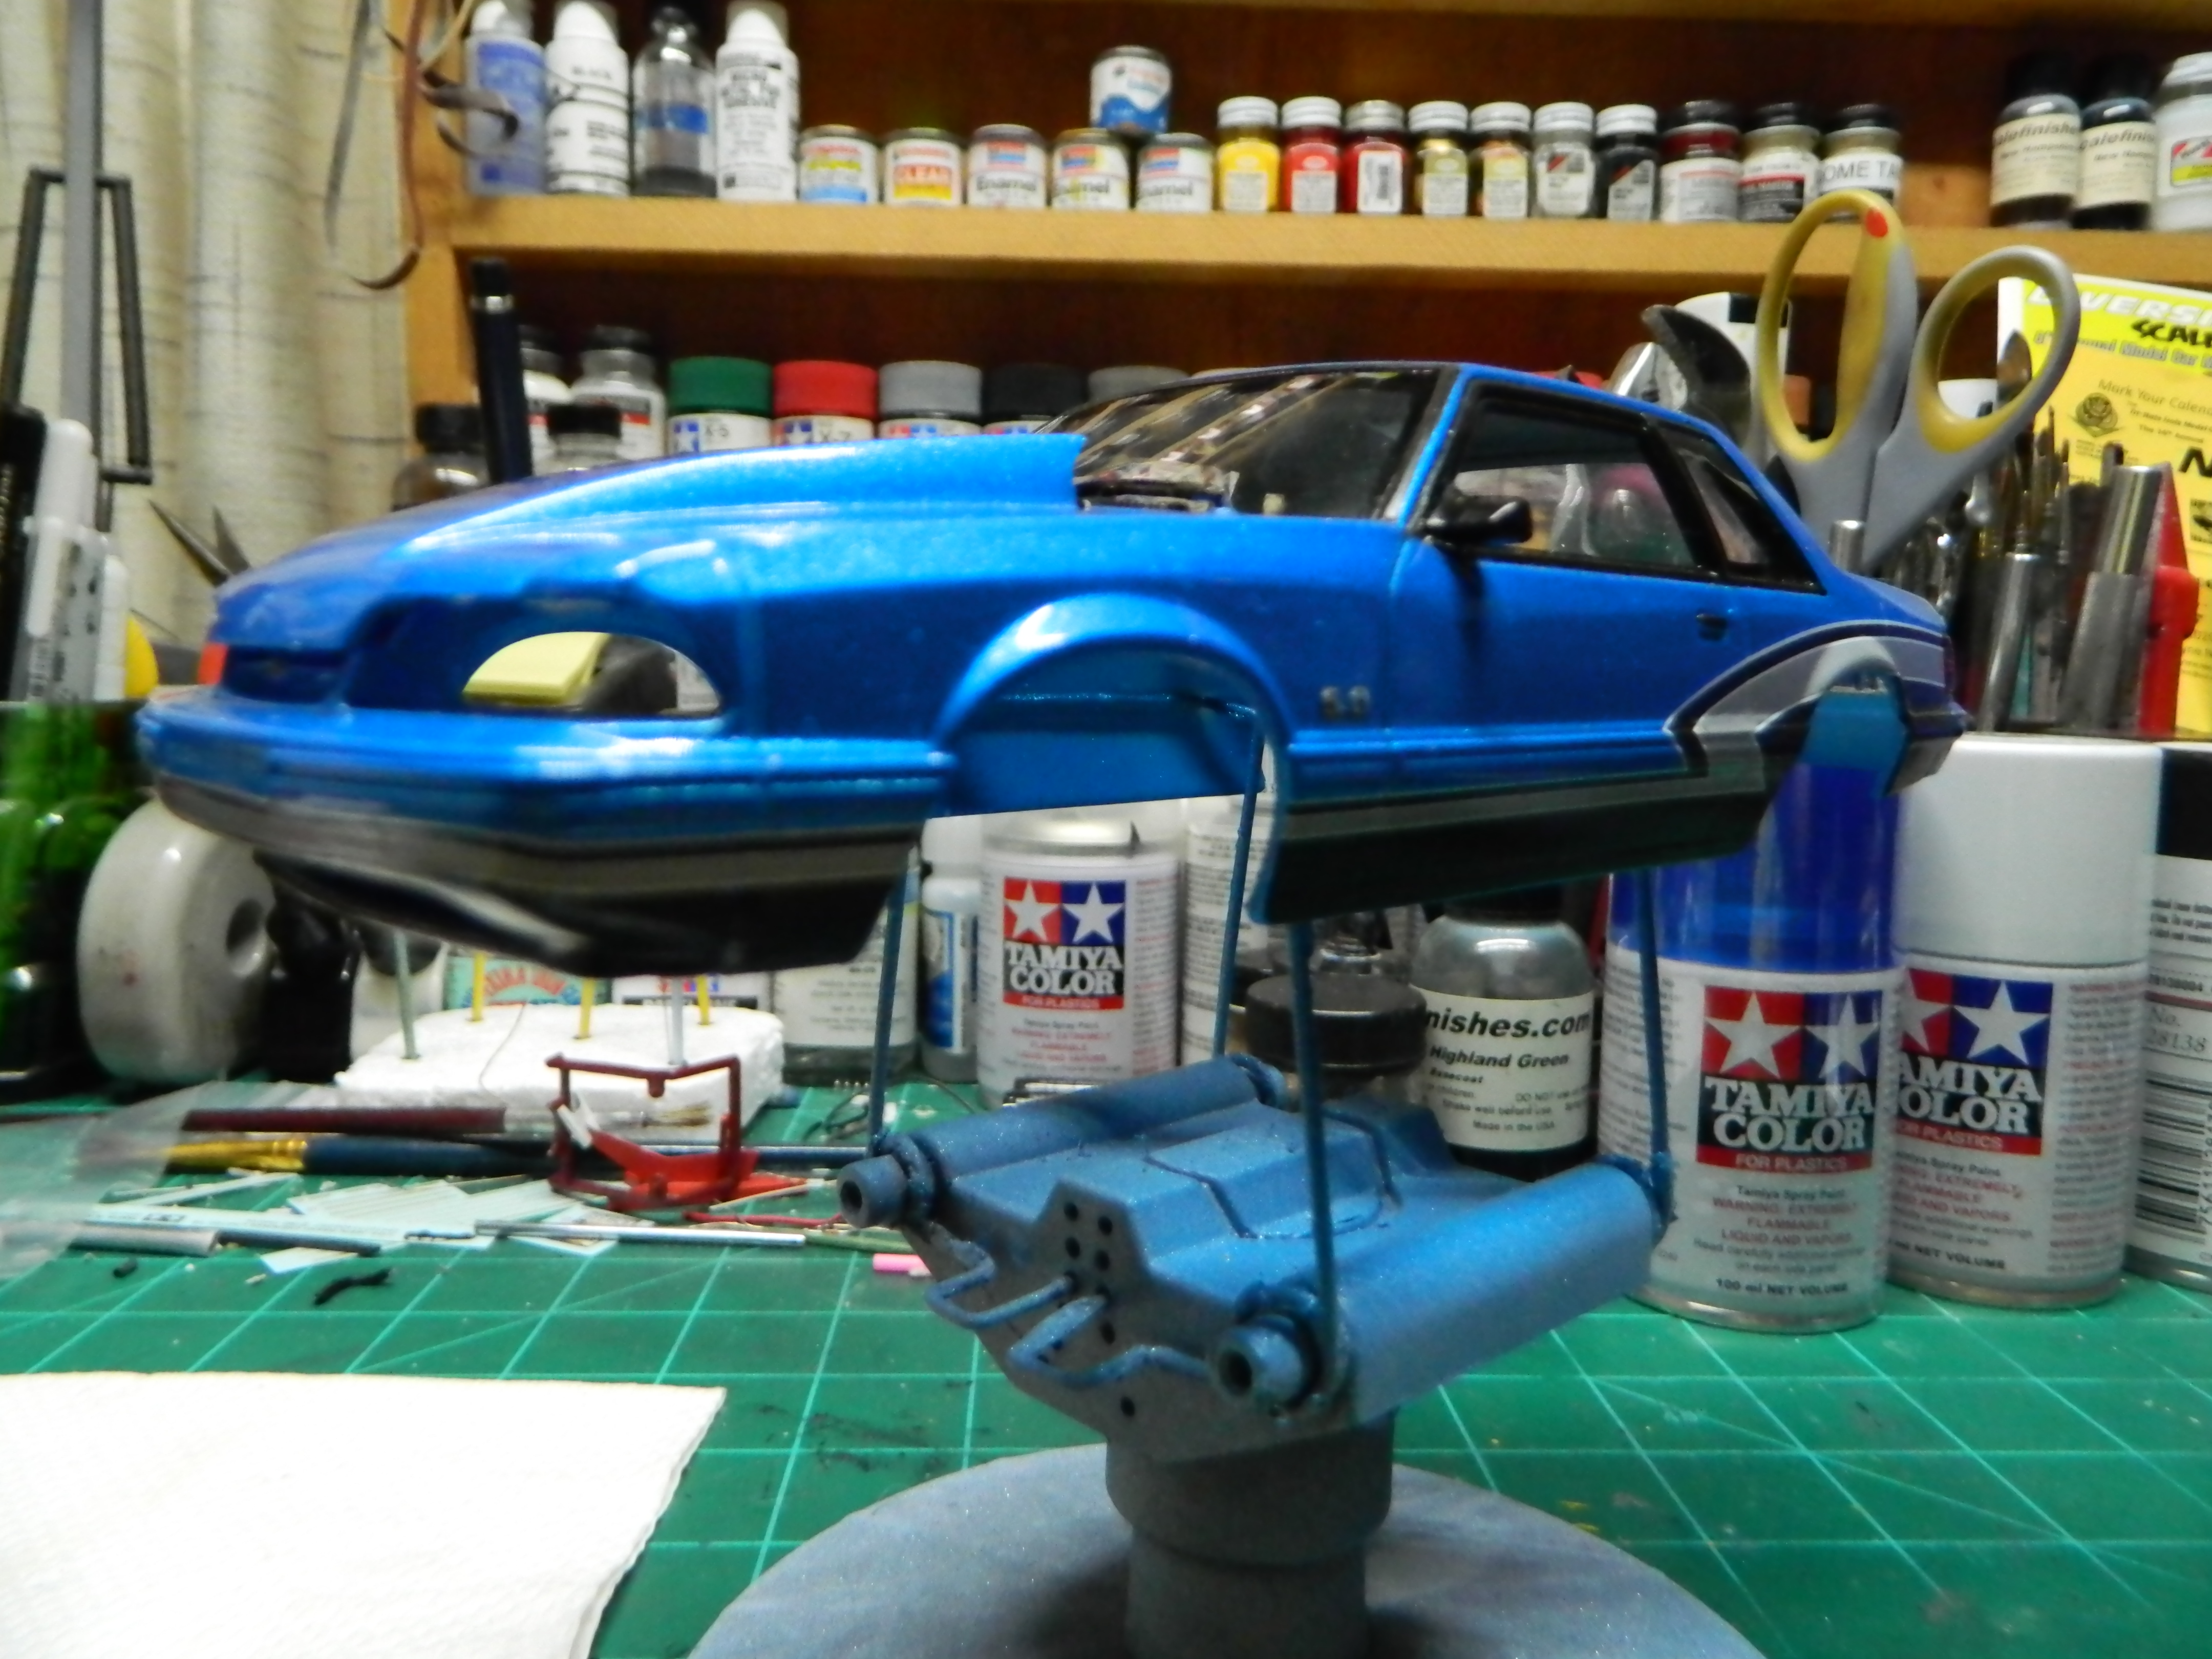
I fired up the paintbooth and sprayed the Cyclone this morning with Ford Highland Green Metallic from Scalefinishes. I got another dual scoop hood from fellow Club member Eric. Thank you Eric! More to come...
-
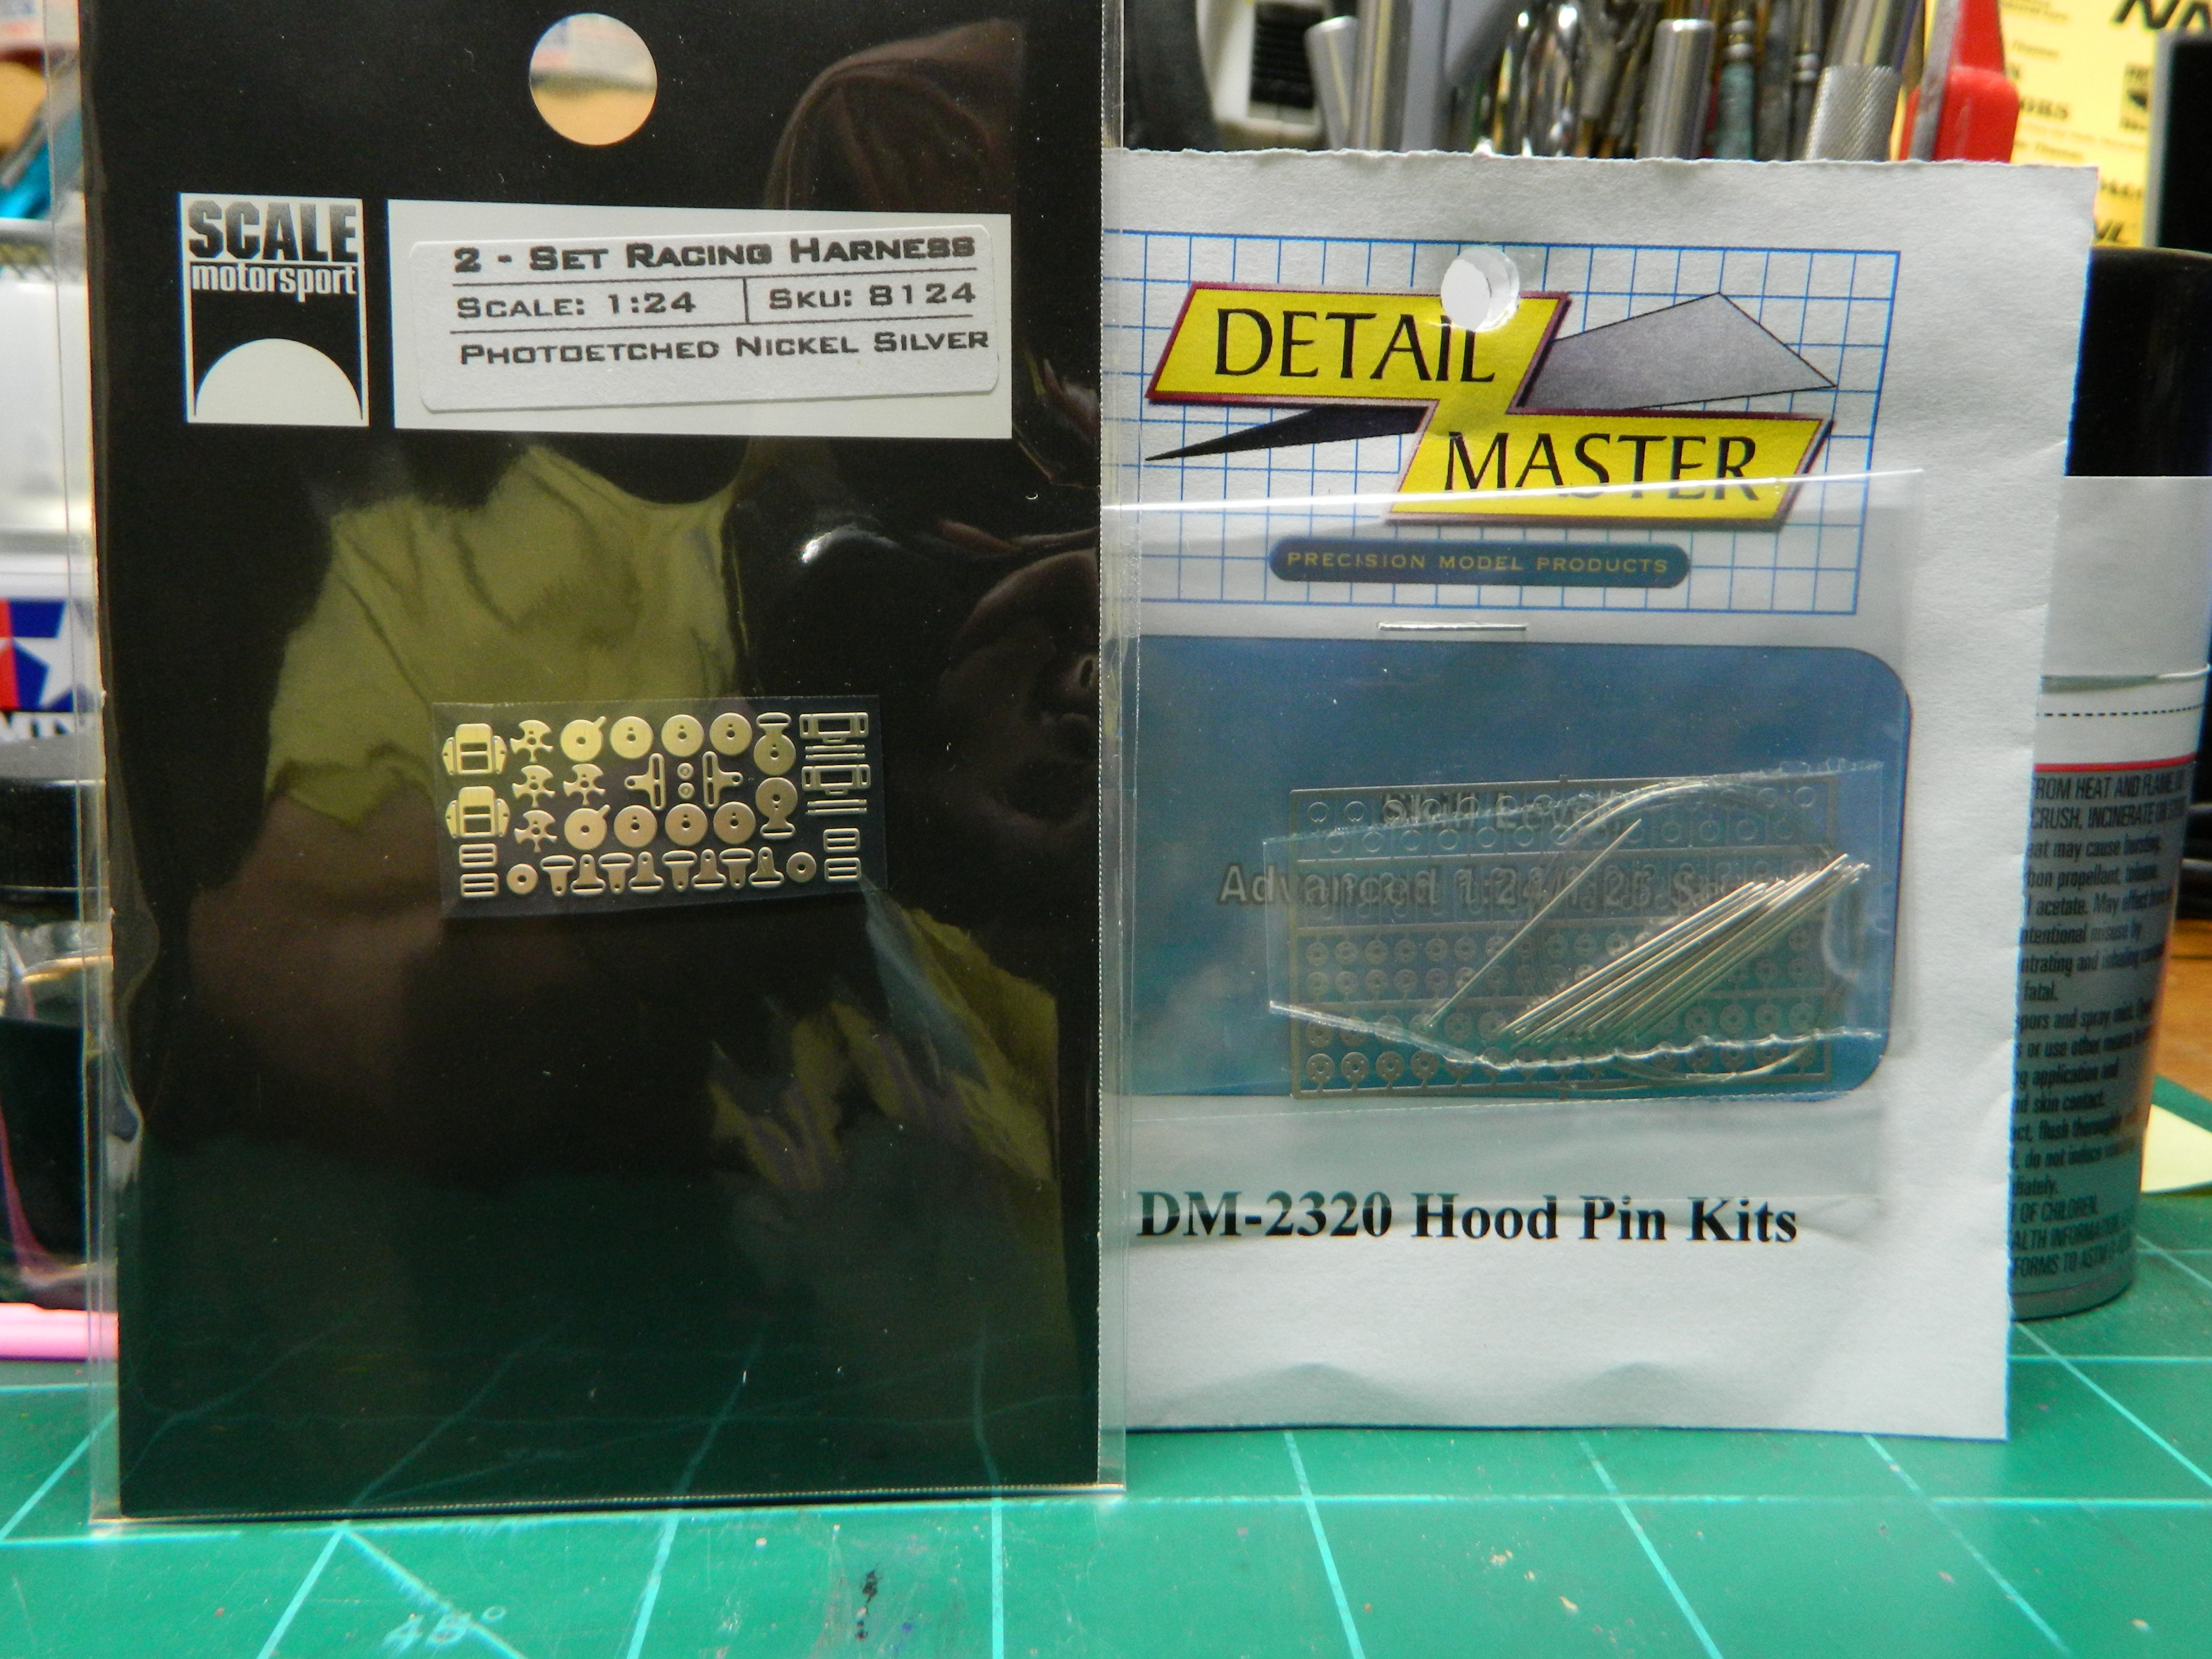
The Story Lt. Det. Adam Troy drives down Dardenvale St. and stops at the tapeline surrounding McNally's house. He walks up to the front door and he sees the corpse lying on the floor in the living room and the Coroner preforming his exam of the body. The Coroner acknowledges Lt. Troy who asks where McNally is. The Coroner says he is around the corner in his office and Adam carefully walks around the body and into McNally's office where he is typing his statement on his computer. Adam notices an open beer sitting on the desk and he asks how many McNally has had. "Just the one and I took only one swig out of it." McNally prints the statement out and staples the two pages together and hands it to Adam and then he says, "I need some air." They walk over to the slider door and walk outside after looking at the lock on the door which is broken again. He'll place the wooden 2X4 in the track again to lock the door for the night. Adam asks his friend if he is okay and McNally tells Adam that he is tired, but okay. The Build I worked on the Mustang last week and though I tried to get the front decals to bend down on the front valance, that didn't work. I ran the decals across the front per the instructions after I painted it with Tamiya X-18 Semi-Gloss Black. The right side decal is missing the white stripe on the center rear of the decal. I tried to paint it with some white paint and made a bit of a mess which I'll have to clean up. I had the hood pin kit set aside for this project and I found a set of racing seat harnesses at NNL East 2019. McNally will return...
-
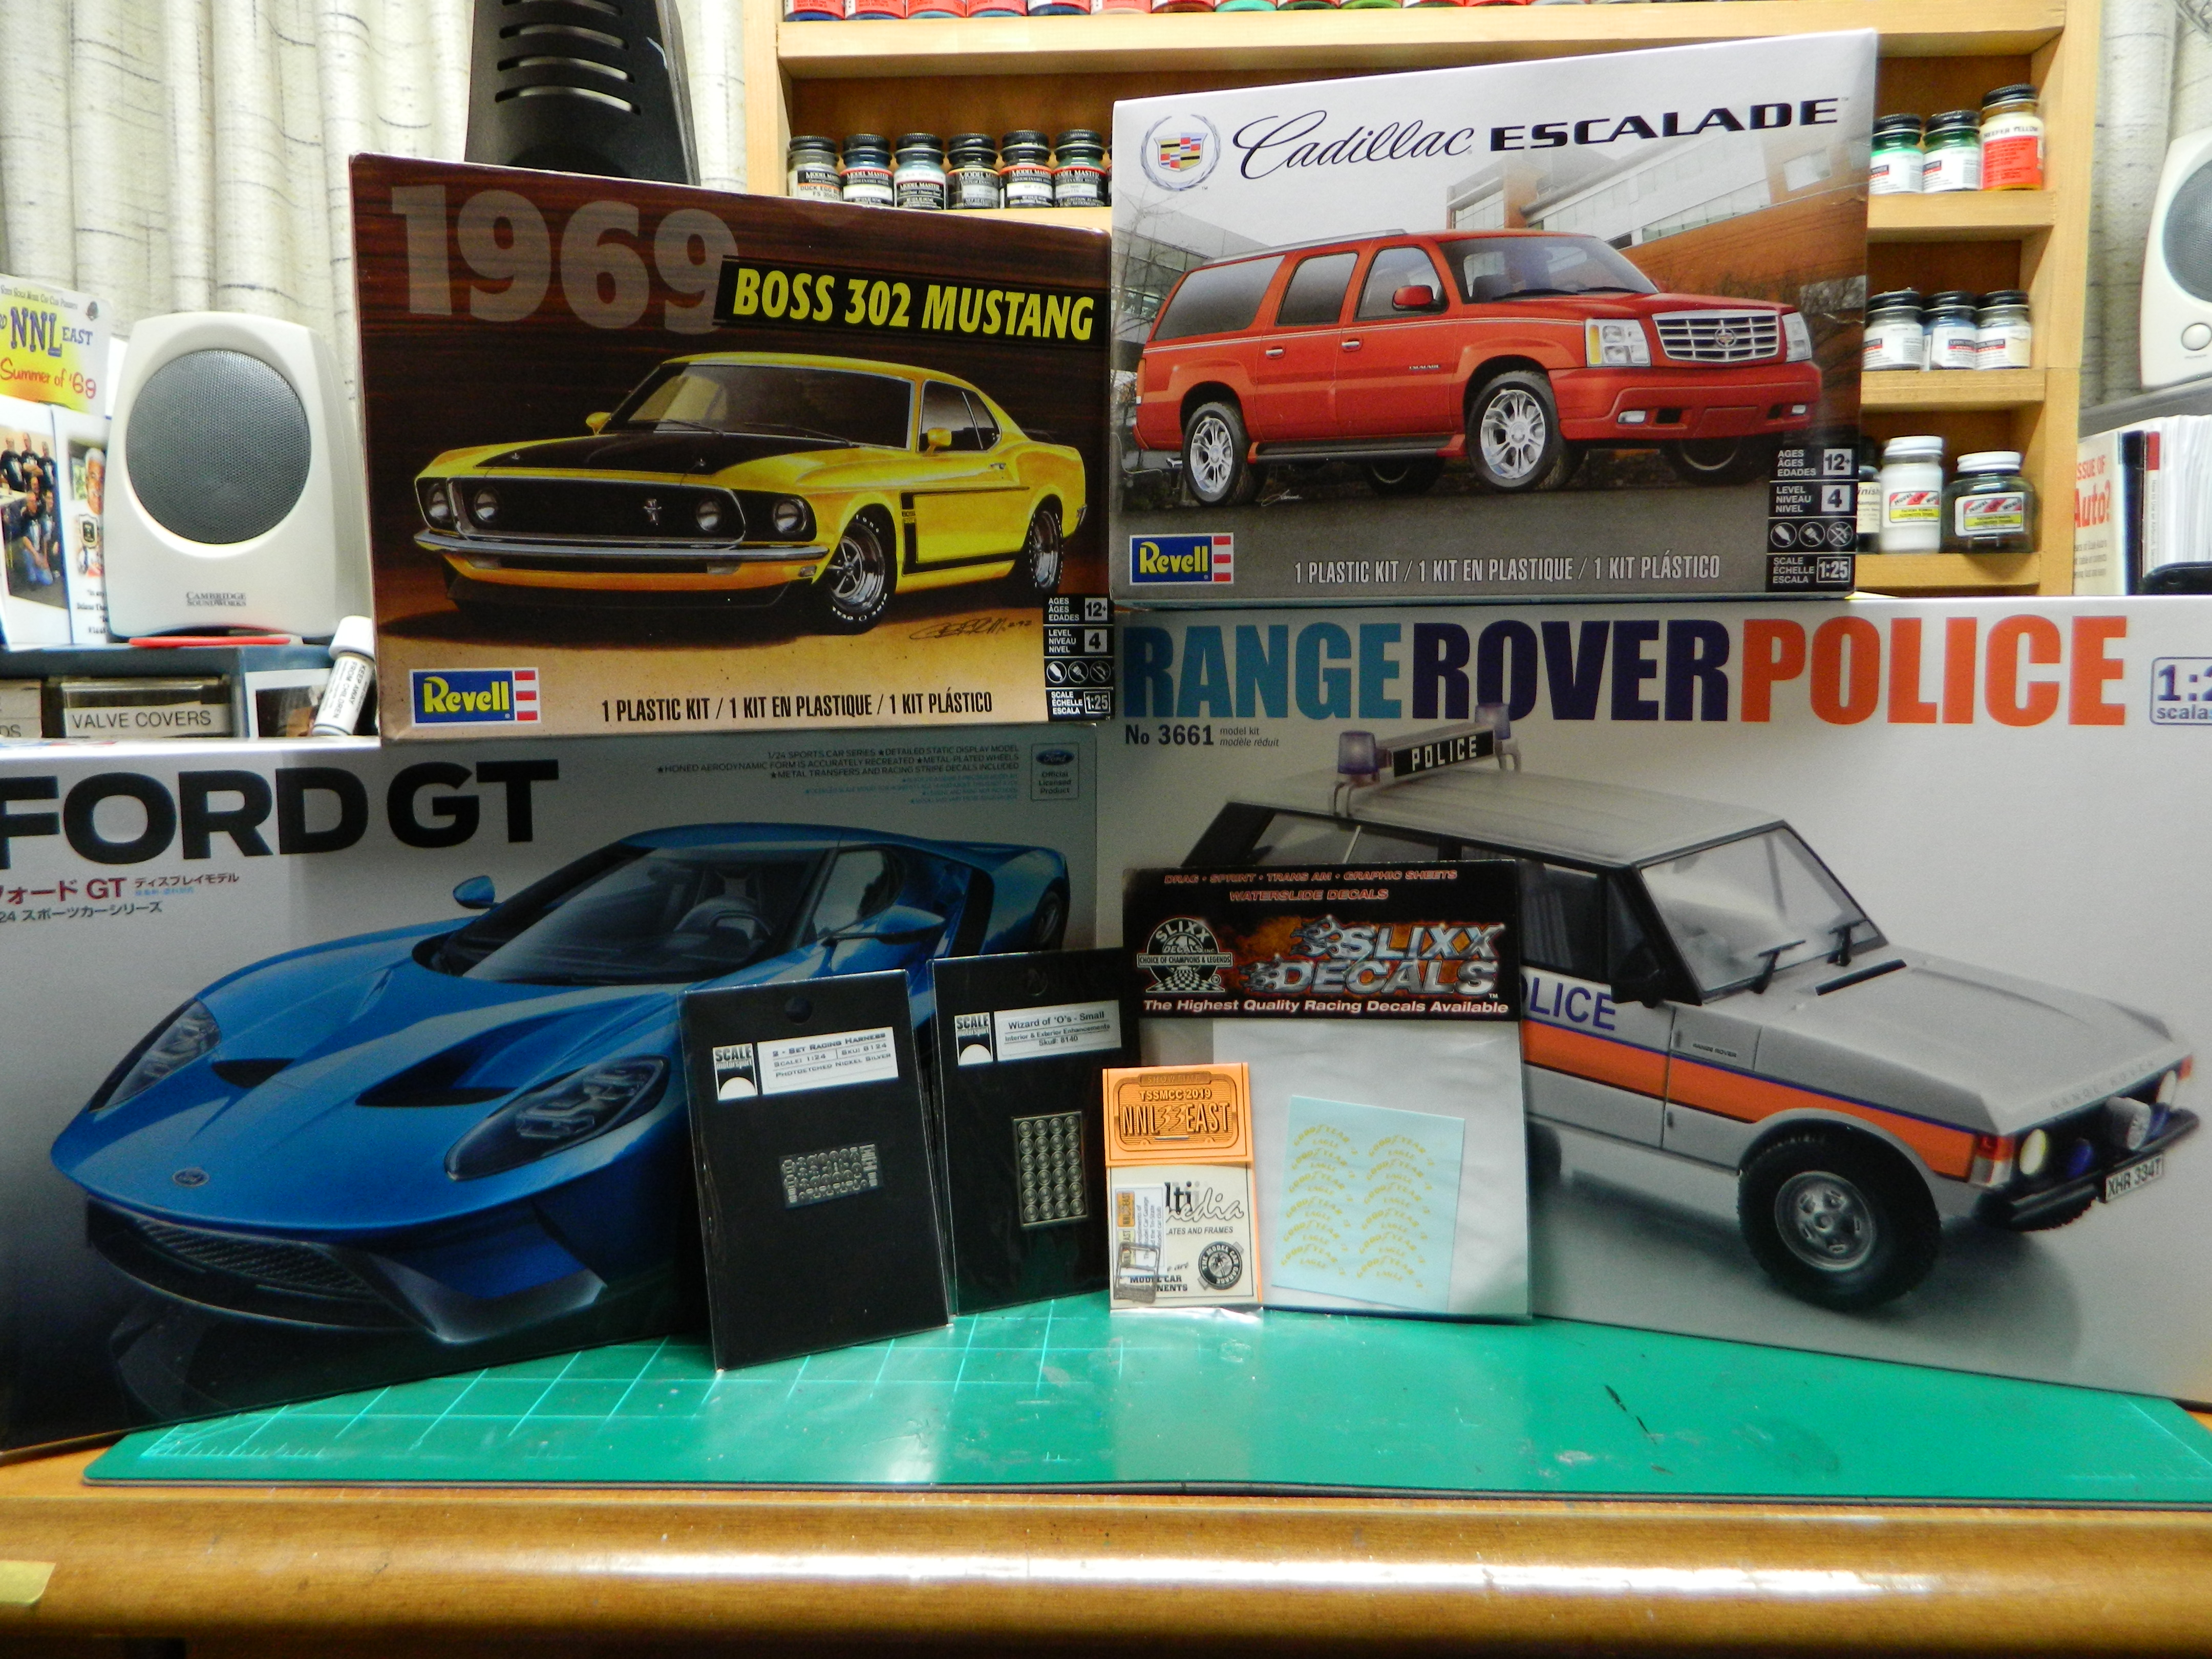
 My haul from NNL East this past weekend. Revell Boss 302 Mustang and Cadillac Escalade, Tamiya Ford GT, and Italeri Range Rover Police. Small Wizard of O's and 2-Set Racing Harnesses, NNL East 33 License Plate Frames and plates and a set of Slixx Goodyear Eagle tire decals.
-
1969 A12 Roadrunner (I will need some advice)
mrmike replied to Brutalform's topic in WIP: Model Cars
I made a template of the rear wheel opening on a piece of cardstock using the Johan '69 Roadrunner. I cut the opening out and taped it to the rear fender of an AMT '69 GTX and traced the new opening onto the GTX. -
Thanks Alex! I should have more done on this next week when I get back from NNL East.
-
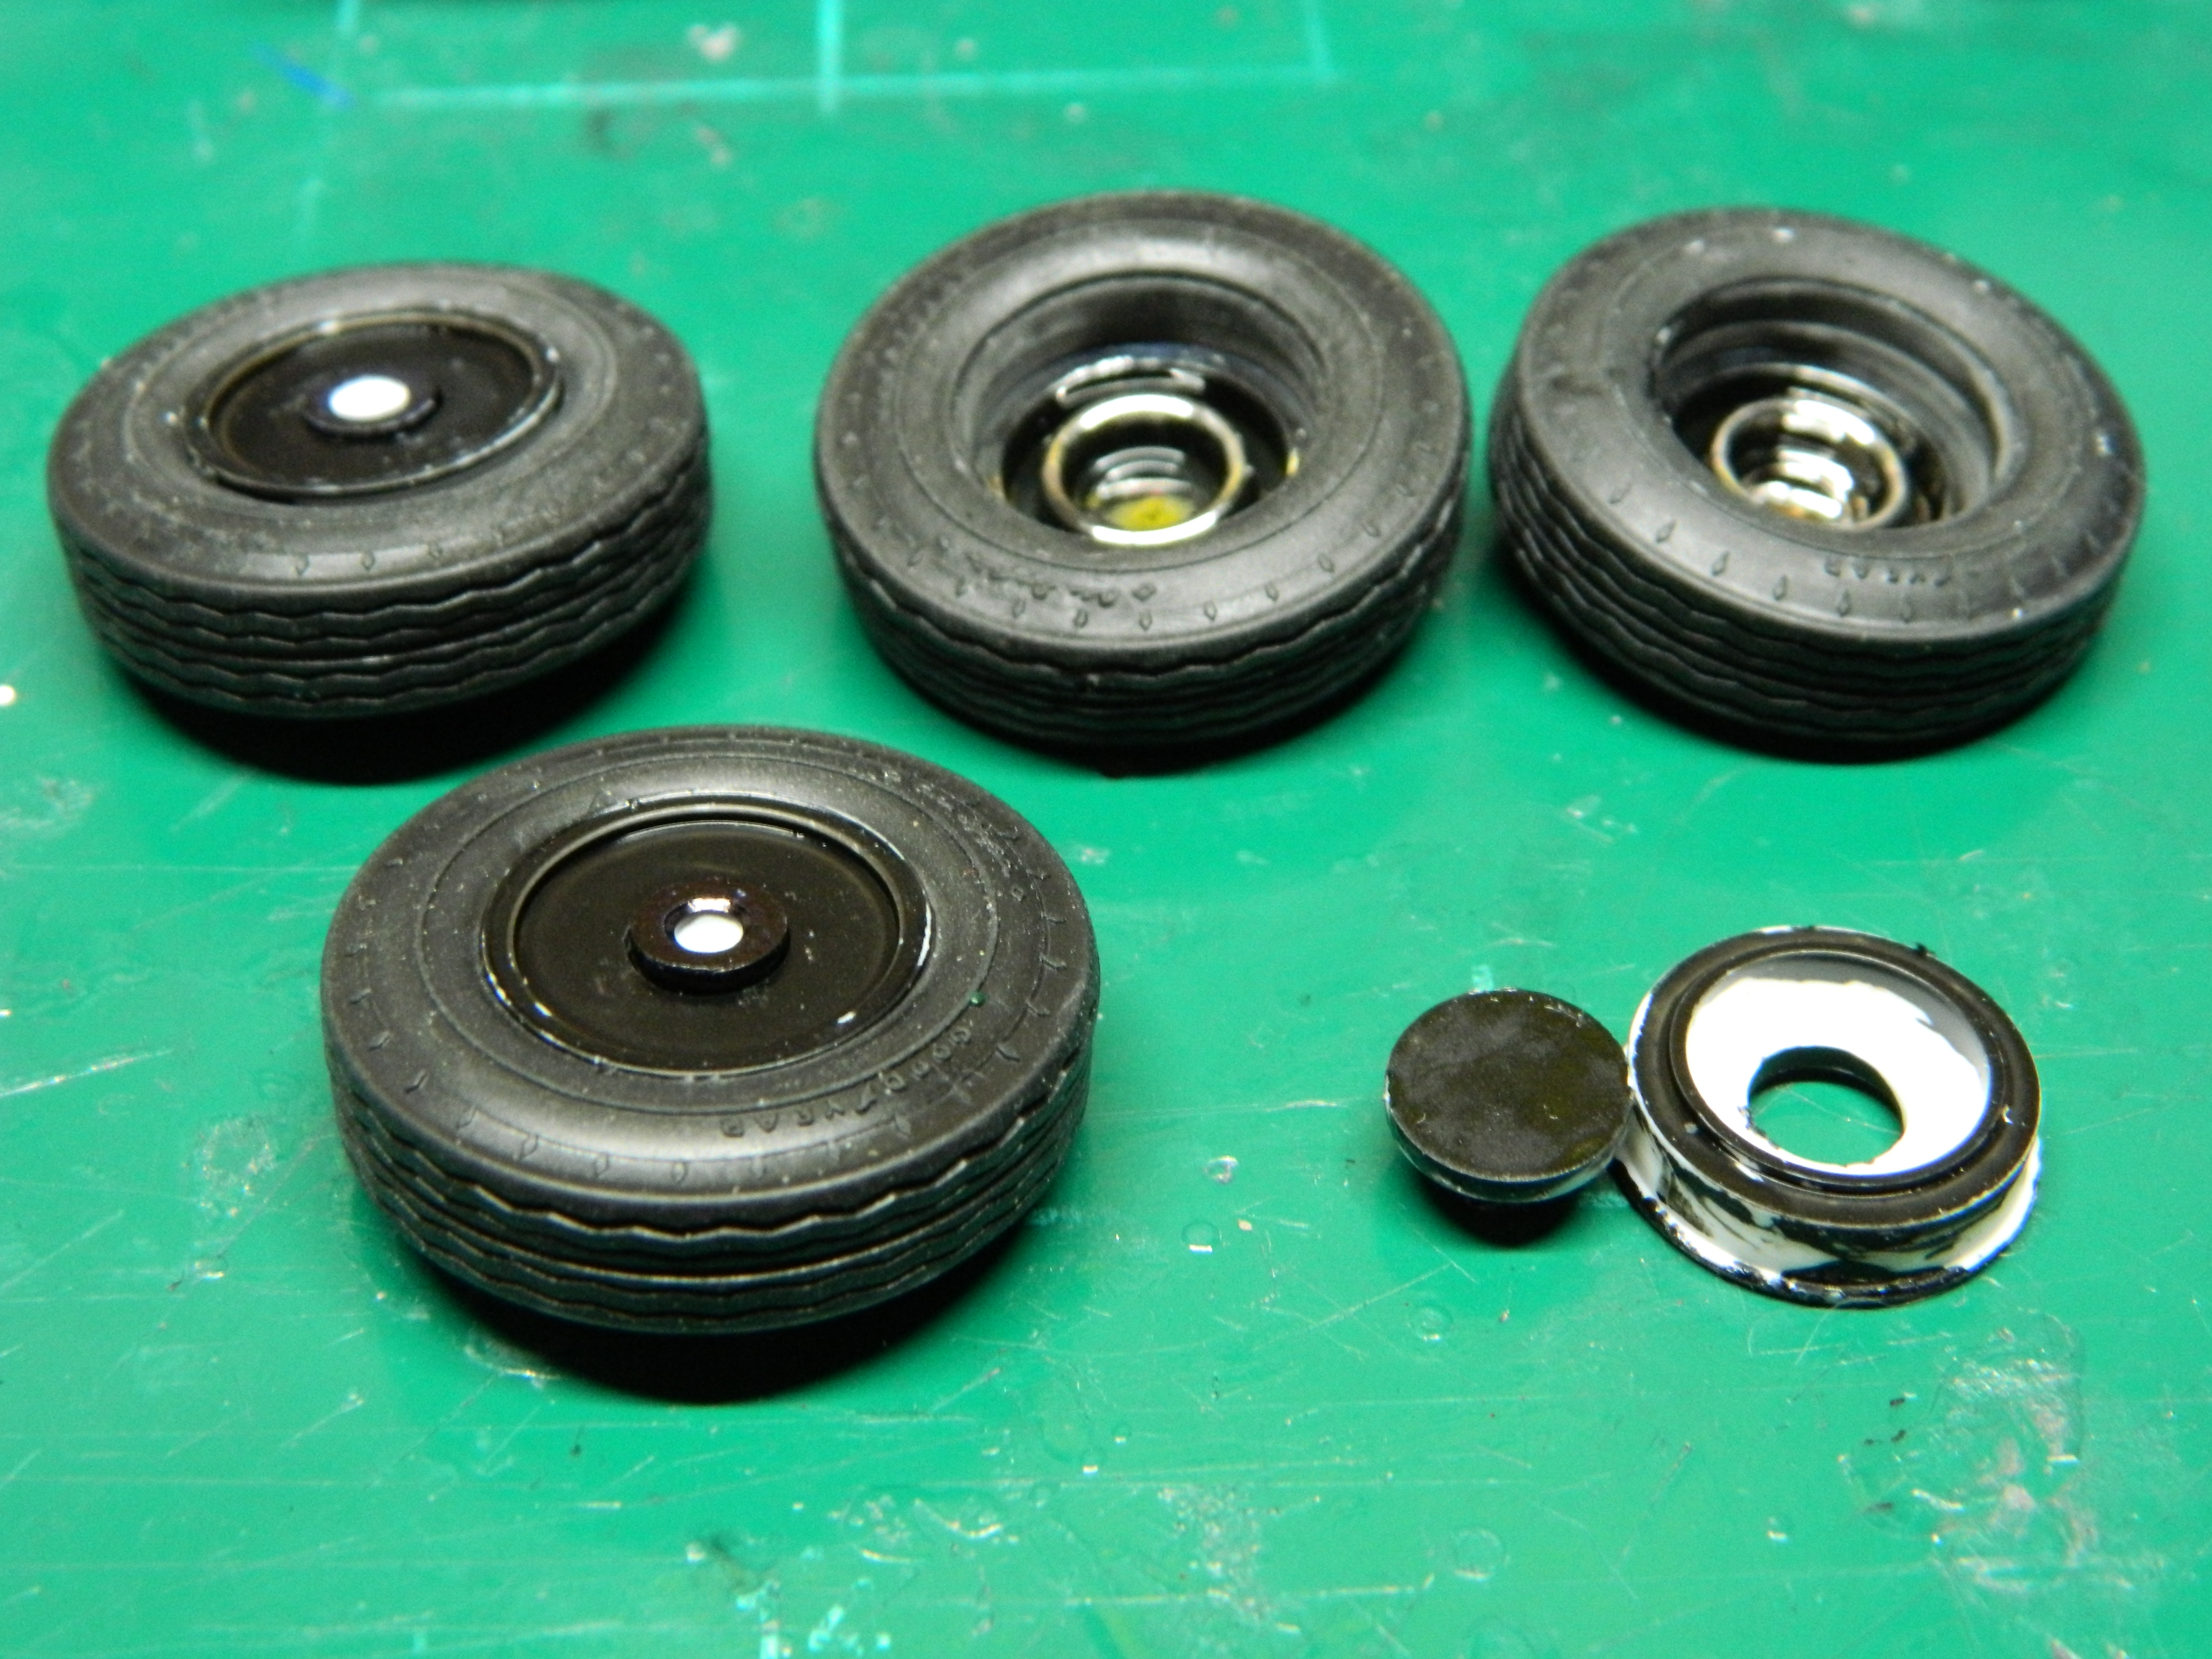
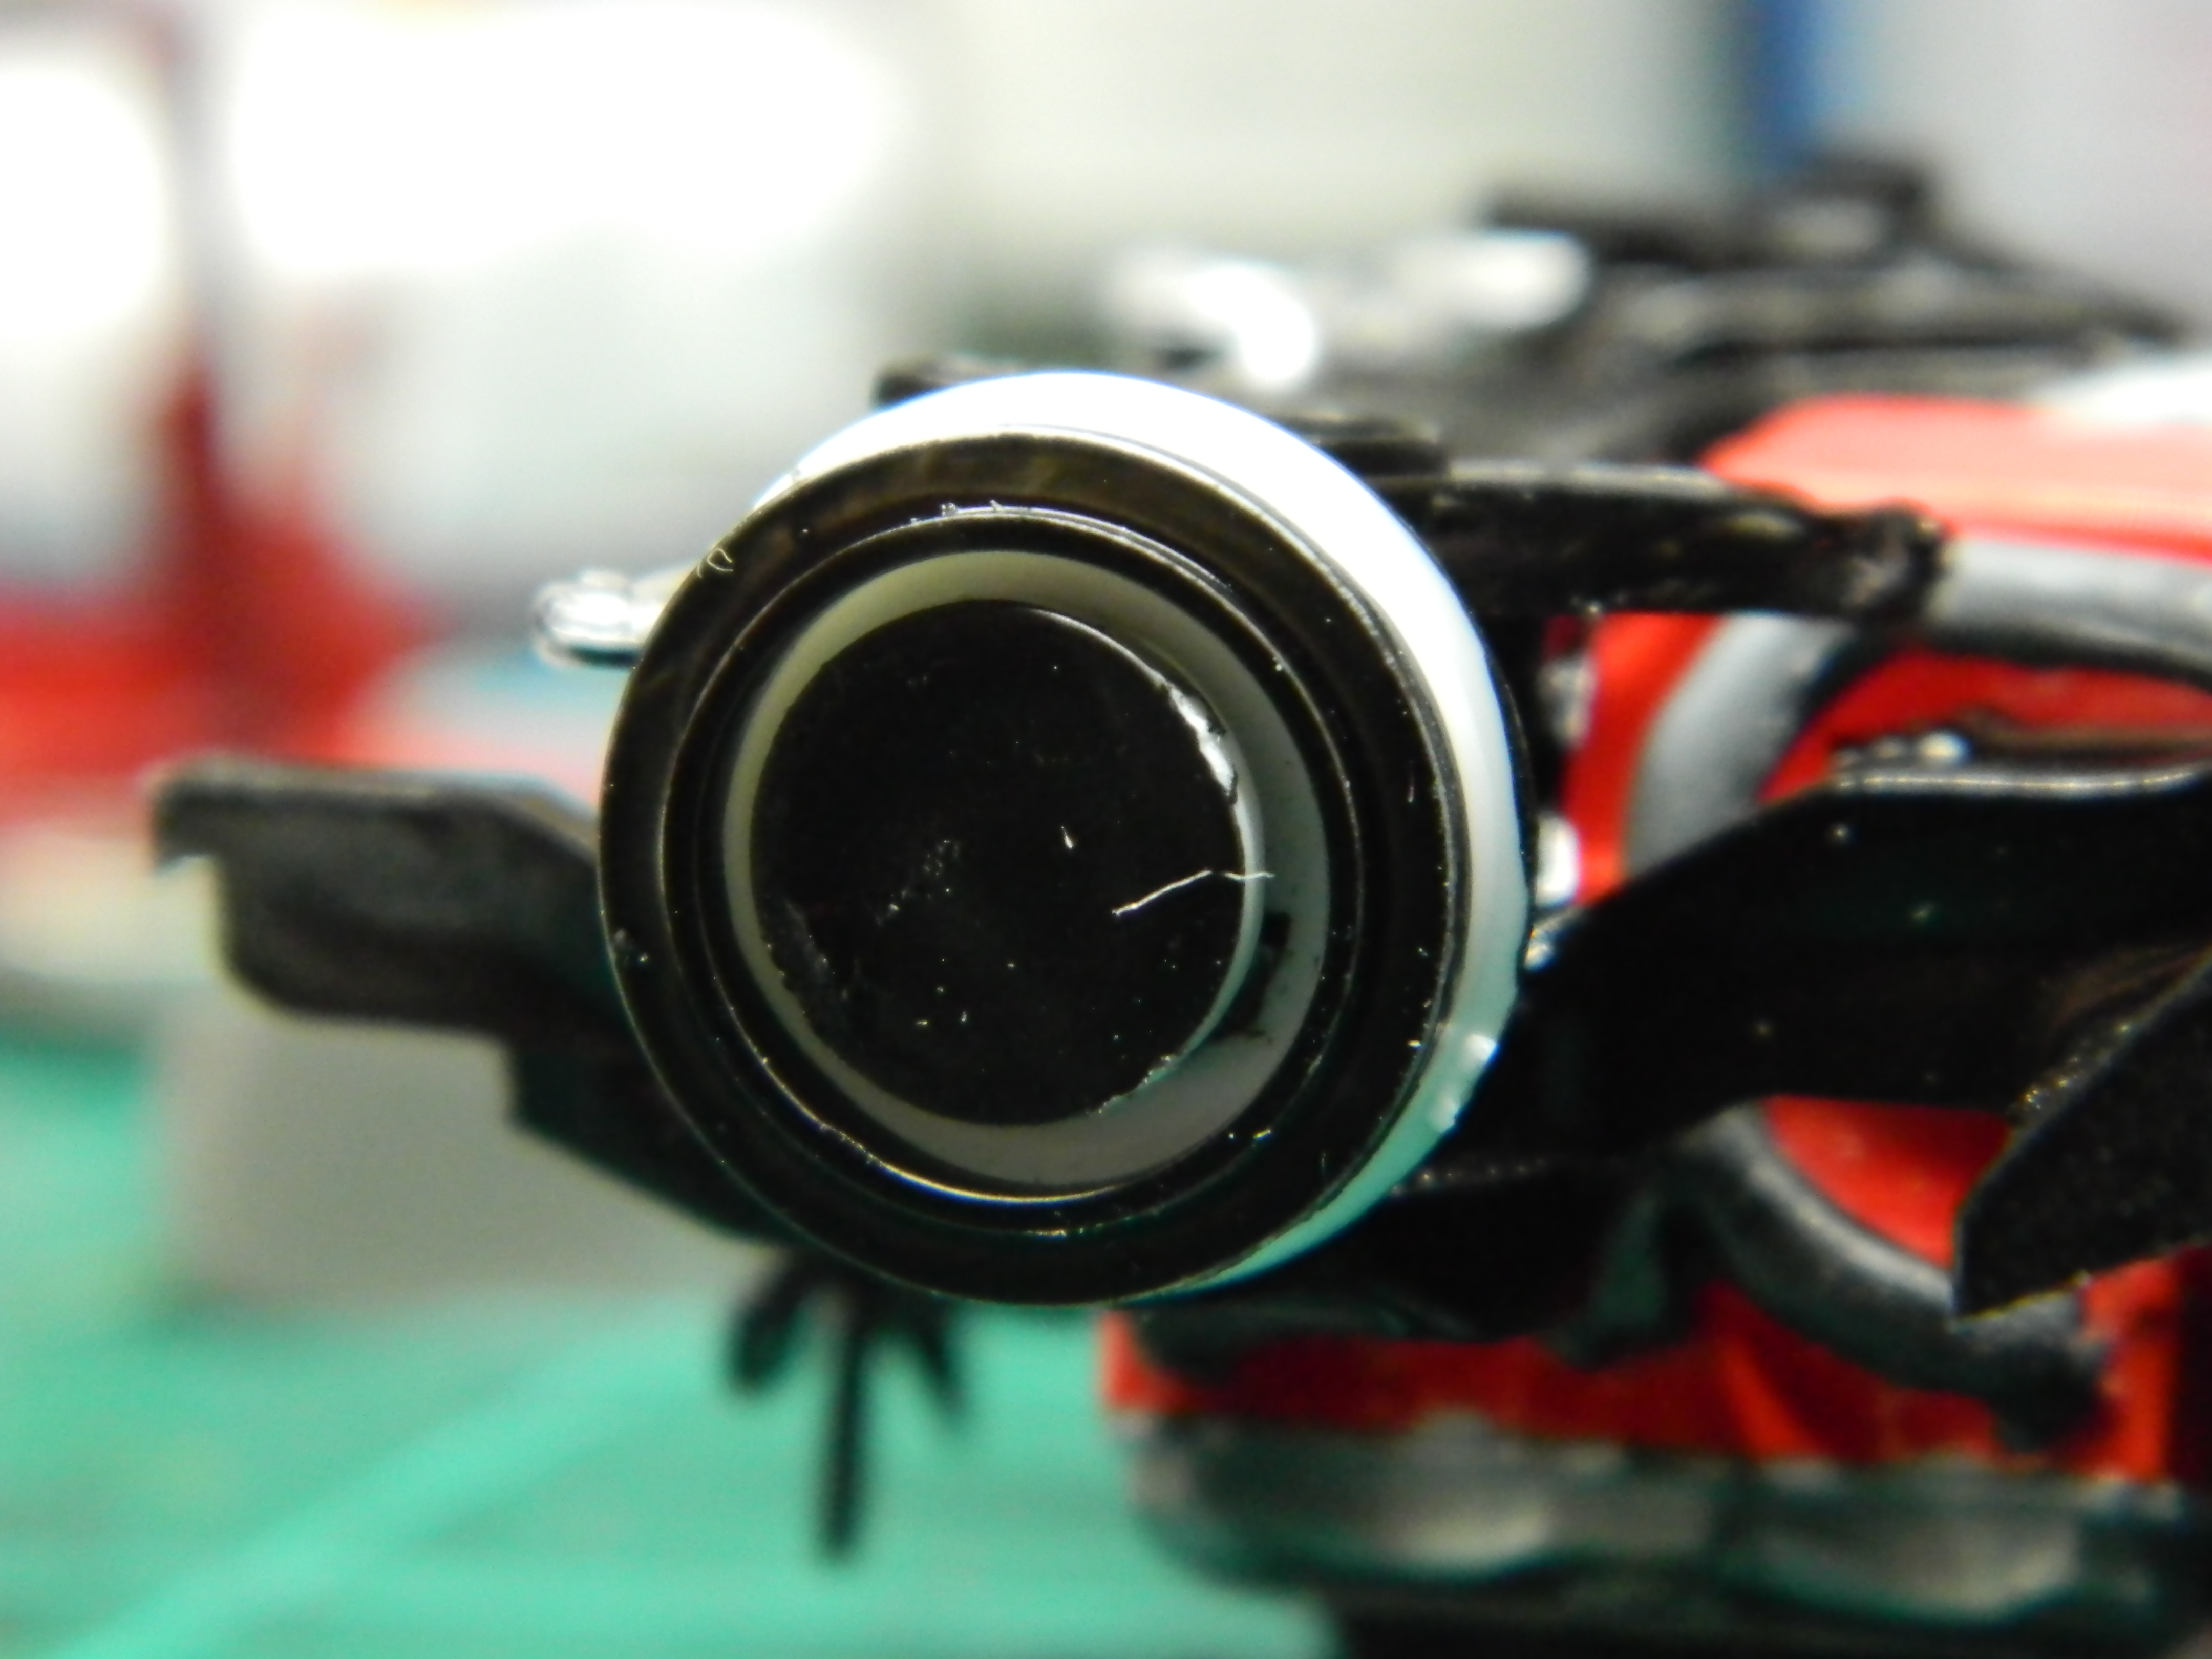
I assembled the wheels yesterday and glued the front wheels to the chassis, then i found out that the wheels wobbled! Not sure why I continue to make these wheels want to roll since they should glued solid to prevent the model from rolling. I took the wheels apart and glued the wheel backs and the wheel retainers together. No more wobble! More to come...
-
Thanks guys! I need to clean up the interior seats of the paint seepage and paint the body and hood. That will most likely happen after I return from NNL East.
-
-
Thanks Gary, Tom, and David! David, I searched theough 5 pages of Dann Tier's forum postings and I didn't see his WIP. I may try to find it later. I seem to recall someone building a DB4 or DB5 some time ago on this forum and they were making all kinds of modifications to the kit. I don't recall who the builder was or if the project was ever finished.
-
I decided to work on the Impala yesterday. I painted the seats of the Impala with Tamiya X-7 Red which a very close match to the Model Master Flame Red that I'll be using for the body and hood. But, the paint seeped under the tape I had used so those will need some cleanup. This afternoon was spent assembliing the chassis which is almost complete. More to come...
-
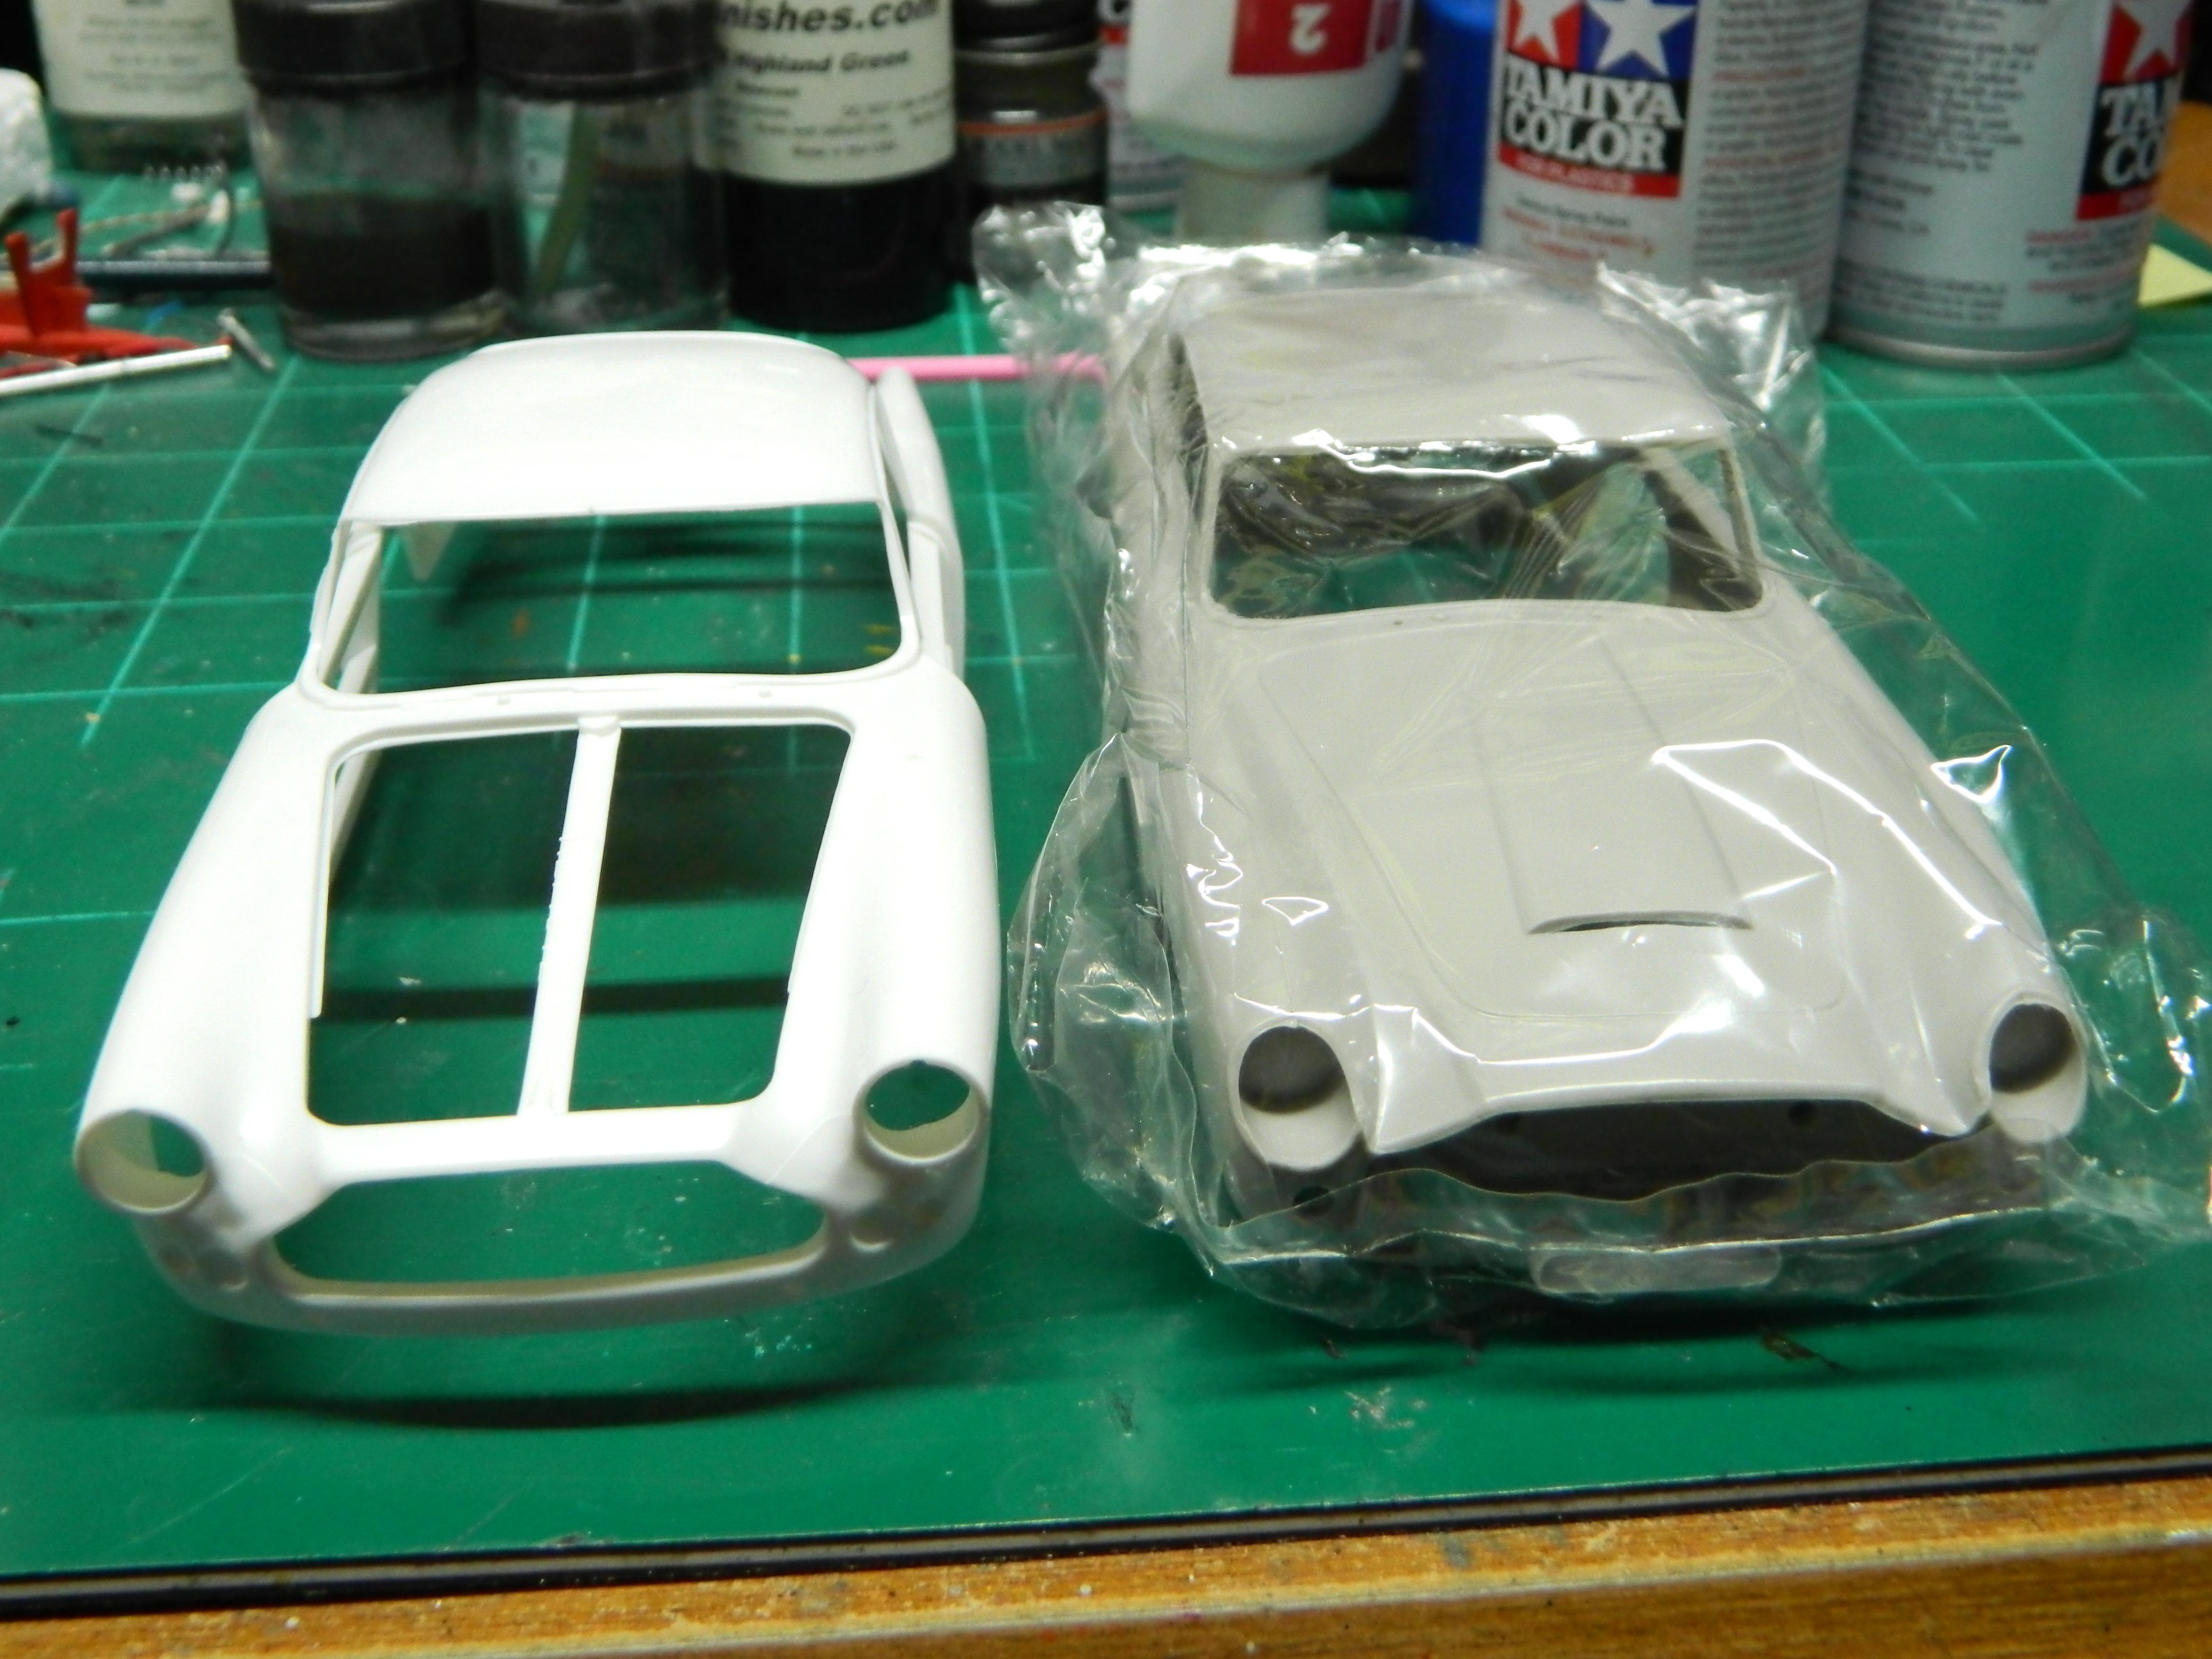
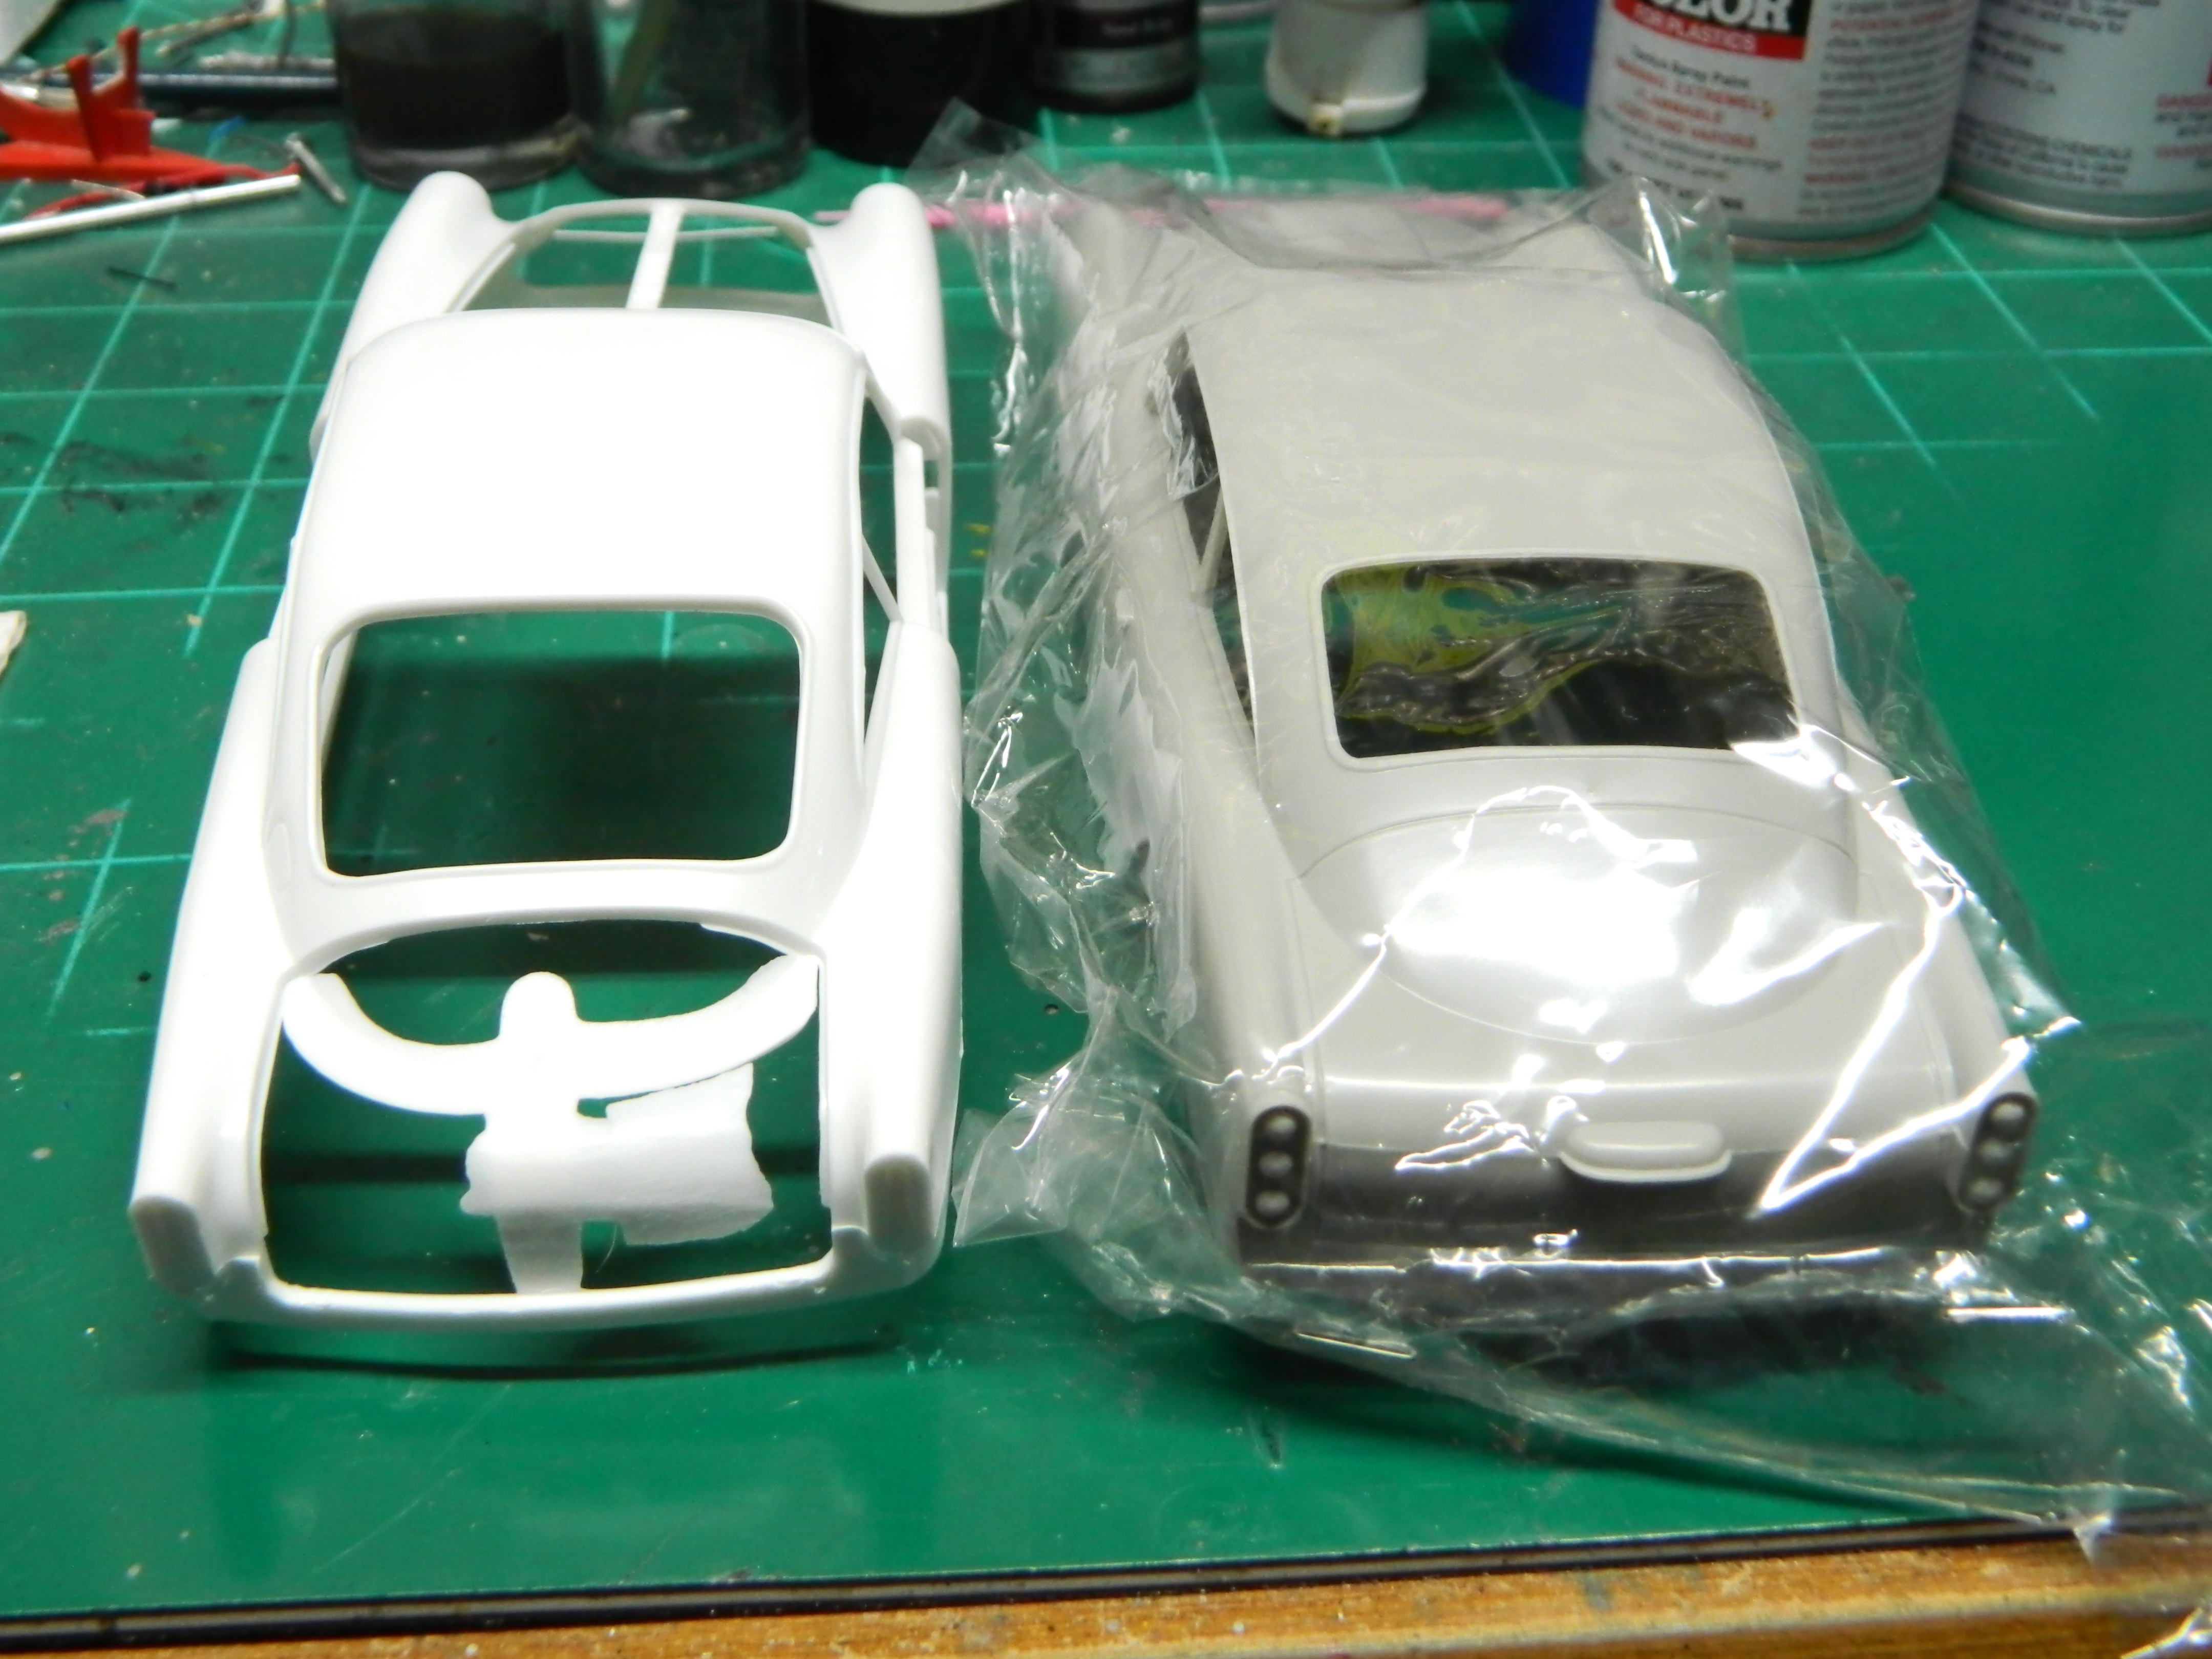
I decided to post three pictures of the DB4 (white) and the DB5 (grey) side-by-side. You can see the obvious differences between the two cars. Both models will require bodywork to get them ready for primer and paint, but the DB5 will not be assembled. I decided a while ago NOT to build the 007 DB5 due to its value. Some discussion between myself and several model builders in my Club have resulted in some interesting reasons for and against building the 007 DB5 kit. I have decided to hold onto the DB5 kit for now and not build it. Maybe I'll build it later. We shall see. More to come...
-
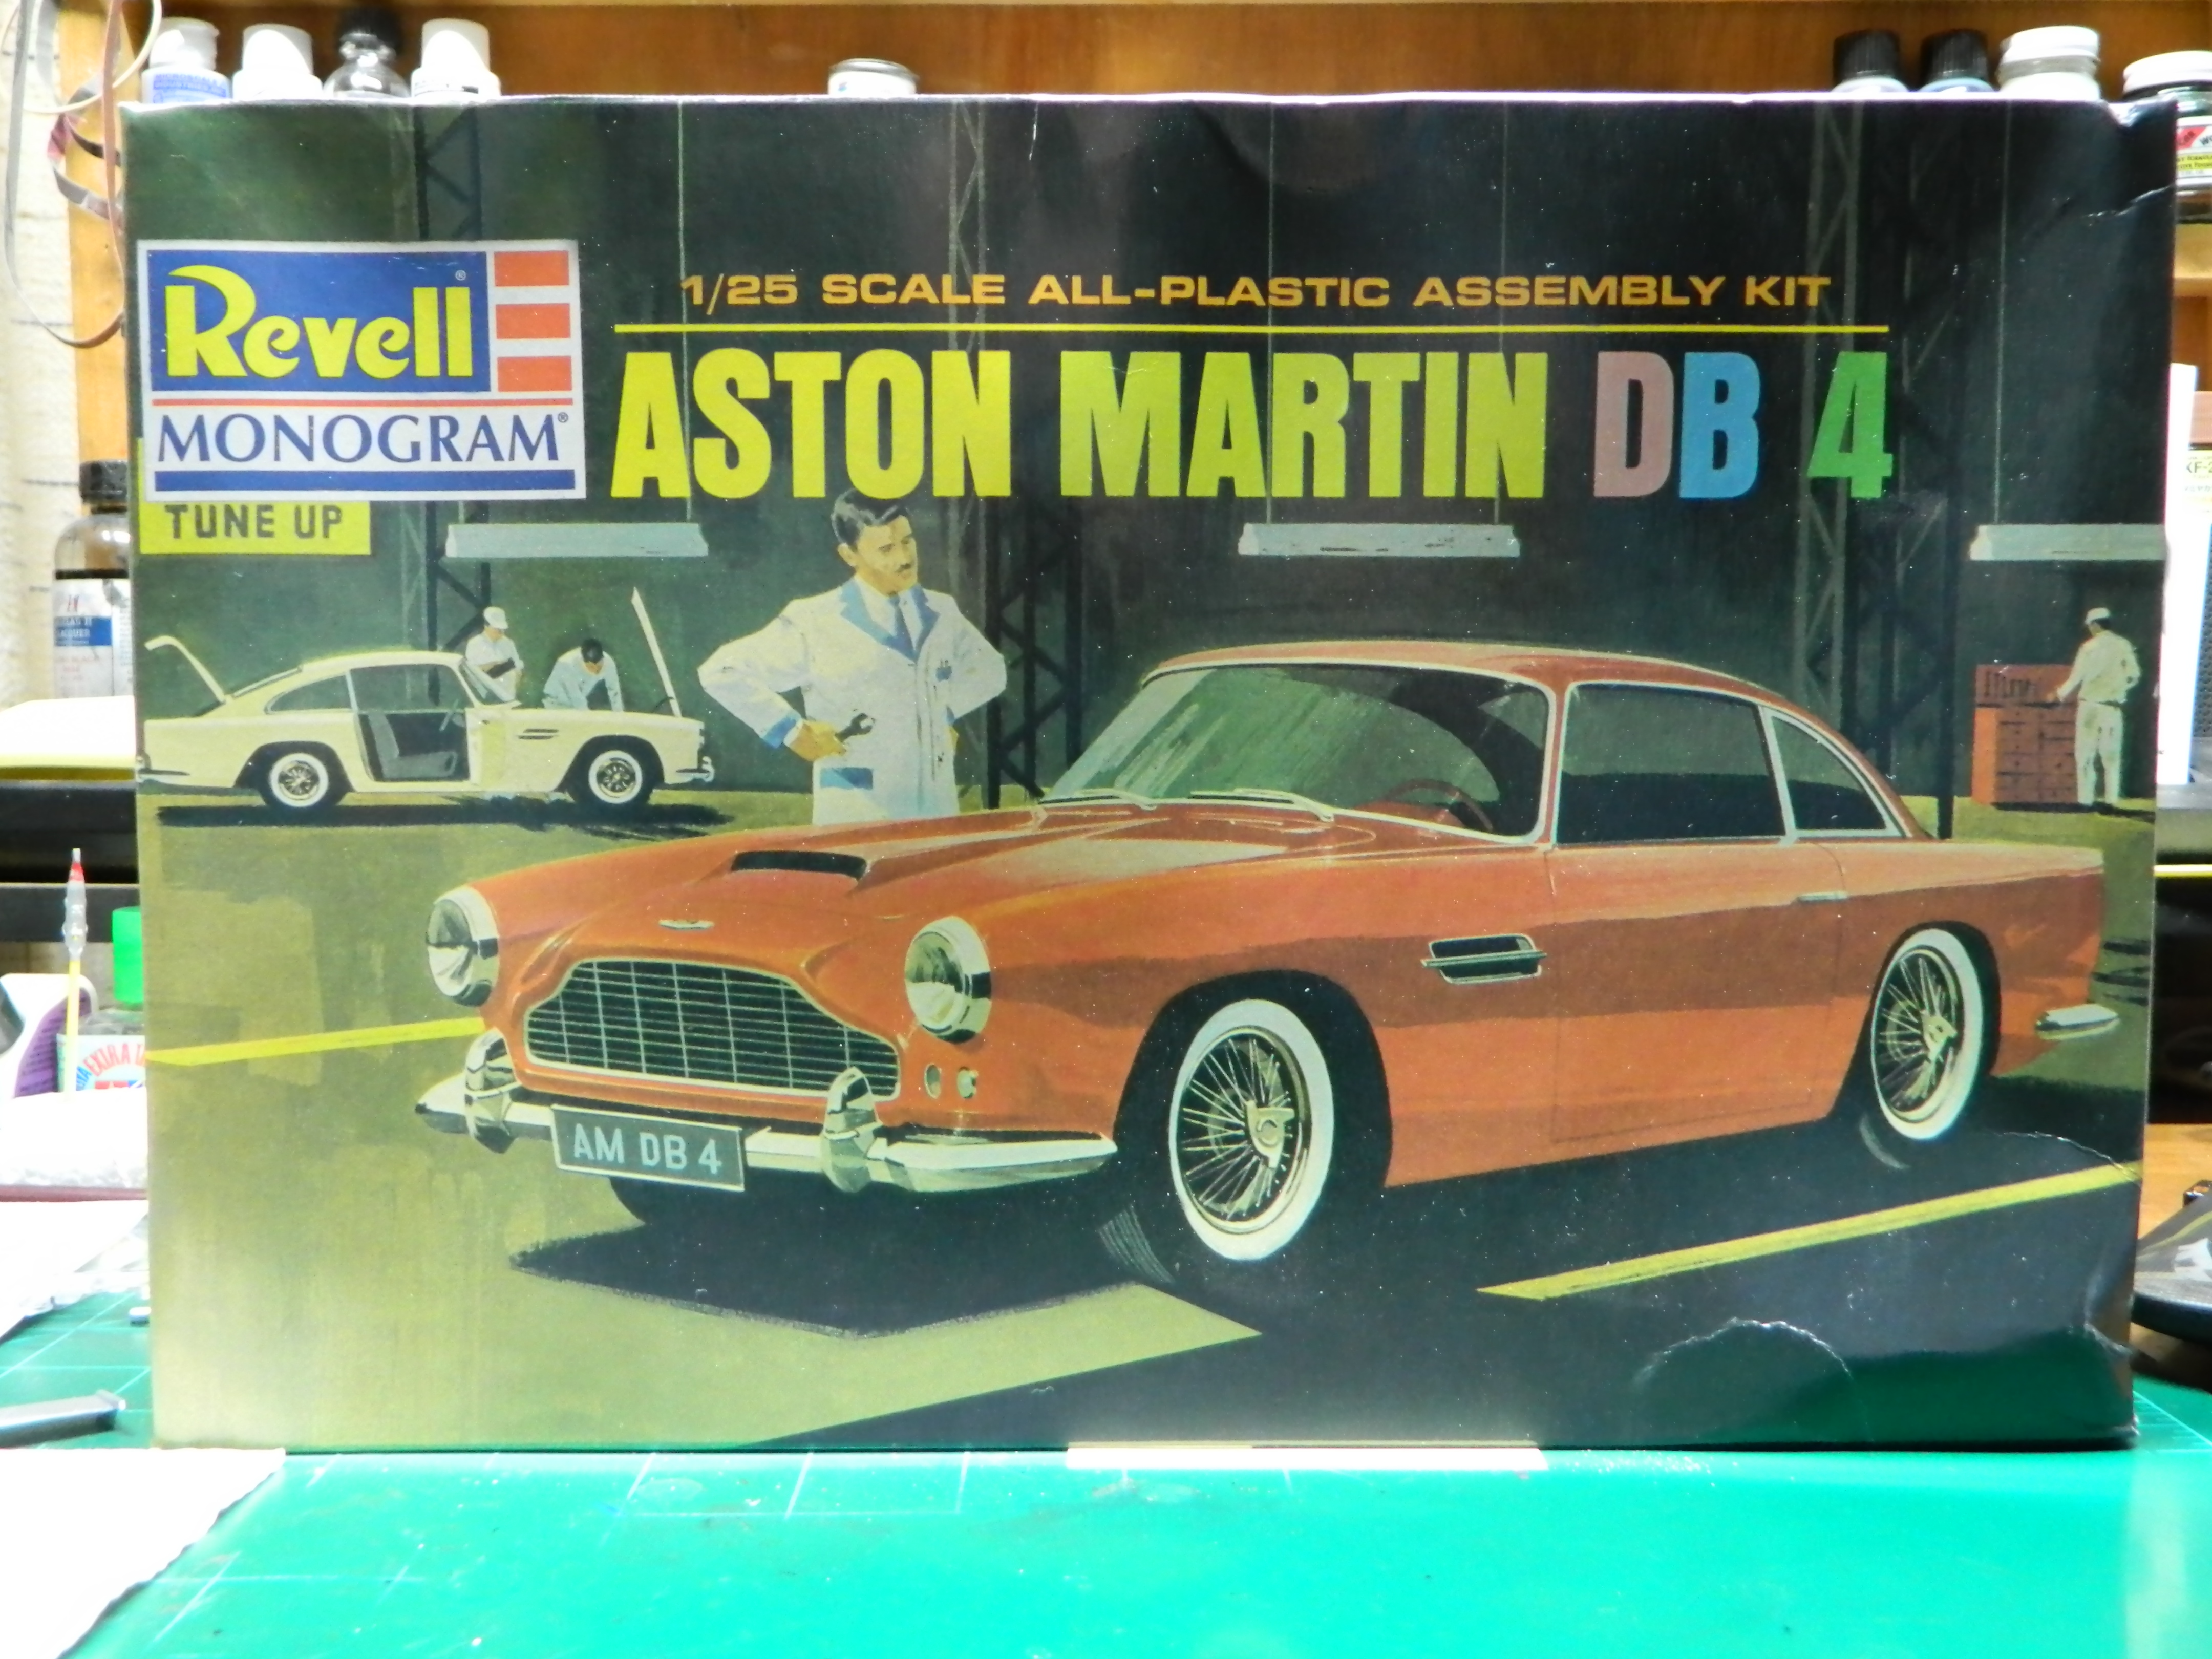
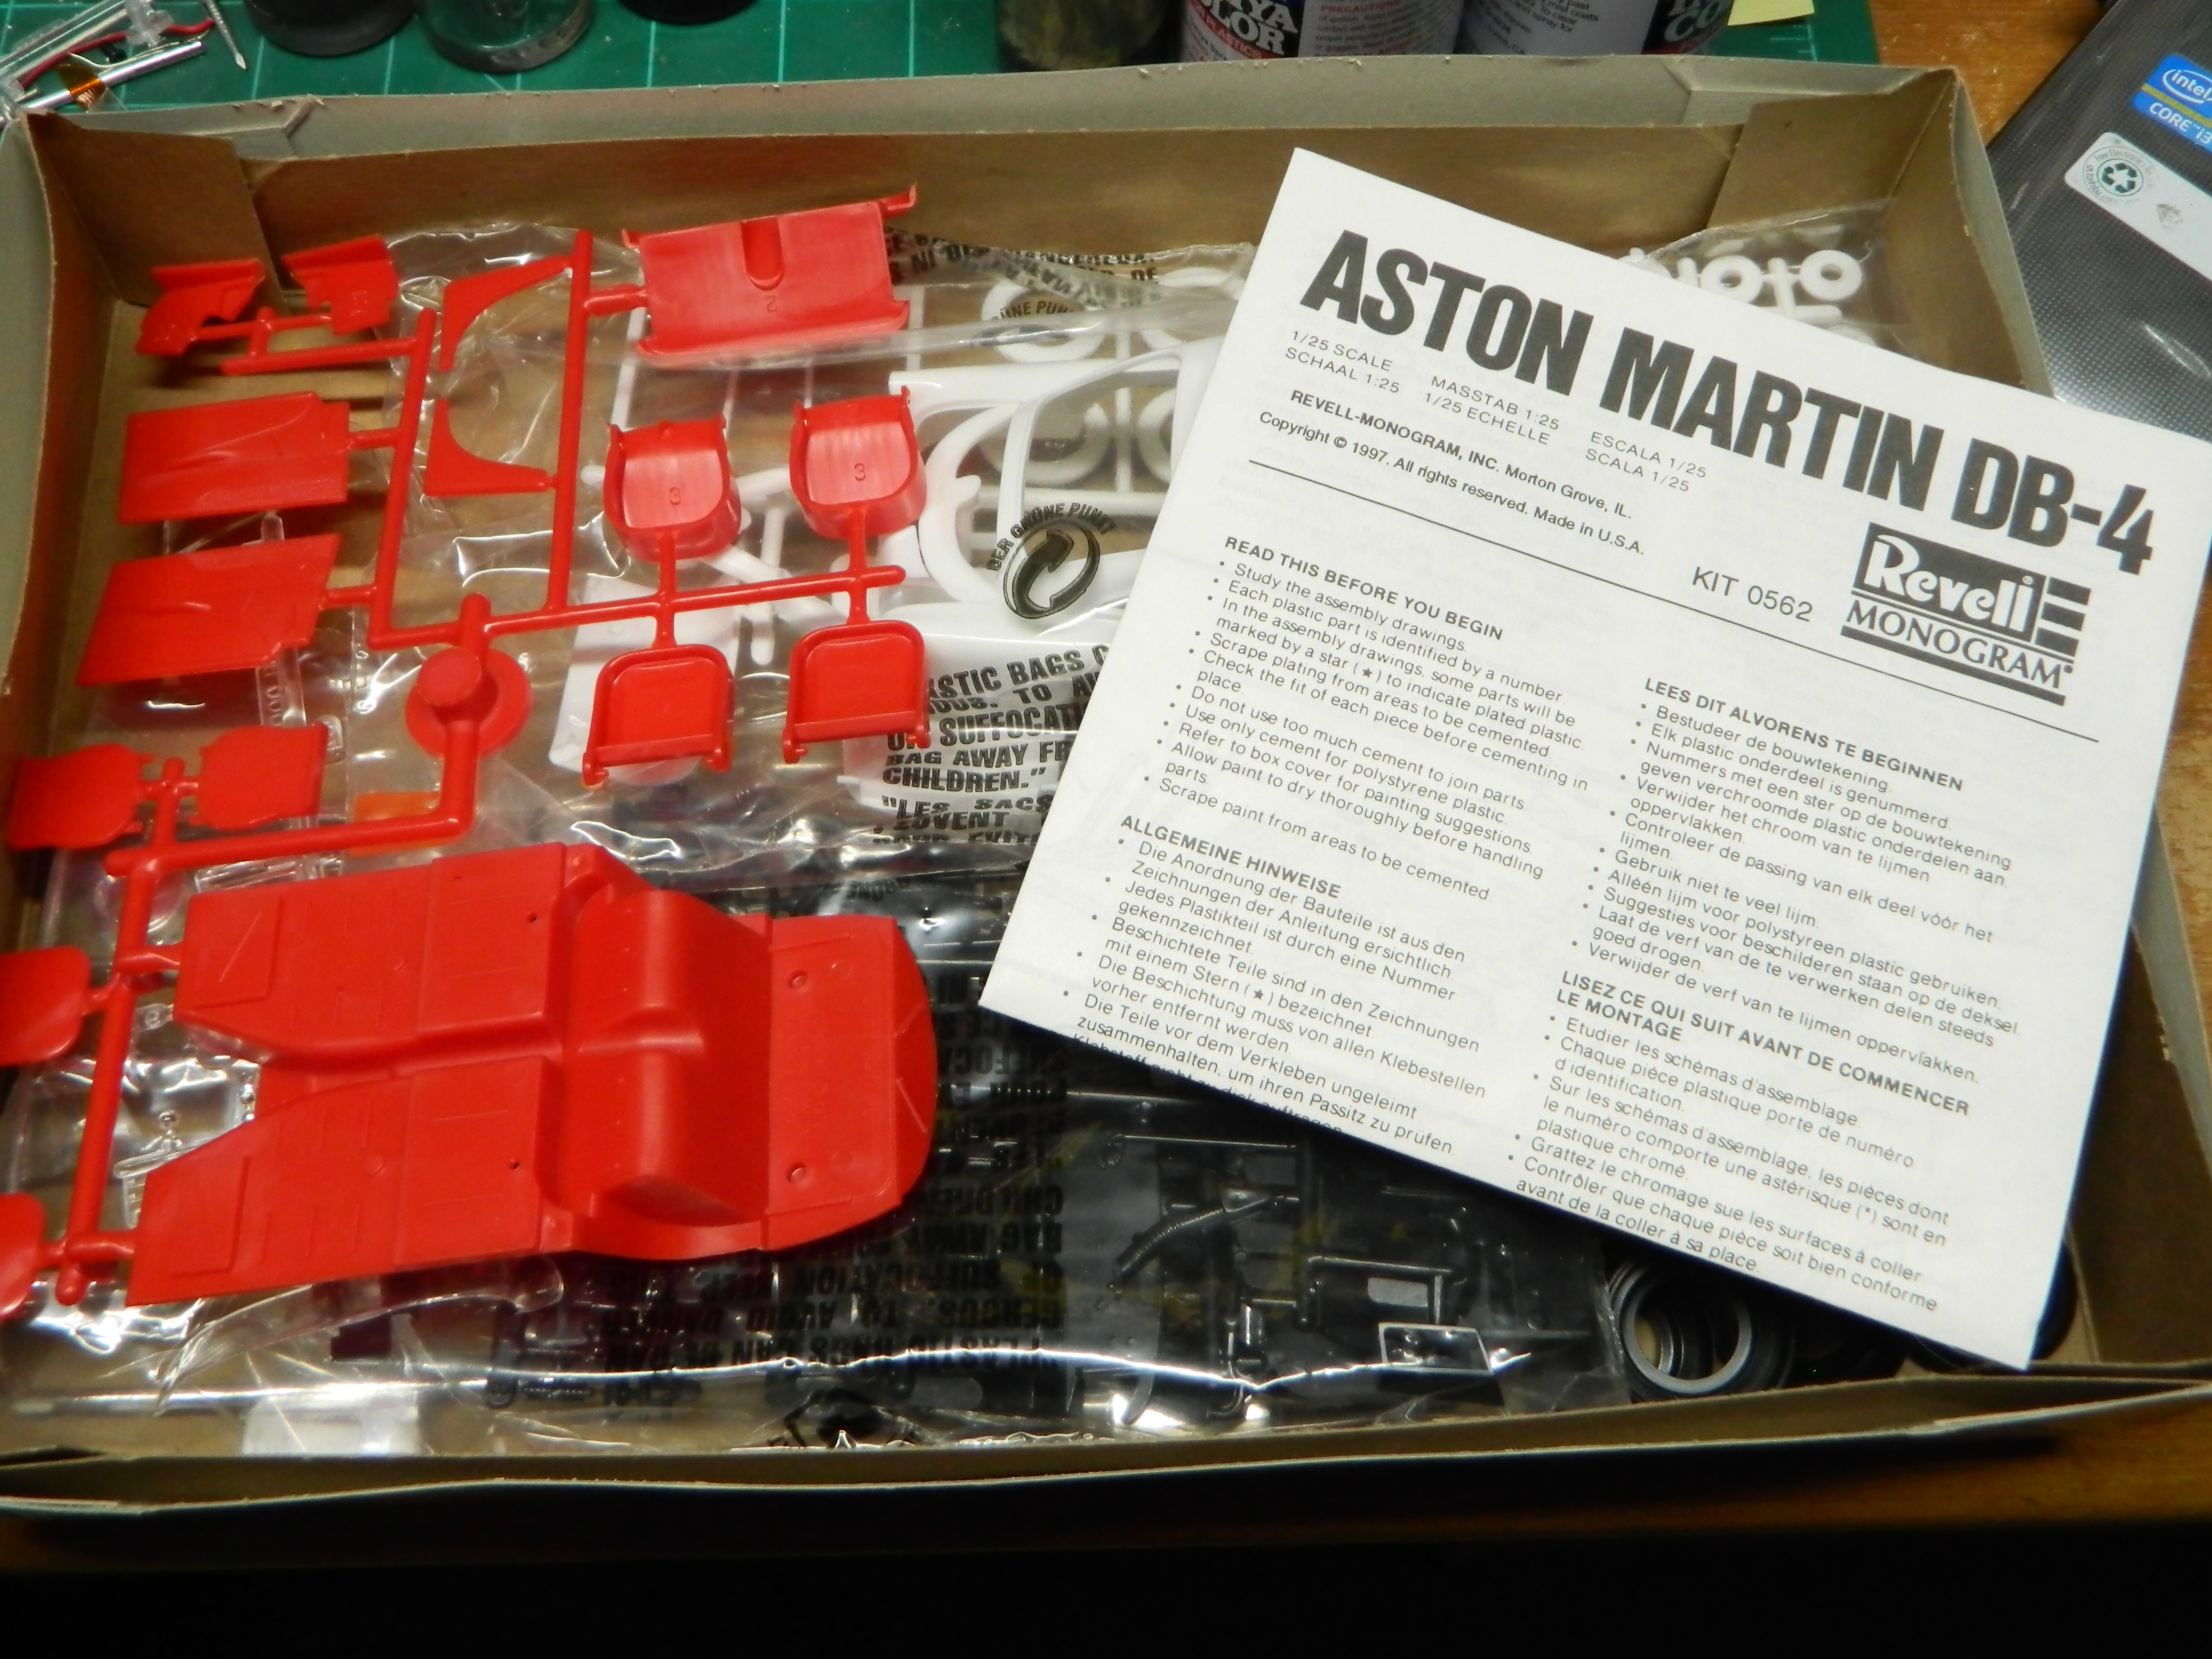
I have been wanting to start this long before I had came into possession of this kit. This is the Revell/Monogram Aston Martin DB4. I have been long since been looking for a full-detail DB5 and this is a s close as I have been able to get to. The only difference between the DB4 and the DB5 is the engine size and a slightly long rear deck. This kit is from 1979 according to the molding on the inside of the body. There is some flash and significant moldlines on the body. This may take a while to clean up. My research has been ongoing for a little while now. Plus, I want to see how many unsuspecting people I can fool into thinking that this is the James Bond 007 DB5. Let's see what I can do with this kit. More to come...
-
Thanks Ron, but this is not box stock. It may look box stock, but the devil is in the details!
-
Thanks Ron and Keith! I use Walthers Solvaset as my setting solution. I've had the same bottle fo about 15 years and it's only half empty.
-
Thank you Jeremy! The more I keep this car sitting on the bench, the more little details I keep adding to it. Somebody stop me!!!
-
Thank you Alan! I changed the look of this '32 by going to the Hallibrands. Those wheels give it a more of a dragster look instead of a cruiser.