Watertown
-
Posts
253 -
Joined
-
Last visited
Recent Profile Visitors
7,384 profile views


Watertown's Achievements
MCM Avid Poster (5/6)
-
A "Top Shelf" effort! Nice finish!
-
A beautiful model presented with a history lesson. Nice work on both!
-
Beautiful work! Clean and tidy, and packs a ton of visual impact. Well done!
-
I appreciate the feedback, everyone. On to the next project...
-
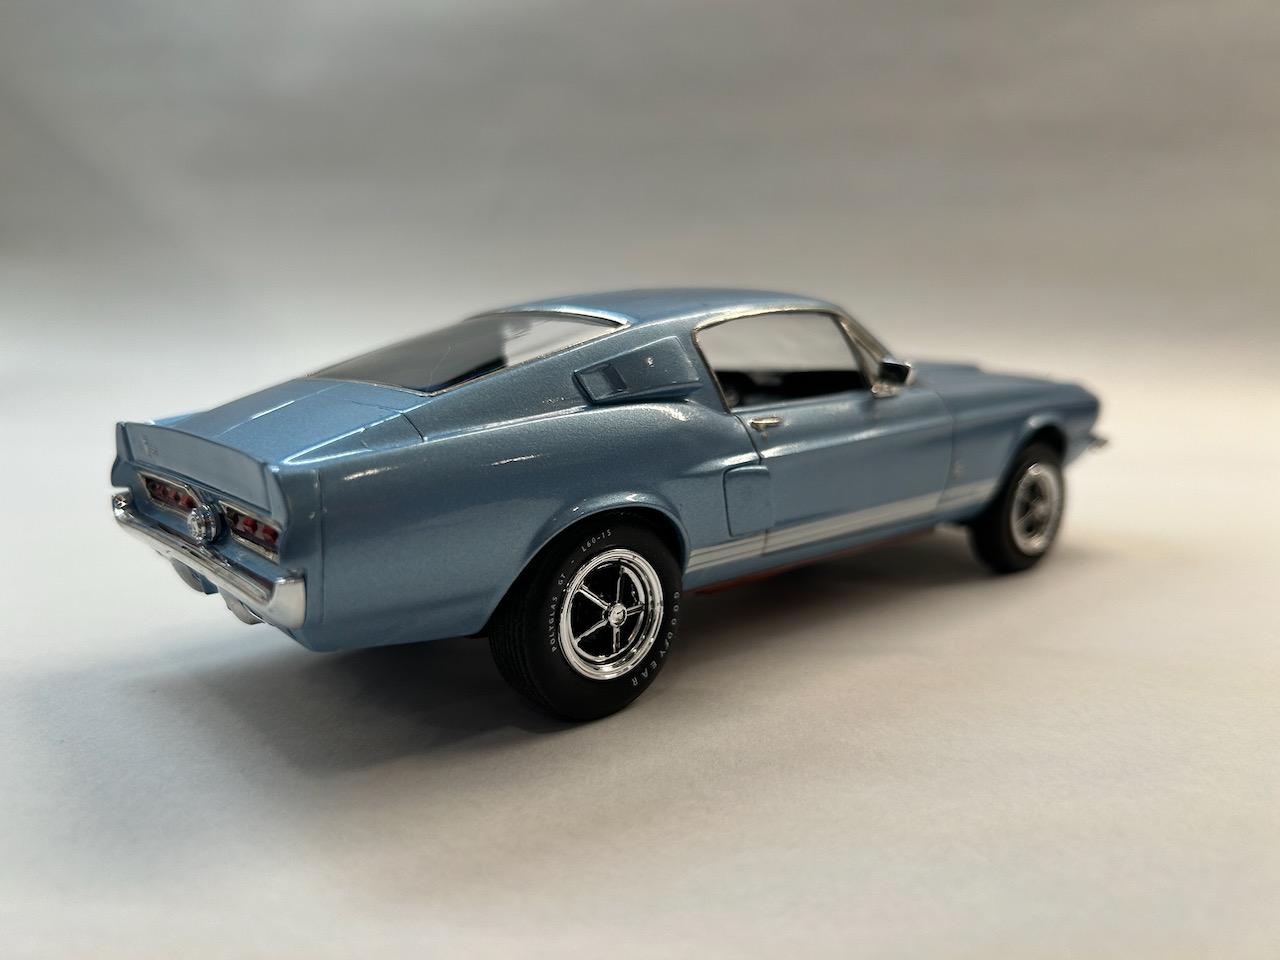
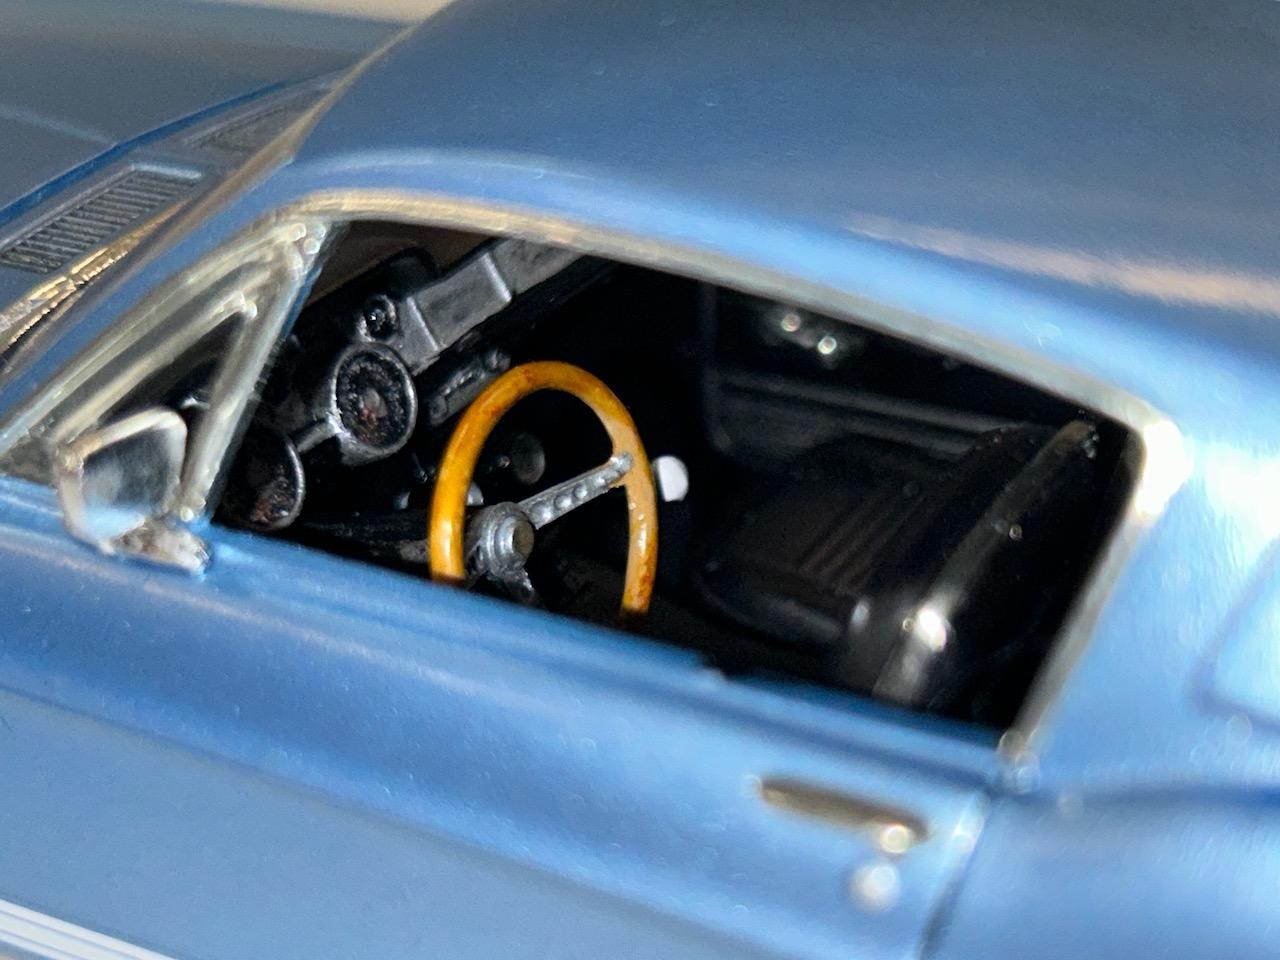
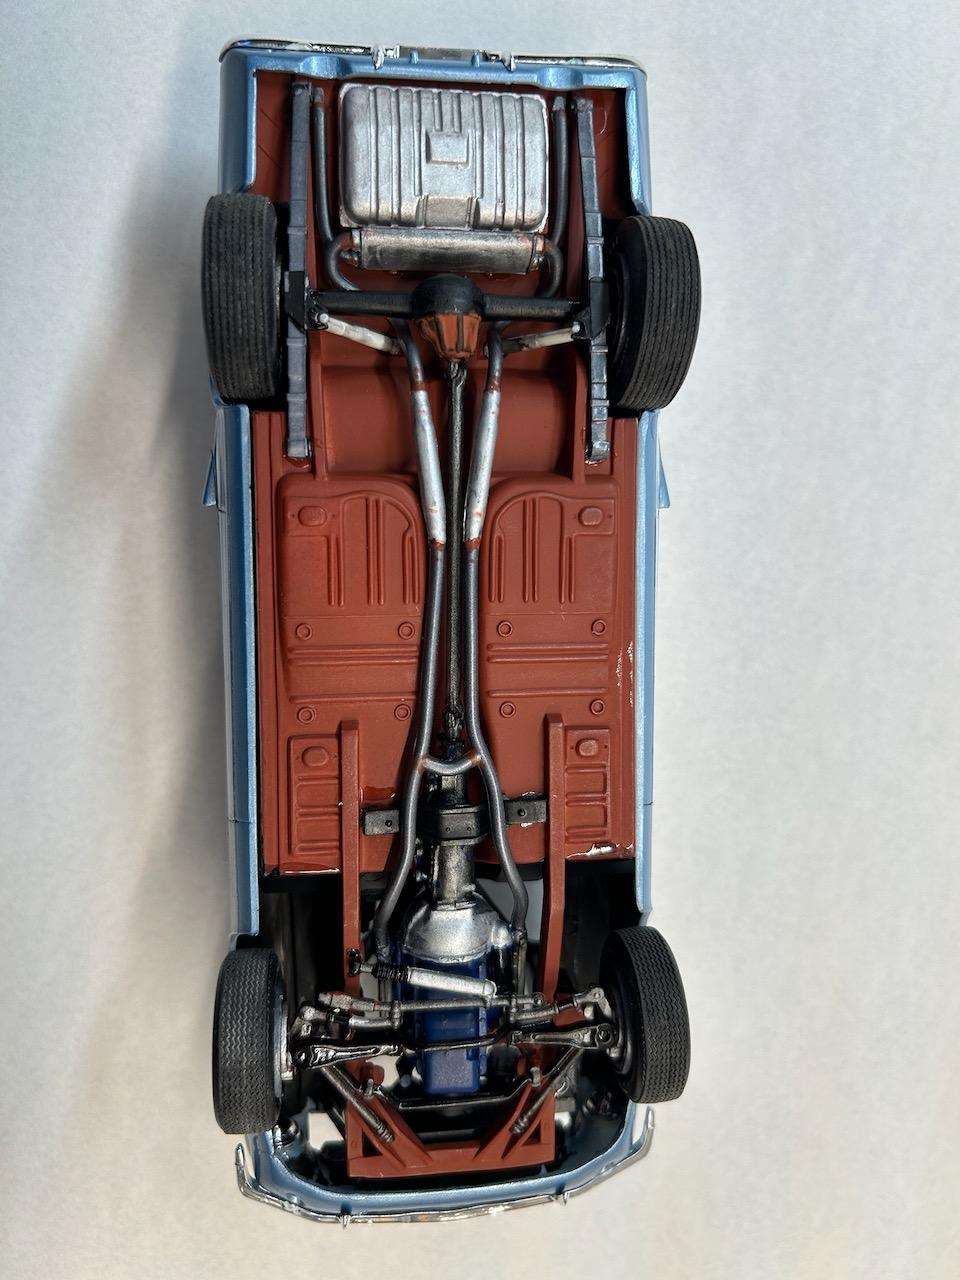
Just completed a build of the AMT 67 GT 350 reissue. My 14-year-old granddaughter called me one day last summer to express her interest in GT 350s and how she'd like to build a scale version of the '67. Imagine my delight at hearing that! I said, I'd love to get involved. We went and picked out the kit at the LHS, and proceeded to get started. The project began with earnest, but after a few weeks, the new school year began, and other interests preempted our build time. I became interested in seeing the project finished, but didn't want to commandeer her efforts, so began one of my own partly to see it finished, but also to see what issues might lie ahead for her so as to help her avoid them. The kit has it's flaws, but is overall an enjoyable build. Interior assembly proved to be the biggest challenge, as alignment issues persisted as a result of the side panels not being contoured correctly in my kit. Stripe decals disintegrated when attempting to apply, so scrapped them. If I were to build this again, I'd simply paint them on. It was built OOB, nothing added but white letter tires from the spares box. Again, this build done primarily to serve as a guide for my granddaughter as she completes hers. Can't wait to see hers completed. Color is MCW Brittany Blue with Tamiya TS13 Clear

-
Thanks, Claude! I don't have that image from this year's show, however, it sounds familiar. I think it may have been displayed at last year's show, and I may have it from that collection. I'll add it if I can locate it. Btw, loving your builds!
-
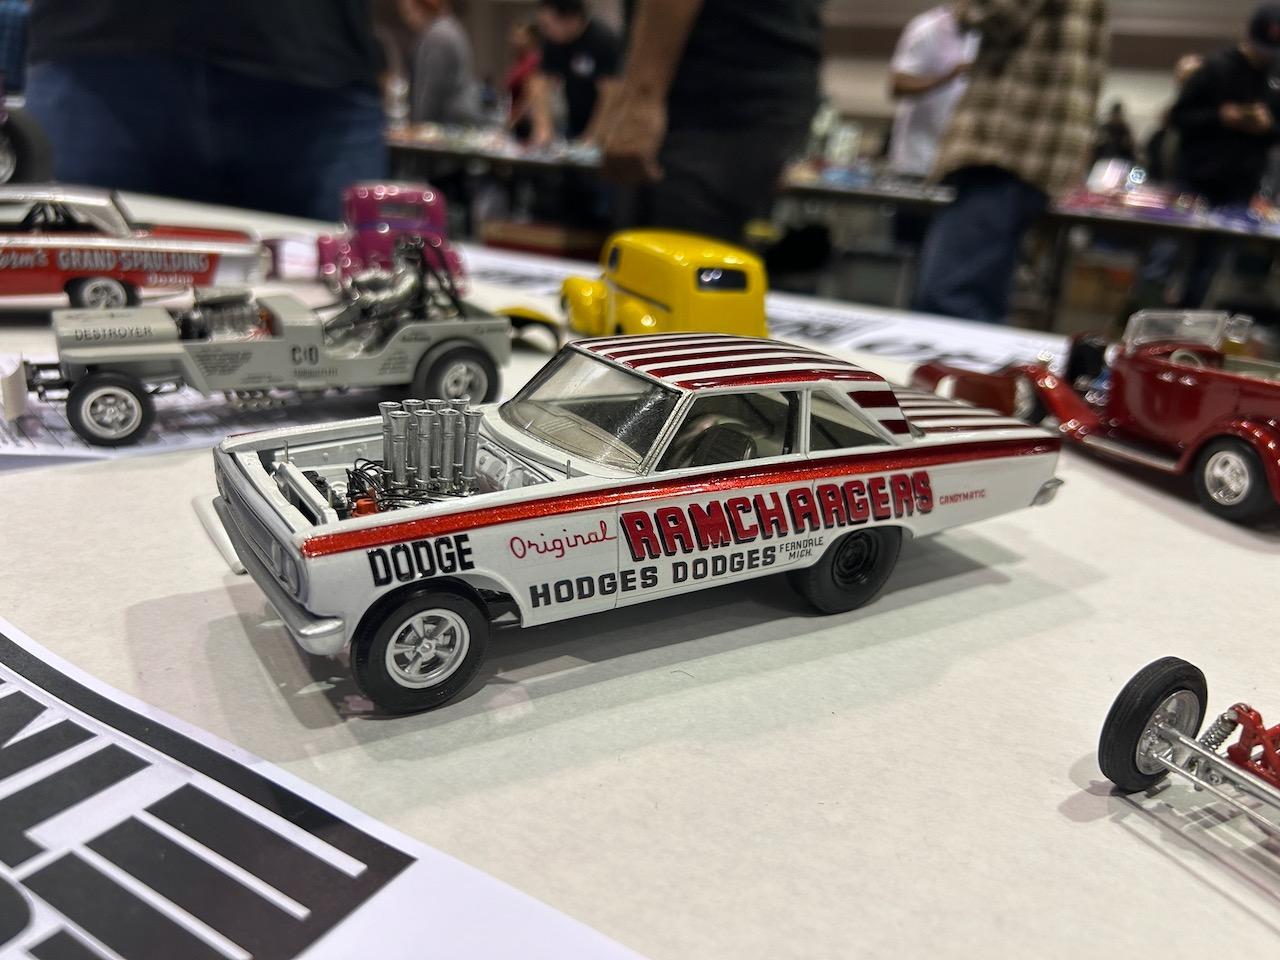
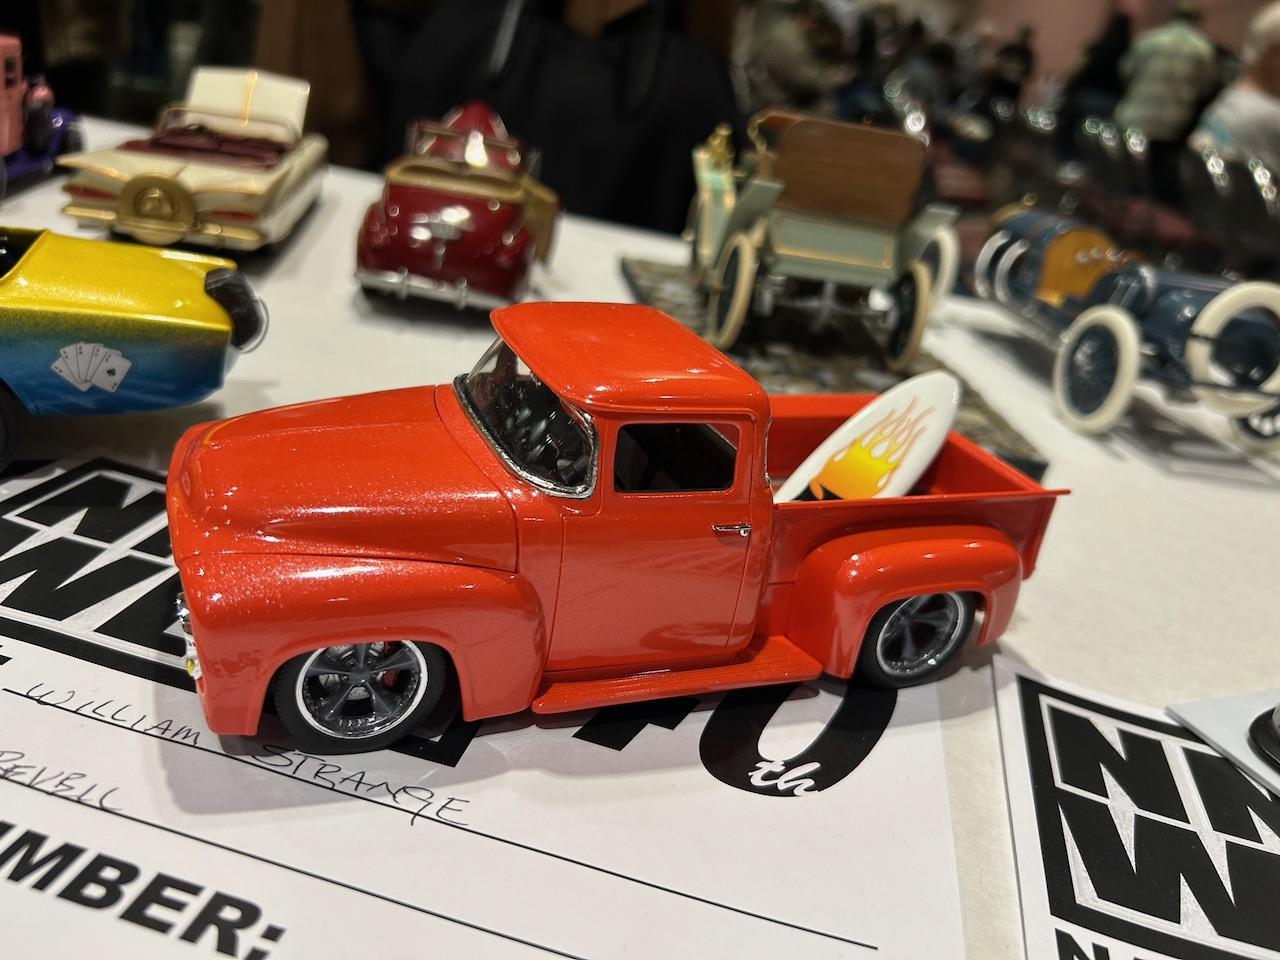
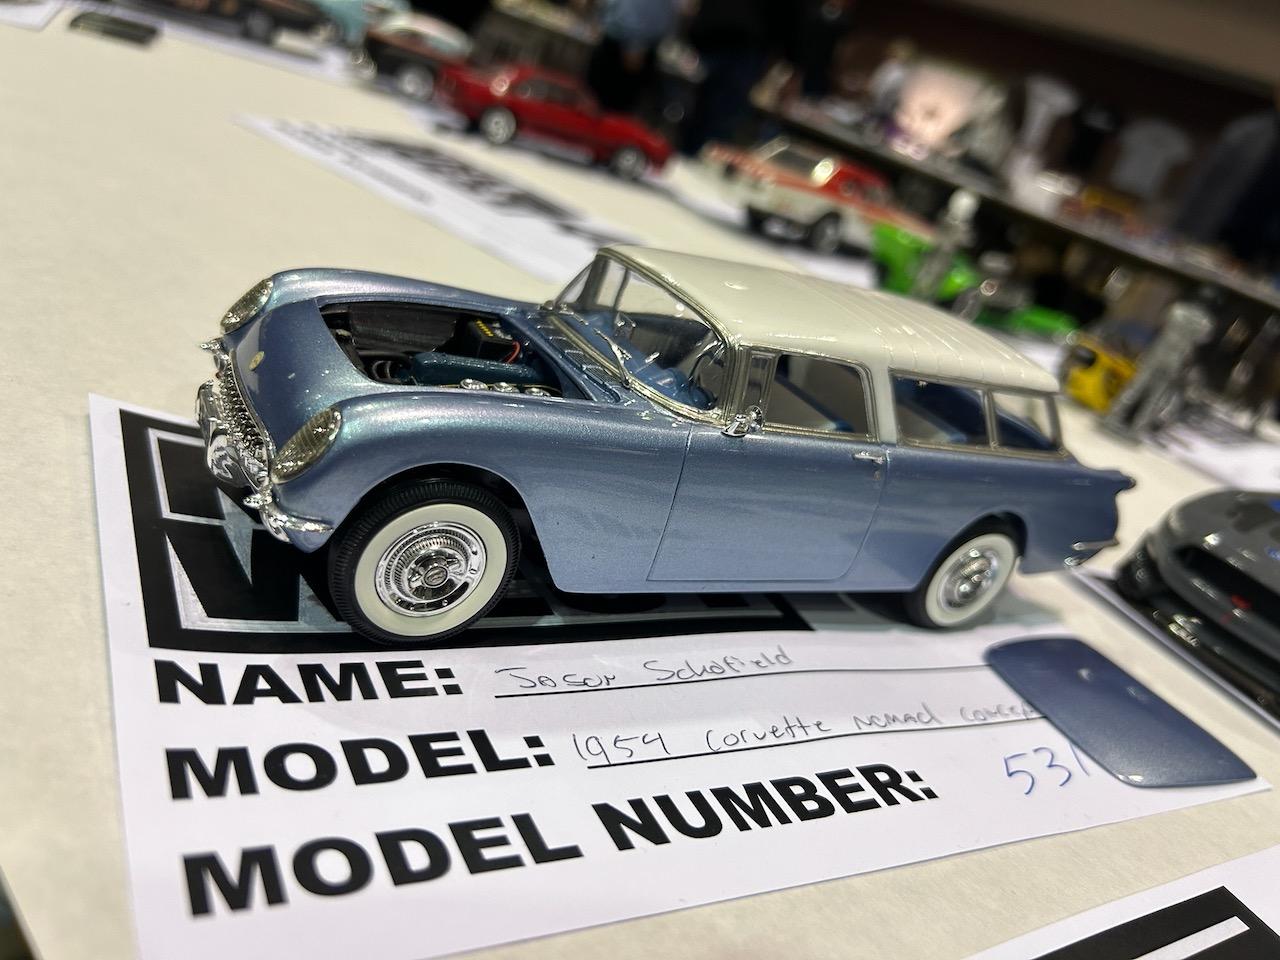
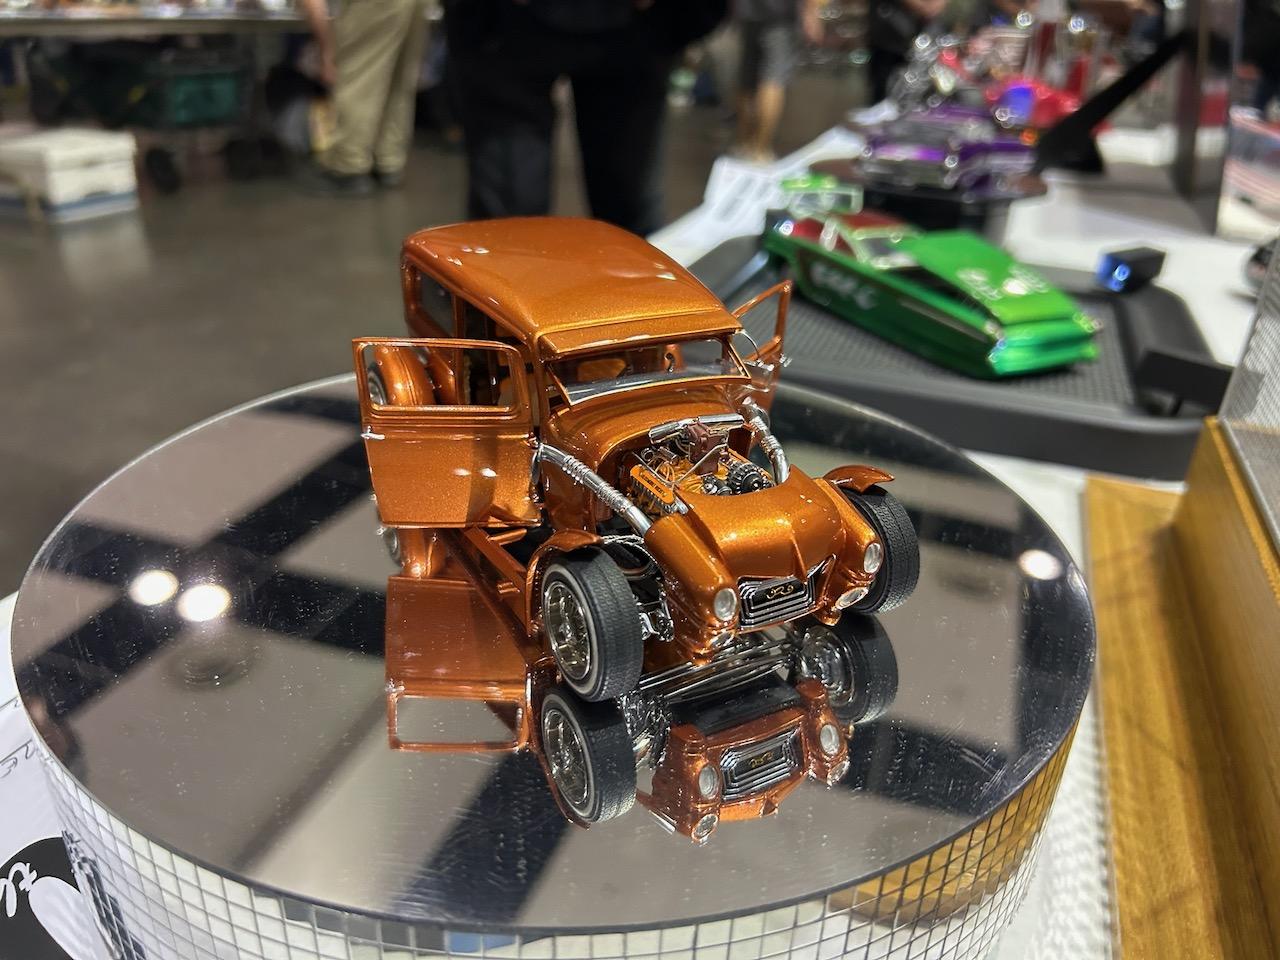
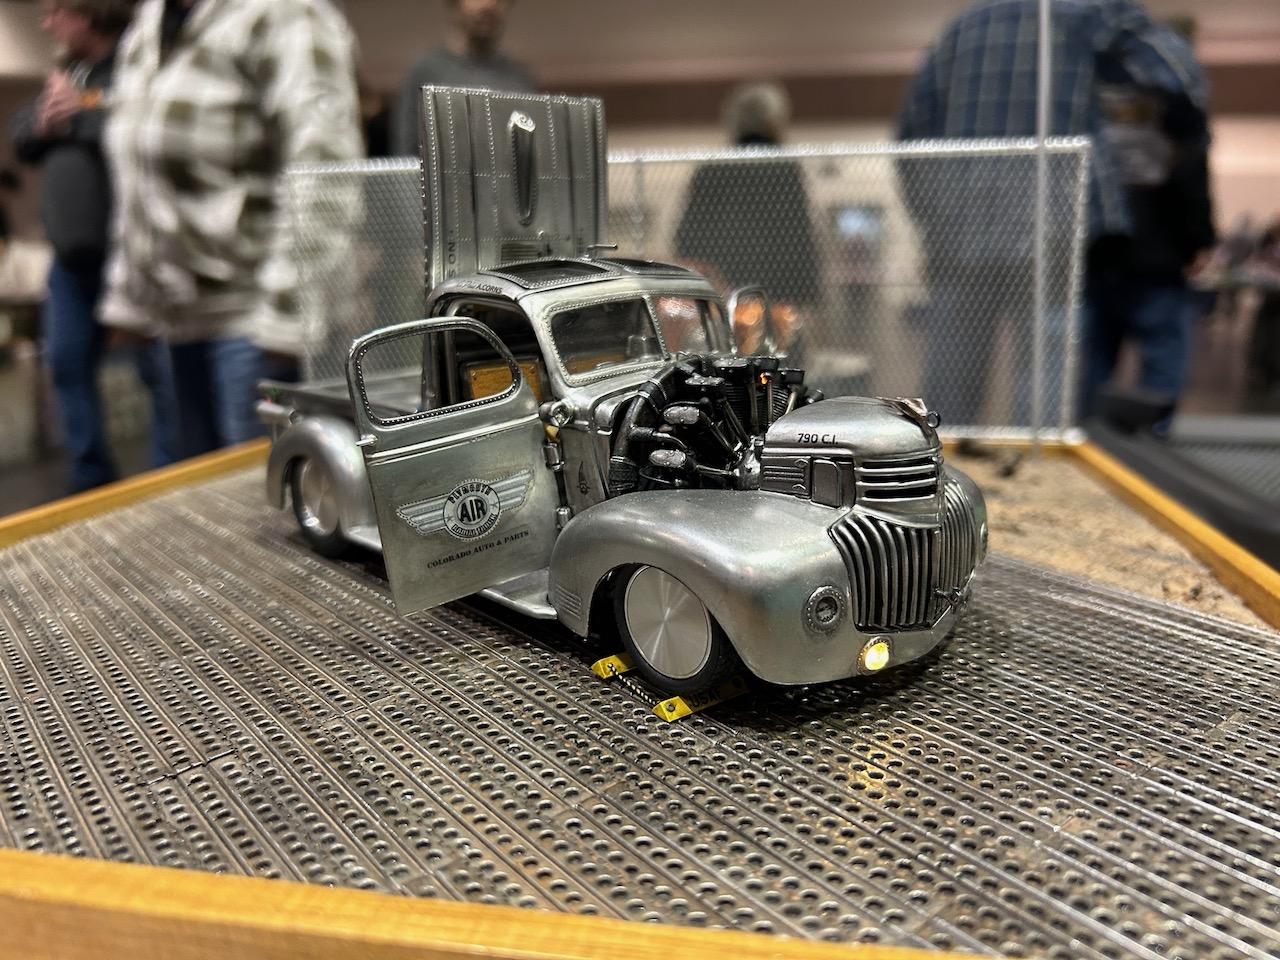
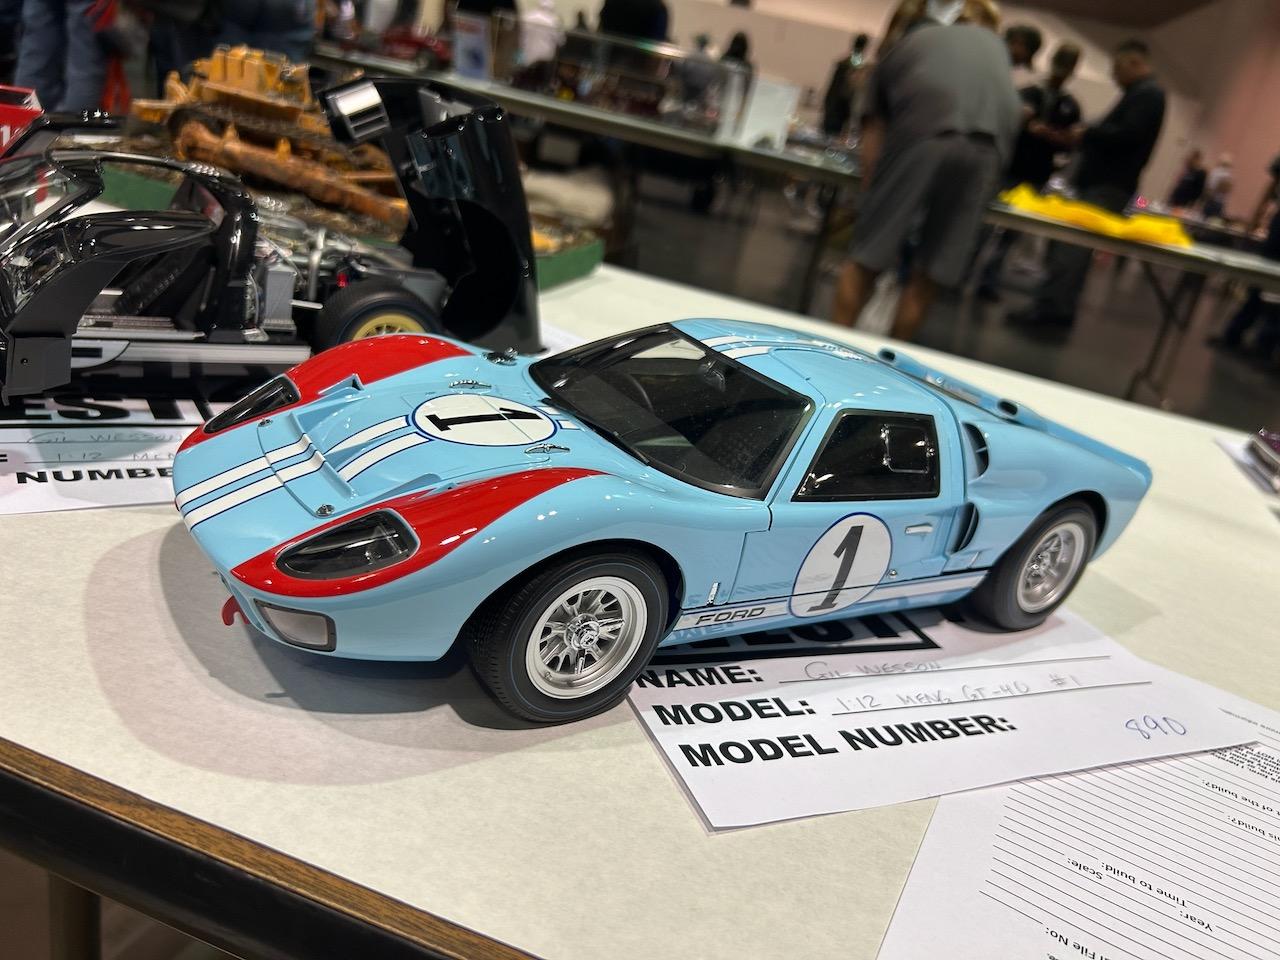
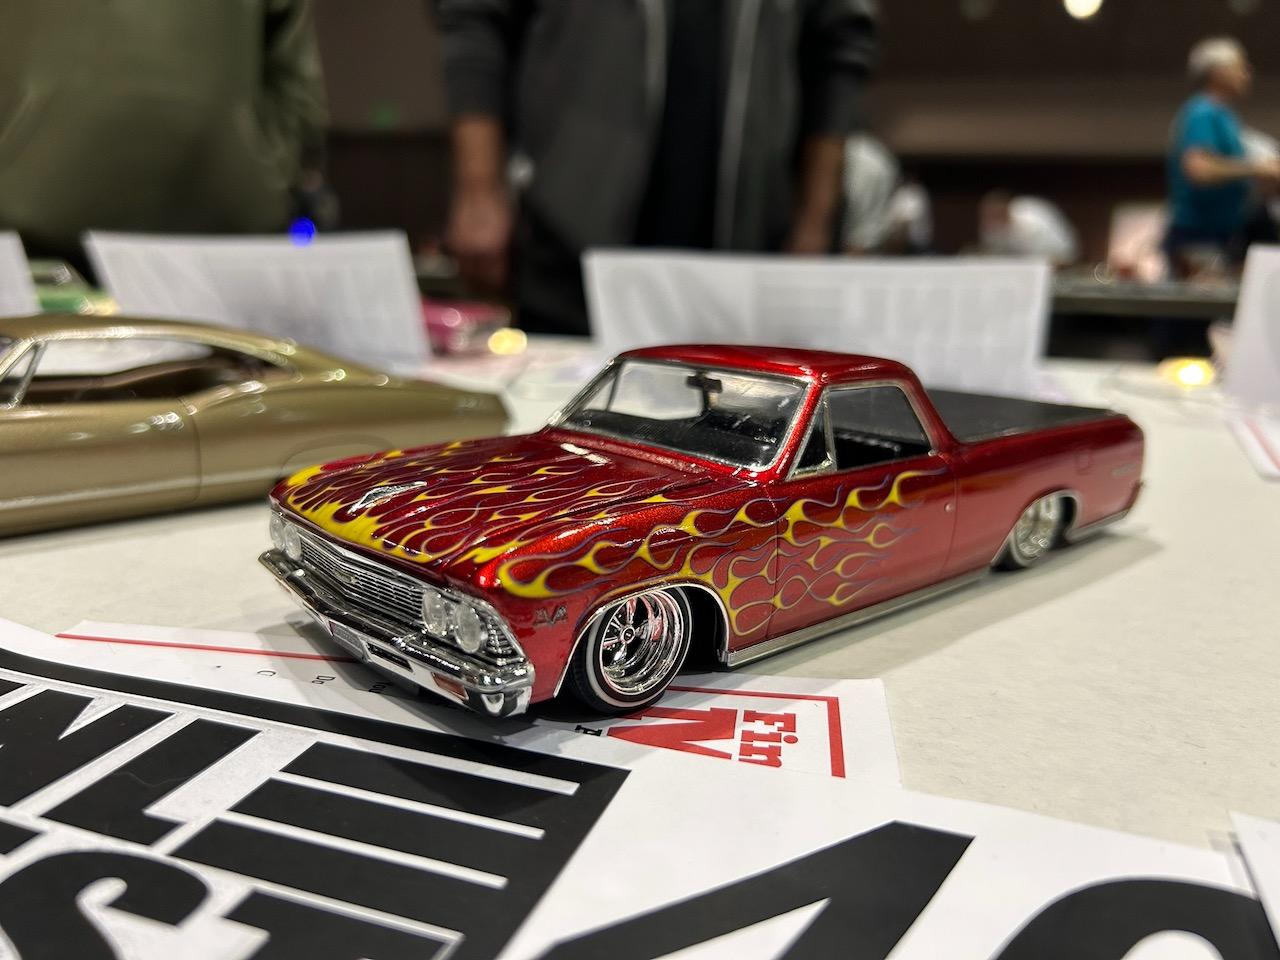
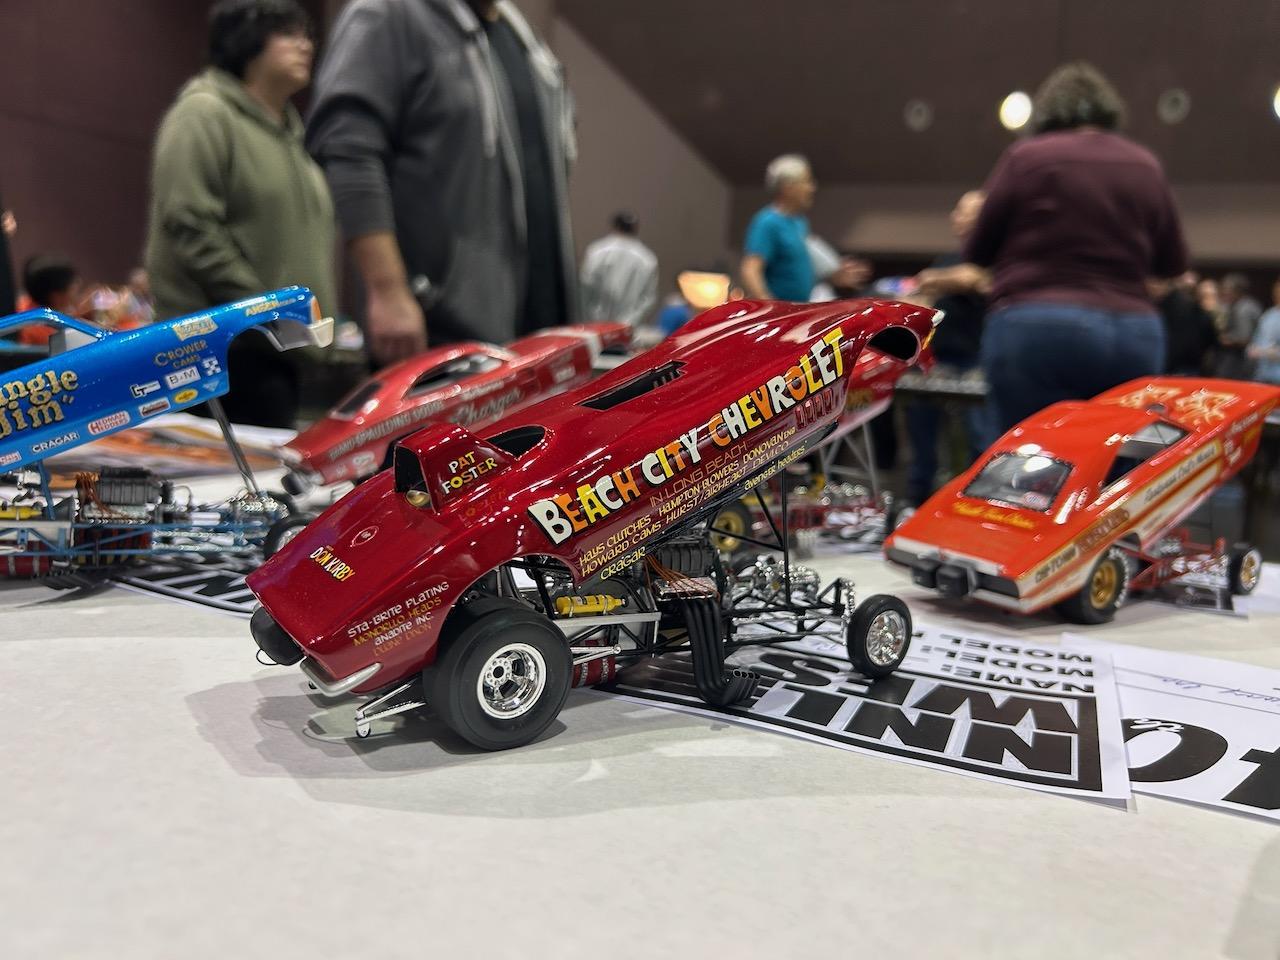
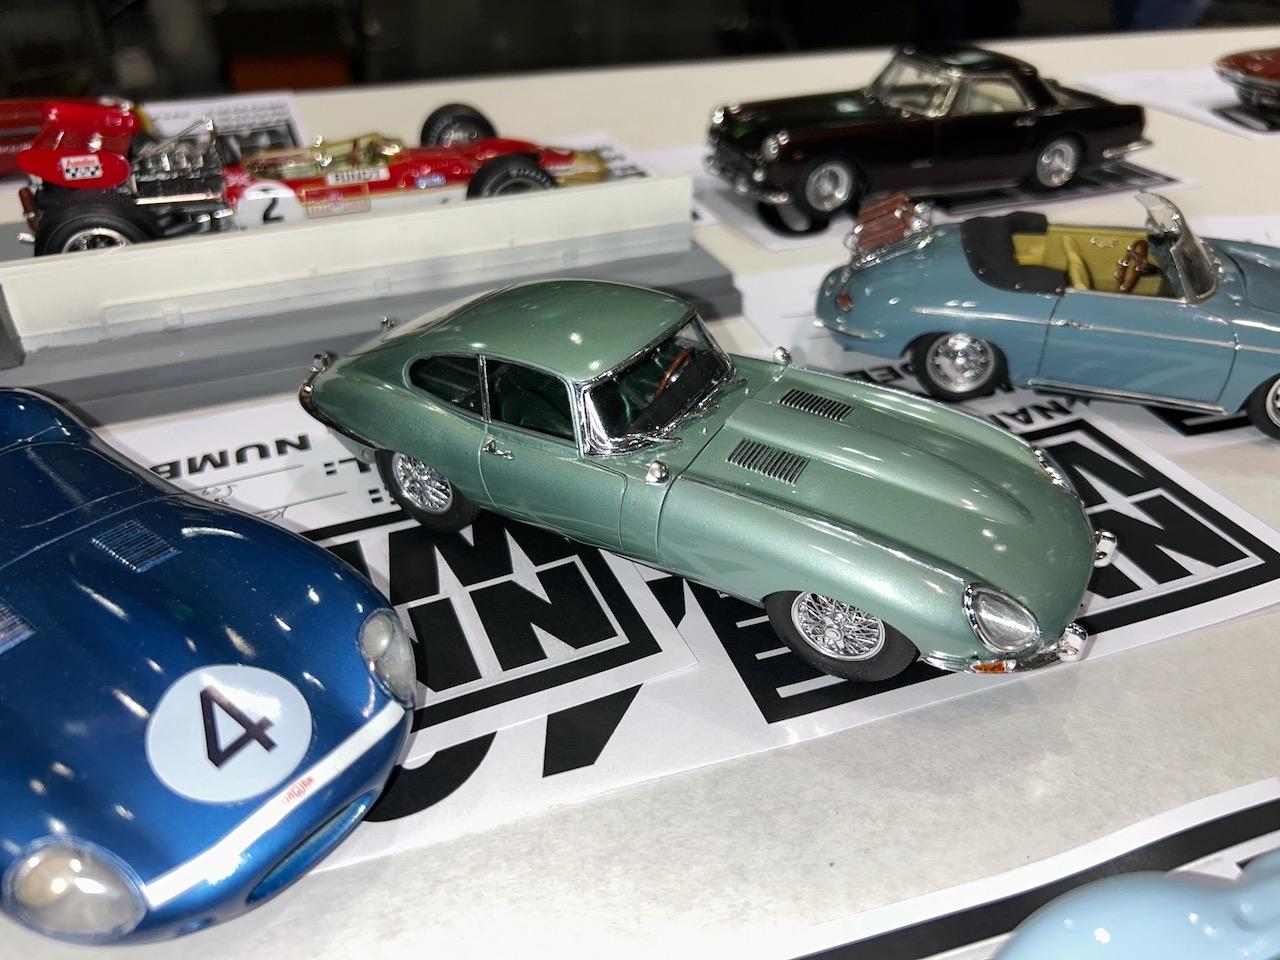
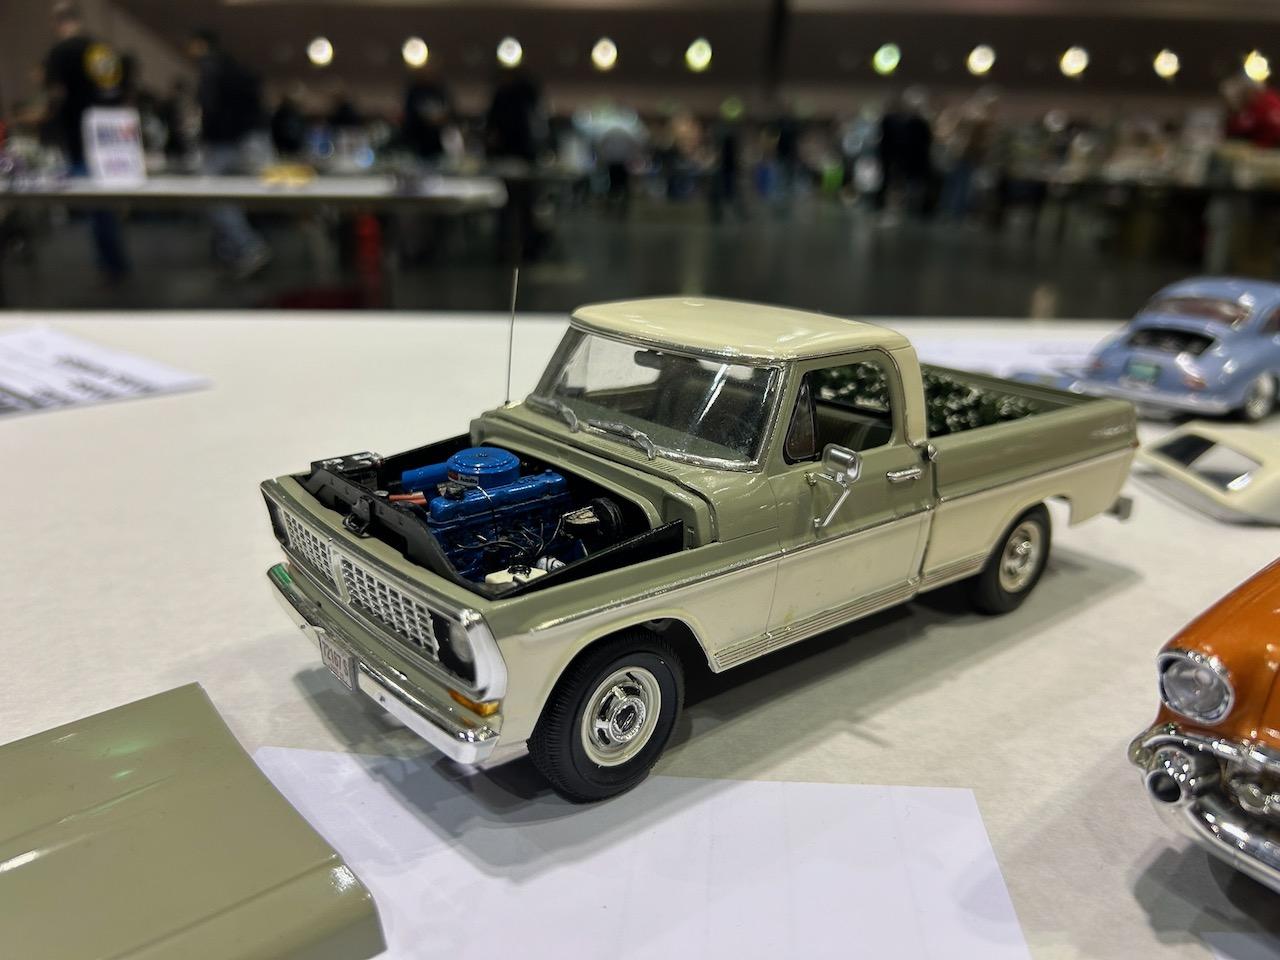
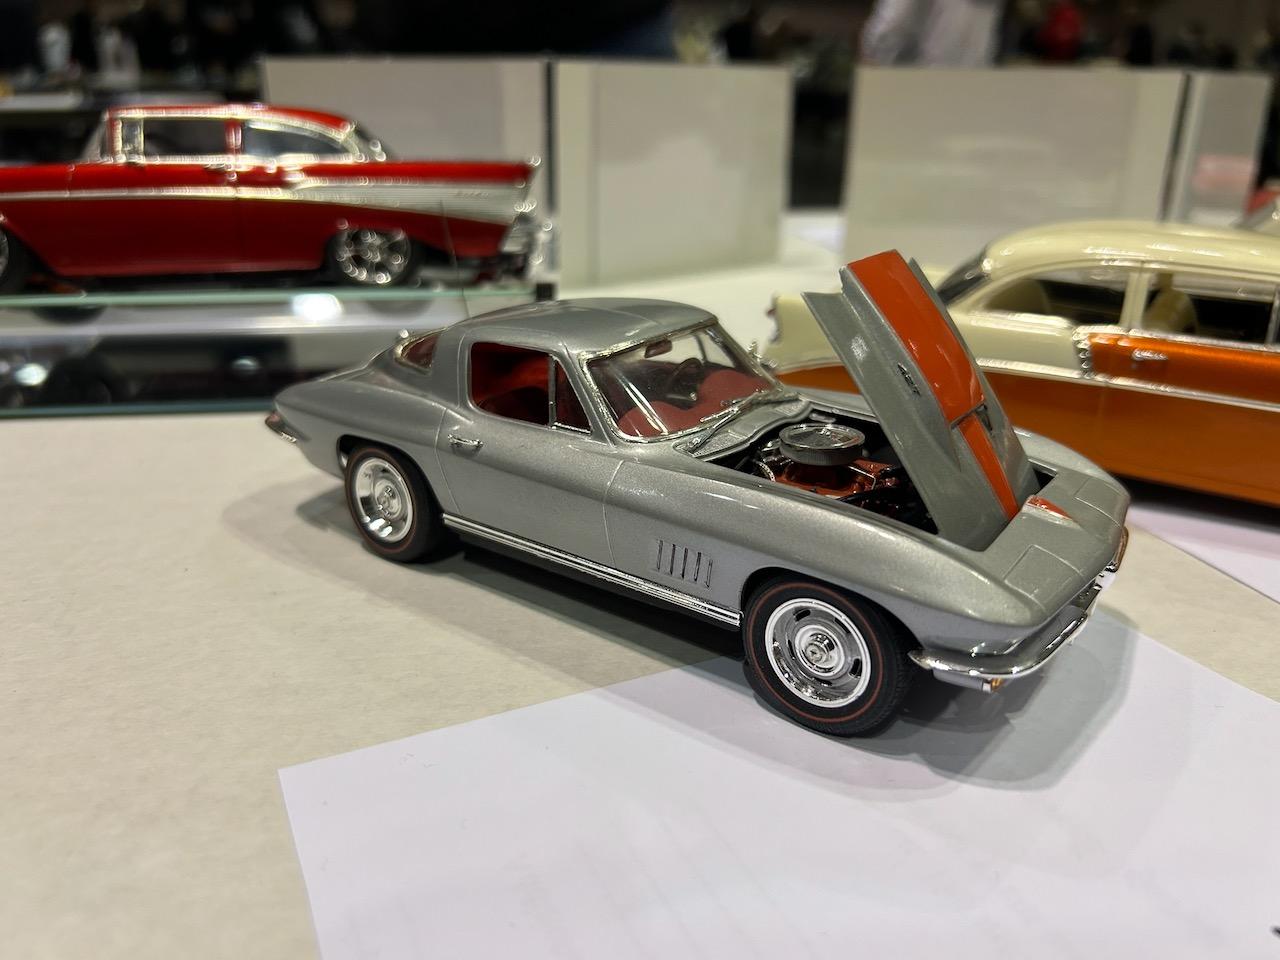
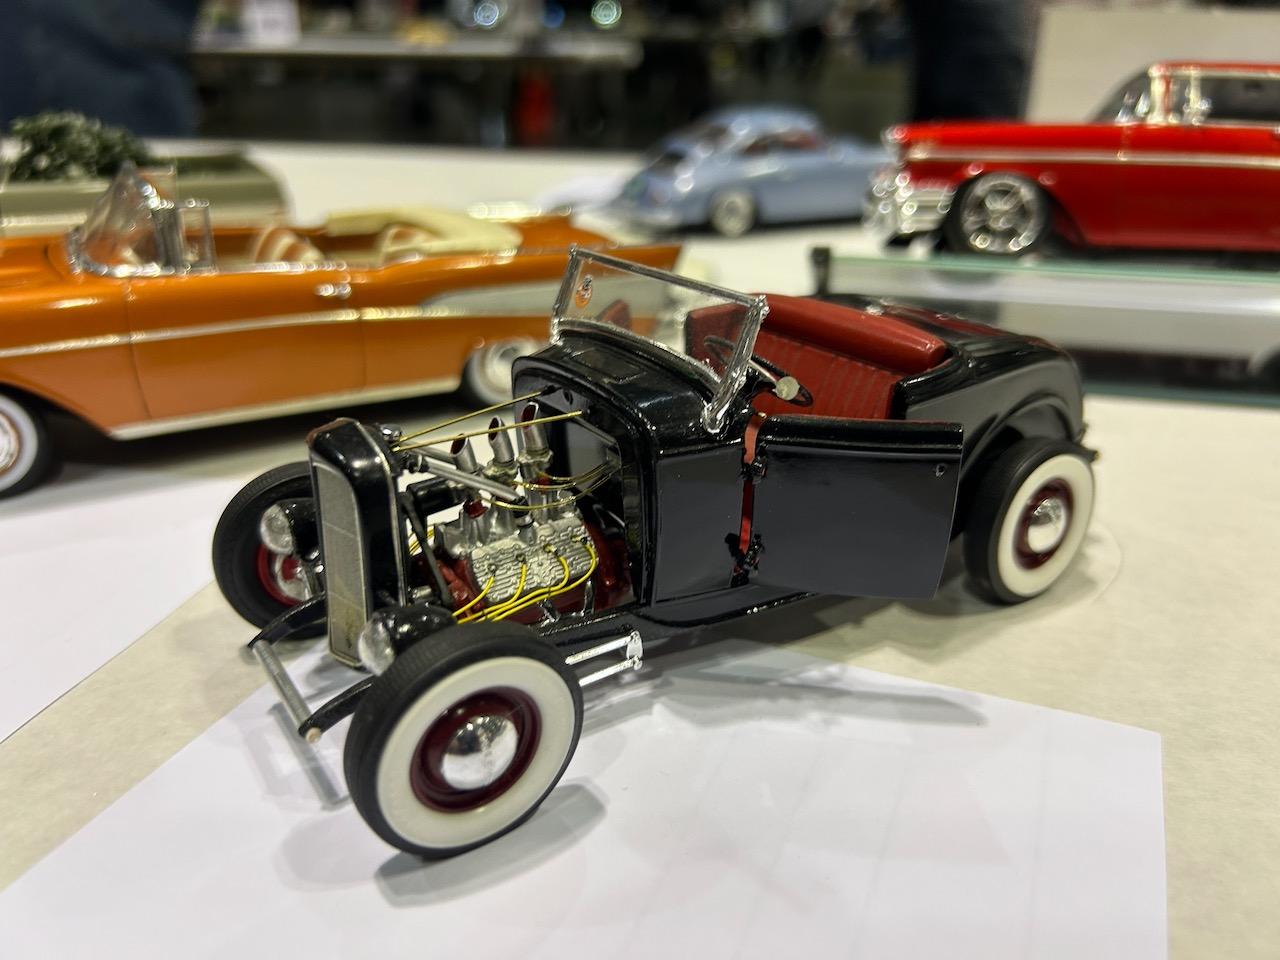
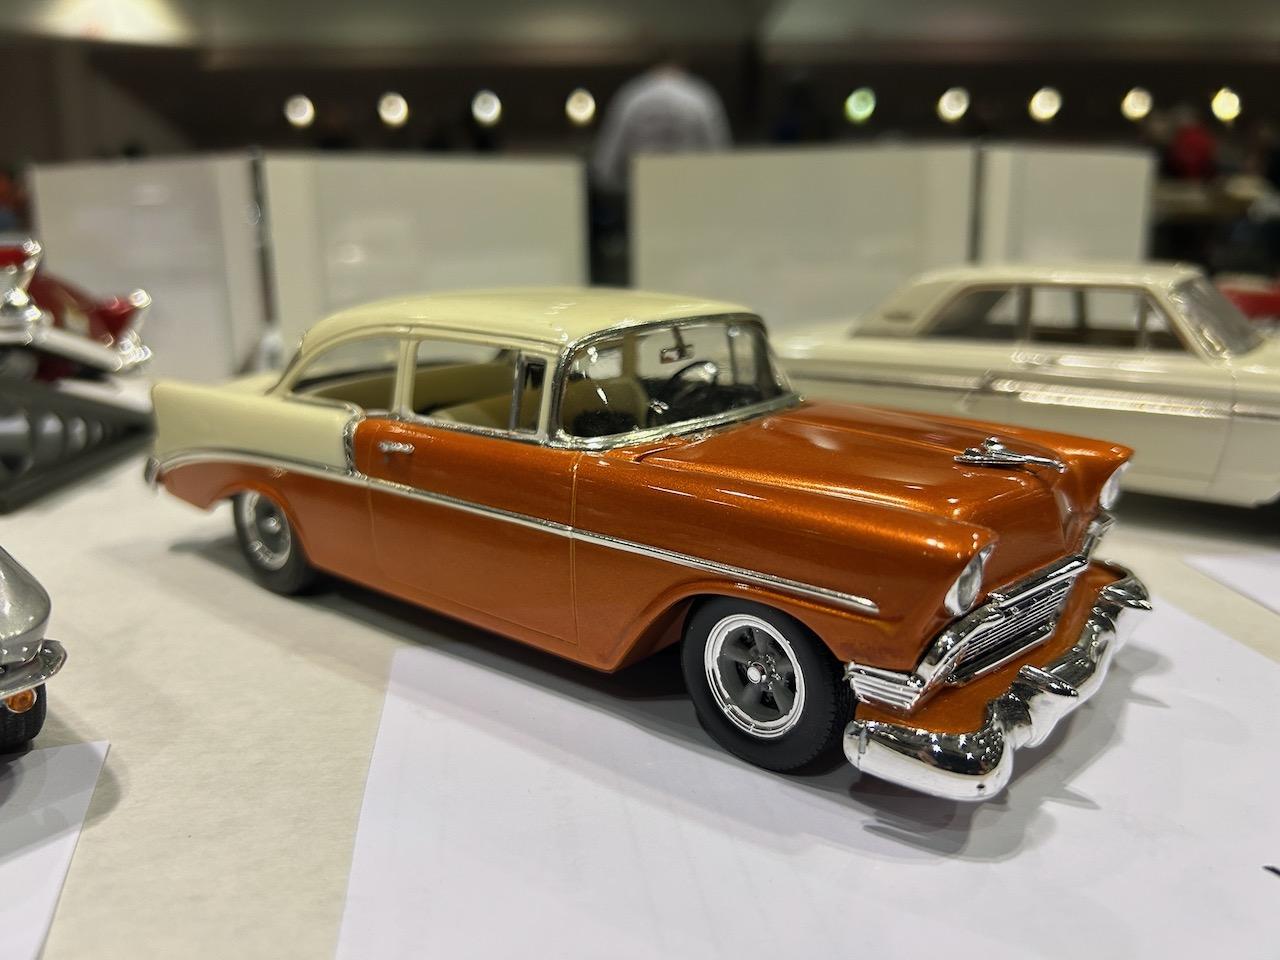
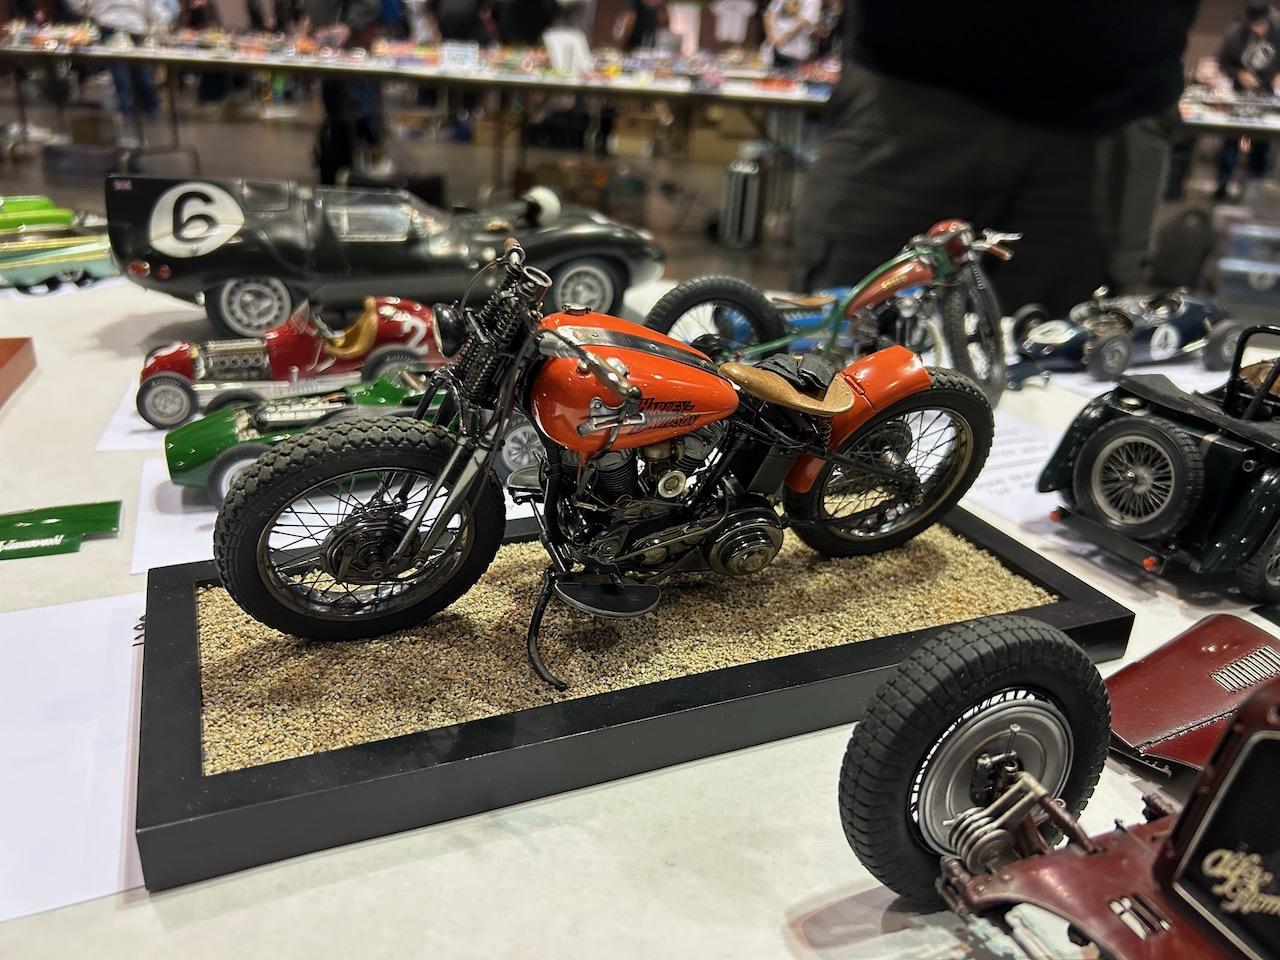
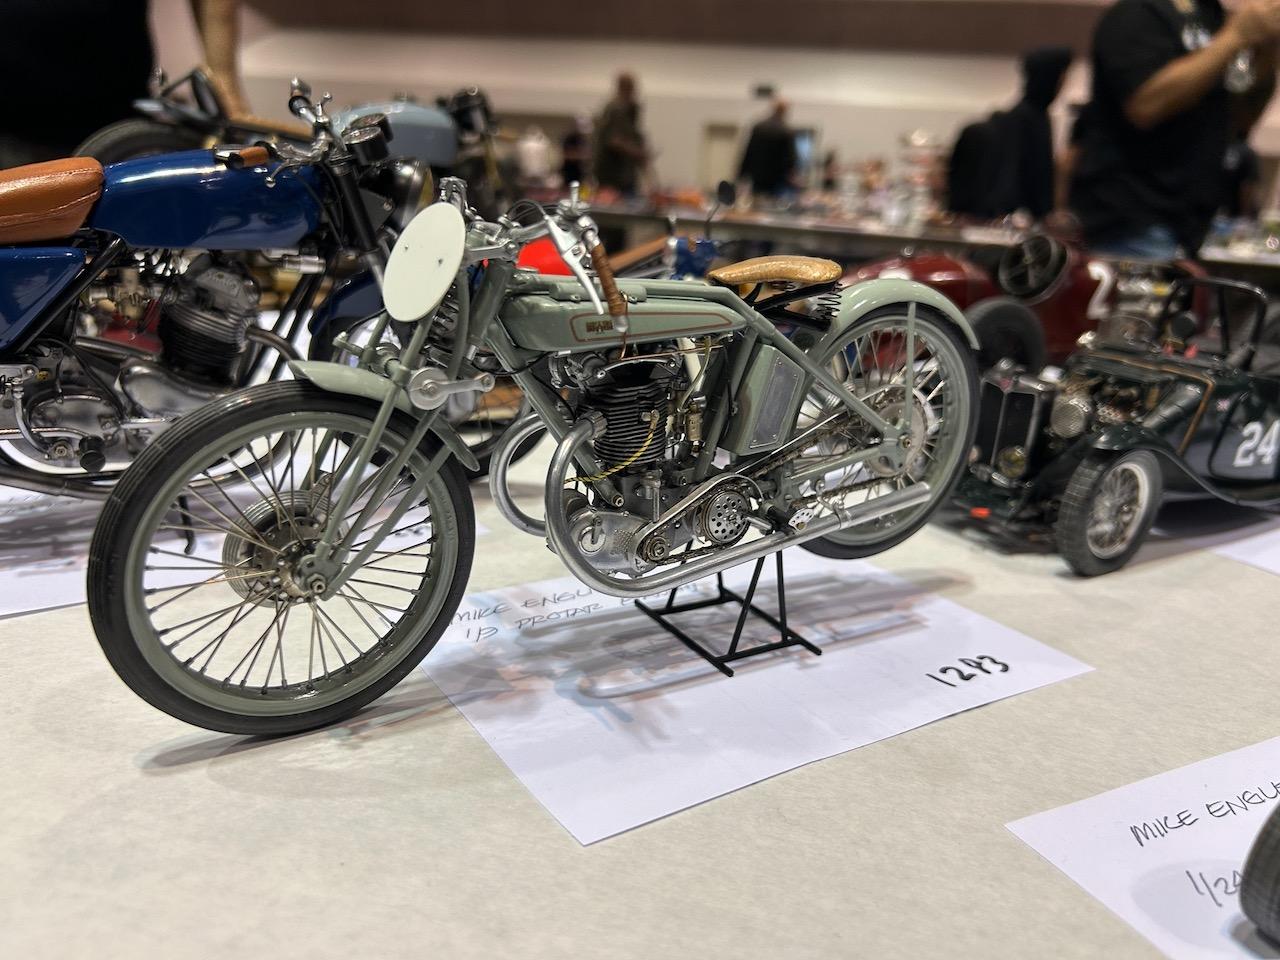
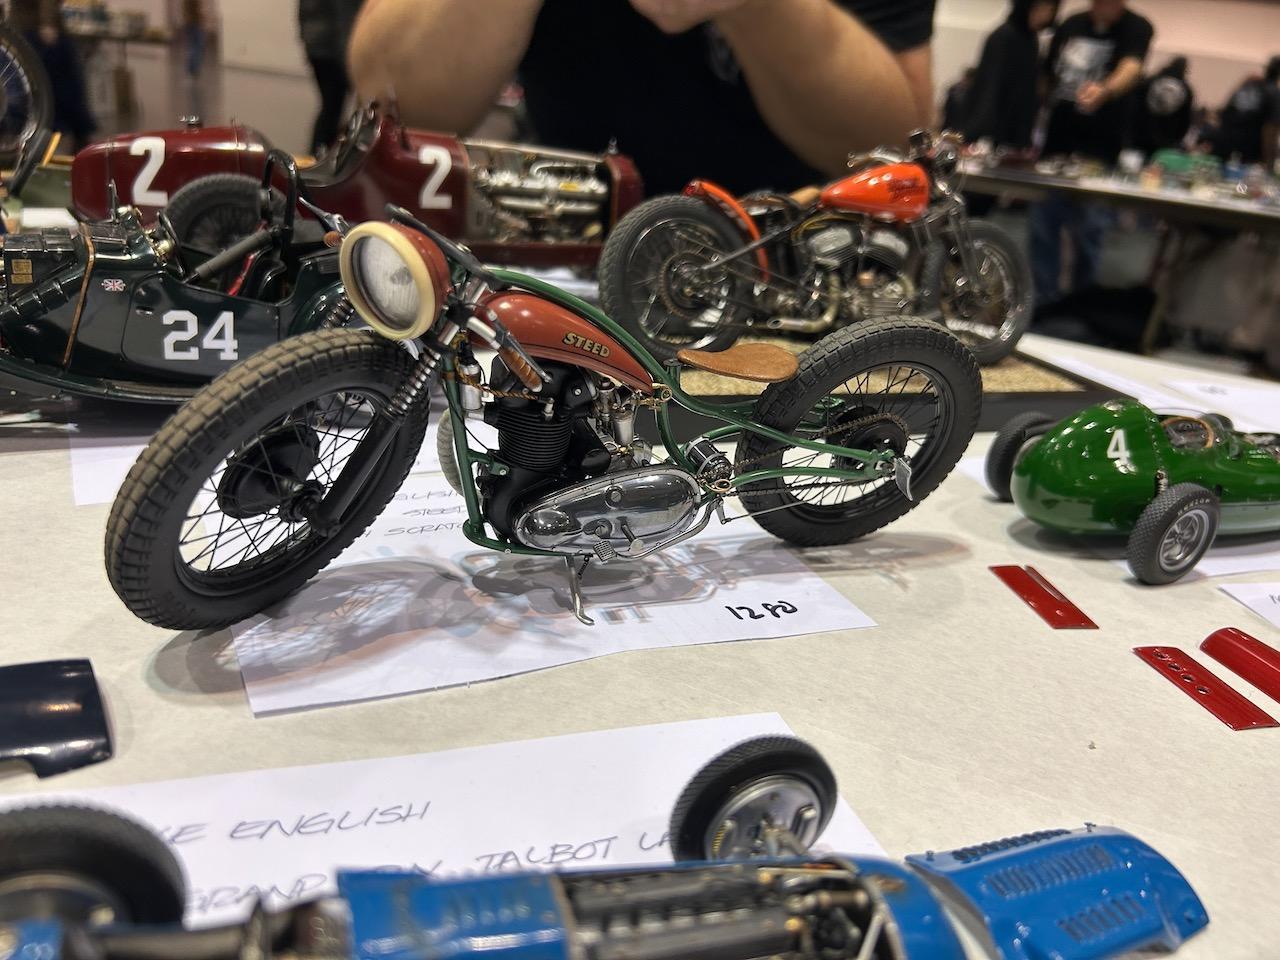
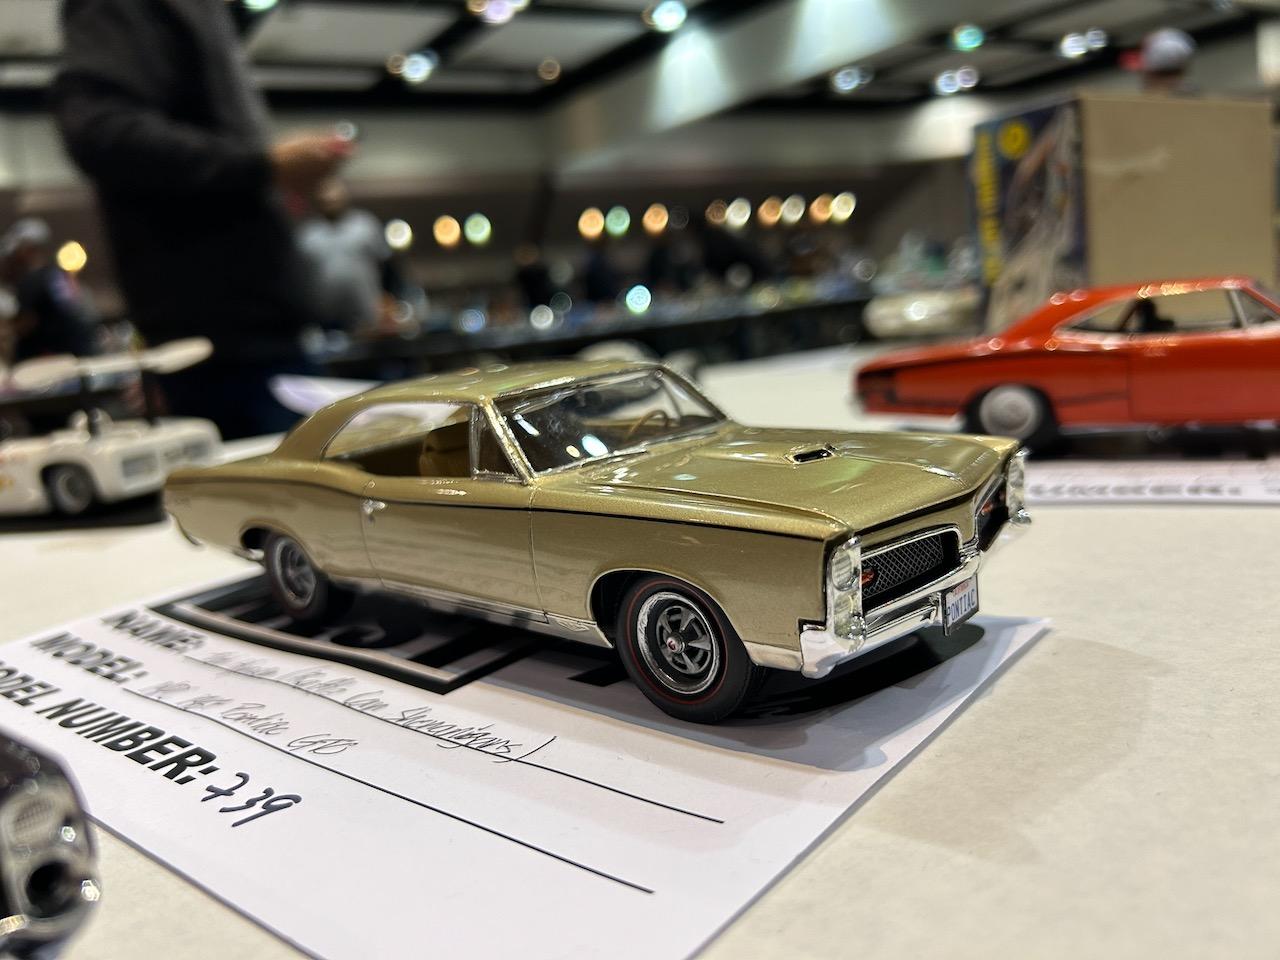
Late to the party, but here are a few I took.
-

1961 Pontiac Ventura kustom as if built in late 1962
Watertown replied to chepp's topic in Model Cars
Nice work, Charley!! Looks like something that could have rolled out of Gene Winfield's shop back in the day. Well done, sir! -
Phenomenal job!! Every detail is perfect!
-
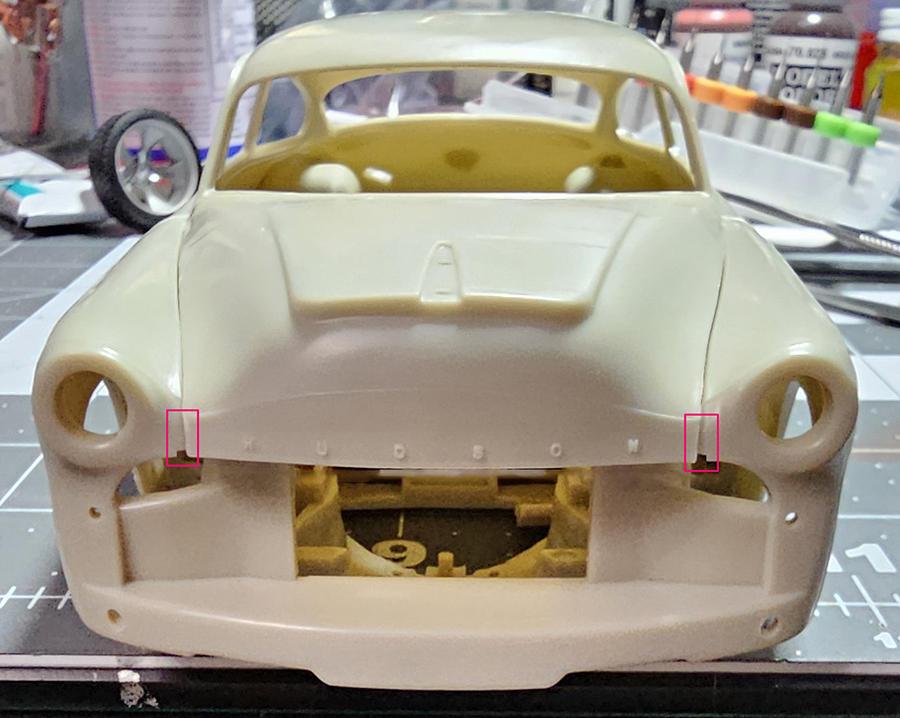
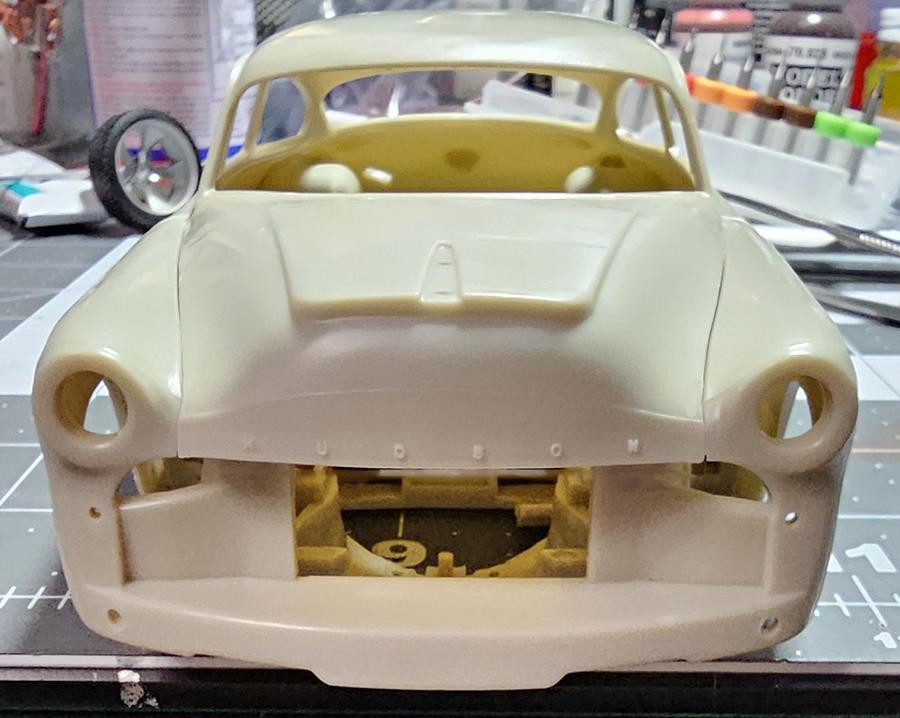
If it were me, this is the approach I'd take: 1. Measure the difference below the letters that hang below where the opening should be, then remove that amount from above the letters. 2. Shift the hood front up to its new location. This will leave slight gaps on either side that need to be filled. Fill gaps. End result should have letters comfortably away from the opening, and the hood edge aligning where it belongs.
-
Best post on any forum I've read in months!! Thanks for the chuckle!!
-
Incredible build, Matt!! It would appear we have "lots to learn" from YOU! Stunning! Thanks for sharing this inspiring work.
-
Recreation of 1964 Model Car Science ad for AMT Trophy series
Watertown replied to Alan Barton's topic in Model Cars
This is the smile of the week for me!! The builds are wonderful, and the presentation is unmatched. ? -
Love it, Steve!! Brought a tear to my eye, as I remember building one of these when they first came out in 1969. A classic model that still brings smiles when built well! Nice job! Thanks for sharing.
-
1:25 scale bumper jack source
Watertown replied to Watertown's topic in Model Building Questions and Answers
Much appreciated, Steve! Sadly, I don't have that kit, but I was able to do some spelunking out in our "storage bunker", and discovered among my old kits, an AMT '49 Merc that has a great multi-piece bumper jack—albeit chrome plated. I'll strip the chrome and use that. I appreciate your feedback nonetheless.