Taxdude
-
Posts
272 -
Joined
-
Last visited
Content Type
Profiles
Forums
Events
Gallery
Everything posted by Taxdude
-
 I have contacted my lawyer and he said to accept your apology. The Hatfields and McCoys have yet to chime in....
 -
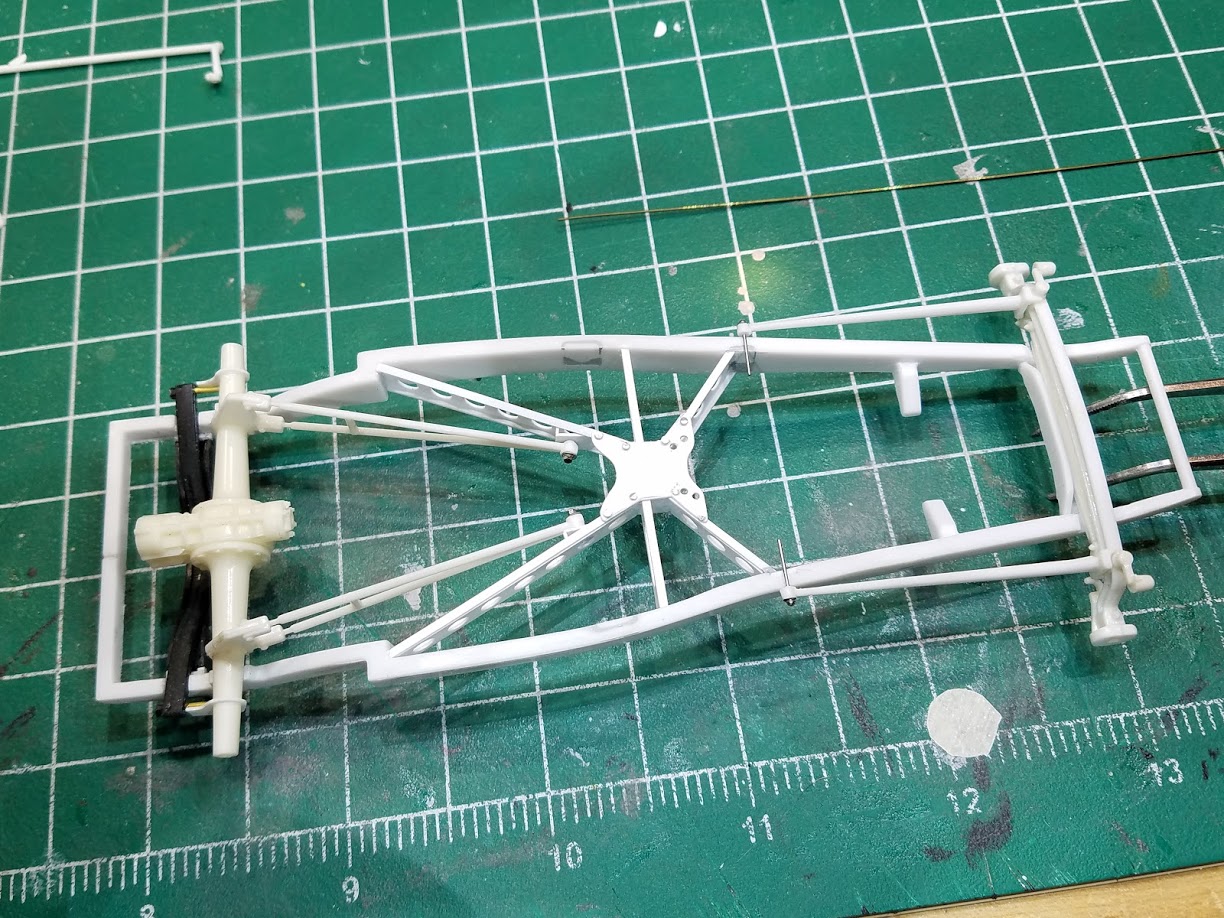
Time, the final frontier or lack thereof. Had some time again to work on the coupe. Build the motor mounts., rebuilt the motor mounts a bit smaller, launched a new better motor mount into the modeling unknowns, built one more. Looks like I'm going to have to order shorter bolts I also built a one-off intake. To convert the 2 barrel intake to one that could take two Stromberg 97's And a motor mount picture out of order.

-
Hi Art, I'll try and put some pictures up in under glass this weekend
-
I'll try and put some up in the underglass this coming weekend. My builds are timed not by days or months. But by the the changing of geological eras.
-
Thanks Tim
-
With glue you need very little. Also after gluing or soldering I go back and sand off any excess. In order of use I go with tamiya liquid cement, 5 minute epoxy and CA last.
-
Many thanks. My new mantra is "It is better to look scale than to be scale" To many times you see an engine compartment that has all scale hoses and line. But taken as a whole it looks toy like. If you go a bit smaller the the whole looks better.
-
For brass to plastic I always use 5 minute epoxy for two reasons. 1-I like to work time of the epoxy. Especially when you have to make sure parts are in alignment. CA just kicks to fast. 2-I find that CA is much to brittle. Last thing you need is for two parts to pop apart. Also when gluing brass I score the mating surfaces in to give the glue something to grip to.
-
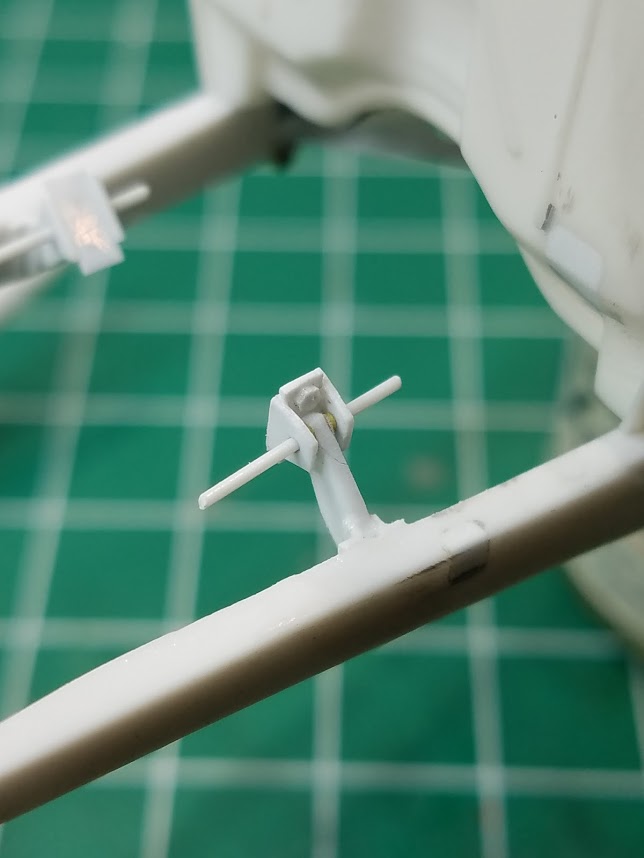
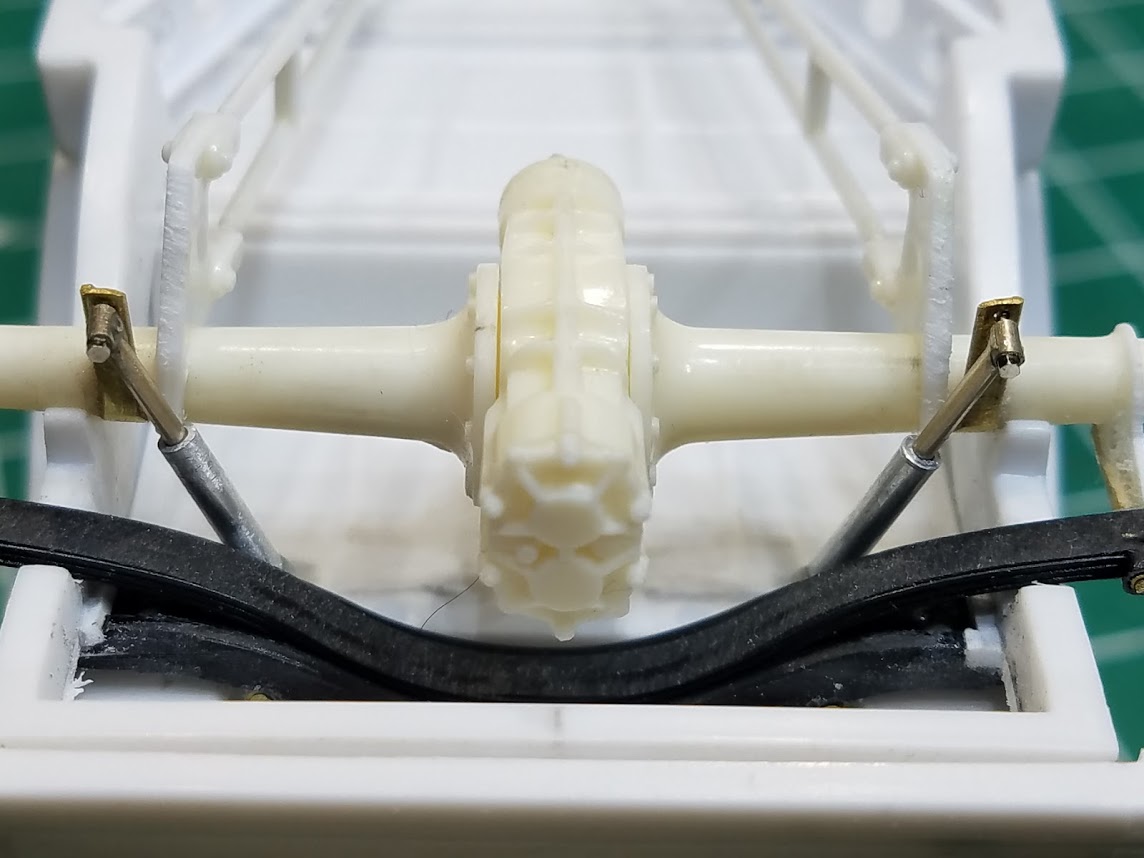
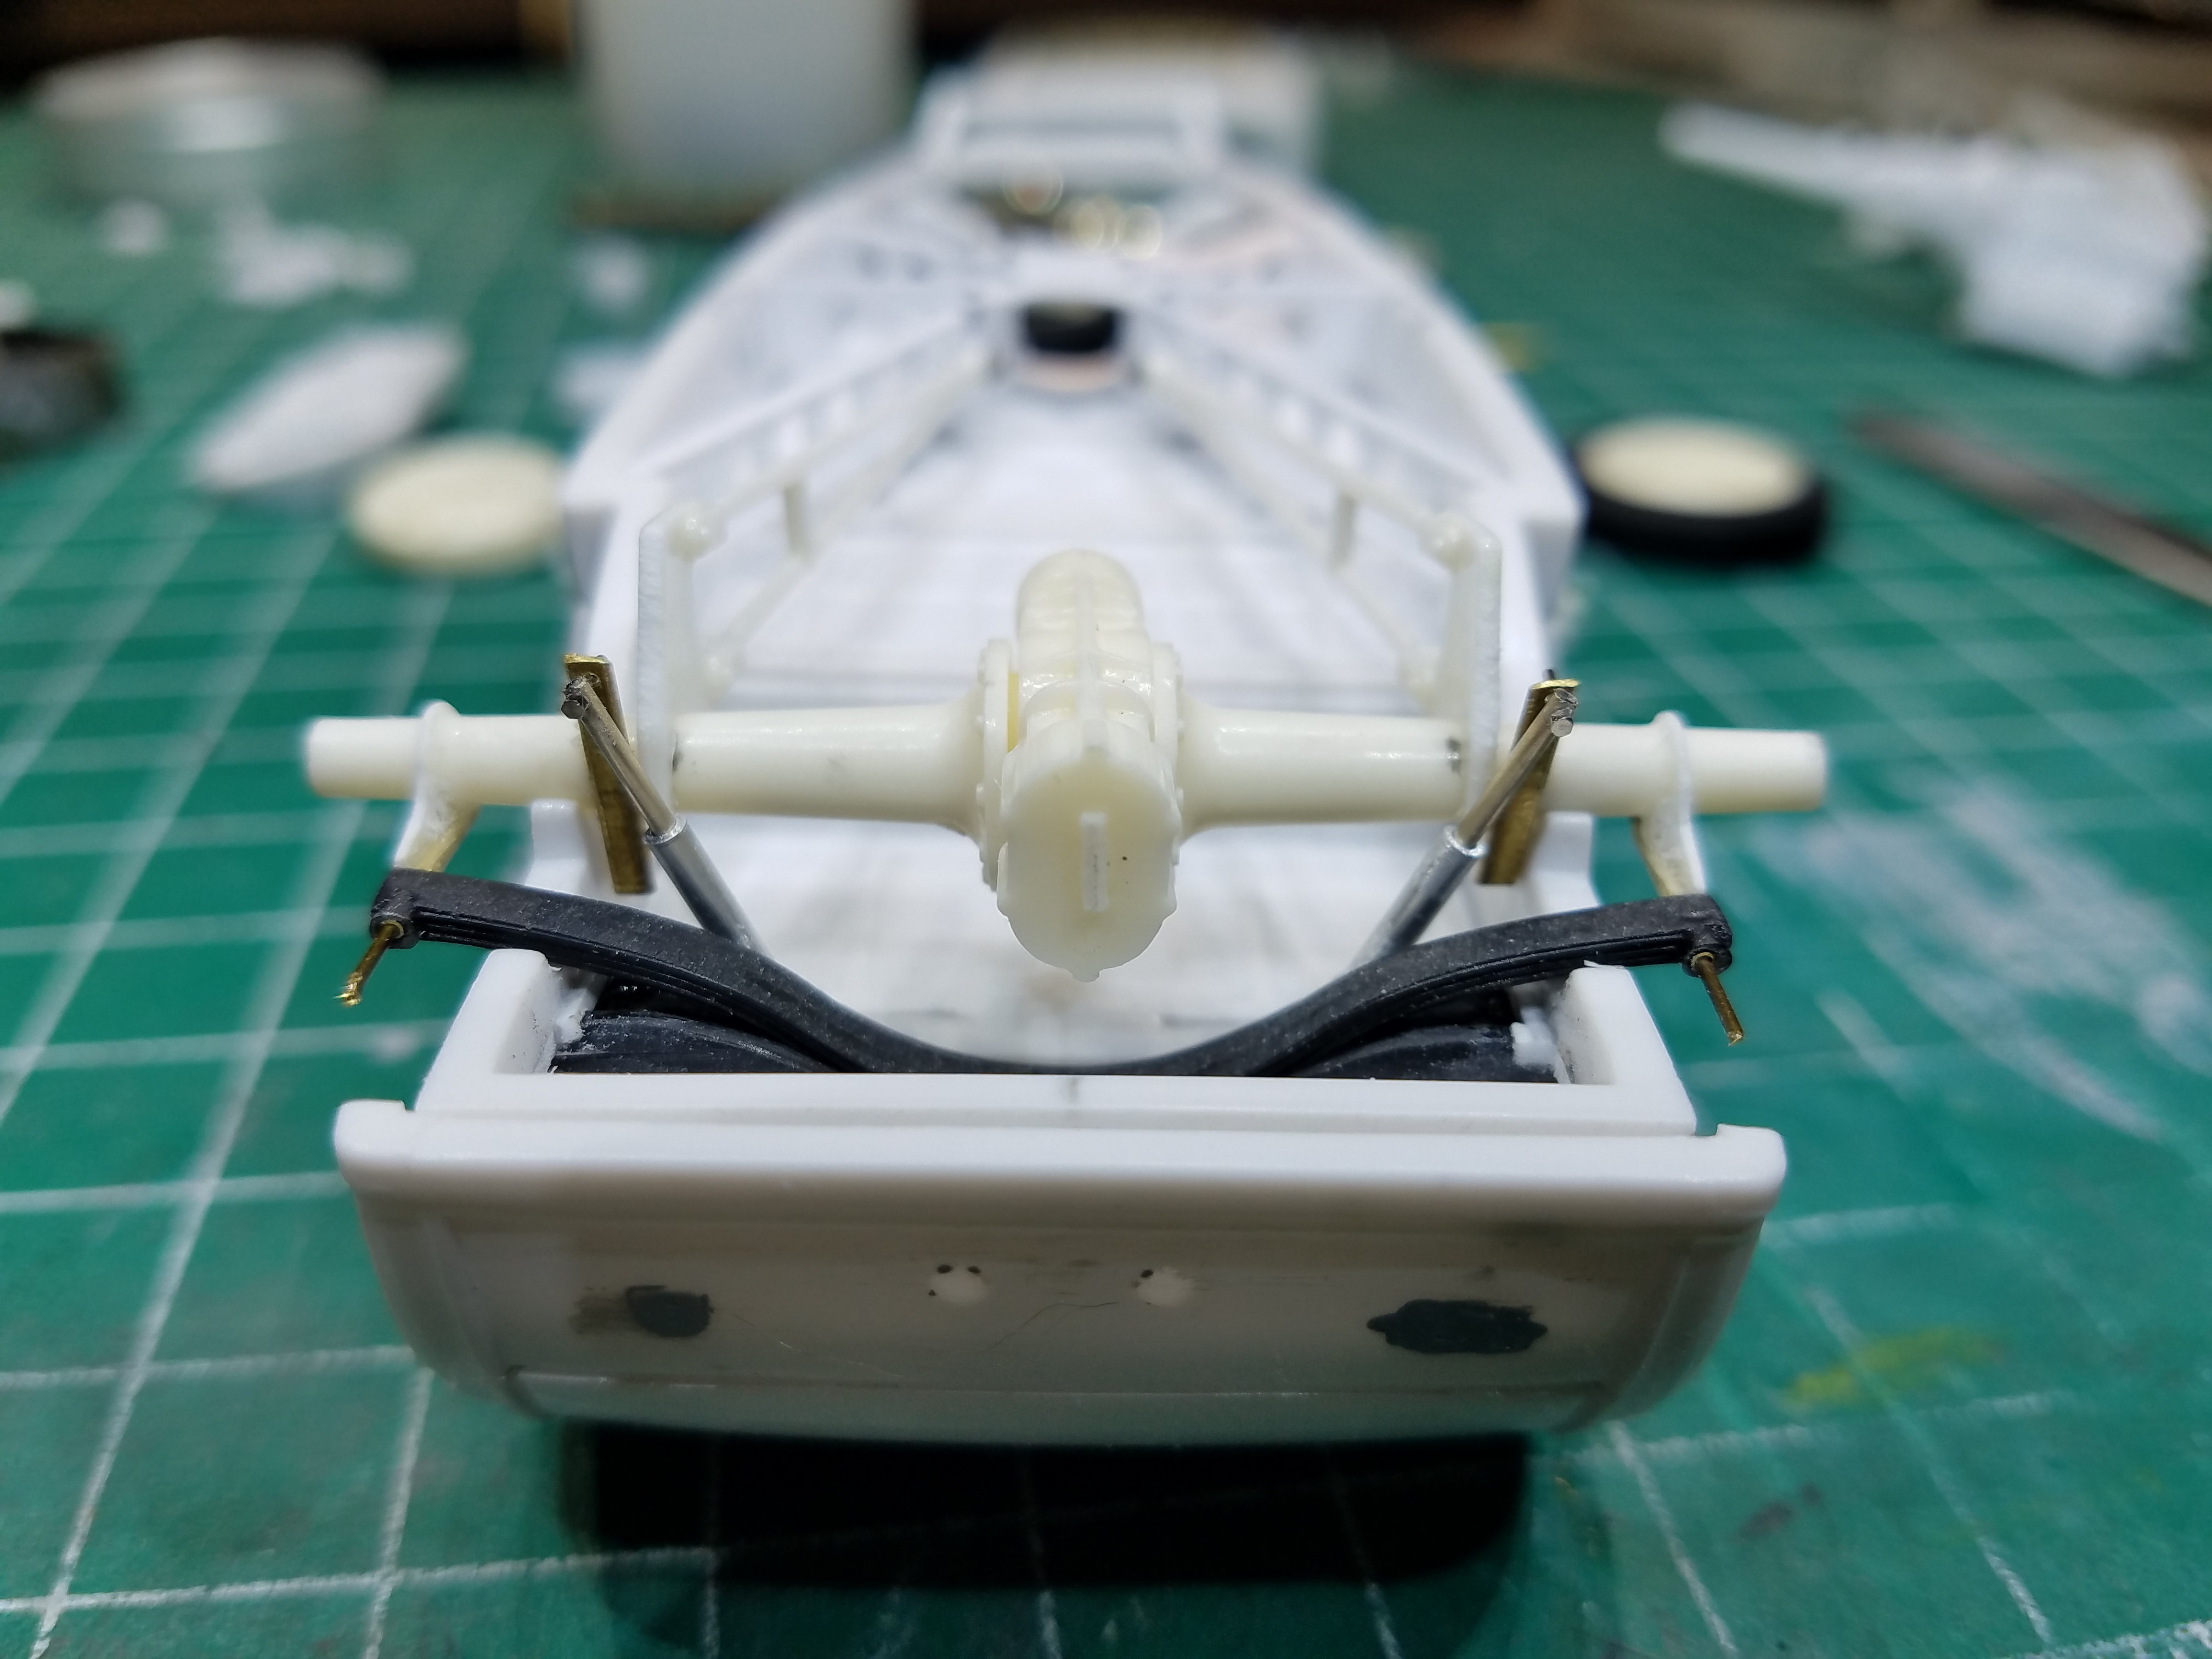
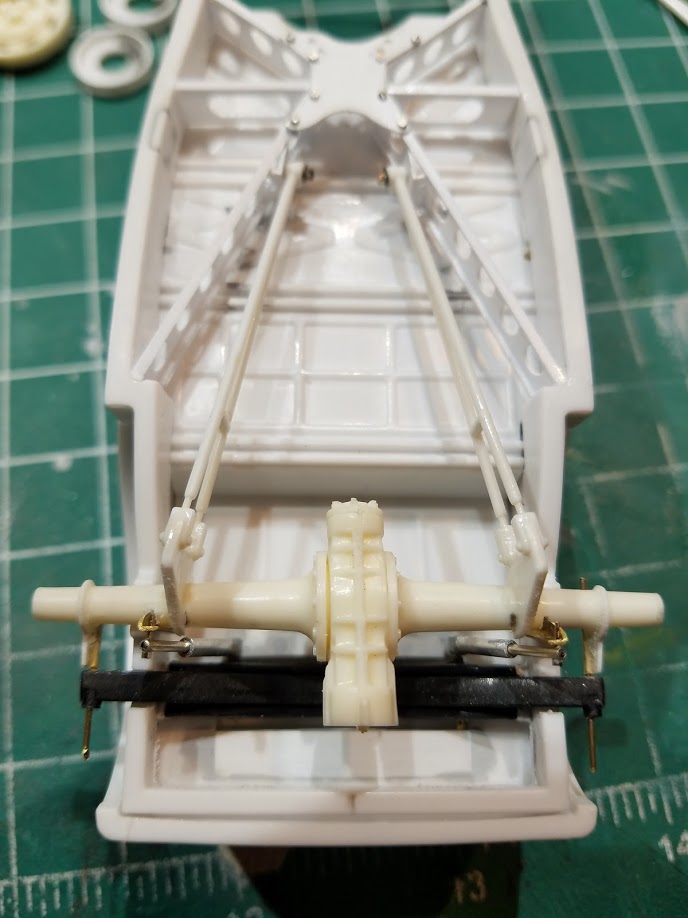
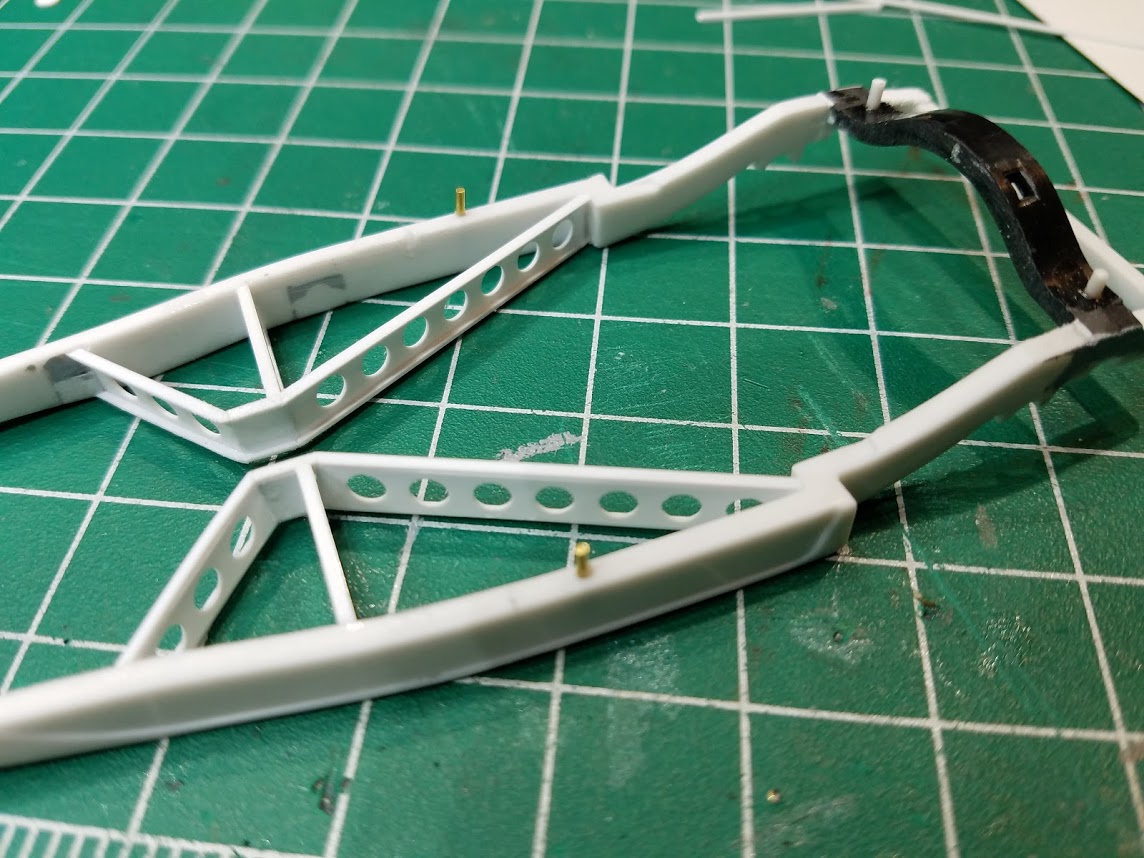
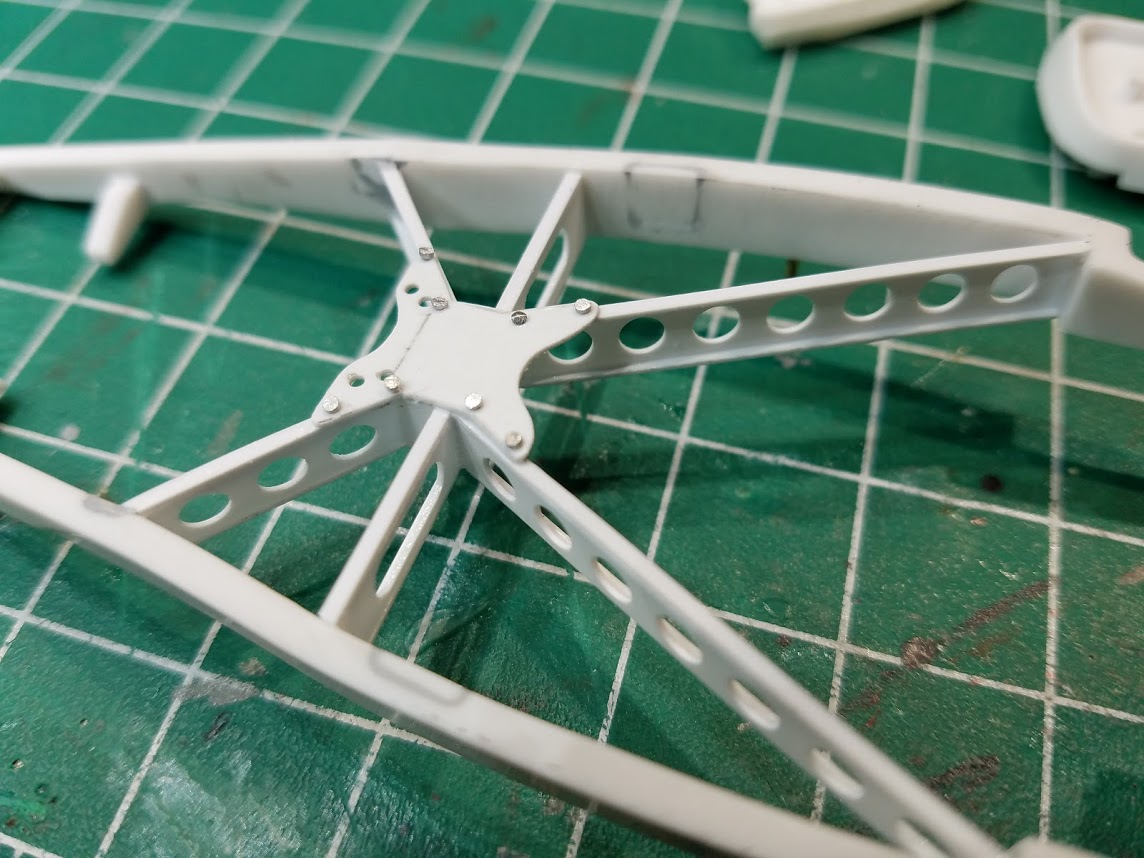
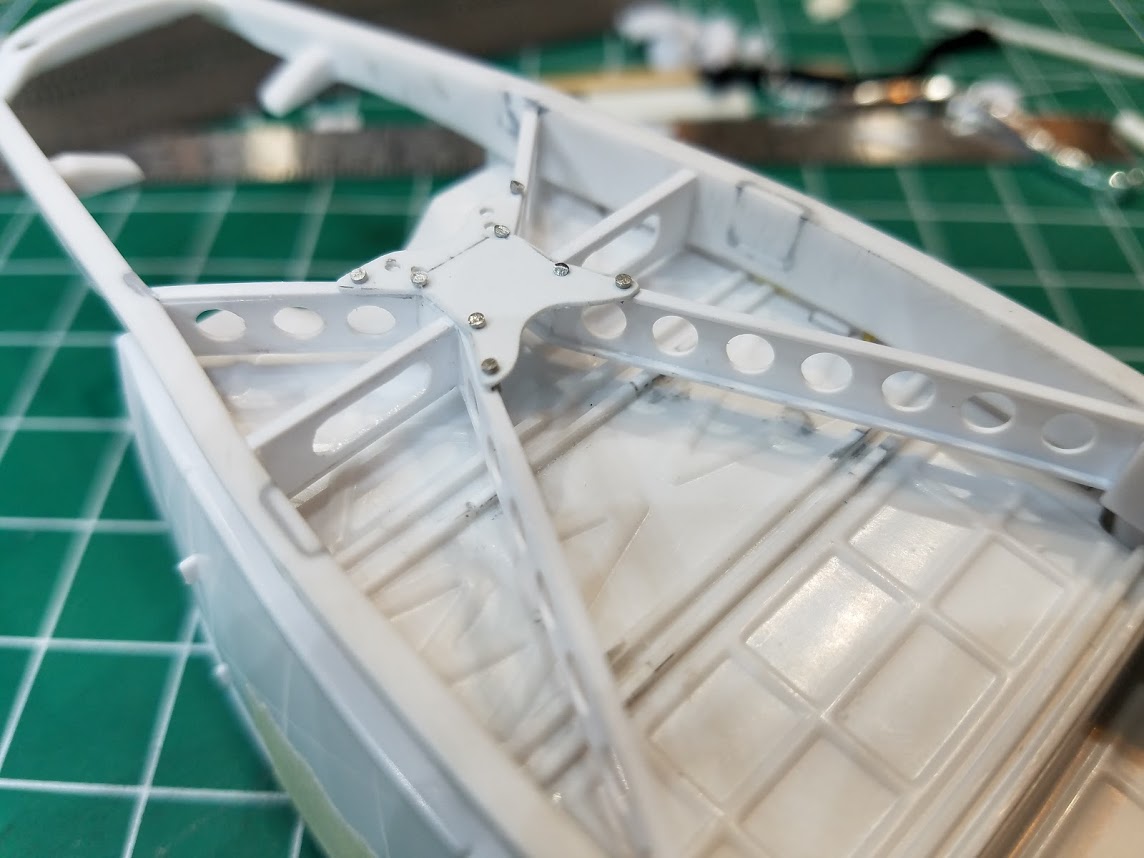
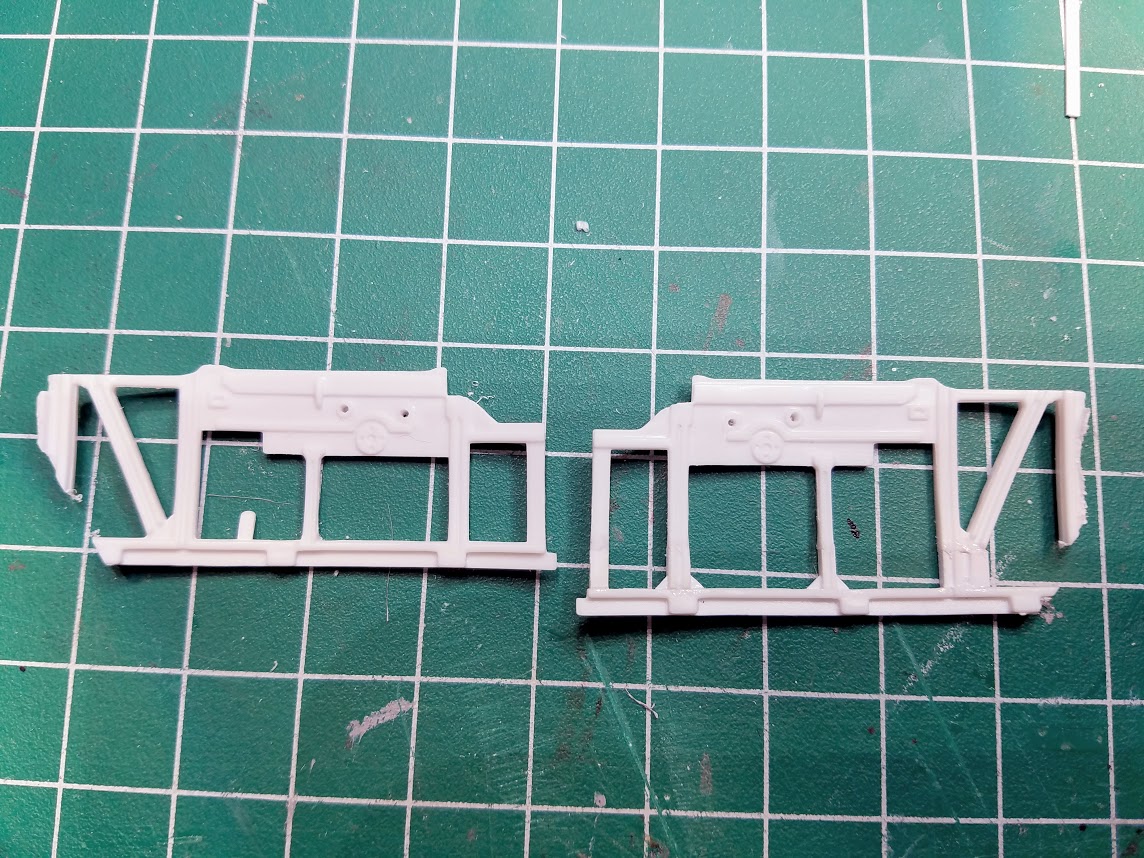
Got some time to sort out the front suspension. Front and rear shocks are done all the way around. New lower shock mounts on the front axle The kit front shock and headlight mounts have been thinned down as they are too thick. Also added an extra lightening hole. Cowl side steering arm and drag arm. Rear end axle shock mounts had been completed and installed. Next step is to make some motors mounts and maybe a motor too.
-
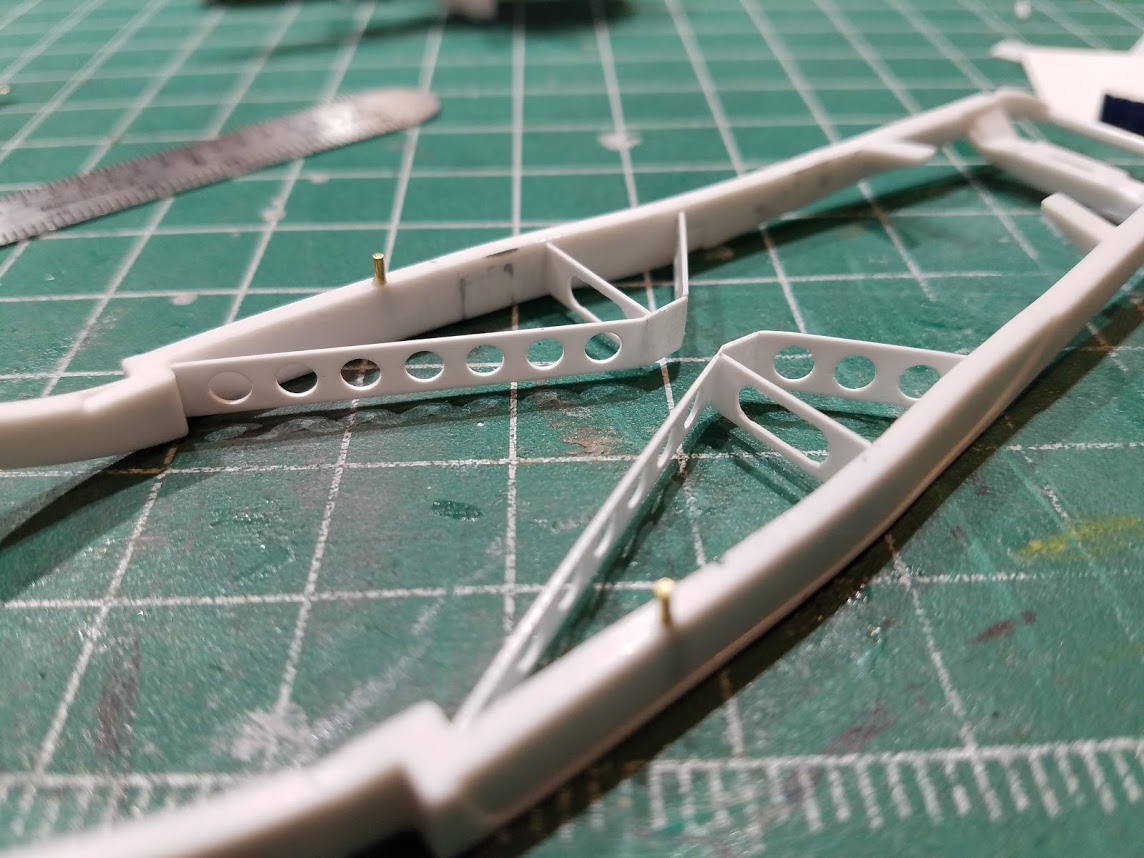
After a few days away I came back to build the rear shocks and mounts. Still needs to be finalized but posting what I have done keeps me going.
-
I had a feeling. A PE grill is nice but to have round grill bars would be so cool. Well I'm sure they will get there someday right after we figure out this how to fly issue
-
This word "quick" I don't understand it.
-
Thanks and more to come. Those are your Divco's, very cool. So let me ask you about 3D printing. Could it be possible to do a see-thru 32 Ford grill?
-
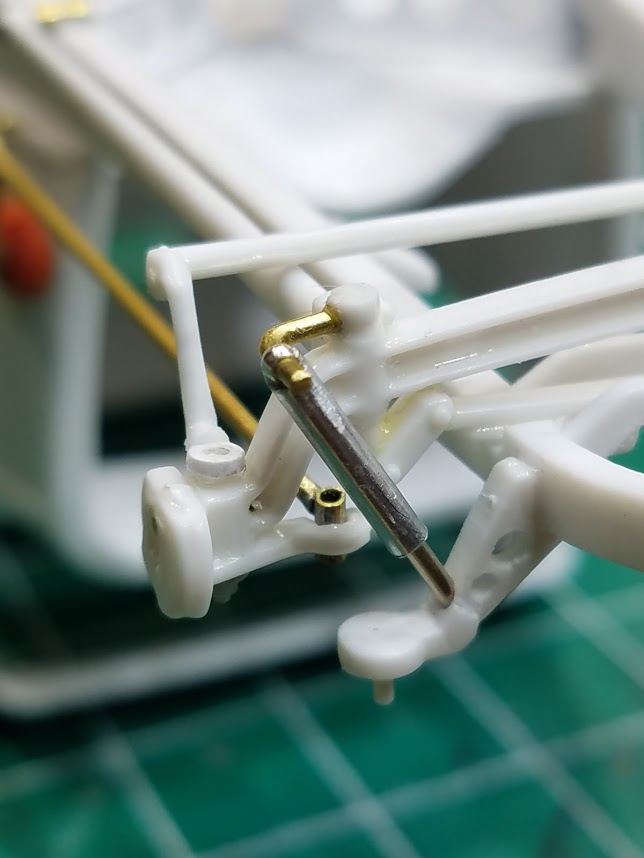
Got some work completed on the suspension. Still need to fab up some shock mounts for the rear-end and shocks too. Front end needs shock mounts along with radius arm frame mounts.
-
Thanks for the lead on the Divco's
-
Those are Divco milk truck wheels. Problem is I have no idea where I got them. They came with soft vinyl tires. The wood top was a bit difficult finding the right spacing fo the cross slats.
-
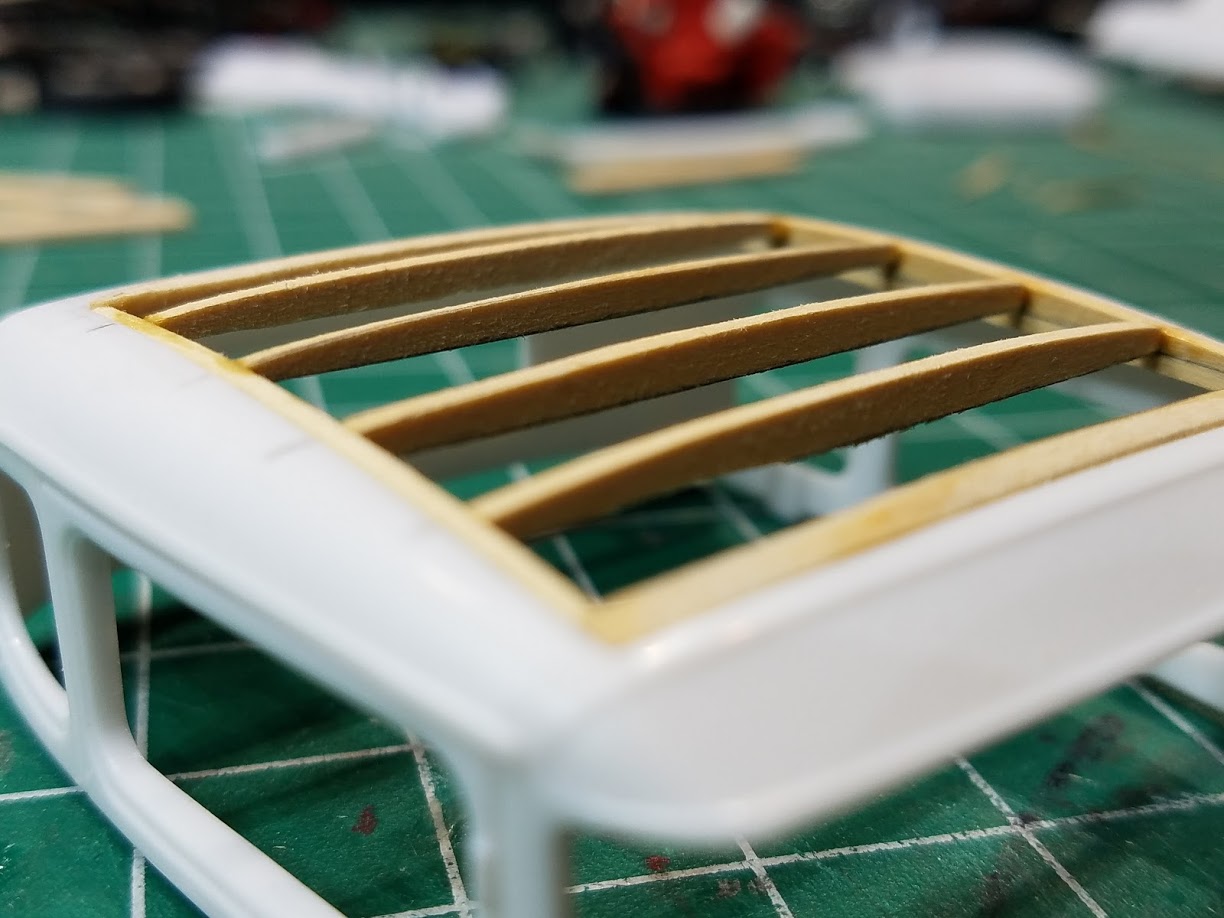
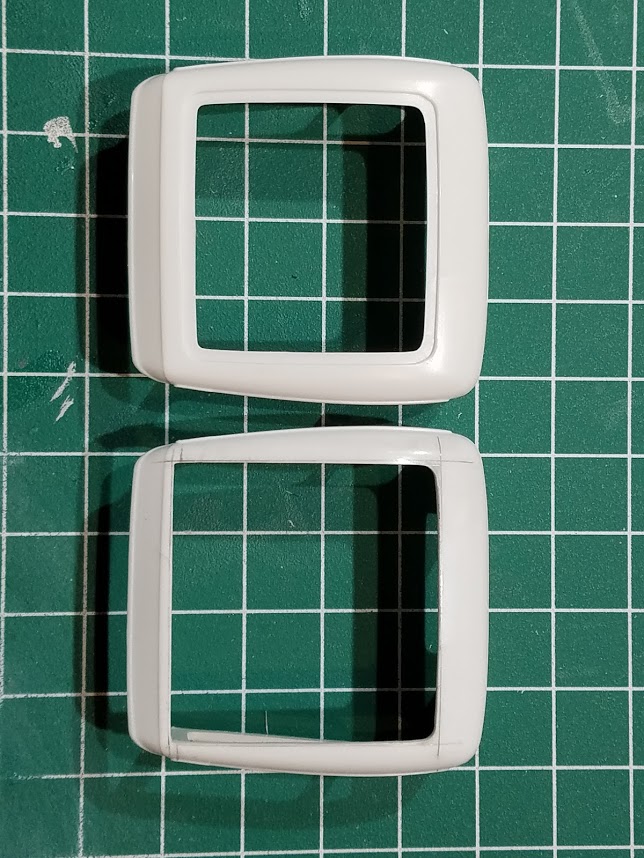
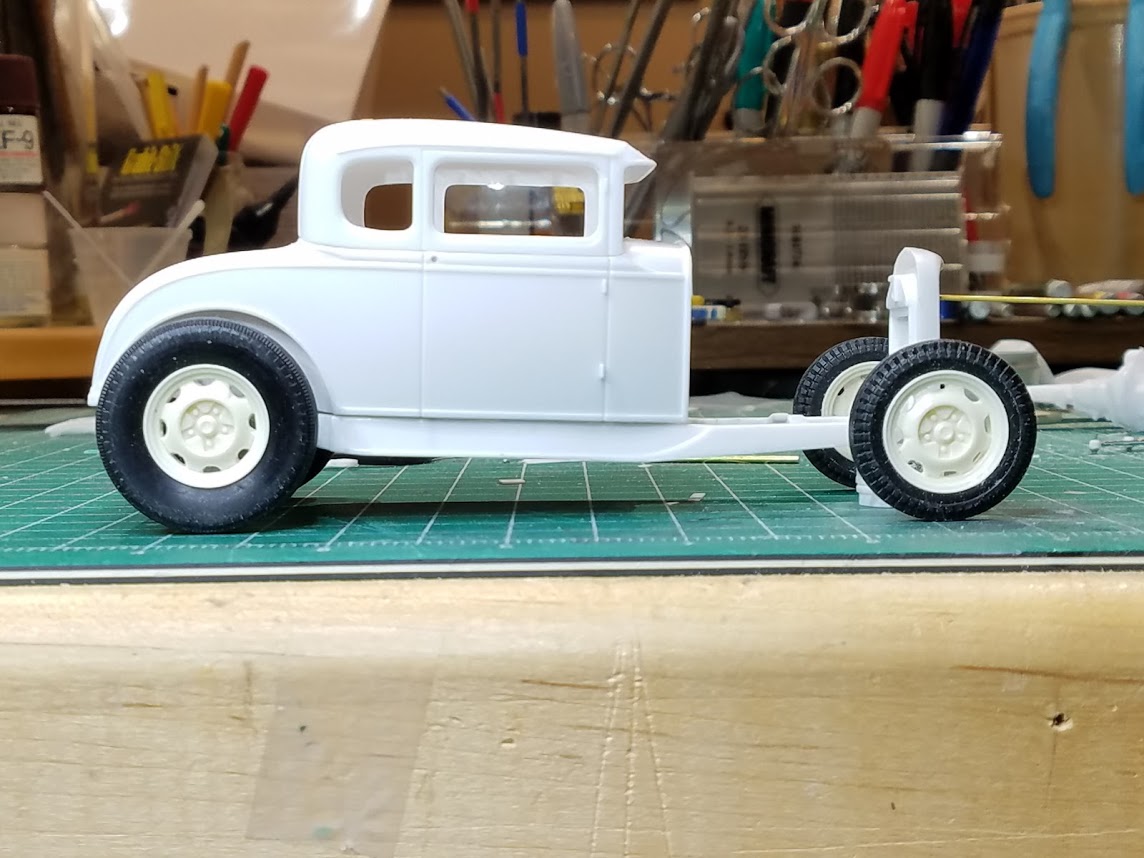
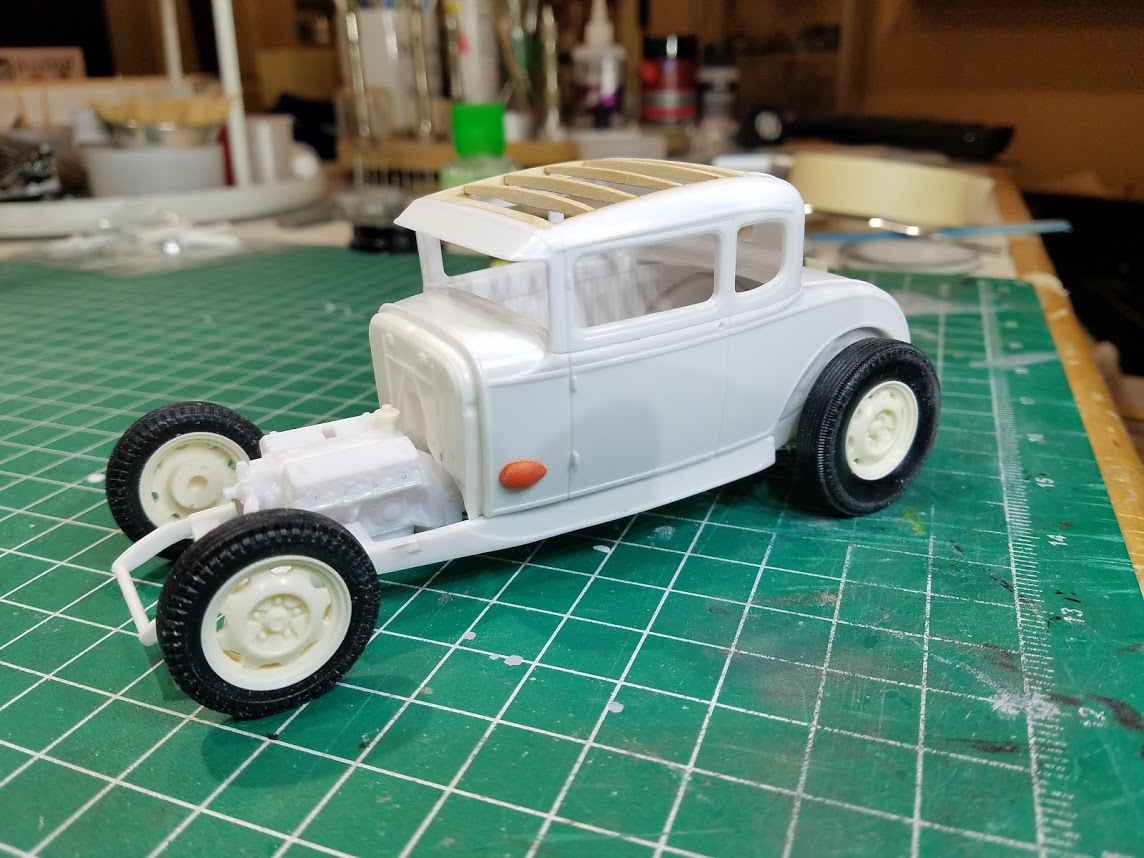
Ahead of tax season when all building comes to a full halt I thought that I would do a quick build. Well this went sideways quickly. Decided to use the bare interior panels but unchanneled them. But regular bench seat but without the pleats. Built the wood framing for the roof. More difficult than I first thought to get all of the curvatures just right. Used the 32 frame but with changes. Model A front crossmember, quick-change rearend with transverse leaf and all assorted suspension parts. Also scratch built the center x-member. So yea just kept the side rails. Engine will be a Y-Block so that will take some work and custom scratchbuilt headers and exhaust. So basically change everything quick build.
-
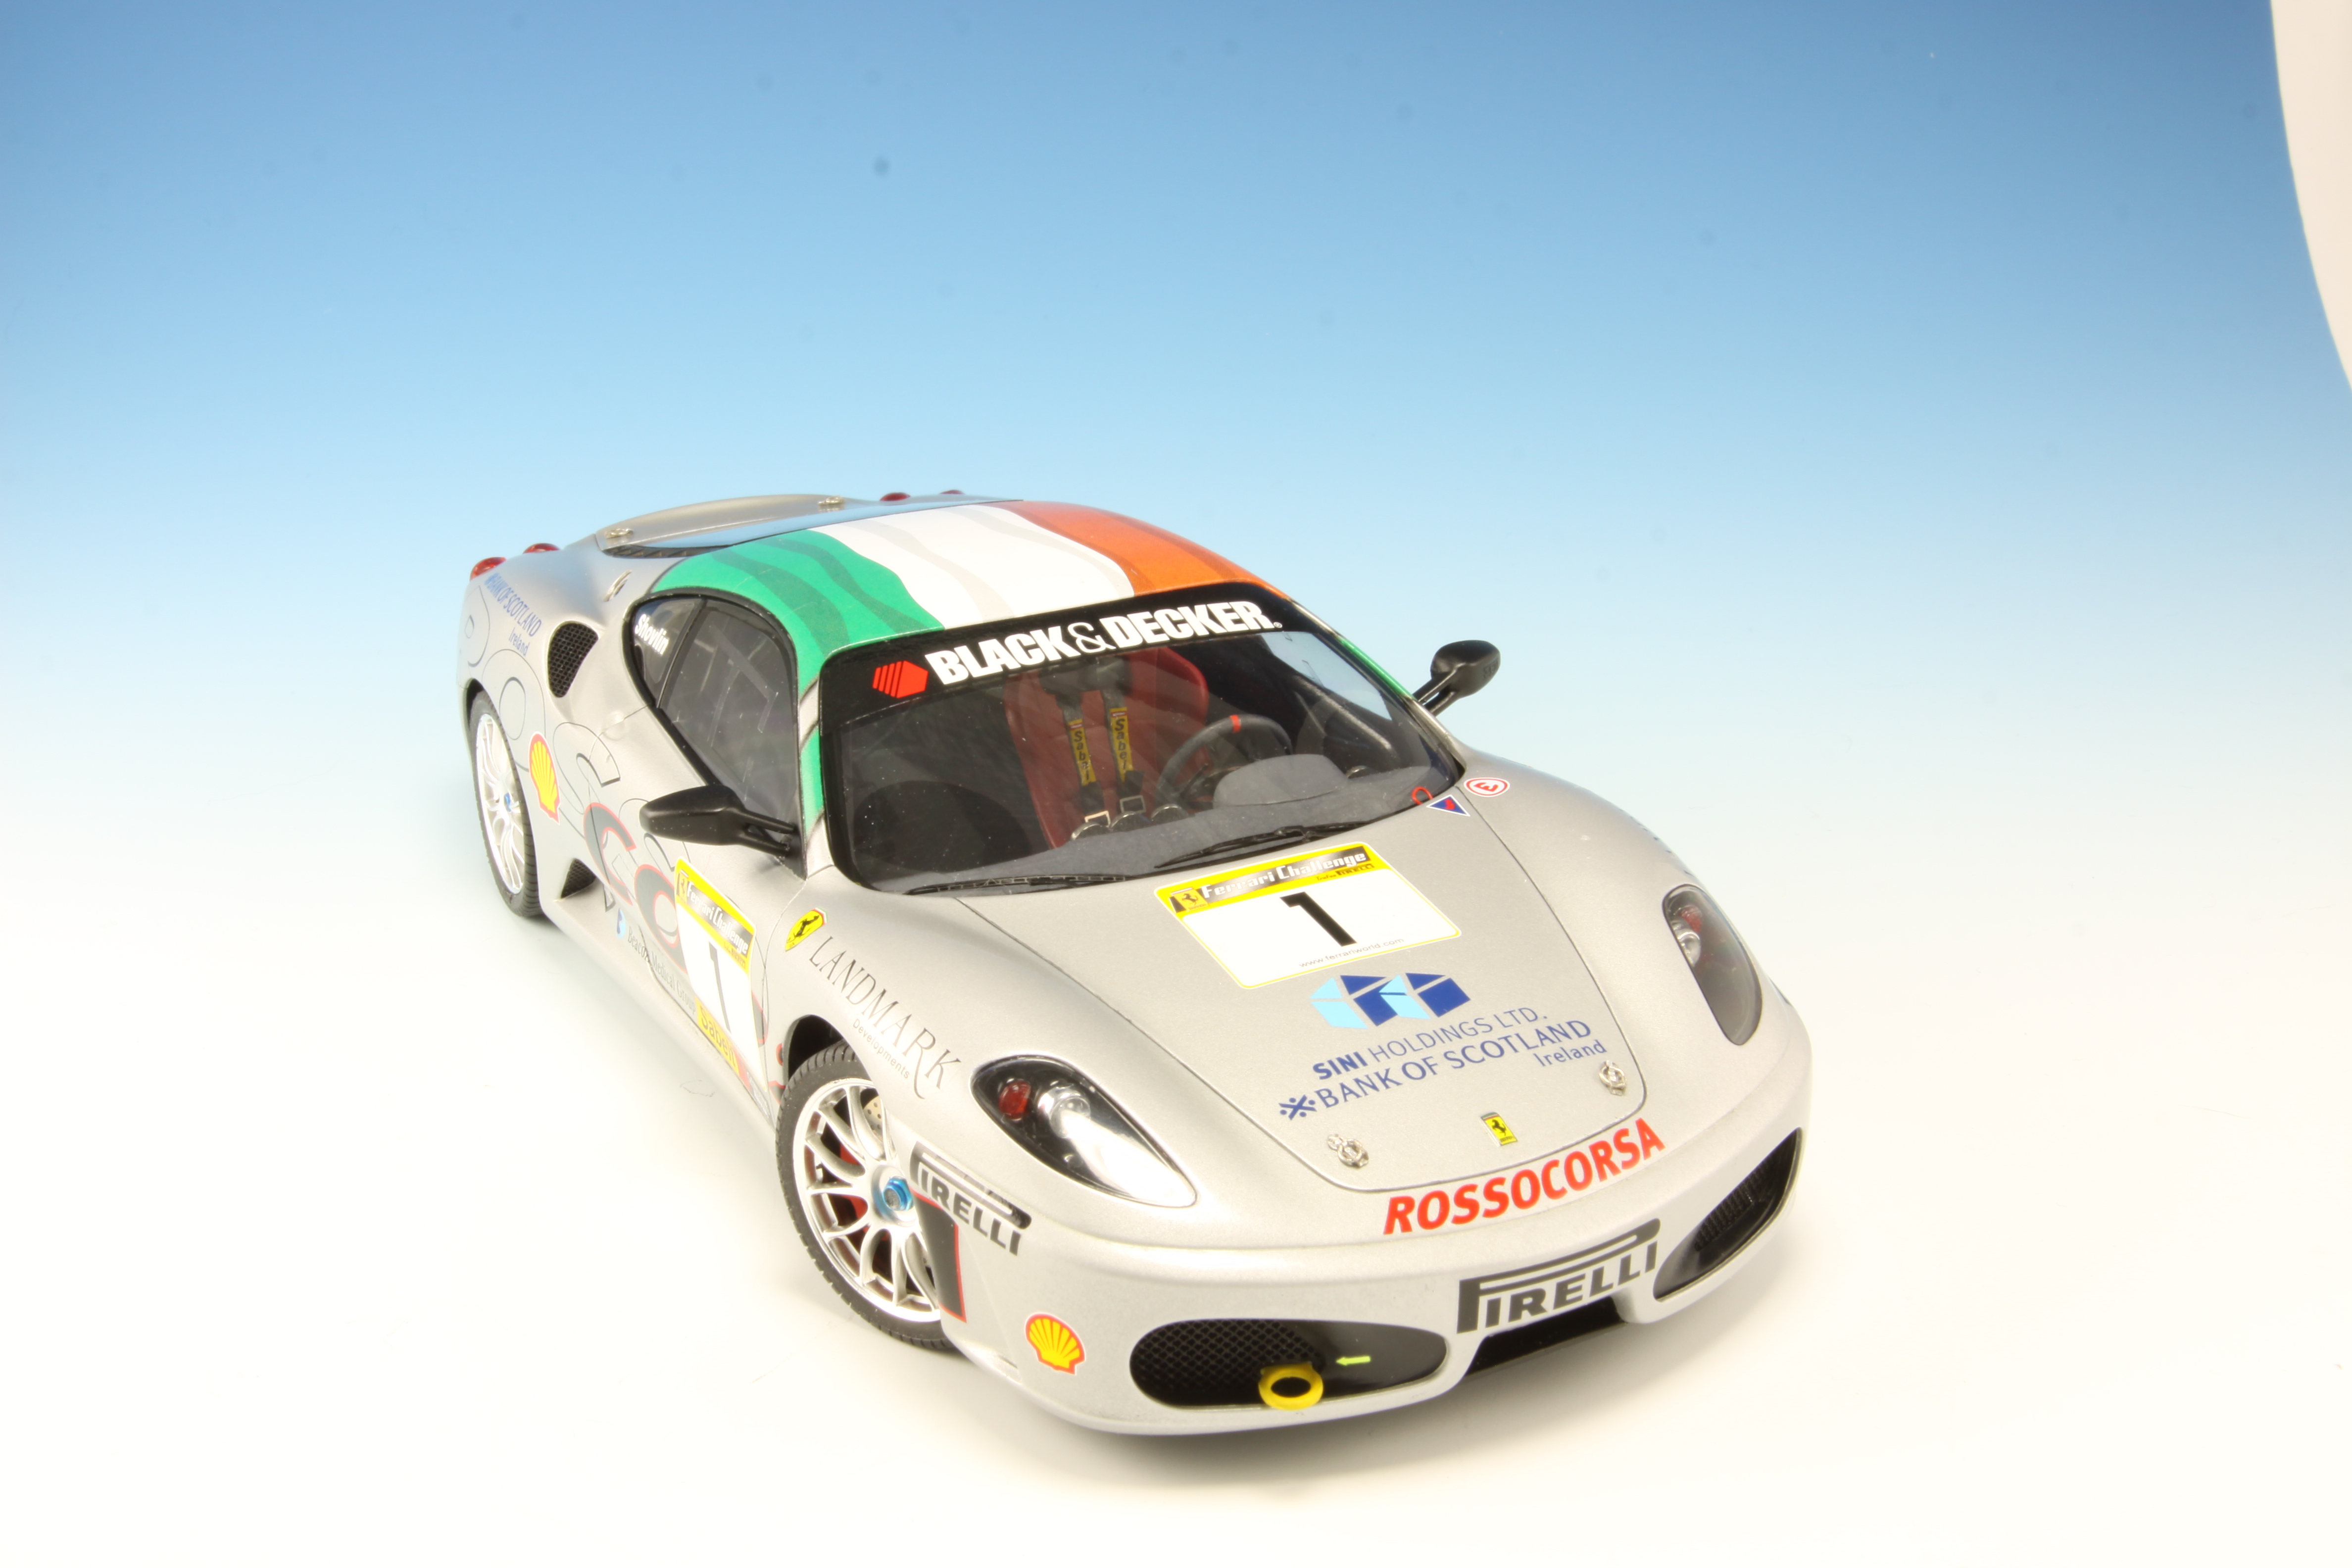
Very cool. I did a Challenge F430 as well. But your livery is way cooler
-
Very impressive.
-
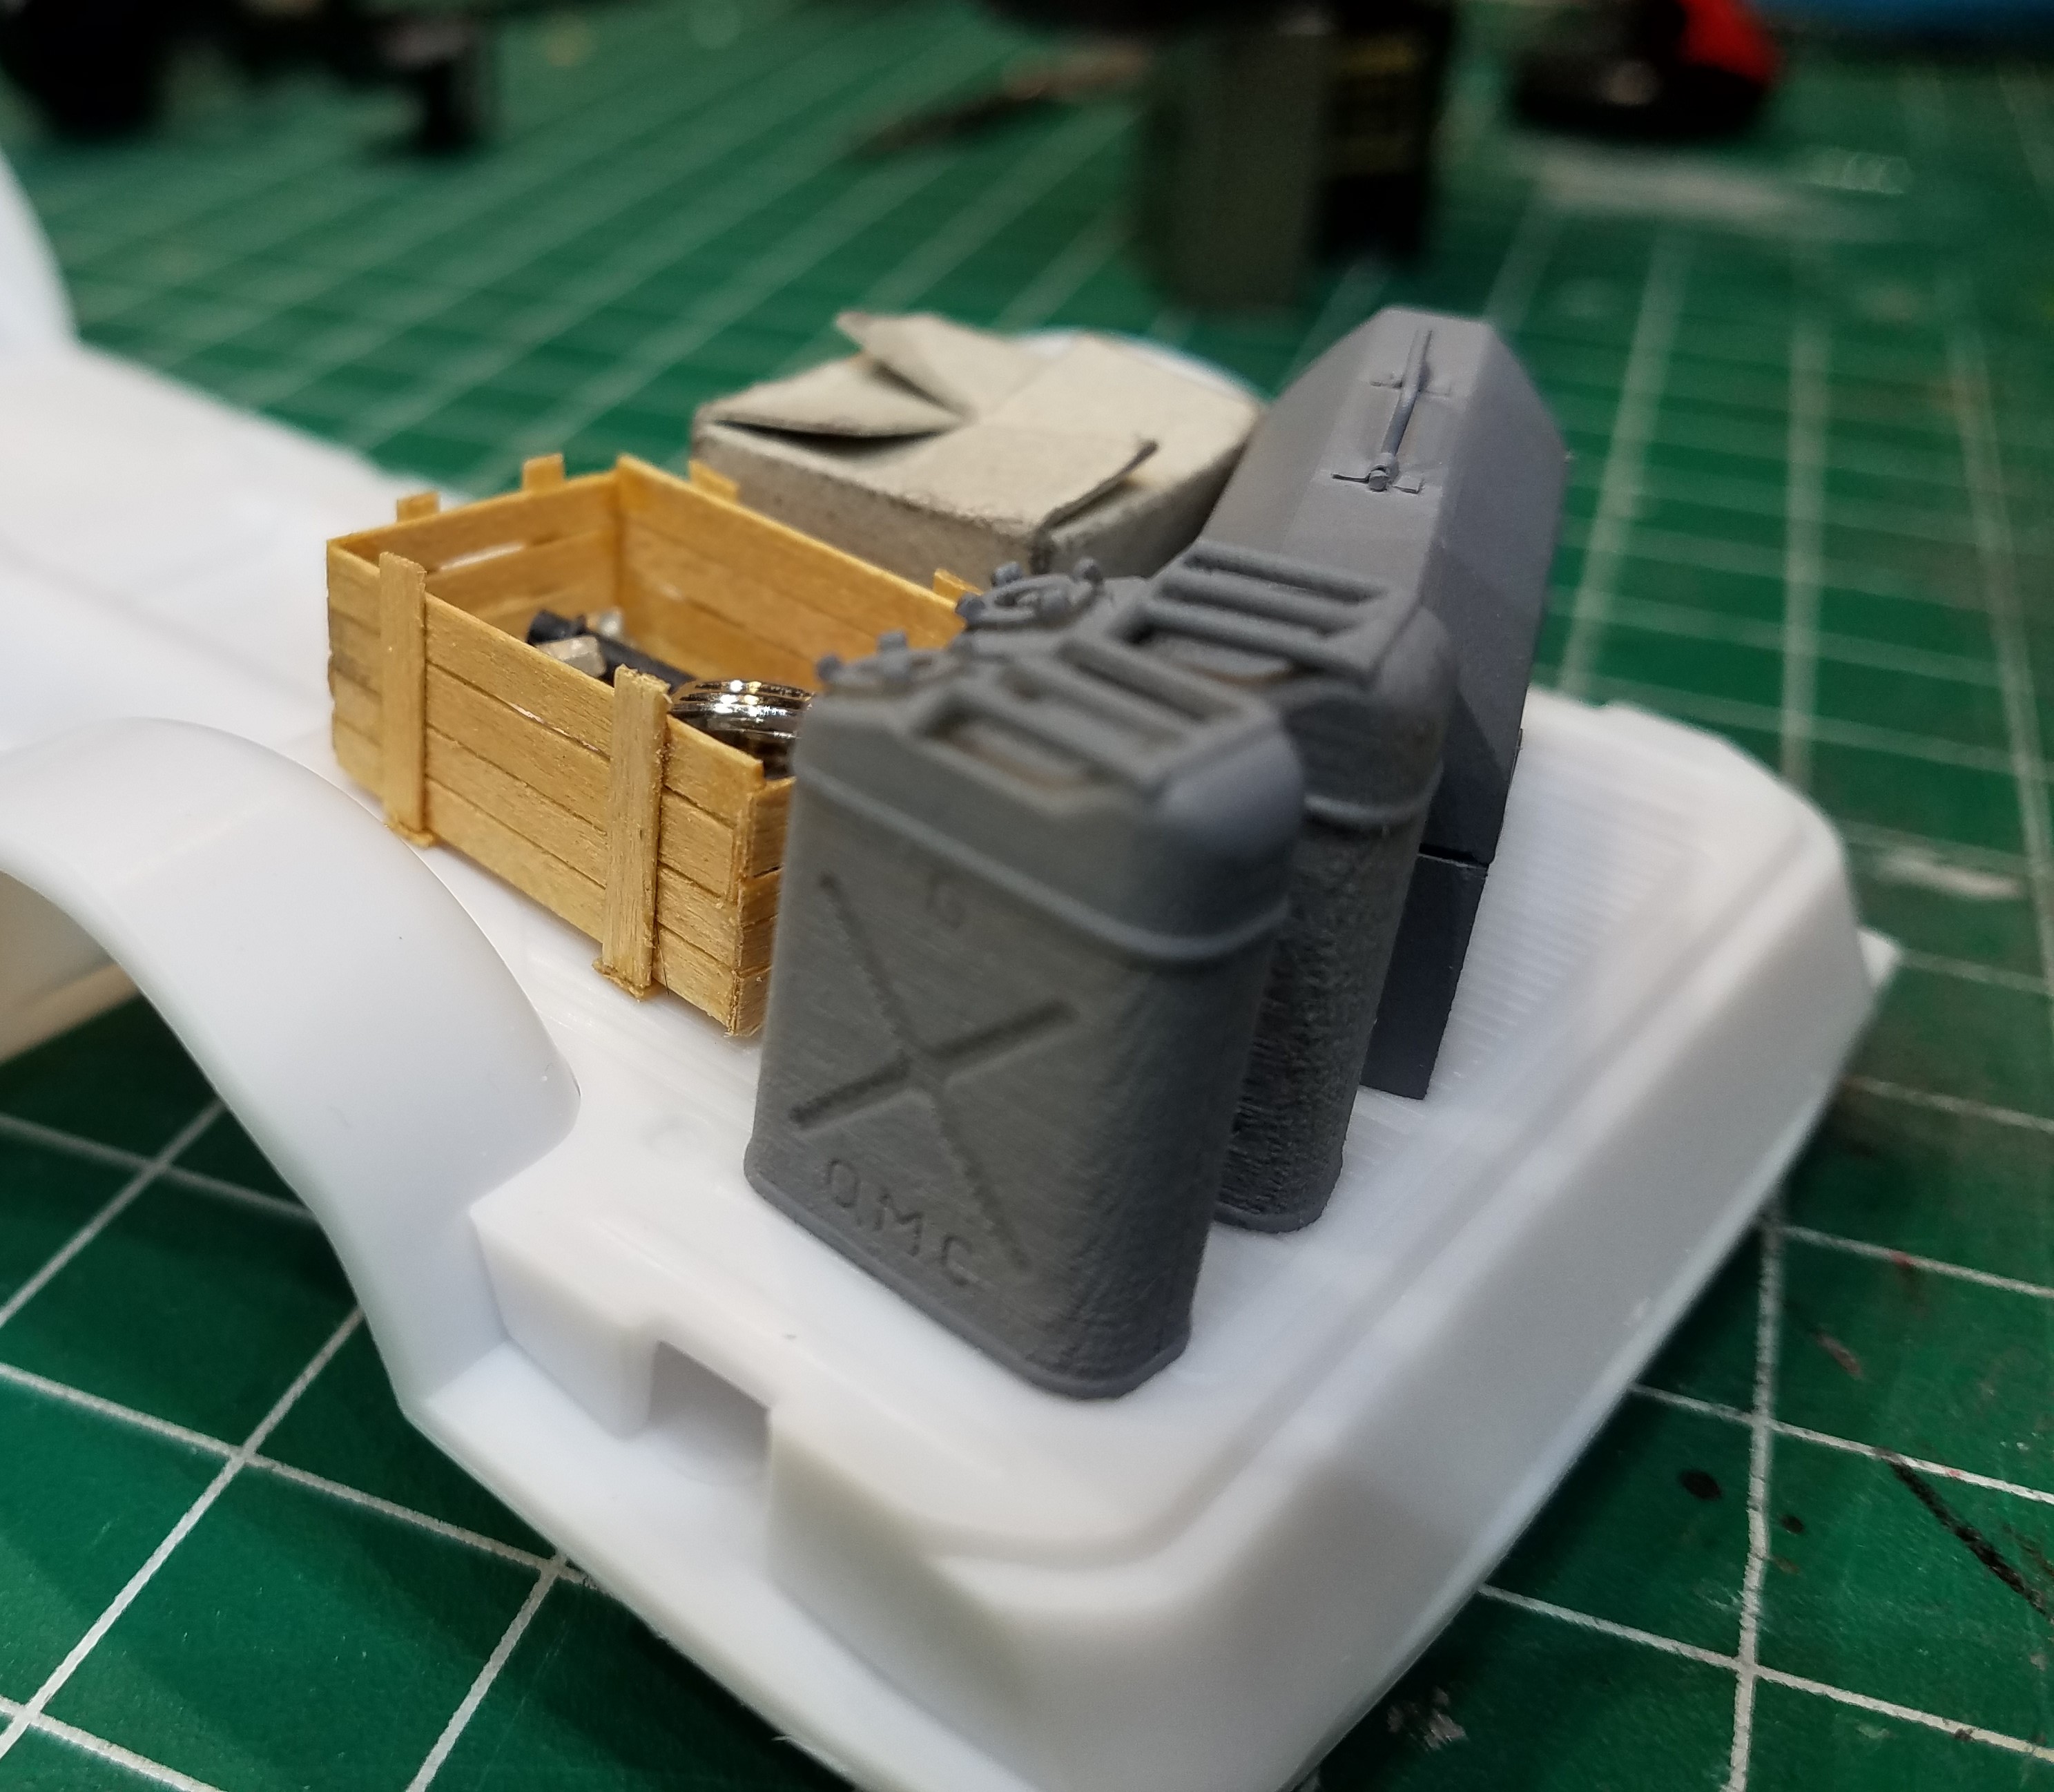
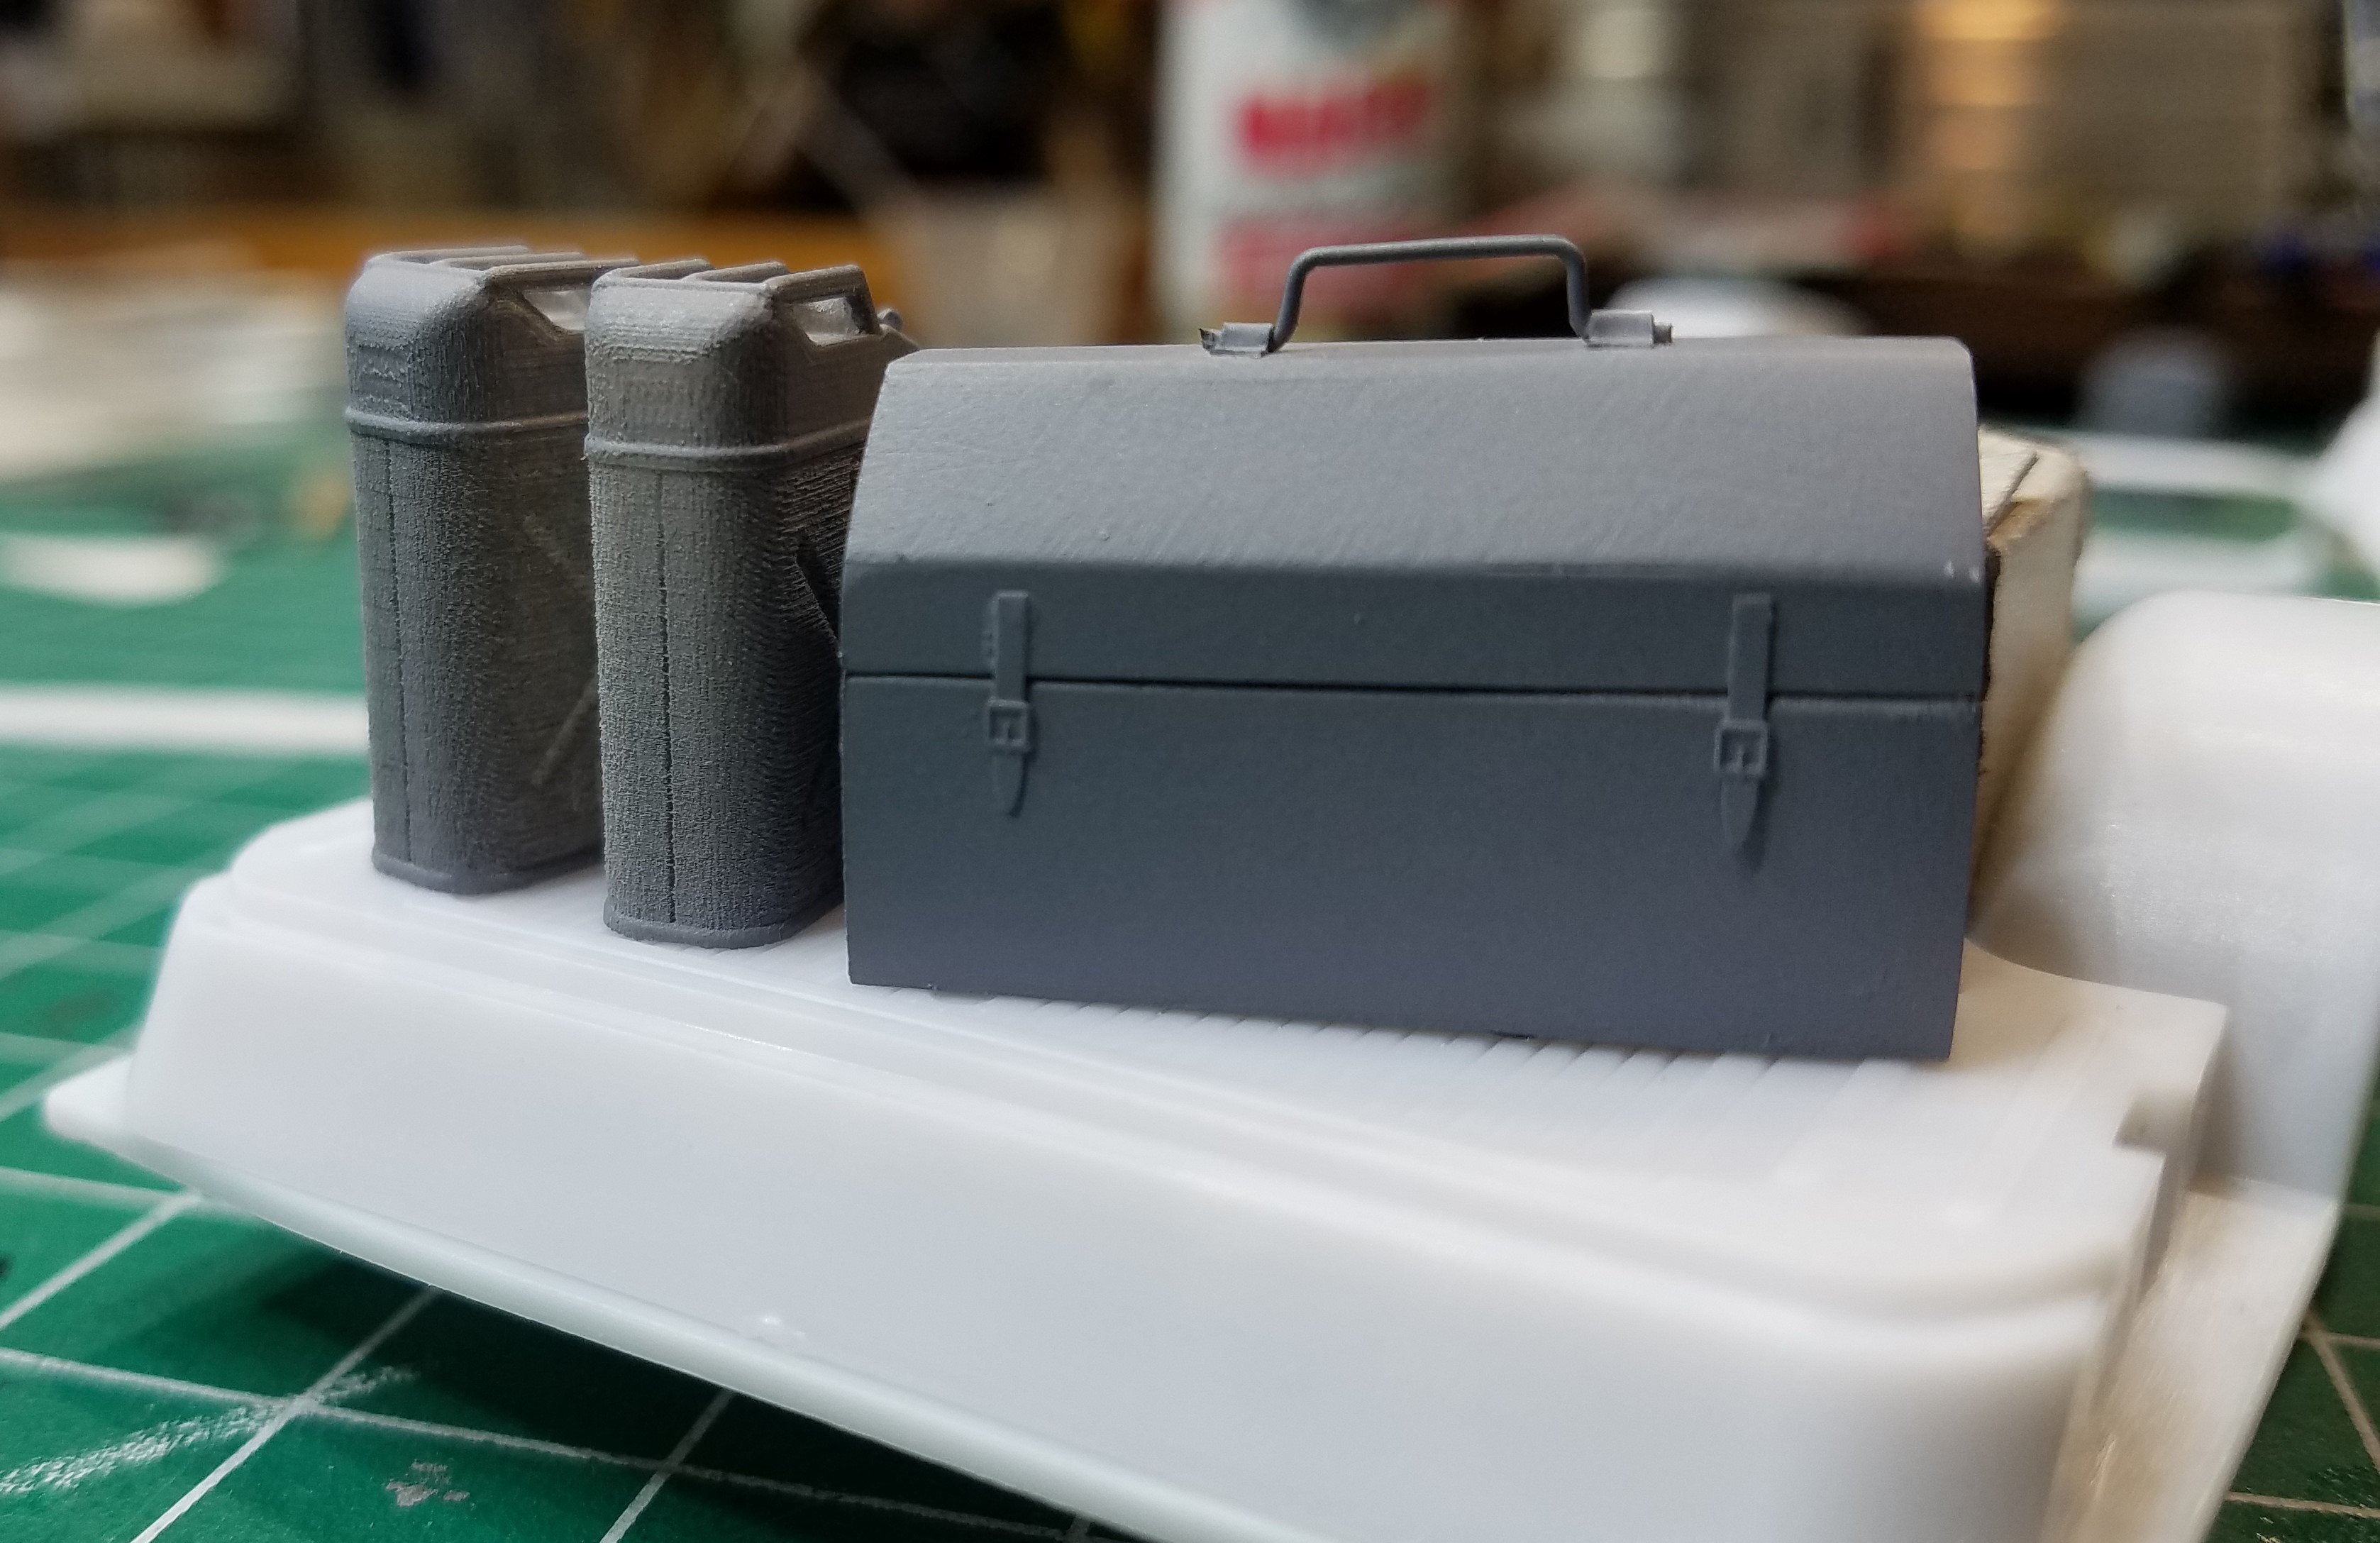
Well tax season is in full swing and therefore building time is much more difficult to find time. But some work has been accomplished. The chassis is starting to come together. The paint has been laid down and just color sanded, these were race cars and didn't have the shiniest of paint. But the hood needs to be repainted. I have also made most of the items that will be in the back of the Del Rio. Cardboard box, toolbox and wooden crate with parts in it. I also found a site where there is a million thing that are 3D printed https://www.shapeways.com/shops/3d-model-specialties?section=1%2F25+Scale&s=0&page[number]=2&page[limit]=48&page[order]=asc Here I found 1/24 scale WWII jerry cans which are incredible.
-
Very nice. I built a similar one a few years ago. Nice kit goes together without any drama.
-
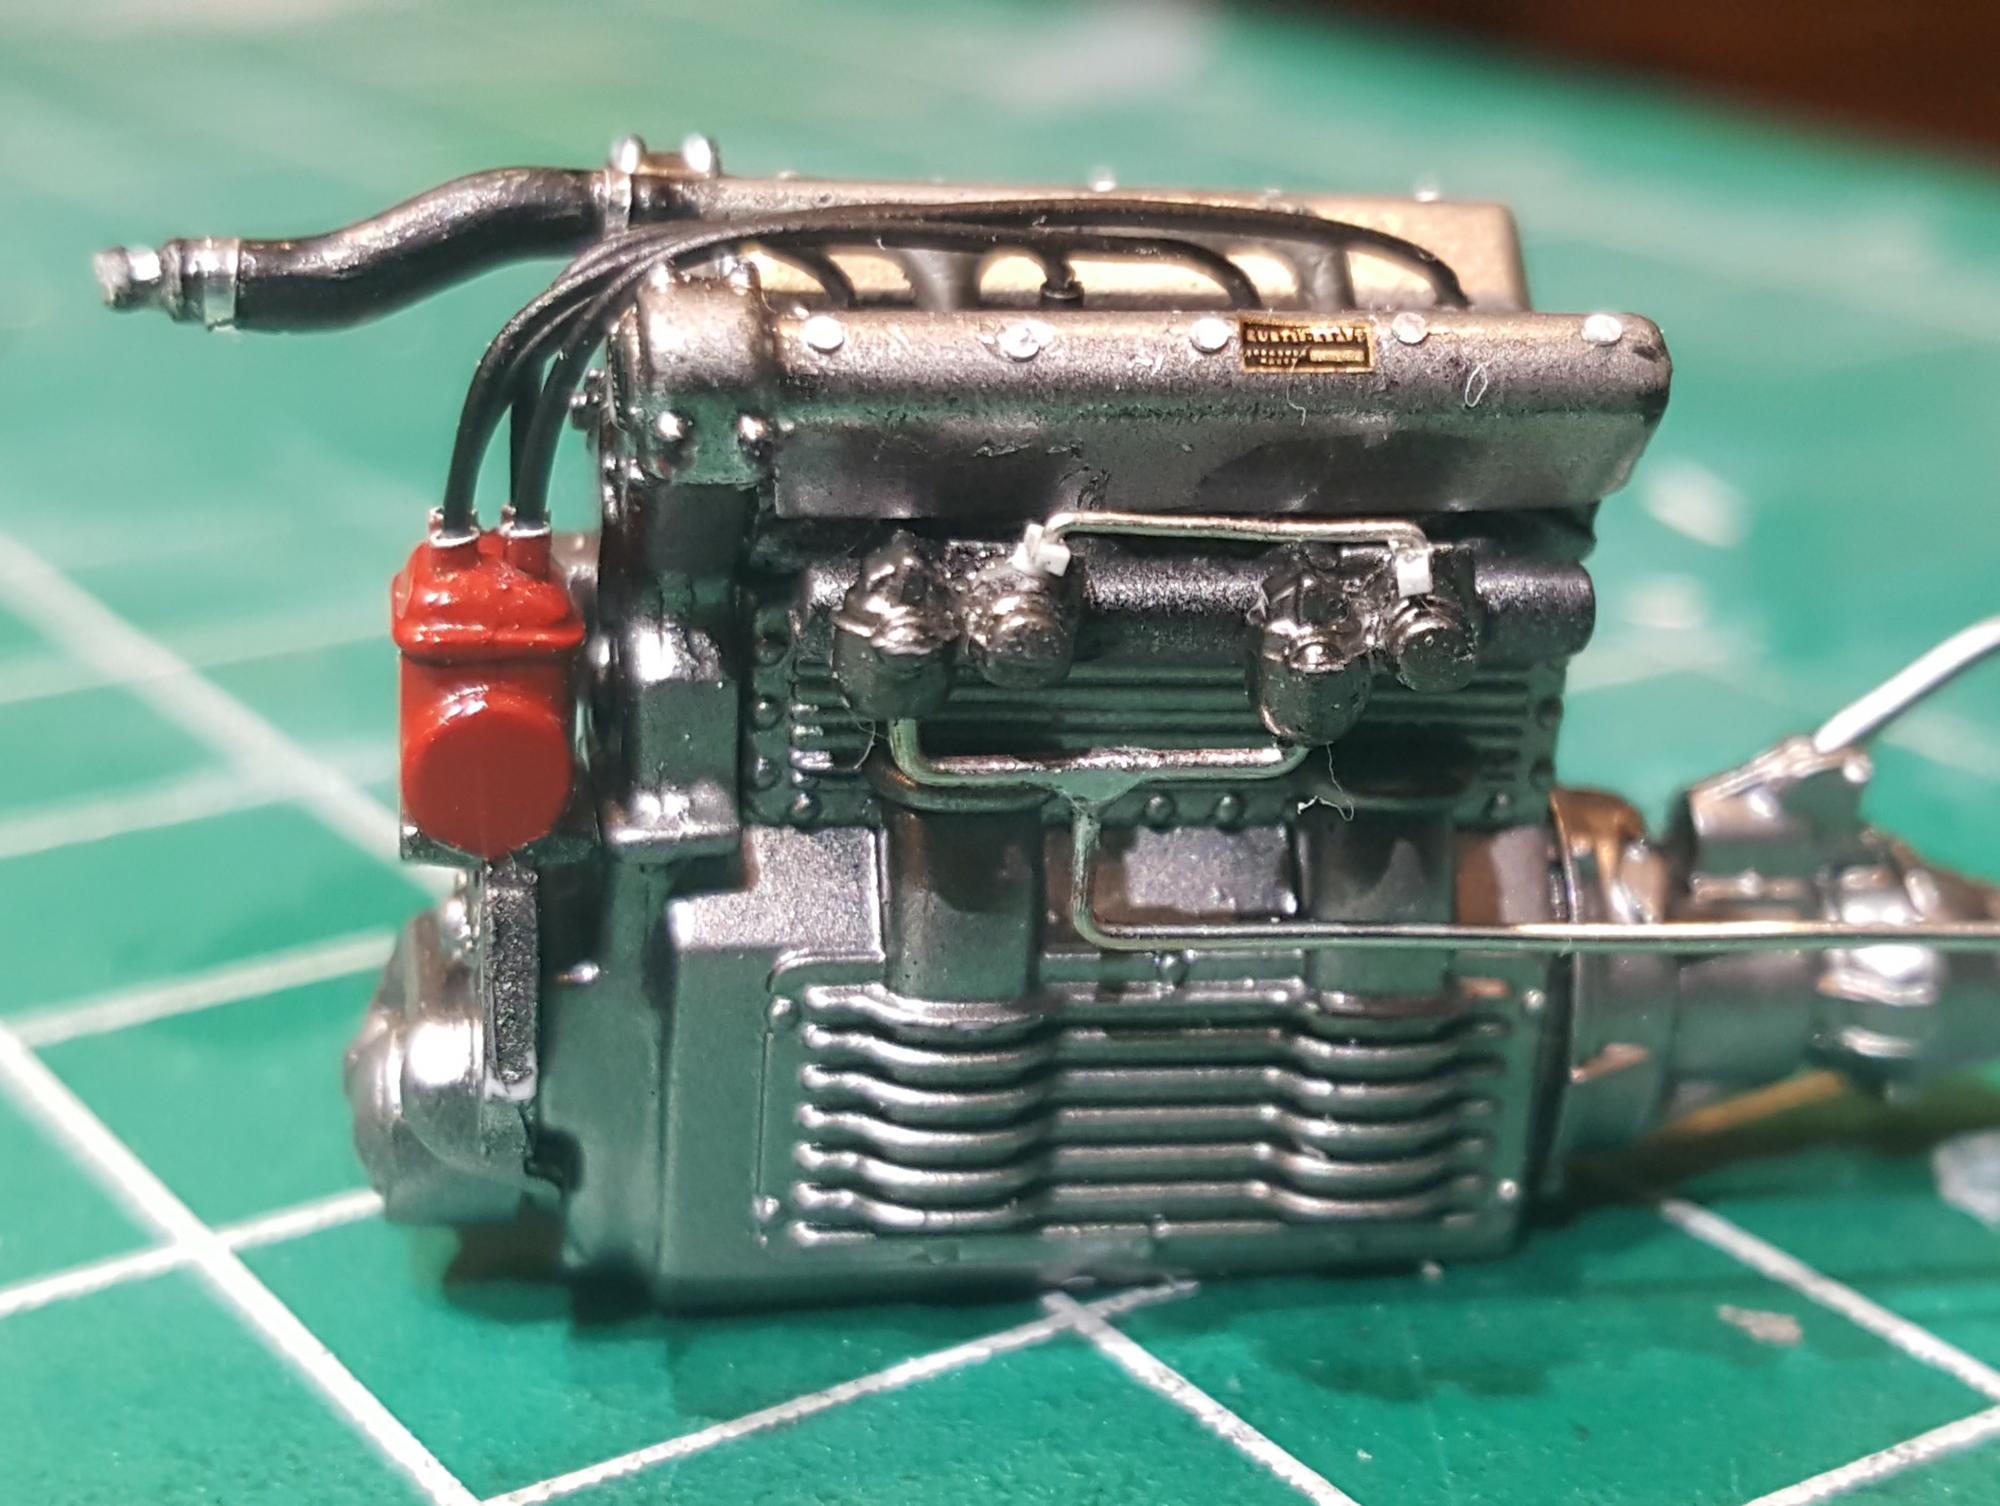
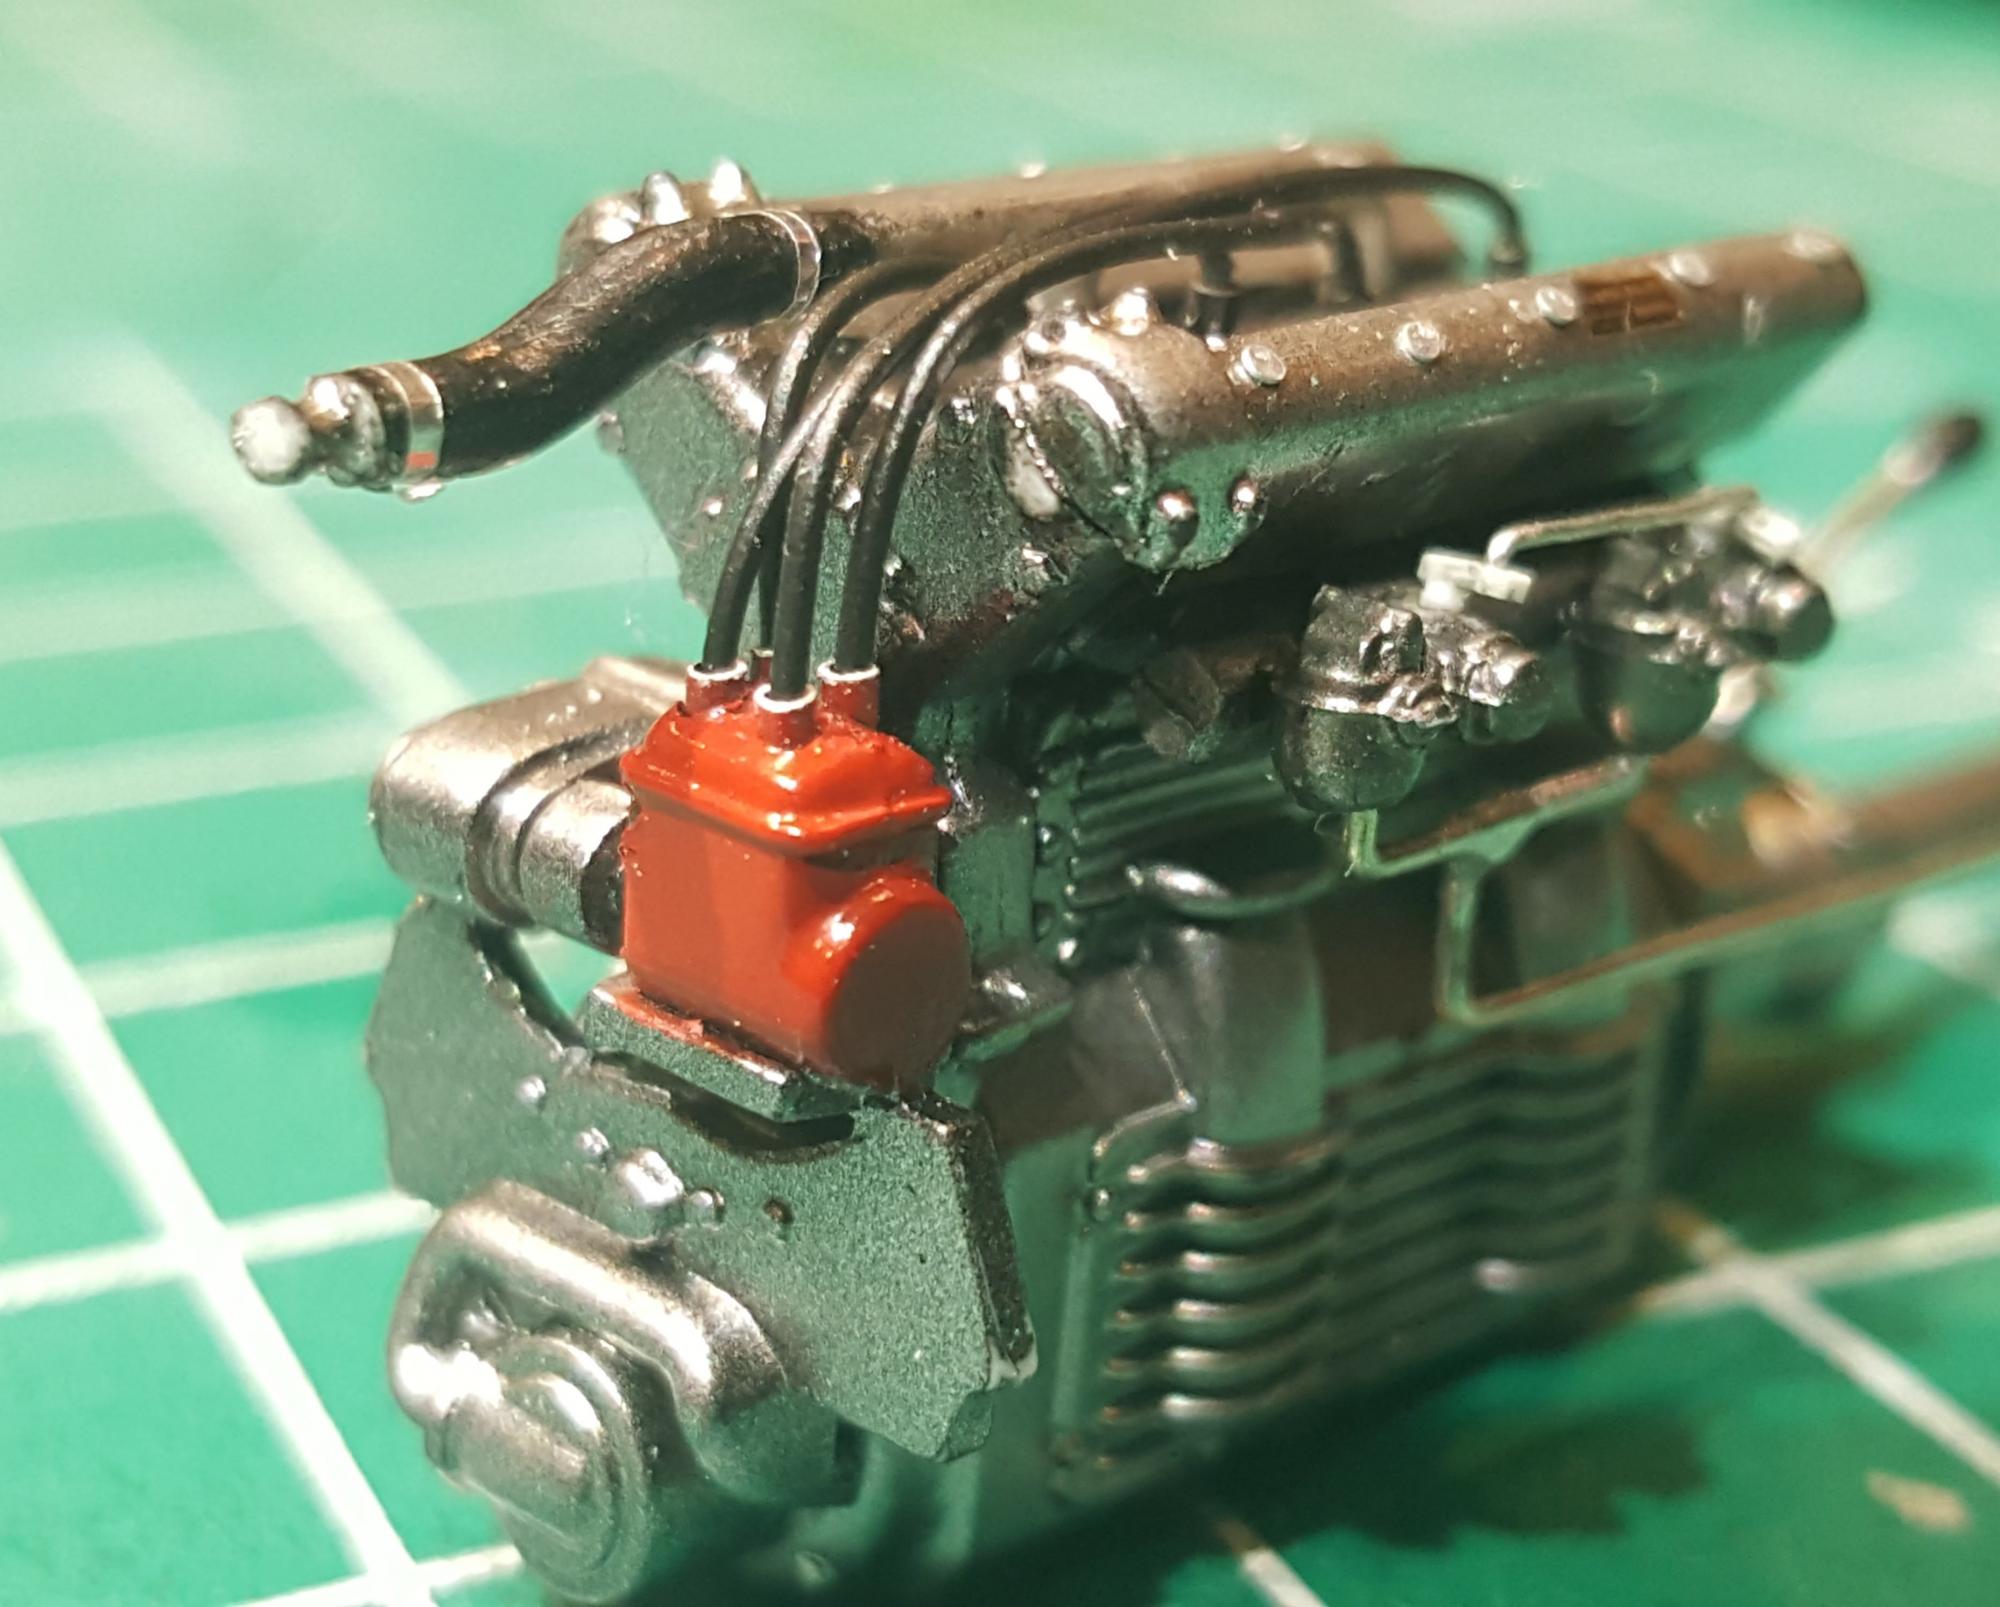
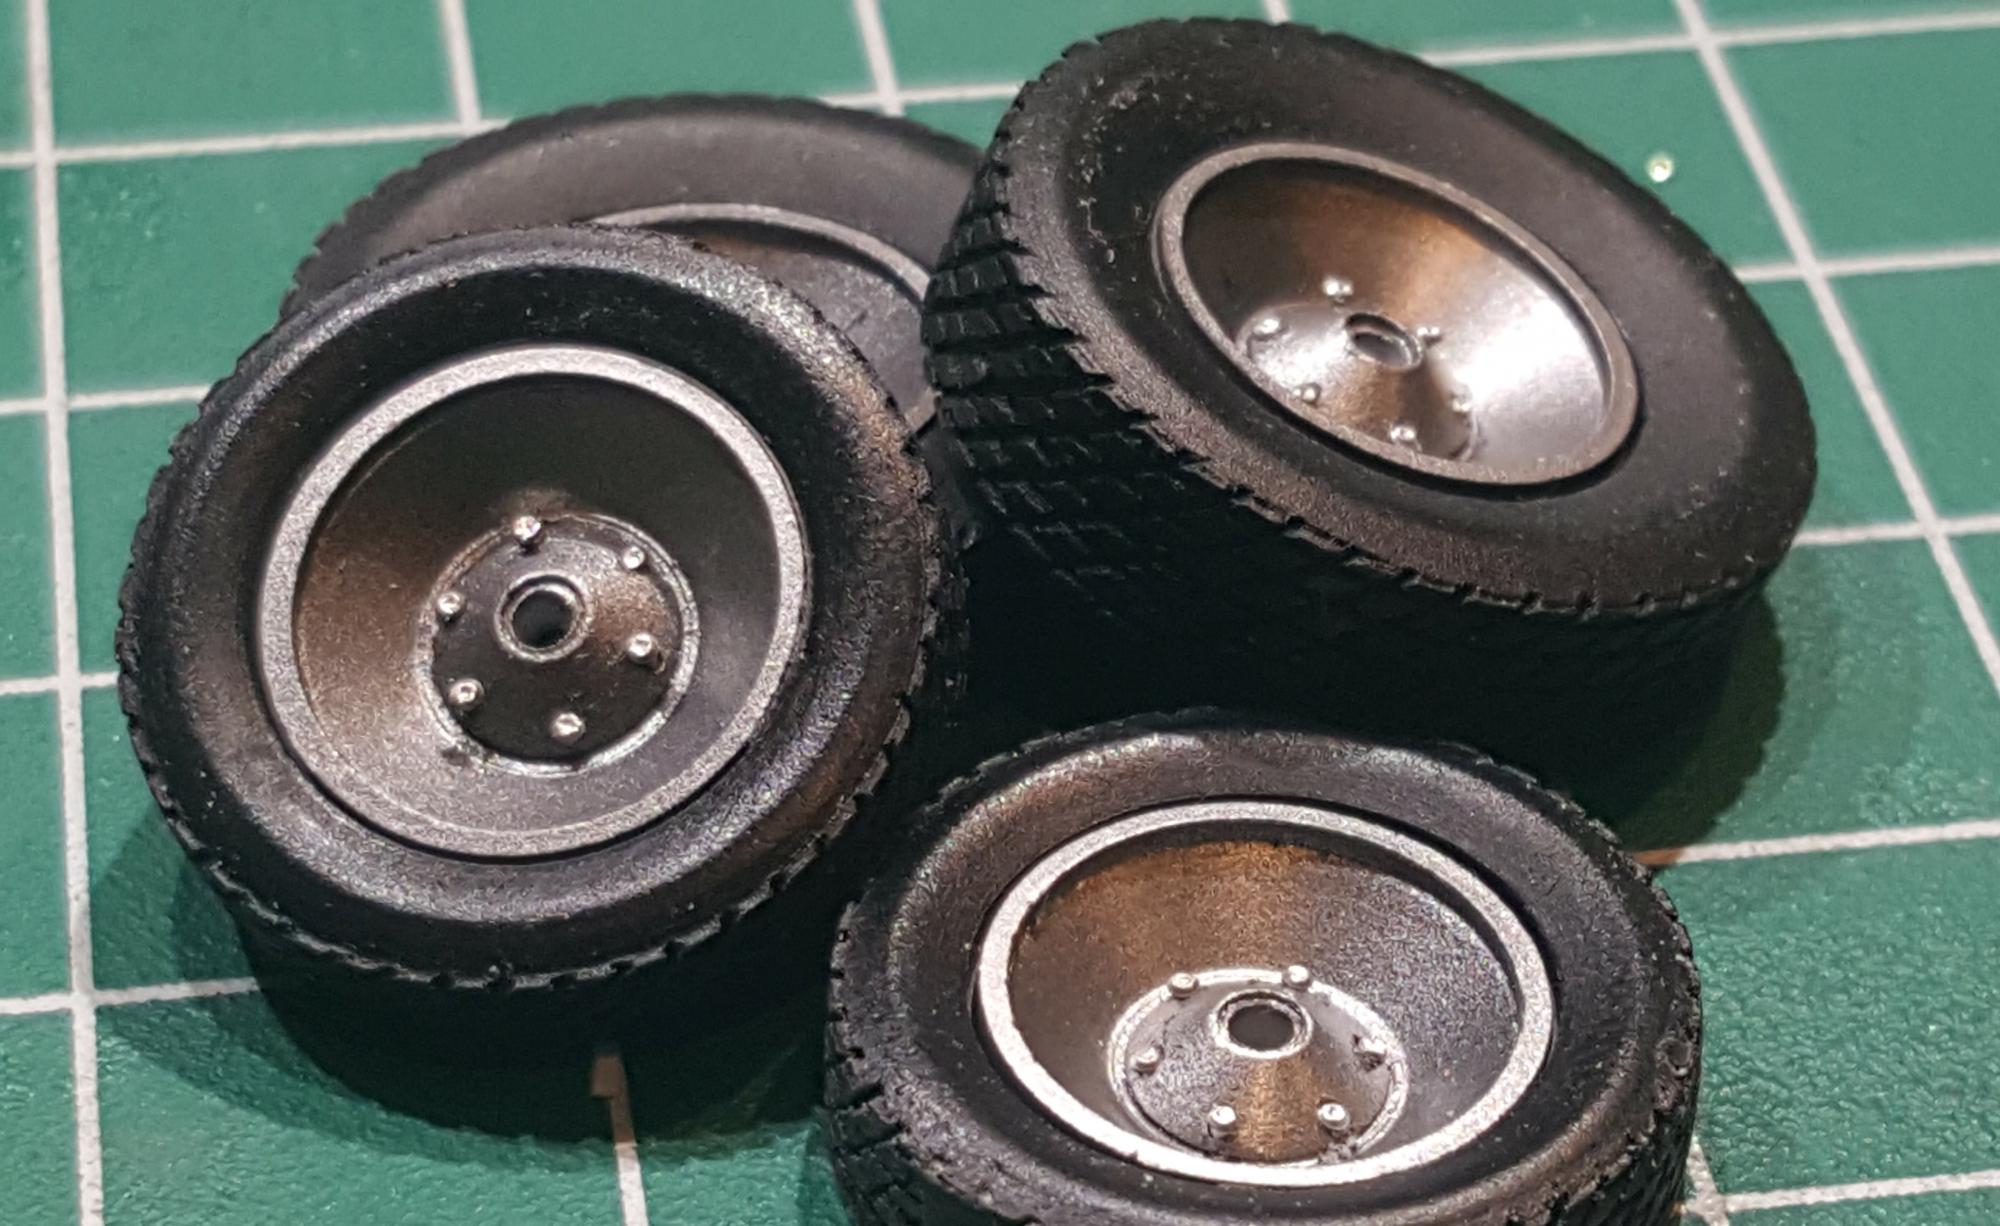
Got a little more work done. Little Offy motor is incredible. Added plug wires, carb linkage, fuel lines and radiator hose clamps . Wheels and tires are from RMCoM. Painted to resemble aged magnesium, also added studs to the center hubs.
-
7 shades of Alclad applied to various bits. I love this stuff. Now it is set aside to dry and then some assembly can start in the near future.
-
1929 Model A Roadster ArtDeco/Coachbuilt/Streamliner -DONE!
Taxdude replied to Impalow's topic in WIP: Model Cars
Very impressive. I might just have to go back to Legos. -
Quick little update. Modified the hood of the midget to have the fairing at the bottom of the windshield. Still need another lite coat of filler to complete the contour. Also removed the louvers. Made a heat shield for the exhaust. This will be mounted even with the cockpit. Also made a couple of taillights for the trailer out of an MV lens and some aluminum tubing. The rest of the car is in primer or has had a coat of black prior to various shades of Alclad. Trying to get as much done as possible before tax season.

.jpg.dcdd57949b77b1b508529941d1d1e0c1.jpg)
.jpg.46928bcec181e38133d45e0289cb669e.jpg)


.jpg.b94dd6e4d0dc72e19589dac3d8341be4.jpg)


.JPG.85daee336ba0b4317df1358886fc2264.JPG)