Randy D
-
Posts
1,925 -
Joined
-
Last visited
Content Type
Profiles
Forums
Events
Gallery
Everything posted by Randy D
-

Farm Floater Truck 1/24th scale
Randy D replied to Randy D's topic in WIP: Model Trucks: Big Rigs and Heavy Equipment
More.... more....
-
Farm Floater Truck 1/24th scale
Randy D replied to Randy D's topic in WIP: Model Trucks: Big Rigs and Heavy Equipment
Thank you Gary ! Brian, Glad you're liking this my friend! Victor, Thank you ! Jeff, Appreciate you checking in buddy!! Dom, thank you! BD, thank you sir! Working on the chassis..... Building up frame horns..
-
Mack DM600/Leach Garbage Truck
Randy D replied to Scott Eriksen's topic in WIP: Model Trucks: Big Rigs and Heavy Equipment
Scott, The extra detail in the motor looks great !! Randy -
Kenworth W-925 (mild custom)
Randy D replied to Gary Chastain's topic in WIP: Model Trucks: Big Rigs and Heavy Equipment
Gary, The grill upgrade looks terrific!!! Randy -
ALF Industrial Pumper
Randy D replied to Firebuilder's topic in WIP: Model Trucks: Big Rigs and Heavy Equipment
Dom, This is an awesome build you have going on!!!! Love all the details with the hoses and dials and gauges. Randy -
Western Star 4900 FA plow truck
Randy D replied to BK9300's topic in WIP: Model Trucks: Big Rigs and Heavy Equipment
What a wonderful hood , you packed in so much detail Brian!!! -
WOW my friend!!!, 2 big thumb's up, great looking cab and interior . Randy
-
Brockway 459
Randy D replied to Jürgen M.'s topic in WIP: Model Trucks: Big Rigs and Heavy Equipment
Always enjoy watching you bring new and different trucks to life Jurgen!!!! Randy -
Farm Floater Truck 1/24th scale
Randy D replied to Randy D's topic in WIP: Model Trucks: Big Rigs and Heavy Equipment
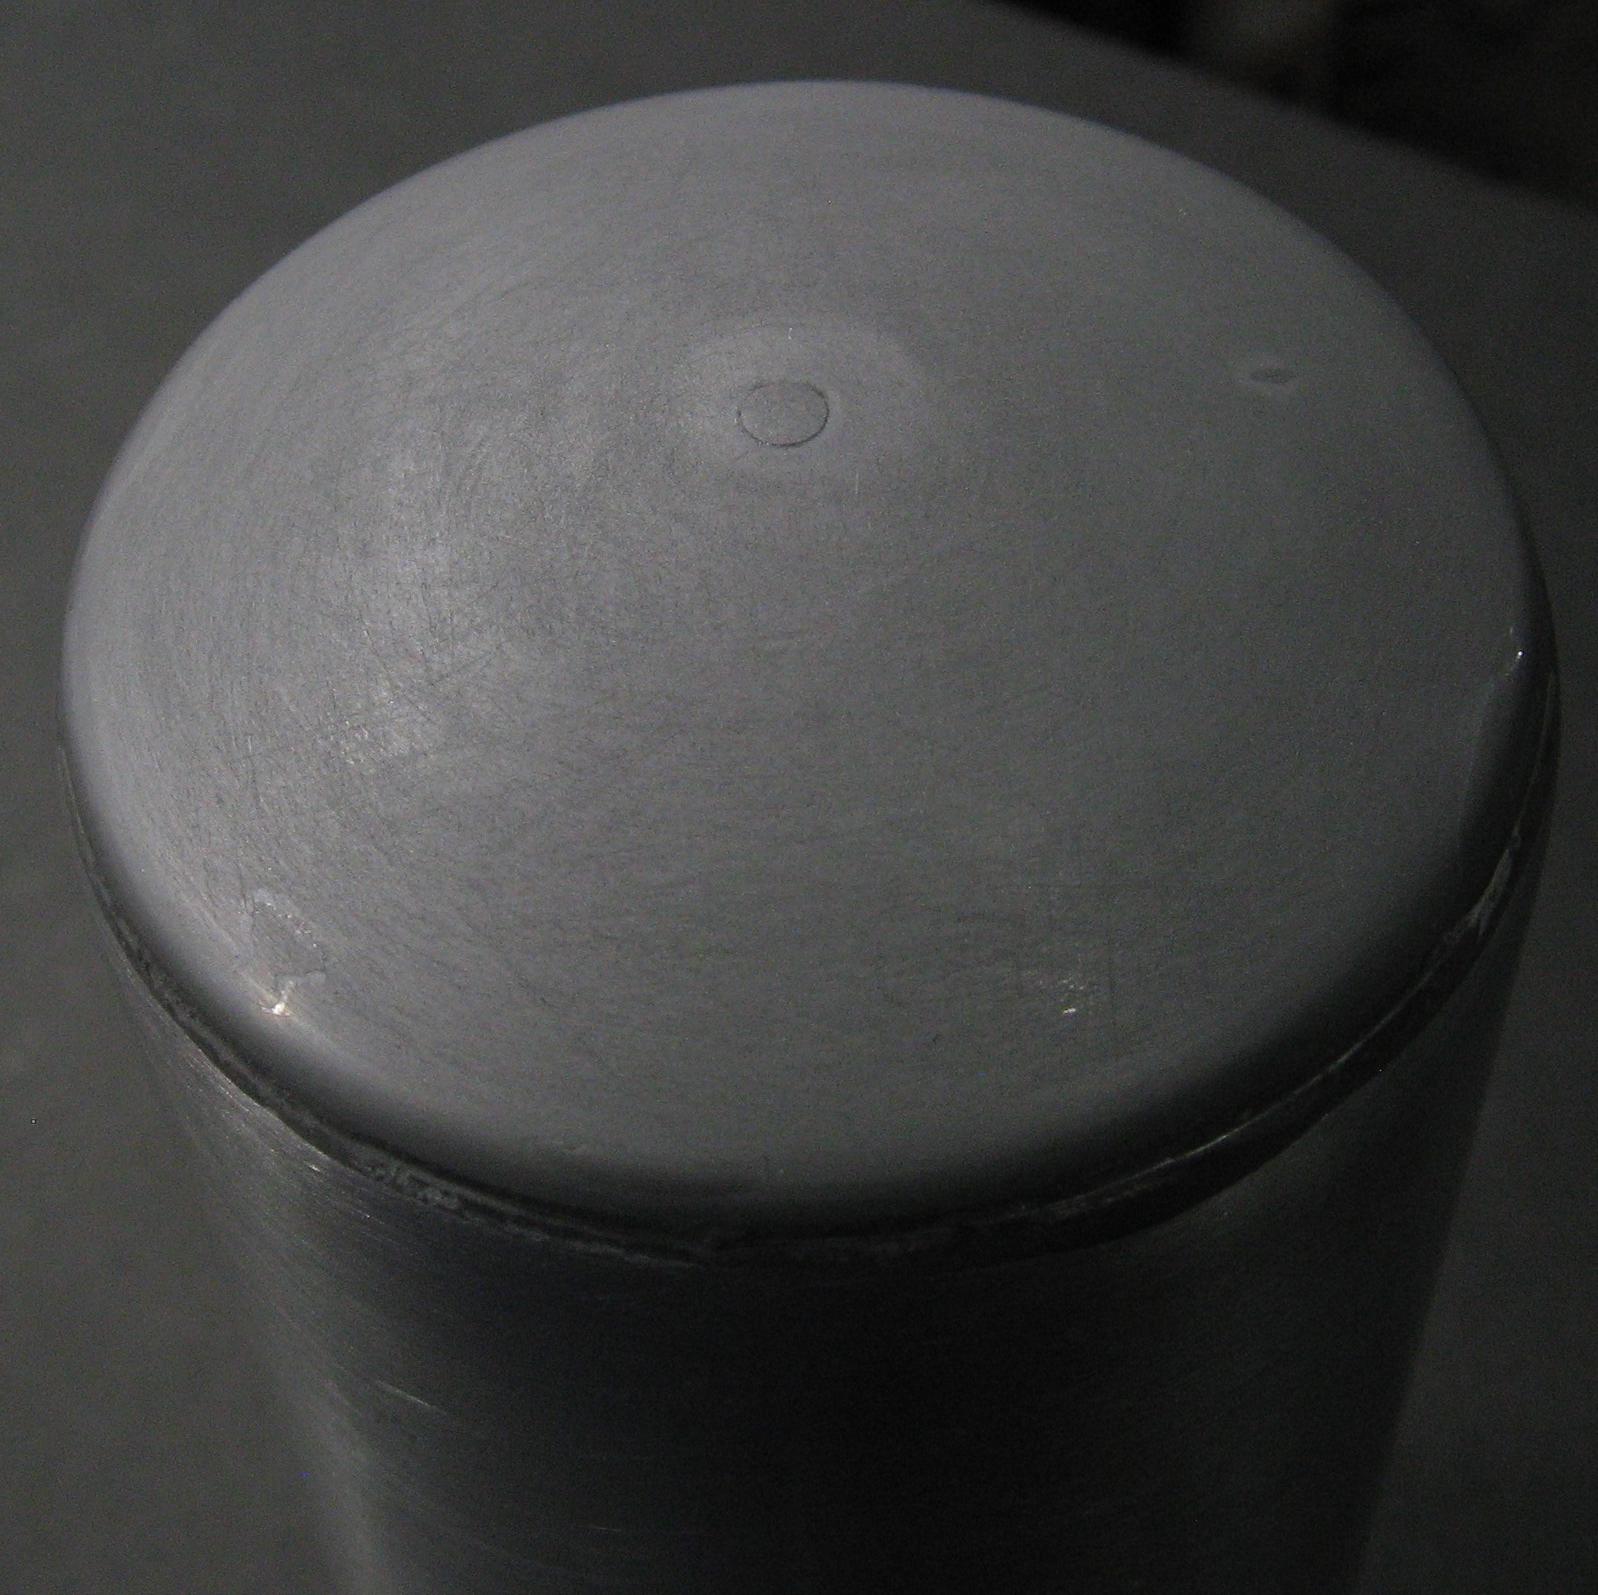
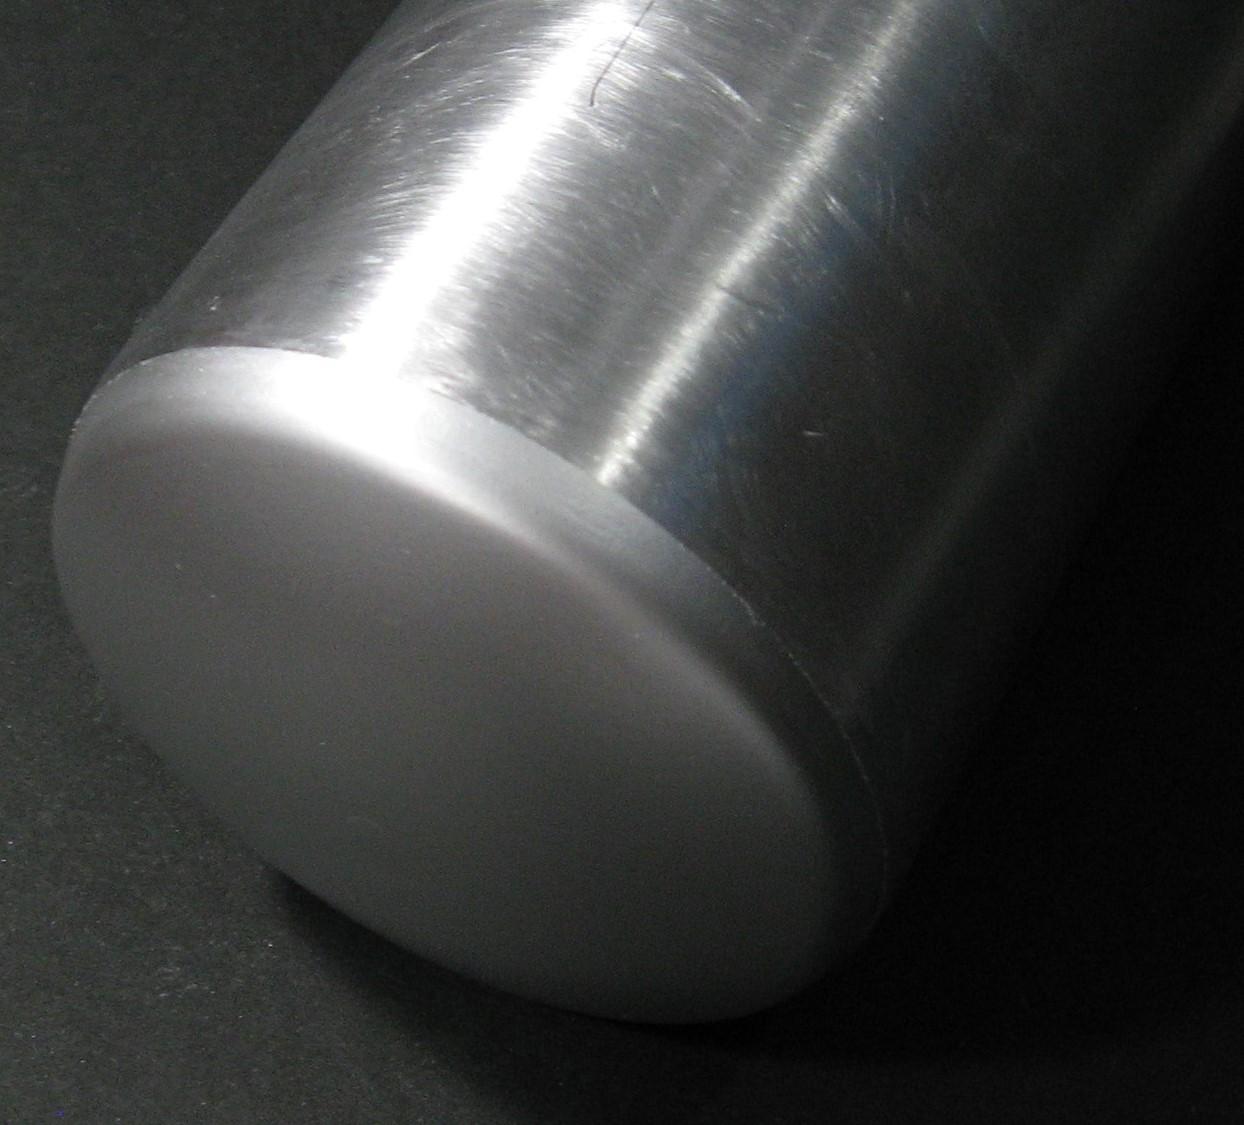
After some failed attempts at soldering an end on the cut down water bottle , the art of aluminum soldering does not seem to be in my wheelhouse, I went with good old Plastruct end cab. Epoxied and putty, I can live with it... That is all for now, Thanks for looking in, Randy
-
Farm Floater Truck 1/24th scale
Randy D replied to Randy D's topic in WIP: Model Trucks: Big Rigs and Heavy Equipment
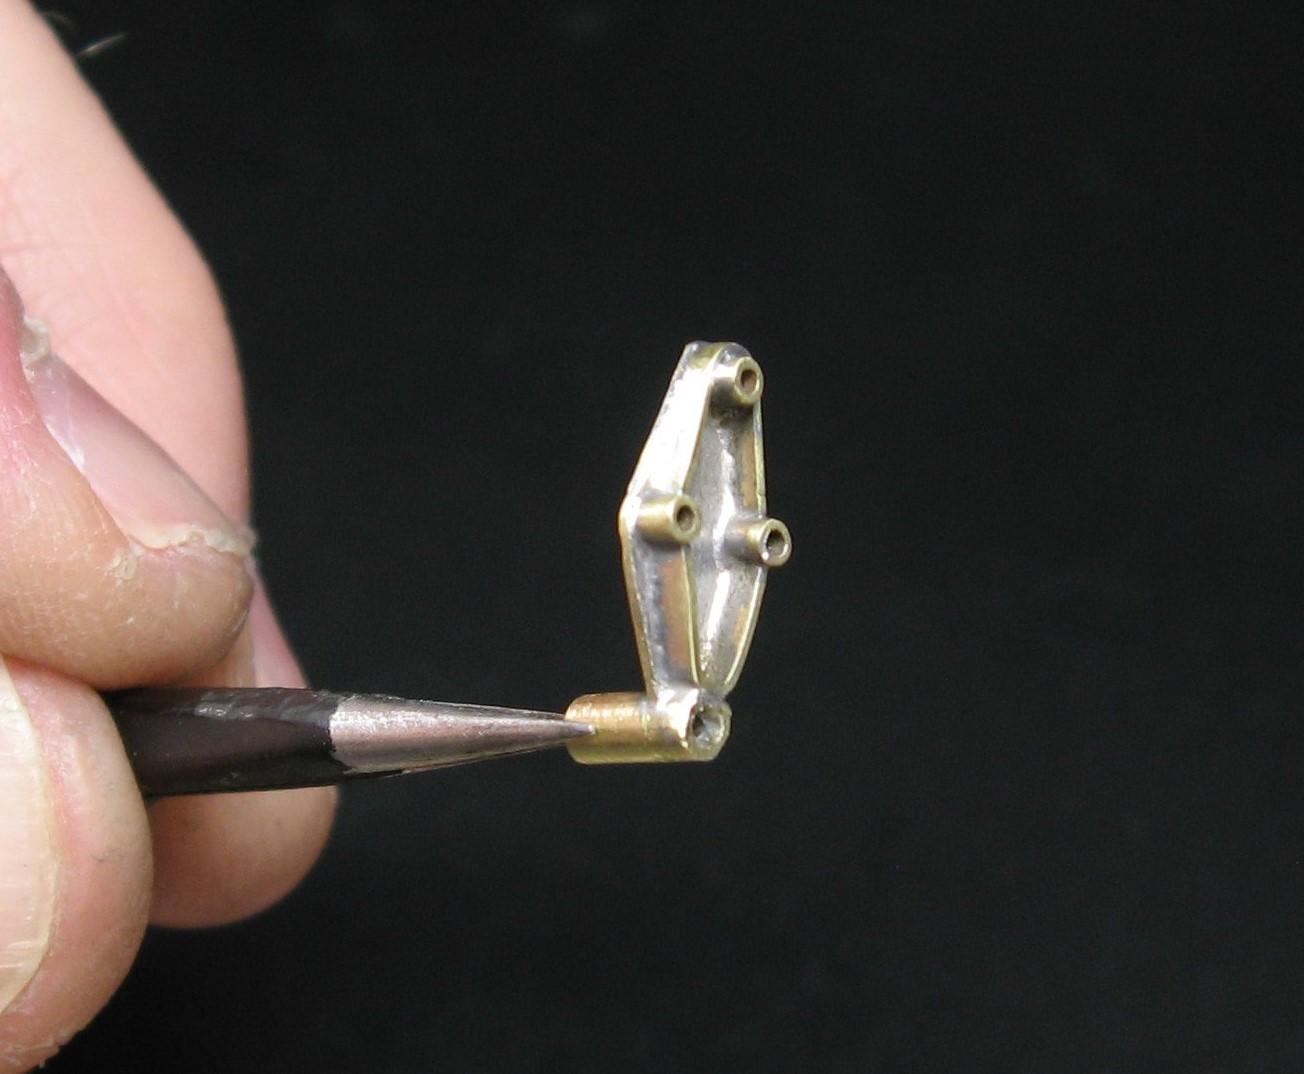
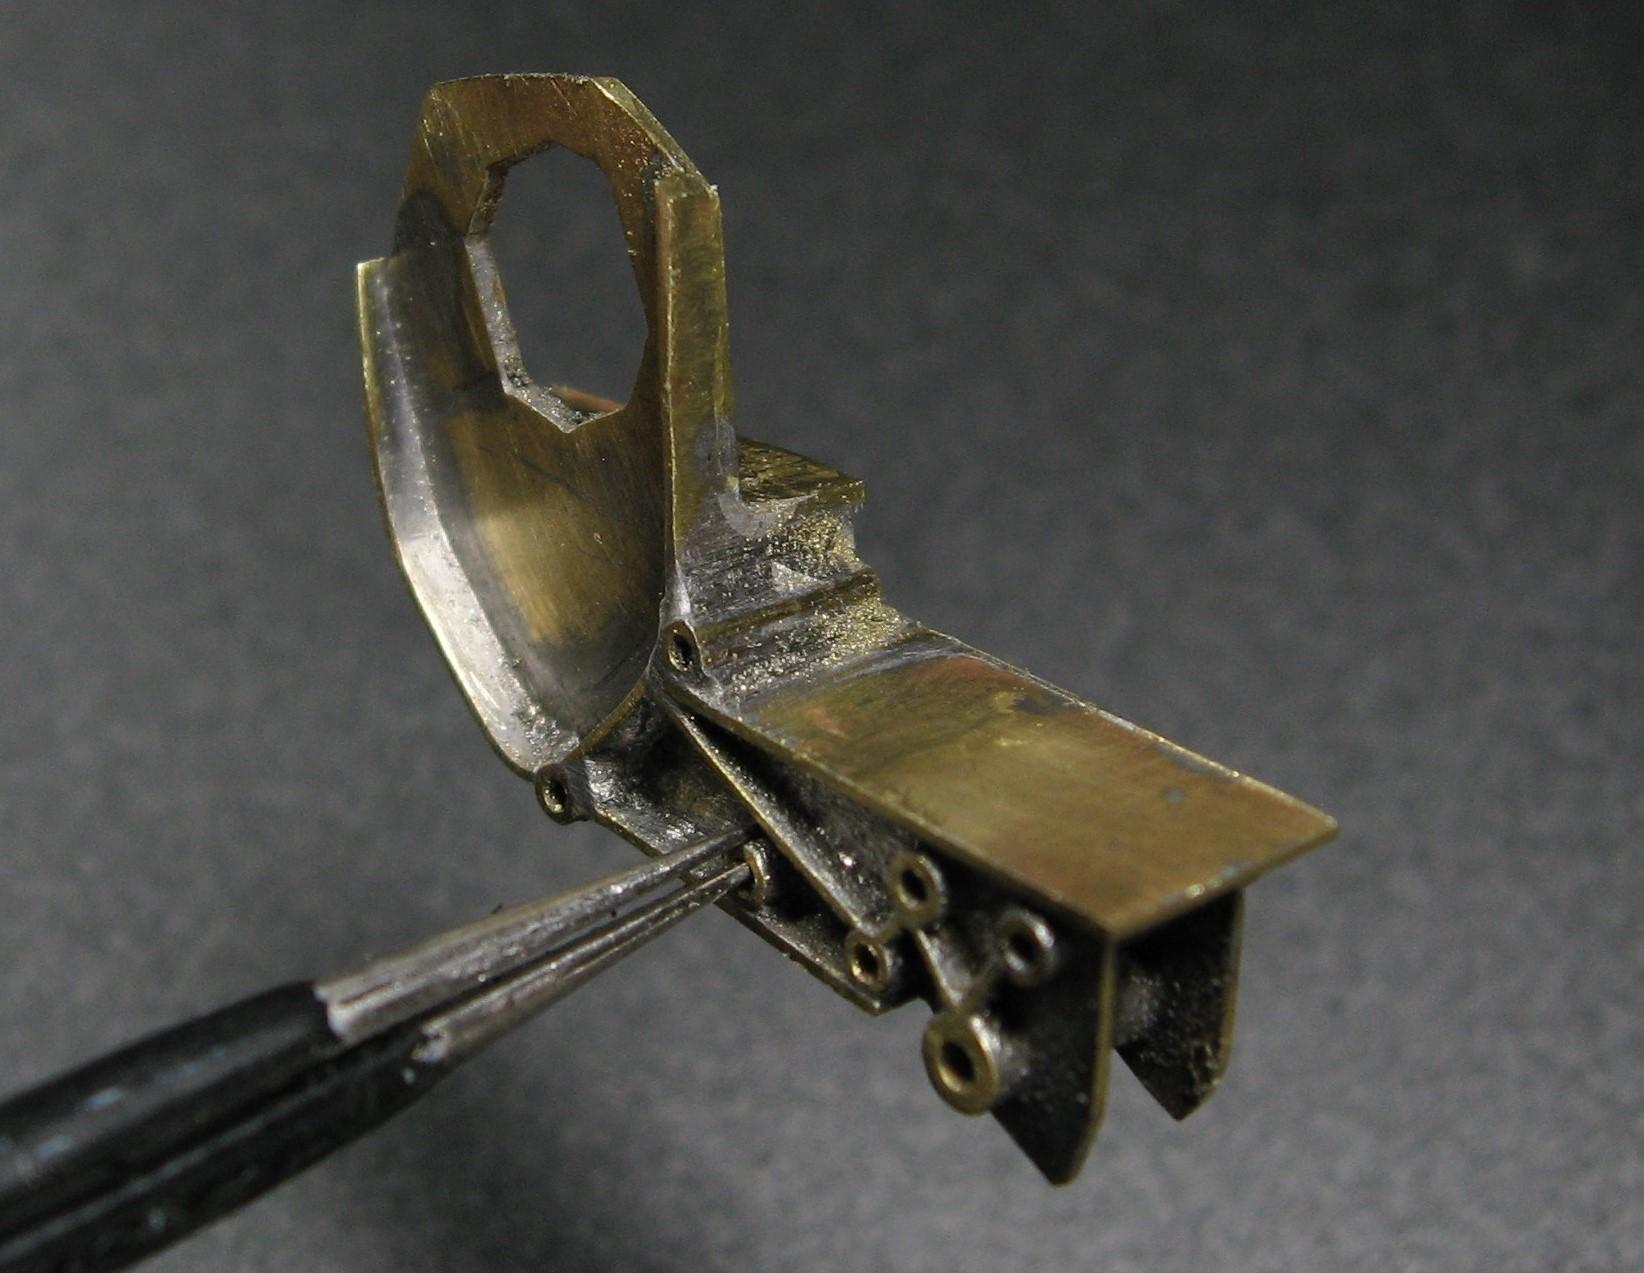
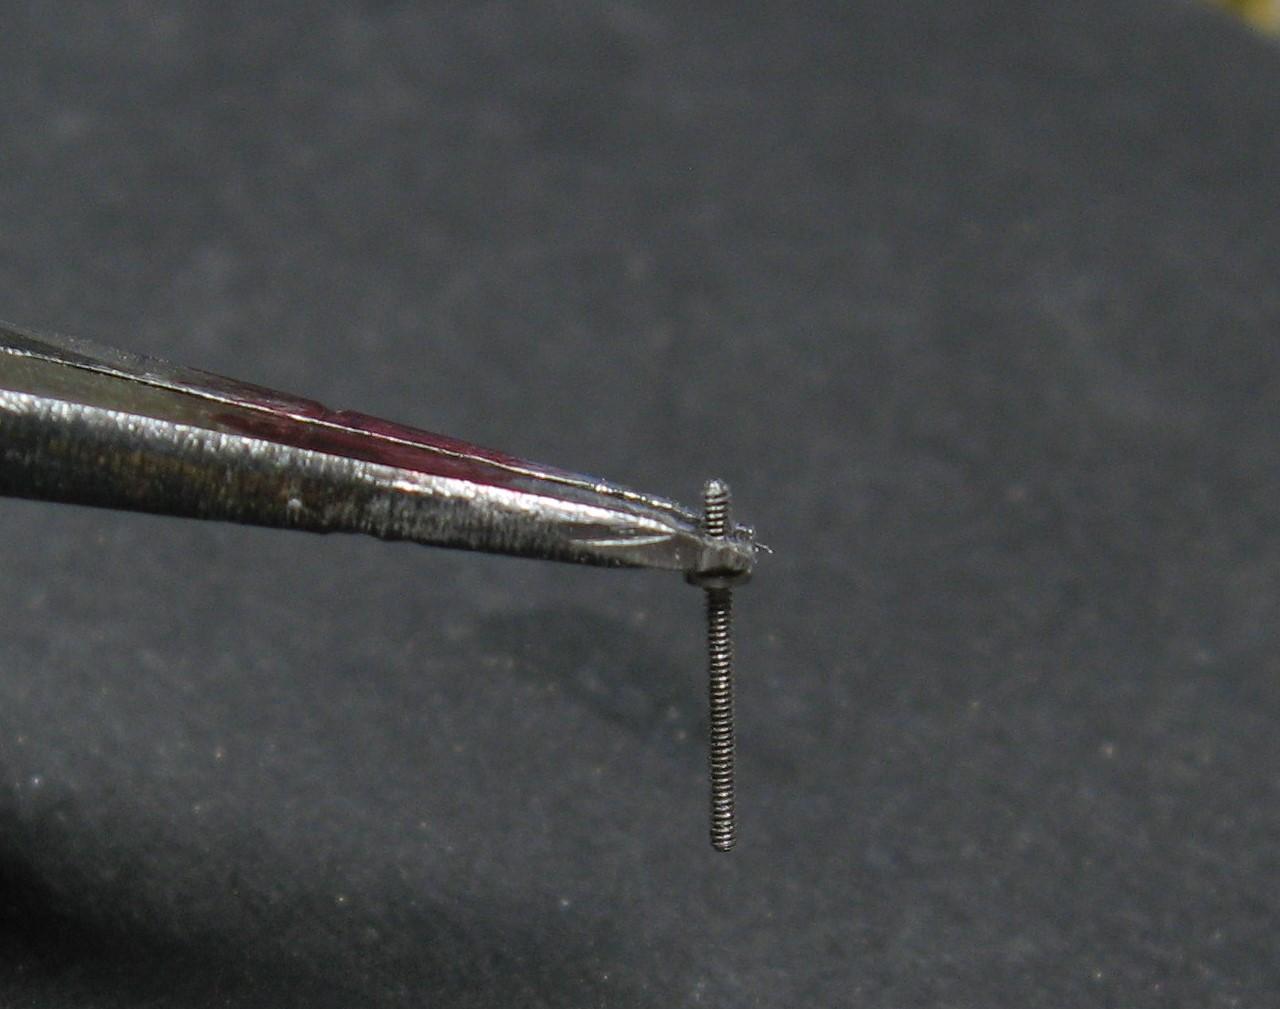
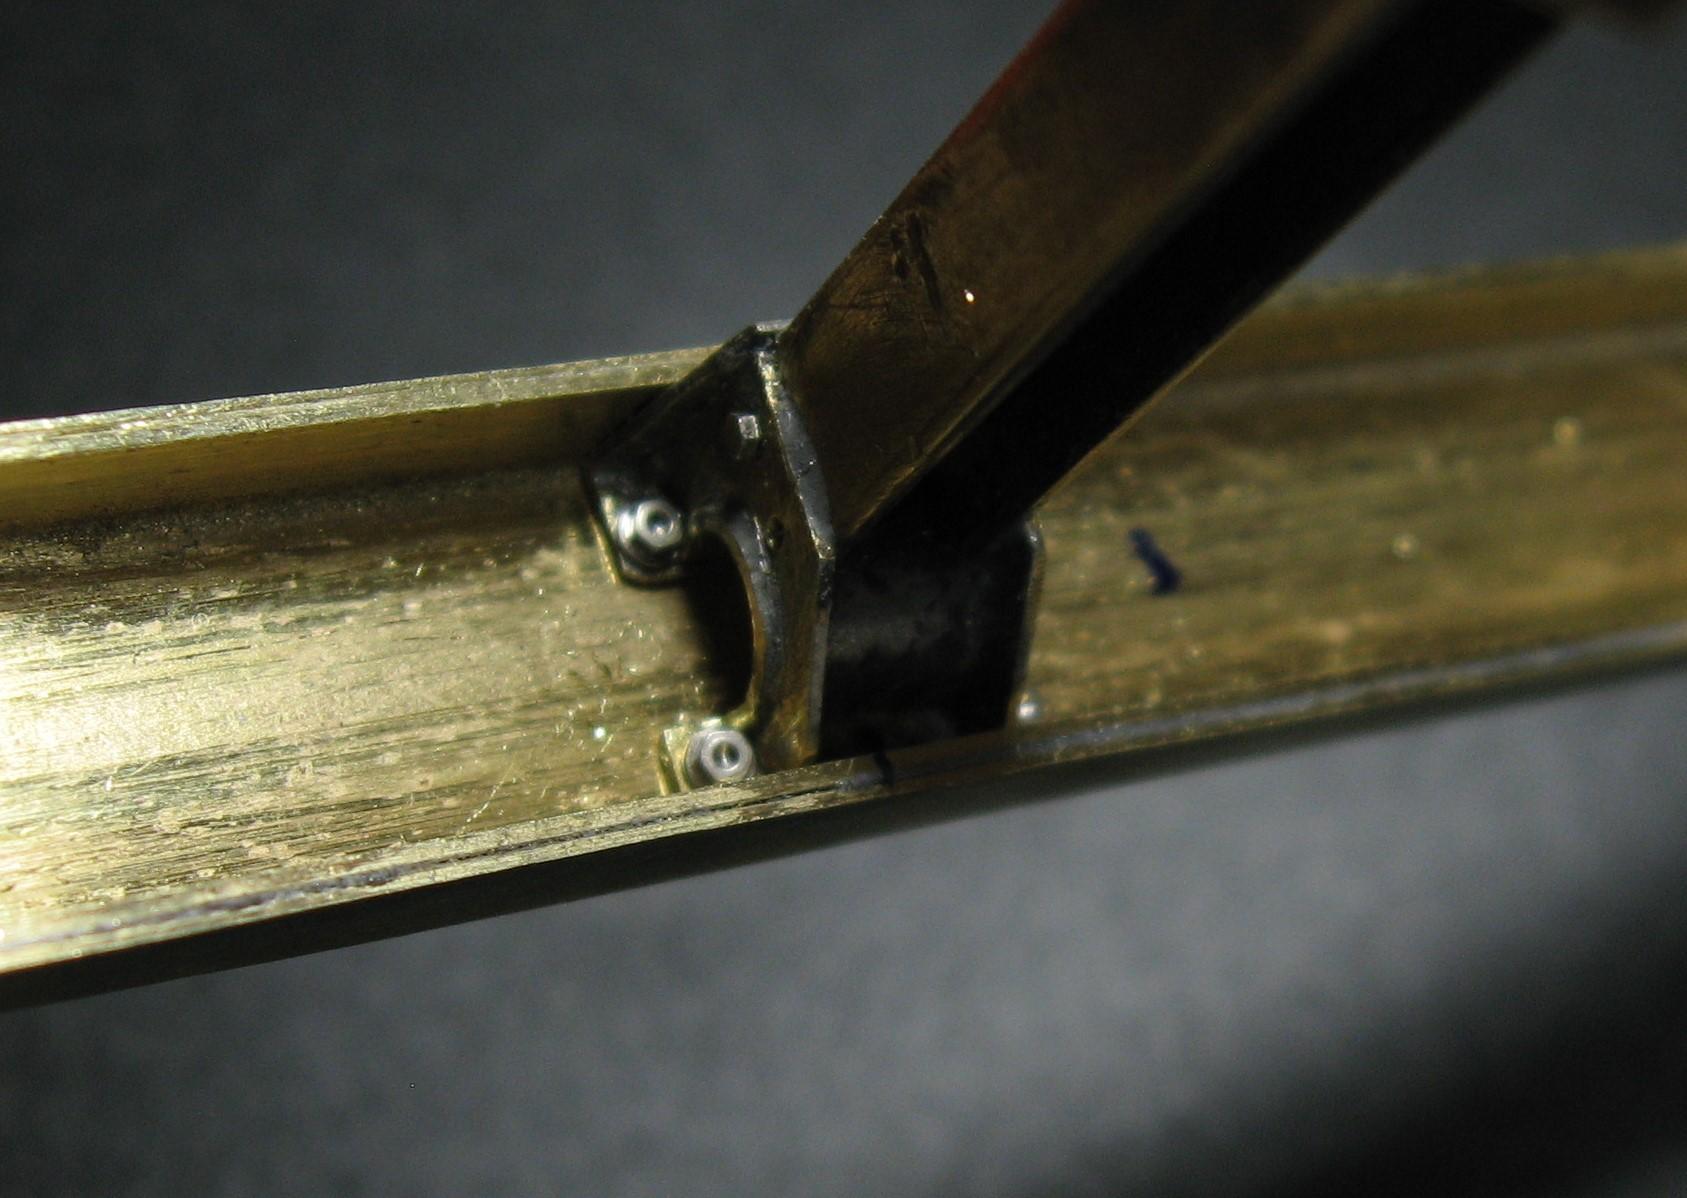
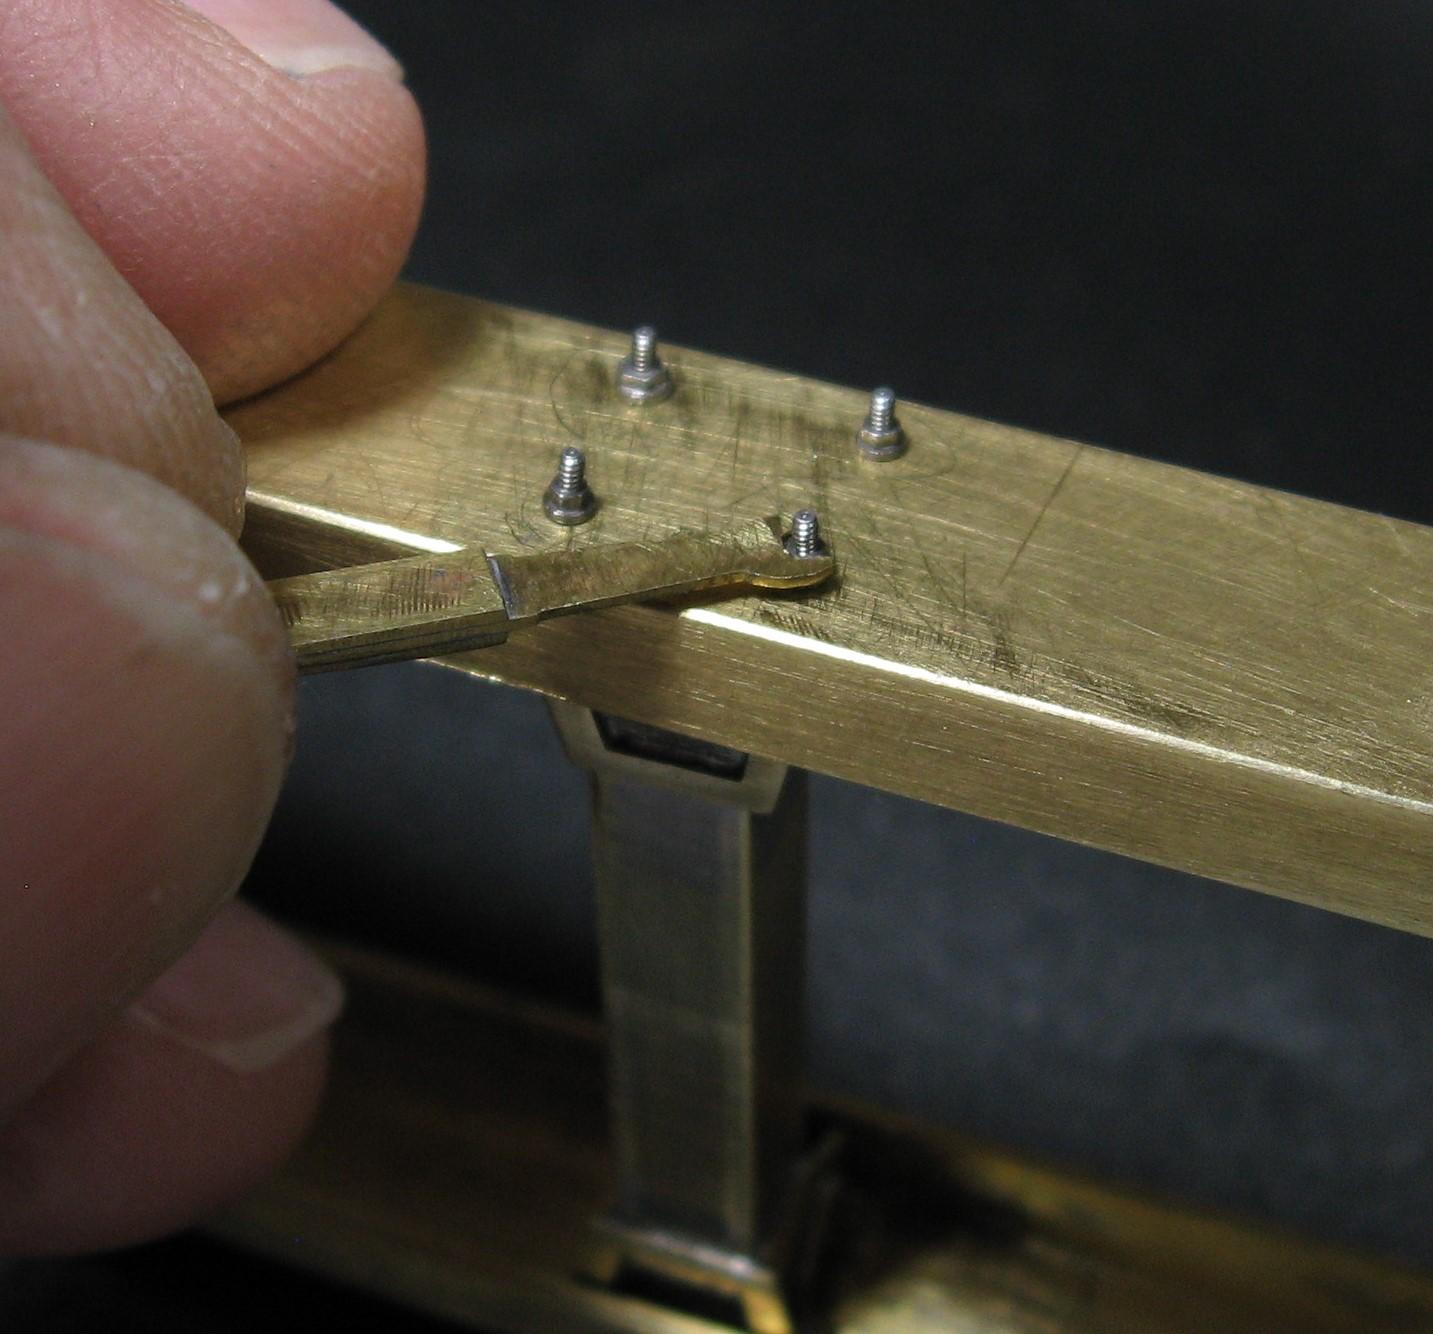
The middle upper bolt for the cross members proved to impossible(for me ) to get to so I will do a short piece of threaded rod and a nut, a fake that will match up to the others. The pic below shows the rod that I will be able to cut into four pieces...
-
Farm Floater Truck 1/24th scale
Randy D replied to Randy D's topic in WIP: Model Trucks: Big Rigs and Heavy Equipment
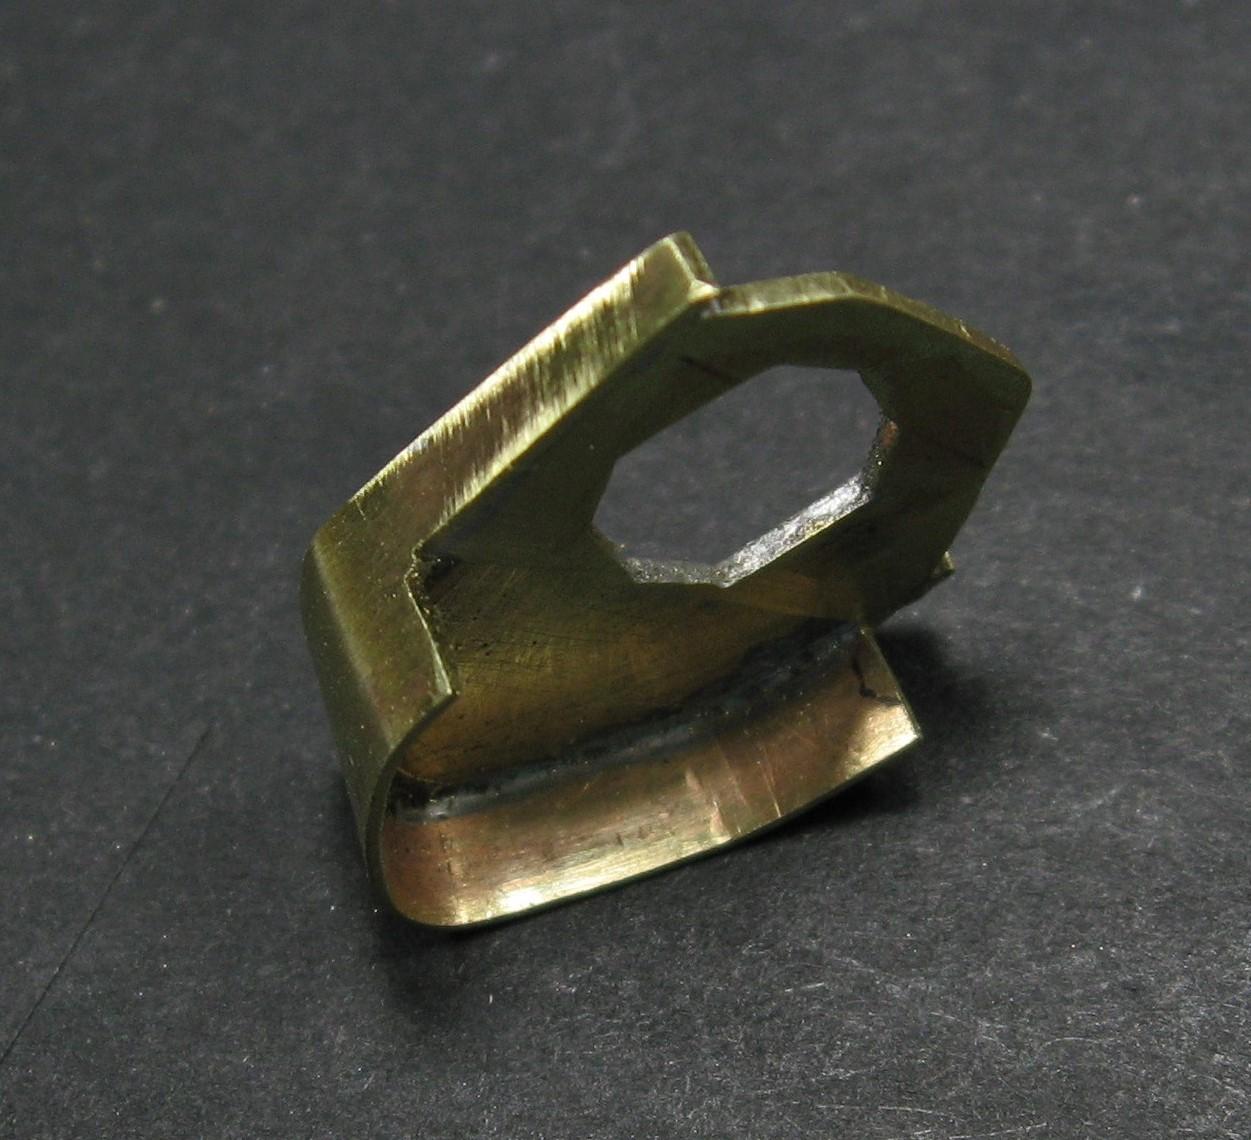
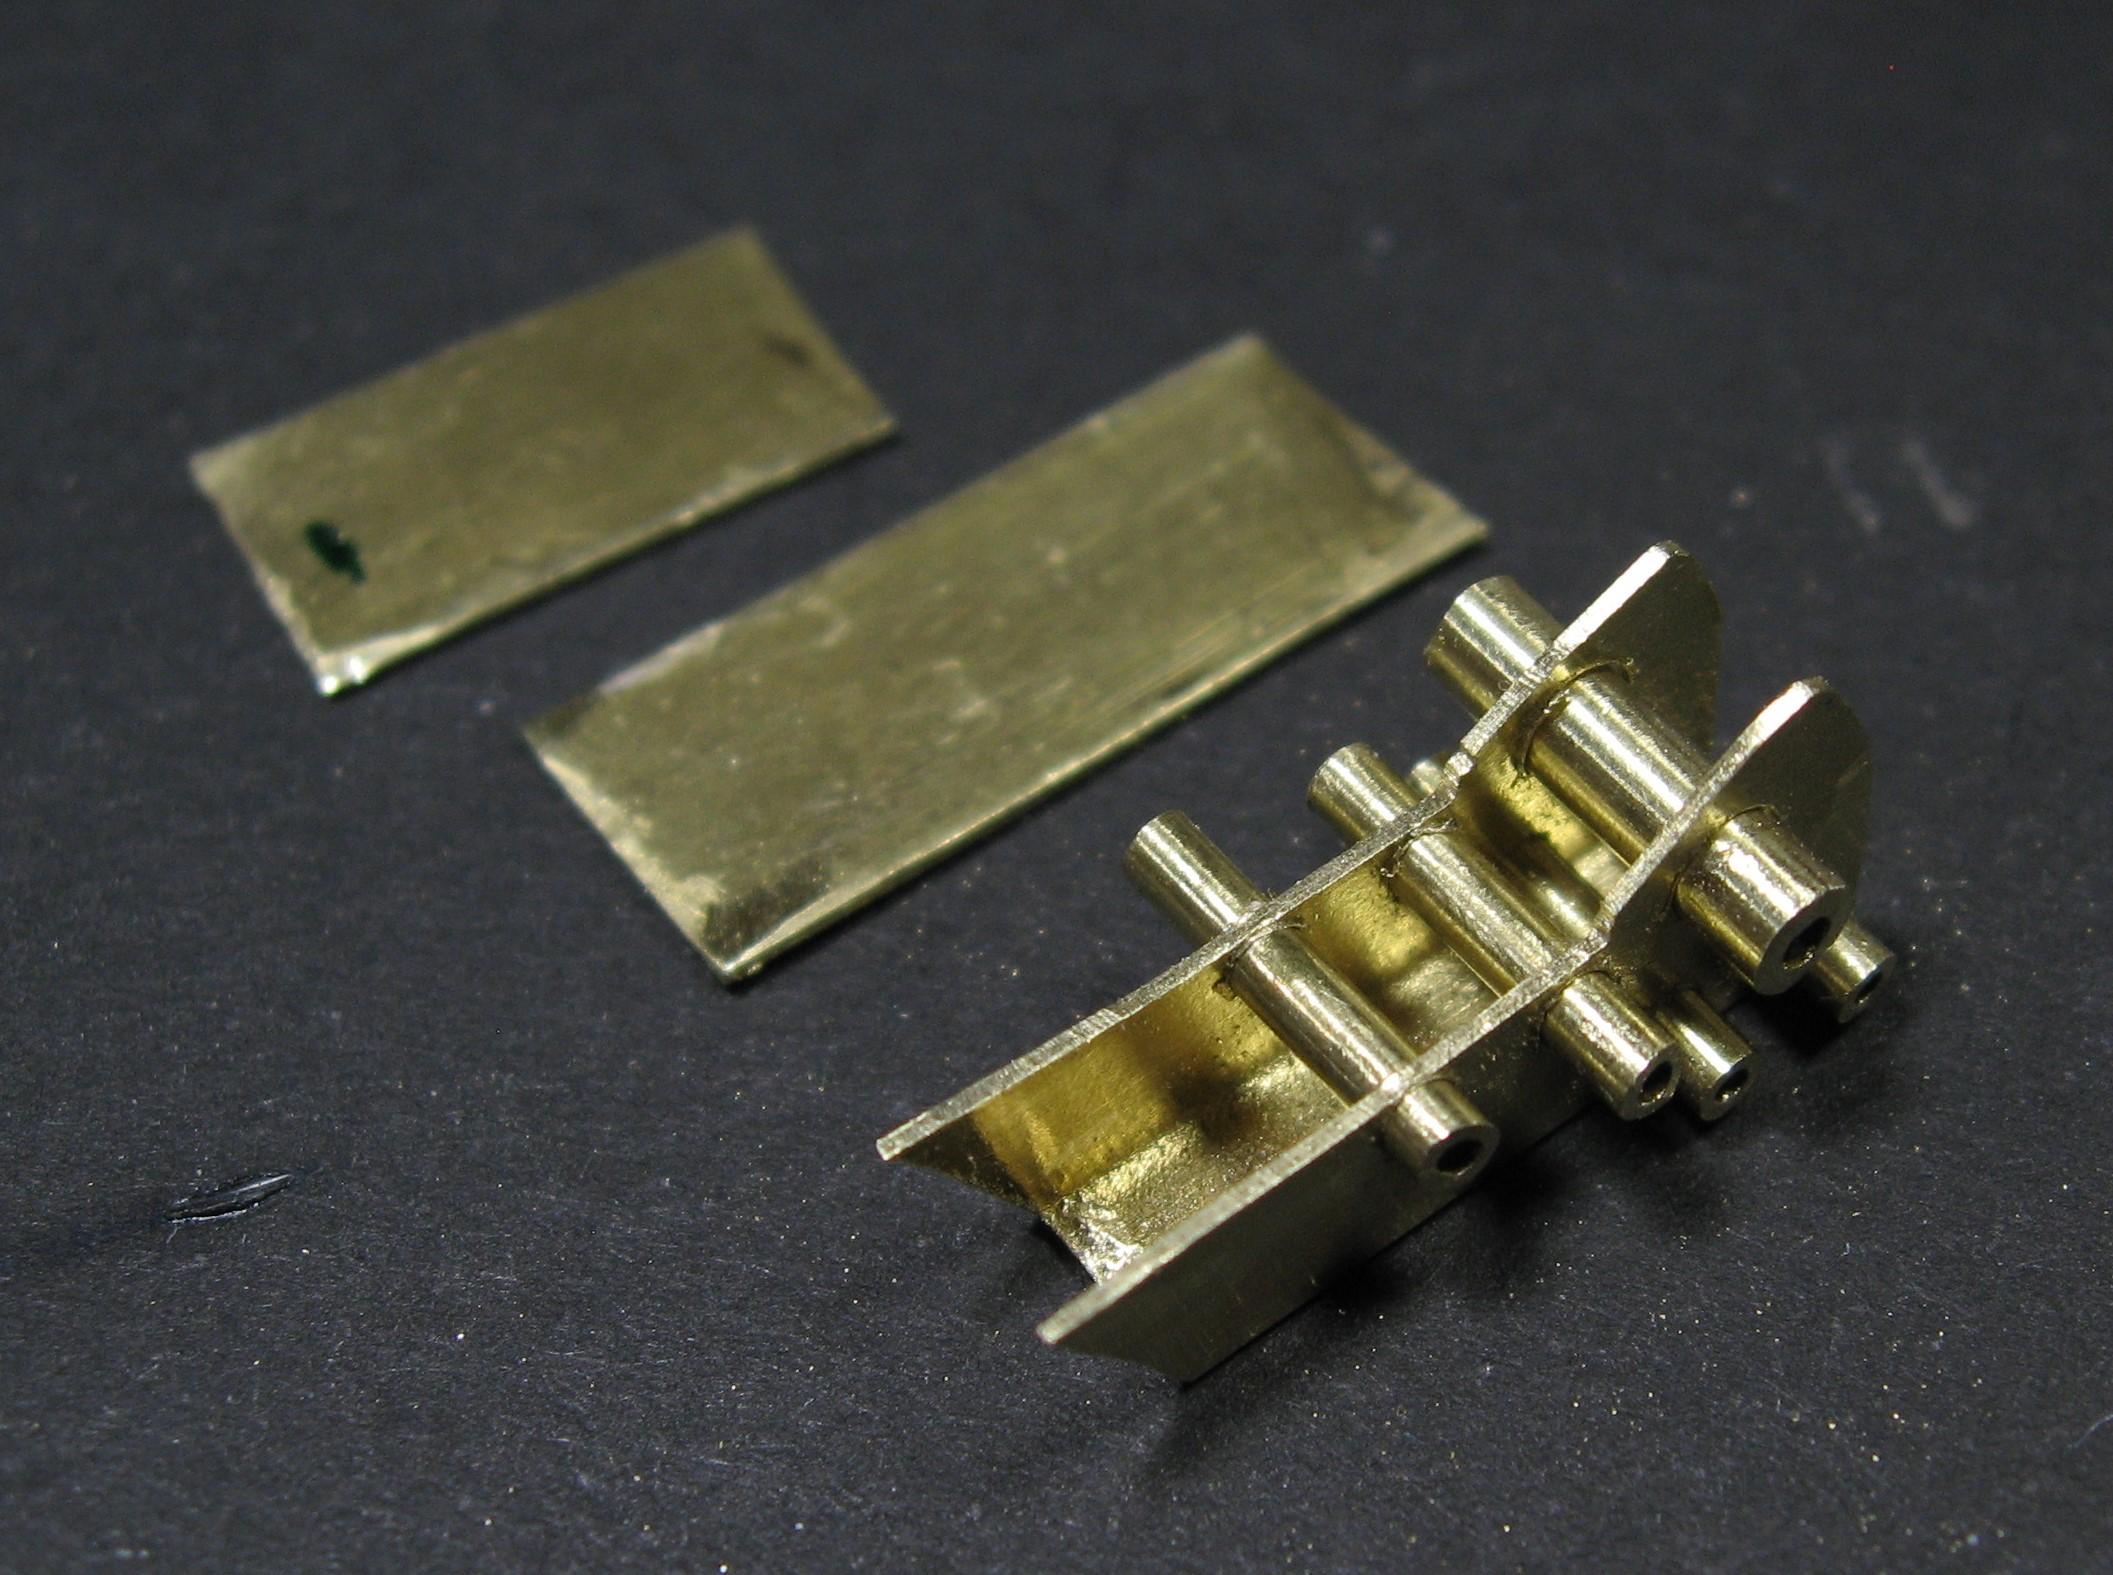
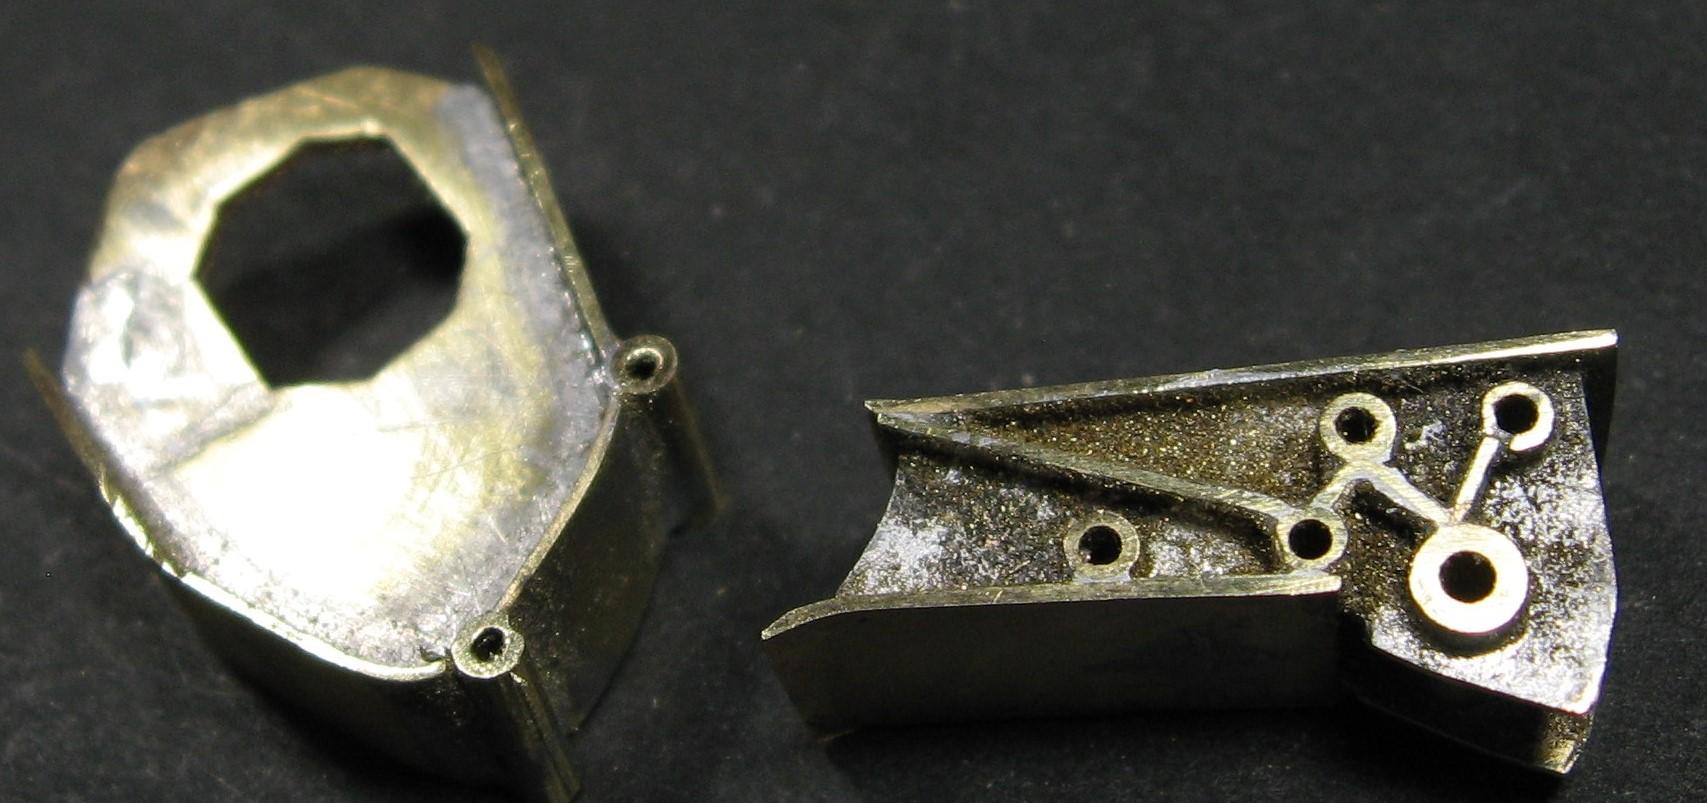
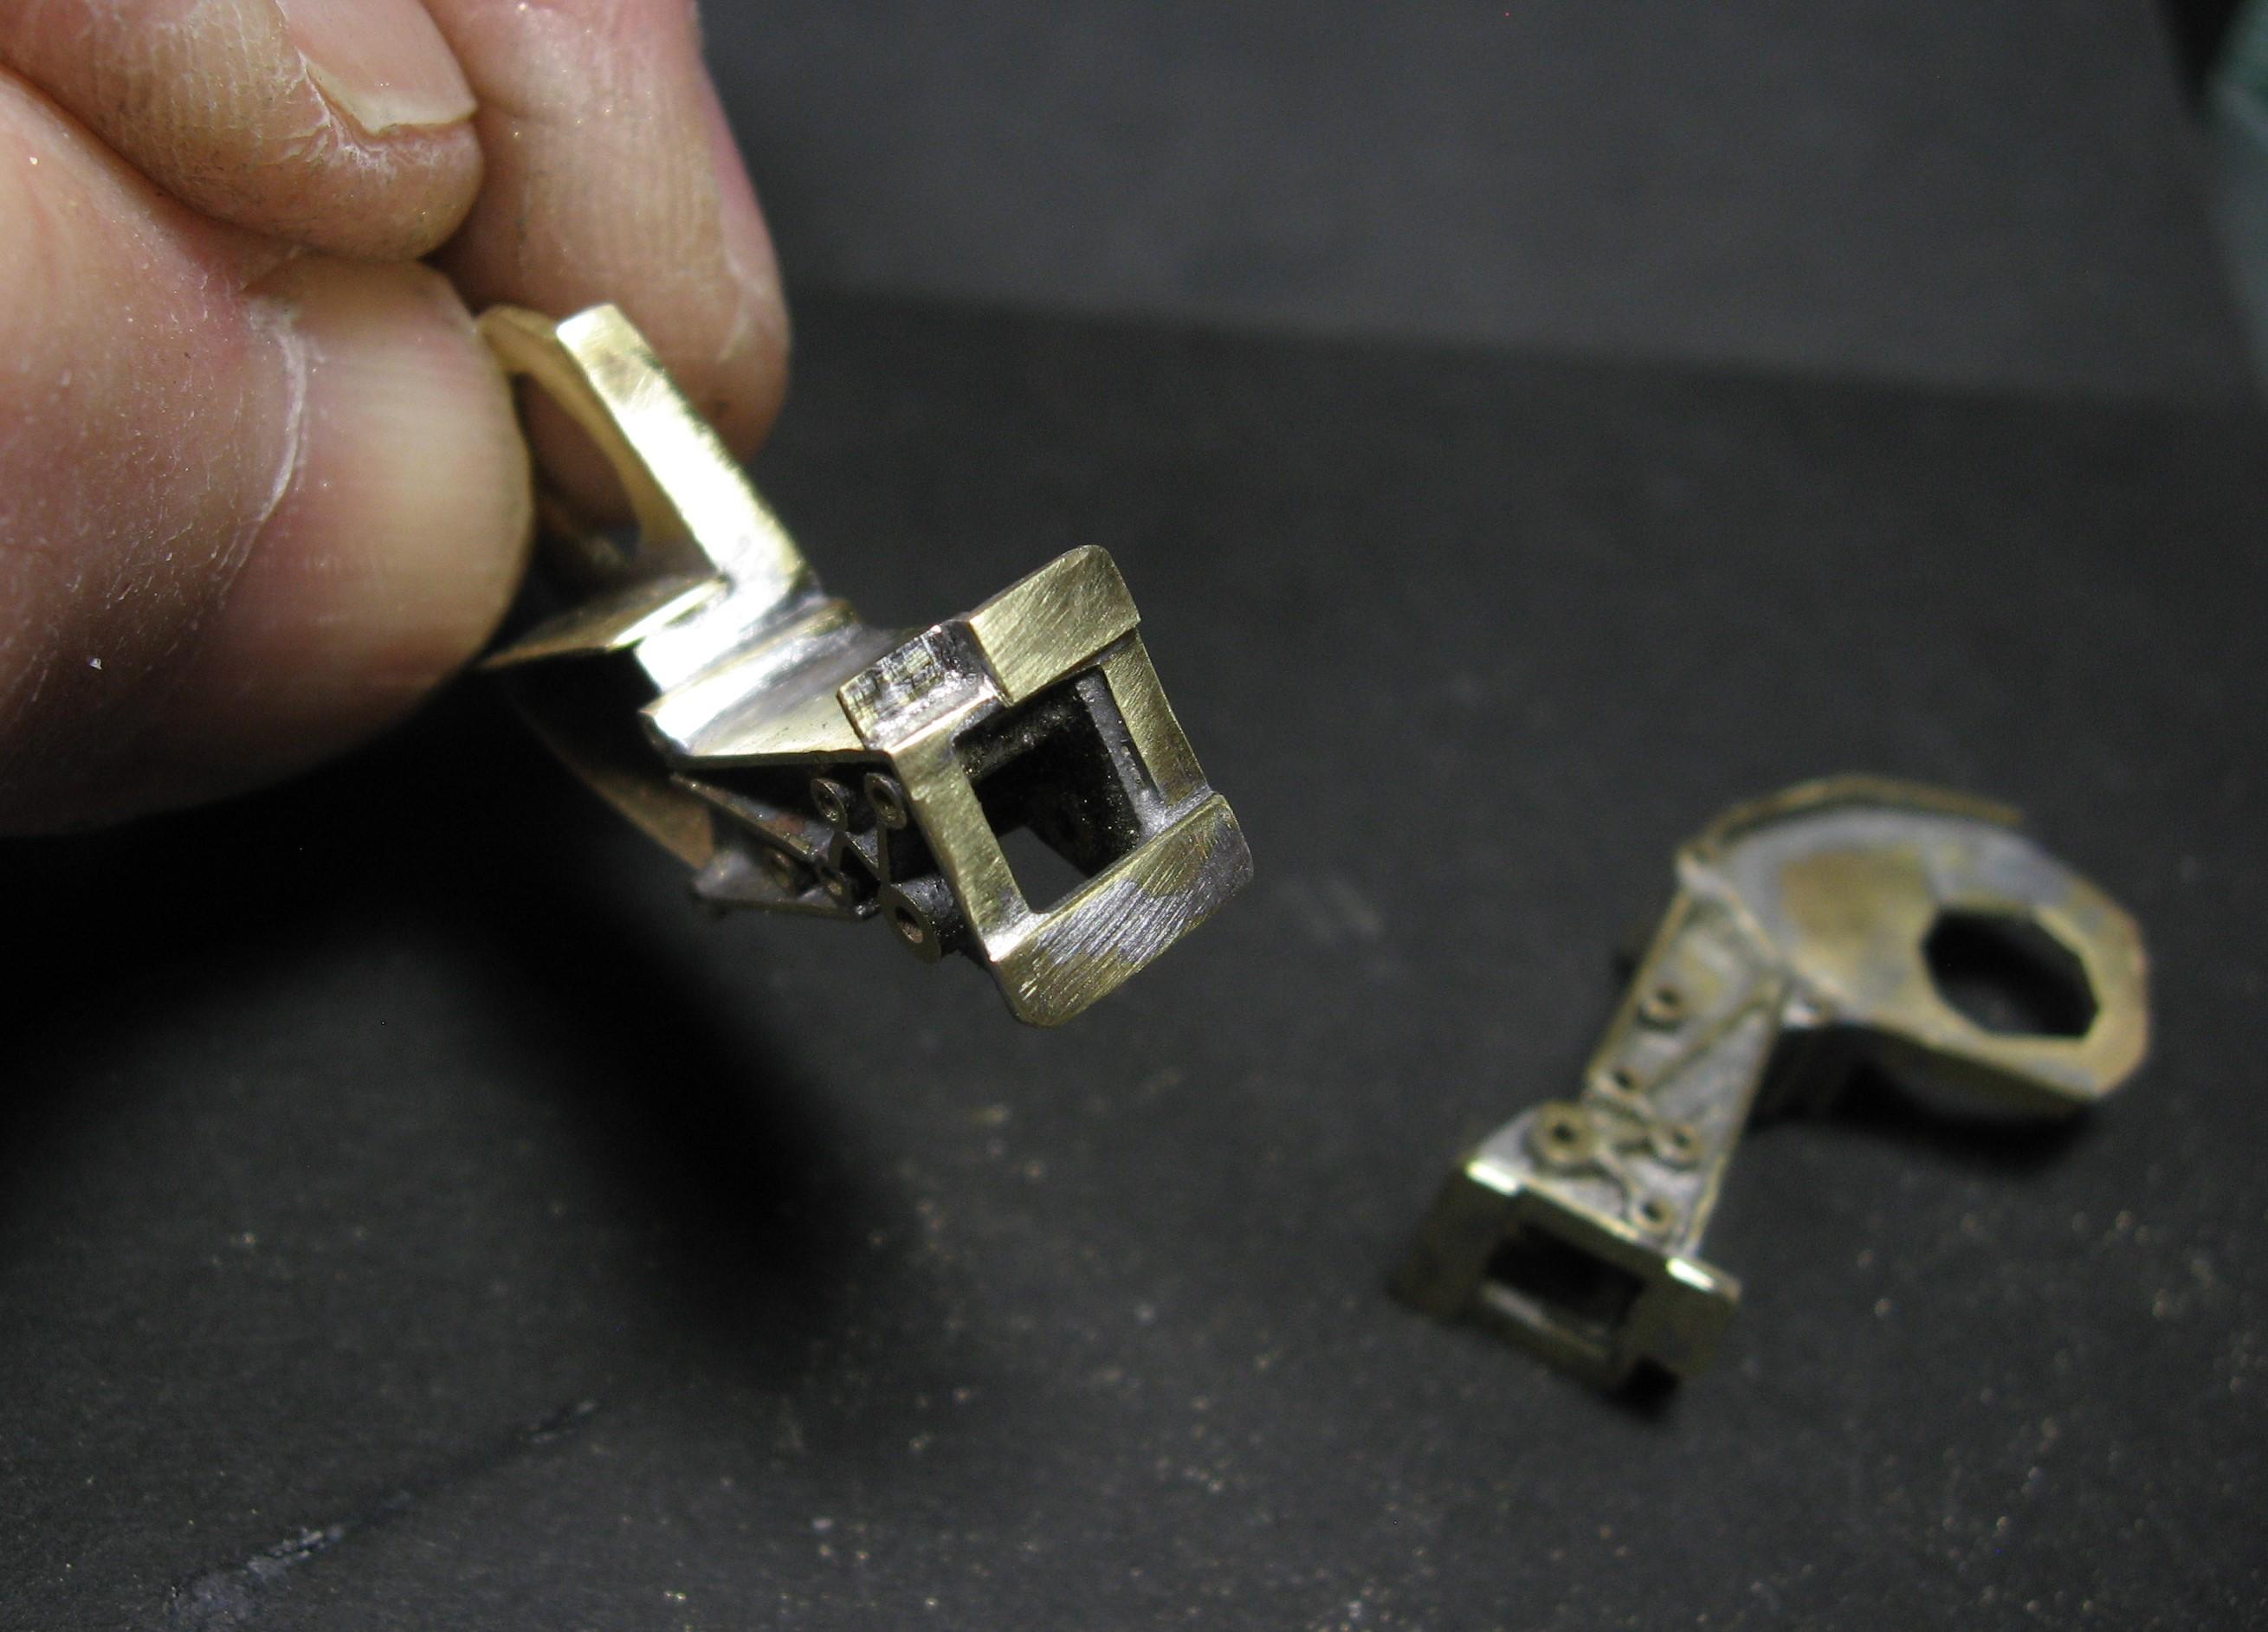
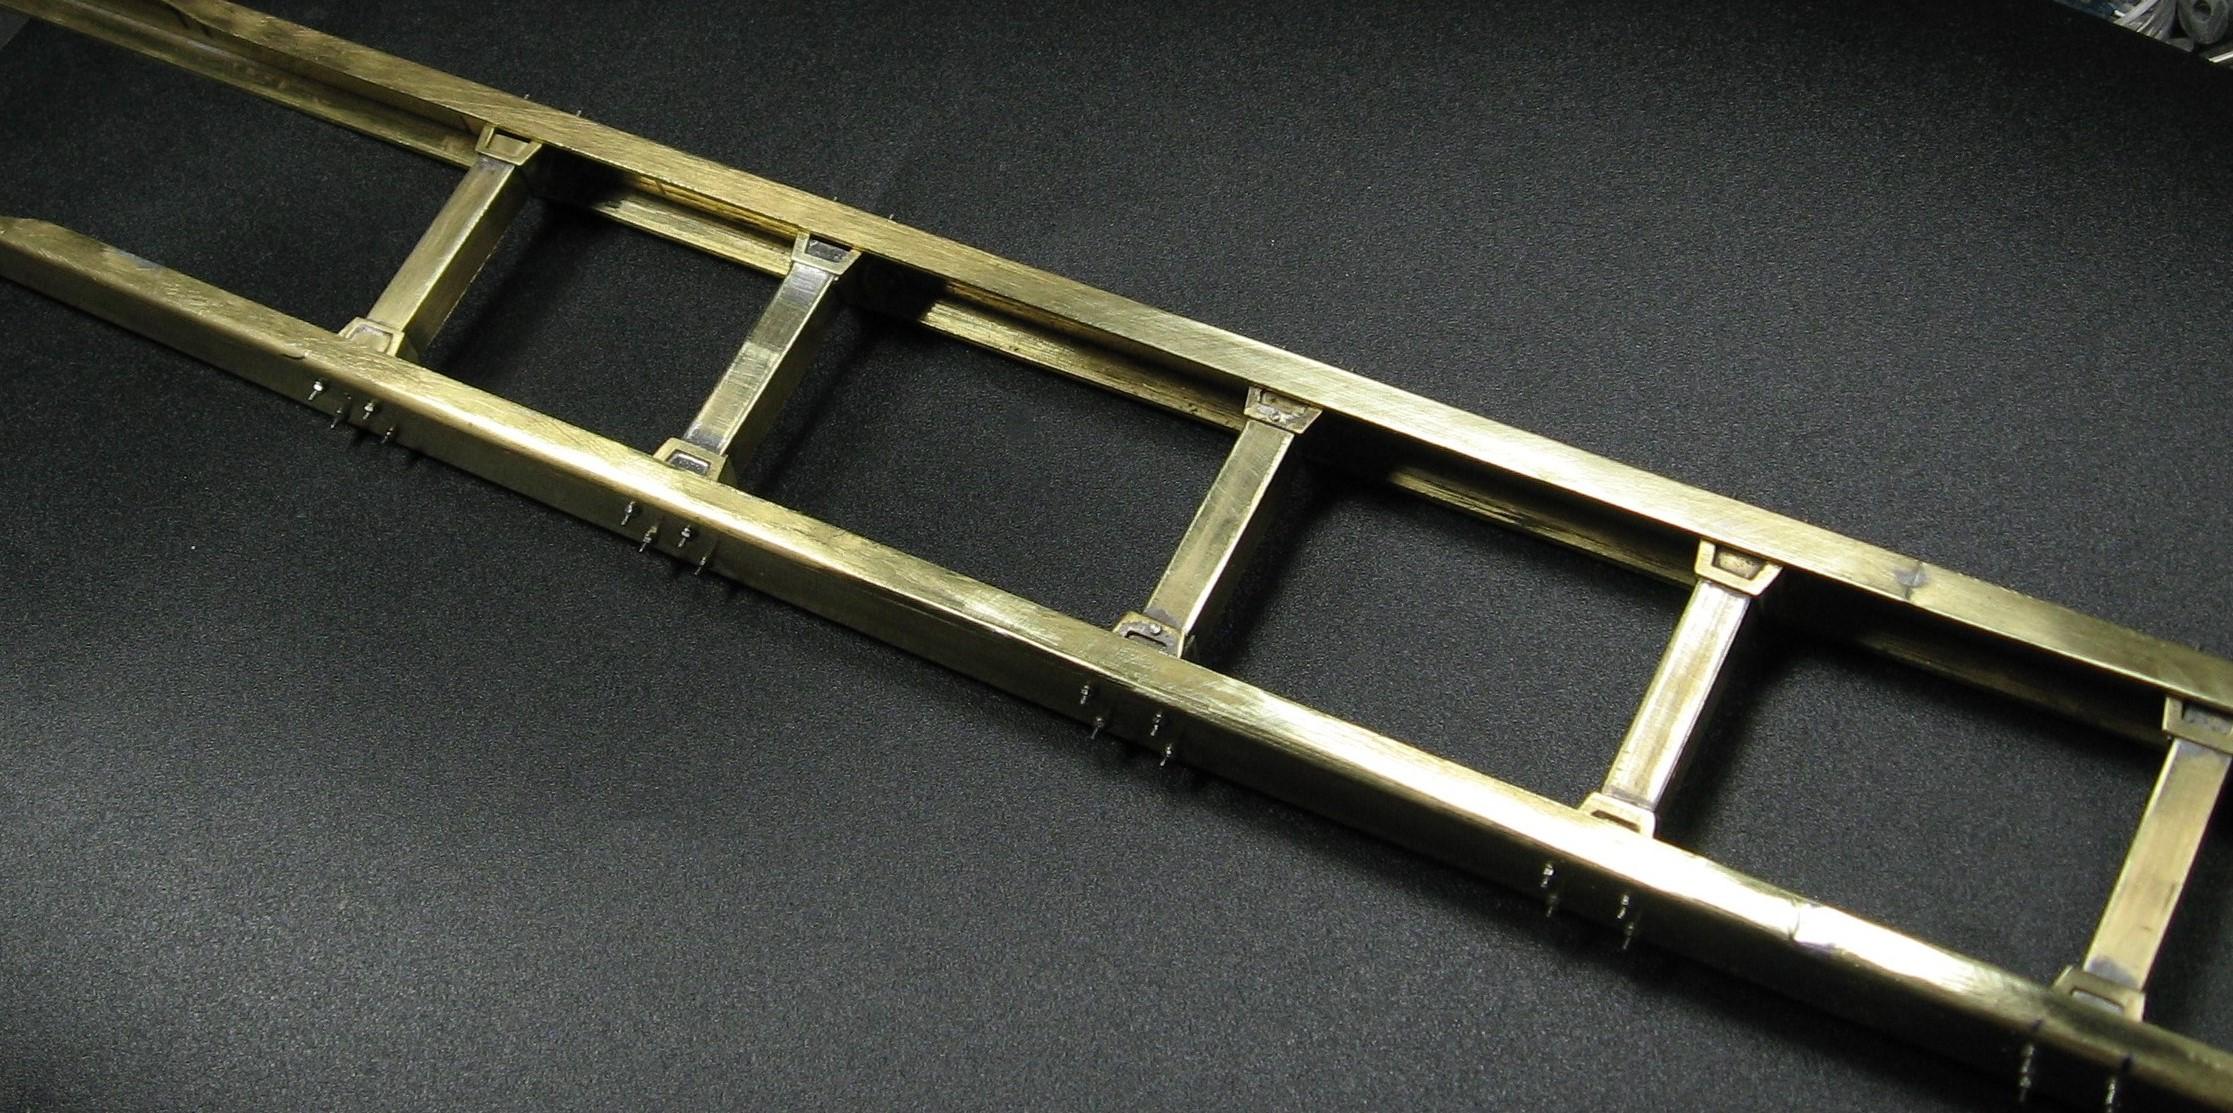
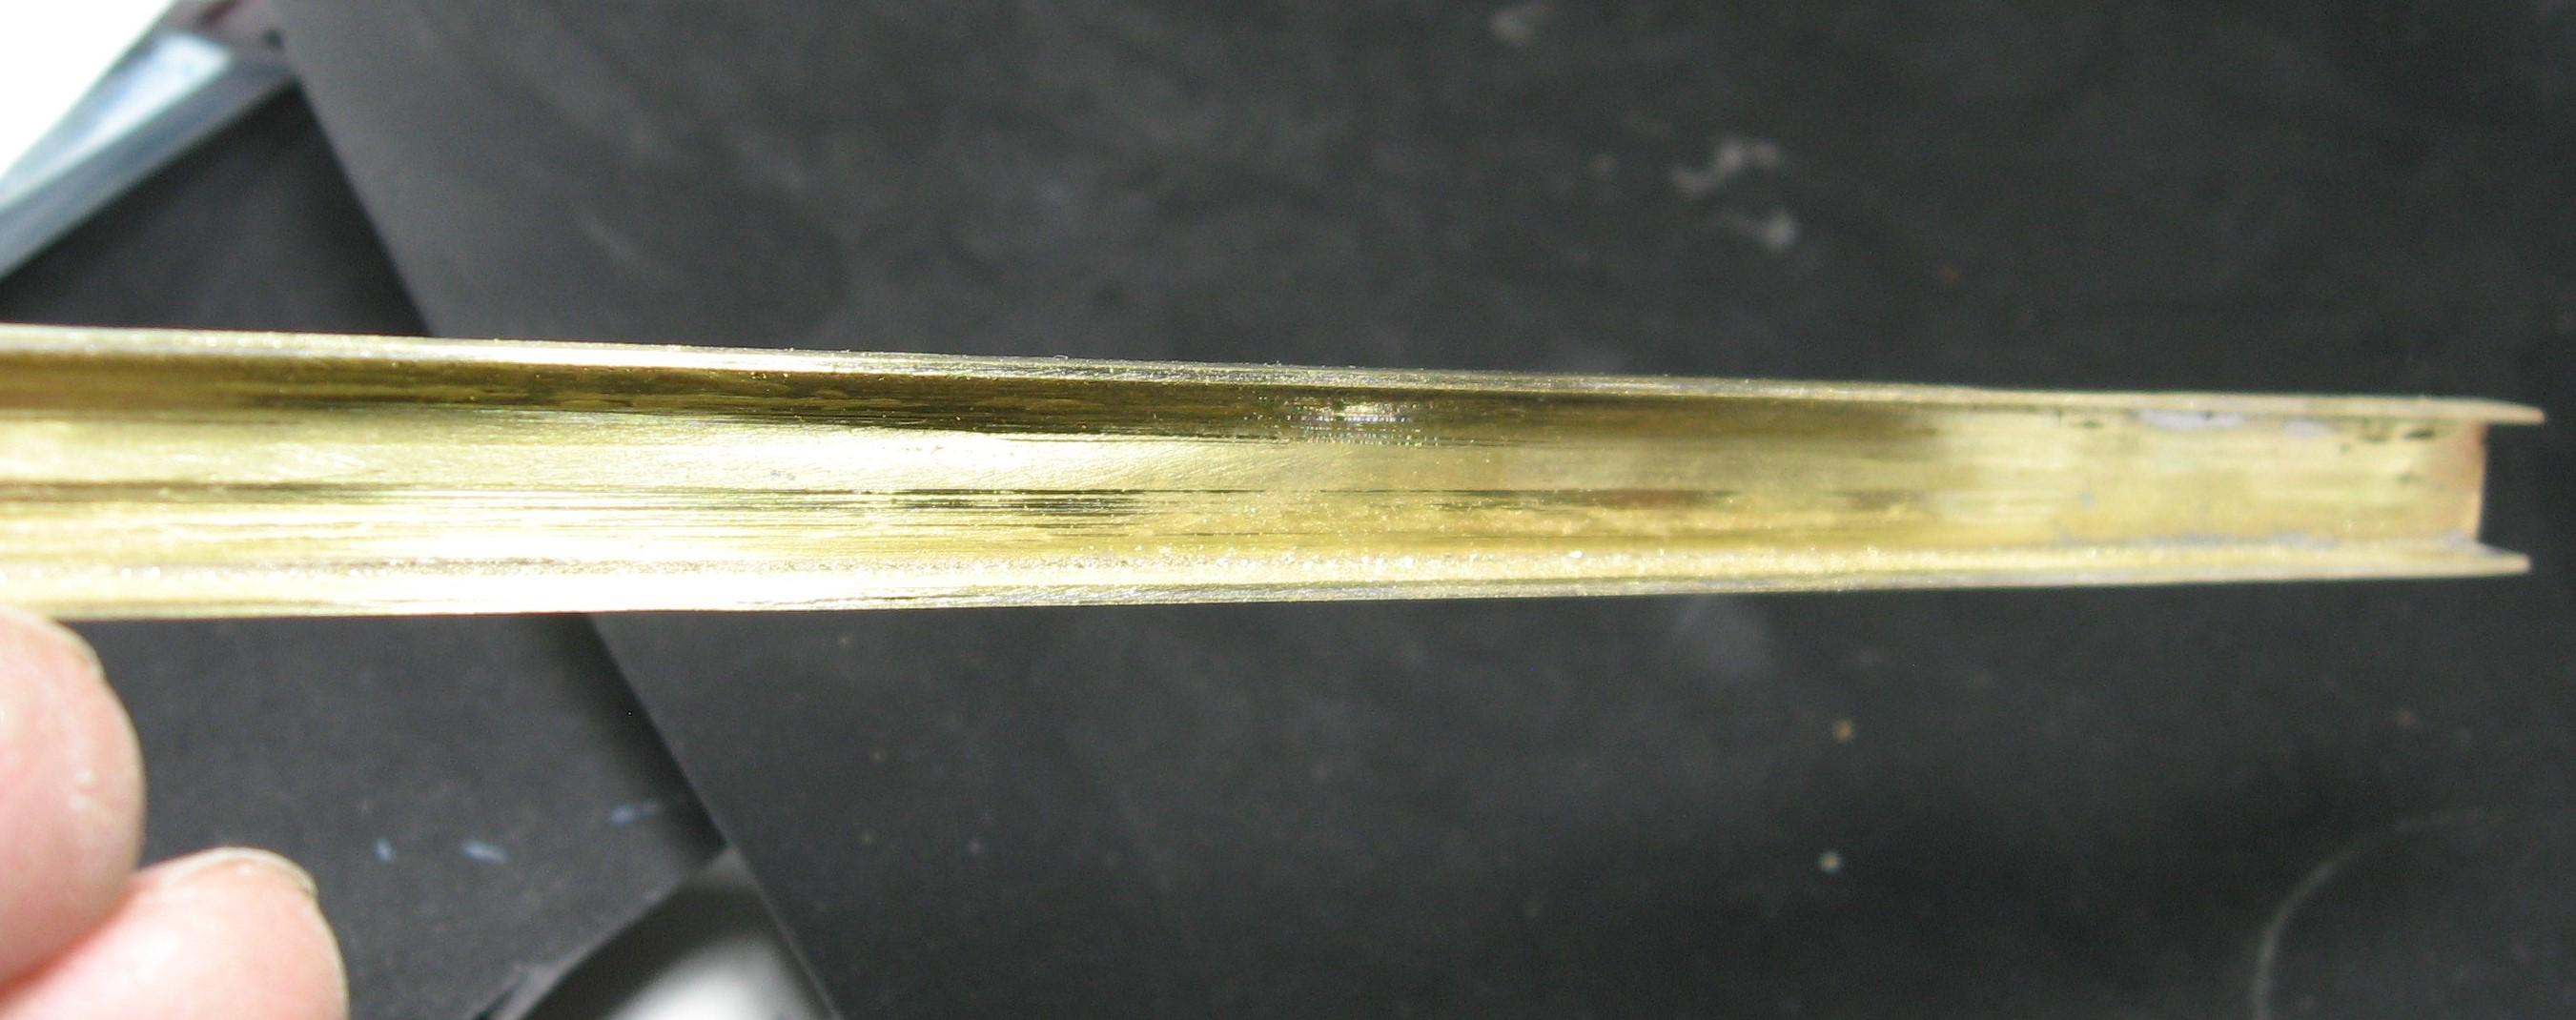
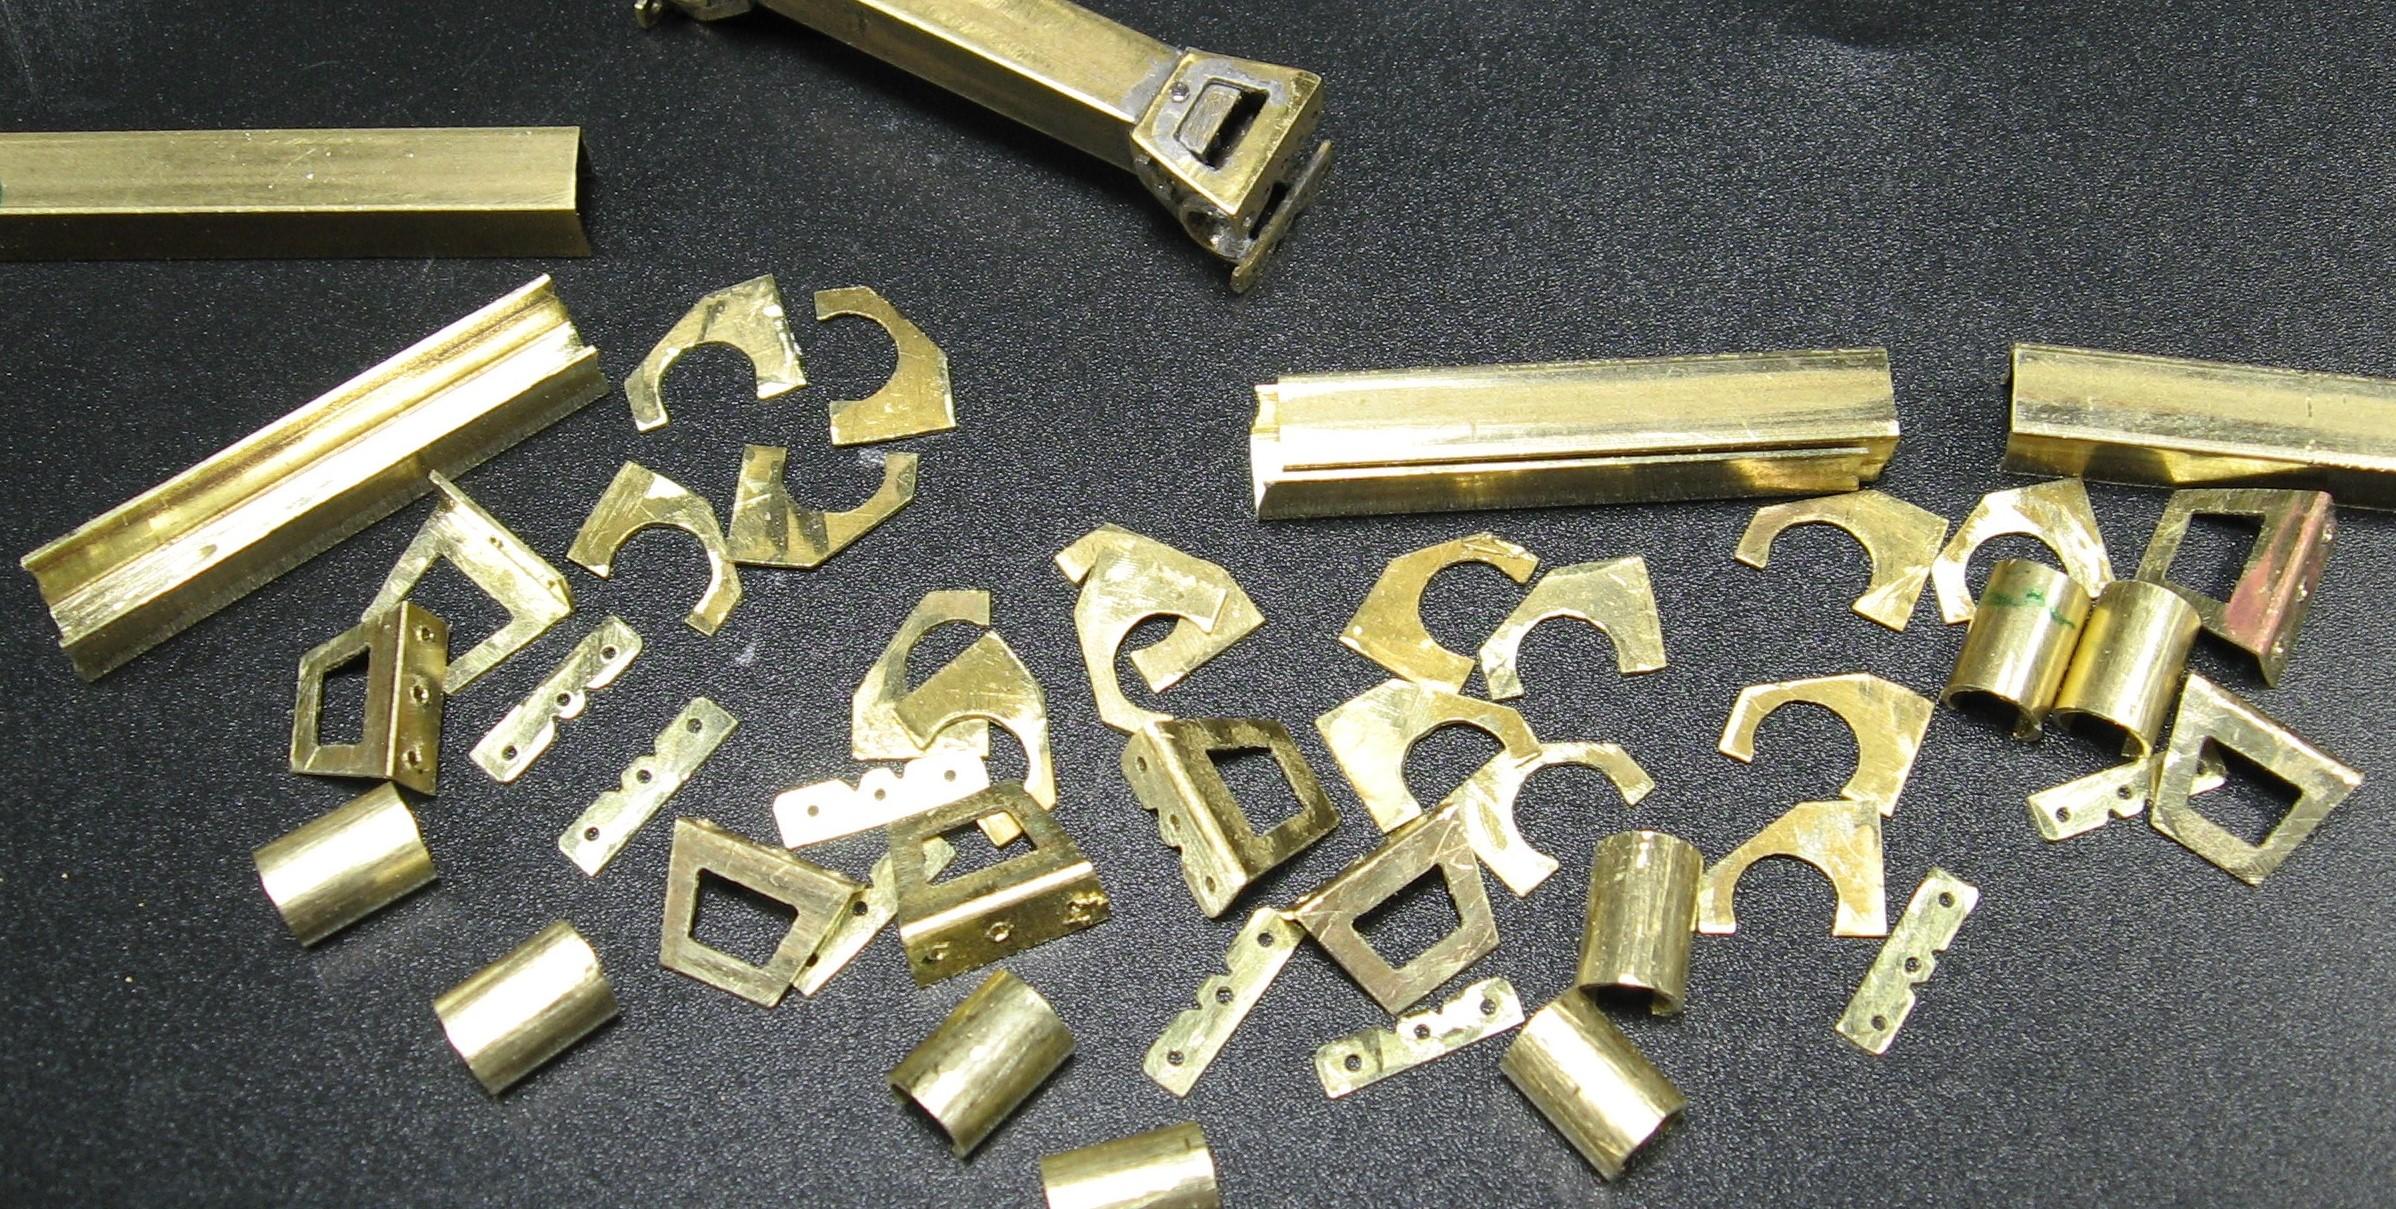
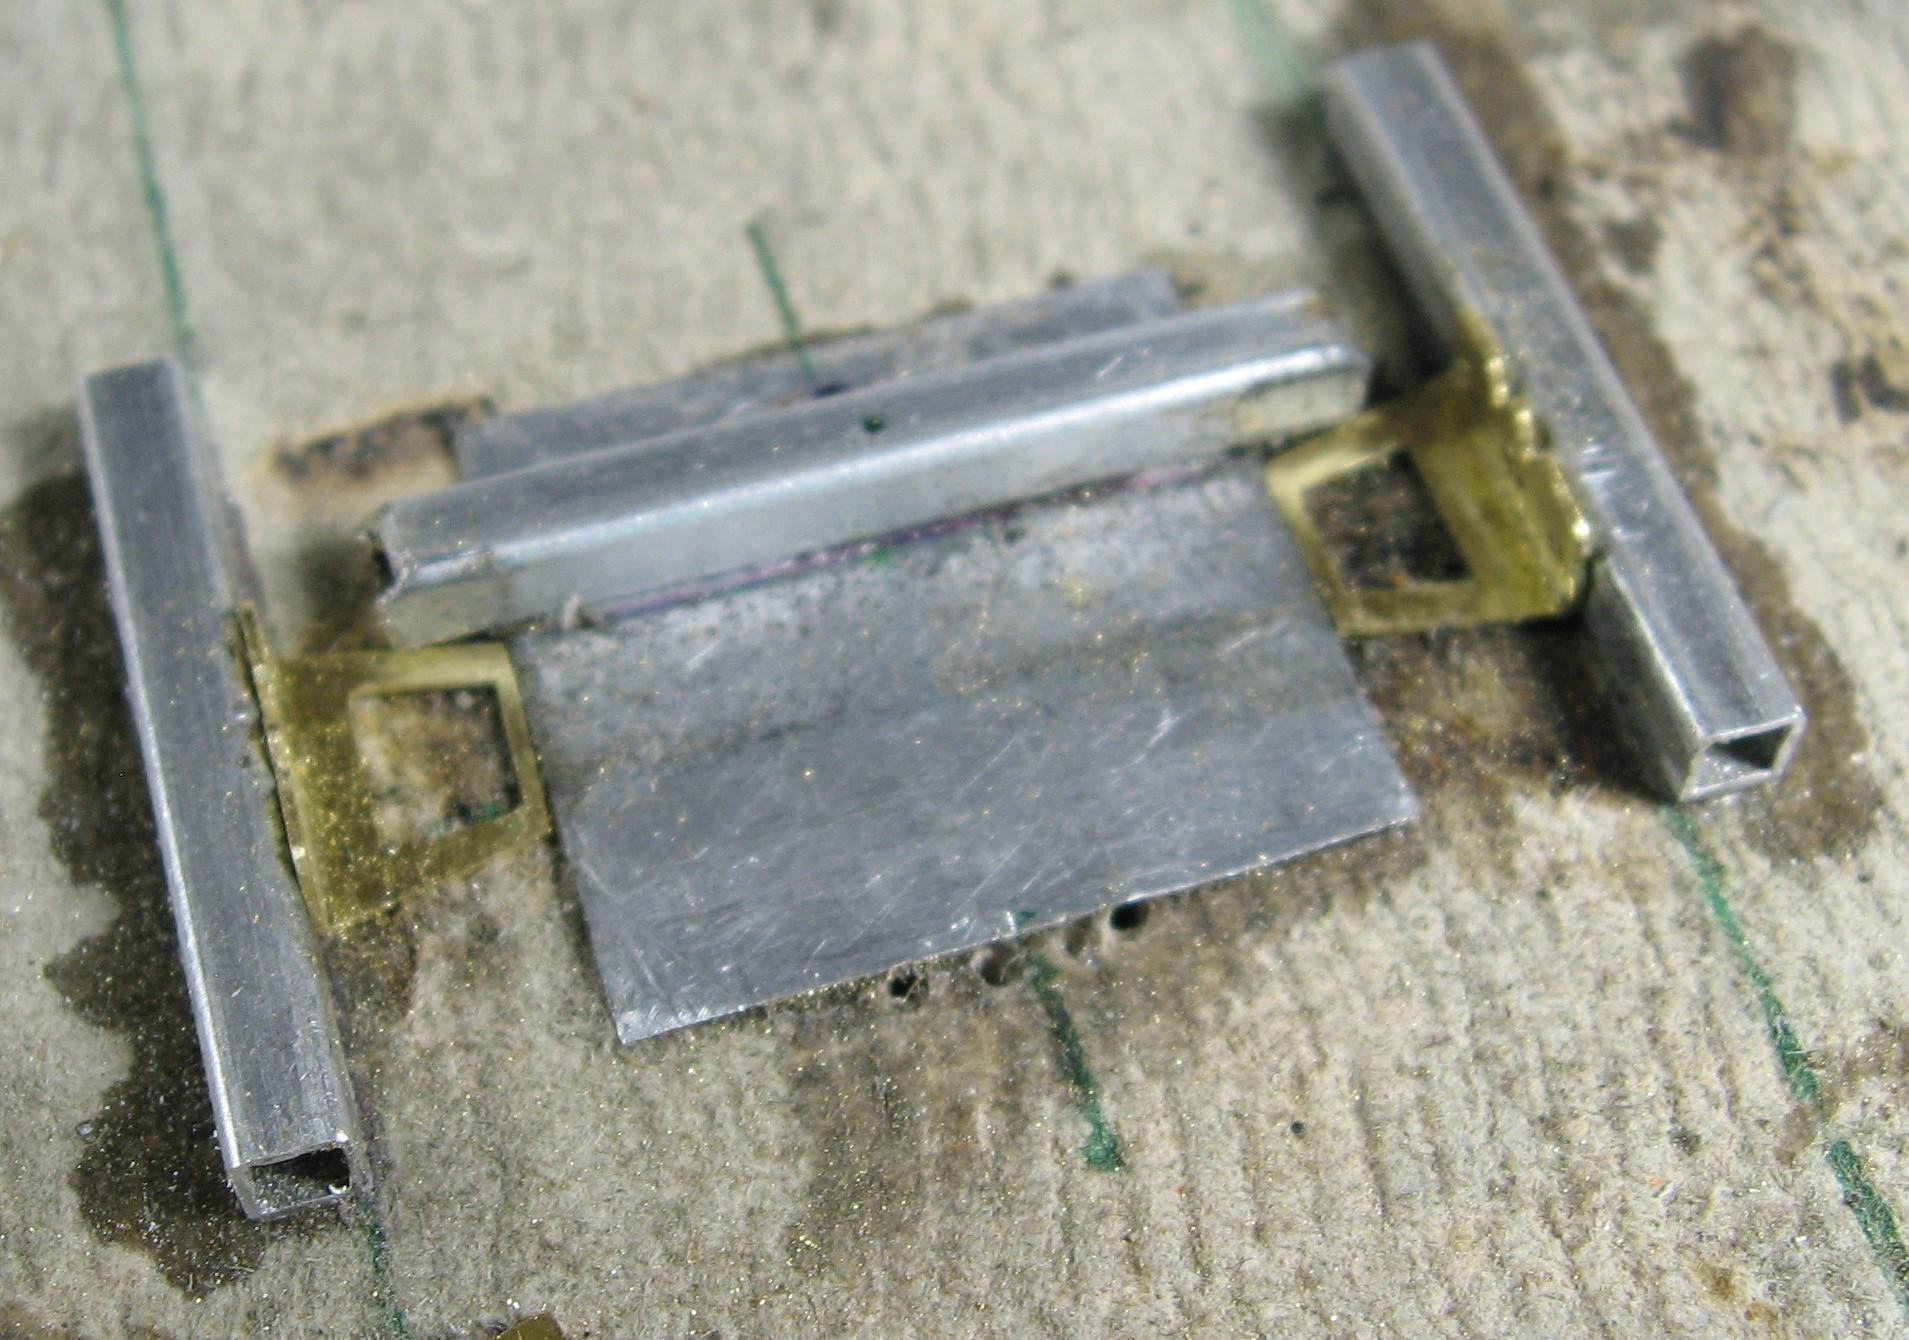
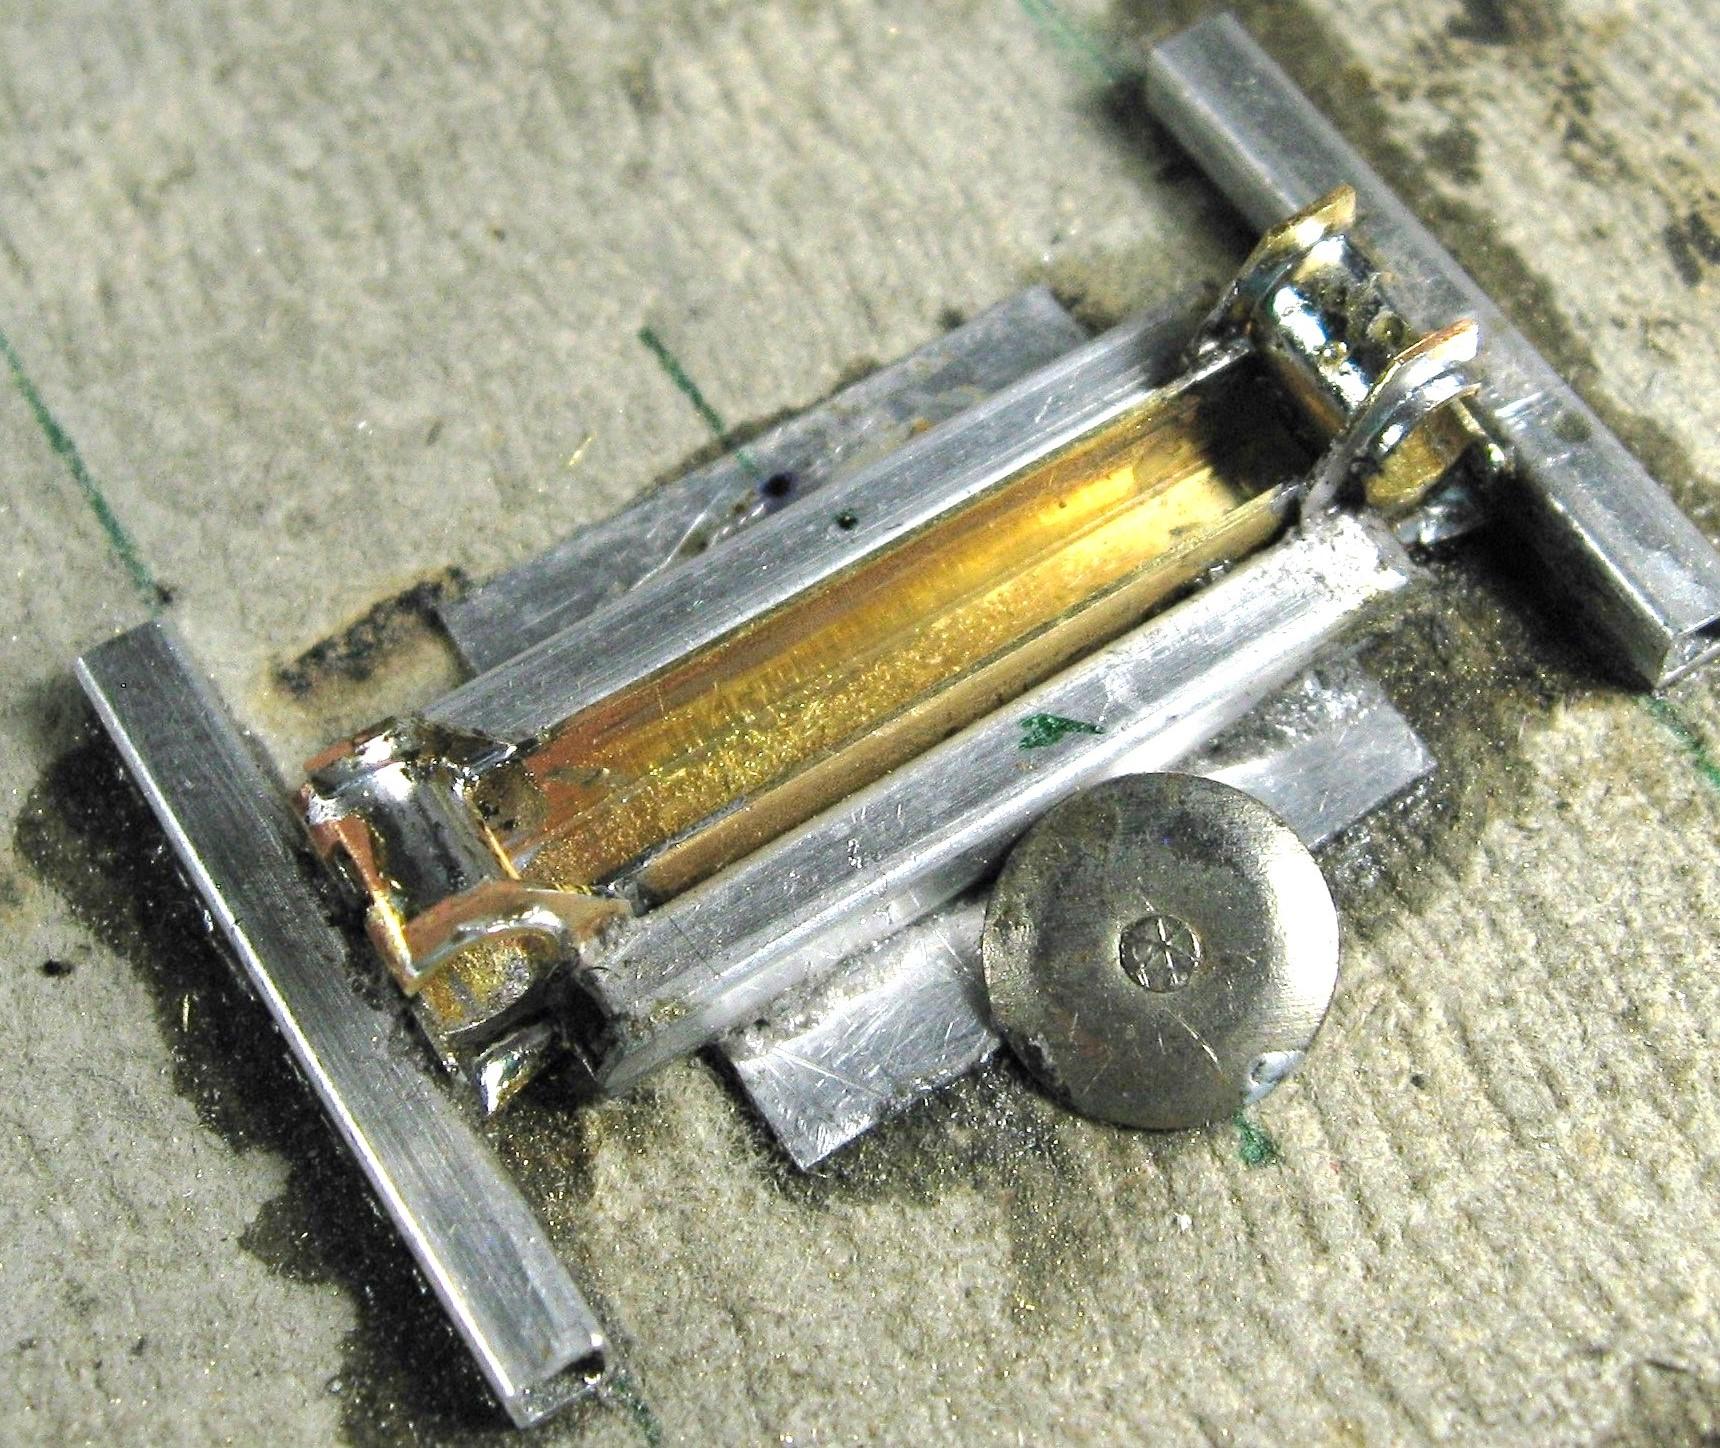
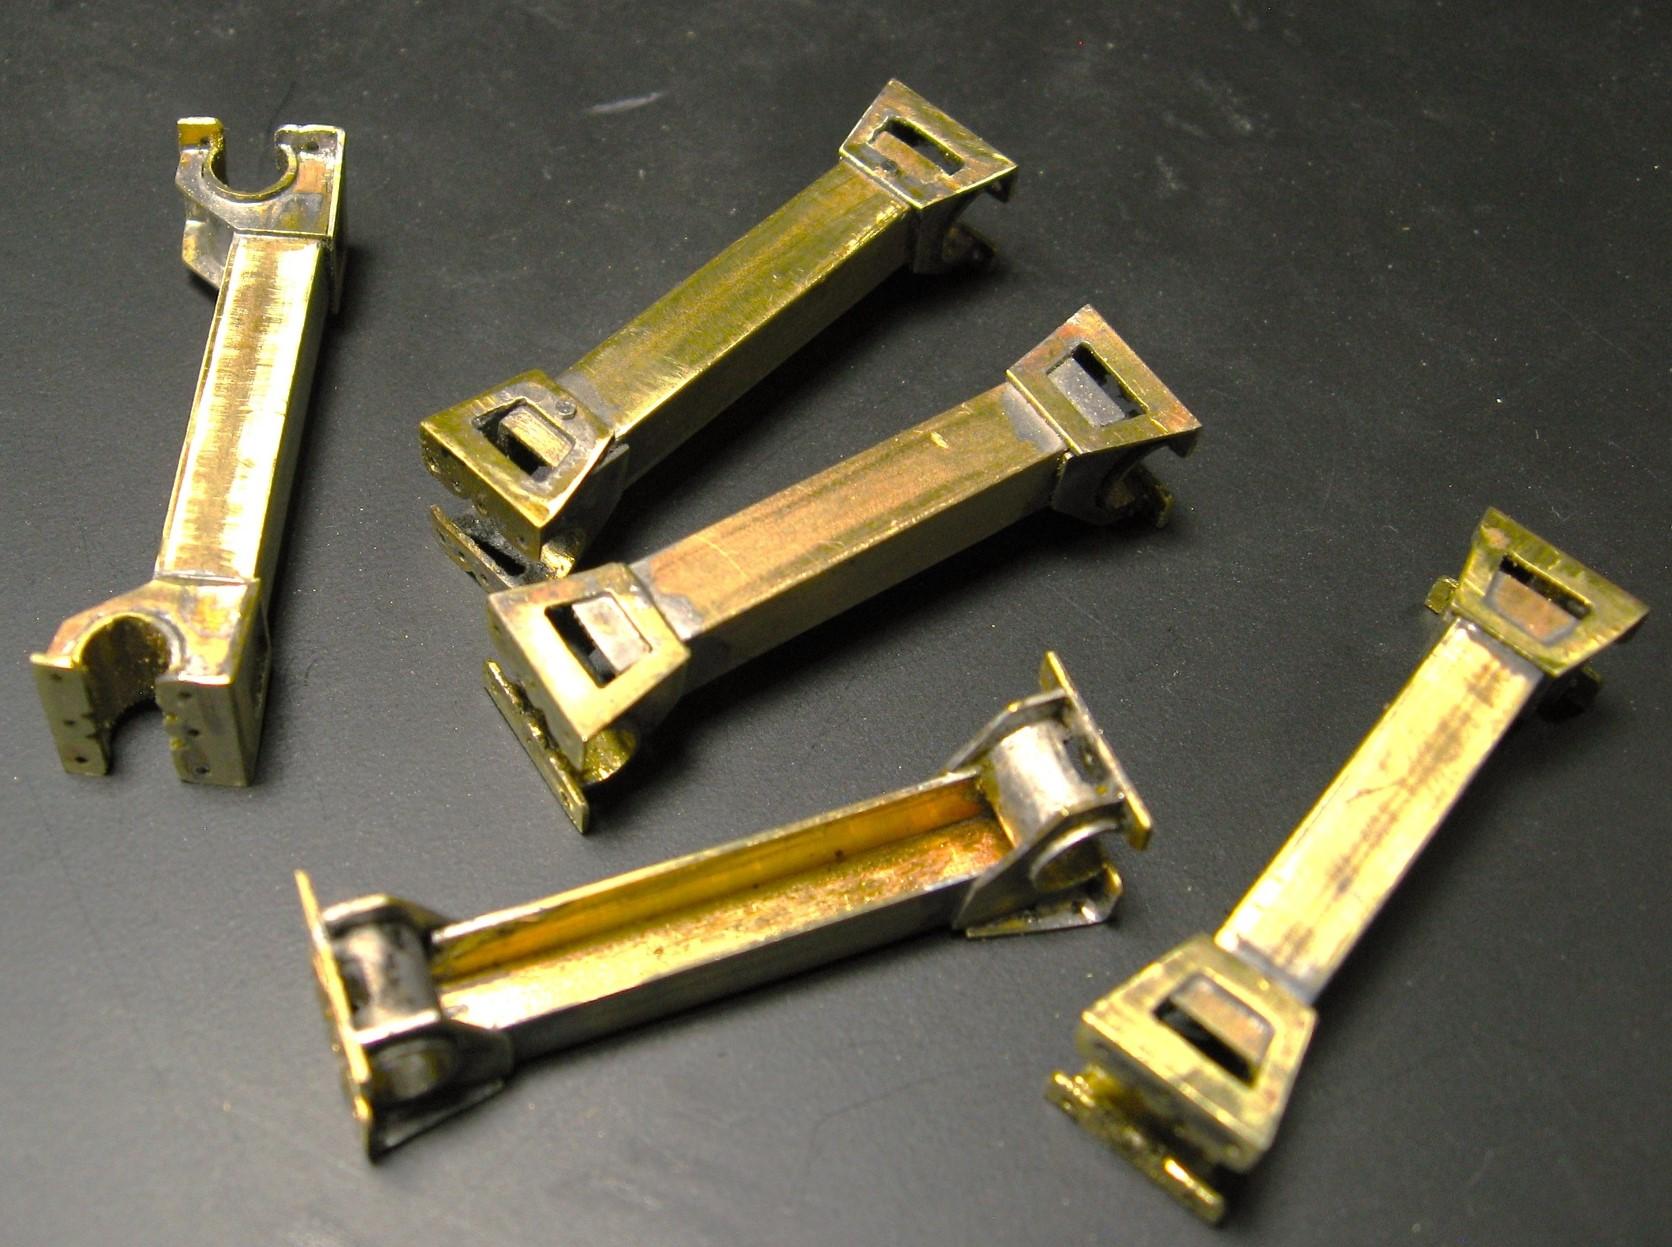
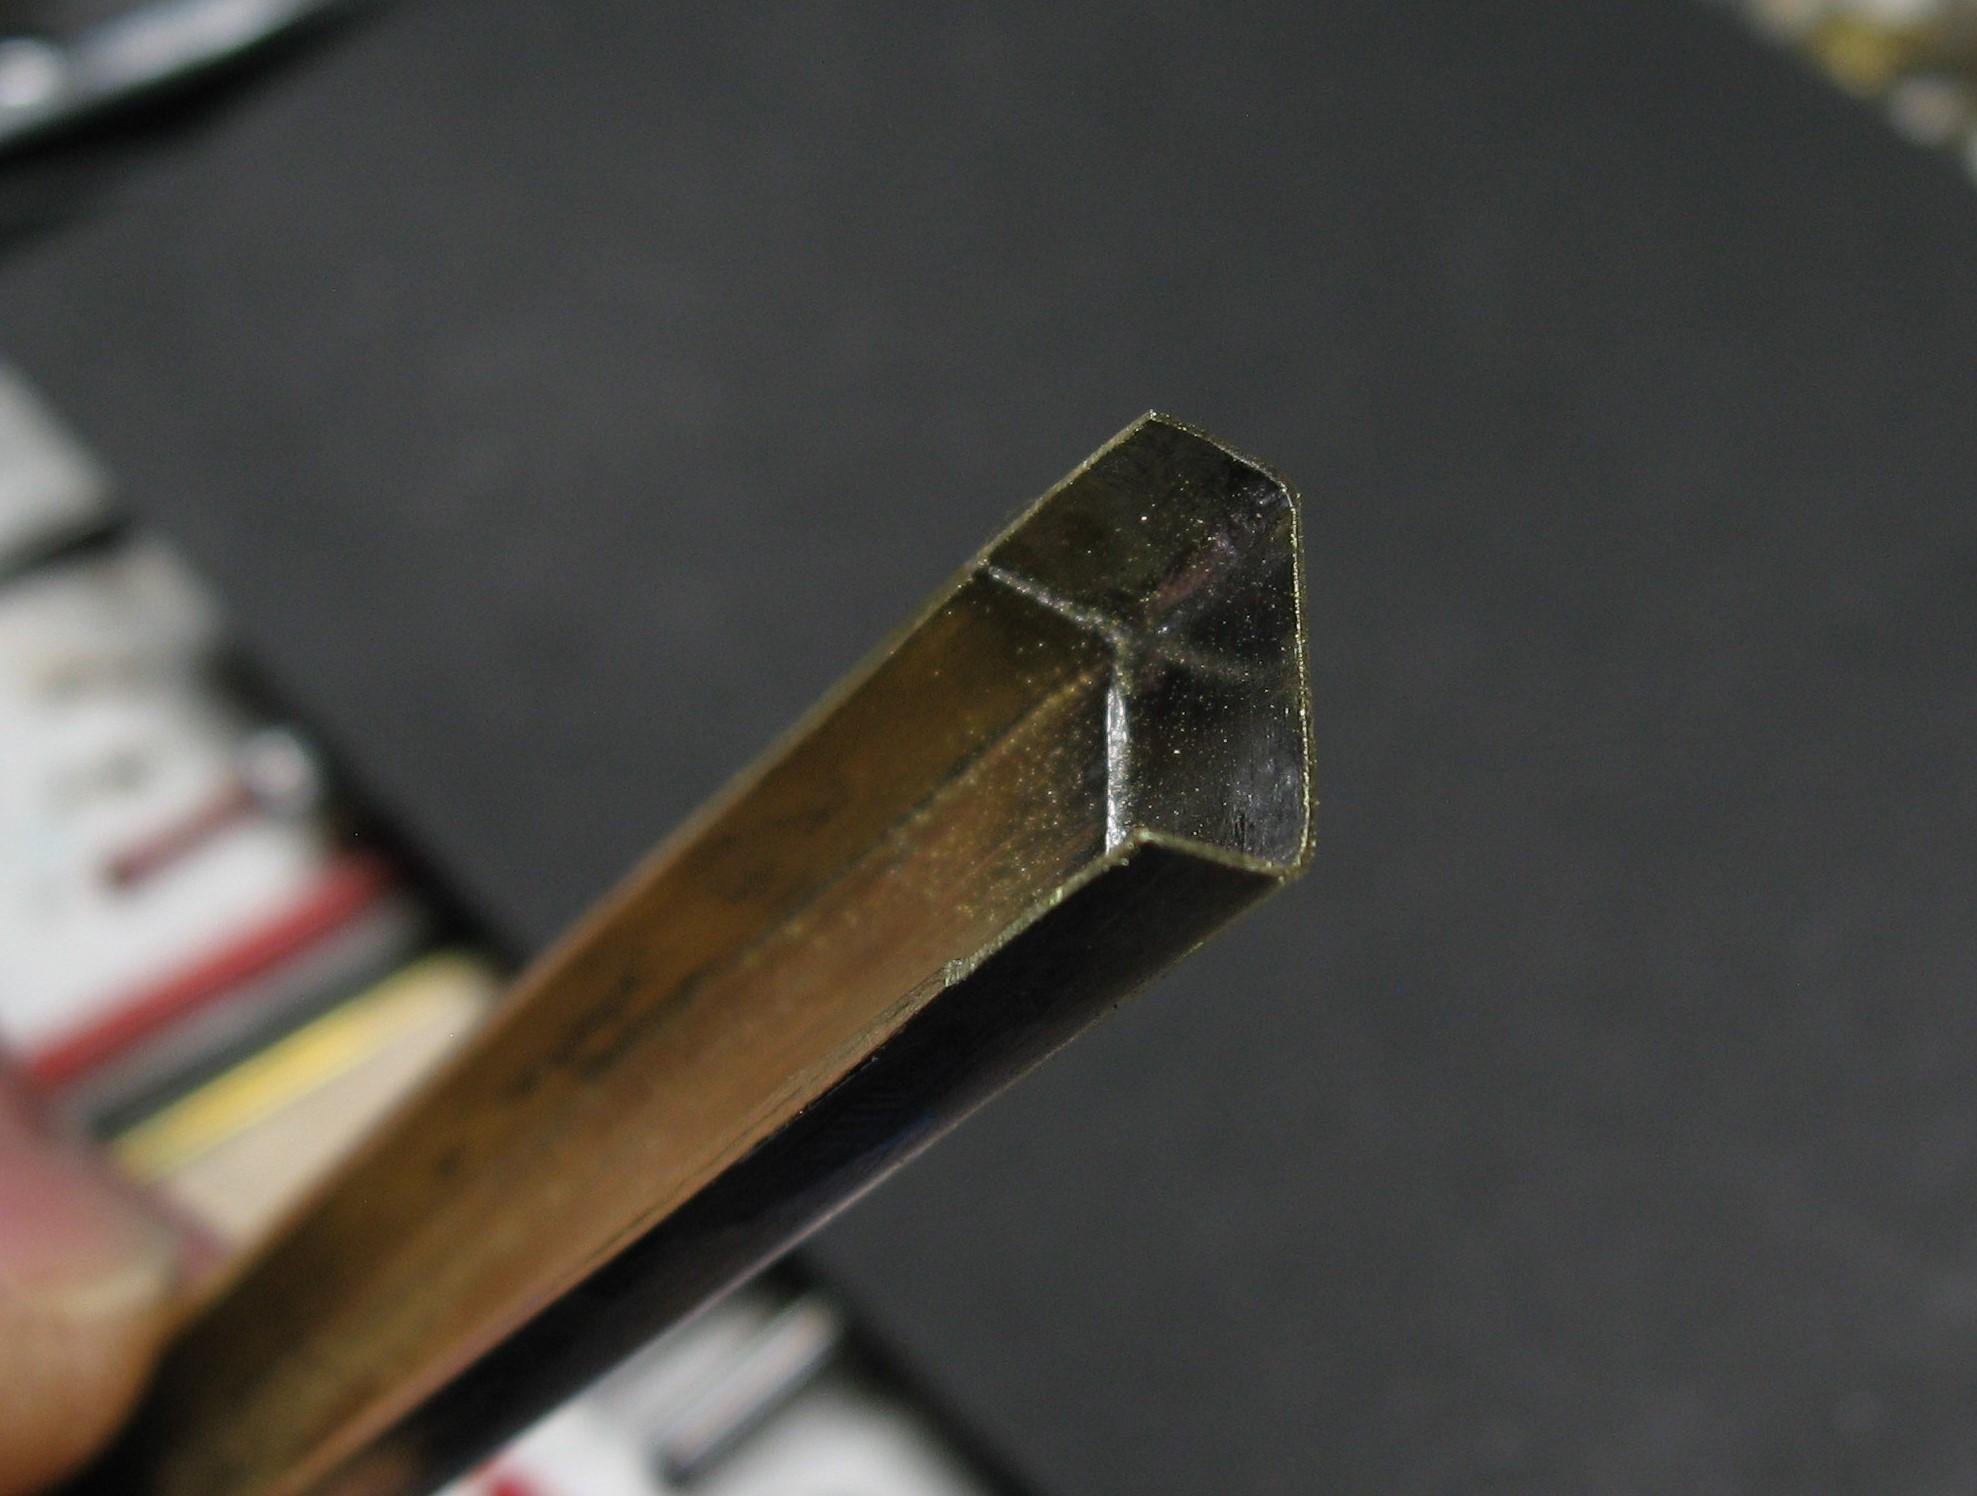
Hi Folks, To the folks who took the time to leave a comment on my last update....Brian, Trevor, Steve, Gary, Muncie(Steve), Ricky, Sergey, Victor and Rockford(Steve)....it is appreciated and I thank you! Some progress.... The frame is K & S rectangle tubing with a side cut out forming a c channel. Still was not quite big enough so I wrapped it with sheet stock creating a double frame. A few pics showing a simple jig to produce same size cross members I am building them upside down in the jig more ....
-
Mack DM600/Leach Garbage Truck
Randy D replied to Scott Eriksen's topic in WIP: Model Trucks: Big Rigs and Heavy Equipment
Loved the wrecker and looking forward to your build of this truck Scott!! Randy -
You are just killing this build my friend!!! Wonderful details with the whole back end. Randy
-
Kenworth W-925 (mild custom)
Randy D replied to Gary Chastain's topic in WIP: Model Trucks: Big Rigs and Heavy Equipment
New bench area looks great Gary. Always enjoy your builds! Randy -
Peterbilt 379 RV
Randy D replied to vincen47's topic in WIP: Model Trucks: Big Rigs and Heavy Equipment
Okay, the whole custom RV was over the top and now you're adding a cool trailer ???? This is so good Victor. Randy -
WOW!! this is going to be an epic build Brian. So many cool parts to create! Randy
-
Link-Belt HC-218 Truck Crane
Randy D replied to redneckrigger's topic in WIP: Model Trucks: Big Rigs and Heavy Equipment
Very impressive scratch building going on here Tom!!!! Randy -
Really enjoying the new build Ron!! Randy
-
A wonderful upgrade Steve! Randy
-
What a great build you have going here my friend!!!!! Love the teamwork. You're showing some real skills working with the printed goodies as that is a whole different animal. Randy
-
Western Star 4900 FA plow truck
Randy D replied to BK9300's topic in WIP: Model Trucks: Big Rigs and Heavy Equipment
Hi Brian, Spent some enjoyable time this afternoon getting caught up on this masterpiece !!!!! The cab interior is flat out amazing. All the detail wiring, monitor, levers and gauges look spot on. Can't wait to see your paint job. Randy -
Western Star 4900 FA plow truck
Randy D replied to BK9300's topic in WIP: Model Trucks: Big Rigs and Heavy Equipment
Well my friend, so much awesome modeling to take in here. Love the shot from underneath showing all the detail you built up with the hood and floor framing. The dash is looking like you shrunk the real thing!! The mast and control tower , with the monitors and levers is really shaping up. Great idea using those RB Motion boots. What have you found for a glue that works with the silicone? Randy -
’72 Dodge Demon Drag Racer 1/25 scale
Randy D replied to AmericanMuscleFan's topic in WIP: Drag Racing Models
Well you sure knocked the radiator out of the park Francis. Beautiful machining and soldering. Simply a feast for the eyes my friend!!!! Randy -
You've got to be kidding, 14 perfectly spaced cuts on a rod that is 1/16th of an inch. I am sometimes just flabbergasted at what you achieve my friend!!!! Randy
-
Western Star 4900 FA plow truck
Randy D replied to BK9300's topic in WIP: Model Trucks: Big Rigs and Heavy Equipment
Glad to hear that the quake was not more destructive up there my friend!!! Great idea on the cab mounting. Your work building up the hood and hinges is a masterclass in scratch building. Randy