

Randy D
-
Posts
1,917 -
Joined
-
Last visited
Content Type
Profiles
Forums
Events
Gallery
Everything posted by Randy D
-

2× Chevy Bison
Randy D replied to Rockford's topic in WIP: Model Trucks: Big Rigs and Heavy Equipment
Hi Steve, You do some wonderful scratch building!!! Randy -
Hi Tom, Always a pleasure watching your builds come to life! Randy
-
M-20 Prime Mover
Randy D replied to Chariots of Fire's topic in WIP: Model Trucks: Big Rigs and Heavy Equipment
Hi Charles, Let me say that I am just assembling my motor, you are creating a great looking engine!!!! Your detailing of the cab is outstanding sir. Those vents are killer! Randy -
Farm Floater Truck 1/24th scale
Randy D replied to Randy D's topic in WIP: Model Trucks: Big Rigs and Heavy Equipment
Starting to add the decals... Next up is power steering .... That is all for now, Thanks for looking in. Randy
-
Farm Floater Truck 1/24th scale
Randy D replied to Randy D's topic in WIP: Model Trucks: Big Rigs and Heavy Equipment
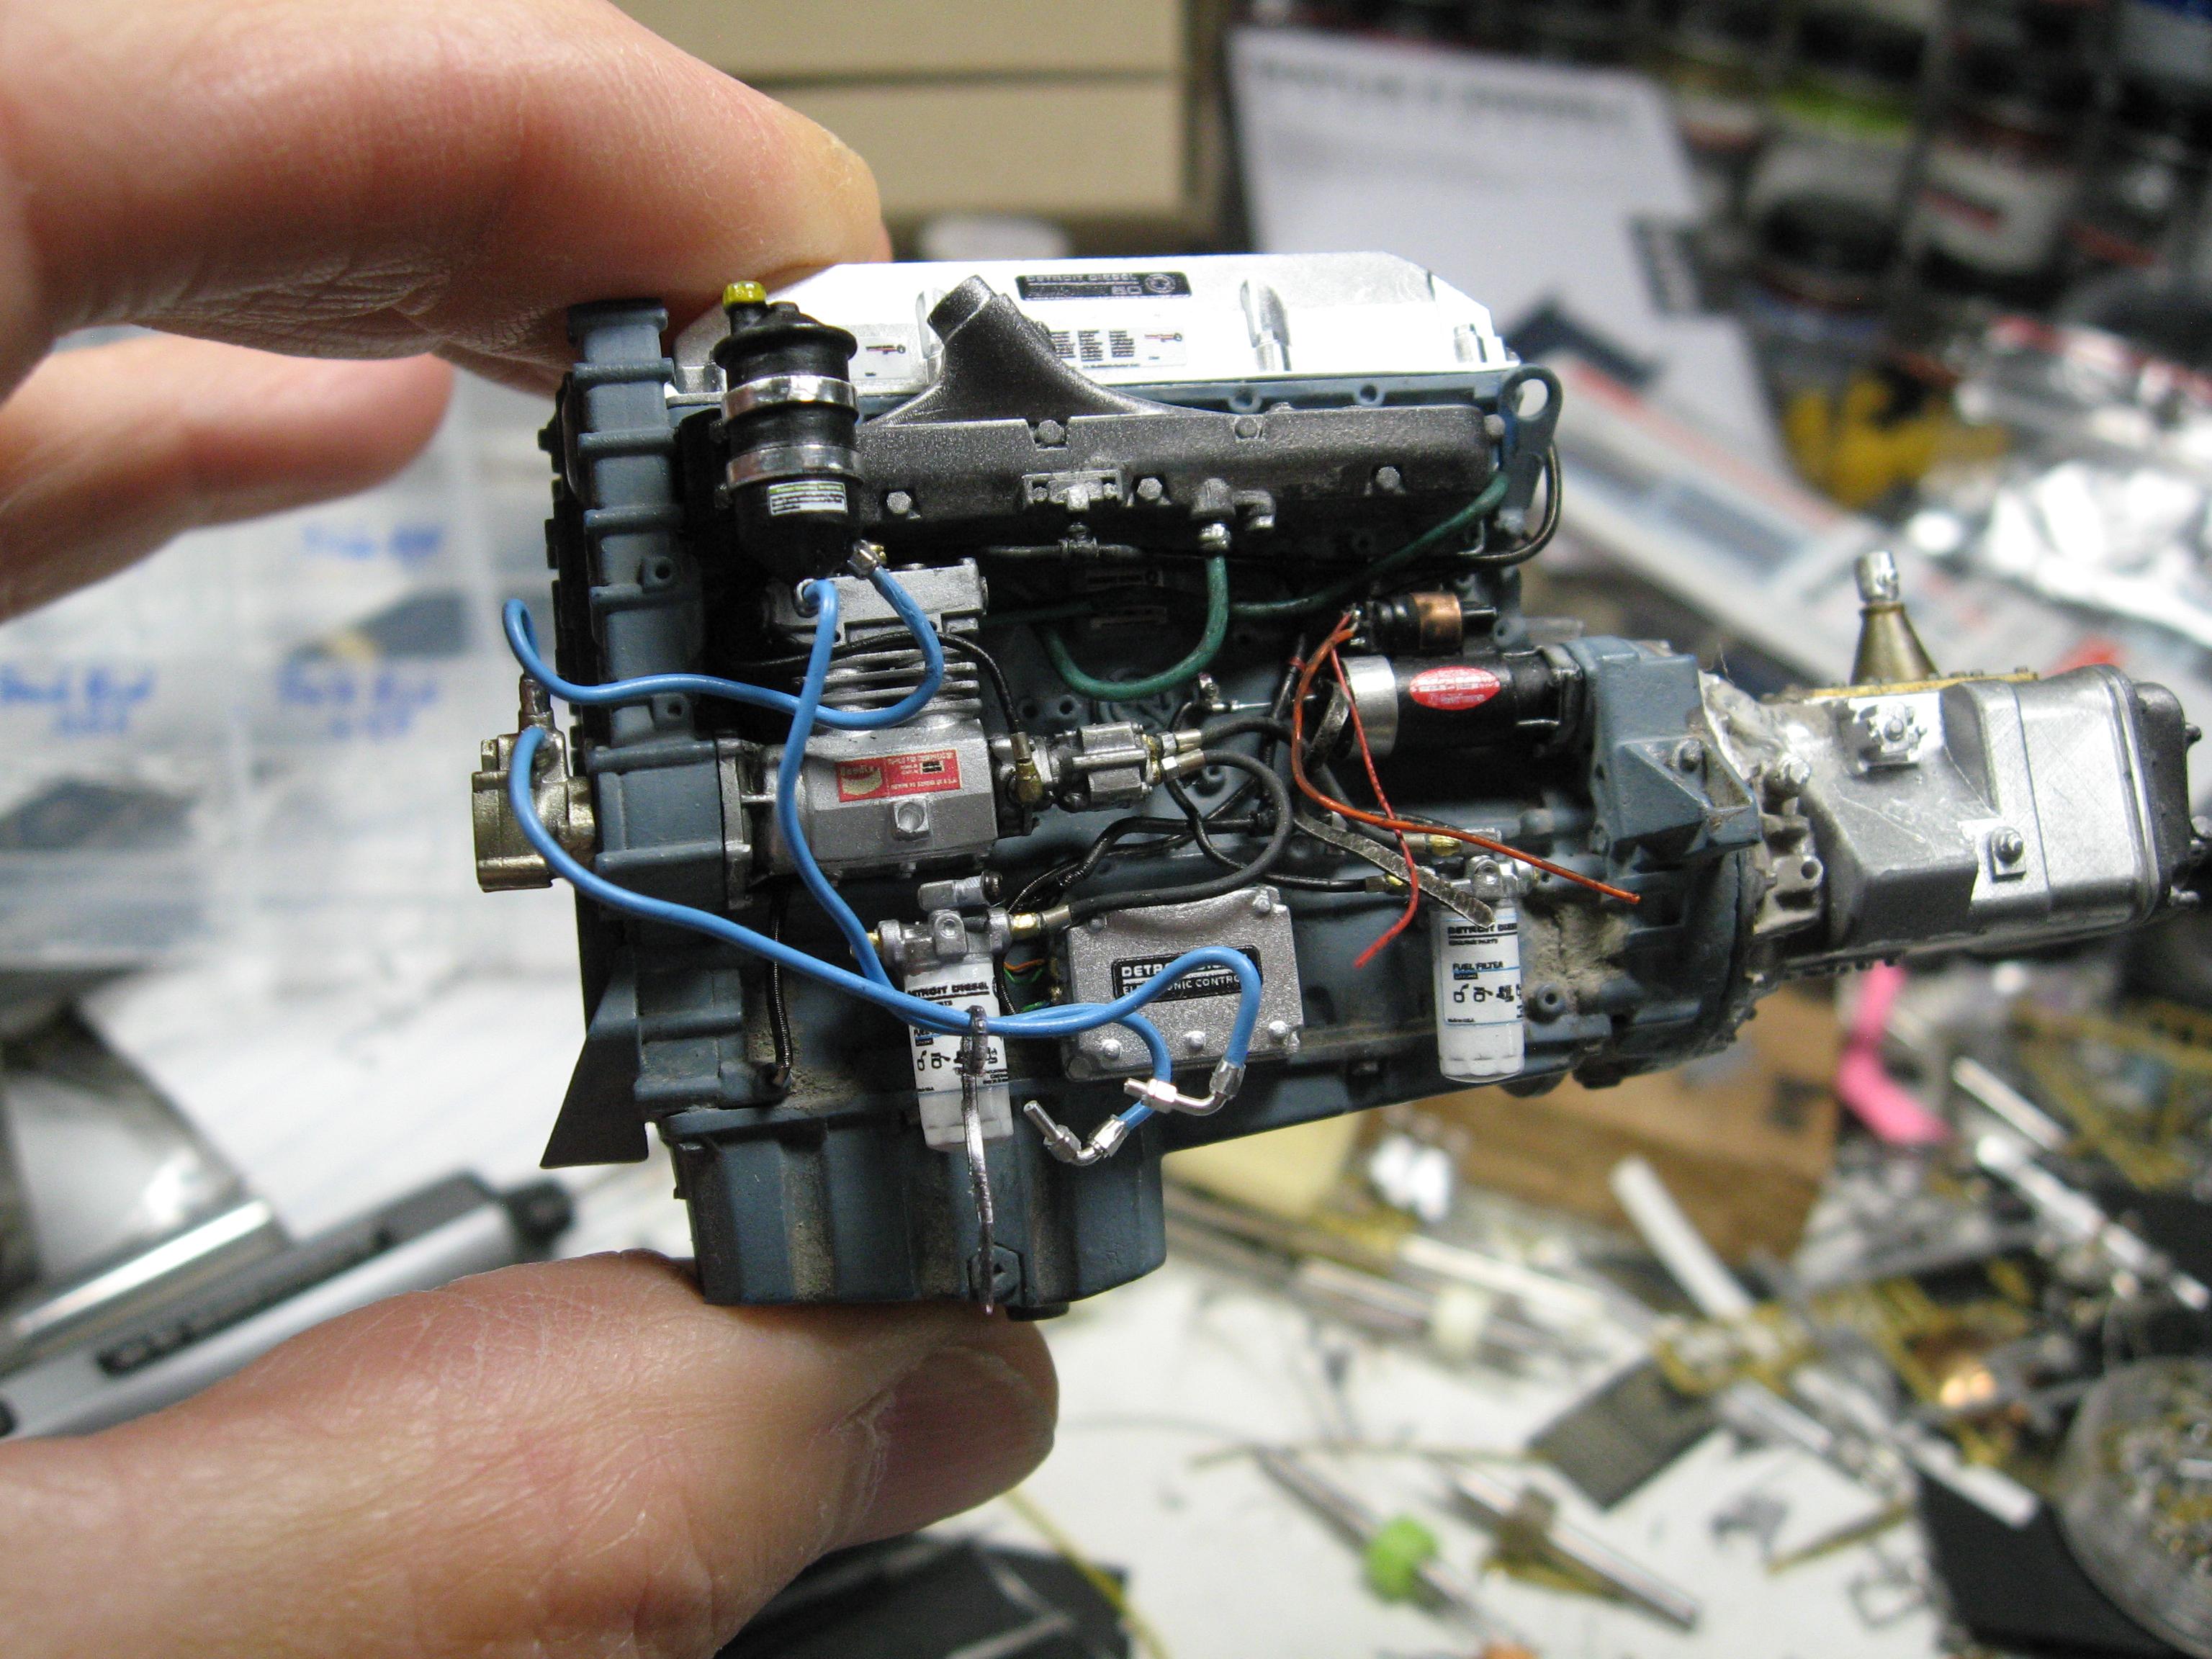
I am using some small springs to simulate all the corrugated sheathing that covers all the wires.... And I discovered that I should have done this part first before the compressor and fuel lines... next up is the starter, added small nuts and bolts so i could wire it up.... more pics to follow.....
-
Farm Floater Truck 1/24th scale
Randy D replied to Randy D's topic in WIP: Model Trucks: Big Rigs and Heavy Equipment
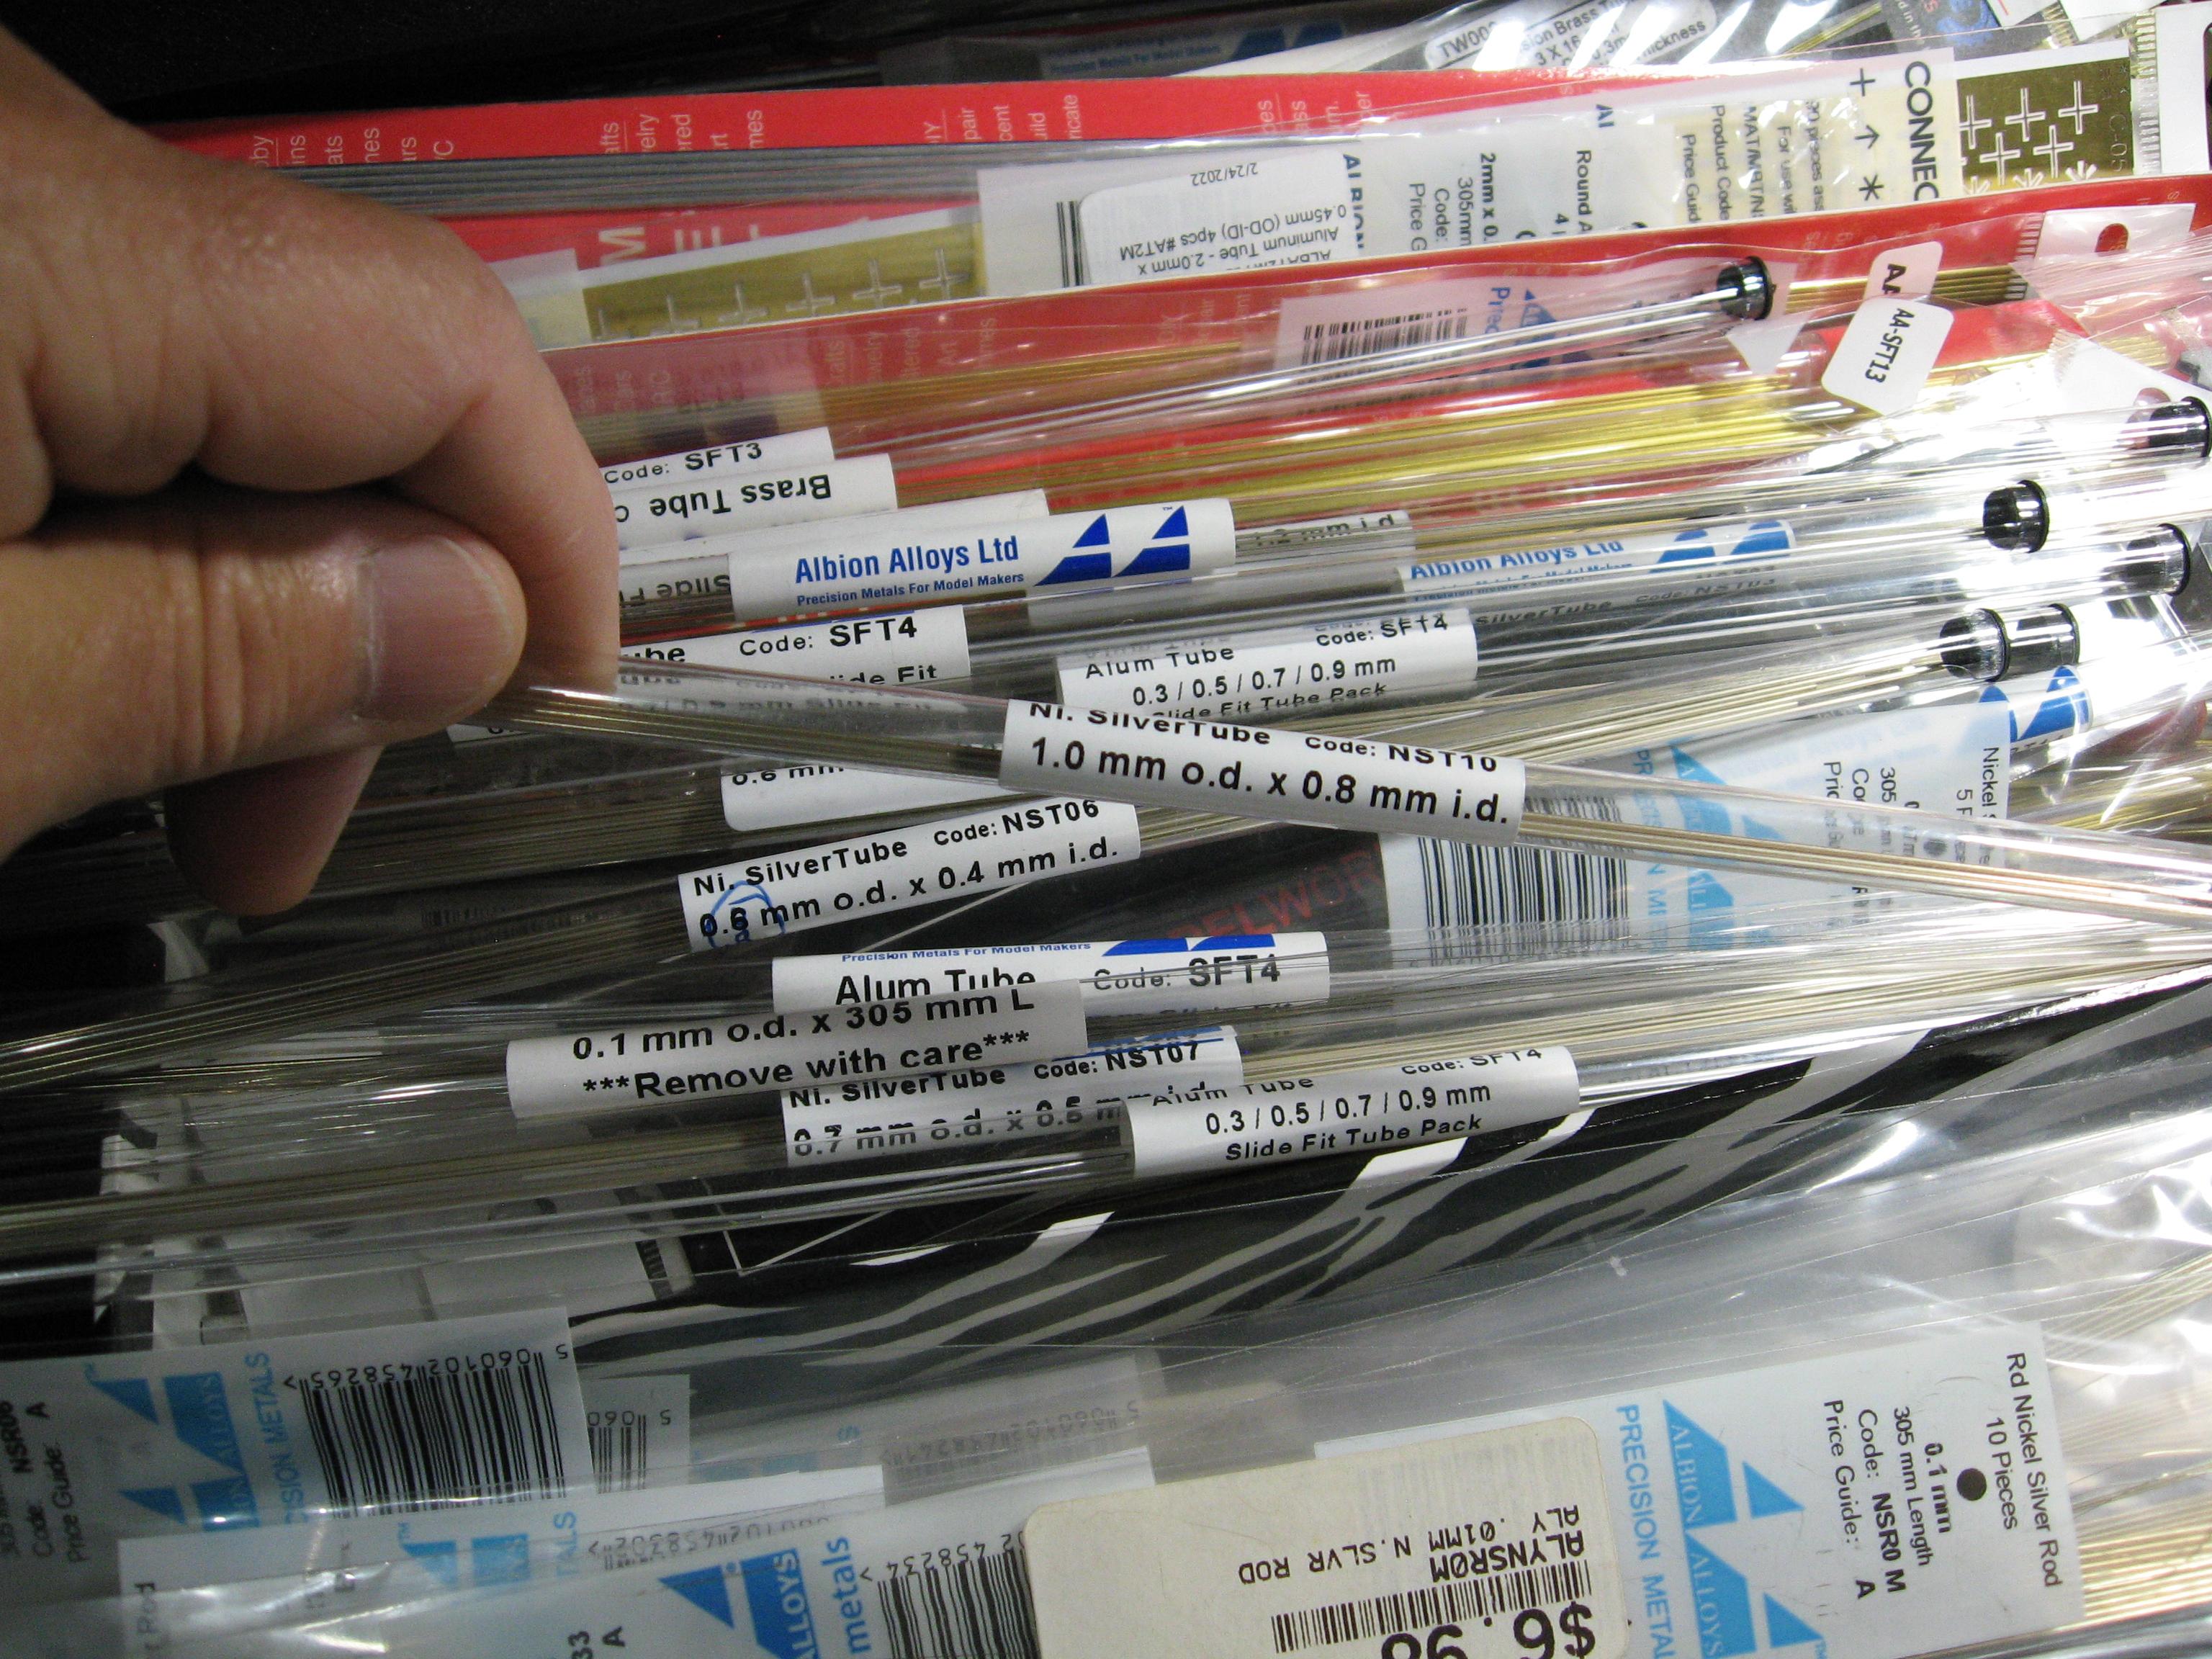
Thanks Bill, yes , this is just a touch bigger than another of my projects... Thank you Trevor! Victor, Can't wait to see what you do with your motors after seeing the cat motor detailing on your RV build!!! Appreciate the comment Gary. Hey John, yeah, new part of the forum for me! Thank you Jeff! Thanks "Rockford" !! Steve H. I'm with you:) Thank you Ricky Brian, Thank you! If I may ask, do you remember what tires you used. These ones I have from KFS are the "weighted " style and while they are nice I would like to have more options???? Lewis, thank you ! Brian, on the crimped connectors, I use a slice of thin walled nickel silver tubing then slide it into the printed nut on the part. Sometimes using a nut from RB Motion.. Next up on the motor is adding some of the wiring harness for the ECM system.... more pics following...
-
Peterbilt 379 RV
Randy D replied to vincen47's topic in WIP: Model Trucks: Big Rigs and Heavy Equipment
Hi Victor, You Sir, are one talented builder!! Love all the detail you put into that motor. Those fluid tanks you cast look great. The RV body is wonderful! Randy -
M-20 Prime Mover
Randy D replied to Chariots of Fire's topic in WIP: Model Trucks: Big Rigs and Heavy Equipment
Hello Charles, Your metal work is just amazing !! Those fenders are coming out great. Randy -
International 4300 tractor
Randy D replied to Gary Chastain's topic in WIP: Model Trucks: Big Rigs and Heavy Equipment
Hi Gary, Outstanding modelling going on here!!! Randy -
I needed another project....T800
Randy D replied to gotnitro?'s topic in WIP: Model Trucks: Big Rigs and Heavy Equipment
This is great fun to follow along Jeff! That motor looks great and the red paint job is awesome. Randy -
2× Chevy Bison
Randy D replied to Rockford's topic in WIP: Model Trucks: Big Rigs and Heavy Equipment
Very impressive results from these kits !!! Randy -
Another "Convoy" Truck!
Randy D replied to Jürgen M.'s topic in WIP: Model Trucks: Big Rigs and Heavy Equipment
Love what you created here Jurgen! The operating system is really cool. Randy -
Mack F-Model Byrd Motor Lines
Randy D replied to DRIPTROIT 71's topic in WIP: Model Trucks: Big Rigs and Heavy Equipment
That is a great result Brian!! Randy -
Farm Floater Truck 1/24th scale
Randy D replied to Randy D's topic in WIP: Model Trucks: Big Rigs and Heavy Equipment
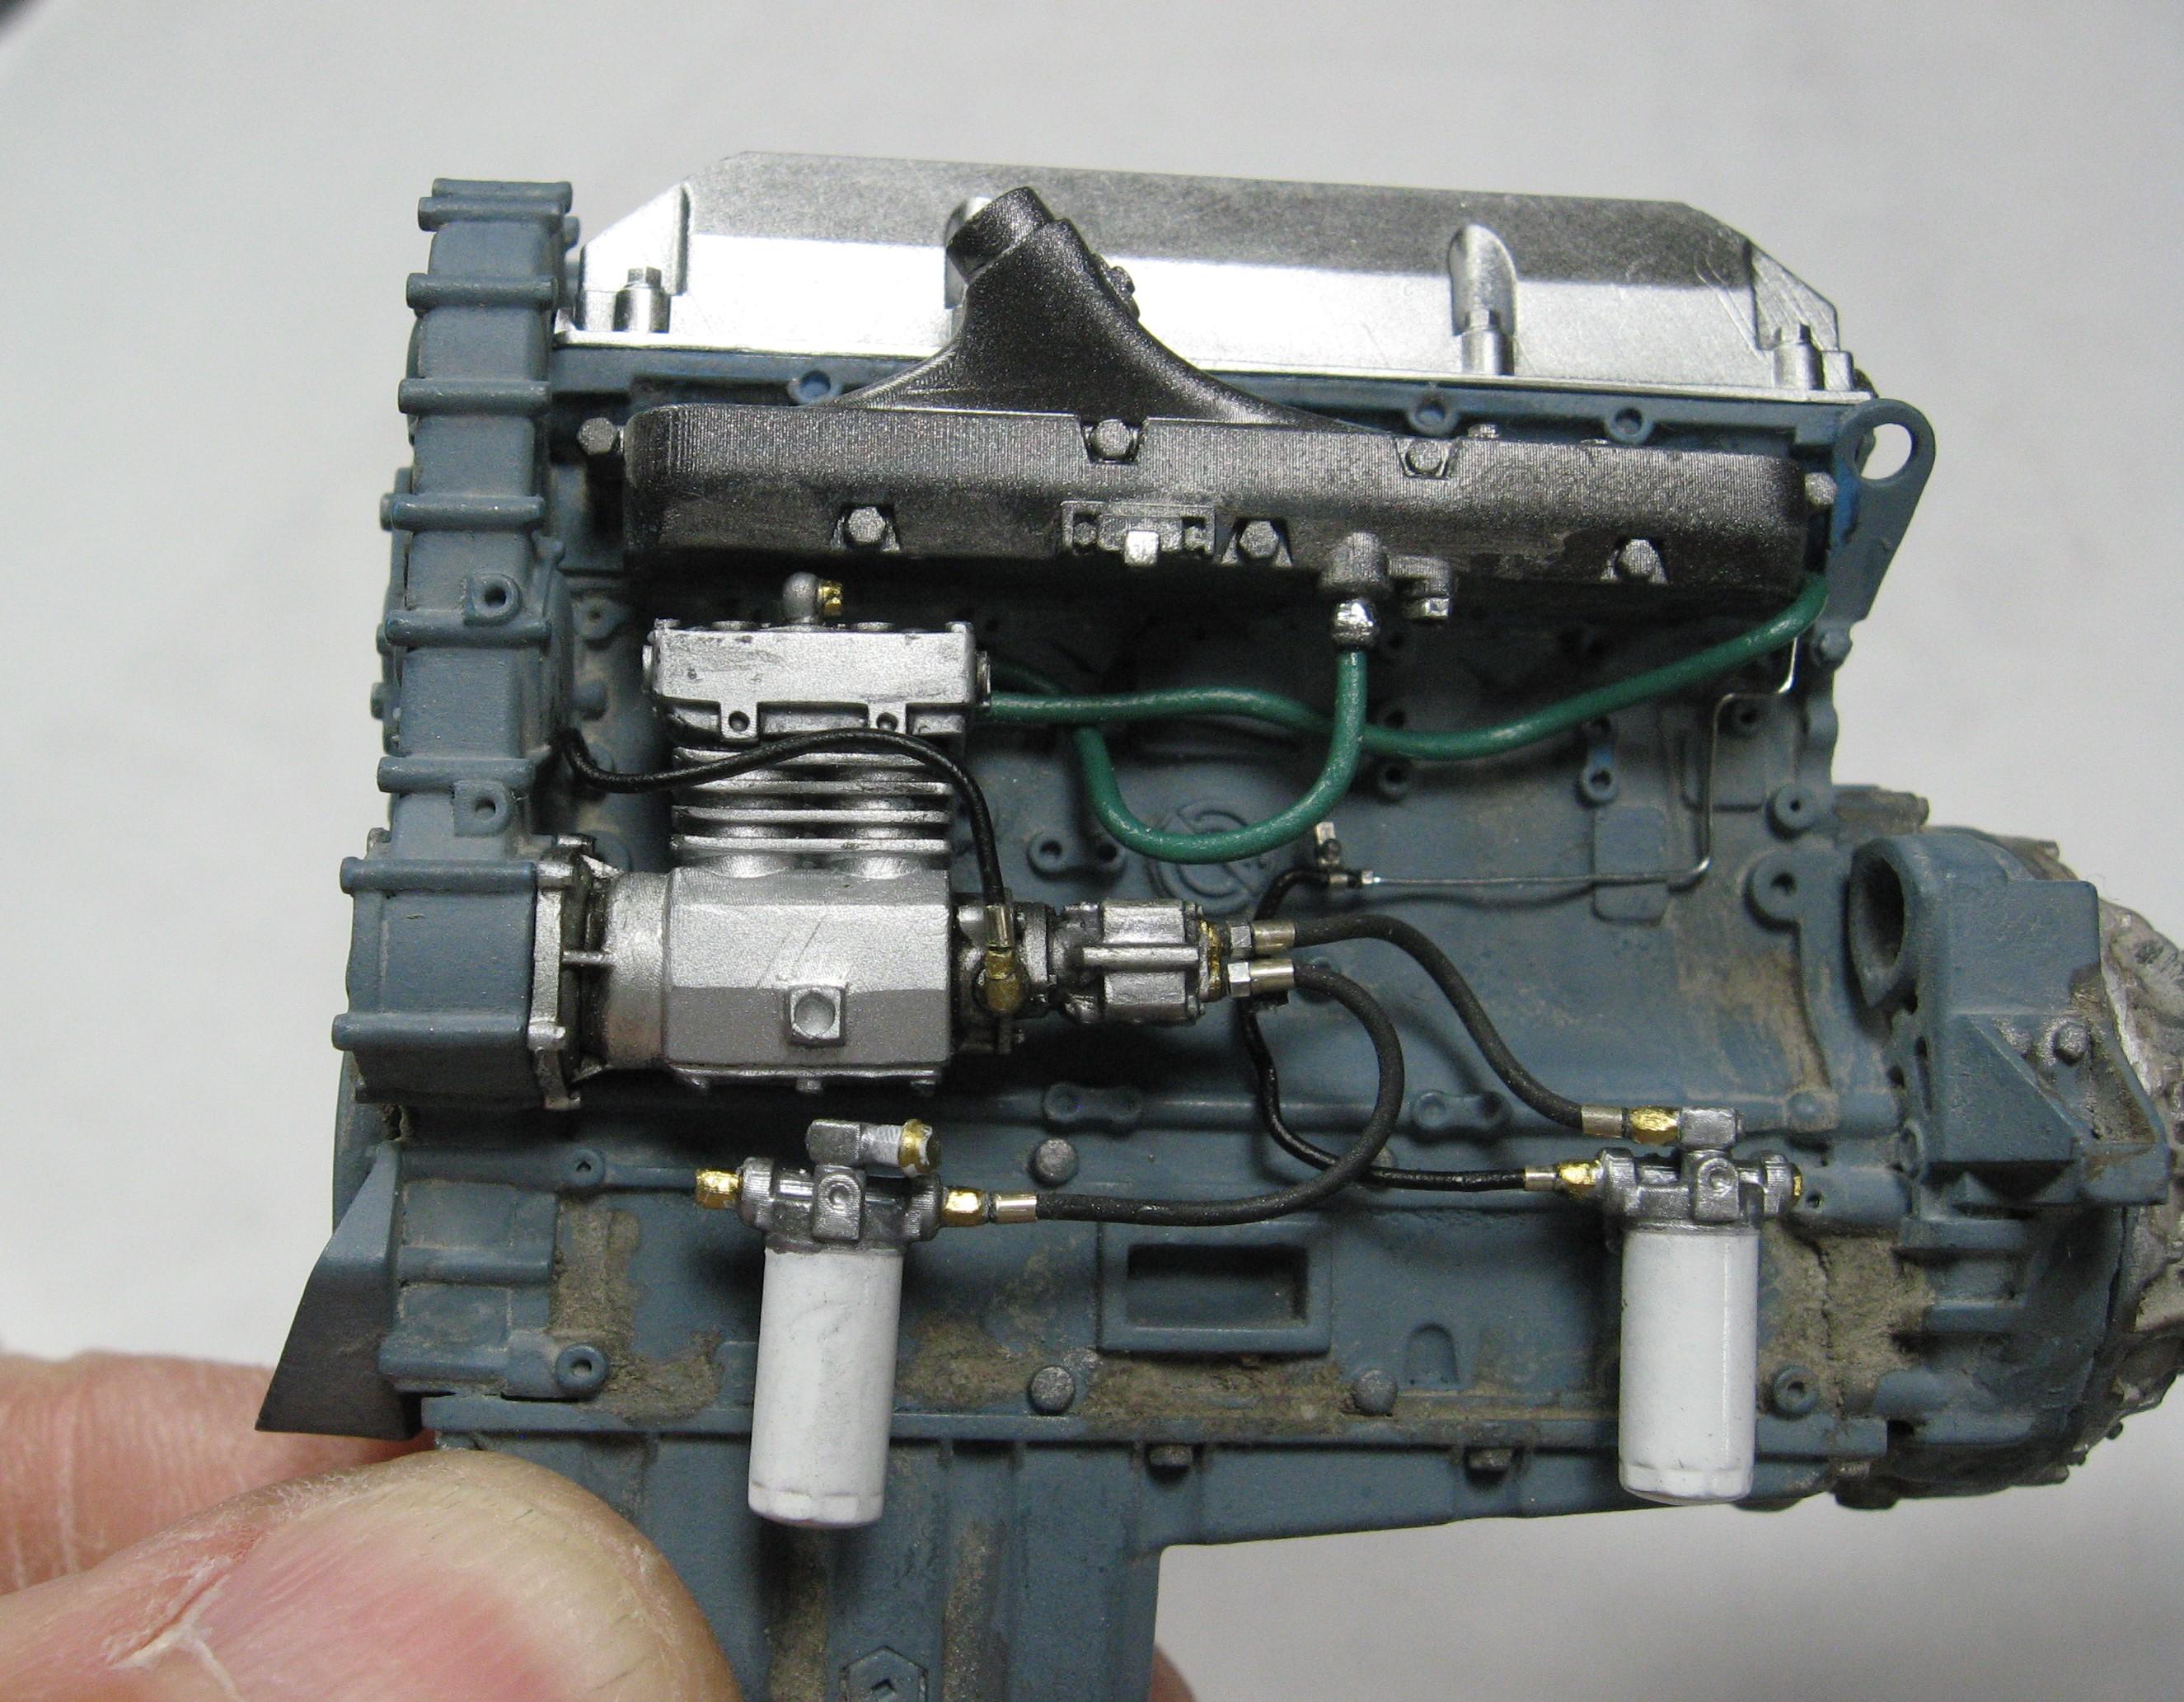
Compressor and primary and secondary fuel filters ... That is all for now, thanks for looking in. Randy
-
Farm Floater Truck 1/24th scale
Randy D replied to Randy D's topic in WIP: Model Trucks: Big Rigs and Heavy Equipment
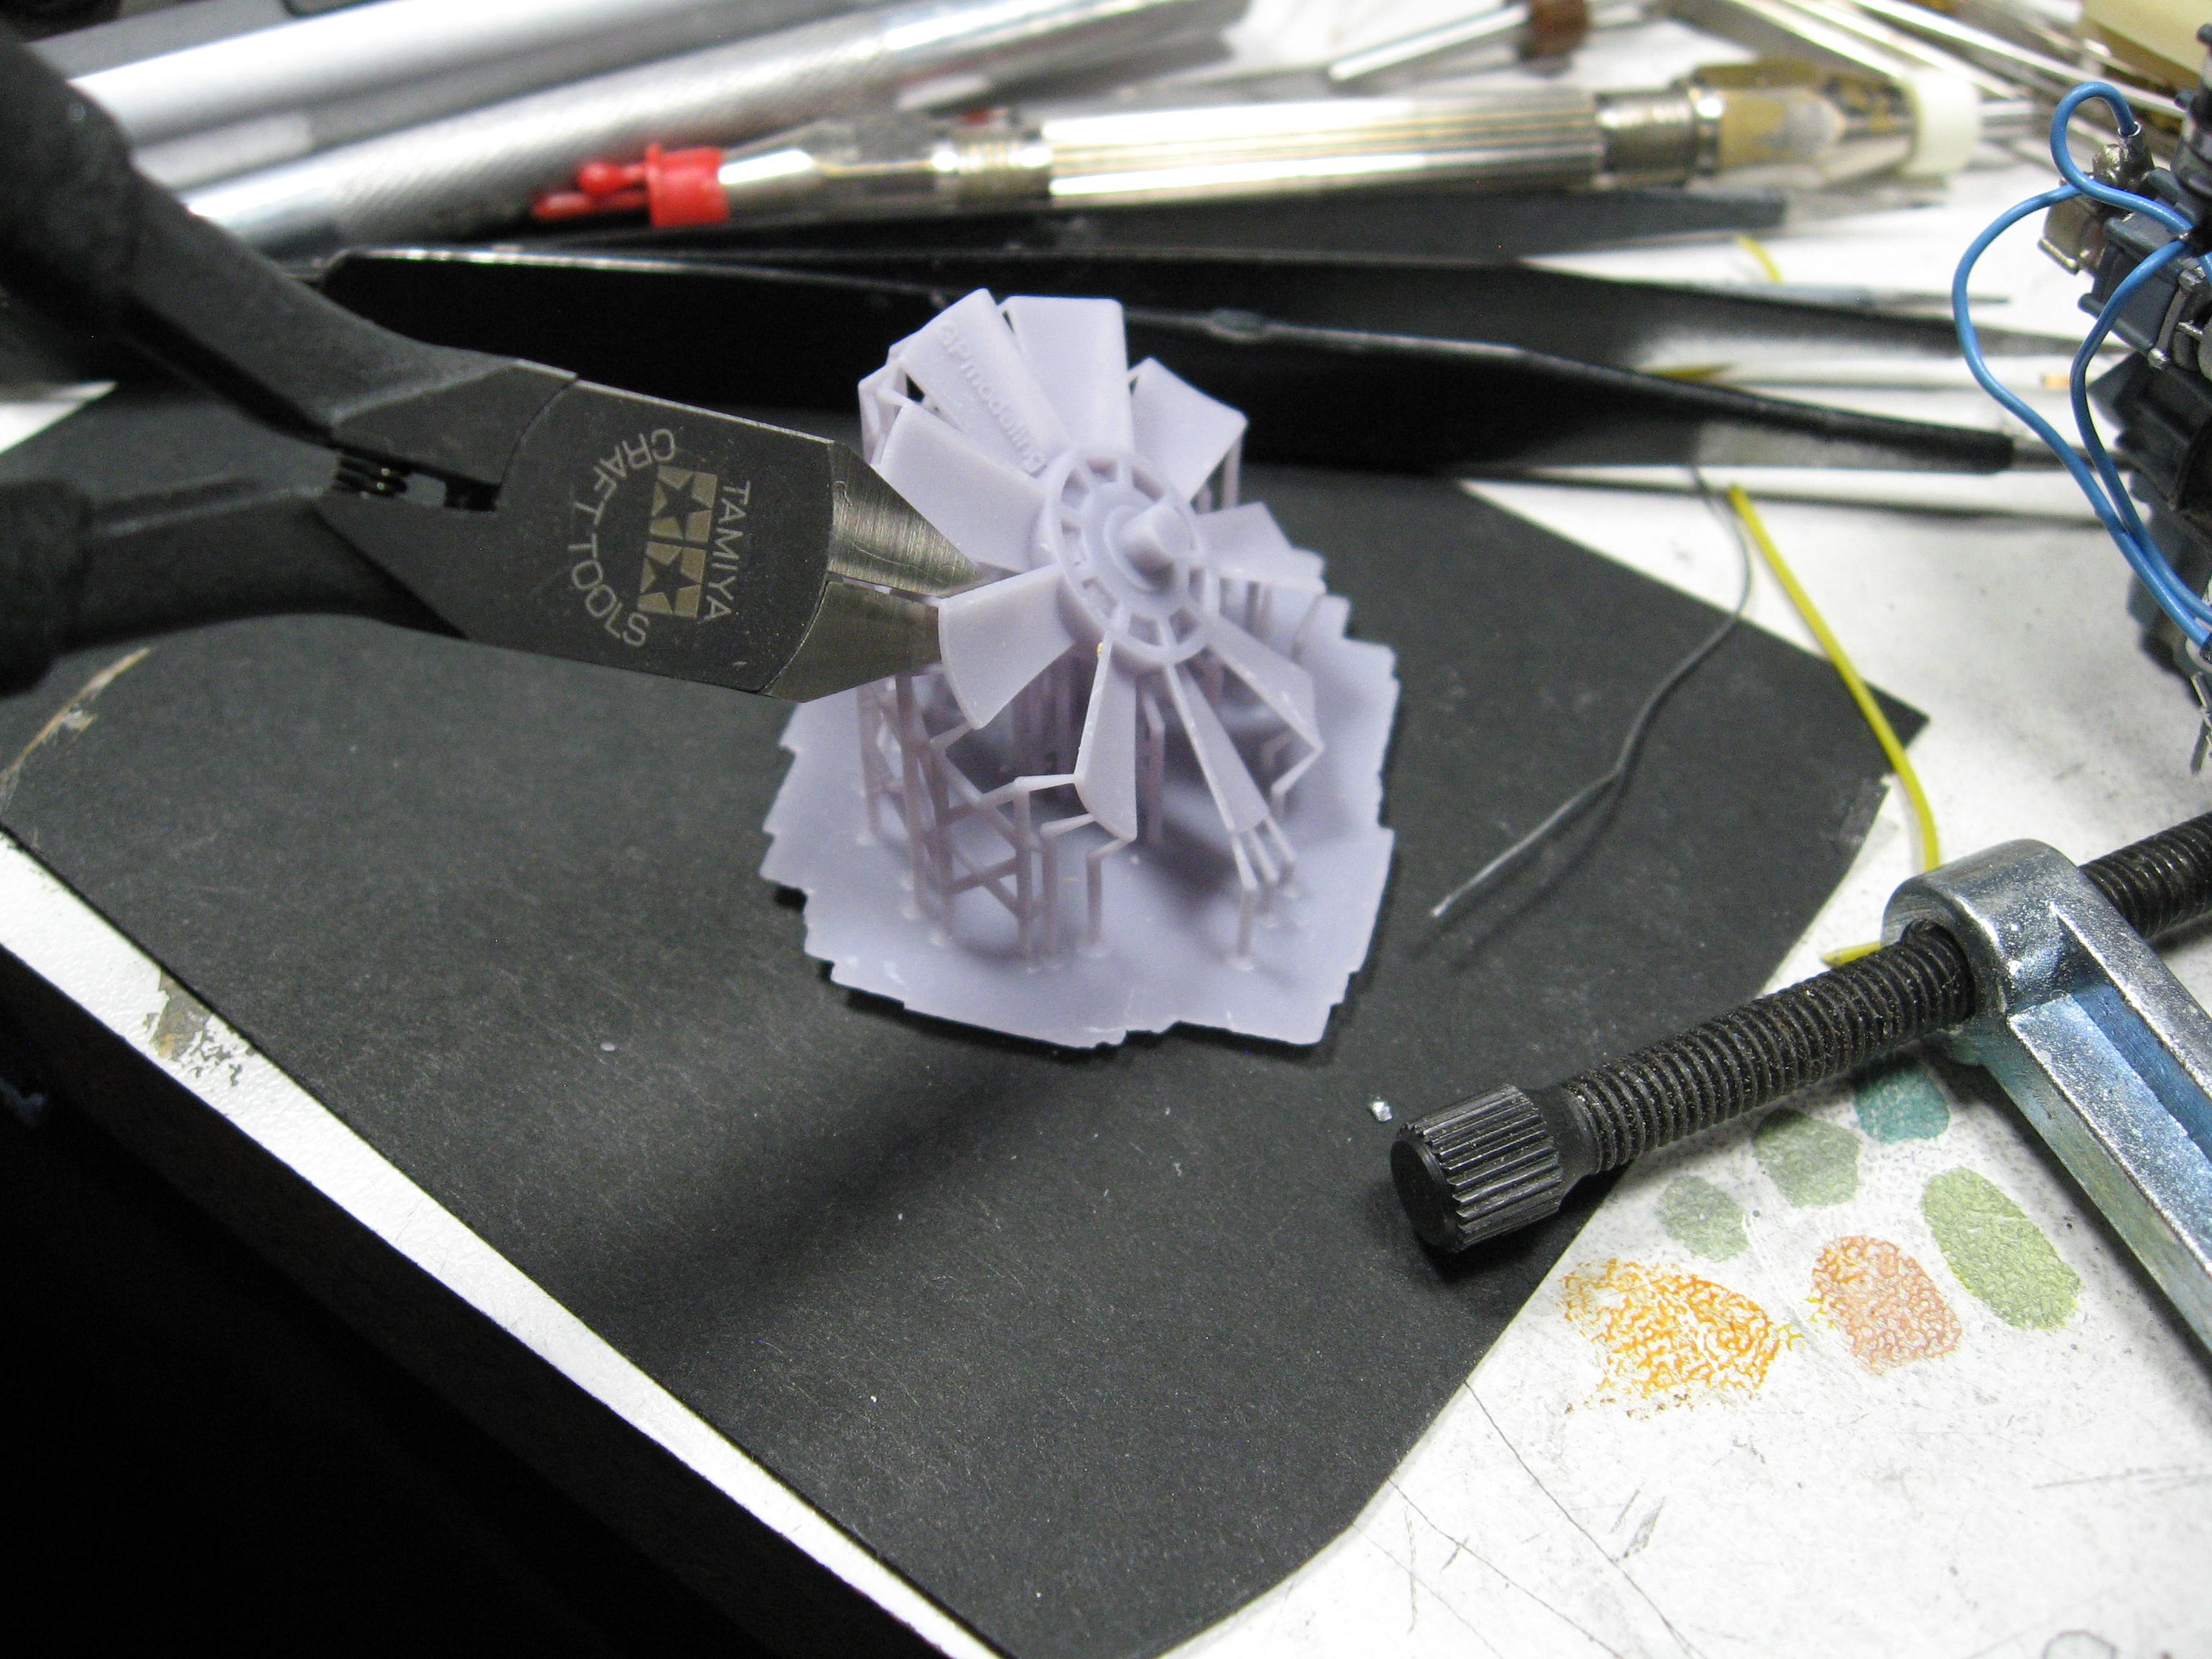
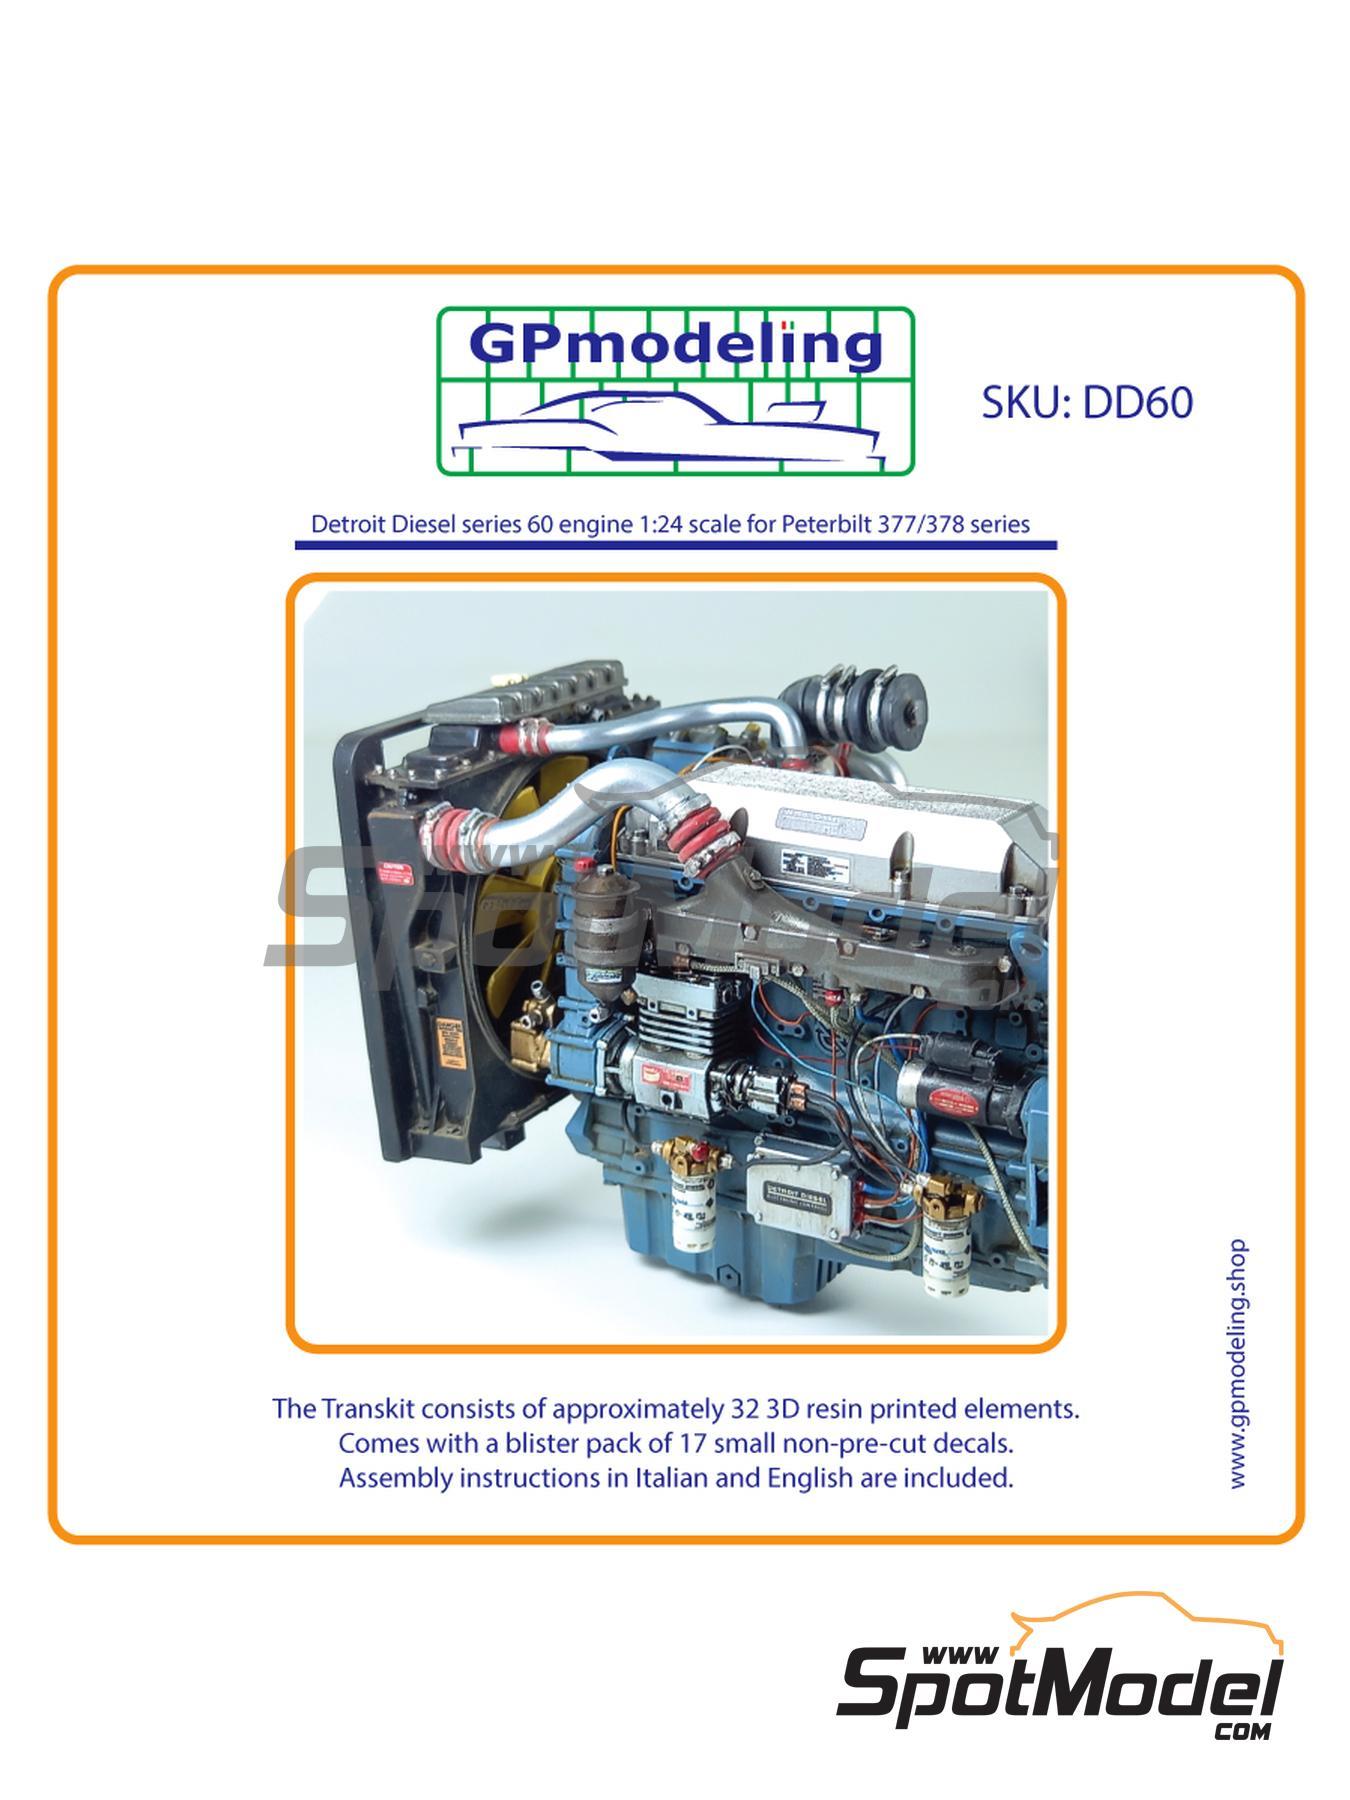
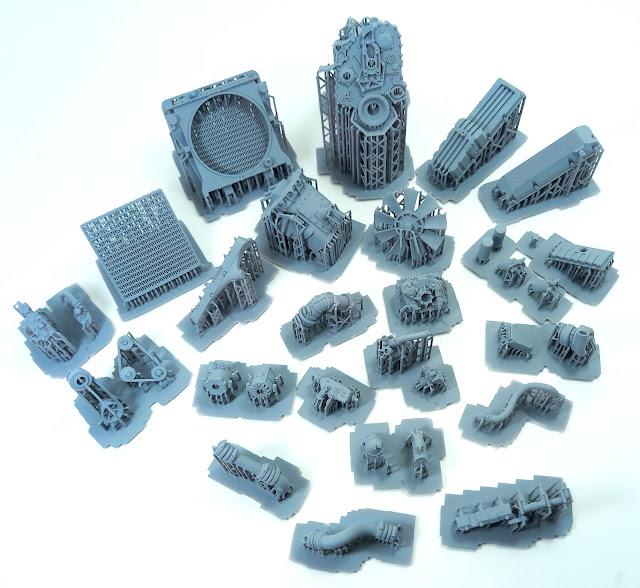
Mock up with tank... Starting the motor. A 3d printed kit designed and printed by Claudio de Bellis. It is beautifully detailed and even includes decals for all the labels and service tags. You do have to be prepared for alot of this..... but it is not too bad:) lots of this...
-
Farm Floater Truck 1/24th scale
Randy D replied to Randy D's topic in WIP: Model Trucks: Big Rigs and Heavy Equipment
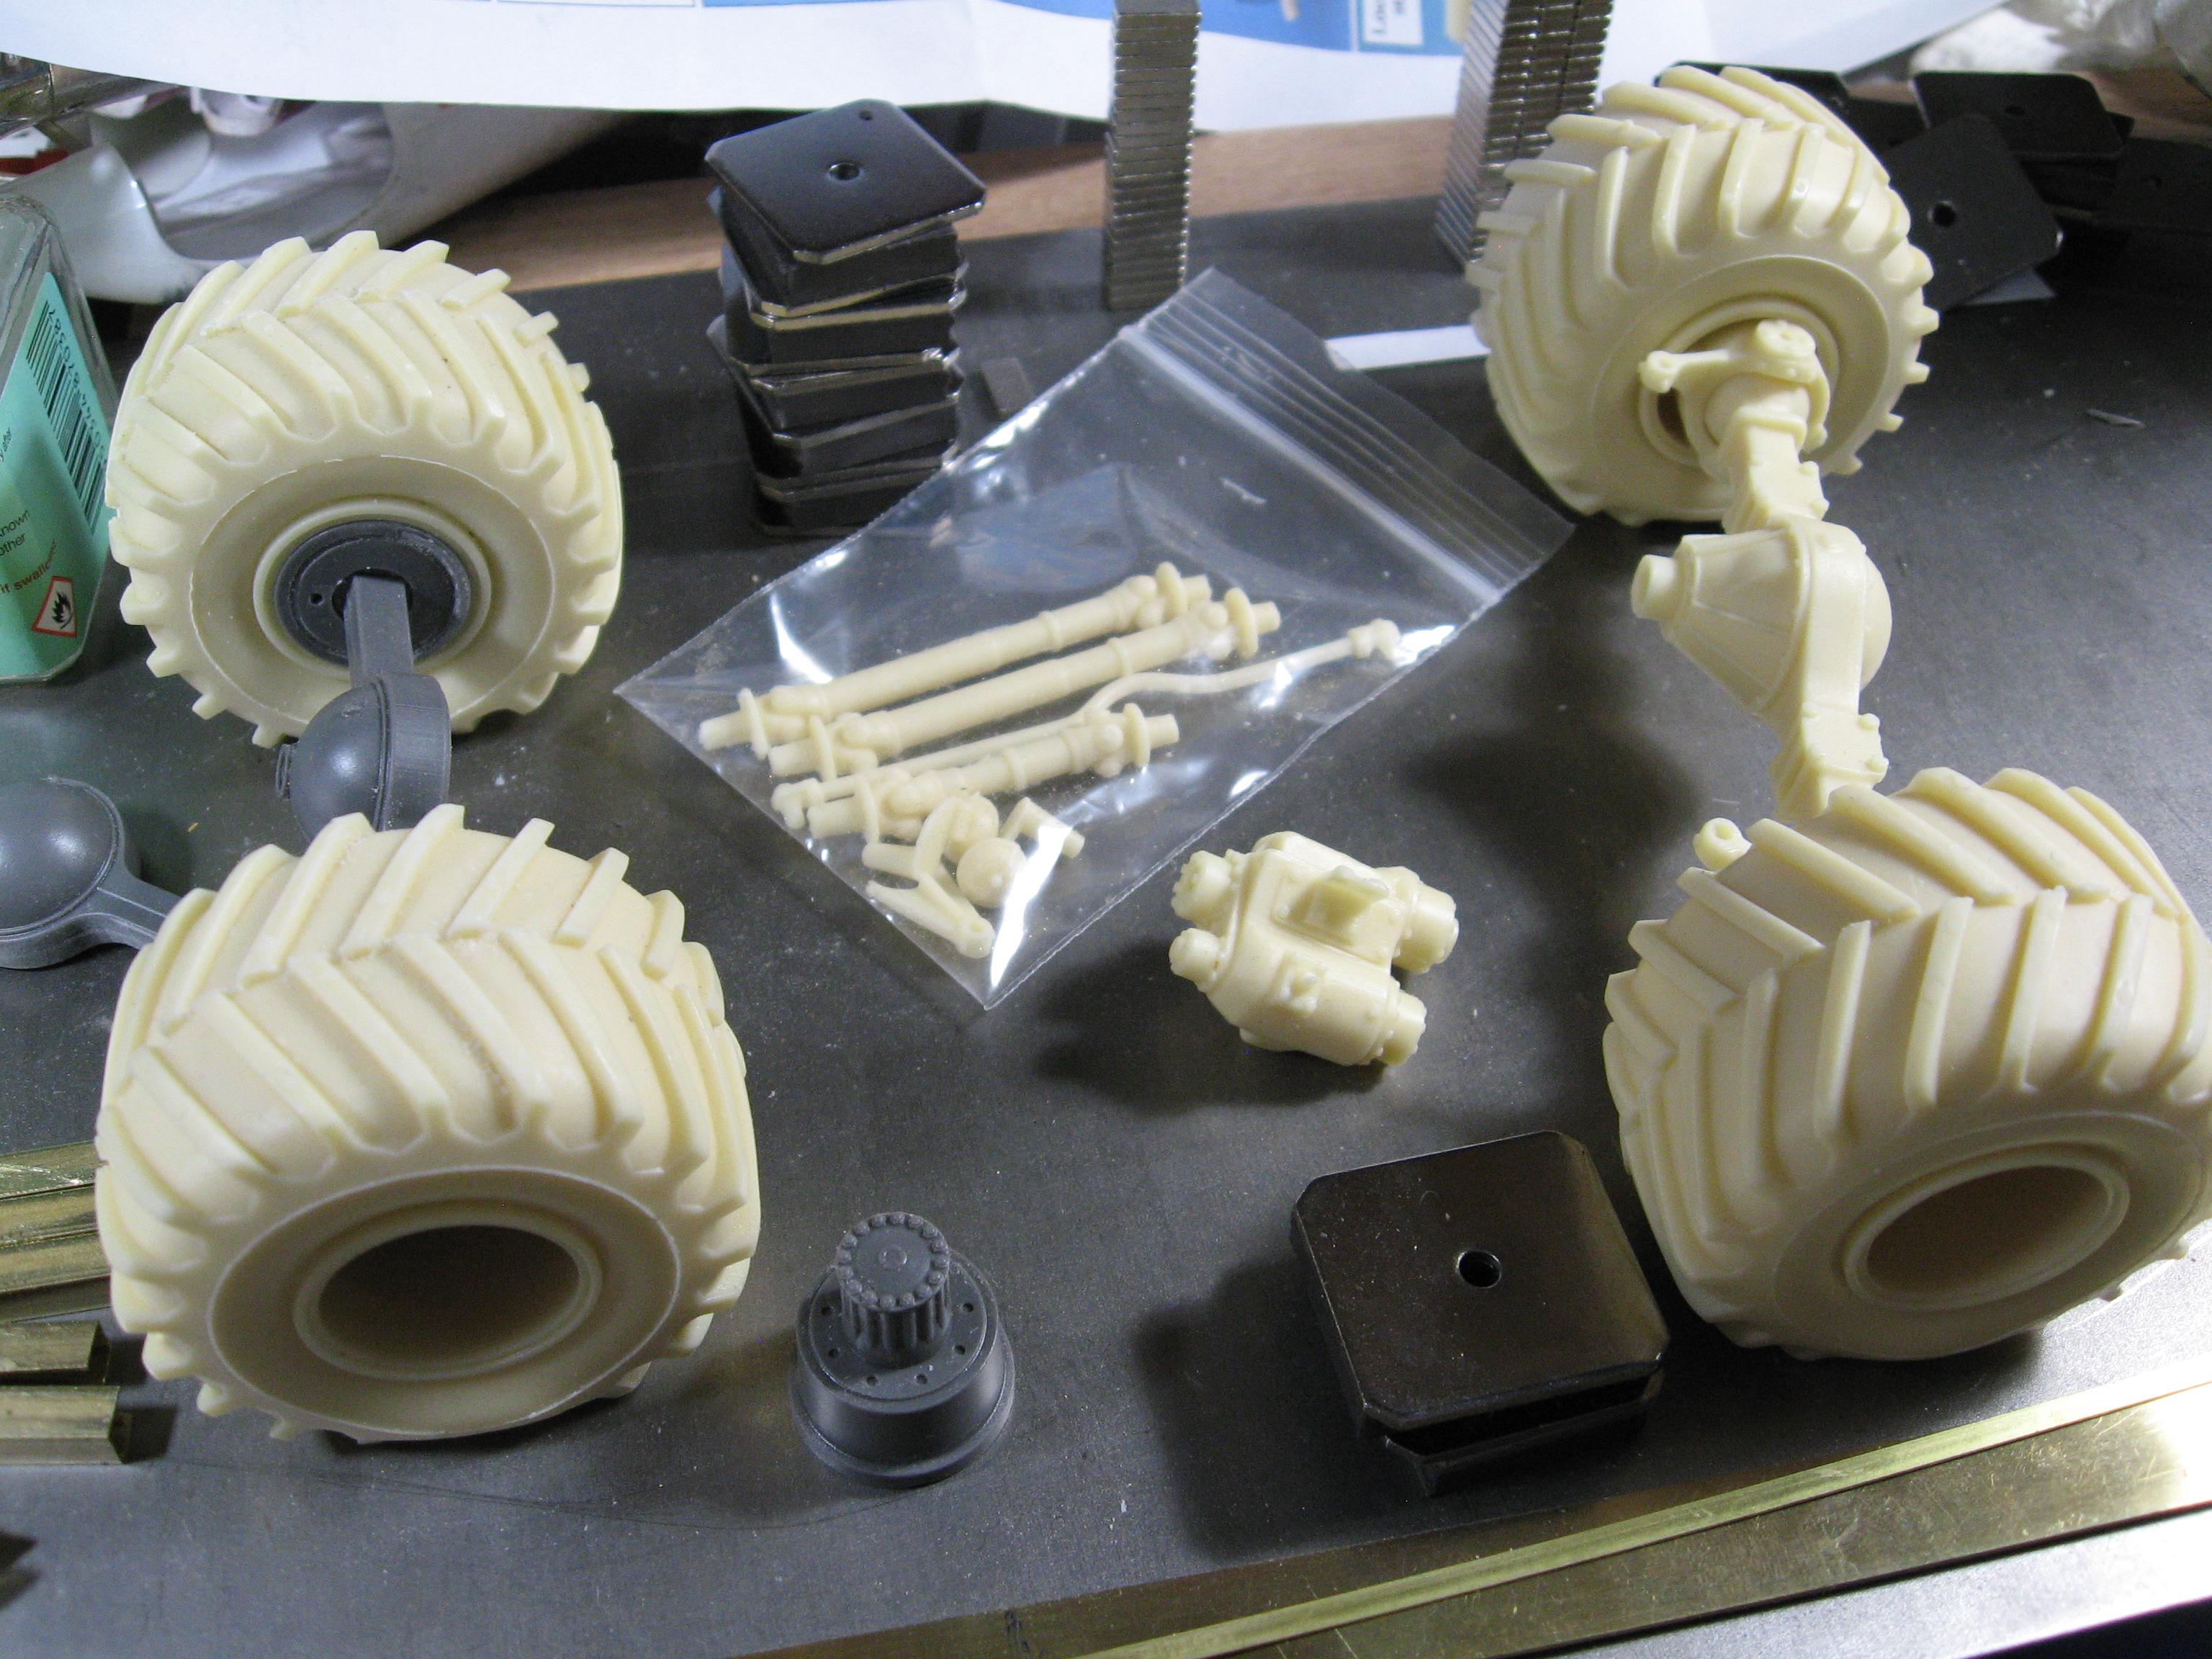
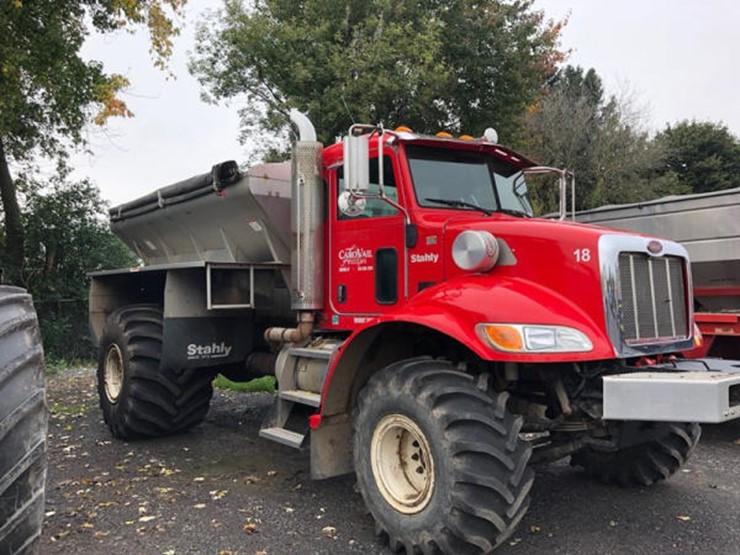
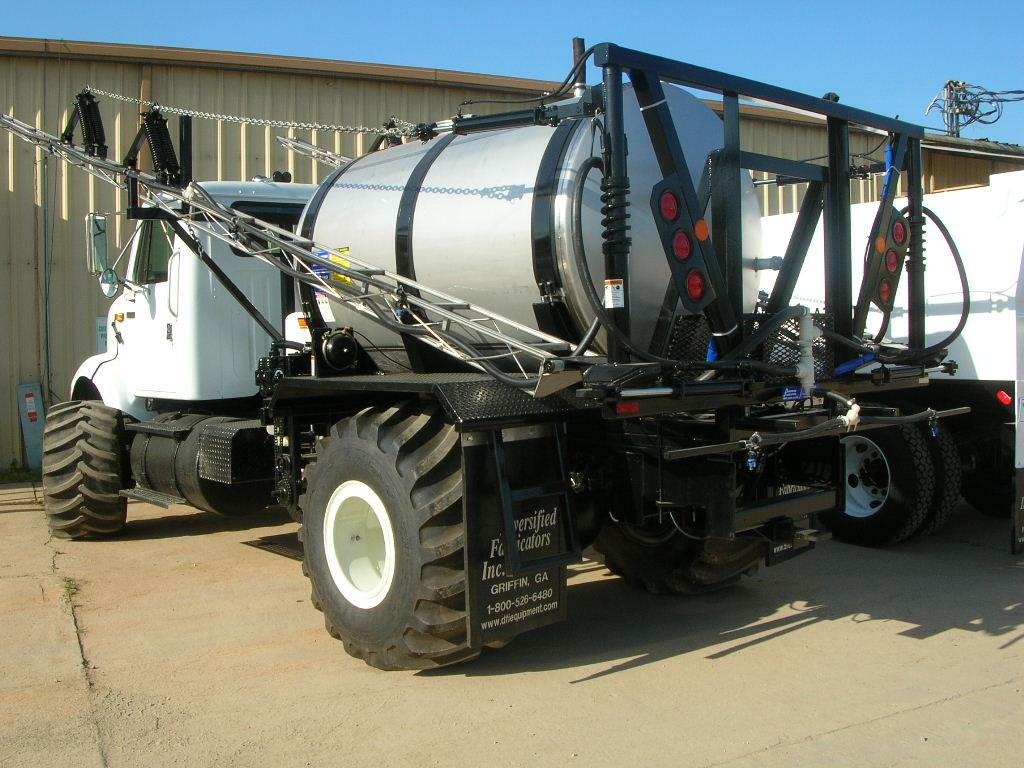
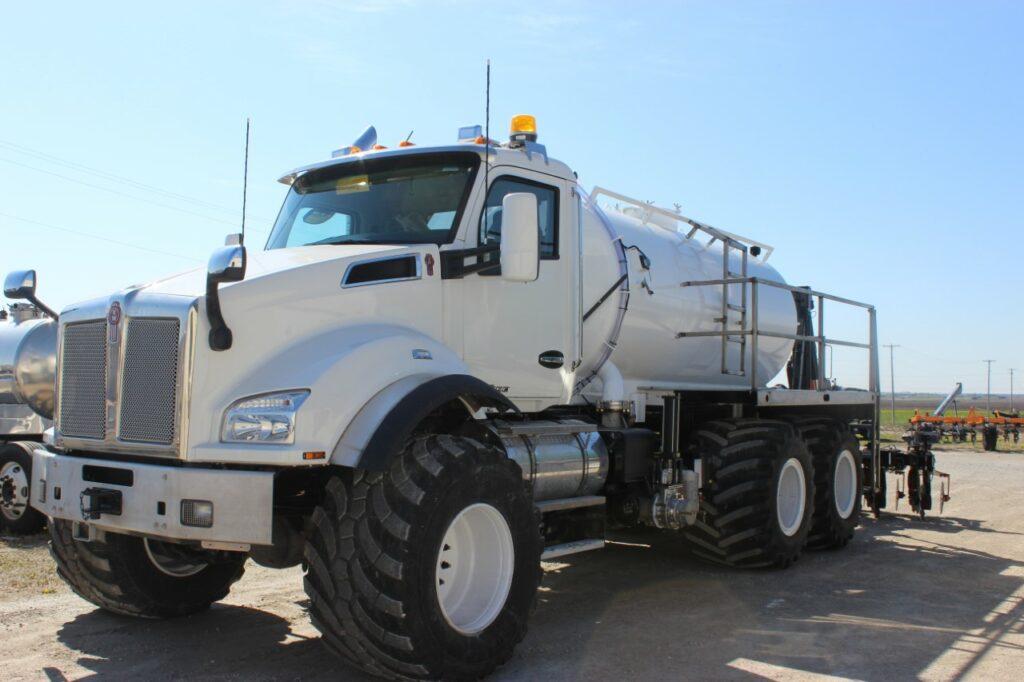
I am going to be doing a heavy duty single axle 4 x 4 with a 2500(???) gallon tank. Started to gather goodies for this. KFS for the driven front axle , assorted valves and the floater tires and rims. CTM for rear axle, hubs and assorted goodies. Engine will come from the new release GPModels Detroit Diesel series 60 12.7 I will solder up a frame. The tank will be a chopped up water bottle. more to follow.. the engine will wind up somewhere between these two....
-
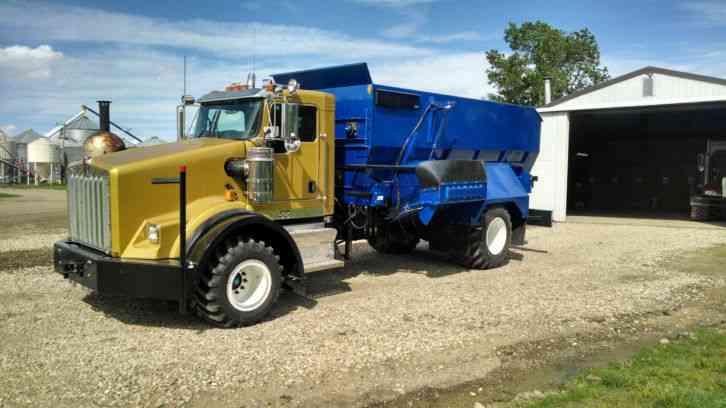
Hi Folks, First time in this section of the forum. This project is to build a floater truck. These rigs are everywhere in the fields out here in the great plains during the growing season. The "floater" name comes from the huge tires used. The idea being that the tires help distribute the weight of the truck when out in fields that have just been cultivated to loosen up the soil. They can be "wet" or "dry" applicators'....... couple dry trucks ... I am going to doing a wet truck. These are used to dispense seed, fertilizer and pesticides. Now these come in all shapes an sizes. Small tank trucks , 500 gallon to 1500 gallon, are typically short wheelbase medium duty rigs..... When the fields start to be measured in sections instead of acres the big boys come out to play.... more post to follow...
-
Trumpeter Ford GT40 with my twists
Randy D replied to kensar's topic in WIP: Other Racing: Road Racing, Land Speed Racers
Hi Ken, You are doing an outstanding job on this kit !!!!! As to the pedals on P1046, all of the GT40's used the same pedal box arrangement. The seats could not be moved so they made the whole pedal box adjustable. Randy
-
Hi Bill, With all the 3D printed bodies you have done, have you experienced any warpage? Thanks, Randy
-
New Detroit Diesel Series 60 Engine
Randy D replied to Randy D's topic in Truck Aftermarket / Resin / 3D Printed
Hello Claudio, Thank you for posting that info. I was on your Facebook page earlier and saw your finished motor in the Peterbuilt frame, it looked stunning!!!! You should post those here? Randy -
New Detroit Diesel Series 60 Engine
Randy D replied to Randy D's topic in Truck Aftermarket / Resin / 3D Printed
Hello Victor, I do not have any info on the transmission. I agree that it looks like an Eaton. Did find this on a Google search that kinda looks like the bell housing.... Love your build you have going on in the big rig section!!!! Randy
-
The body work looks just fantastic my friend!!! But I can't wait to see the chassis that you come up with to hold that magnificent motor. Randy
-
’72 Dodge Demon Drag Racer 1/25 scale
Randy D replied to AmericanMuscleFan's topic in WIP: Drag Racing Models
Well just spectacular Francis!!!!! Your builds are always one of my favorite stops on this Forum. Always learn something. Randy -
full detail 1/16th Gordie Bonin BubbleUp Trans Am Funnycar
Randy D replied to Ian McLaren's topic in WIP: Drag Racing Models
Love the chassis work Ian !!!! Randy -
Hello Bill, Great to see you posting !!! This looks to be a great project from your bench. Loved your Aston Martin and of course my favorite was your latest Birdcage!! Randy


.jpg.428277fbb0b1a187e1114199c9a24802.jpg)


.jpg.5f4920f632f219dcdd130d04830bddf5.jpg)
.jpg.dd890911ced5d8beb7d1adc1ca2e728c.jpg)
.png.a32c6e78cb331b98810dc0040951027b.png)