-
Posts
1,925 -
Joined
-
Last visited
Content Type
Profiles
Forums
Events
Gallery
Everything posted by Randy D
-
Revell's Auto Transport Trailer: WIP
Randy D replied to David G.'s topic in WIP: Model Trucks: Big Rigs and Heavy Equipment
Nice to see you in this part of the forum David! Always enjoy following your builds. Randy -

Farm Floater Truck 1/24th scale
Randy D replied to Randy D's topic in WIP: Model Trucks: Big Rigs and Heavy Equipment
Hi Folks, Brian, Thank you my friend. Need to find some time to catch up on your build, I know you are just killing it!! Jeff, One thing I know is that there are a number of talented builders on this forum and thanks buddy, for putting me in there! Appreciate it Gary! Thank you Steve! Adding more stuff to the control tower. More valves and gauges for the water lines... That is all for now, Thank you for looking in! Randy -

Farm Floater Truck 1/24th scale
Randy D replied to Randy D's topic in WIP: Model Trucks: Big Rigs and Heavy Equipment
Starting with the hydraulic controls.... making up the pressure gauge and shut off for the hydraulic line.... That is all for now, thanks for looking in! Randy -

Farm Floater Truck 1/24th scale
Randy D replied to Randy D's topic in WIP: Model Trucks: Big Rigs and Heavy Equipment
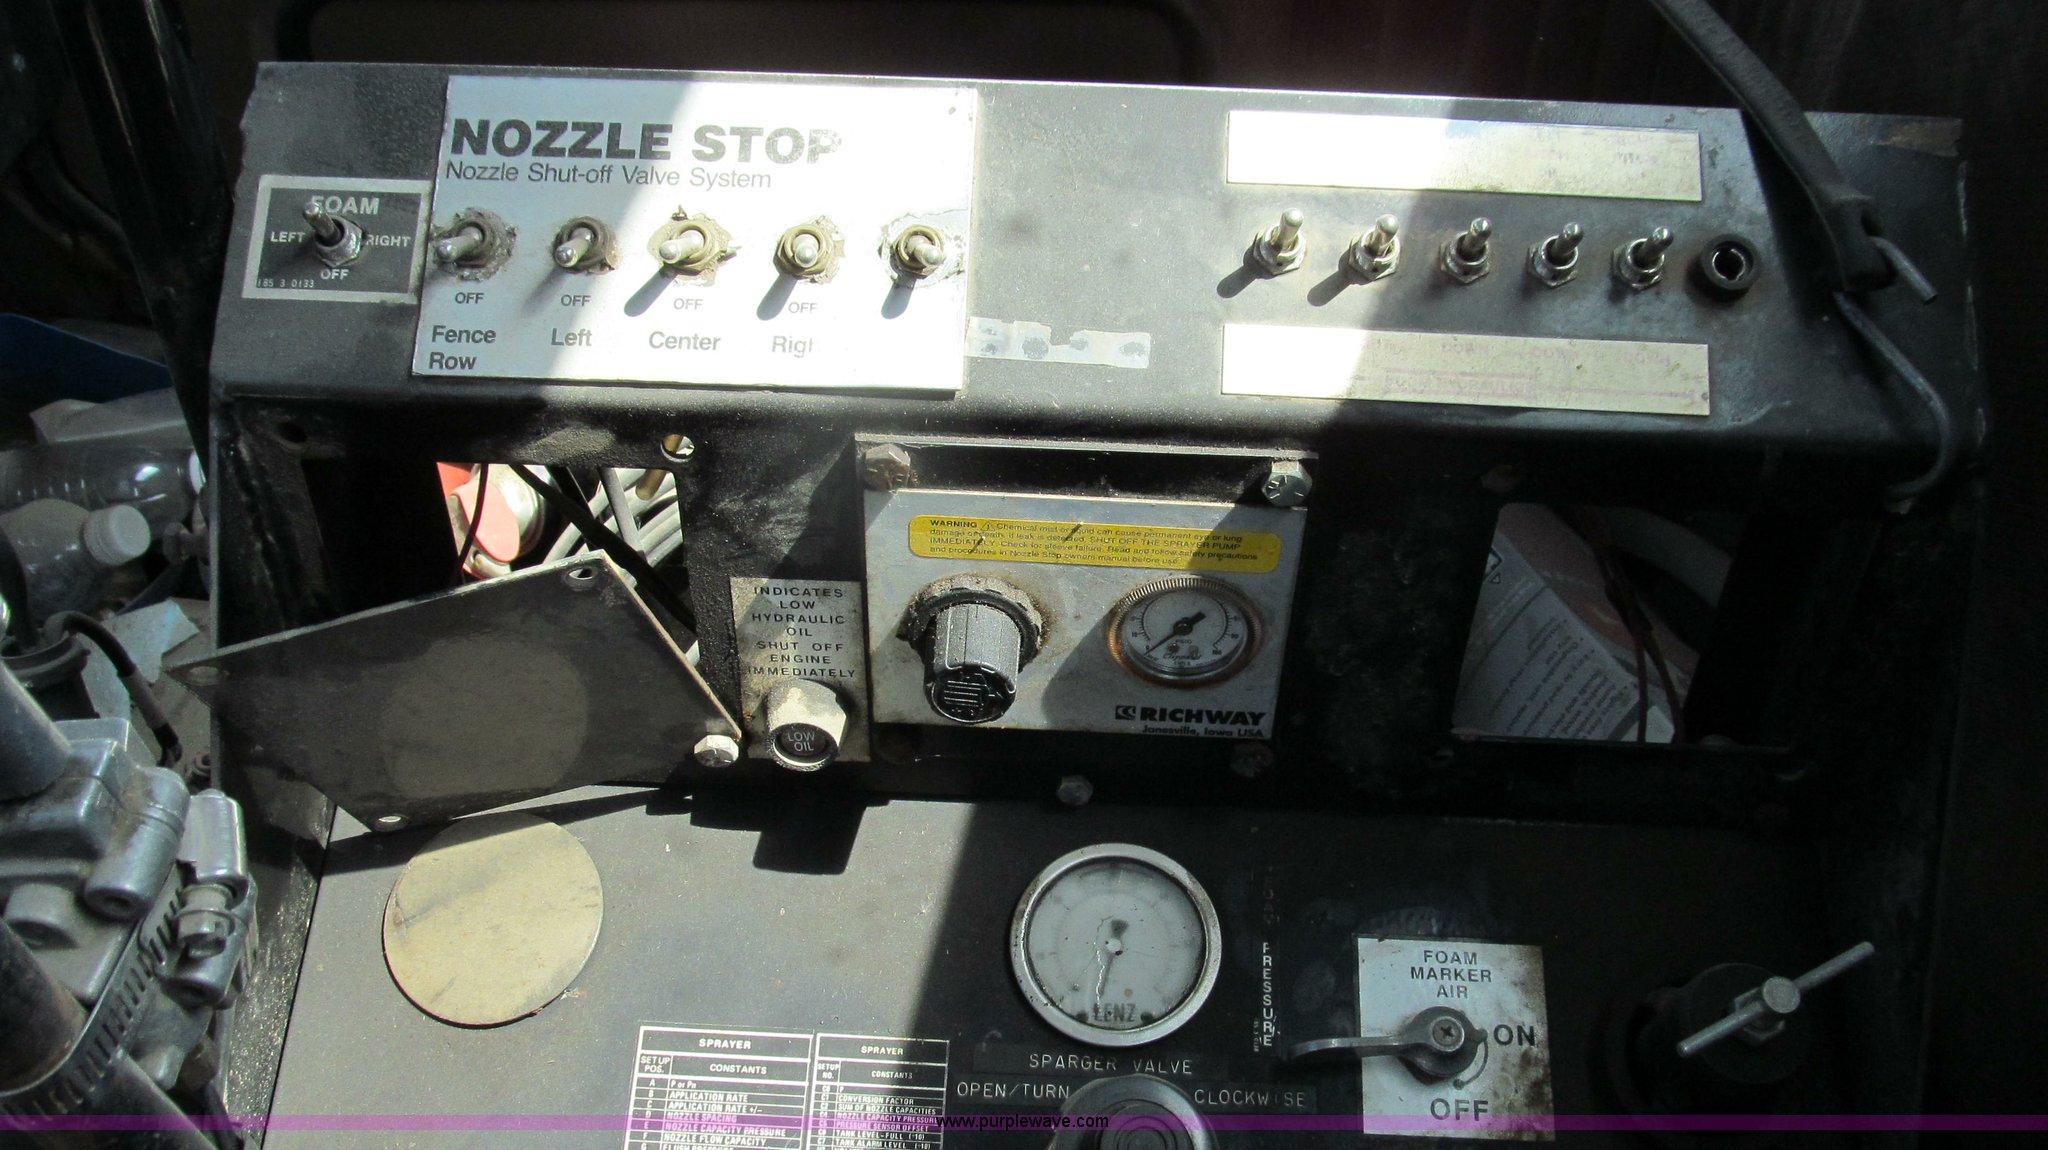
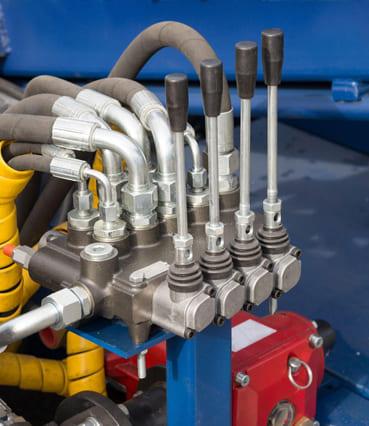
Hi Folks, Jeff, Thank you my friend! Brian, thanks and yes, the cab/hood will be formed from copper sheet stock. Appreciate that Greg! Glad you are liking this Victor. Thanks Steve, Yeah, heatin' and beatin' metal like it's been done for a loooong time😁 Thank you Dennis! Gary, I pretty much use the same tools as most modelers. Needle files, jeweler saw, good pair of scissors, all sorts of small pliers. For soldering I just use a basic Weller iron with adjustable heat and a small torch. Lots of different solders with varying melting points. Update.... Building up the cab interior. Using nickel silver sheet stock for the floor... The older farm sprayer trucks like I am modeling often used in cab hydraulic manifolds with manual control levers. Lots of toggle switches and gauges and monitors. Here are some assorted ref. pics.... more ........ -

Farm Floater Truck 1/24th scale
Randy D replied to Randy D's topic in WIP: Model Trucks: Big Rigs and Heavy Equipment
Trevor, Thanks buddy!! Jeff, you are too kind my friend! Steve, appreciate the comment! Gary, thank you and glad you are following along. Brian S. thanks, it is a little different subject for me😁 Brian K. , Thank you Sir. I don't think those little minions are too worried. I have not managed to post a completed build with all the painting done in all the years I've been on this forum😂 Some progress on the cab for my Peterbilt.... Using some reference from you tube videos of folks rebuilding old Petes to come up with the cab floor frame work. Peterbilt used channel pieces bent to shape and stacked.... In the last pic I arrowed a spot that shows how they removed some material from the channel in order to bend it... I will do the same using brass stock that I first anneal the beat and end to shape.. Thanks for looking in! Randy -

Western Star 4900 FA plow truck
Randy D replied to BK9300's topic in WIP: Model Trucks: Big Rigs and Heavy Equipment
That radiator front came out awesome Brian!! Your painting really highlights all the wonderful scratch building you did. On my previous comment I got lost looking at your trany cooler and forgot to mention how impressive the detail work on the tank straps and cover flaps came out. You are just killing this build. Randy -

The Same but “ a little “ Different
Randy D replied to Biggu's topic in WIP: Model Trucks: Big Rigs and Heavy Equipment
Hey Jeff, First off, that was very impressive, the way you used all those three syllable words in the same sentence? The chassis and drivetrain look great my friend! The detail on the tanks is really paying off. Nice touch on the cab windows. Randy -
Hi Steve, This is a great rebuild you have going here. The sleeper chop looks perfect. You build some cool trailers. Randy
-

Mid 60s Peterbilt Unilite COE
Randy D replied to RoninUtah's topic in WIP: Model Trucks: Big Rigs and Heavy Equipment
What a great result Ron! Congrats. Randy -

Resto Rod Autocar
Randy D replied to Gary Chastain's topic in WIP: Model Trucks: Big Rigs and Heavy Equipment
Gary, There is so much good stuff going on here!!! Love the tri axle. Randy -

Pete 359 tanker with trailer
Randy D replied to Jürgen M.'s topic in WIP: Model Trucks: Big Rigs and Heavy Equipment
Really like how the tank is coming out Jurgen. Always impressed with your design skills! Randy -

International V190 Quarry Dump
Randy D replied to Warren D's topic in WIP: Model Trucks: Big Rigs and Heavy Equipment
Warren, This is going to be cool to follow. You have some unique pieces to work with! Randy -

Farm Floater Truck 1/24th scale
Randy D replied to Randy D's topic in WIP: Model Trucks: Big Rigs and Heavy Equipment
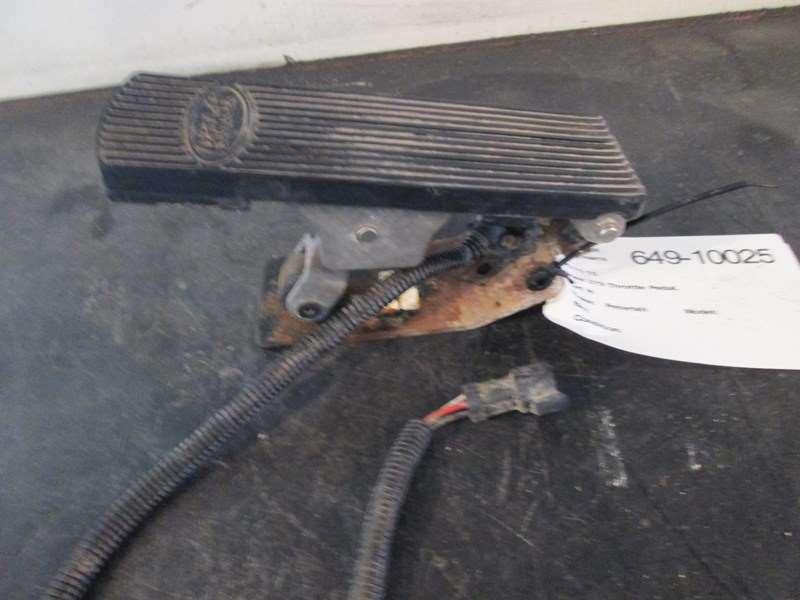
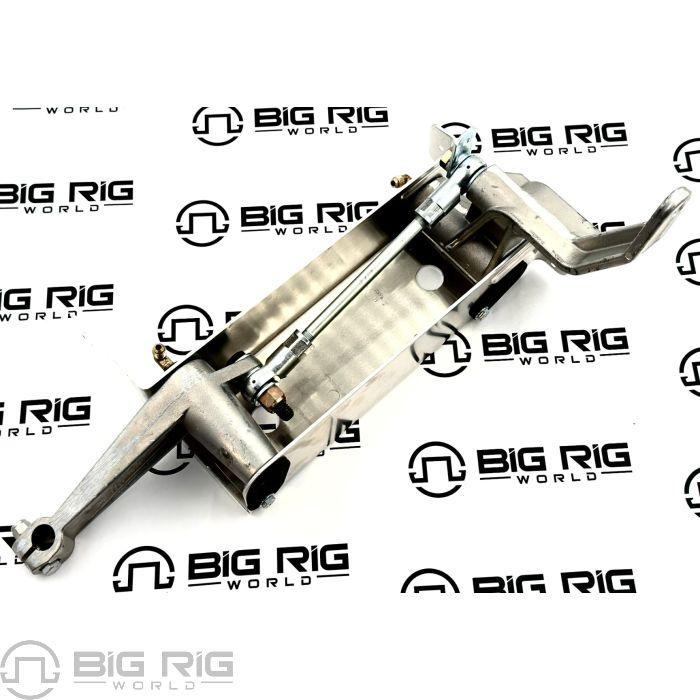
Next up is the throttle pedal.... ref... making up the parts... That is all for now. Thanks for looking in ! Randy -

Farm Floater Truck 1/24th scale
Randy D replied to Randy D's topic in WIP: Model Trucks: Big Rigs and Heavy Equipment
Brian, Thank you, yeah the Birdcage shifter was Just a wee bit shorter? Jeff, appreciate you checking in here my friend! Thank you Steve! Glad you are liking this Gary! Thanks Mark! Update.... Working on some pedals for this one... Clutch assembly ref. pics.... Making up the parts ..... More ..... -

Western Star 4900 FA plow truck
Randy D replied to BK9300's topic in WIP: Model Trucks: Big Rigs and Heavy Equipment
Wonderful scratch building on the oil cooler Brian. As Victor said, that whole rad. unit is so impressive!!! Randy -

The Same but “ a little “ Different
Randy D replied to Biggu's topic in WIP: Model Trucks: Big Rigs and Heavy Equipment
Hi Jeff, That motor is looking just awesome my friend!!! Nice touch on the "wet" valve covers. The wheels and tires came out great. Inquiring minds need to know, did you use Meng bolts or CTM on those ? How did you do the dirt in the tire threads? We need details ? Randy -

Farm Floater Truck 1/24th scale
Randy D replied to Randy D's topic in WIP: Model Trucks: Big Rigs and Heavy Equipment
more.... Using some CTM resin u joints that I drilled and pinned to make them functional and added some detail to the shift knob. Weathered it up a bit... That is all for now, Thank you for looking in! Randy -

Farm Floater Truck 1/24th scale
Randy D replied to Randy D's topic in WIP: Model Trucks: Big Rigs and Heavy Equipment
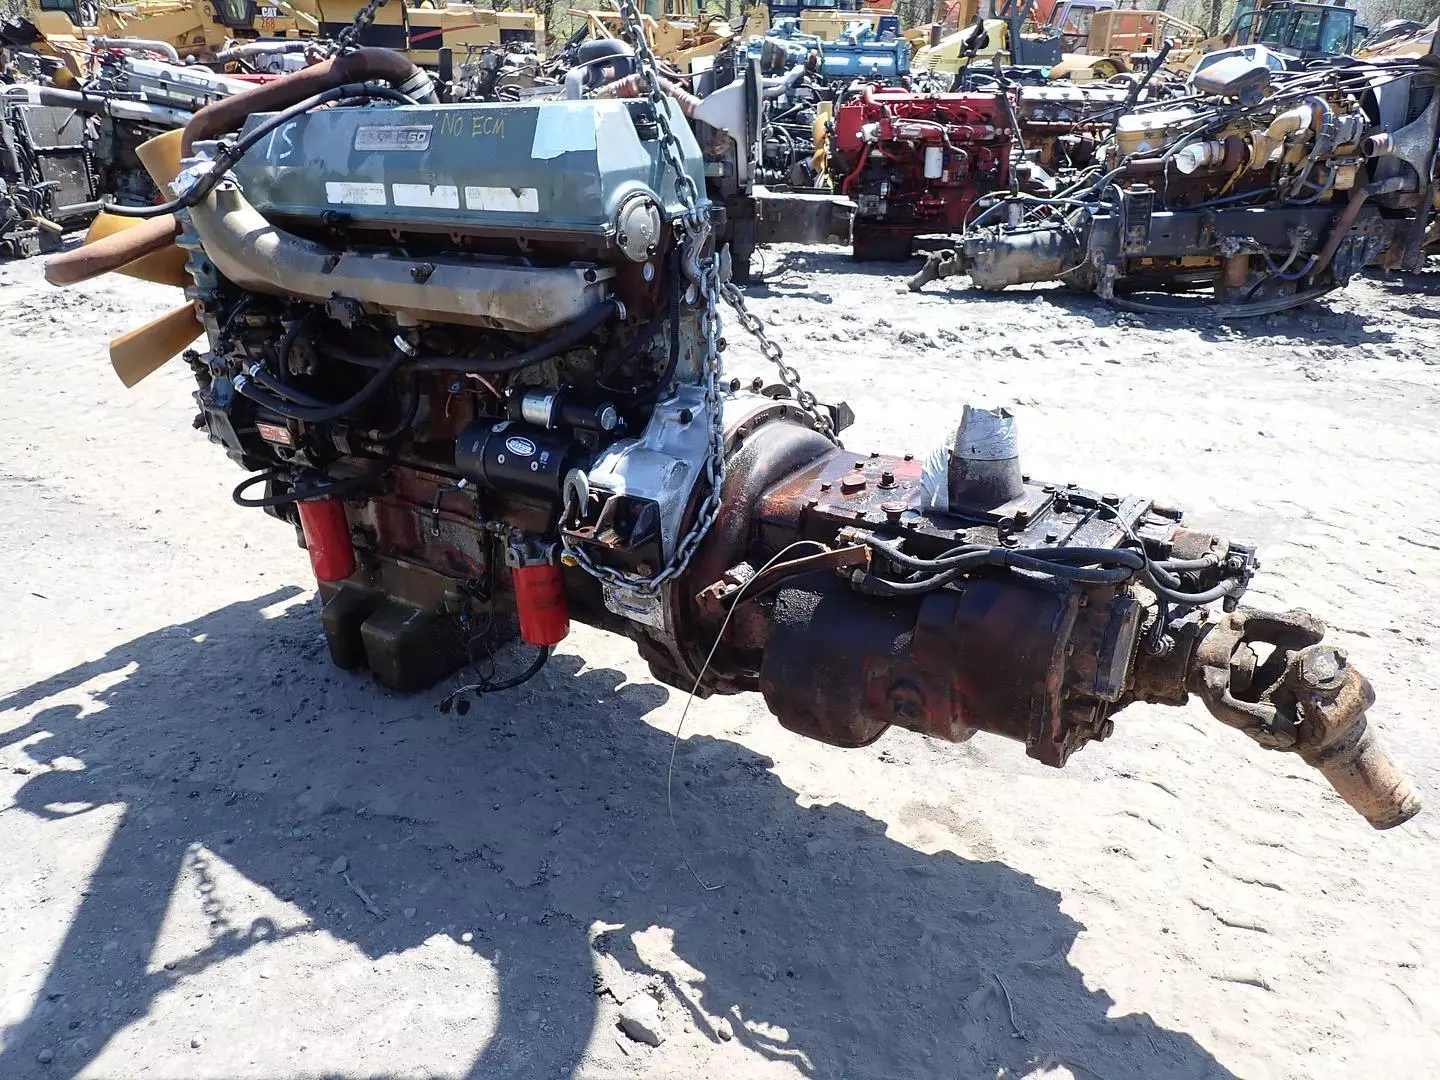
Hi Folks Brian K. , I do appreciate the kind words, i just have to quit spending so much time going thru your build thread? Thank you Gary, now you just need to post a rivet update? Victor, Glad you like it. Jeff, Thanks buddy! Appreciate it Brian S. Thank you Mike! Thank you Ron. Update time... Doing some detailing on the transmission. The model represents an Eaton Fuller.... Added the hoses between the slave, ranger and splitter cylinders and valves..... working on the shifter.... Continued in just a second..... -

The Same but “ a little “ Different
Randy D replied to Biggu's topic in WIP: Model Trucks: Big Rigs and Heavy Equipment
Now you expect us modelers' to be able to read and interpret drawings???? ? I love all the add on bolt heads, and yes I will copy your airline work so you better do it right! If you don't mind, when I get to it I will contact you for help with some of my CTM pe. Great looking stuff but as you said on your other build, lots of folds with no instruction Randy -

Making Tracks
Randy D replied to Chariots of Fire's topic in WIP: Model Trucks: Big Rigs and Heavy Equipment
Charles, You have done a great job with this D 7. The paint and extra detail work is really paying off!! Randy -

If I had a real Pete
Randy D replied to Biggu's topic in WIP: Model Trucks: Big Rigs and Heavy Equipment
What a great finish to one of my favorite builds here Jeff!! Well done Sir. Randy -

Western Star 4900 FA plow truck
Randy D replied to BK9300's topic in WIP: Model Trucks: Big Rigs and Heavy Equipment
Hello Brian, This is one of those builds where if I haven't checked in for awhile I find myself going thru it over and over to soak in all the wonderful detail. Can't wait to see how you do the cab control details...I will be stealing ideas as my truck has some similar stuff. Get healed up quick my friend! Randy -

ongoing oilfield project
Randy D replied to cdntrucking's topic in WIP: Model Trucks: Big Rigs and Heavy Equipment
Lewis, This really is a massive build constructed to high standards. Love it !! Randy -

M-9 45 Ton Trailer Build
Randy D replied to Chariots of Fire's topic in WIP: Model Trucks: Big Rigs and Heavy Equipment
Always lessons to learn from your builds Charles! Wonderful work, Randy -

Pete 352 day cab
Randy D replied to Jürgen M.'s topic in WIP: Model Trucks: Big Rigs and Heavy Equipment
The wheels came out great Jurgen and the box is looking good. Randy


.jpg.14a49c8b2c898f63c0bc09b5ce575691.jpg)




.webp.4429c14c90f2fc2da64c4cbacc0758e4.webp)