fractalign
-
Posts
851 -
Joined
-
Last visited
Content Type
Profiles
Forums
Events
Gallery
Everything posted by fractalign
-
That’s what I will be doing with the finished frame as it’s too damaged to repair. The other door frame will carefully be put back together utilising as much of the original as possible as there is already a styrene backing frame to attach it.
-
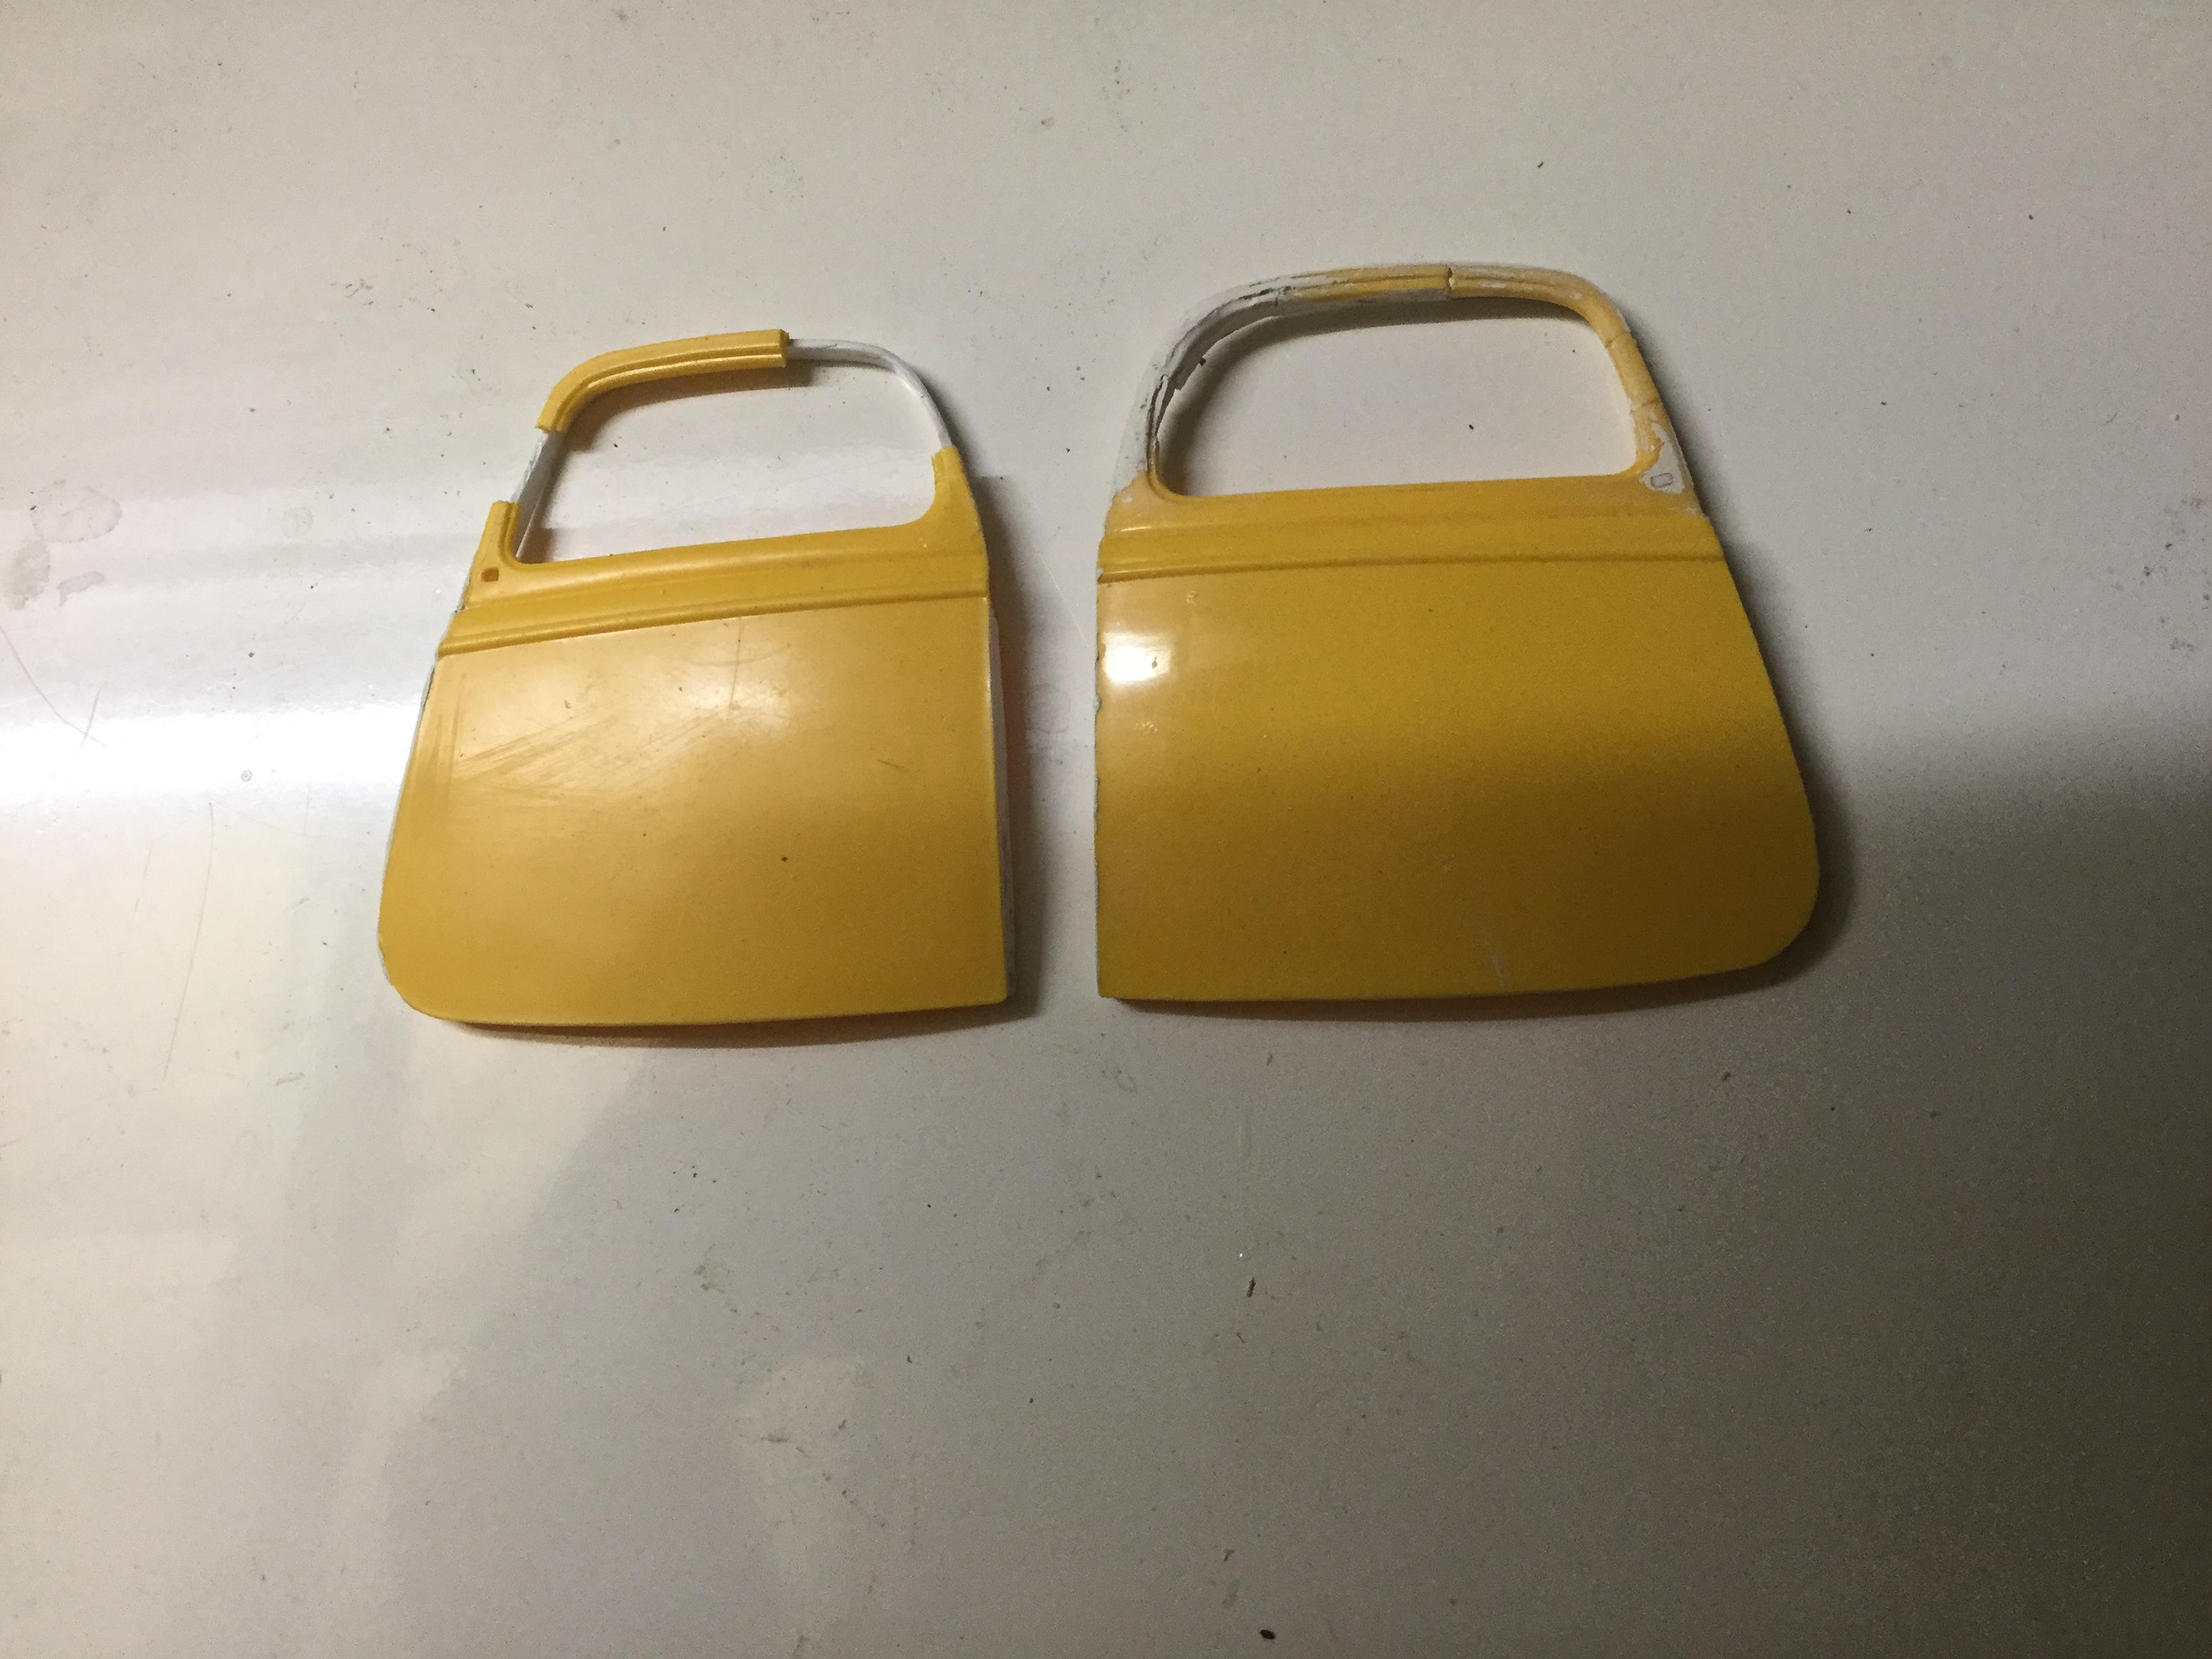
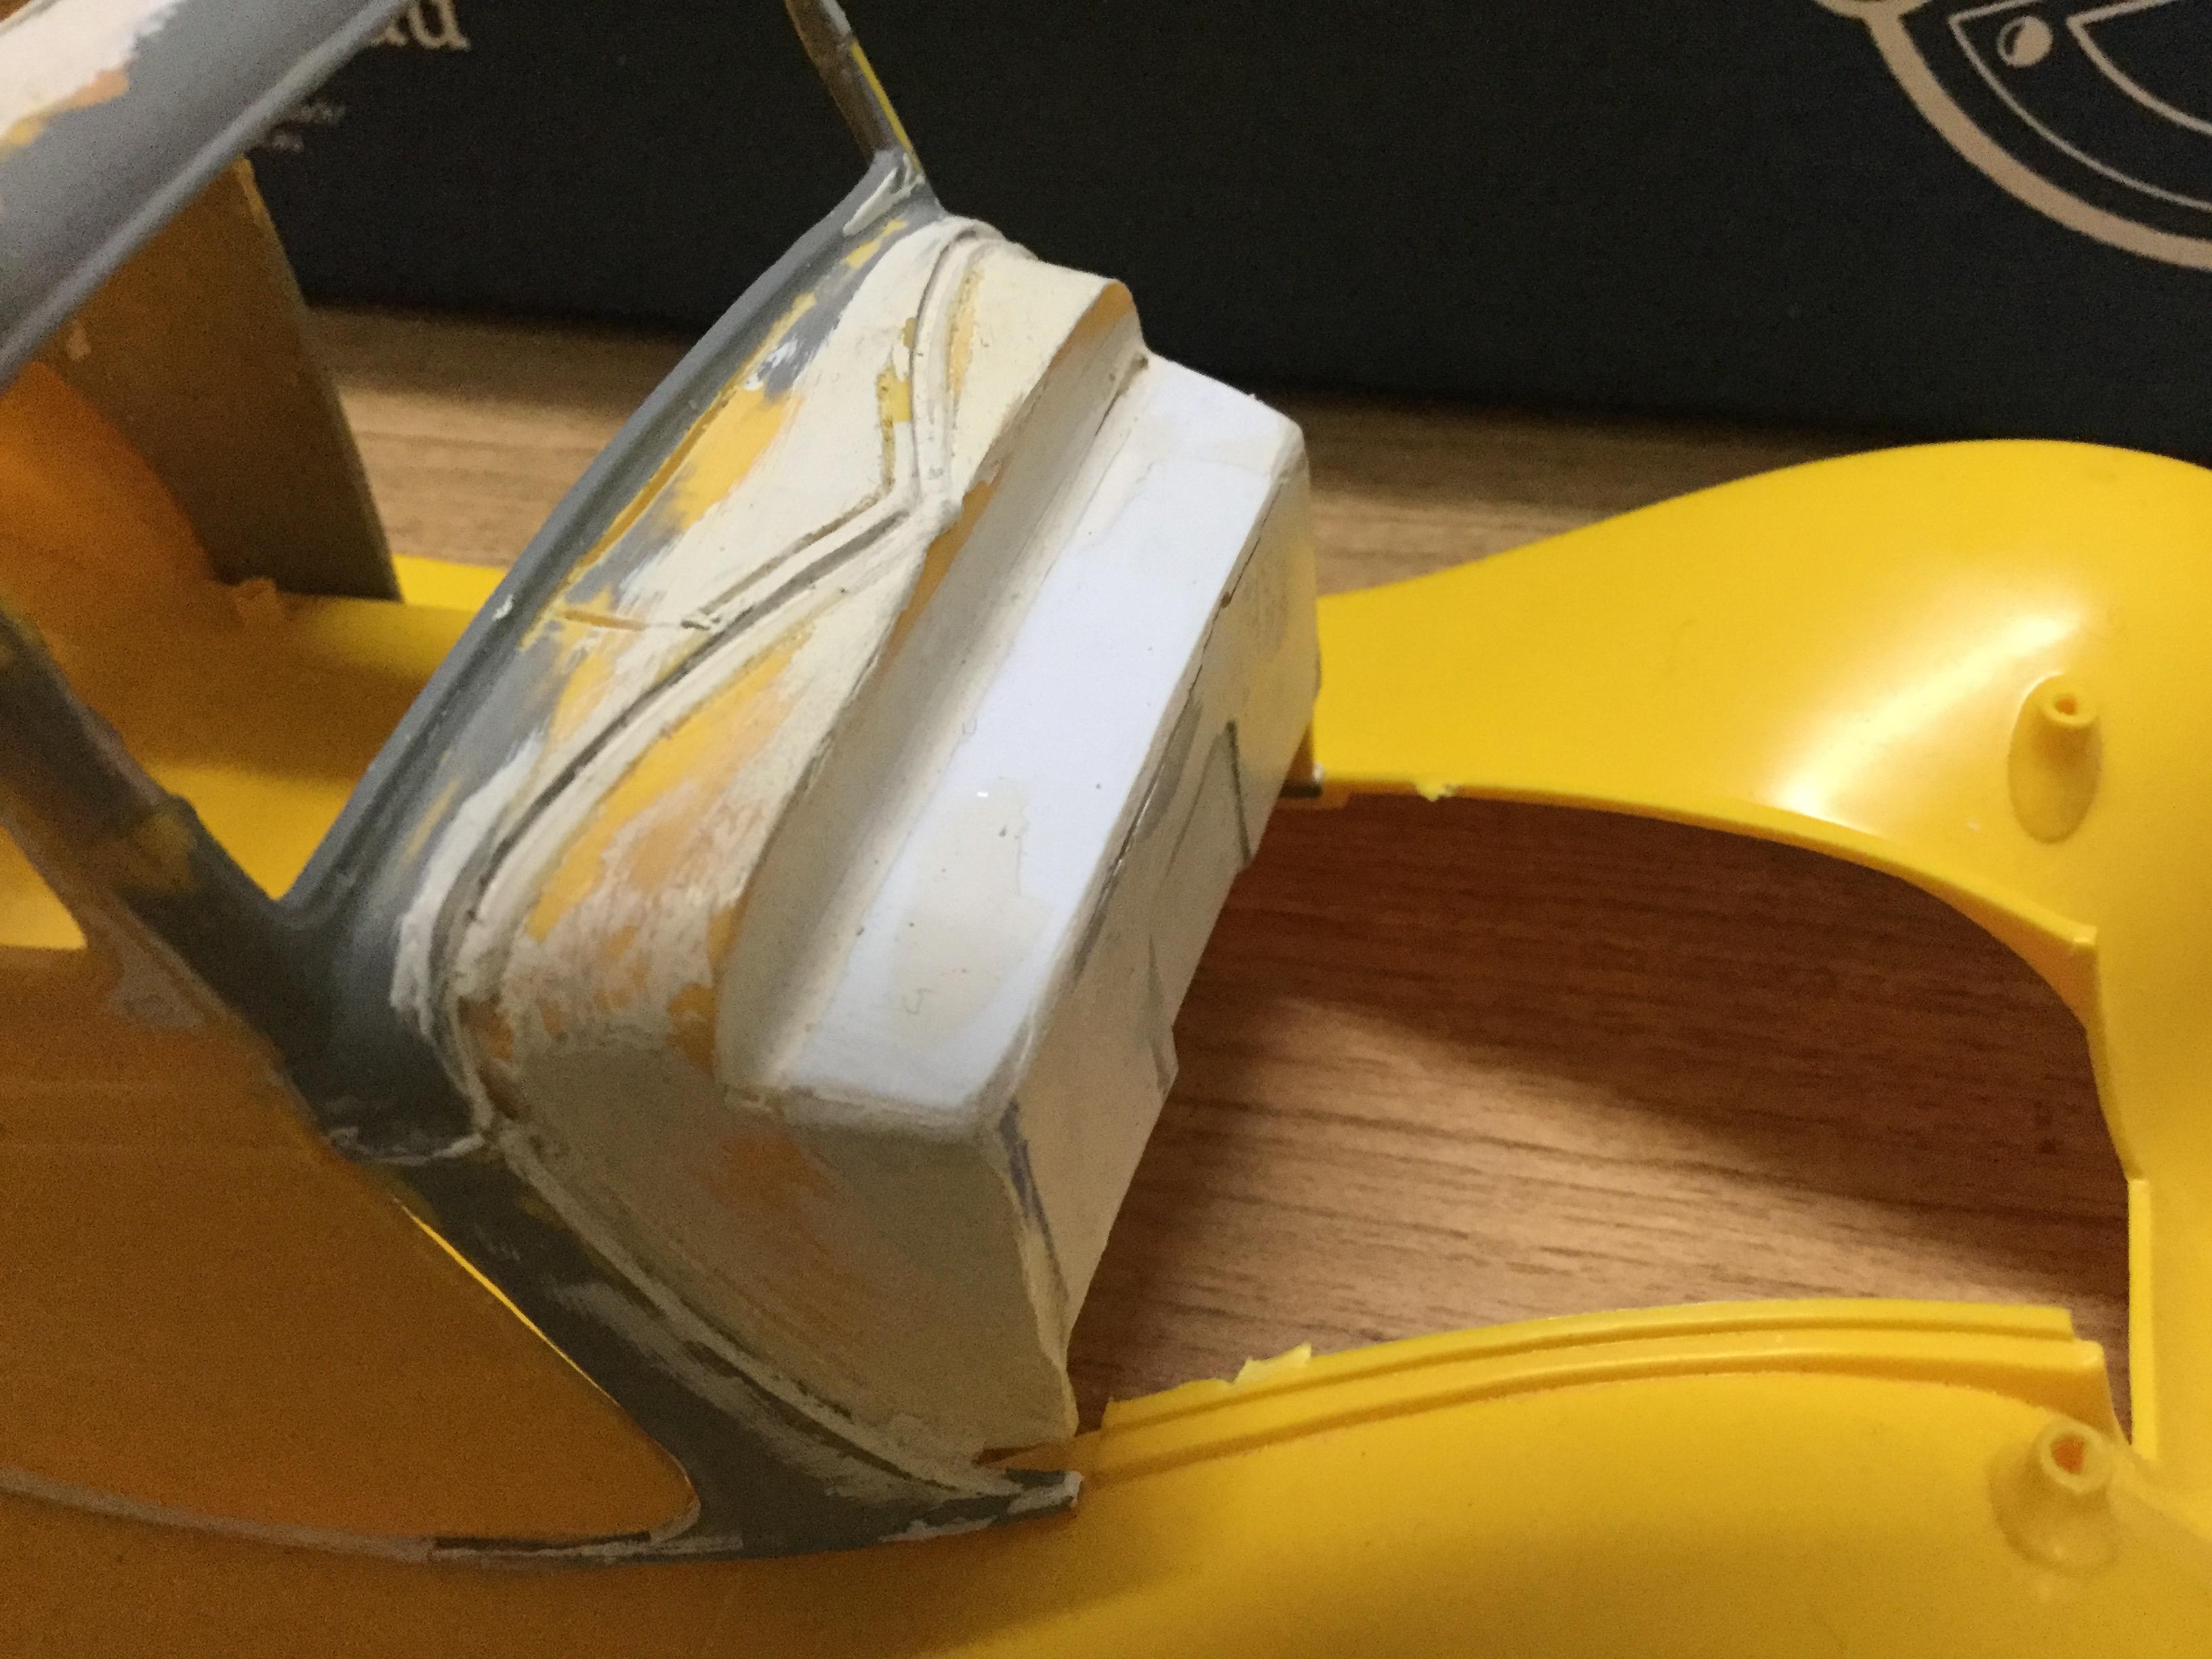
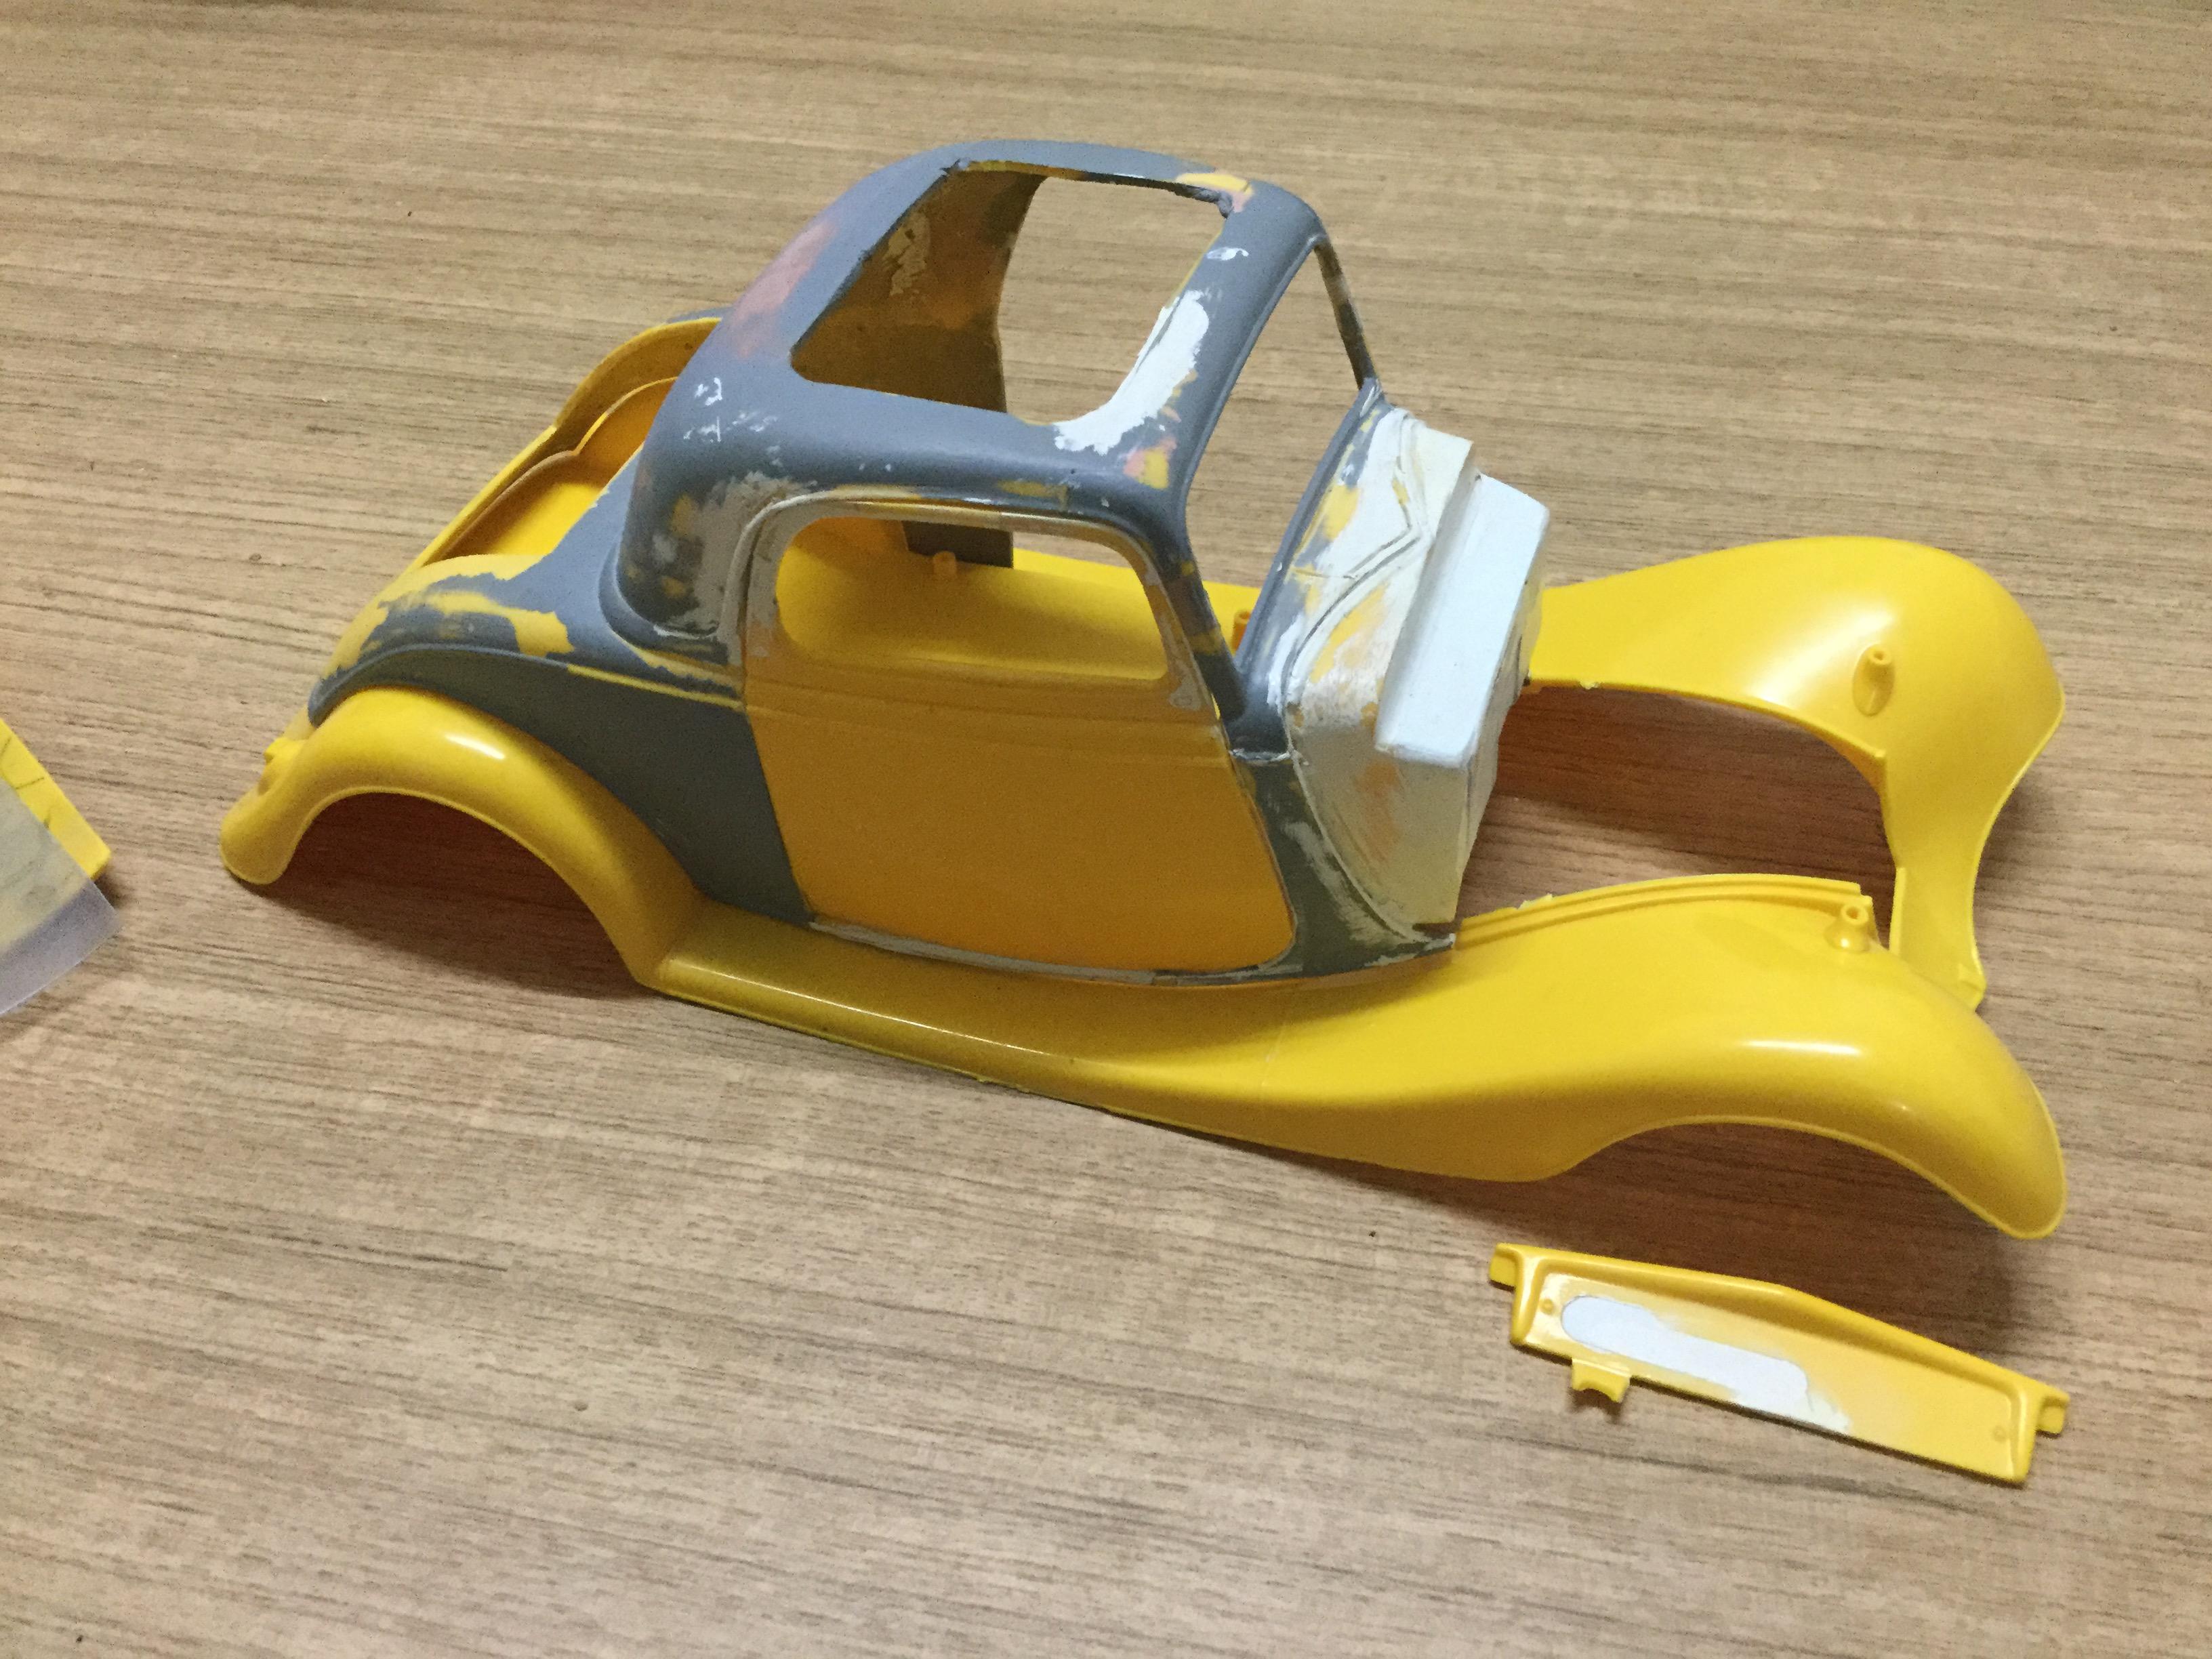
As far as the door frames go, they will need a lot of reworking to end up matching each other. I was not happy with the severe rake on the b pillars so I re-did the passenger side of the body and door. At first I was happy with how the door frame was looking until I looked at the other one. I then realised I had carved too much of the shape away in the re-contouring that no amount of putty will fix. I have decided to finish the other frame and get a template from it to re-do the first one in new styrene. That will be the next task.

-
Here they are sitting over the over the outers.
-
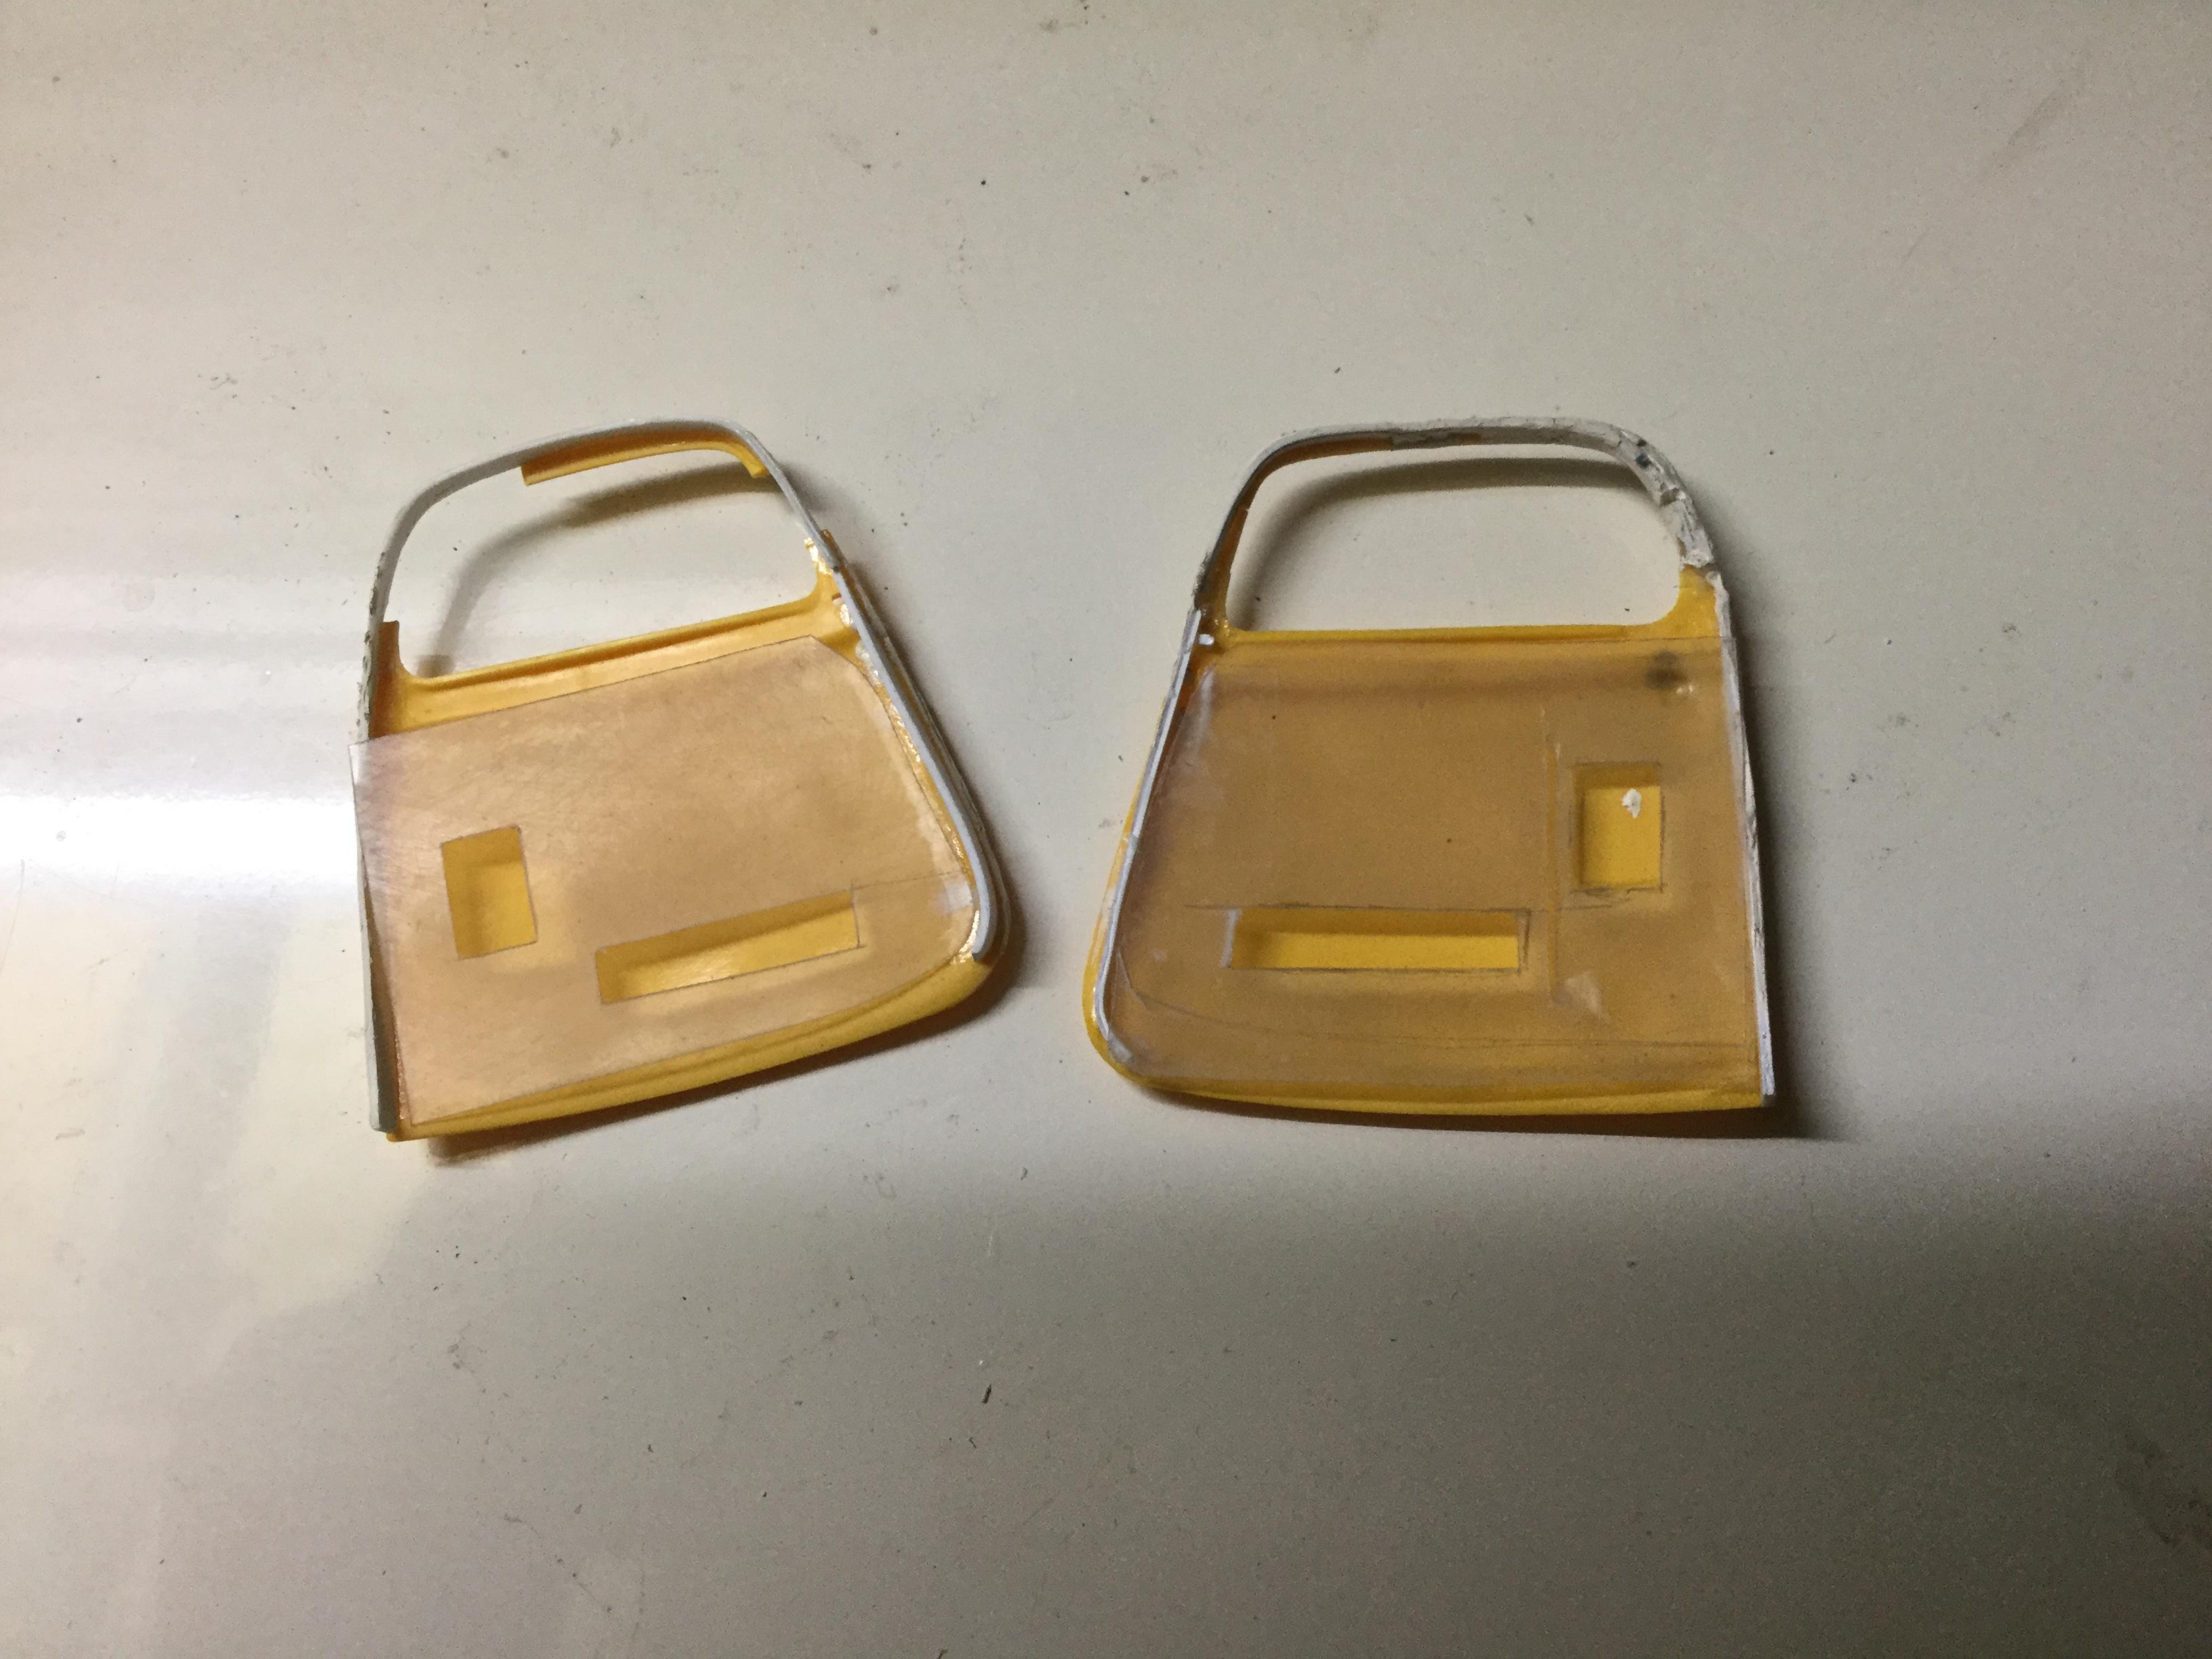
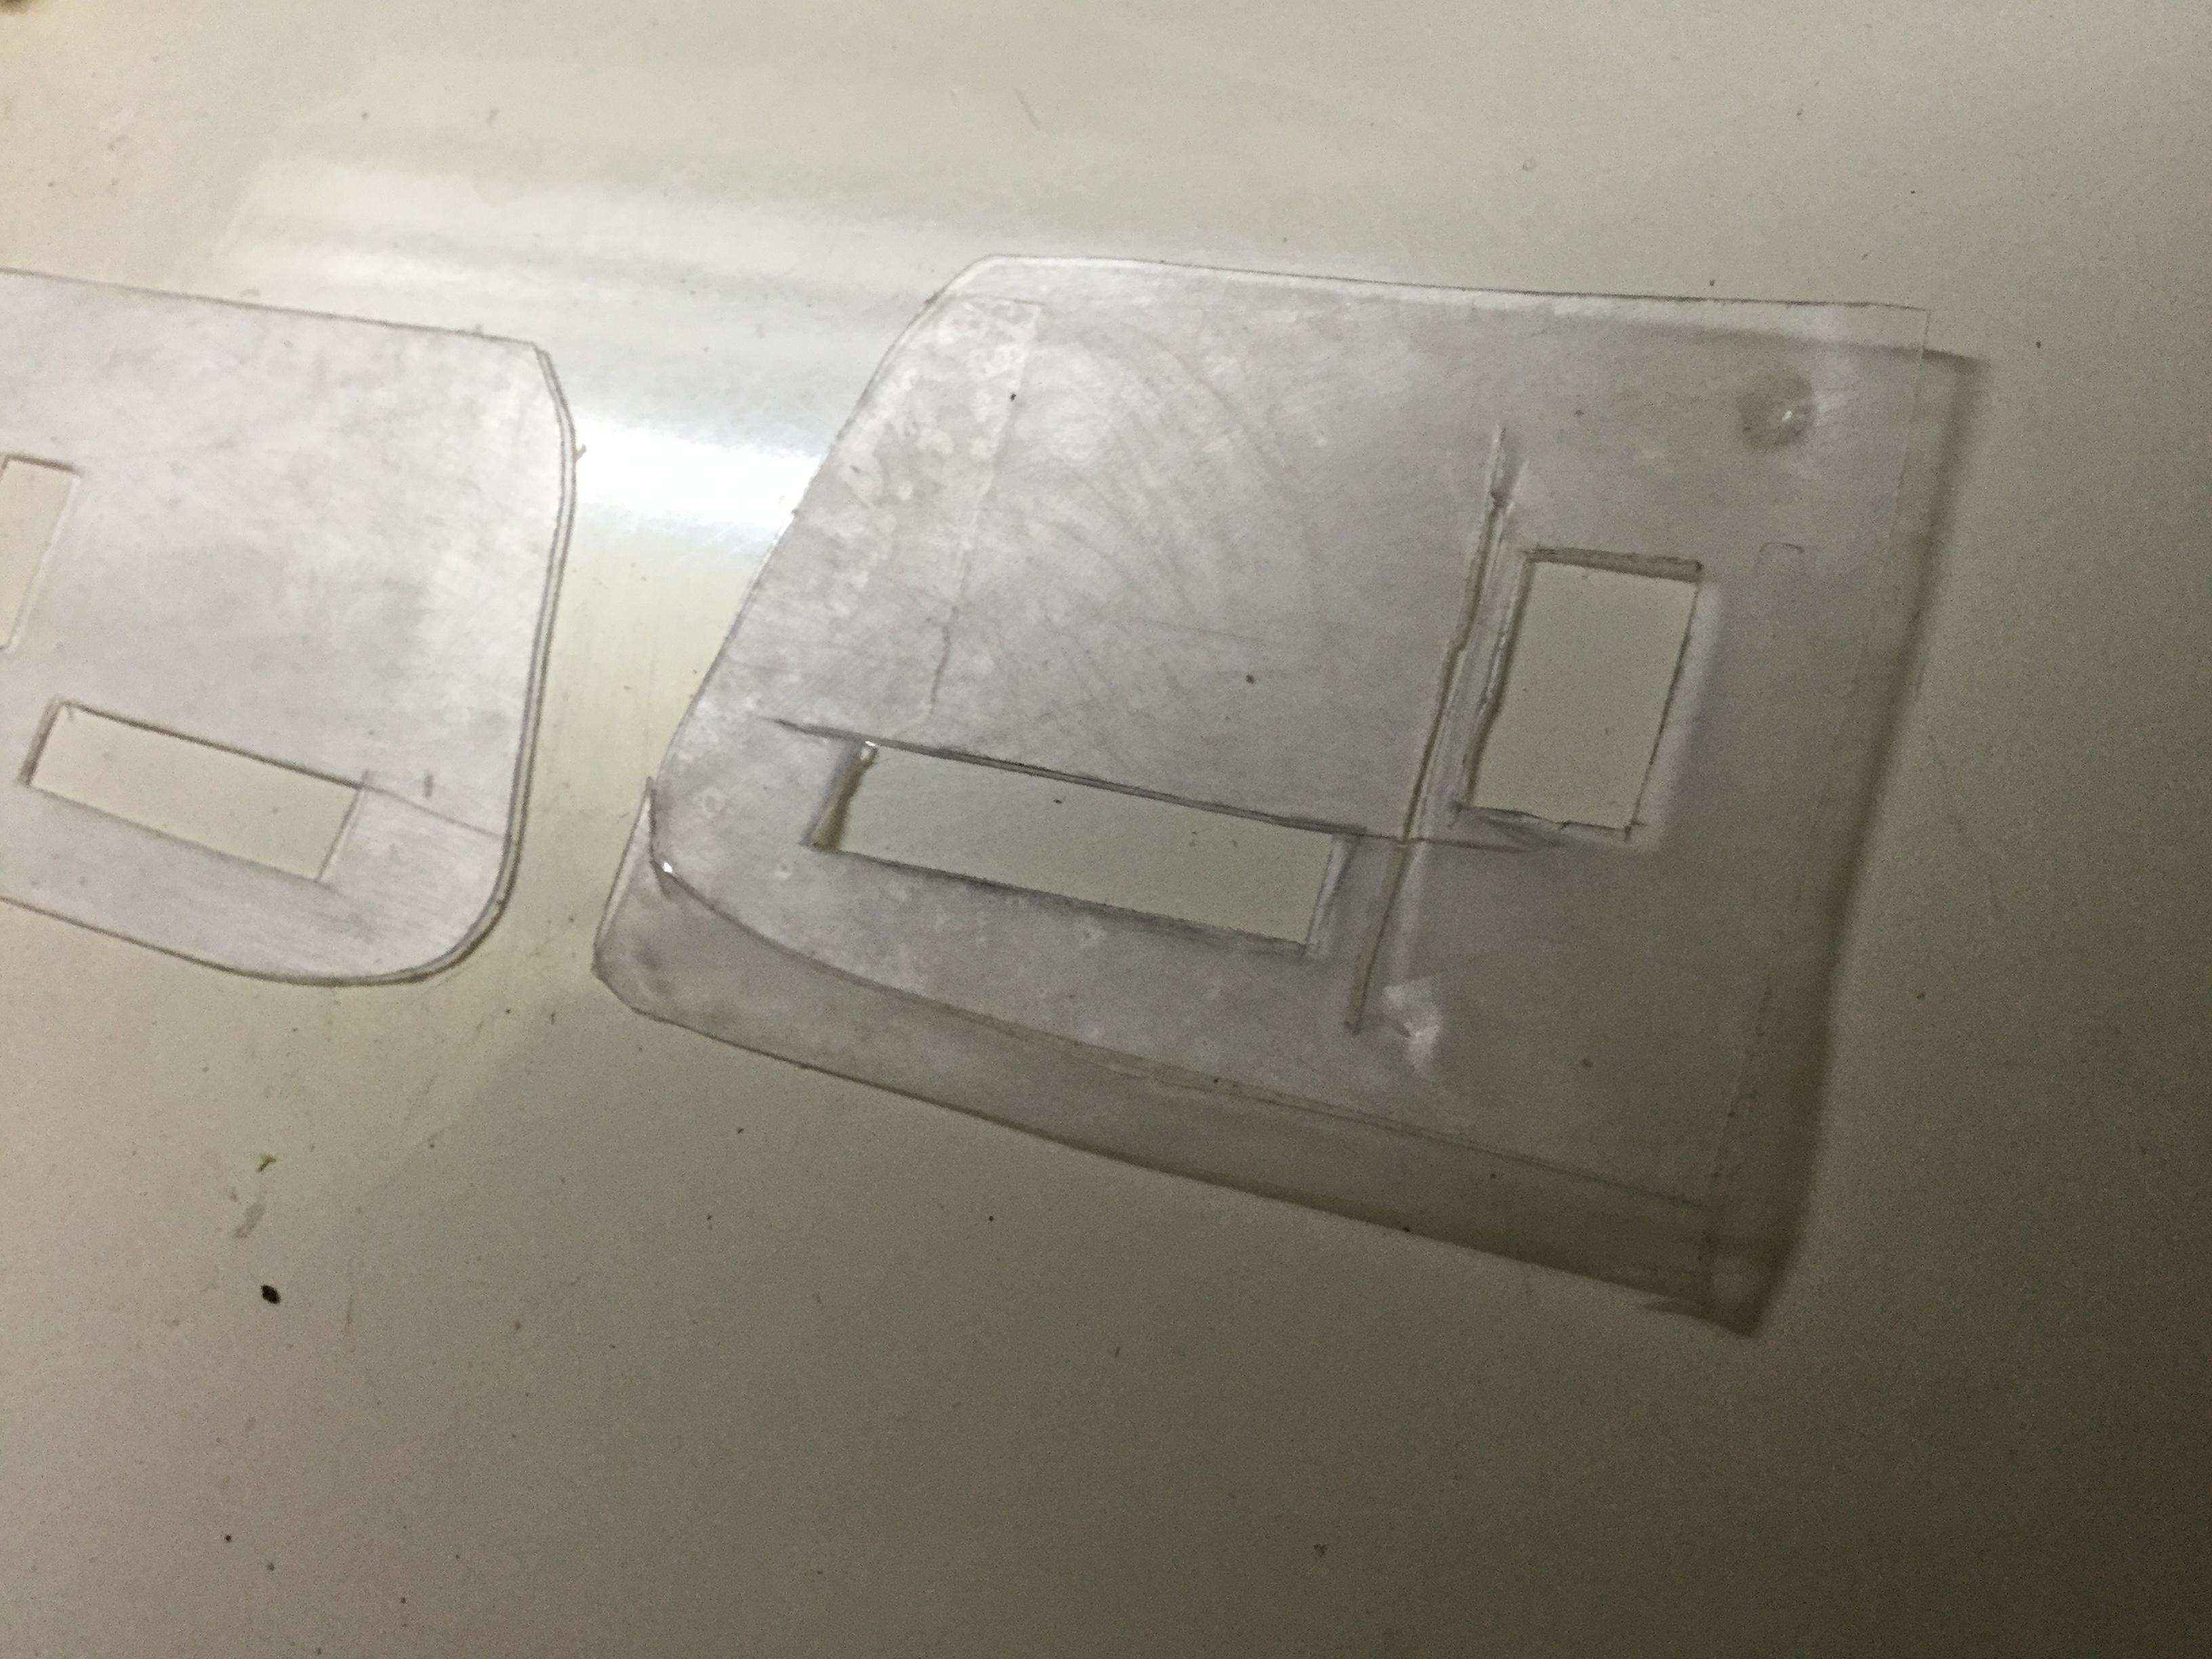
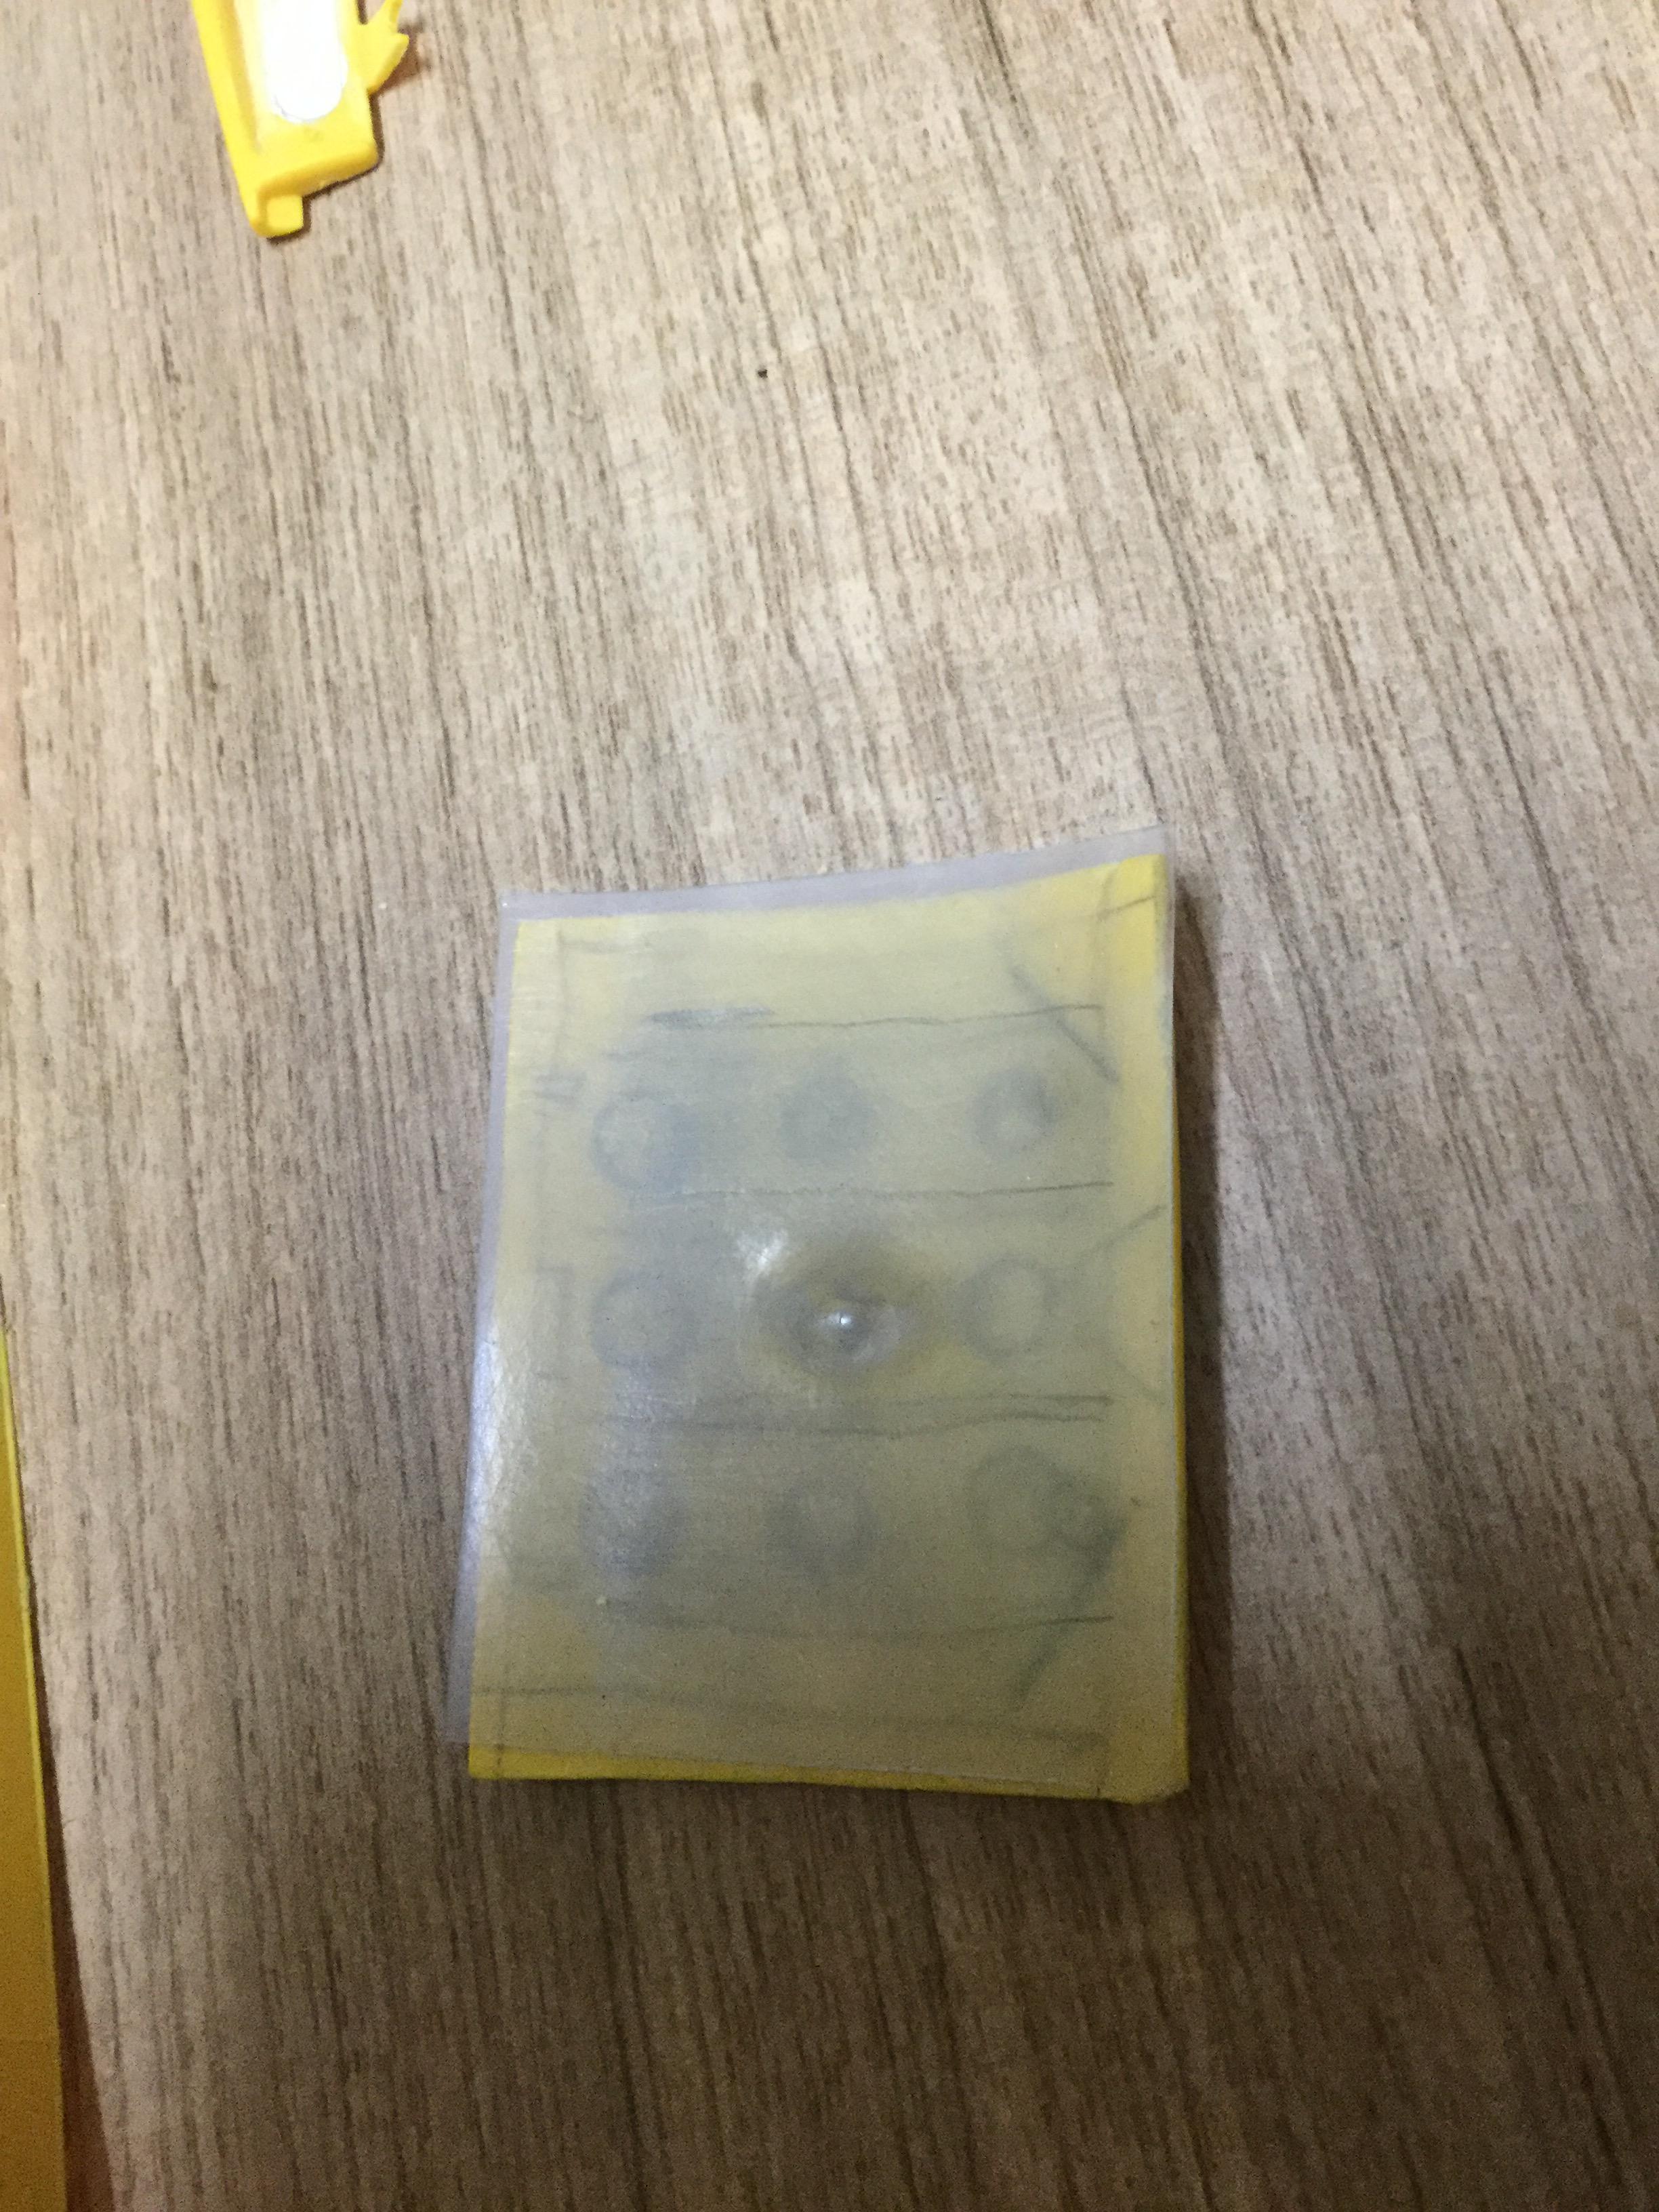
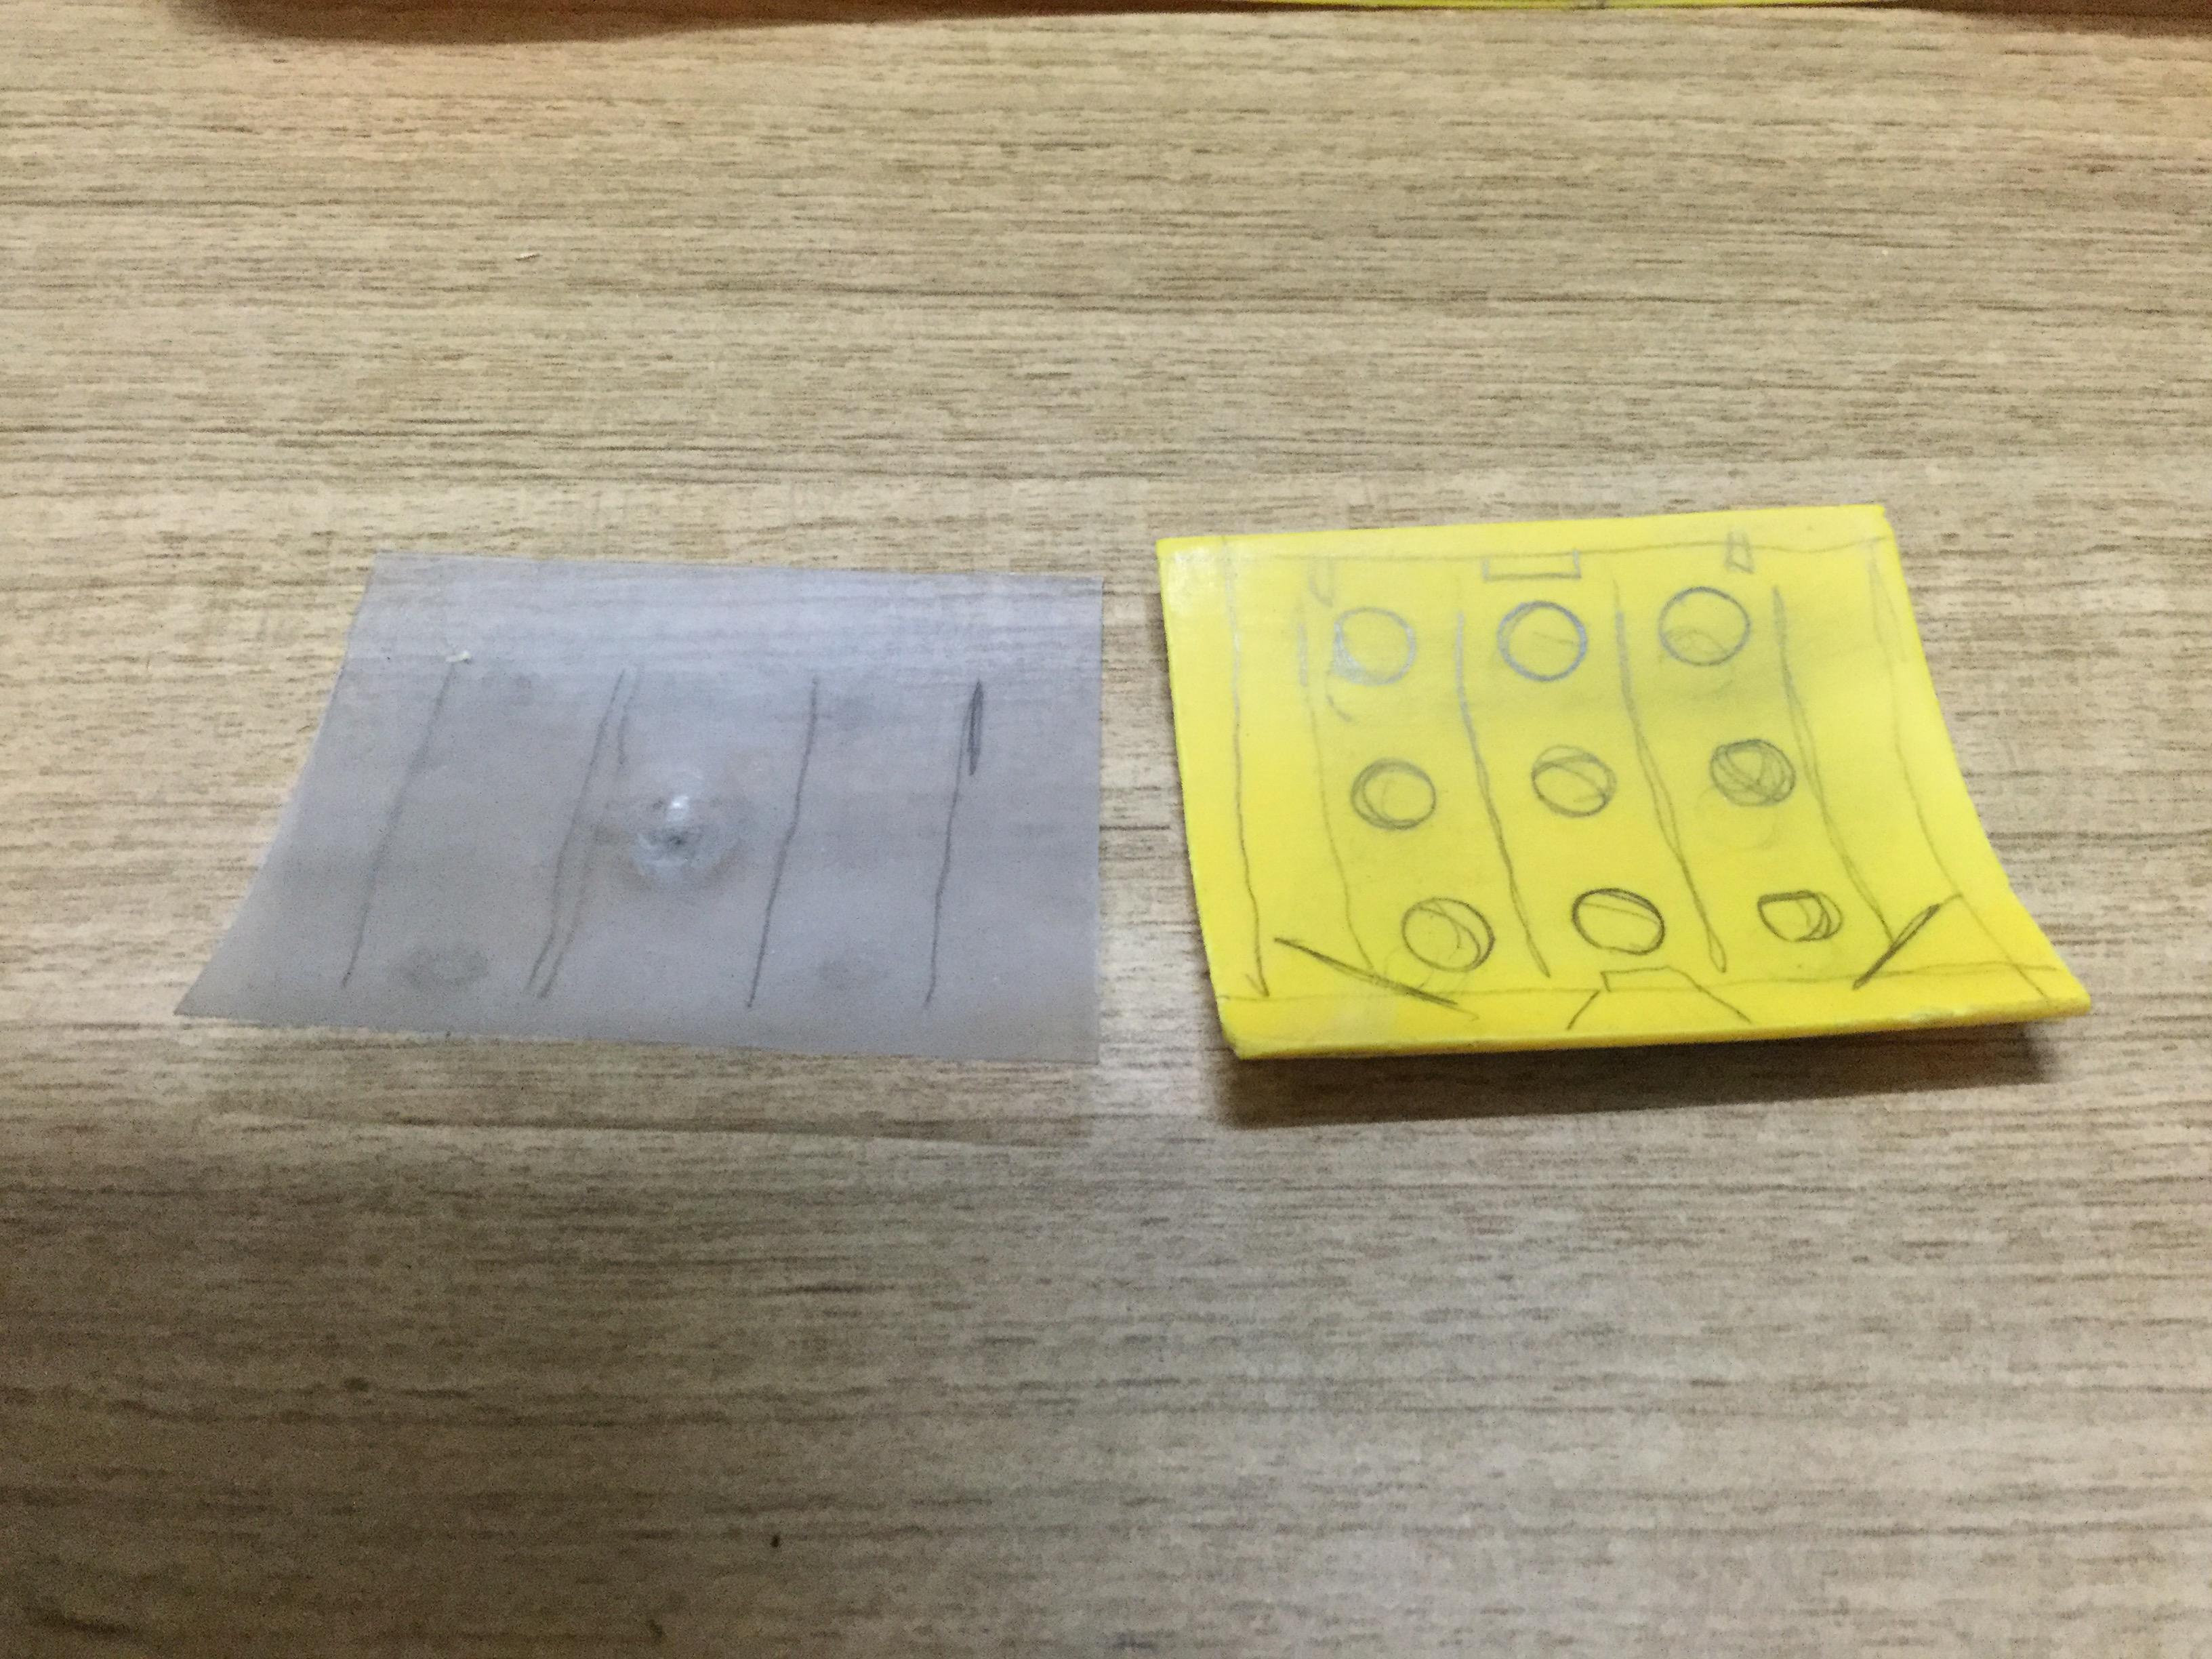
Hey Guys. Another long overdue update. The doors are getting the inner skins. I am using styrene for the edges but for the skins themselves I am using thin clear styrene I sourced from packaging. The reason I am using this is because it’s thin enough to put the recesses into it like the original.
-
For the centre section, I measured the one in the AMT 34 5 Window Coupe kit and scaled it up.
-
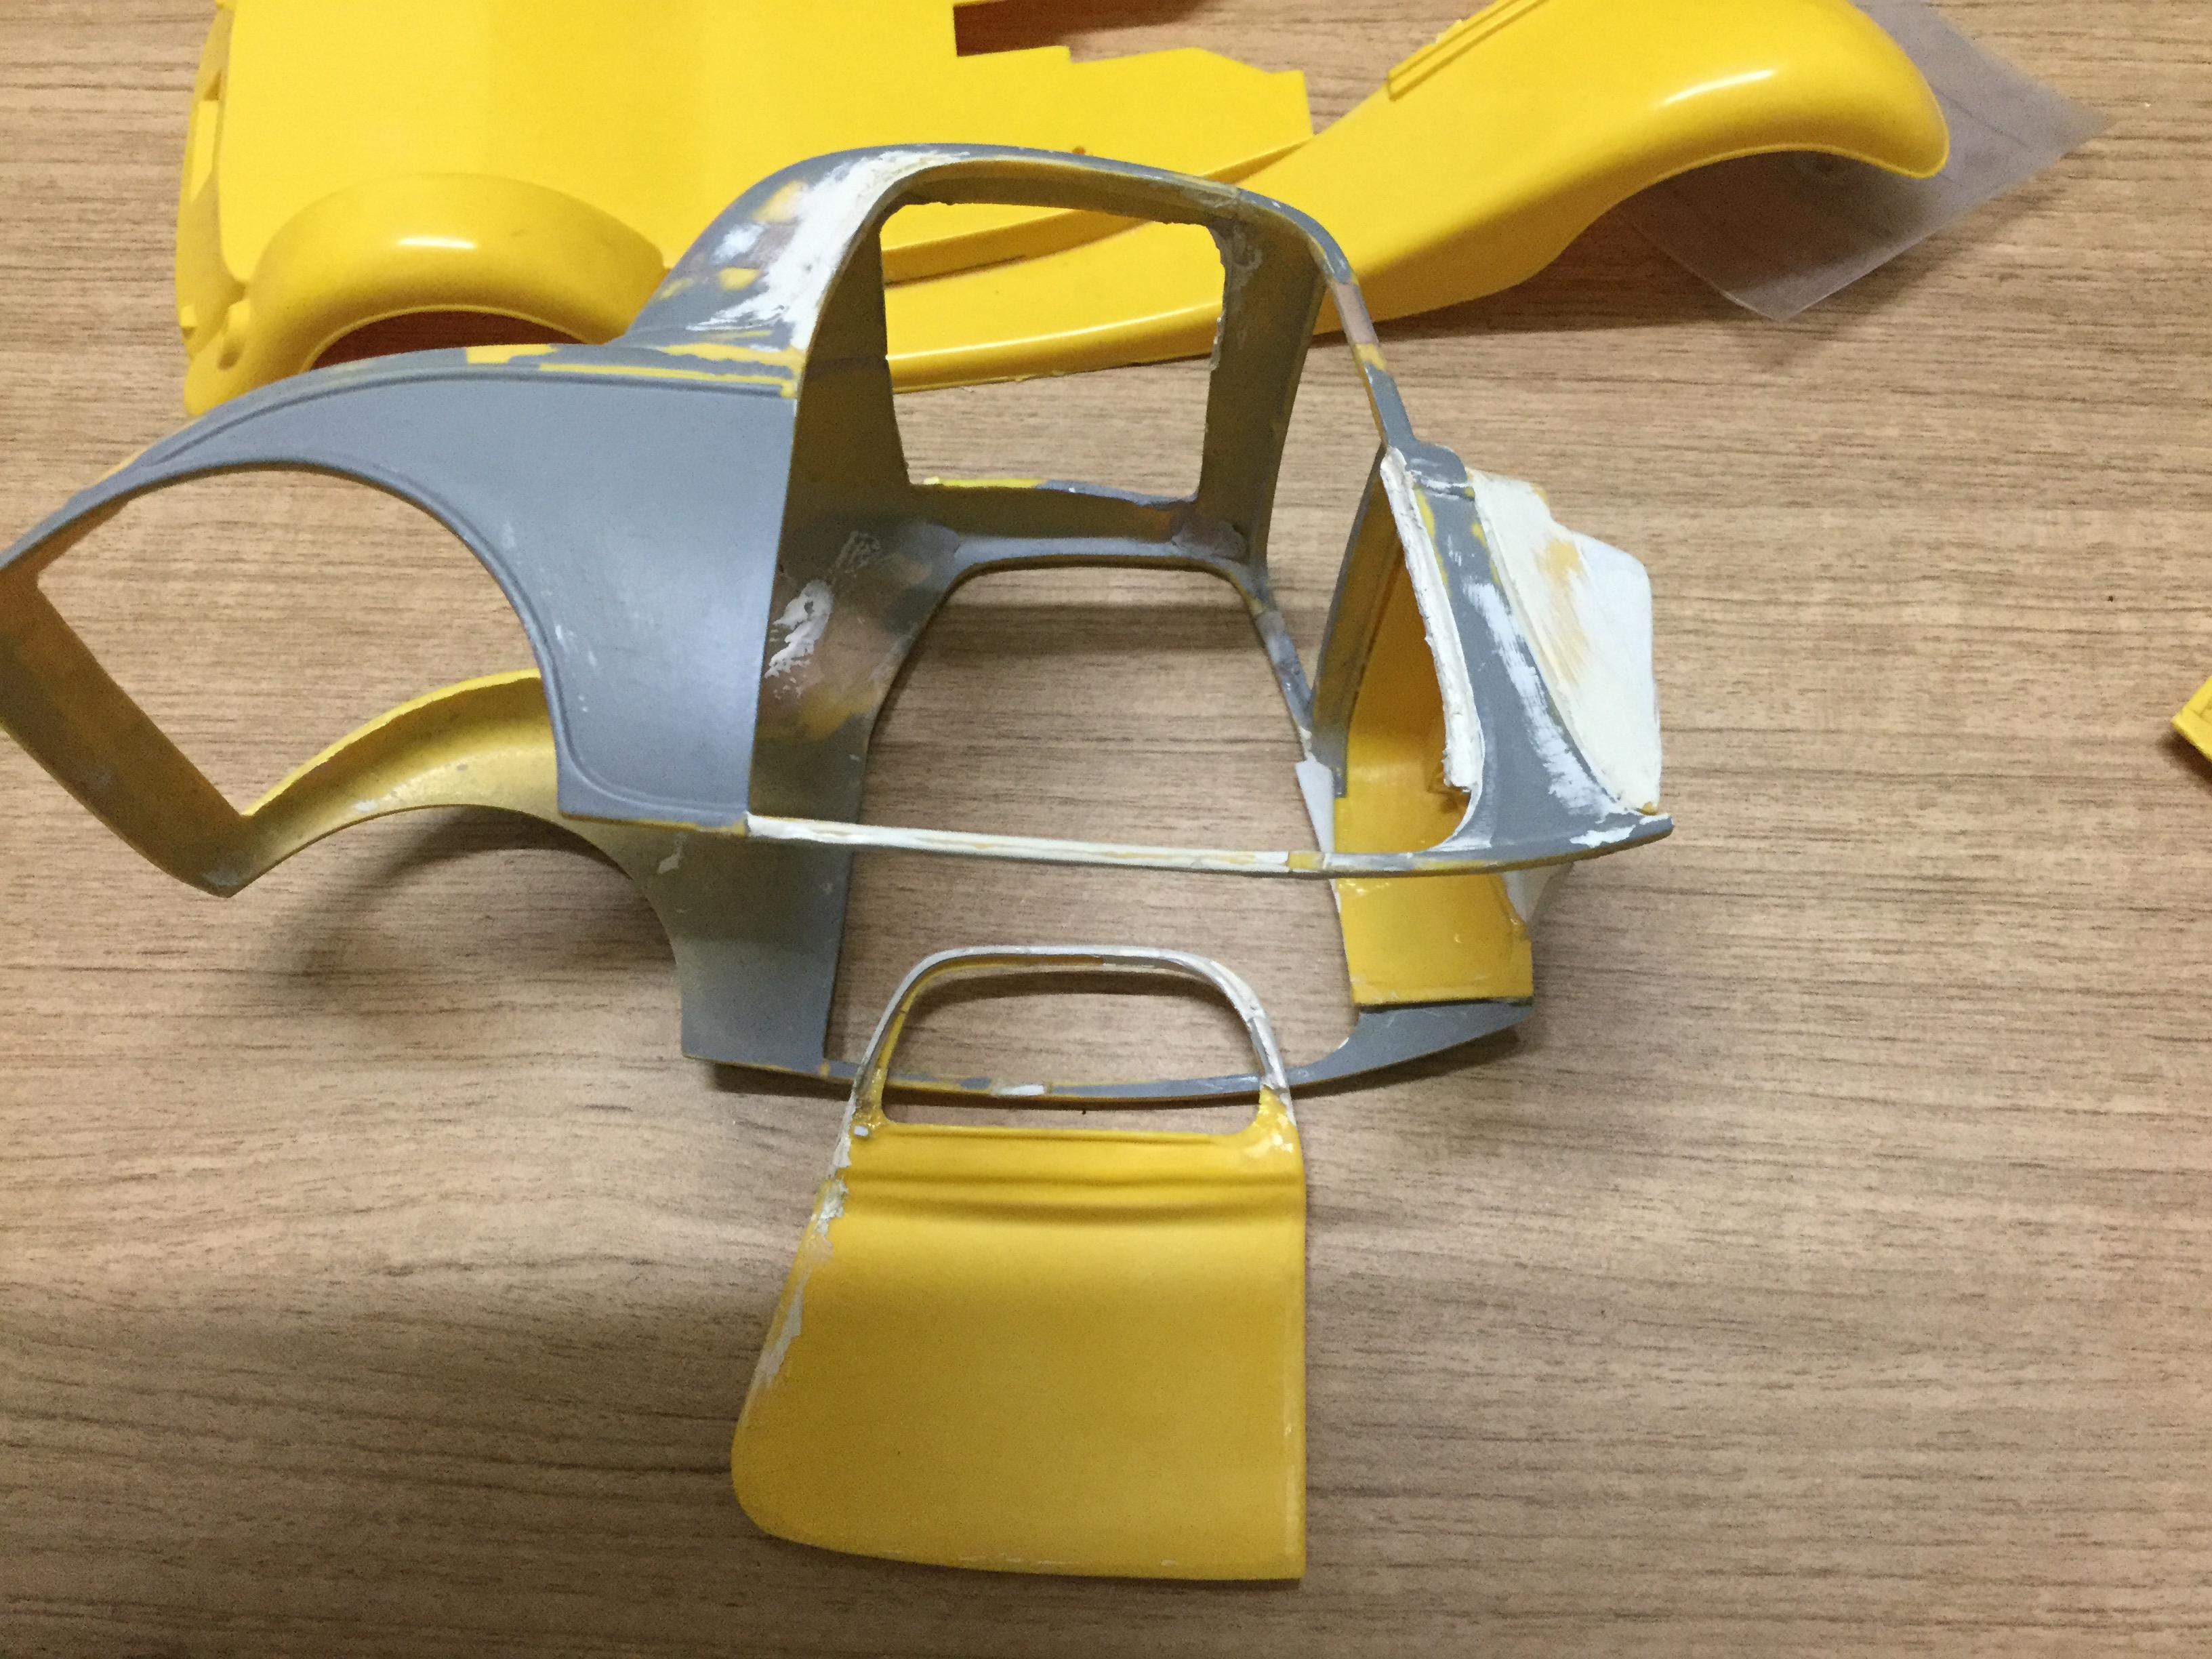
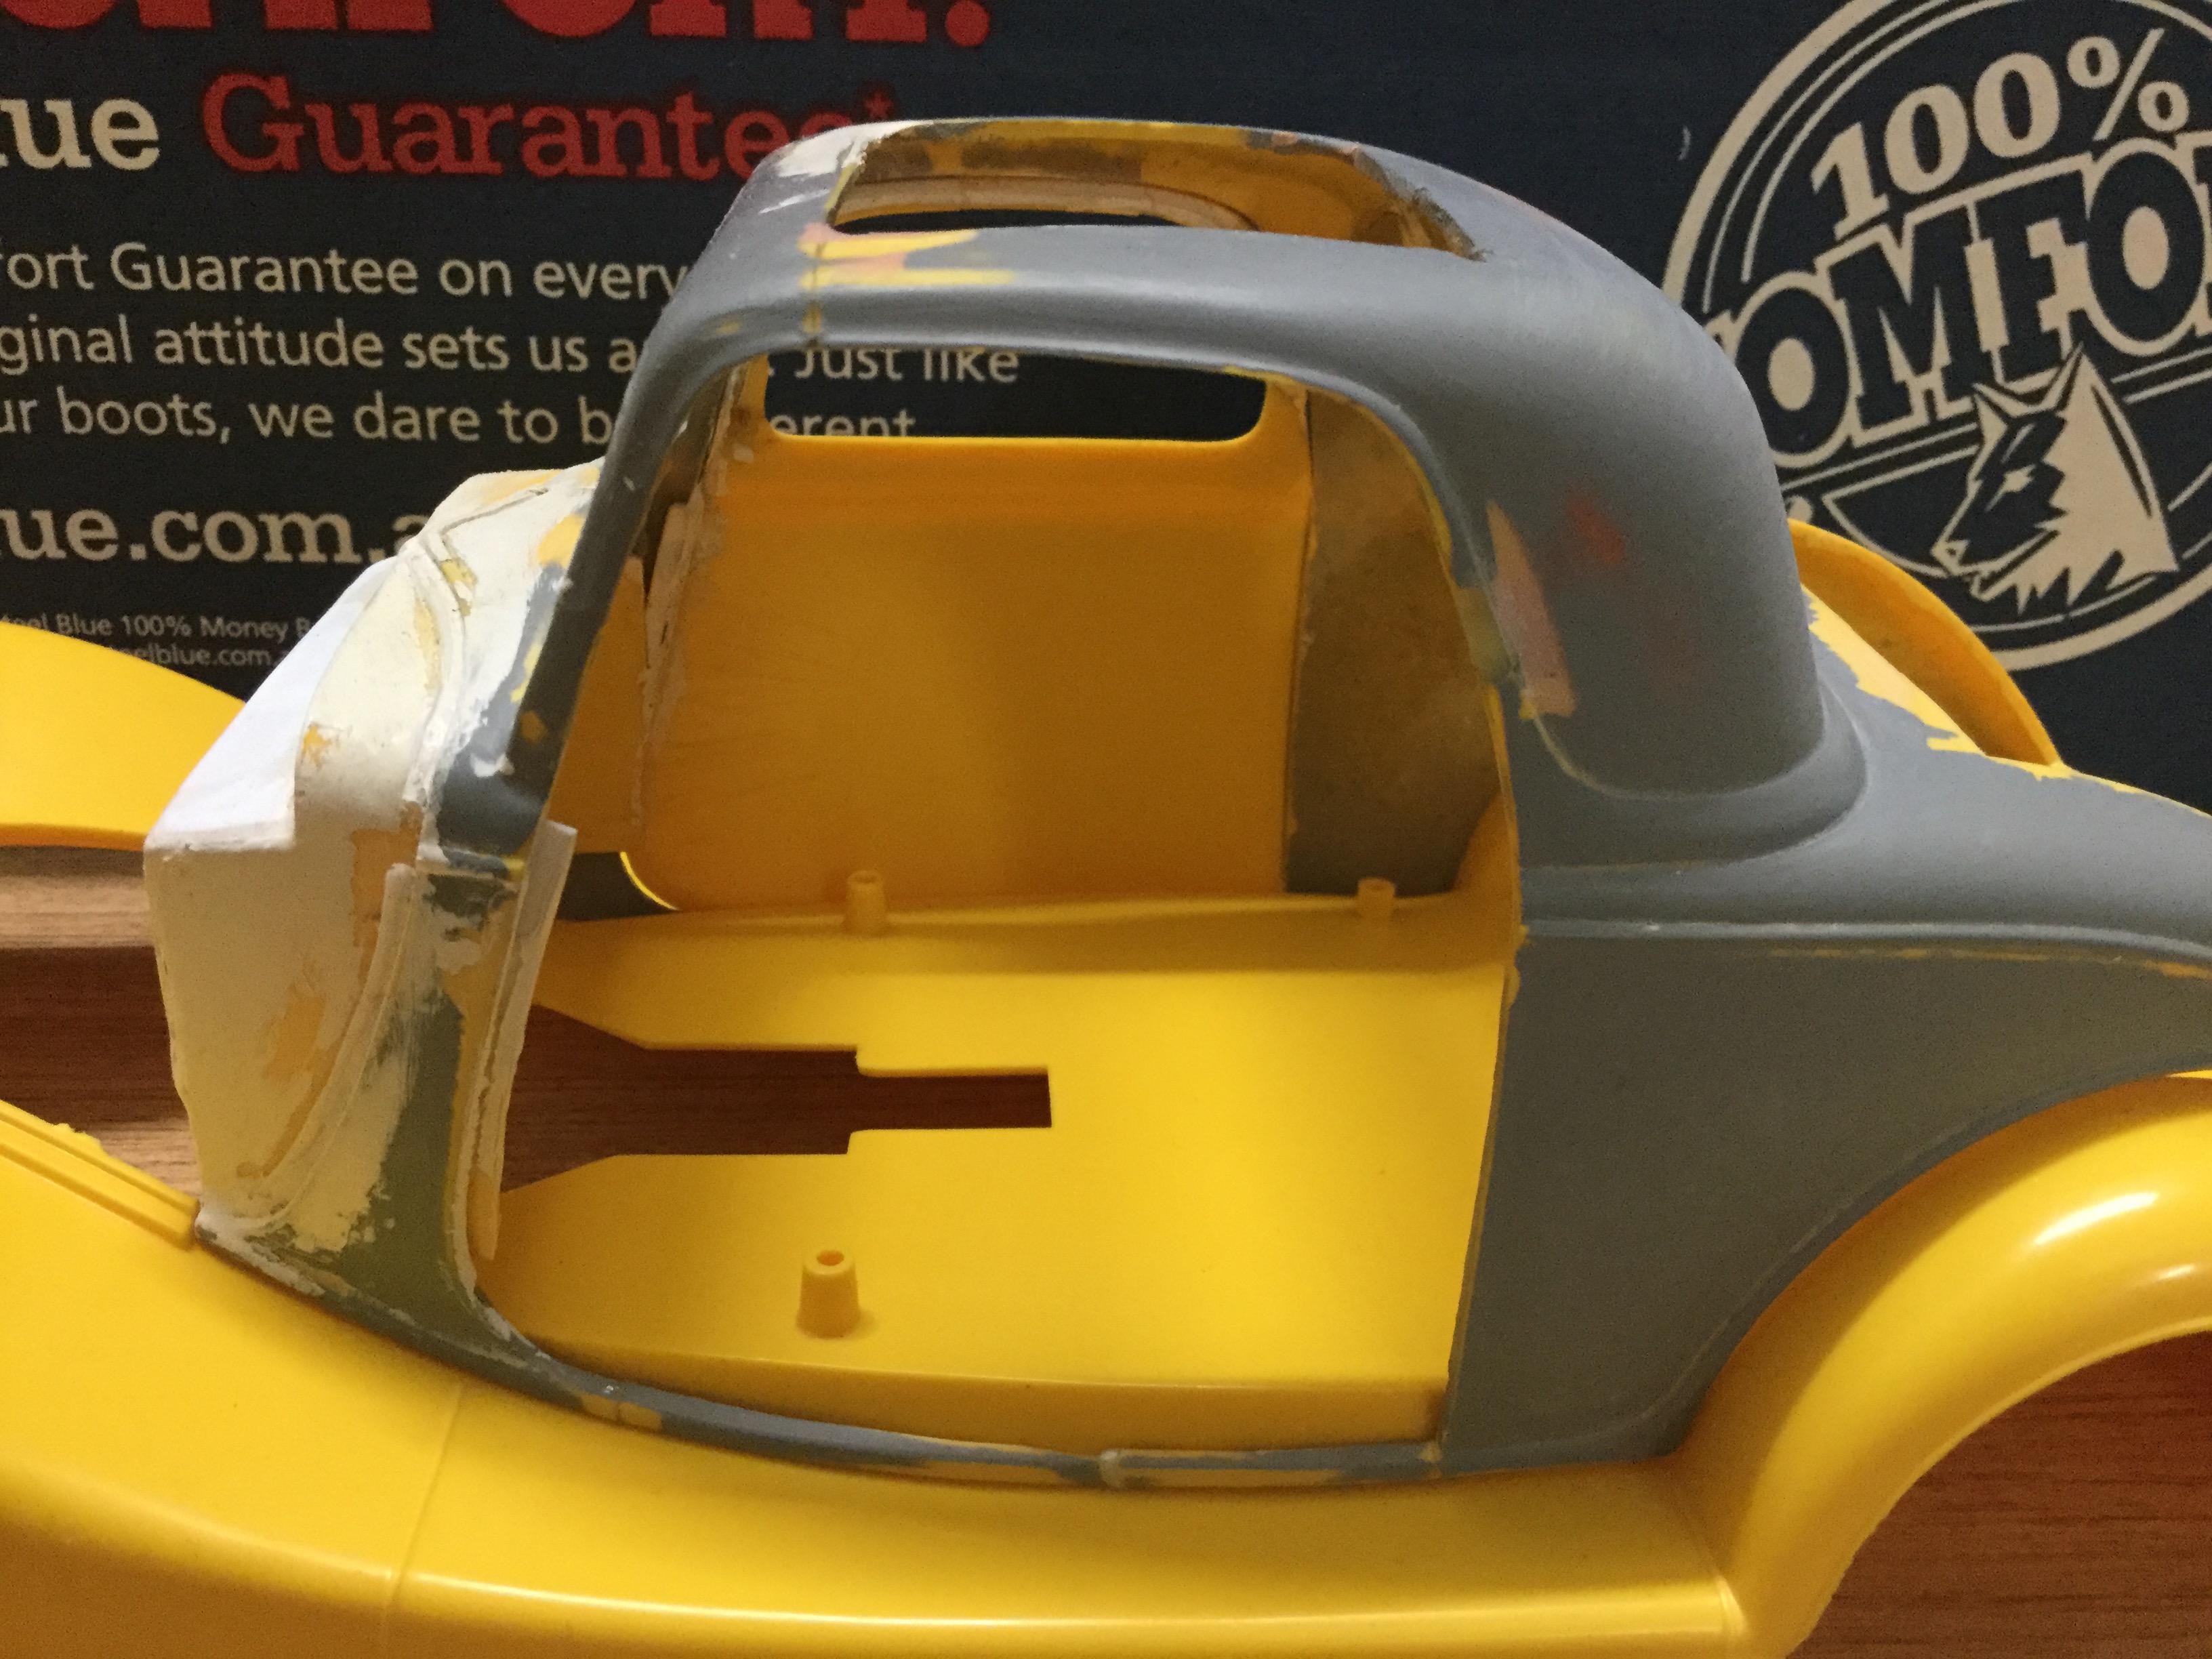
To insure the doors have a flush fit I have added a flange around the A pillar that’s actually part of the firewall. A clean fit and finish will be important with the doors and one thing that’s often overlooked is the flange and surround. With the doors and deck lid being hinged, I will be adding in as much detail on the inside as possible. My next task is to finish off the detail around the re shaped door and roof line and transfer the updates over to the other side.
-
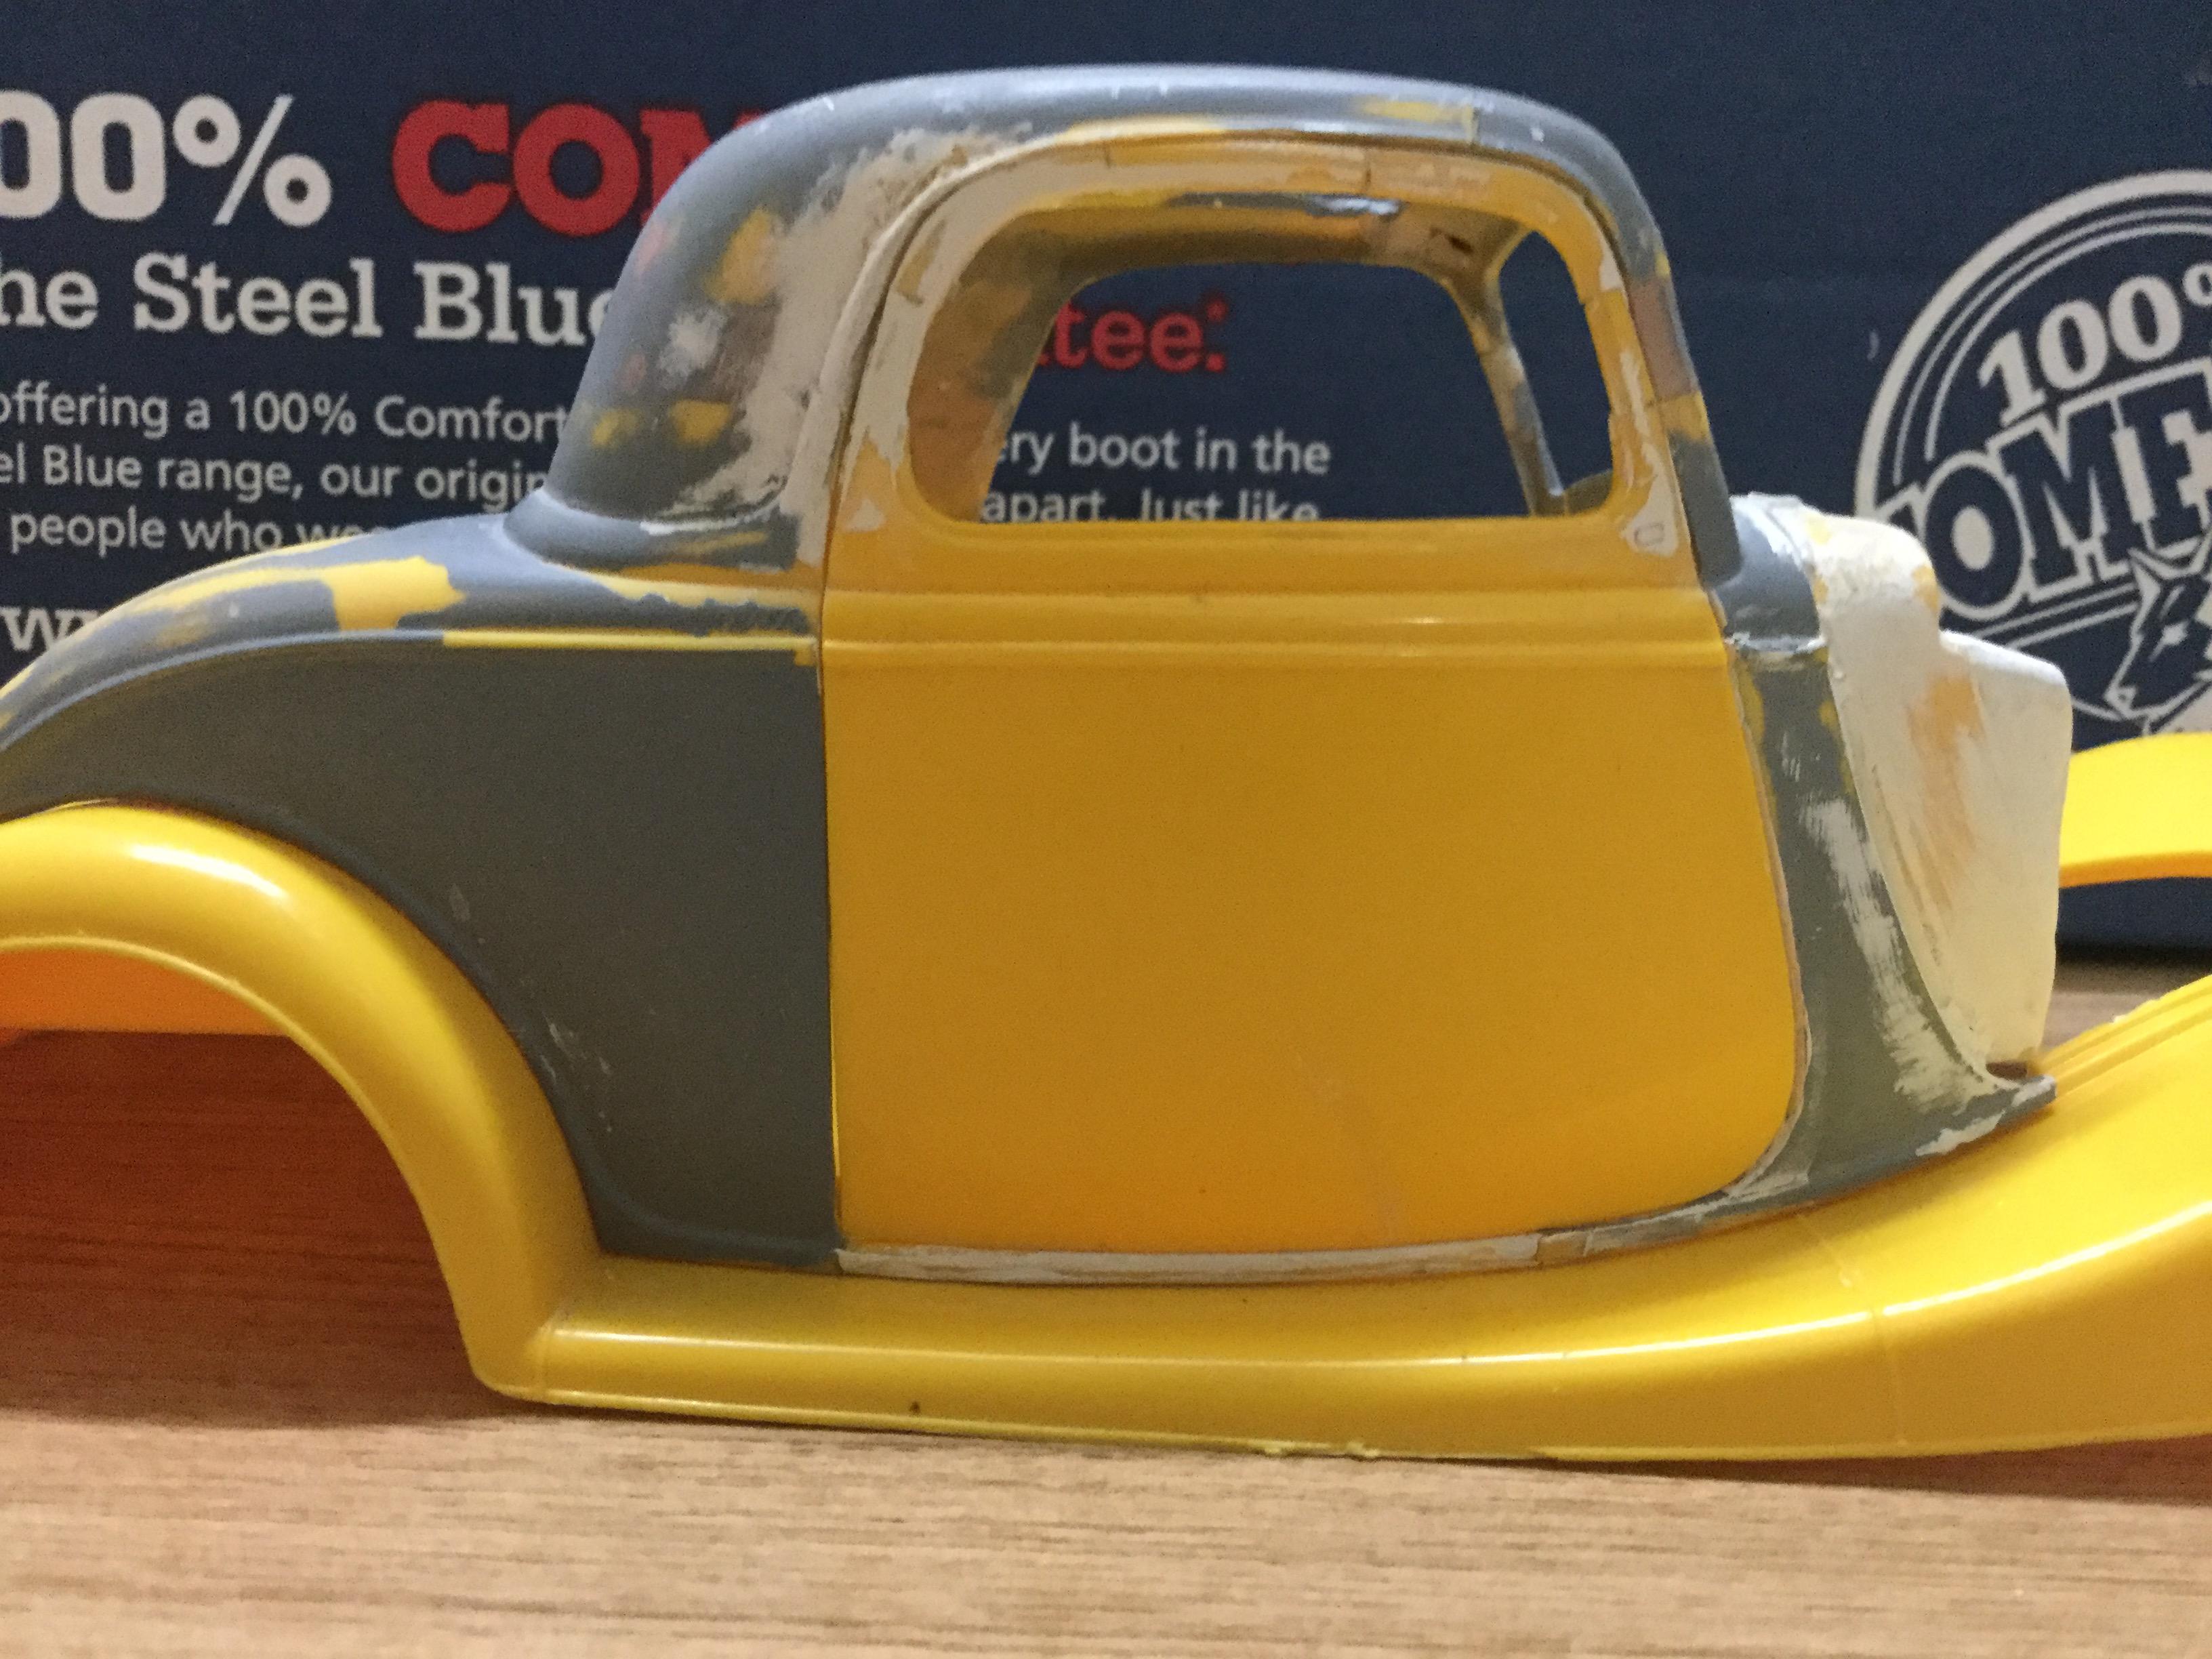
This is how it looks now after some subtle carving and reshaping of the swage.
-
After looking at images of stock three windows, I soon realised the Roof on mine was wrong. The error is in the b pillar, due to the more severe rake. While this looks fine on the standard kit, on my stock height version it kept bugging me so I decided to do something about it.
-
The other change I have been making is in the roof itself.
-
-
The deck lid was carefully cut out and like the firewall, this too will feature the stock features. One of the most challenging tasks was in creating the inner skin. This has been fashioned from a strip of clear styrene with the center section pushed up to resemble the raised section on the 1:1 that stopped oil canning. The reason I used clear styrene was so that I could place it over the outer lid and accurately mark out the holes.
-
As happy as I am with kit, there have been a number of changes I have made, aside from un chopping the roof. The most obvious has been the addition of a stock style firewall. It will include all the standard flanges and beads.
-
Hey Guys. I am back into the build after a five year absence. I was looking at something to spark up my interest again and thought of this one out of all my stalled projects. The larger scale definitely draws me in and the accuracy and fit of the kit makes it the best 34 kit on the market. The build outline is still unchanged, it will still be using the same wheels and rear end and it will still feature an Arden equipped side valve.
-

Kits with Old style BF Goodrich TA Radials
fractalign replied to fractalign's topic in Model Building Questions and Answers
Thanks for all the feedback guys ! -
Hey Guys. I am just wondering about the availability of any kits with the old style BF Goodrich TA radials. I have some from the old Hardcastle and McCormick Coyote X kit but they are a little on the small side for what I want. Were there any other kits released that featured these tyres in larger diameter and wider track ? Any help is appreciated. Cheers !
-
Hey Guys. I am just wondering about the best way to mask a set of fenders for flames. I want to recreate a Bobby Alloway style 34 3 Window coupe with the flames that run along the sides of the body and fenders but I don't know where to begin. Any help is appreciated. Cheers !
-
1930's-40's Ford Commercial Wheels
fractalign replied to Aaron_F's topic in Truck Aftermarket / Resin / 3D Printed
I do make them and I have cast up various test versions. The biggest obstacle to getting them to the production stage has been sourcing a set of stainless steel lugs. I was finally able to purchase a set of lugs a couple of weeks back to complete the wheels after months of looking. Once I secure the right diameter wire for the studs I can begin the finally assembly before I cast them. The image below is of the master. This is also the same wheel that will be on the rear. The centre hub is also completed but not shown in the image.
-
Pretty much done with resin.
fractalign replied to cobraman's topic in Car Aftermarket / Resin / 3D Printed
I find it astonishing that these guys are happy to take your money and make you wait indefinitely for product. Speaking as a caster myself I always shipped out product within two working days of receiving the order and I never charged before I shipped out the items, as a result I never had any complaints. I also had a number of customers who were more than happy to order products from me time and time again. Any excuse resin casters make is just that, an excuse. If they are too busy to complete your order or this is just a hobby or sideline for them they should give up. The biggest and best casters do this full time for a reason, they know that in order to satisfy customer demand they need to be on call 24/7. They would not be number one if they did not treat their customers with respect. I actually don't have an issue with casters taking orders for items before casting them but they should only be charging their customers once the item is ready for shipping. I will be doing the same with my next line it products. -
I have the "Motor City Muscle" Revell 1969 Z/28 2'n1. My opinion is that this is an excellent kit with a choice of two build options, two sets of wheels and two grills. Like all Revell kits the finish and detail is superb. Even the small things like having separate clear styrene windscreens and rear windows add to the realism.
-
Another neat and unique build !
-
Anyone casting a 55 Chevy sedan delivery?
fractalign replied to Craig Irwin's topic in Car Aftermarket / Resin / 3D Printed
You are absolutely right about that. I checked out my own Nomad version and put it back straight away. The rear roofline is completely different to that of the sedan delivery. The doors are different too there is lean in them. I looked at my 55 Tudor and came to the conclusion that it would be far easier to scratch build the roof and tailgate section and graft it into the tudor. The tudor trim would be removed and the dip behind the doors filled . I have been sourcing images of sedan deliveries online so I have no shortage of information to work off if I decide to take this one on. The hardest part of this project would be creating the corners for the roof. I would most likely mould the roof corners from the Nomad and use them. The floor pan would be built into the chassis to simplify the moulding process. I did mention that this was something I was interested in taking on. I also mentioned I was completing another project for someone else. I have decided to get that project completed as soon as possible so that I can focus on the possibility of finally doing a sedan delivery. If I undertake this project I have also decided to put any other projects on hold as this one will be an extensive one. -
Anyone casting a 55 Chevy sedan delivery?
fractalign replied to Craig Irwin's topic in Car Aftermarket / Resin / 3D Printed
A friend and I were looking into this a couple of years ago. He had given me a 56 that I had then mastered into a Sedan Delivery. I had it 90 percent finished when I handed it back to him to complete. He never got it finished and that was when I realised I should have kept it and finished it myself. Out of frustration I purchased a 55 Tudor off him with the intention of doing my own sedan delivery and I got as far as removing the rear of the roof. I have a 57 Nomad that I can use for the rear section although I have also considered modifying the 57 into a 55 by changing the side trim, front clip and rear tail lights. The project has been on the backburner as I have been busy finishing off another one for someone else. These projects are never simple and typically take six to twelve months to complete. However I never totally gave up on the idea. and I am sure there is plenty of interest out there. If you are able to get me some basic measurements, such as roof height, door length etc I may be able to give you a better estimate. -
Here is another image of the same wheel in a different tyre, this is one of the resin tyres that was painted up. I have been casting all the wheels as well as an adapter that attaches to the large wheel hub, that replicates the star cap shaped hub on the small wheel shown in the first image. The only remaining task know is to make the backs for both wheels and the brakes for the rear ones and cast them up too. Once these tasks are complete, I can finish work on the five spoke versions that will run the same outer rim as these ones. These wheels fit neatly under all the Model A, 32 and 34 Kits I have tried out, with or with out fenders. I will have more photos once I have finished the five spoke versions.
-
Hey Guys ! It has been a while but I was finally able to finish the masters for the wheels and tyres. The version on the far right is a mild pro street configuration. All the whitewalls are separate inserts. I have been wanting to create a set of standout big n little wheels for a long time only to find myself thwarted when it came to the design of the tyre. For the high profile tyres it was a case of splicing a second tyre into the existing one to raise the diameter. For the small one in the middle, the centre had to be carved out to fit the whitewall inserts. The other side of this tyre also takes a larger front wheel not shown, that has the same pattern as this one. The larger wheel on the left was widened by 2mm and the diameter was reduced by 1mm. These wheels work out to around 19 inches in 1:1 scale. With the slightly reduced diameter and deeper offset the overall effect is closer to what I originally set out to do and that was replicate the style used on Bobby Alloways 34's he built in the mid nineties.
-
whats out there for muscle car wheels
fractalign replied to CelticModeler's topic in Car Aftermarket / Resin / 3D Printed
Hey Mack. Check your pm, I have sent through a message. Cheers !