fractalign
-
Posts
851 -
Joined
-
Last visited
Content Type
Profiles
Forums
Events
Gallery
Everything posted by fractalign
-
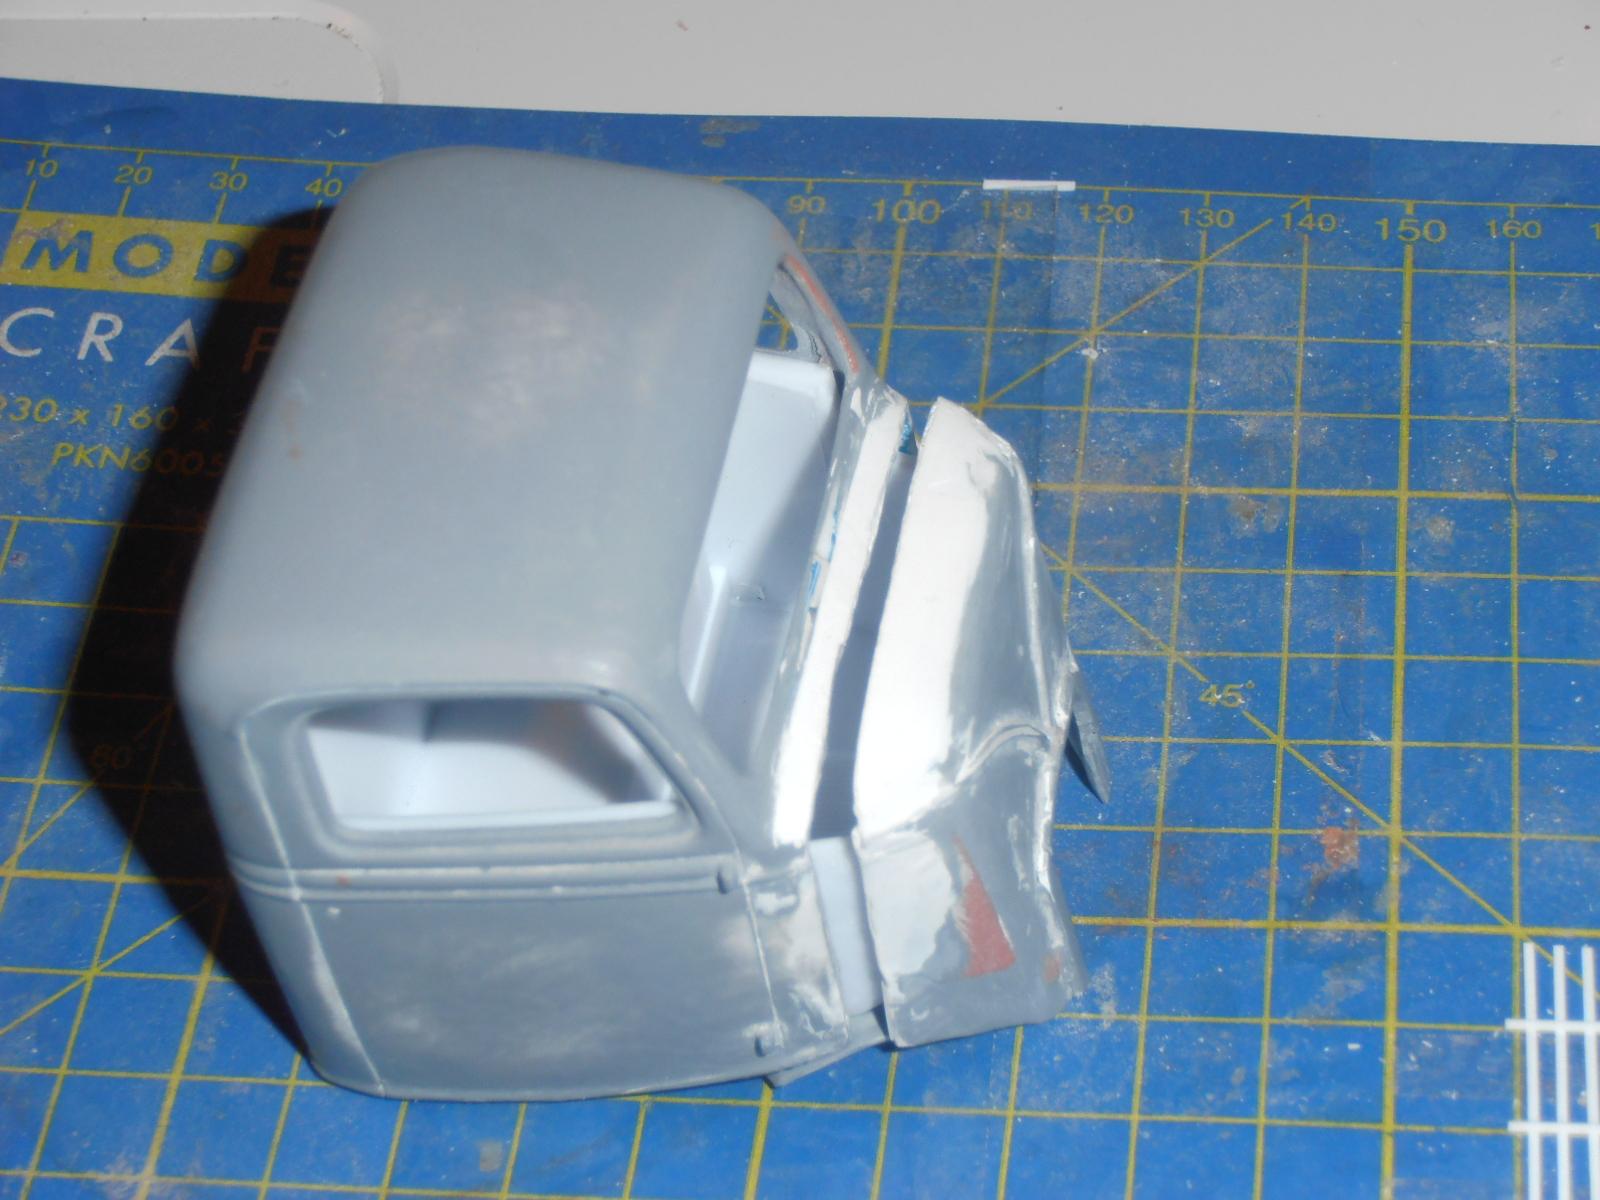
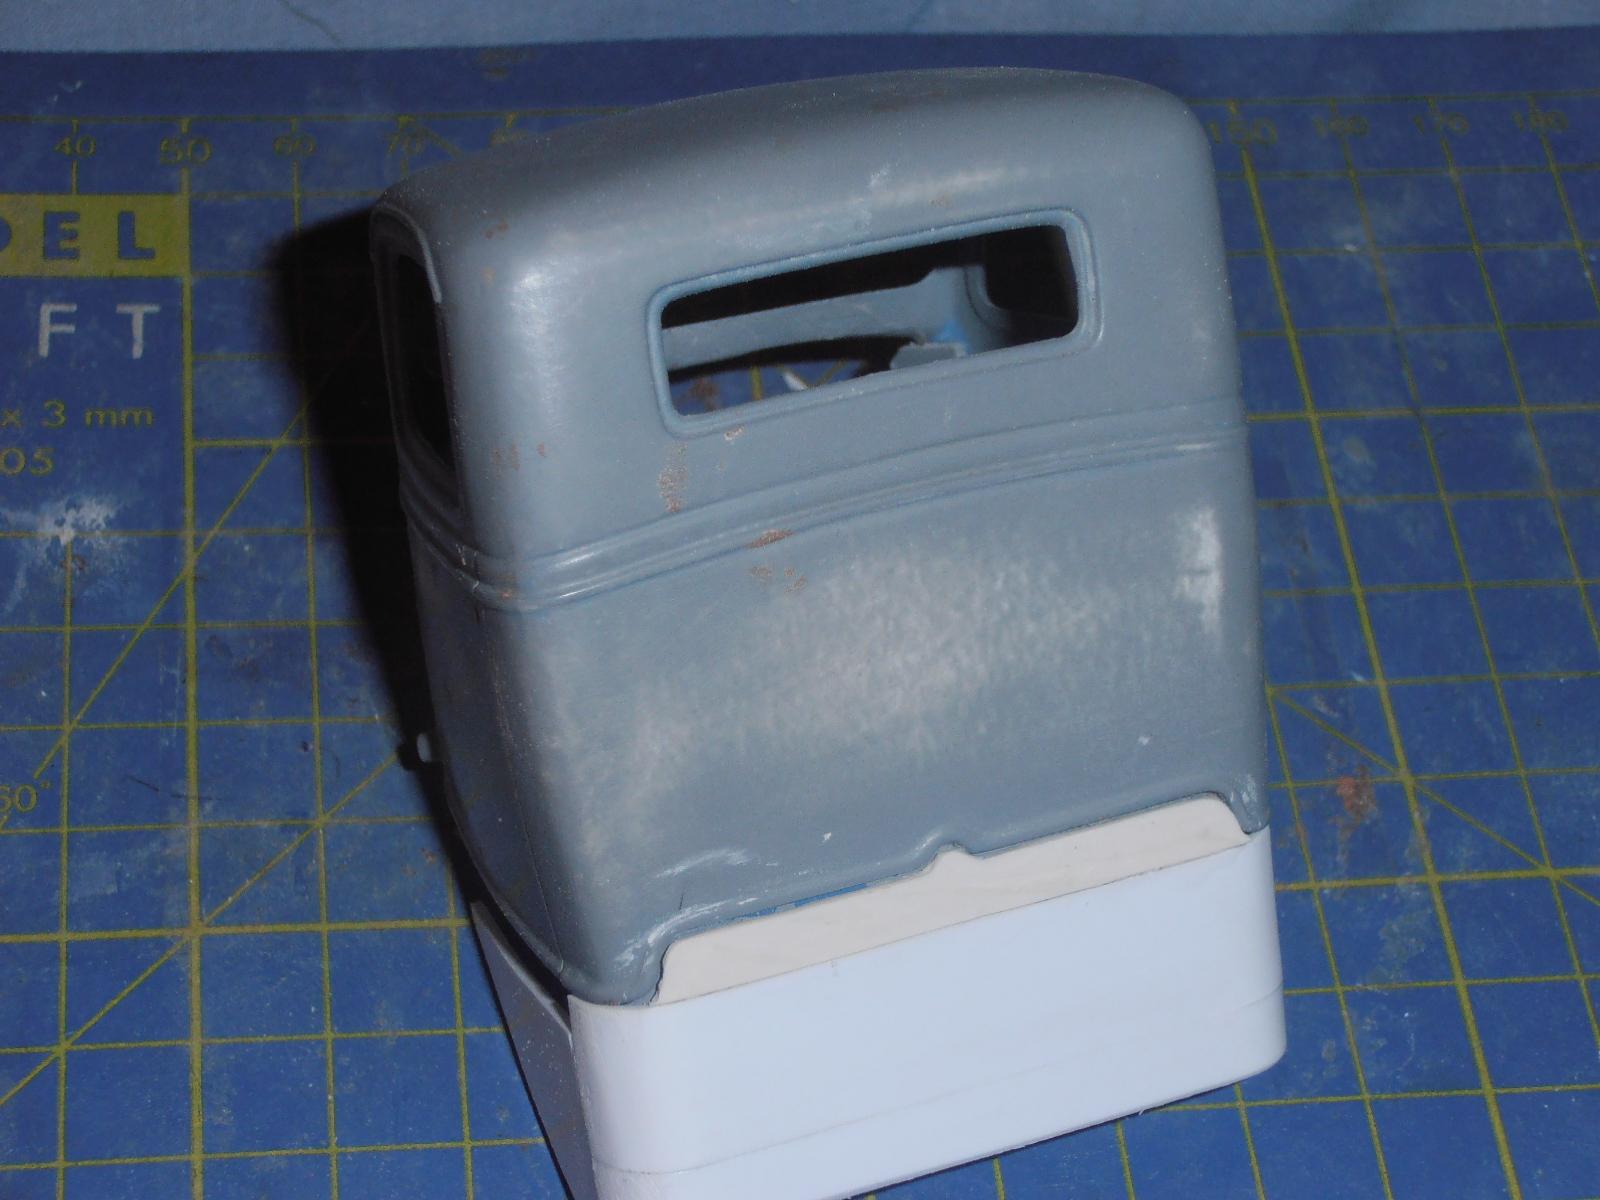
 Hey Guys. Here are some photos of the changes I have had to undertake. I test fitted the interior bucket only to find the hood did not fit much to my frustration !
-
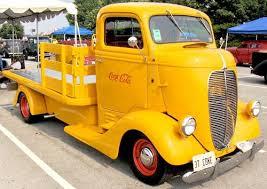
Hey Guys. Still working away, just realised its been over a year now, actually a year and three weeks, where has the time gone ? Anyway there have been a few changes, some major ones at that. One of the changes is the trucks themselves. I was originally going to have two 35/36 Dearborns and a 35/36 Regular Ford. I have decided to replace one of the 35/36 Dearborns with a 37 Dearborn.I have three grills and a cab left over from this project and I decided I should put it to use. Visually there is not a lot of difference between the 36 and the 37 Dearborn. The hood on the 37 encloses the grill and the grill itself is much taller than the standard grill other then that everything else will be the same. Not sure which one I prefer, the 36 or 37 but either one looks better then Ford's first Factory C.O.E the following year.
-
34 Ford Pickup
fractalign replied to James2's topic in WIP: Model Trucks: Pickups, Vans, SUVs, Light Commercial
Looking good ! -
That's very cool ! Good to see a 30 pickup, they were the closest Ford did to a passenger car based commercial back then !
-
Way to go ! I still have that issue, what is the body from ?
-
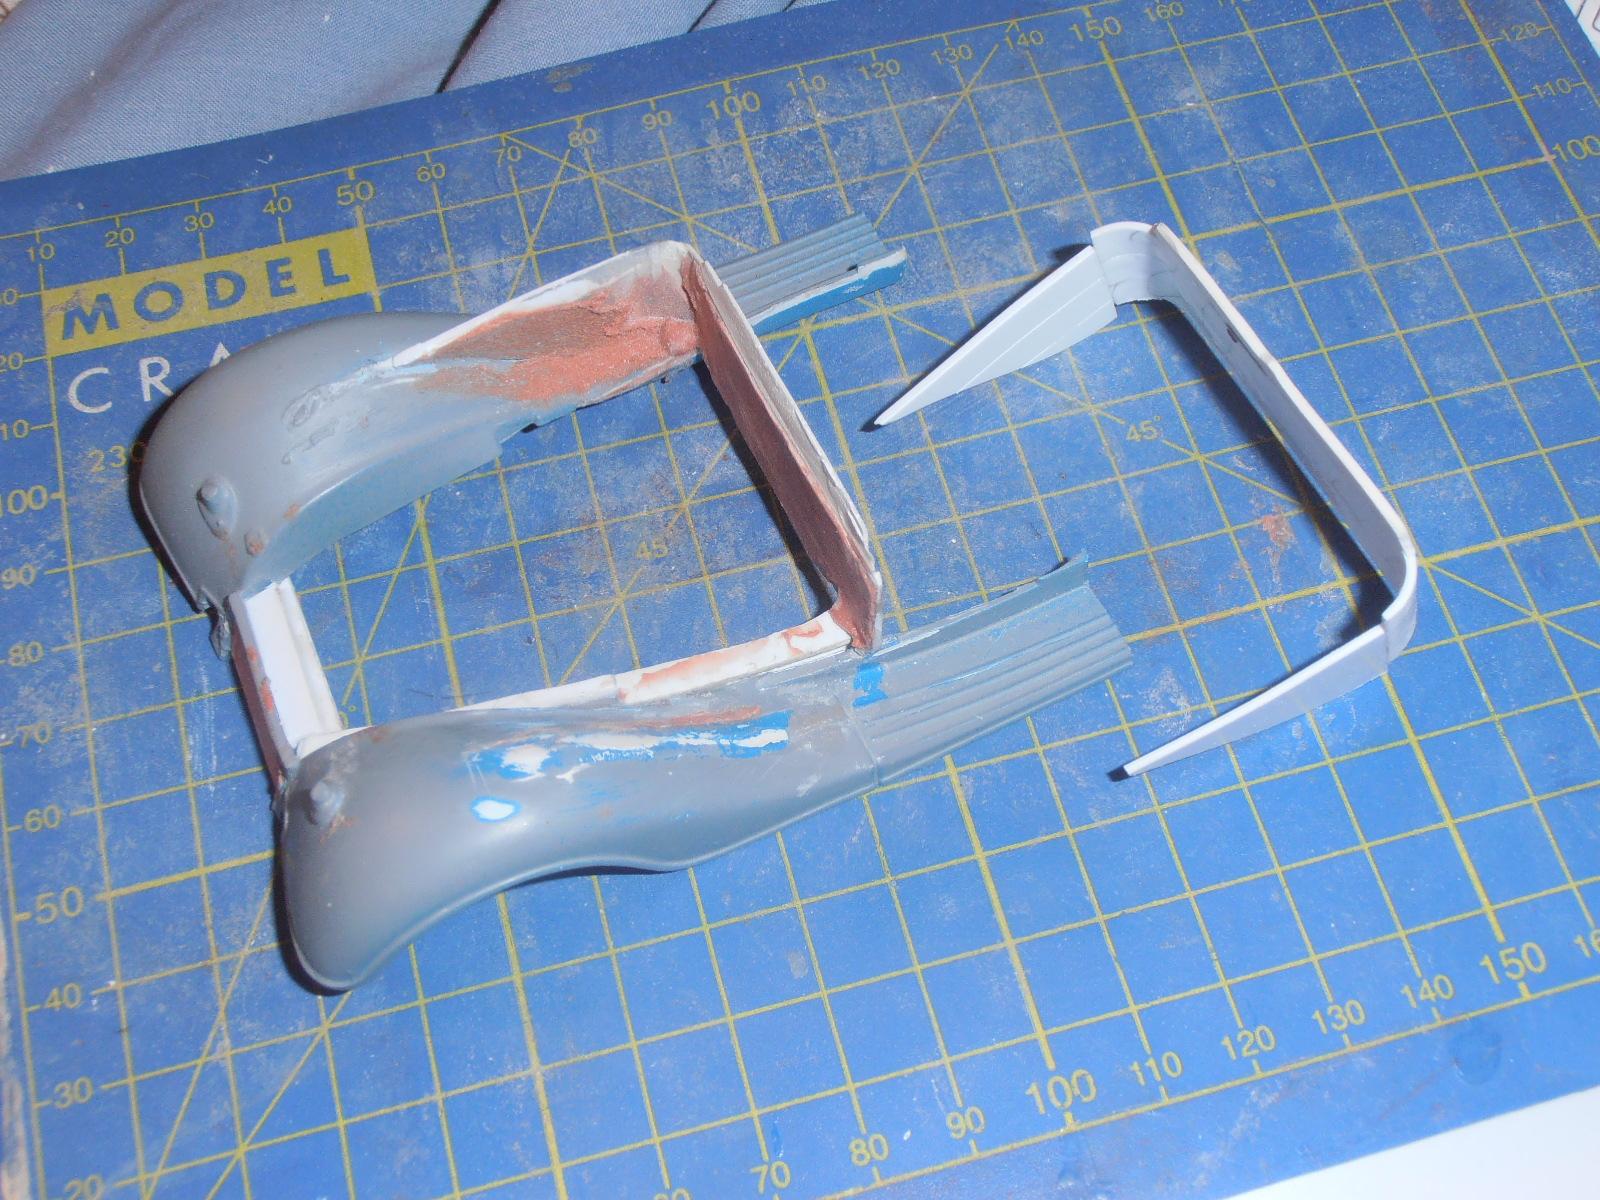
Hey Guys ! I have been a bit slow with the project of late. In my last post I said I would turn my focus back on the cab and the hood in particular, well I reshaped the beak shaped front swage and it looks more asymmetrical. With that worked out I was concerned with the filler panel between the chassis and the cab. The original one was attached to the fenders and I had begun the process of reinforcing the inside walls with car bog to make the whole easier to mould. I realised this would be a mistake so I decided to build a new one rather than finish the old one. I purchased some more styrene over the weekend and used some for this new panel. In order to make sure the top of the panel followed the bottom swage at the rear of the cab, a piece of Fimo was pressed into the cavity to create an impression. Fimo is a form of synthetic baking clay perfect for this purpose. Once baked, the piece was trimmed, sanded and attached to the top of the panel. Over the next few day I am going to concentrate on making sure this panel looks exactly like the ones in the archival images. I have also decided the panel will be a separate from the fenders to make both units easier to mould.
-
1929 Coleman 4wd
fractalign replied to Chariots of Fire's topic in WIP: Model Trucks: Big Rigs and Heavy Equipment
Wow ! You have got more patience than me, keep it up ! -
Hey Guys. Sorry for the lack of updates, work has slowed a bit, I am putting the finishing touches to one of the cross members on the chassis. With the chassis itself almost done I have also turned my attention back to the cab. One area in particular that I would like to finish is the hood. Anybody who has been following since last year would know that I have scratch built this particular hood. The swage on the one in the image takes on a beak like appearance which I recreated on my own version. I am in the process of making sure both swages are asymmetrical. The second image is a diagram that shows just how different the Dearborn C.O.E is from the conventional Ford truck that its based off. I did not have this diagram when I started working on my own version so there was some guess work involved on my part. I will of course cross check my version with the diagram to insure accuracy because the next task once the hood and cab are finished will be to mould them.
-
I will be selling them on my own website under the name "Early Trucks In Resin". I am also explore the possibility of using a distributer.
-
My friend pointed out that the main flaw with the Falcon kit was the length of the front fenders. If you look closely you will notice the section between the leading edge of the wheel arch and the bumper is longer on the kit than the 1:1. I can't vouch for the actual quality of the kits but as far as accuracy goes that is a real issue. I don't own that many resin kits but I do have a have a Cavalier XB GT Falcon Hardtop. This particular model only cost me about $ 20.00 from memory and that was only last year. The proportions are far more accurate. I think if you are going to charge upwards of $100.00 for your product there is a certain expectation that the product will accurately represent the 1:1 its based off. I suspect the Parts Box Version was moulded from an old promo model. It was quite common back then to make the promo models longer and leaner than the 1:1 models. The problem with this is that anyone looking to cast anything using one of these as the master needs to double check the measurements !
-
I hear a lot of good things about The Parts Box but a friend pointed out a flaw with one of their kits. This is what the Parts Box Falcon looks like compared with the 1:1. Can you see what the flaw is in the kit ?
-
The good news is the build is getting closer to completion, while the chassis is taking forever, I was able to complete the differential and finish the rim on the wheels. I have been doing a build of a 35 Dearborn C.O.E that will use the chassis if you want to see what it looks like.
-
Fantastic work ! These are the kinds of truck models we need to see more of.
-
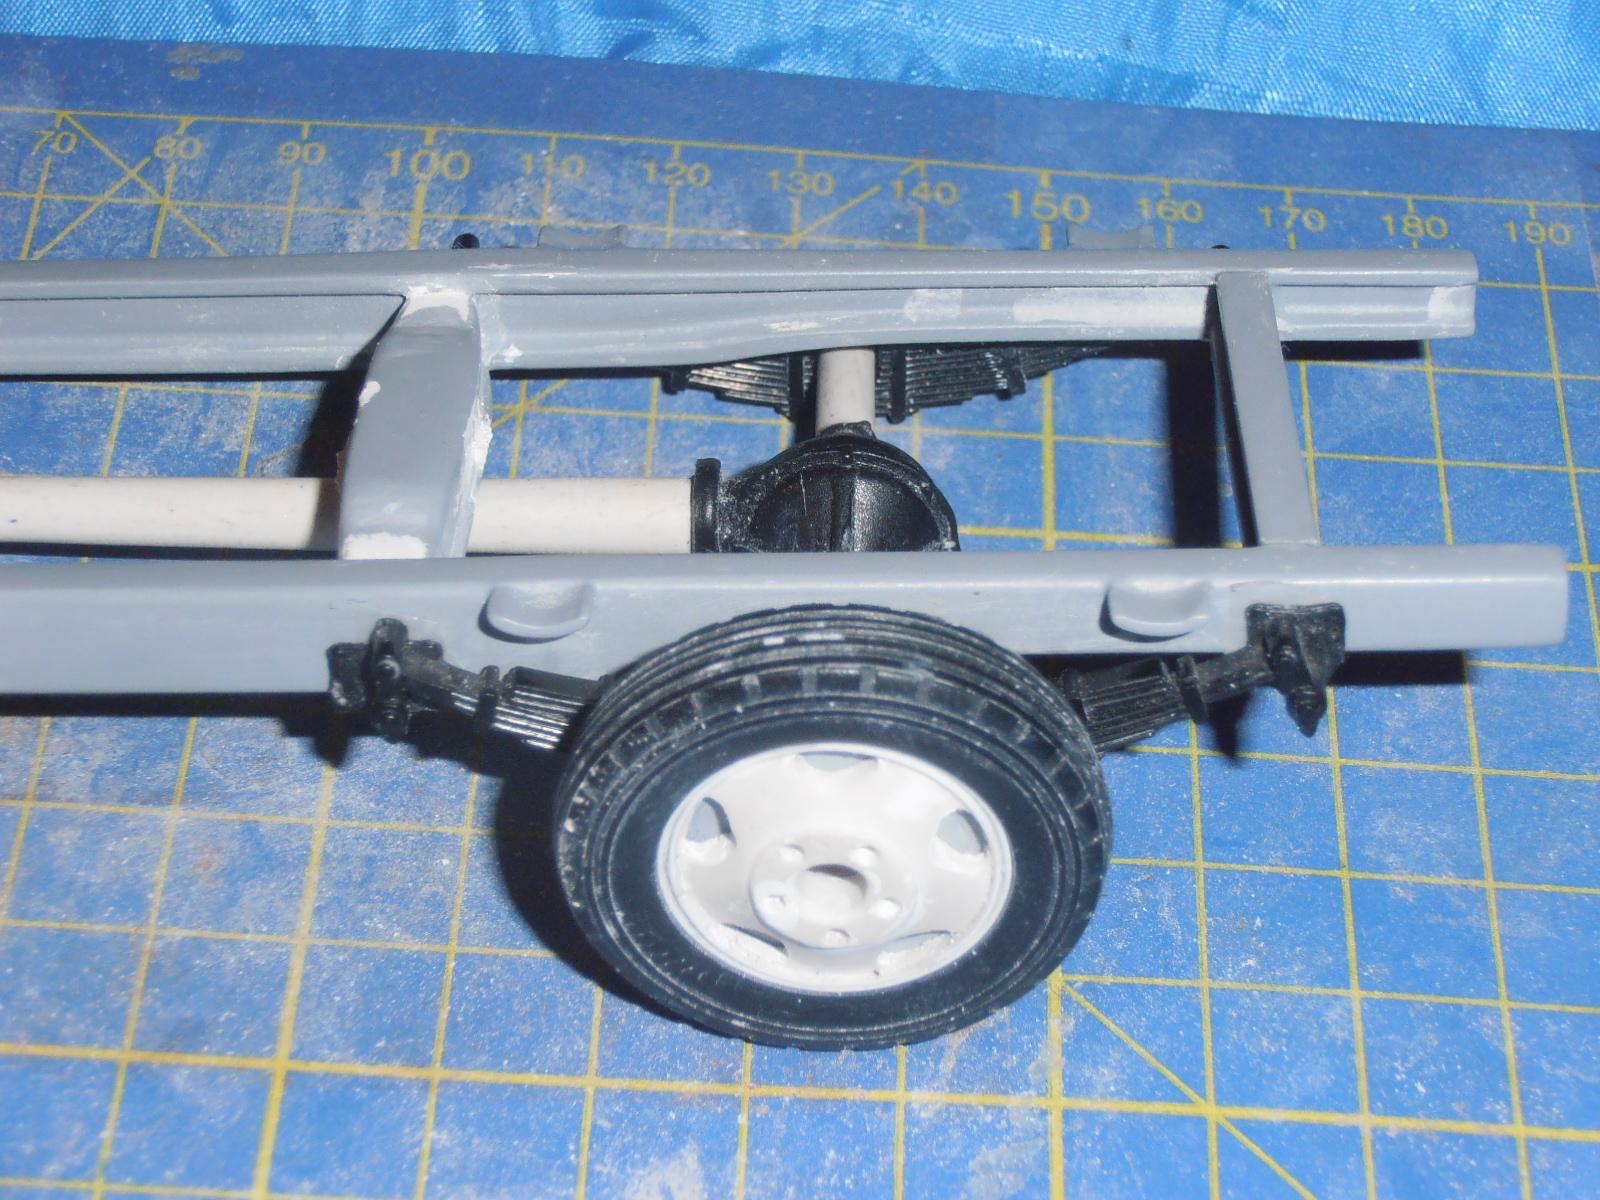
Hey Guys. Tonight I focussed on the differential. That included making up the shafts that attached to the centre. Here is where things stand. Right side up ! I also decided to see who things would look with the cab sitting on top of the chassis. It looks odd at the moment due to the fact that I have not made up the tandem rear end. Of course I will need to mould this differential to do that along with the rest of the wheels once I have finished the wheel. Before I do that I will need to add the cross member studs to the chassis. The front ones were added a while back so the front is effectively complete. That will be the next task and once I Have done that the chassis will be finished at last !
-
Its well worth using, once baked it takes on the same properties as resin or styrene plastic, it can be sanded and glued to regular parts.
-
The bottom three holes are ok but the top two need some work. It will take a while to get it right but this is the closest I have ever come to scratch building a wheel that I am truly happy with. I have done several previous to this one but none have come close to this one for the correct shape. I actually own an original 1:1 pair of these wheels so I will reference this one against the original until I am happy with it.
-
To make the tapered drive shaft I used synthetic baking clay known as Fimo. I stretched and rolled a piece to the same shape as the one in the image. After taking it out of the oven I sanded out the the imperfections by hand. No lathe means this is slow work. But I have glued the length to the diff centre and its a lot shorter than how it looked before the modification. The wishbones are from the Revell 37 Pickup kit. When I baked up the drive shafts I also baked up a length for the shafts that sit either side of the diff centre. The will be added later. I also managed to finish constructing the outer rim of the wheel. I used five lengths of 1mm by . 0.3 mm strip. To avoid damage to the centre disc. I used strips of double sided tape to fasten the first band to the wheel. There are three bands in total. The inner and outer bands consist of two strips one on top of the other. The centre band is just a single strip. On the 1:1 wheel there is a concave channel between the two bands this single strip represents that. The next task will be to finish off the diff and clean up the holes in the wheel.
-
Hey Guys. It has been a while since I put anything up of the build, not because I have I have stopped working on it more for the fact that has taken so long to get any thing done. I have worked solidly to get the chassis finished. This has been tedious to say the least. Getting the inside of the rails to the same wall thickness and getting the cross members right has taken me weeks to work out. I finally put the chassis together last night and layed primer on it today. In order to make sure all the cross members were sitting evenly I blew this image up to 285 percent which is the same size as the actual chassis. This is a kind of digital jig so to speak. The second last cross member is actually sitting over the one in the image. With the chassis only needing the studs to finish I have turned my attention to the differential. You can see the actual diff is much longer than the one in the diagram. Also the enclosed driveshaft on the one in the image tapers in towards the transmission.
-
Hey Horsepower. The 34 Chevrolets will actually be a separate range altogether, however Imay add some to this range depending on the interest level. The good news is that they will include stock fenders and they will also be available in stock and chopped versions. The line up so far will be a 3 Window Coupe, Roadster, Tourer, Roadster Utility, Coupe Utility and possibly a stock height Tudor depending on interest. These are some time away though, at the moment as I am just trying to get the first of the Sixties Style Hot Rods completed. If you want to see any of the work on the 34 Chevrolets though send me a pm. Cheers !
-
Interest in a line of stock 32 fords
fractalign replied to 3100 chevy's topic in Car Aftermarket / Resin / 3D Printed
Sounds interesting ! Just for the record though "Replicas and Minitures" already do a 32 Cabriolet and possibly a 32 Sports Coupe. I think the idea of a four door sedan is a great idea. As far as I know the ones that are available are based on the old MPC or AMT designs. A four door sedan based on the Revell tudor body would certainly generate interest, another thing you could look into is a tourer as well. The AMT and MPC version are terrible. -
Thanks for that information ! I will certainly be following up with it once the chassis is finished !
-
Hey Guys. Hey Guys. I thought it was time for a quick update on the build, it has been painstakingly slow. At the moment I am working on getting the wall thickness of the rails to be uniform. The idea will be to be able to swap the cross members over from their respective positions and have them be interchangeable between each other. This will only apply to the last three cross members where the rails are straight and square. The front half of the chassis bows out to so its not possible to do the same here, also the wall depth decreases as it gets closer to the frame horns. Even so I will be working to get the wall thickness uniform here as well so that the respective cross members can reversed and slot back in equally. Its vital that I get this correct before I finally add the cross members. One thing that I changed was the width of the chassis, its now at least a couple of millimetres more narrow which will make it easier to fit the rear end in. It will take time to get the balance right but the upside is that the chassis will be far better than originally planned. The biggest change though has been in the second last cross member that lines up with the front of the leaf springs. This is the most complex of all the cross members. Along the bottom, the edge is arched and flanged, along the top there is a recess at either end where the triangular brackets join it to the top of the chassis rails. While these features were obvious in the sourced images there was something that was not as noticeable. Looking down from above the walls actually bow out. I needed to make this change and so I sliced along the length of the cross member and added material to the centre. The diagram below shows the cross member and its shape. Next task will be to get the wall thickness finished and then add the cross members.
-
1929 Coleman 4wd
fractalign replied to Chariots of Fire's topic in WIP: Model Trucks: Big Rigs and Heavy Equipment
This is fantastic, 10 out of 10 for thinking outside of the square. With an interest in 20's and 30's trucks I have not heard of a Coleman, but I have been involved with a build up of my own of an unusual mid 30's truck. I can relate to the amount of scratch building that goes into a project like this one. I will be following this build very closely. -
Sorry Greg, no post 40s stuff on the radar at the moment. I figured it was a well catered for market. That's not to say that in the future I may not look into it.
-
I have looked into crowd funding myself. if you are going to undertake that course of action you will need a pitch for your investors, possibly a discount on the first few kits that are cast up. That's if your investors are modellers. If your investors are not modellers than they will expect some kind of financial incentive. Either a percentage of each sale until their money is returned with interest or something else. Also you will need to test the idea. Not just on this forum but other ones as well. You will need to look at all forms of social media as a promotional platform so that when the time comes to choose a crowd funding site you have enough interest to launch the pitch. If you can not get traffic onto the page that is hosting your campaign, it will fail. Don't automatically assume that the people that are members of that page are going to be interested in your pitch. You also need to research which crowd funding platform you are going to use. Make sure you use one that gives you a longer deadline to reach your goal. Also remember the goal itself needs to be realistic. Research the level of interest in your idea on the forums first before coming up with a figure. If you can do that then you are in with a chance.