Ramfins59
-
Posts
5,918 -
Joined
-
Last visited
Content Type
Profiles
Forums
Events
Gallery
Everything posted by Ramfins59
-
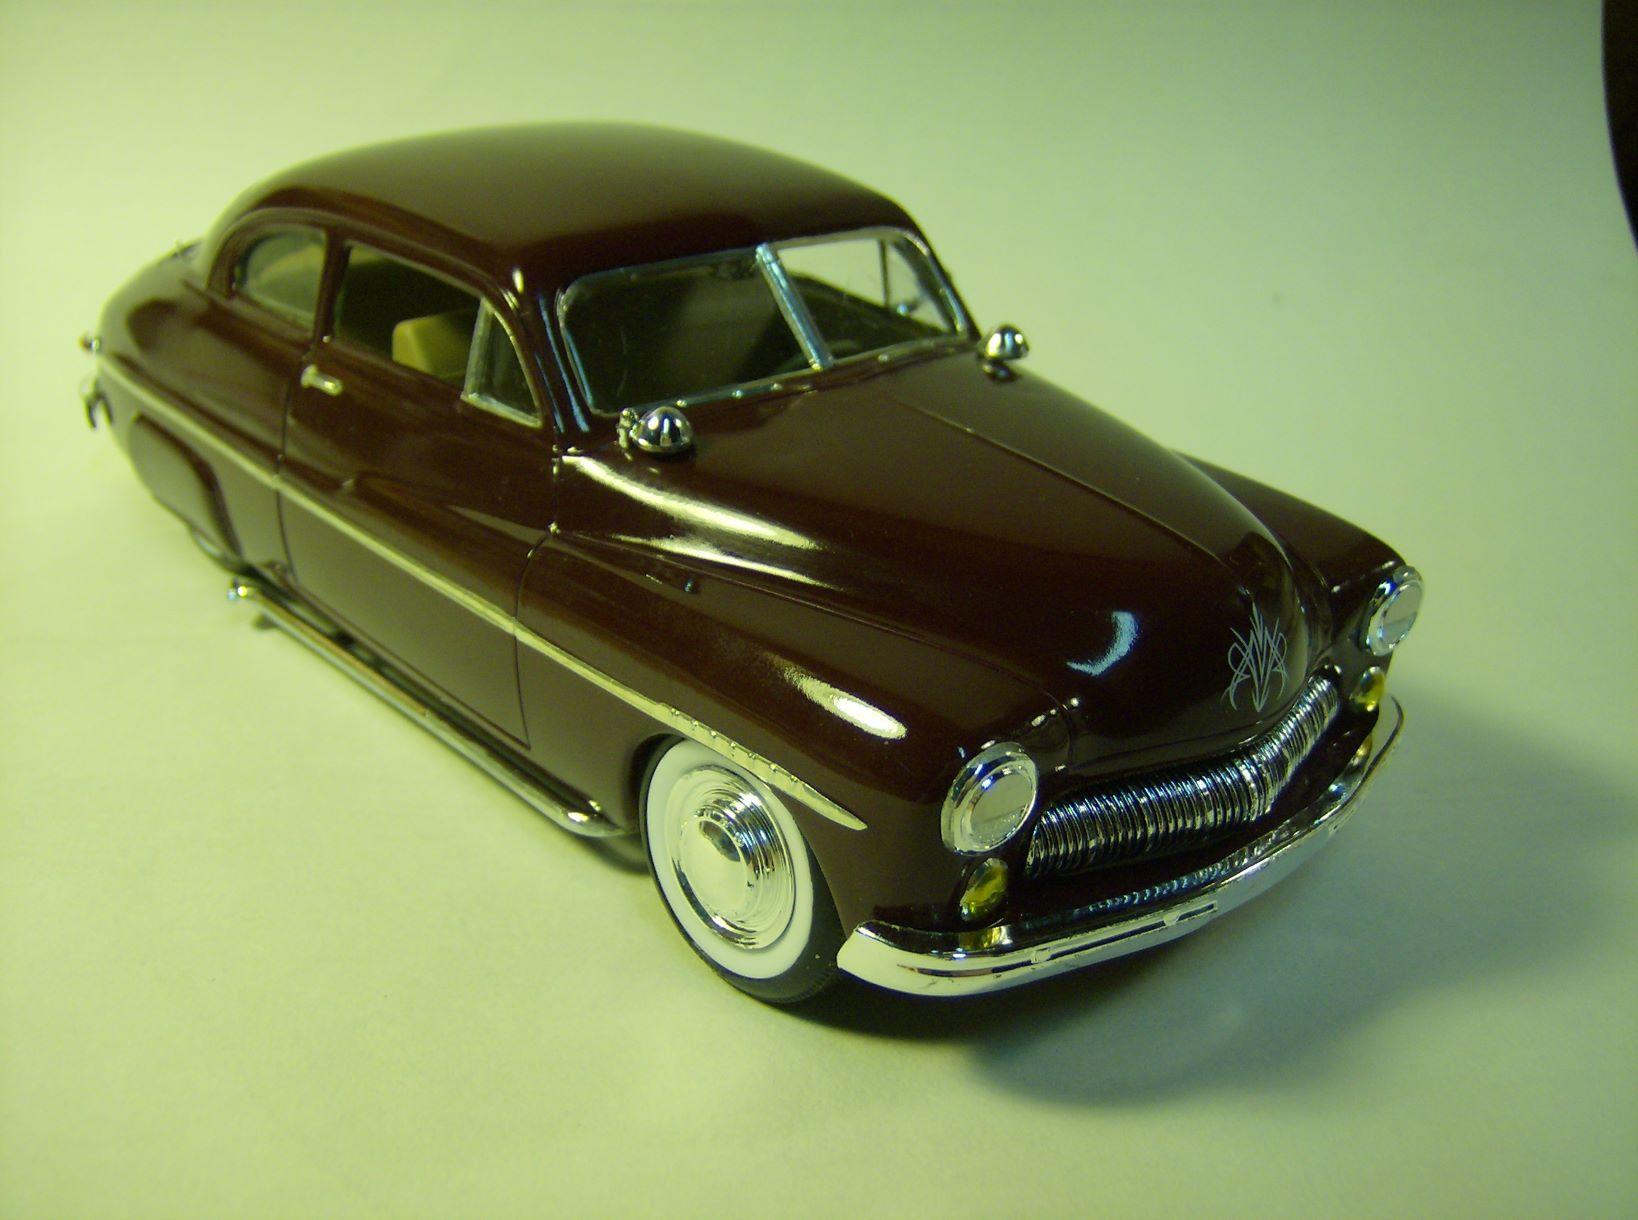
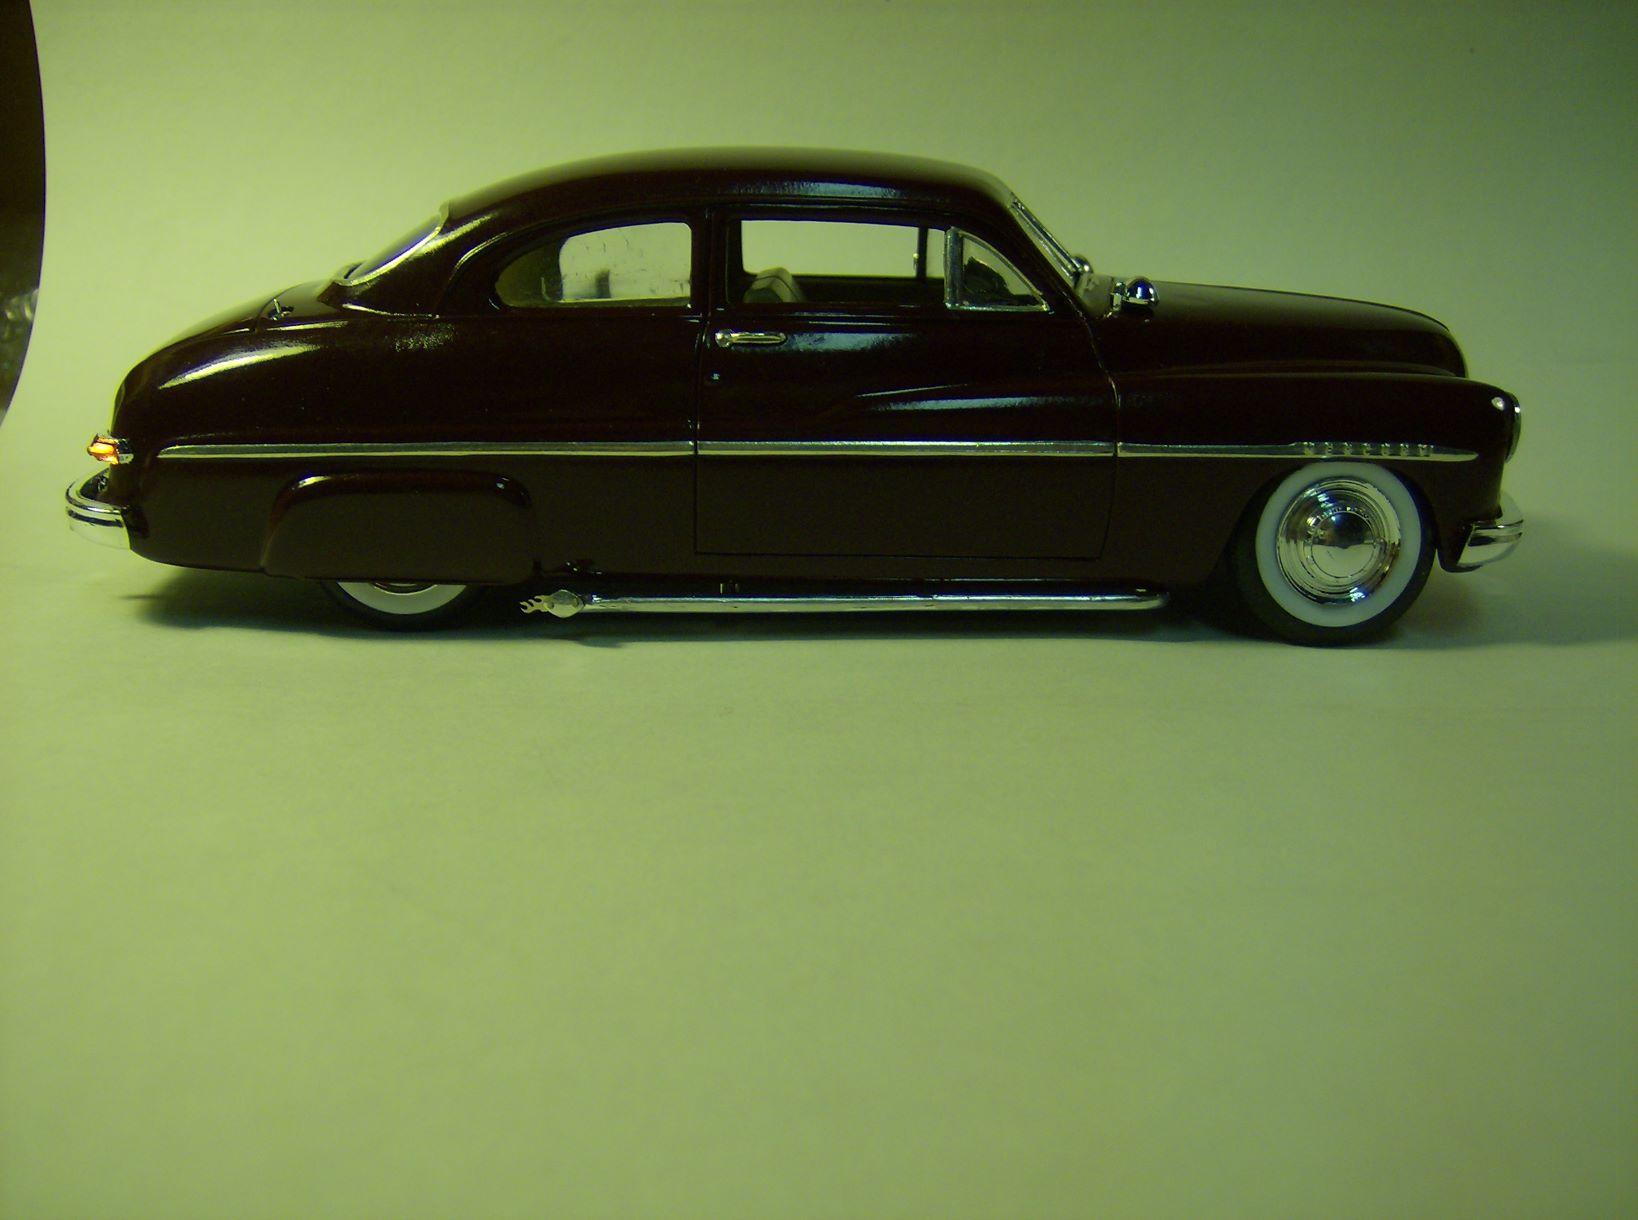
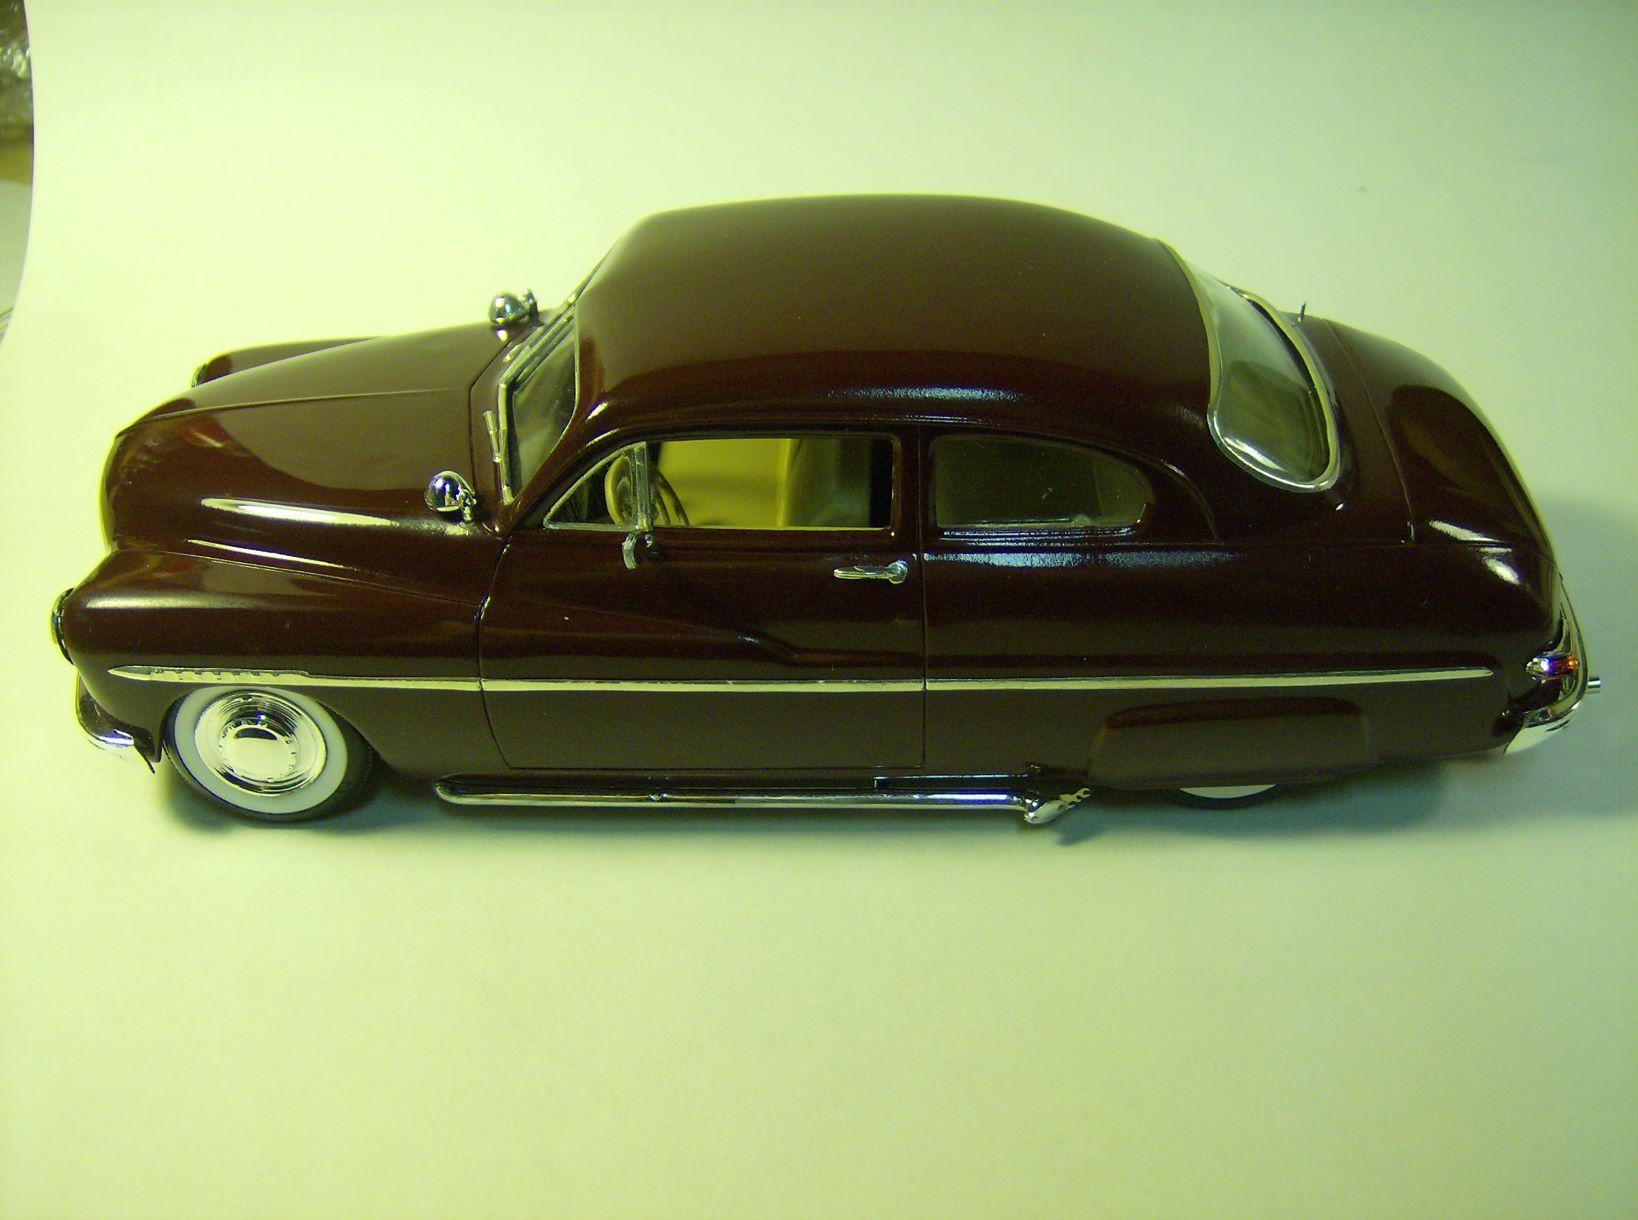
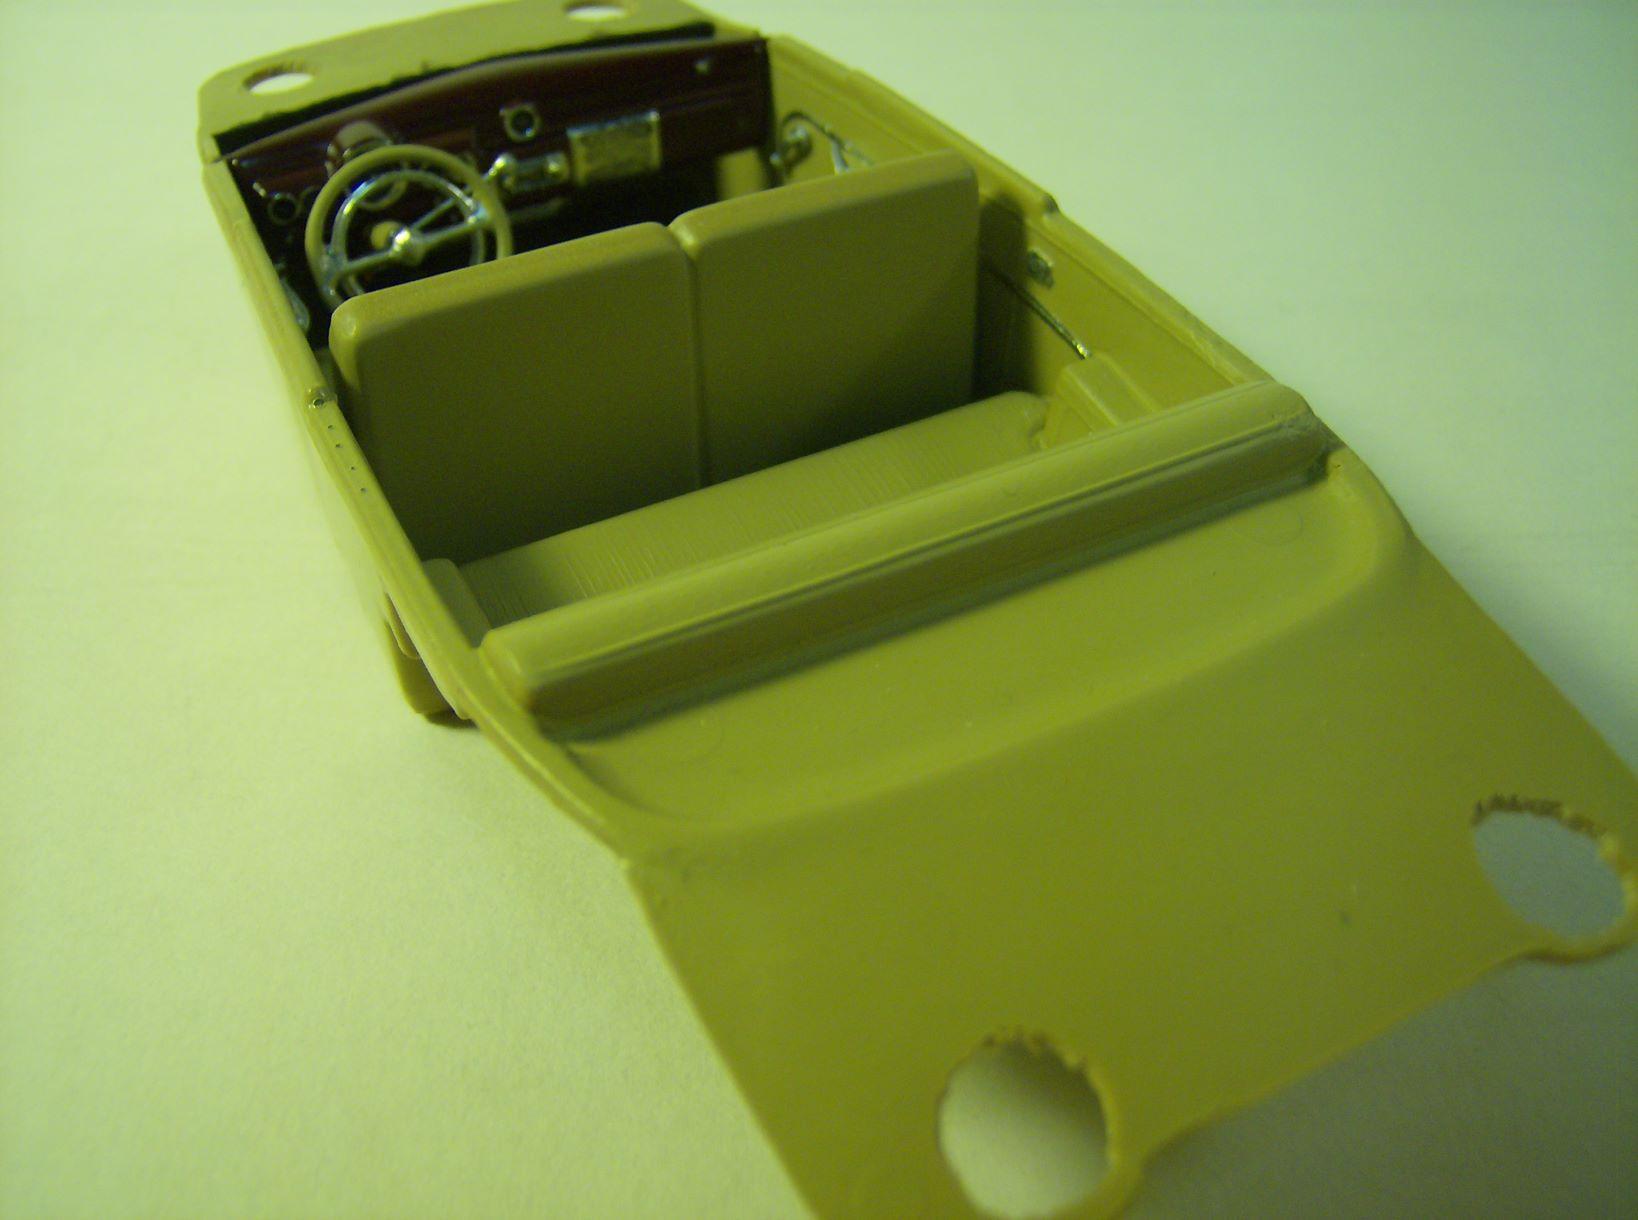
This time it's a 1950 Mercury done up as a very mild Custom. I used the MPC Super Snap 1950 Merc kit. It's a pretty rudimentary kit with only 26 pieces. The color is Tamiya maroon. I trashed the 2 piece plastic tires and used a set of whitewall tires from my stash, along with the stock hubcaps from the AMT '49 Merc kit. I gave the grille a blackwash, added PE headlight half-moon covers from Detail Master and applied white pinstripe decals to the hood & trunk. The lake pipes got PE flames attached to the end caps and I installed a sunken antenna on the passenger side rear quarter. I gave the taillights a coat of Tamiya clear red along with tiny MV lens blue dots. The outside mirror & license plate are parts box items. The interior was painted Tamiya light sand with brown painted "carpet". Resin door handles & window cranks were chromed with Molotow ink and side trim was done with BMF. The dashboard was painted body color with BMF & Molotow trim, and a piece of shirt pin was added to the steering column for a shifter. I also added an interior mirror, visors and a dome light. This was a quick and relatively easy build to add to my Class of '50 collection. Thanks for peeking in on this. As always, any and all comments are welcomed and appreciated. Stay well all. Rich

-
Thanks Rusty. I take my pictures on my workbench which has one incandescent lamp to the right side and above the surface, and another lamp with one of those "curly" bulbs to the left side and above the surface, and, a fluorescent ceiling light fixture overhead. Thanks Tom. No, this promo has the plastic bumpers. Thanks also to Tom K, Tom P. and Al for your kind comments.
-
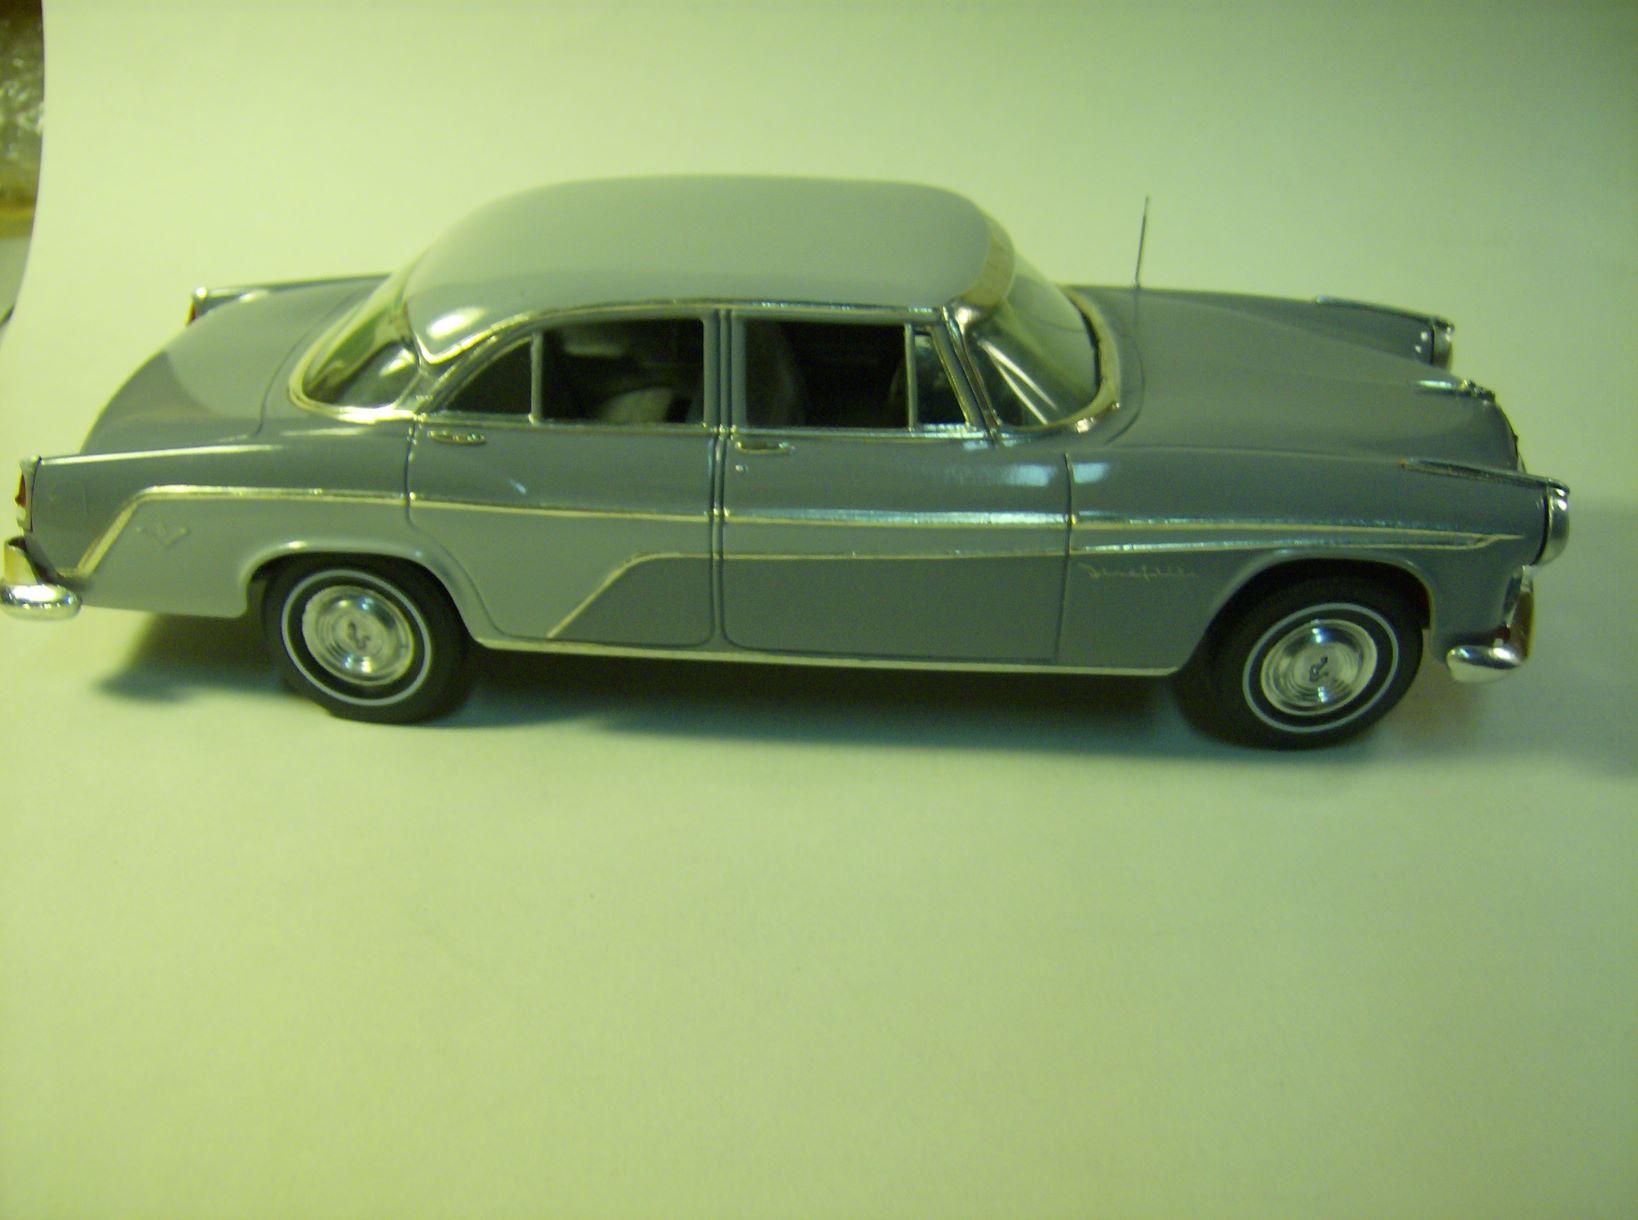
Here's another Desoto... This time it's a 1955 Desoto. I got this IDEAL promo on EBAY a few years ago for under $50 (don't remember the exact price) but I'm glad that I got it when I did because there are several listed on EBAY right now for $120 each...!!! It's not "50 shades of gray"... Only 2... Duplicolor gray primer/sealer and Tamiya light gray primer, clearcoated. Whitewall tires are from my parts stash along with the outside mirror. I scratchbuilt the antenna, blackwashed the grille and used Tamiya clear red on the taillights. The promo didn't come with an interior so I used a resin '56 Desoto interior that I got from Modelhaus before they retired... not the "perfect" interior, but it'll do. The interior has various gray paints and flocking. I used black embossing powder for carpets, added a brake pedal, an interior rear view mirror, visors and a dome light. I "forgot" to take pictures of the completed interior before I did the final assembly? I'm continuing to knock out models to keep my mind off of my upcoming surgery. I have another model that I was working on along with this one that is very close to completion...... it's a 1950 Mercury... You'll be seeing that one soon. Thanks for looking in on this... It's not perfect (none of my models are) but it looks OK in my "Class of '55" collection. Any and all comments are welcomed and appreciated, as always.
-
That is a beautiful car Cal.
-
That looks good so far Jamie.
-

Thought I would re-introduce my self.
Ramfins59 replied to Ron W.'s topic in Welcome! Introduce Yourself
Welcome back to the plastic playground Ron. -
What a gorgeous car... I wish you the best of luck with it. The model is coming along nicely Bill.
-
Great job Tom... I'm definitely a lover of those '50's 2-tone, chrome laden barges.
-
Thank you all so very much for your prayers, concerns, well wishes and advice.
-
I found out today that I am scheduled to have Bypass Surgery on February 26th. As you can imagine, I'm not looking forward to this, and am kind of freaked out by it all. My surgeon said that he has done around 250 of these operations, so I guess he knows what he's doing and is good at it. A few people have been telling me that this is a "routine" operation...... Yeah...... Right...... It may be "routine" for the surgeon and the attending staff, but it's NOT so "routine" for the person having it done...!!! I've been building models like crazy to keep my mind off it. I finished 3 cars in 6 weeks, and have another 2 "in the works" at the moment. They should hopefully be done well before the 26th. Please stay very well everyone. Rich
-
Welcome back to our plastic playground Michael.
-
One lamp on the right side is incandescent, the other 2 are fluorescent.
-
Thanks Lee... I take the pictures at my workbench which has lamps pointed at the work surface from both the right and left side, slightly higher, plus an overhead ceiling light. Seems OK to me.
-
Yeah Tom... Only 3 more cars to do and I'll have all the '57's (Buick, Lincoln & T-Bird).
-
I thank you guys for all of your very kind comments.
-
1941 Plymouth - "Resto-Rod" - Interior pictures added
Ramfins59 replied to Ramfins59's topic in Model Cars
Mattias, I also think that the front end sits a bit high on this car but I just didn't try to modify it to sit lower. -
Thank you all very much for your great comments.
-
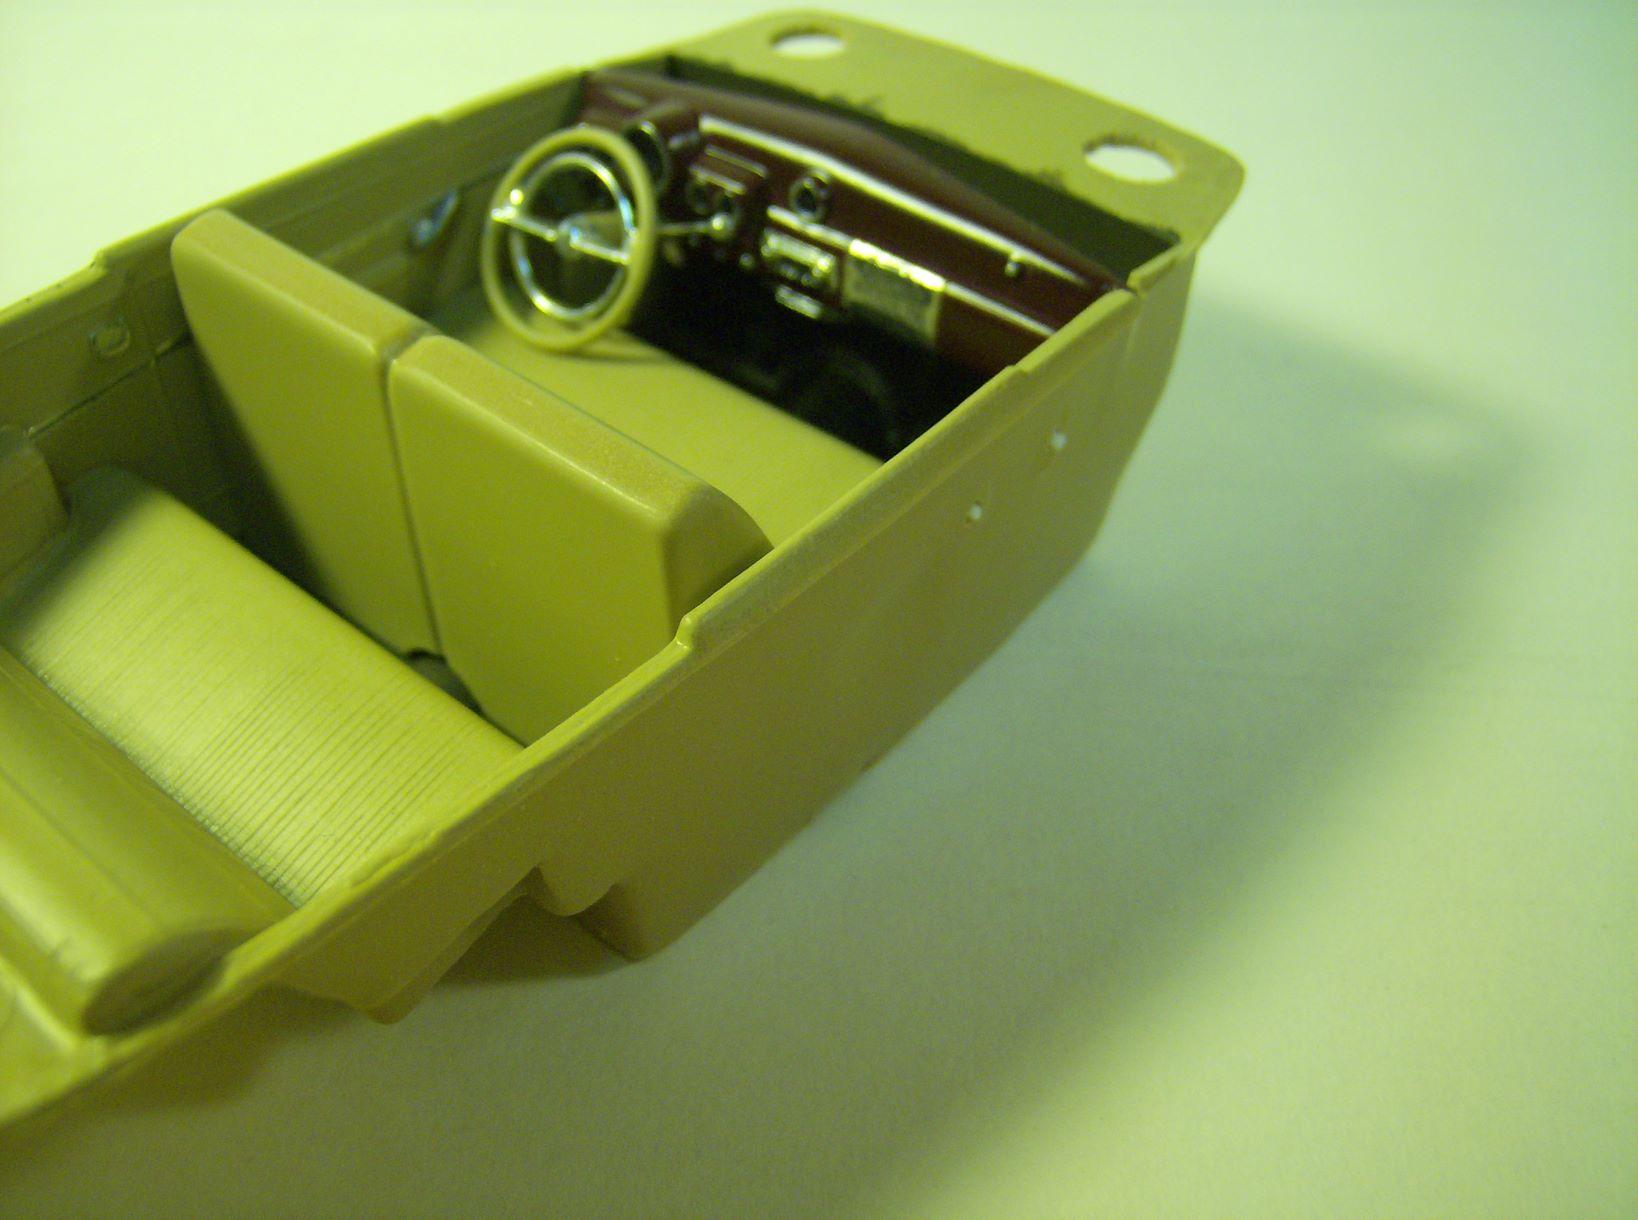
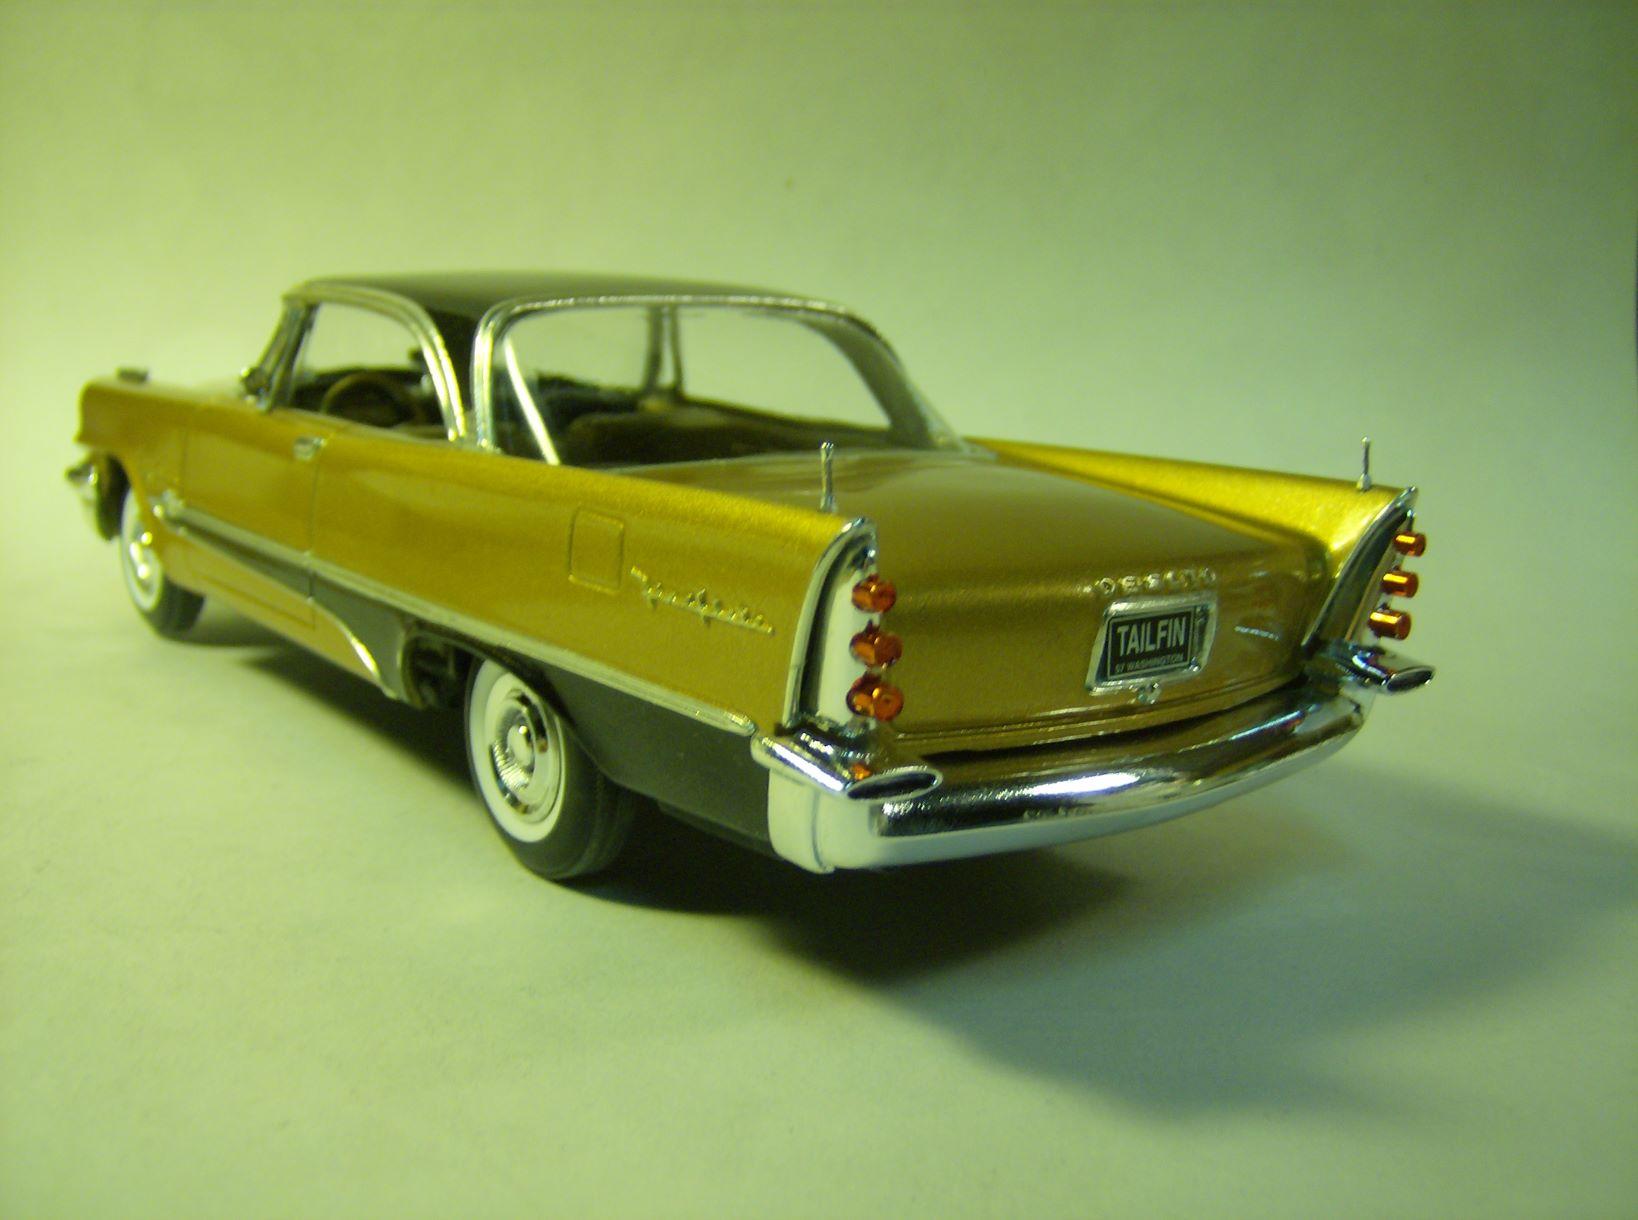
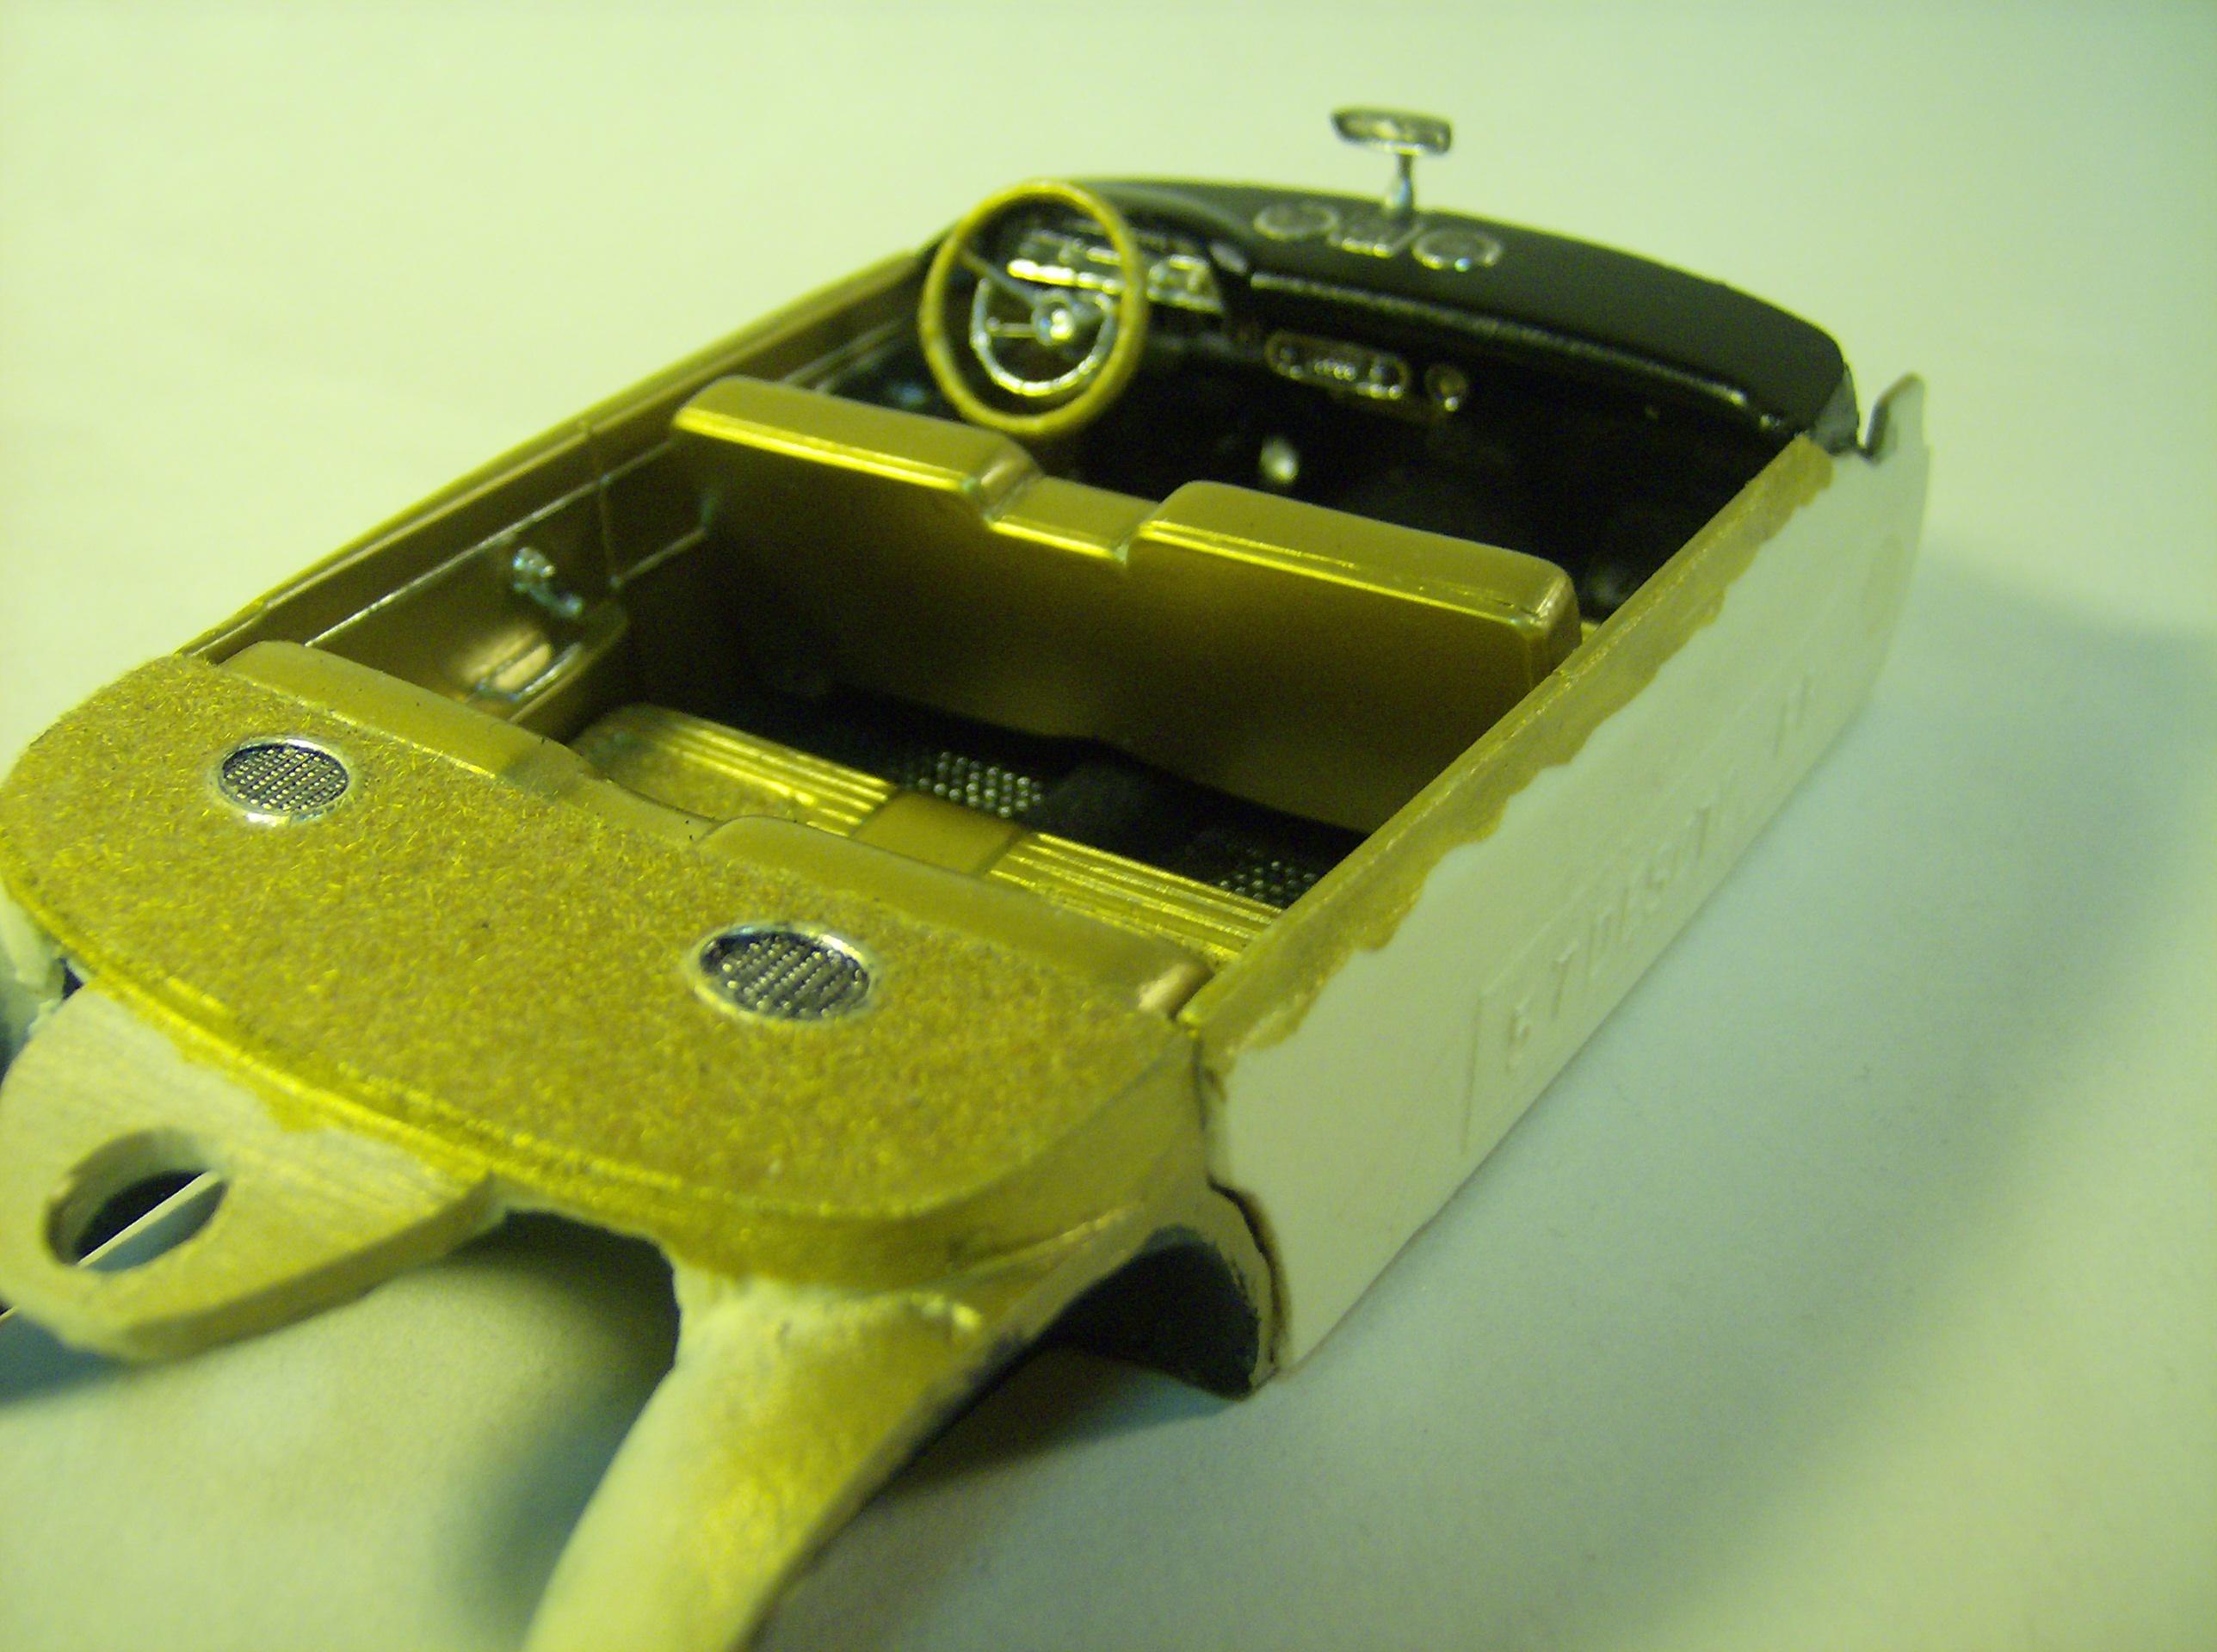
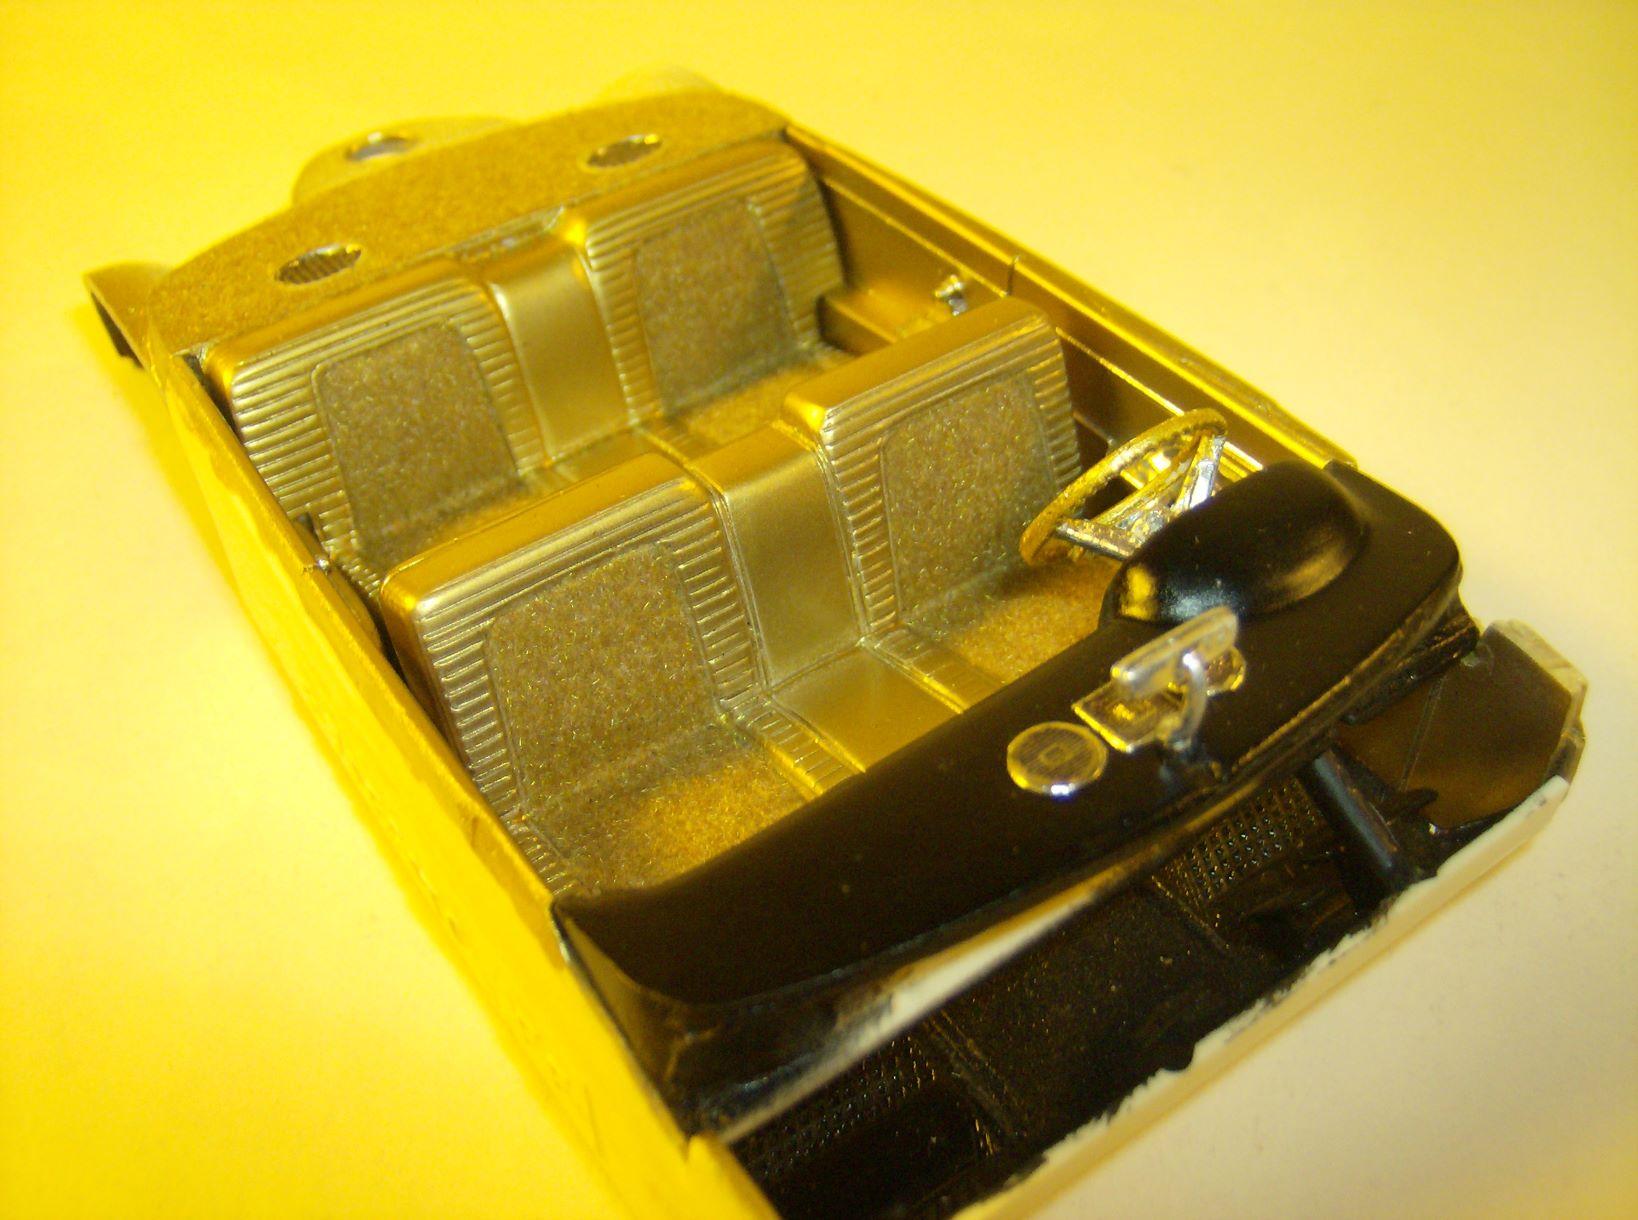
For the past few weeks I've sort of "been on a roll" finally finishing up several cars that gave me assembly issues. When that happens, they go back in their box to await another day when I can overcome whatever the issues were and deal with it with a better patience level and attitude. This last one of that batch of cars is a 1957 Desoto. It is a curbside resin kit from Modelhaus that I got back in 2018 before they closed for retirement. It is painted 2 tone gold and black and it took 3 tries to get it right. The first 2 times I had to strip the paint...? It has what seemed like yards of BMF. The mirrors, inside and out, are from my parts stash. The little rear mounted fender antennas were scratchbuilt. The interior was painted gold with BMF trim. There is gold flocking on the seat inserts. Black embossing powder was used for the carpet and the molded in floor mats were painted semi-gloss black. The dashboard is semi-gloss black with BMF & Molotow chrome ink trim. Note that since these interior pictures were taken, I moved the dash mounted rearview mirror to the seats side of the dash because it was hitting the windshield originally (thanks Steve..!!). I am soooo glad that this car is finally done, so now I can go pick something "new" from my huge TO DO pile. Thanks for looking, and any and all comments are welcomed and appreciated... Stay well all...
-
1941 Plymouth - "Resto-Rod" - Interior pictures added
Ramfins59 replied to Ramfins59's topic in Model Cars
I found that I did take interior pictures for this car but I inadvertently neglected to download them from my camera...... Here they are now.
-
1941 Plymouth - "Resto-Rod" - Interior pictures added
Ramfins59 replied to Ramfins59's topic in Model Cars
Thank you very much Peter. -
1941 Plymouth - "Resto-Rod" - Interior pictures added
Ramfins59 replied to Ramfins59's topic in Model Cars
Thanks Jim. It's a pretty good kit considering its age. There is some flash but not too horrible. The instructions only show diagrams for parts placement and don't call out part names. It goes together pretty well, and the straight-six flathead engine is a great addition to have. -
1941 Plymouth - "Resto-Rod" - Interior pictures added
Ramfins59 replied to Ramfins59's topic in Model Cars
Thanks David. I must have "overlooked" that part in the kit... I think it looks OK without it though. -
1941 Plymouth - "Resto-Rod" - Interior pictures added
Ramfins59 replied to Ramfins59's topic in Model Cars
No Kurt, I had it in my "plate decal parts stash". -
Where to buy model car kits???
Ramfins59 replied to 2zwudz's topic in General Automotive Talk (Trucks and Cars)
You can also use Modelroundup at (www.modelroundup.com) -
1941 Plymouth - "Resto-Rod" - Interior pictures added
Ramfins59 replied to Ramfins59's topic in Model Cars
Thanks Tom. I actually built the engine several years ago... My daughter, Jamie, moved in with us back in '08 and shortly thereafter she had a 1:1 '59 Dodge 4 door Sedan flatbedded to our house here in PA that she bought when she lived back on Long Island. She gave it to me as a "surprise"... It didn't run, dead battery, no brakes and was a real "rustbucket" all around..... The cleanest and best part of the car was the interior. I guess she thought I needed a "project" since I used to own and drive a '59 Dodge 2 door Hardtop. Well, the car just needed waaaay too much work for me to even attempt, both physically & financially so I talked her into selling the car to someone locally to get her money back. While the car was sitting at the side of our driveway, one day I took my digital camera outside and shot pics of the engine from every angle. The car had a straight-six flathead engine...!!! (I think the '59 Dodge was one of the last cars to come with a flathead engine) Knowing that I had the '41 Plymouth kit with the flathead engine, and a couple of Johan '59 Dodge promos, I was going to try to make a model with the straight-six flatty. Using all the photos that I took as reference, I built the engine as detailed as I was able, to use in a model....... Well, I never used it in a '59 Dodge model but it wound up back home here in the '41 Plymouth. Long story, but that's the way it happened.