Ramfins59
-
Posts
5,918 -
Joined
-
Last visited
Content Type
Profiles
Forums
Events
Gallery
Everything posted by Ramfins59
-
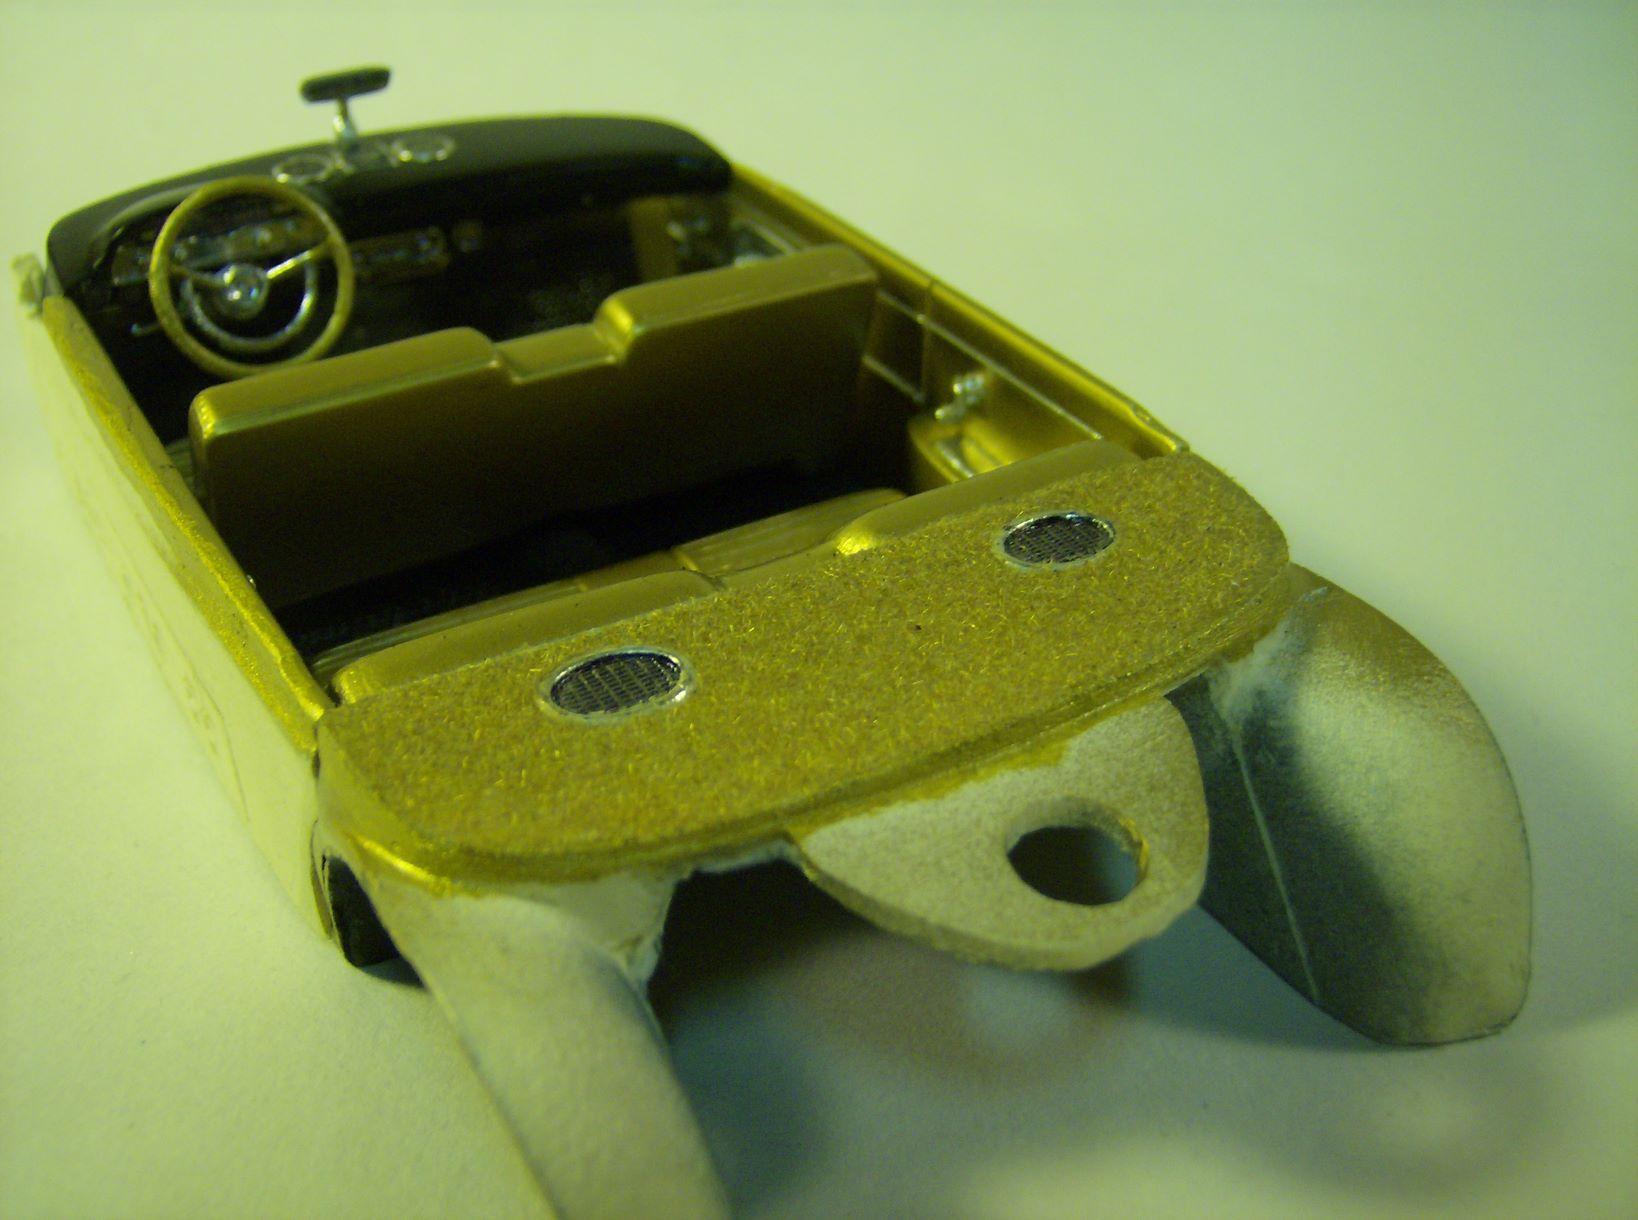
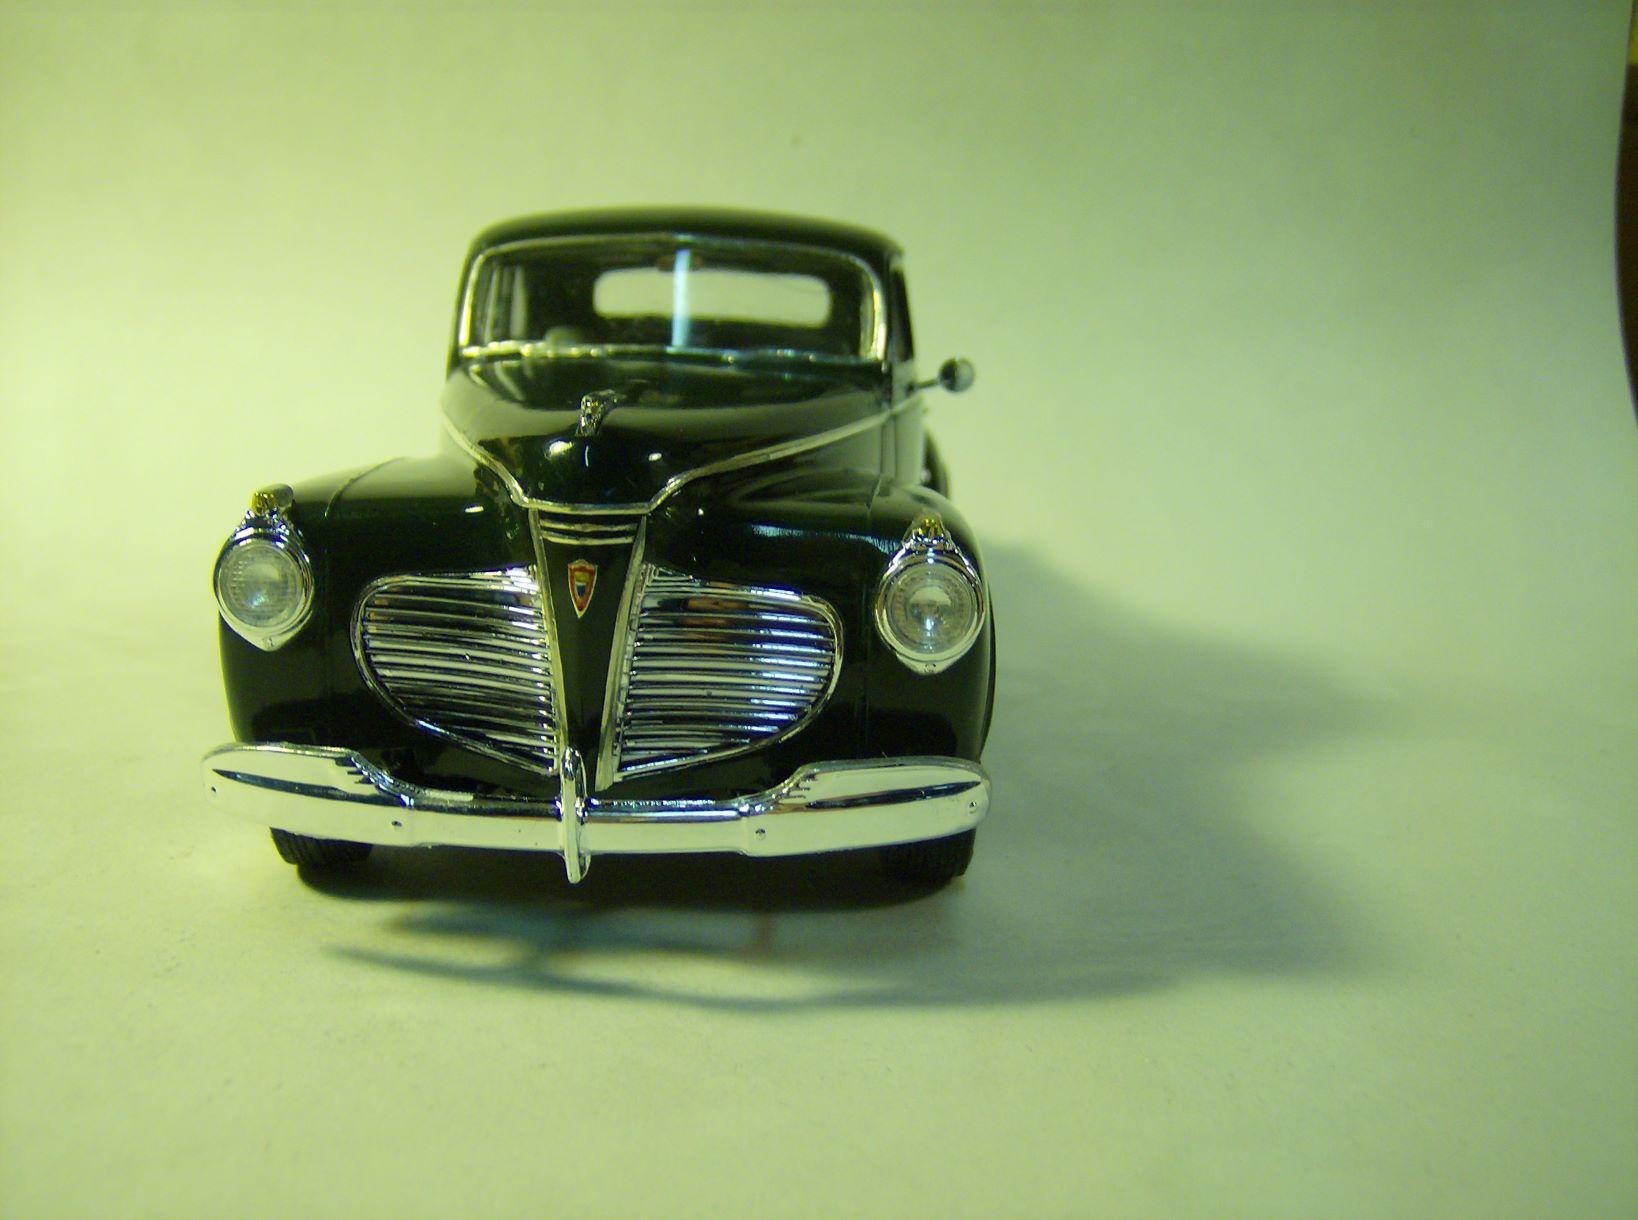
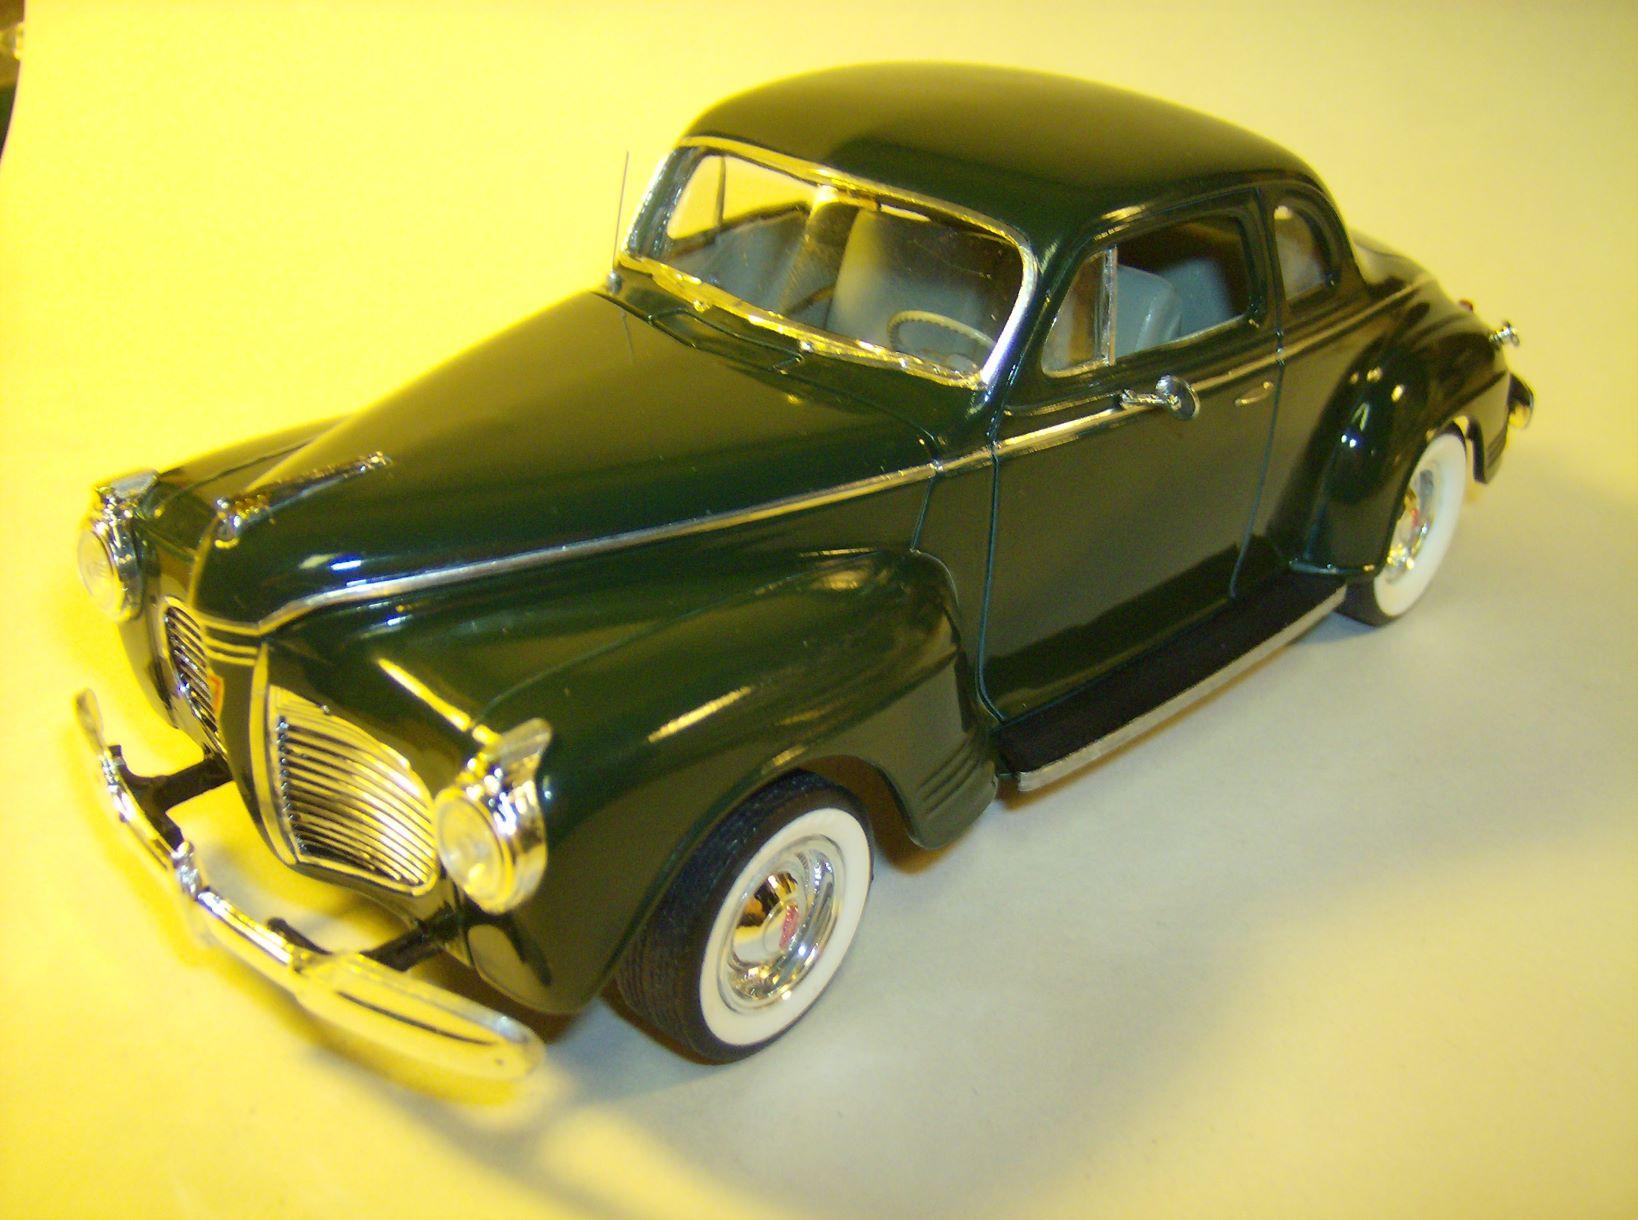
Here's an AMT 1941 Plymouth that I've wanted to build for a long time. I was in a Street Rod mood, so I decided to build it as a restored car with some mechanical upgrades and dress-up parts. The color is Tamiya British Green. The whitewall tires are from Steve Zimmerman. The straight-six flathead engine has a pre-wired distributor from MAD, heater hoses, fuel & vacuum lines, photo-etched bolt heads, a dipstick, and an aluminum air cleaner & bee-hive oil filter. I added a brake master cylinder & line to the firewall along with battery terminals & cables. Unfortunately, I neglected to take pictures of the interior before I assembled the car?, but, it is painted Tamiya gray-green with green embossing powder for carpeting. I added resin door handles & window cranks plus some chrome trim to the door panels. The dashboard is painted body color with BMF detailing. This was a fun break from working on 1950's cars, but now it's back to the 1957 Desoto which was giving me assembly issues. Thanks for looking in on this... Any and all comments are welcomed and appreciated.

-

1956 Studebaker Golden Hawk - Class of '56 - Graduate #17
Ramfins59 replied to Ramfins59's topic in Model Cars
That's a great looking '56 collection Glen. My '56 group doesn't have any pickups or "longroofs" only cars... I'm hoping to post group pictures soon. Thanks for the kind comments. -
I put a lot of finishing touches on a 1941 Plymouth that I'm making as a "Resto-Rod". I started this about 3 weeks ago and it should be completely done tomorrow... Pictures will come then,
-
1956 Studebaker Golden Hawk - Class of '56 - Graduate #17
Ramfins59 replied to Ramfins59's topic in Model Cars
Thanks Chris, but I had enough troubles getting this car to go together...... I'm not looking forward to disassembling the wheels and having things come apart on me in the process. -
Welcome to our plastic playground Kevin.
-
I paid my LHS here in Cranberry Twp. (Hobby Express) a visit this afternoon and replenished my dwindling stock of Testors metalizers, Model Master flat & gloss jar paints, Testors Gloss clearcoat lacquers, & Tamiya primers & clearcoats (semi-gloss & gloss). The Mgr. was telling me how upset they are over Rustoleum suddenly dropping the Testors line of automotive and military paints as they were very popular and good sellers. He also mentioned that Donn Yost had been in not too long ago and bought up all the Testors paints he could find... Fortunately they were able to restock most of it but a lot of the paint rack stocks are dwindling. Tamiya seems to be the go-to paints right now. He also said that acrylics seem to be gaining in popularity.
-
Welcome to our plastic playground Ken.
-
Welcome to our plastic playground Paul.
-
1956 Studebaker Golden Hawk - Class of '56 - Graduate #17
Ramfins59 replied to Ramfins59's topic in Model Cars
Thanks a lot for your great comments guys. -
Yeah, those clothes pins come in real handy for clamping stuff together while the glue sets up.
-
1956 Studebaker Golden Hawk - Class of '56 - Graduate #17
Ramfins59 replied to Ramfins59's topic in Model Cars
Good idea Tom... I'll work on it. -
1956 Studebaker Golden Hawk - Class of '56 - Graduate #17
Ramfins59 replied to Ramfins59's topic in Model Cars
Thank you all so very much for your kind comments. Tom, I'm working up to posting pics of my entire "Class of '56" I'll most likely do it in several posts to avoid any posting problems due to a large amount of pictures. -
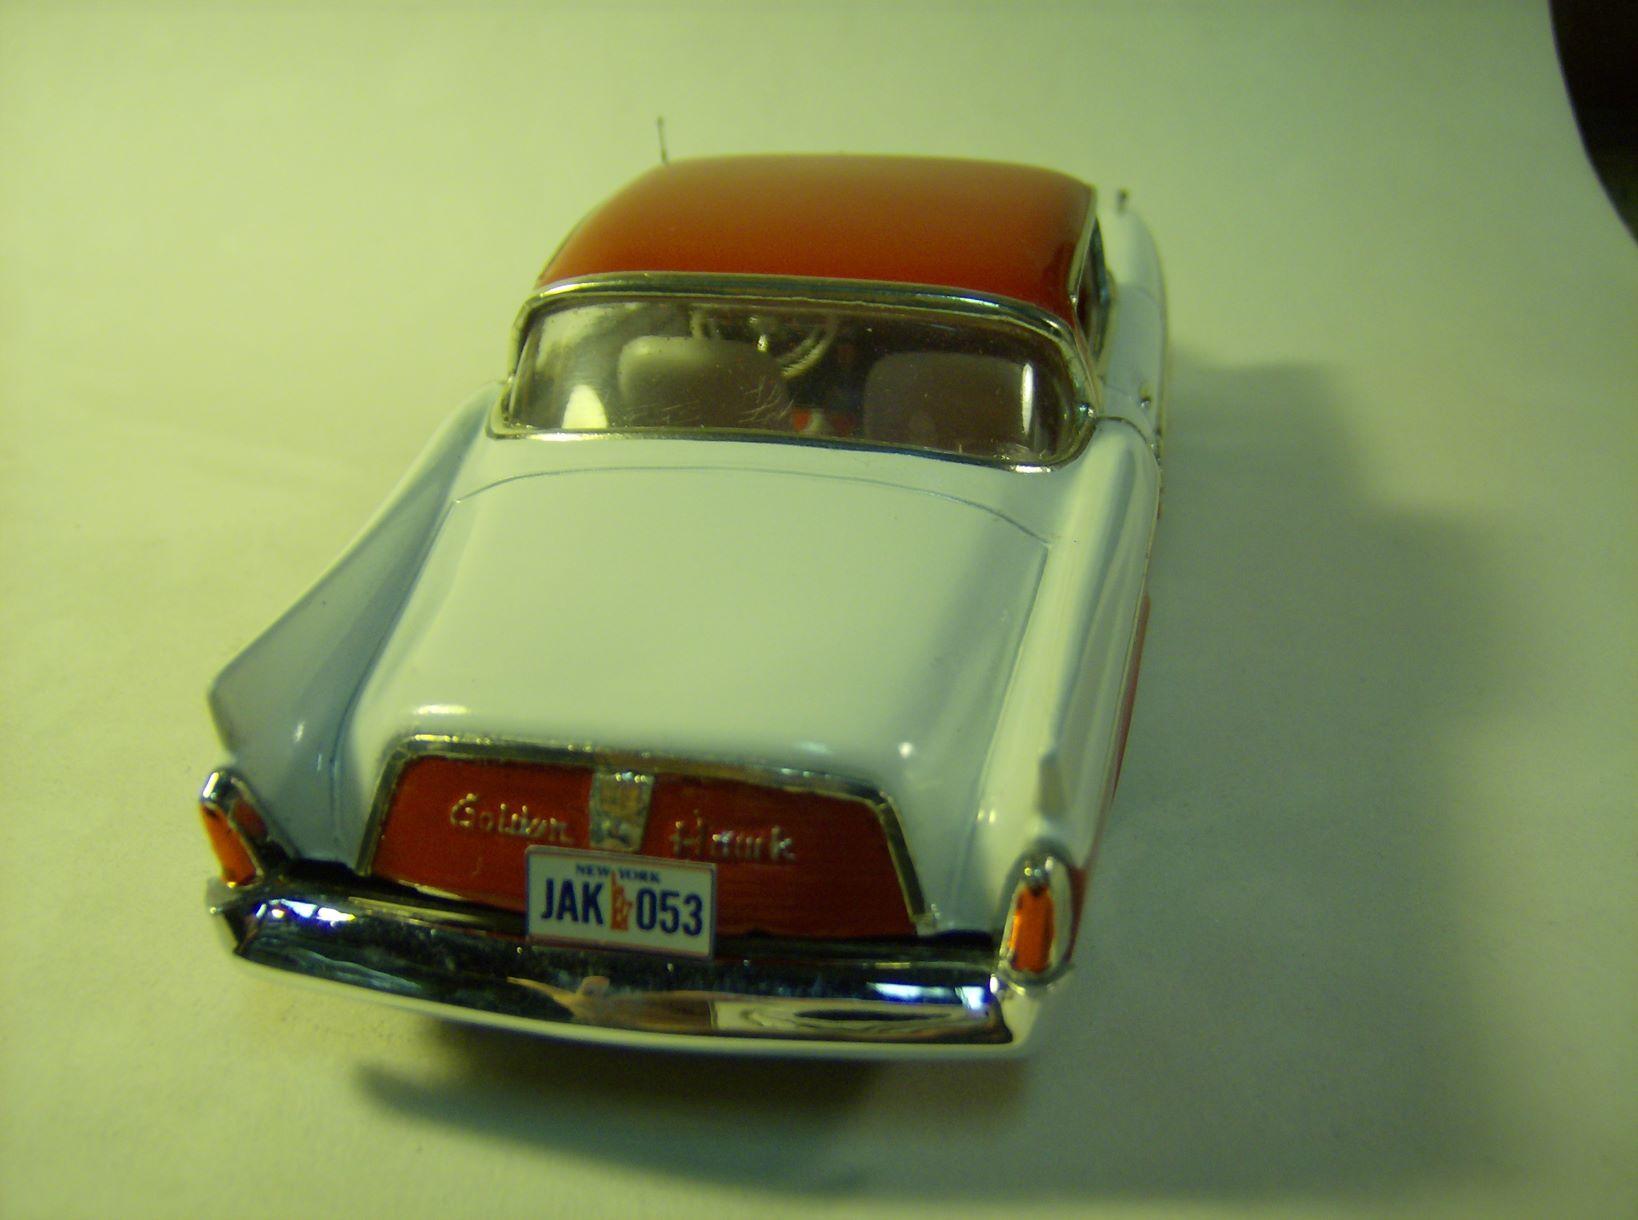
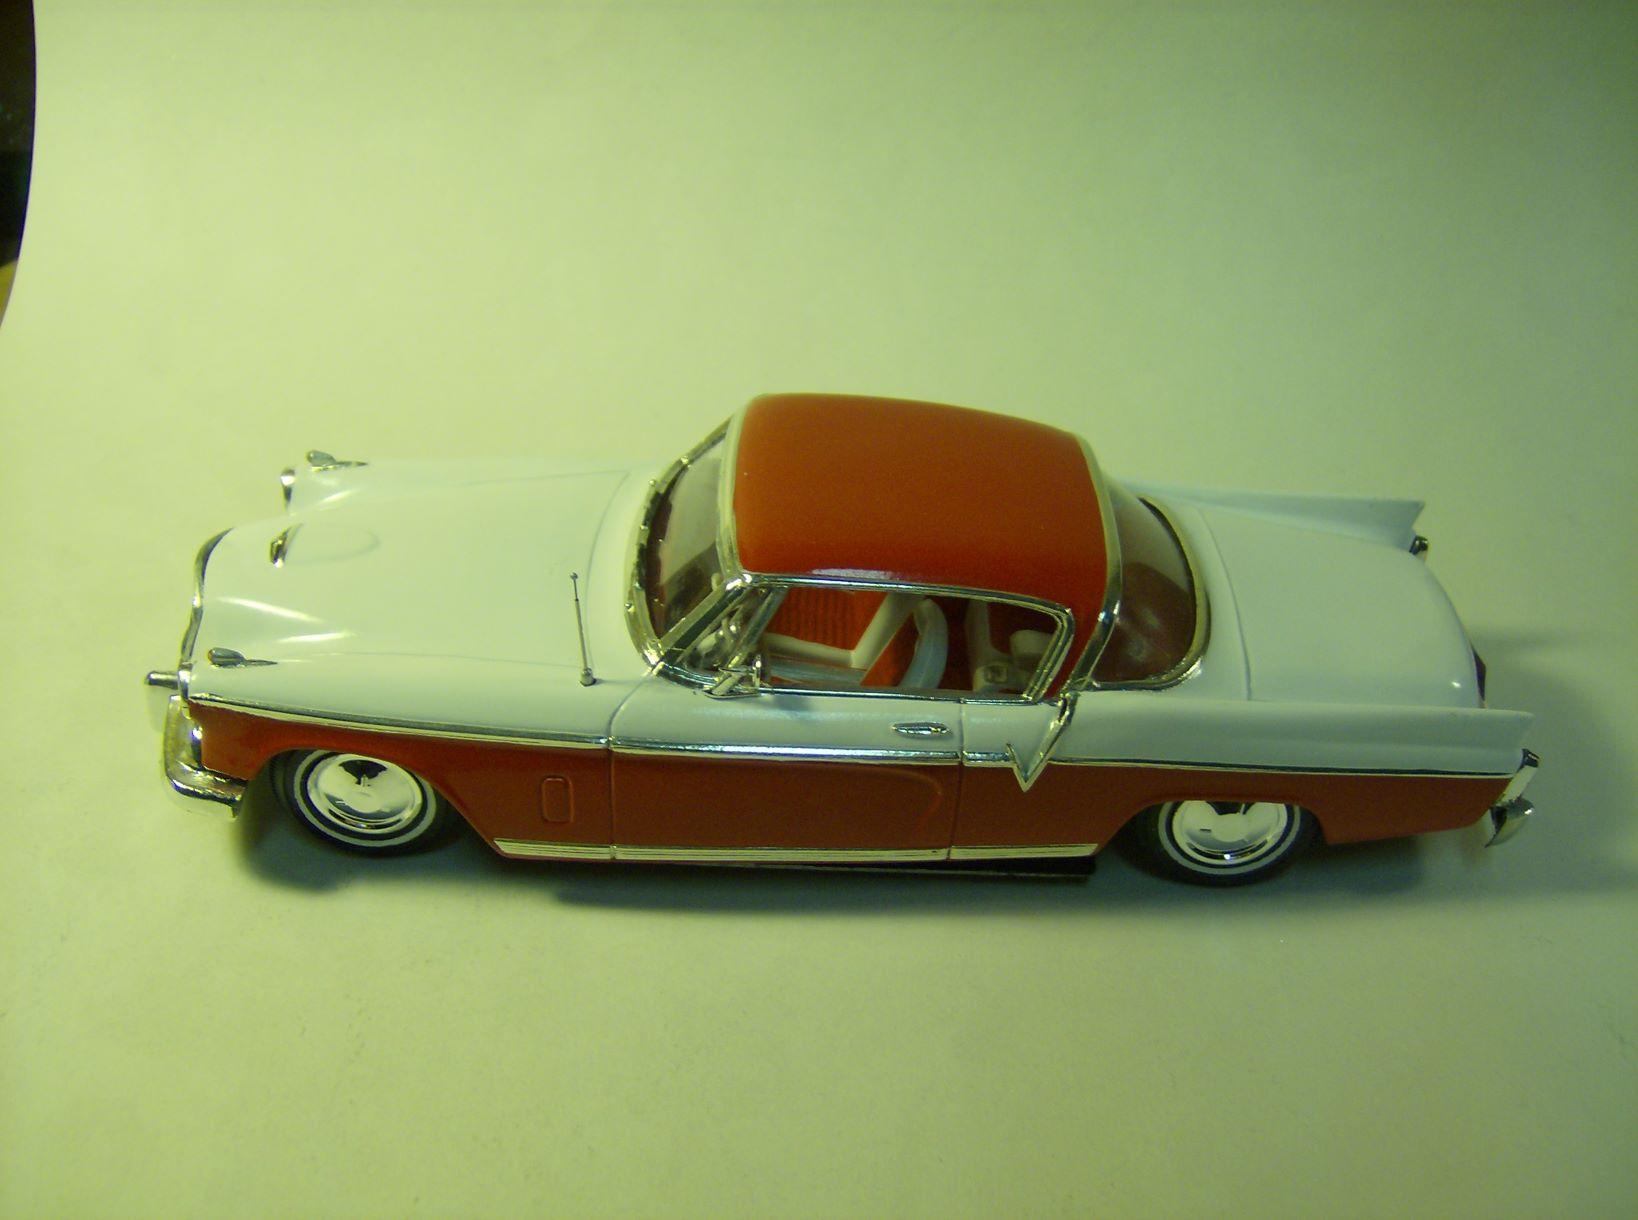
This is a '56 Studebaker Golden Hawk that I finally finished this afternoon. It fought me at the end but I got it all together and am very happy to be done with this car. I believe this completes my collection of American made cars for 1956... a total of 17 cars. At some point I will post pictures of all 17 cars. I built this car using an AMT promo combined with the interior, front glass, and wheels from an AMT 1953 Studebaker kit. The interior doesn't fit "perfectly" and the promo chassis doesn't fit "perfectly", but it will do, and I'm happy that it's done. The colors are Tamiya red and pure white. Thanks for looking in on this, and, as always, any and all comments are welcomed.
-
Biggest pet peeves on builds.
Ramfins59 replied to LL3 Model Worx's topic in General Automotive Talk (Trucks and Cars)
My biggest peeve is...... After you've cut, trimmed, filed & sanded parts and sub-assemblies to fit, even if you're using parts that didn't come in the kit you're working on, at final assembly time, you find that it doesn't all fit together the way it should...!!! When that happens to me, the parts all go back in the box to be resurrected and worked on at a later date when my aggravation level subsides. Usually I'm able to resolve the fitment issues when I look at things with a new perspective and a higher level of patience. It's as frustrating as hell especially after you've put so much time and effort into detailing everything. I'm currently having those issues with 2 cars that I've worked on for months...? -
I've been watching for the following cars, either diecasts, or good promos, or relatively cheap kits... I usually have a $50 limit for either promos or kits, and have gone up to $100 for DM or FM diecasts... I'll sometimes get a good deal on diecasts that are either slightly damaged or missing a part or 2. 1955 Studebaker - The DM diecast prices are ridiculously high... I may have to settle on a promo. 1957 Thunderbird - I've been watching a pre-painted kit. 1958 Desoto - I've been looking for a Johan promo without the "smile" warp, but in the last couple of years I've only seen one and I was outbid for it at the last few seconds. 1958 Thunderbird - I'd prefer to get a DM diecast but the prices go quite a bit higher than I'm willing to pay. I have the Monogram kit but am not crazy about it... In the end I may have to settle for building it. 1959 Thunderbird - Another one where the DM diecast prices are astronomical whenever they appear. Kits for this car seem kind of rare out there too.
-
Welcome to our plastic playground Chris. Like everyone else, I also use a magnifier (Optivisor) along with a light on each side of my workbench plus the overhead lighting. My almost 73 year old eyes need all the help they can get.
-
Thank you very much Jerry, Tom, Blake and Dennis for your very kind comments and your well wishes... It means a lot.
-
Welcome to our plastic playground Mike.
-
Thanks for all of your kind comments guys... BTW... my "consultation" went well today, including more tests and blood work. I still have to go for an Echocardiogram and a CT scan, after which a date will be set for the surgery... probably some time in February...YEAY..!!!
-
No Steve, I haven't tried test fitting the interior into the body yet... I only glued the windows in place late this afternoon and wanted to wait for the glue to dry so I wouldn't "mess up" the fit of the windows. Worst case scenario, I'll have to move the dash-mounted mirror back towards the seats if necessary. I won't be able to check this out until later tomorrow...... I have to have a "consultation" in the early AM with a surgeon regarding a proposed bypass operation... Happy, happy, joy, joy... Thanks for the kind words.
-
Thanks a lot for the kind comment Dave. I've been using Purple Power to strip the paint from resin. I think I'll have to get a new batch as it took awhile, and 2 tries plus some scraping with a wooden toothpick to get all of the old paint off.
-
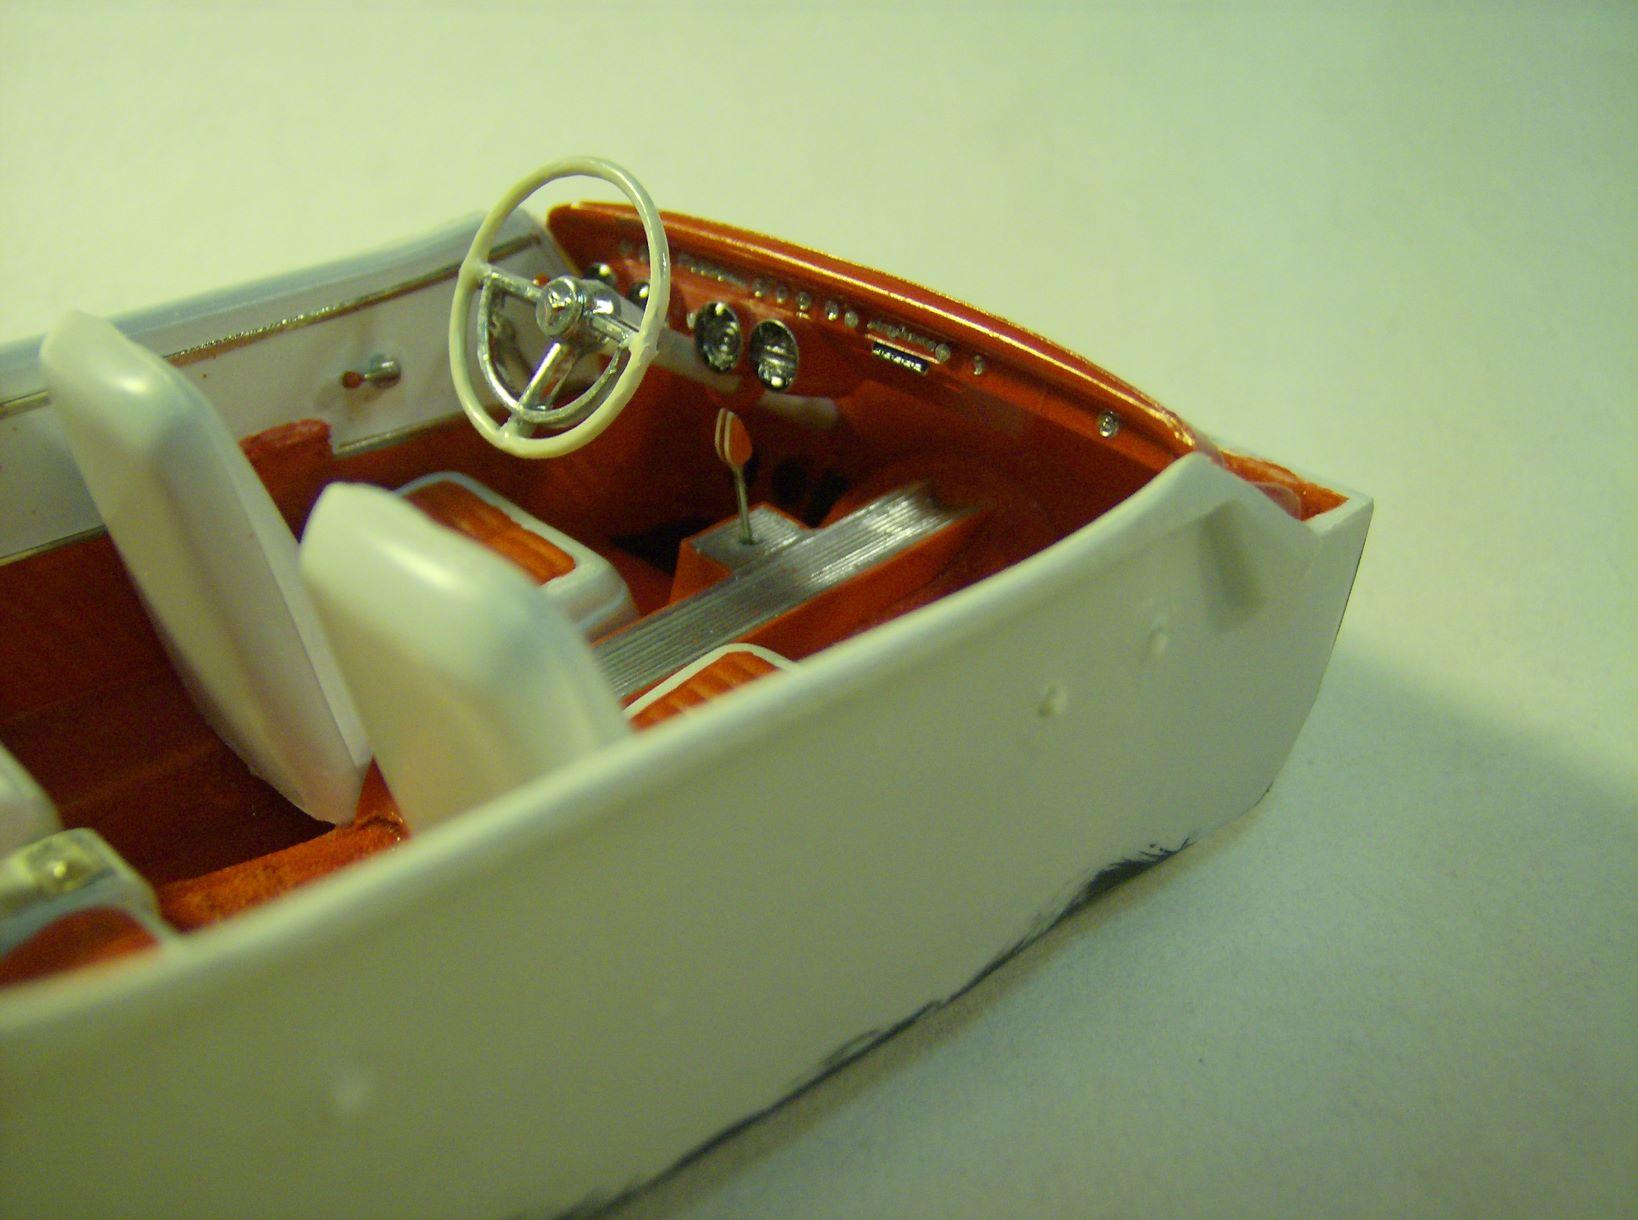
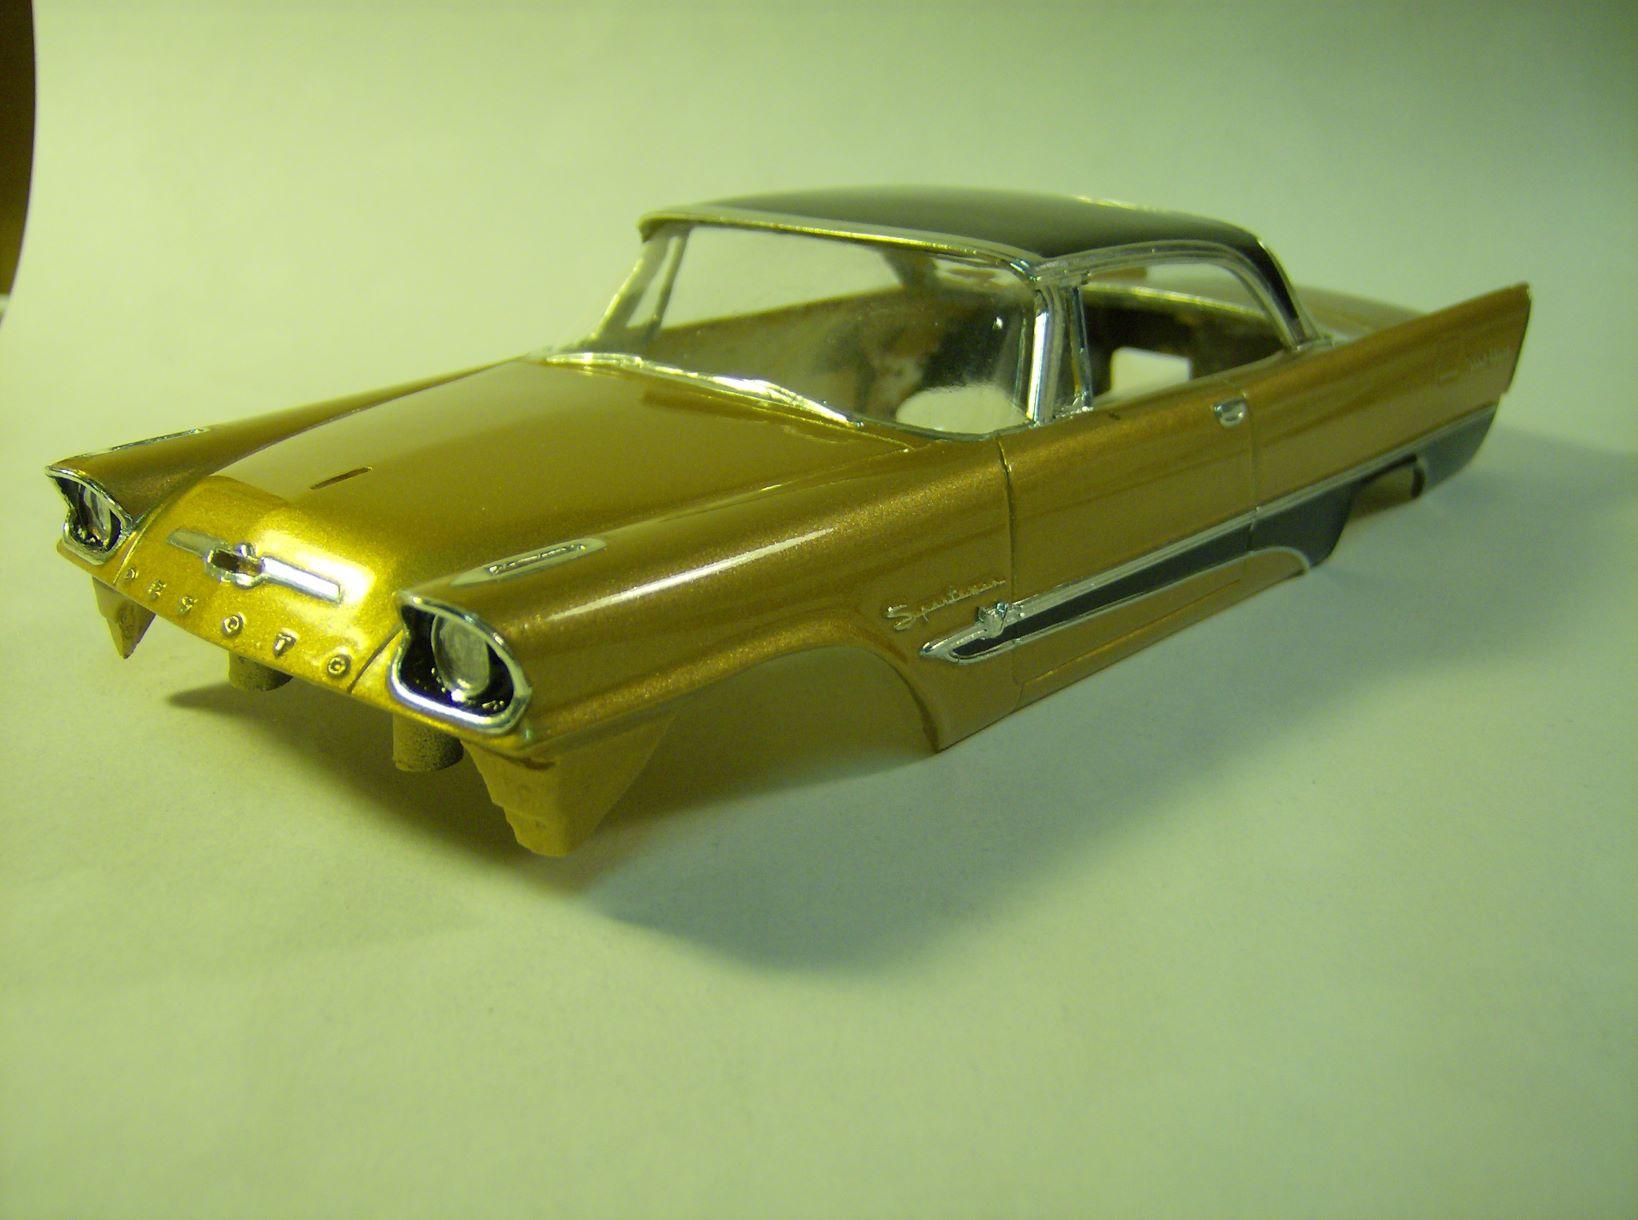
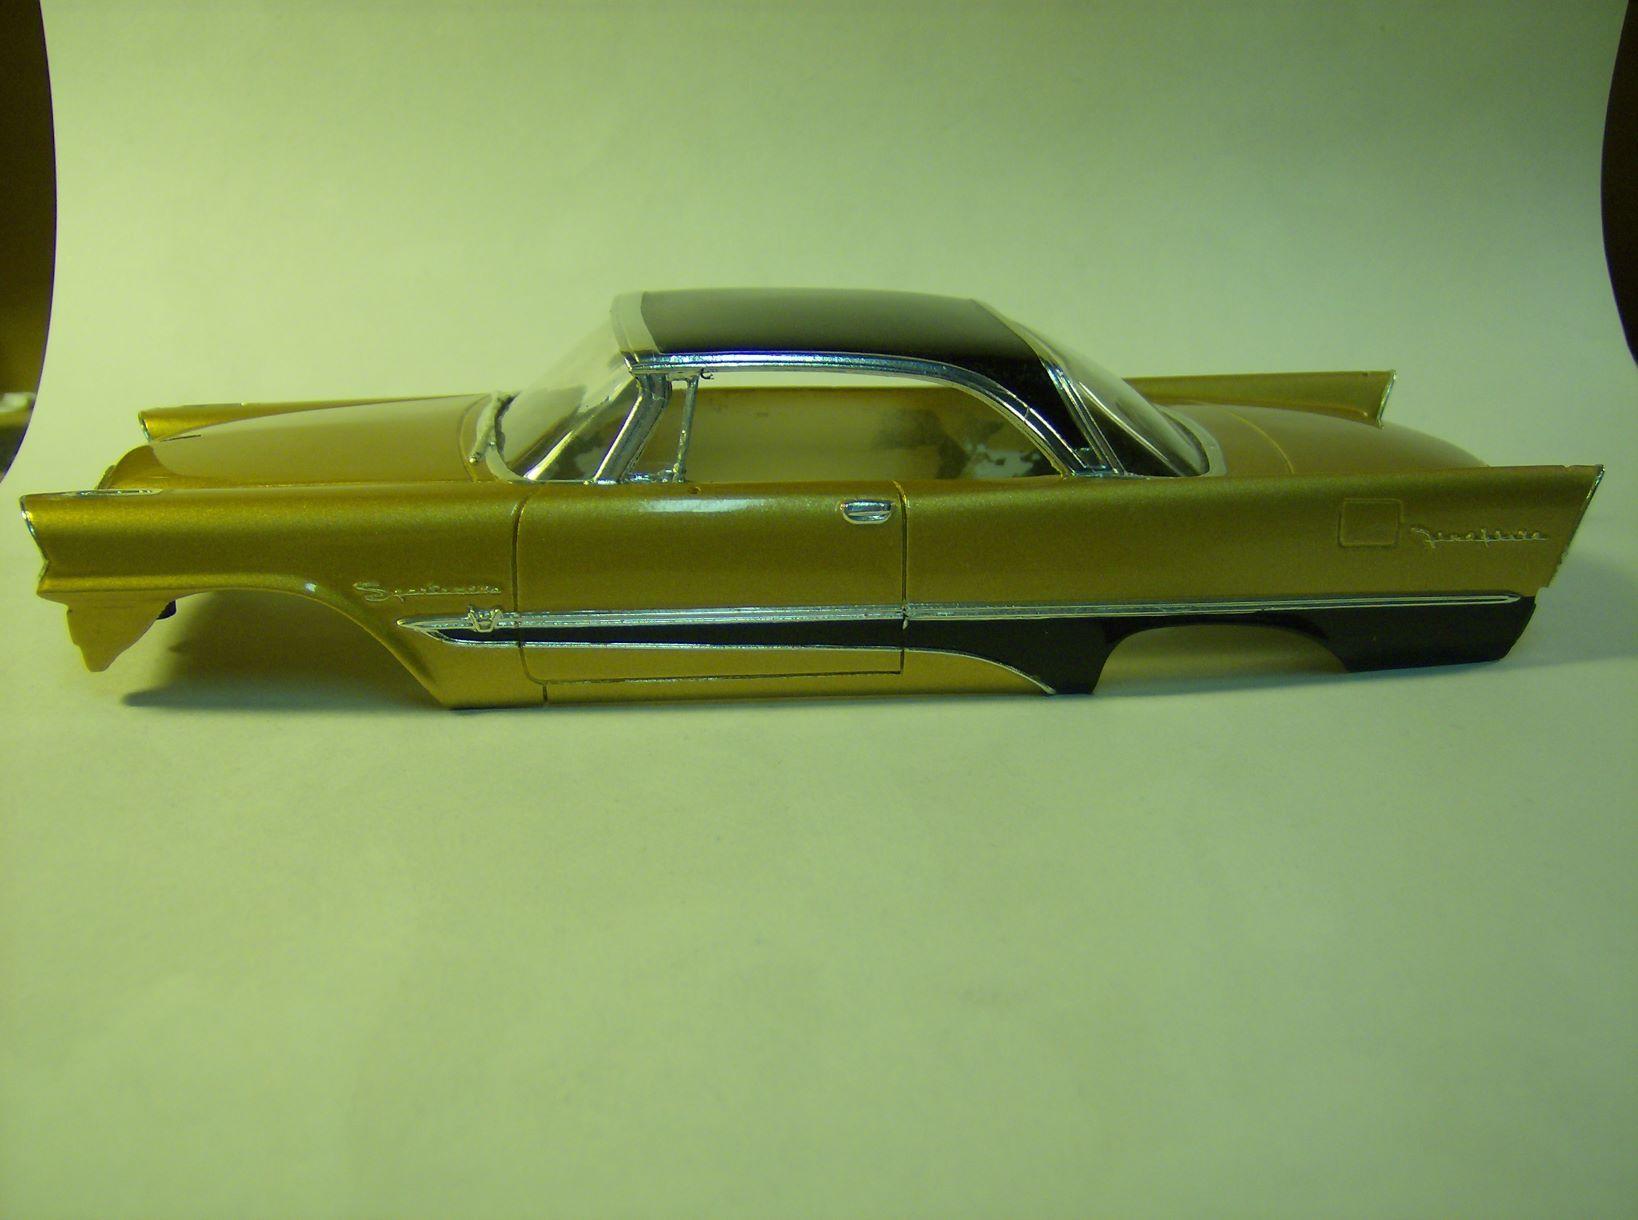
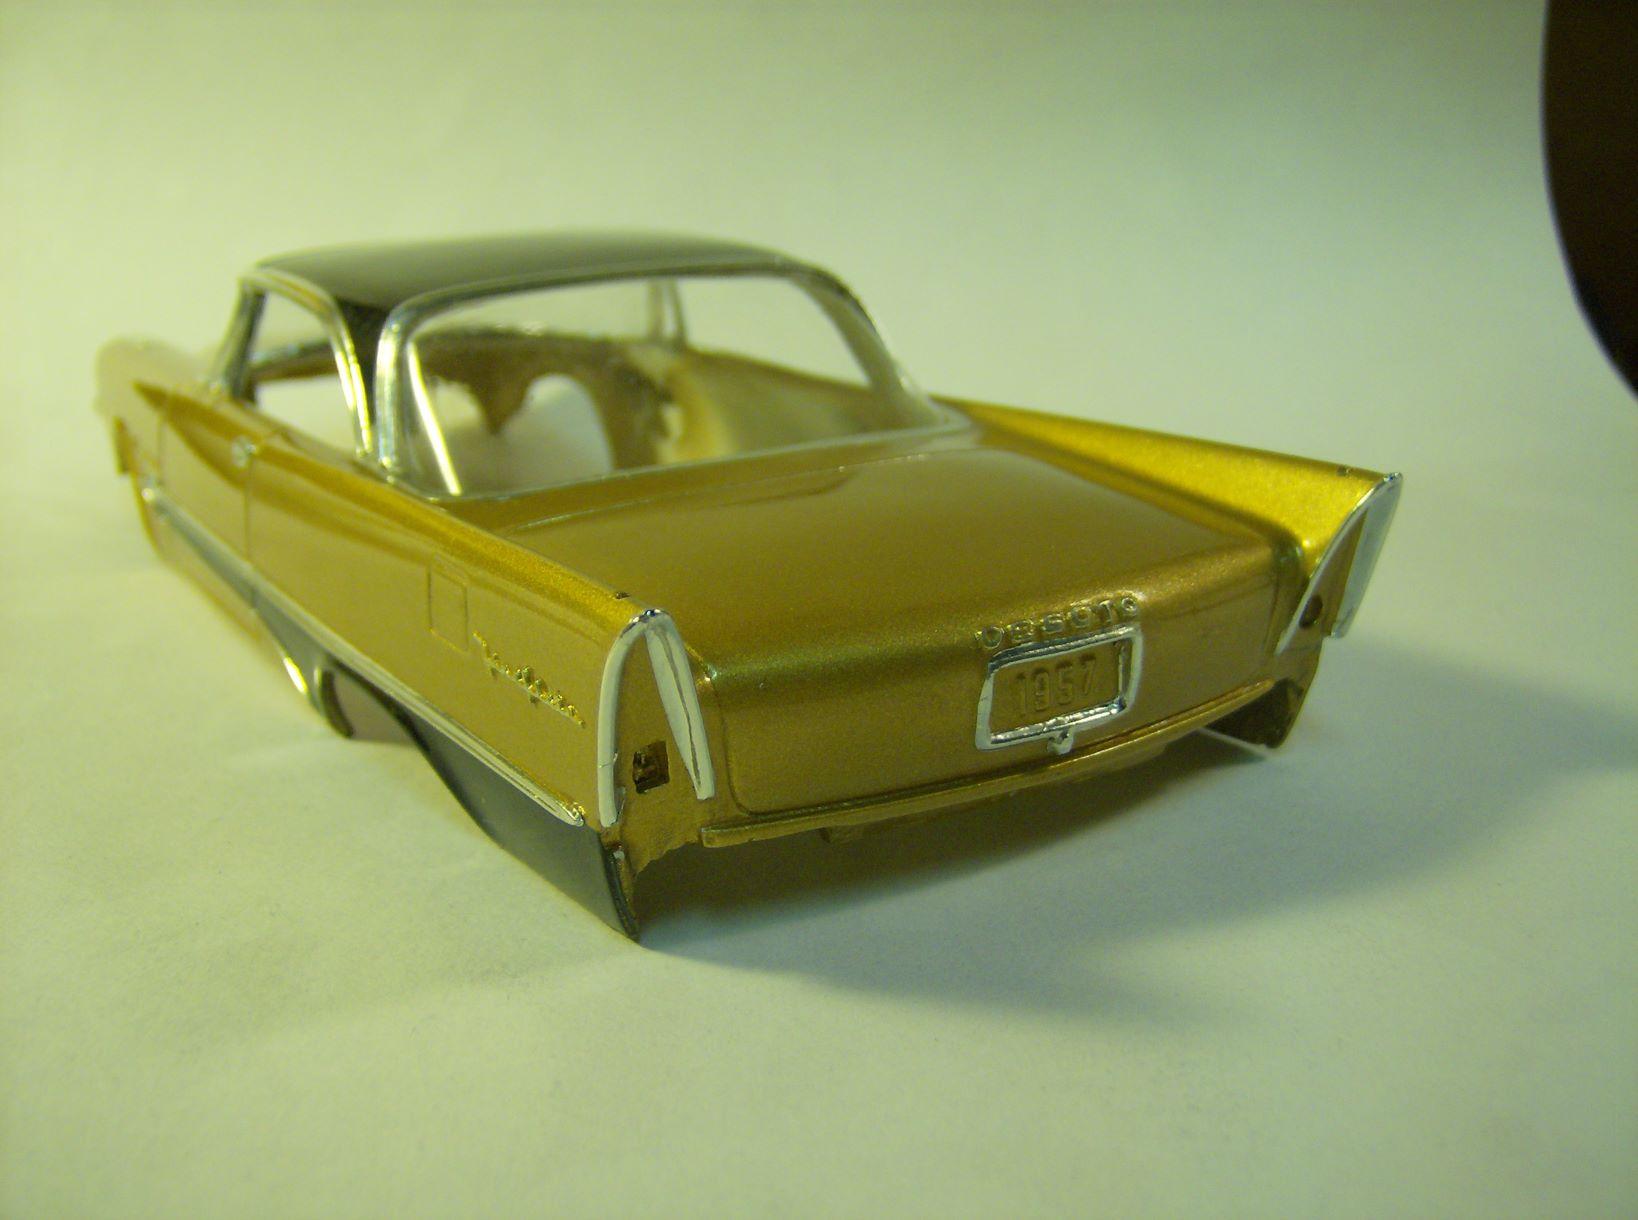
Here's a Modelhaus '57 Desoto kit that I'm very close to finishing, after much paint grief... I started this about a year ago but had to strip the paint twice due to my own errors in masking things properly for the 2 tone paint job. I finally got it done right and completed all the BMF work 2 days ago... what a job...!!! Today I trimmed and installed the Modelhaus glass and am waiting for the glue to completely dry before I do the final assemblies. The interior and chassis have been done for months, just waiting for the completed body. Have a look......
-
Front glass is in on the '57 Desoto... waiting for the glue to fully set up before I start handling the body to put in the rear glass... It's getting there?.
-
That Chrysler looks great Steve. I've got one of these kits in my huge TO DO pile.
-
Today I finally finished all of the BMF work on the Modelhaus '57 Desoto resin kit I've been working on. Tomorrow I'll work on installing the glass... then it will be time to install the completed interior. I'm hoping to have it completely done before the end of this week. Pictures will follow soon.


.JPG.822241132bd4bccd8fbc5d1cedc09e80.JPG)