Dirkpitt289
-
Posts
789 -
Joined
-
Last visited
Content Type
Profiles
Forums
Events
Gallery
Everything posted by Dirkpitt289
-
 I'm sorry, Slusher I don't understand the question....
 -
My plan is to use the kit supplied rims and wheels
-
I knew that going into this, I did it just for you, ? Joking aside, thank you for taking the time to comment.
-
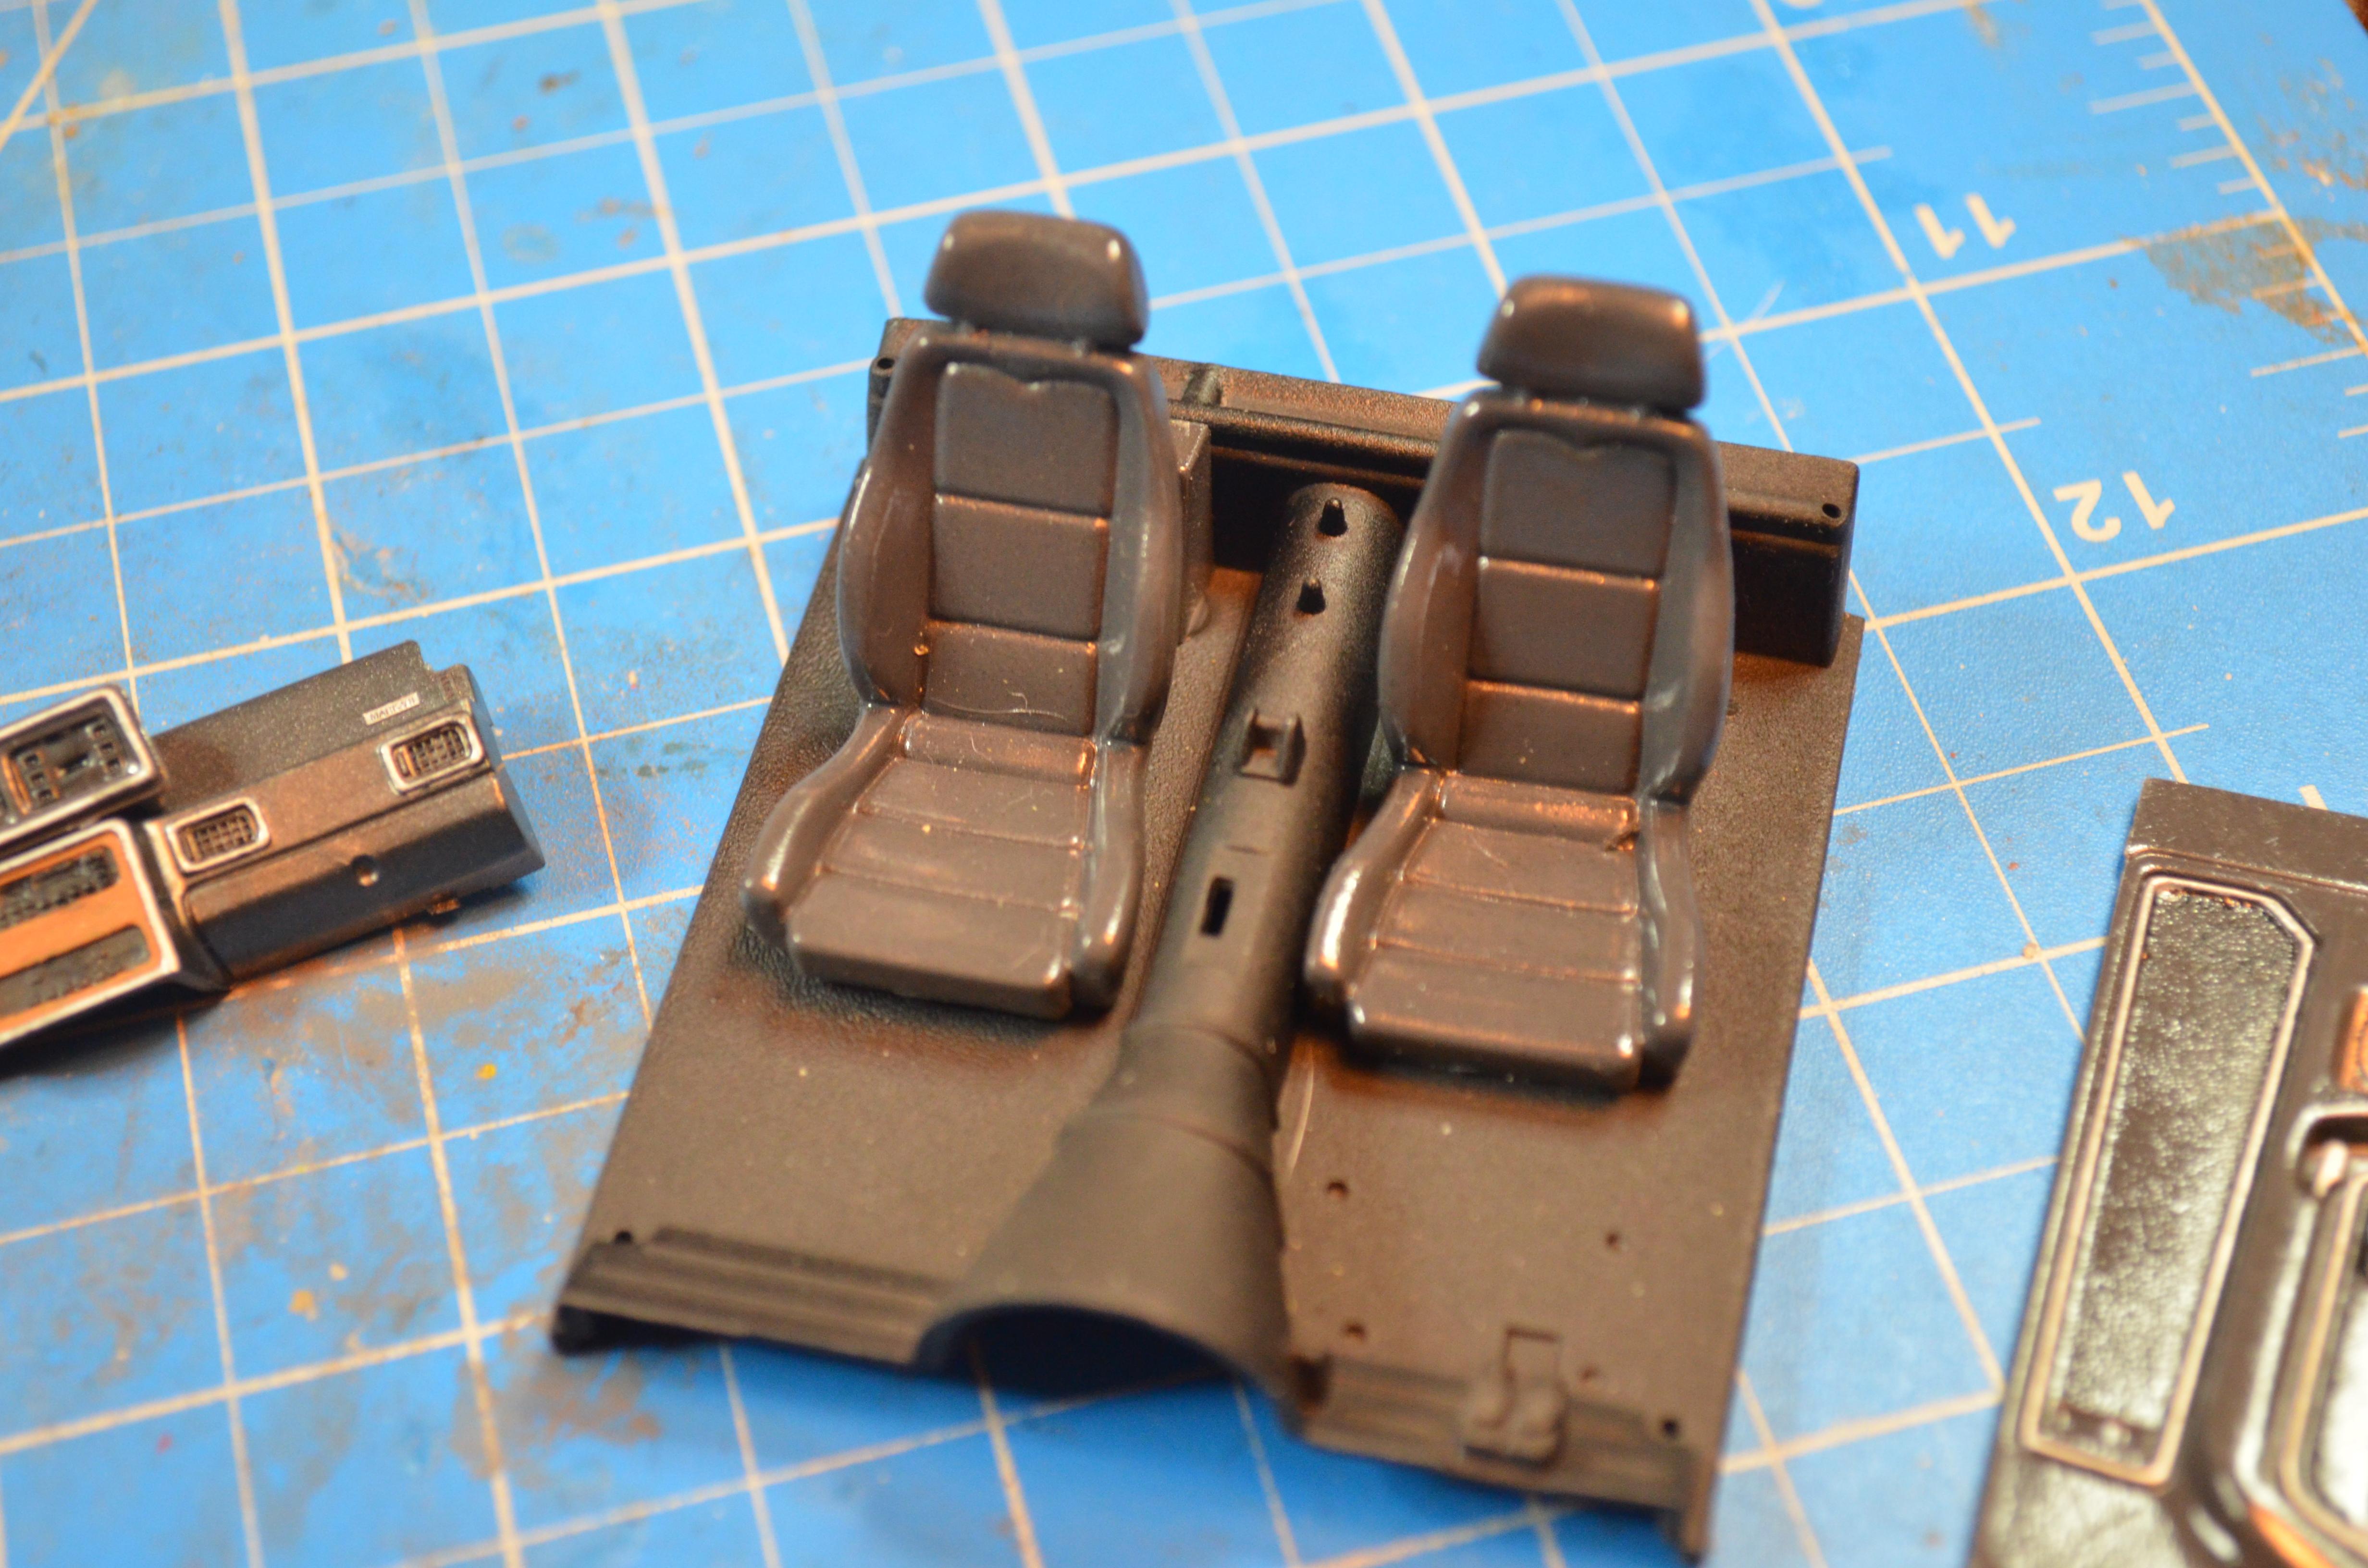
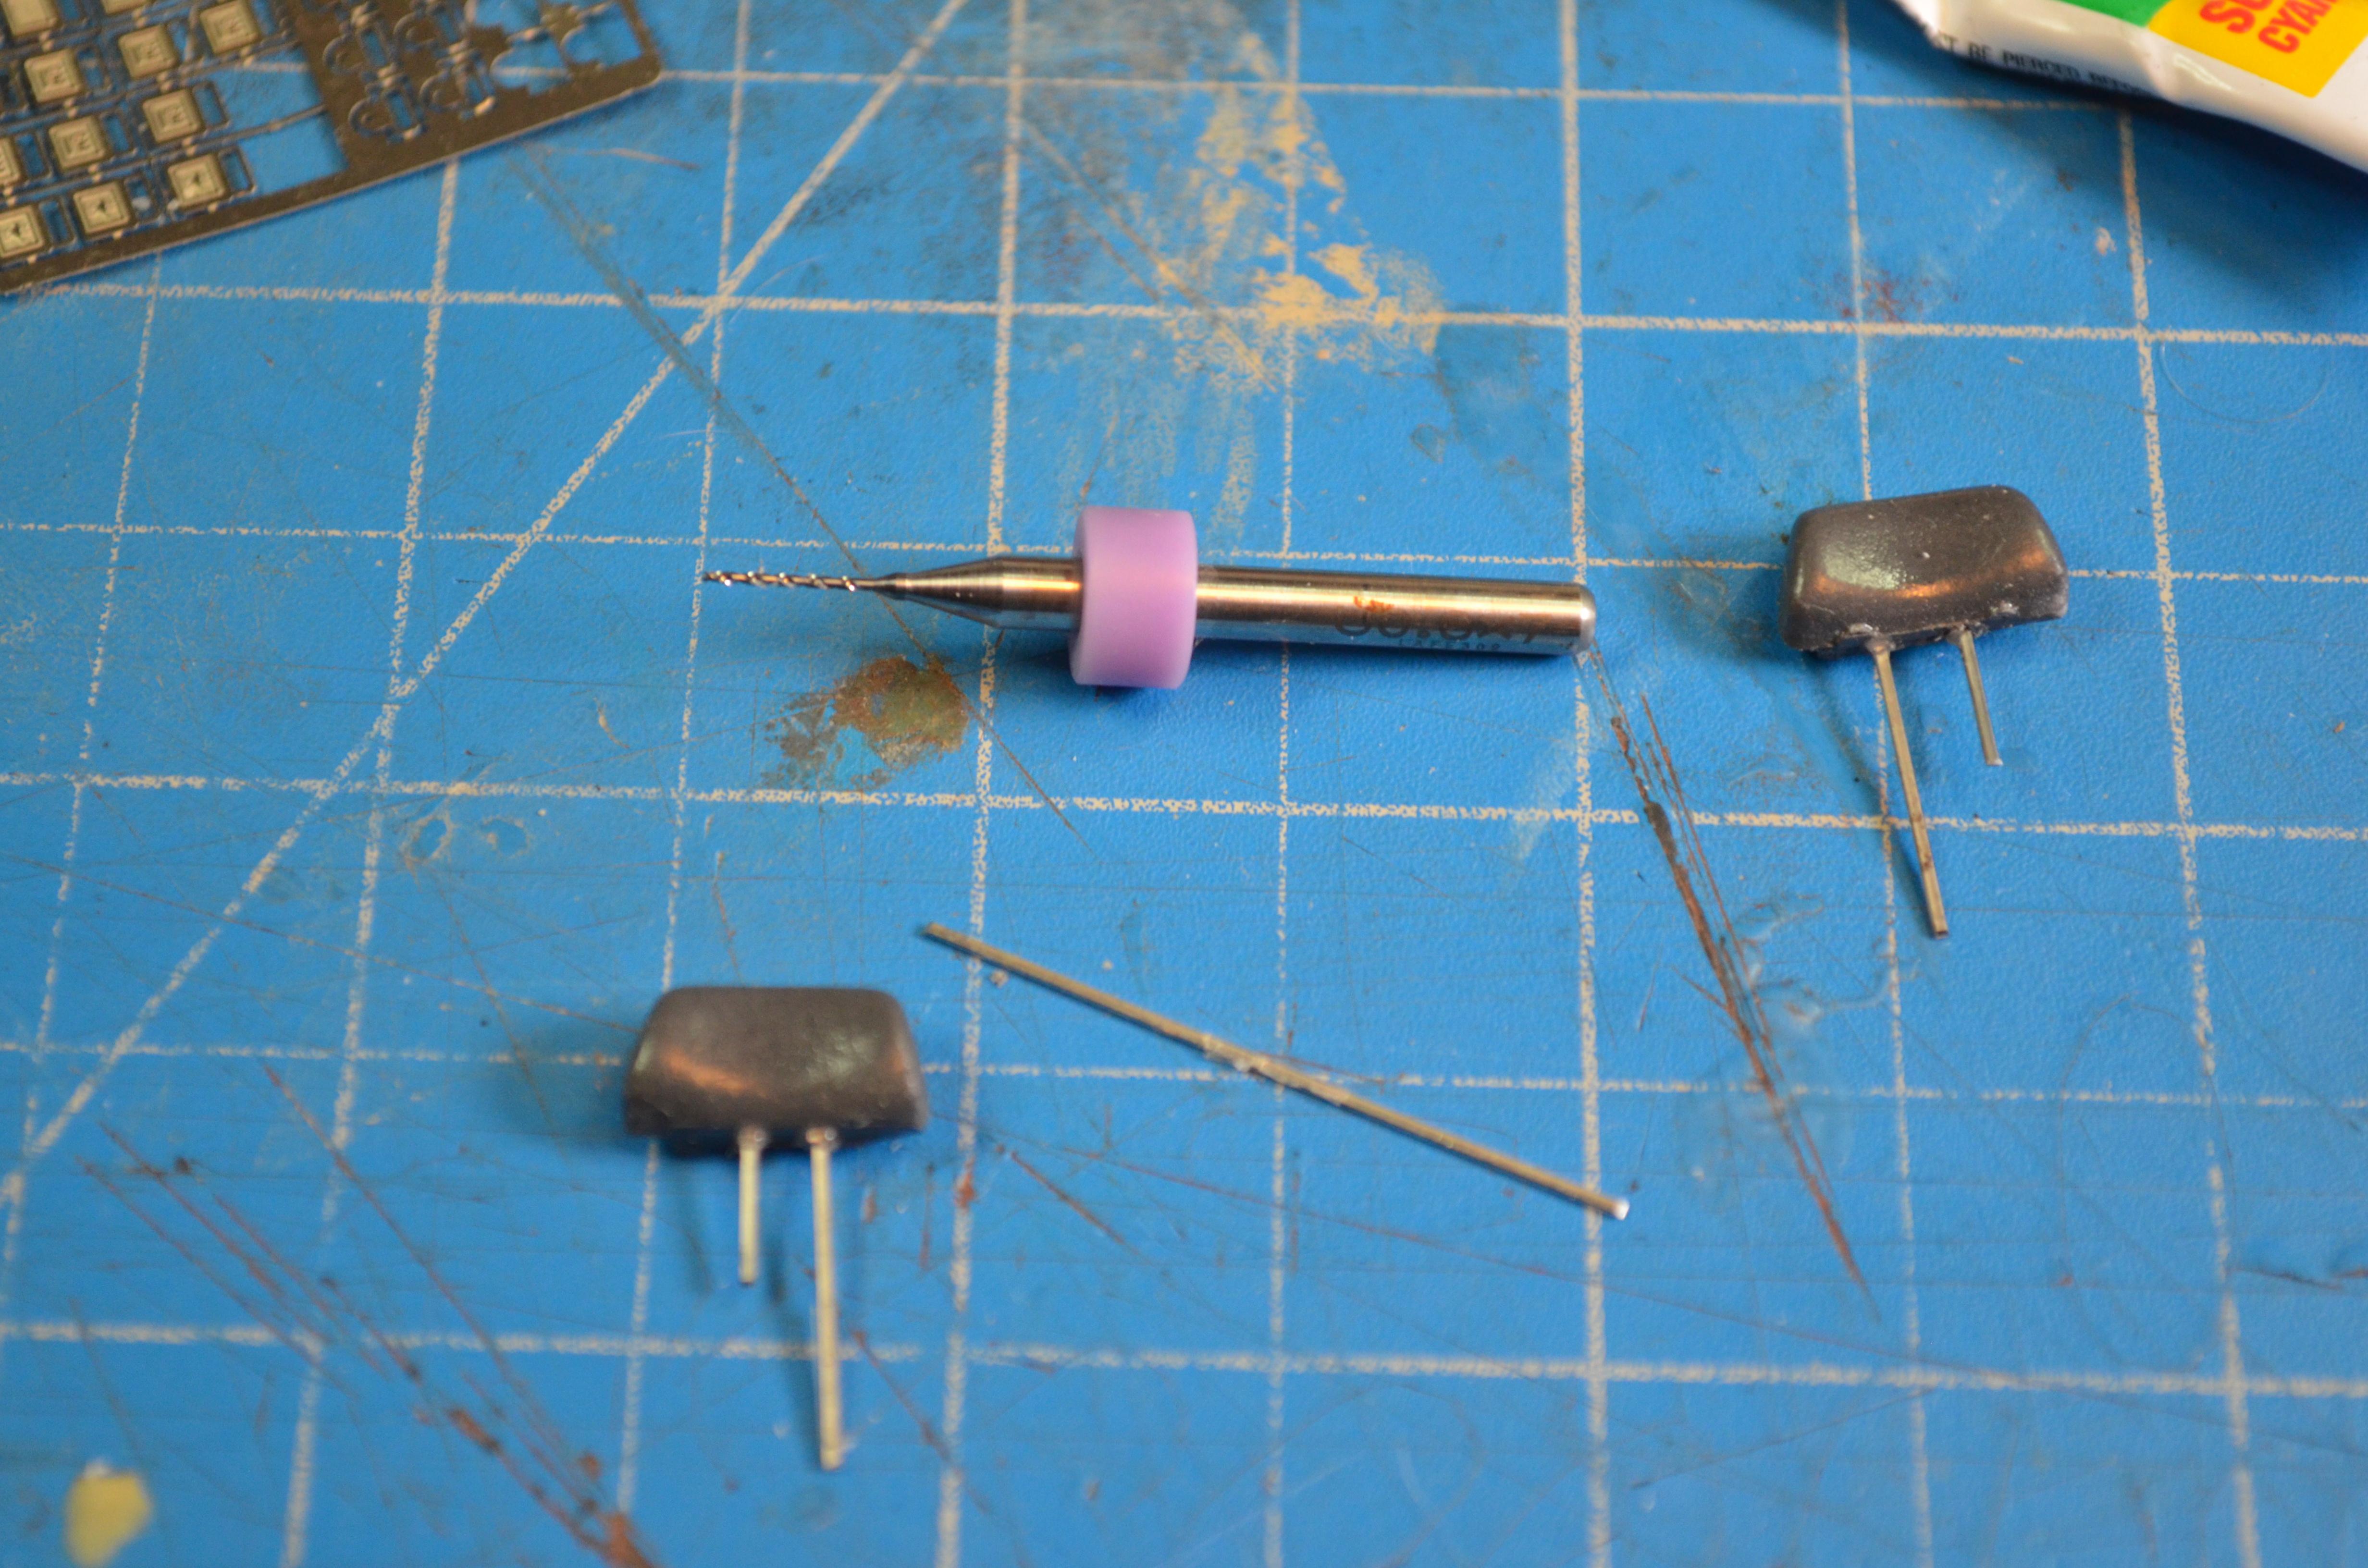
I added the trim work to the Lincoln, I originally planned to use the black Bare Metal foil for this but I got lazy and decided to try a trick I've seen on the Youtube from time to time. I used a black Sharpie pen. It worked great. I still need to buff and polish the paint but I'm pleased so far. Next its time to change direction for a little bit while the paint continues to cure. I started to work on the interior and the seats. After I had painted the seats and other interior components I realized that the color was too dark and I wasn't happy with it. But I'm to lazy and didn't feel like back tracking and starting over so I decided to leave it as it is. But I feel like I need to break up all that dark gray. My solution was to add a 5 part harness setup that matched the exterior of the car. Here is what I found. Gofer Racing parts. The kit comes with a fret of photoetch buckles and catches for several seats and a length of maroon fabric for the belts The problem I have is that the head rests get in the way. So that means we have to preform some plastic surgery. Using my razor saw we cut off the two head rests Now that the harnesses are in place its time to reattach the headrests. With the harness in the way the headrest no longer will sit right on the seat. So to fix this I decided to make some posts for the headrest. I used staples for this Once the posts were dried and firmly in place I trimmed them up and placed them into the seats. I think this should help break up the darkened interior and add some points of interest Till next time... Be Strong

-
Thank you
-
I hear you about keeping the kit sealed but for me I think they need to be built and displayed. Maybe you'll come across another one and and build that one ?
-
That interior is freakin AWESOME. I love the two tone look. BRAVO! Stunning build
-
That is a great looking color. I don't think I've ever seen a Mustang kit with the GT badge molded into it. WOW, that is pretty cool
-
Nice work
-
AMT 1953 Ford Crestline Sunliner convertible
Dirkpitt289 replied to Cuba_13's topic in WIP: Model Cars
This looks to be a pretty decent kit. I'm looking forward to seeing how this comes together -
Impressive idea casting the engine compartments
-
These were such cool cars. I need to add one or three to my stash at some point. Watching with interest
-
Nice start, I grabbed this kit when it first came out. I think I was a bit intimidated by the amount of parts. The box was bulging with parts. That might explain why I haven't built it yet. It looks to be a sweet kit and I love the subject matter. Looking forward to more
-
Thanks, GG
-
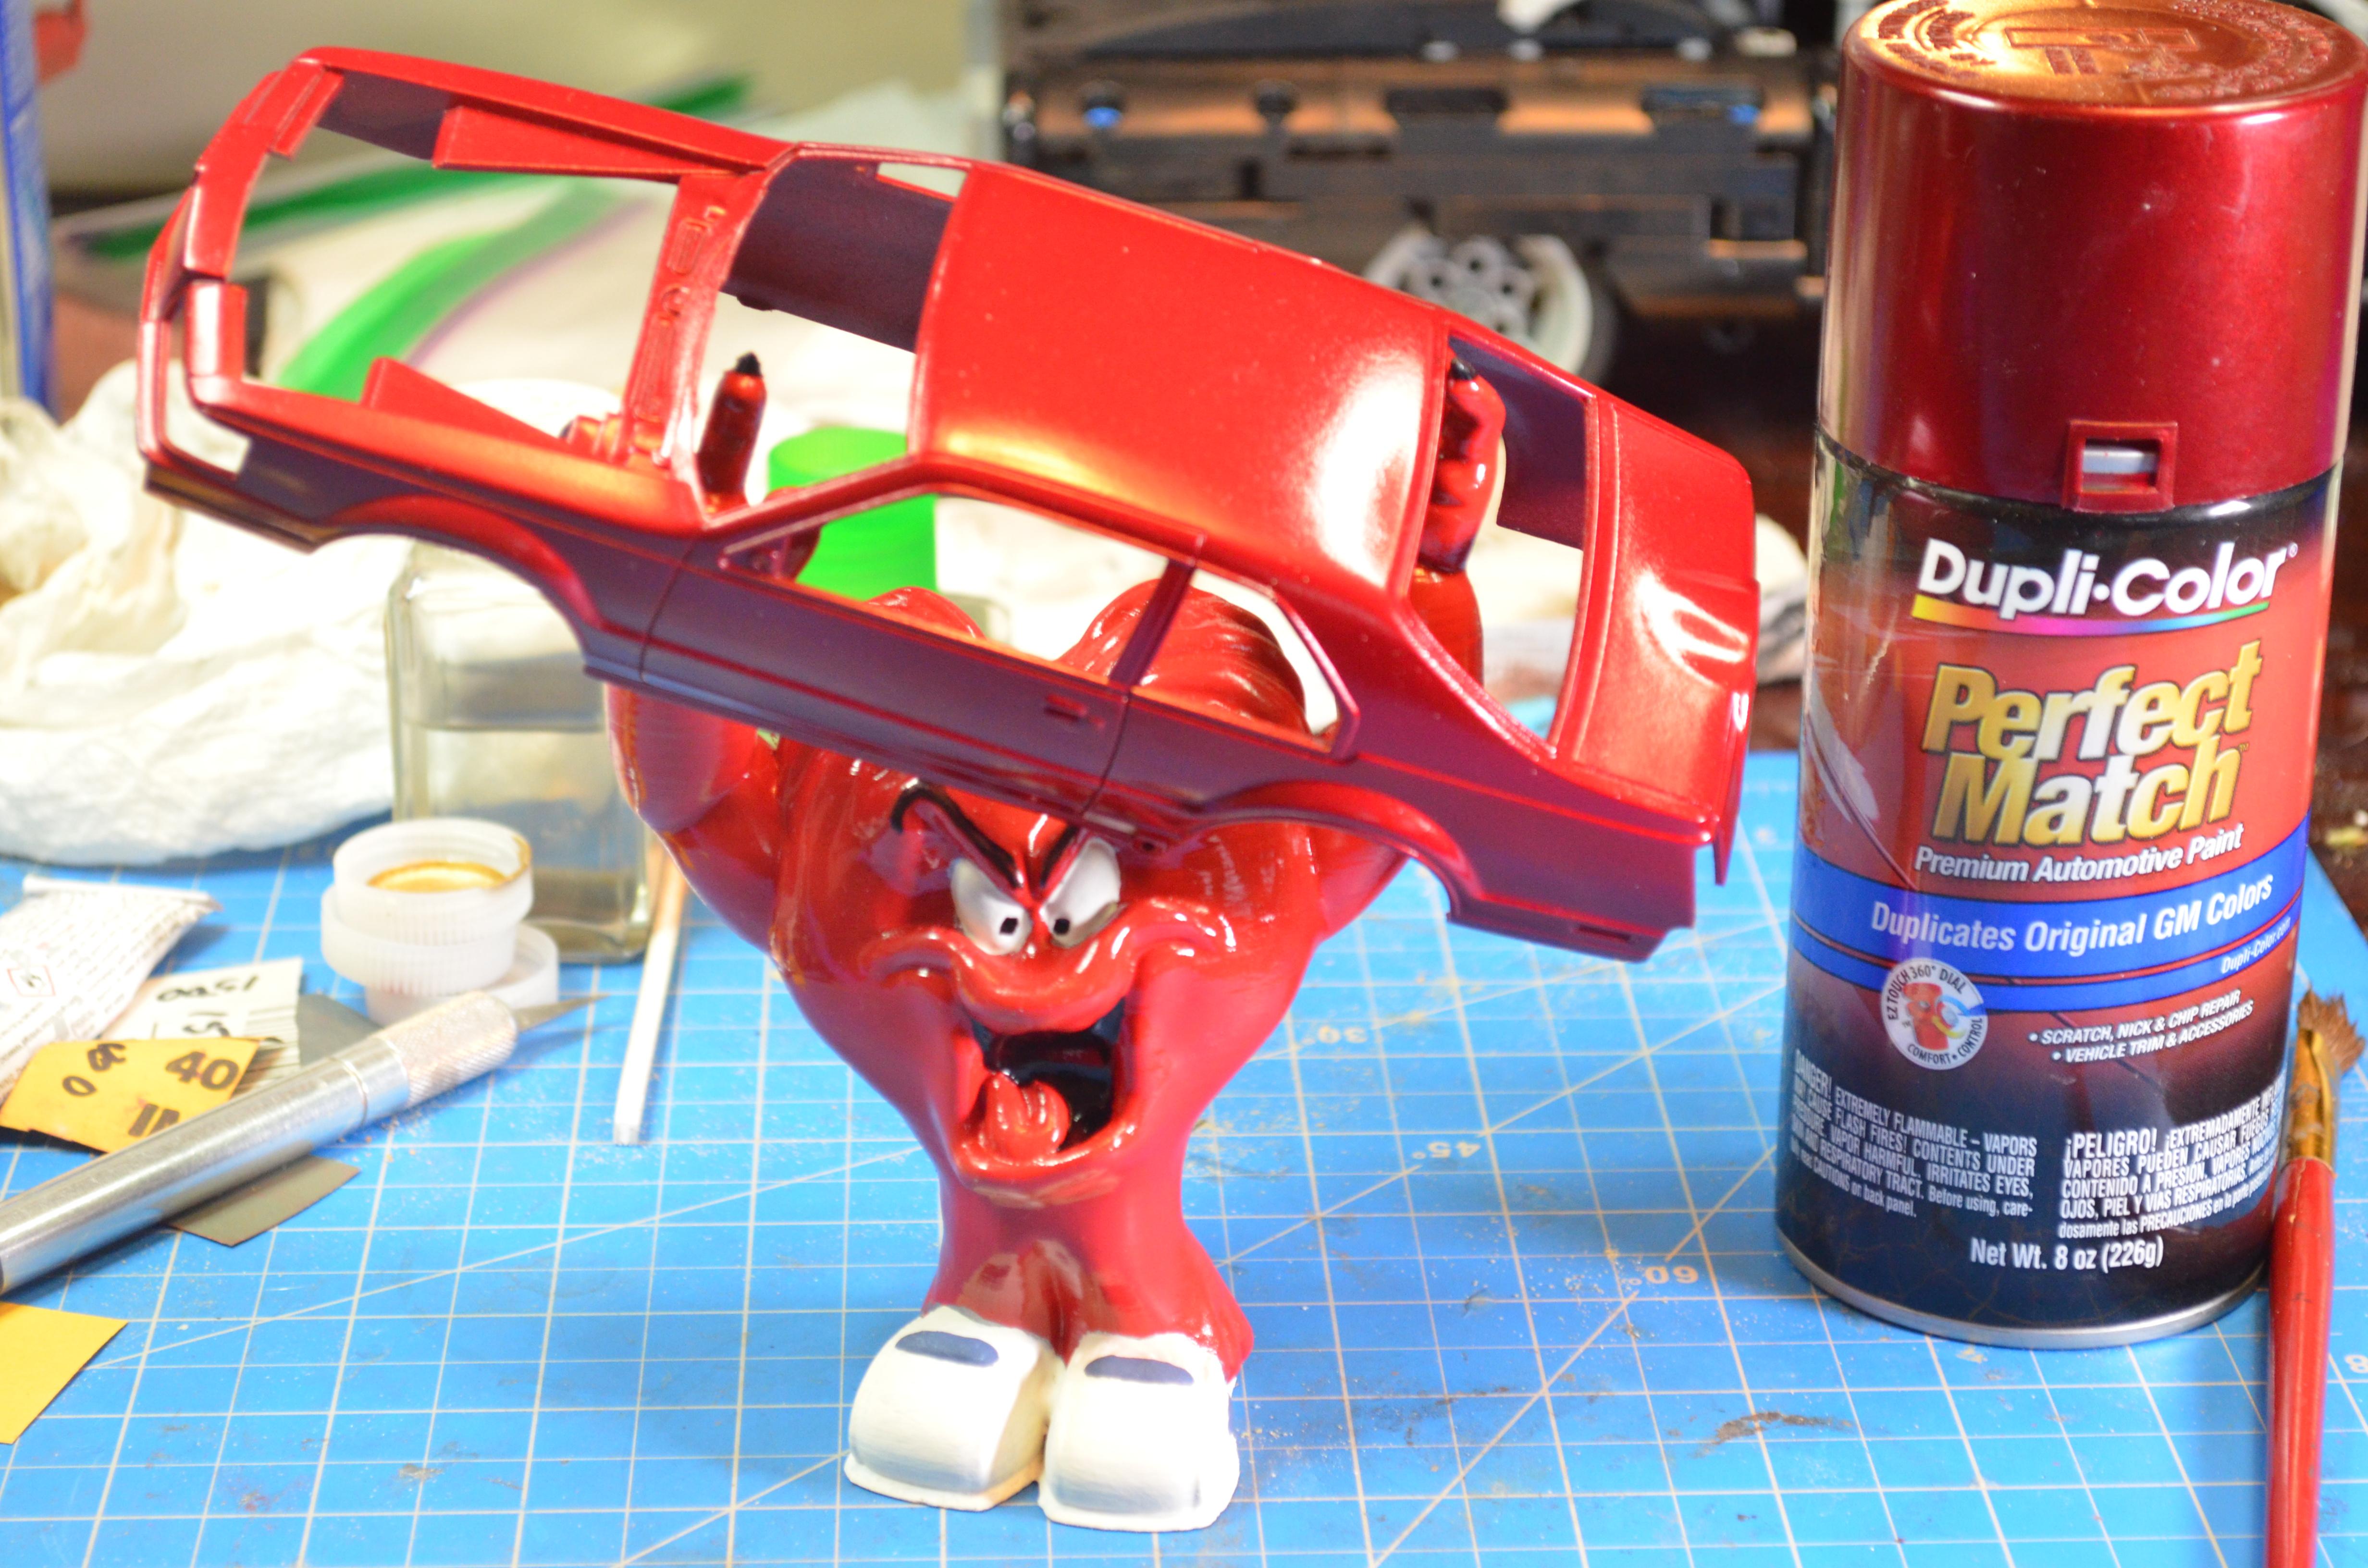
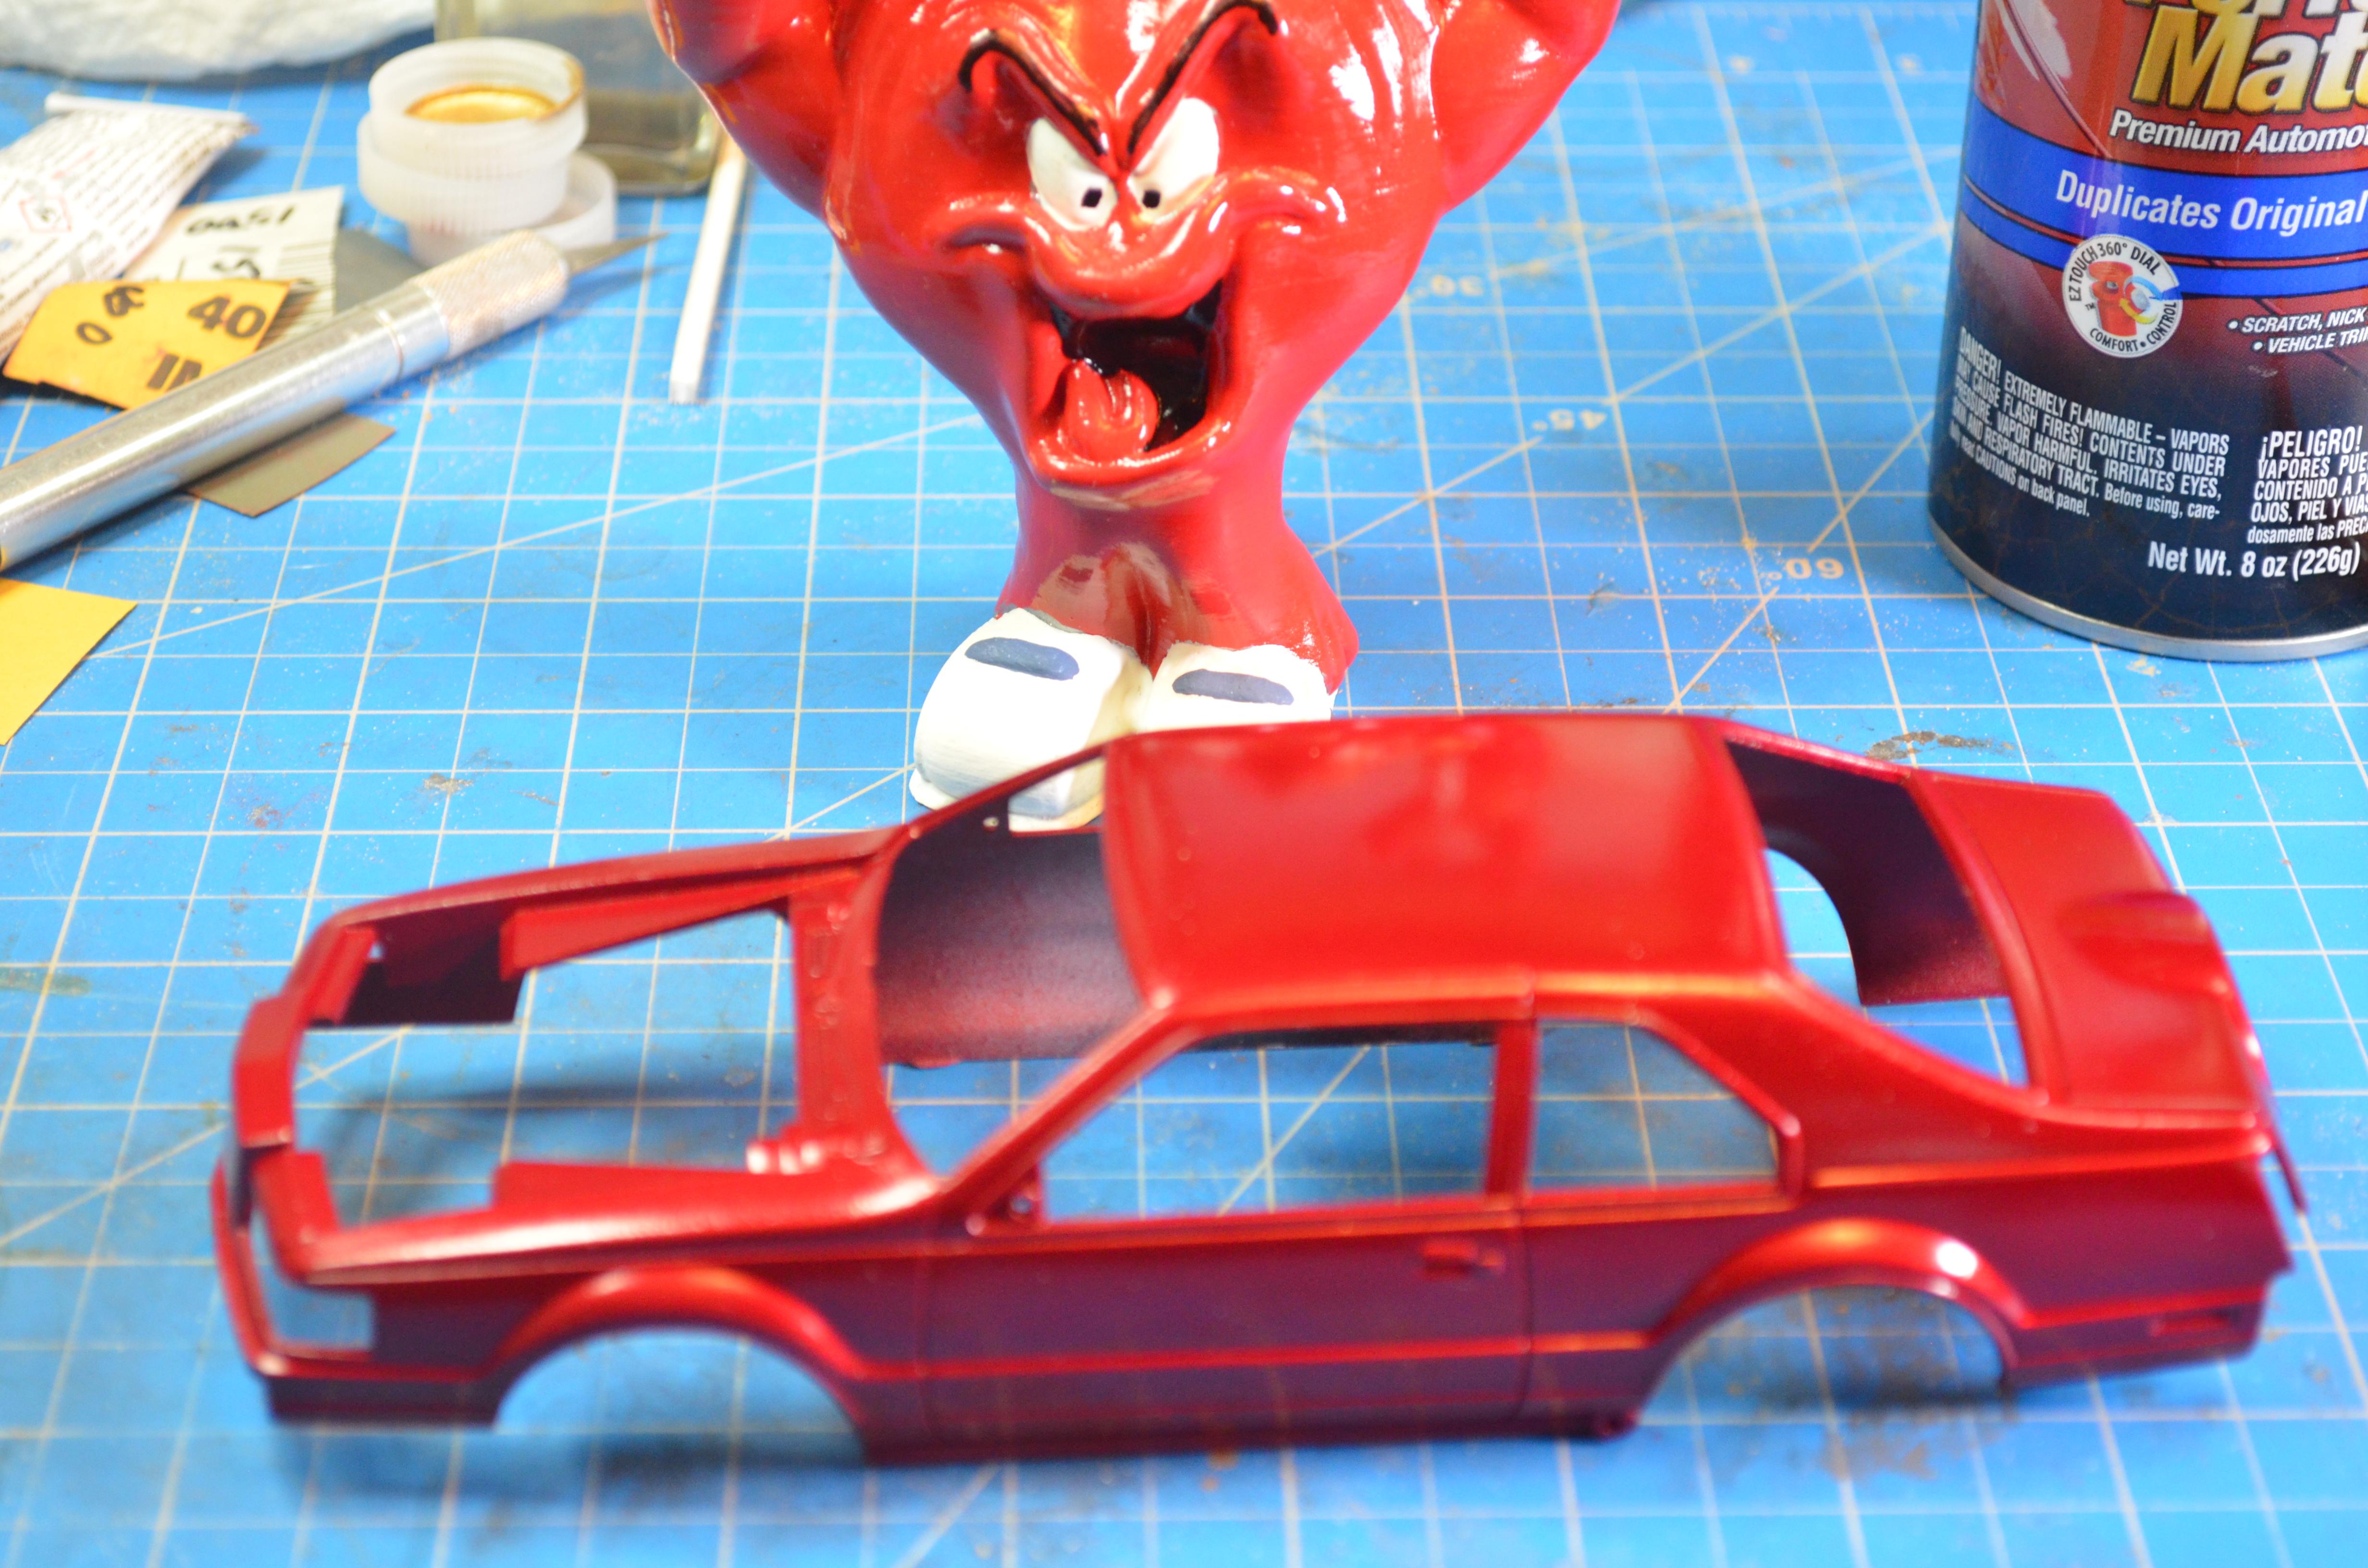
Time for some color. My plan was for something in a dark deep red/maroon, preferably a nail polish. Its been quite some time since I sprayed nail polish and I figured I'd be overwhelmed with all the deep rich colors nail polish has to offer. Well after a couple or 4 stops and nothing to show for it I gave up. The next stop was Advanced Auto where I found this Dark Cherry color, It was love at first sight. I didn't even care that the price on this paint has doubled since I bought my last can about a year ago. The pictures don't do justice to the actual color Here we are with bench assistant, Gossamer. Like a little kid he can't help but get into the middle of everything I gave the car about 4 coats of paint over gray primer. I sanded it down, first with 1000, then, 1500, 2000 and then 2500. I could go finer but I can't seem to find my box of micro-mesh at this time... Go figure But to be fair its good enough at this point. Next I clear coated it. I think I might do another coat.
-
Nice work on the motor. Most impressive
-
Working on glue bombs like this has its own type of satisfaction when you bring it back to life. I pick up a couple glue bombs each time I go to a show. You never know what you can user it for down the road weather for parts or a resto project like this one
-
That T-bird kit is a nice kit as well, I need to get it eventually
-
Thank you, sir
-
Shirley Shahan’s Hornet Pro Stock
Dirkpitt289 replied to dragcarz's topic in WIP: Drag Racing Models
I'm diggin this build. Very cool -
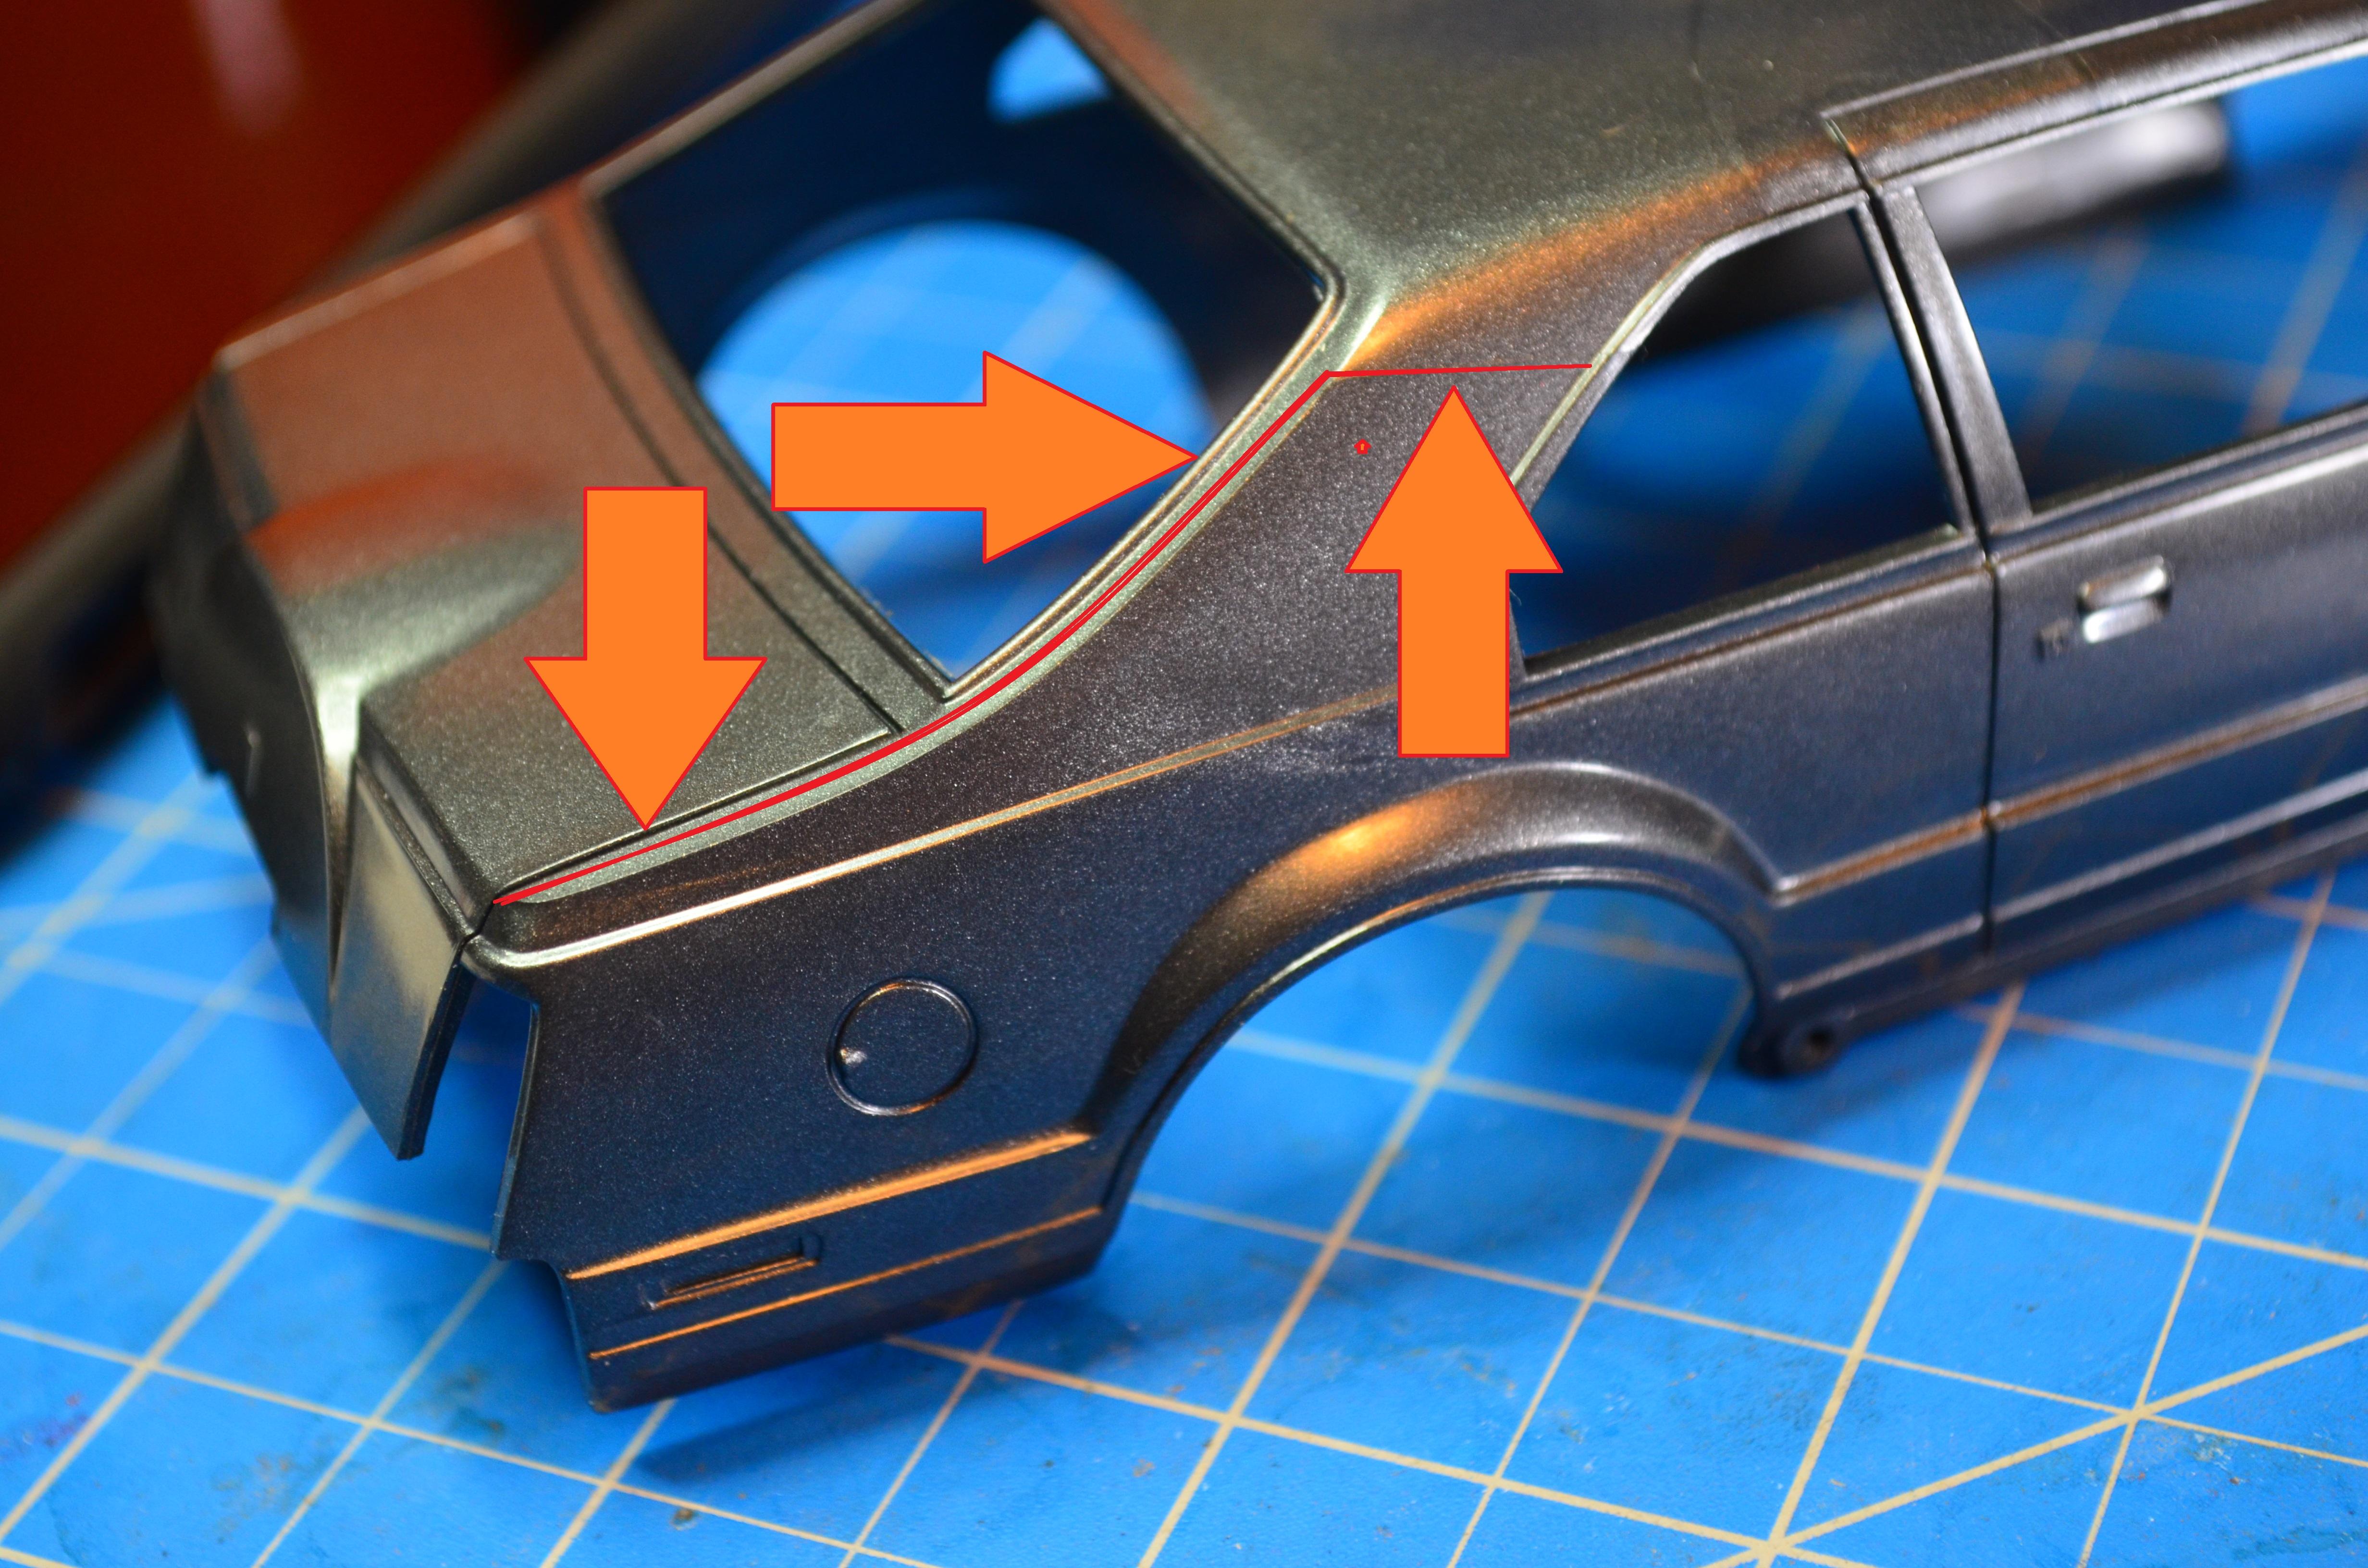
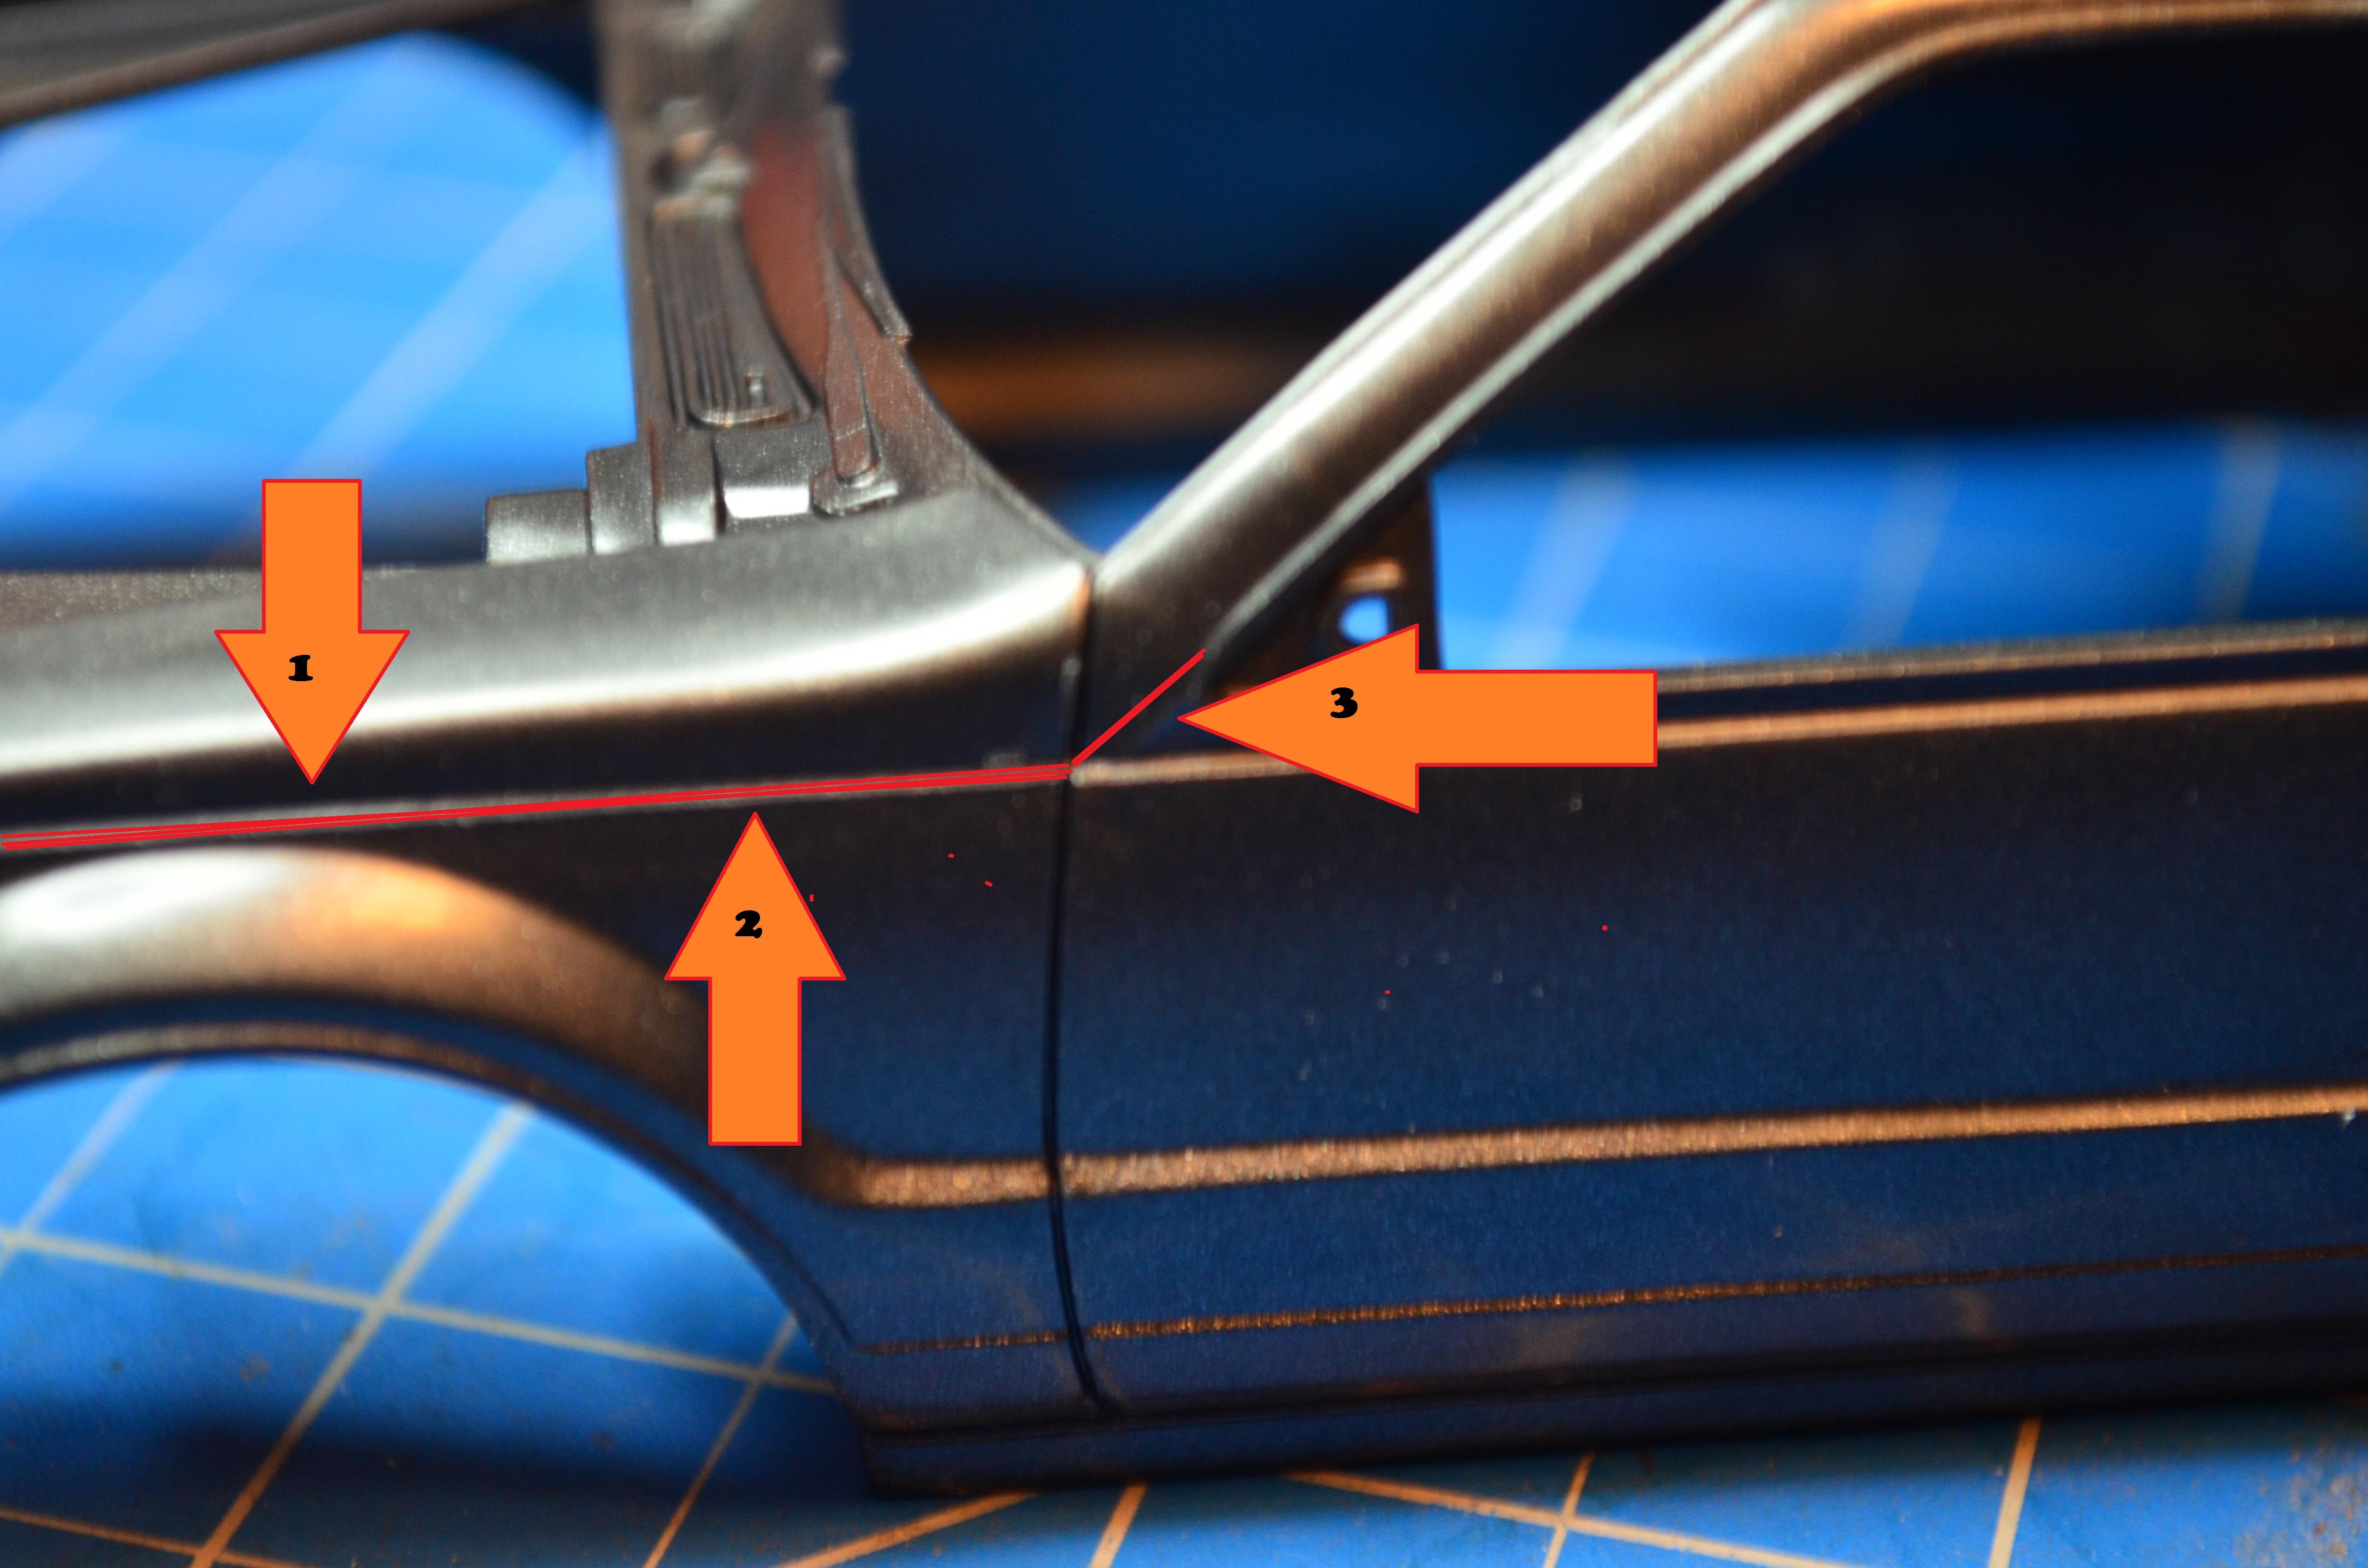
Lets take a look at this sexy body.The only real noticeable mold line crosses between the back window and the rear side window. The rest follows the body line down to the trunk In the front the only visible mold line in the area between the drip rail and the body line (3). it then flows down the panel to the headlight. Invisible to the eye but felt by the fingers. I used a sanding stick to get rid of the mold lines and cut the edges where the lines followed the panel lines. You don't want to leave sharp edges like that or the paint could pull away leaving an ugly line of plastic color . Next I scrubbed down the entire body with some steel wool. Just to give the paint something to hang on to Ready for primer
-
I got the distributor installed. I never saw a distributor mounted on its side like this. You can see how small this is and why I decided to not wire this motor
-
Looking for some Cragars
Dirkpitt289 replied to Dirkpitt289's topic in Model Building Questions and Answers
Thanks for the information, I'm not a Cougar guy but they sure look like Cragars to me. The kit wheels will be close enough I guess. -
Work is going slow on the Lincoln but its still moving forward so I guess that's a good thing. Since I am not making any specific car I'm taking some creative liberty on this one. So the colors are of my own choosing. I was also planning on wiring up this motor but it turns out the distributor is way to small for me to get 8 wires in it so... Before painting the engine bits gold I had to strip off the factory chrome paint with some Easy Off Oven cleaner. within 20 minutes we the parts were stripped and washed. Come back soon for more
-
Looking for Some Wire Wheel Covers
Dirkpitt289 replied to Dirkpitt289's topic in Model Building Questions and Answers
I didn't realize I posted in the wrong area. My bad. Thanks for letting me know ?
.JPG.cbb2e1039f951fe6dcb9bba5501a10c0.JPG)
.JPG.1785efd4e5fe82bee733b3189fd1f8c4.JPG)

.JPG.9638290042a7bab87c824711307a3b7c.JPG)

.JPG.0406b970a06c410f5b86bf8bc69a49e9.JPG)
.JPG.eca2611f5d5bb2806bc98cfe2ed7ae63.JPG)
.JPG.85e5fb7a5dab80ac919feba559670e97.JPG)
.JPG.1f66ed85f0b44cfdd0a6cc801fc44f36.JPG)