IHSS
-
Posts
183 -
Joined
-
Last visited
Content Type
Profiles
Forums
Events
Gallery
Everything posted by IHSS
-
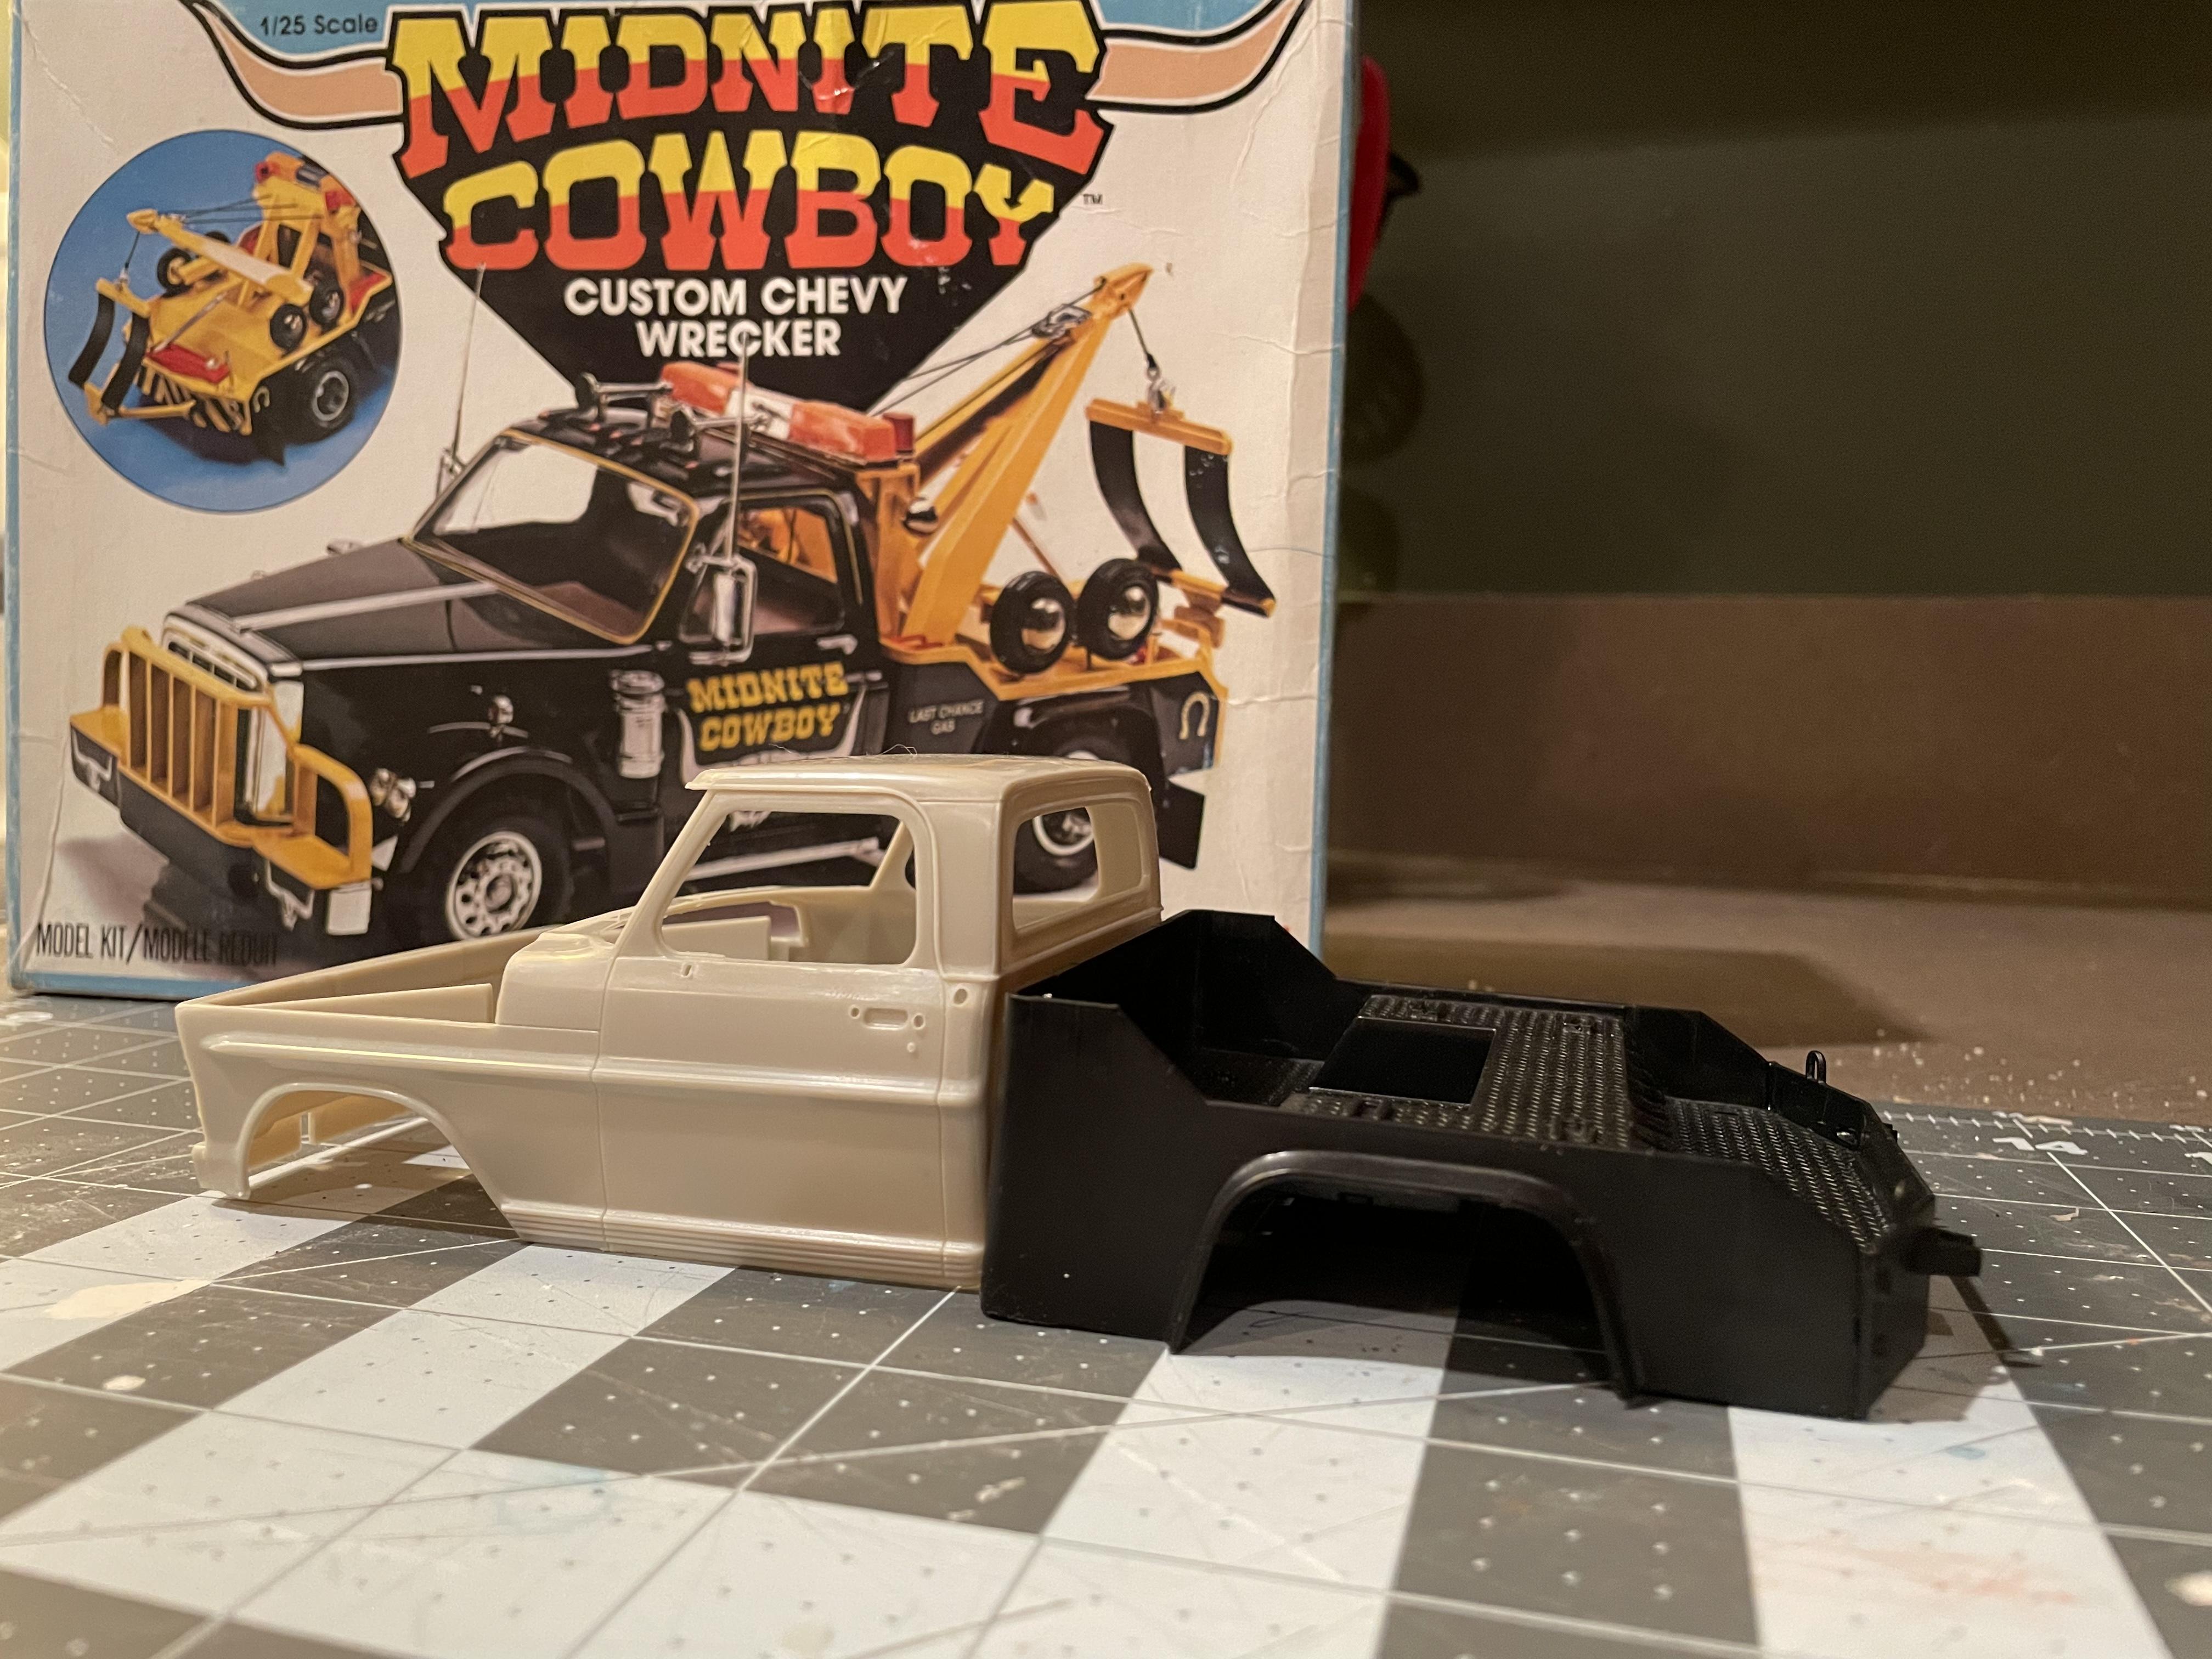
What’s the back of the cab look like? The crack in the pic looks like it wouldn’t be to hard to fix.
-
Neil Peart Dodge D50
IHSS replied to ybsluos's topic in Model Trucks: Pickups, Vans, SUVs, Light Commercial
That’s a great build of a very cool custom. And a fantastic tribute to Neil as well. When I first read the title I thought it was going to be one of Neil’s old builds. I read an article years ago that he was a huge car nut and avid model builder. IIRC he spent a lot of his touring down time building kits on the road. -
How can I get ahold of these?
IHSS replied to Mike C.'s topic in Car Aftermarket / Resin / 3D Printed
Hey George. Sent the piece off this morning. You should get Monday.
-
How can I get ahold of these?
IHSS replied to Mike C.'s topic in Car Aftermarket / Resin / 3D Printed
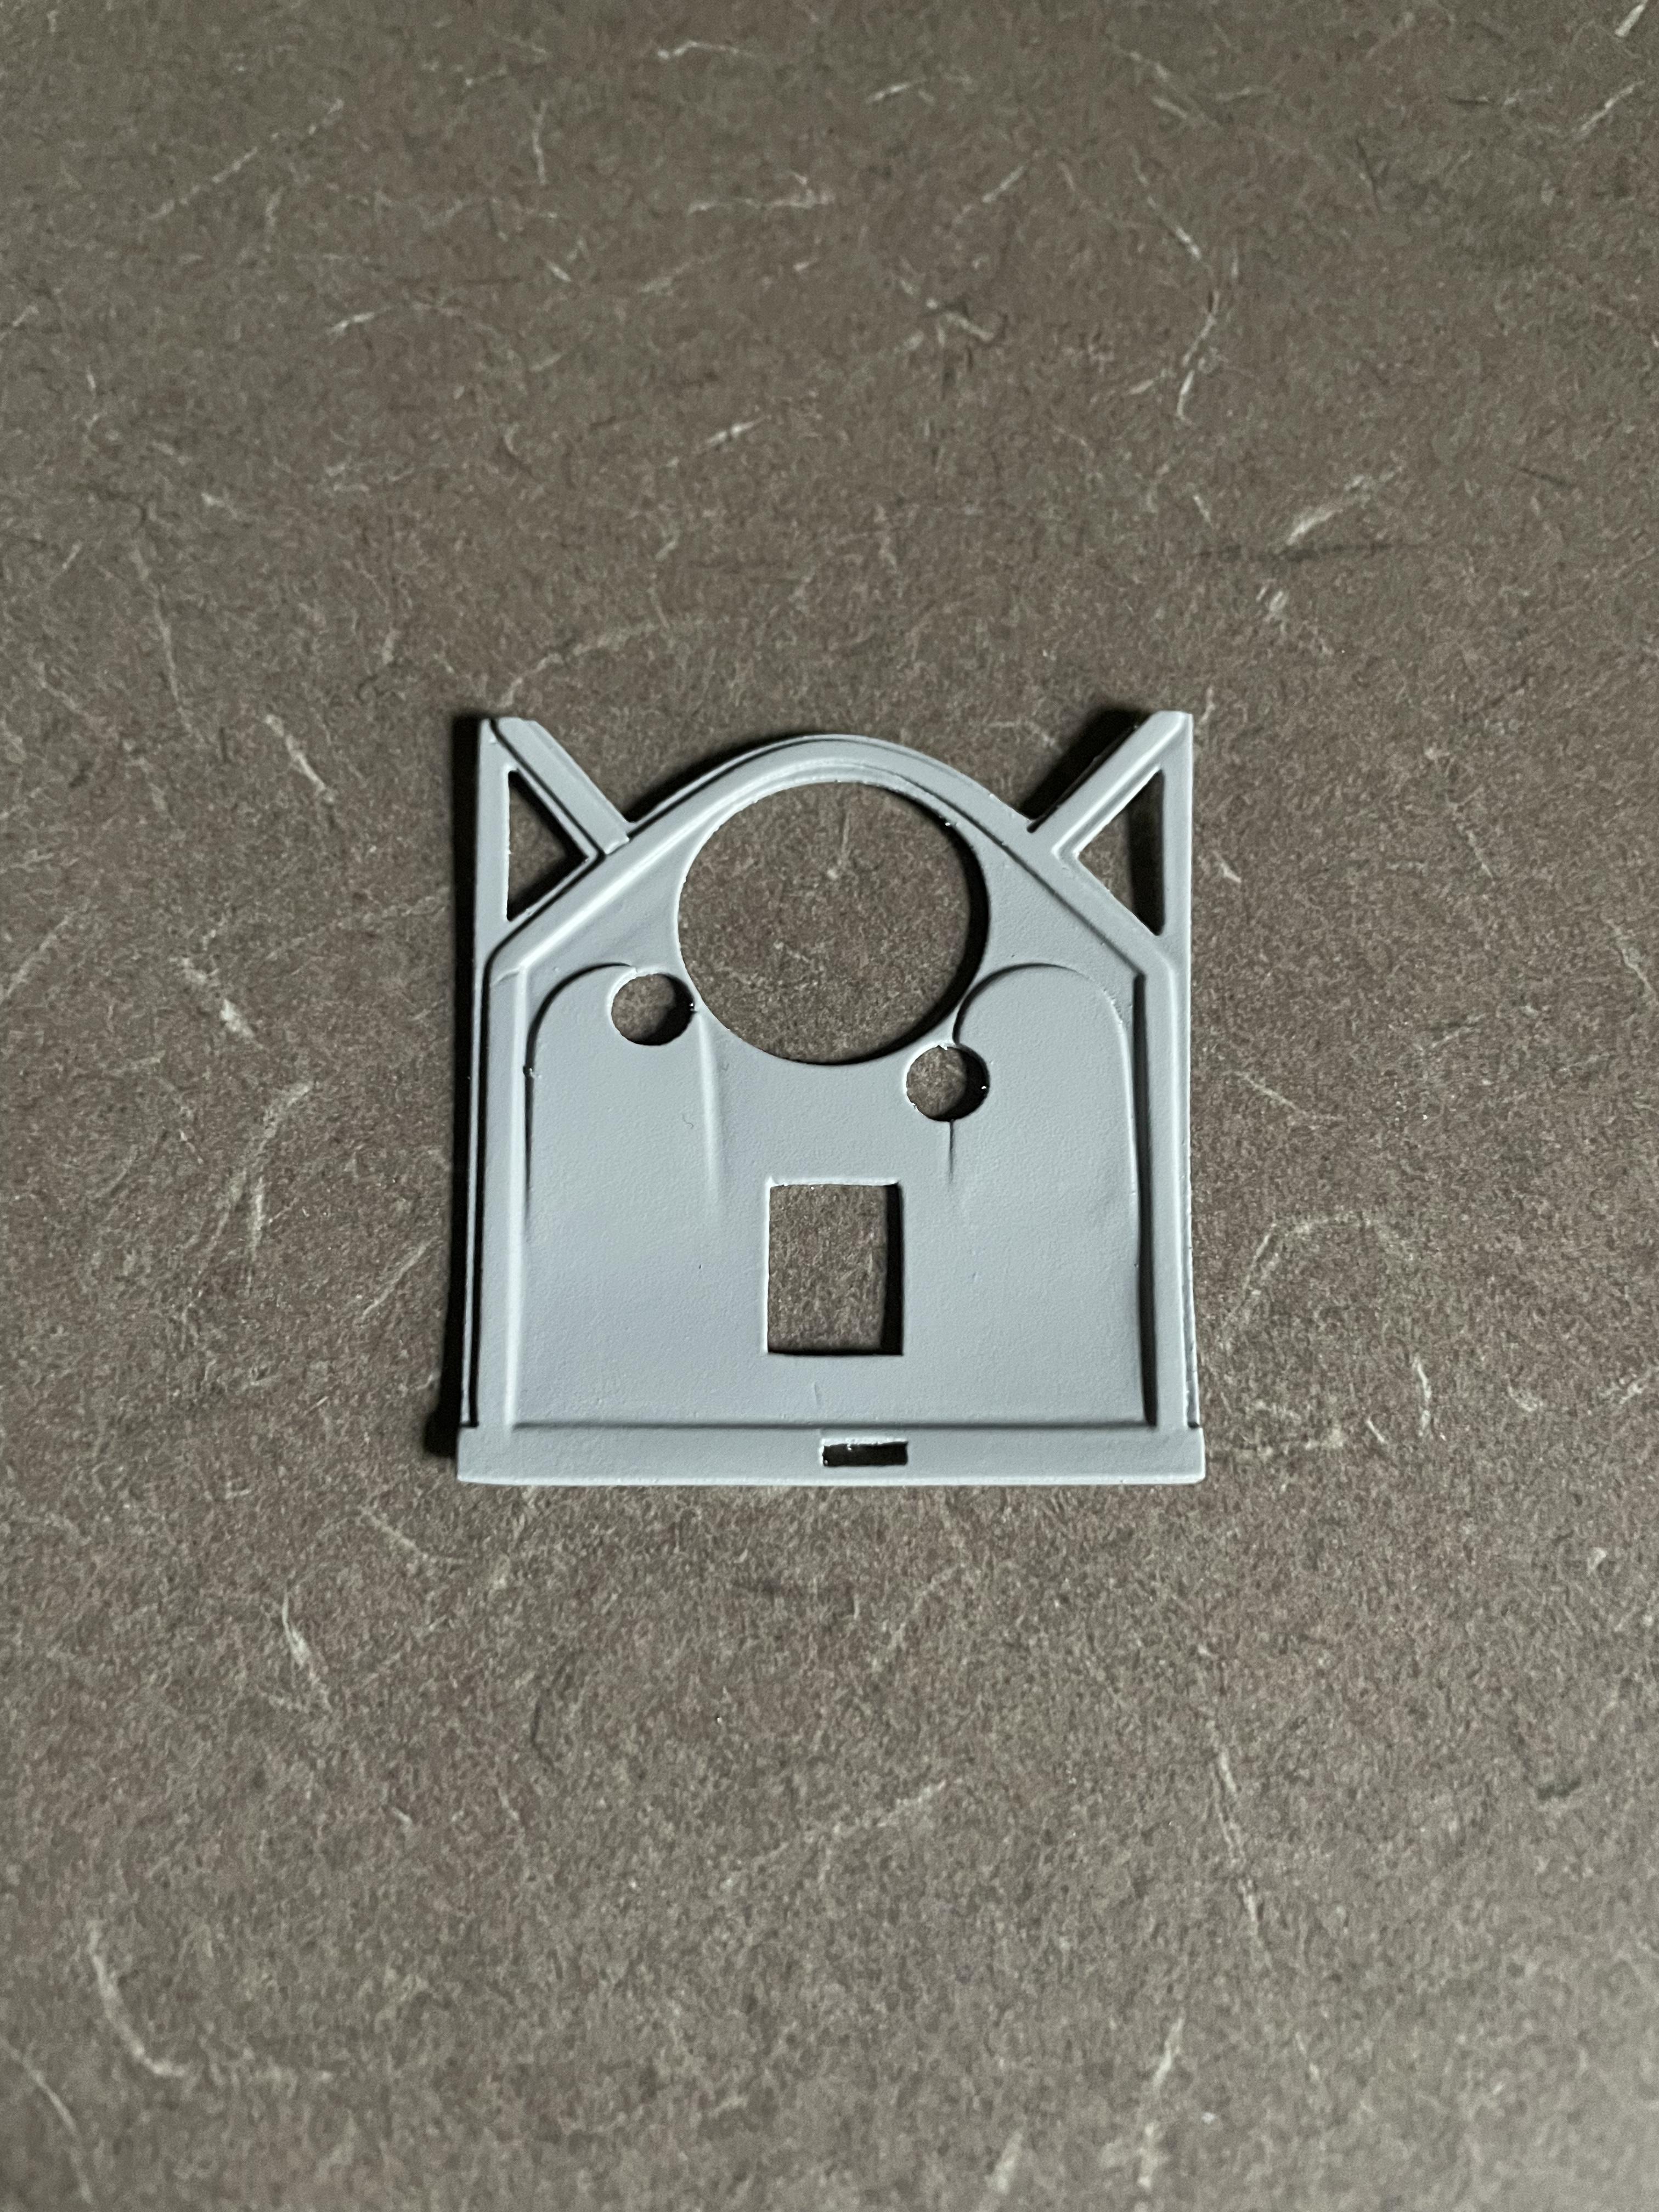
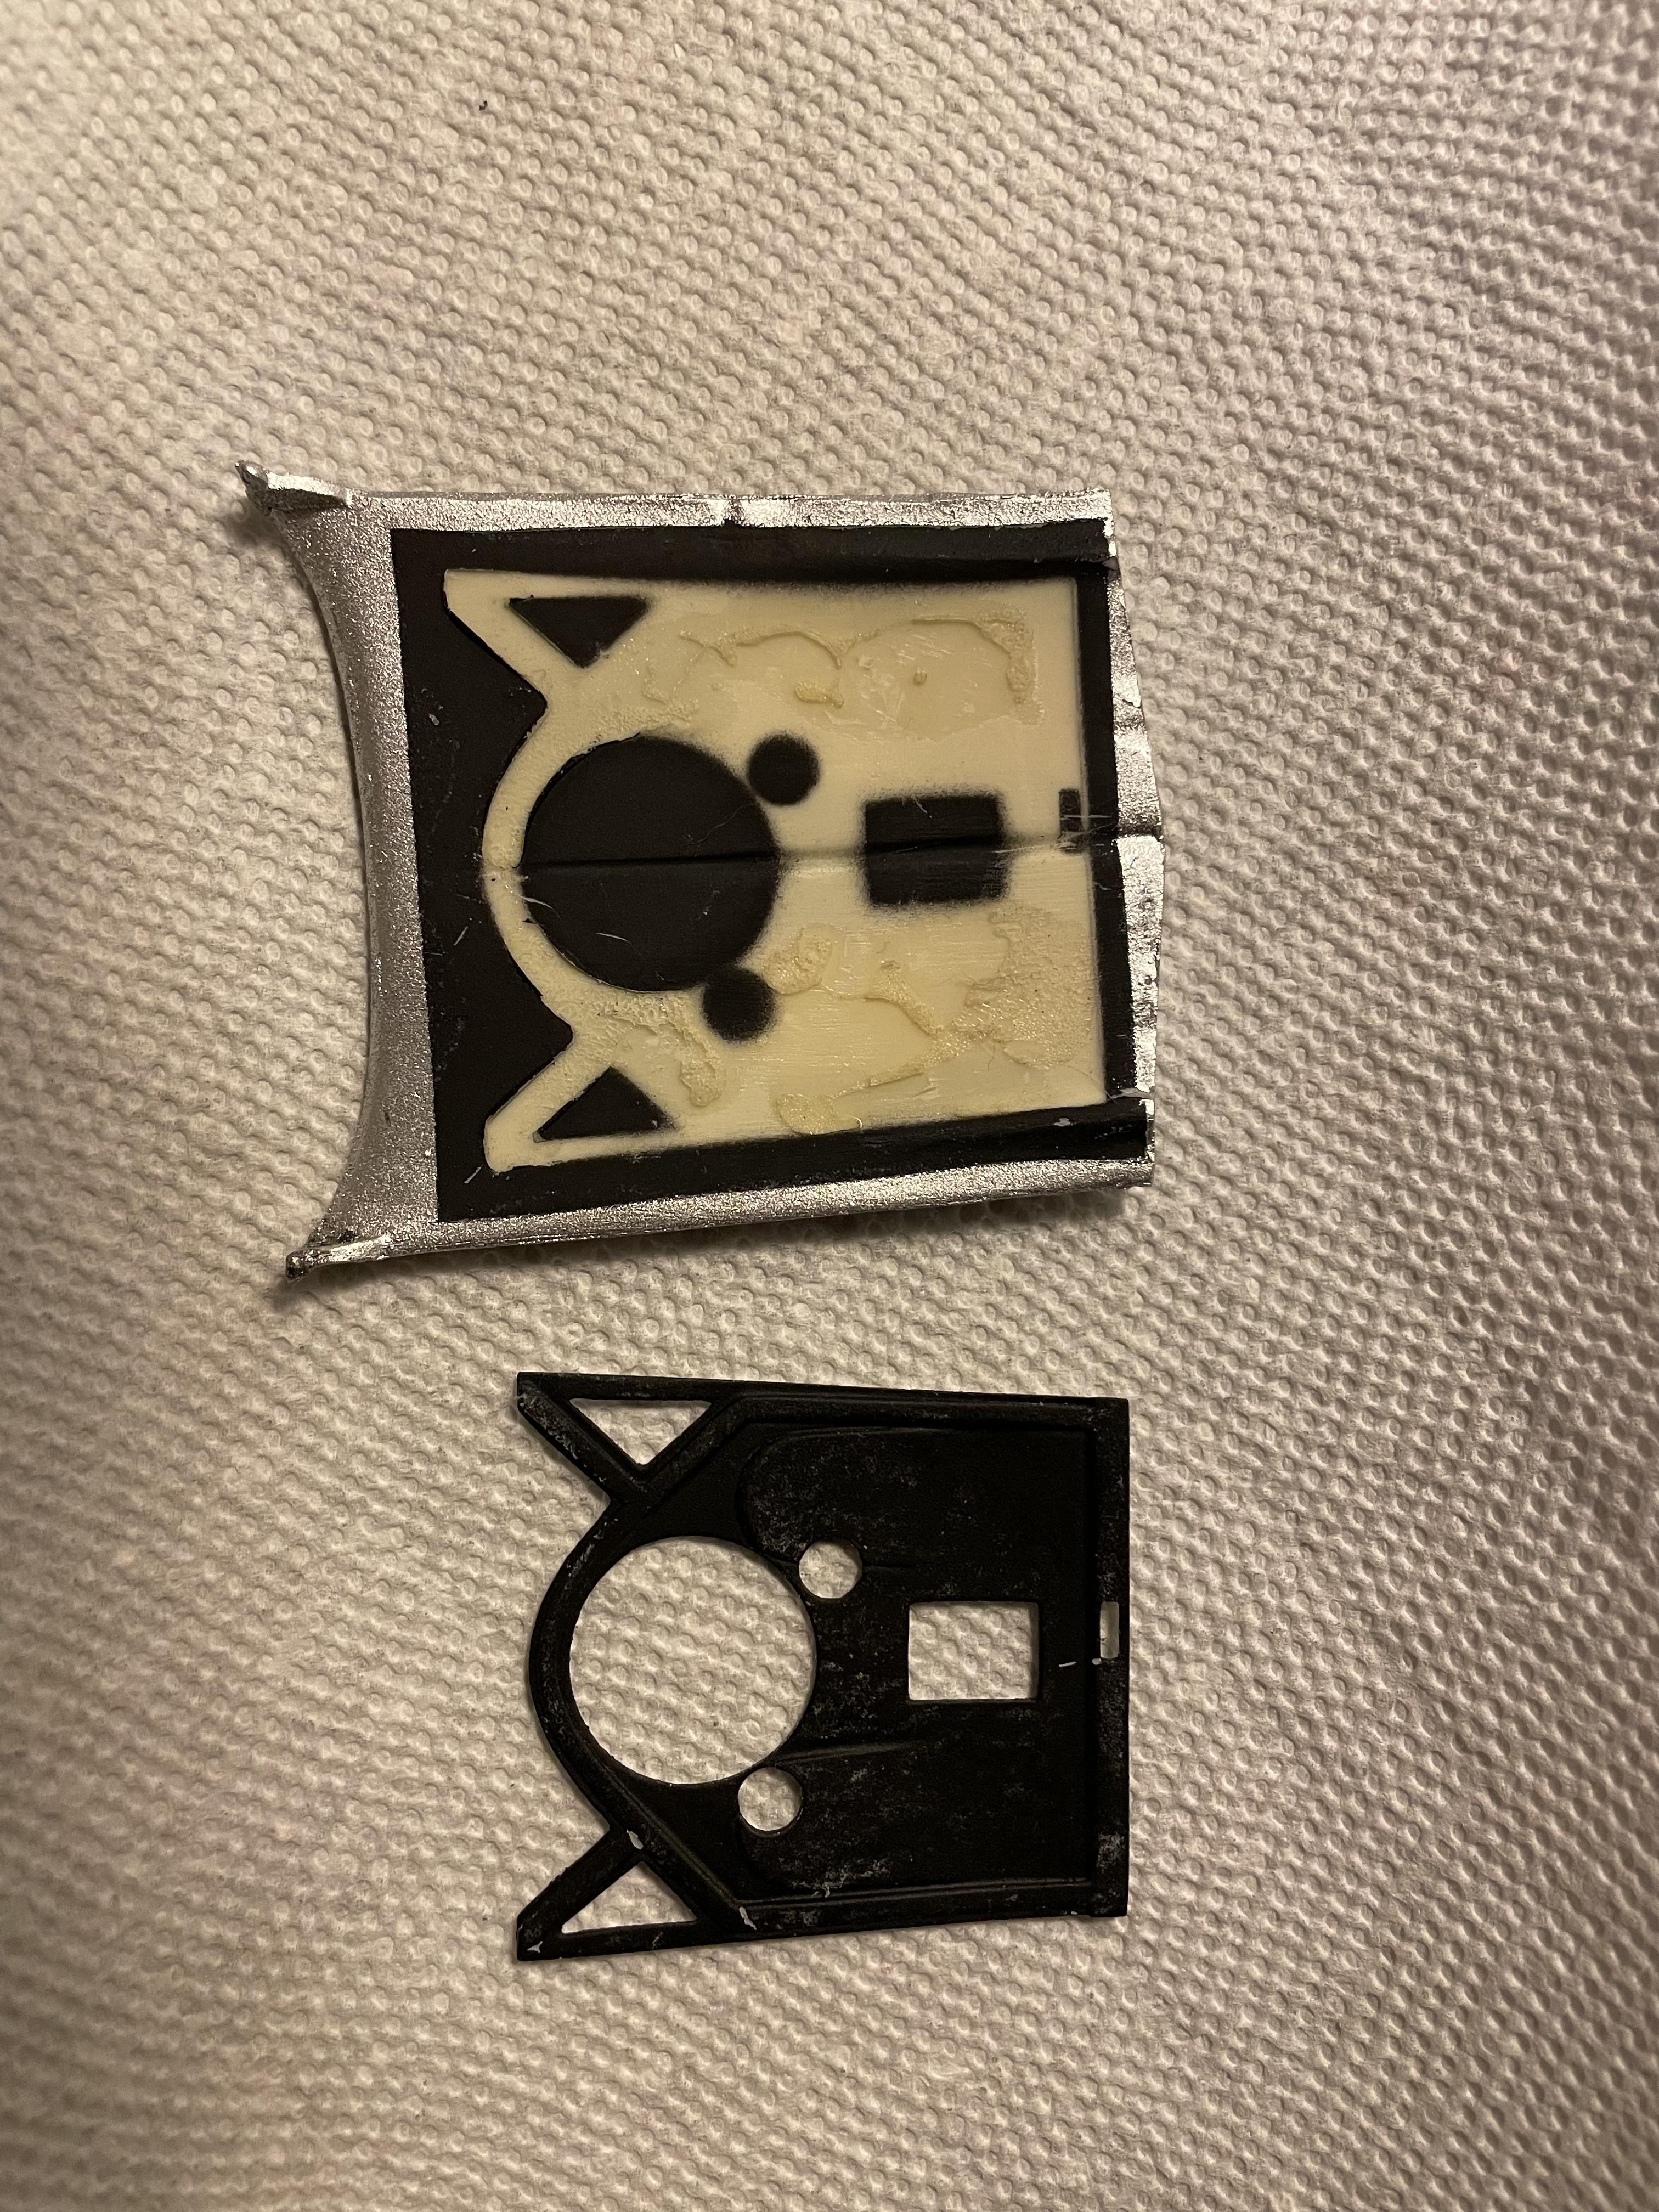
I just finished doing the clean up on the under hood. It will be in the mail tomorrow morning. The 3d printing of some of the parts sounds really interesting George. Will you offer those parts separately. I might have to get some to check them out. -
How can I get ahold of these?
IHSS replied to Mike C.'s topic in Car Aftermarket / Resin / 3D Printed
Got a little update. I found the original. It was attached to the hood on the model on the shelf. Looking at it, thought why not and grabbed an exacto knife. A couple of strategically placed pry’s and it popped right off. I just need to clean up a couple of spots then it’s in the mail. I should have it sent by the weekend.
-
How can I get ahold of these?
IHSS replied to Mike C.'s topic in Car Aftermarket / Resin / 3D Printed
No worries George. You were great too deal with the last time around with this project. I have to dig the piece out and I’ll get it sent your way in a couple days. -
How can I get ahold of these?
IHSS replied to Mike C.'s topic in Car Aftermarket / Resin / 3D Printed
Hey George. I still have the original plastic under hood bracing piece. If that’s all that’s stopping Greg from doing another run I could send it to you to pass on to him. -
Thanks Mike appreciate it. I started the same way with a pack of assorted sheet thicknesses. The technique I described previously is how I made the scopes also. The Formula was my first time trying anything like this. I used a lot of internet pics and just layered, carved and shaped until it looked right. I did experiment with a TA kit hood before doing the full Formula conversion. Like Ponche’s TA on CHIPs. And the 4spd conversion isn’t to hard either. I’m currently doing a Monogram 79 TA with a 4spd. Just a little filling and hole cutting. I have quit a few 2nd gen Firebird projects going on. Keep going with yours. It’s great to see another non TA being built and yours is looking great.
-
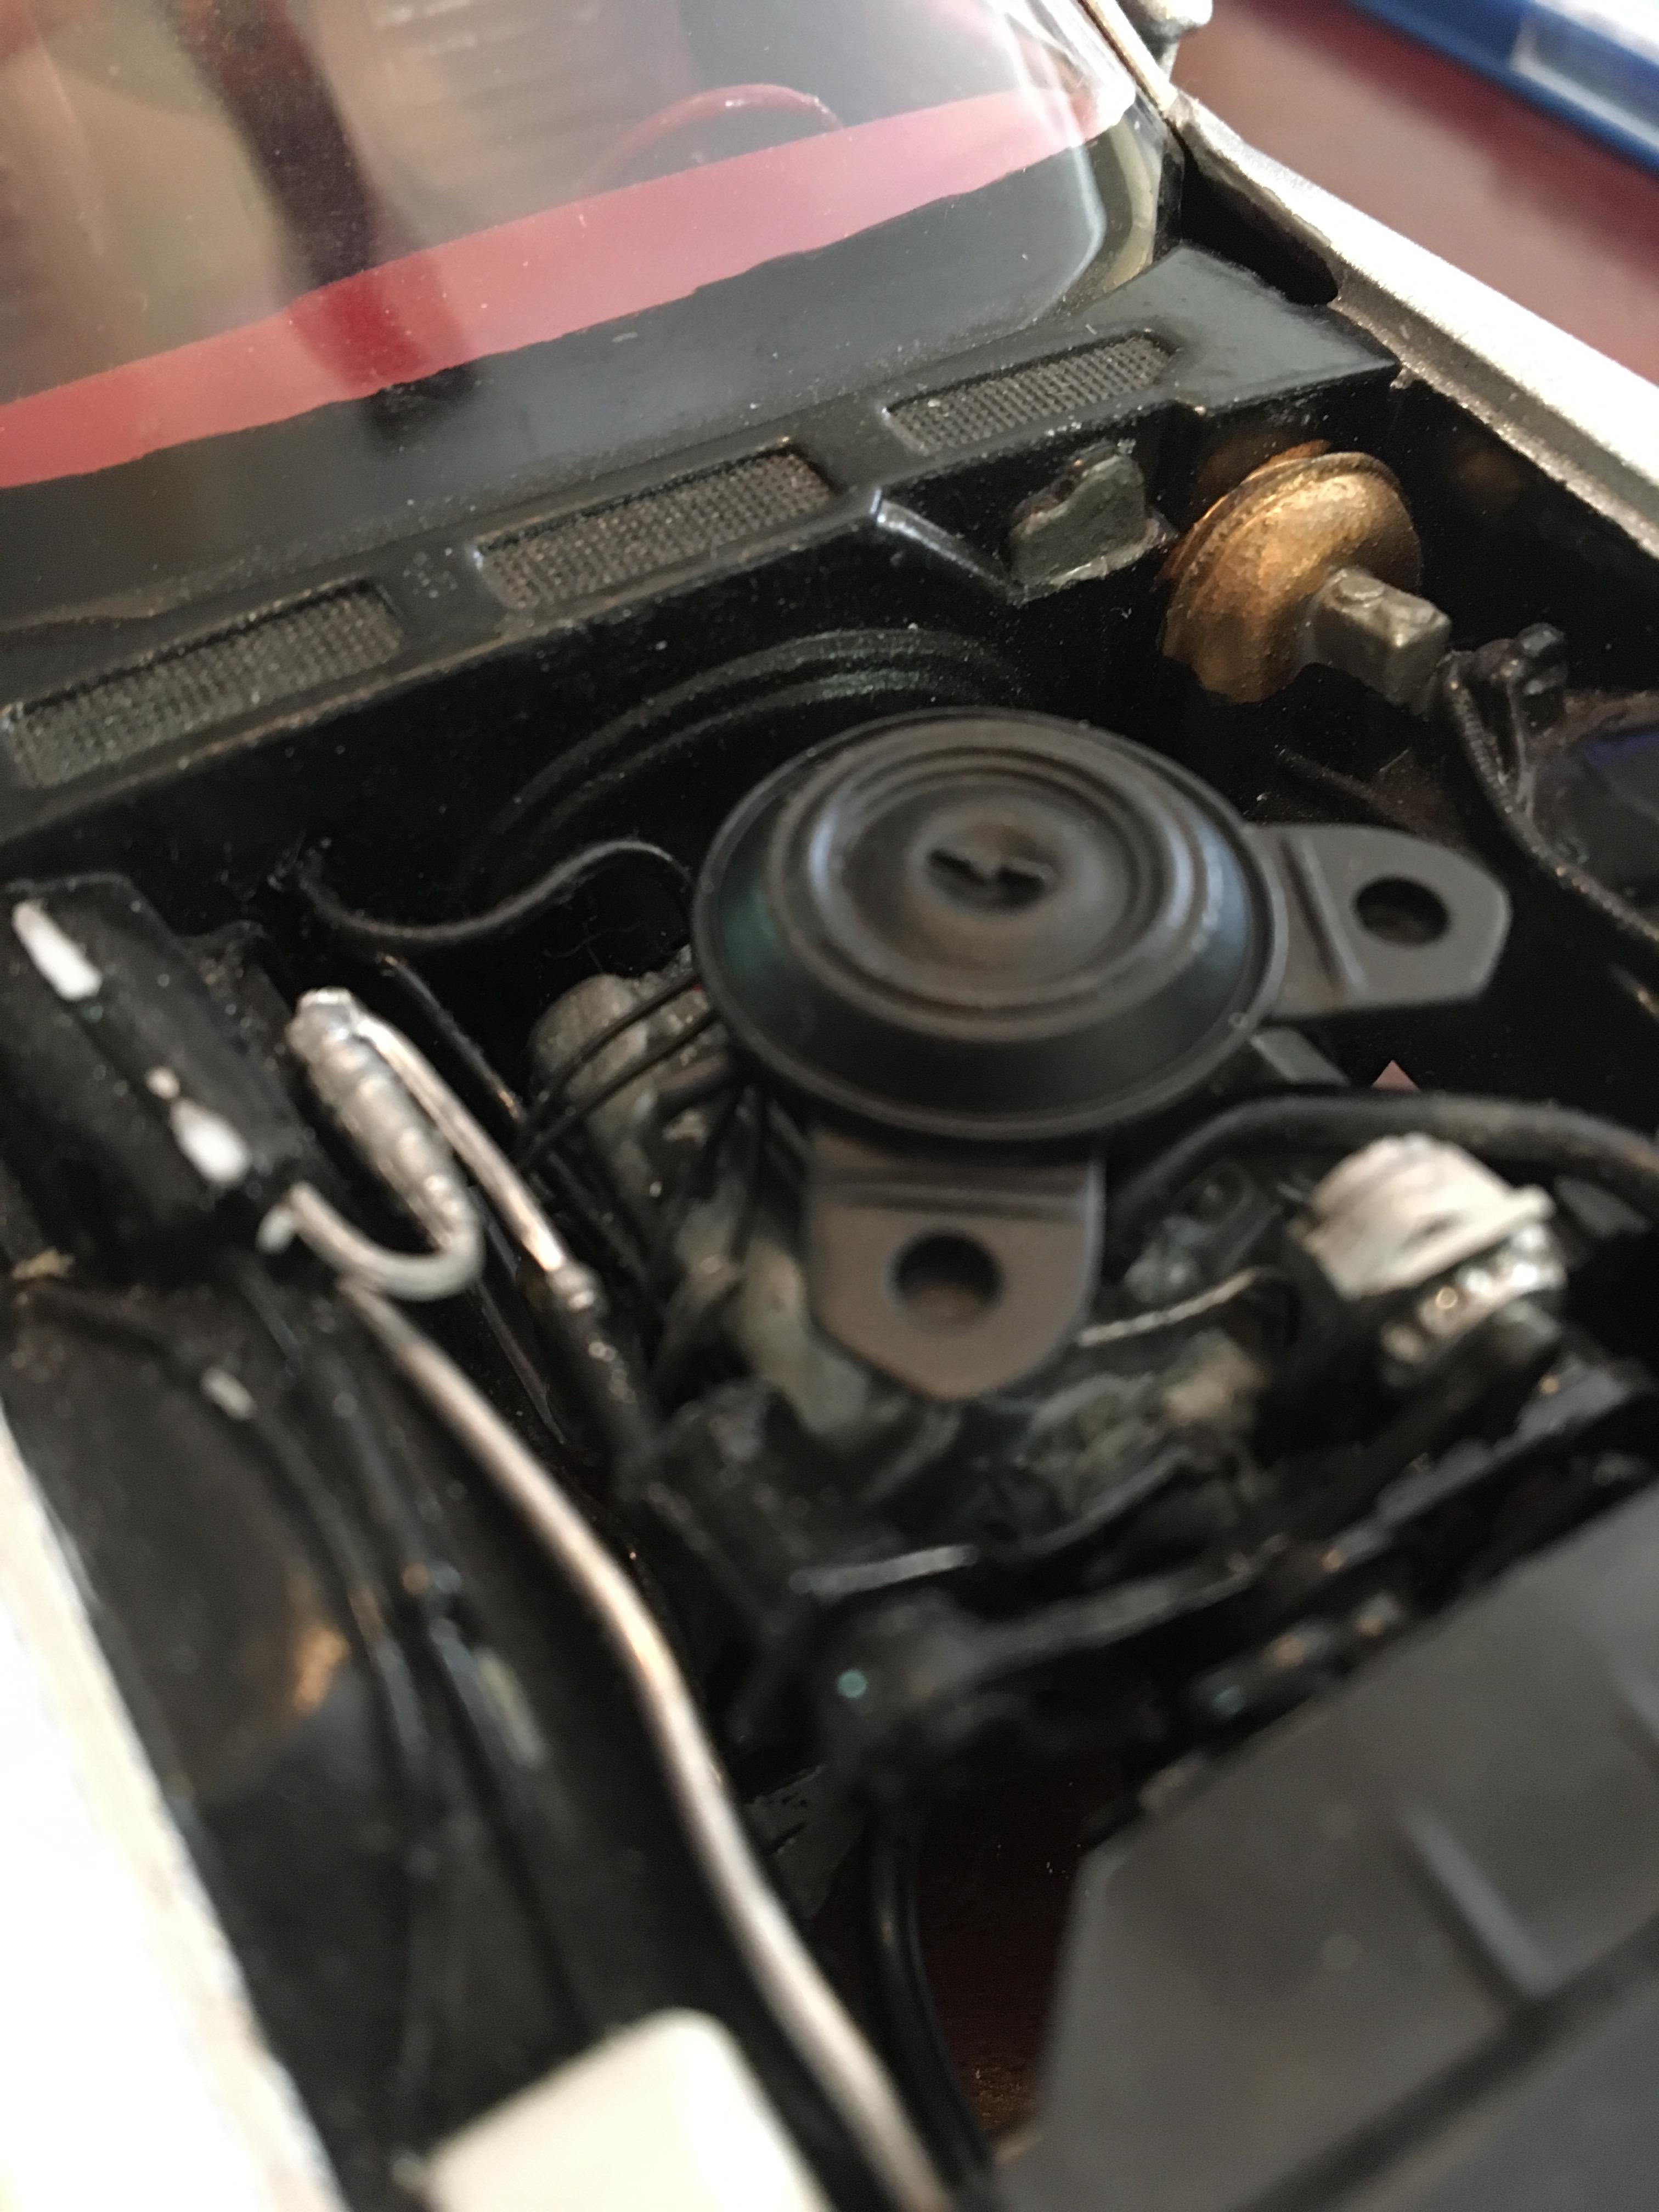
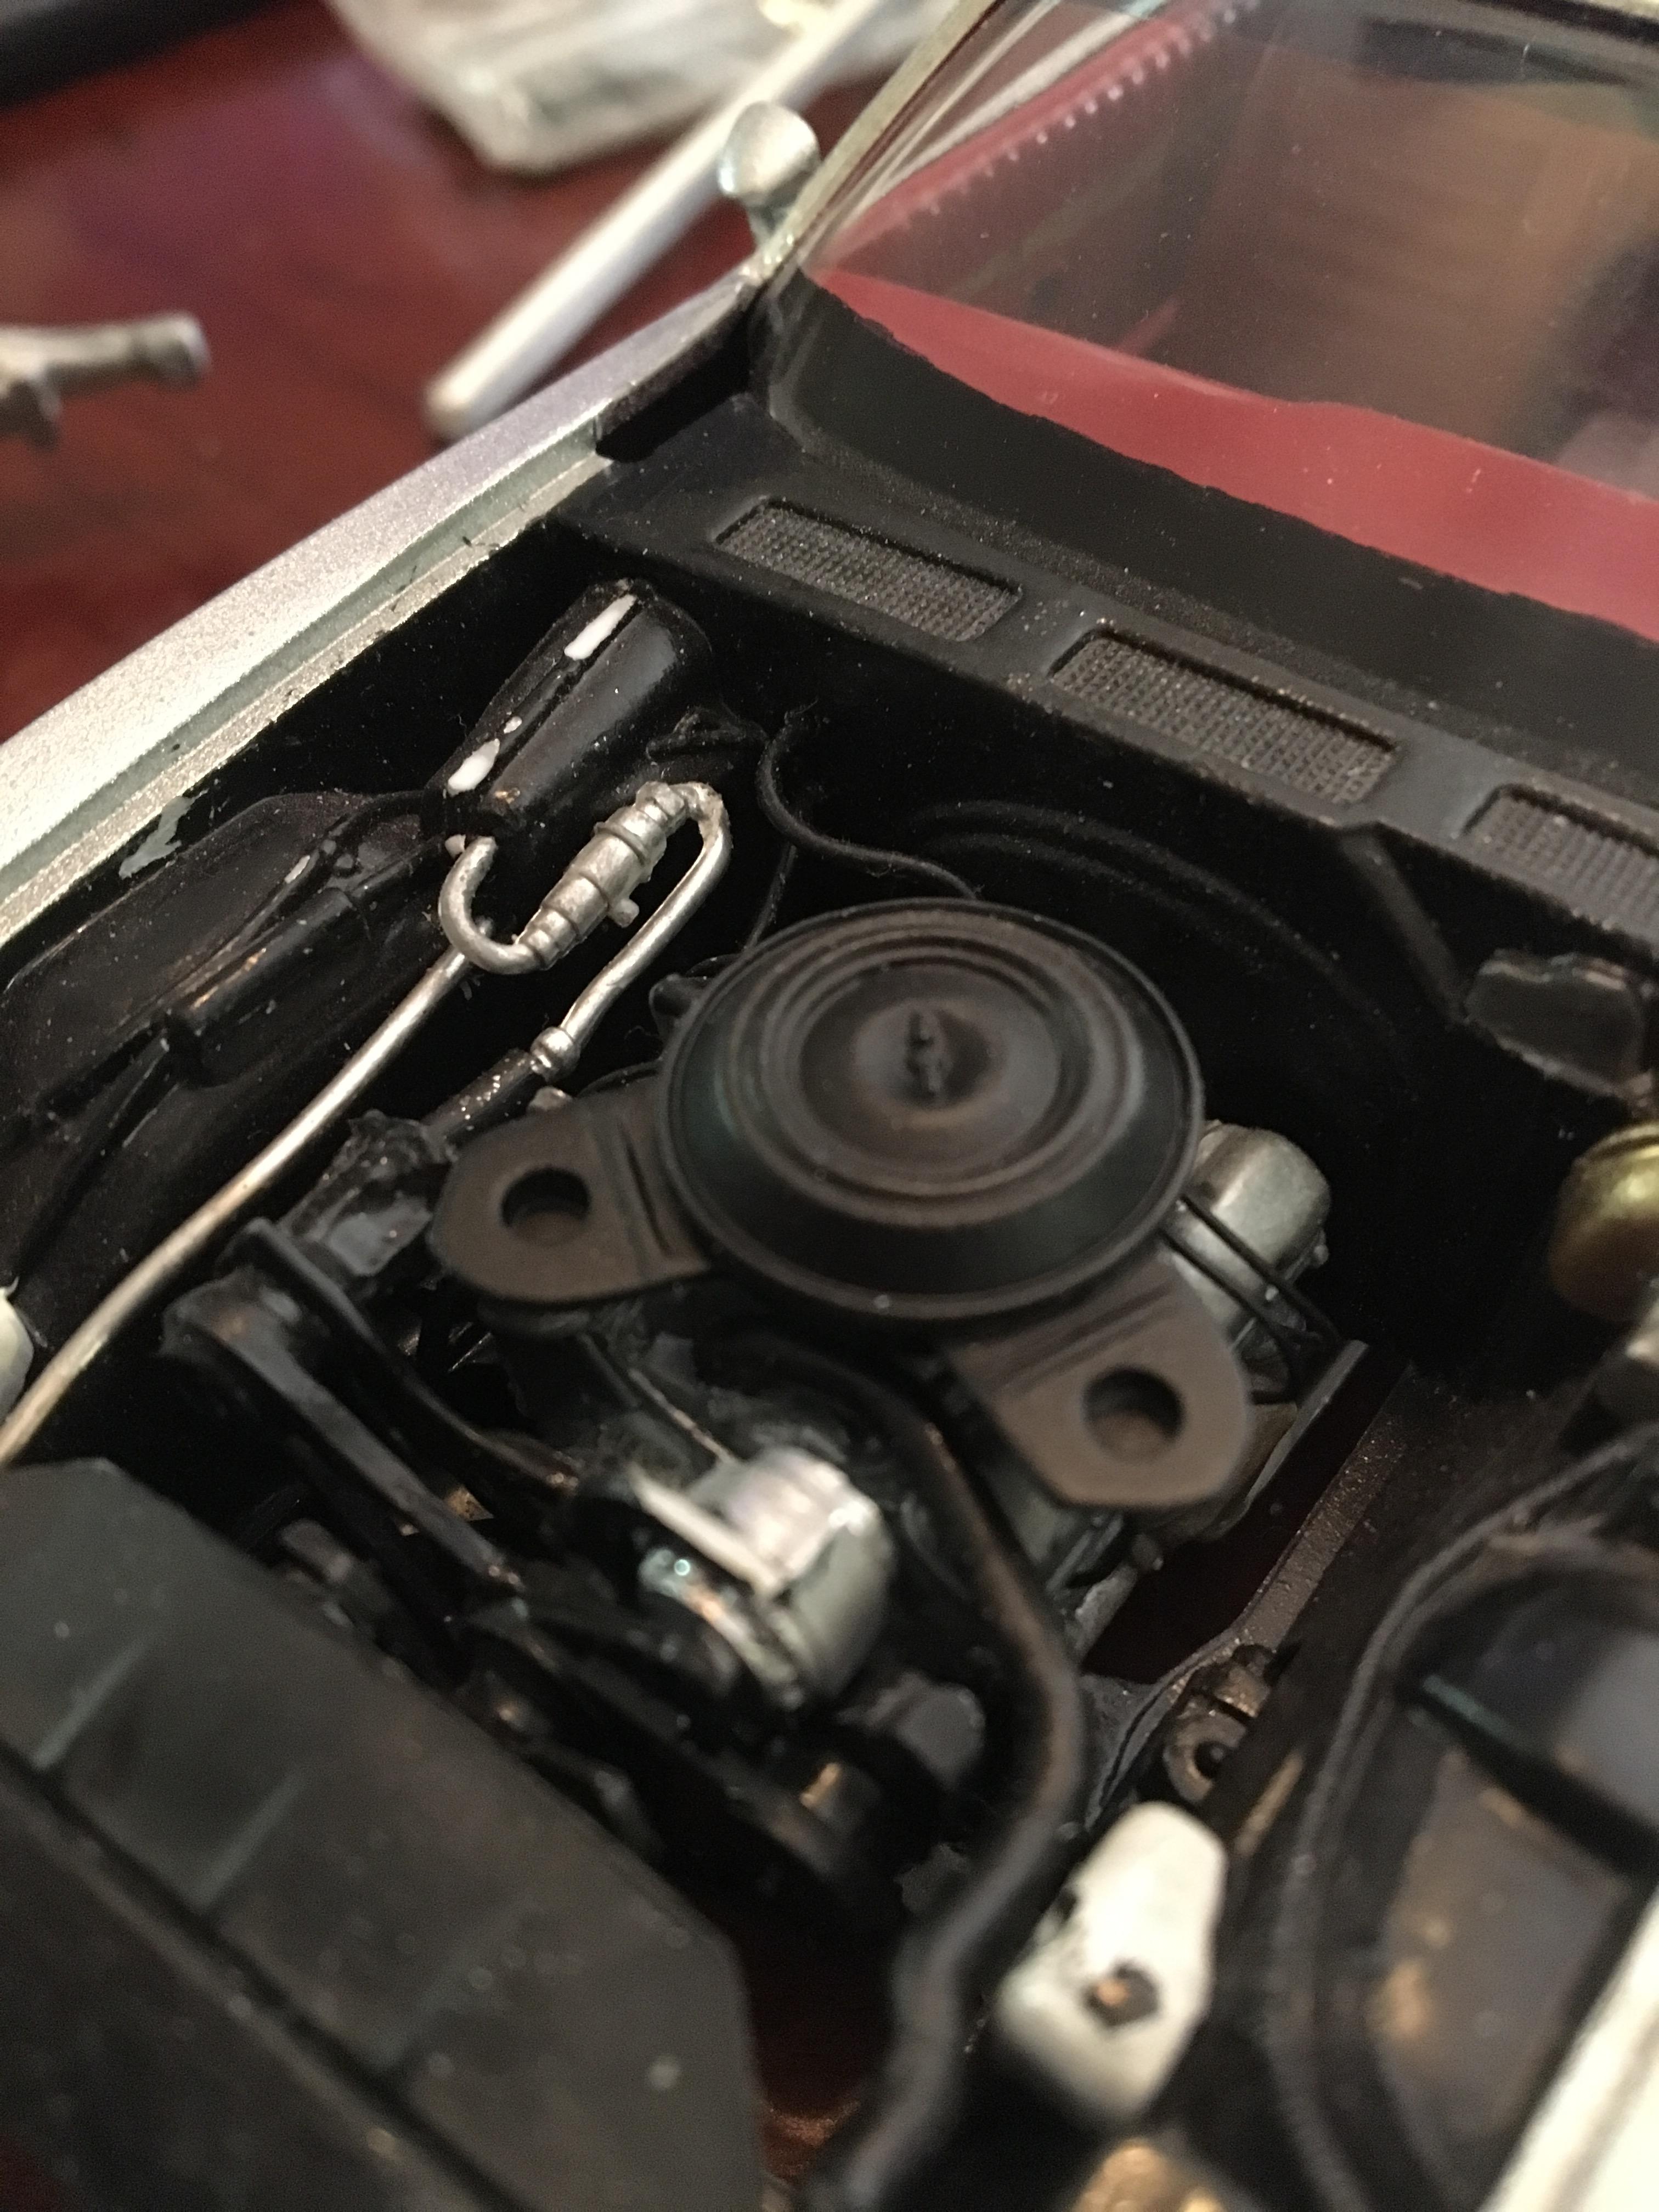
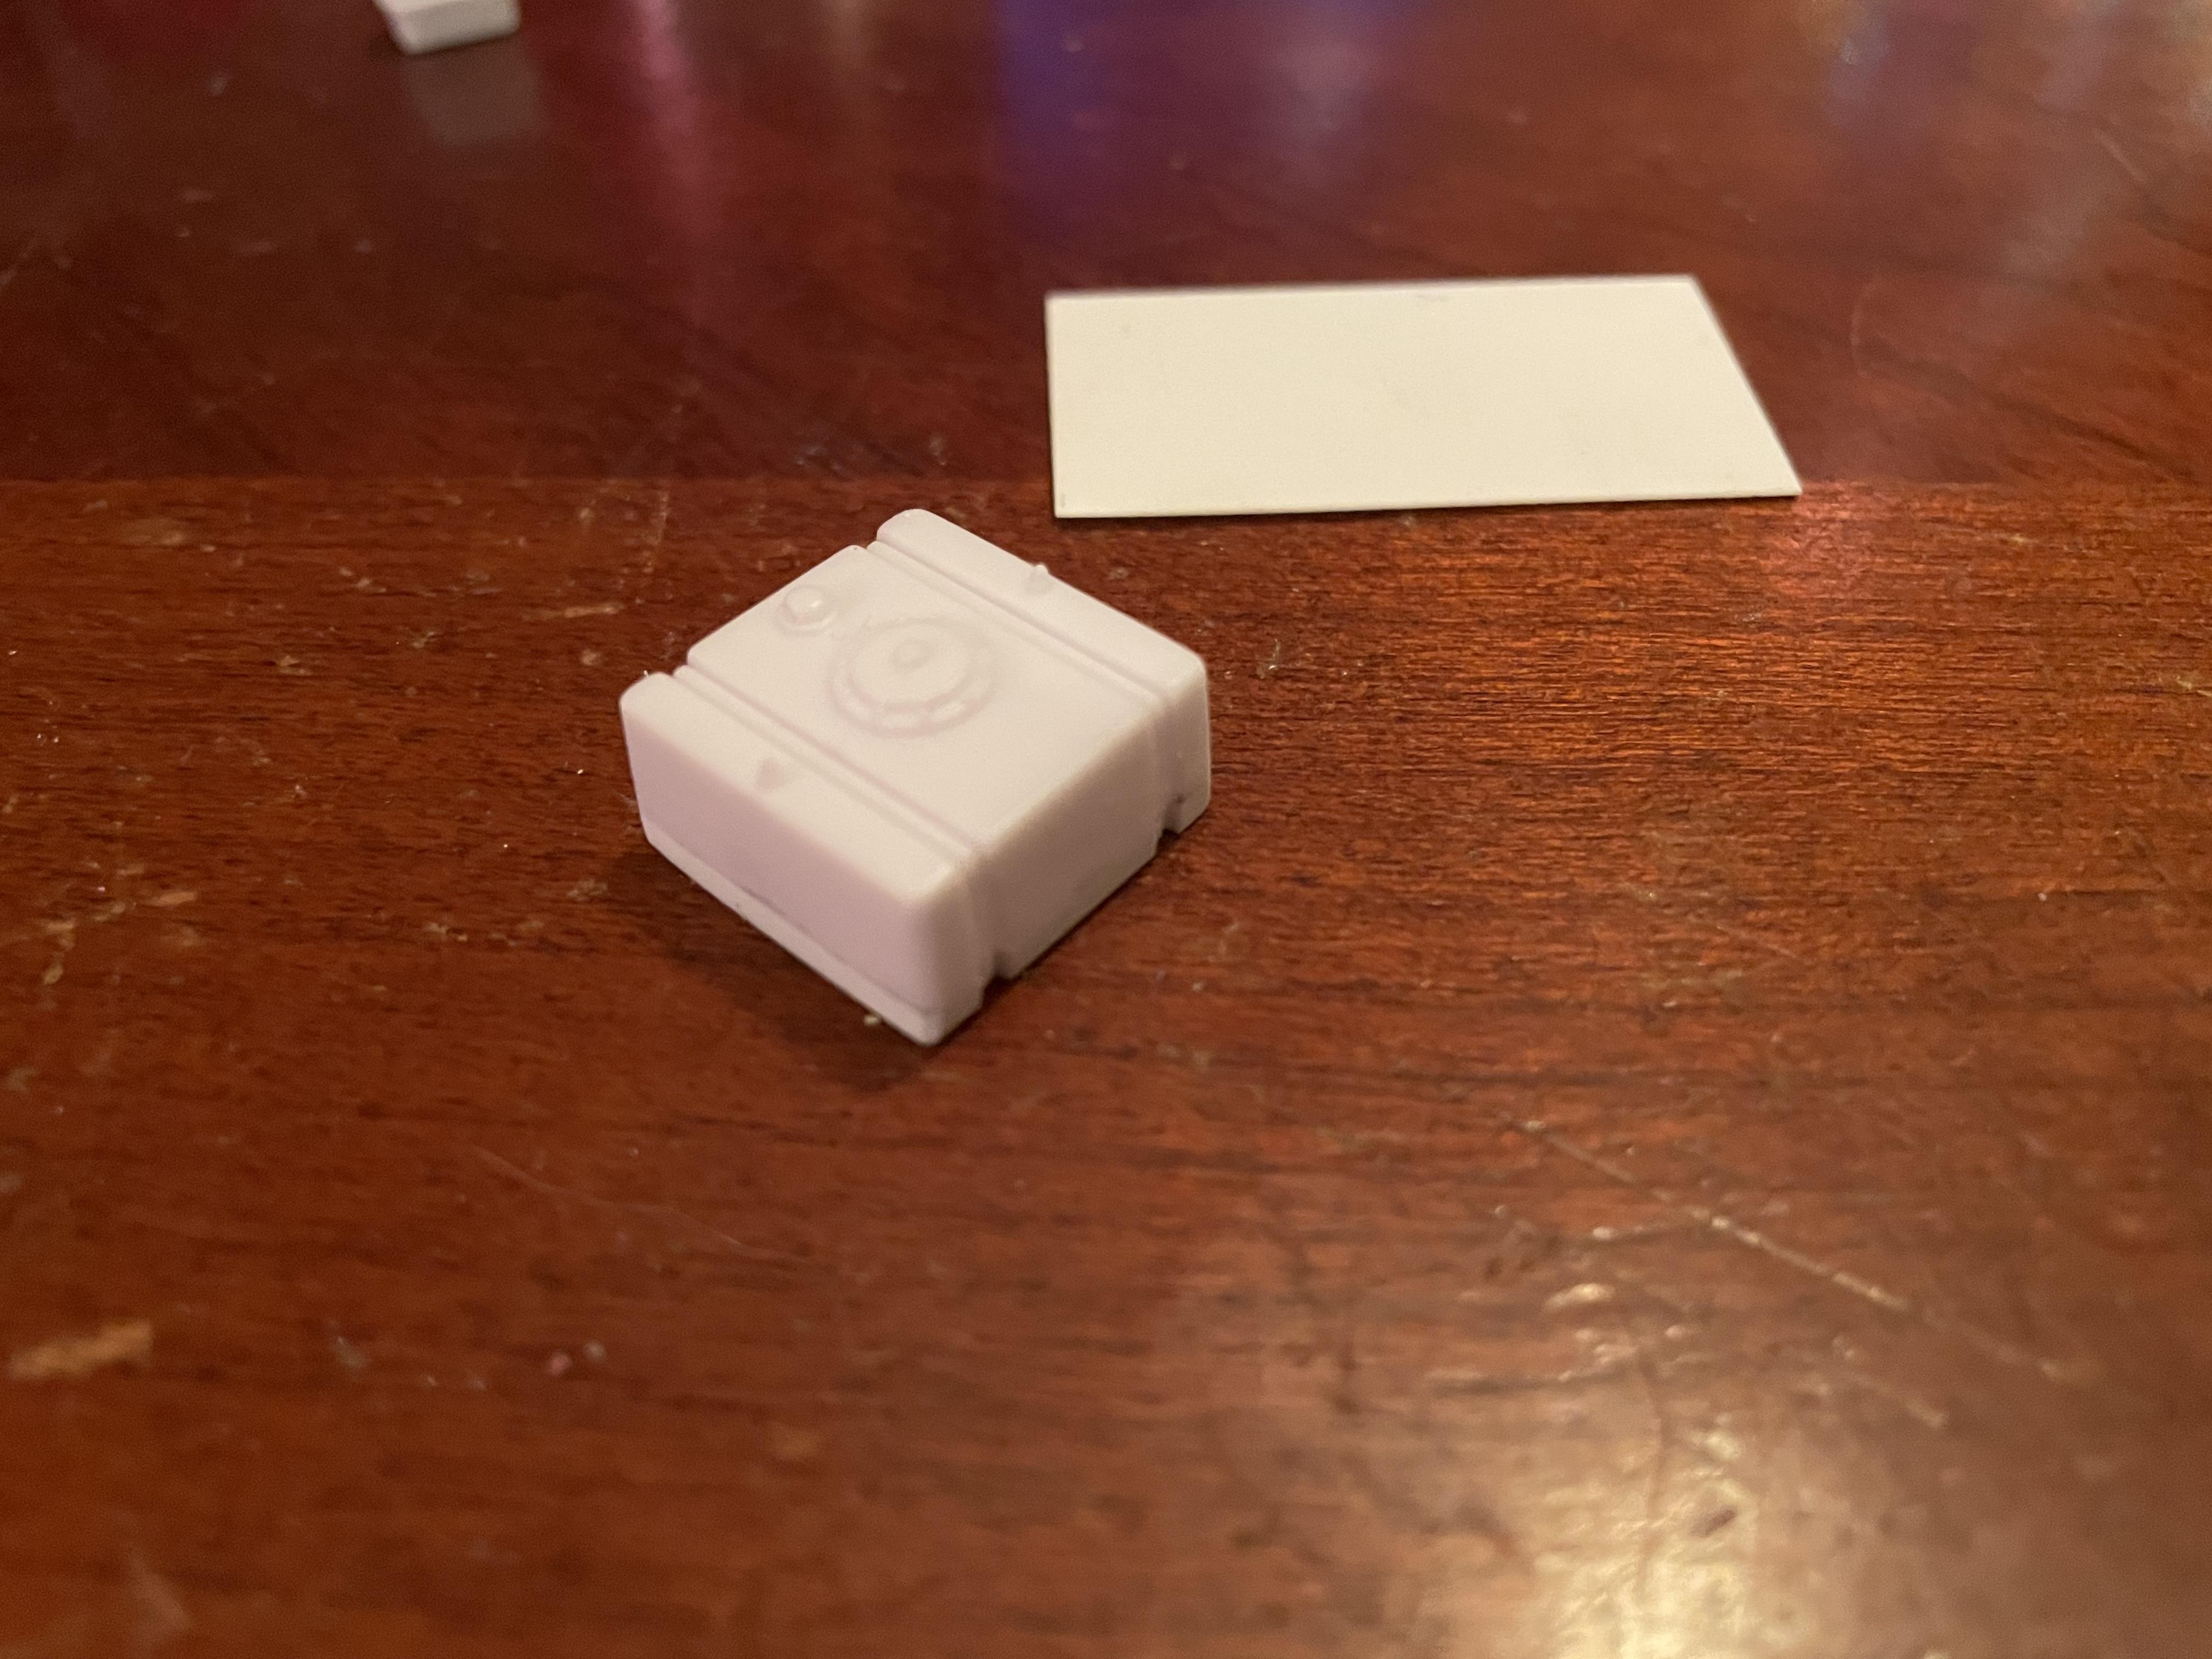
Don’t give up on the air cleaner. It’s not really that hard to make. I started with a parts box air cleaner that looked close to the oem lid shape. Cut off the snorkel so I had just the round part. Then found a pic on line of a real one for the snorkel angle and to use as a template. Then using flat sheet styrene I forgot the thickness. But I used four layers to make up the height of the housing. Next cut 6 pieces in the shape of the snorkel. Then 2 pieces the same shape but slightly larger to replicate the sheet metal lip the real one has. Next take 4 of the smaller piece and glue 2 together twice so there’s a pair of them. Drill the biggest hole possible through them once they dry. Glue the other small pieces on for the bottom of the snorkel and sand the seems smooth. Drill a hole that looks correct in the larger pieces and add them to the tops. For the thin bump on the top I just used some left over shavings that looked right. Add the snorkels to the main housing in the proper angle and it’s done.
-
Greg Wann was casting conversion kits for the Revell/Monogram kits. He does really nice castings.
-
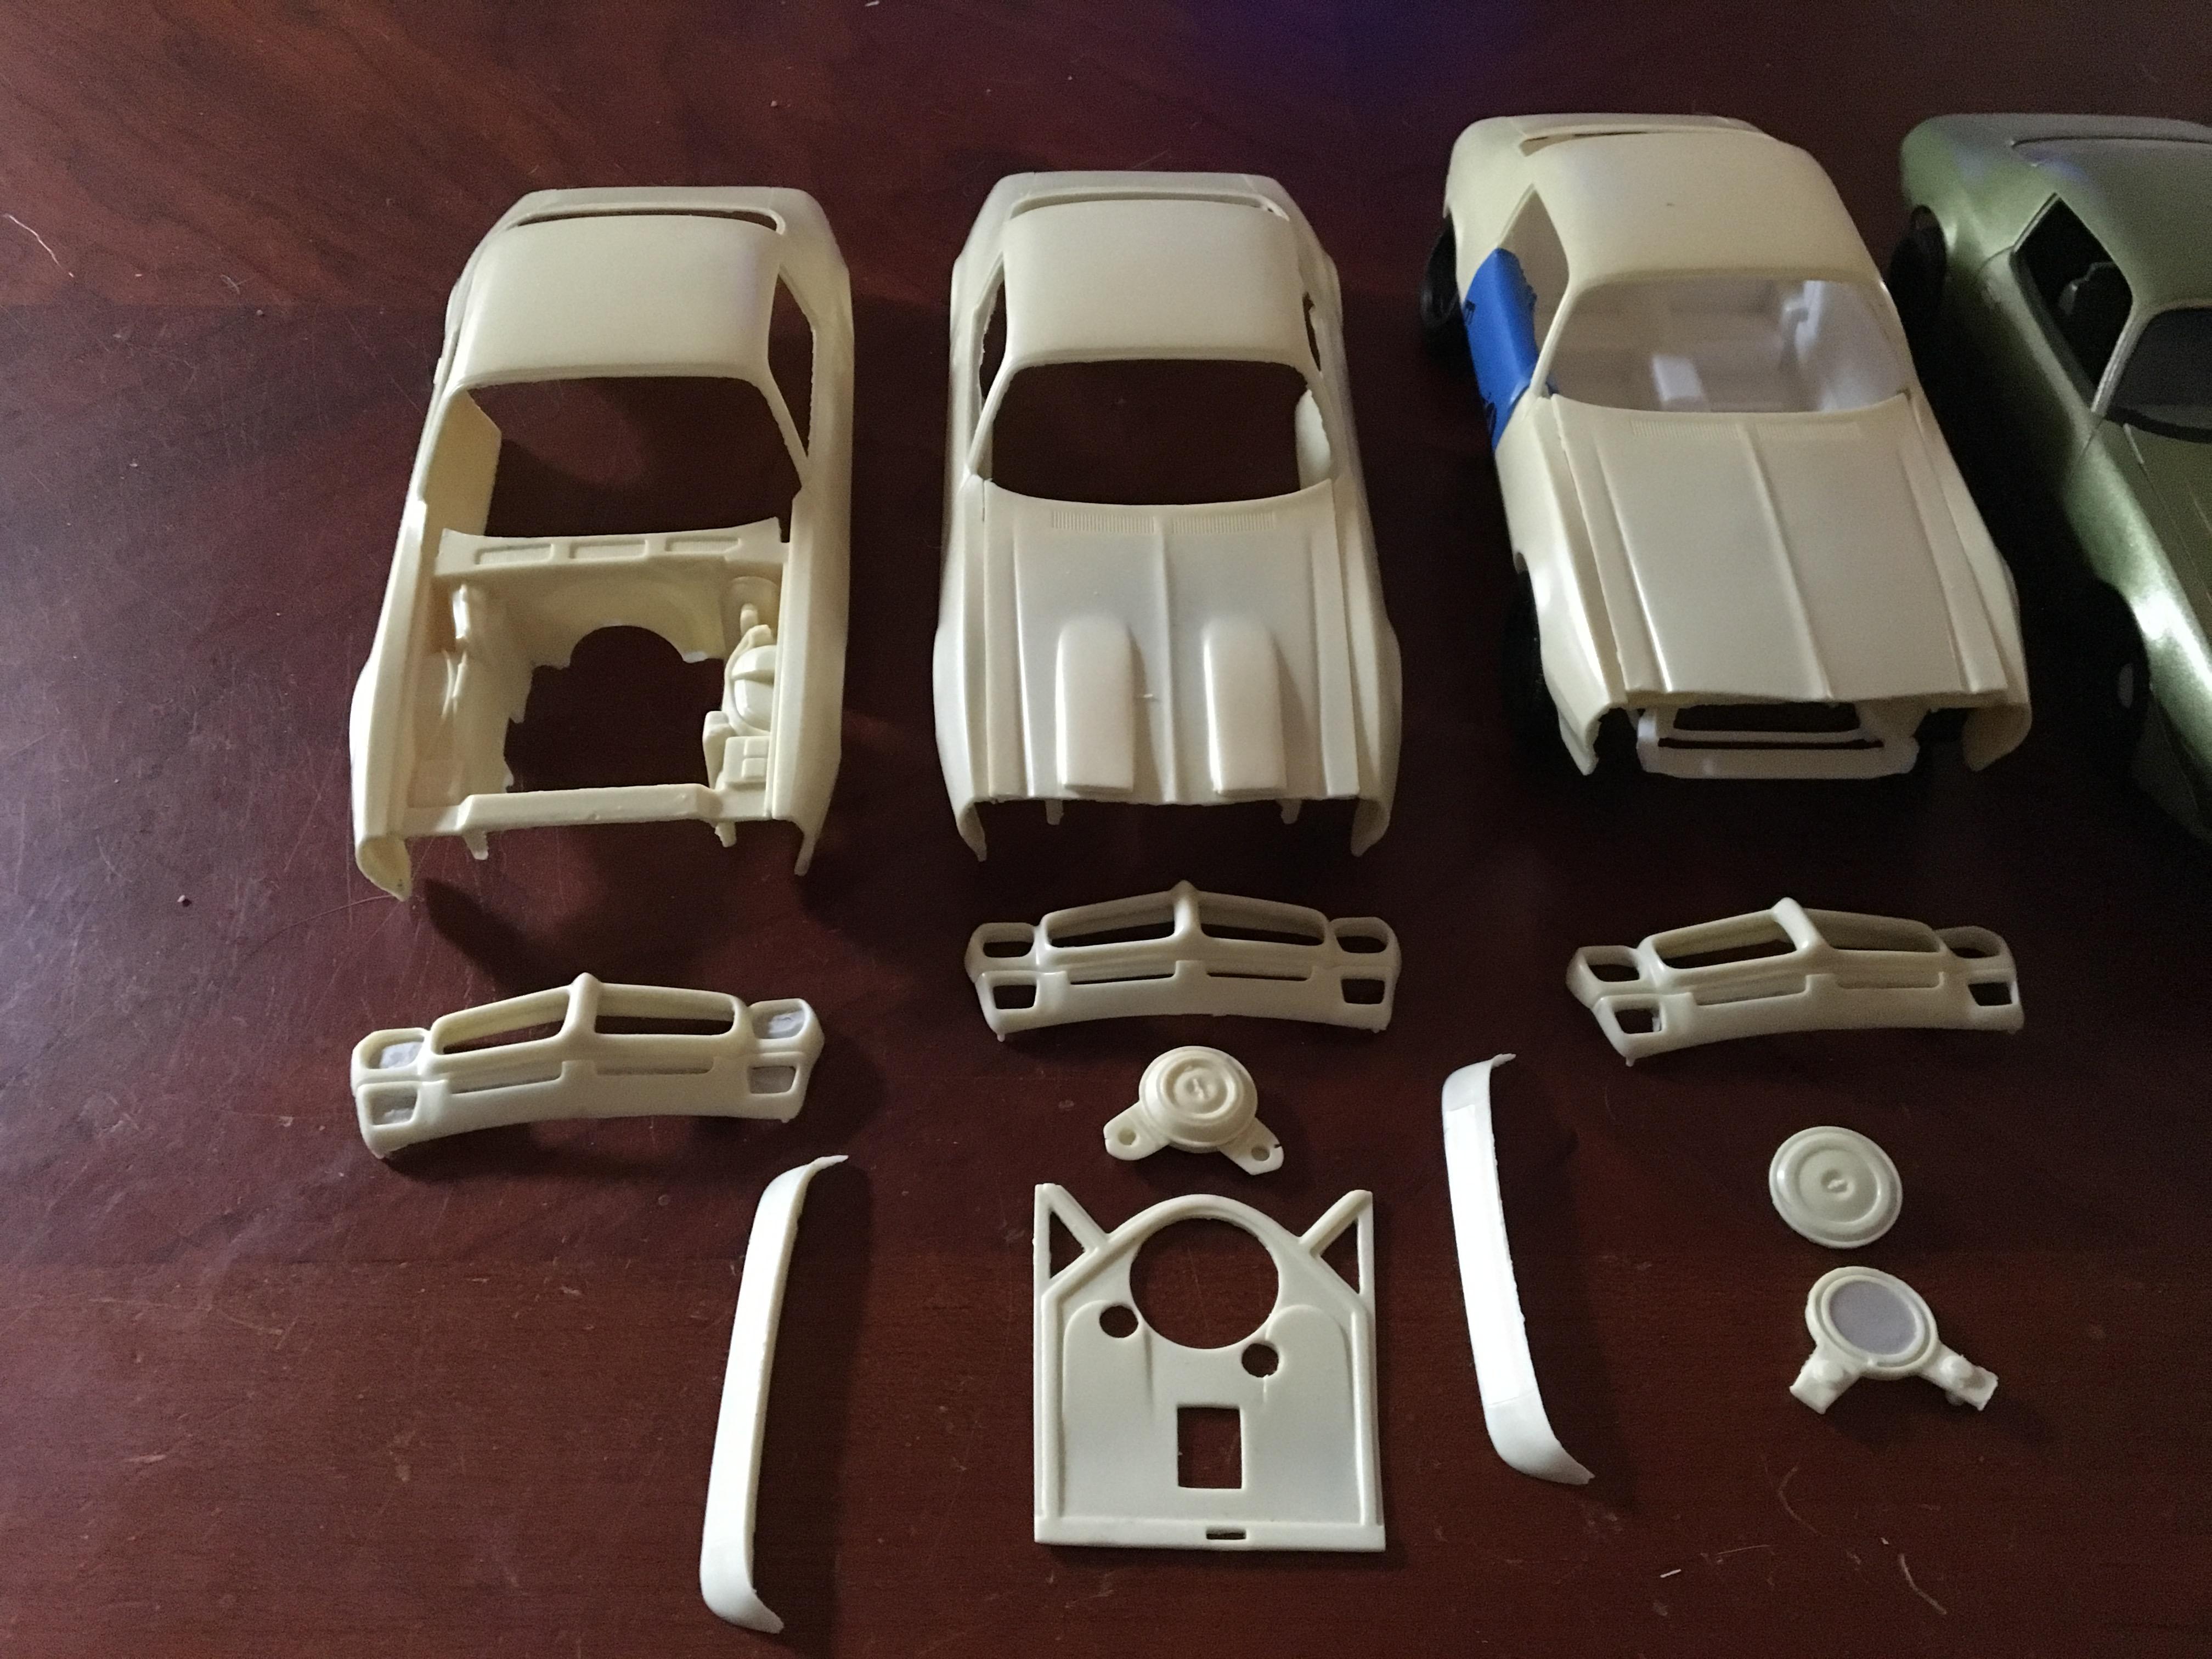
Looks like there might be a fourth air cleaner. Possibly an oil bath kinda looks like it but I could be wrong. Oh and here’s a shot of the direction I’m going with it.
-
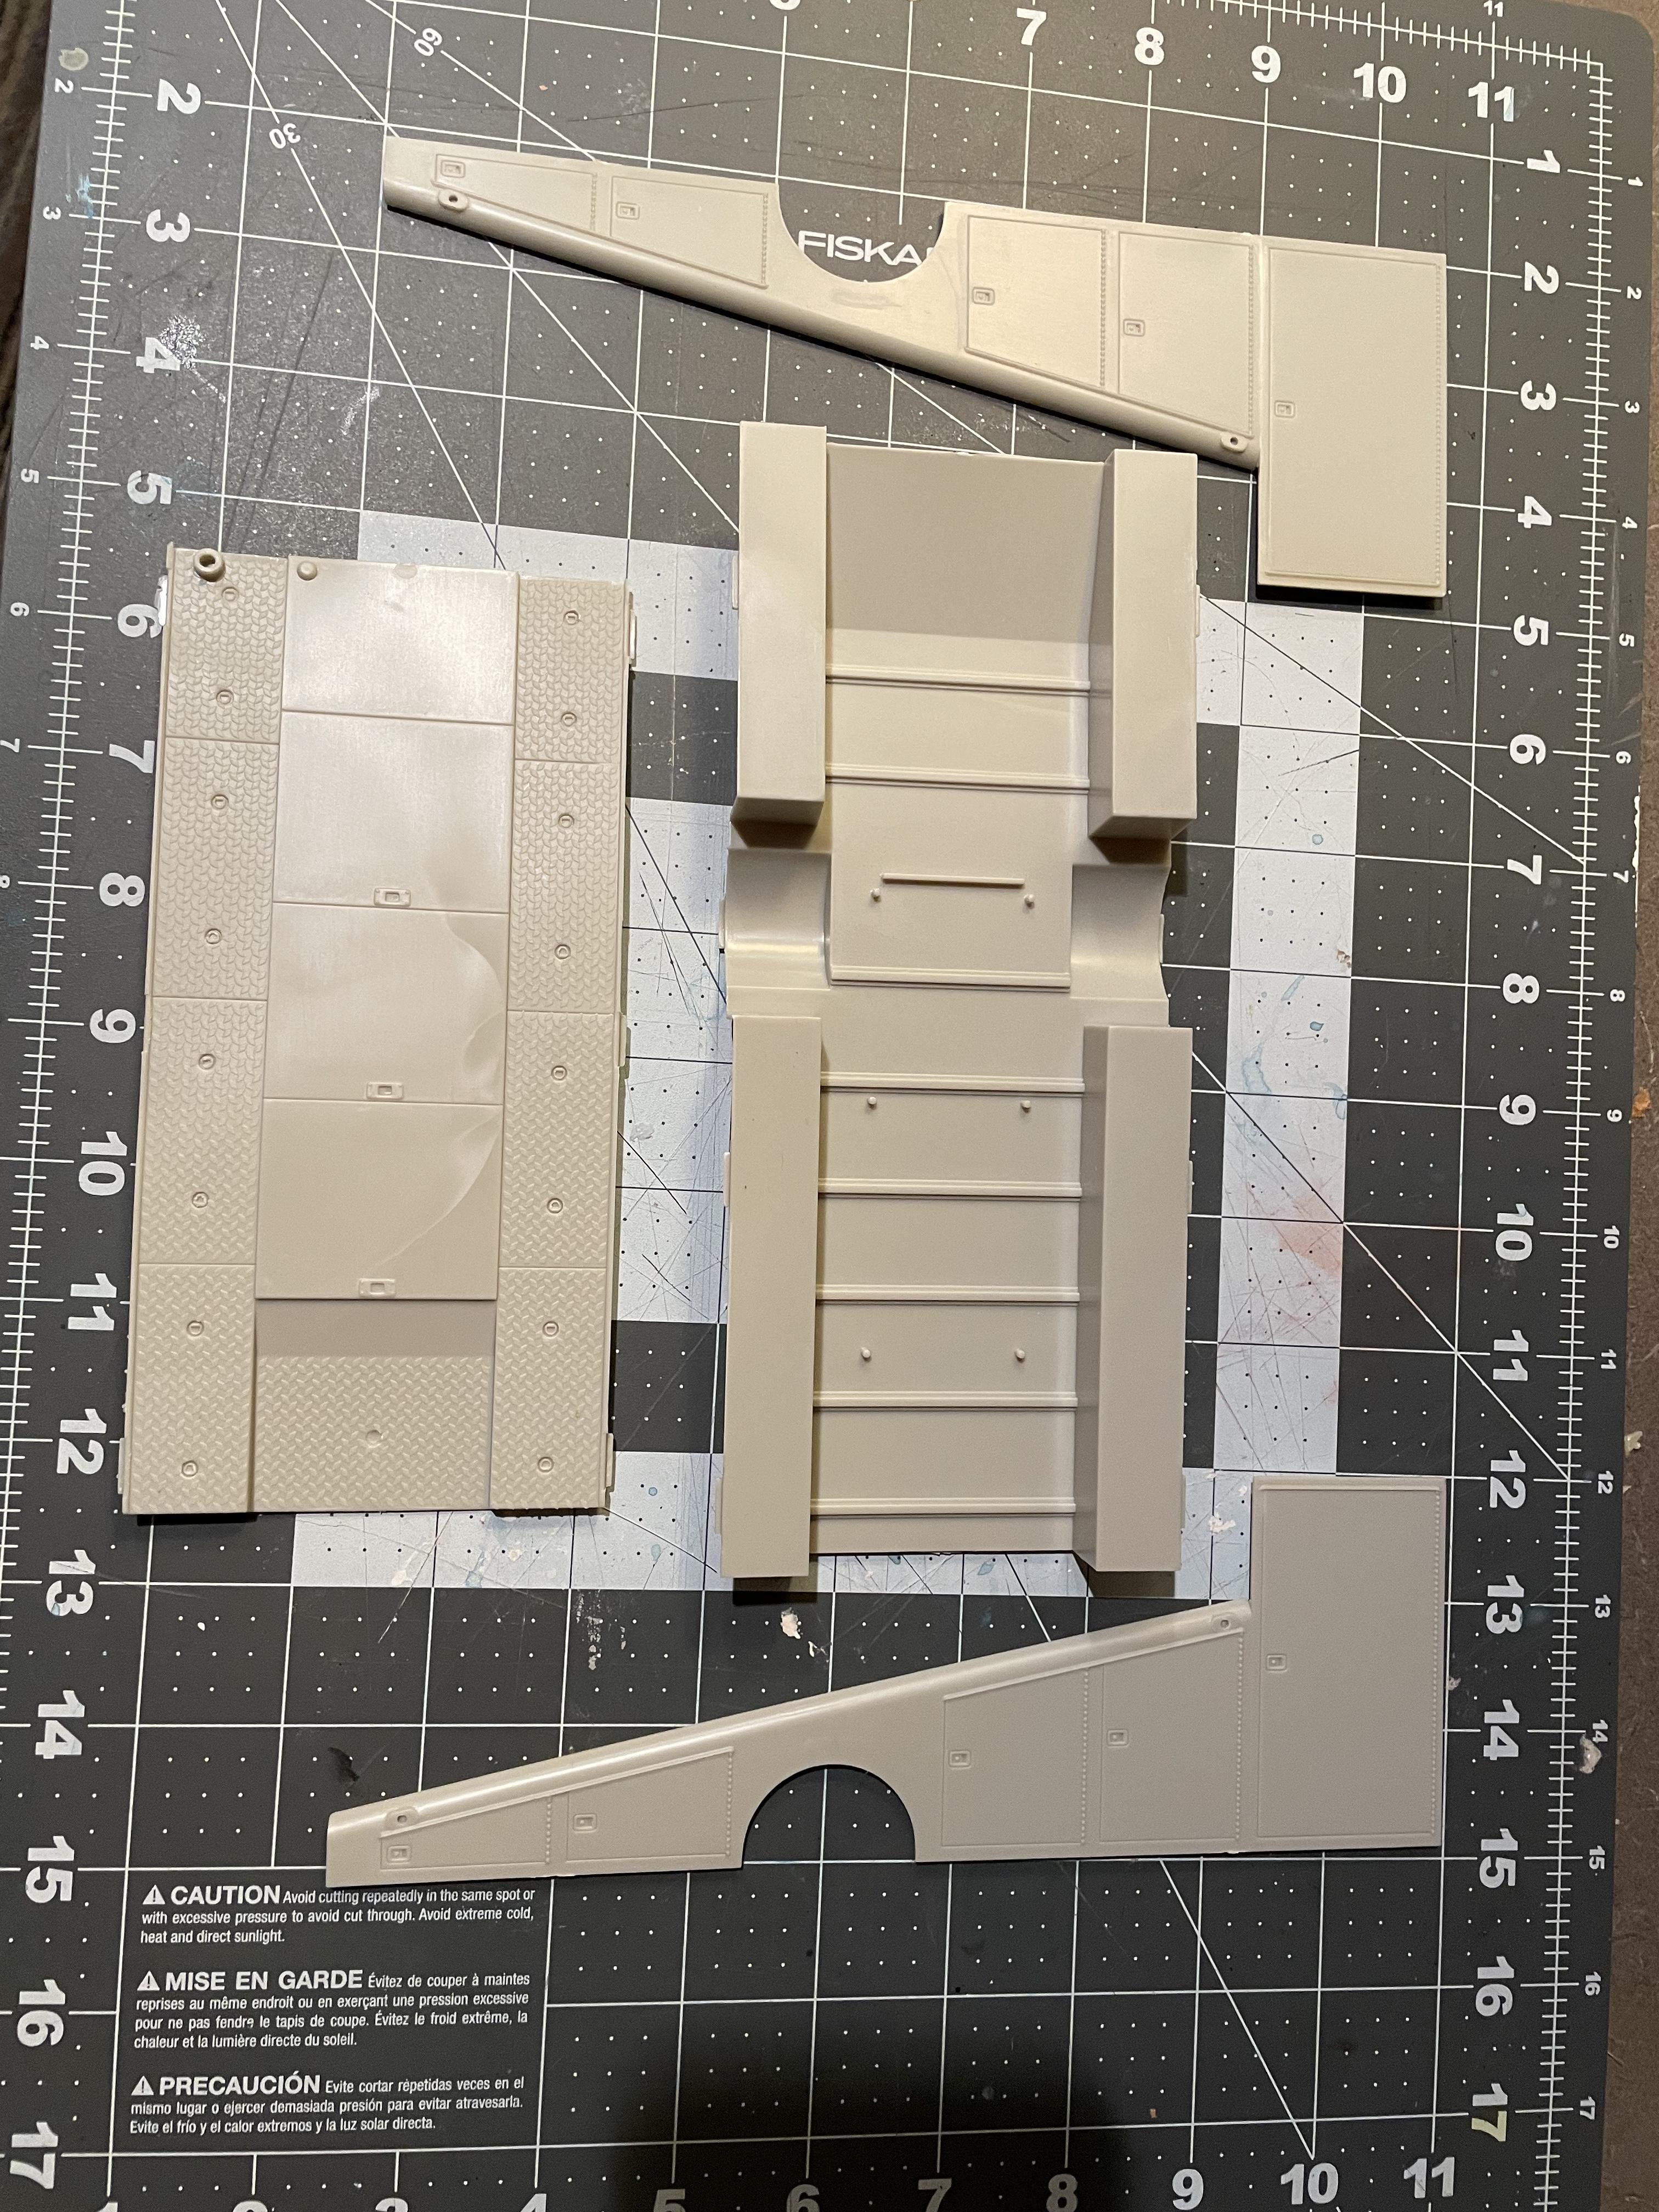
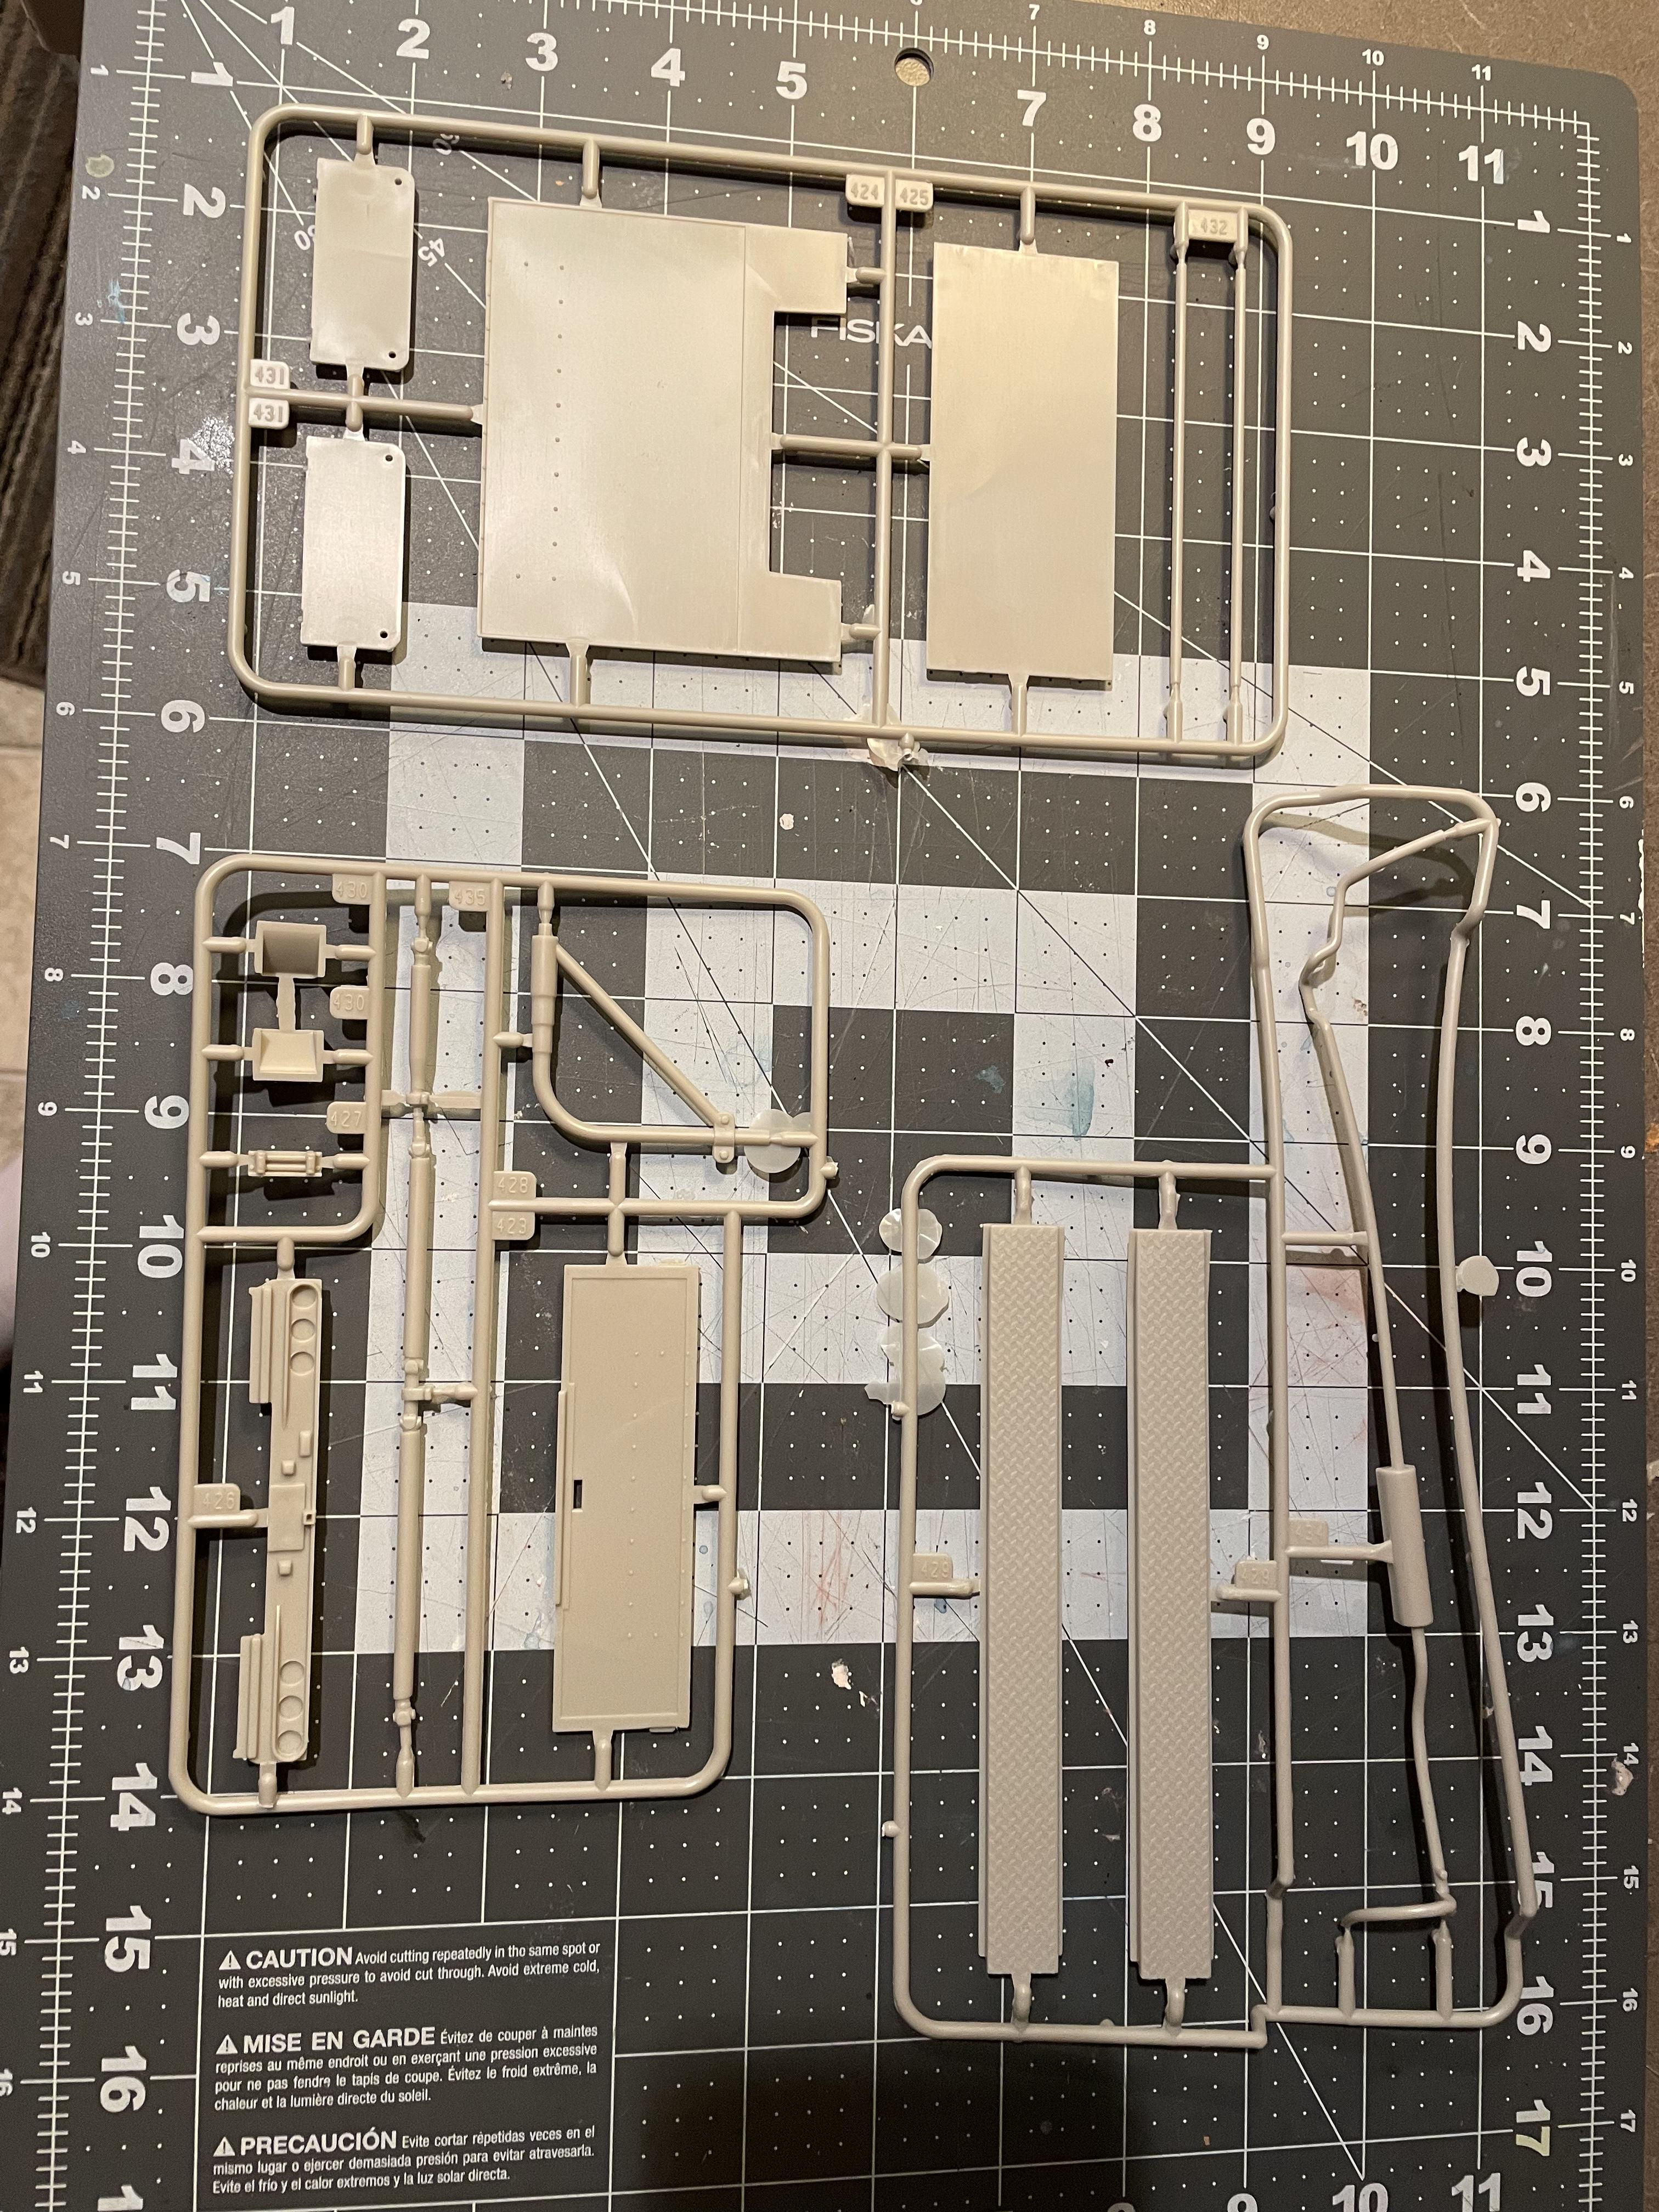
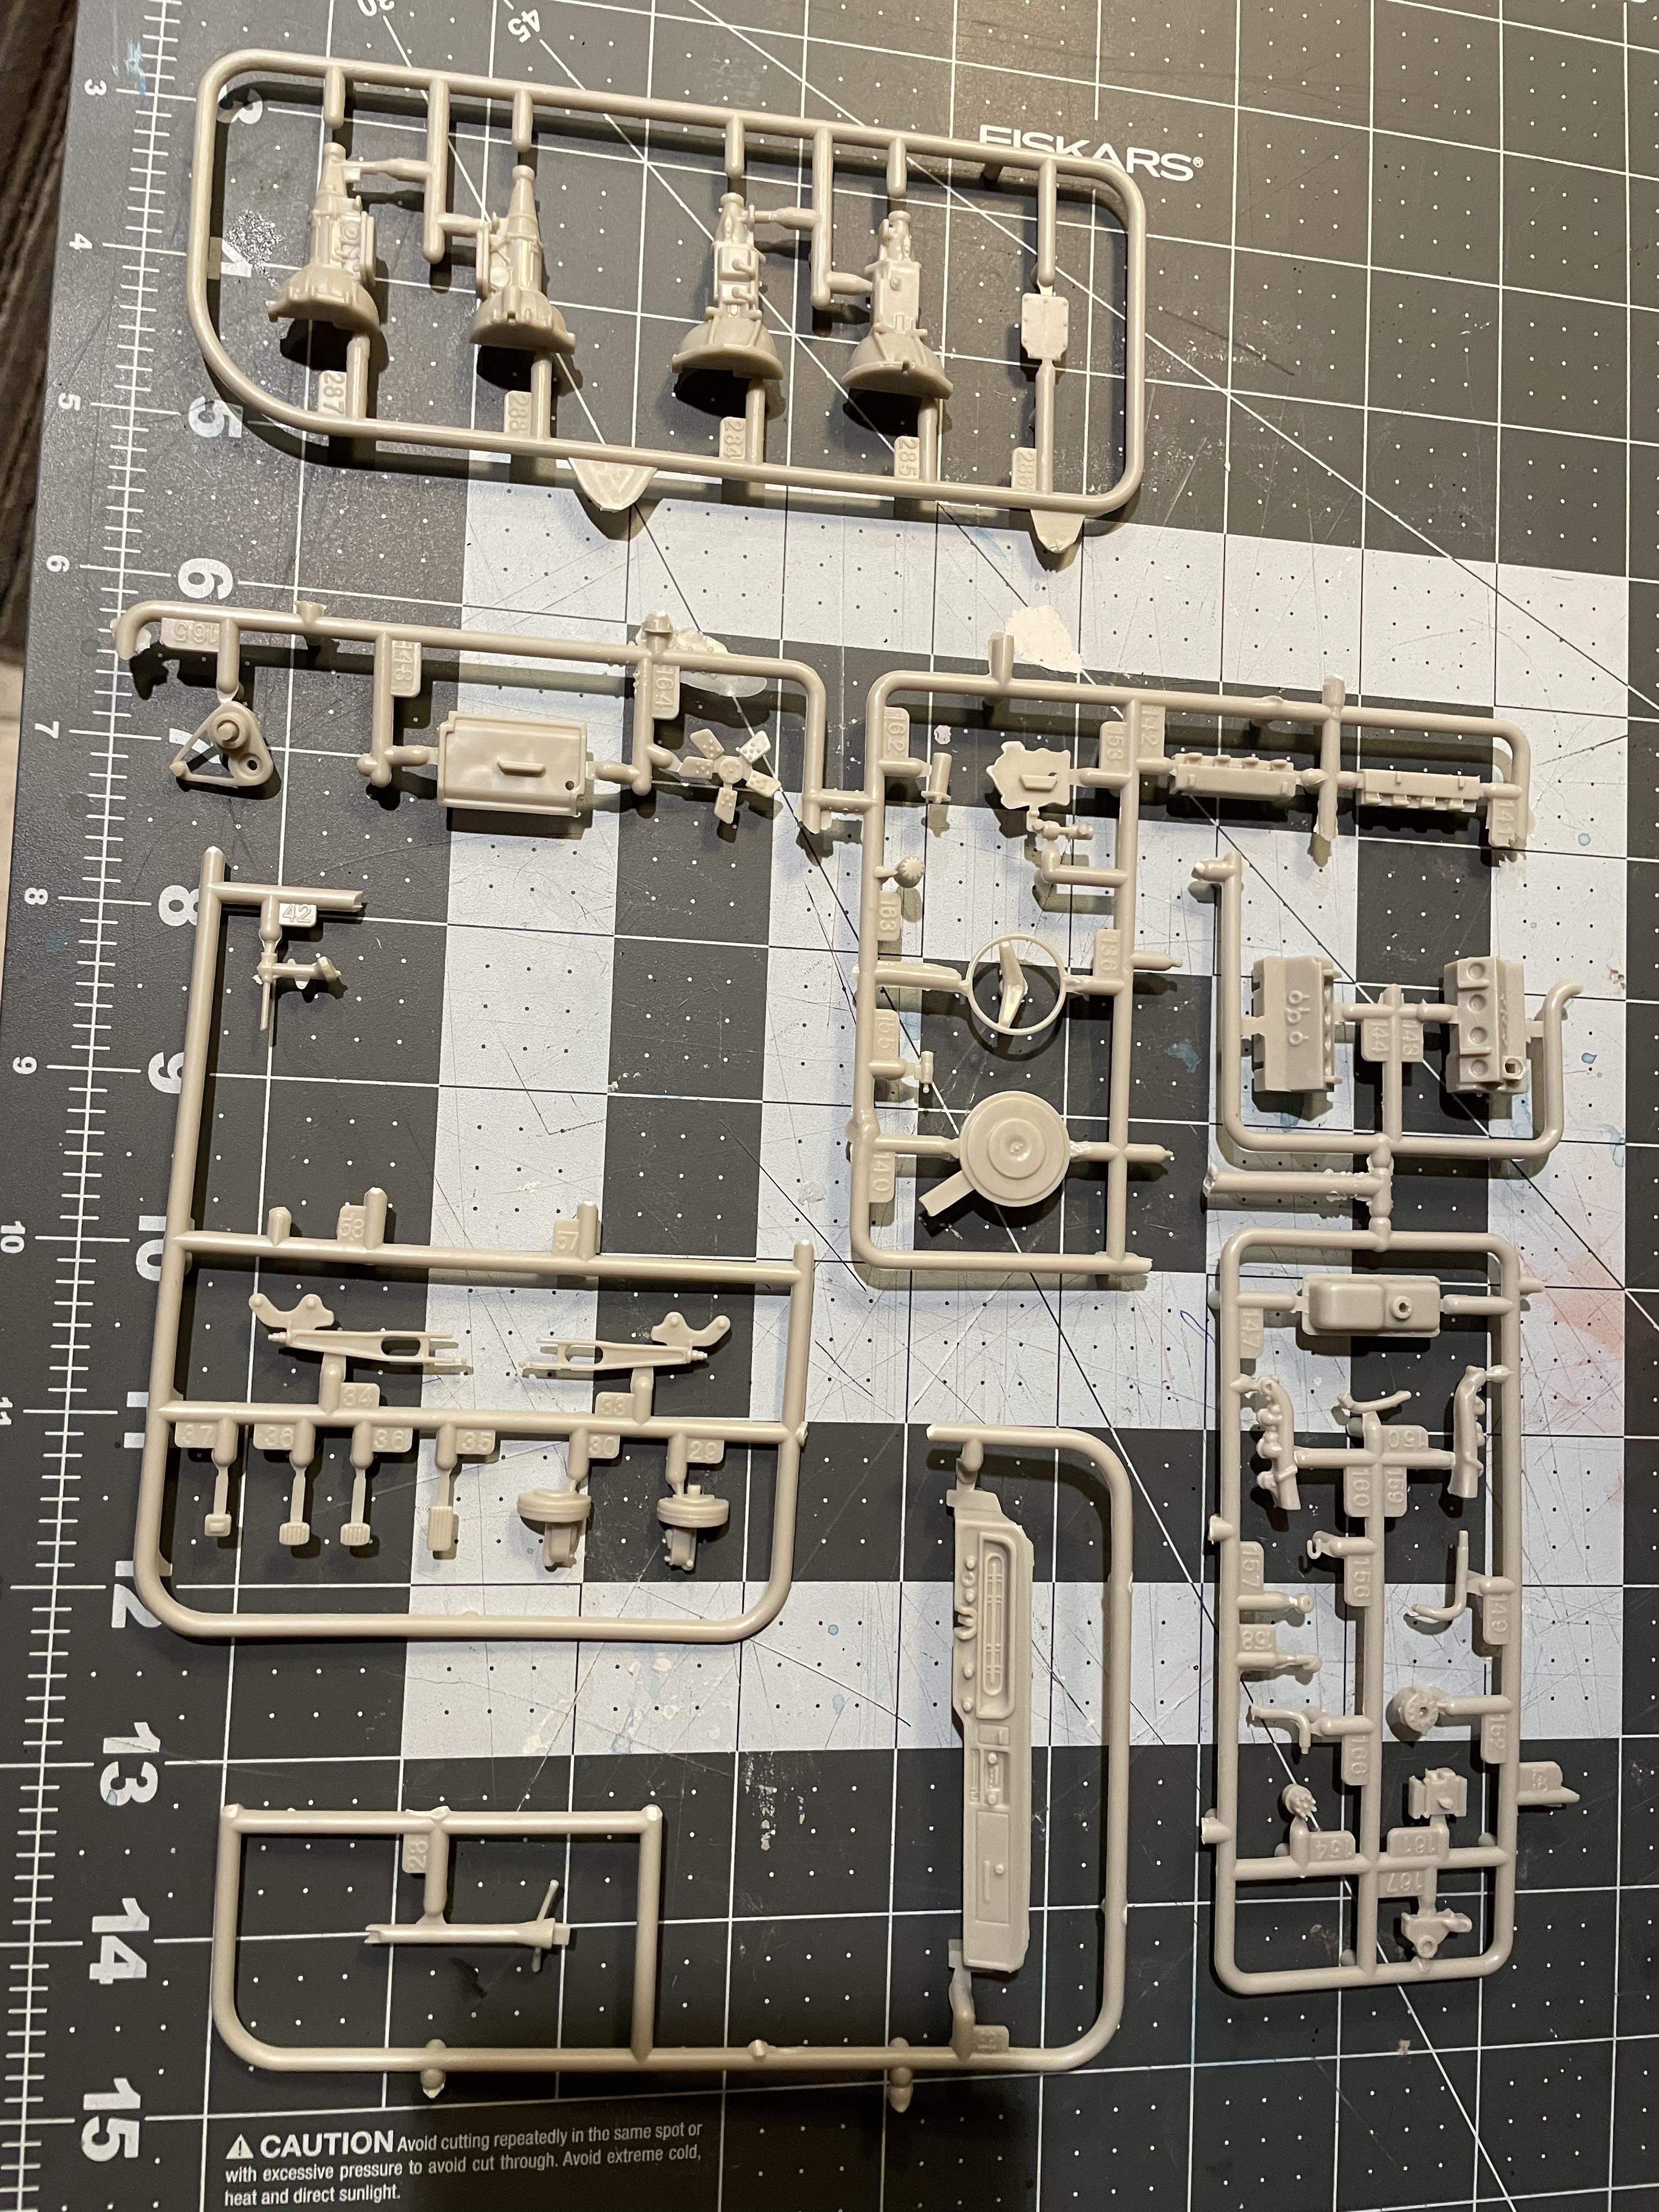
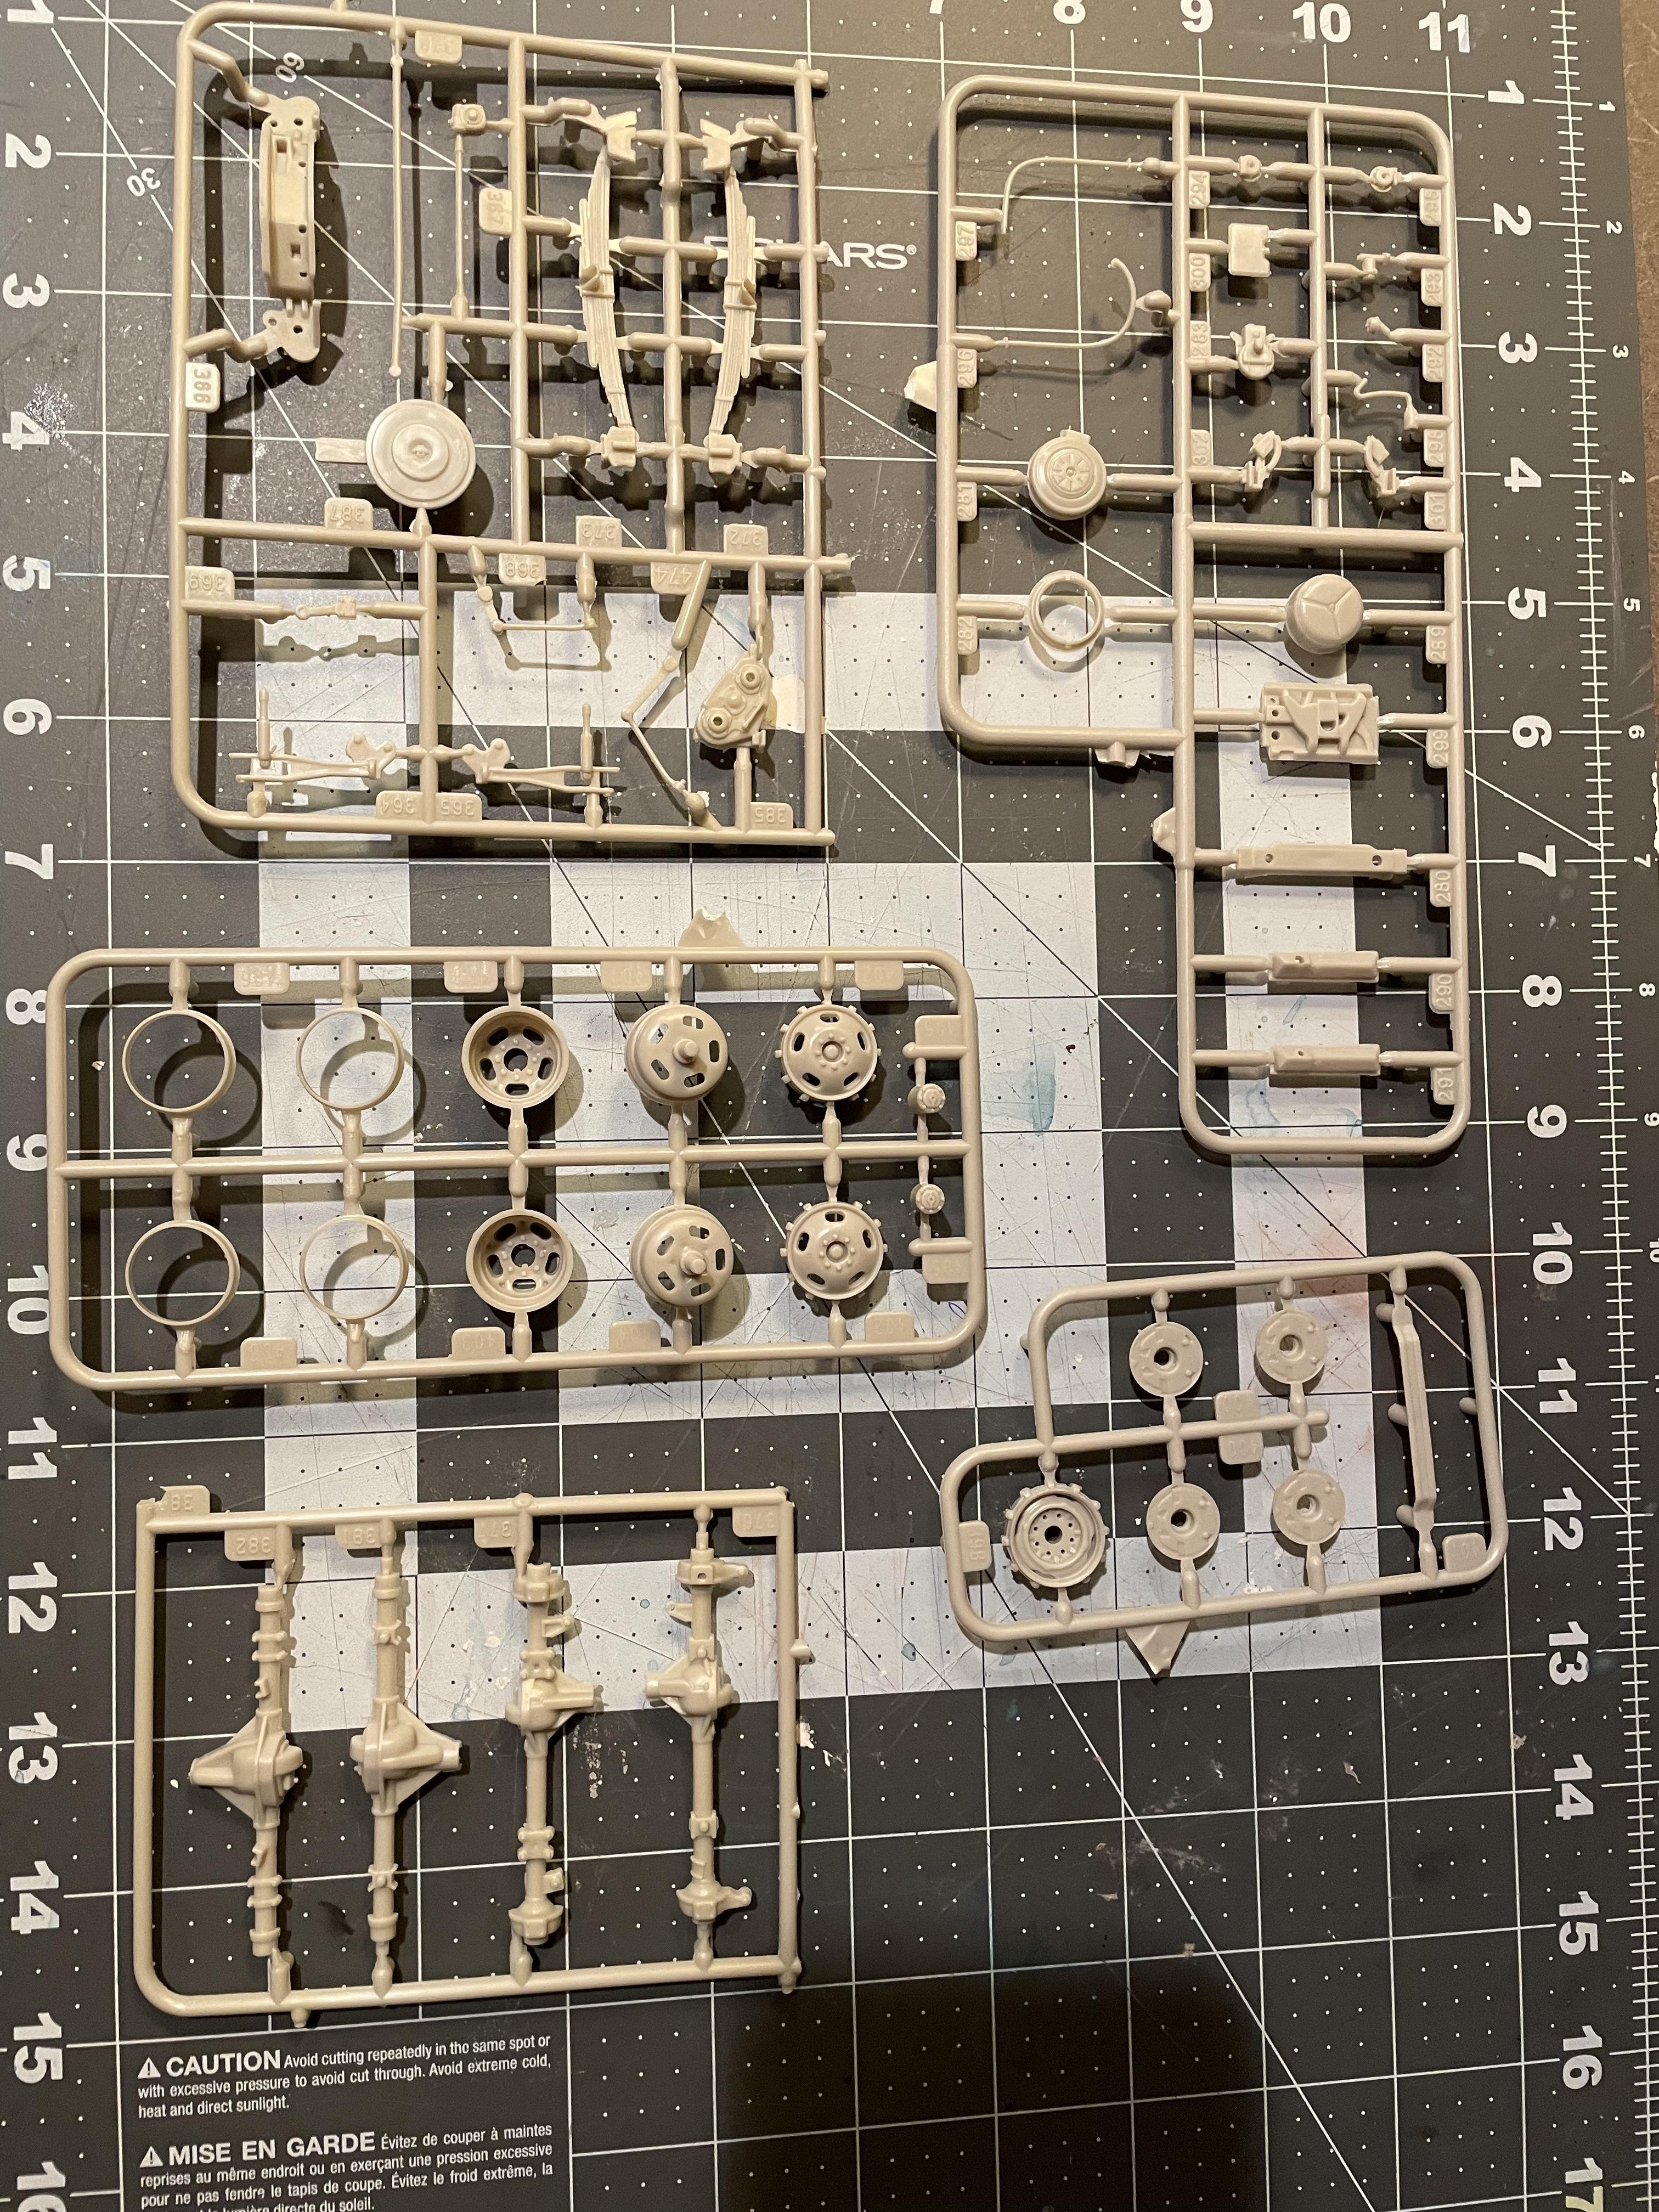
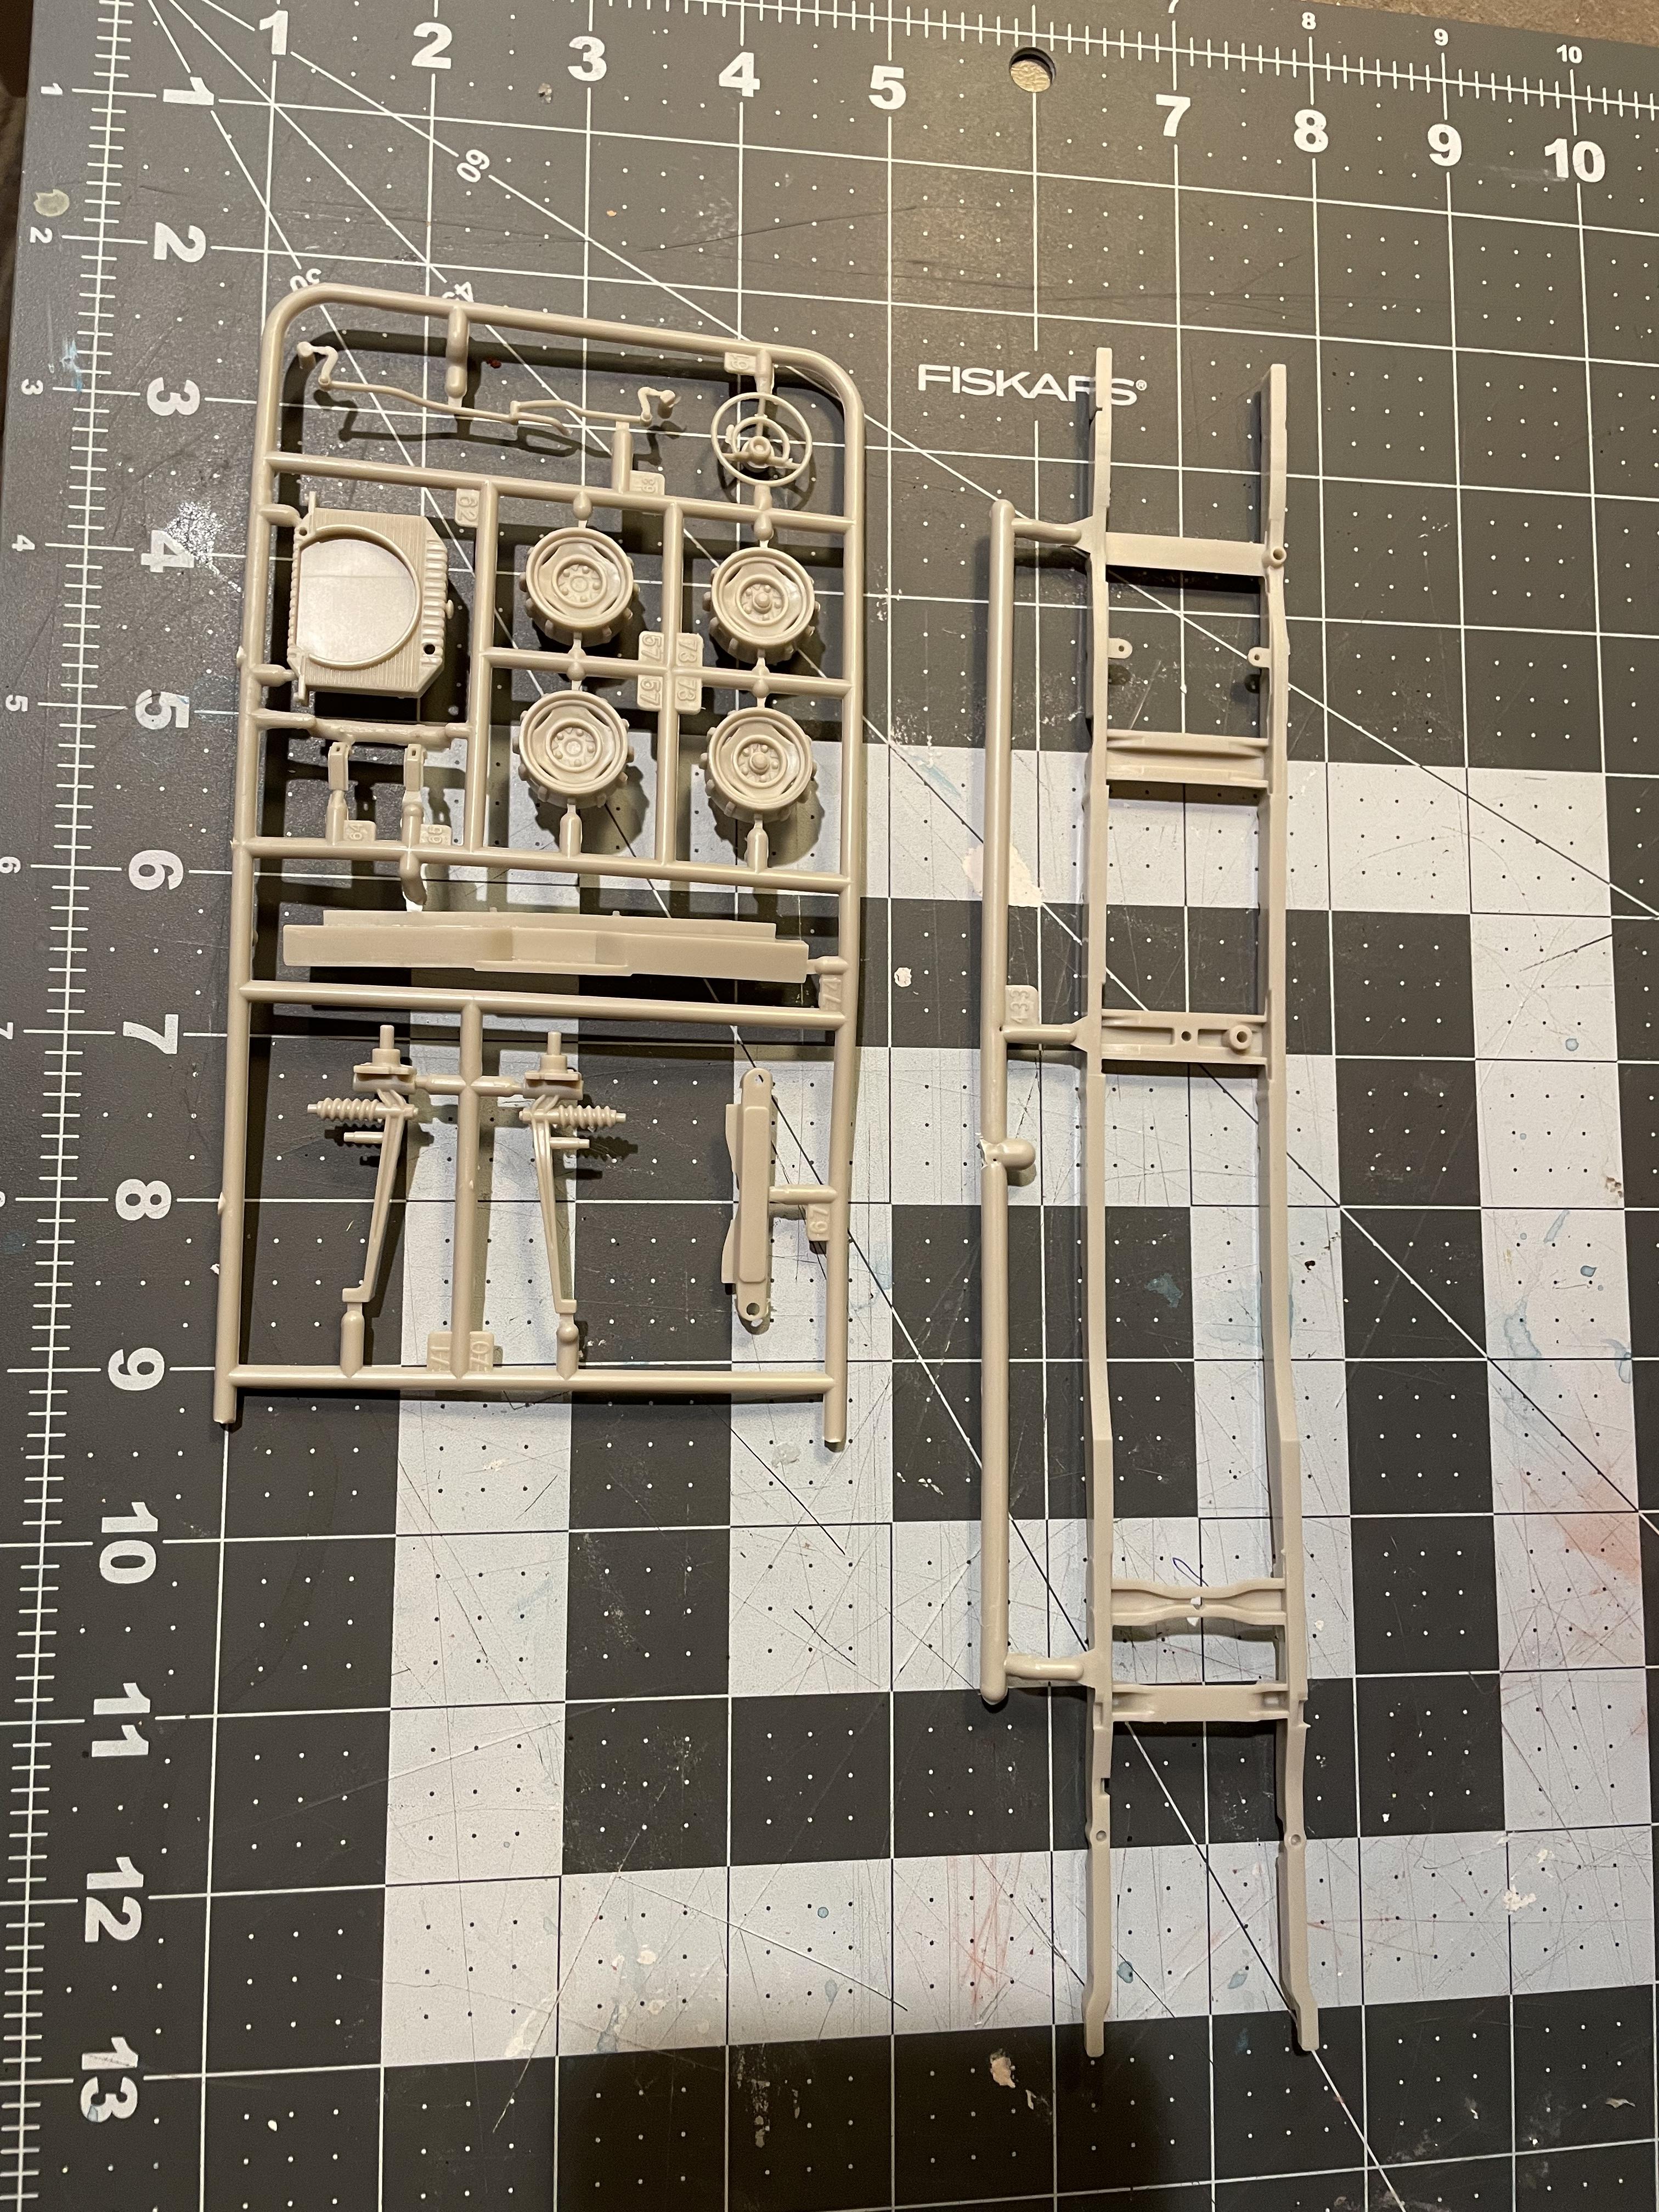
Here’s a few shots of some of the kit. The cab and related parts seem pretty standard for this series so I left them out.
-
Just got mine opened to check out the contents. Wow! There are a lot of parts. Lots of extras as well. 2 transmissions 2 intakes 3 air cleaners 3 mirror choices. 4x4 front axle and transfer case. I don’t think I have ever seen this many parts in one box.
-
Not trying to play devils advocate here and I’ve never had much interest in ev. But I am an IH Scout fan. I’ve had a couple and my first one I still have. I’m getting ready to restore it as I parked it when my son was born. It has 317k miles and was my daily driver. I thought being a new dad something with less miles and easier for child car seat use made sense and it did at the time. Before family life I was a fairly avid off roader. I live in the south of Boston area of Massachusetts. The majority of trails in this area are probably under 5 miles. An ev off roader should easily make a trip out and back. Not everyone is going to spend days off road or trips that go beyond vehicle range and if they do then an ev is not the right tool for the job. I’m sure they would be smart enough to know that. If not then they deserve to get stuck out there. Just like not bringing extra gas cans or spare parts preplanning should be done. Ev or gas I’m just excited that I may have the chance to get a new Scout. I used to go out to the International nationals every year and toured the old plant that made the current at the time Navistar trucks. I talked to a few of the employees and there was definitely a passion among them for what they were building and an appreciation for where the current vehicles came from. When cars were first starting out it was steam, gasoline and electric that were all fighting to be the one to take off. All had there advantages and disadvantages. In 1900 steam was the 100 year old technology and internal combustion gas engines and electric were the new scary technology. Love it or hate ev does seem to be where we are headed just like gasoline was 120 years ago.
-
Post your truck mockups.
IHSS replied to Mike C.'s topic in WIP: Model Trucks: Pickups, Vans, SUVs, Light Commercial
It’s a truck and it’s a mock up. Looks like it fits to me. That’s just my opinion. Looks like it’s going to be a killer build. -
Post your truck mockups.
IHSS replied to Mike C.'s topic in WIP: Model Trucks: Pickups, Vans, SUVs, Light Commercial
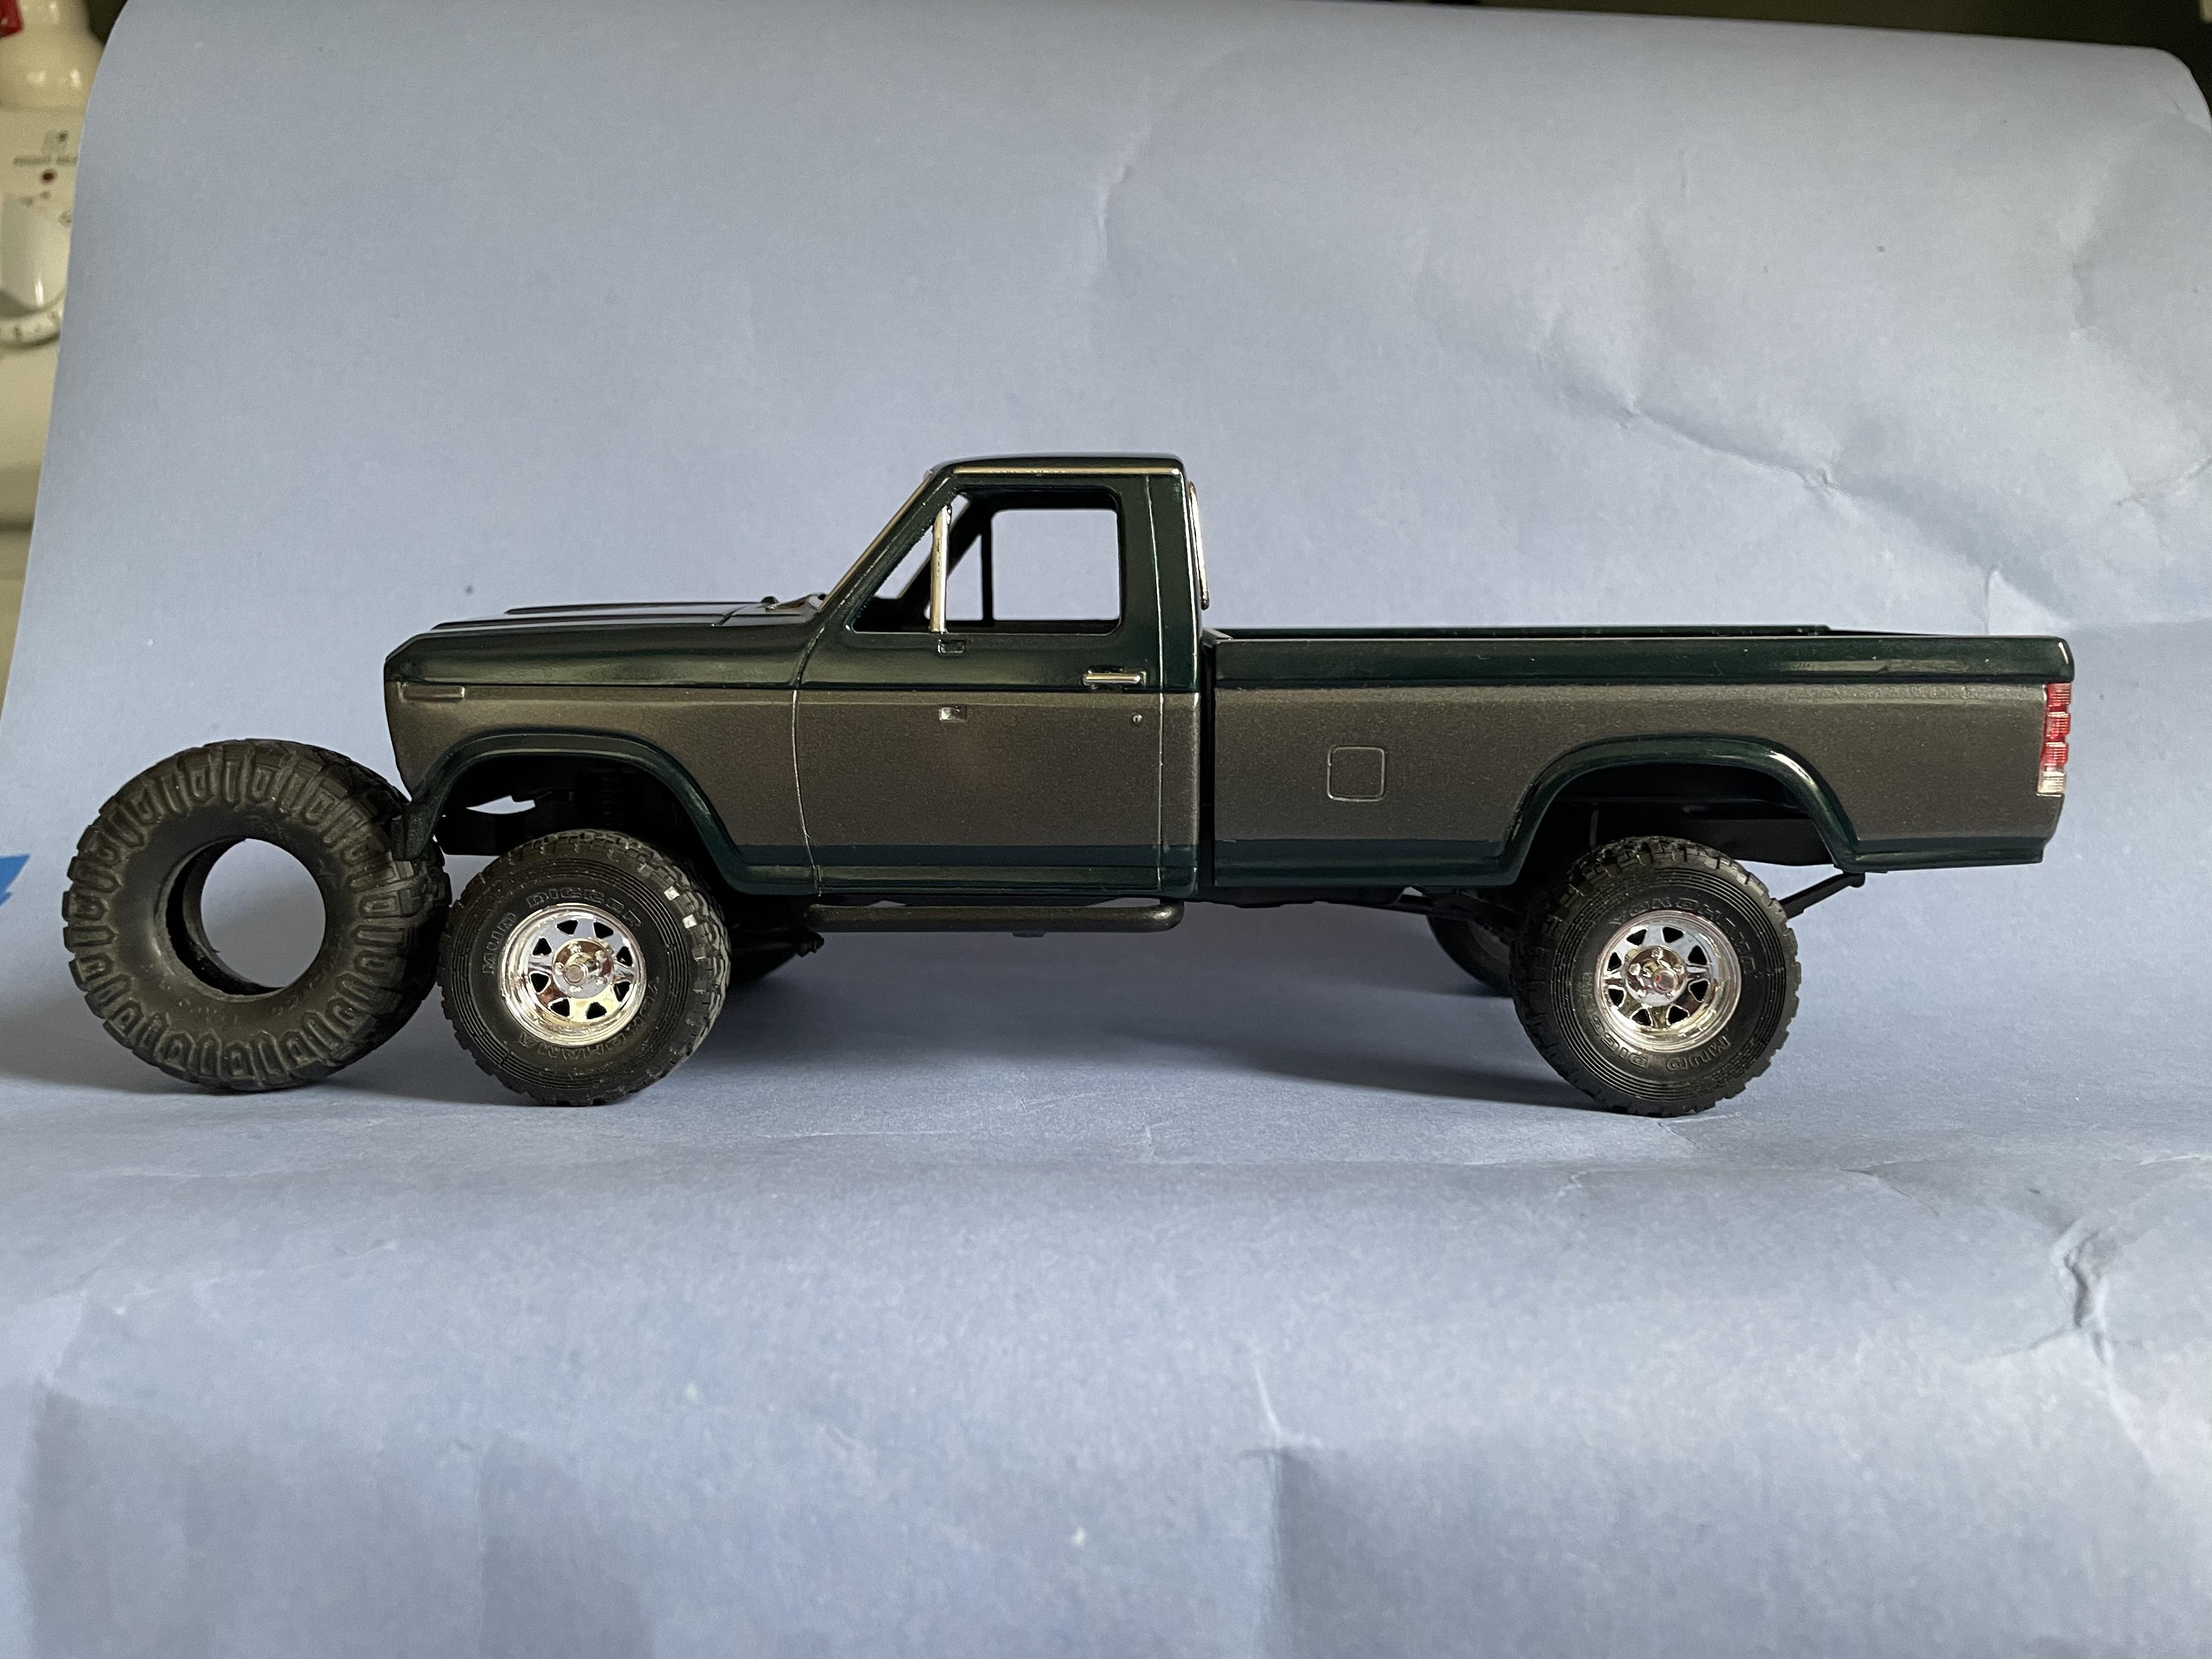
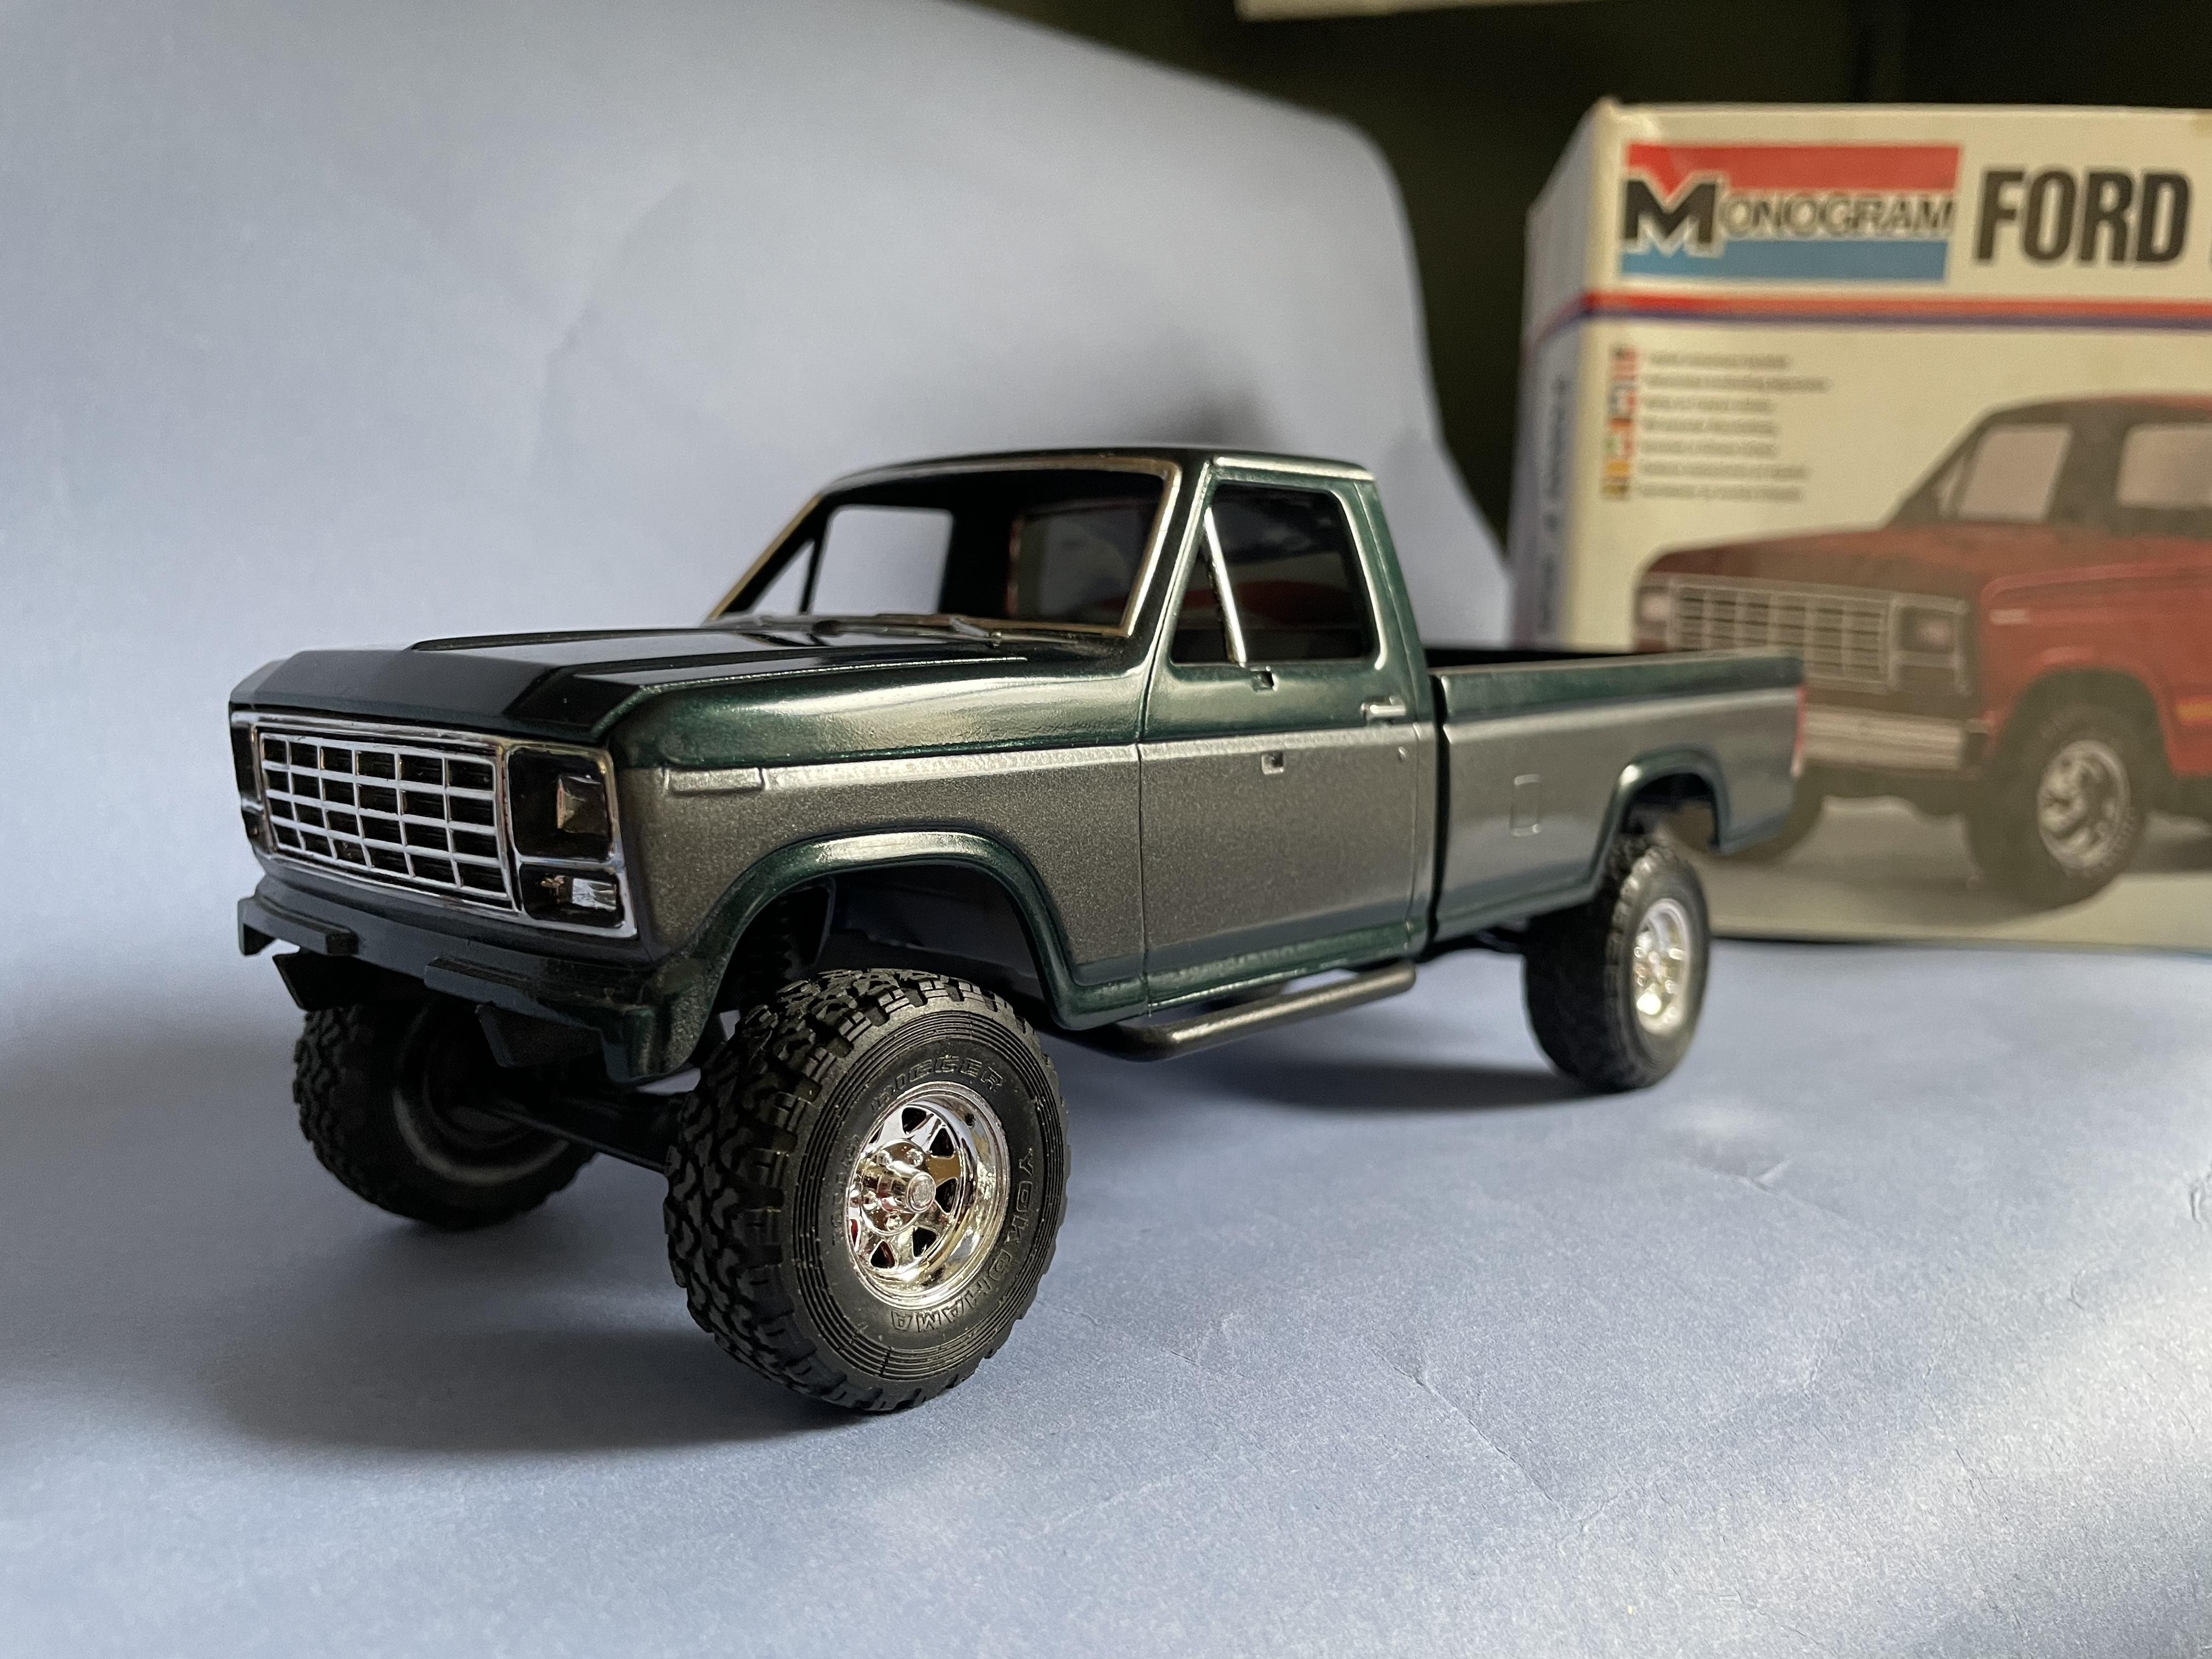
Here’s a project That’s getting close to finish line. Made out of three old Monogram kits. F-150 Ranger, F-350 duelie and a Bronco.
-
Chevrolet Impala Hardtop '59 in "Tuxedo Black" w/ red interior
IHSS replied to Tommy124's topic in Model Cars
That looks fantastic. I’ve always been a fan of the rear ends of these.
-
That looks awesome. Really nice work. But you need to screw up the decal around the trunk lock like Frieburger did.
-
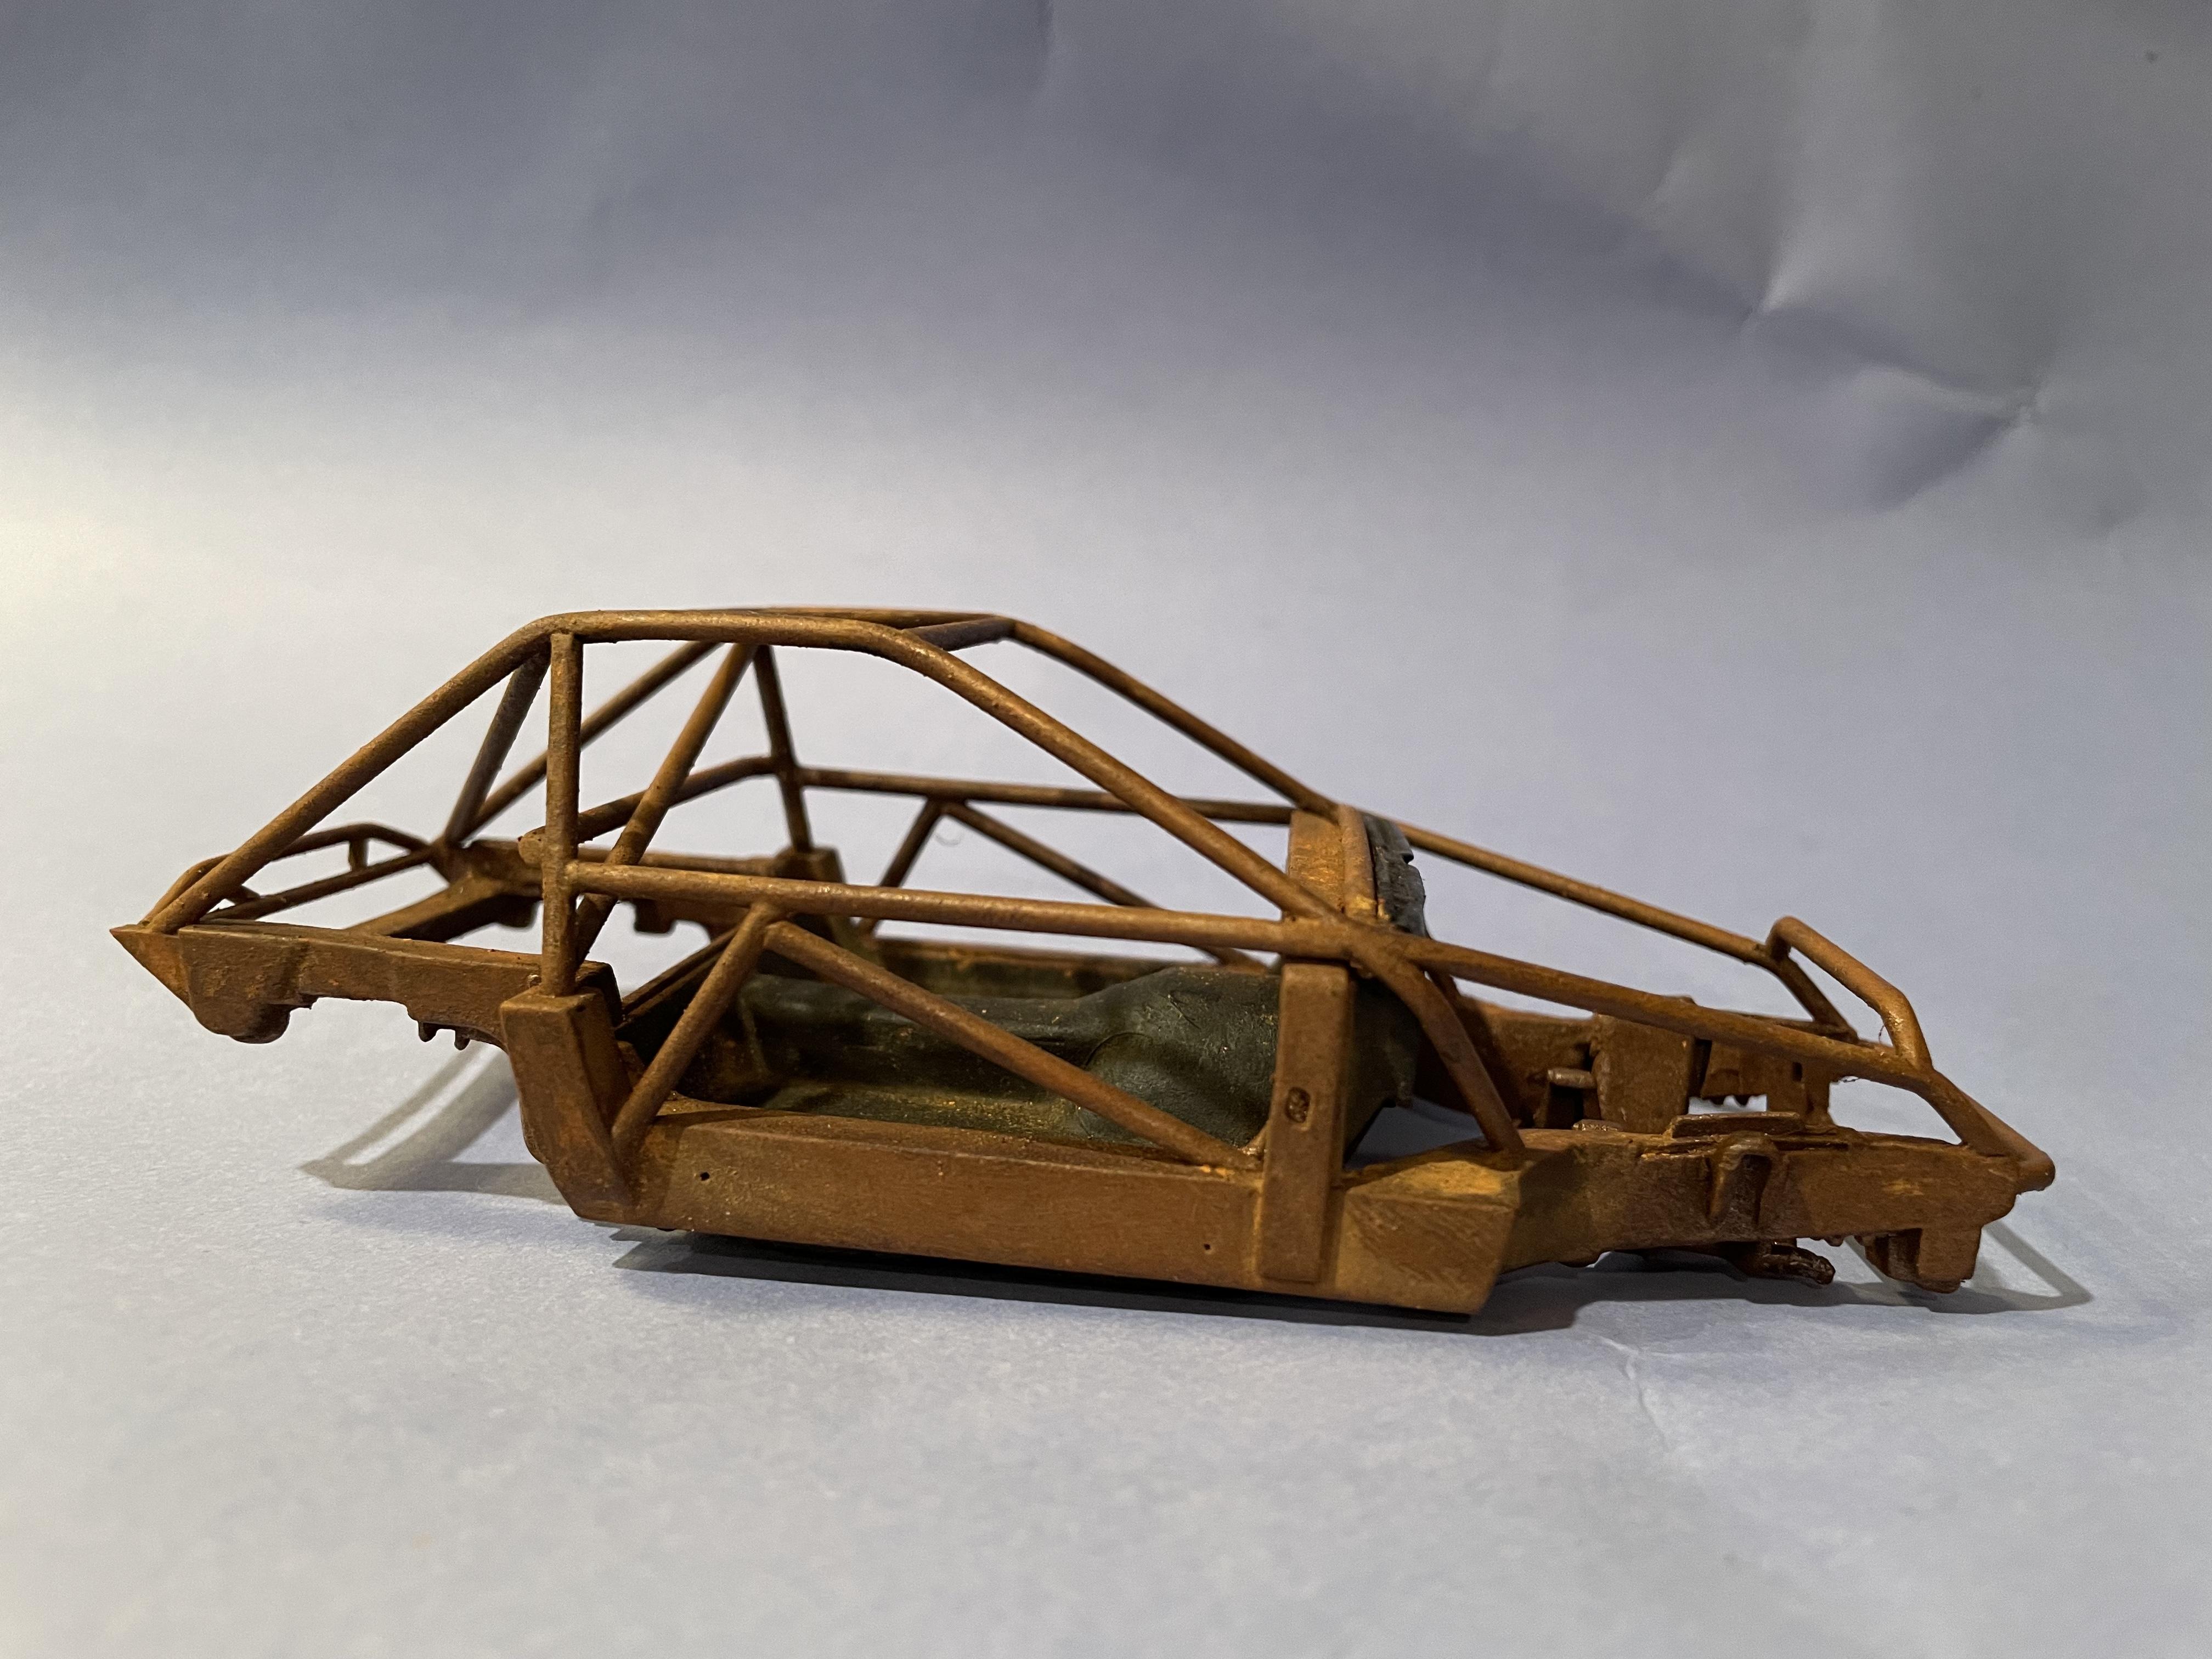
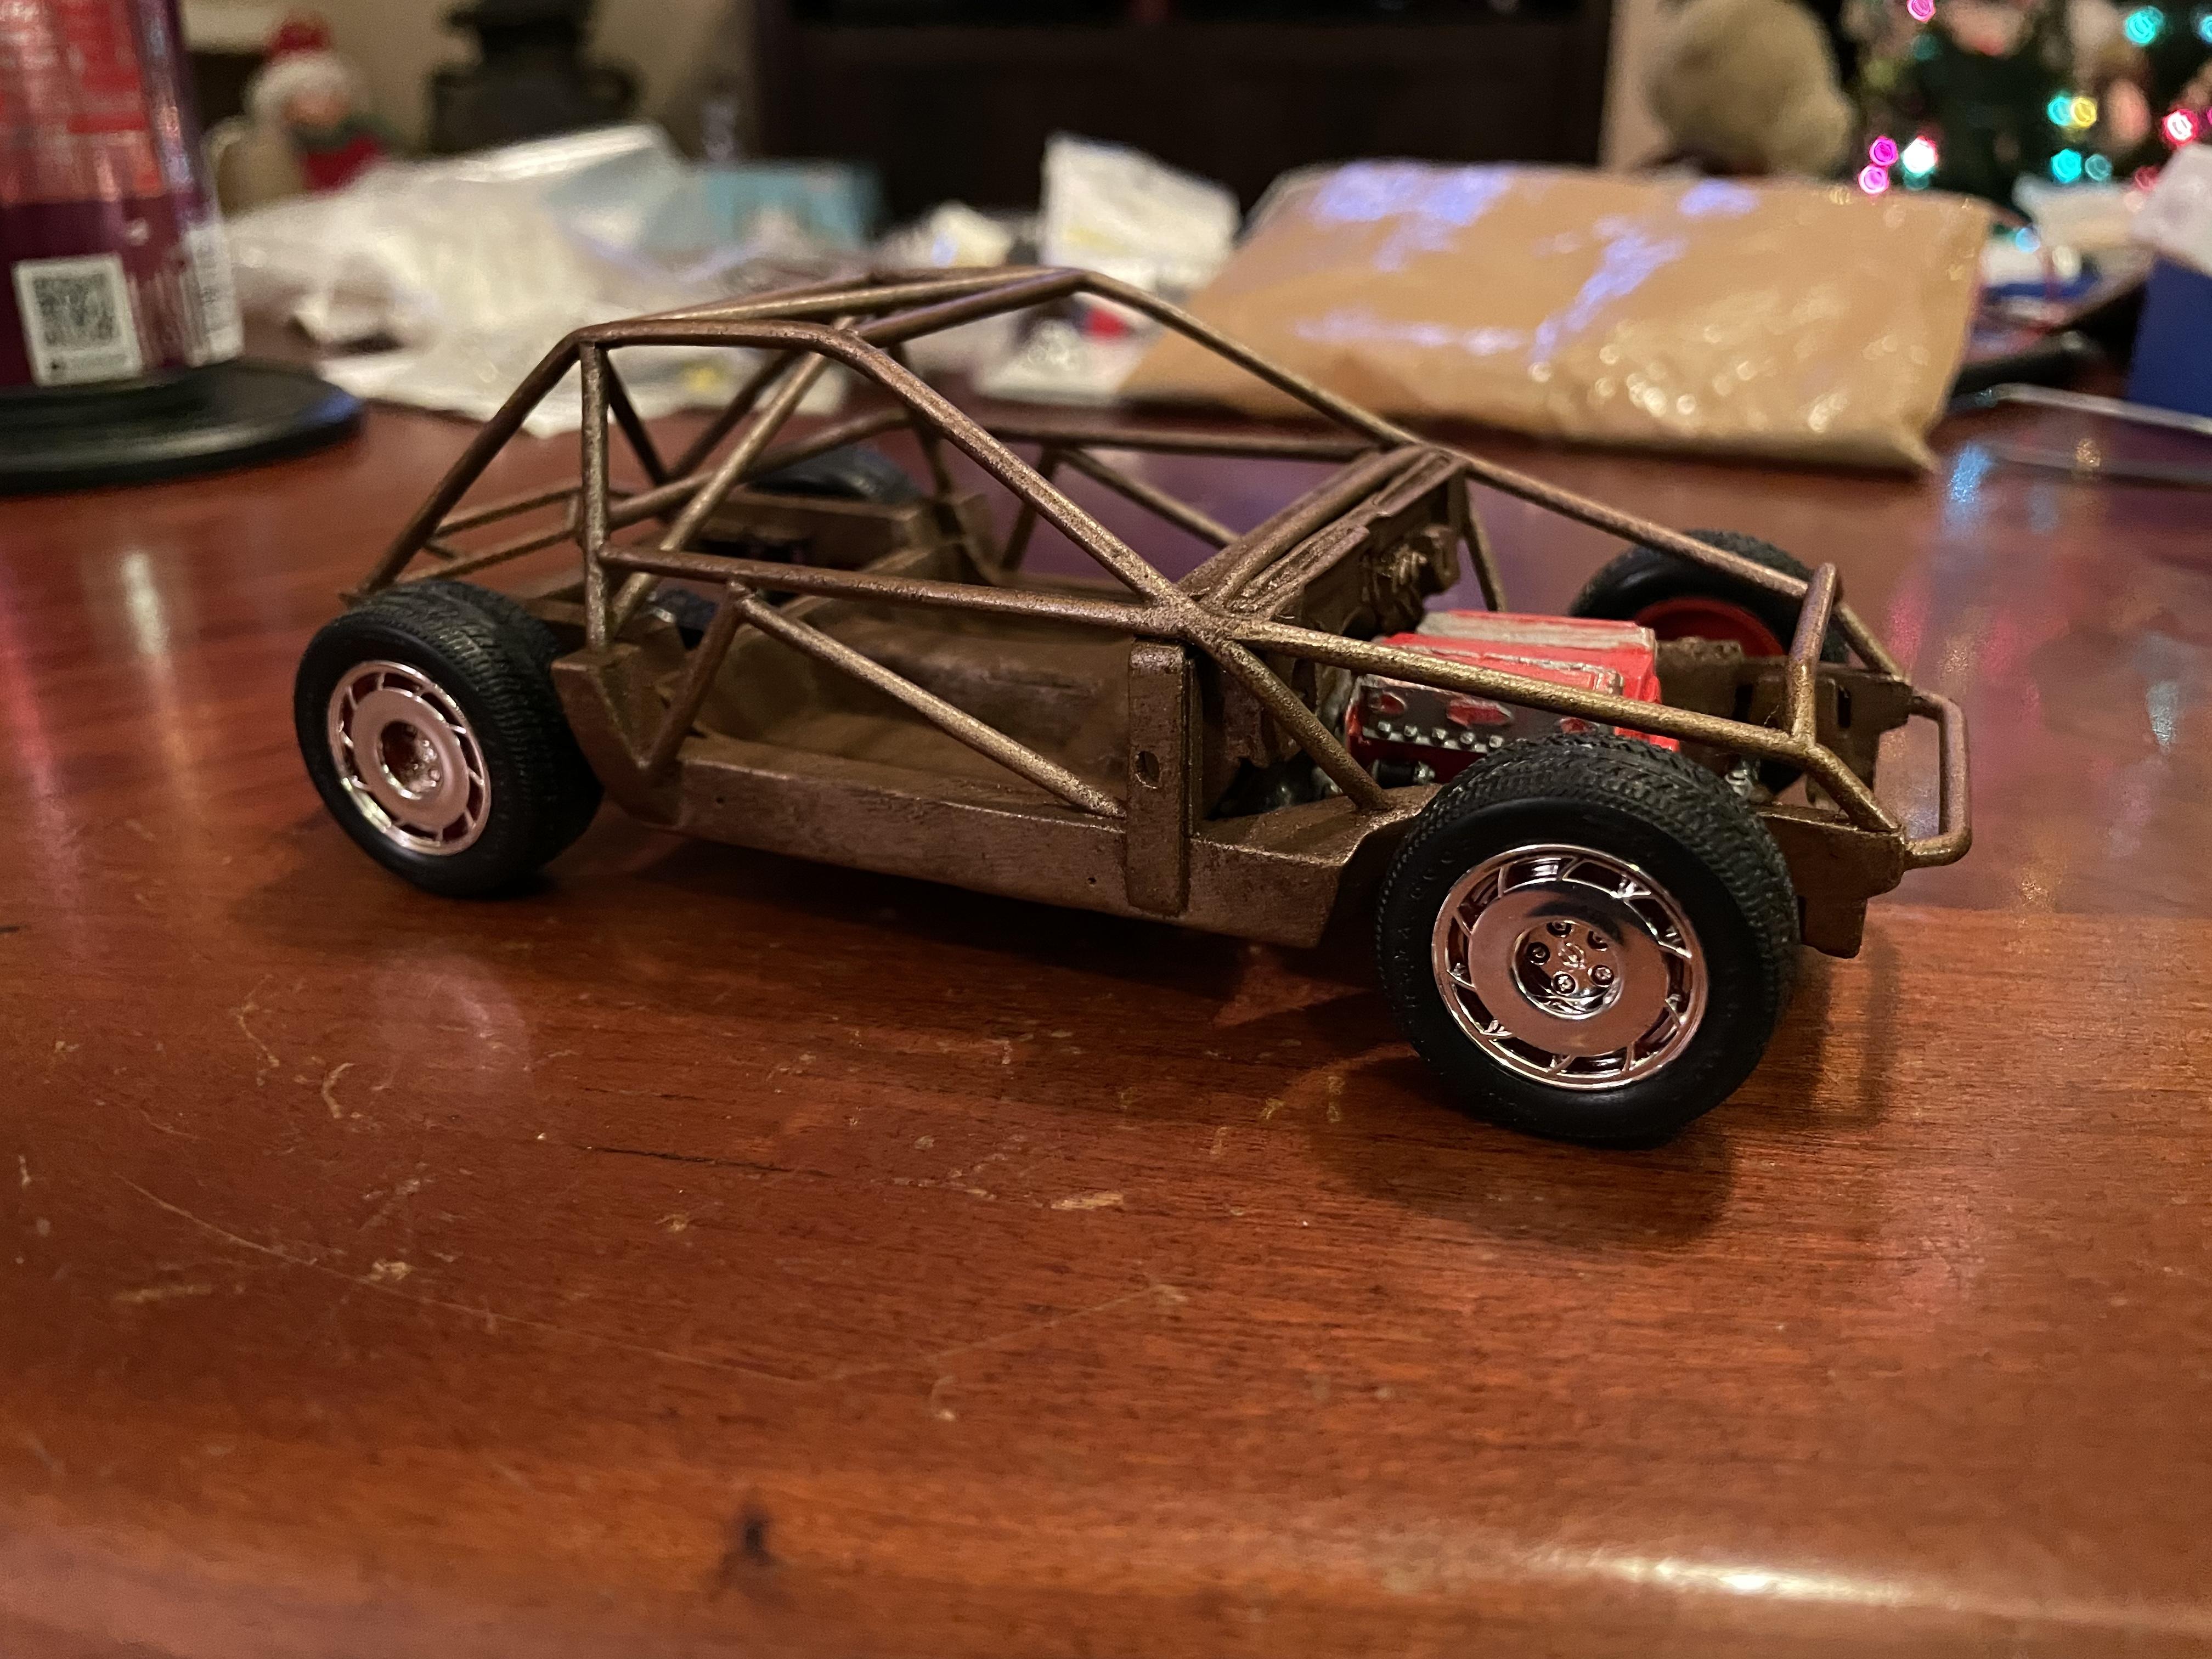
Thanks All I got a little bench time in today. Tried adding to the rust on the frame. I used Vallejo rust pigment mixed with some flat clear and just brushed a thin coat over the whole thing. While it was a little tacky I took a dry brush and the pigment and brushed it in. I’m fairly happy with the results for my first time trying something like this. I do need to touch up a couple of spots. Going to get the suspension started next. Thanks for looking and comments are always welcome.
-
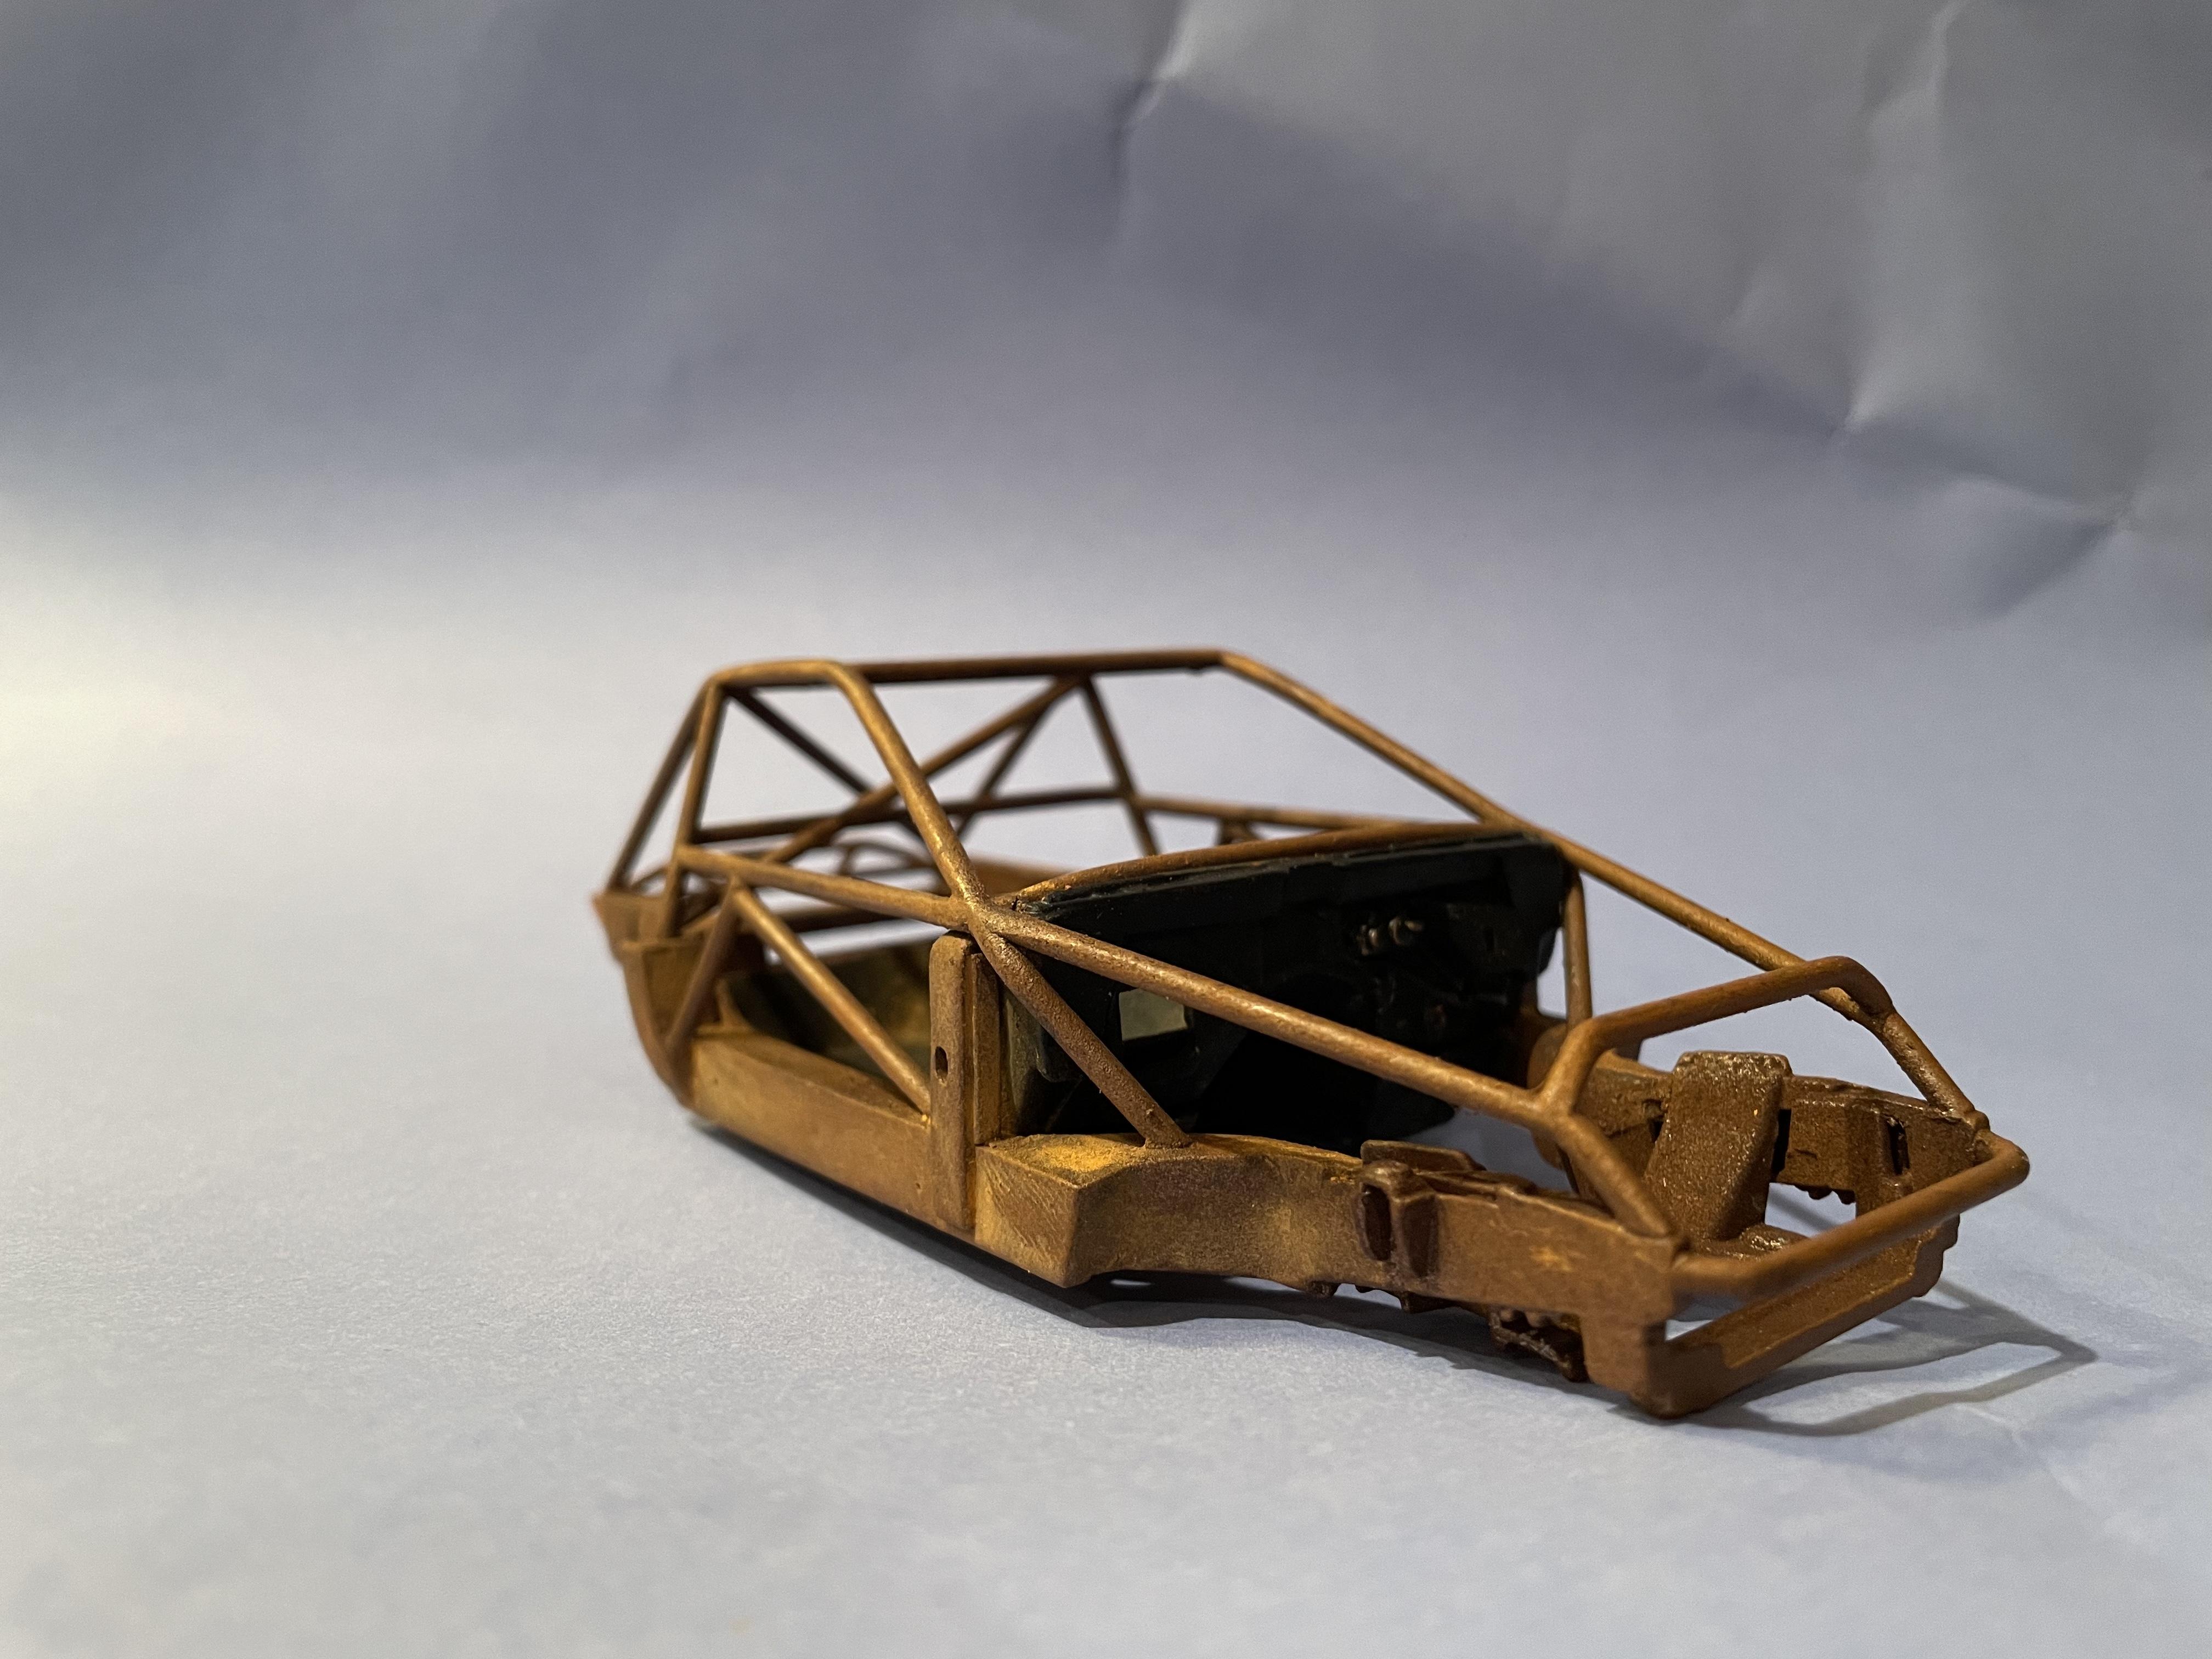
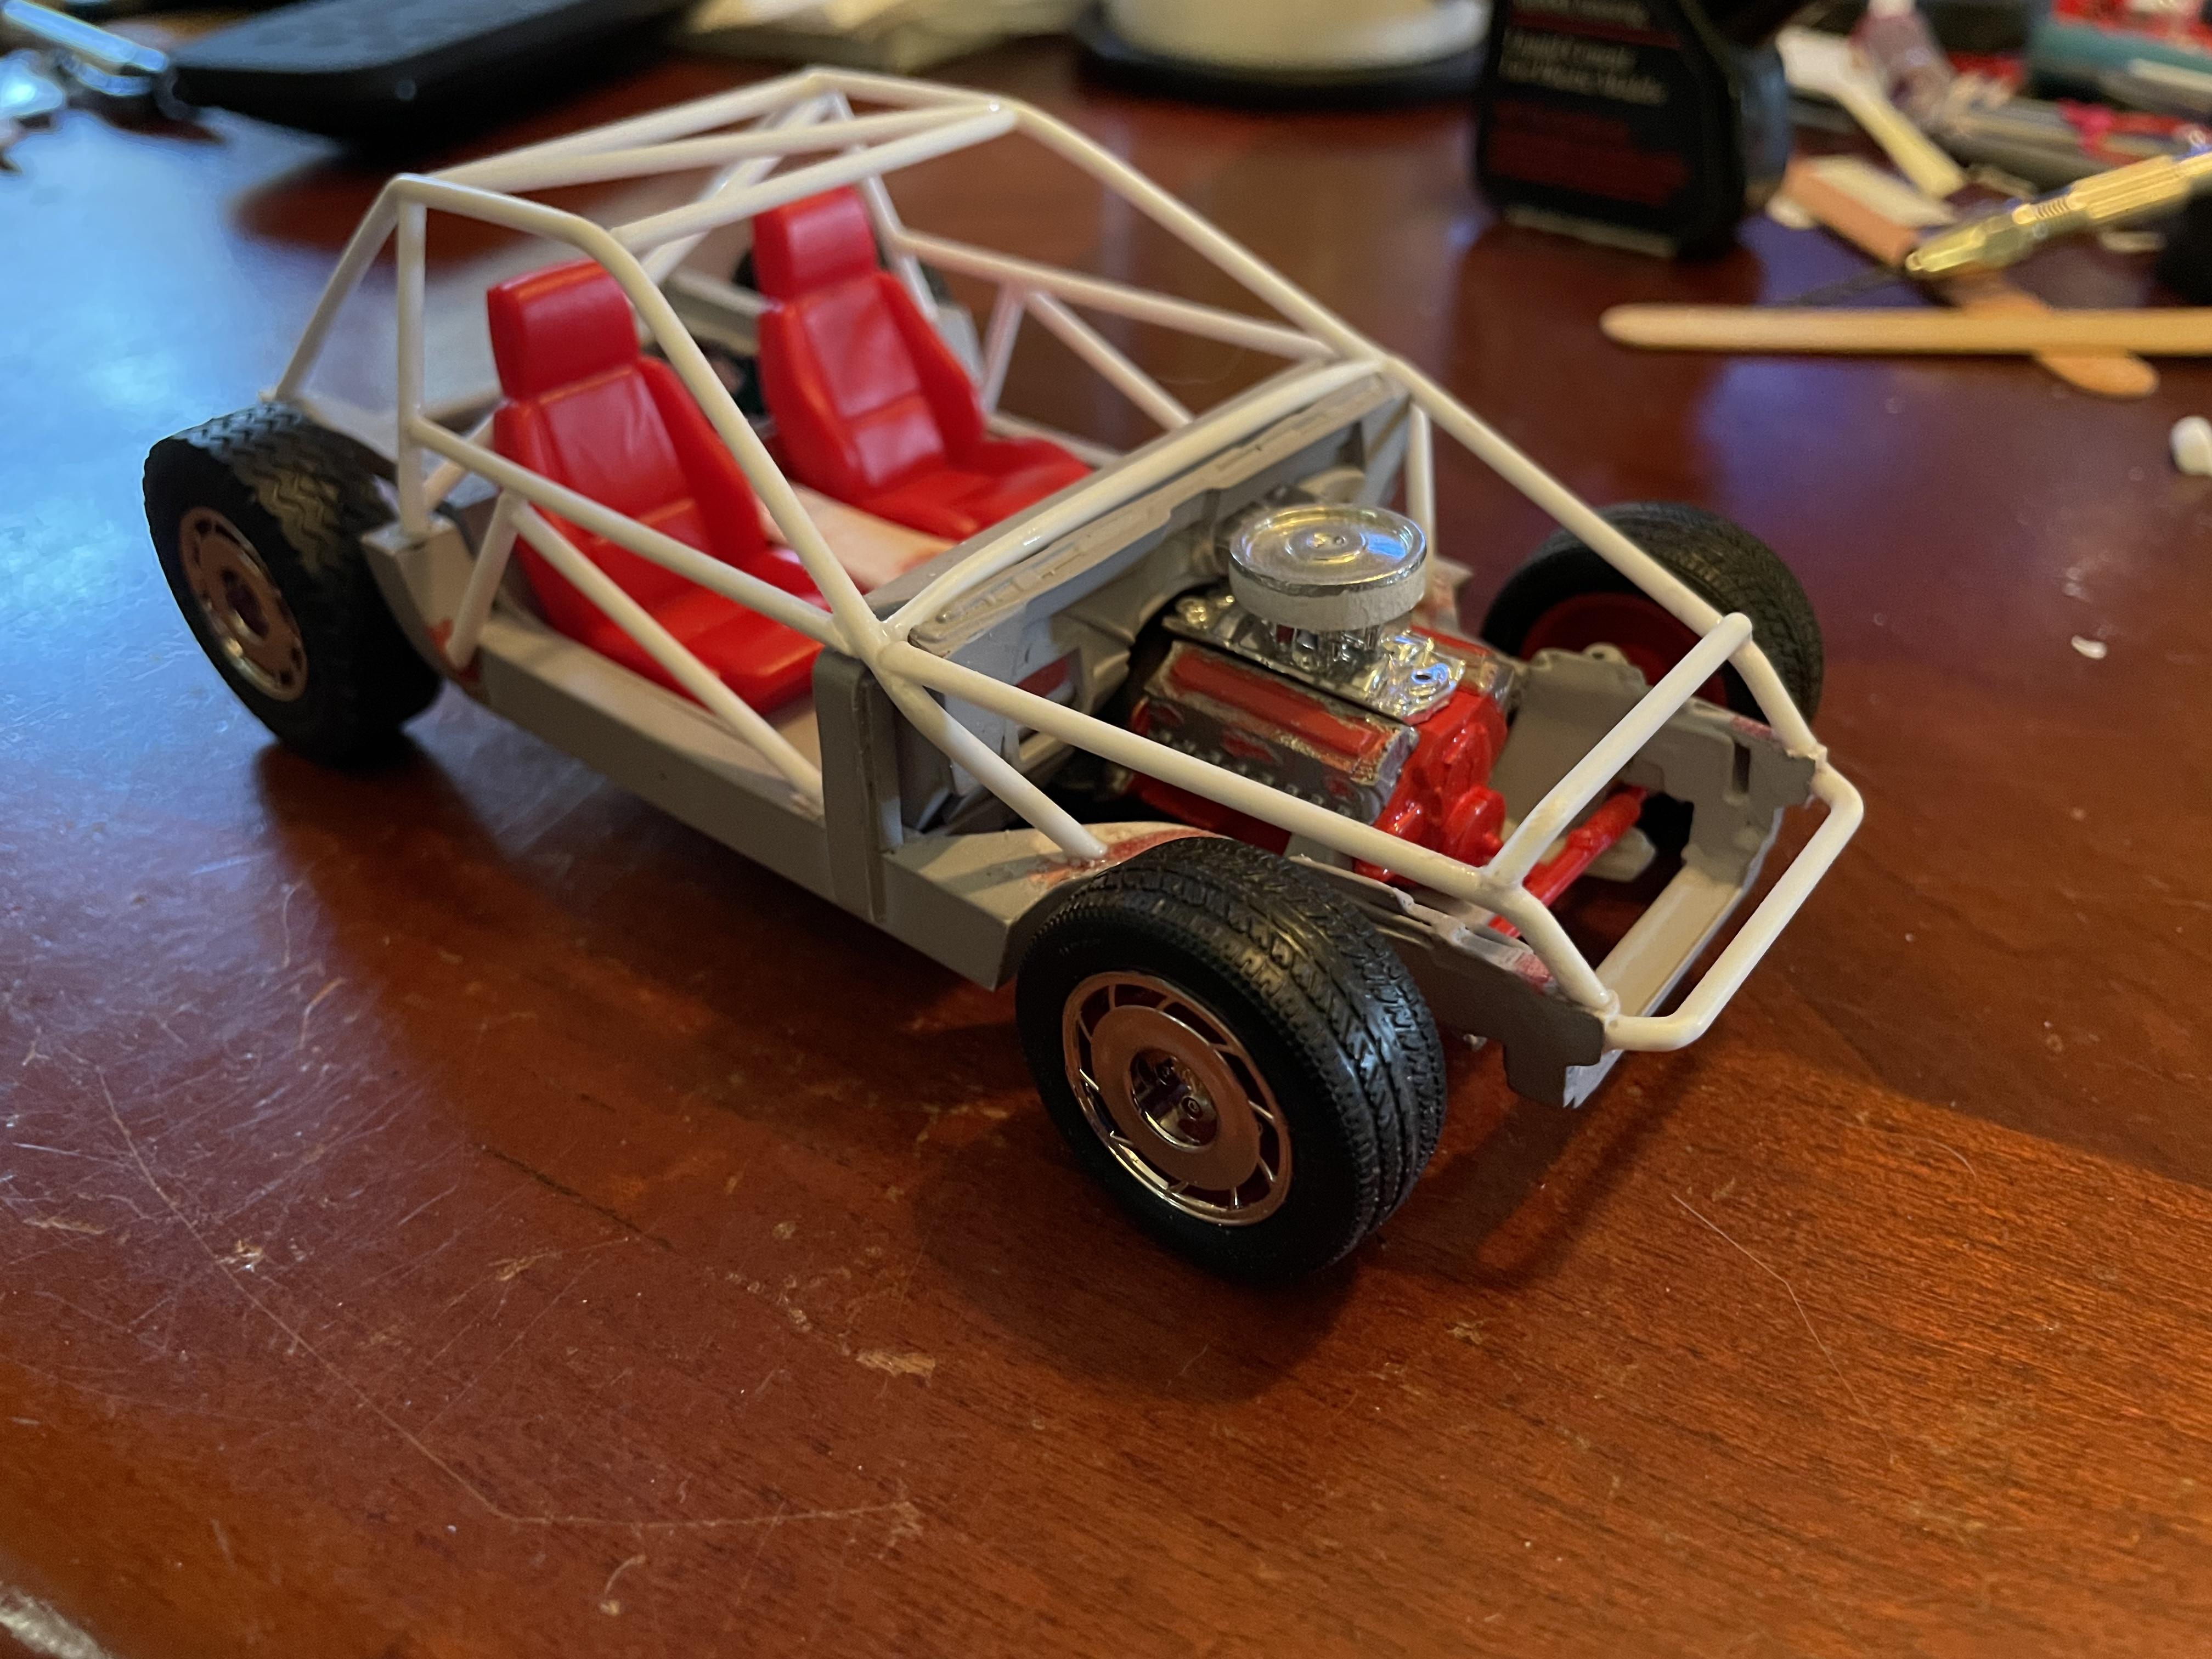
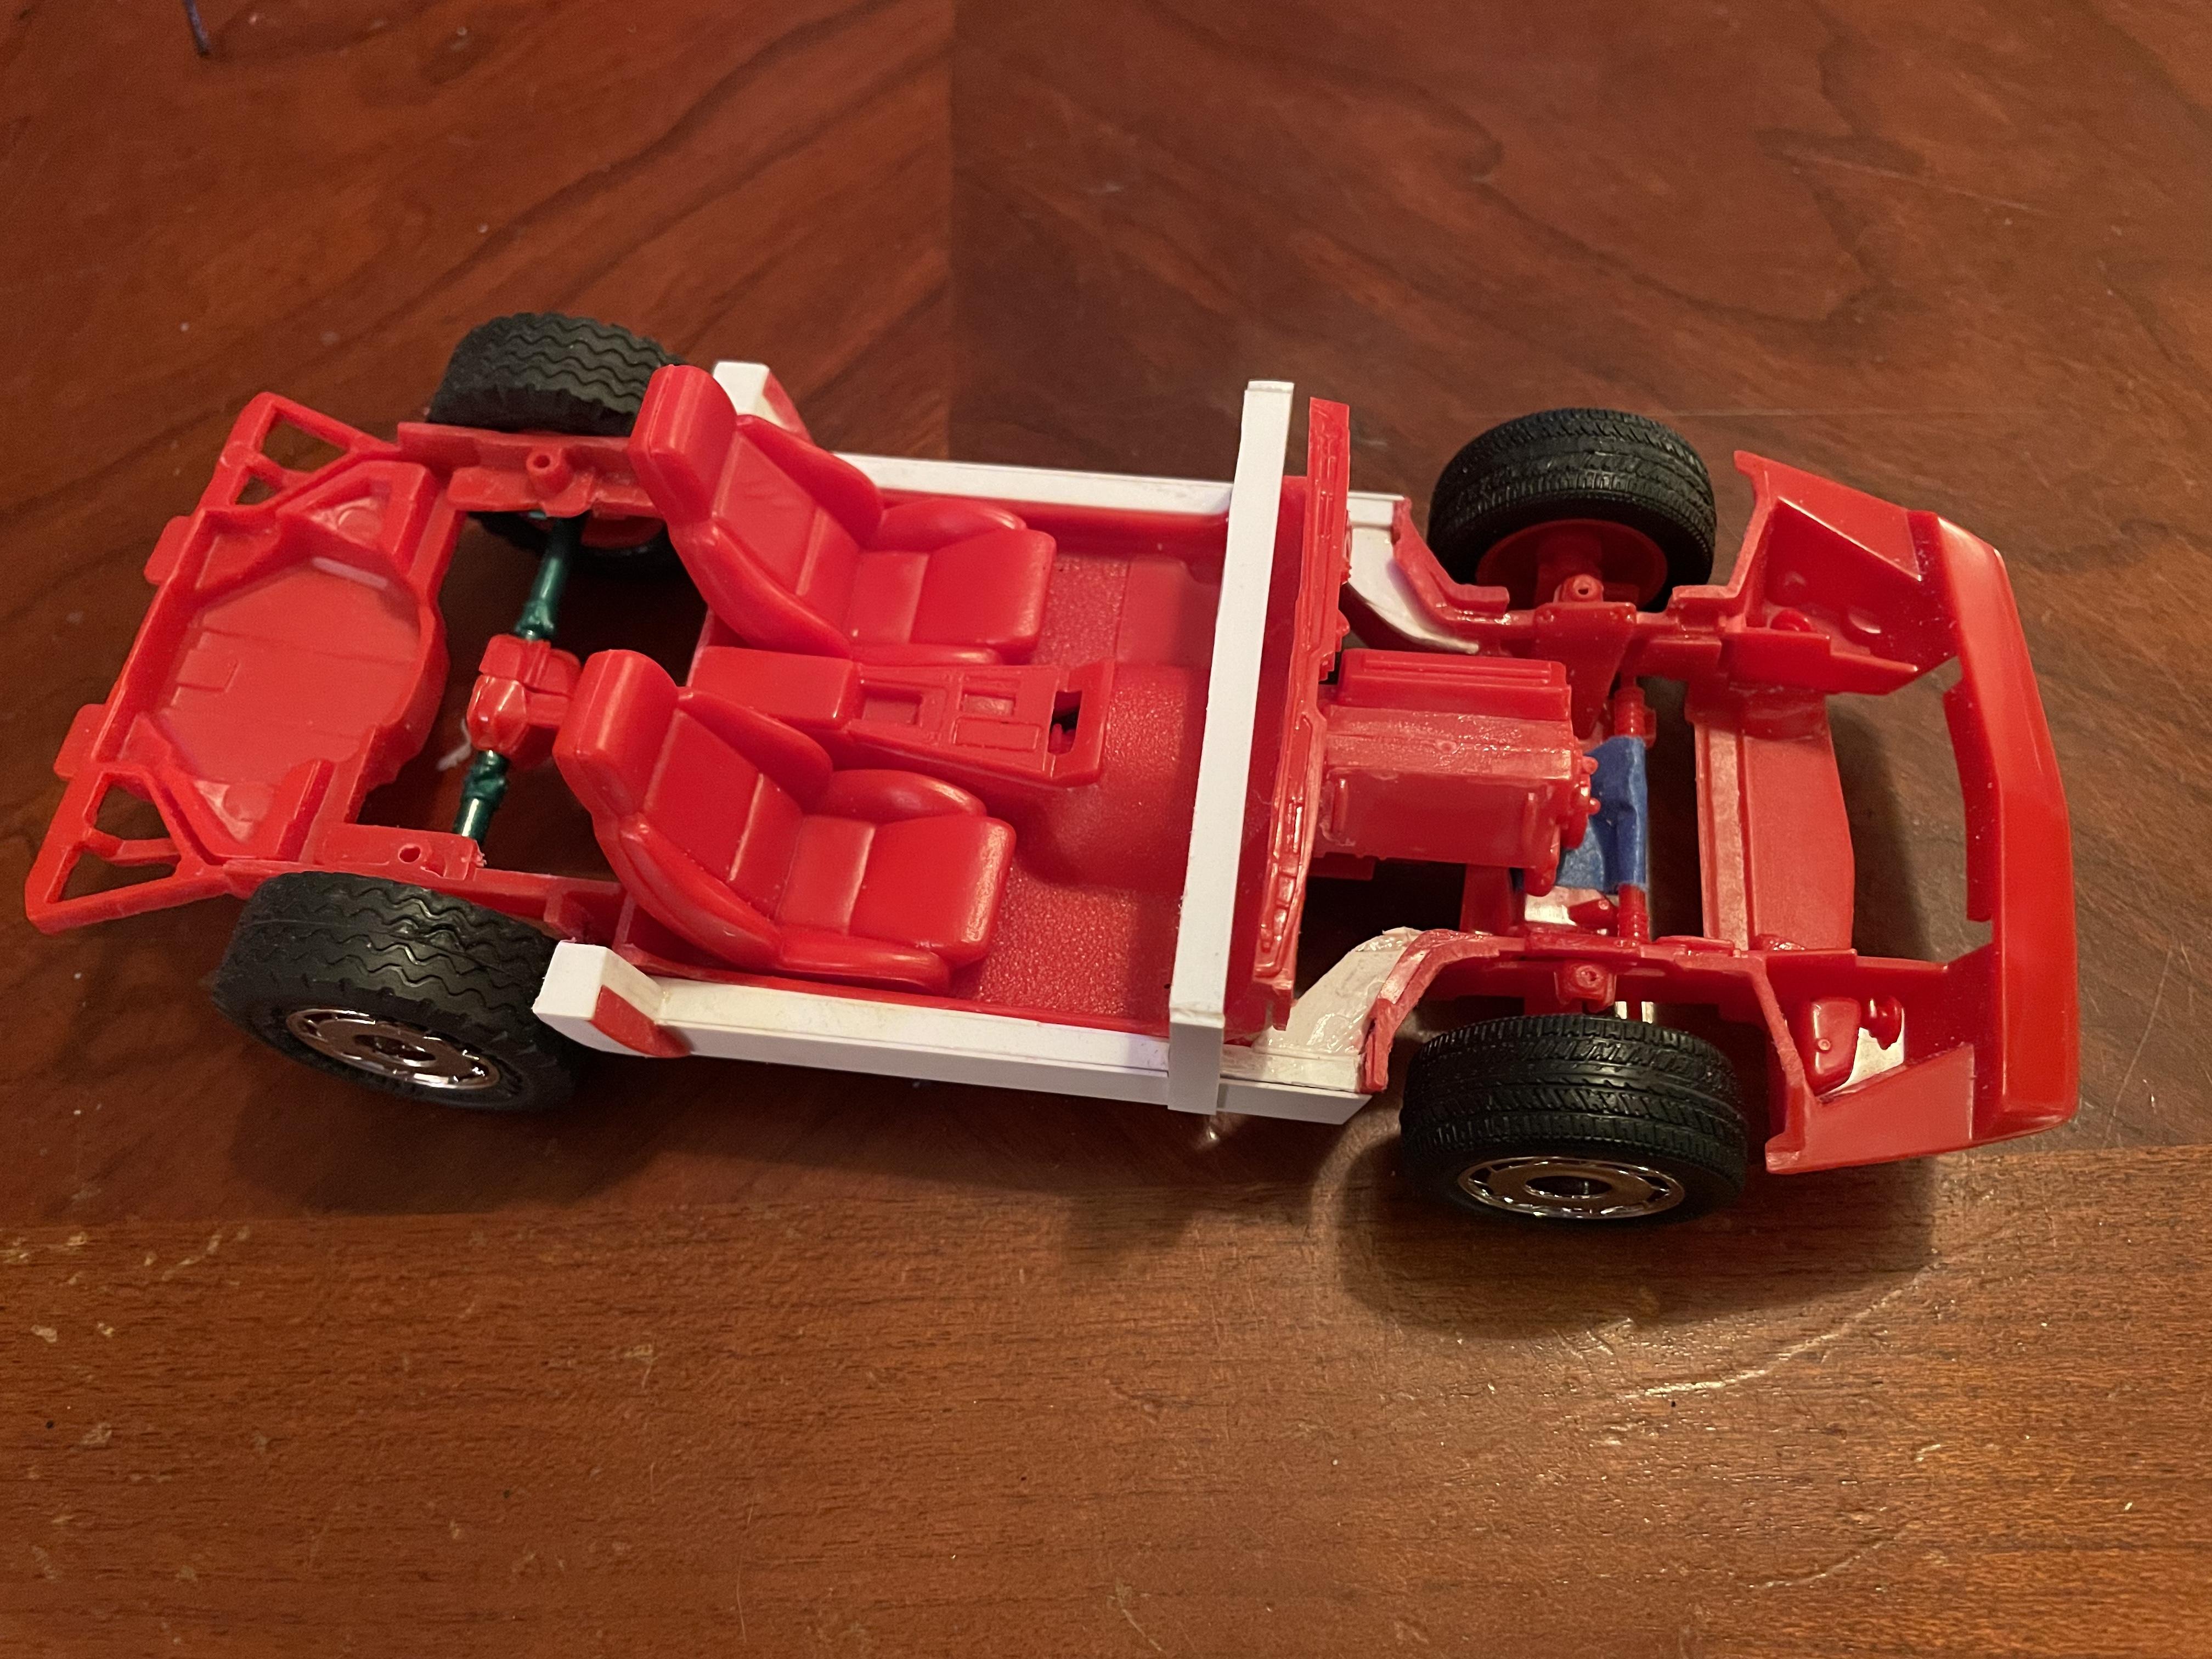
Little update from this afternoon. I’ve had this idea for a little over a year now. I was working on cleaning up some car old parts. Just wire brushing and fileing. Ended up with a pile of dry dusty rust on the bench and thought, what if this could be used for weathering models. I swept it in a sandwich bag stuck it in my modeling misc. stuff box and forgot about it until today. I was thinking of how to apply it. Thoughts like flour sifter or colender of some sort. I ended up trying a different technique. Started with some metallic silver. Model masters AMC sterling silver metallic seems to have almost an exaggerated 70’s flake to it. I used that thinking it would give the base a metaly look under the rust. I let the second coat dry about 20 minutes and just drop it in the bag of rust and shook it like shake and bake chicken. Pulled it out and gave a coat of just clear. It darkened the rust slightly but I’ve been planning on hitting it with some Tamya light rust detail powder anyway, so we’ll see how that turns out. Threw the axles and wheels on it for a mock up. Still trying find a set of rims and tires the kit wheels are working for now. Thanks for looking.
-
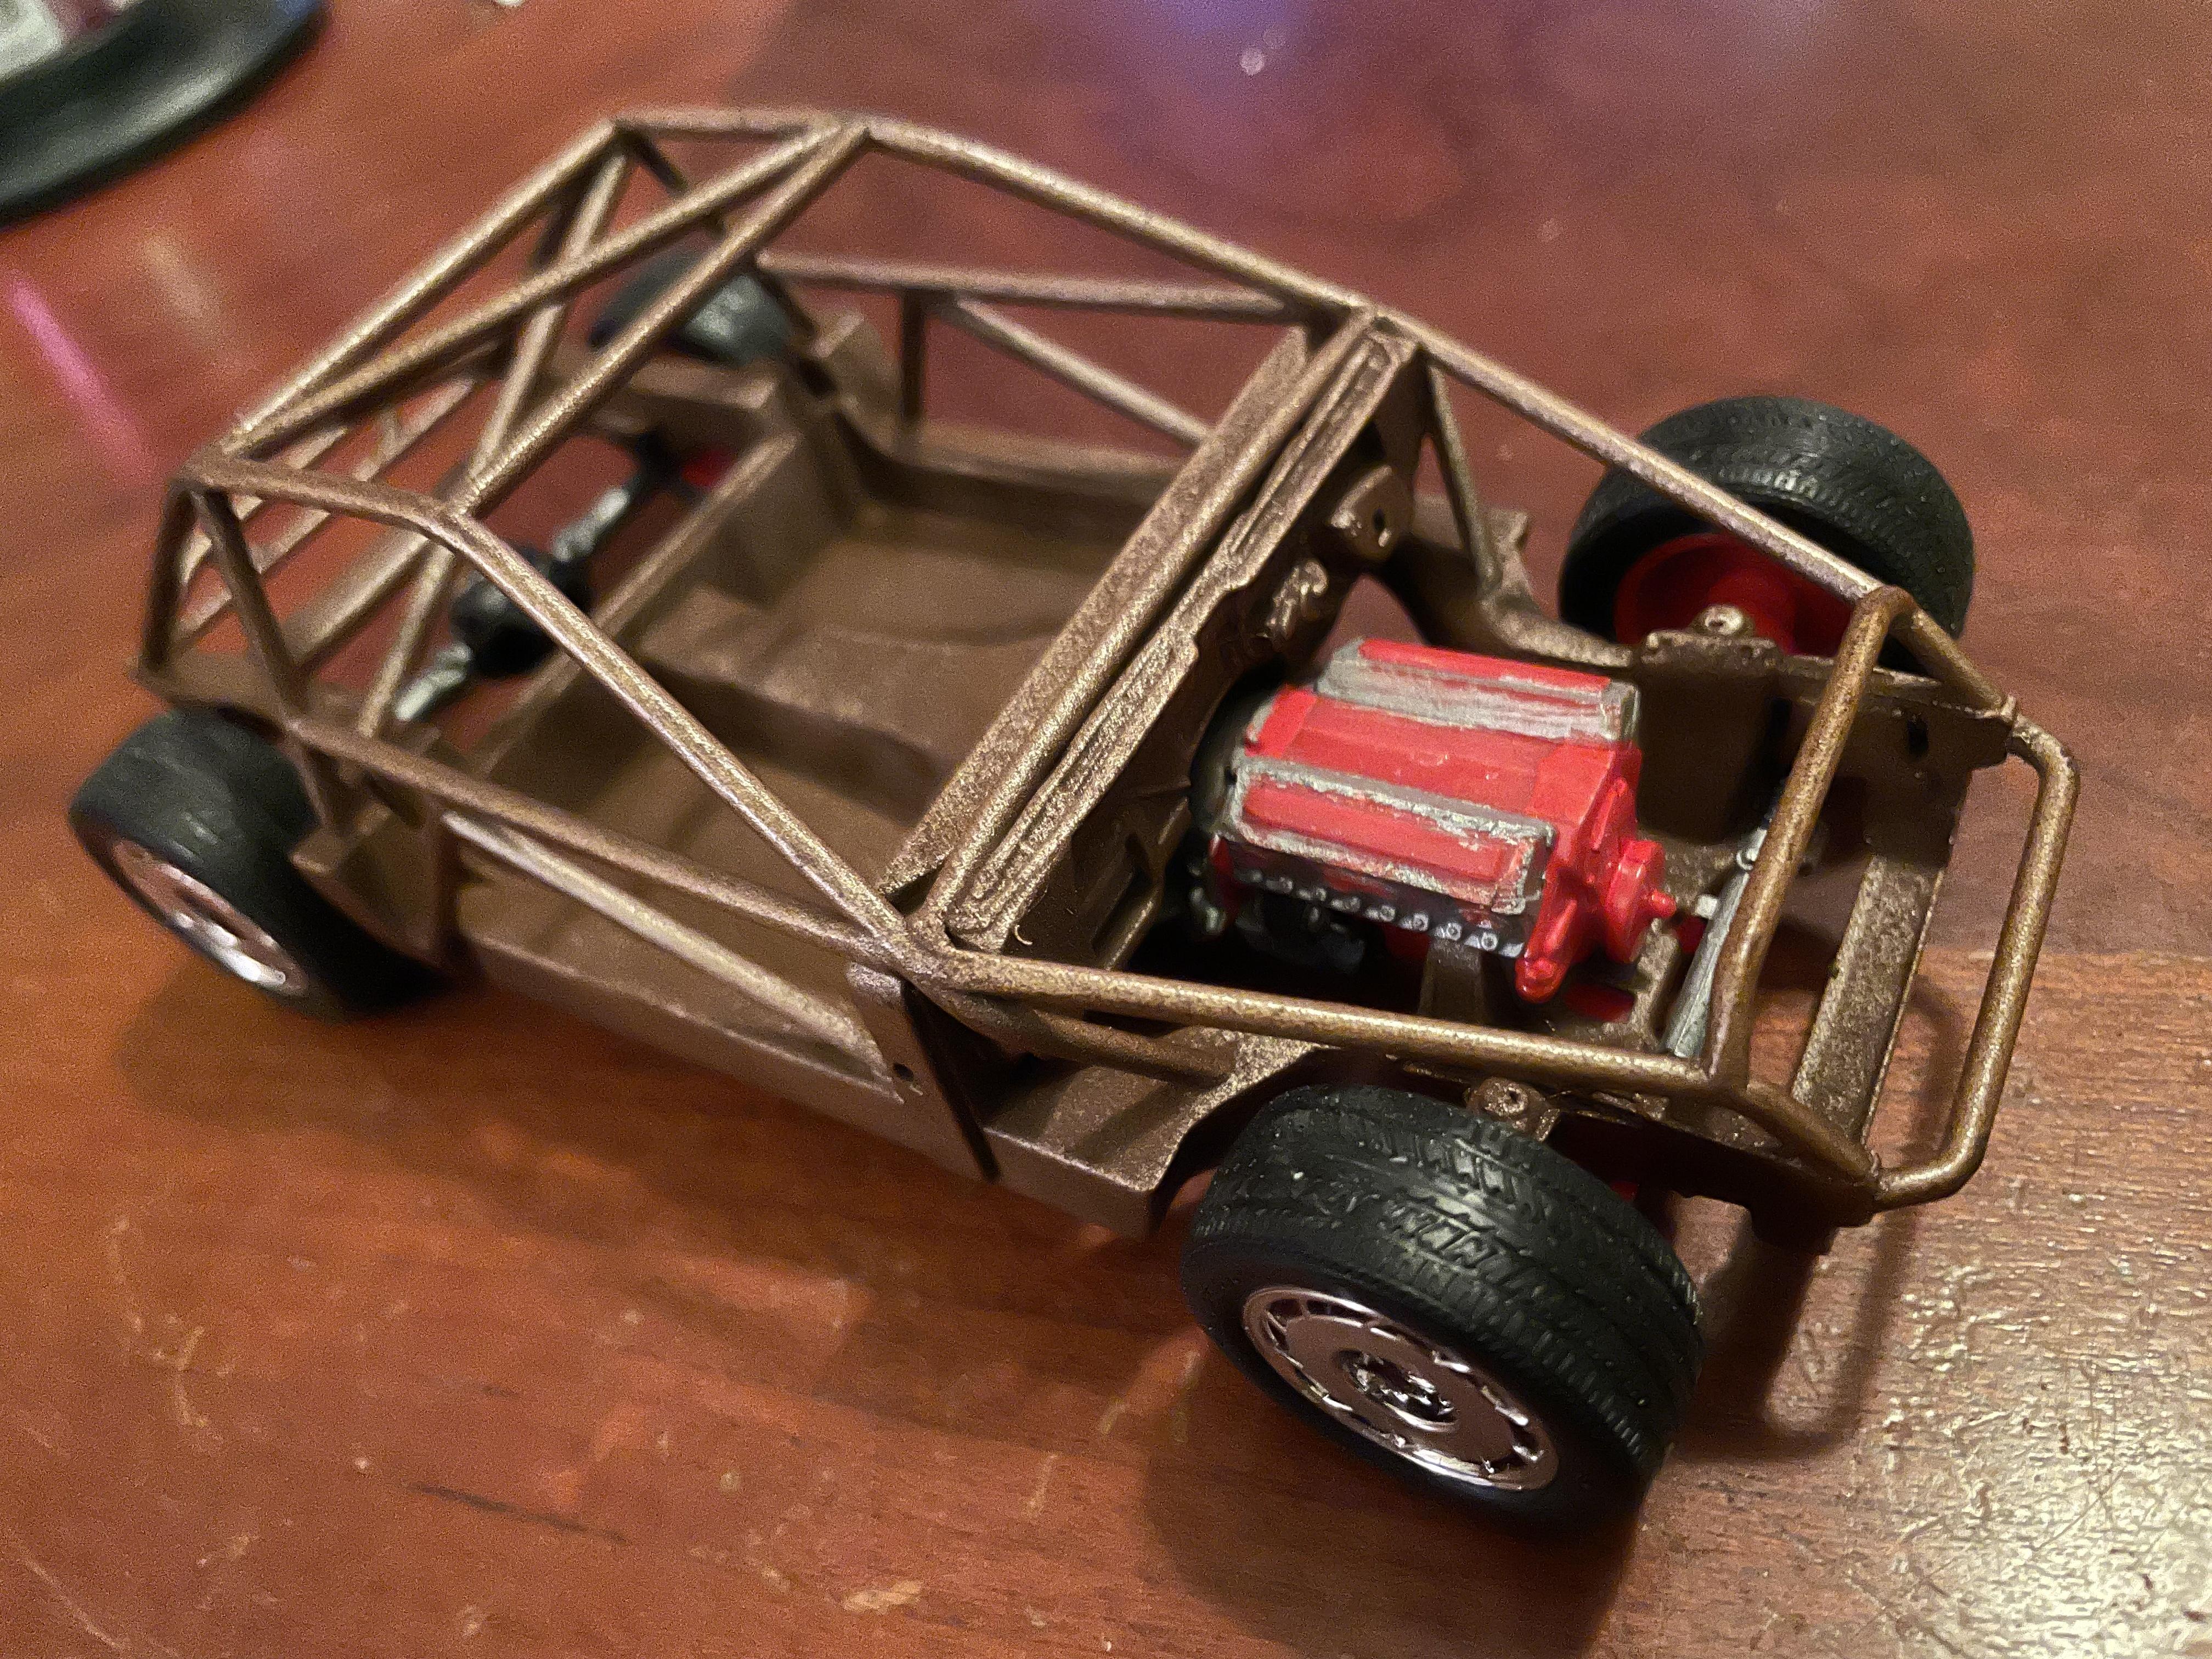
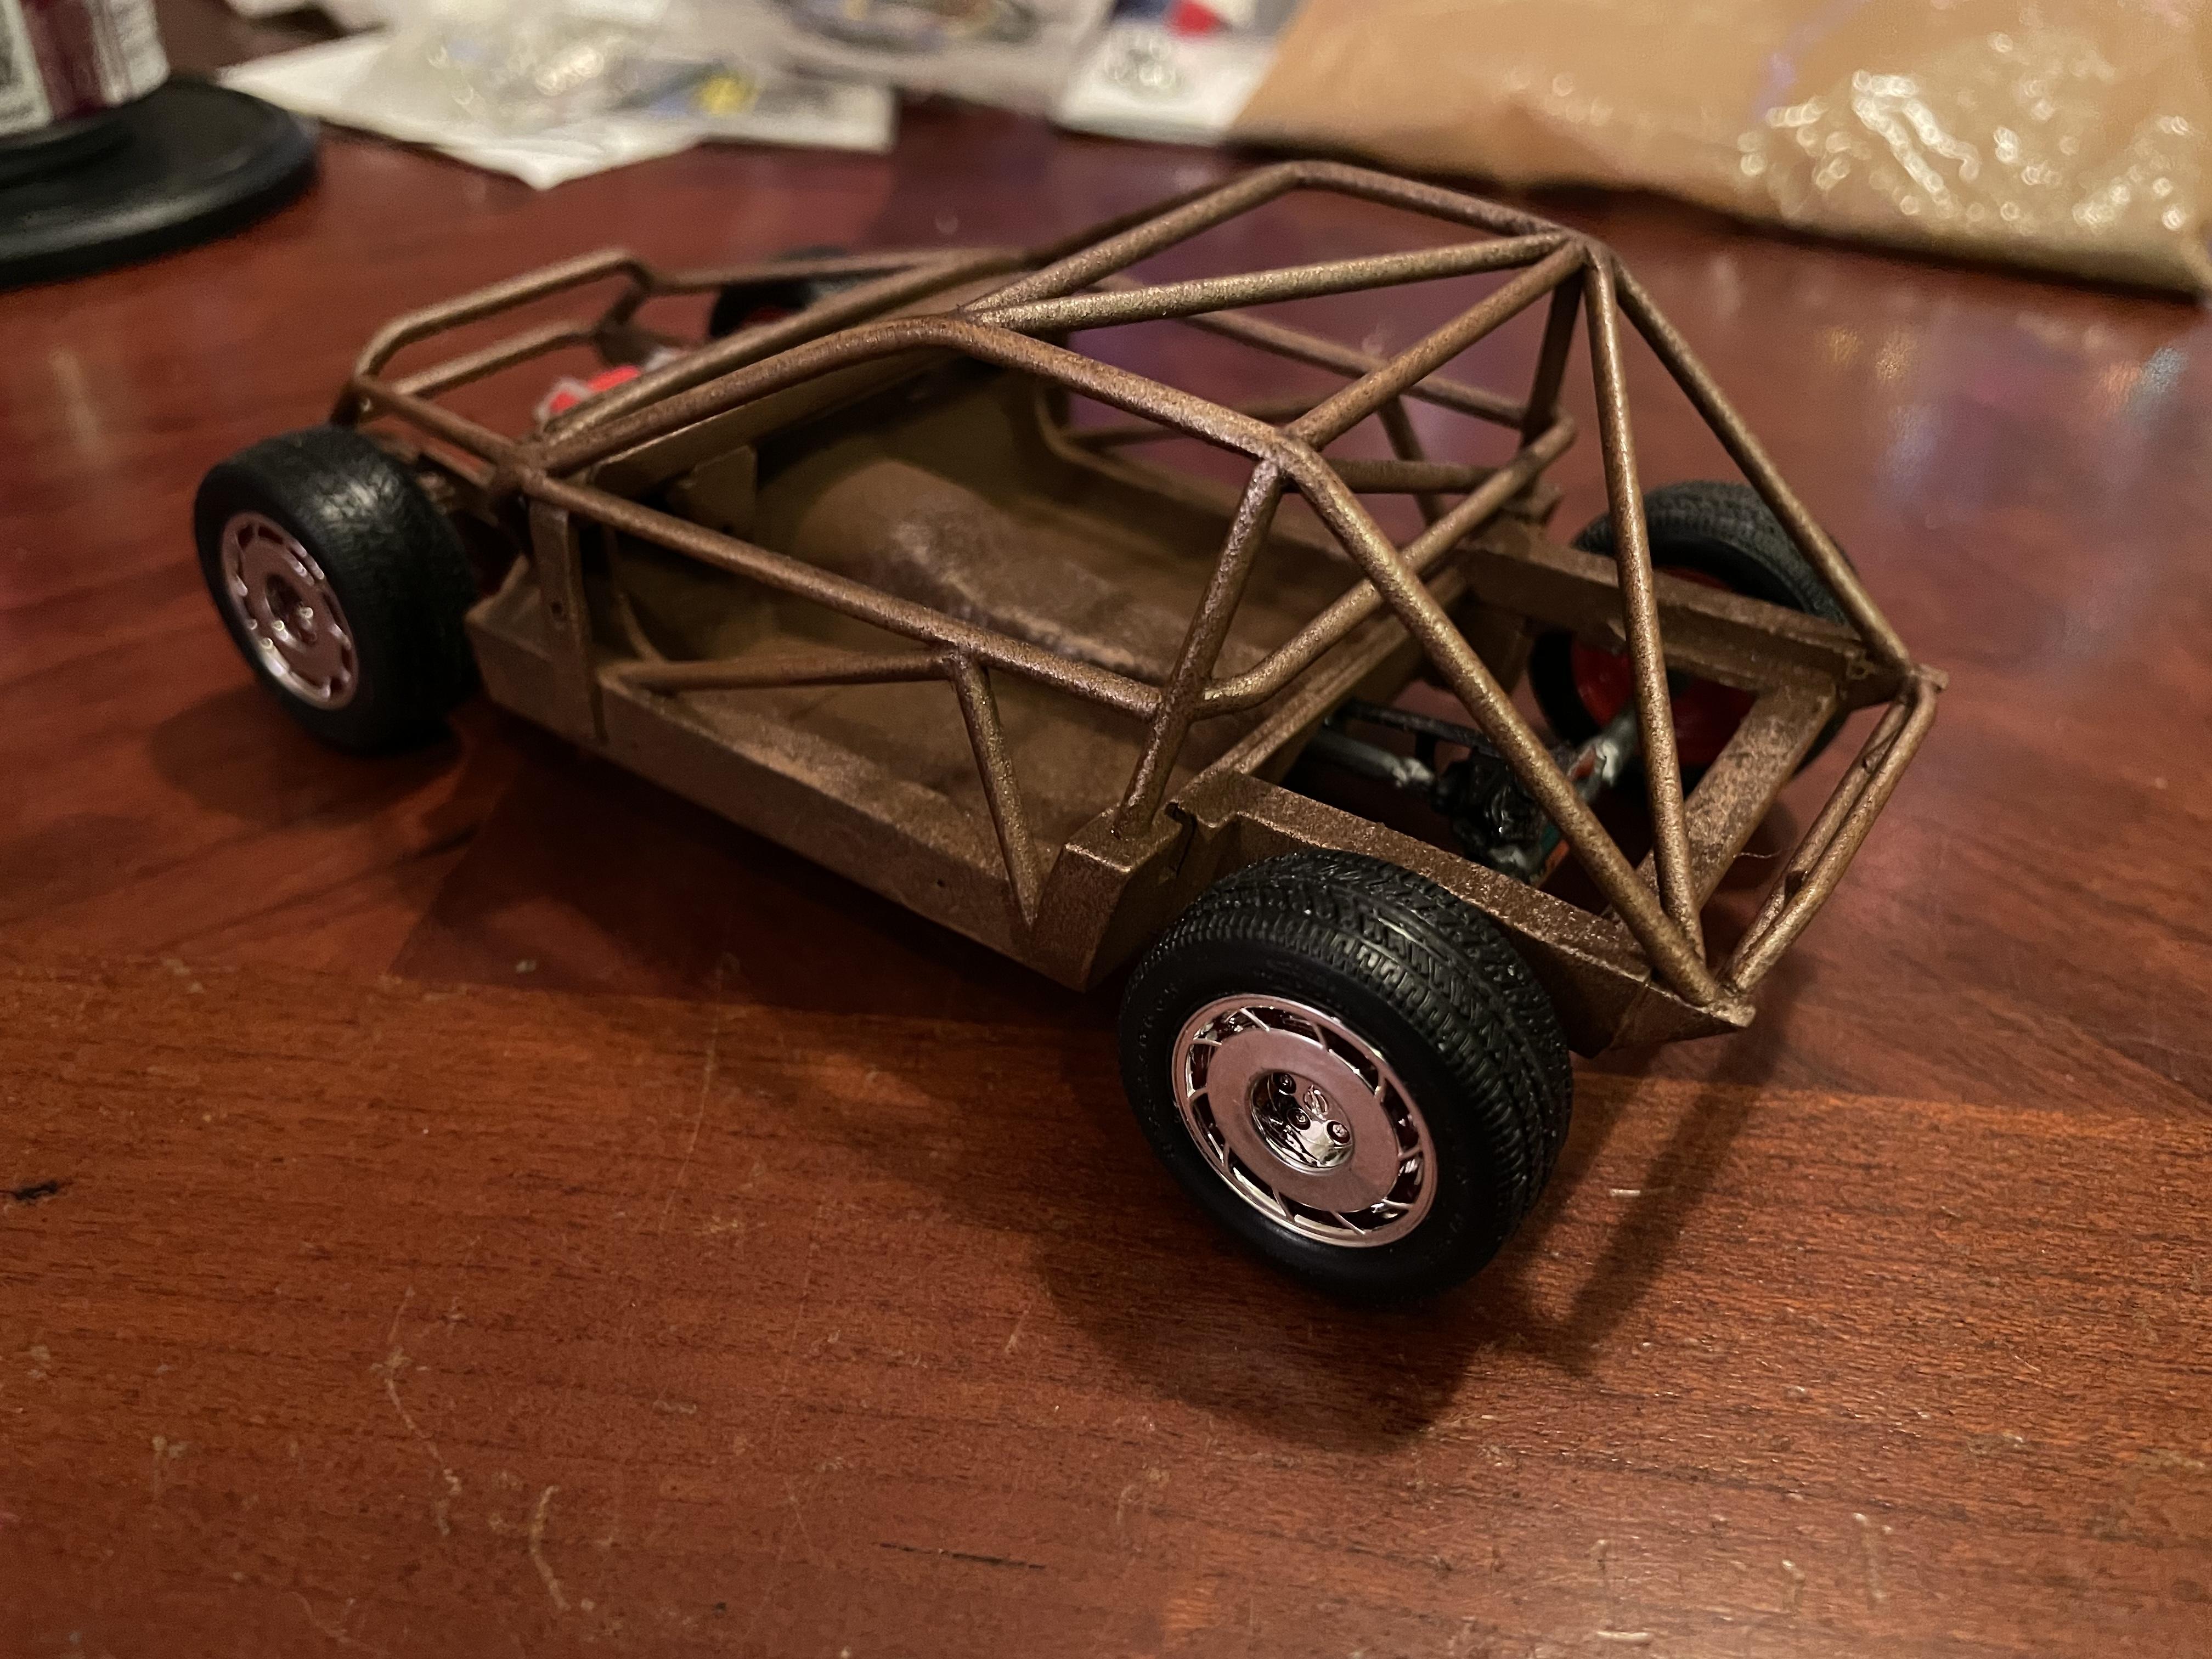
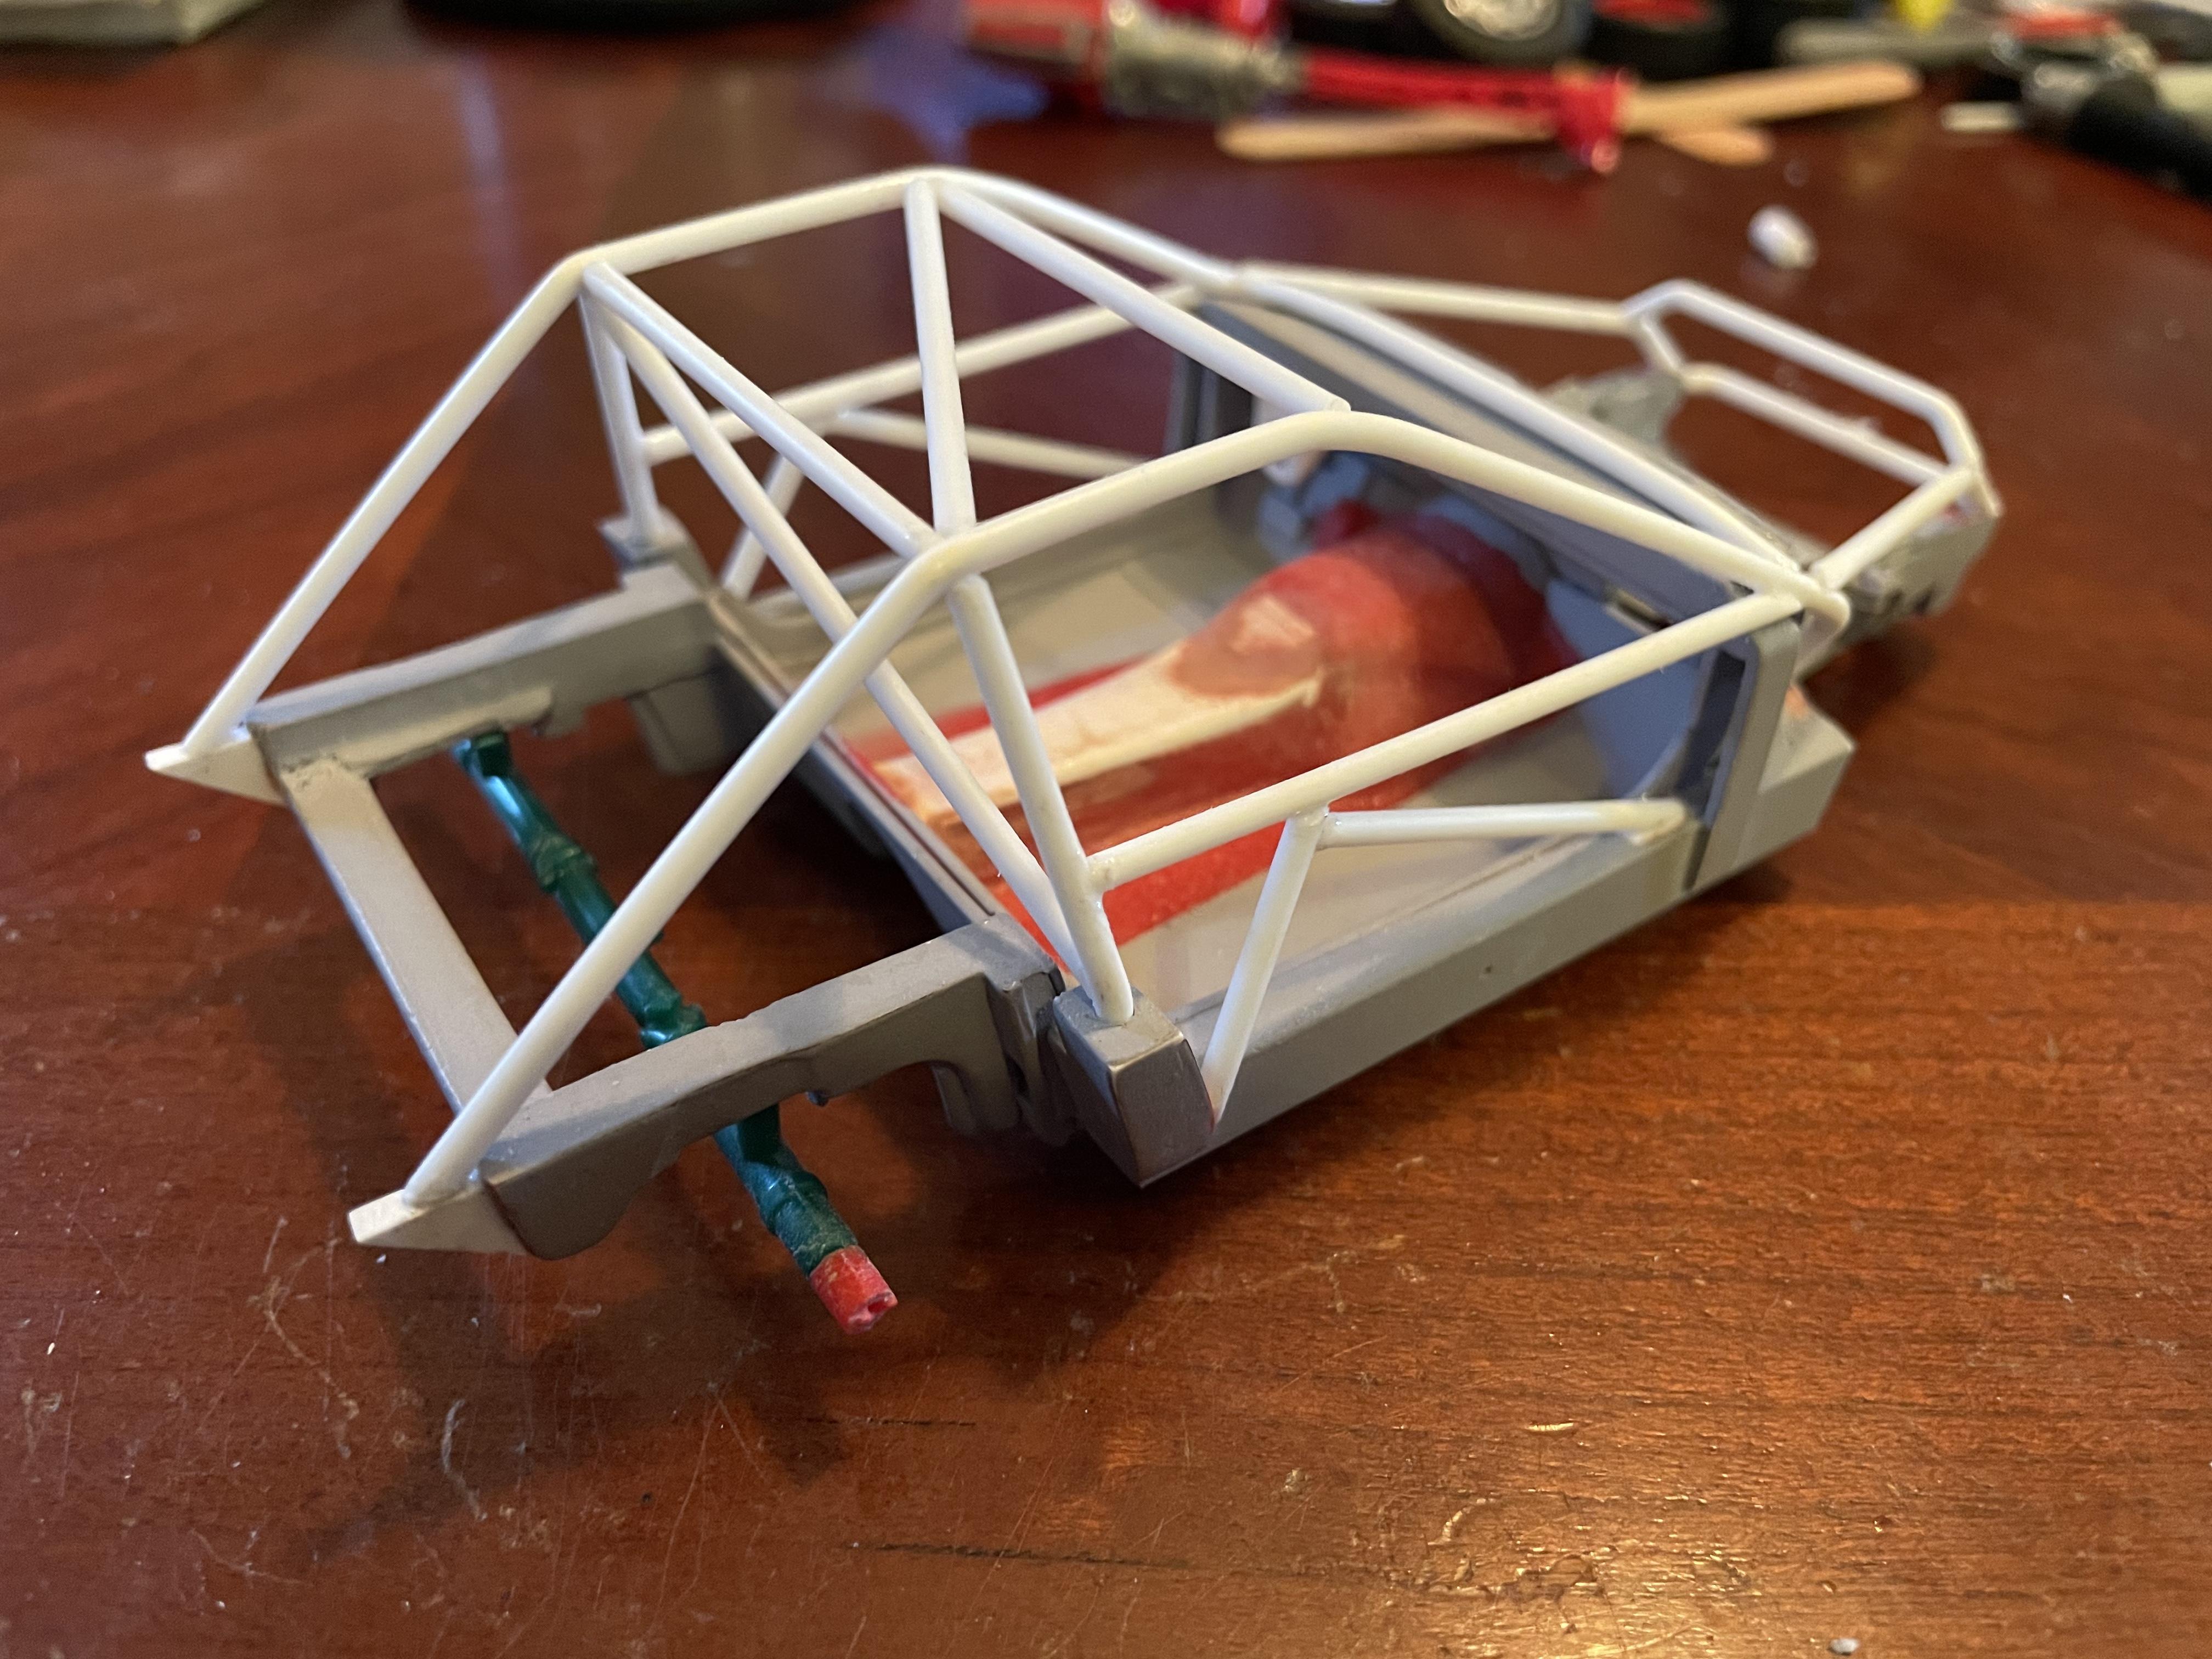
Managed to get a little work done on this over the weekend. Finished up the cage threw a coat of primer on it. Did some digging for parts that I need. Found a fuel cell in the new model A hot rod kit and added some height to it. Thanks for looking.
-
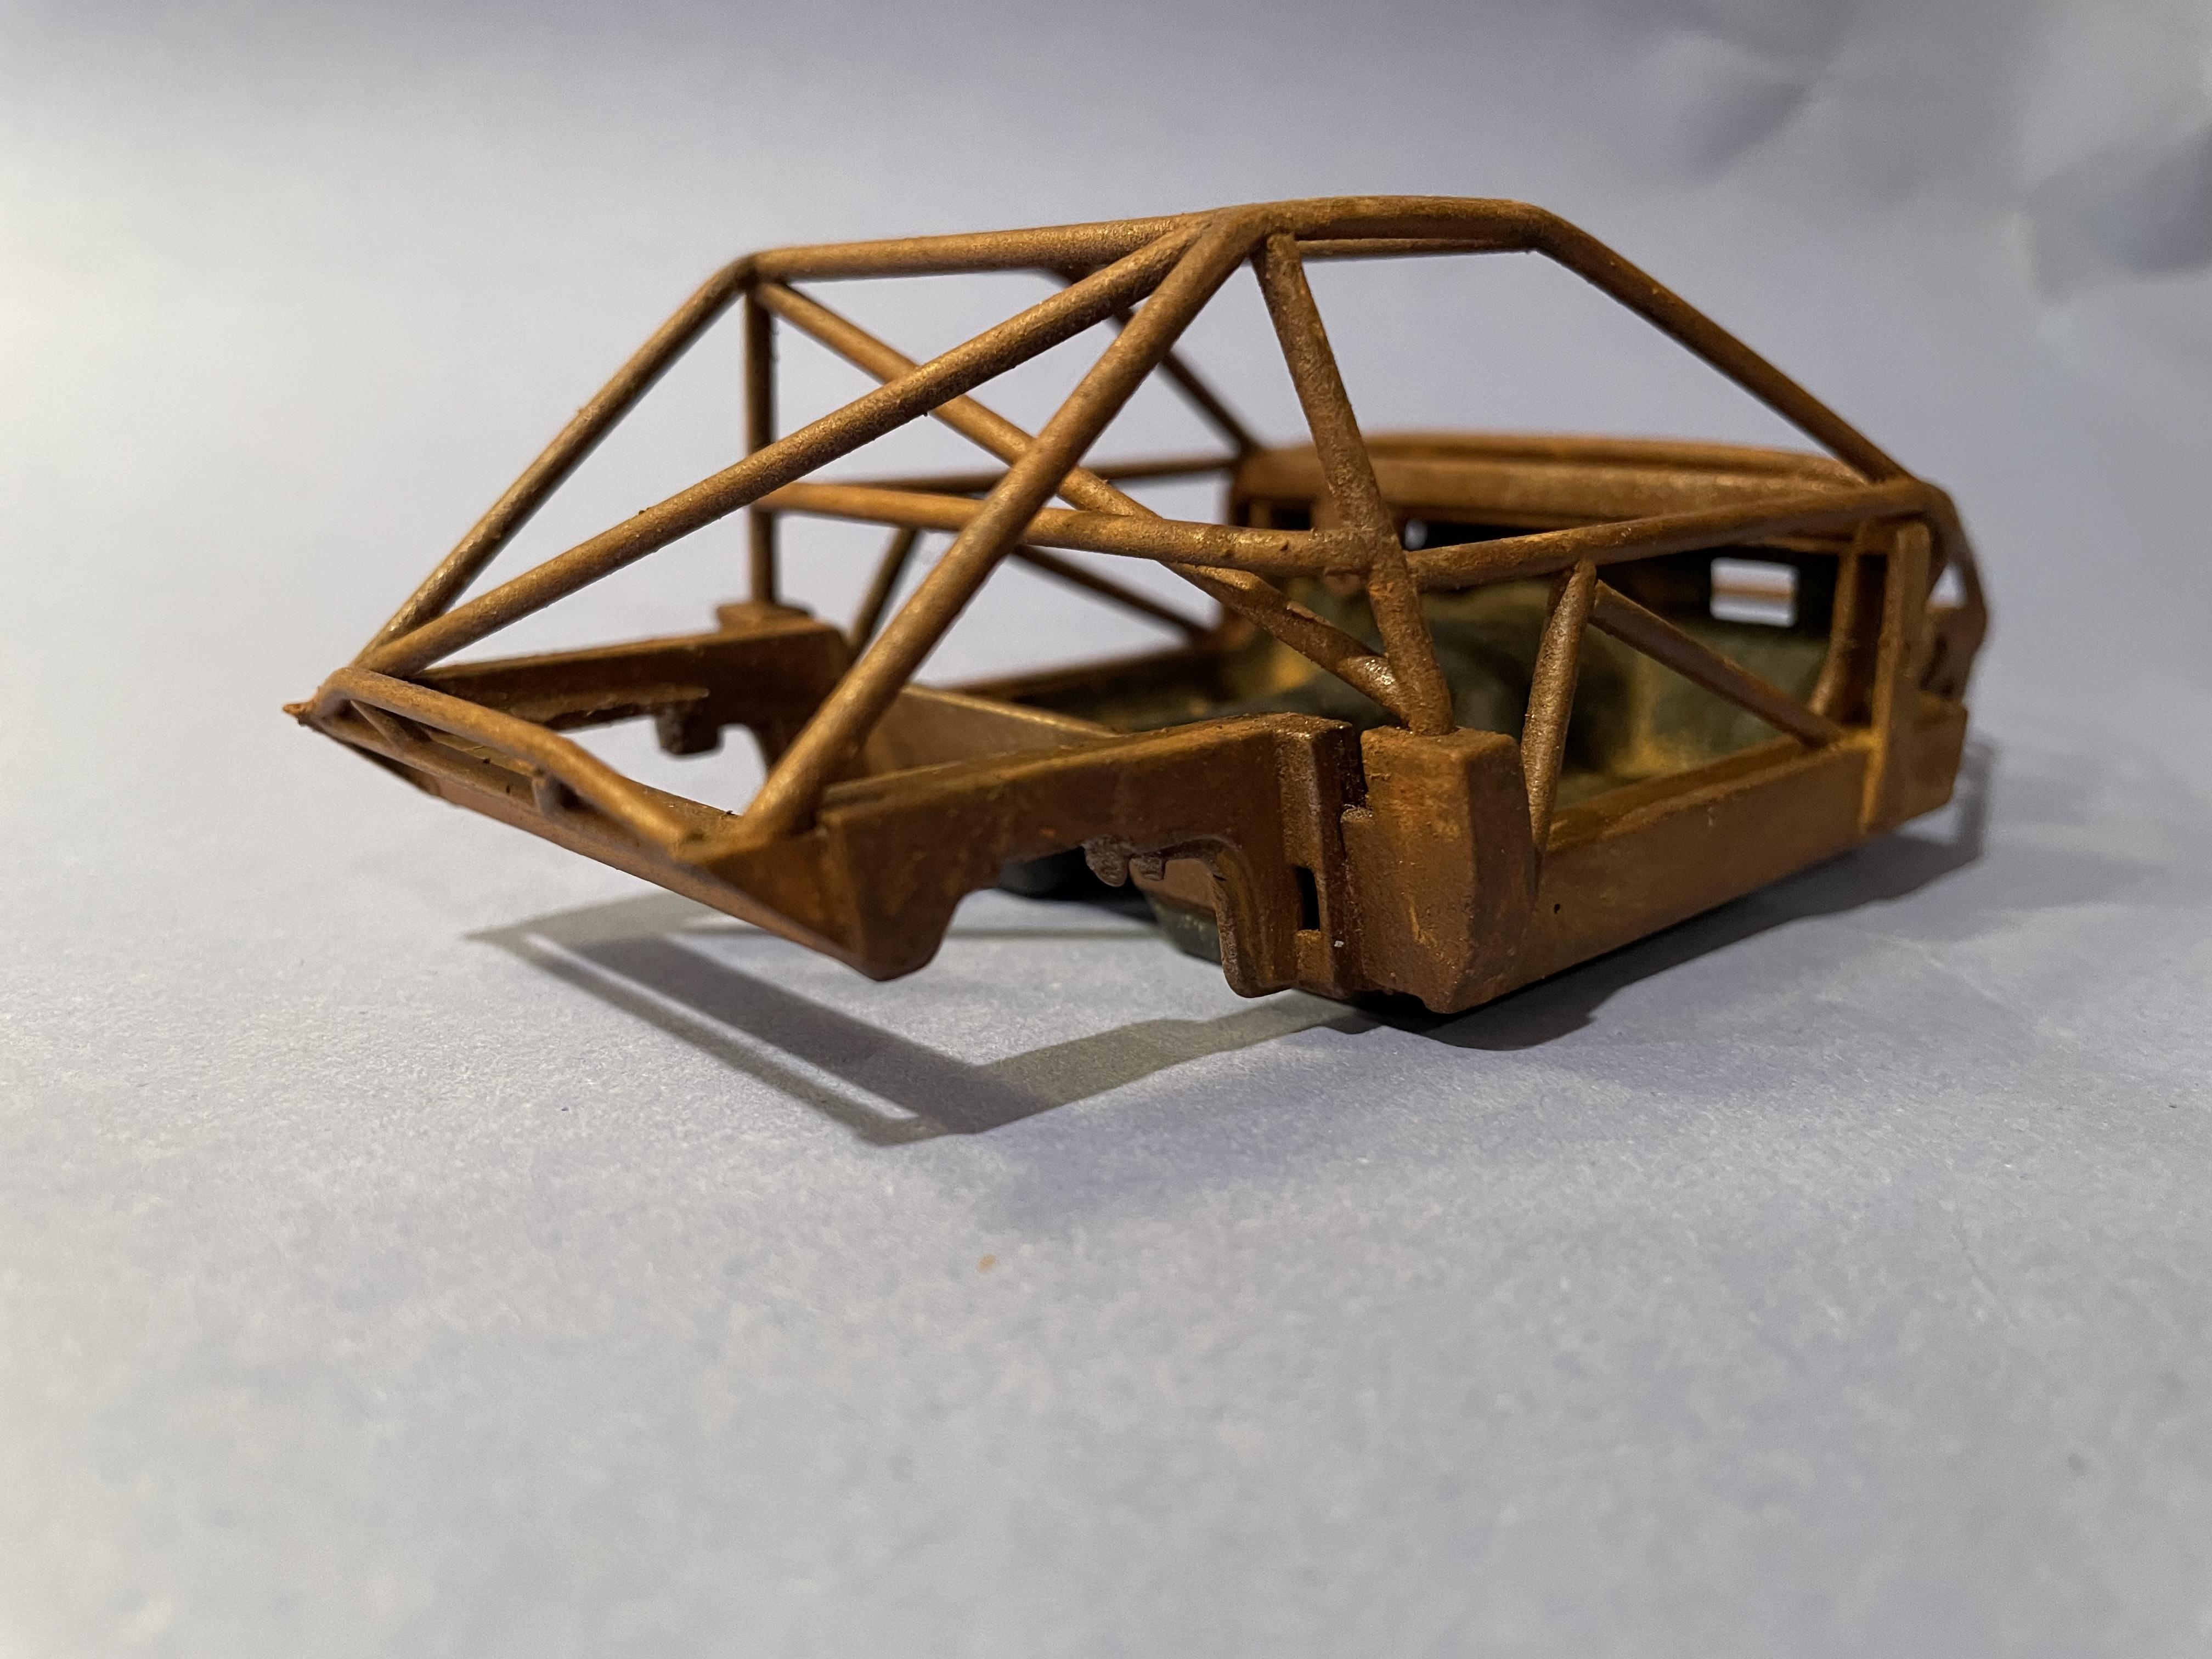
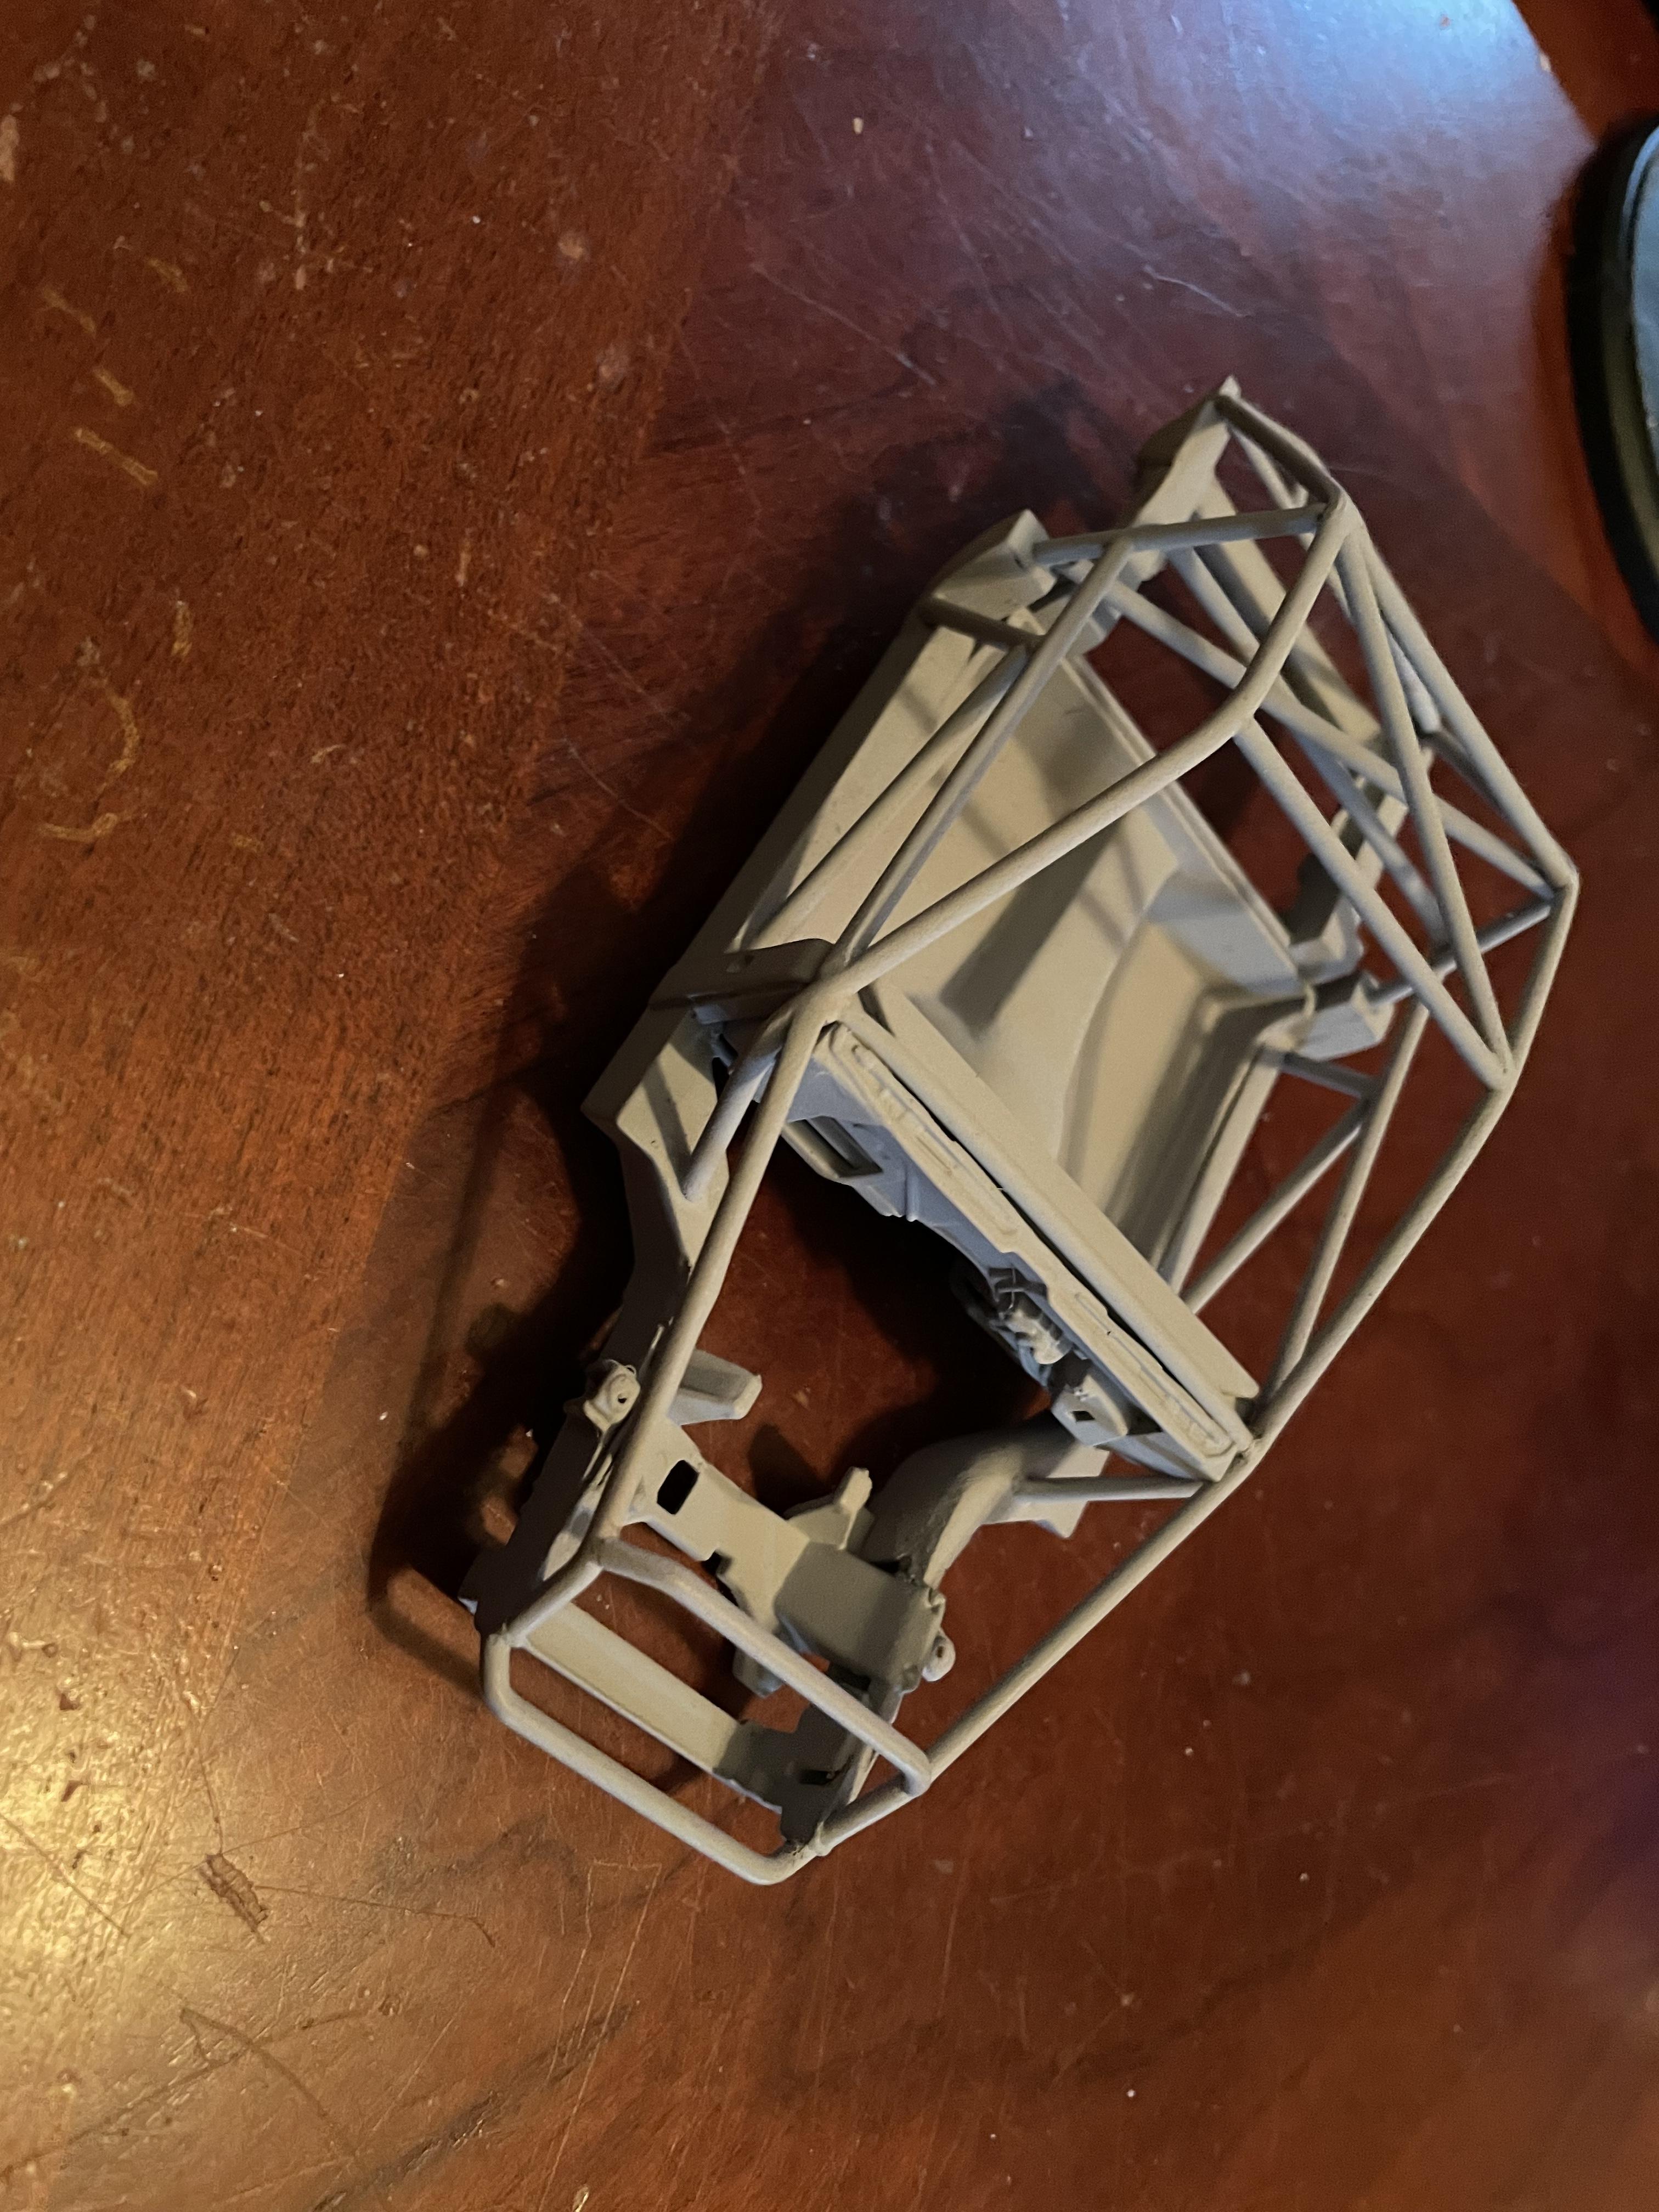
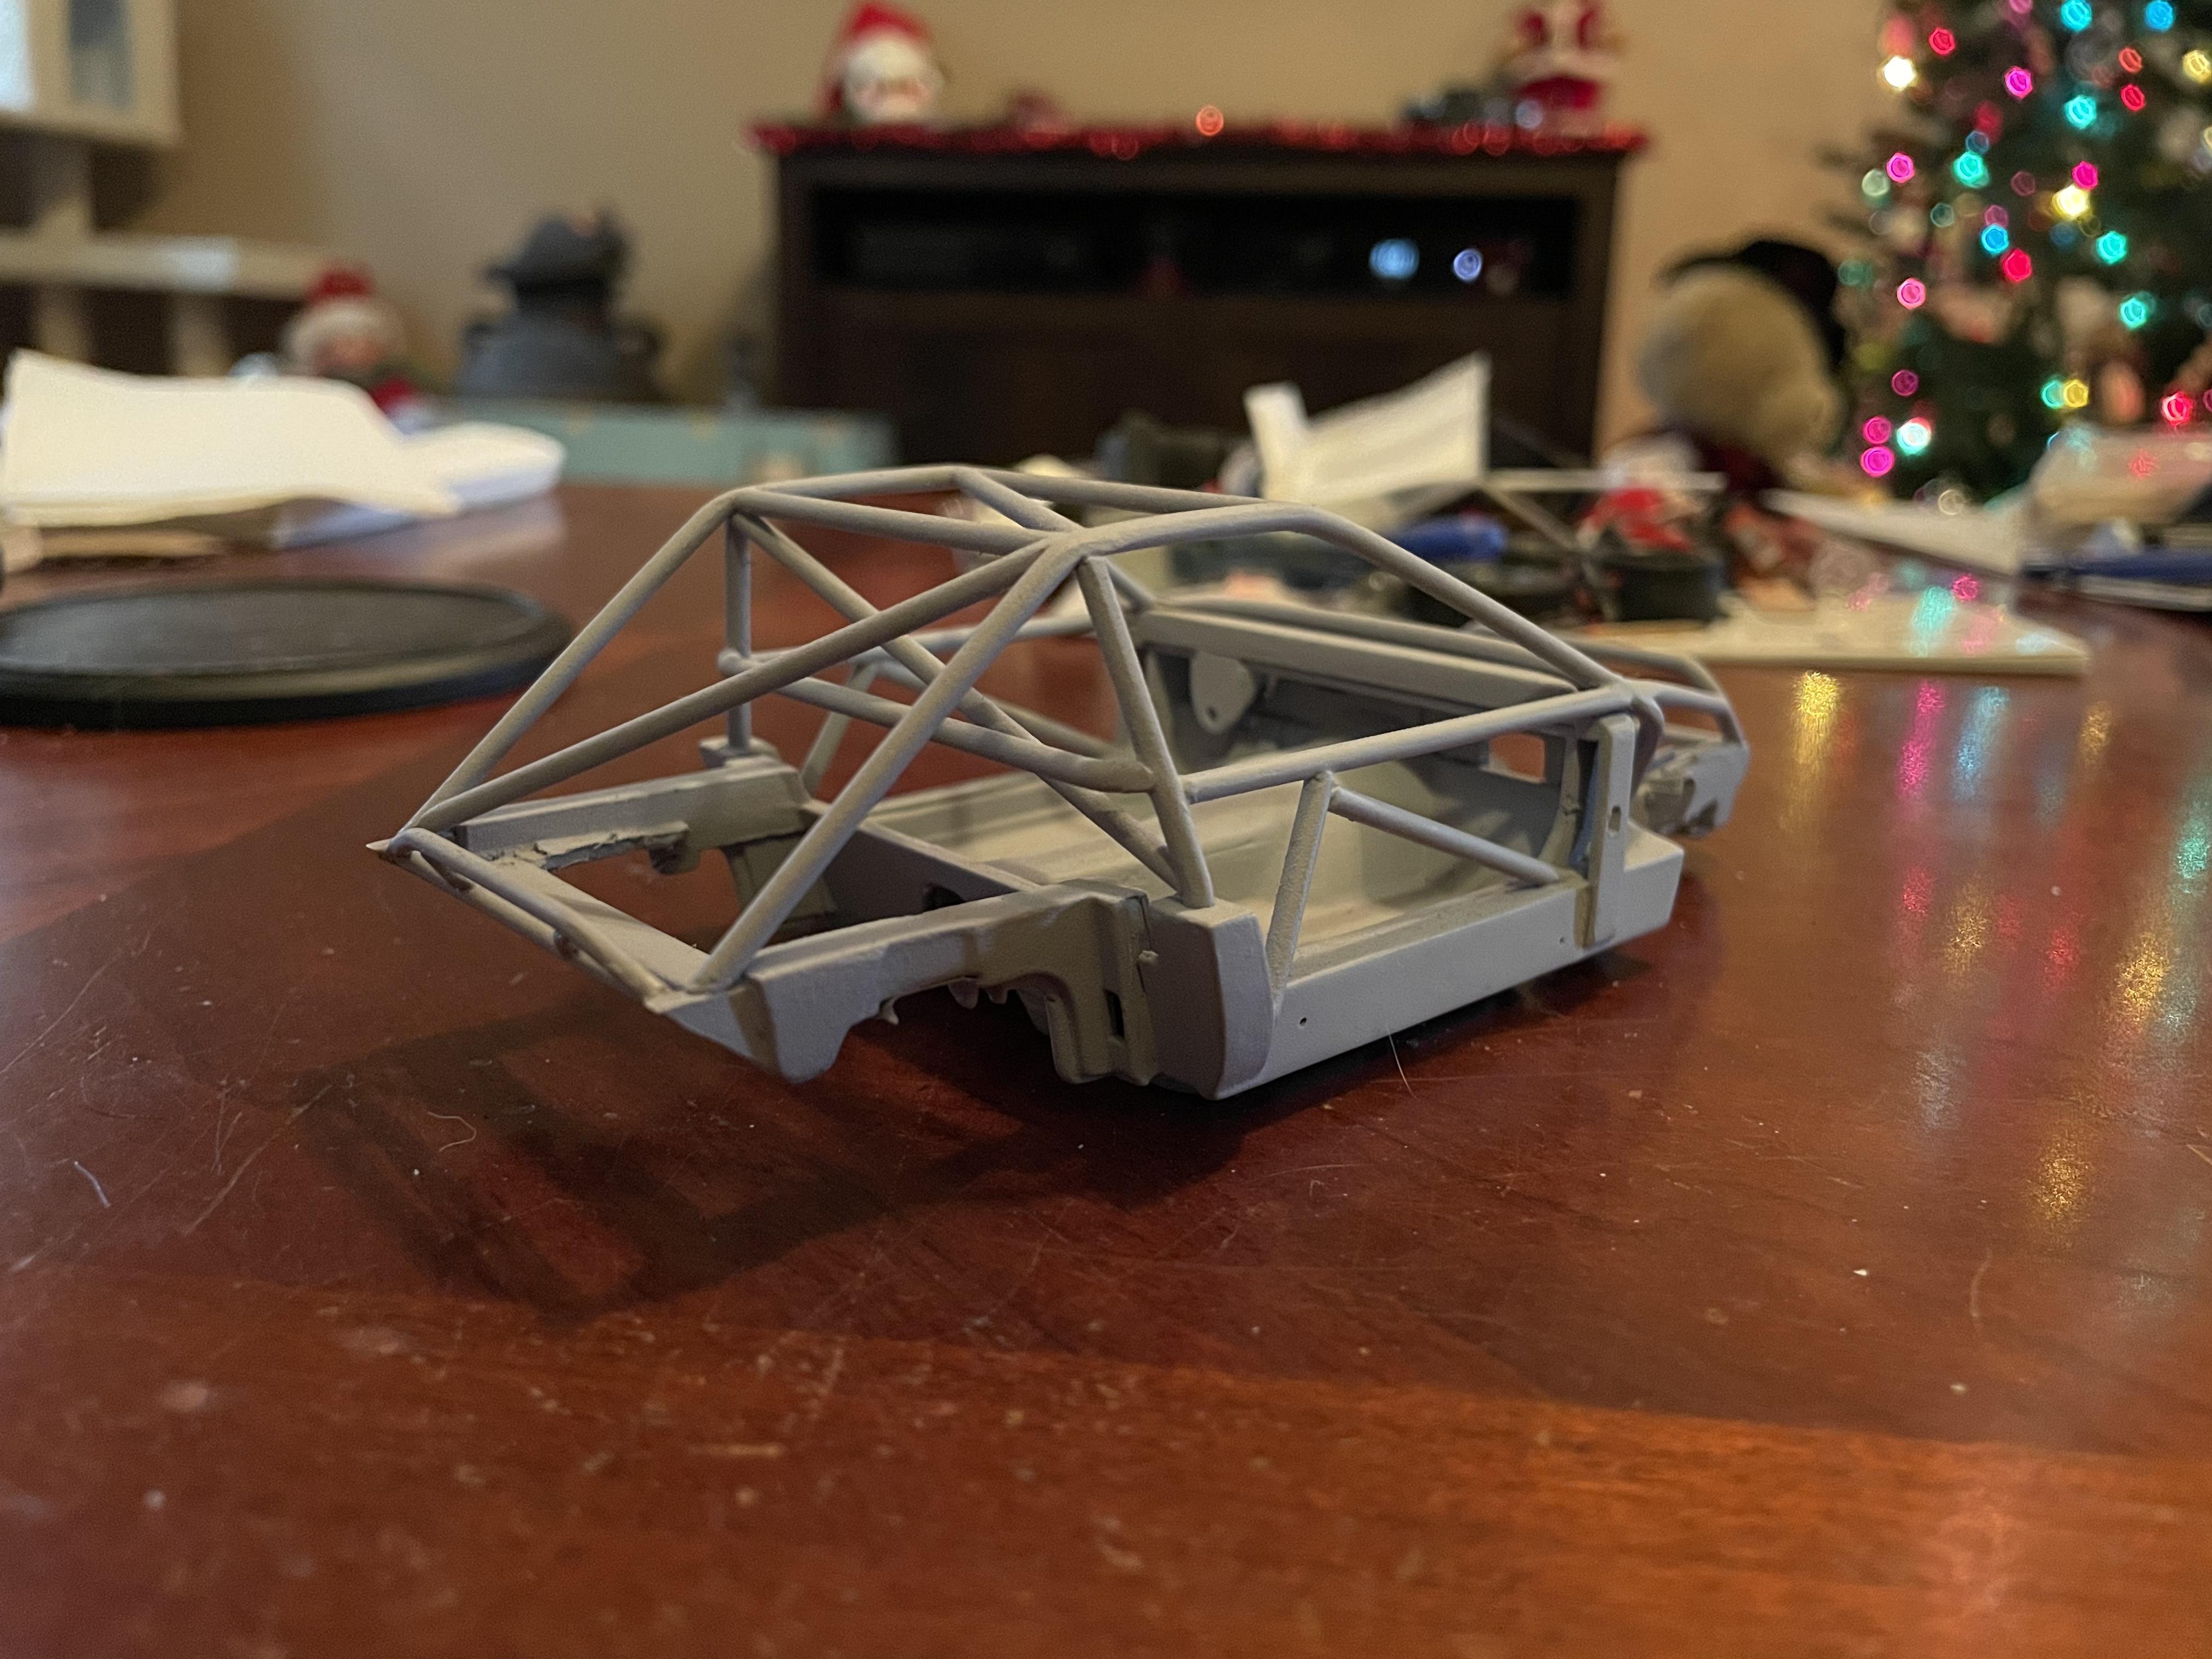
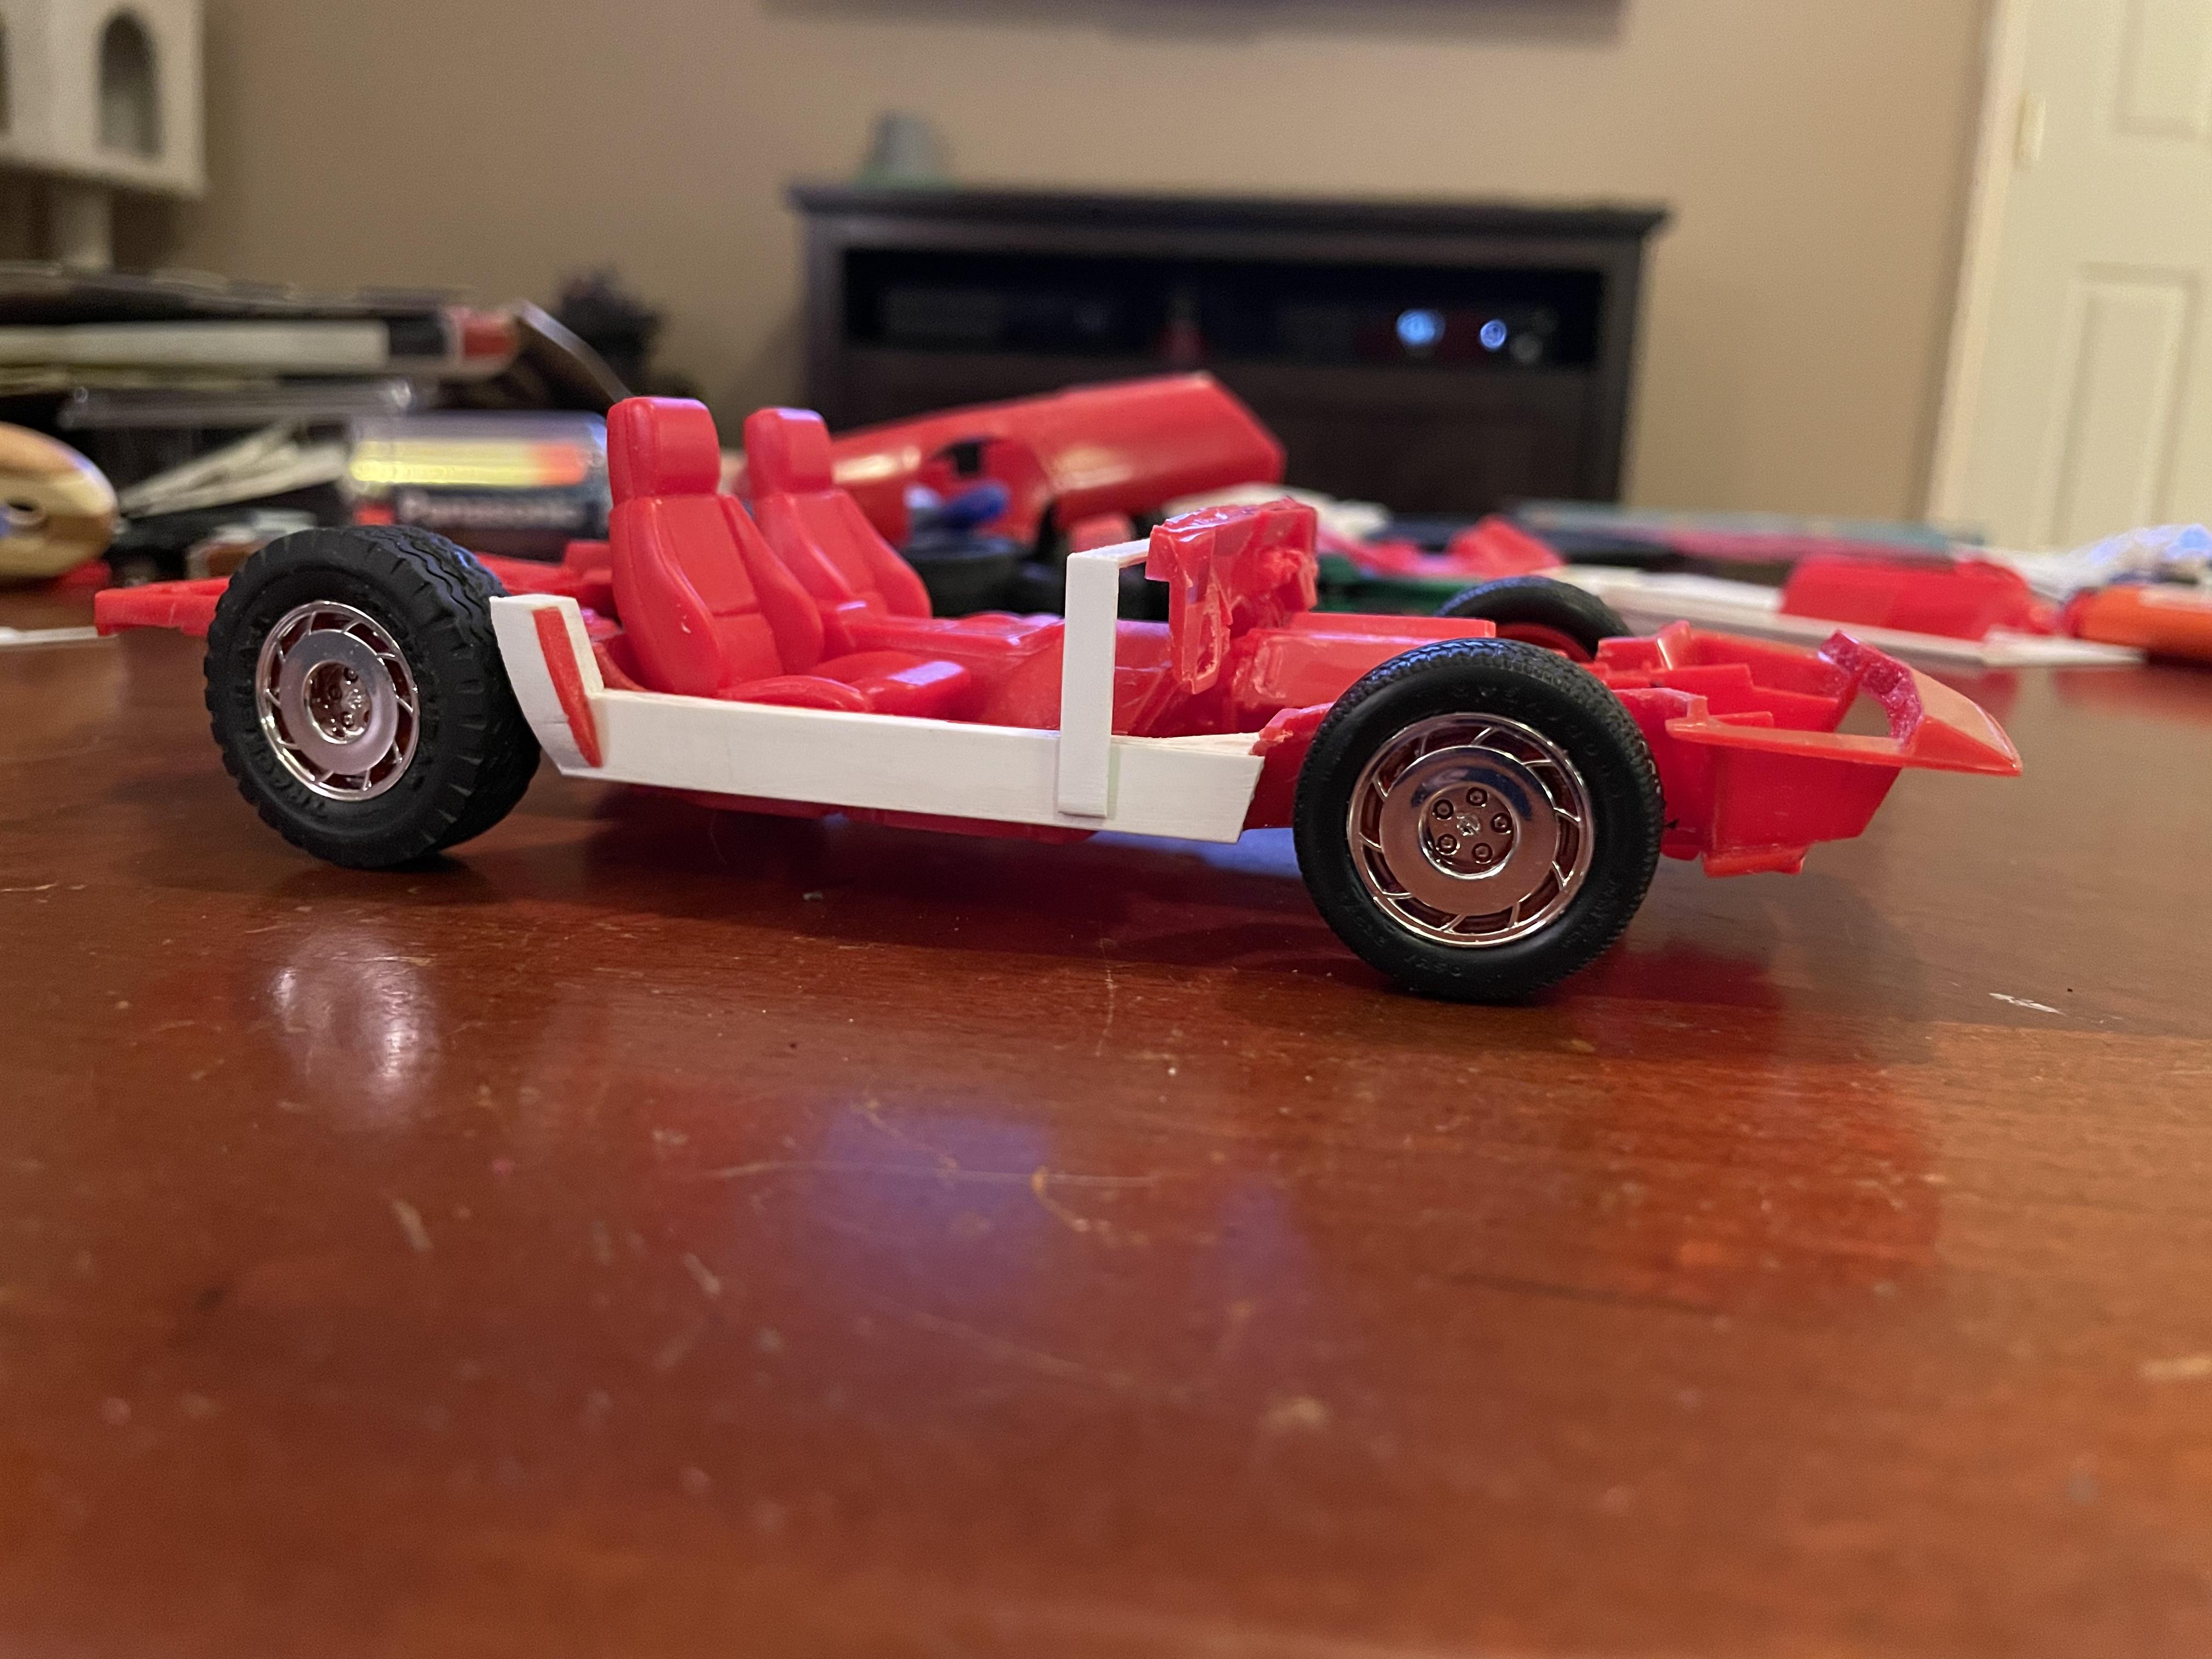
Got some primer on the frame before heading out for some turkey dinner. When I got back I started the roll cage. Have a couple bars left to put on. Pretty happy with how it’s coming so far. I need to fix the angle on the cross bar over the radiator but the ret seems good. All that’s left to do is everything else. And a quick mock up to see how it’s all coming together
-
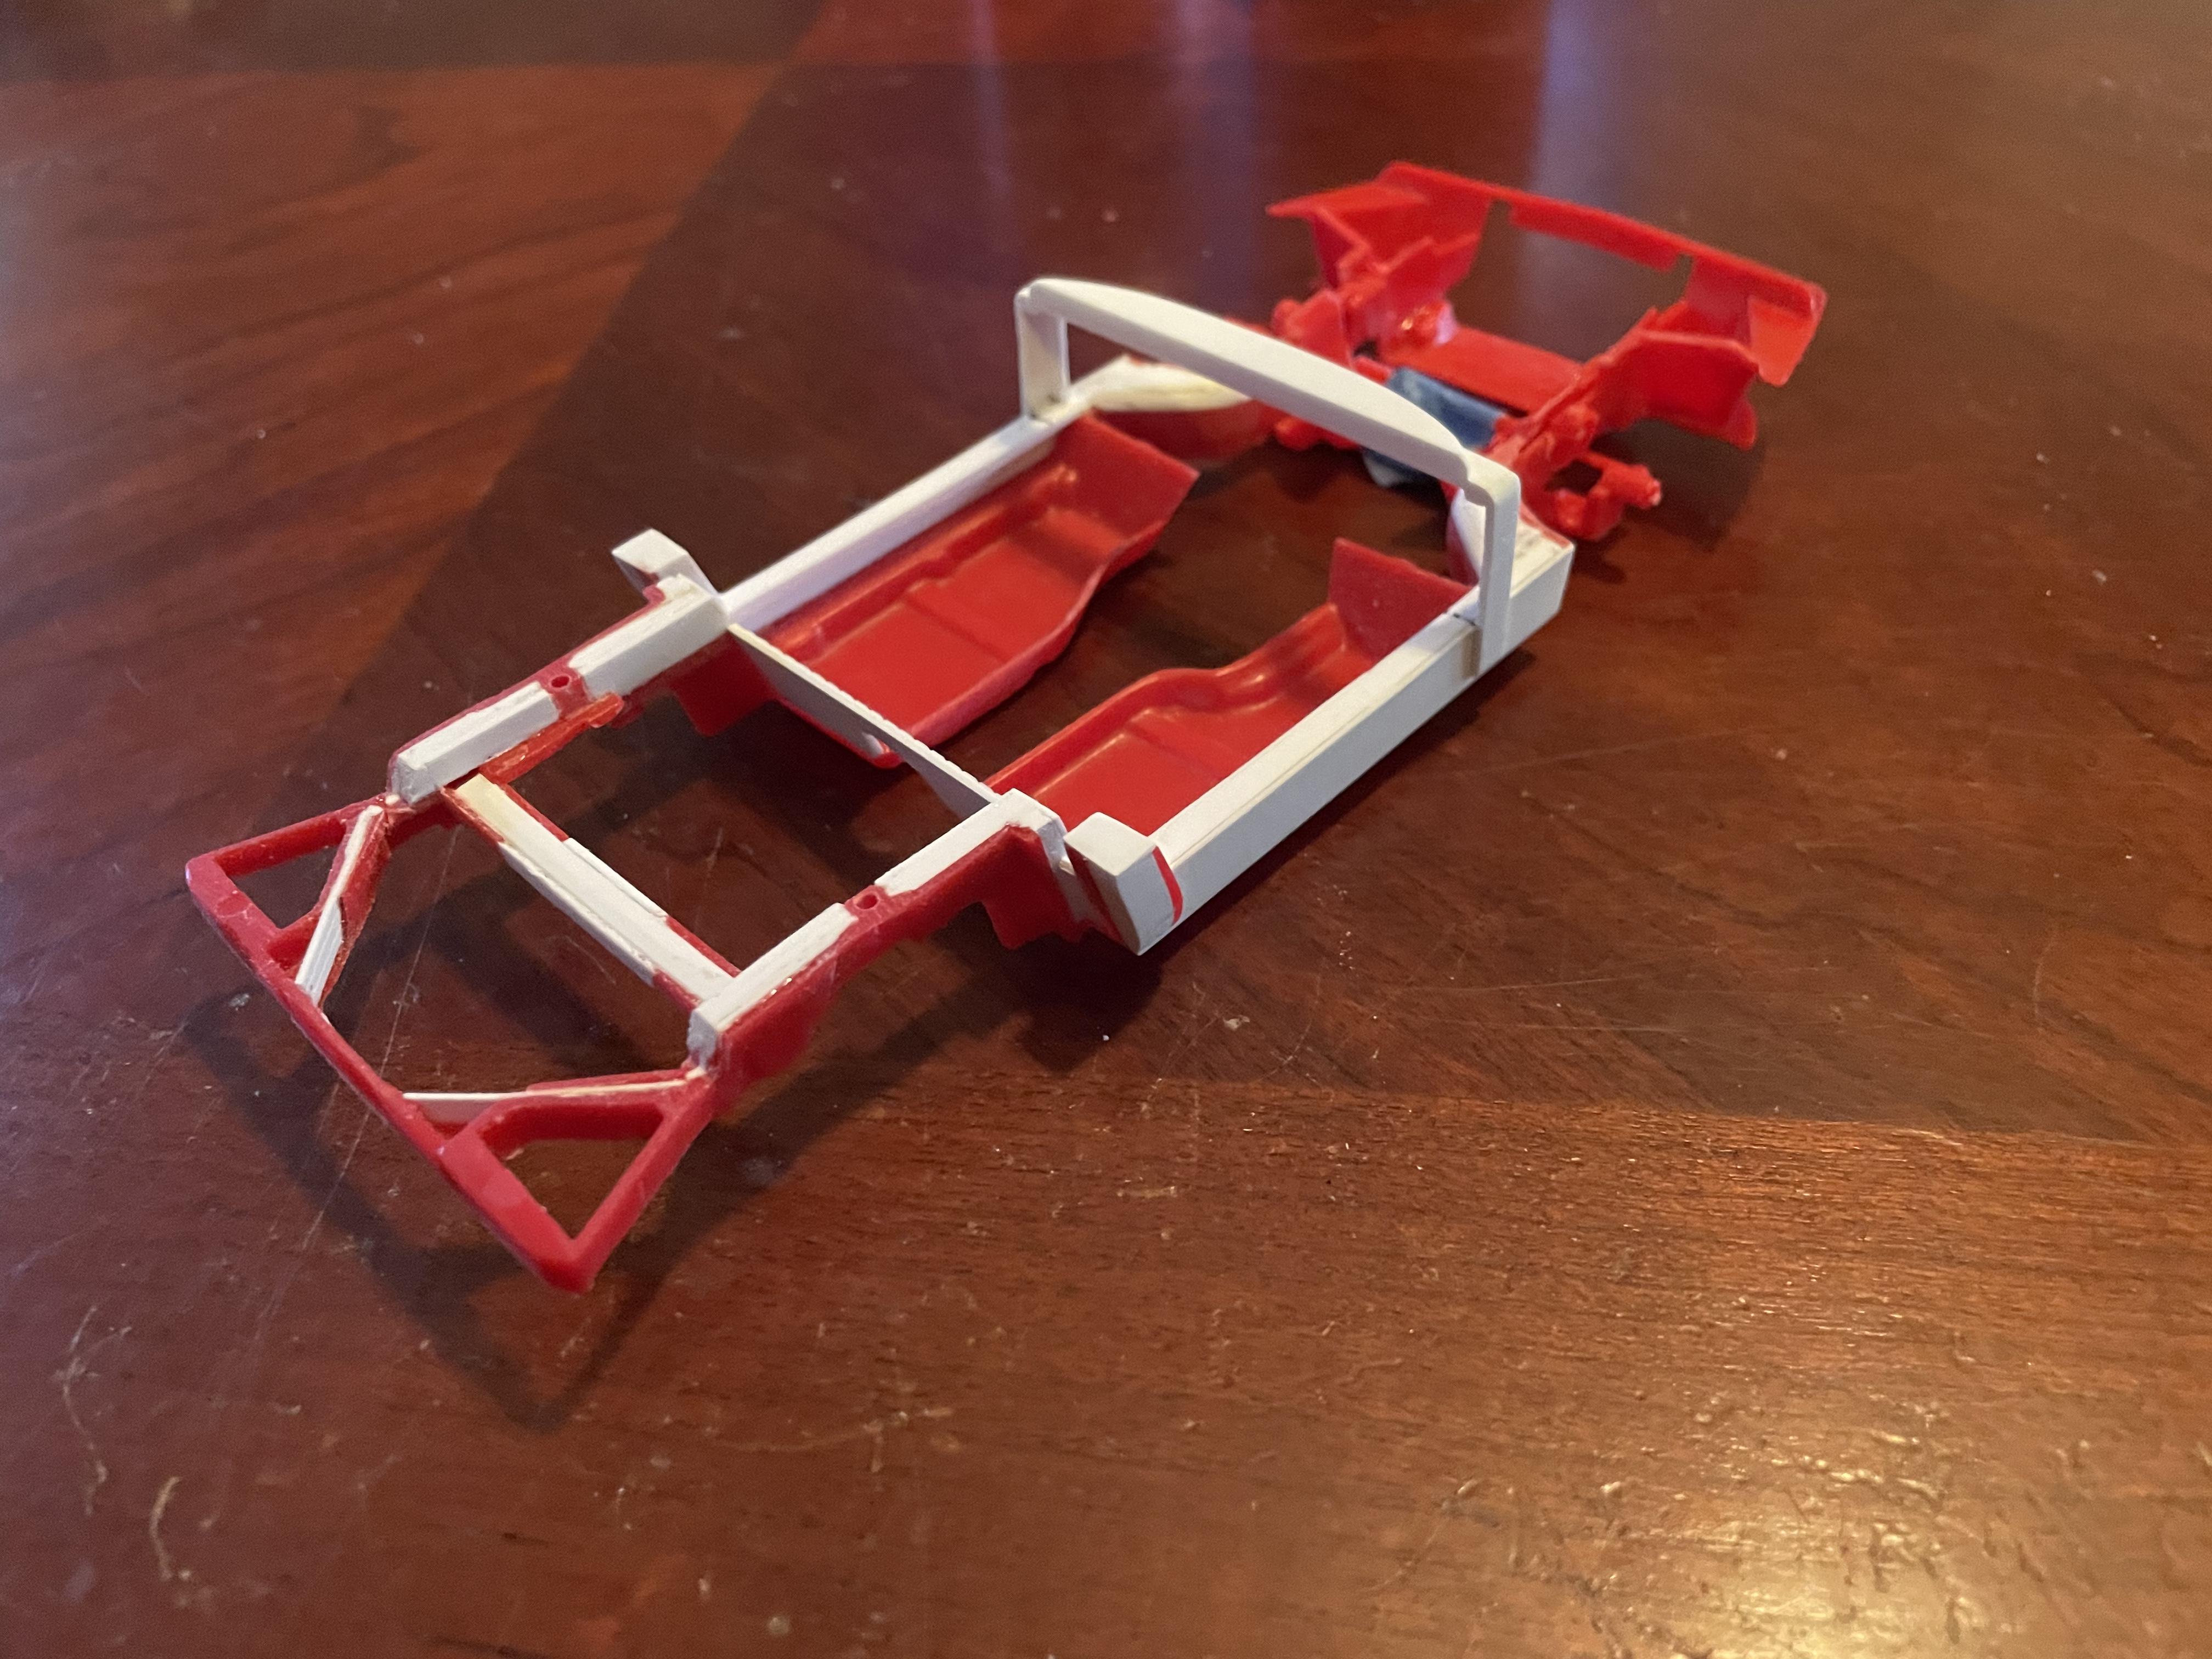
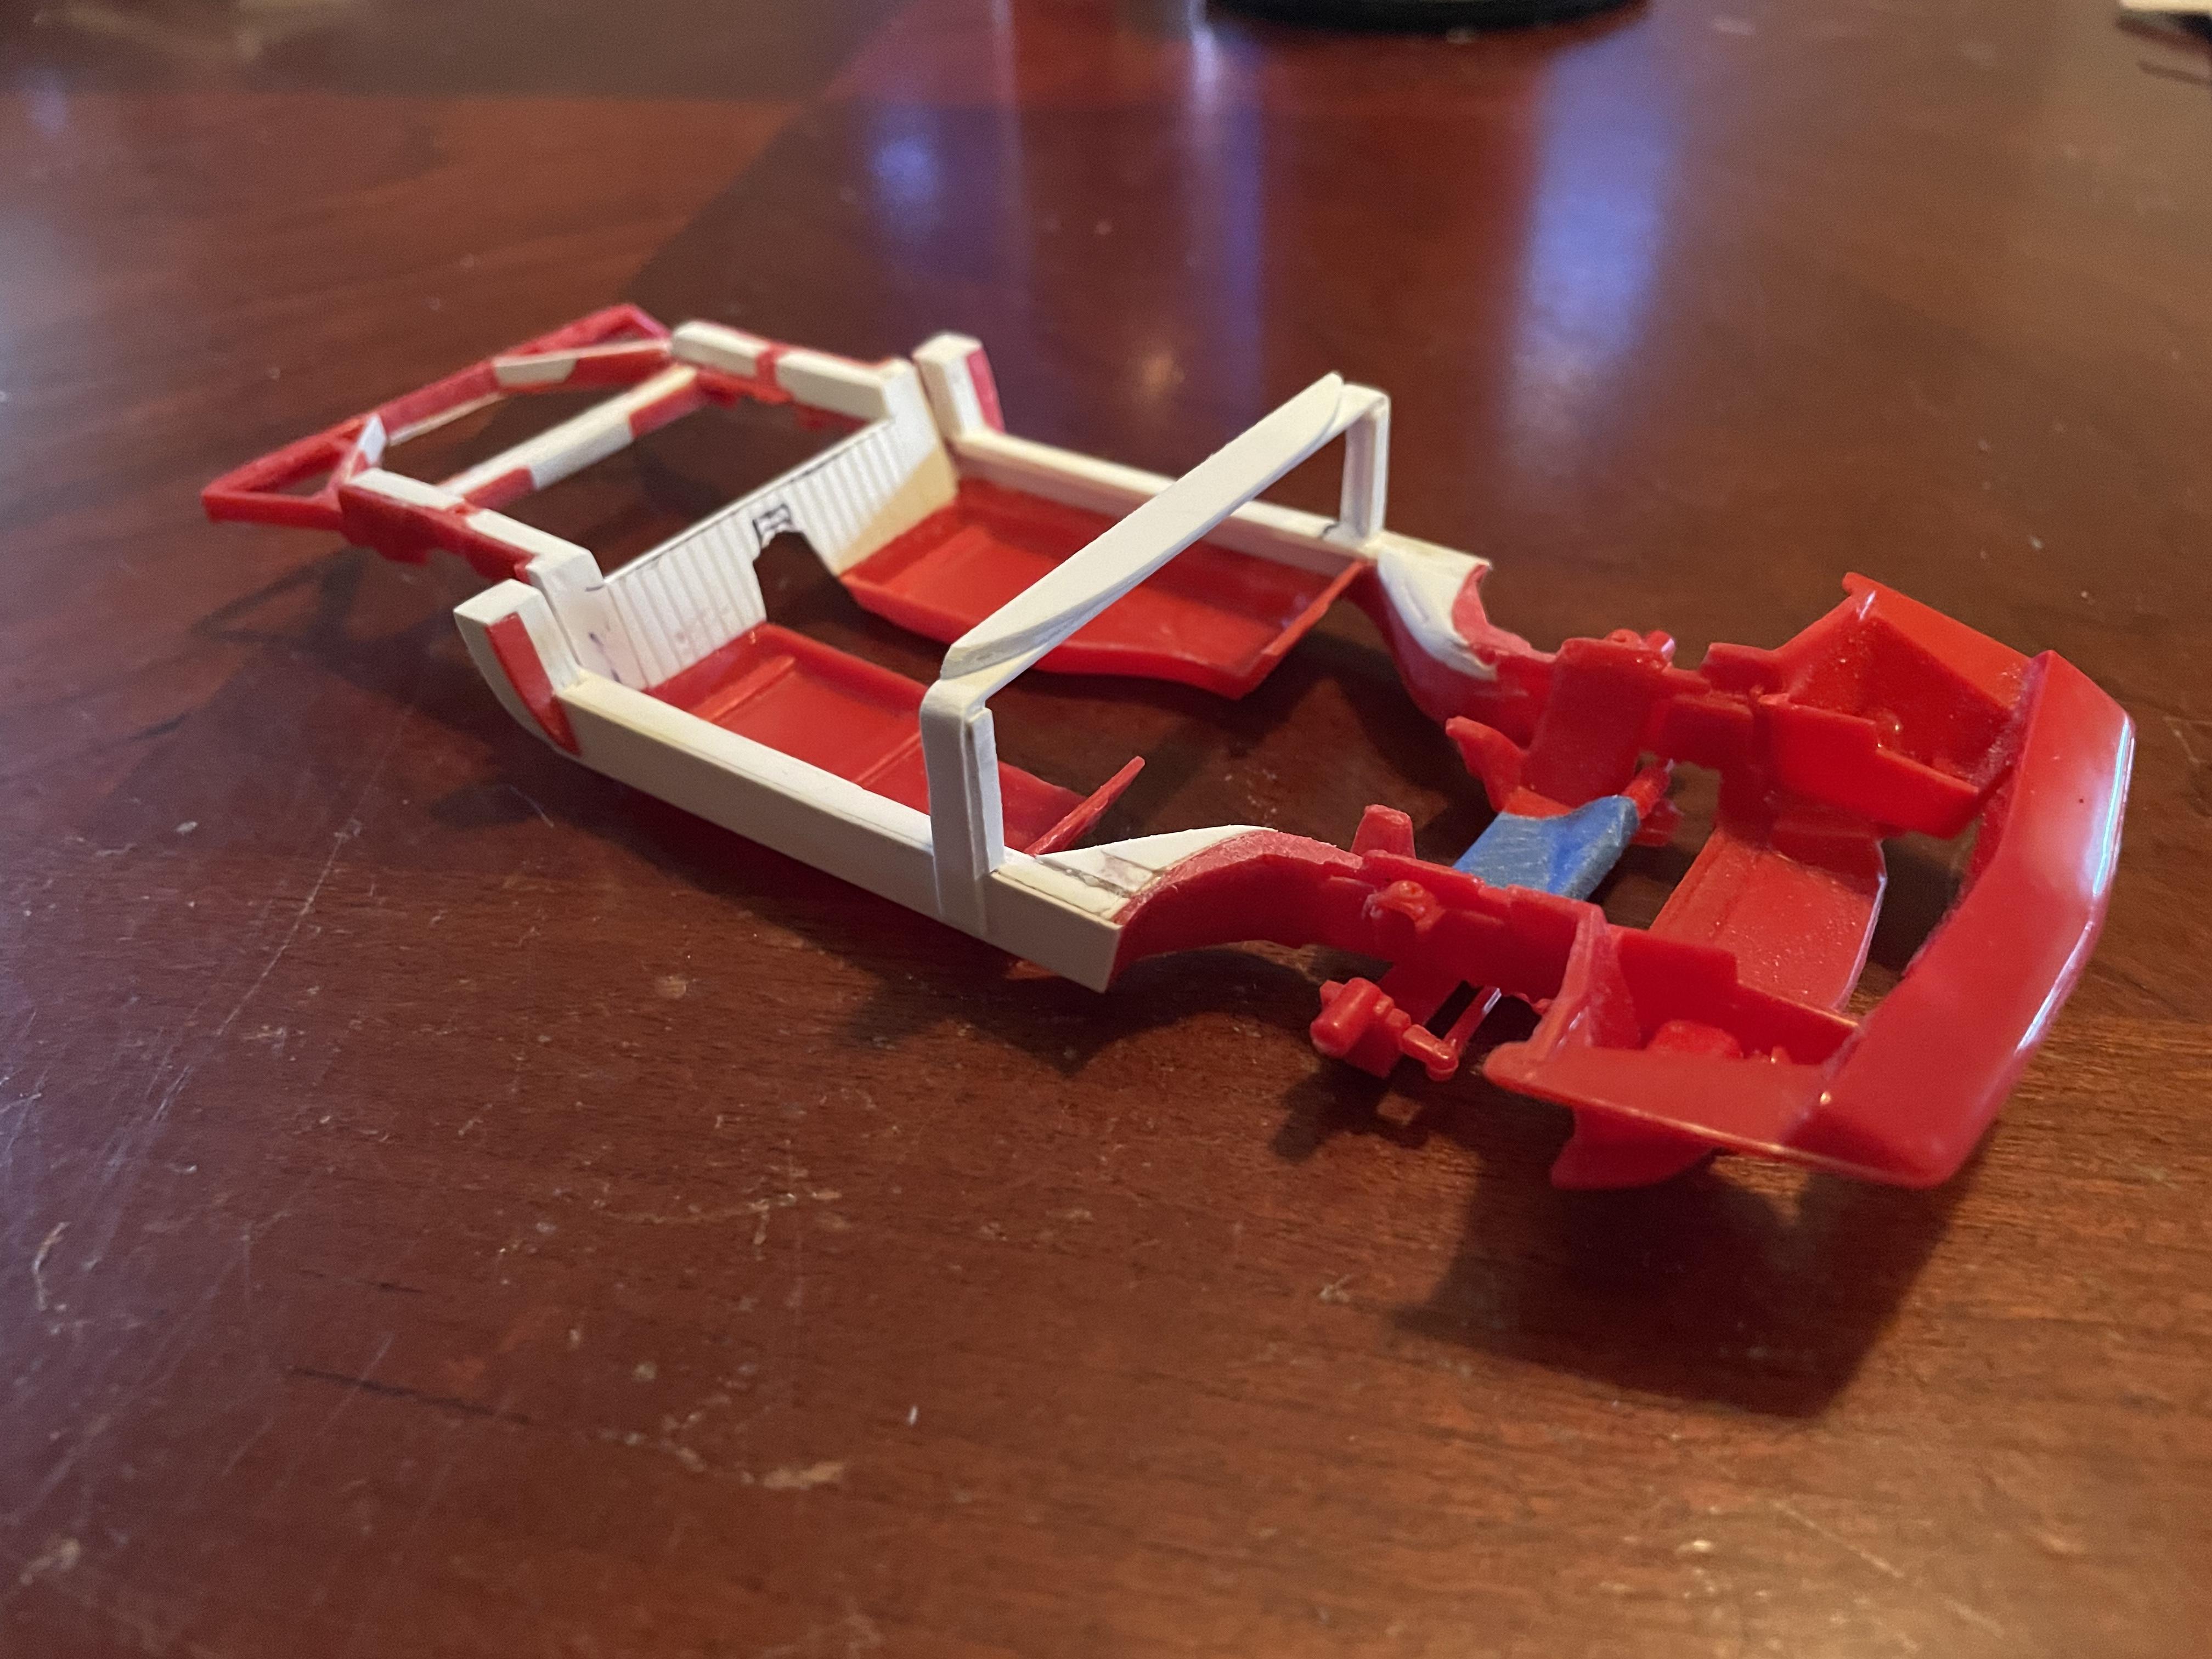
For those that don’t know what Vette cart is. Hot Rod magazine took an early C4 Corvette beater and cut everything off that wasn’t needed to run. It was to show weight reductions effect on performance. Later Hot Rods editor started Roadkill and used what was left of the Corvette as one of there projects. They’ve used it on drag stops, road courses, road-trips and even a sand buggy in the dunes. A lot of people have since copied it making it hard to find pics of the real one online. I’m not going to get to crazy. Just needed something off beat to have some fun with. Any-hoo. Got the frame pretty much done. Ready to do some work on the front of the frame. Then it’s off for a coat of primer clean up and start the cage. Thanks for looking. All comments and questions welcome.
-
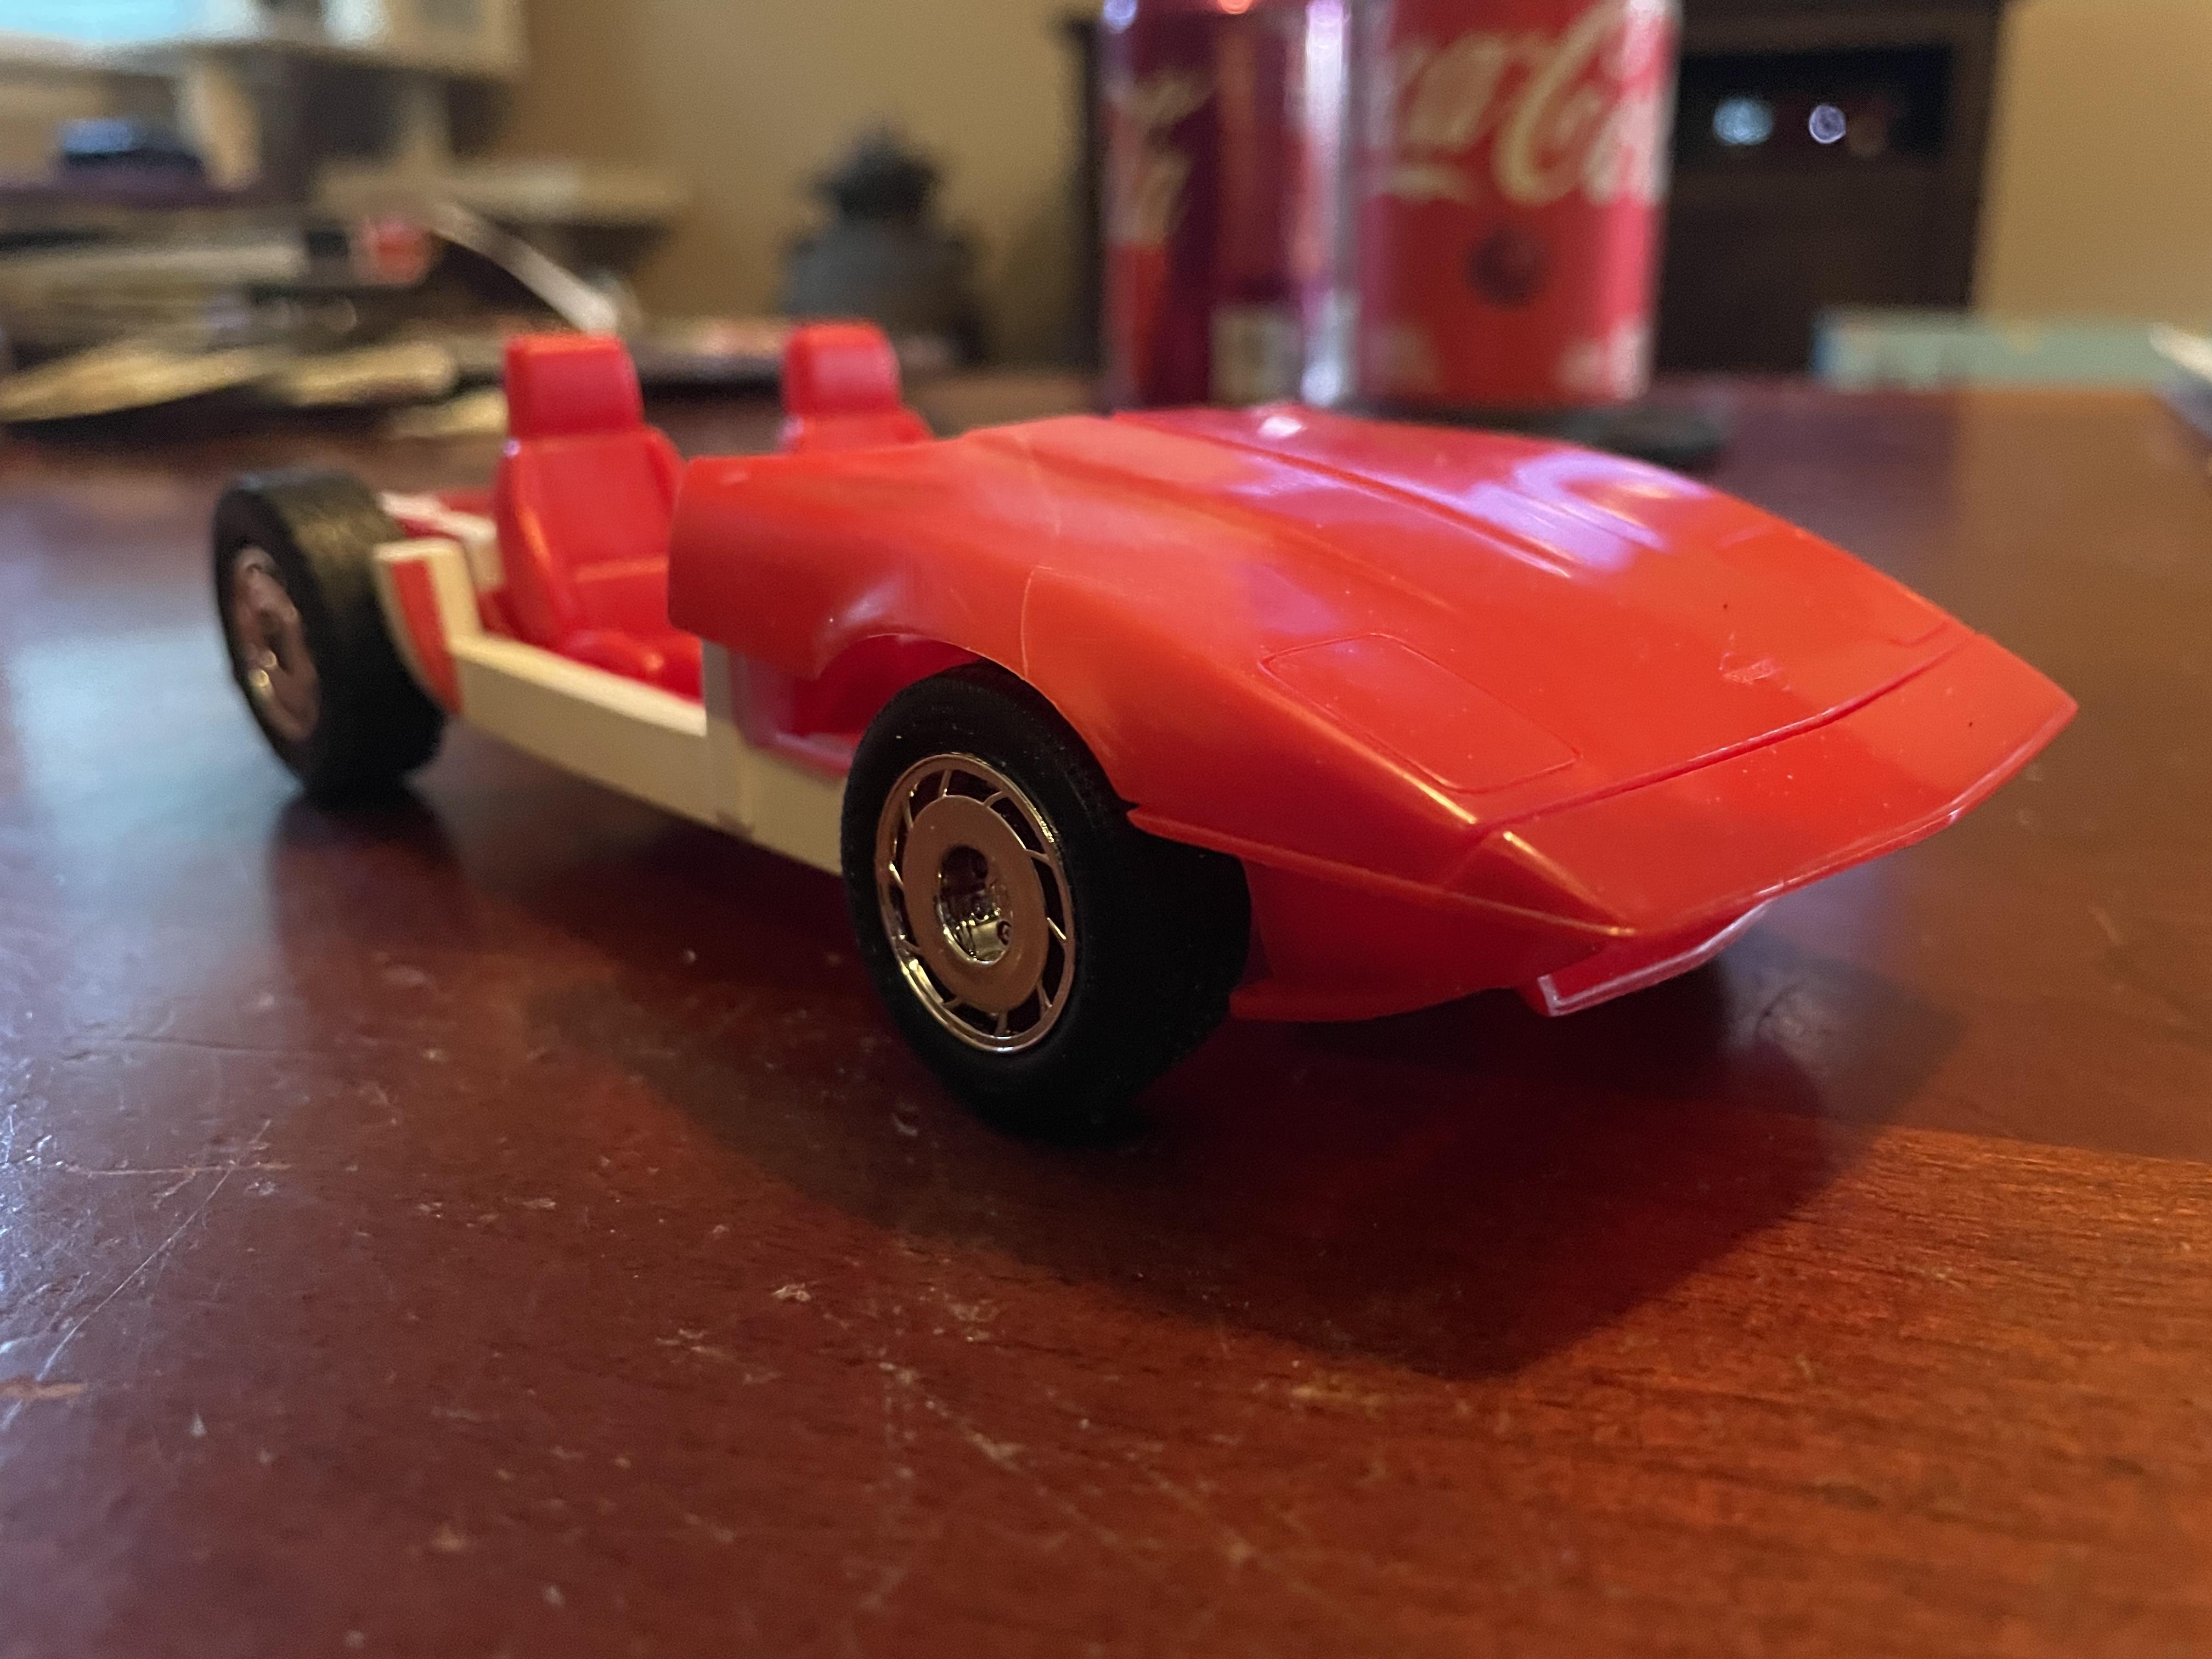
Hi All I started converting a Calloway speedster into a coupe. Ended up with the 87 parts kit left over and got the idea to make the Vette cart from Roadkill. Set the Calloway off to the side and started slicing and dicing to create a naked Corvette frame. Not sure how for I’ll get but here’s the start.
-
The GN and GNX had completely different rear suspension set ups for a reason. The GN had the standard 4 link style with the upper bars angled in for side to side axle stability. All GNs came with a sway bar as well. The GNX had a torque arm style. That has the normal lower control arms with a third long arm from the diff housing, running forward next to the drive shaft. This design requires a panhard bar for lateral axle stability. This was designed specifically for the GNX and was the only G body to get it. It improves handling and launches. It's very similar to the third and forth gen F bodies but doesn't share parts. Watch a video of a stock GNX getting ready to launch of the line. Instead of the front lifting with the rear end squatting, the whole car lifts evening. This is due to the improved geometry of the different design for a performance application. It doesn't ride as nice as the Regal/GN's. But it sure does grip better.