Monty
Members-
Posts
3,233 -
Joined
-
Last visited
Content Type
Profiles
Forums
Events
Gallery
Everything posted by Monty
-
Very nice work, Randy. Any issues with the kit that a 1st time builder should know about?
-
'90 Lincoln Mark VII stock chassis street car build
Monty replied to JTalmage's topic in WIP: Model Cars
IIRC, Revell offered the '90-'92 Cougars in 1/25 scale. From what I've seen, they're not all that expensive and might provide a better "stock" chassis for the Mk VII Lincoln. -
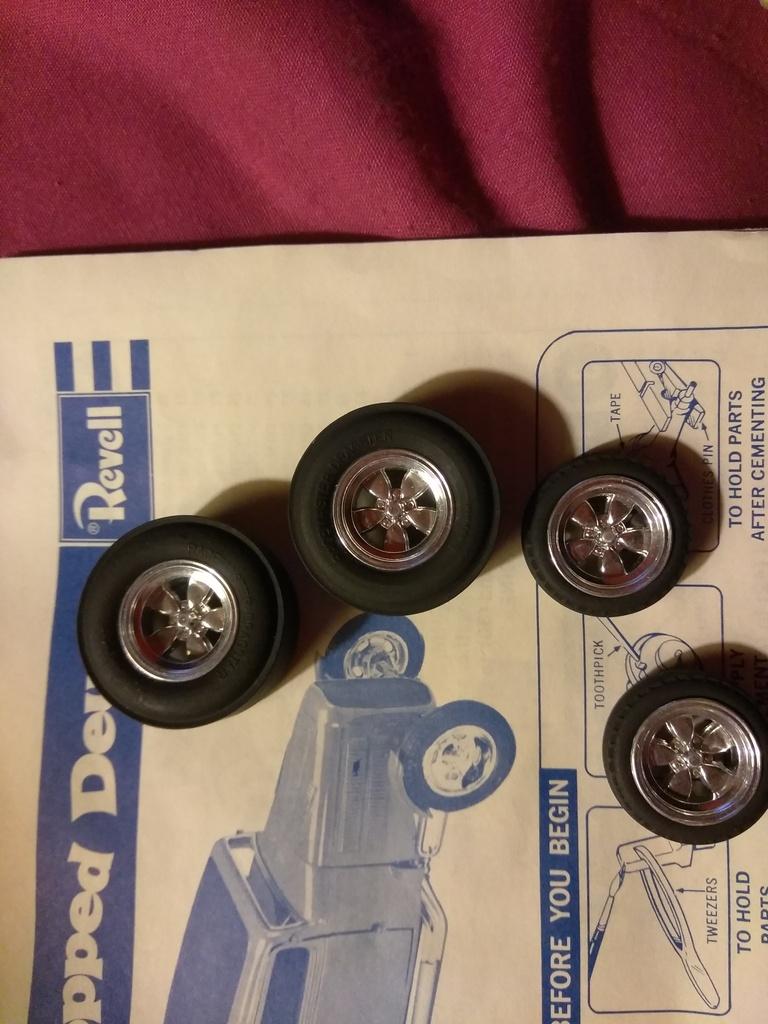
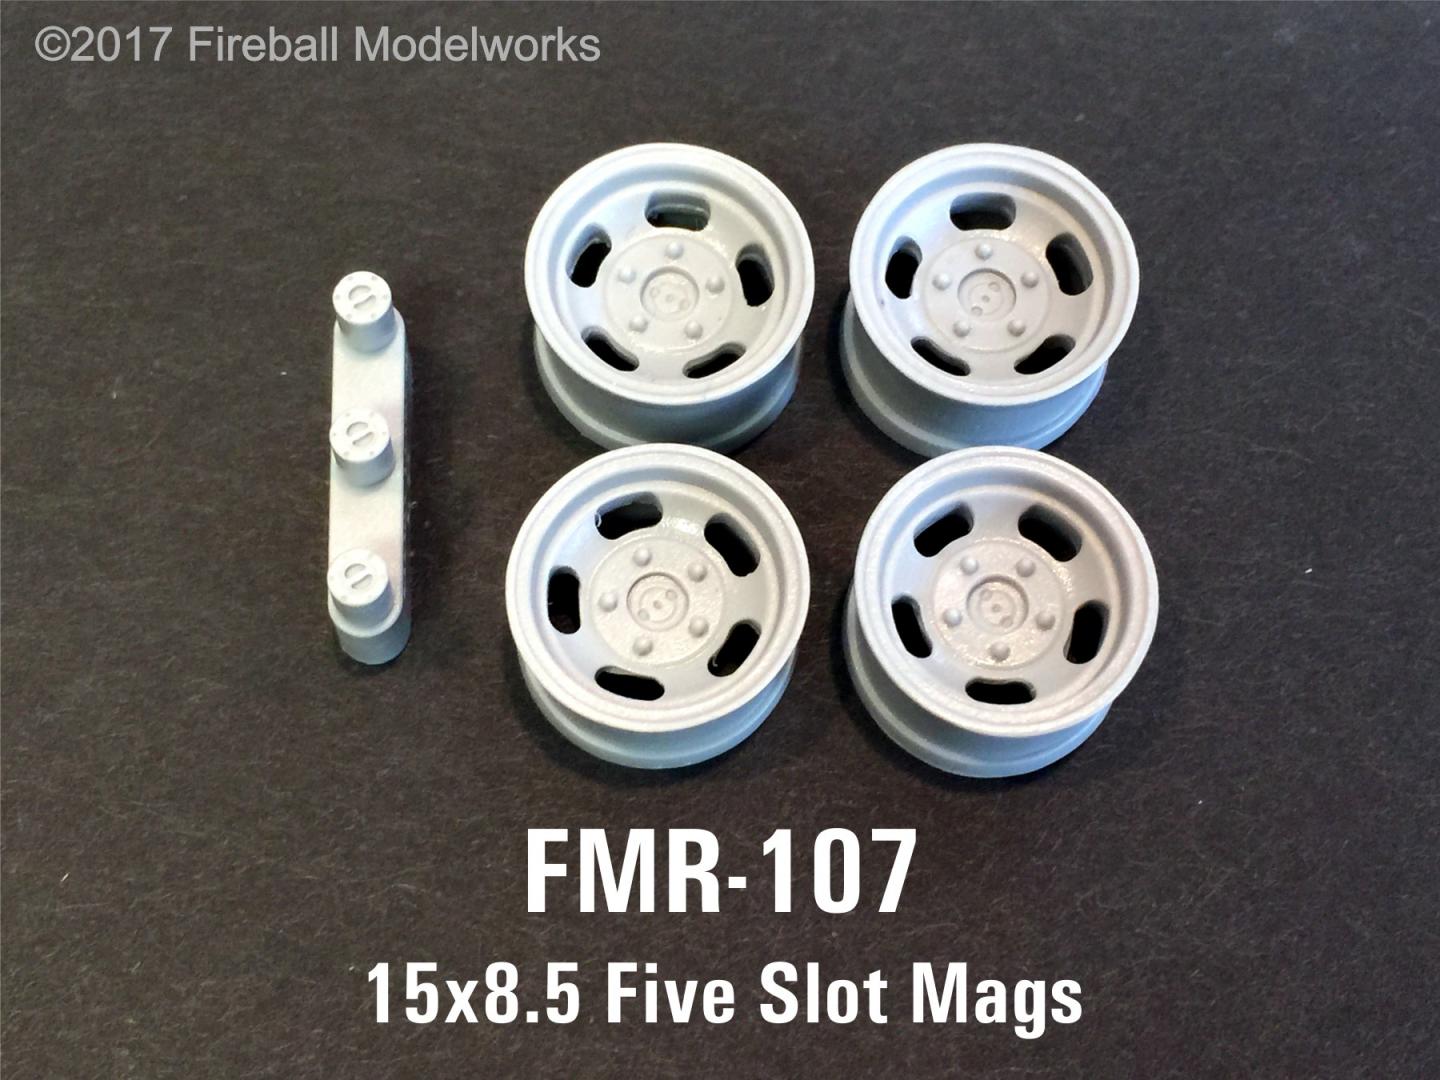
Any of you guys know which kit these wheels are from?
-
I don't have access to Tamiya spray paints locally so I have to rely on pics from boards like this to help me decide which shade will work best for a pending project. What I'd like to see is outdoor pics of a kit body painted with Tamiya Light Gunmetal (TS-42) and a kit body painted with Tamiya Metallic Gray (TS-94).
-
Almost Black, Blue Paint-anyone know where?
Monty replied to MeatMan's topic in Model Building Questions and Answers
If you're still looking, you may want to check out Tamiya's TS-55 Dark Blue. To me it looks like the blue on the Chicago Bears' helmets. Here's an article where it was used on a Ferrari kit. http://italianhorses.net/Gallery/Tamiya/Tam360/360.htm -
The idea is to mix regular enamel paint with a candy enamel paint in, say, a 2:1 ratio. I've sprayed candy over regular paint to achieve a color change, so why not mix it in? Could I create a better teal by mixing candy blue with a medium green enamel? I'd really like to hear from others who have tried this. What were your results?
-
I've noticed that some people have experienced some darkening or lightening of their chosen body color based on which shade of primer they used. For example, we're often told that white primer will brighten a red, and several have said that Tamiya's pink primer is ideal under red when trying to replicate "Ferrari red". (Yes, I'm aware that Ferrari has used a number of reds over the years). Anyway, I wondered if Tamiya's white primer might help lighten up their Light Gunmetal. I'm trying to achieve "pewter" but the pics I've seen give me the impression that it's still too dark.
-
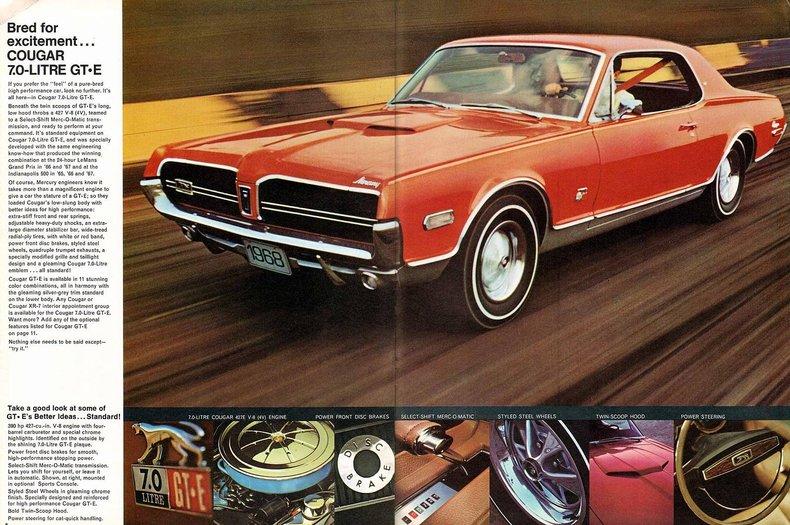
Other than the funny car, which I don't want to buy, it doesn't look like there's been a '68 Cougar for some time. Does anyone know of any aftermarket sources that offer the front & rear bumpers, correct seats etc, for this? If you've done this conversion, please post pics and any comments about the quality and ease of use of the pieces included. I'm trying for this look:
-
1) Anyone got pics of auto trim etc where gold BMF was used? 2) Same as above, but with black BMF. 3) How do you use Matte Aluminum BMF without losing the matte effect due to burnishing? Comments on any/all of these products are welcome.
-
Original AMT '57 Bel Air detailing questions
Monty replied to Monty's topic in Model Building Questions and Answers
It just occurred to me that Bare Metal Foil offers their product in gold as well as chrome, black etc. Assuming that I followed it up with a black wash, would that nail the color. I could also use it on the "V's" and the three front fender trim items. Any pics of this stuff being used? -
Original AMT '57 Bel Air detailing questions
Monty replied to Monty's topic in Model Building Questions and Answers
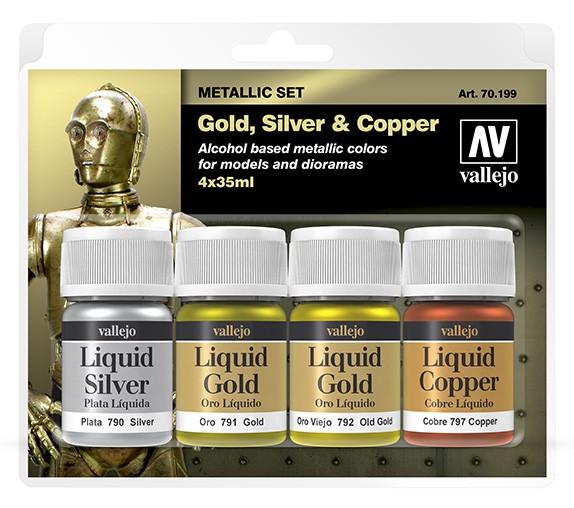
Mine is one of the re-re-re-re-releases of the original AMT kit with the wire-axle chassis and the 409. The other day I posted a question on here about optimizing the accuracy of the rear fenders and learned that Model Car Garage offers a P/E set with pieces to replace the rear fender decals. Where's a good place to look for gold leaf paint? -
I've got a fairly powerful new computer with very nice memory & CPU specs, and we've always had very reliable service from our provider, but I've noticed that when I'm on here, many of the items I click on to read or look at won't materialize for as long as 30 seconds. This doesn't happen on any of the other boards (models, 1:1 cars, politics) that I frequent. Anyone else experiencing that? Bonus question for Dave Ambrose: Would it be possible to move the Start New Topic bar to the top of the page?
-
One of my favorite builders arrives with a solution that will benefit untold numbers of modelers. Well done, Mr Hamilton.
-
I agree - those AMT tail lights are horrible, so I'll also be watching to see how you resolve that issue. I heard the '69 promo had more correct units, so I ordered a set from Modelhaus (still waiting). This kit is old and needs a little extra effort to turn out well, but you seem to be up to the task.
-
I haven't used it myself, but almost everything anyone has ever posted about it also recommends using their primer to prevent the problem you experienced. As these products are intended for 1:1 cars made of stronger materials than styrene, I'm guessing the primer would need to be applied in light coats too.
-
My first major kitbash..... '71/'73 Chargers
Monty replied to JollySipper's topic in WIP: Model Cars
Since you're doing the replica thing, you can get accurate RWL sidewall decals for your tires from Fireball Modelworks. The P/N for those Cooper Cobras is WL-09. http://www.fireballmodels.info/ -
I'm really intrigued by the shade of gold you mixed up for the engine and wheels. Any chance I could talk you into sharing the "recipe"? Also, looks like you nailed the color of that Holley carb. This project will definitely be worth watching.
-
I've never built one of these, but it sounds like a large dose of tenacity is required to finish one. Very nice work in spite of the frustrations you've faced. Wish my hands were still steady enough to freehand trim etc. Do you mind answering a couple questions? Did you end up using standard Testors rattle can gold for the finish? From the pictures it looks like it turned out well. What were you dissatisfied with? Is it still possible to remove a couple pieces off the engine for final assembly so it will fit in the chassis?
