Search the Community
Showing results for tags 'mild custom'.
-
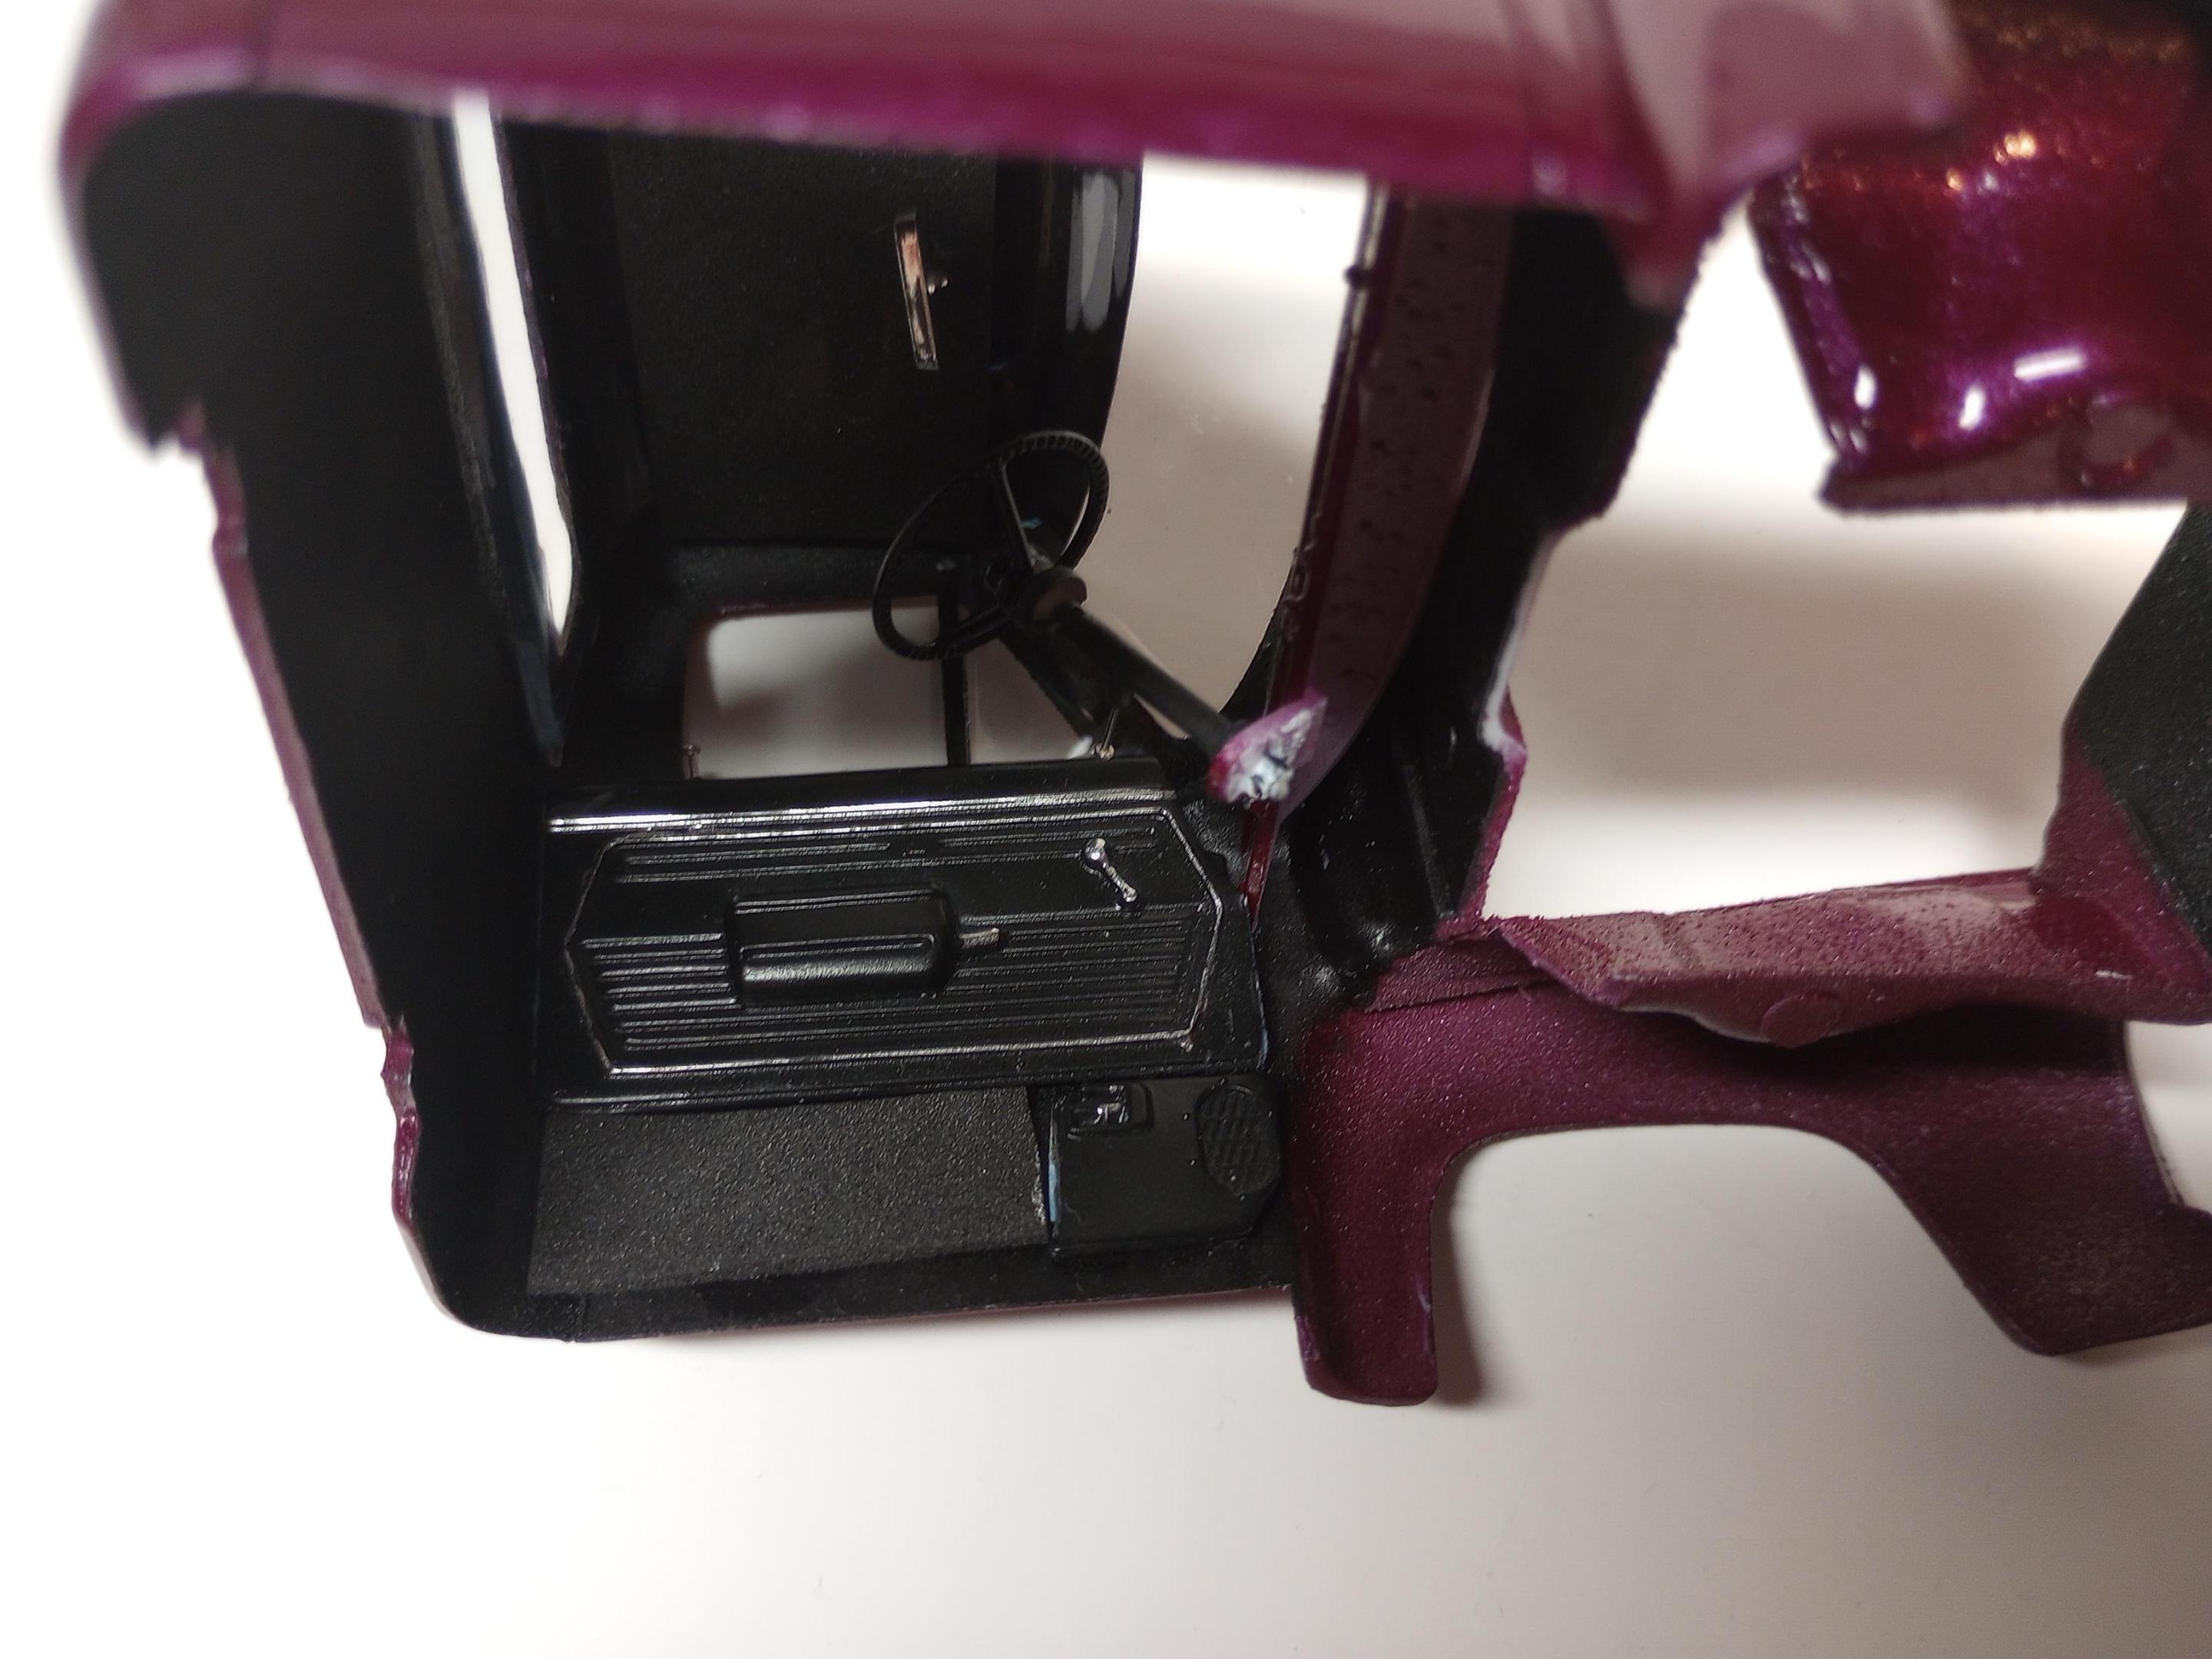
Hey all, I'm going to try and build another model! I have rheumatoid arthritis and I had to stop building, but thanks to prescription meds, I'm feeling like I can give it another go! I glued the doors shut on the AMT '56 Ford and bent the vent windows into position with a slice along the bottom of each. I want to sand the body and doors to be mostly flush, but I don't want to fill the side trim with primer, so I masked them off. Also fitted stock headlight rings and sanded them smooth (not Frenched) along with all other mold seams. It'll be a mild custom from the late 50's early 60's I hope!
-
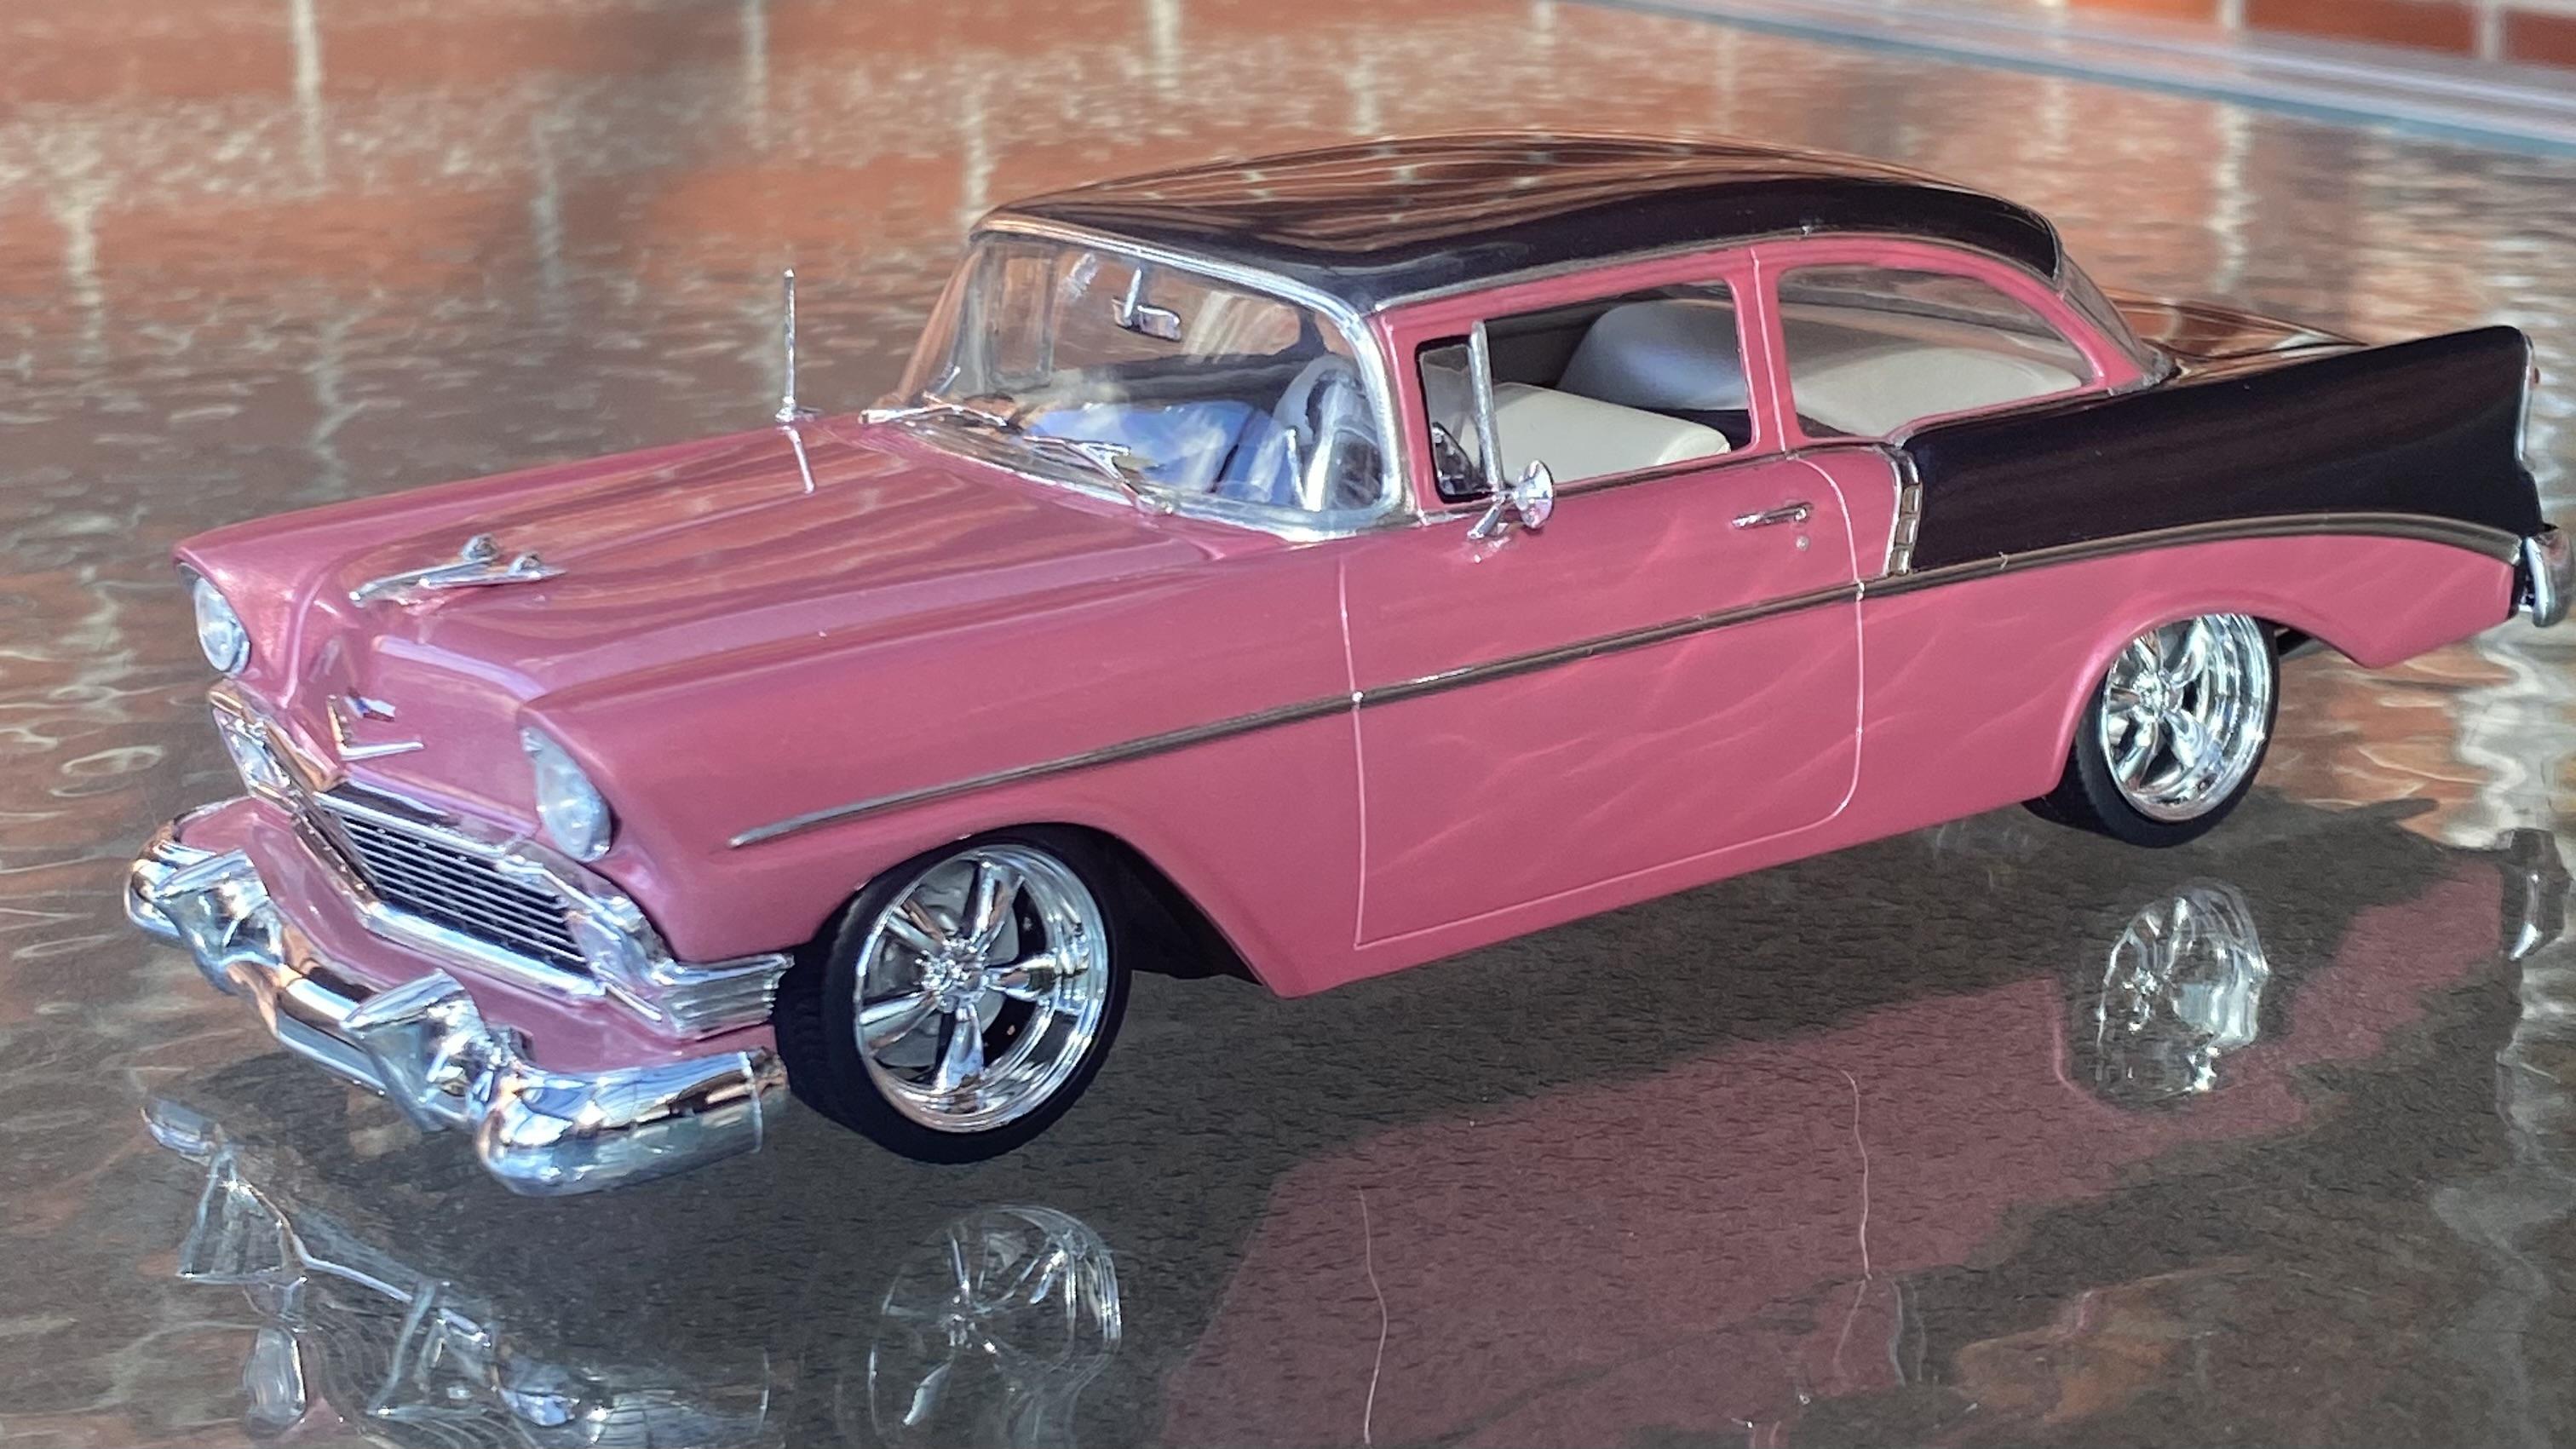
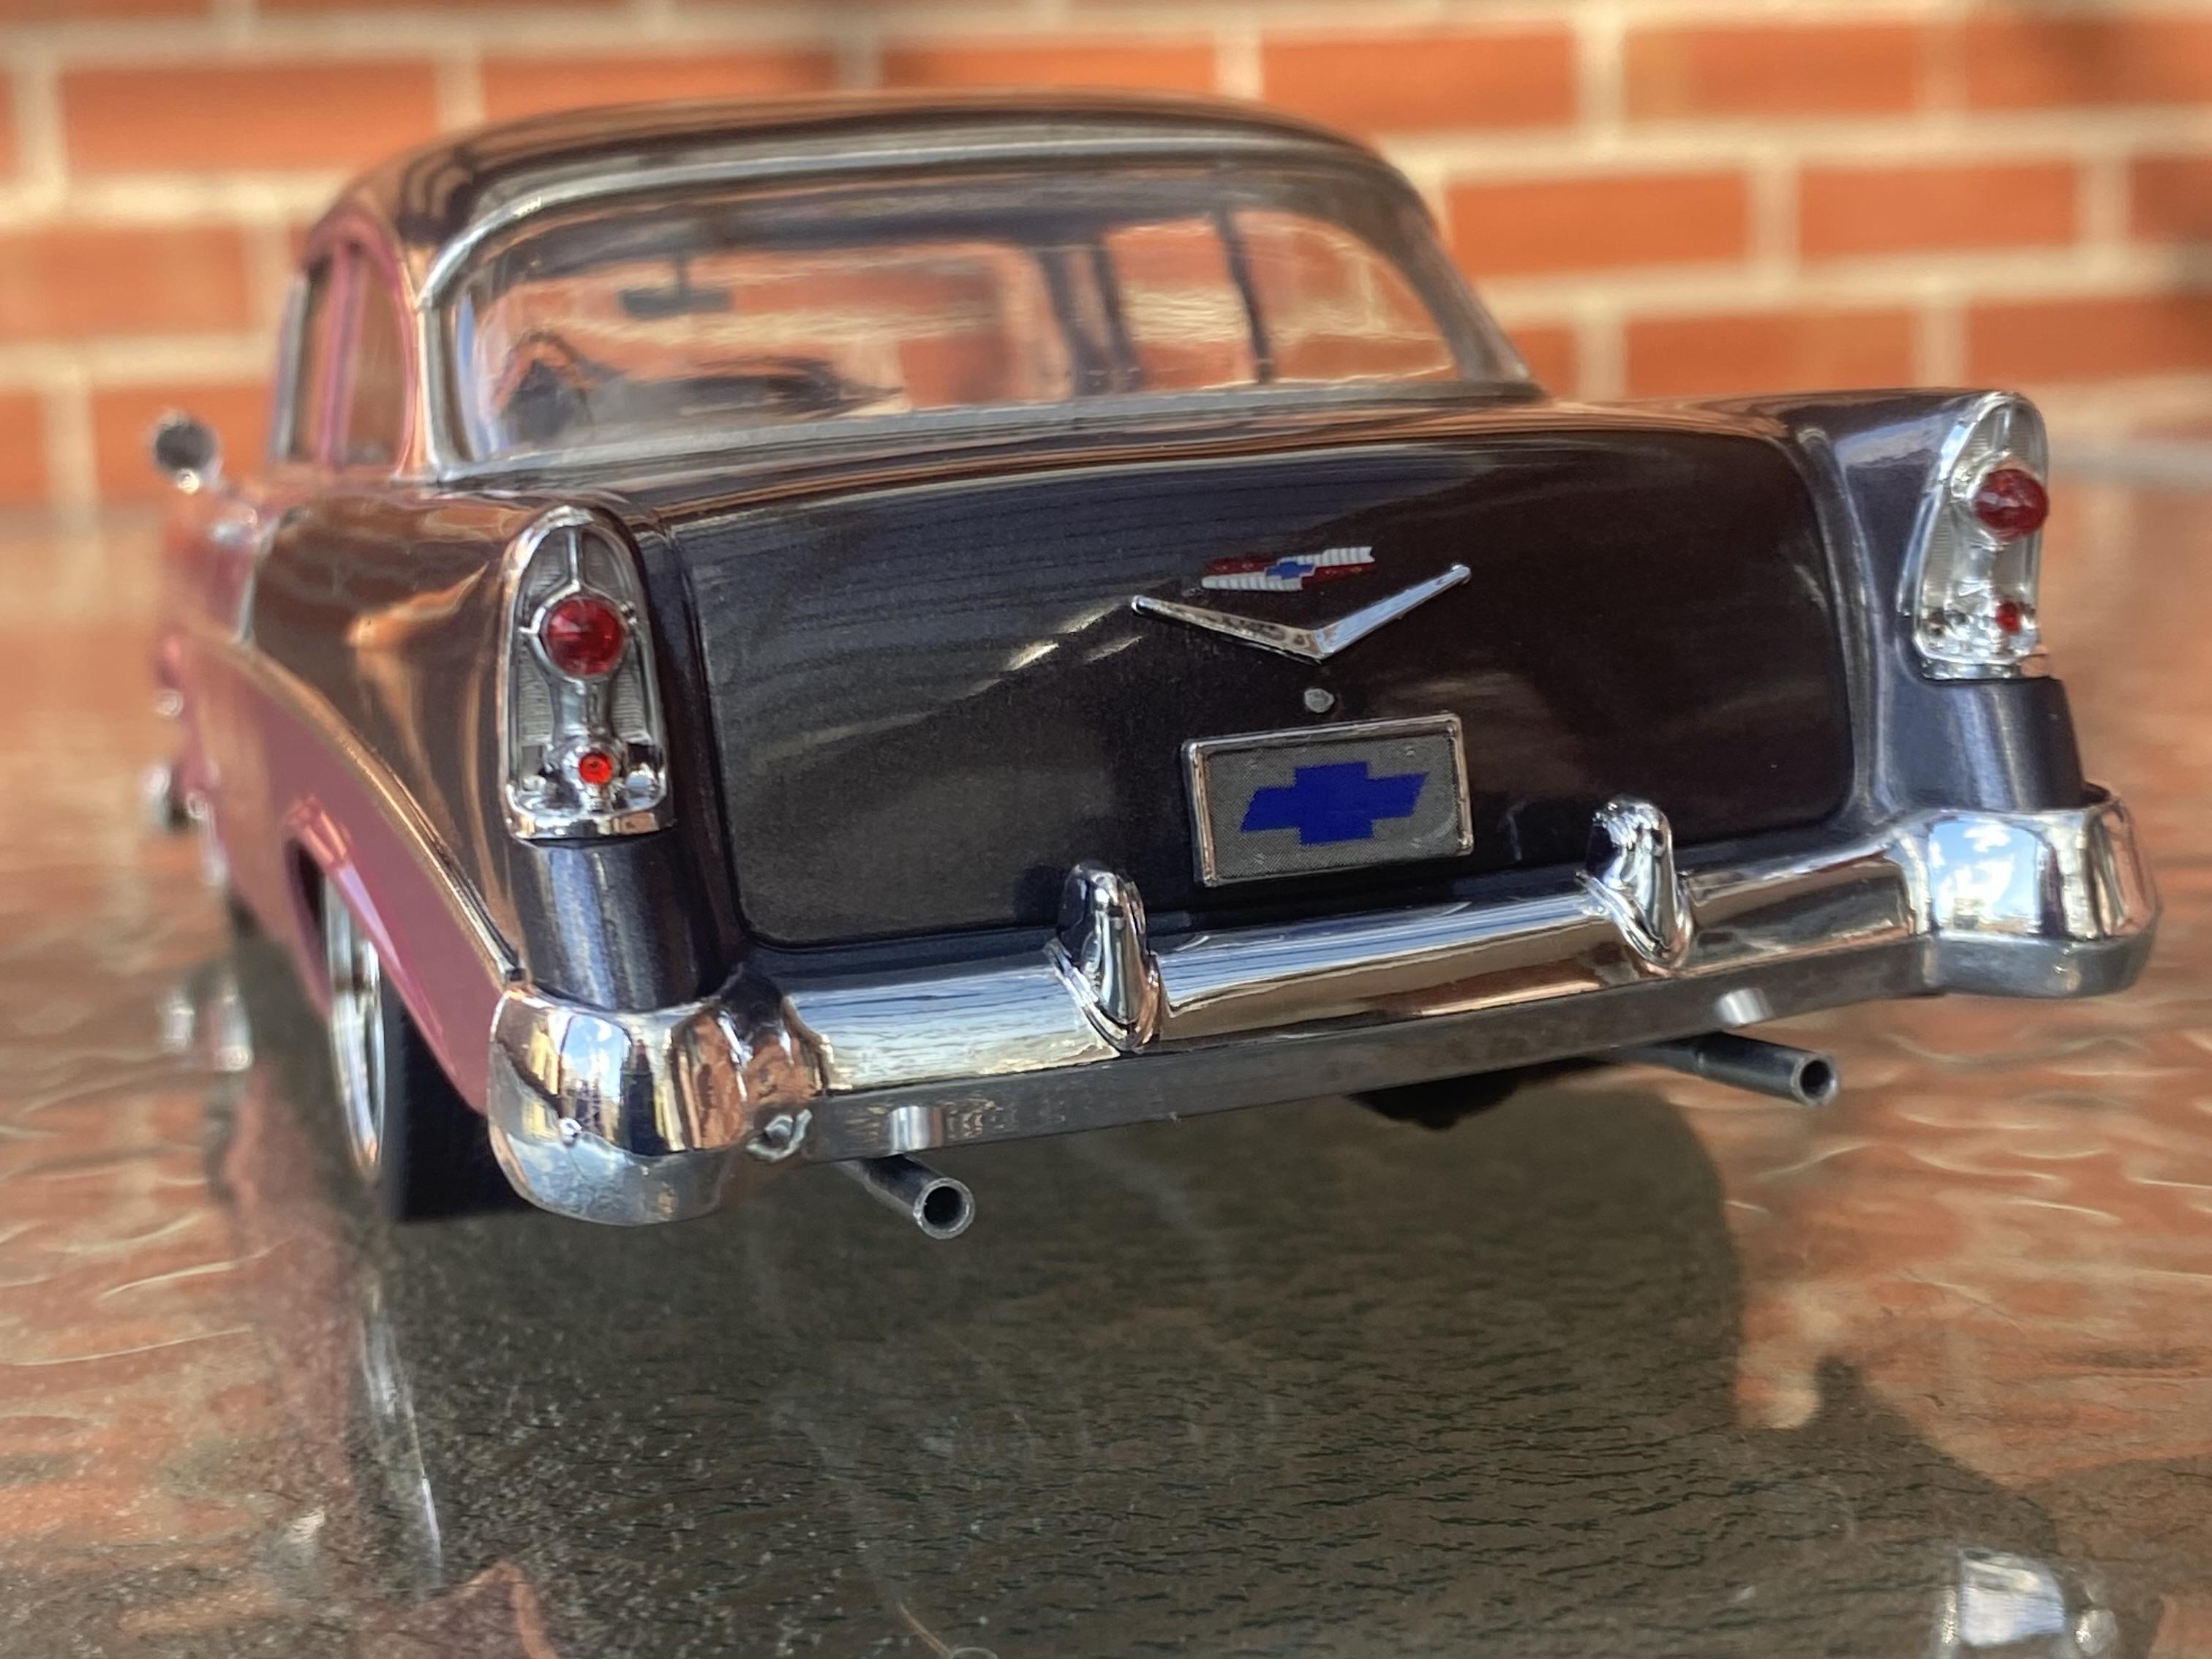
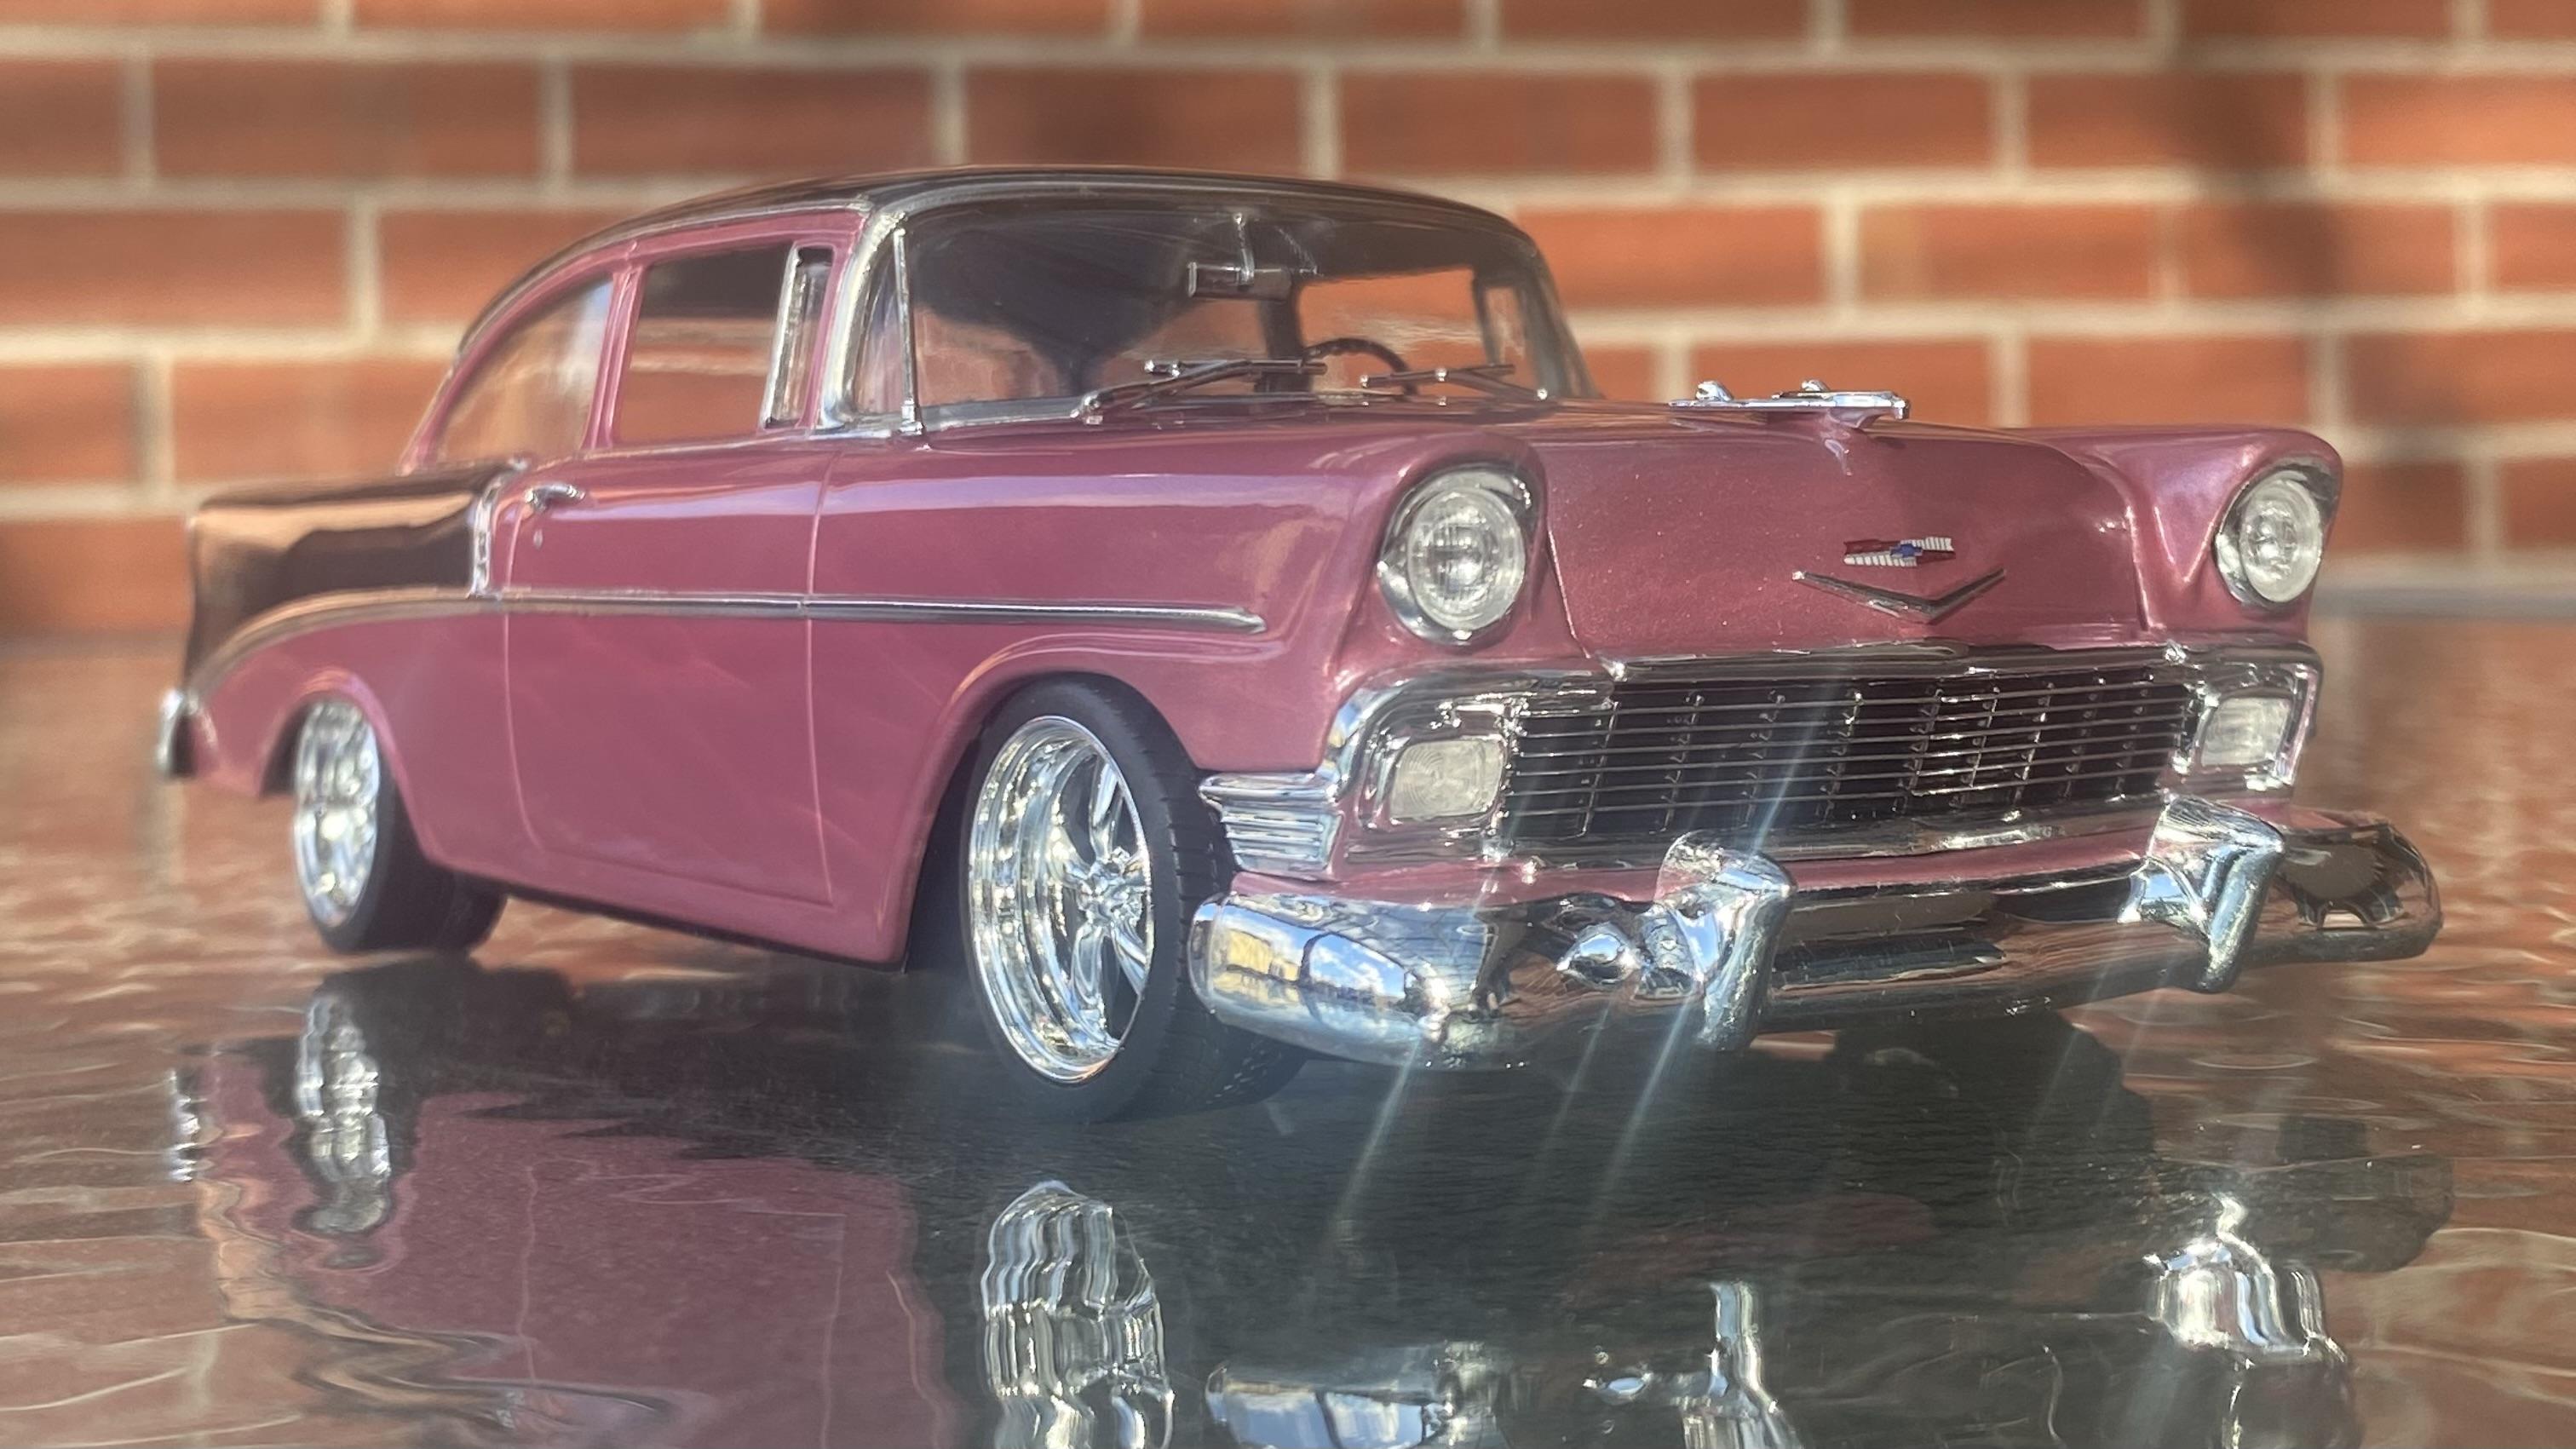
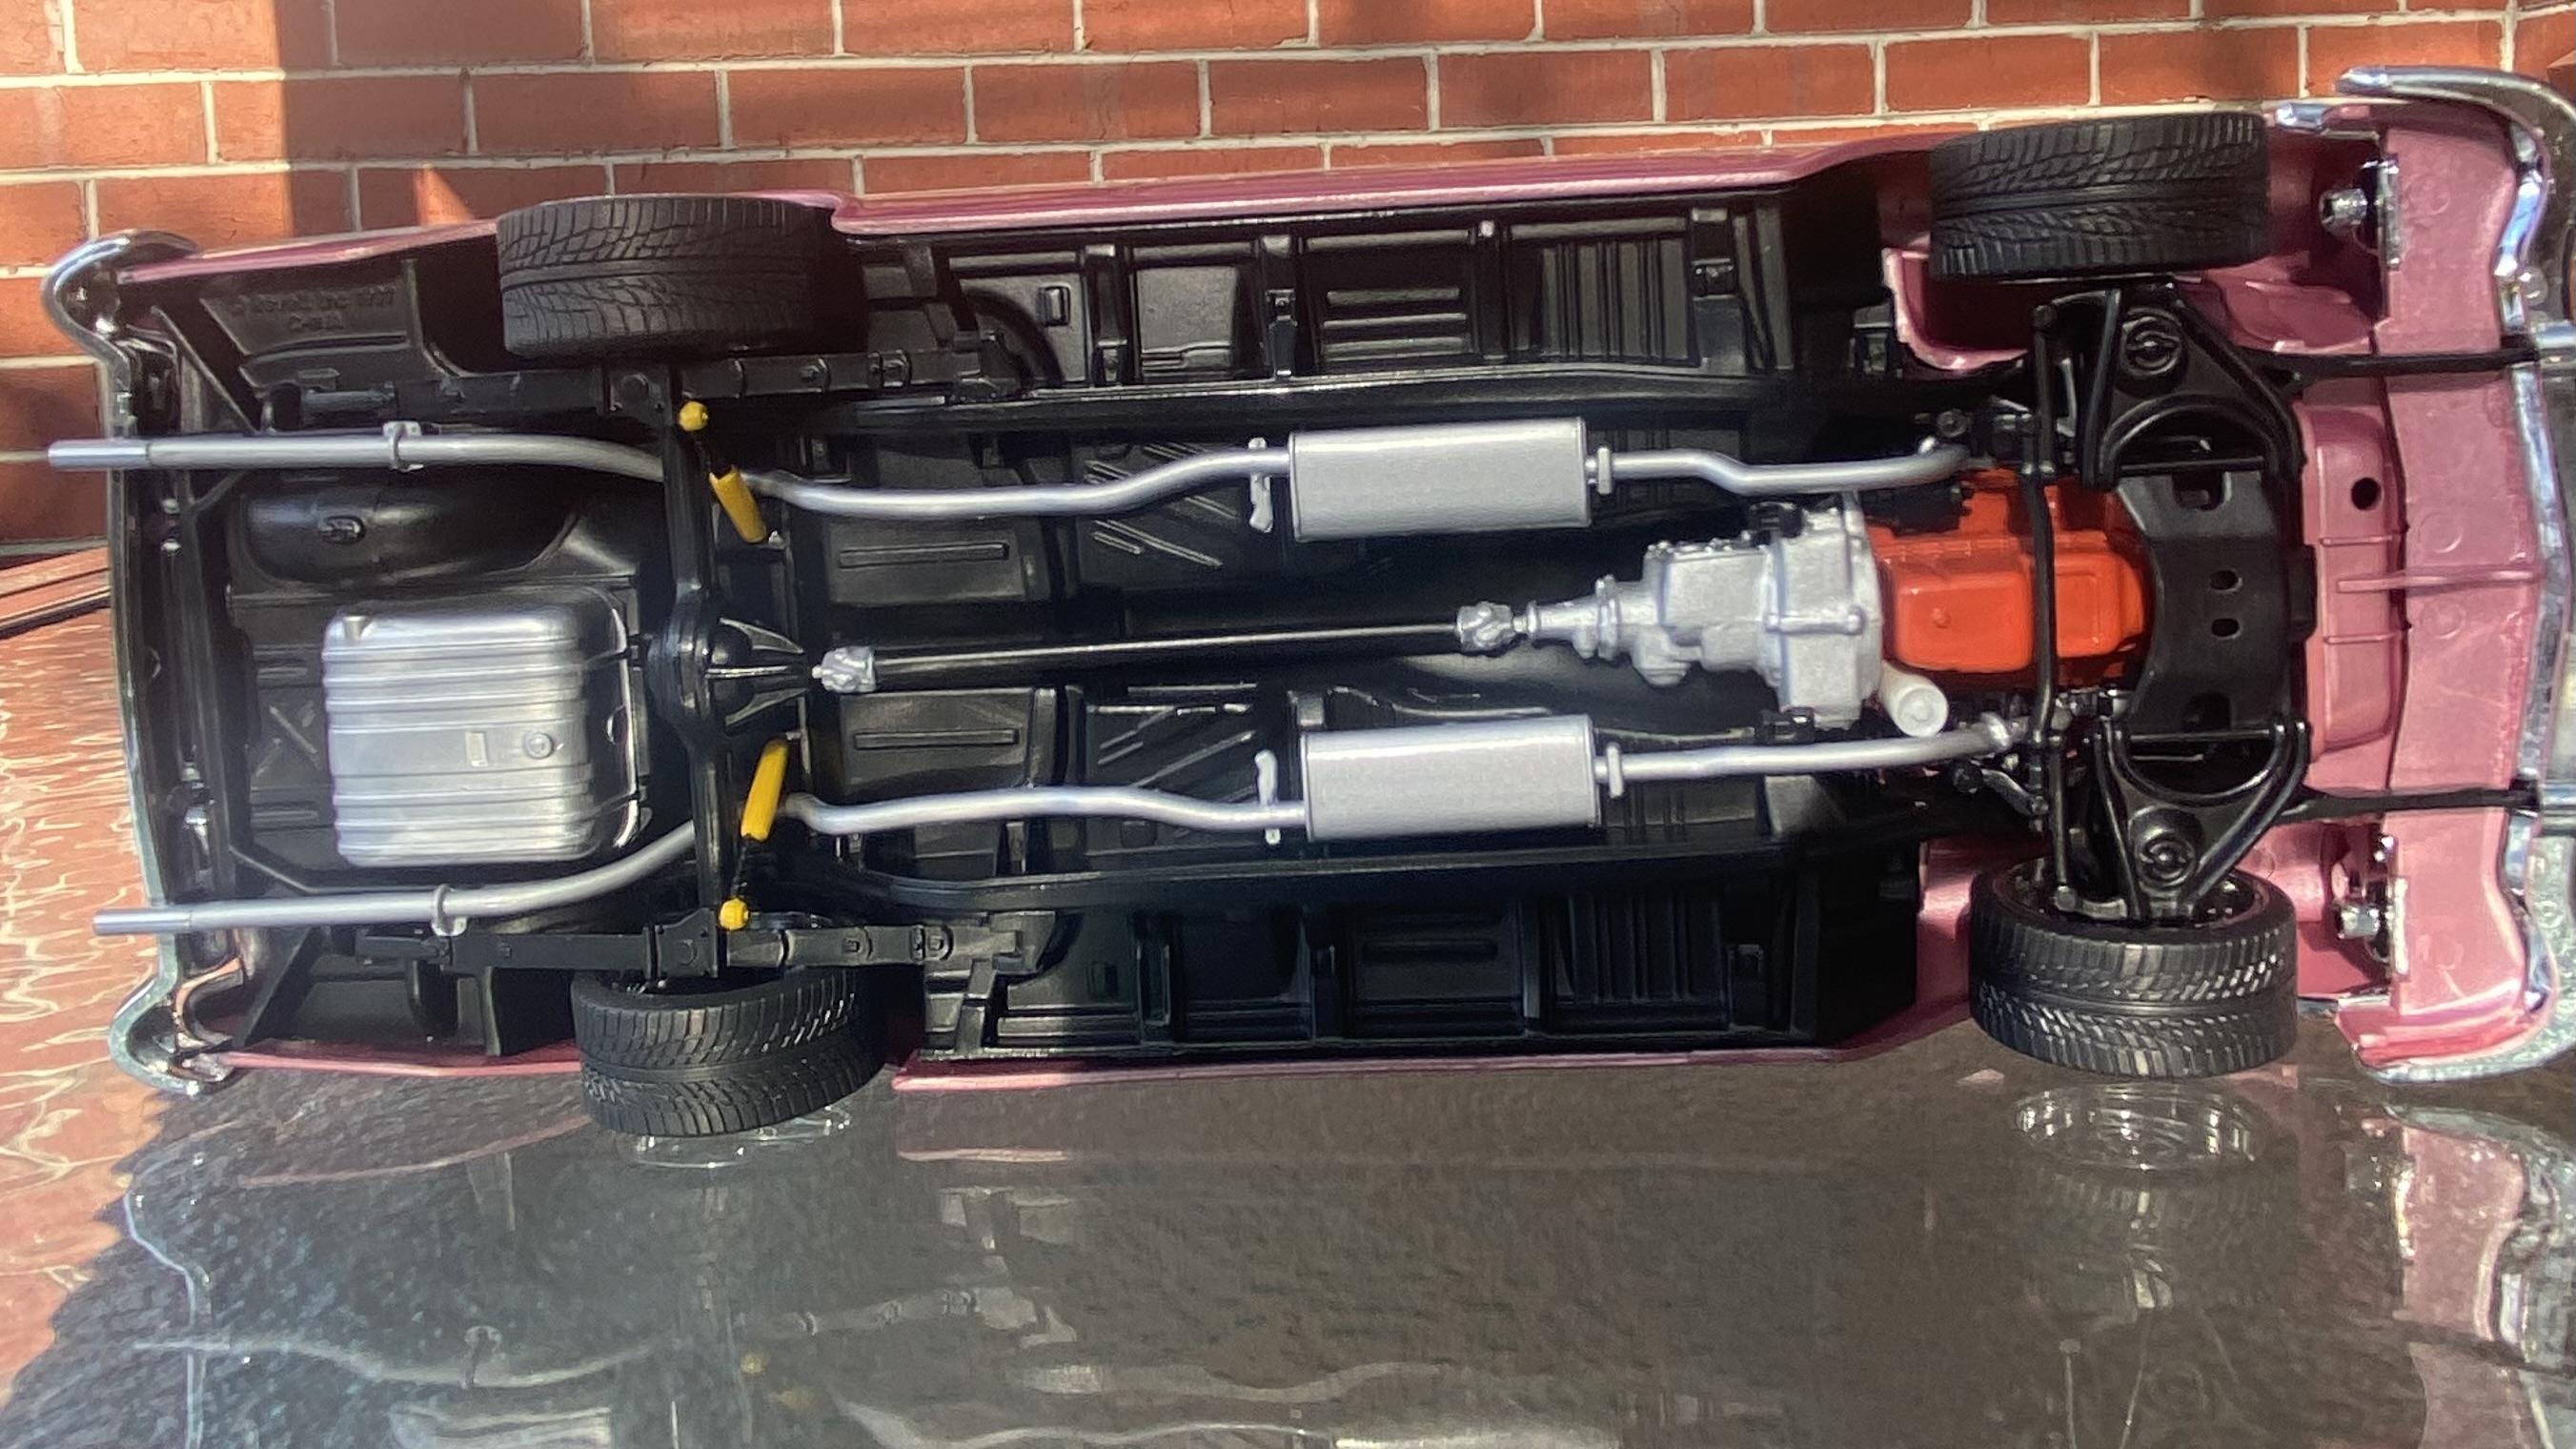
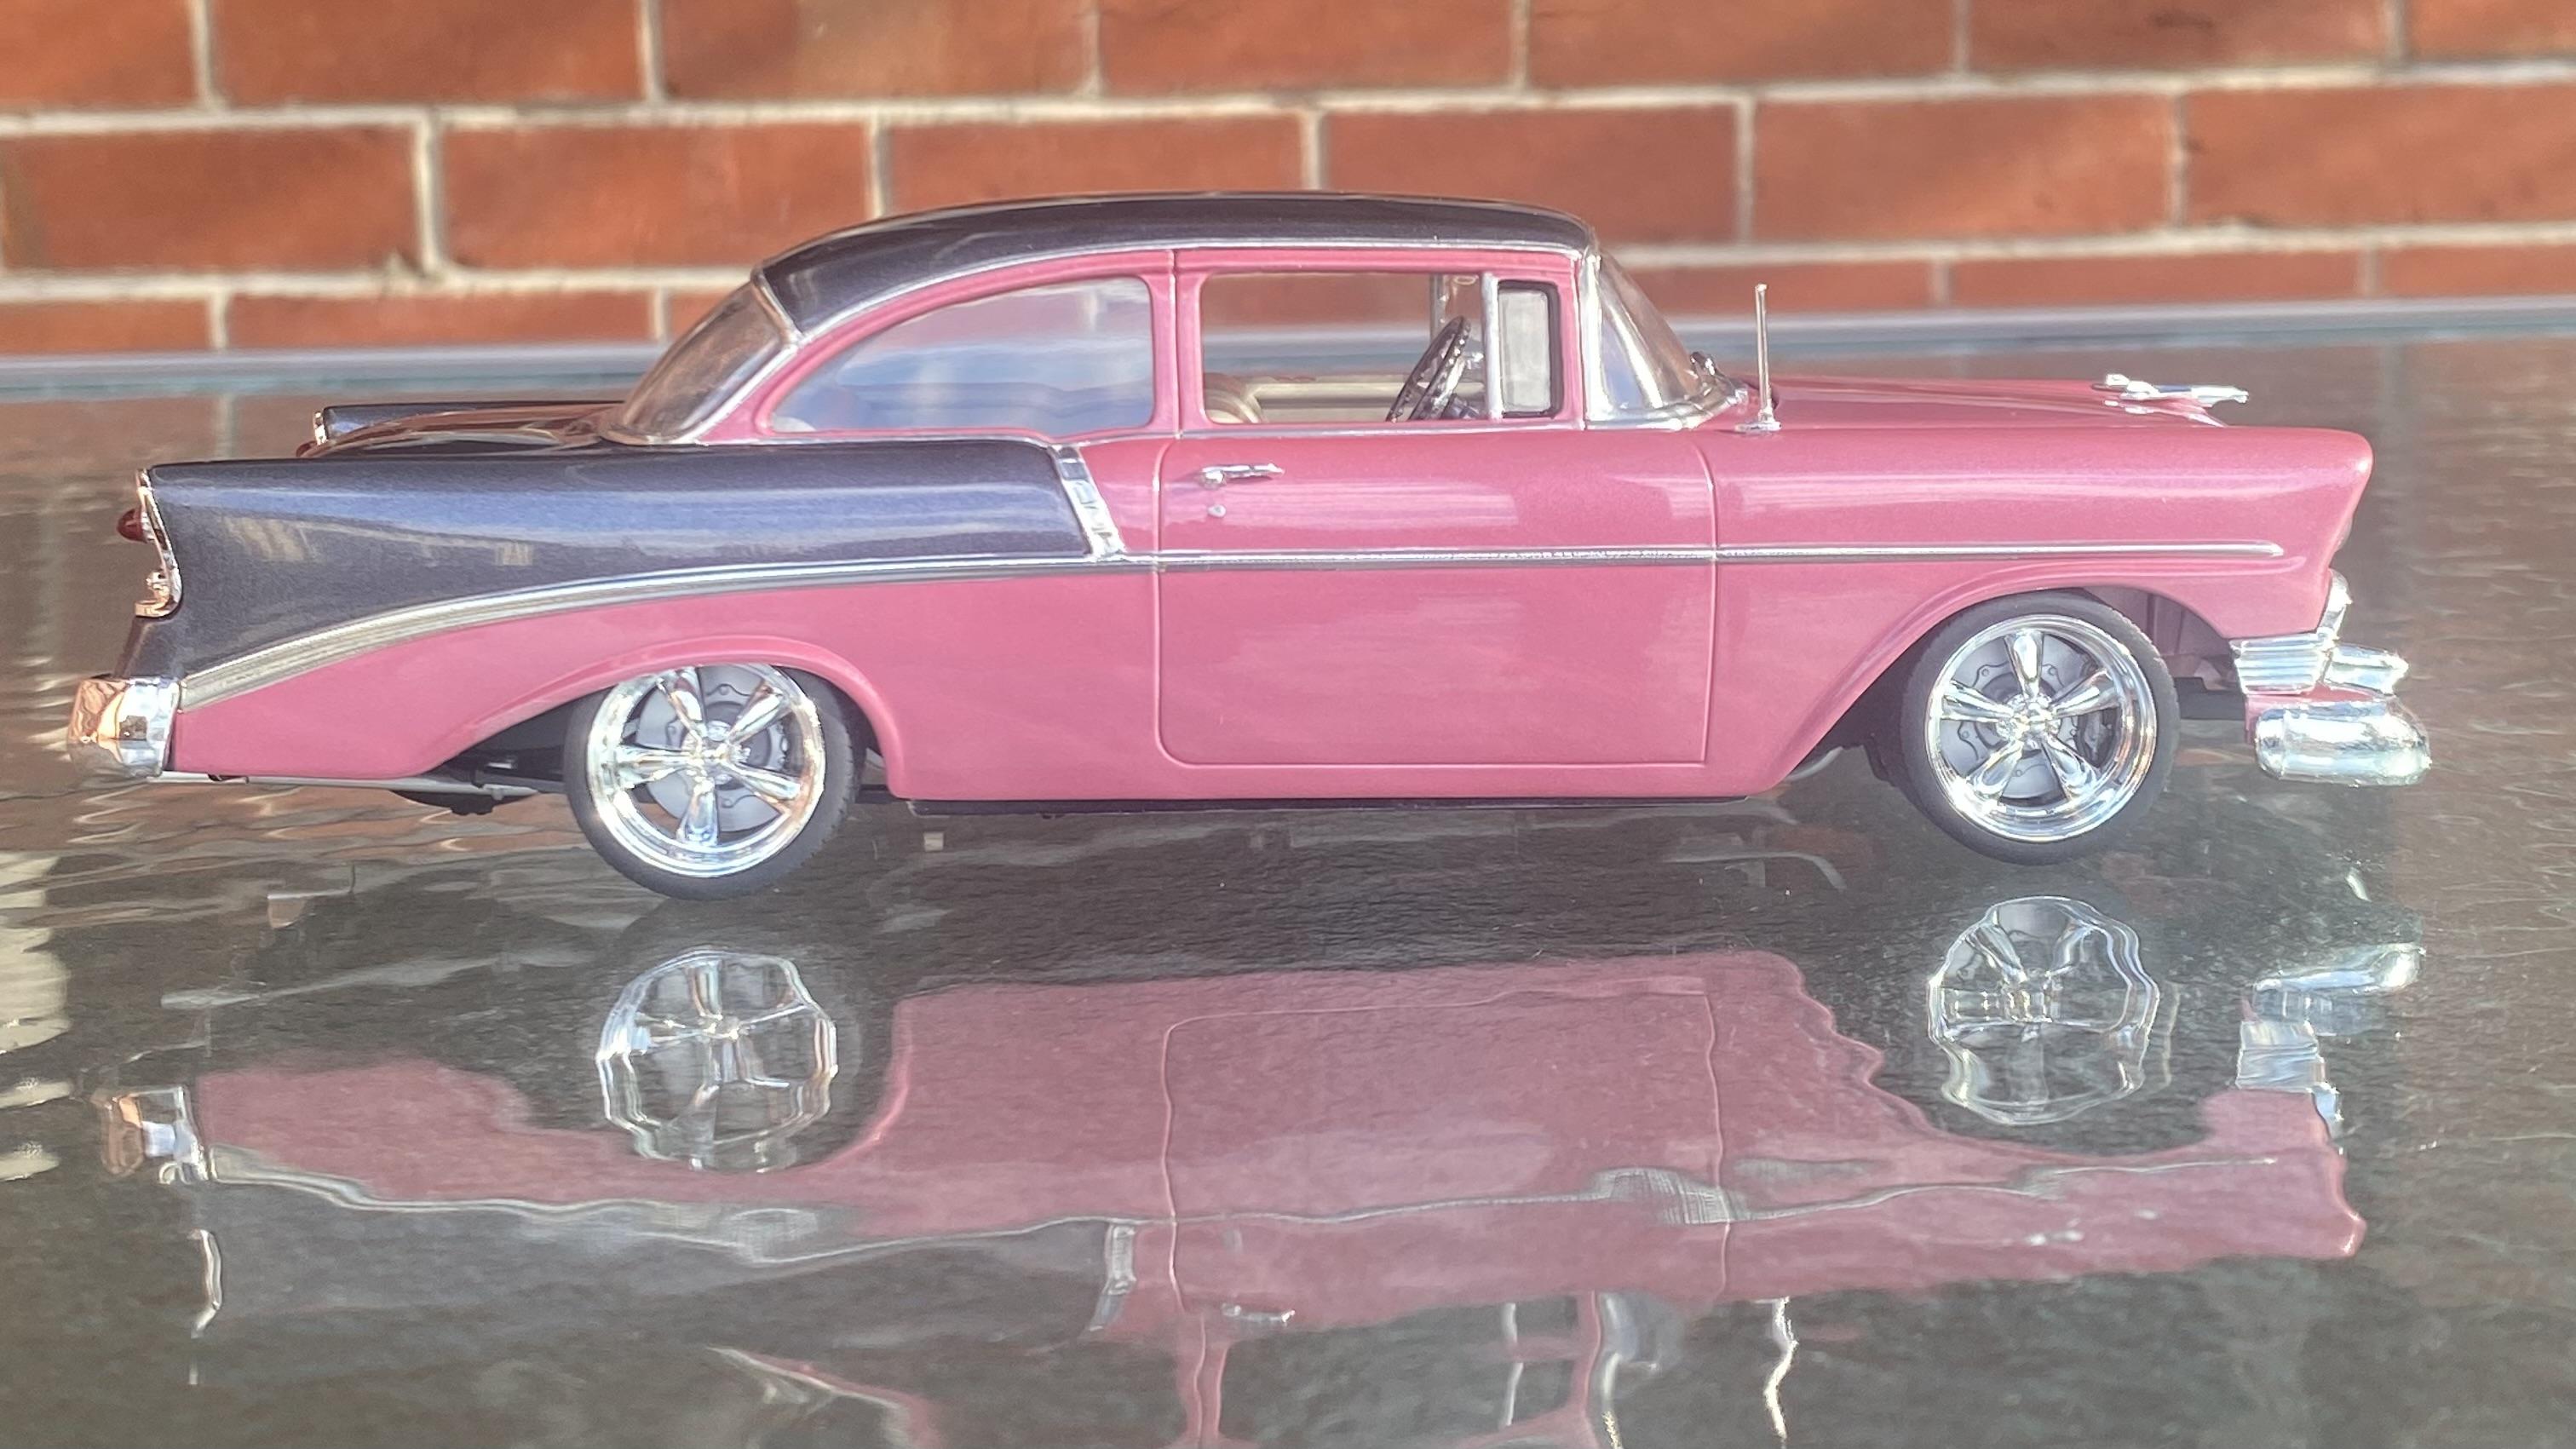
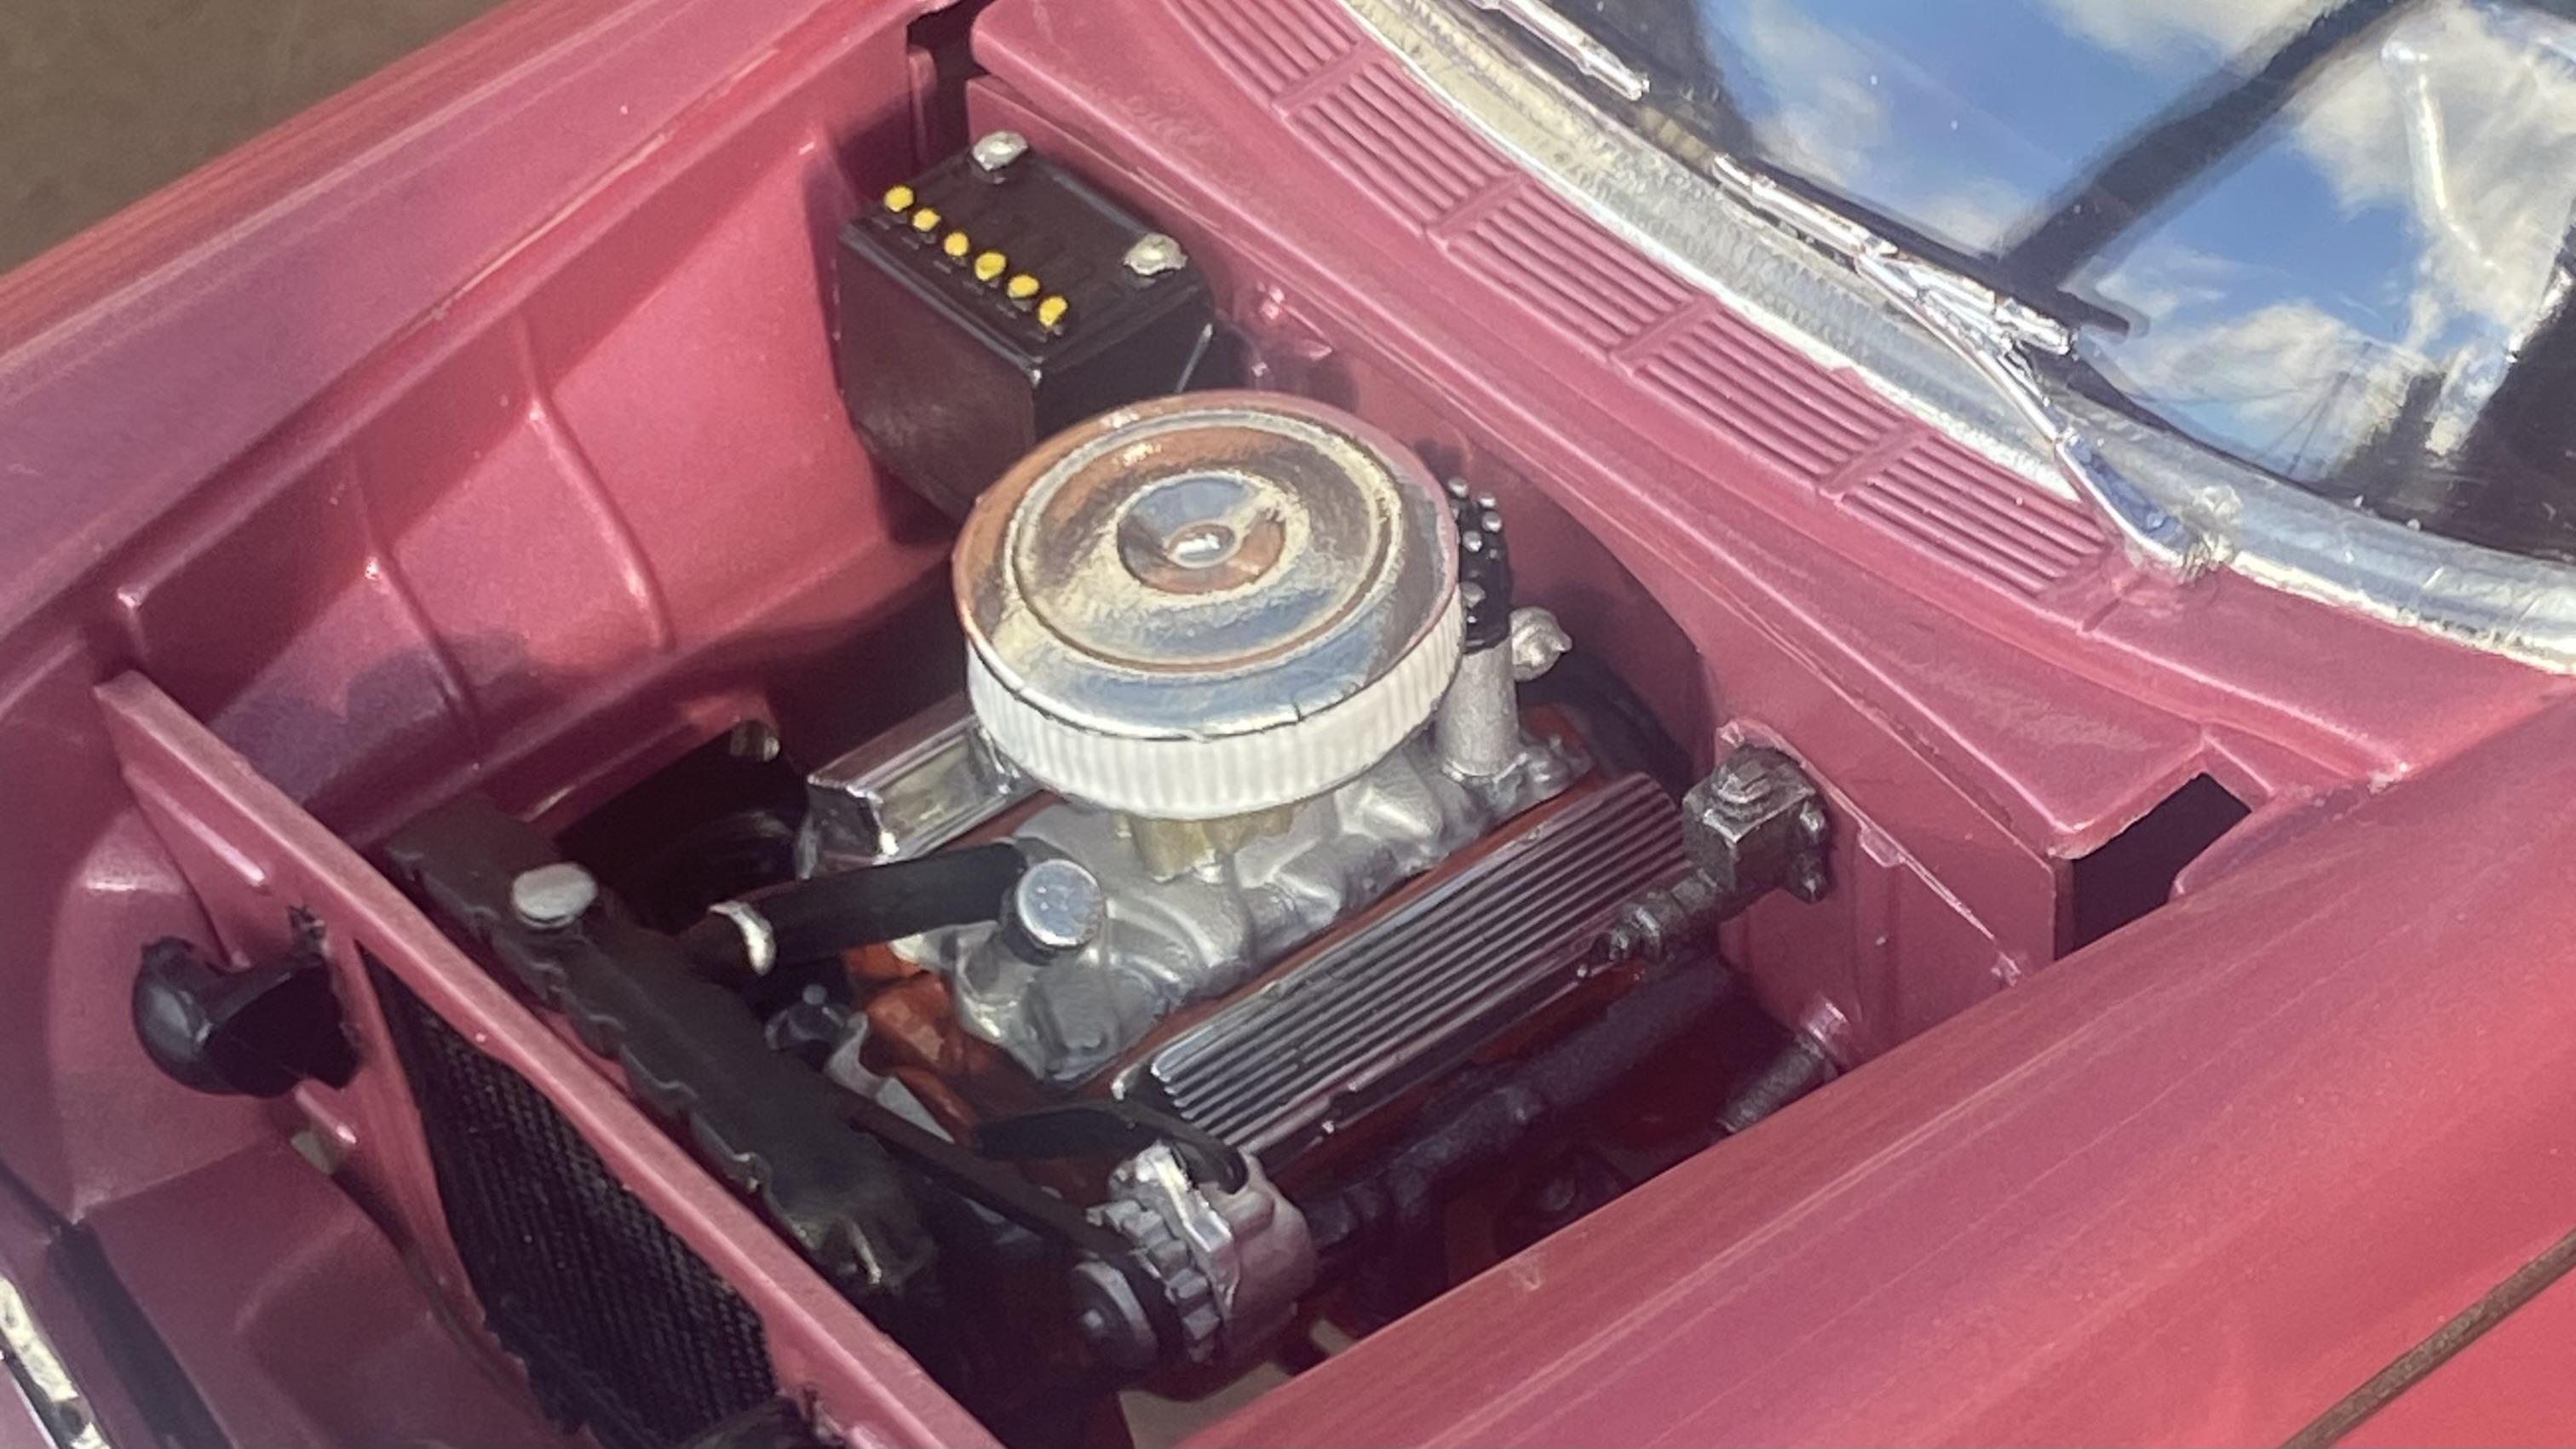
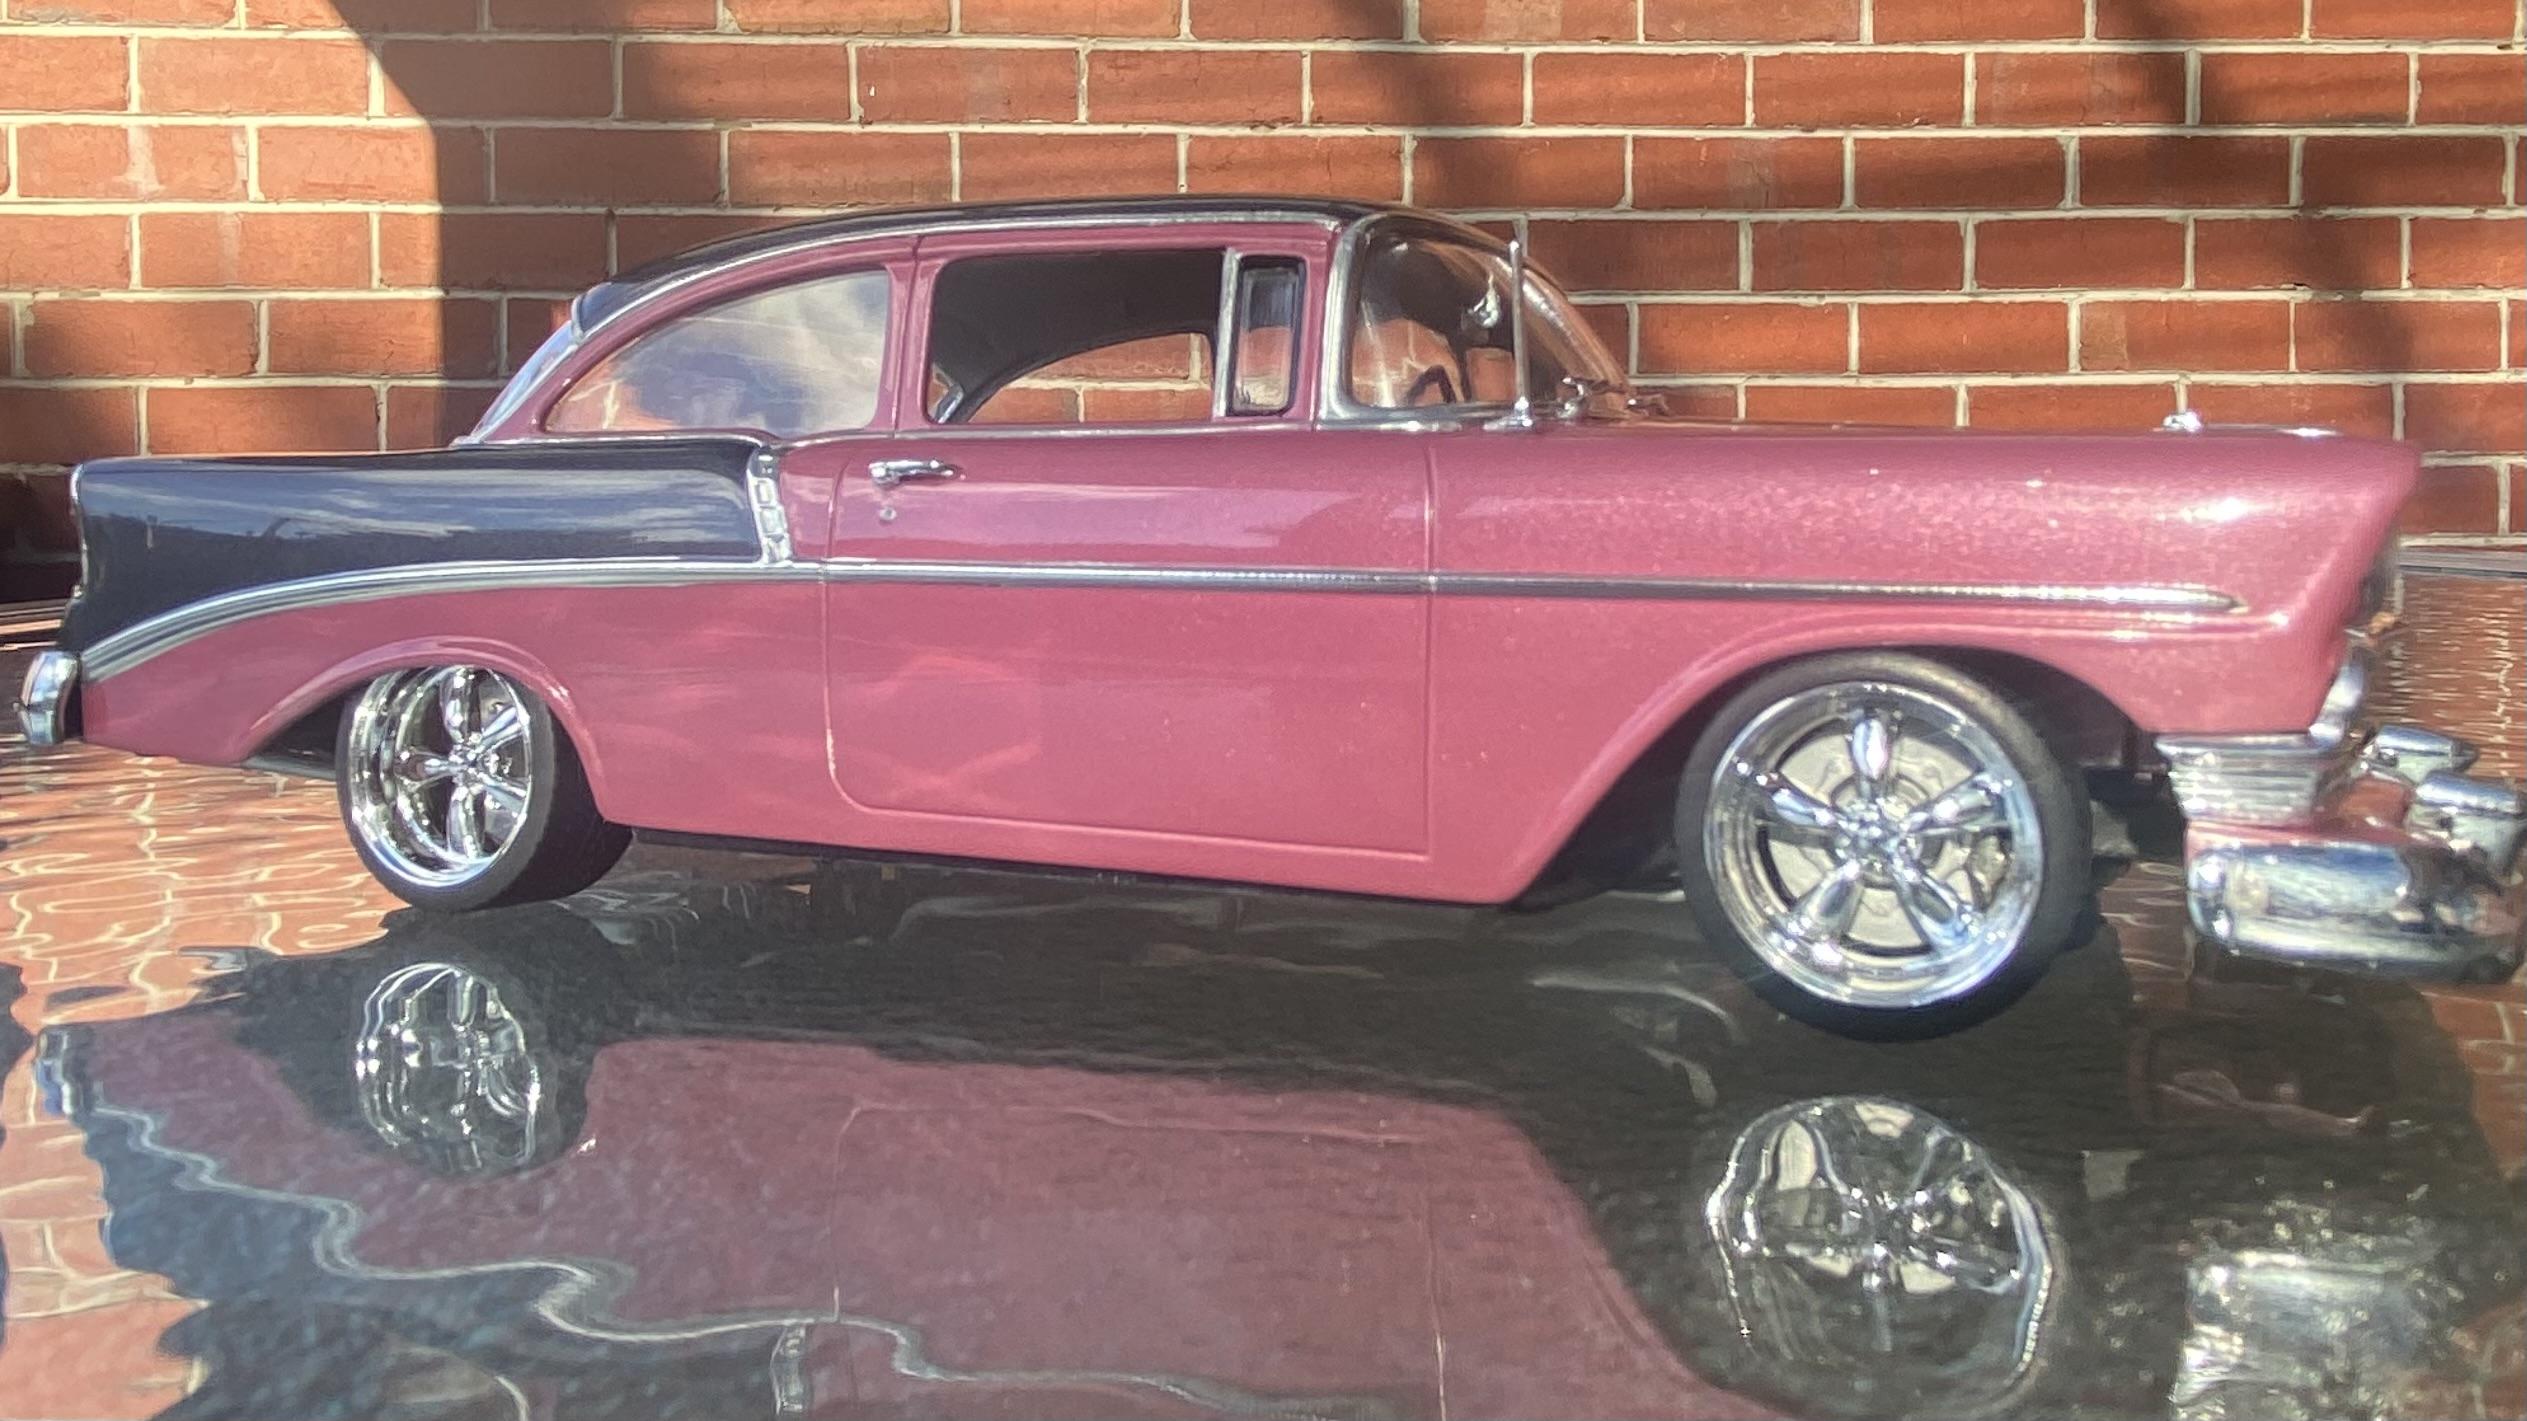
G’day all, I had a can of Tamiya TS-59 pearl light red and I thought that teamed up with TS-38 gun metal, would look pretty good on the 56 Chev. I had a few issues, most notably the bare metal foil. Foiling is something I still struggle with but I’m reasonably happy with this one and feel that I’m getting better. As with any of my builds, any comments, the good, the bad or the ugly are welcome. Thanks for looking. Cheers, Stuart.👍🏻
-
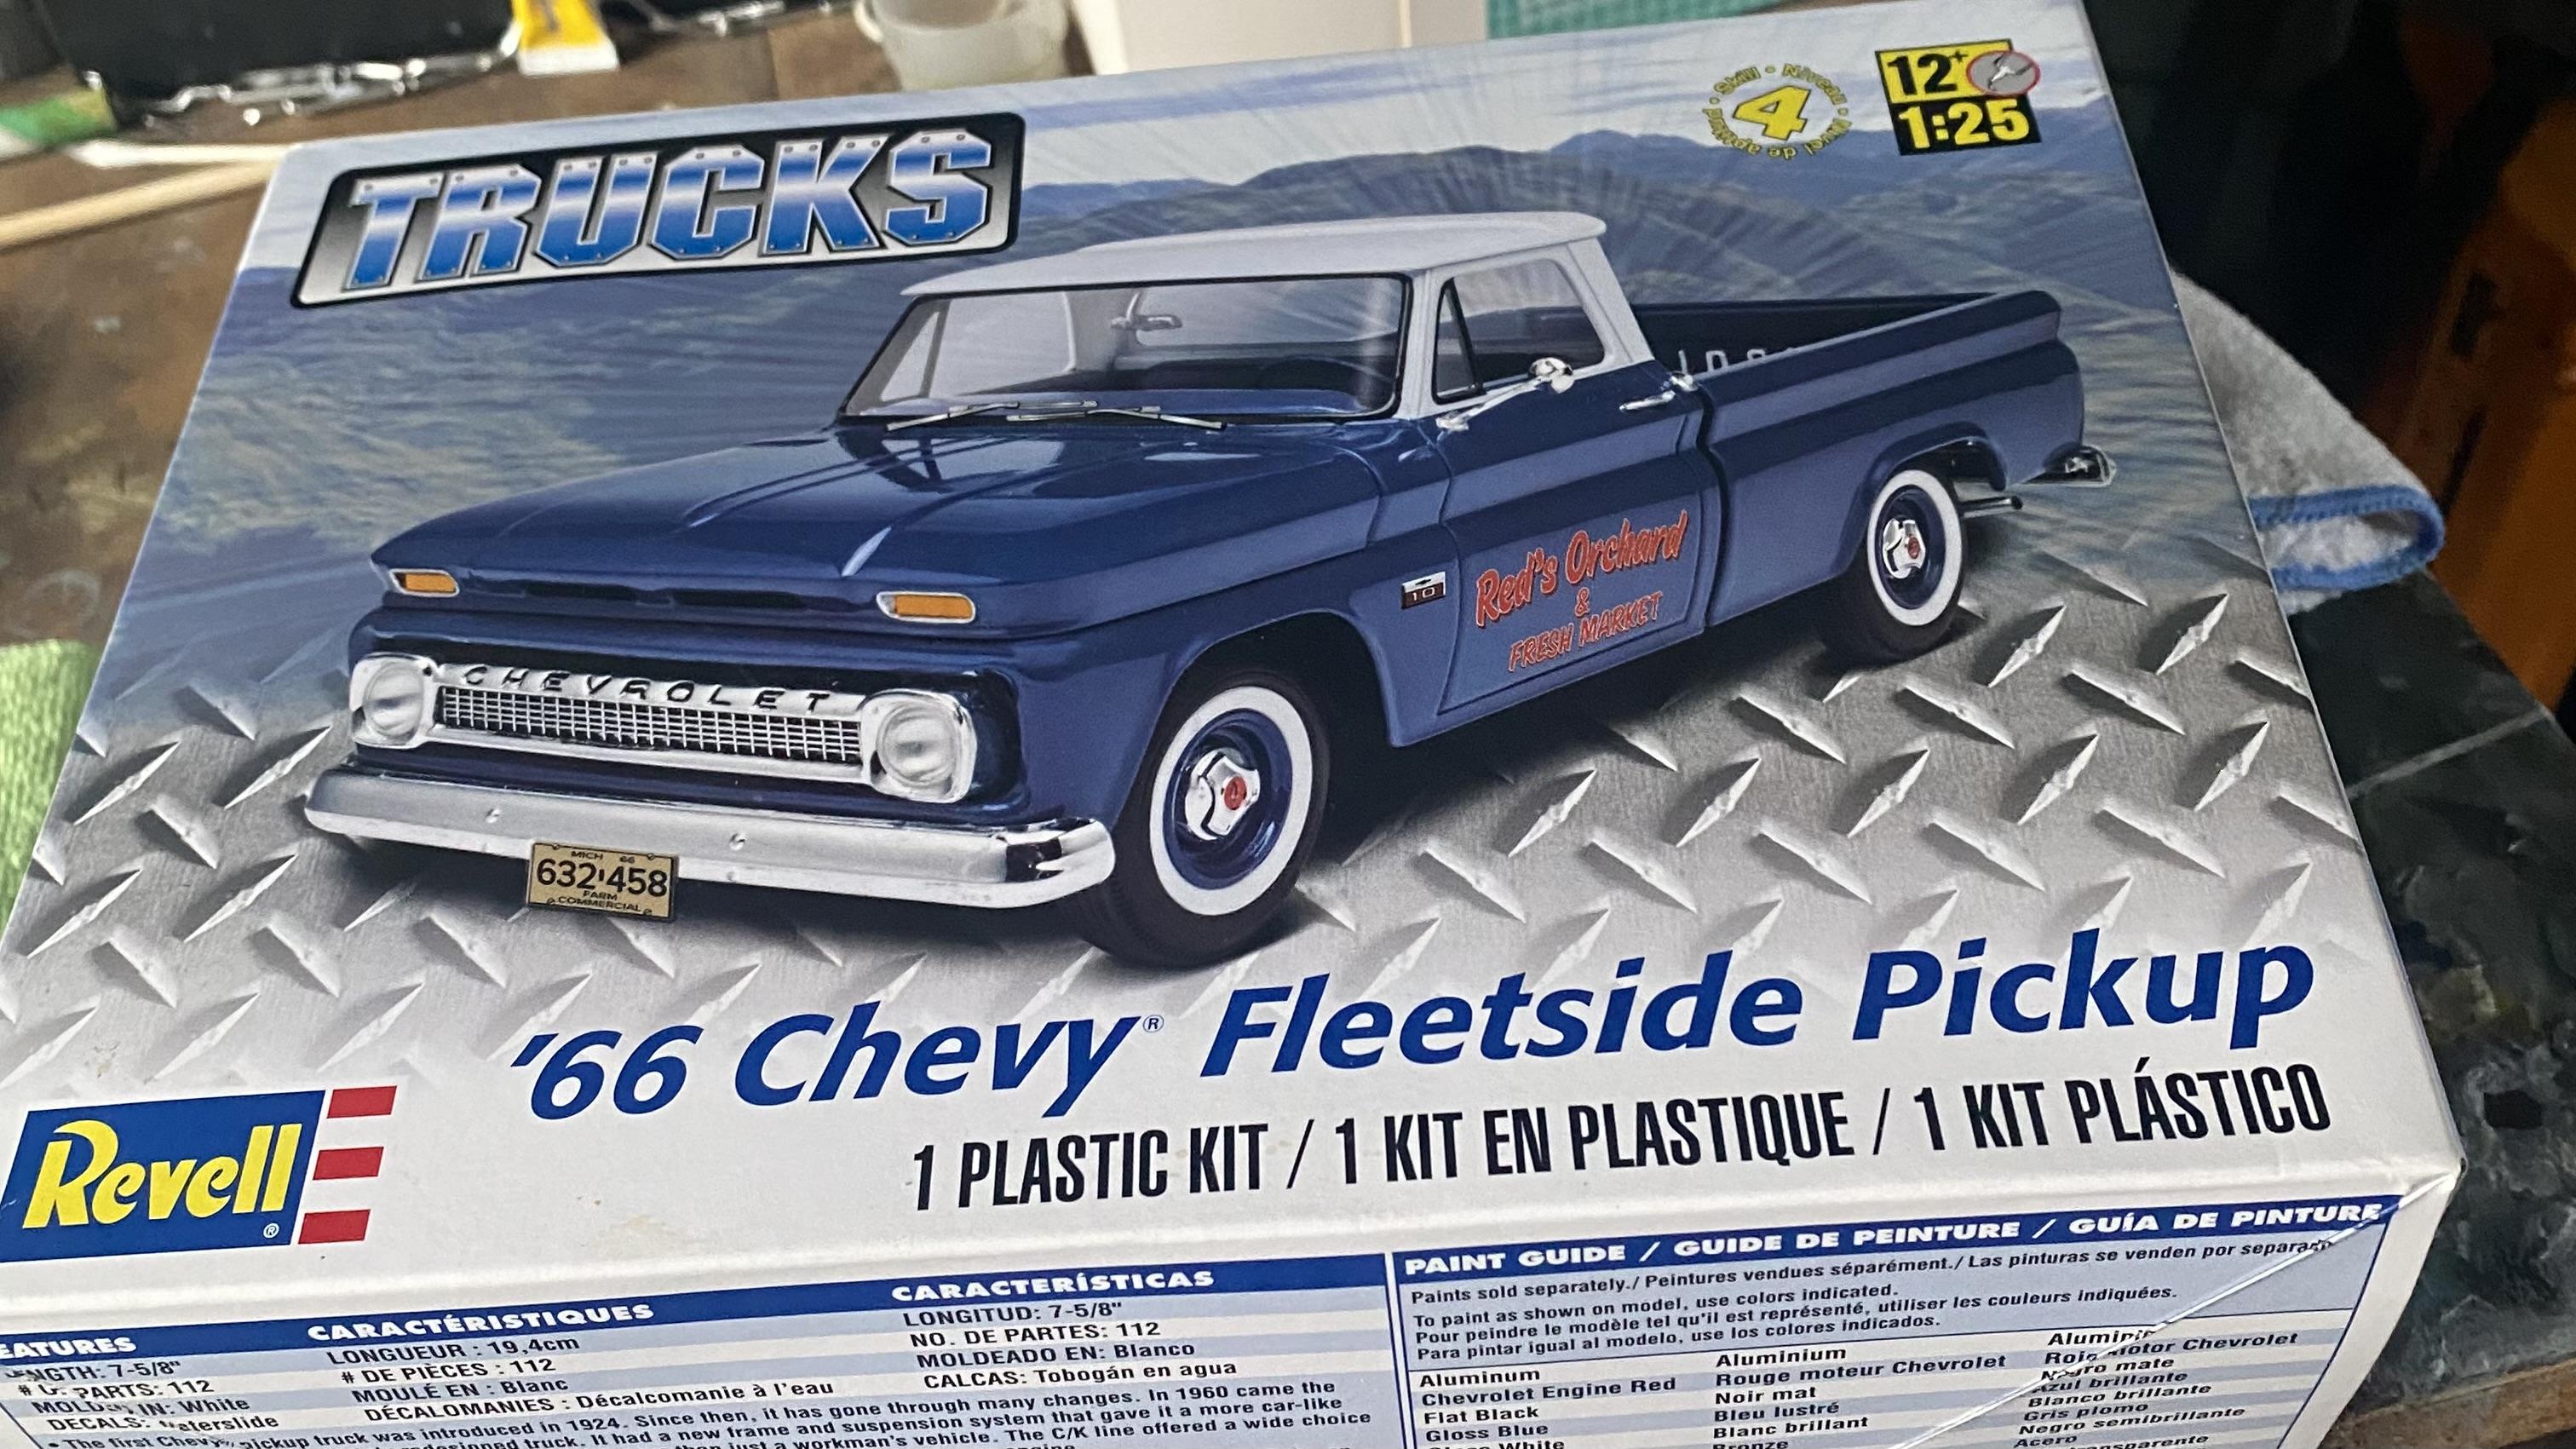
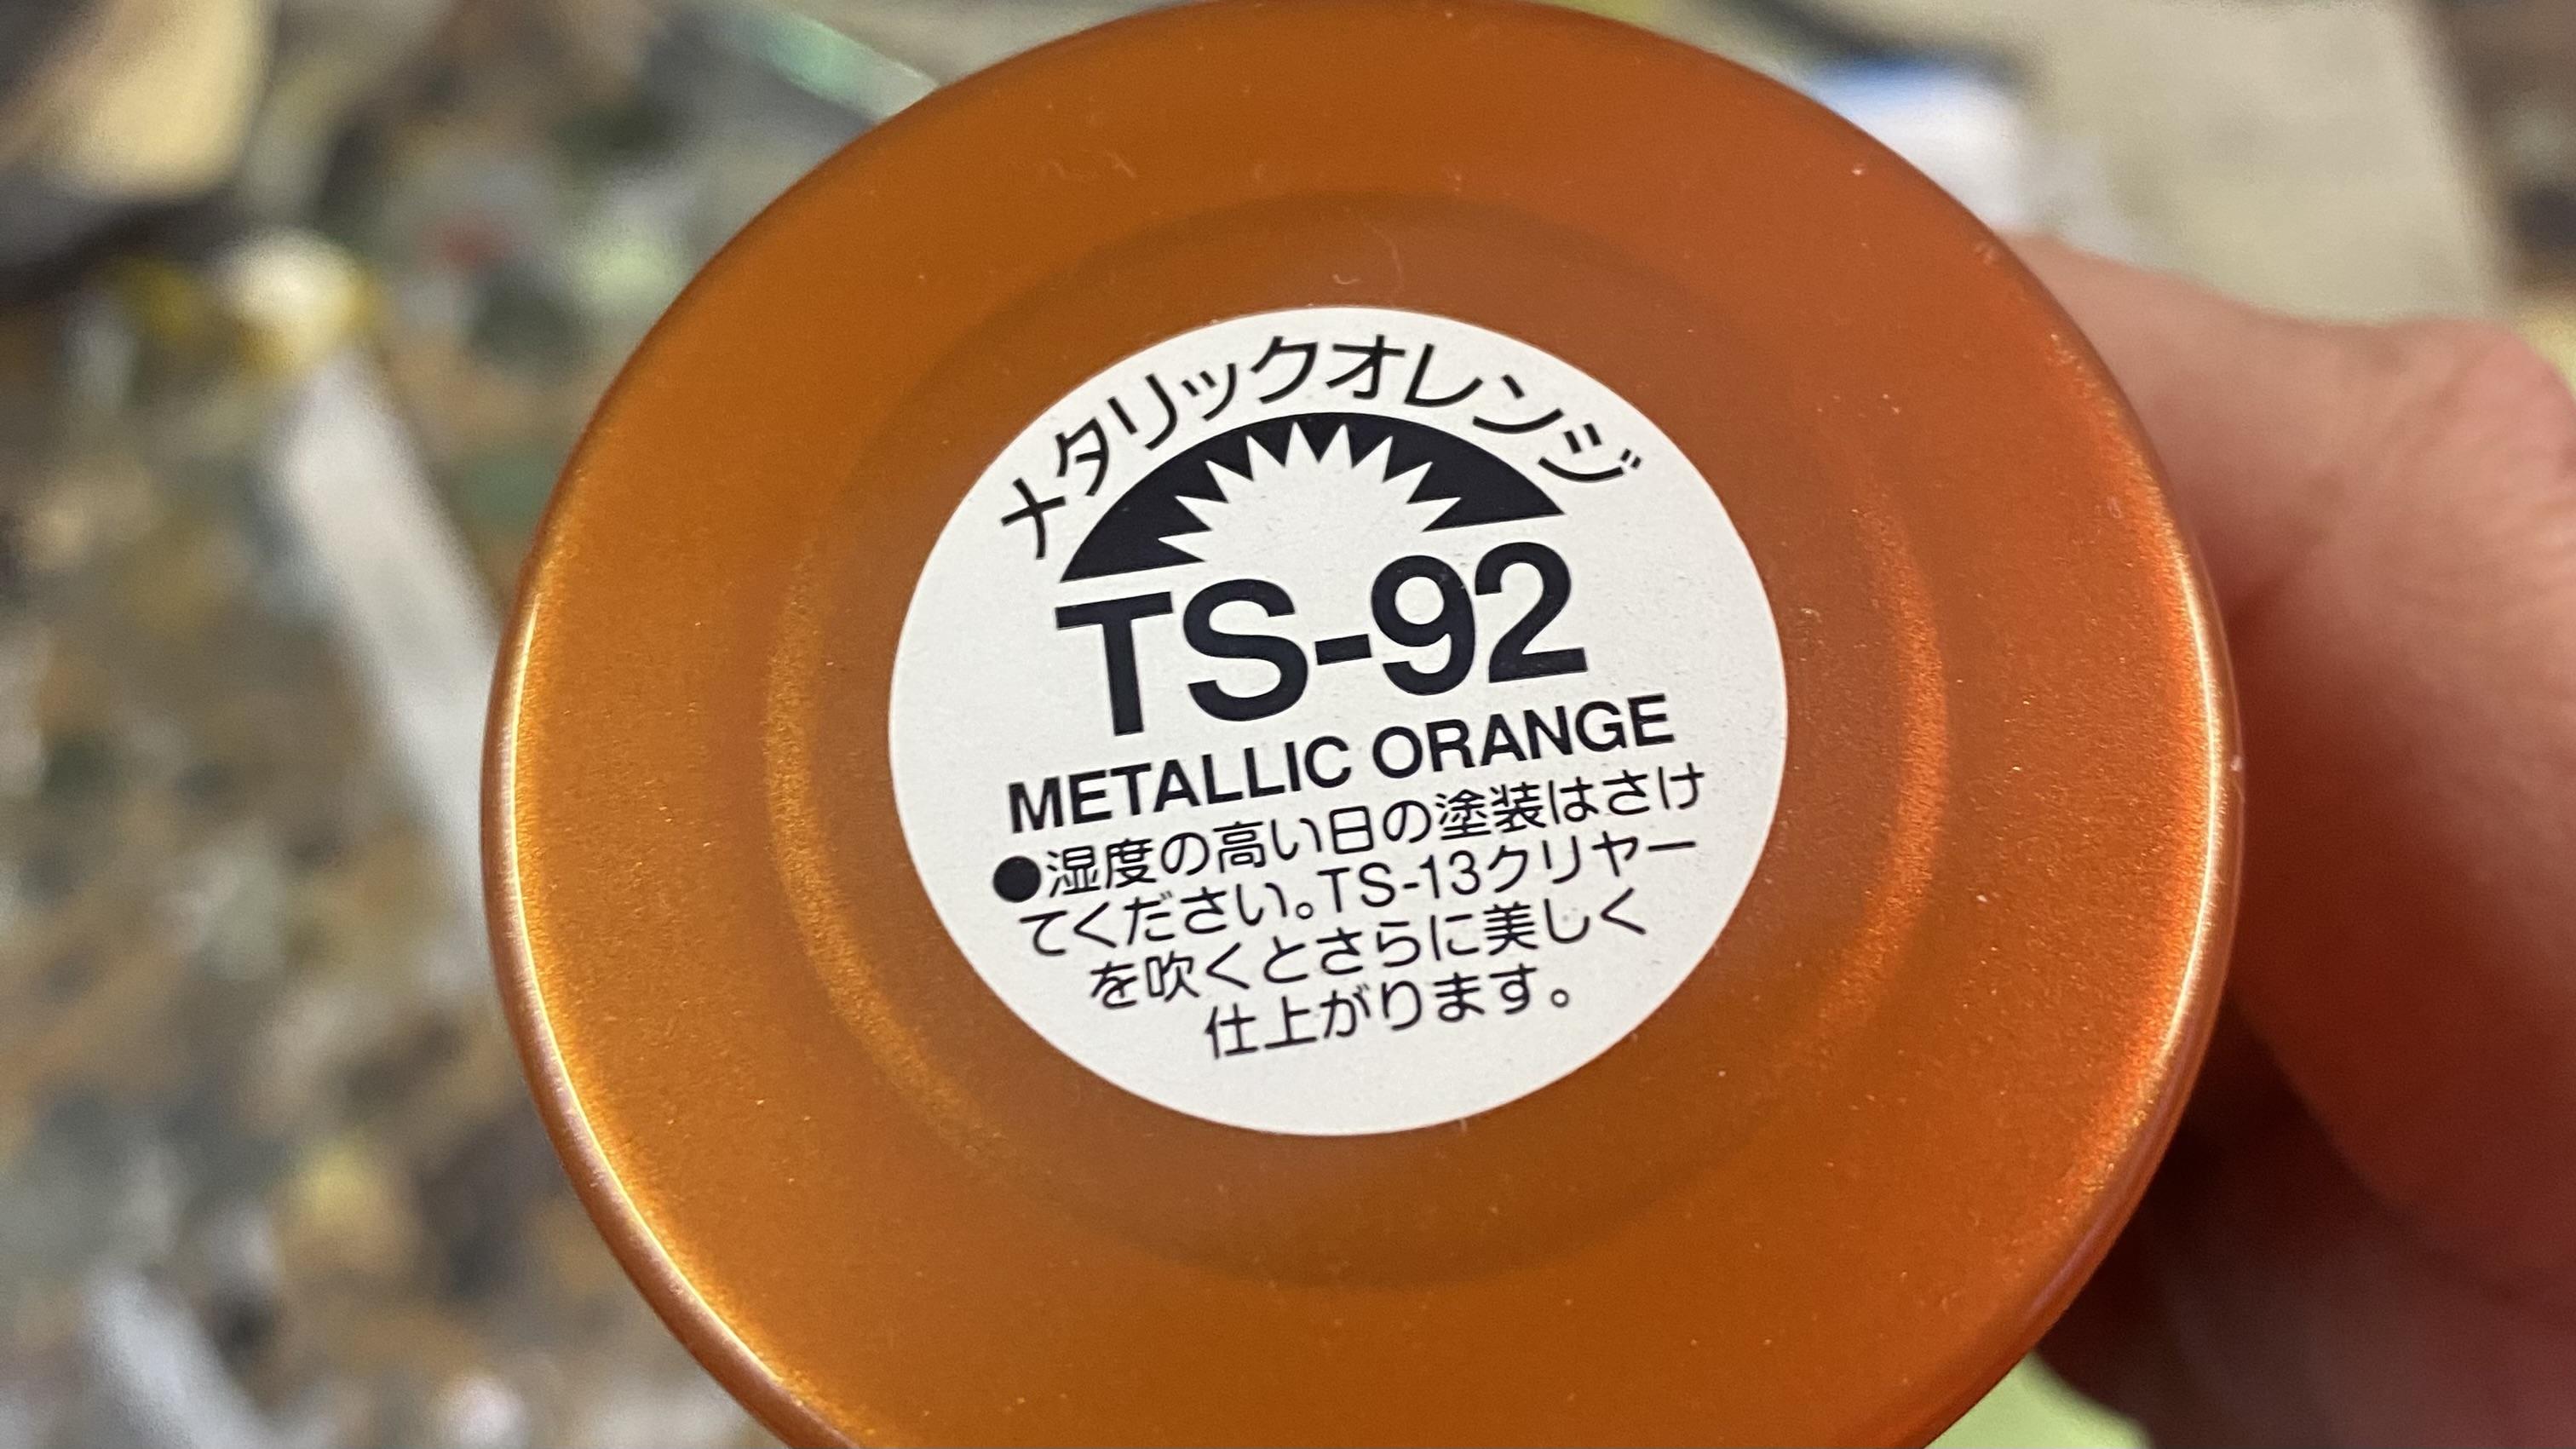
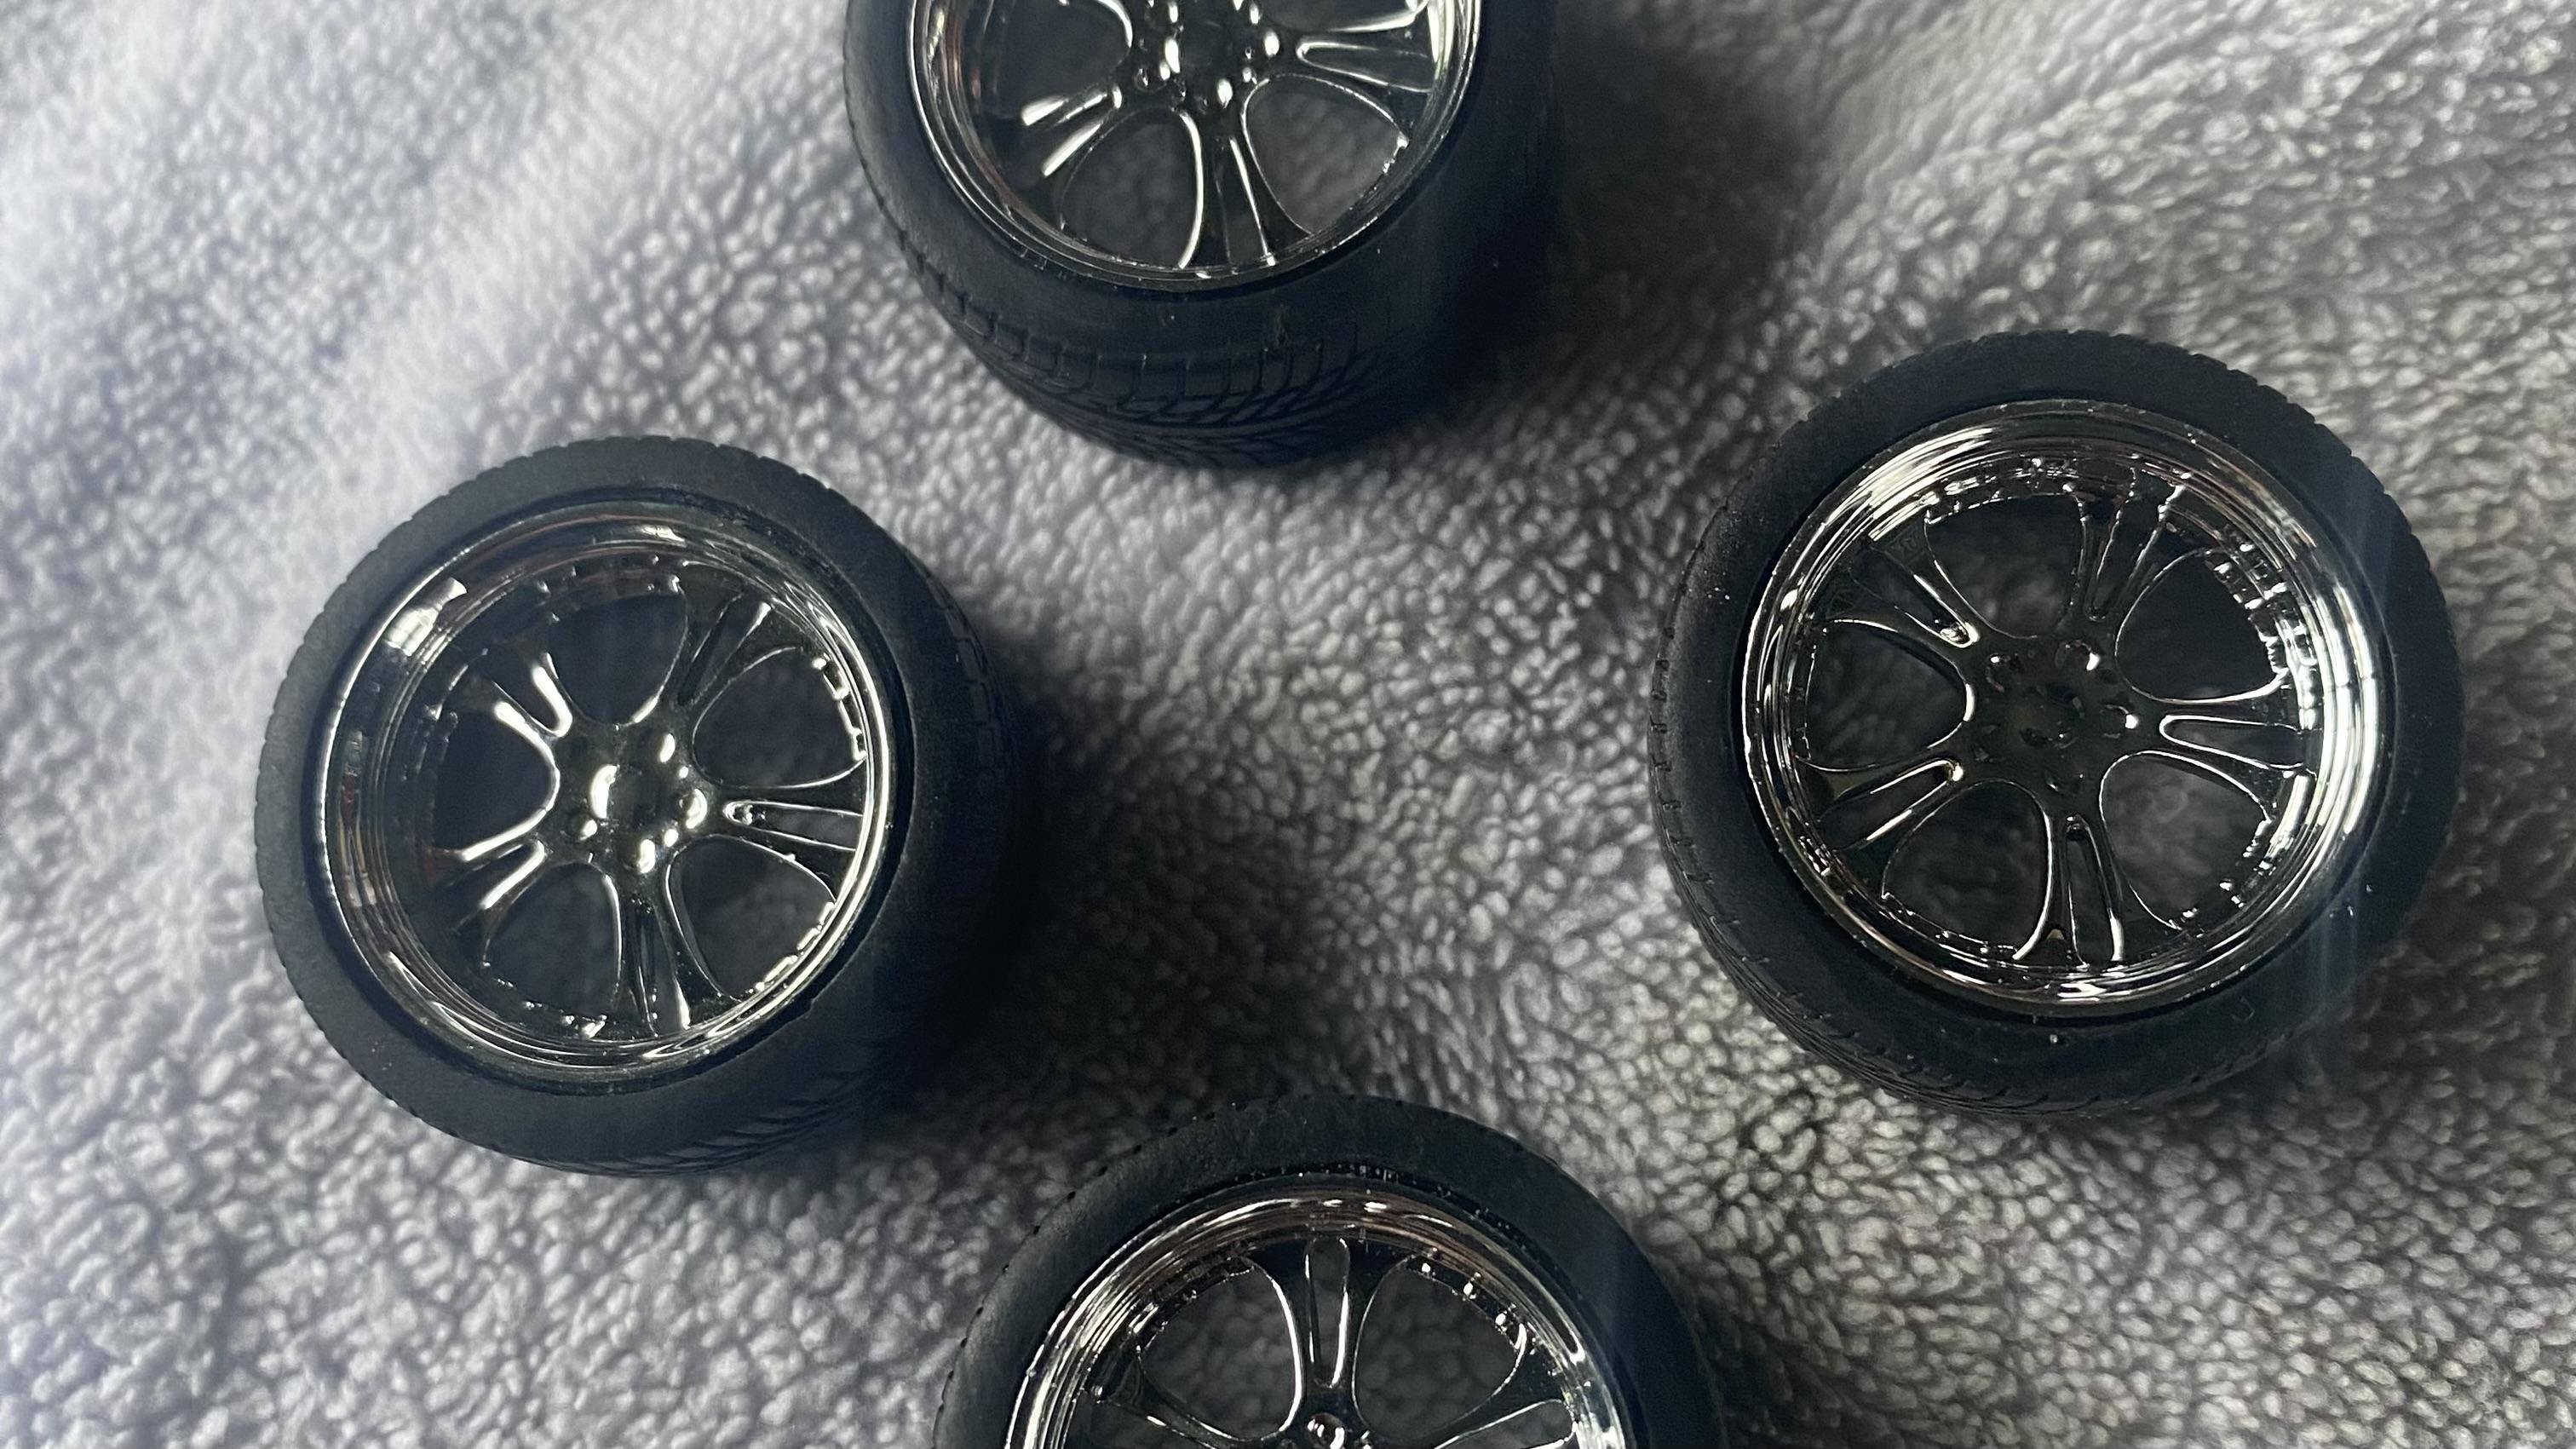
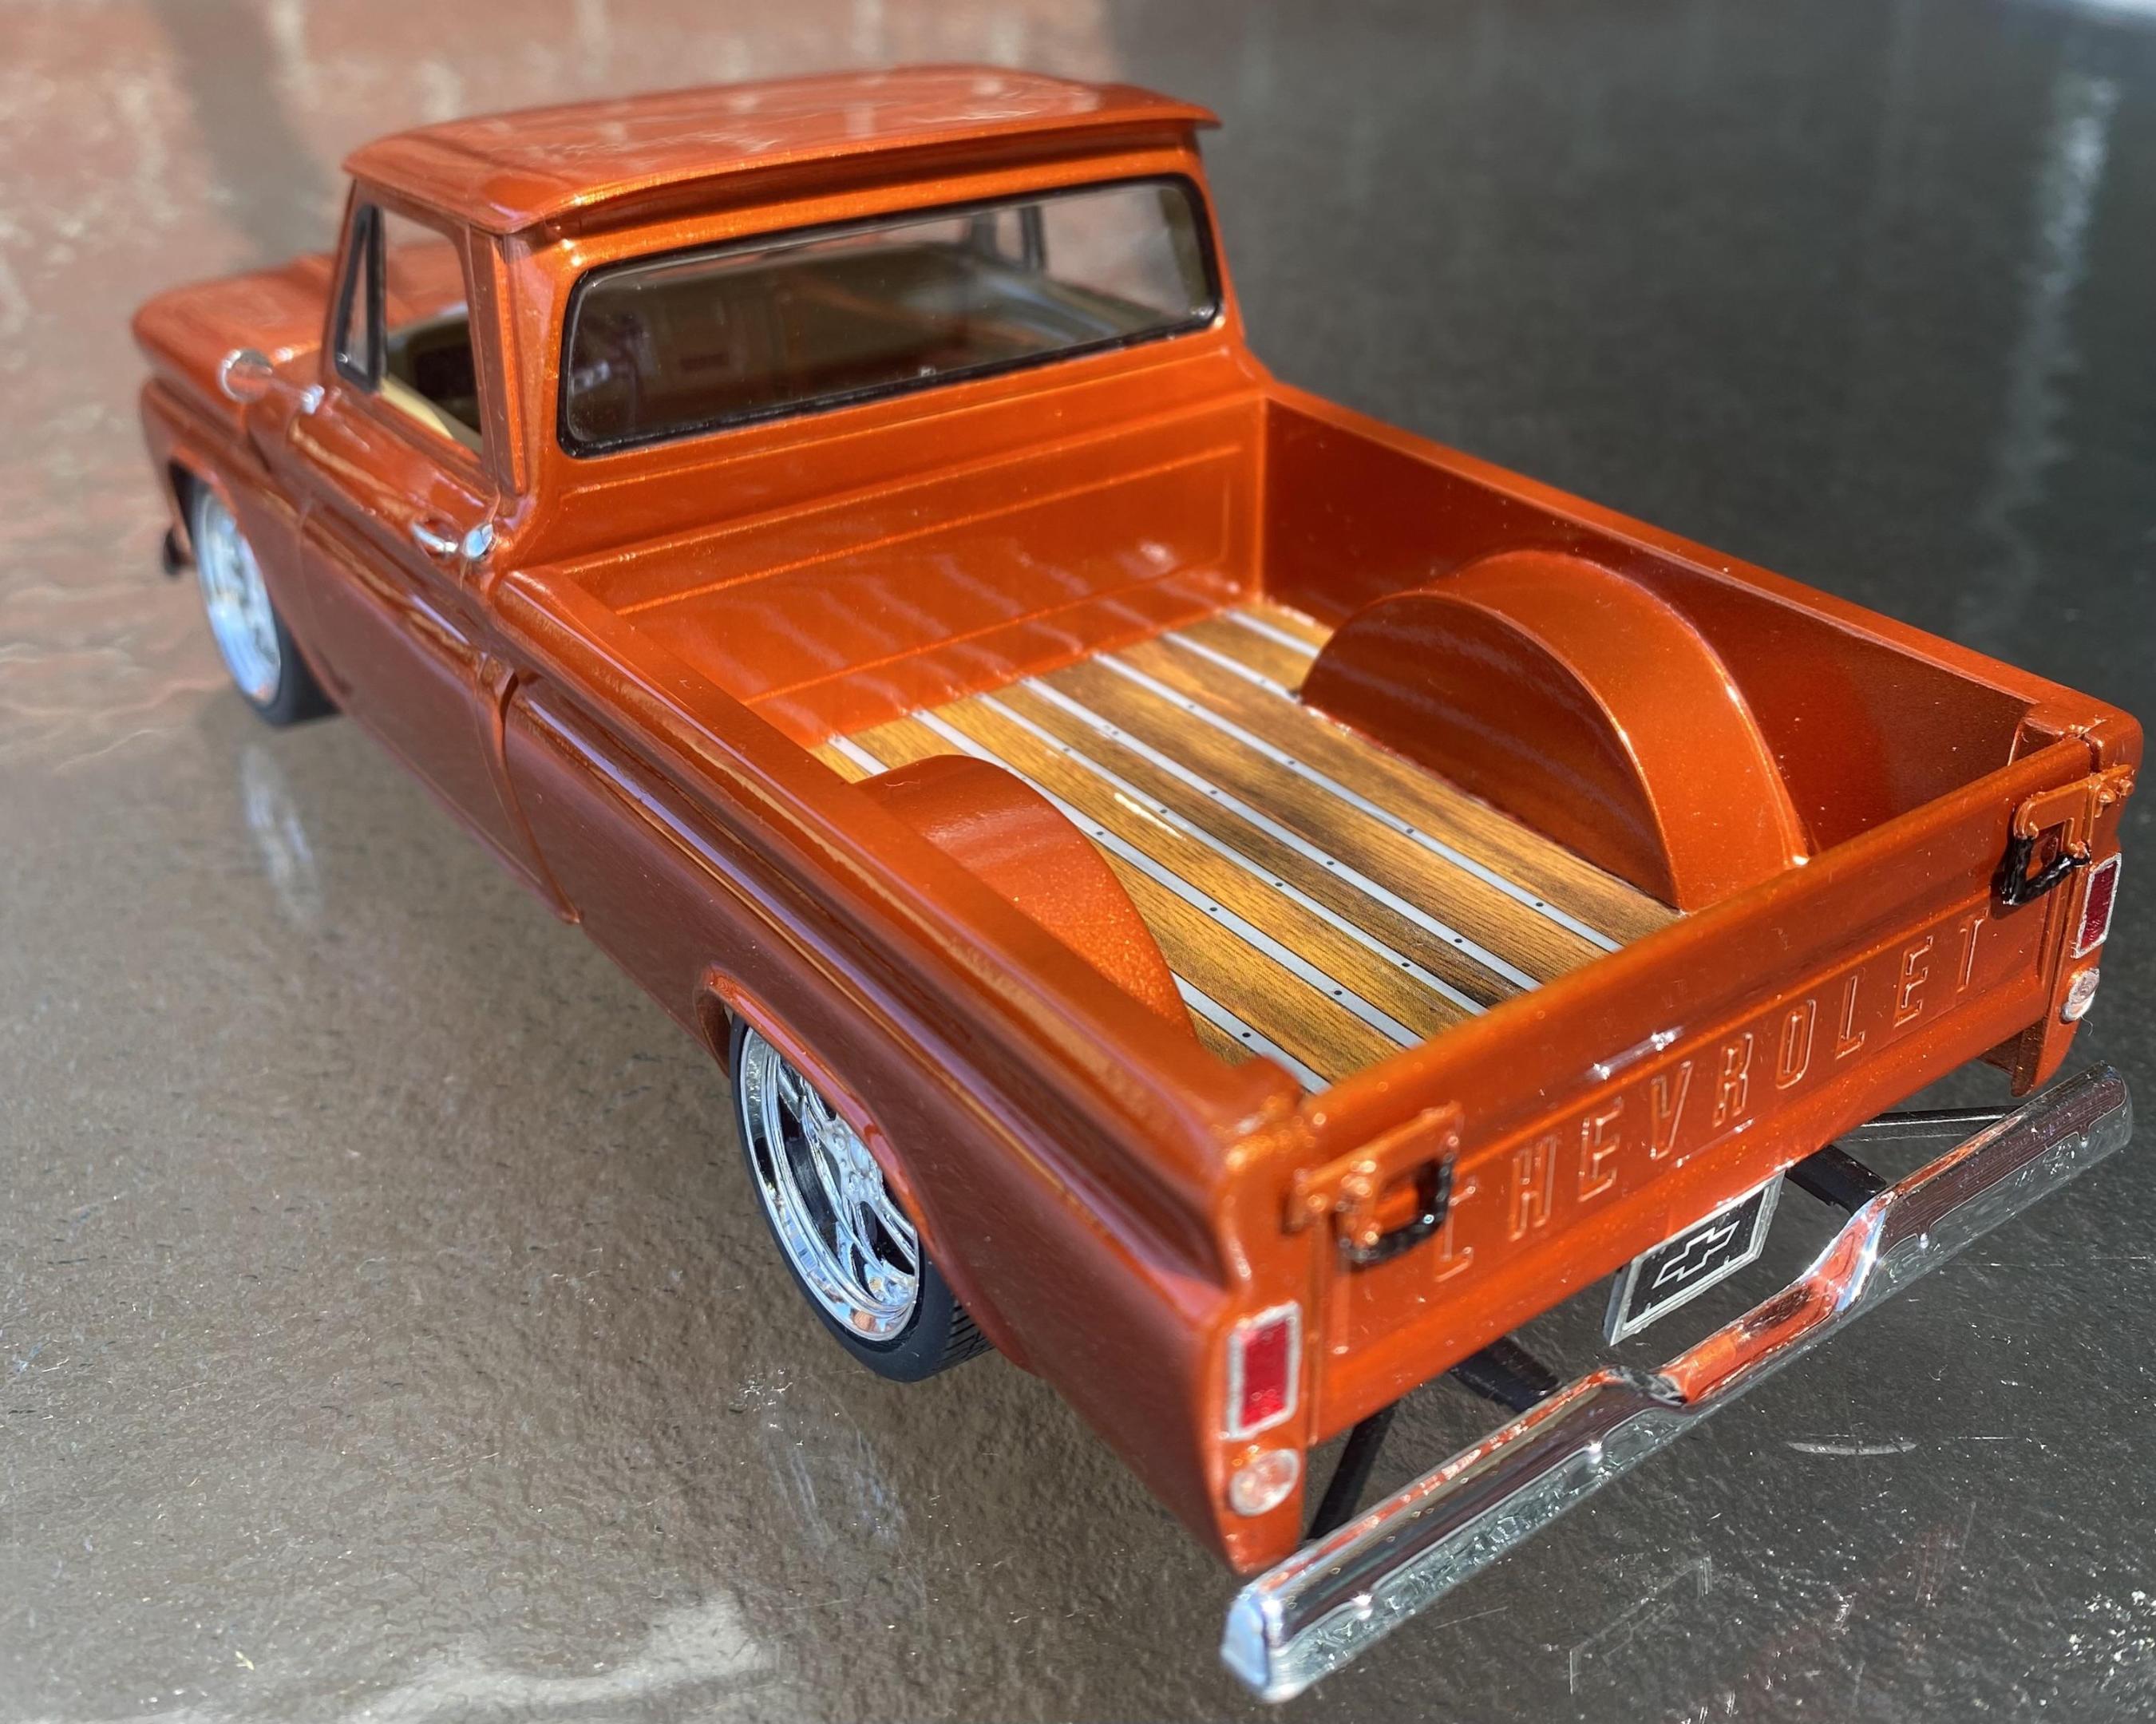
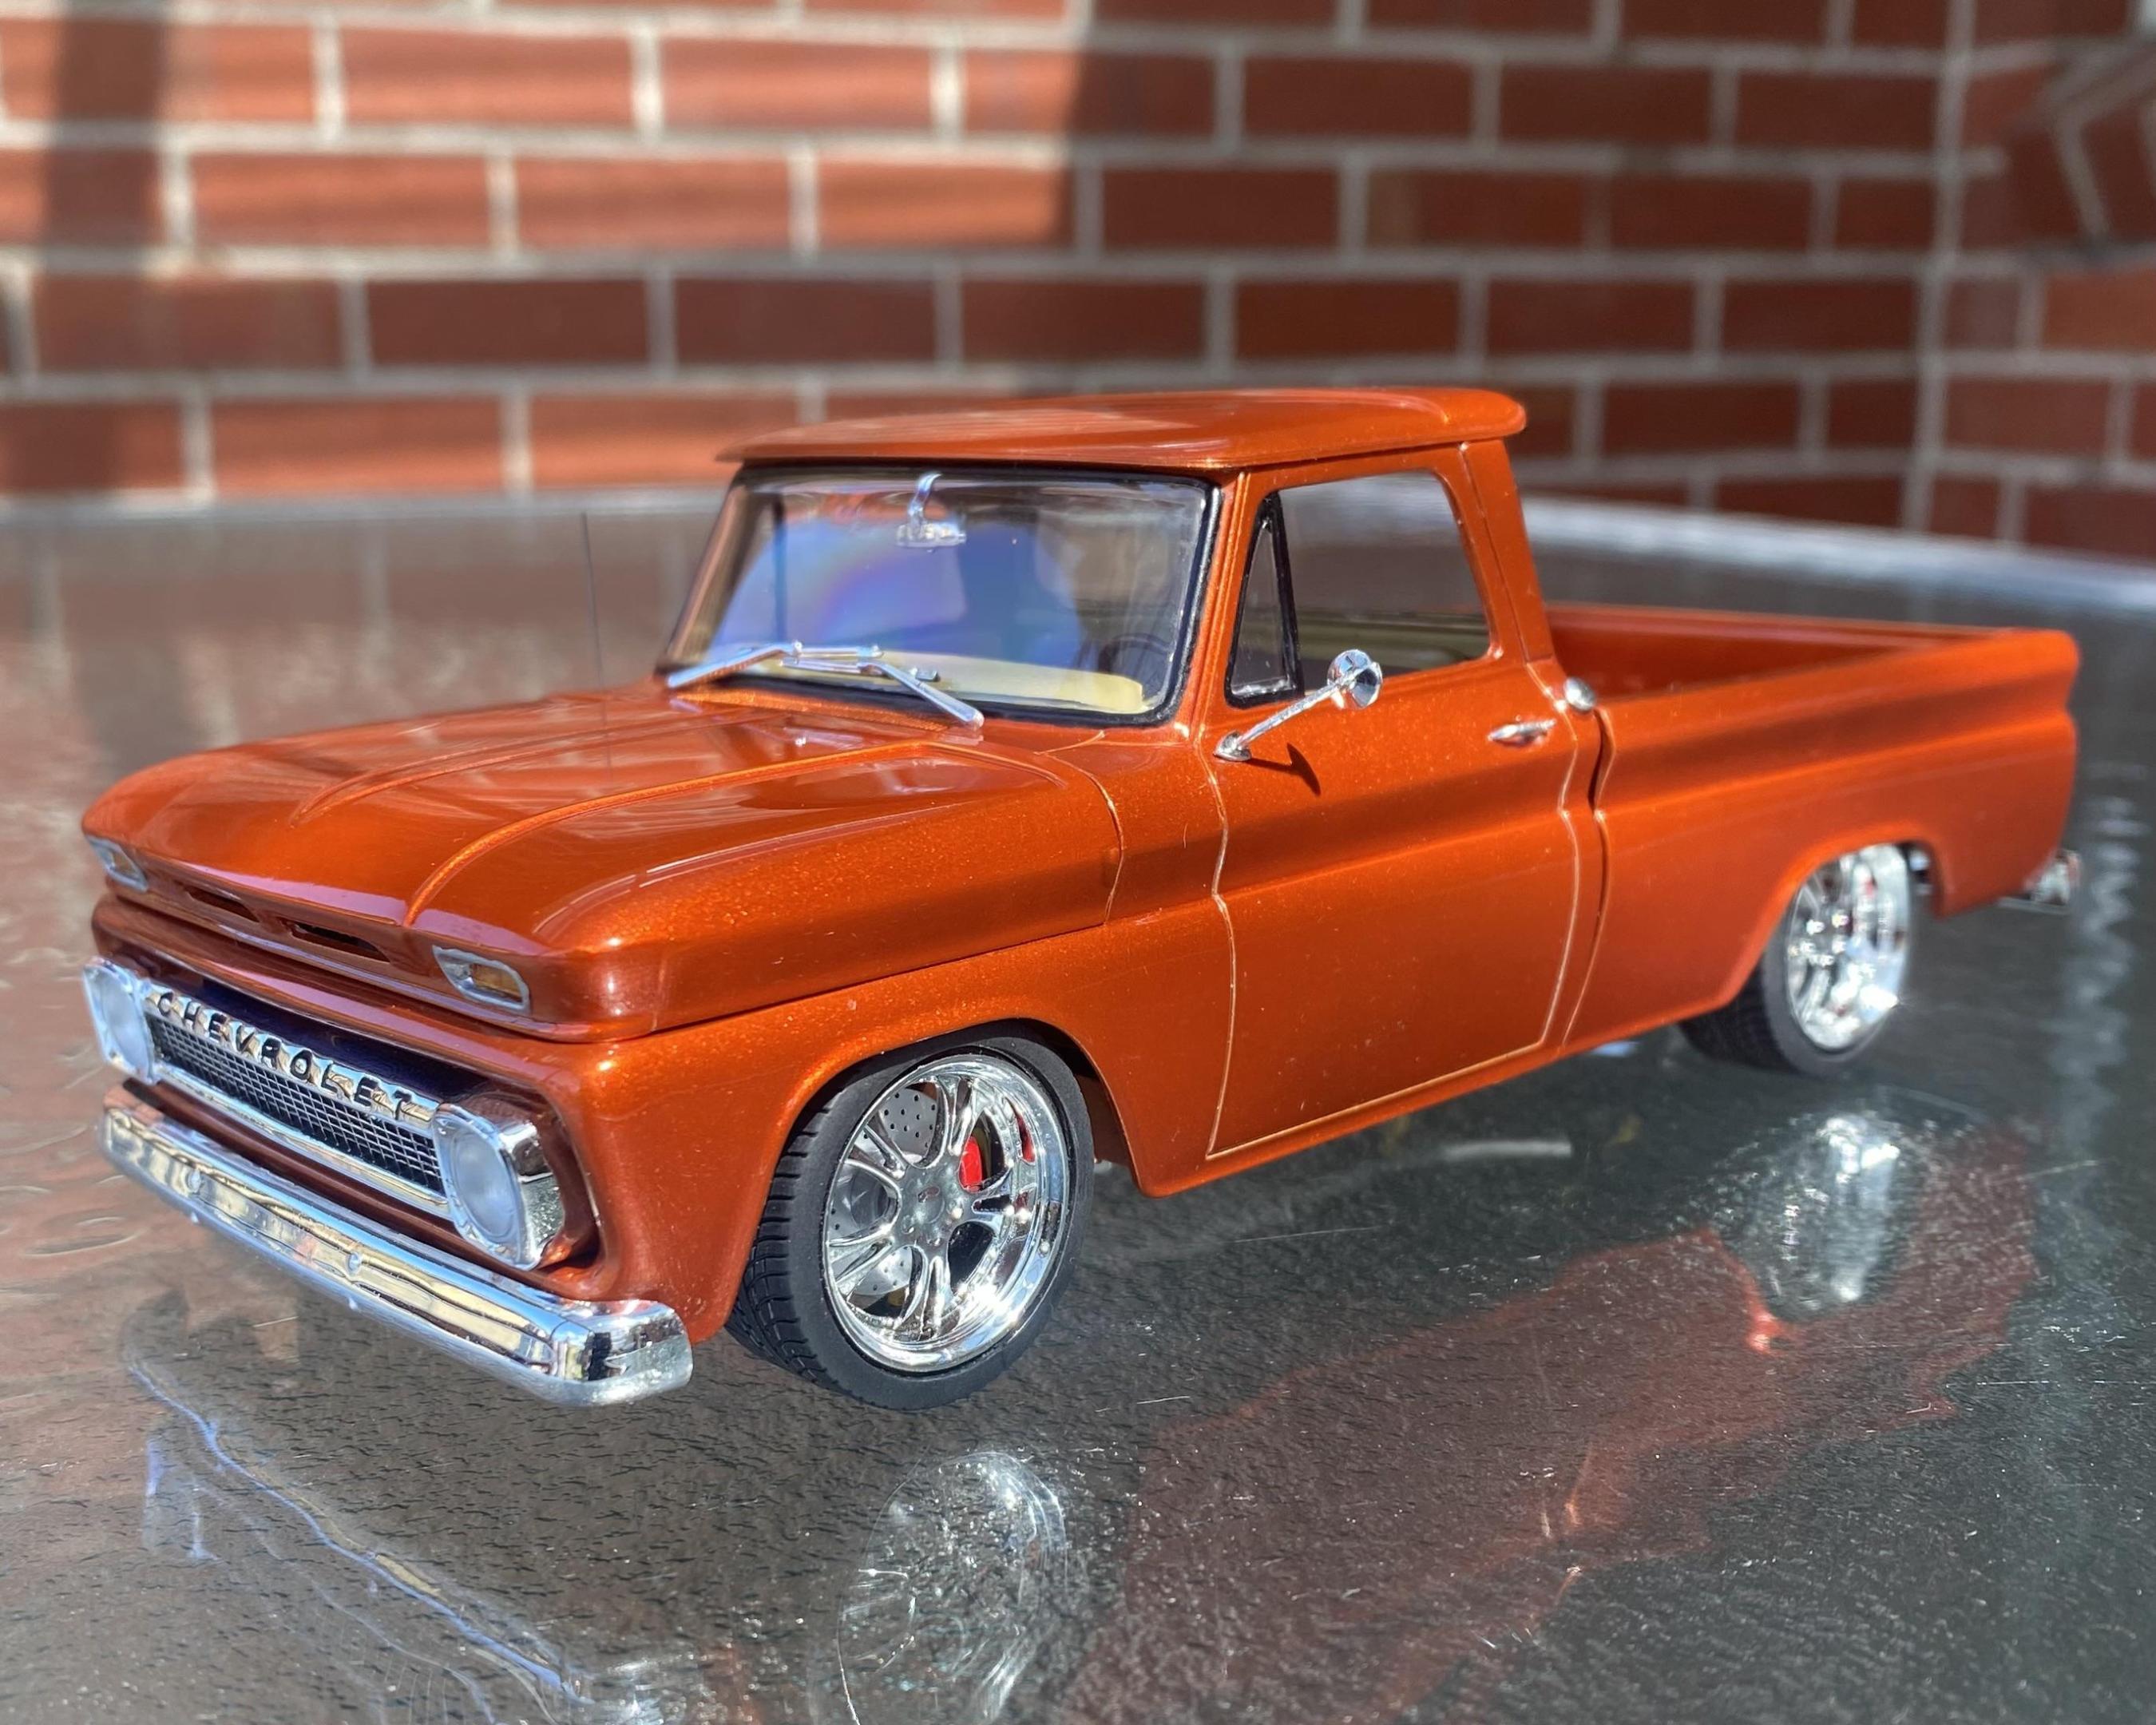
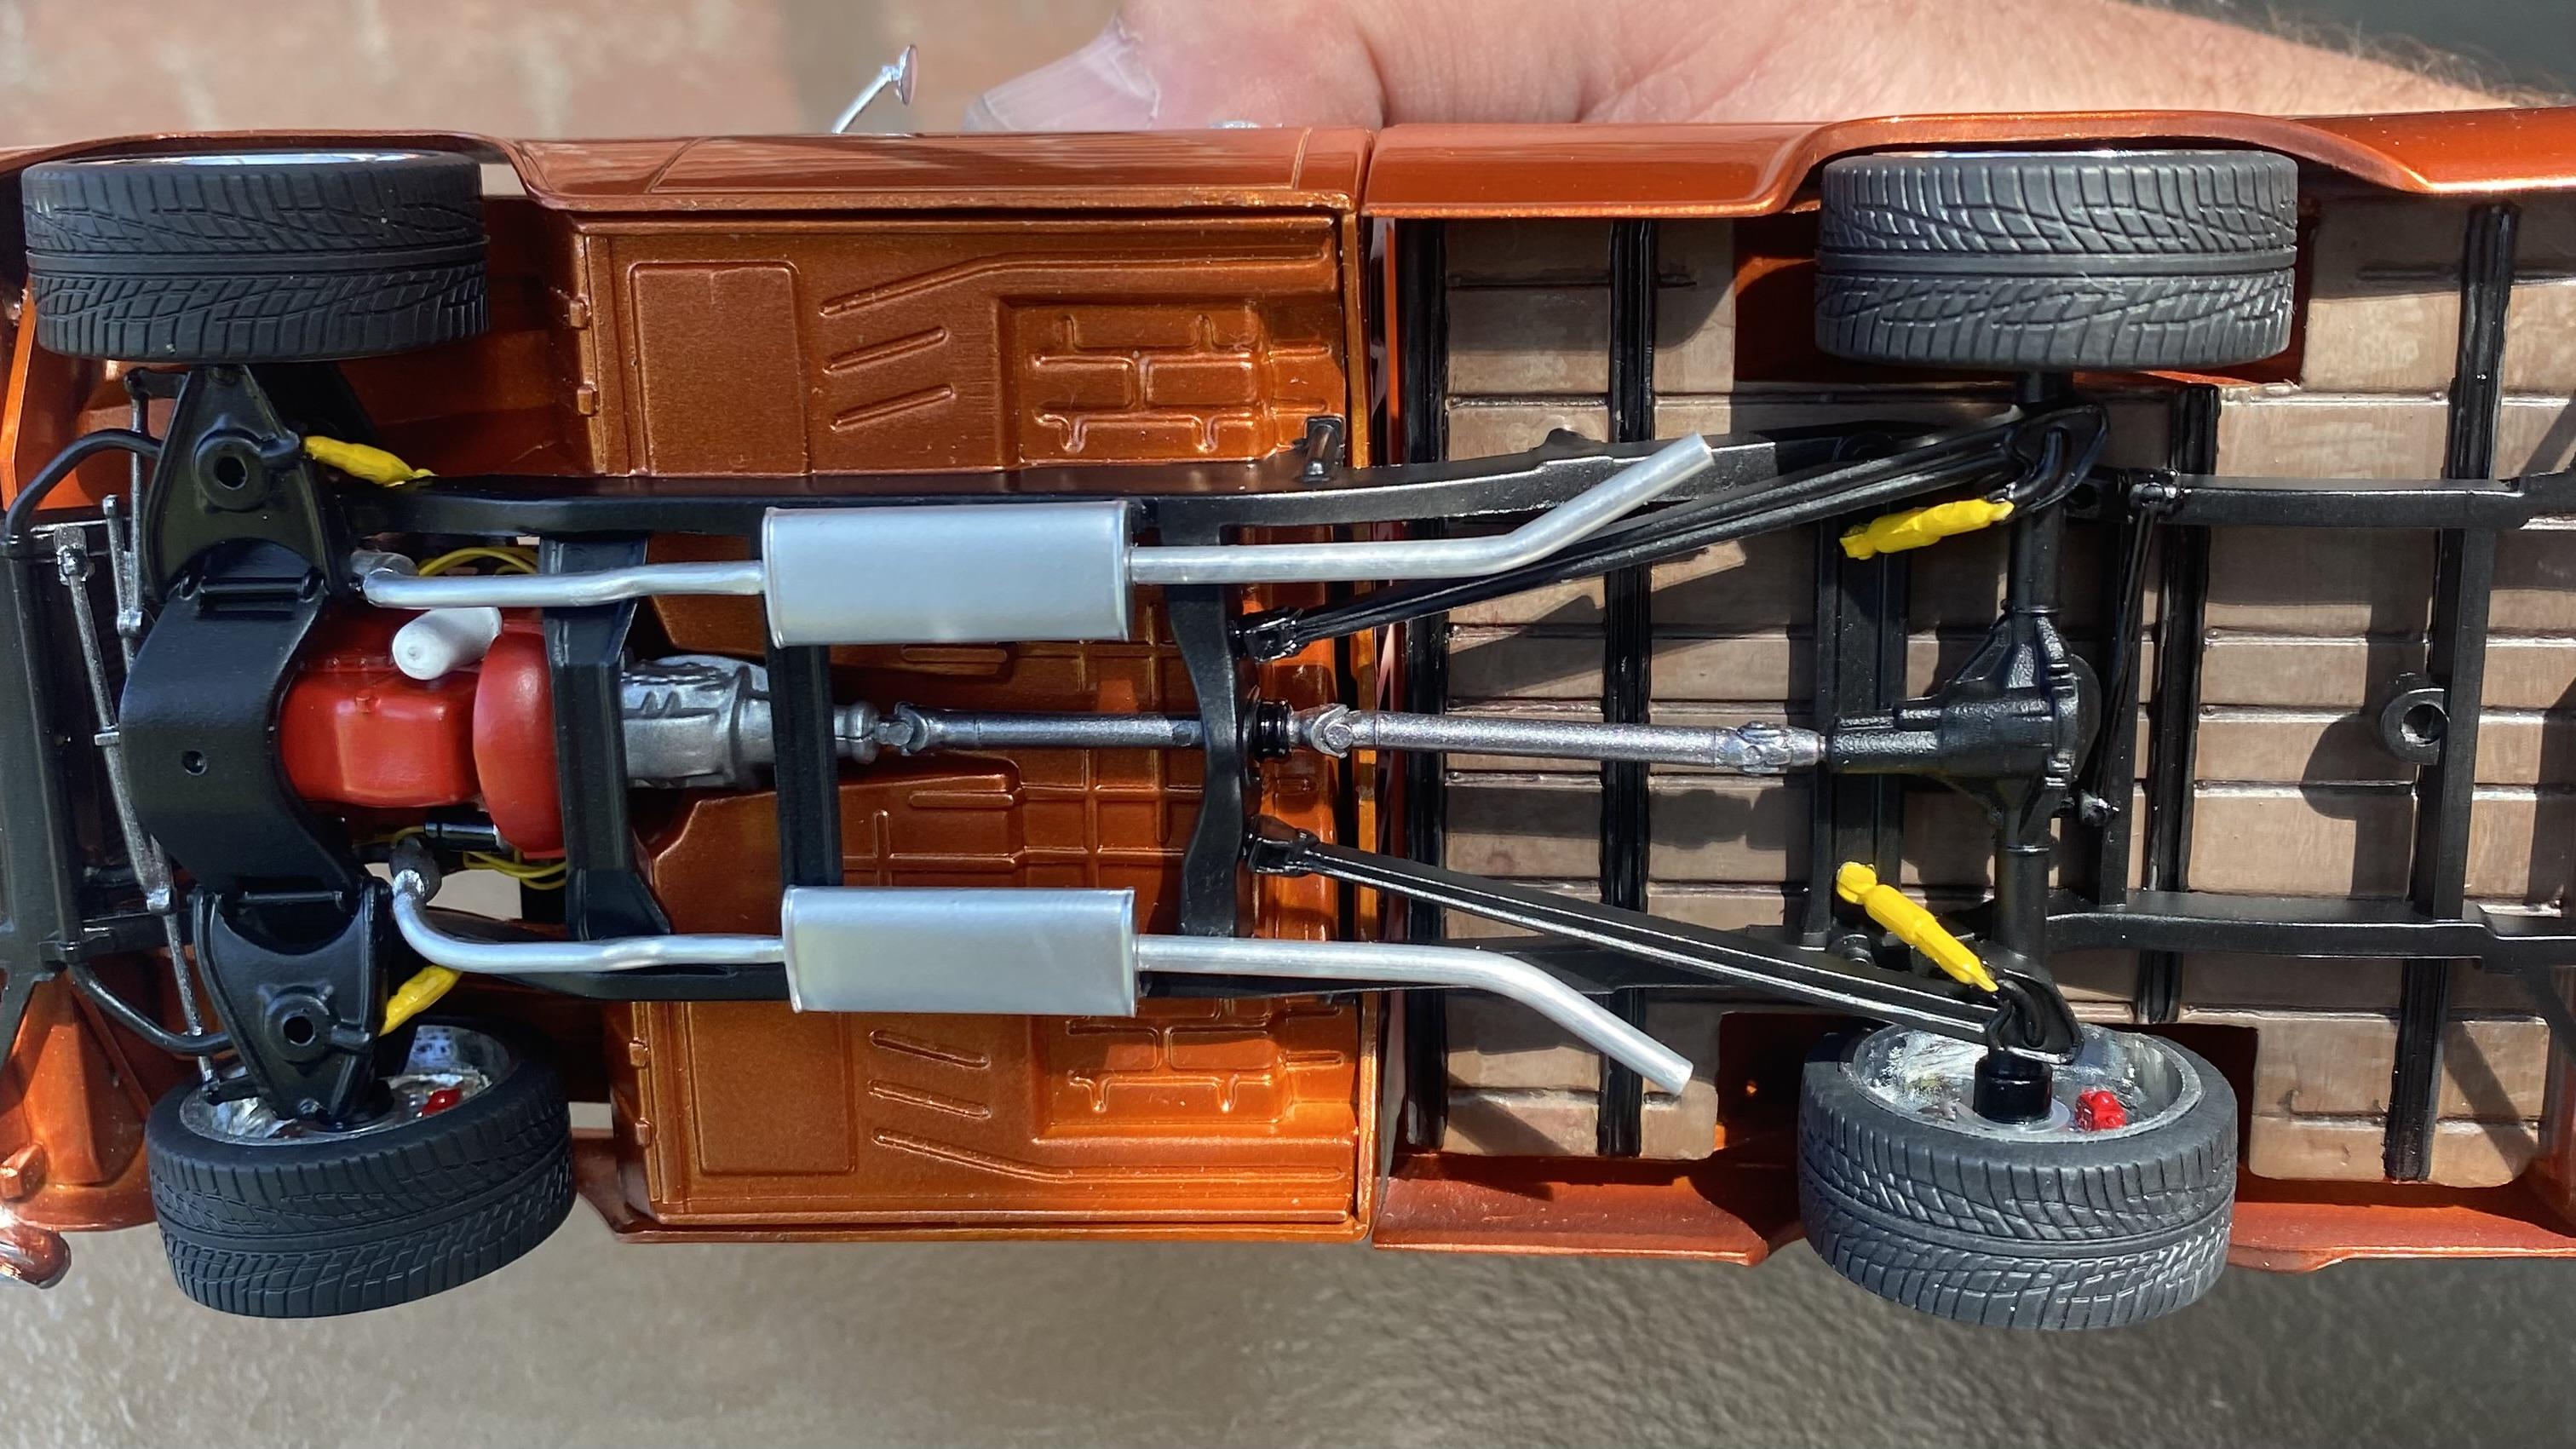
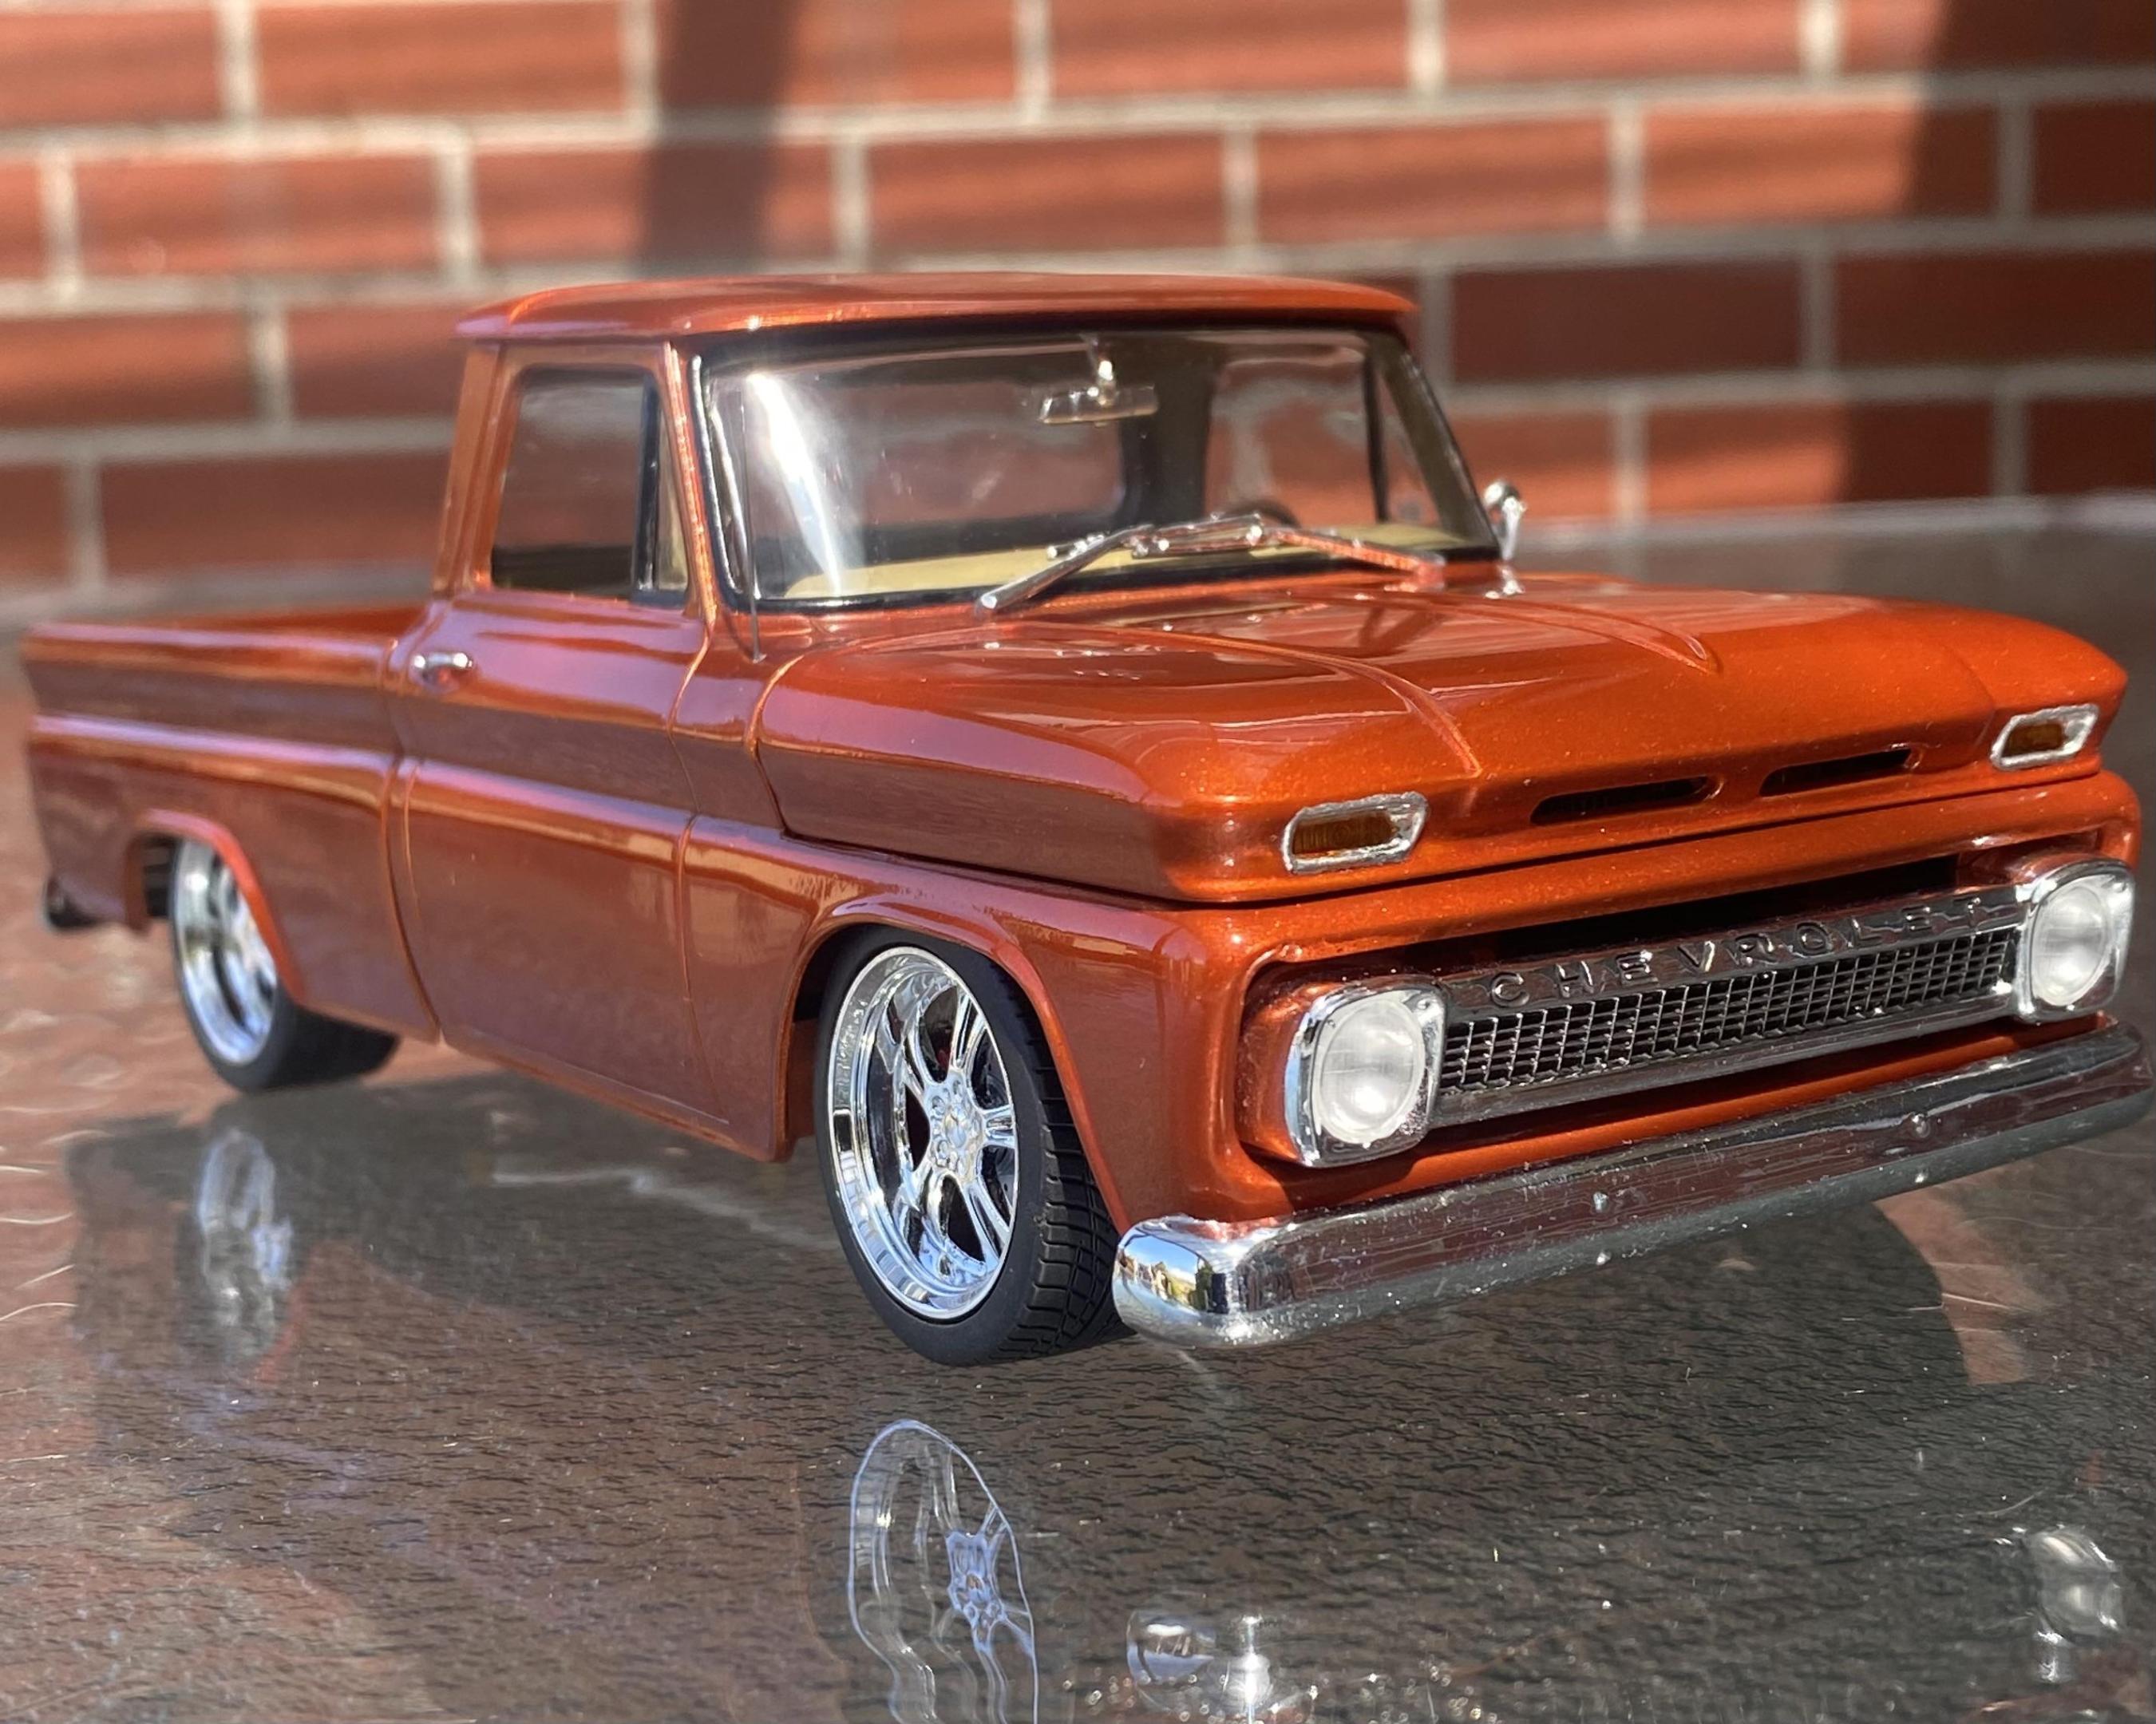
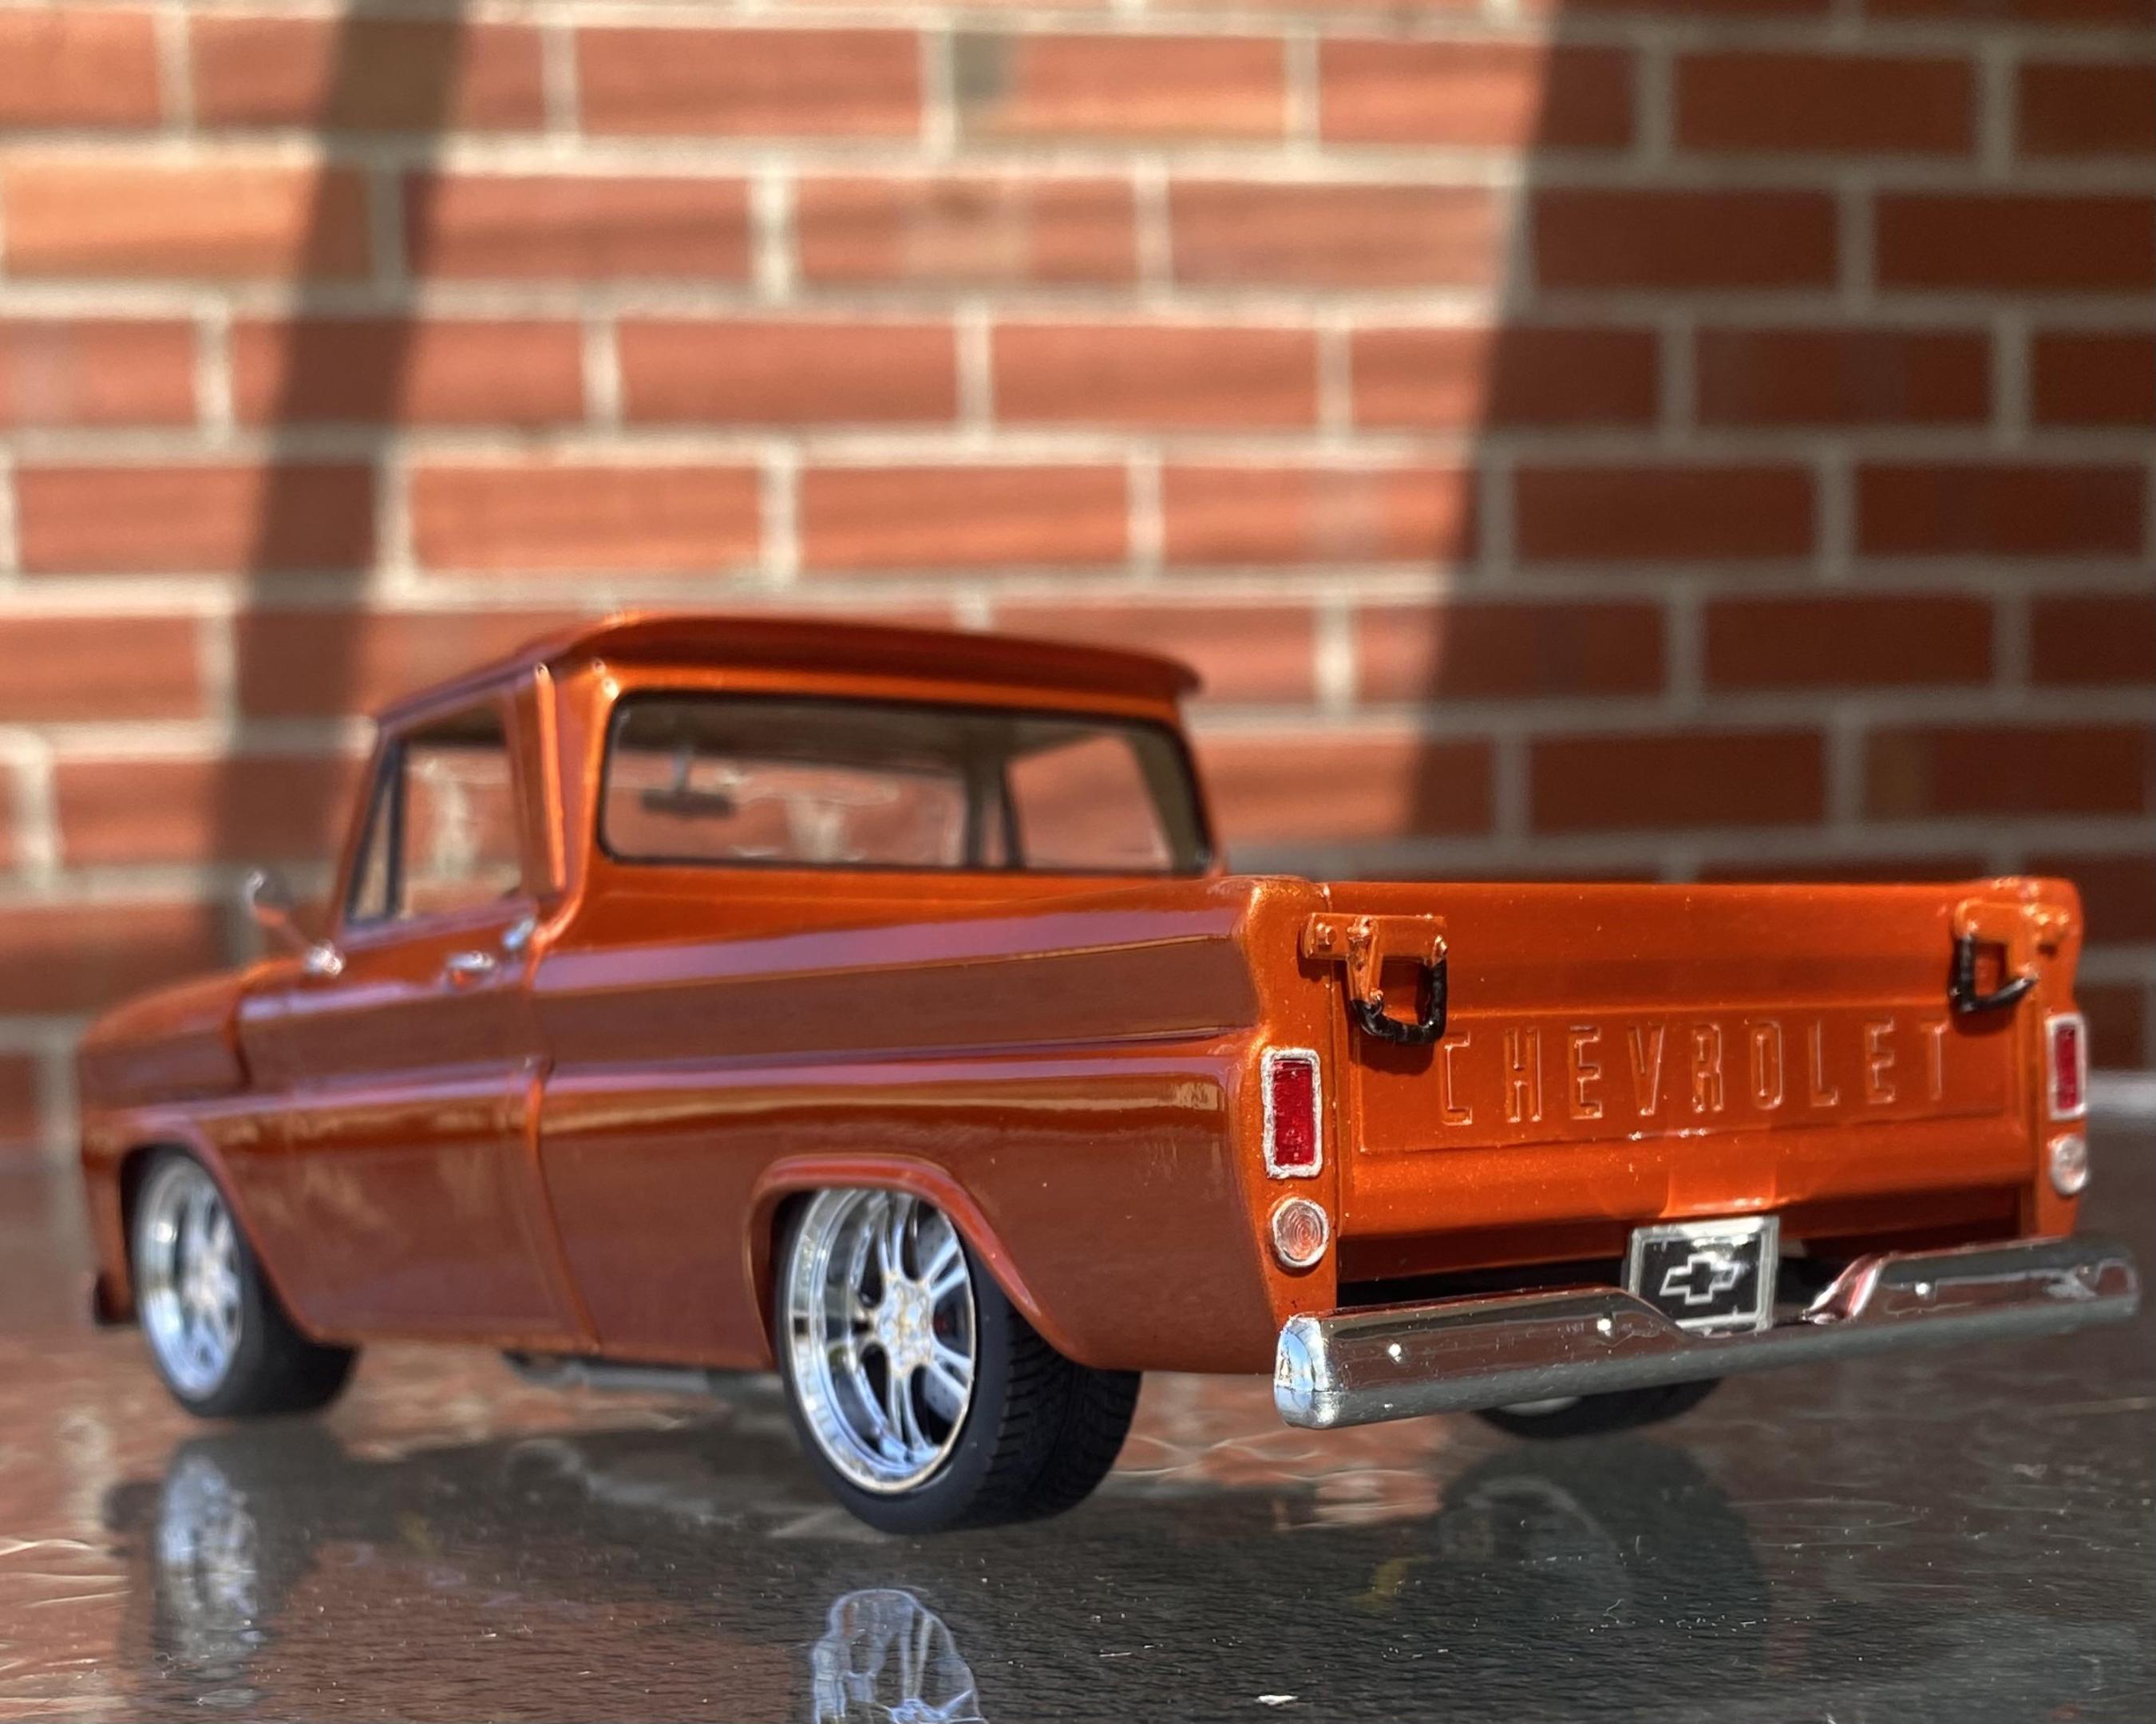
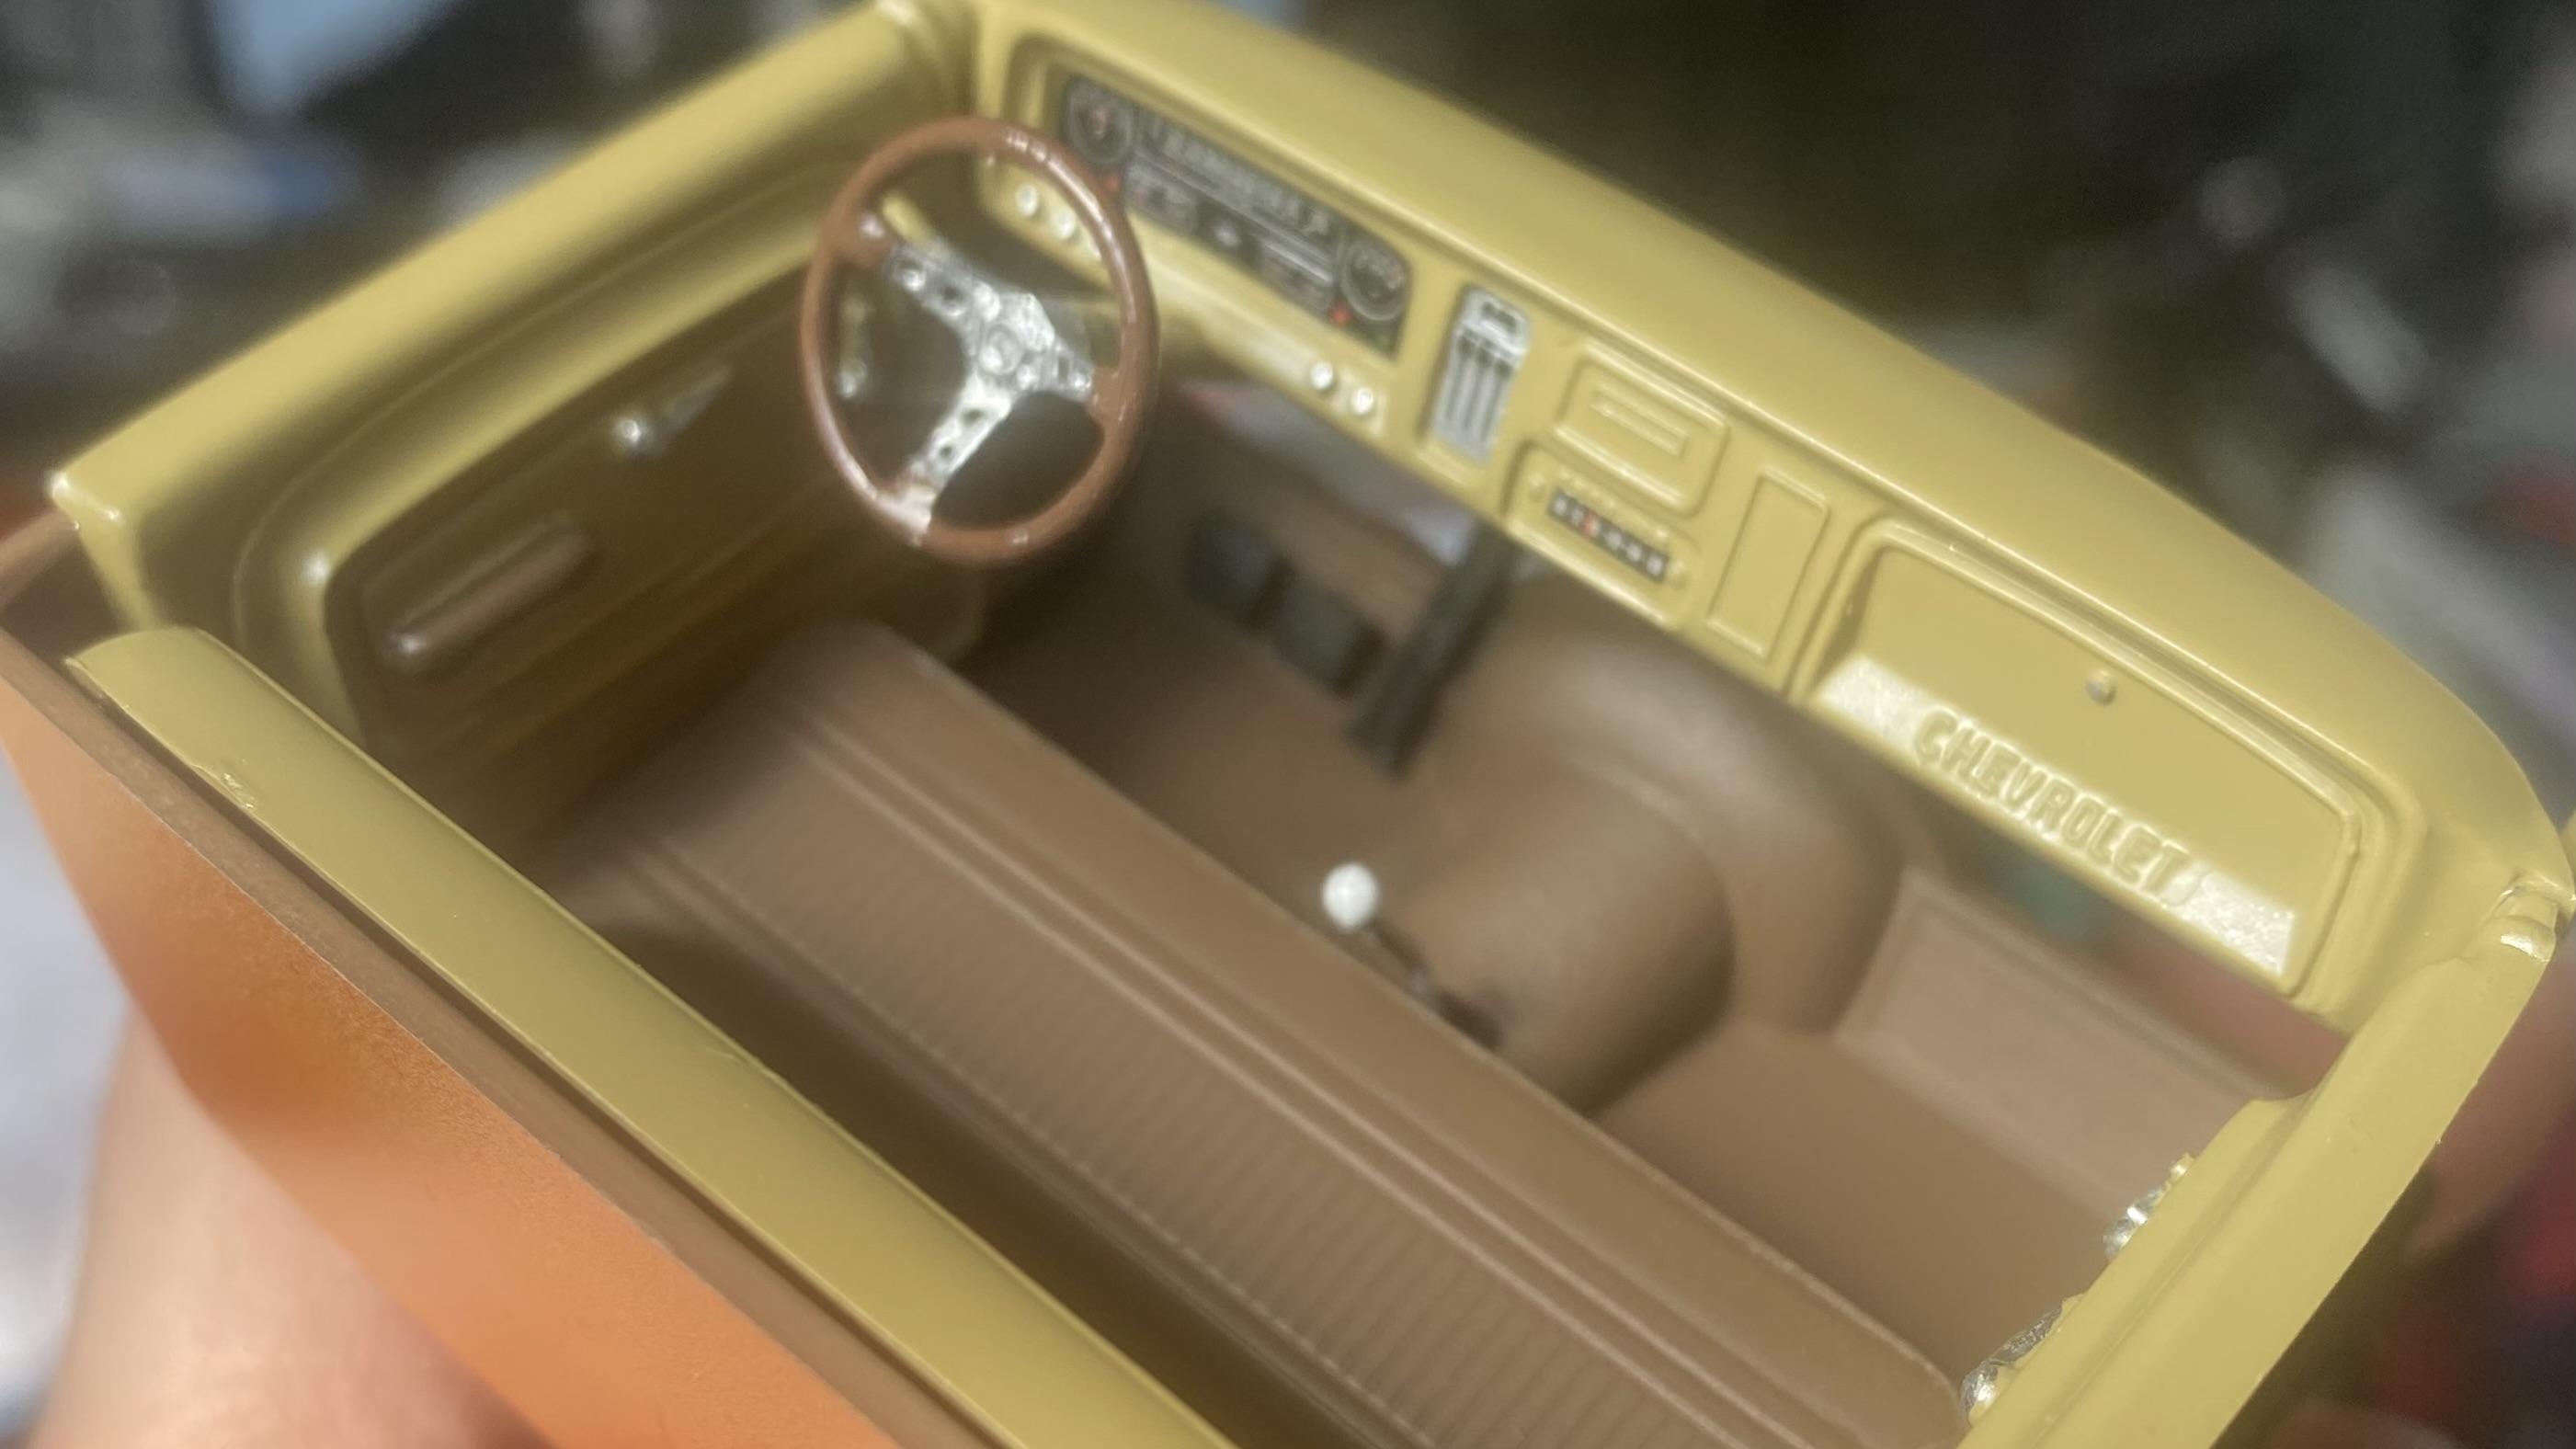
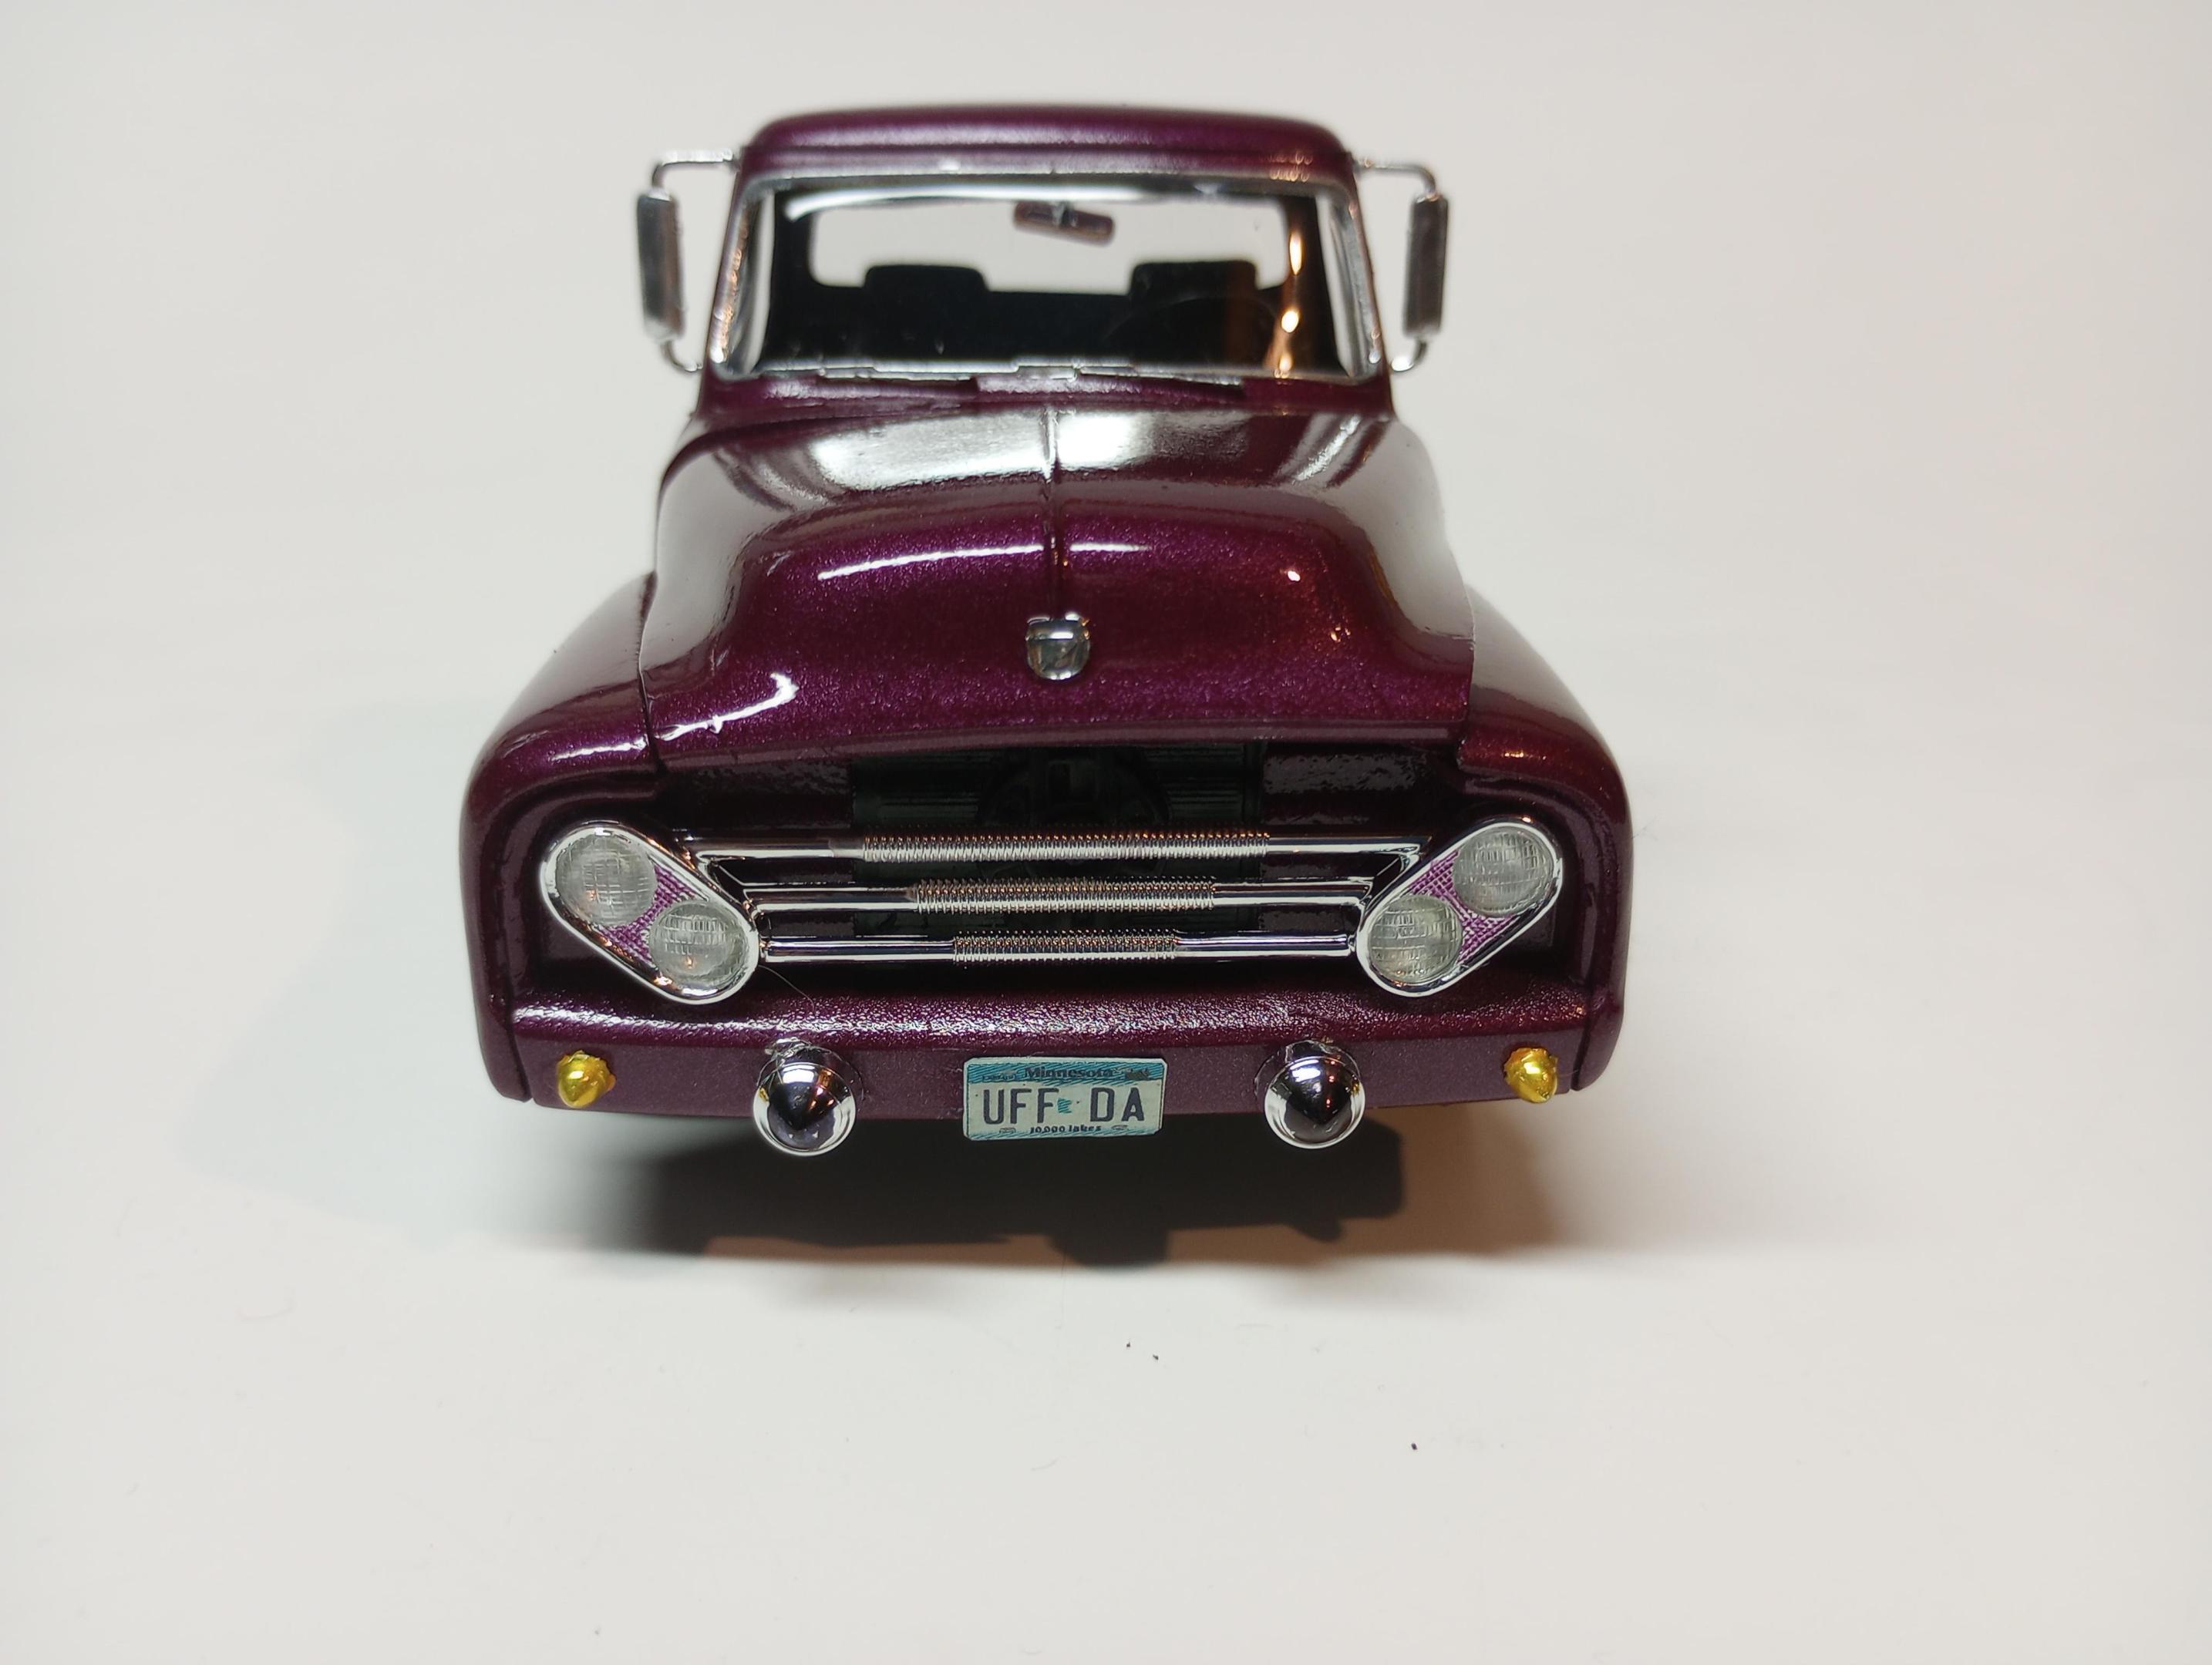
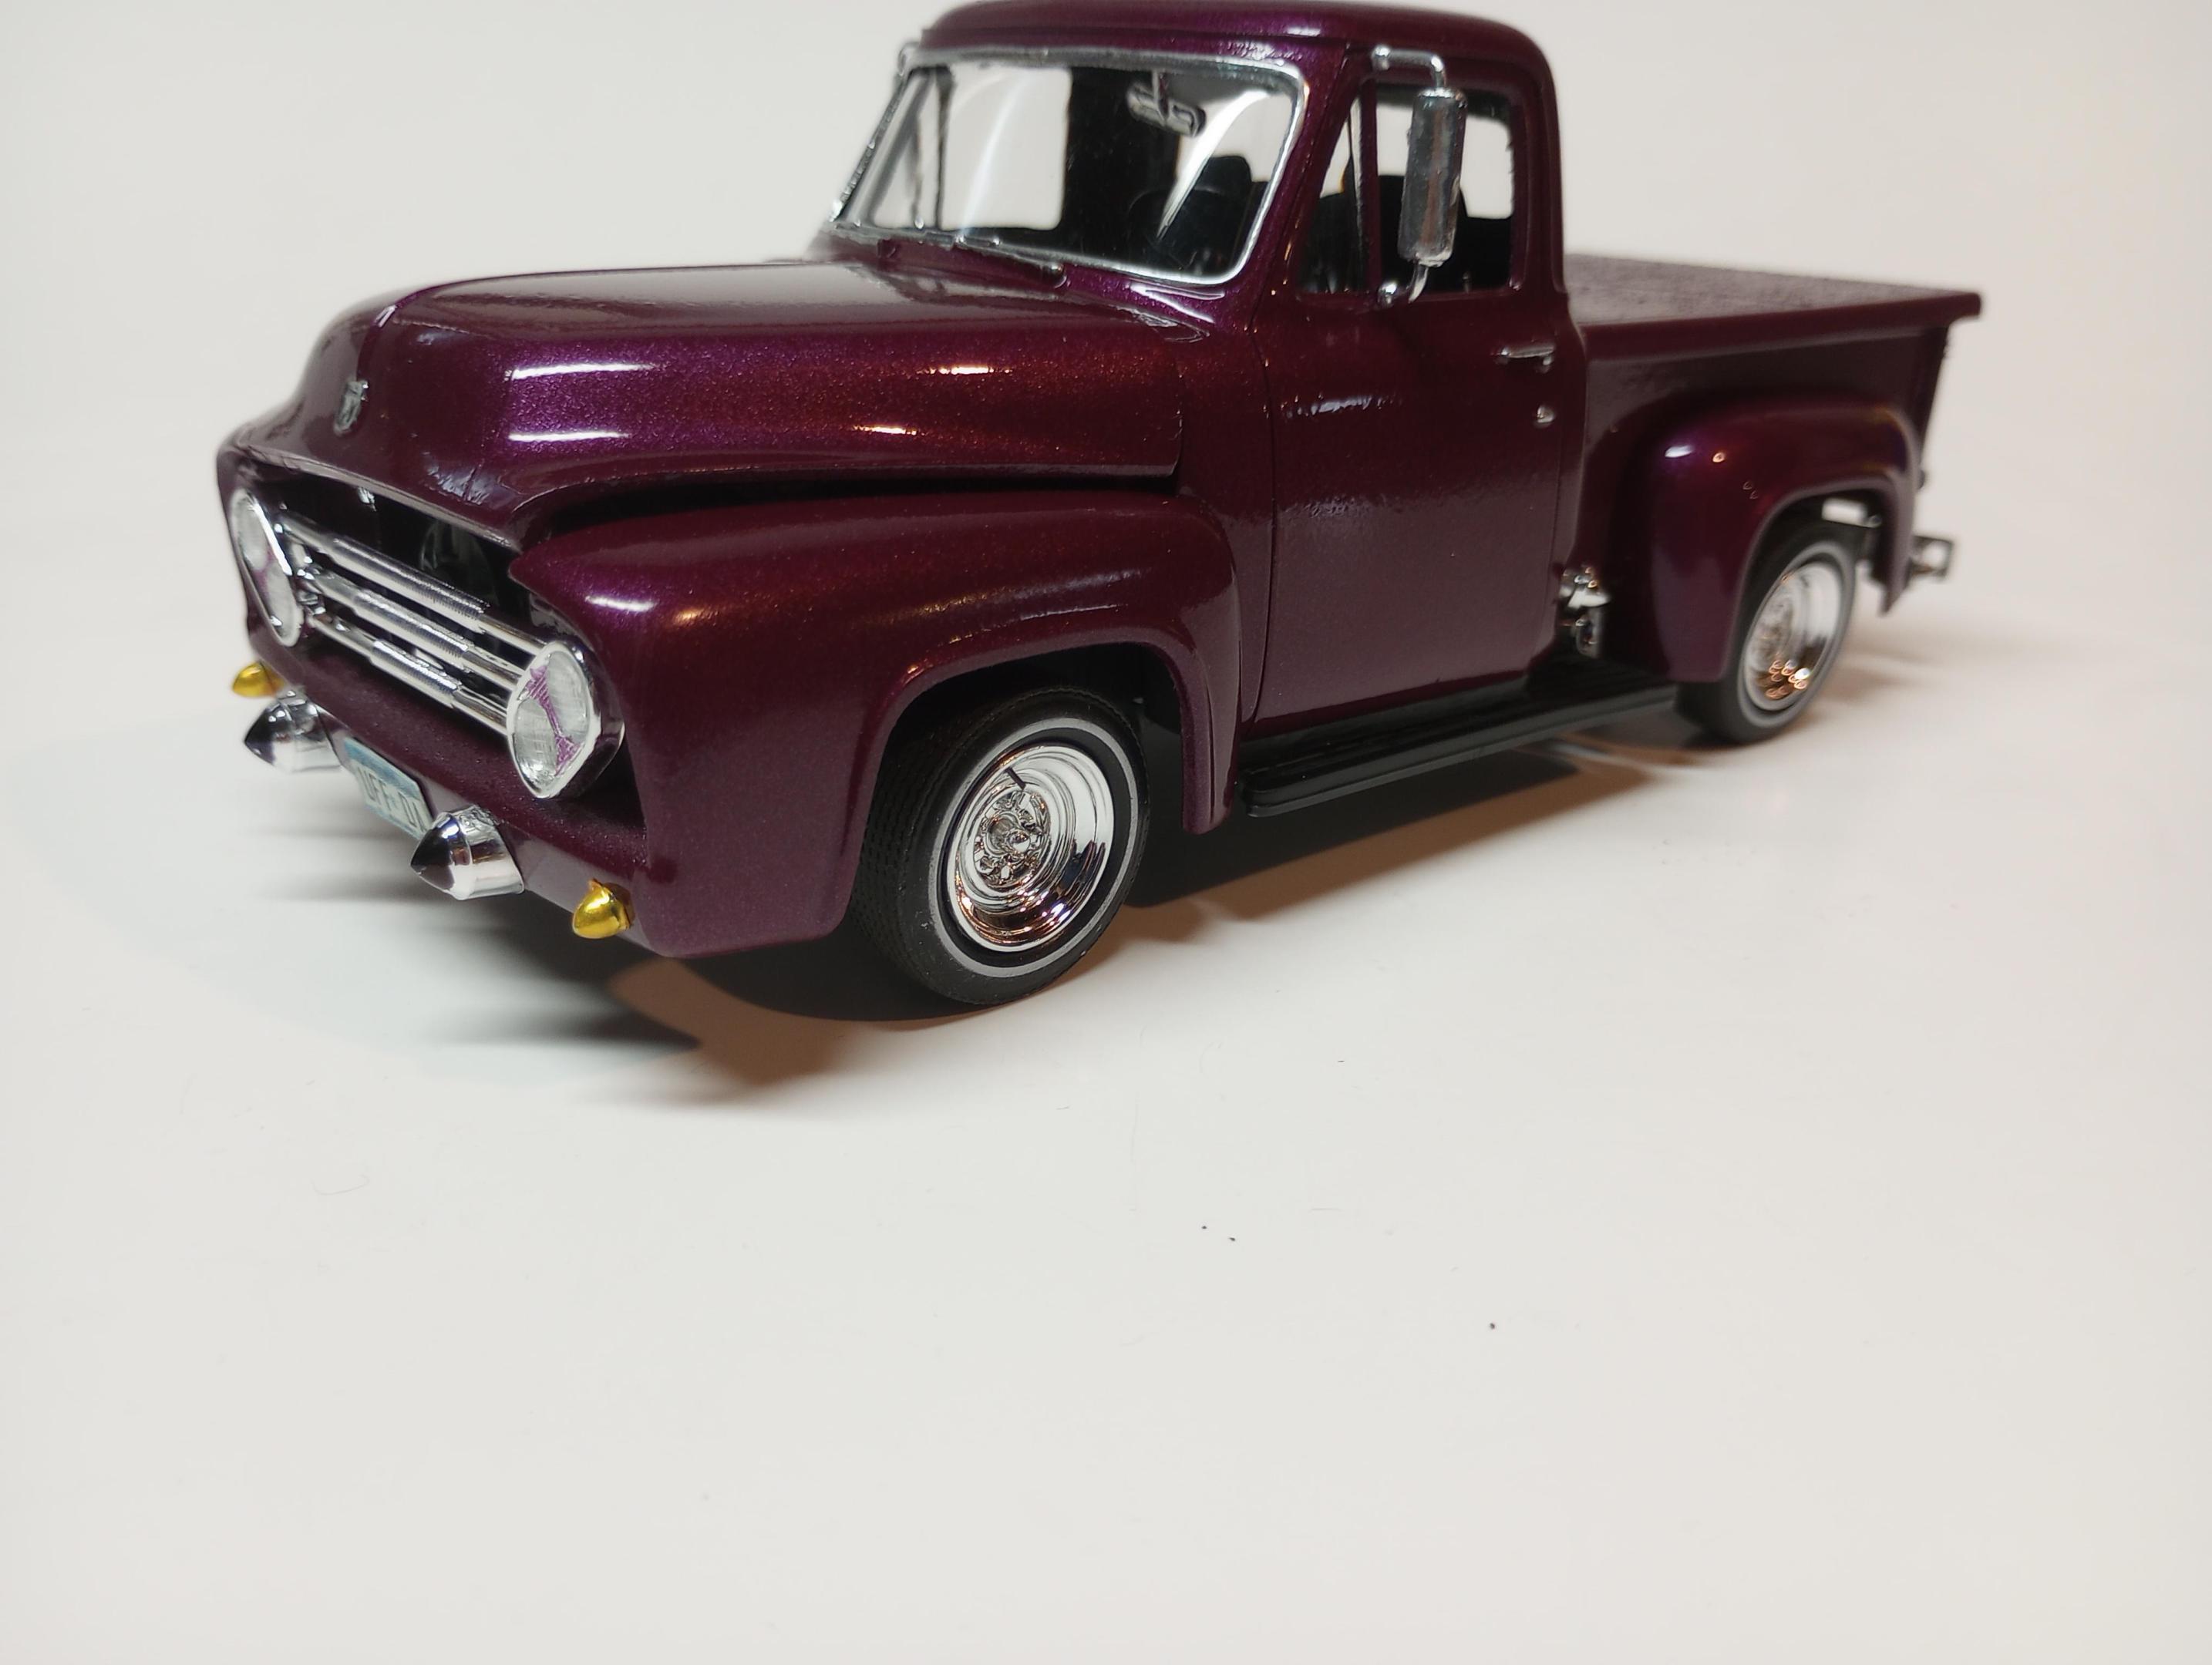
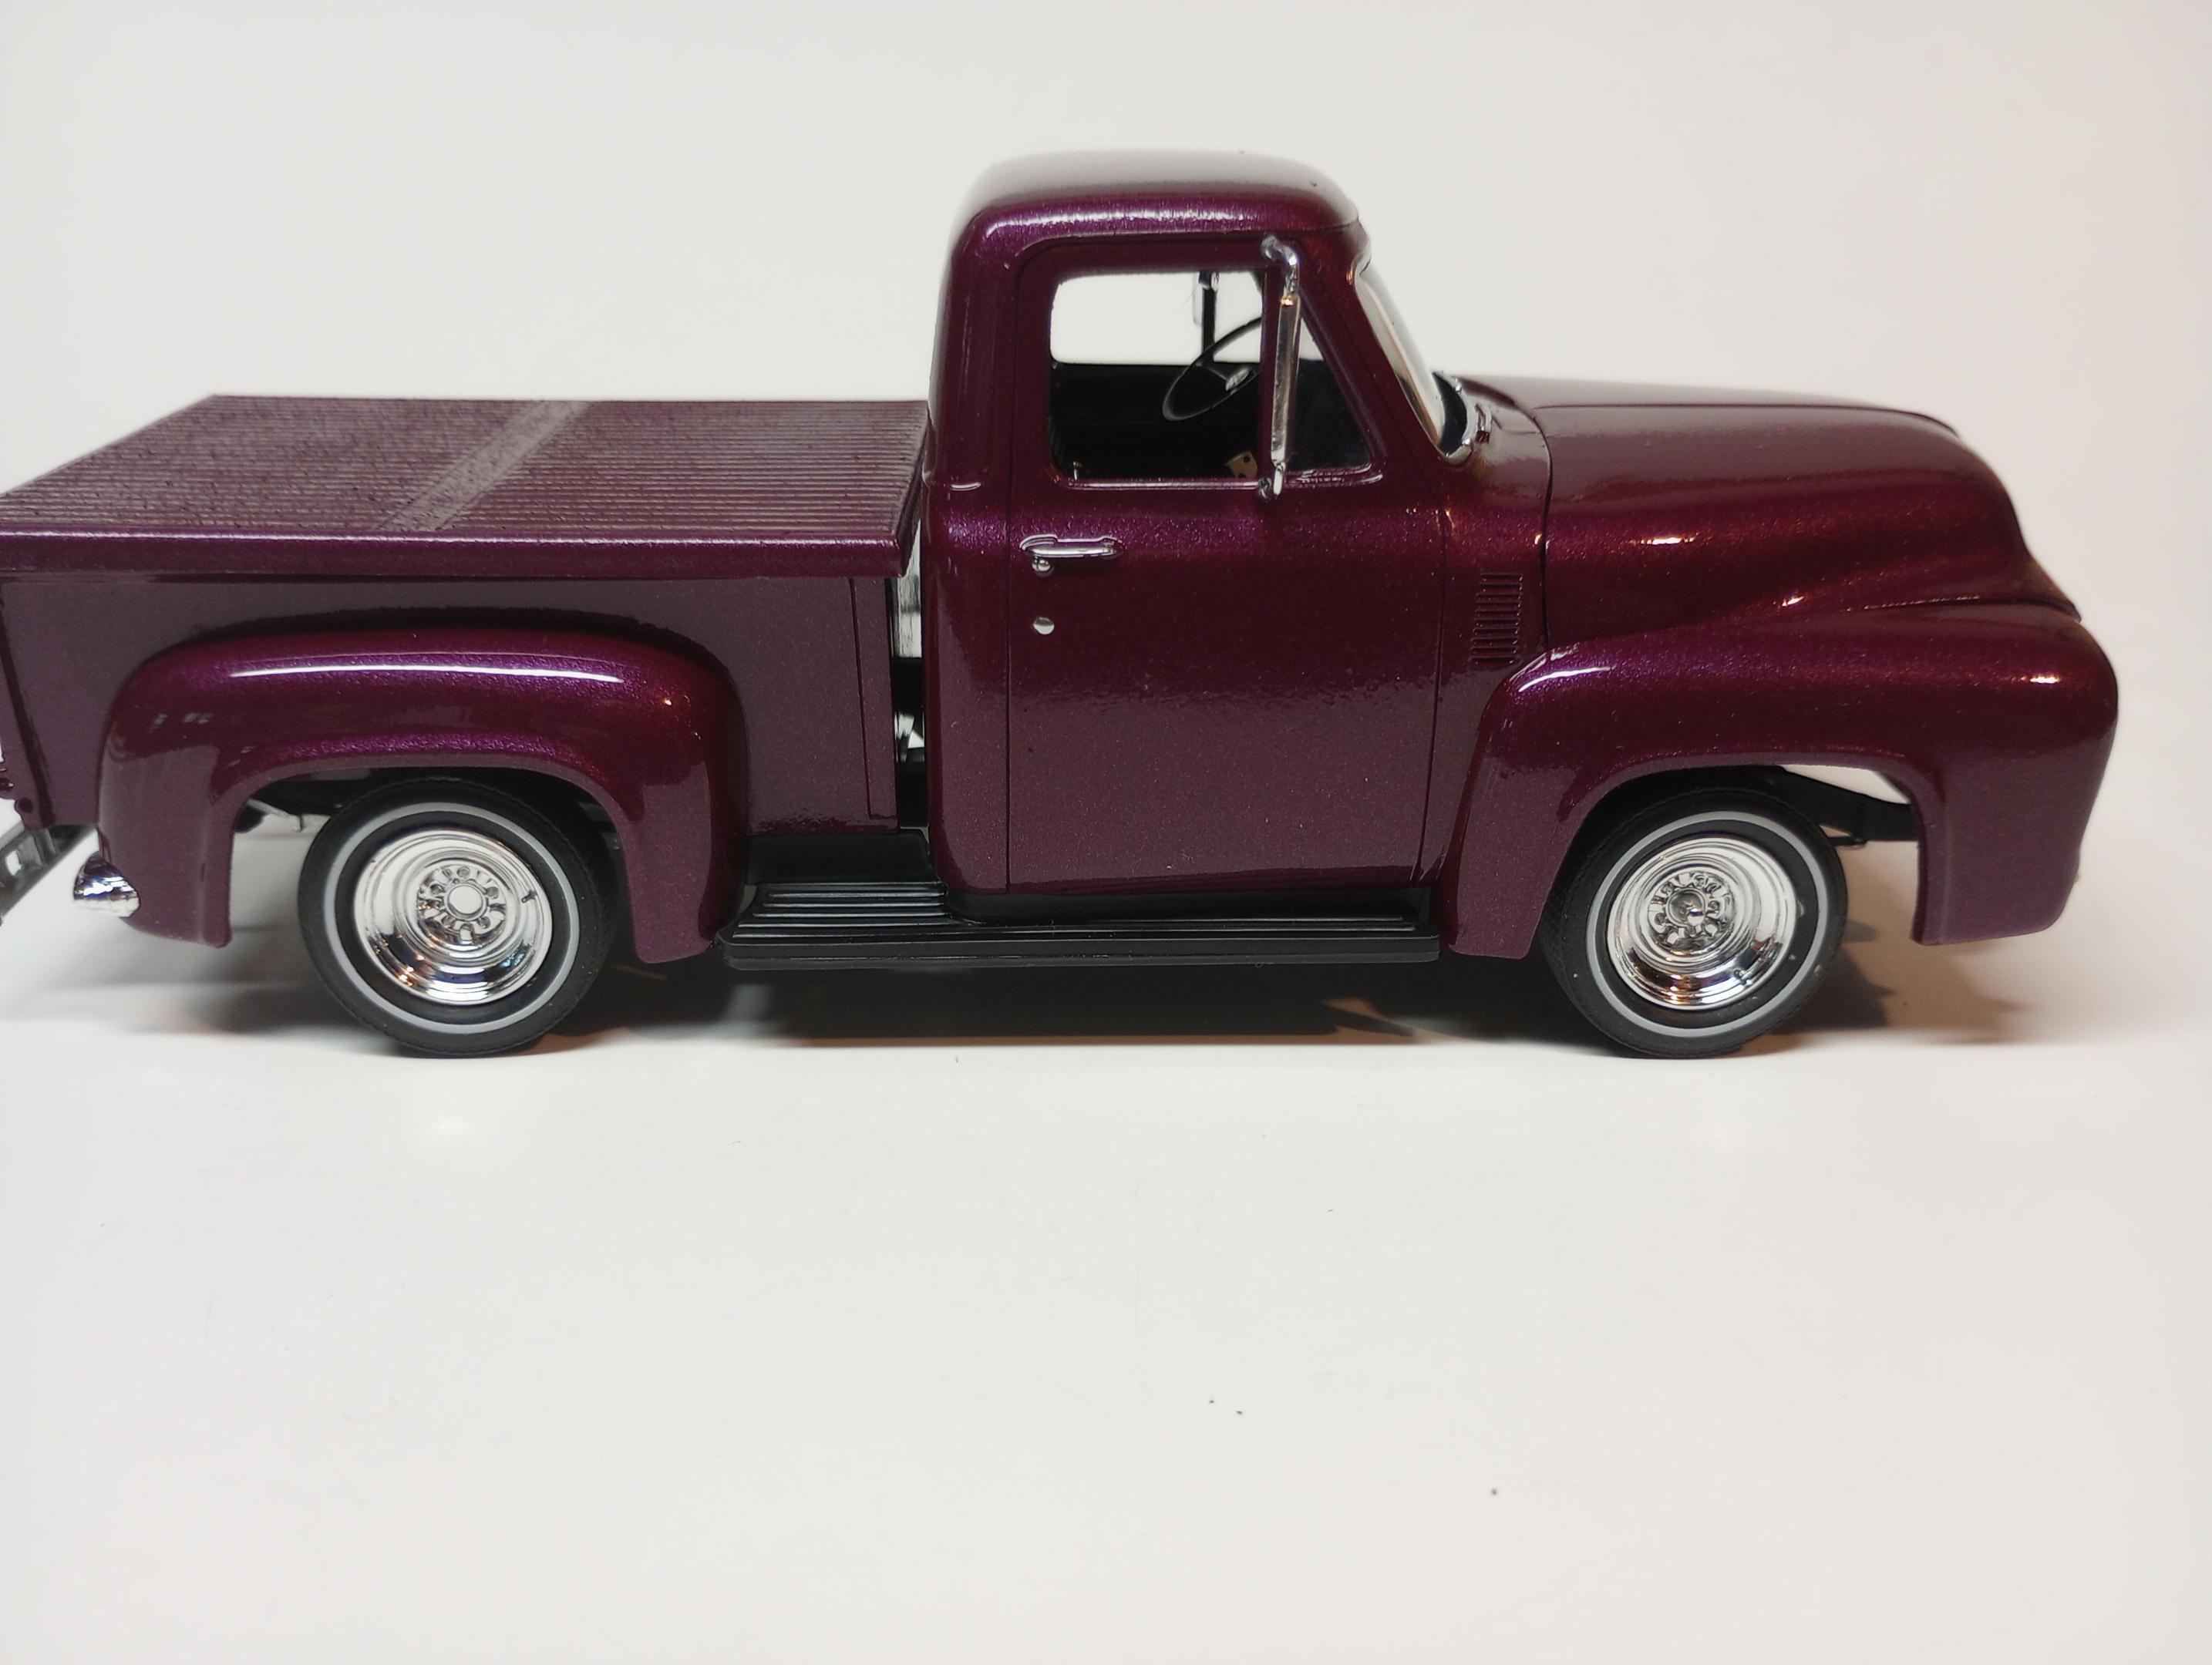
G’day everyone, I’ve been on the forum for a little while now and I thought I’d have a go at a WIP. The weather is getting warmer here in Australia so I’m getting into the shed to start modelling again and I thought I’d build this one. The plan is a mild custom, lowered, nice paint and wheels. The kind of truck I’d like to drive in 1/1, (if l had the money!)l thought this would be the colourAnd I’d use these Pegasus wheels Hopefully work and other commitments won’t get in the way too much and l can build this in a reasonable timeframe. Thanks for looking. Cheers, Stuart.
-
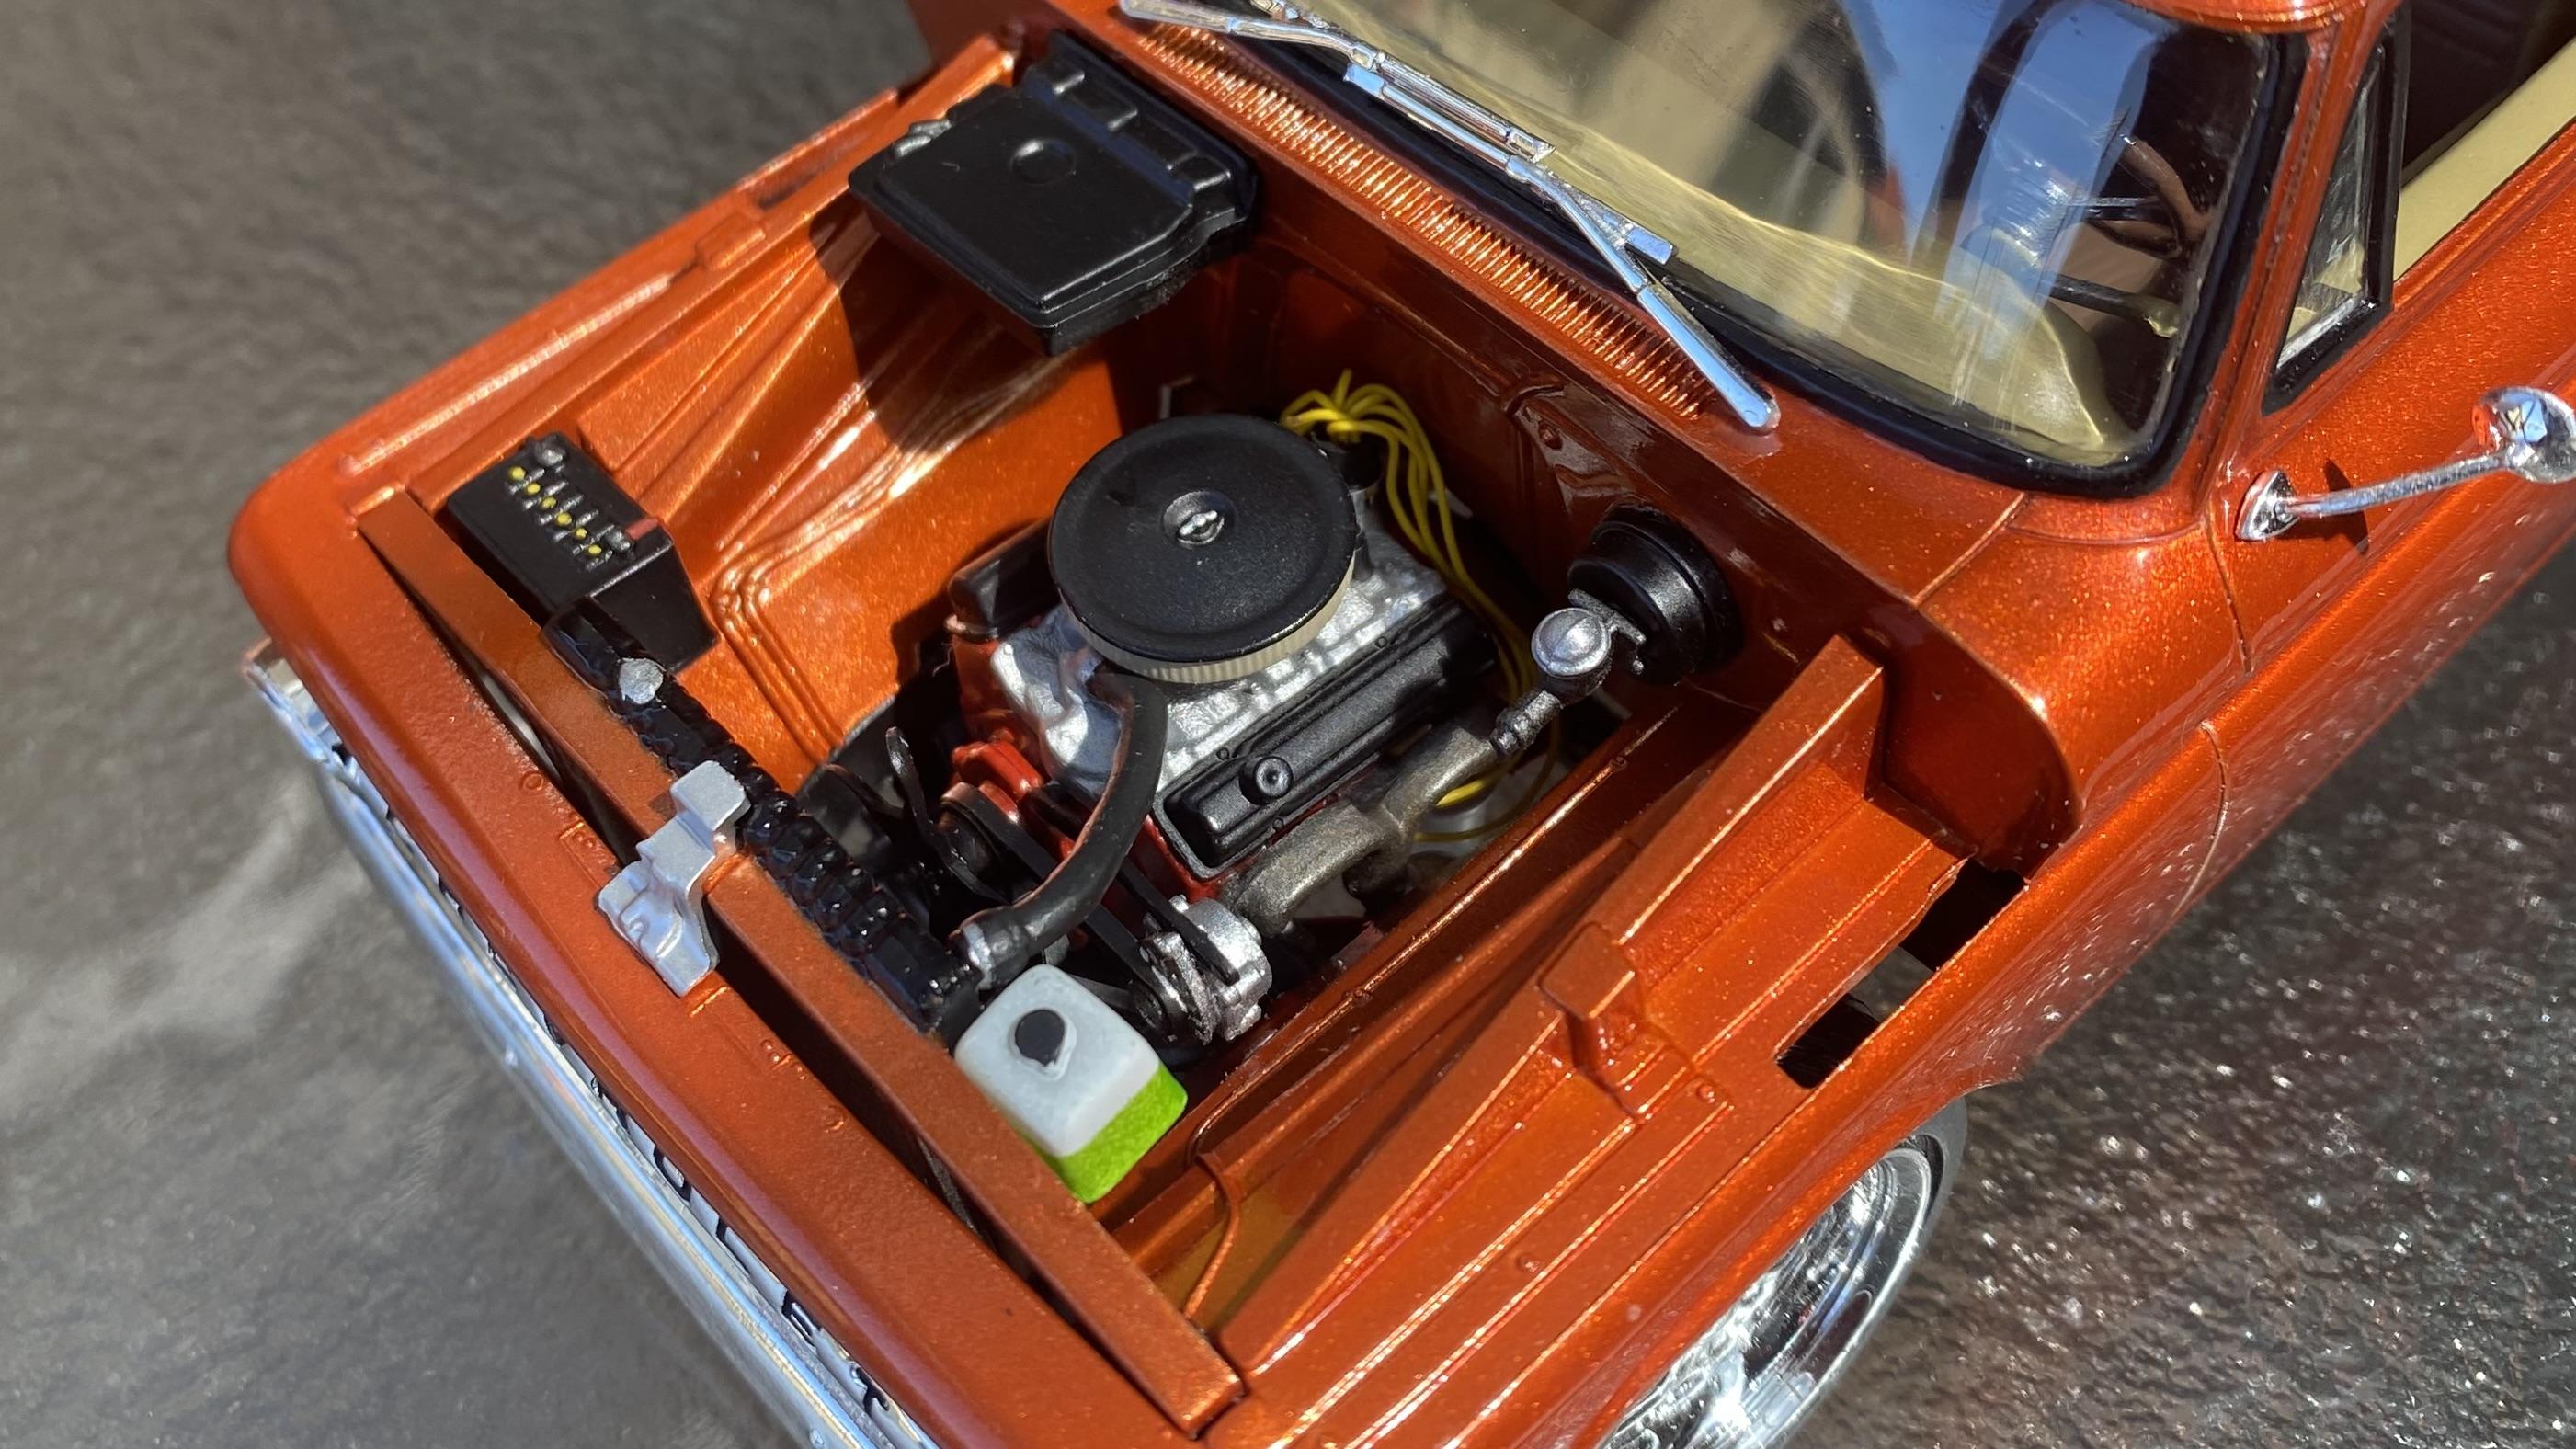
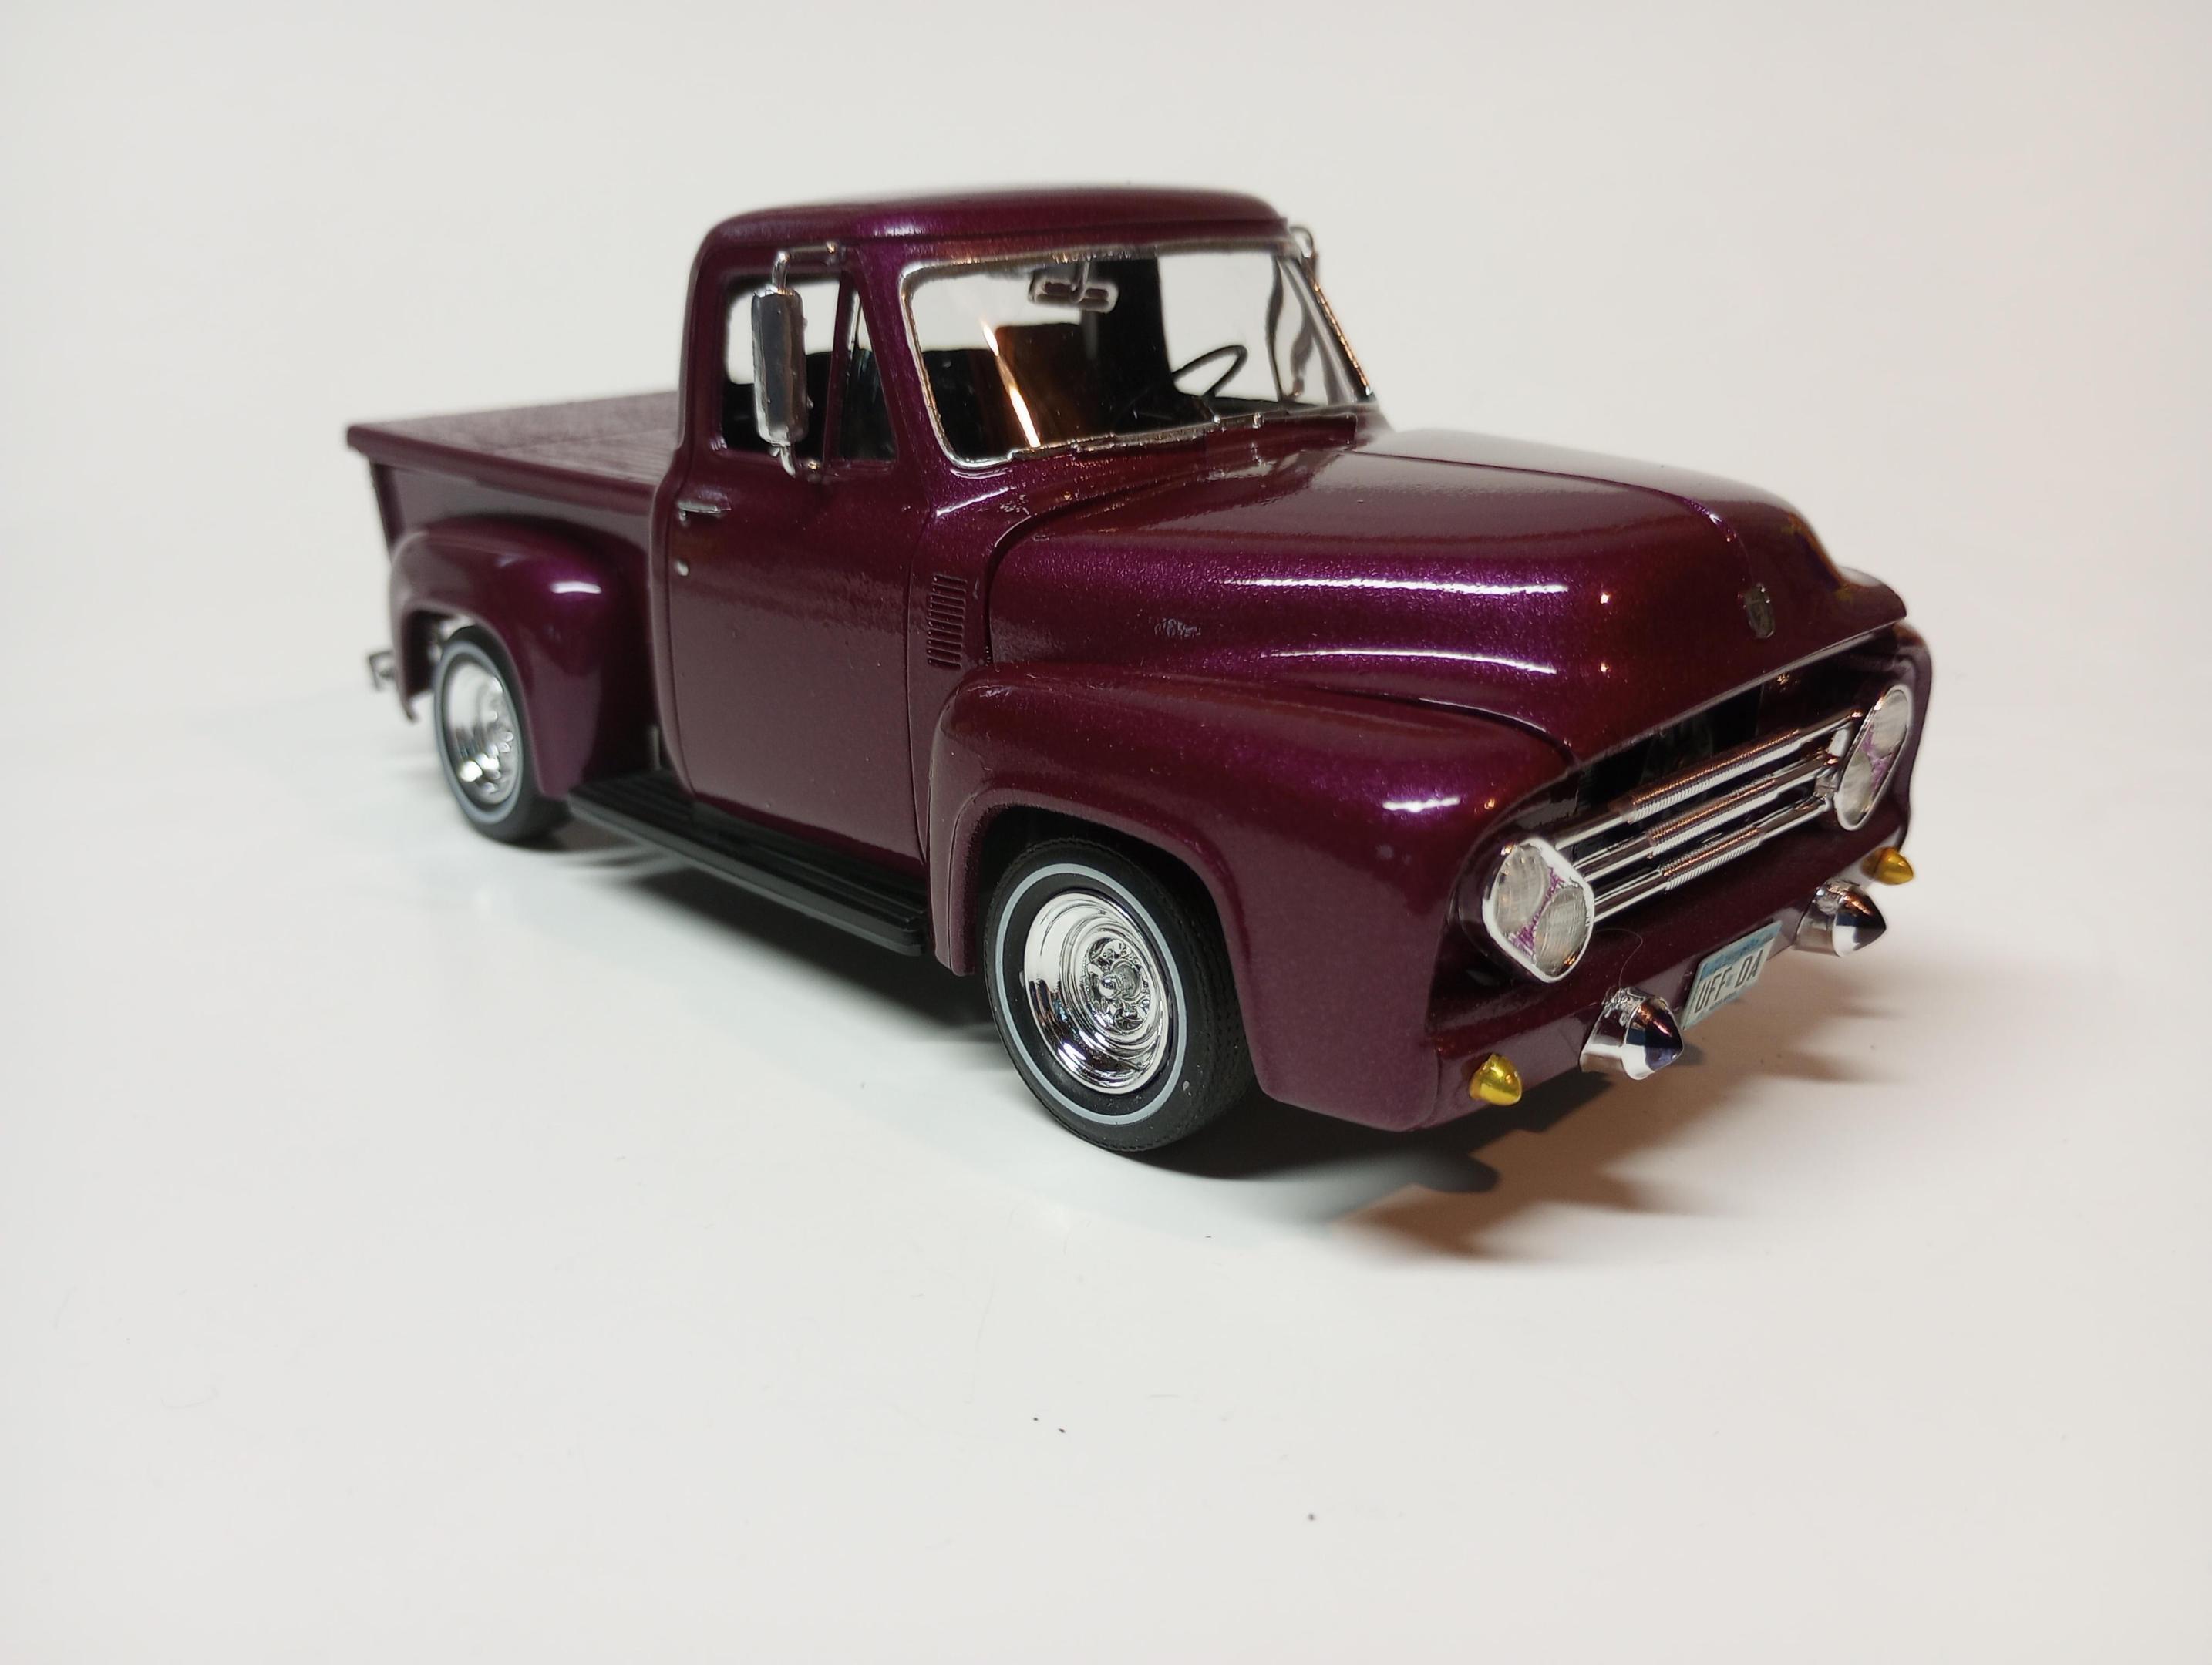
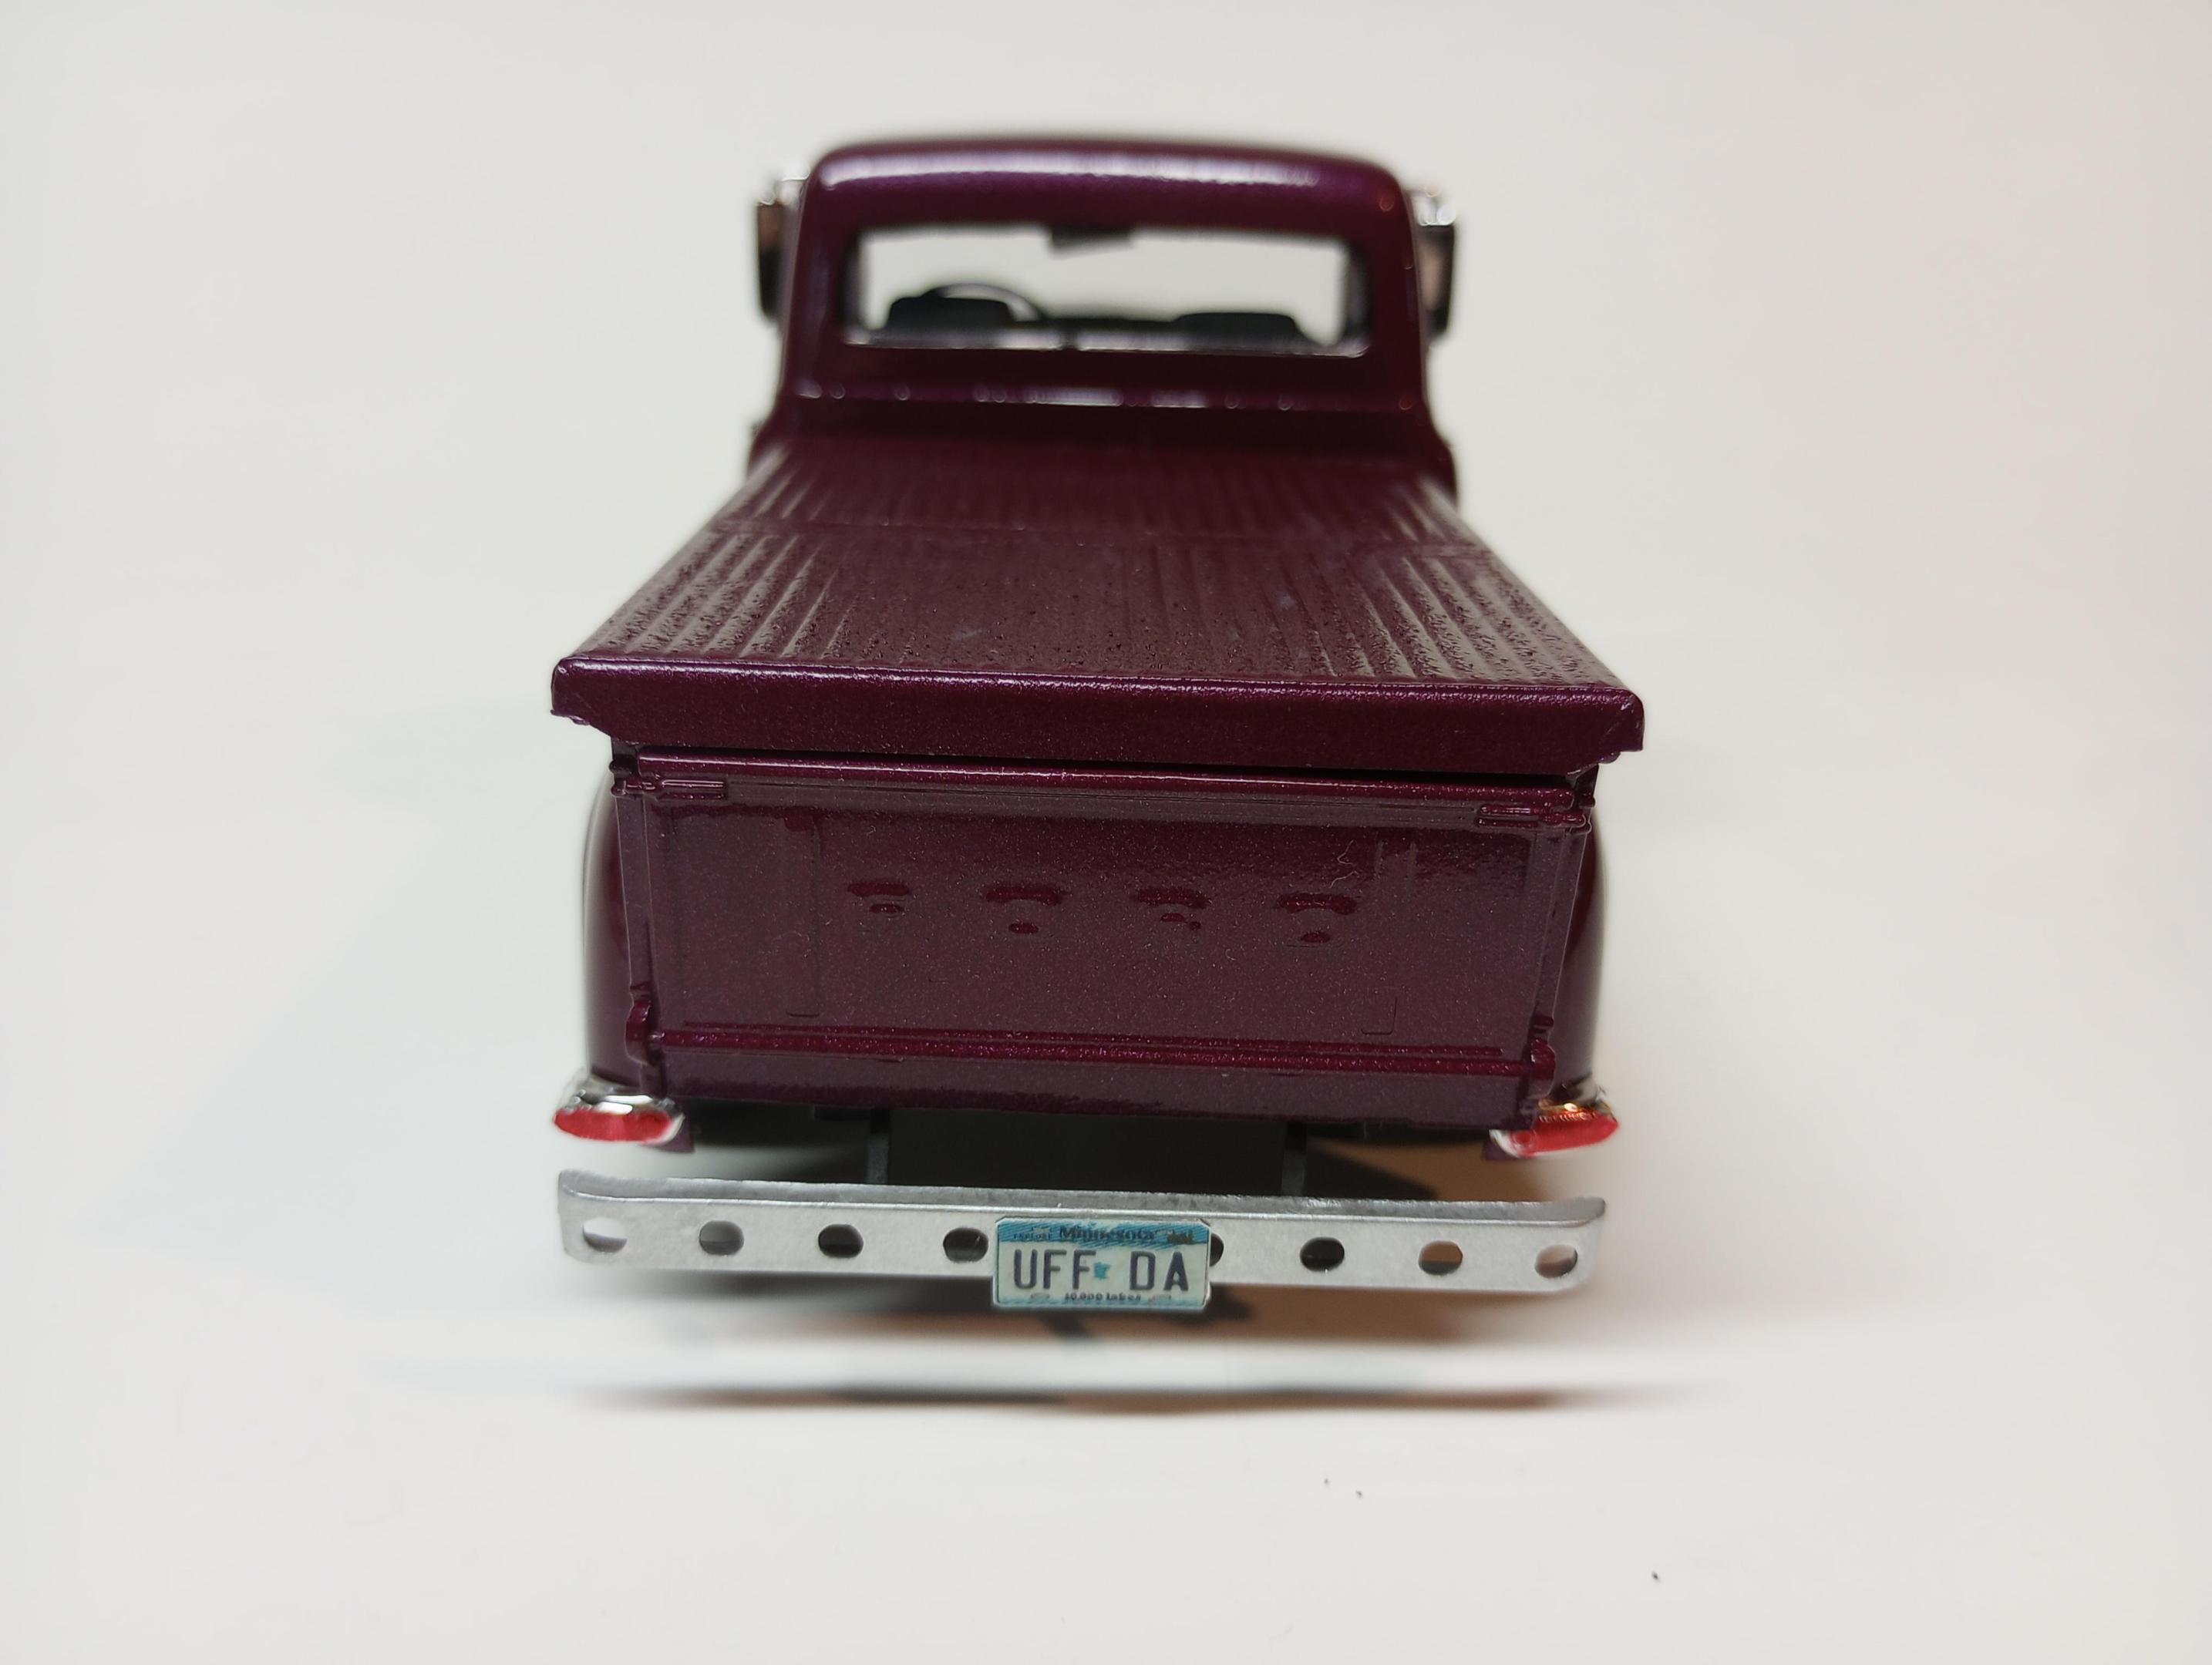
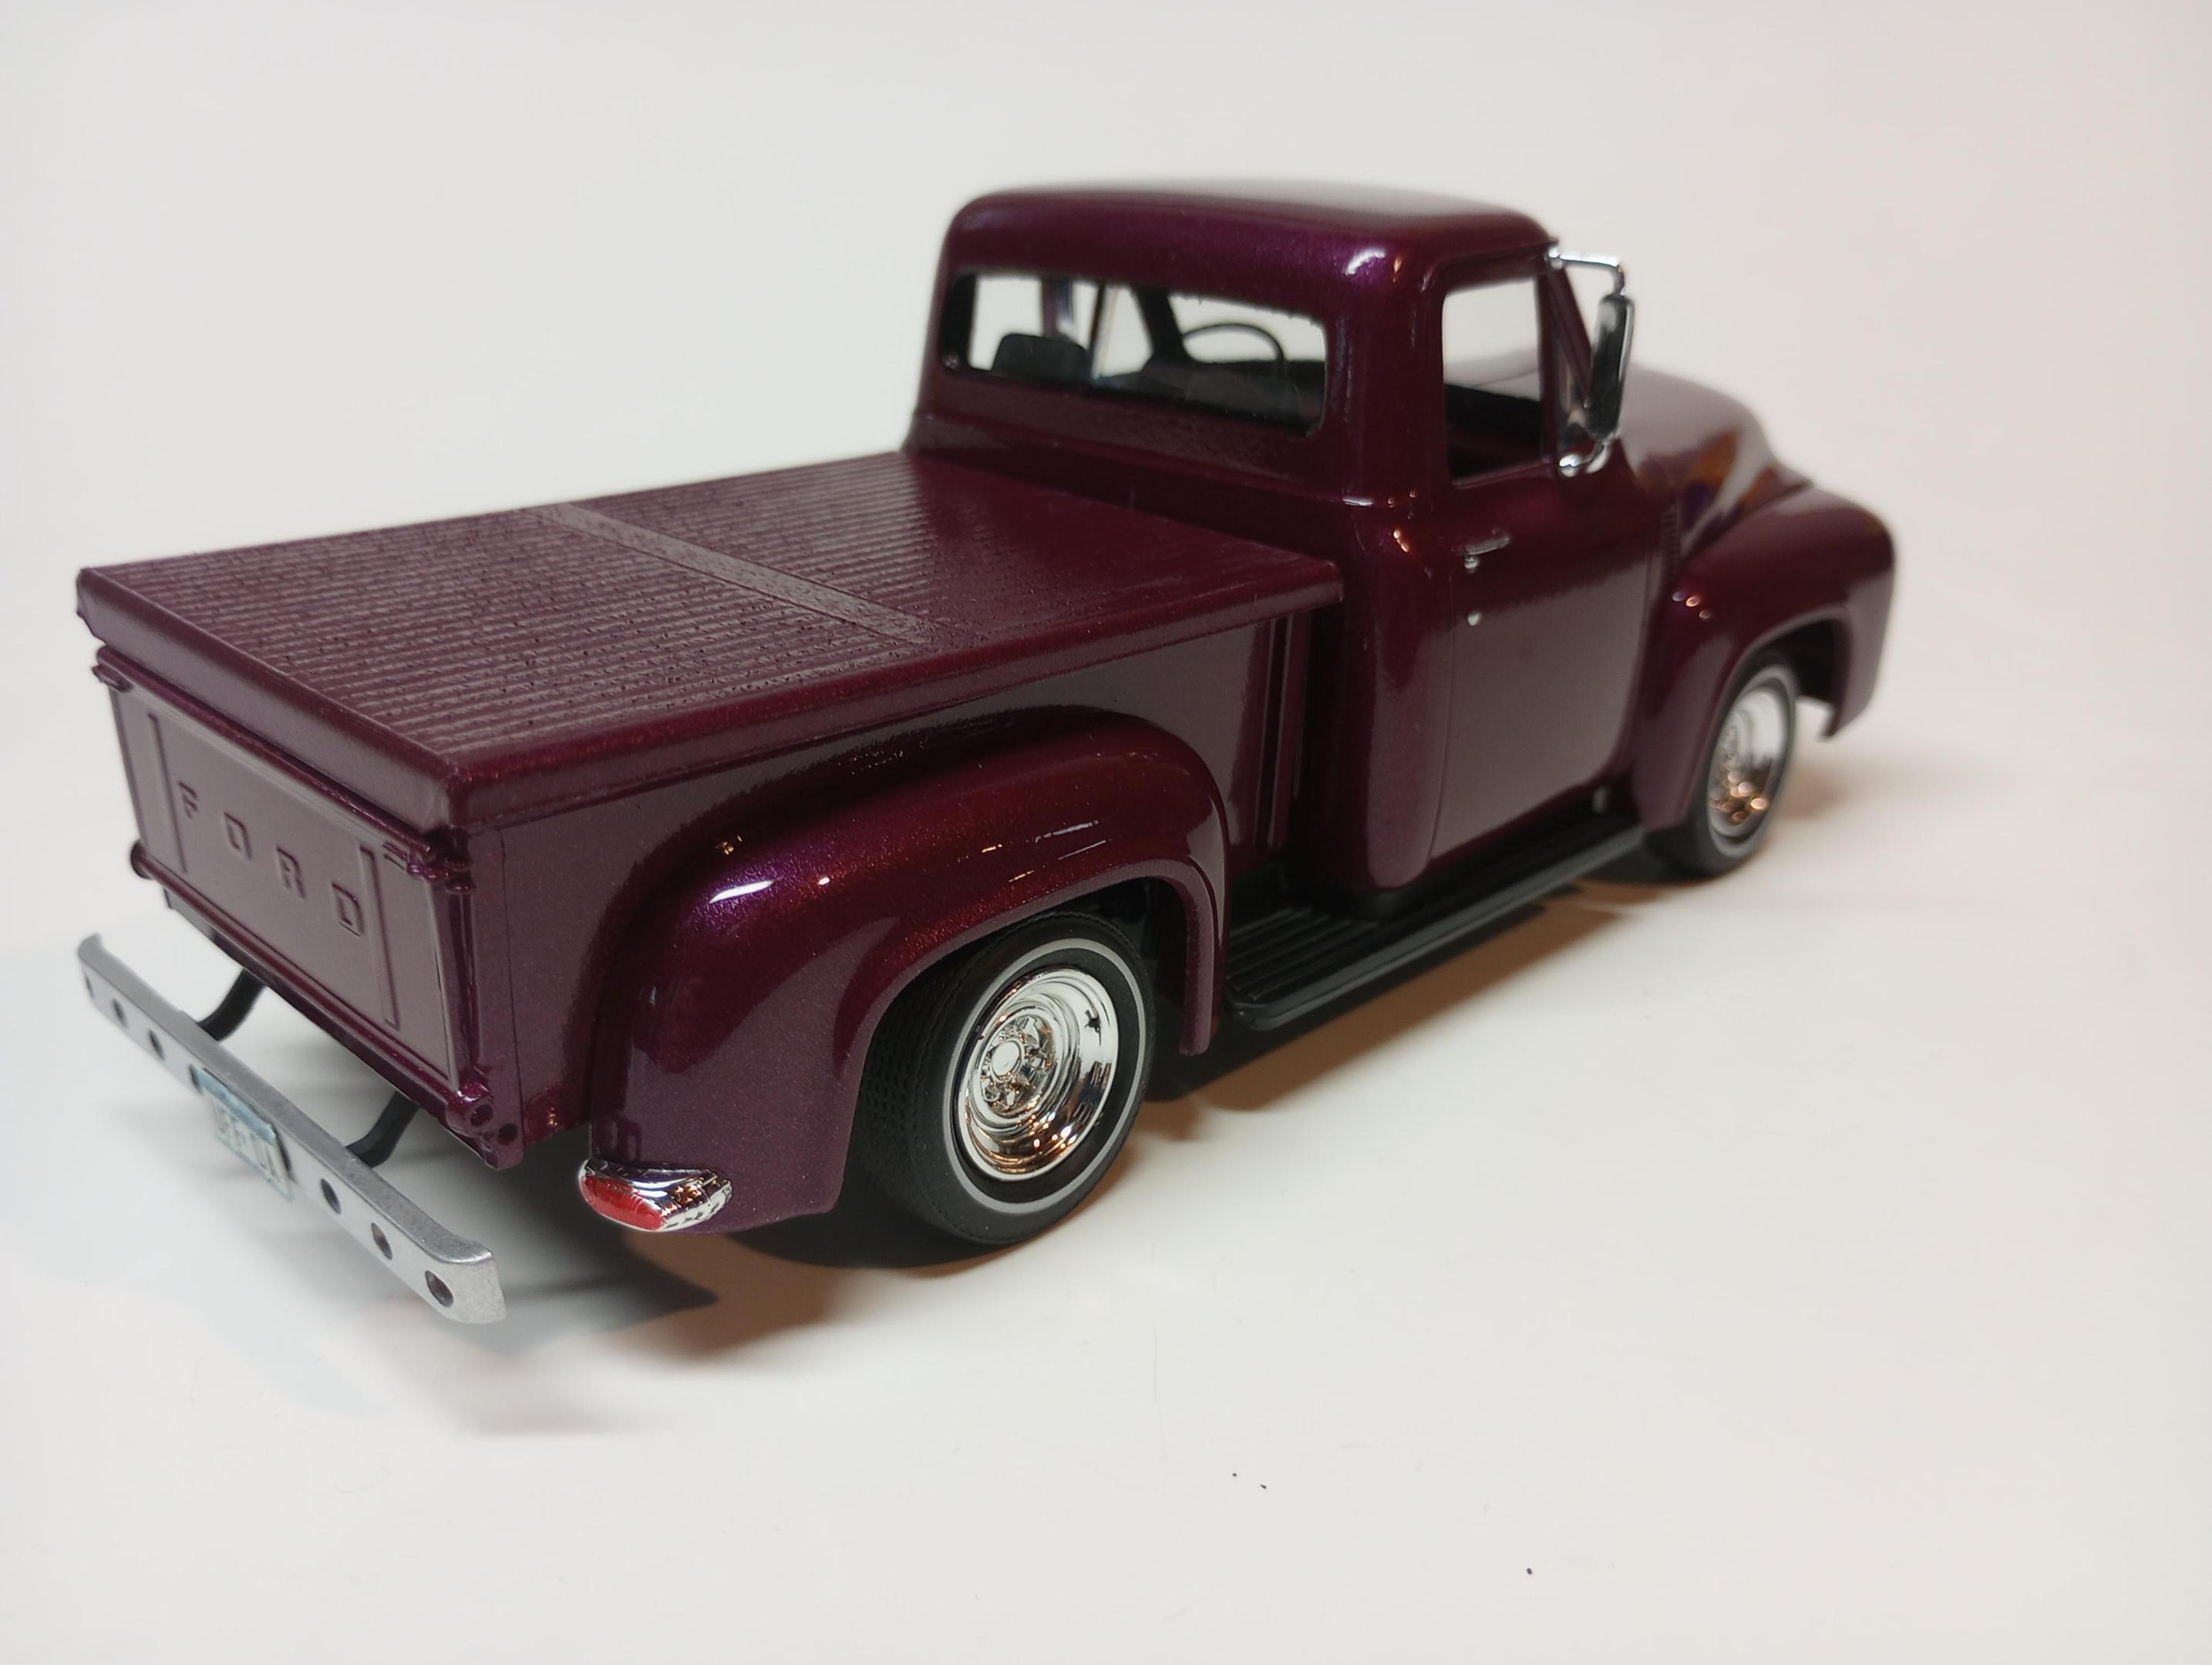
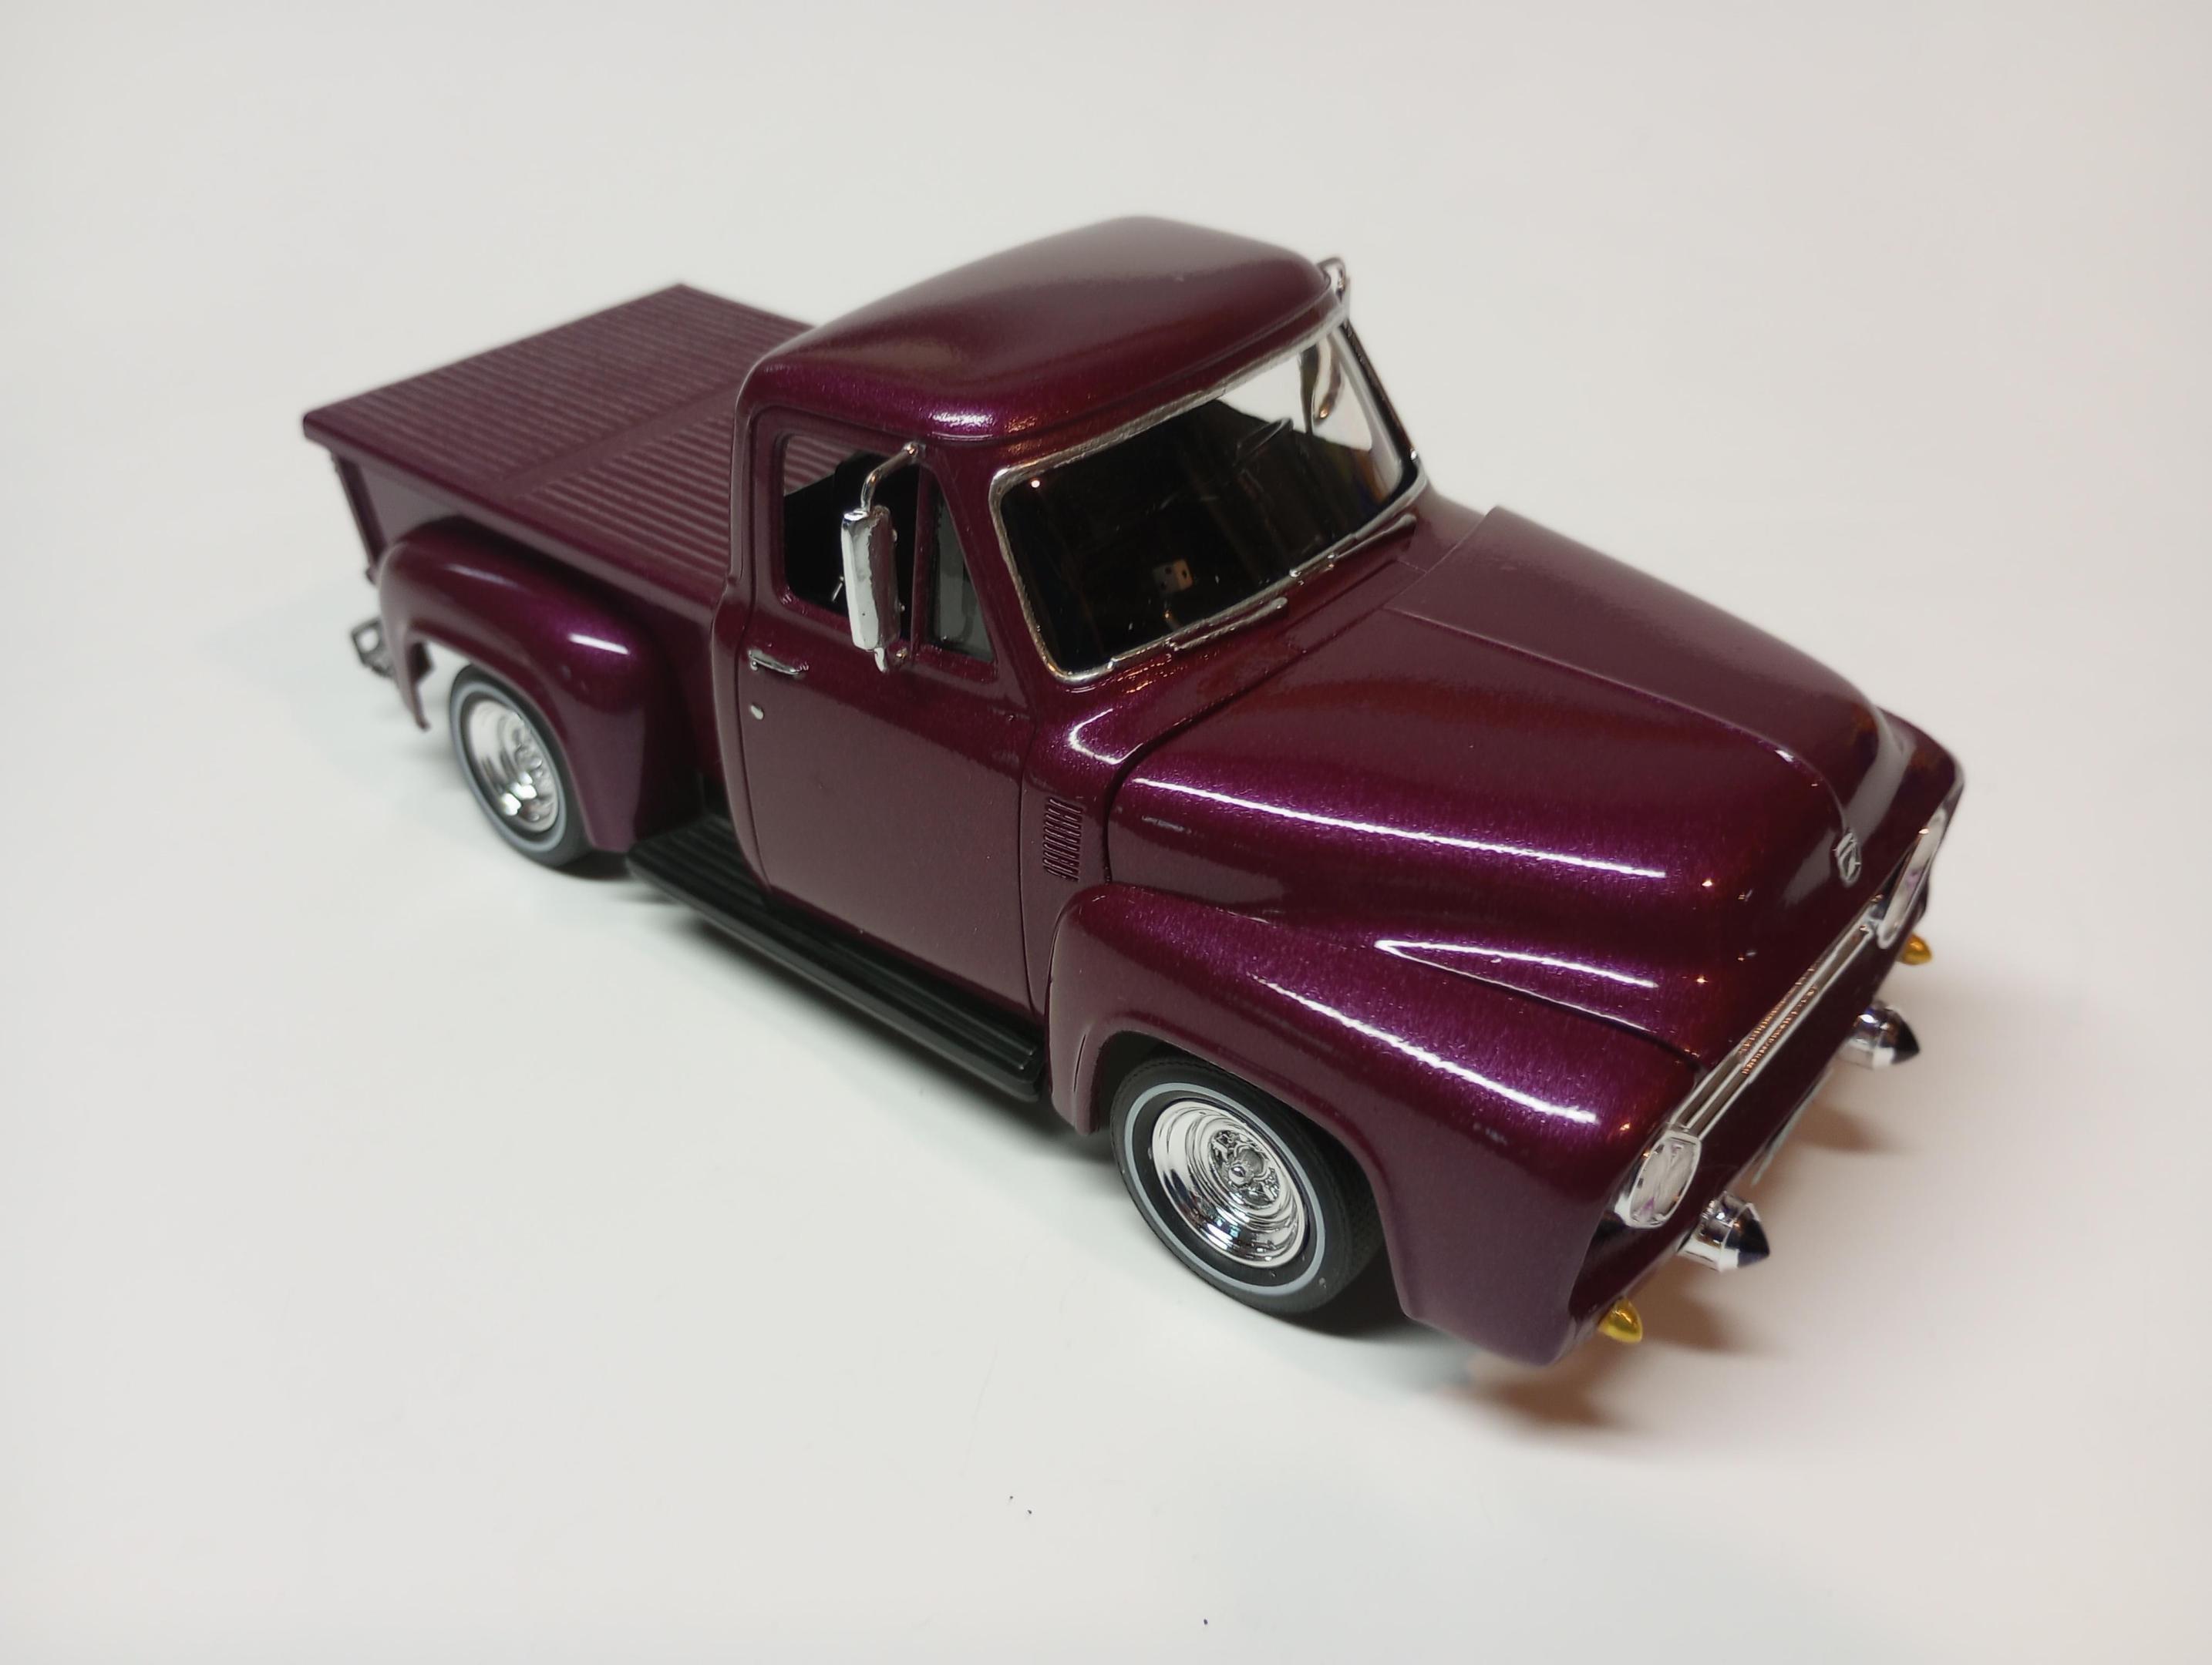
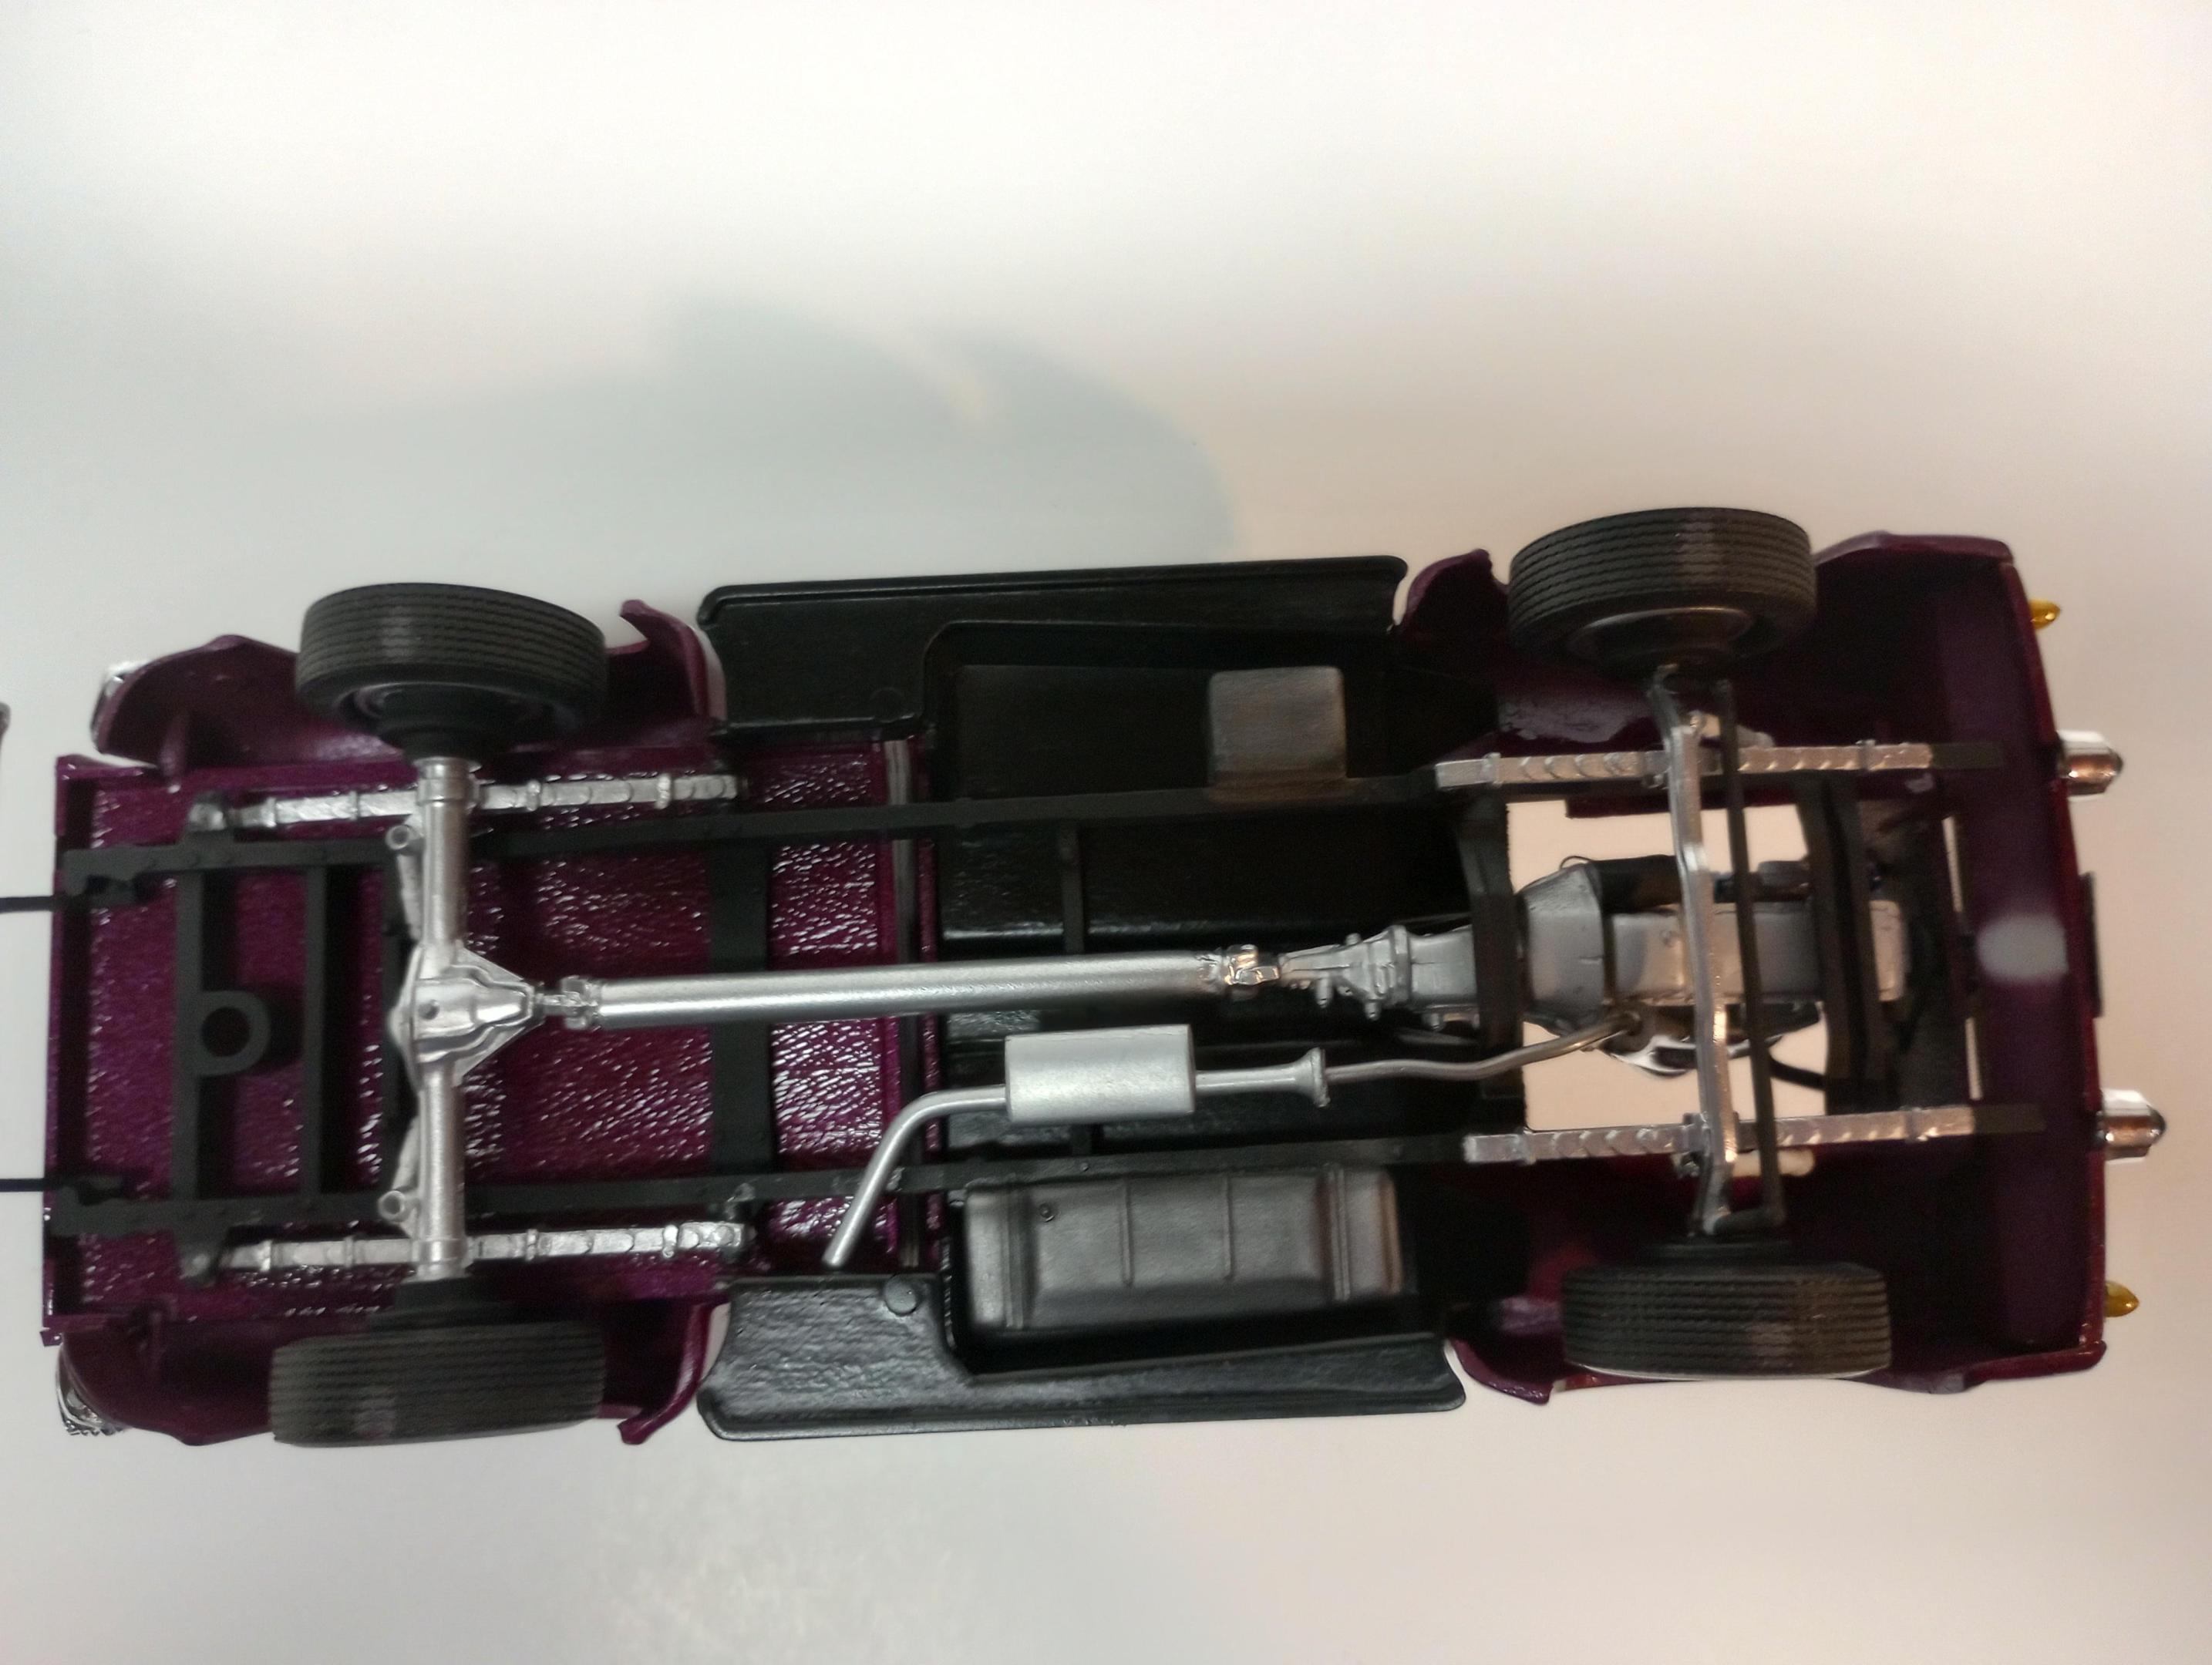
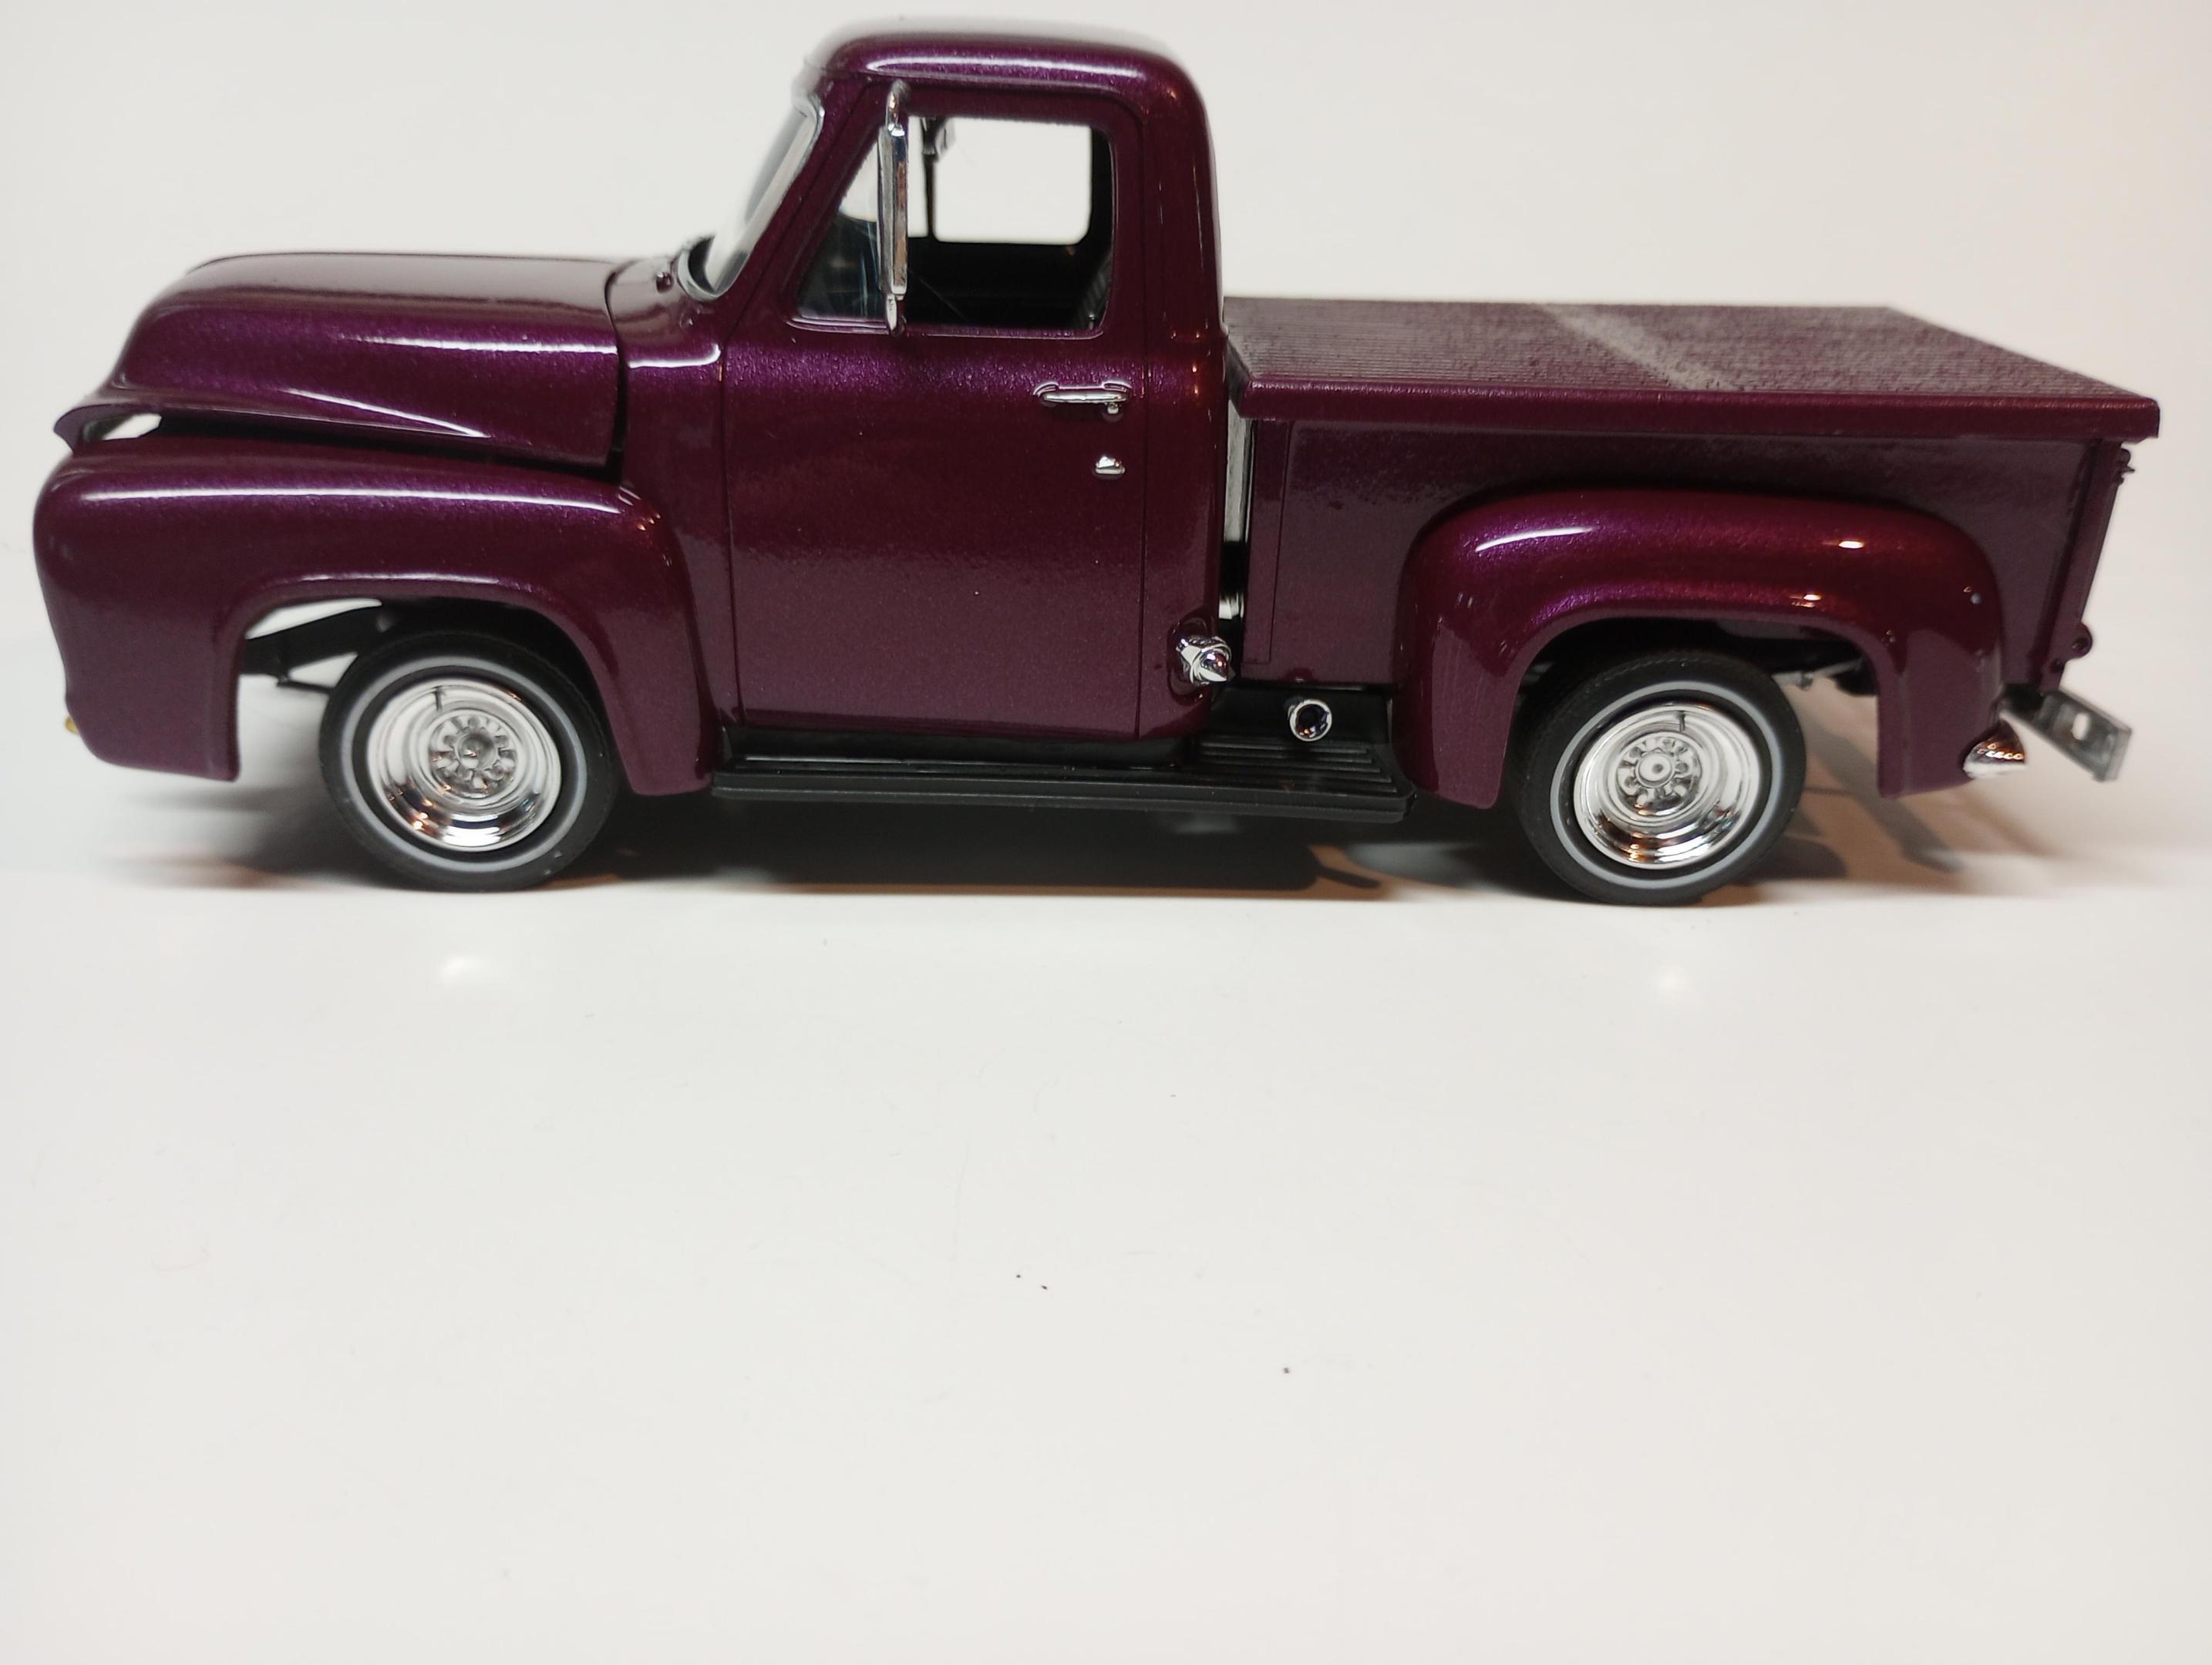
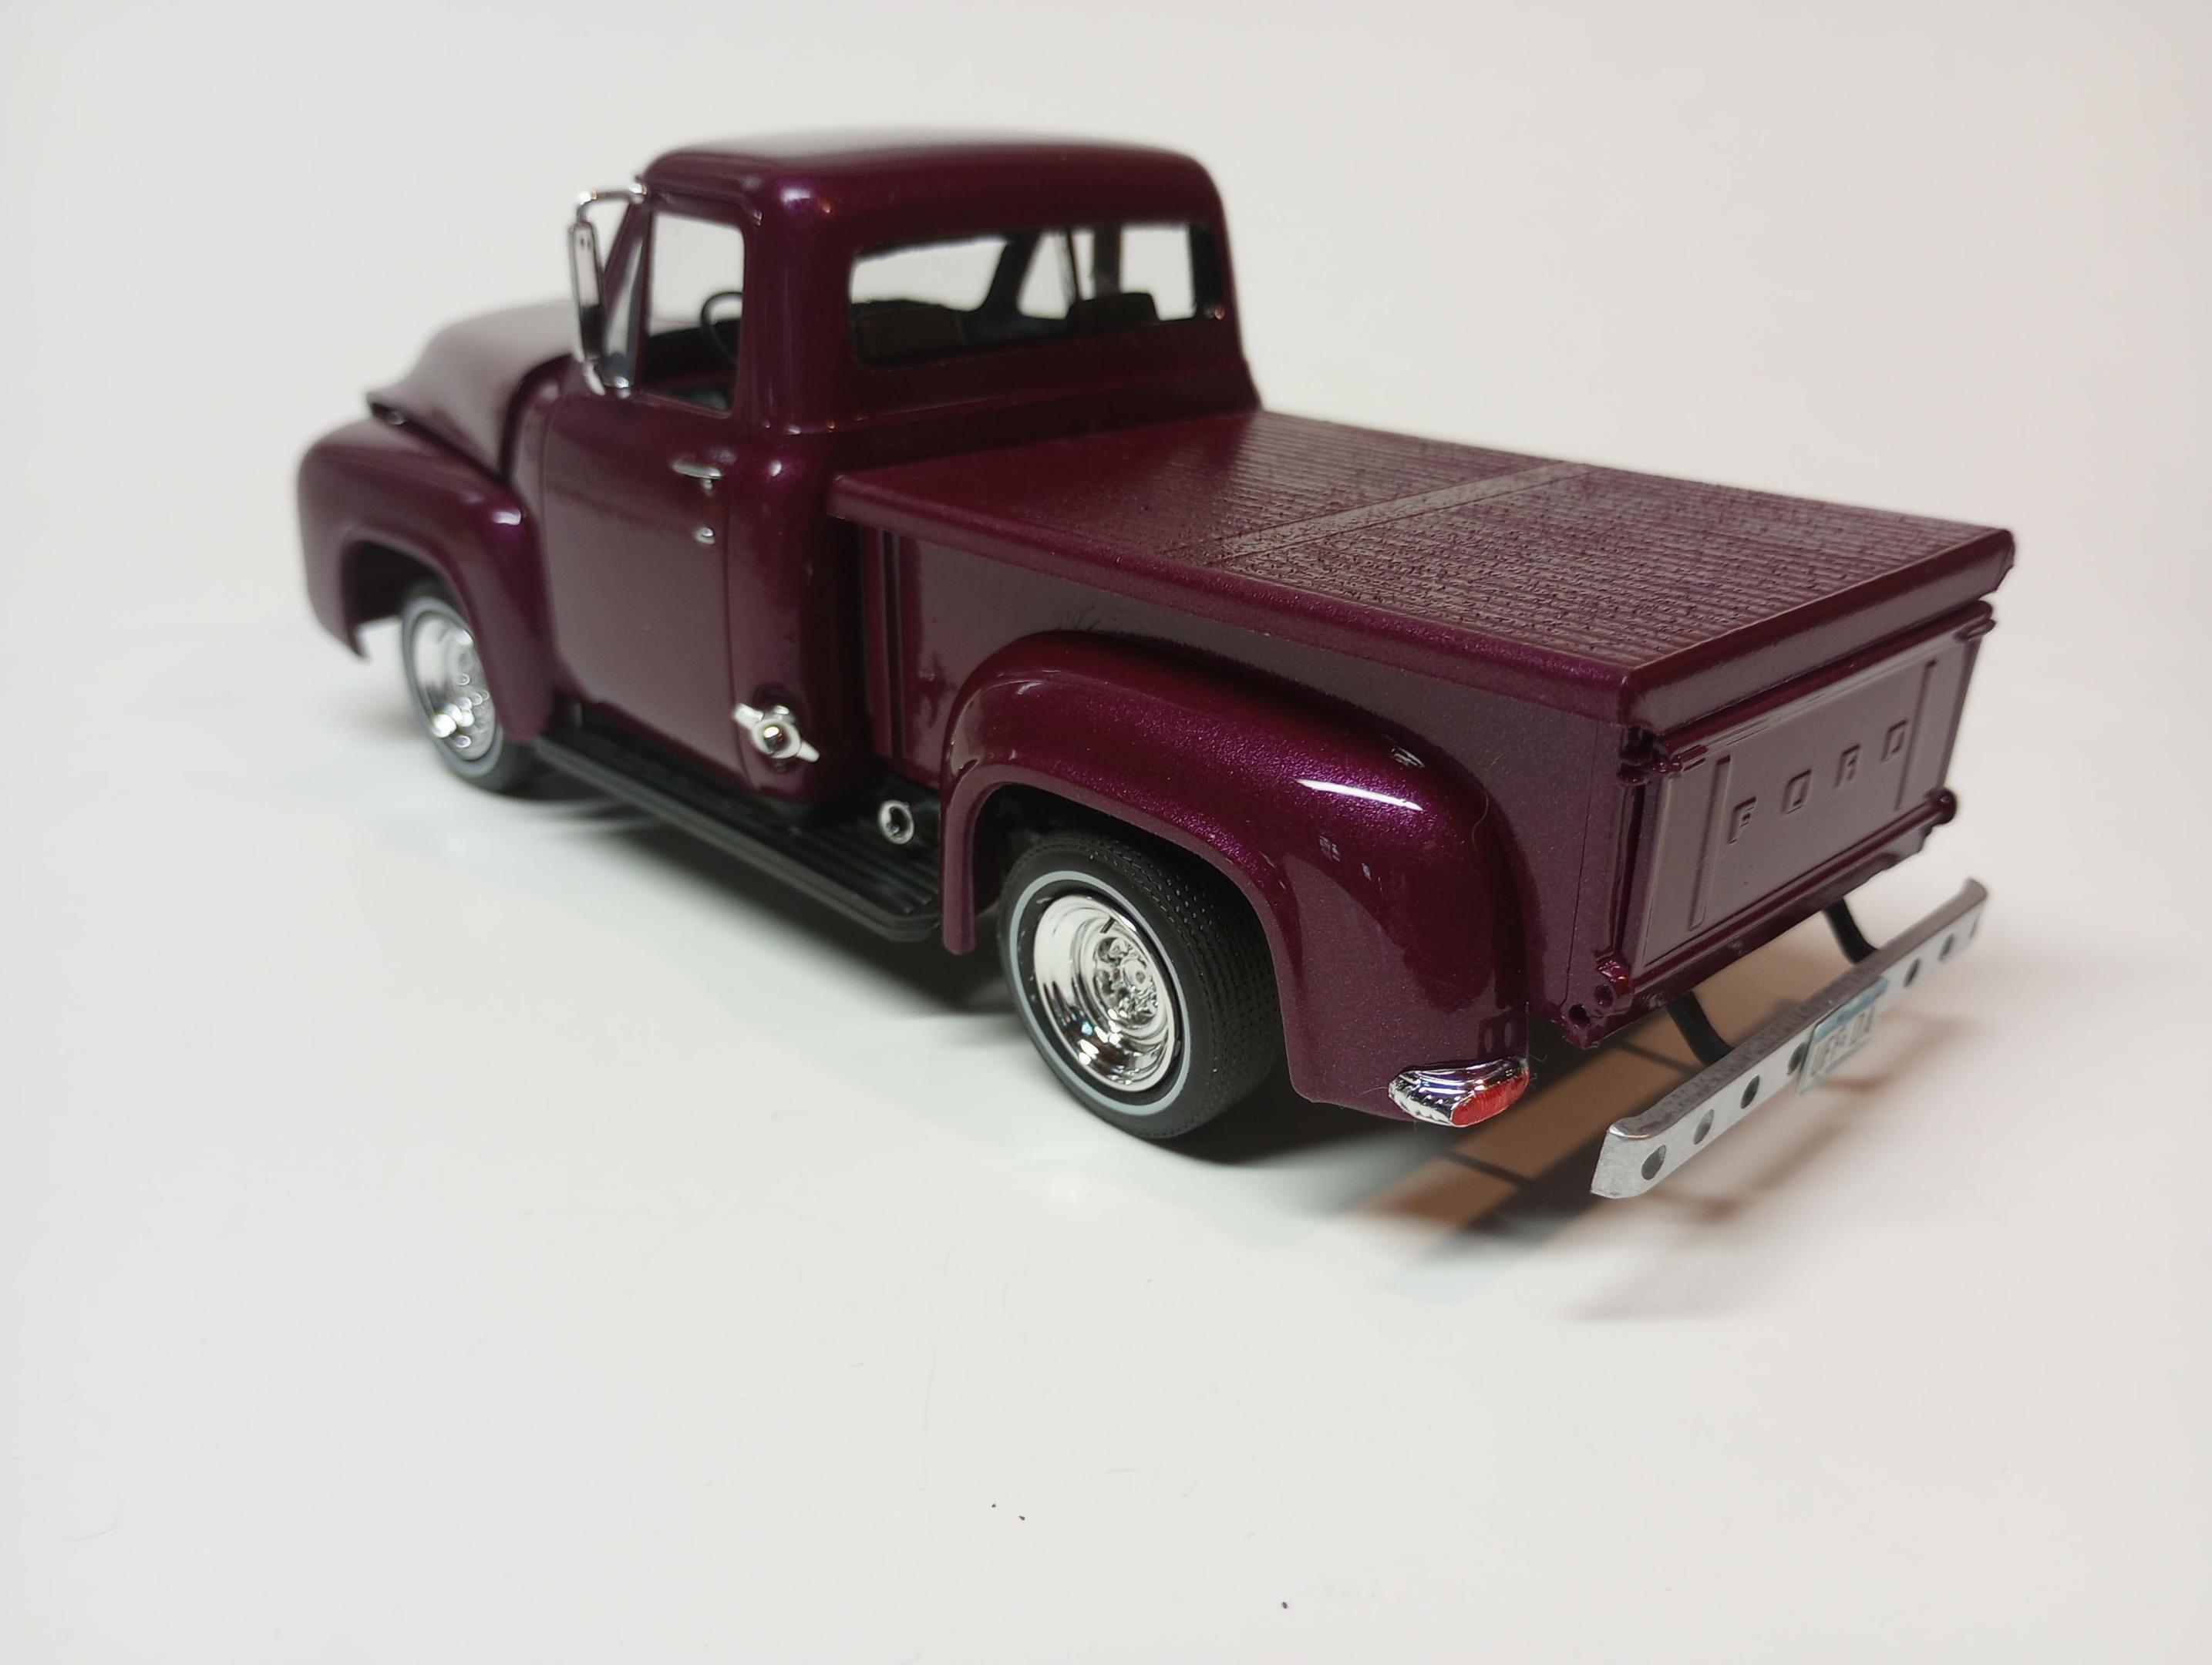
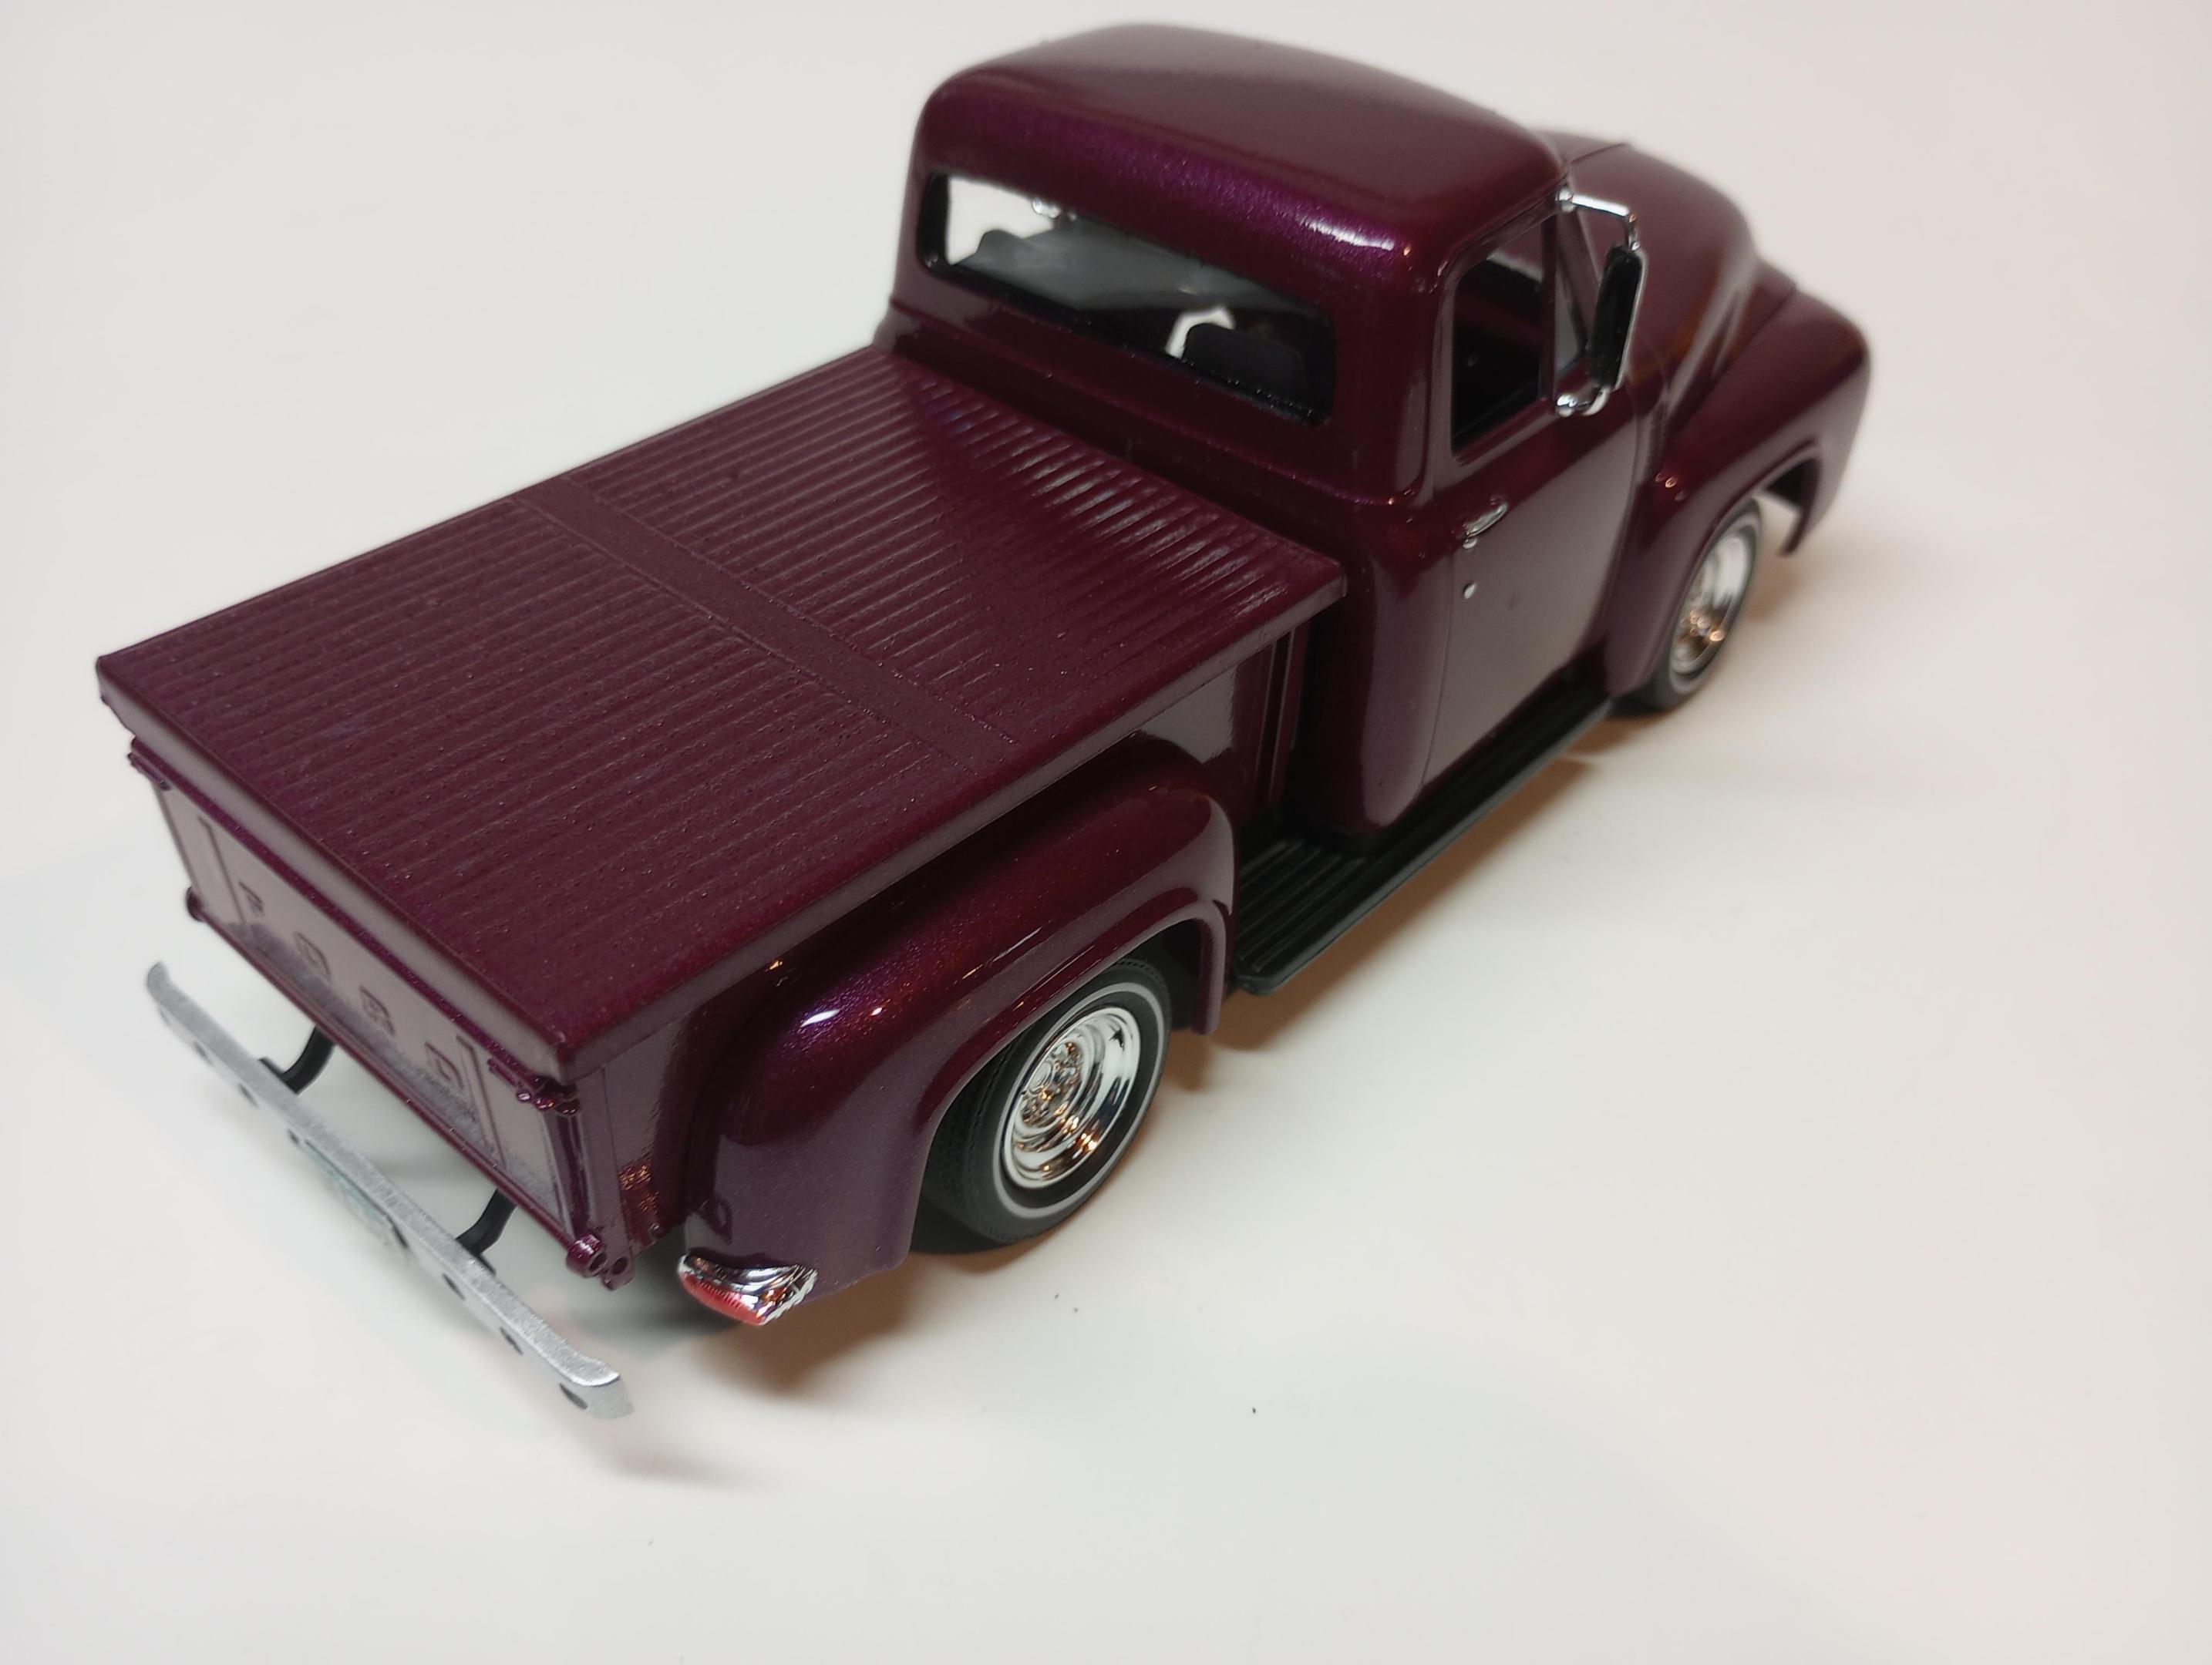
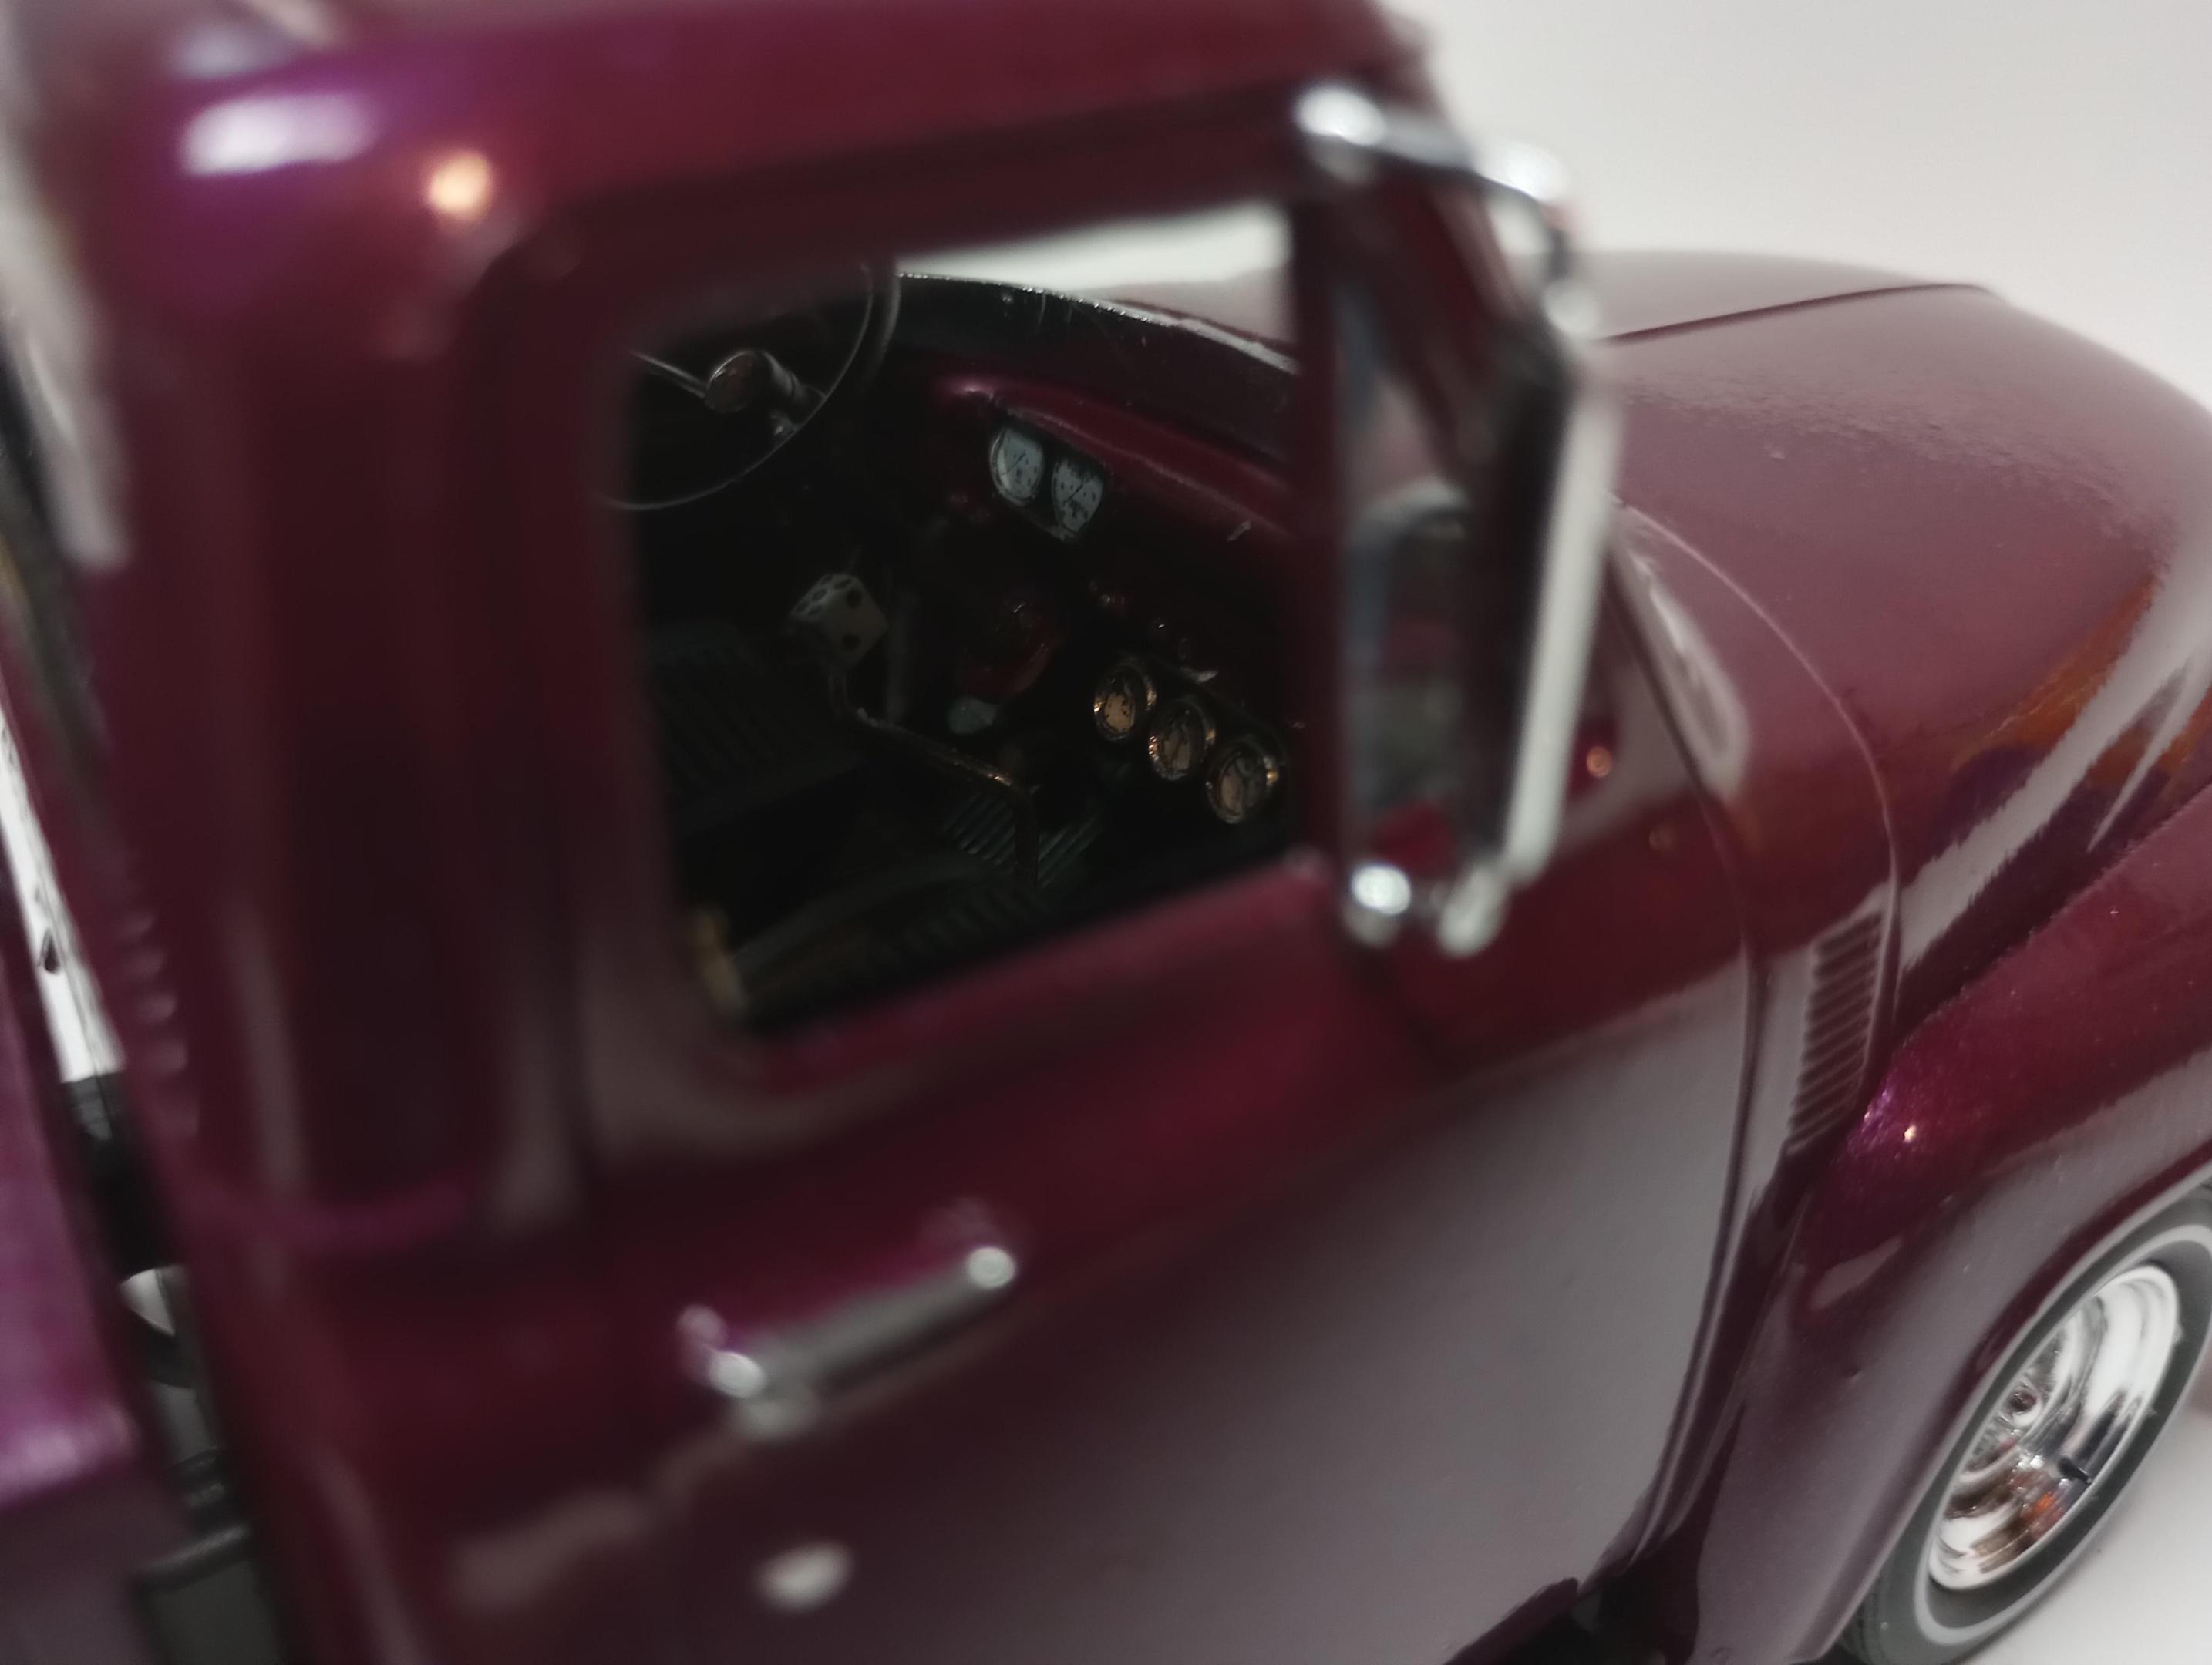
Just finished this up today. Had an idea how I wanted the truck to look like when l started building it and I’m pretty happy with how it turned out. There’s a progress thread on the WIP page for this build. Thanks for looking and, as always any comments welcome. Cheers, Stuart.
-
this is a monogram 1/24 scale 65 mustang 2+2 i built a few years ago that I decided to redo as i did not have any more car model kits left to build I added a 351 engine and ram air hood scoops from my parts boxes and swapped out the front seats and rims from ones from my parts boxes I painted the body a base coat of rust-oleum 2x gloss turquoise with a top coat of eastup high performance wheel paint flash jade green the interior I painted rust-oleum 2x flat black primer I did all the detail painting inside and outside with apple barrel and folkart acrylic craft paints and dead ultra fine tip sharpies 65 mustang.mp4
-
this is a kitbashed 1/24 scale model made up of items from parts boxes most are from a Revell 70 road runner and a Revell 70 gtx and a section of a Revell 70 superbird hood and the front bench seat and shifter steering wheel and rims tires and 340 engine and air dam section are from various other models the hood and trunk lid stripes are from my decal box and I painted the body and bumpers and grille a base coat of rust-oleum universal metallic turquoise with a top coat of plasti dip pearlizer which has a sapphire blue tint so it made the turquoise color go more to the blue side then the more green side the turquoise paint was i have a song from 2023 called SATELLITE which has a 70's pop sound playing in the background of the video as it fit the car being a satellite and is a 70's car 1970 satellite.mp4
-
this cutlass I made with parts from a 1/25 scale Revell 1972 Olds cutlass Supreme convertible mainly the body,hood, interior, front and back chrome and a roof from a 1/24 scale Revell 70 chevelle body and the chassis from a 1/25 scale Revell snaptite 70 chevelle all these came from various parts boxes same with the rims/tires and brakes I used sculpting putty to smooth out were the roof meets the body and to fill in the gaps were the bumpers meet the body to give it that mild custom look I painted the body rust-oleum 2x gloss brilliant blue 72 olds cutlass supreme.mp4
-
I used a body and hood and bumpers and glass and interior pan and dash a friend sent me I used a mpc snaptite 69 charger chassis and steering wheel and front and back seats and shifter and grille from my parts boxes and a set of 2024 dodge charger Daytona rims and tires I 3d resin printed and a set silver stripes from a amt 2021 dodge charger rt decal sheet and side marker decals from a Revell 70 cuda decal sheet from my decal box I like left the purple paint that was on the body and bumpers alone I just added some chrome name plates I did repaint the interior since alot of the black paint on the interior parts I got with the body was worn off I also needed to paint the seats and steering wheel 69 road runner.mp4
-
-
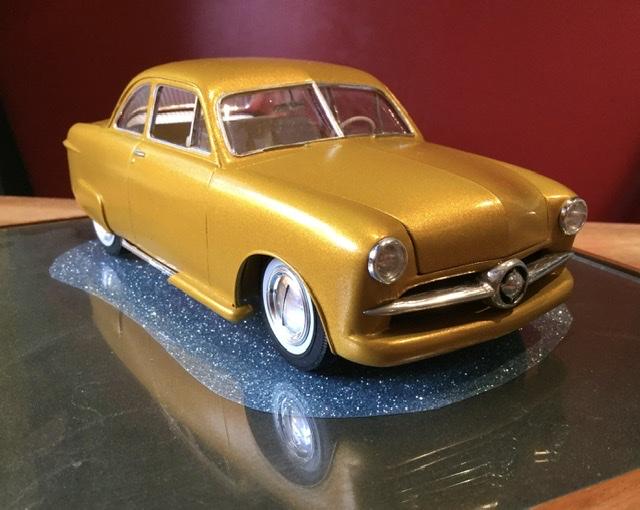
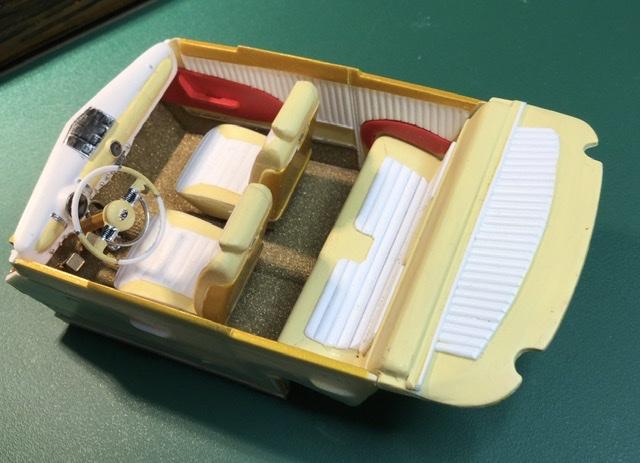
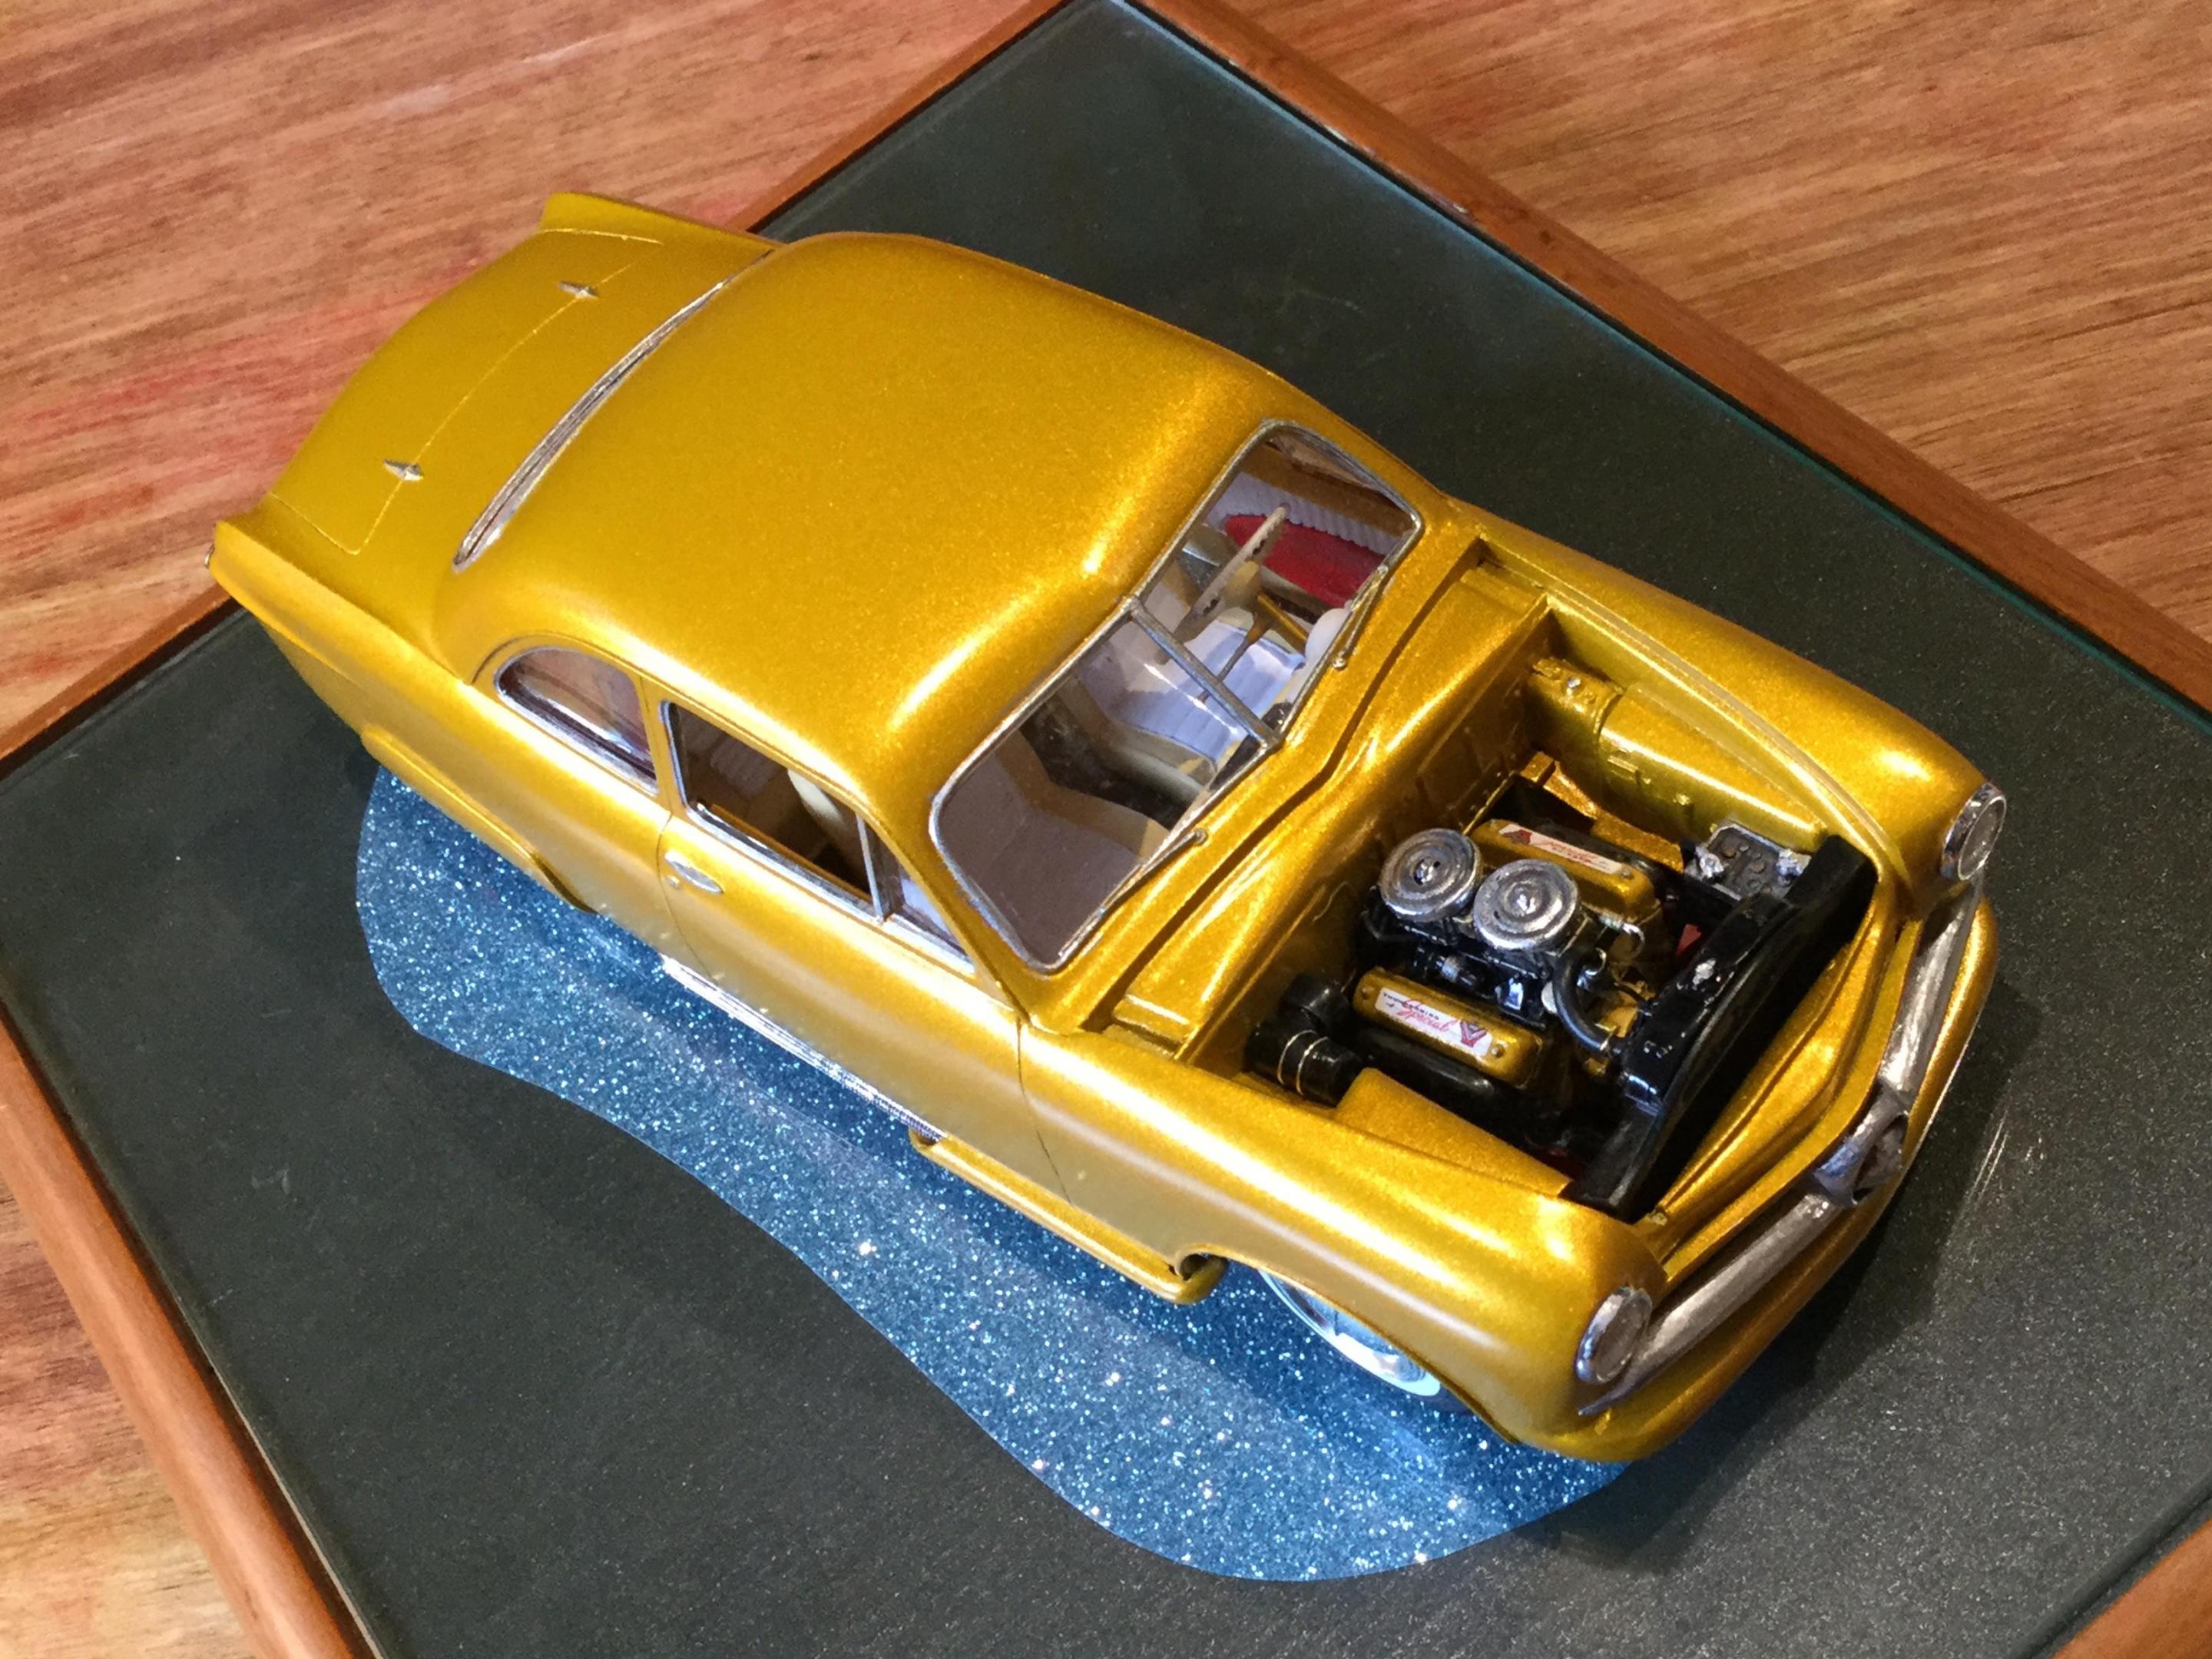
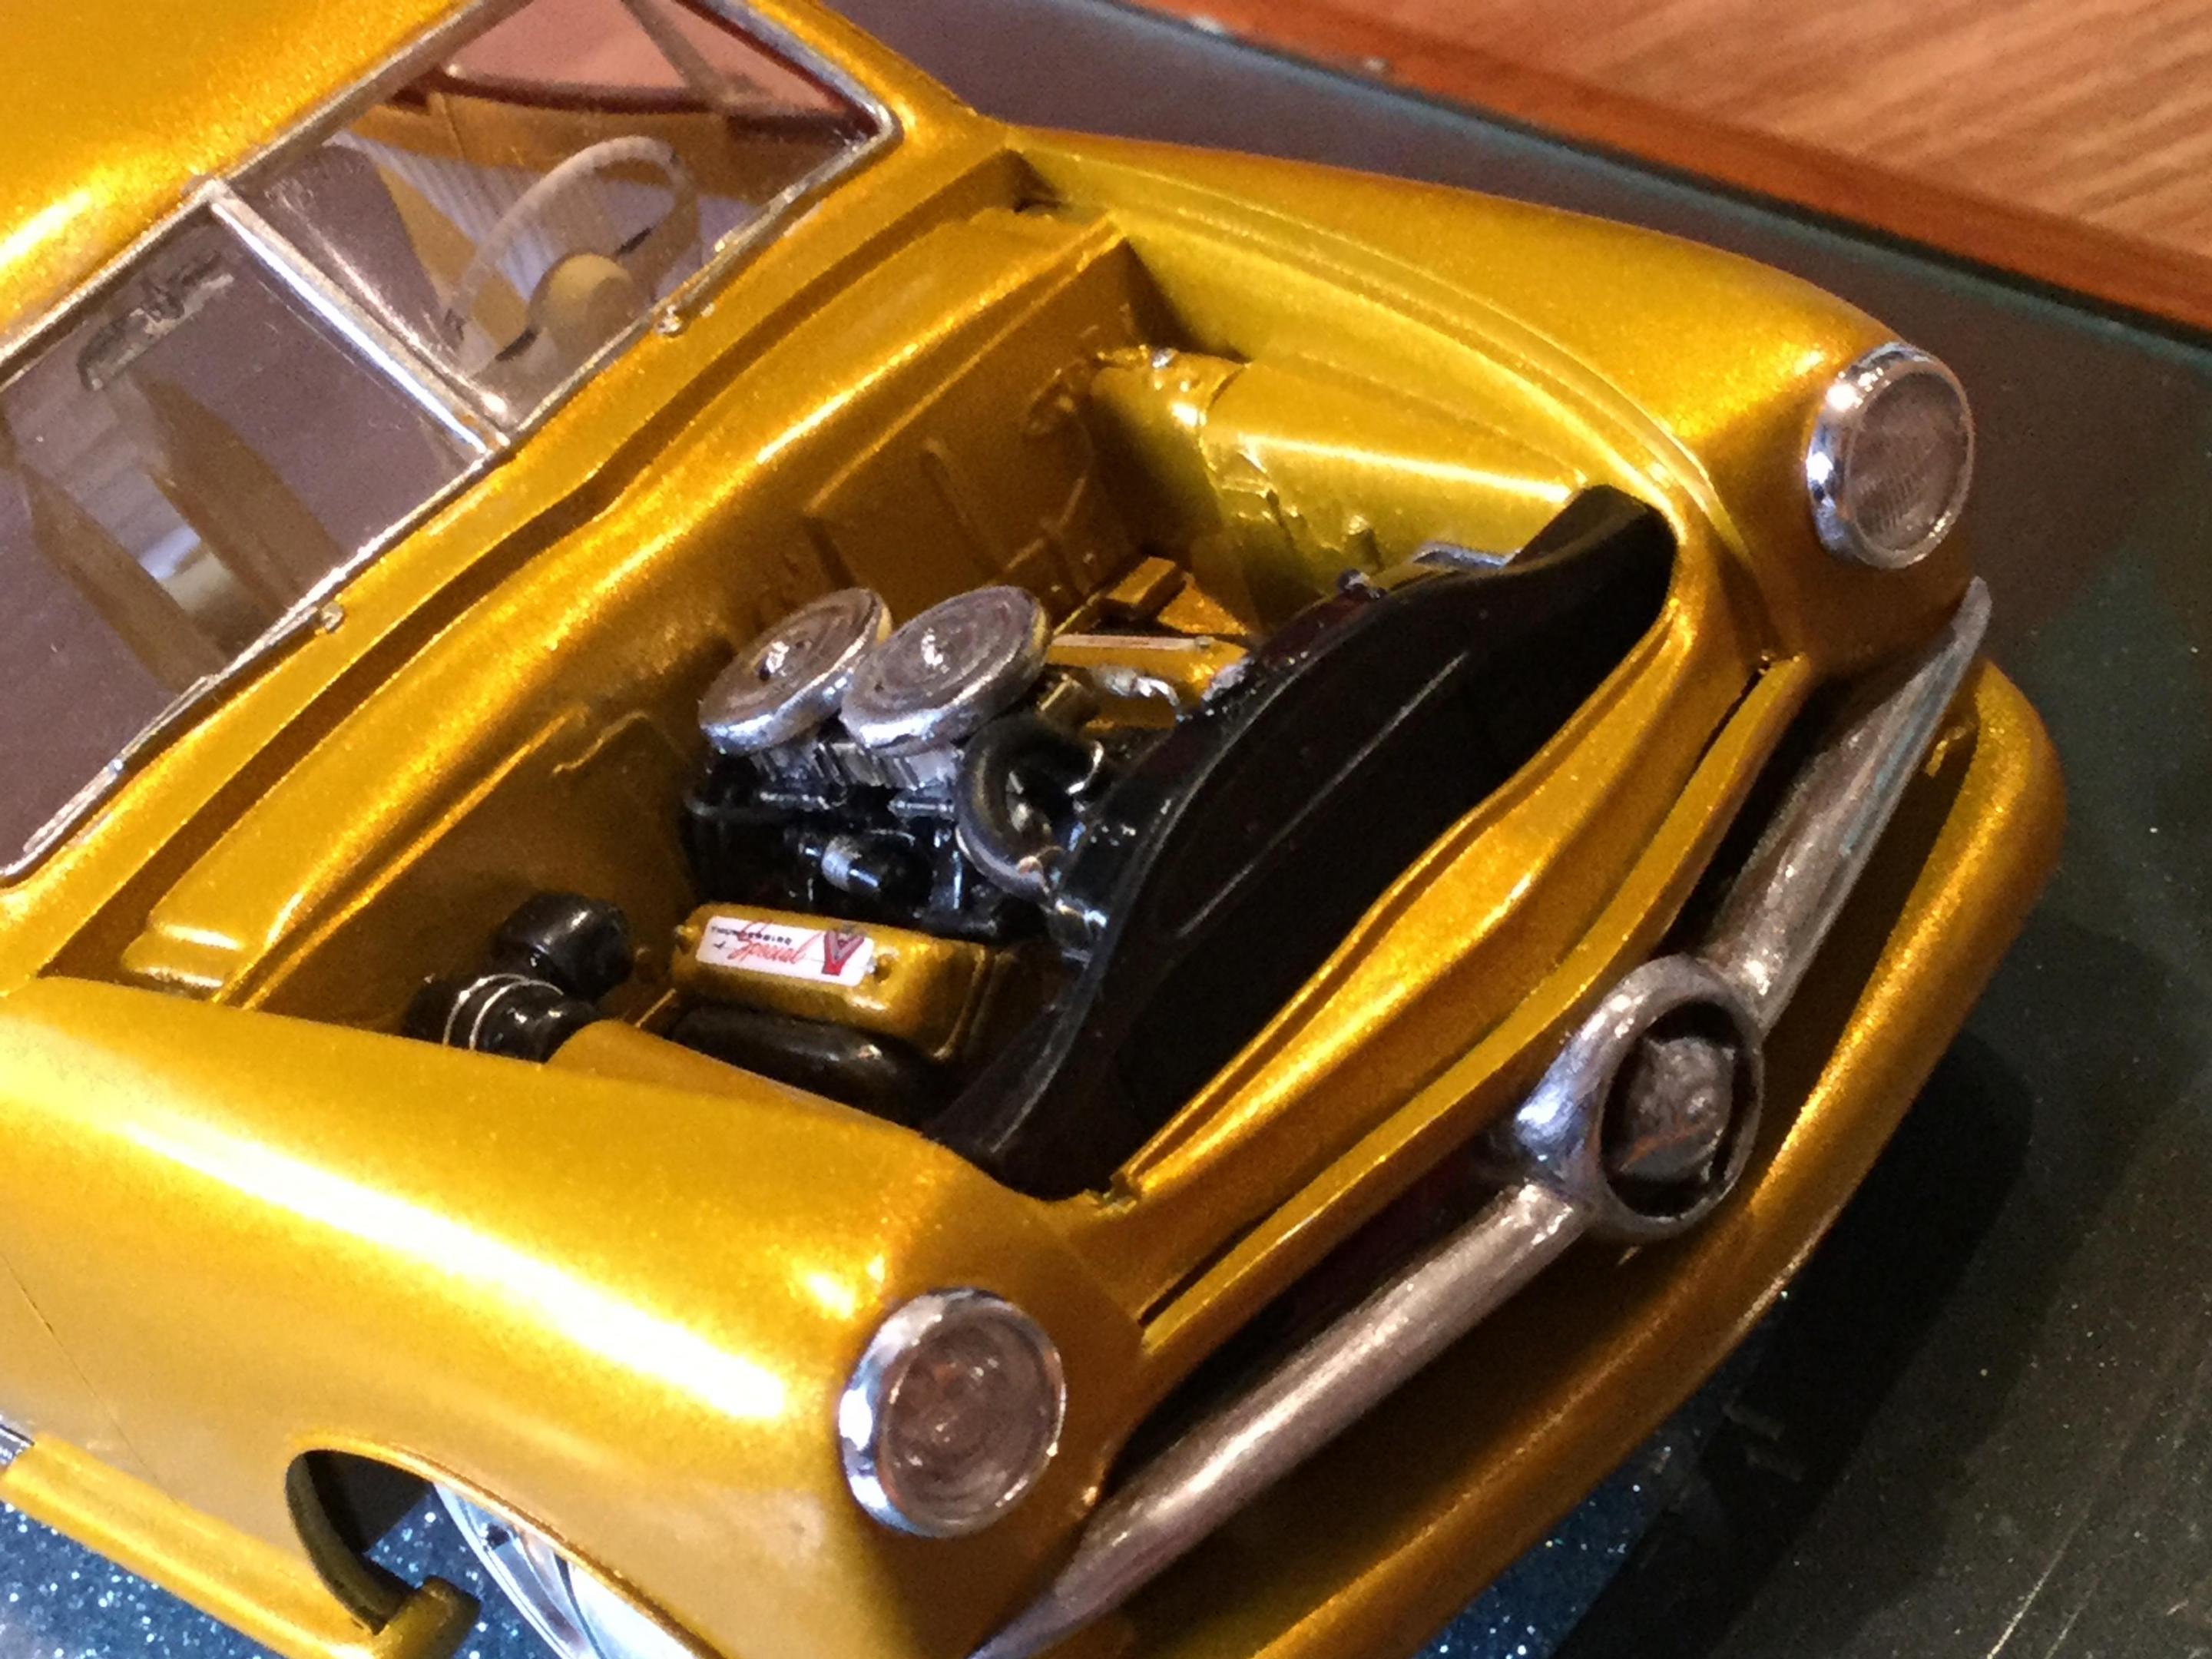
The Story... For the twin’s birthday Grandpa had decided to give the boys a shoebox. He had bought the green Ford coupe brand new, being the newest post-war design. The fenders merged into the body lines to become one smooth, aerodynamic shape, or a “Shoebox!” It was 1949, the same year that Don and Jim were born, and now they were turning eighteen. Their Dad had spent most of the war in the Pacific servicing and maintaining naval aircraft aboard American carriers. Afterwards, returning to Tucson he continued to modify and race, an early Hot Rodder! The boys developed a gear-head mentality early with soap box derbies and later go-carts and motor- bikes. In high school Don excelled in auto mechanics while Jim was becoming quite a body man. Grandpa’s car was a treasure as its main uses were ceremonial or religious duties, as Gramps preferred his F-1 pick up as his ride - “What’s the use of it, if it can’t haul”. Don had already salvaged a Y-block out of a rear ended 57 Fairlane and Jim began smoothing out the body with plans for mild custom touches front and back. The local club had access to a paint booth where the final gold metalflake would be applied. While being built for “Go”, it was also for “Show”. A custom interior was the ticket and fortunately a number of Tucson upholstery shops had begun to specialize in leather car interiors. The next couple of years would be spent creating the “Inca Jewel” - a mild custom built by hand with part-time jobs funding it and help wrenching from friends and club members. Many evenings and weekends spent in the garage... Details to follow, cheers Misha
-
Growing up in the late 50's and 60's, I loved all the Pontiac road and muscle cars, seriously, who wouldn't? They had the look and the performance that all of us guys were looking for. I always thought the 1965 Bonneville 2 door coupe was the most beautiful of all of the big land yachts. The Grand Prix was just a little shorter but still had much of the same style as it's big brother. The one thing about the design that I was never comfortable with was the roof line, I just didn't, and still don't care for the squarish look of it on a very smoothly sculpted car. Well, I can't do anything about the real car, but one in plastic I can modify easily. When I saw the re-pop of the old AMT kit, I knew I had to get it, to go along with my Bonneville kit. As you know, the AMT re-pop kit comes with a custom nose and tail if you are so inclined to install. I am inclined and install both, just for a change of pace.... but I also did something about the roof line that I don't care for . I sculpted a block of sign foam and vacuum formed a roof that resembles the Bonneville rook, but also has a small chop to it and I laid back the a pillars a little to accommodate the small chop of about 4 inches in real life and give the windshield a little more rake to it. . The car will be lowered down and sport some larger wheels than what we had back in 1965. Custom paint and a mildly done interior, and bam, done.
-
Built for another forums 50's group build. Painted Duplicolor Ford Cayman Green with Krylon clear. All chrome stripped stripped and used silver sharpie on everything but bumpers and interior trim. Speaking of bumpers, the front was modified to remove the guards and both painted Krylon Metallic Silver. Smoothed headlights and left the kit buckets off to give them that frenched in look. Wheels are Pegasus Vanquish with the spokes painted with silver sharpie.
-
Finished this kit in surprisingly quick time. Started with, Done up as a mild custom. No door handles, nor mirrors, and most of the trim left body color. Also used some Pegasus Wheels, but really didn't need to change ride height at all. Used engine from Revell's HHR, which was a struggle to get to fit under the hood. Painted Duplicolor Toyota Desert Sand Mica And Vintage Red Pearl followed by several coats of Future. more to come...
-
I have finally finished this Oldsmobile that I started in the summer of 2013. I wanted to build a clean Mild Custom with minor body modifications, which is the style I like the best in 1:1 scale as well. Shaving unneccessary chrome parts such as hood ornament and Oldsmobile logos etc was really easy, because they were all molded separately and there were no locator holes on the body parts. So I just left them off. I also left vent windows from front away, because it made this car look a lot smoother in my opinion. It's painted with Maston spray paints and clear coat is also from Maston. Then I polished the body. Engine is the Oldsmobile Rocket that comes with the kit, but I swapped a new intake manifold for two carburetors on it. Carbs and air cleaners are from my parts box. Otherwise the engine is pretty much stock except for the details that are built using either aftermarket products or scratchbuilt stuff - or both. Interior is pretty much stock, except for color choices on dashboard and upholstery. I flocked interior floor and used kit's decals on the dashboard and steering wheel. Chrome trim on door panels is BMF. Chassis was lowered from rear by shortening rear springs and grinding a little material away from rear frame. On front, I cut the spindles in three pieces and glued them back together moving the mounting point for tires a bit upwards for a lowered stance. Tires and wheels are from Revell kit. Exhaust pipes are made from styrene rod, mufflers are modified kit parts and exhaust tips are plastic tubing. It was a fun build and this kit is an excellent one. This one turned out just like I planned originally and I'm pretty happy with it, even though there are mistakes too. WIP-Thread can be found Here. And last here's one shot together with my '61 Oldsmobile Mild Custom that I finished a year ago.
-
G' Day Folks, Finally off the bench this one, built as part of another forums CB AMT kit, gone for the mild custom look, using Tamiya TS-89 Pearl Blue over a Testors Sterling Silver base coat. No clear coat, just polished using Tamiya finishing compounds. Shaved the door handles, trunk hinges off and cut the pillars off to give it a hardtop look. A basic interior in order to match and highlight the overall look. The engine is a flathead with small blower resin kit from 'The Parts Box'. Wheels are Pegasus Cheers and thanks for looking Ray
-
Hi all, got round to finishing this one up. Thanks for looking Regards Andy
-
Hi all, Made a start on this one - usual story for me - lowered with whitewalls !. The interior's Tamiya Neutral & Sky grey. The bodies been cleaned up by removing the front fender (and boy did I take a few attempts to get the crease in the front of the fender) and rocker panel trims together with the rear light unit, slightly modified rear fender trim and removal of the door handles. A couple of pics of the body sprayed up in Coral Blue from Zero is plus 1k clear - the body needs polishing out. Thanks for looking Regards Andy
-
Hi all, I have to admit that this particular year isn't one of my favourites (would've much prefered a 55 Mercury Montclair) but as it's a kit that I've not built before I though I'd give it a go. It's just going to be a mild custom with lowered suspension & whitewalls.The first thing that I realised was that the front inner fenders were stopping the wheel sitting higher in the wheelwell so I've reworked them with plastic card. I haven't done much to the body except remove the hood ornament,trunk enmblem and door handles. A couple of pics of the body before polishing - the color is Ford Phoenix/Vista orange from Zero paints plus their 1k clear. Thanks for looking - sorry for poor indoor pics Cheers Andy
-
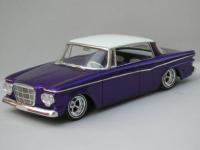
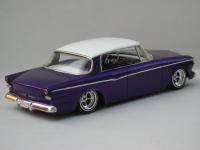
Hi all, picked this one up on E-Bay (from Poland !). Just went for a mild custom look - only body mods were removal of door handles, emblems etc and a lowering job. Colours are HOK Violette & Zero Ford Diamond White. Wheels are Pegasus Sovereigns. As ever, thanks for looking Andy
-
I think this was a re-issue of a 1959 kit and it sure showed its age. I've never seen so much flash or so many sink-holes. Every panel needed filling, all four tyres had huge craters in the sidewalls. I must admit, this was a real challenge to complete. I had to use clamps and epoxy to get the chassis onto the floorpan and do a lot of brutal trimming to get the interior to fit. I used acetate for the windows, the rear being slightly tinted. i hand painted the whitewalls and scratchbuilt the alternator and oil filler tube. I nearly gave up and it made me question my ability as a model-builder, but here it is....... Done!! thanks for looking
-
Hi all, Just OOB except for removal of emblems etc and a lowering job ( i love metal axle kits !). Colour is HOK Brandywine & wheels are Pegasus Sovereigns. Thanks for looking Andy
-
Hi fellas! This is my new project ,AMT '59 Ford Galaxie Convertible. It's pretty good shape and it have all parts except rear bumper (broken), wheels & tires and boot cover. It's going to be Mild Custom because previous was sanded side trims away. Not much more to tell so here's some pics of starting point. Now it's on paint stripping and after that i can see how the body looks like and how much work it needs. Stay Tuned.
-
I made a hasty choice the other day, and deleted my own post. I have made an attempt to set things right and will start a new post for this build. I have the final body color done and I'm very happy with it at this point. I'll post more as time allows. I welcome your comments or questions about this build, thanks guys. James
