Search the Community
Showing results for tags 'ranchero'.
-
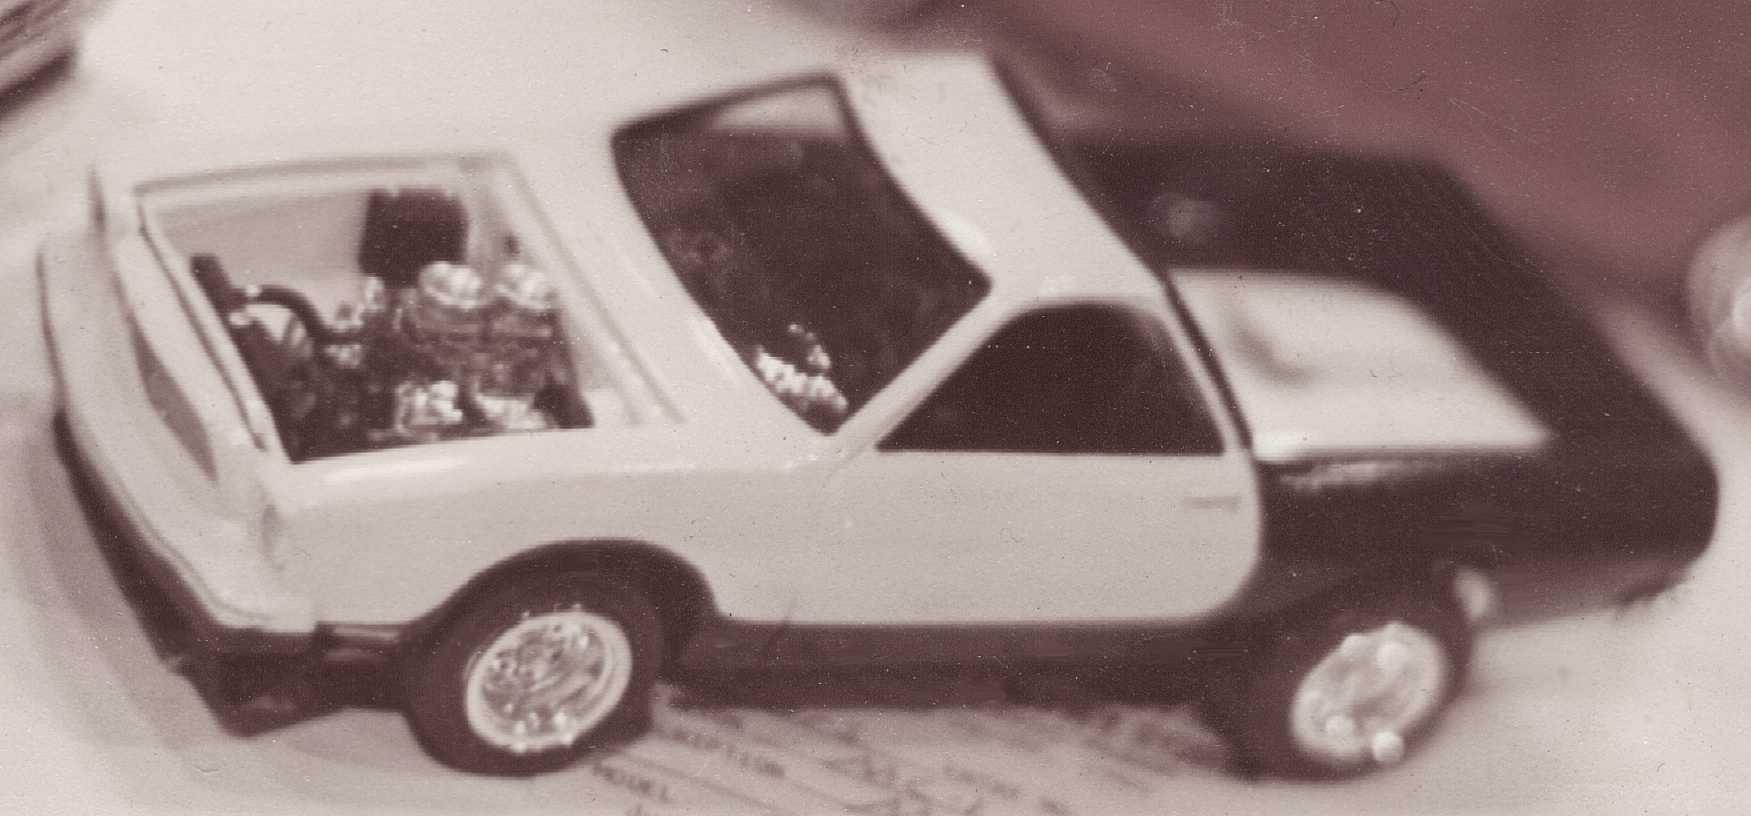
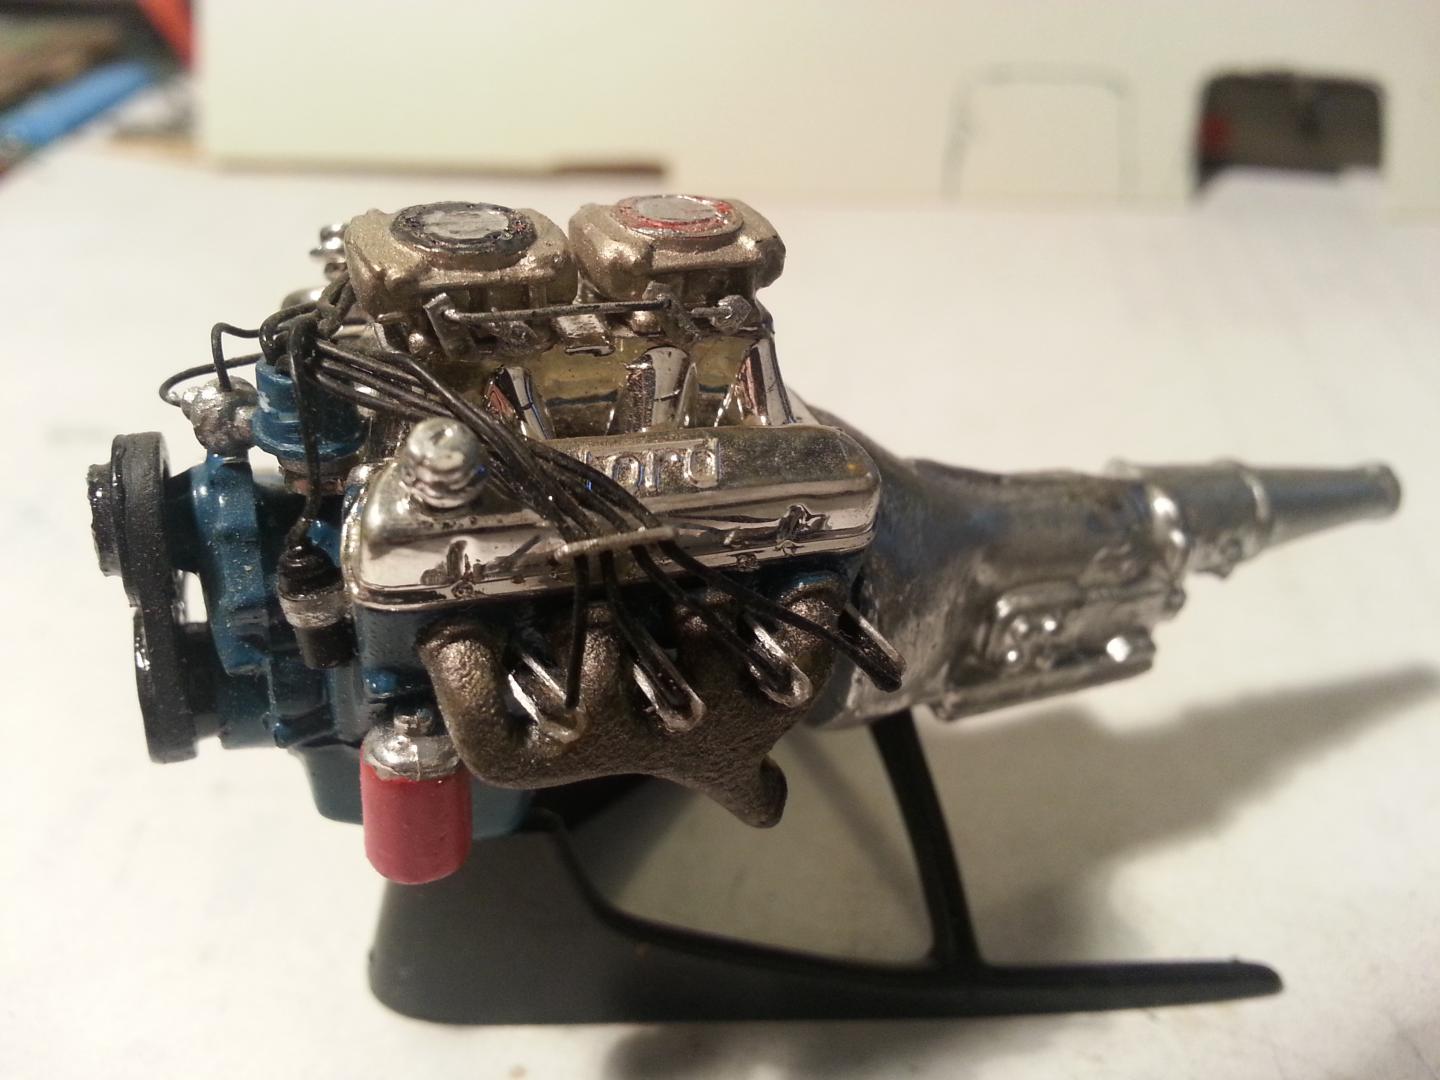
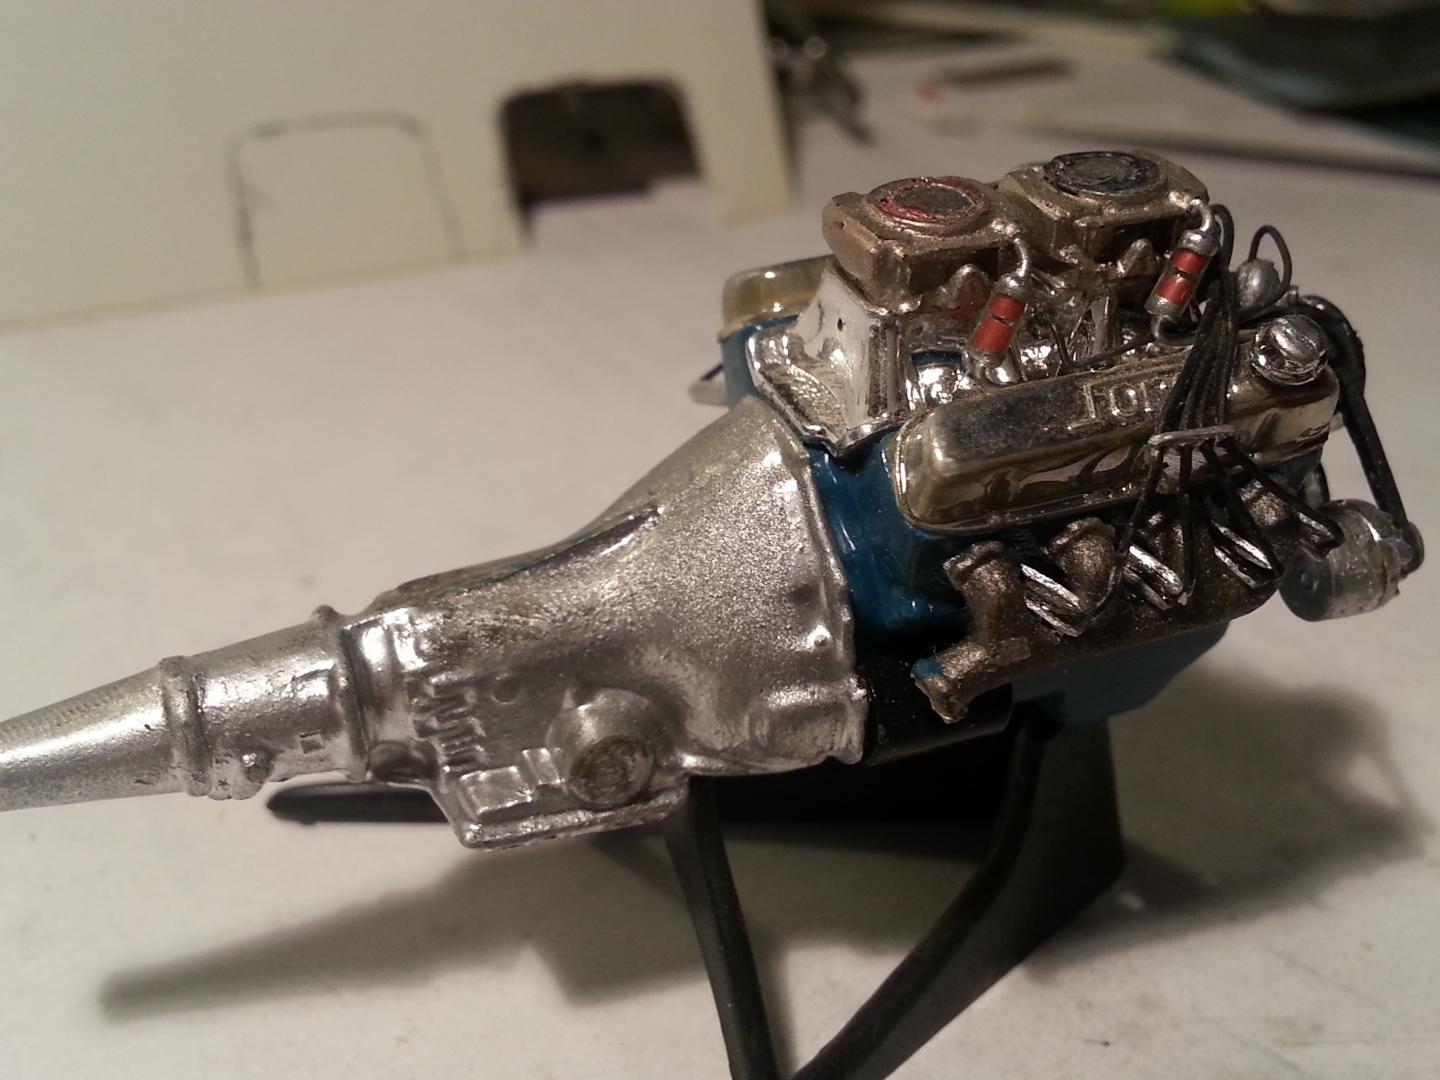
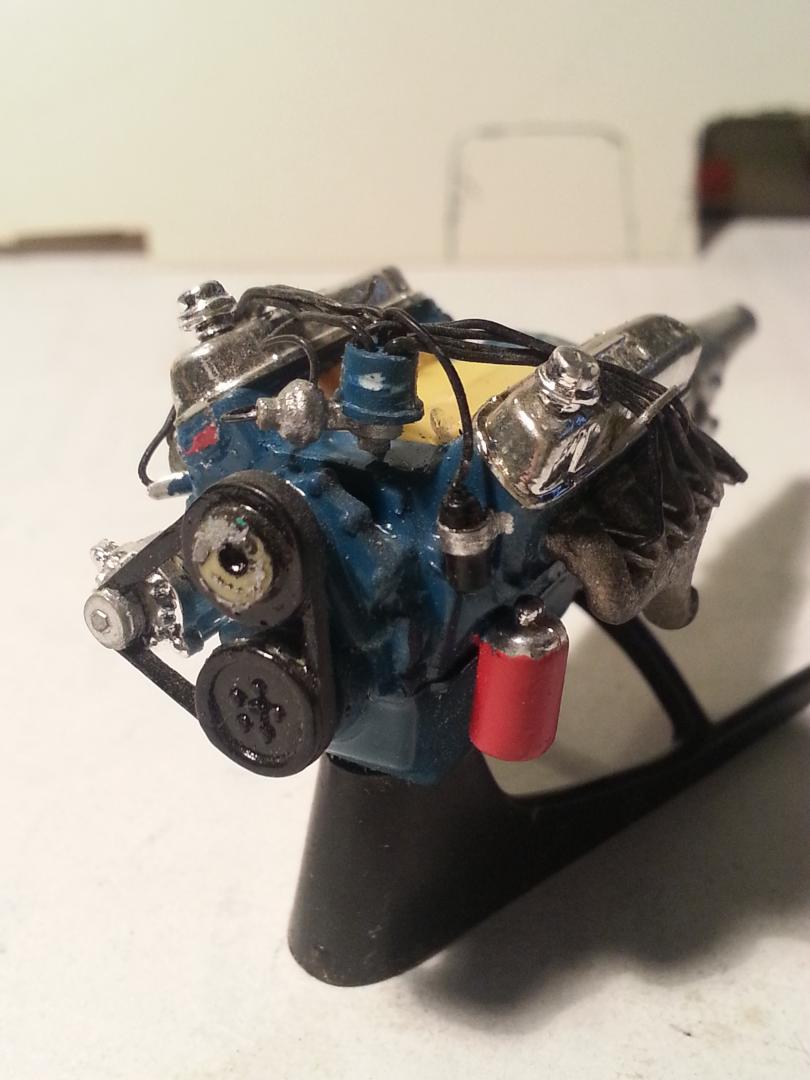
Here is a scan of a fuzzy photo from the 80's Some pics of the engine before changing to more "factory" options. Dual quads and manifold removed, going with single 4-bbl carb setup The body is already soaking in the purple pond, but it doesn't seem to be having any effect on thirty-something year old car paint, going to have to use brake fluid. Comments welcomed.
-
This might answer some questions regarding how the bed floor might look with these T-Birds... https://www.deadclutch.com/2020/02/12/1961-ford-thunderbird-custom-pickup-ranchero-conversion/
-
- thunderbird
- t-bird
-
(and 1 more)
Tagged with:
-
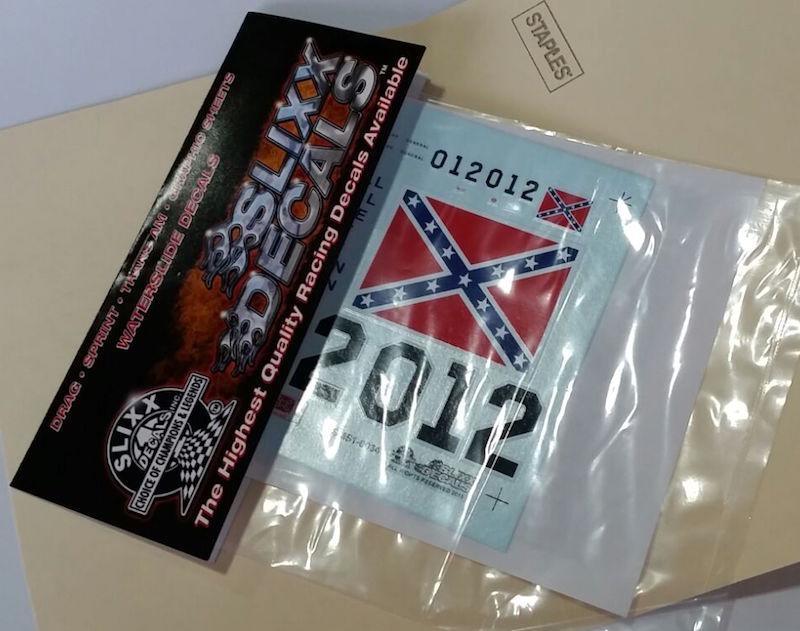
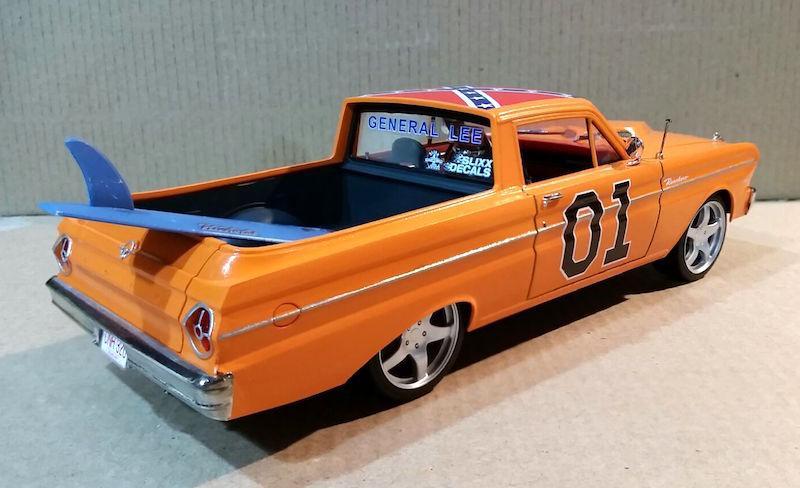
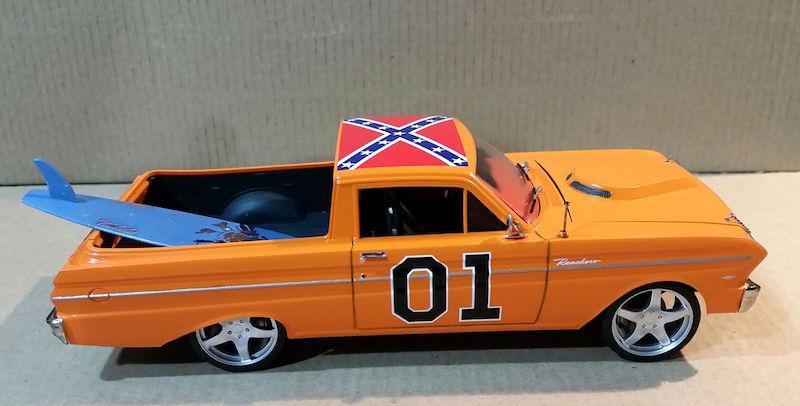
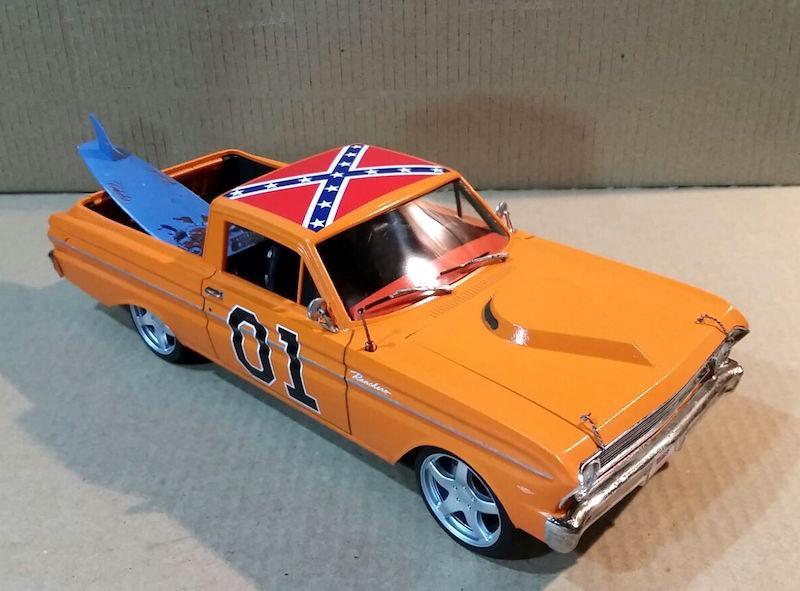
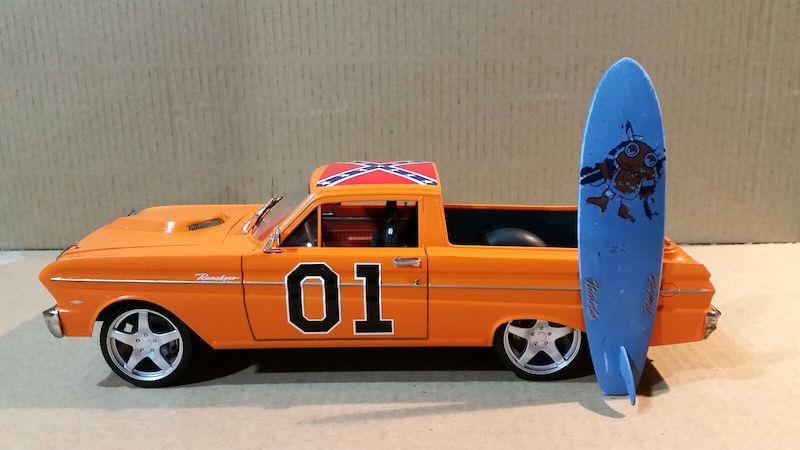
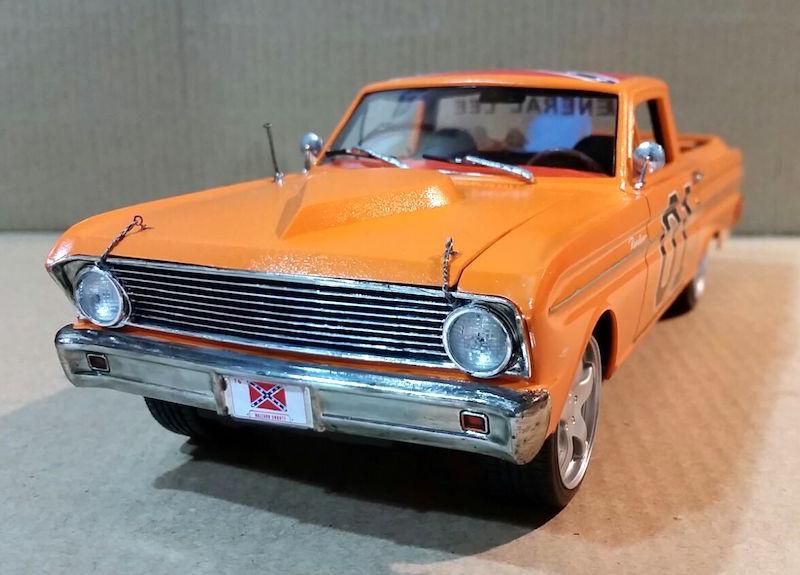
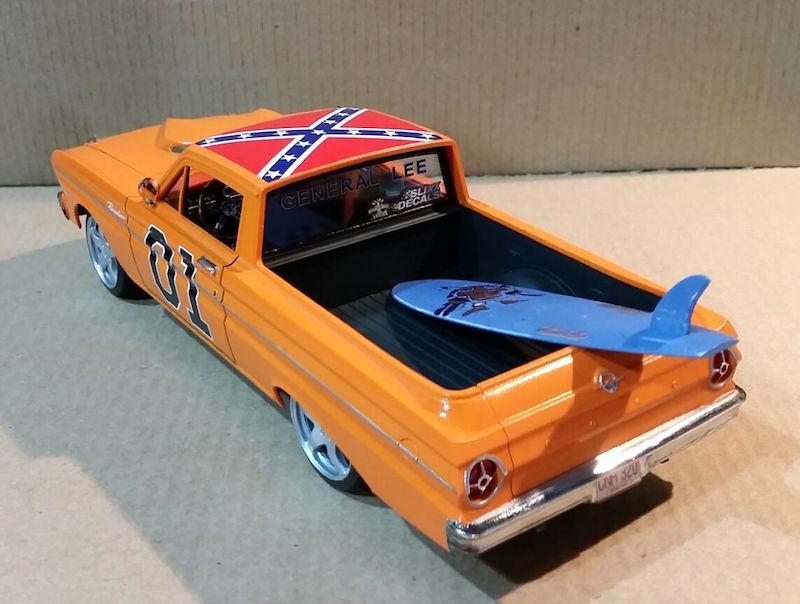
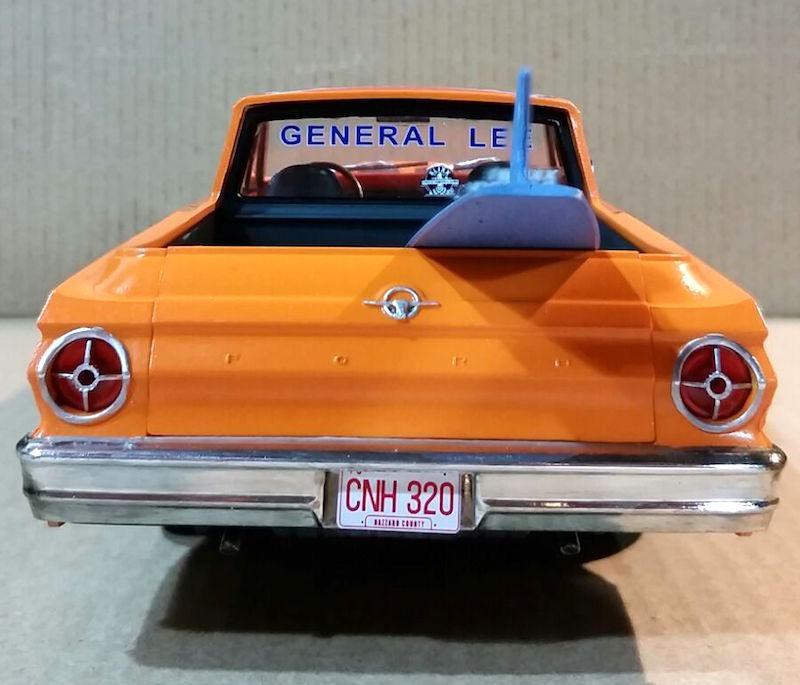
More pics and text (only spanish), here: http://www.angelnoes.es/2016/02/ford-ranchero-1965-general-lee.html Thanks to all for words, tips and recommending Slixx Decals. This is the best model cars forum!!!!
-
Happy Holidays to all,,wishing you all the best in 2016. Heres a recent build from a AMT 61' Ranchero 1/24. Added: different intake setup,,headrests,,different rims+tires. Tamiya /Testors quick dry enamels. Would really enjoy a 1:1 of this,,fun,,fun! http://s1327.photobucket.com/user/axlemount112/media/001_zps76mhw5vk.jpg.html?o=6
-
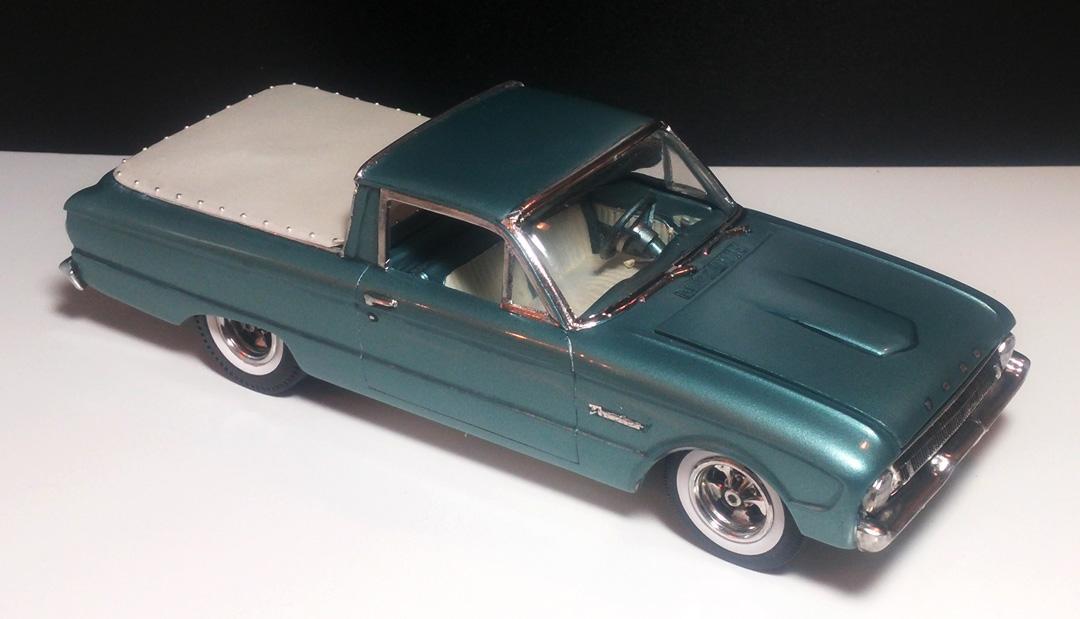
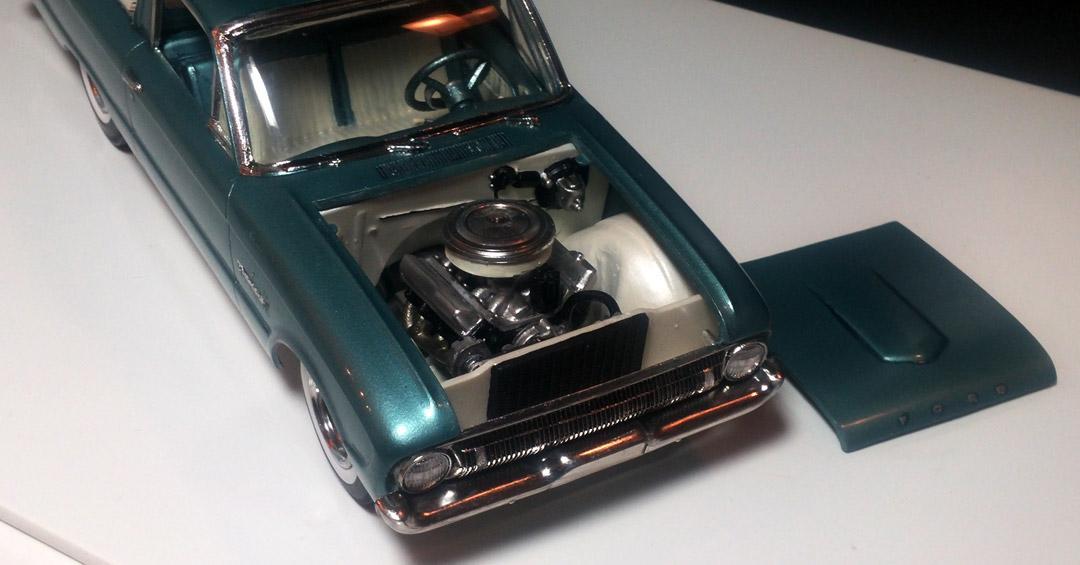
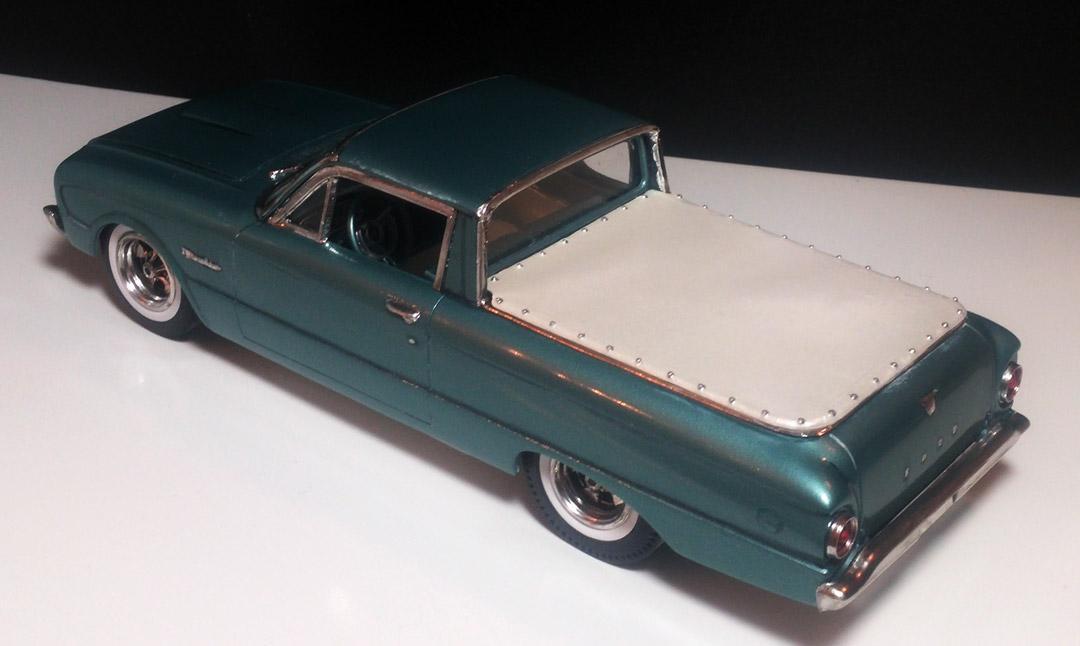
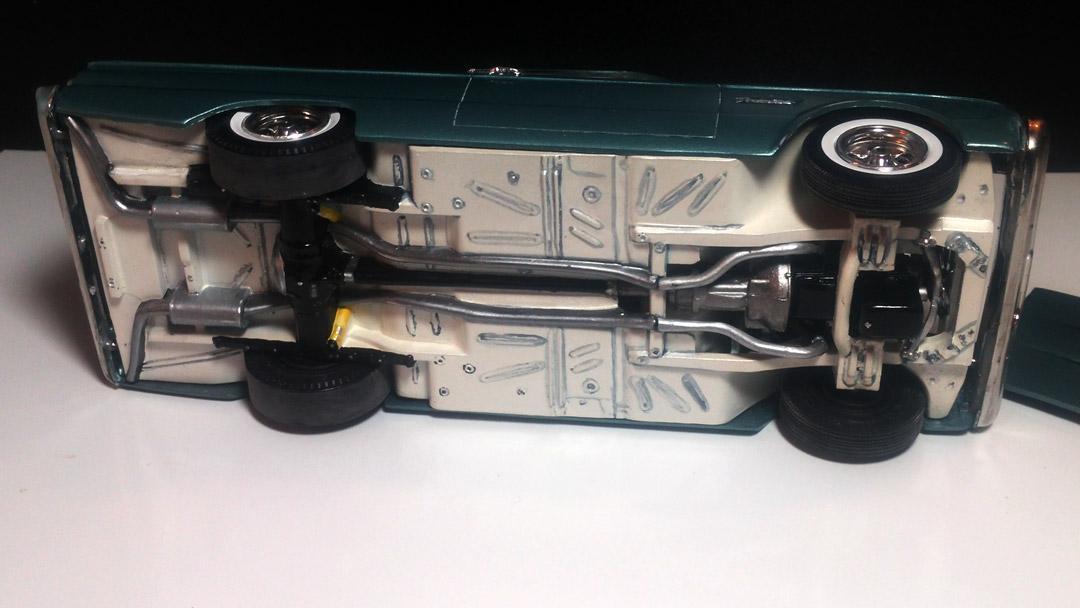
So when I was a kid I used to go to the Fea Markets with my Dad and I saw the AMT '61 Ranchero kit at a stall and wanted to get it for about three bucks. It was opened and my Dad talked me out of it and said it problem doesn't have all the parts and would not be fun to build a kit without all of the parts. So I held off. Some time later I found one on the self either at a KayBee Toy or on vacation with the family at Niagara Central Hobby Shop in St. Catherine, Ontario. My folks let me get it and I started painting the engine. Then the General Lee came out and this model was quickly forgotten until I got my first crappy, Taiwanese knock off of a Badger 350 in 1987. The first one in got the pin on the regulator for the propellant,broke off. My Dad drove me back to the store and we got a replacement. That one I got some of the Ditzler Tahoe Turquoise on the body but another part on the gun broke. My Dad told me to return it and take that money to save up for a "real" Badger and it should last. Well I did just that and put the model away into my stash and never did anything with it until last October . I was thinning the herd so to speak and really cutting things down to the bone and realized that no one was going to pay anything for a partially lacquer painted model car. I found at my folks house that my Dad still had the paint and it was still somewhat viable. My friend and coworker Chuck encouraged me to finish it and he would let me use his spray both to finish the painting. I decided to keep things somewhat simple, use it as a test bed for some new ideas and I had to ditch the Rat Motor with a hole through it for a Ford motor. I also used some of the new AMT wide white front and slicks out back. I decided to use the kit Keystone rims and make it look like a street machine from 1965 with the mags, wide whites and white chassis (I did it one up and made it pearl white). I used a 427 big block from the AMT '65 Galaxie and the carb is from the parts box and I think it was from a glue bomb '73 MPC Cougar and the air cleaner is off of the rat motor. Colors used: Ditzler Tahoe Turquoise Testors Ultra Gloss Testors Pearl White Testors Chrome Silver Lacquer Testors Tail Light Red Acryl Createx Pearl White Reaper Miniatures Linen White Citadel Drakenhof Nightshade Vallejo Model Air Steel Vallejo Model Air Chrome Vallejo Game Air Silver AK Interactive Dura Aluminum Tamiya Gloss Black Tamiya Semi Gloss Black Tamiya Yellow Tamiya Smoke - Applied over the chrome For the most part I did about everything wrong a modeler can do. There are many sins I committed in finishing (or lack of proper finishing technique) this model. I was frustrated by the lack of detail, the engine compartment and chassis pan. The bed drove me nuts with the huge mold line running across the bed floor (the tonneau cover is now glued in place). But the most important thing is that I did finally finish the model! This is the first model car I finished since 1997. I pretty much stopped and switched to miniature wargaming and figure painting since then.
- 28 replies
-
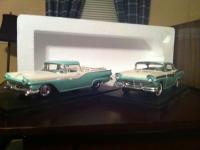
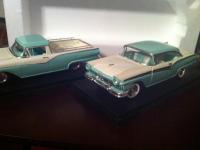
I built this '57 Ford some time ago. Liking the way it turned out, I dug out a very old Ranchero, and tried to make 'em twins. Thanks for looking!
-
Well you saw all the parts a few days ago, this will the start of the build up. I have to say after comparing this kit to some of Trmpeter's other kits like the 60 Pontiac and the Chevy Monte Carlo. There has been some noticeable improvements. Not to say there isn't room for more, because there is. I will cover the issues that I found concerning as we go. Gladly I haven't found anything I can't get past and that's a good thing. My goal is to work with what's in the box, using basic skills and materials most modelers have. I'll leave the kit bashing and super detailing to someone else. All my builds are done in a similar fashion, I put together as much as I can without paint, checking how things fit together along the way. When I'm satisfied, I'll break it down, add paint and detailing and then put it all back together again. Sounds easy right .... Like building a 1:1 car, I'm starting with the floor pan, interior tub and the bedfloor. The front inner structure is next along with the basic engine parts. The engine is just resting on the subframe for now. I also glued up the bench seat halves while I was at it. All these parts go together without a problem. I went ahead and glued the front suspension to the front sub frame but I'm only dry fitting it to the floor and the inner front sheet metal for now. I'm going use some tape to hold it in place. I'm also going to tape the rear axle housing in place and slip the tire and wheels on, also dry for now. Once that was done I flipped the chassis over and added the basic interior tub and bed using more tape as needed to hold it togther dry. Now it was just a matter of slipping the body over it all by slightly spreading the lower sections. Amazing ! It's looking like a Ranchero already, not bad for a couple hours work. If you look closely I started block sanding the hood, it has some very slight sink marks from the underside details. It's nothing I can't handle though. You may have noticed the engine in not in place yet, thats because I want glue the subfame to the floor and still be able to slide the engine in and out as needed but not so fast. There's a small problem that I caused not following the instructions. Next time I'll show you an easy fix that will let me do that along more of the build .... For all the photos just follow the link. Stay tuned ..... -Steve http://public.fotki.com/SteveG26/trumpeter-65-ford-r/
