.jpg.b9265433dc8c3b550370b1d0e4e4d2fc.jpg)
MarkJ
-
Posts
3,657 -
Joined
-
Last visited
2 Followers

Recent Profile Visitors
16,893 profile views


MarkJ's Achievements
MCM Ohana (6/6)
-
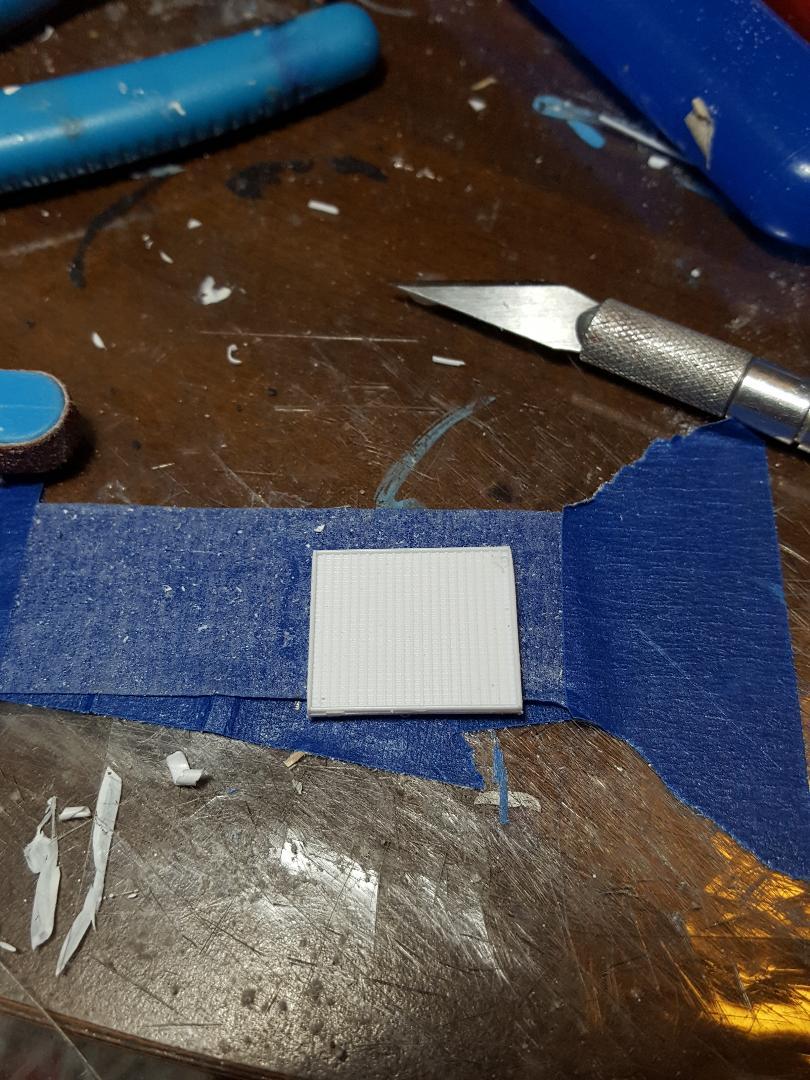
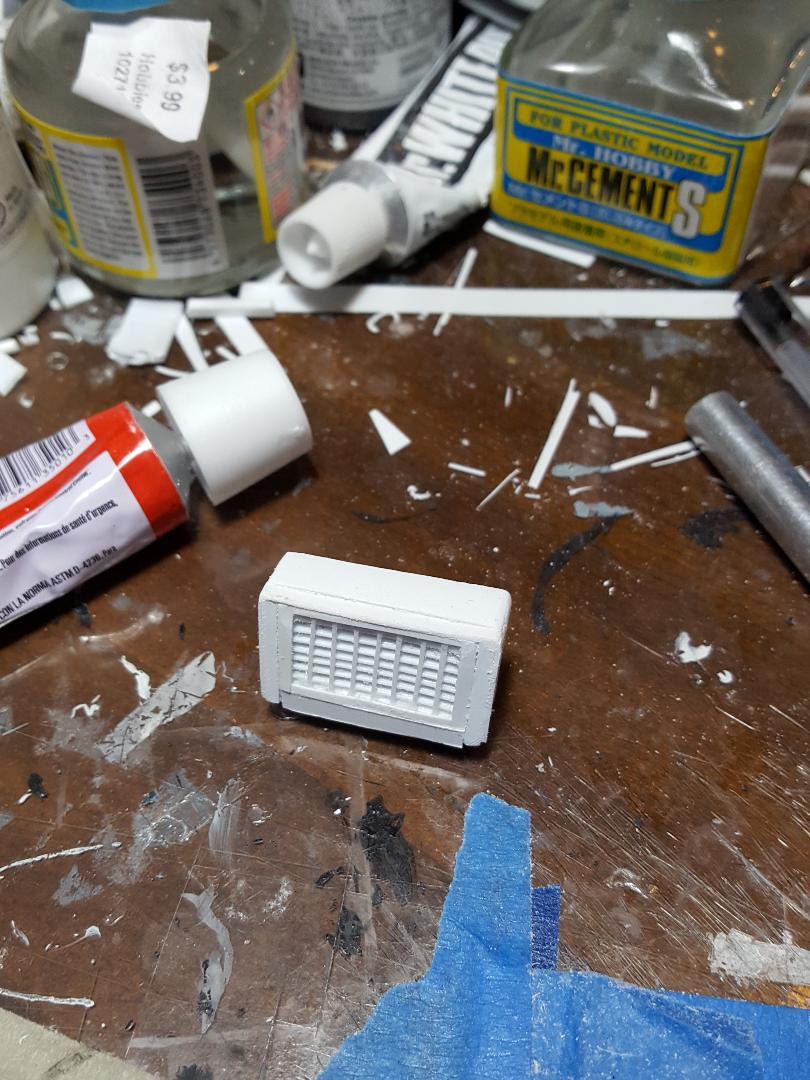
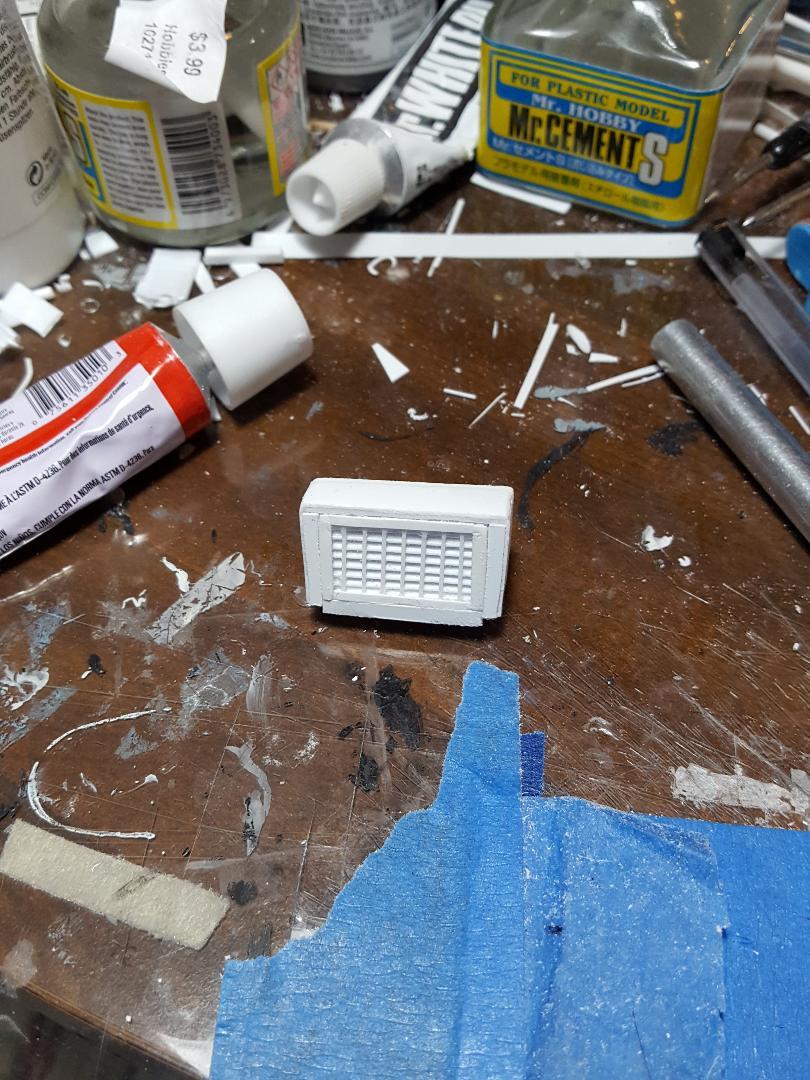
I took the radiator I found in my parts box and took off all the extra tanks to make it into a simple square. I then determined how big I needed the oil radiator to be and made two squares the same size and glued them together, and then sealed off the 4 sides with strip styrene. I will fashion new tanks for the top and bottom of the radiator and make mounts on the chassis to install it. I will also add ports to it for if I decide to plumb it.

-
.jpg.b9265433dc8c3b550370b1d0e4e4d2fc.thumb.jpg.915f5b46e3c9402eeaa6972073121c87.jpg)
1973 Porsche 917/10 Can Am
MarkJ replied to Scale-Master's topic in Other Racing: Road Racing, Salt Flat Racers
Hard to believe it is 1/43 scale for as detailed and cleanly built that it is. Superb work as always. Your handle fits you to a T, Scale-Master. -
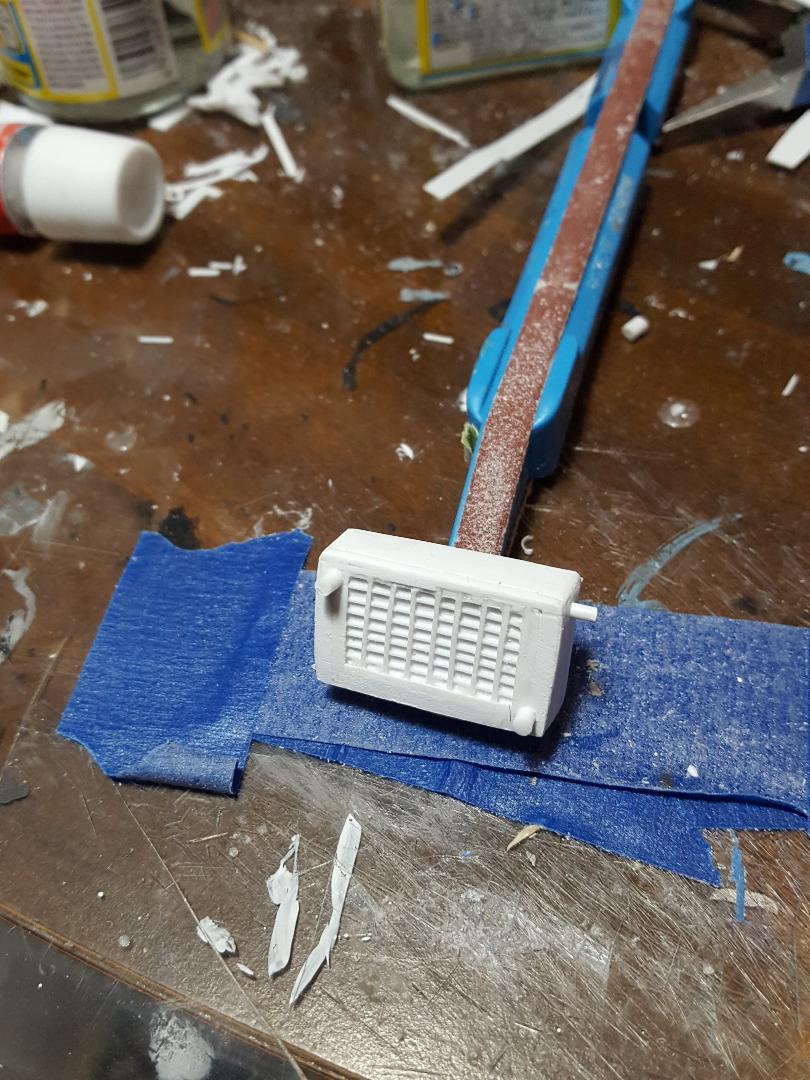
Pretty much done on the radiator and fan. I forgot that I now need to make the oil cooler radiator that sits to the left of the radiator. I found a radiator in my parts stash and think I can cut it in half to have the proper cross hatch for the radiator core for this smaller radiator.
-
No wip on oob? Thats fine for experienced builders, but new guys to modeling would probably be very interested with a wip on oob from a master builder like yourself. Anyhoo, I will be waiting with anticipation for final pics on the two Porsches. I have a Porsche in my future believe it or not. I found a book on it with valuable ref pics at a "Half Price Book Store" which, after perusing it, I have found that its basically pure stock, except for a simple hoop roll bar added behind the seats as the only protection for the driver. And some velocity stacks for the carbs. The tires and wheels are different as well, but I think I can make some of those. Oh yes, and I will have to fashion a whale tail spoiler and some rear fender extensions for the fat tires. First, I'm going back to Nascar for an oob on a 1972 Monte Carlo. I even bought decals for it. It's another one of my holy grails I want to build. But, for as long as my current build is taking, that might be a year from now.
-
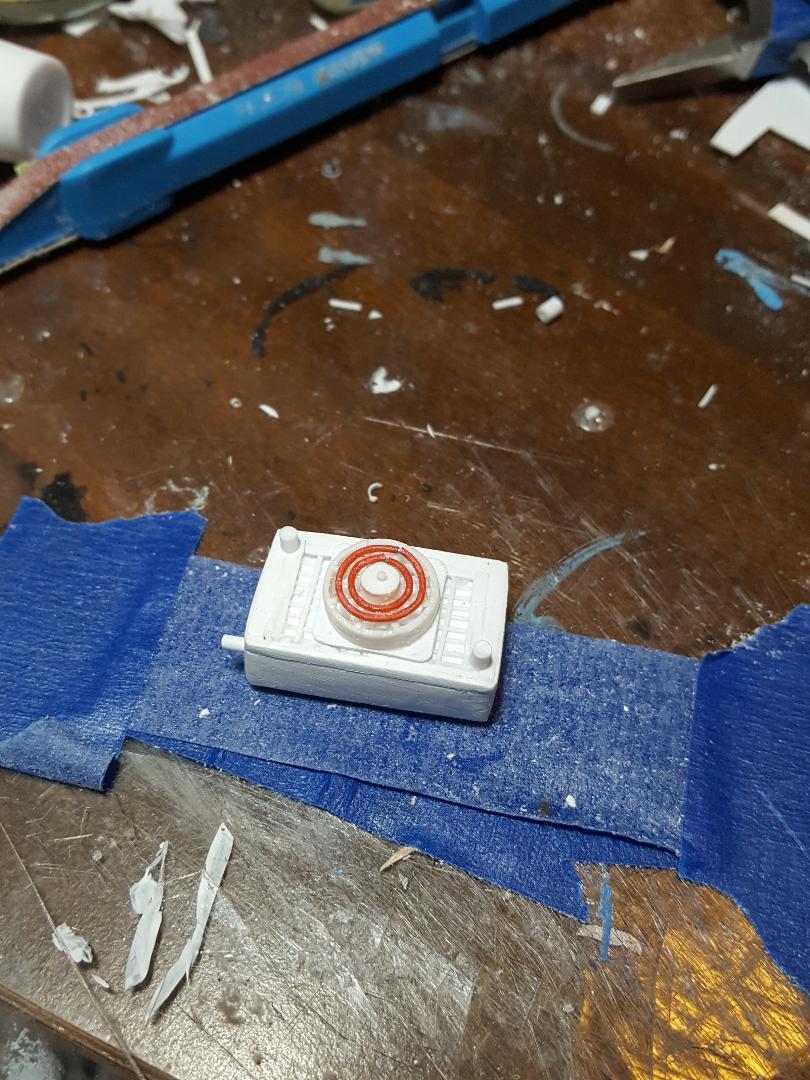
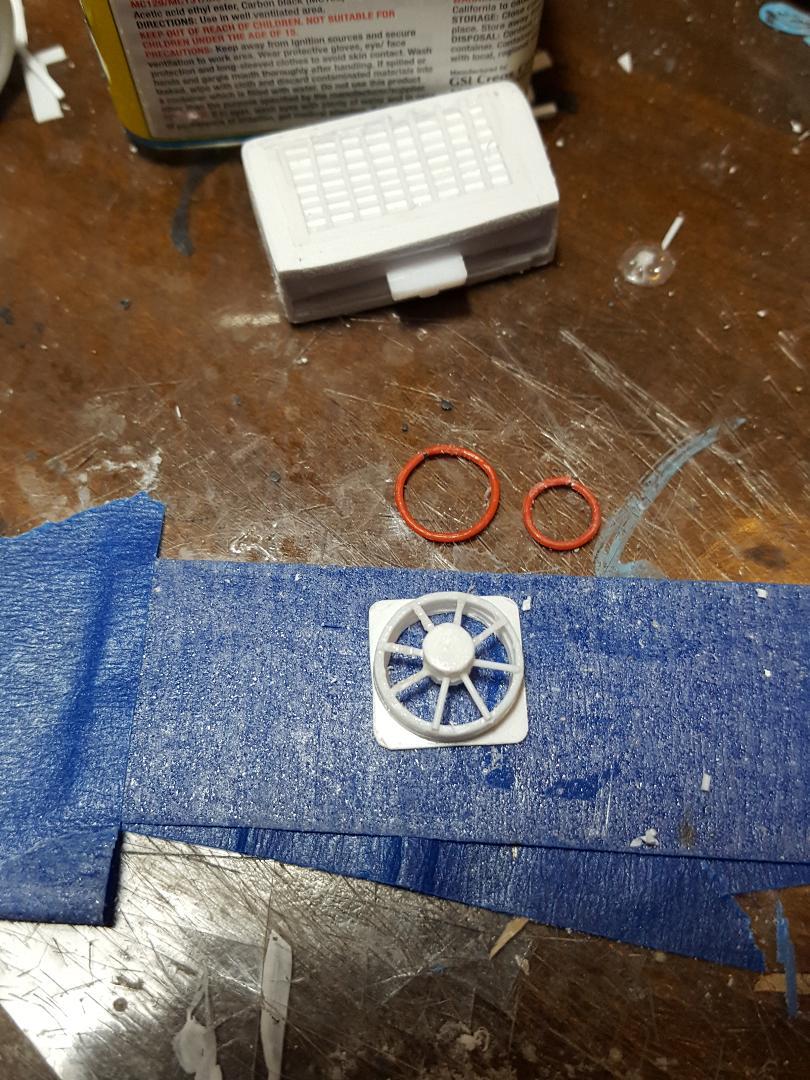
Finally got the metal rings fastened to the styrene with clear epoxy and it looks like it's going to work. Just a little more work on the radiator and the fan and I can move on to the expansion tank, brake master cylinder, and eventually the front suspension, which will be totally different than the stock Camaro front suspension.
-
Thanks for dropping by Kent. Sounds like a good project you have in the making.
-
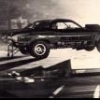
The ref pic I used for the above fan was from a Dodge Avenger IROC car much later on. I found a picture although not so great of an electric fan from a 1988 NASCAR cup car which looks like it will be easier to duplicate and probably more like what was use in a 1989 IROC race car. Easier is what I need right now. It's in the far-left side of the picture.
-
Almost forgot that I need to make an electric cooling fan. The circular ribs will not be fun. Don't know if I will use .010 thick styrene strip or 32-gauge wire. the strip will have to be cut very thin and making the wire circular and gluing it with epoxy might be very hard to do cleanly. The durn thing is so small.
-
Thank you, Mike, for the kind words.
-
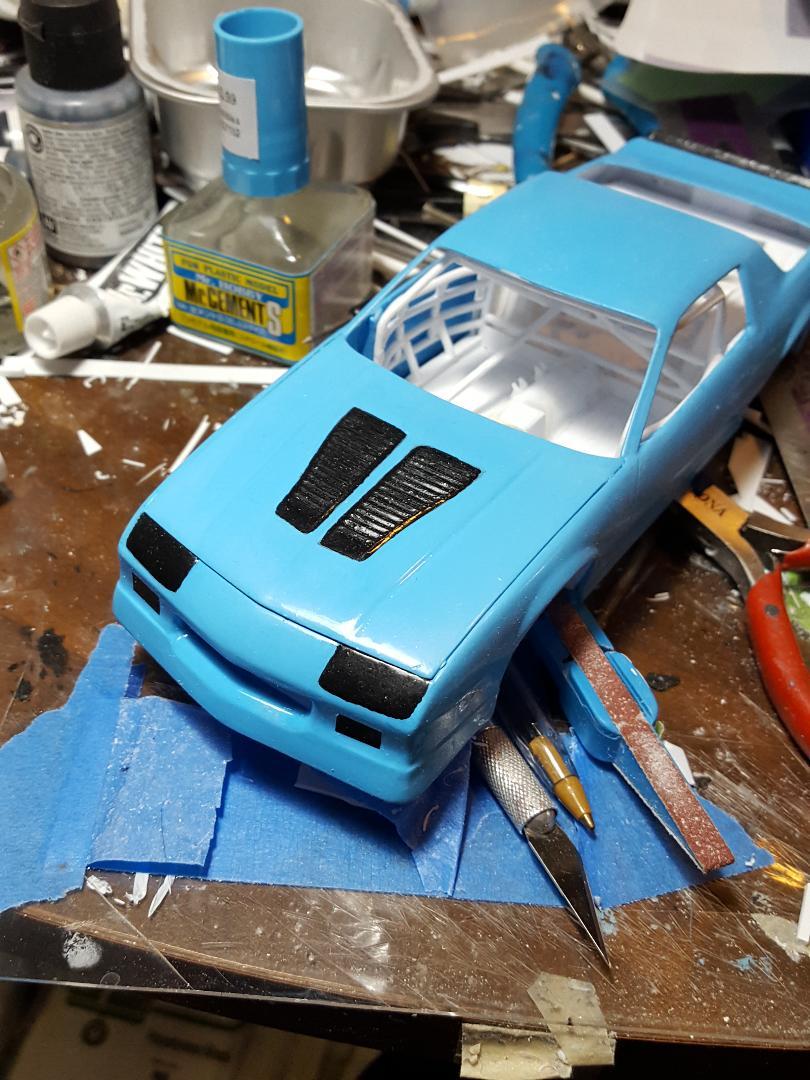
I also realize the cross hatch is much too big, but the material I had to work with was .020 rod which is way too big to make a finer grid and my fingers and eyes could not have worked with a thinner material so I will just live with this. But you can get the idea that it is a radiator and once its installed and painted no one will notice or care on the finished model. I guess I could have just glued the hood shut but that's no fun.
-
No, I don't believe you did overdo it. It looks exactly like fuel spillage that mixed with dirt could have caused that effect. In other words, great build and I'm looking forward to your next one, and by the way has it already started, and I missed the boat?
-
Tamiya 2005 Subaru Impreza WRC
MarkJ replied to IanH's topic in WIP: Other Racing: Road Racing, Land Speed Racers
Looks great. I see nothing wrong with your painting or decal skills. Clear should take care of the flatness and if not there's always novus or a similar product. Just don't rub through the clear. -
Great job improving a model that could have been done right in the first place when it was created by Revell. Stance looks so much better. I still have a couple of those kits I picked up at Hobby Lobby for next to nothing when they were trying to get rid of them. Thats back in the day when you could get a nascar kit cheap instead of how they are priced today. You can't even get Nascar kits anymore at Hobby Lobby.
-
You did a great job for your first effort at next gen. The decals are always tough on these models. especially around the front bumper and grille areas but you conquered that nicely.
-
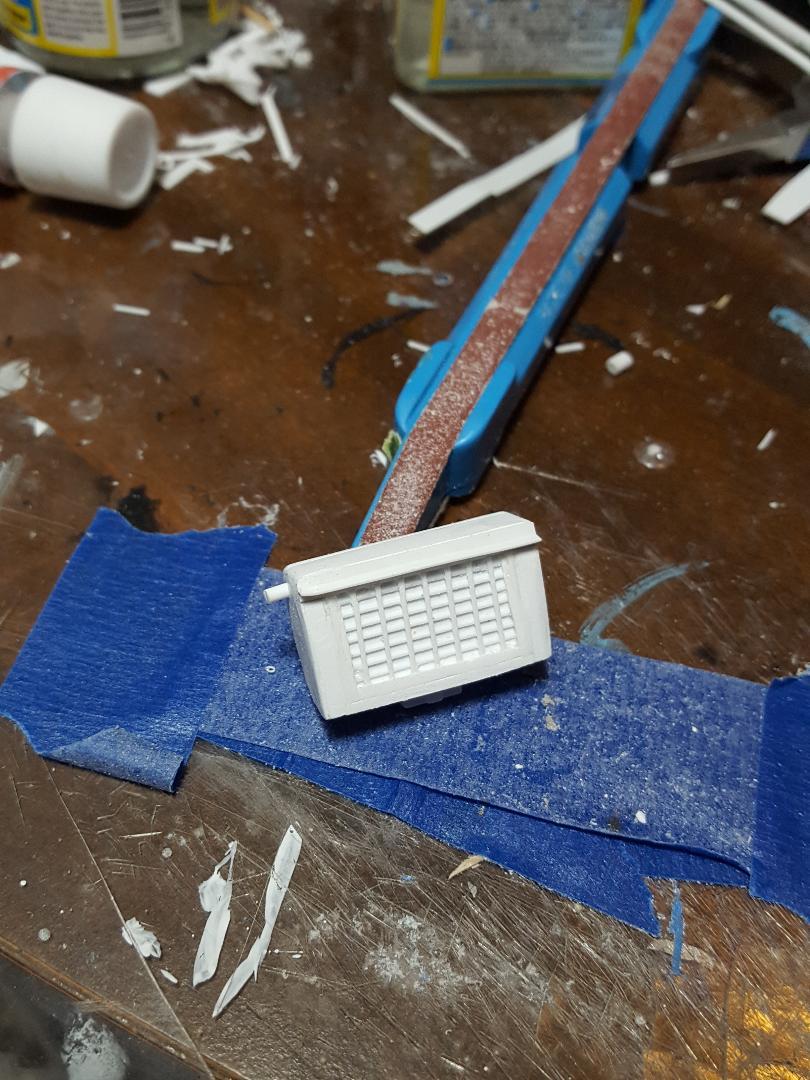
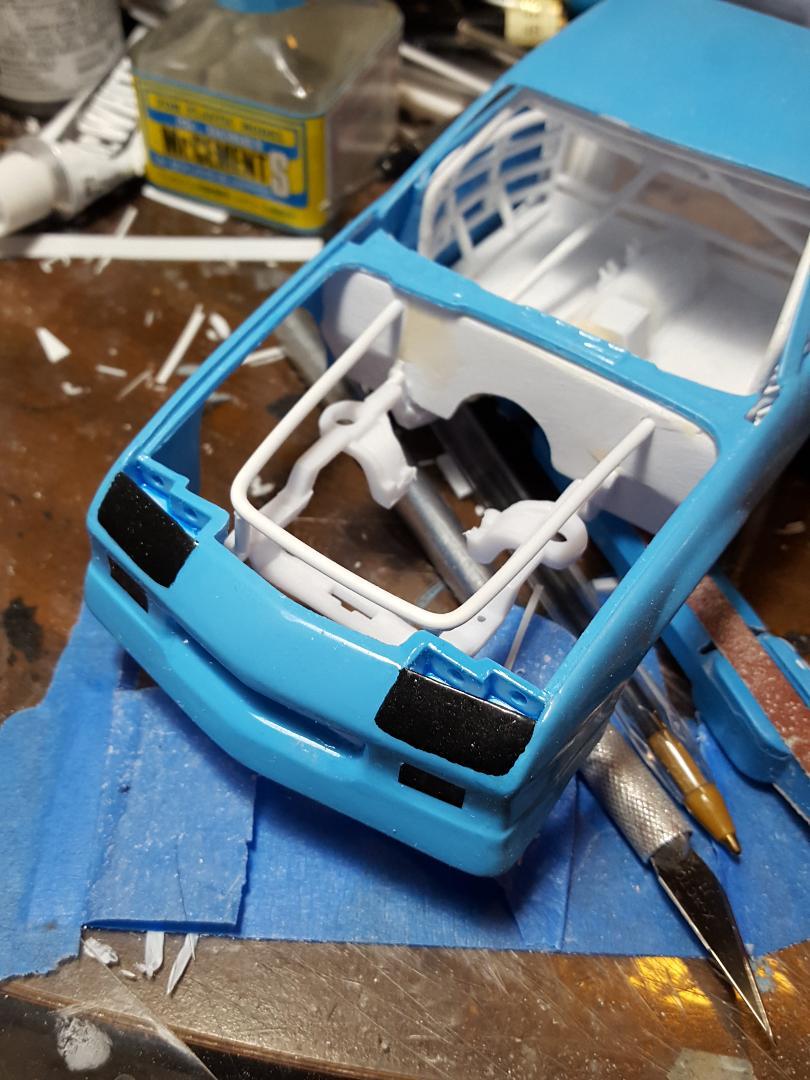
A little more trimming and sanding on the radiator and adding some ports to hook hoses to and it will be finished. I made sure the hood would shut before I glued the engine hoop bar in. The radiator is all aluminum so it has a different look then most and I think I might have made it a little too thick, but I really did not have any actual ref pictures of the 1989 iroc radiator. I used more recent ref pics and hoping that it was close to the 89 version. A few more bars and I can move on to the front suspension which will be completely scratch built. Don't expect too much accuracy. I just need a place to put the front tires /wheels. The stock front suspension would have looked way wrong.