ShakyCraftsman
-
Posts
785 -
Joined
-
Last visited
Content Type
Profiles
Forums
Events
Gallery
Everything posted by ShakyCraftsman
-

Kenworth C500
ShakyCraftsman replied to Gary Chastain's topic in WIP: Model Trucks: Big Rigs and Heavy Equipment
Hey Gary If you look close the hubs on those wheels already have the lug nuts. Ron G -
Your very welcome my friend. Ron G
-
Another fine build Gary. Ron G
-
Western Star 4900 FA plow truck
ShakyCraftsman replied to BK9300's topic in WIP: Model Trucks: Big Rigs and Heavy Equipment
There the best sanding sponge/sticks I have ever used and they last almost for ever. Ron G -
Western Star 4900 FA plow truck
ShakyCraftsman replied to BK9300's topic in WIP: Model Trucks: Big Rigs and Heavy Equipment
Hey Brian These are what I use for all my sanding. Infini Sanding sponge stick. I use these 4,000 ones to polish clear plastic to get rid of scratches and cloudy spots. The rest of the line goes from 250 to 4,000. They also have there zebra sticks which are great for rough sanding. They go from 100 to 800.There all I use now. Ron G
-
Western Star 4900 FA plow truck
ShakyCraftsman replied to BK9300's topic in WIP: Model Trucks: Big Rigs and Heavy Equipment
Neat idea Brian. Polish the tube with some 4,000 or higher sand paper before painting. Ron G -
AMT Chevy Titan 90 “Back Again”
ShakyCraftsman replied to Pete68's topic in WIP: Model Trucks: Big Rigs and Heavy Equipment
Nice build Lee. I hope my Astro comes out as good. Ron G -
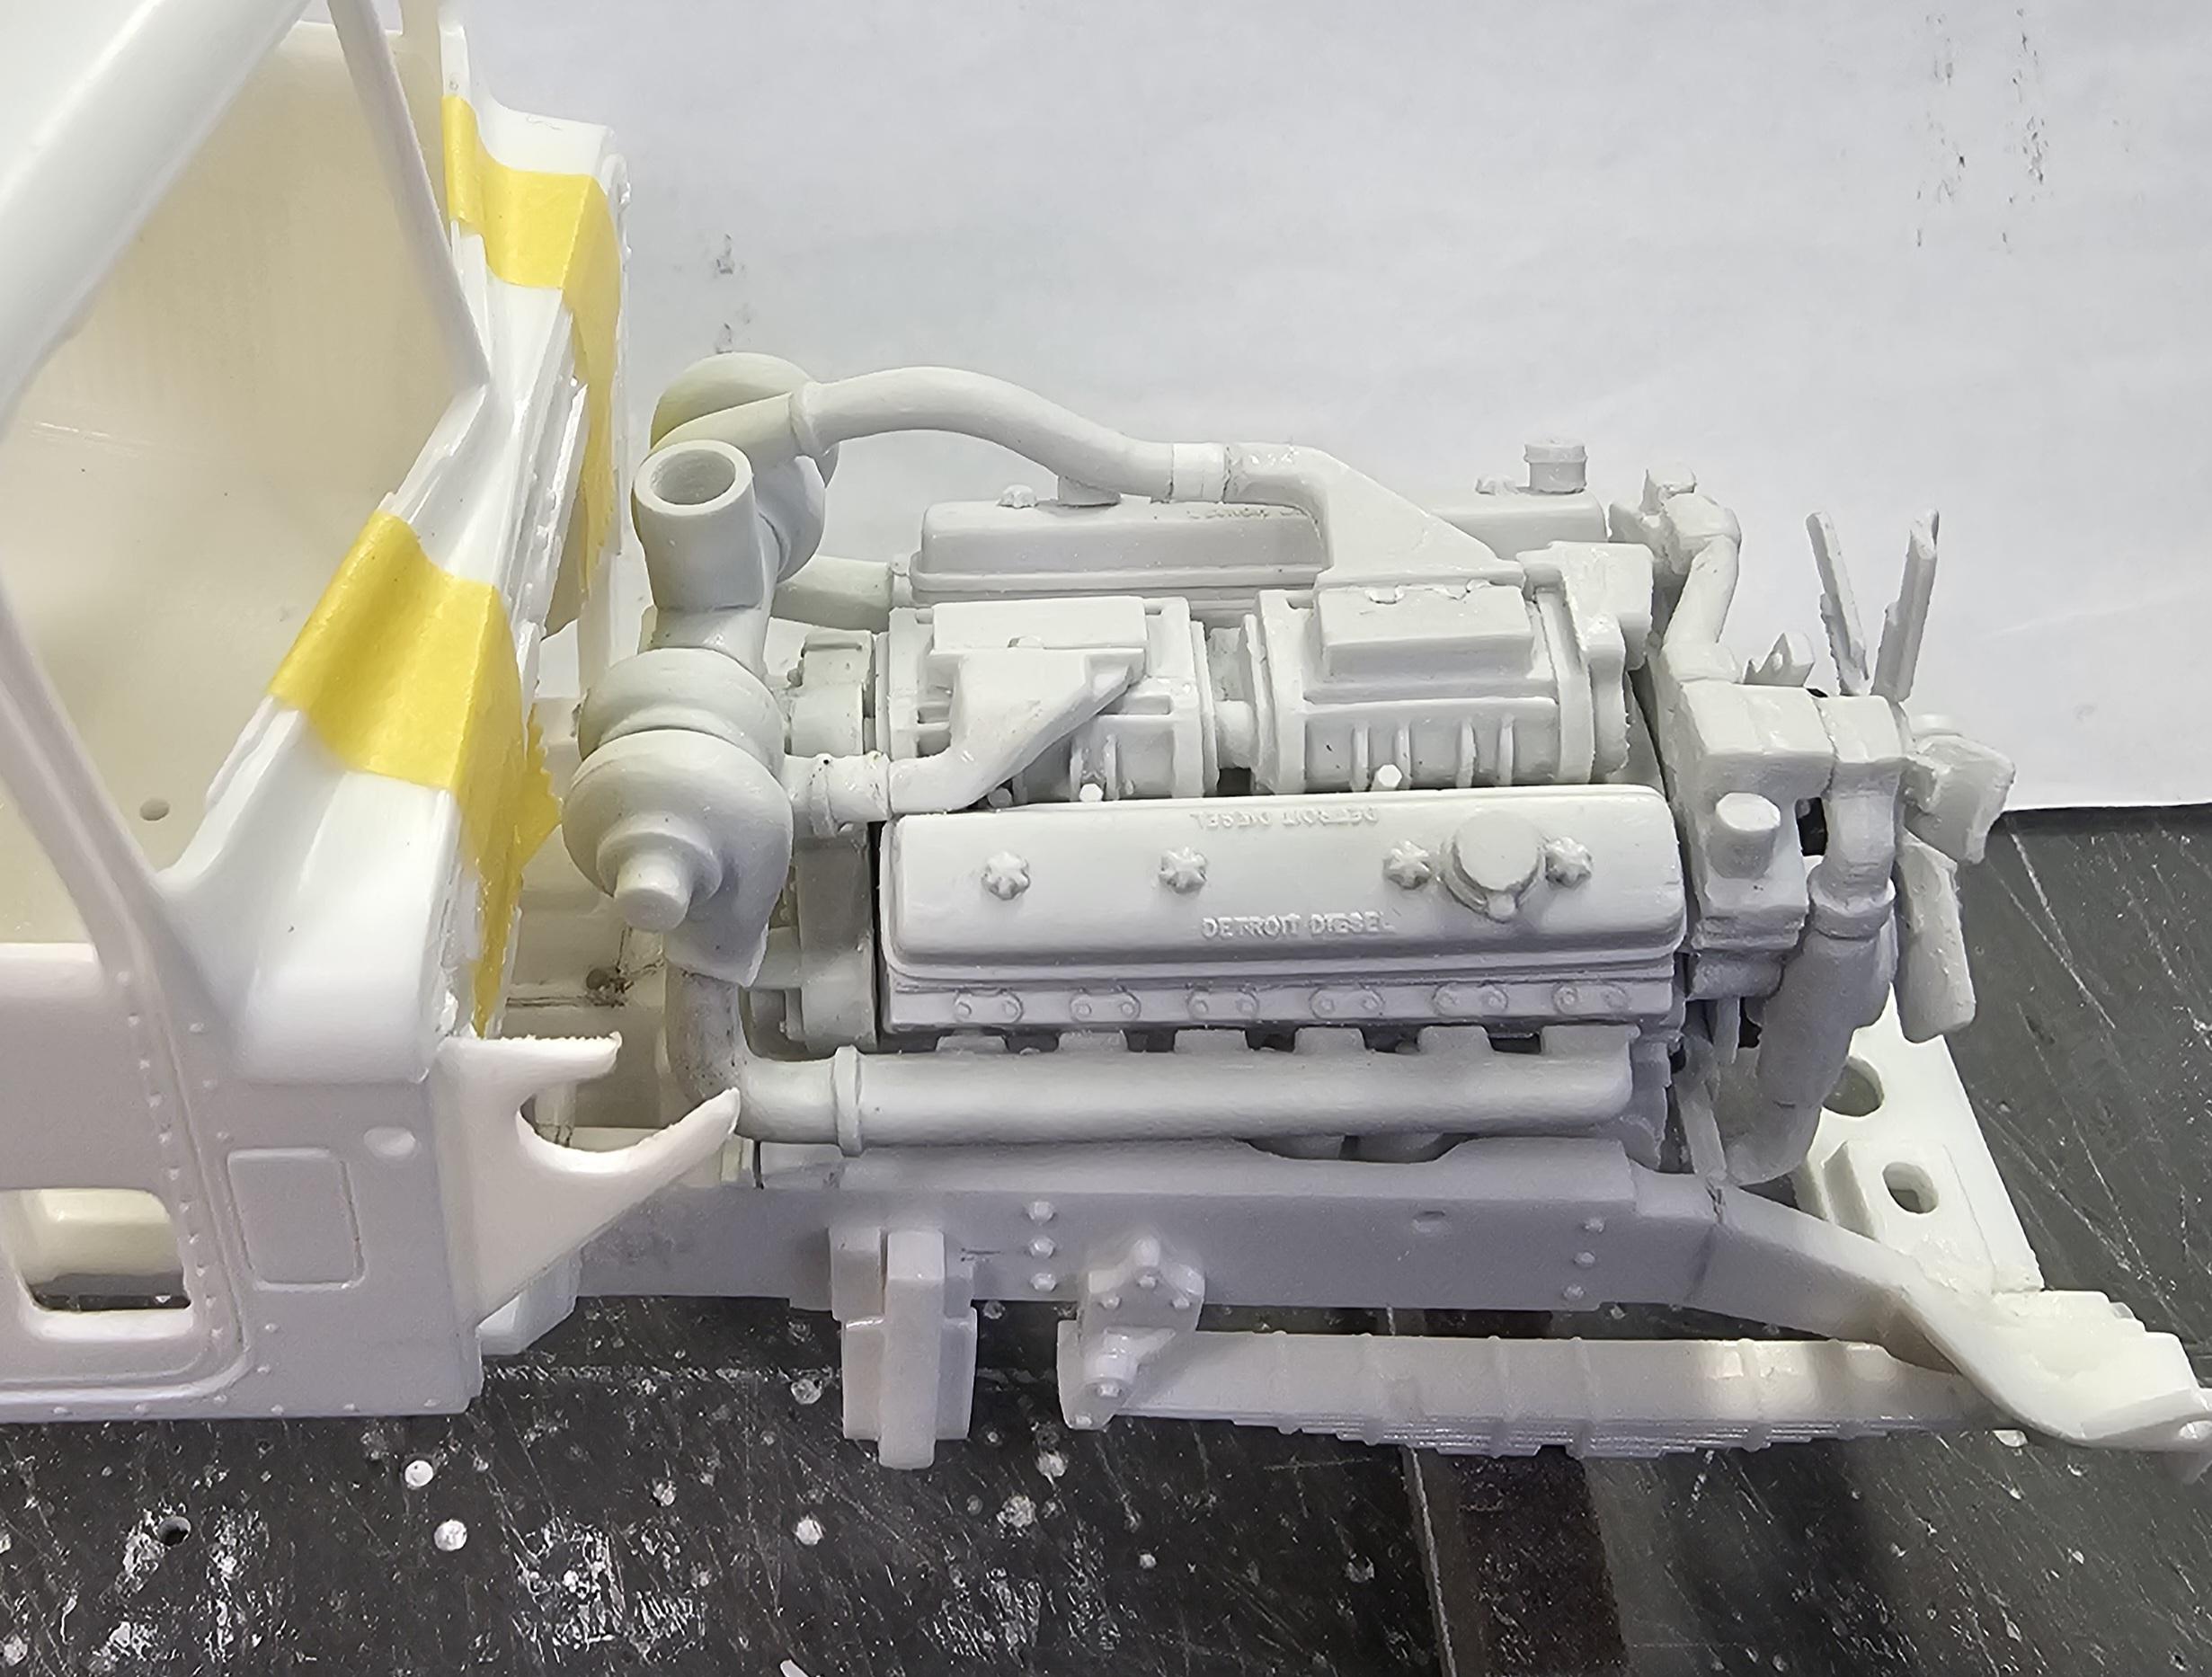
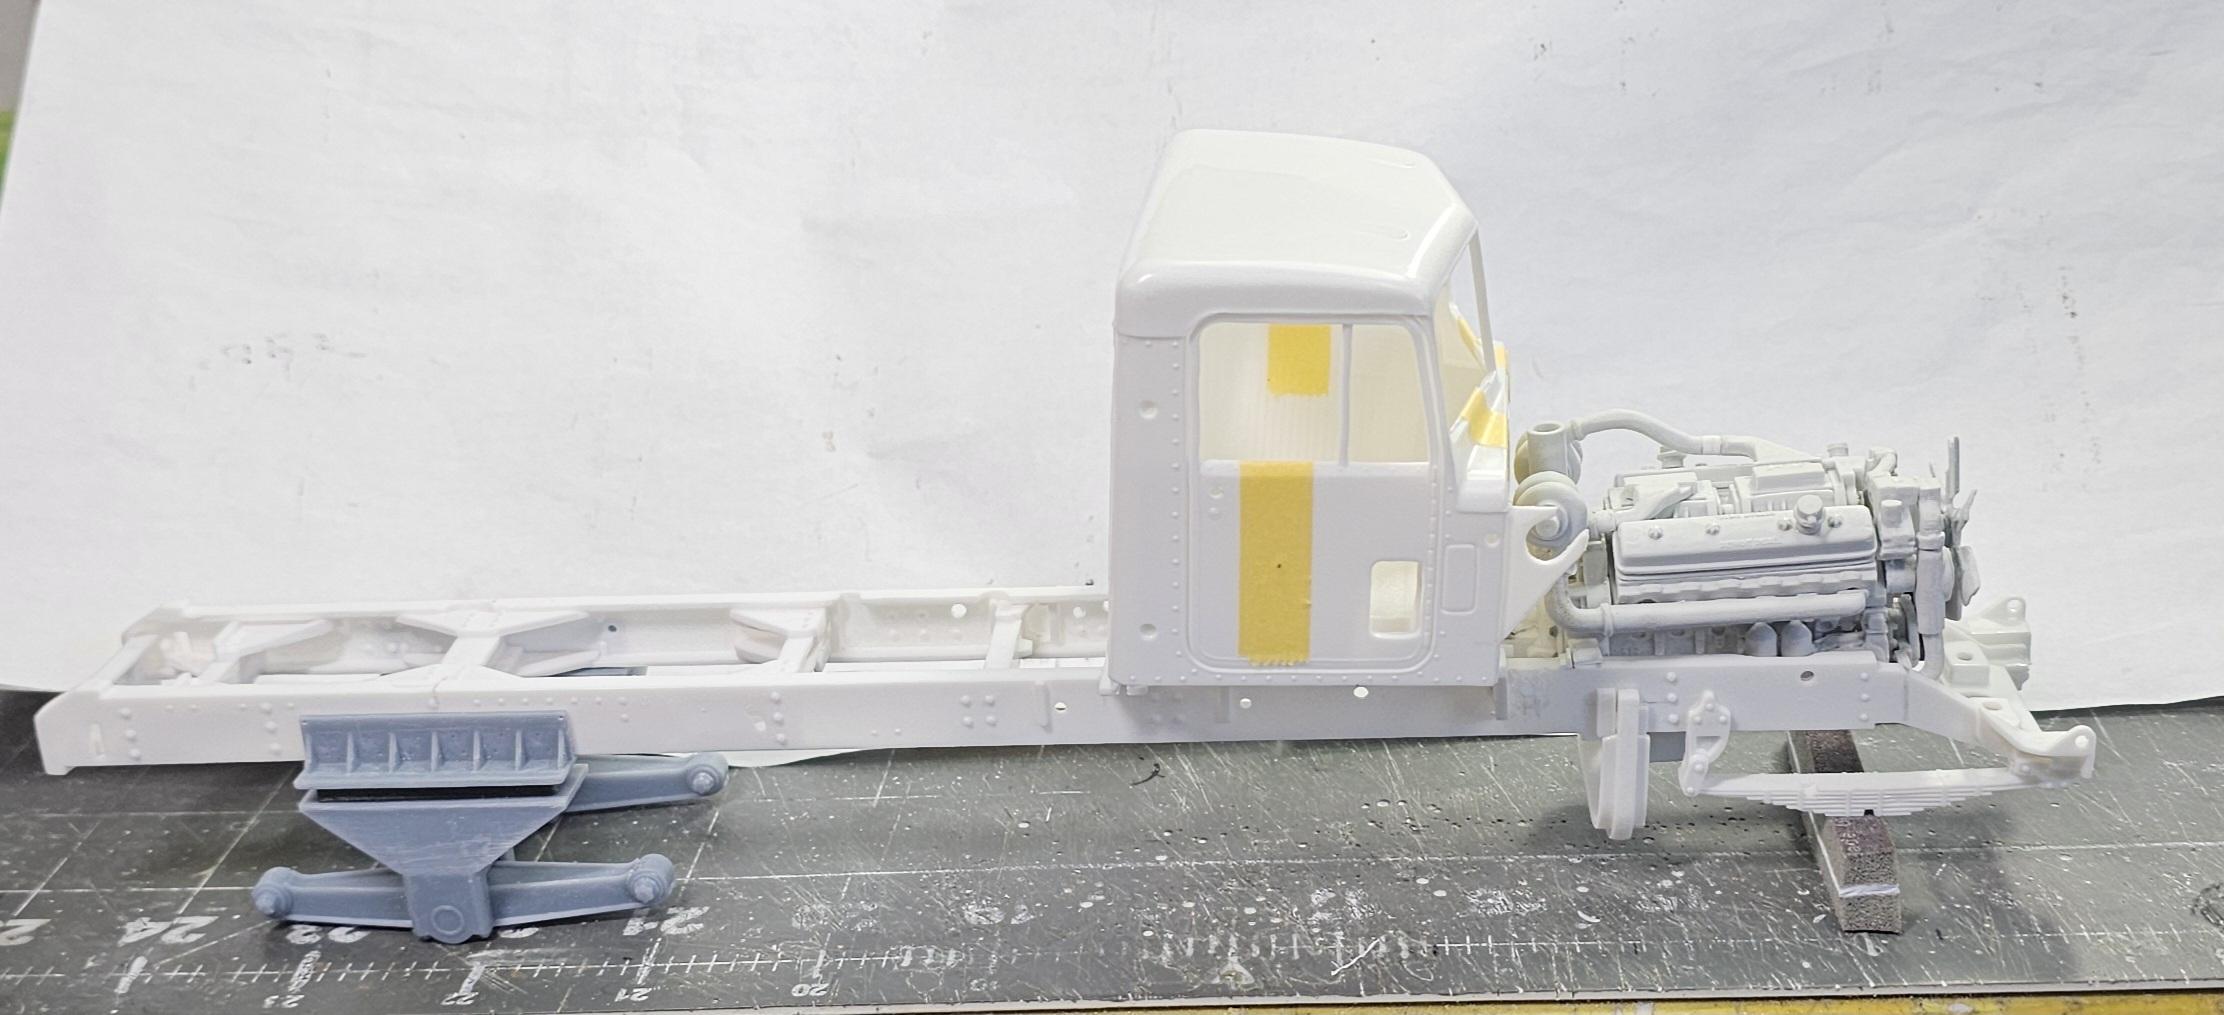
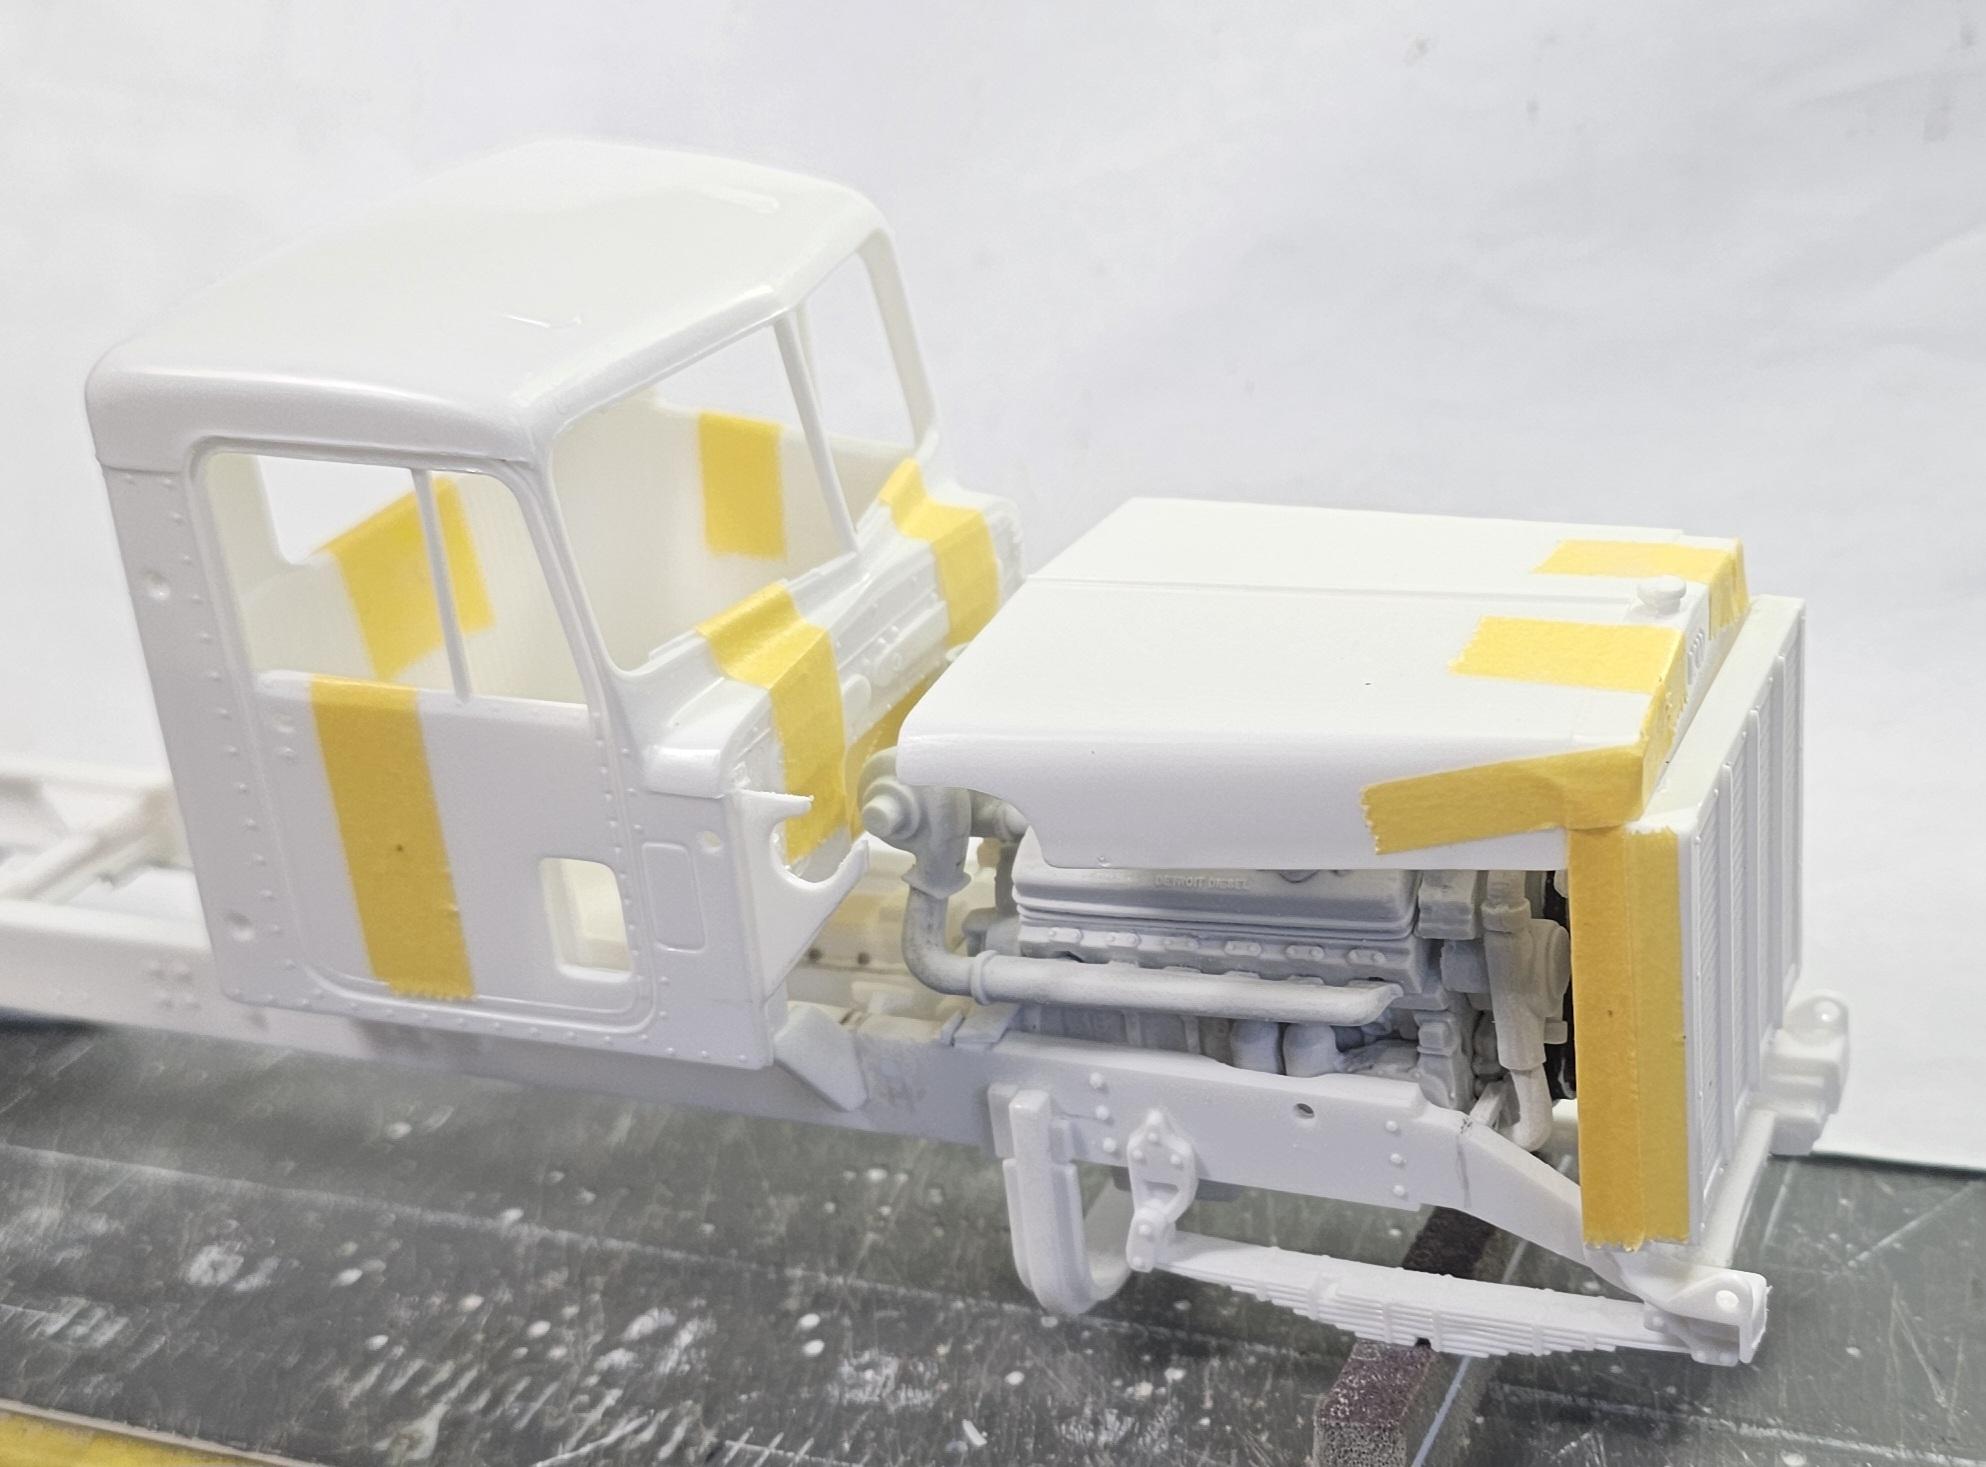
Hey all I got some more work done on this monster yesterday. This view shows the 12V71-TT painted in DD Alpine Green. The other side. This is the first coat. This view shows the engine sitting in the frame along with the radiator and cab. This view shows the almost finished hood sitting in place on the truck. I still have to putty up the seam and sand smoth. This view shows how I altered the two hoods. First I cut approximately 15.5 inches off of the rear of one hood. Then I cut along each side of the center rib from the rear to about 5mm from the front on the otherhood. I then removed a thin wedge from both sides, trimed and sanded the edges. I then heated the front area of the hood so I could squeeze the hood together at the rear so I could glue back together. I then glued the 15.5" piece onto the hood I took the wedges out of and voila! Longer hood. This view shows the engine detail painted. The other side of the engine. Top front view of the engine with fan. Still have weathering to do on this. This view shows the "Brownie" painted. Another view of the Brownie. Rear view of the Brownie. This view shows the front axle I plan on using for this build. I did order a 1/24th axle also because I'm not sure the 1/25 one will be wide enough.🤔😉 Ron G
-
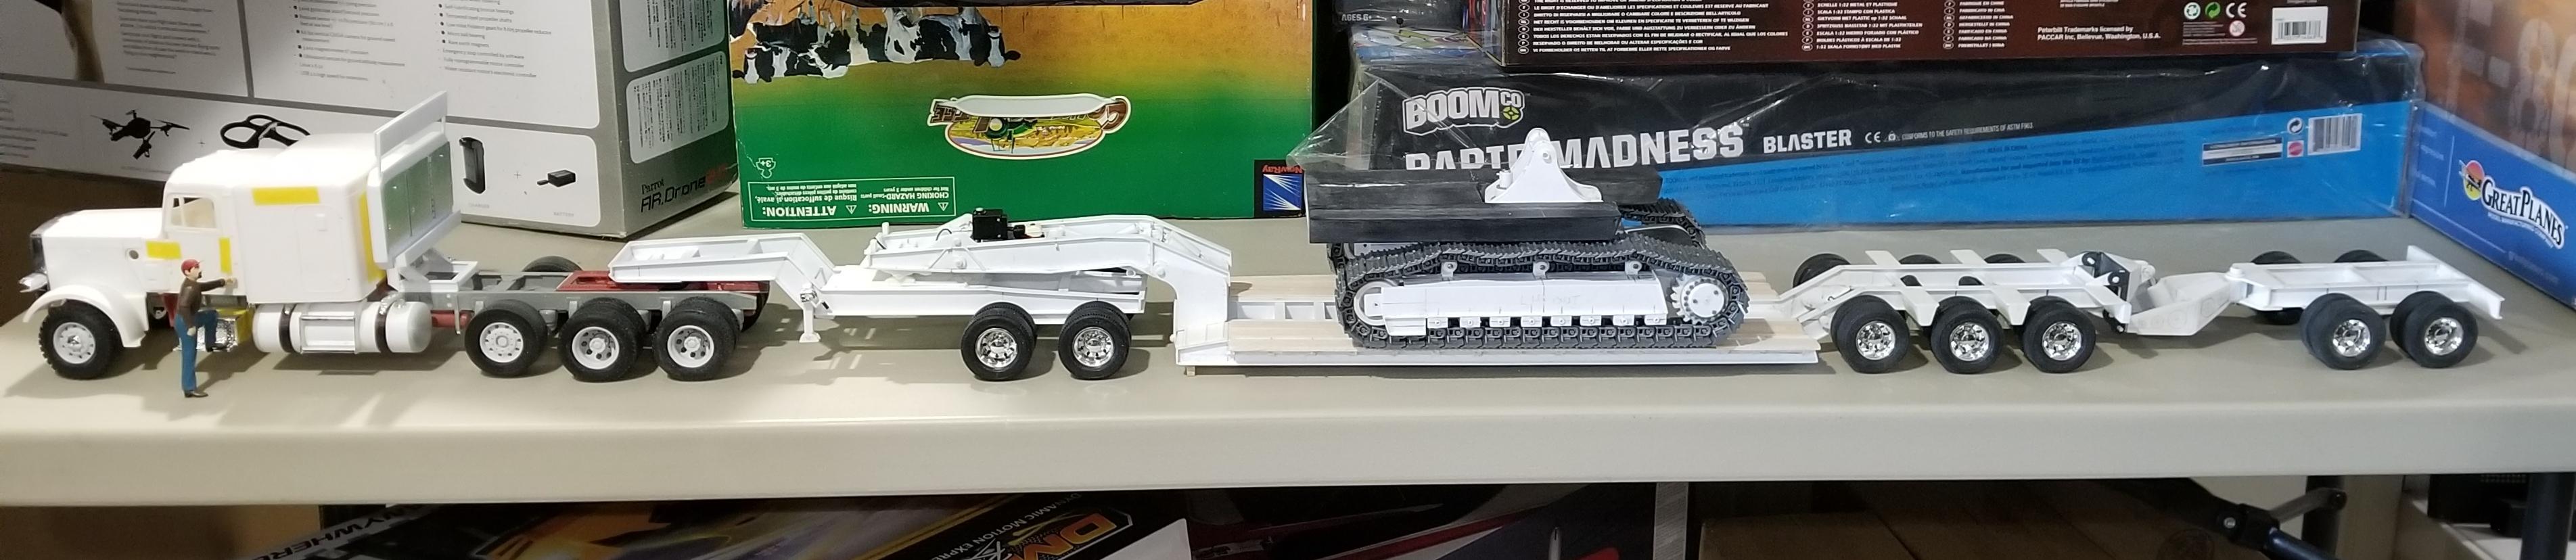
Thanks Brian Yeah, I am hoping to get back on the lowboy soon, now that I have transformer load for it. Ron G
-
Hey David It's made by Auslowe in Australia. You can get it from ST Supply in both twin turbo and non turbo versions. Ron G
-
Hey Gary There real nice. But mostly military colors. They go on nice but tips could be finer for detail work. Ron G
-
Hey all I'm back...lol. I had to modify the DD 12V71-TT. The turbos were sticking up to high. I had to drop them down about 5mm. This way I can get the hood to clear them and fit a air intake pipe system. Here are some pictures for yous to perose. This view shows the lower intake plumbing. I need to shorten the intake pipe about 3mm so I can add the intake plumbing to the air cleaner. This view shows the engine in the frame with the cab in place. This view shows that I have to add 15" to the rear of the hood. Well that's it for now be back soon with more updates. Ron G
-
Sweet Gary
-
I here you Gary, it really sucks getting old...lol Ron G
-
Don't you just hate those butter fingers...😆🤣😂 Ron G
-
Mack B-61 Dump Body
ShakyCraftsman replied to Scott Eriksen's topic in WIP: Model Trucks: Big Rigs and Heavy Equipment
It's going to be a B-61,not 65 -
Mack B-61 Dump Body
ShakyCraftsman replied to Scott Eriksen's topic in WIP: Model Trucks: Big Rigs and Heavy Equipment
Cool, wasn't if you knew or not. It looks good though. Ron G -
Take what ever time you need Tom, don't try to rush your recovery. That could lead to something bad. My son was 42 when he died of what we belive was a stroke. 😢🫤 Ron G
-
Mack B-61 Dump Body
ShakyCraftsman replied to Scott Eriksen's topic in WIP: Model Trucks: Big Rigs and Heavy Equipment
Hey Scott I'm not sure but didn't the "B" model have straight frame rails?🤔 Ron G -
Kenworth C500
ShakyCraftsman replied to Gary Chastain's topic in WIP: Model Trucks: Big Rigs and Heavy Equipment
Thanks Gary Yeah, one of these days.🙄😉 Ron G -
Kenworth C500
ShakyCraftsman replied to Gary Chastain's topic in WIP: Model Trucks: Big Rigs and Heavy Equipment
Hey Gary Sounds like a real cool build. Not trying to highjack your post, just something for inspiration. Good luck Ron G
-
Kenworth C500
ShakyCraftsman replied to Gary Chastain's topic in WIP: Model Trucks: Big Rigs and Heavy Equipment
Not a fan of globals stuff. To thick, don't like the way they print the interiors in one peice. 🫤 Ron G -
Kenworth C500
ShakyCraftsman replied to Gary Chastain's topic in WIP: Model Trucks: Big Rigs and Heavy Equipment
I sent you a link. -
Kenworth C500
ShakyCraftsman replied to Gary Chastain's topic in WIP: Model Trucks: Big Rigs and Heavy Equipment
Hey Gary Paul has that suspension system for $25.00 US Ron G -
Kenworth C500
ShakyCraftsman replied to Gary Chastain's topic in WIP: Model Trucks: Big Rigs and Heavy Equipment
I second what Jeff said. Thaose are great drive tires. Now you need a more aggressive front float. Ask Jeff what he used on his Autocar build (I think) Ron G

.webp.8ec571e1ae830f75802b27d797f8e66b.webp)