Search the Community
Showing results for tags 'Rat Rod'.
-
Originally I am from Rhode Island where road salt takes a toll on your ride. I hated rusted out rocker panels. Things have changed and the manufacturers are much better about rust protection now. BUT I MISS IT! Rust is now, for me, nostalgic; below are my attempts at rusty rides. Please feel free to post your rusty rides here. I would love to see them. ?. LET THE RUST REIGN! I actually drove a car like this back in the '70s...a future posting in WIP

-
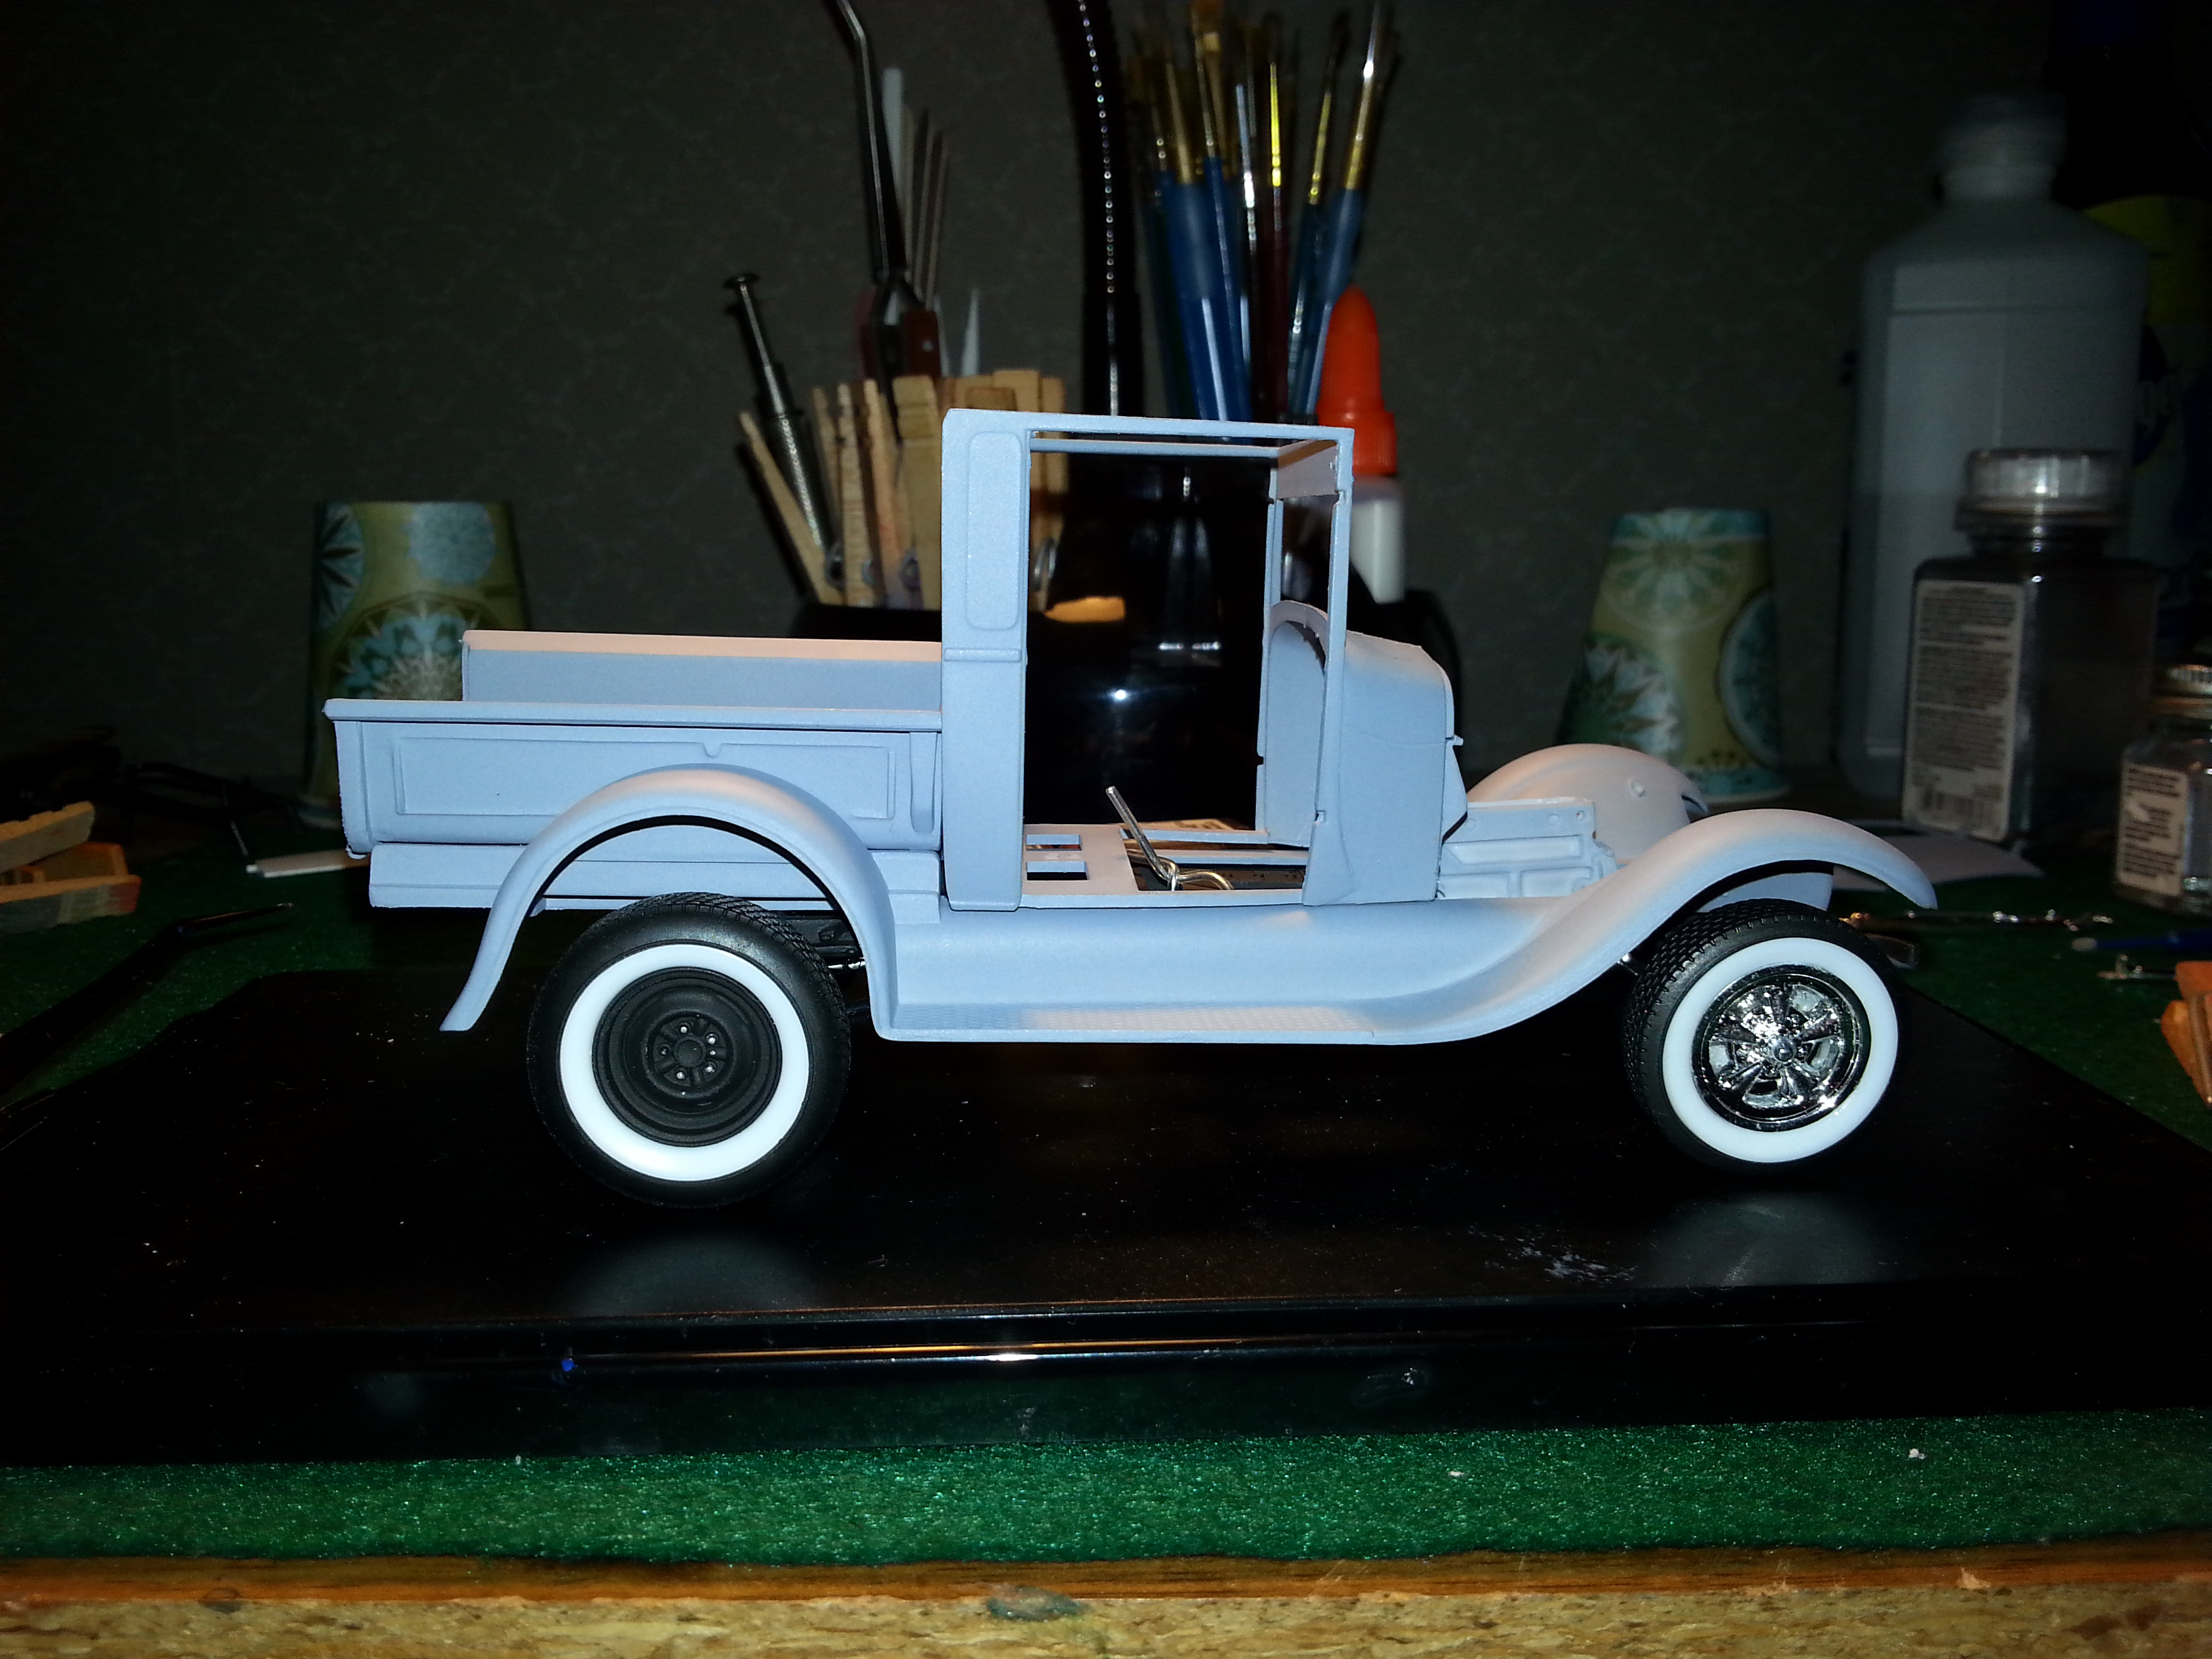
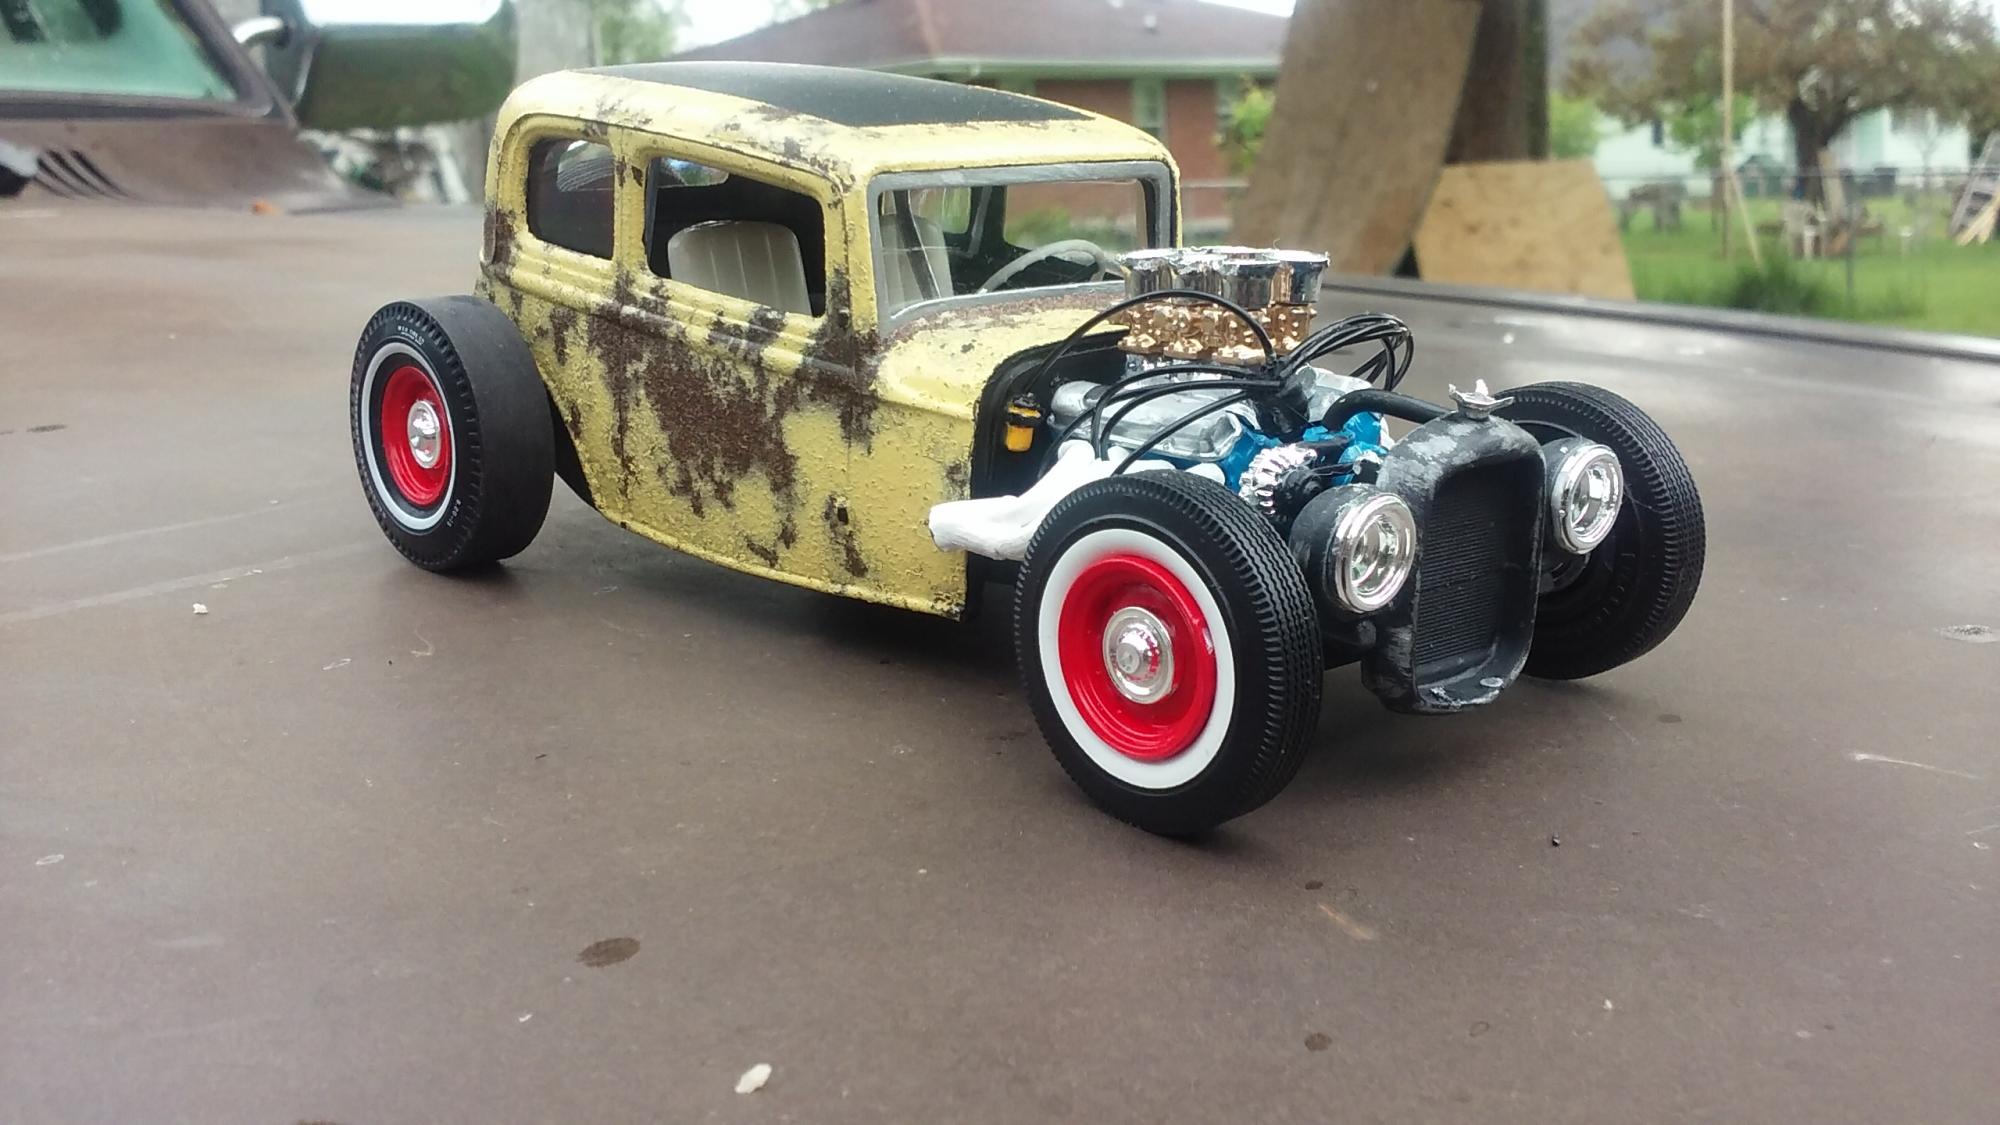
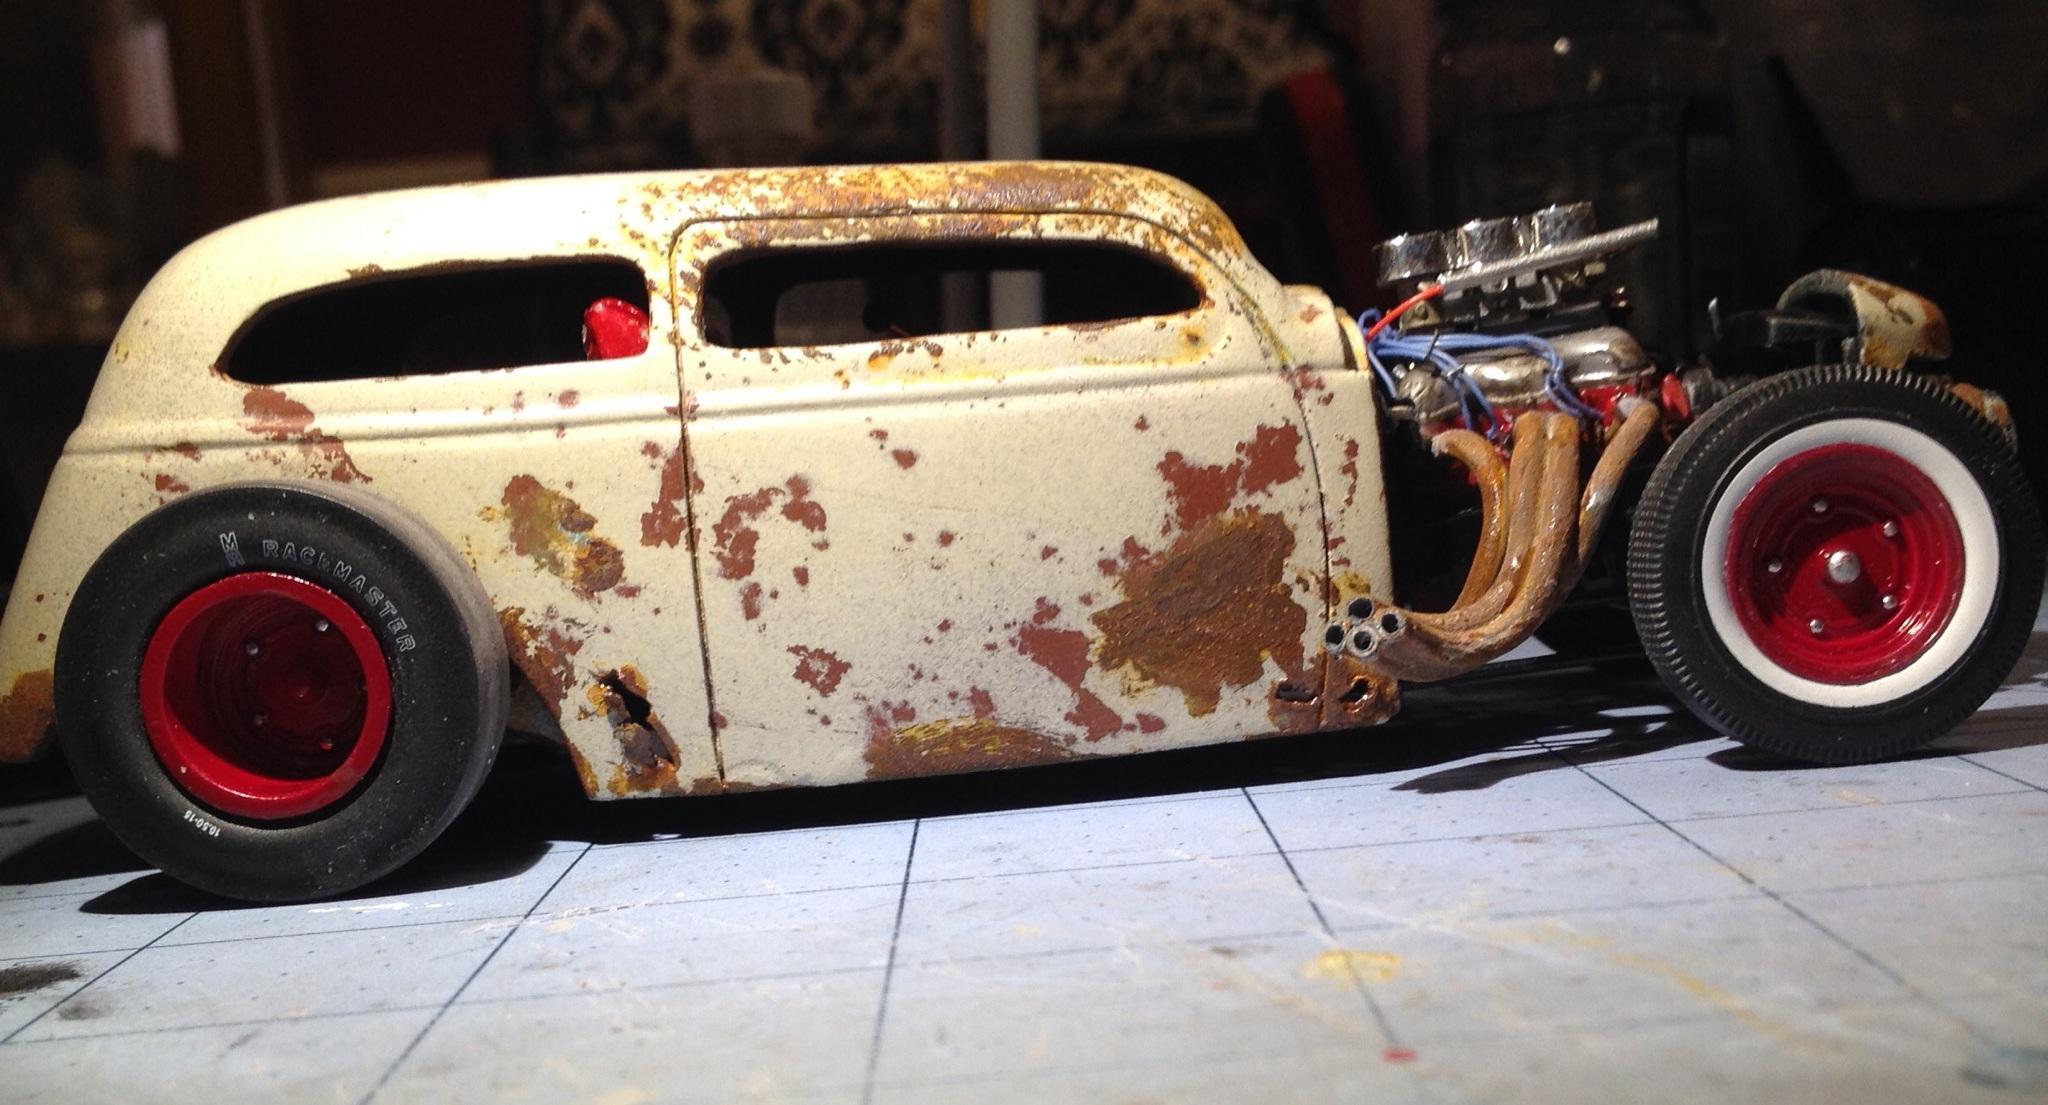
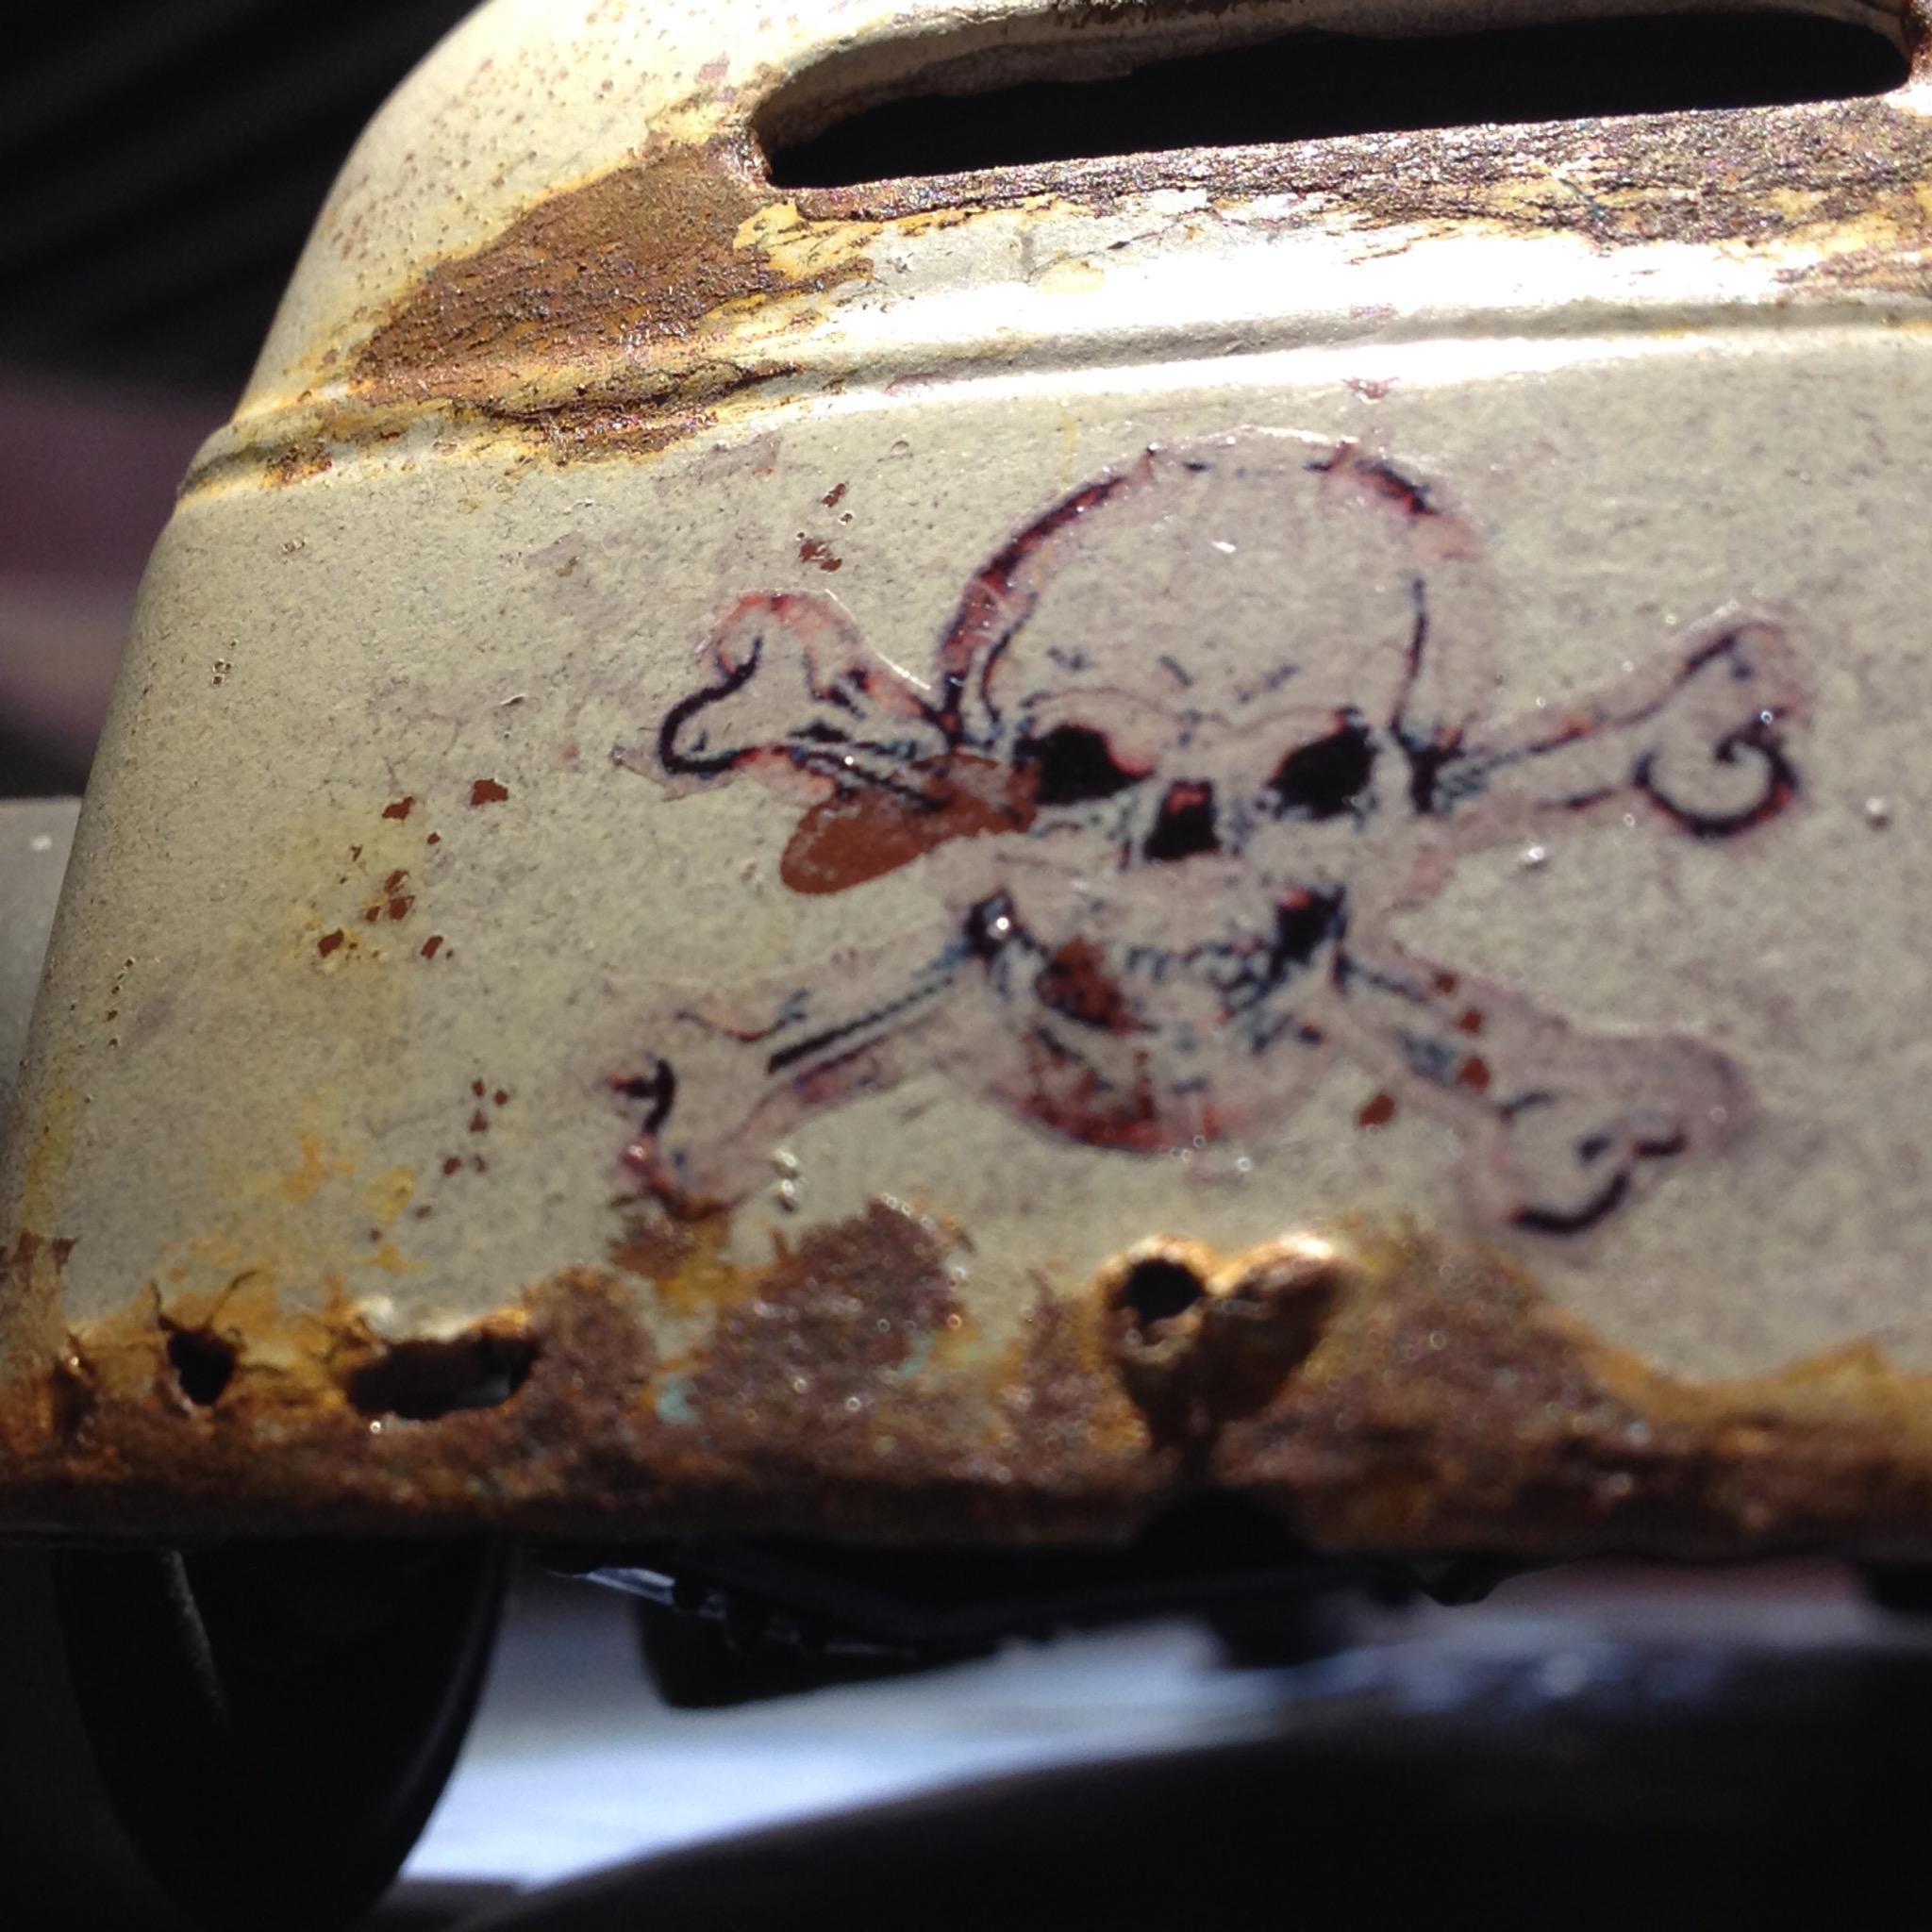
At 66, this is my first rat rod. Had a blast digging through the stash for all the parts. I had bought the resin grille and hood, cab, and pickup bed(not used) some years ago, but the bug had not yet bit. As you can see, even Lady Luck is the worse for wear!
-
 Here is a link to photos I took at the fall Goodguys show in Arizona. https://www.flickr.com/photos/blunc/albums/72157720159630108
 -
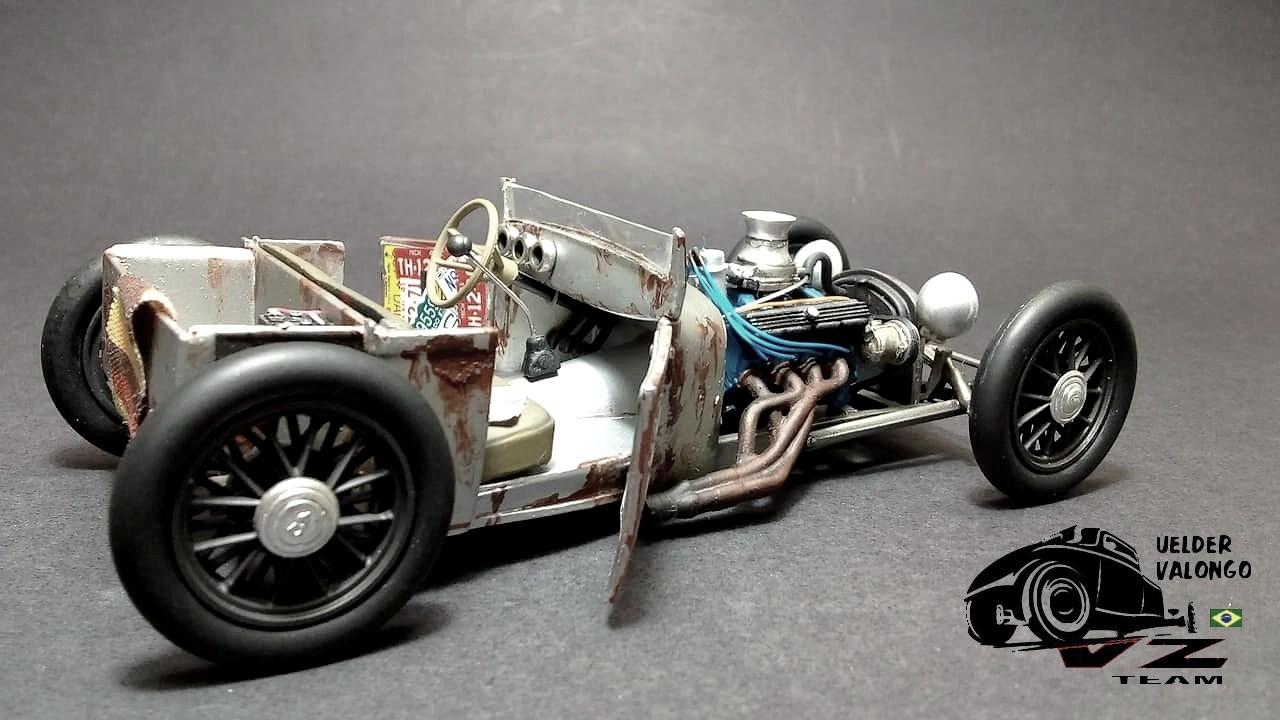
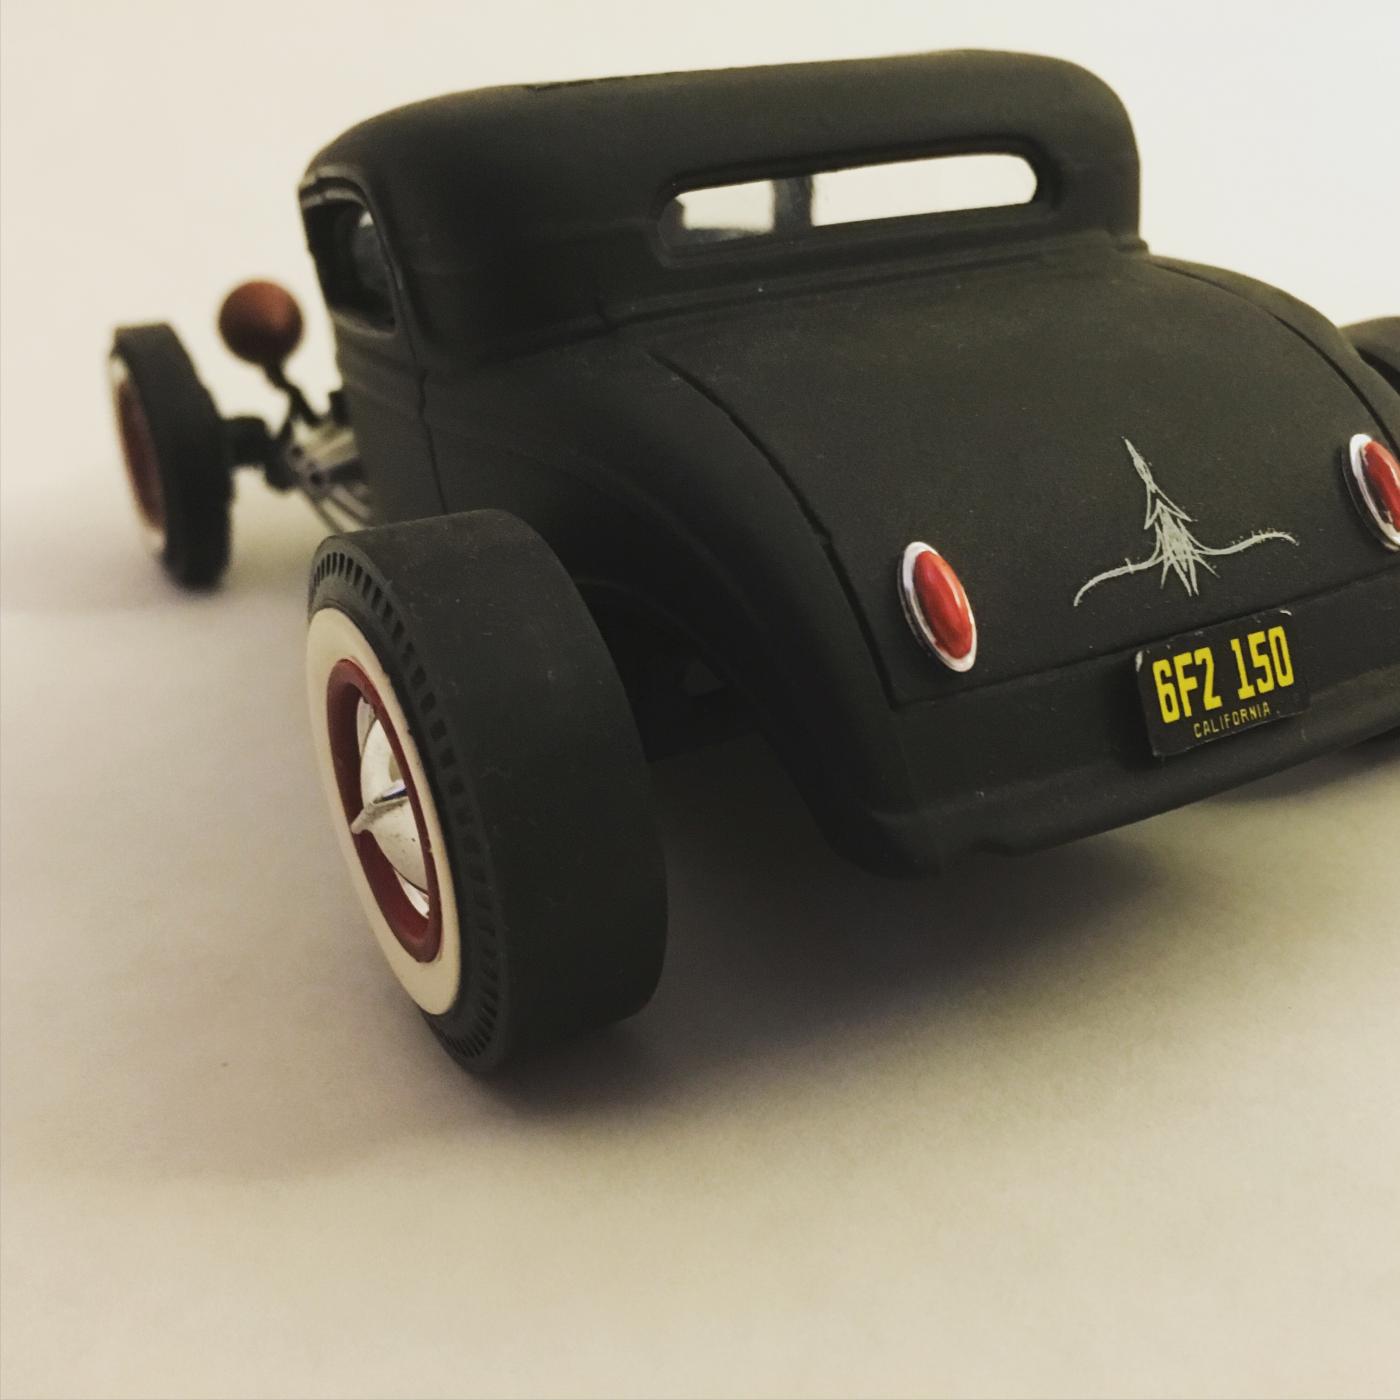
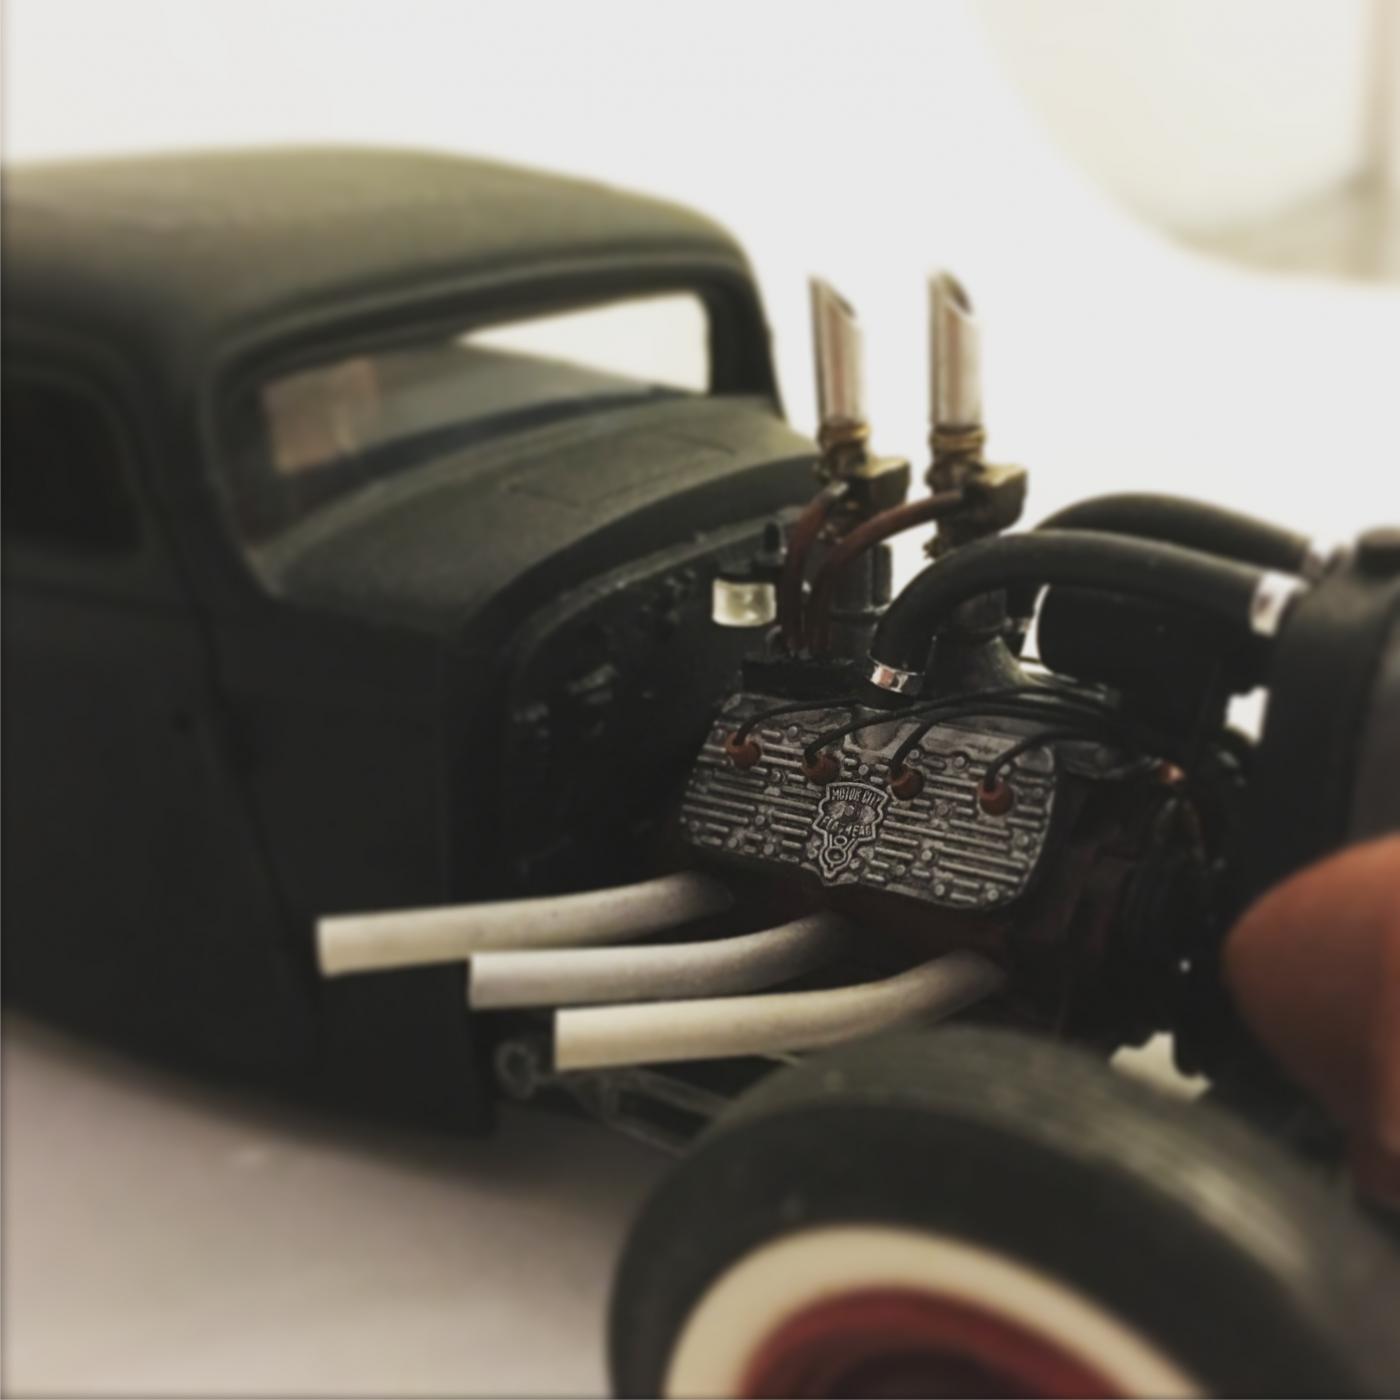
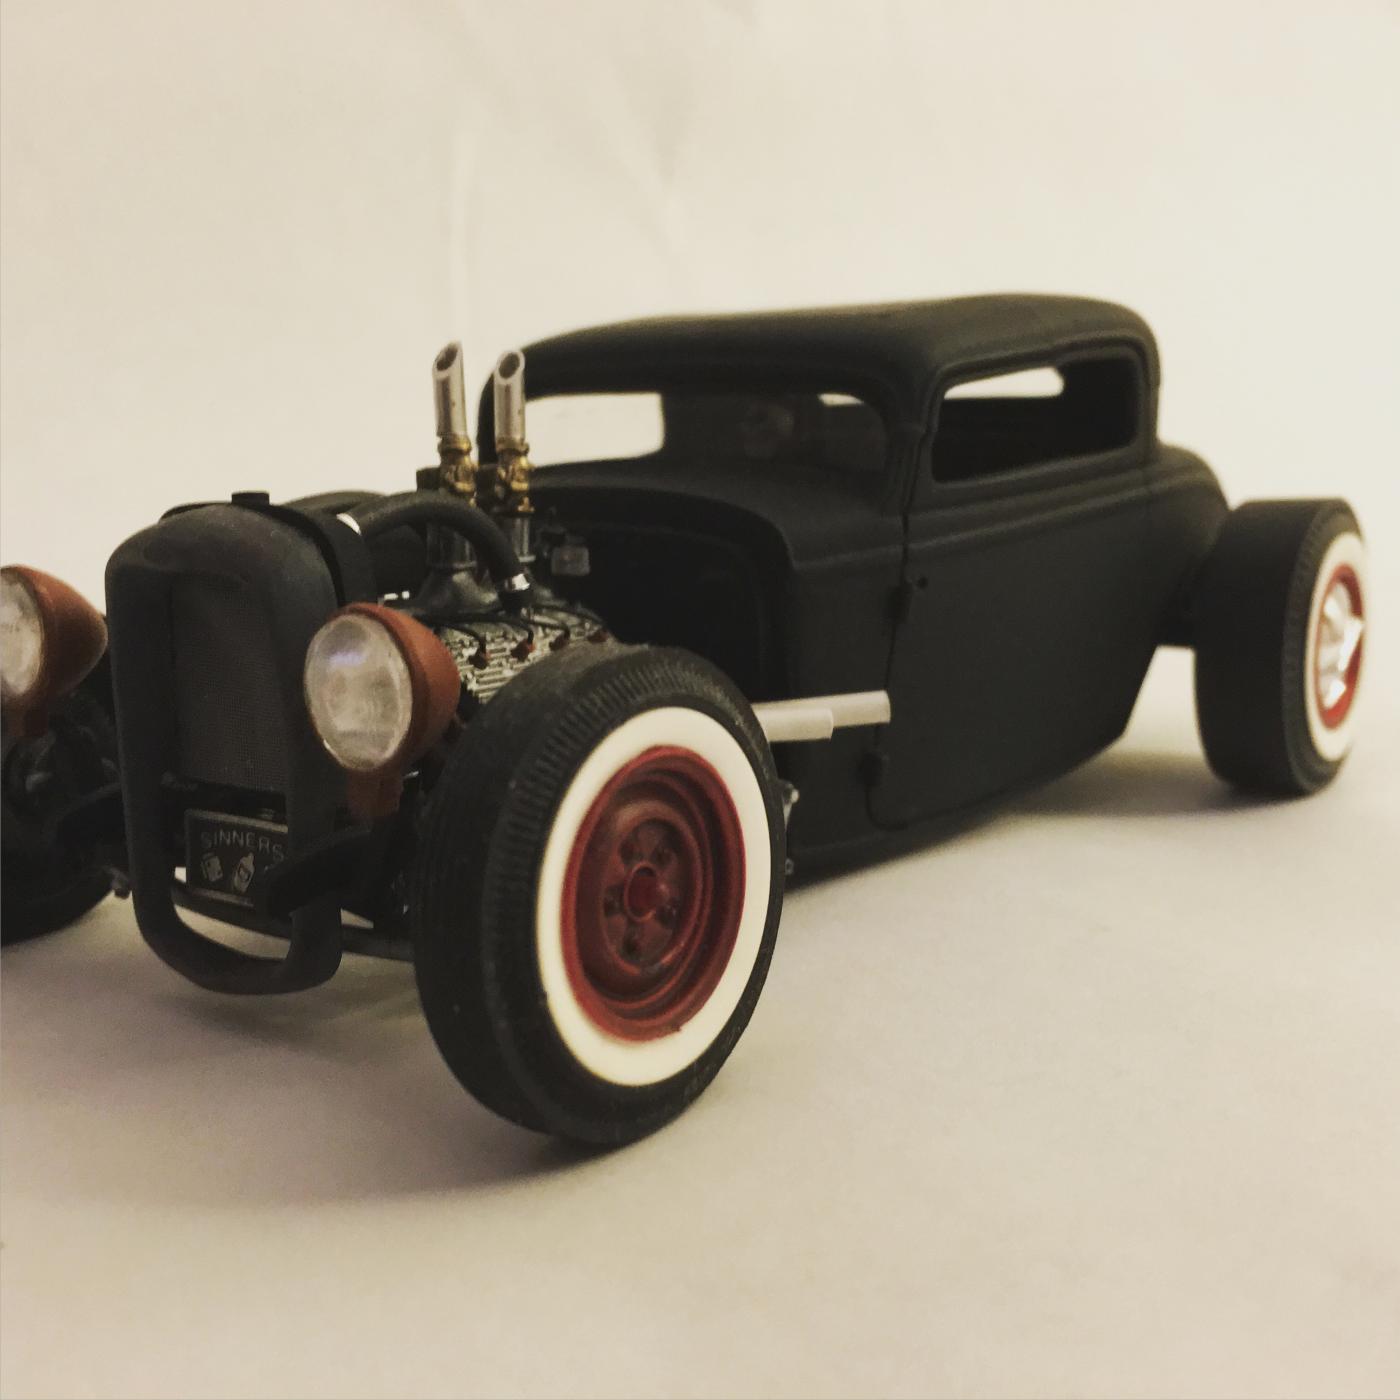
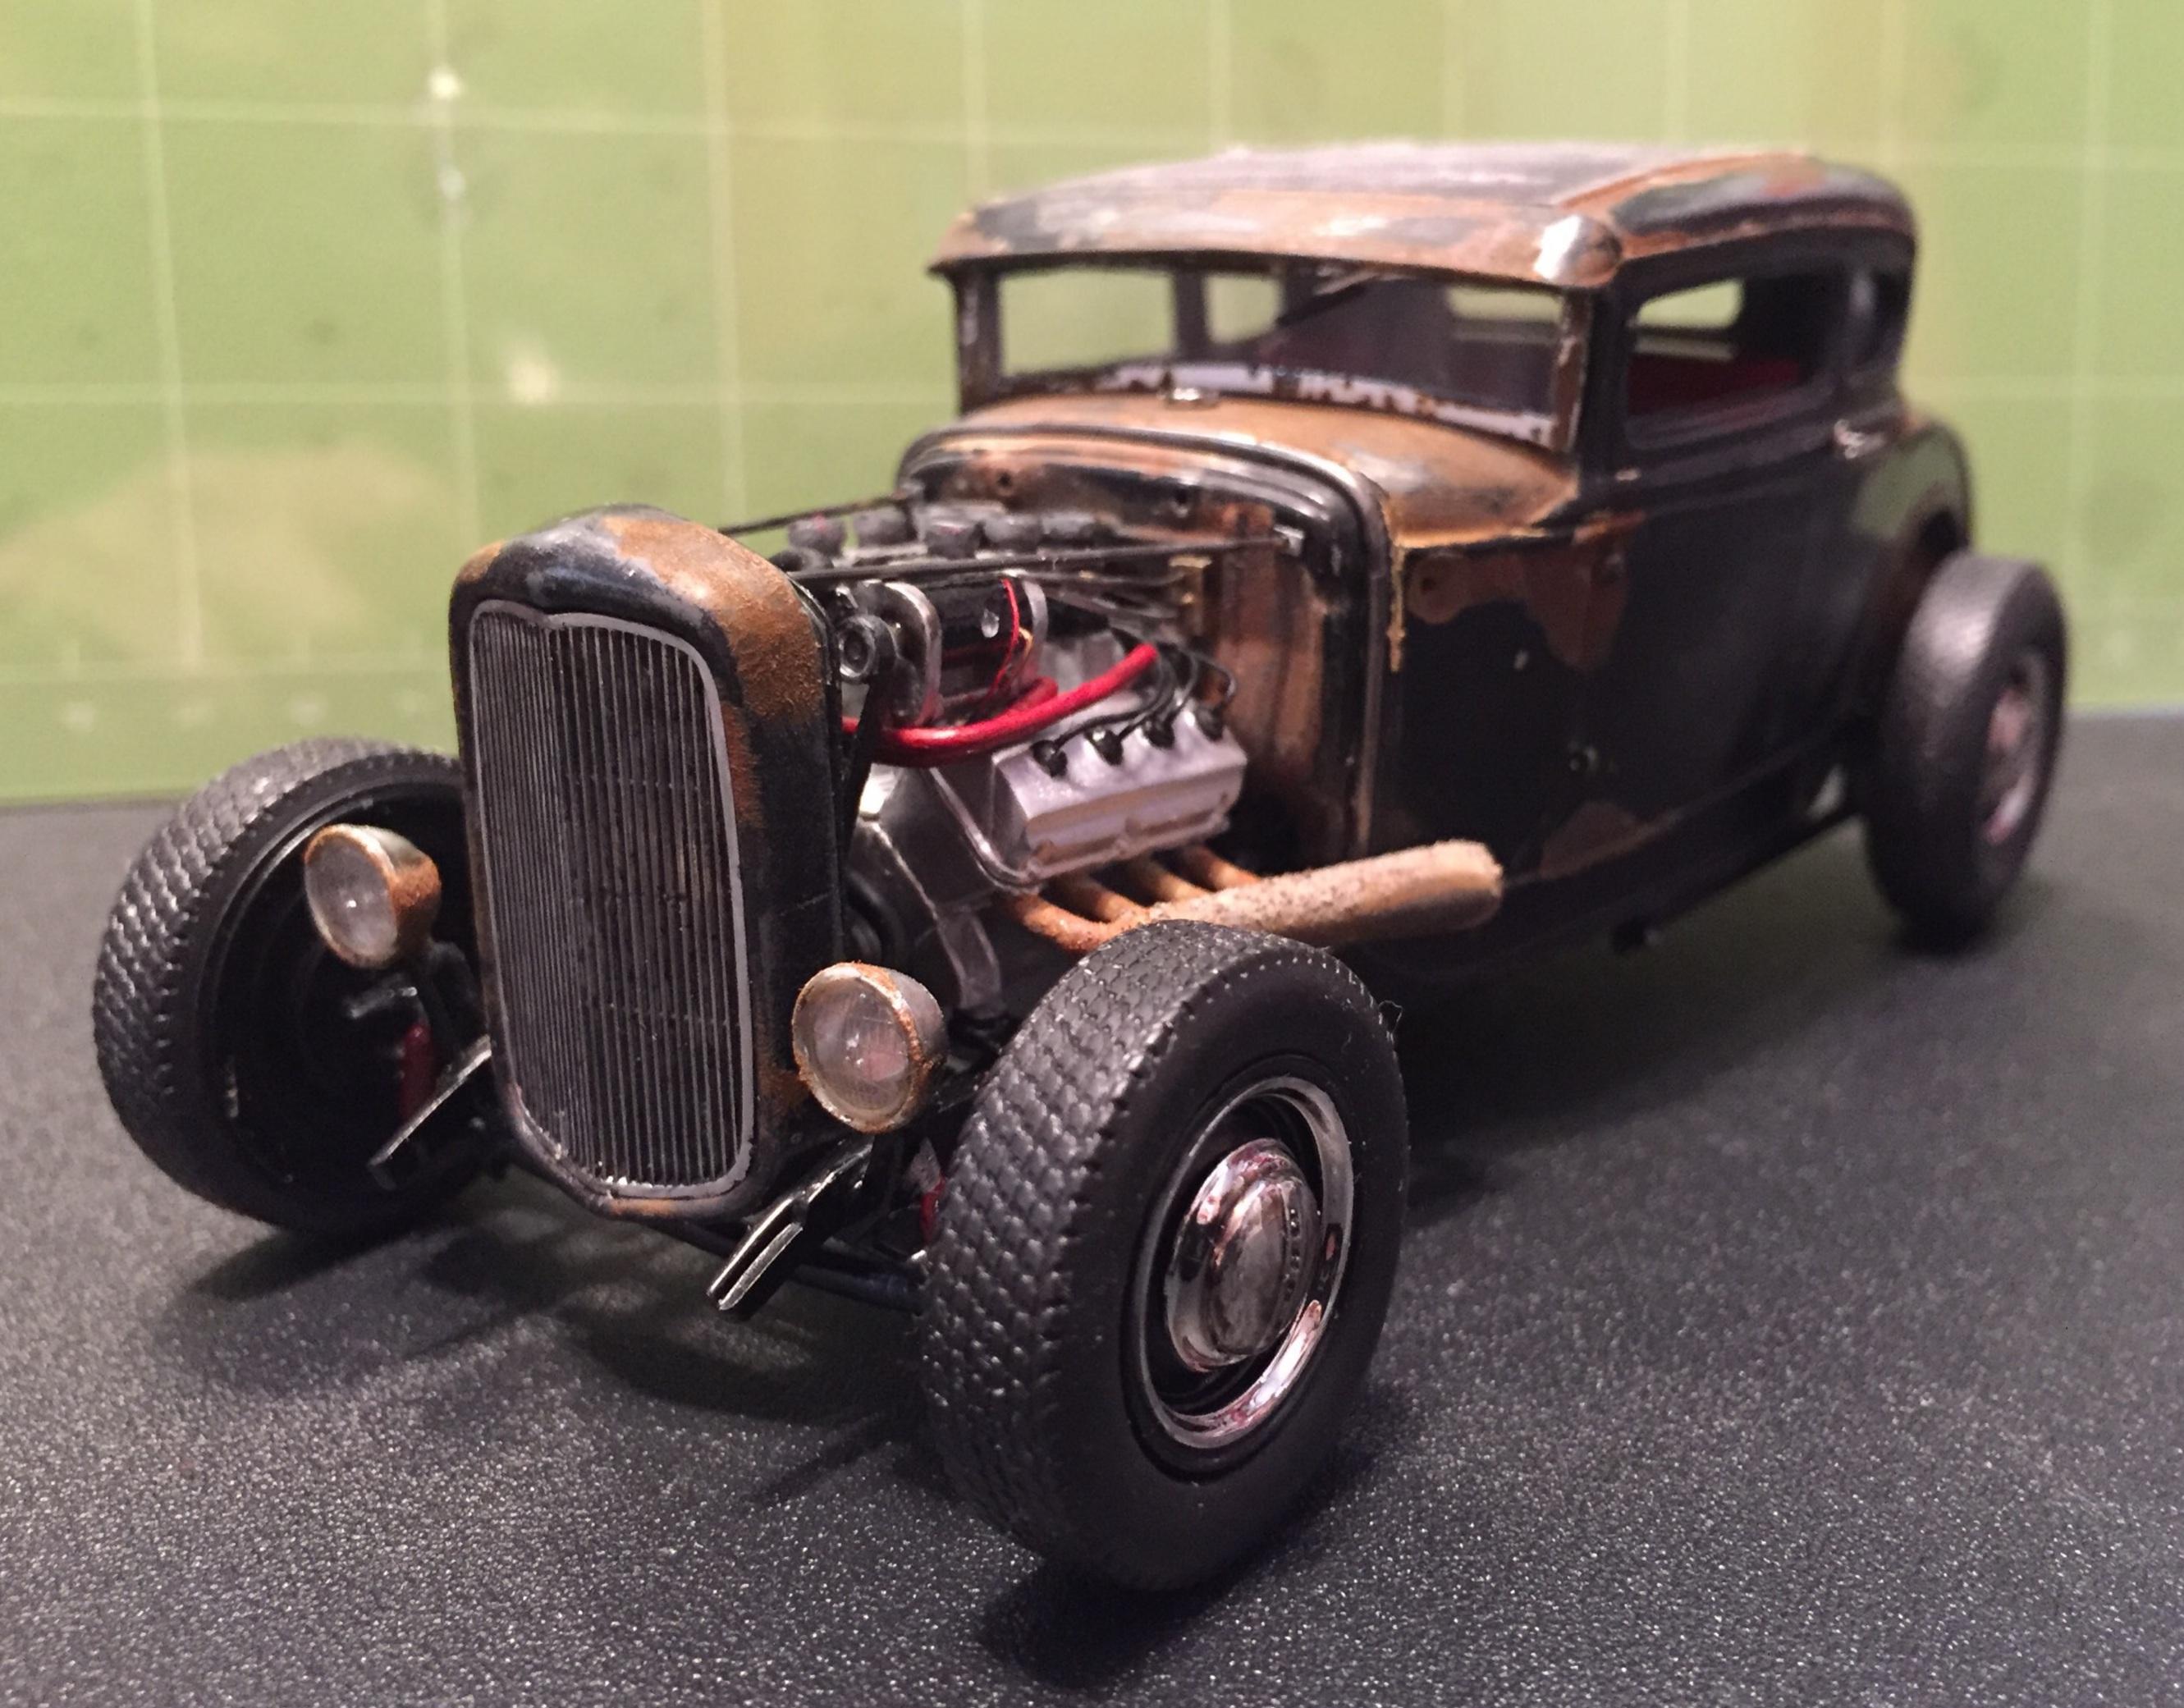
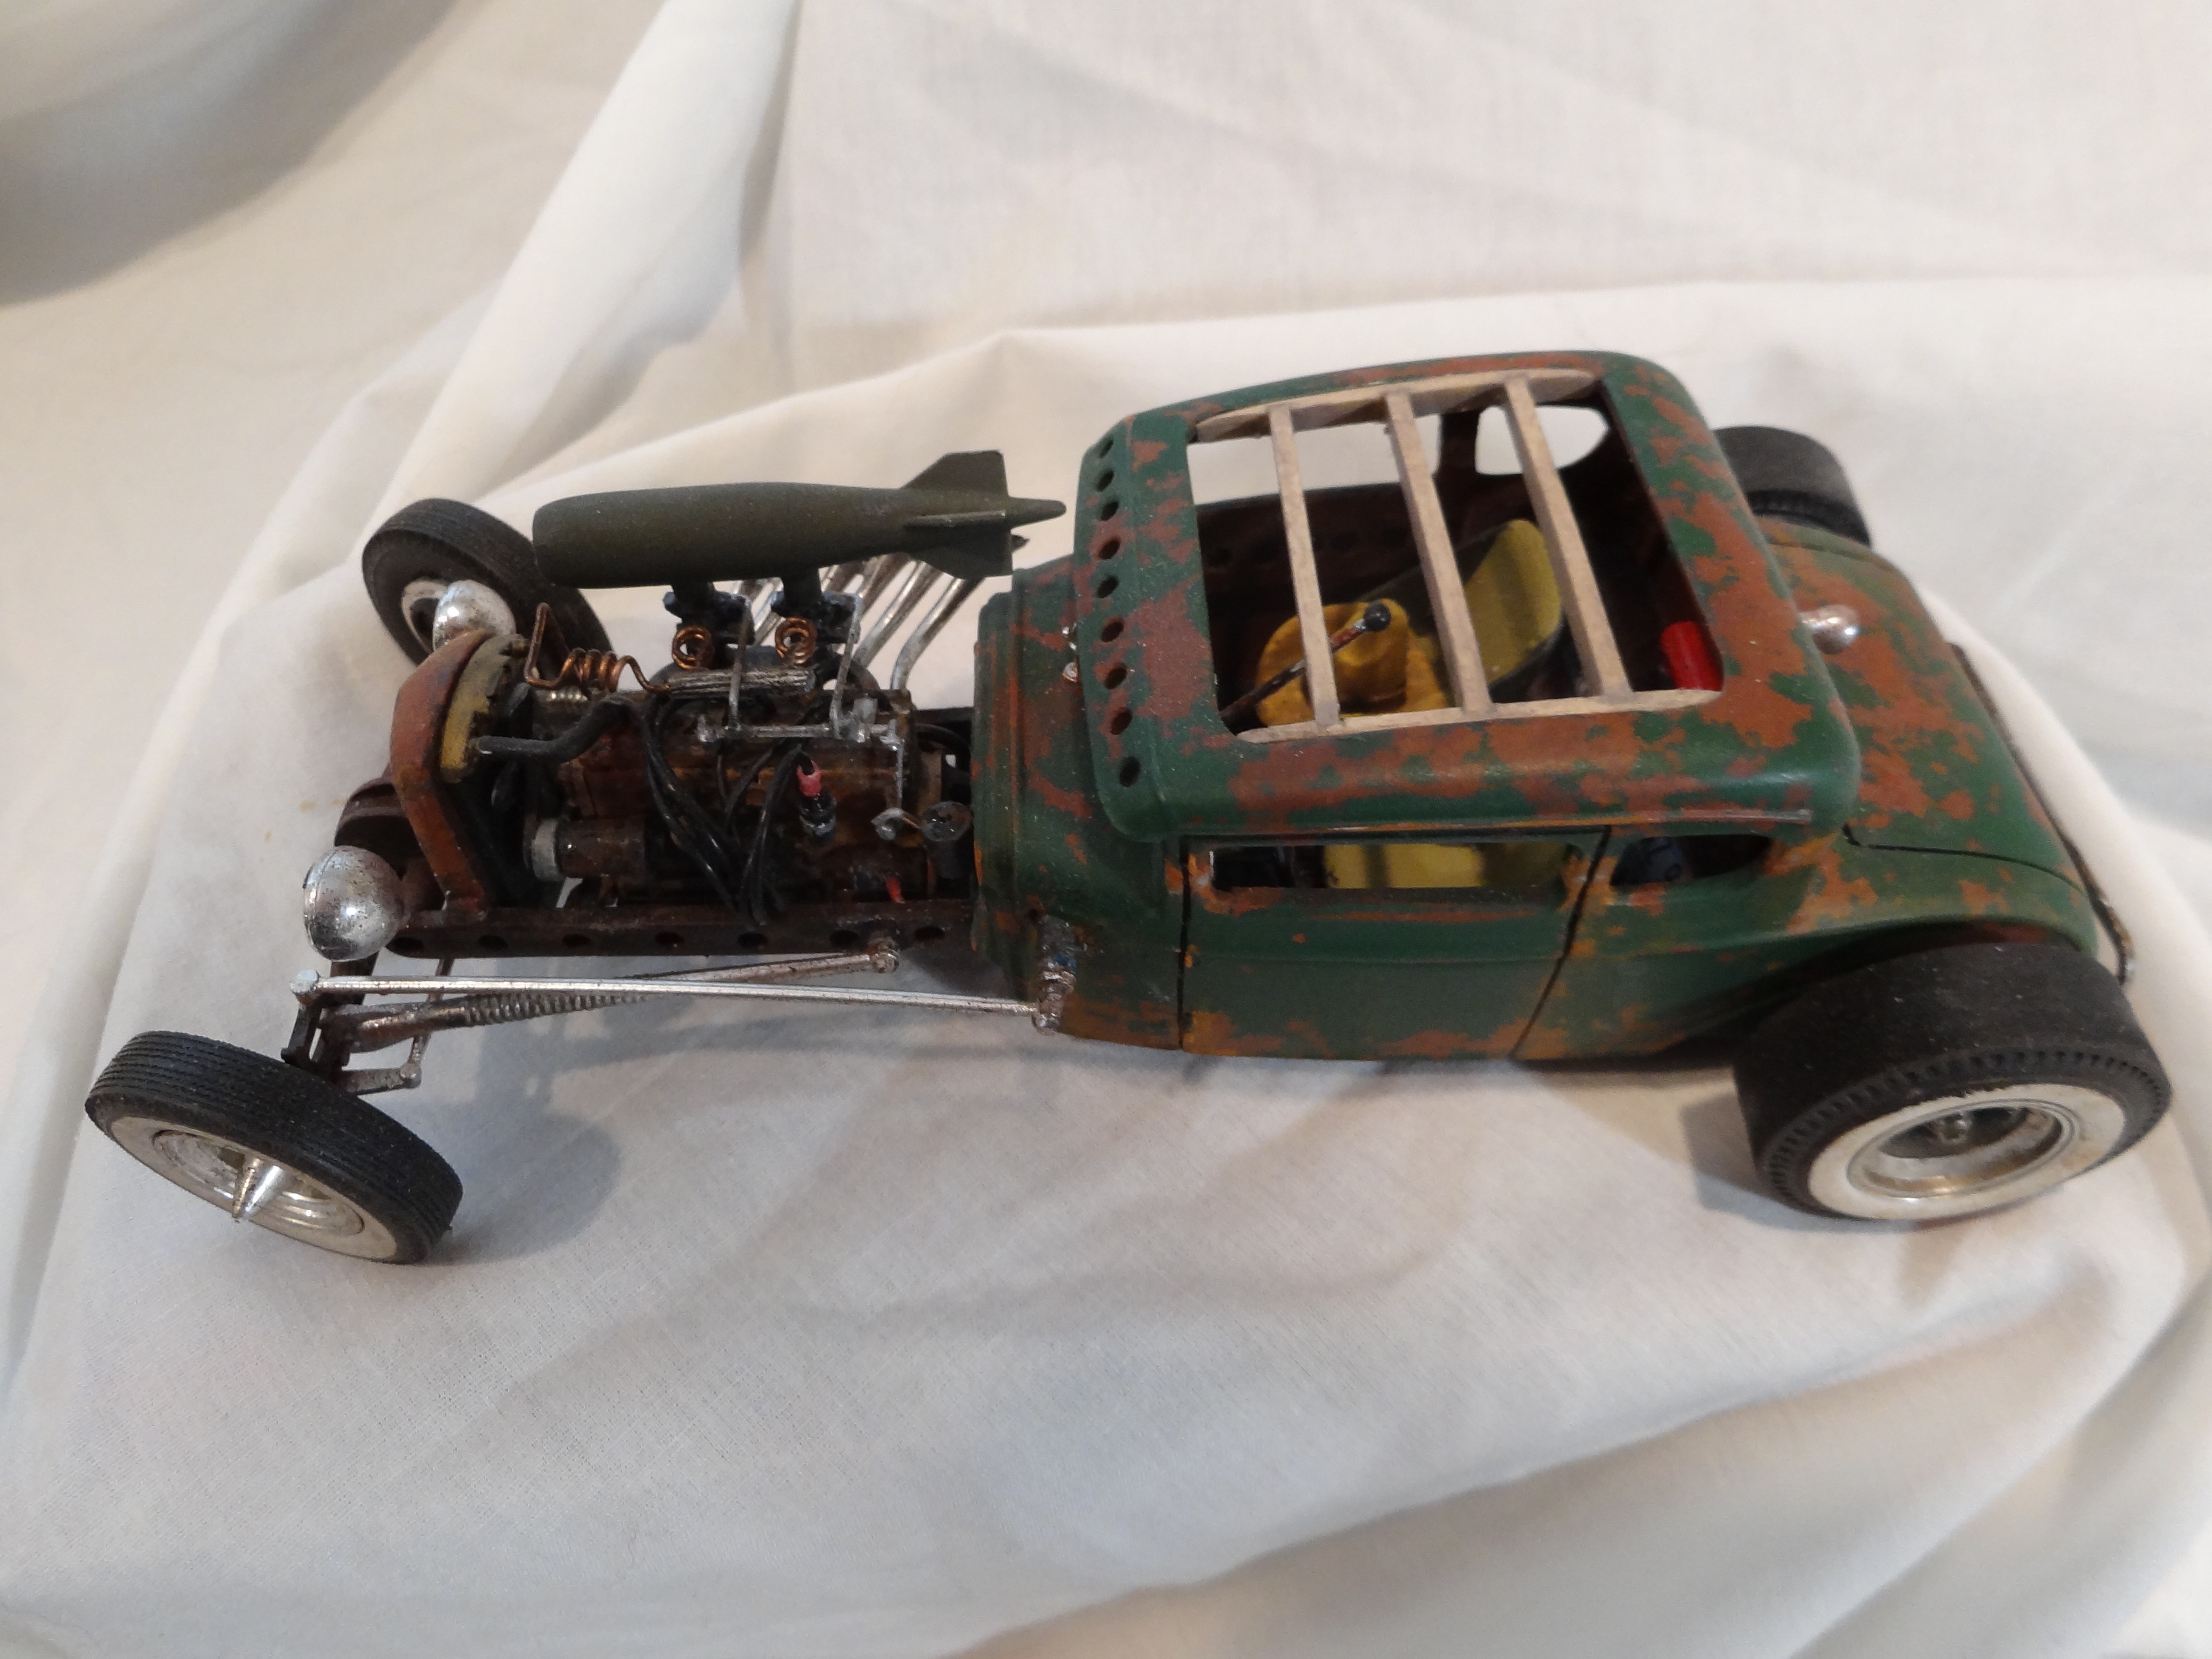
Hi All. Thanks for the kind words about the other models that I've posted. I've built 7 models in the past year (in this, my second, phase of model building ) and I'll go ahead and post them since you've all been so welcoming. This model started out as a Monogram stock '30 Ford Coupe that I began as a chopped hot rod many, many years ago. Since I've gained an appreciation for rat rods and patina cars I went in a different direction to finish this ride (plus I don't think I could really live with a rat rod in 1:1 scale). I chopped the roof a little more. The 6-cyl came out of the Moebius '53 Hudson Hornet kit. The z-d frame was scratch-built from styrene. Thanks for looking. All of my models built during the past year have names appropriate for the times; this one is "Infectious".
-
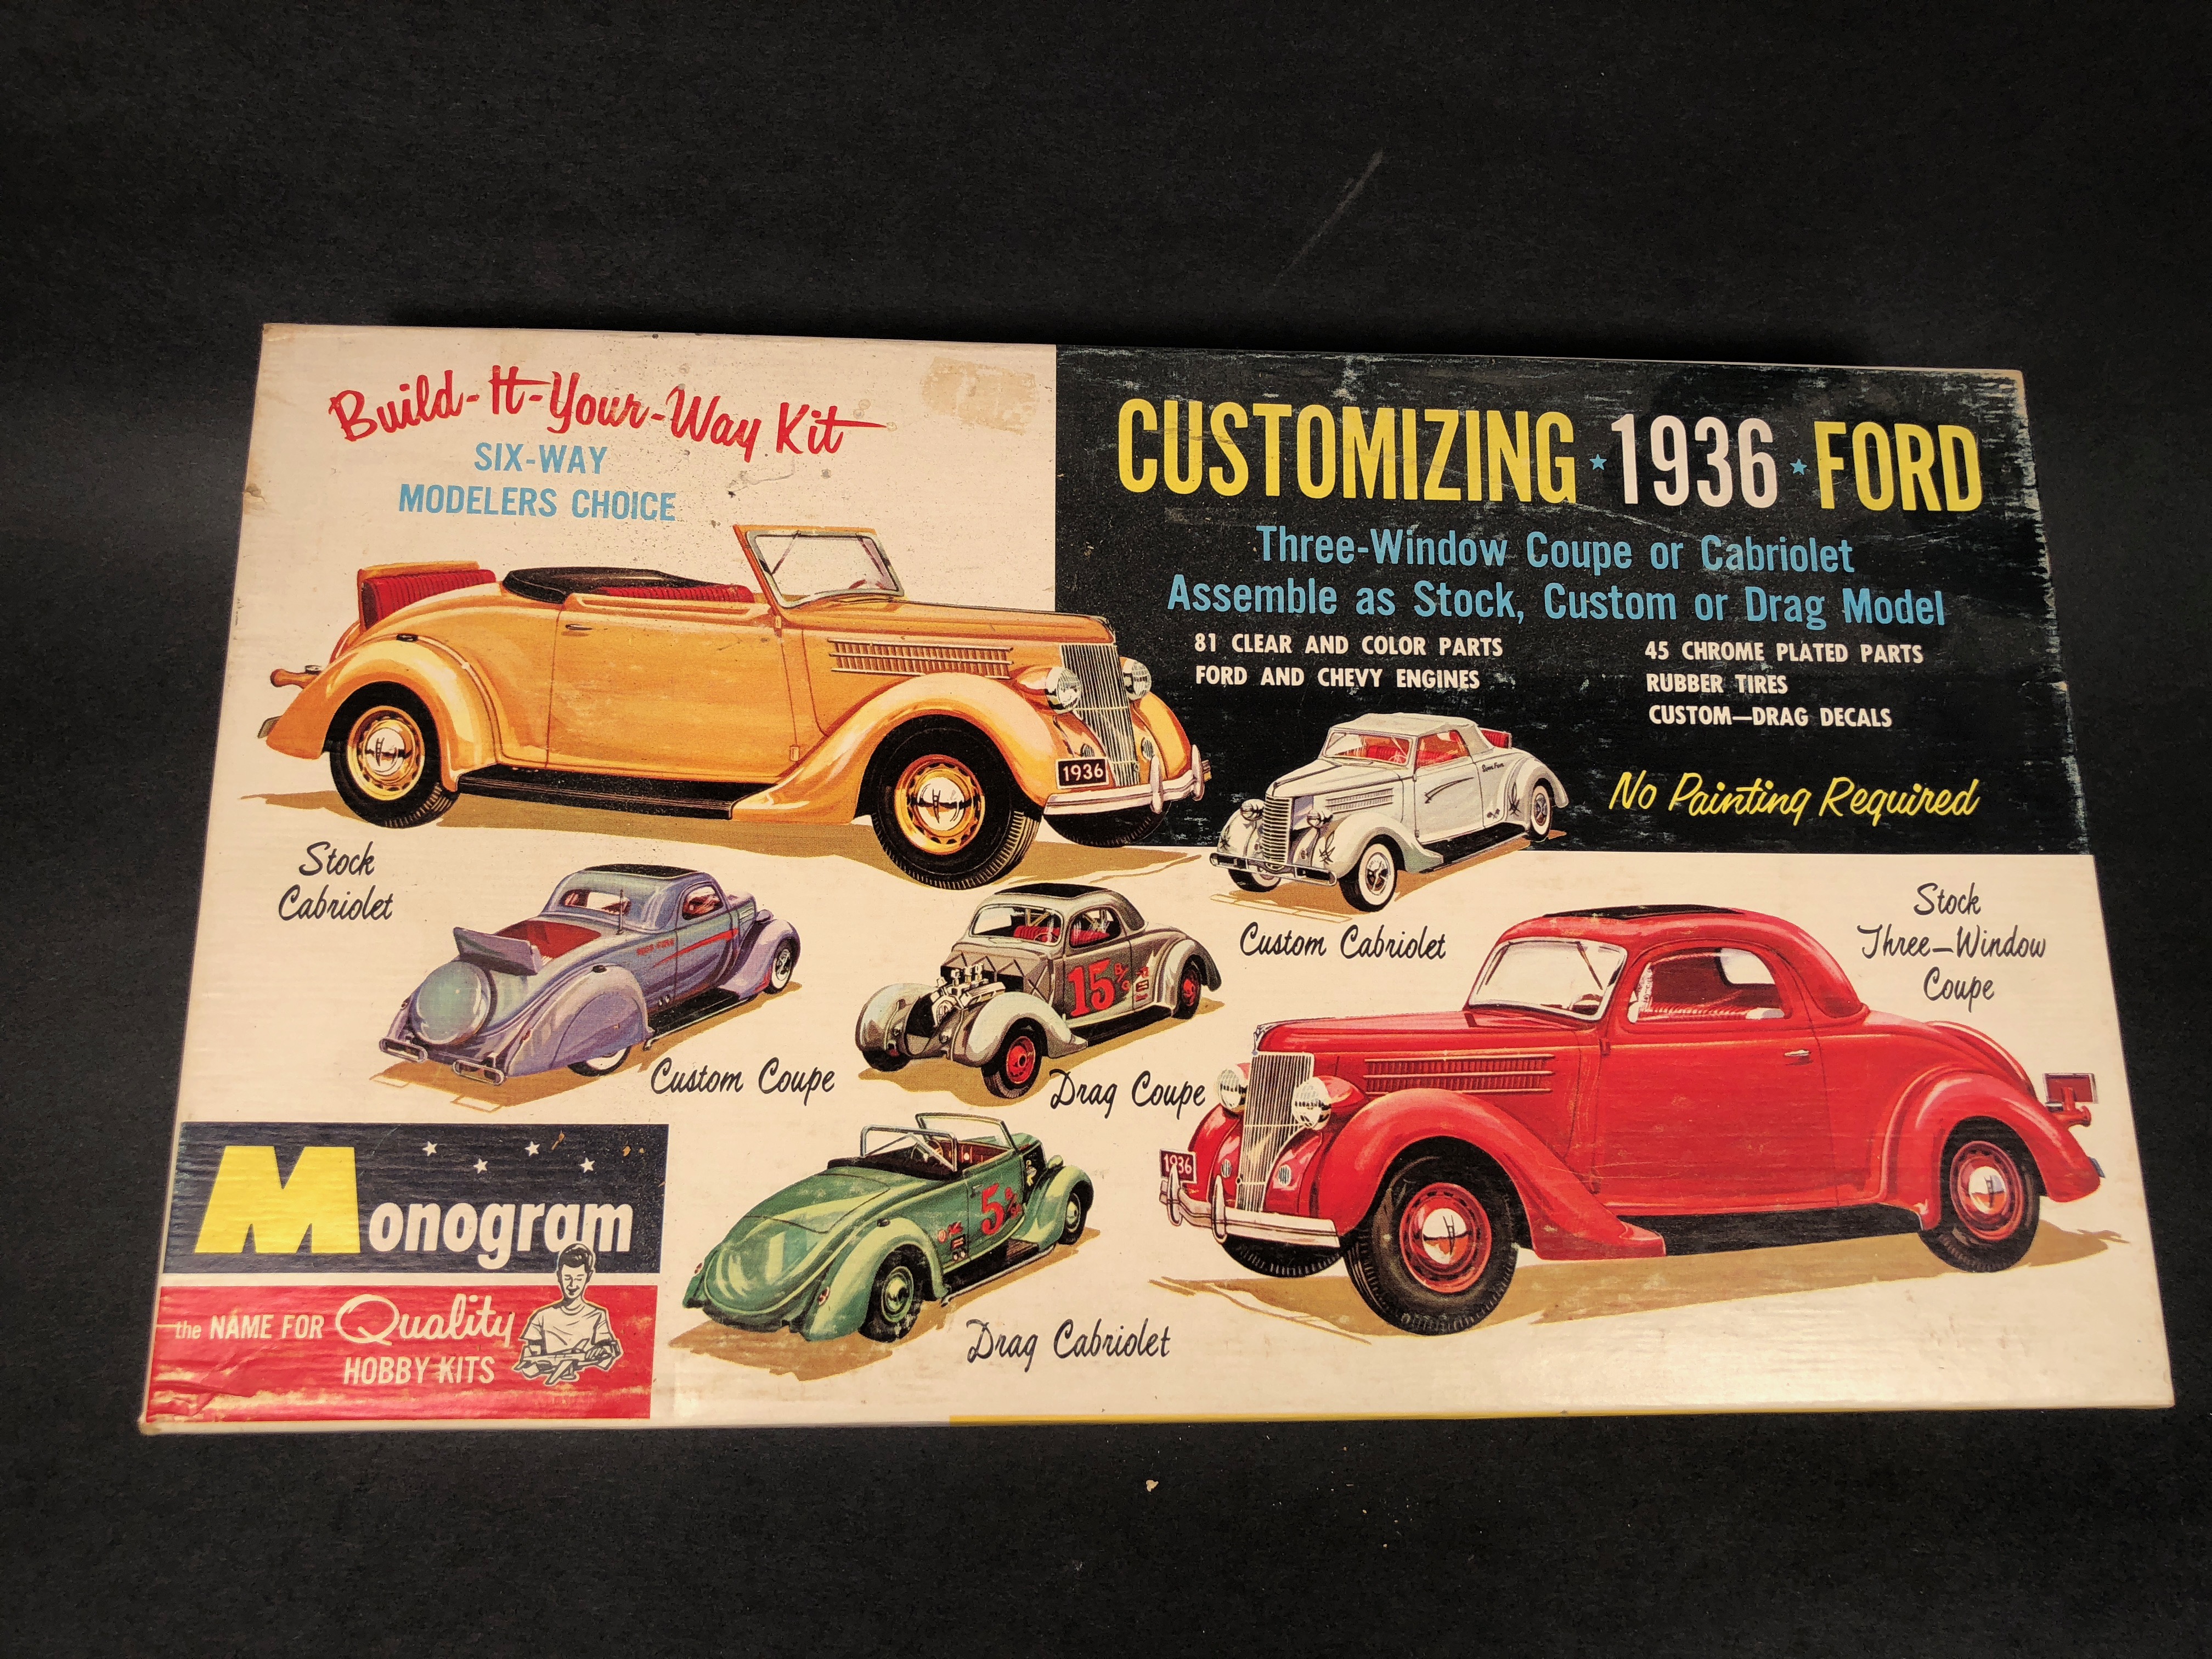
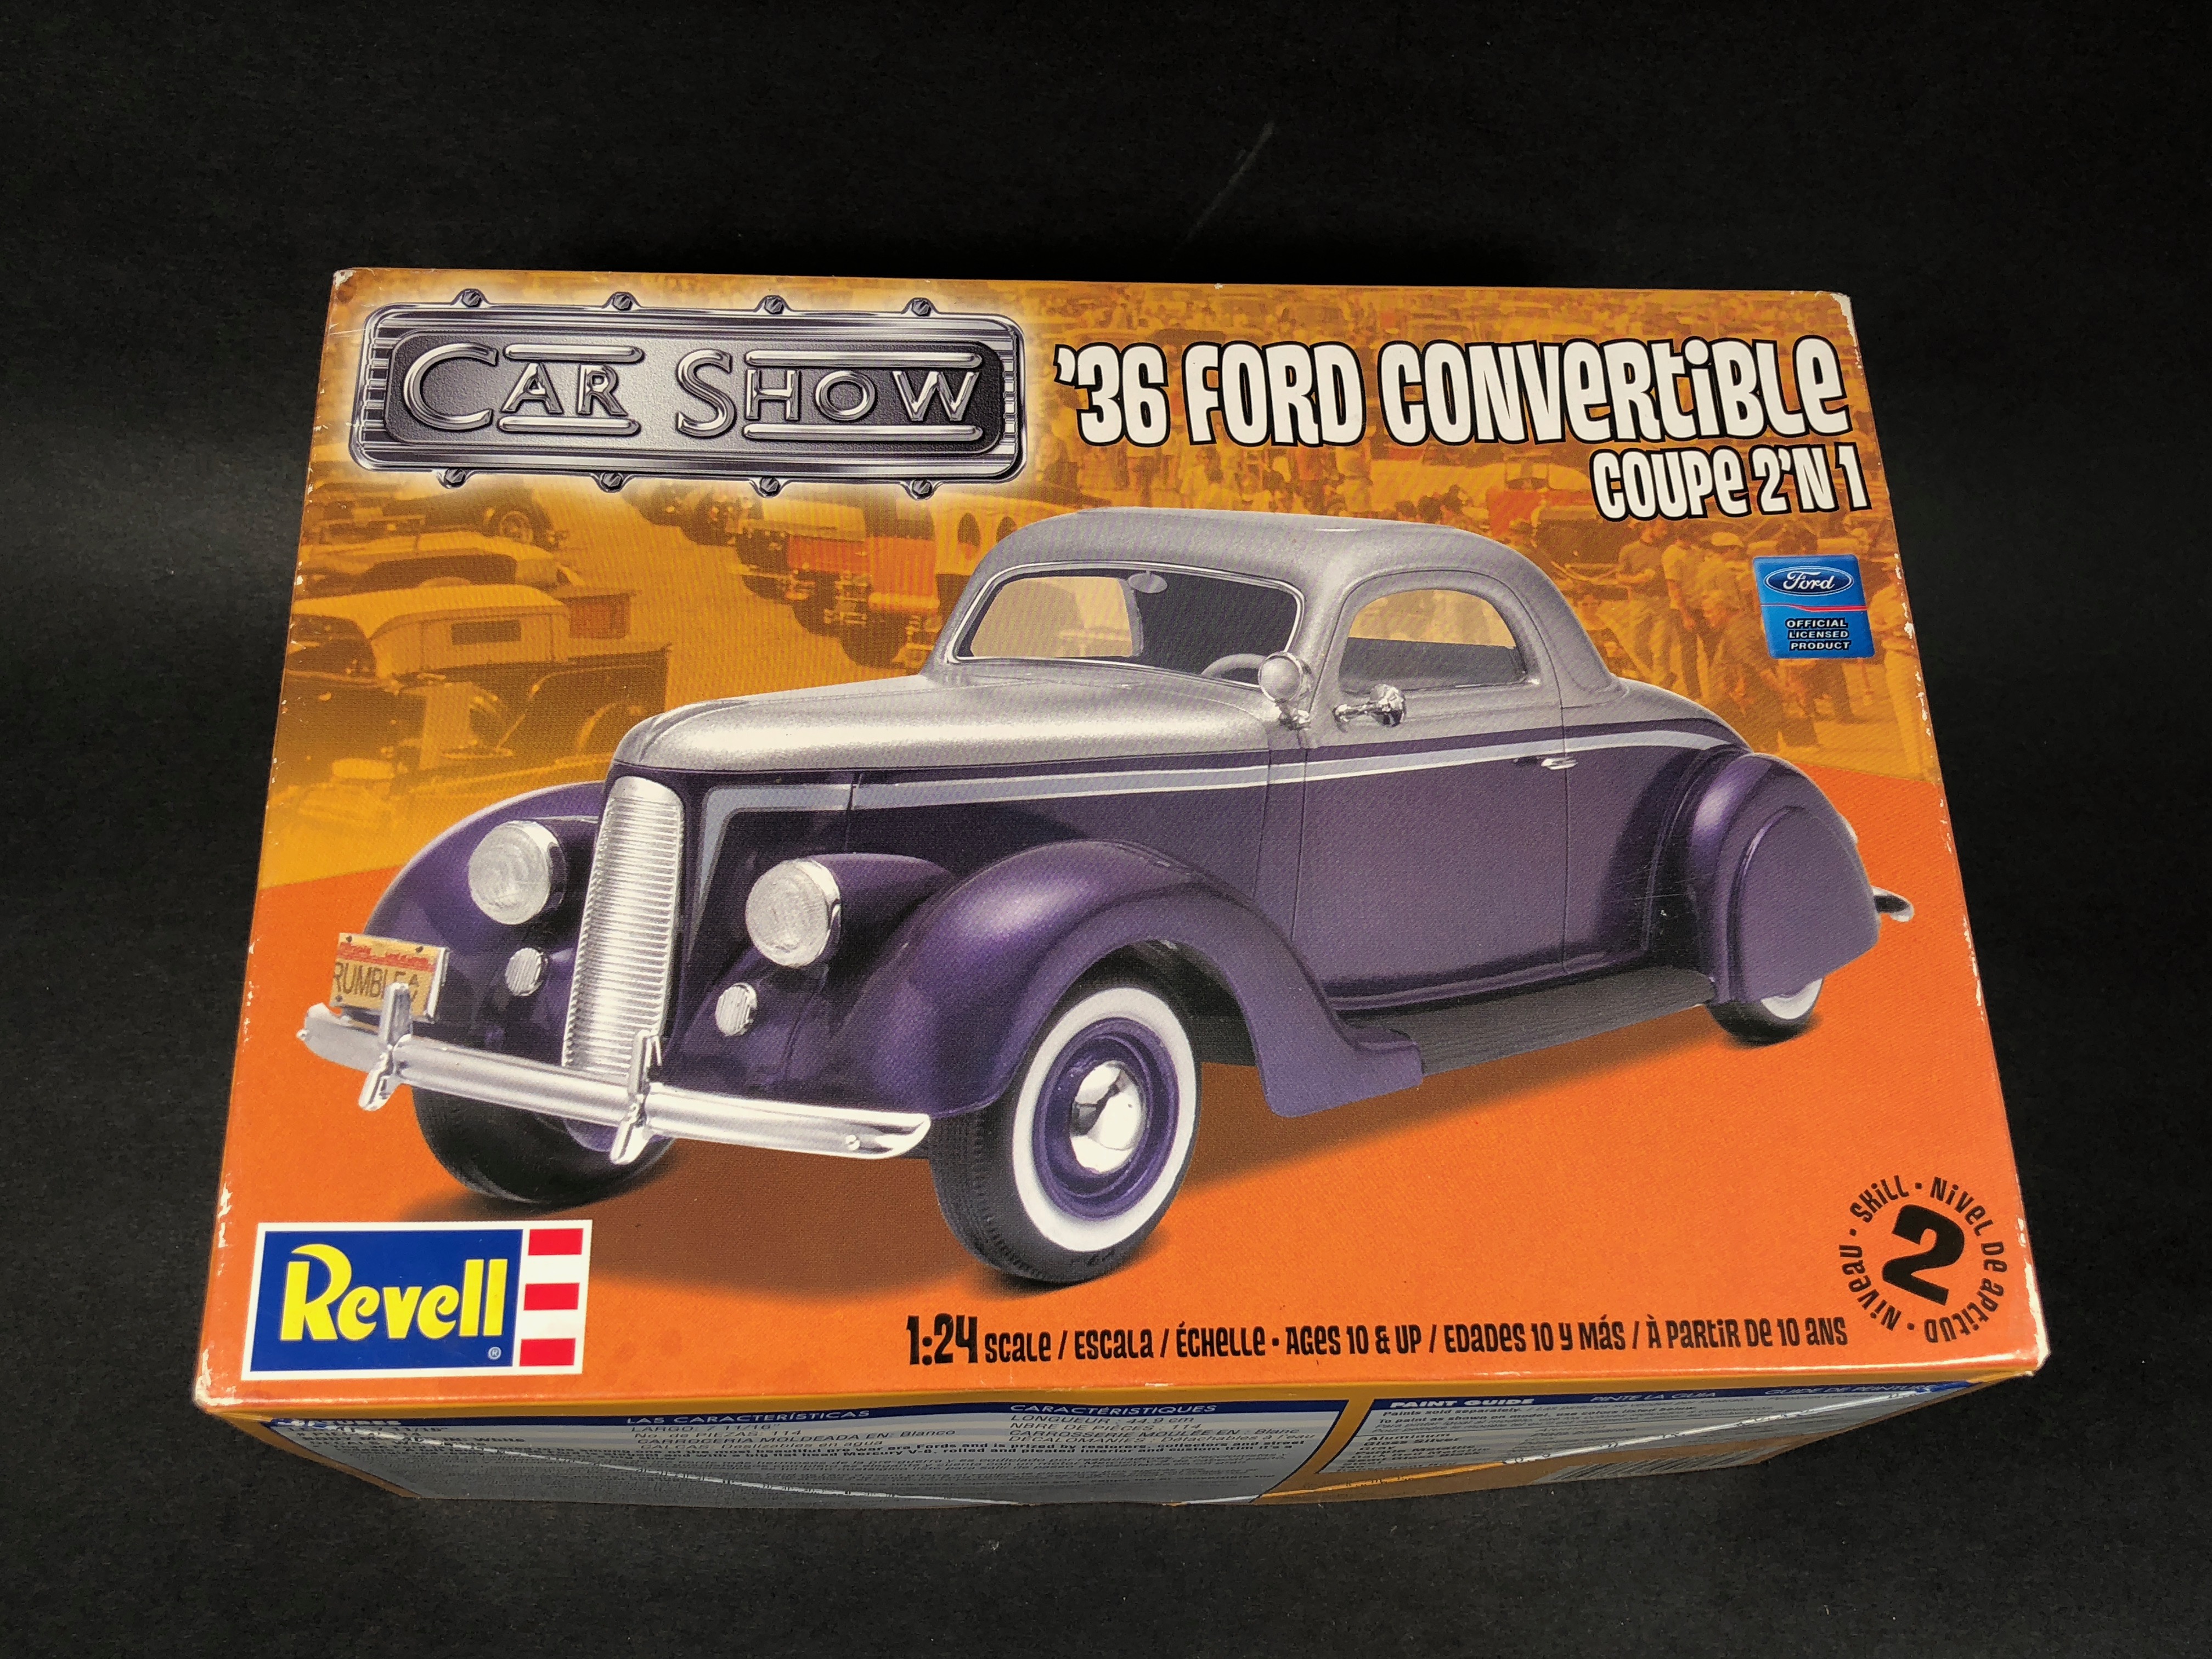
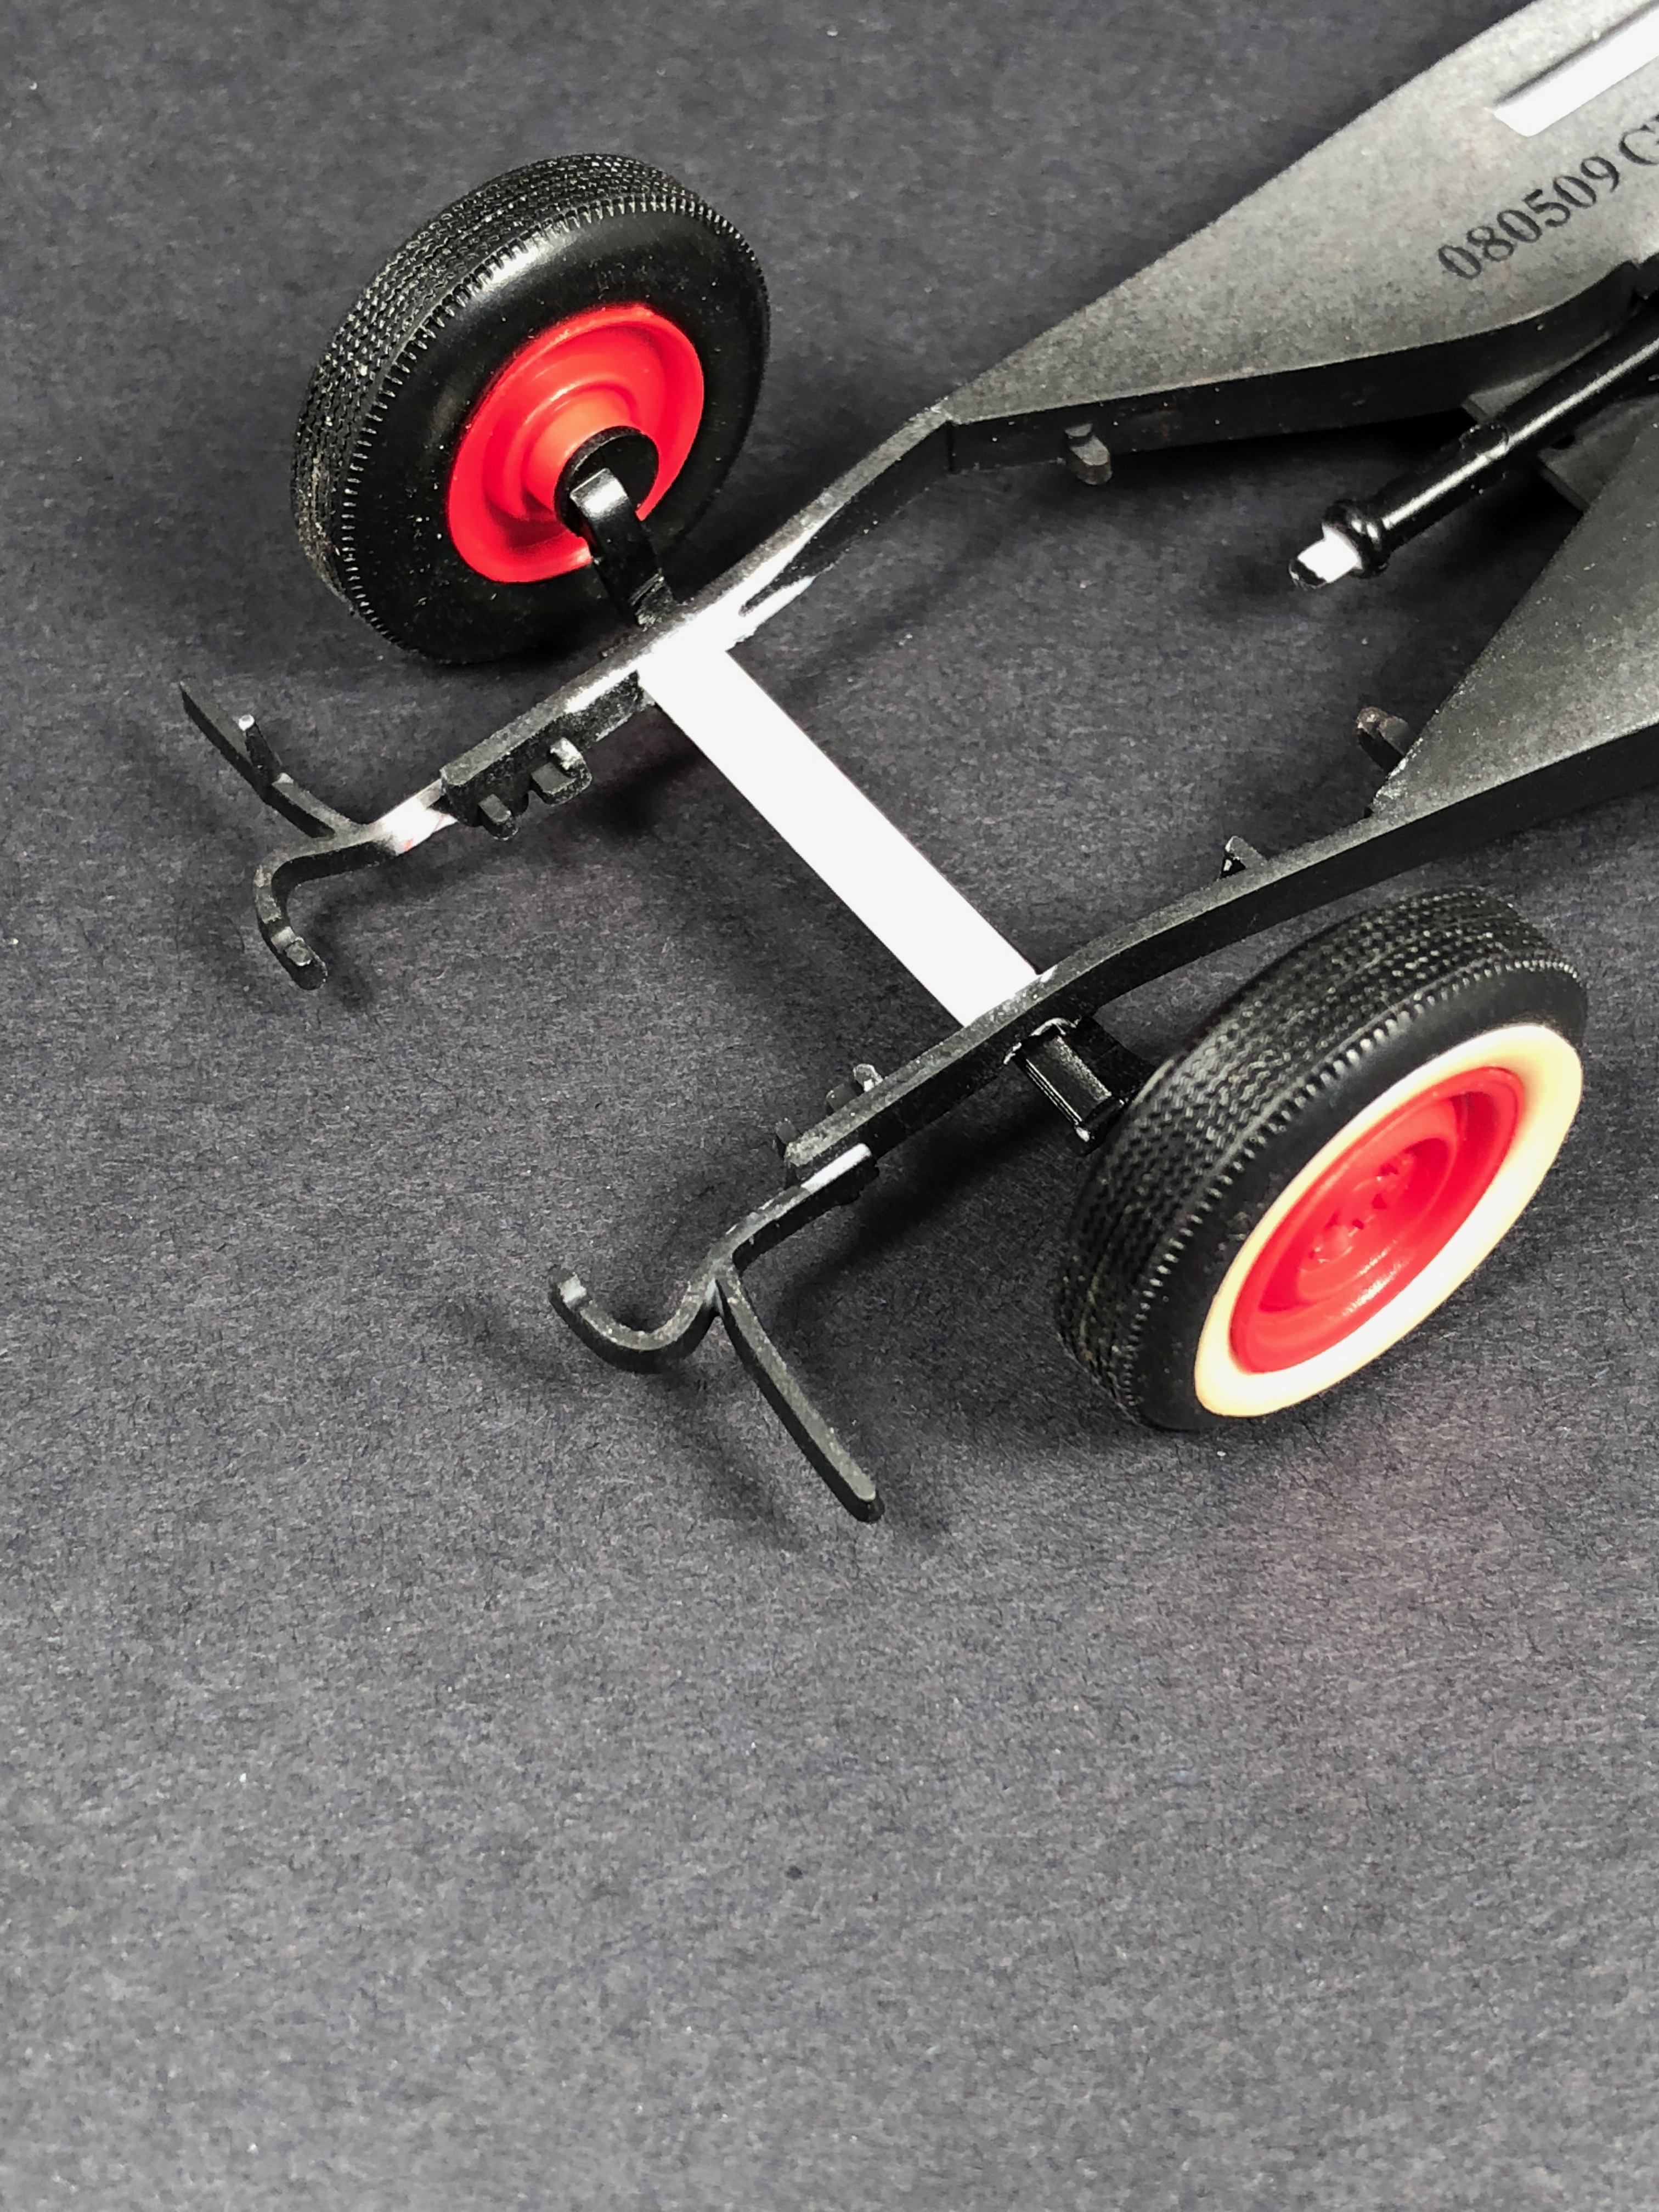
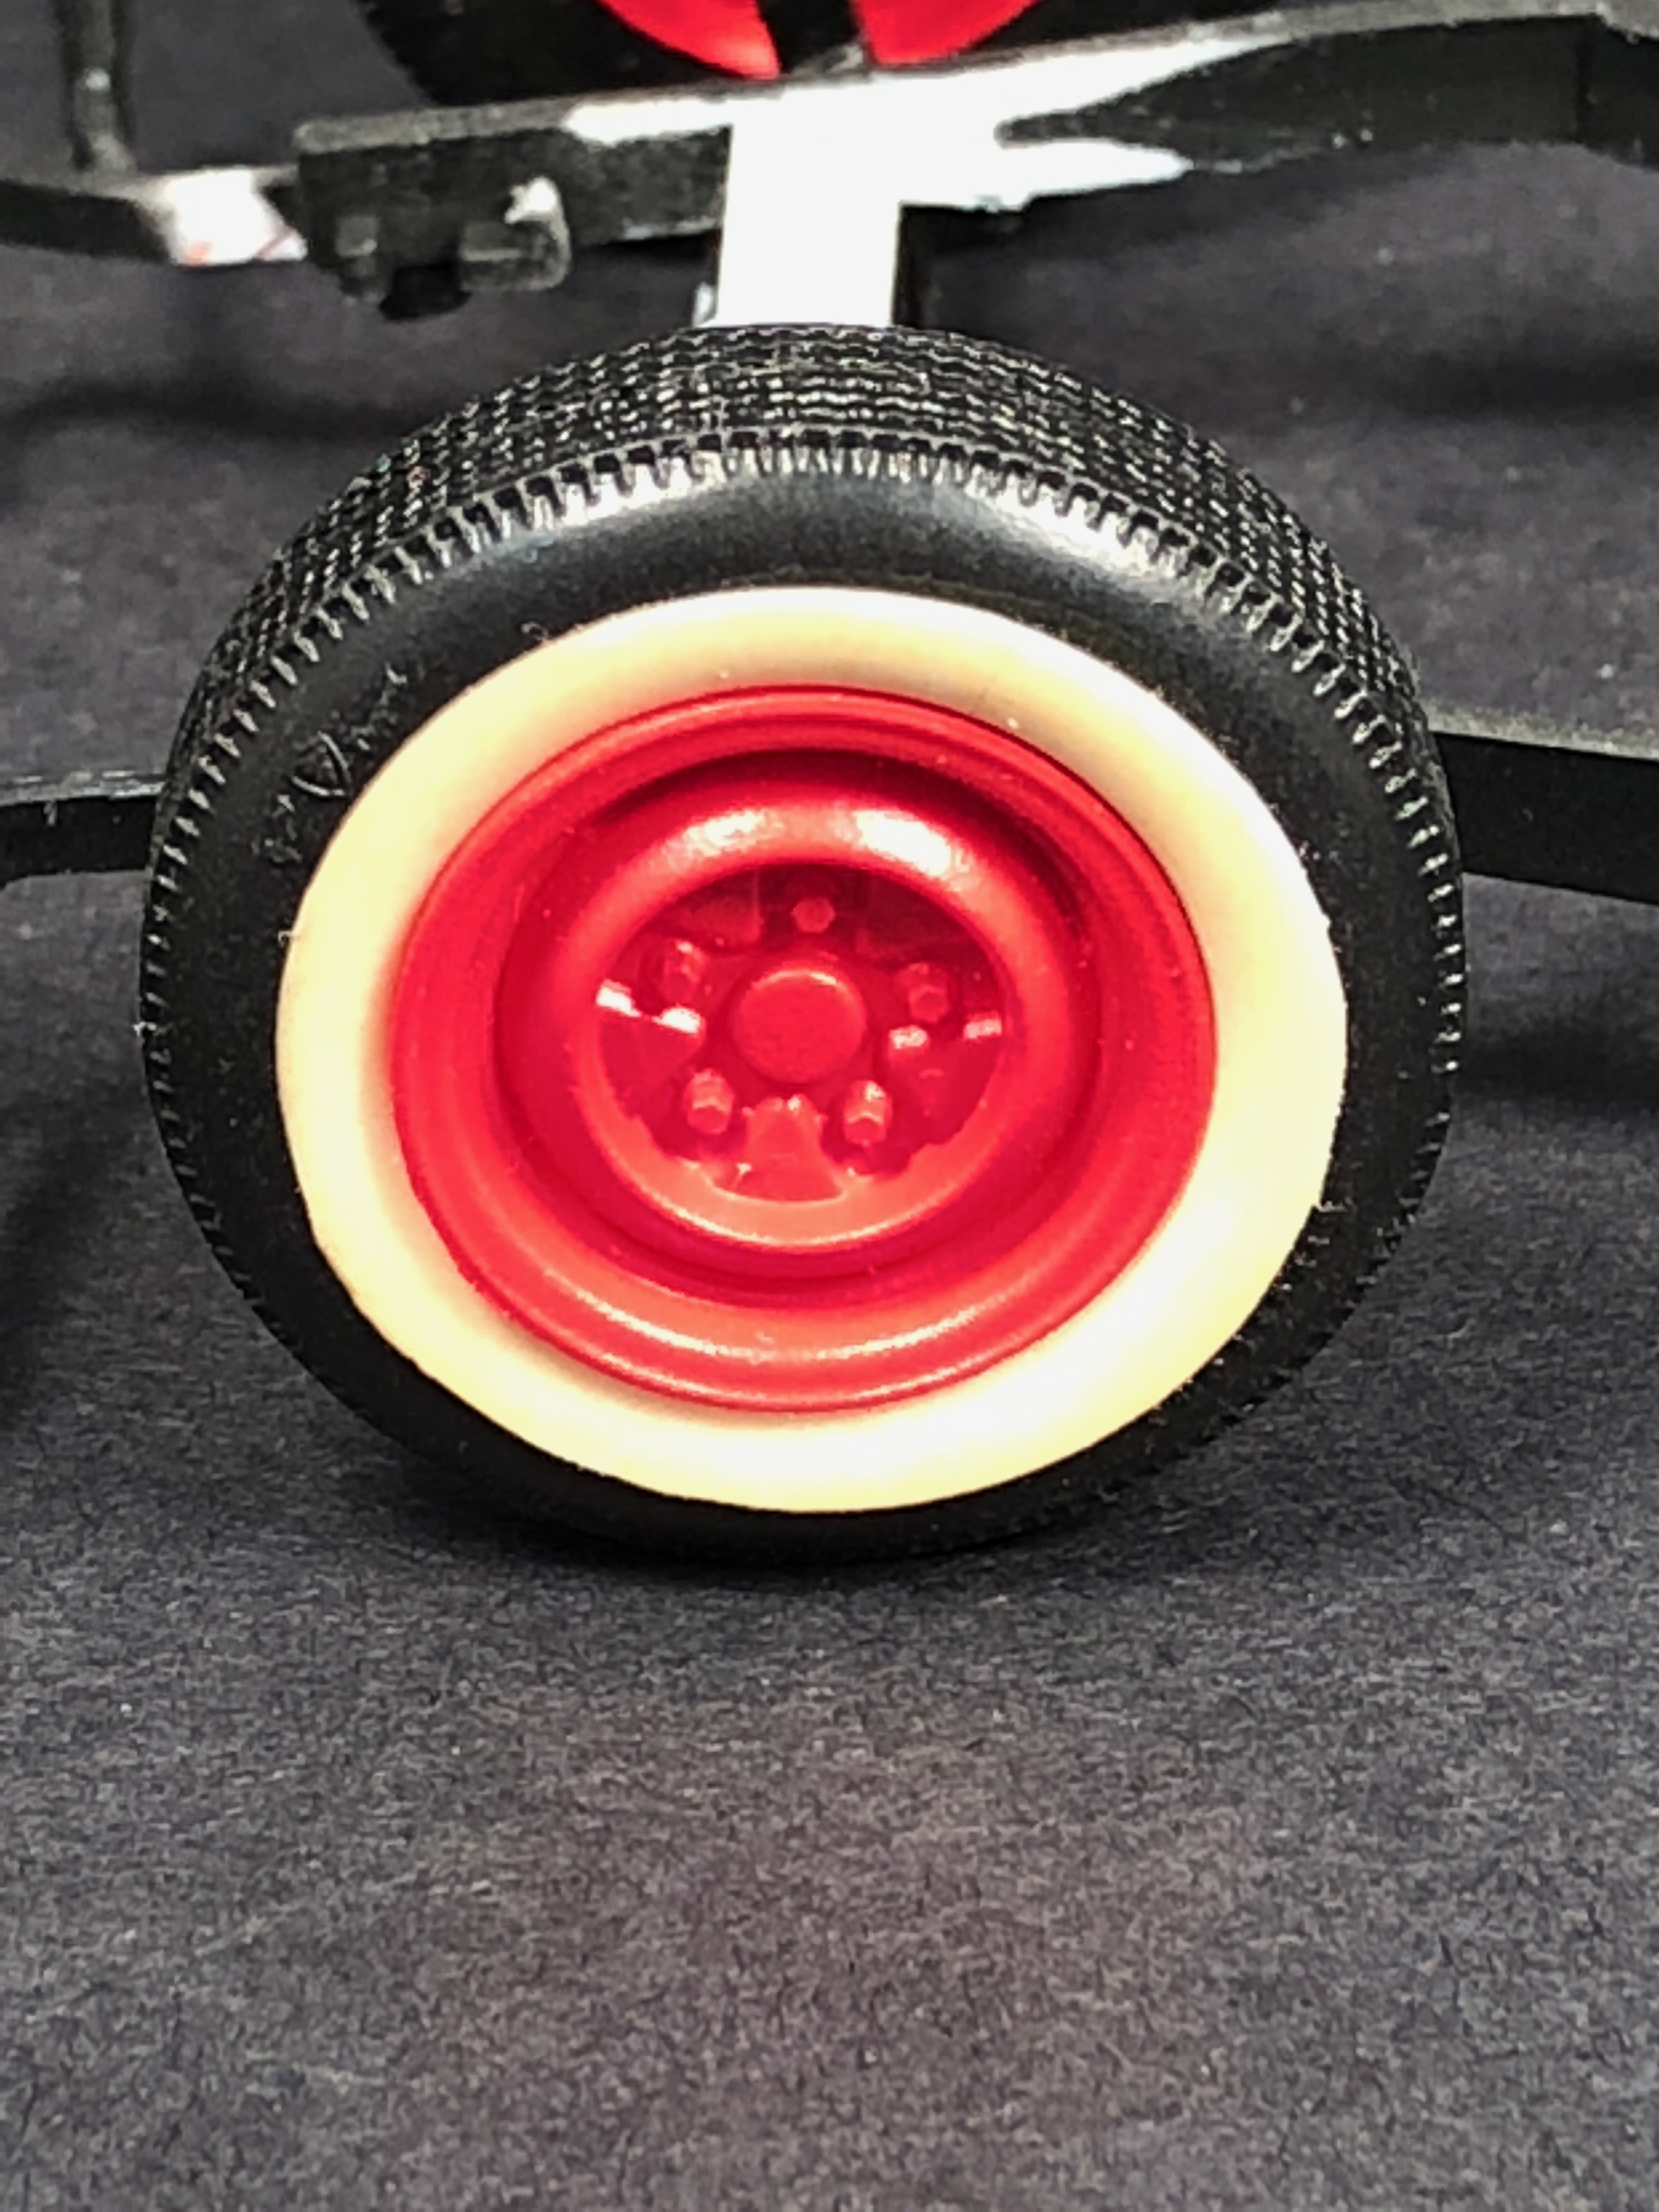
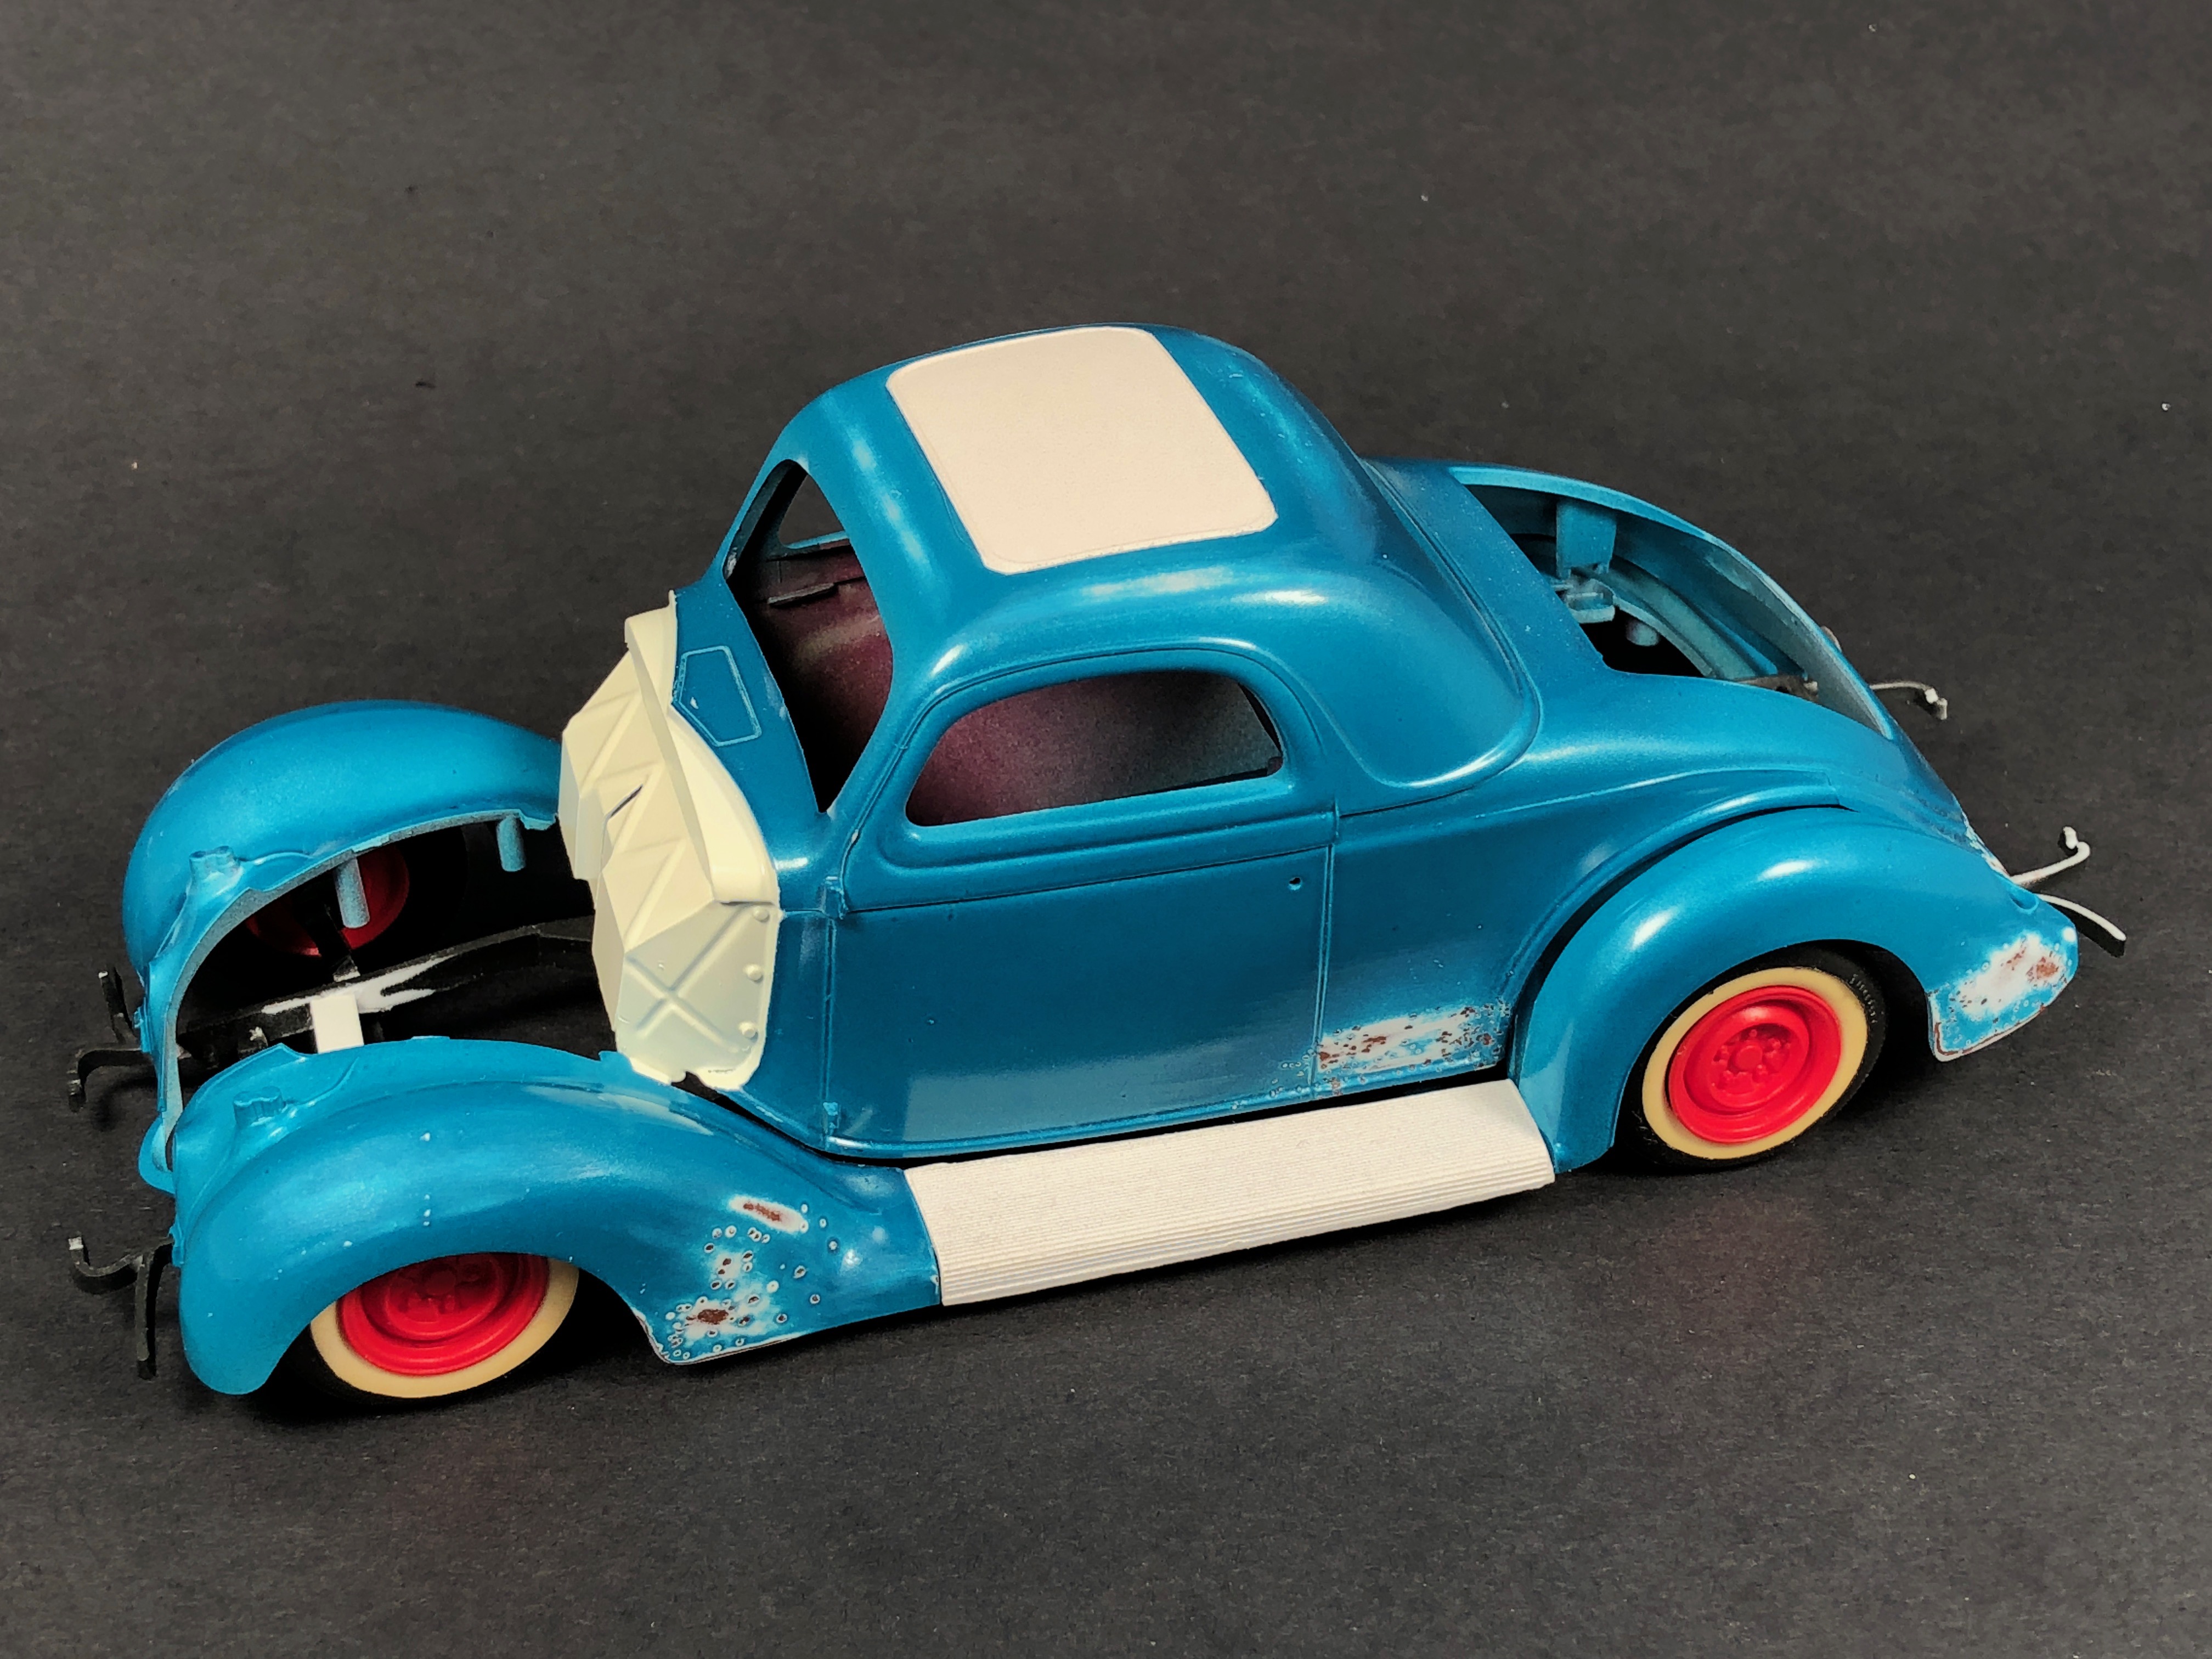
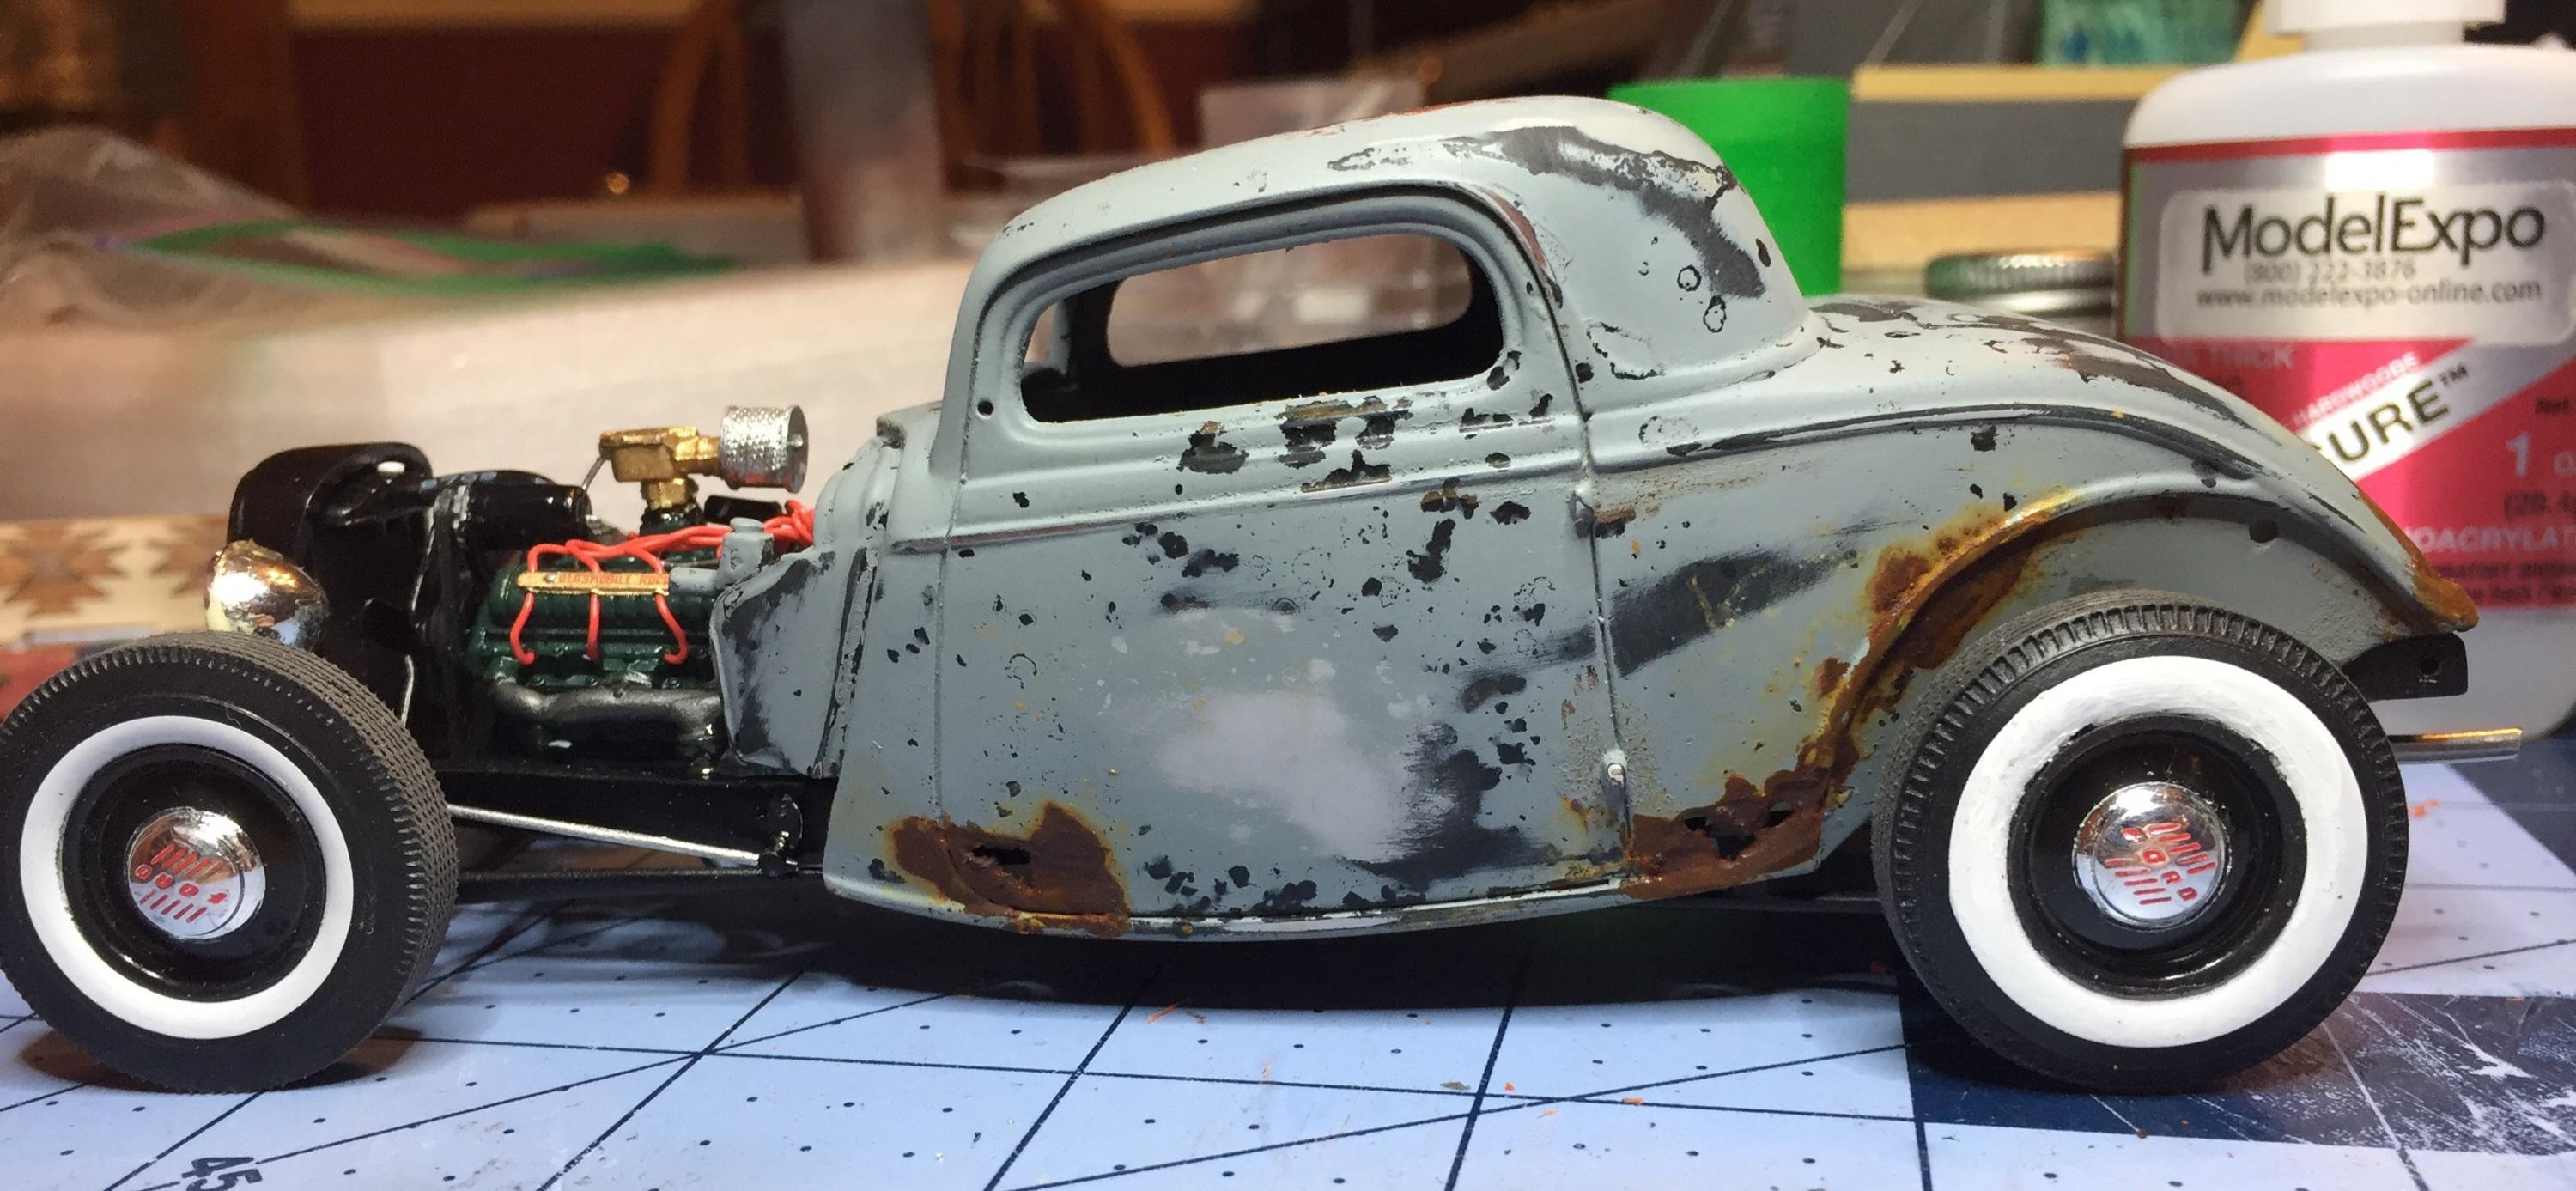
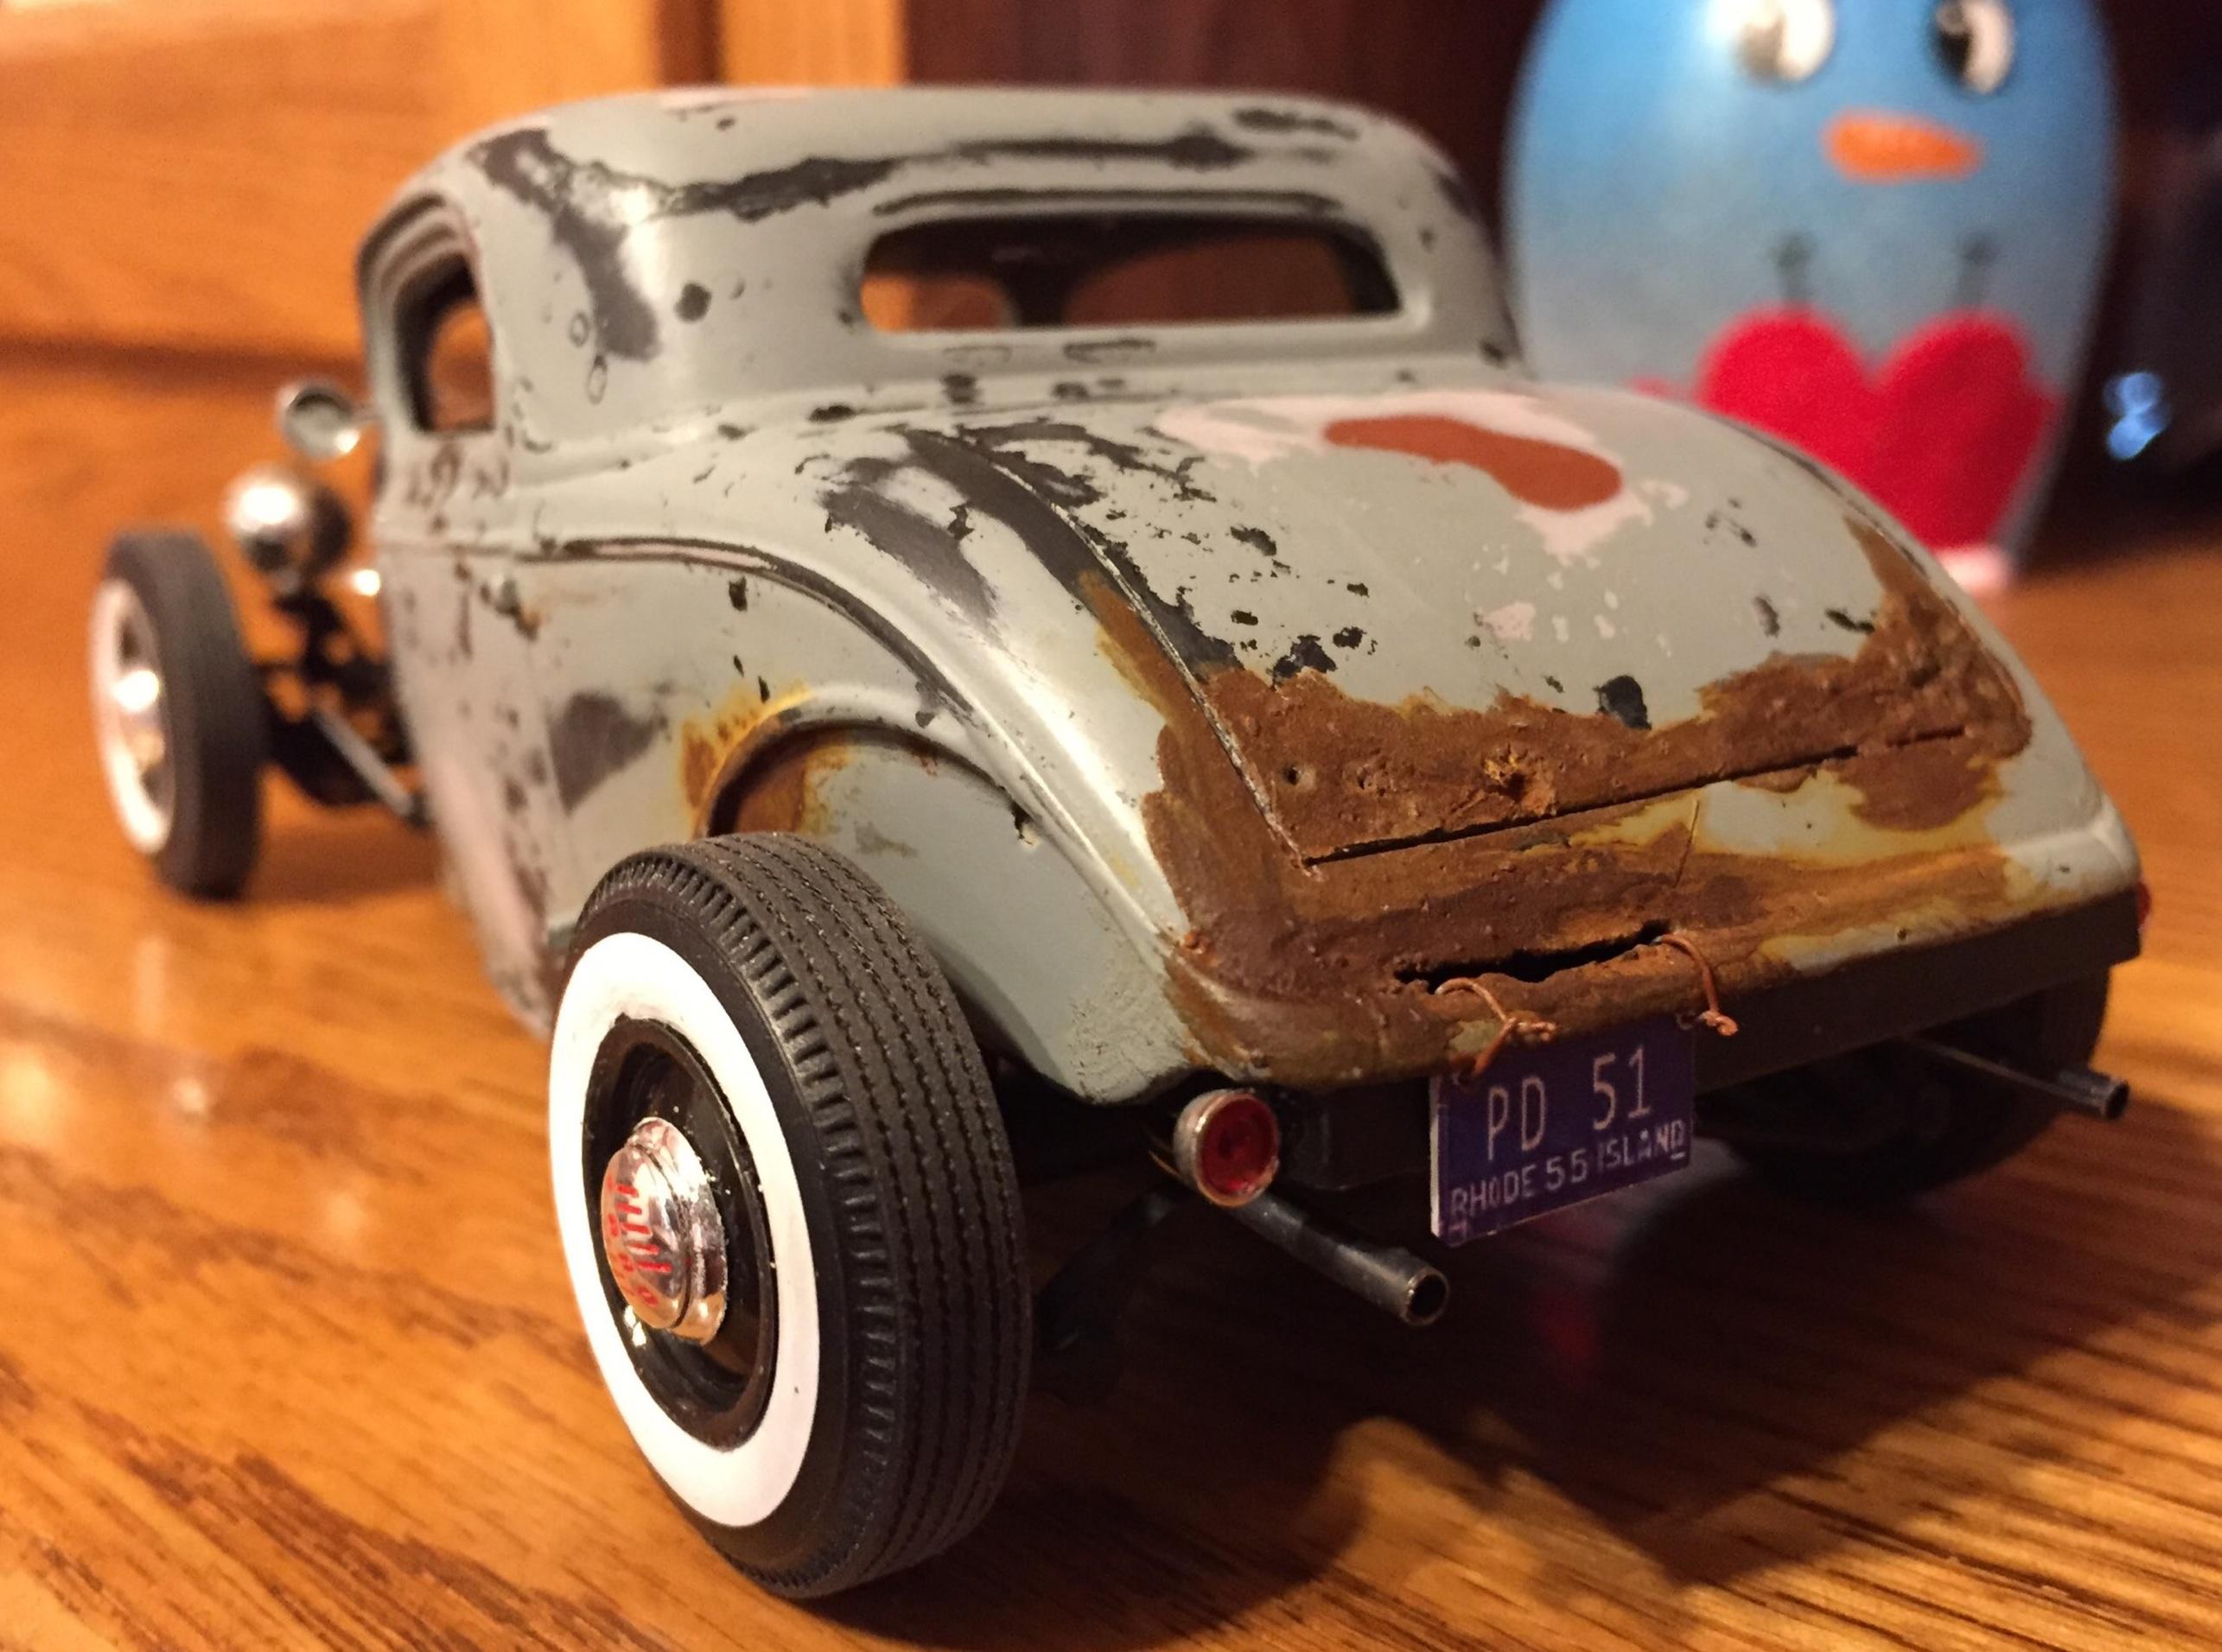
I got started building weathered street rods years ago after reading an article titled "Beaters" by Pryor Passorino in Plastic Fanatic. Since then I've been learning techniques from the military guys and applying them to my hot rod efforts. My latest will be based on the venerable Monogram '36 tool that has been around since I was a kid. I'll be using the Revell 2 in 1 "Car Show " version. Getting the proper stance is no more difficult than substituting a length of evergreen channel for the stock front crossmember. The rear is already perfect. Floquil rust applied to the whitewalls provides a more realistic yellowed appearance. I used the salt and hairspray technique to accomplish the rust spots. I used Testors enamels and Pantene hairspray. The body is first airbrushed with Testors rust, followed by and application of hairspray and a dusting of salt in the desired areas. There are a million Youtubes demonstrating this technique. Next comes a layer of flat white followed by the color which is a 50:50 mix of green and blue metal flake. Finally the salted areas are sanded with 400 grit. I will follow all of this with a layer of Testers Dullcoat. I've decided to go hoodless and will install a blown flathead. More to follow.
-
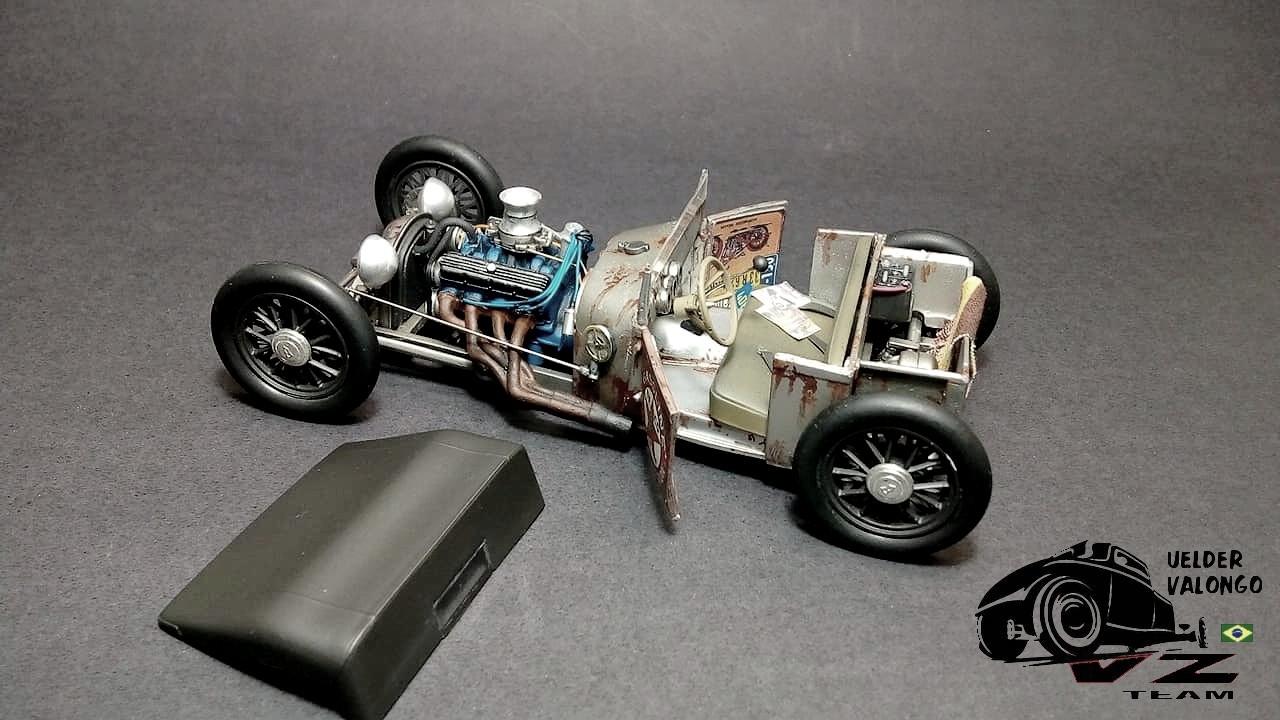
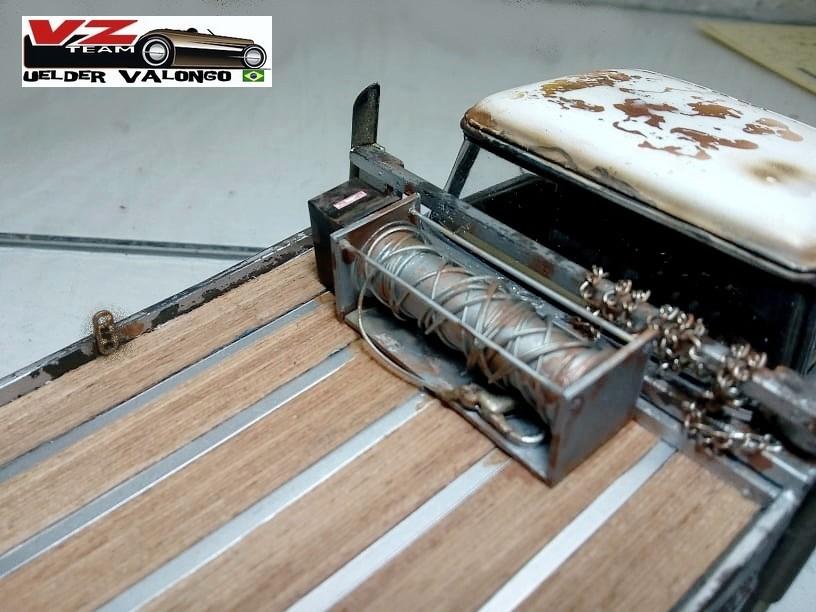
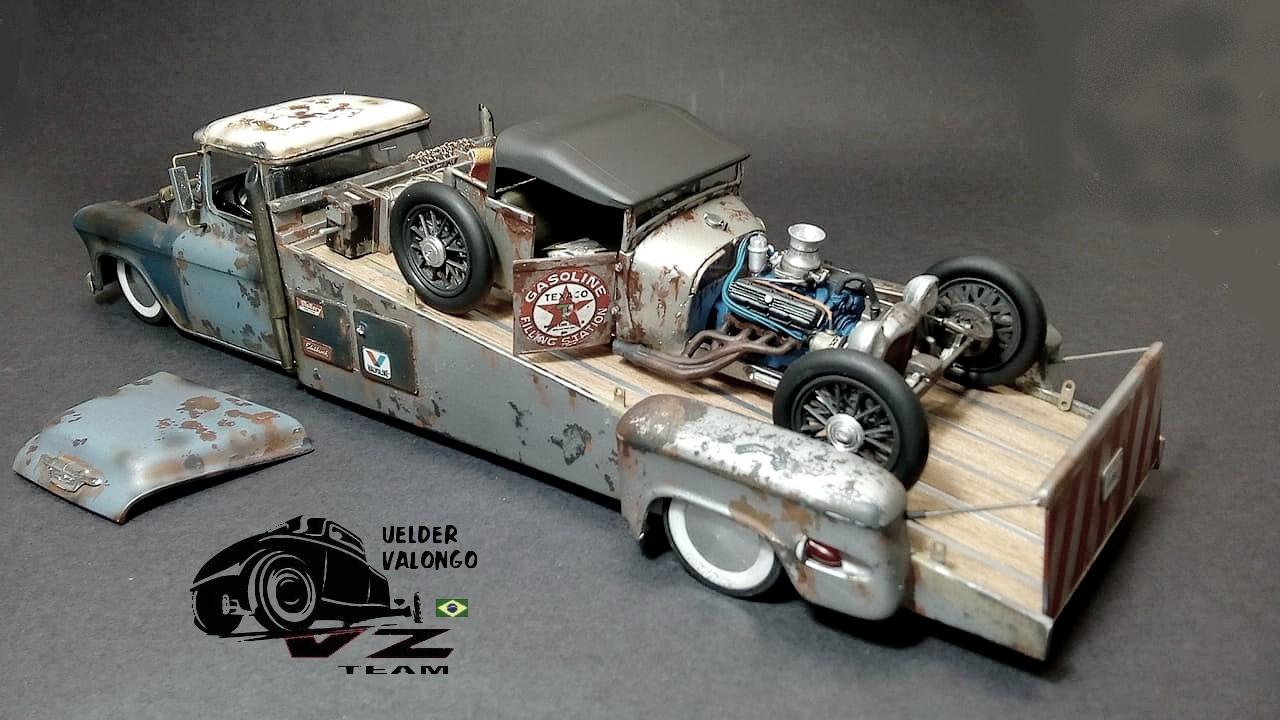
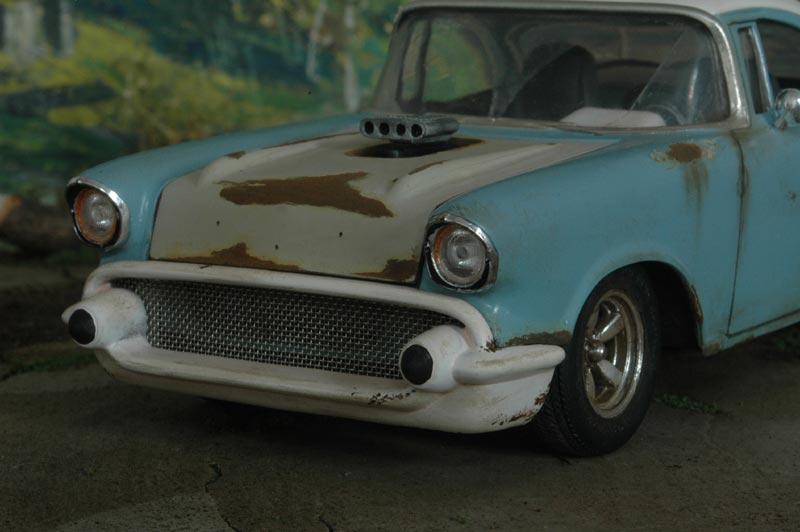
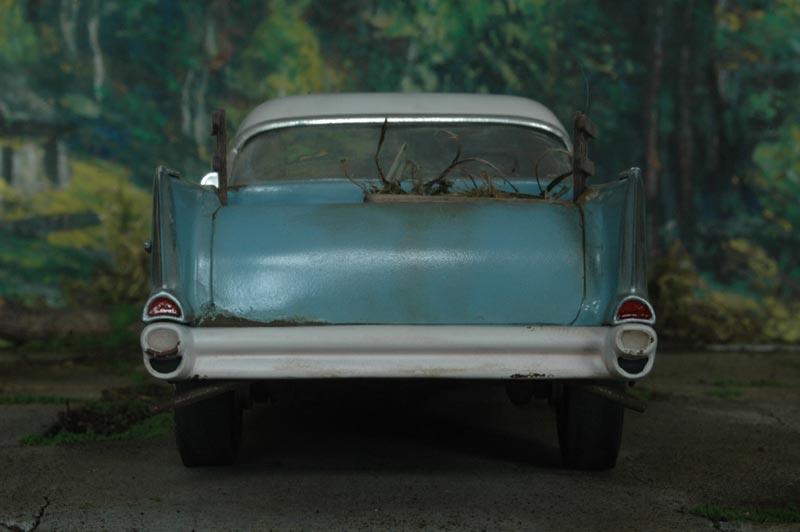
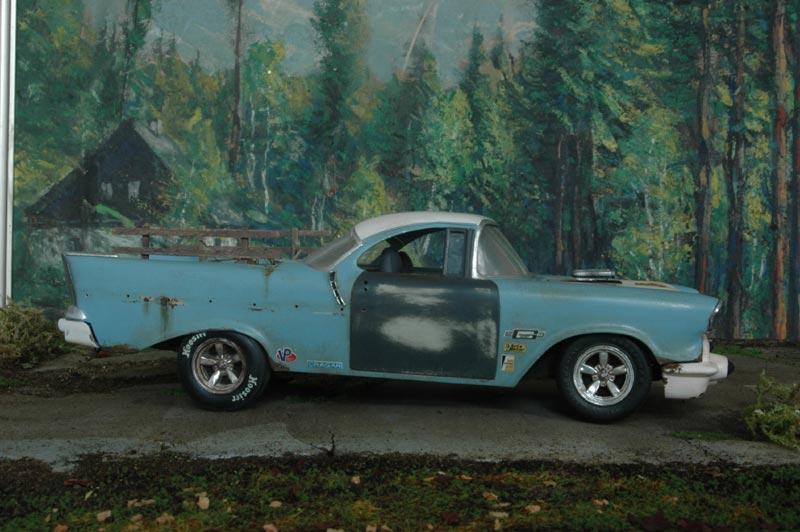
 Hy Friends, This my 55 Chevy Ramp an 29 Rat Rod Pickup Scratch "Z" Chassis in 29 Ford and Ramp and chassis in 55 Chevy Thanks to comments !!!!
-
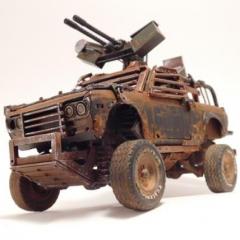
Here's a follow up to a 37 Chevy Jet Rod I made and posted on these forums over a year ago. I don't even know what to call it....Steampunk, meets rat rod, meets nostalgic race car. It'll be dirty and used. I can have fun with that. Still in the early stages. Here's some of the mock up photos. Sorry for the bad pics.. I imagined some hanging hydraulic lines and fuel lines from the bottom of the vehicle. I thought by adding the 2 pipes out of the "passenger" side would help with the asymmetry, as well as give it some nostalgia.
-
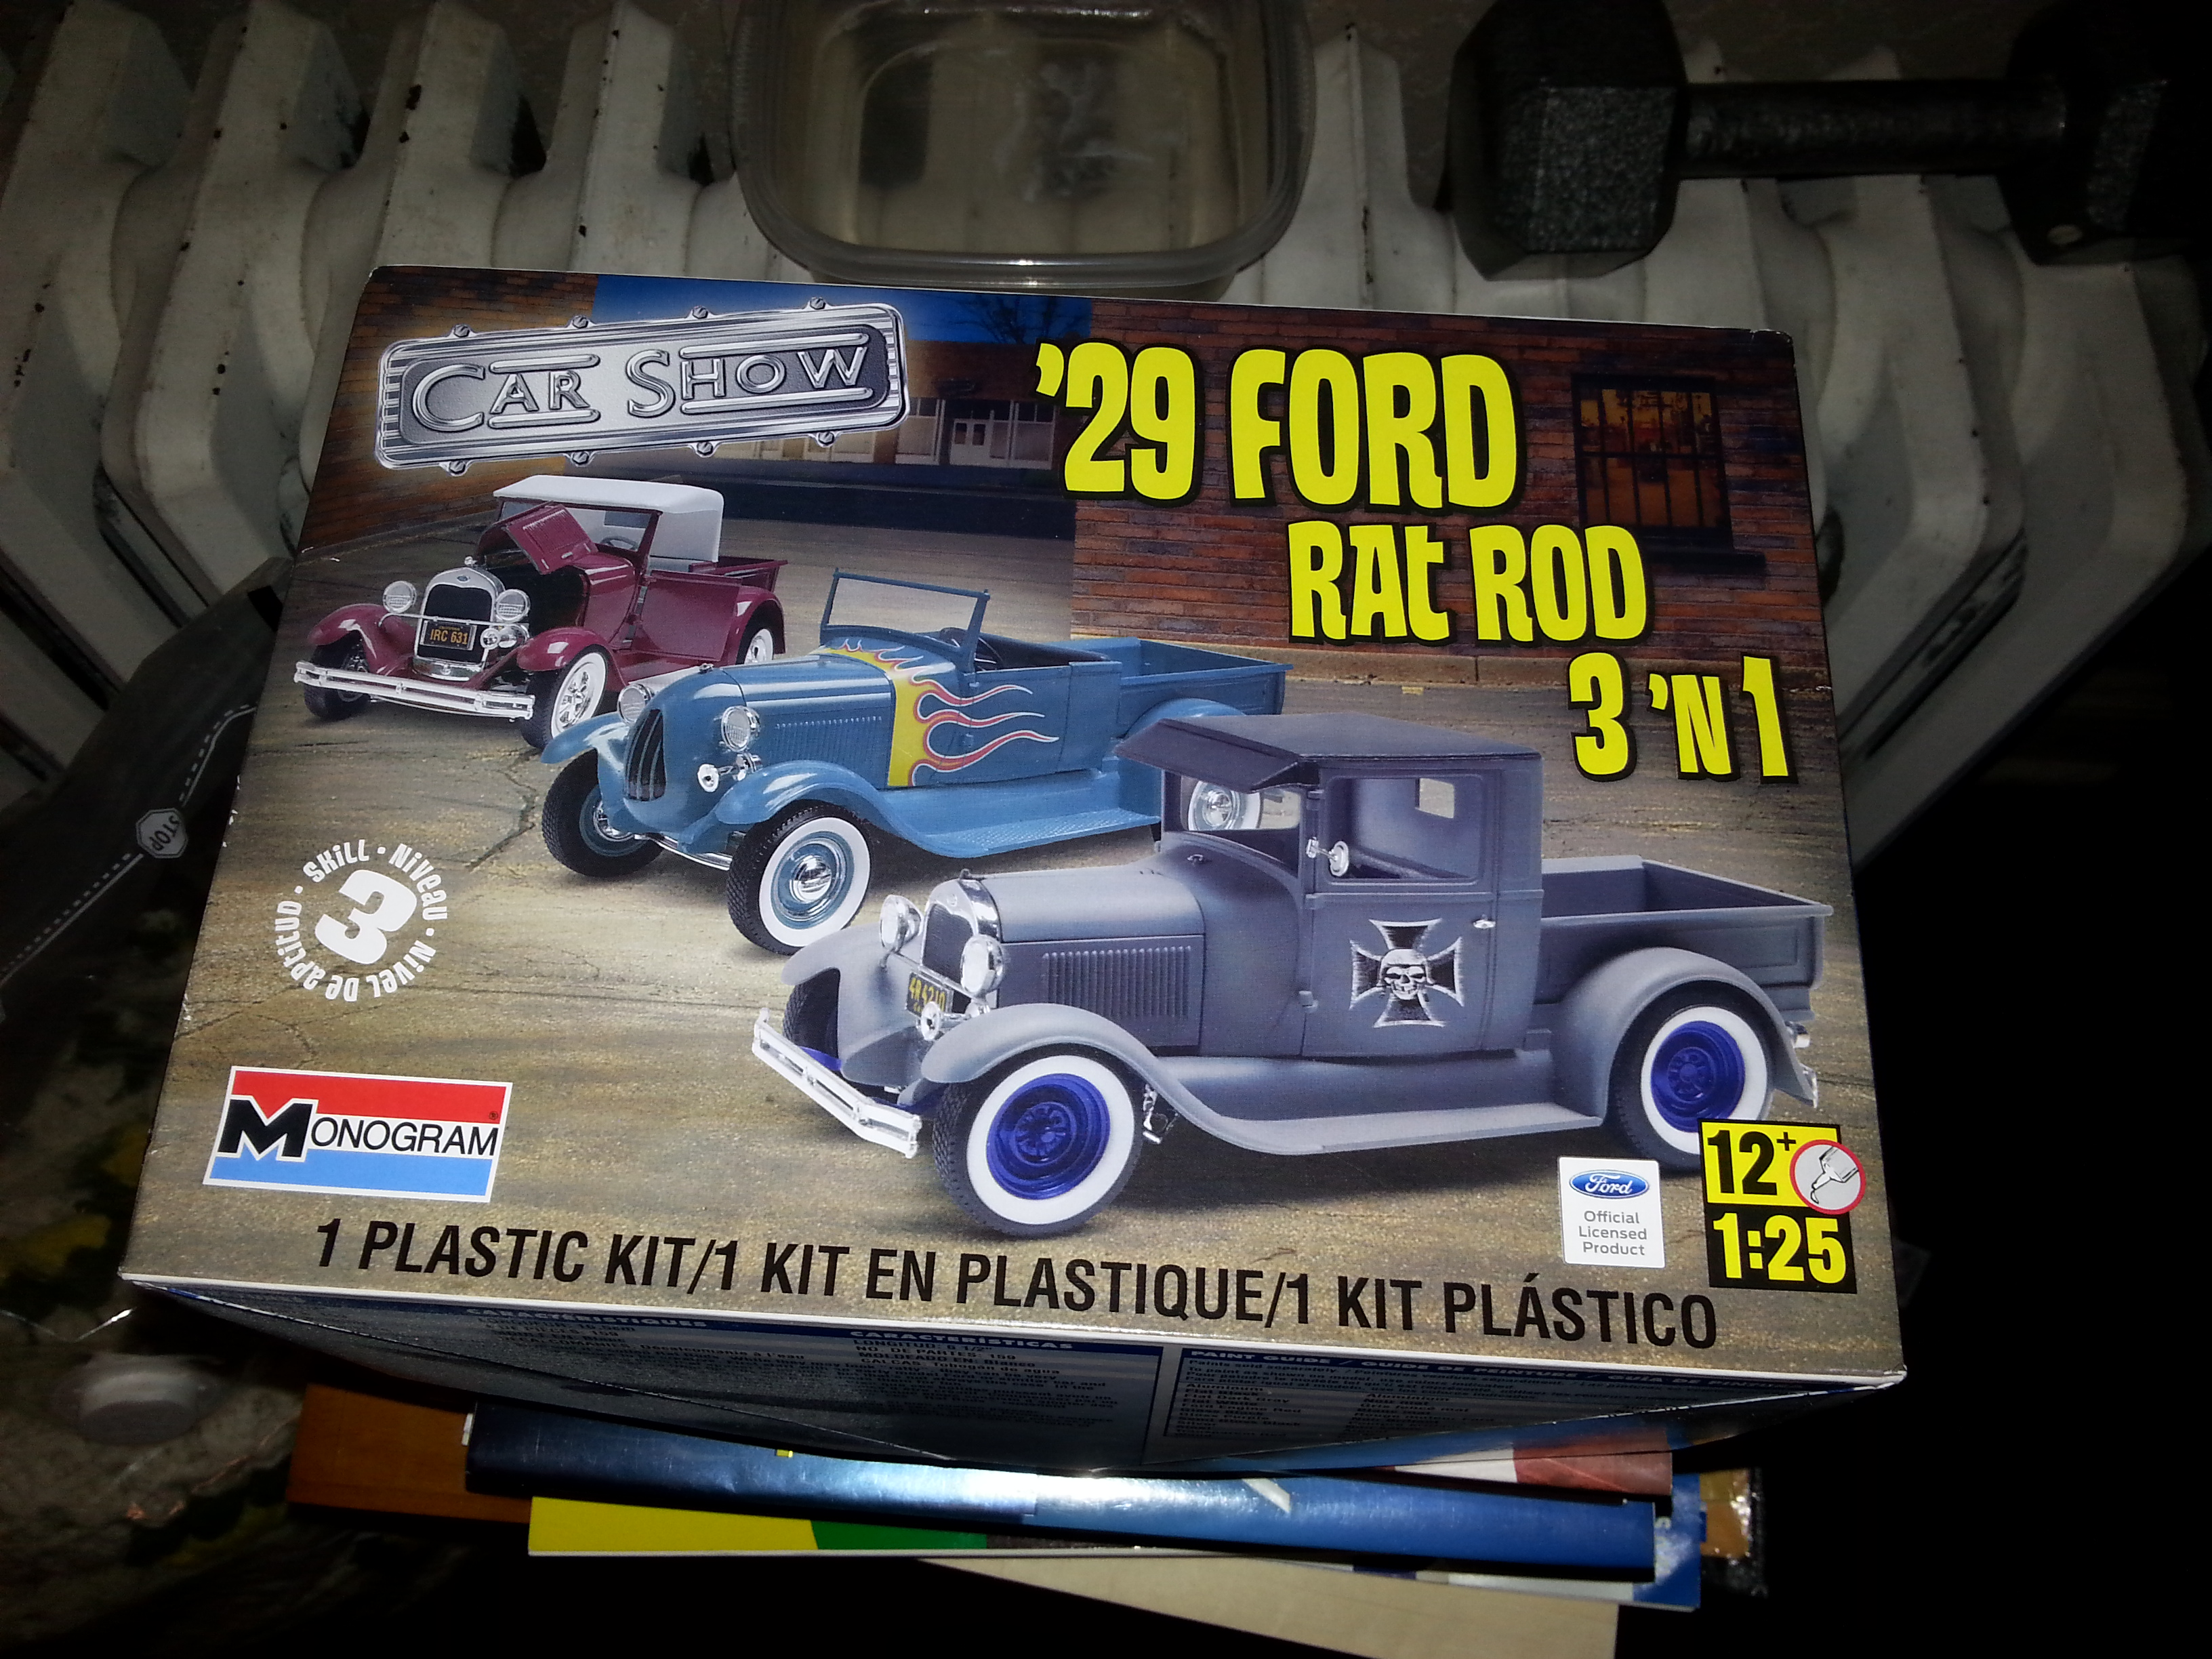
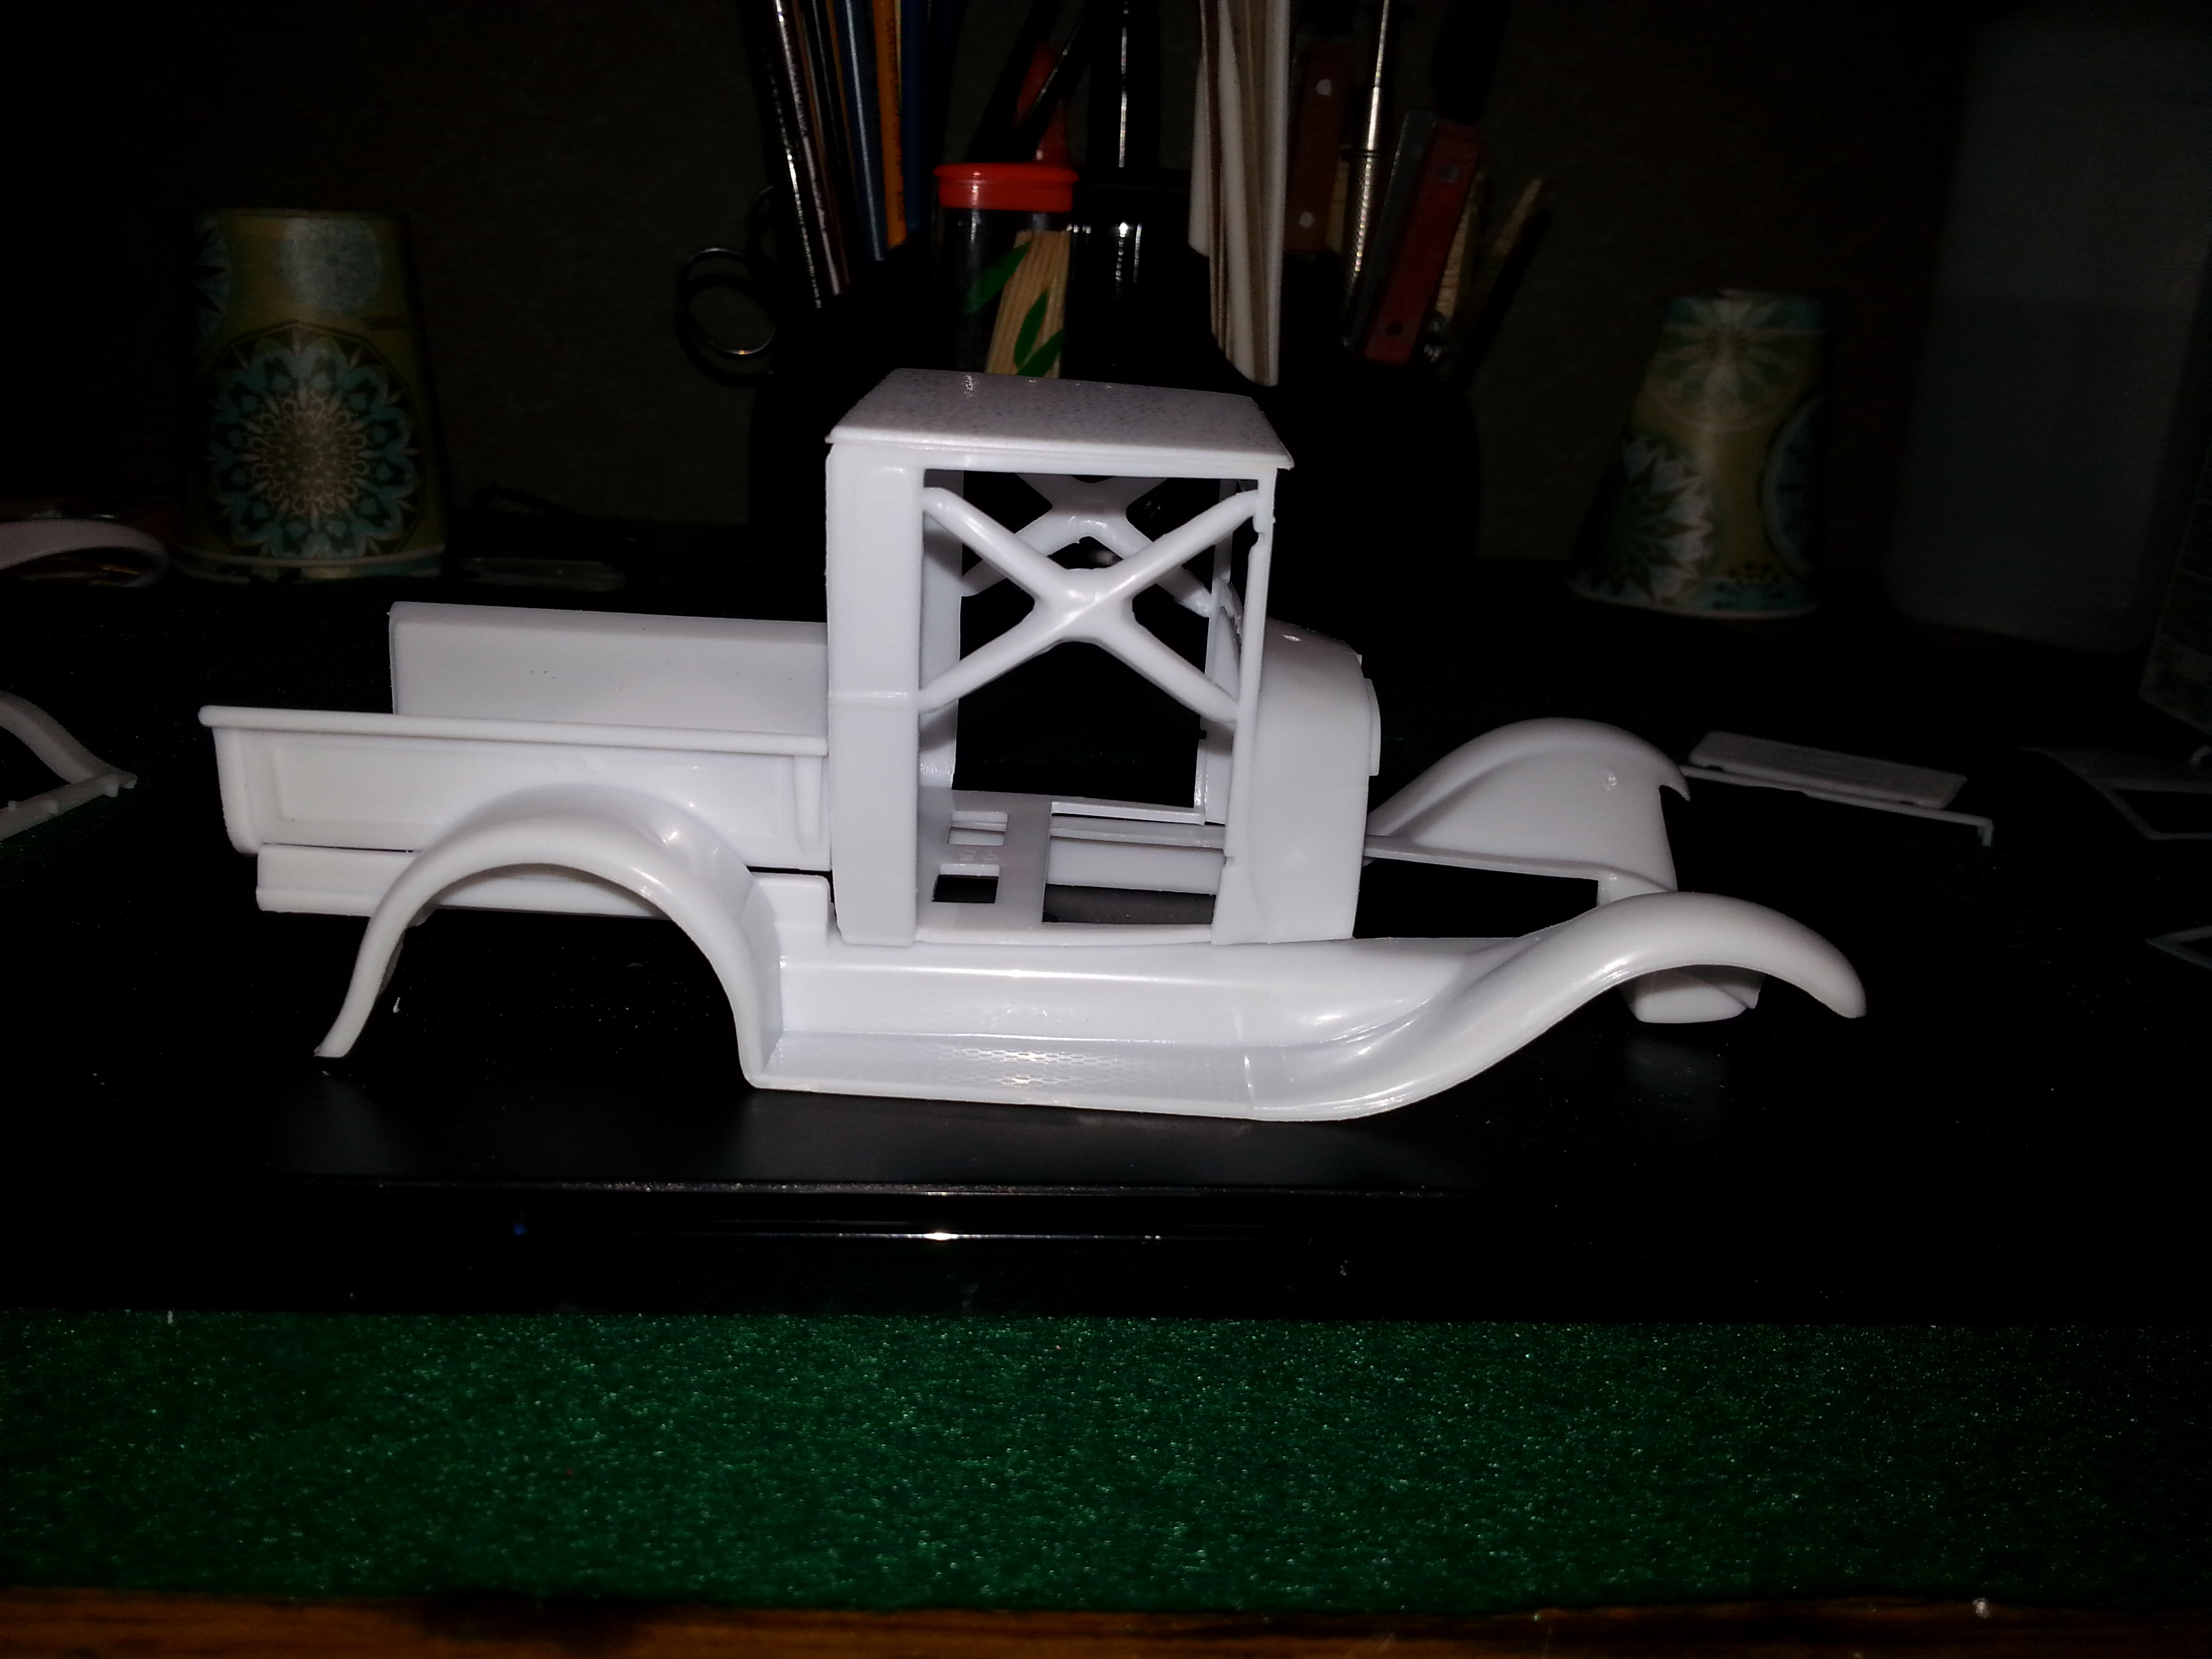
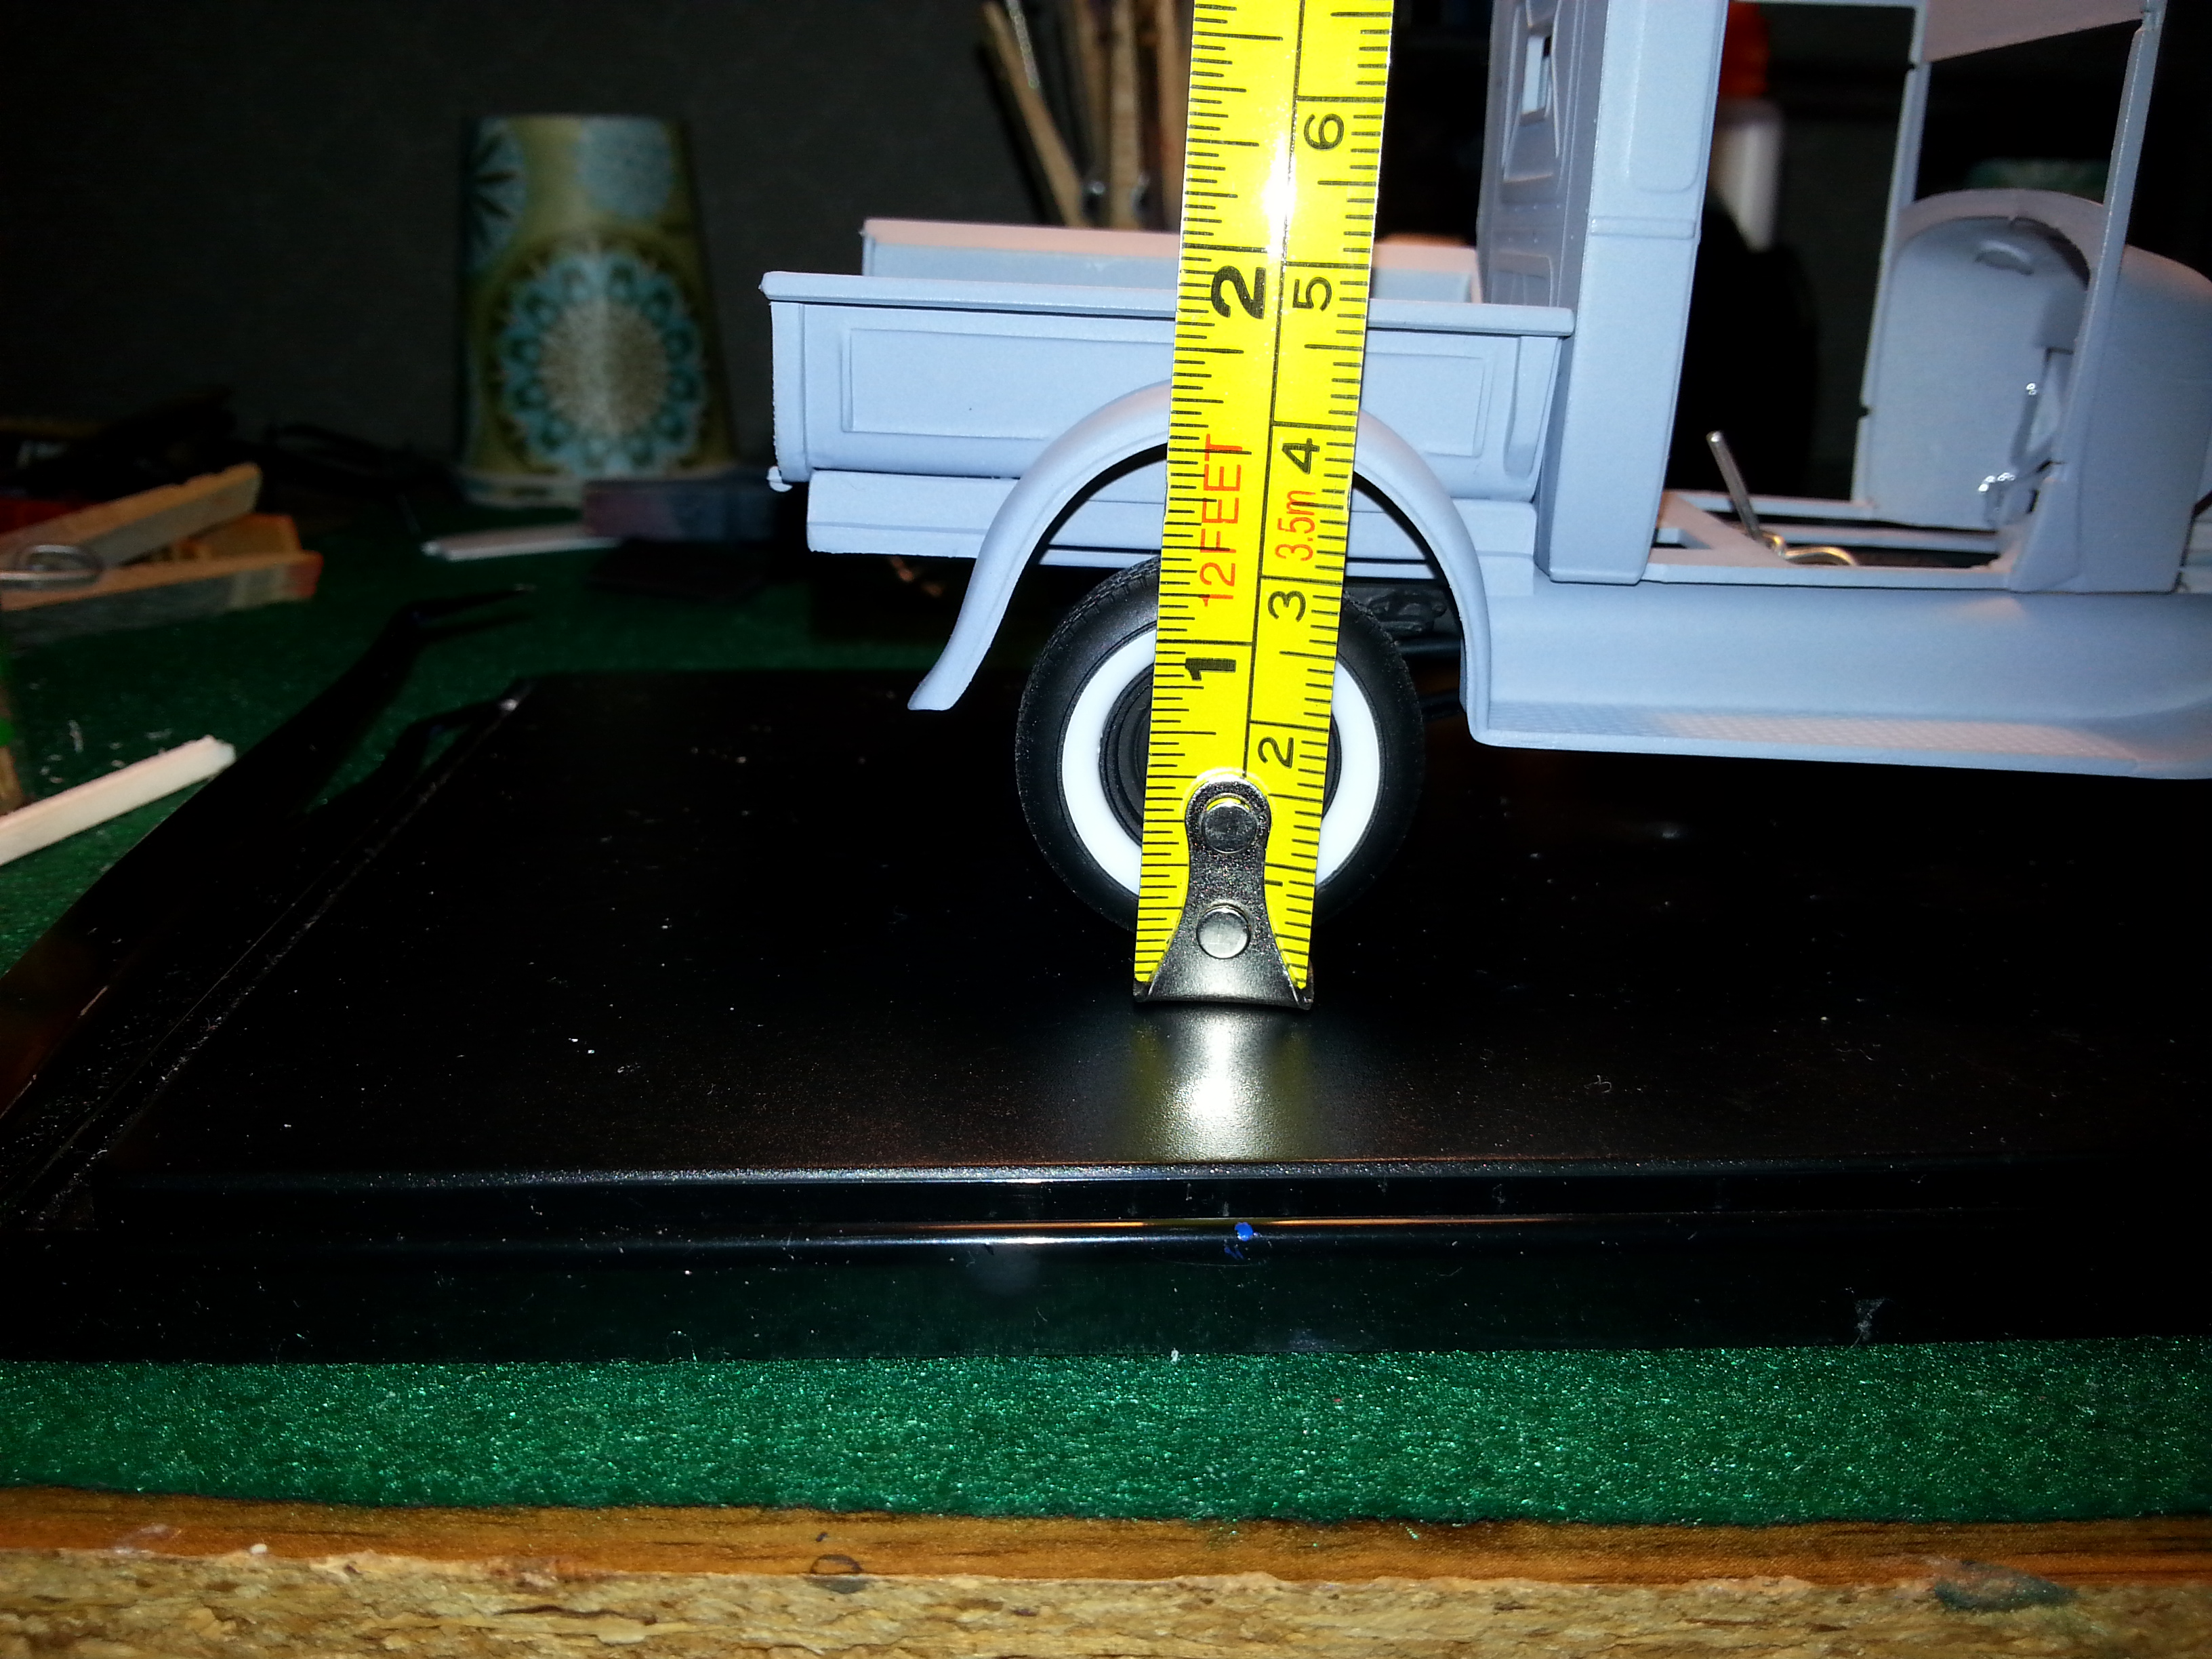
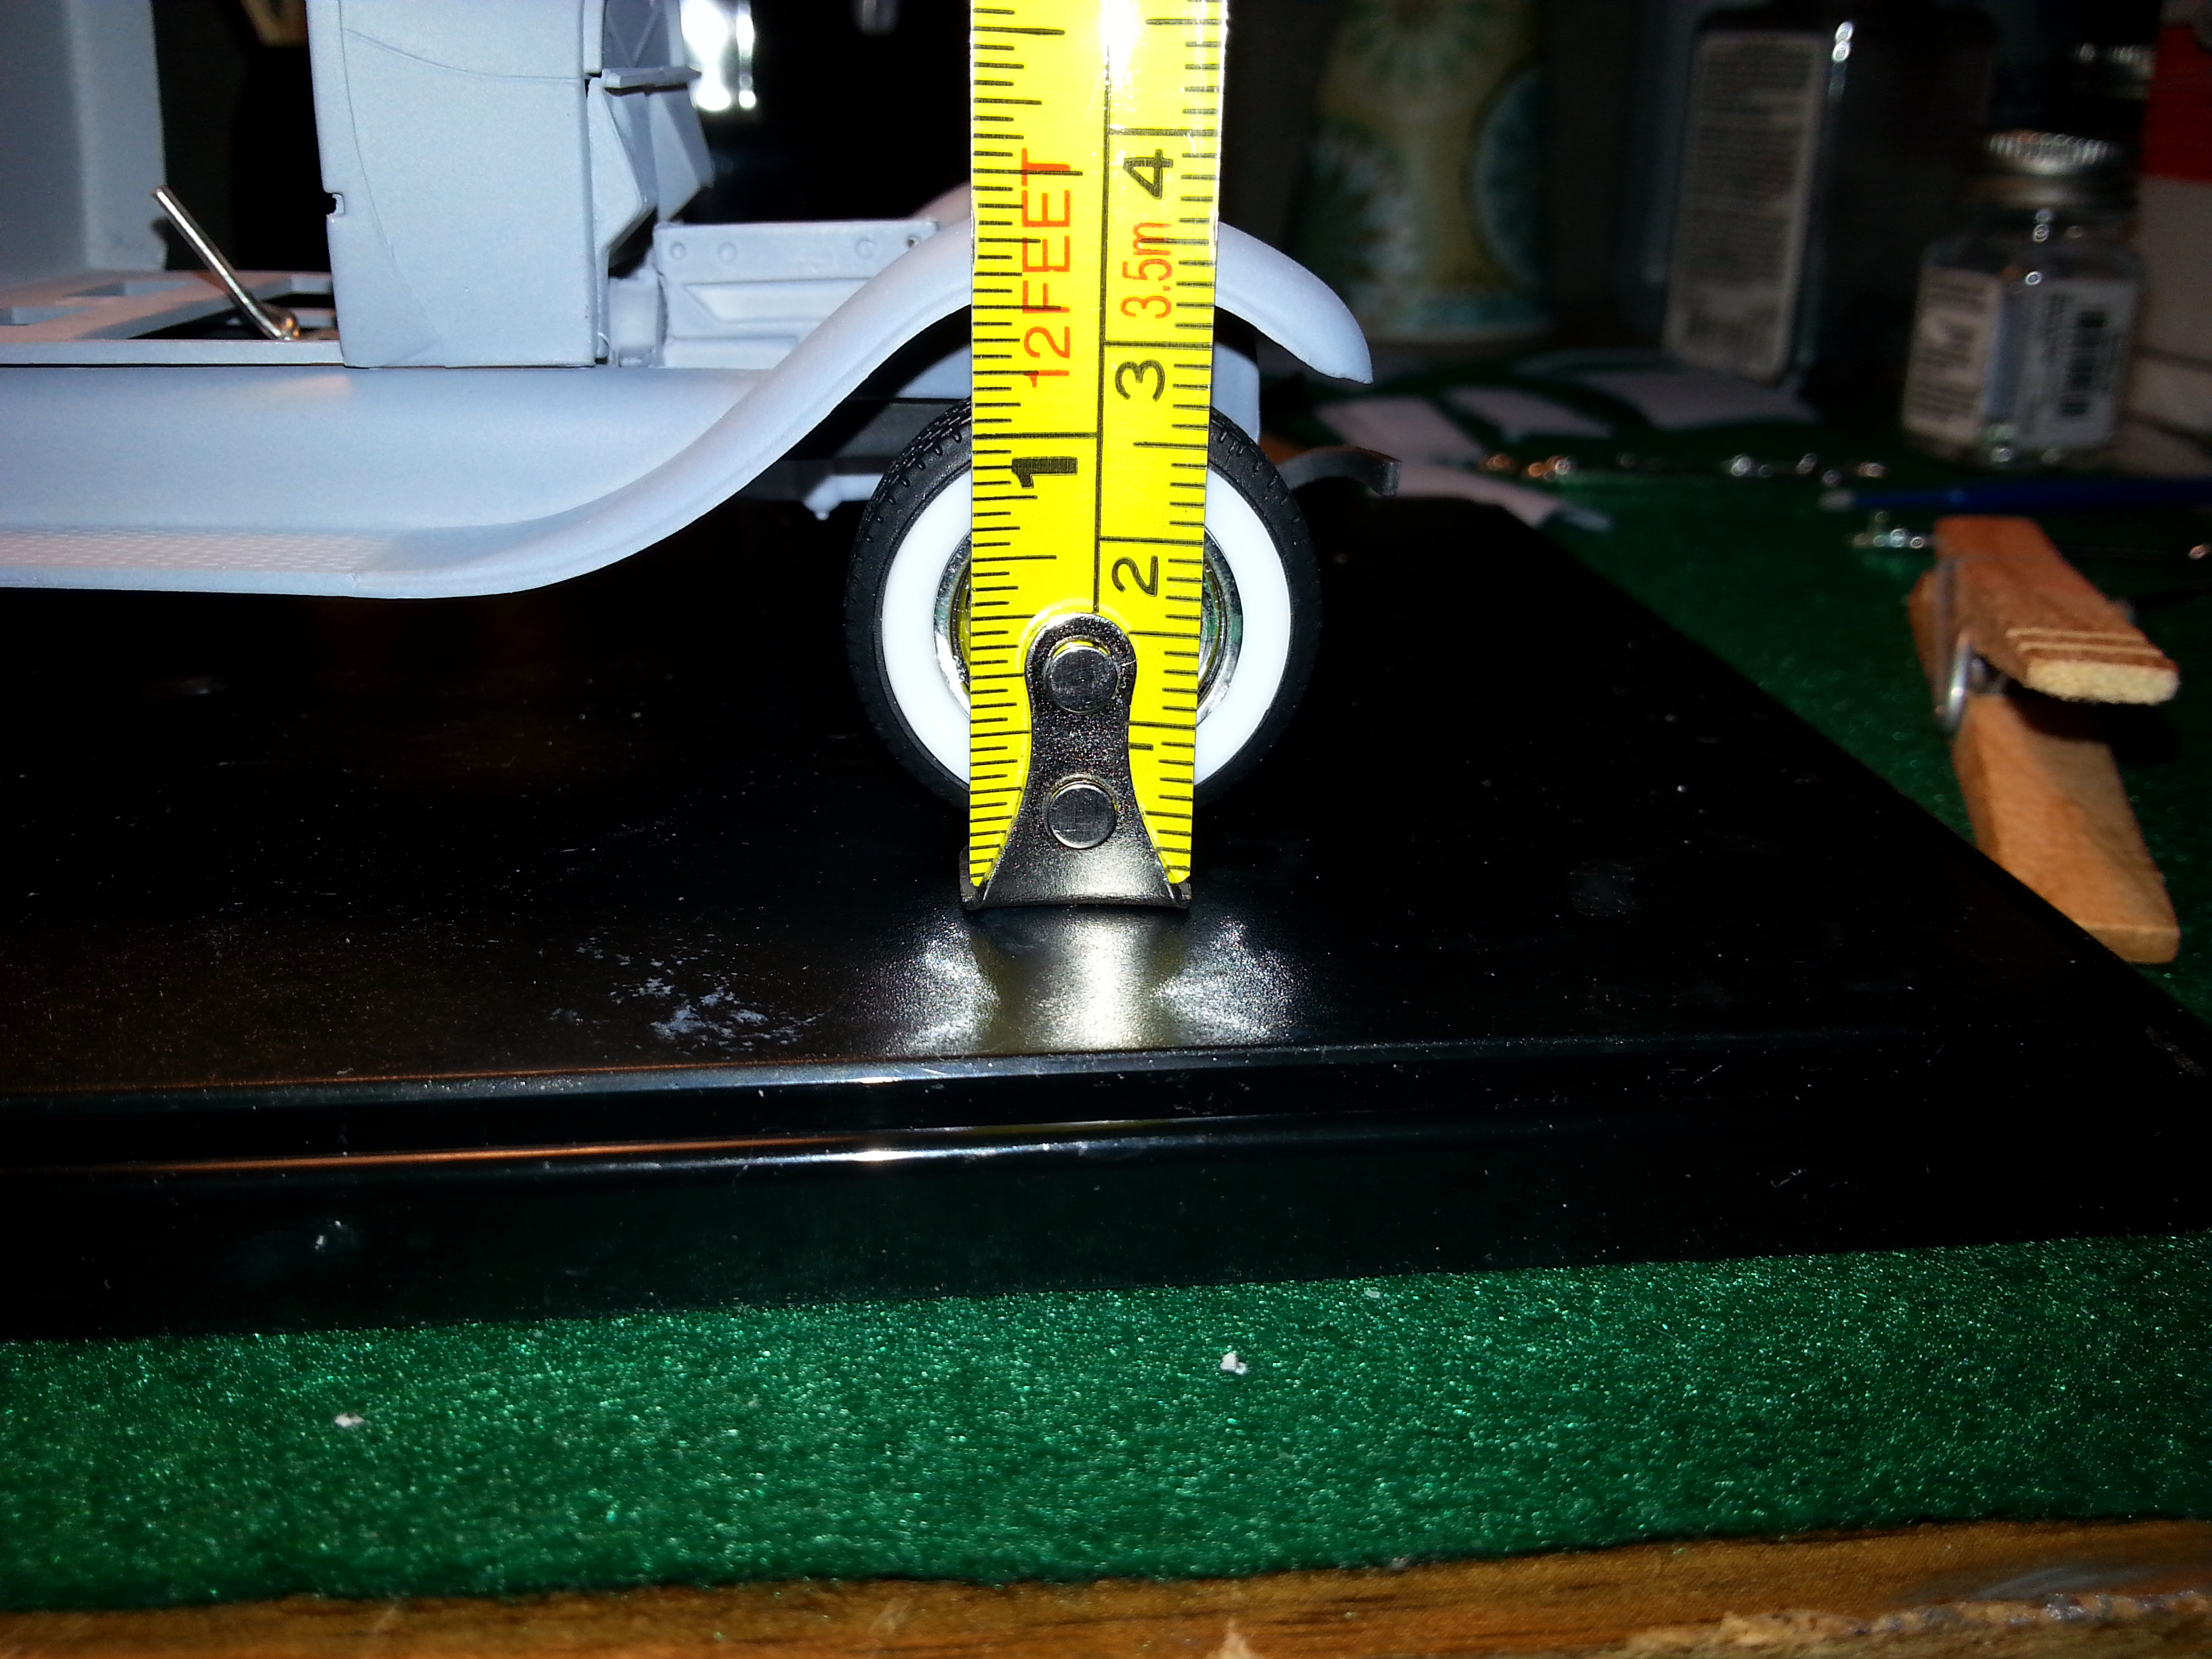
I started his yesterday. Planning to do my first rat rod with it but it will be in a transition to a nice truck. I was thinking about using a Caddy parts pack motor, or the hot rod flathead motor from the 50 Ford P/Ub but i'm going to use the hot rod version flathead four that came with the kit. It sits to high and needs to be lowered. I can handle the front but I'm at a loos how to lower the rear so far. I'd welcome any ideas about this.
-
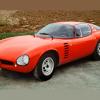
When I saw a photo of Al Groom's Ridler entry, I just had to make a model of it. Of course, I'm not building a replica, but a custom interpretation. Here is his, followed by the pieces I have made or selected for mine. Only the front suspension and partial roll cage (NASCAR), the PU box sides, part of the frame, the back of the passenger area, and two styrene sheets below the 1950 Ford PU hood are not my own resin castings. My intention is to actually finish this build in time for the 12 May MAMA show. I still haven't decided which wheels to use for the dually rear. I don't plan on doing a distressed patina paint job, but, who knows.
-
Hey all! This is a Chevelle that I wrapped up late last week. This was built as an auction piece to raise money for the family of a fallen model car club brother. If your interested, the auction will be hosted on my Instagram page: "detailjunkees" Exterior: custom patterned roof which was done by club brother Jesus Cardenas. patina on the lower half was done with the salt method and the Tamiya weathering kit. coon tail antenna topper. Thermador swamp cooler. Kit bashed Cragars w/ Pegasus lowrider tires. Interior: custom printed fabric sarape seat covers and headliner. scratchbuilt air ride tank and compressors using aluminum tubing and stock styrene. vintage toolbox. Detail Junkees skateboard. old school donut style steering wheel. custom gauges. flocking.
-
Any ideas for an uncommon engine choice for a 34 Ford rat rod? Something other than a SBC or flathead V8 but beefy and mean.
-
This is a 32 ford rat rod I built back in 2001. Chopped and channeled over a Zed frame. Flathead V8, aftermarket finned heads, scratch built carb breathers and headers. Piecrust slicks out back, whitewalls & steelies up front.
-
hey guys, I'm looking for reference photos for a hopped up version of the 4 banger flathead in the 31 woody Revell kit. The kit comes with an ohv conversion and a few other speed goodies. I'm looking to plumb and wire it for a dragster so the water inlets will be capped off.
-
Heres my latest project. 32 Vicky, stock top, channelled, rusted using the "salt method". Mill is a Chrysler 440 with 6 one barrel carbs. Wheels are stock "steelies" and center caps left over from my 68 charger build. All questions, comments and criticisms are welcome..... Enjoy!
-
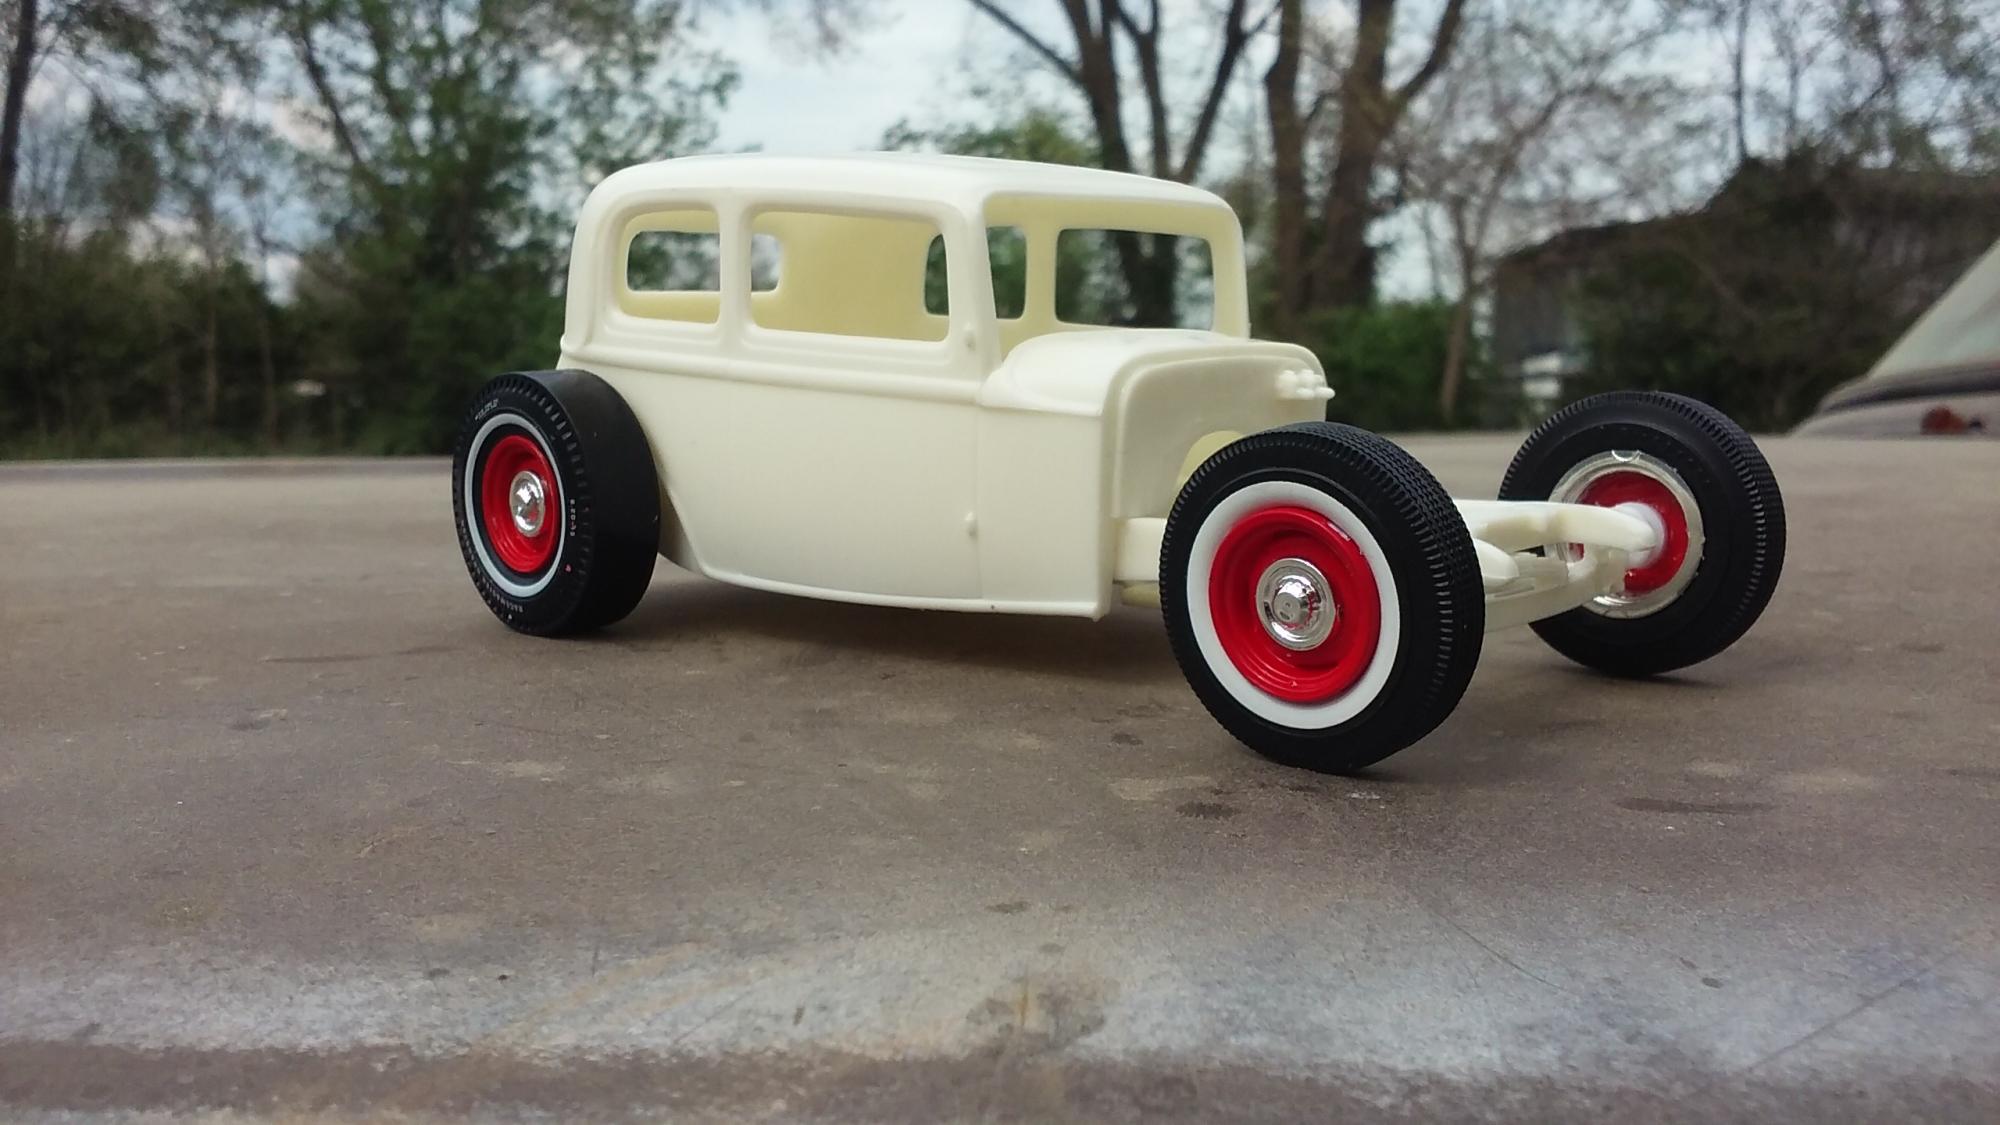
So heres my new project. I started this while the paint was curing on my 68 Charger build, so no in progress stuff lol. Im using the stock "steelies" that came with the charger, along with the 440 that came with the charger as well. Im modding some of the engine parts that come with the Vicky to work on the 440. I plan on detailing the engine and interior, as well as weathering and channelling the body. Im going for a "previous hot rod turned rat rod" feel.... So ive already set my stance and channelled the body on the frame. Alot lol. It has a true rat feel, especially with the red wheels and pad stamped whitewalls that came with the Vicky. Ive also chopped the radiator and grill shell to match the lowered body. I was going to chop the top super low, but once i had the body channelled i just fell in love with the tall top on the channelled frame lol. The Vicky came with some decent chassis and brake detail parts like brake drums, full steering components, etc. Im going to use the rotors that came with the charger up front, and make some calipers for them I also plan on doing brake lines and fuel lines. If i have the patience that is lol. Ill post some pics of the chassis when i get a chance. For now.... Enjoy
-
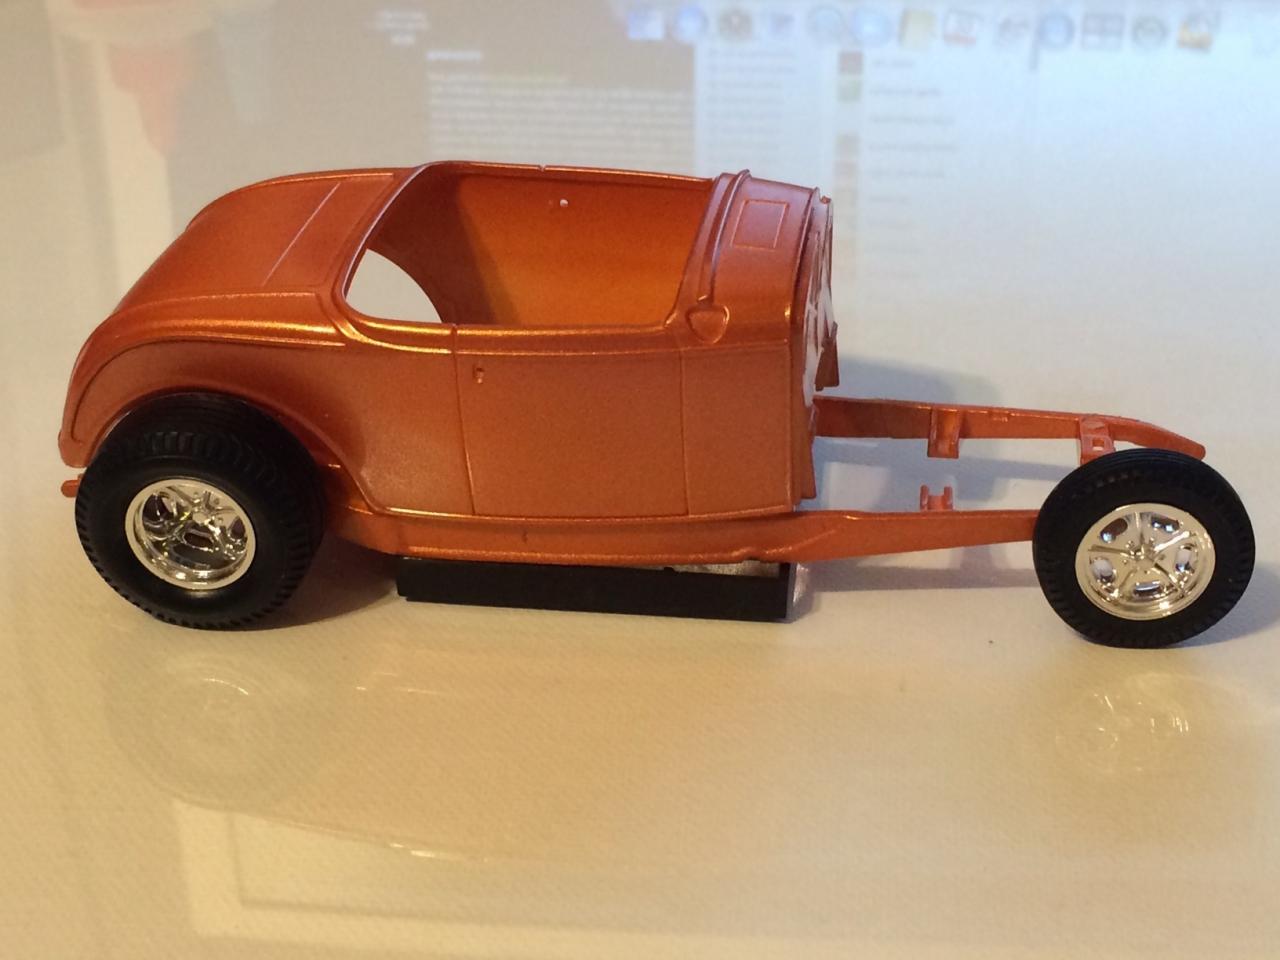
This is a build that almost never was. It started as an eBay purchase gone wrong - a glue bomb that was advertised as "complete" & "some minor, partial assembly". I was going to throw out the model when I decided to attempt my first "Chop". This is the result -chopped top (obviously) -stretched hood to accommodate the rake of the grill -scratch built vent on the cowl -grafted the trunk from the Revell 5-window kit (No - its not a direct fit!!) -resin wheels+tires -everything else was sourced from my "parts box" Finish is flat black, over red oxide primer, over matt aluminum BMF
-
<a href="http://s1166.photobucket.com/user/mattsteel85/media/image_zpsm8eboso4.jpeg.html" target="_blank"><img src="http://i1166.photobucket.com/albums/q614/mattsteel85/image_zpsm8eboso4.jpeg" border="0" alt=" photo image_zpsm8eboso4.jpeg"/></a> <a href="http://s1166.photobucket.com/user/mattsteel85/media/image_zps6ka3gjjt.jpeg.html" target="_blank"><img src="http://i1166.photobucket.com/albums/q614/mattsteel85/image_zps6ka3gjjt.jpeg" border="0" alt=" photo image_zps6ka3gjjt.jpeg"/></a>
-
Hi guys, thought I'd share some of the progress of a Monogram Ford coupe '30. Started off with changing the front axle to a dropped front axle from Monogram's Stinger dragster, engine from an AMT Ford Victoria '55 and wheels from the parts box. Painted it solid red and was really satisfied with how it turned out.. That is, until the paint literally started falling off the body. So I removed it all, and wet sanded the entire body, but grew tired of it and put in storage for a few months. Fast forward until last week, I put it on the bench again... And started to mock up different things and stiles, and suddenly I had the look I wanted. Still using the engine and front axle like I planned from the start, but the original Monogram wheels and going with the channeled style. This meant I had to build my own frame and floor, haven't made any of those before but I started anyway. Using 0.5 mm styrene I made up the whole floor to fit the V8 and raised it about 12 scale cm. More is coming...
-
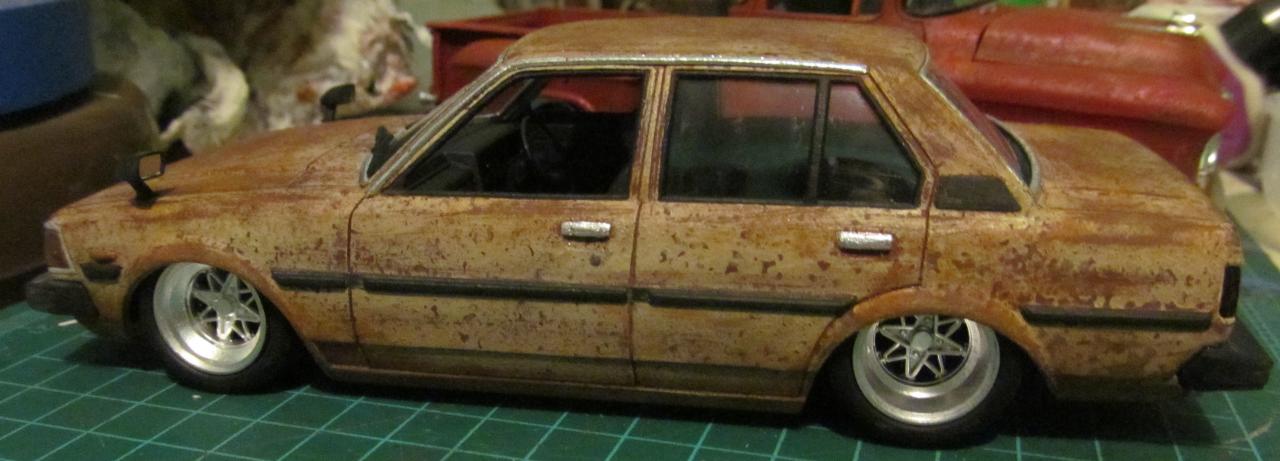
My latest creation, Aoshima 80´s Toyota Corolla, Rat Rod style.
-
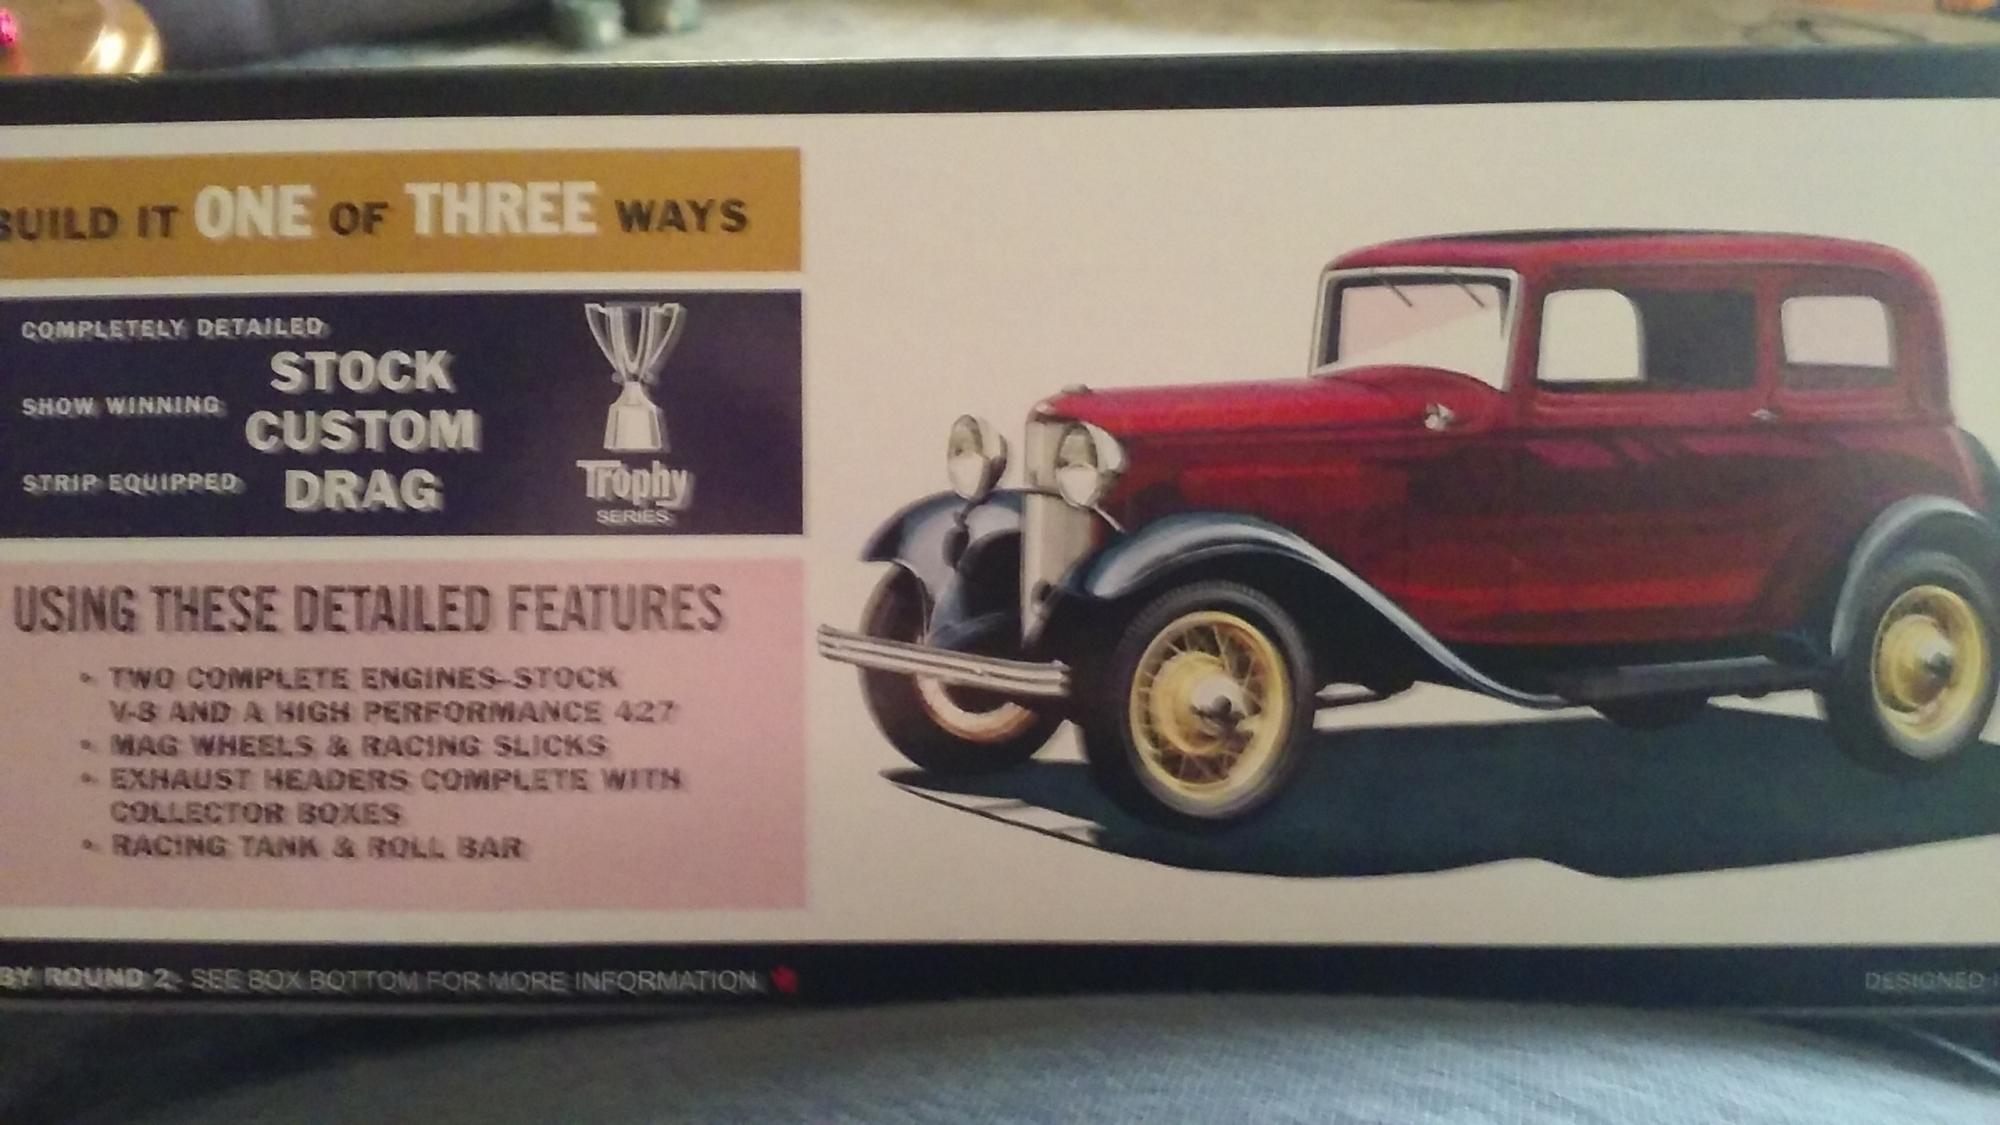
I've only made 3 kits this year and I'm only really happy with one of them ( http://www.modelcarsmag.com/forums/index.php?showtopic=89942#entry1188849 )so I thought I'd give the Stacey David Rat Roaster a try. For this build I'll stick with kit tires and rims. I'm not real happy with the resin bomber seats I ordered for this build, so I'll stick with the kit seats, too. Here is the color I chose for the body. It's a radically different direction for me as I usually make my cars in flat colors because I'm not that great at nice, glossy paint jobs. I decided the metal interior should have the same color as the body. I drilled the holes out that had the goofy upholstery. I will mask off and paint the upholstered door panels black after a few days of drying. I decided I'd keep the firewall the same as the body color too (I never do this). This decision was based on looking at 1:1 cars in several issues of Rod & Custom magazine. The rest of the body parts have been painted the same color. I'm going for a different look this time and we'll see how it goes.
-
Here is a link to some photos I took, it looks like Sunday is a little thin on car entries...most of the field where a lot of the cars I took photos of two years ago was empty this year. I got some photos of the winners though...might get some scale build ides from those. http://www.flickr.com/photos/blunc/sets/72157642306468053/
-
 This just showed up in the parking lot of the apartments down the road from me. Brian has owned it for eight years, has put on 100,000 of the 400,000 miles on the odometer, and is on it's third engine. The front clip came out of a Camaro which also donated the rear end. I have more detail photos if anyone is interested, and access to the vehicle to photograph specific details upon request; 'cause I just know someone is going to build this . Just shoot me a PM.
 -
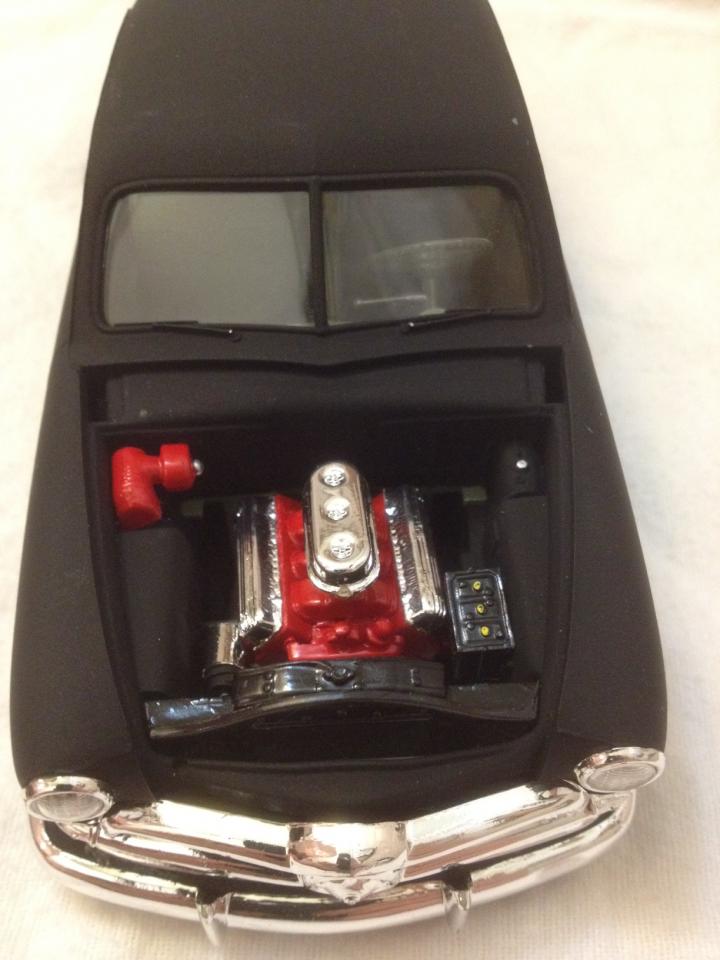
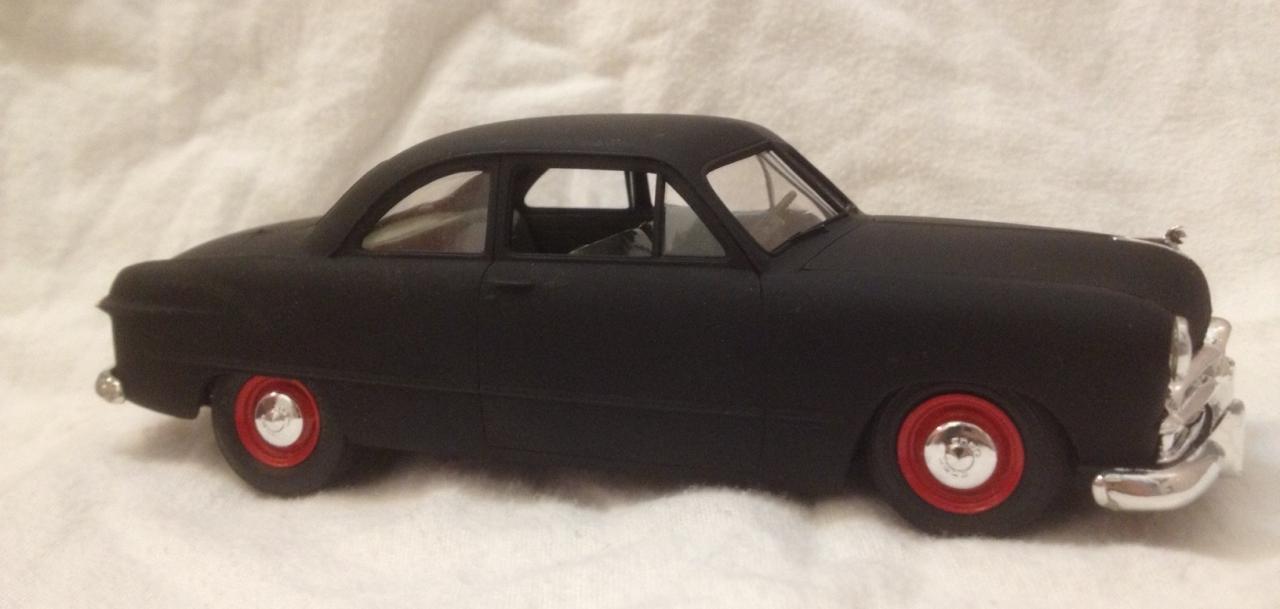
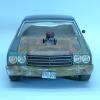
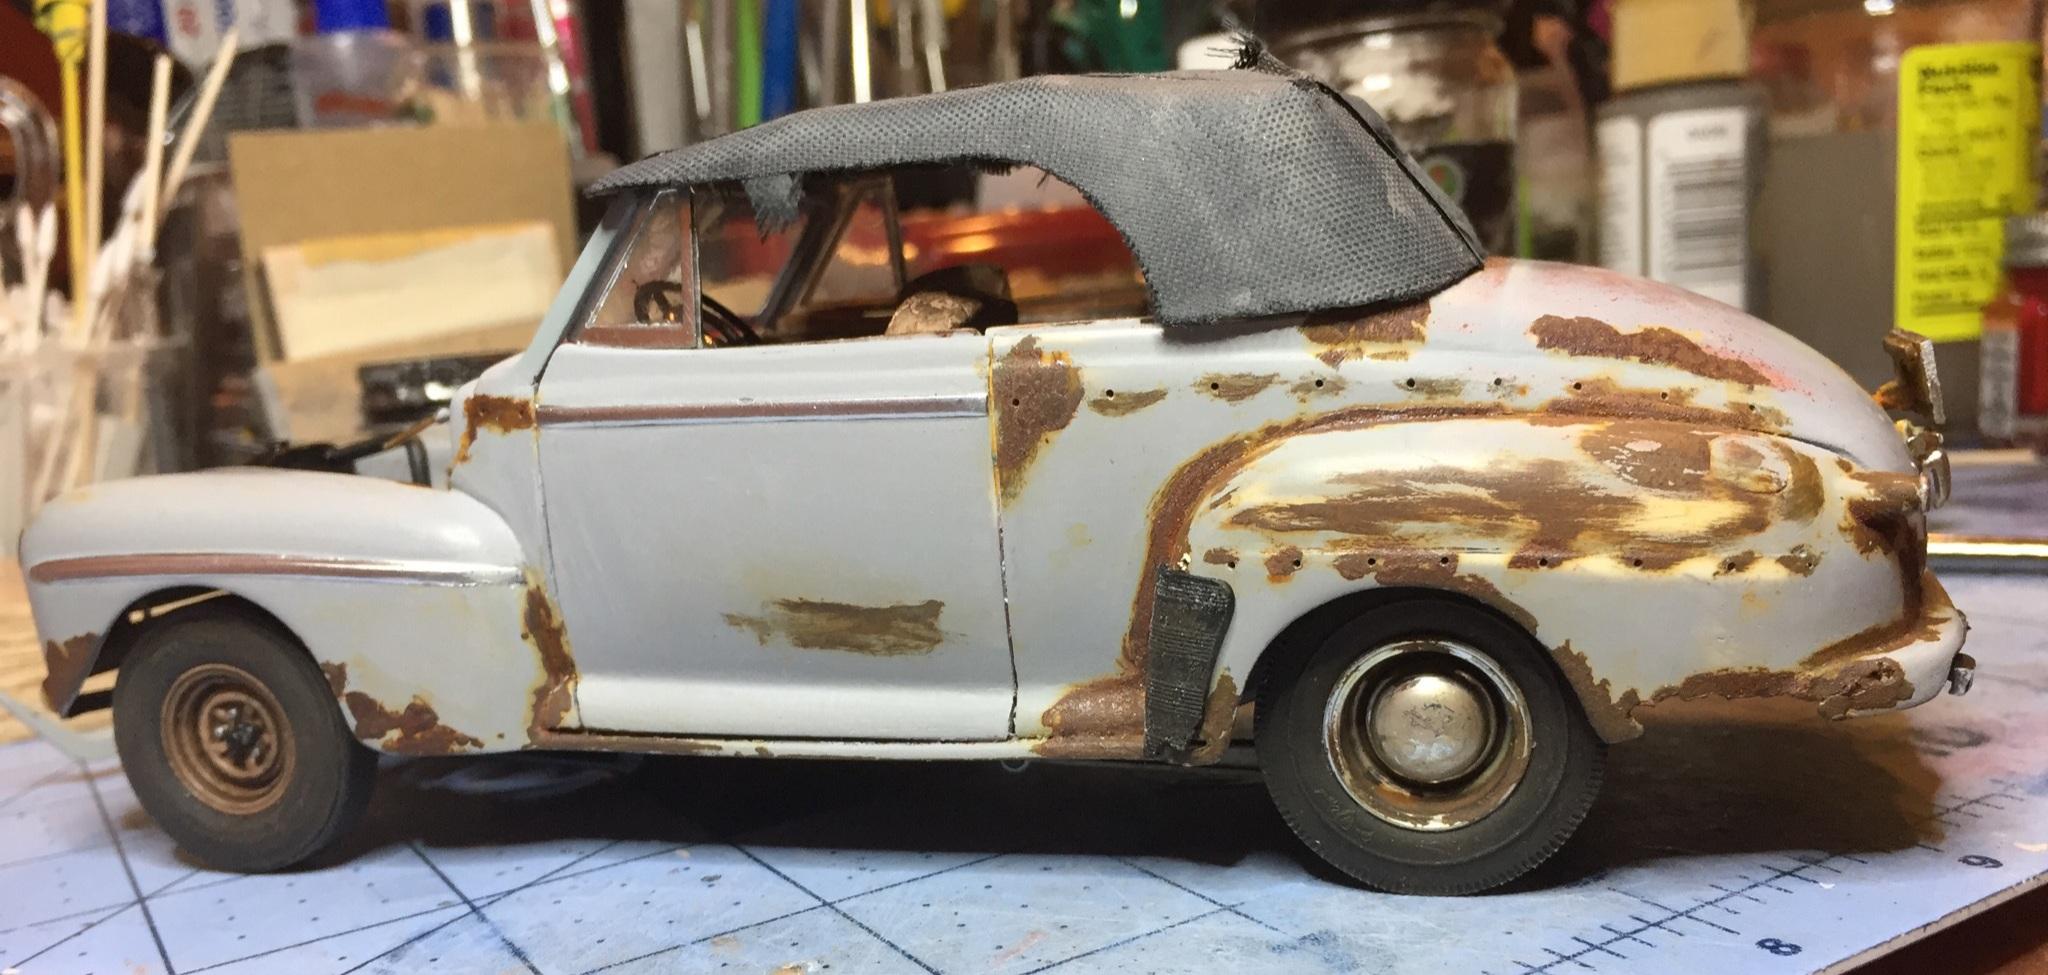
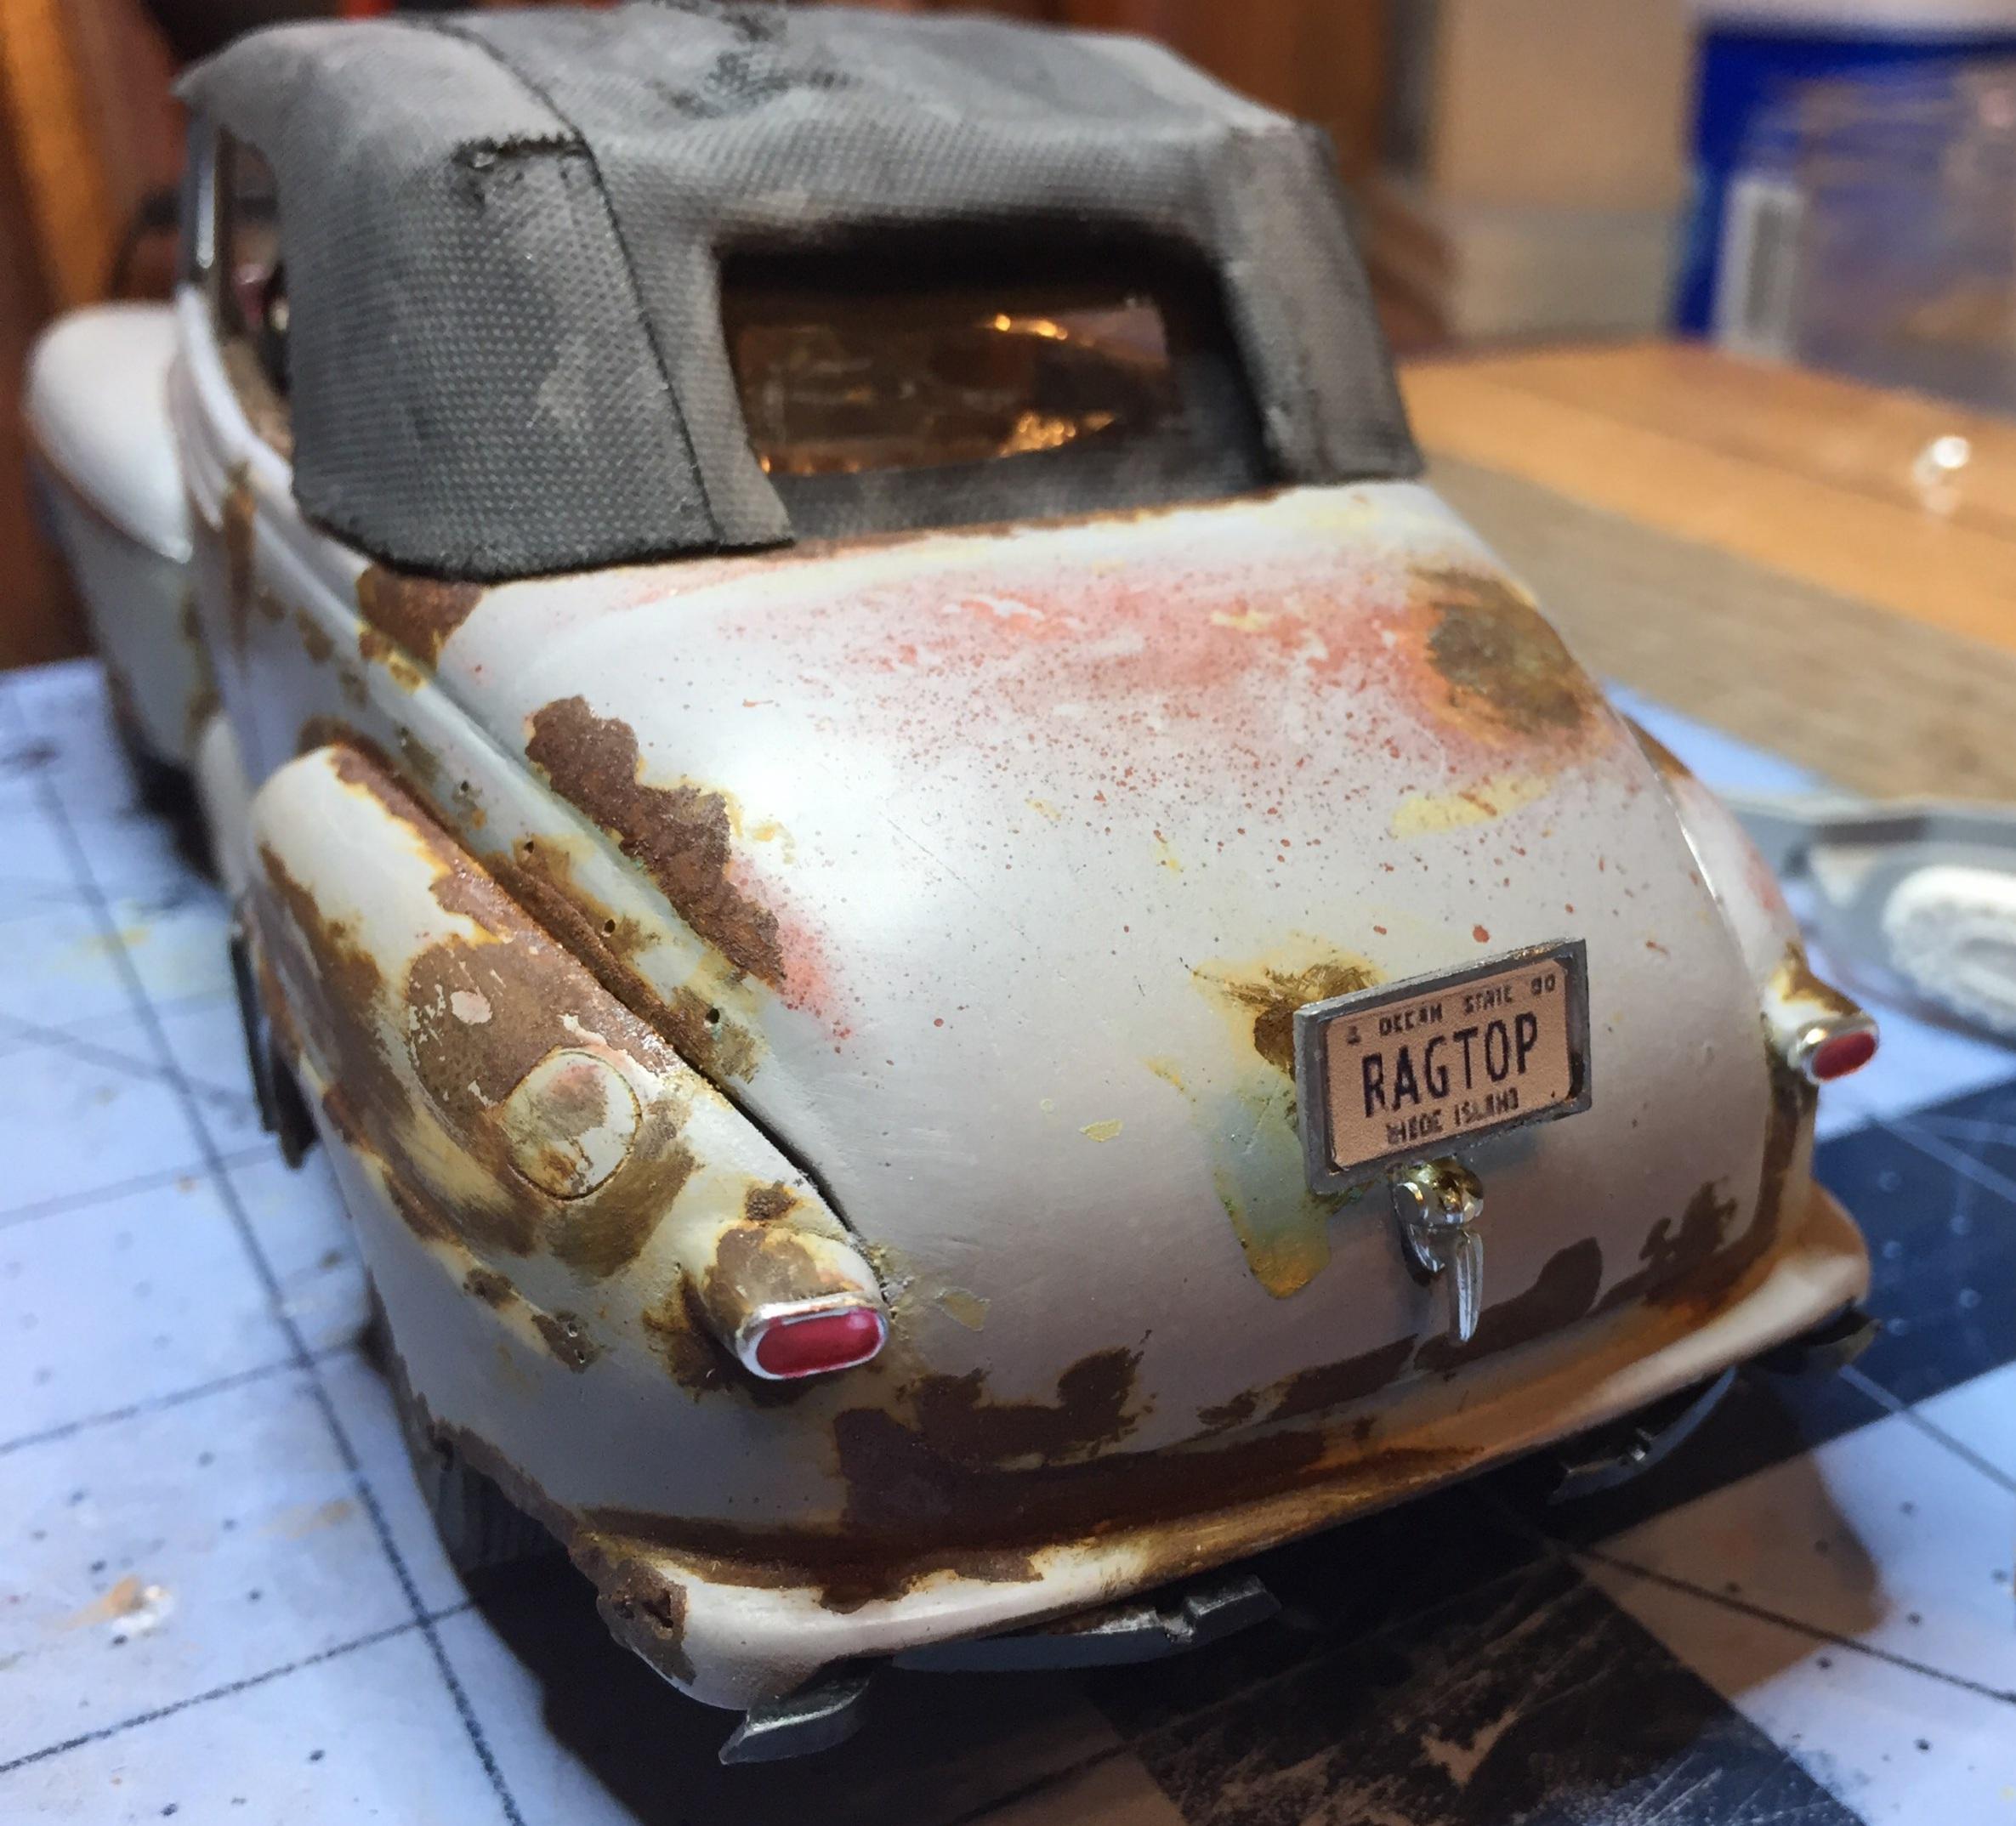
This Rat Rod '49 Ford is the second to last kit I built. Made in 2003 I was going for the rat look, before I knew much about it. The '49 Ford and '49 Mercury kits have always been one of my favorites.
-
hello plastic buddies here is my 57 chevy rat rod i build it out of the 57 bel air from monogram... have fun regards maik
-
I built this car about a year and a half ago, but it's never been an MCM WIP, or shown in the Under Glass section. A couple of MCM regulars asked me if I had a few more pictures to share, so I thought that a mini WIP would provide them with some added pics and info on the car. So, to begin, I started with Revell's excellent 1:25th 40 Ford kit. The first order of business was to give it a hair cut. I sliced some Tamiya 6mm tape in half to create some ~3mm strips. These were used to remove a consistent scale 3" from the roof pillars. After adding some length back into the roof panel, it looked like the fit was close enough to continue.Notice how the B pillars were removed just below the drip rail in a "T" section. This will allow the pillar to be aligned with the lower pillar in the fore-aft direction. Still no putty yet. At this point the plastic used to lengthen the roof panel was filed down and primed. The roof was then glued in place with some liquid styrene cement. Considering I haven't reached to putty stage yet, the roof was looking pretty good. Still no putty yet. A layer of sheet styrene was added at the C pillar to provide enough material to level the roof panel with the stub on the body.


.JPG.5fc41b65e0f4785f3632fdc64740c441.JPG)
.JPG.32b284f78c8b65ed665dc93a8e09e602.JPG)
.JPG.968c69d21fbb3f71473b78d7e74af666.JPG)