Search the Community
Showing results for tags '32 ford'.
-
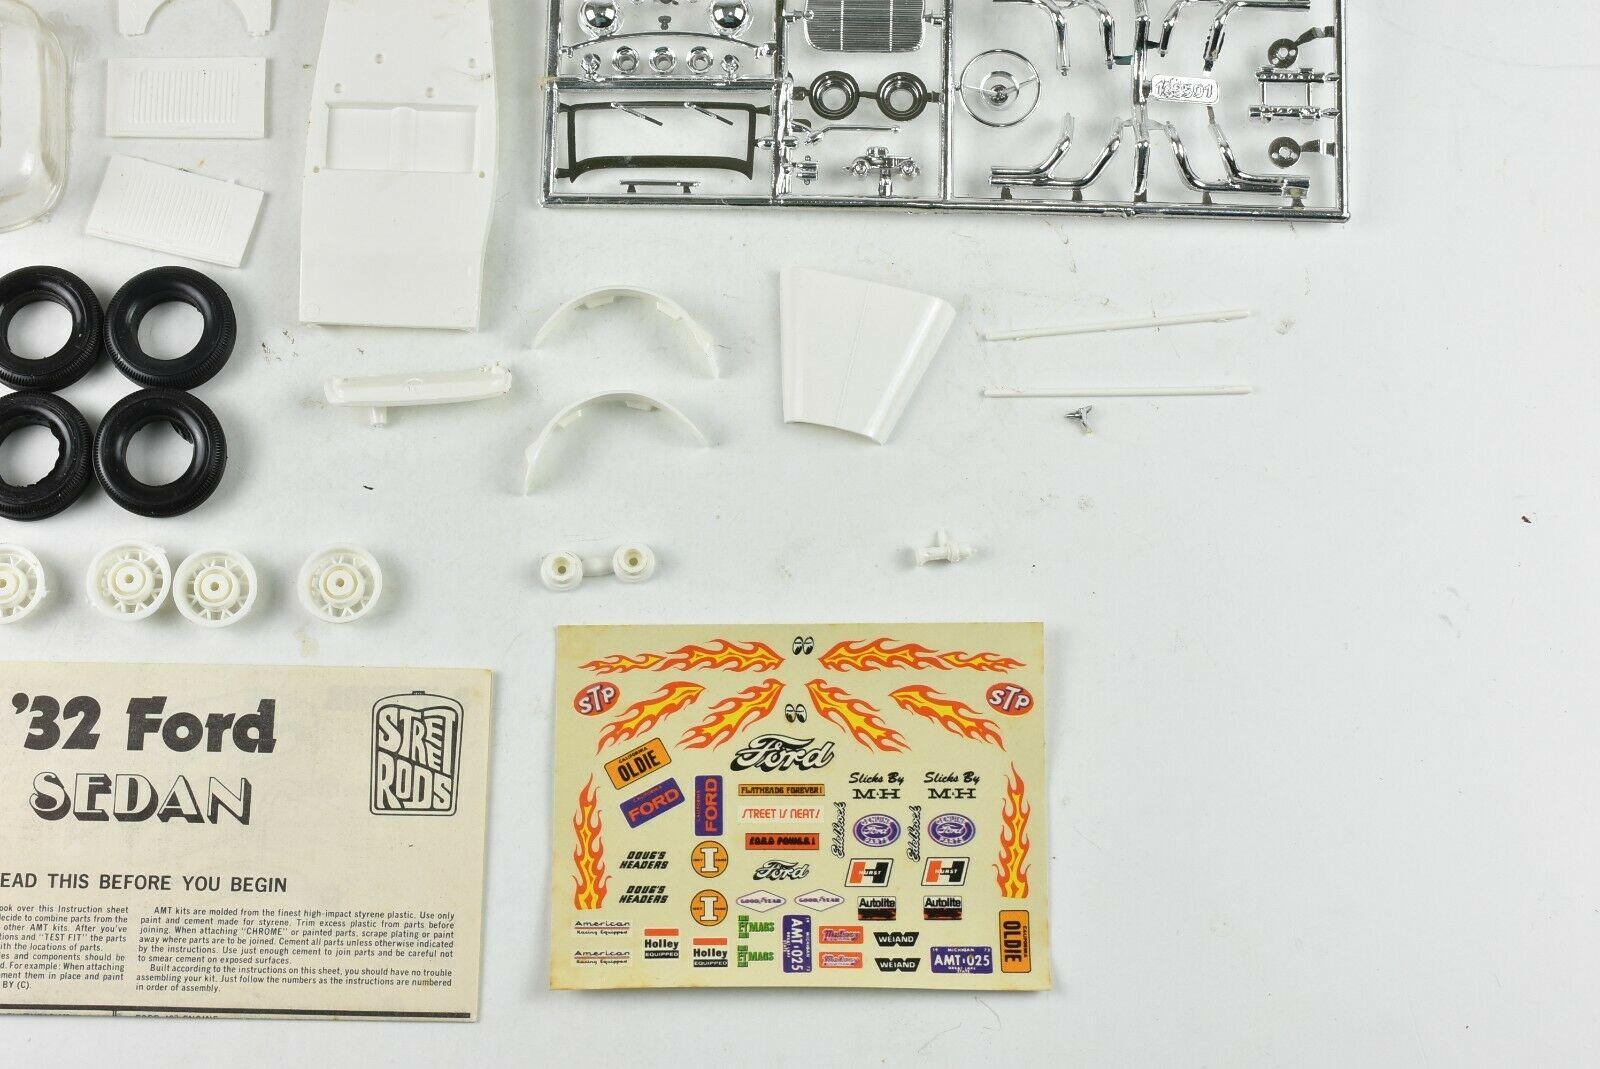
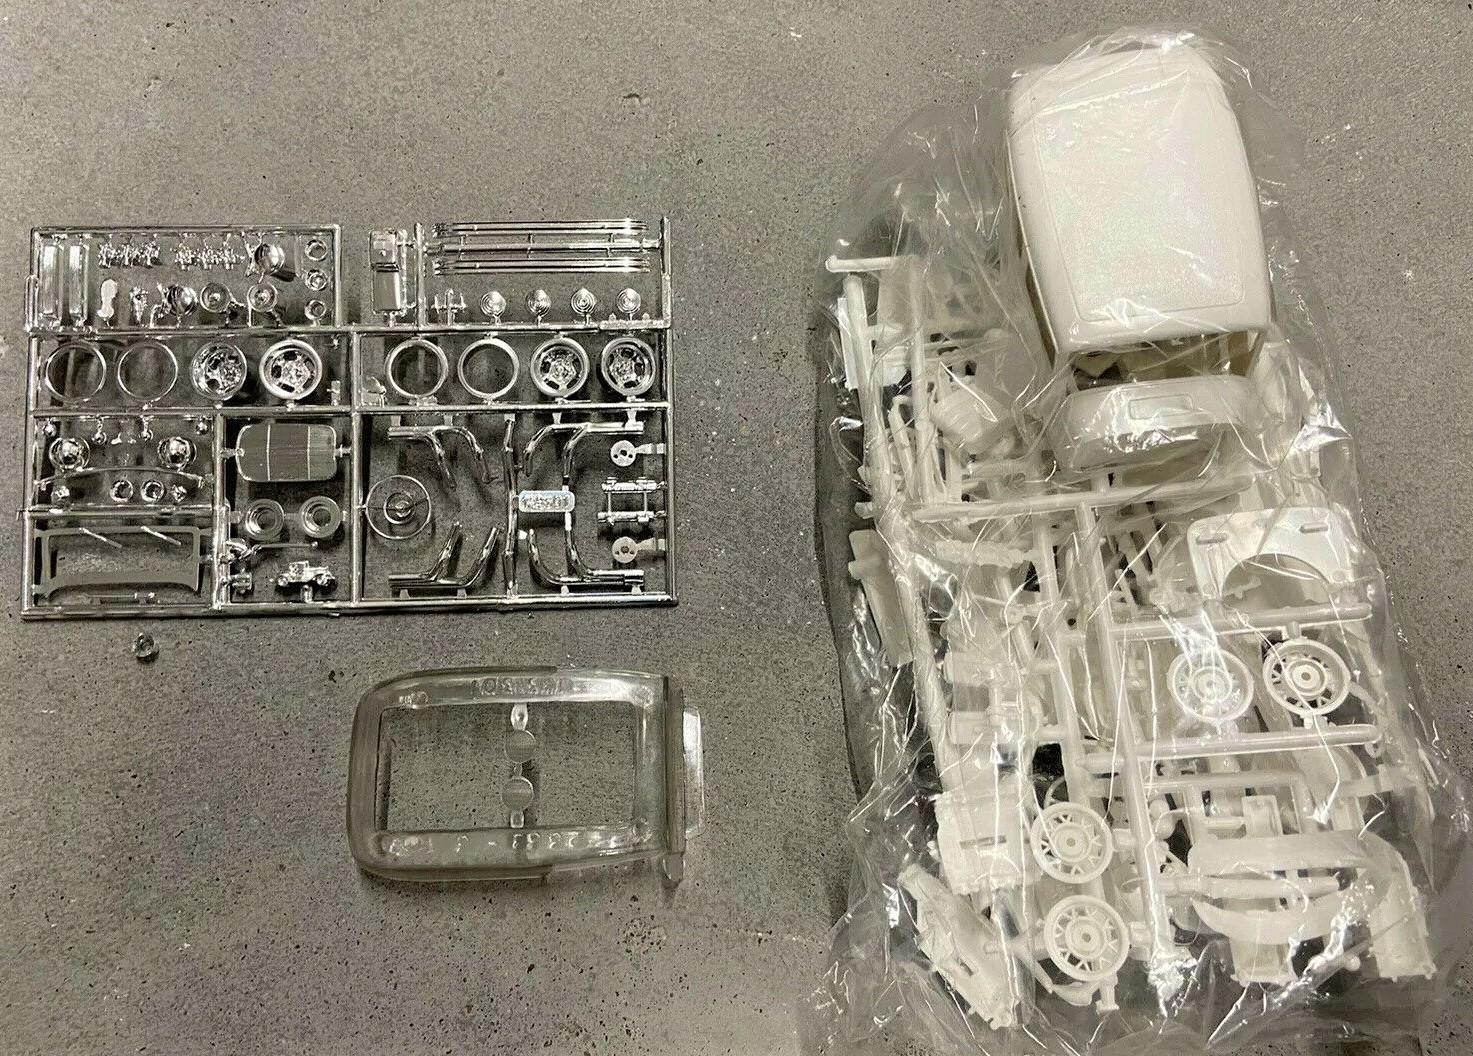
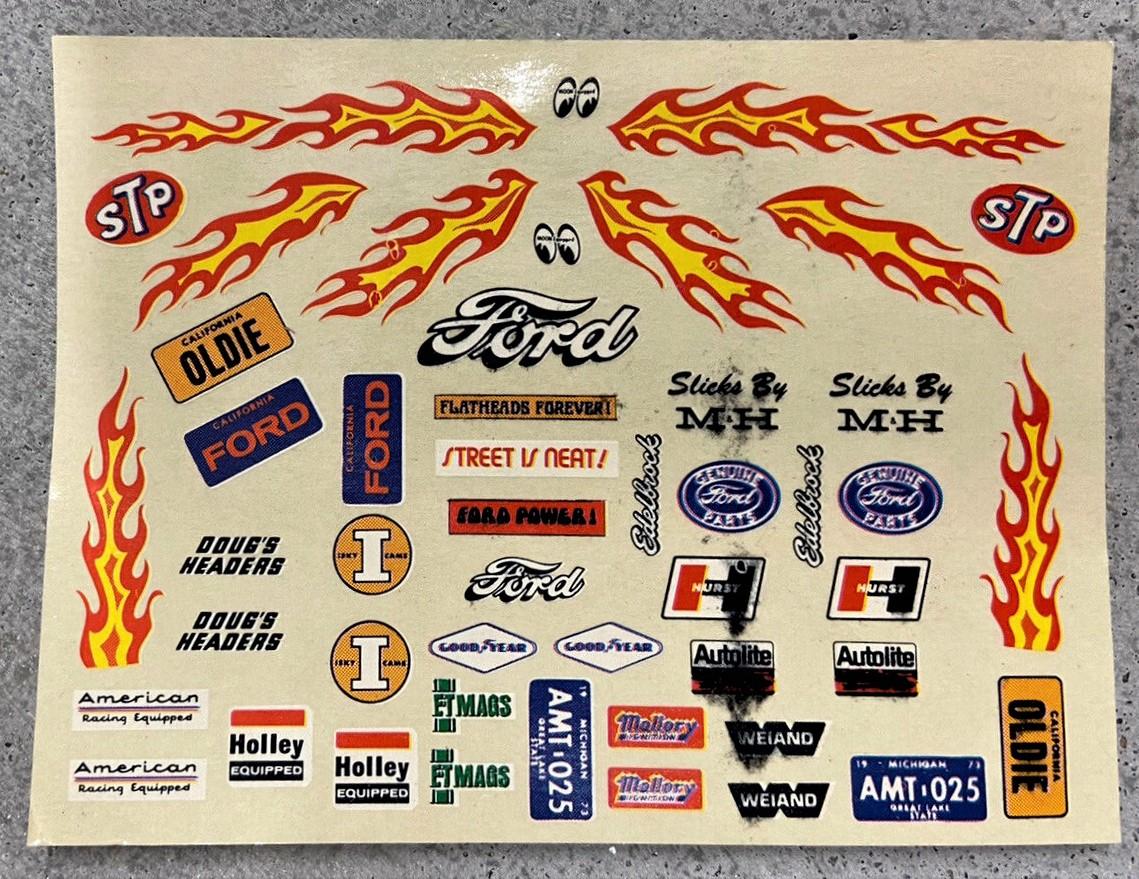
Is the 1/25 AMT '32 Ford Tudor Sedan kit lost forever? Granted, with the newer and better 1/25 Revell '32 Ford Tudor Sedan more easily available having the older AMT version back is hardly necessary, but it does offer some unique things, and even for the sake of nostalgia, I think it still holds some appeal. If anyone here has one of these, please take some pics and share with teh class. Pics from eBay listings, just to show the contents: AMT's generic Ford hot rod decal sheet:
- 37 replies
-
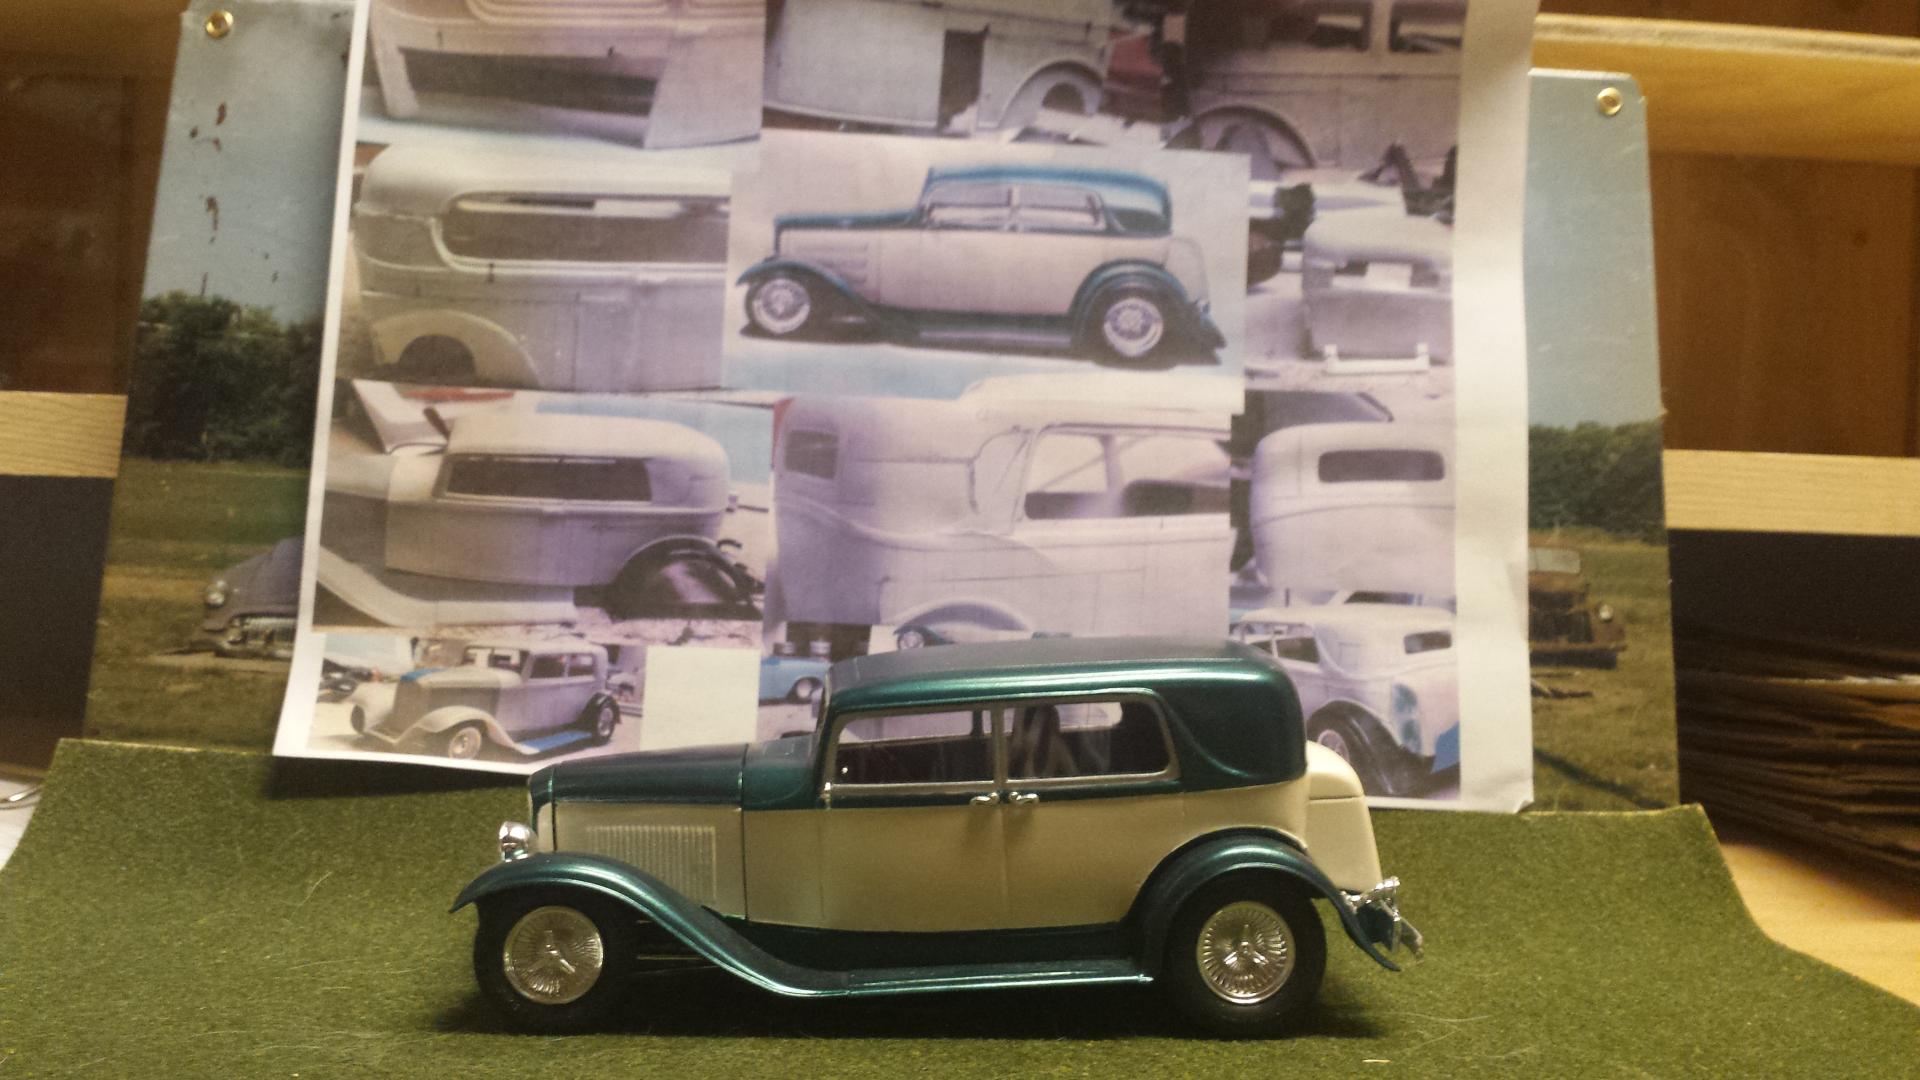
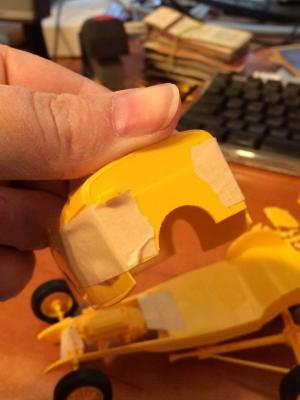
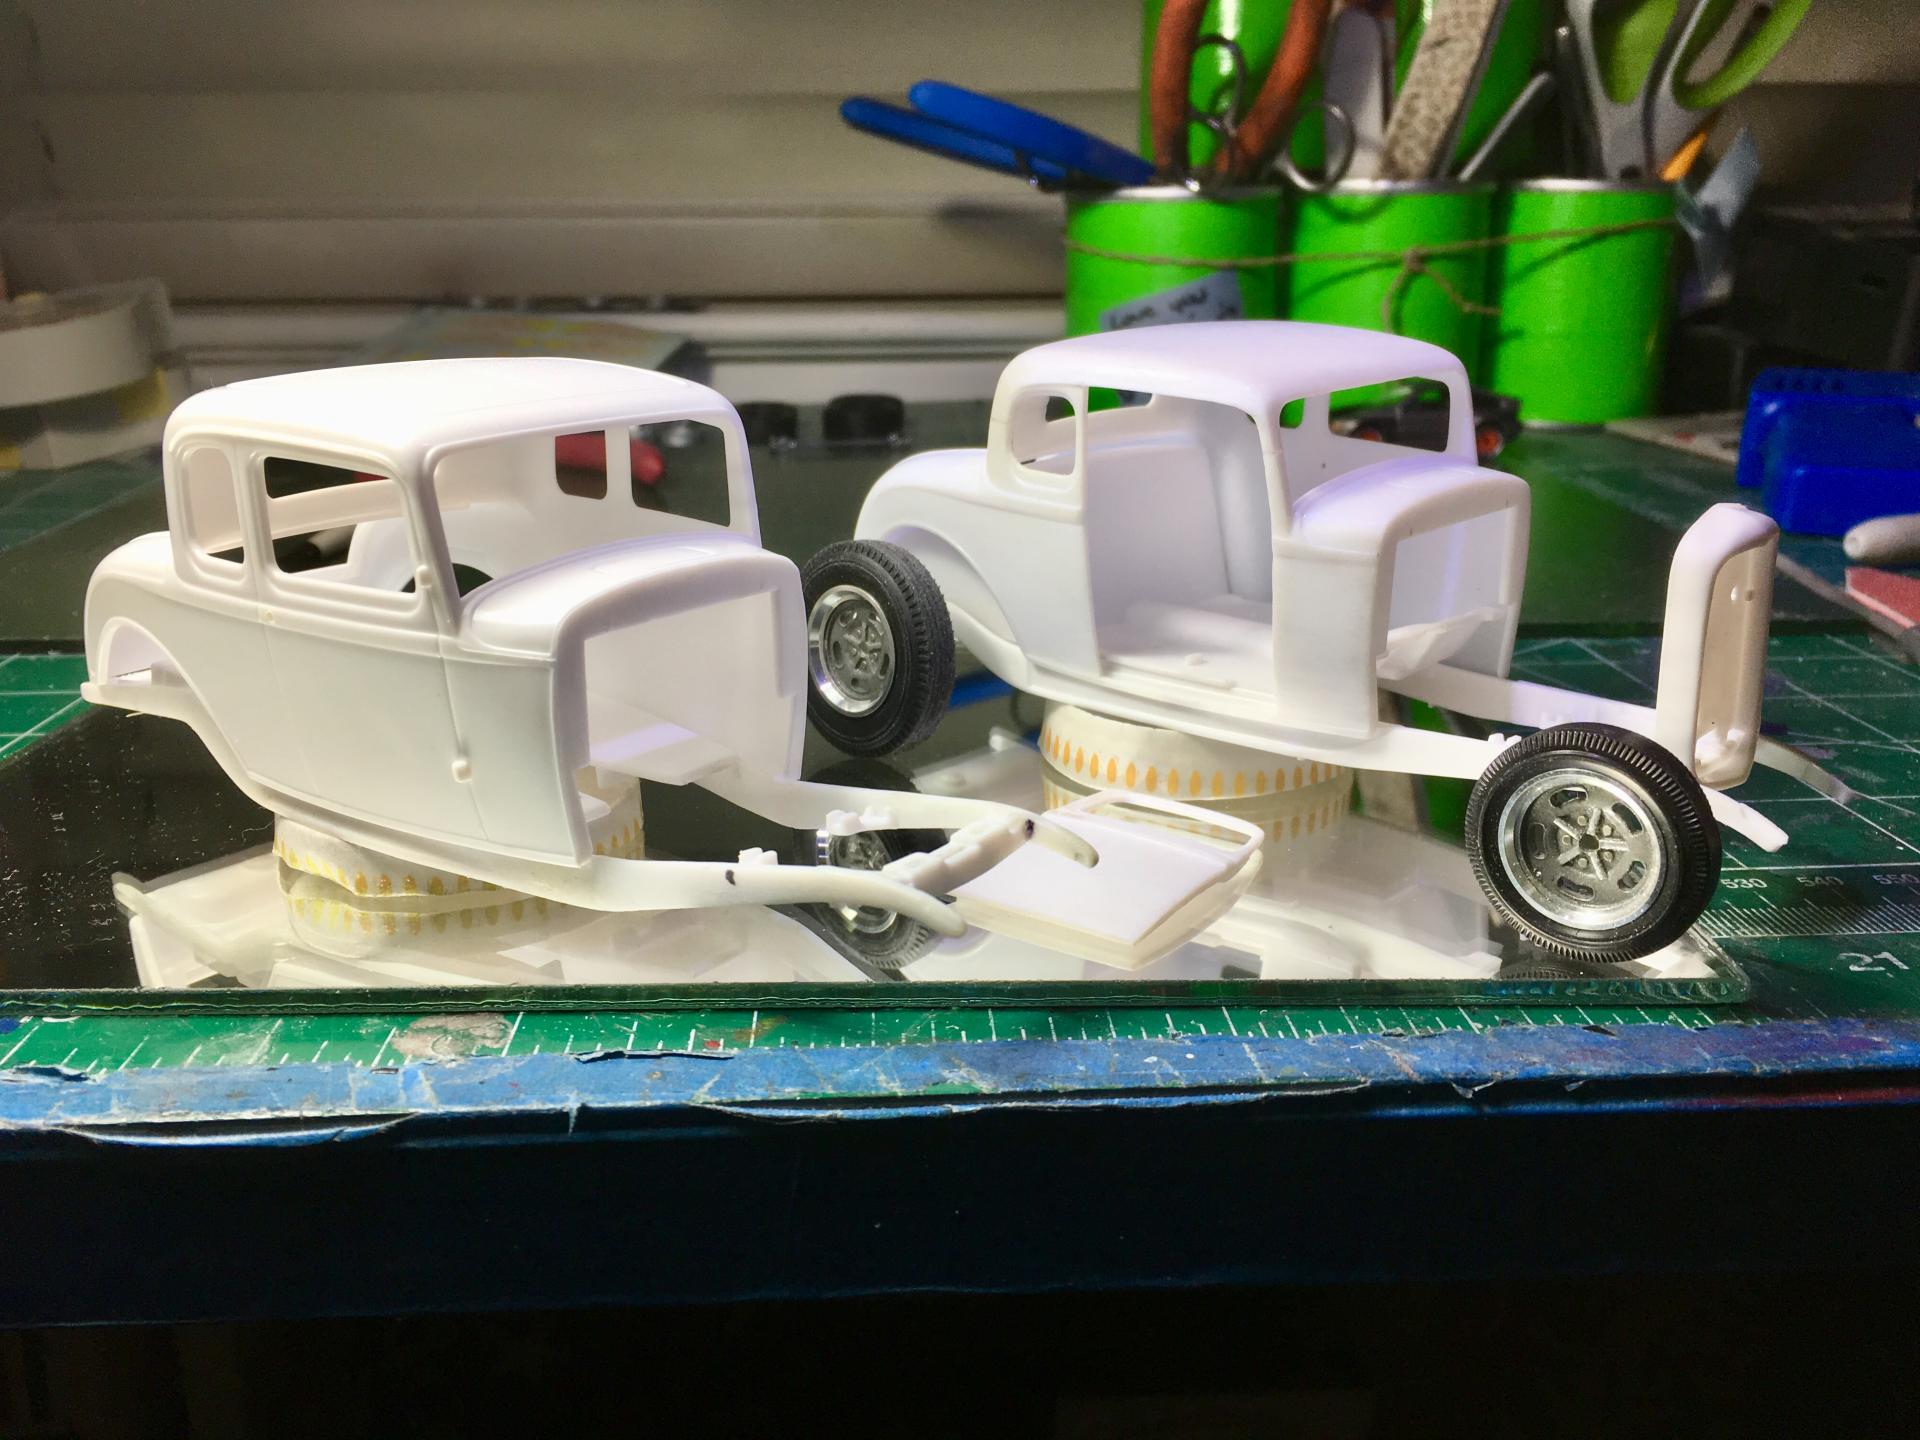
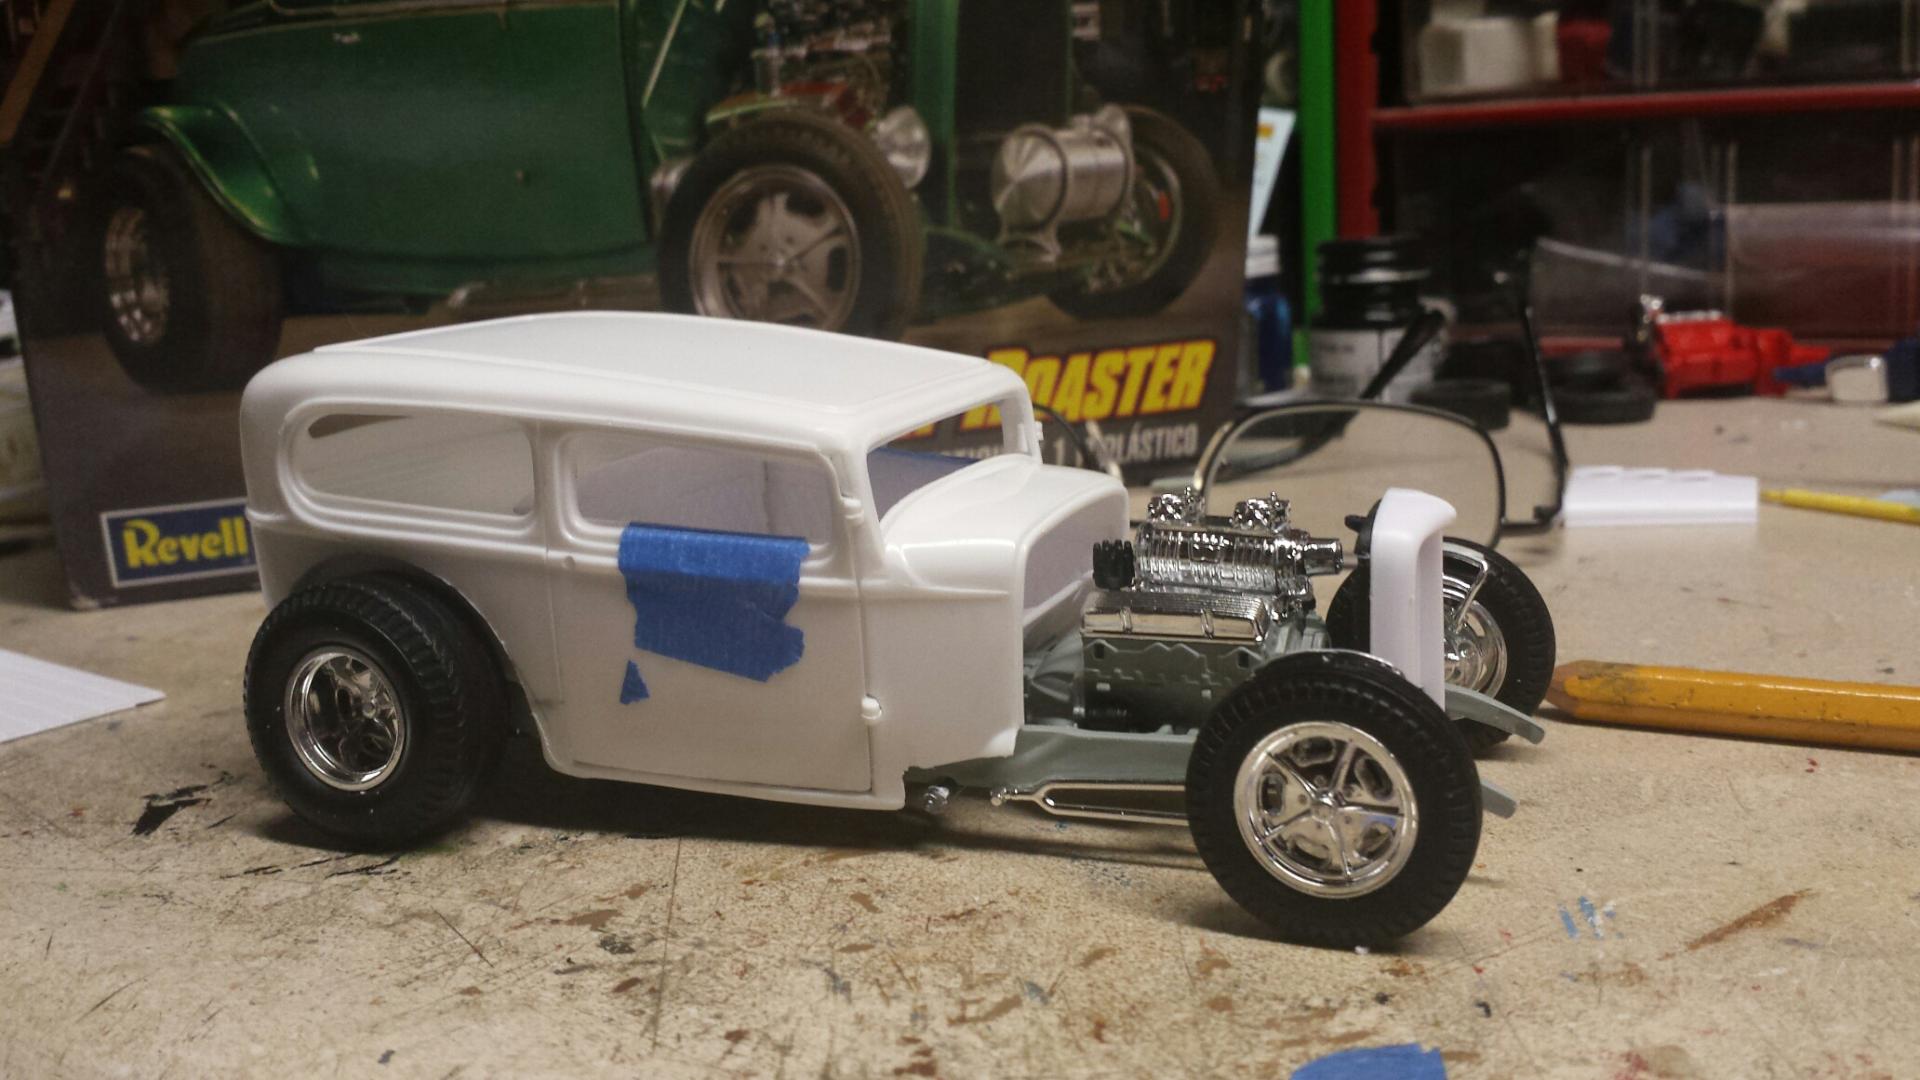
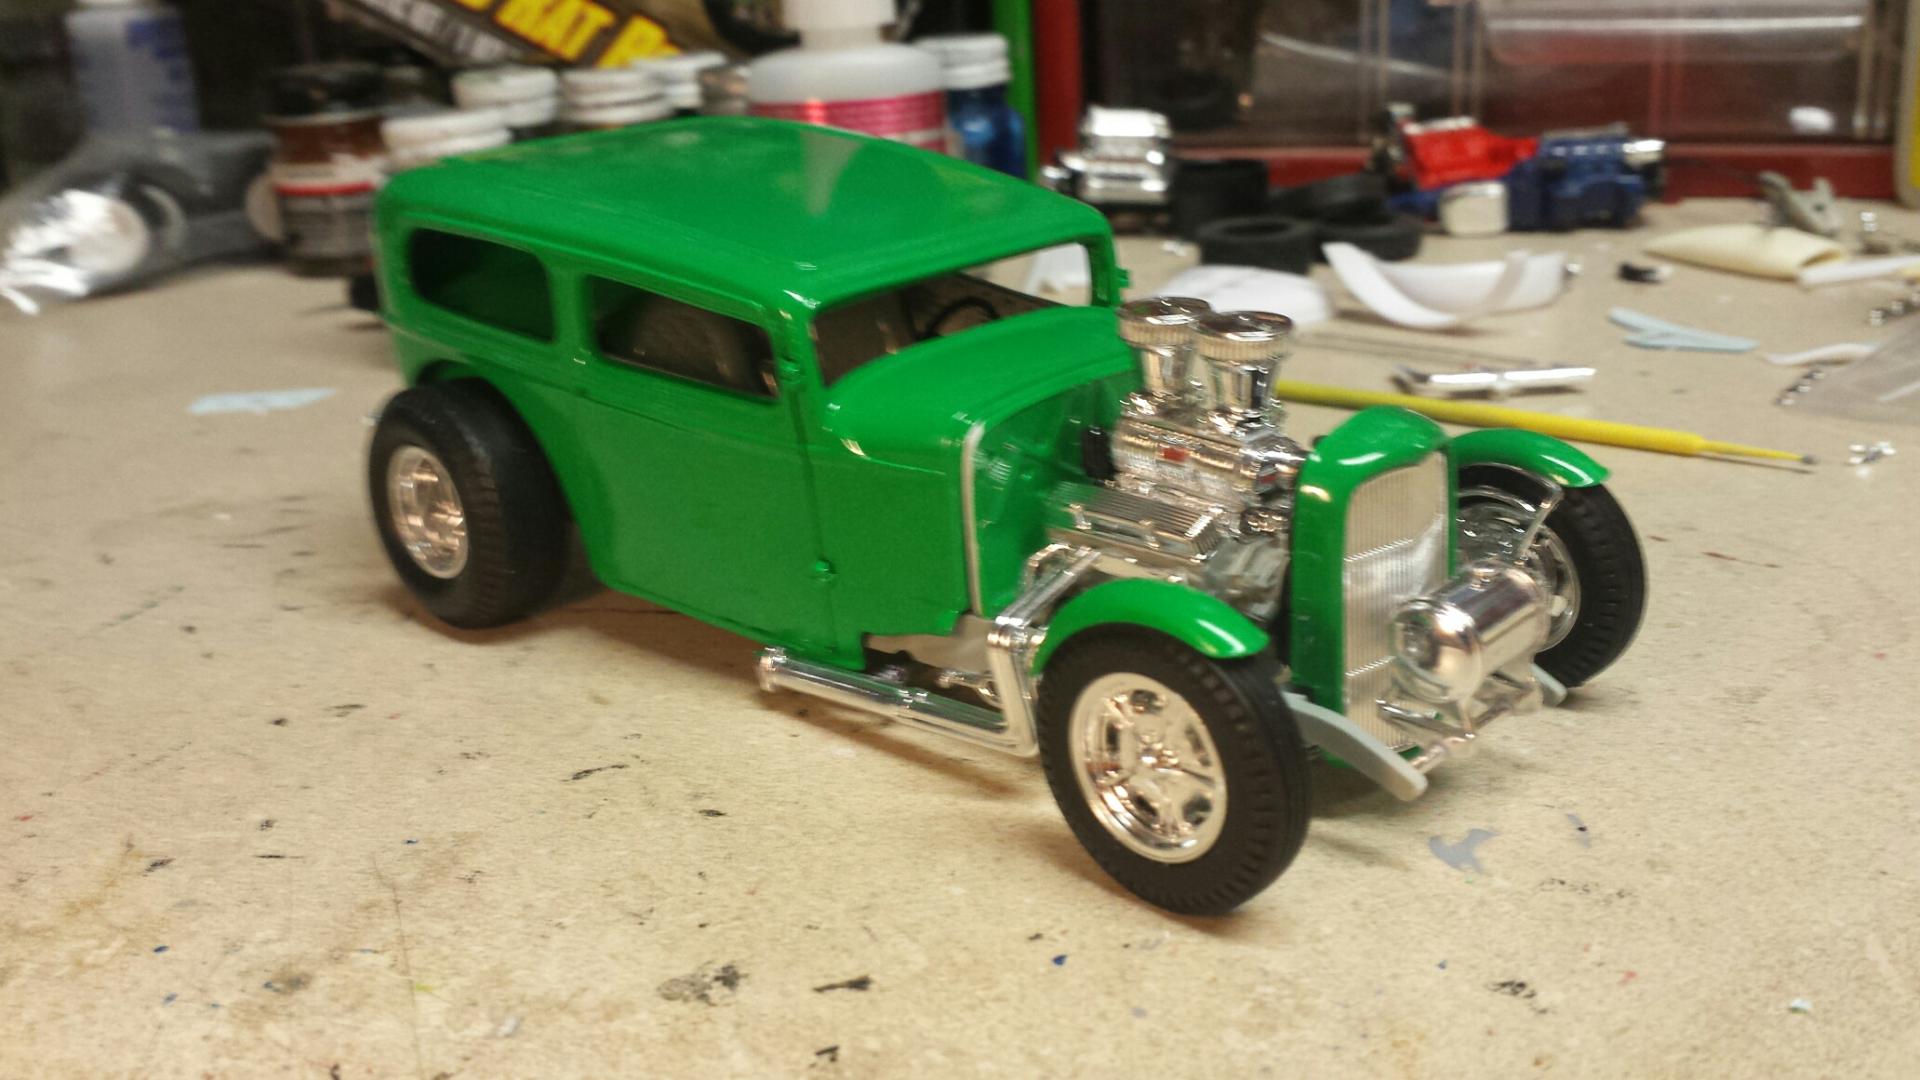
Starting new project. 32 ford, chopped the top. Compared to the stock one one the left. Opened the doors. Going to open the cowl vent also. The rear deck lid is already cut out. Using a flathead out of the 37 revell truck kit. Wheels from scale Motorsport. Have the model car garage photo etch grill. Do not have a color yet. Built a couple ,but not like this. Hope you like.
-
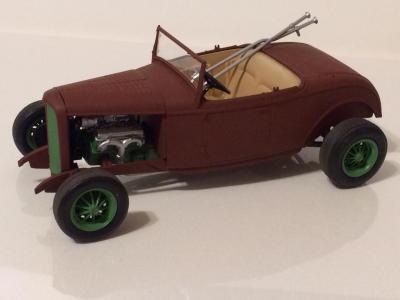
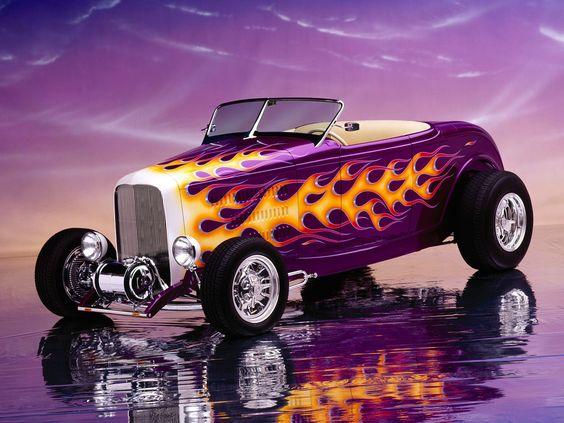
This is a car that I had my eye on 18 years ago. I bought Revell's 32 Ford Highboy kit and wanted to build a replica. Life happens and it was mothballed ...... until now !! I have these flame decals from a Revell '37 Ford Coupe kit that I was thinking of using, either that, or I stencil my own flames on there ? TCB, Adam
-
Another just for fun build. The goal was to make the outside look traditional, but have everything underneath modern. Like a best of both worlds. It's the old AMT Phantom Vickie kit with a few changes made to it. The chassis is straight out of the box. The engine is from the kit also. But, I "backdated" it with a set of fake Hemi valve covers and a modernized Hilborn style fuel injection setup from an AMT '53 Ford pickup. Headers are from the Revell '50 F-1. The wheels and tires are from a Revell '32 sedan with the rears deepened. They're painted with Stainless Steel. The only changes to the interior are the seats from an AMT '34 sedan and the steering wheel from a '34 pickup. Paint is Tamiya Dull Red. The body got the cowl and windshield frame from a Revell '32 roadster. It's painted Tamiya Mica Silver. The top was modified to fit the new frame and also painted Dull Red. I'm pretty happy with how it turned out considering the time and effort I put into it. Thanx for checking it out!
-
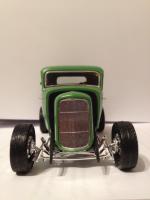
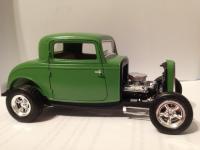
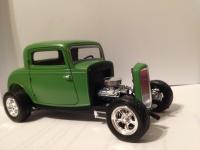
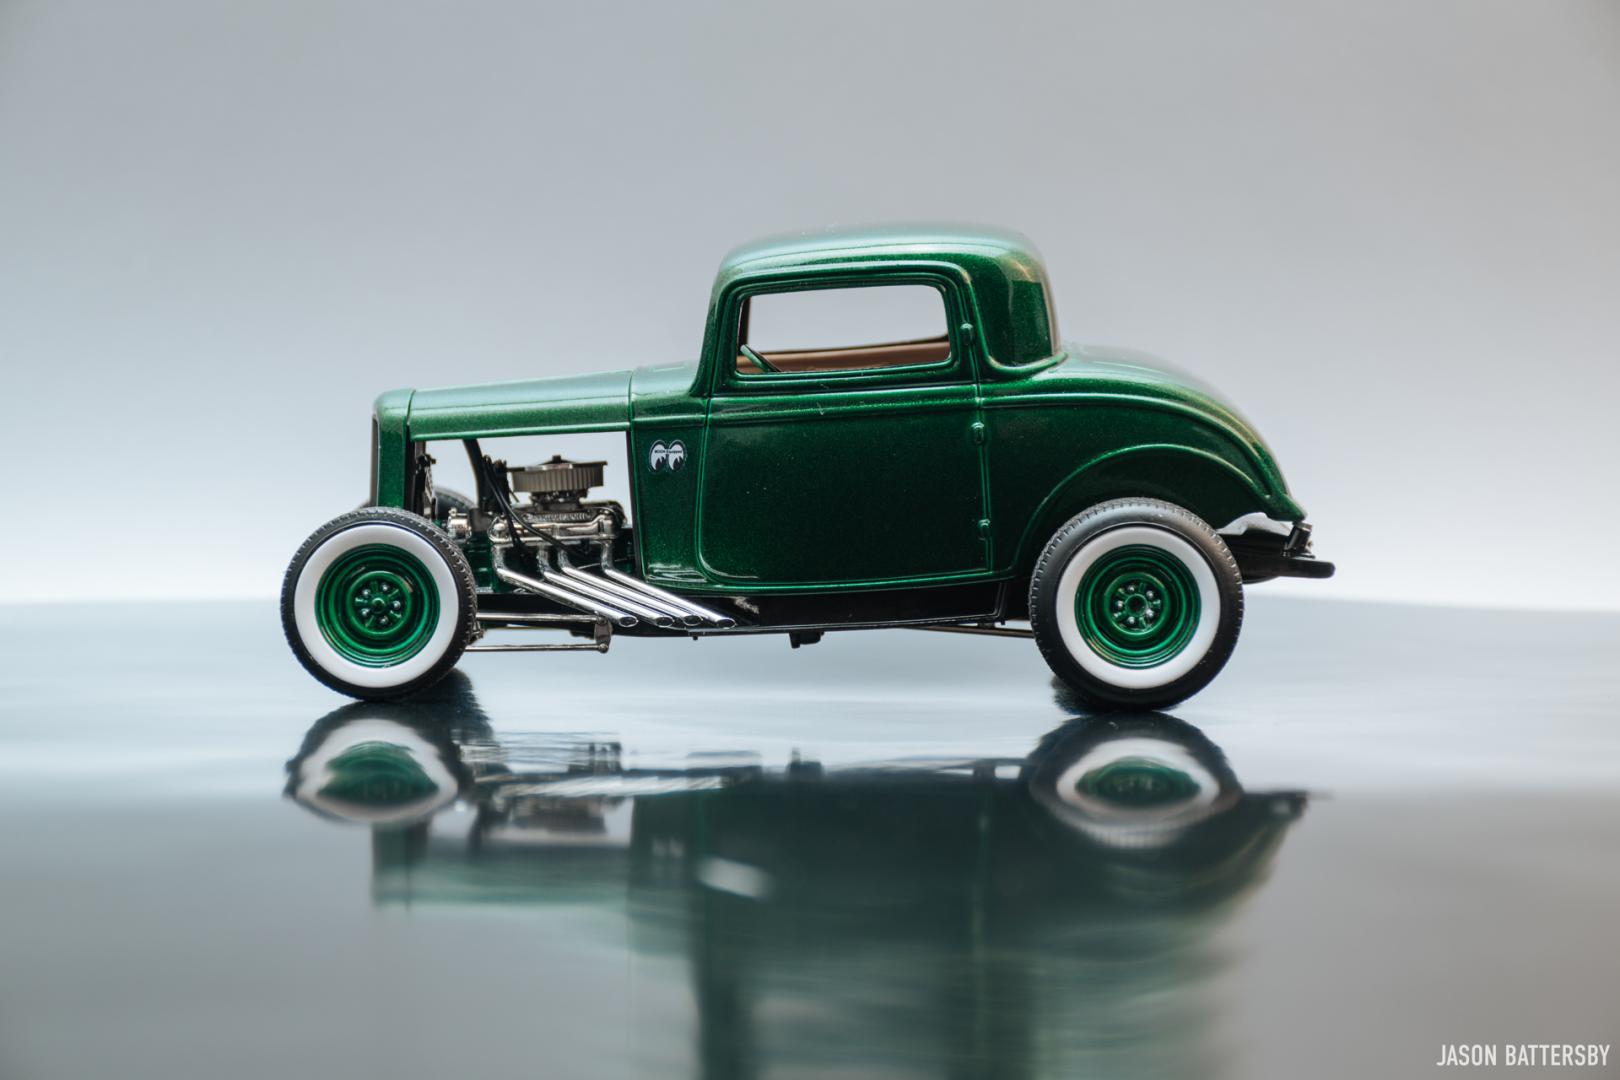
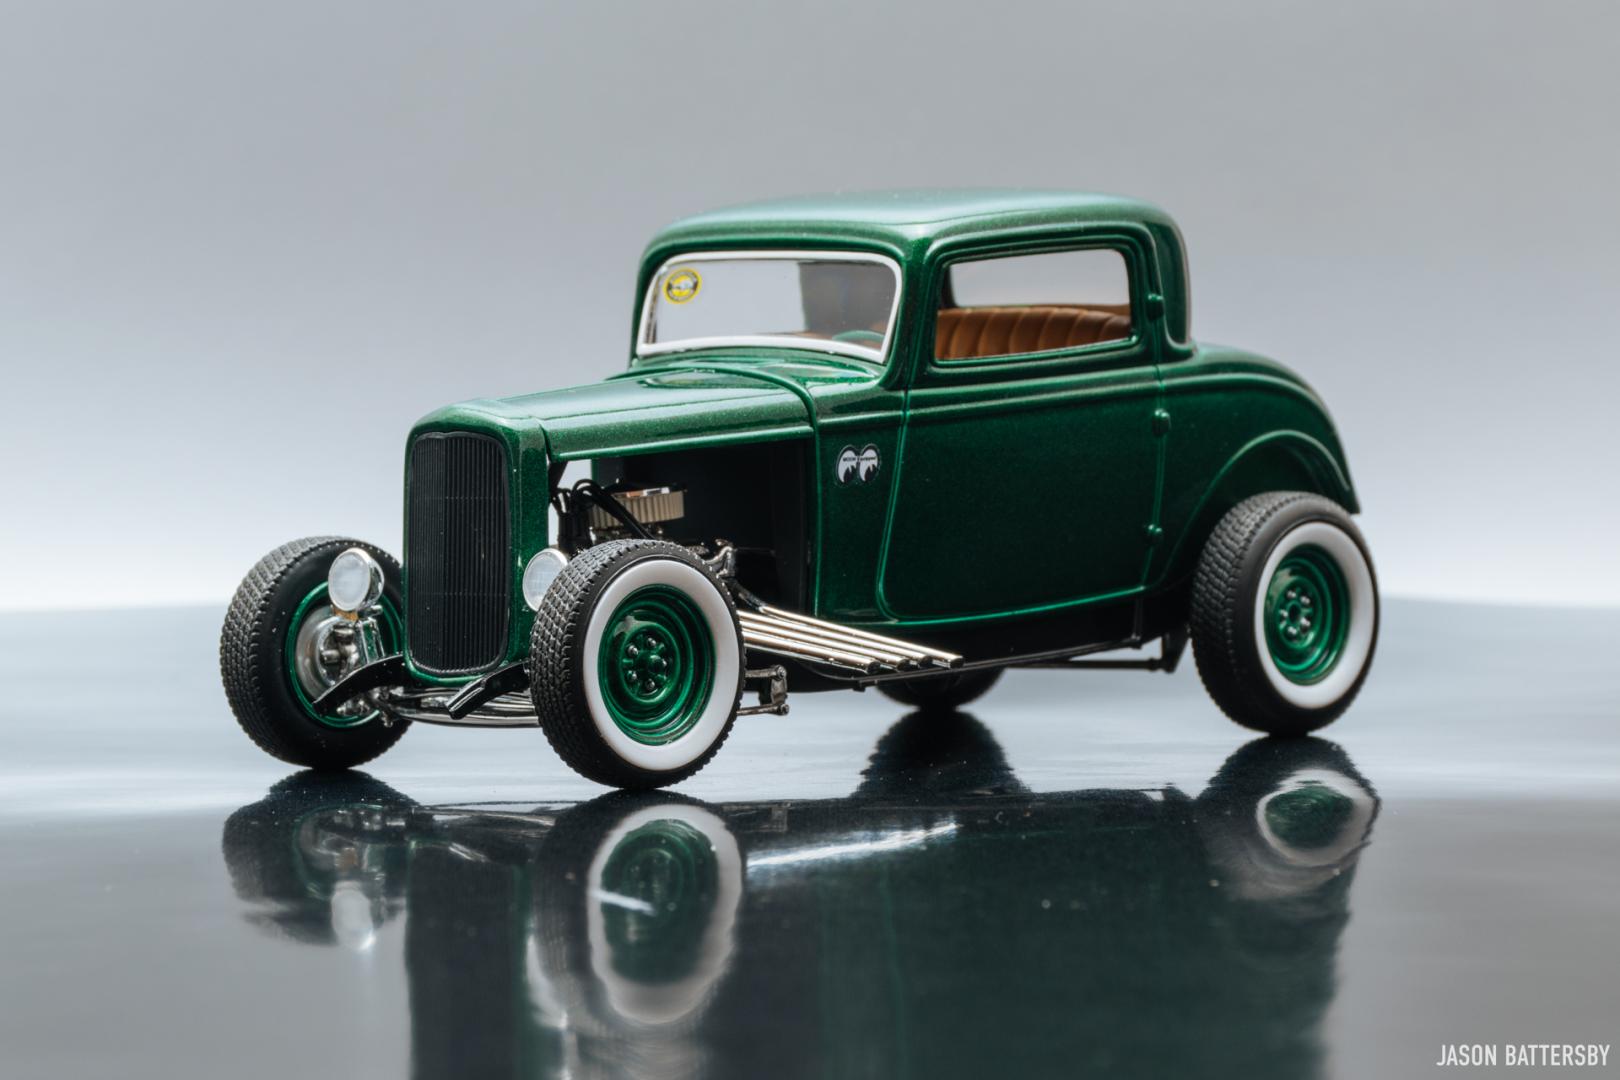
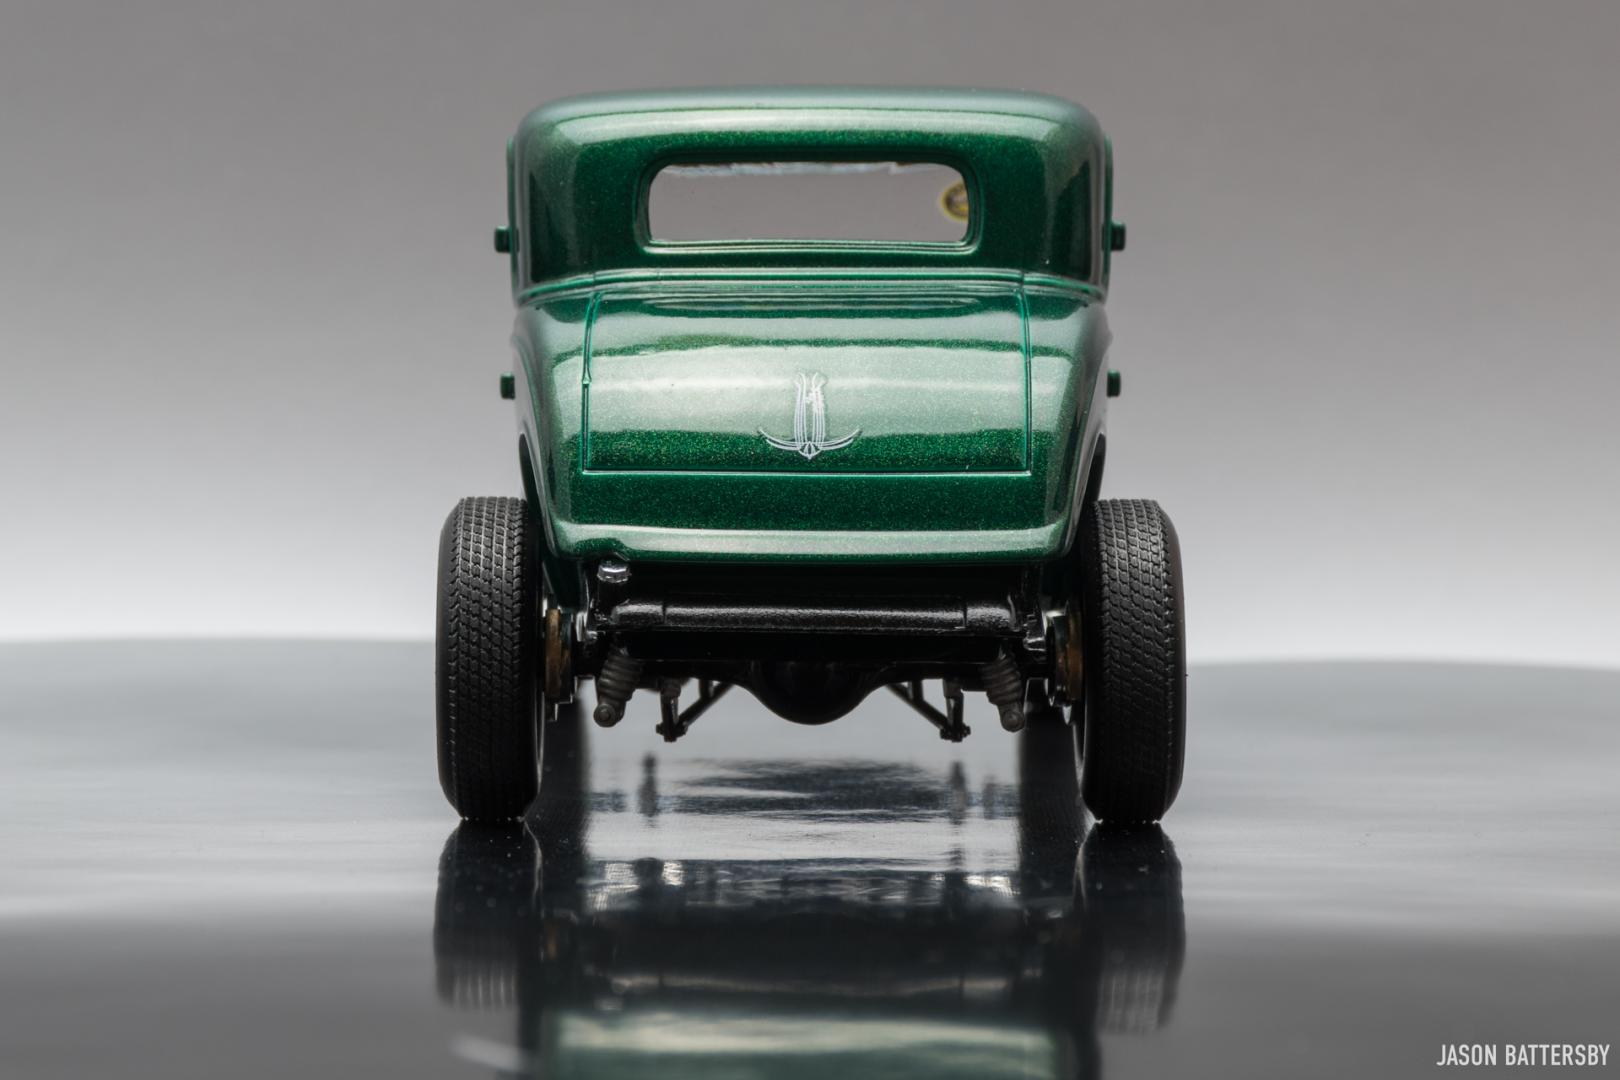
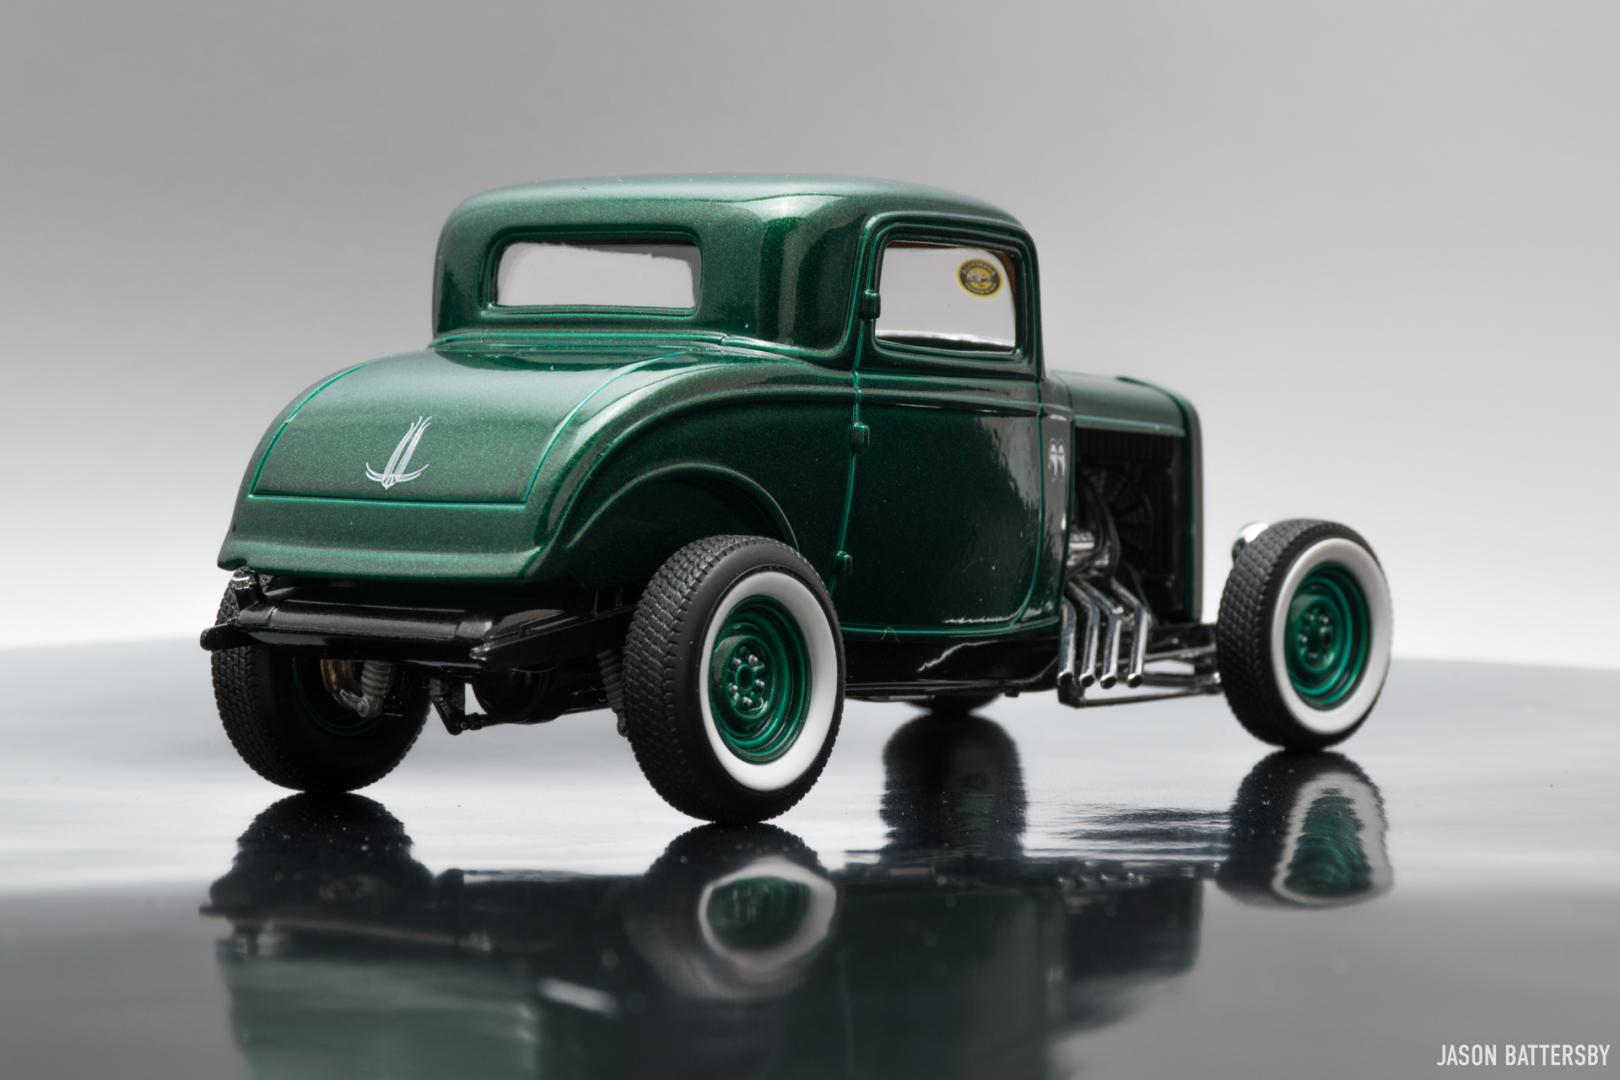
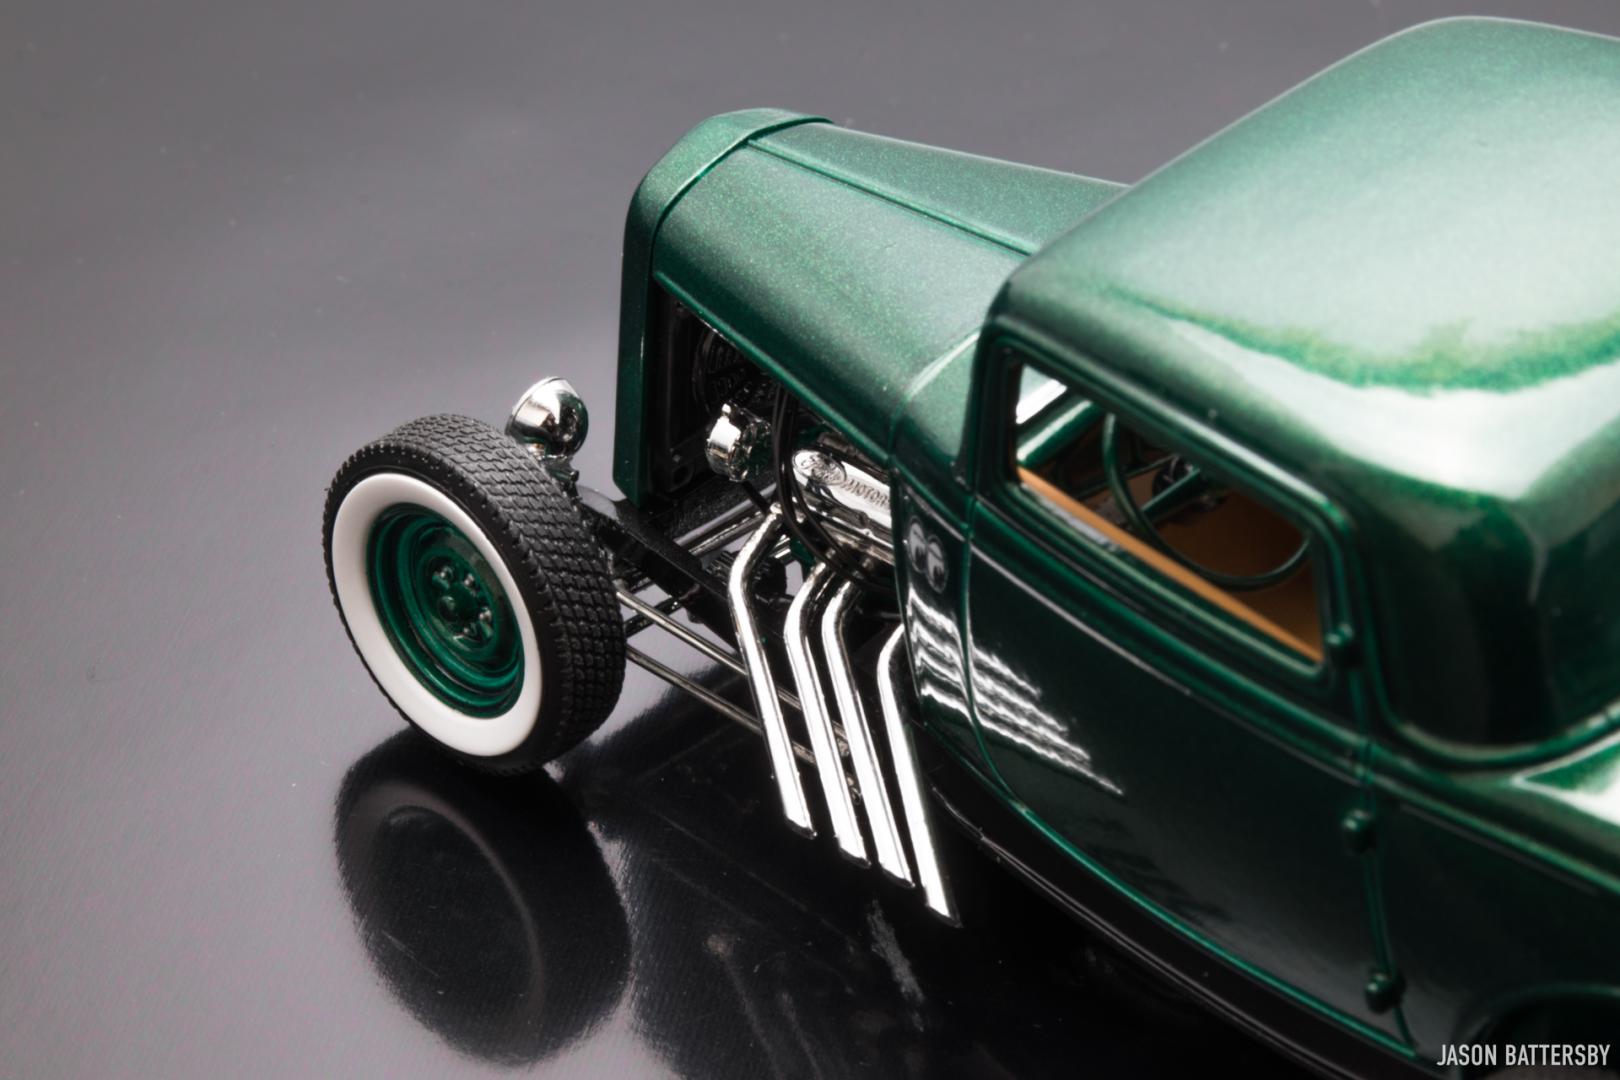
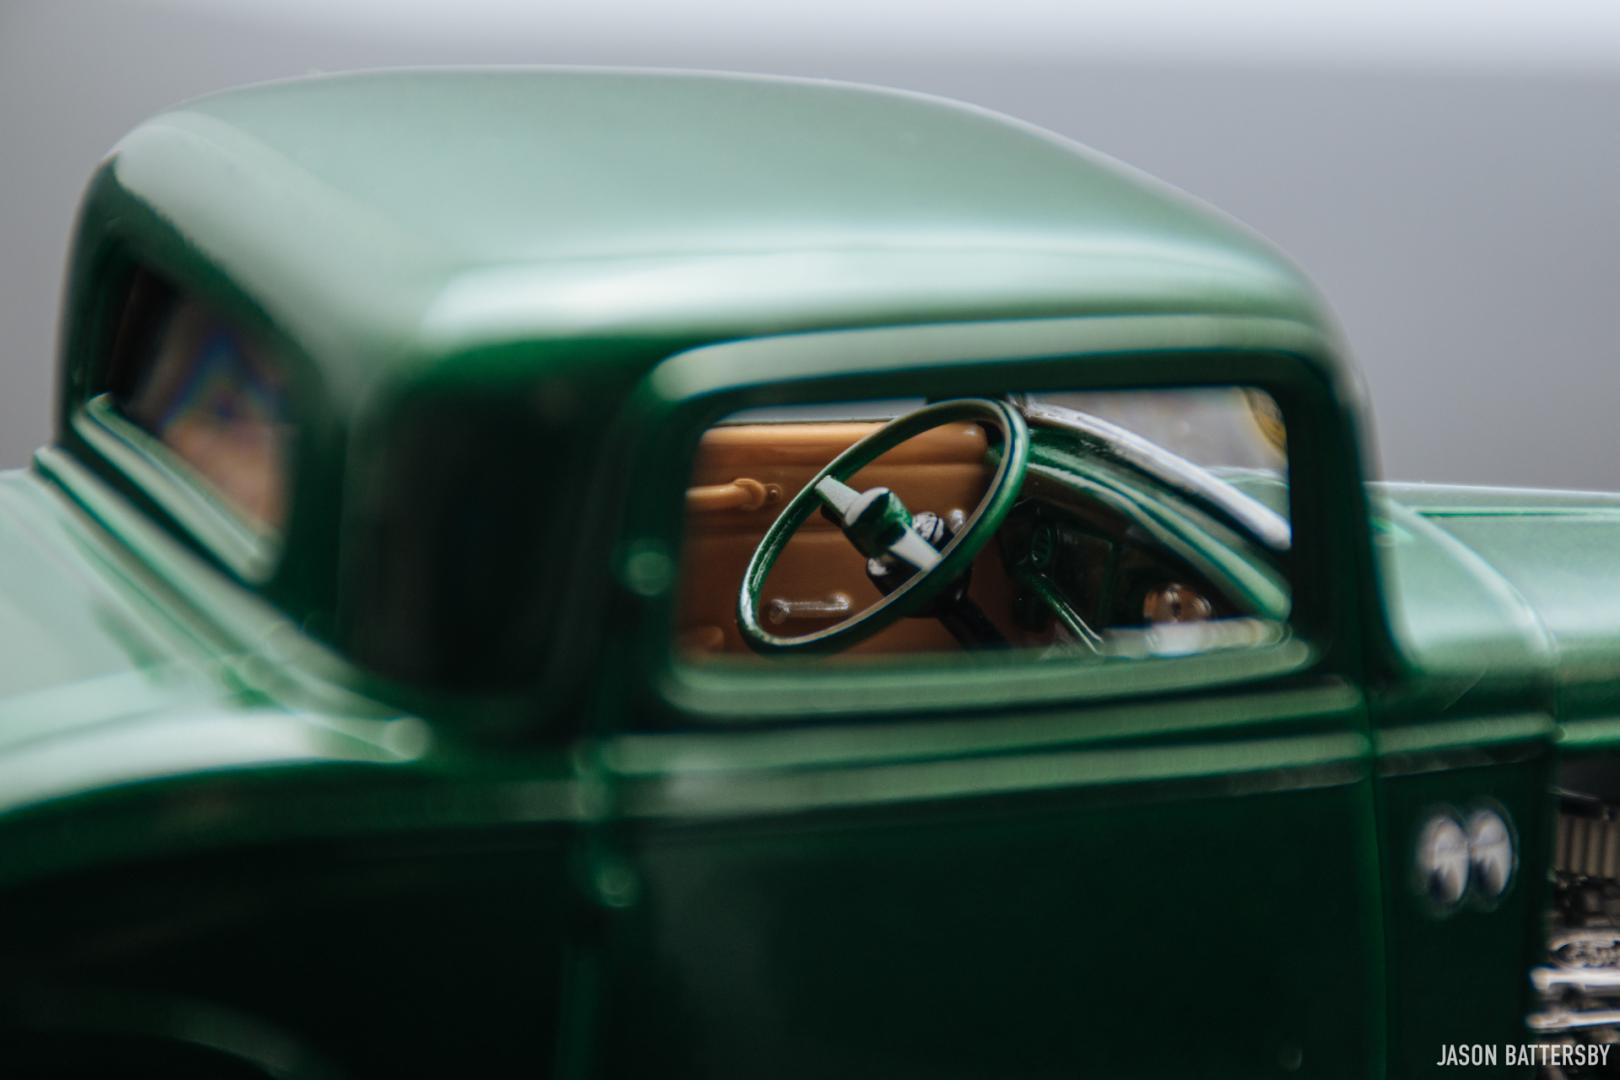
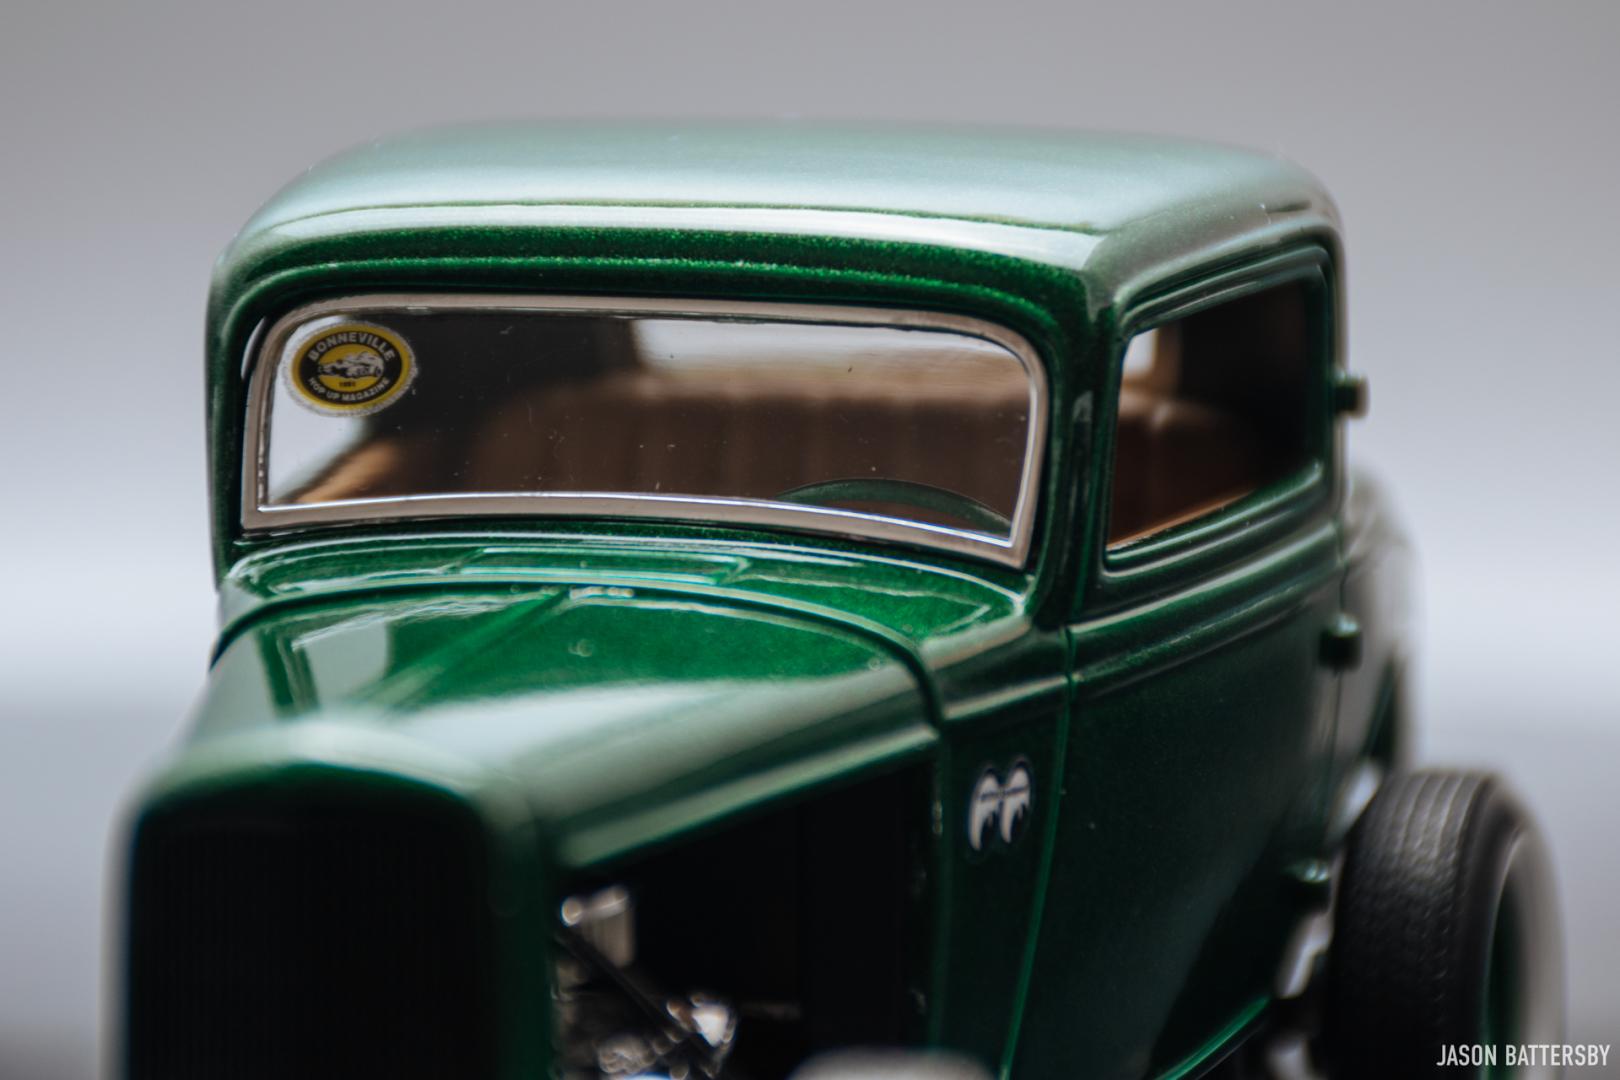
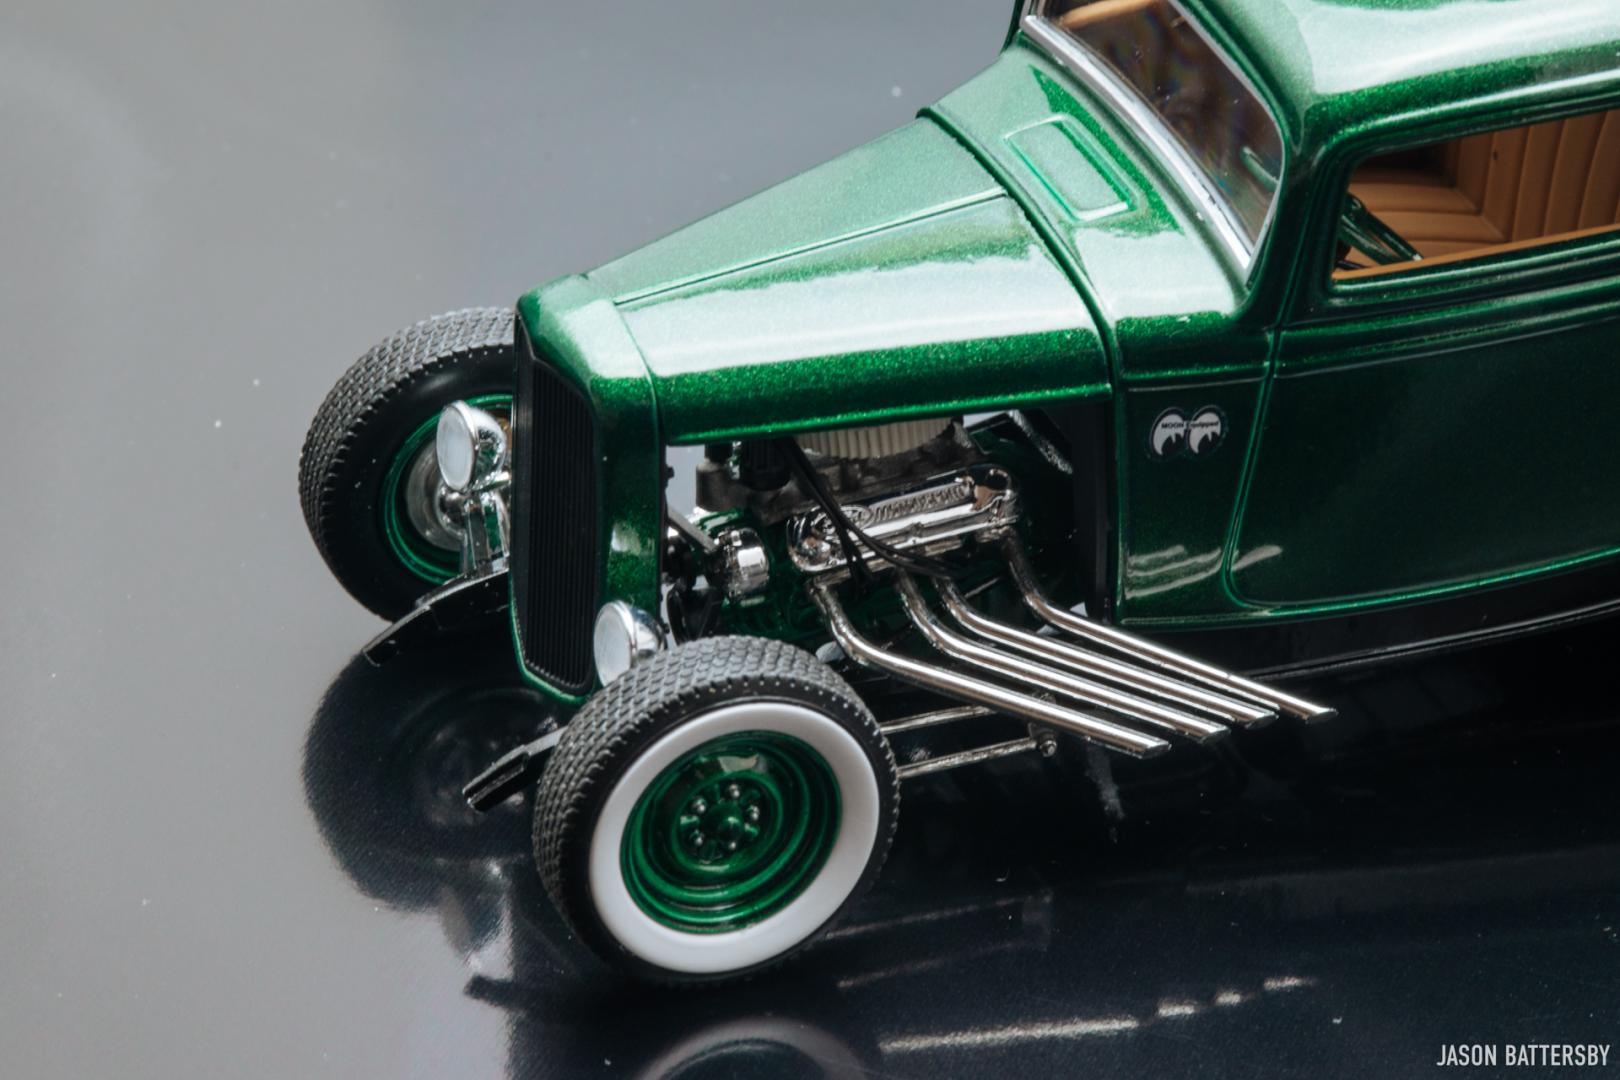
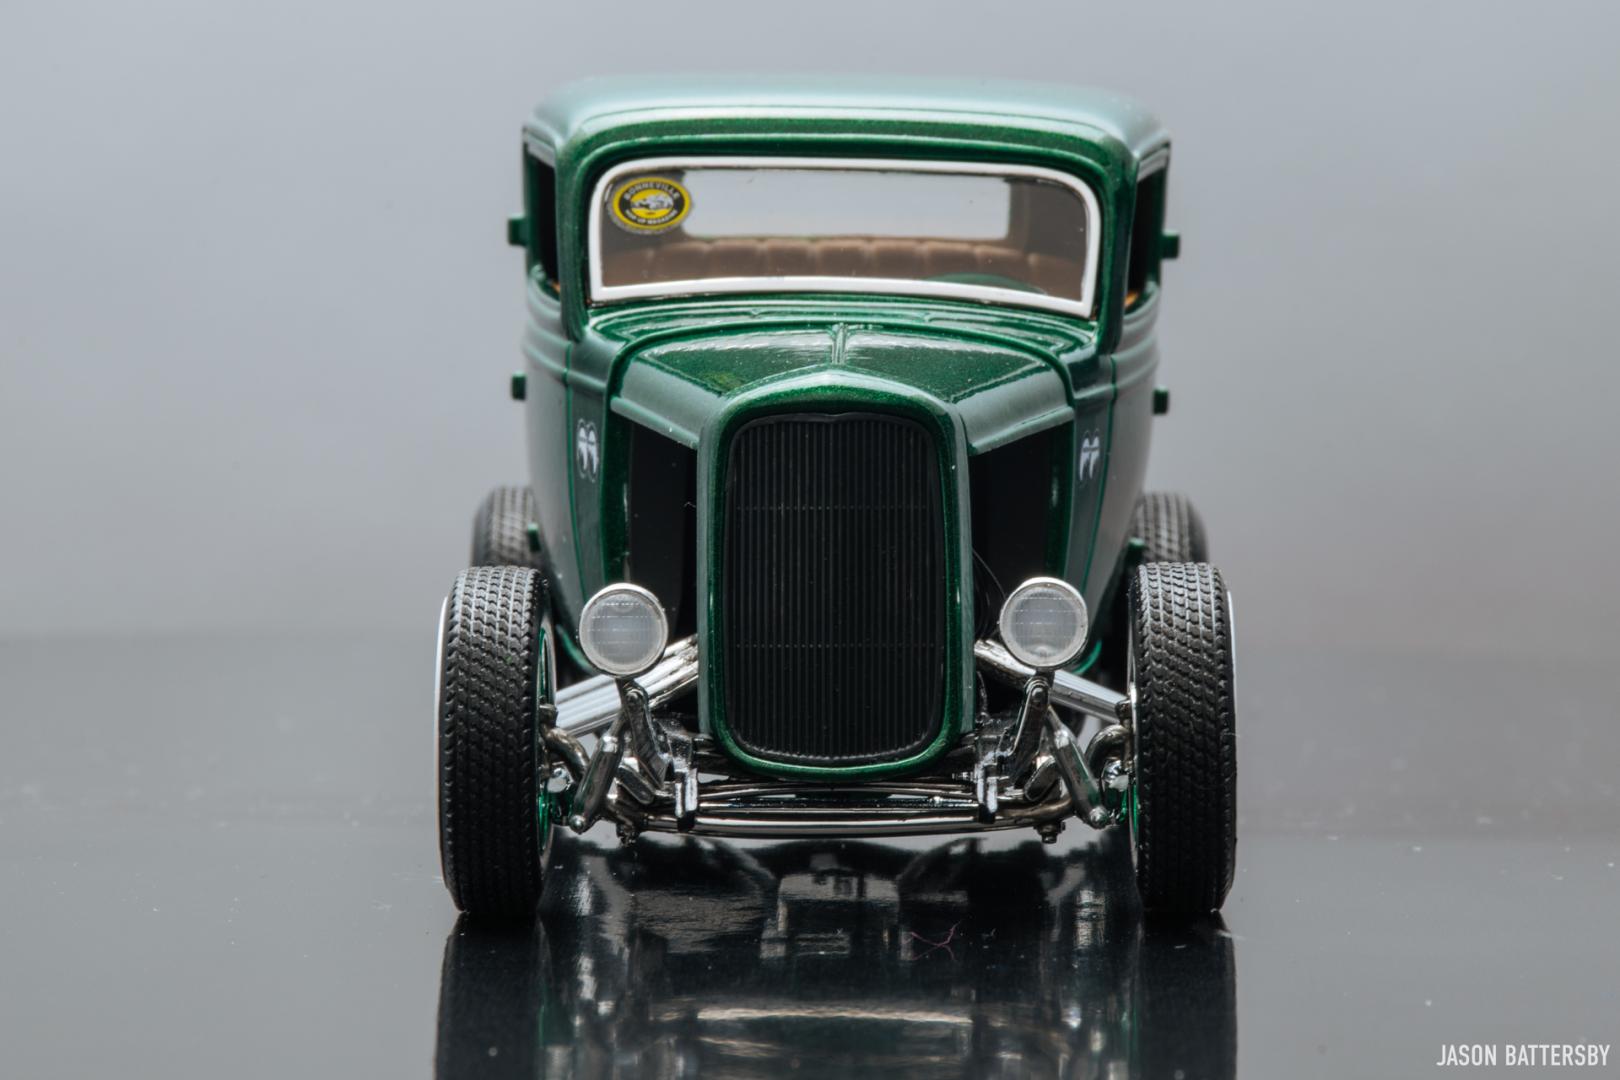
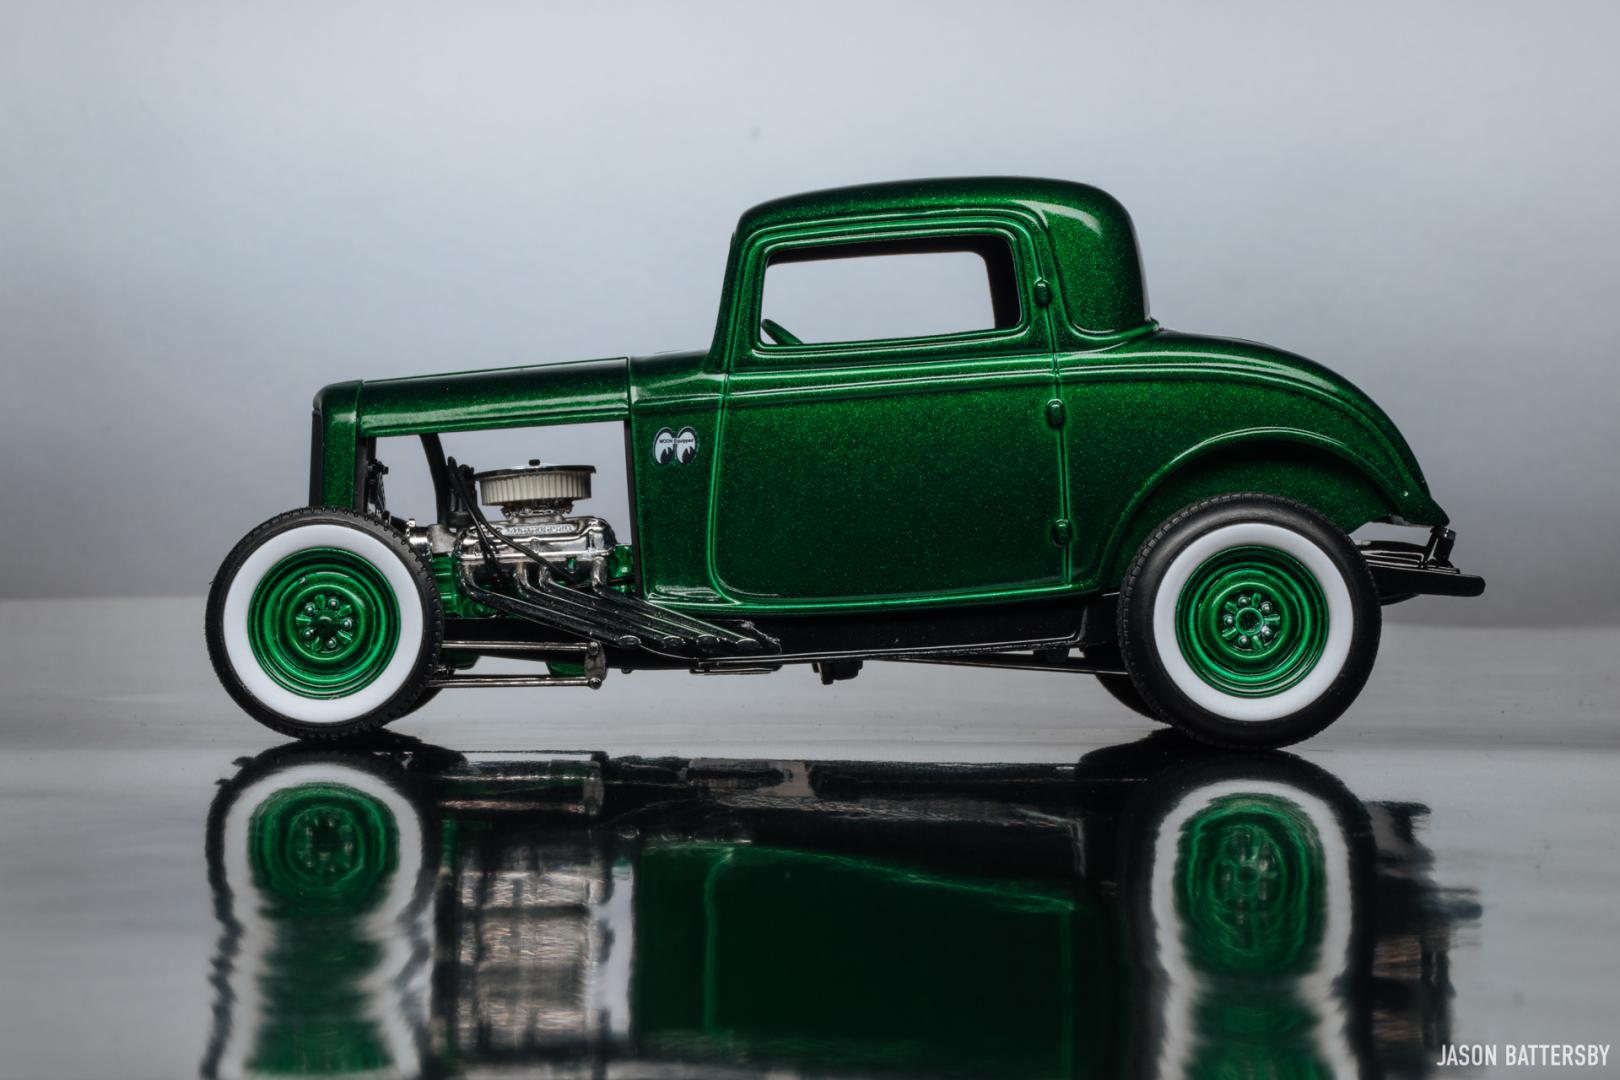
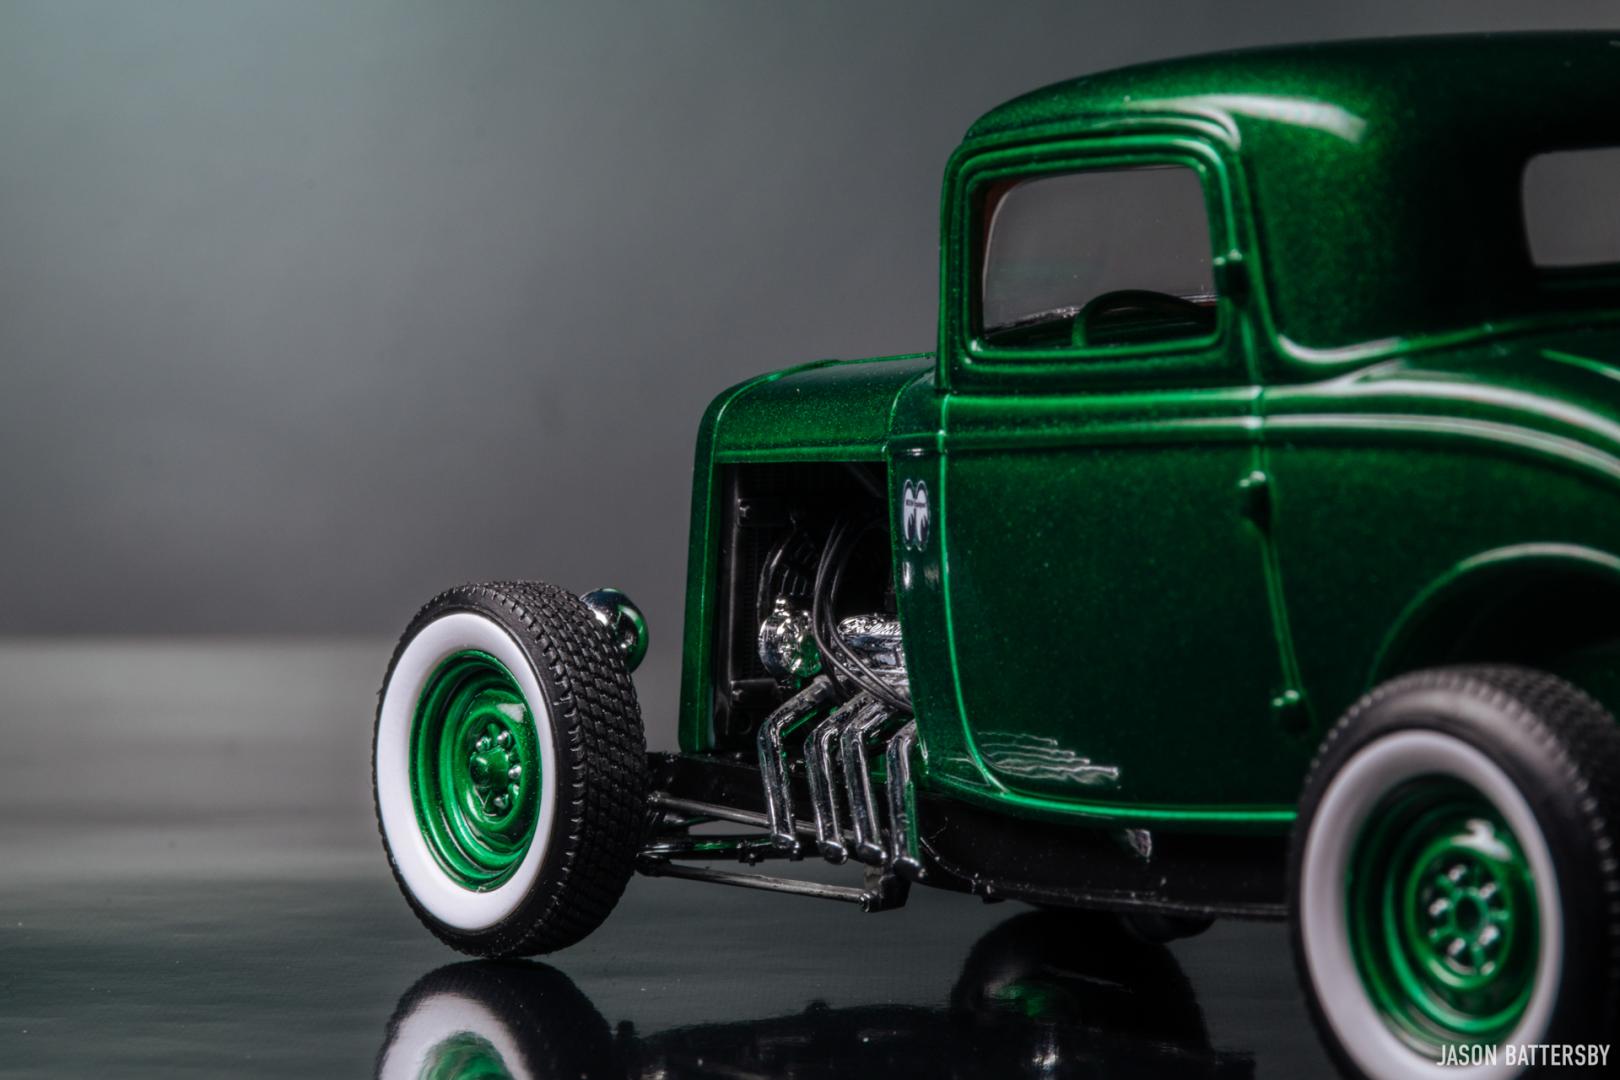
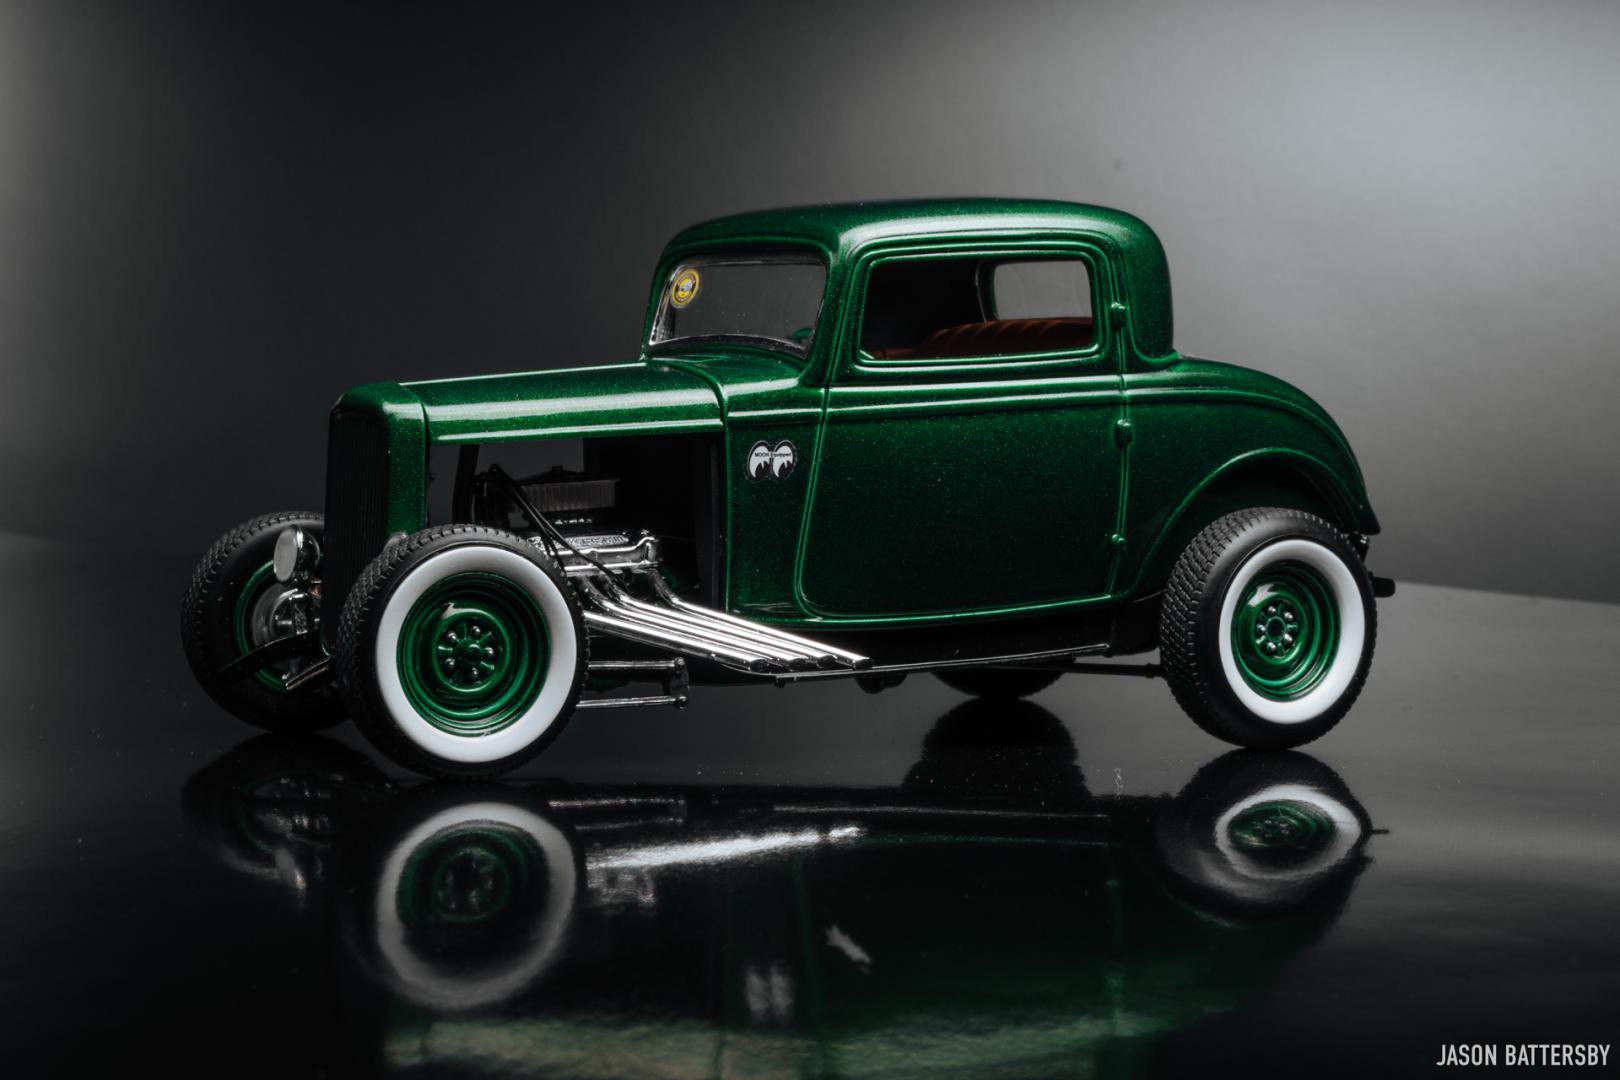
Hi all, it's been a long time since I posted a finished build here on the forum, but finally I found the time to upload some images. The Bonneville Coupe as I call it is basically a box stock 1932 Ford 3-Window Coupe without the fenders. Modifications are the wheel and tire combo, and the straight pipe headers. The paint is Testors Green Metal Flake(1630) from a can, no clear overtop. For more updates on my builds, please follow me on Instagram @scaled_models as I update there regularly. Cheers!
-
The MPC '32 Ford Sedan Delivery from the "Switchers" series returns, this time with Coca-Cola decals:
-
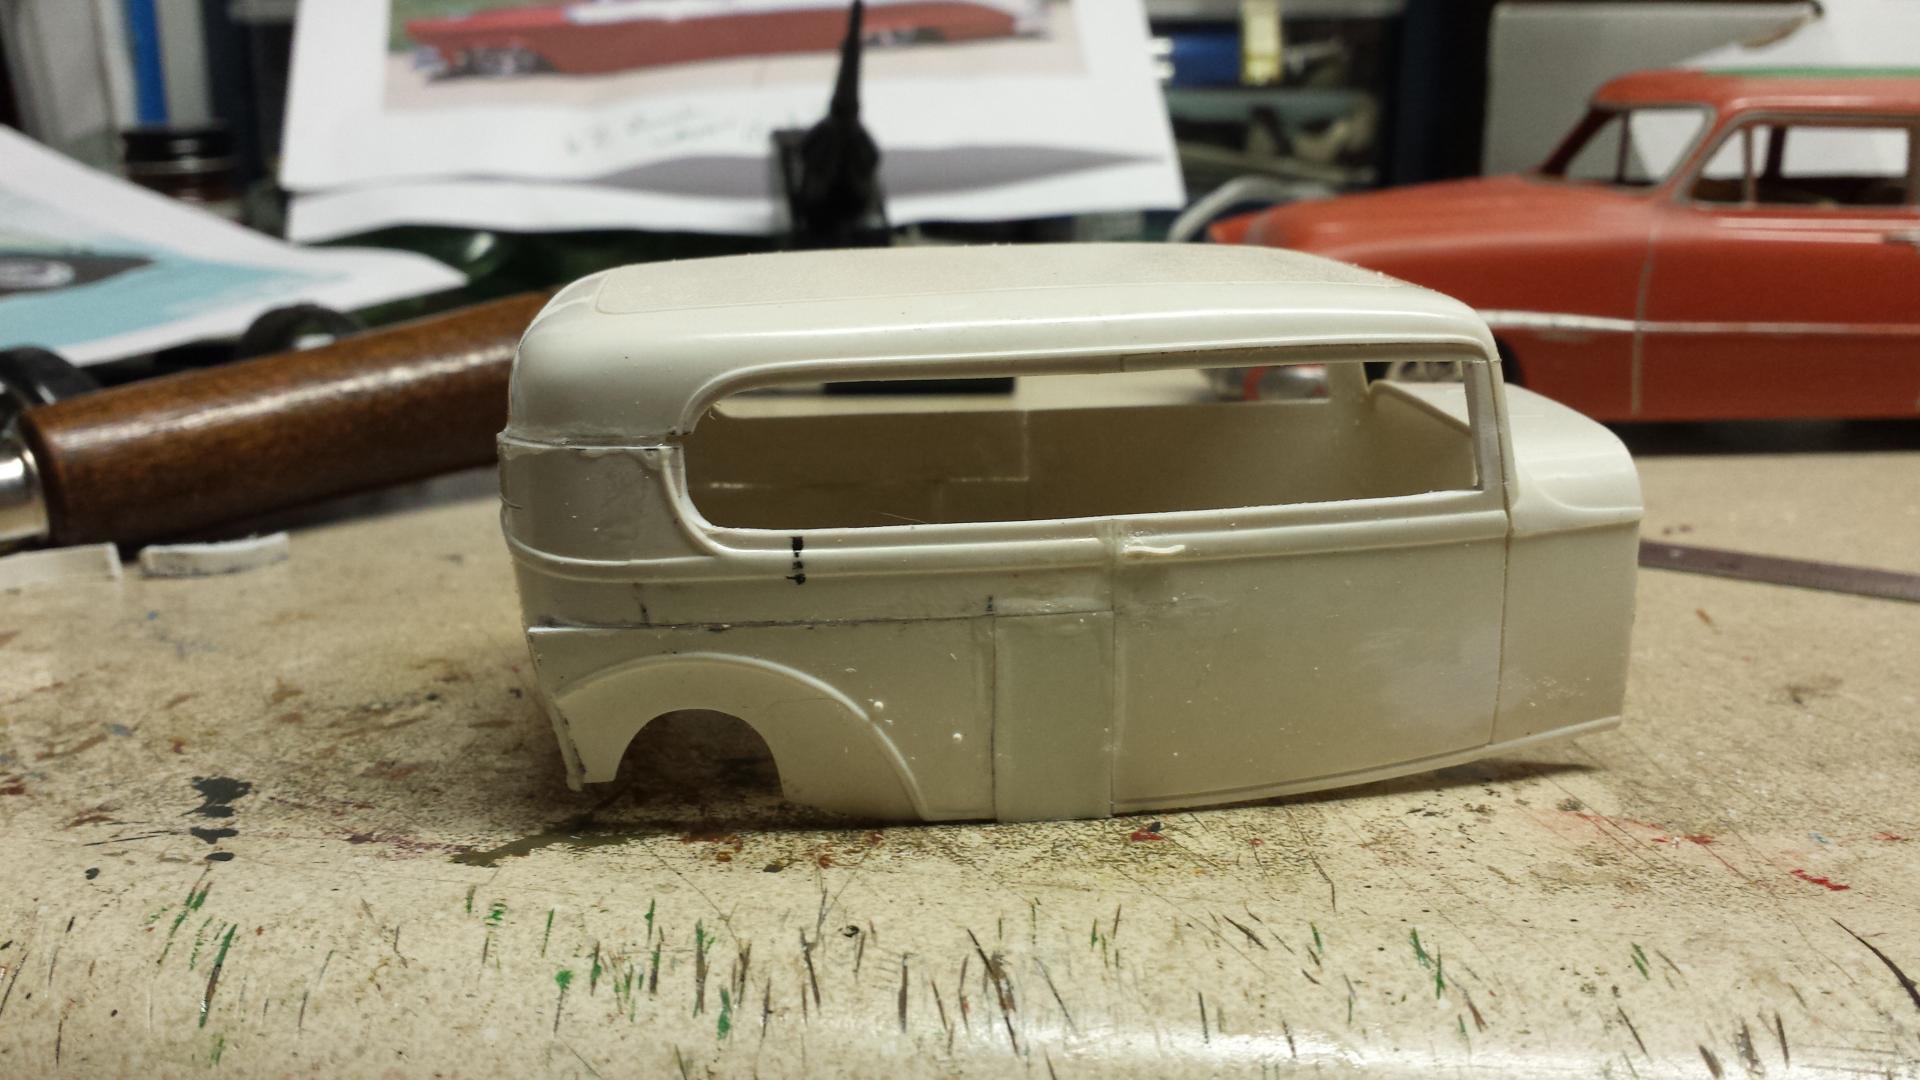
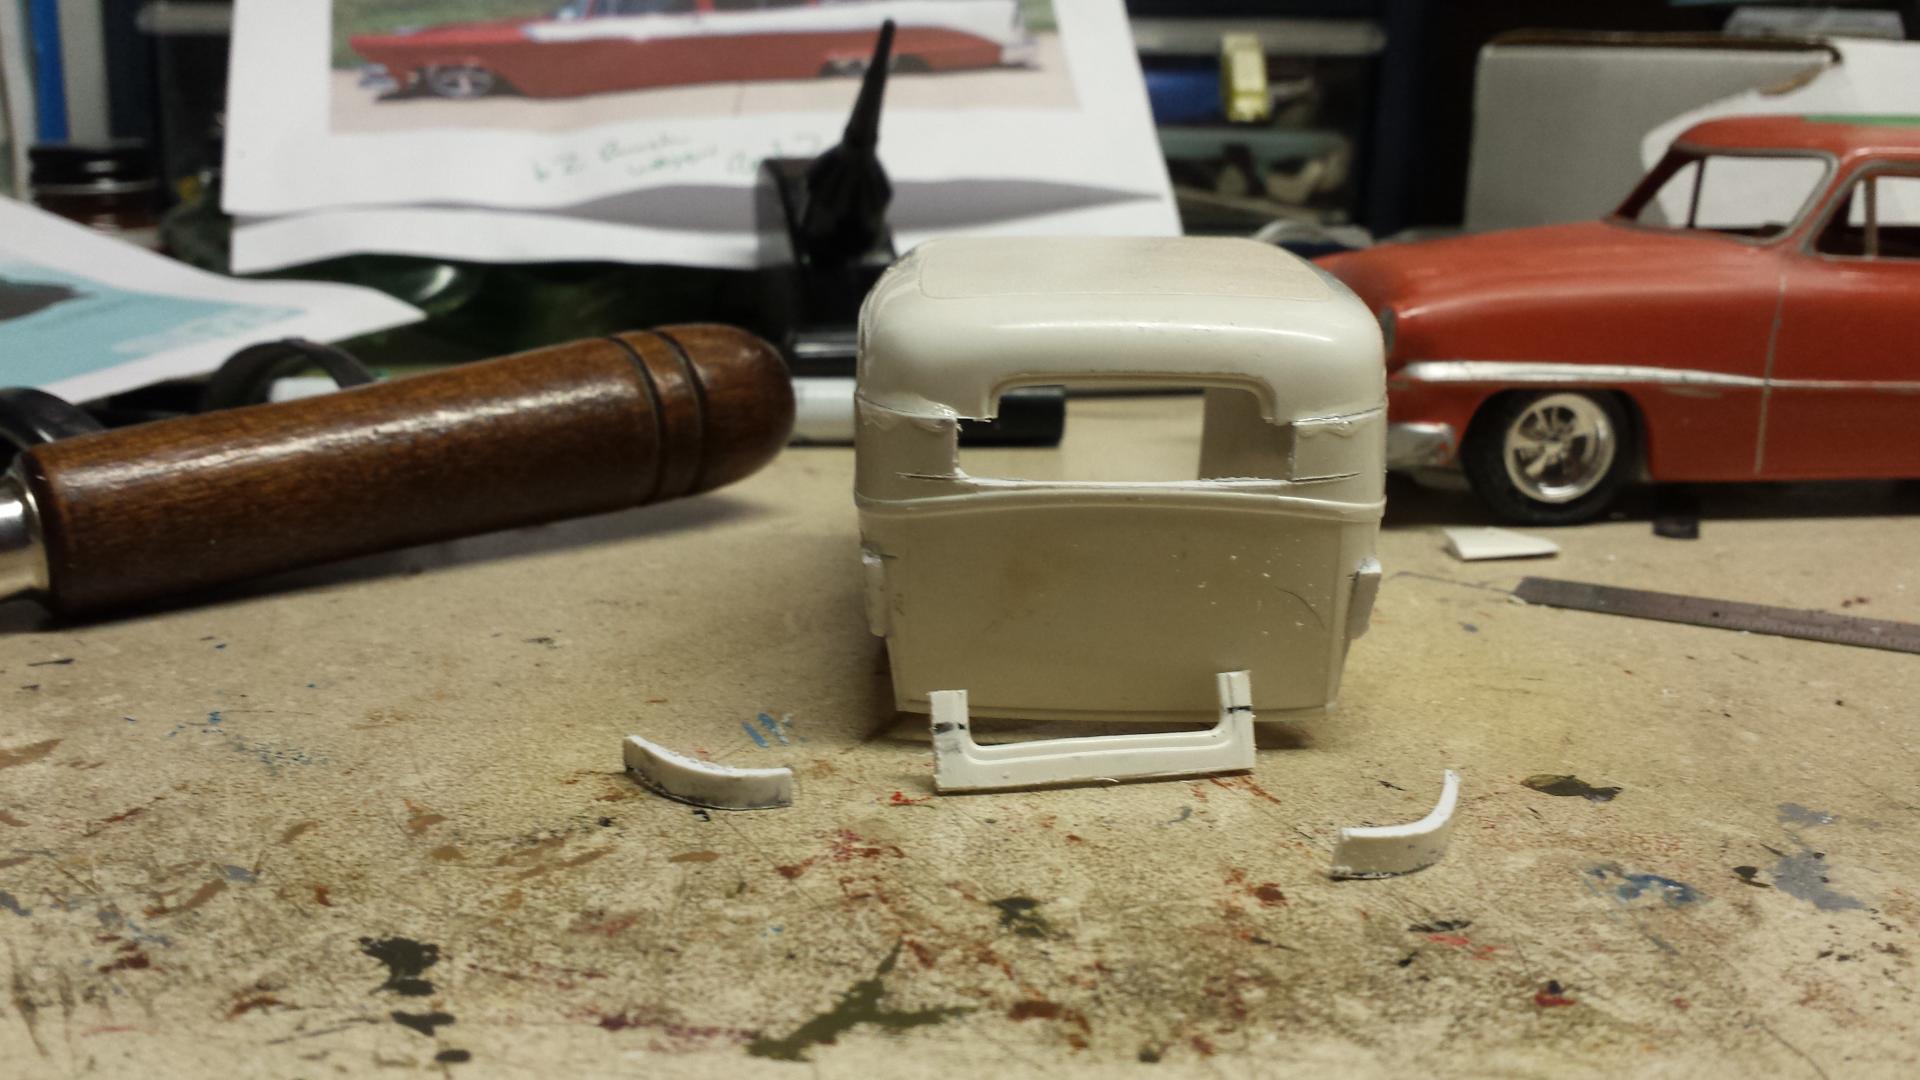
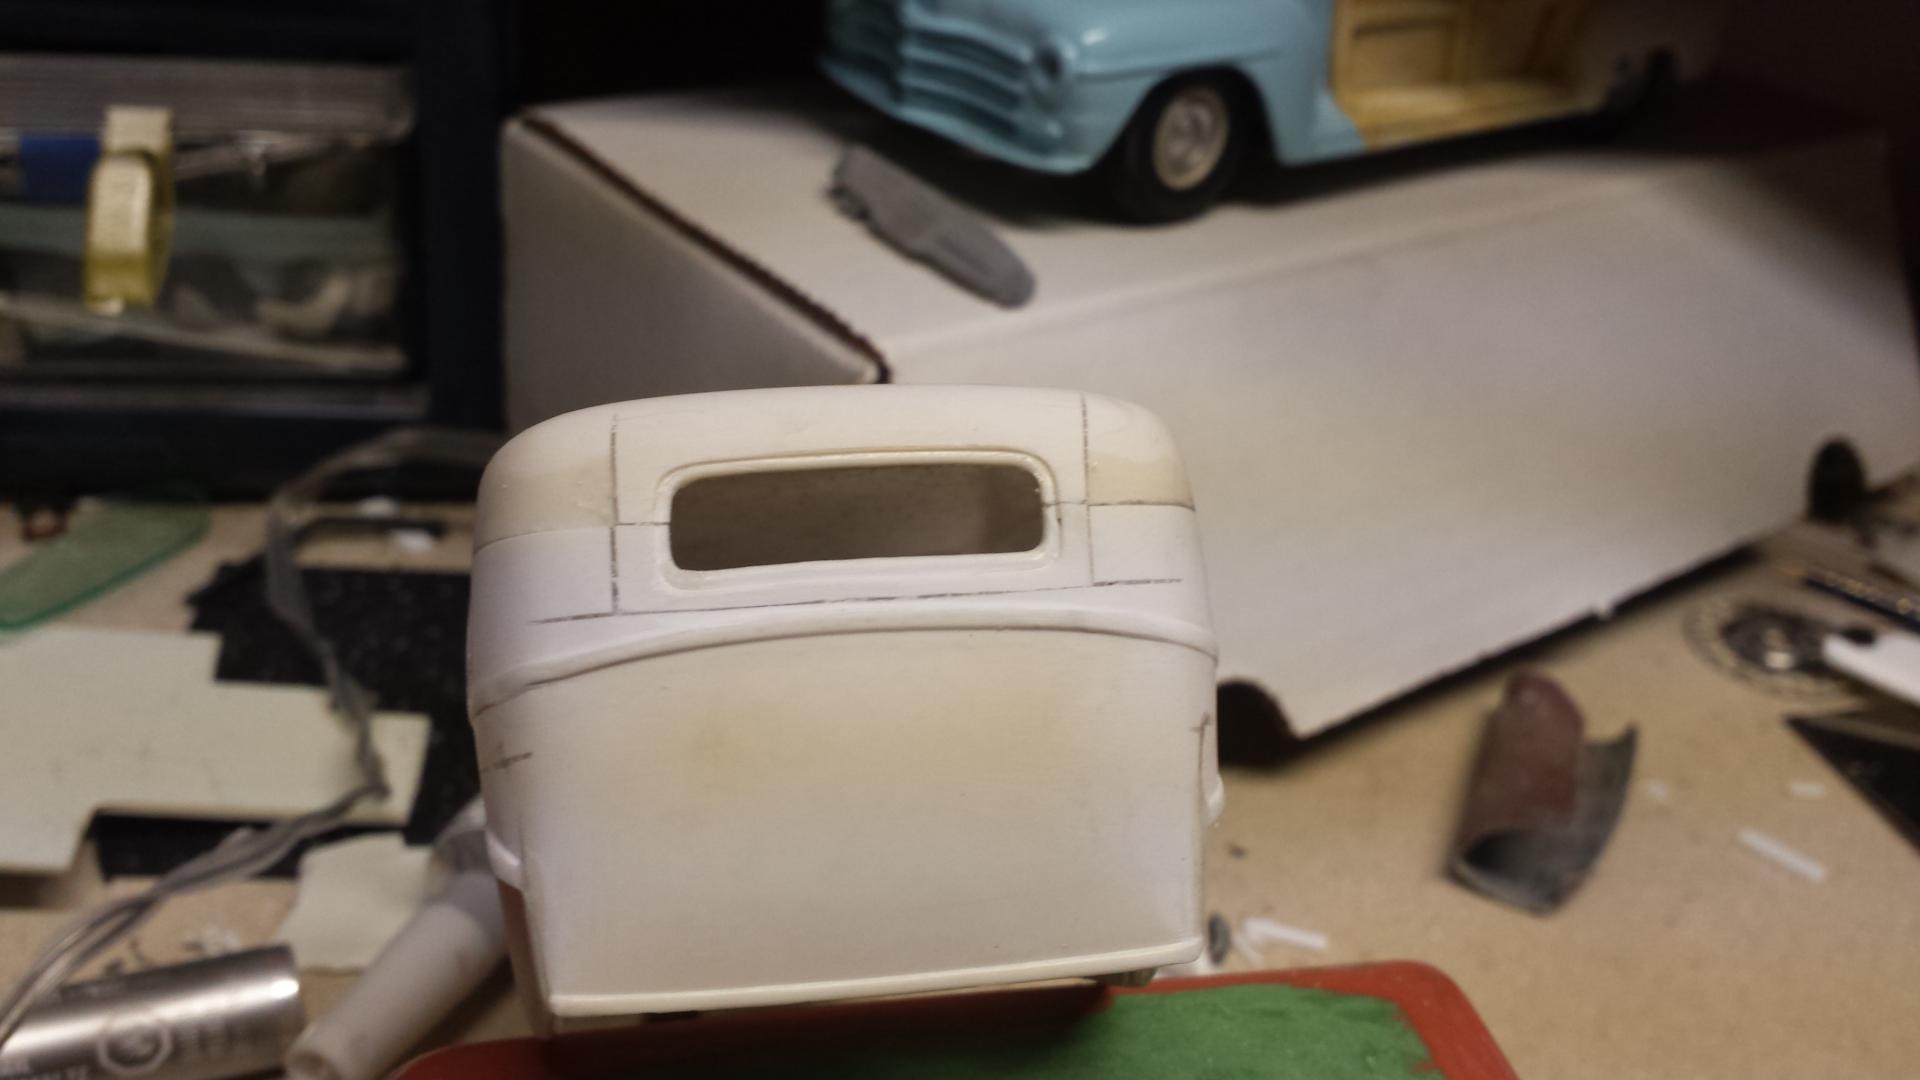
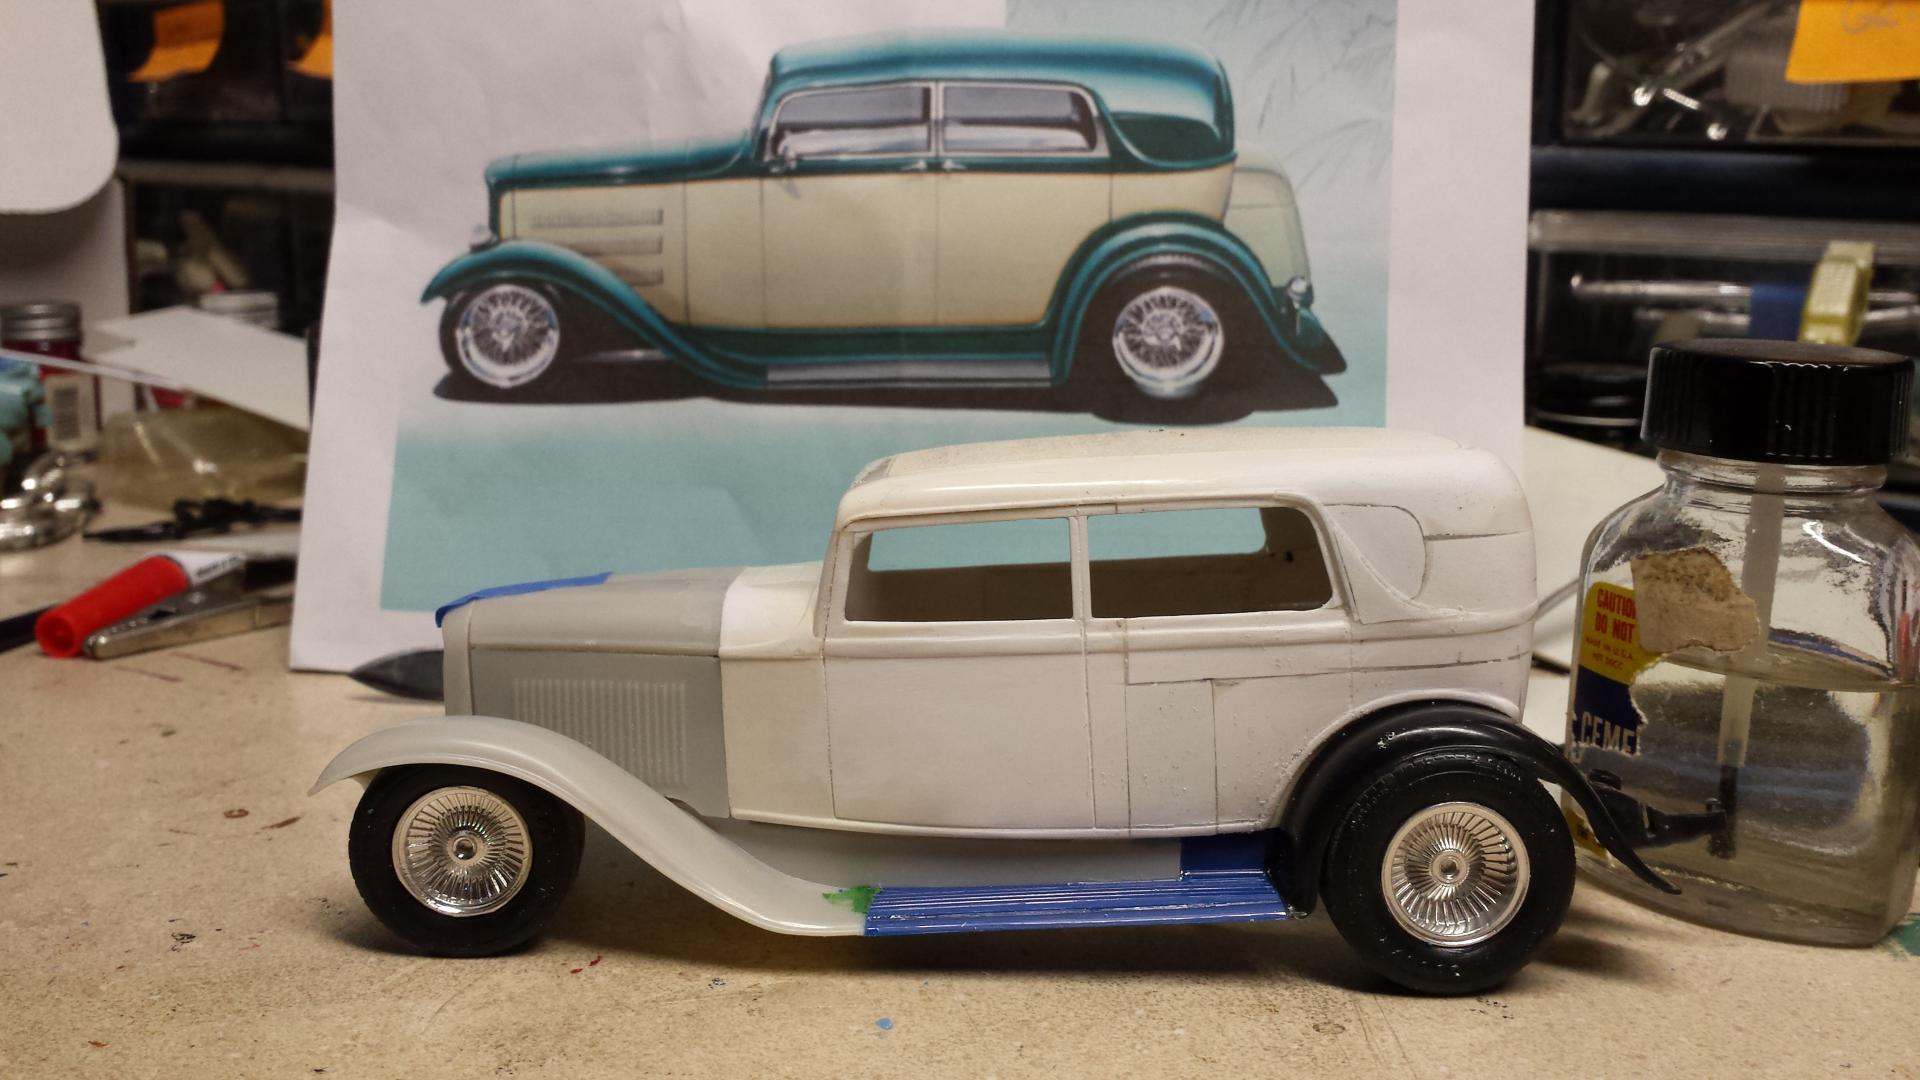
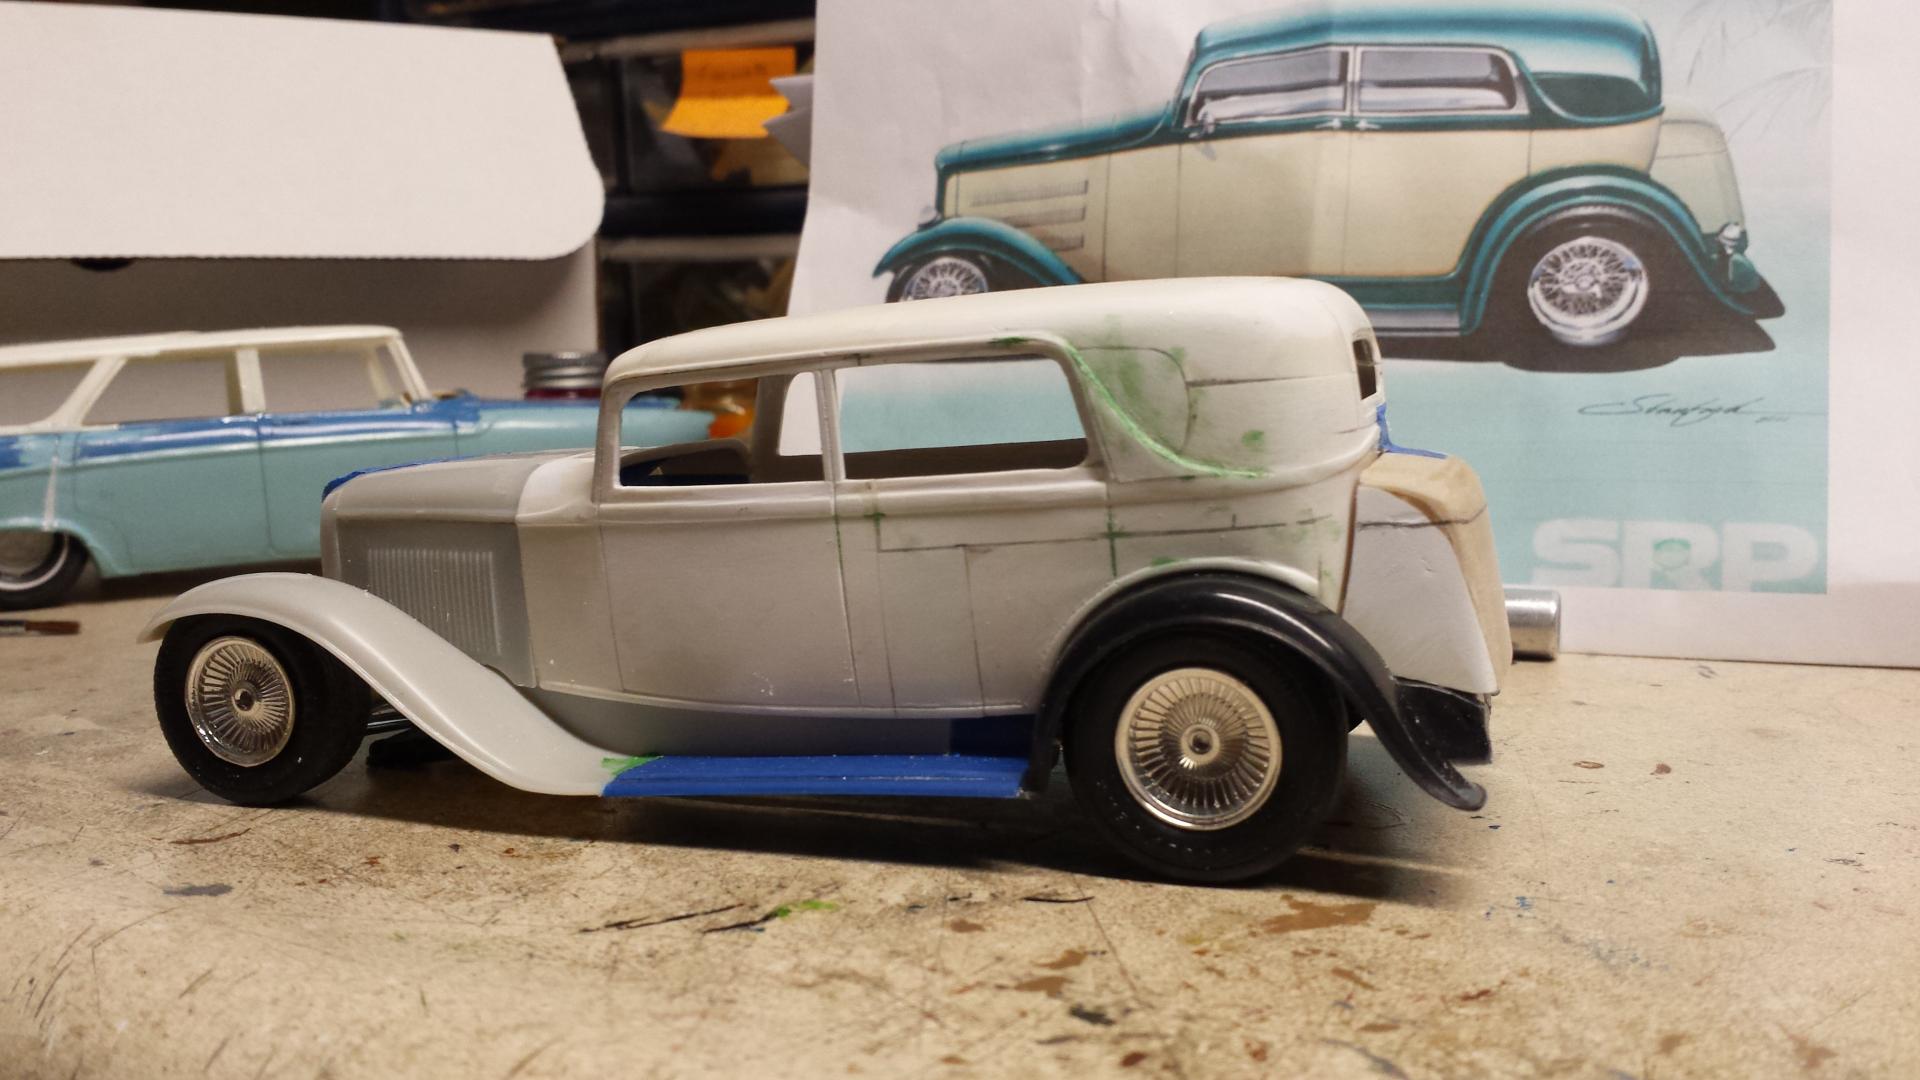
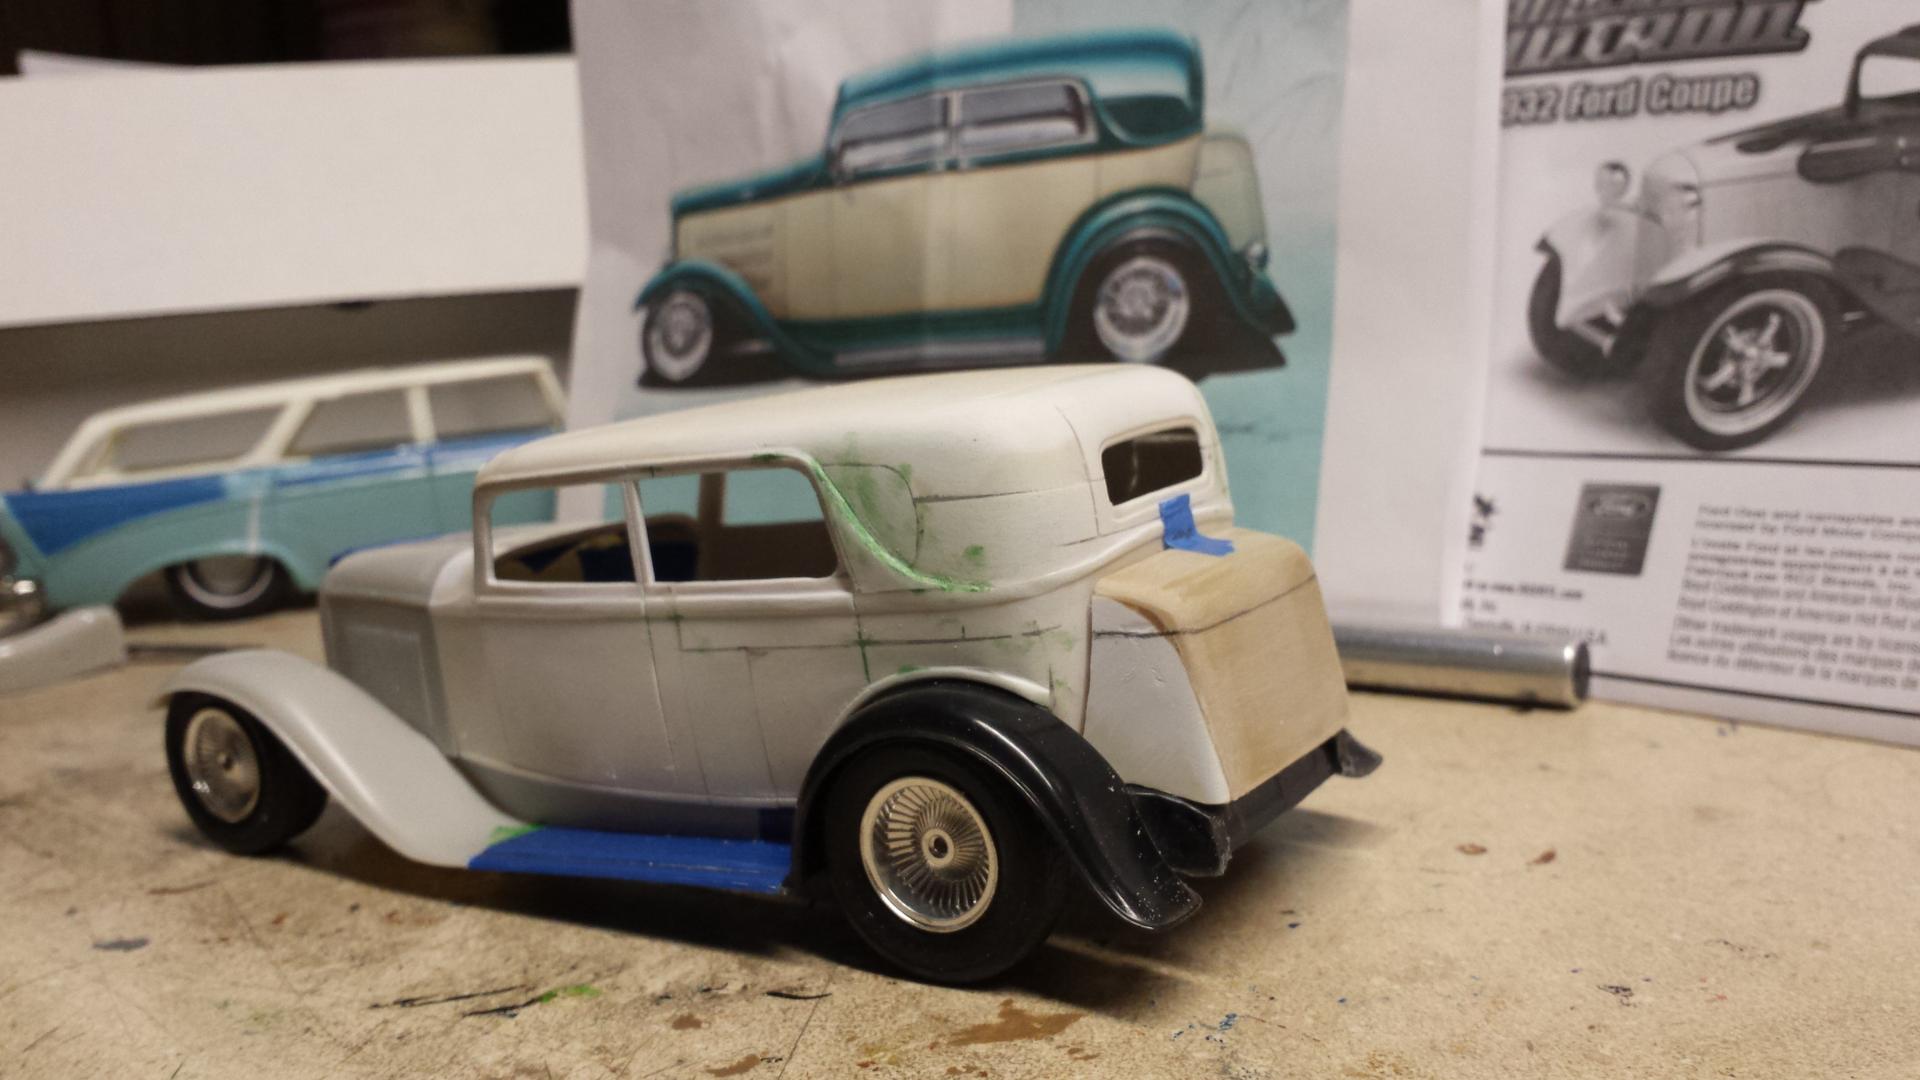
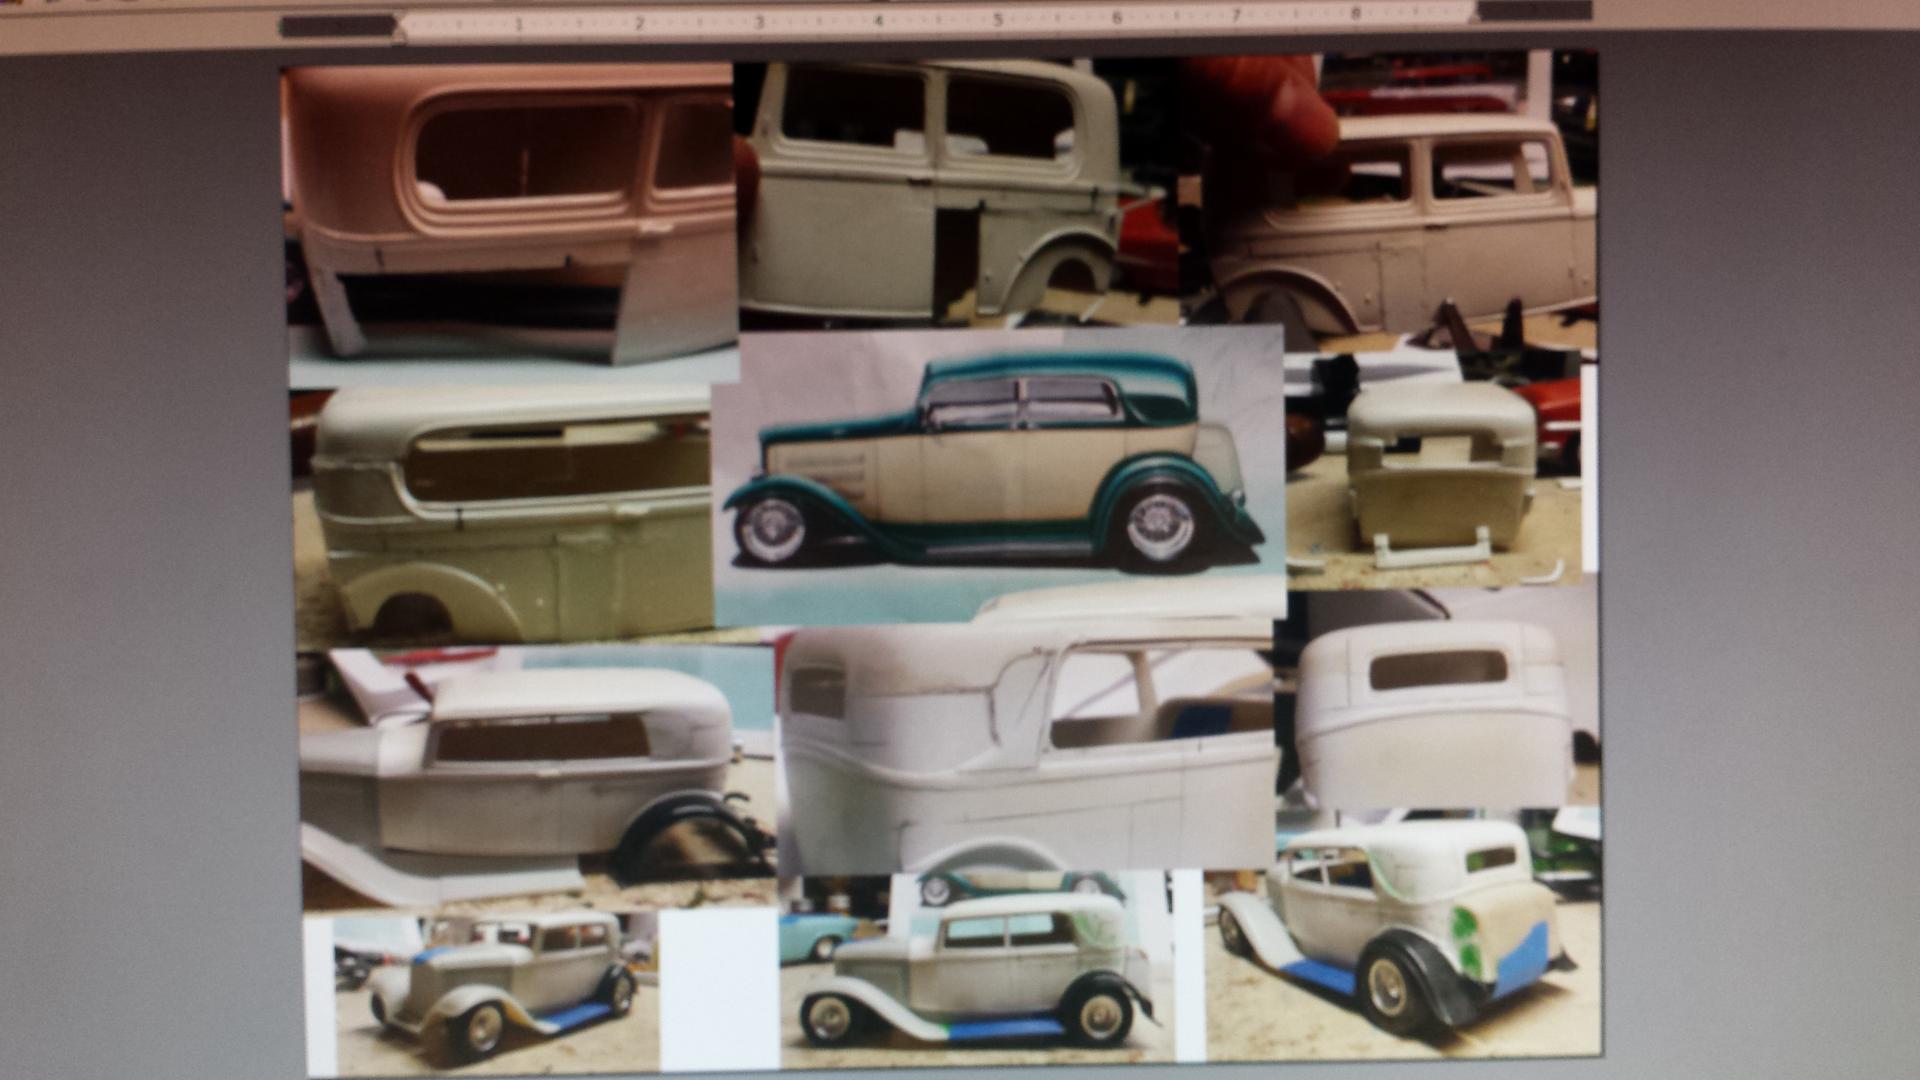
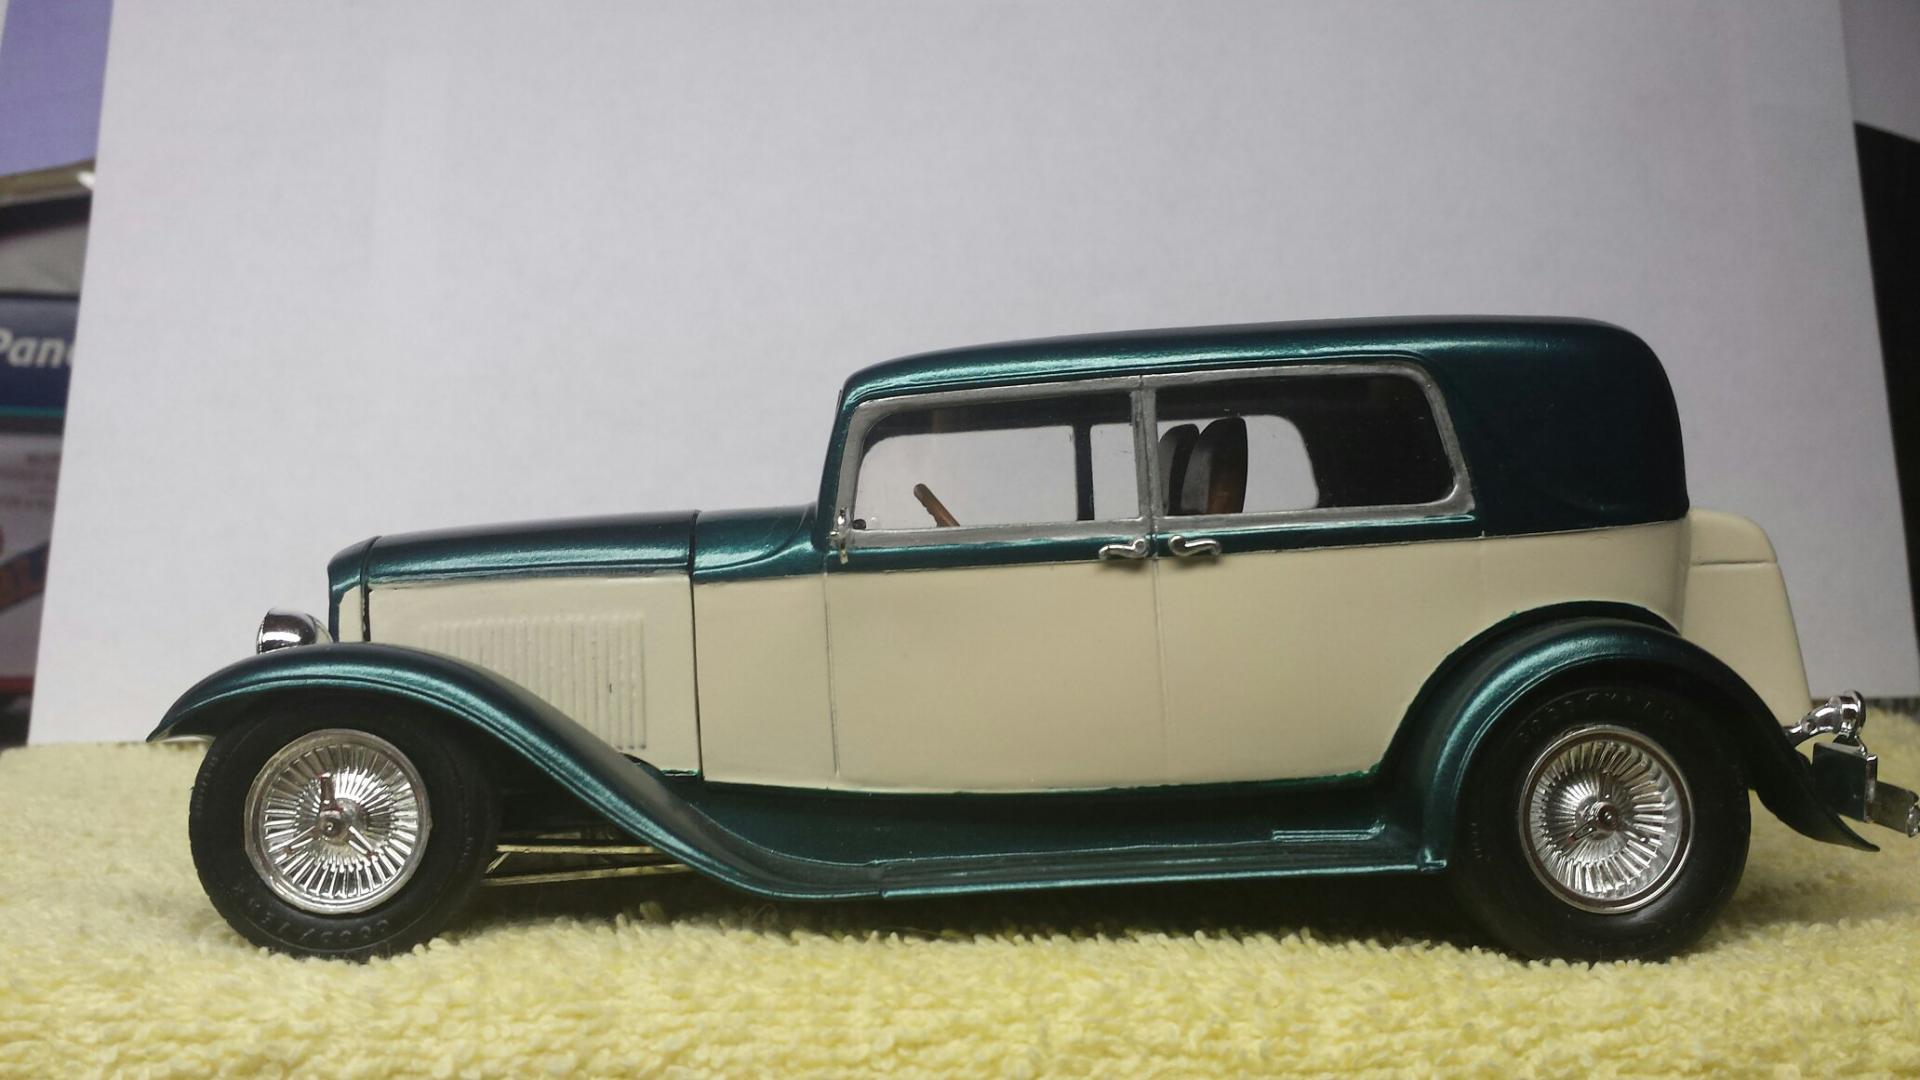
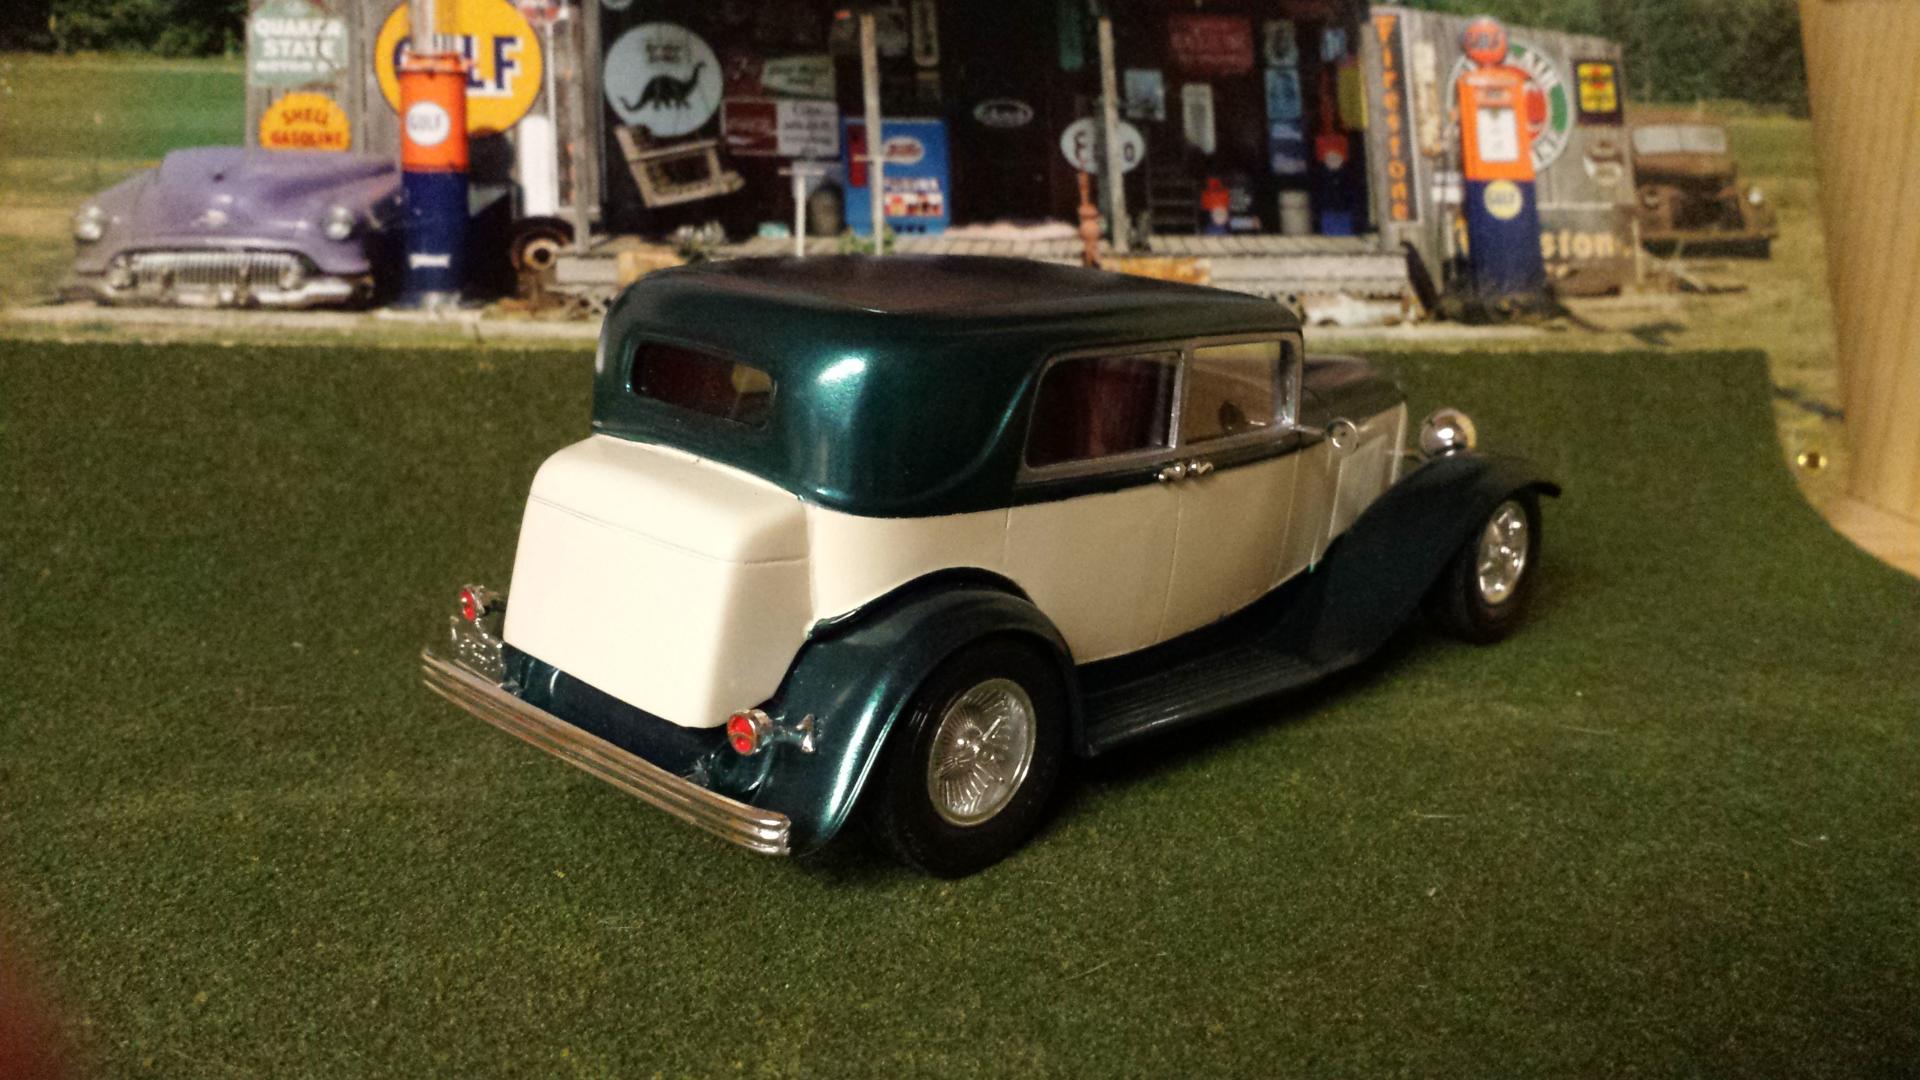
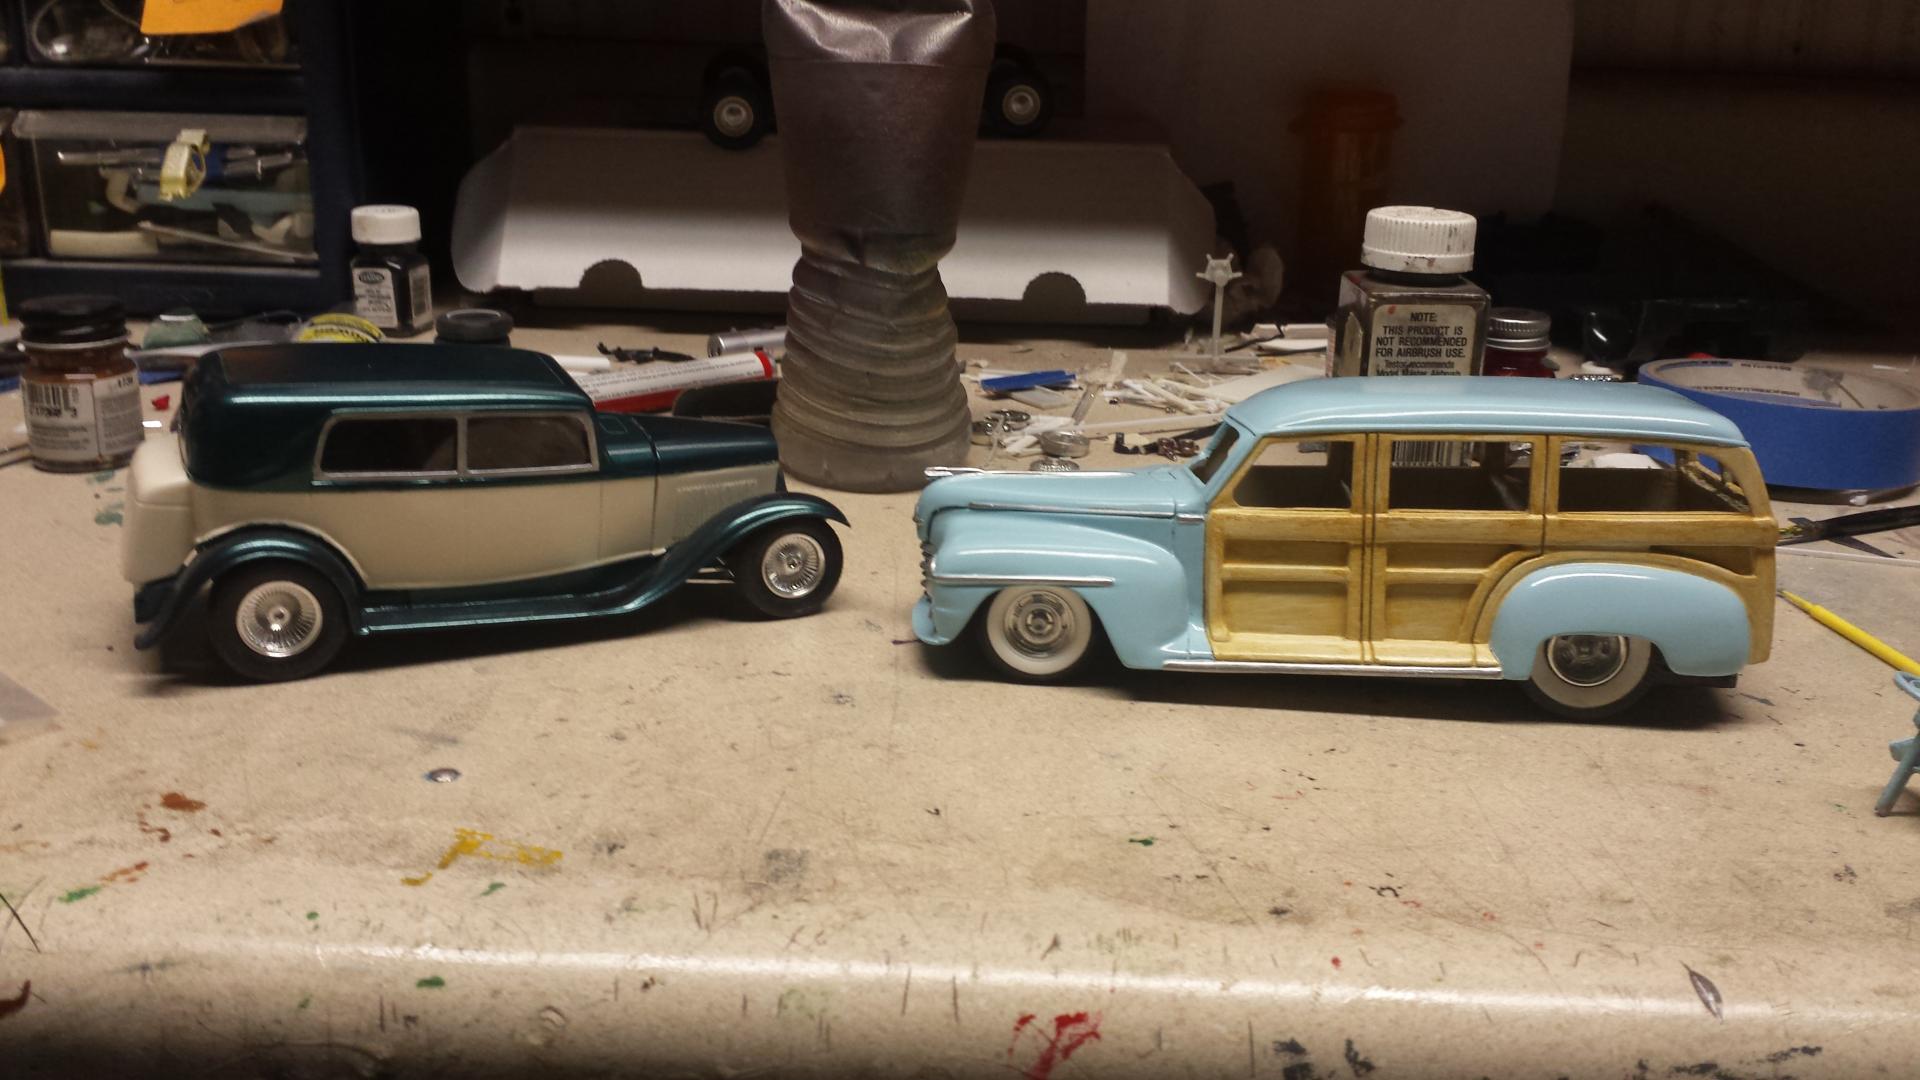
32 sedan conversion from a pic i came across. running boards are from la baren kit i believe which were longer, trunk hump was a hood from a 55 chevy. the 48 plymouth woody is a star model resin. i like using super glue to fill, because you can see all the cuts of the process. enjoy
-
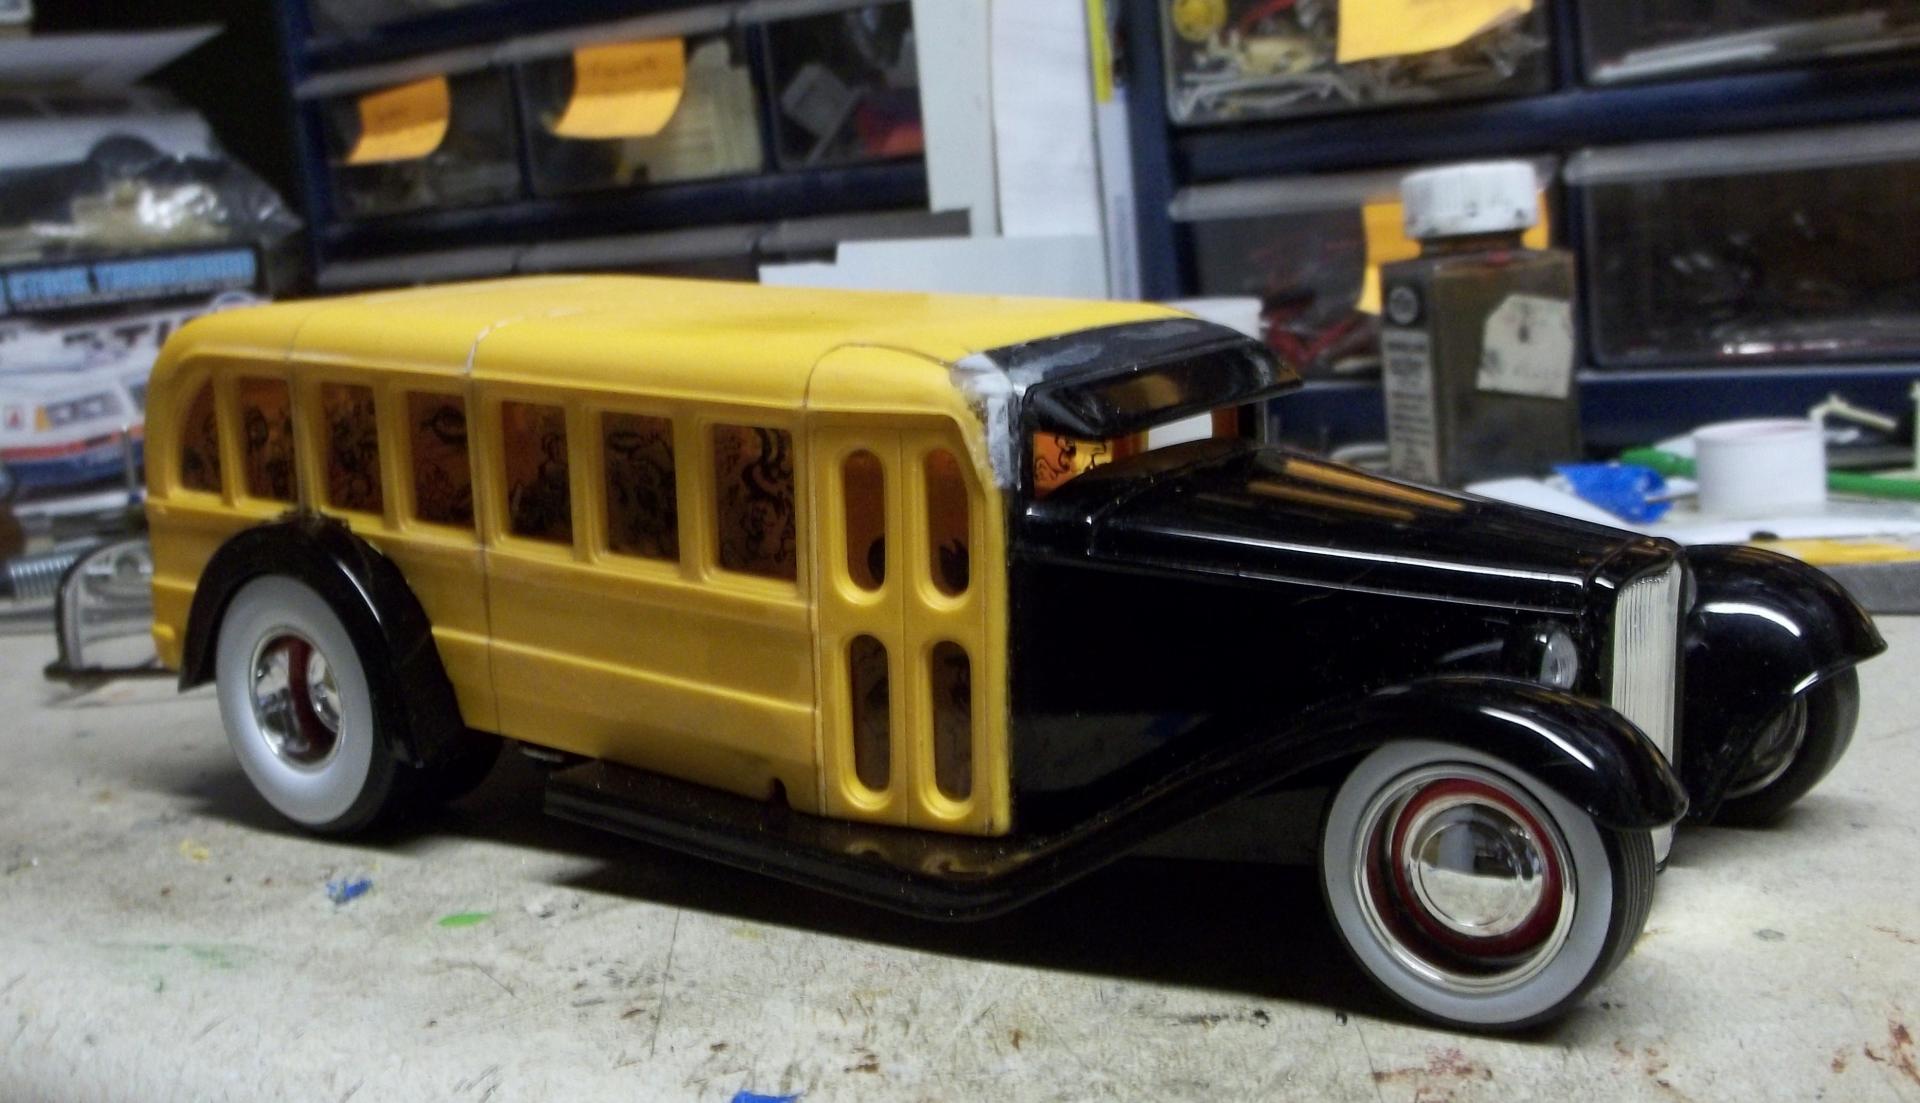
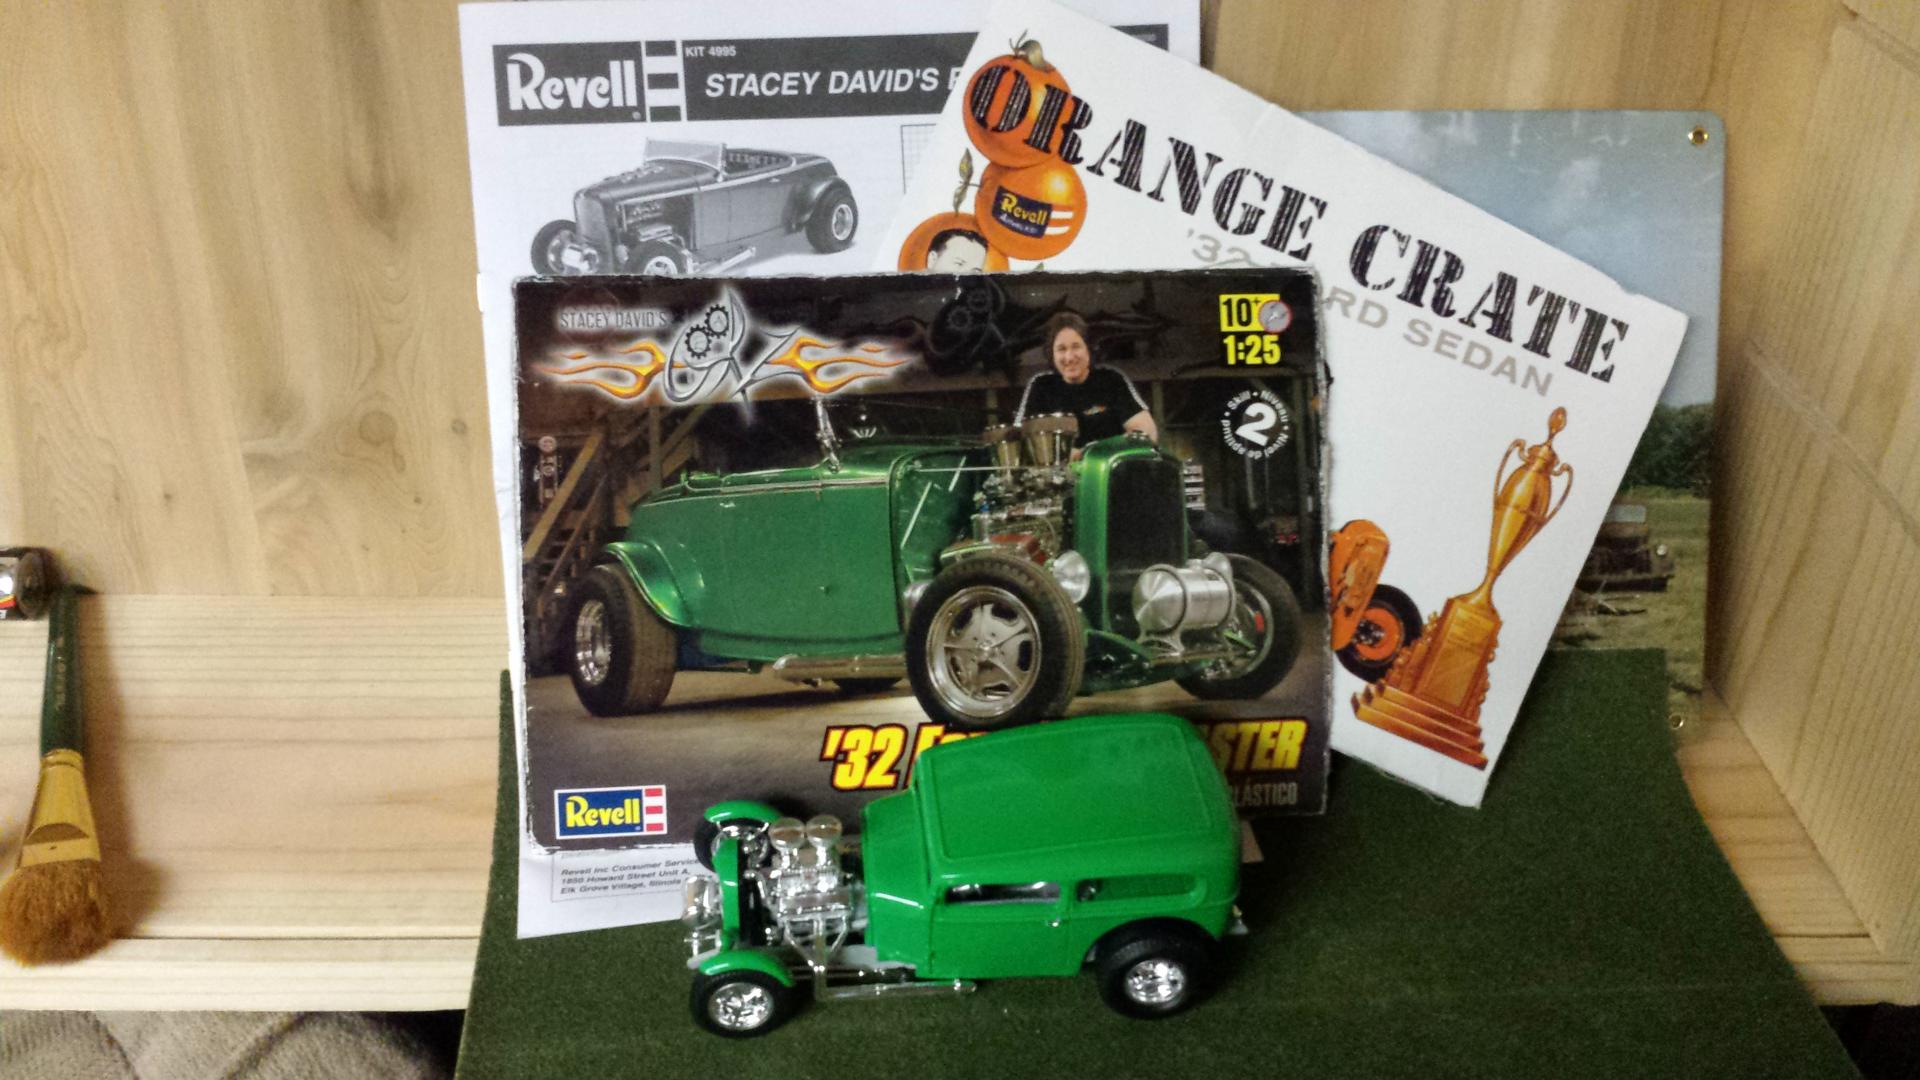
this is a orange create body on stacy kit, then the b400 resin body, my for door conversion, then "da bus" this is still a project, diecast front of a truck i think it was, the bus body i found in the alley taking trash out on day (musta dropped outta the sky) the bus body has been through it, i put a 60 chevy truck front, shortened it twice but didnt like it. was fun making the bus fit the windsheild frame of the truck
-
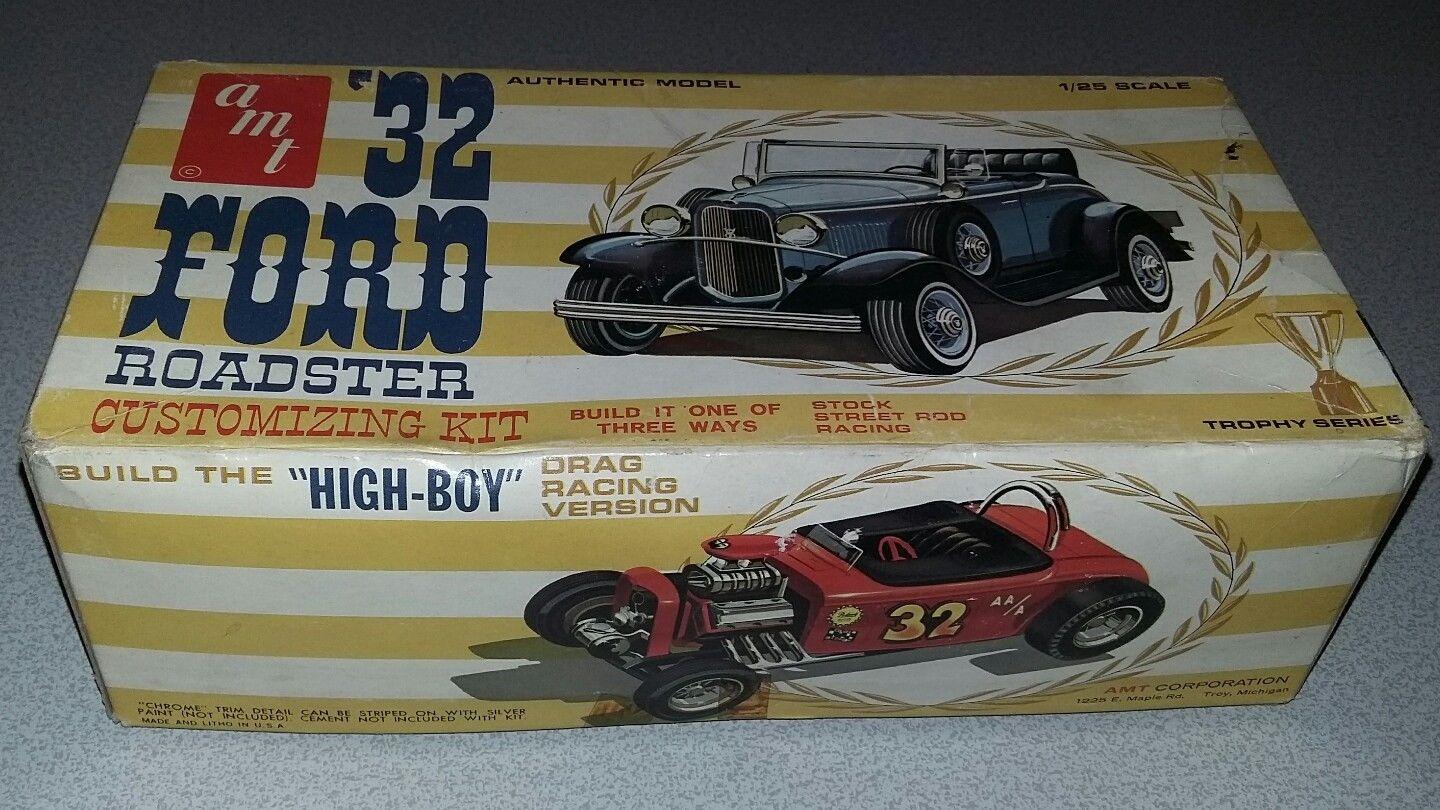
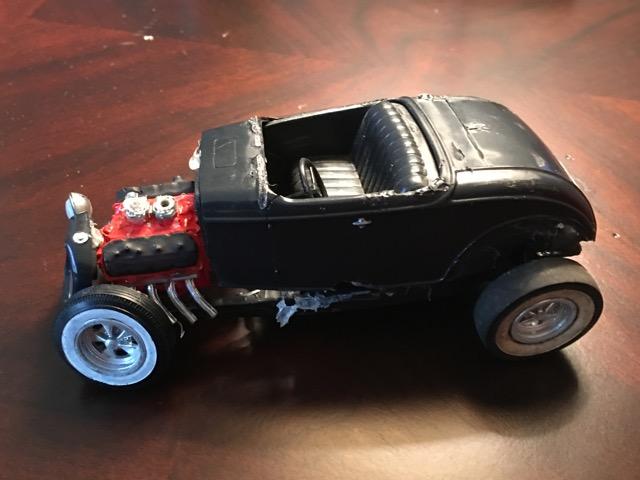
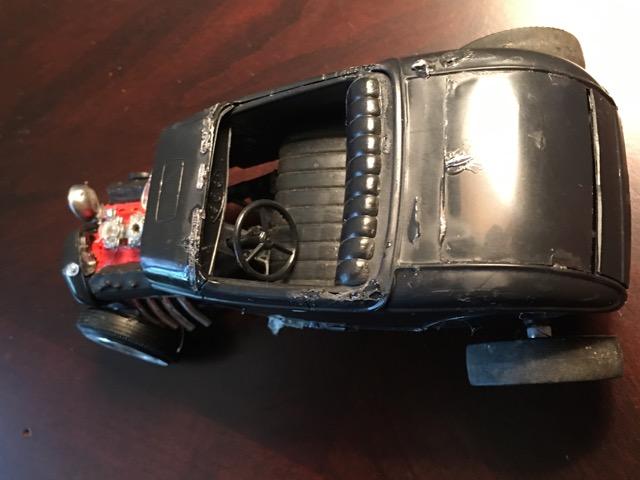
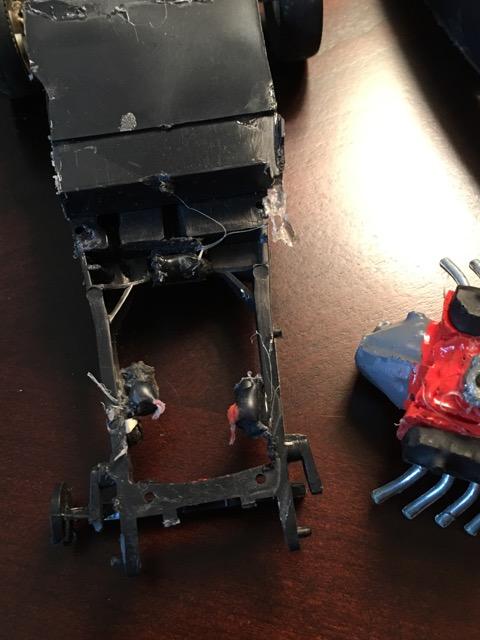
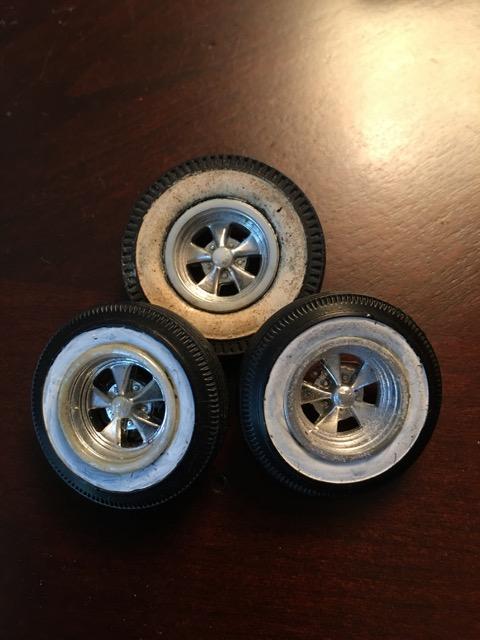
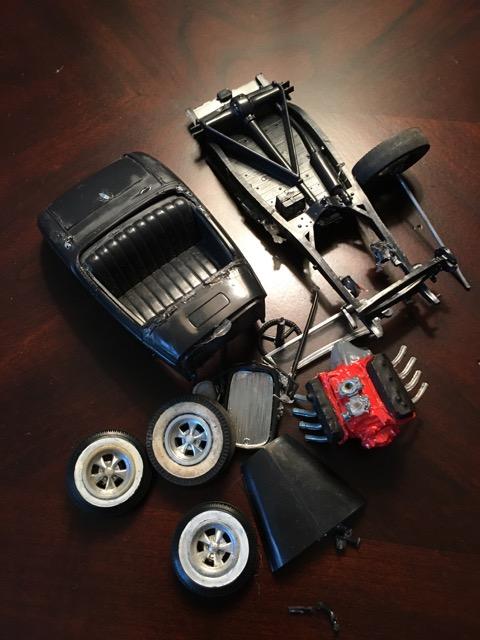
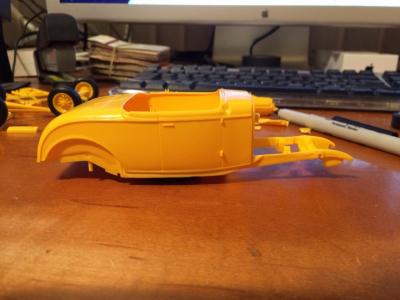
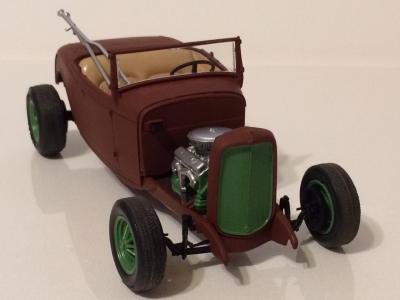
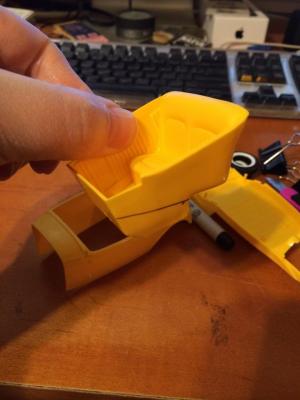
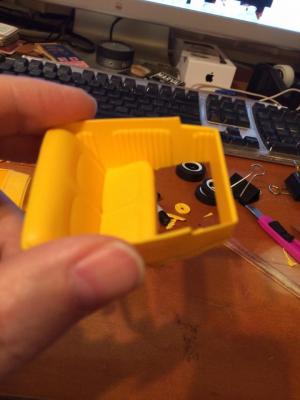
The weather is starting to get warmer in Northern Virginia and I'm getting the fever to build again. I figured I'd start out with a bang by bringing this old AMT Trophy Series 32 Ford Roadster back to life. It's an older kit, and some might gasp at the thought of chopping it up, but that's what they're here for. I paid $11 for the box, which included this stripped down roadster and another, almost pristine stock version. As the seller told me, "The roadster is rough.." and rough it is. It looks like it was put together with a hot glue gun or clear caulking. Certain adhesives interact poorly with styrene, so this has some "dents" in it, which is ok with me. The rumble seat that normally fold ups and down on this kit has been glued shut and a wide gap is left at the bottom (don't you love this?). There is no floorboard beyond the bench seat which has been glued to the body with what could be a liberal dousing of JB Weld. That's ok though, a little balsa wood or a flattened out piece of a Coke can will do the trick. The frame is mostly ok and whatever hot glue or caulking was used on this kit to put it together is mostly forgiving (the areas with Crazy Glue however, are not). The front axle is broken in two places, but the broken part is there, so I could be difficult and not use a replacement from he parts bin. In case you're wondering, the axle is broken because the builder didn't have a second metal rod that came with the AMT kits, so he glued the rims straight to the axle. The engine didn't come from his kit and is the kind that has a short transmission area that matchs up with the molded in transmission similar to some of the older Jo-Han kits. In order to make this engine fit, pieces of sprue were cut and glued onto the frame. The nubs for the radiator shroud are still there, so that won't be an issue. The tires are interesting, I can't tell if the whitewalls were painted or if they came that way. I usually replace the tires on glue bombs like this with the nice AMT whitewall Firestones available recently, but I kinda like these. The Cragar style rims definitely did not come with this kit, and even though I do kind of like how they look, they might be replaced with parts box steelies. Appropriately this guy will be turned into a black primer-ed rat rod, maybe with a little rust thrown in. So there's going to be a lot of work; lots of filing, scraping, sanding. I'm looking forward to it.
-
Just finished this one [URL=http://s891.photobucket.com
-
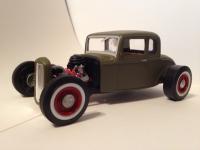
I'm calling this one finished. It's a resin chopped 32 Ford sedan body on the 32 frame that came with the Revell 30 Model A coupe kit. Grille & shell and some other parts are from that kit. The rest is parts box stuff - Little Red Wagon hemi, axles, and rear wheels. Front wheels are 13 inchers from a 69 Corvair kit. Taillights are 62 Imperial units. They look sort of like bullets - seemed appropriate. I was going for a slightly ratty military-themed rod look. It's way less than perfect - some glue smears, ill-fitting rear window, carbs that moved while the glue dried, etc., but overall, I think it's not too bad for an old man! I used Krylon paint with a touch of powdered chalk for just a touch of surface rust. It was a fun build. I like cobbling together something unique! Comments are welcome. Sam
-
Hey guys, I just built the Revell Model A coupe and the extra frame in the kit was calling me to build another rod for it, so I got this Flintstone 32 chopped sedan resin body, and started building this military-themed rod. I'm using parts from the Model A kit plus a lot of parts box stuff. Hemi engine, rear wheels, and both axles are from the Little Red Wagon kit. Front wheels are Corvair 13 inchers. I'll use the army decals from the Model A kit, too. I used some powdered chalk for just a touch of rust. Paint is Krylon satin olive green. It's almost done!
-
This is a 32 ford rat rod I built back in 2001. Chopped and channeled over a Zed frame. Flathead V8, aftermarket finned heads, scratch built carb breathers and headers. Piecrust slicks out back, whitewalls & steelies up front.
-
This is a build that almost never was. It started as an eBay purchase gone wrong - a glue bomb that was advertised as "complete" & "some minor, partial assembly". I was going to throw out the model when I decided to attempt my first "Chop". This is the result -chopped top (obviously) -stretched hood to accommodate the rake of the grill -scratch built vent on the cowl -grafted the trunk from the Revell 5-window kit (No - its not a direct fit!!) -resin wheels+tires -everything else was sourced from my "parts box" Finish is flat black, over red oxide primer, over matt aluminum BMF
-
So, I decided to also build a Deuce Roadster that is unusual for me when it comes to street rods. I am talking about a somewhat old school full fendered Roadster "Delux". I made one like that Long time ago from the old Monogram Roadster (the 1:24 one). Honestly it was a disaster. LOL. But I have been meaning to build something similar for the past 20 years (almost). Well, like I needed another project….but I figured I have enough parts to build like ten of these, so I started it anyway. First order of business was to glue the fenders to the frame, the gas tank (from a 3 window) and the front apron and whatever the things around the rear frame horns are called. That created fitting issues with the filler neck, so the body had to be notched a little So far everything fits pretty good... and a picture with yet another one of my endless deuce projects.
-
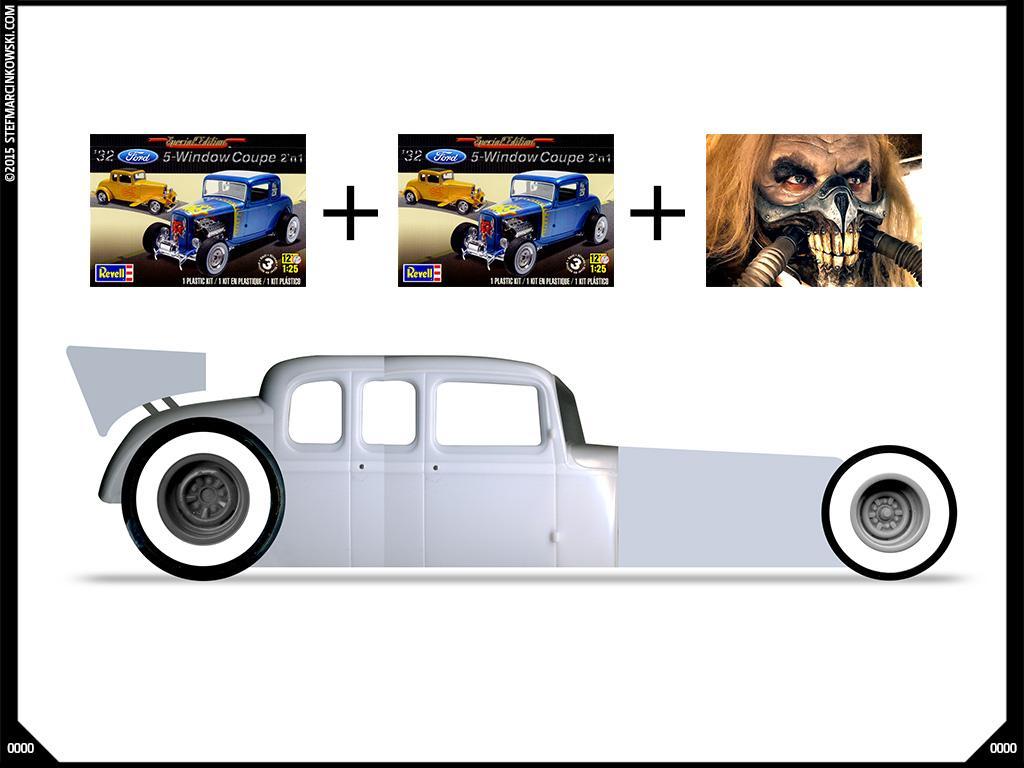
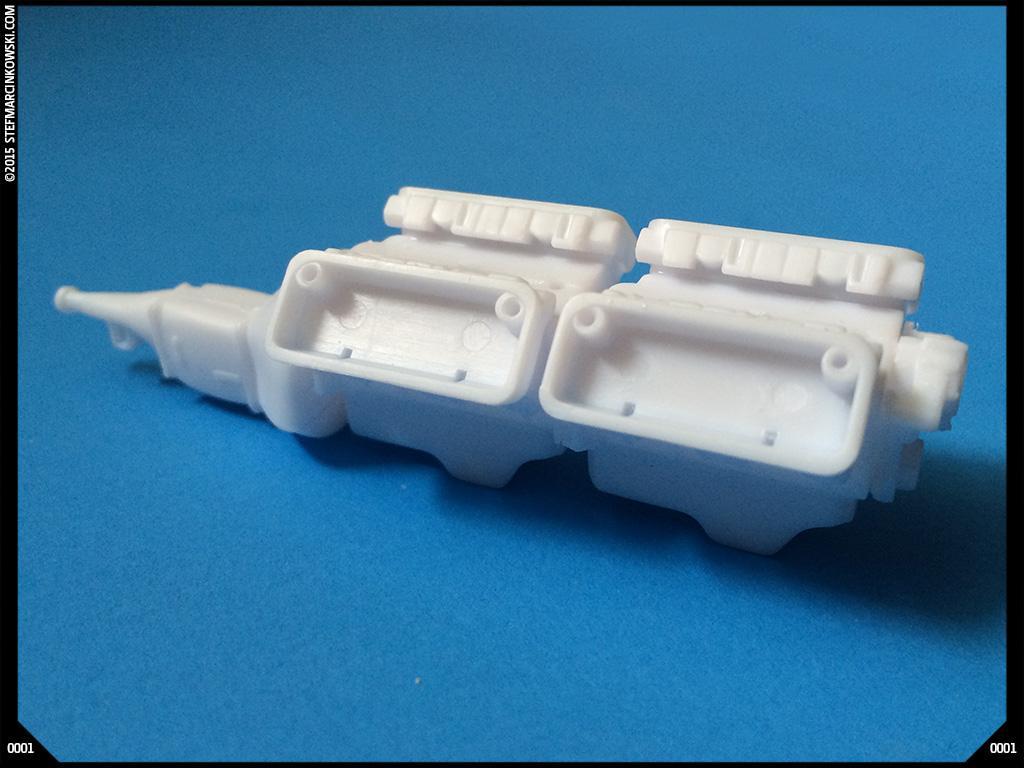
Hello everyone Inspired by all of your awesome builds, and the latest Mad Max film, I'm gonna bash TWO 32 Ford 5-Window Coupes together and see what I come up with. Planning to use the deep steelies from the AMT Dodge Monaco all around, along with fat MPC-issue Blue Streak Dragway Specials up front, and mega fat Firestones (Revell J-2000/Beretta Pro Street kits) at the rear. Started off by joining the two Hemi beasts together.
-
My next project will be another hotrod Its a very early stage, got some off the parts from the sprue and engine glued. Now looking and thinking how to make it channeled Got some colors in mind but they might change so will tell later what I decided but it will be candy.
-
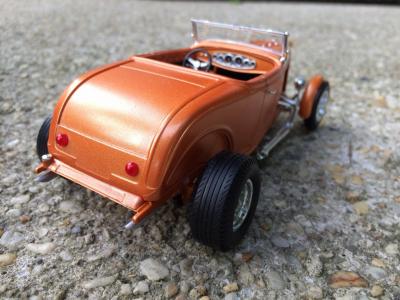
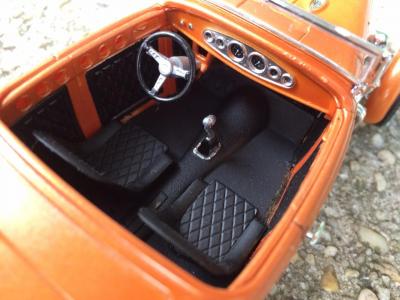
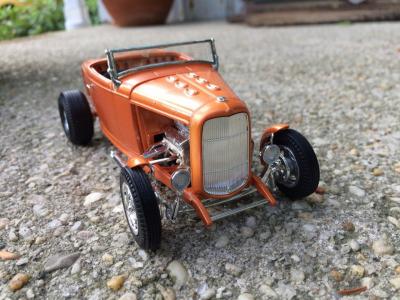
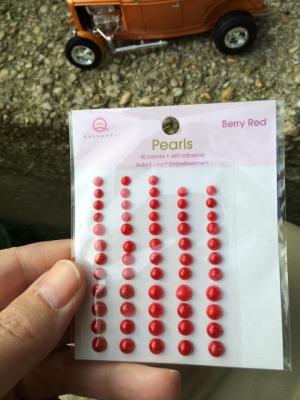
Finished up my version of Stacey David's Rat Roaster last night. Ditched the corny Moon tank and decided to go without the rear fenders but use the kit's front motorcycle fenders. I was glad to be done with this one. I disliked the "padded" interior look, so I drilled out the holes with a variable speed Dremel. I must have not followed the directions properly because the motorcycle fenders do not sit over the tires right. And for the first time in years, the back side of my headlights seemed to get crazed from what little glue I used. The tail lights are adhesive backed dots found at the craft store, pretty inexpensive, too (see below). The interior needs a little touch up on the floor area. Funny how you really only see how bad it it is until after you've taken photos. The Good: Easy to mount front headlights. Love them. The decals for the dash instruments are awesome. This is new technology to me, and seemed a much better solution than using the thinnest brush you have to paint them in. I liked the radiator parts and the detail. Very easy to set up. The small block Chevy engine is nice and looks great when you're done. Just the right amount of detail. The exhaust was nicely done and for the most part fit together well. It would have been nice to have other options (I never cared much for the gaudy headers on any rod), but I understand this isn't just a 32 Ford kit, this is essentially a kit based on a real car from a TV show and that's what they're selling. The Good: Great, rubbery tires and nice rims. Those of us that build lots of 32's always need more big 'n little tire and rim sets. The Bad: However, if I had rims and wheelbacks that fit the Revell axle and suspension, I would have used AMT whitewalls instead. Like I said, great rubber tires and the rims look nice, but why on Earth did Revell decide that a spacer needed to be glued on to the rim in order for the wheel/tire combo to be attached to the axle? A spacer is used to add space between things, in this case it was used not to add space, but to actually be able to attach the rim tot he axle. I hated this part of the kit and IMHO this should have been a non issue and the rims should already have had the spacer attached. The Good: The metal and upholstered interior is pretty cool. The Bad: It's in three sections that need to be glued to the base. Took a lot of glue, masking tape and a lot of trimming to get the interior to stay together initially in Step 5. Once placed in the body in Step 6 the glue would break and I had to set it up over again with glue. In a perfect world a one piece tub with separate seats and separate upholstery panels would have made things much better. The Bad: The front suspension and steering assembly. Brittle parts. Several pieces from my kit were broken while trying to place them correctly. When I heard Revell was kitting a new deuce and it was based on a Stacey David designed Gearz vehicleI was excited. The kit was much anticipated, and like a lot of you, I bought a couple of them. The assembly of the rims and spacers, which IMHO is a terrible and seemingly dated idea is a major disappointment for me. I'll build another one at a later point, but it will be without the kit tires and rims and likely with a Frankensteined front suspension from the parts box.
- 25 replies
-
- Rat Roaster
- Deuce
-
(and 1 more)
Tagged with:
-
Hi Guys, This is a project that I started in 2011 but got put to one side for about a year and a half. It stalled when I realised the floor and firewall wouldn't fit as the engine is slightly further back in the chassis. I'm currently working on making a new floor, firewall, etc. It has scratch built frame rails that incorporate the suspension from the Revell prostreet Willys kit. The fenders were modified to take the wide tyres at the back (with the pickup bed given tubs). The engine is the hemi block from the Revell 5 widow kit with other bits taken from various places. I am hoping to get this finished soon so plan to spend quite a bit of time on over the next few weeks and will update this thread with my progress. Anyway, here's a few pictures to get you a feel for where I am at the moment. The chassis is pretty much complete: The engine needs the injector hat to be finished and then it'll be ready: A mock-up to see how everything fits together: All comments, suggestions, etc. always welcome! Cheers, Jim
-
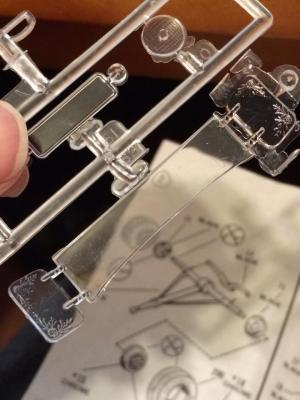
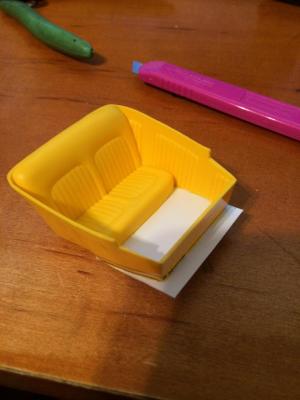
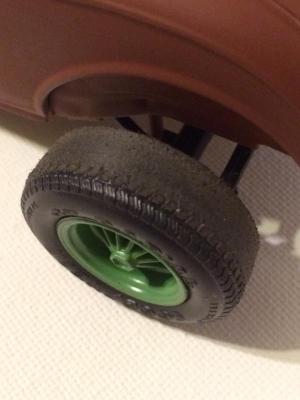
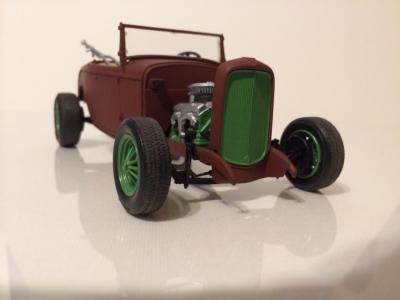
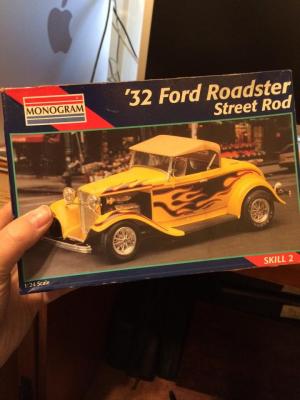
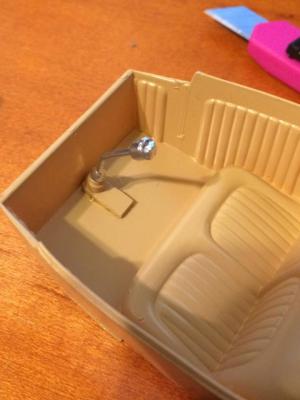
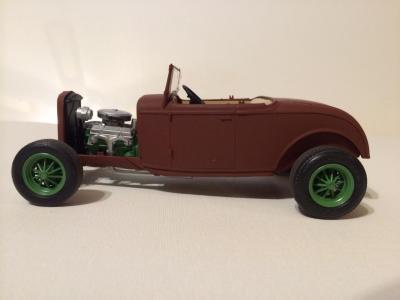
This is an update to my original post of last year ( http://www.modelcarsmag.com/forums/index.php?showtopic=77263&page=2 ) OK, nearly a year later, I'm here to finish this Monogram 32 Ford project, and finish it in a day nonetheless. First off, I finally realized that the chromed tree of parts was included, however they have never been chromed. So I retract the statement in my original post that seller had clear coated them. You can see in the photo, below, it does look that way. I know that I'll need to trim the firewall and open up the area for the transmission and engine to fit through. So I clipped a little more than a 1/4 inch off the bottom of the firewall (the same amount of space the body is being lowered onto the frame) with nippers and enlarged the hole where the transmission will go through with a sanding drum bit on a Dremel tool. The body is set where I want it over the frame and the engine now fits through the firewall. Note that the seat tub is not in place yet. The seat tub will not fit since the ride has been lowered, so that will need to be modified. I used nippers to clip out the area I didn't want and cut around the tub. I saved the boot area where the shifter sits and will place it on the new floor. After trimming out the seat tub I sanded down the underneath so it was level and smooth. This is going to be a rat rod, so it doesn't have to be fancy. Below, the seat tub is cut and sanded all the way down tot he base of the bench seat. I made a new floor out of Evergreen sheet, glued it together and let it sit for about an hour. After the glue dried I trimmed out the excess Evergreen sheet, glued in the shifter boot and painted it.. I replaced the box shifter that was way too tall and replaced it with an older parts box one. I don't know where this kit originated from, but some things about it just didn't make sense; they went through the trouble to add a very nice cut glass design to the side mirrors (see below) but added a horrible pad and pin system for the rear suspension that just sits on top of each other, it doesn't even pop into it, it juts sits (see below). So in general, this kit was terrible, but it was a fun way to spend an afternoon on Easter Sunday. The distributor was molded in to the manifold and I honestly didn't feel like drilling it out then drilling out spark plug holes and putting a nice, pre-wired distributor in it. I would have liked to use the AMT Firestone whitewalls, but could not get anything to fit. The kits rims are ugly, yes. The wheelbacks were the type that snap onto the axle and I just didn't have anything else to make it work. The convertible top was missing when I purchased it, but I wouldn't have used it anyway. So this trash heap of a kit was built essentially in a day and there's a few parts missing, but I kinda dig the way it came out. Anyway, off to paint, well primer, it went. Since the parts that should have been chromed weren't, I just painted them what I wanted. Here's the finished product. [ attachment=61694:side.JPG] I bald the tires by attaching them to a variable speed drill and pressing them onto a sanding block. The exhaust pipes wouldn't stay glued in place so I thought why not just put them in the passenger seat like the owner just bought them down at the auto parts store. And yeah, the owner didn't get around to getting headlights or license plates either. Happy Easter, folks.
-
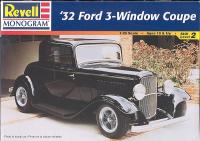
Hey guys, another work in progress (about 95% done, just needs tail lights and head lights): Nothing very fancy with this one... A Revell '32 Ford 3-Window Coupe that I picked up on eBay for cheap a few months ago. The funny thing about this kit is that it used to be my favorite of the 32's, but after working on a gluebomb AMT version earlier this year, I just cannot get into this kit. The dimensions seem weird, everything feels too big or too small, too tall, etc for 1/25 scale. Does it make sense to say that the Revell-Monogram kit doesn't feel as easy to modify than the AMT? Regardless, it's still a quality kit, I just couldn't get into it. My gluebomb AMT 32 Ford can be seen here: http://www.modelcarsmag.com/forums/index.php?showtopic=75266#entry947120
-
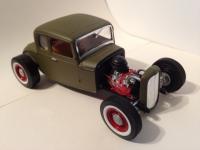
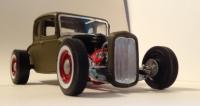
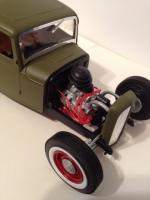
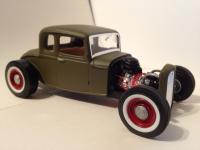
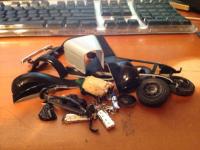
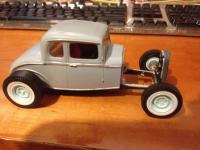
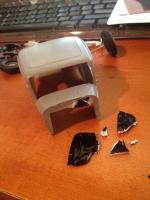
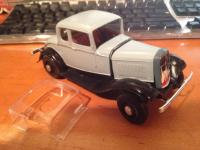
Last night I finished up my month long project of rebuilding an old AMT glue bomb 32 Ford I bought in a lot from my friend Pat. What I learned along the way is this: 1) kitbashing and restoring old kits is a lot of work, but fun as well. 2) I am not a contest builder. I build what I like and how I like and do it for myself and not for a blue ribbon. This is what I started with, a box stock, old AMT 5 Window 32 Ford. There was plenty of glue used on this kit. As I began to take it apart, the immense amount of glue used was becoming apparent. I initially scored and cut off the front fenders and running board with a hobby knife then decided not to use the one piece construction in favor of channeling the body over the frame. The existing engine is what I planned to use but was so covered in glue that only the chrome parts could be removed without breaking anything. This engine stopped just before the transmission as it continued as a molded part to the chassis. A new donor engine came from my parts box but had to be heavily modified, cut and sanded to fit in the old AMT chassis. I ordered a pre-wired distributor (my first) and installed it based on photo references of a 1:1 flathead engine found online. The headers were drilled out for spark plug wires using a Dremel tool then painted Testors aluminum. This was my first pre-wired distributor. The firewall would need to come off as it would be a different color than the body of the car. Most of it came off in pieces, except one part near the top. Using nippers and a blade it finally got removed. The cowl was then sanded smooth with fine grit sandpaper. A firewall from my old parts box from the 80's fit perfectly. Using Swiss files I notched out the firewall so it would match up with the rails that were now channeled under the body. It was later modified to accept the new, larger engine. I ordered two sets each of AMT's new Custom & Competition Firestone Champion whitewall tires and whitewall Racemaster Dragster Slicks. Piecrust whitewalls slicks on the rear and whitewall Firestones on the front, mounted on parts box steelies just how I like it. The steelies were primed then painted Testors Dark Red Gloss. Thanks to MCM members for letting me there was a difference between front and rear steelies. I would not have known otherwise. Later I was able to salvage the caps fromt he original kit's spoked rims and they fit nicely on the steelies. The axles that came with the built kit must have been from a die cast kit as they were a little too long, but I got new ones, a whole pack of them, from Jerry at NNL this past Saturday in Severna Park, MD. I measured then drilled new holes for the radiator shell with a pin vise so it sits at same height as the cowl and makes front look even lower. This ended up being a better solution than cutting a portion of the radiotor shell out. The front suspension was replaced with a chromed one from my old parts box. This one looked better and allowed the front end to sit lower. I altered it by shaving off the top three leaf springs and mounted it on the crossmember. I don't mind a bumpy ride. The windshield frame was broken and since I didn't have a replacement, I just fixed it. It ain't pretty but it's there. The windshield had a lot of glue on it from the original builder of the kit and I cleaned it up as best as I could since again I didn't have a replacement. I can live with that. It's not road legal as a 1:1 and doesn't have any headlights or exhaust system, but I dig it anyway. This is what was left over from this project. On to the finished product:
-
I'll have more pictures loaded up tomorrow at my gallery page, along with build pics http://www.modelcars...lery&image=5685 but for now, this one is done! Happy Easter!
.thumb.jpg.e0420fe52e683c60d19e843462316523.jpg)







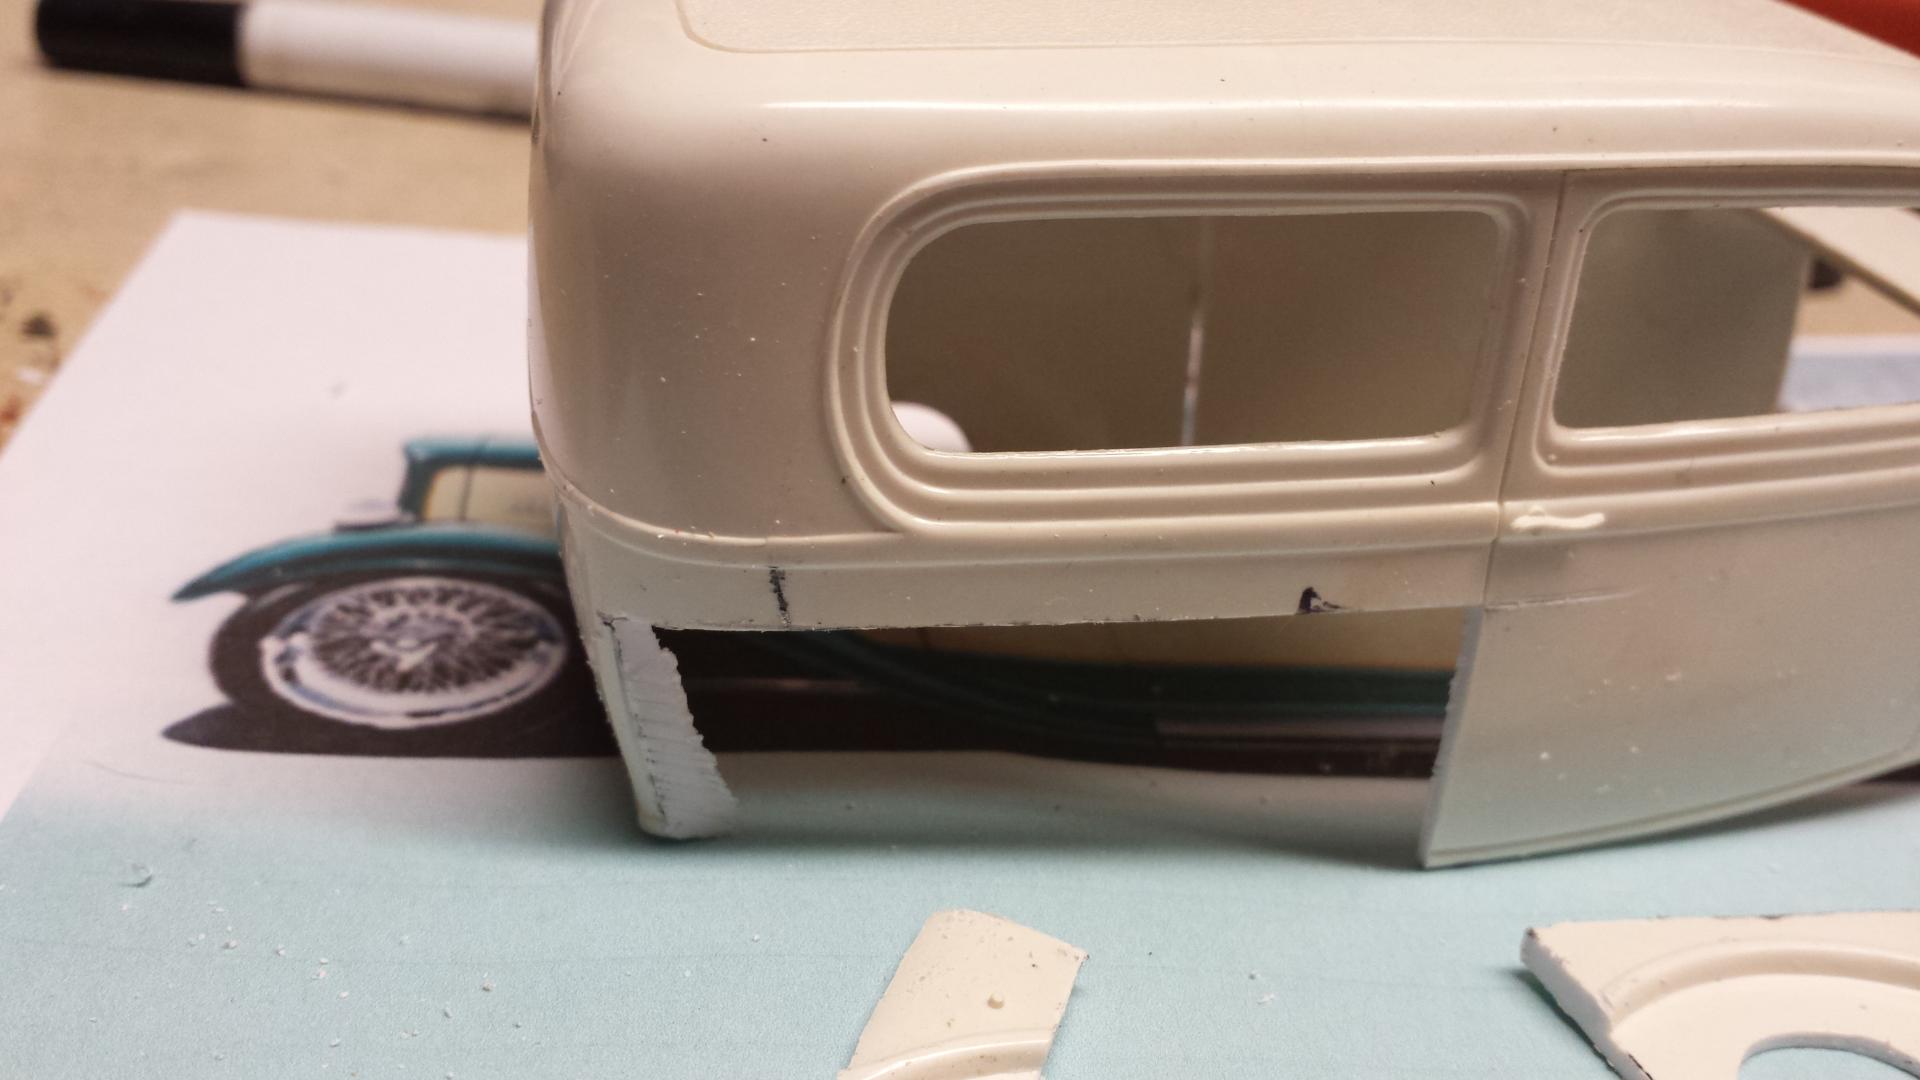
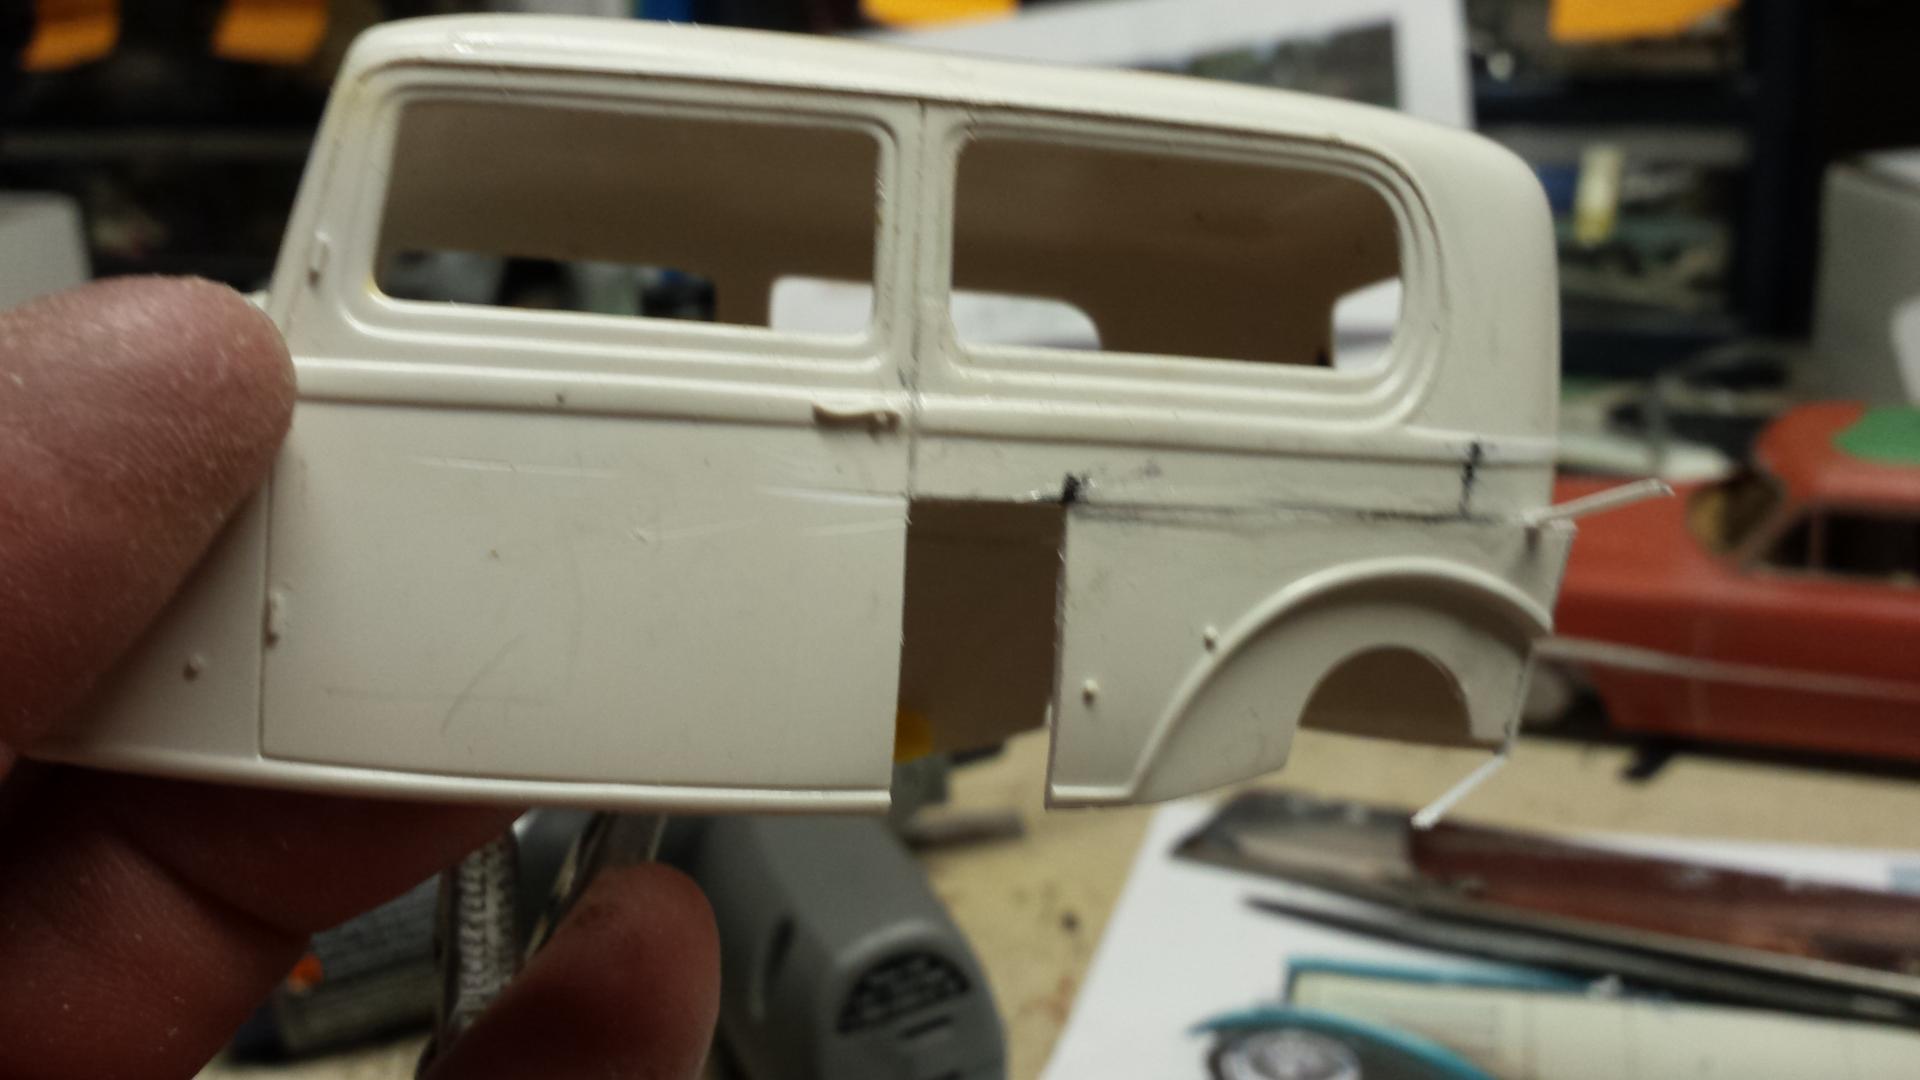
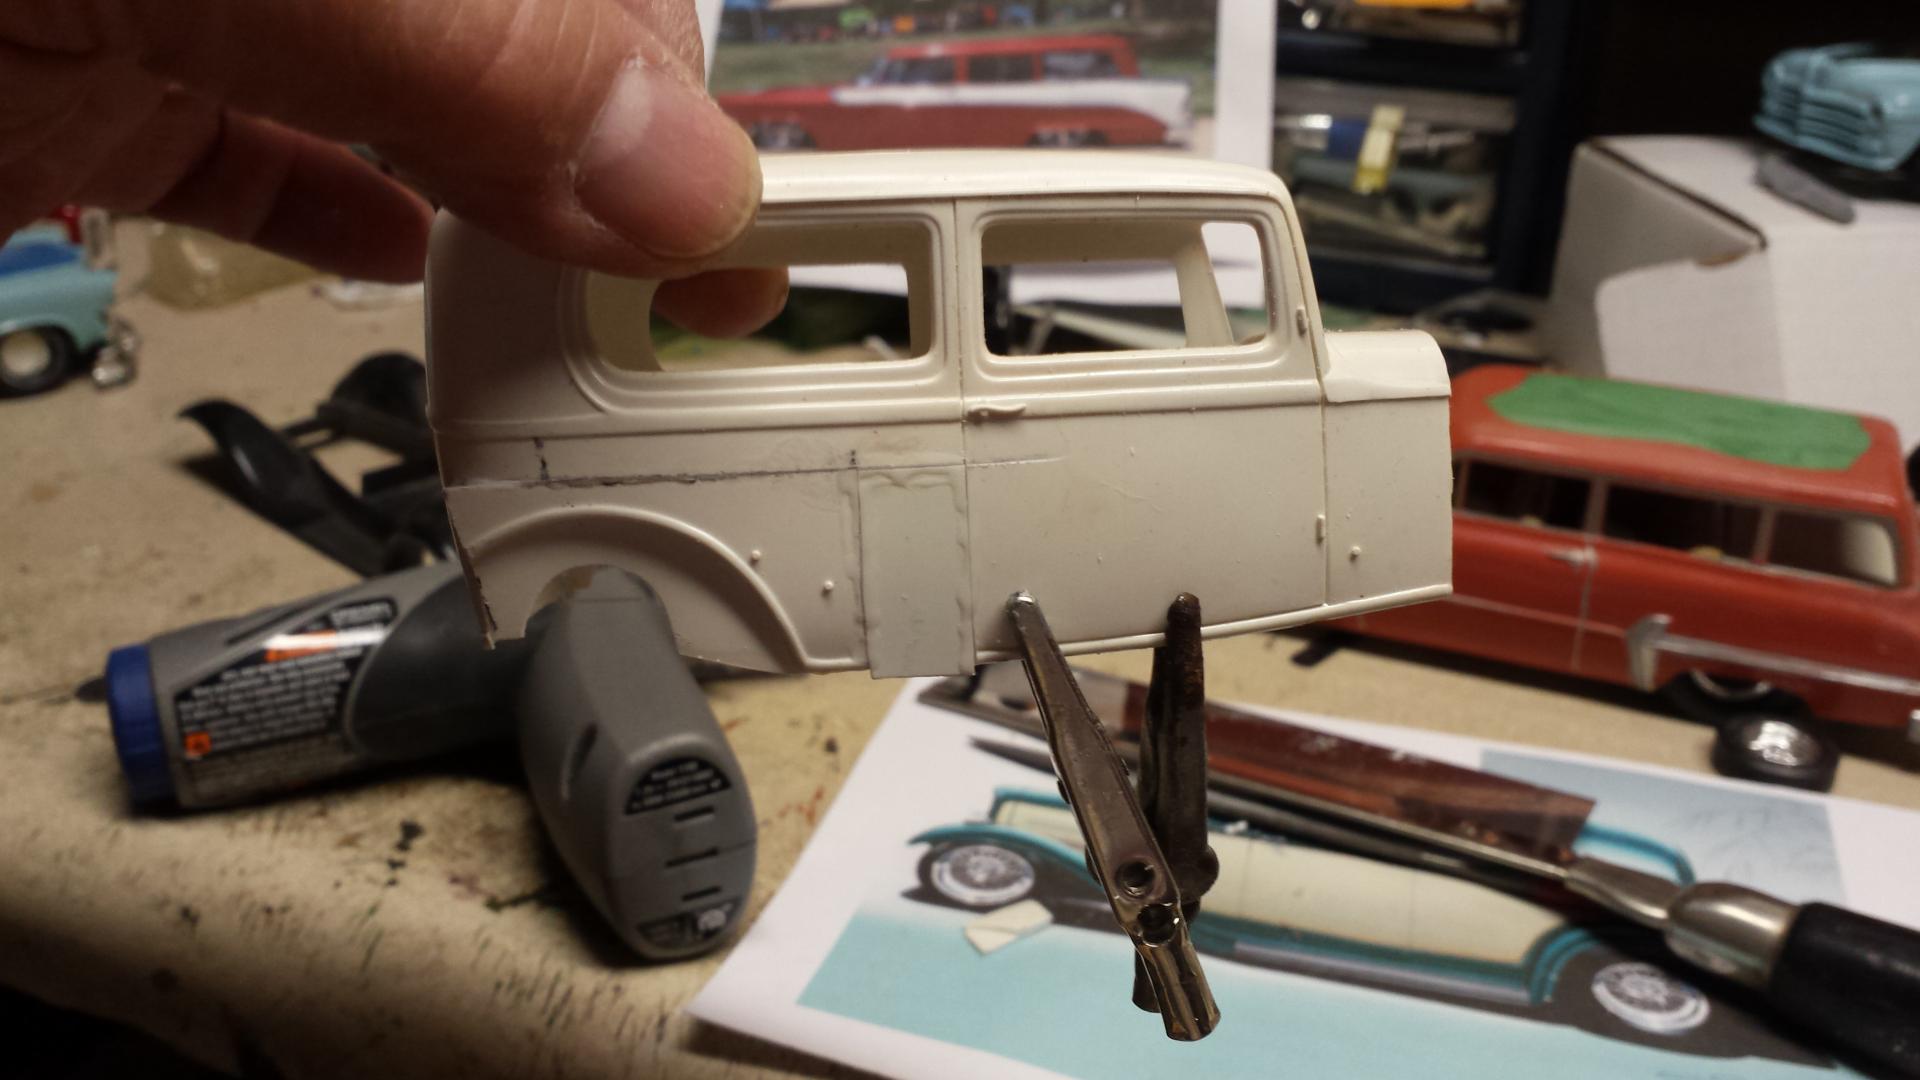




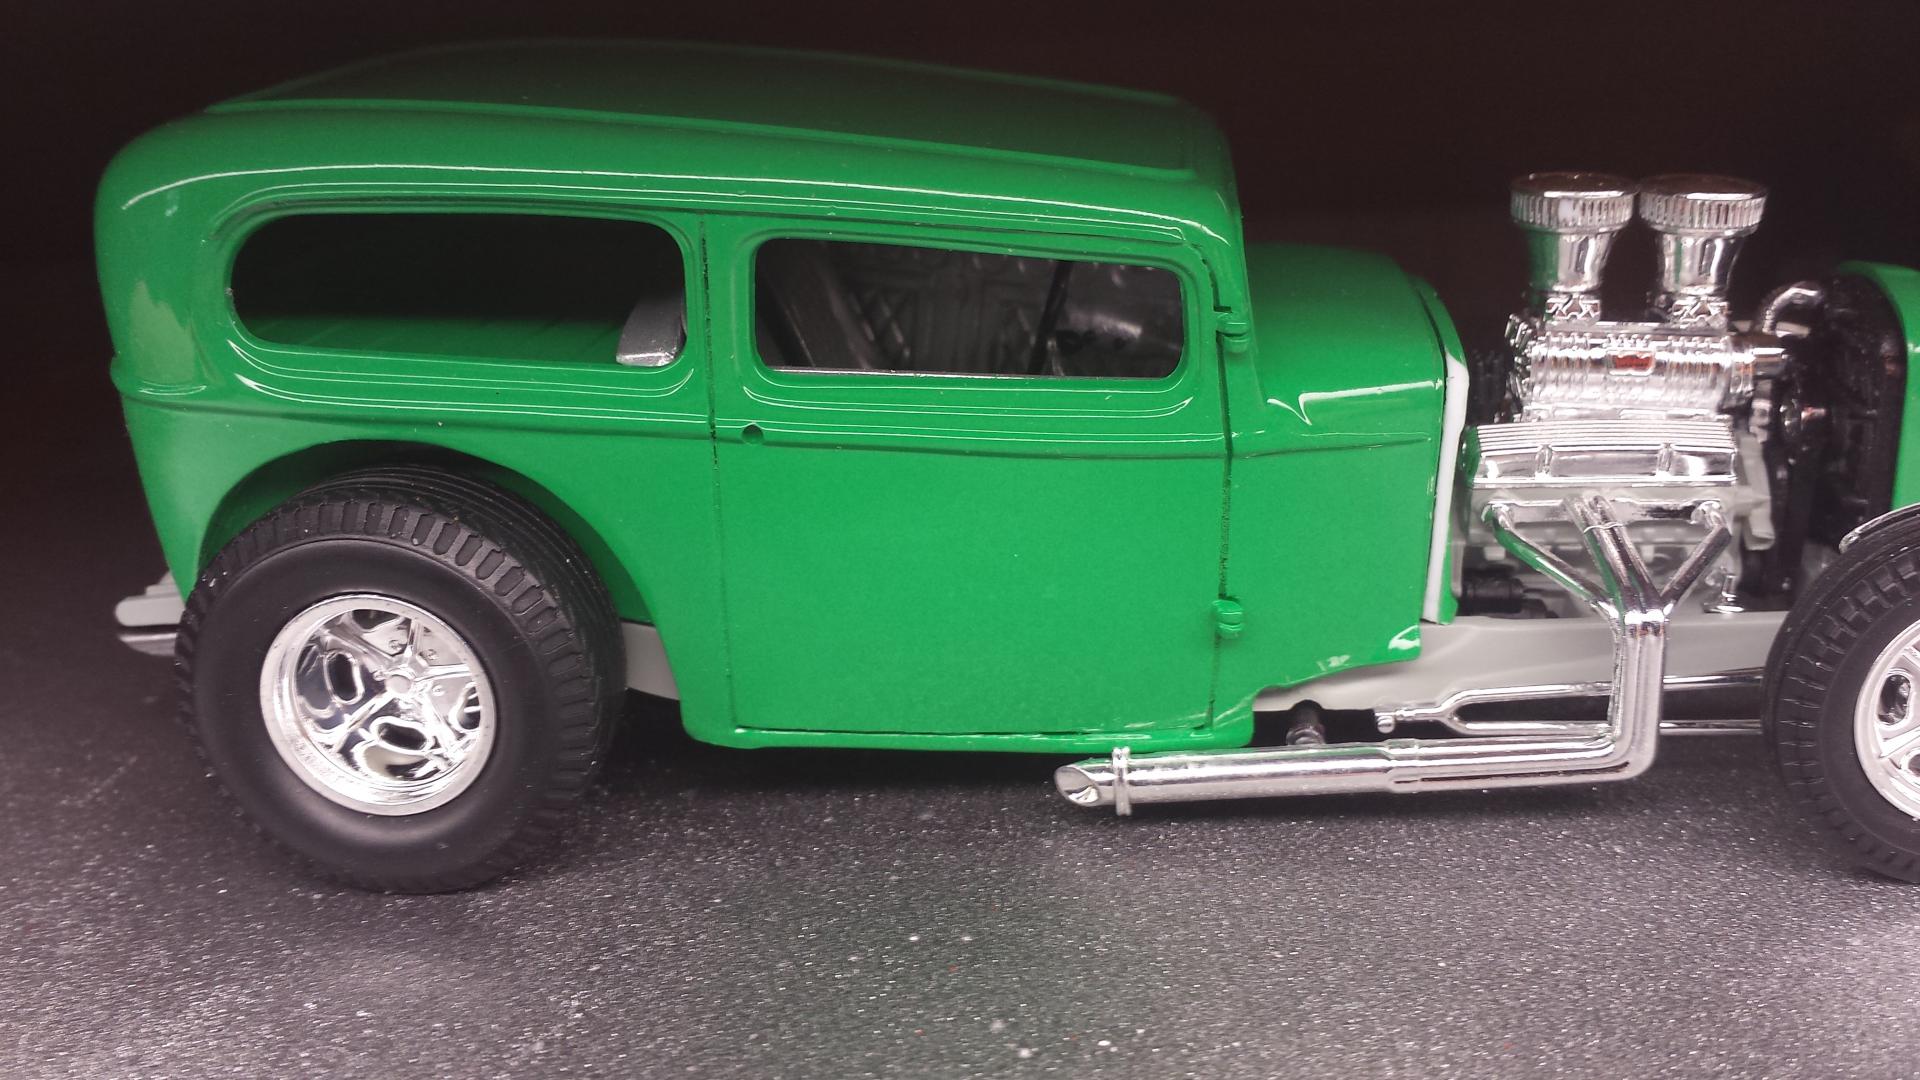
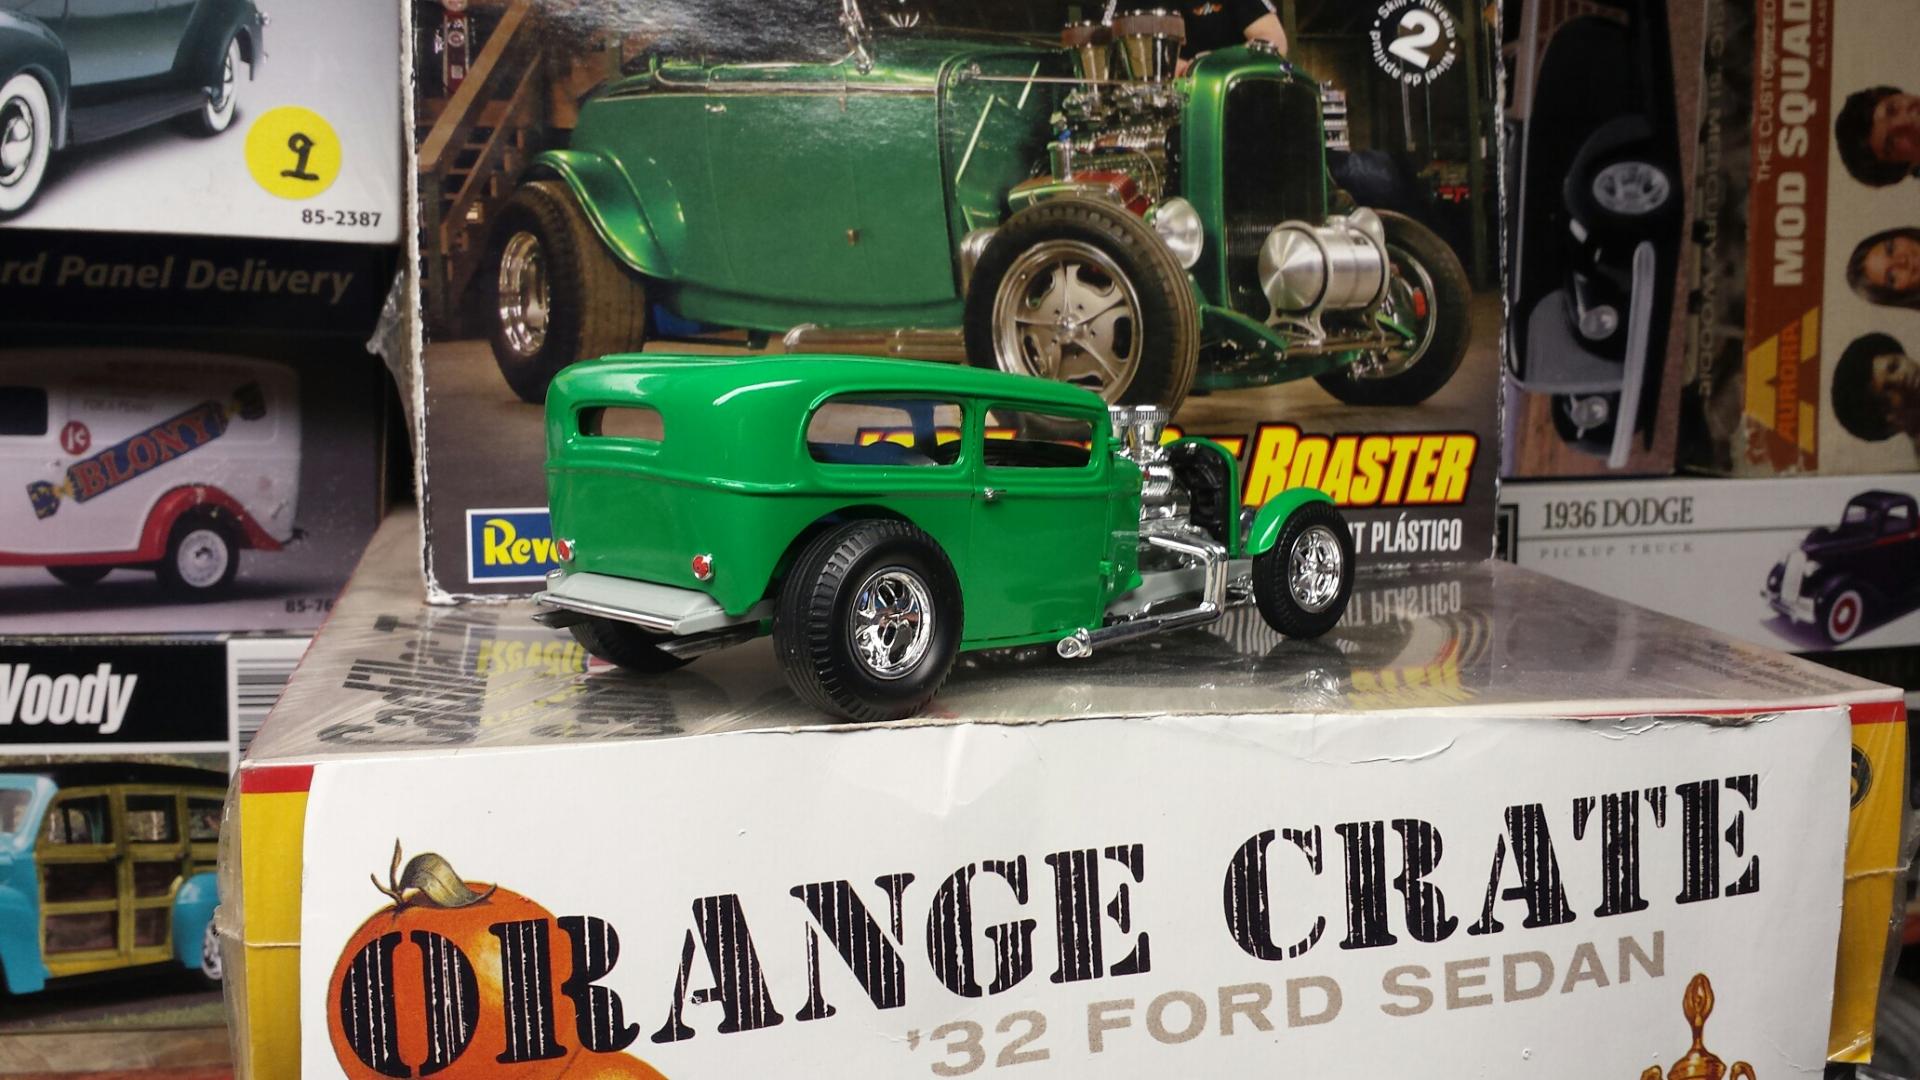
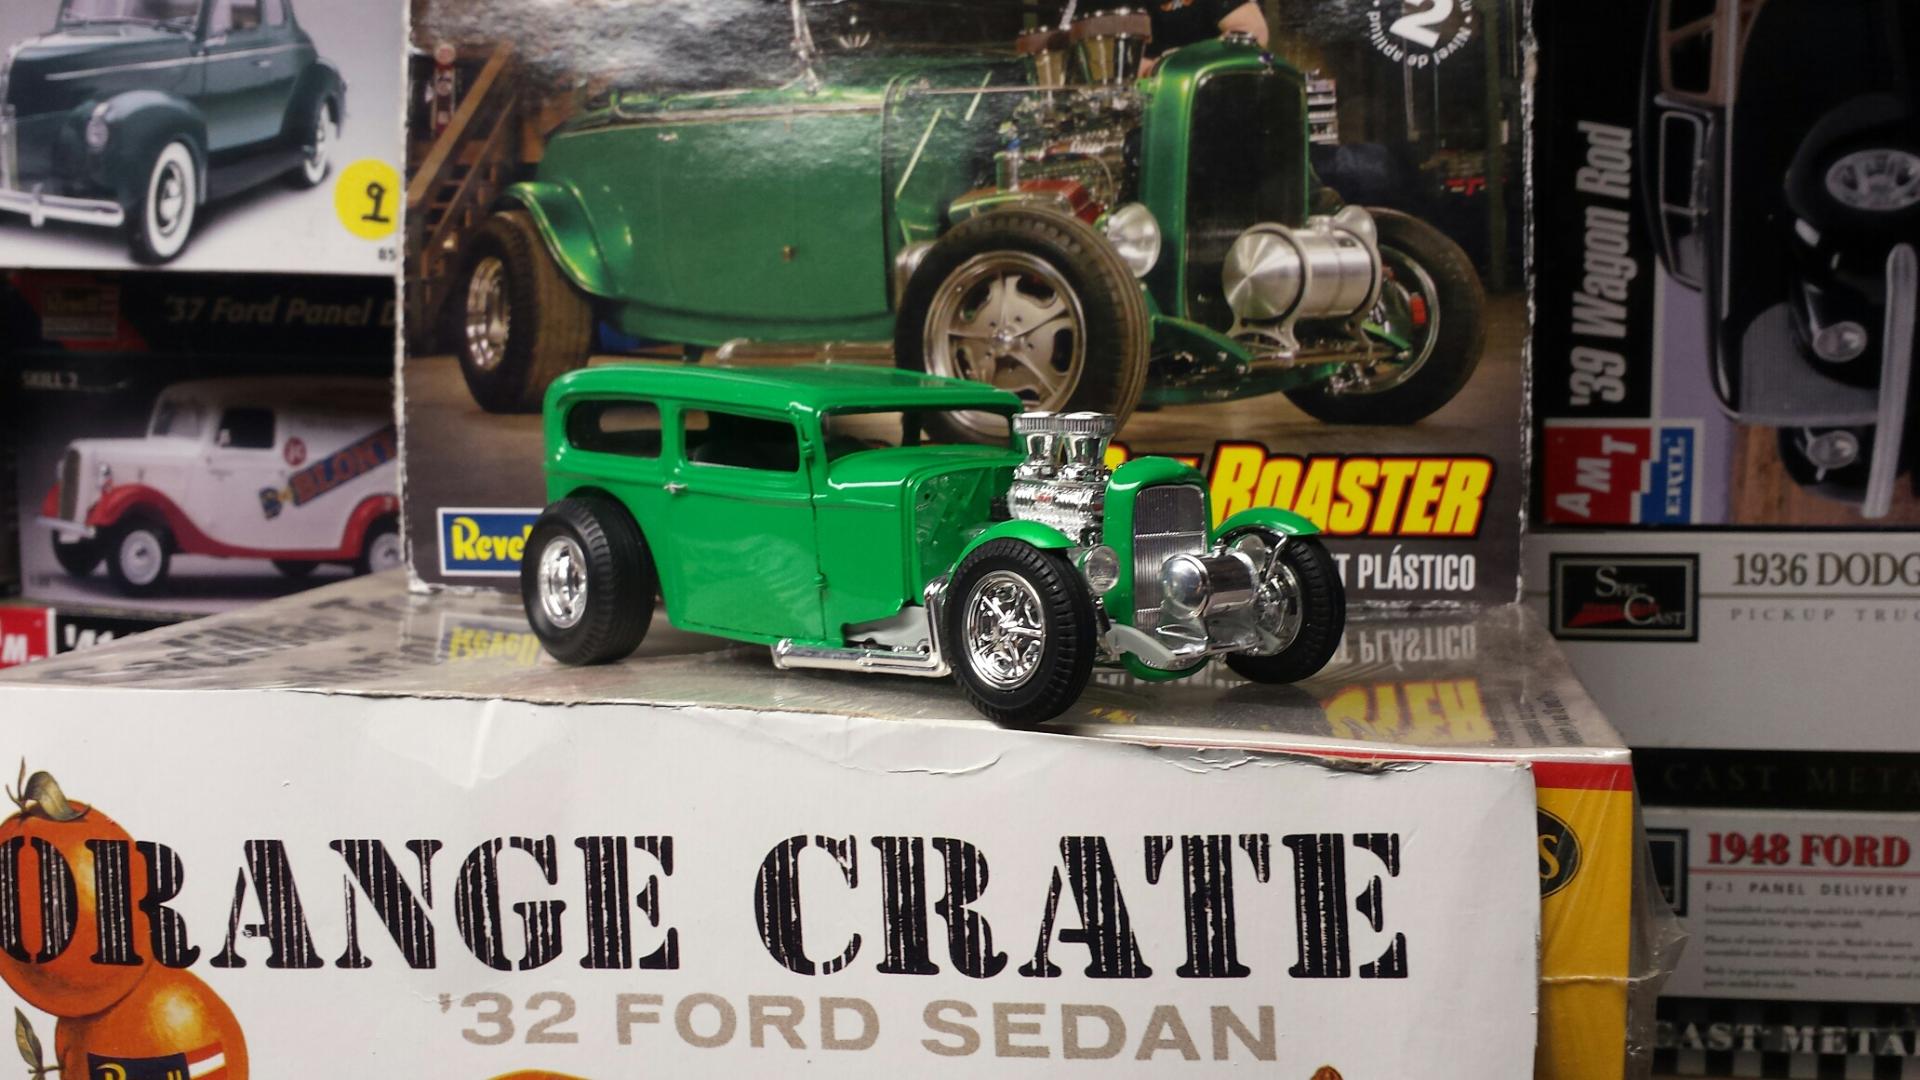
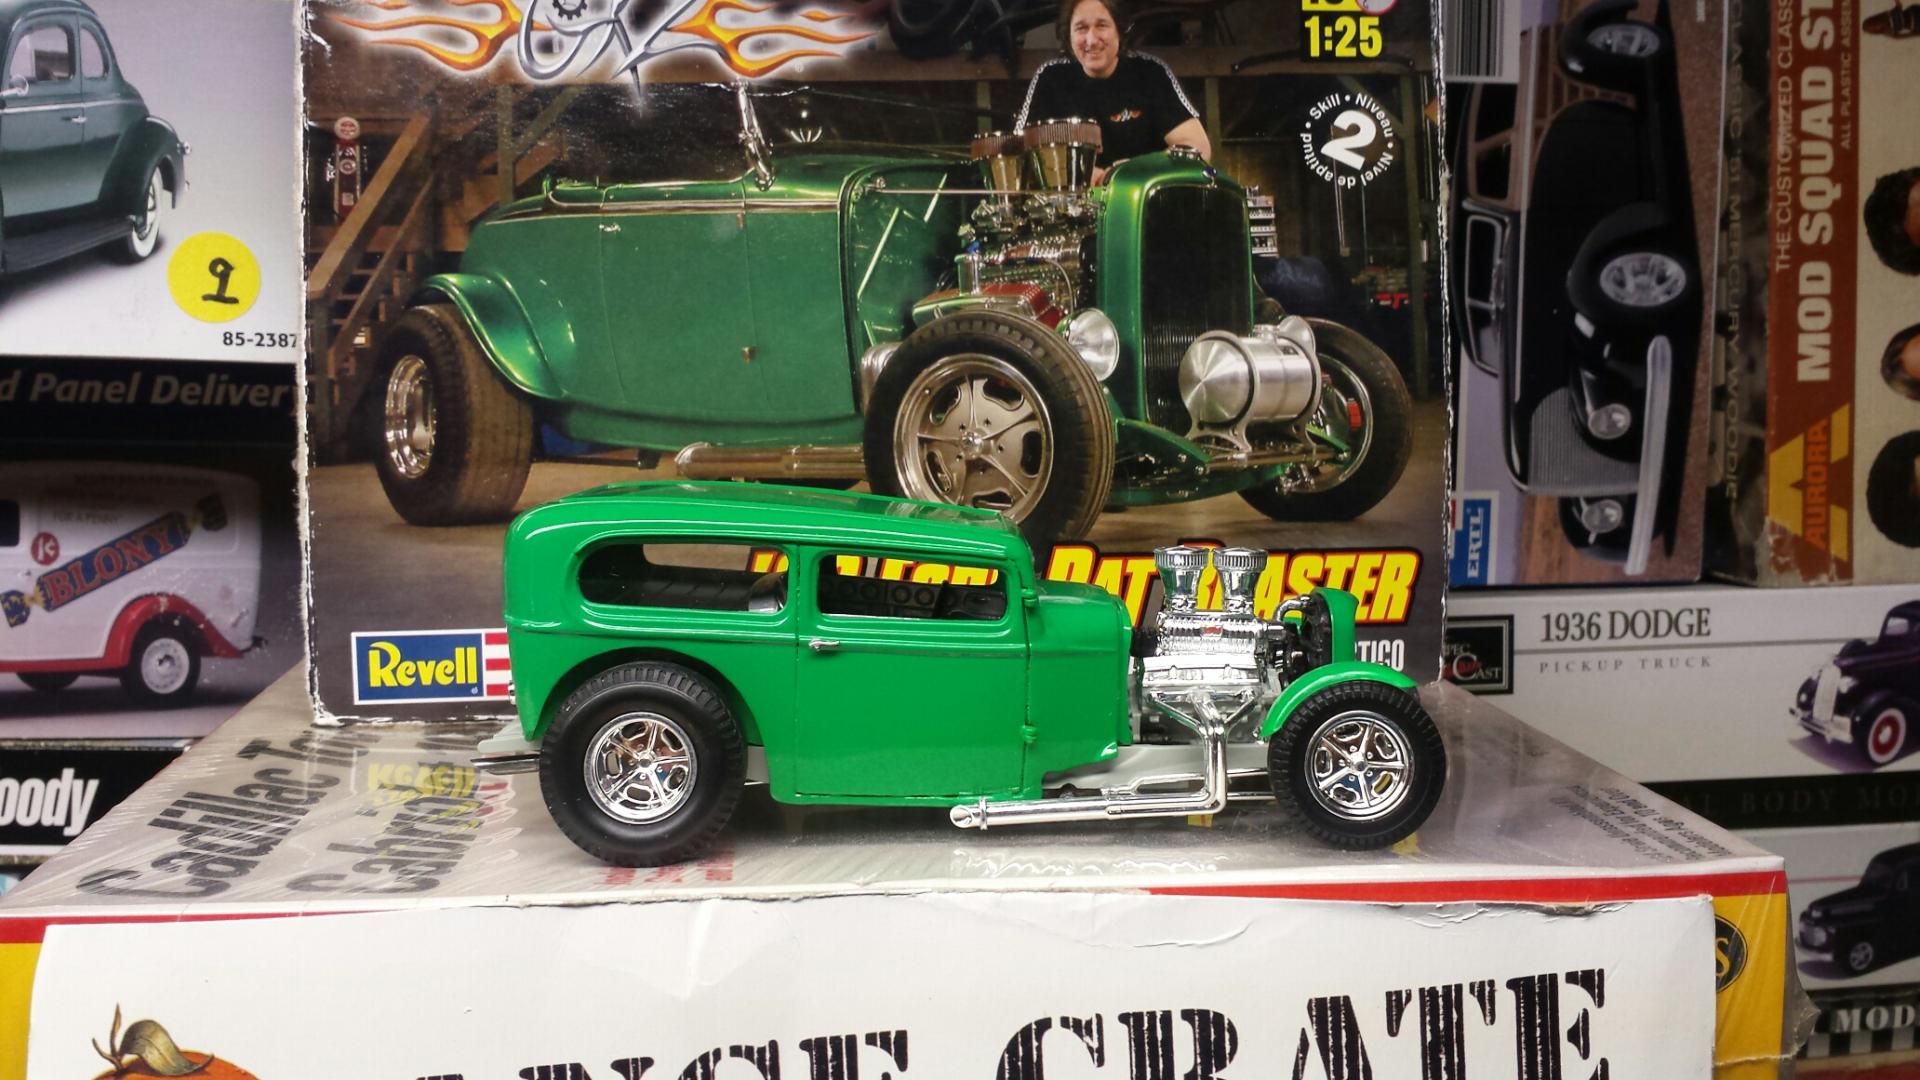
.jpg.27e99fdcb69d9fed89361ae773b7479c.jpg)
