customline
-
Posts
3,791 -
Joined
-
Last visited
Content Type
Profiles
Forums
Events
Gallery
Everything posted by customline
-
Looks fantastic,John. You got this!
-

1964 Pontiac Bonneville Convertible.
customline replied to StevenGuthmiller's topic in WIP: Model Cars
When you zoom in all the way it ........STILL LOOKS REAL! ? -
My big problem is the weather. I paint in the great outdoors. When I get bogged down waiting for paint I will, habitually start another project. This will cause confusion, especially now; I have, in various phases of construction, a full custom '56 Chevy Del Rey, a '56 Chrysler 300, 2 Impalas- a '63 and a '65, 2 T-Birds- the '62 and a full custom '66, a '69 Mustang Boss 302, and a pair of '40 Ford coupes. I can't remember what I was doing on this one, or what color I was going to paint that one and on and on....?
-
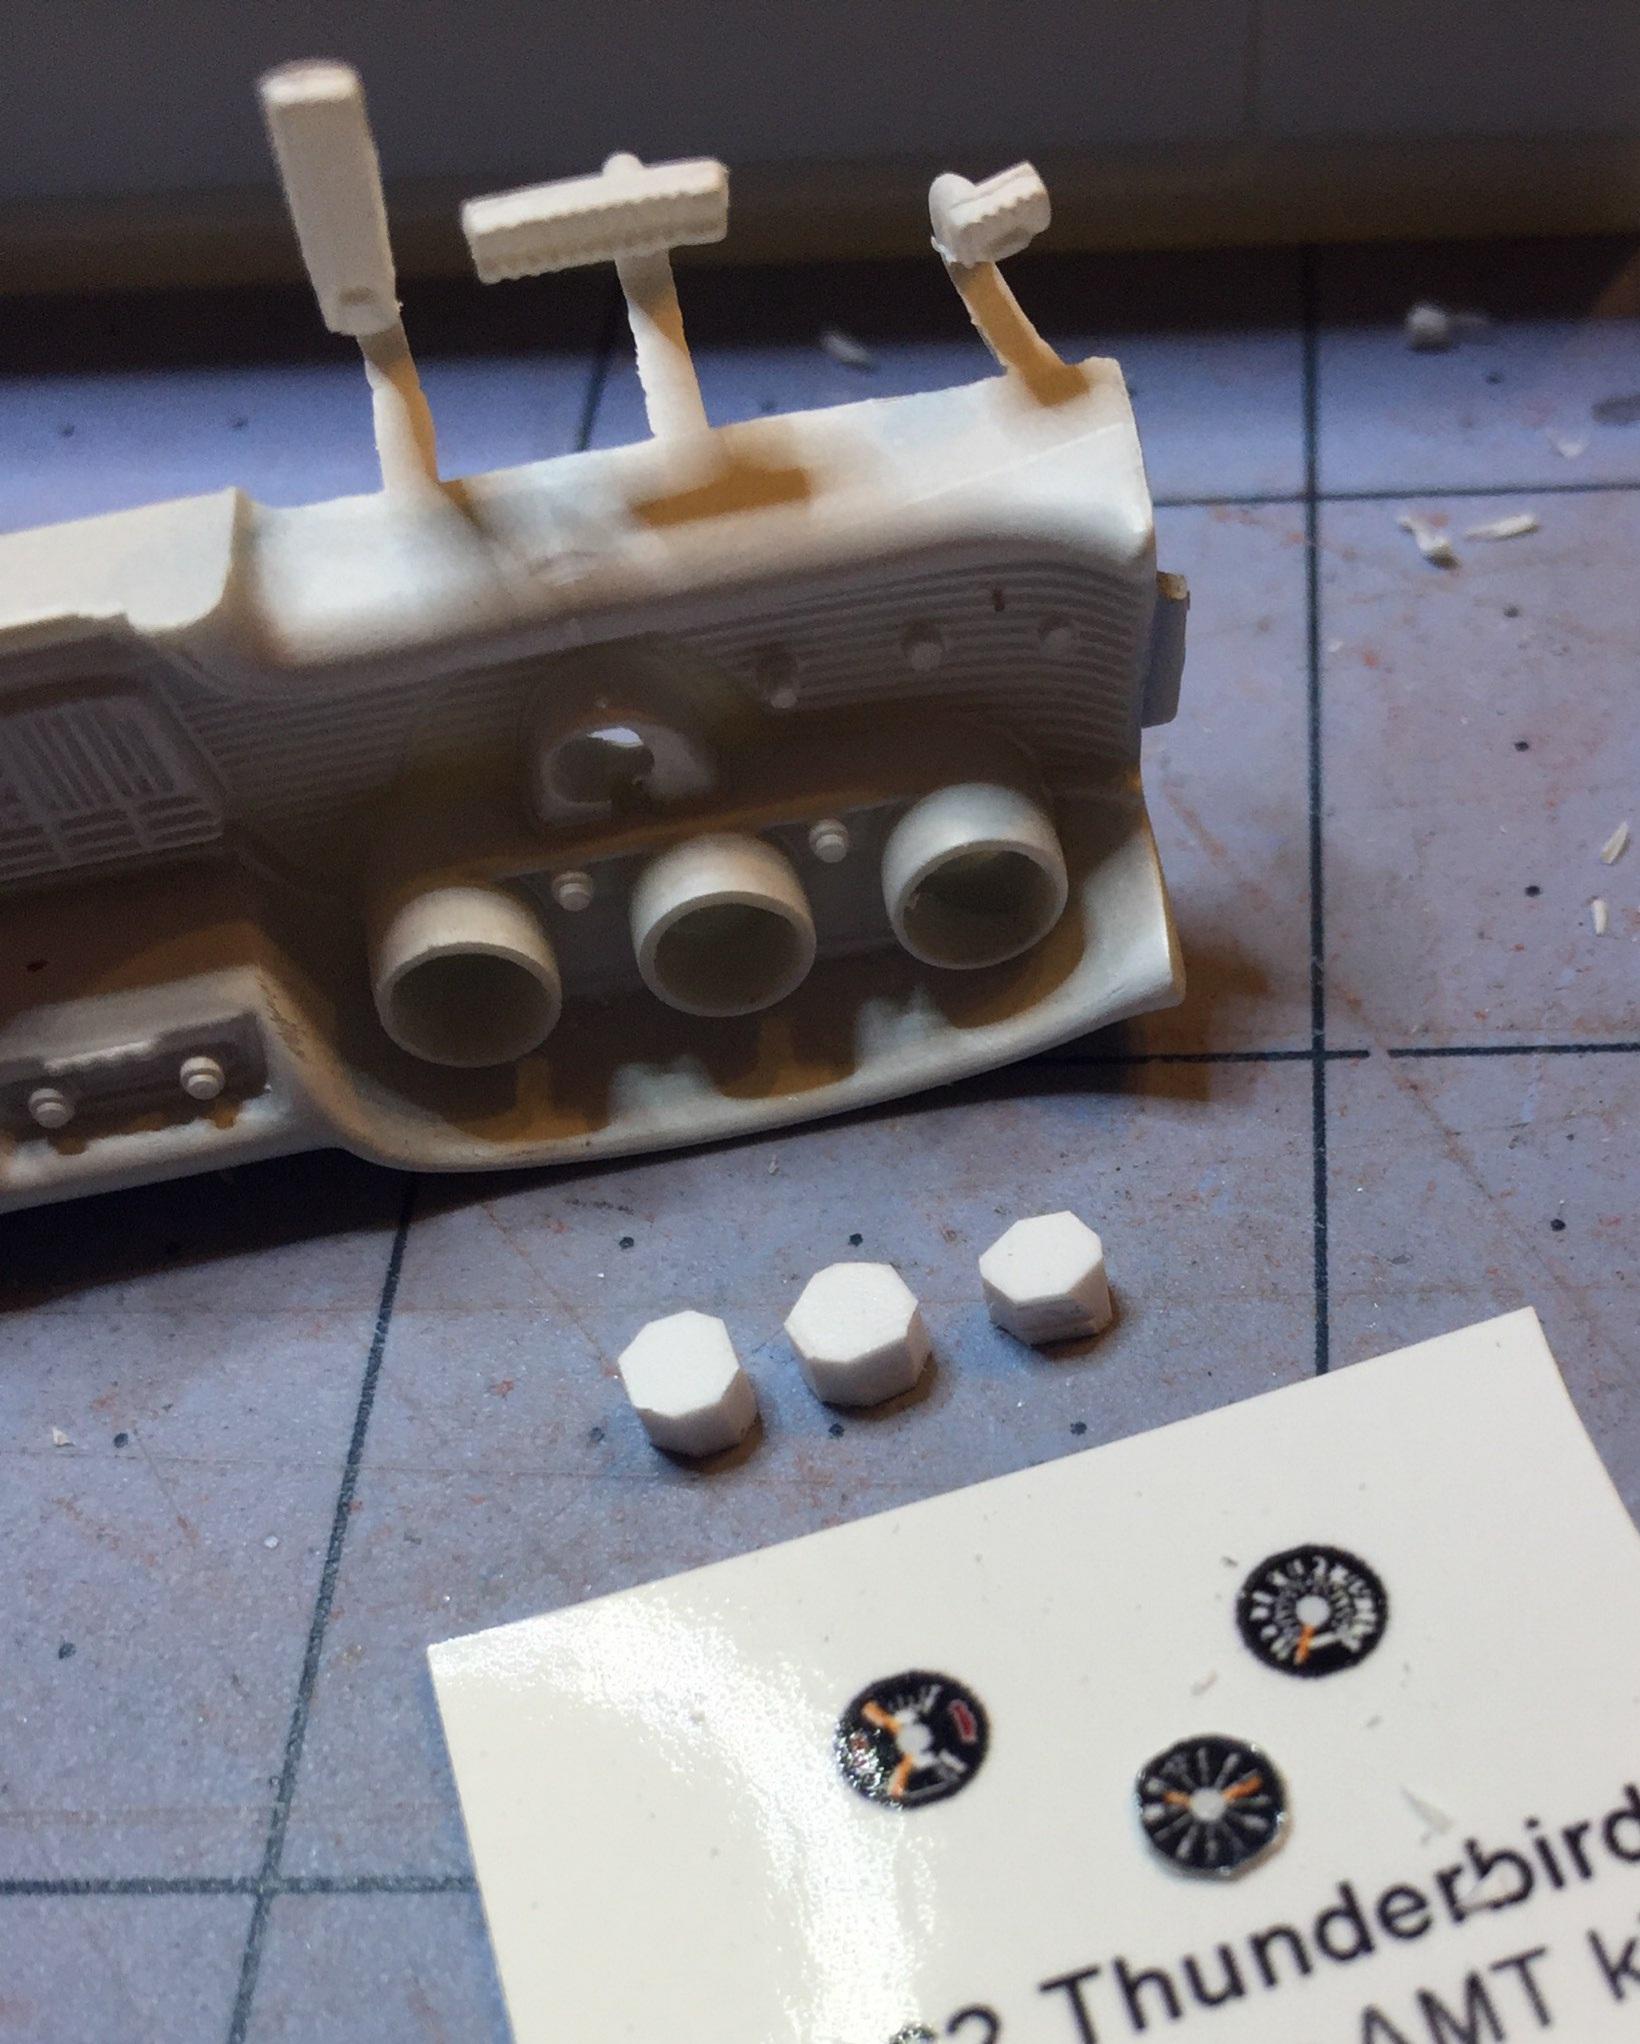
Thanks, Charlie, but now I'm looking at the photo and it looks like I need another shim under that one on the right ? and it needs more clean-up. Grrrrrr......
-
1964 Pontiac Bonneville Convertible.
customline replied to StevenGuthmiller's topic in WIP: Model Cars
you can't smell it though ?but a drop of pine-sol might do it ?
-
1964 Pontiac Bonneville Convertible.
customline replied to StevenGuthmiller's topic in WIP: Model Cars
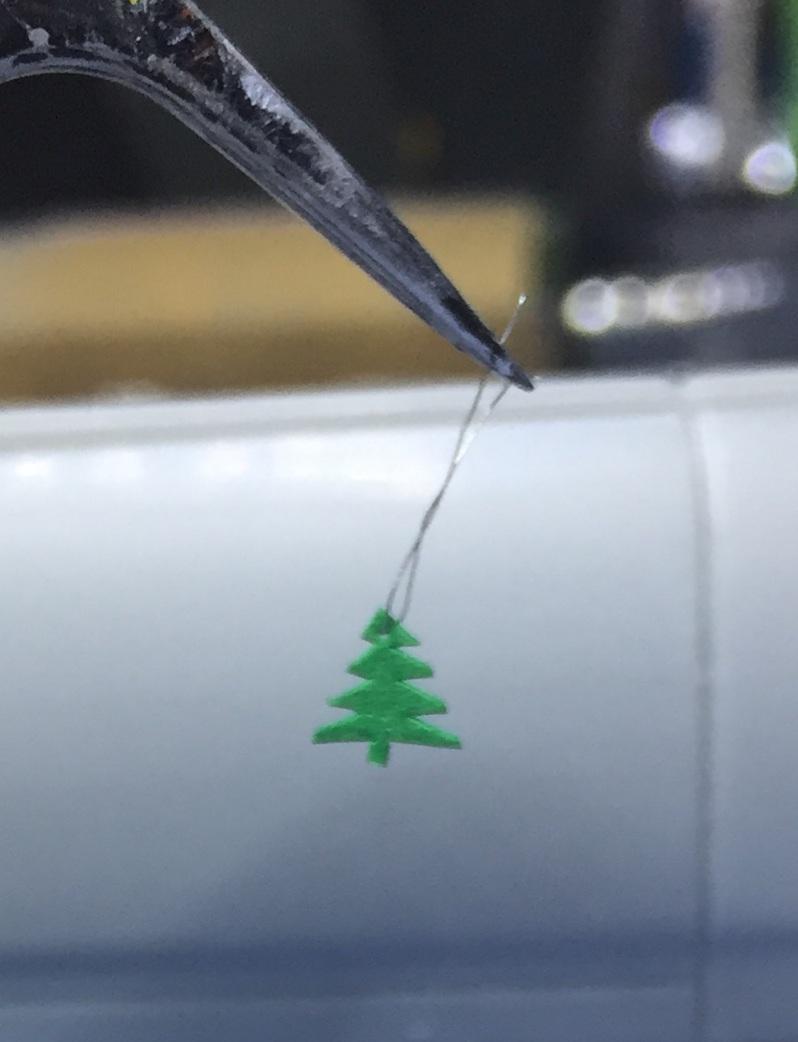
I think my wife has a punch for that but I'm afraid to ask her. More on this later... Nope, all too big but I found some green paper. It's the string where the problem is. A hair perhaps? -
Awesome. Like black raspberry ice cream. (I don't know why I said that ?) I don't see any wheels yet. The suspense is building! The kit provided custom wheels wouldn't be bad but my feeling on this is body color steel wheels and baby moons. ? but opinions are like....?
-
After reviewing the sectioning I see the sectioning did not involve the area ahead of the front wheel and that may have caused the issue. Maybe the elimination of the splash pan and a different bumper would help. It may also help to raise the stance a bit. The color is super! Shortening the tail light fairings was a good idea, Brian. I really like the concept and I would love to try something like this myself. Actually, the '50 ragtop is a really good candidate for this- the kit includes a chopped windshield a ton of cool custom body parts.
-
I agree, maybe a thinner, lighter looking bumper without guards.
-
1964 Pontiac Bonneville Convertible.
customline replied to StevenGuthmiller's topic in WIP: Model Cars
Don't forget the pine tree air freshener swinging from the rear view mirror. ? . Ooooo.....glad I thought of that......heh heh heh... -
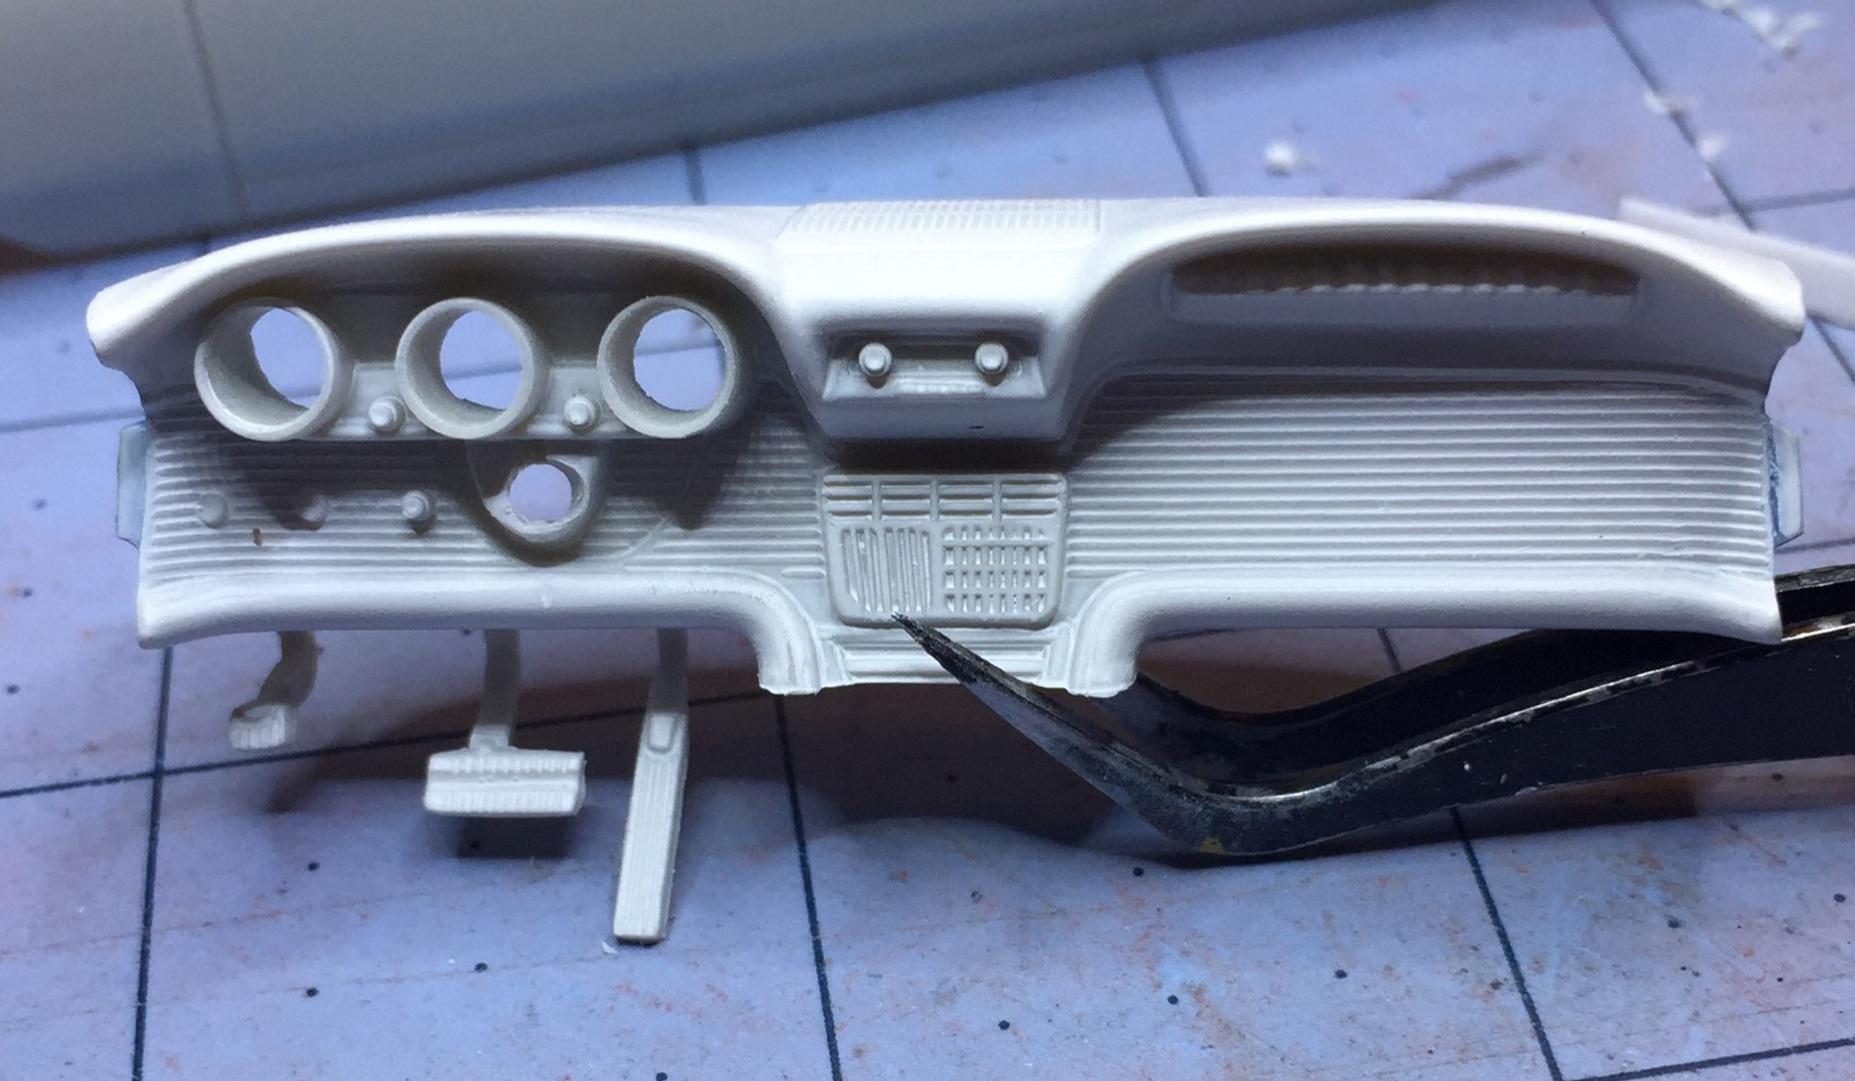
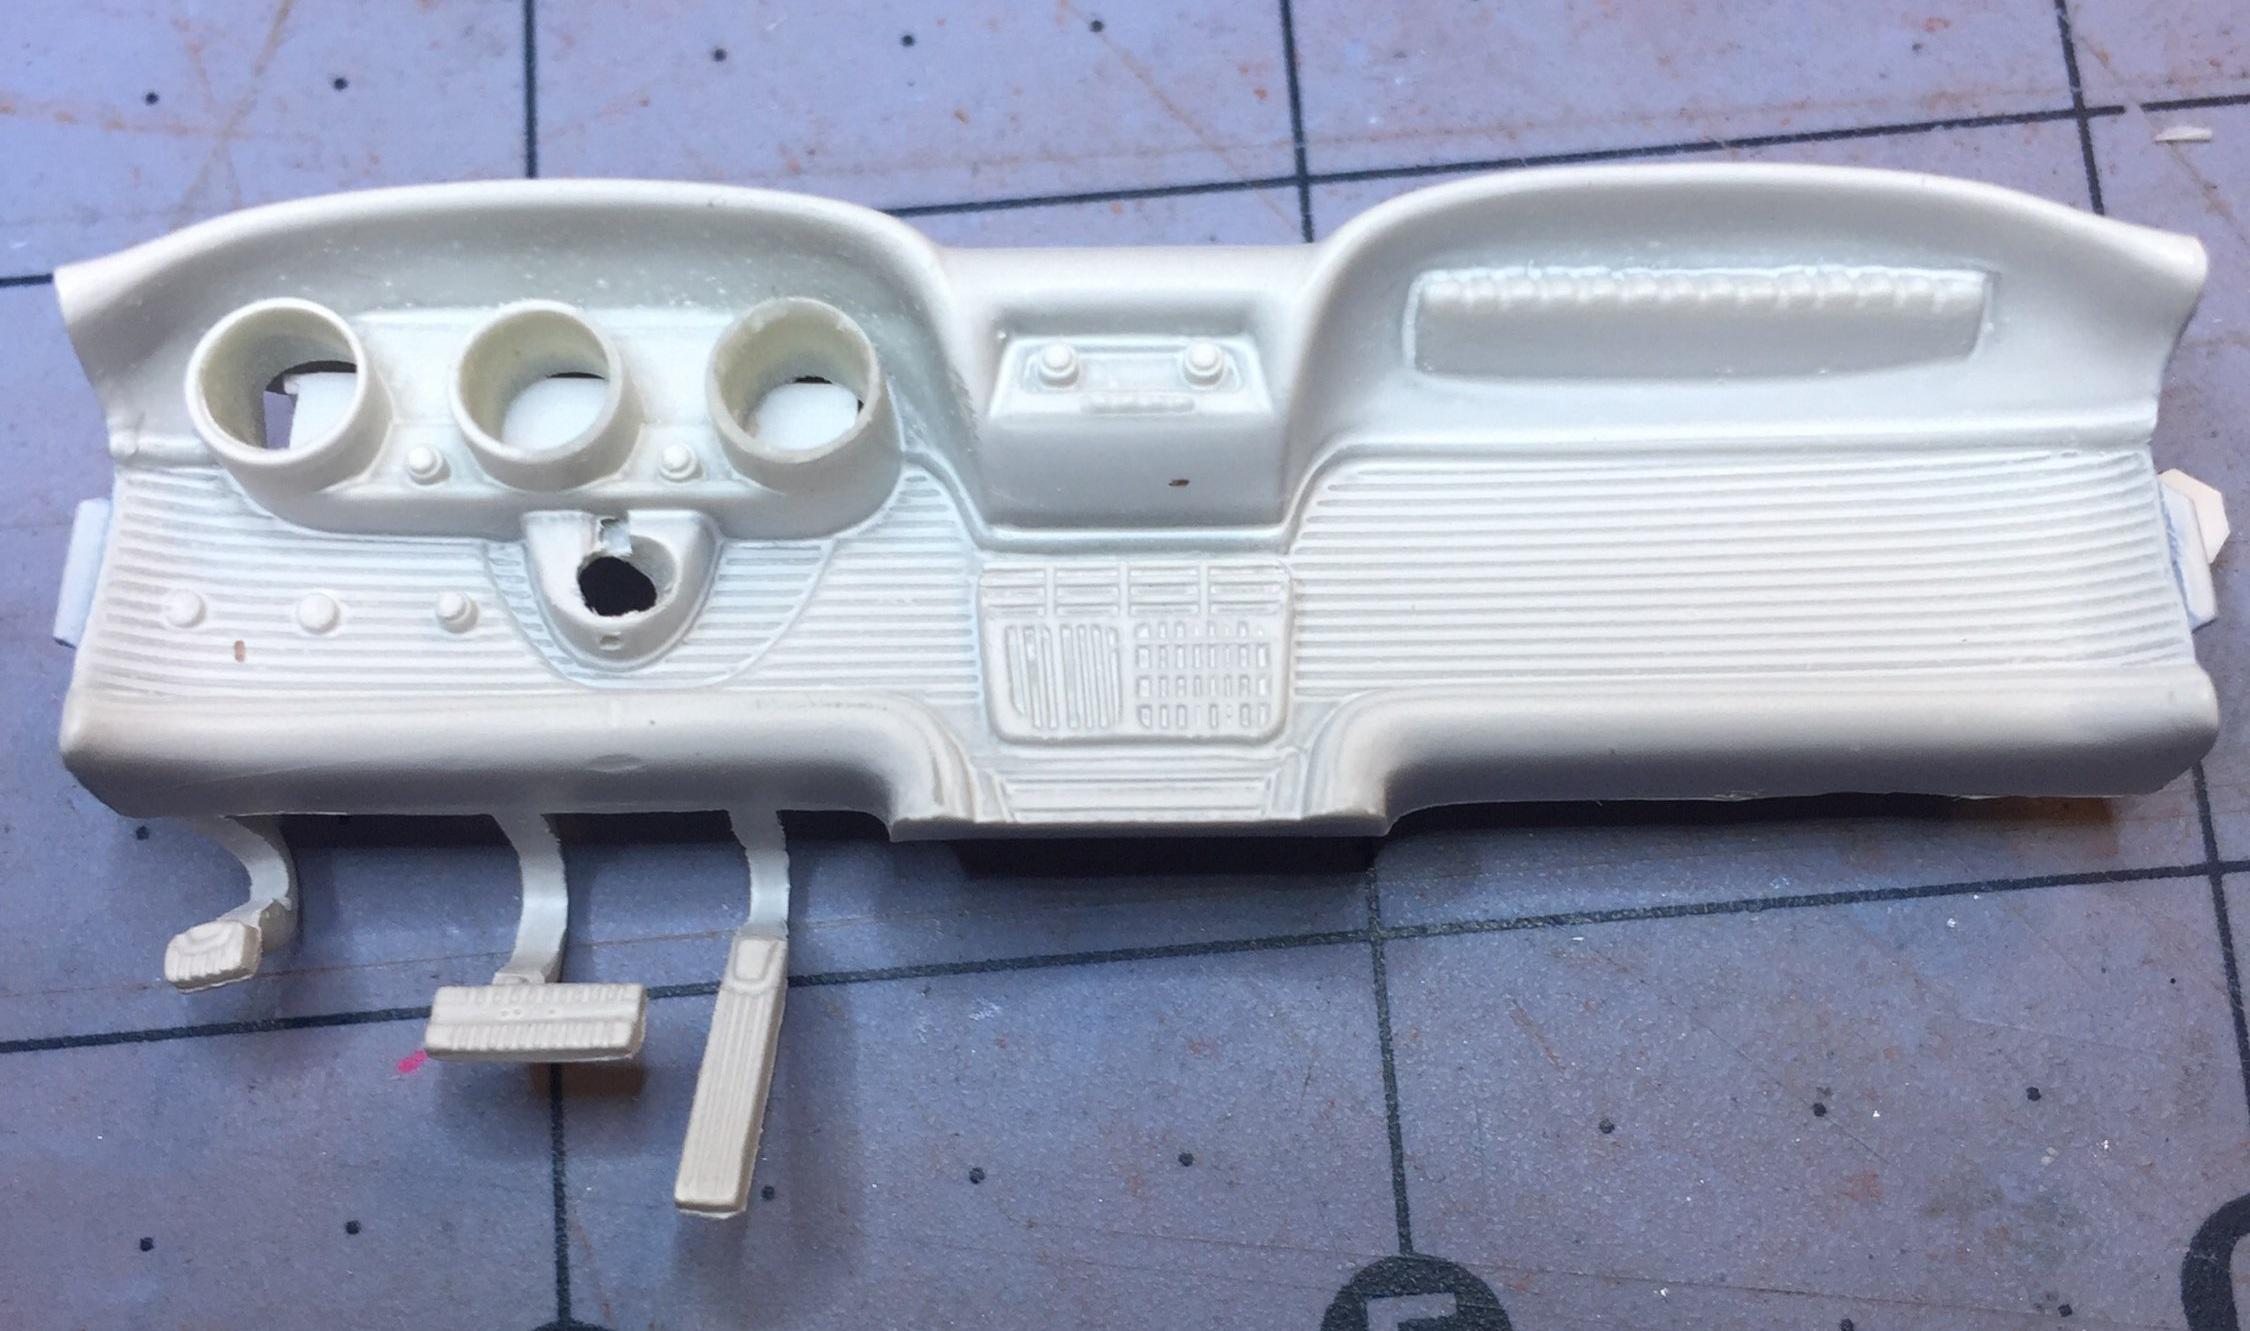
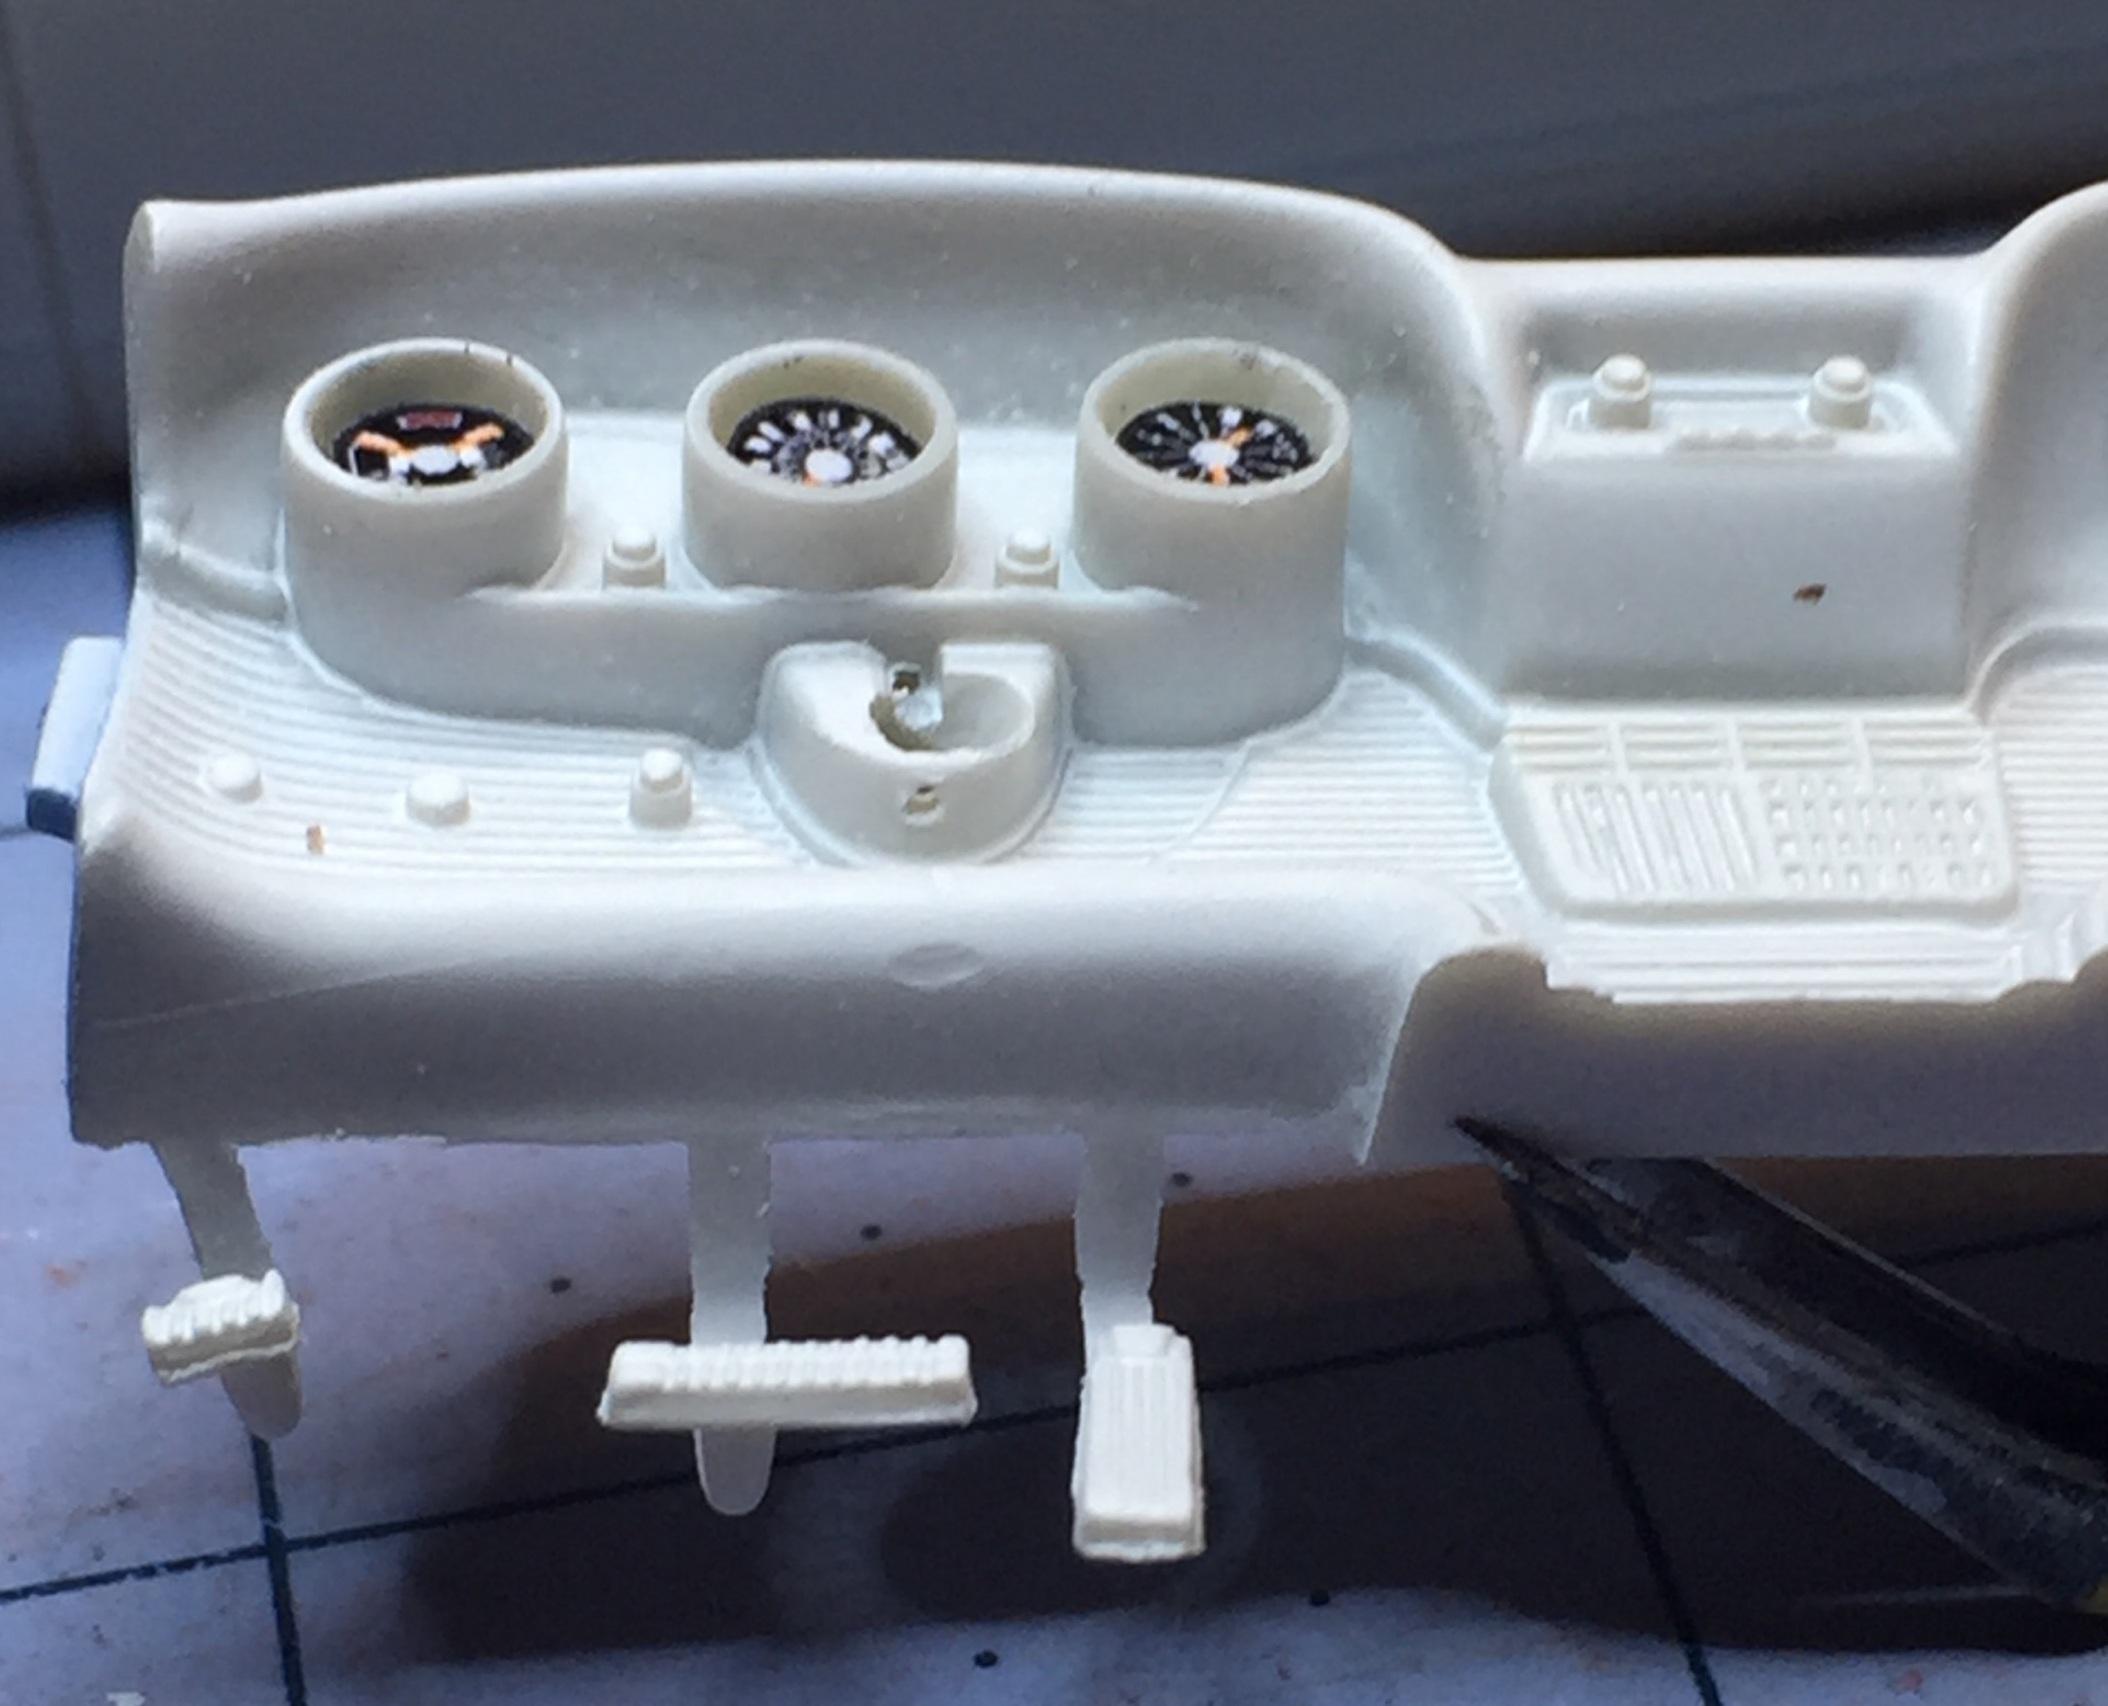
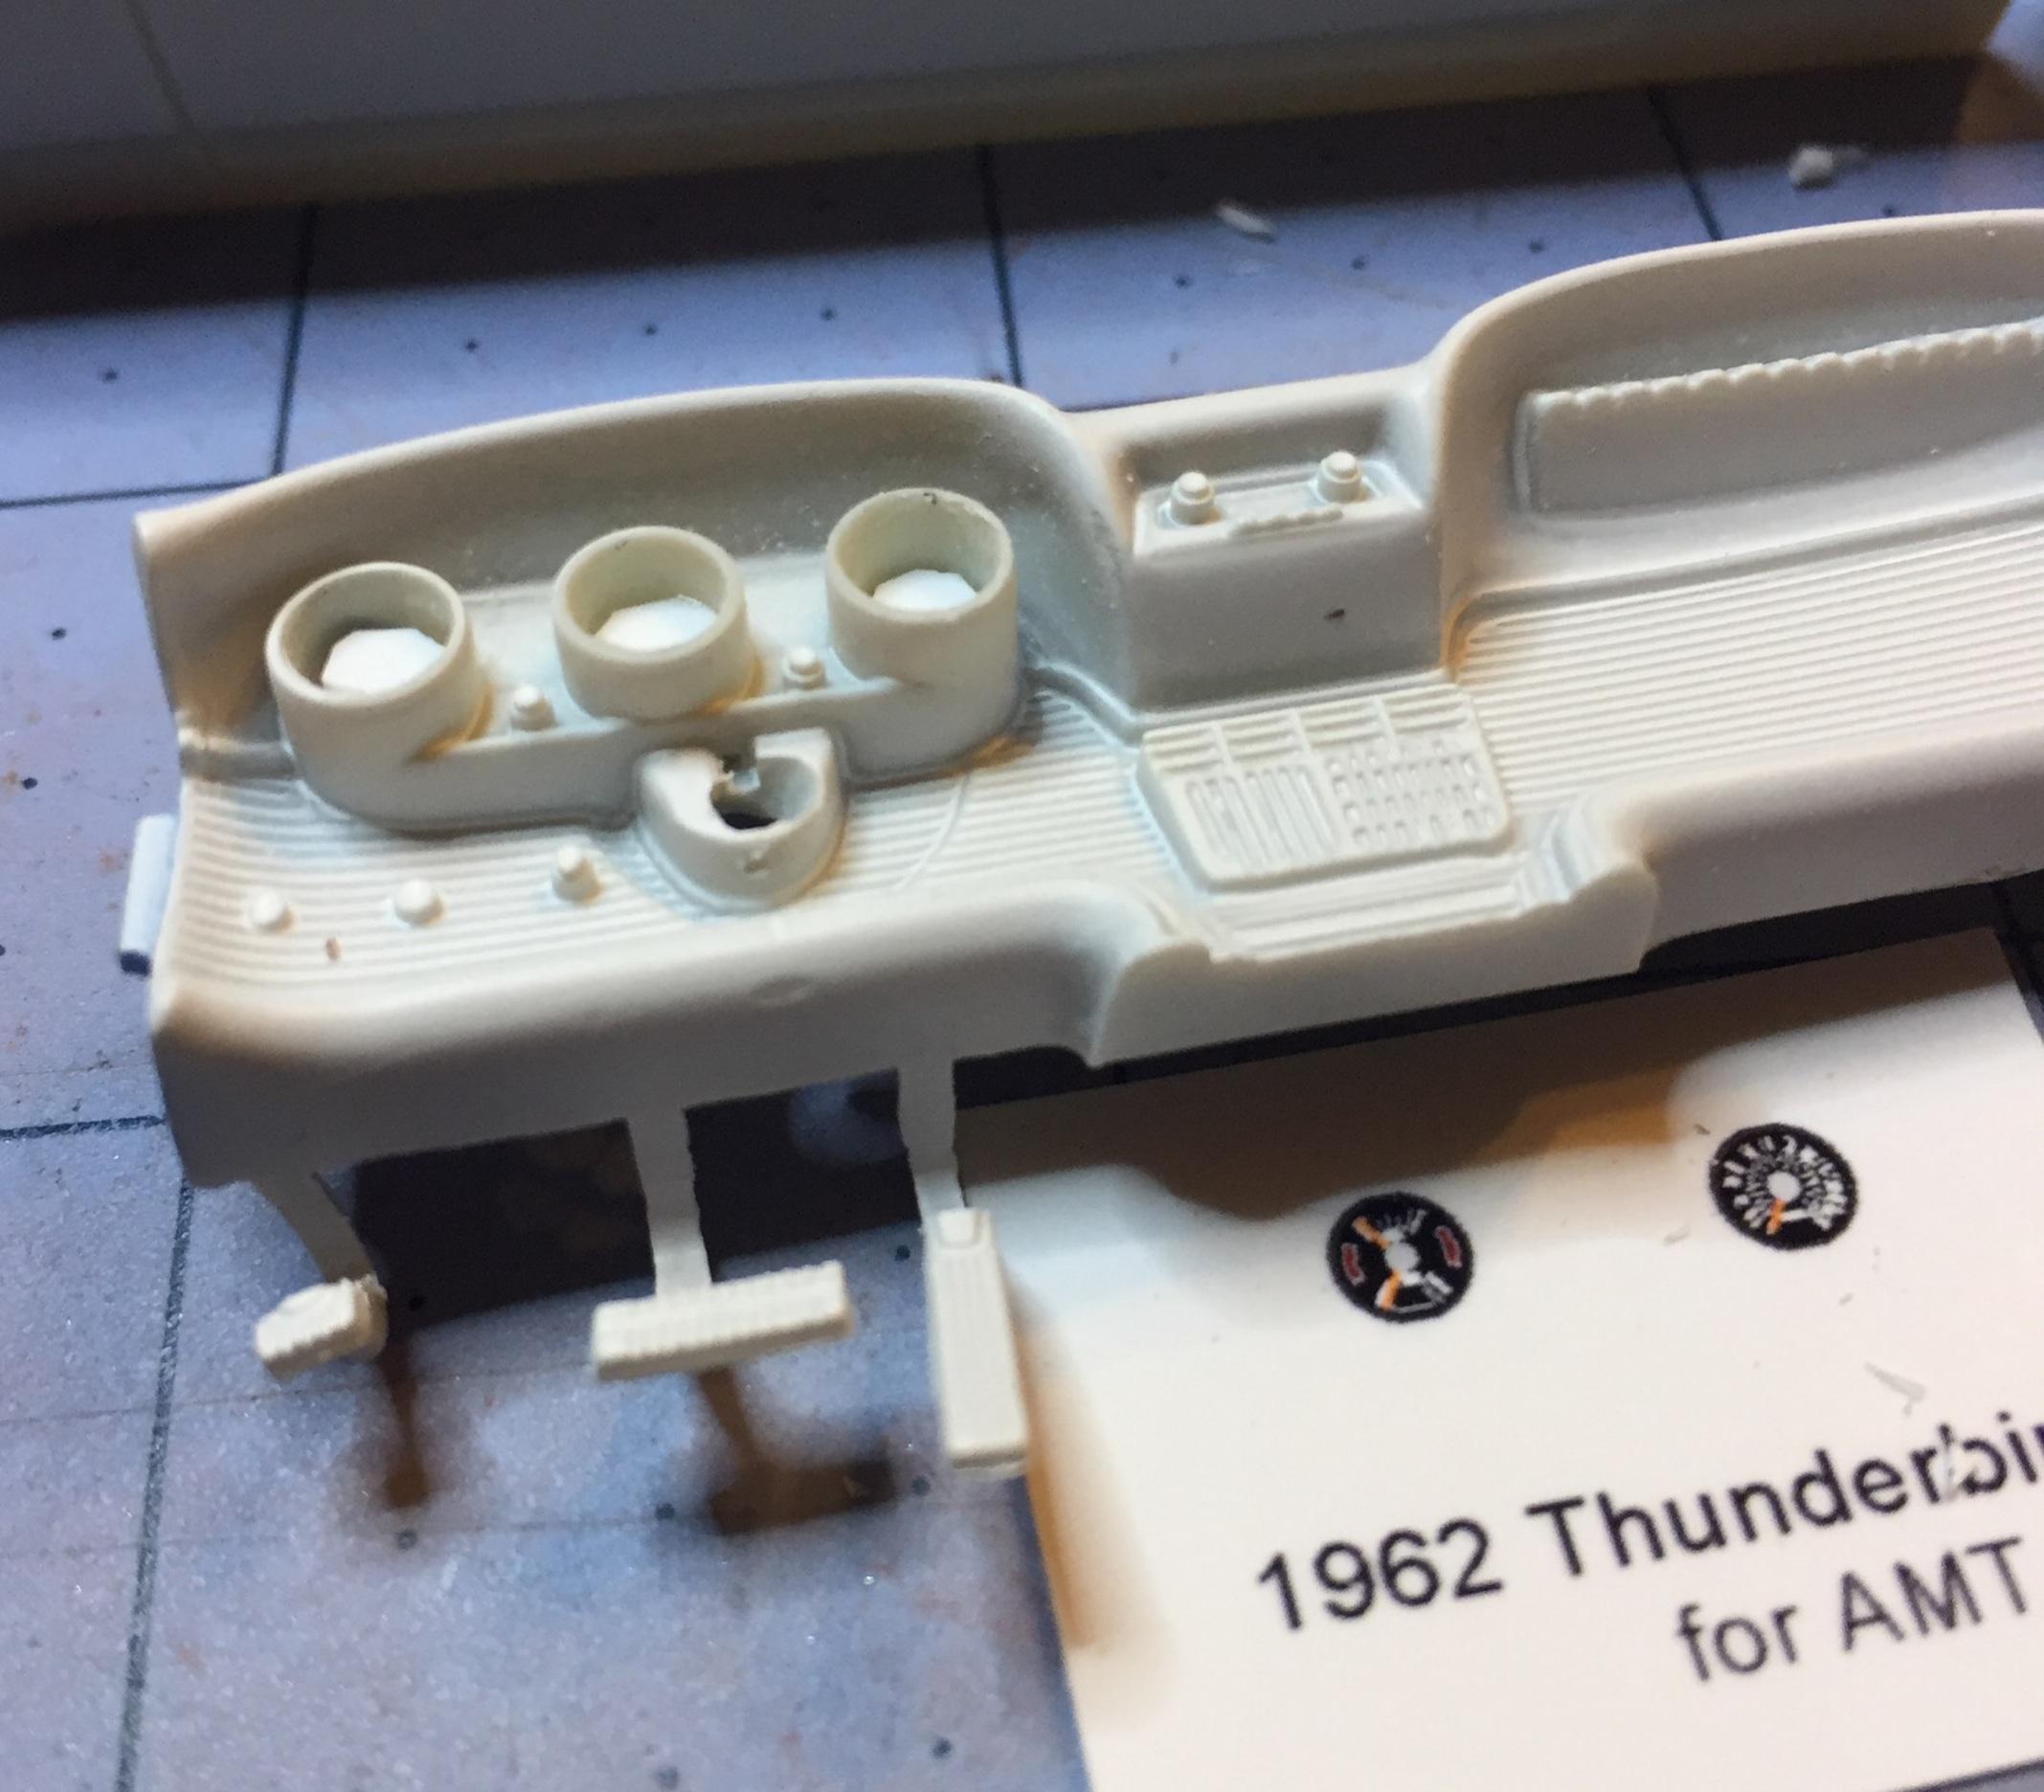
I got the dash drilled out and set it up for the guage faces. Just a heads-up : you will notice the tunnels I drilled are not all the same depth so i had to add shims in addition to the spacers I inserted.. The pictures should tell the story. Thanks for looking.
-
Nope. If it doesn't say pearl or metallic or clear then it must be solid? Right? Ok....thanks, Les.
-
Today I stopped at my local HobbyTown for a can of "baby blue" spray paint. They sell Tamiya so I figured I could find a nice non-metallic light blue. Uh....no. But I did find a nice "coral blue". I don't have any experience with Tamiya paint. Can anyone tell me if this color is solid or metallic? I suppose I could paint a spoon but the can feels kinda light. Anybody use this one?
-
So.....it's a KUSTOM ! I thought maybe it came without fins. It's an AMT kit after all. ? use the #401 tail light lenses ?. Just follow the instructions ?.
-
That hundred degree dry weather is helping you. 40%RH is ideal. This is looking great. I wasn't big on the colors but it's growing on me, John. Do you have gold foil for the trim?
-
Did you strip the chrome and remove the sun visors fom the windshield frame? Where did the "fins" go?
-
Yeah, I've got to keep things in perspective; I'm on a fixed income
-
1964 Pontiac Bonneville Convertible.
customline replied to StevenGuthmiller's topic in WIP: Model Cars
Yes indeed. That is ART! -
Sometimes the lenses look convex to me but in some photos they look concave. Or are they flat ?
-
Yeah, I got a little overzealous. It looked do-able so.... Yes, I looked at that. It would DOUBLE the cost of this kit (25 bucks!) I might have gone for half that but I'm sorry, I just won't do it. I don't compete so I'm not looking to spend that kind of money on a few door handles and some scripts that will fall off and get lost while the cost of kits keeps soaring. Nope. ?. Thanks for your interest, Sonny.
-
I have been considering a solid light ("baby") blue for the exterior and white for the upholstery, black carpet and dash pad. I keep seeing that color combo in my head ?. I think its because of the '73 Mustang convertible I had with that color combo. The soft top I'm not sure yet but probably white. I can always paint it black if I don't like it white. ?. Thanks for asking! You are welcome to put up a photo of yours here. Anyone that built this car please do so also!
-
If I see an opportunity to do something like that, I feel it's worth a try. I have done it with the glove box and the gas door on the '56 Crown Vic, among other things. There are some kits that present good opportunities but you can't open every "door." Well....its my thread so: .....and the glove box......It looks like I forgot to paint the inside of it ? . Look for those opportunities and you can get as loony as me!
-
Dave, I looked in a number of places for the current labeling of that stuff and it's very confusing but Amazon, Ebay, Lowes, Home Depot....every place I looked it was way beyond what I want to spend for it. I appreciate your and everyone else's input. If I don't use the Intel maybe you help someone else with your suggestions. There's a lot of eyes out there!
-
Exactly. I totally get the "vestigial" parts thing. I love extra parts. ? I refer to instructions. If I follow them it's a coincidence. The quality of instructions across the industry varies widely. Even the really good ones will goof now and then. Some of the older AMT sheets are almost worthless to anyone with little experience. I guess it's just an integral part of the hobby. But I will point it out when I run across a goof because someone reading my words may benefit and I remember what we have to pay for these kits. Thanks for your interest.
-
Oh....and incidentally, try to install those lenses the way the instructions show. ? (not you, kids)