customline
-
Posts
3,791 -
Joined
-
Last visited
Content Type
Profiles
Forums
Events
Gallery
Everything posted by customline
-

‘55 El Camino
customline replied to NOBLNG's topic in WIP: Model Trucks: Pickups, Vans, SUVs, Light Commercial
Yay! 😀 👍🏻 -
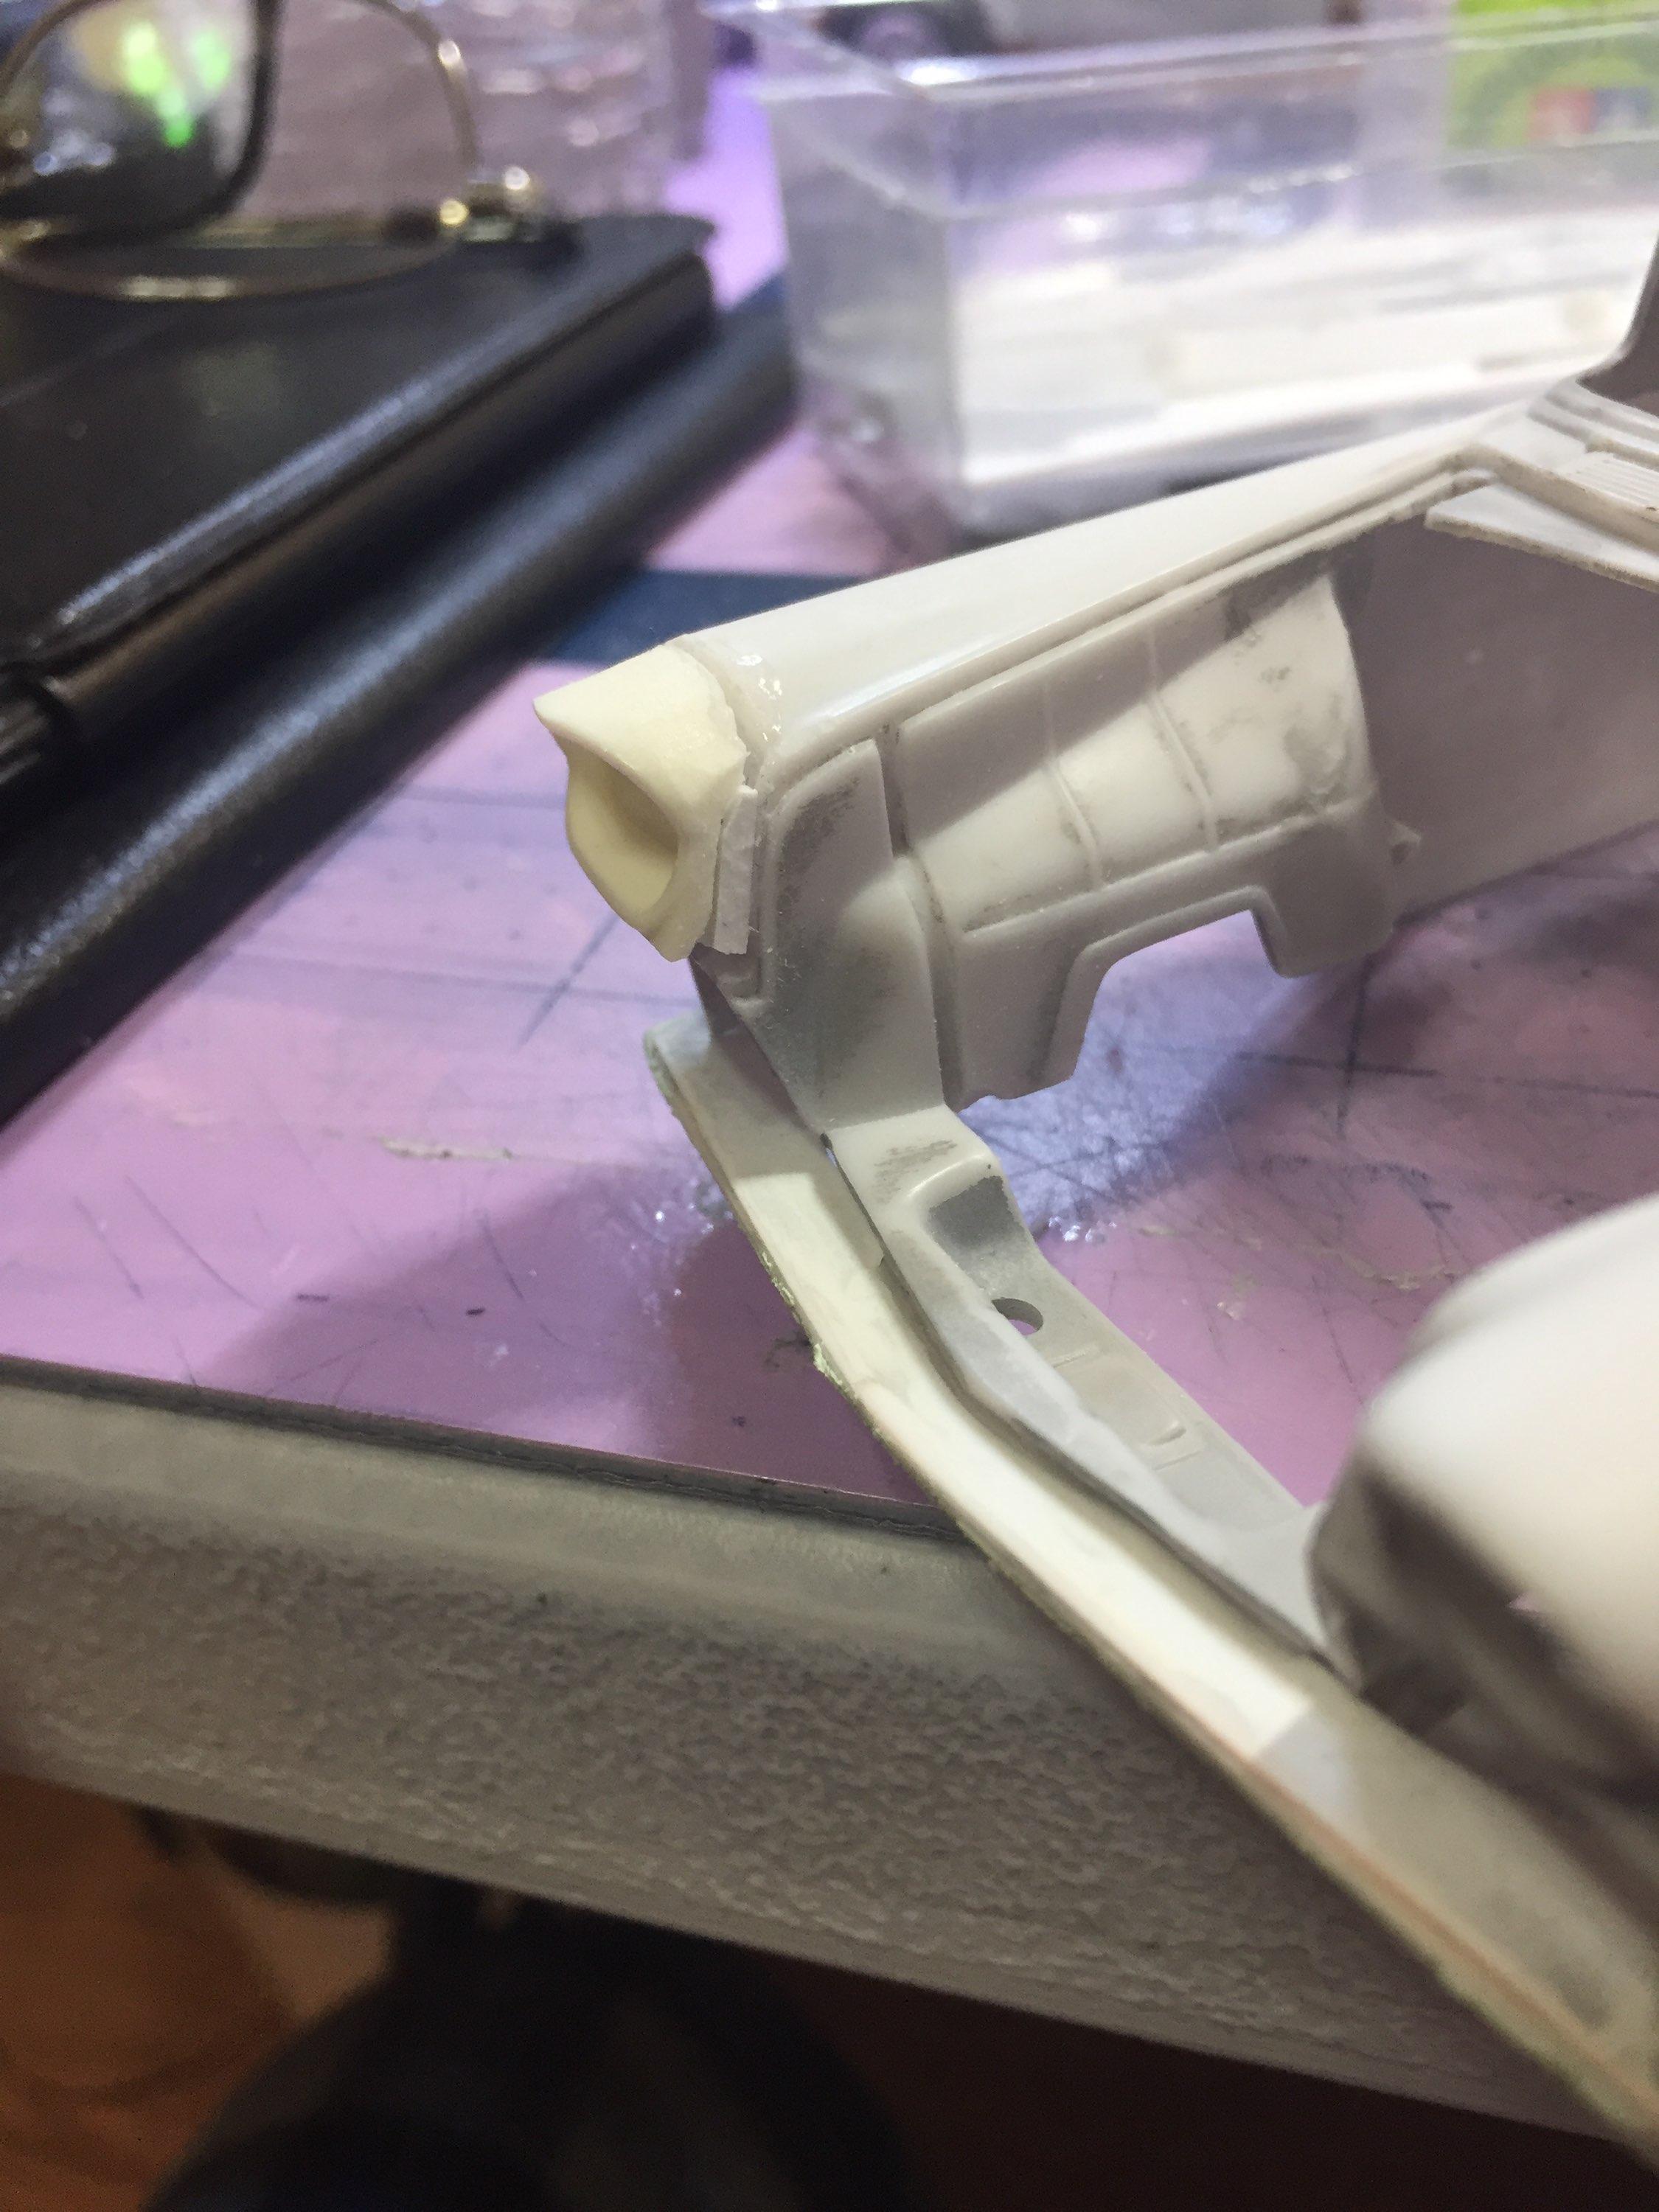
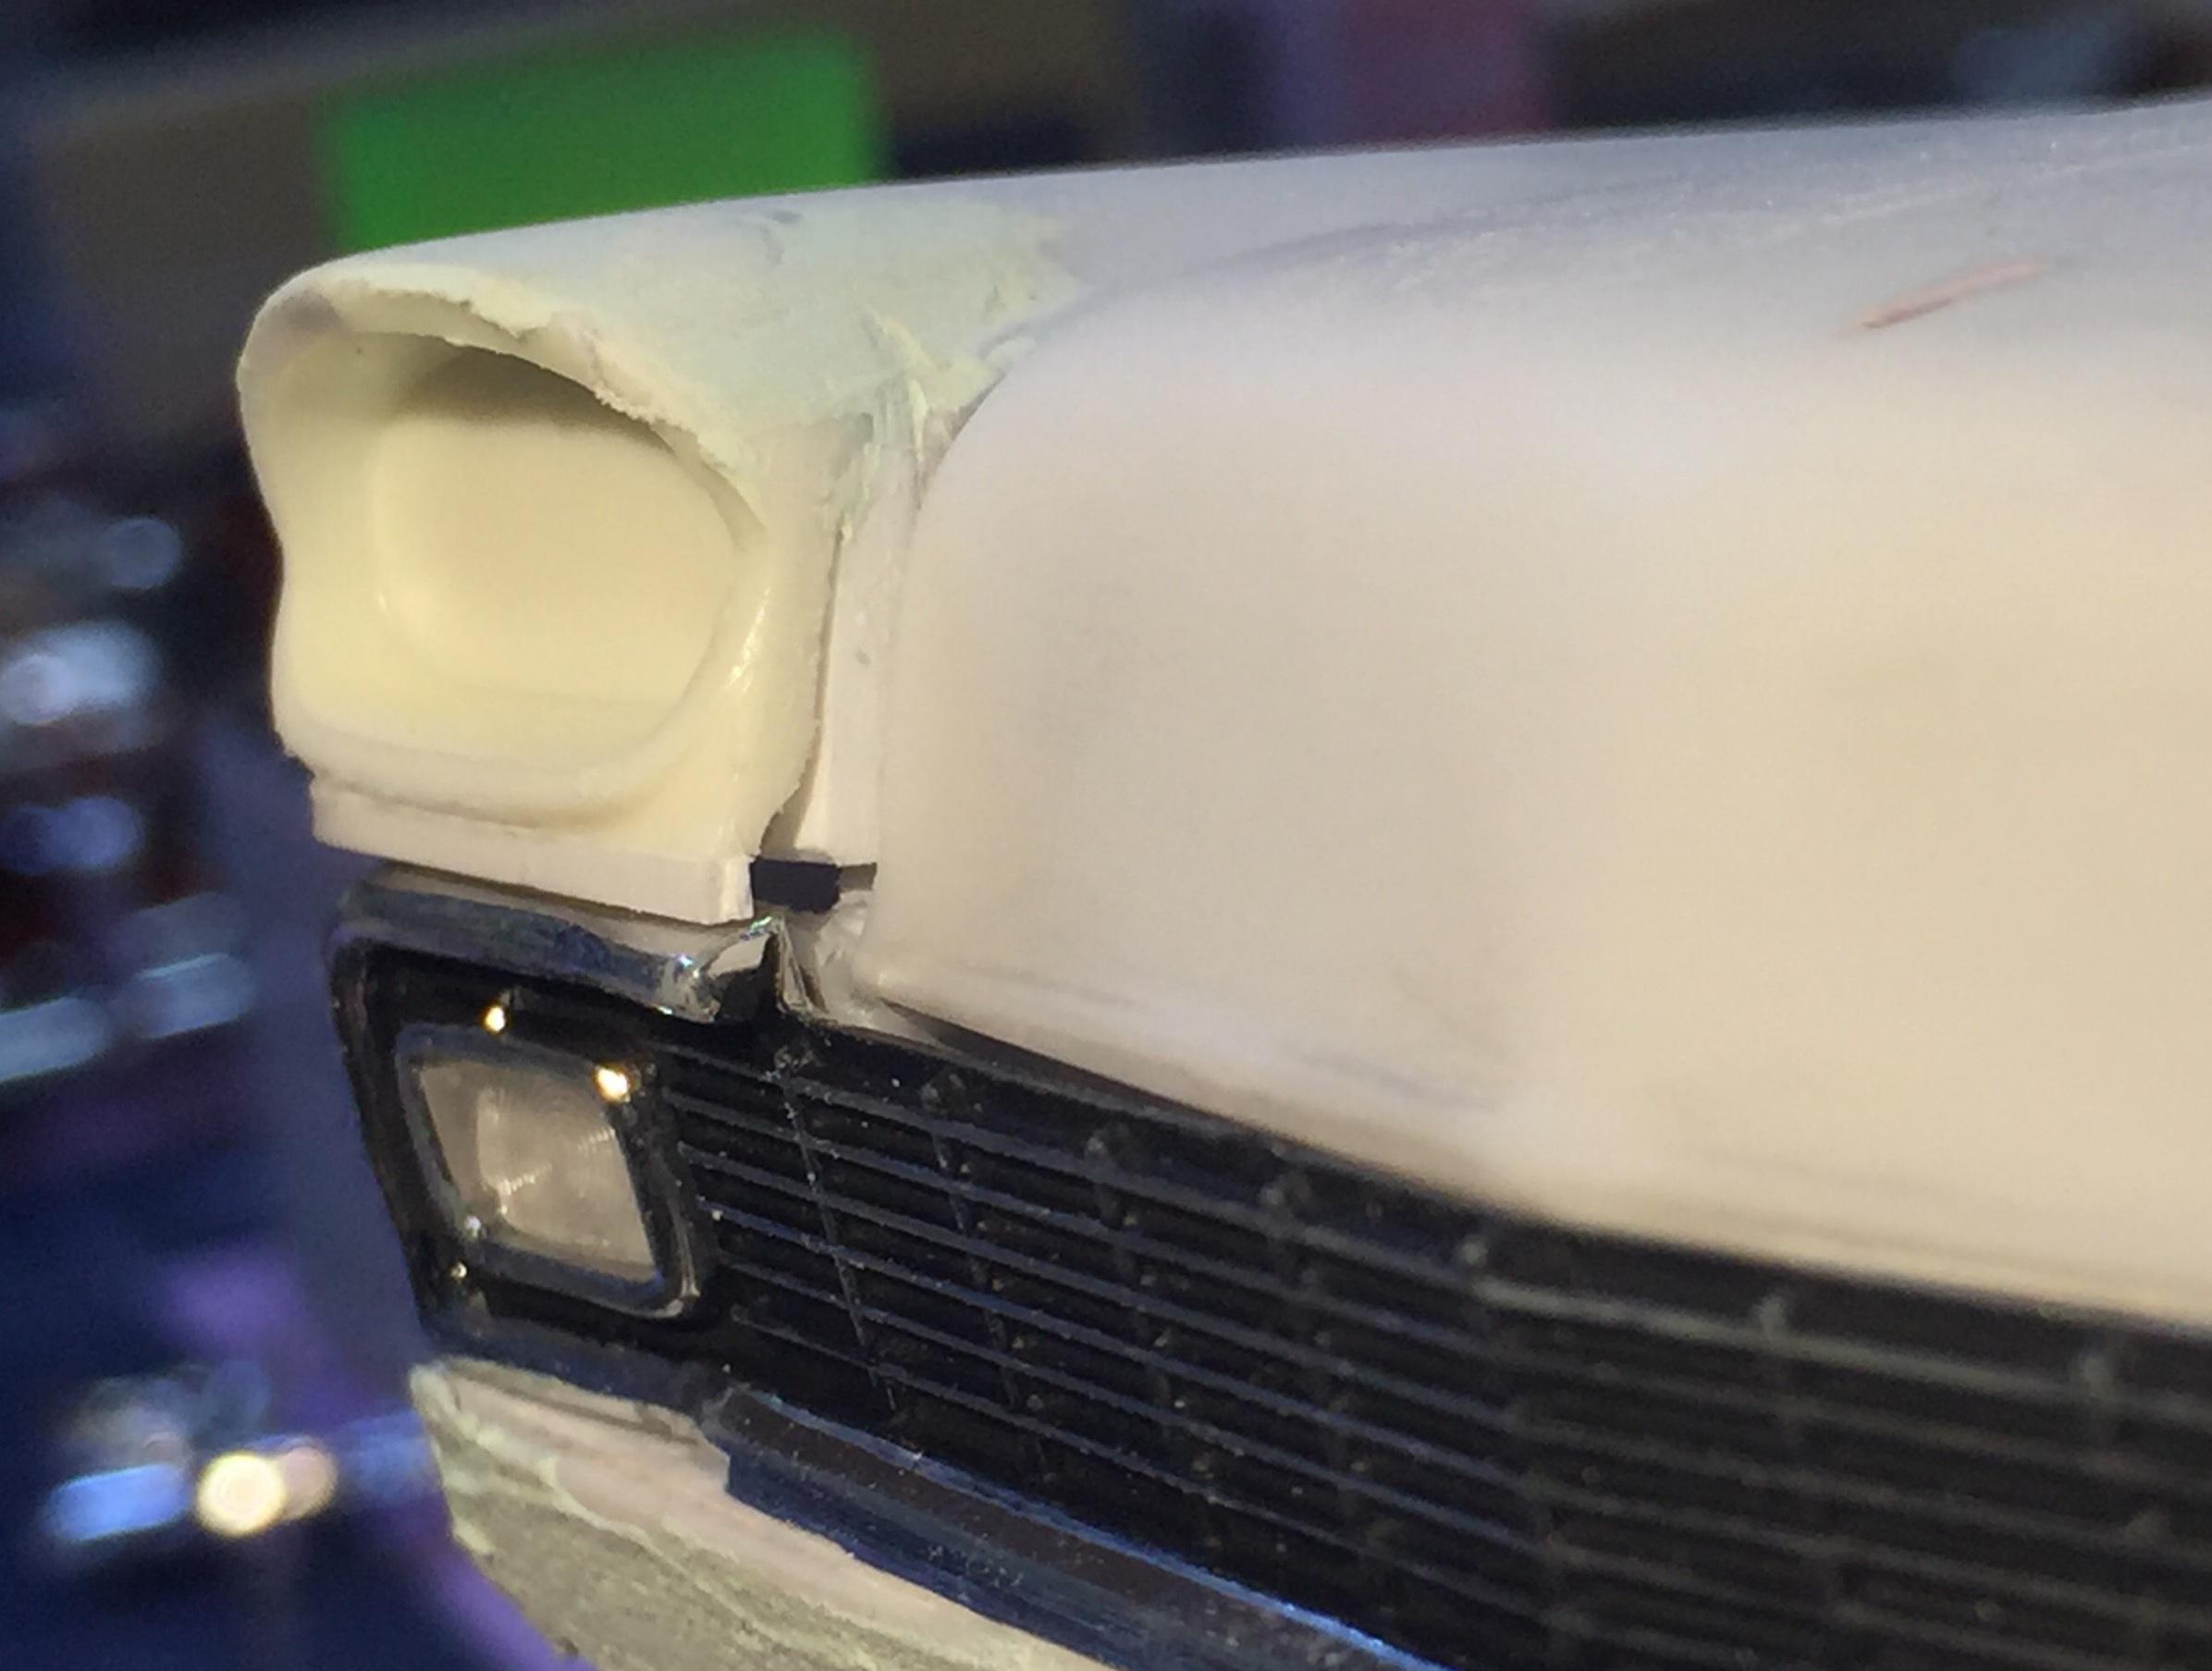
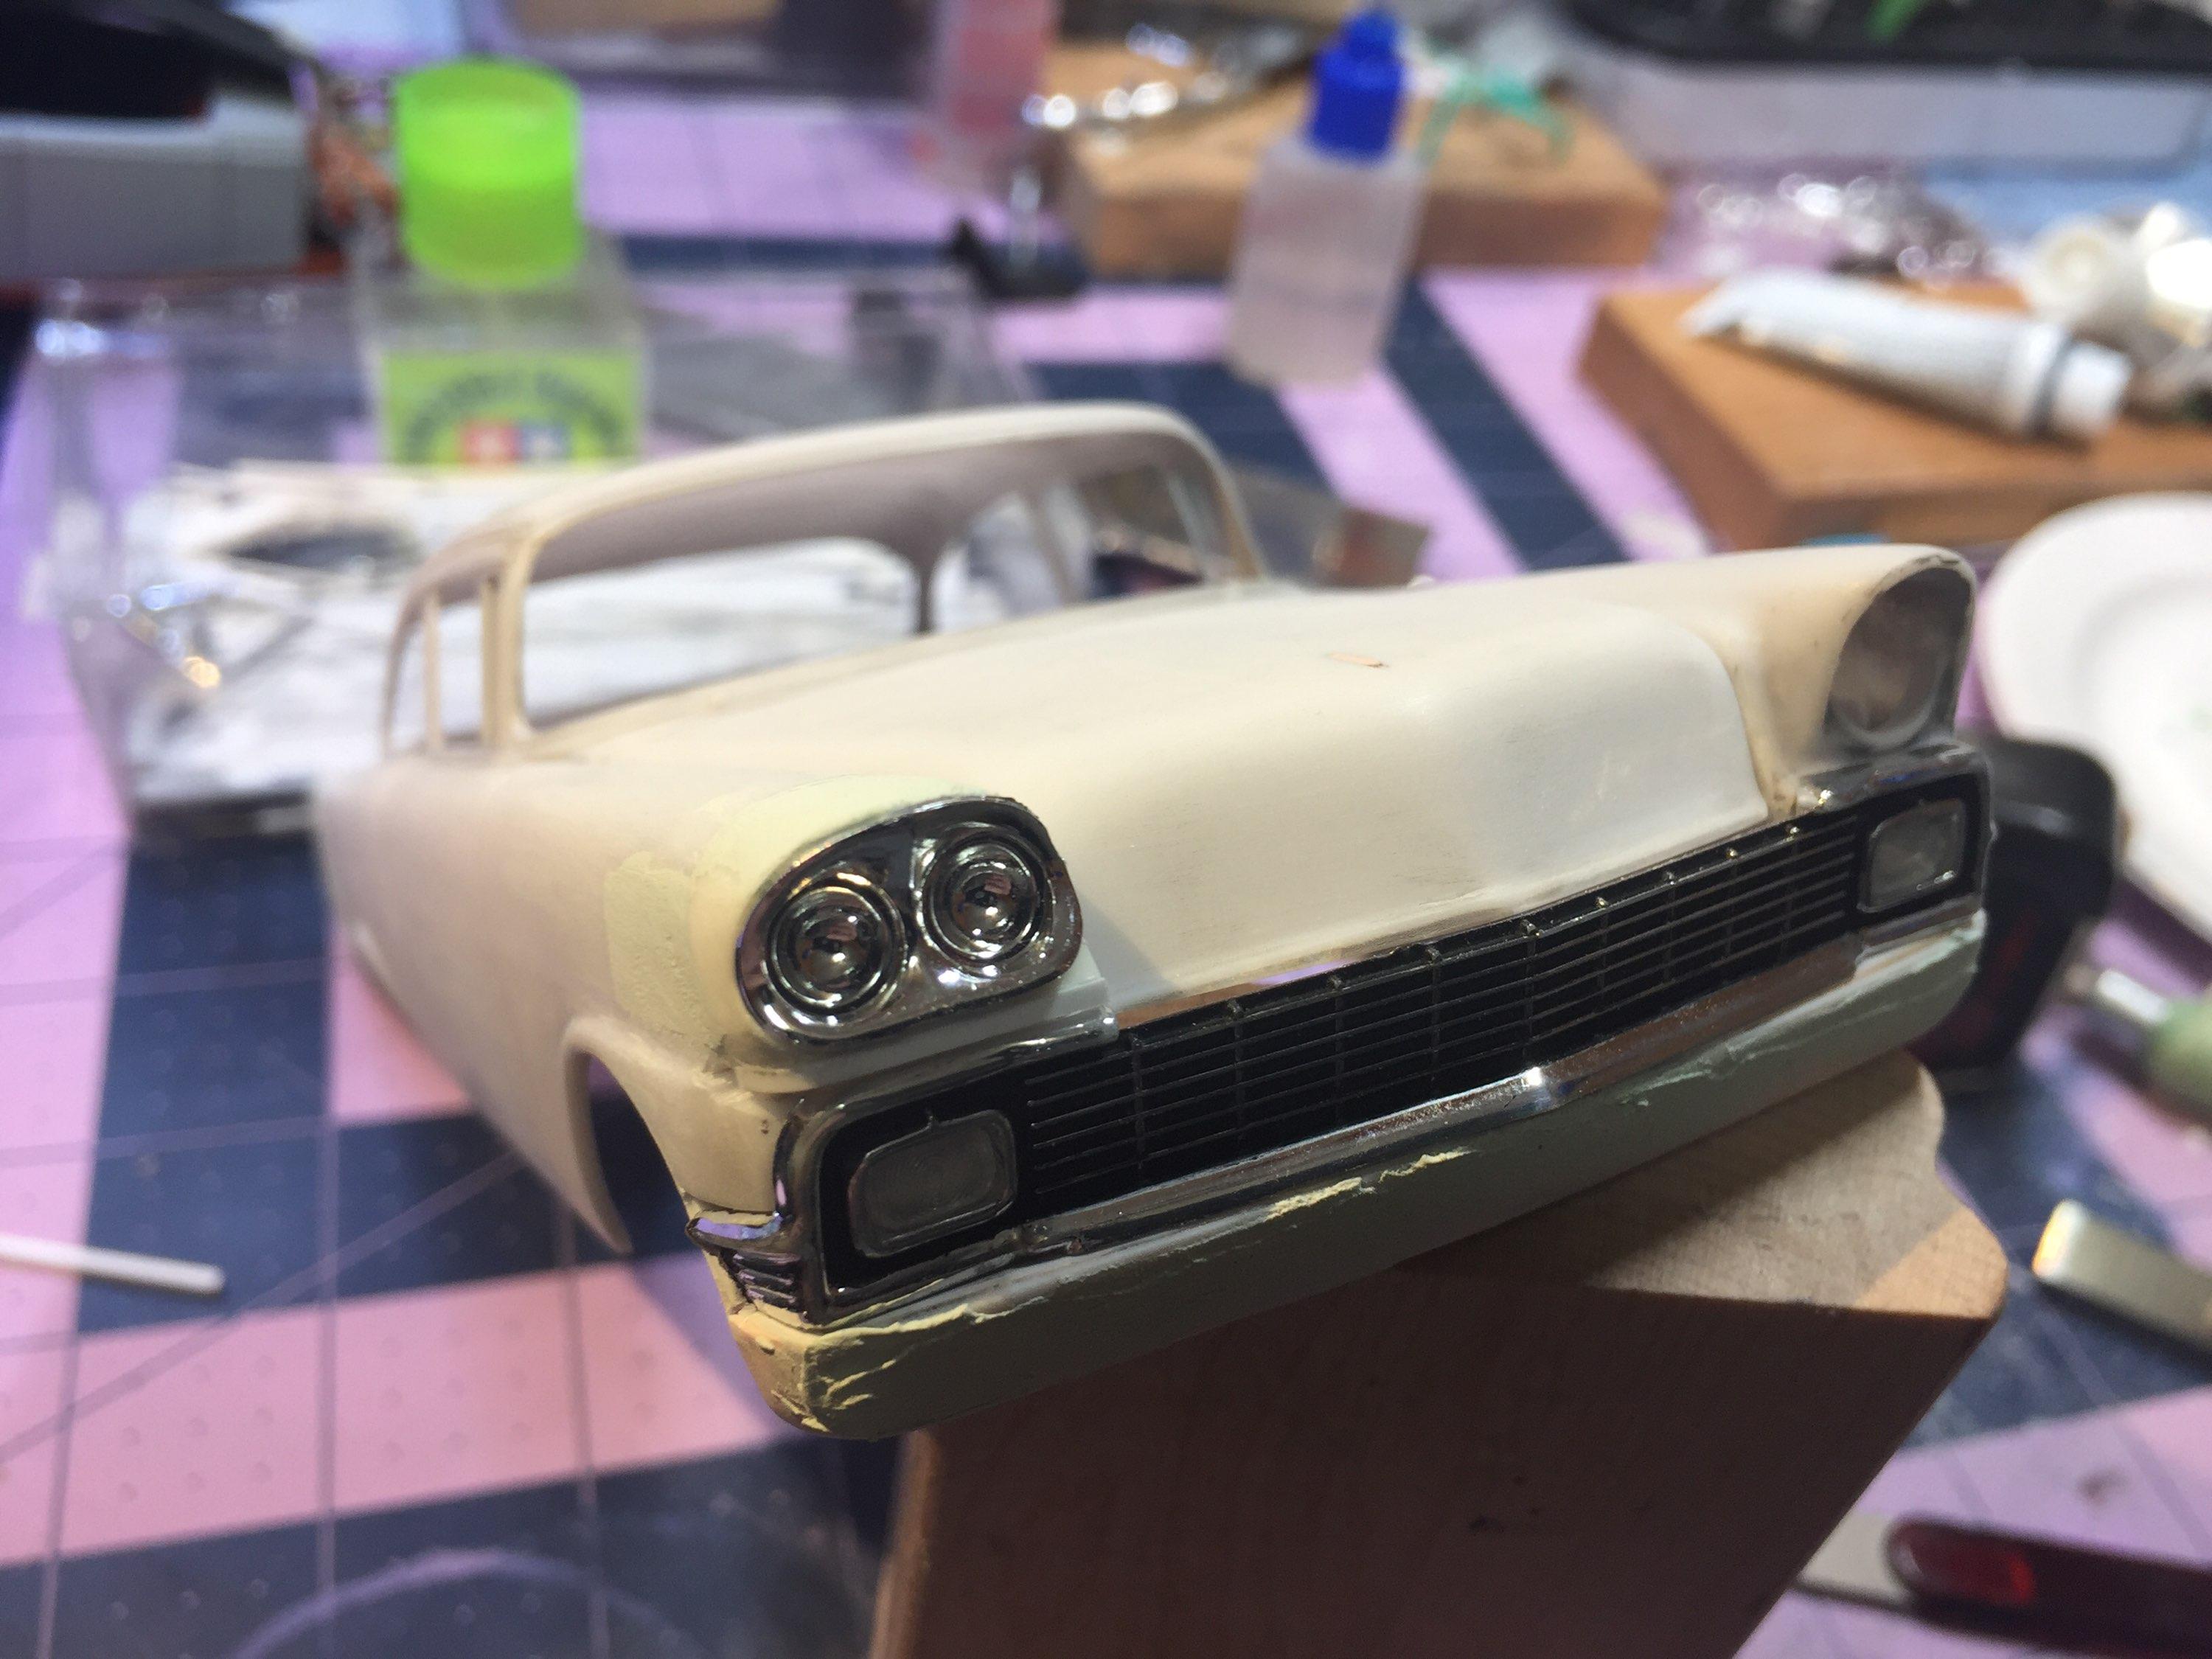
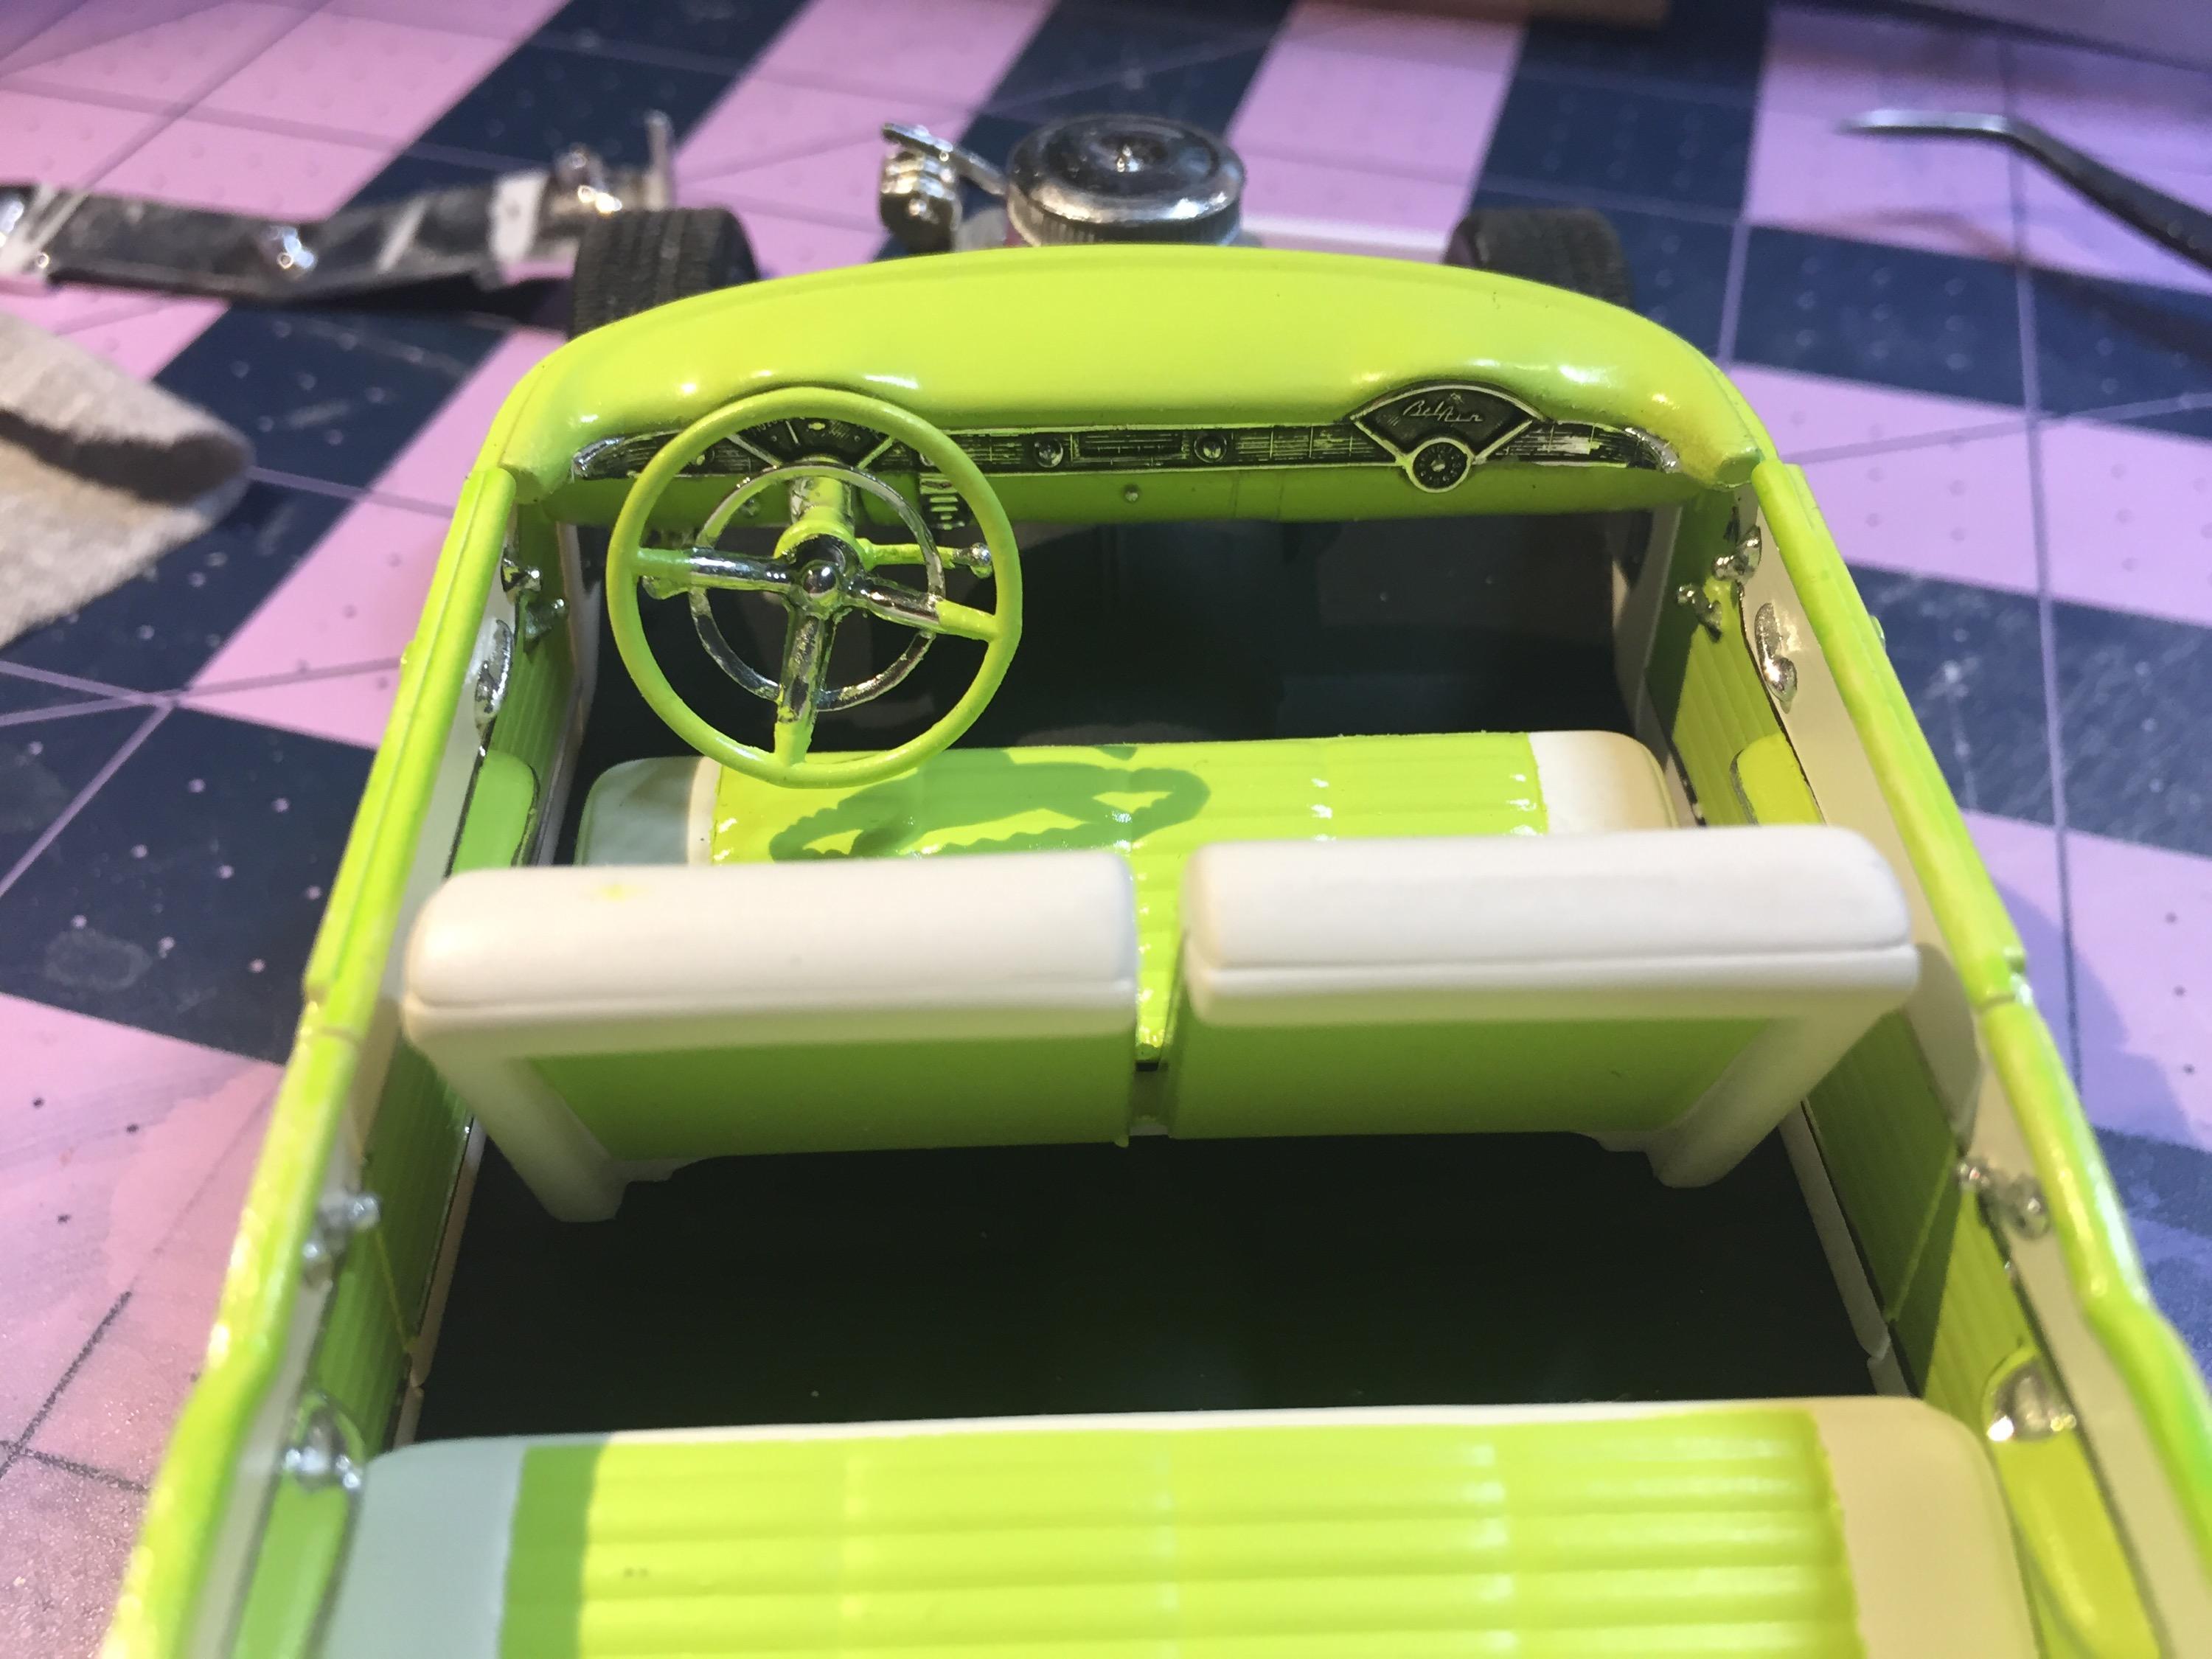
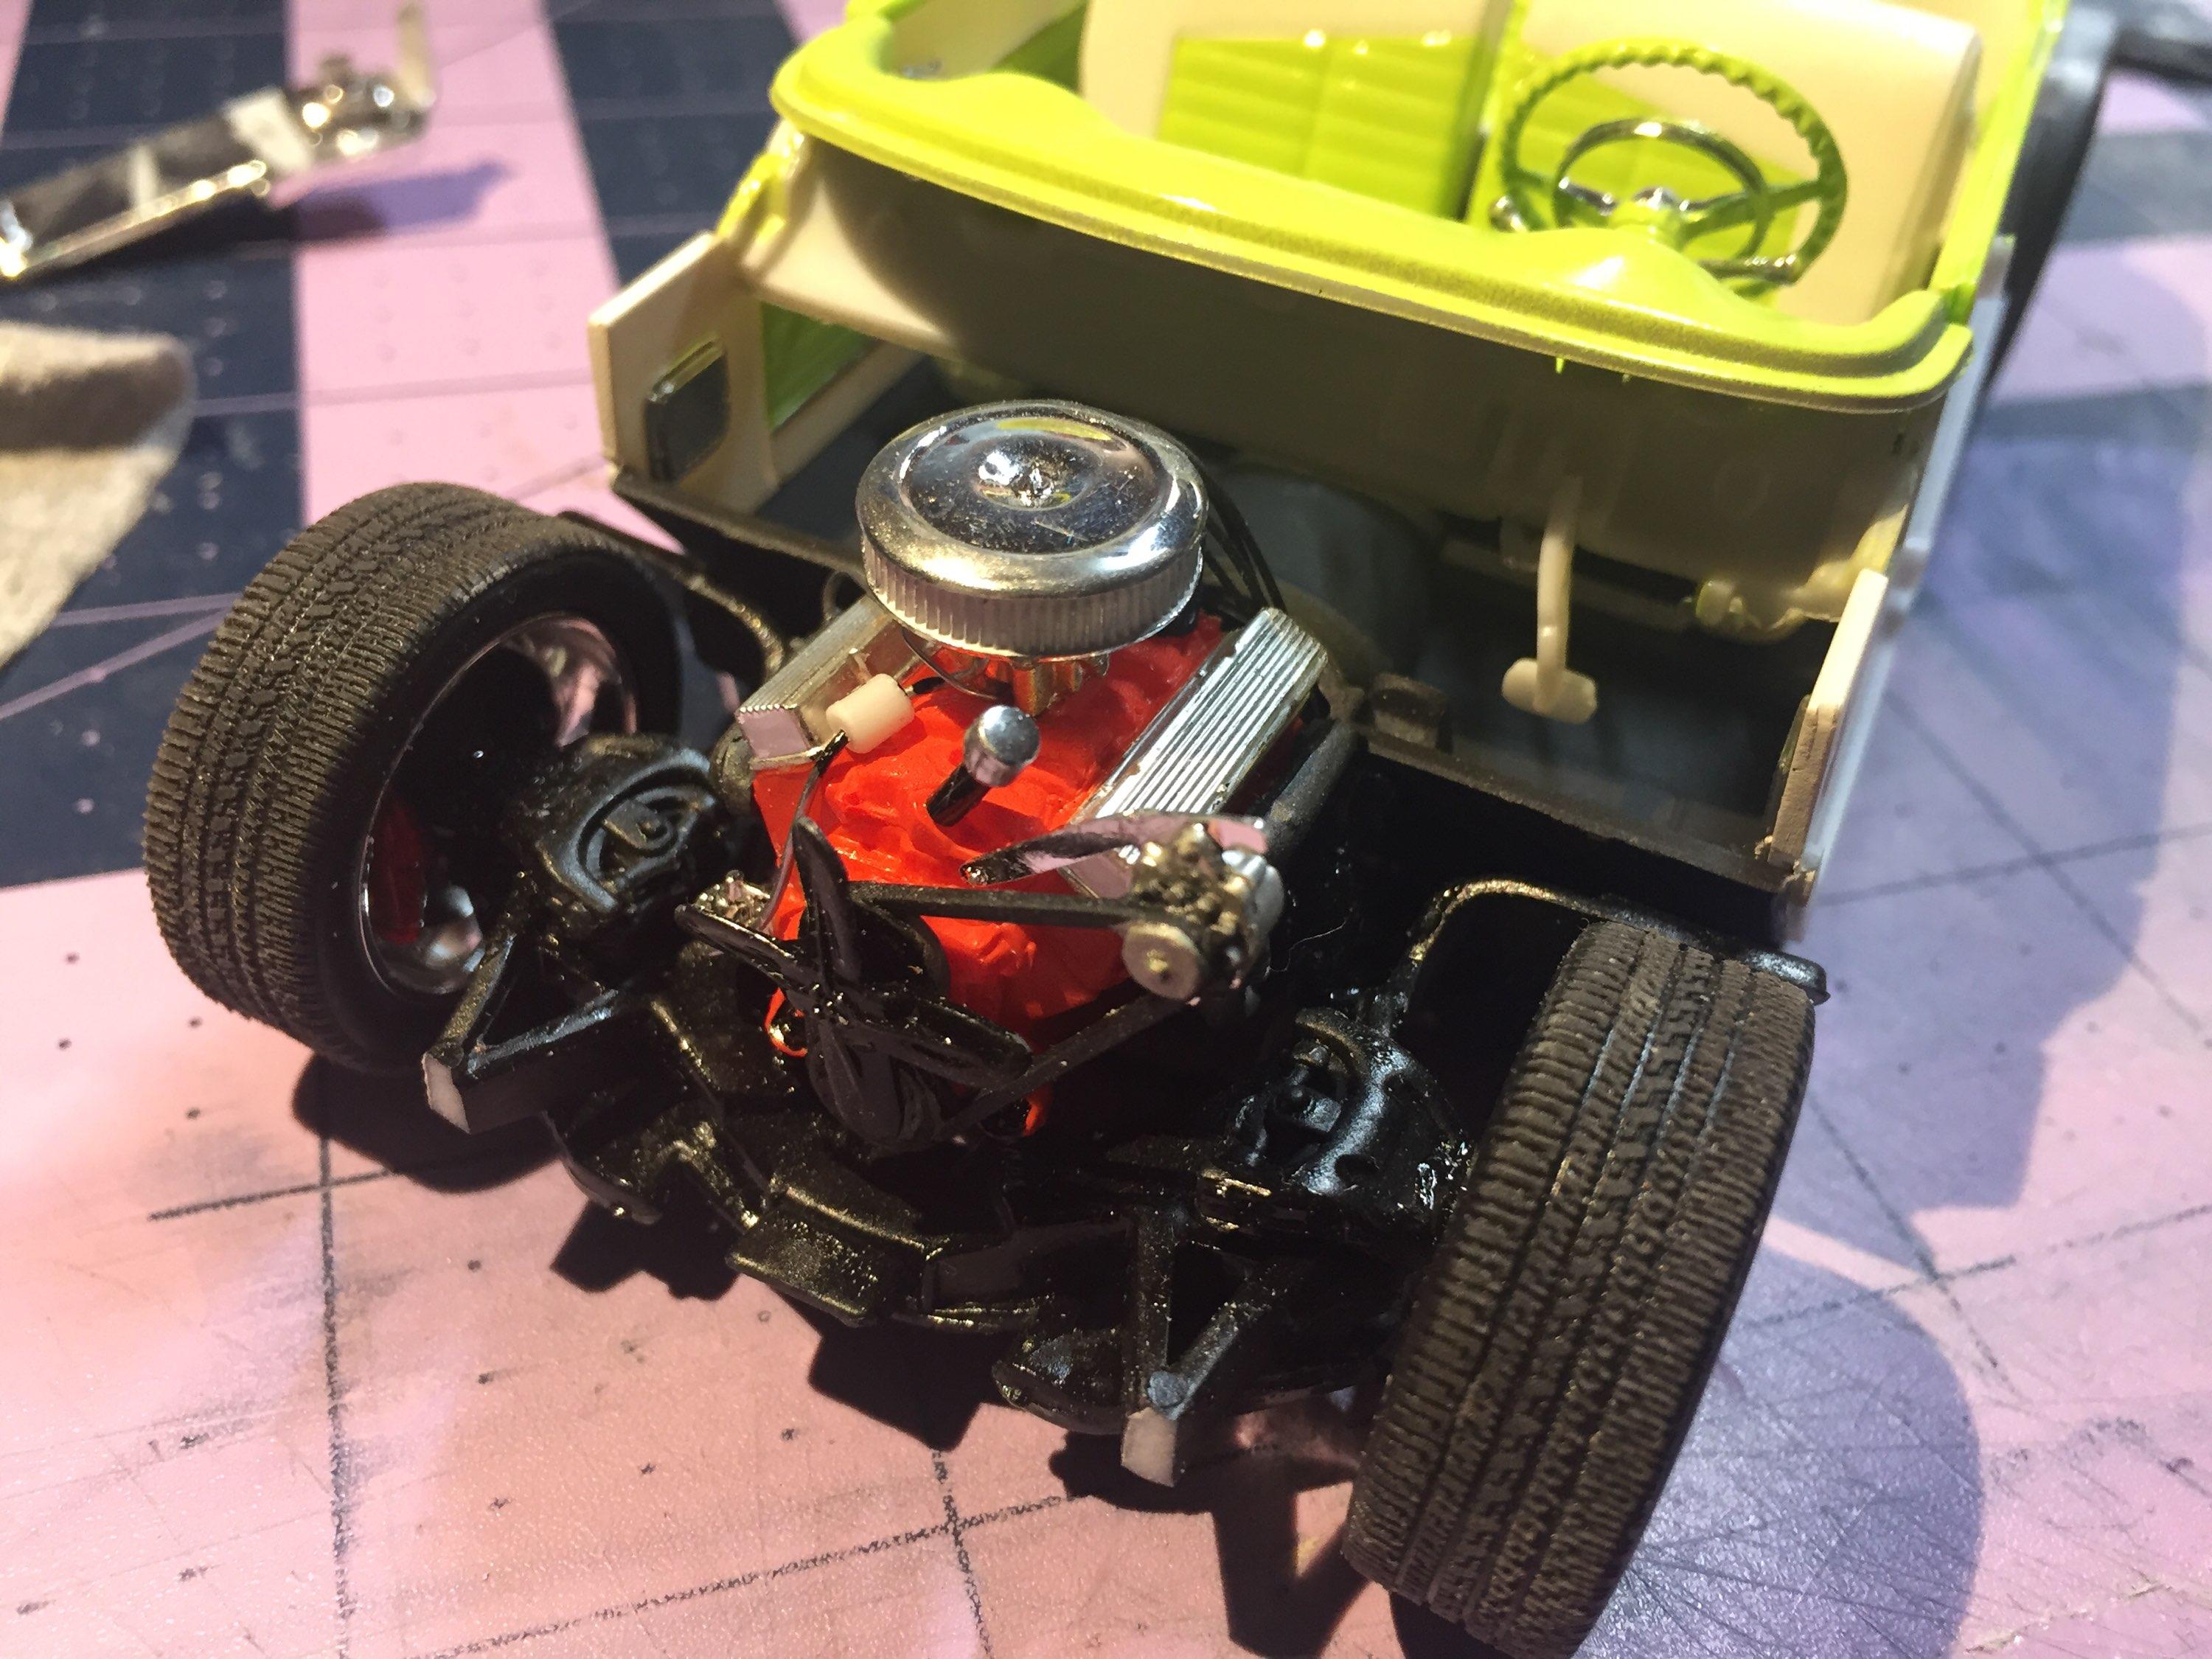
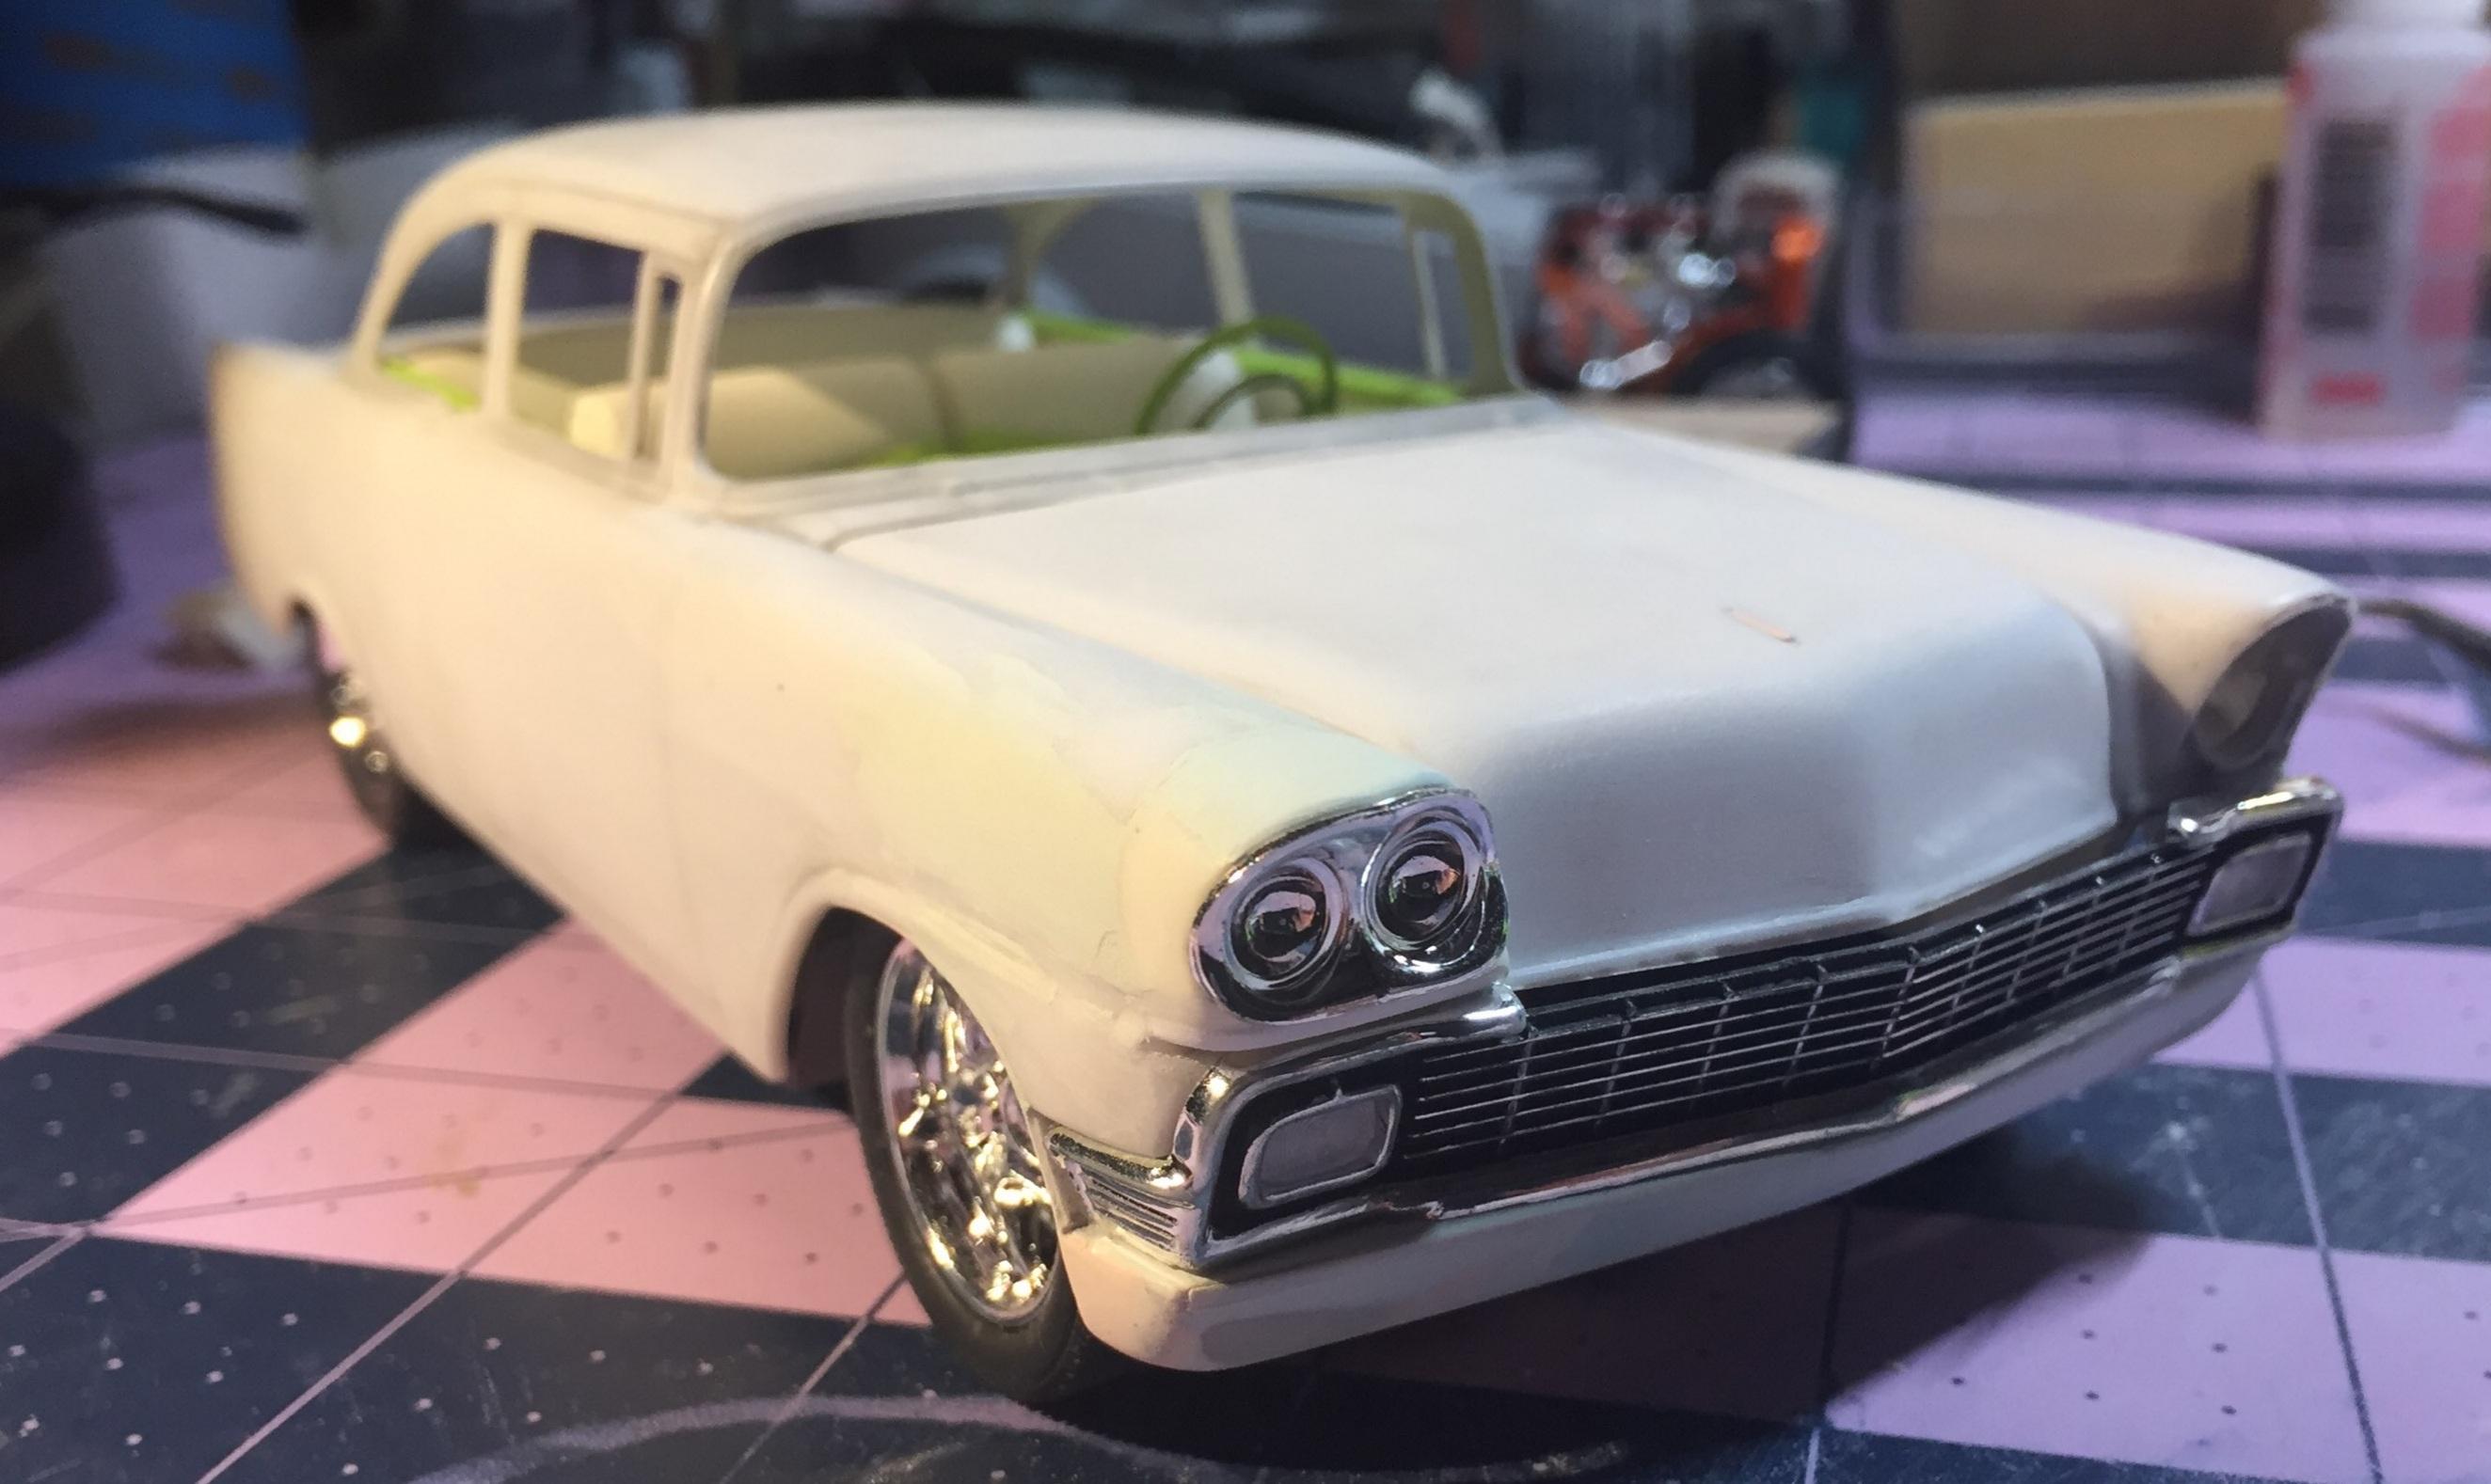
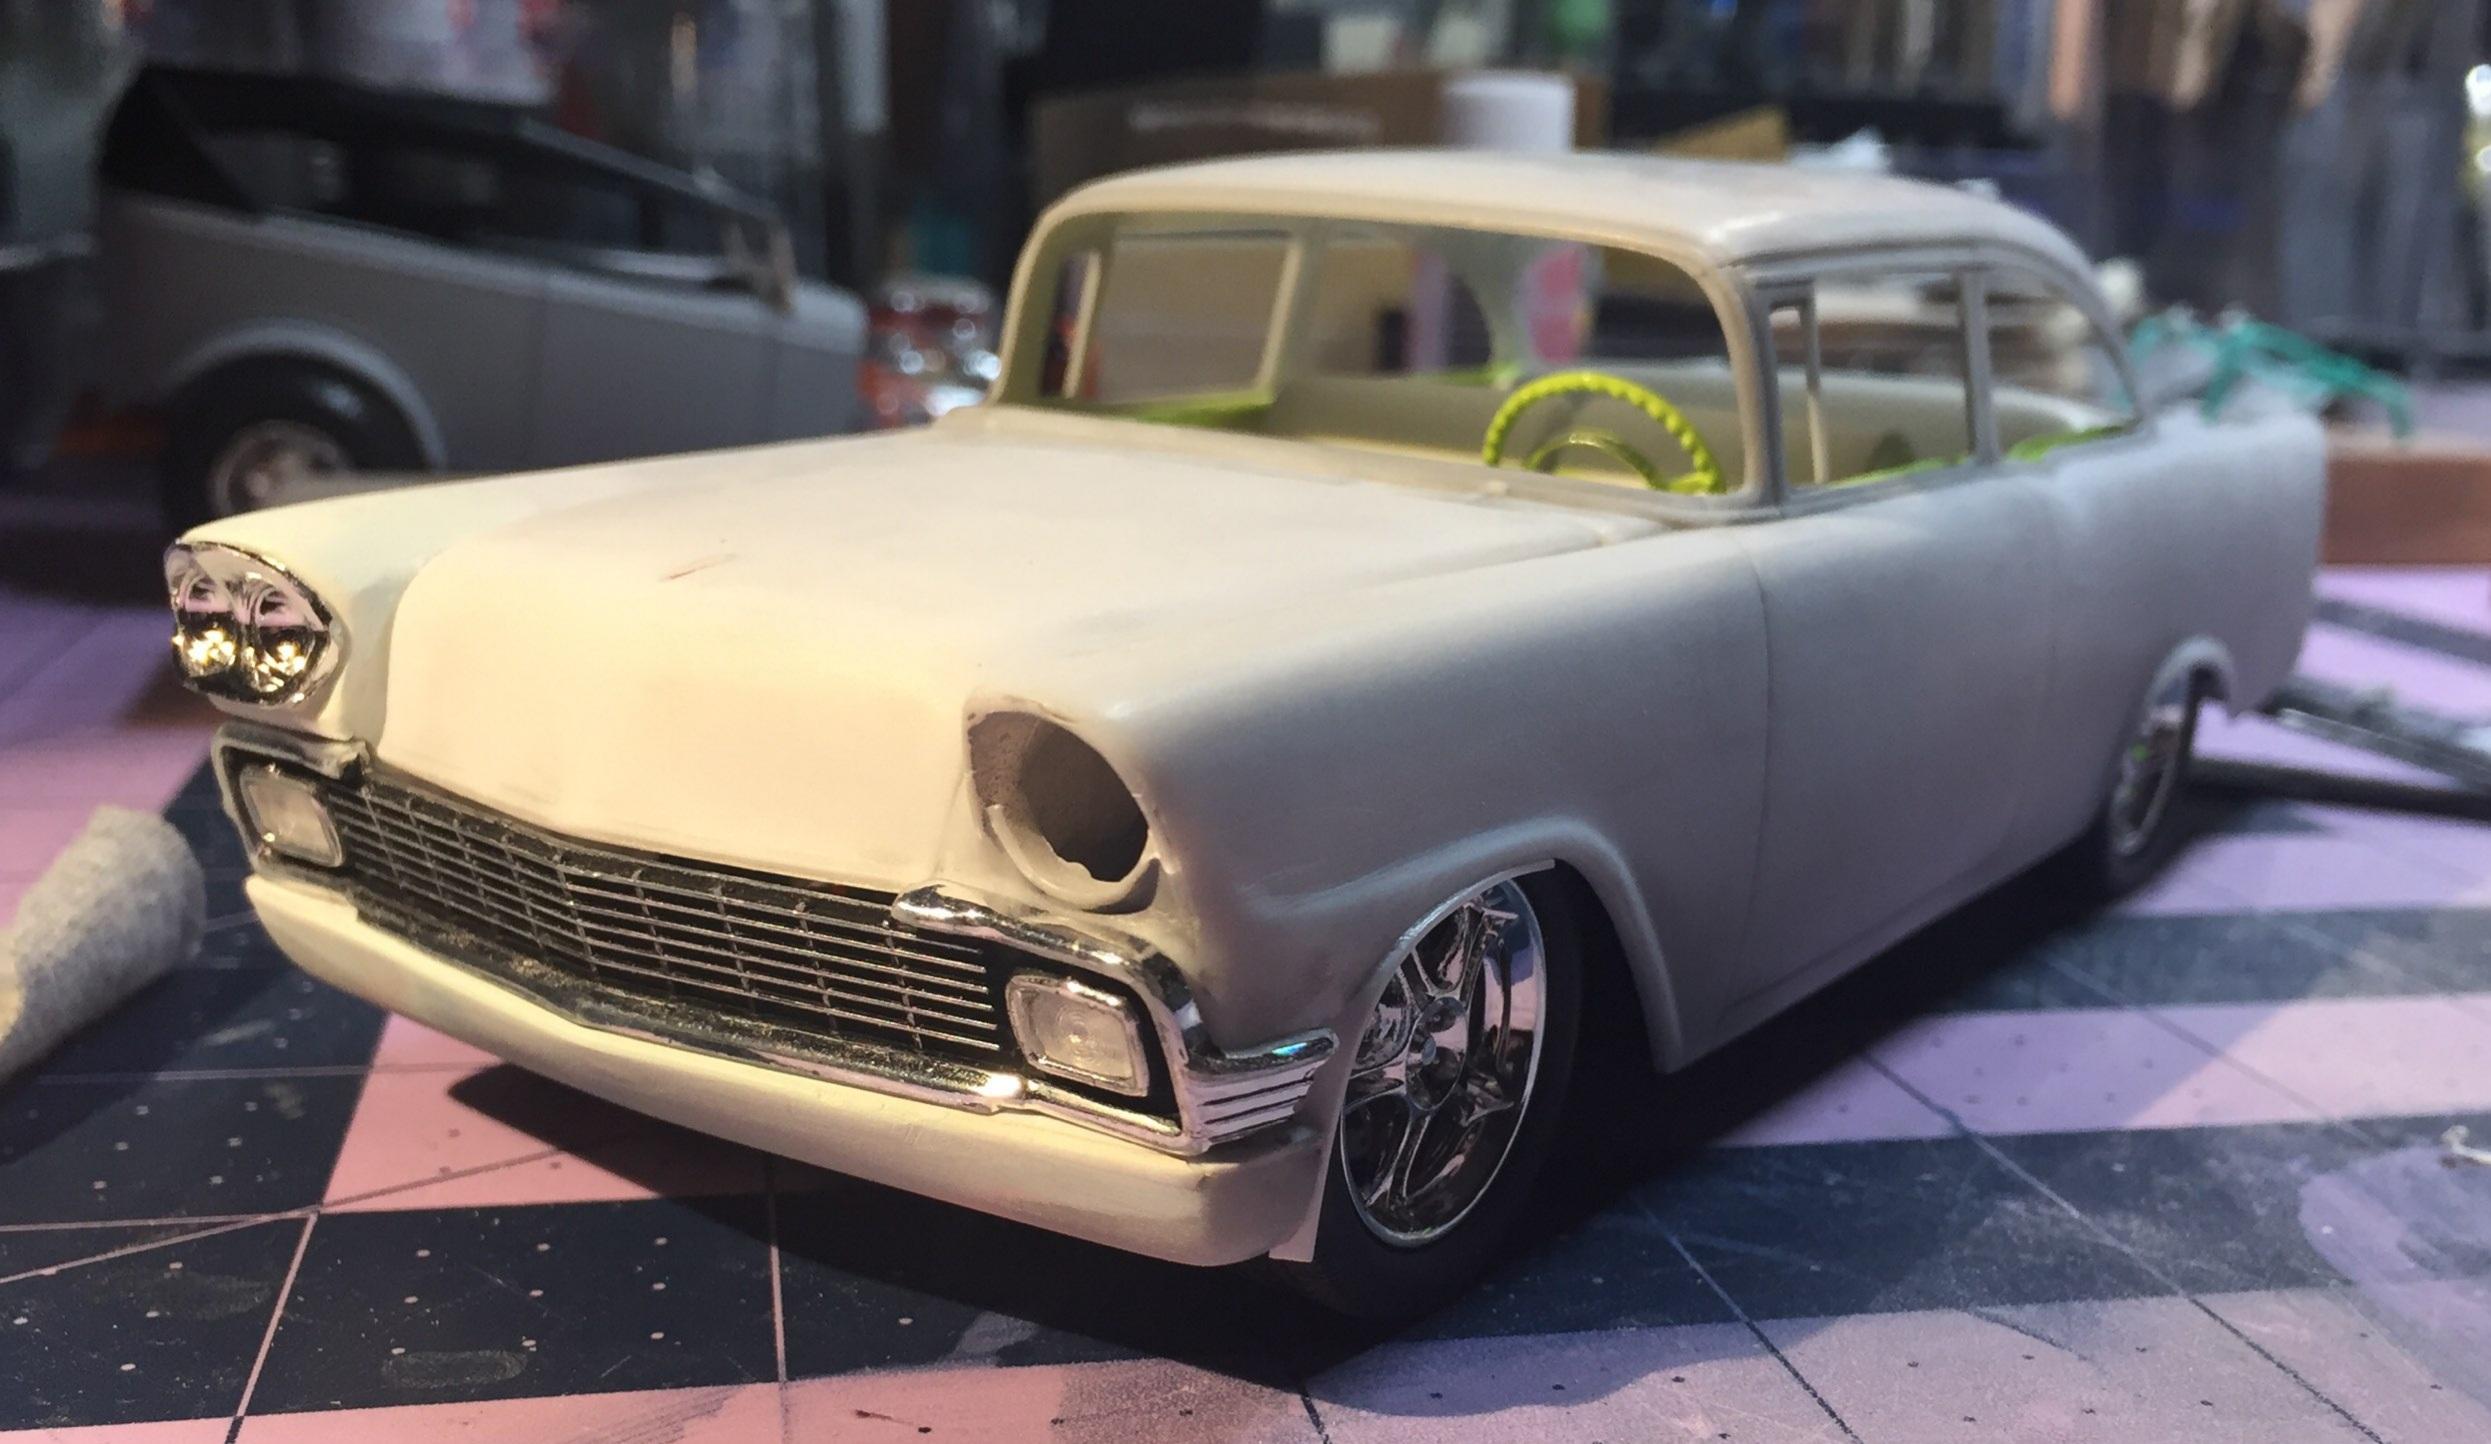
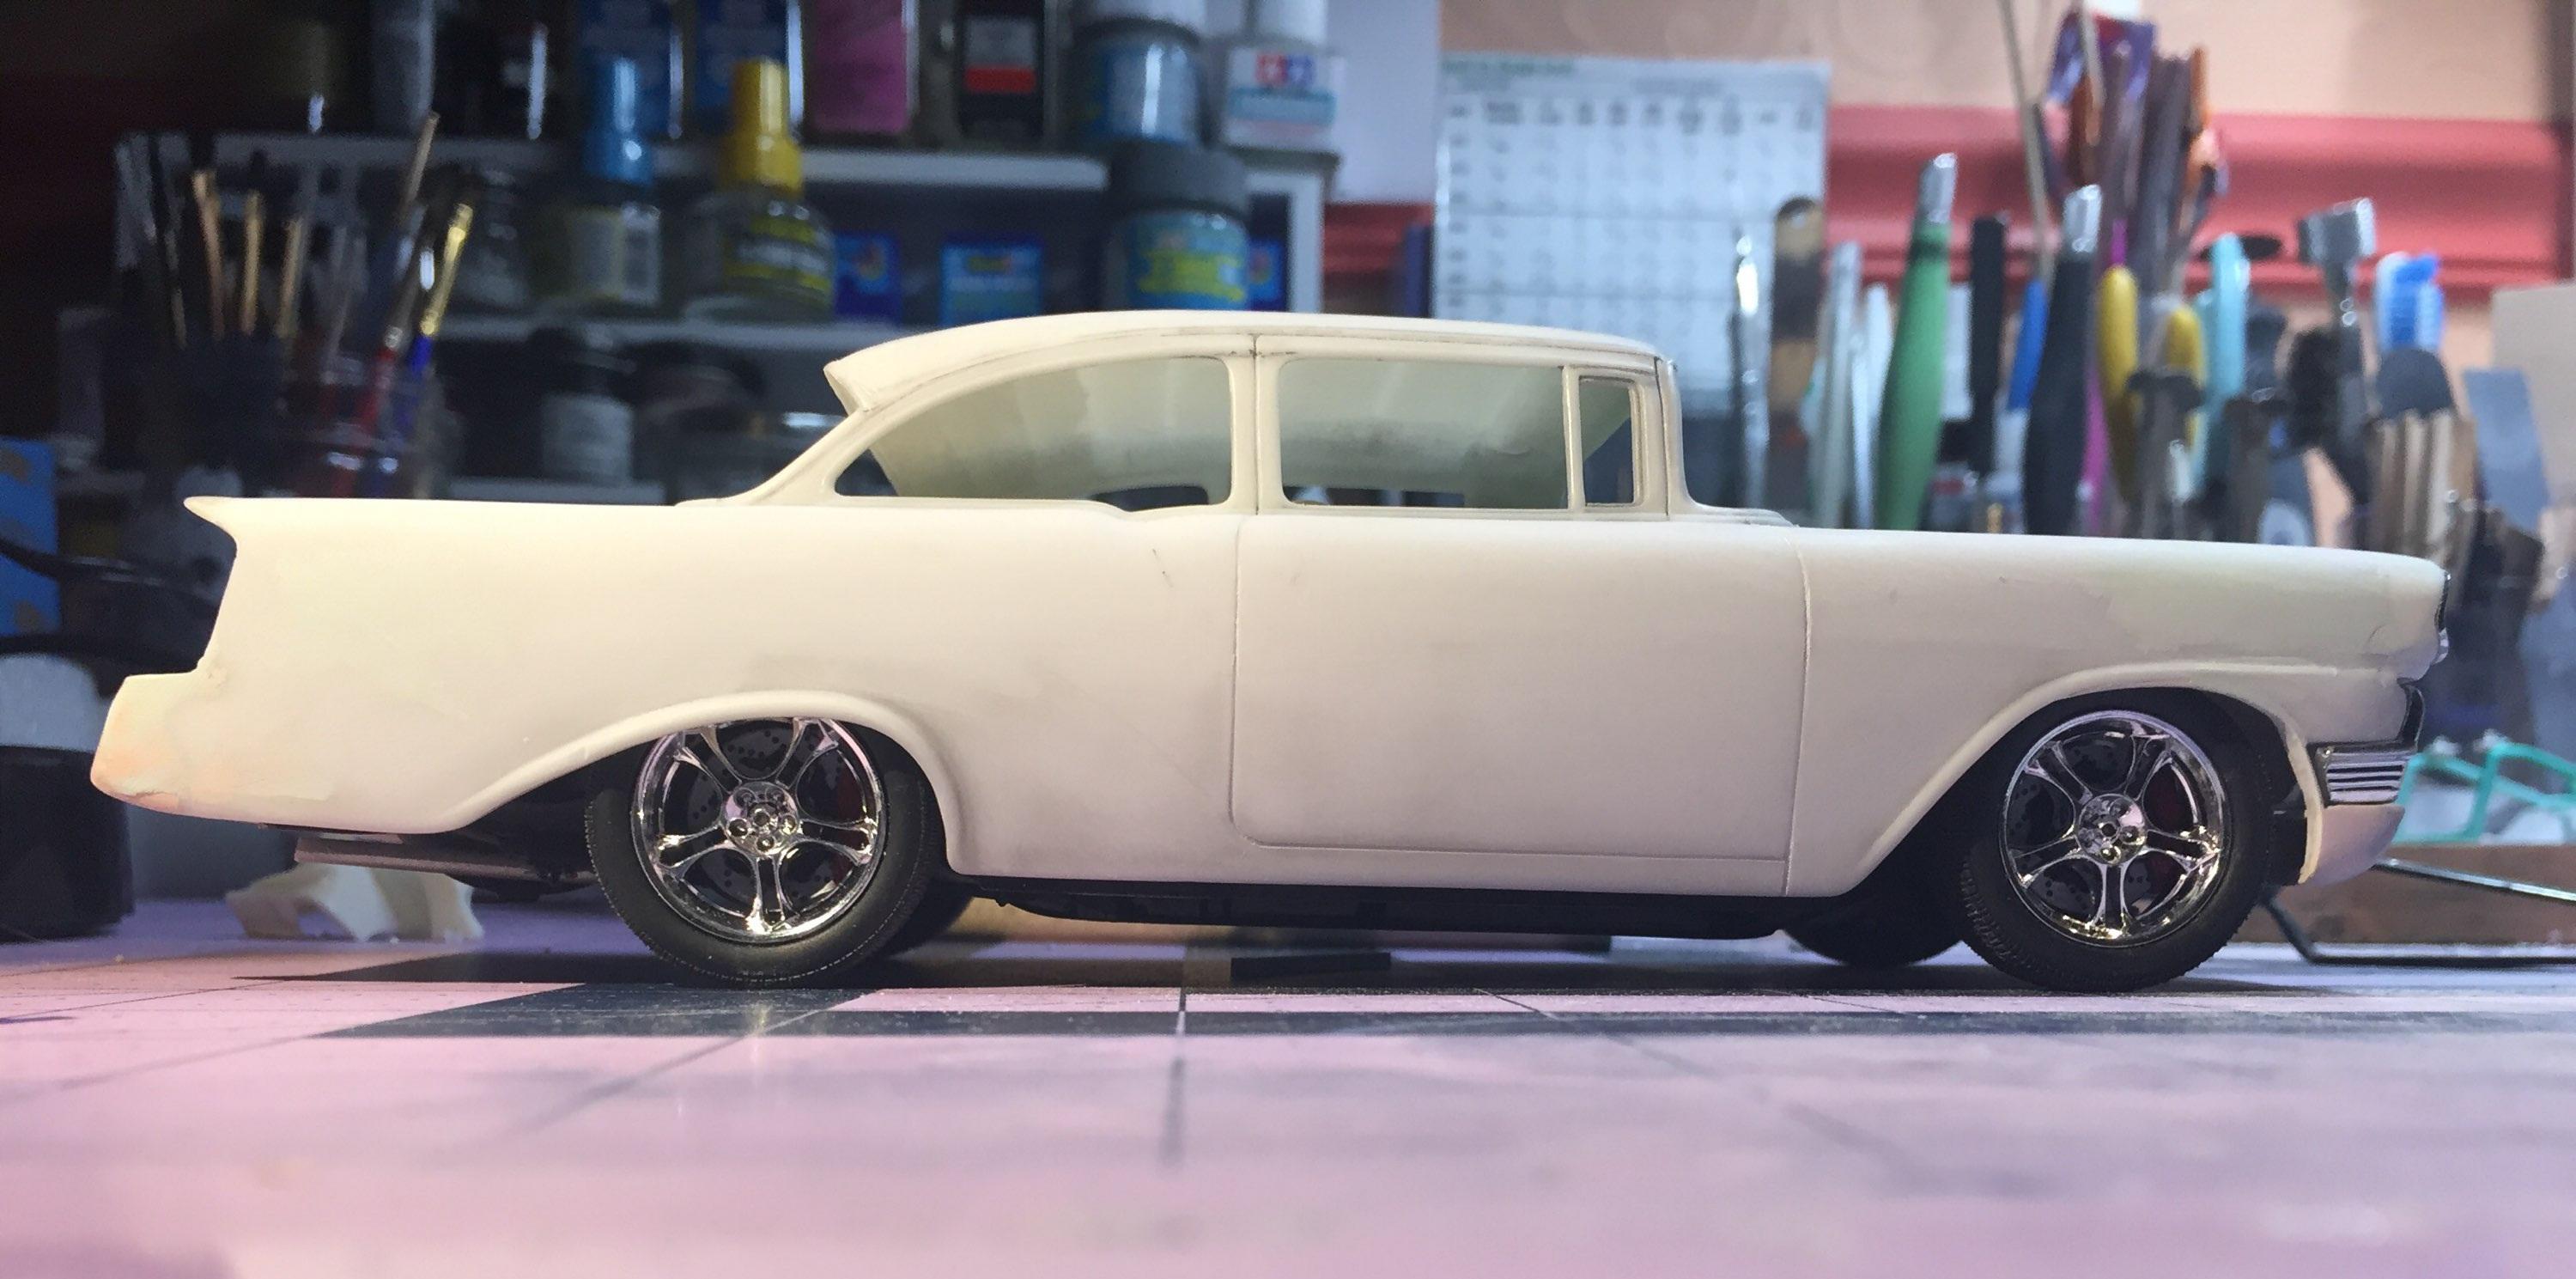
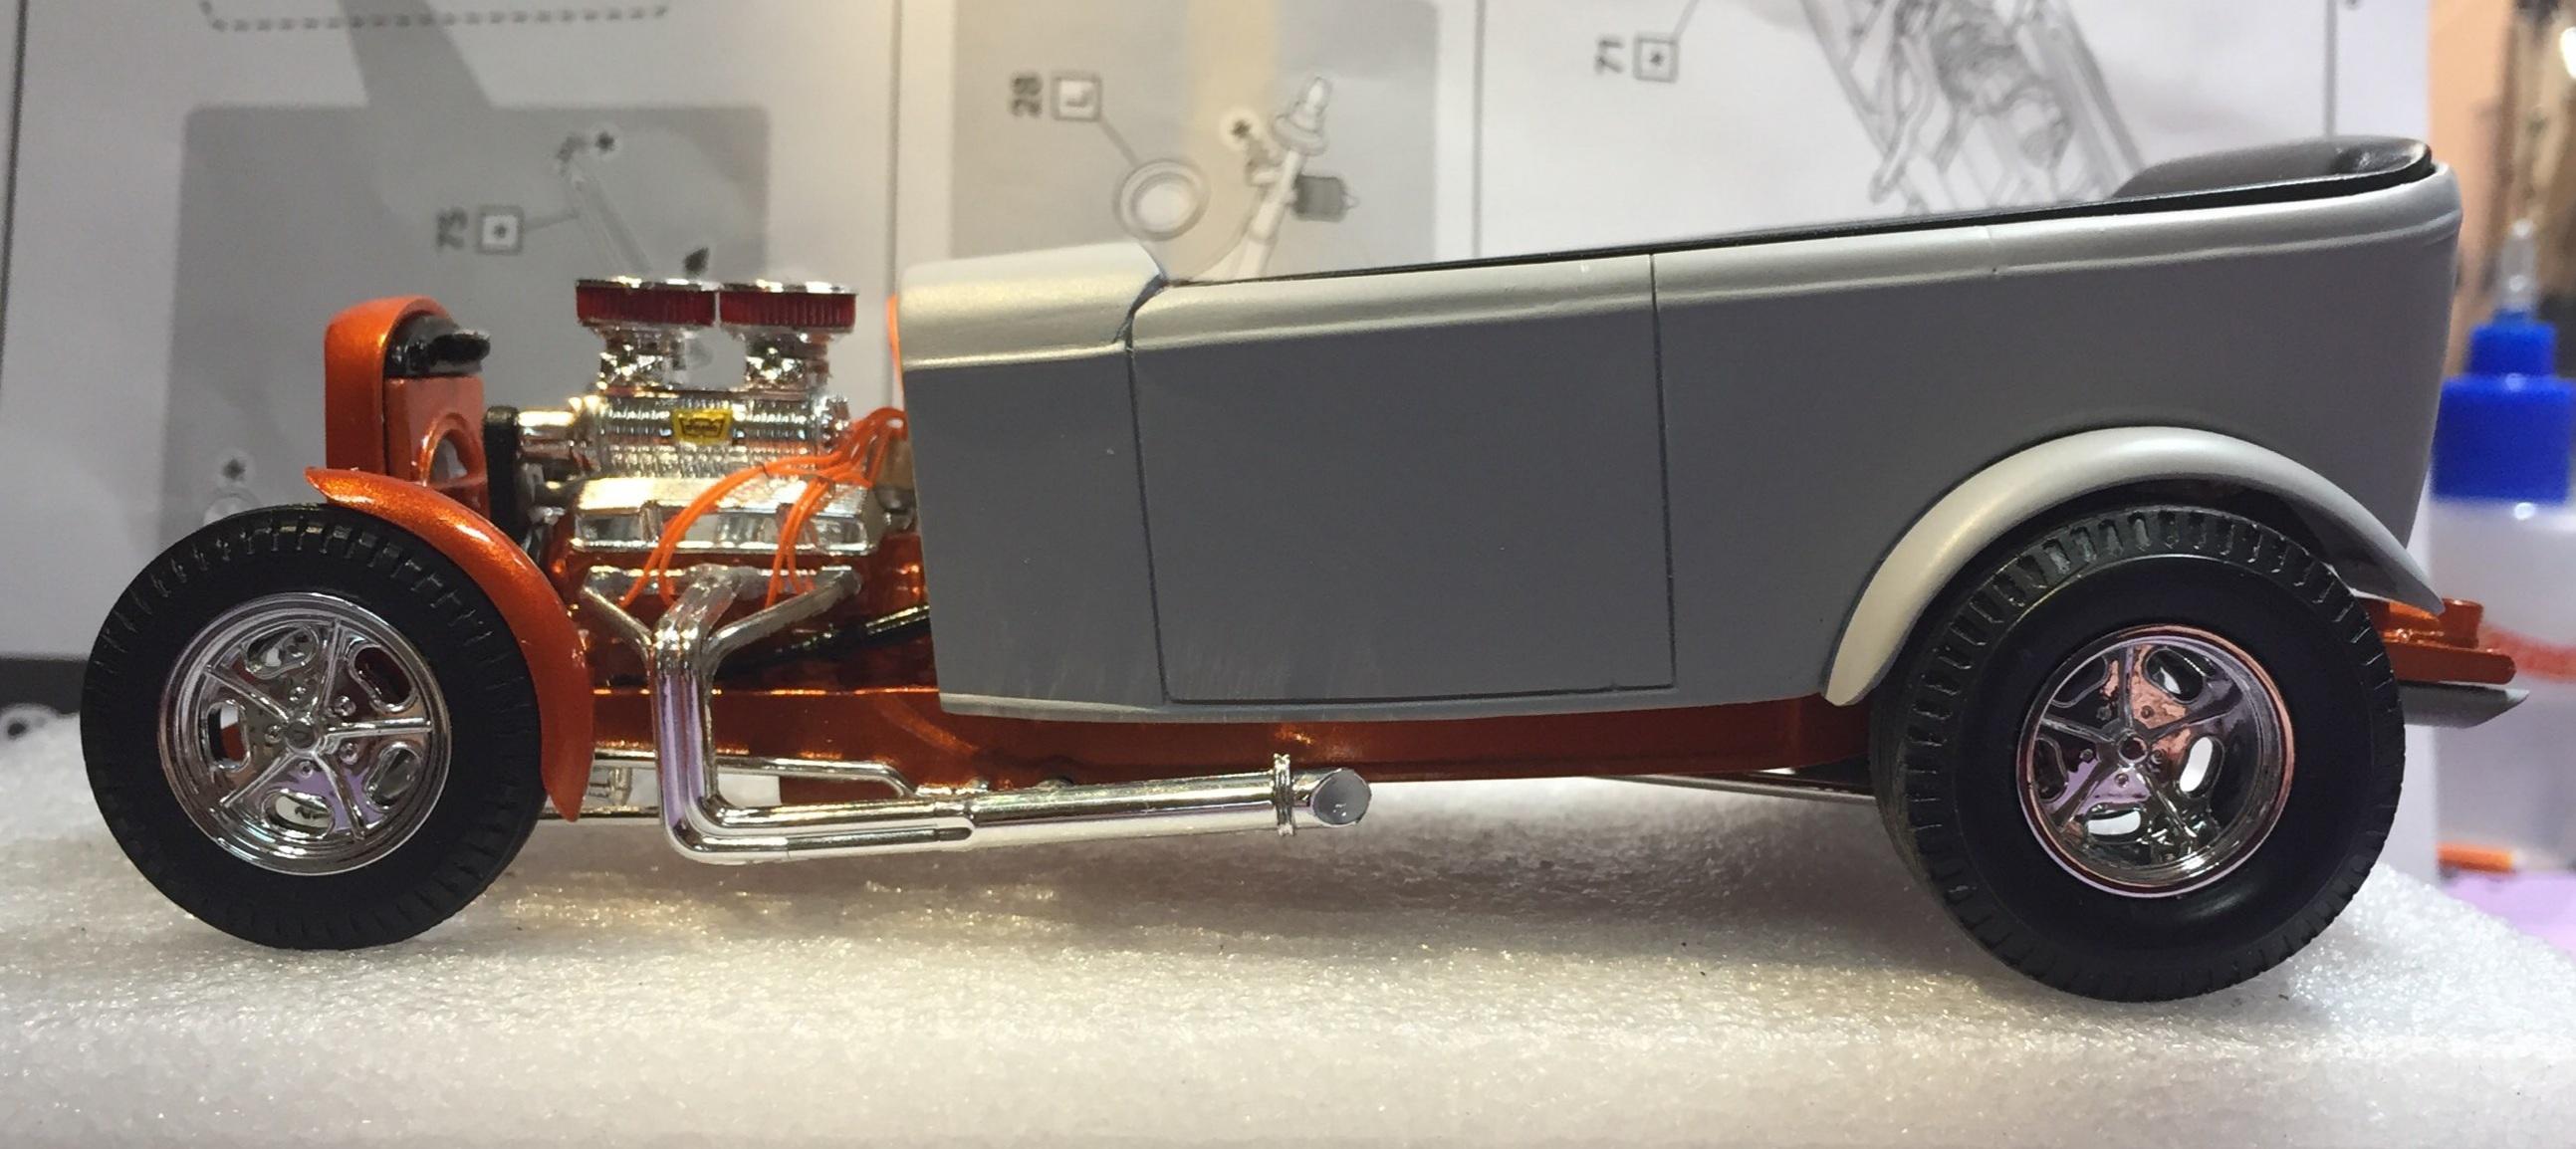
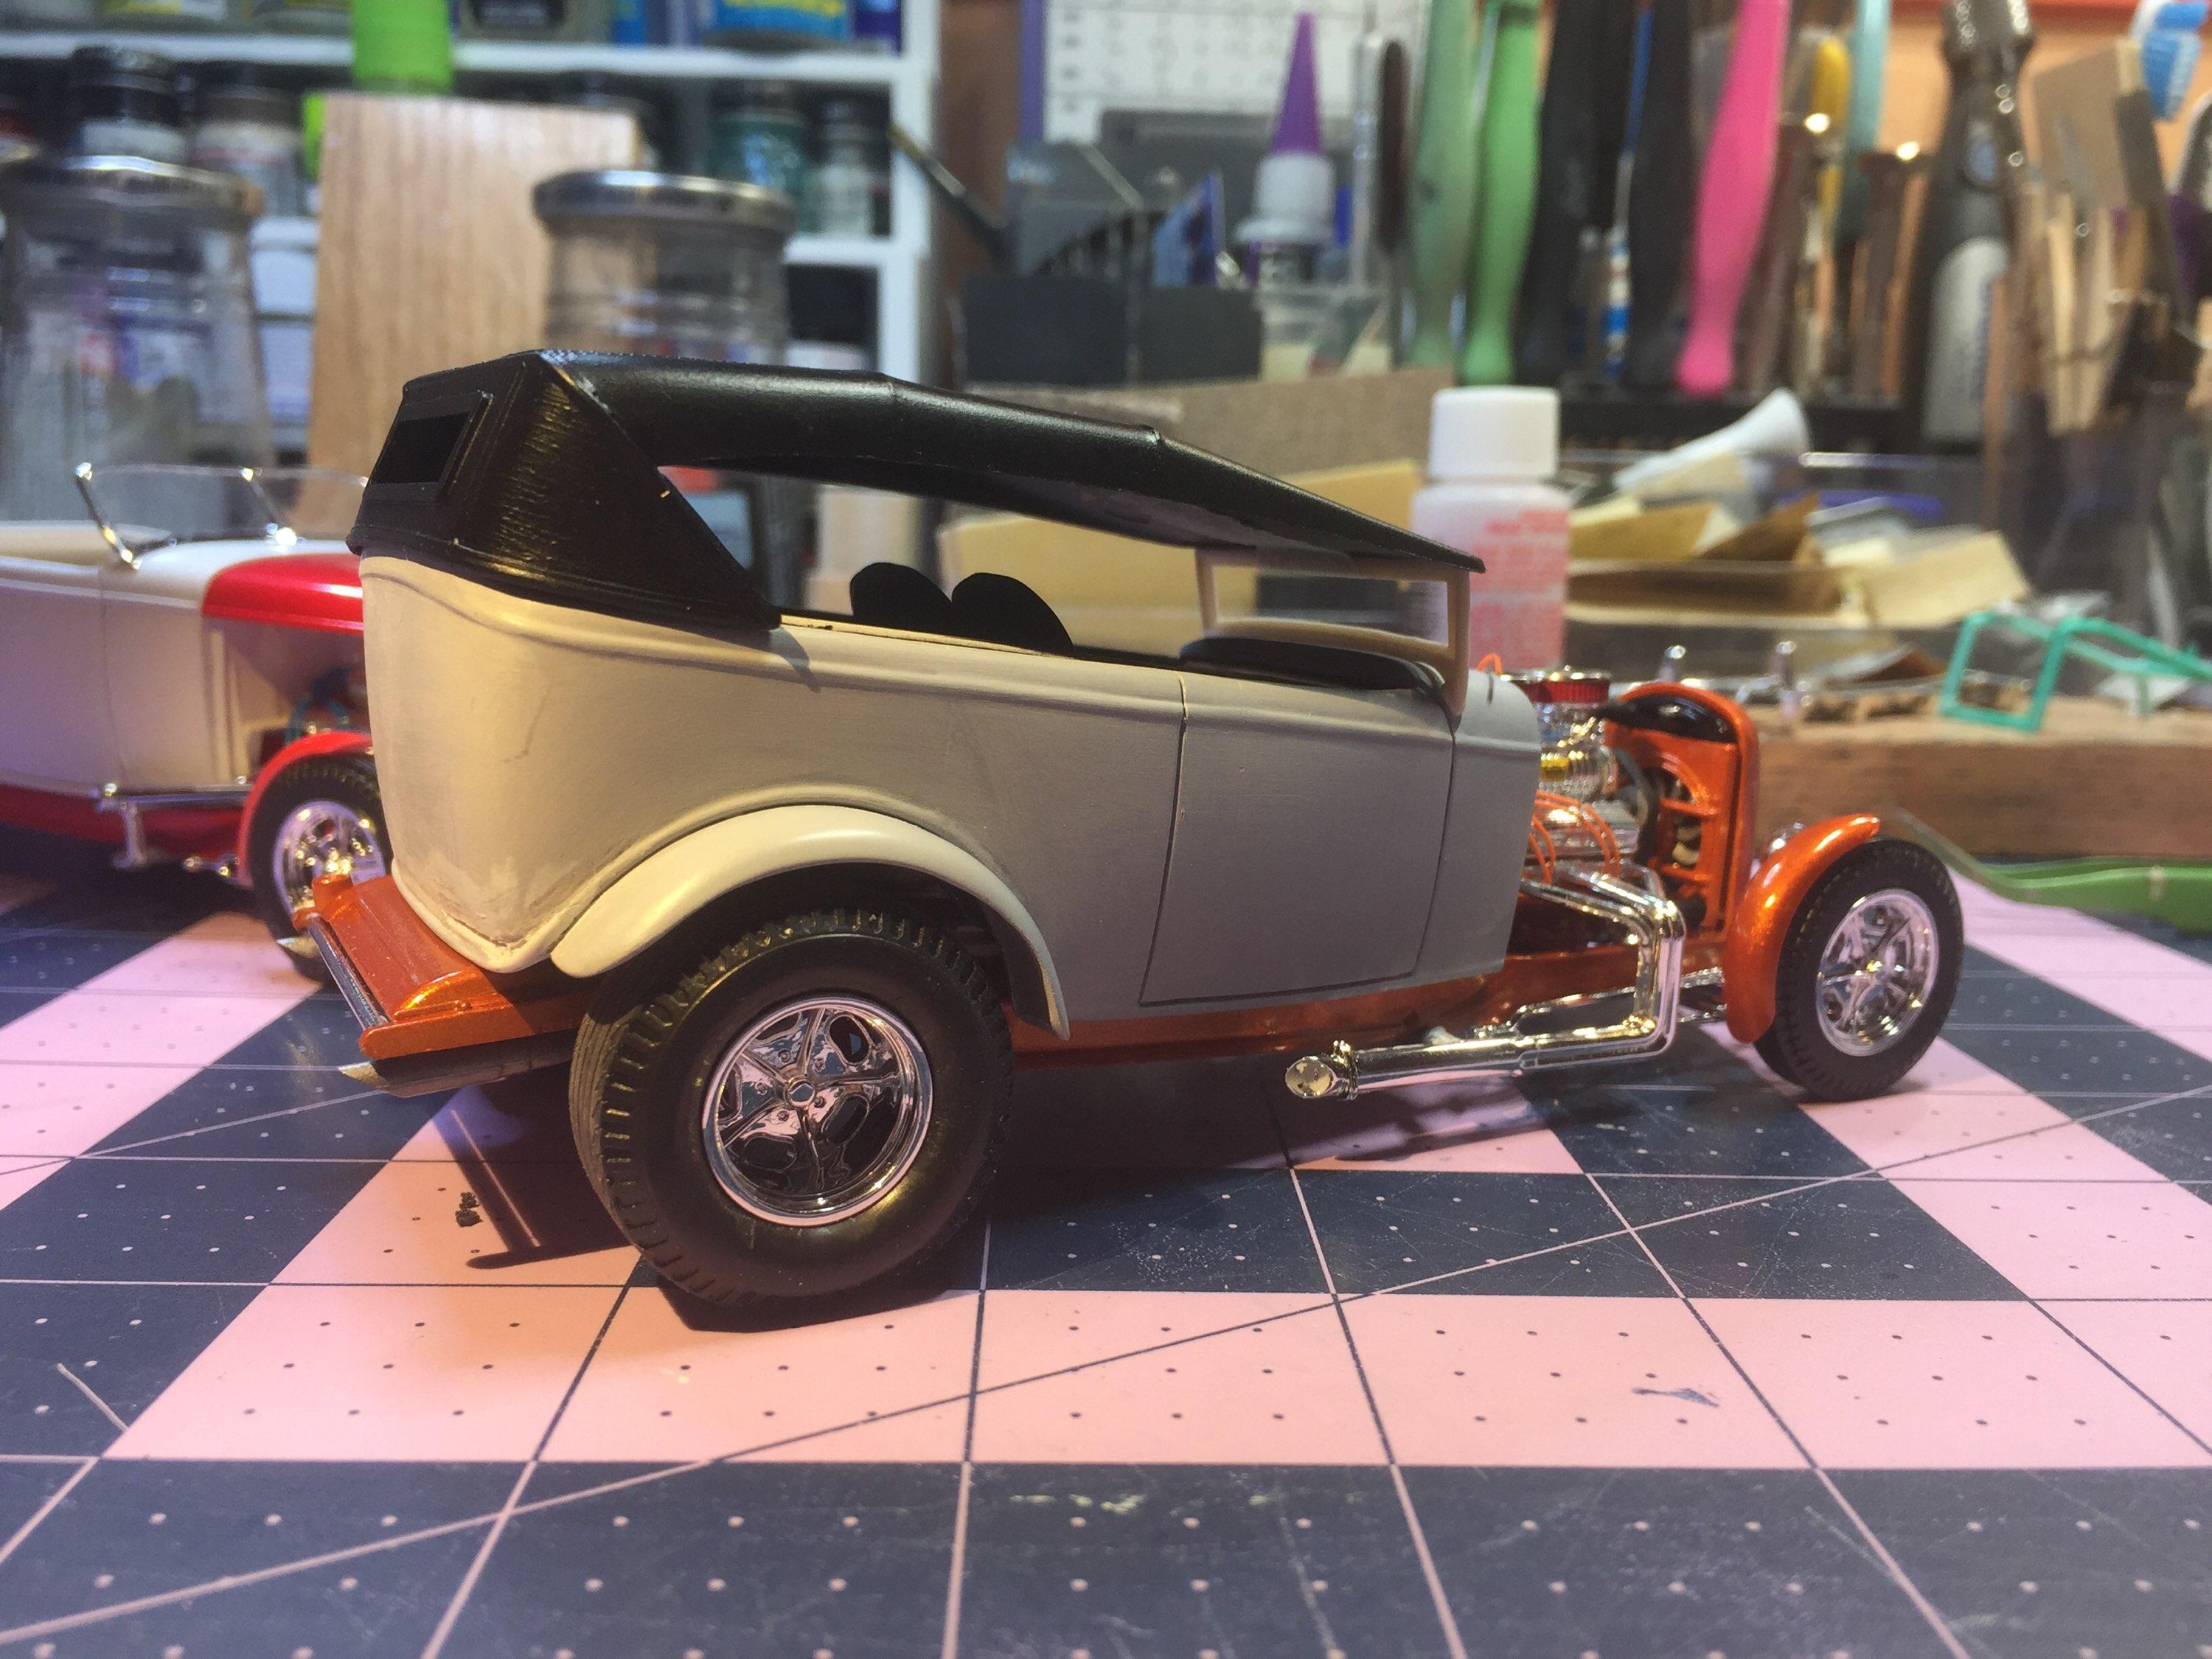
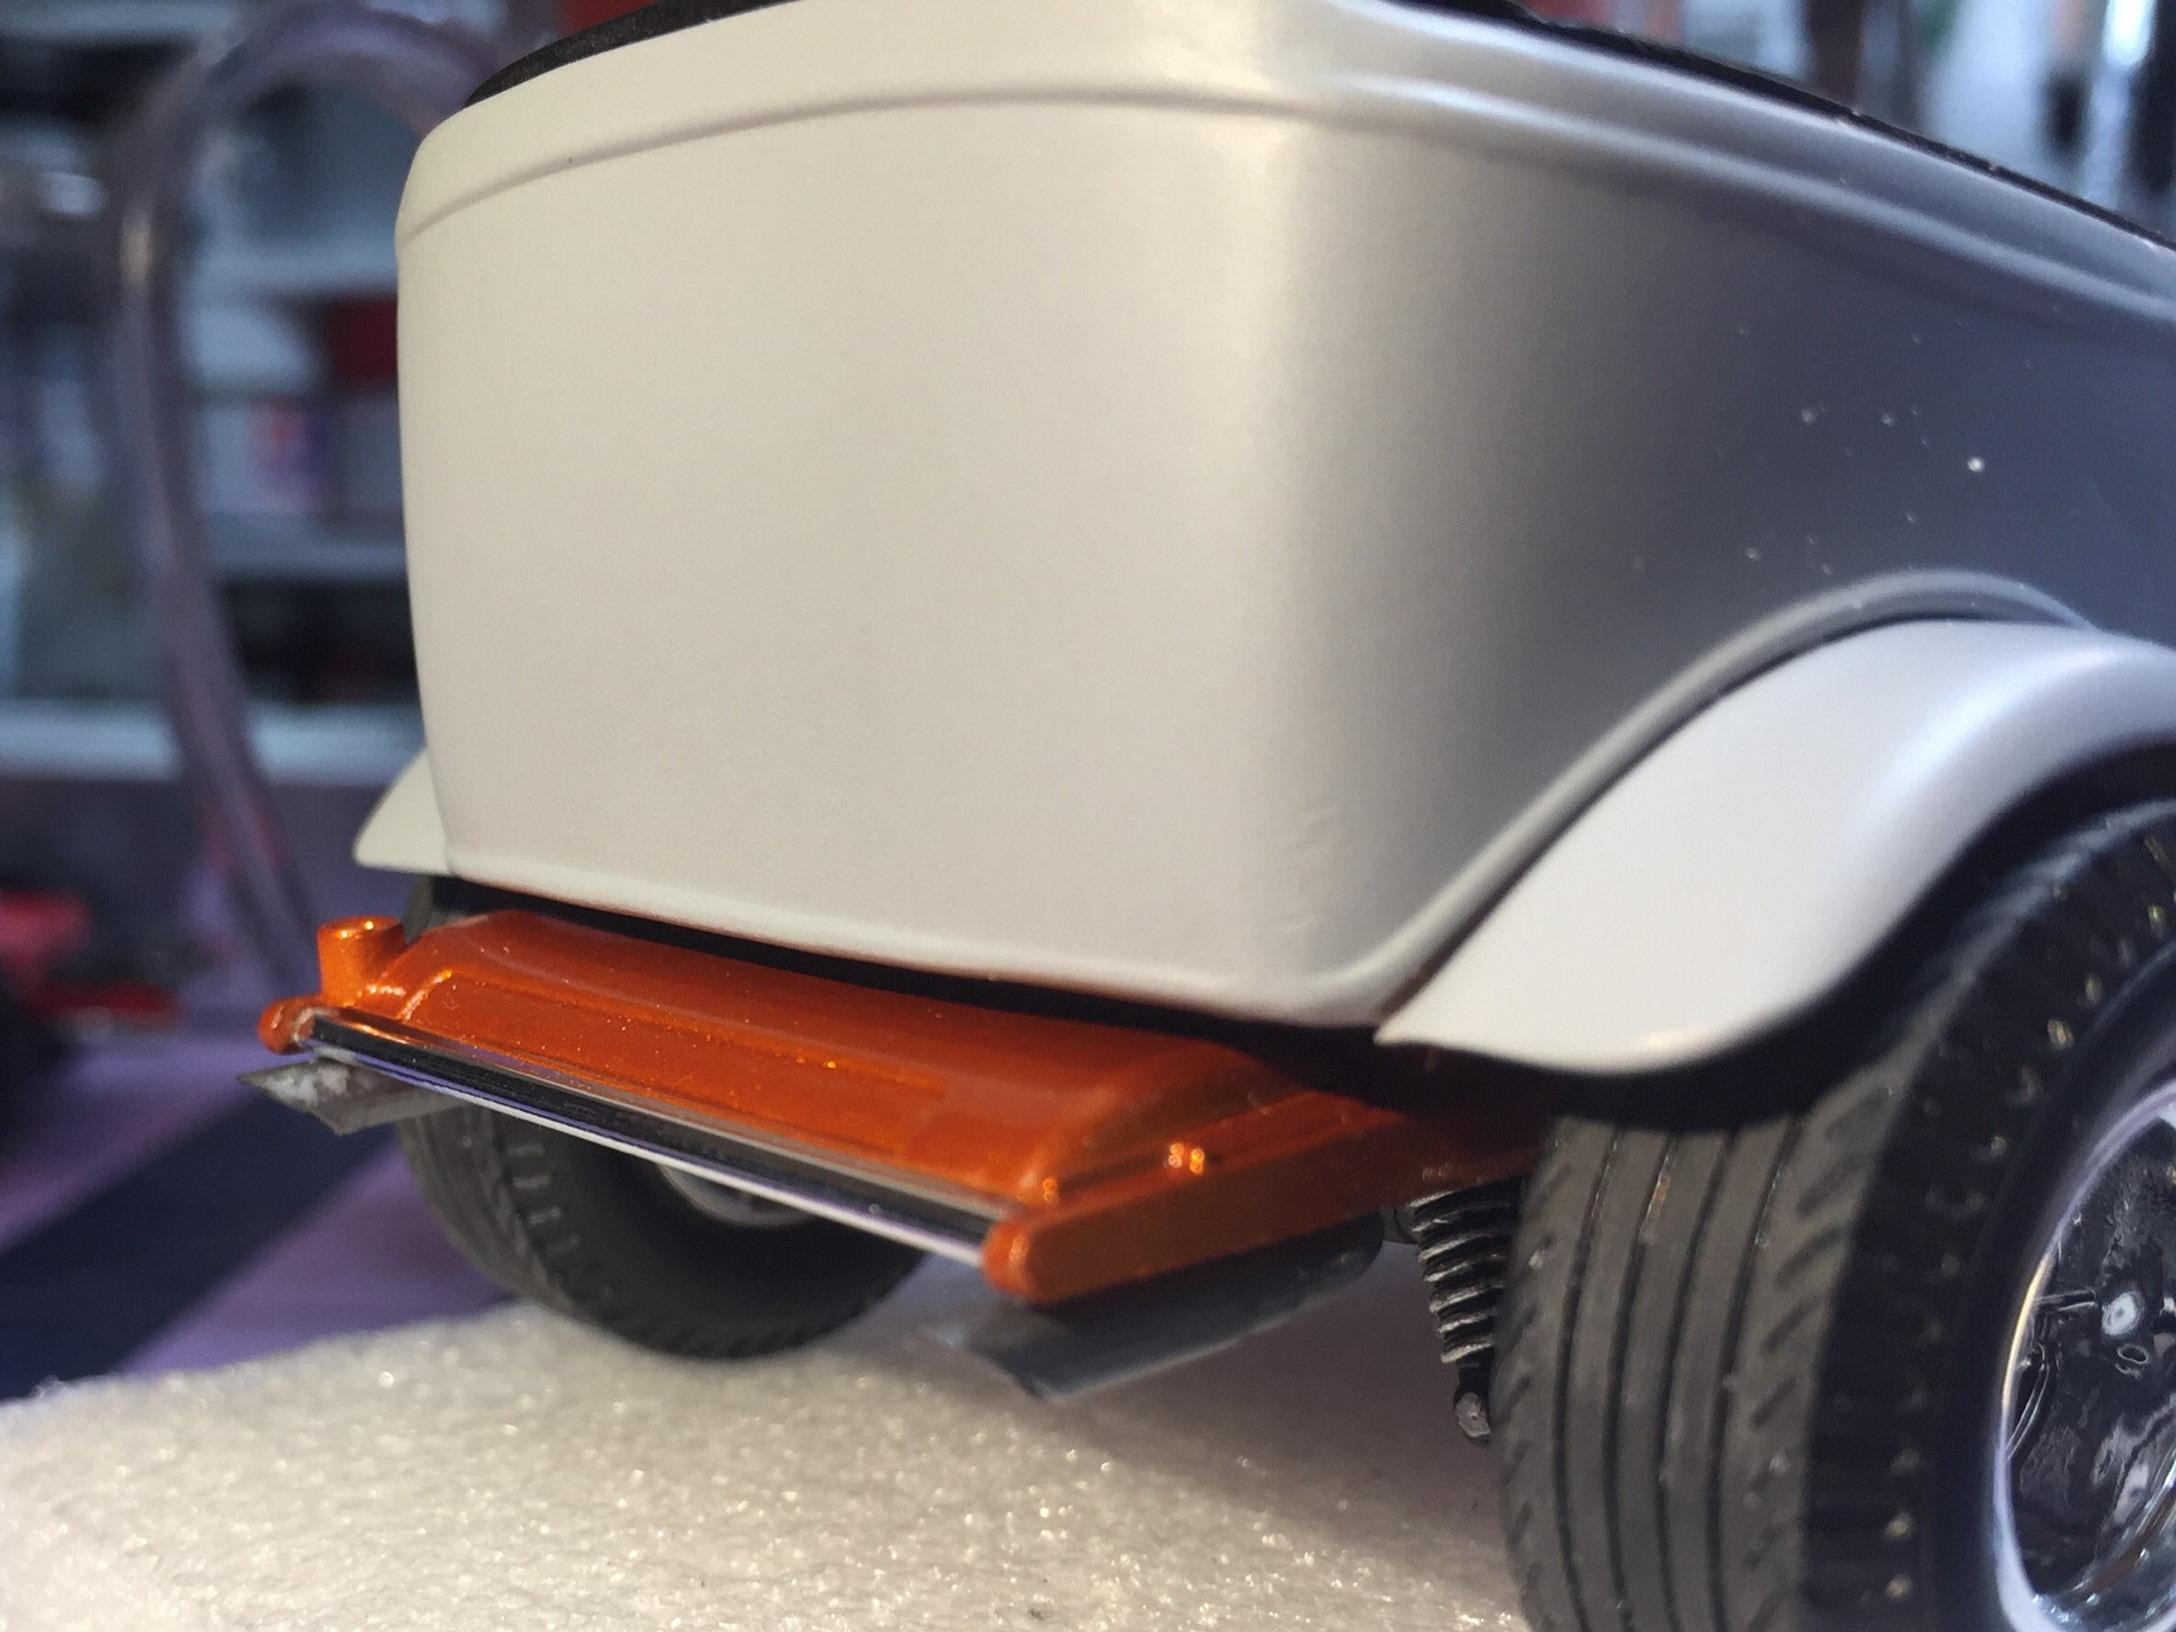
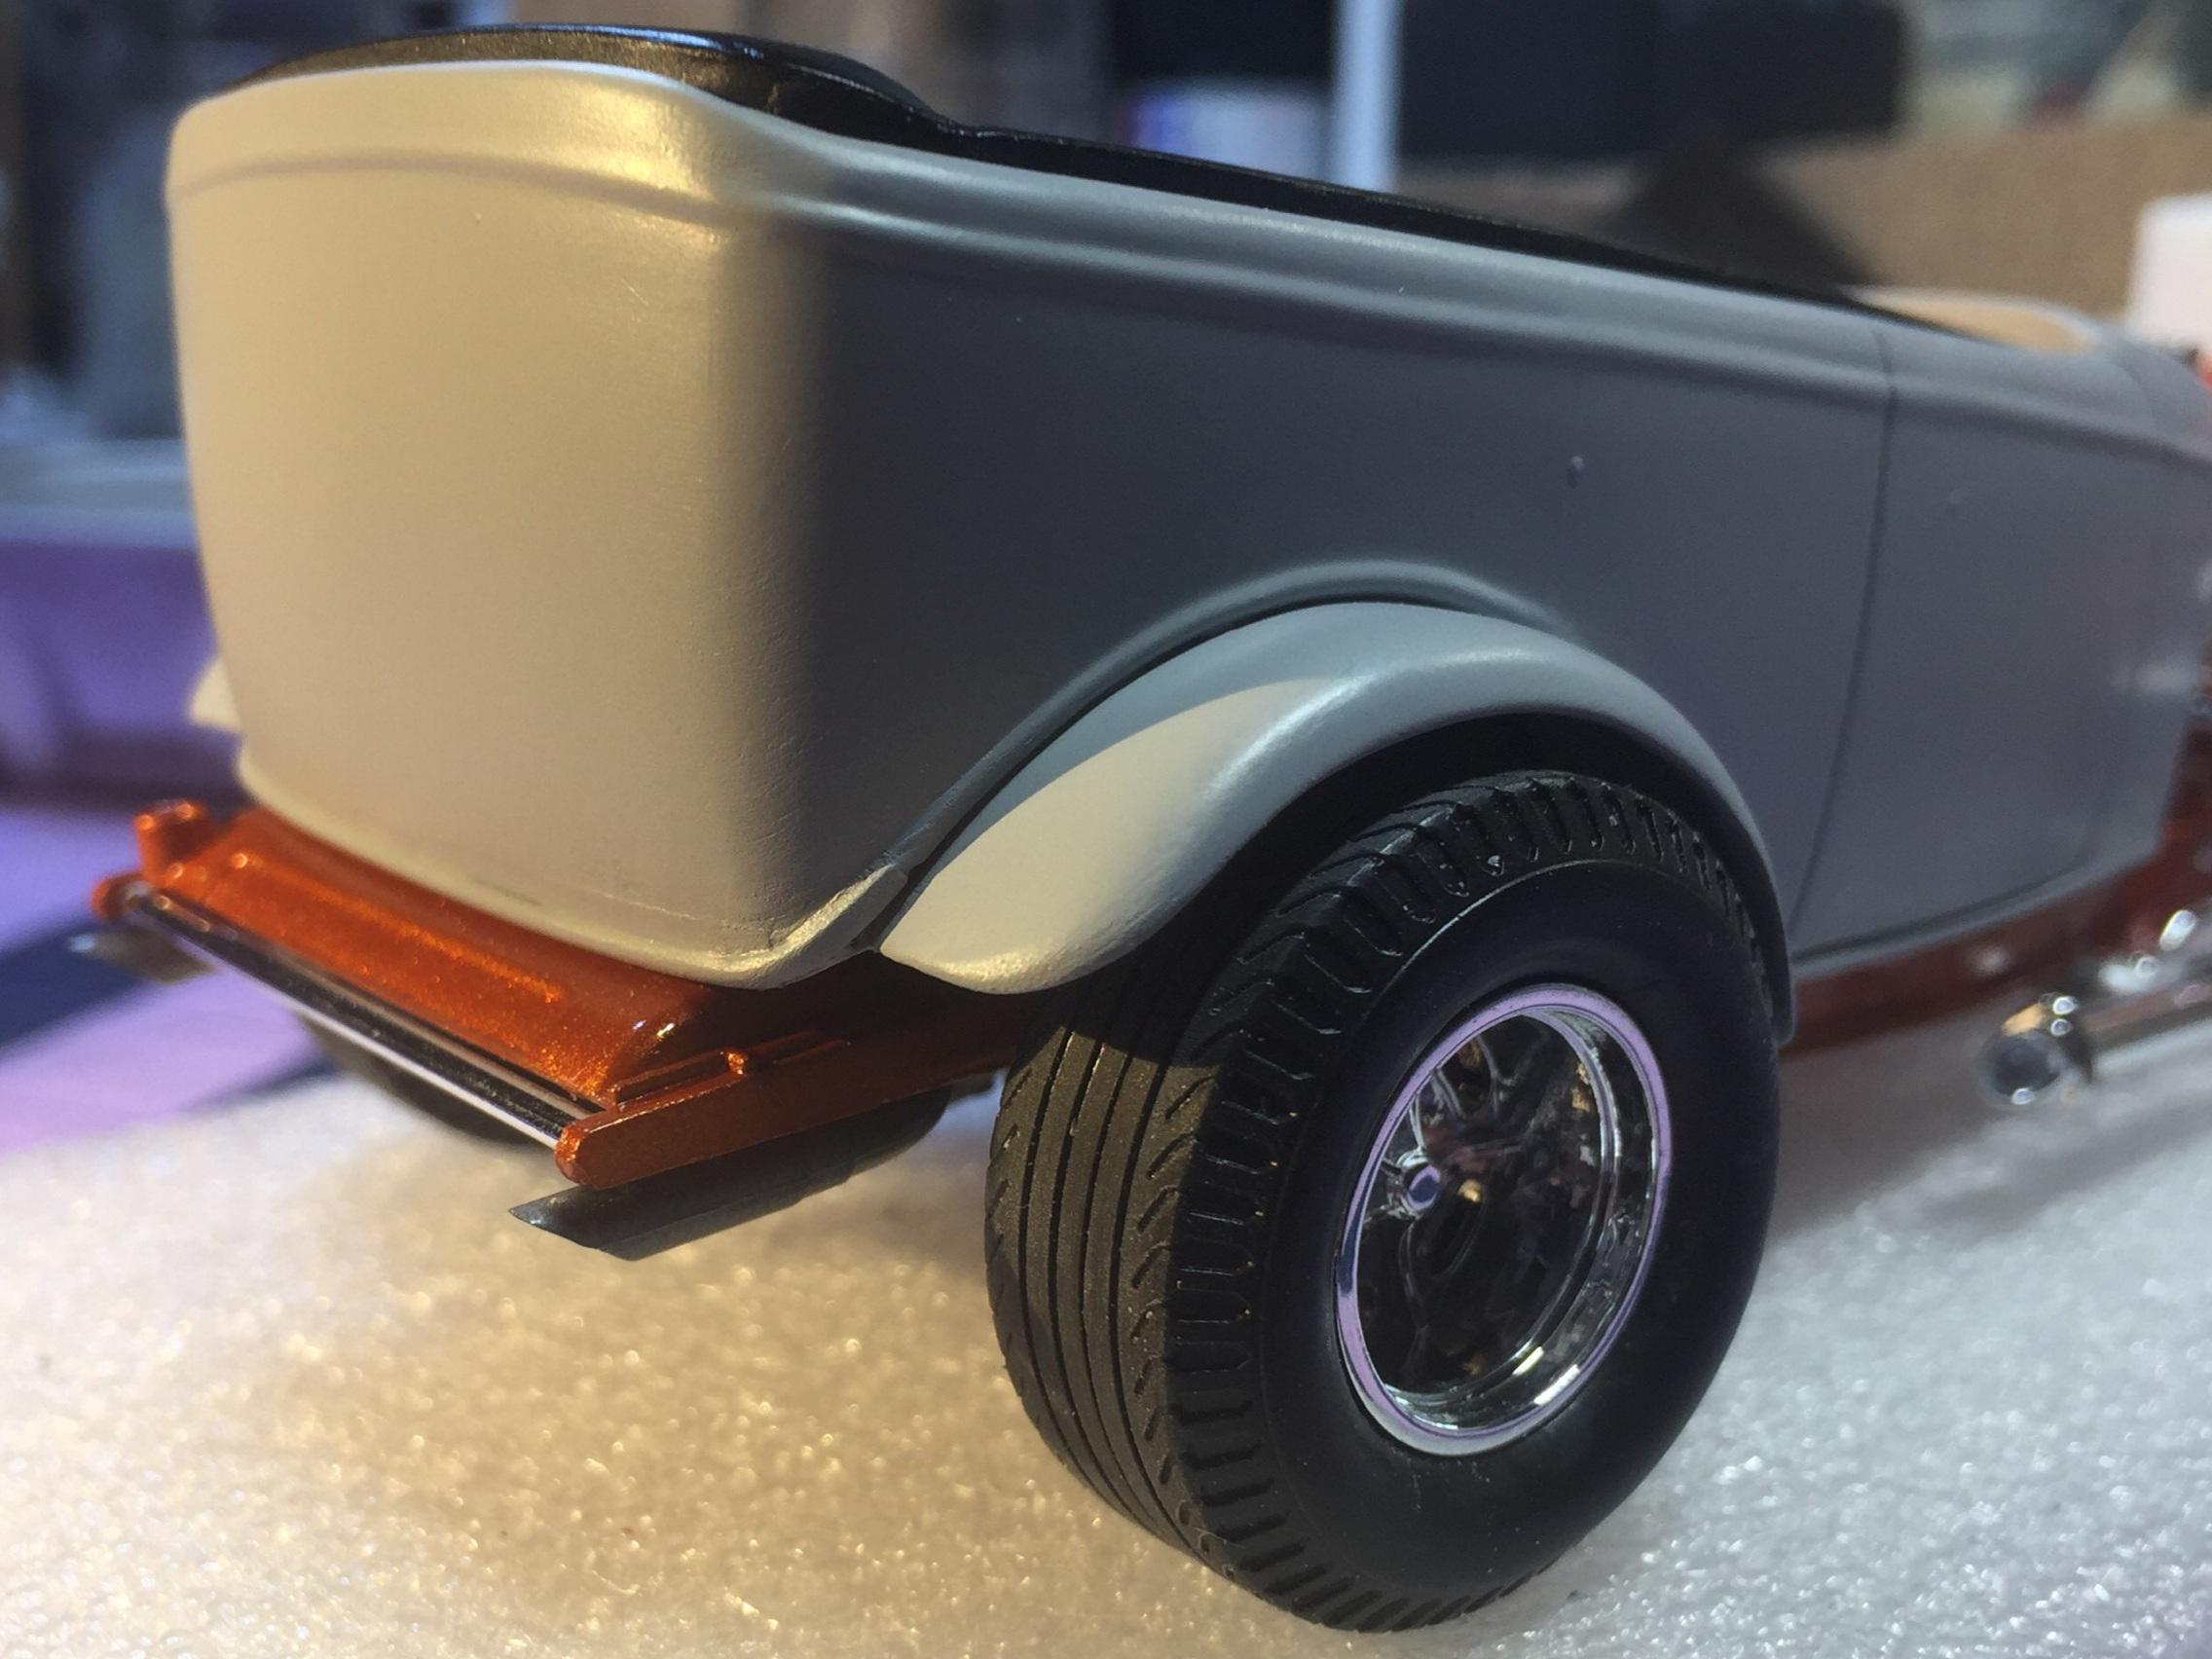
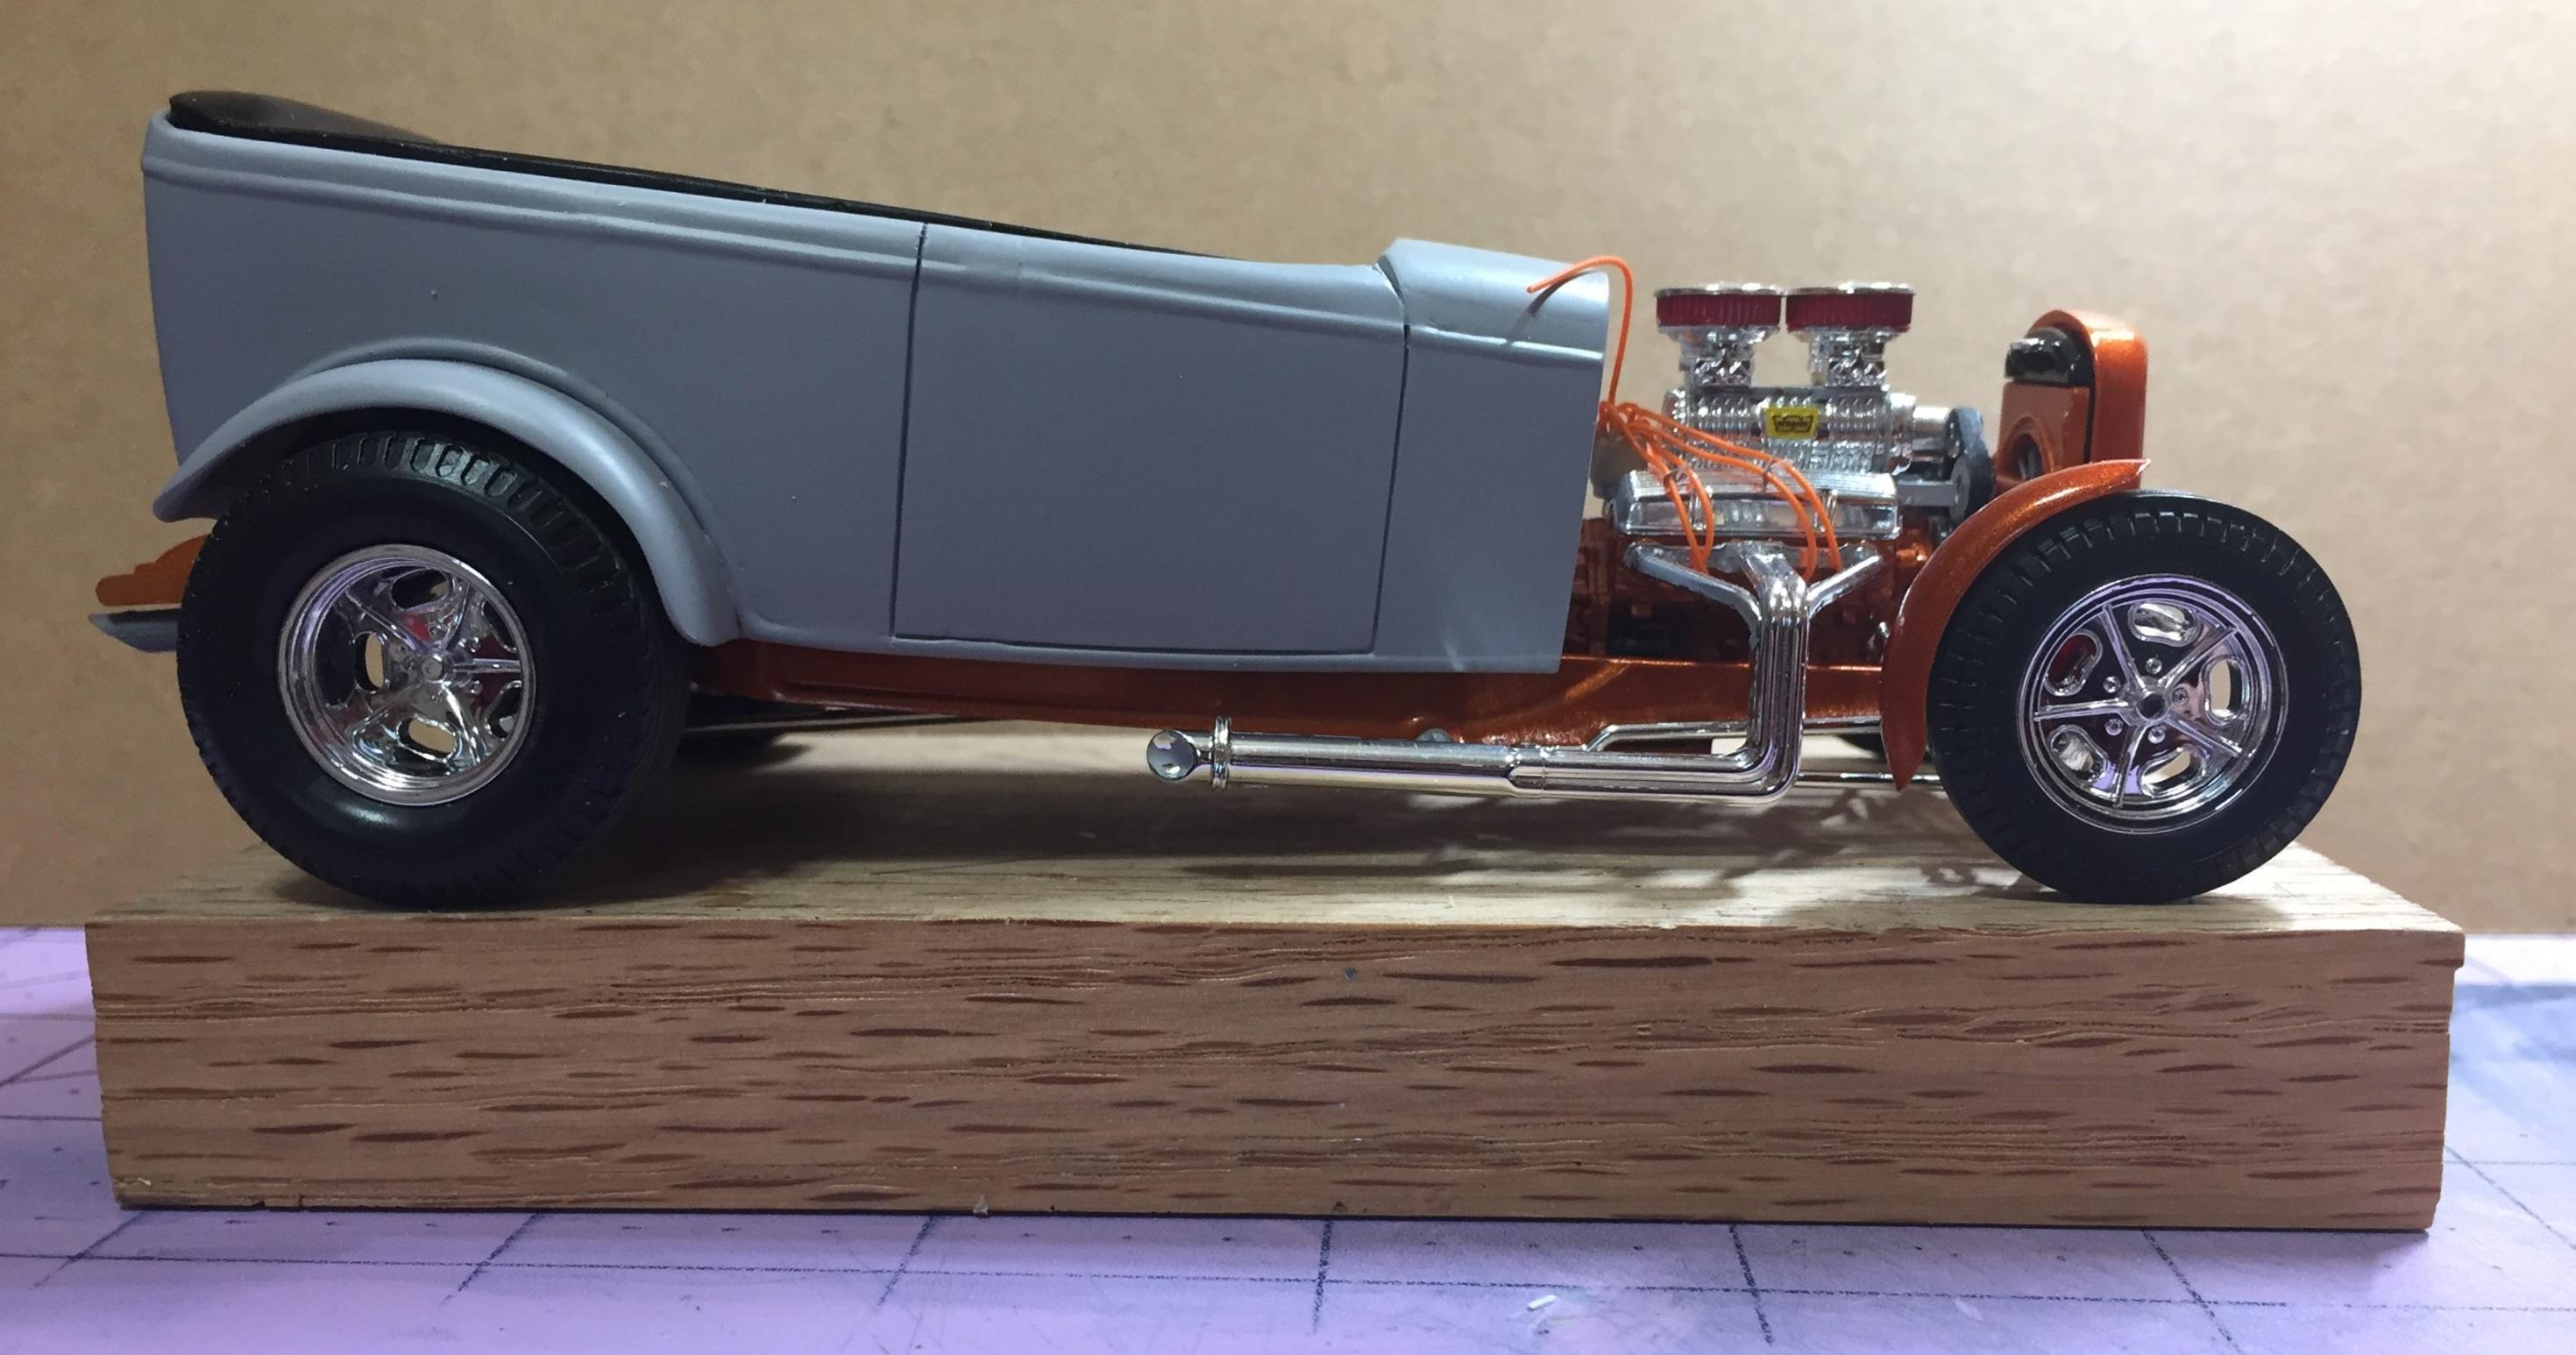
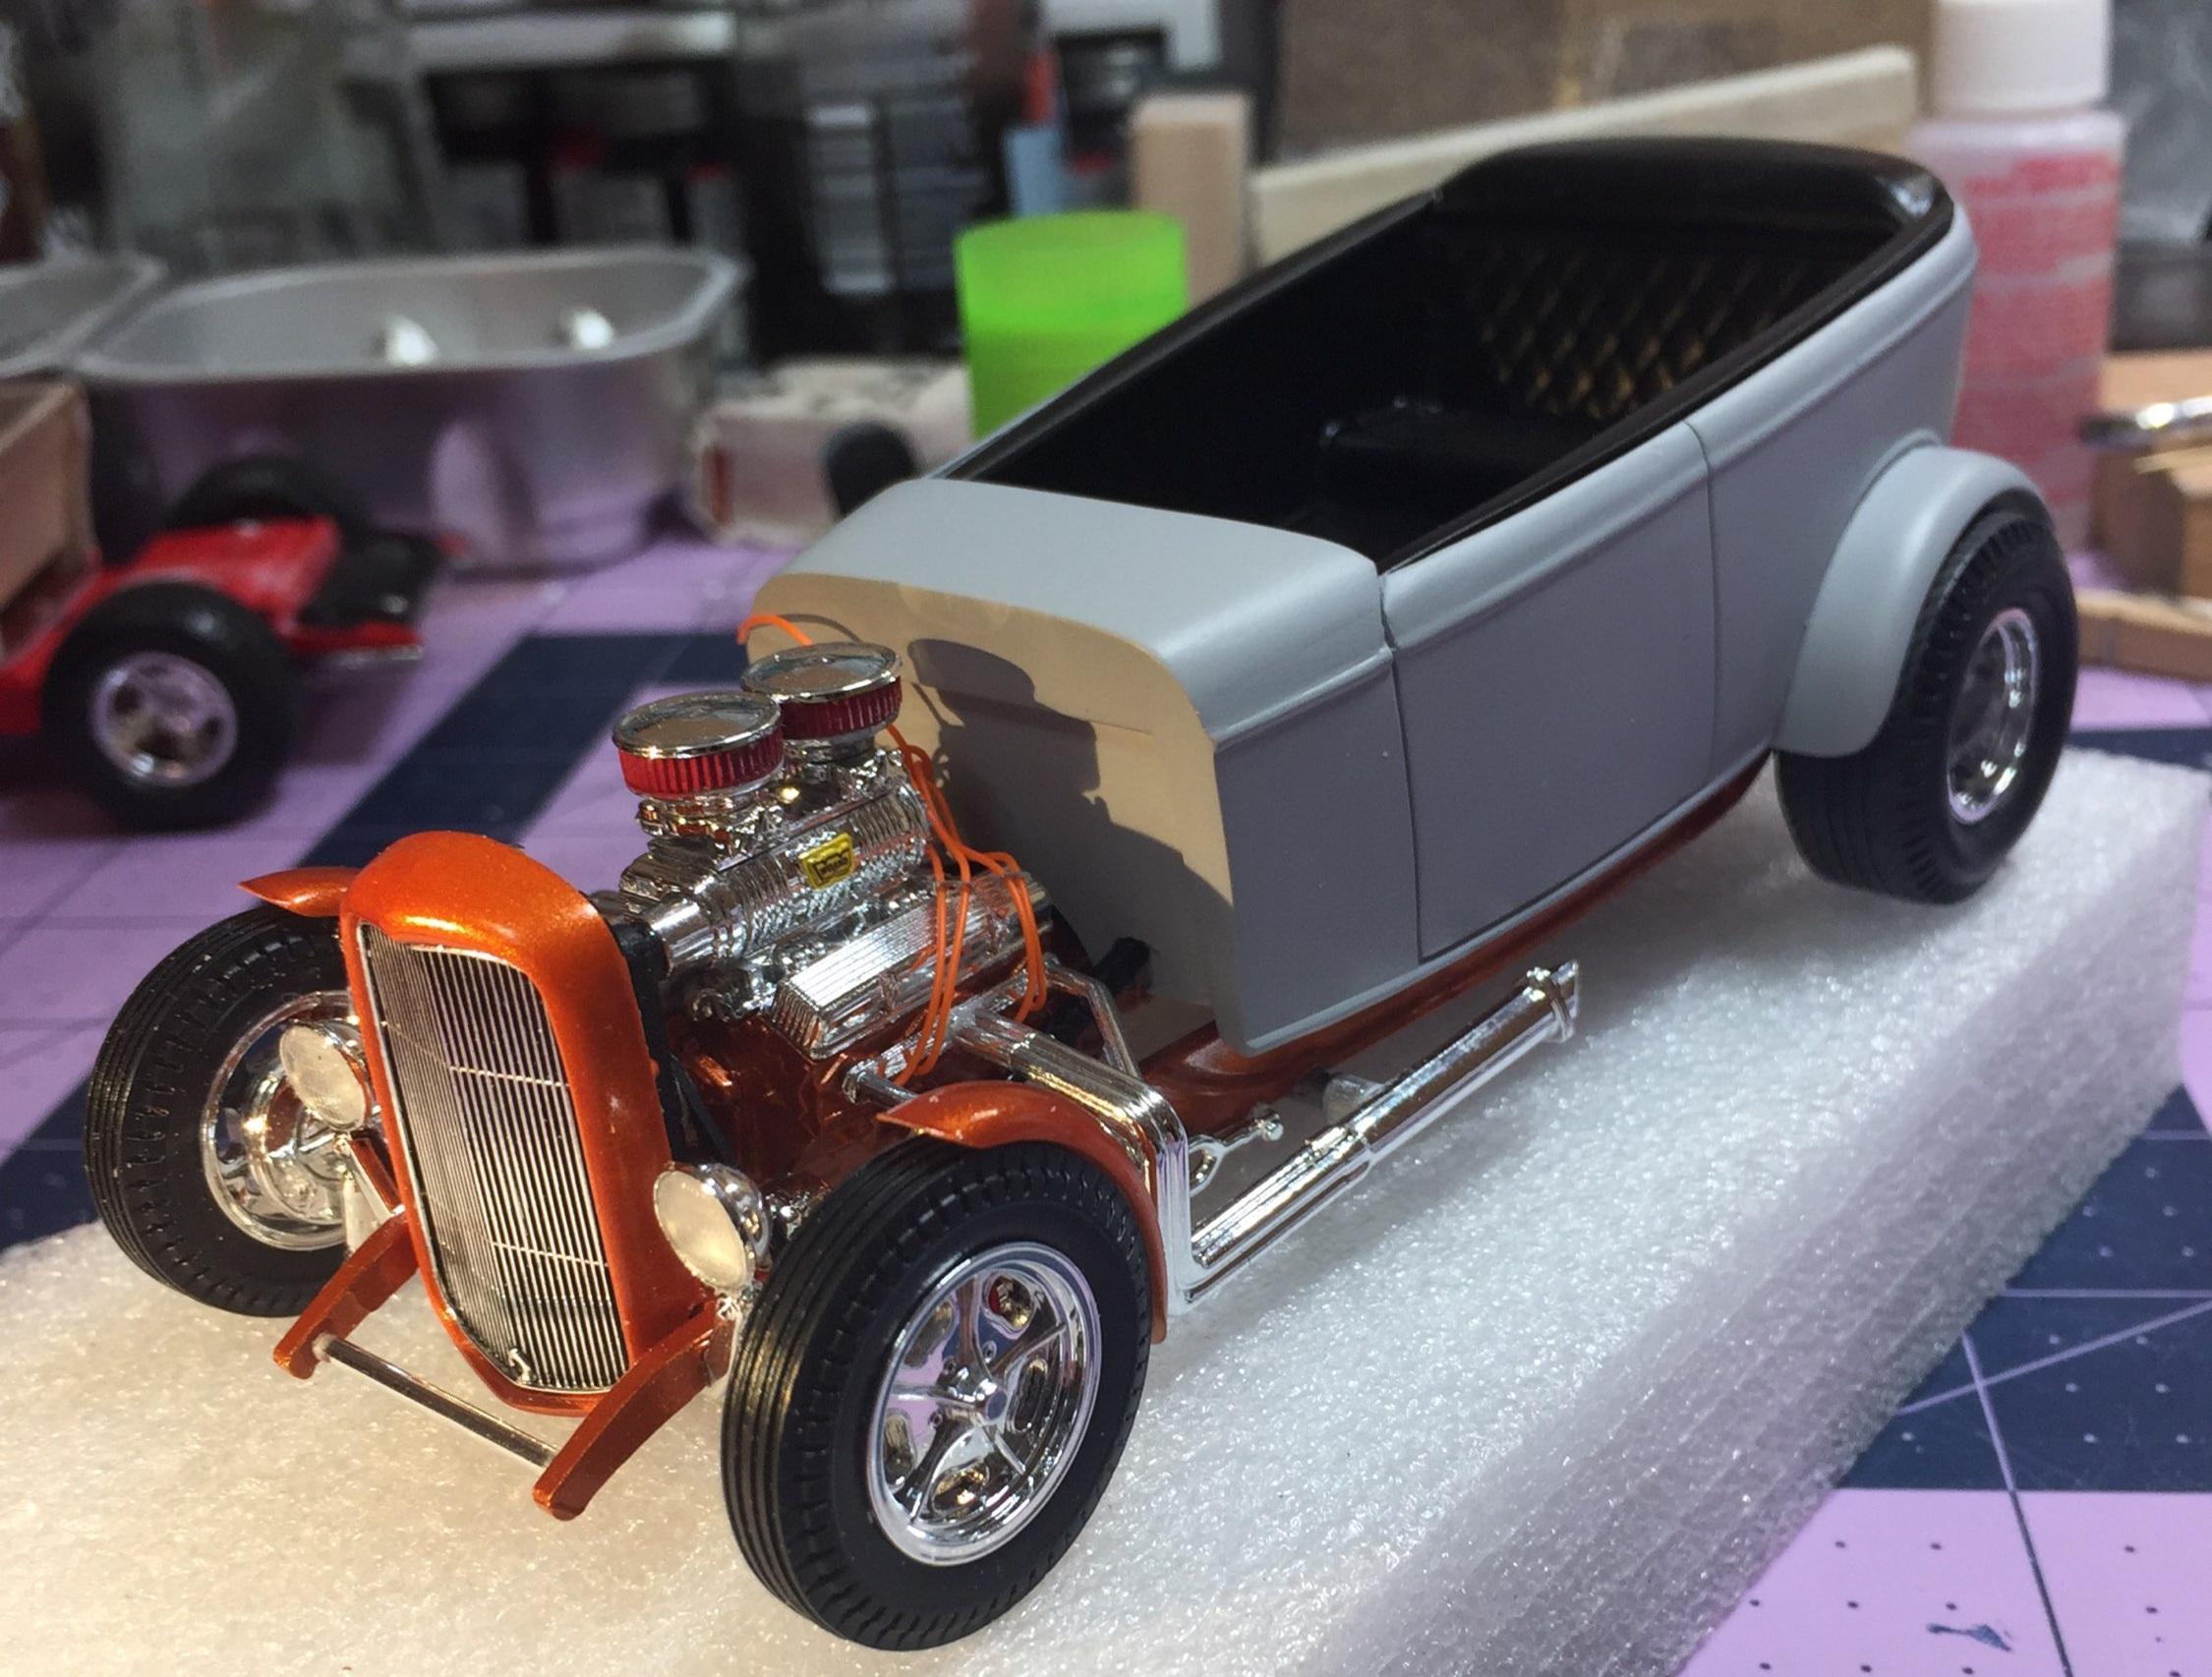
This is something I started a few years ago. I had this sweet pair of tail lights from the '56 300 that I had to put somewhere. Along came the Del Rey. I unboxed it and saw my wonderful body work....... 🤮 Time to get this one back in action. The chassis is completed with the stock engine mounted. The interror is also finished. It was always a mild custom idea using cast-off junk from the "body parts" box. The color choice is evidence of my early dependence on Krylon. I had modified the side trim and that was the thing that had to go. All of it. Desoto side trim is a candidate for the replacement. Someone suggested quad headlights. I had considered that mod and decided it was too risky. Now I don't give a 💩. I have the noses from the '50 kit so I'm using the one with level quads. The headlights look to be from a Chrysler, the '57 or '58. Sorta balances things out. Chop chop with the saw and lots Dremel work. Trying to make the light pods fit the fender leaves less than zero wiggle room. The pods are really too wide but I thought I could file and feather it into submission. Its got a ways to go. Comments and helpful suggestions will be appreciated.

- 105 replies
-
- 16
-

-
1953 International pickup
customline replied to mchook's topic in WIP: Model Trucks: Pickups, Vans, SUVs, Light Commercial
I'd put a wild flathead in it. Pretty trippy, huh? Don't listen to the lunatics (myself included 🥴) -
1953 International pickup
customline replied to mchook's topic in WIP: Model Trucks: Pickups, Vans, SUVs, Light Commercial
Now you sound like me, boss. 🤪 -
Thanks, Anthony. I really like this kit. When I opened the box and saw all that chrome plated front suspension, I felt ill. 🤢 This kit was a pleasure compared to my memory of Big Daddy's "Outlaw" from a half-century ago.
-
I'm glad you do, Rooster. It not for everyone. 😁
-
I'm watching it closely. It's not the first time.
-
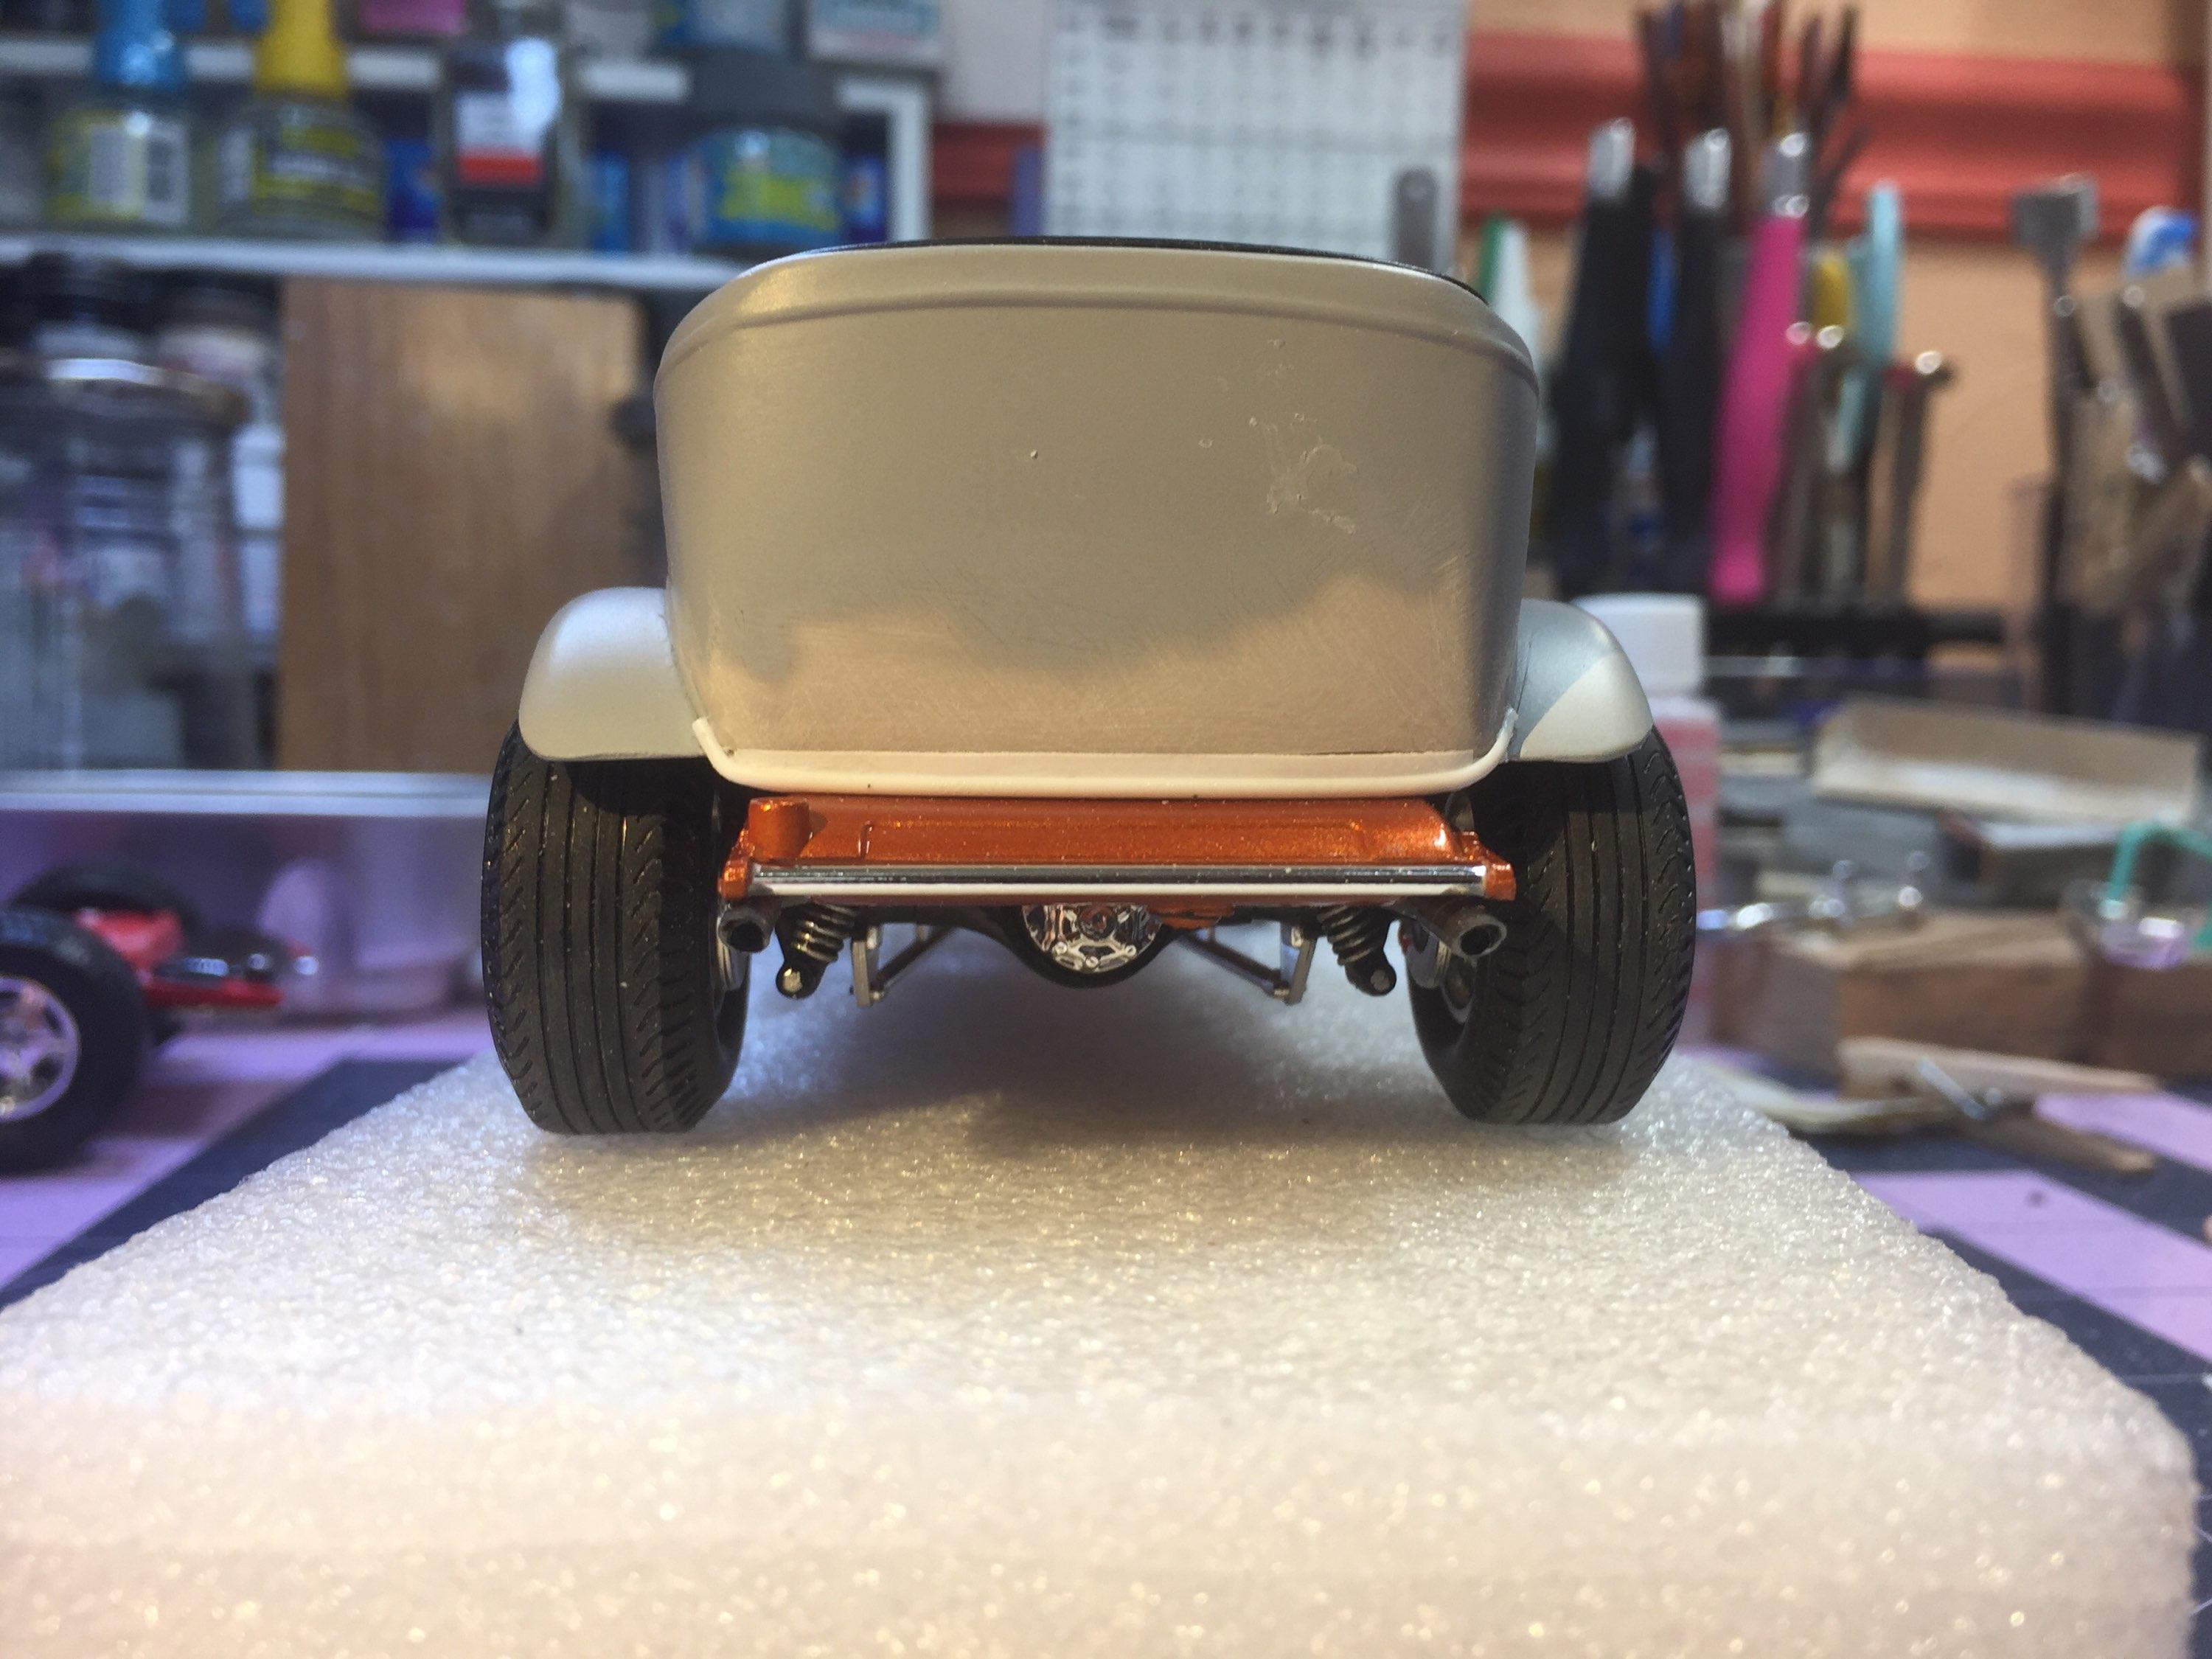
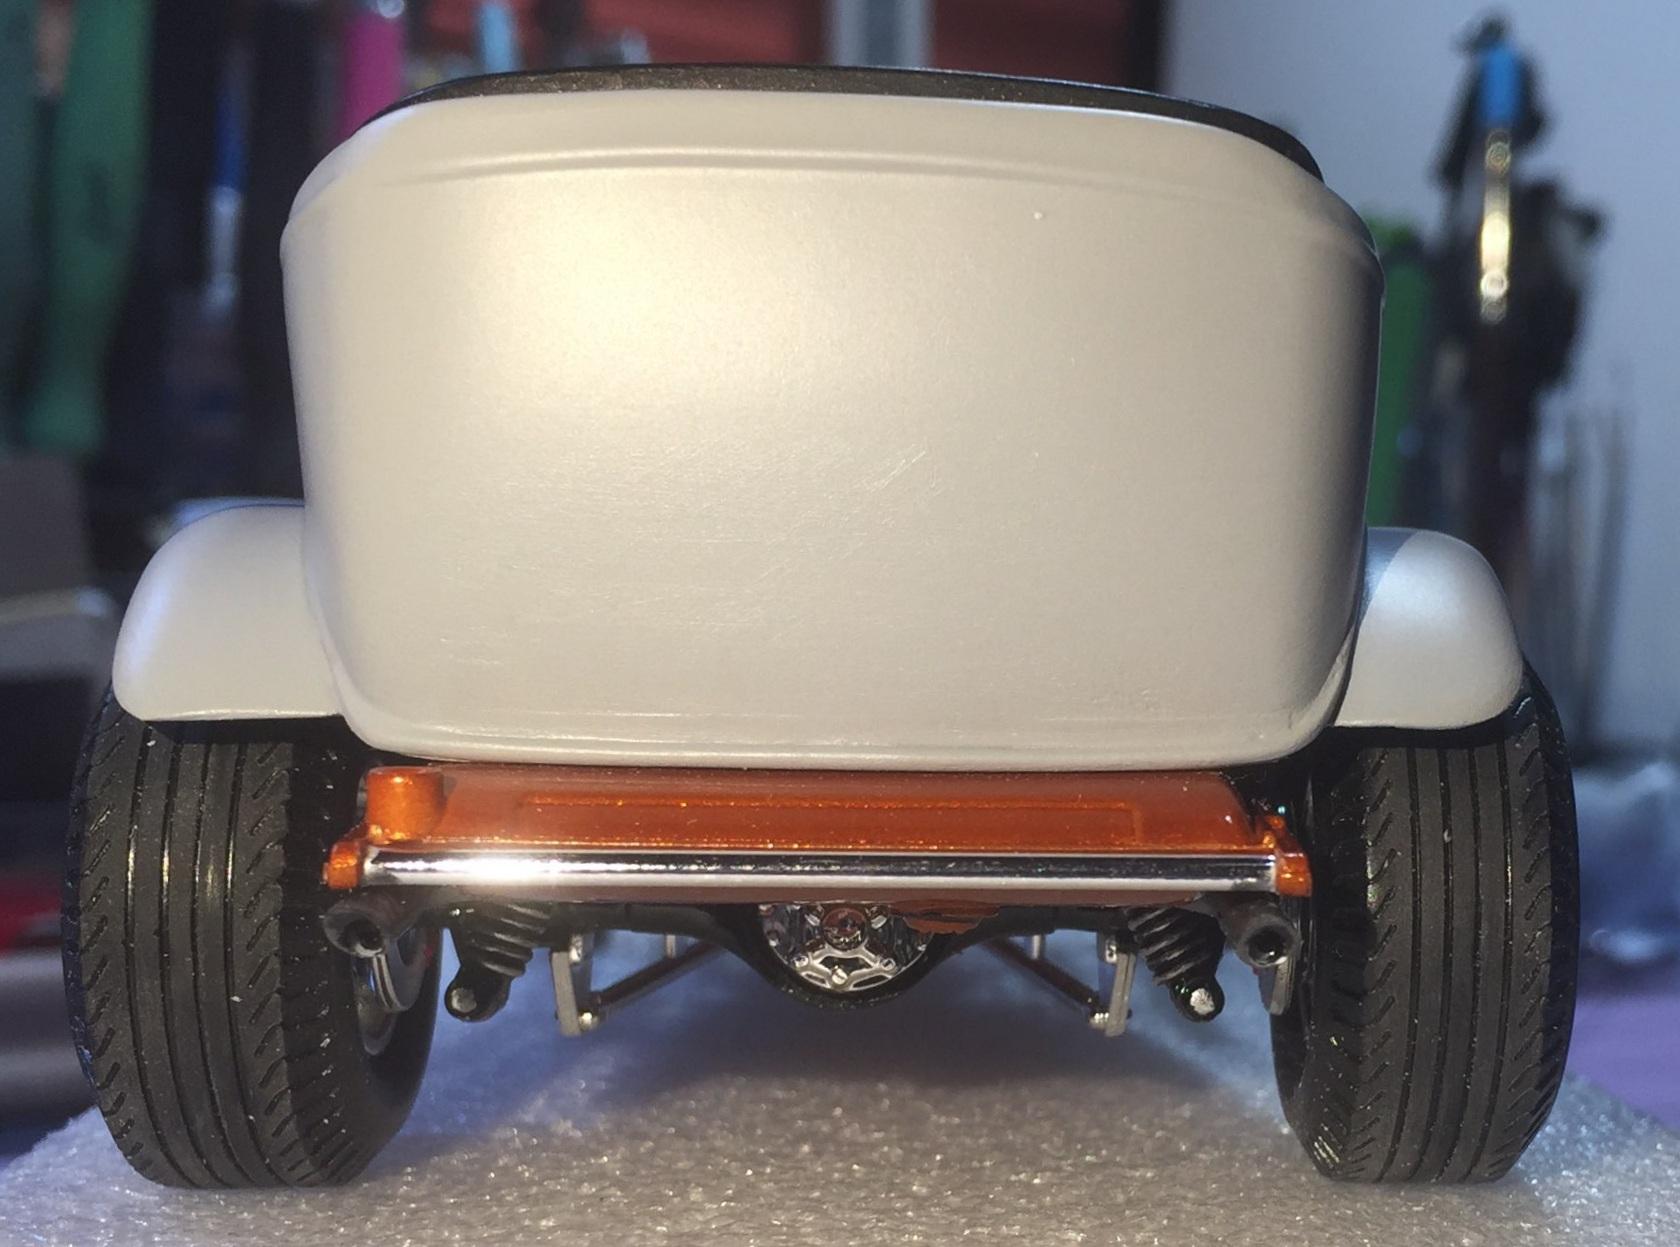
I surprise myself now and then, Bill. 🥴. Seriously. My last '40 coupe was decent too. But most of my stuff 🤮 I never worried too much about accuracy before I started listening to the lunatics on this forum. 🤣 It's a hot rod so anything goes. It's mandatory 🤨....especially my poorly bobbed fenders 🥴. Some of the stuff I did was because of the way I sexually abused the floorboard. It was already channelled badly so I had to do some things I regret. It created extra work and if there's one thing I reeeeealy hate its extra work.
-
I don't exactly know why I didn't try this first but after my night-time "medication" kicked in, I dug out some .005 sheet and the rest is a blur. like....why didn't I try this first? Much better, thank you very much 💩 Sometimes the simple stuff works 🥴.
-
You are, Mark, I've seen the IH pickup. Thanks for your comments.
-
Yeah, man, I'm liking it. I like the donor chassis a lot, too. A full channel job would have taken rear fenders off the table and I wanted to keep the front fenders (one of the reasons I like the chassis doner) and if there's fenders in front then....now I feel like I need to extend the rears to be flush with the body I extended 🤪. I'll never be finshed with this thing. 😪
-
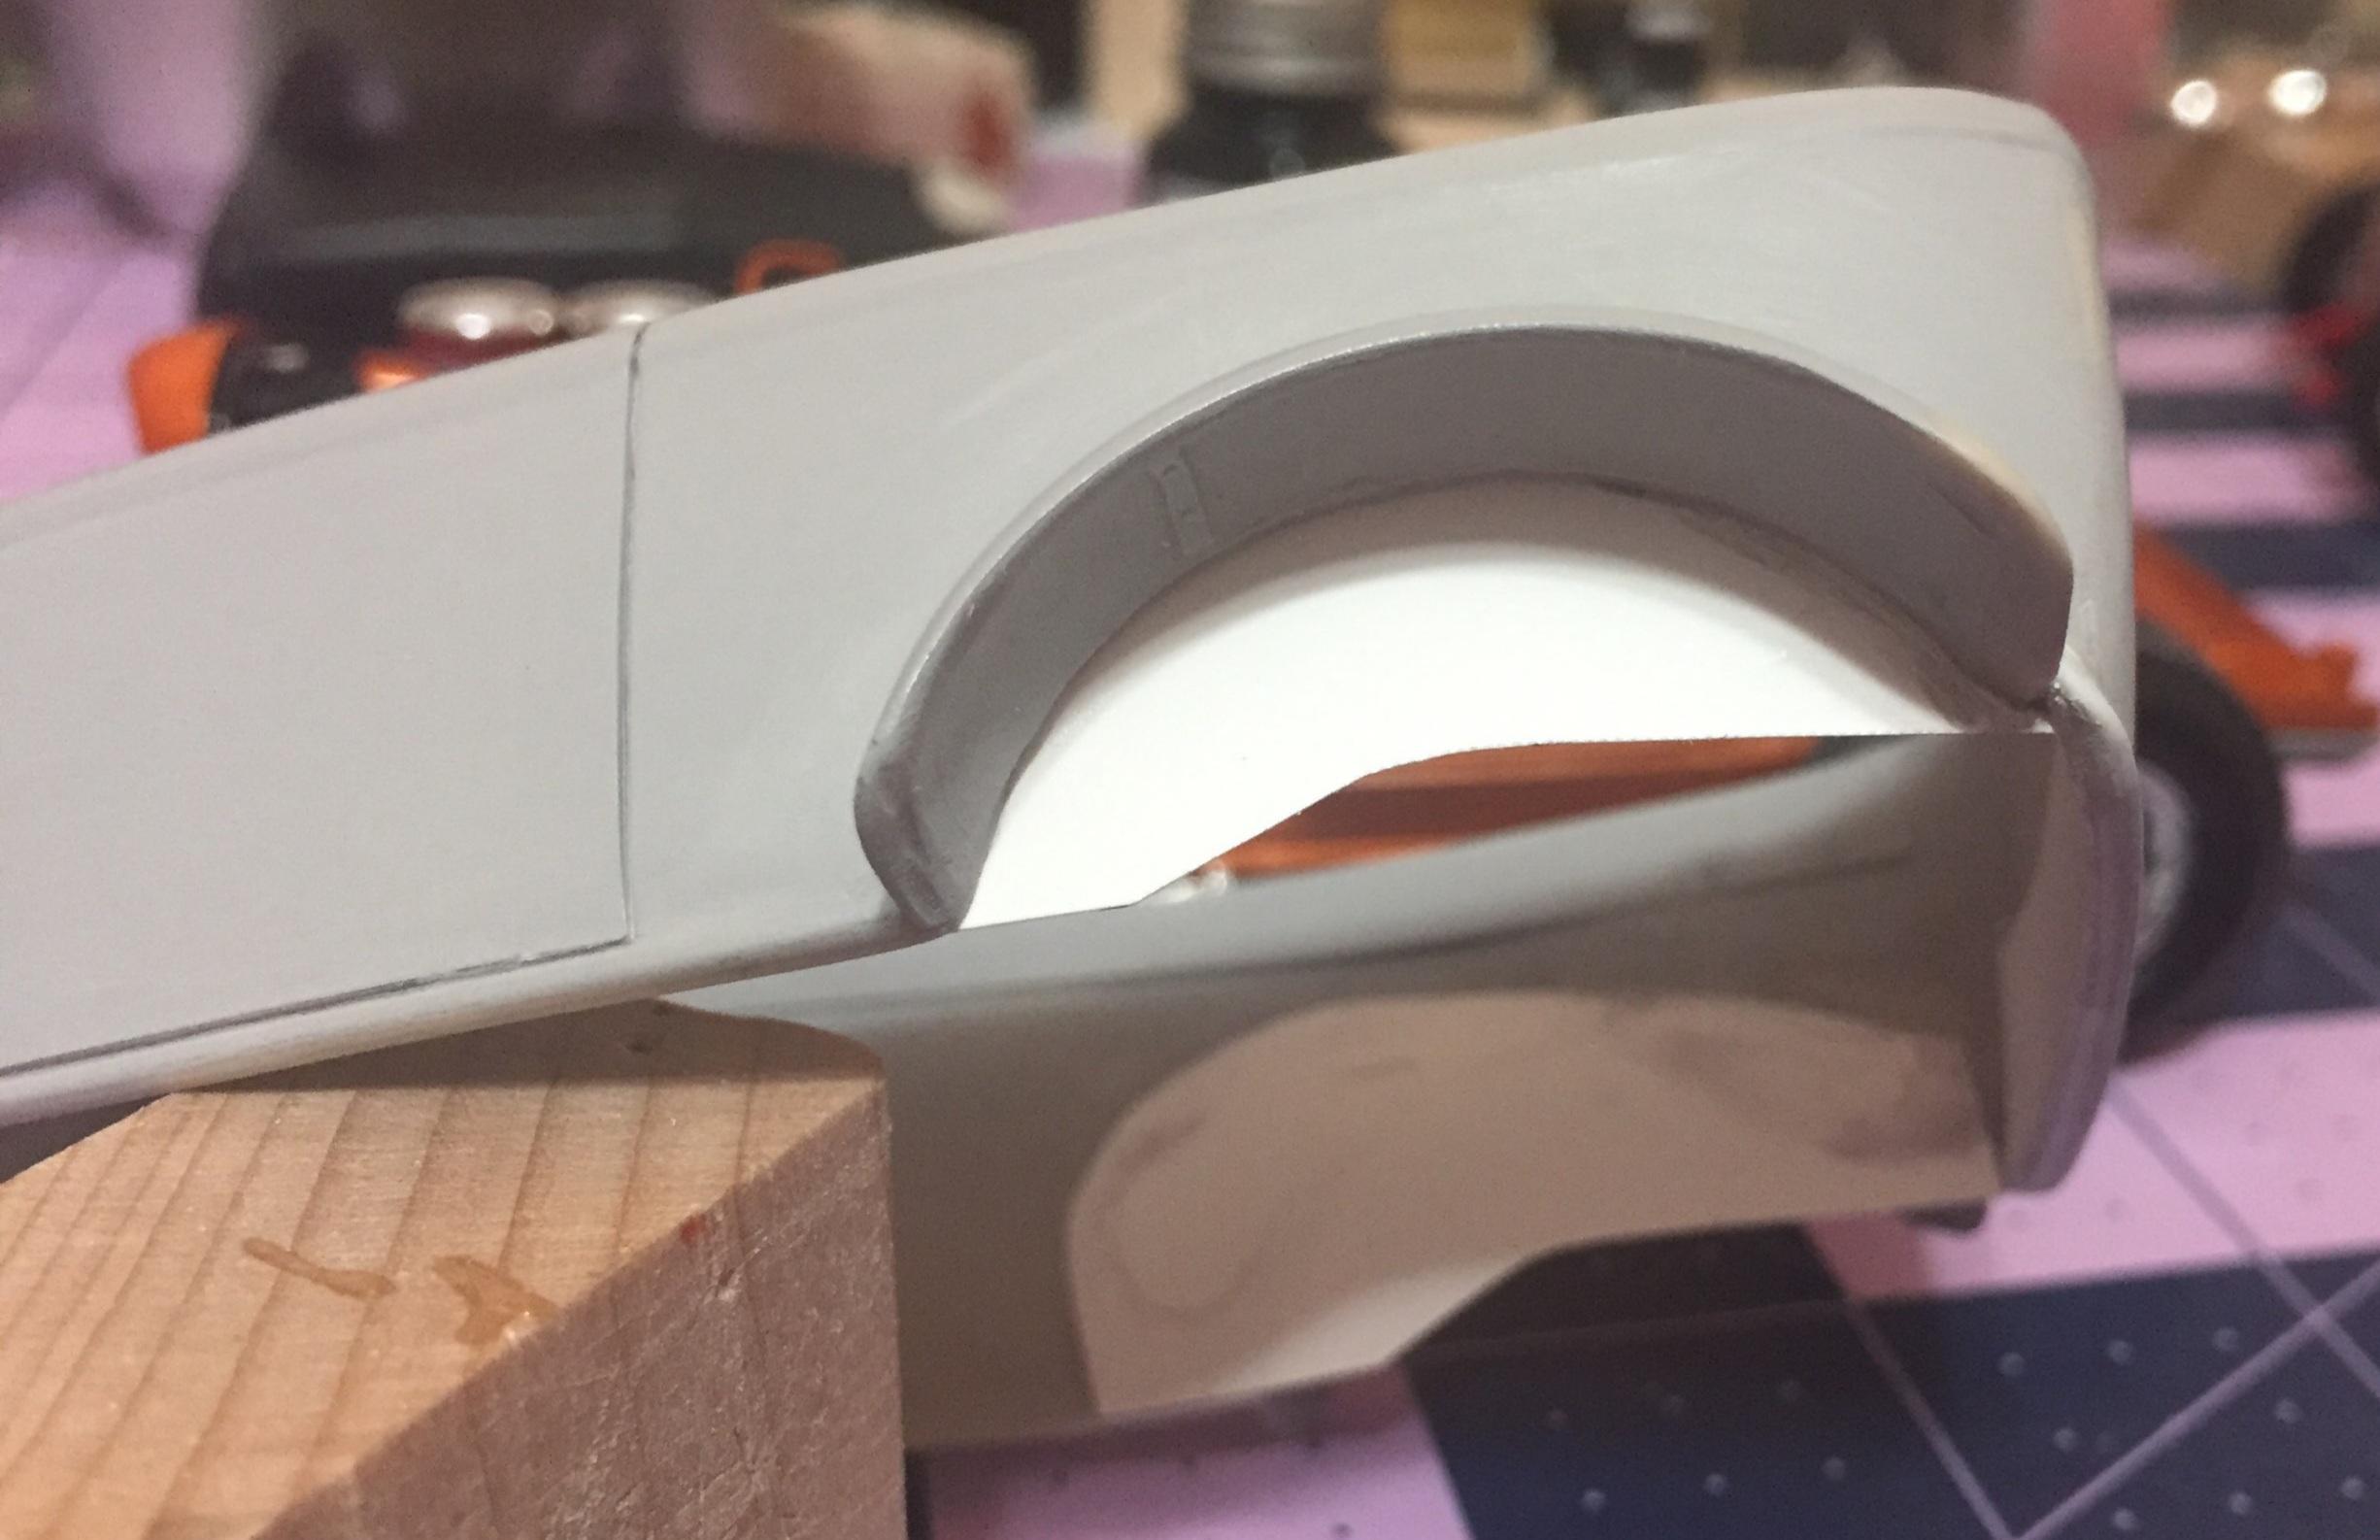
The rear wheel wells have no innards so I started playing around with some .010 scraps. The width difference between the AMT interior bucket and the outer side of the frame was too much for the .010. to bend so I opted for a overlapping configuration with half on the interior and the bottom half glued to the frame. I glued 'em on and painted 'em flat black. I tried to photo the finished product but couldn't get anything useful so you'll just have to trust me 😉. I did a little Dremel surgery on the transmission to alleviate positional difficulties during final. That wasn't it. I apologize 😔. Turned out to be the firewall opening. Dremel surgery again. That did it. 😄 It would be almost impossible to squeeze the interior tub between the above inner fender panels. Final assembly would be me cleaning up the scattered pieces and Wifey whining about the hole I put in the wall. I opted for the overlap. It's still a bit tricky but with practice....🙂 Yes it's jack-leg but we're the only ones who know. 😉
-
Thanks, Brian, it's been an adventure 🥵 but I got help here.
-
I just felt like having a little show. 🙃 here we go.....
-
Thanks, Bob. This thing as had more surgery than I have.
-
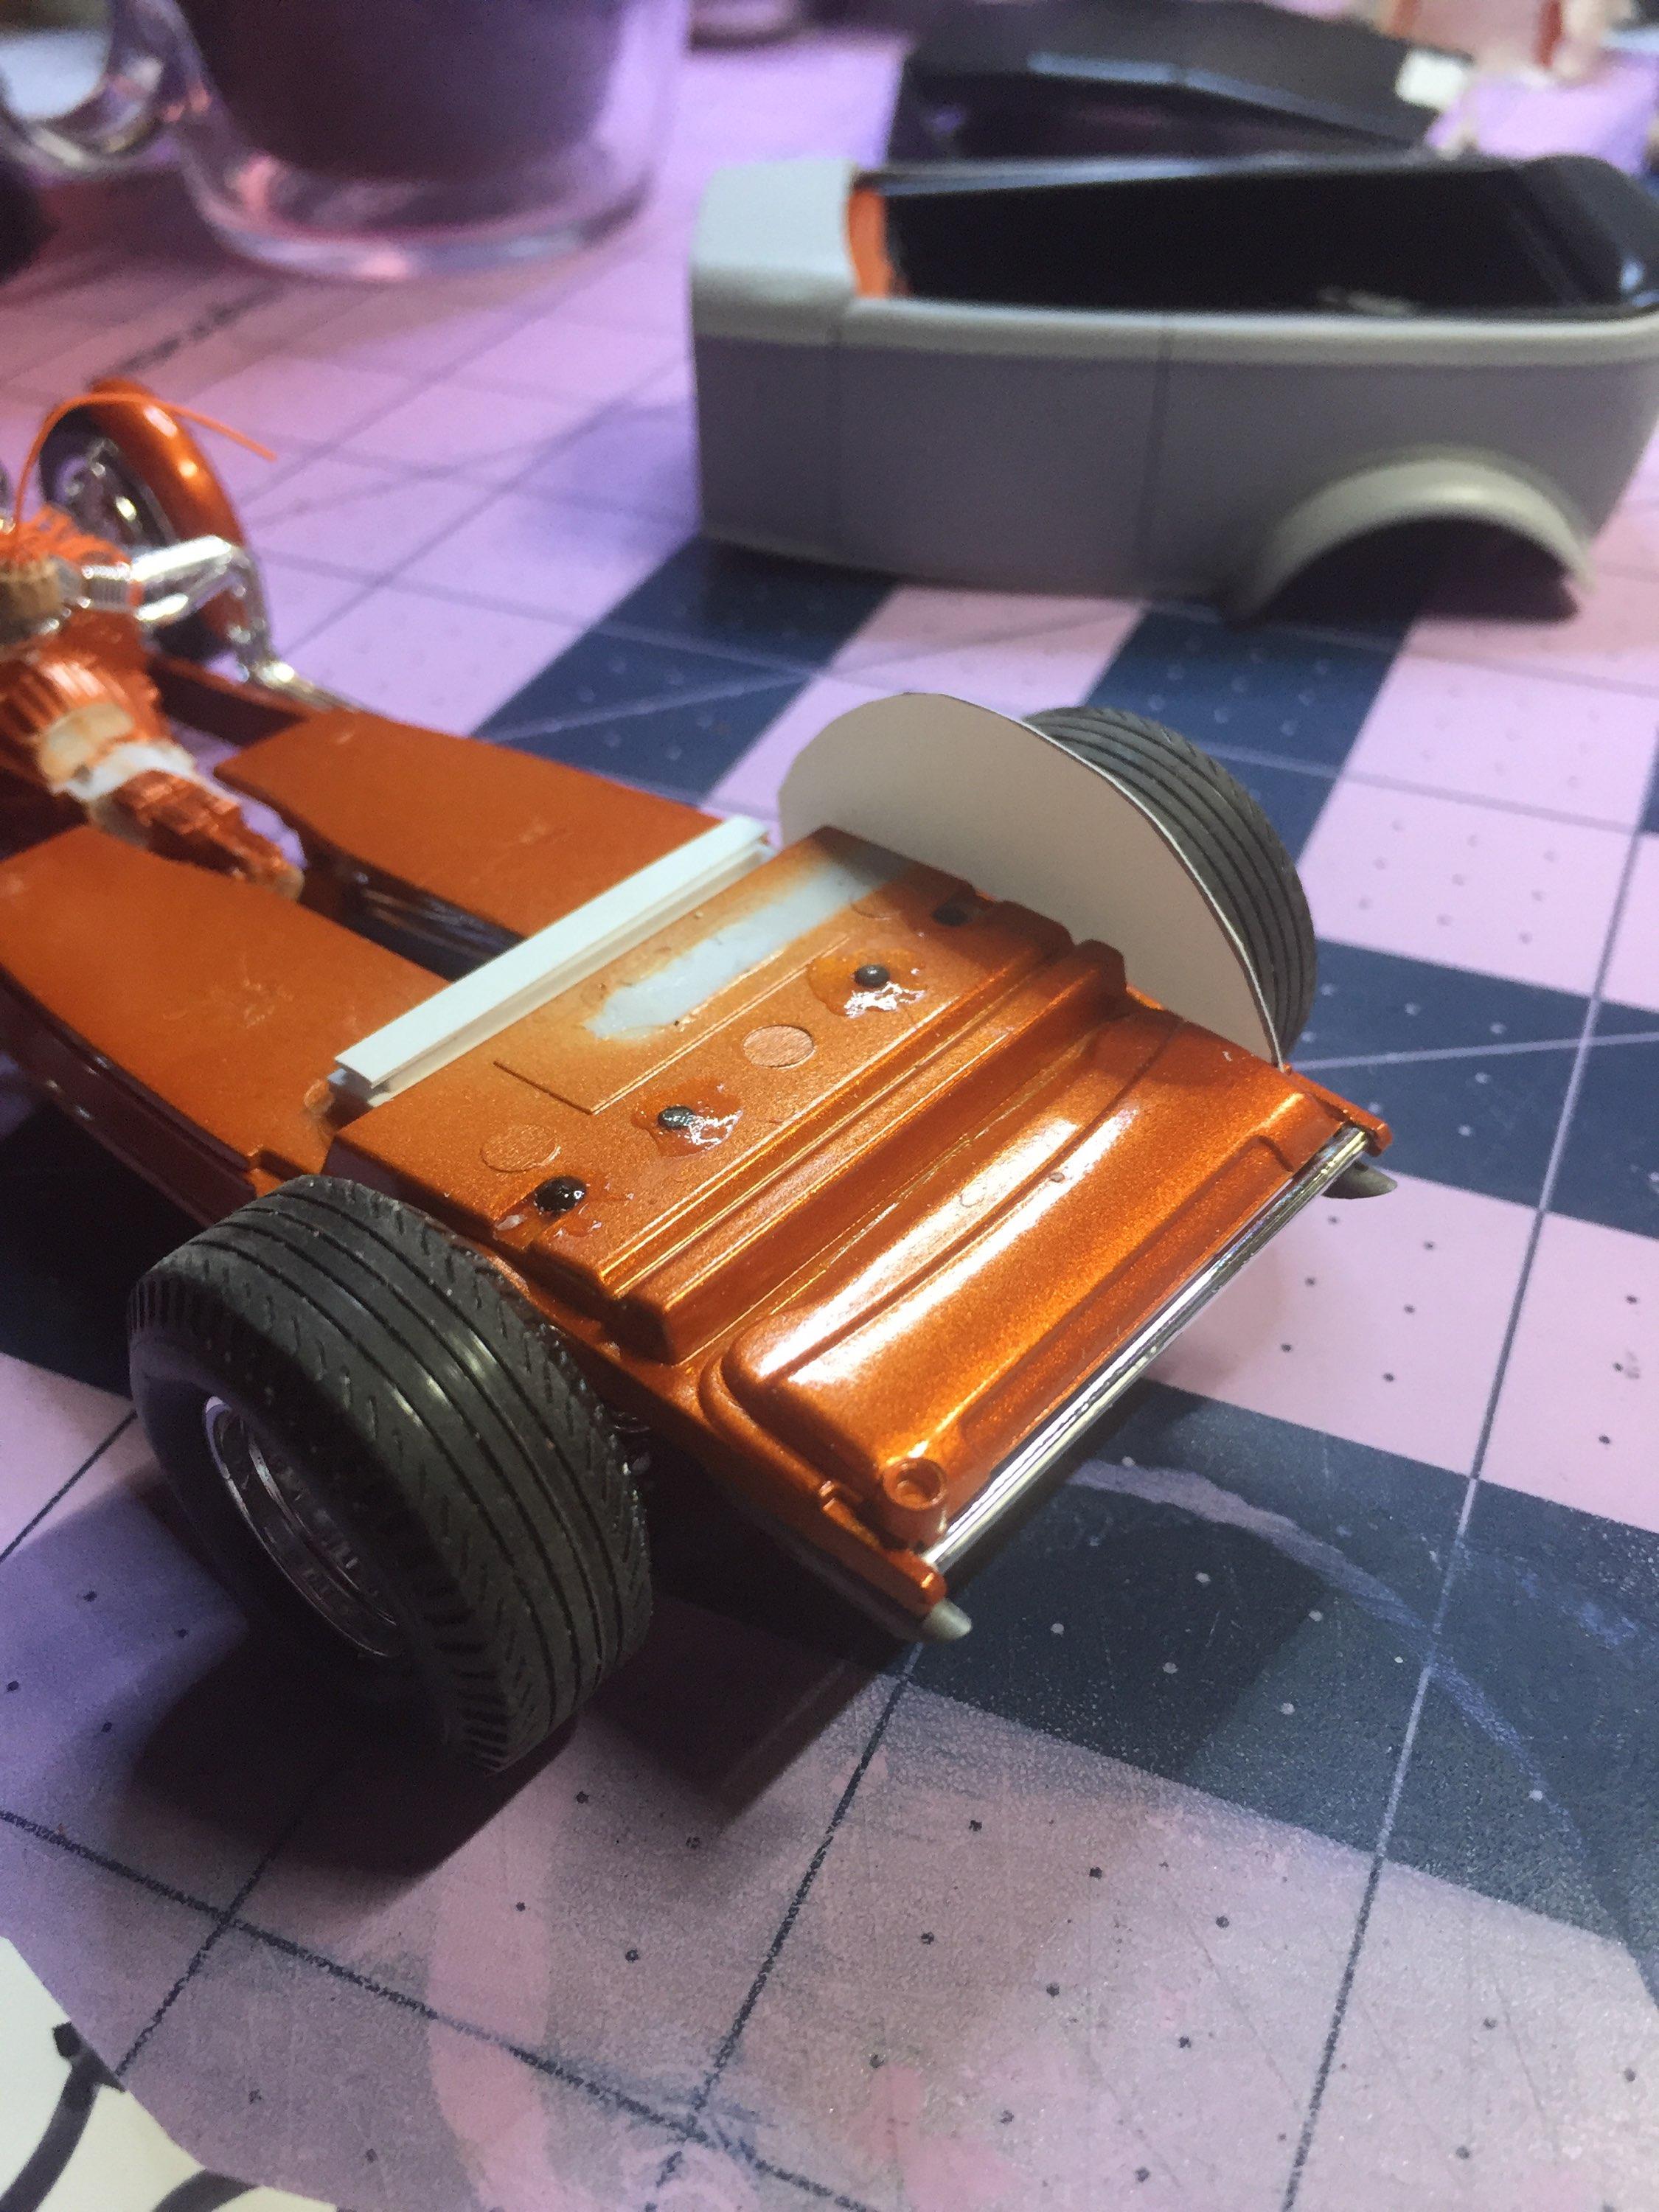
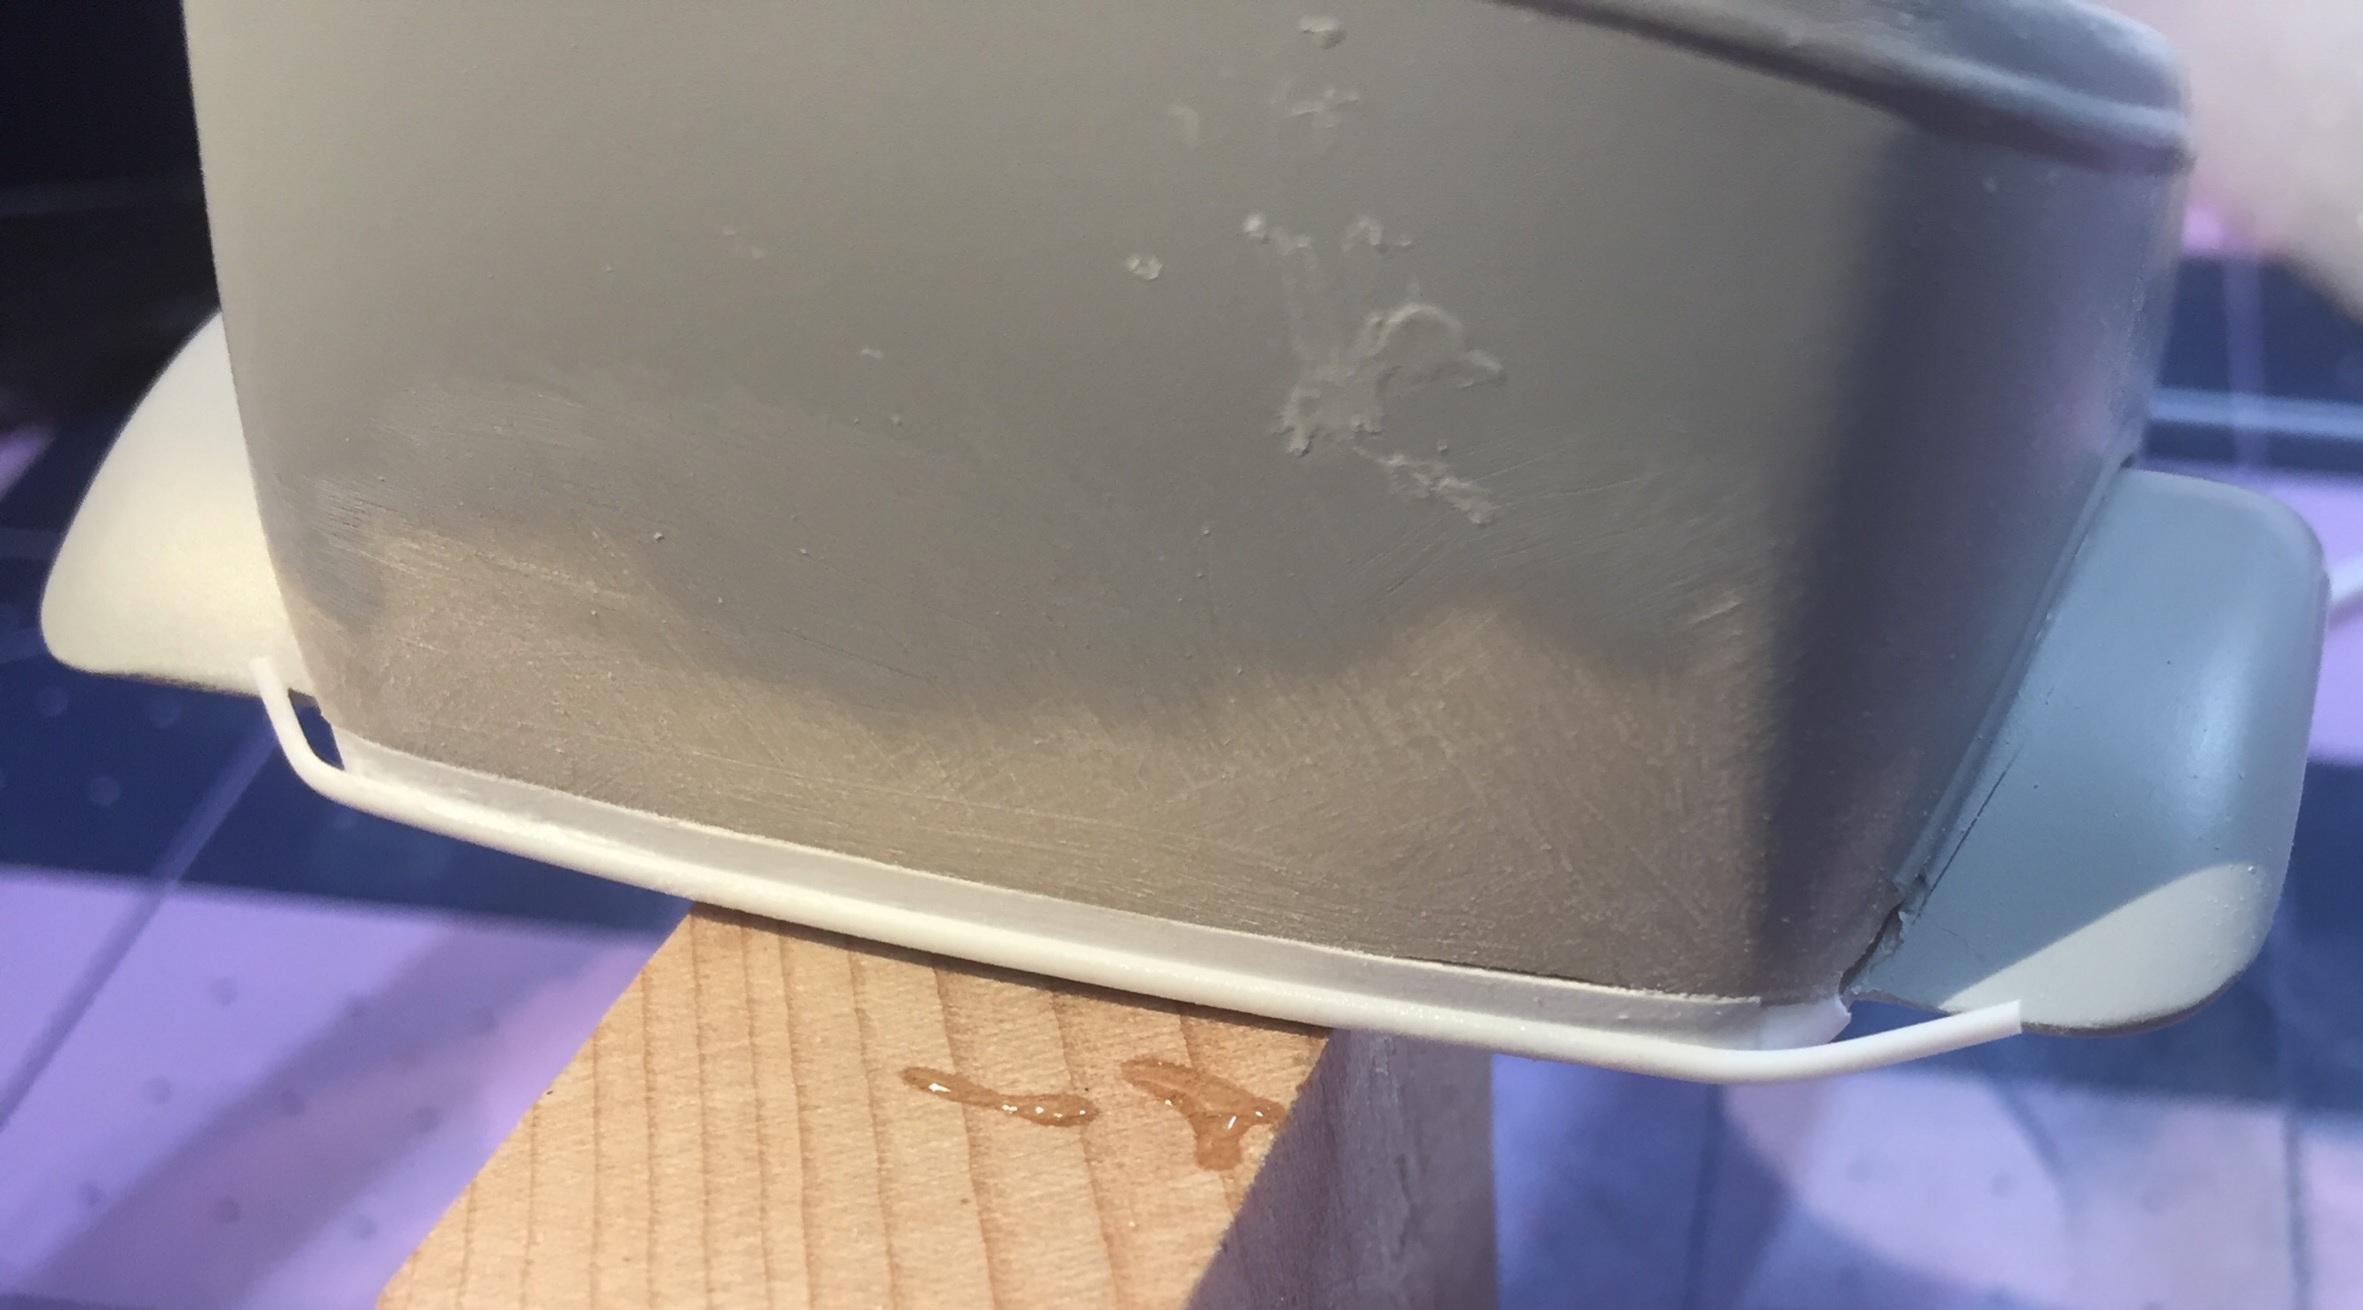
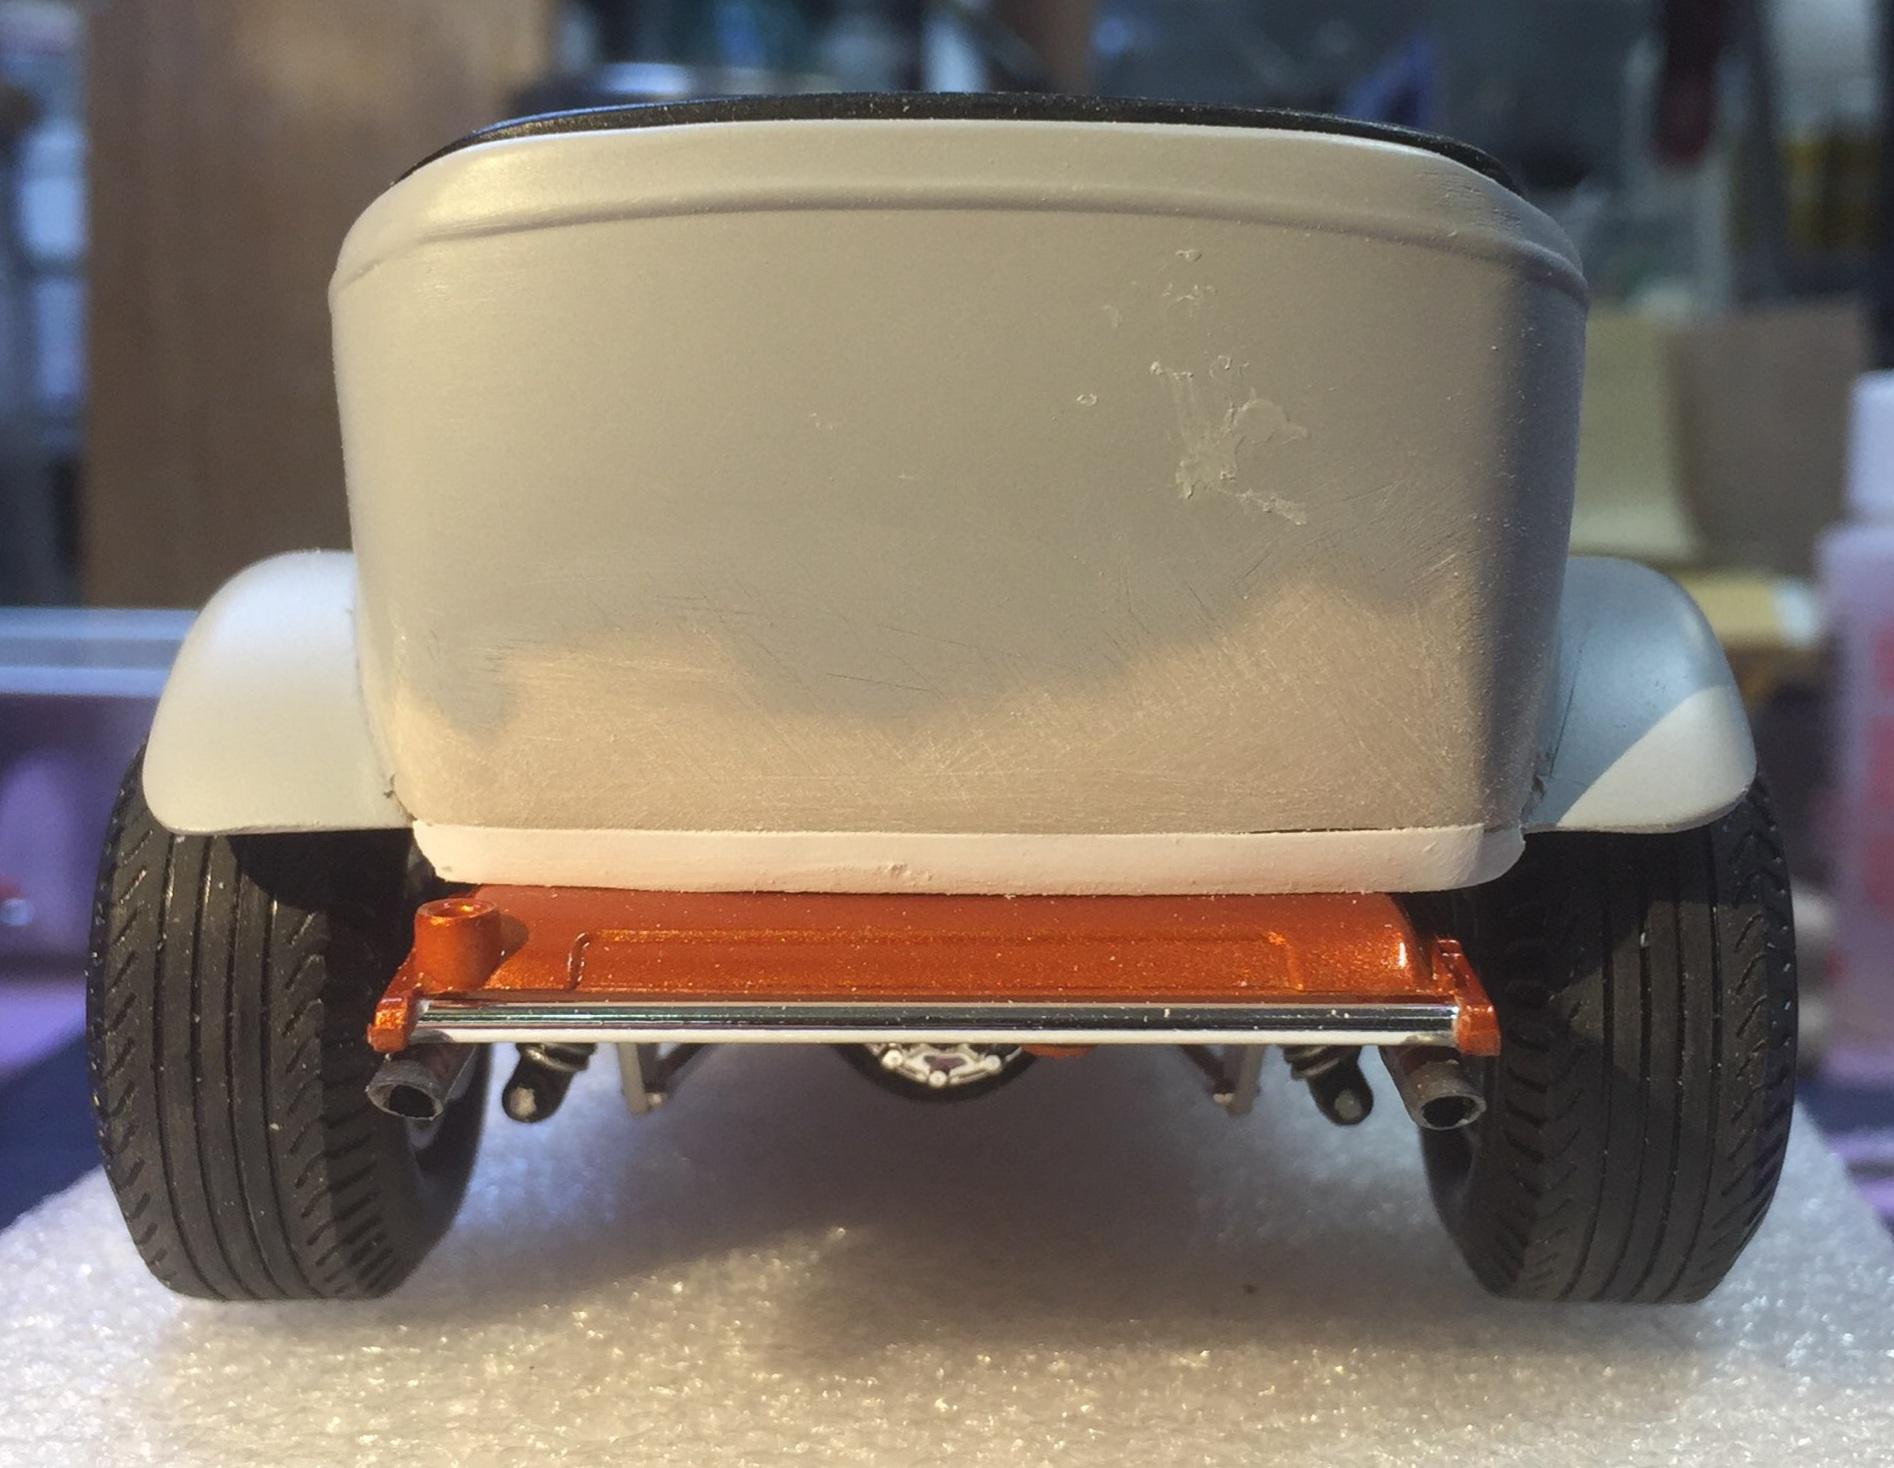
Okay....because of a disparity in scale accuracy or maybe just the size of the rear tires, the gap between body and gas tank was unacceptable. The only thing to do was extend the bottom of the body to close the gap First I removed the bead molding. I welded a fishplate on the inside of the body and, because of the unevenness of the thickness of the AMT body, I built up the thickness of the extension with strips of sheet stock till it was a tad over flush with the body and sanded it down fair. I added .040 half-round to replace the one I had to remove. Tying the half-round into the existing bead was next. Not too bad. It will need some love and understanding to get the transition invisible. Sand, prime, sand, prime, etc going forward. Thanks for coming by. 🤓
-
Awesome, period.
-
‘55 El Camino
customline replied to NOBLNG's topic in WIP: Model Trucks: Pickups, Vans, SUVs, Light Commercial
Ahh...sometimes the mirrors are just too small to pin. I figured that was the case. So this is a way to attach and aim the mirrors. I think I might have some 1" angle out in the garage. If I can find it. -
‘55 El Camino
customline replied to NOBLNG's topic in WIP: Model Trucks: Pickups, Vans, SUVs, Light Commercial
That's a cool technique for installing mirrors, Greg. My guess is they were too small to drill. I hope I remember it 🥴 -
I really like this kit 😎
-
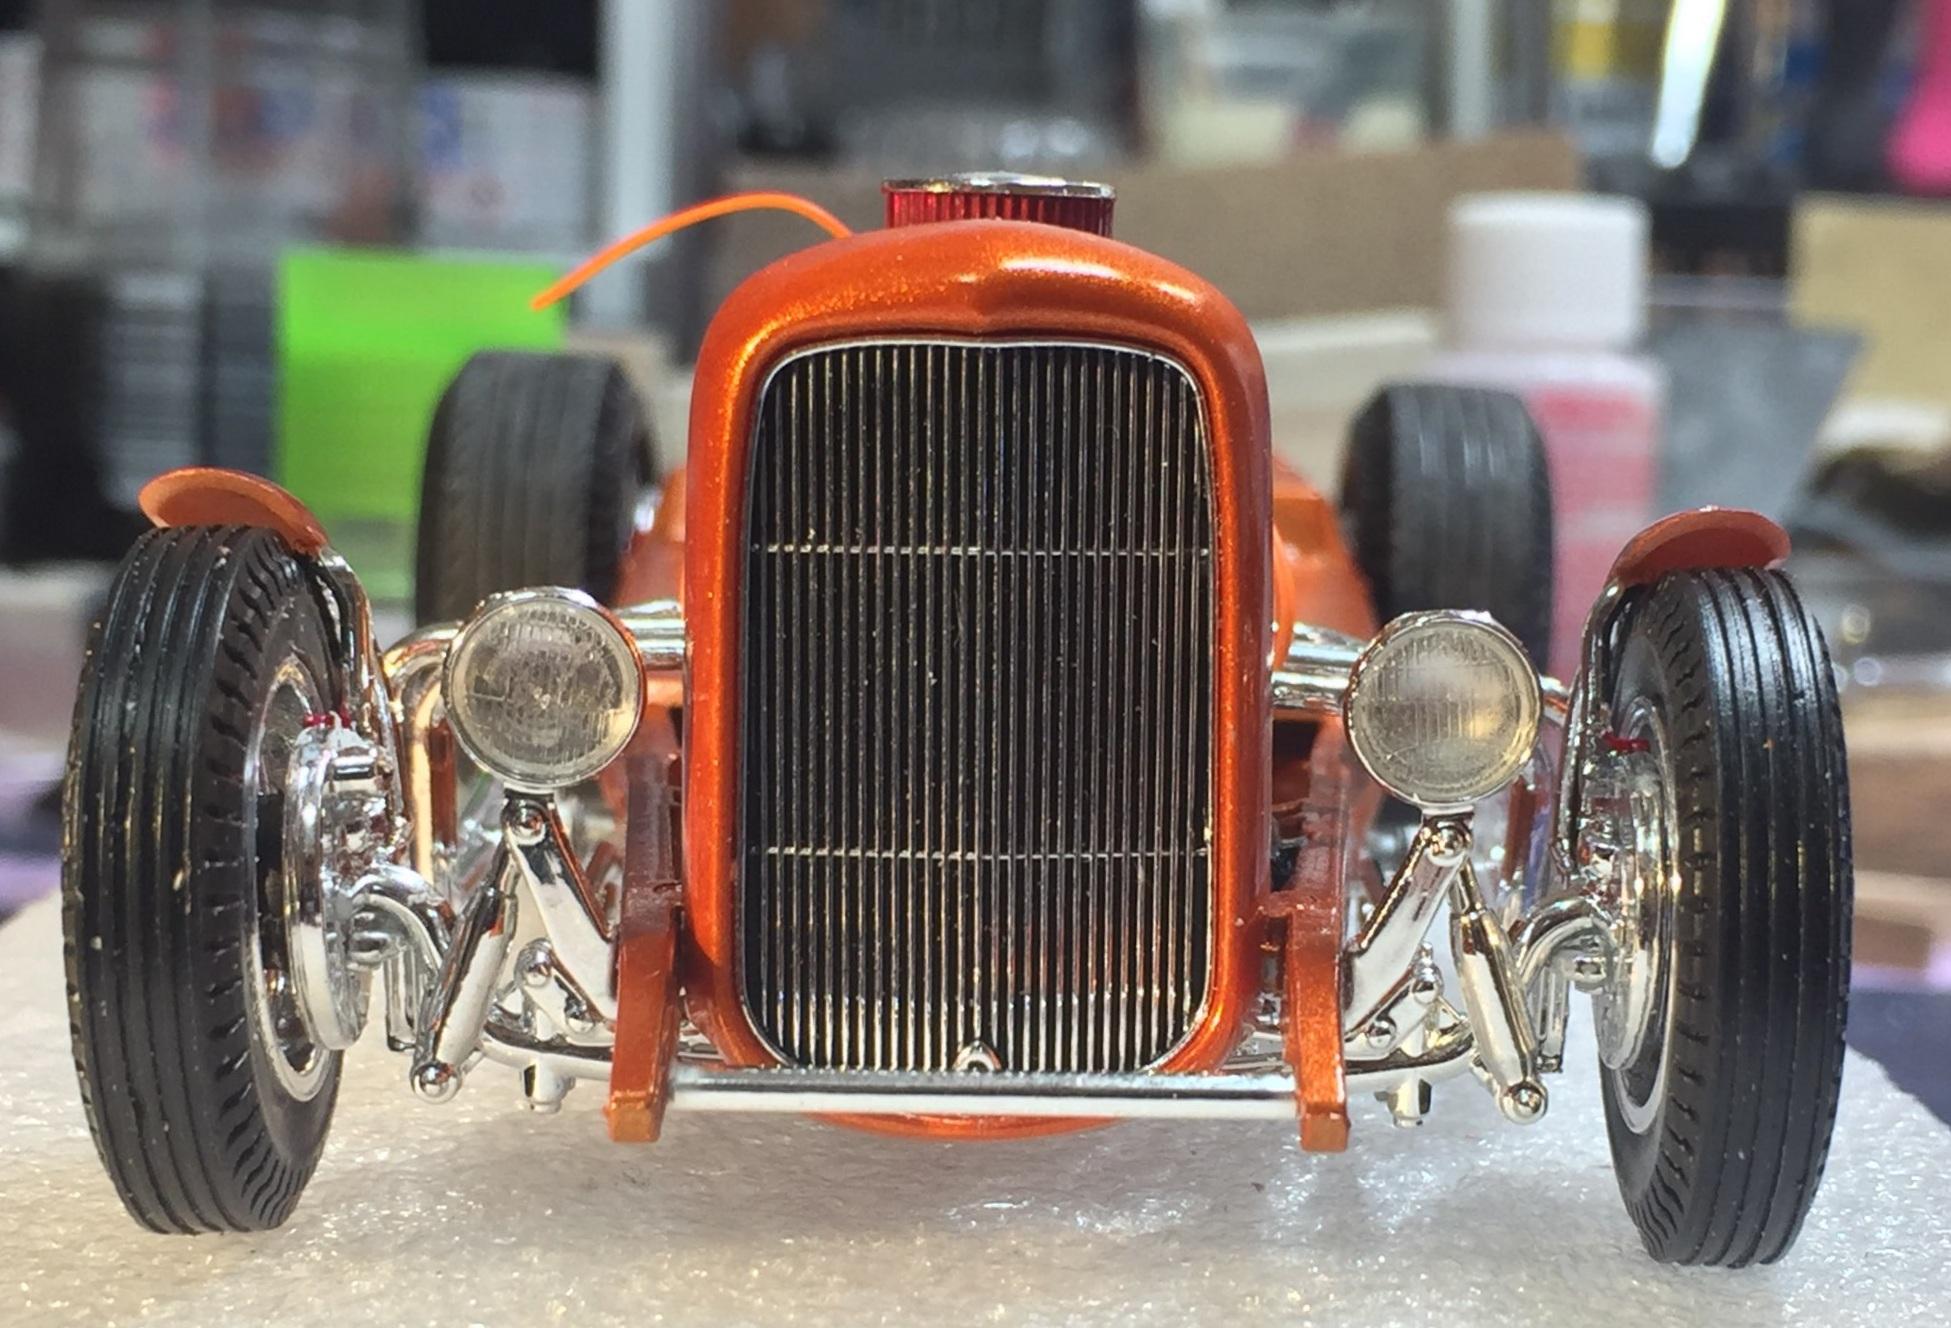
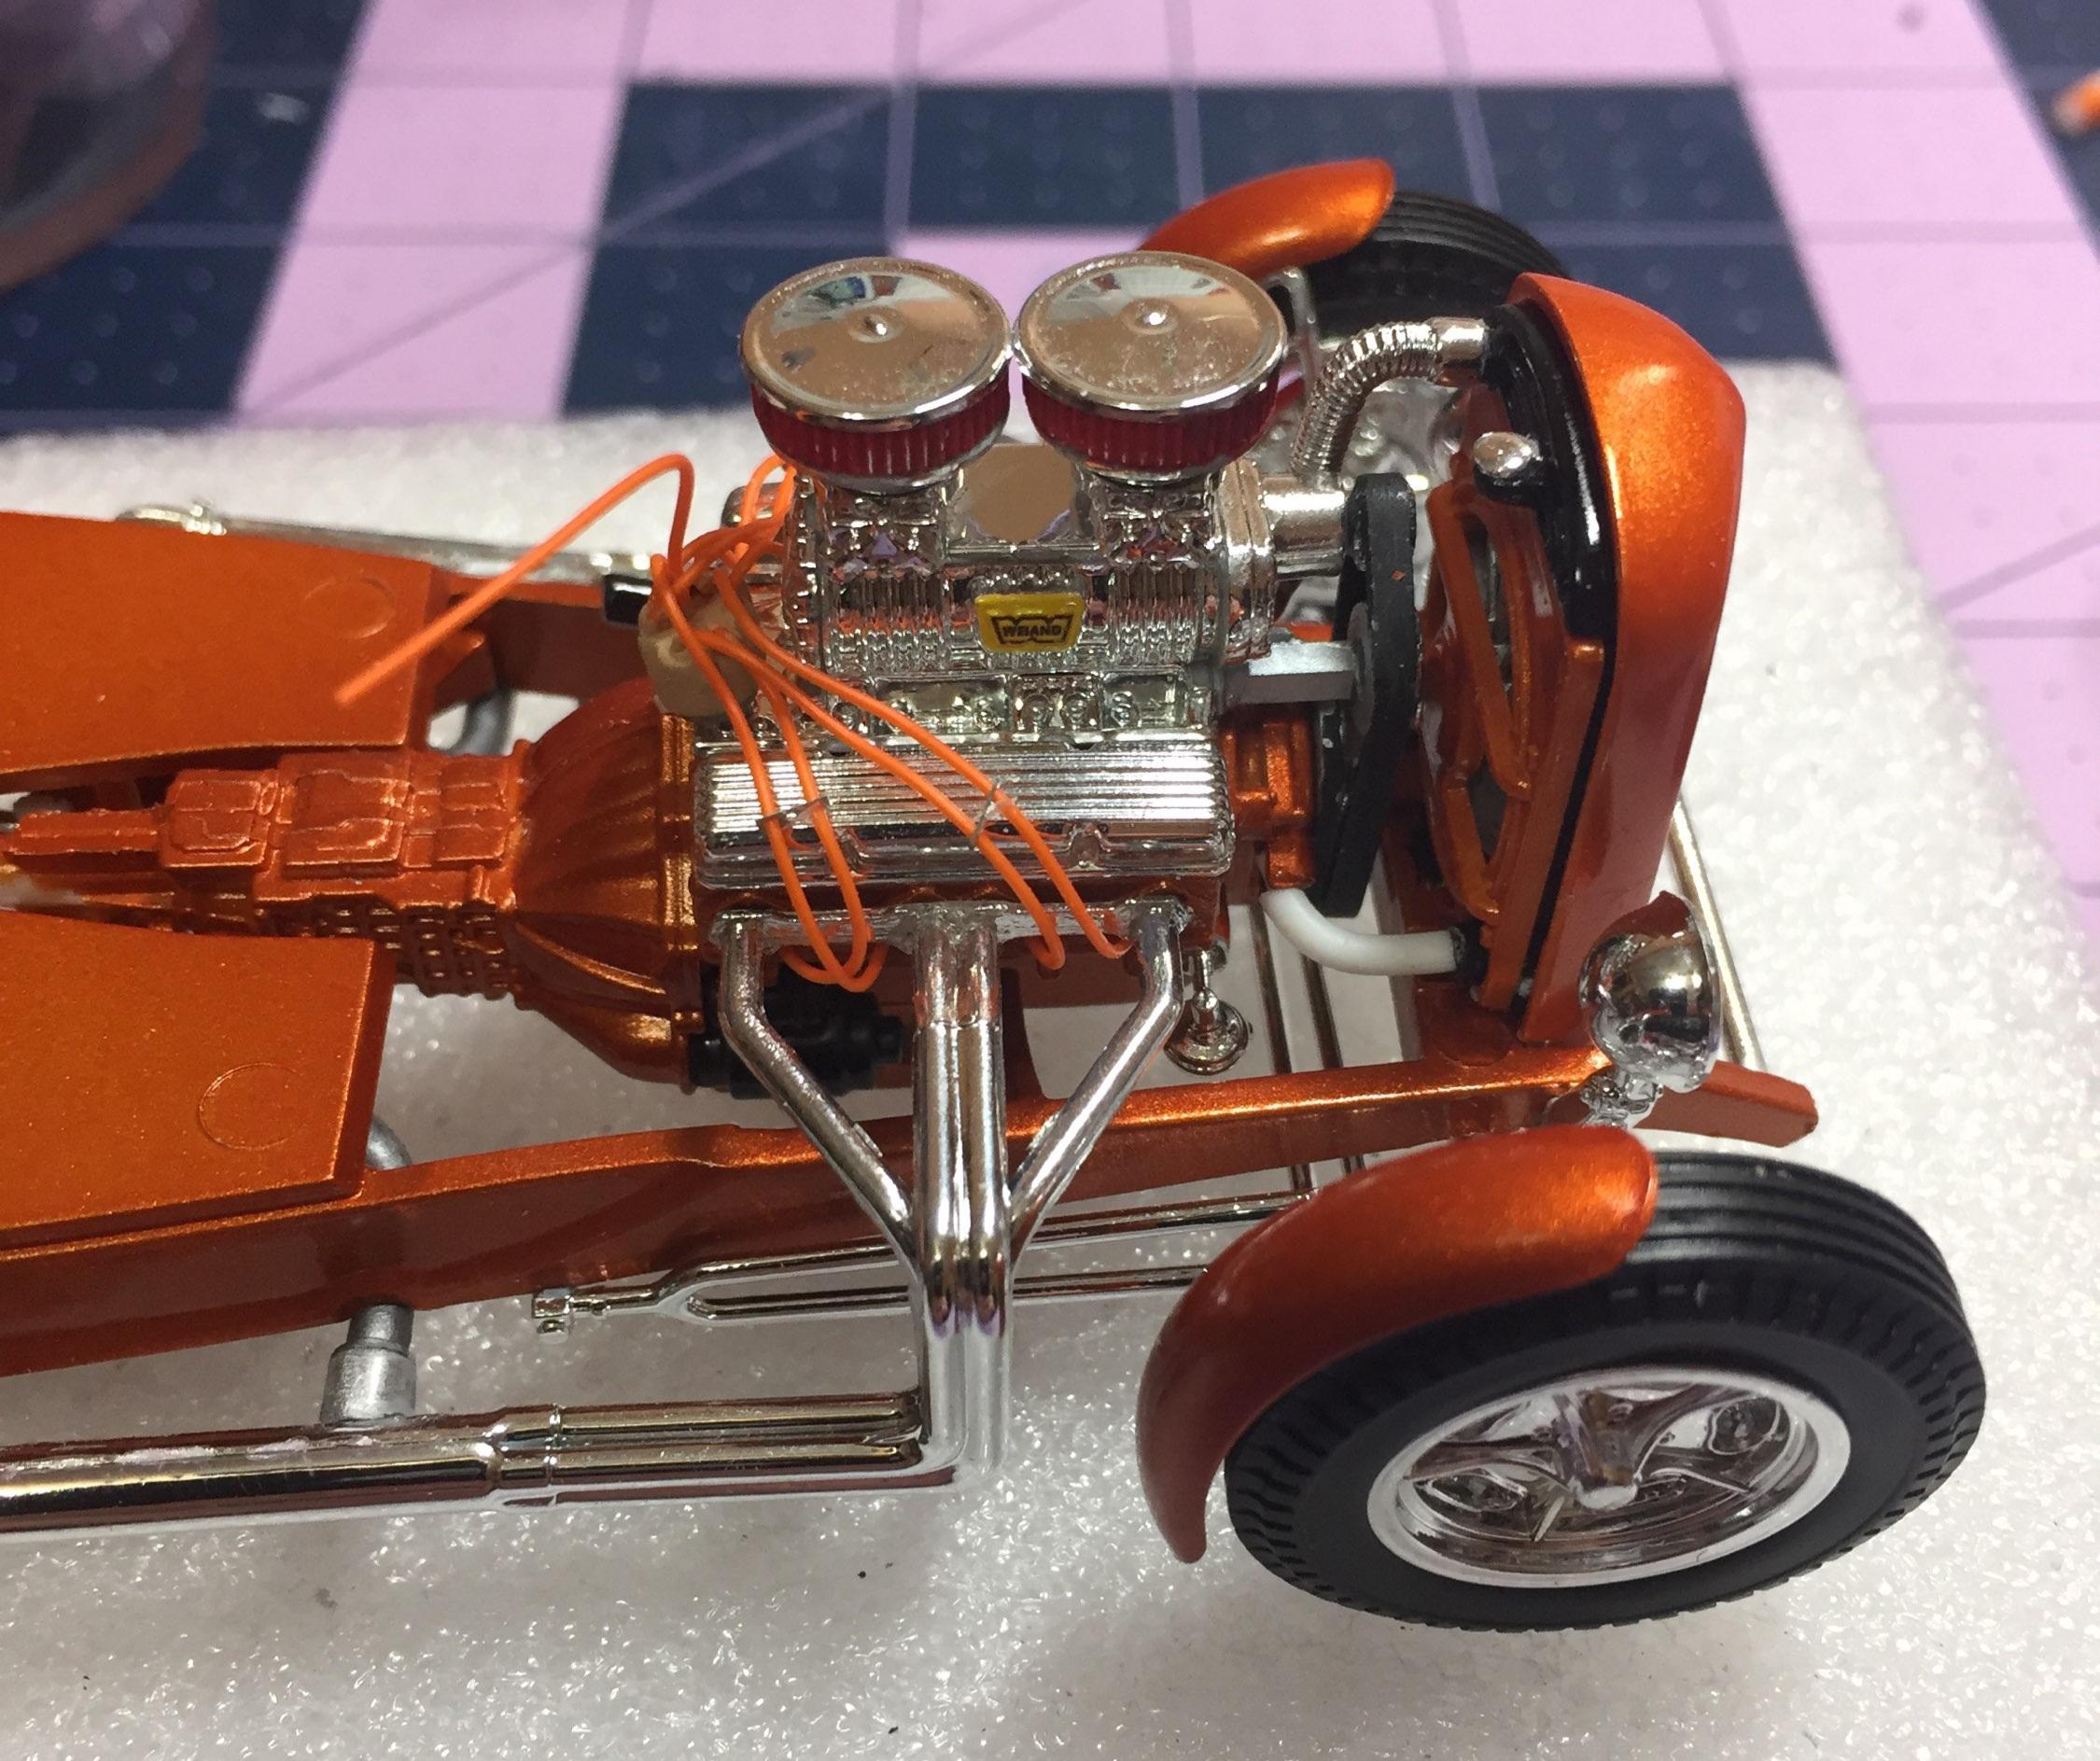
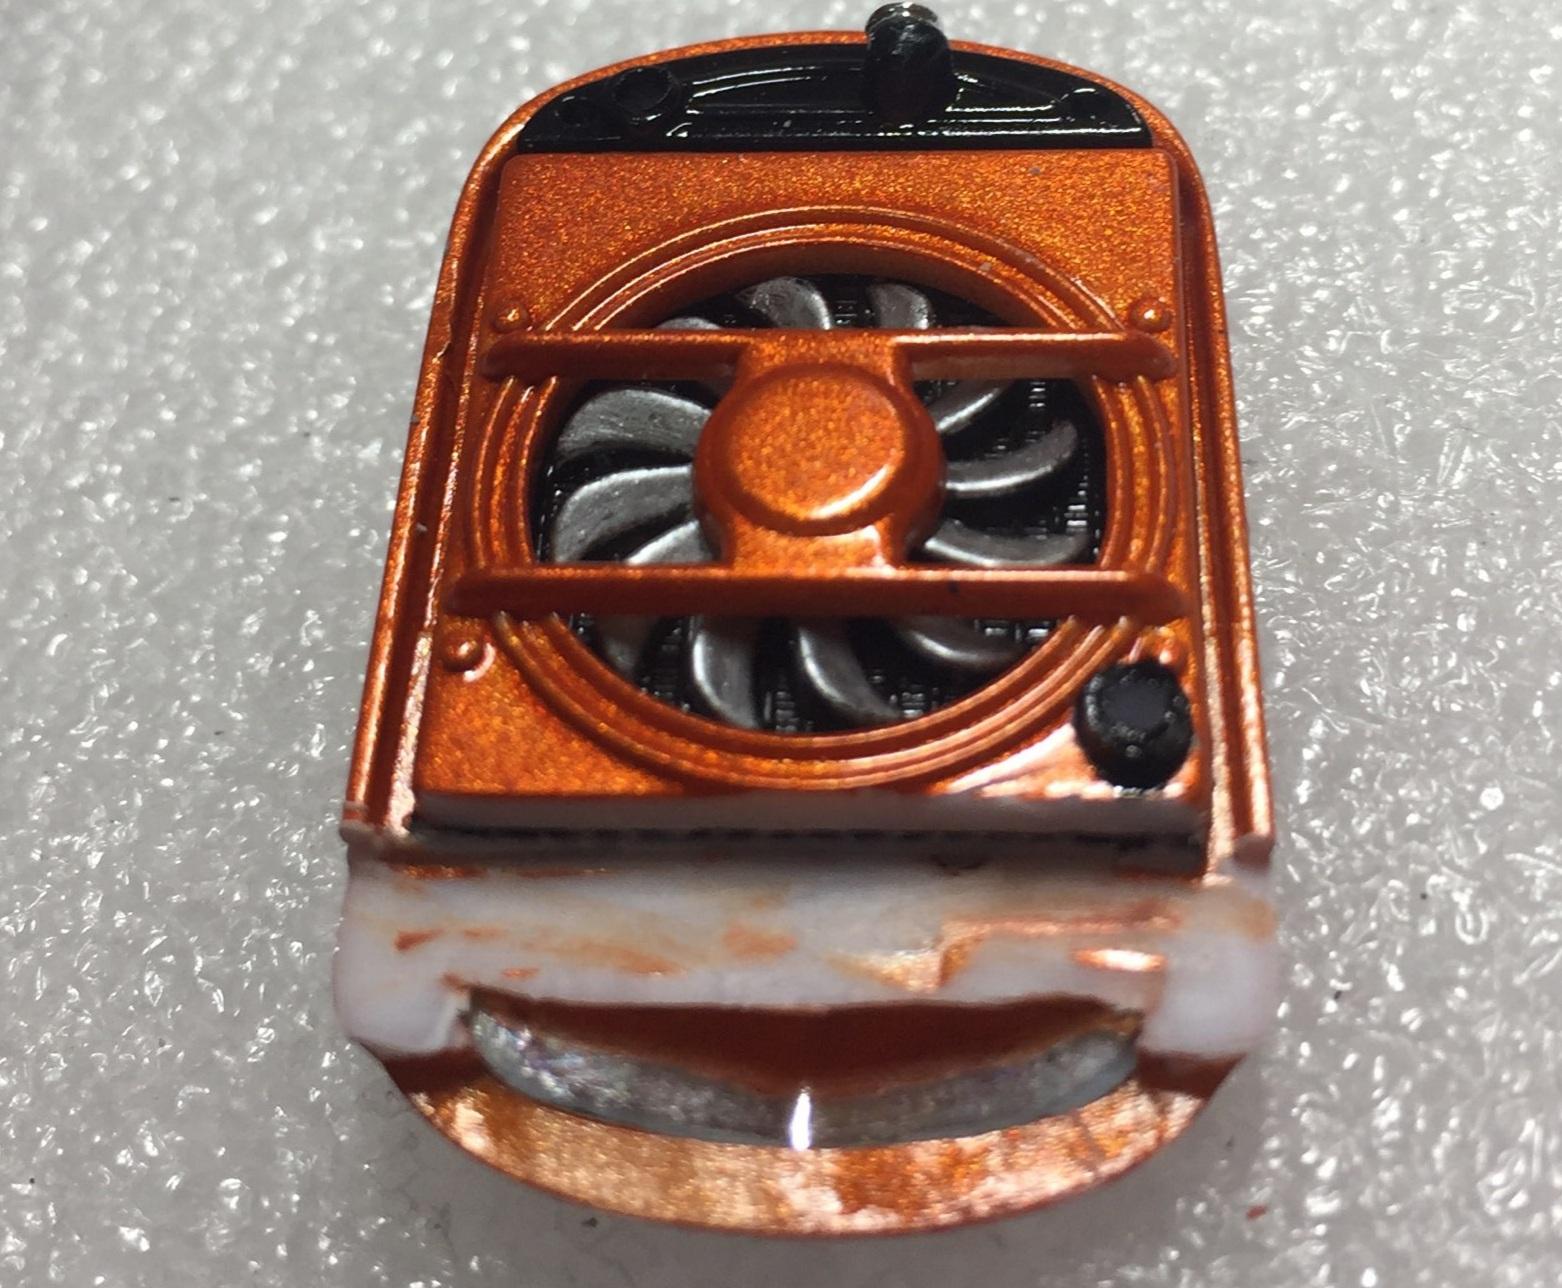
After some very emotional soul-searching, I decided the Revell grille is the best choice. With the aid of my trusty Dremel Micro, I removed the bottom tank and the mounting lugs and anything else that was in the way. I scraped the paint off the front cross member to give the shell something good to stick to. Now it sits about .25" lower. I think it's gonna work. I drilled the shroud (and the core 😦) for a new bottom connection and inserted a short length of tube directly into the core and ordered a case of K-Seal HD, which probably won't help much since the bottom tank is gone, not to mention the.....anyway, here's what Tubby looks like now. The top radiator hose was shortened and a new one was "crafted" for the bottom. Both are now painted flat black. 🥴
-
Yeah, that's what I figured. 😄
-
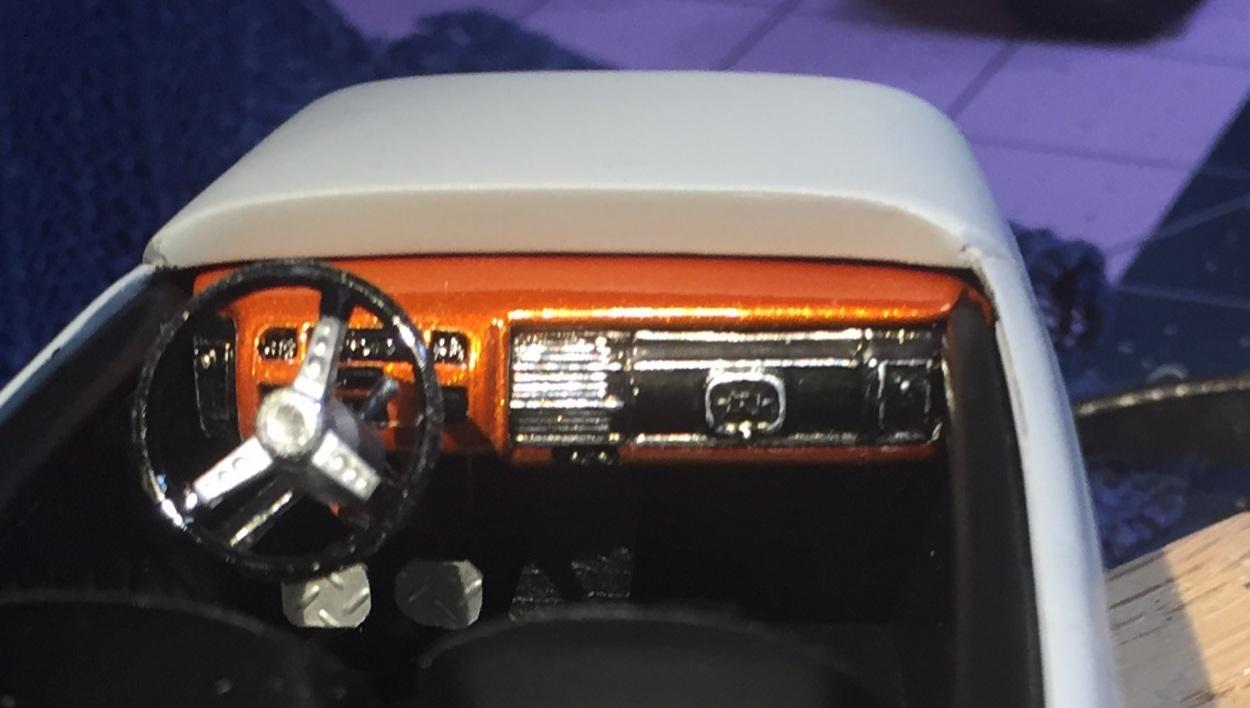
My first '40 dash section. 🥴 Though the Revell part(s) is way more accurate and fits between the horns, the AMT grille might be easier to modify for the job. I have a few of them to experiment with (more junkyard stuff).
-
The AMT body seems undersized compared to the Revell at the cowl. I can't raise the body enough to line up with the grille without creating a gap between body and frame. It would necessarily do the same at the gas tank. Dropping the grille between the frame horns is the only way to go. I will likely use the AMT shell for that. The Revell unit is, as assembled, complicated by the fan shroud. Gotta work this all out. The lower radiator hose is another issue I need to address. I think I need to get back to work 😕
-
Greg is right. I checked...I would need to raise the body off the frame to line everything up. The shell must to be lowered. Well, at least the it will move forward away from the blower drive. That's a win 🙂