customline
-
Posts
3,791 -
Joined
-
Last visited
Content Type
Profiles
Forums
Events
Gallery
Everything posted by customline
-
Great idea for getting the roll cage up tight. Tail lights are not too shabby either 🙂. I'm gonna tag along.
-

Chopped, Sectioned and Bobbed…….’63 Corvette.
customline replied to NOBLNG's topic in WIP: Model Cars
Yeah, I know. 😔 -
Chopped, Sectioned and Bobbed…….’63 Corvette.
customline replied to NOBLNG's topic in WIP: Model Cars
Oh no....did I call you.....oh, my bad, Greg. 💩 I'm off my meds, sorry. -
Chopped, Sectioned and Bobbed…….’63 Corvette.
customline replied to NOBLNG's topic in WIP: Model Cars
Well it looks like you'll have enough air flow through there, Len. I trust you used your ductulator to determine the size. 😉 -
Monogram '32 roadster: a red-headed step-child.
customline replied to customline's topic in WIP: Model Cars
That's okay, Elliot, I know what all those old cars look like......🤣 -
Monogram '32 roadster: a red-headed step-child.
customline replied to customline's topic in WIP: Model Cars
Sweet Merc. 😍 -
Monogram '32 roadster: a red-headed step-child.
customline replied to customline's topic in WIP: Model Cars
Well, I hope you got some good pictures, Len. Is Hershey still pre-'48? -
Niiiiiiiiiice blue! Gonna be fantastic in foil 😀
-
Monogram '32 roadster: a red-headed step-child.
customline replied to customline's topic in WIP: Model Cars
He was hoping the intrinsic value would bring that kind of money. I can imagine what the box looked(and smelled) like 🤮. Always wanted to see Hershey 😕. Did you score anything for your 1:1s? -
Well this certainly raises the bar 😯. Where is your home planet, Jon? There are so many lessons here I can't absorb it all in one pass. Gotta go through it again from the beginning. Absolutely amazing!
-
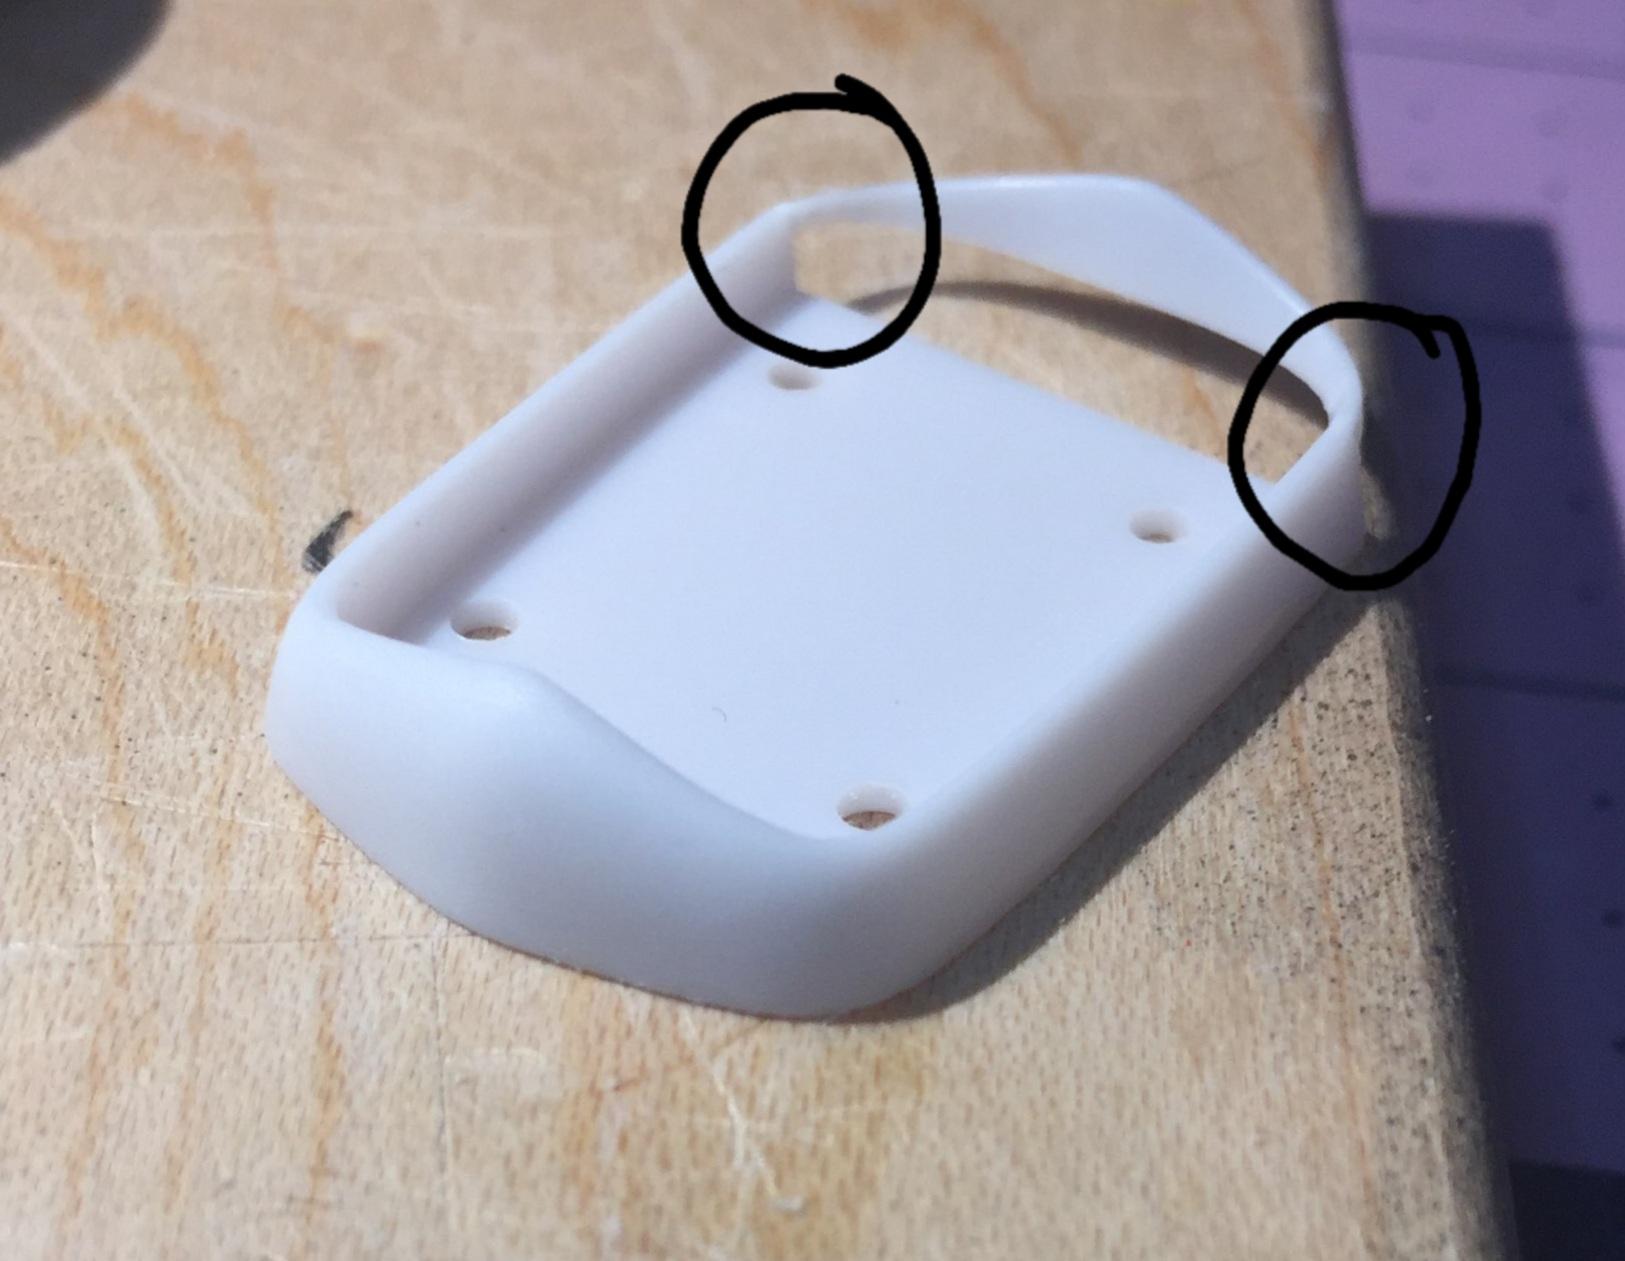
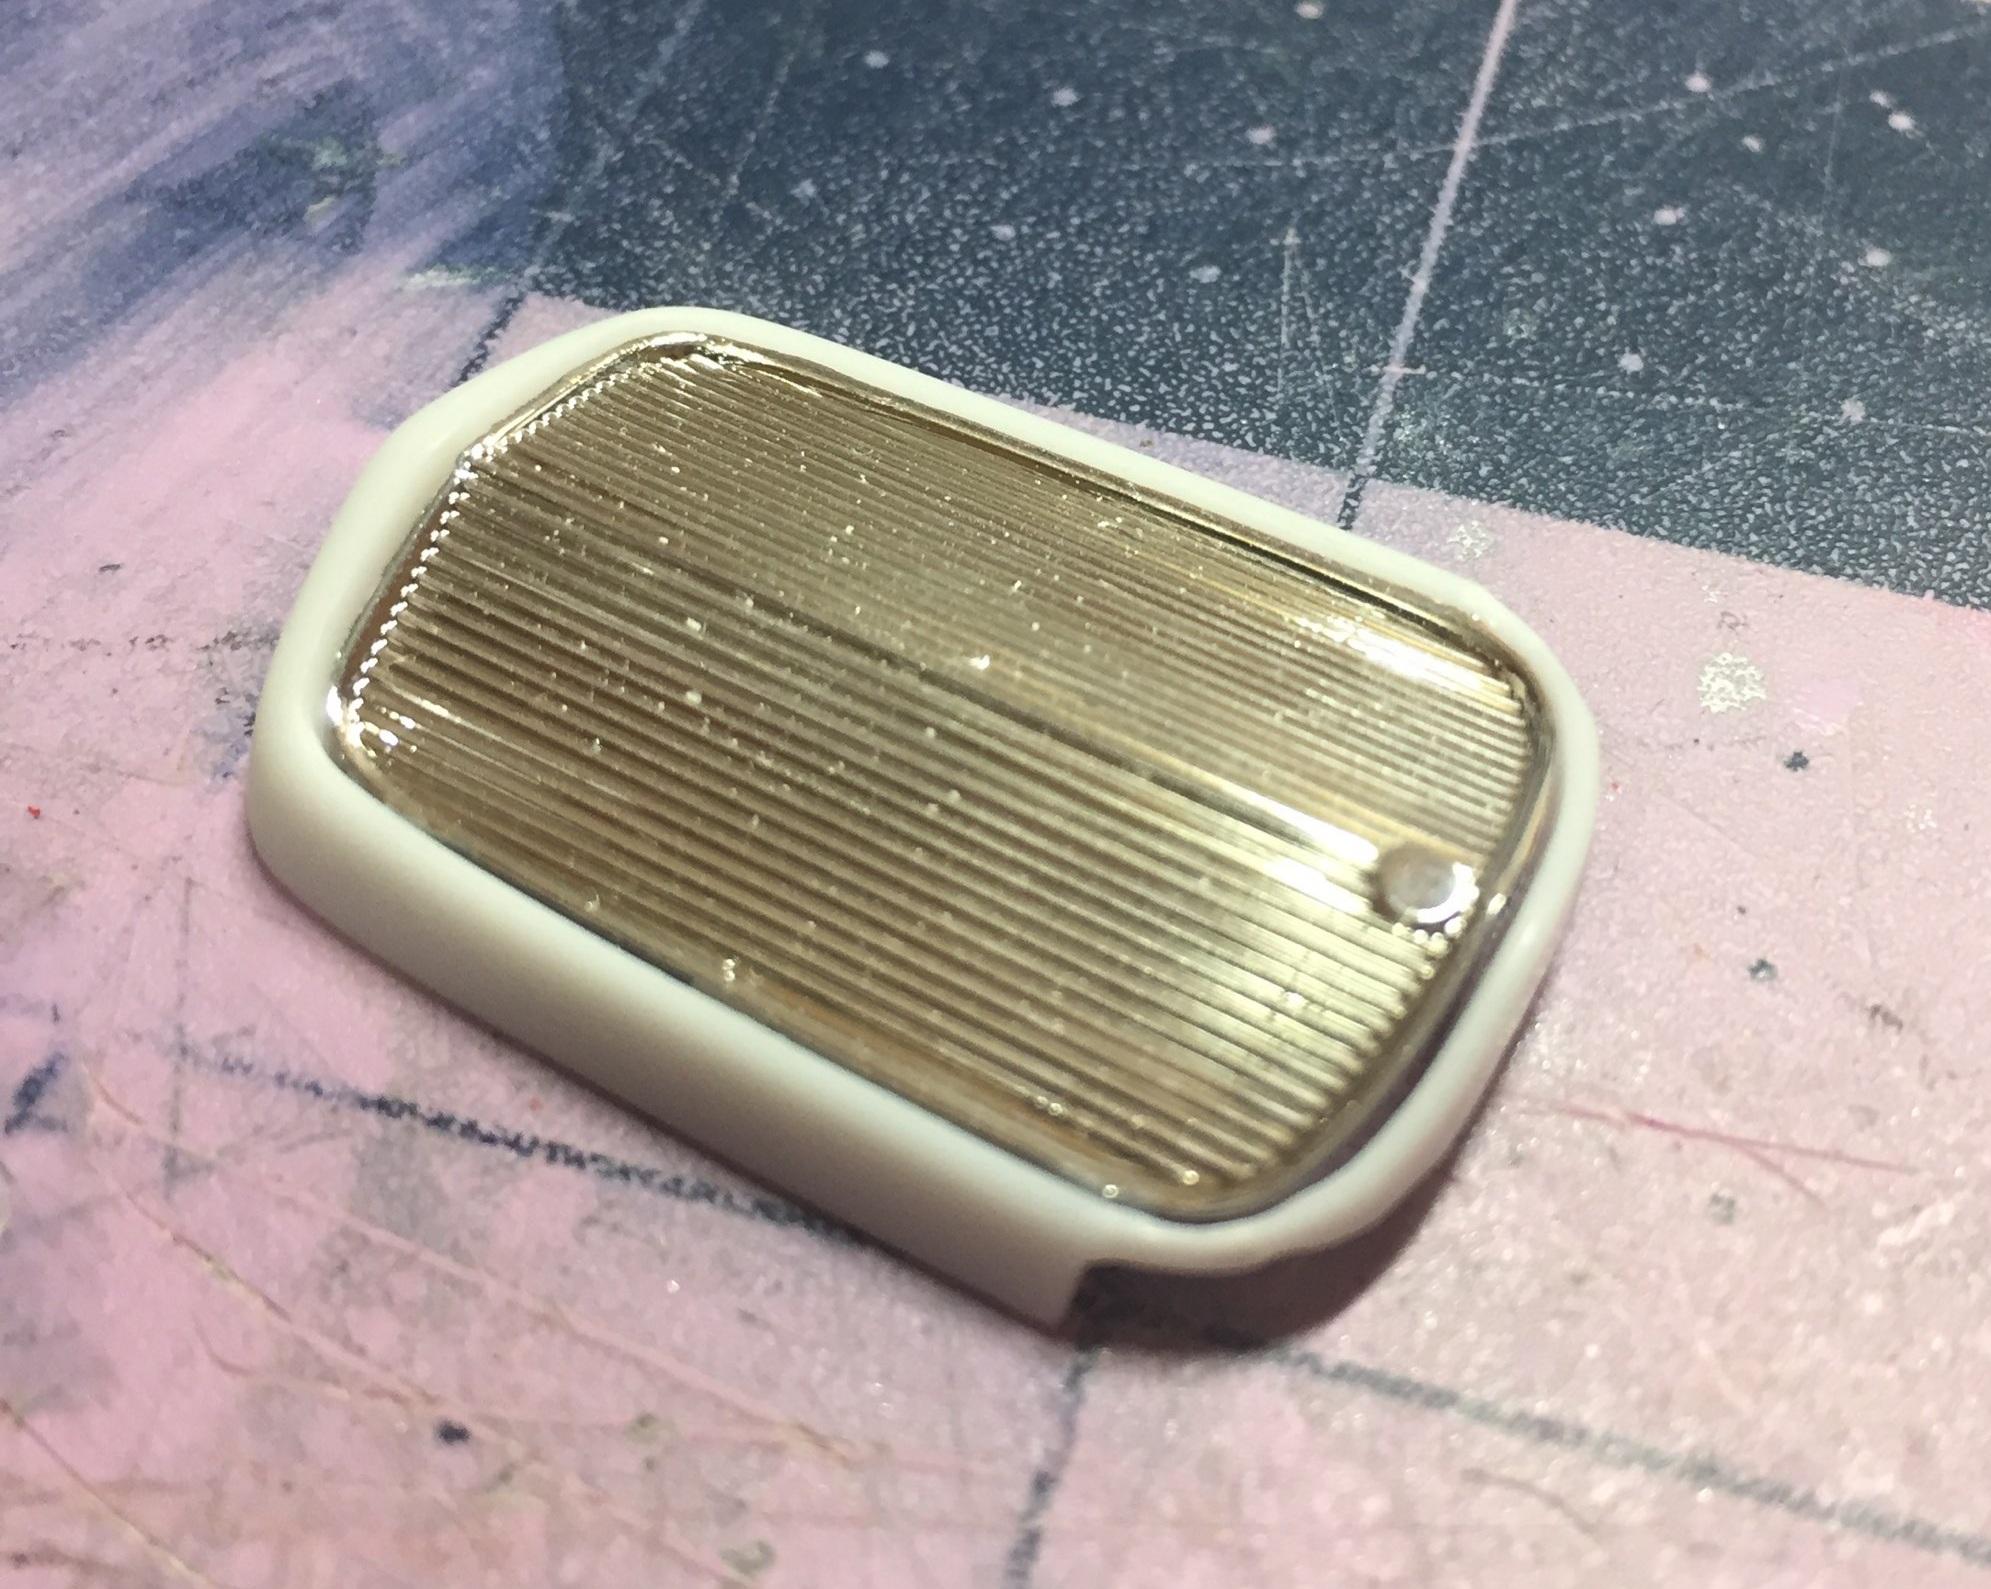
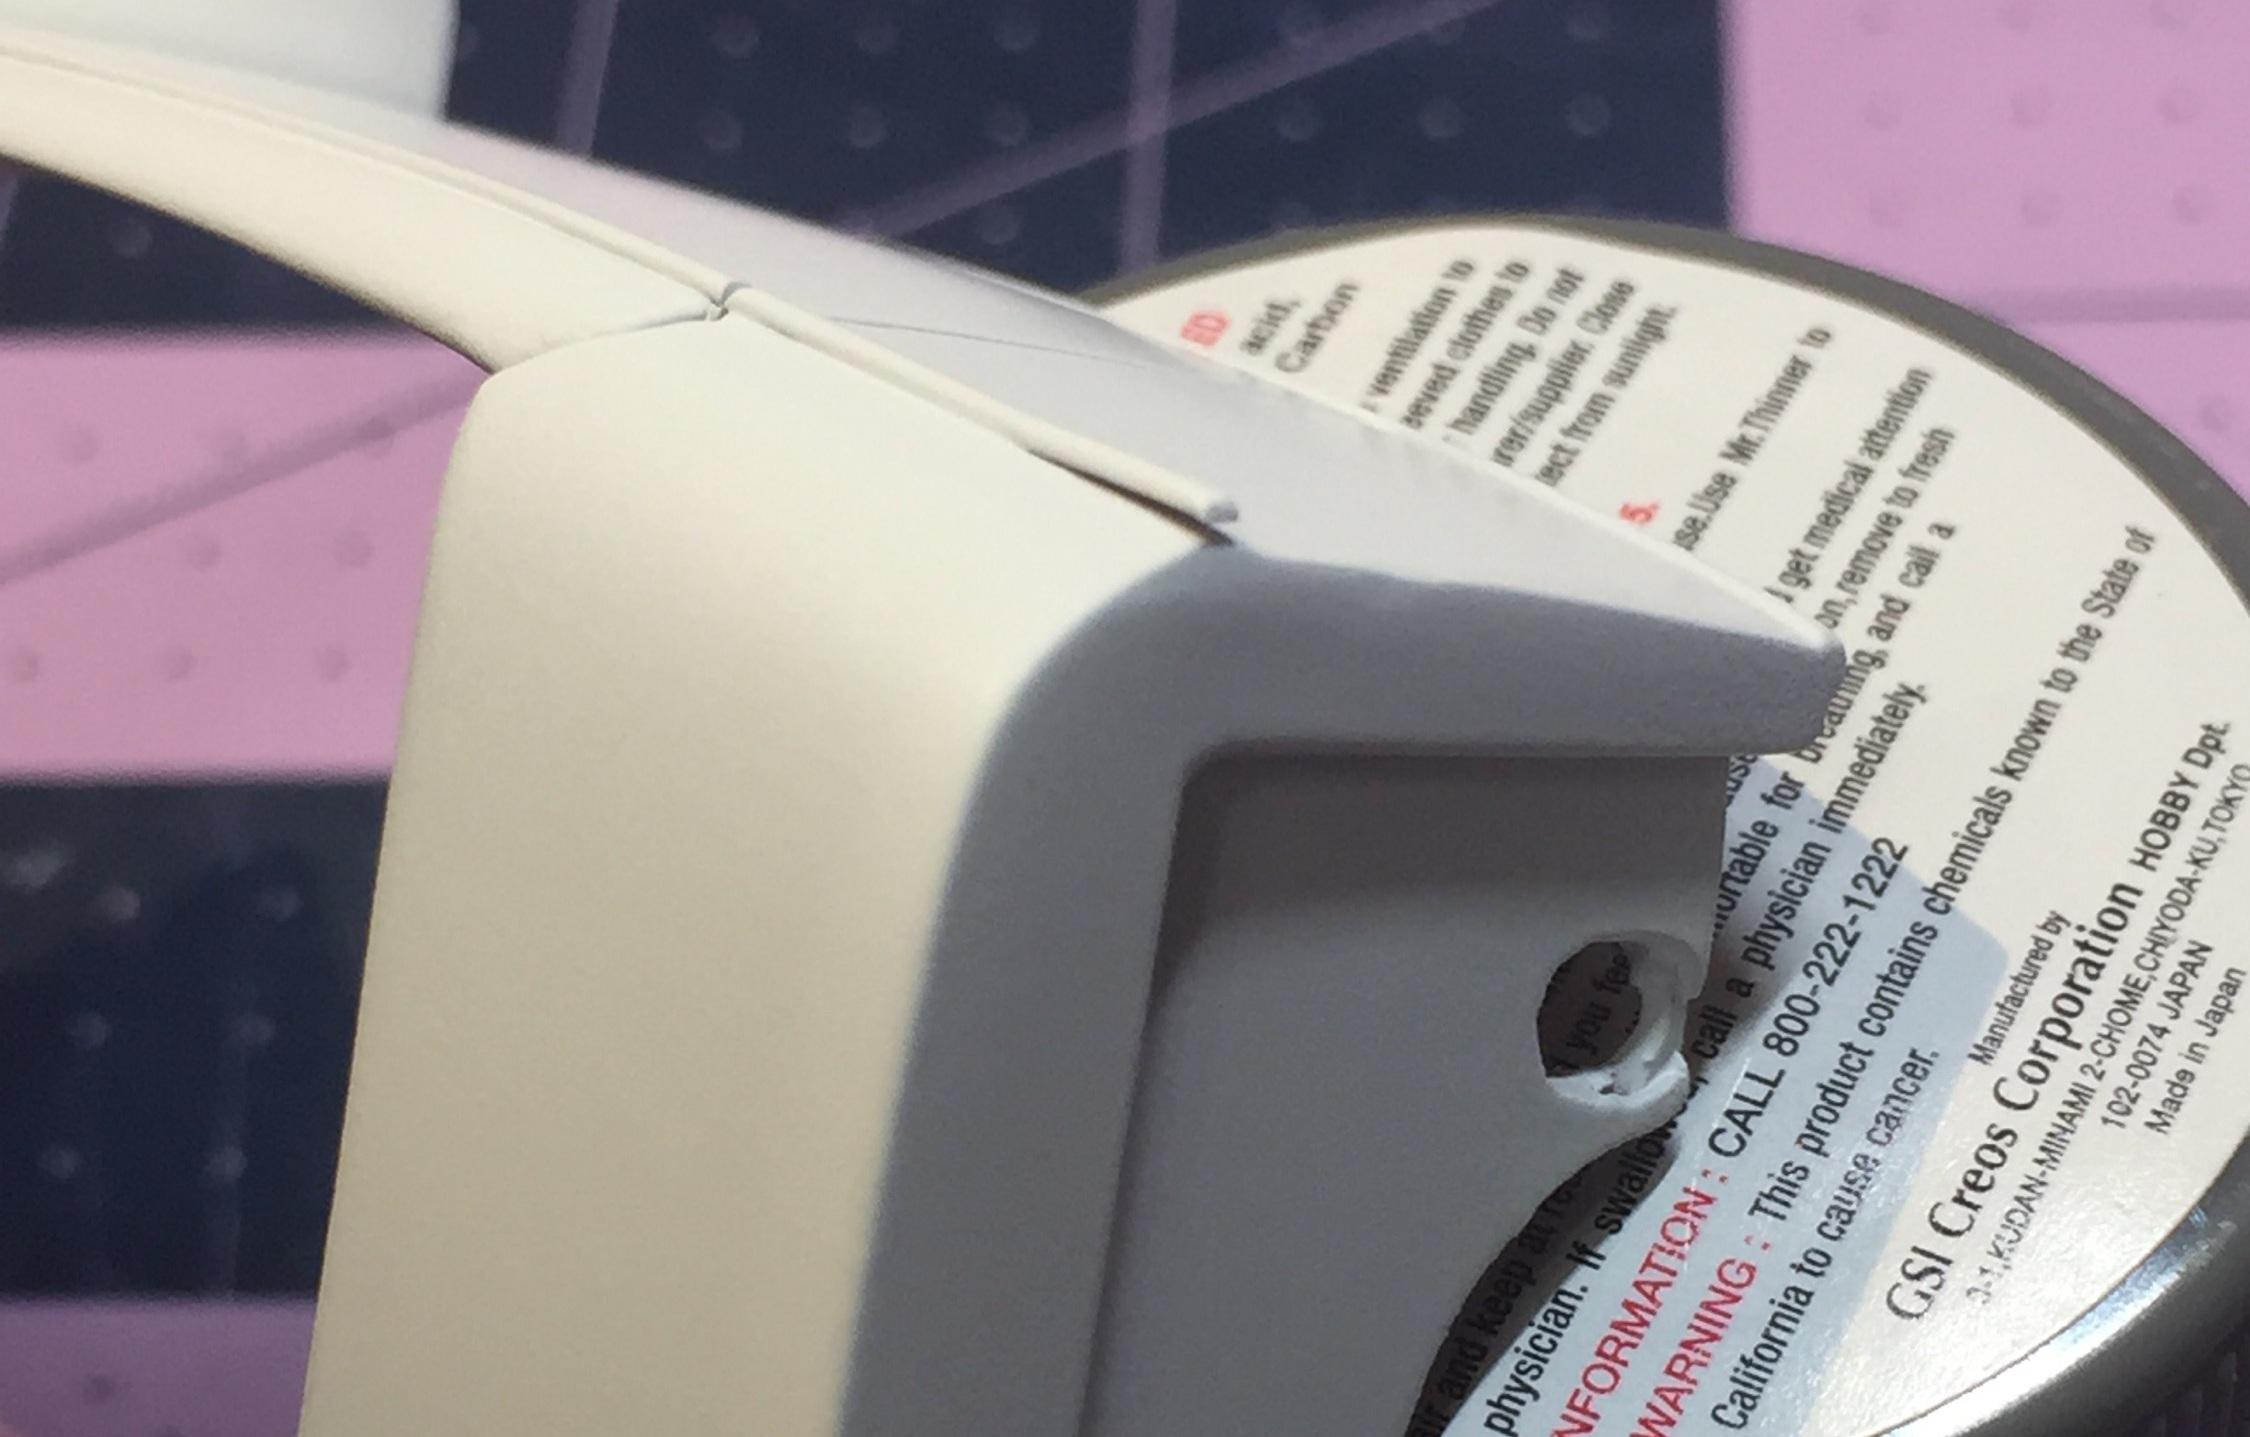
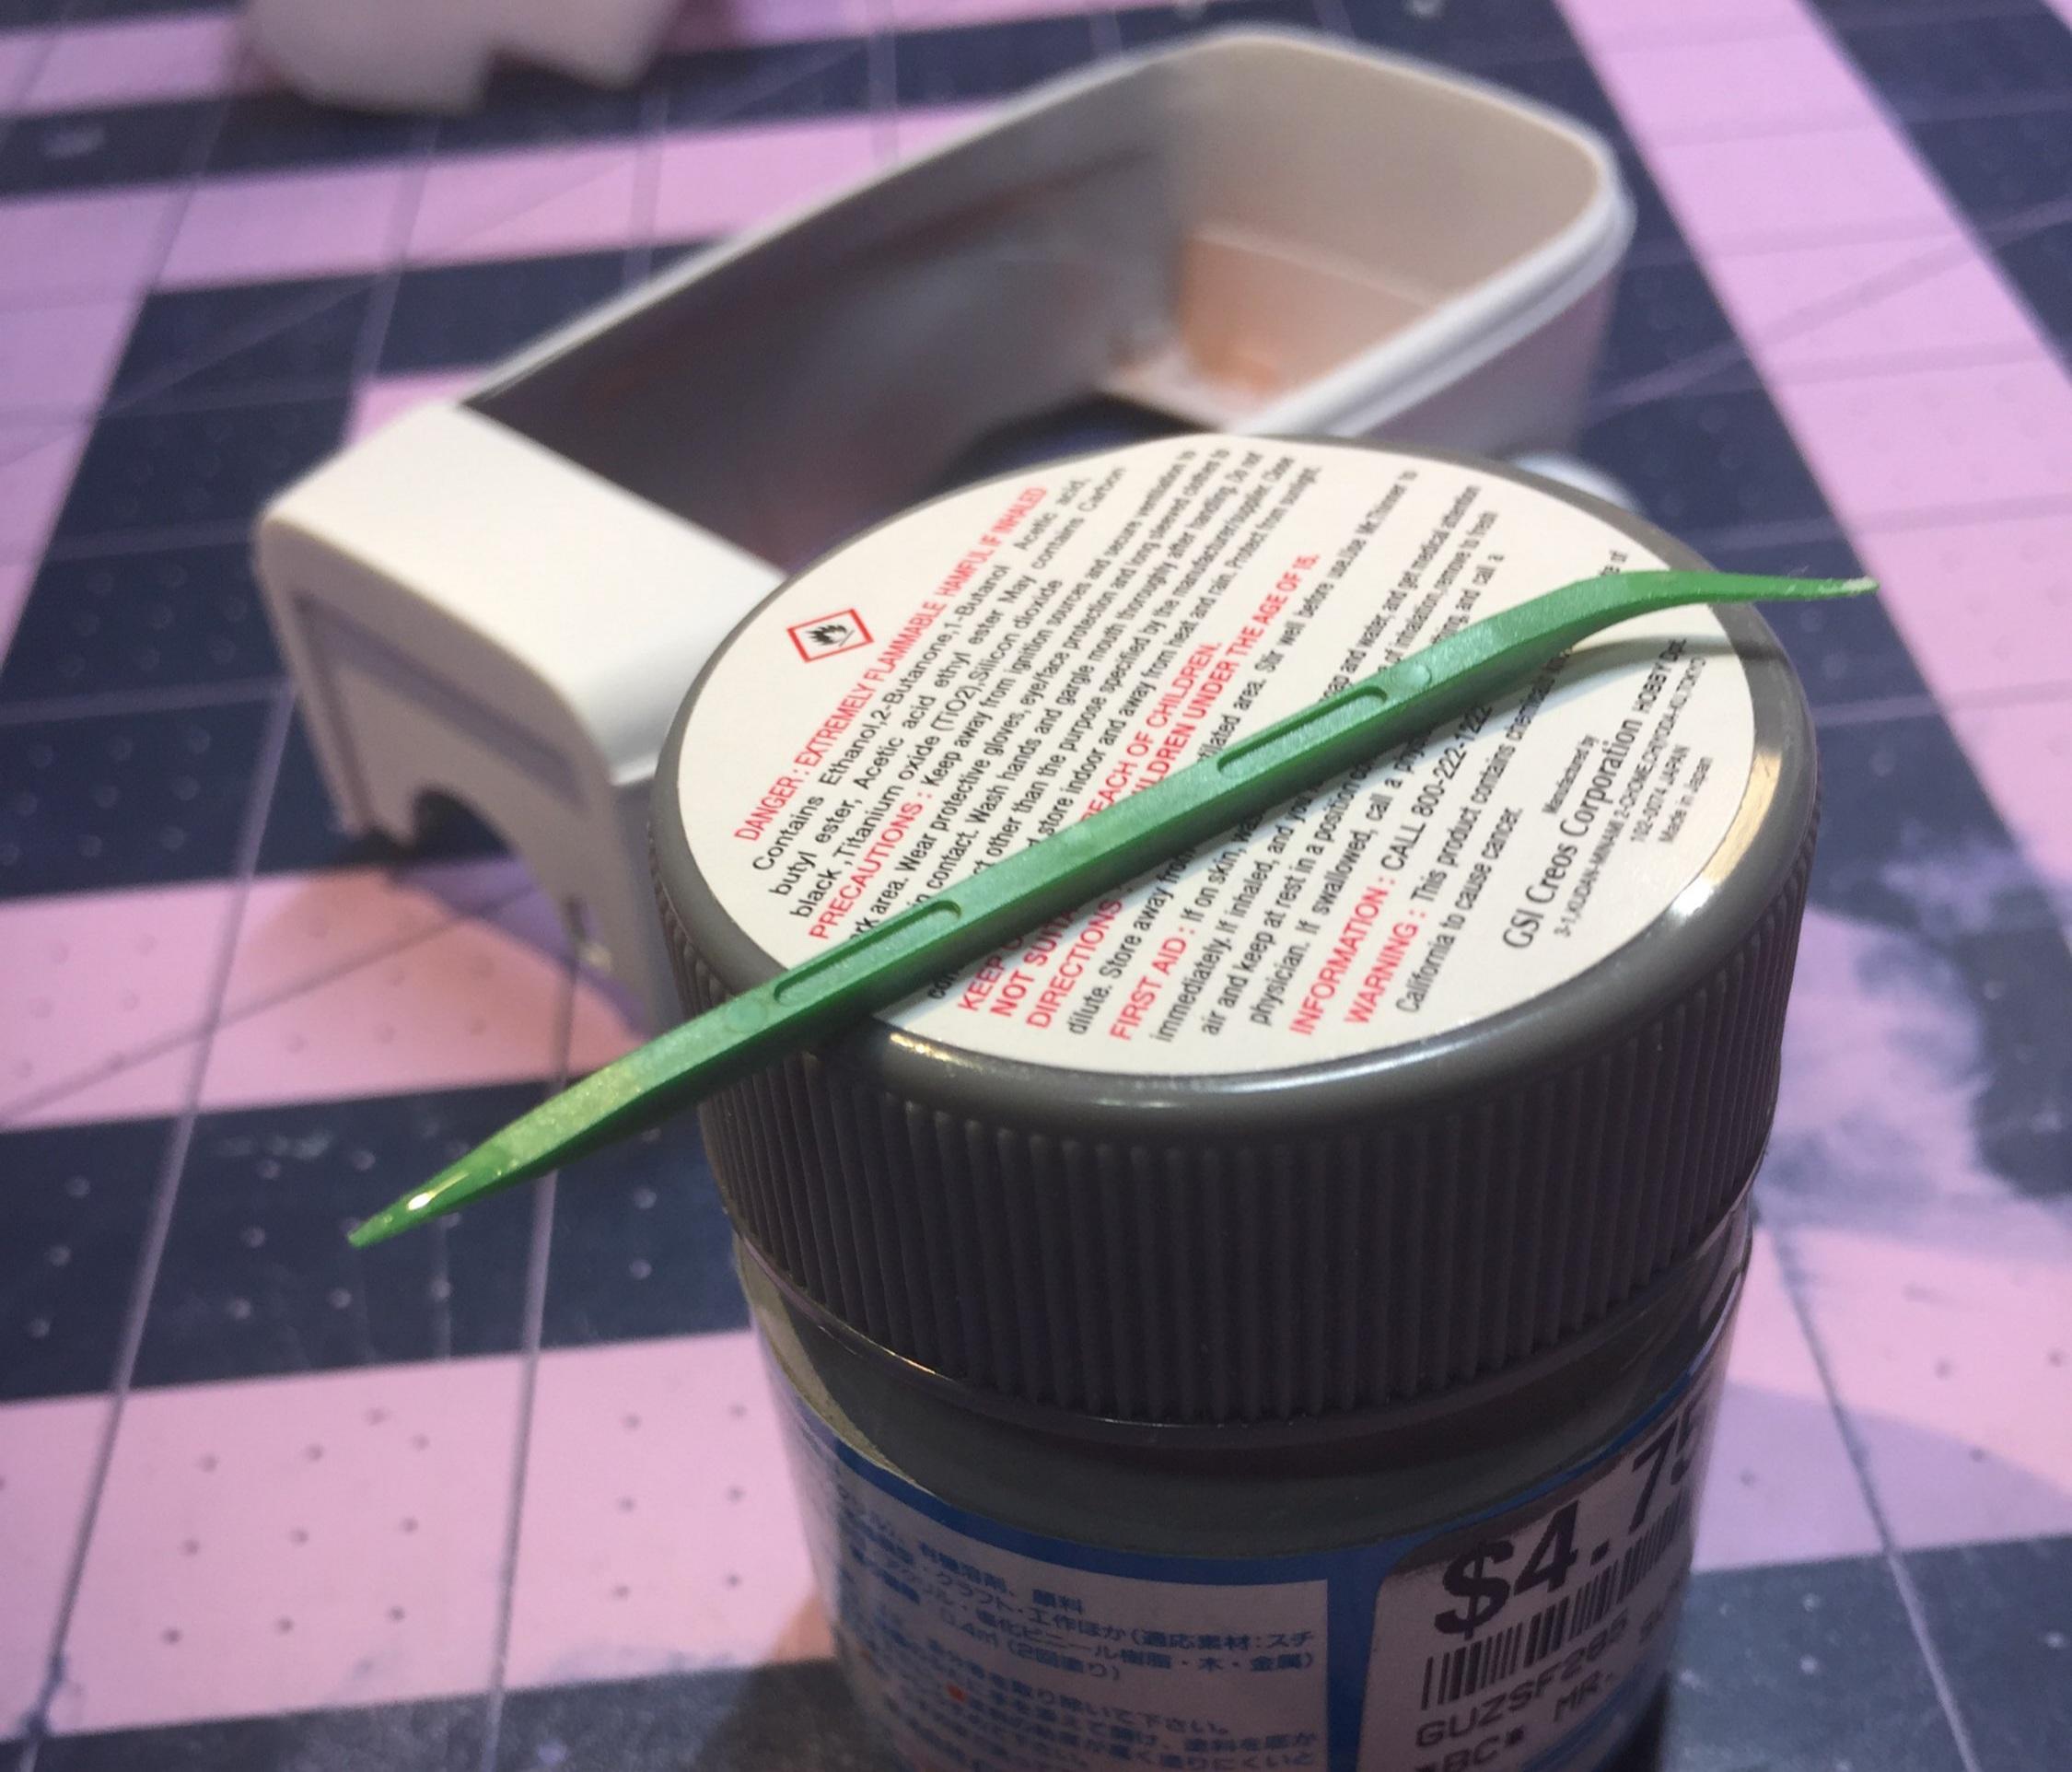
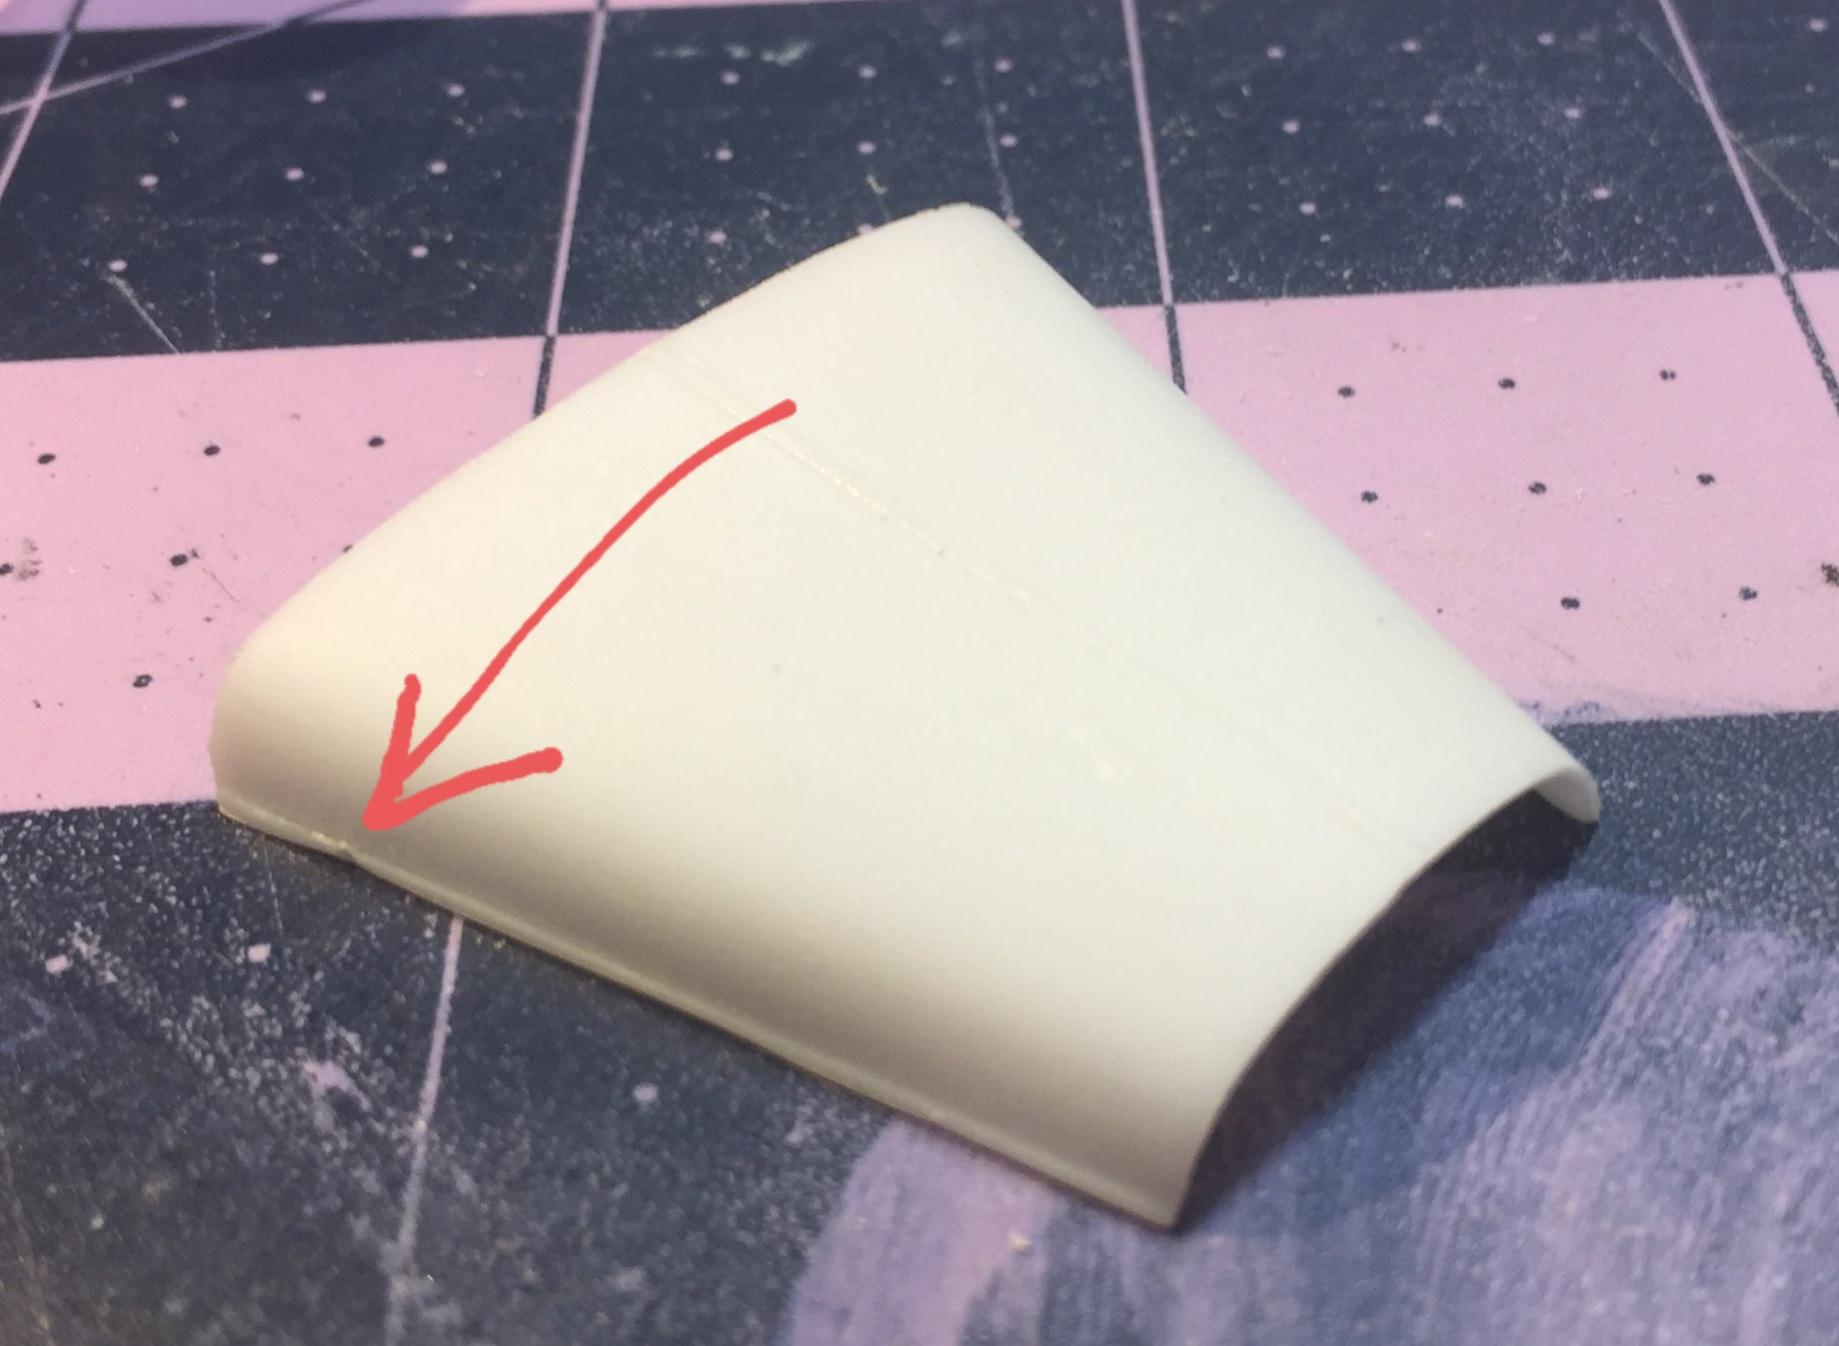
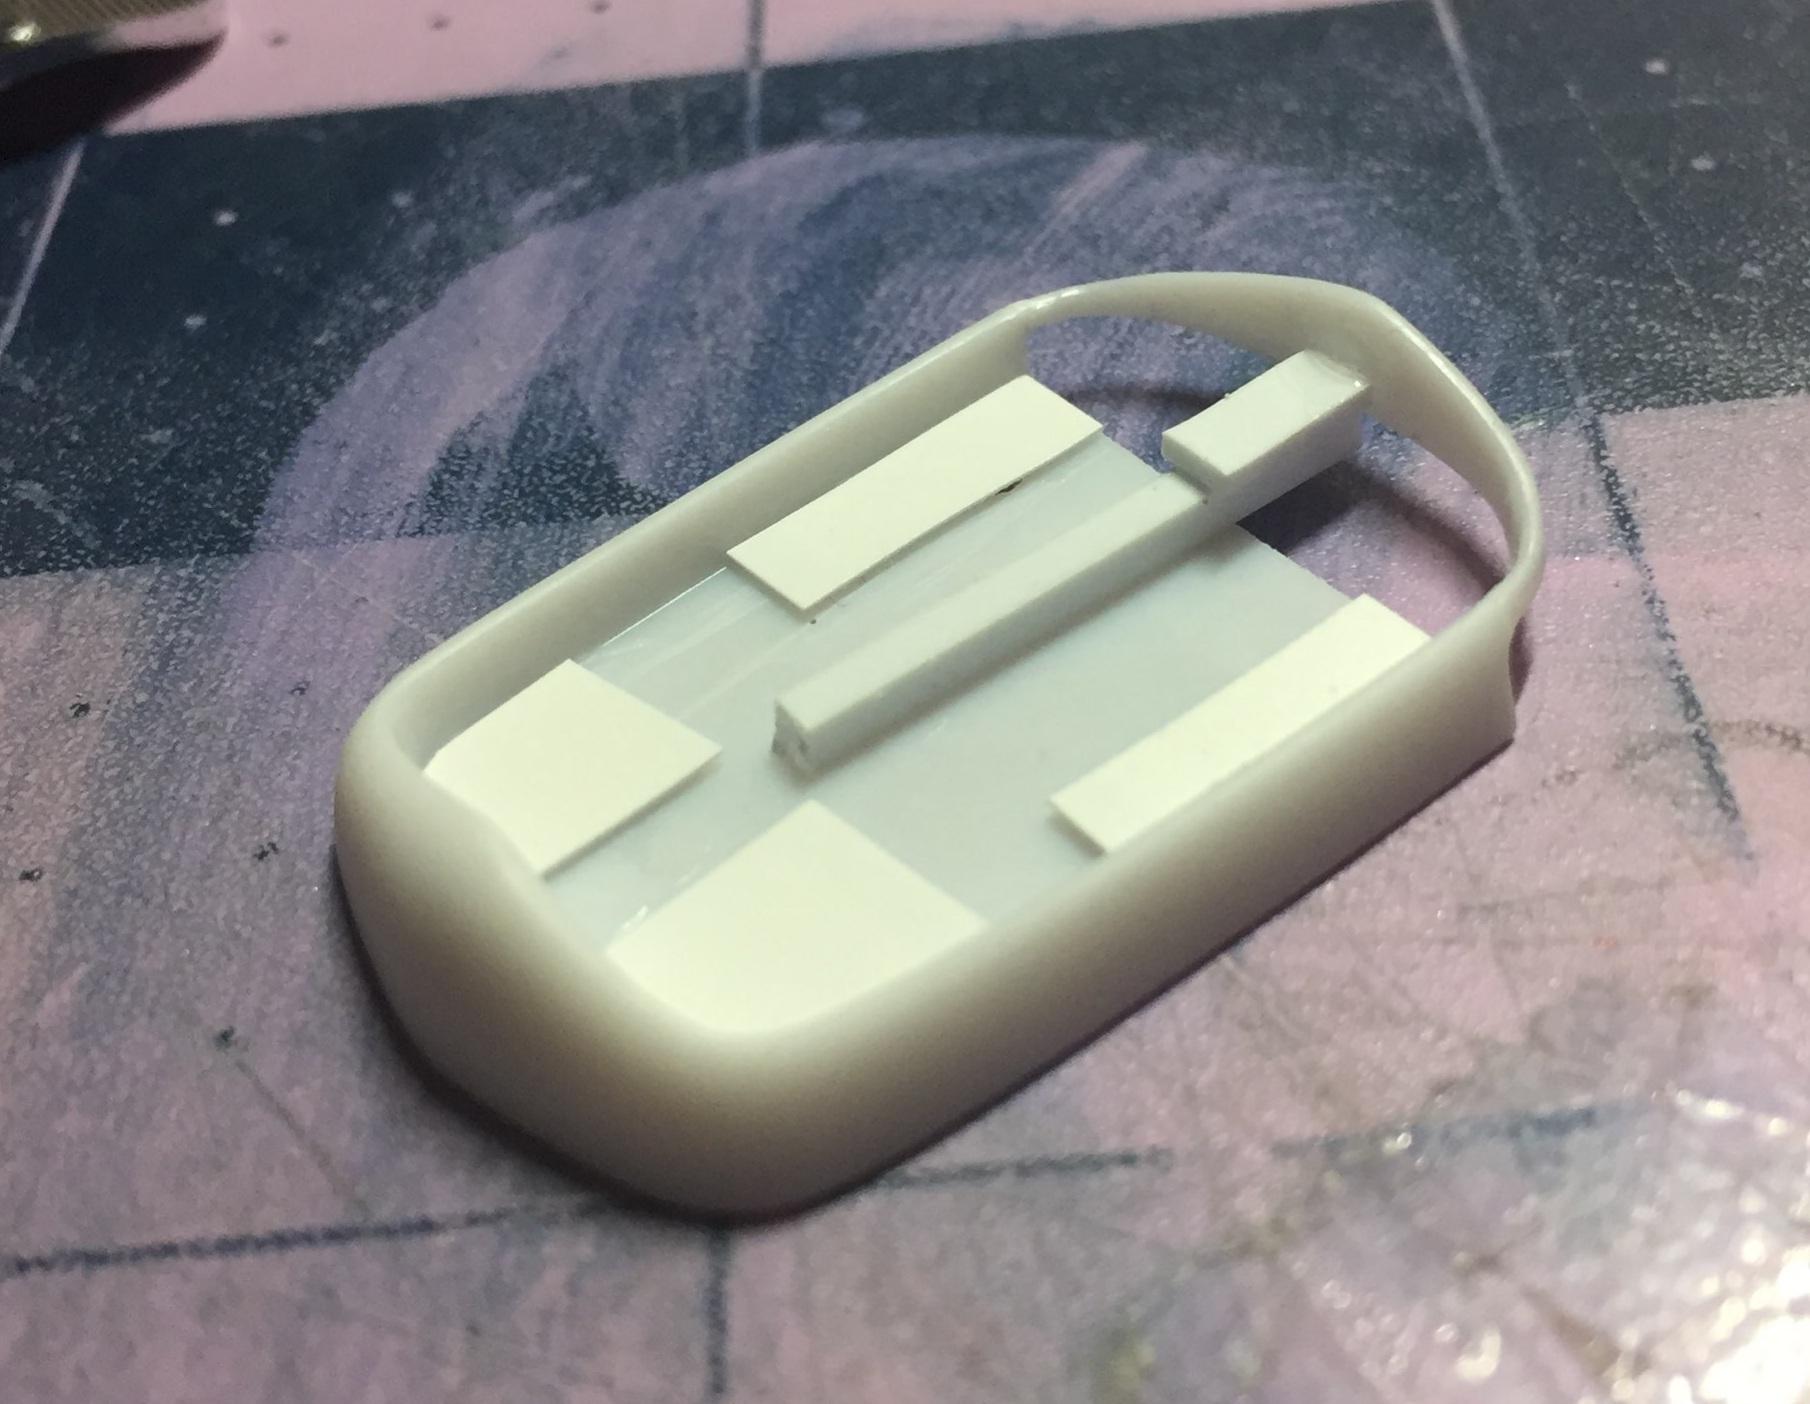
🐿 this was posted in the wrong thread. I blame the squirrels. No worries. 🐿 It seems the deuce grille, the very thing that many of us love the most about the old girl, is not well represented in some kits and this is one of them. There are two weaknesses with this one. Fortunately, the shape of the shell is good, from what I can determine, which is something I can't say for some others. The grille, however, lacks the cross braces and that's a big one. I can't fix that. The other is a common one and that is the way the grille fits the shell. It goes into the shell too deep. On other builds, I just shim up the grille till it looks right to me. This kit has an additional issue that needs to be addressed before I can be happy. The chin is weak. Literally. It can be easily broken. First, I added shims to bring the grille out using scraps of .005" sheet. To make me happy, I needed to do it twice for a total of .010" at each point of contact. Then I braced the chin with more junk, bending it carefully into position, and holding with CA and a kick. With all the test fitting I've had to do (another story 😕), I was lucky to get this done before I broke it off. Moving along, and I know some folks won't like this but I want the hood but I don't like the louvers. Sorry. They had to go. Why did they have to use this (arrow) for the sprue gate? Gotta fix that too. While I was playing with the grille shell this popped up👇😕. Easy fix, though. A bit of CA on a thin toothpick and done. You didn't need to know this but I wanted to show off a very handy tool that maybe isn't ubiquitous among fellow builders. And it's still wet 😋 Thanks for putting up with my nonsense.🥴

-
Rick, thanks for your tips. The trouble with a filler that is much harder than the styrene is sanding the surrounding styrene under flush. Usually, when filling small holes and other low spots, I will use CA kicked and sanded immediately while it's still close to the styrene in hardness. Why I didn't do that this time is still a mystery 🤔. I don't know why the filler swelled out of the panel lines but it may be the Tamiya paints are too hot or I sprayed a too heavy coat. It dries pretty fast so that is indicative of a hot thinner. The filler, Mr. Surfacer 500, is something I have used for years without any issues for filling imperfections. The panel lines were not very deep but maybe there's an incompatibility factor involved as well. I'm being more cautious now.
-
Thanks, Jon. I'm kinda partial to flat white myself 😂
-
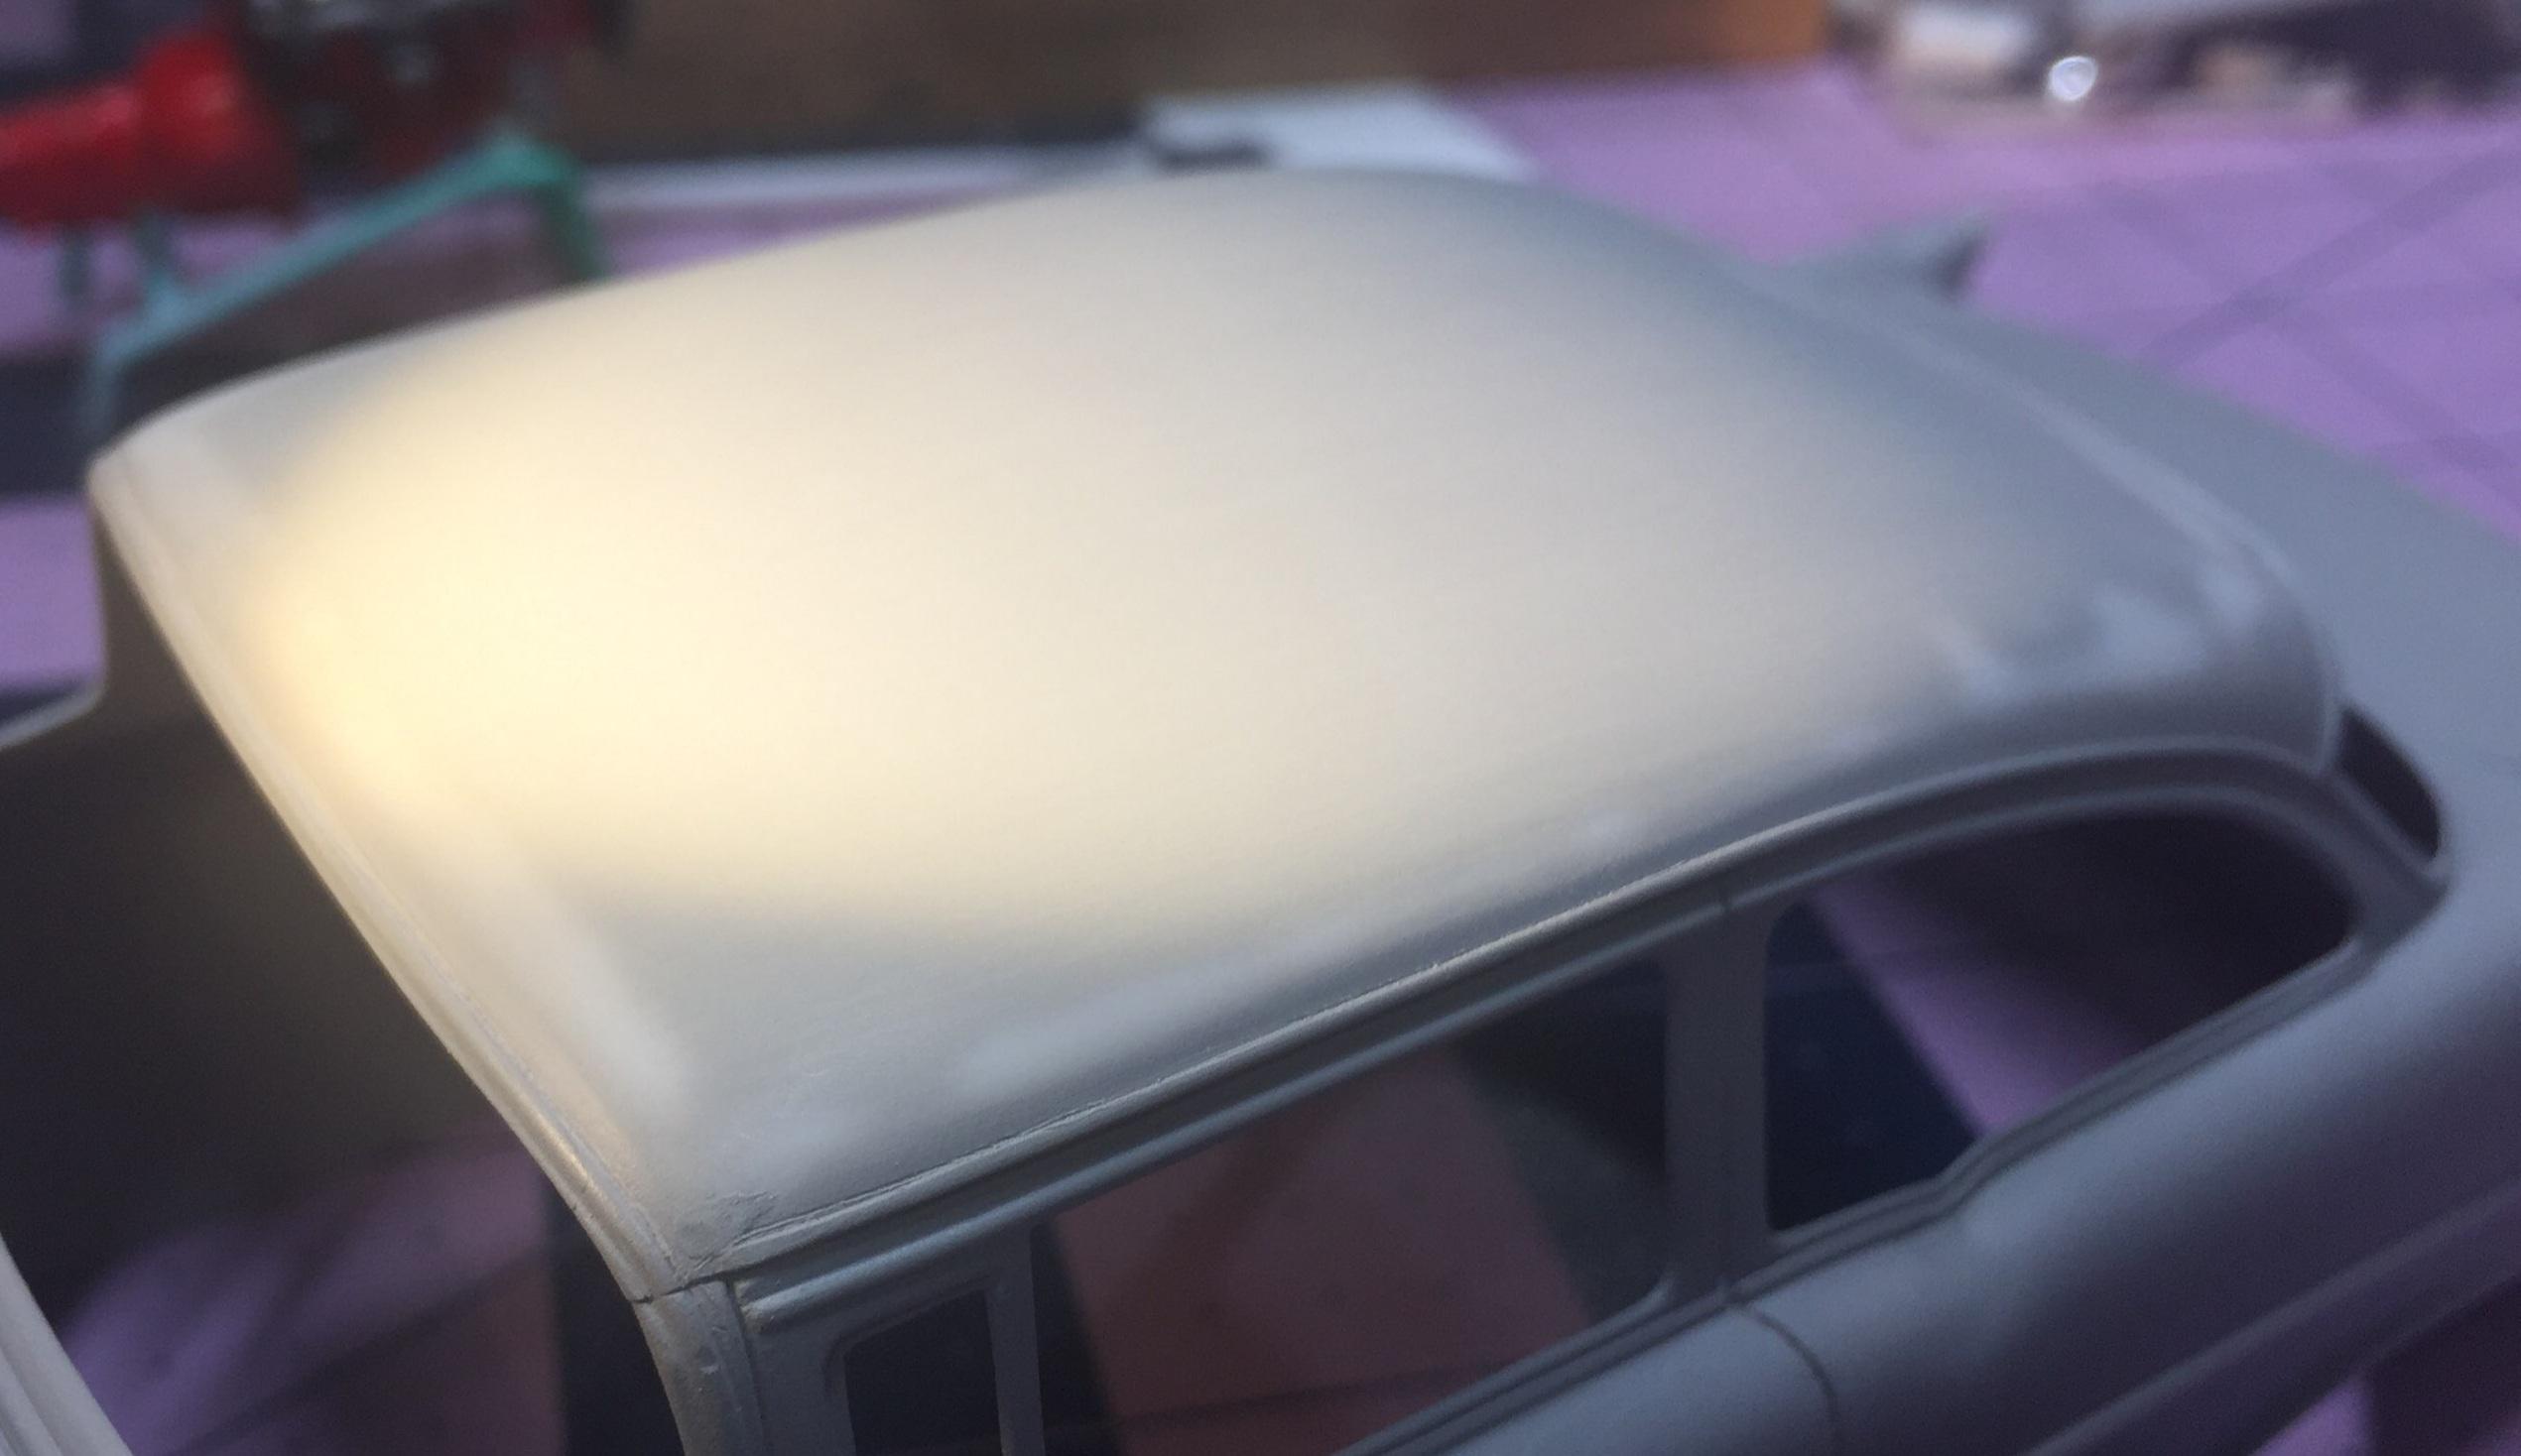
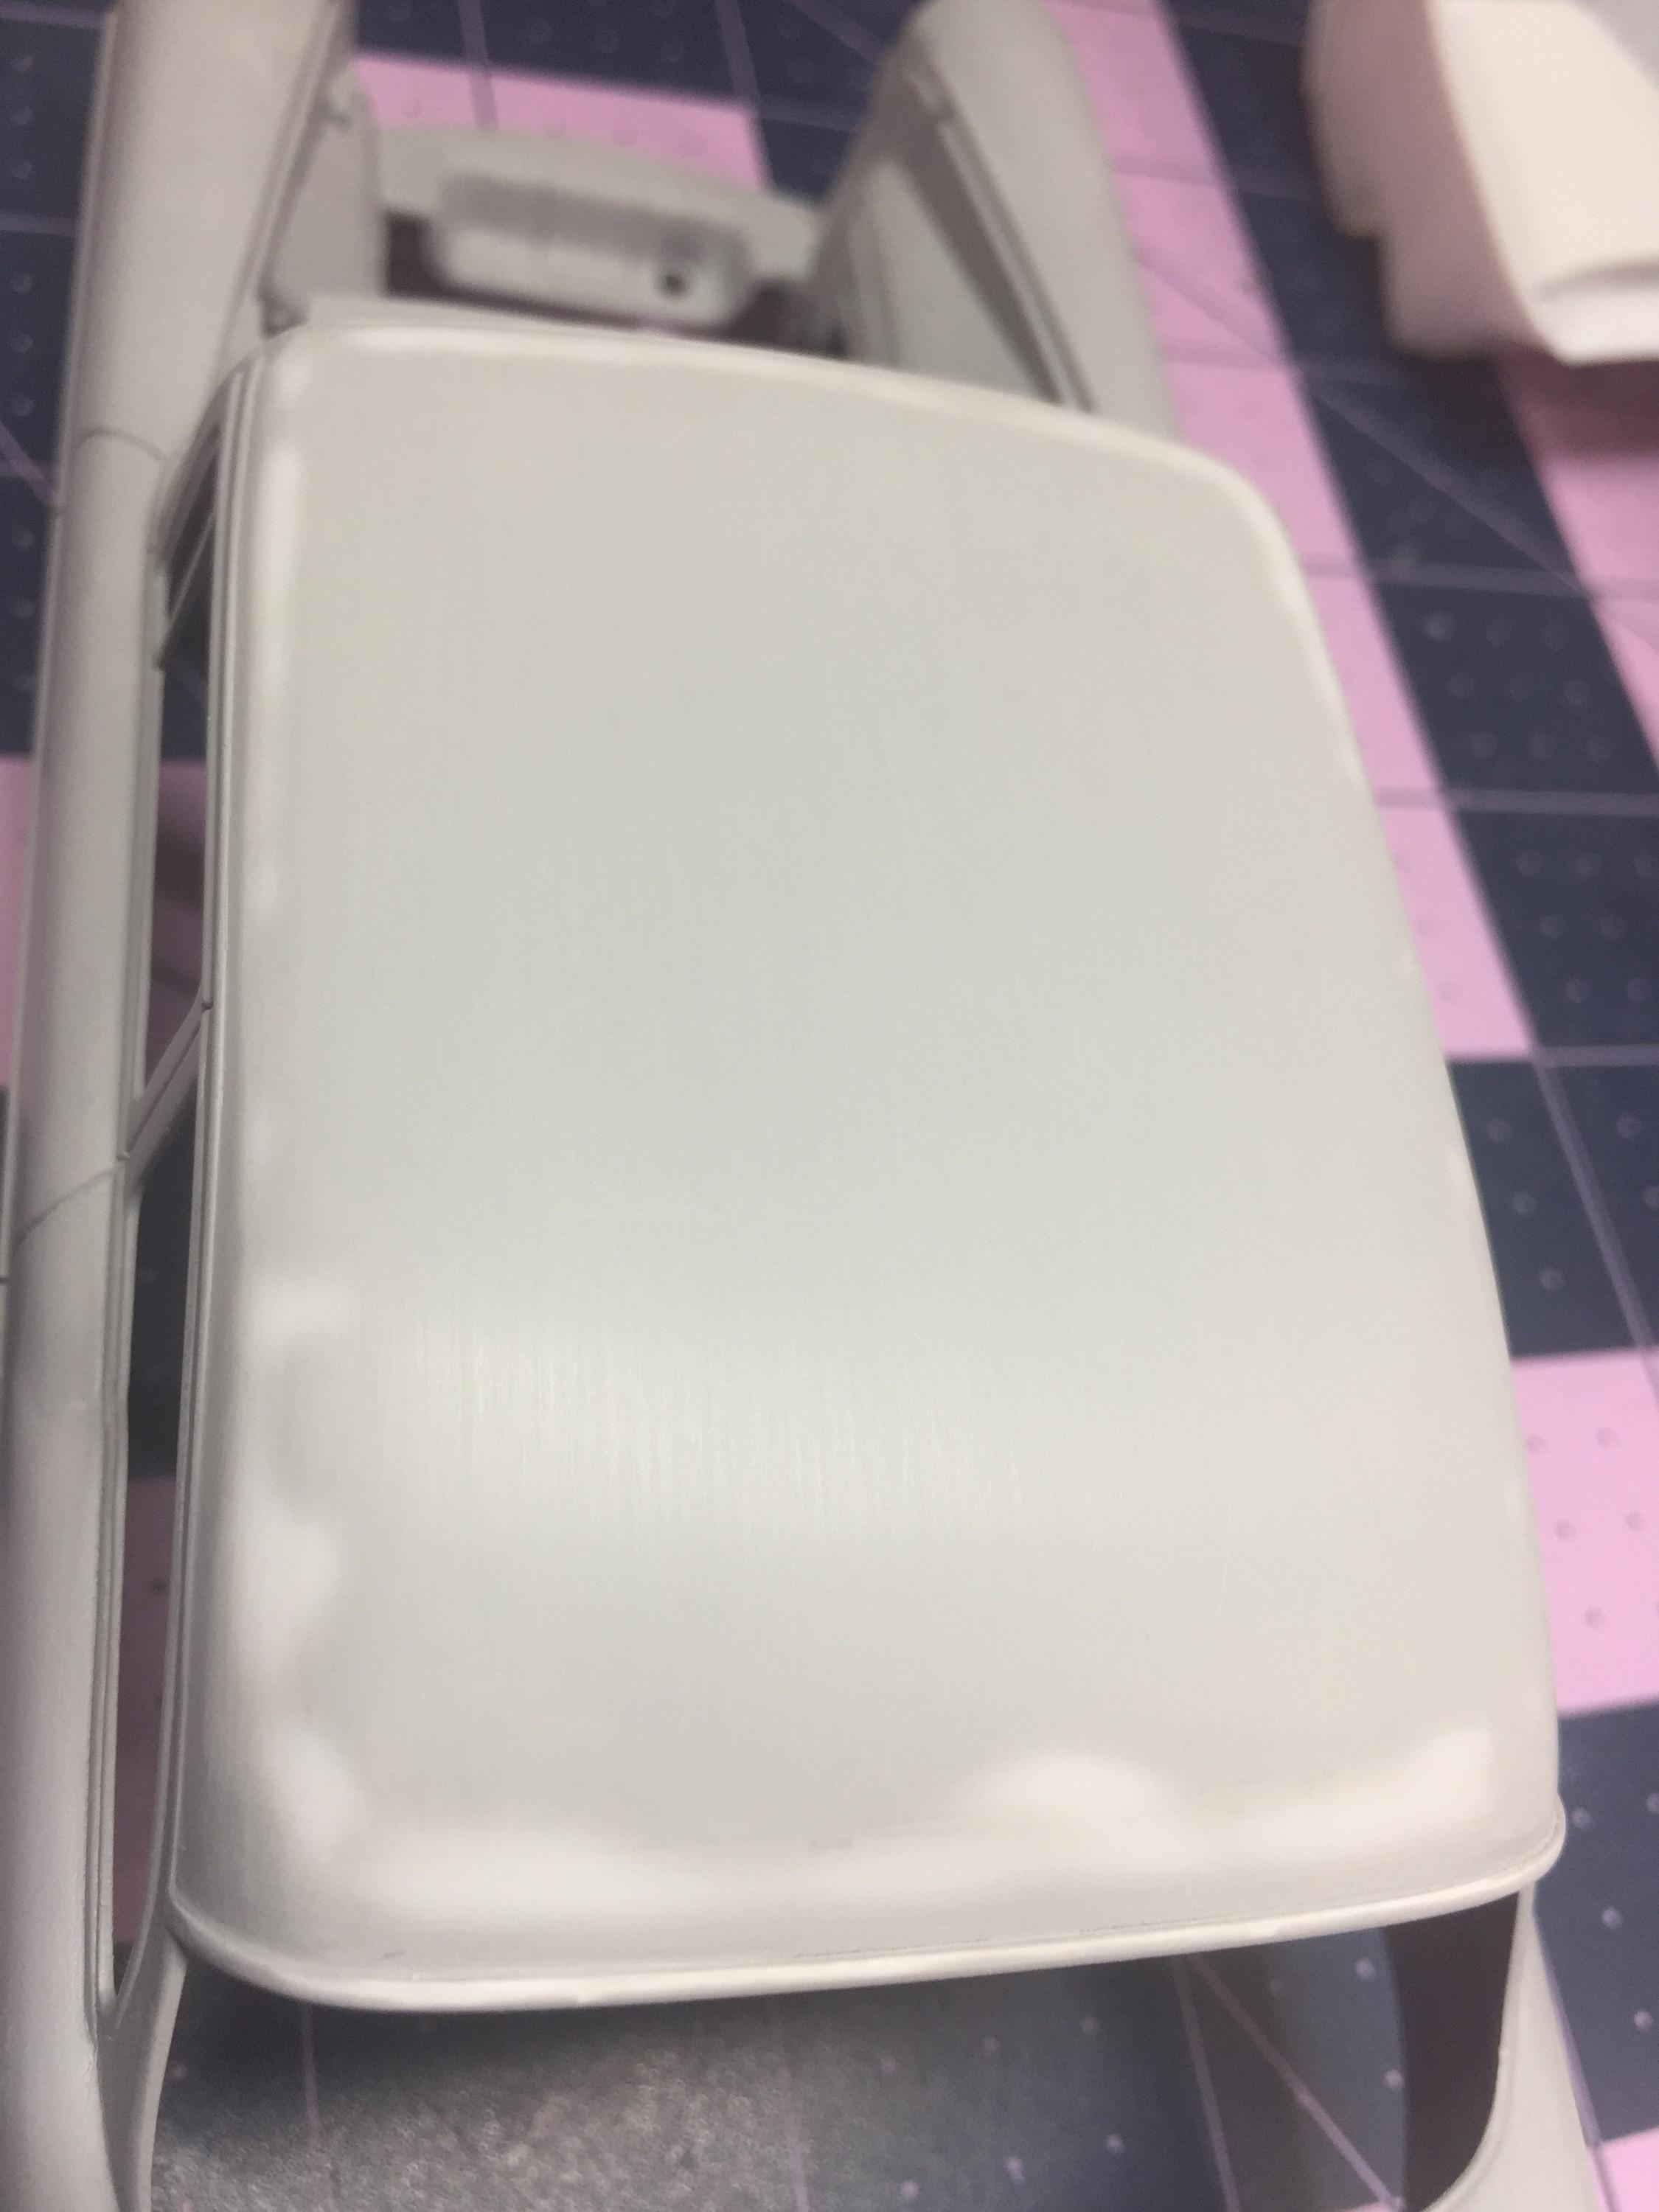
OK. I got Tamiya white on it today. Two coats. I may need to give it a very light wet sanding because in strong light at some angles, I have ghosts on the right side, very faint. I think I need to further reduce the thickness of the new belt also. So it's moving slowly but it's moving. Thanks for beeping as you cruised past. 🥴
-
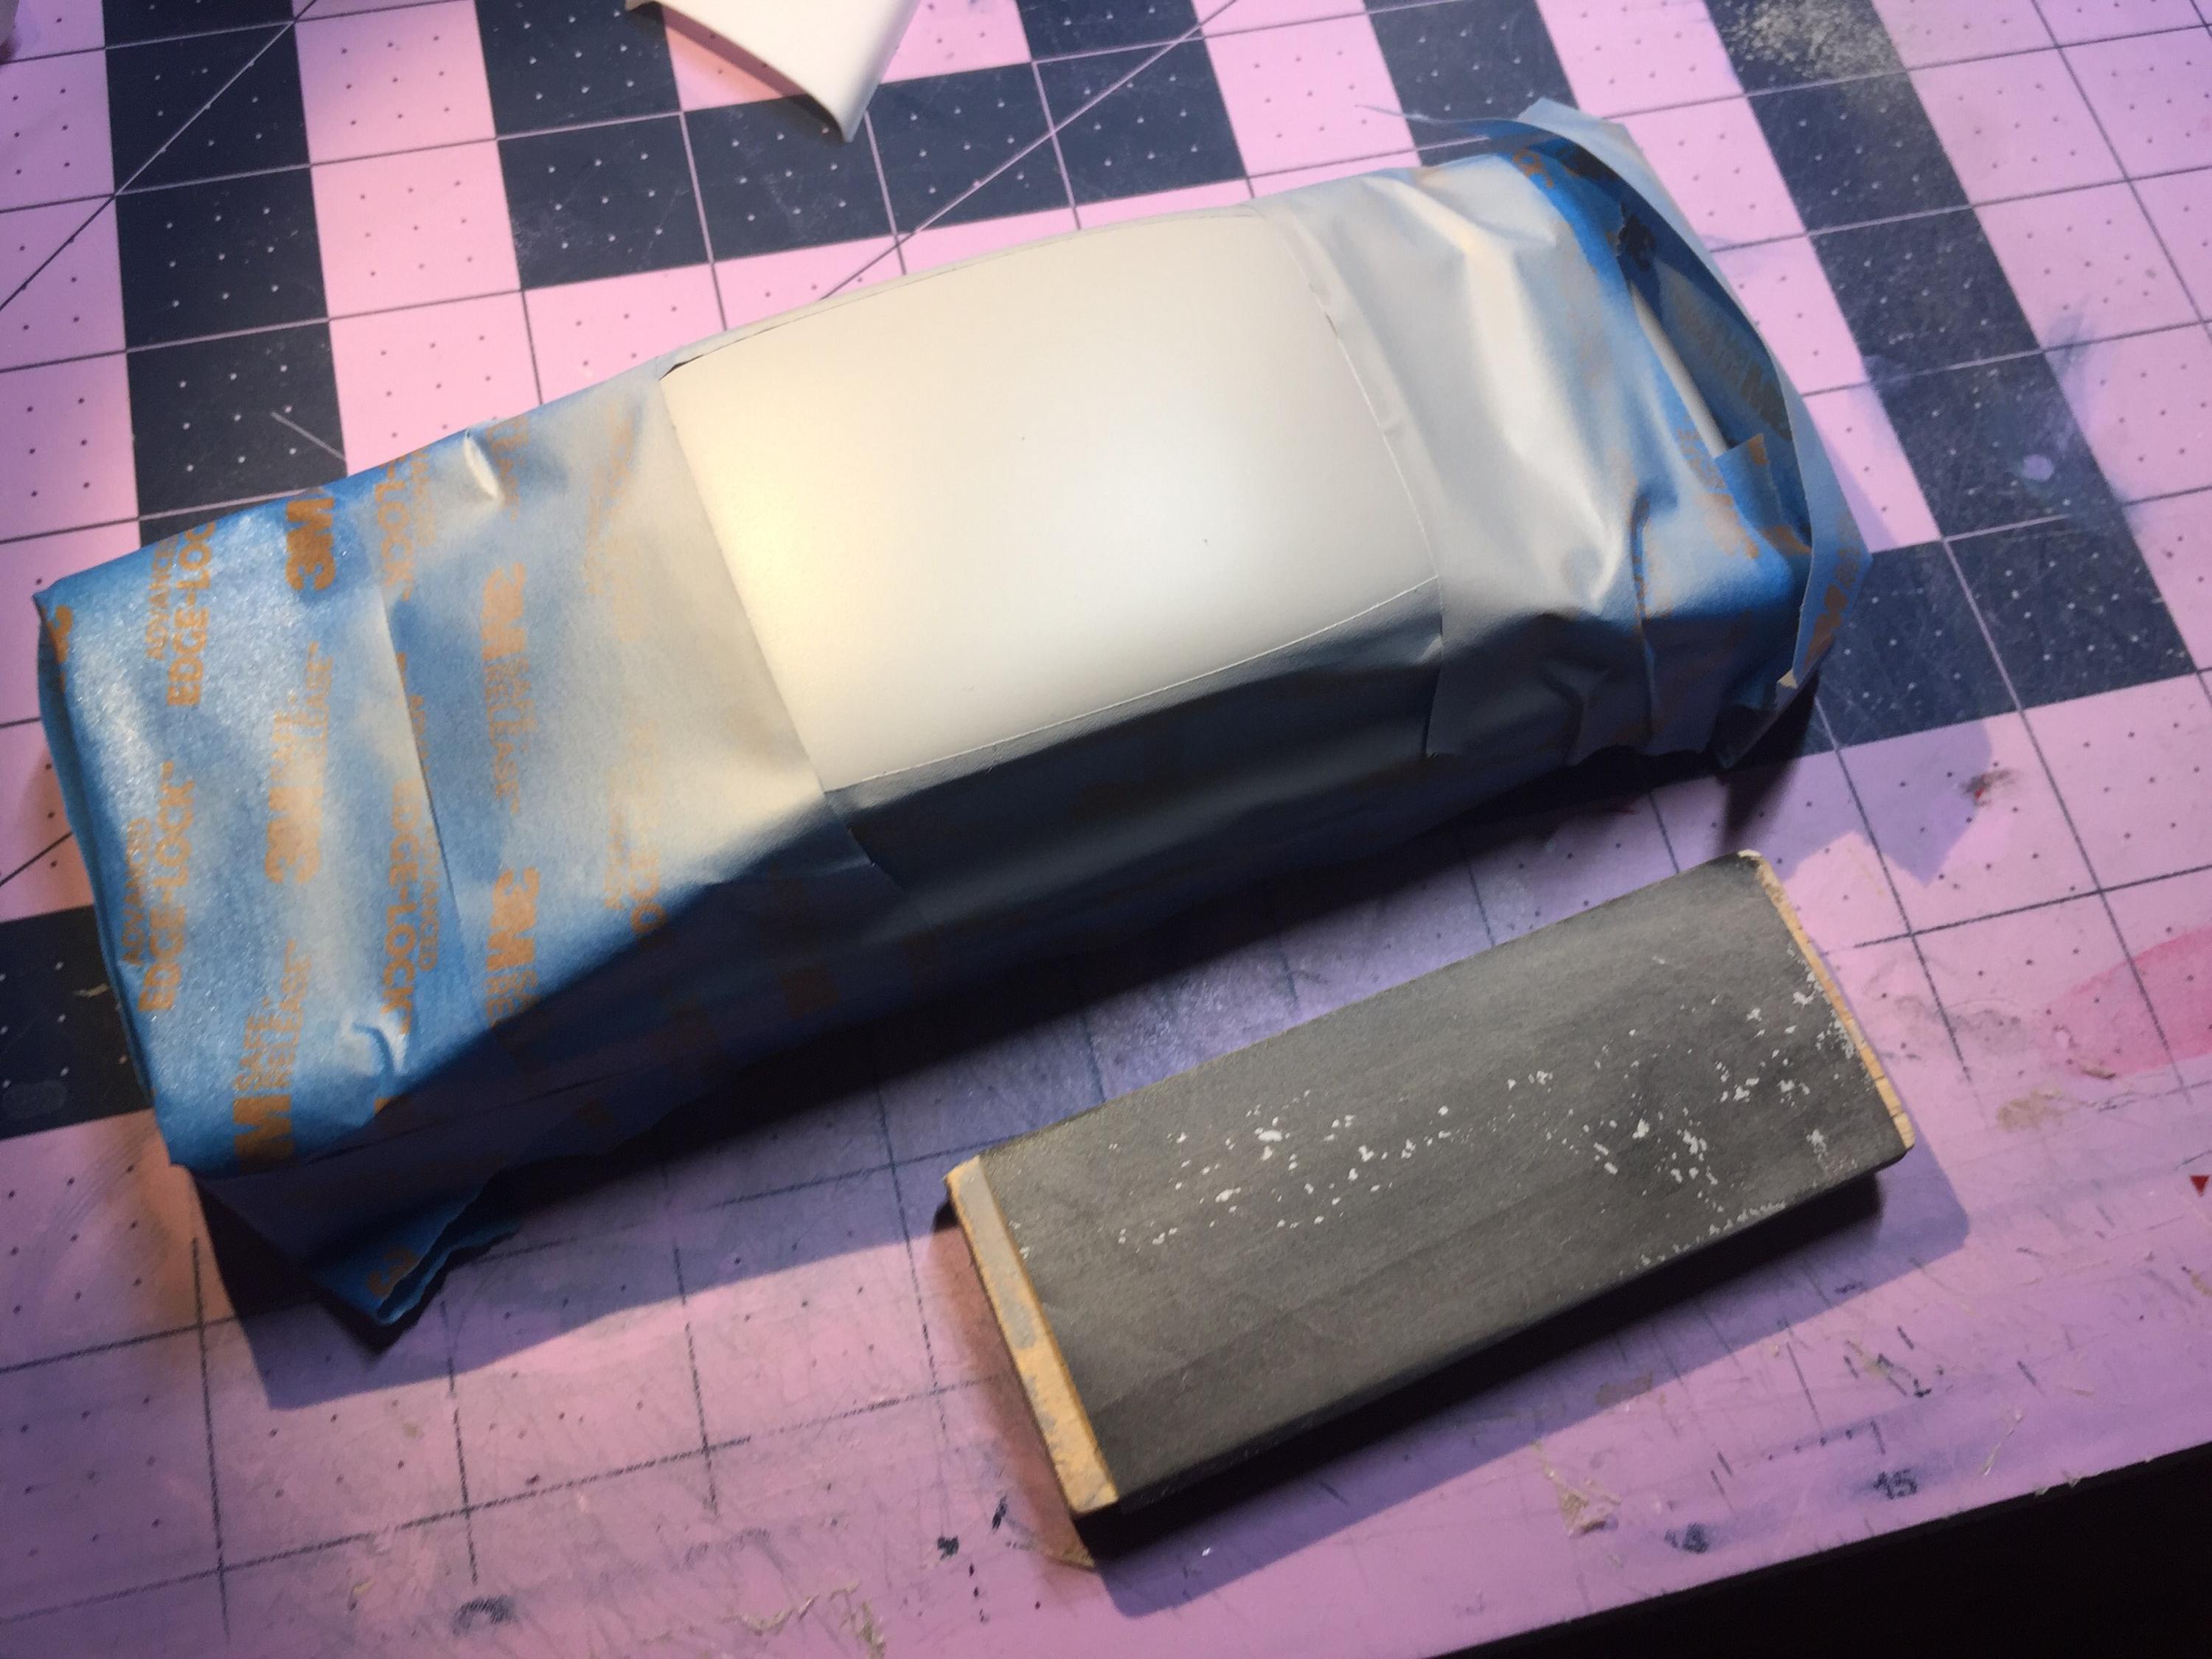
I sanded the second application of surfacer with 1000 grit dry using a large piece folded in thirds for stiffness. The white plastic is showing around the edges because I needed to remove the ridge left by the tape. The field was sanded with light pressure and only enough to get the surface even. I played light across at various angles to look for shadows. I think I've got it but I will keep my fingers crossed (and the second toe on my right foot 😕). The pix aren't much help but here they are anyway. Thanks for your undying interest 🤓
-
This is pretty cool, Jon. I think I'll stick around. 🤓
-
See above ☝
-
Thanks, Jon. I'm glad I was tipped off on this but by now I should have spotted it without being told. Not too long ago I had a hood that printed through. I need to catch this stuff on the 'first look'. Lucky for me the body is still in primer. Unfortunately Ulf caught it after clear. 😵
-
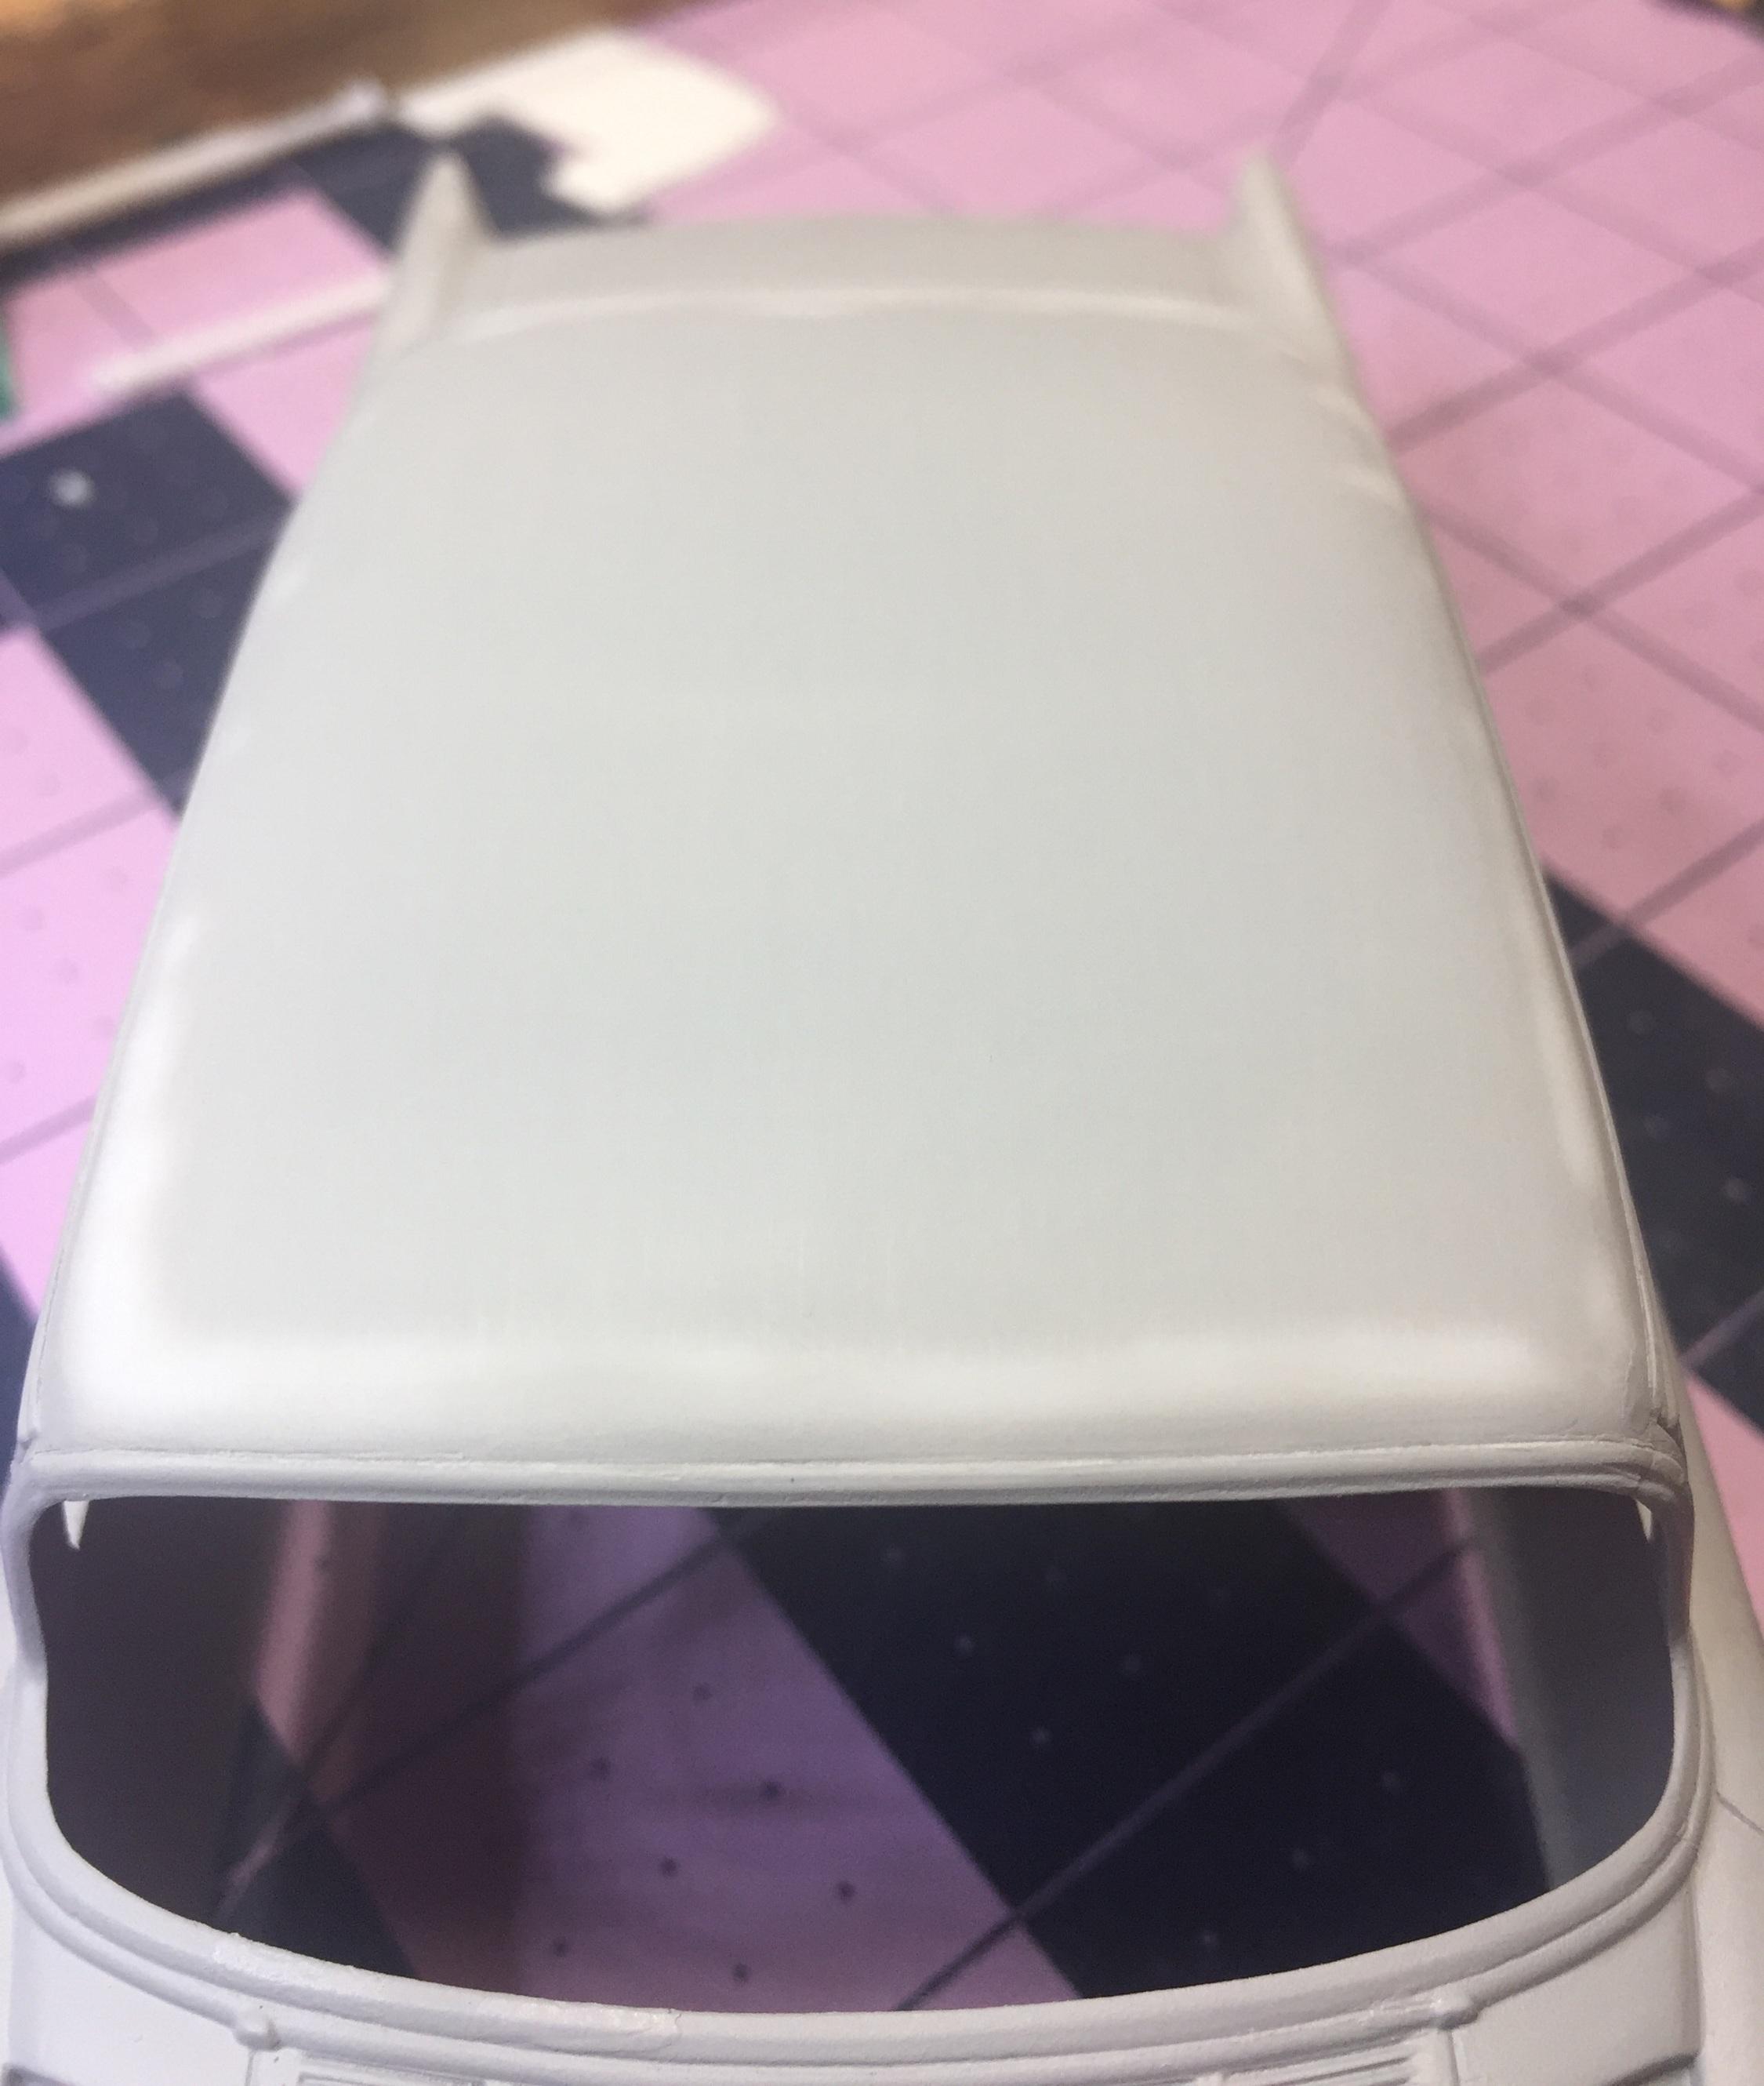
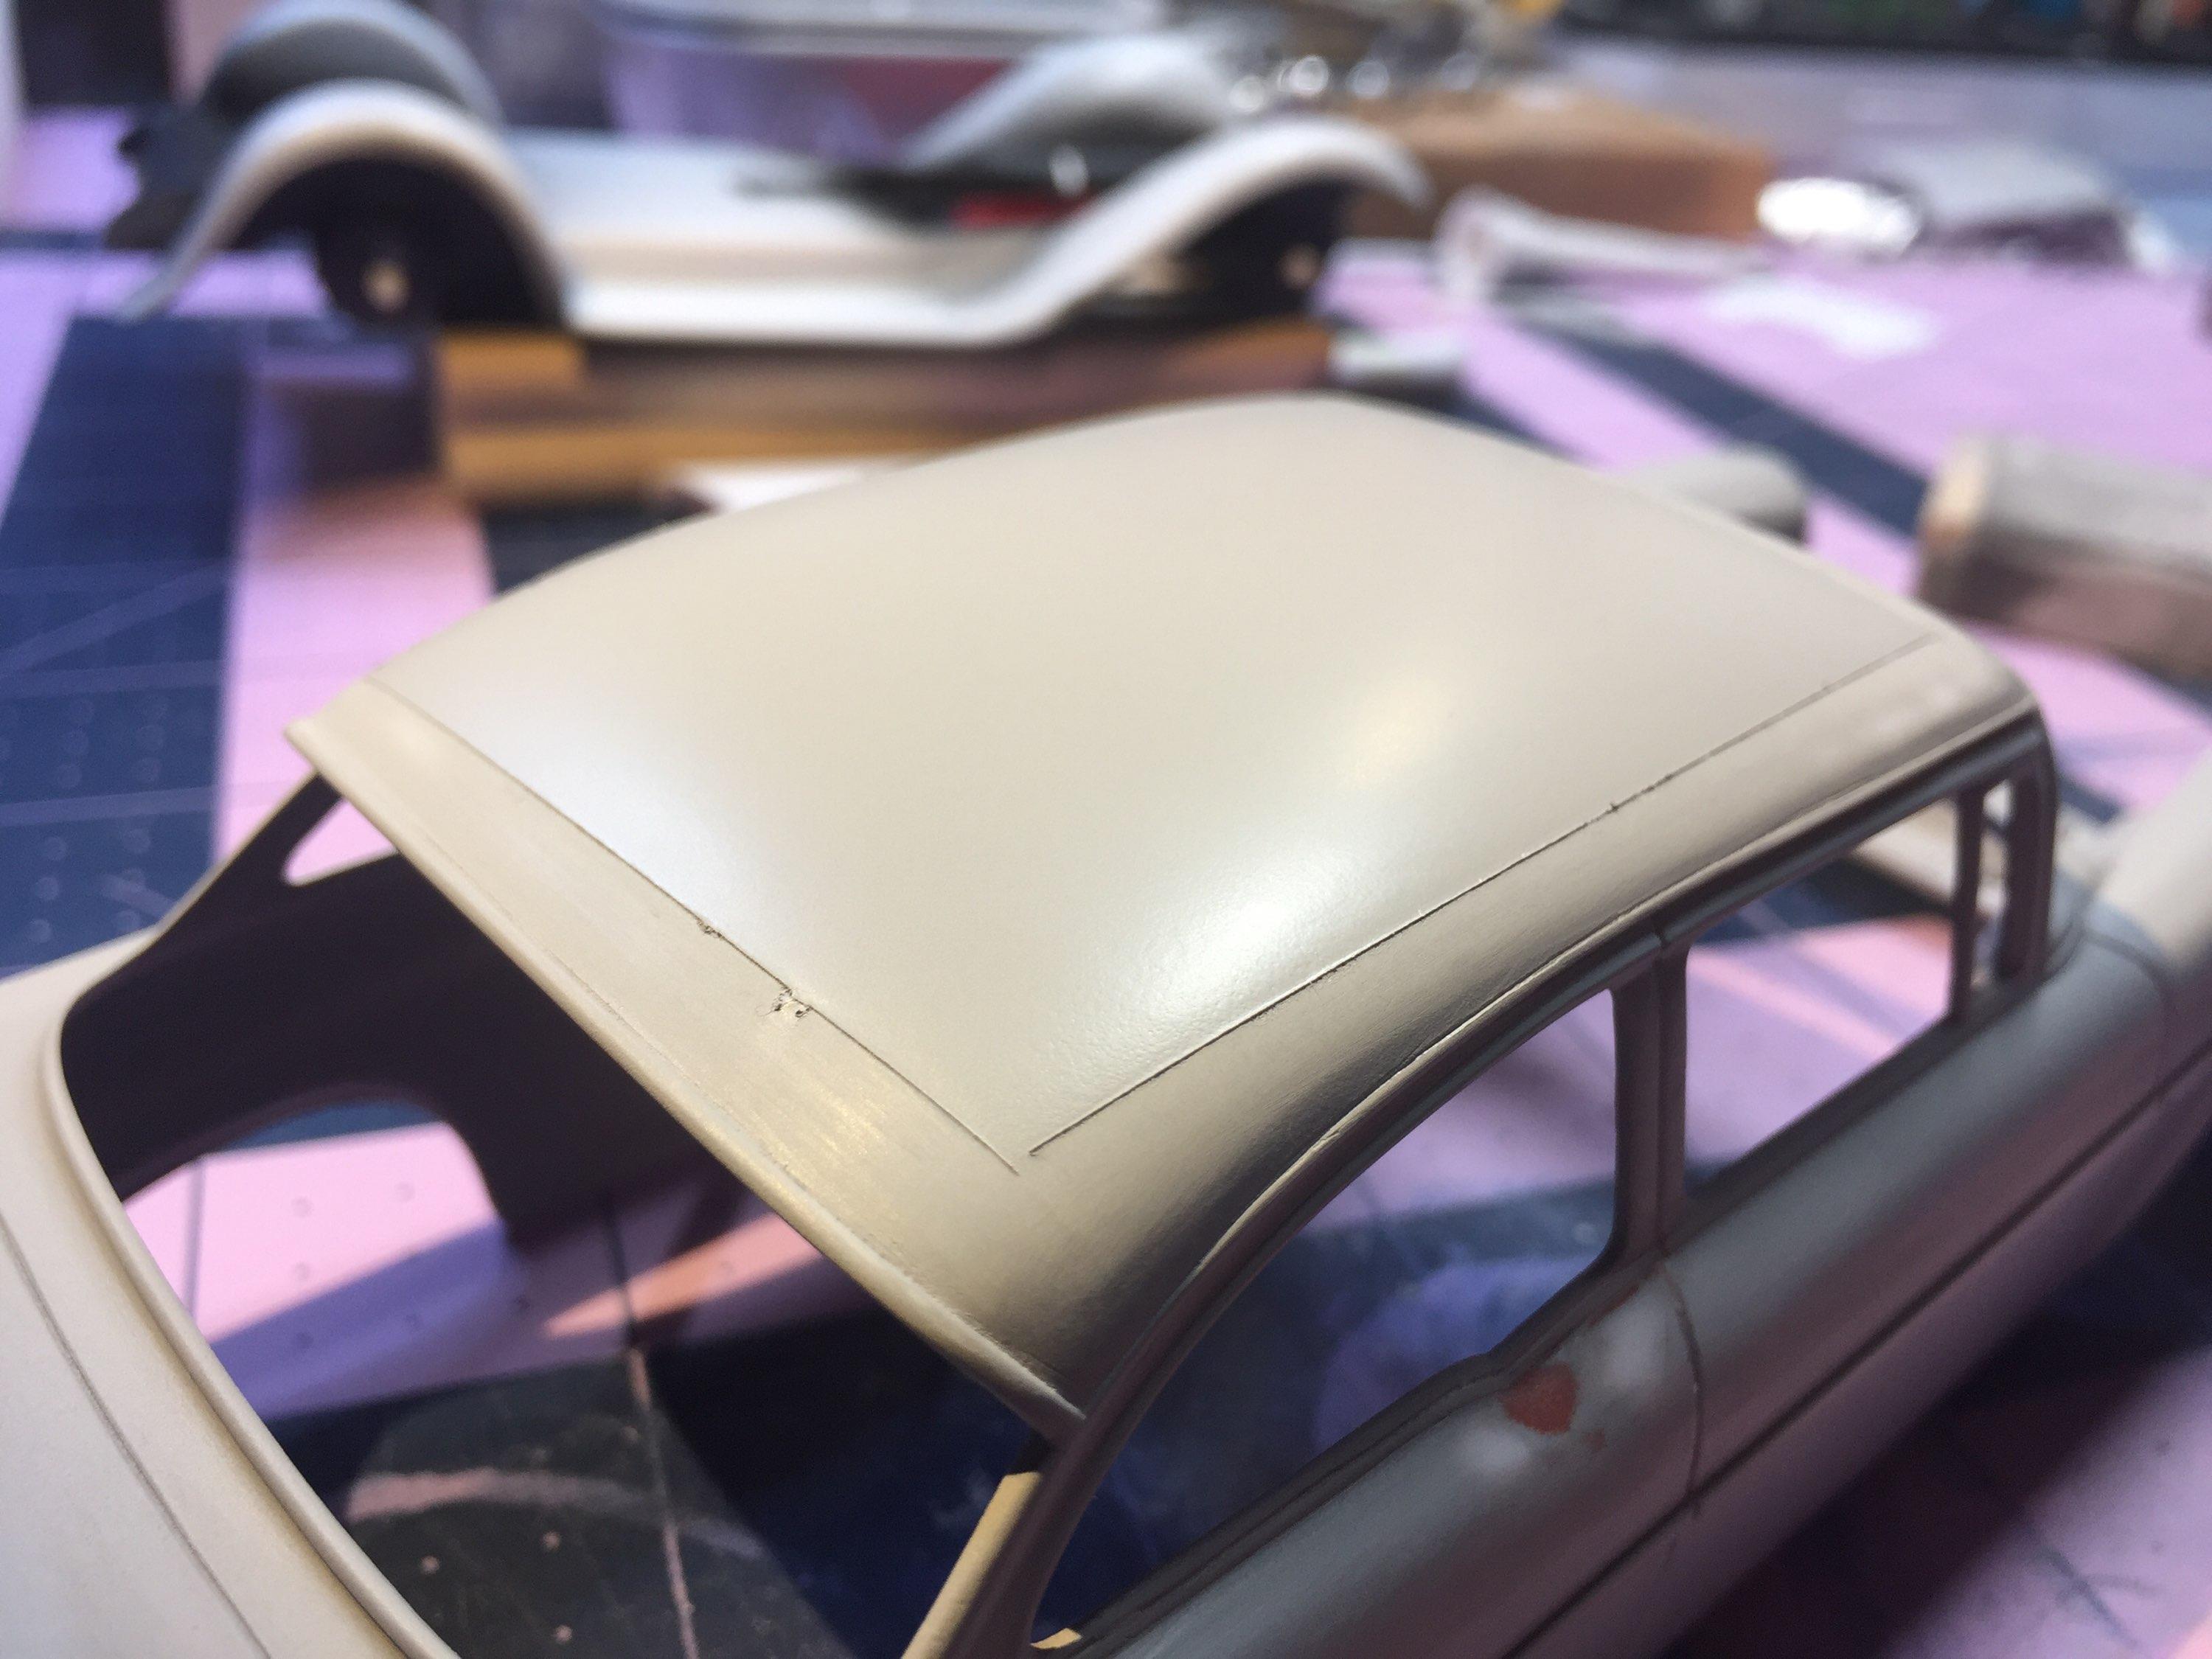
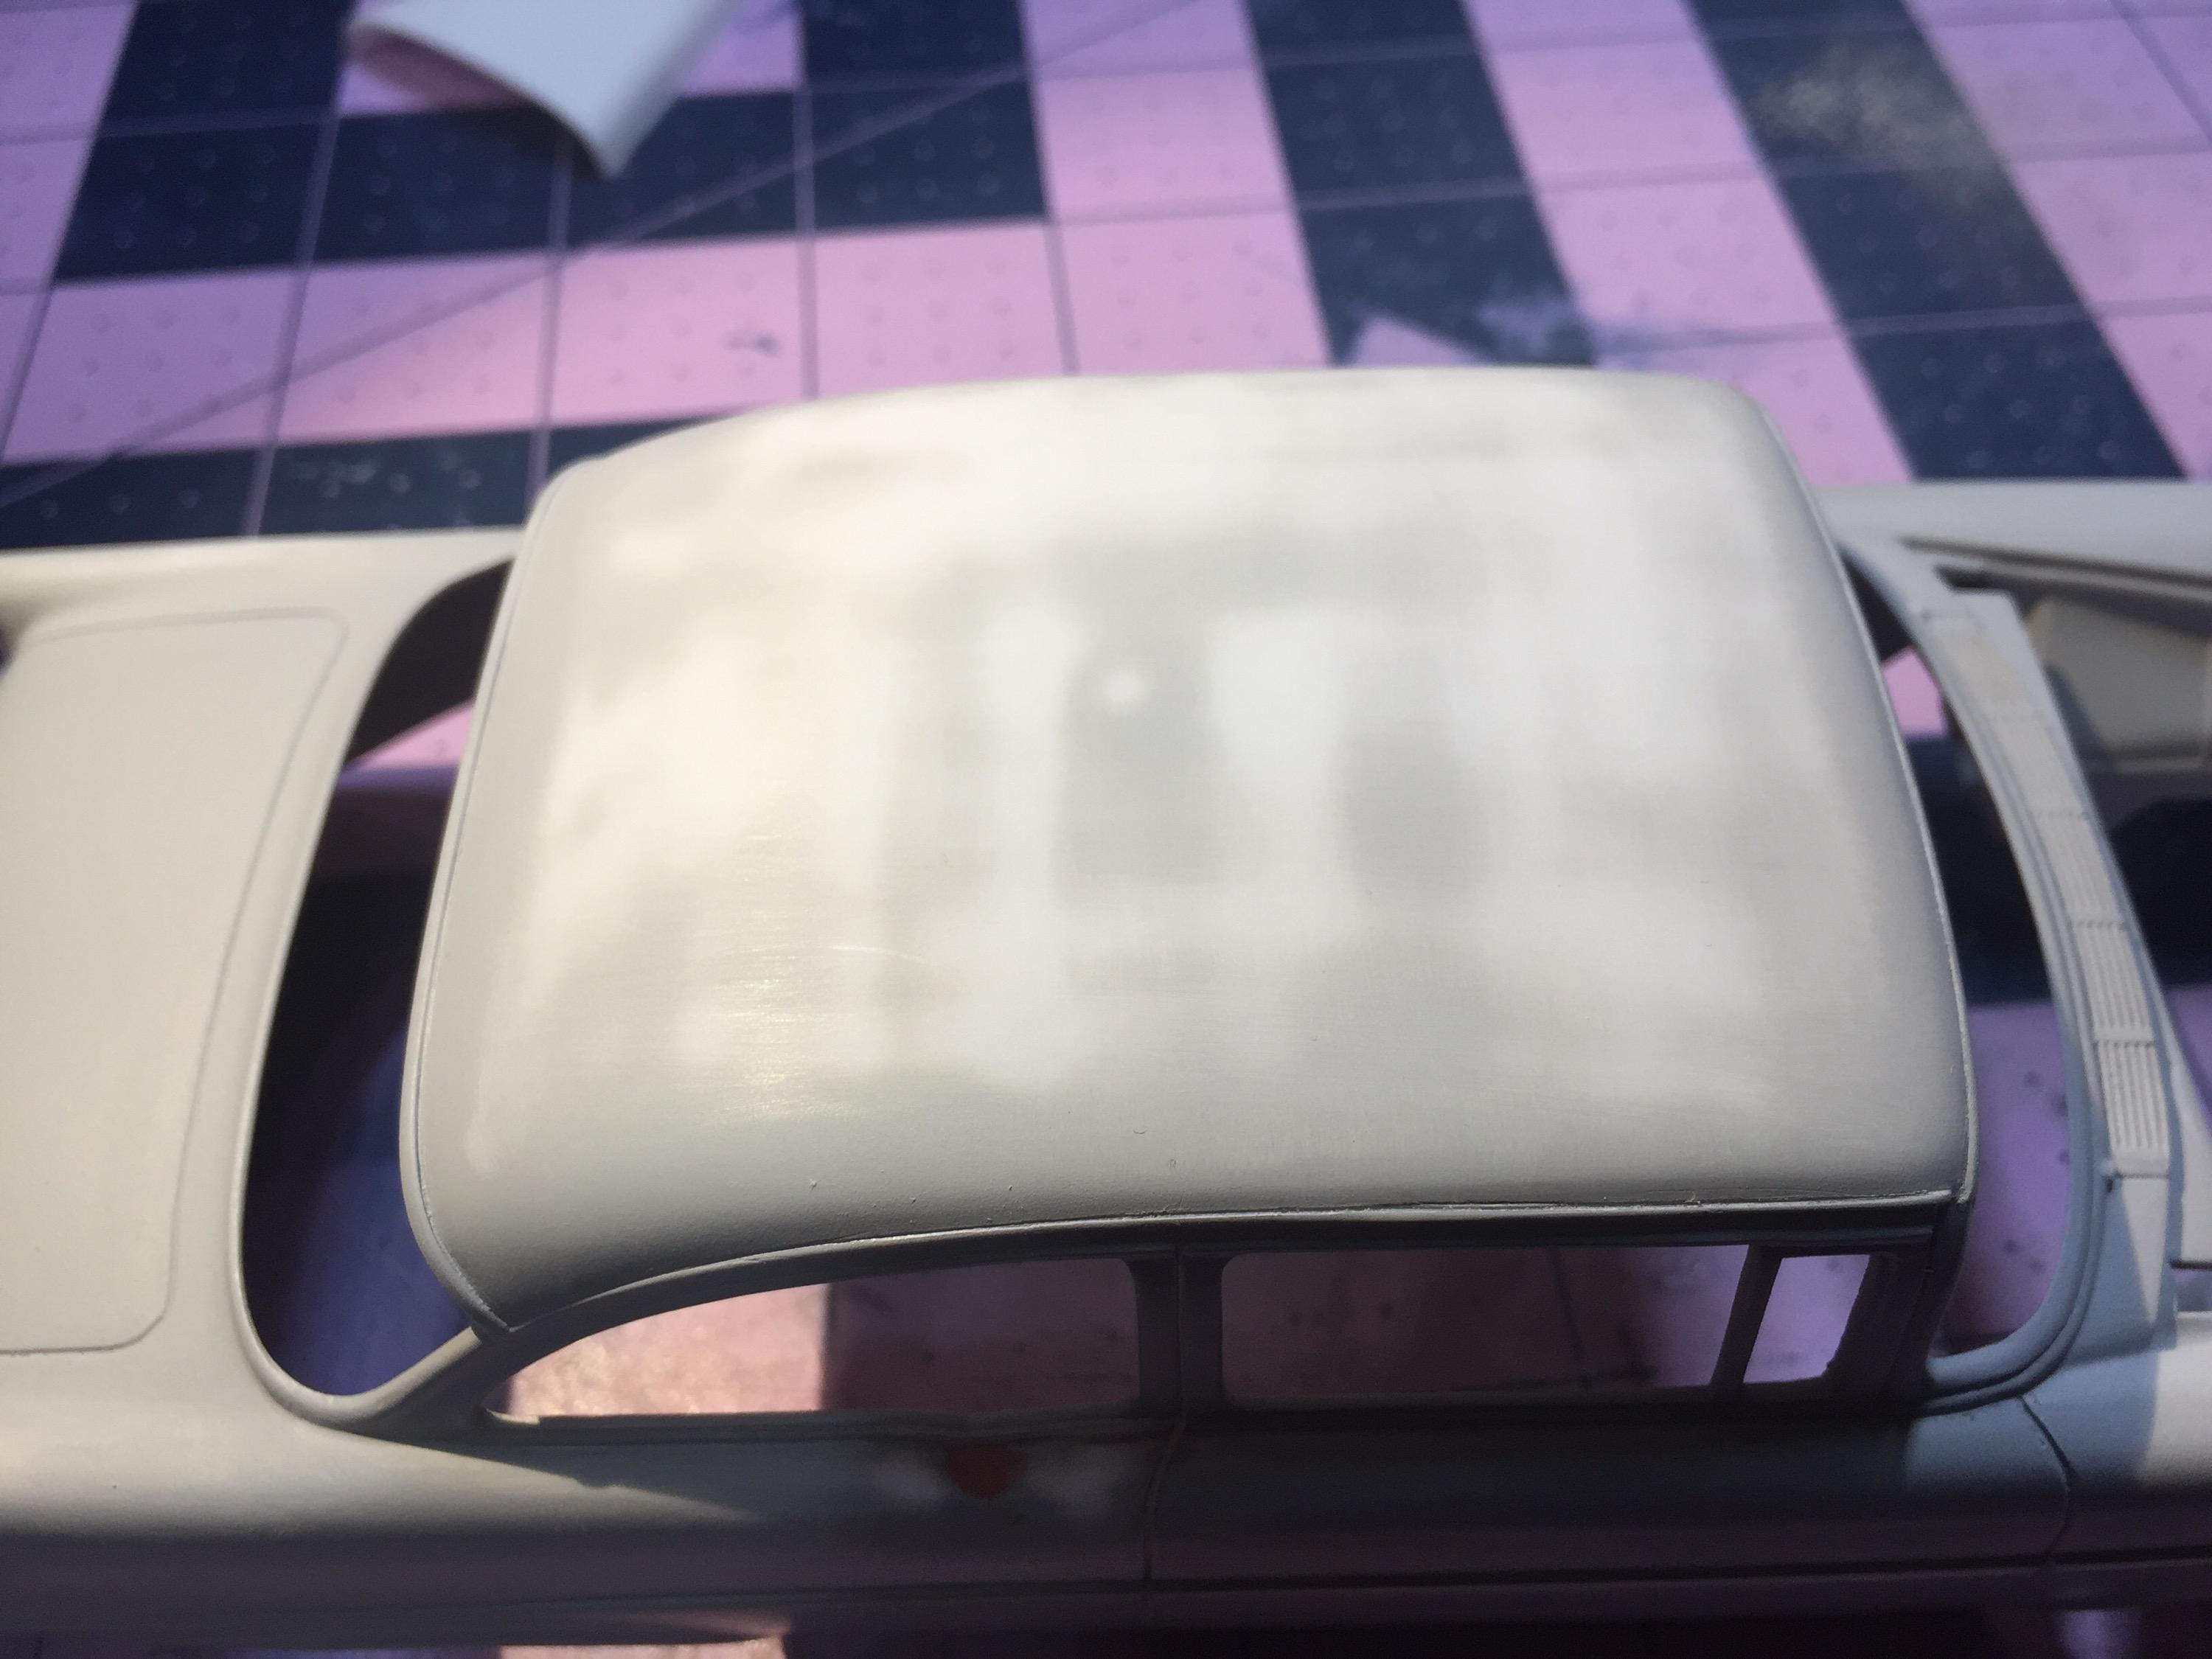
Second block sand. High spots exposed. Back to the garage for more surfacer. Two more coats. Maybe this will do it. No more block on the next sanding. Tri-folded 1000. This is where I need to use my sense of touch and my flashlight. Gotta try to maintain the curve now.
-
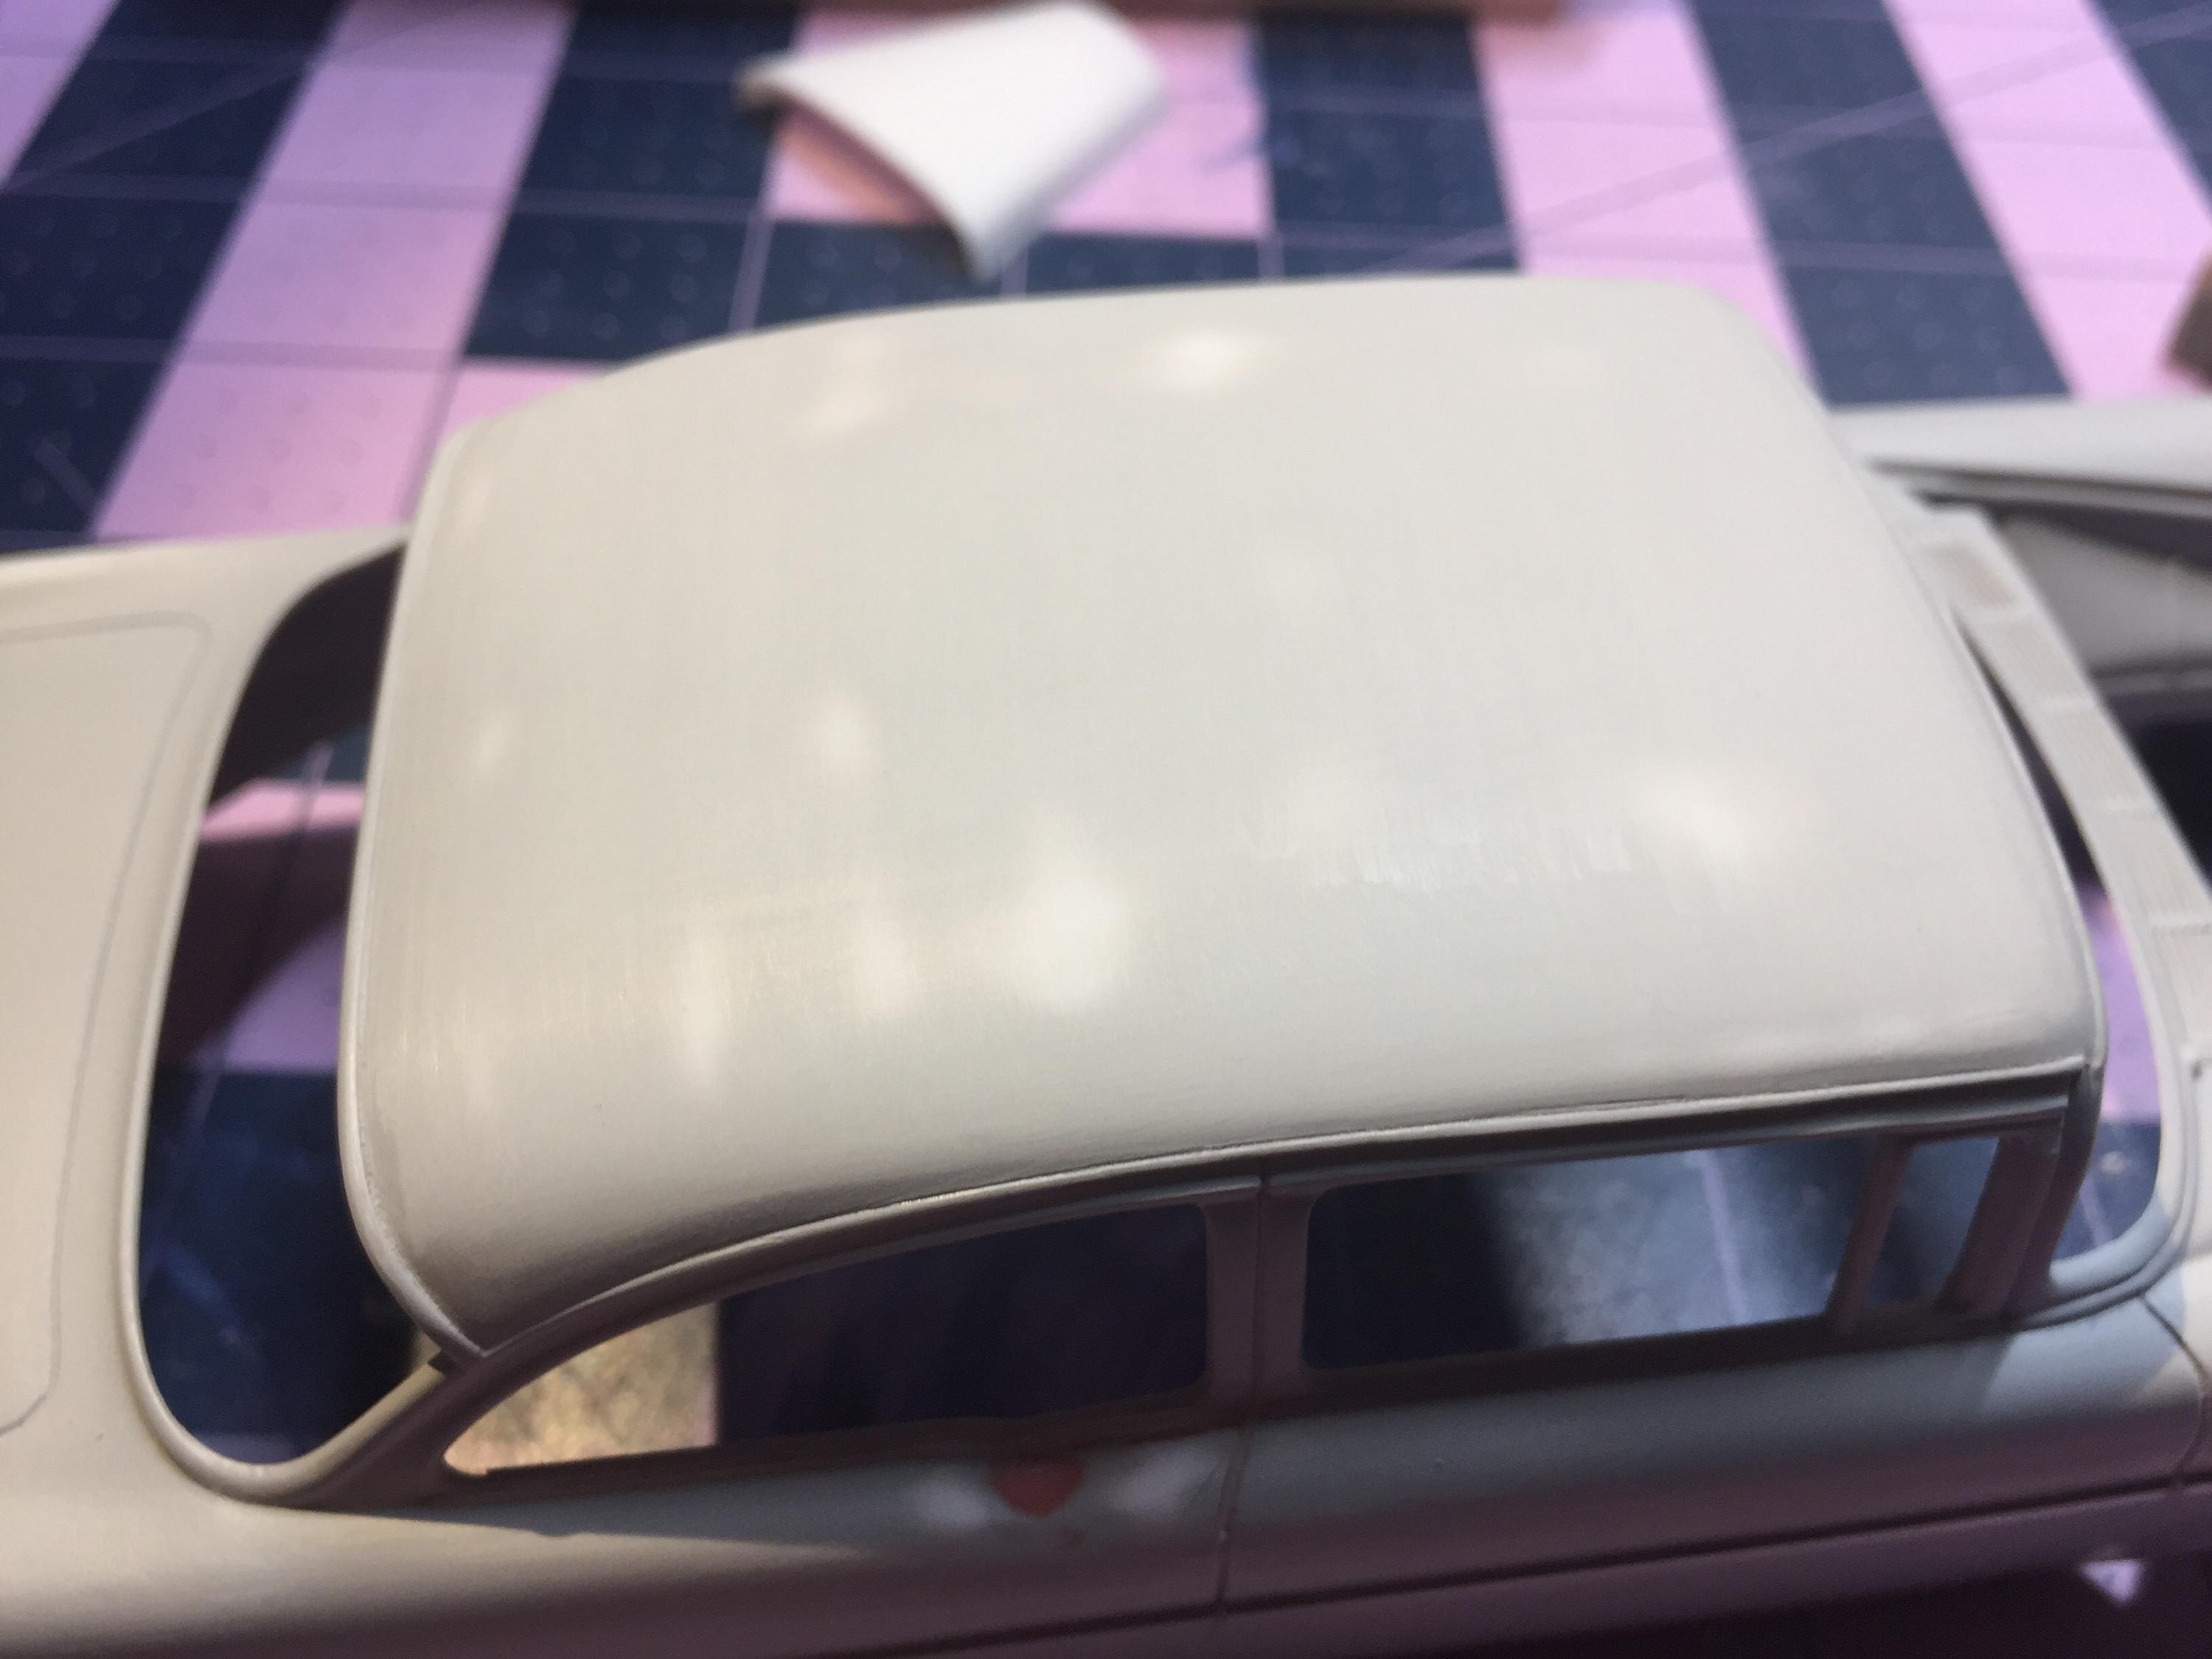
I used some 800 on a block to expose the extent of the issue. It doesn't look too bad on my roof after a few minutes of very deliberate dry sanding. So I taped it up to save all my line chasing and gave the roof two coats of Mr. Surfacer 1500. I'll let it cure out a day and repeat the sanding. I'm sure I will need to repeat all of it again. I don't want this issue popping up during the rub-out operation so from this day forward I will look for this on cars with headliner detail molded in. This happens on hoods too, the ones that are detailed underneath.
-
I suppose that tactic can help to hide the distortion; gray primer hid it from me until you "opened my eyes" about the issue (and I'm grateful that you did.) I will make the effort to block sand. If it was easy, it wouldn't worth it.
-
I checked my roof, Ulf, and yes, it is wavy. I still have a few more prime and sand operations to go so I think I can smooth it out. I don't think the depth of the low spots are any more than the thickness of two layers of paint. Some block sanding should straighten it out.
-
Thanks, Chris. It would have been a shame to let them sit in the parts stash, unused and unloved 🥴
-
Well this one was in a box for a few years ( I believe I was still working when I started this one and that was almost six years ago so.... I'm still catching up 🥴) The headlight mod was a walk in the park compared to this rear mod. I have all sort of junk glued in there to make the light "sockets". It's a Bondo bomb. I had these tail lights because I used the '56 300 to make a Desoto and they were still on the table when I picked up the Del Rey. It wasn't supposed to go this way. I just wish I could remember why I boxed it. Probably the tail lights. 🤣
-
Hey Michael, the warden might move your thread to the drag cars category. Just sayin' 😔