GlueTube
-
Posts
268 -
Joined
-
Last visited
Content Type
Profiles
Forums
Events
Gallery
Everything posted by GlueTube
-
Looks like it belongs on the lawn at Pebble Beach! Regards Brian
-
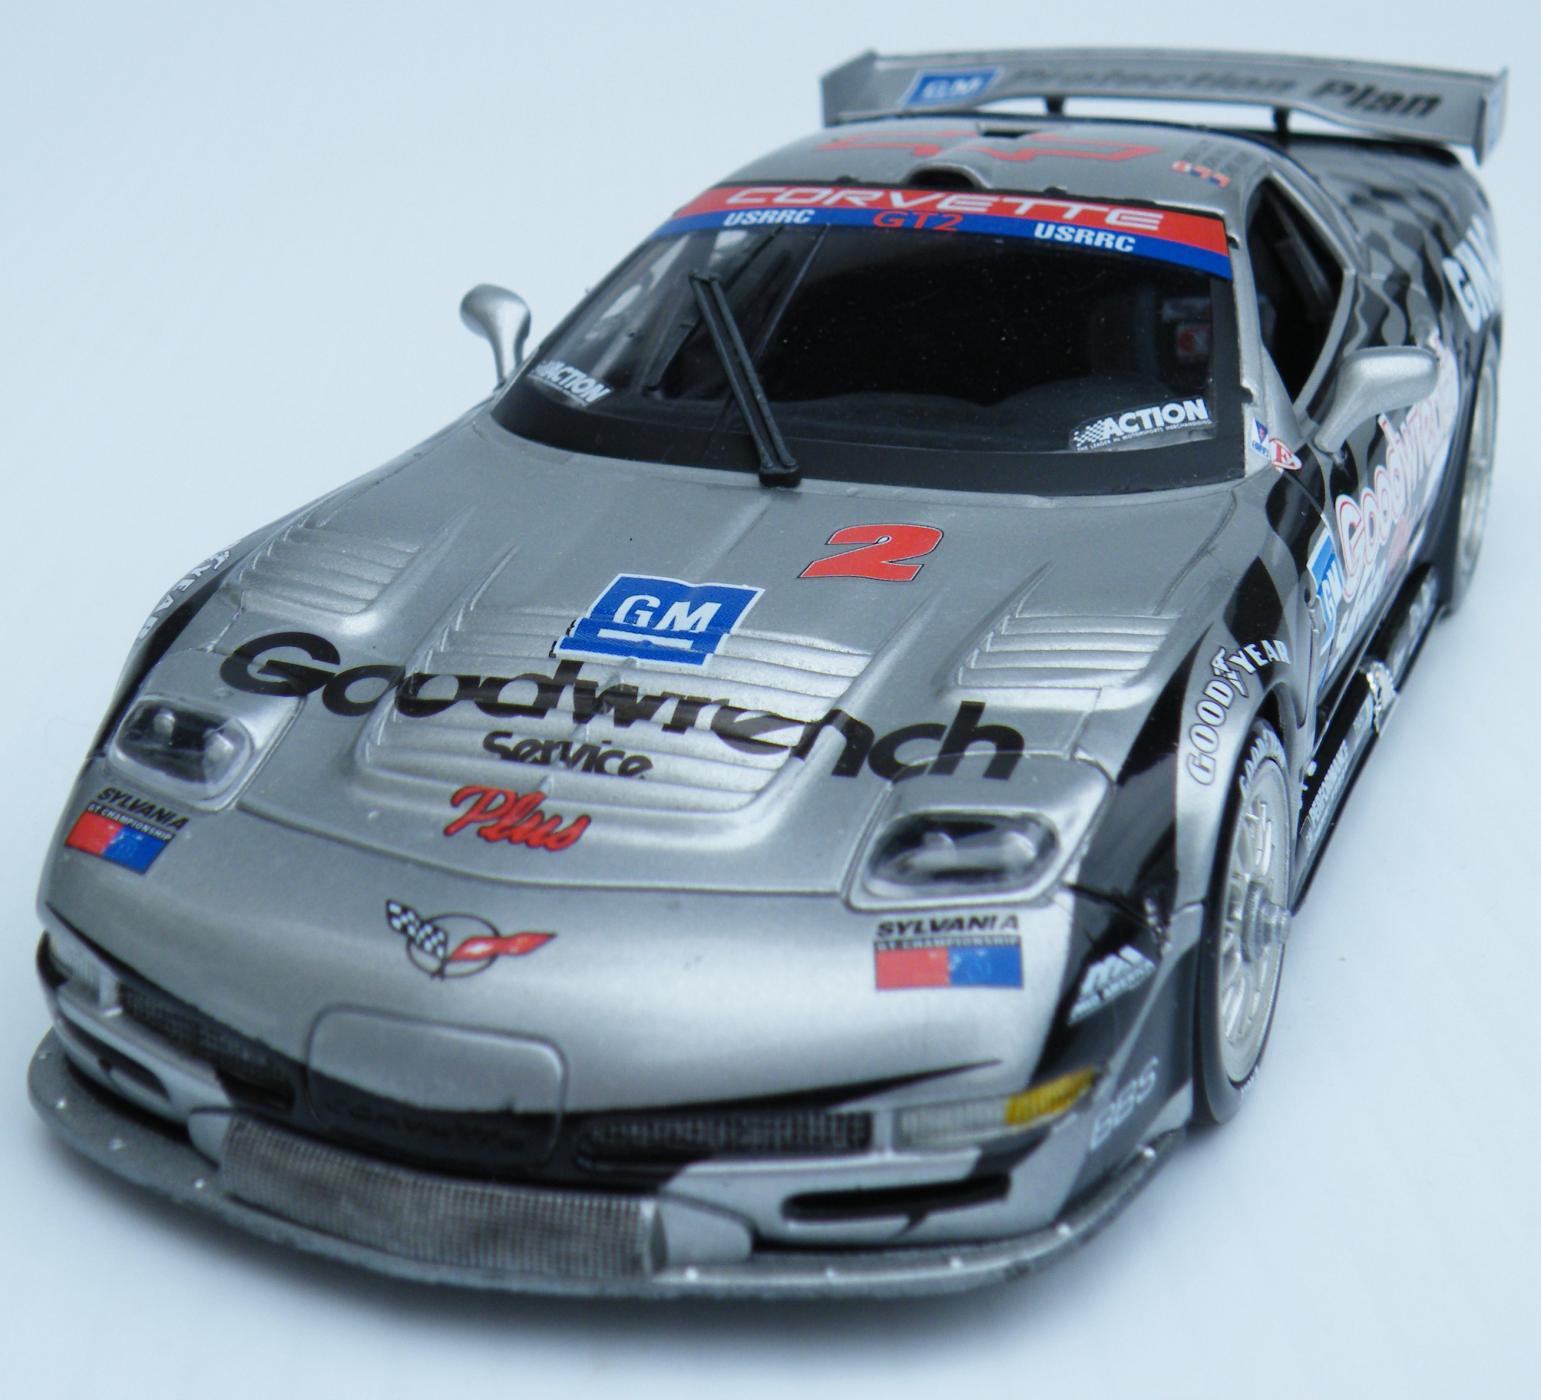
A Rest & Relaxation build of the Daytona 24 C5 Vette. A quick and delightful build as the body was pre-finished by Revell! Comments are invited.... Regards Brain Kroon

-
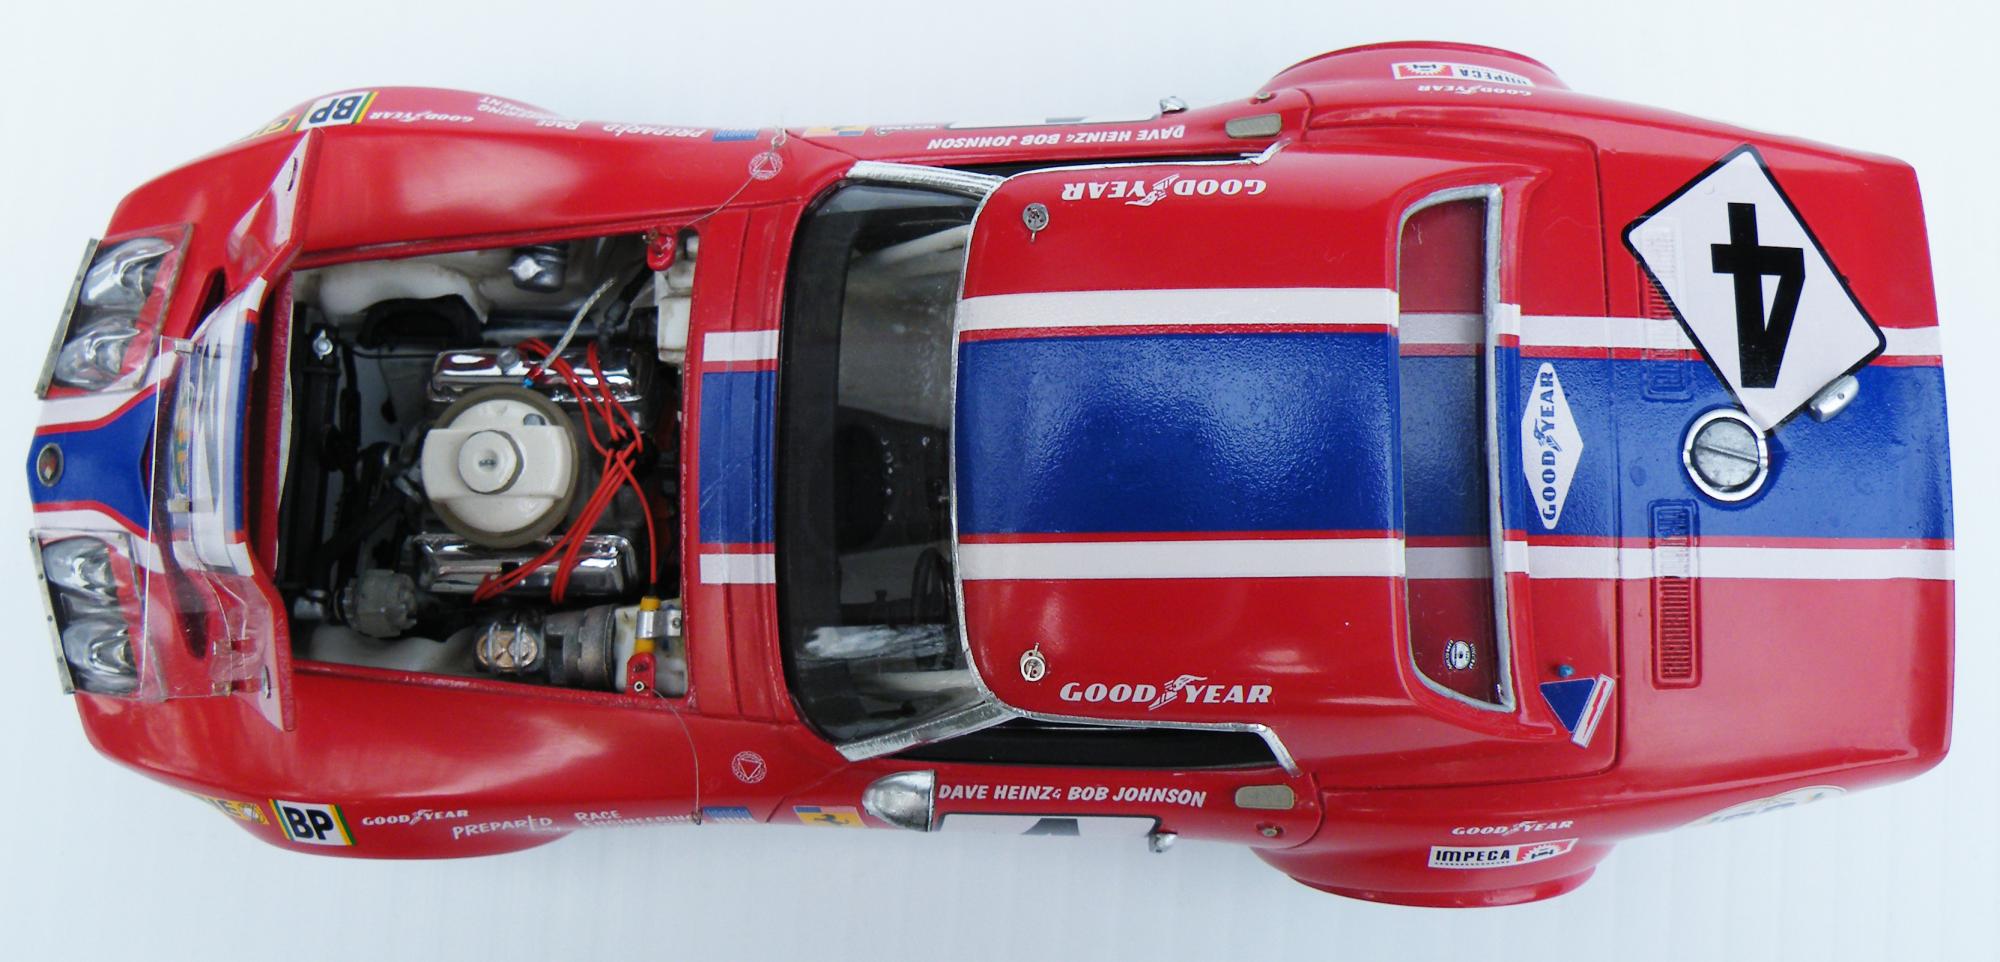
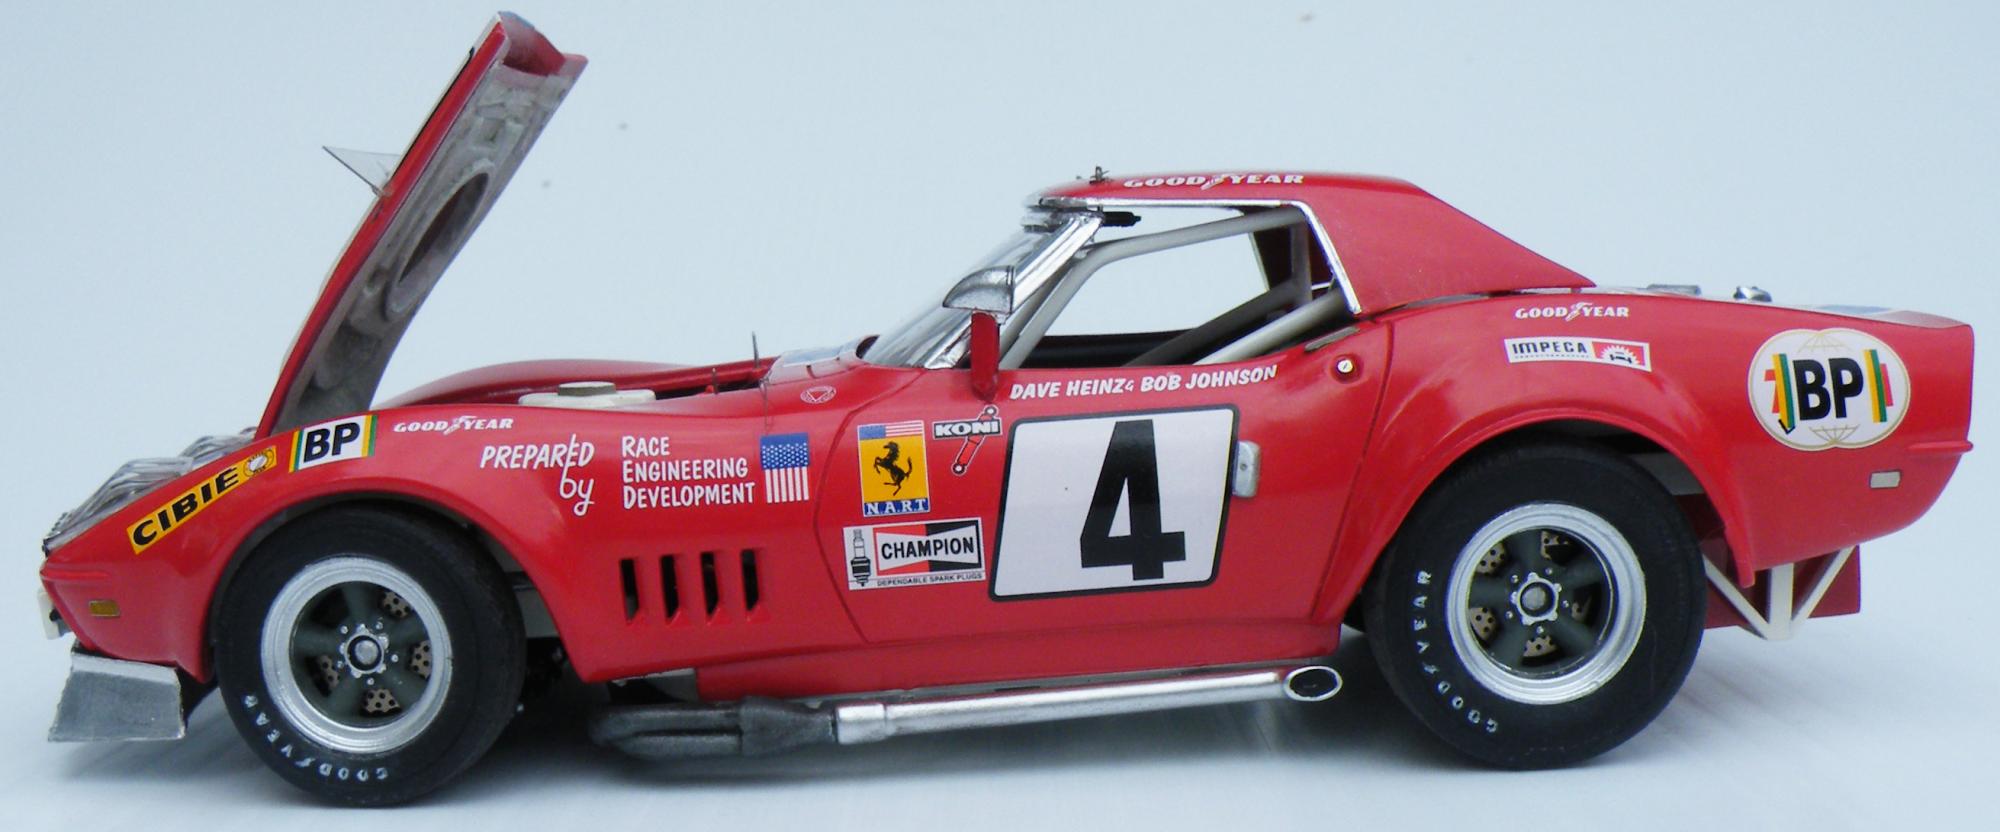
NART Covetter 17 Years research and building, done!
GlueTube replied to GlueTube's topic in Model Cars
Thanks for the kind words Gentlemen, Regards Brian Kroon -
Now thats a Merc Id like to see at the country club! Well done clean build, Sir! Regards Brian
-
Wicked! Regards Brian
-
Inspirational! Regards Brian Kroon
-
I hate that when that happens. You are not alone. I seen putty shrinkage on 1:1 cars! Regards Brian Kroon
-
Great choice for the project Brian, I am following closely with great anticipation. Regards Brian
-
DONE!!! What a slog. See final pics at "Under Glass" Thanks for following! Regards Brian
-
NART Covetter 17 Years research and building, done!
GlueTube replied to GlueTube's topic in Model Cars
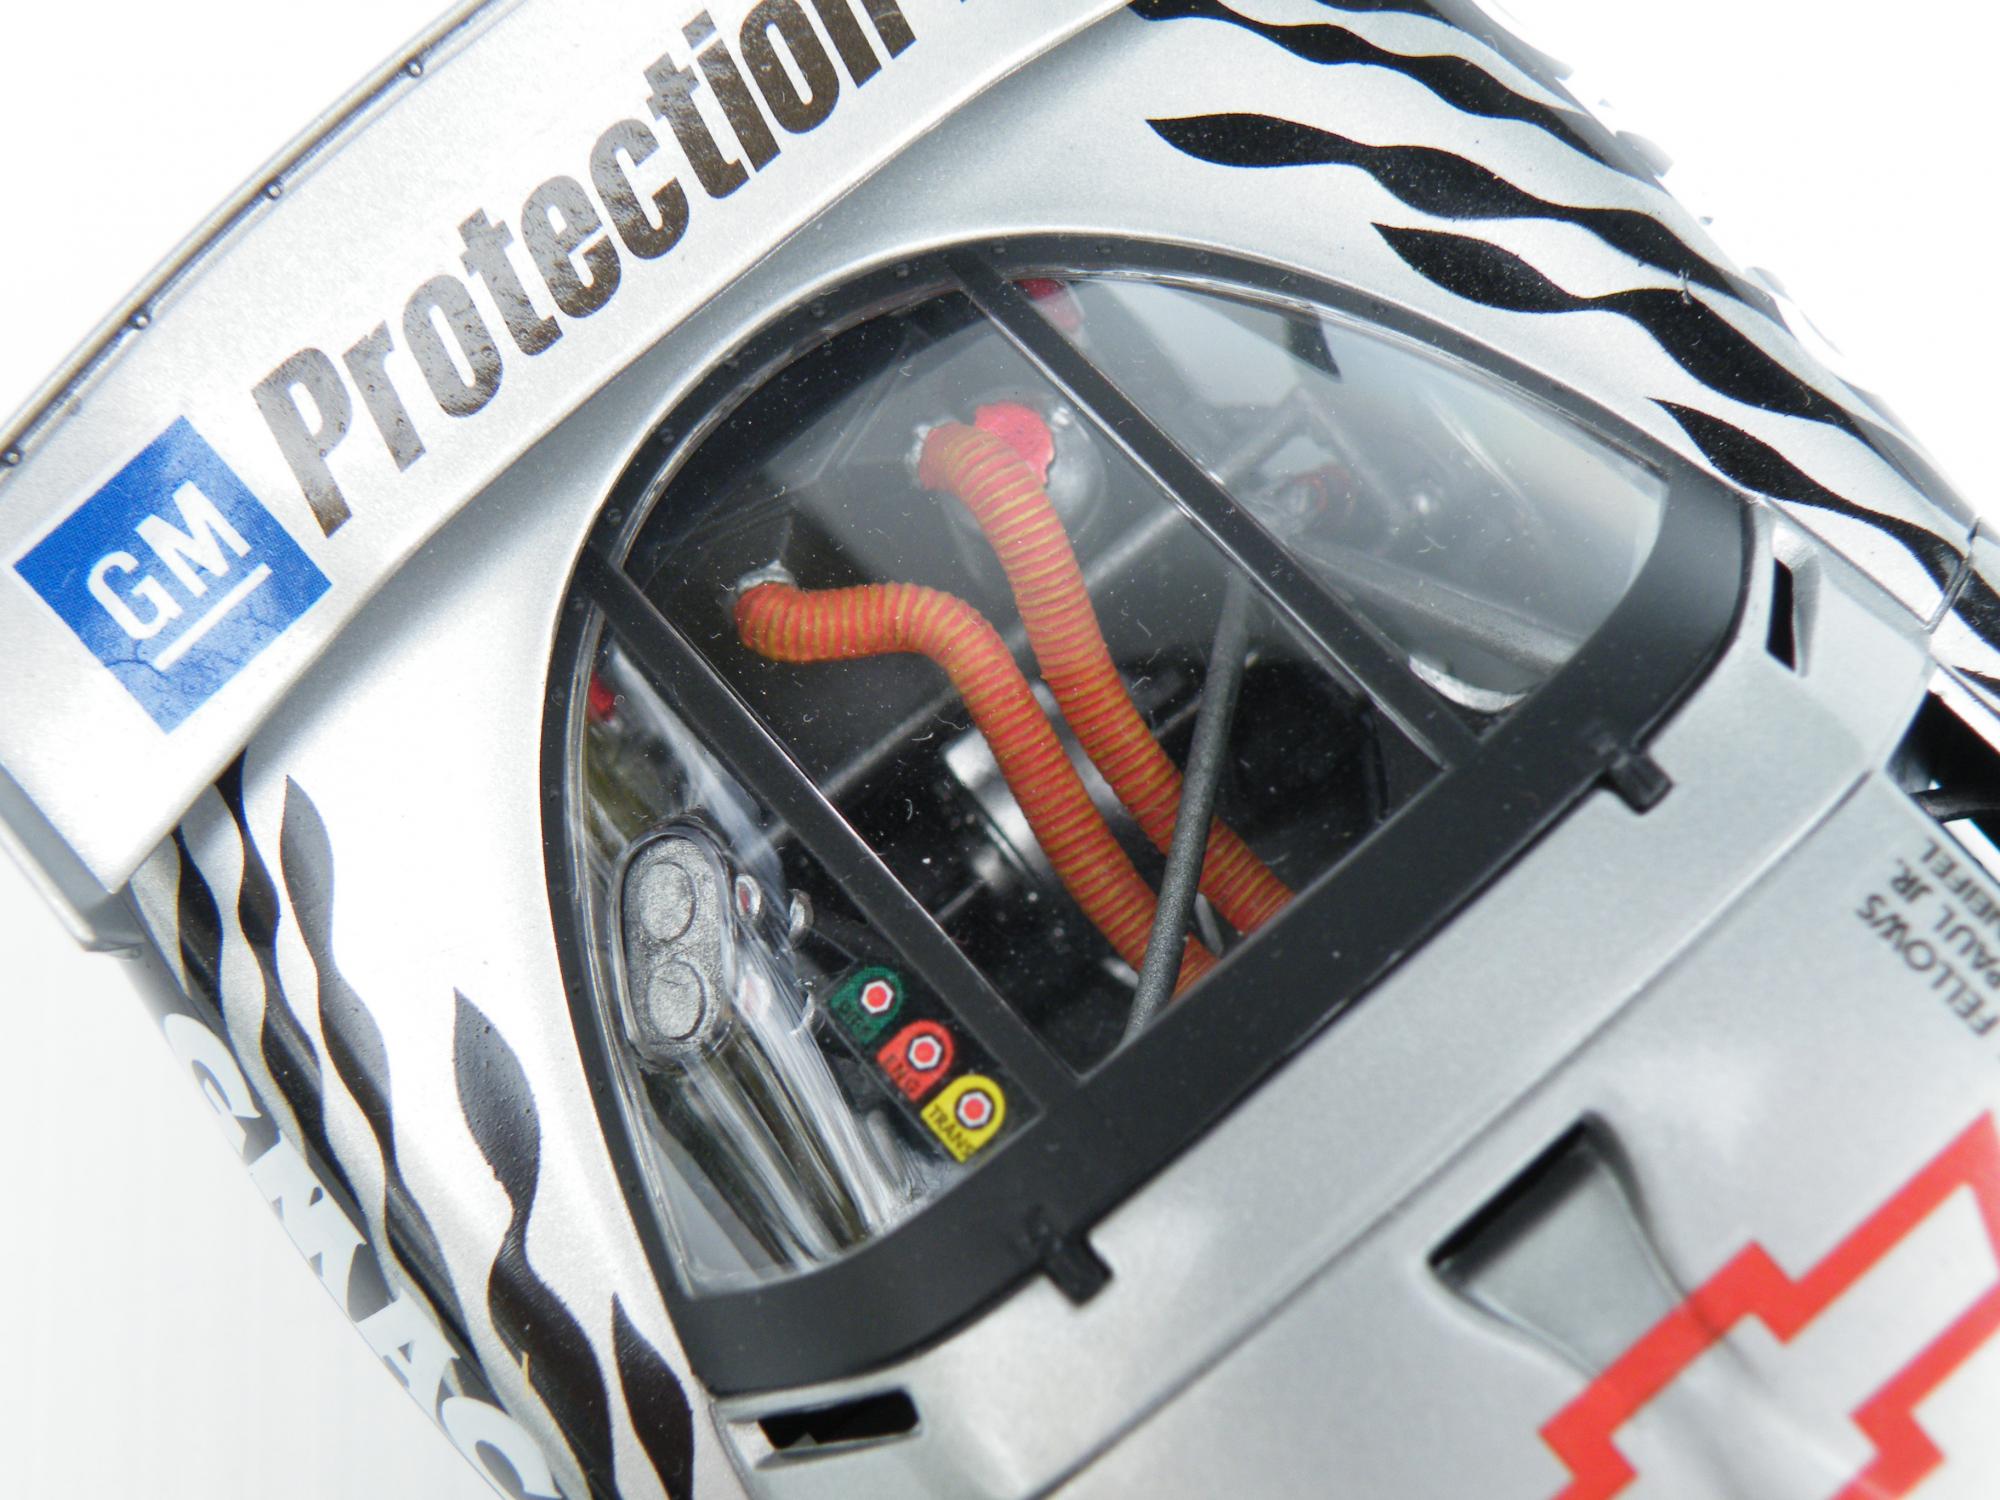
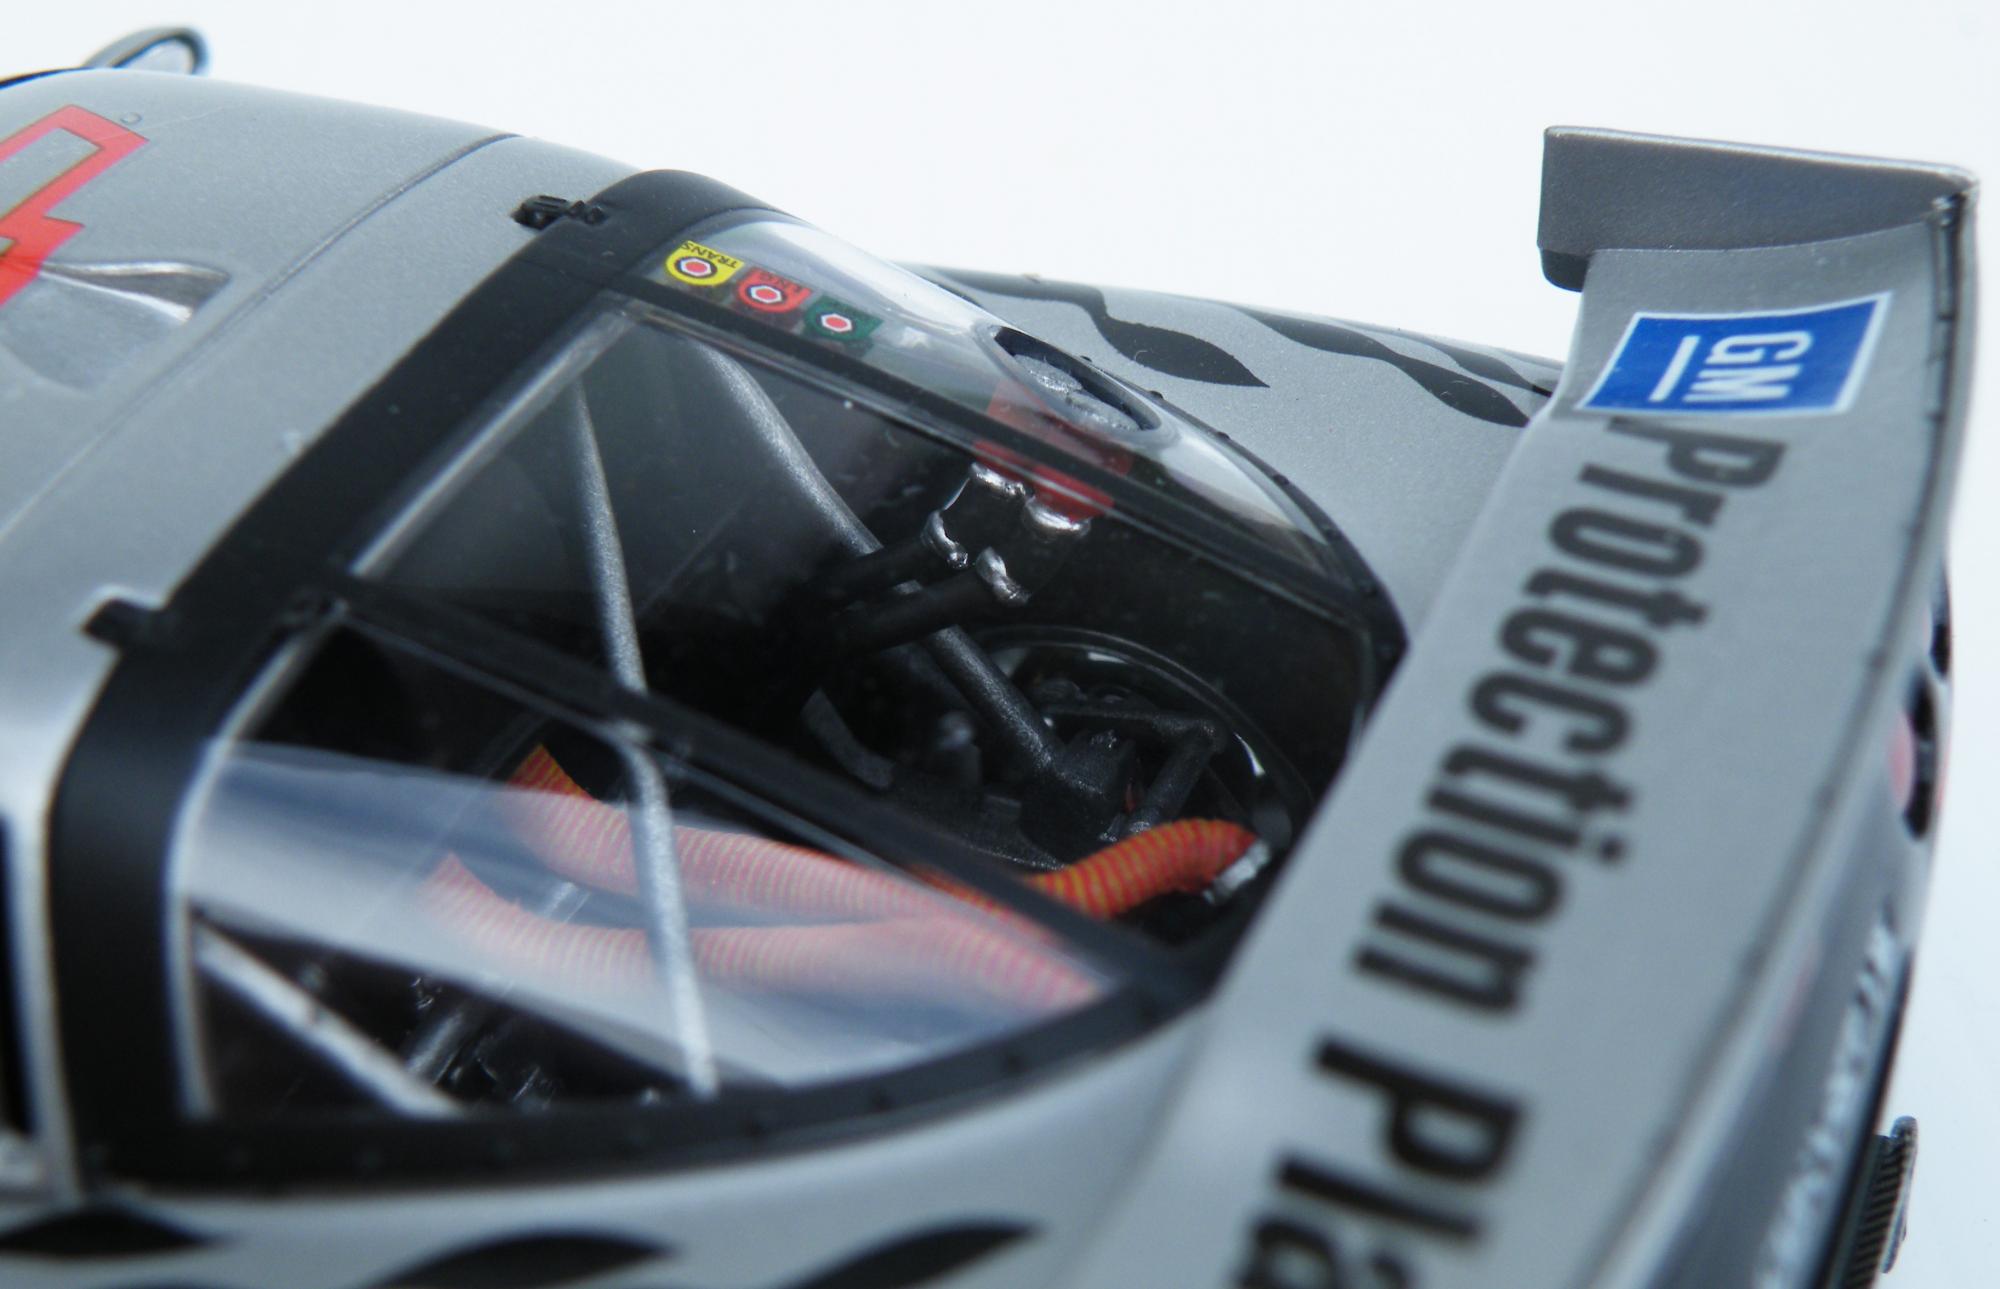
A few more shots, If I may.......
-
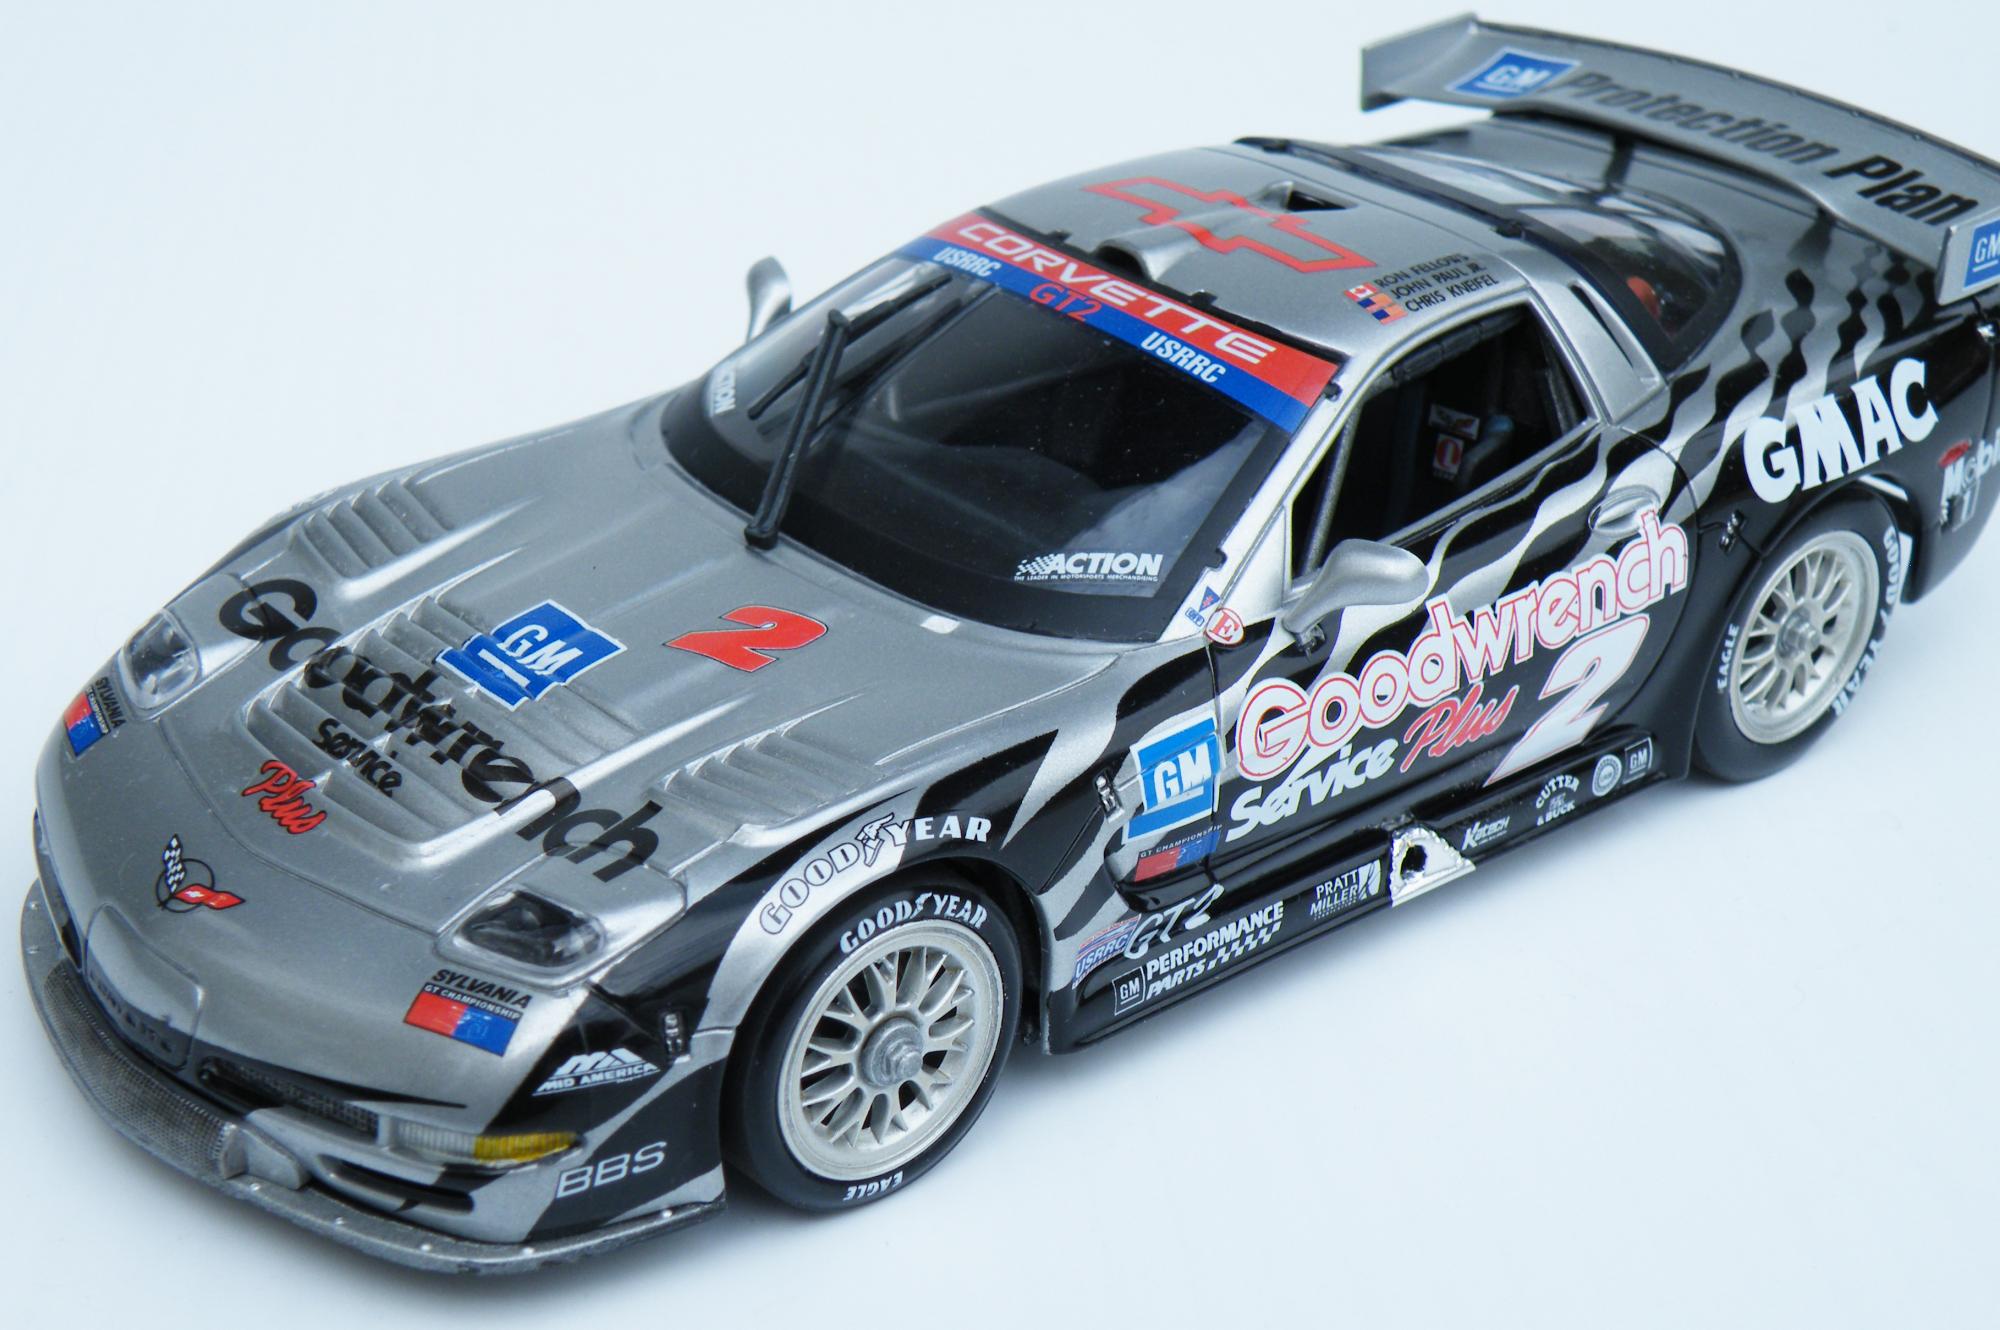
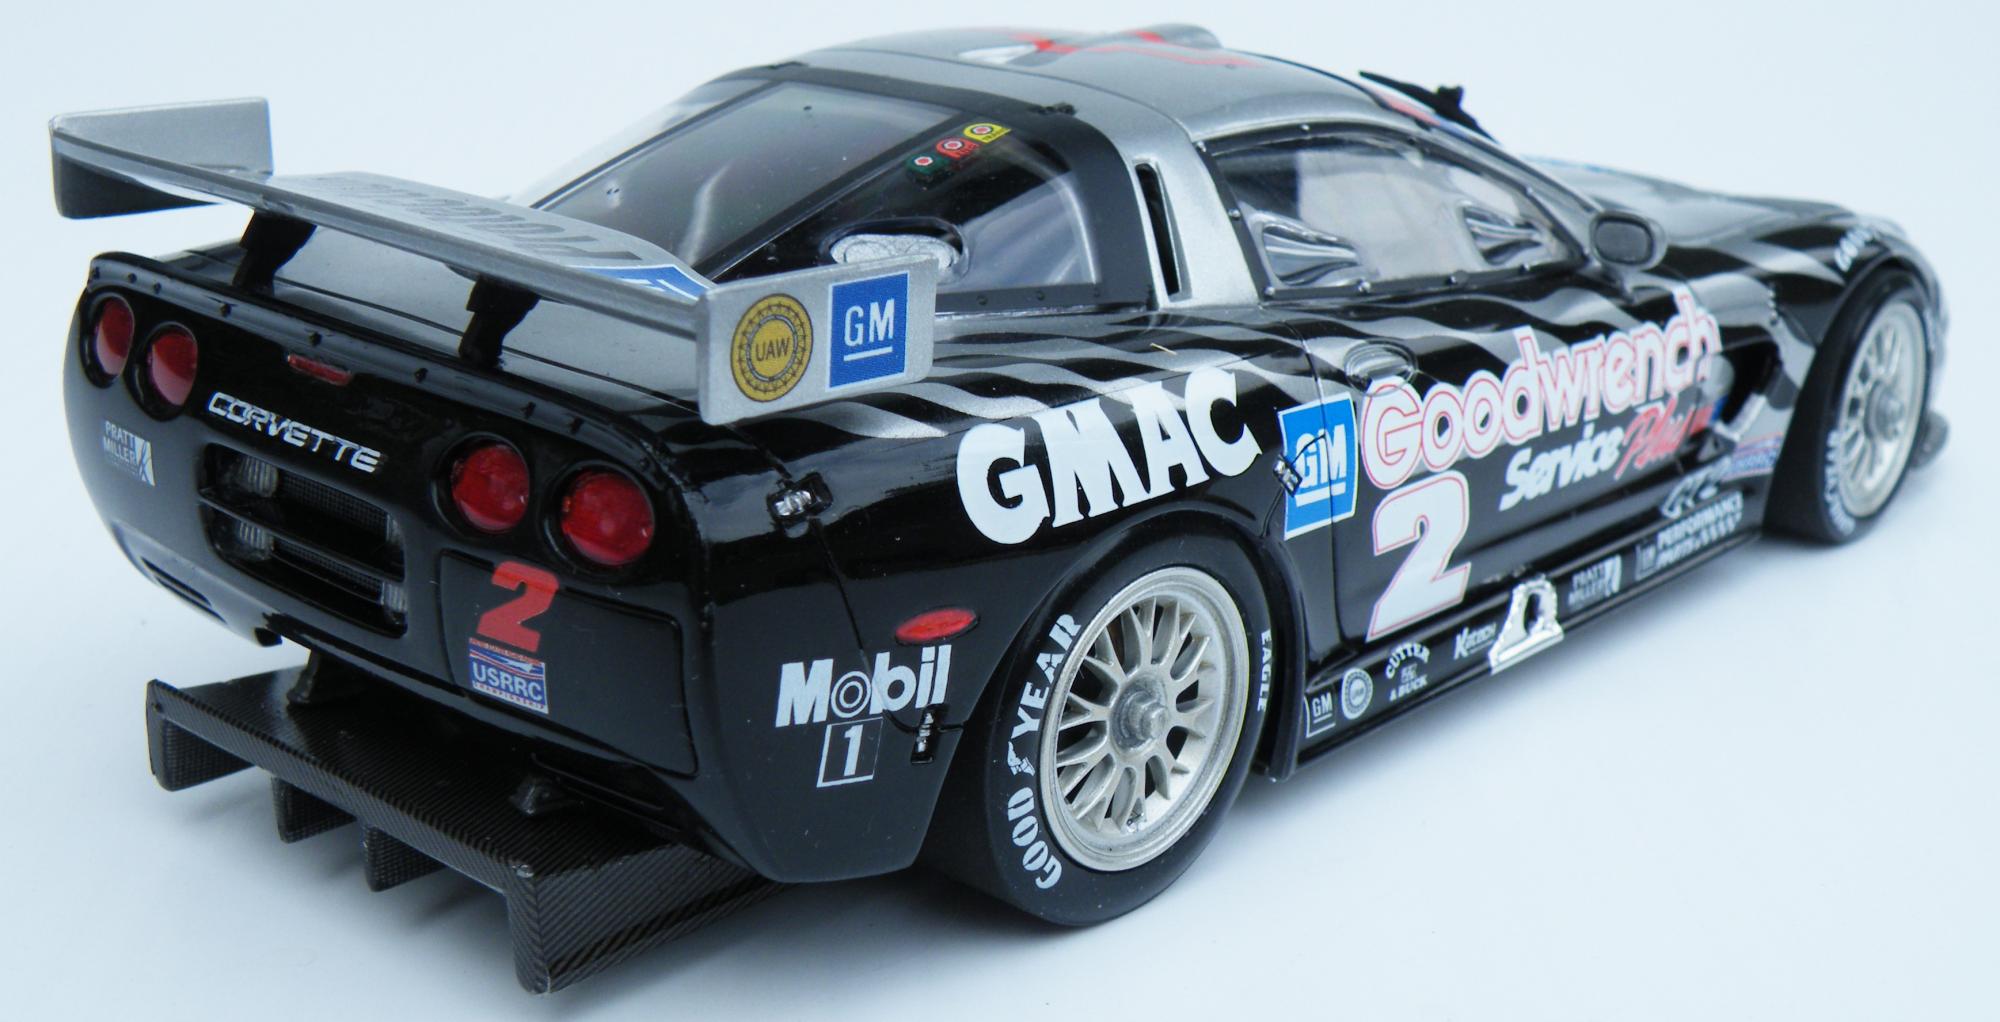
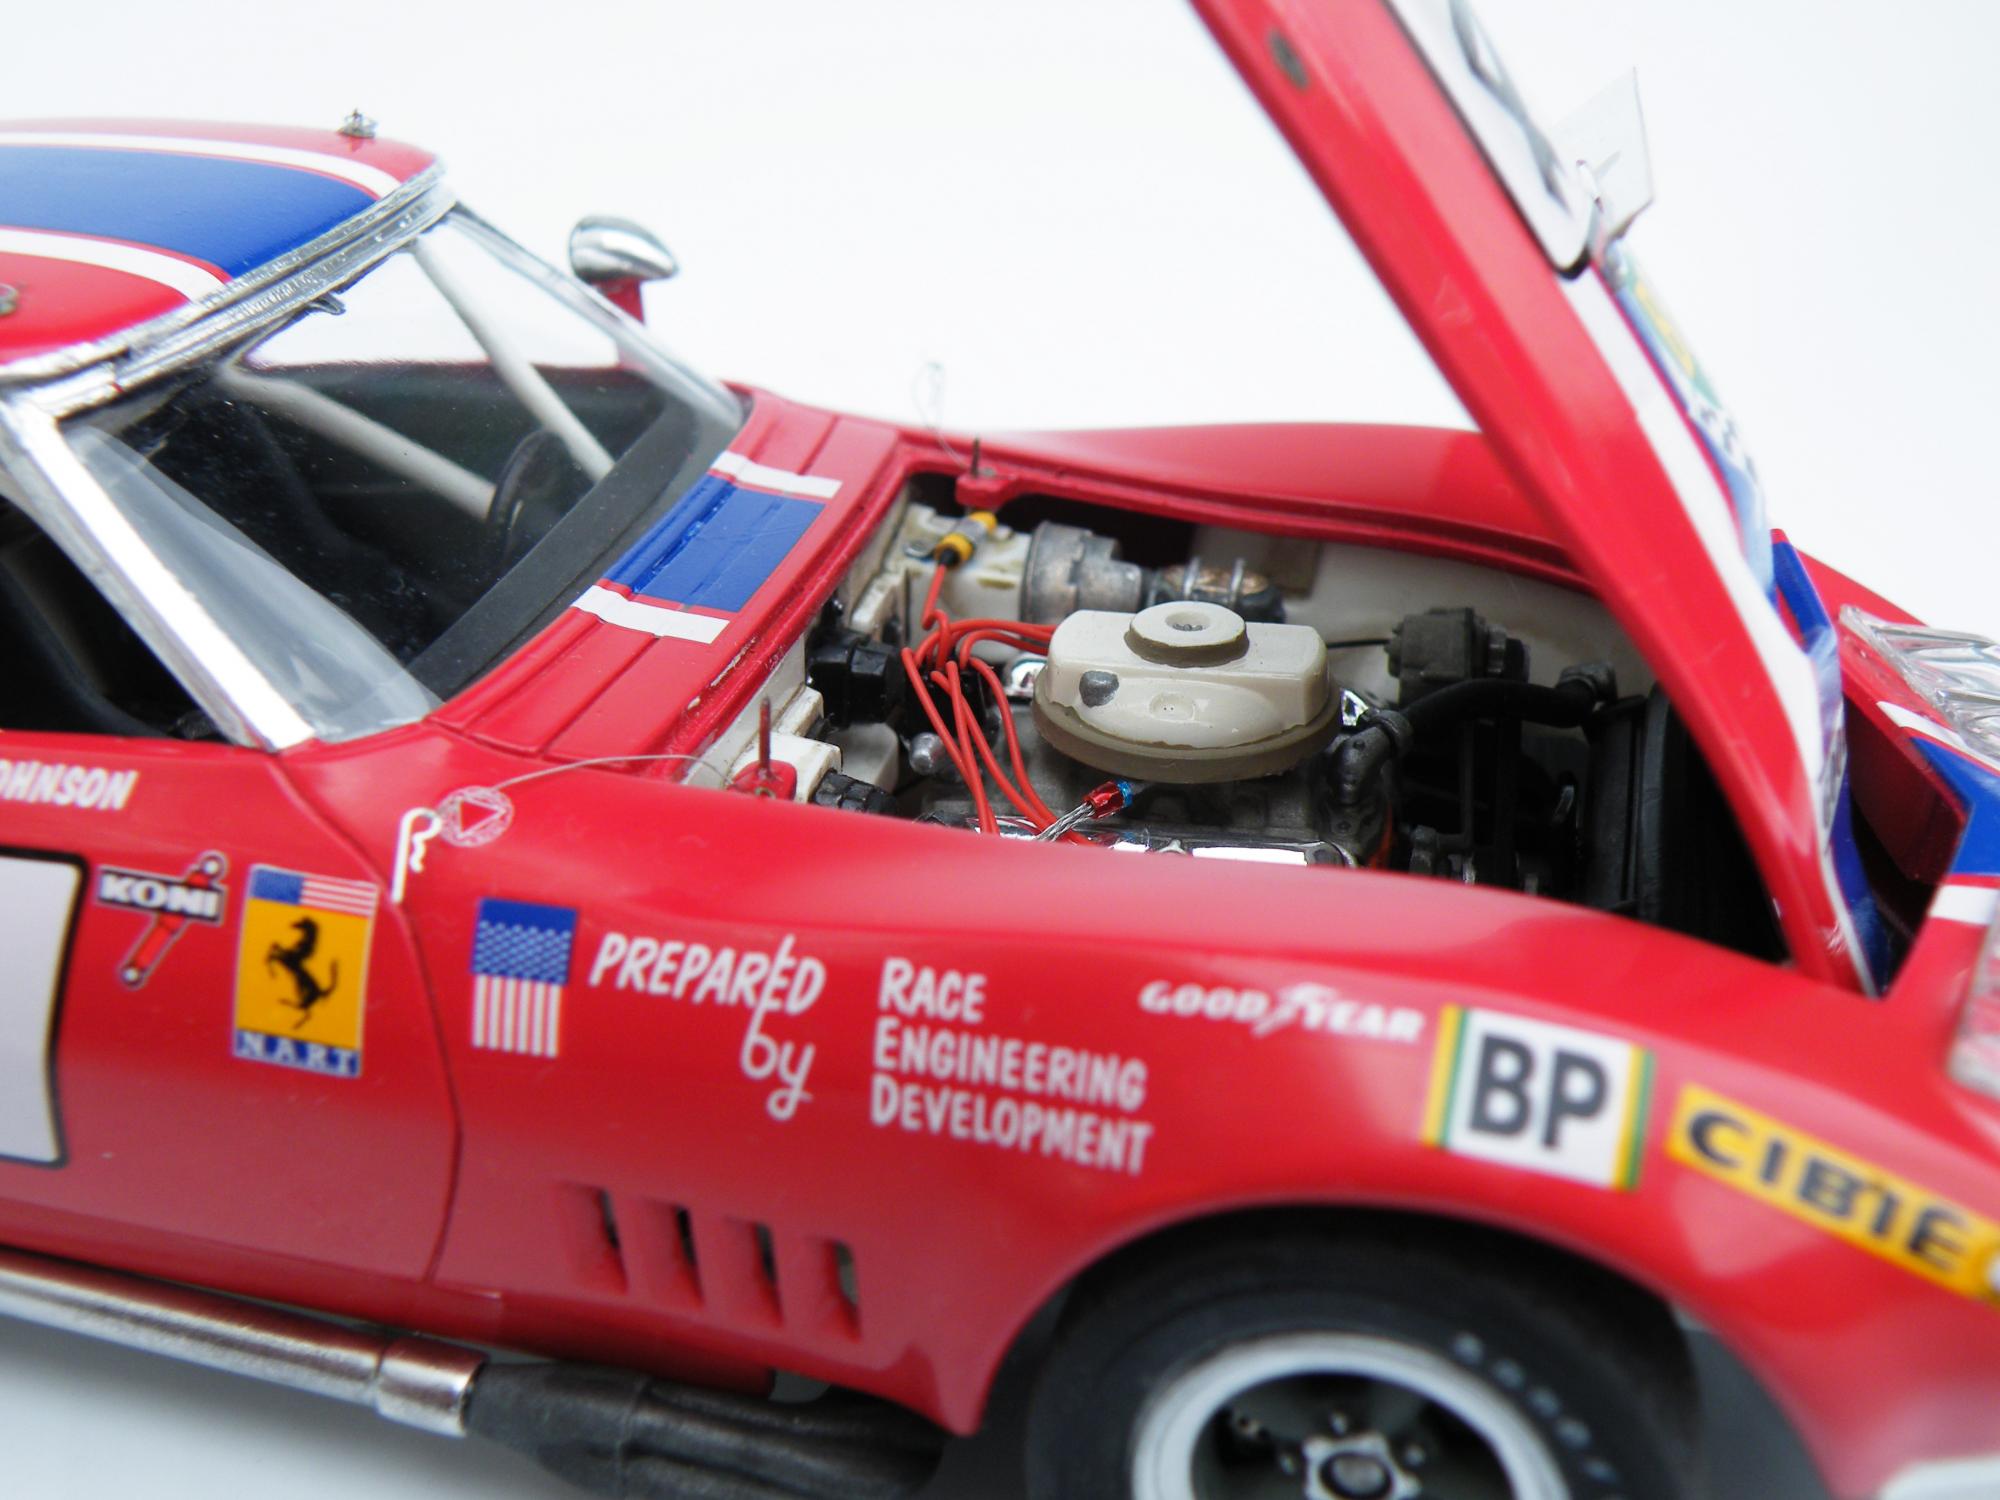
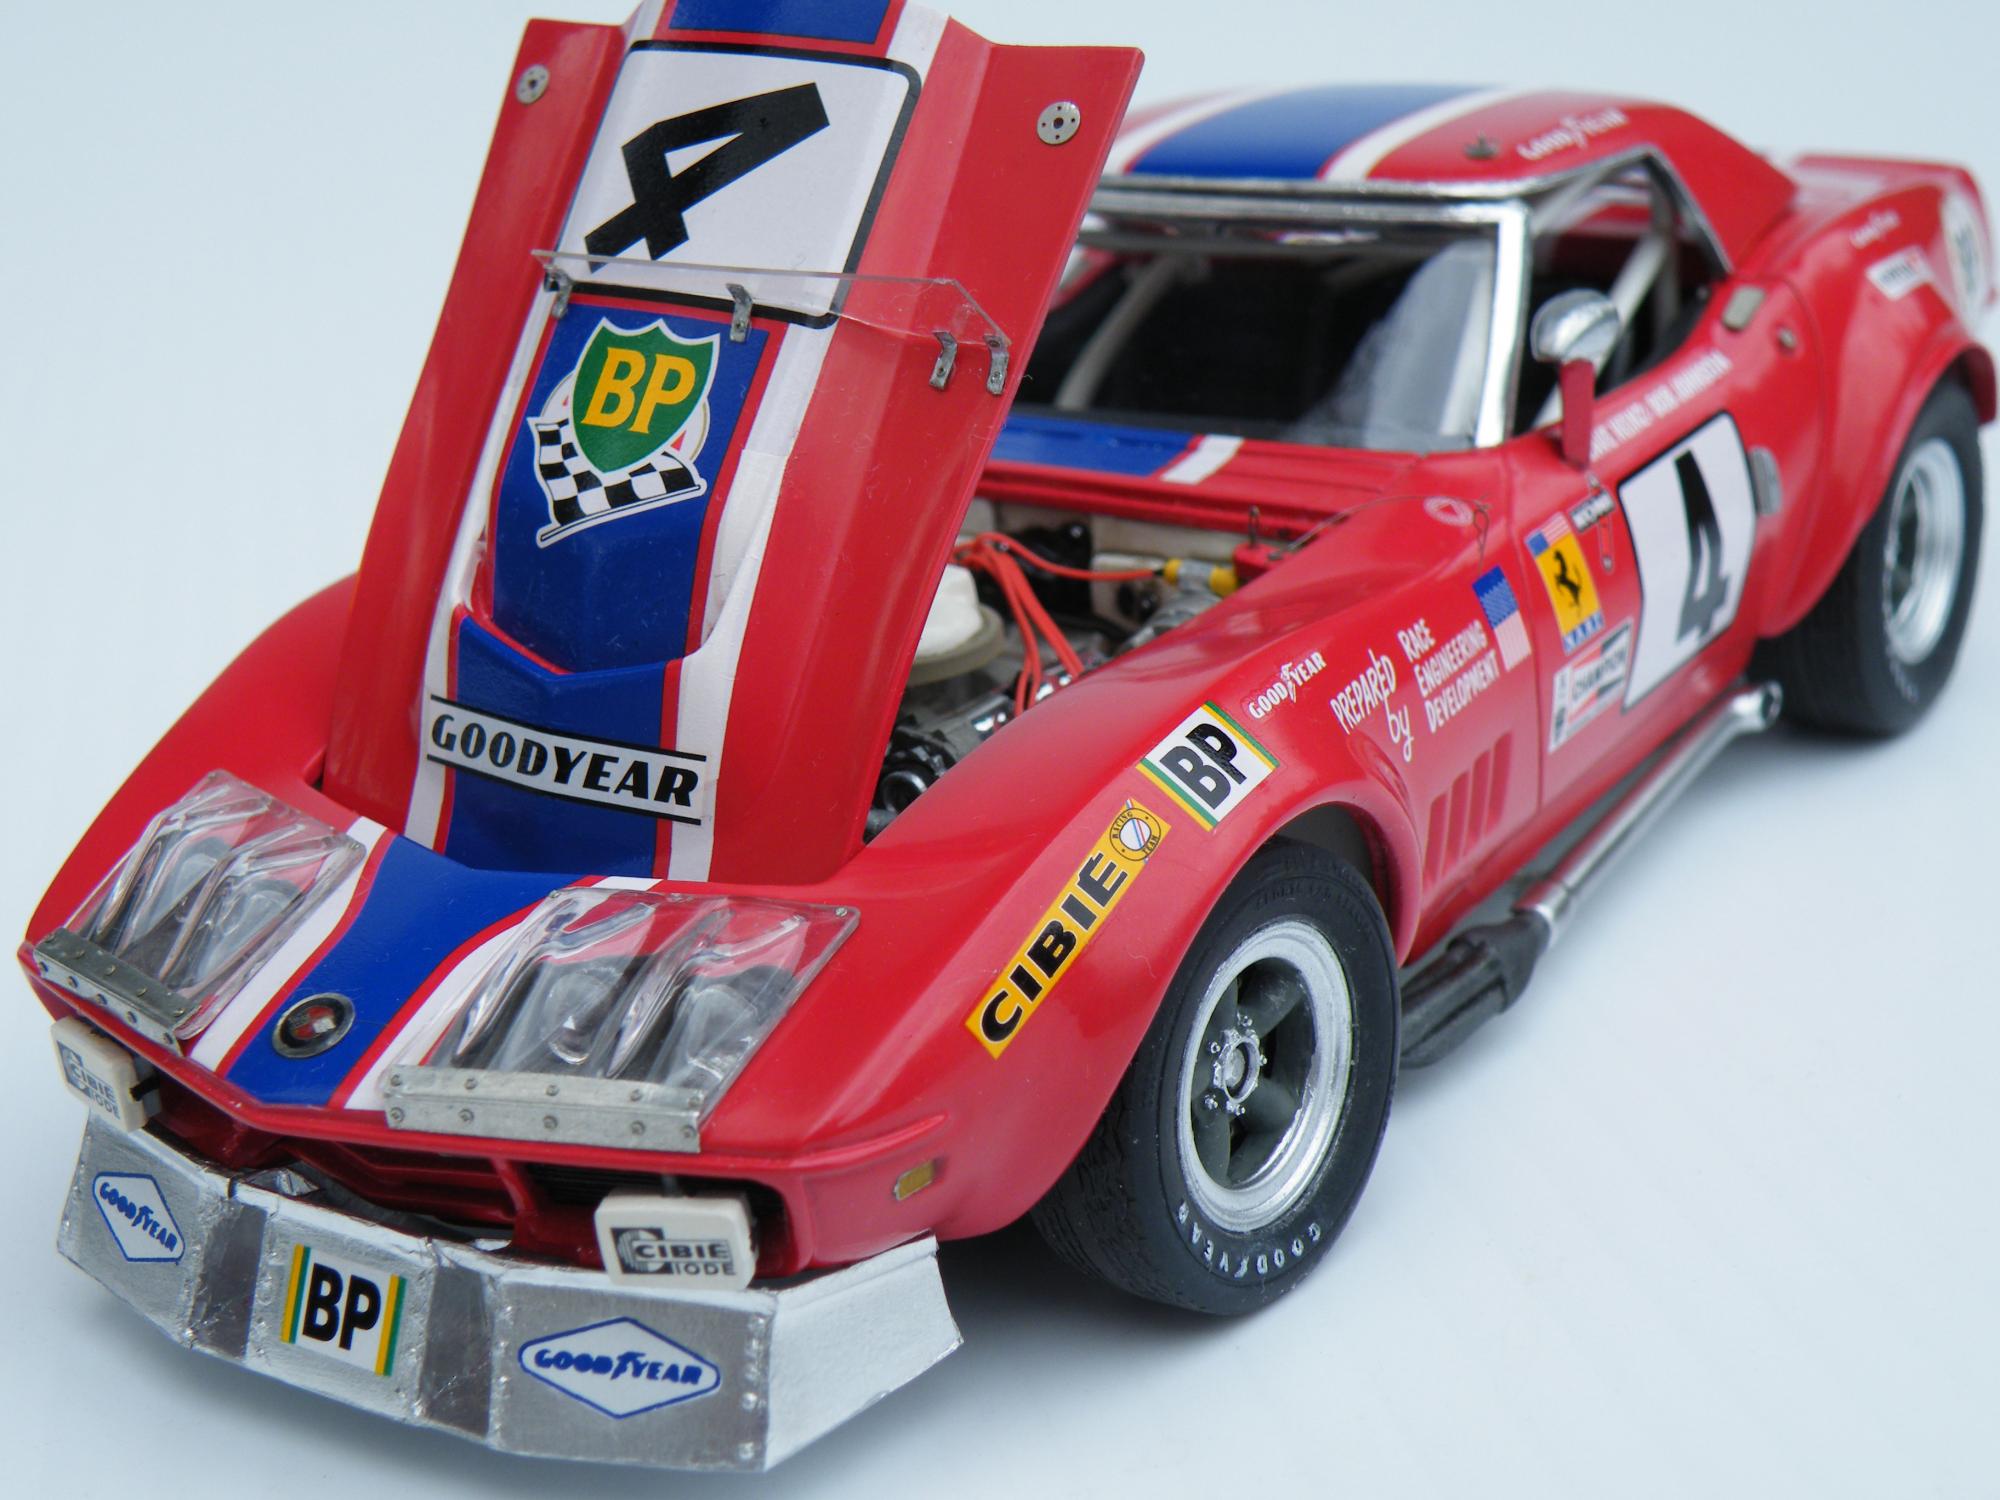
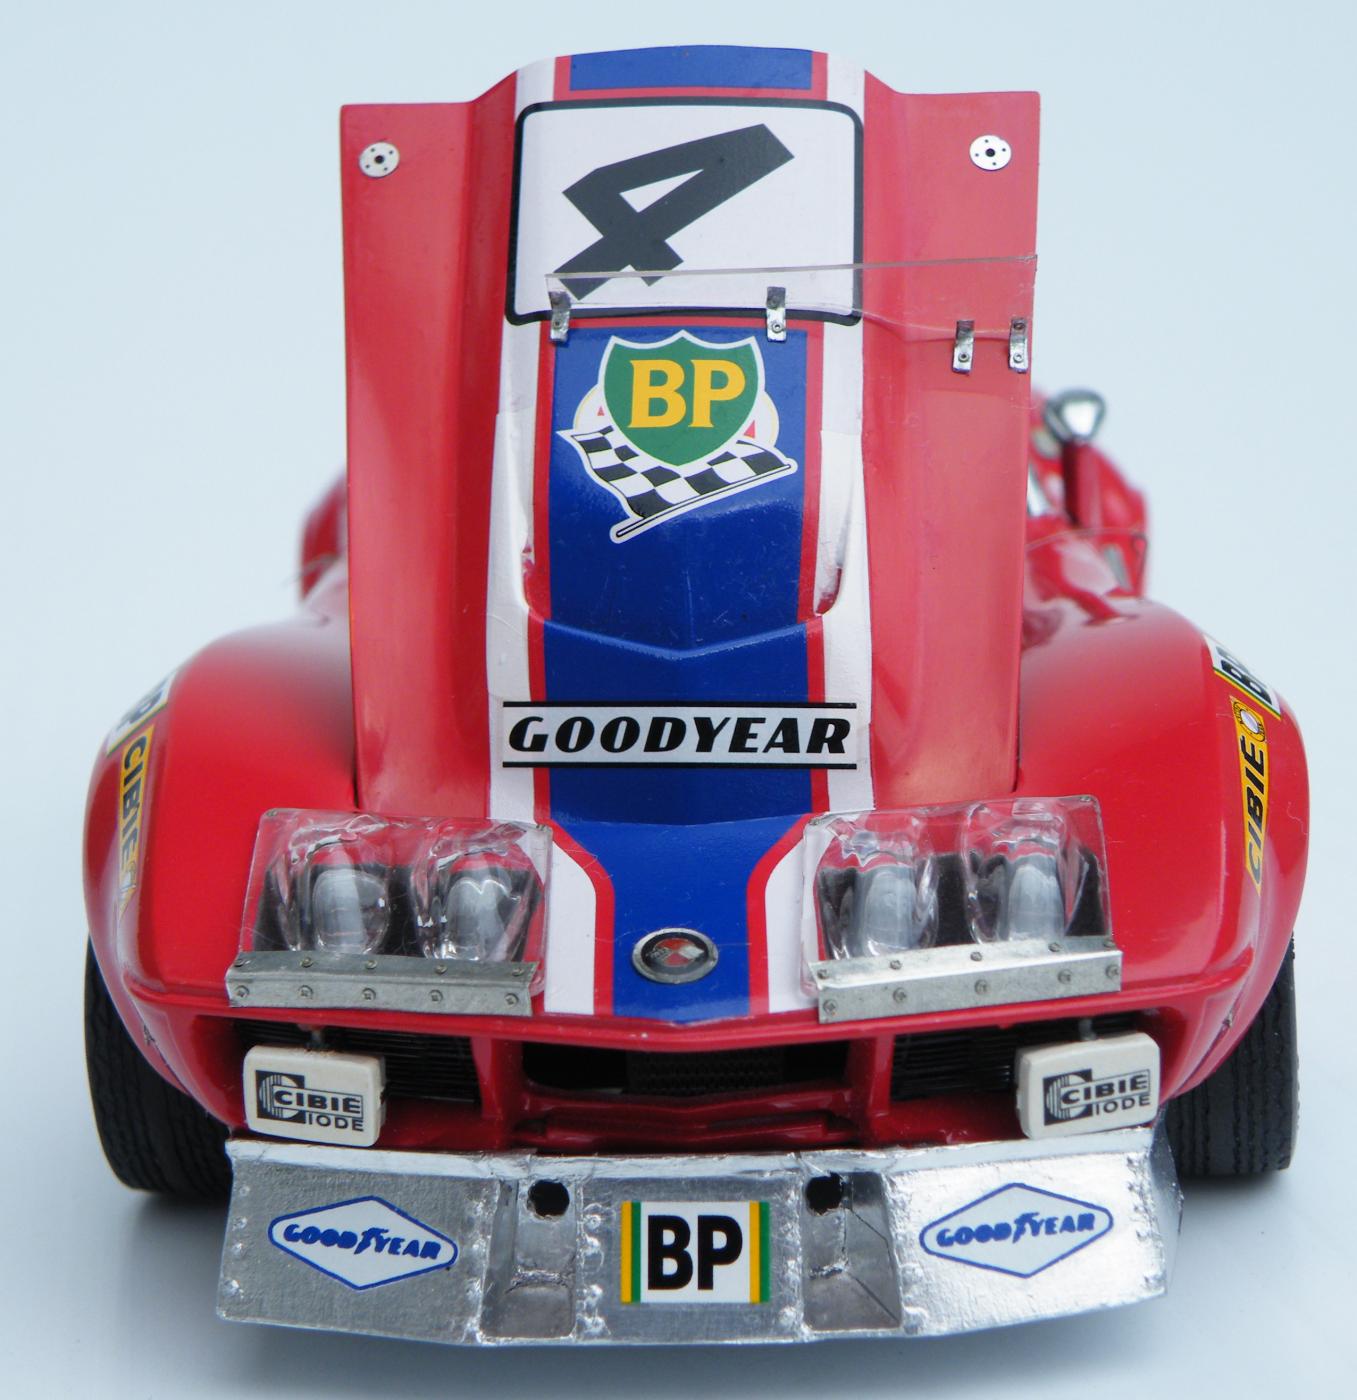
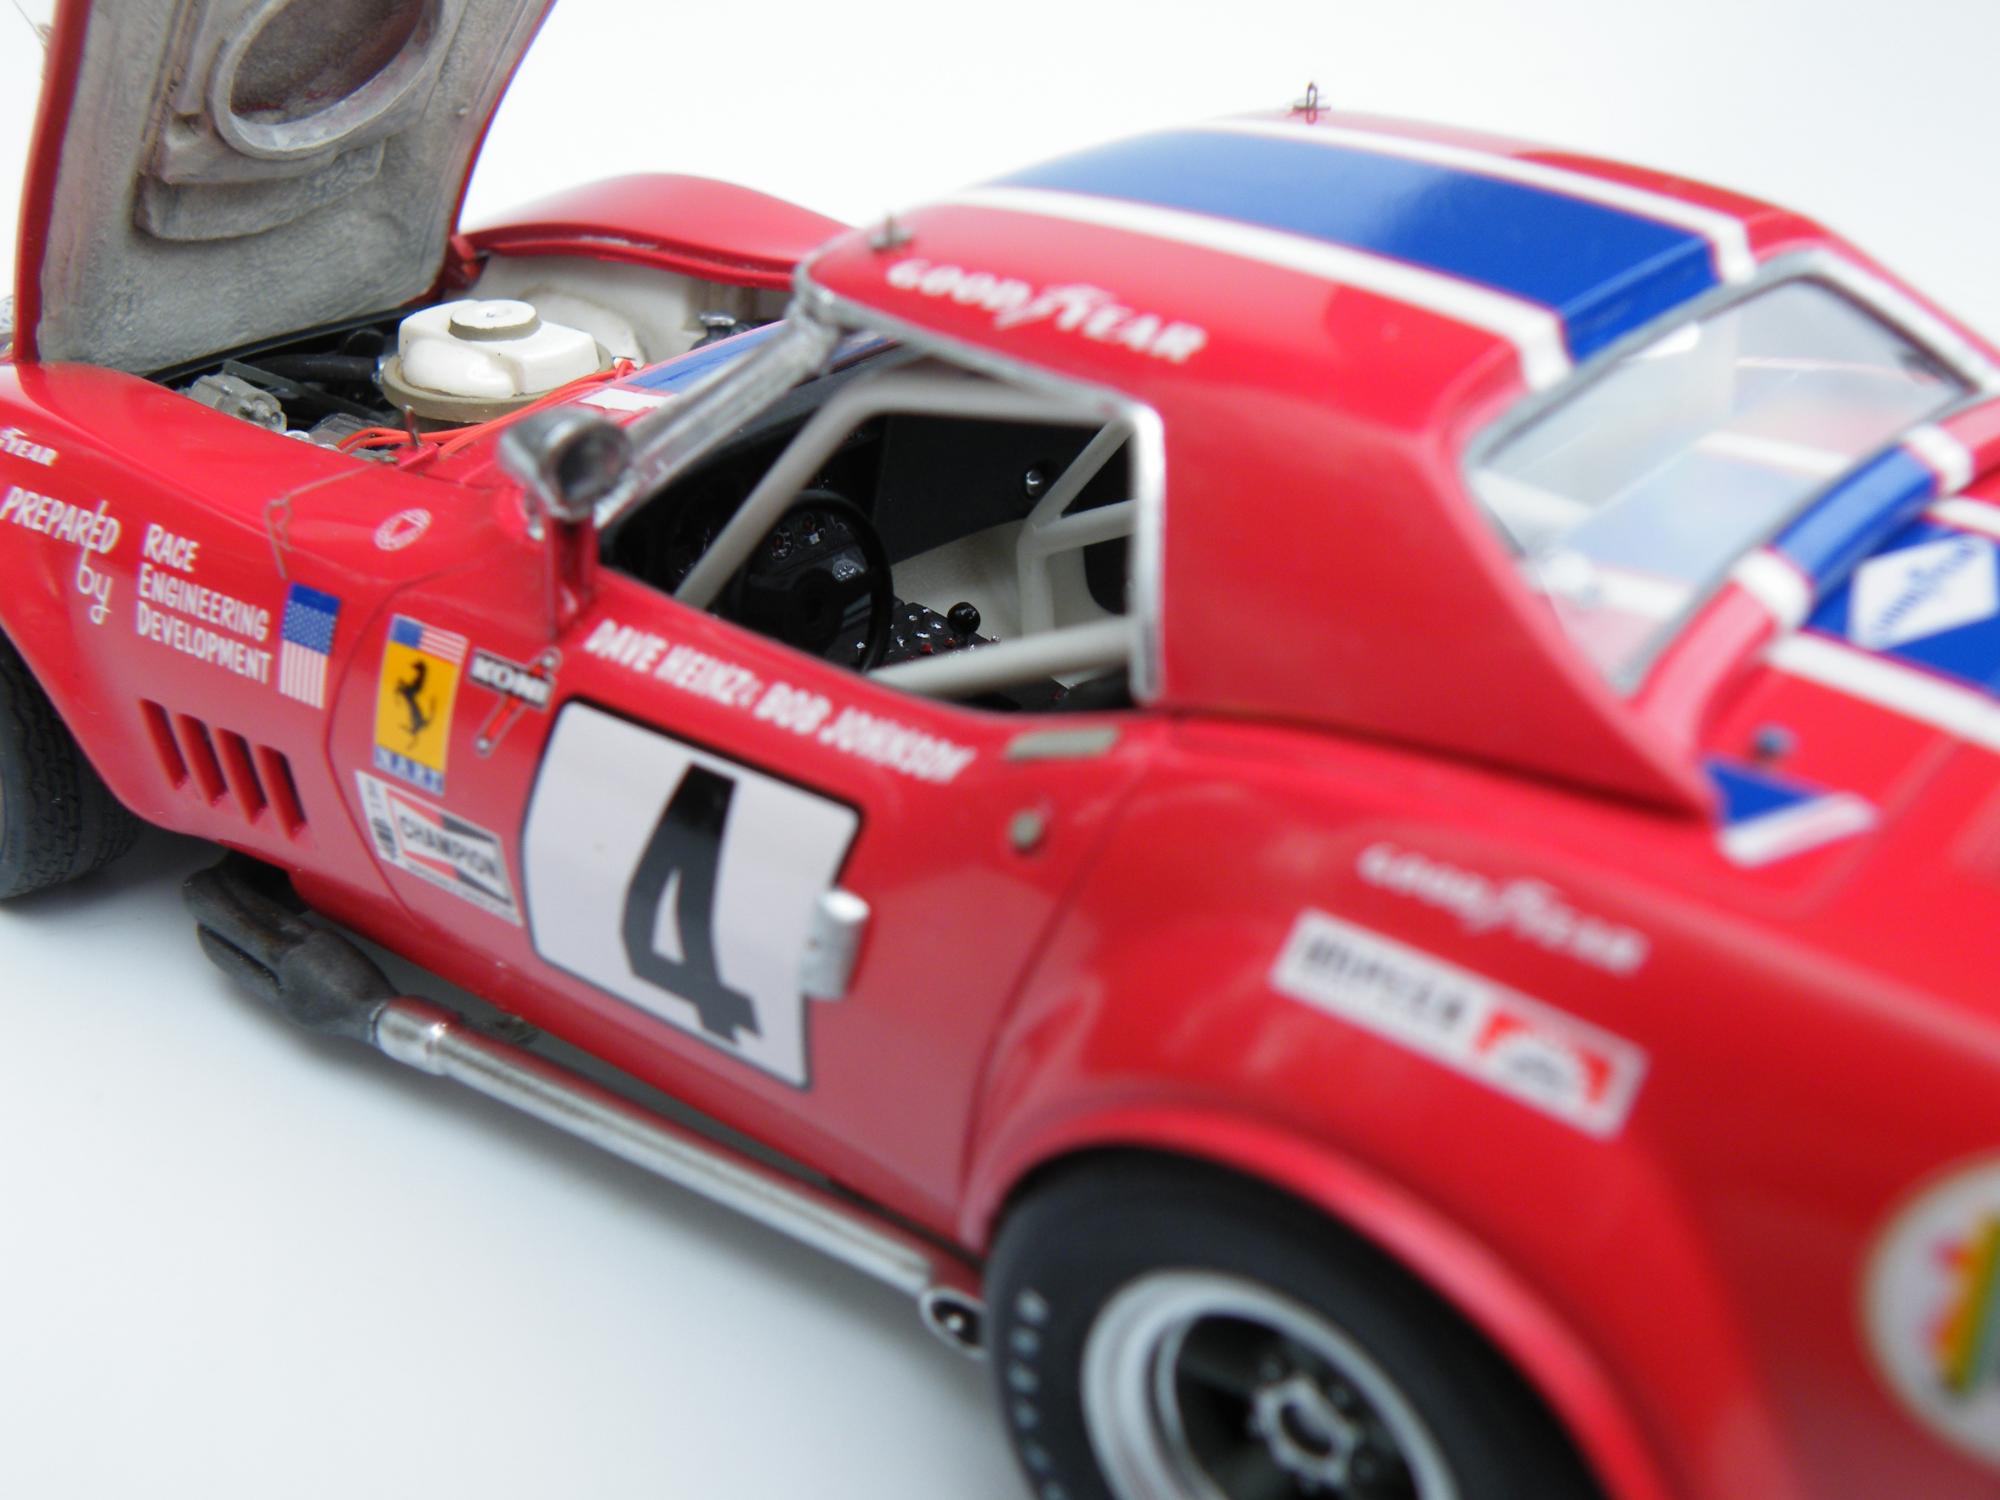
After 17 years of research, finding suitable kits, bits and decals my NART Corvette is finally done. Thoughts and comments are welcome! Regards Brian Kroon
-
Luv the paint work. Regards Brian Kroon
-
Looks like you've nailed it! Very ambitious.....impressive. Regards Brian Kroon
-
With the doors open it makes me want to jump in and go! Regards Brian
-
Ok Mitch, I now get what you are driving at. I wrestled with the same issue until the reality of making the "bumps" fit over my headlamps came into play. So I just fit them so they would work and clear the headlamps. (which are almost 5 scale inches in diameter) Visually I really didn't think it mattered as they looked good either way! Regards Brian
-
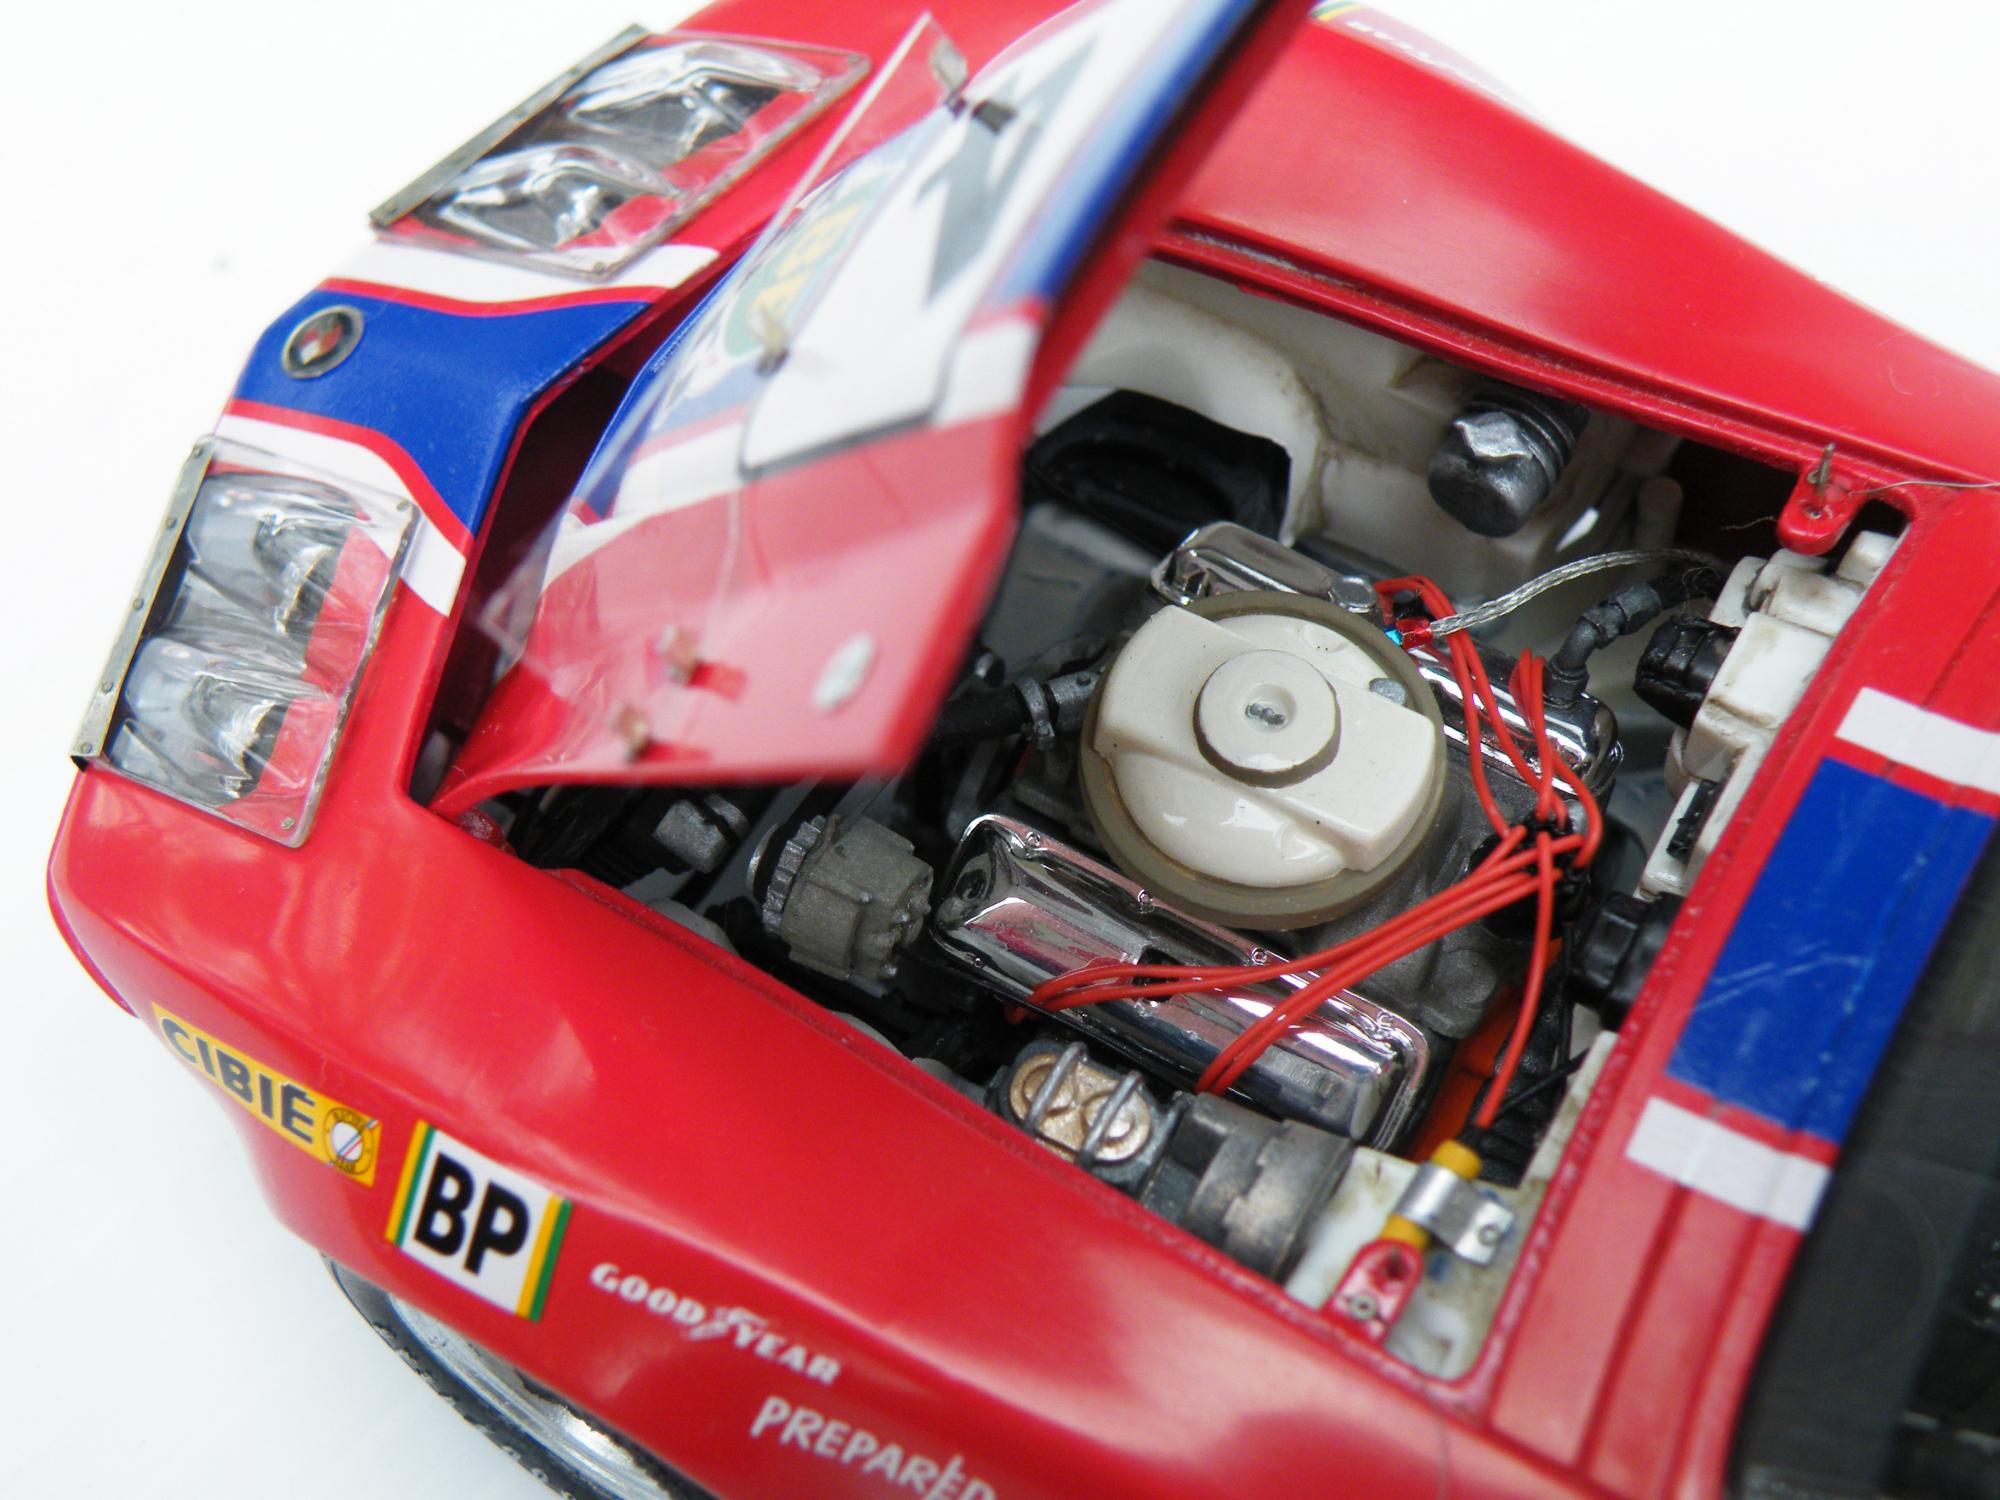
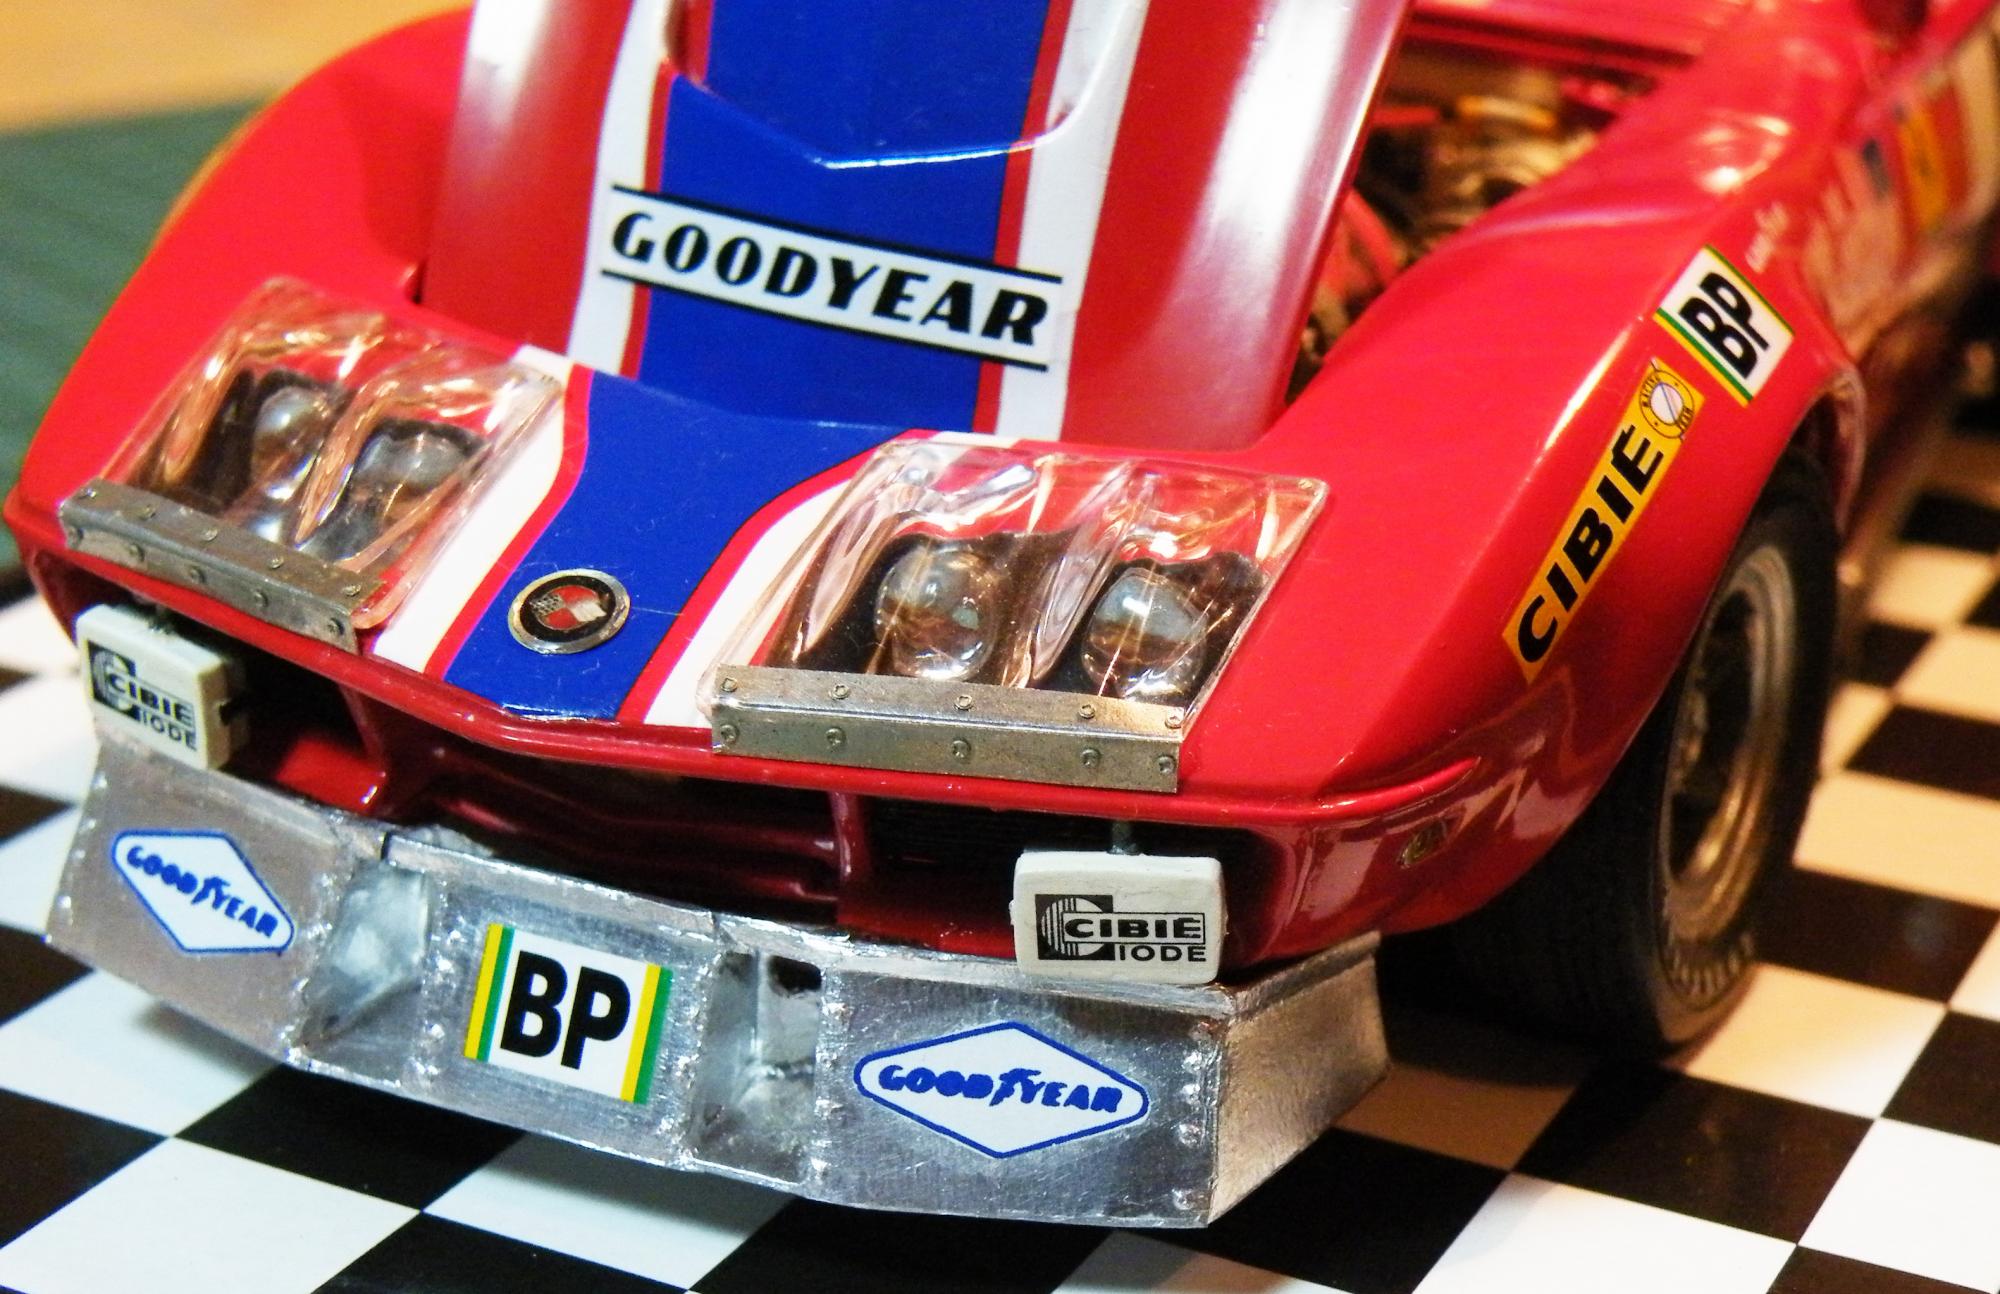
Thanks for the kind words guys. Brian and Ed, the rivets come from Model Car Garage photo etch. I think one of the things I dislike about the BMF covered spoiler is that I covered the rivets, rather than leave then exposed as I did on the headlamp cover hinges and tops of the number panel lamps. Mitch, the headlamp covers, "Greenwood Bumps" came from the Greenwood Corvette kit. The actual NART car mounted them as per I have done with hinges in the front and screws in the rear. I wish they were vacuum formed from thin sheet stock, rather than injection molded, for a more realistic look. Regards Brian Kroon
-
Very inspiring! I do hope Tamiya re-releases the kit in the same livery as yours.. Good work. Regards Brian Kroon
-
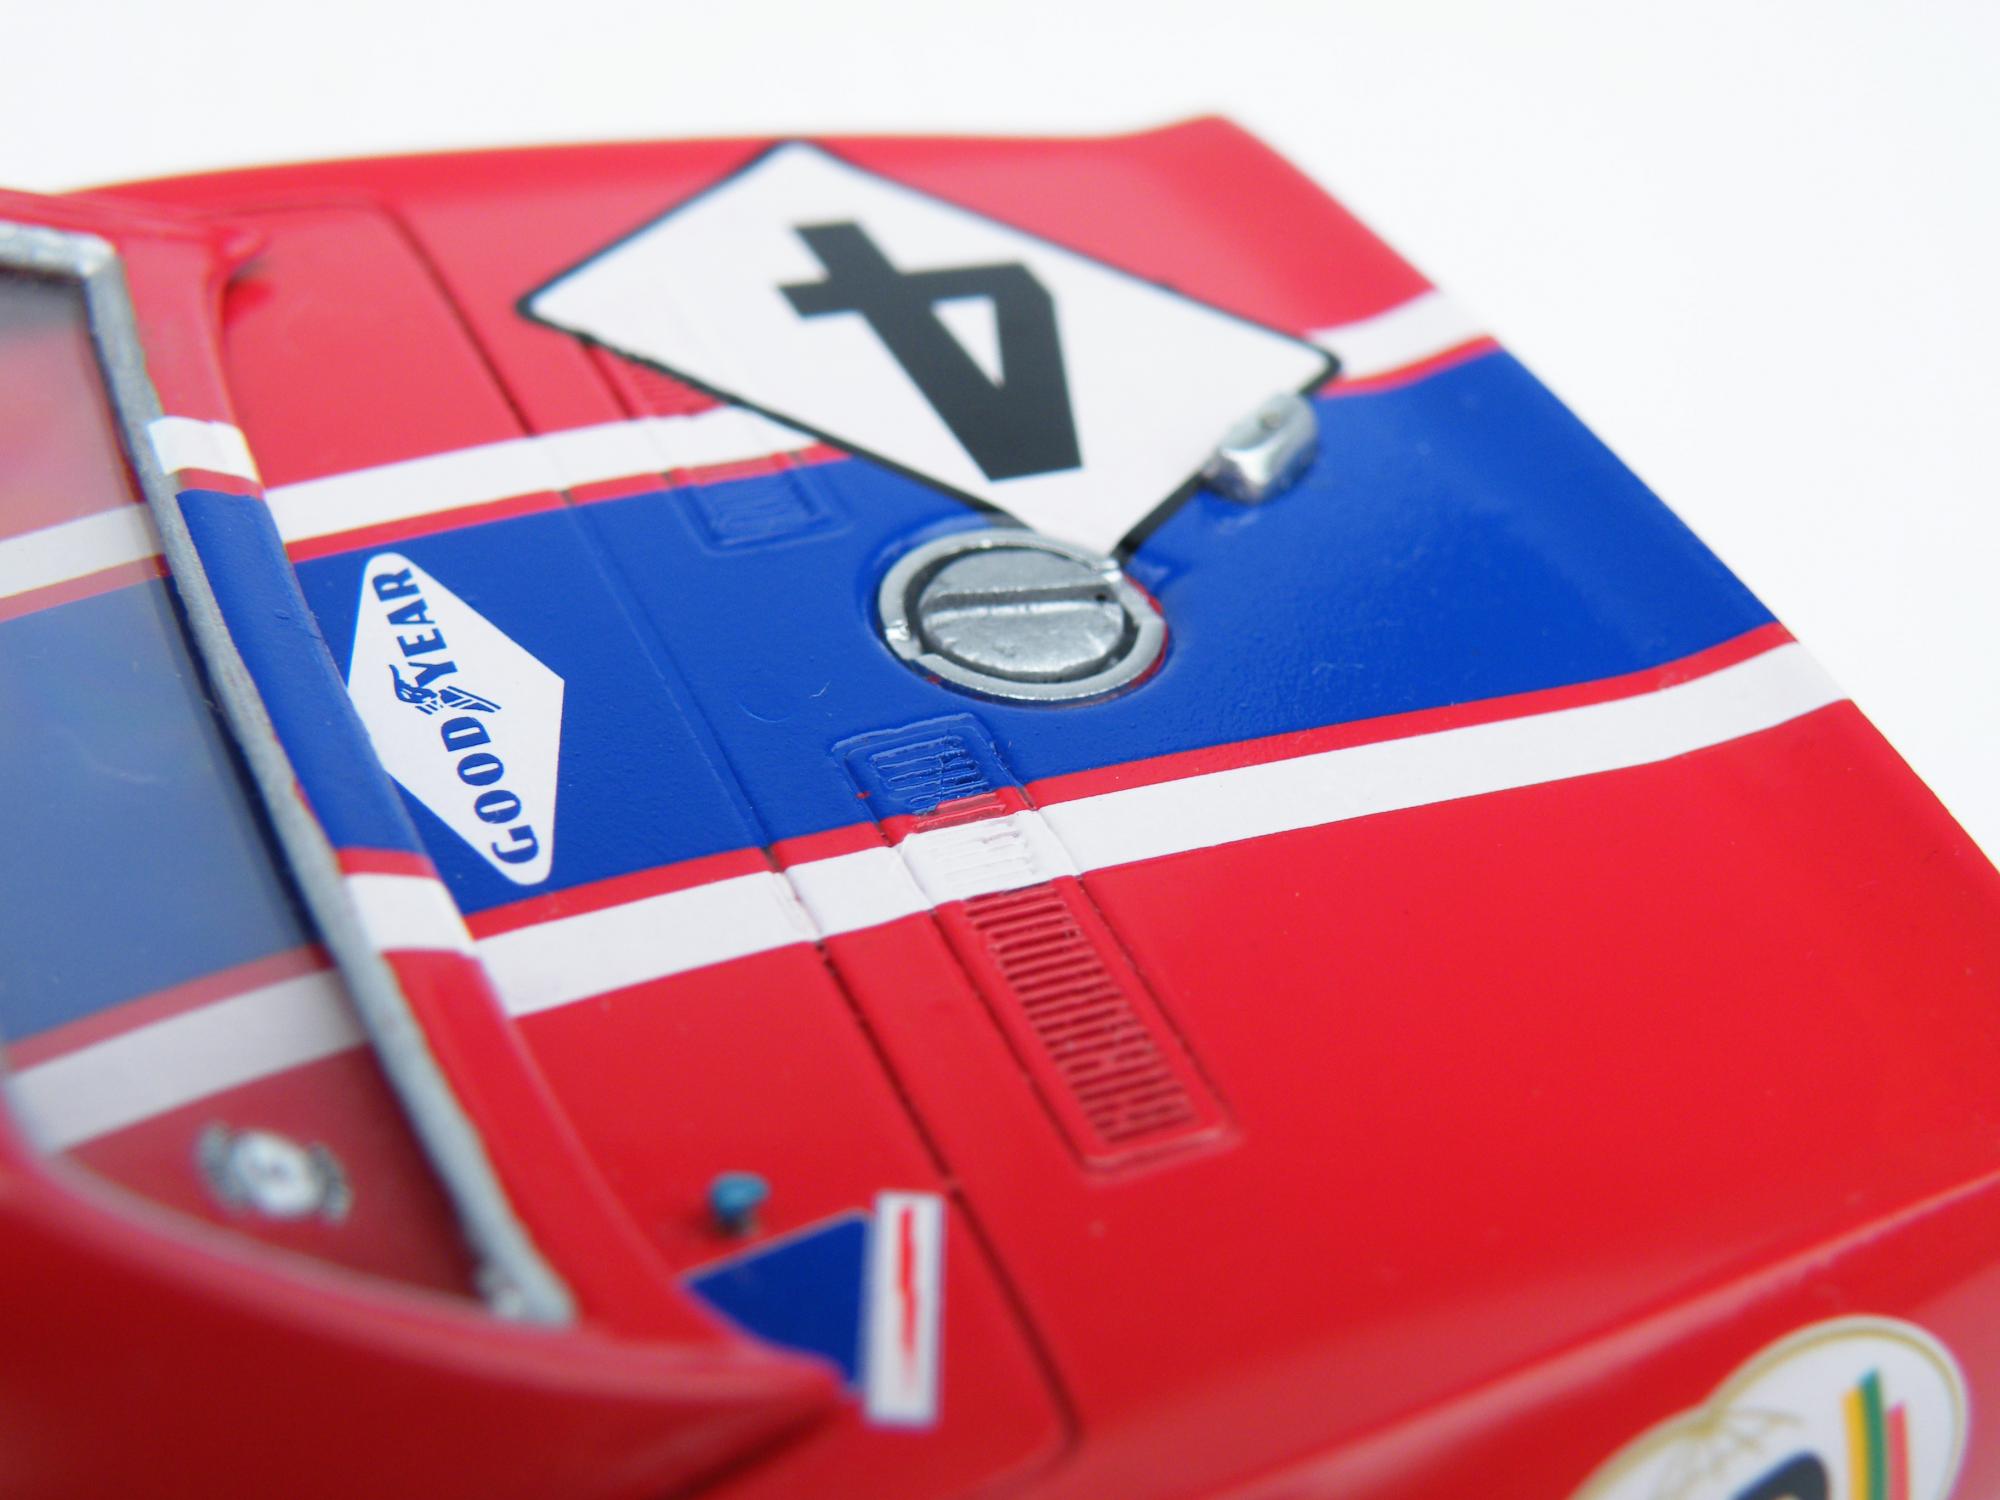
Home stretch! On goes the spoiler. This is the part of the project I found most challenging. I used 010 sheet styrene and covered it with Bare Metal Foil.....I am not totally happy with the results....think I'll do Alclad nest time I have a large expanse of sheet aluminum to replicate.
-
Most accurate kit(s) ever (1/24-25)?
GlueTube replied to Harry P.'s topic in General Automotive Talk (Trucks and Cars)
My vote goes to the Accurate Miniatures Mclarens and Corvettes. Regards Brian Kroon -
29 Ford channelled over Deuce frame - Under Glass
GlueTube replied to Phildaupho's topic in WIP: Model Cars
I love the history! I for one will be following your posts on this build. Regards Brian Kroon -
Thanks for the kind words, Phil. I am very lucky to have had a ton of reference photos come out on the web in the last 3 years. Pickings for reference were sparse when I first decided to do the project. What did you find most challenging detail to overcome on your build?.....for me it was that god awful front spoiler. Regards Brian
-
Here you can see the install of the wind deflector. The clear plastic was salvaged from a packaging lid with display window. The mounts are wine bottle lead foil. Side dump install. My first attempt using Alclad paint. Number panel light is scratch built as is the mirror pedestal. A view of the underside. I use a an old rolled up pillow slip cover as an infinitely adjustable stand, while I finish the last of the details such as decals and photo etch placements. Regards Brian
-
On go the fog lamps! I also think this photo shows the front fender flares well....don't you?
-
JC, they are a model railroad item called MV Lenses. Regards Brian Kroon
-
Luv the subject matter with a good clean build. Well done. Regards Brian Kroon