ImpalaBoy
-
Posts
130 -
Joined
-
Last visited
Content Type
Profiles
Forums
Events
Gallery
Everything posted by ImpalaBoy
-
Show us your Engines - Post Dedicated to the Engine
ImpalaBoy replied to TheCat's topic in Model Cars
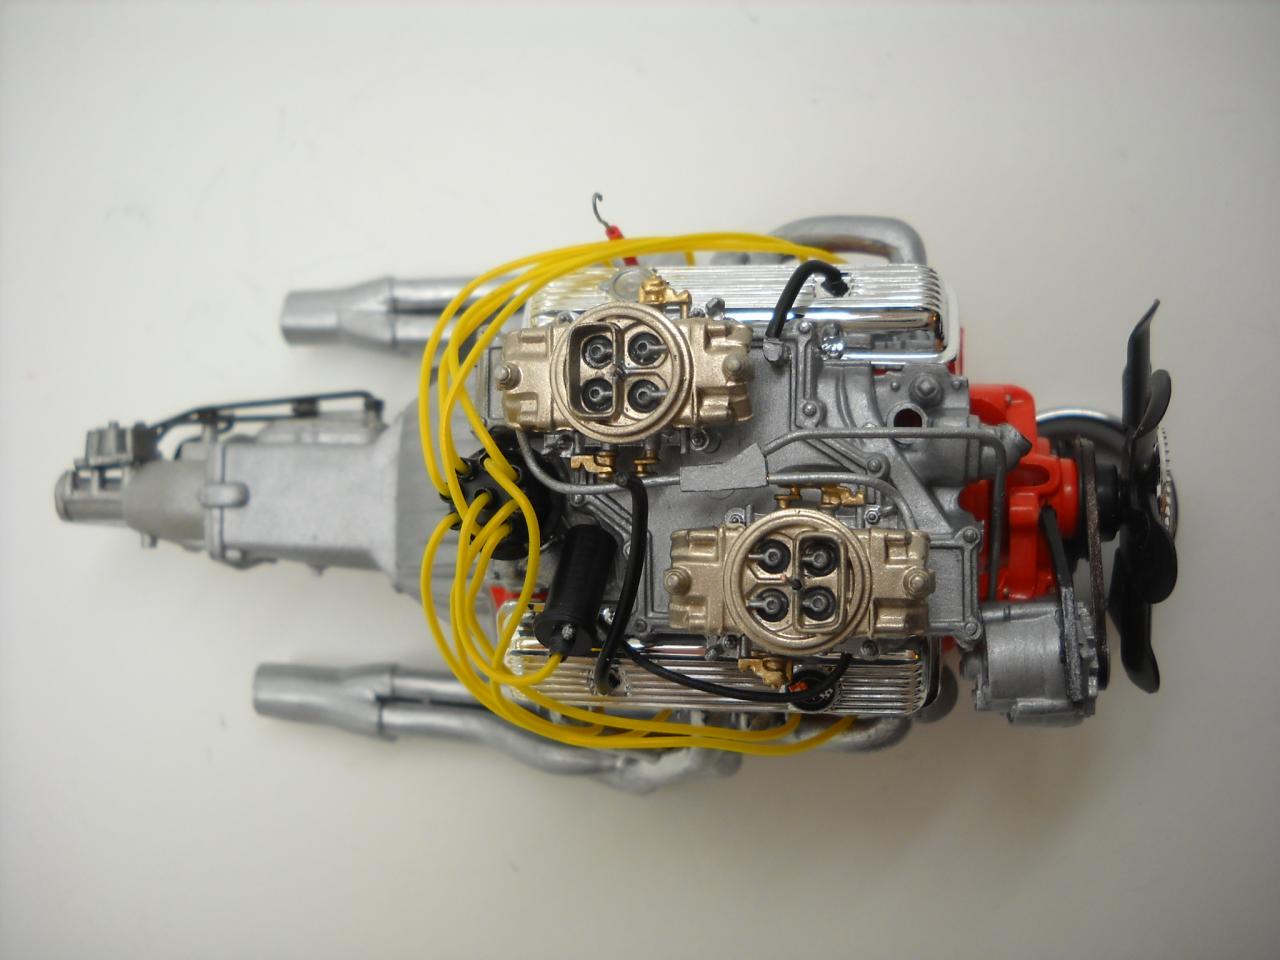
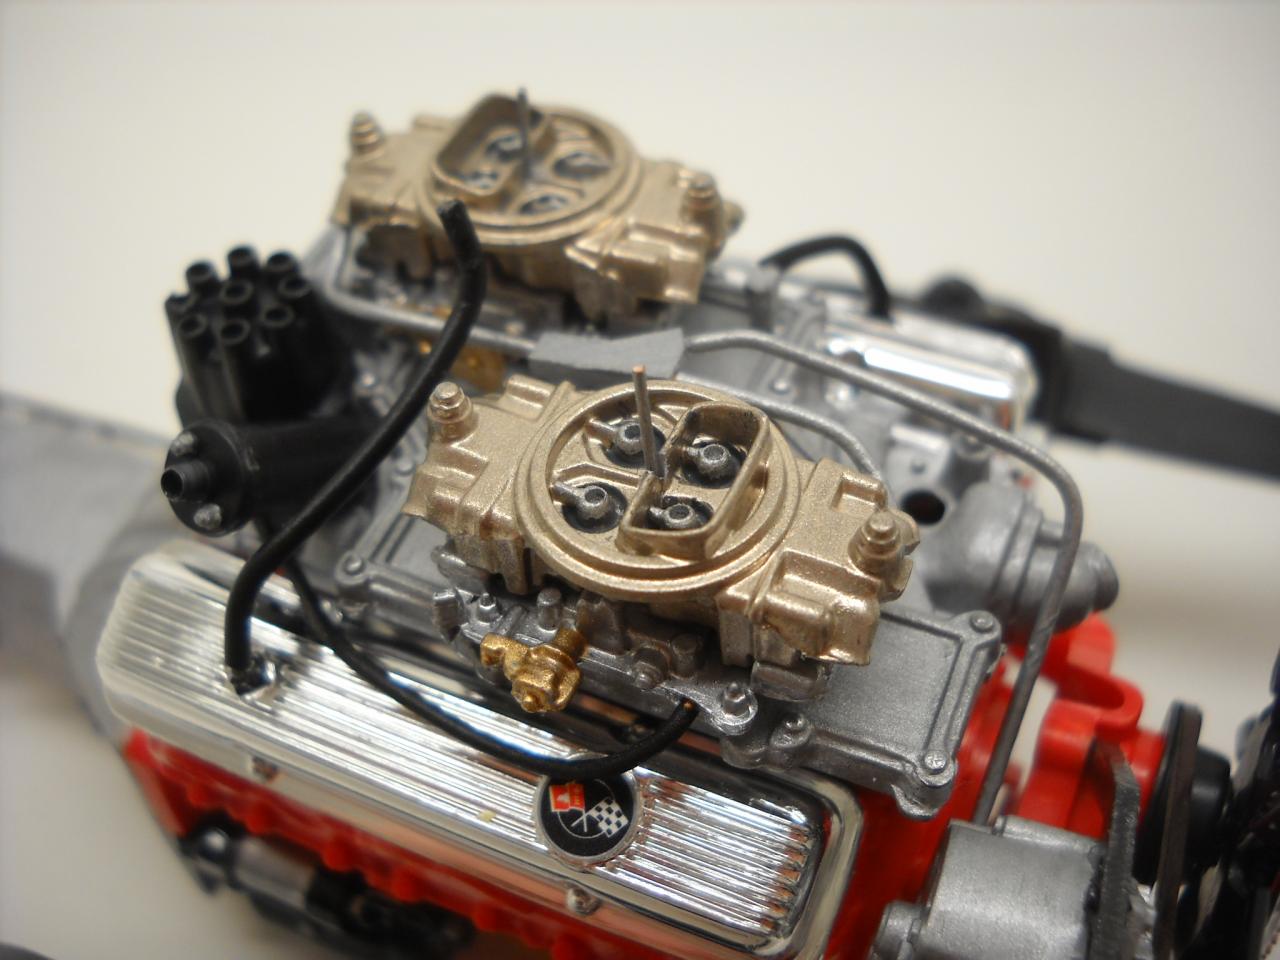
302 Crossram from Revell's 1/12 '69 Camaro.
-
1/12 '69 Camaro Z/28 (New Foose Kit) BMF Done 6/2
ImpalaBoy replied to ImpalaBoy's topic in WIP: Model Cars
Good call! I think it's too late to fix it, though :/ I'm kind of surprised I missed that; that's one of the reference pictures I've been using! -
1/12 '69 Camaro Z/28 (New Foose Kit) BMF Done 6/2
ImpalaBoy replied to ImpalaBoy's topic in WIP: Model Cars
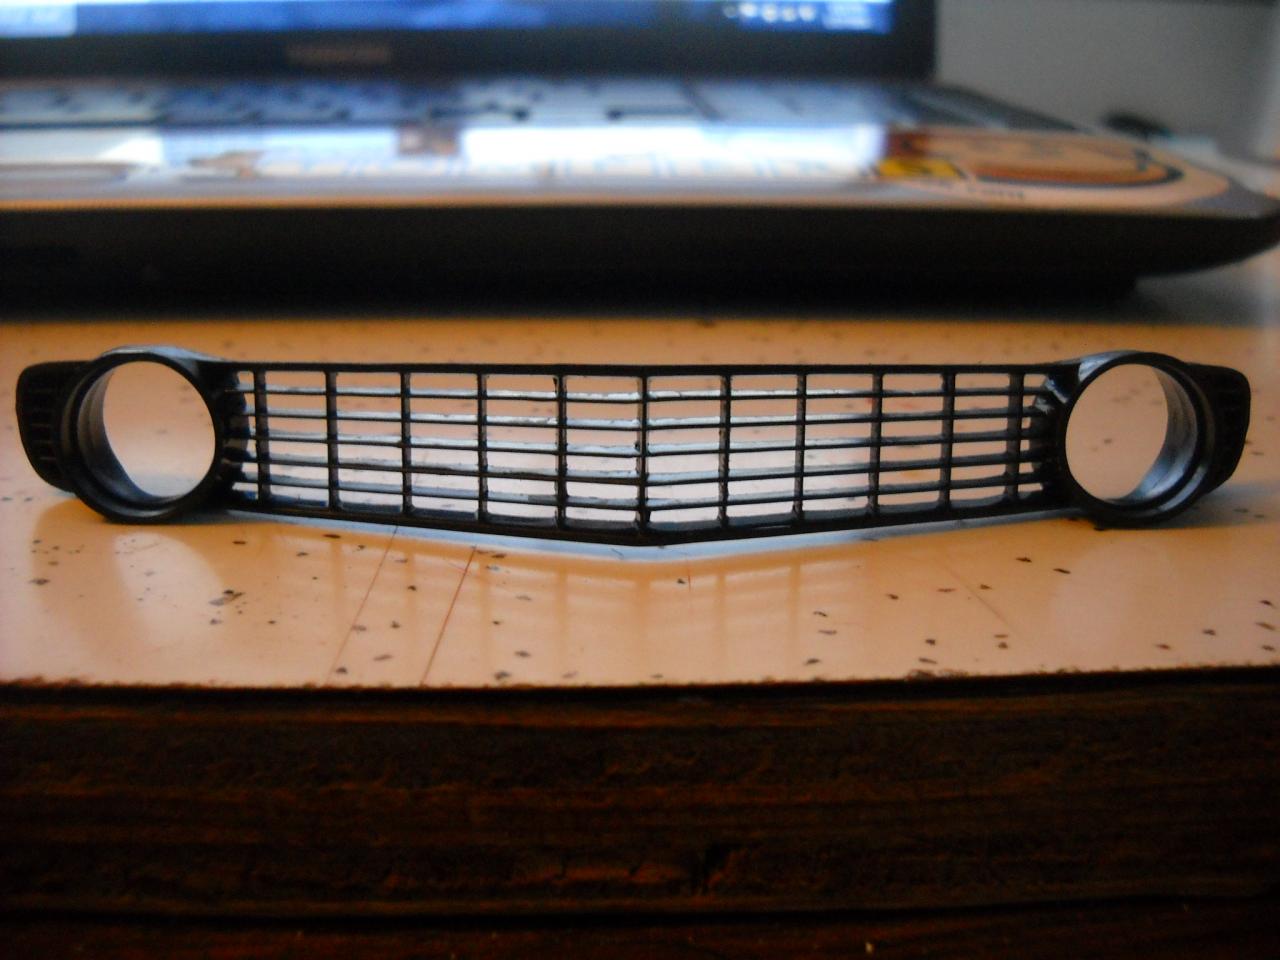
I used a Dremel with a sanding drum bit and took about 1/8 in. off the back. Only between the headlights, though. I left the far edges alone because that's where it attaches to the car. -
Finished Builds For My First Showing At NNL West
ImpalaBoy replied to Metalmad's topic in Model Cars
All very sharp looking builds! Nice and shiny! Is that Synergy Green on the Camaro, or just something really close to it? Oh, and I think you meant so say Corvette LS9 ZR1, btw. -
1/12 '69 Camaro Z/28 (New Foose Kit) BMF Done 6/2
ImpalaBoy replied to ImpalaBoy's topic in WIP: Model Cars
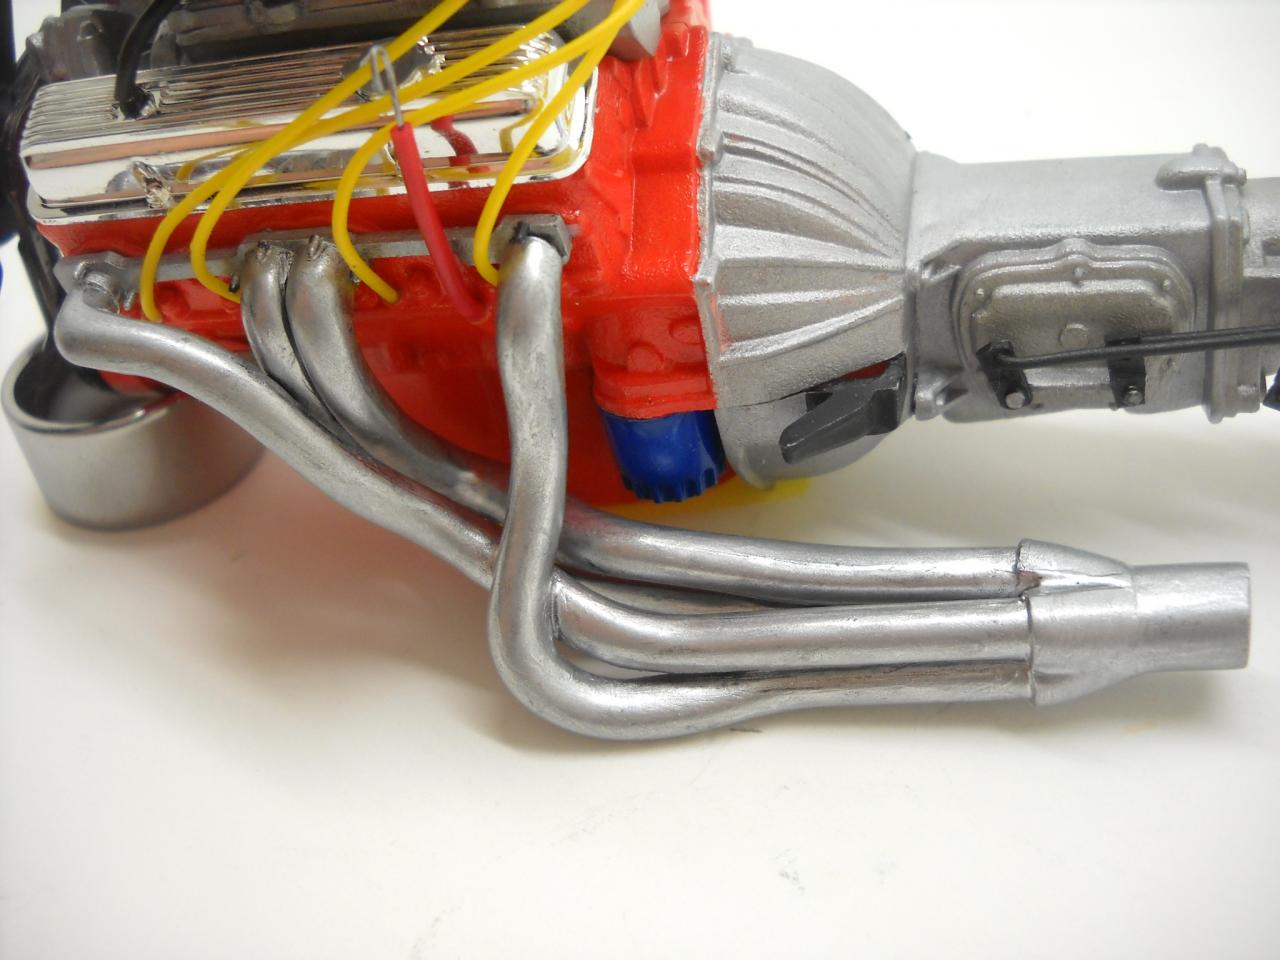
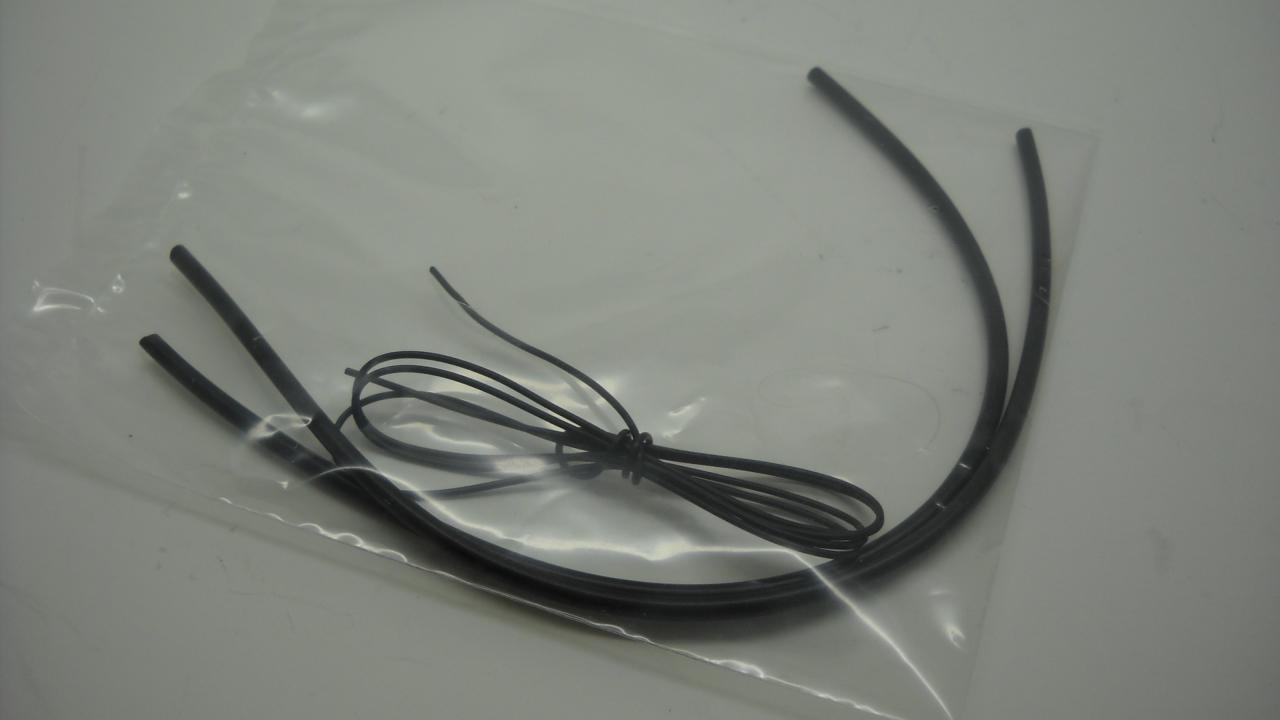
Ok, this is sooner than I thought it would be. I was originally going to spray paint the headers, but I figured that would probably be just about impossible since they're such complex shapes. It took me 3 tries with 3 different colors to get them to where I thought they were acceptable. I first tried semi-gloss black, and then a dark gunmetal, of which I've seen both on real cars, but I ended up going with silver, which seems to be a majority in 1:1. They're not perfect, but good enough for me. I'd like to point out, though, that I'm the only one I've seen so far who's bothered cleaning them up so that they look more like separate pieces of pipe. I thought I'd have some fun with the ignition wires, so I used the yellow wire out of my trusty telephone wire. I had yellow, black, light blue, white, red, and green to choose from. It's also solid core wire, which is much easier to shape and keep in that shape than the wire that came with the kit. I also had to make a new dipstick, since the first one came off while I was installing the headers and was immediately consumed by the carpet monster. Oh, and I also cleaned up the back of the grill, which is something I don't think enough people do, even with kits this scale. I find that it's pretty noticeable when the top and bottom rows aren't hollowed out. Ok, now I really don't know when the next update will be. I'd like it to at least be over 50 in the garage when I spray paint. For those who aren't from around central New York, which I think is probably most of you, it's been between 0 and 15 degrees Fahrenheit pretty consistently for the past couple weeks (well, except for the day that it was -13).
-
1/12 '69 Camaro Z/28 (New Foose Kit) BMF Done 6/2
ImpalaBoy replied to ImpalaBoy's topic in WIP: Model Cars
Glad you like it so far, and thanks for the tip! (My name is Andrew, not Anthony, by the way ) All of your Camaros are stunning! I can't believe you've done so many. One thing I noticed that I have to ask about is why did you nix the radiator brackets in all of them? Do they have fit issues that I should be aware of? -
1/12 '69 Camaro Z/28 (New Foose Kit) BMF Done 6/2
ImpalaBoy replied to ImpalaBoy's topic in WIP: Model Cars
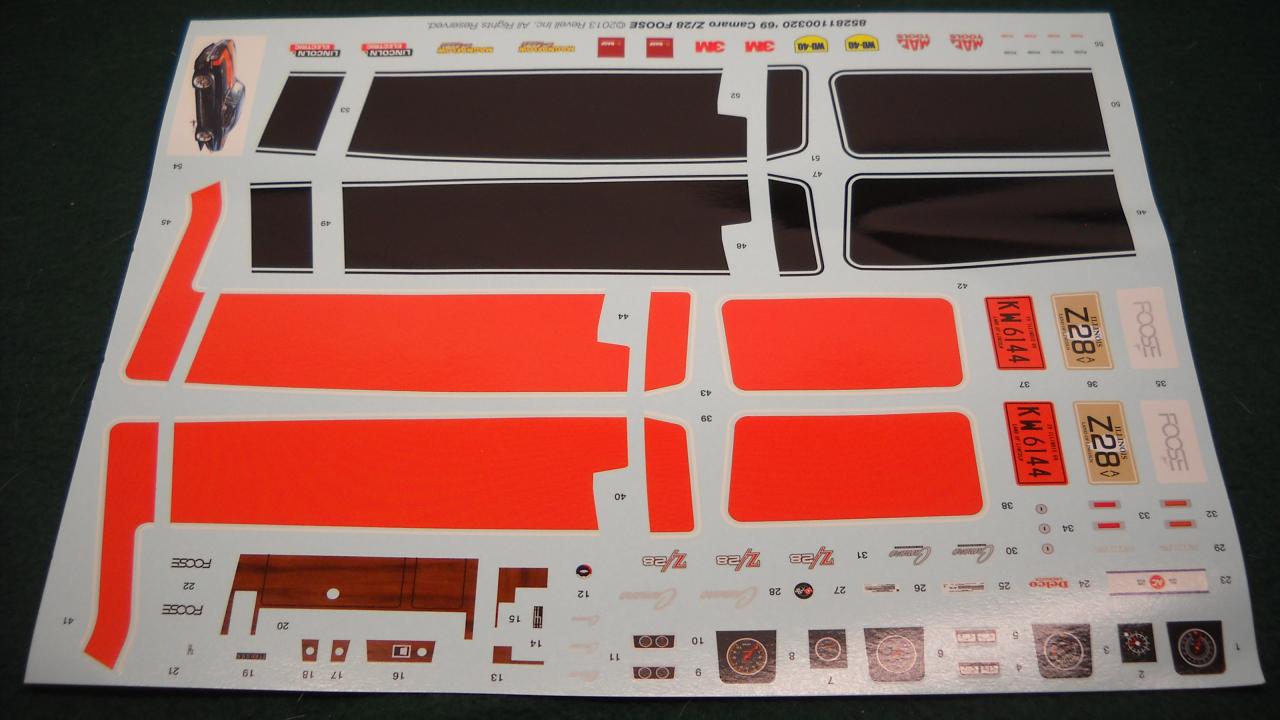
Thanks, everyone! I asked Firebird a few weeks ago if he had plans to make white Z stripes, but he said no. I considered trying to find a set from one of the old releases, but I don't know if I would trust them since they're so old now. Since the stripes will be white, should I spray the white first, then mask off the stripes and spray the blue over it, or would that look funny since they would be below the level of the body color? Would I be better off just spraying the white over the blue and most likely needing two coats? I suppose after a bit of wet sanding and enough clear coat it all levels out anyway, right? -
1/12 '69 Camaro Z/28 (New Foose Kit) BMF Done 6/2
ImpalaBoy replied to ImpalaBoy's topic in WIP: Model Cars
Thanks! Your Camaro is gorgeous! I have to agree that it's almost a shame to put the engine in the car, but I think I'll display it with the hood open most of the time anyway, so I won't worry about the air cleaner clearance either. What did you use for brake line up front? I got some .032" solder that I think should be in scale. -
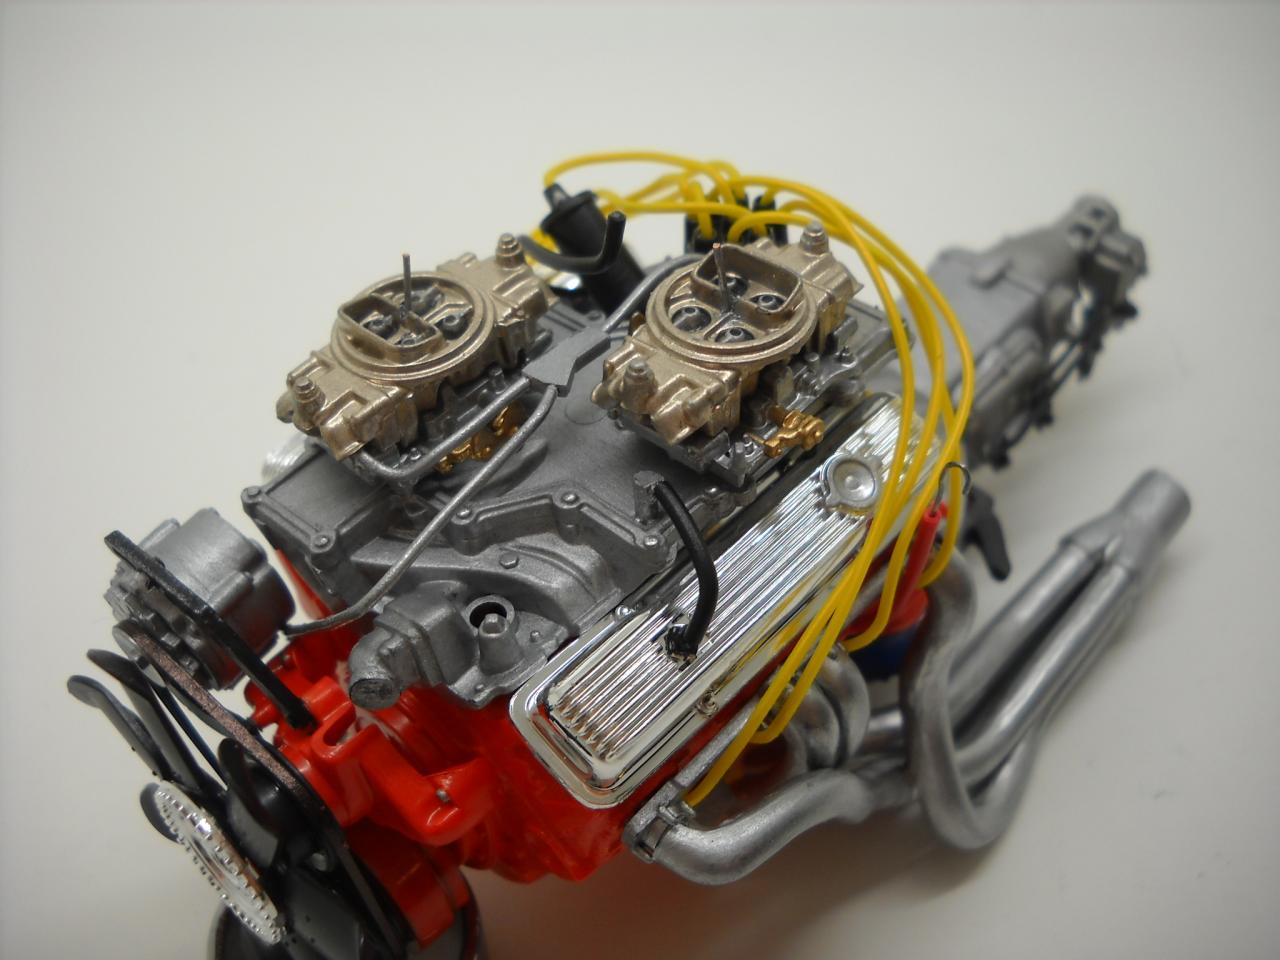
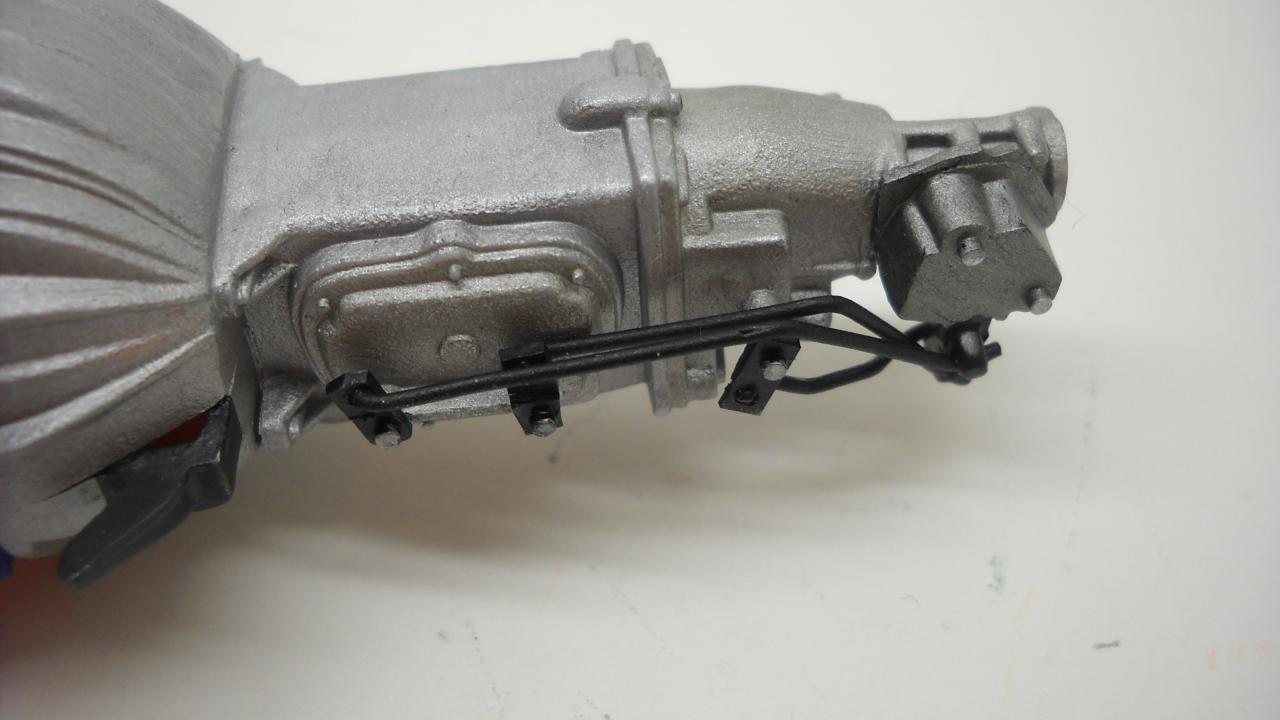
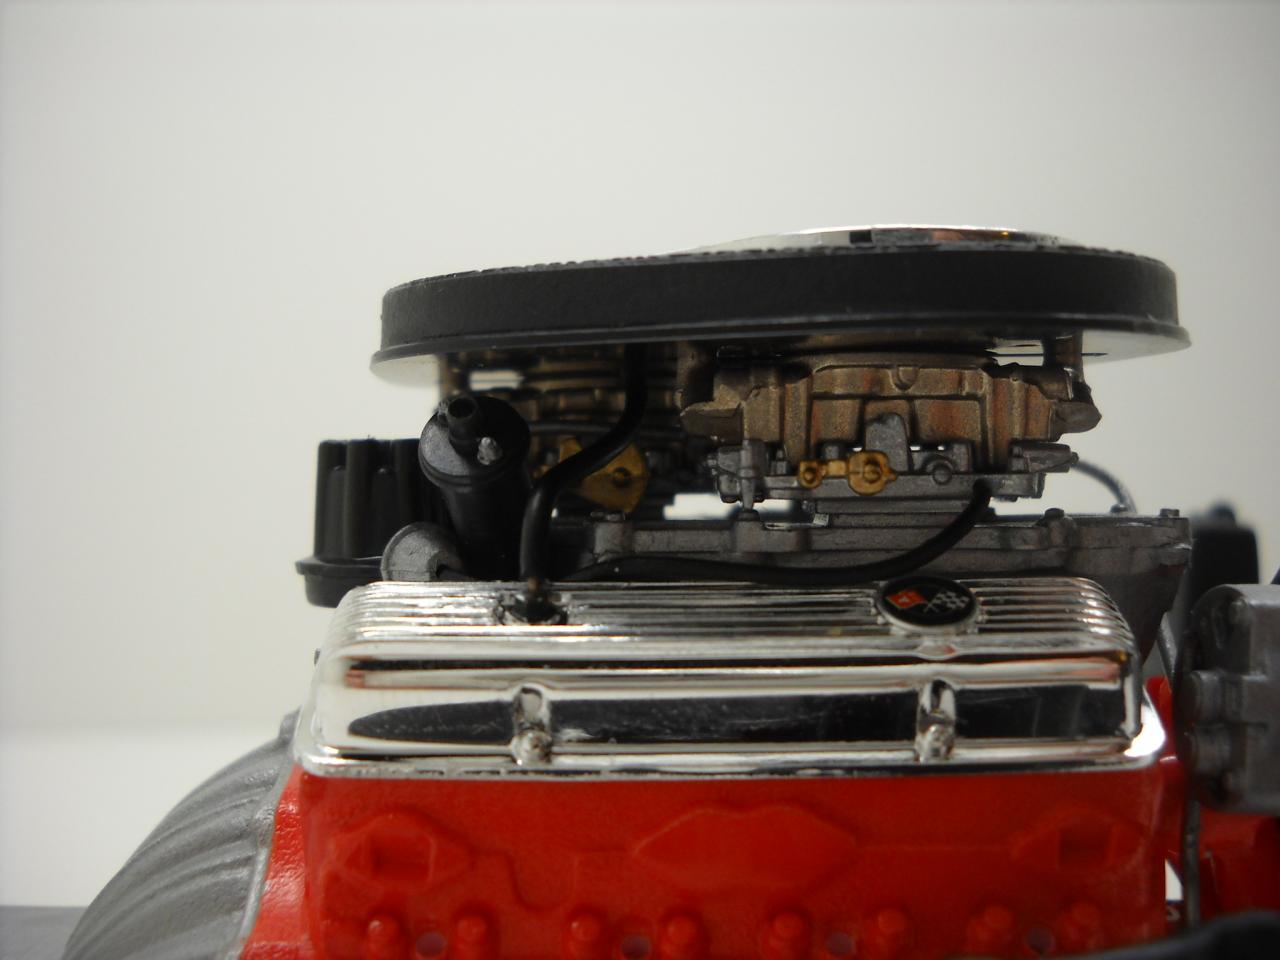
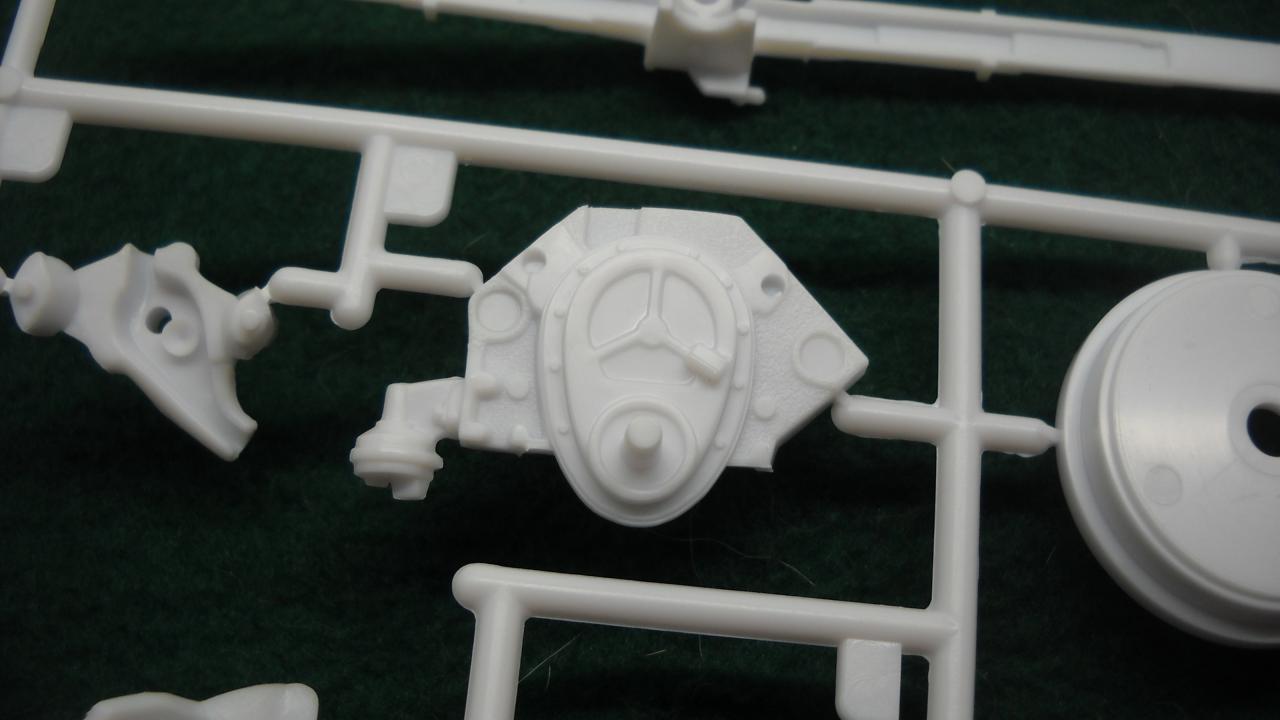
I'm kind of surprised I'm the first one to start a thread with the new Foose kit, but I won't be doing the Foose version anyway, so I guess it doesn't really matter. This is just going to be a stock Z/28 (well, about as stock as a 302 Cross Ram can be, anyway). The long-term plan for the car is metallic blue (I'll be using Duplicolor Perfect Match Medium Quasar) with white Z/28 stripes which I'll have to mask and paint myself (wish me luck!). Interior is going to be black and white with houndstooth upholstry. Recommendations on ink-jet-printer-compatible decal paper would be appreciated. I've been working on this kit for just over two weeks now, starting on the day it came in the mail, and the engine is just about finished. I'm looking forward to getting the ignition wires in there, but I can't do that until after the headers are installed, but they aren't painted yet. It took a while to get just the right Chevrolet engine red/orange color, but I think I nailed it. I used a bottle of Model Master Chevrolet engine red and added a fair amount of yellow to it until it became the ideal shade. As I've done on my last few builds, I cut the belt assembly apart and made the belt out of masking tape. I also spent a good deal of time filing the grooves into the belts, but once the belt is on there, you can't really tell. Oh well. I have had a blast building this engine and I just love how big it is! I'm adding details I never would have attempted with a 1/24 kit. Hoses and fuel lines and such are just bits of spare wire from around the house, mainly telephone wire Shifting linkage was kind of fun. The kit piece was pretty sloppy, so just cut it apart and made my own. I spent all last night working on the air cleaner. I wrapped masking tape around the foam seal to give it texture. I drilled through the wing nuts on the air cleaner and added the posts to the carbs for added realism so I can proudly display it with the air cleaner off. It took me forever, looking at tons of reference photos, to figure out where that hose that comes out of the right rocker cover goes, but I finally realized that it goes into the air cleaner, so I drilled the appropriate hole into the air cleaner base. That's it for now, let me know what you think! I don't know when my next update will be, but that depends on if it gets warm enough in the garage to spray paint any time soon.
-
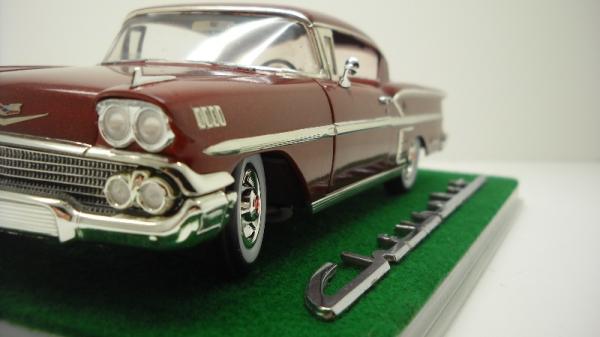
I cannot stress enough how there is no such thing as too much pictures! In my opinion so many people don't post nearly enough pictures! This is a fantastic looking Impala thus far. I usually don't care at all for custom wheels, but actually like those quite a bit. Also, excellent paint job, foiling, and engine bay (in other words, everything). If you have access to the Revell version of this, it has really nice metal exhaust tips, which I used on mine.
-
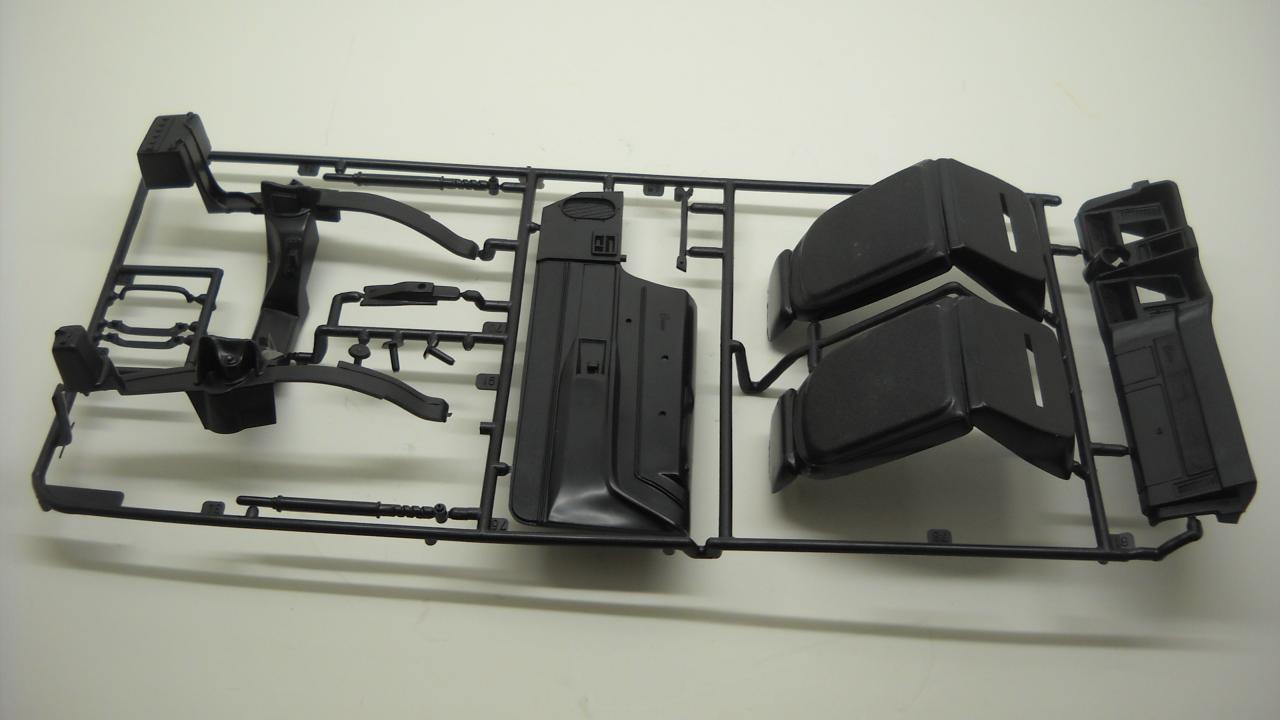
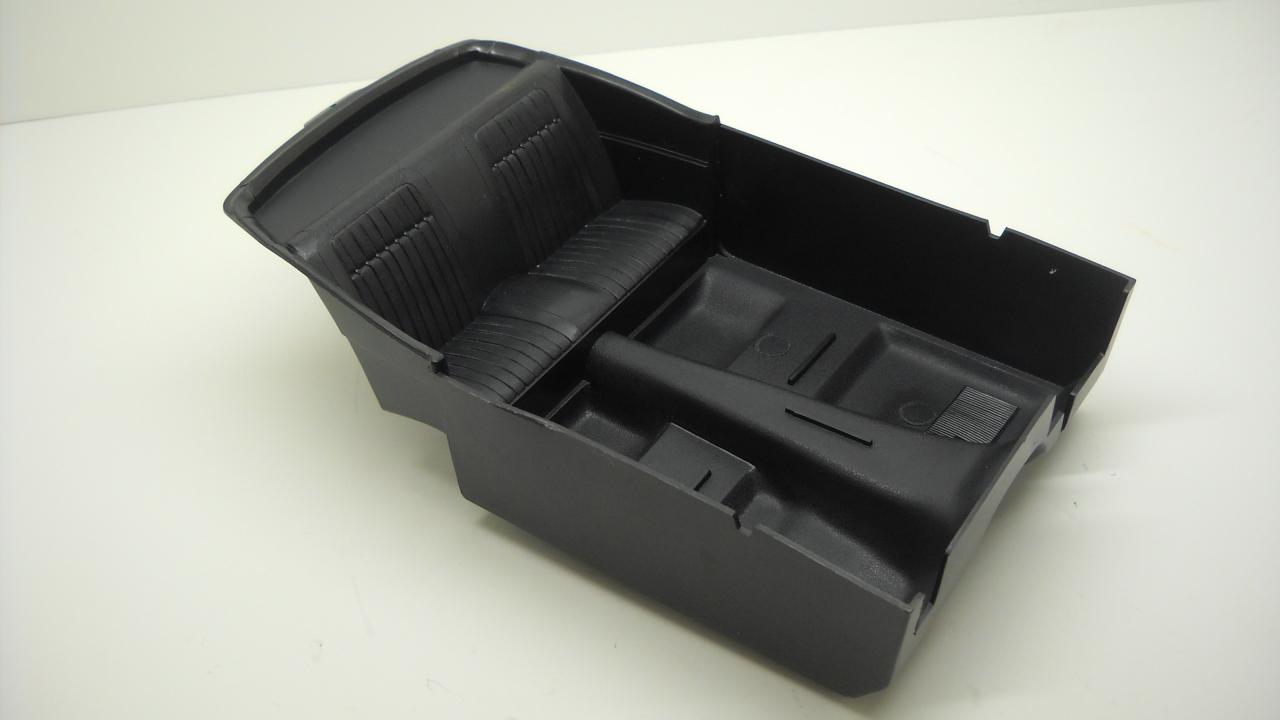
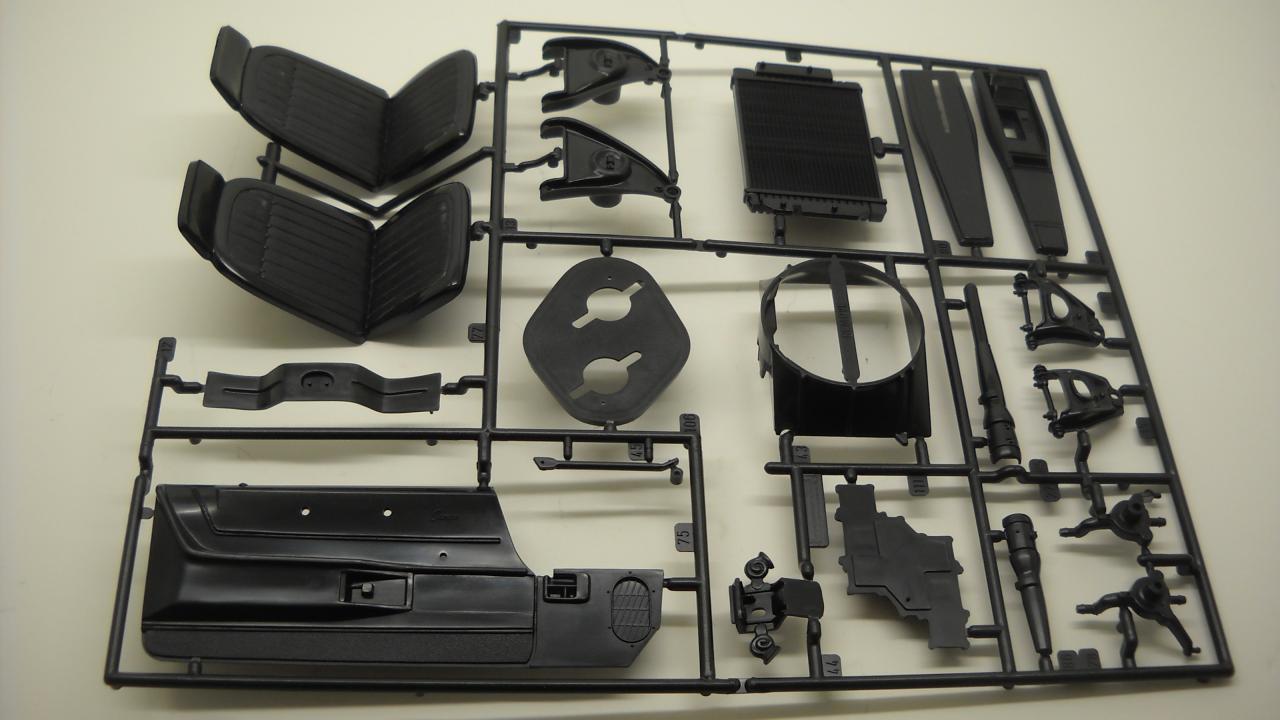
Sorry to hear about your experience with it. I hope you don't think you're out too much money. Always good for spare parts next time around, right? I'm having a blast with this kit so far; it's my first big scale. I'll keep in mind what you said about the headers and see if I can install them after the engine is in. As far as the seats go, I didn't need any putty. I just put a bead of glue all the way around the edge and clamped the halves together with clothespins until it was dry. Once I sanded the seams there was no gap at all. Best of luck on your next attempt!
-
Sorry to be off-topic, but I have to ask: is that a model car inside a model diorama?
-
Testor's One Coat Lacquer? Oh yeah, it polishes like a dream. I've used it on quite a few cars.
-
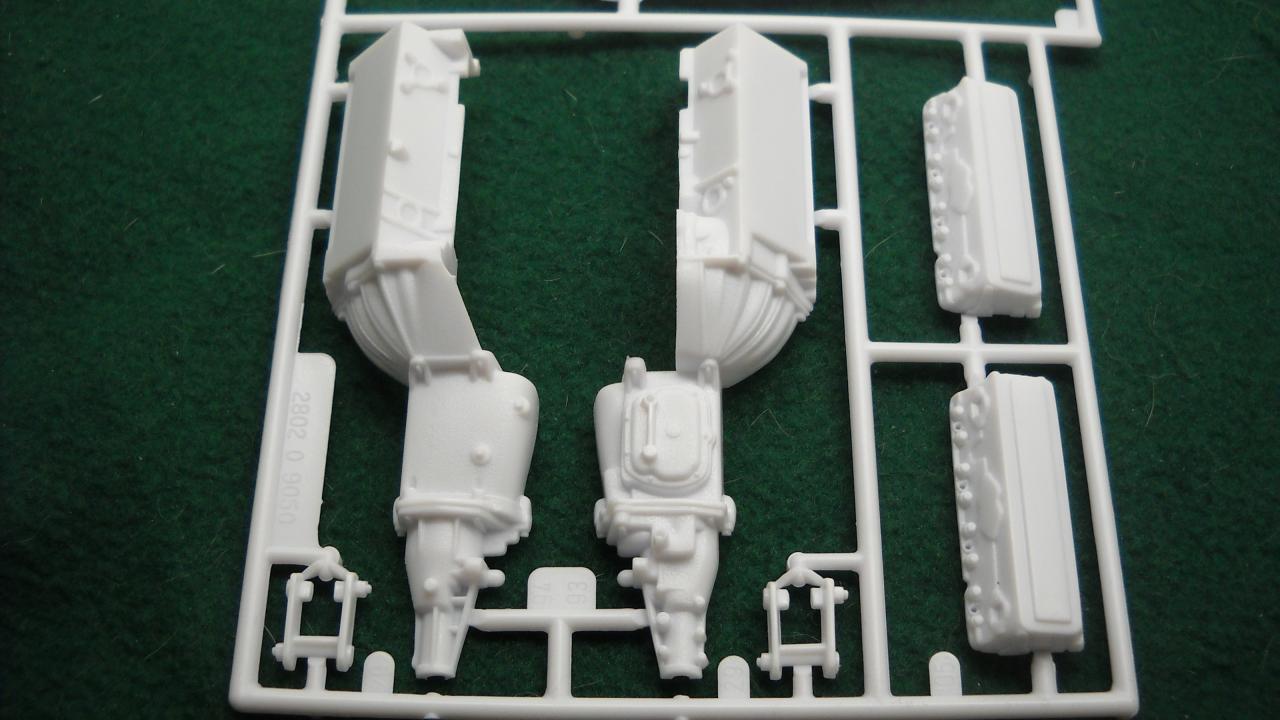
So far my only complaint has been with the headers. Even though you really can't see them once the car is assembled, I was surprised at how poorly molded they were. Oh well, with a couple hours of scraping and sanding, they actually look like pipes.
-
Wow! What a natural! Can't wait to see it polished out!
-
You could try firebird designs on ebay. I know he has sets of Yenko decals for the 1/12 Camaro, but you could ask him if he's planning on making hockey stick stripes.
-
I'm glad my review has been appreciated. I tried to make it exactly like one I would want to see if I had never seen the kit before. If nobody got the "if you can read this..." reference, it's from Mel Brooks' "Space Balls" right after the title scroll. I really wish it came with white Z-28 stripes, but oh well. I can either try to find somebody who's built one and didn't use the stripes, or mask them off myself. We'll see what happens.
-
Awesome job on both! Did she paint the 'Vette, or was it molded in purple plastic?
-
You are a lucky man! This world needs more female modelers. They quite often have an even better eye for details than we do. Best of luck!
-
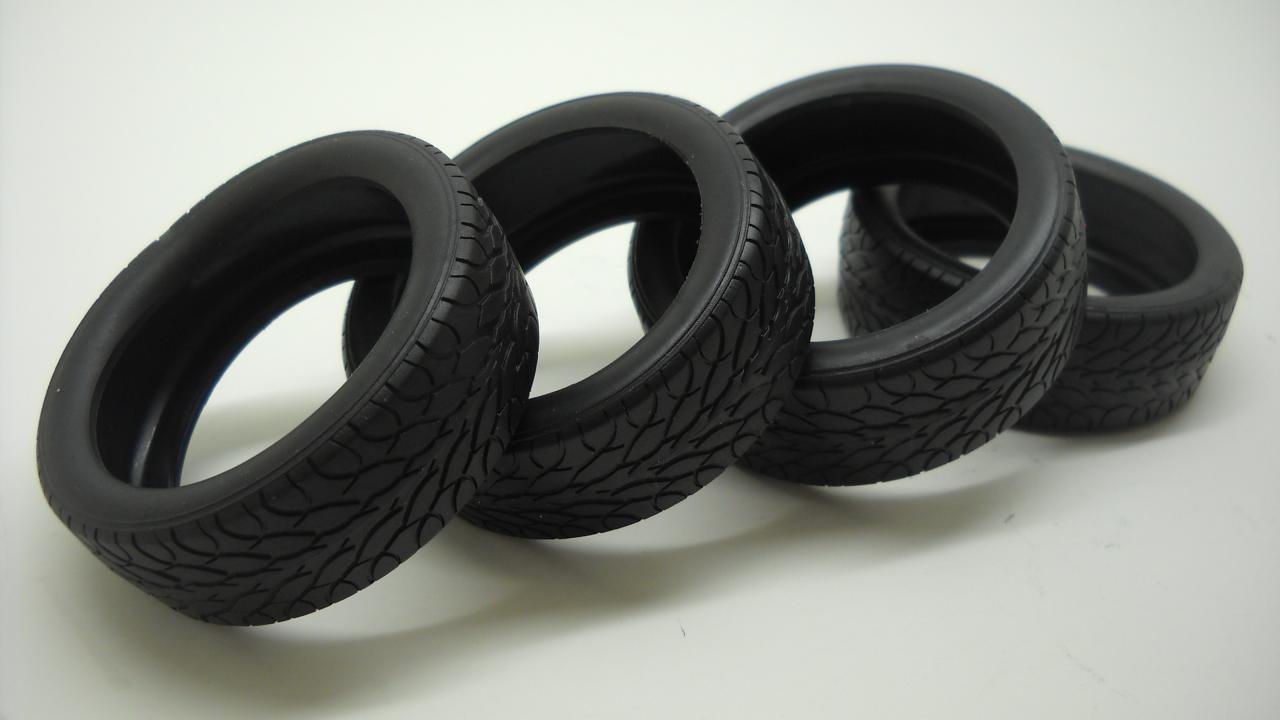
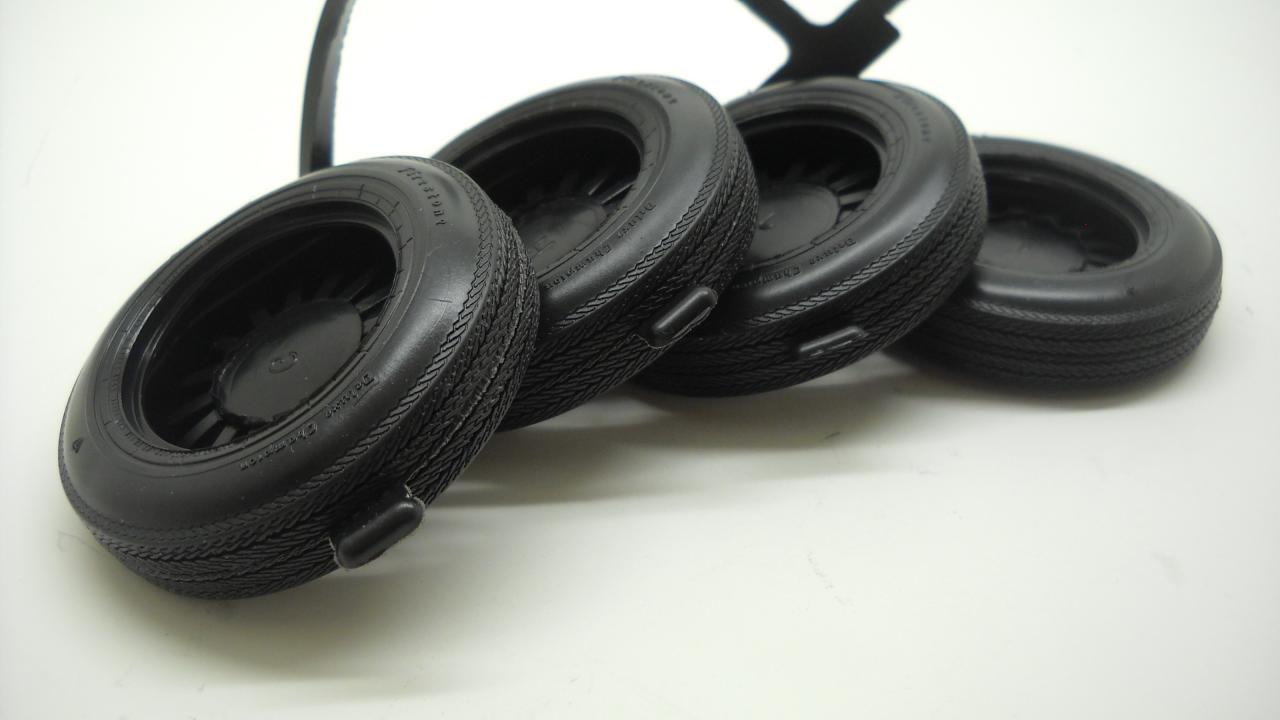
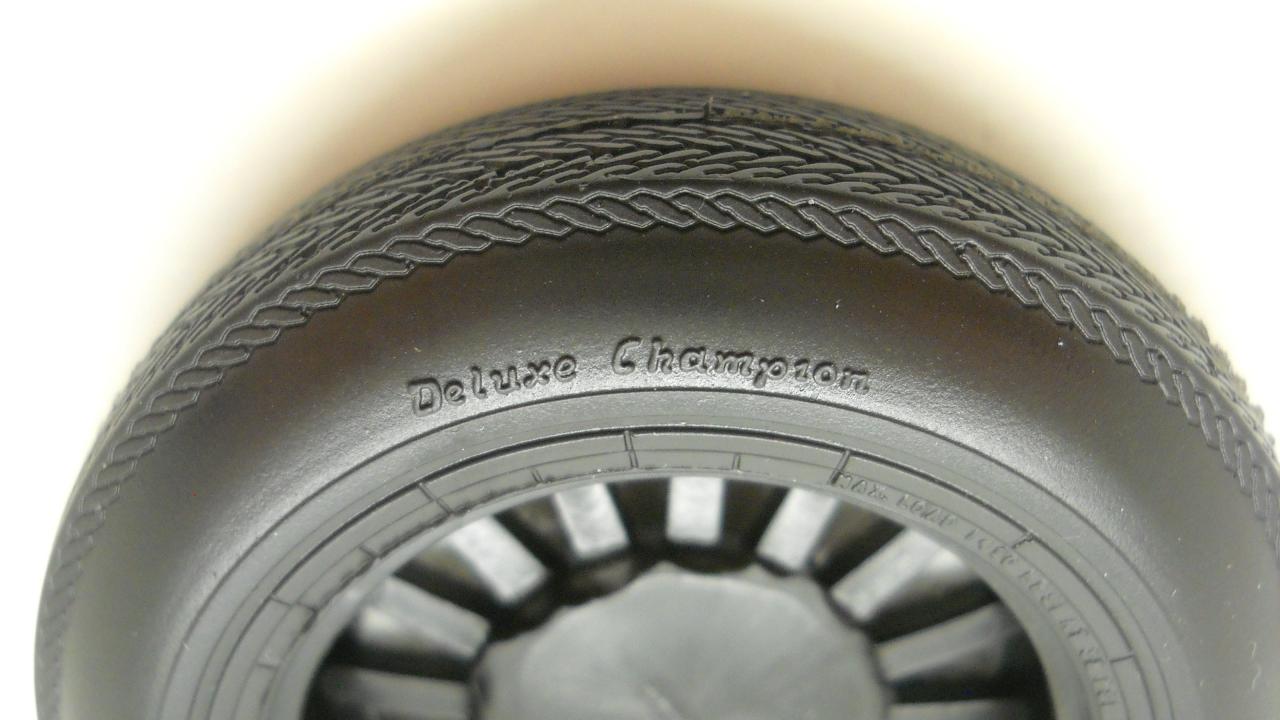
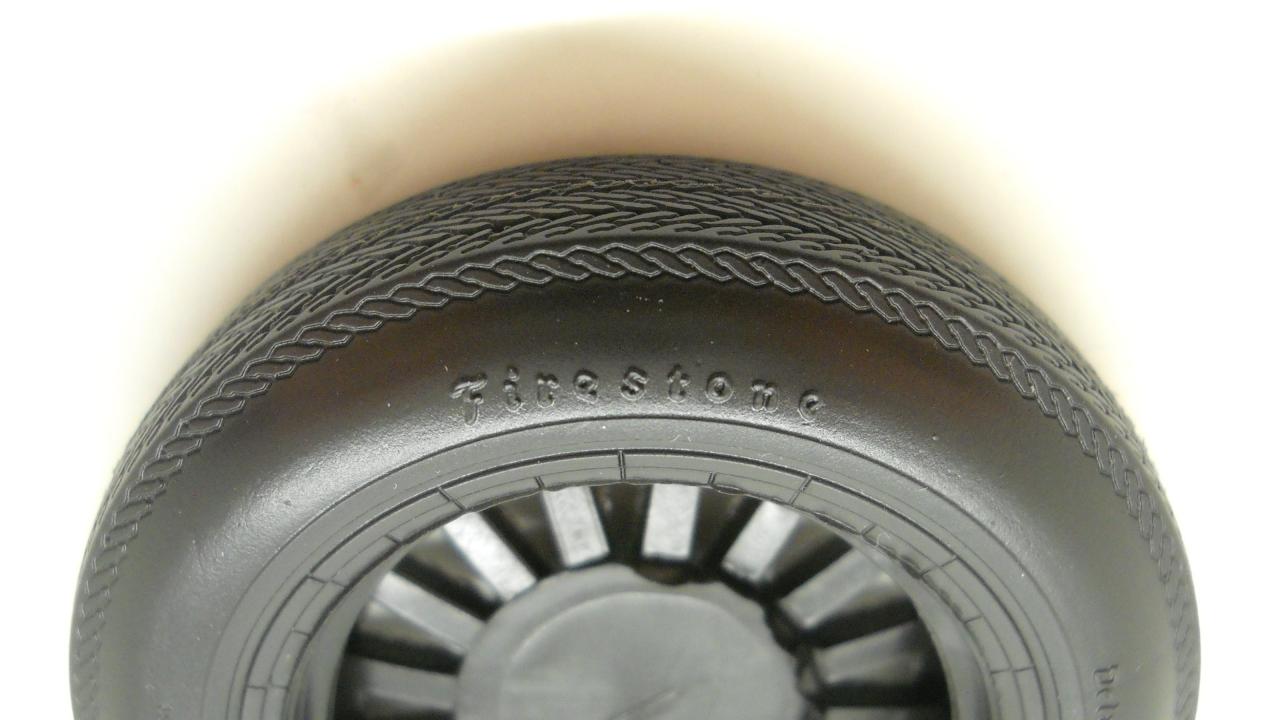
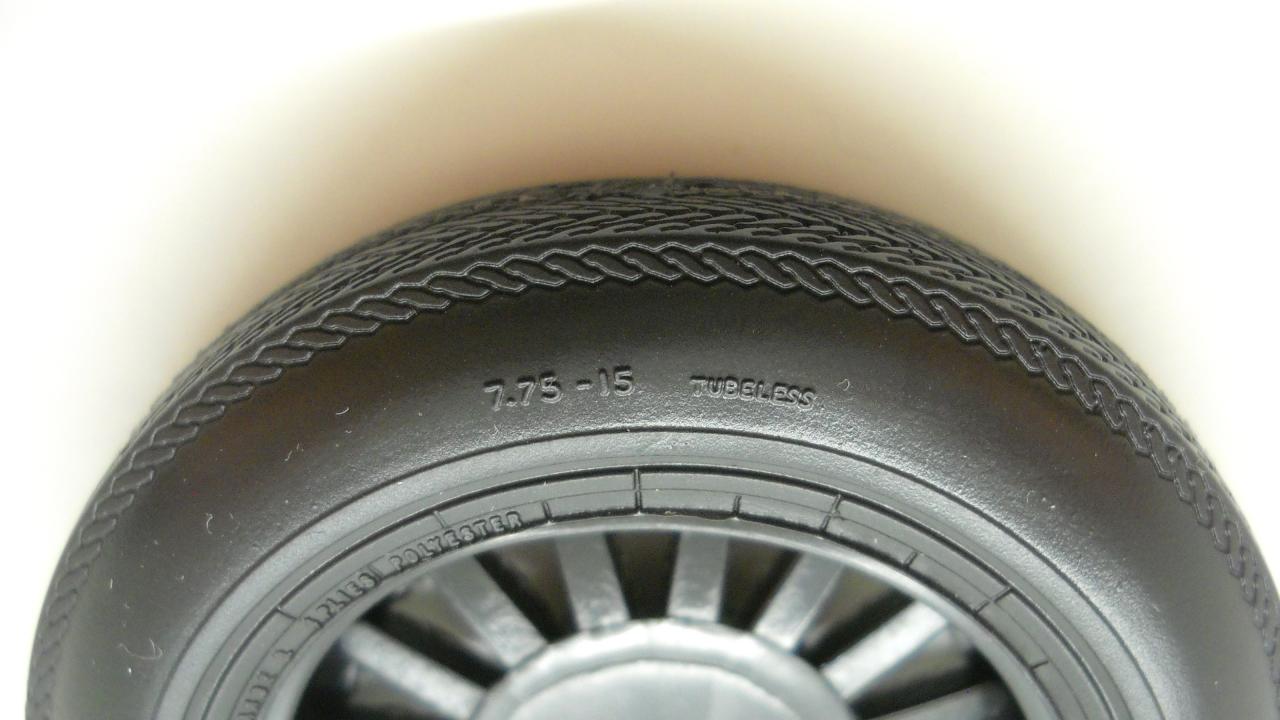
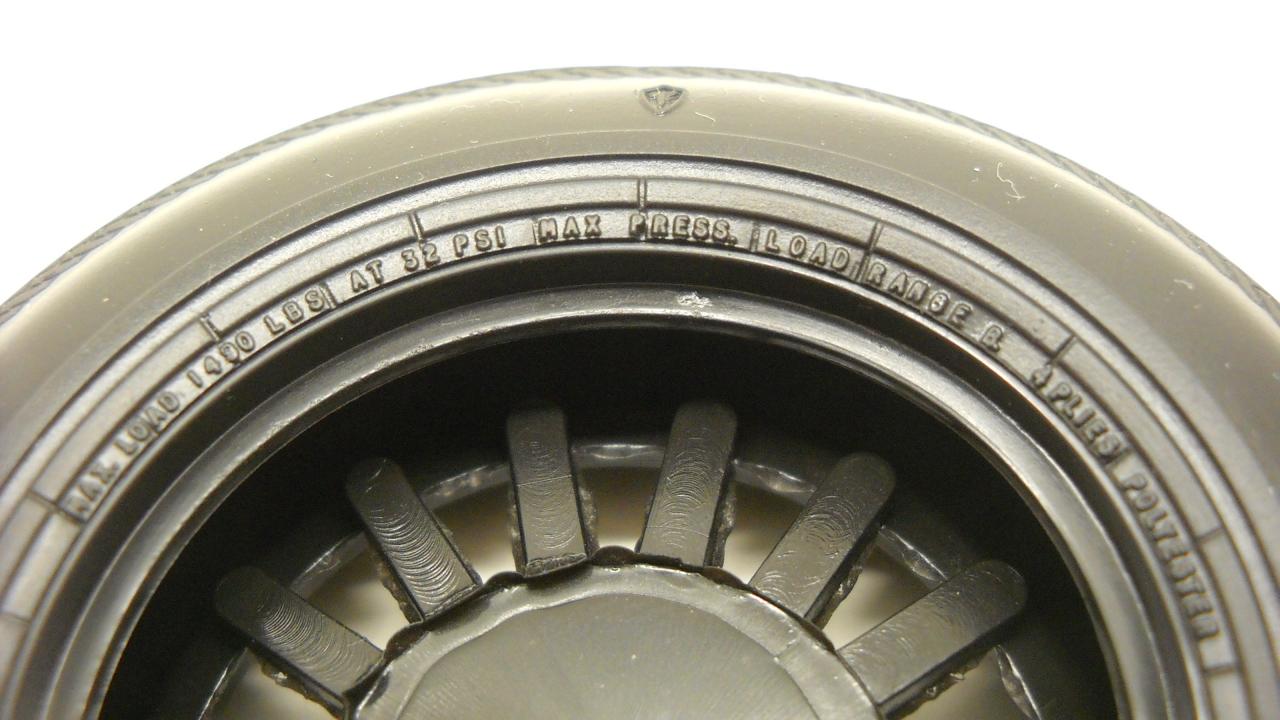
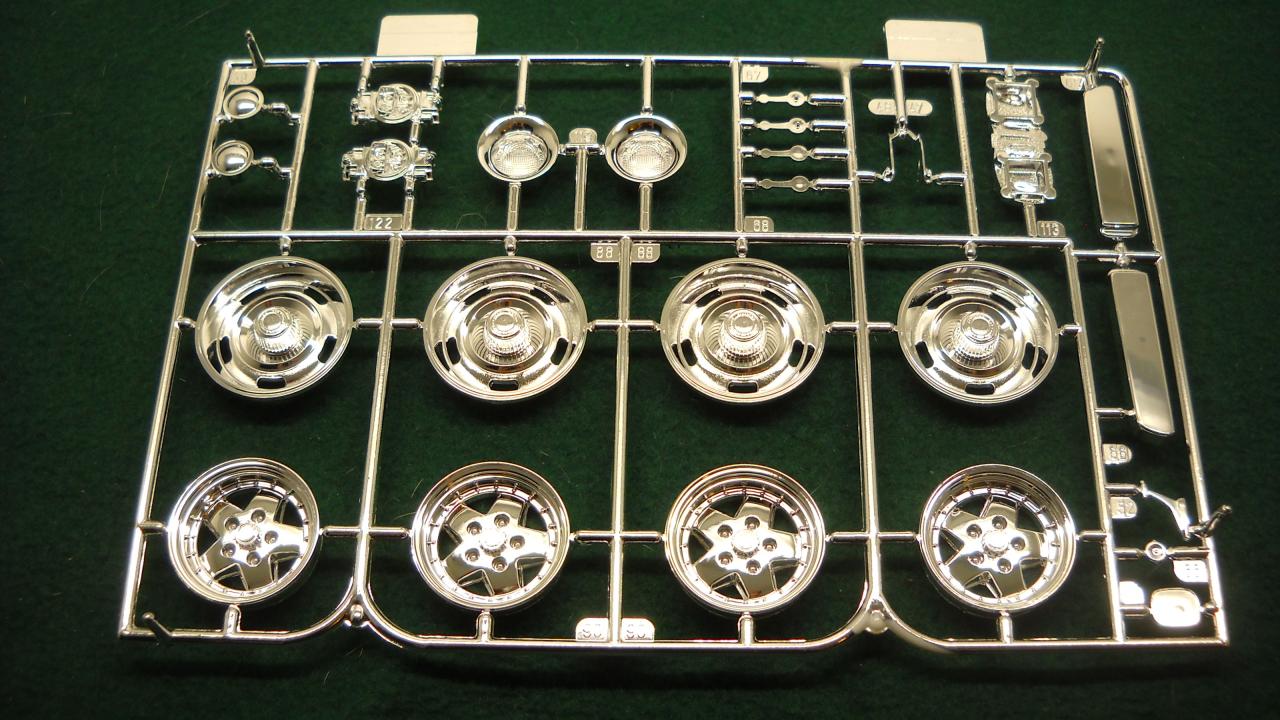
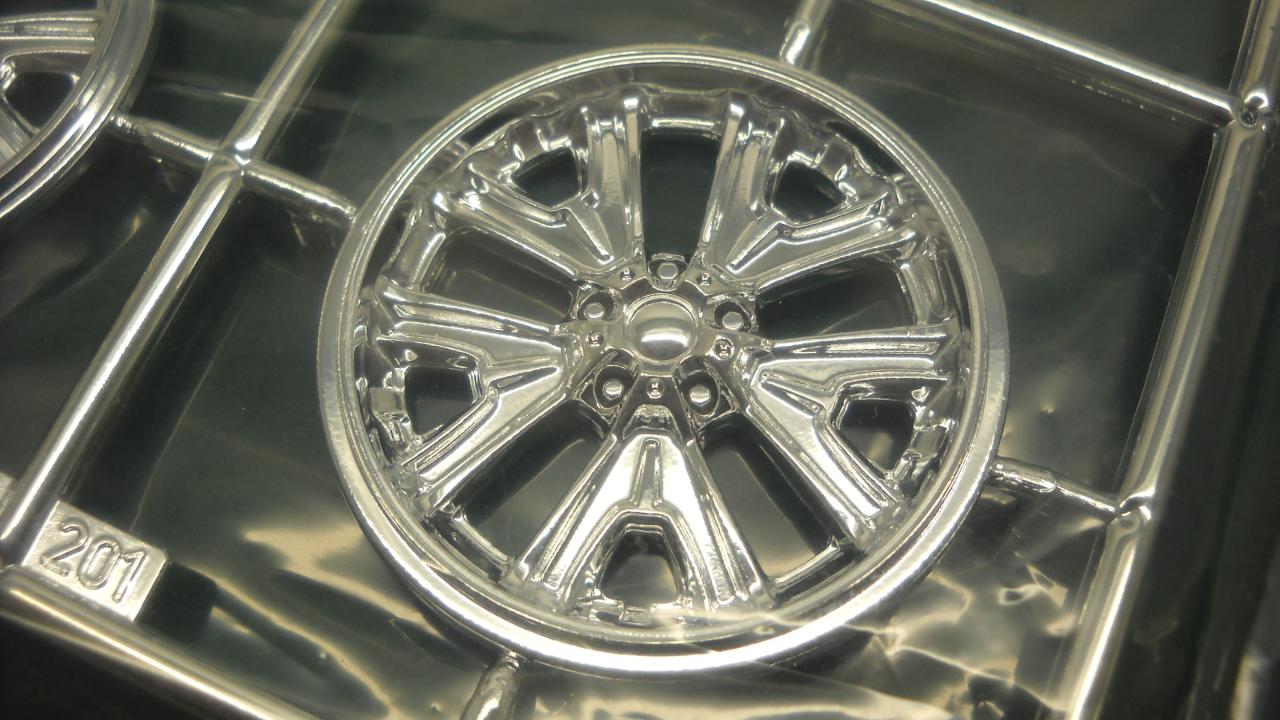
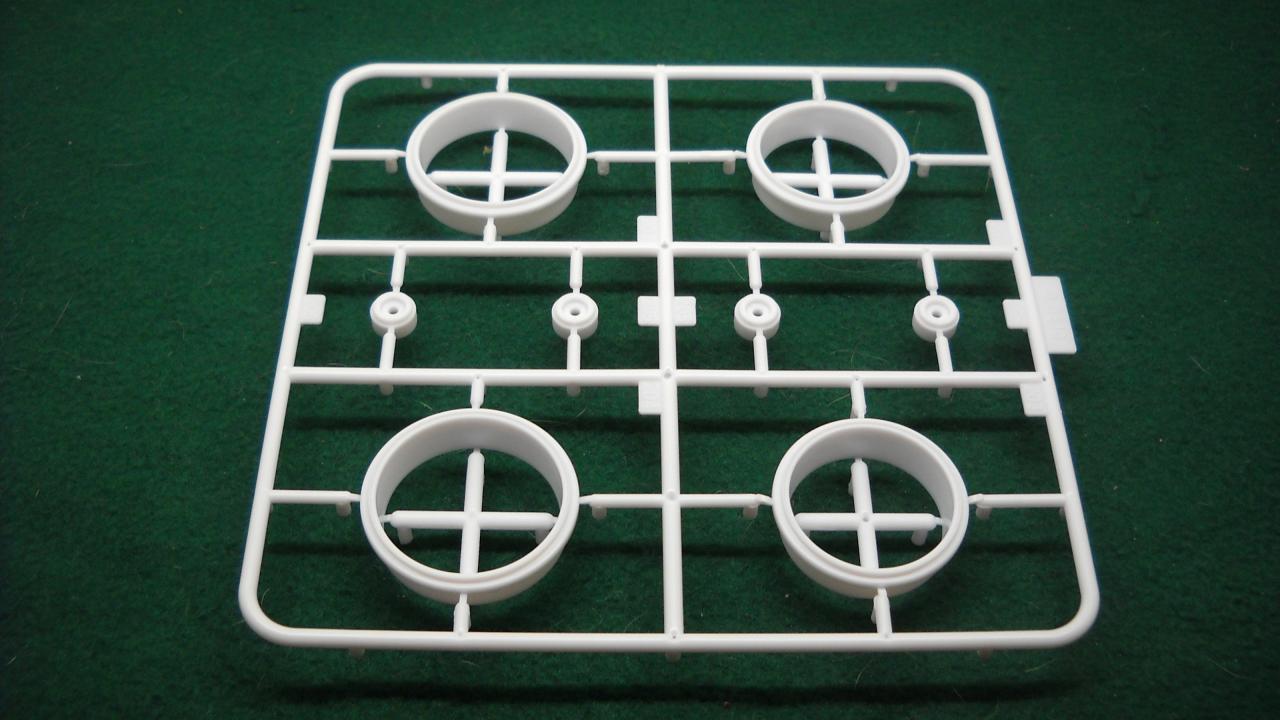
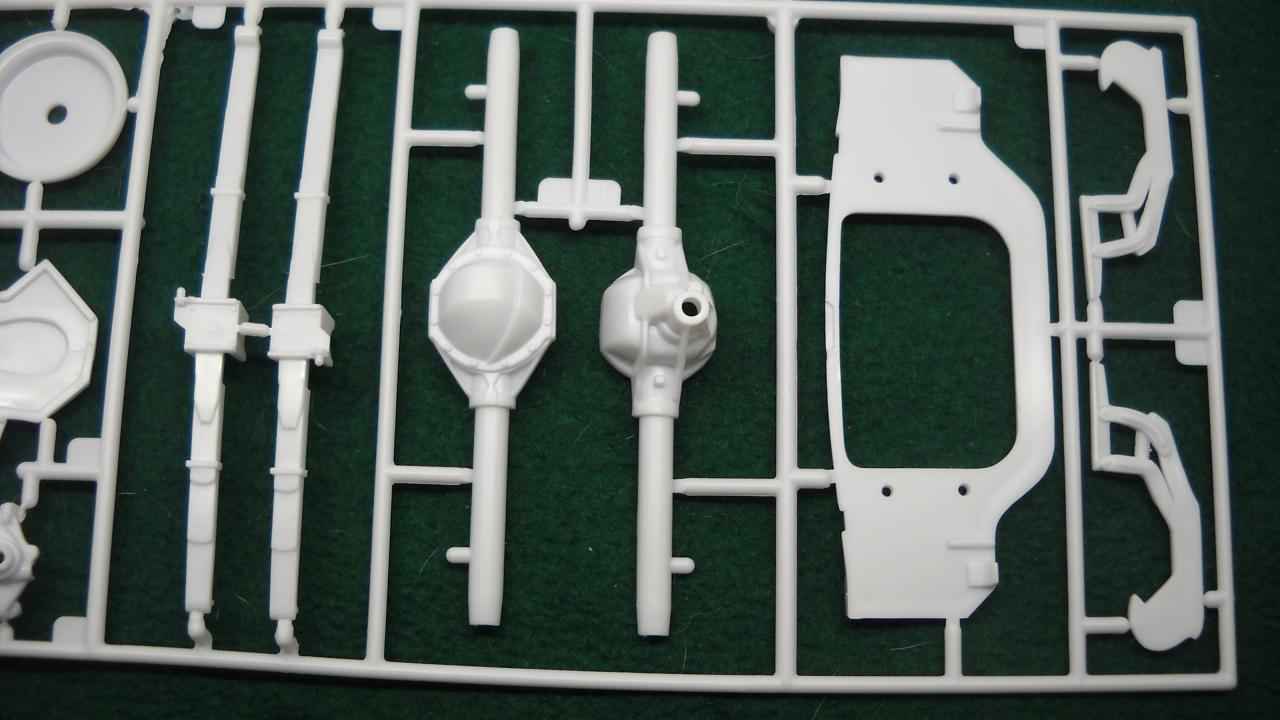
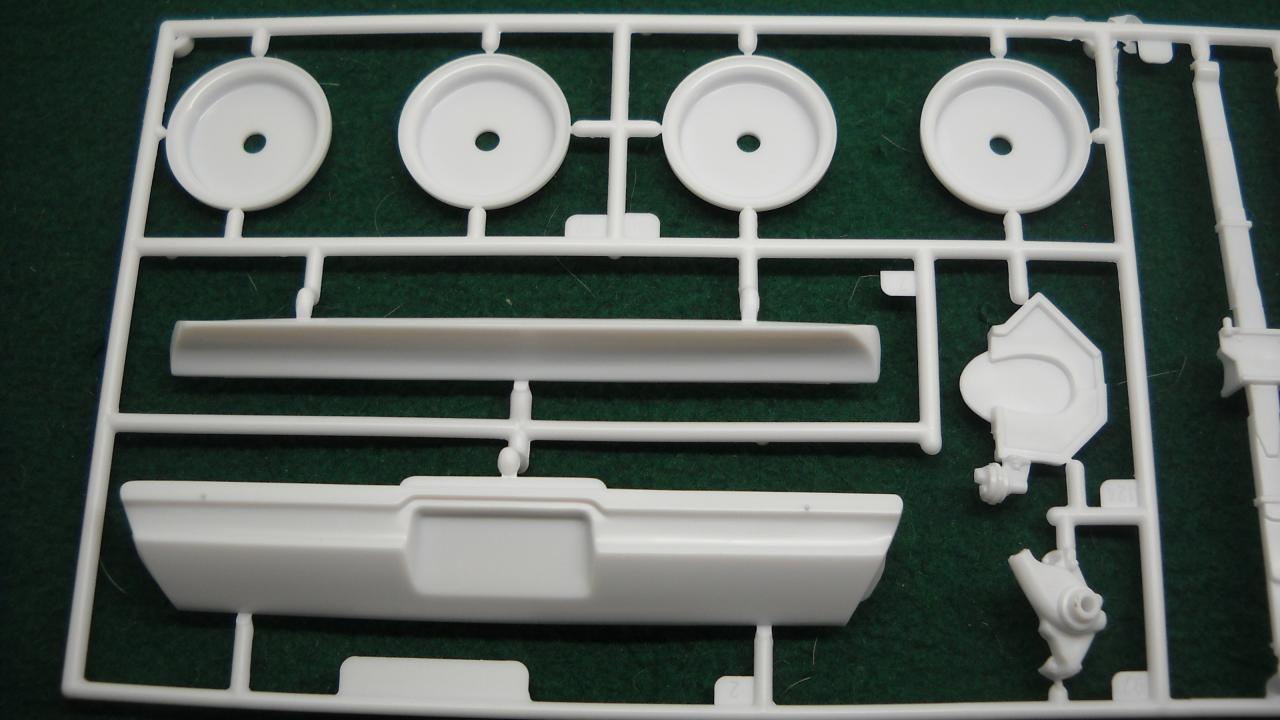
Customs wheels have very nice tread detail. No sidewall markings. Front tires are smaller than rear tires. Stock tires are extremely well detailed. The ones in my kit are pretty round. A couple are just a little flat where they attach to the sprue, but I saw bosshog say they should be fine if you dip them in hot water for about an hour. If you can read this, you don't need glasses. (anyone know that reference?) Ok, that's it. If anybody wants any more pictures, let me know.
-
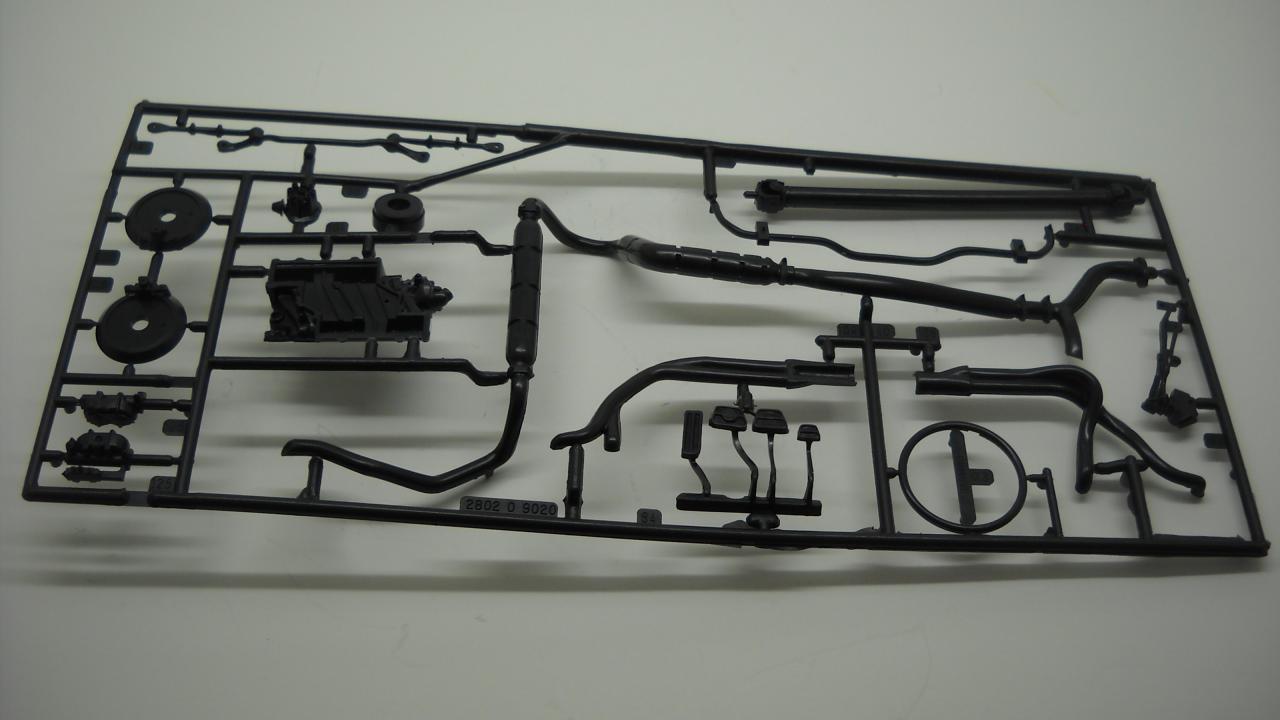
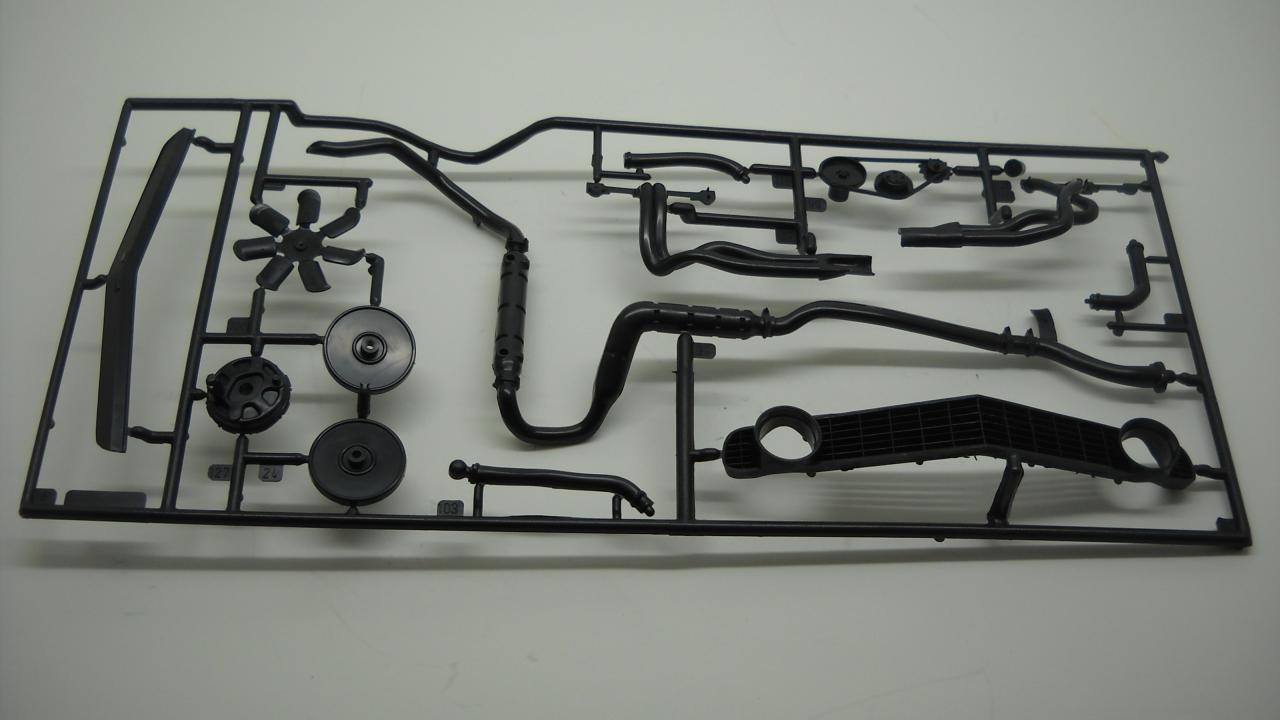
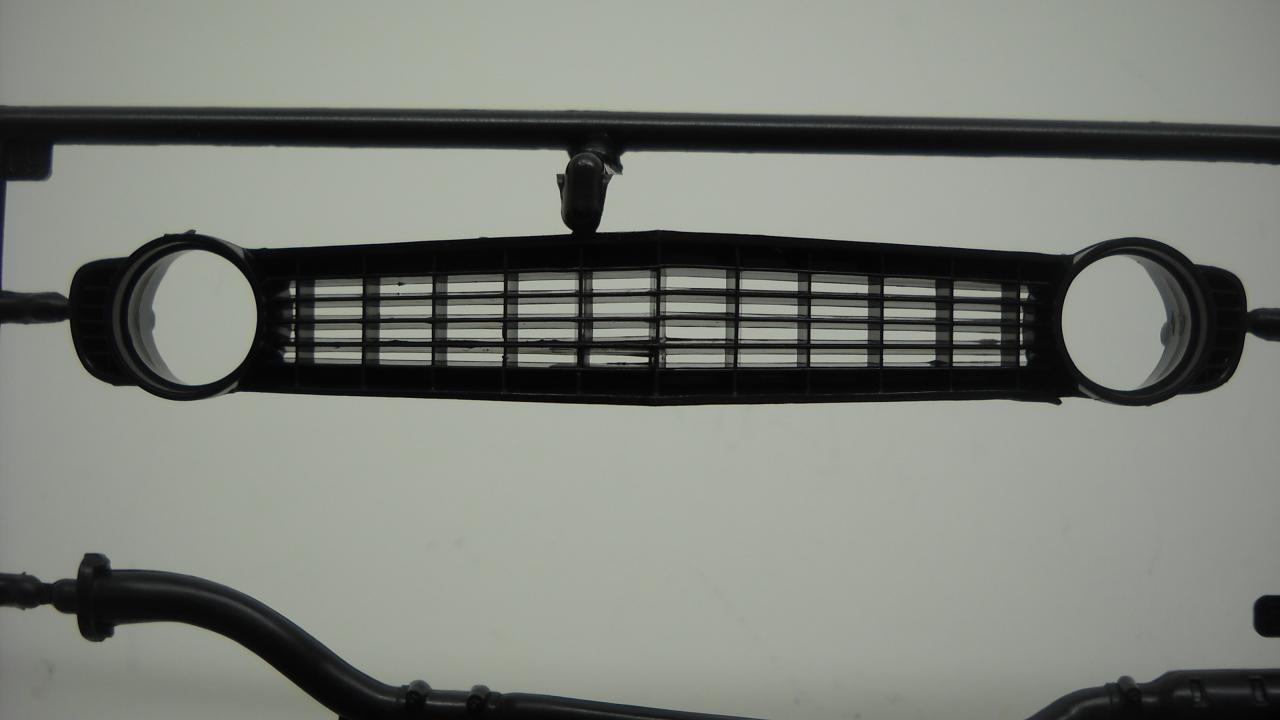
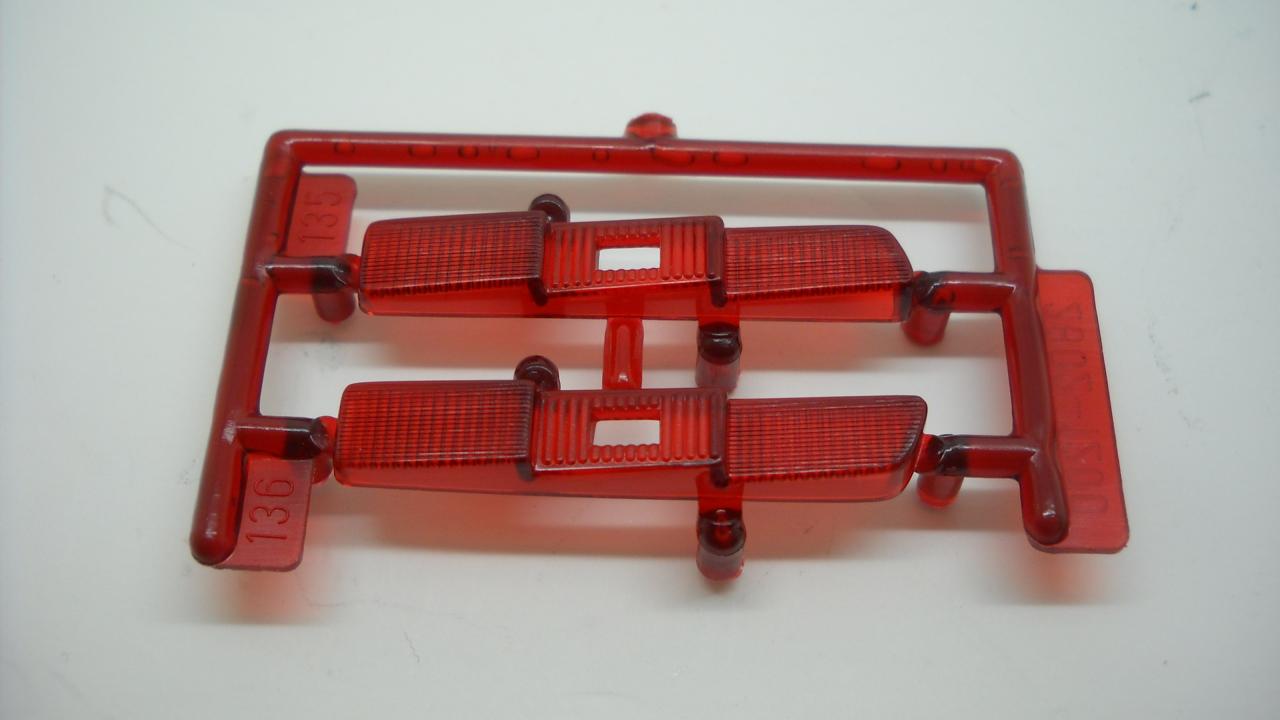
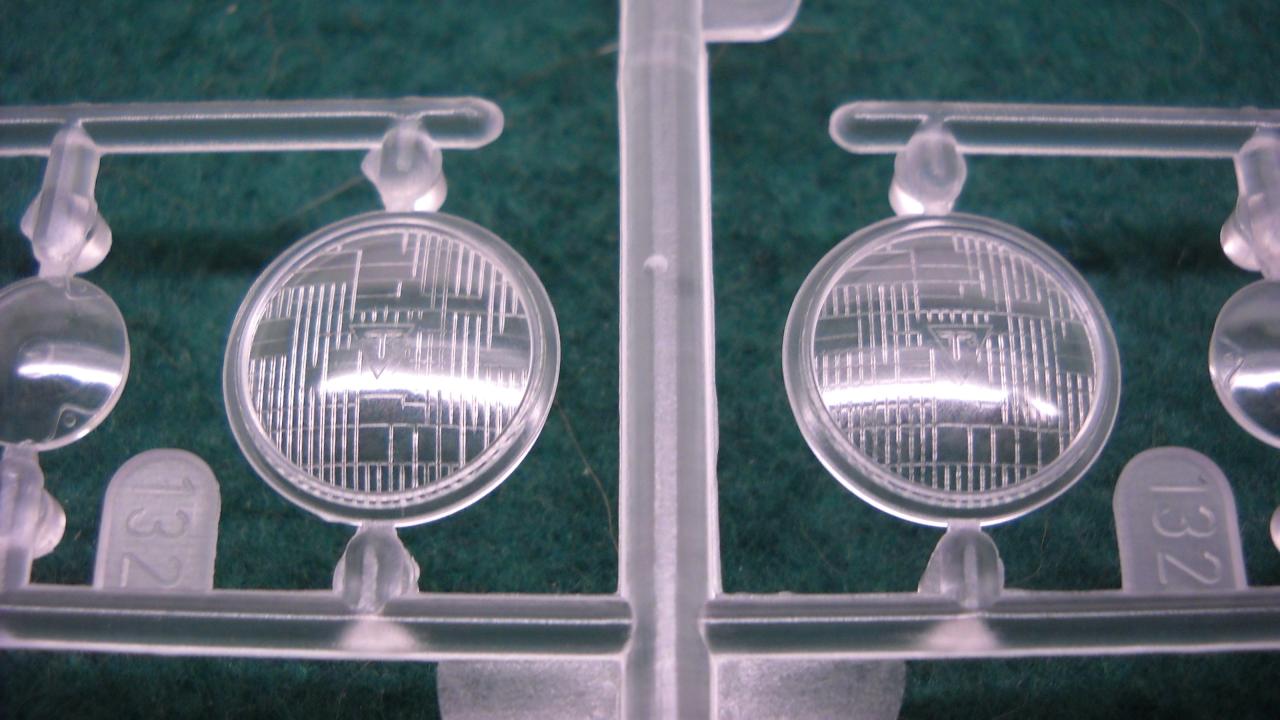
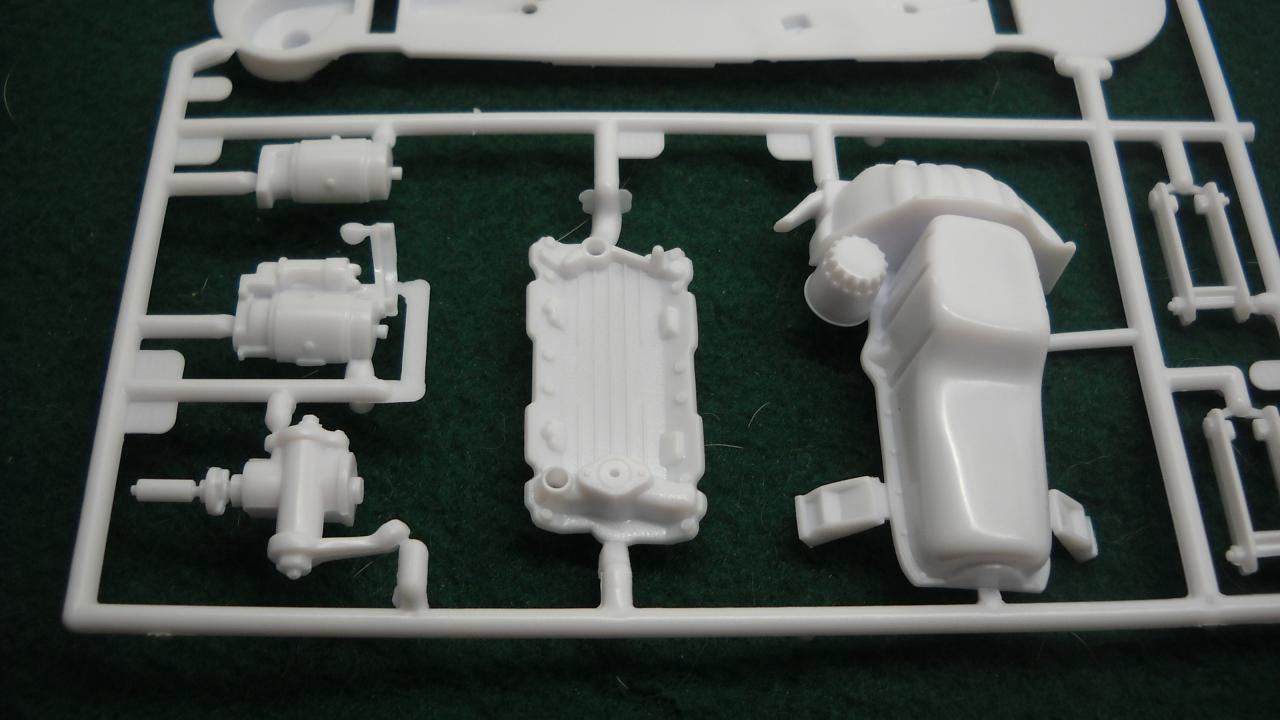
Nicely hollowed out grill, but still needs a little cleaning up. Instructions include actual size diagrams to show how long to make ignition wires and heater hoses. Tail lights have space for reverse lights, which protrude from the reflector bezels.
-
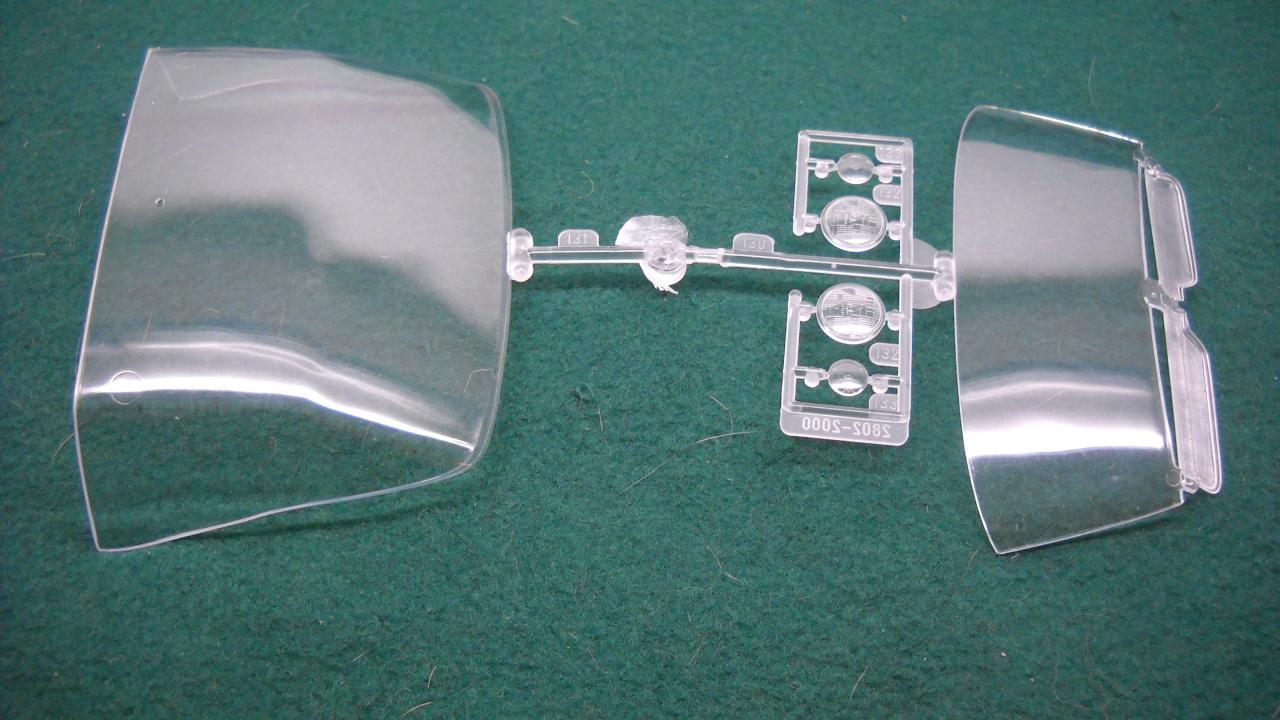
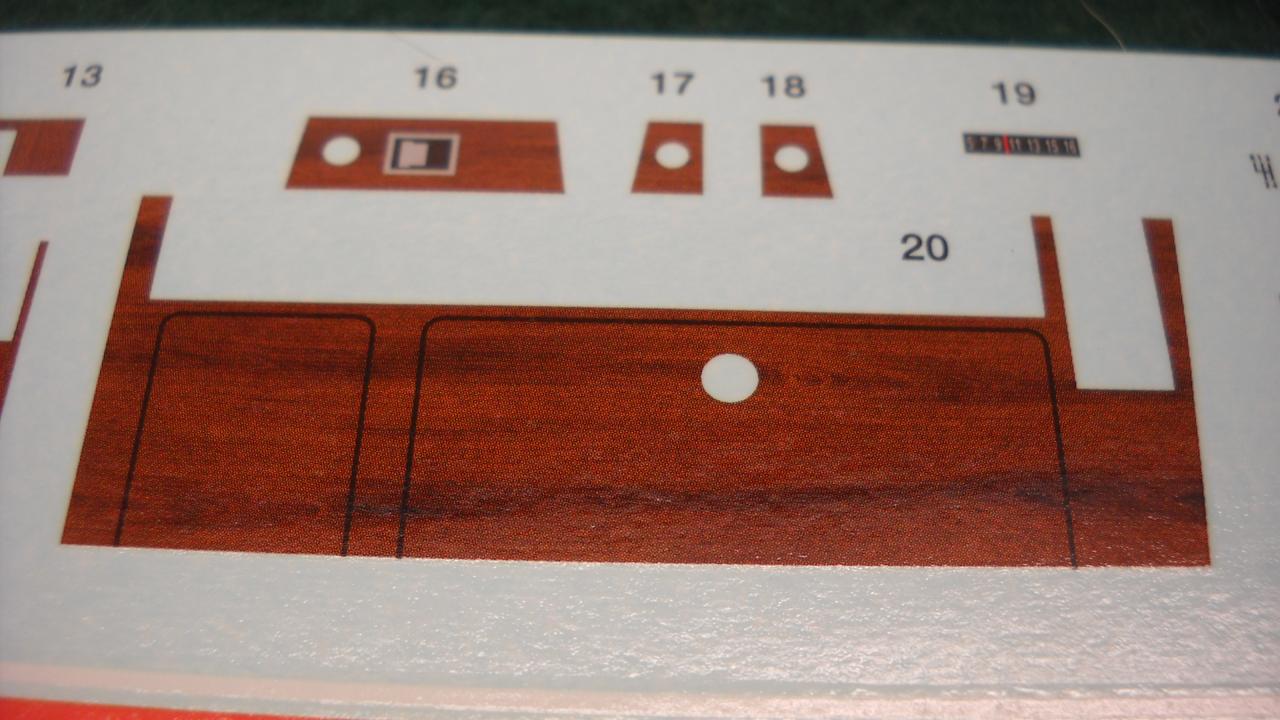
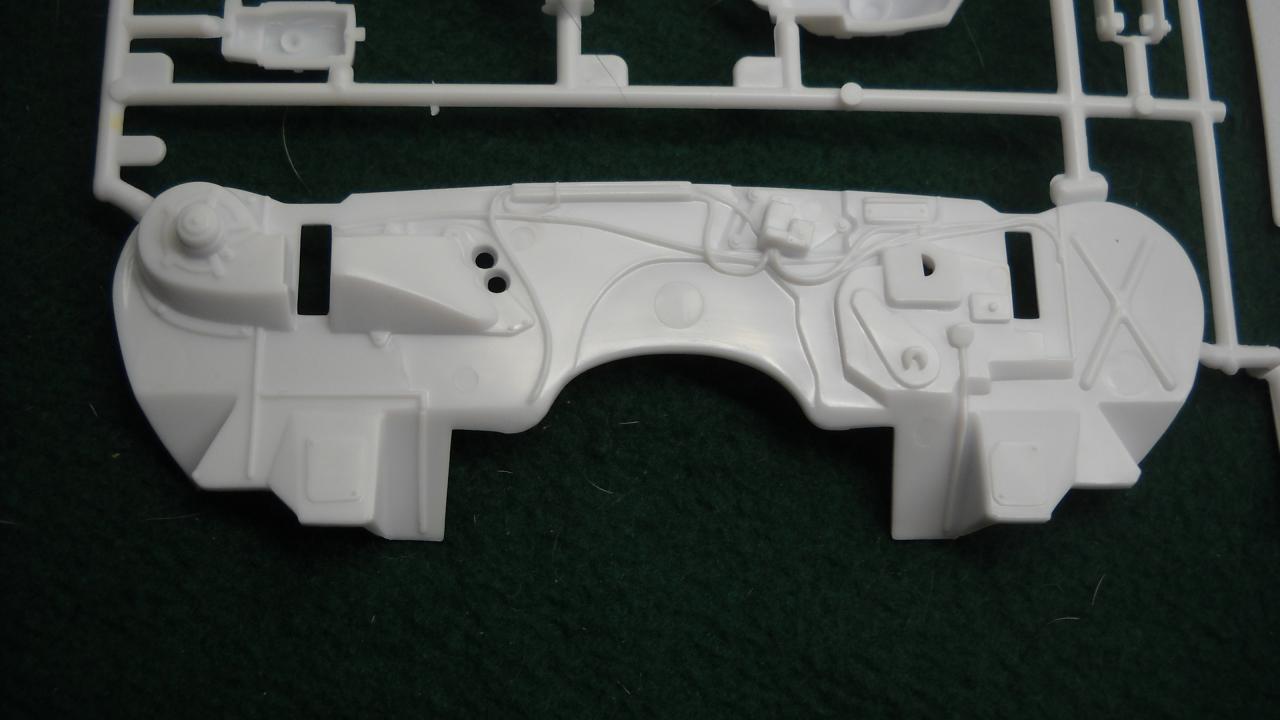
Rear window also includes rear side glass. Pretty nice looking wood paneling decals for the dash board.
-
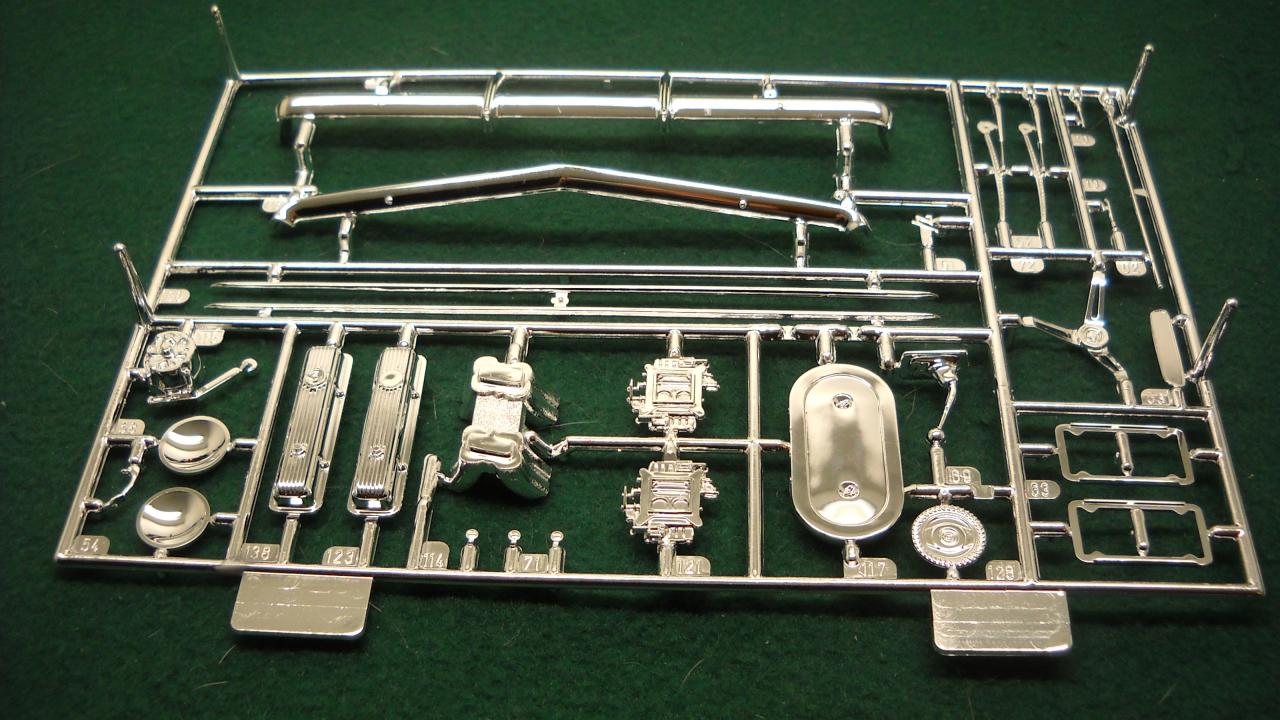
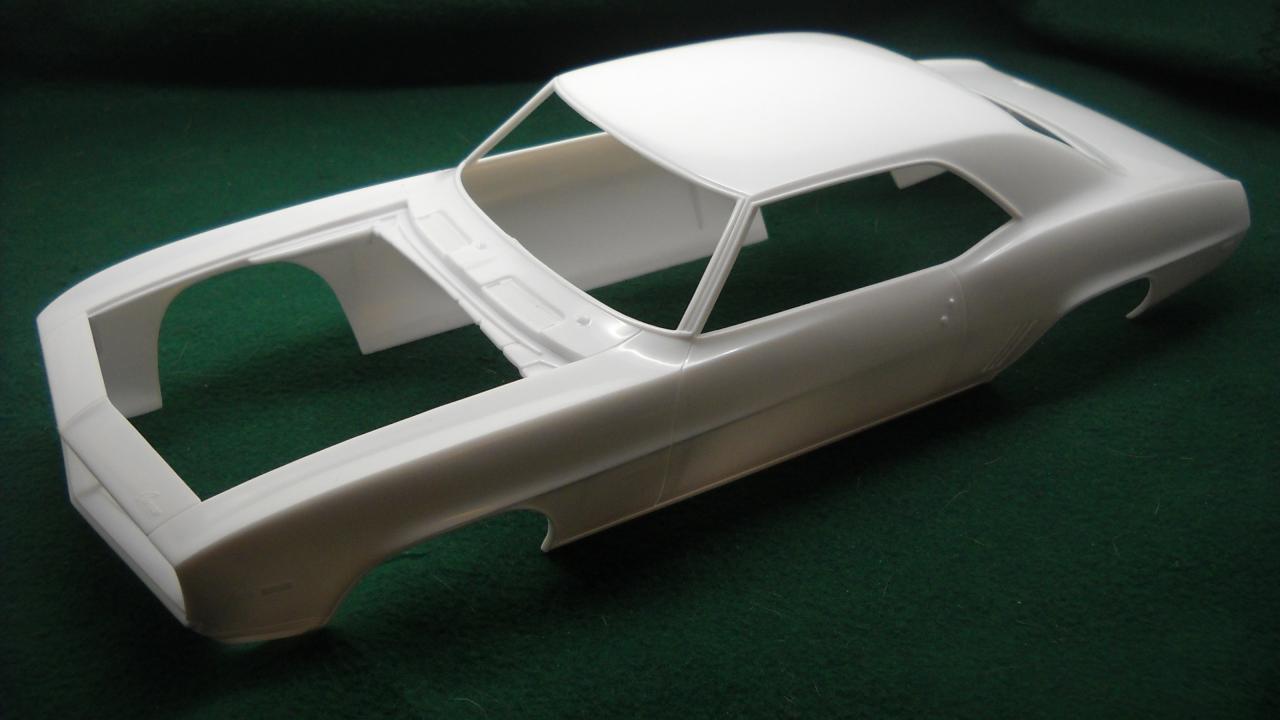
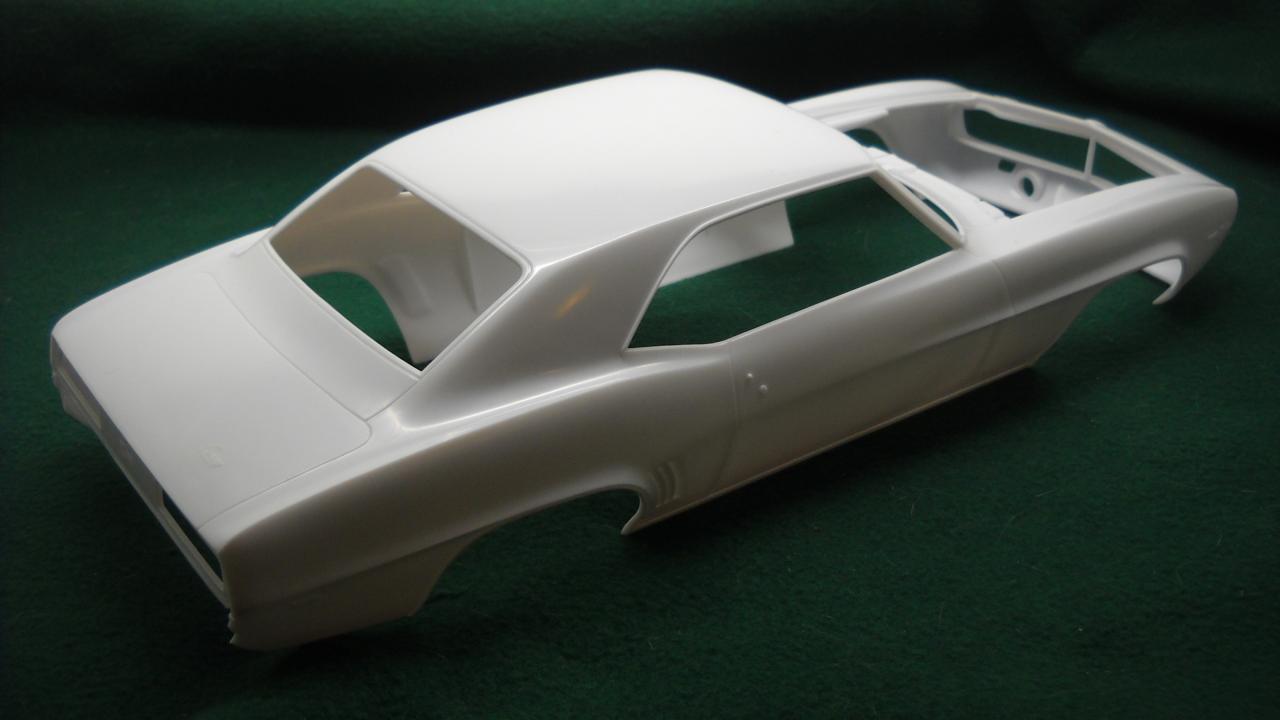
I like to think I take pretty good pictures, so here's a review for people out there who might be considering getting one of these and have never seen the original release from the '80s either. If there's anything you'd like to see a closer-up picture of, let me know. This a beautifully detailed kit with tons of parts, and so far I'd recommend it to anyone looking to build a 1/12 model. This will actually be my first 1/12 scale and I think I made a great choice.
-
It came! It finally came! (To be read in the voice of Sid Philips from Toy Story.)
-
I suppose it's safe to assume we can use the photo etch kit for the old Camaro with the new one?