-
Posts
1,931 -
Joined
-
Last visited
Content Type
Profiles
Forums
Events
Gallery
Everything posted by Russell C
-
flathead supercharger
Russell C replied to southpier's topic in General Automotive Talk (Trucks and Cars)
Didn't even know these existed until my pal Steve Catron in Santa Fe told me about them, and that there was someone on ebay selling 3D printed ones. Found the listing here: http://www.ebay.com/itm/Frenzel-supercharger-1-25th-scale-for-Ford-flathead-models-high-resolution-3d-/202056240001 -

Greetings from Italy: LIMONEVERDE WOOD
Russell C replied to LIMONEVERDE.IT's topic in Welcome! Introduce Yourself
Spectacular work! Is any of that work done initially by computerized 3D routing techniques to at least achieve the basic rough form? Years ago when I showed that process to a traditional bas-relief carver of wax portraits that were used as patterns in sand-cast bronze plaques, he said he would love to use that process, where he could still utilize his traditional final work finishing skills while saving much time in getting to the rough shape. -

Anyone else experiencing a delay when clicking on a post etc?
Russell C replied to Monty's topic in The Off-Topic Lounge
Been lazy about getting it done, but for my obsolete iMac and its Firefox browser, I finally got around to installing a basic AdBlocker. Problem solved on balky page loading, so I blame it on some ads that wouldn't cooperate. -
Exactly. I'm stuck with it now.
-
-
I'd think it's fair to say that if a person has achieved the pinnacle of success in career and personal status, but is suddenly seeing a 500mph airliner aimed at or below the office window and is now facing dim survival prospects, that person has at the very least something to complain about. Me, I haven't achieved my goals, and my surroundings are less than ideal, but tomorrow will be no worse than today, and it might even be better in a land of freedom and opportunity. So, I have no real complaints. That's my perspective at a rock bottom level, and I don't forget it.
-

Let's See Some Glue Bombs!
Russell C replied to Snake45's topic in General Automotive Talk (Trucks and Cars)
I get various weird ideas for altering cars (some I 'sketch' out but probably won't build). What bugs me about some of my ideas is that after I get them all planned out in my mind, then I go searching for the kits I need, only to discover they are a form of Unobtanium costing between $70 and $150. I lucked out here after lengthy waiting and found this within my +/- $20 budget. Too bad about that 'demolition dent' on the front passenger side, but no worries, I already have a parts pack AMT grille to fix it, and the ground-off hood/fender is easy to fix. -

STEVE SCOTT ,A.KA . [ UNCERTAIN T ]
Russell C replied to bpletcher55's topic in General Automotive Talk (Trucks and Cars)
Begs for reinterpretations, like Scott Colmer's "Uncertain C". I'm trying to visualize how it might be turned into an Uncertain Taxi or a front-engined Uncertain Moon Mixer. -
Round 2's Pinto re-release a bit of a stretch? http://round2corp.com/product/1979-ford-pinto-wagon-pony-express/
-

New IH Casting In The Works
Russell C replied to Chariots of Fire's topic in Truck Aftermarket / Resin / 3D Printed
I'd suggest a cowl-forward variant for those who want to do a school bus or Brinks-style armored truck. -

Anyone else experiencing a delay when clicking on a post etc?
Russell C replied to Monty's topic in The Off-Topic Lounge
Could it have something to do with the advertisements? On the weekends when I use my late father's PC at my elderly mother's house, whatever ad blocker it has on it makes the site seemingly run smooth as silk. But the iMac I have here with the identical Firefox browser (no ad blocker) bogs down like crazy sometimes. I haven't seen those obstinate non-opening black rectangles where non-loading ads used to be. When I hit the X on those to stop them when they were there, the pages behaved better. -

What did you see on the road today?
Russell C replied to Harry P.'s topic in General Automotive Talk (Trucks and Cars)
Breaking the law since I did not see these today but instead Tuesday last week when I was on vacation, my excuse being that I didn't have internet access to post, and didn't get around to fishing out my photos 'til today. Anyway, coming over Red Mountain Pass in Colorado in a guided tour, I got the first over-the-shoulder pic below of what was probably a dozen or more Cobras parked in a line for a photo shoot (I think). Later in Ouray, I spotted some driving toward a hotel and snagged a pic there. And the following morning, I caught one leaving down as I was heading in the other direction on another guided driving tour. Can't find any web site explaining this, apart from an Instagram pic with a Superformance hashtag. Not shown, but among this mob was also a Cobra coupe and a Corvette Grandsport. Some kind of kit car club mountains drive, no doubt. -

rubber duck truck
Russell C replied to blackbeard's topic in General Automotive Talk (Trucks and Cars)
Link for the Google Translate version in English: https://translate.google.com/translate?sl=auto&tl=en&js=y&prev=_t&hl=en&ie=UTF-8&u=http%3A%2F%2Fforum.autoinscale.com%2Fviewtopic.php%3Fid%3D2456&edit-text= -
For a different angle, this outfit offered retro '55 Chevy-looking add-on taillights. But unless my search skills let me down, no company put out a particularly spiffy looking retro custom headlight/front fender swap. Might beg for some kind of clever design work.
-

White Road Commander II
Russell C replied to 20dakota04's topic in Model Trucks: Big Rigs and Heavy Equipment
If it weren't for the camera focus in some of the photos, you could say it was a full size truck and nobody would question it. Very nice! -

Autoquiz 331 - Finished
Russell C replied to carsntrucks4you's topic in Real or Model? / Auto ID Quiz
Clearly a Palmer Cobra. -
I was using the free Tinypic.com for my first several Under Glass threads, those pics still work fine. No account to maintain, it just creates a url address to post the images Then I created a gallery here for other threads where I uploaded pics straight off my desktop, but when that crashed a while back, I ended up rather laboriously re-uploading them after the whole system got fixed. Just drag your pic to the area in the reply box where the paper clip is, and then place your cursor in the text where you want the pic to appear, then click the plus sign icon on the pic itself. Why use any image hosting service at all, especially one that charges money?
-
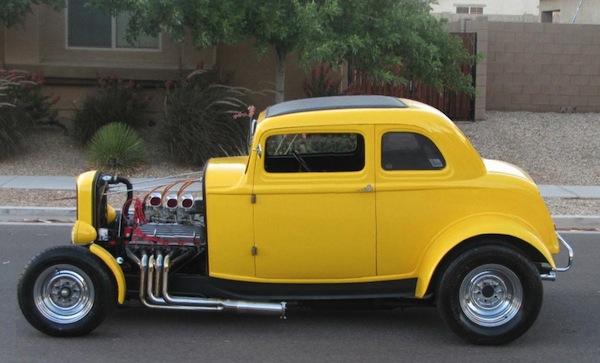
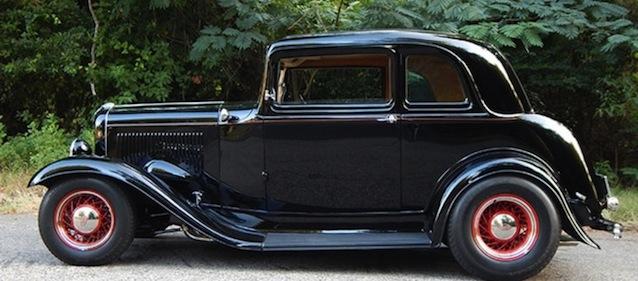
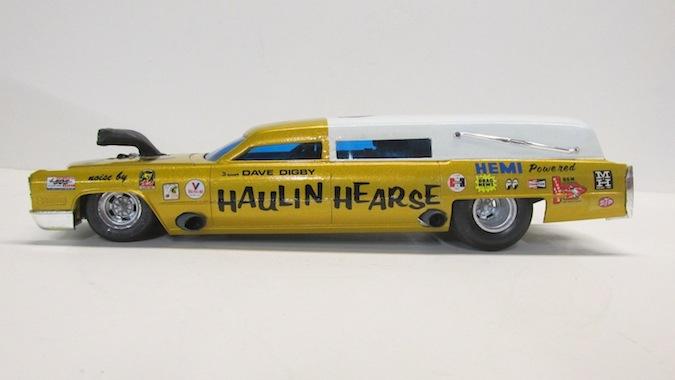
Thanks! The giveaway in the 1st alteration is the way the highlights in the trunk area are identical to the highlights in the back of the roof. Spotted one big line glitch in the Milner rod, so I fixed that and did away with the beltline doing its downward curve at the rear. Still other photoalteration evidence in it, though.
-
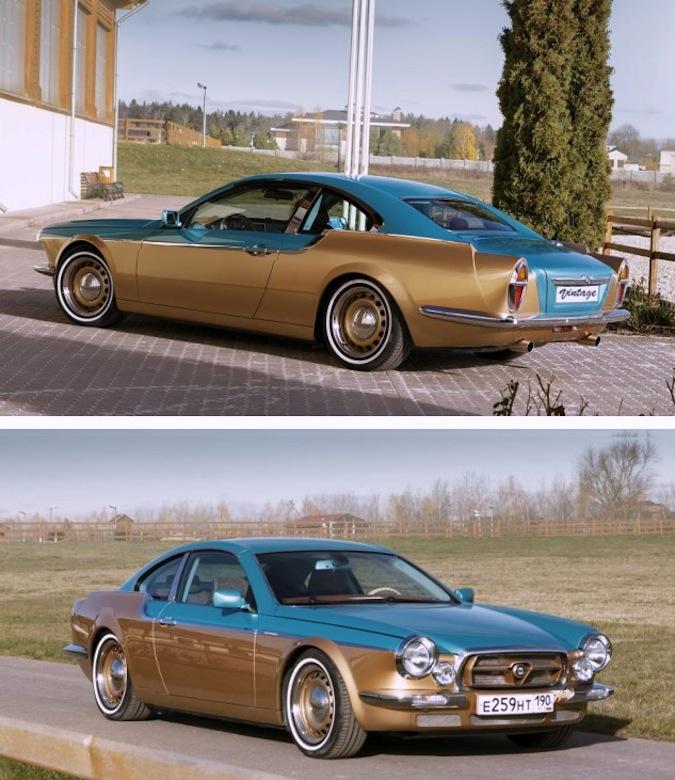
I can be evil sometimes. Guilty as charged, it is the Sidney Allen Victoria that was in HotRod and other mags, snagged the original side view from this page. Cut the upper rear part of the roof and some of the foliage in my obsolete CorelDraw program and pasted it right back in place, and then used the skew tool to make it more of a parallelogram. Then I plopped the same back edge of the roof down to make the trunk. At first I thought I'd say that the bustleback Milner rod in American Graffiti is a version I'd like to see ..... but then everybody would have accused me of living in the alternative reality I'm in right off the bat. =)
-

Autoquiz 330 - FINISHED
Russell C replied to carsntrucks4you's topic in Real or Model? / Auto ID Quiz
This is the answer to "what do you get when you cross a VW Beetle with a Citroen 2CV?" -
The area of grass at my apartment complex goes crunch when I step on it. The trees and shrubs look so sad. I hand water mine out front (apt. managers are cheapskates on turning on more water in times like these). Also entertaining to go get the late afternoon mail one day and then just two days later muse how 108 degrees feels more pleasant than 116.
-

Anyone like to see this one again ?
Russell C replied to Greg Myers's topic in General Automotive Talk (Trucks and Cars)
From this April ebay listing, this guy's choptop idea had me thinking of a Bonneville Salt Flats version, if the kit was available for cheap .........

