StevenGuthmiller
-
Posts
15,088 -
Joined
-
Last visited
Content Type
Profiles
Forums
Events
Gallery
Everything posted by StevenGuthmiller
-
A lot of really nice stuff there Trent! If I had to guess, I would say that you are a bit of a Mopar fan!! Steve
-
Nice stuff Jacob! The Charger is a real eye grabber!! Steve
-
I can always count on some stuff from you that grabs my interest Al! And this year, I recognize a couple that I remember from my stash! It always warms my heart to know that the models that I trade are actually being built! I can always count on you to do that! Pretty nice collection Al!
-
Some sweet stuff Mike! I love the '62 Ford and '60 Fury, but the Cyclone is over the top!! Great stuff! Steve
-
I'm not much of a Vette guy, but I know an excellent build when I see one! Exactly what I would expect from you Bill! Steve
-
Gotta love that '69 R/T!! Beautiful!! Steve
-
Thanks Keith! These 2 kits are very possibly the rarest that I have in my collection. Along with the Johan '68 Olds 442 that I am working on at the moment, there is no doubt that the 3 of them are by far the most unique and hard to find kits that I own. Steve
-
Thank you all so much for all of the wonderful comments! I appreciate them immensely! That depends on what you mean by "work" Dave. The hood will open and close, but the springs are basically free floating and will not hold the hood open. Steve
-
 I have made some great friends on and off of the board this year as well. Present company included!! Steve
 -
Our prayers are with you Vince. So sorry for your loss. Steve
-
I think you're right. The vast majority of 1968 kits are really hard to find. Some are darn near impossible! 1968 Impala, original '68 Chevelle annual, '68 GTO annual, '68 442, just to name a few of the GM kits. All of these are going to cost you top dollar in unmolested condition! Some are nearly non-existent even as a built up or builder! Steve
-
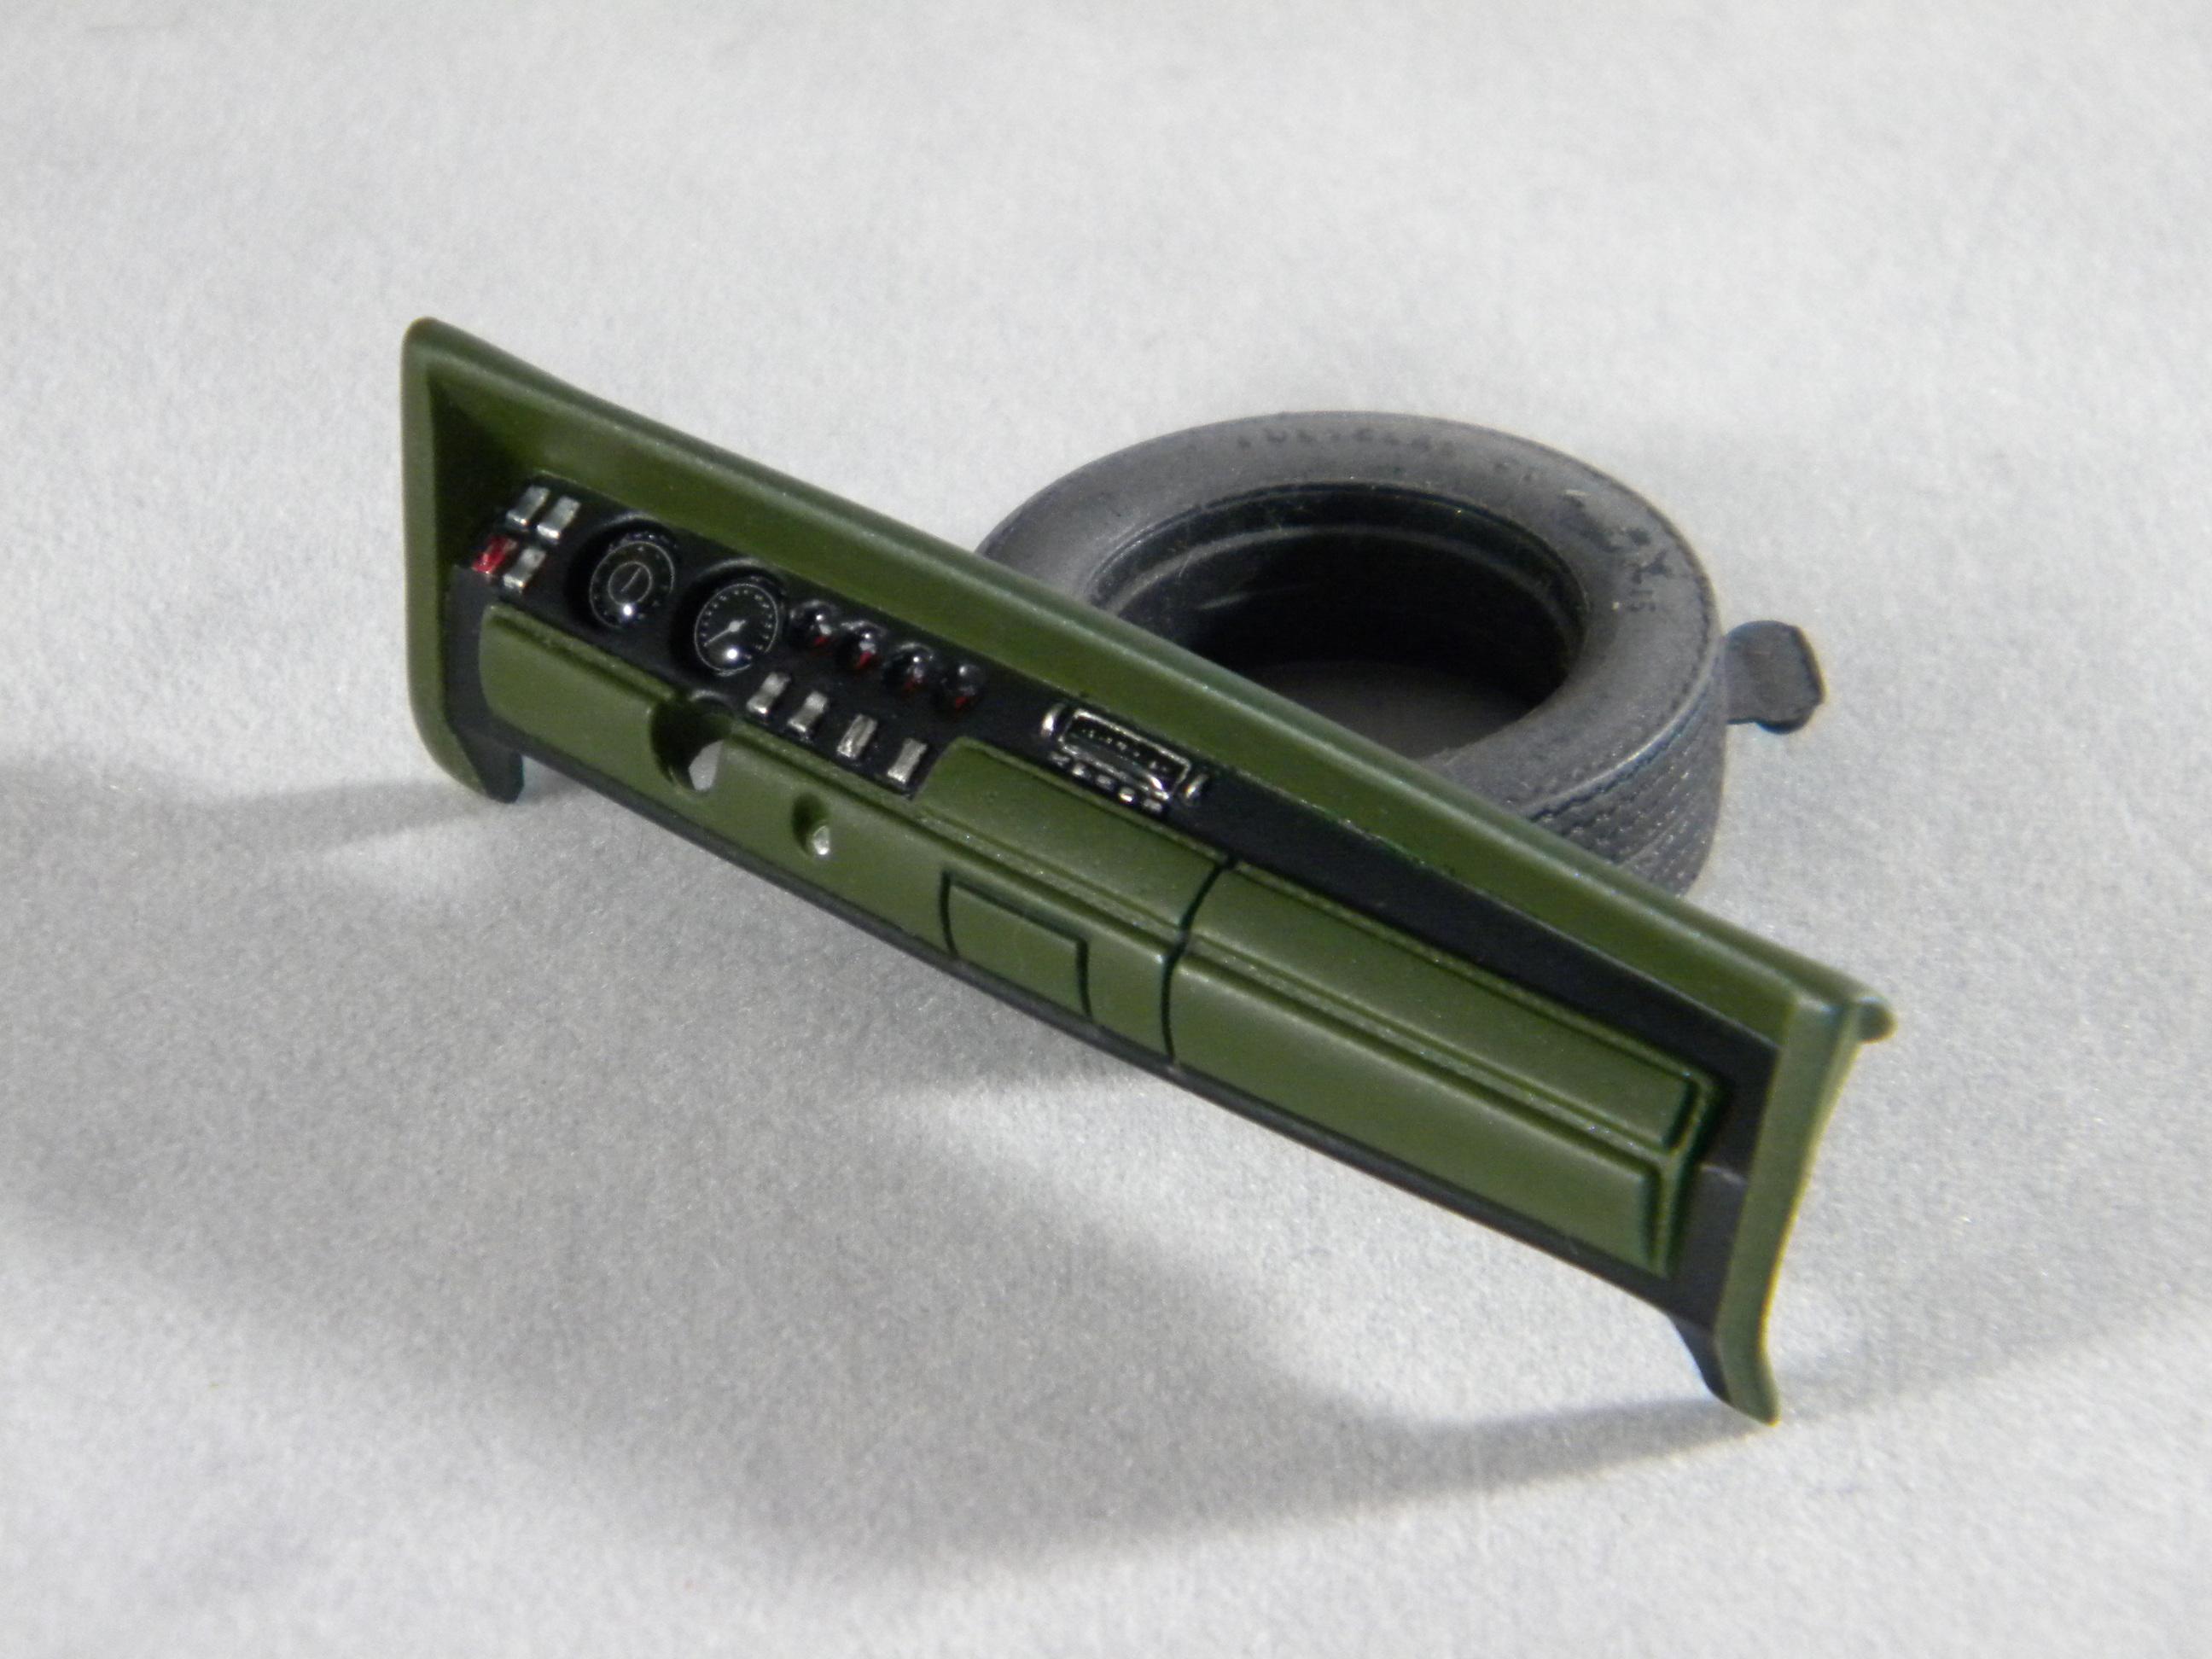
Detailing Instrument Cluster
StevenGuthmiller replied to Chevy II's topic in Model Building Questions and Answers
A dab of one of the UV light setting glues is what I have been using. Put a drop on the gauge, spread it around a bit to level it and then hit it with the UV light. It will set hard in a few seconds and give you a shiny surface as well as some depth. Steve
-
Thanks Tom! A good portion of those kits on the lower shelf have already been built and are just empty boxes. I would estimate about half of them are still waiting to be built. Mostly old Johan and AMT annuals. Steve
-
I would also agree with this. Some find it a noble enterprise to preserve a complete stranger's work from decades ago. I have to ask myself, why? Unless it has a personal connection, I'm not certain that I understand why someone would want to preserve their work. If you own it now, it obviously wasn't all that important that they save it for themselves. Steve
-
Correct. It's not a particularly rare kit in the world of vintage kits, so I say knock yourself out! Steve
-
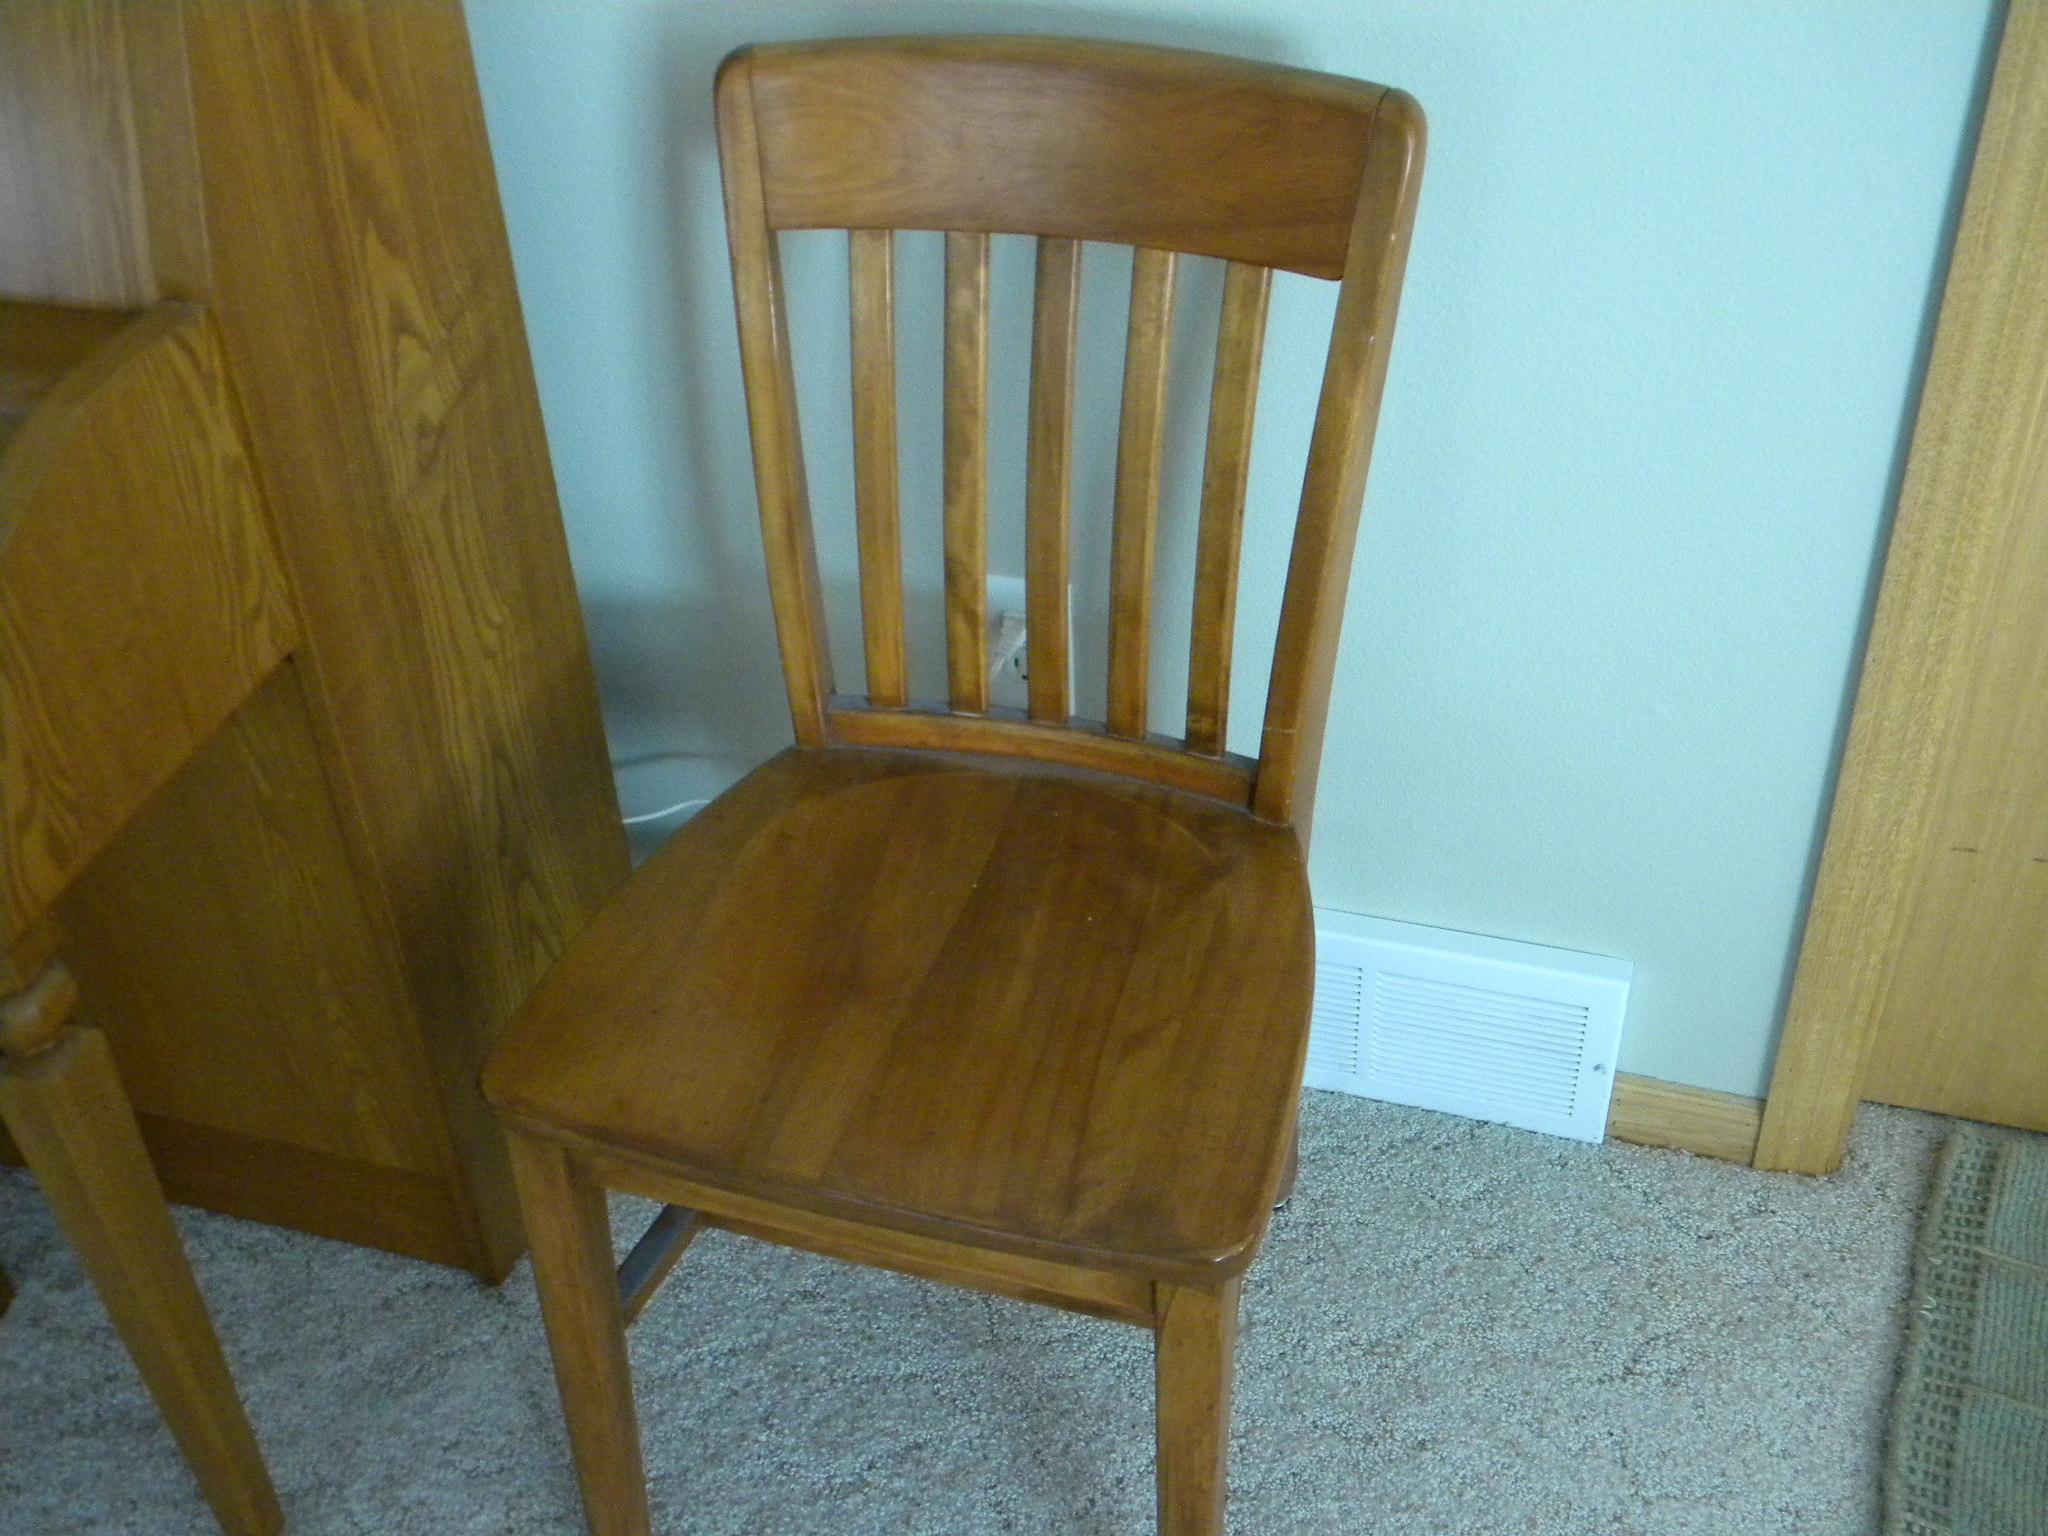
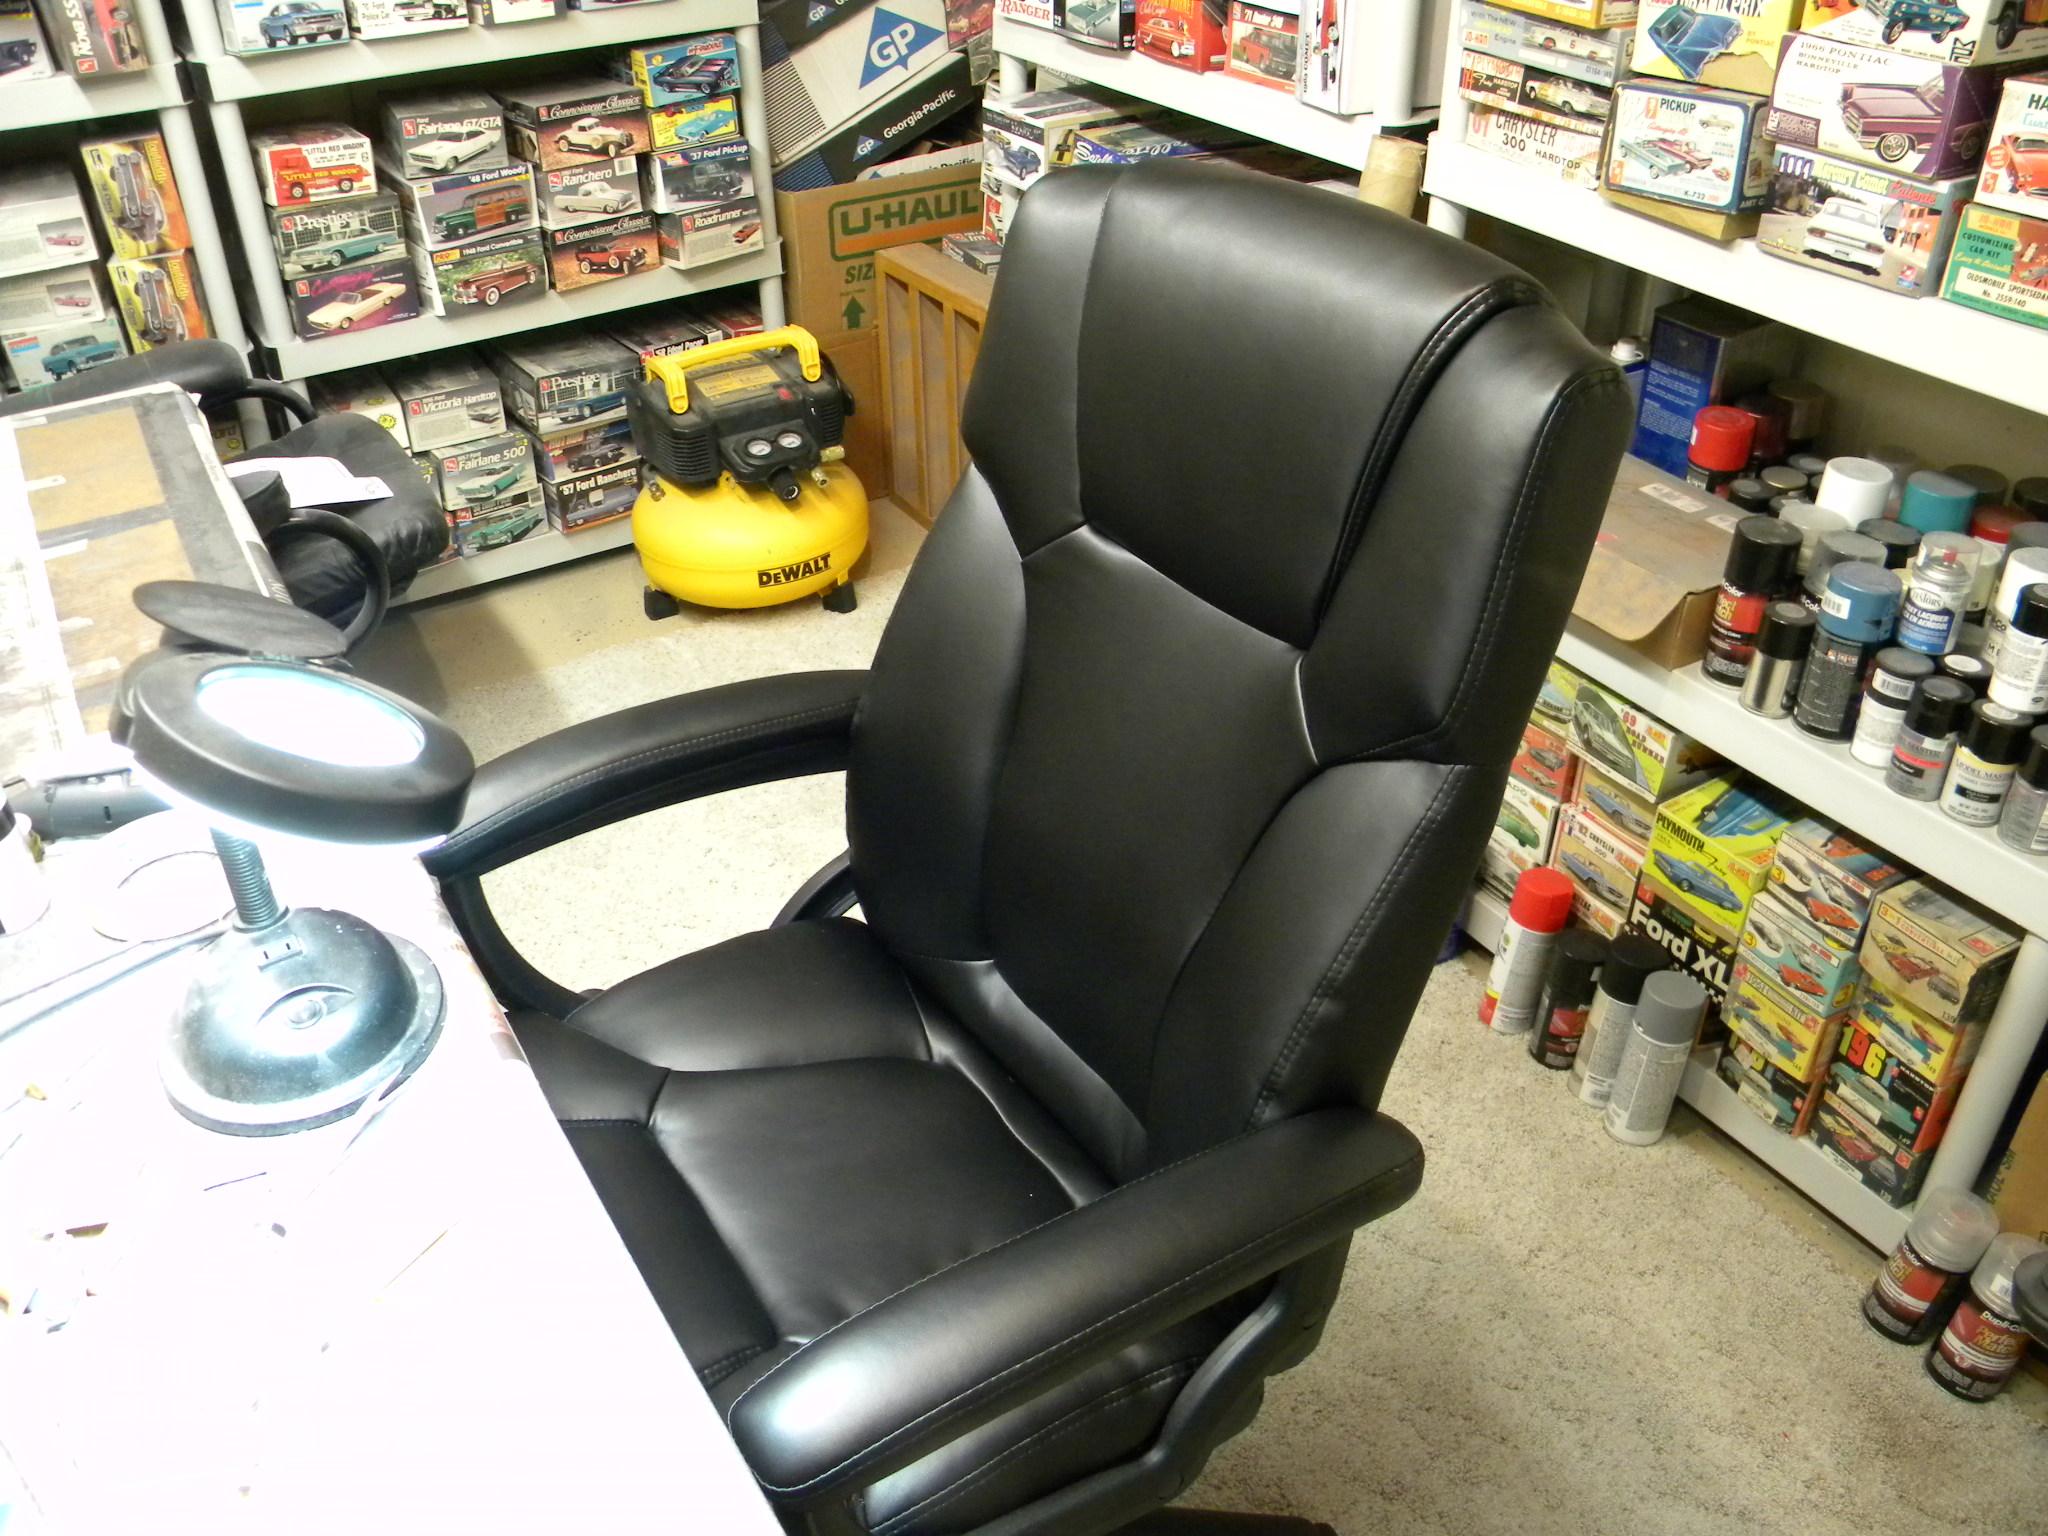
It pays to have a wife that drives a hard bargain as well. She got this $120.00 chair for about $75.00! Steve
-
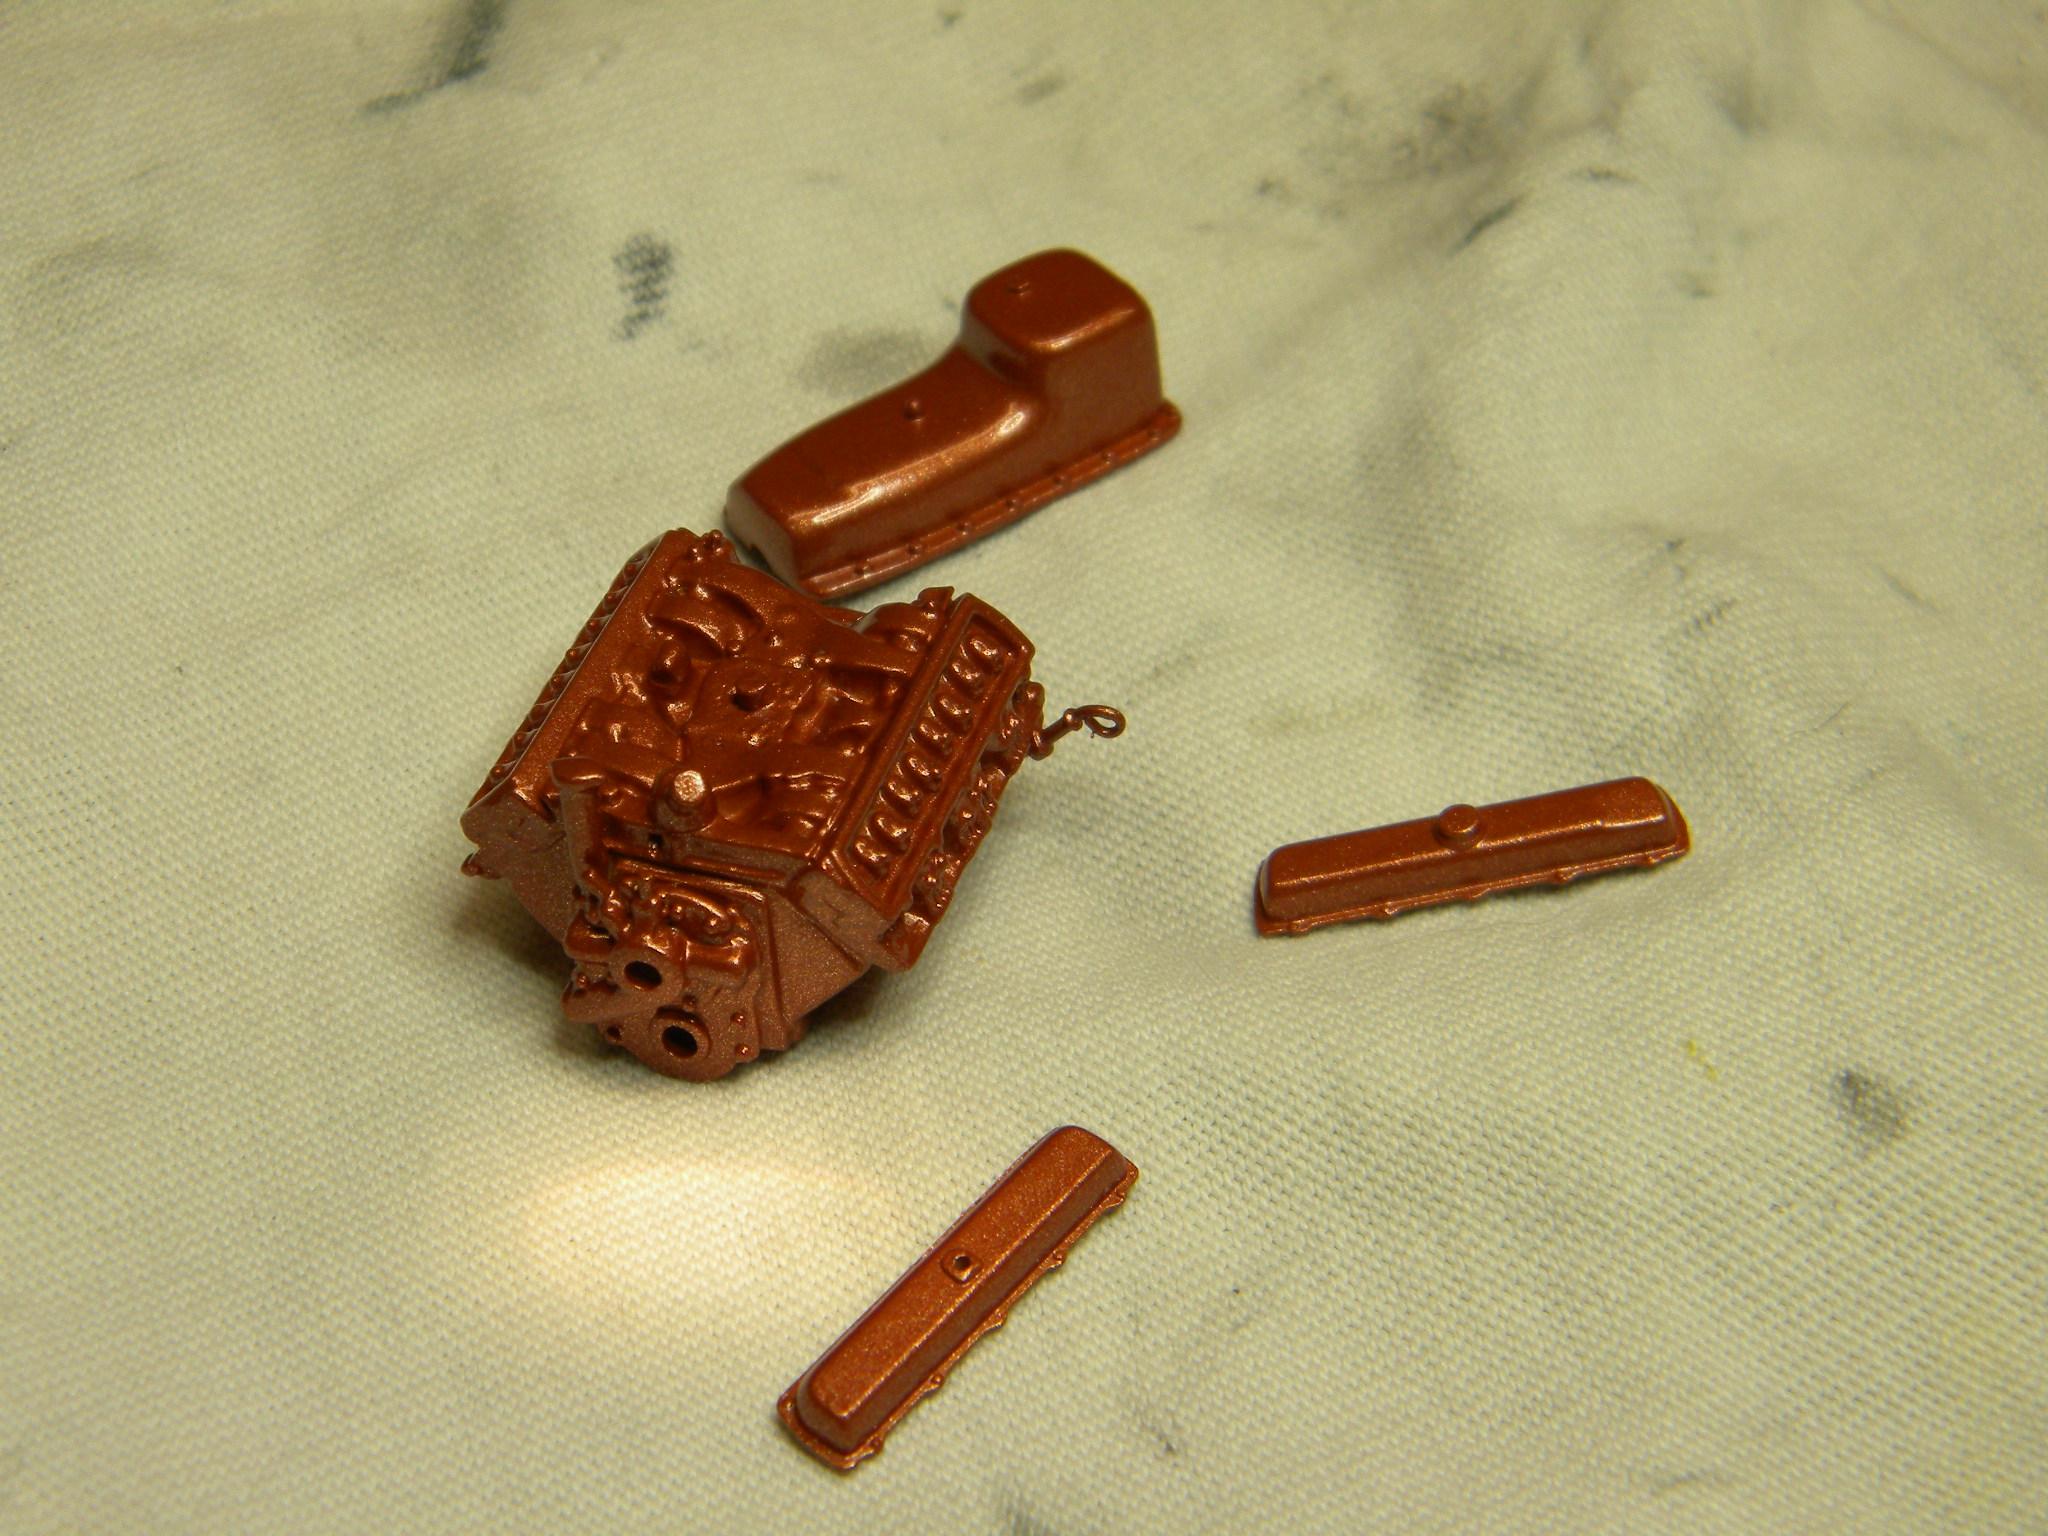
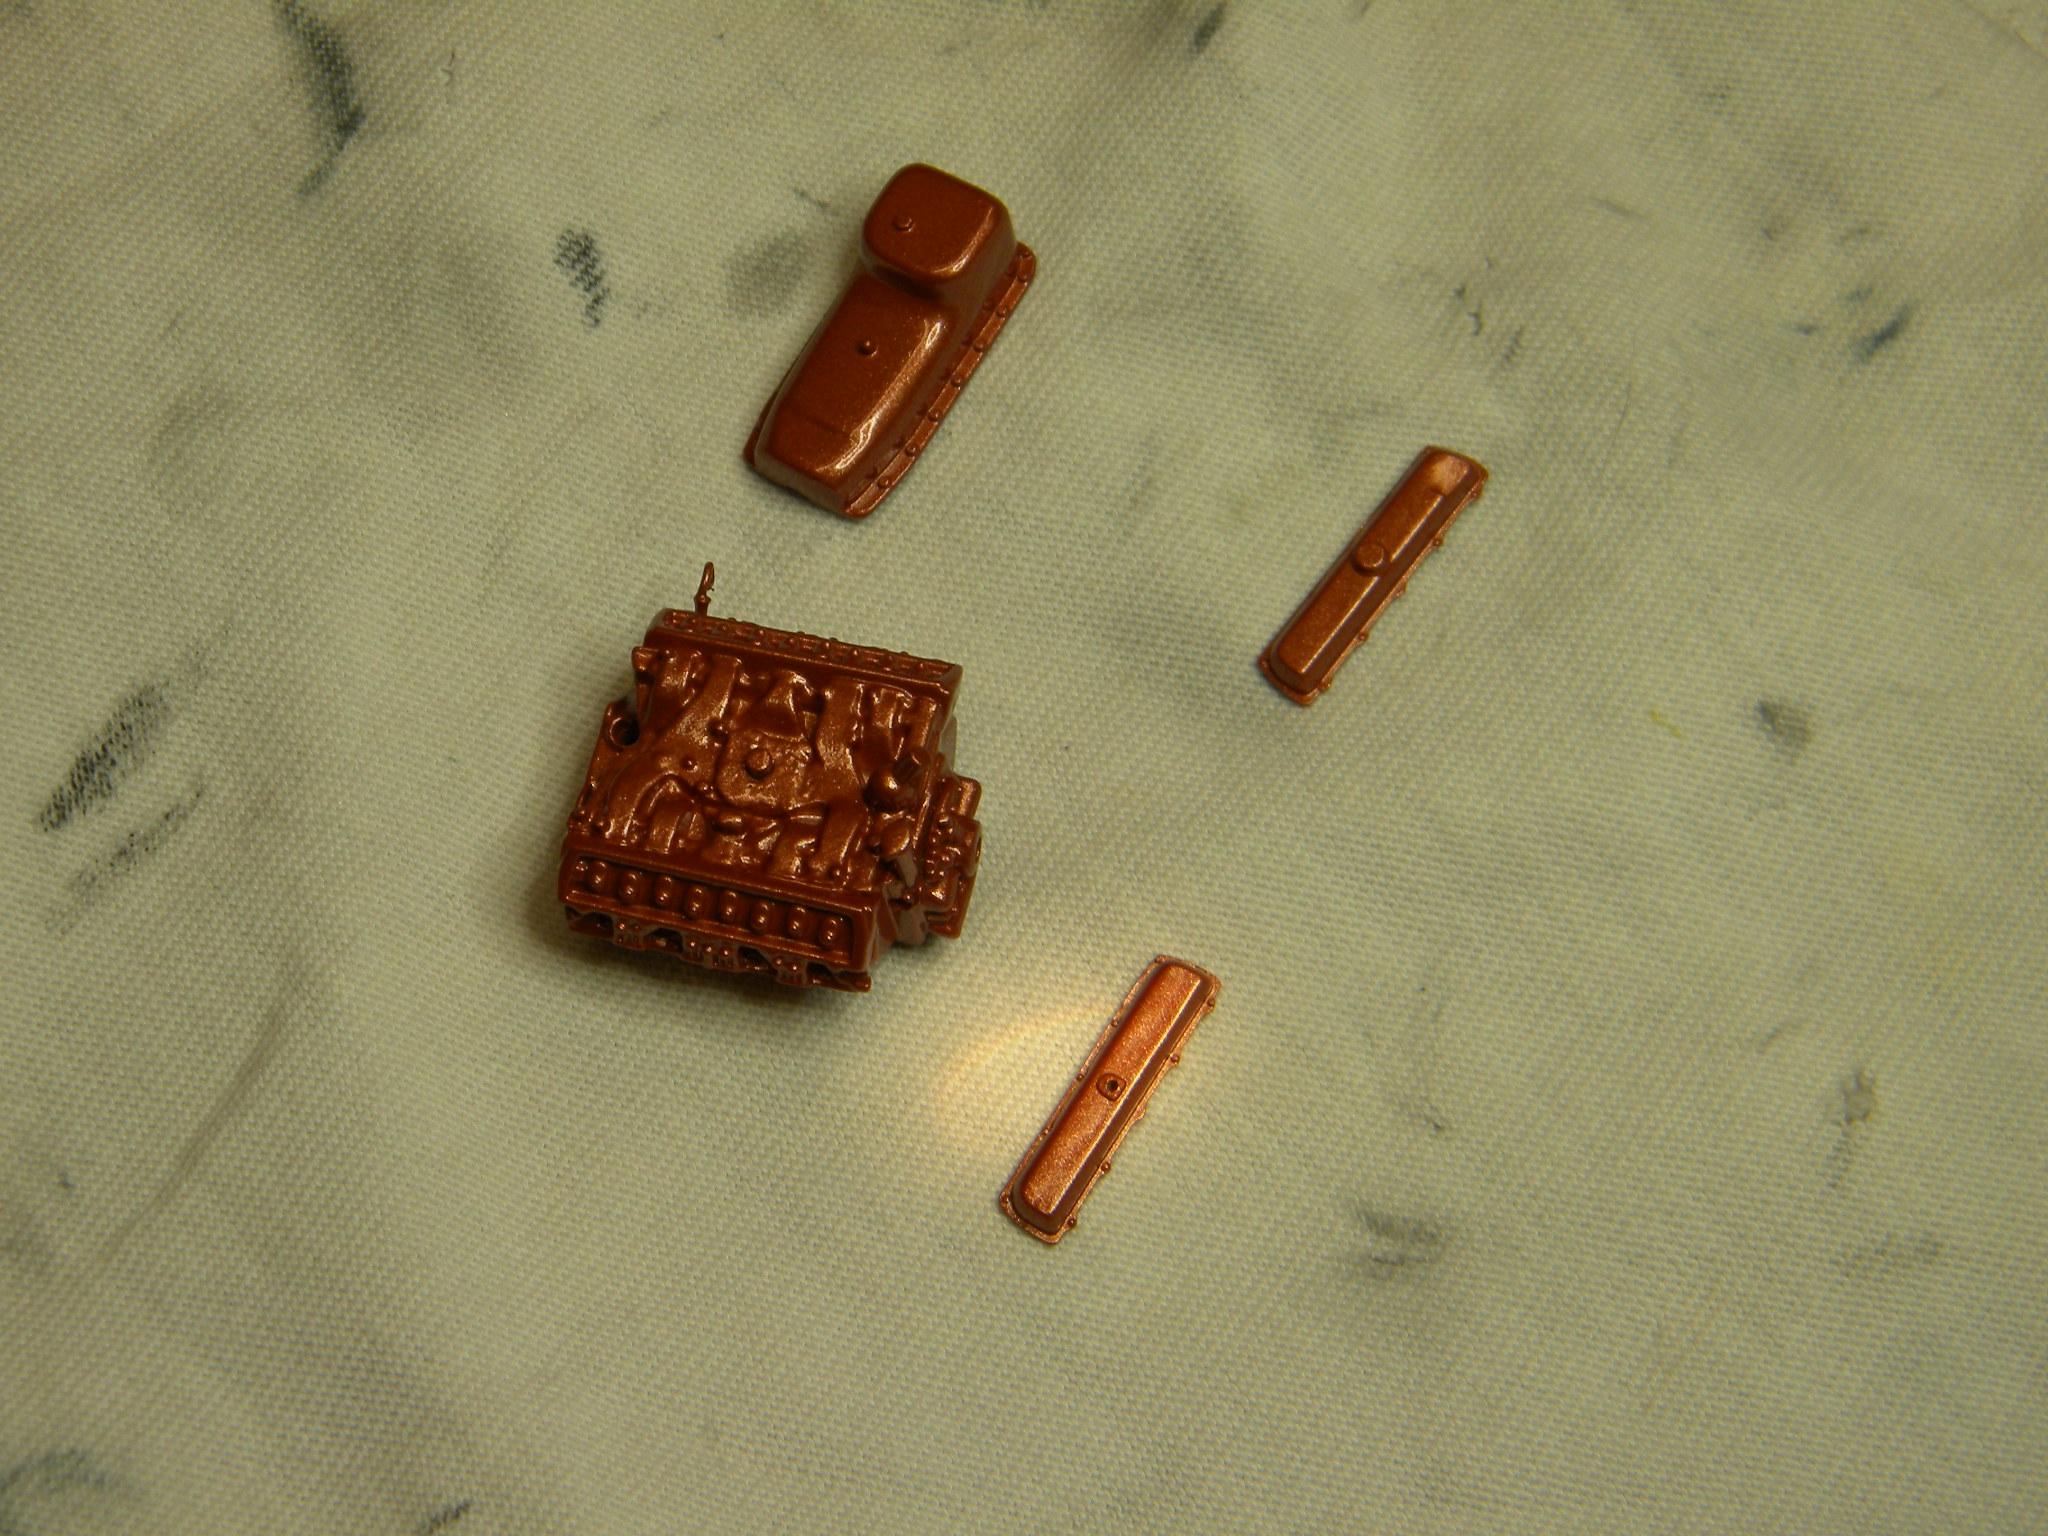
Managed to get the basic engine painted tonight. The MCW Mopar "Turbine Bronze" paint that I had on hand turned out to be a pretty fair representation of the Olds engine bronze that I needed. Steve
-
I thought about the "V" in the belt after I had already done most of the thinning. Maybe I'll try that next time. Steve
-
Try rolling on one with no wheels at all! Steve
-
Not a lot happening on this project over the past few days, but I did manage to get a few minutes in the shop this afternoon and get a dip stick made for the engine. I'm hoping to get the engine parts shot with some color this evening. Steve
-
Moebius could make it a lot easier on all of us by just modifying the '55 or '56 300 kit into a Desoto. New body, front and rear treatments and some interior changes, and viola, '55 or '56 Desoto Firedome, Fireflite or Adventurer coupe, or even convertible for that matter. I haven't been able to understand why they never took this next "obvious" step. Steve
-
It was high on my list. This is what I was using before! Nice chair, but horrible for a hobby chair! Steve
-
I always wondered how it would work to graft the necessary Desoto parts onto the Moebius '56 body to create a '56 Desoto 2 door hard top. You would have to create your own body trim, but I would guess that it would be possible to exchange front and rear clips. Steve
-
My wonderful wife got me the brand new shop chair that I had been wanting!! Steve
-
Yellow (UGH!) plastic cover-up.
StevenGuthmiller replied to Hi-Po's topic in Model Building Questions and Answers
Must be someone else's technique. I just use straight primer, No clear. Steve