StevenGuthmiller
-
Posts
15,071 -
Joined
-
Last visited
Content Type
Profiles
Forums
Events
Gallery
Everything posted by StevenGuthmiller
-

What does "NNL" stand for?
StevenGuthmiller replied to spudmuffin1959's topic in General Automotive Talk (Trucks and Cars)
I can understand all of that. The NNL North show has the "top ten people's choice", but there is no designation as to first, second, third, etc. There is also a Junior "best in show" award. The remainder are individual awards offered by, and voted on by the members of several local clubs, groups or entities. The RPM model club, The members of which I believe do the bulk of the organization of the show, offer a "Best Competition Vehicle" award. The Winnipeg Model Car Club offers a "Best Road Car" award. The Model Car Club of Minnesota offers a rotating "theme" award that changes every year. There has also been a "Sizzlin' Sixties" award offered by one of the RPM club members, and organizer of the show, Bob Halliday for just the past few years. If memory serves me, there have been "Best Rat Rod" awards given in the past as well, from where I don't recall. But that's pretty much it. No best in shows, etc. In my opinion, it's a perfect balance, providing enough competition to keep things interesting without going overboard by having 2 gold medals, 3 silver medals, and 4 bronze medals for each of 40 different categories, as well as a dozen "special" awards and a "Best in Show"! That might be a bit of an exaggeration, but I'm sure that you've probably entered these kinds of shows before and have seen the stacks, upon stacks, upon stacks, of medals and trophies on the award table! It's a bit much. But I suppose when you have IPMS shows with such specialized categories as "Best Post War, Eastern Block, Artillery Piece", Ya gotta expect a boat load of medals! Steve -
What does "NNL" stand for?
StevenGuthmiller replied to spudmuffin1959's topic in General Automotive Talk (Trucks and Cars)
That was exactly the same kind of attitude that I was dealing with with this Facebook guy! But, I had to try to remember that there was still someone in the background who was looking for the "right" answer, and not something that someone had made up in his head and trying to convey as truth. Anyway, I did my best. That's fabulous!!!! Steve -
What does "NNL" stand for?
StevenGuthmiller replied to spudmuffin1959's topic in General Automotive Talk (Trucks and Cars)
They do discuss in this video the fact that they introduced "People's Choice" awards later on because they felt that it was important that there be some recognition for the modelers at least on some level, so the compromise was reached that they would remain an un-judged show, but the participants of the show would get to choose which builds they liked the best, based on the individual's own criteria. The NNL still remains a non competitive show, but "awards" situations do vary. The NNL North show that I go to most every year allows for "Top Ten, People's Choice" awards, as well as allowing some outside entities, such as local model clubs, to offer their own "theme" awards. That probably amounts to possibly 16 or 17 awards total, including the ten plaques for the people's choice. I think it's a fabulous system. It allows for limited recognition, without handing out a whole table full of medals for 50 different categories like most of the IPMS contests do. I treasure my "special" club awards, and "top ten people's choice" plaques much more than I do any gold medals that I've received at a judged contest, just because it's recognition by my peers, and not a designated judge. My peers opinions are much more important to me. Steve -
What does "NNL" stand for?
StevenGuthmiller replied to spudmuffin1959's topic in General Automotive Talk (Trucks and Cars)
Steve -
What does "NNL" stand for?
StevenGuthmiller replied to spudmuffin1959's topic in General Automotive Talk (Trucks and Cars)
I didn't know until I started attending the show in Minneapolis about a decade ago, at which point I asked one of the show organizers. I understand that "some" people might find my post "unnecessary", or whatever, but I thought it was amusing, and I was a little shocked that someone who claimed to be so worldly when it came to model car shows knew absolutely nothing about the NNL and it's beginnings or purpose. One thing that I have found during my time on some of the Facebook groups is the abundance of incorrect, bad, or even in some cases, destructive information being offered. I don't get into a lot of discussions on the Facebook groups, but I figure that if someone asks a question that I can offer a correct answer to, just as in any other situation, as in this forum or others, I'll chime in. So when this guy gave an obviously wrong answer, I politely offered a correction. I assumed that the person asking the question might actually like to know the right answer, so I gave it. But, it was apparently too much for the gentleman to bear that he might possibly be wrong. In any case, here's a link to the Youtube video that I suggested that he go watch, (which he obviously did not) It's a long one, but it's really very interesting. Steve -
You could investigate some Evergreen #4525 "Metal Siding". I use this stuff quite a bit for various situations, including some interior panel replacements. It might be a little large for your application, but I suppose that Evergreen could possibly produce a finer one? I used this for interior door panels and seat backs on my '64 Bonneville, and door panels on my '68 Coronet. Steve
-
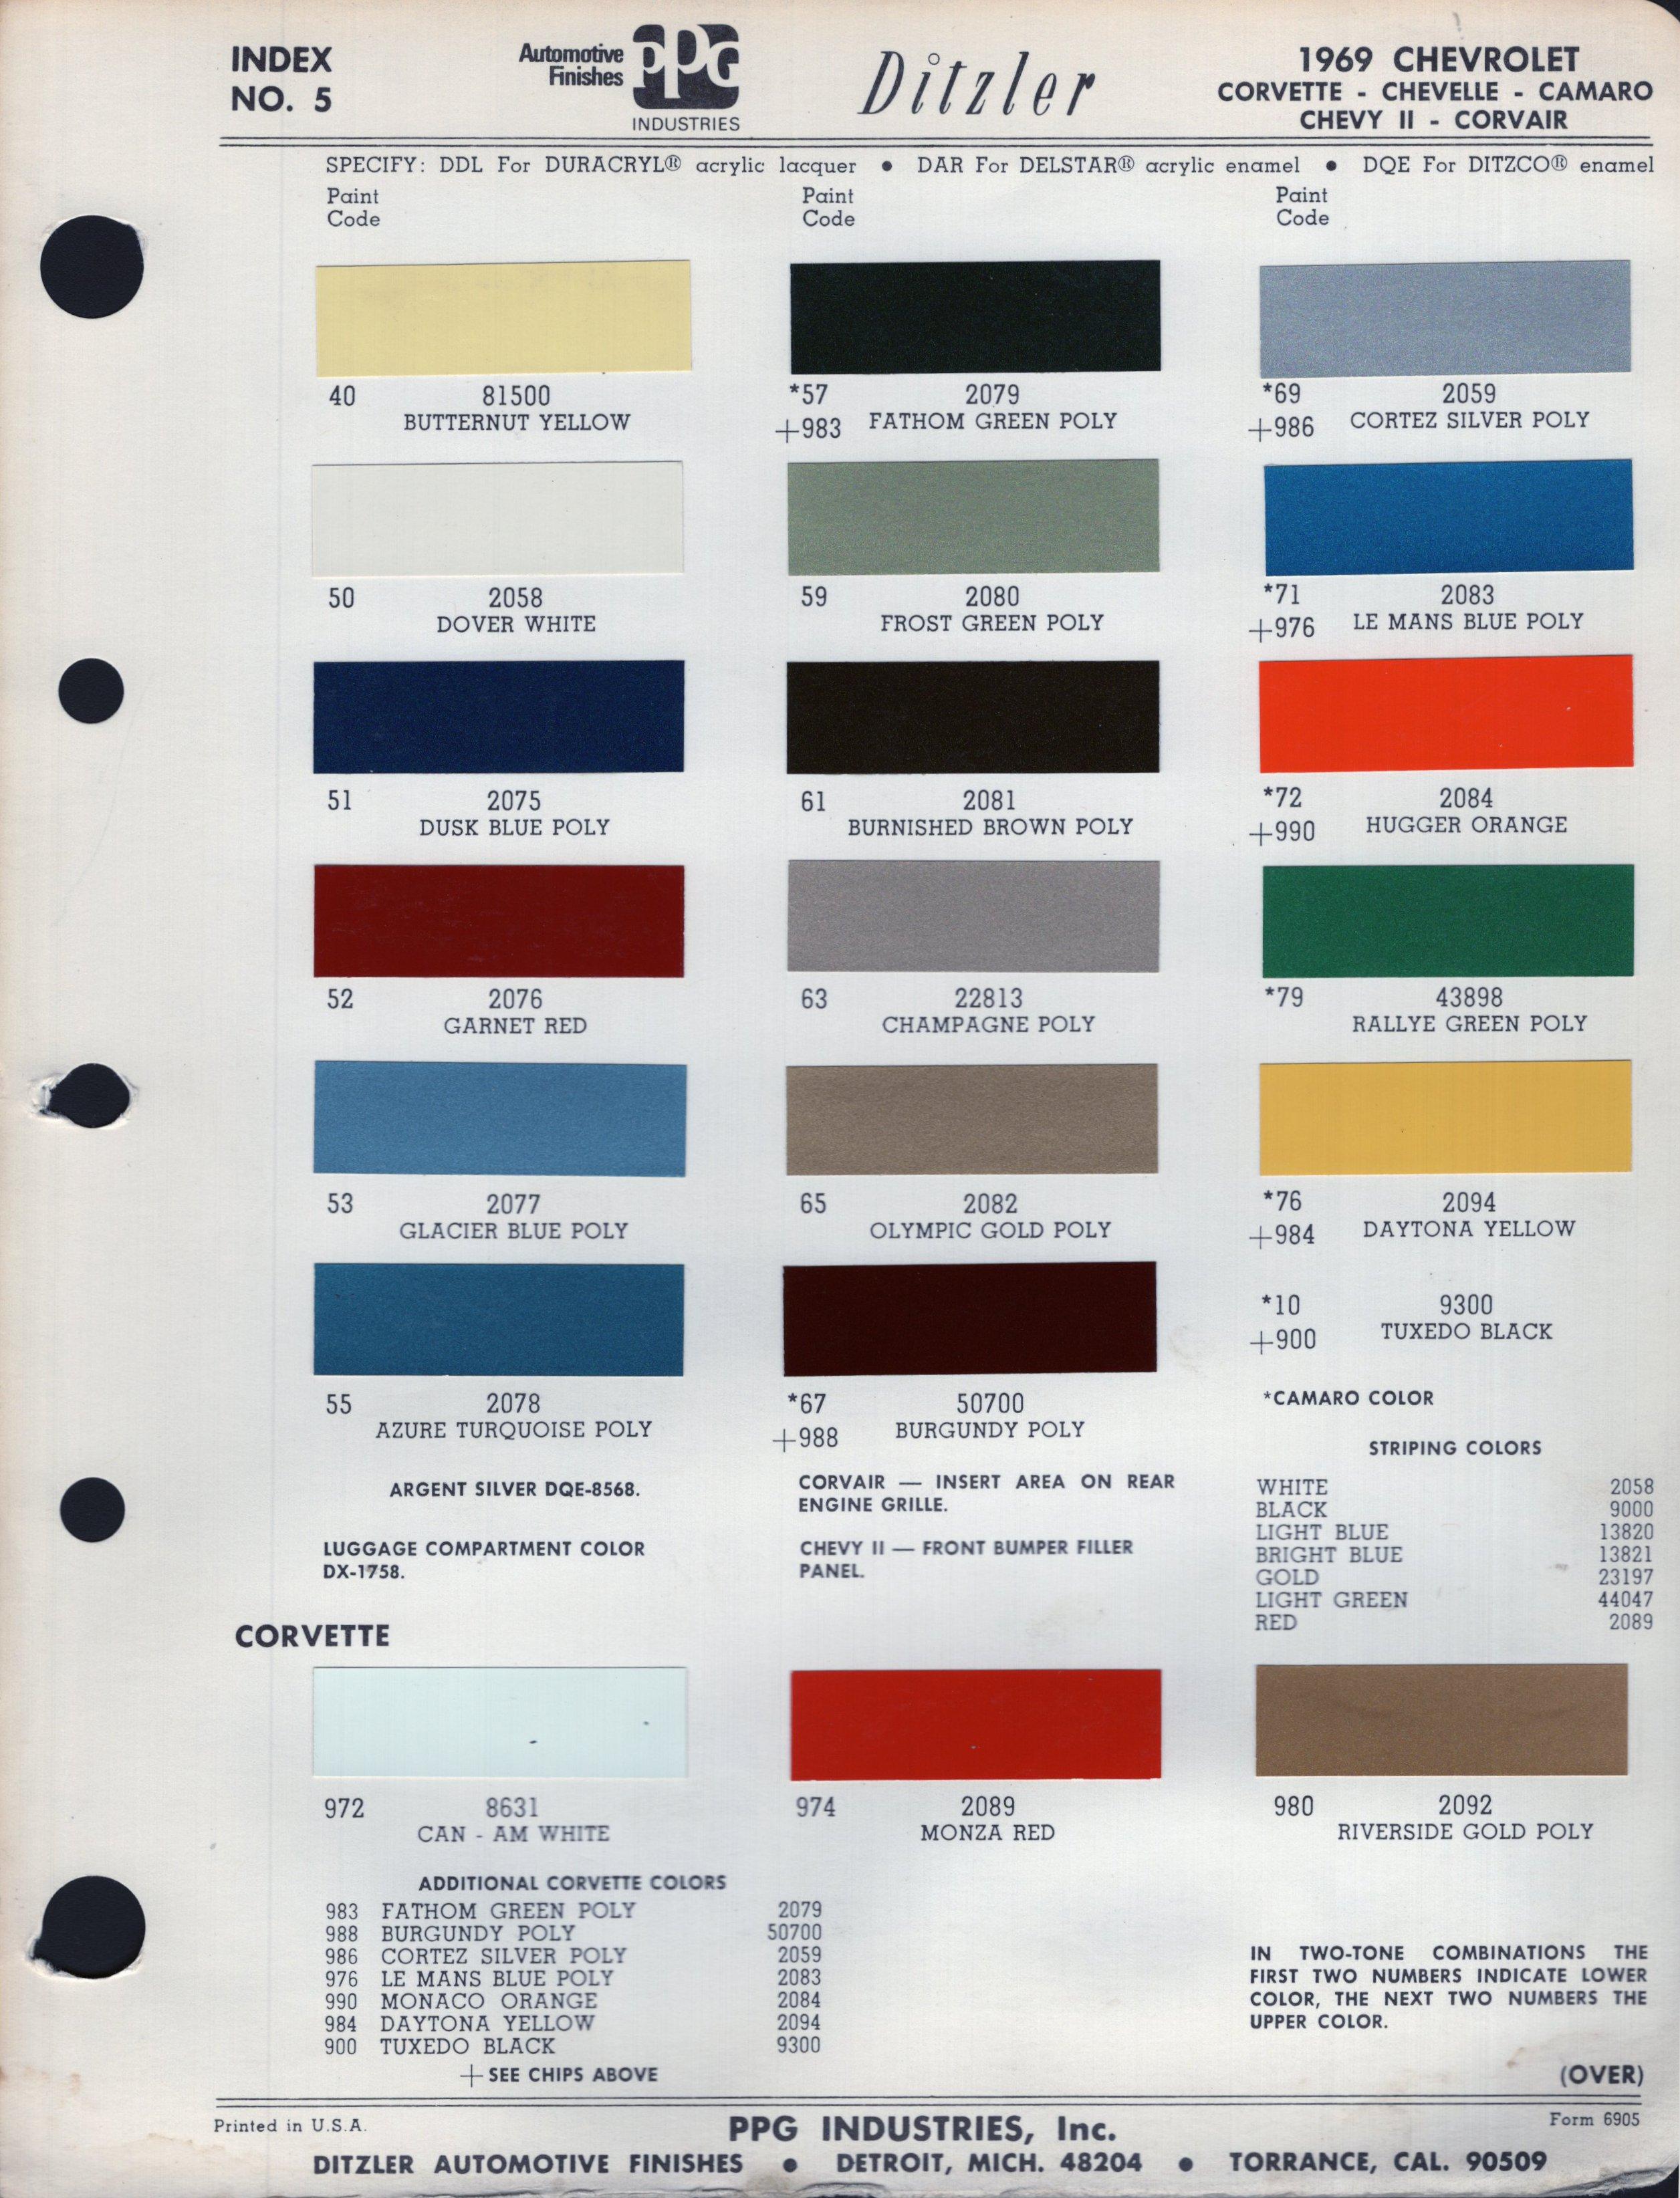
What colour is this
StevenGuthmiller replied to Brockc's topic in Model Building Questions and Answers
I agree. The first photo is a bit in the shadows, but I think the second photo confirms it. Definitely not Fathom Green. Steve -
What does "NNL" stand for?
StevenGuthmiller replied to spudmuffin1959's topic in General Automotive Talk (Trucks and Cars)
Sorry for resurrecting a 15 year old thread, but I had a very interesting discussion/argument with a guy on Facebook this afternoon about the origin of the NNL. It wound up being quite humorous! Someone asked a question about one of the NNL shows no longer taking place in one of it's traditional locations, I don't remember which one. Somewhere along in the discussion, an individual asked what NNL stood for. The first guy answered that it stood for "national", meaning world wide. Knowing that NNL stands for "Nameless National Luminaries", which I assumed was fairly common knowledge, or at least easily obtainable knowledge, I entered into the discussion and informed them both what it meant. Well, you would have thought I had stabbed his grand mother! No matter how many links or other evidence of the NNL's beginnings and existence that I offered, it was no go! All that he kept offering in his defense was, "I've been participating in model shows for 55 years, and I know that NNL stands for national". I tried my best to make him understand that the NNL is it's own entity, with it's own network, and that it's not a judged contest, all to no avail. I even posted links, to not only this discussion page, but to an hour and a half long YouTube video from the "Model Car Muse" YouTube page which featured most of the founders of the NNL discussing how it all started! None of it sunk in. His link consisted of an "acronym' web site with a few other possible uses for the letters nnl. In the end, he informed me that he had over 100 trophies or awards, most, or all of which had NNL on them. At this point, I figured I finally had him by the short hairs, and asked him to produce photos of awards that were given by an entity that doesn't judge the models entered! To which I was promptly told that, unlike me, he had a life and wasn't at home to produce any proof. I prepared myself by taking a few photos of a few of the People's Choice plaques and club sponsored awards that I had received at NNL shows over the years to prove to him that the NNL is in fact a real thing, and not just some acronym for any "national" contest, but before any further discussion could take place, the entire discussion disappeared from the group. Don't know if he blocked me or what, but he apparently took his trophies and went home. Anyway, I just thought that some might find this story a bit amusing, as I did, that there are still apparently people out there, who claim to have hundreds of awards from 55 years of model show attendance who still don't know what the NNL is, or what the letters stand for. Another humorous note: My wife was texting back and forth with my 35 year old daughter during my exchange with this guy, and she told her that I was "arguing with a guy on Facebook about what NNL stood for". about a minute later, my daughter, who knows absolutely nothing about models, sent back a text that said, "Nameless National Luminaries". "Took me about three seconds to find that out". "This guy must be stupid!" Steve -
I agree. It's a nice kit! Terrific for raiding parts for your other '68-'70 kit bashing projects as well! Steve
-
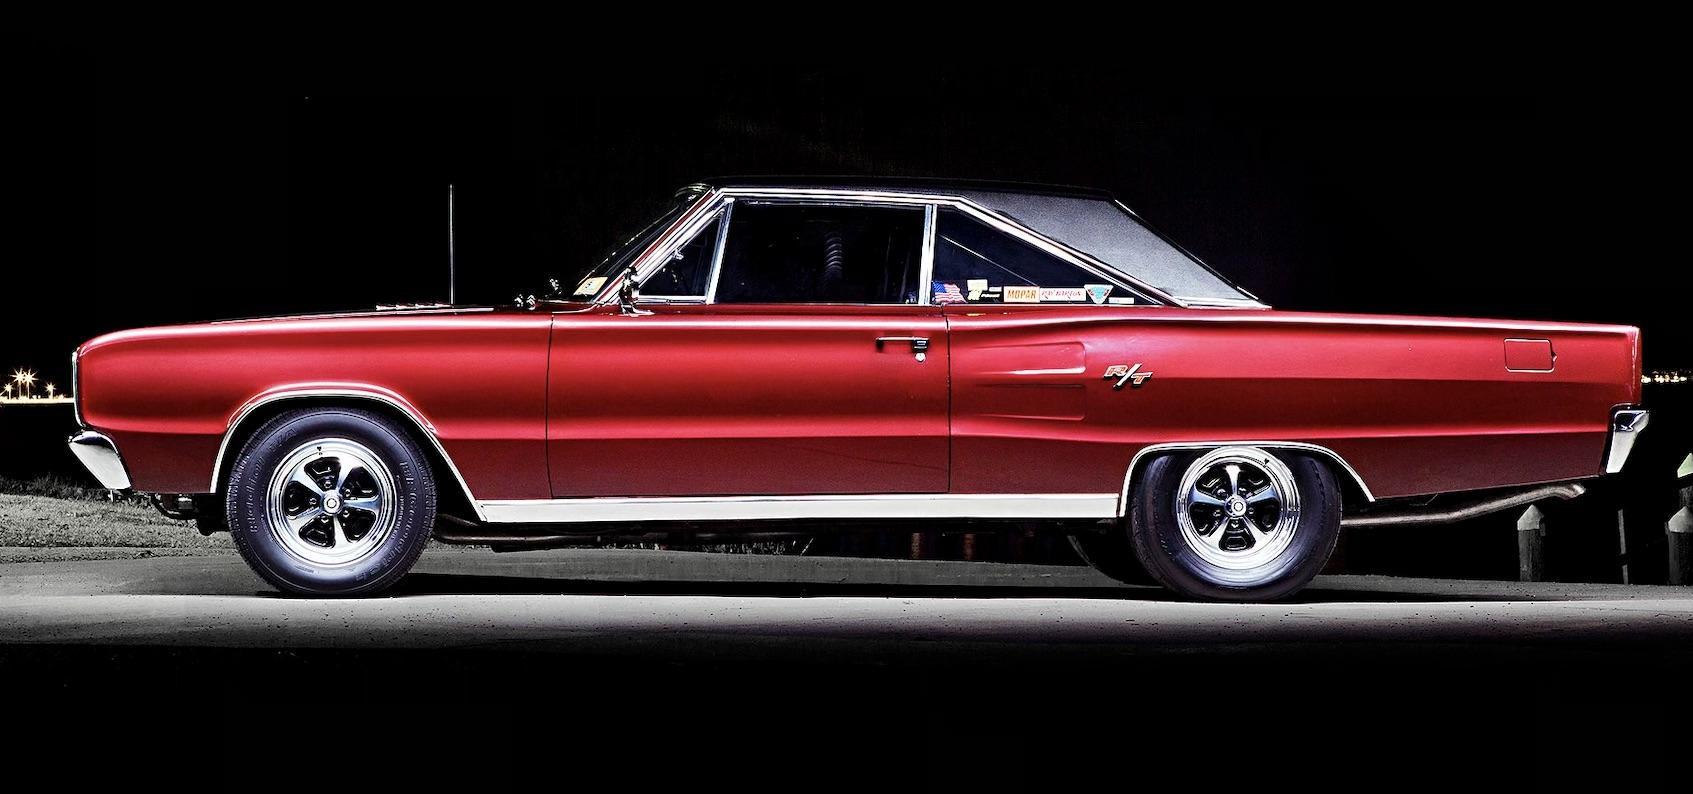
Beautiful example! The red suits it fabulously! I was interested to hear of the rear end fitment issues. A little while back when I used this chassis for my '68 Coronet build, I also had to move the rear axle forward a little, as well as widen the track. I thought that is was probably just because I was transplanting it into a different body. Maybe not. Steve
-
Glue Bomb Advice
StevenGuthmiller replied to Horrorshow's topic in Model Building Questions and Answers
Don't get me wrong. Being an annual model kit nut, I've done plenty of glue bomb restorations. Not because I love working on junk, but out of necessity. I would just absolutely never waste my time piddling around with a heavily glued and messed up AMT '49 Ford model when I can pick up a new one almost anywhere for next to nothing and start fresh. I'm not blessed with infinite bench time, and I can't envision myself wasting the time doing what I see as "busy work", trying to resurrect something just for the sake of doing it. I've got way too many interesting and important projects that I want to complete before I die. I'm not going to spend even one second correcting someone else's poor work on something that's not worthy of my time. Just me. Steve -
What colour is this
StevenGuthmiller replied to Brockc's topic in Model Building Questions and Answers
Looks like Ralleye Green. Not even close to Fathom Green. Steve
-
Glue Bomb Advice
StevenGuthmiller replied to Horrorshow's topic in Model Building Questions and Answers
Ace is right. Every one is different. And then there’s the question of whether or not it’s worth it. If it’s a kit that’s easily replaced, it’s probably not worth the effort of messing with it. Get a new one and start from scratch. Steve -
Thanks Guys! Thanks Calvin. You should be able to find satisfactory answers to all of your questions if you take a cruise through the extensive build thread that I did on this project. Might take you a little while to snoop through it though. 24 pages! Steve
-
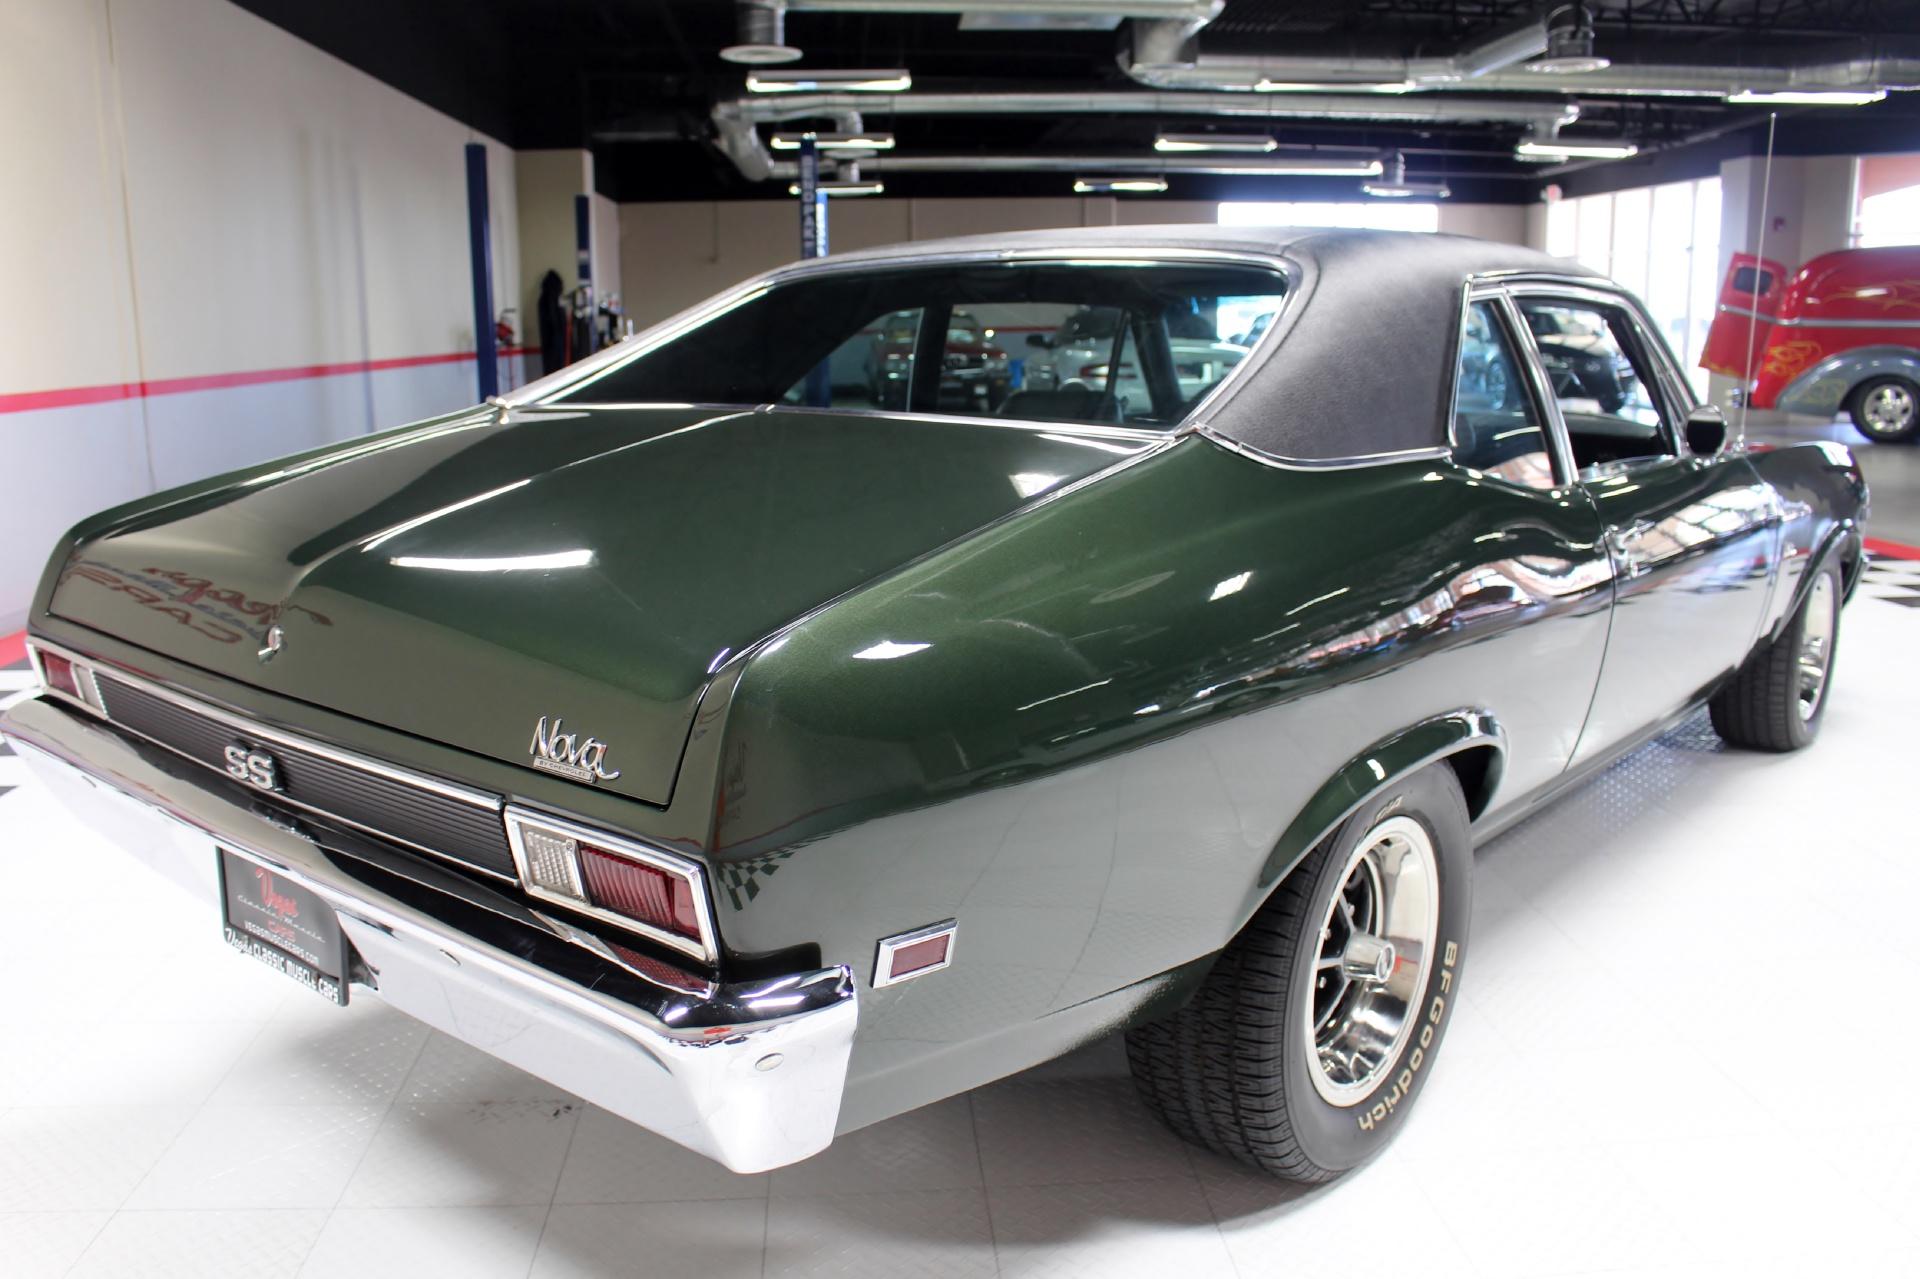
Fabulous color!!!! Couldn't have picked a better one! Love it!! Steve
-
This has pretty much become standard for me. One per year.......If I'm lucky! Steve
- 30 replies
-
- 12
-

-
I see as well that the OP added engine wiring. I would also like to see how any changes done in the engine compartment may interfere with the hood fitment. But in the end, this is a textbook example of why you should ALWAYS, no matter how well, or how poorly you feel that the kit is engineered, test fit and mock-up throughout the entire project. You should never have any surprises such as this unless you allow them to happen. Apparently it's quite possible to get this right. Steve
-
Regardless, I'm sure that there's a simple explanation and a relatively easy fix for the situation. It's a simple hinge set up. It's not brain surgery, and I'm sure this problem wasn't built into the kit in the 70s. Tape the hood into the position that it needs to be in while closed, flip the model over, and see what needs to be done with the hinges. Worst case scenario, you have to modify or make some new hinge pieces. My personal opinion without seeing what's going on underneath?.........The hinges are installed incorrectly. Steve
-
That won't change the fact that the rear deck and quarters look like a pallet full of batteries were dropped on the trunk lid! I was a little surprised when this thread came up. I hadn't really looked at this kit until now, but now that I have, it's pretty bad. Surprising considering the fact that people are usually praising Revell's work, and bashing AMT and MPC. One thing I gotta say is, while a lot of the old MPC and AMT molds are pretty well hashed at this point, producing a number of problems, at least for the most part, the bodies were pretty accurate. I'm kind of glad that I'm building pretty much nothing but vintage kits these days. At least I don't have to deal with this stuff. Steve
-
That's why a person should have all of this stuff worked out and pre-fitted before ever touching a can of paint or a tube of glue. Yeah, I know, everybody would like it if every kit fell together, but they don't, so.........yeah. By the way, that looks like an assembly issue to me. Check your hinge set up. Some times the instructions are unclear, or completely incorrect. I don't see any reason whatsoever that your problem can't be corrected with a little thought. Steve
-
Buick nailhead colors
StevenGuthmiller replied to junkyardjeff's topic in General Automotive Talk (Trucks and Cars)
https://www.libuickclub.org/buick-engines Steve -
PONTIAC Engine
StevenGuthmiller replied to CaddyDaddy's topic in Model Building Questions and Answers
http://pontiacpower.org/enginecolor.htm Steve -
Moebius Hudson Hornet
StevenGuthmiller replied to bbowser's topic in Model Building Questions and Answers
Yes, my '54 Hudson, and at least one of my Ford pickups was like this, but it's such a fine texture that I don't see it being a problem. (unless you're planning on spraying one coat of paint over bare plastic) Steve -
No. Steve
-
Looks to me that if you really want to go down this rabbit hole, you've got a lot of work ahead of you. Along with the drooping rear quarters, just at a quick glance, it appears to me that the front quarter also has a slight droop, not to mention that it appears that both the front and rear wheel openings are shaped wrong. Good luck with that! Edit: The side scoops appear to be too short and dumpy on the kit body as well. Steve