StevenGuthmiller
-
Posts
15,081 -
Joined
-
Last visited
Content Type
Profiles
Forums
Events
Gallery
Everything posted by StevenGuthmiller
-
My only point with the “bad modeler” thing is that with persistence and an attitude of success, even a tough subject can turn out to be a thing of beauty if you’re willing to put in the effort. Nothing pisses me off more than people that put forth a half hearted attempt into a project and then spend all of their effort on moaning about how terrible the kit was. Steve
-

CA Smudge on Paint 😒
StevenGuthmiller replied to Perspect Scale Modelworks's topic in Model Building Questions and Answers
This is another reason why clear coats are your friend. Something like this is an easy fix with a little extra polishing. Steve -
Steve Magnante is interested as much in the history of things as he is in cars. If you ever watched him on the Barrett Jackson auctions, he was great at describing the history behind everything related to classic cars. Steve
-
This is part of the reason why I don’t waste my time watching videos. Most of us on this forum know way more about these kits and how to build them then a lot of these goofs on YouTube. As I’ve said before, they’re way better at producing videos than they are at building. Steve
-
Absolutely! The more you try something, the more confident you get. It’s just common sense to do as much as possible to check and correct fit if necessary, before it becomes too late. There’s nothing worse than finding that something doesn’t work once you’re done painting. It can be difficult, if not impossible to fix at that point. Steve
-
The most beneficial attitude for you to have in order for you to minimize fit issues, whether or not you should decide to buy a kit that is badly reviewed, ( a lot of good kits have fit issues on occasion) is to take the time to address any problems immediately after opening the kit, before you start throwing paint on everything and gluing stuff together. Most of the time when I see people losing their patience and their temper and throwing the kit against the wall out of fit frustrations, it could have been completely avoided if the time was taken to test fit, mock-up and correct. I’ve said it before, and yes, I’ve gotten flack for it, but my opinion still remains that there are no bad kits. Just bad modelers. It’s only plastic. Every issue can be overcome. Steve
-
The question needs to be equated with kits from comparable eras. Of course Revell has a number of exceptional newer kits produced within the past couple of decades, but MPC hasn’t produced a new kit since probably at least the mid 80s. Since they were absorbed into ERTL, all of MPC’s offerings have been re-pops of earlier kits, so if comparisons are going to be made, they need to be made with AMT and Revell kits from the same time period. As a rule, I think that you’ll find that they’re no better or no worse than anything else from the same time frame. Steve
-
UV adhesive for Temporary Assembly
StevenGuthmiller replied to NOBLNG's topic in Tips, Tricks, and Tutorials
I used to use one of the clear UV glues for mockups. I haven’t for a while, but it does work quite well for that purpose. There’s very little strength, so it works pretty good for quick and easy assembly as well as disassembly. steve -
What Did You Have for Dinner?
StevenGuthmiller replied to StevenGuthmiller's topic in The Off-Topic Lounge
I’m in west central Minnesota. About 25 miles east of Fargo North Dakota. Steve -
"Imaginary" Power Brakes on some kits
StevenGuthmiller replied to bandit1's topic in Model Building Questions and Answers
Which is why so many find these type of kits at Ollies and Michael’s, and all of the other cut rate, over stock type stores. You certainly get what you pay for. Steve -
What Did You Have for Dinner?
StevenGuthmiller replied to StevenGuthmiller's topic in The Off-Topic Lounge
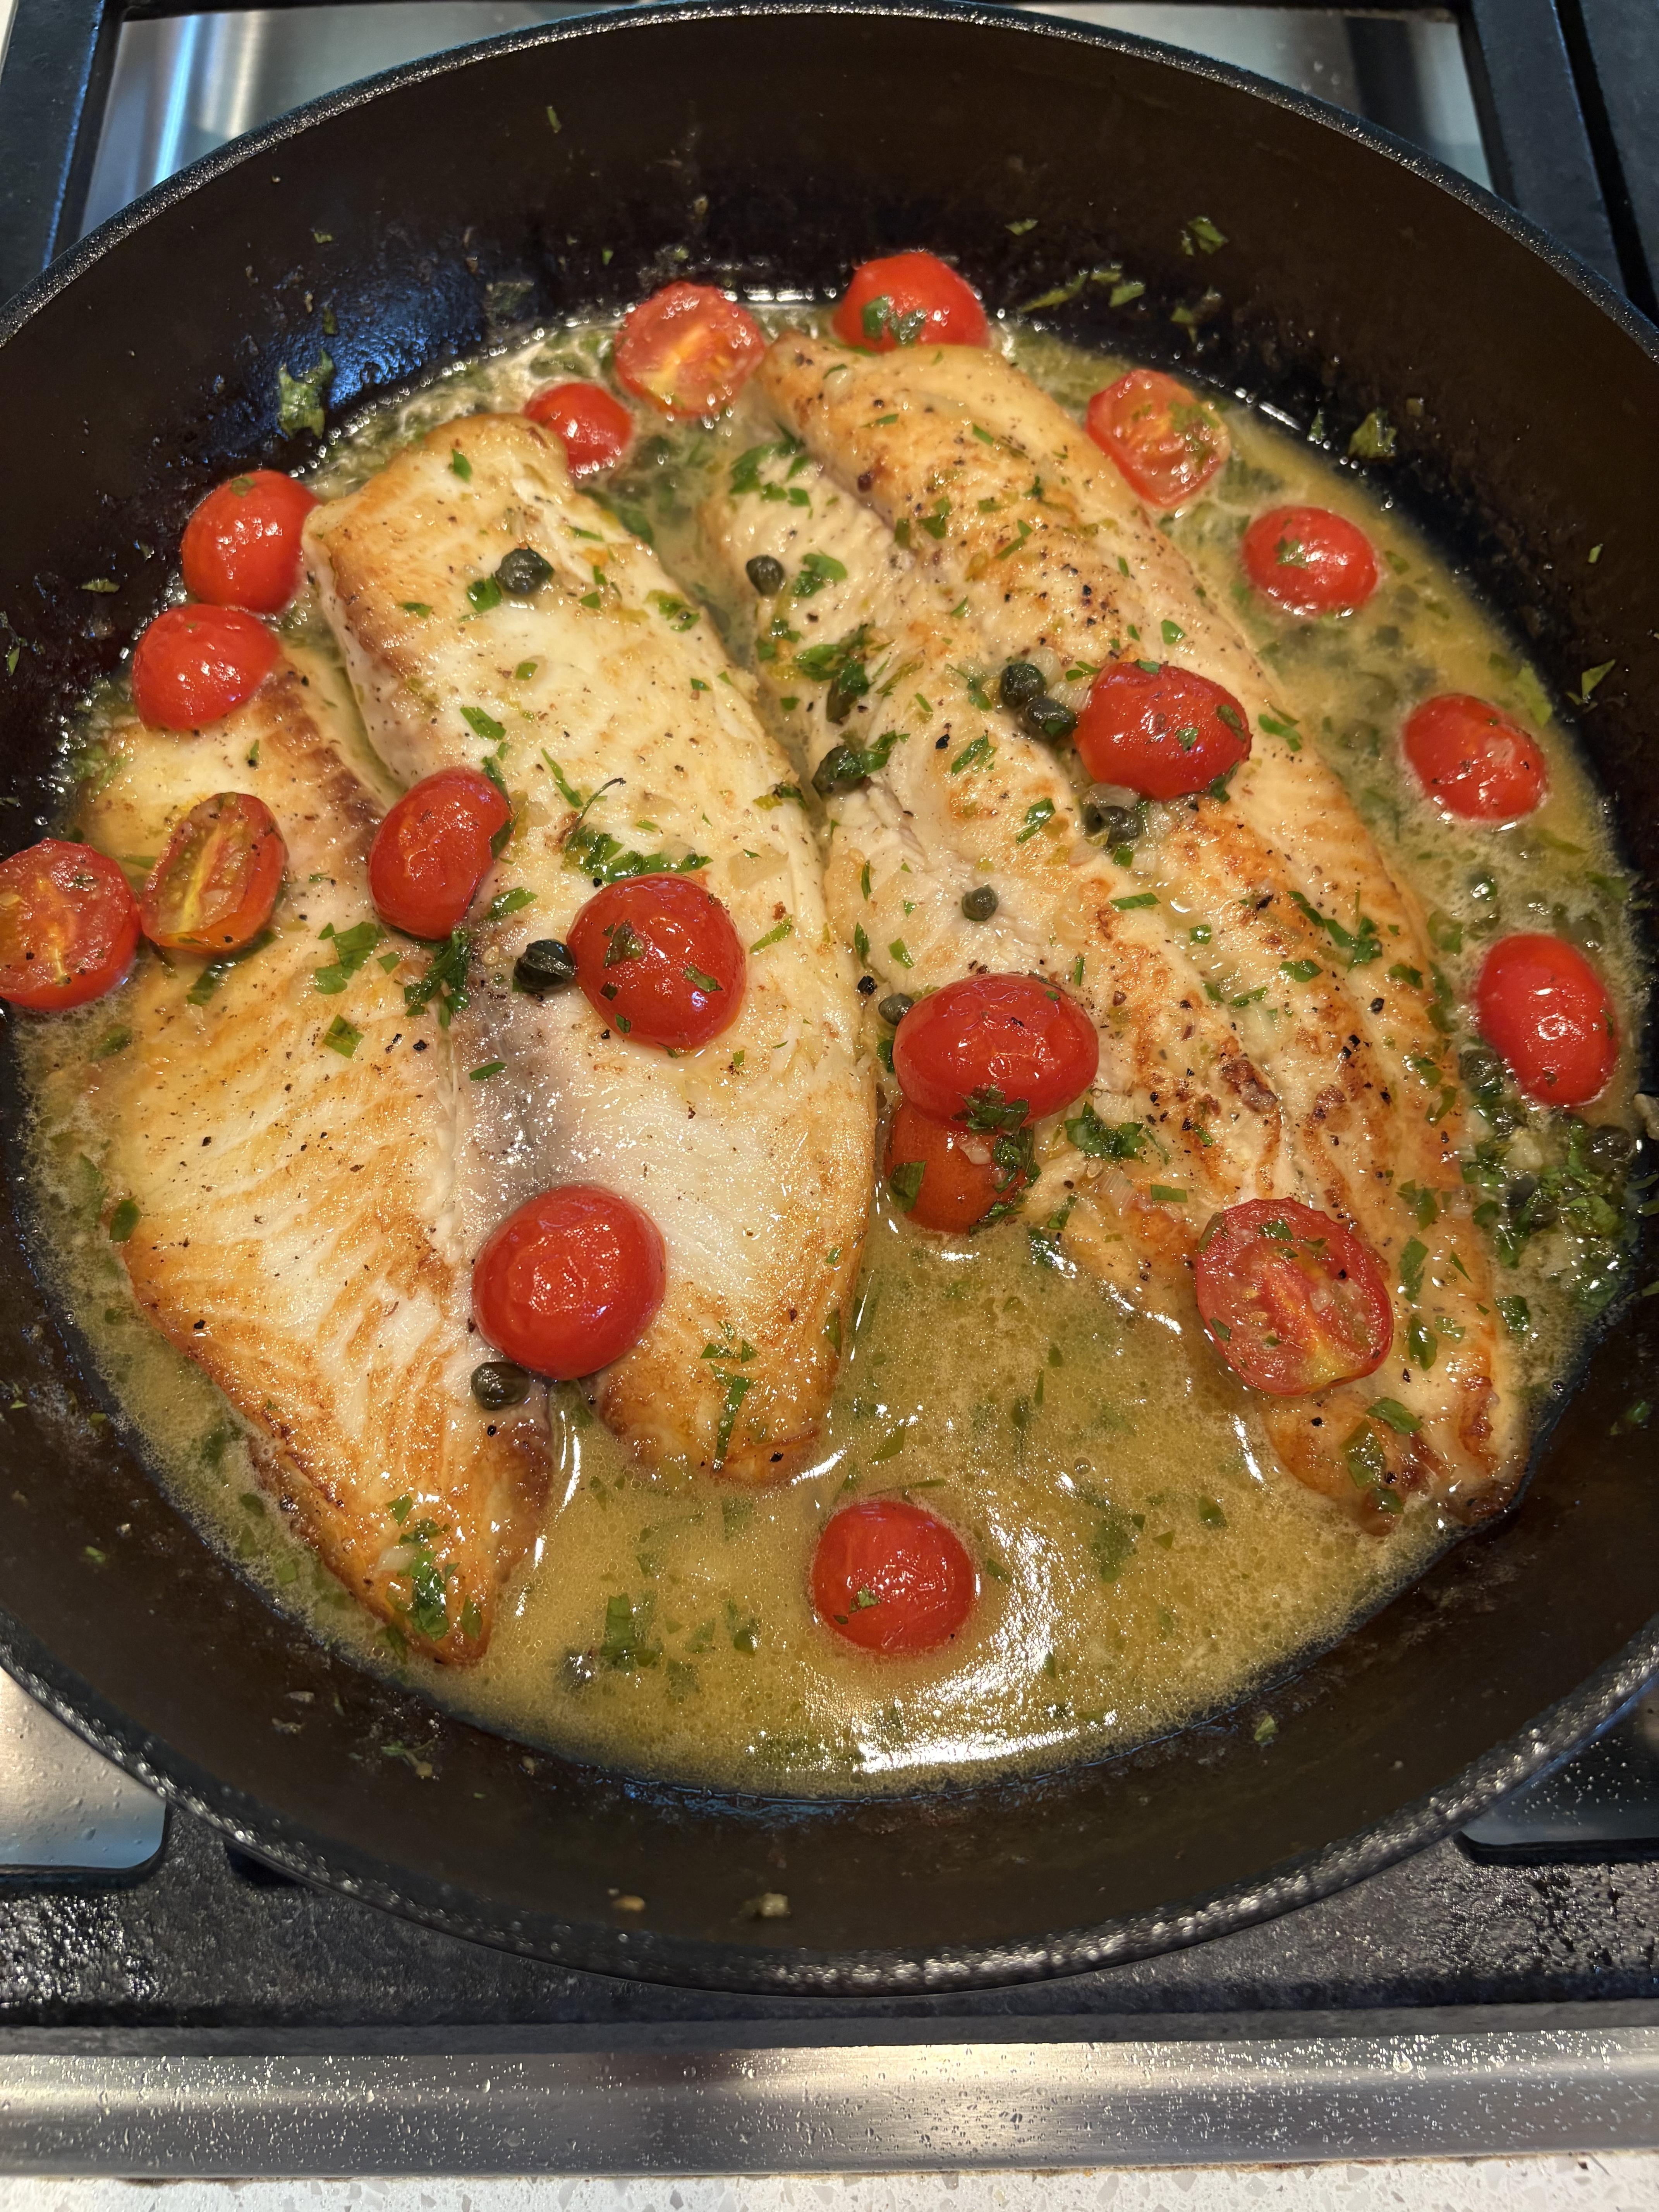
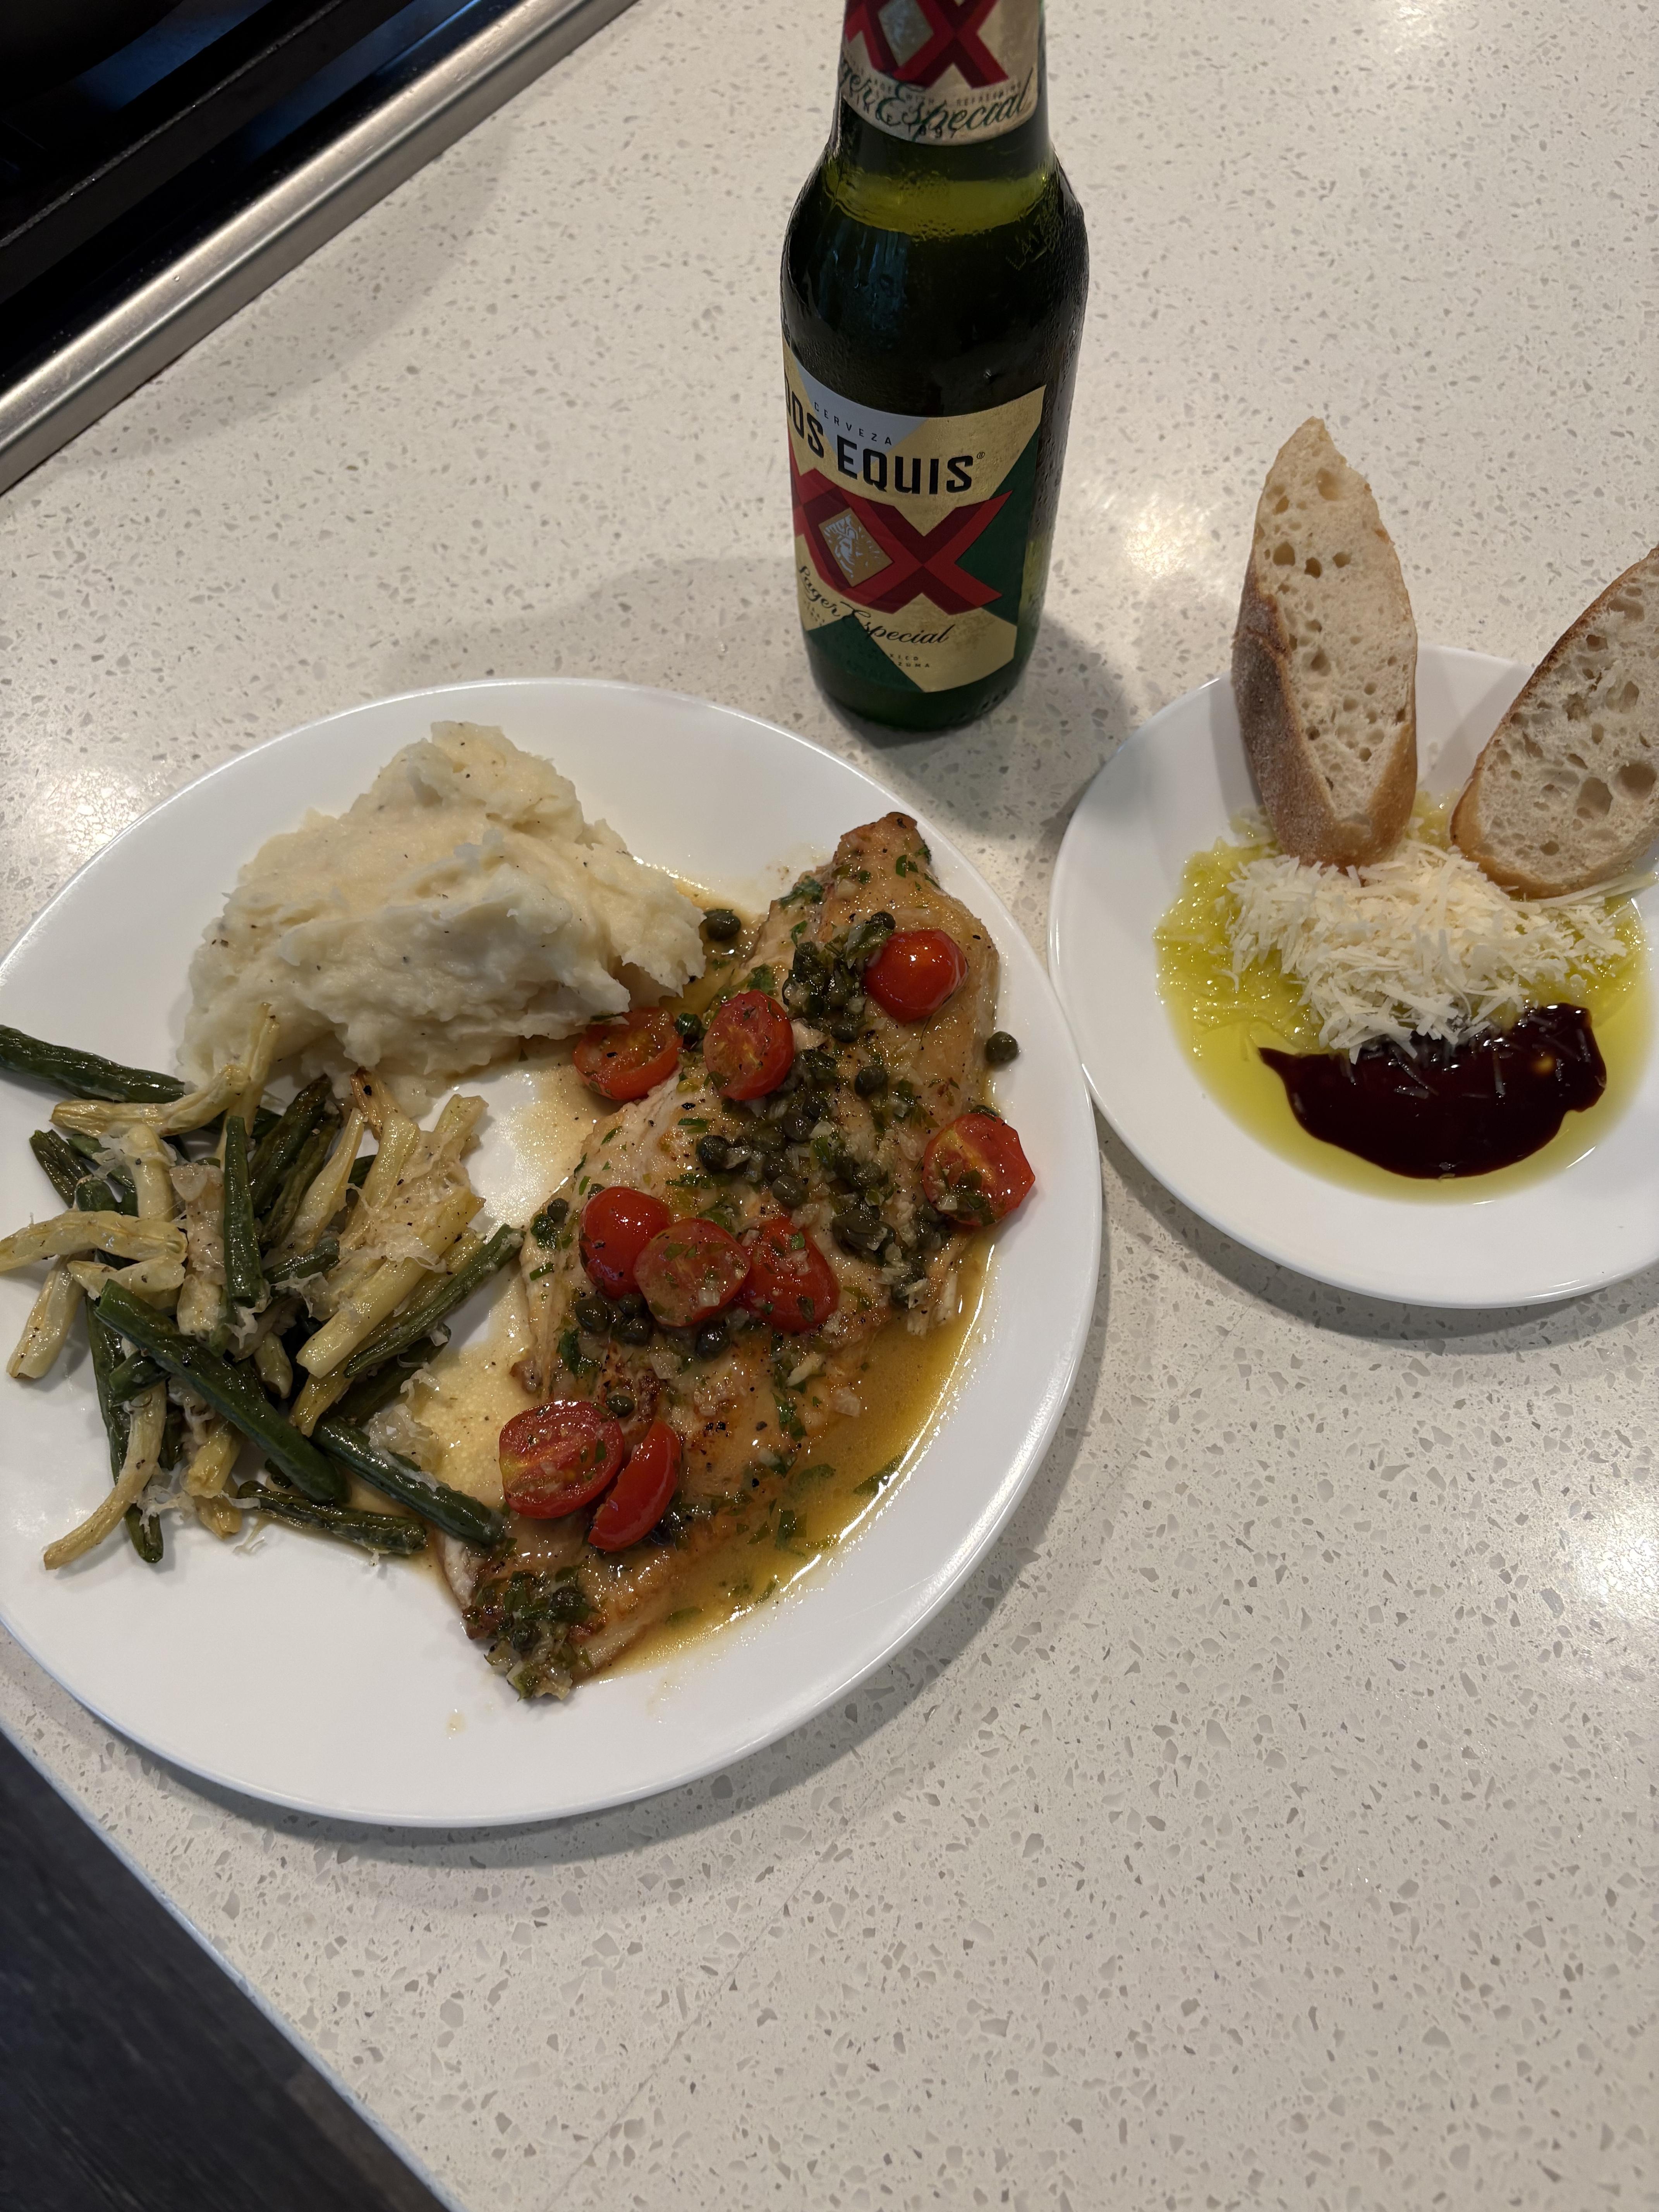
Tonight I had some fresh catfish and tilapia that I had to find a use for, so I dreamed up a sauce consisting of garlic, capers, lime zest, lime juice, chicken stock, chicken base, parsley, butter and fresh cherry tomatoes. Sauteed the fish and then concocted the sauce. Introduced the fish to the sauce and then popped it in a hot oven for a few minutes. I was pleasantly surprised at how flavorful it was. Accompanied by some garlic Parmesan roasted fresh beans, and some Parmesan mashed potatoes. It was all quite delicious!! Steve
-
What Did You Have for Dinner?
StevenGuthmiller replied to StevenGuthmiller's topic in The Off-Topic Lounge
I’ve had them before, and yes, they are pretty good. A local frozen pizza that you can get in my area, called “Pizza Corner” pizza is even better! Steve -
Best windscreen/window chrome trim
StevenGuthmiller replied to Donny's topic in Model Building Questions and Answers
Agreed. If you polish your paint jobs anyway, you’ll just polish the trim by association. A smooth glossy base is the order of the day when it comes to BMF. Take your time, do the trim in sections, (and in several pieces if necessary) start in the middle of a particular molding and work your way towards the ends to prevent wrinkles. If you’re doing a body length molding, do each section separately, (ie, front fender, door, rear quarter) Do windshield frames in several pieces with the realization that there are molding seams on the real vehicle, and place your overlaps as such. Do difficult areas such as vent windows in several pieces. On a triangular vent window, I usually do the bottom, A pillar, and vent post separately. To take that even farther, I’ll often do the front vent window section separate from the drip molding and windshield A pillar molding. Any time that you have a natural separation between moldings is a good place to break to prevent tears, wrinkles, etc. Once applied, burnish the edges well and then polish vigorously for a chrome like shine. Just like anything else that’s worth learning, it takes a little bit of time to get the hang of, and plenty of patience, but it’s absolutely worth the effort. As I often tell people that don’t want to take the time to learn, or put forth the effort, go to a model car show sometime and you’ll quickly learn that in the vast number of cases, the winners are using foil for their trim. Likewise, with few exceptions, the best builders on the planet are all using foil as well. All of that said, don’t let people tell you that foiling is somehow exceedingly difficult, it’s not really all that tough. You’ll learn as you go. Several decades ago when I first started using it, it probably took me no more than a few builds before I began to understand the properties of the material, and started to get good at it. I won’t say that it’s my favorite thing to do, but it is without a doubt one of the most transformational operations that you can do on a model car. Steve -
Best windscreen/window chrome trim
StevenGuthmiller replied to Donny's topic in Model Building Questions and Answers
BMF. Steve
-
Beautiful job!! Steve
-
I agree also! M.A.D. has excellent product, and for about half the price of the Gofer Racing article from Amazon that “sidcharles” posted above. Steve
-
Paint related question
StevenGuthmiller replied to Donny's topic in Model Building Questions and Answers
I can’t find anything about this statement that I disagree with. All very sound advice. As with most of us, as a seasoned modeler, I have my own processes and materials that I prefer, but you can’t go wrong with the advice given. Steve -
Curbside models?
StevenGuthmiller replied to DoktorDuke's topic in General Automotive Talk (Trucks and Cars)
I'm just the opposite. I used to do a lot of curbside builds years ago, but I decided that I was really missing out on a lot of what I feel model building is all about. I resigned myself to the fact that there's no way on God's green earth that I'm ever going to be able to build everything that I want to anyway, so for me, it's kind of become a moot point. From there, I was able to shake off that albatross and just focus on the process of the build itself, regardless of the detail level or the time involved to finish it. As I told someone a few weeks ago, I'm much more interested in producing a few models that expose the best of my abilities than I am in populating my shelves. I'd much rather have 5 or 6 exceptional builds as my legacy than a entire wall full of mediocre ones. That's just my opinion of course. Steve -
What Did You Have for Dinner?
StevenGuthmiller replied to StevenGuthmiller's topic in The Off-Topic Lounge
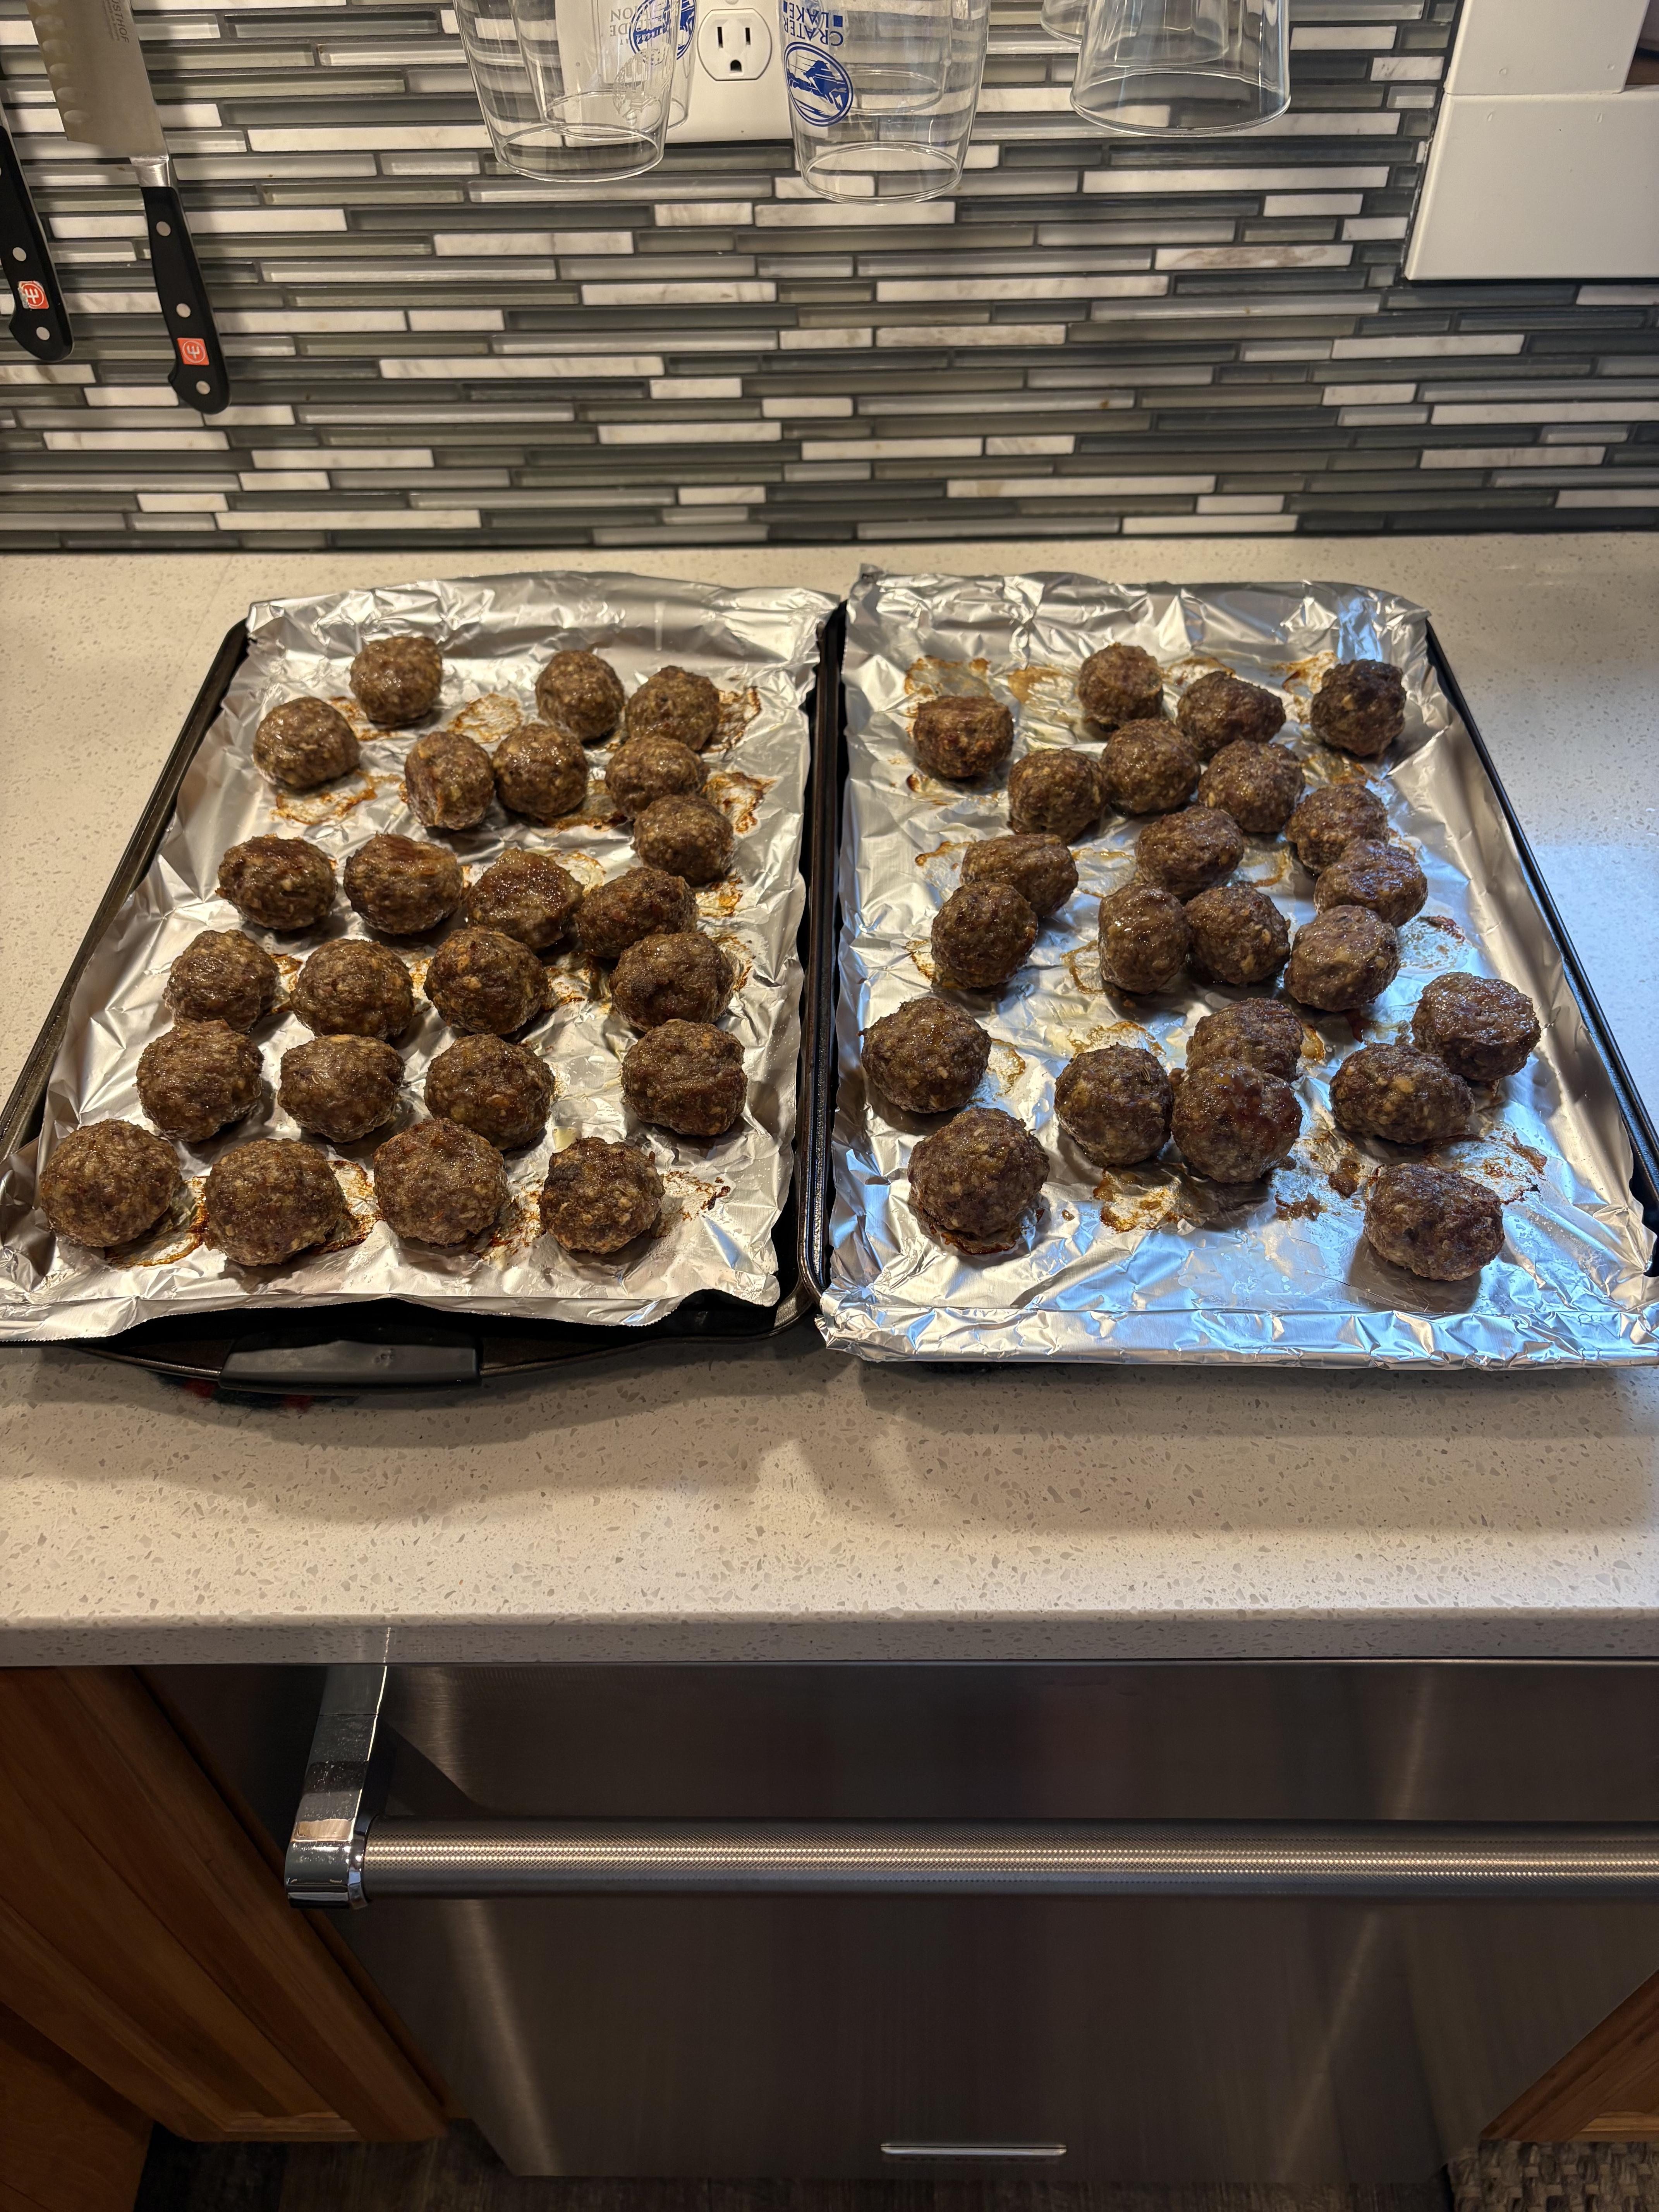
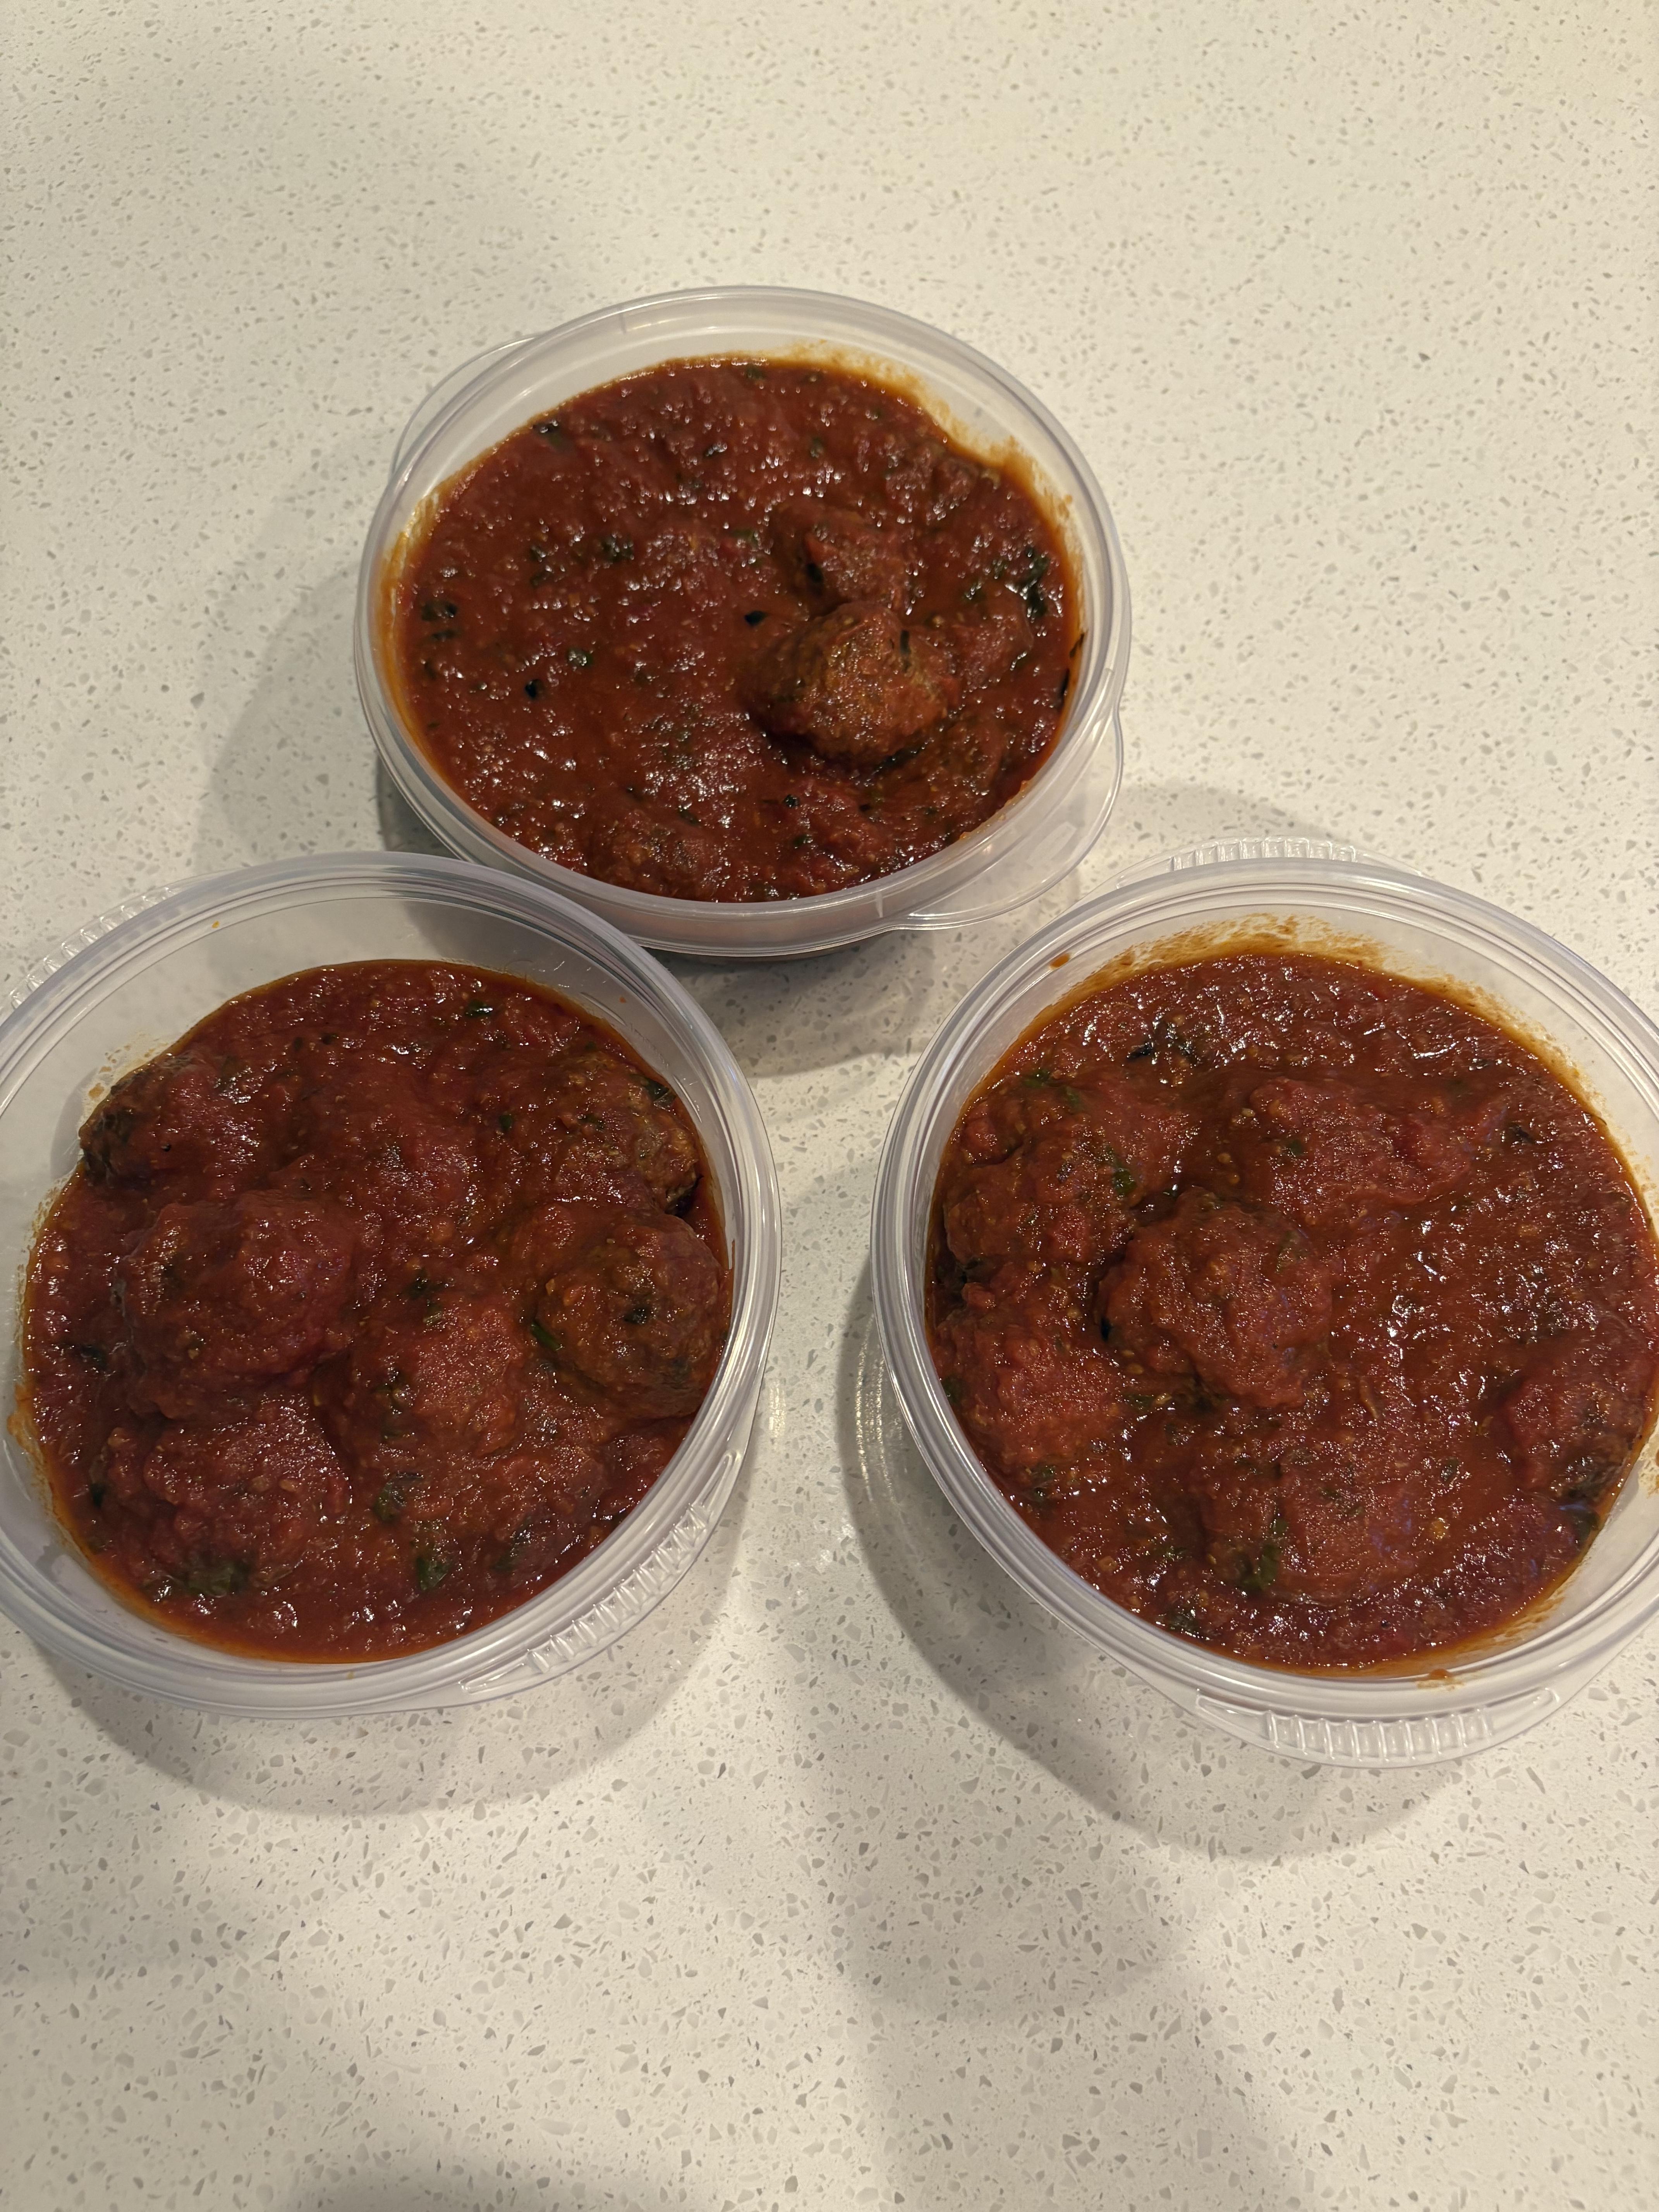
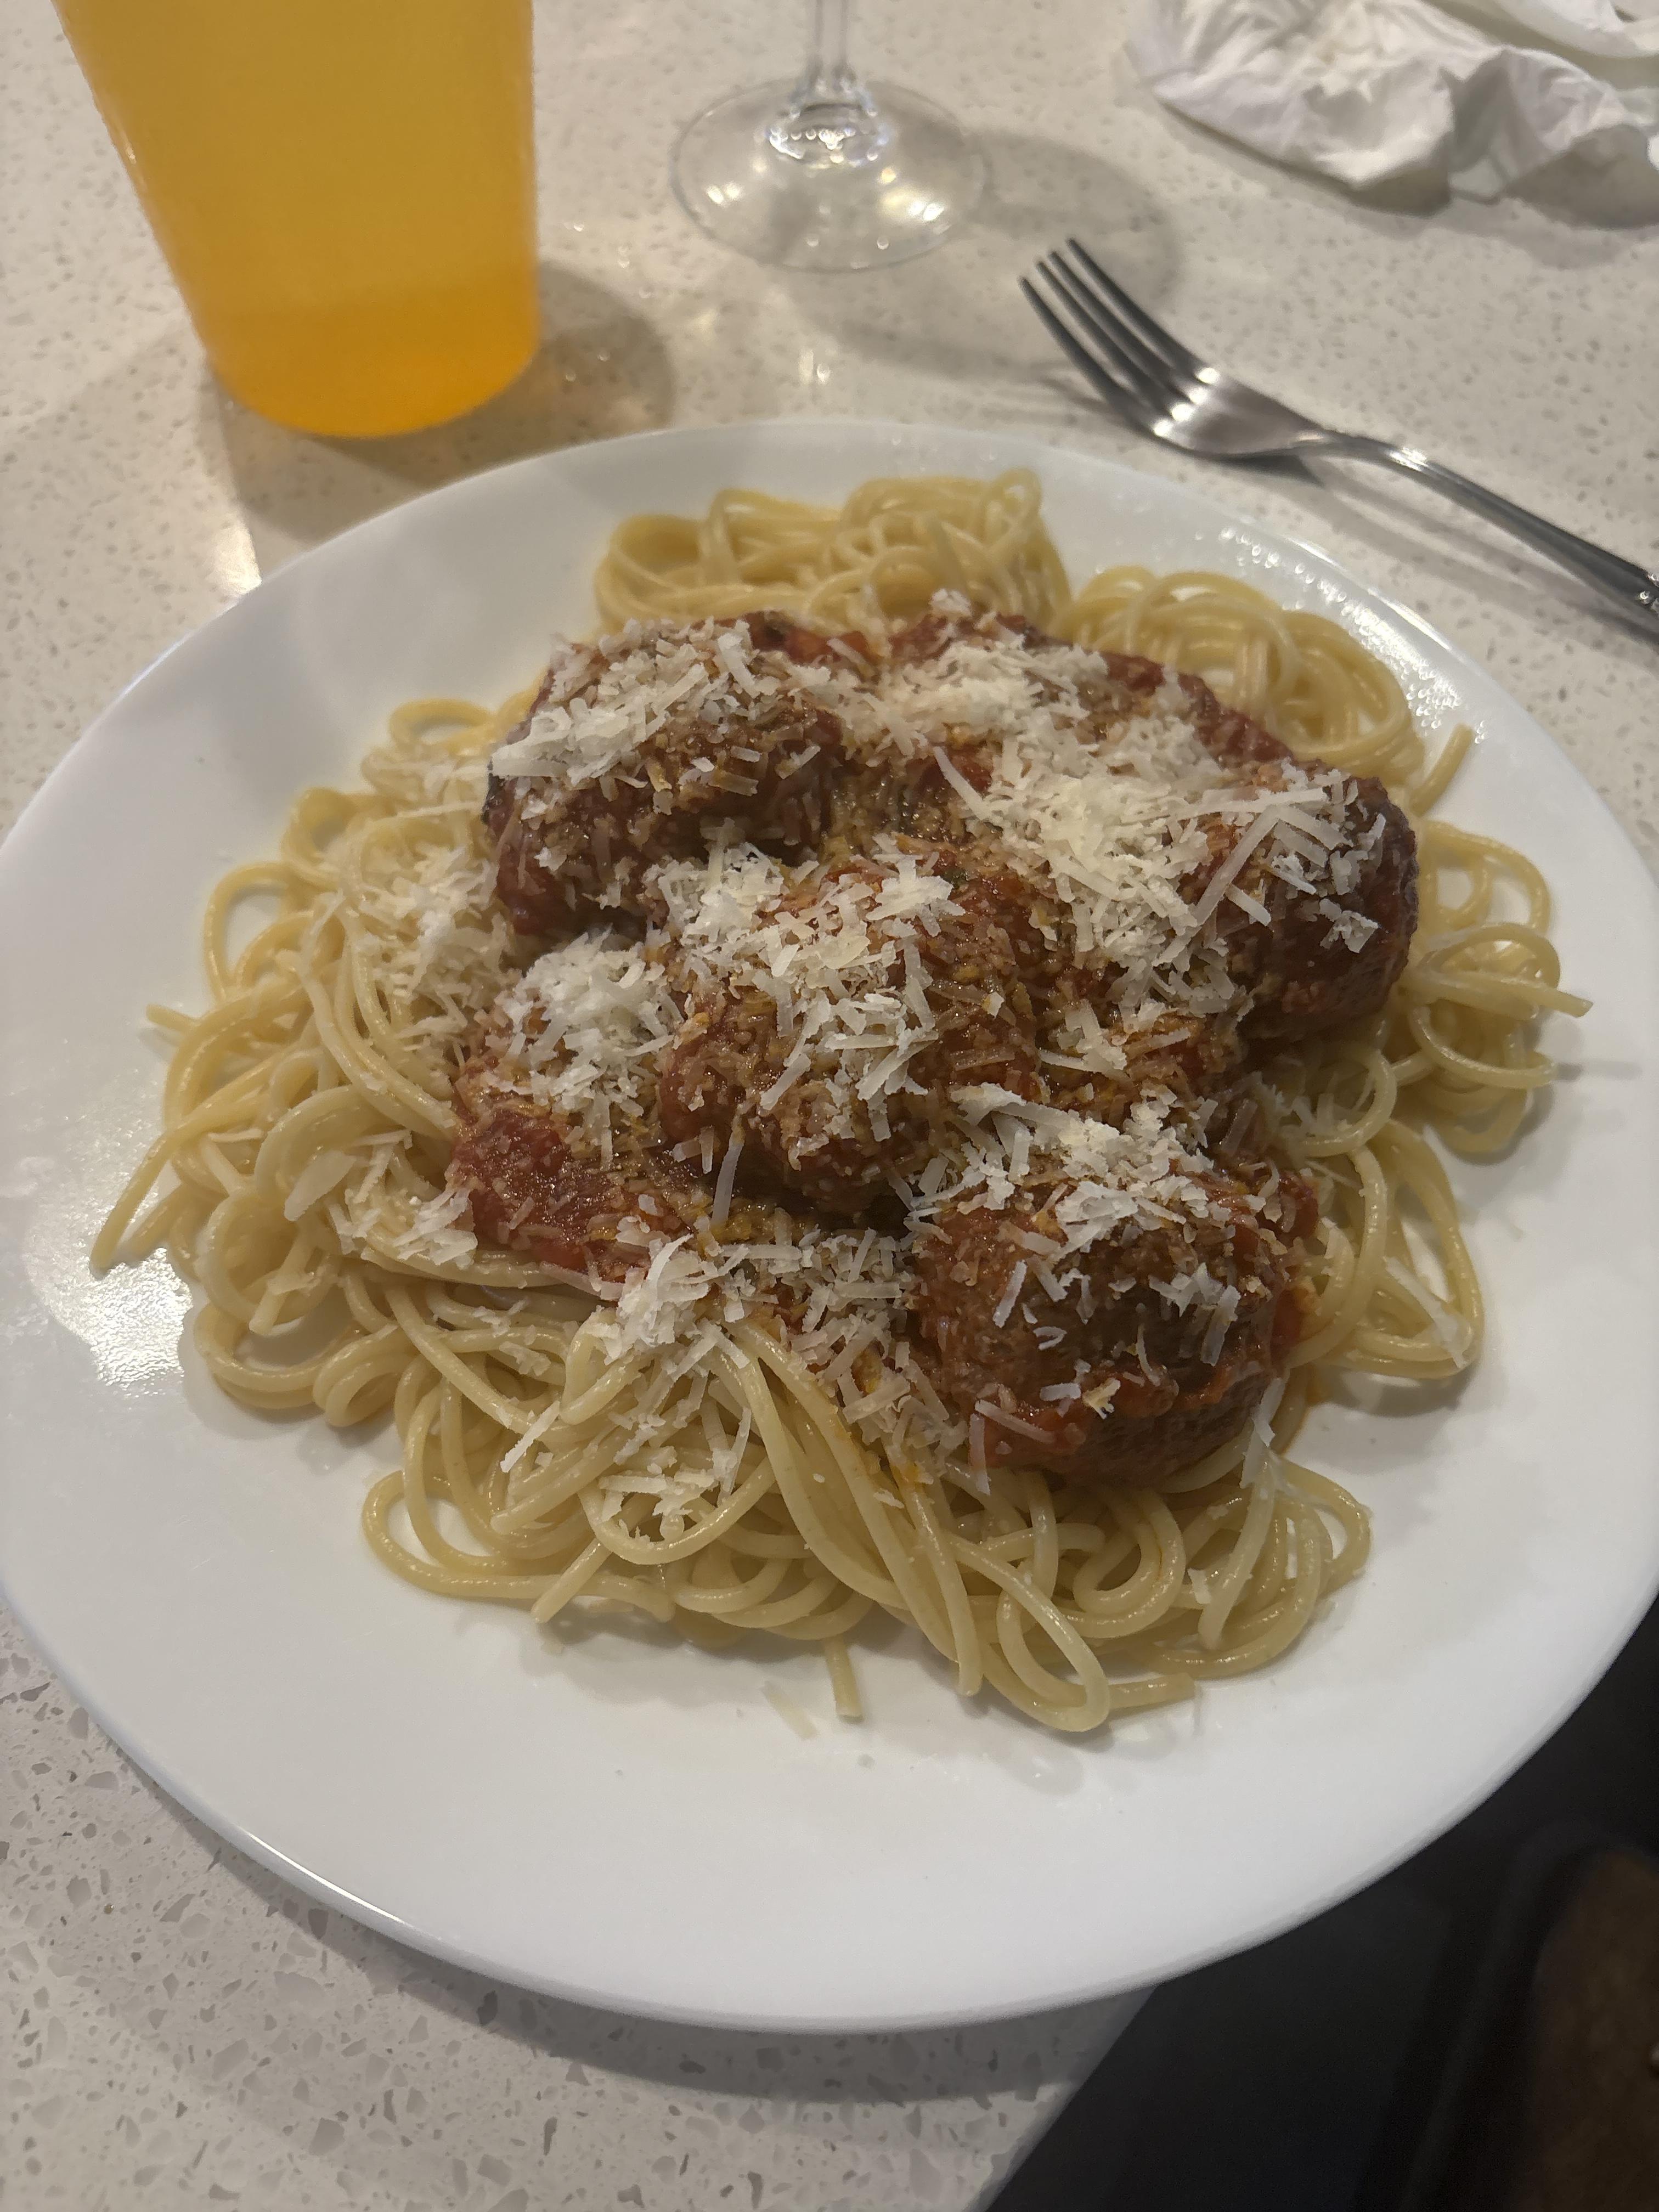
you have to celebrate thepeople you are close to because we won't be here forever. I agree! Which is why I spent the afternoon on Sunday making a big batch of meatballs and red sauce for my daughter and her family, and my son and his fiancé. Of course we had to sample it to be sure that it was safe. 😉 Steve
-
What Did You Have for Dinner?
StevenGuthmiller replied to StevenGuthmiller's topic in The Off-Topic Lounge
You’re not an oddball. I’m with you. Never been fond of blueberries, but I love most every other berry. My wife loves them too. Steve -
I have parts like that too. A flat black interior from a '65 Olds 88 that I tried soaking in among other things, IPA. No affect whatsoever. Steve
-
My guess would be that almost all of us who've been building relatively continuously for the past 50 years or so, had to figure things out on our own. That's not to say that I haven't pick up the occasional tip here and there on the forums or Facebook groups, but the vast majority of what I've learned during my modeling career came from either experimentation, or face to face interaction with other builders. I don't put any weight at all into Youtube videos. Just my opinion, but I think the majority of those guys that I've seen are better at producing videos than they are at building models. But then again, I don't watch many, so......... Steve
-
Very well put! Steve
-
Using automotive paint
StevenGuthmiller replied to Bryan Brogan's topic in Model Building Questions and Answers
And there you are. Couldn’t agree more. Steve -
Using automotive paint
StevenGuthmiller replied to Bryan Brogan's topic in Model Building Questions and Answers
Not only that, but who’s to say that the plastic spoon is exactly the same composition as the model you’re painting. I’ve heard the argument numerous times that plastic spoons are in fact a poor comparison to kit plastic for testing solvent affects. They can be good for checking color, but I certainly wouldn’t rely on them to tell me whether or not a paint is safe for a particular model kit. Steve