StevenGuthmiller
-
Posts
15,071 -
Joined
-
Last visited
Content Type
Profiles
Forums
Events
Gallery
Everything posted by StevenGuthmiller
-
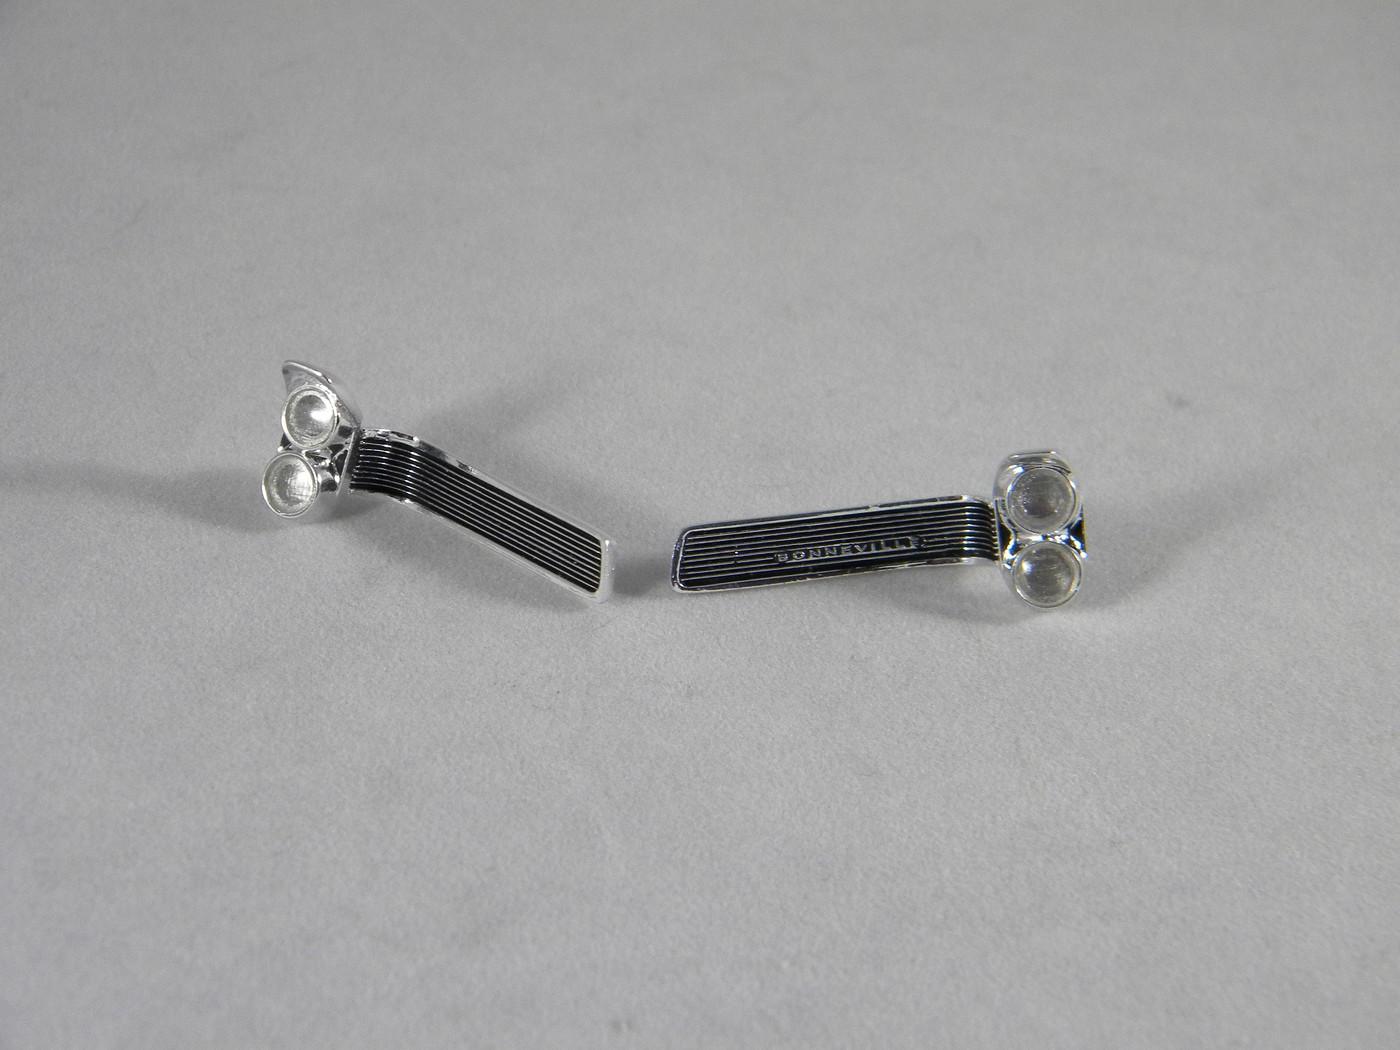
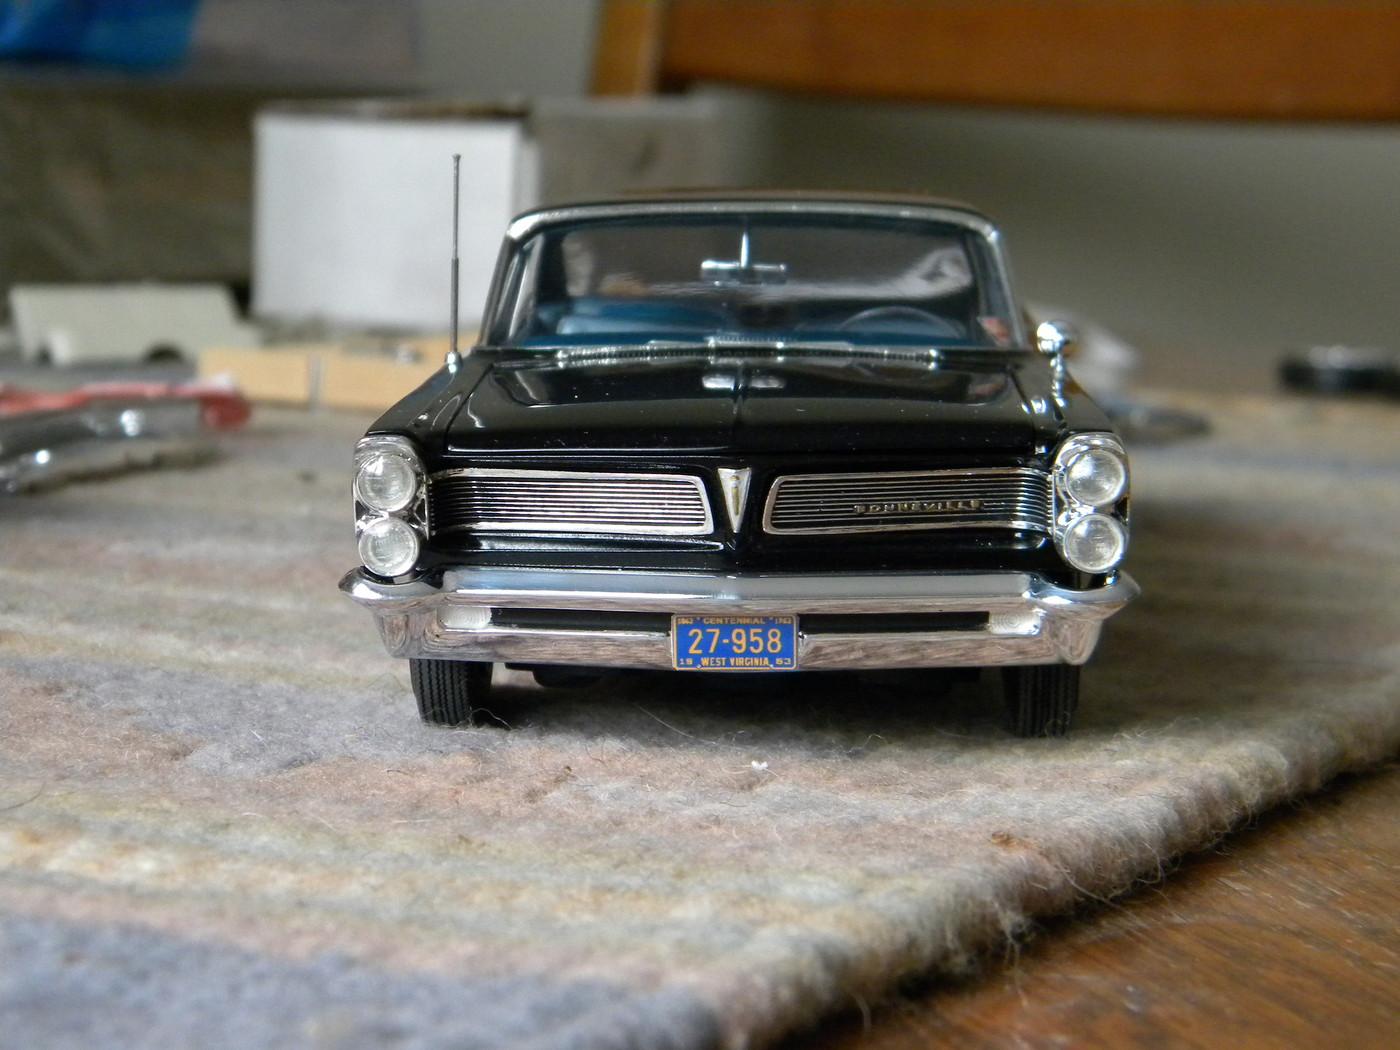
 I’ve been using this technique, or something similar for many years now. Usually I just drill them out completely and replace the buckets entirely, but at any rate, it’s become standard practice for me on any project that requires it, and I believe it’s a relatively common modification within our hobby. If I may suggest as well, if you plan on sending out your parts for re-plating, it’s advantageous to complete this modification before doing so, (up until the clear lenses of course) ? Oh, by the way, the ‘63 Bonneville pictured above also utilized resin cast lenses. These can be made pretty easily with some mold putty for creating a mold, and then casting with either clear resin, clear 2-part epoxy, or one of the UV light setting glues like Laser Bond or Bondic. Steve
-
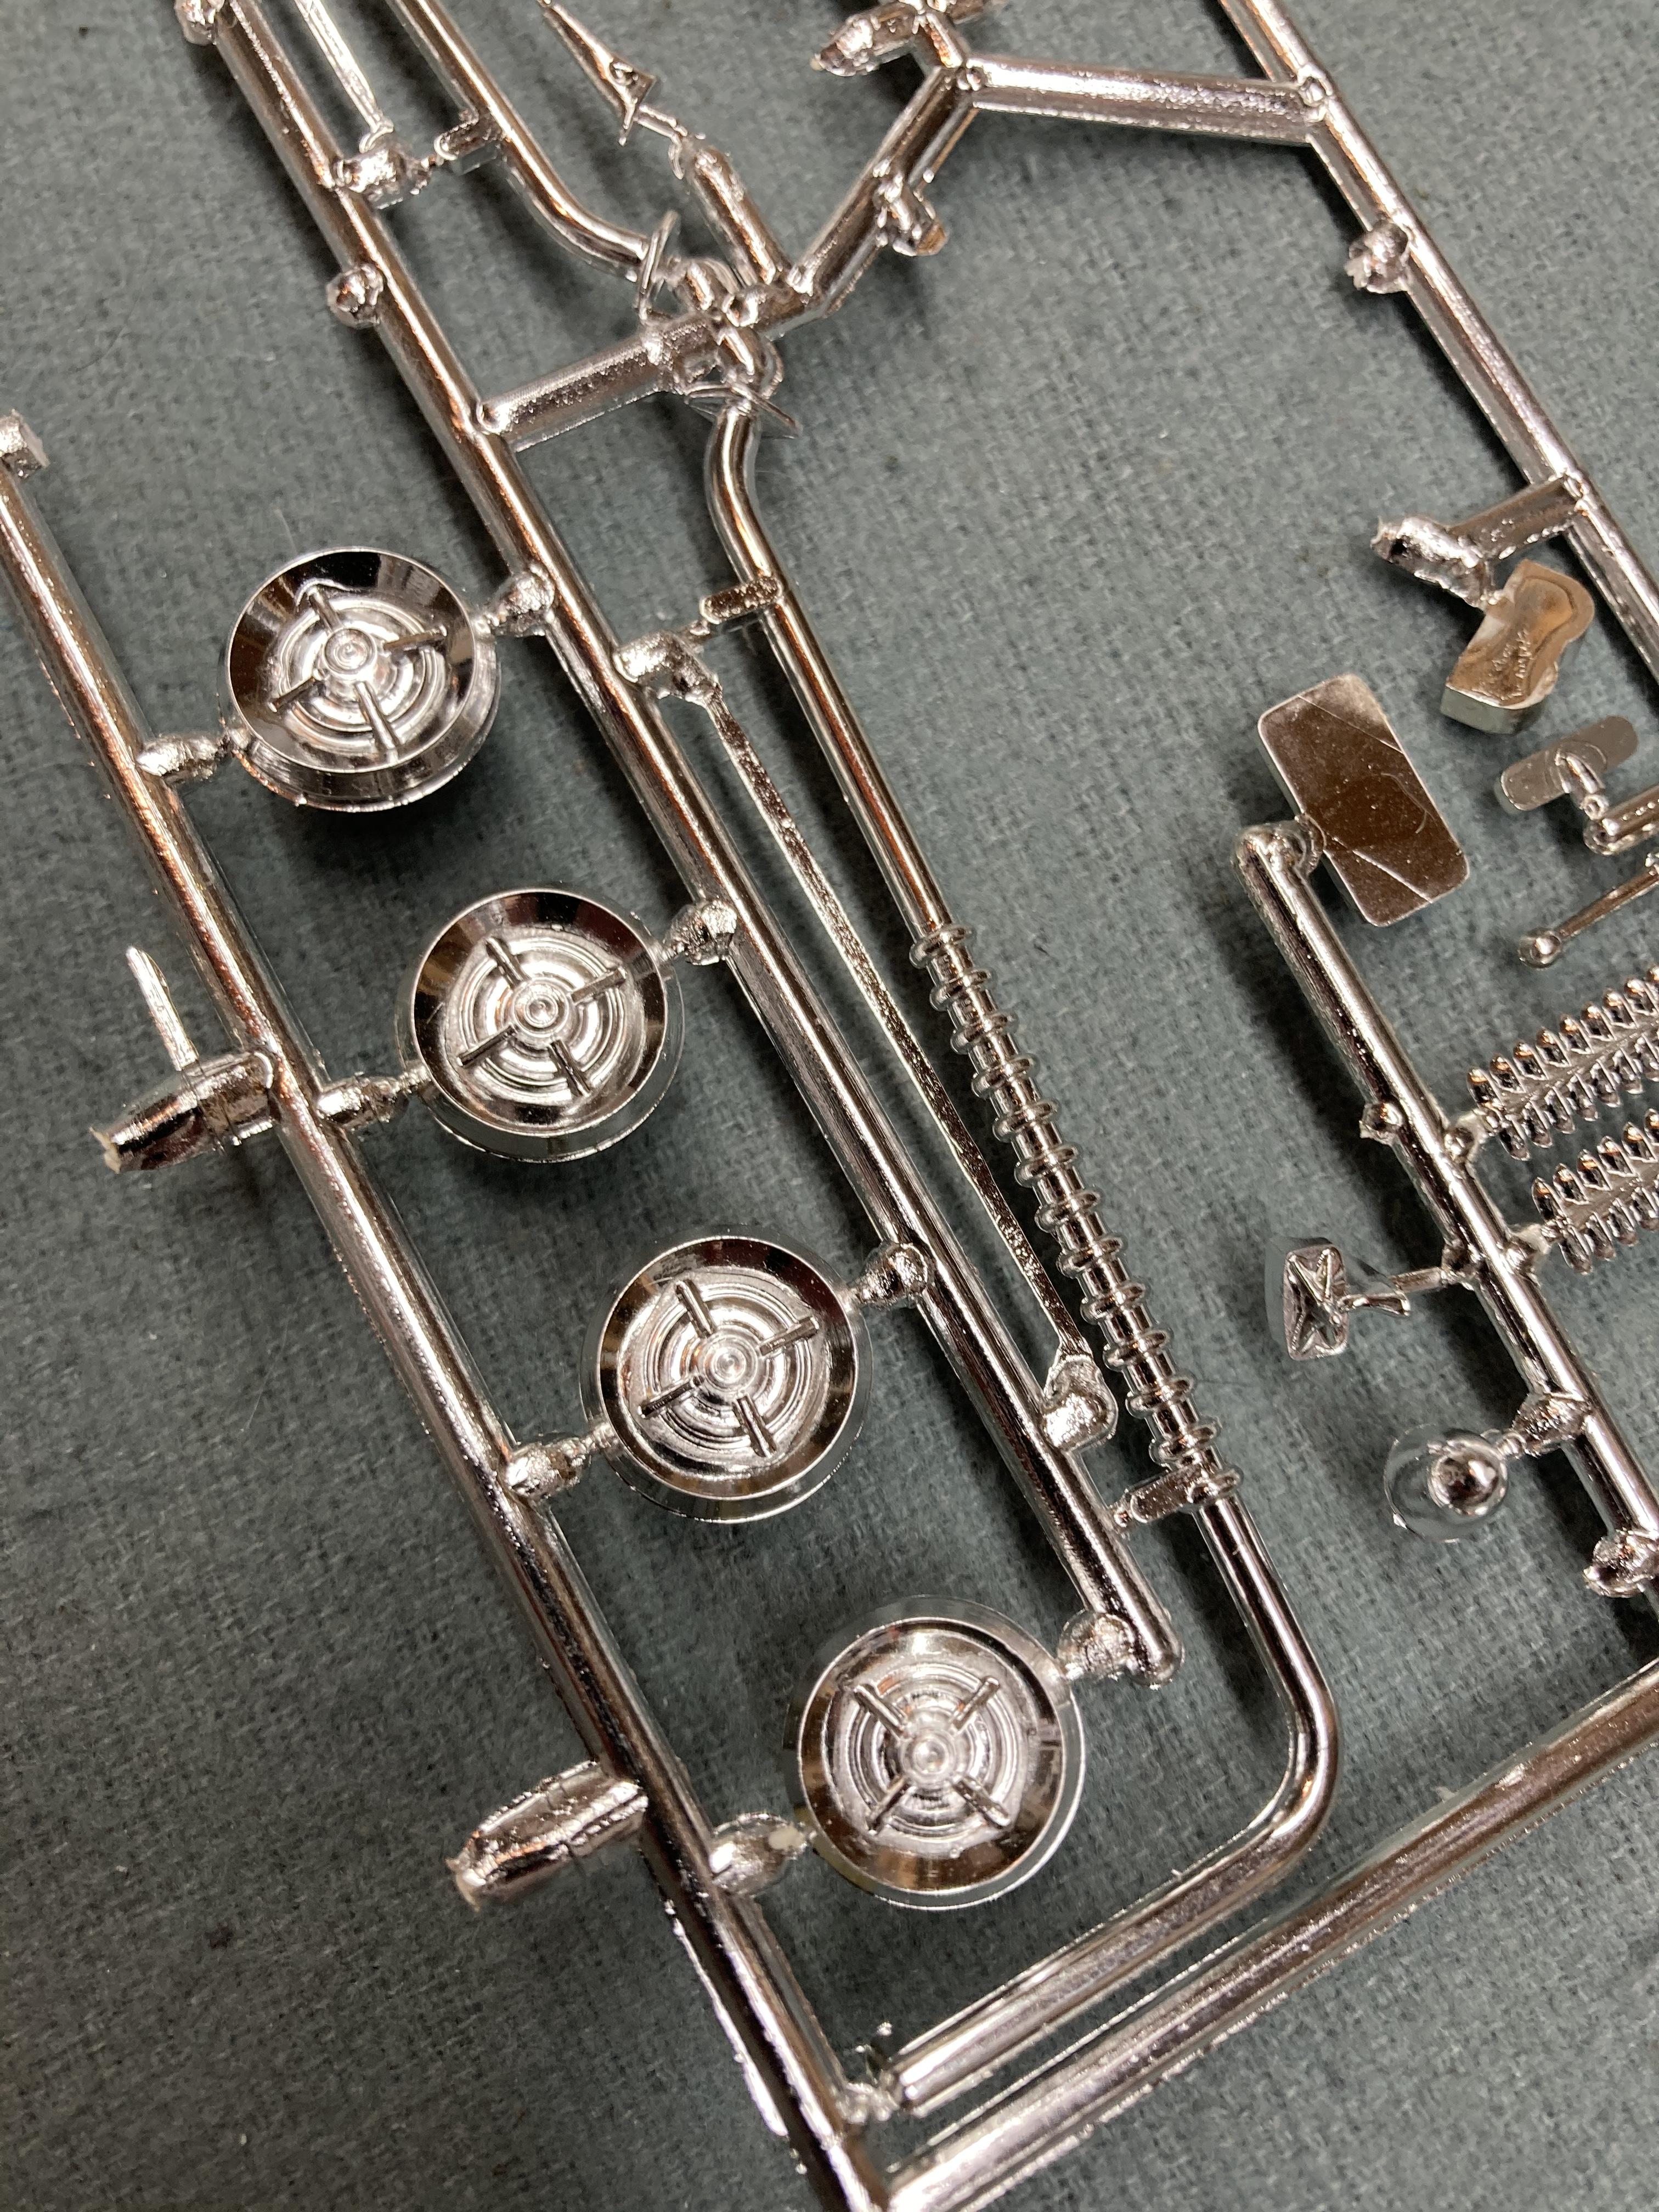
Correct, and I have used those wheels on other builds, but the OP’s question was what we’d like to see in a parts pack. You can never have enough Kelsey Hayes wires if you build a lot of 50s and early 60s Mopars. ? Steve
-
I really had good intentions of trying this technique on my current project, but like a stubborn old mule, I reverted back to old habits and made a couple out of styrene sheet. Steve
-
I had to contact then several years ago to ask for a replacement body for a '61 Ventura with a crushed roof. If I remember correctly, everything went smoothly. Of course, they're only going to replace them if you show them proof that they're defective in some fashion. Steve
-
You know, it’s funny, but a lot of early AMT/SMP kits had custom option hubcaps that closely resembled the lancer wheels. Pegasus also makes a very nice 4 bar spinner wheel that’s also close to lancer wheels. Steve
-
Wow! Talk about unexpected! Just another example of why we should all live our lives like today could be our last. Roger was a truly talented builder, and his presence will be missed greatly on this forum. I for one was always interested in, and following along with whatever project he was working on. I would have never guessed in a million years that something like this was coming, especially at such an early age. Being 4 years older than Roger, it really gets you thinking about your own mortality. Rest in peace Roger. We’re really going to miss you around here! Steve
-
I have no doubt that you like your technique. I just objected to the “much, much better” exclamation. As I said, there are many different ways to achieve your objective, and do it well. Everybody has different experiences. “Much, much better” is pretty subjective. Steve
-
What kits have thin whitewall tires?
StevenGuthmiller replied to R. Thorne's topic in Model Building Questions and Answers
The only issue that I have with these is the size. Fine for full sized cars, even though they can appear a little too large in diameter even then, but they can certainly look too large for intermediate cars where a 14 inch wheel would have been the standard. As Steve Andrews stated, "Modehaus Tires" has some that are probably a little better in the size department. I just love the old Satco tires for wide whites! They are a perfect diameter for most larger cars, and the whitewall insert is molded in such a way that it has a recess around the bead that the wheel can settle down into, eliminating the obligatory "wheel sticking out further than the tire" phenomenon. Modelhaus makes a narrow whitewall adaptation of the Satco tire that looks like it would be a good option, but I have never had a set for inspection. By the way, they also carry a red line version of the Satco tires as well. Steve -
Wet vs. dry sand?
StevenGuthmiller replied to Sidney Schwartz's topic in Model Building Questions and Answers
I guess that you could say that I use a "damp" sanding approach. Like the OP, I don't feel like I can adequately see my progress as I sand with wet sanding, so I'll generally start with a lightly damp sanding pad, (I use Micro-Mesh pads) and then throughout the sanding process, I'll periodically wipe the pad on a cloth, followed by swiping the portion of the pad that I'm using over my tongue to keep it lightly damp. Probably not the most hygienic method, but it works well for me. I do agree that wet sanding will preserve your sand paper longer, but the pads that I use seem to wear about the same no matter if they're wet or dry, so I prefer them "almost" dry. I seem to get pretty good results. Steve -
That's a subjective statement. White glue will give you perfect results if you do it right. I'll give you that there's more than one way to skin a cat, but that doesn't necessarily equate with "better". Steve
-
What kits have thin whitewall tires?
StevenGuthmiller replied to R. Thorne's topic in Model Building Questions and Answers
These are from the Moebius '65 Plymouth and Mercury kits. Model Roundup used to sell sets of them, but I don't believe that they carry them anymore. Now I guess you'd have to steal them from the kits. Great looking and nicely sized tires. Too bad they're not available anymore. Steve -
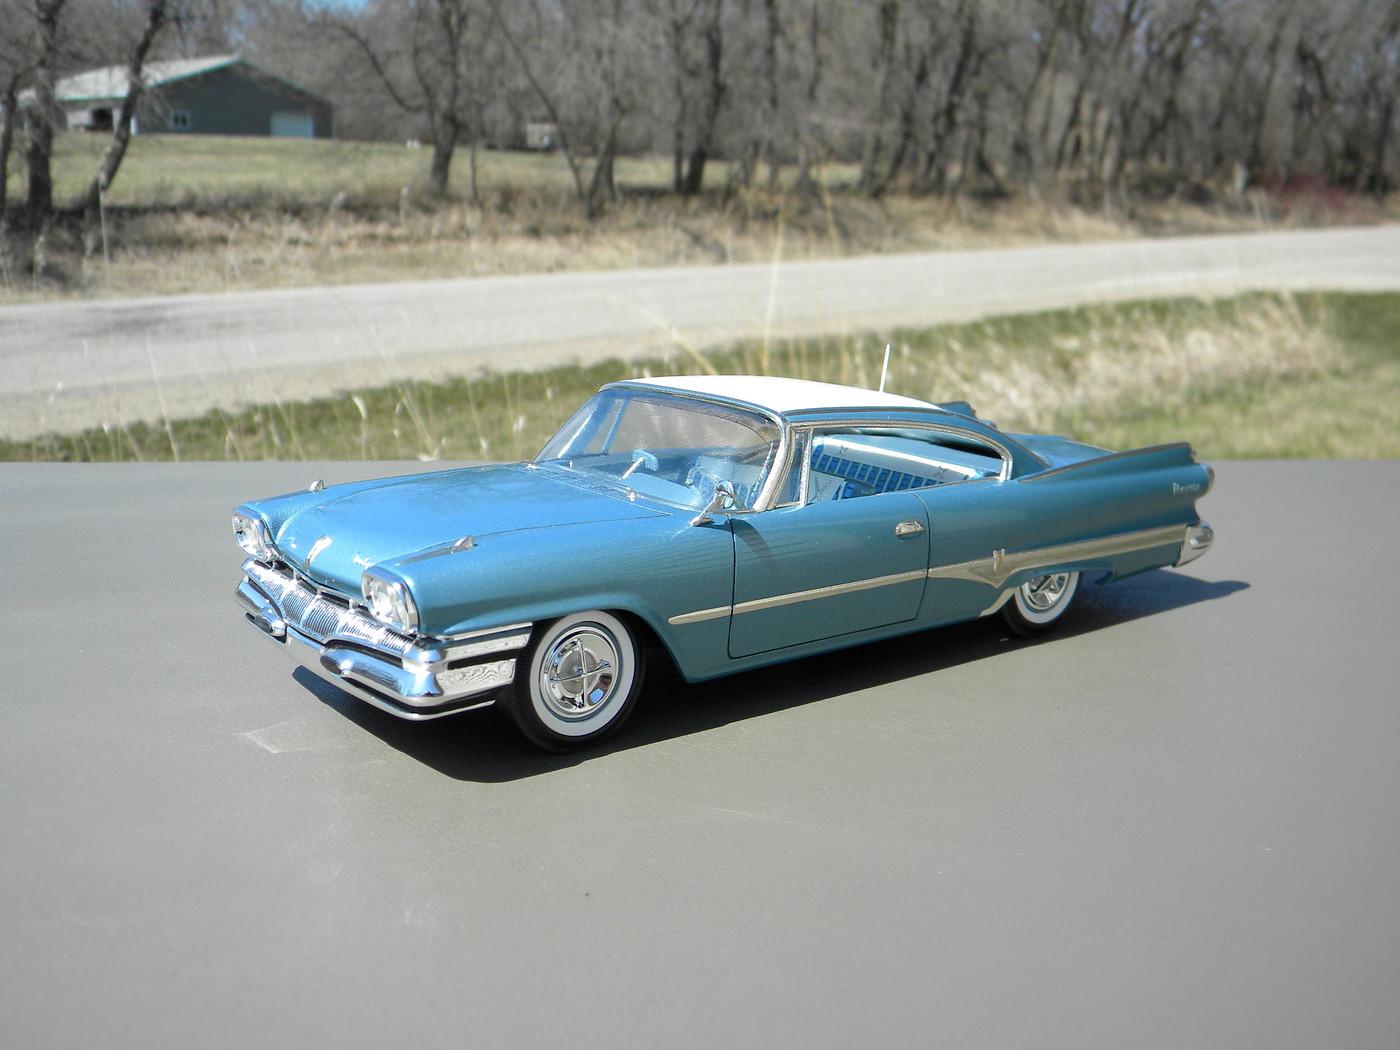
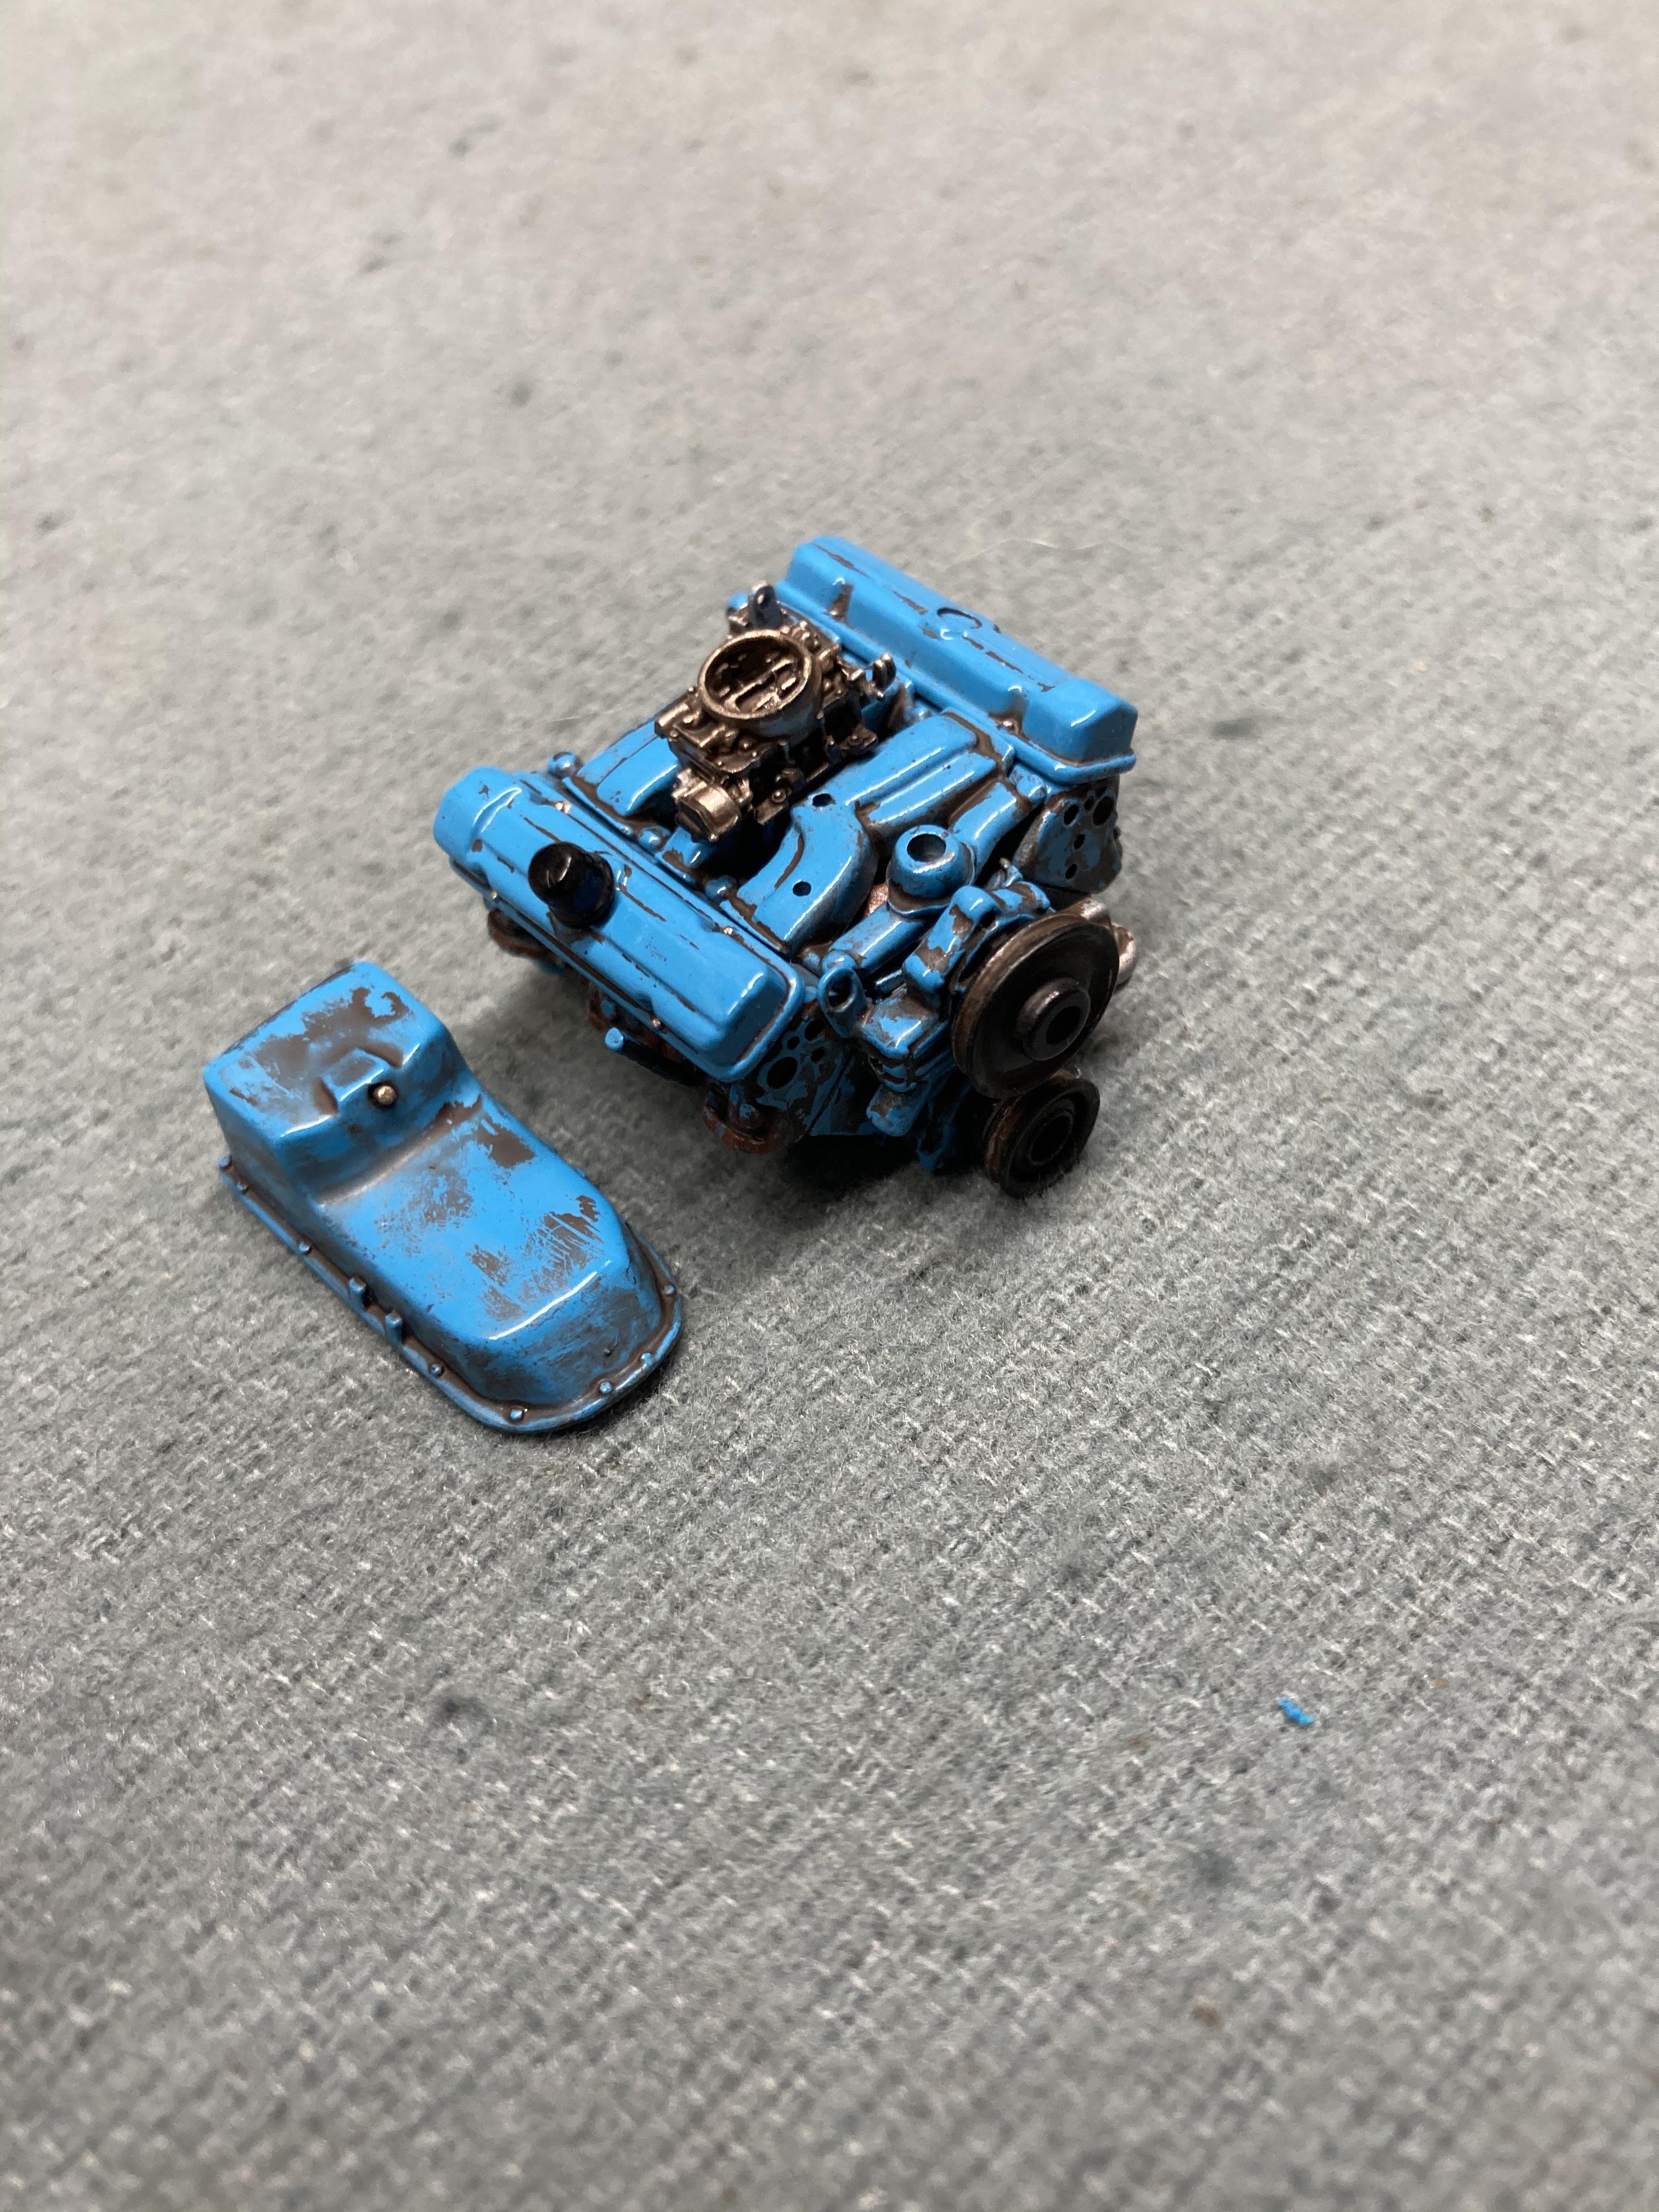
1964 Pontiac Bonneville Convertible.
StevenGuthmiller replied to StevenGuthmiller's topic in WIP: Model Cars
Thanks fellas! Continuing on with some of the fine engine details. So far today, I've added the throttle cable and return spring, as well as a temperature sending unit on the intake. Working on fuel lines now. Steve -
Handy BMF trick
StevenGuthmiller replied to Sidney Schwartz's topic in Model Building Questions and Answers
I agree. part of the success of the method for me is the contrast in color between the blue painters tape and the foil and blade, making it easier to see your knife position more easily in relation to the edge of the trim. Steve -
M.A.D. (Morgan Automotive Detail) makes some of the absolute best pre-wired distributors available. With separate wired caps, bases, and boot material, they come in all variations of cap and wire colors. Beautiful stuff! Steve
-
I concur. Steve
-
Lets talk solvents
StevenGuthmiller replied to ctruss53's topic in Model Building Questions and Answers
I just use cheap acrylic craft paint for a grimy or oily wash for engine and chassis detailing. No worries about what’s compatible with what. Just mix the color you want and thin it with water. You can use it over anything, whether it’s lacquer, enamel, or whatever, and it’s cheap, easy, and no mess. Steve
-
Best Fix For Dust in Paint?
StevenGuthmiller replied to TheCamaroKid's topic in Model Building Questions and Answers
If it’s not a metallic color, you probably don’t even have to re-coat. Just sand out the dust with very fine sand paper and polish. That is of course unless you need more color, in which case, a light sanding, followed by another coat of paint. Steve -
Yes, don’t let one little kerfuffle bother you. It probably won’t be your last Steve
-
You’re taking this a little too personally Juergen. As Bill said, it’s not a personal thing against you. If you stick around for a while, you’ll quickly discover that these types of discussions morph into other avenues very quickly. Nobody is directing any of this at you. It’s just become a general discussion about a common phenomena. Besides, anybody on this board that tells you that they’ve never added their 2 cents at some point where it didn’t belong, is blowing smoke up your backside. You just have to be like a duck and let it roll off of your back. Either that, or if it’s really bothering you, just send the admins a PM and ask them to lock the thread. They’ll be more than happy to oblige. Seriously Jurgen, we are all happy to have you here. You just have to learn to roll with the punches. Steve
-
Oh, I agree with you......to a point. But if I’m posting pictures of what I’m doing to a power steering pump on a ‘64 Bonneville in a WIP thread, I don’t want to see a half dozen pictures of your finished ‘64 Chevy pickup just because it’s “close” to the same color and it’s a ‘64. I see that sort of thing relatively often on some forums. Steve
-
The problem is, is that's what it looks like when you post a half dozen photos of something that's either barely related, or completely different than the subject at hand on someone else's thread. I've had situations on Facebook groups where I've posted progress pics of a '64 Pontiac Bonnevile, and somebody replies with pictures of their '55 Chevy. Huh? Steve
-
Handy BMF trick
StevenGuthmiller replied to Sidney Schwartz's topic in Model Building Questions and Answers
There’s a pinned thread in the “tips and tricks” section called “Wheel Arch Molding Foiling Tutorial” that describes this technique. Steve -
Building more than one kit at a time.
StevenGuthmiller replied to ctruss53's topic in Model Building Questions and Answers
It’s not a race. No penalties for only finishing 3 or 4 per year. I prefer to concentrate on one at a time, and do it to the best of my ability. I’ve resigned myself to the fact that I’ll never get to build everything that I would like to, and there are new kits popping up all of the time. I view every build as if it might be my last, because after all.....it could be. Steve -
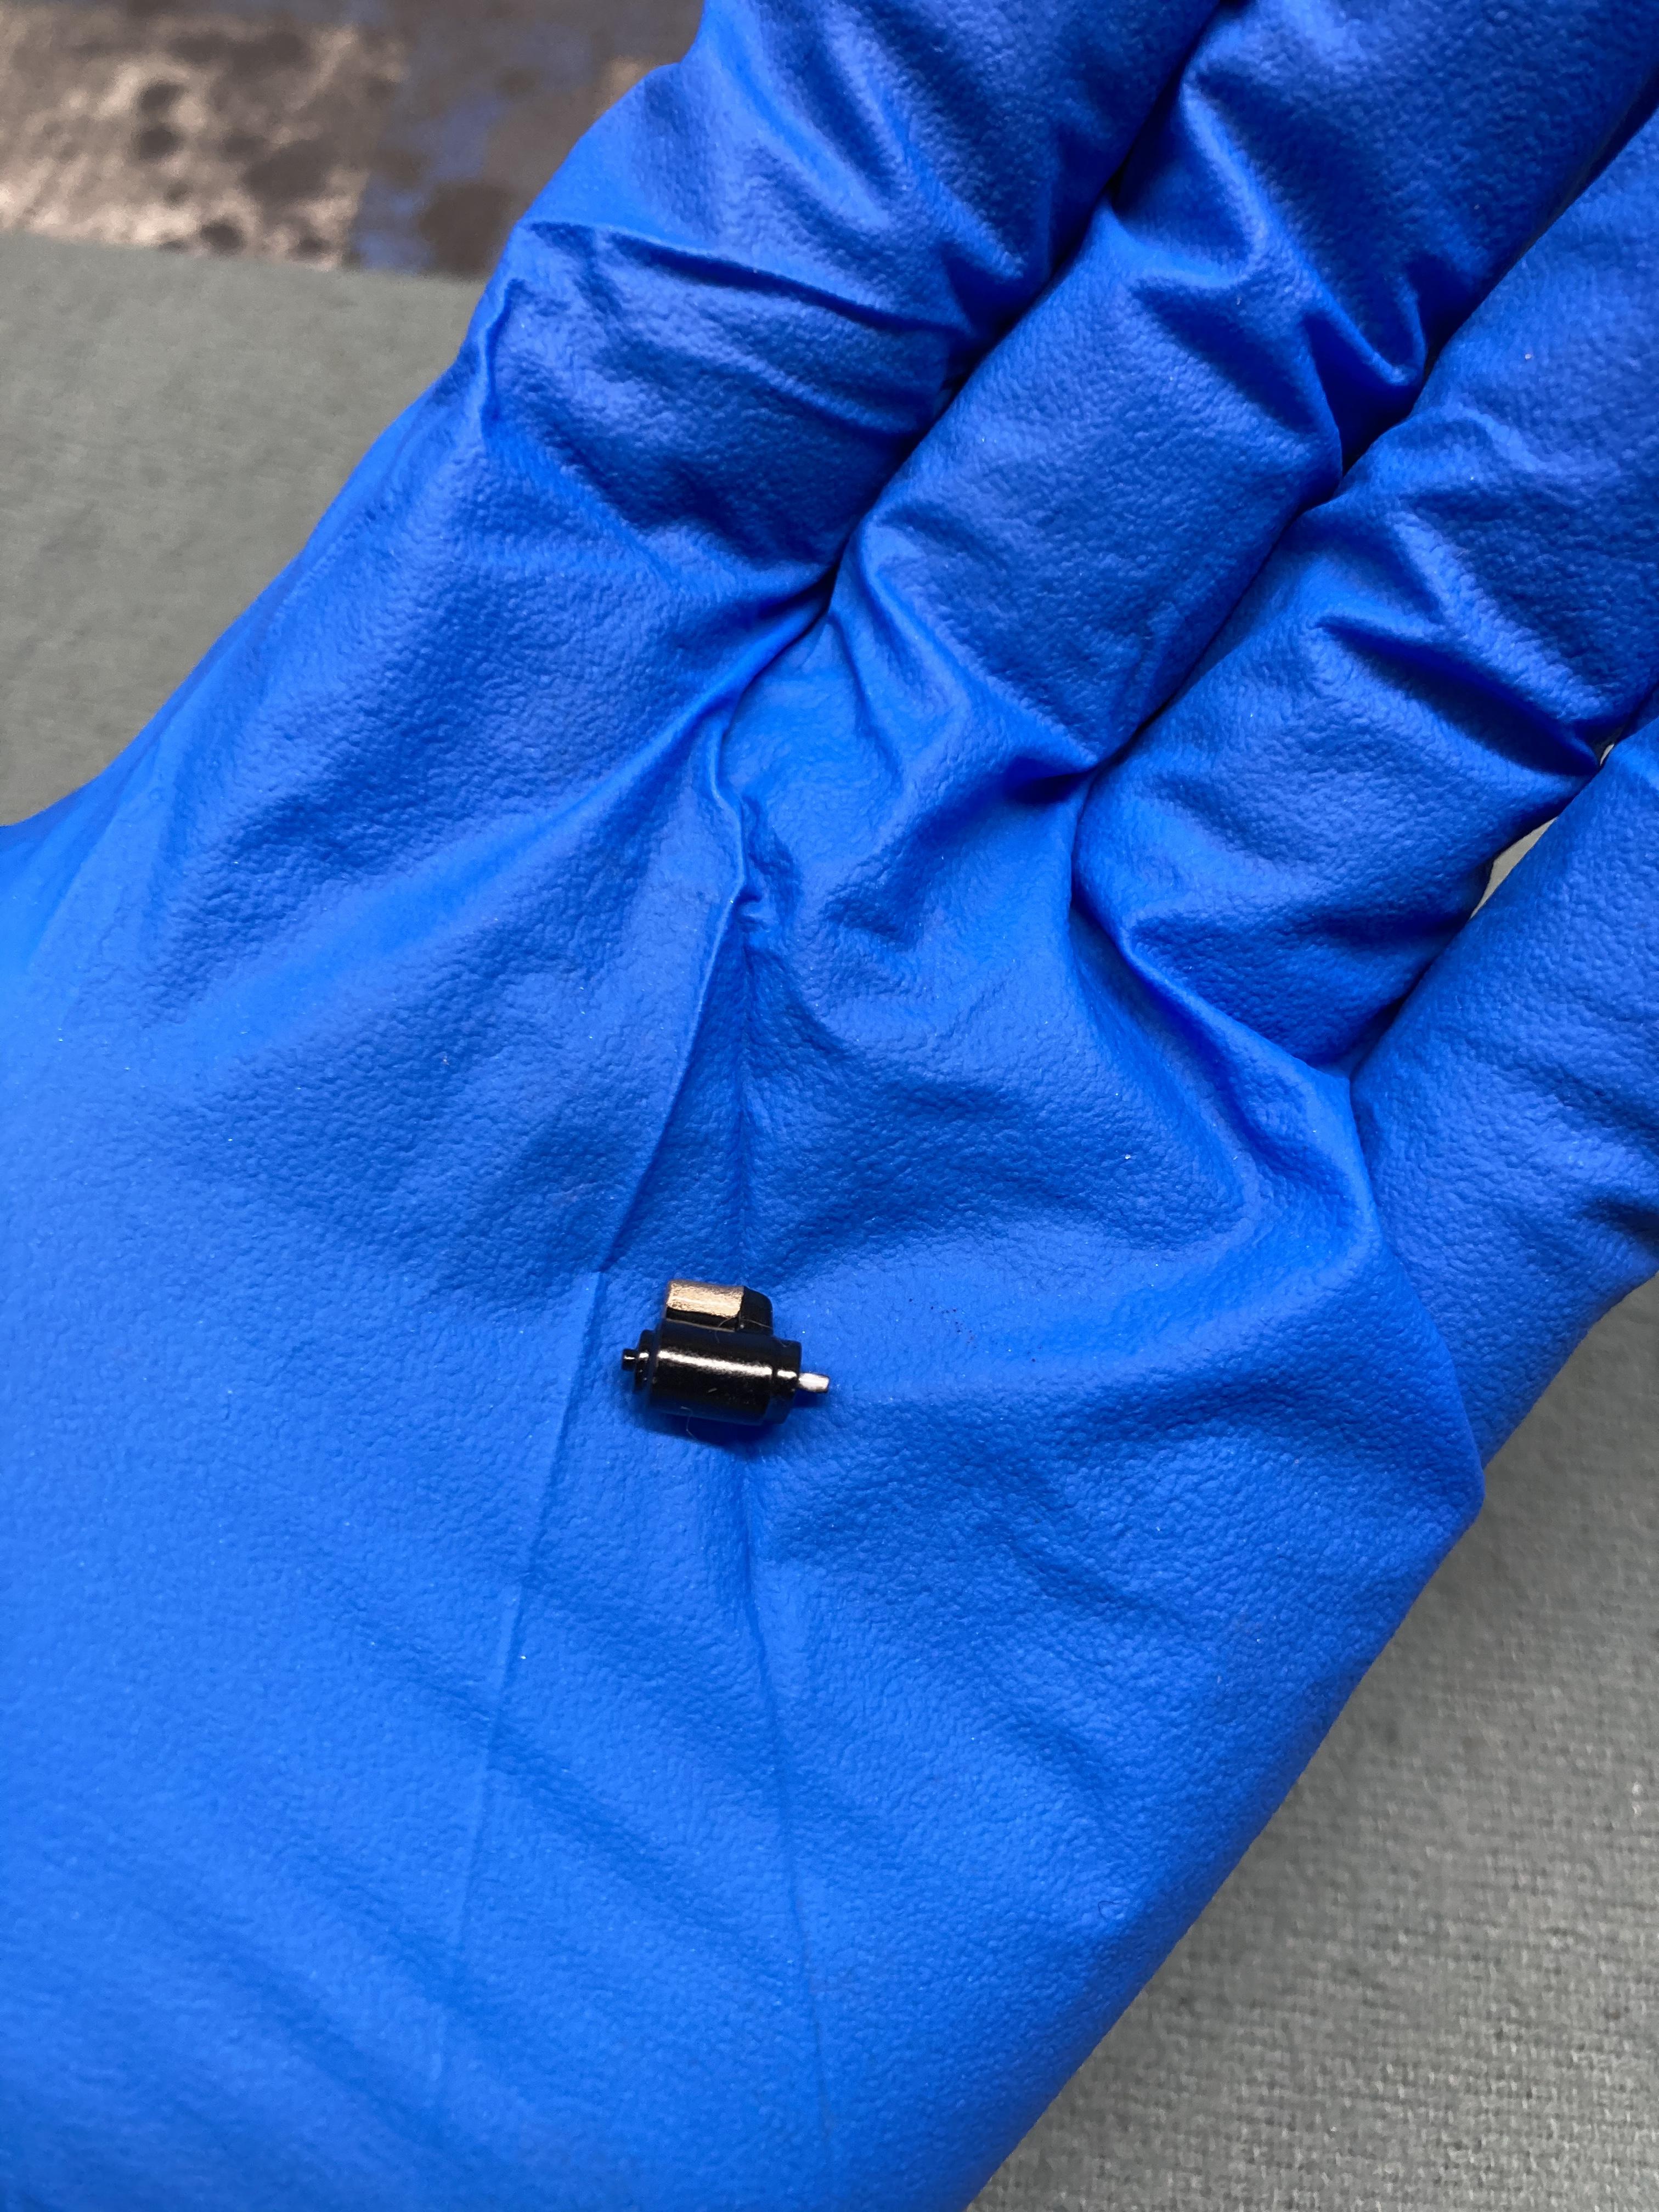
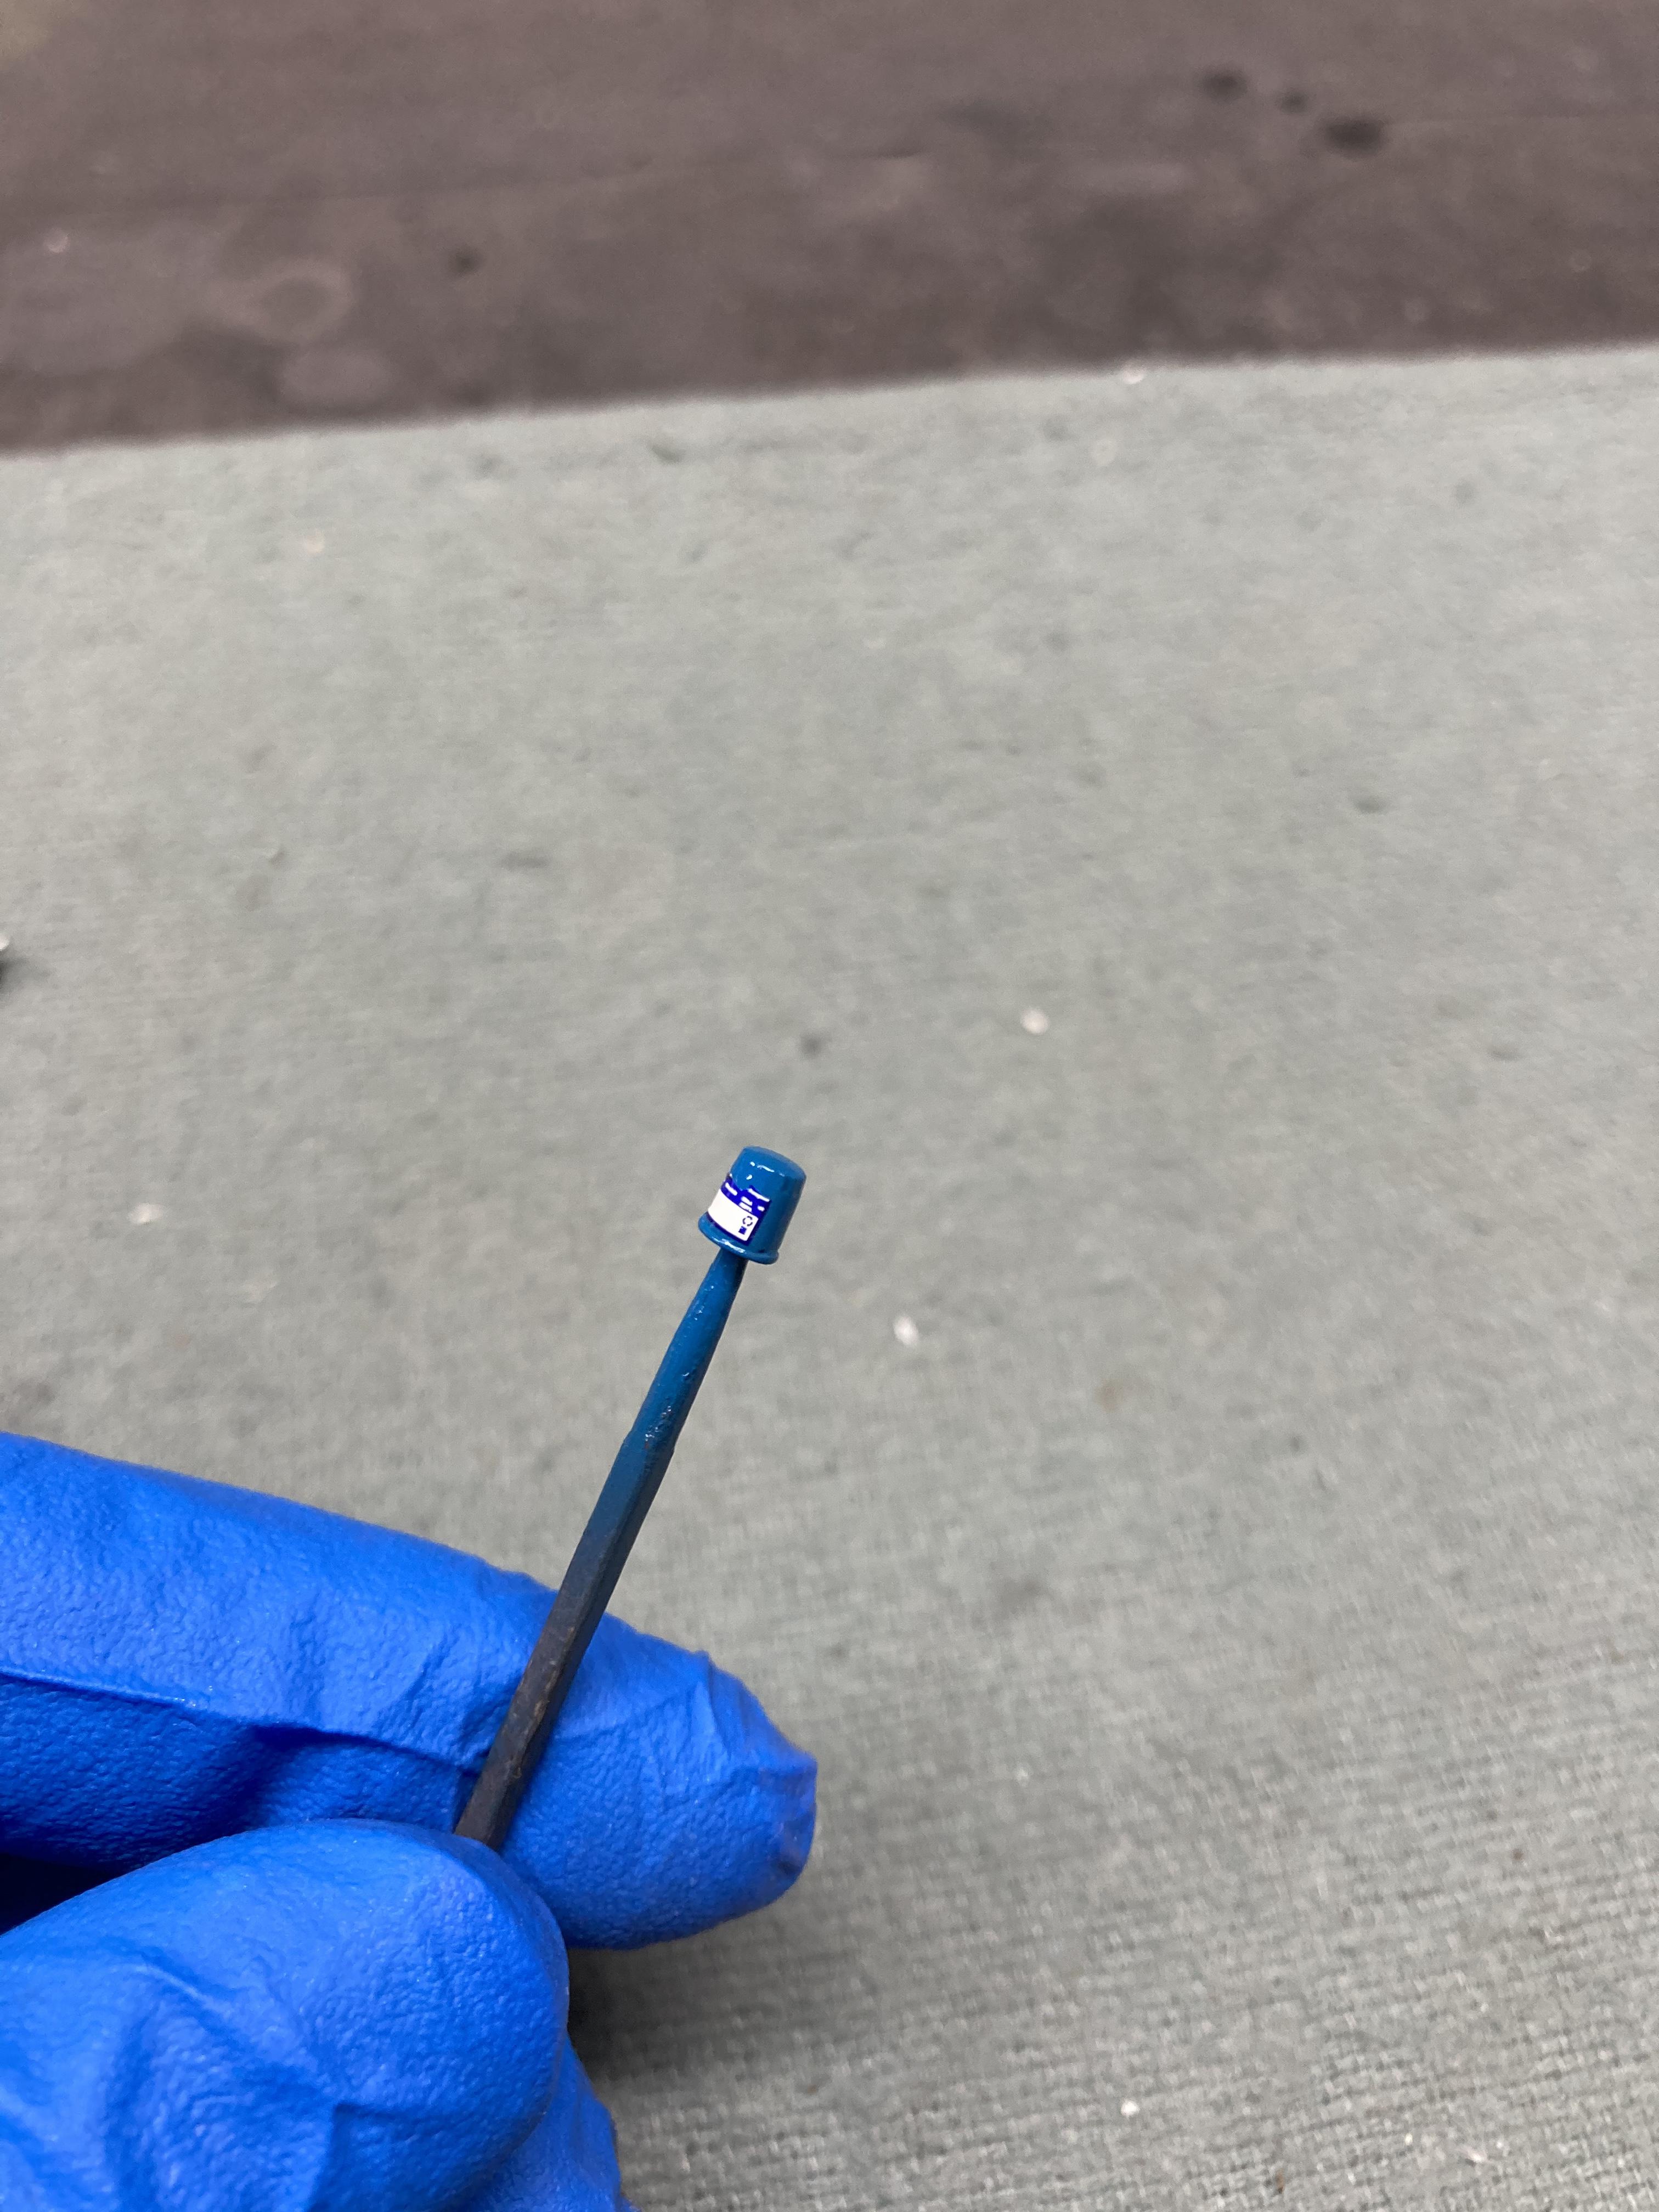
Painting 3D parts...
StevenGuthmiller replied to Biggu's topic in Model Building Questions and Answers
If you’re airbrushing enamel, you can speed up drying time exponentially by thinning with lacquer thinner. As an example, I sprayed this oil filter and starter with enamel thinned with lacquer thinner Tuesday night. I added the decal to the oil filter, and painted the starter solenoid, (with Testors enamel) yesterday, and then sprayed a coat of Testors clear lacquer over both this morning. Both are easily dry enough to handle this afternoon. Steve