StevenGuthmiller
-
Posts
15,071 -
Joined
-
Last visited
Content Type
Profiles
Forums
Events
Gallery
Everything posted by StevenGuthmiller
-
 I concur. But before you dive in, be absolutely certain that what you have is a styrene "kit" and not an acetate promo. Many of the solutions that are commonly used to strip paint will make short work of an acetate body. I only bring this up because of the "warped" comment, which of course is a common hallmark of early promos. And if you can and do use a degreaser/cleaner to strip the paint, do yourself a big favor and use the real deal, Super Clean, and not one of the cheaper and far less effective knock offs. Steve
 -
Pontiac engine blue metallic
StevenGuthmiller replied to casassa's topic in Model Building Questions and Answers
No, I really can't. It was some time ago, and just a "one off" thing. I just mixed until the color looked about right. Steve -
I'm kind of glad I don't. It would just remind me of all of the other things that I "should" be doing! Steve
-
I look at it this way. I tend to trust a mechanic with greasy hands, or a chef with a dirty apron more than ones that are spotlessly clean. Indicates to me that they know what they’re doing. ? Steve
-
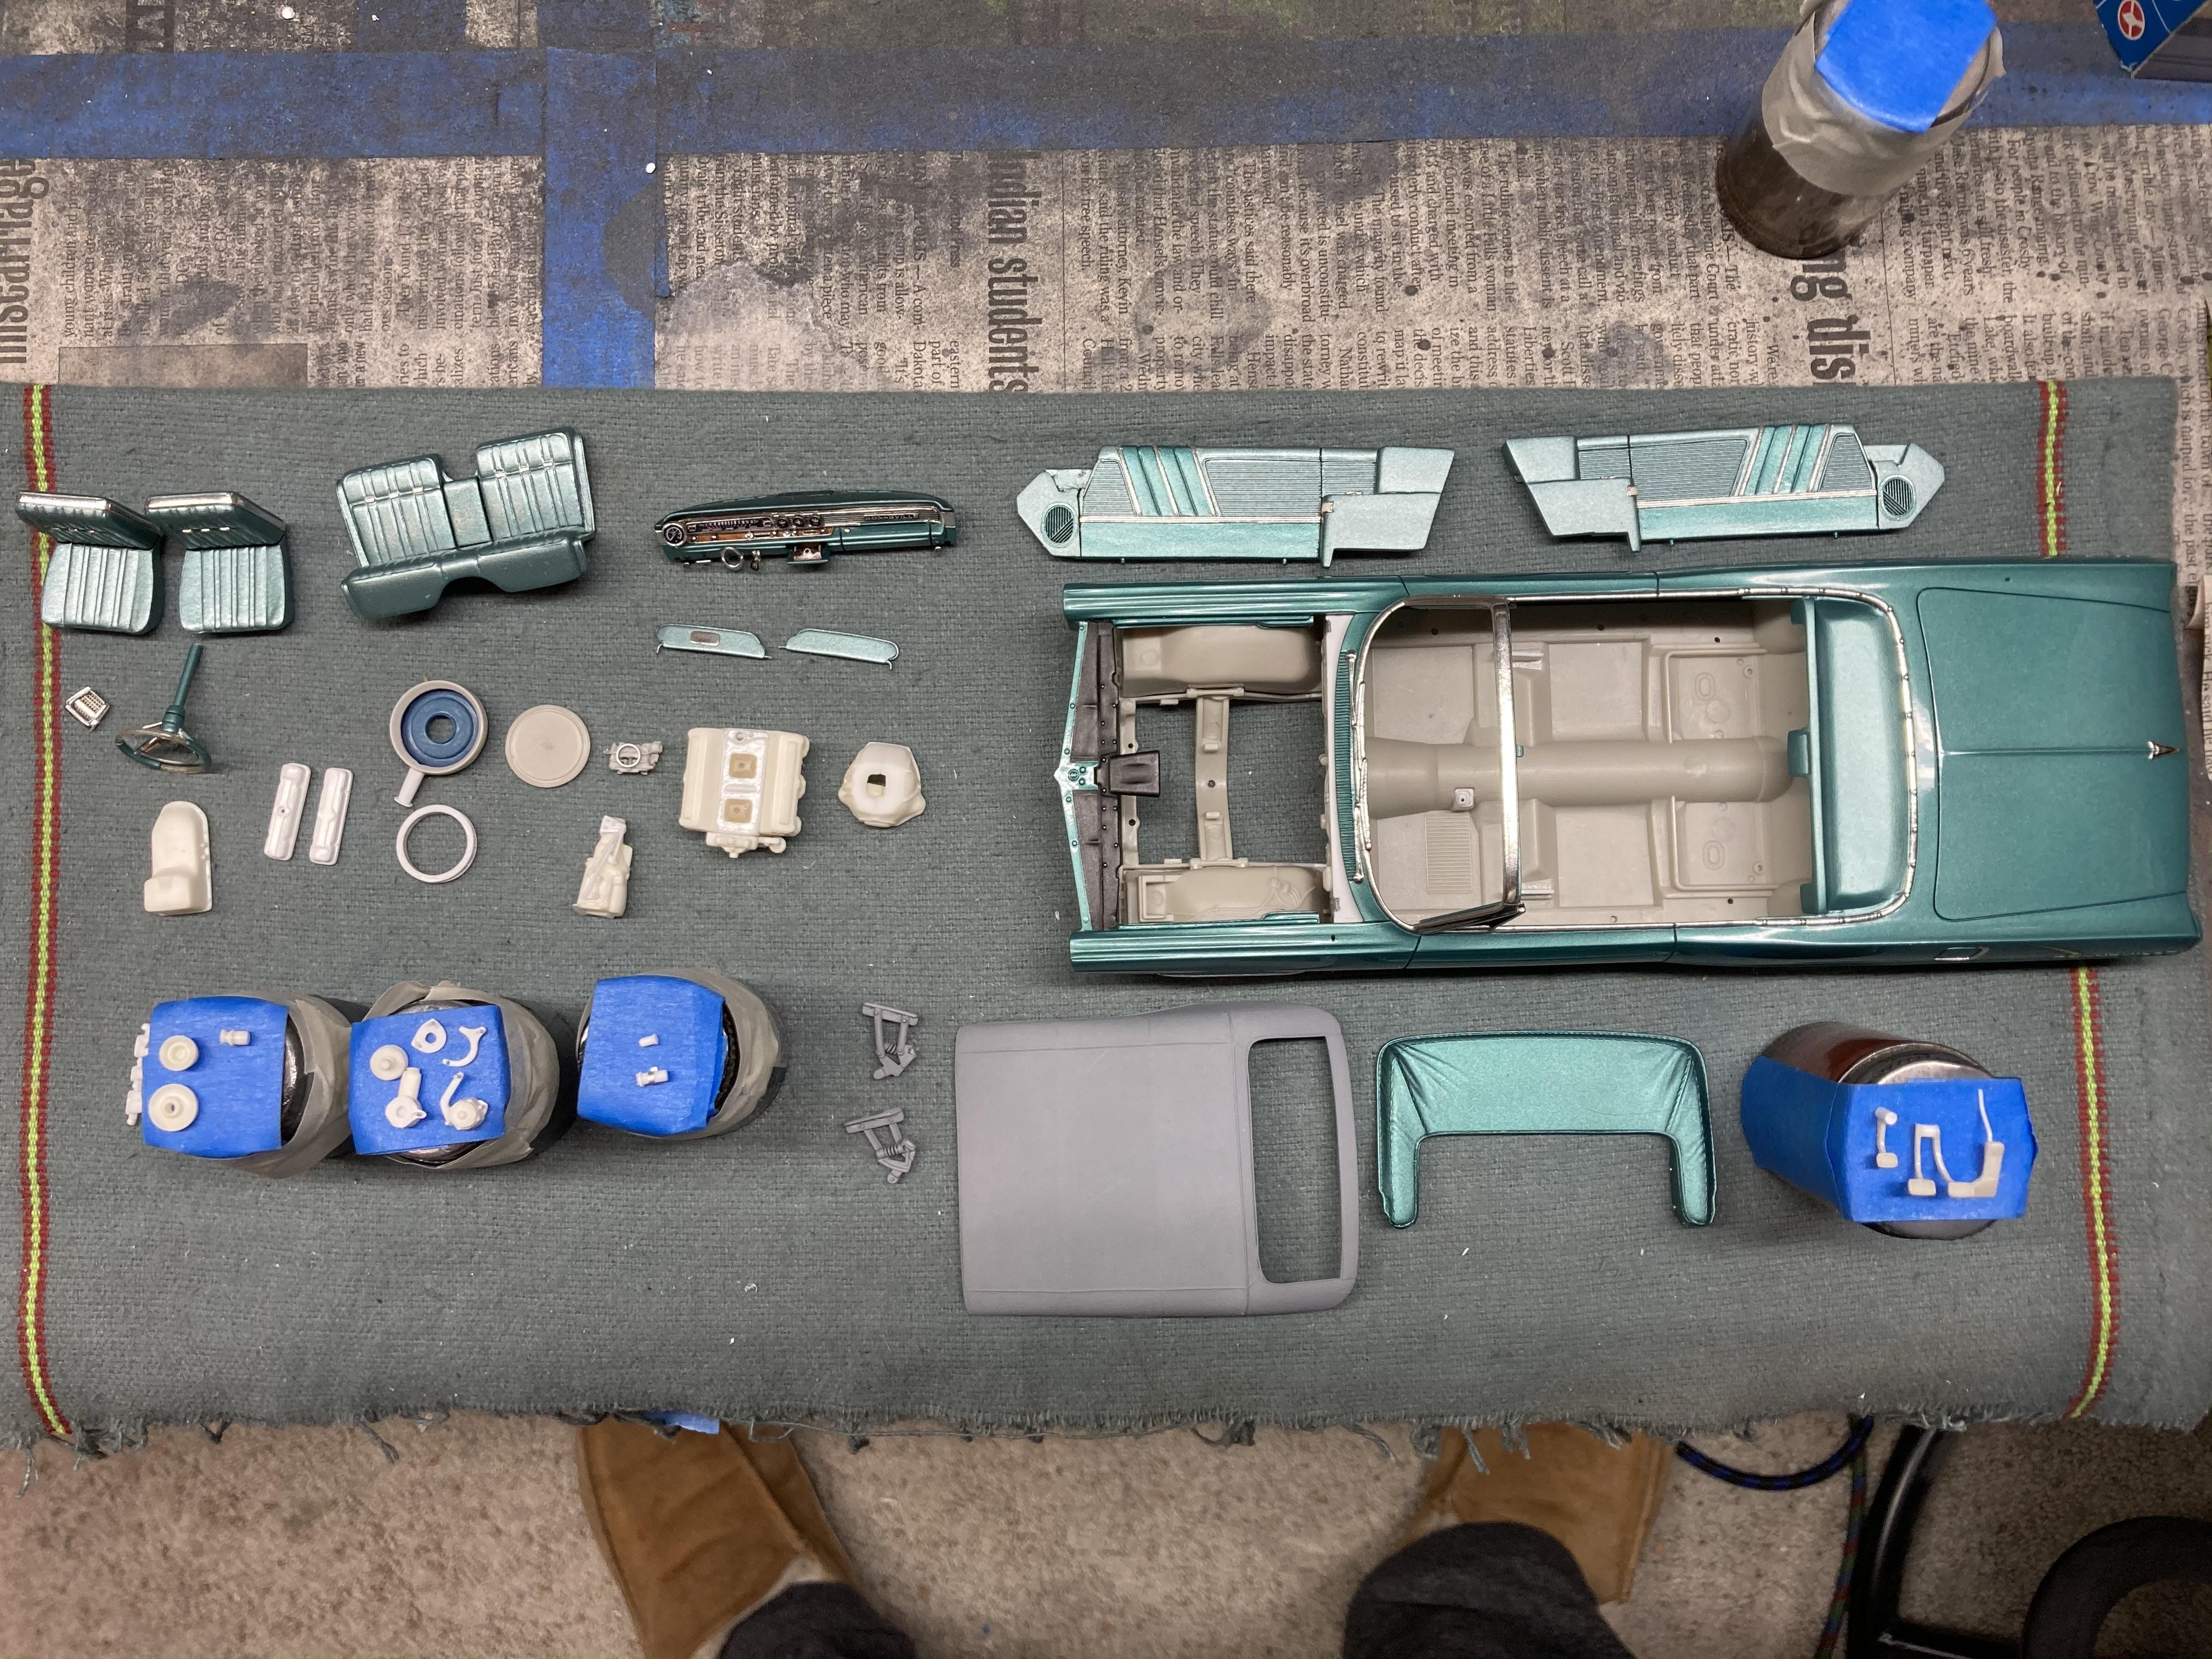
I agree. One at a time is definitely all that I can handle. As it is, I’ve got so many little parts scattered all over my bench for one project, that I can barely keep track of what is for what! Steve

-
I could only wish that mine looked that clean!! Steve
-
Sometimes you just have to keep your eyes peeled for ever day items that can double as parts. I recently found that the "thumb wheel" from the bottom of a lip balm tube makes a pretty good air cleaner element once you hollow out the center and add a seal to each side. Steve
- 1 reply
-
- 7
-

-

-
Pontiac engine blue metallic
StevenGuthmiller replied to casassa's topic in Model Building Questions and Answers
I’ve mixed my own in the past, but MCW carries all kinds of engine enamels in little 1/2 oz jars, premixed and ready to air brush. This example was a custom mix. Steve
-
2.5 ounces is actually a lot of paint. I generally don't have any difficulty painting a 1/25th scale body, (inside and out) with around 1/2 ounce, unless I'm painting chassis, interior and engine bay parts with the body color, then 3/4 of an ounce will usually suffice. That's not to say that prep is not important. It of course is. But the paint itself, and what you're spraying it over, is usually more of a barometer of how much will be required than how the model was prepped. A more transparent color is likely to require more coats than a very opaque one, and even then, the number of coats that will be needed to achieve the depth of color that you're looking for will determine the amount of paint that will be used. I could get by with less paint as a rule, but will usually err on the side of caution and spray a coat or two more than I might actually need to be certain that the color is where I want it to be. How much paint I use on a particular model is only limited by how much of it I have on hand. I never concern myself with conserving paint because, A: I almost never paint 2 models the same color, and B: There's always more paint. My last 1968 Coronet project took exactly 1 oz. of paint, as the entire engine compartment, wheels and chassis over spray also used the body color. Steve
-
Sometimes you have to do some modifications to get things to fit correctly. That’s what we call “modeling”. Steve
-
Thanks so much for the latest info guys! Out of the country on vacation at the moment, but I will definitely scrutinize the photos when I can look at them on a larger format than my phone. See you in a couple of weeks! ? Steve
-
Anyone knows why???
StevenGuthmiller replied to khier's topic in General Automotive Talk (Trucks and Cars)
I think that there might have been a good chance of seeing a ‘68 until AMT folded. But, now that Round-2 has started to reverse engineer and bring back some old kits, I wouldn’t count out a ‘68 Impala. Steve -
Paint masking questions
StevenGuthmiller replied to Monty's topic in Model Building Questions and Answers
And if you’re using enamel for the primary color, be certain that it is completely cured before masking. Enamel takes much longer to cure completely than other paints. Also, be sure that your primer, or under coats are something that the color sticks well to. Most of the adhesion problems that I’ve had have been enamels sprayed over a base that doesn’t promote good adhesion. Steve -
Atlantis kits?
StevenGuthmiller replied to Sidney Schwartz's topic in Model Building Questions and Answers
That might explain why I didn’t know who she was. Haven’t seen an episode of Star Trek since I was about 12. Steve -
Atlantis kits?
StevenGuthmiller replied to Sidney Schwartz's topic in Model Building Questions and Answers
Who’s the chick in the chrome diaper? ? Steve -
MPC 67 Pontiac GTO
StevenGuthmiller replied to John King's topic in Model Building Questions and Answers
'cause people buy 'em. Steve -
Happy AMT/IMC/MPC/Revell Day!
StevenGuthmiller replied to Snake45's topic in General Automotive Talk (Trucks and Cars)
Okay, I’ll be the first to admit that I’m a “scale hater”. But I have been attending a 12 step program. I haven’t made it past step 1. Steve -
Atlantis kits?
StevenGuthmiller replied to Sidney Schwartz's topic in Model Building Questions and Answers
A company called X-EL re-popped them back in the 80s, so they’re probably not as hard to find as some of the other Johan kits, but yeah, still not easy.....or cheap. Steve -
MPC 67 Pontiac GTO
StevenGuthmiller replied to John King's topic in Model Building Questions and Answers
Or you can just build the Revell ‘66 GTO. ? Steve -
Atlantis kits?
StevenGuthmiller replied to Sidney Schwartz's topic in Model Building Questions and Answers
It is a very cool car! I just wish that Johan would have done it rather than Revell. Then we would have had a nice starting point! Johan's '58 Fleetwood is a spectacular gem compared to this kit! I keep telling myself I'm going to re-build this one. Maybe it's about time. Steve -
Atlantis kits?
StevenGuthmiller replied to Sidney Schwartz's topic in Model Building Questions and Answers
Looks pretty nice so far. If nothing else, you could say that this kit is a good "caricature" of a '57 Eldorado Brougham. One of the very first things that I would attempt, if I ever decided to build one of these kits, is to try to straighten out that "curve" at the rear of the tail fin, and add the missing molding on the top of the fin. (a couple of the items that always drove me nuts about this kit) Just one of the many modifications that could only help with the finished appearance of this model. Some aftermarket door handles set lower on the doors would be a big improvement as well. Of course, the wheel well openings could use a bunch of work too. Oh boy, here we go down this rabbit hole! Steve -
If it does overheat, you’re going to have a melty mess on your hands! ? Steve
-
Rustoleum paints are terrible.
StevenGuthmiller replied to James Maynard's topic in General Automotive Talk (Trucks and Cars)
There’s a lot of really scary stuff that can happen when you start mixing all kinds of weird primers, paints and clears, yet for some reason that I still can’t quite comprehend, people continue to do it over and over again. It gets pretty old seeing countless post after post on varying forums and social media of paint jobs that have gone south because someone insists upon using the same......you know what, paint. I’m still trying to figure out if there are really that many novice painters, or just a lot of slow learners! ? Steve -
Atlantis kits?
StevenGuthmiller replied to Sidney Schwartz's topic in Model Building Questions and Answers
I believe that they’re re-popping mostly really old Revell kits. A lot of oddball stuff of various scales. Unless the subject matter is something that you just can’t live without, you’re likely to be disappointed. Steve -
What's the best chrome?
StevenGuthmiller replied to Sidney Schwartz's topic in Model Building Questions and Answers
No question in my mind. BMF! Steve