
Scott Colmer
-
Posts
1,665 -
Joined
-
Last visited
4 Followers


Recent Profile Visitors


Scott Colmer's Achievements
MCM Ohana (6/6)
-

the OGs of our hobby
Scott Colmer replied to sidcharles's topic in General Automotive Talk (Trucks and Cars)
Thanks for posting up our video, Sid! No "Wave." More like 9 months of searching, researching, travel, and hard work to get to that point. Passion project for sure. Doug Whyte and I both love sharing the history of our hobby. You can add Tim Boyd to that list too. There are a lot of good stories out there. Best regards, Scott Colmer -
Wow. That is beyond stunning.
-
Marvel's Hydra coupe 1/12 scale full scratch build
Scott Colmer replied to François's topic in WIP: Model Cars
This is so fun to watch come together. Great work! (I made that stirring mistake too, but with simpler linkage. Someone else caught it from a picture I posted.) -
That is impressive! Nice work, Zack!
-
Early '50s Bonneville Streamliner
Scott Colmer replied to W-409's topic in WIP: Other Racing: Road Racing, Land Speed Racers
This is a cool project. I'm in. -
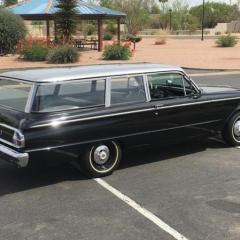
1957 Ford Del Rio "Shooting Brake" Ranch Wagon
Scott Colmer replied to LennyB's topic in WIP: Model Cars
One more thing. I hope you don't mind. Please consider adding a slight arc to this vertical drop. The rest of the side of the car has arcs and curves at the fenderwells. Keep up the GREAT work! -
1957 Ford Del Rio "Shooting Brake" Ranch Wagon
Scott Colmer replied to LennyB's topic in WIP: Model Cars
First time I saw this thread. Love what you are doing. Small changes for big impact. I'll be watching. -
Marvel's Hydra coupe 1/12 scale full scratch build
Scott Colmer replied to François's topic in WIP: Model Cars
So impresive! I'm enjoying every update. -
Interviewed by Model Car Muse
Scott Colmer replied to chris chabre's topic in General Automotive Talk (Trucks and Cars)
I wish the best for you and your family, Chris. For what it's worth the interview is a great watch. I'm glad you did it. Scott -
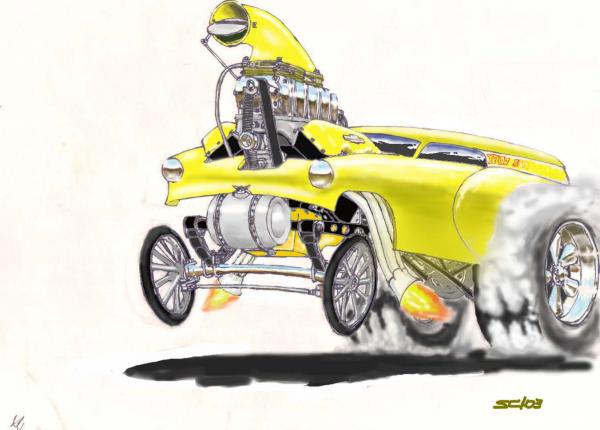
I really like this. Defiantly an upgrade to the original. Great concept.
-
Help me please! What car is this?
Scott Colmer replied to Andy Oldenburg's topic in General Automotive Talk (Trucks and Cars)
The image is flopped. The steering wheel is on the right. See the M on the front lip of the hood? It's a Mercury. -
Glad to see you are back on this one. I've always liked the concept.
-
A new model car magazine
Scott Colmer replied to bobthehobbyguy's topic in General Automotive Talk (Trucks and Cars)
I had that one in my Fotki favorites folder, Russell. I am huge fan of Dalefoursixty's builds on this forum. So it went in the new magazine's website gallery. FYI - The Auto Modeler Magazine publishes on the months in-between the months that Model Cars publishes. Not competition - a model magazine every month. Scott -
Michaels getting rid of models?
Scott Colmer replied to gbdolfans's topic in General Automotive Talk (Trucks and Cars)
We jut got a new Michaels right down the road. I went in to check out the model section. Here it is... -
What did you see on the road today?
Scott Colmer replied to Harry P.'s topic in General Automotive Talk (Trucks and Cars)
On the streets of Tokyo At a local hangout. It runs every night. Little green guy is waiting for the crosswalk light This is not Kevin karting on the streets. He took the PIC. Behind Mooneyes Yokohama

