Twokidsnosleep
-
Posts
2,528 -
Joined
-
Last visited
Content Type
Profiles
Forums
Events
Gallery
Everything posted by Twokidsnosleep
-
Hmm never tried that. Lots of different ways to strip and seems the combo of oven cleaner and then the air abrasion for tough spots works well for me. It is fun to restore and old glue bomb or a partially started kit that has gone off the rails for someone. I have a Pocher Alfa Romeo partial start glue bomb that looks like someone got in over their head with. That is my holy grail of bomb restoration projects...one day
-
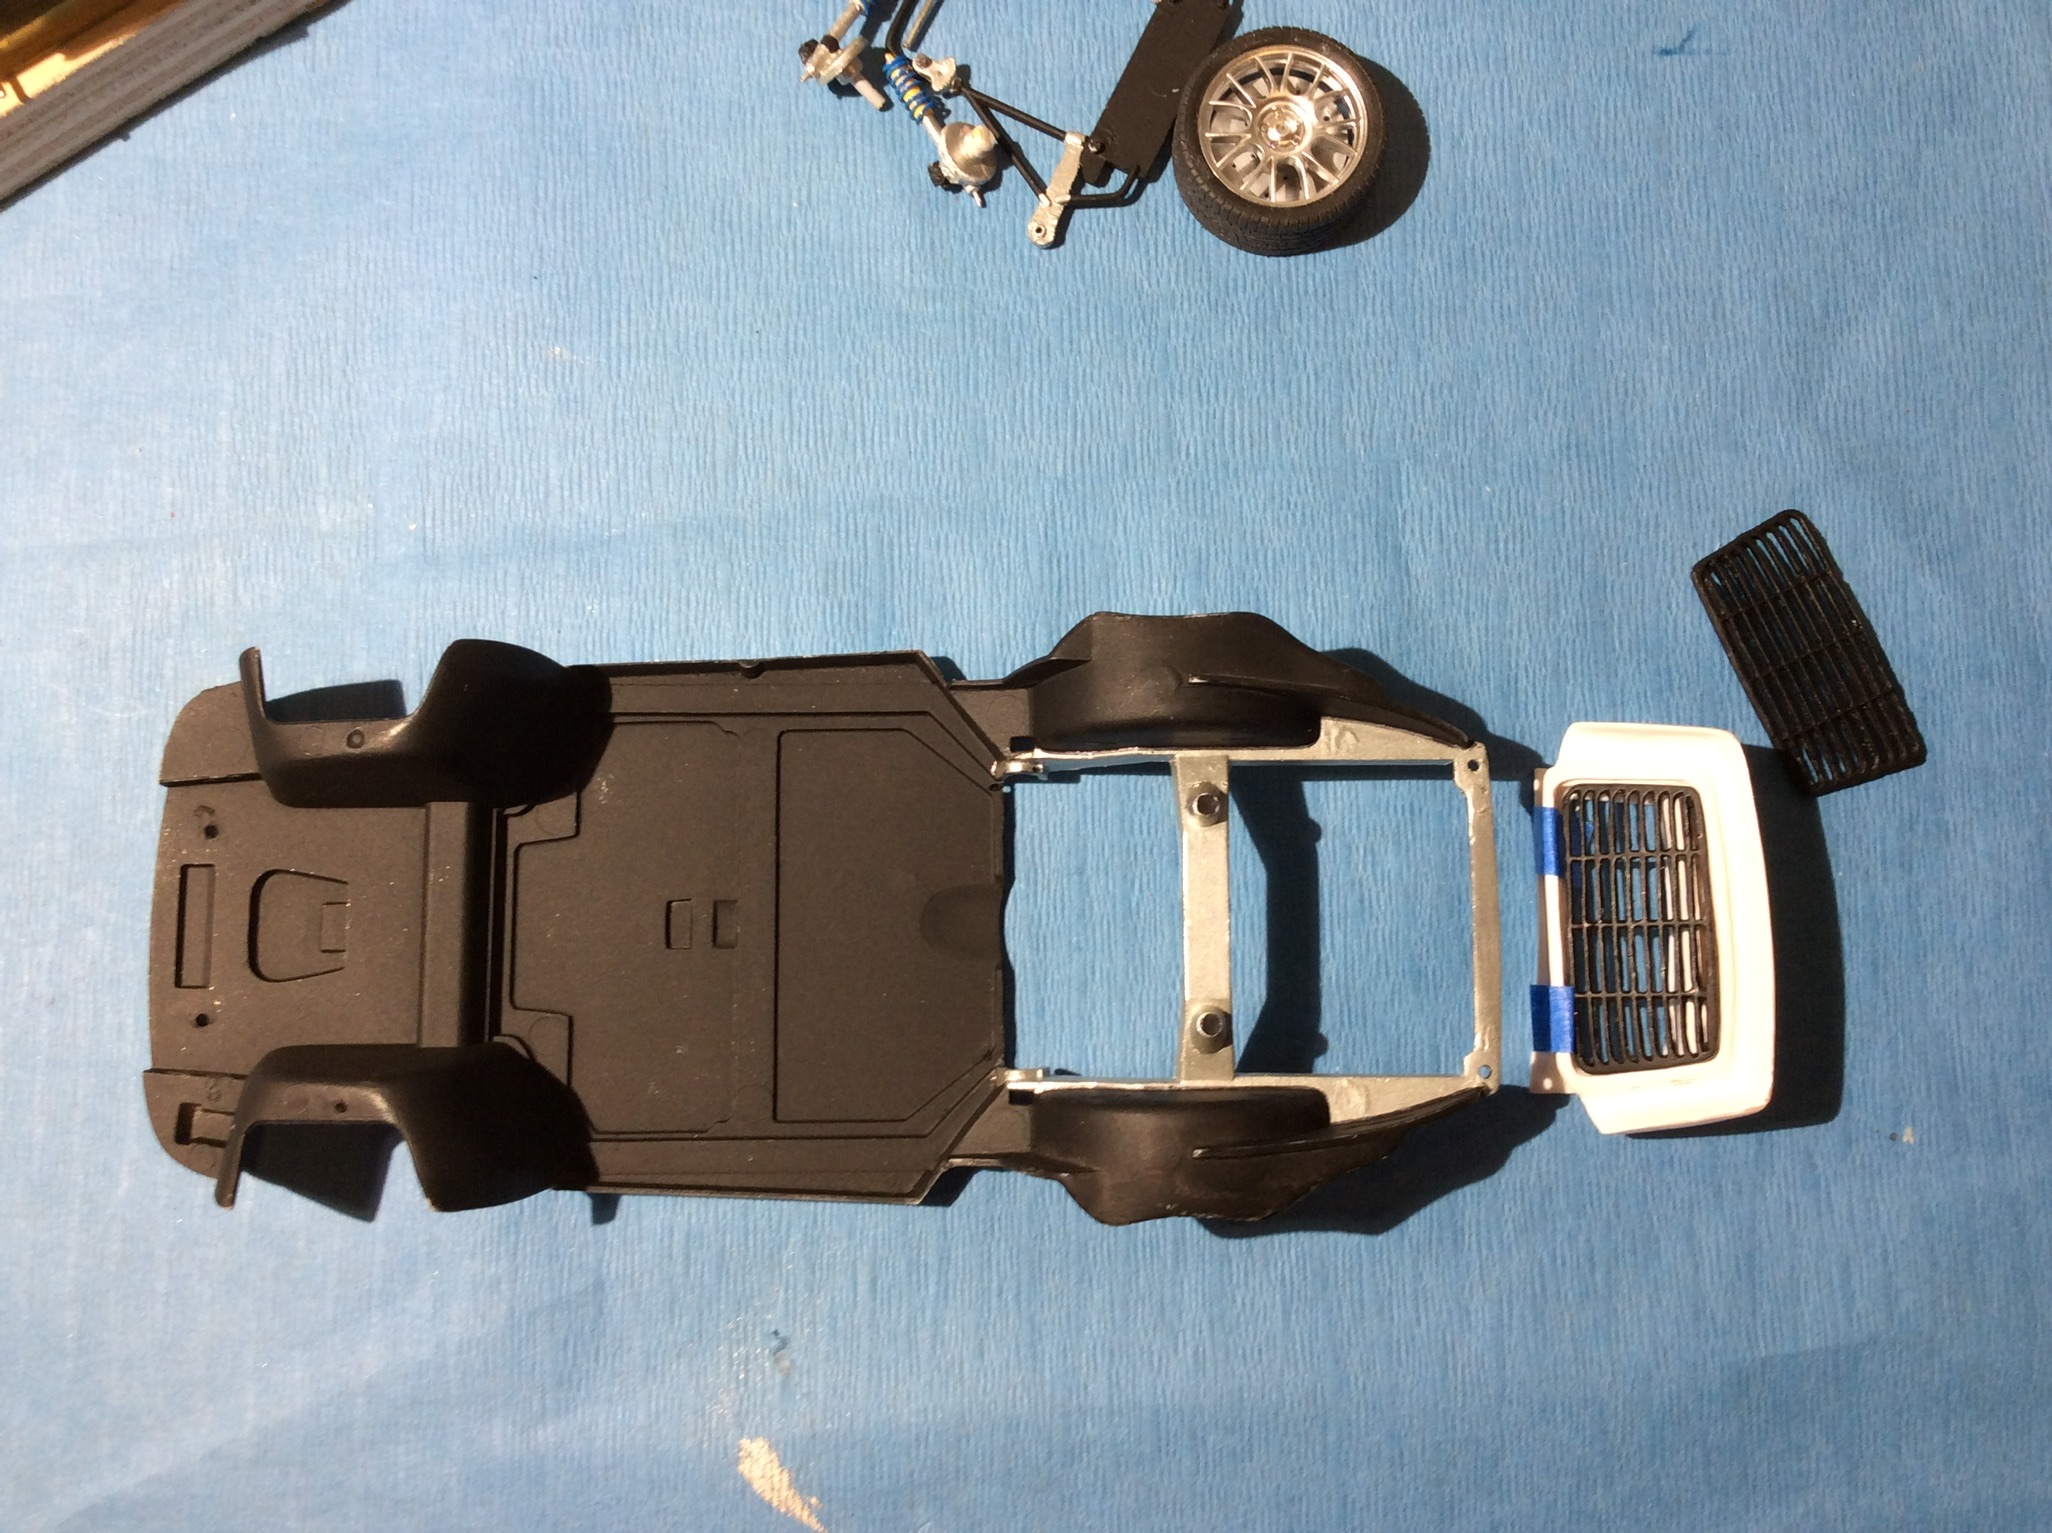
Been picking away at this off and on between other builds The black is Stylenrez (UMP version) which is a great flat black primer made by Badger...awesome stuff indeed so smooth!!!

-
Good save on the seats, they look fine now...looks like the protective clear got eaten by your weathering so it attacked the seat paint. Been there, stripped an entire body because of it Happy to see more progress on yours
-
Model factory hiro
Twokidsnosleep replied to Brudda's topic in General Automotive Talk (Trucks and Cars)
You will hate it, send it to me and I will rid you of the burden... -
Yep, it is a simple little build and goes together nicely.
-
Series 1 Jaguar XKE rebuild - Done....well, almost
Twokidsnosleep replied to landman's topic in WIP: Model Cars
I am following along Love the car and love doing rebuilds of classics -
Pocher Porsche 911 1/8 Scale.
Twokidsnosleep replied to Kenny B's topic in General Automotive Talk (Trucks and Cars)
Yes, yes I can -
I agree, you are loaded up with goodies for this build I am following along for sure
-
Really nice jag, nice Porsches You guys are killing me...not suppose to be buying more kits
-
Beautiful engine work so far for sure Thomas posted a gorgeous blue Countach, wow that paint is nice
-
Pocher Porsche 911 1/8 Scale.
Twokidsnosleep replied to Kenny B's topic in General Automotive Talk (Trucks and Cars)
I am keeping my eye on things...bit pricey at the moment for the Carerra Already have the the Pochers I want ....some partially made others not yet started Alfa Romeosx2, Bugatti, F40, Testarossa The Lambos and the Ducati are tempting. But I have a lifetime of kits to build at the moment -
Awesome detail work
-
Cheers Bill, thanks for the comment Happy Friday
-
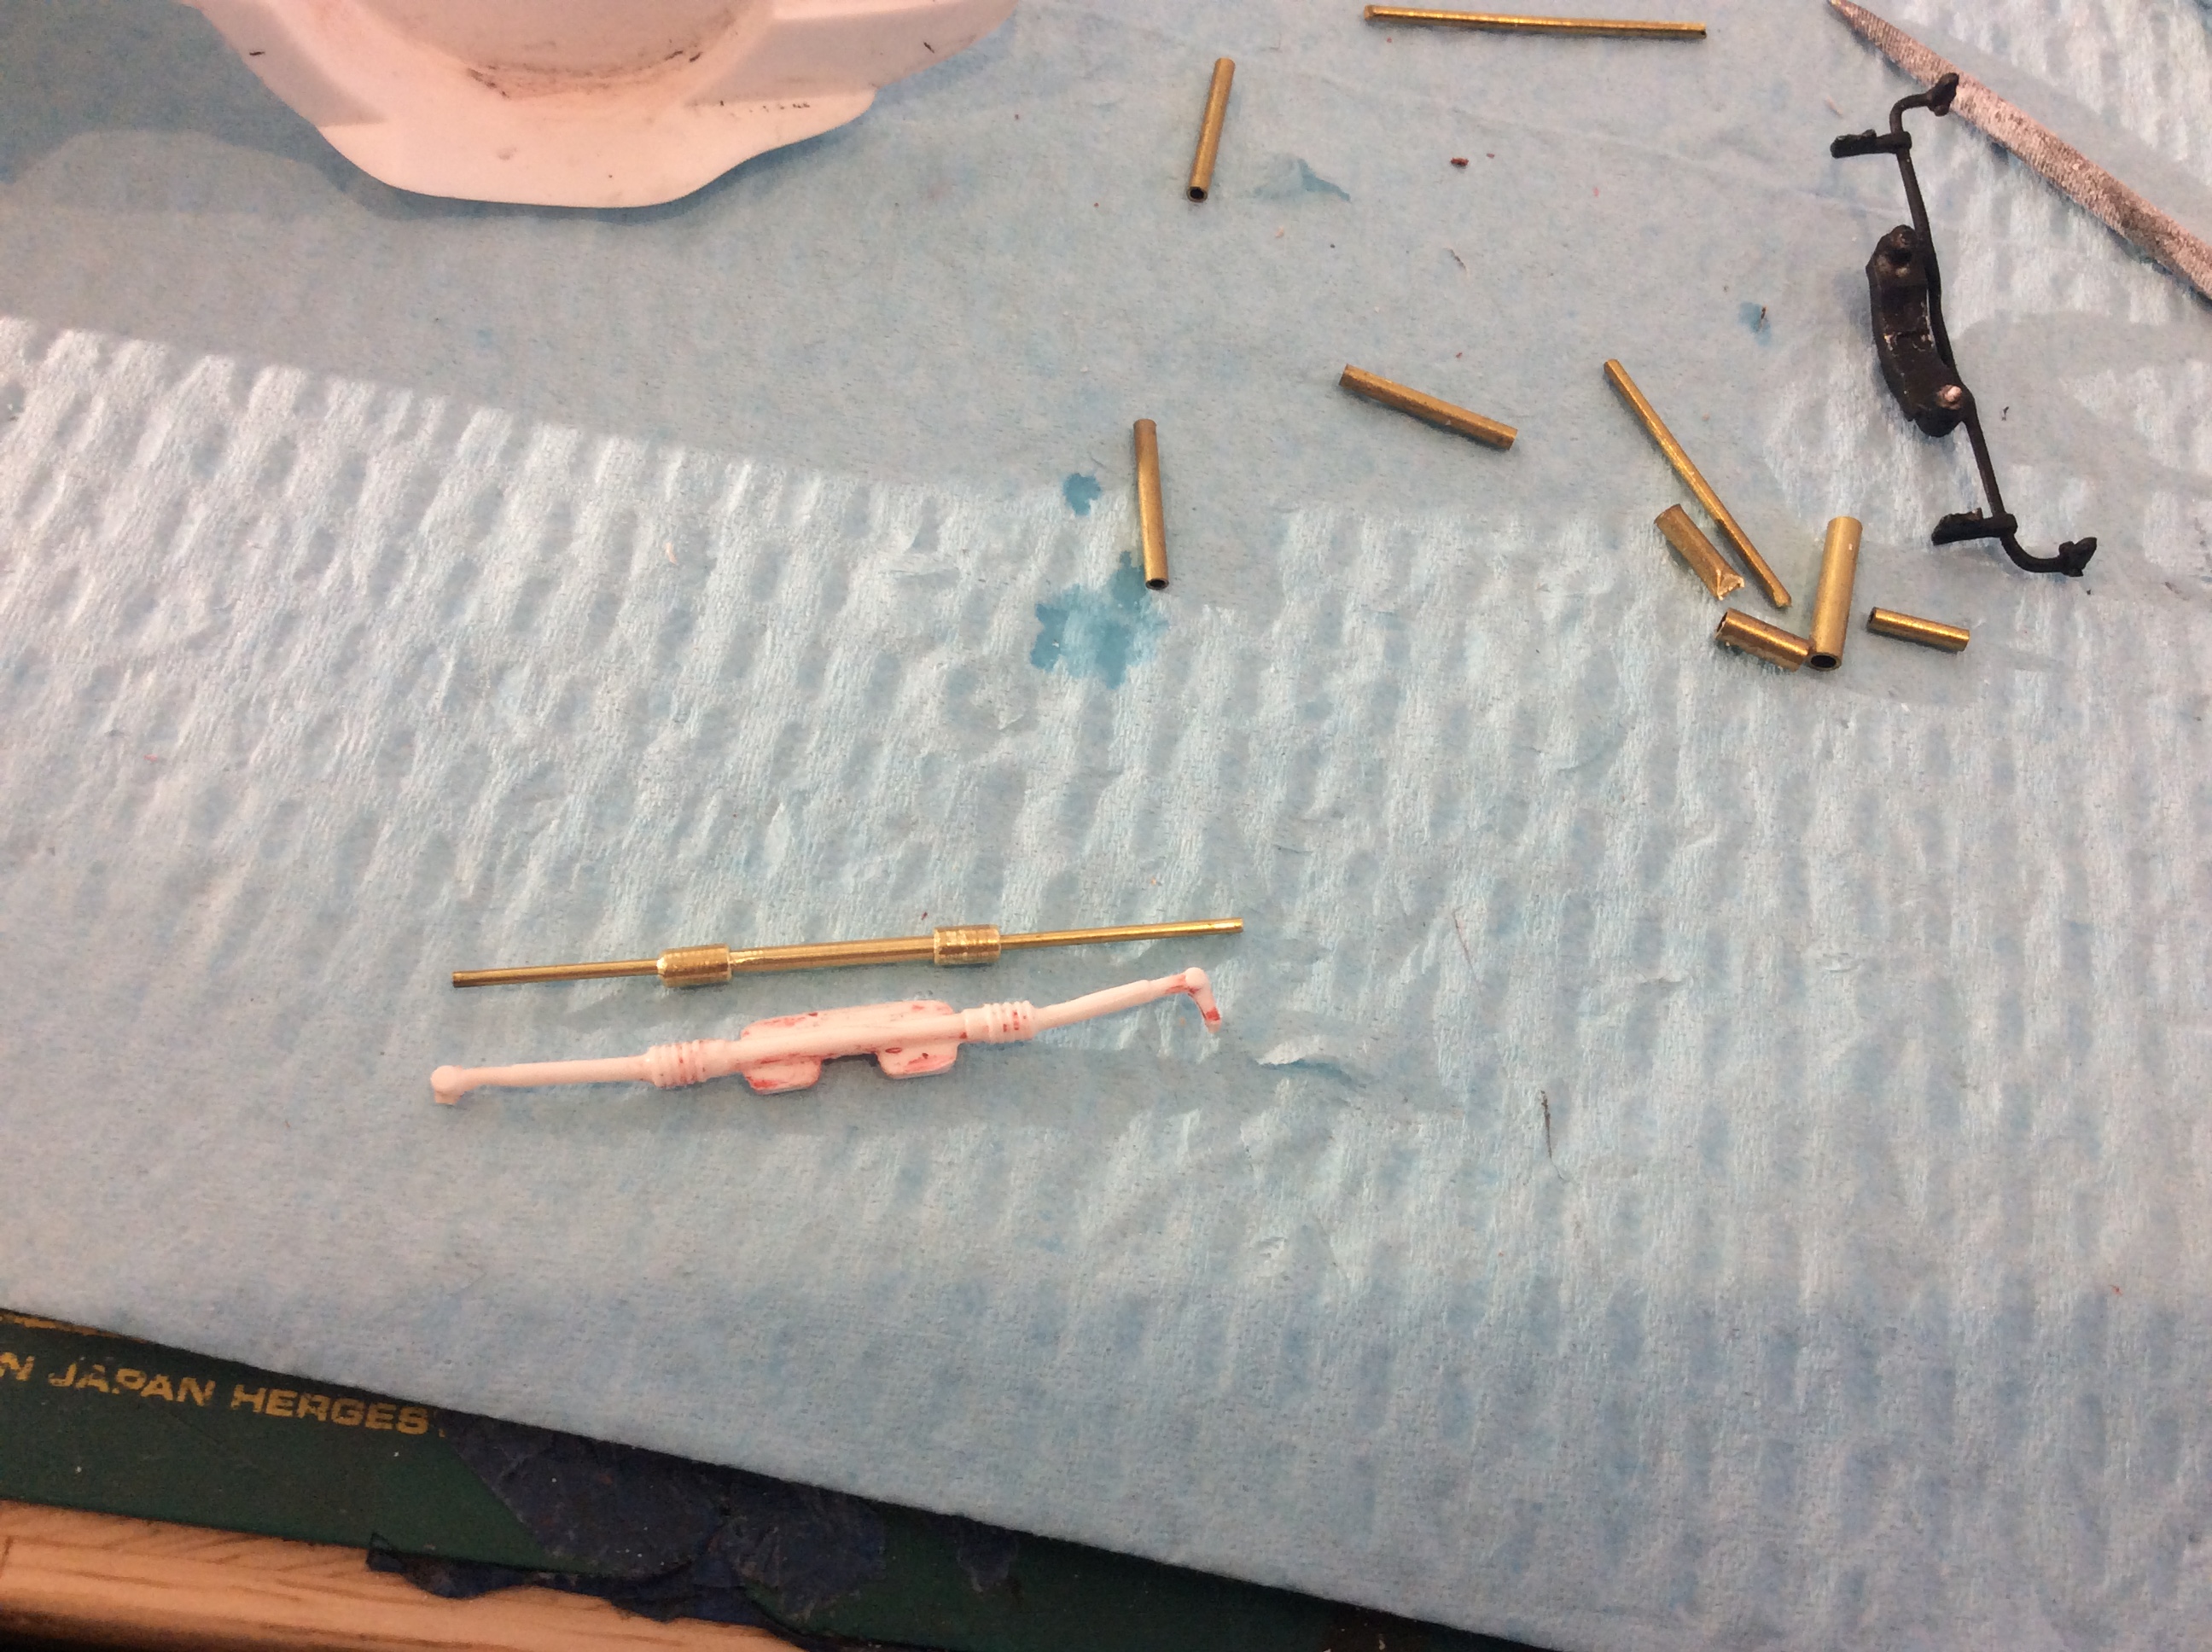
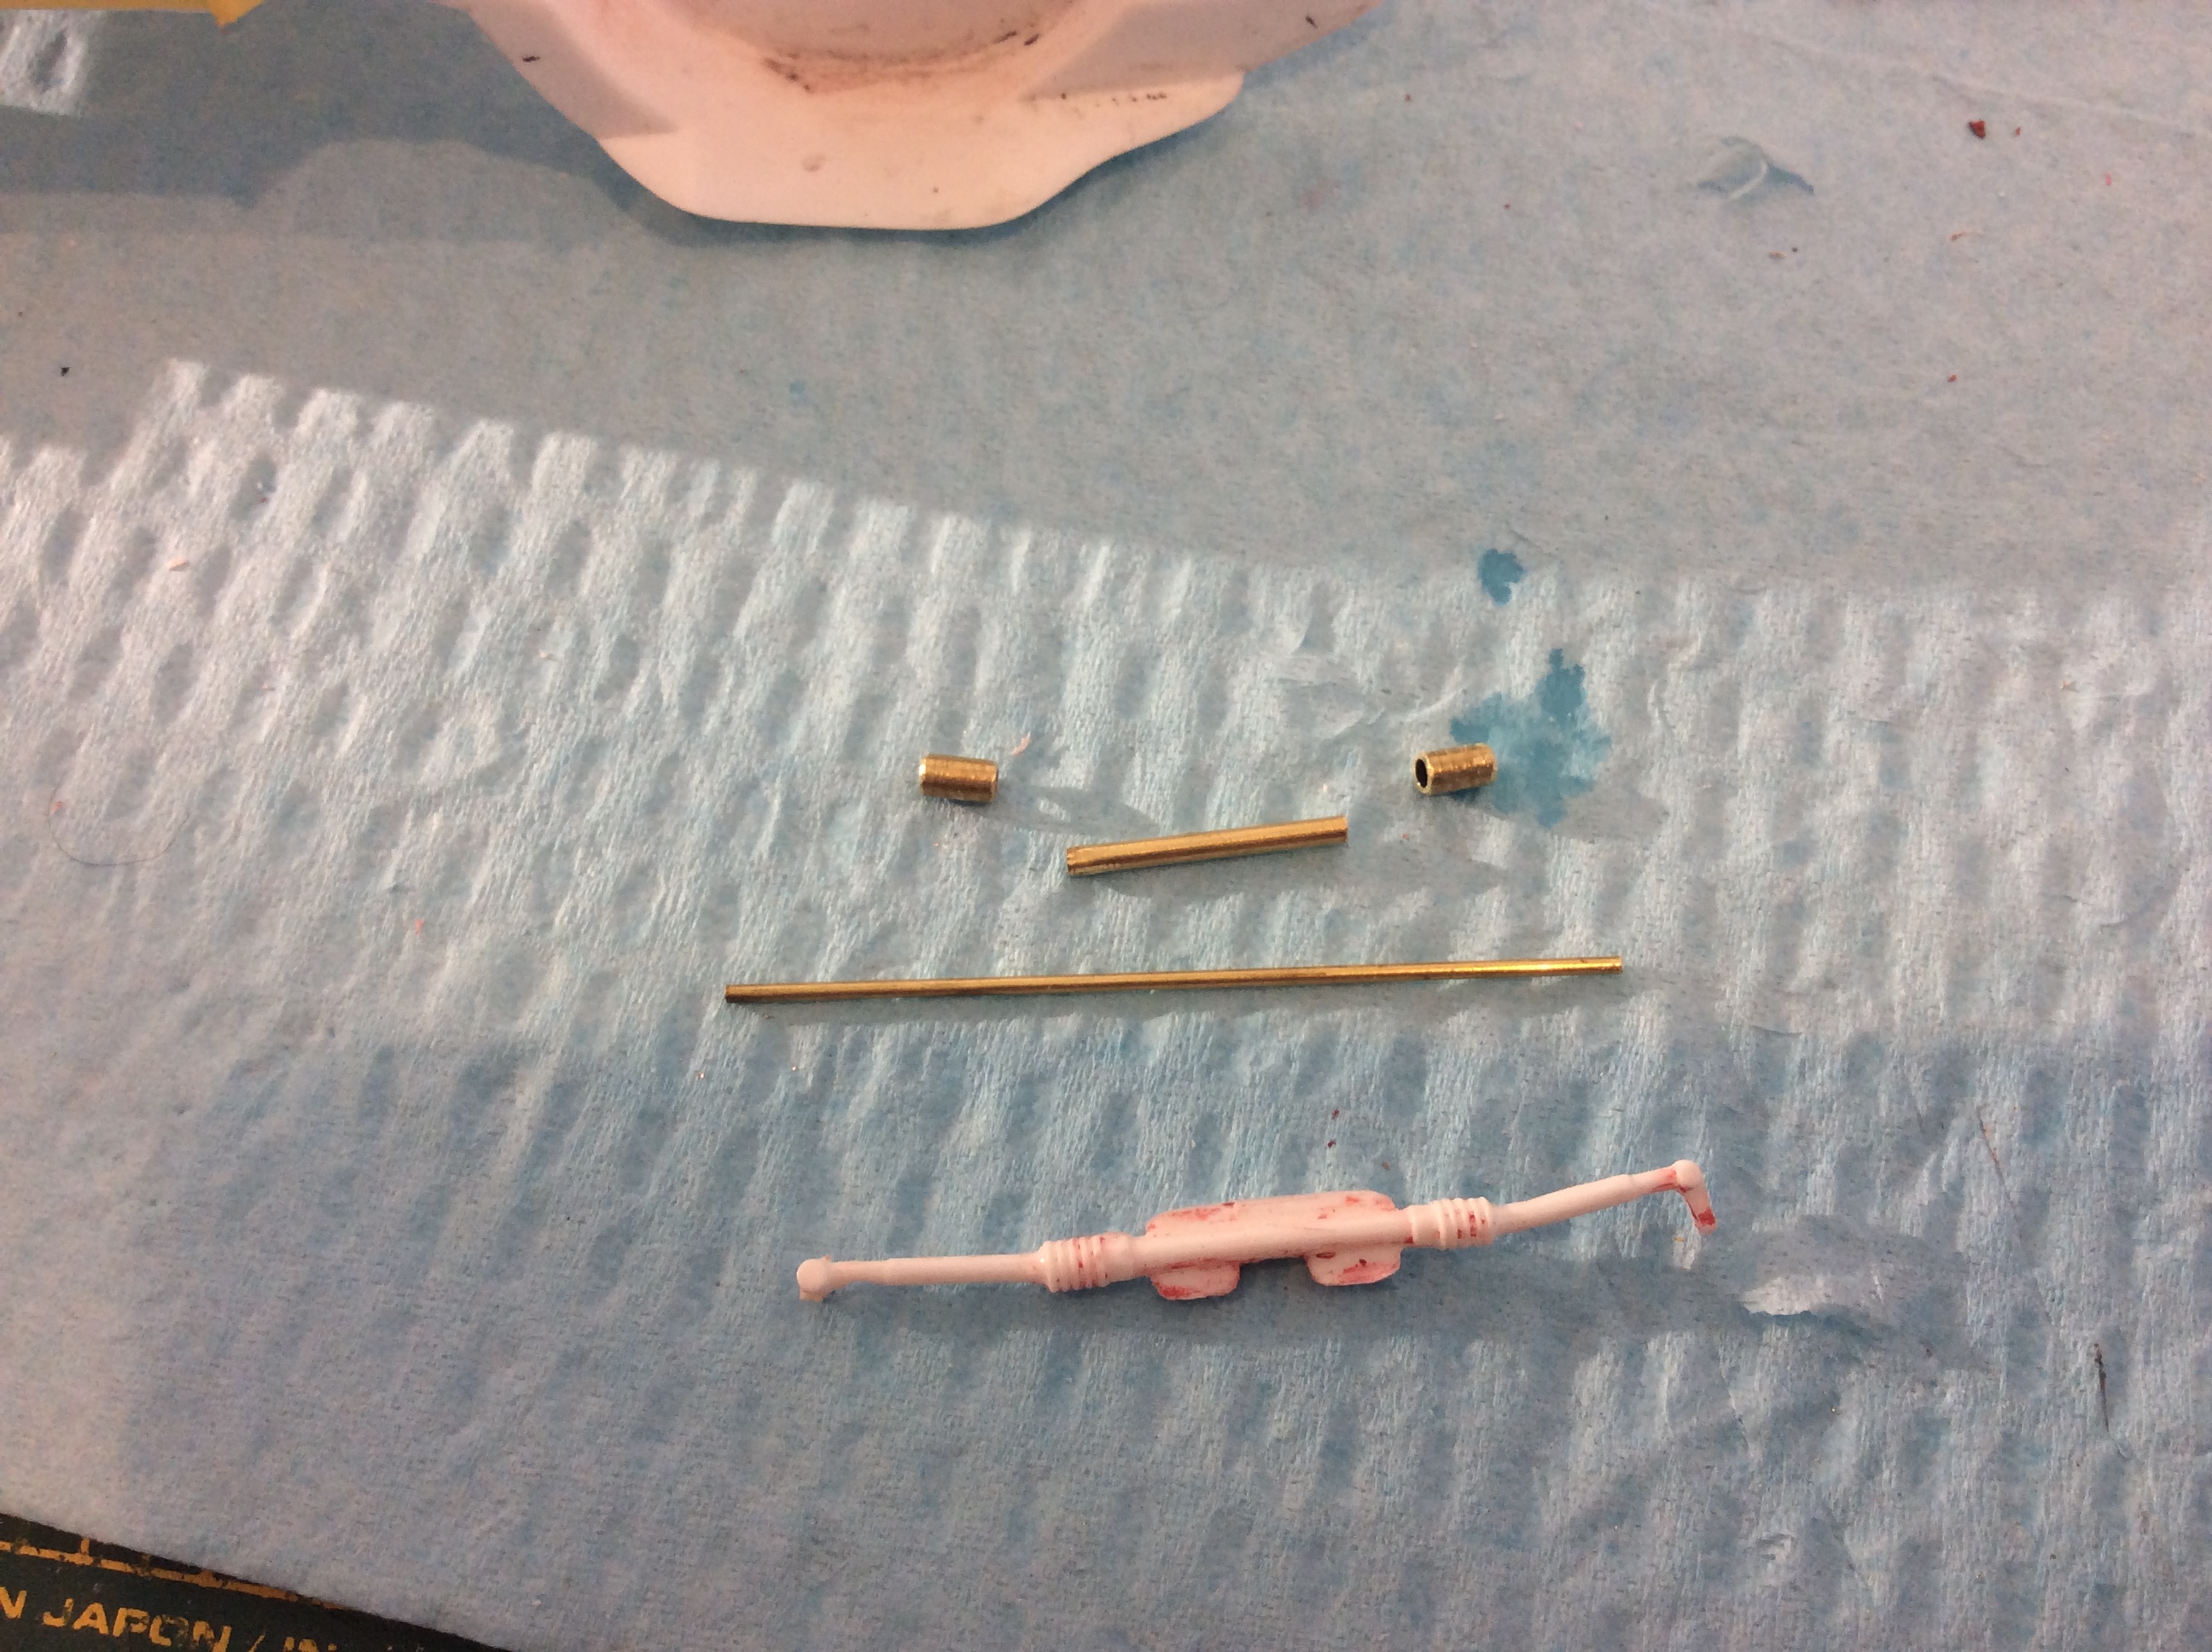
Thanks, not the easy route, but a fun exercise Have been working on the tie rod. Copied the plastic tubing and replaced with telescoping brass. I am being lazy and using CA glue instead of silver soldering which I just don't feel like doing for it. Just need to link the rod to either side with a pivot, hmmm gotta think on that a bit
-
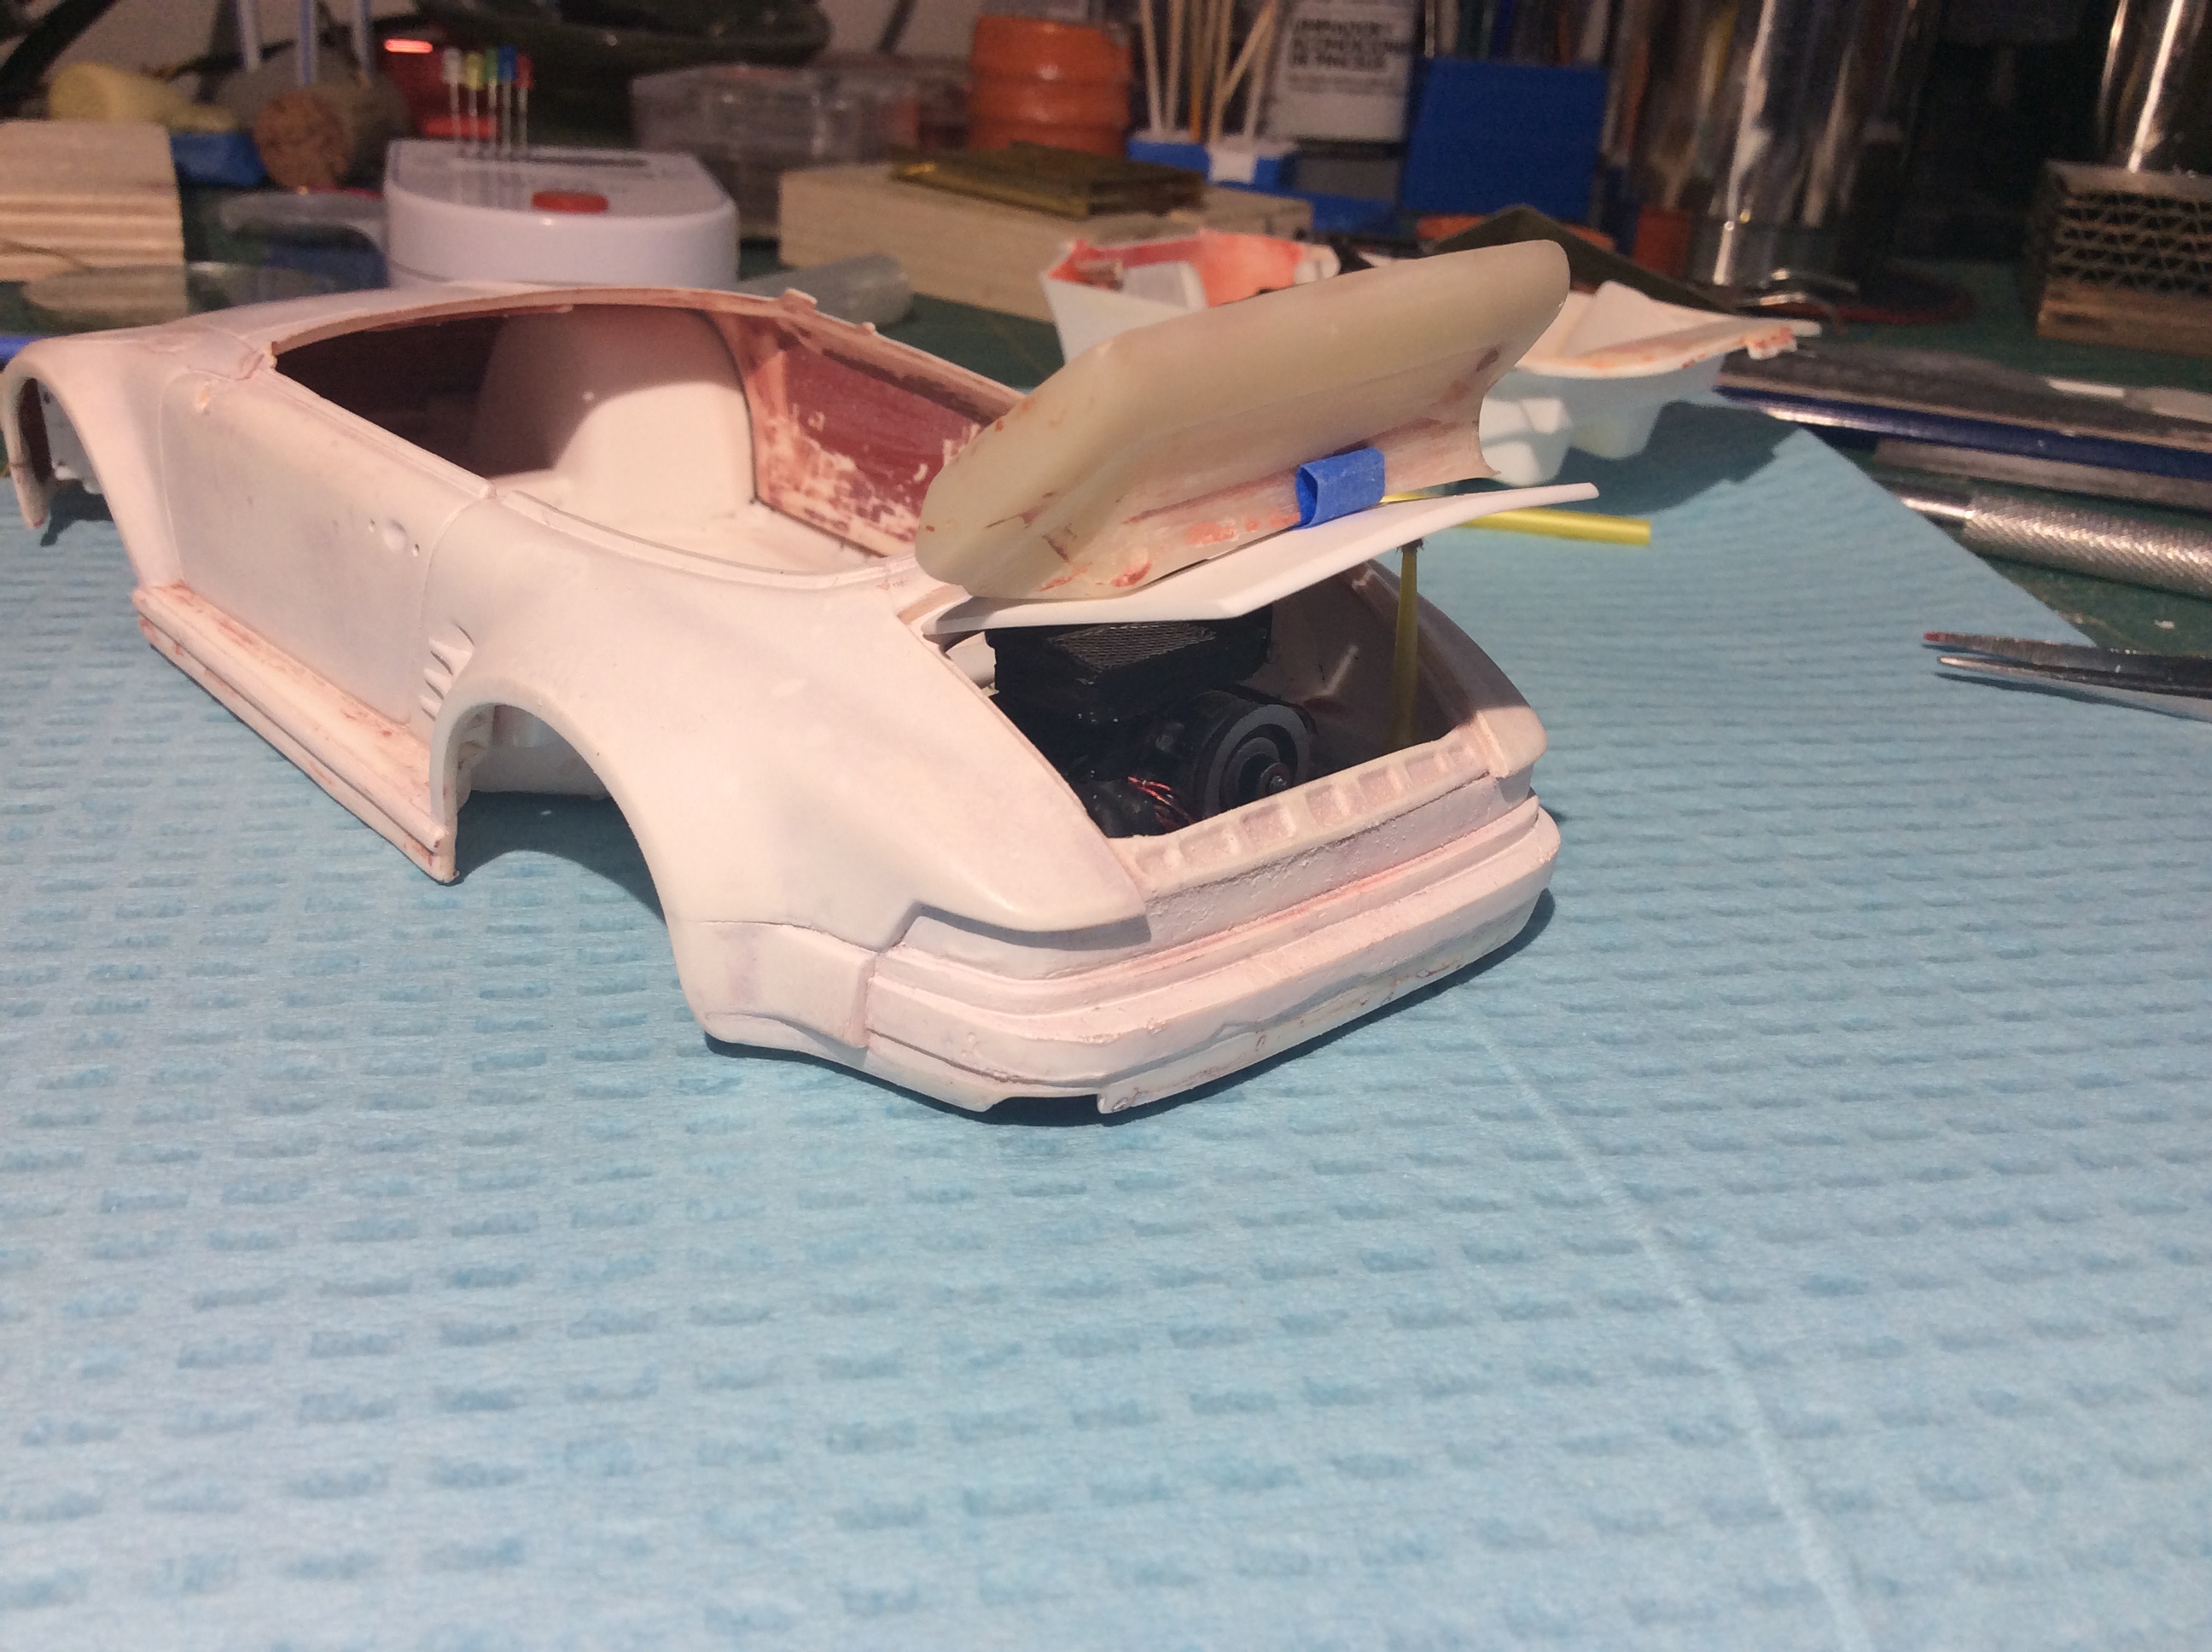
Wow, what an offer. You are a god send Will do a bit of inventory and see if I have anything I cannot salvage or modify I think I will go with the rear deck and wing I have cast, just want to see how that resin takes paint Thank you again
-
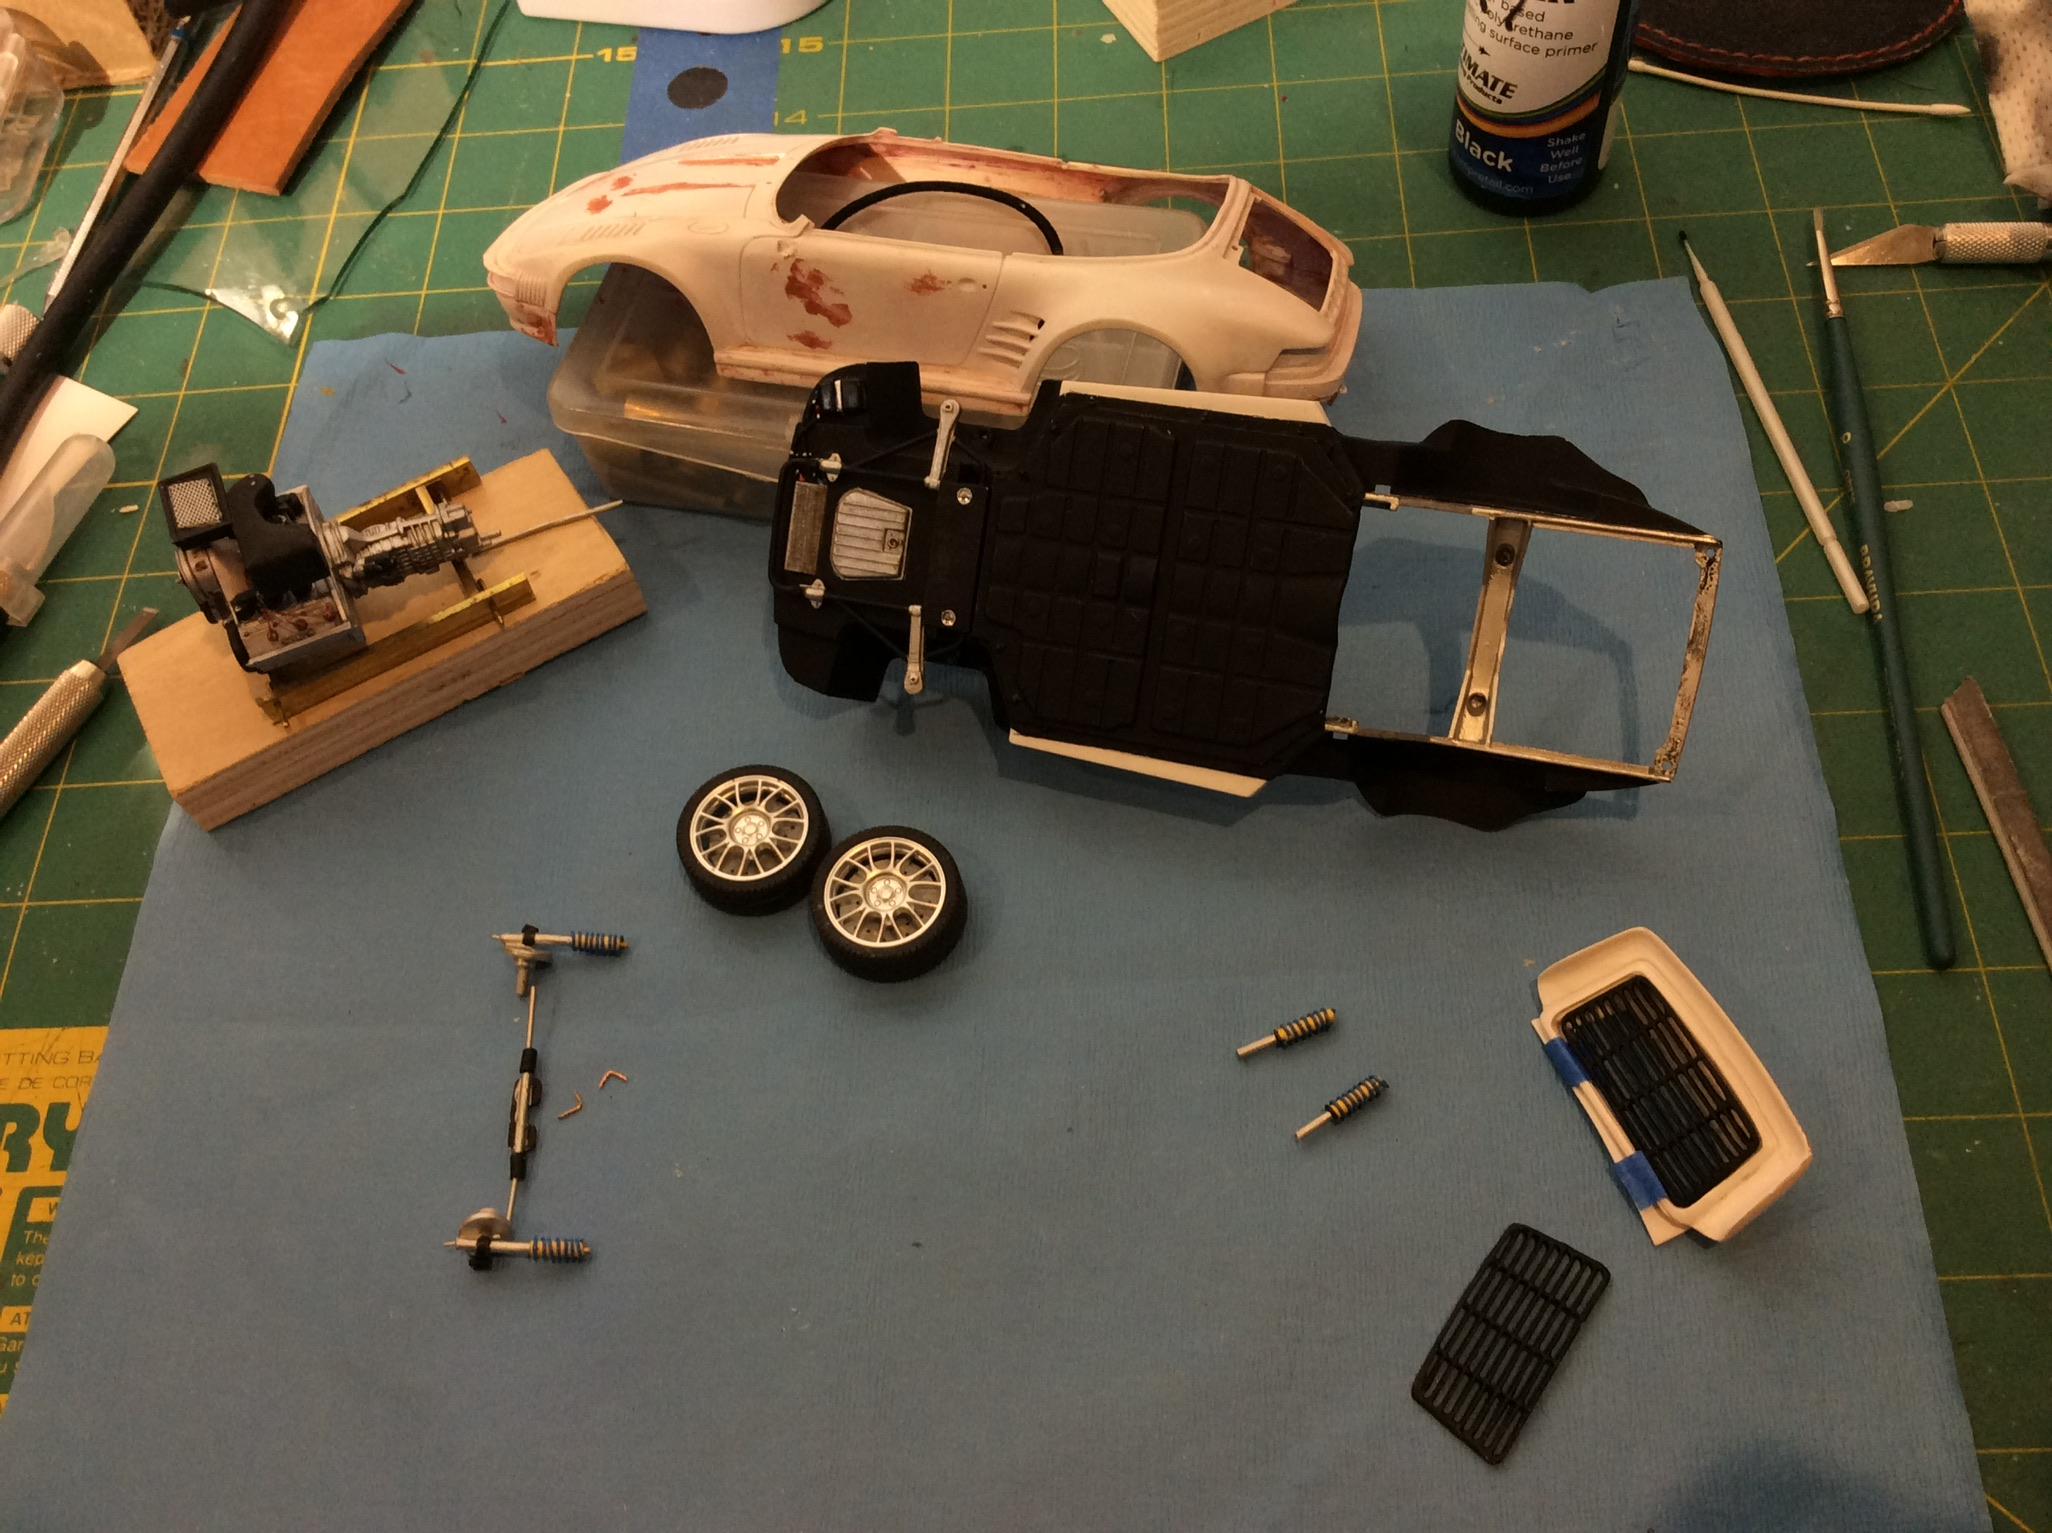
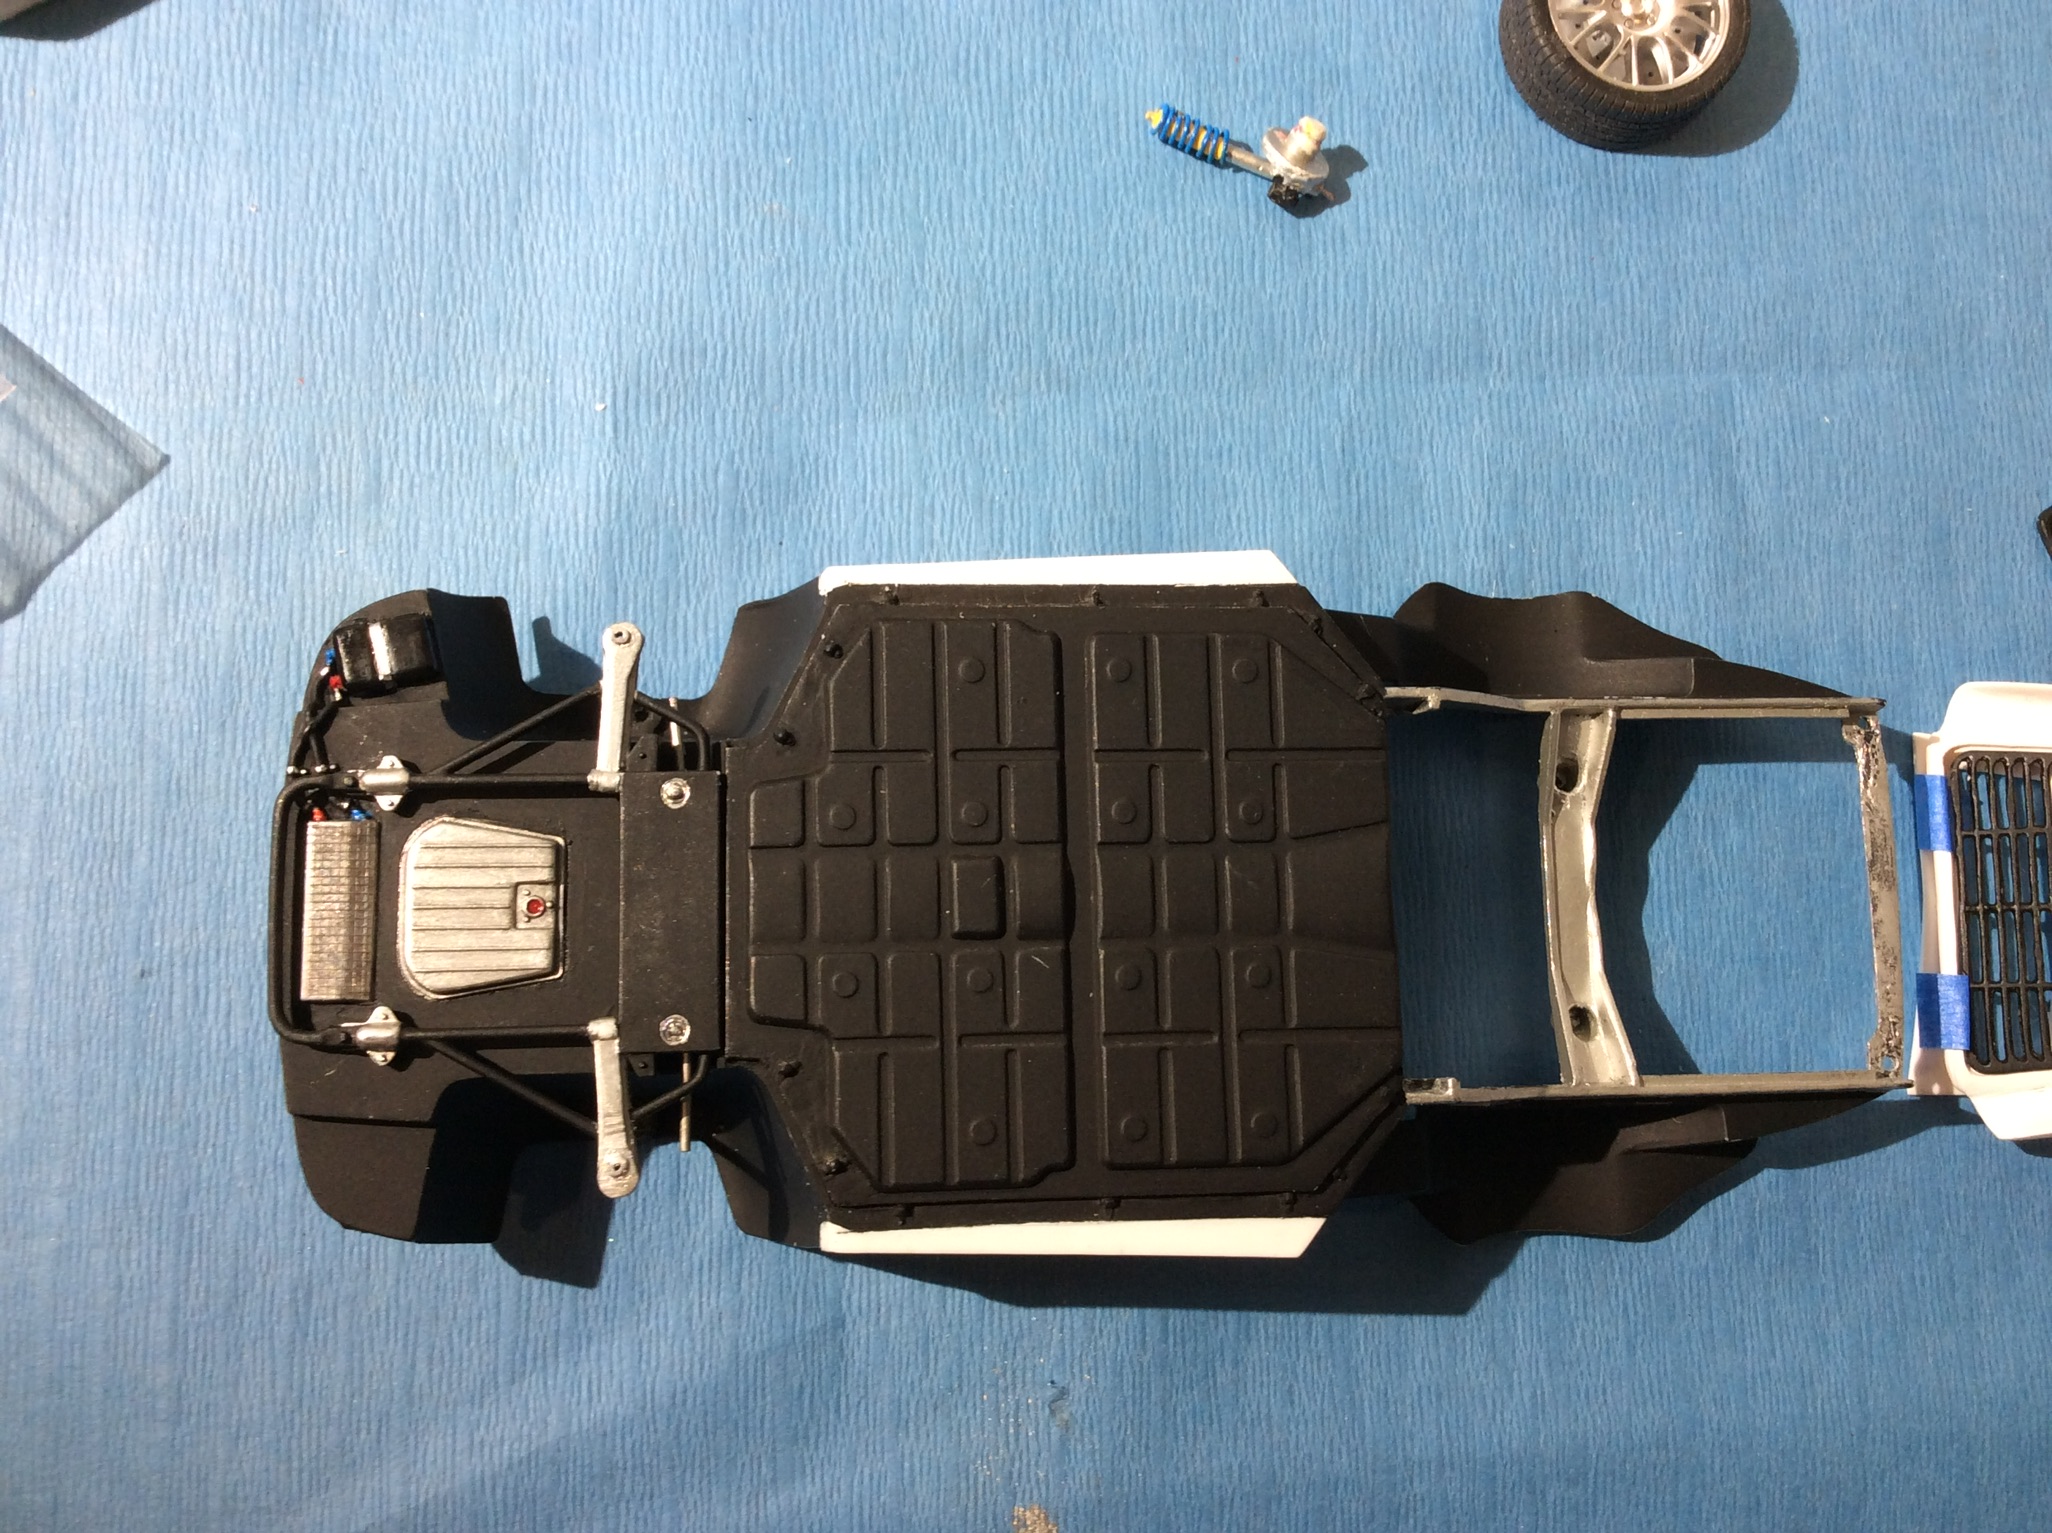
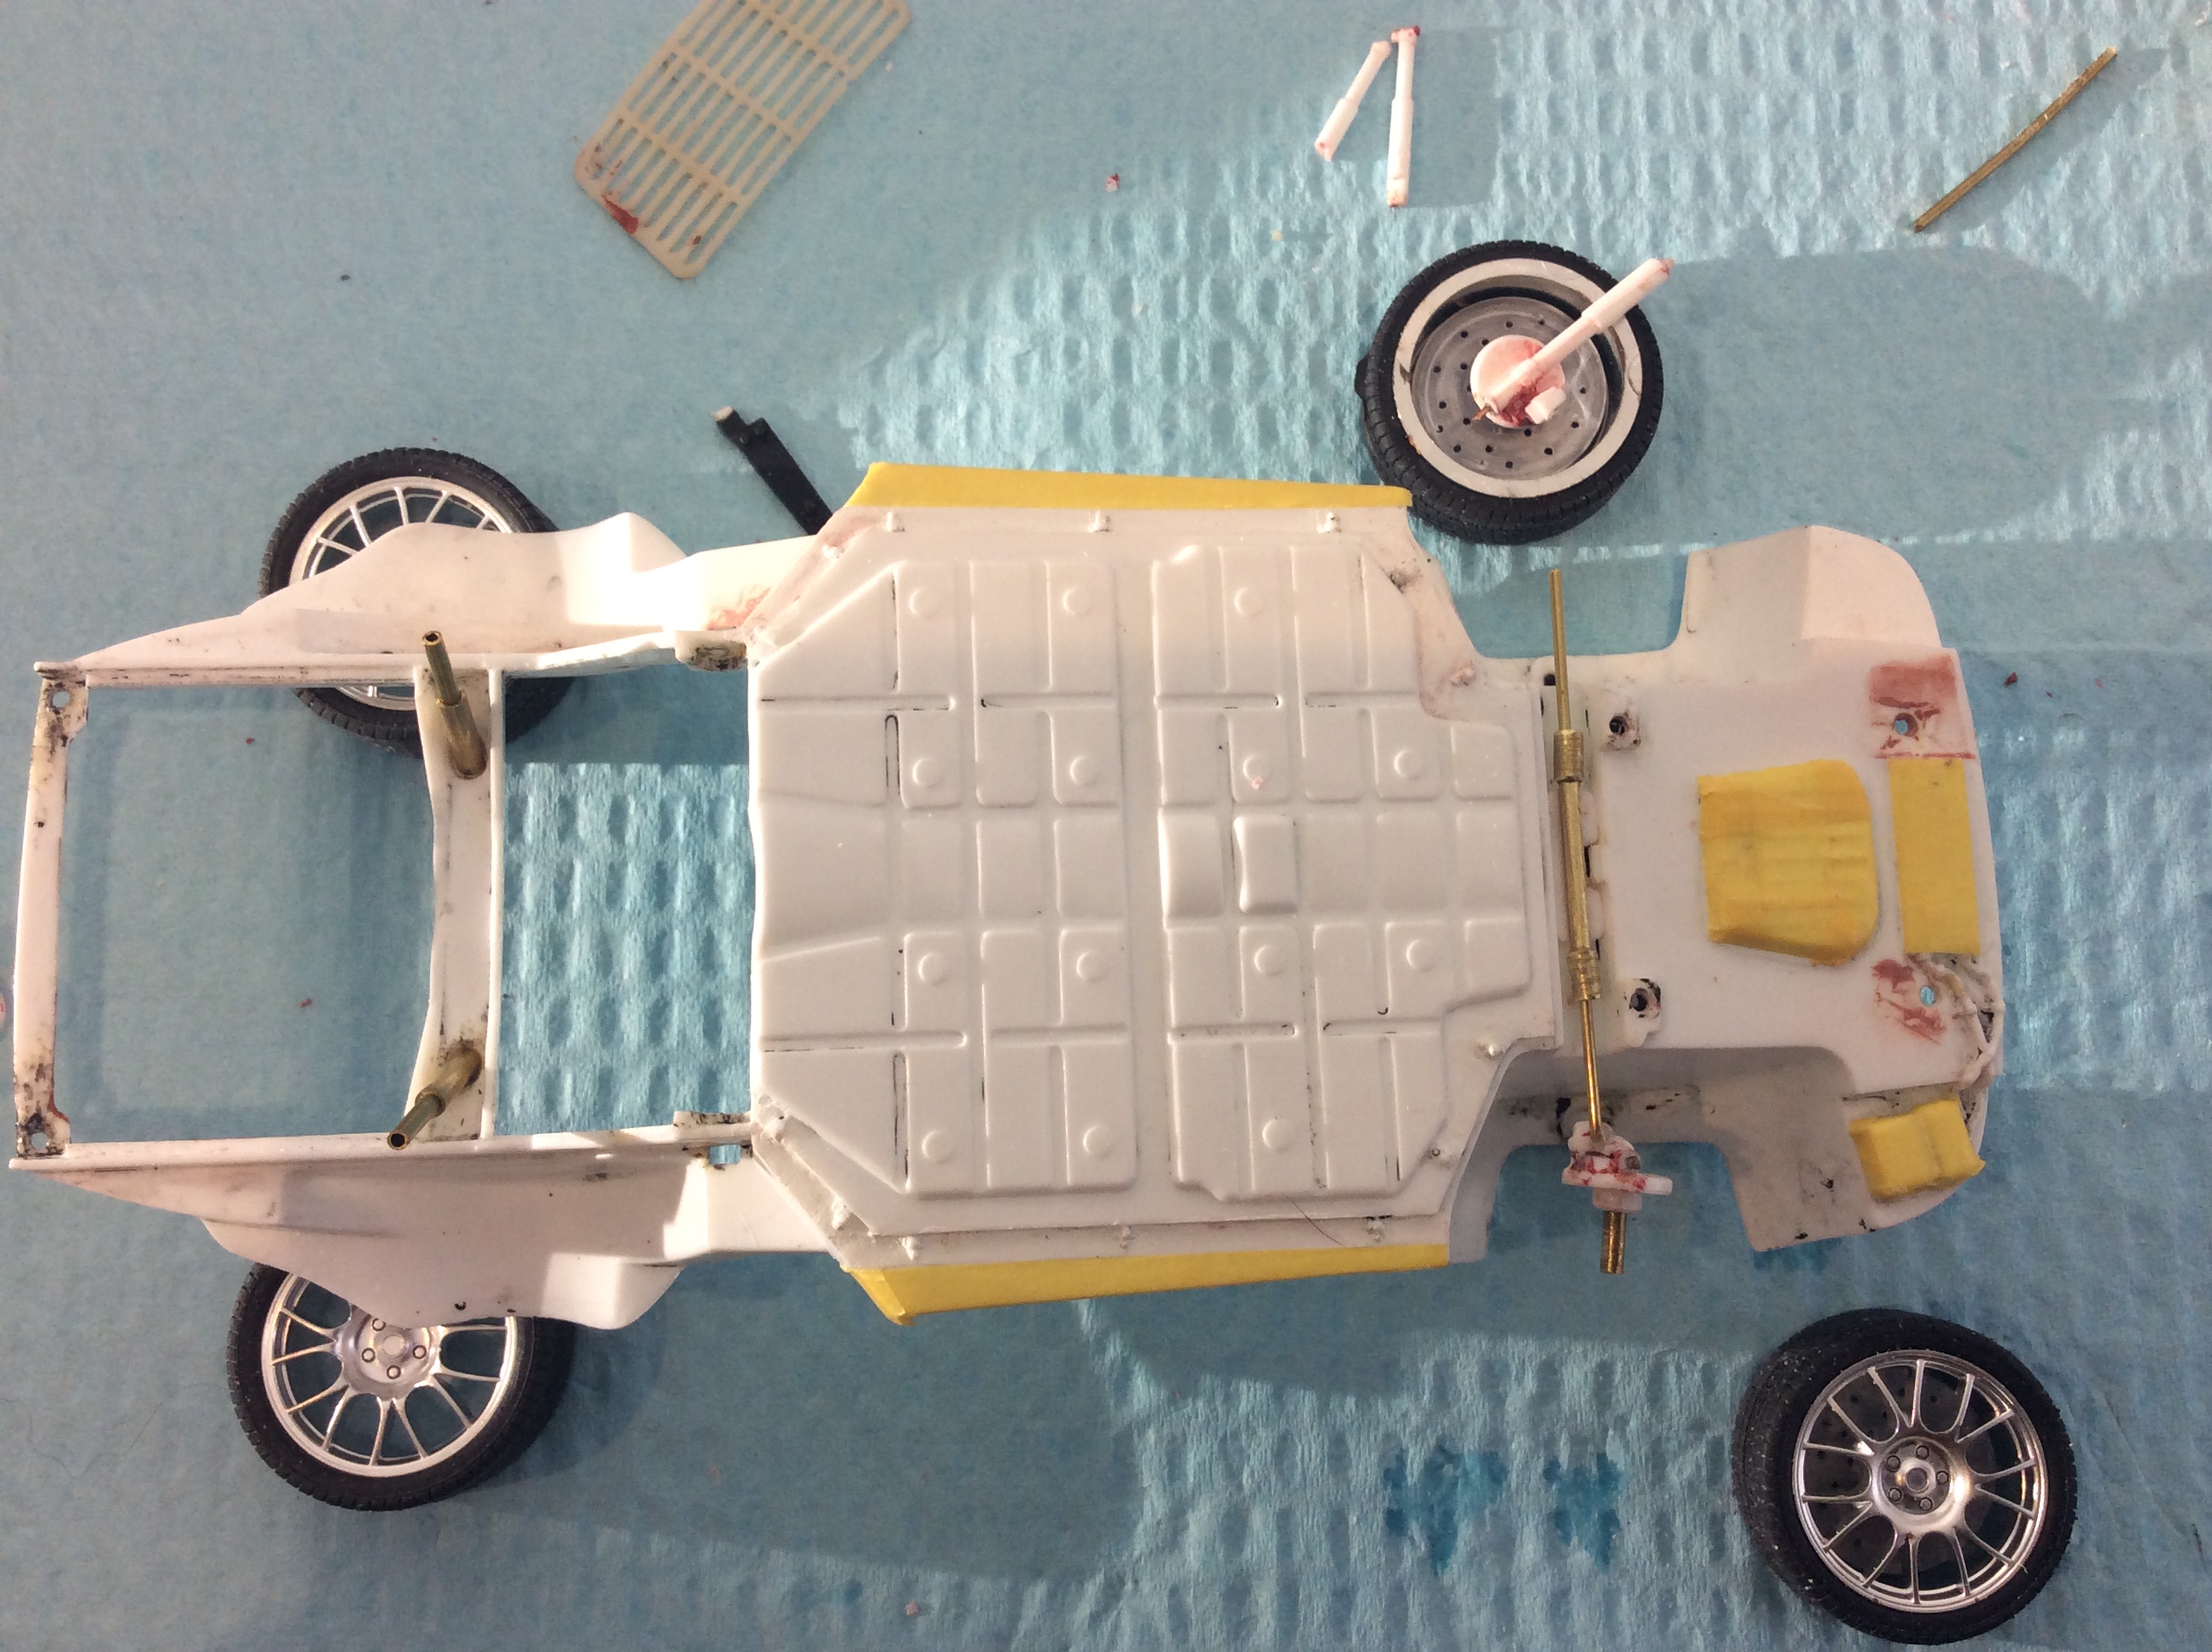
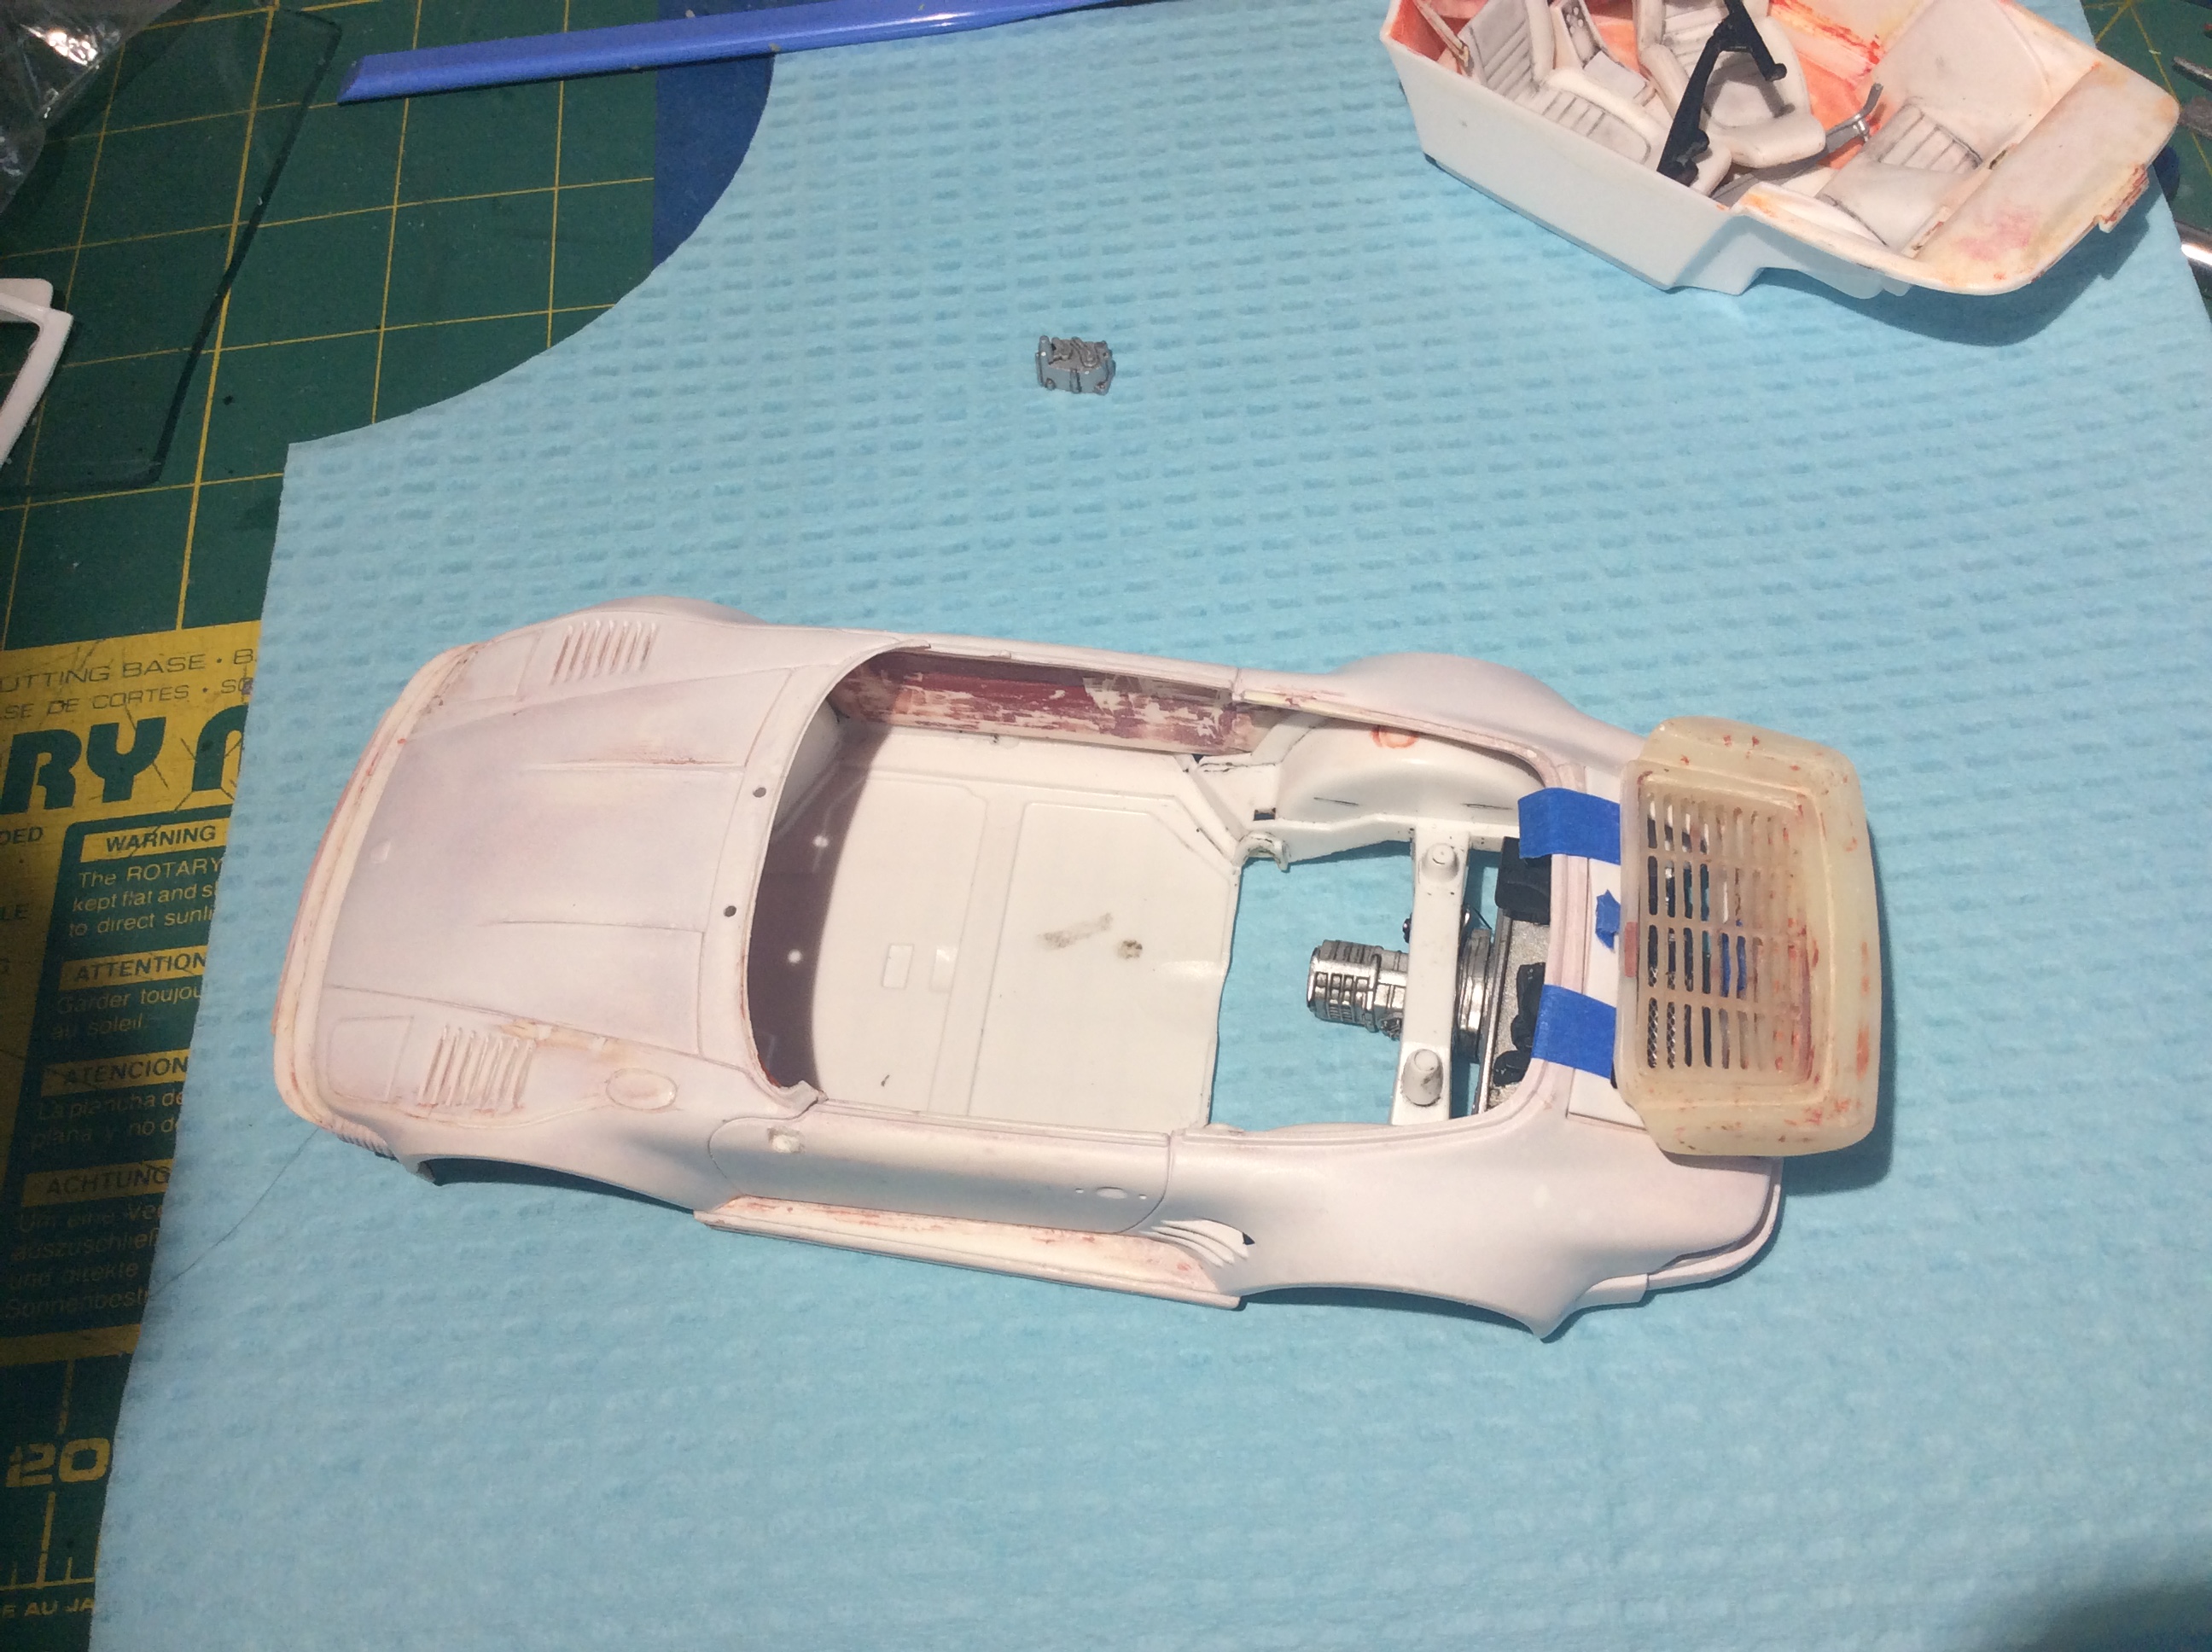
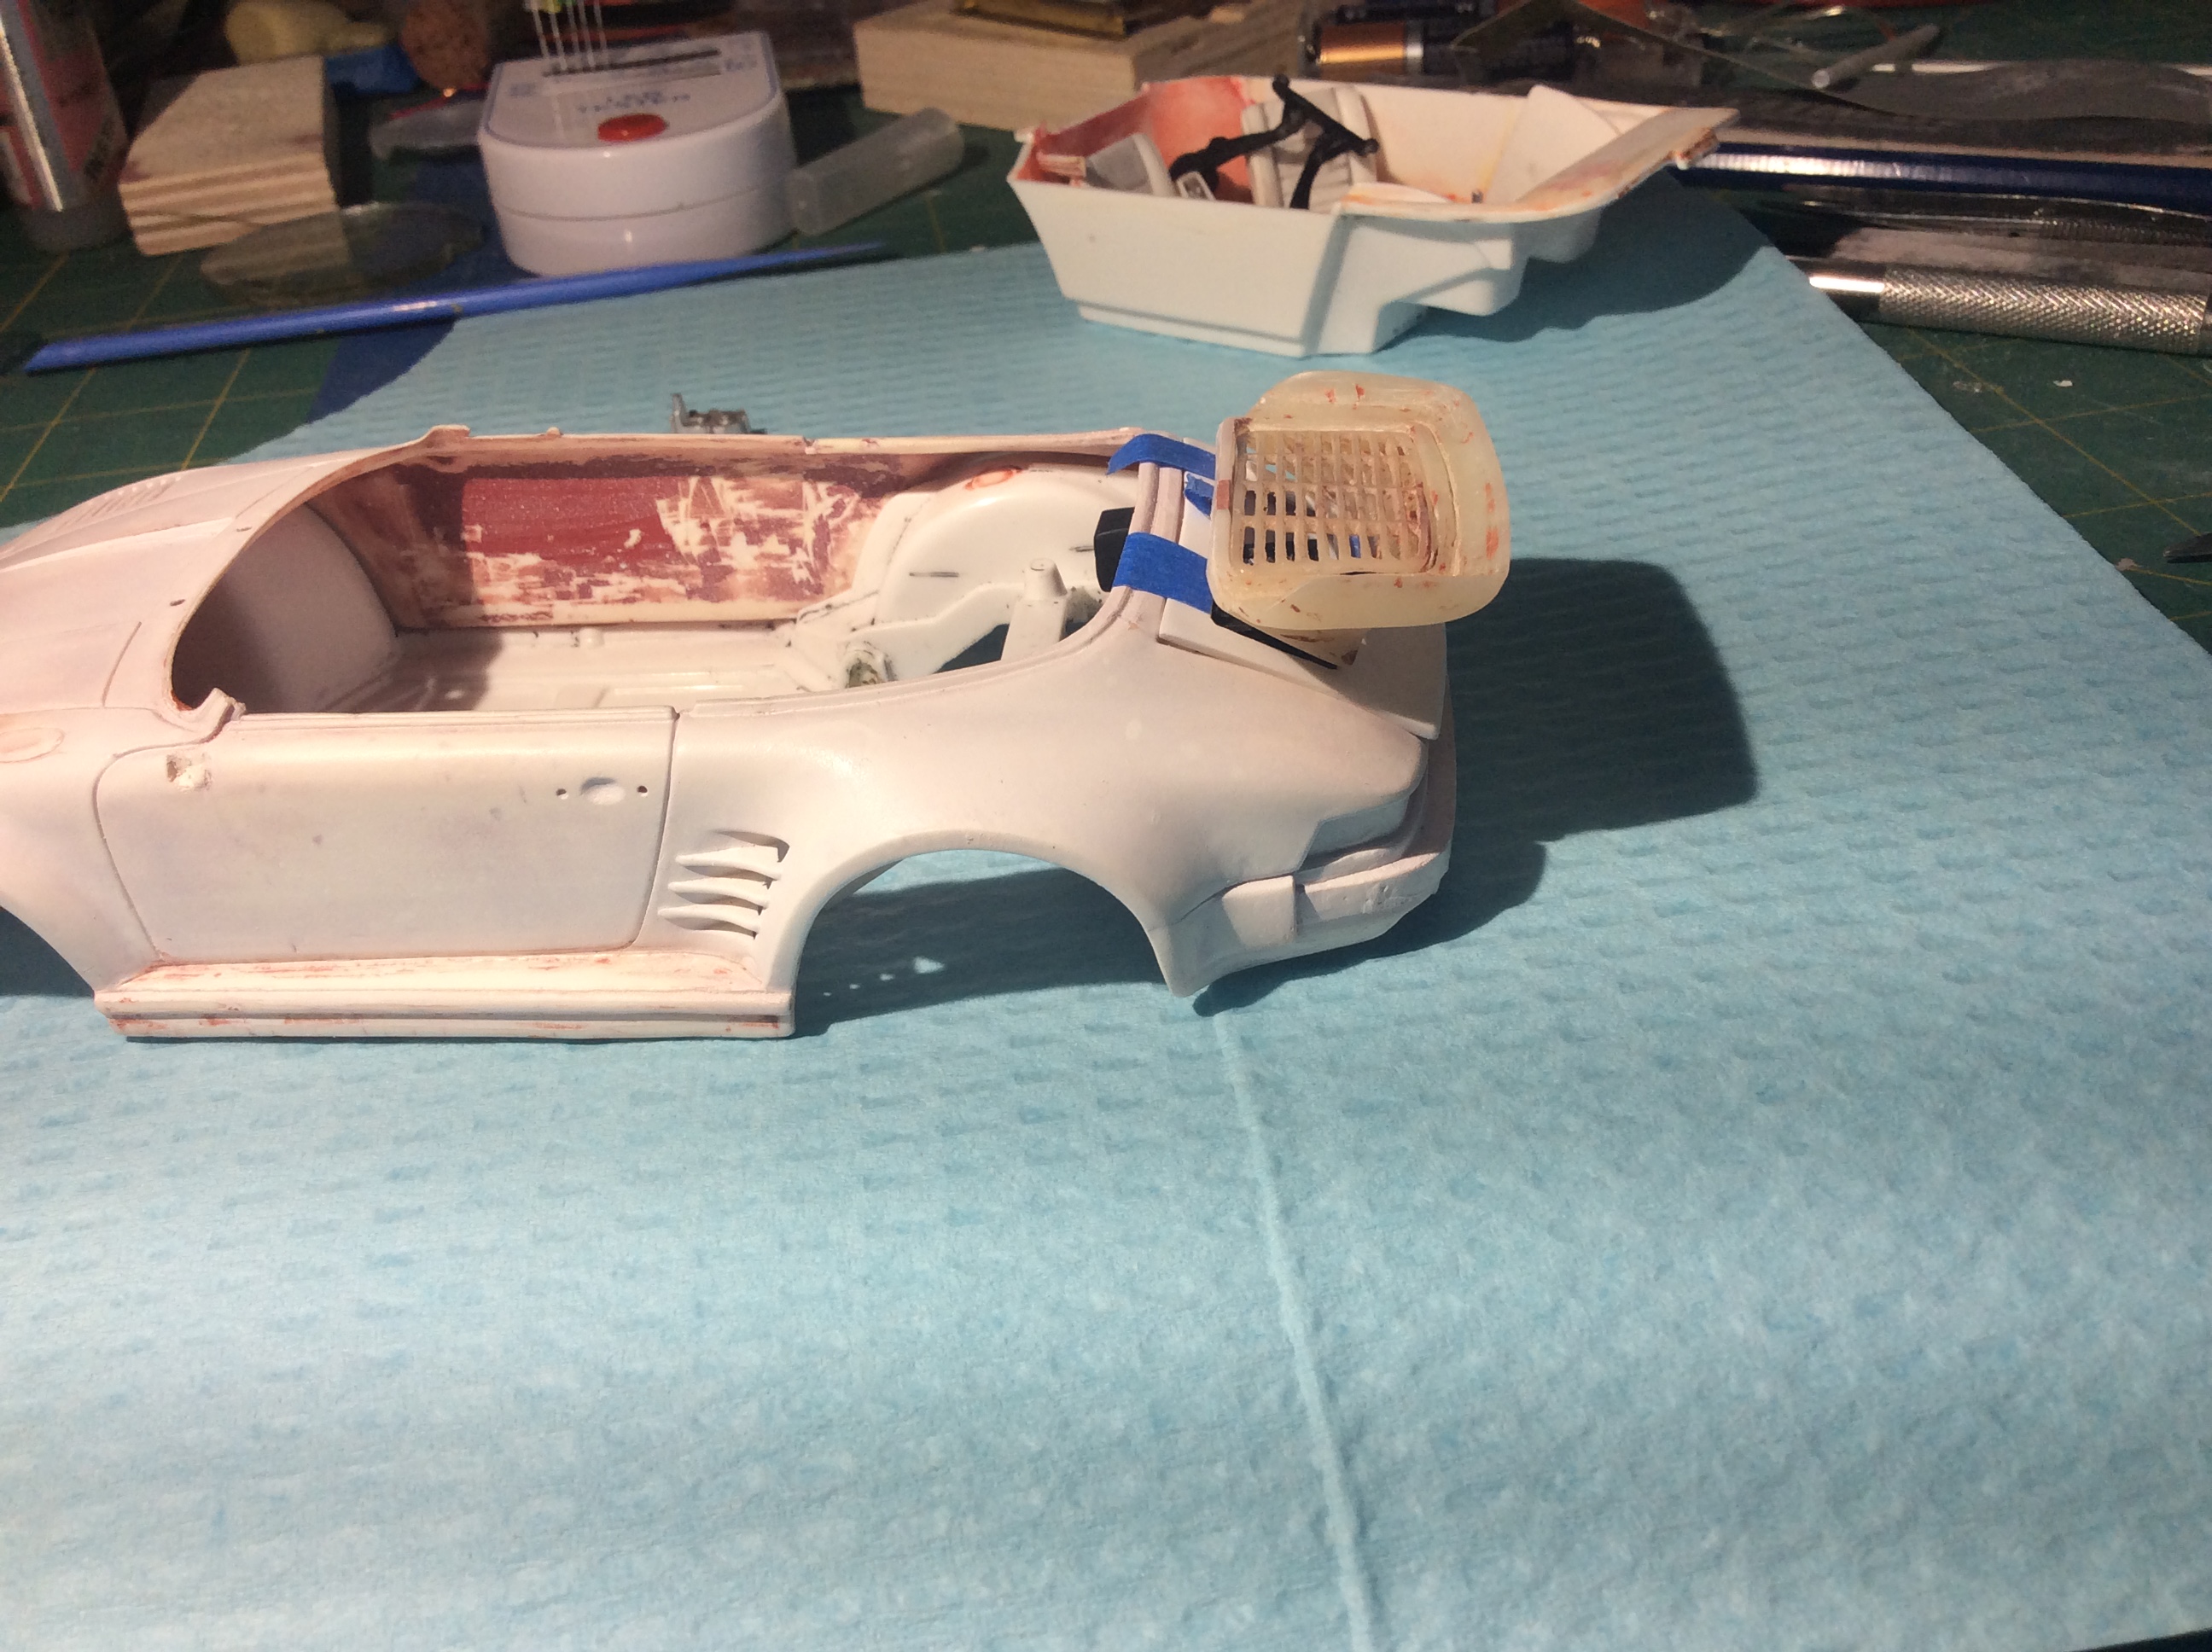
Working on the underbelly...front and rear suspension. I added brass pins to the front wheel assembly and some aluminum inserts to the front wheel arms for strength and a positive seat. This lets the wheels steer, just have to devise a tie rod between the wheels now. Rear has new brass shocks, not much else. Both will get disk brakes and rotors of some sort
-
Looks great, nice build
-
Lovely build indeed, you are a master of the Porsche build Wrt the clear, it is one of the more difficult areas IMHO and have been studying it. So here are my notes: *If you go too light a coat and especially if spraying too far away, your clear will atomize and dry before it hits body and leave a rough finish. A second heavier coat can fill that in, like it would a flat paint layer *If you flood the body too much, you will fill all your panel lines and details, leaving a gloppy mess of runs and buildups in corners...just like paint would *It needs to be a positive wet layer, not too thick and not too thin. Different clears will behave differently *If you do a second coat of clear, one should sand with wet fine paper so the second coat has bite.....I didn't do that on my last 928 project and the clear had runs and splotches so the first layer looked better on it's own. Live and learn. I am far from perfect at it and still a work in progress...just thought I would show some research notes
-
Fujimi Ferrari 250 GTO - a "Holy Grail" build
Twokidsnosleep replied to Kmb0319's topic in Model Cars
Awesome What I like most about it is how happy it has made you to build it!! We rant and rave about all the issues and tiny details and end up hating a build for it...but you loved your subject and it comes through in your words and in the final result. This is how modelling should be -
I am pulling up a seat and settling in to watch this unfold
-
Build it and do a wip in the Big Boys section Got this one on my wish list, you are a lucky man
-
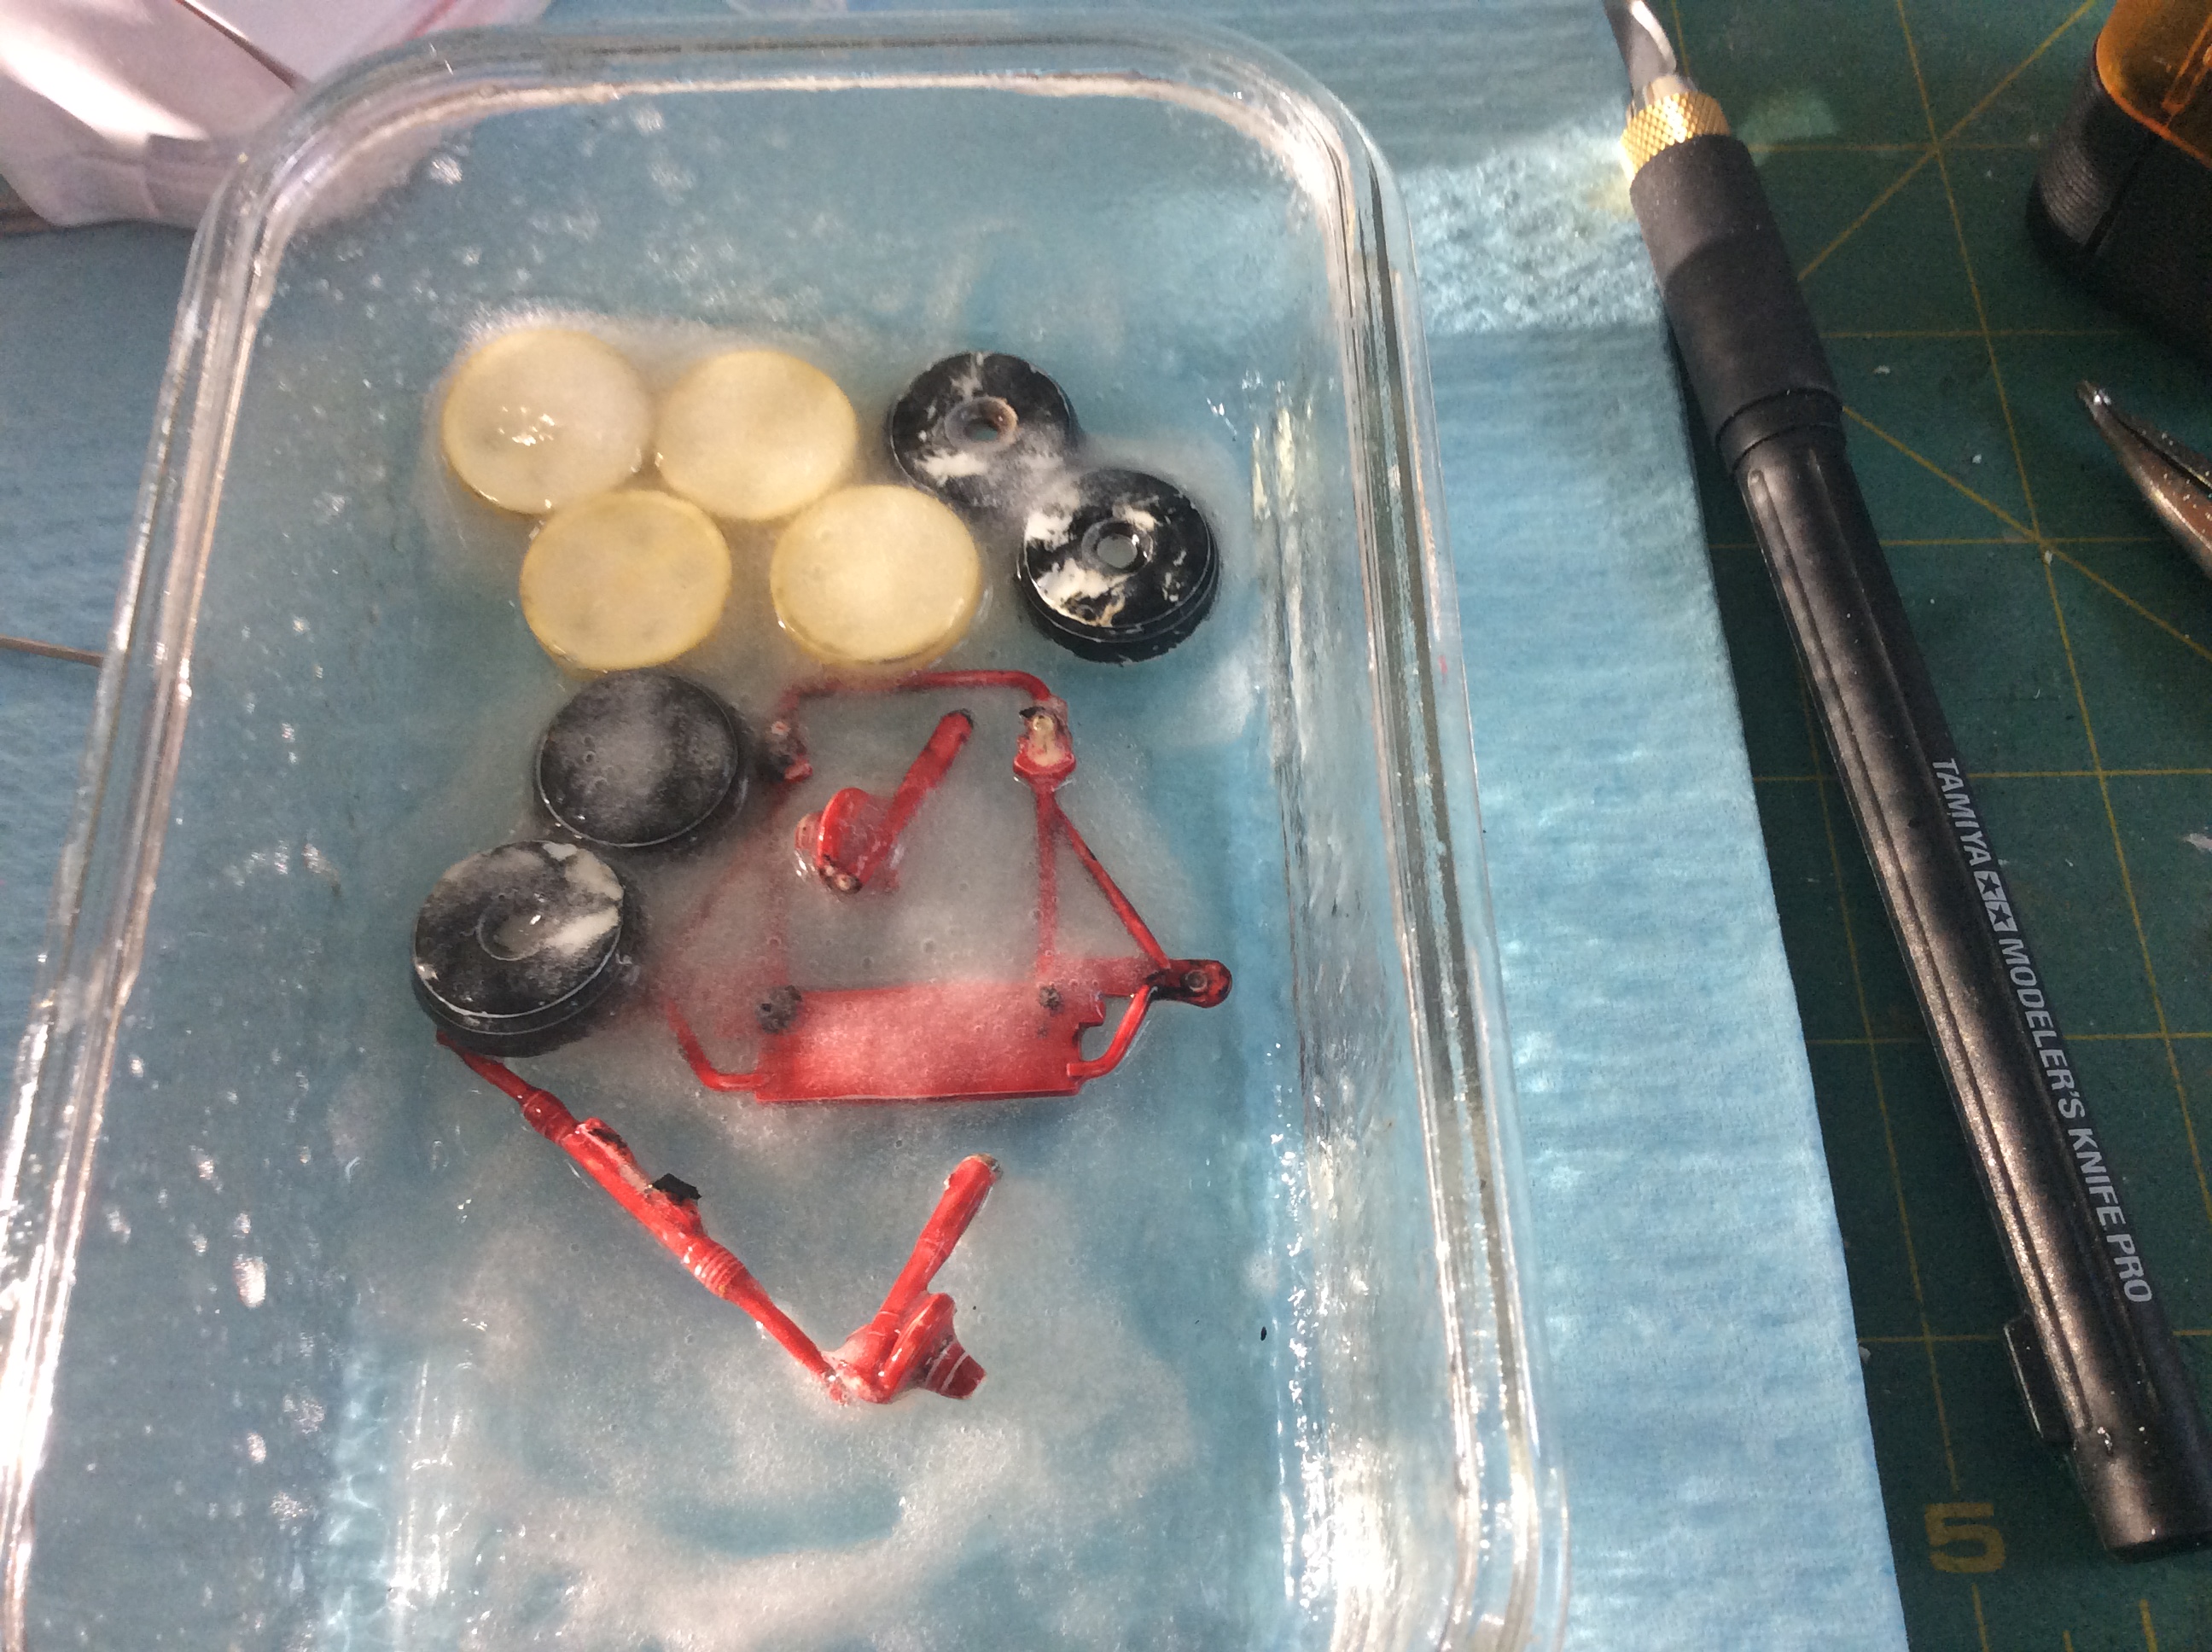
These are the last bits into the Easy Off Gel Oven Cleaner The chrome on the Fuchs wheels came off immediately!!!
-
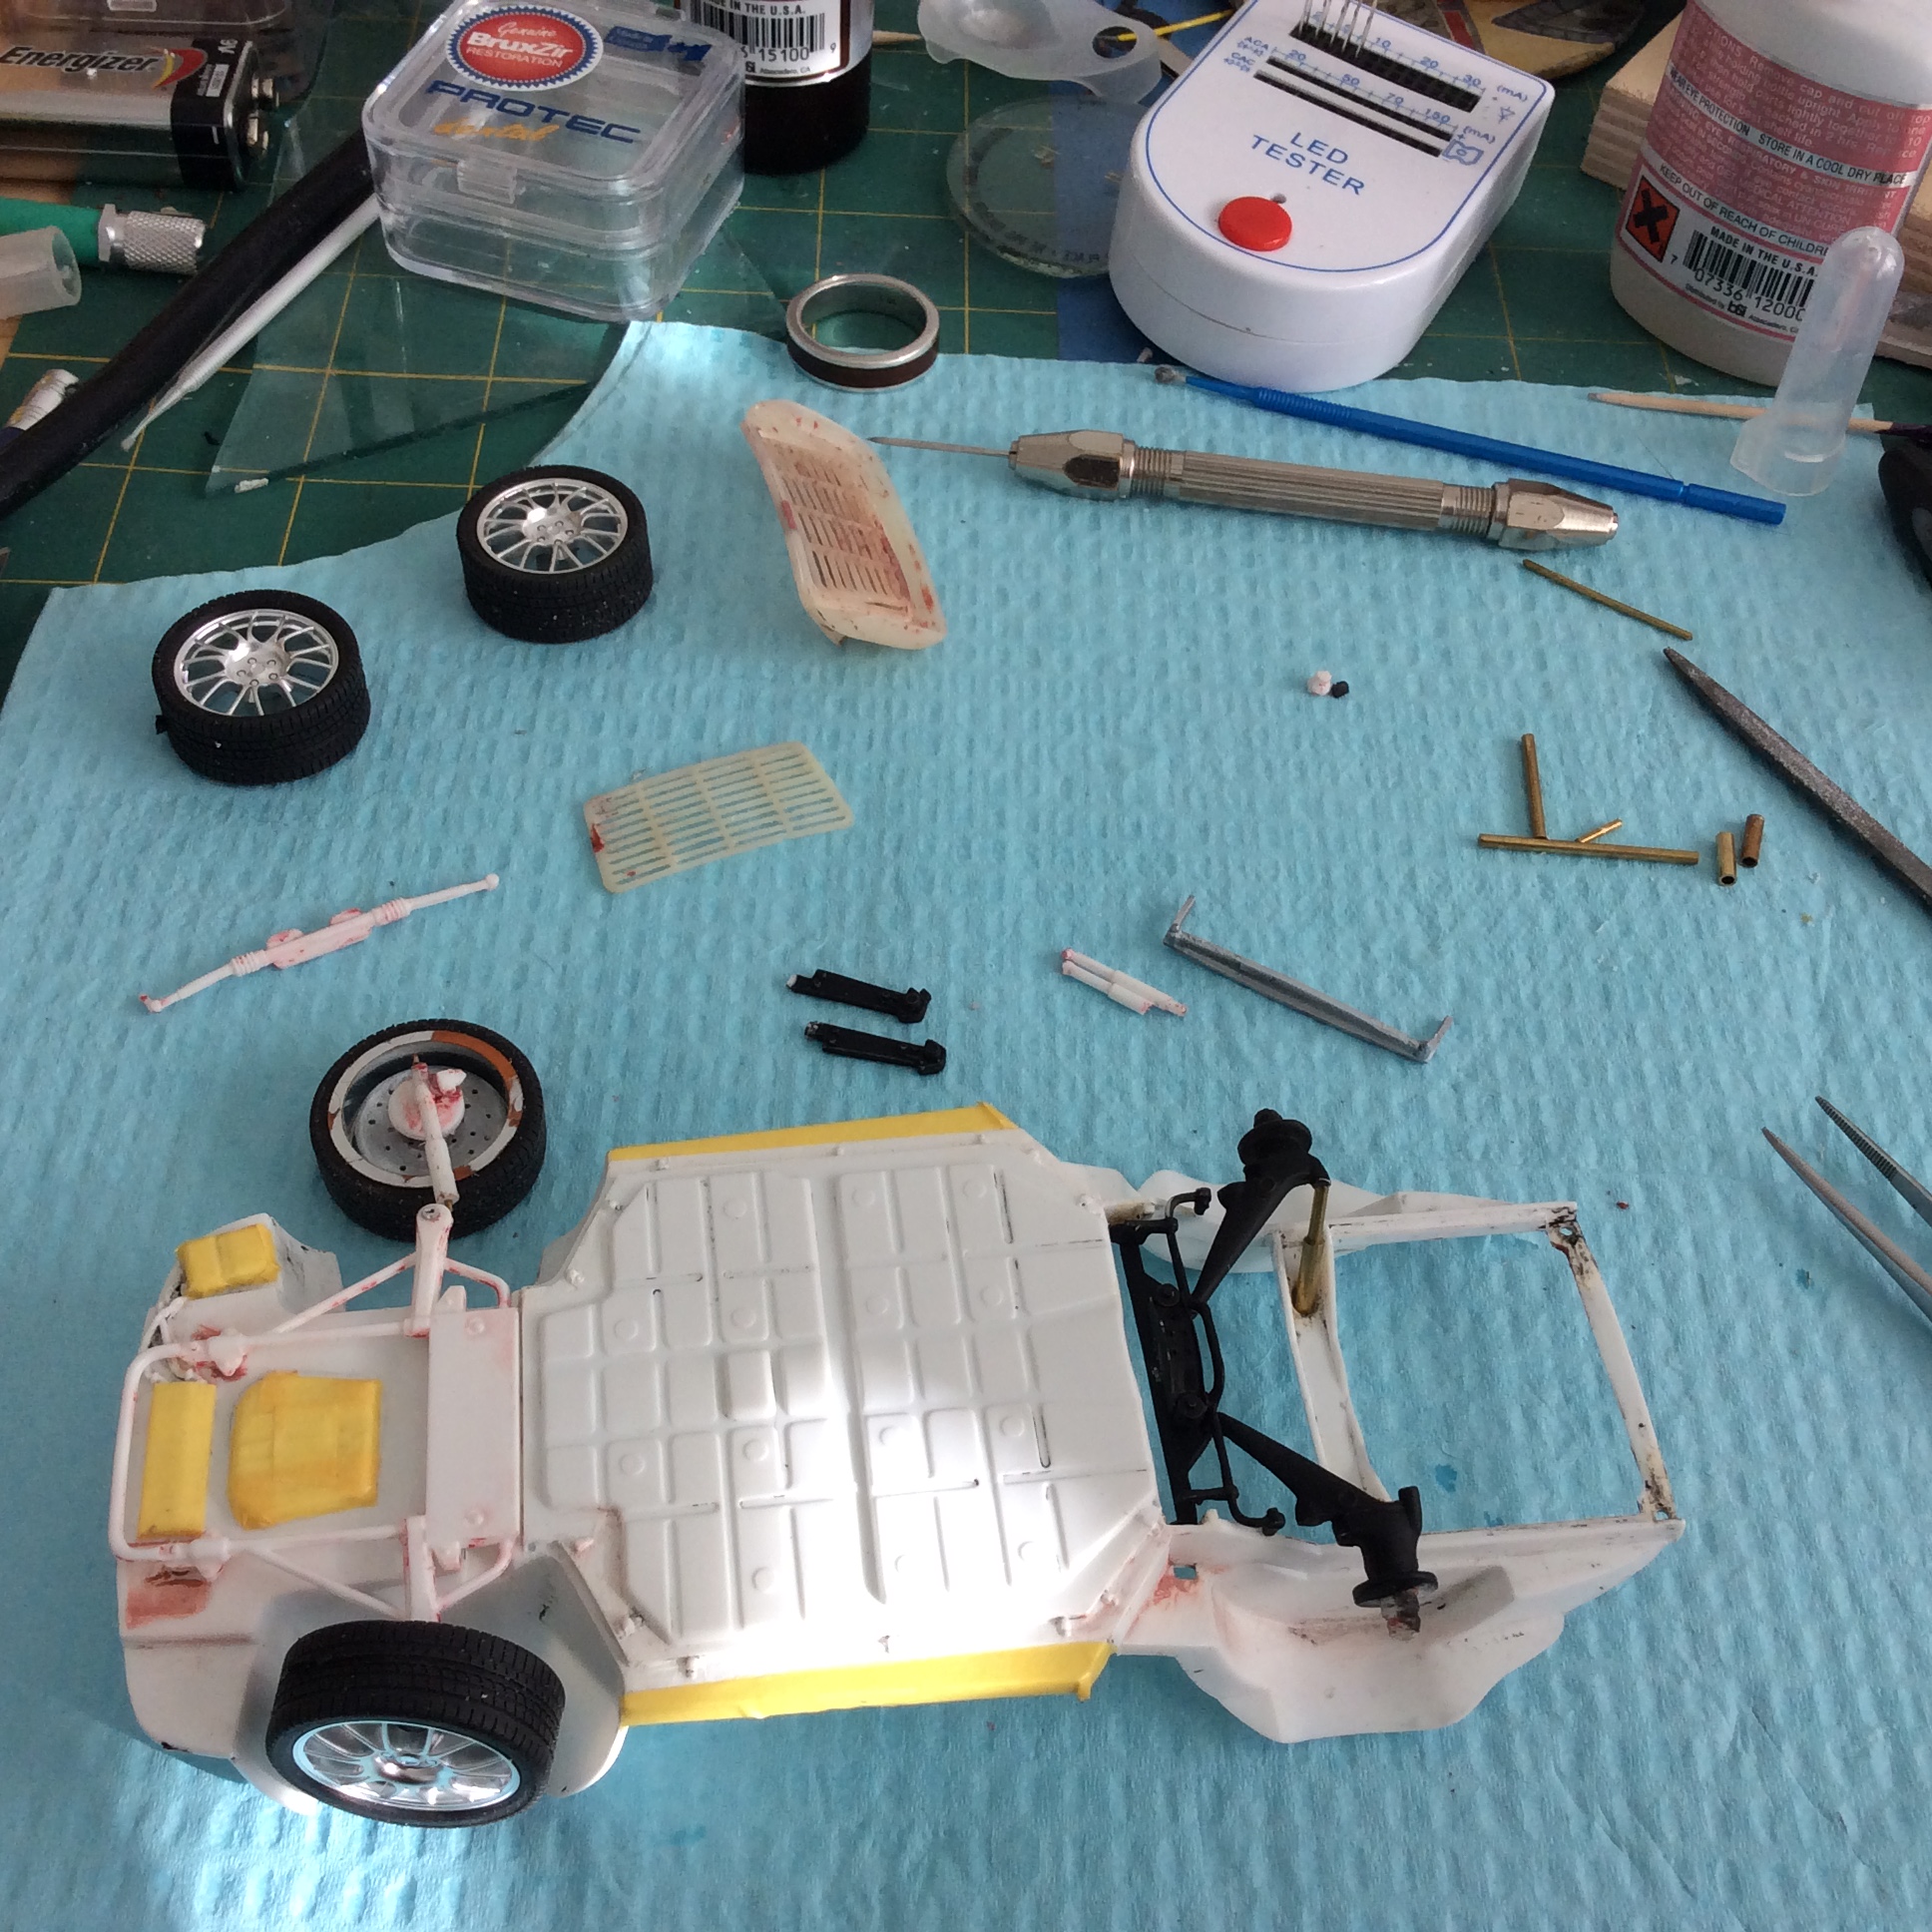
So I am back at this build while I avoid house work and other projects I need to finish Made progress with the rear deck and will likely pose it open to show the engine and hide my questionable fitment. Will make brake disks, shift linkage and turnable front wheels...that is the plan at least
-
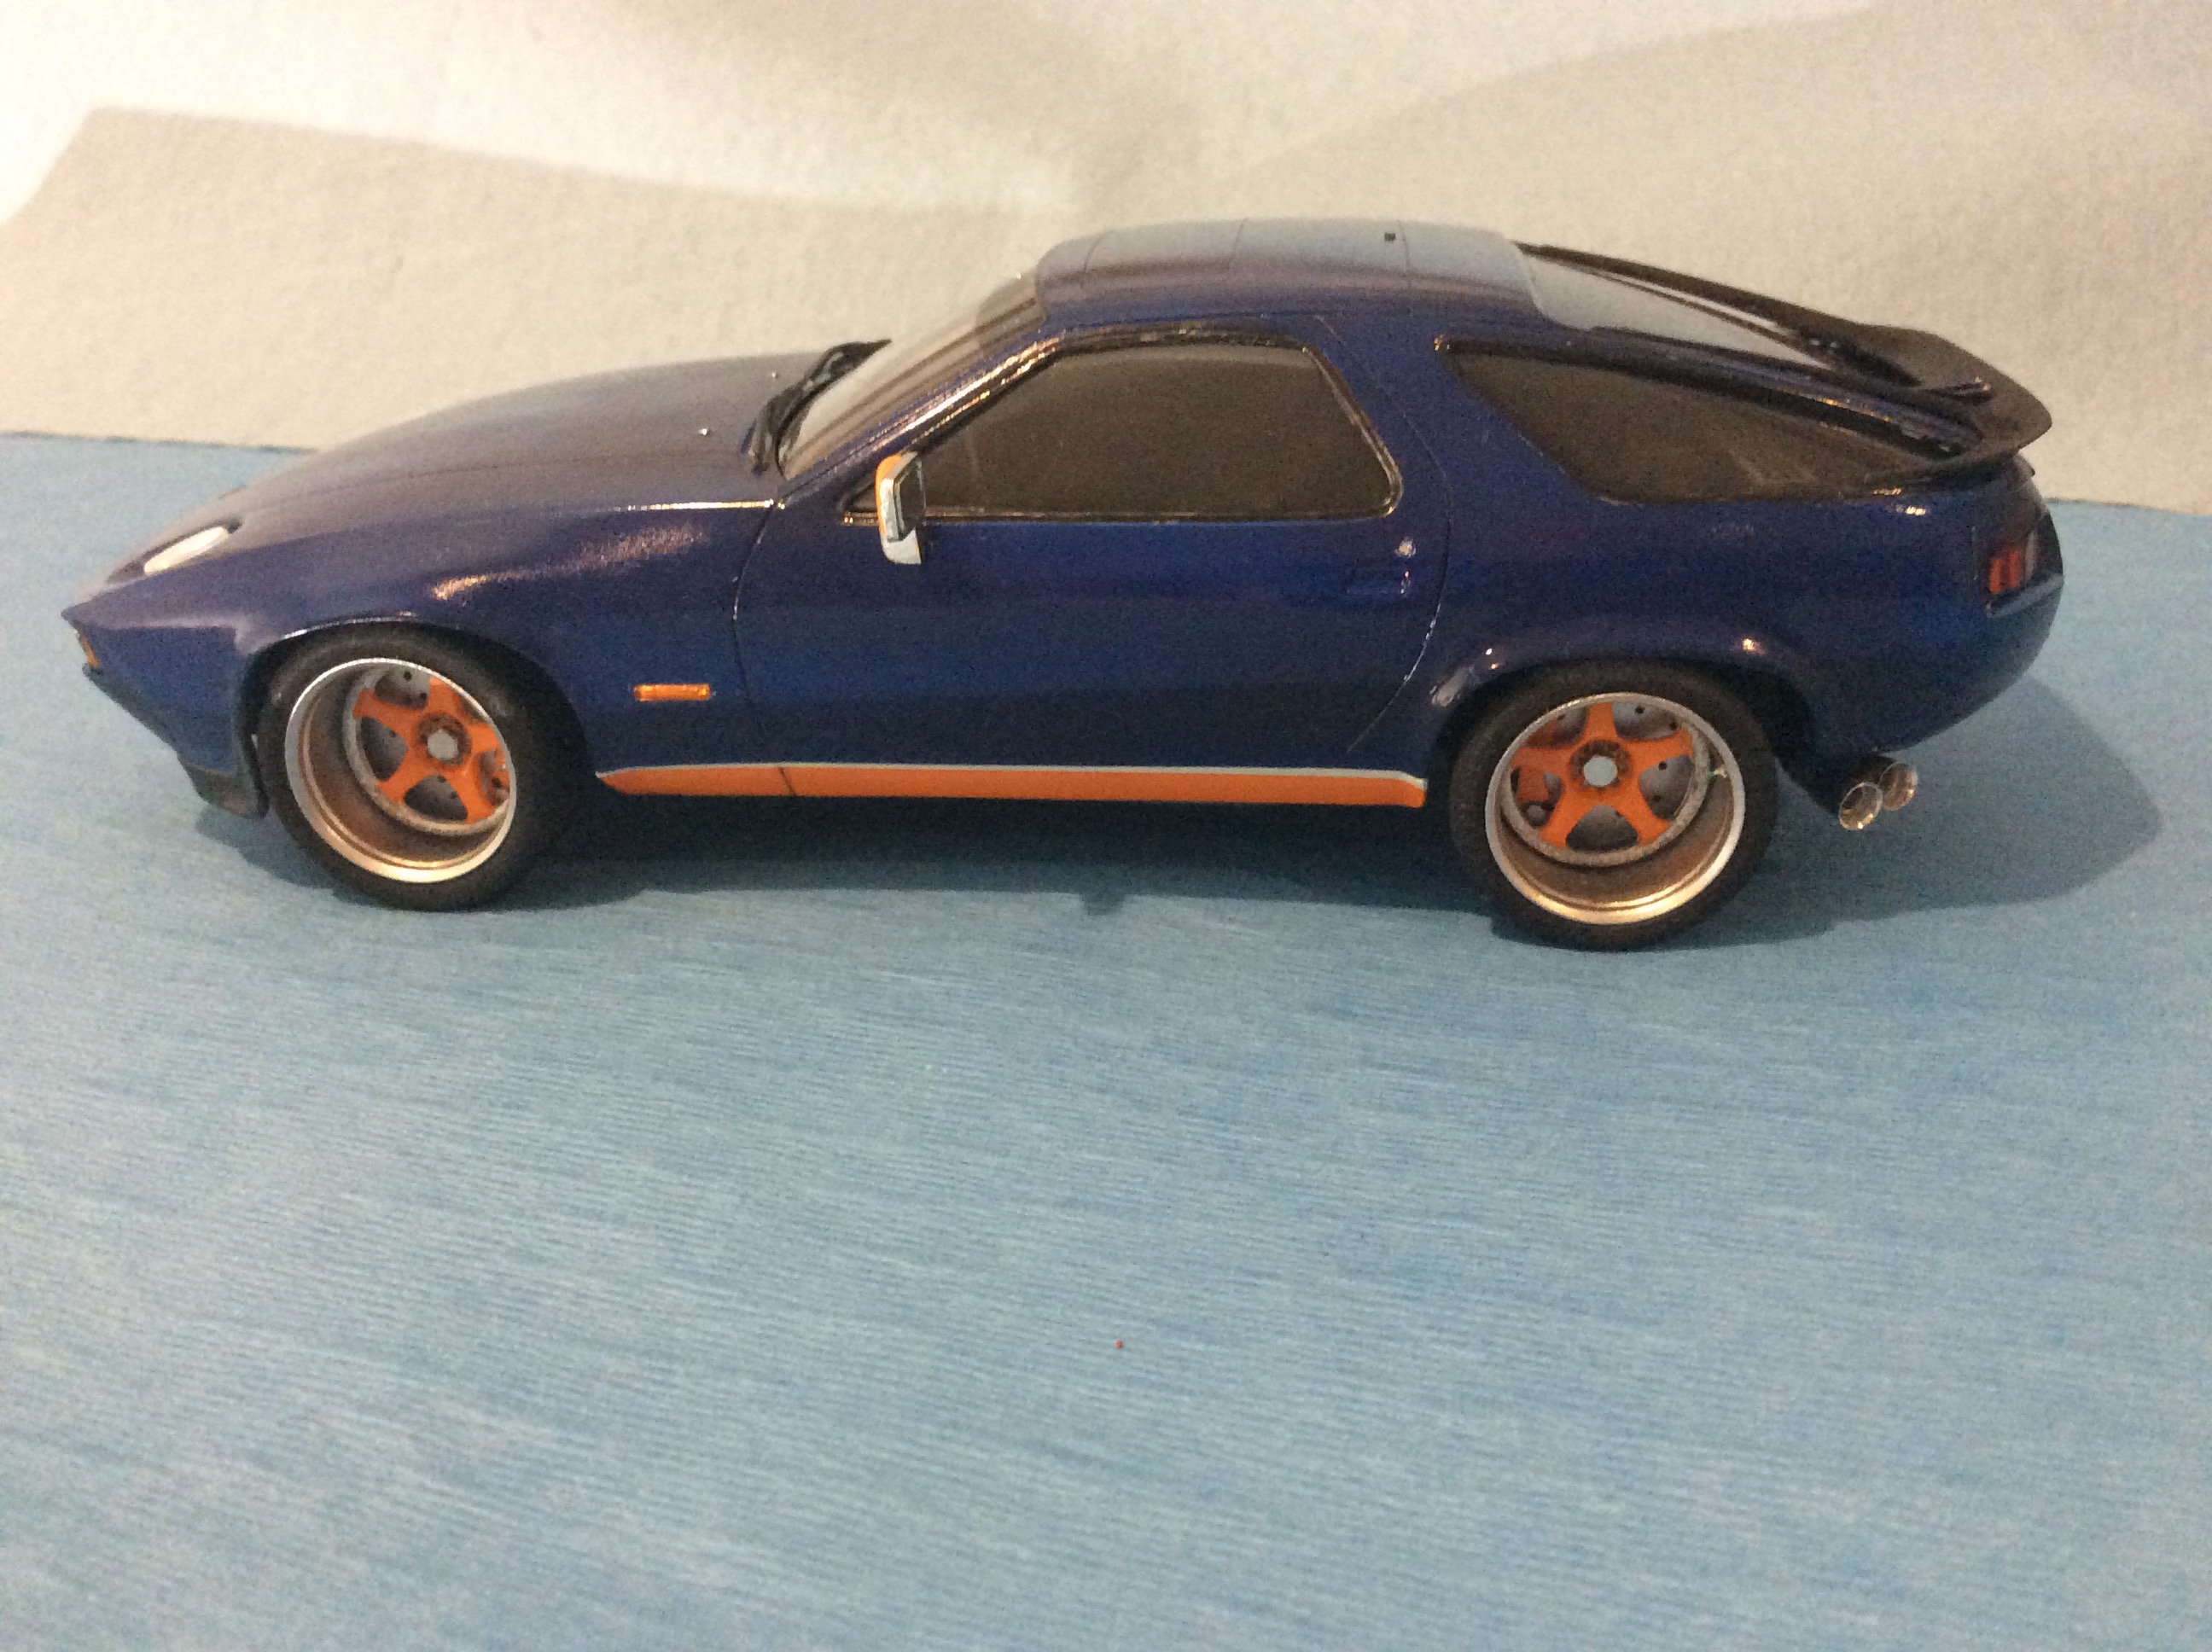
Got her pretty much done last night Have just assembled and not cemented glass and body on so can take it off. My clear didn't come out quite as nice as hoped, but live and learn
-
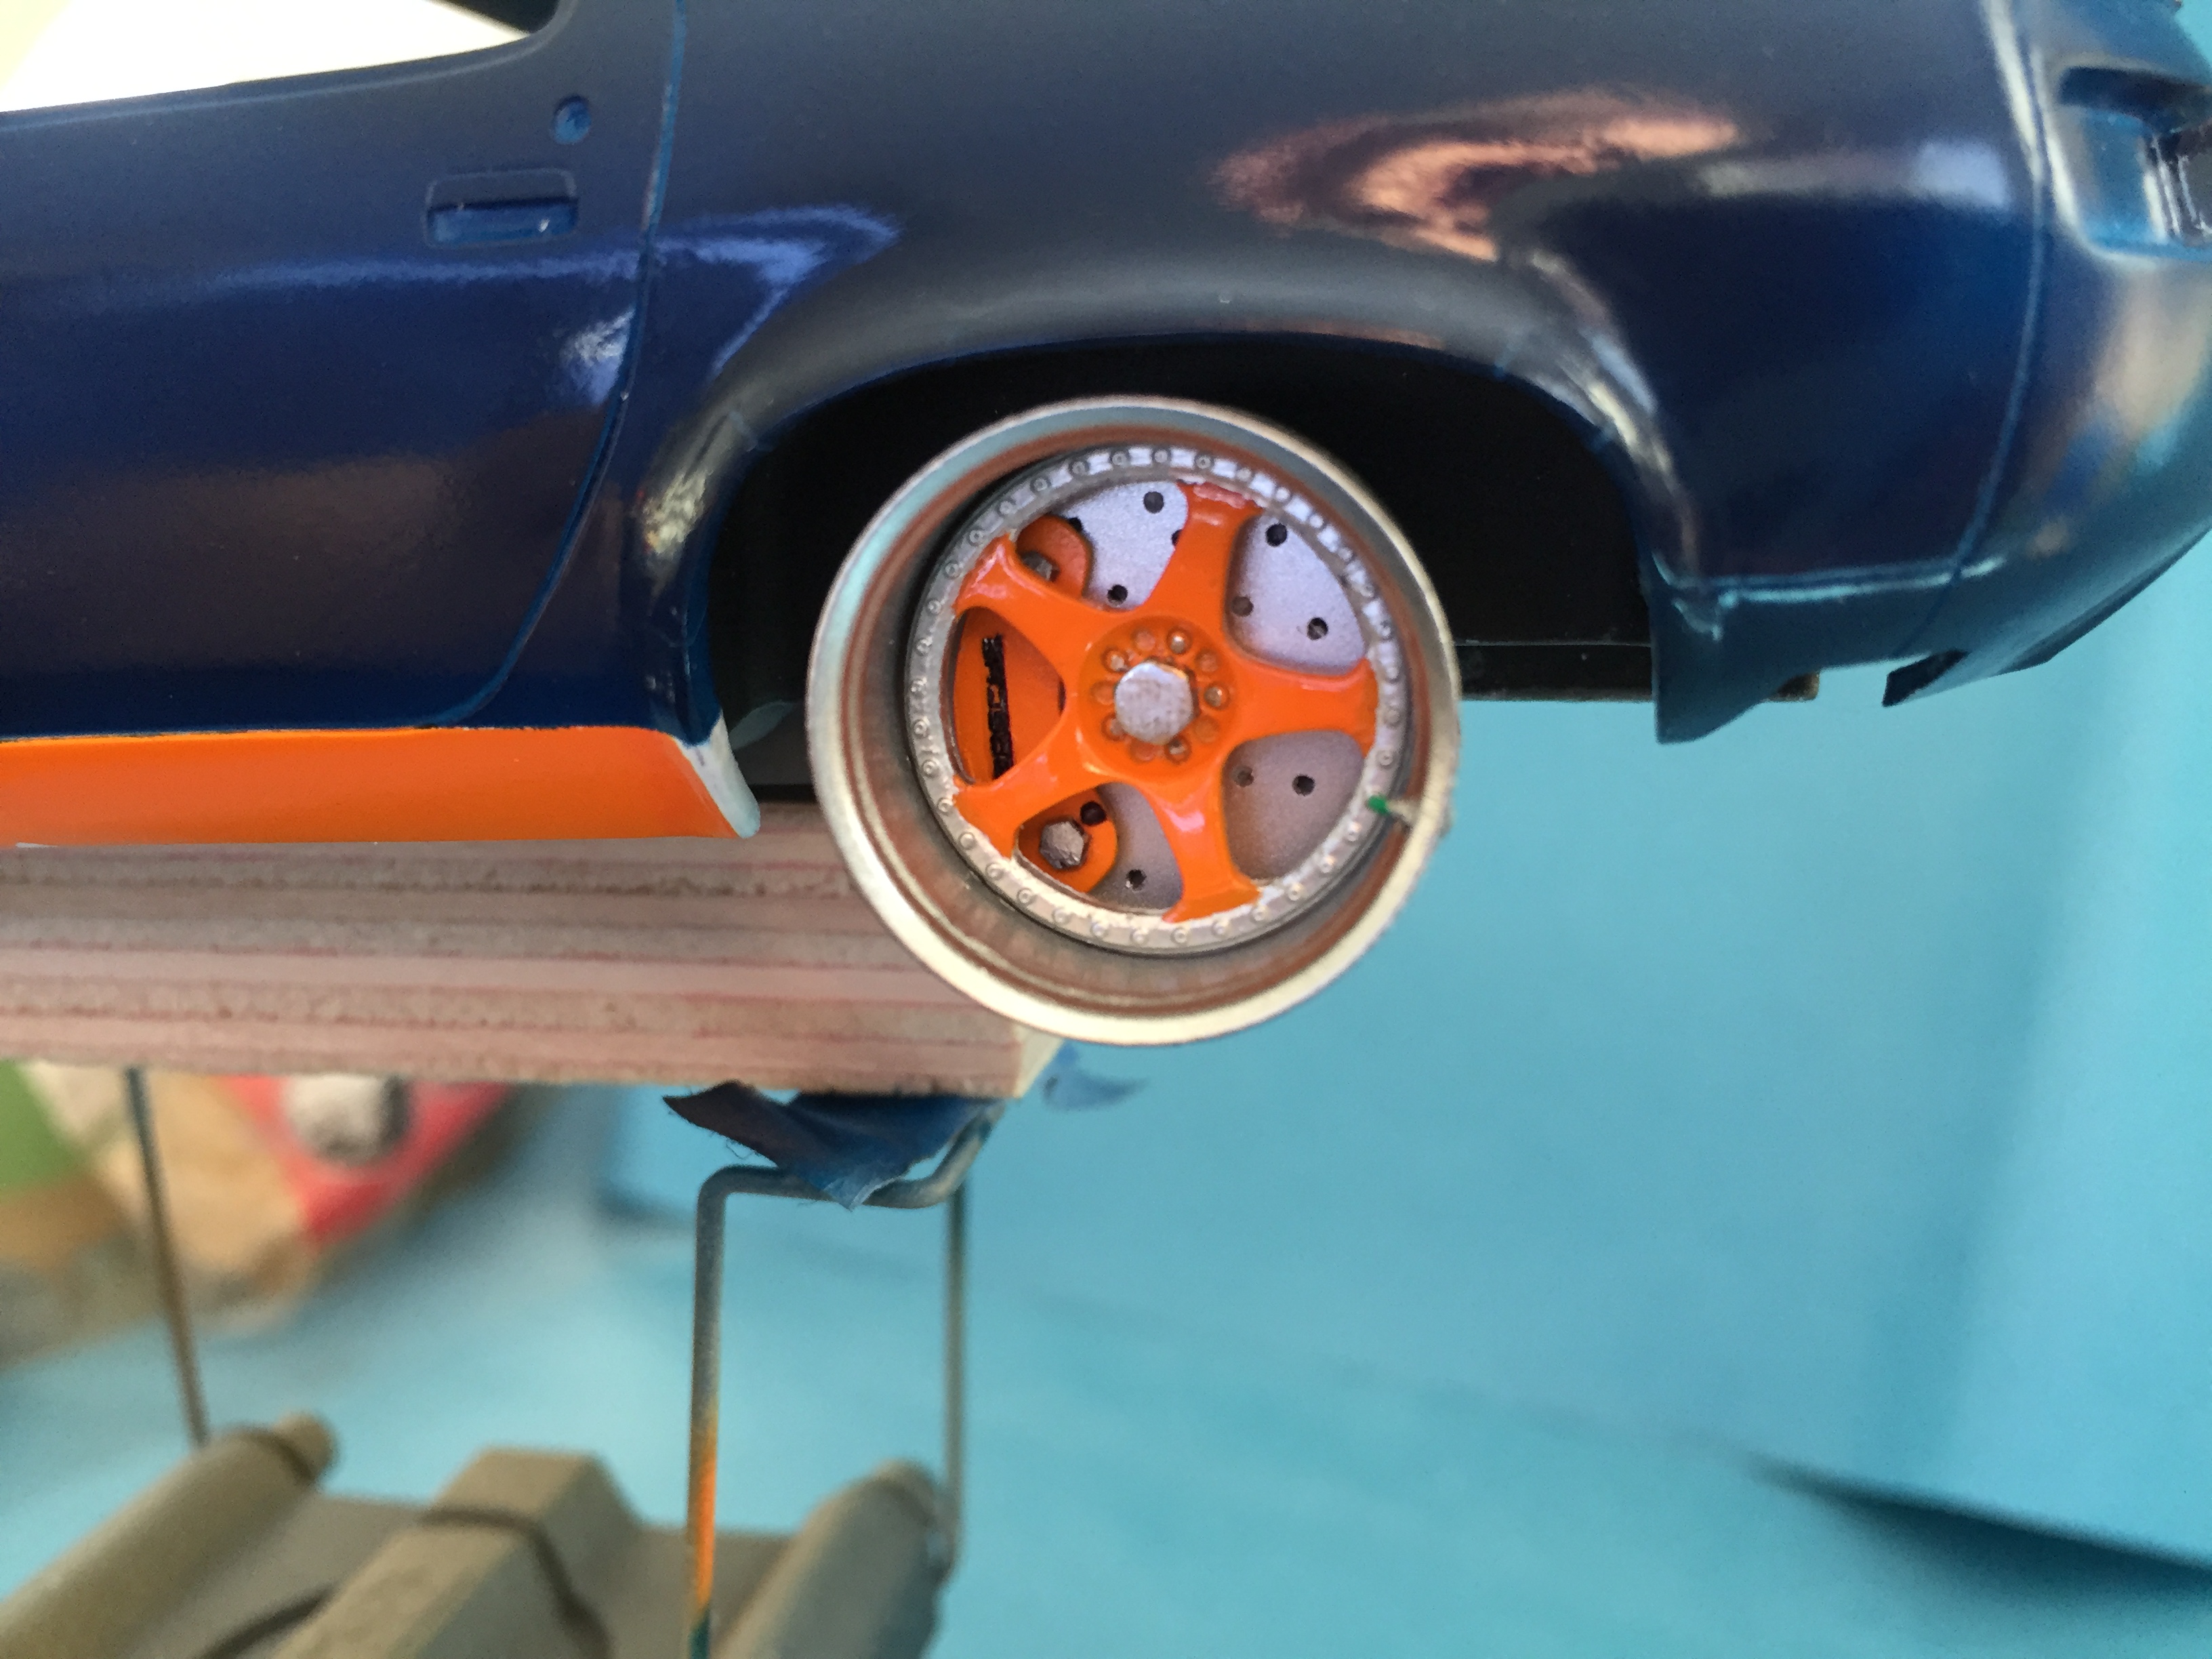
Thank you my friend, I am moving this build along to finish by mid week I did some chrome tips by flaring some aluminum tube Then the rims, brakes and such are painted up And then the mock up on the freshly painted body Final wheel and rim close up There we are, you are all caught up to me now. Have to touch up body paint, a pinstripe, clear and polish and then add all the fiddly bits