mr68gts
-
Posts
1,442 -
Joined
-
Last visited
Content Type
Profiles
Forums
Events
Gallery
Everything posted by mr68gts
-
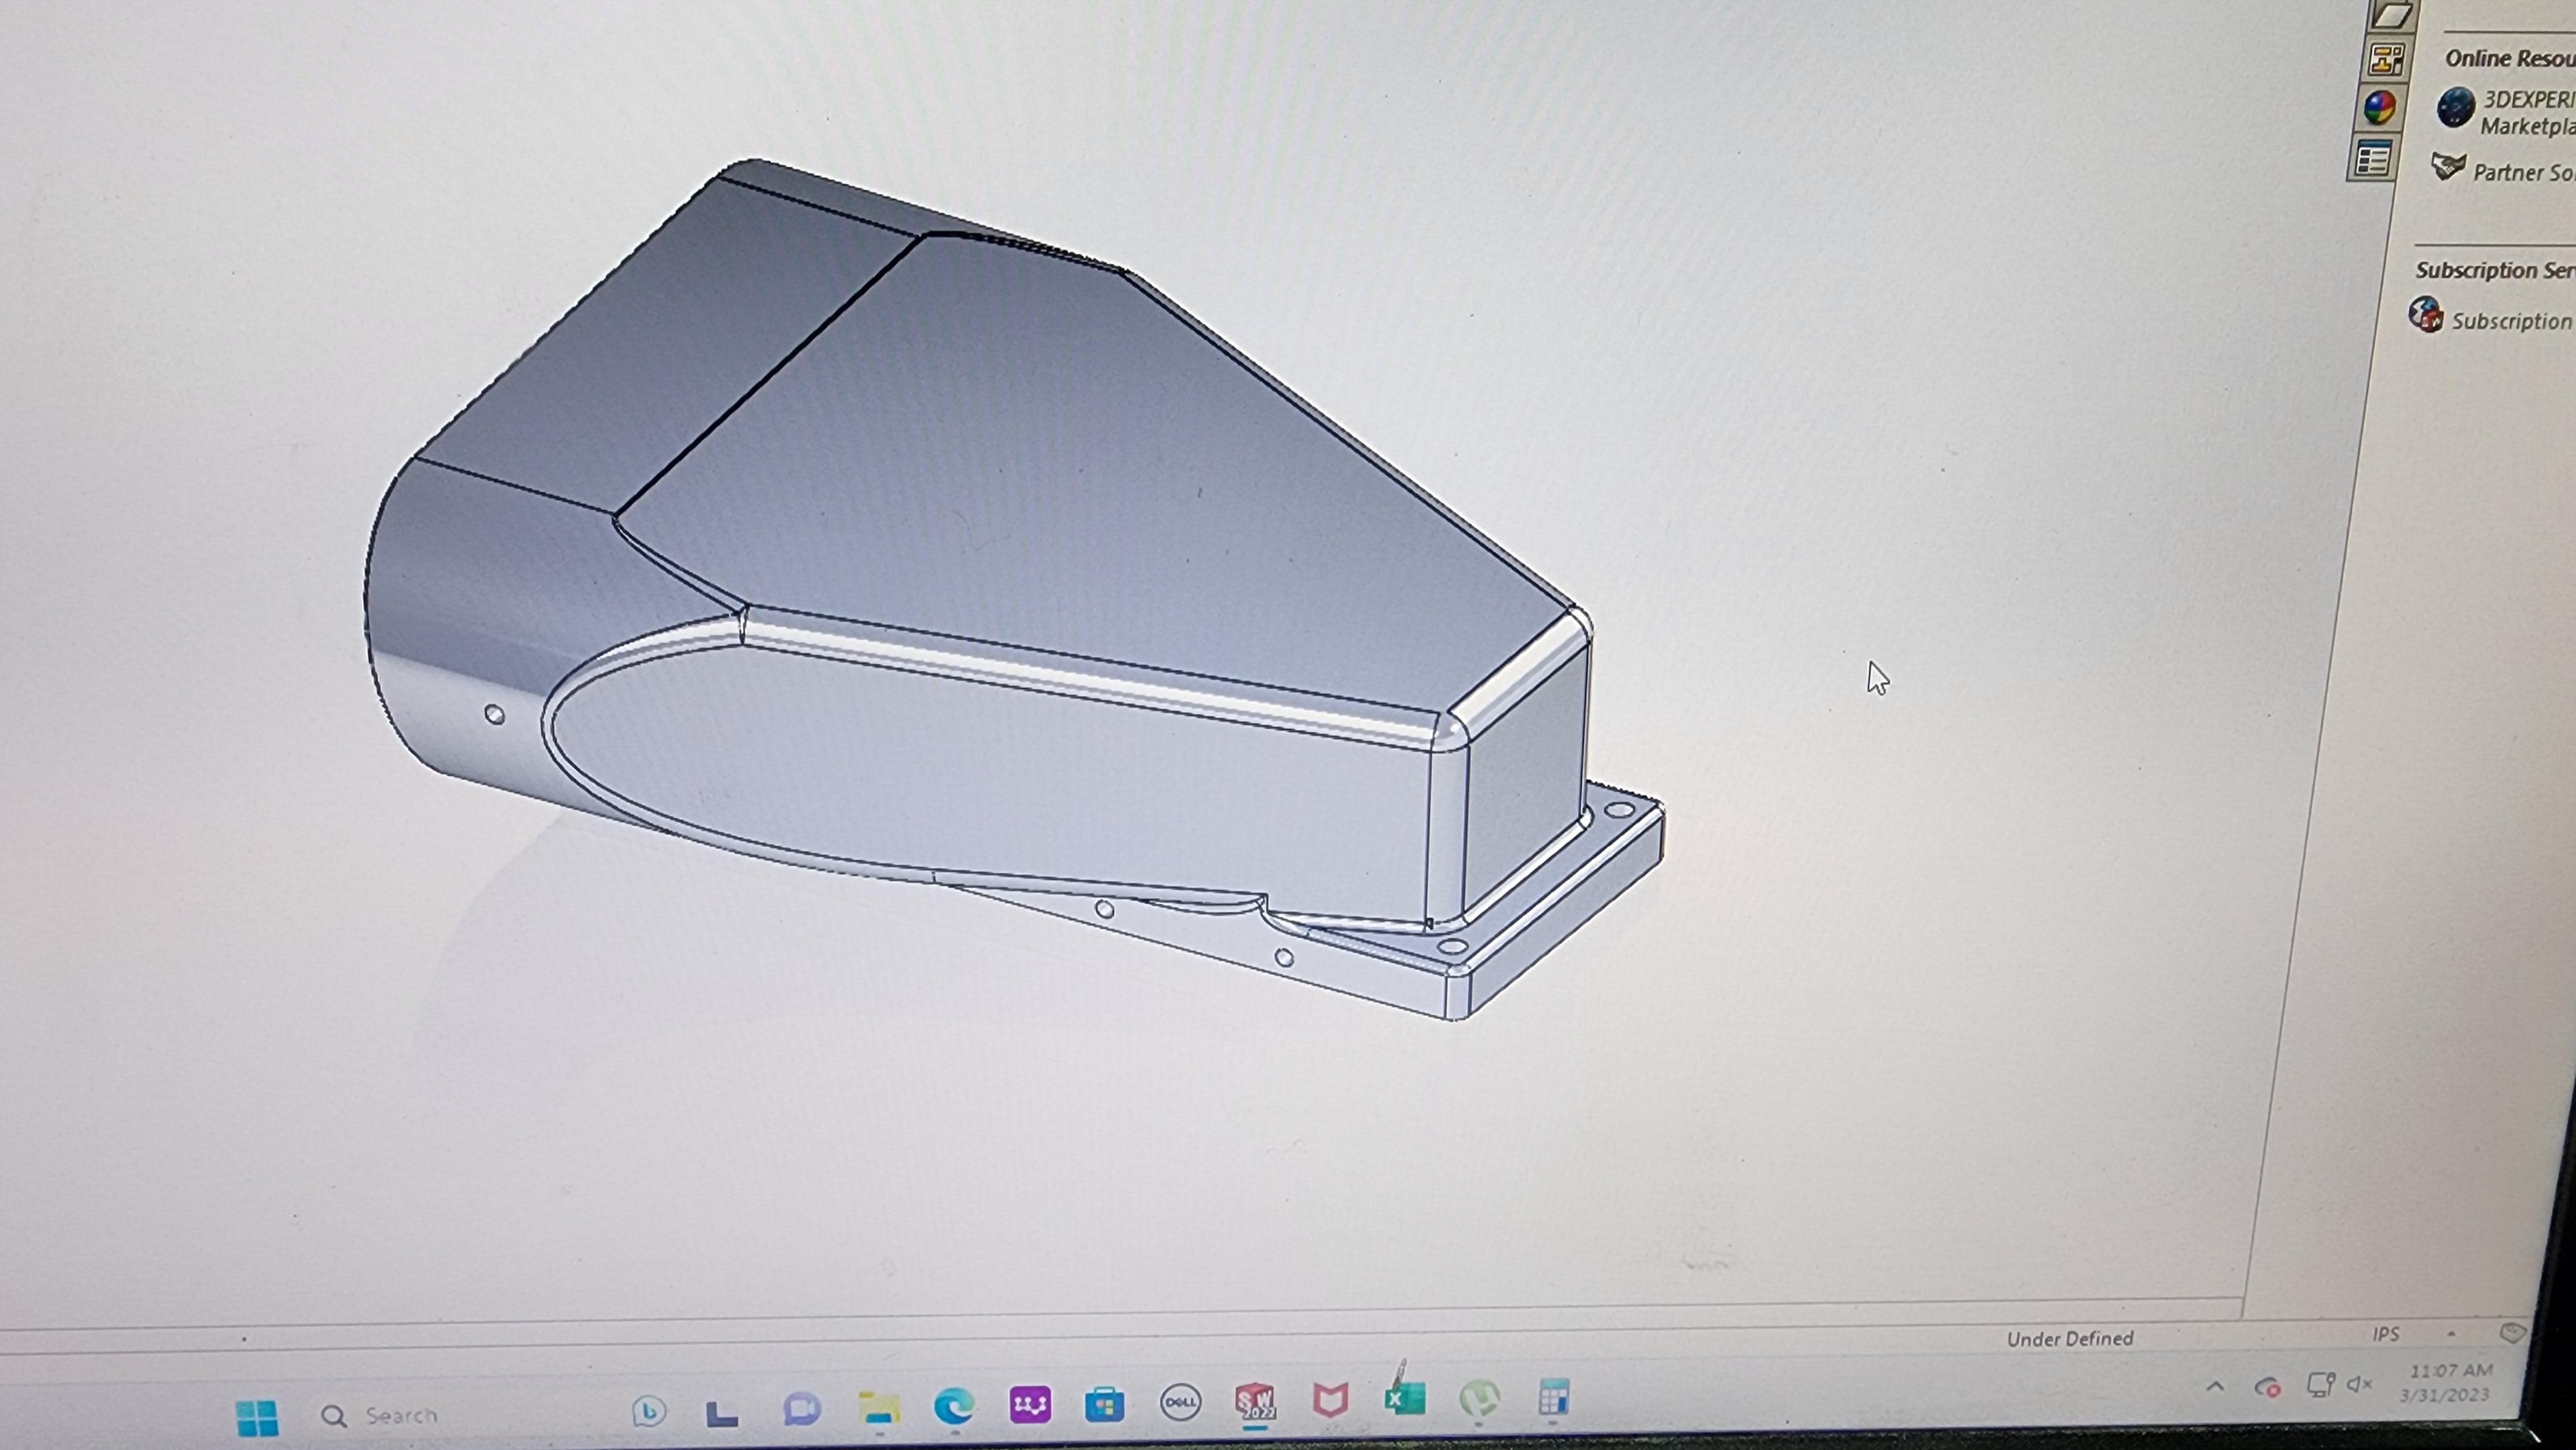
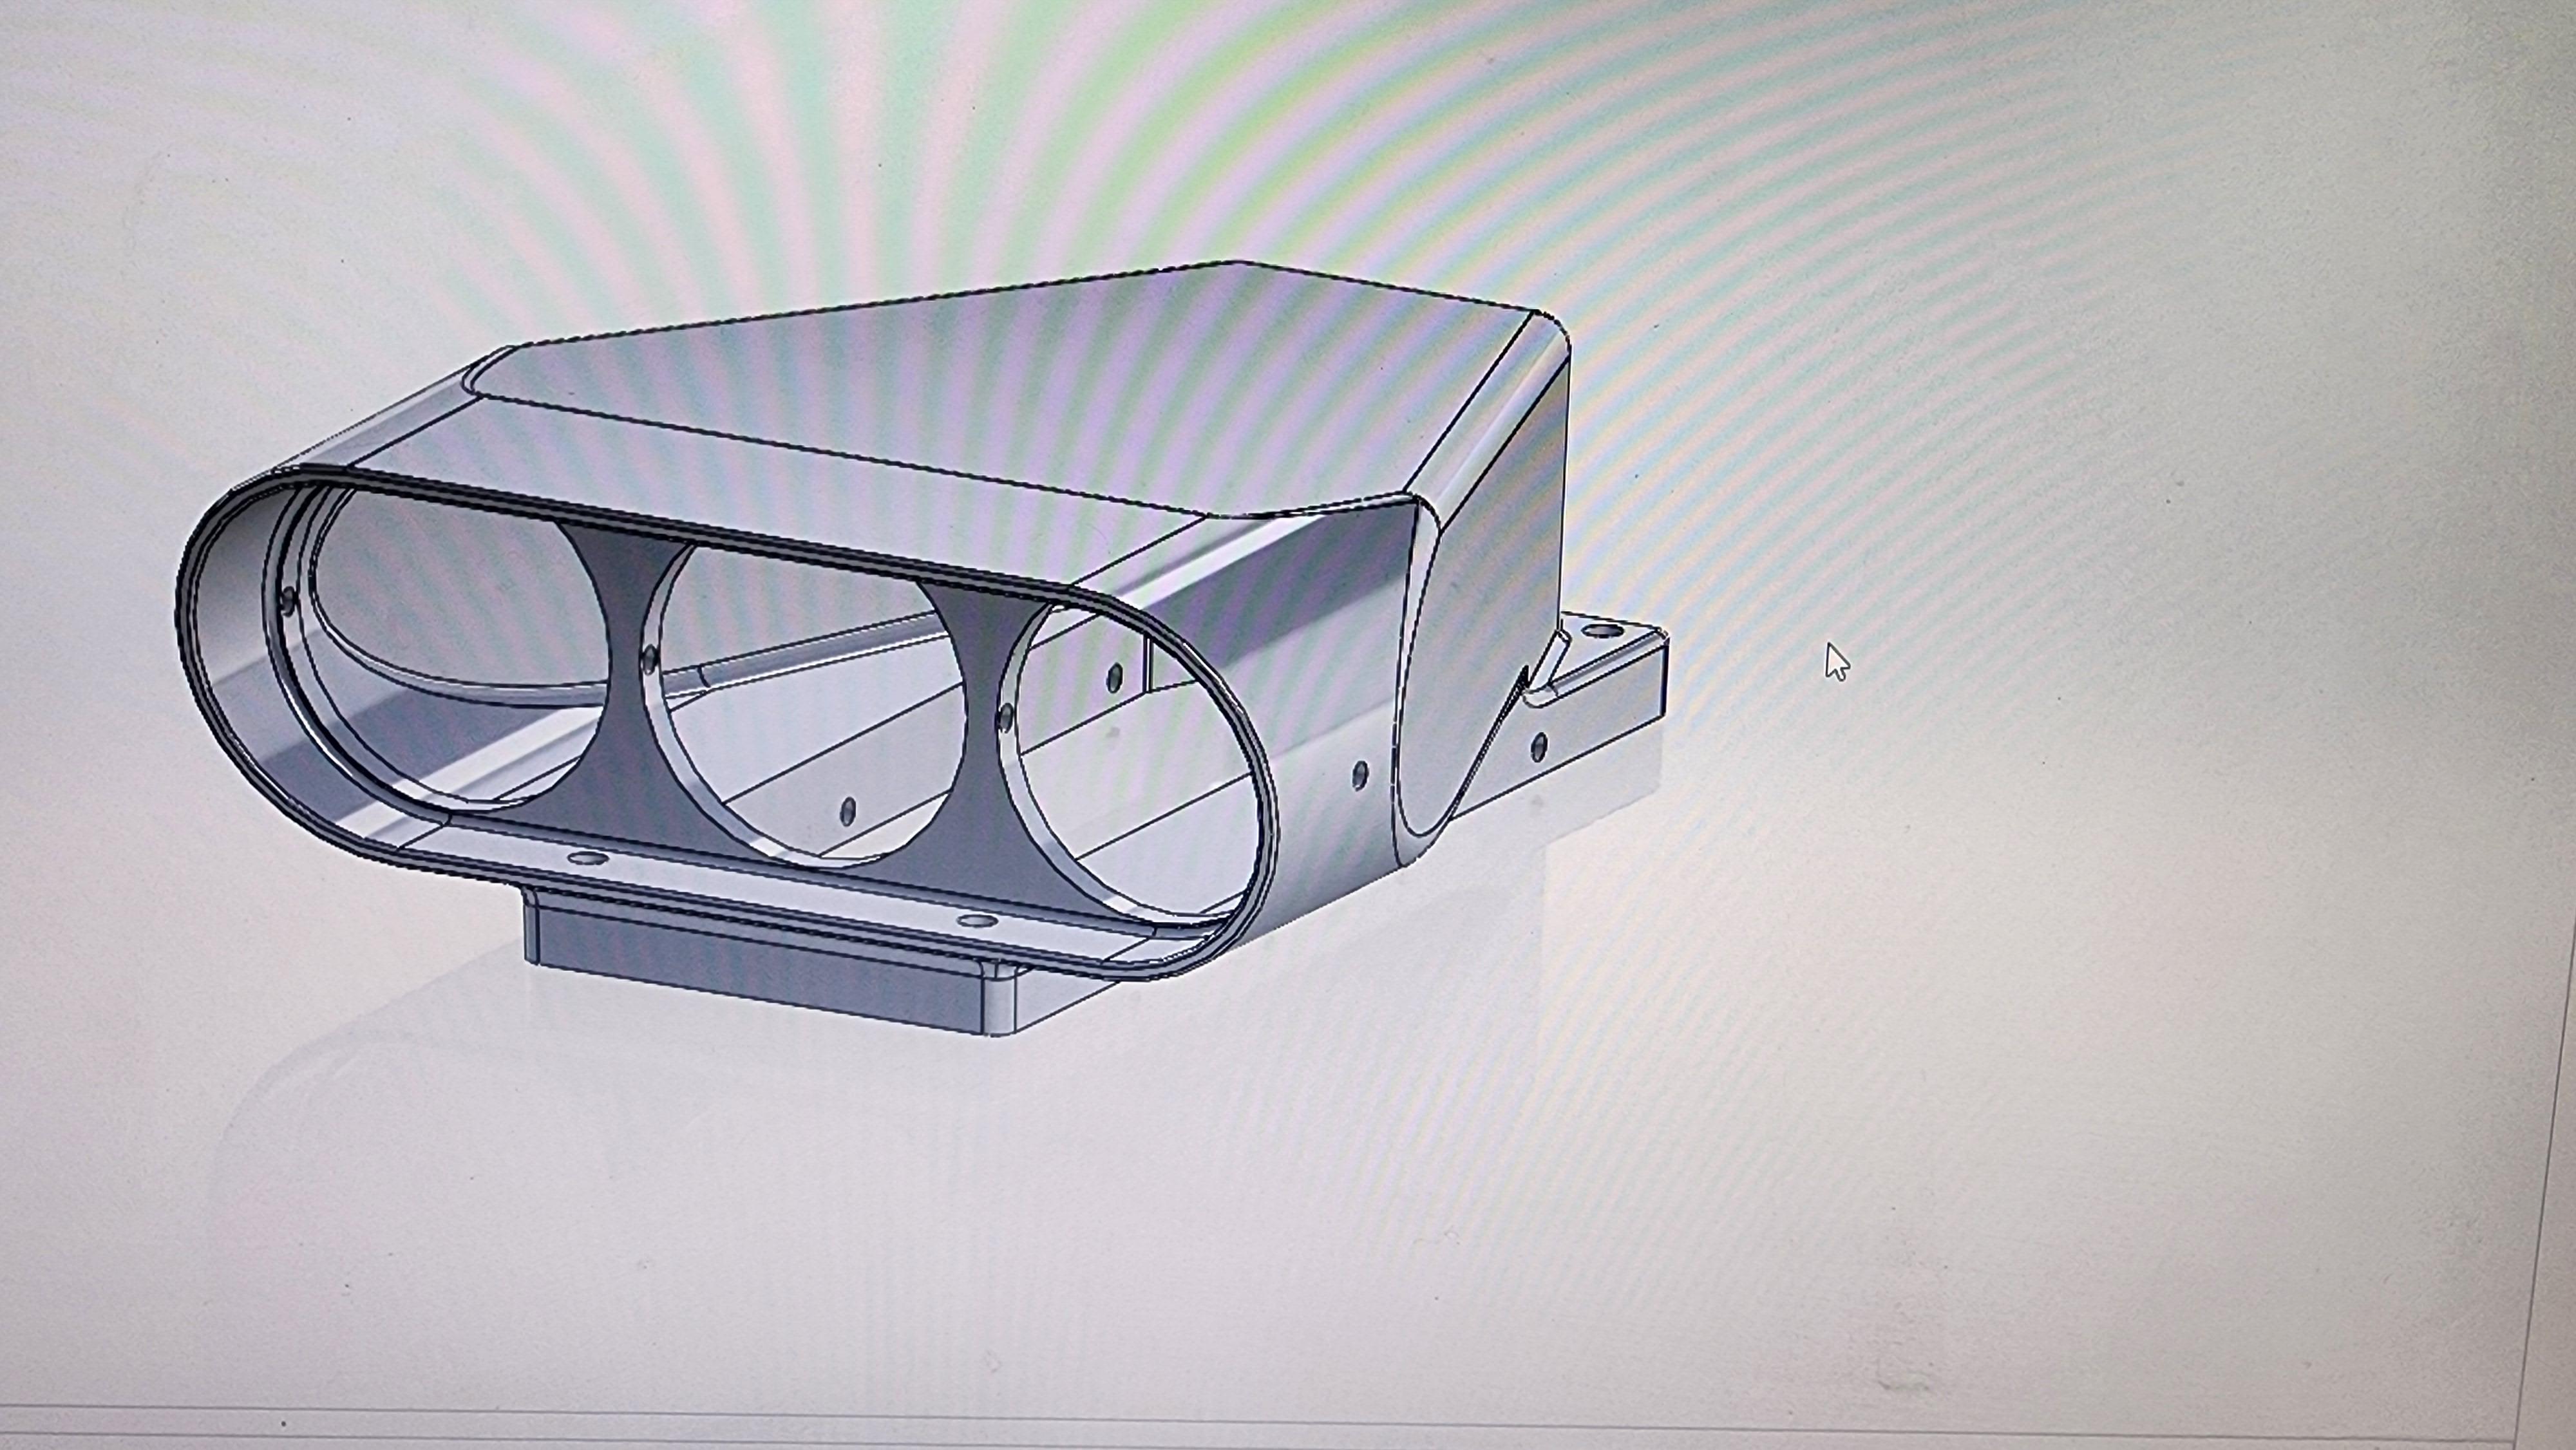
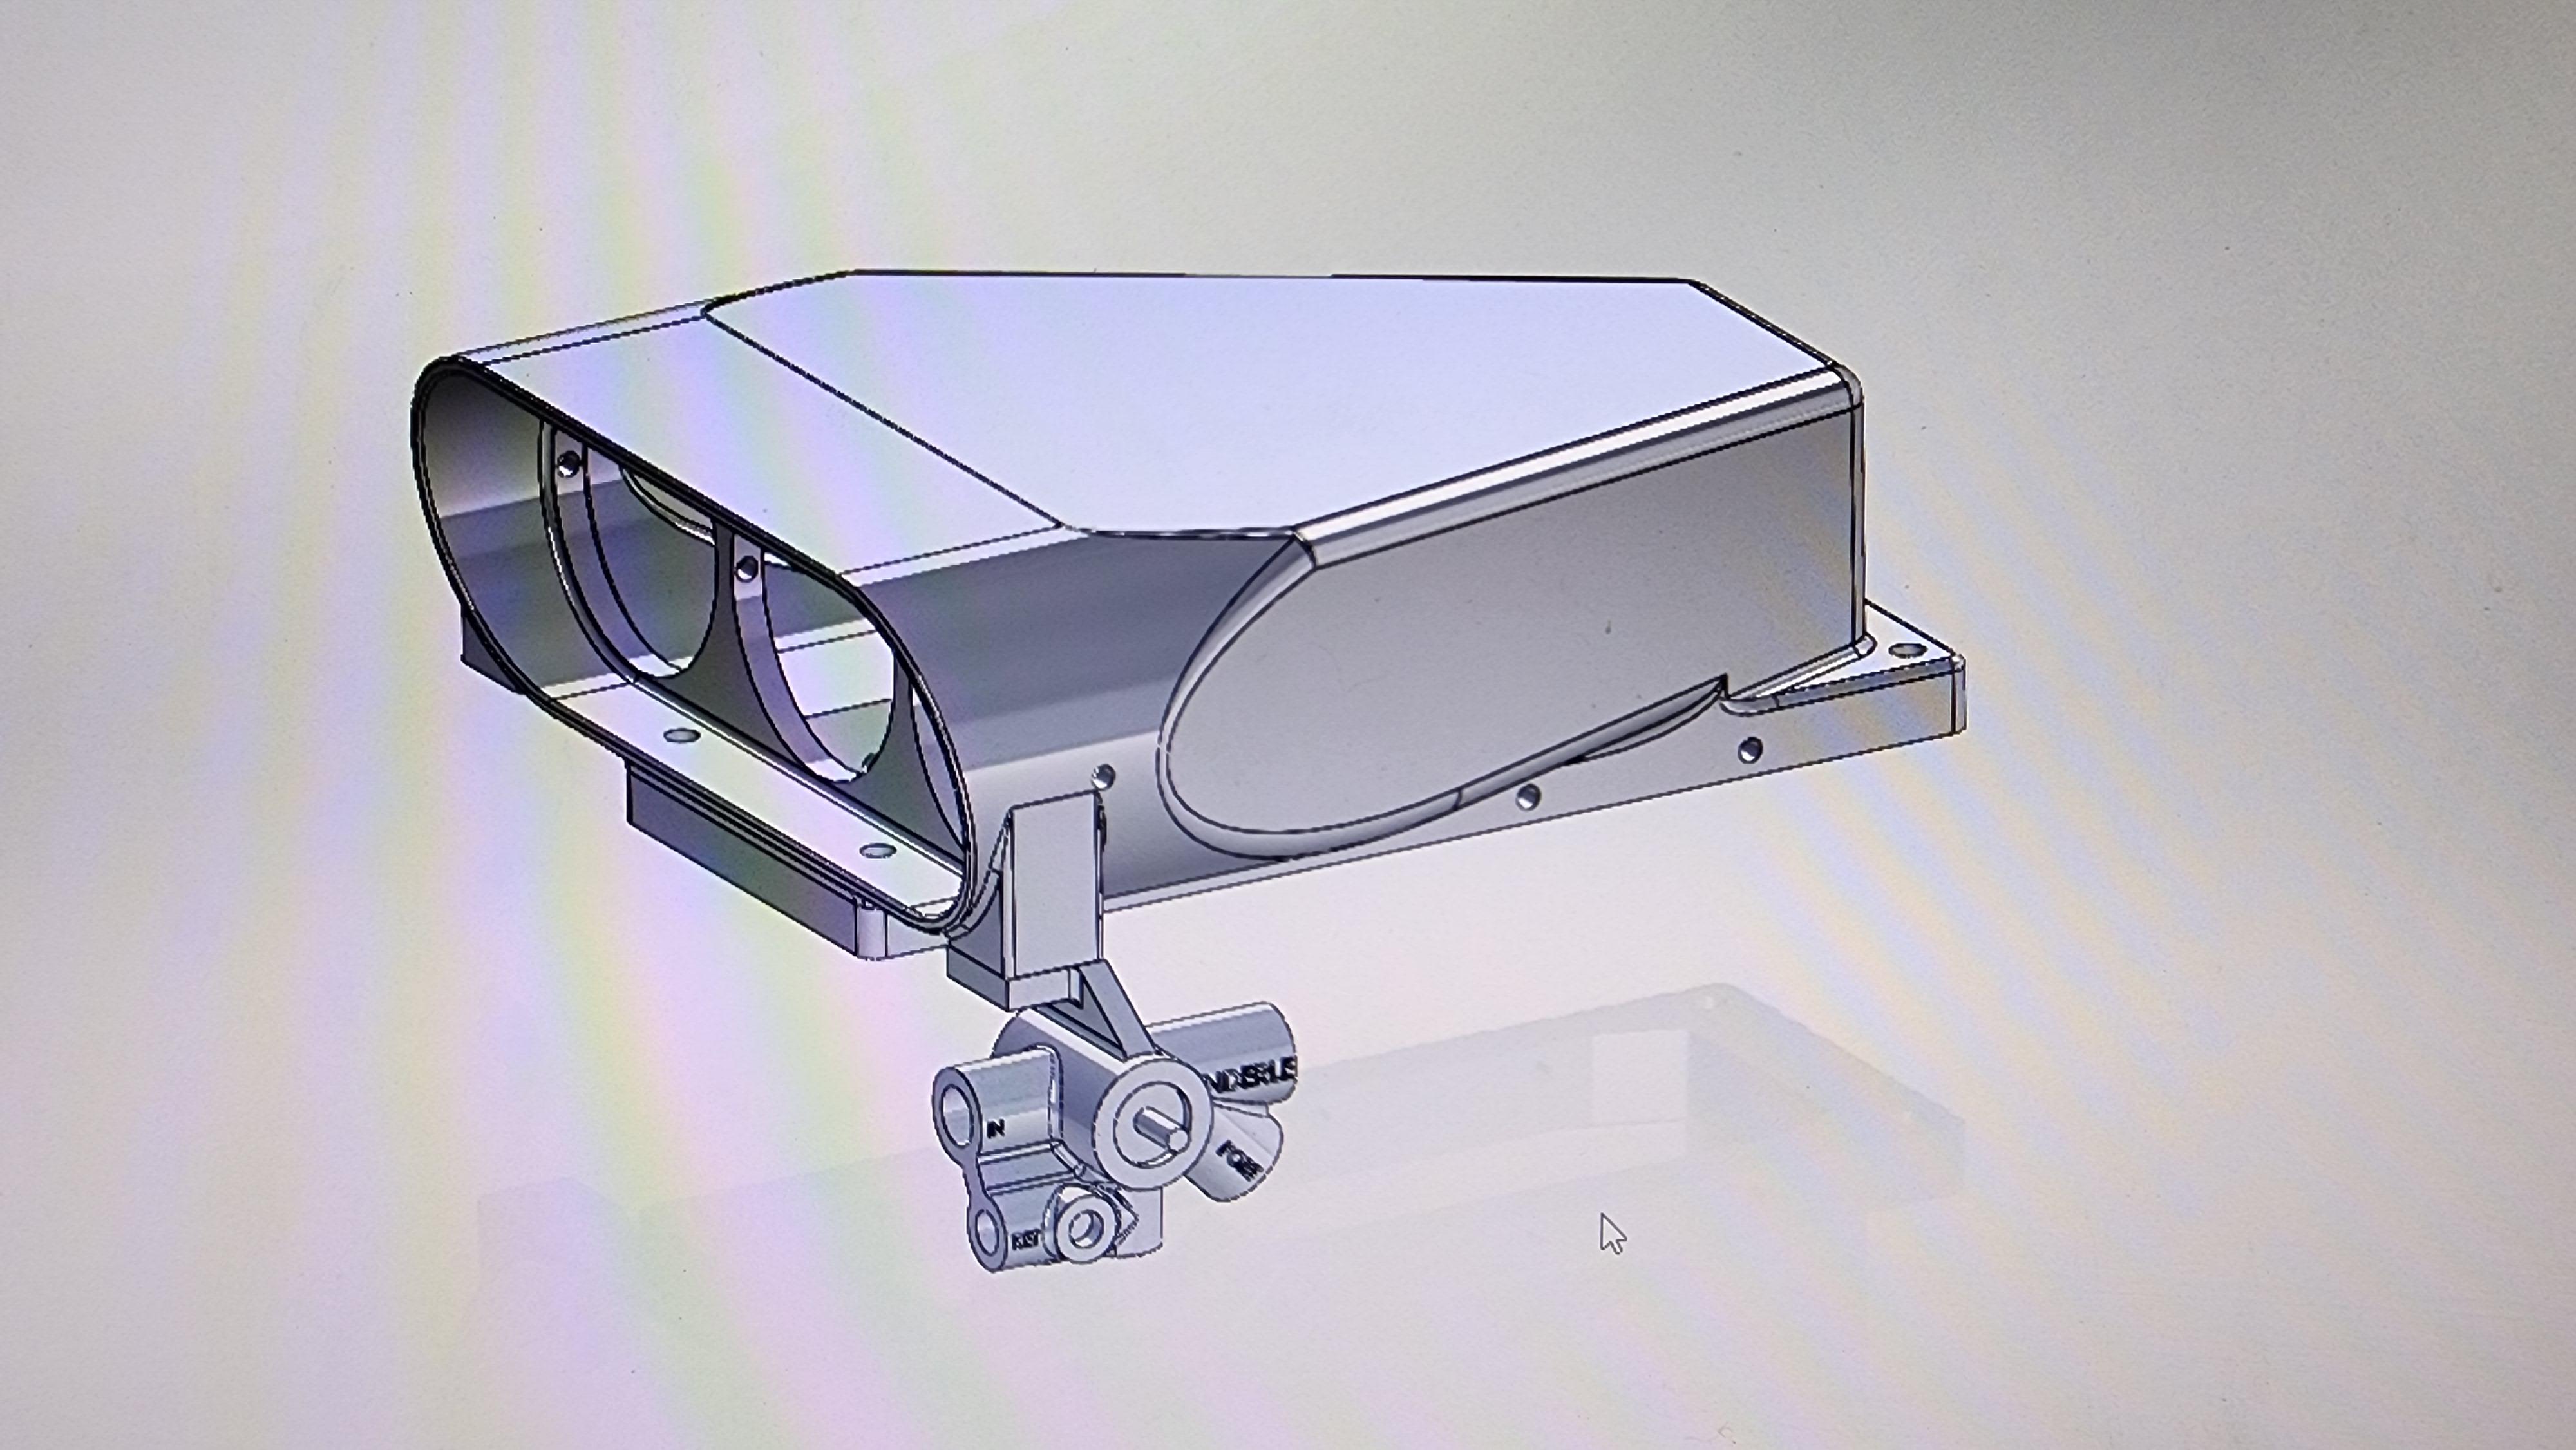
Nostalgia Fuel Dragster--Blower Manifold (01/28/23)
mr68gts replied to Straightliner59's topic in WIP: Drag Racing Models
Yeah, I started going though projects started myself and taking stock of what's what. A few have been moved so many times that all the pieces aren't even together with the model anymore lol. It's definitely time I take care of old projects or get rid of them. Not getting any younger here haha. Anyway, can't wait to see this thing finished! -
Nostalgia Fuel Dragster--Blower Manifold (01/28/23)
mr68gts replied to Straightliner59's topic in WIP: Drag Racing Models
Really outdone yourself with this build Daniel! On top of it it's really nice to see this ancient build moving along at a steady pace with updates. I remember when this project start oh so long ago. Like many of my builds that have been moth balled lol. Paul -
Nothing to my mail box in AZ yet either..... I'd hoped it would be here when I got home from our Thanksgiving trip since it was hitting the mail at the beginning of the month supposedly.
-
69 pro mod chevelle, chassis started mock ups
mr68gts replied to mr68gts's topic in WIP: Drag Racing Models
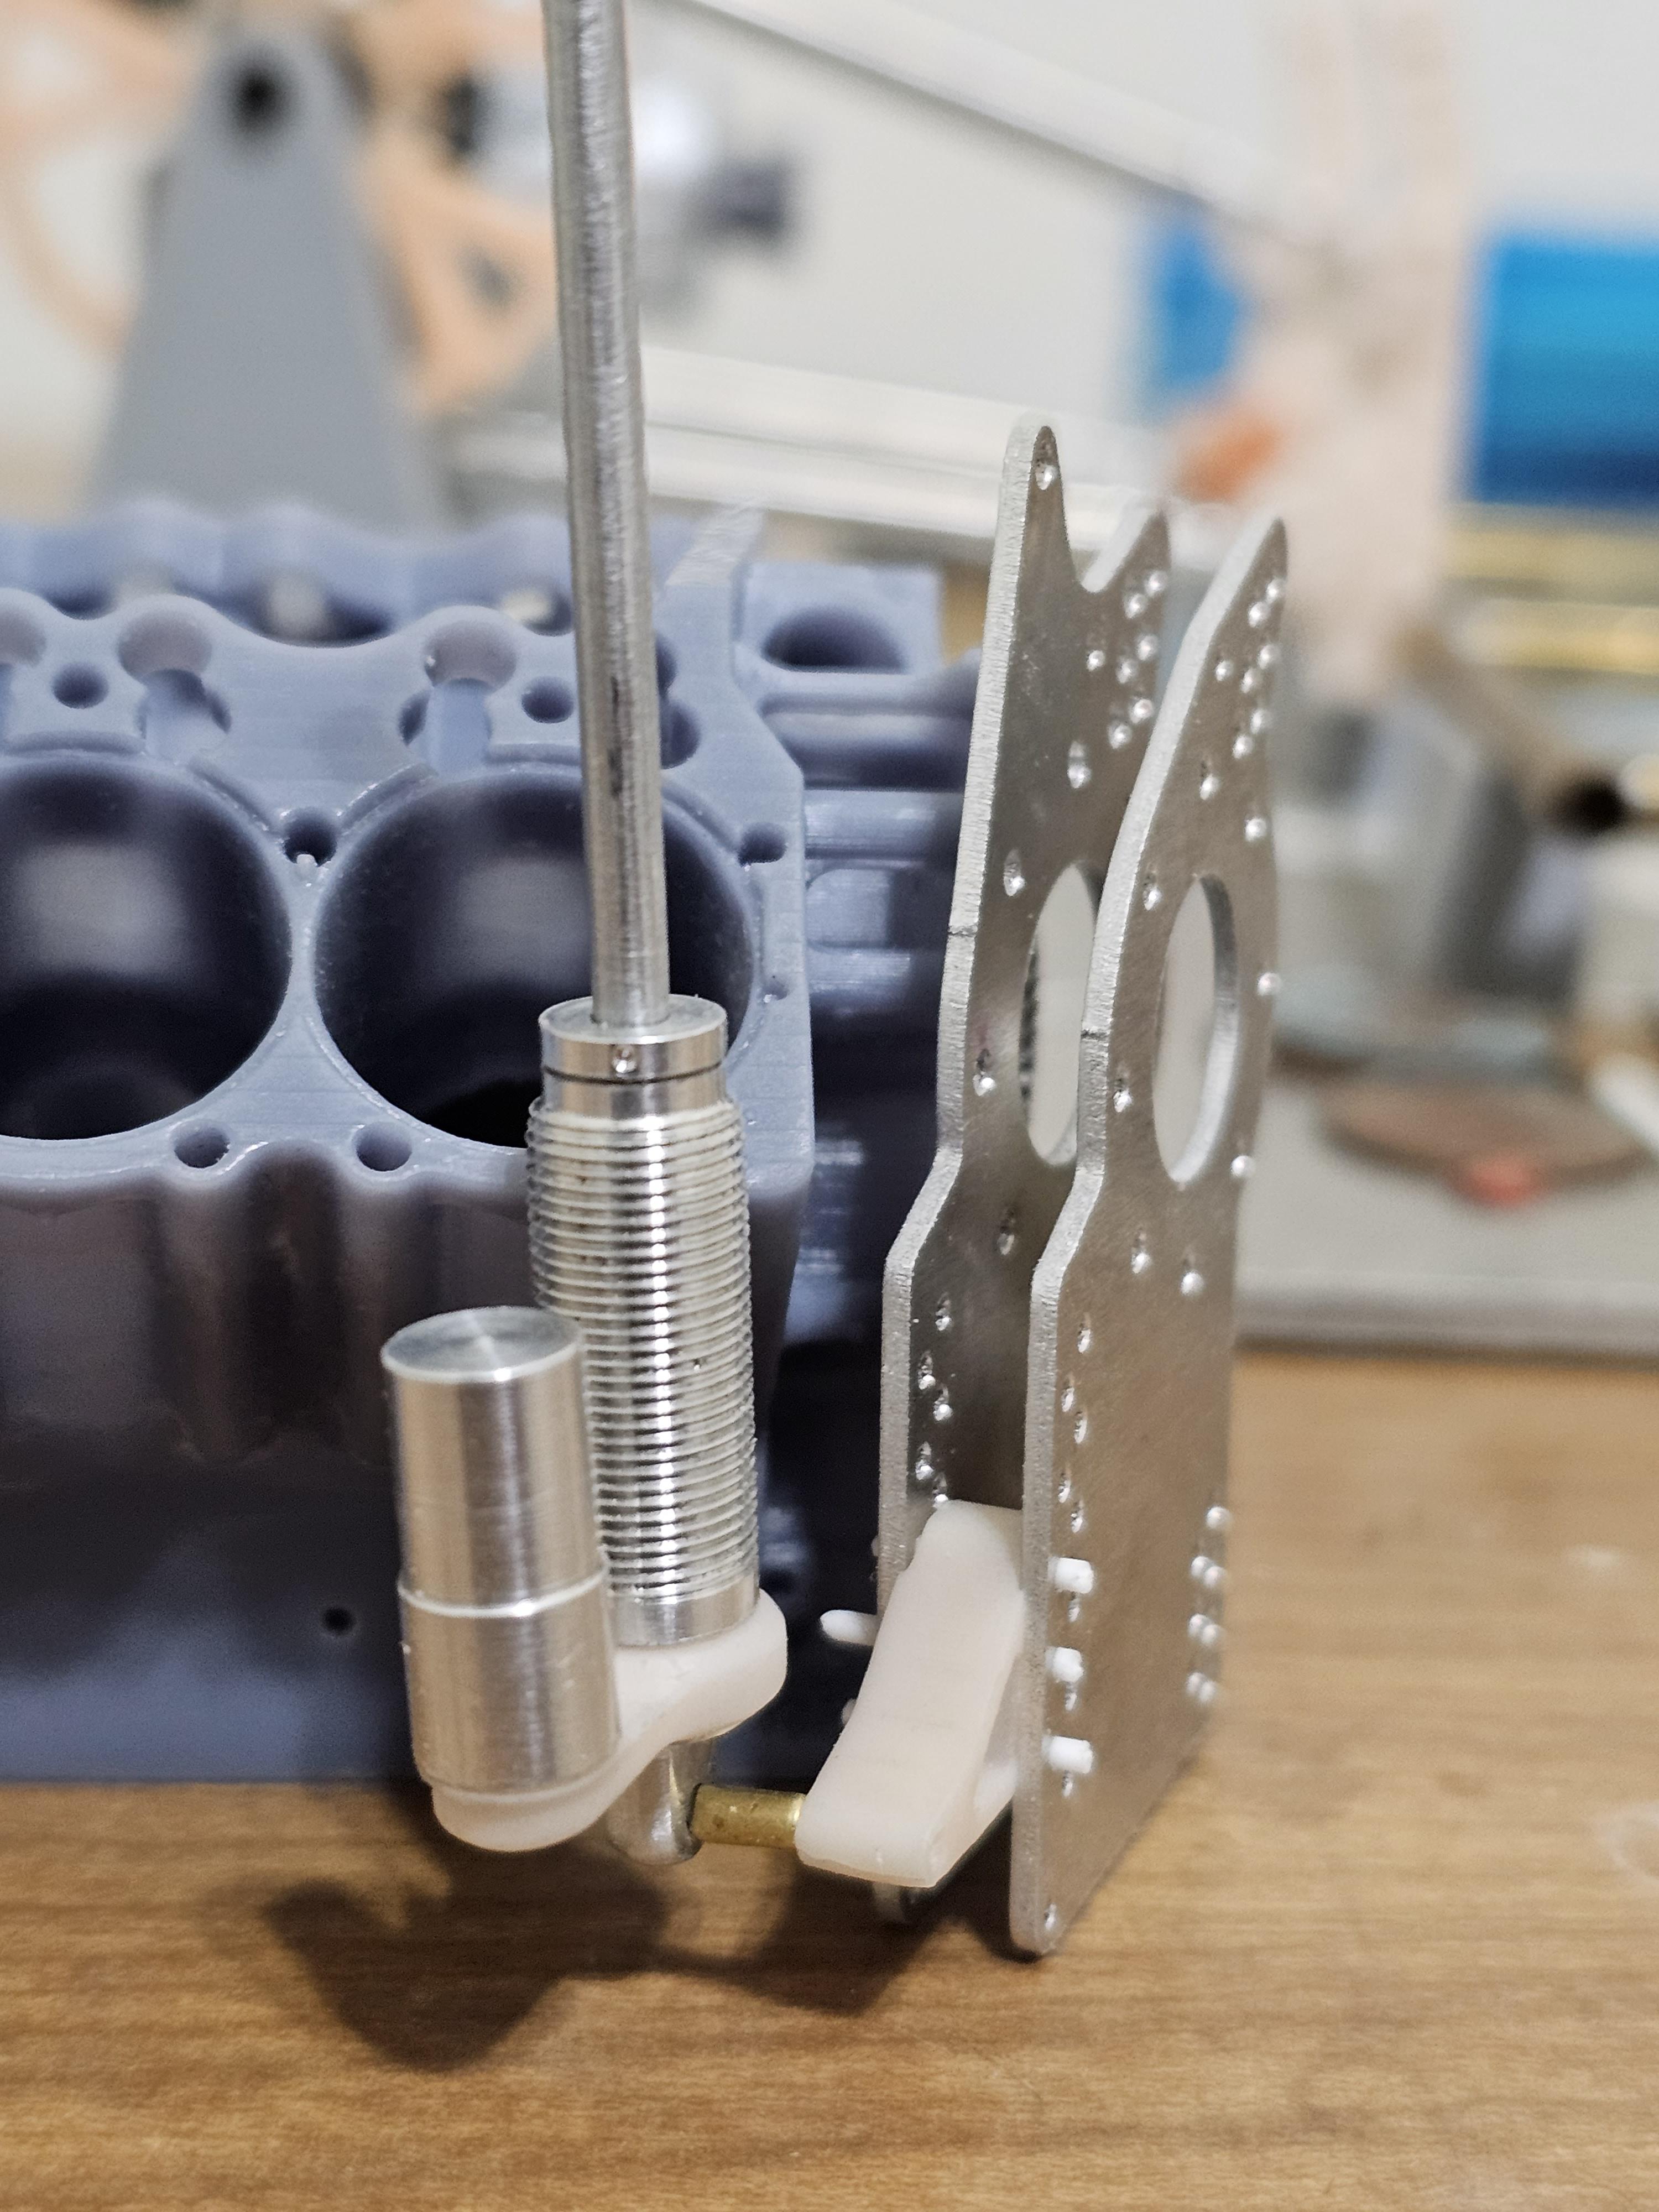
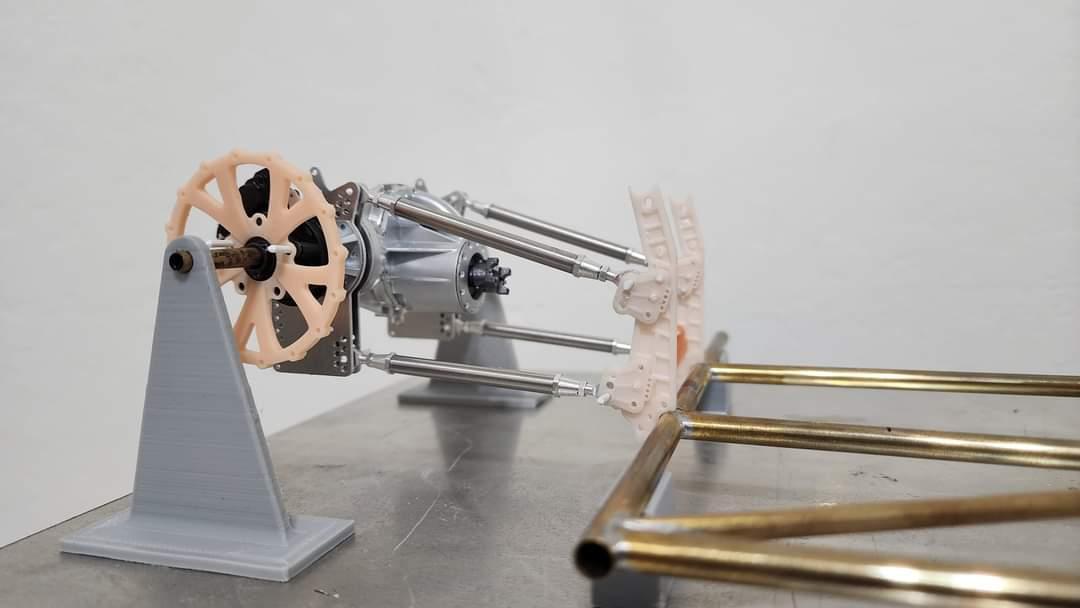
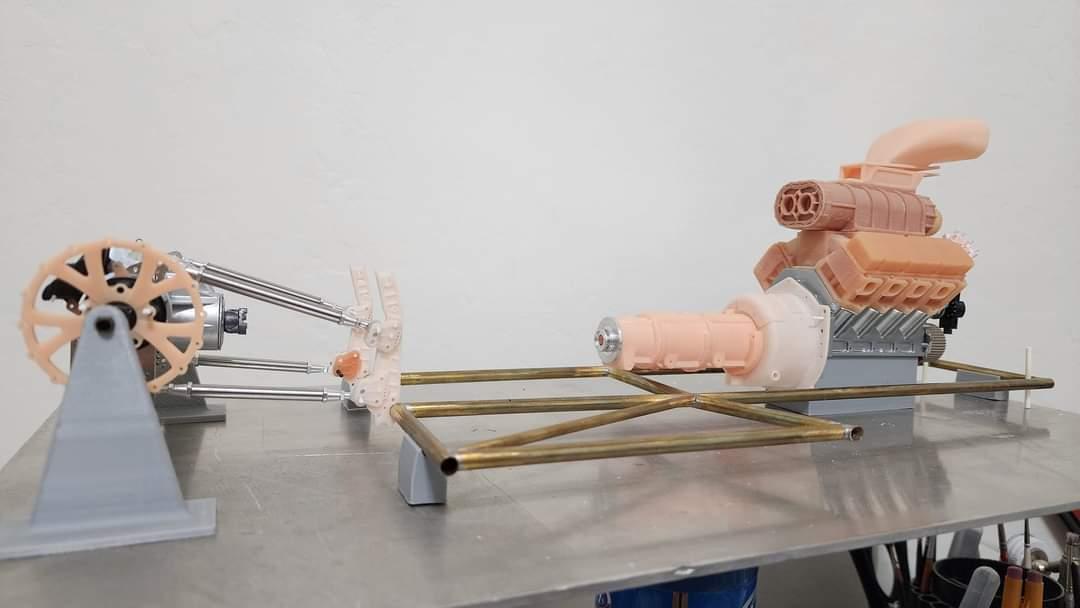
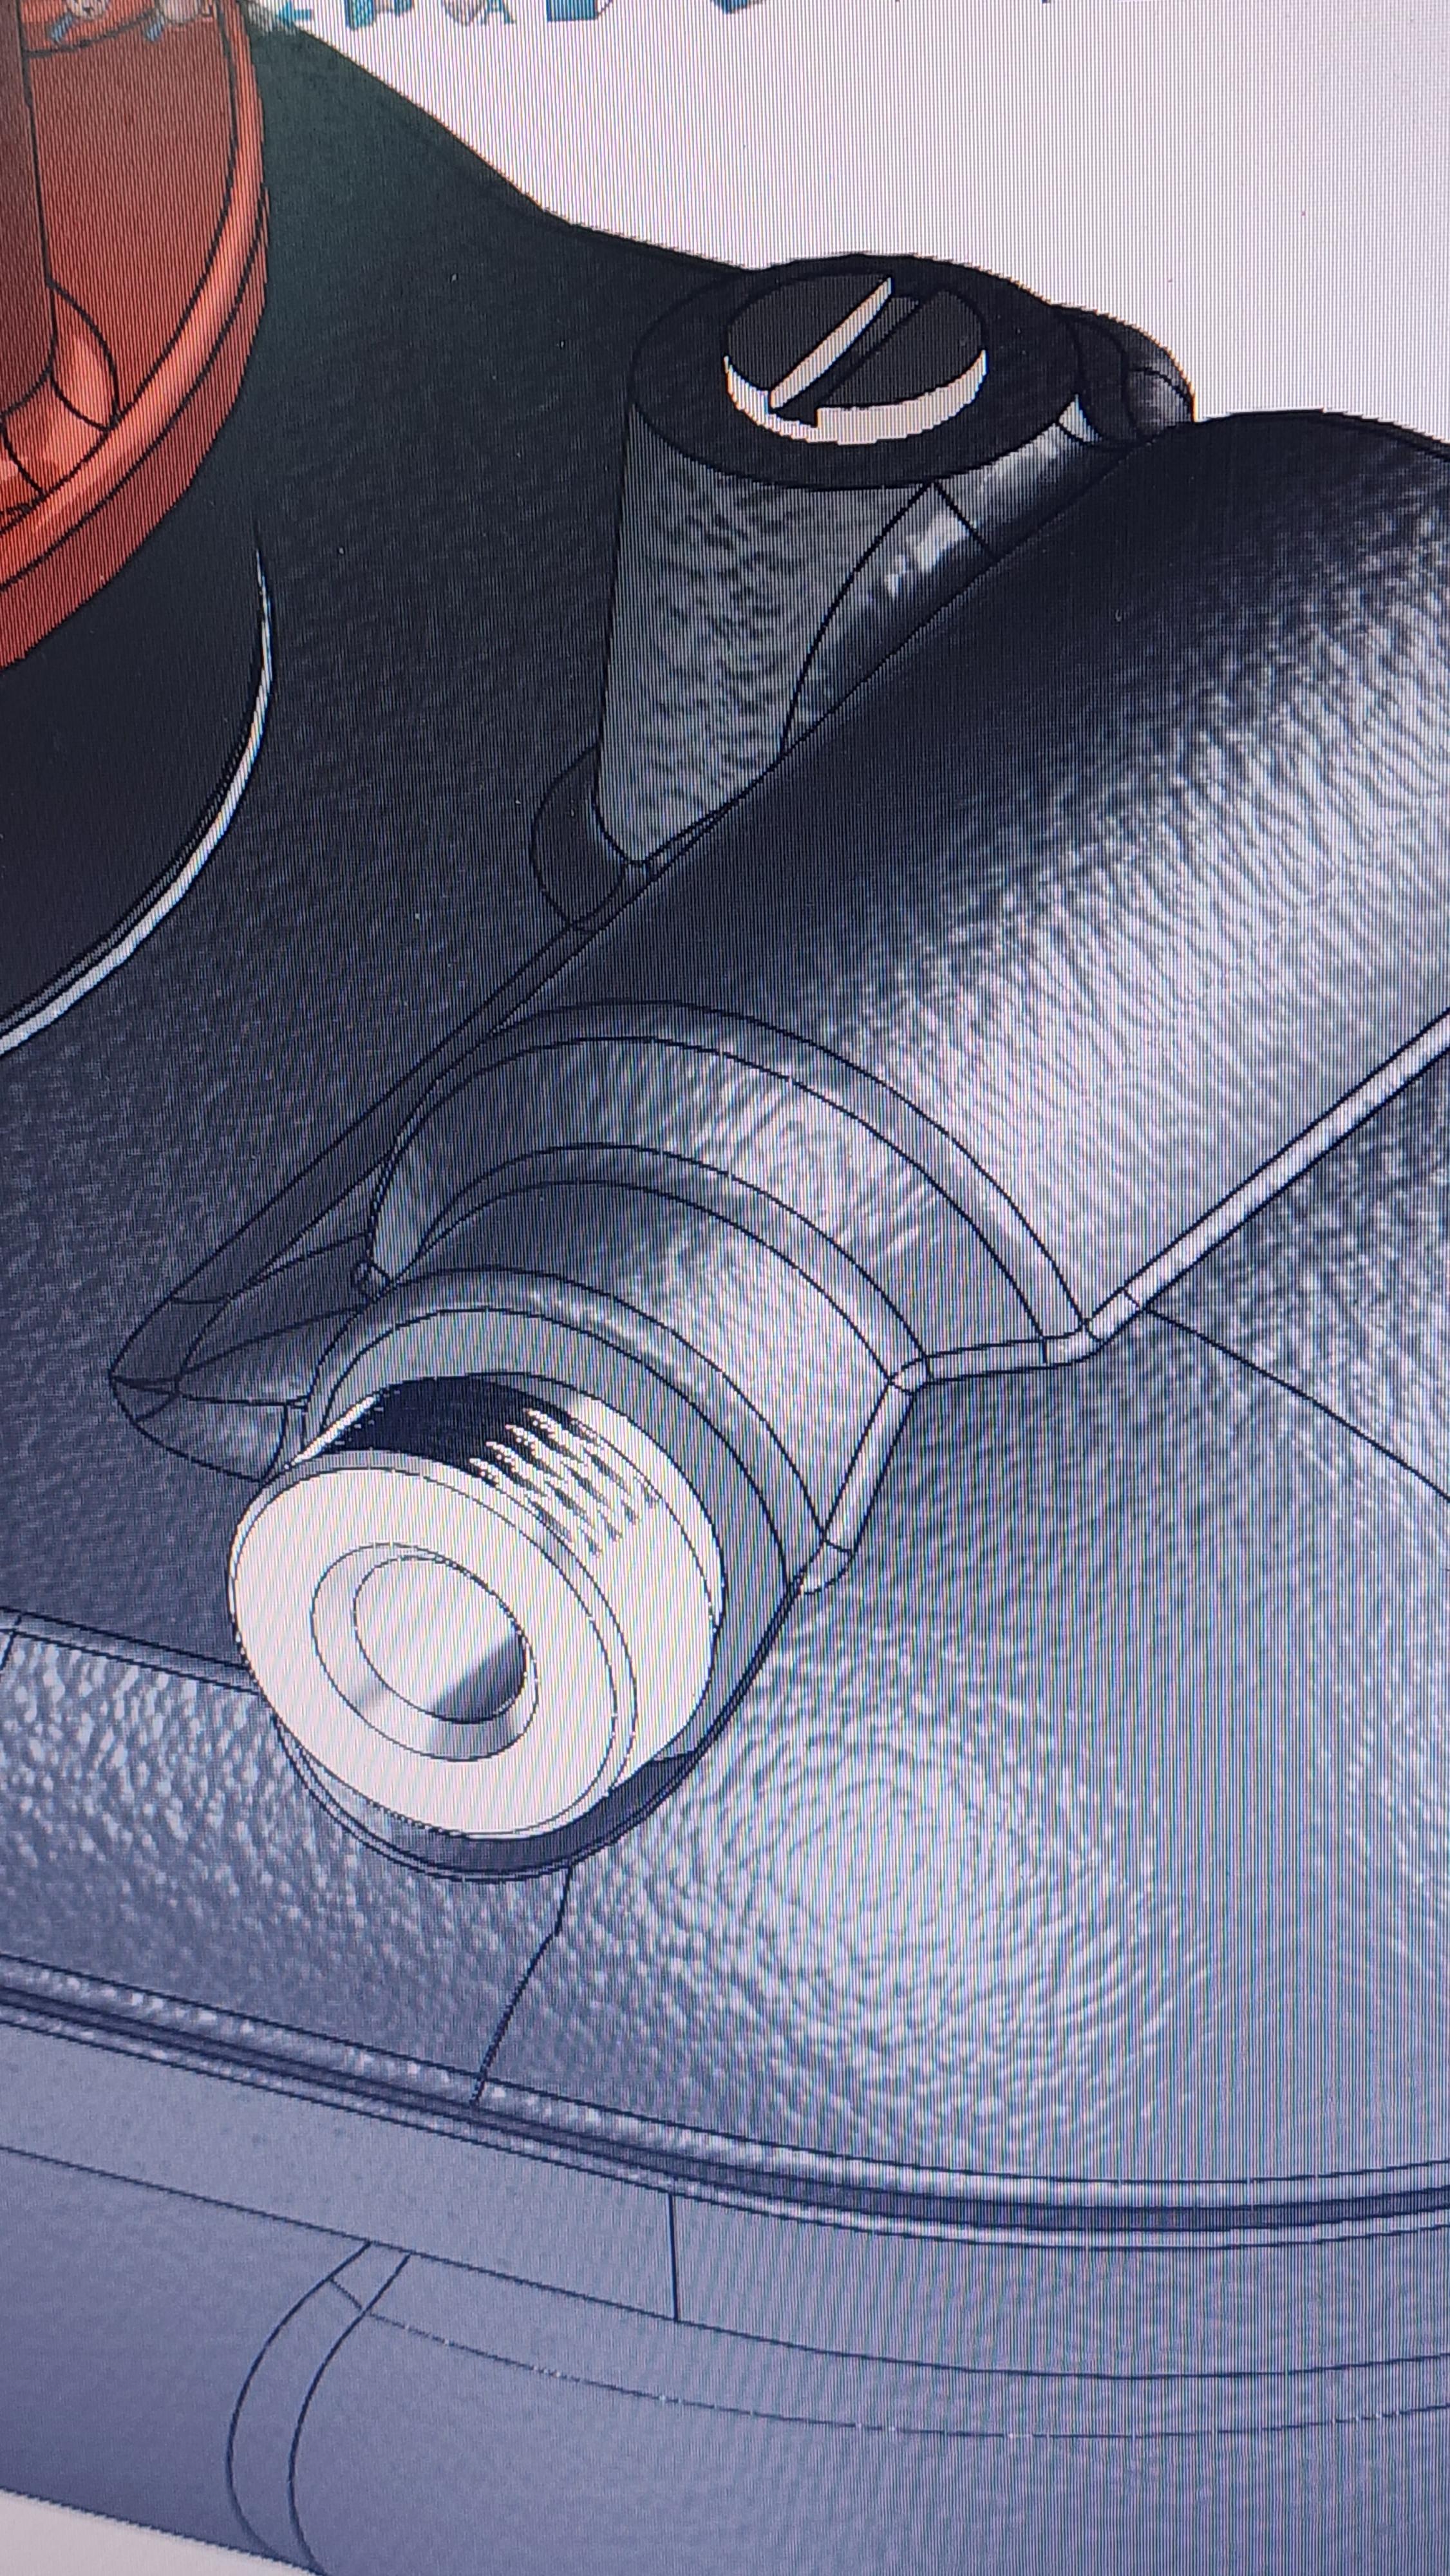
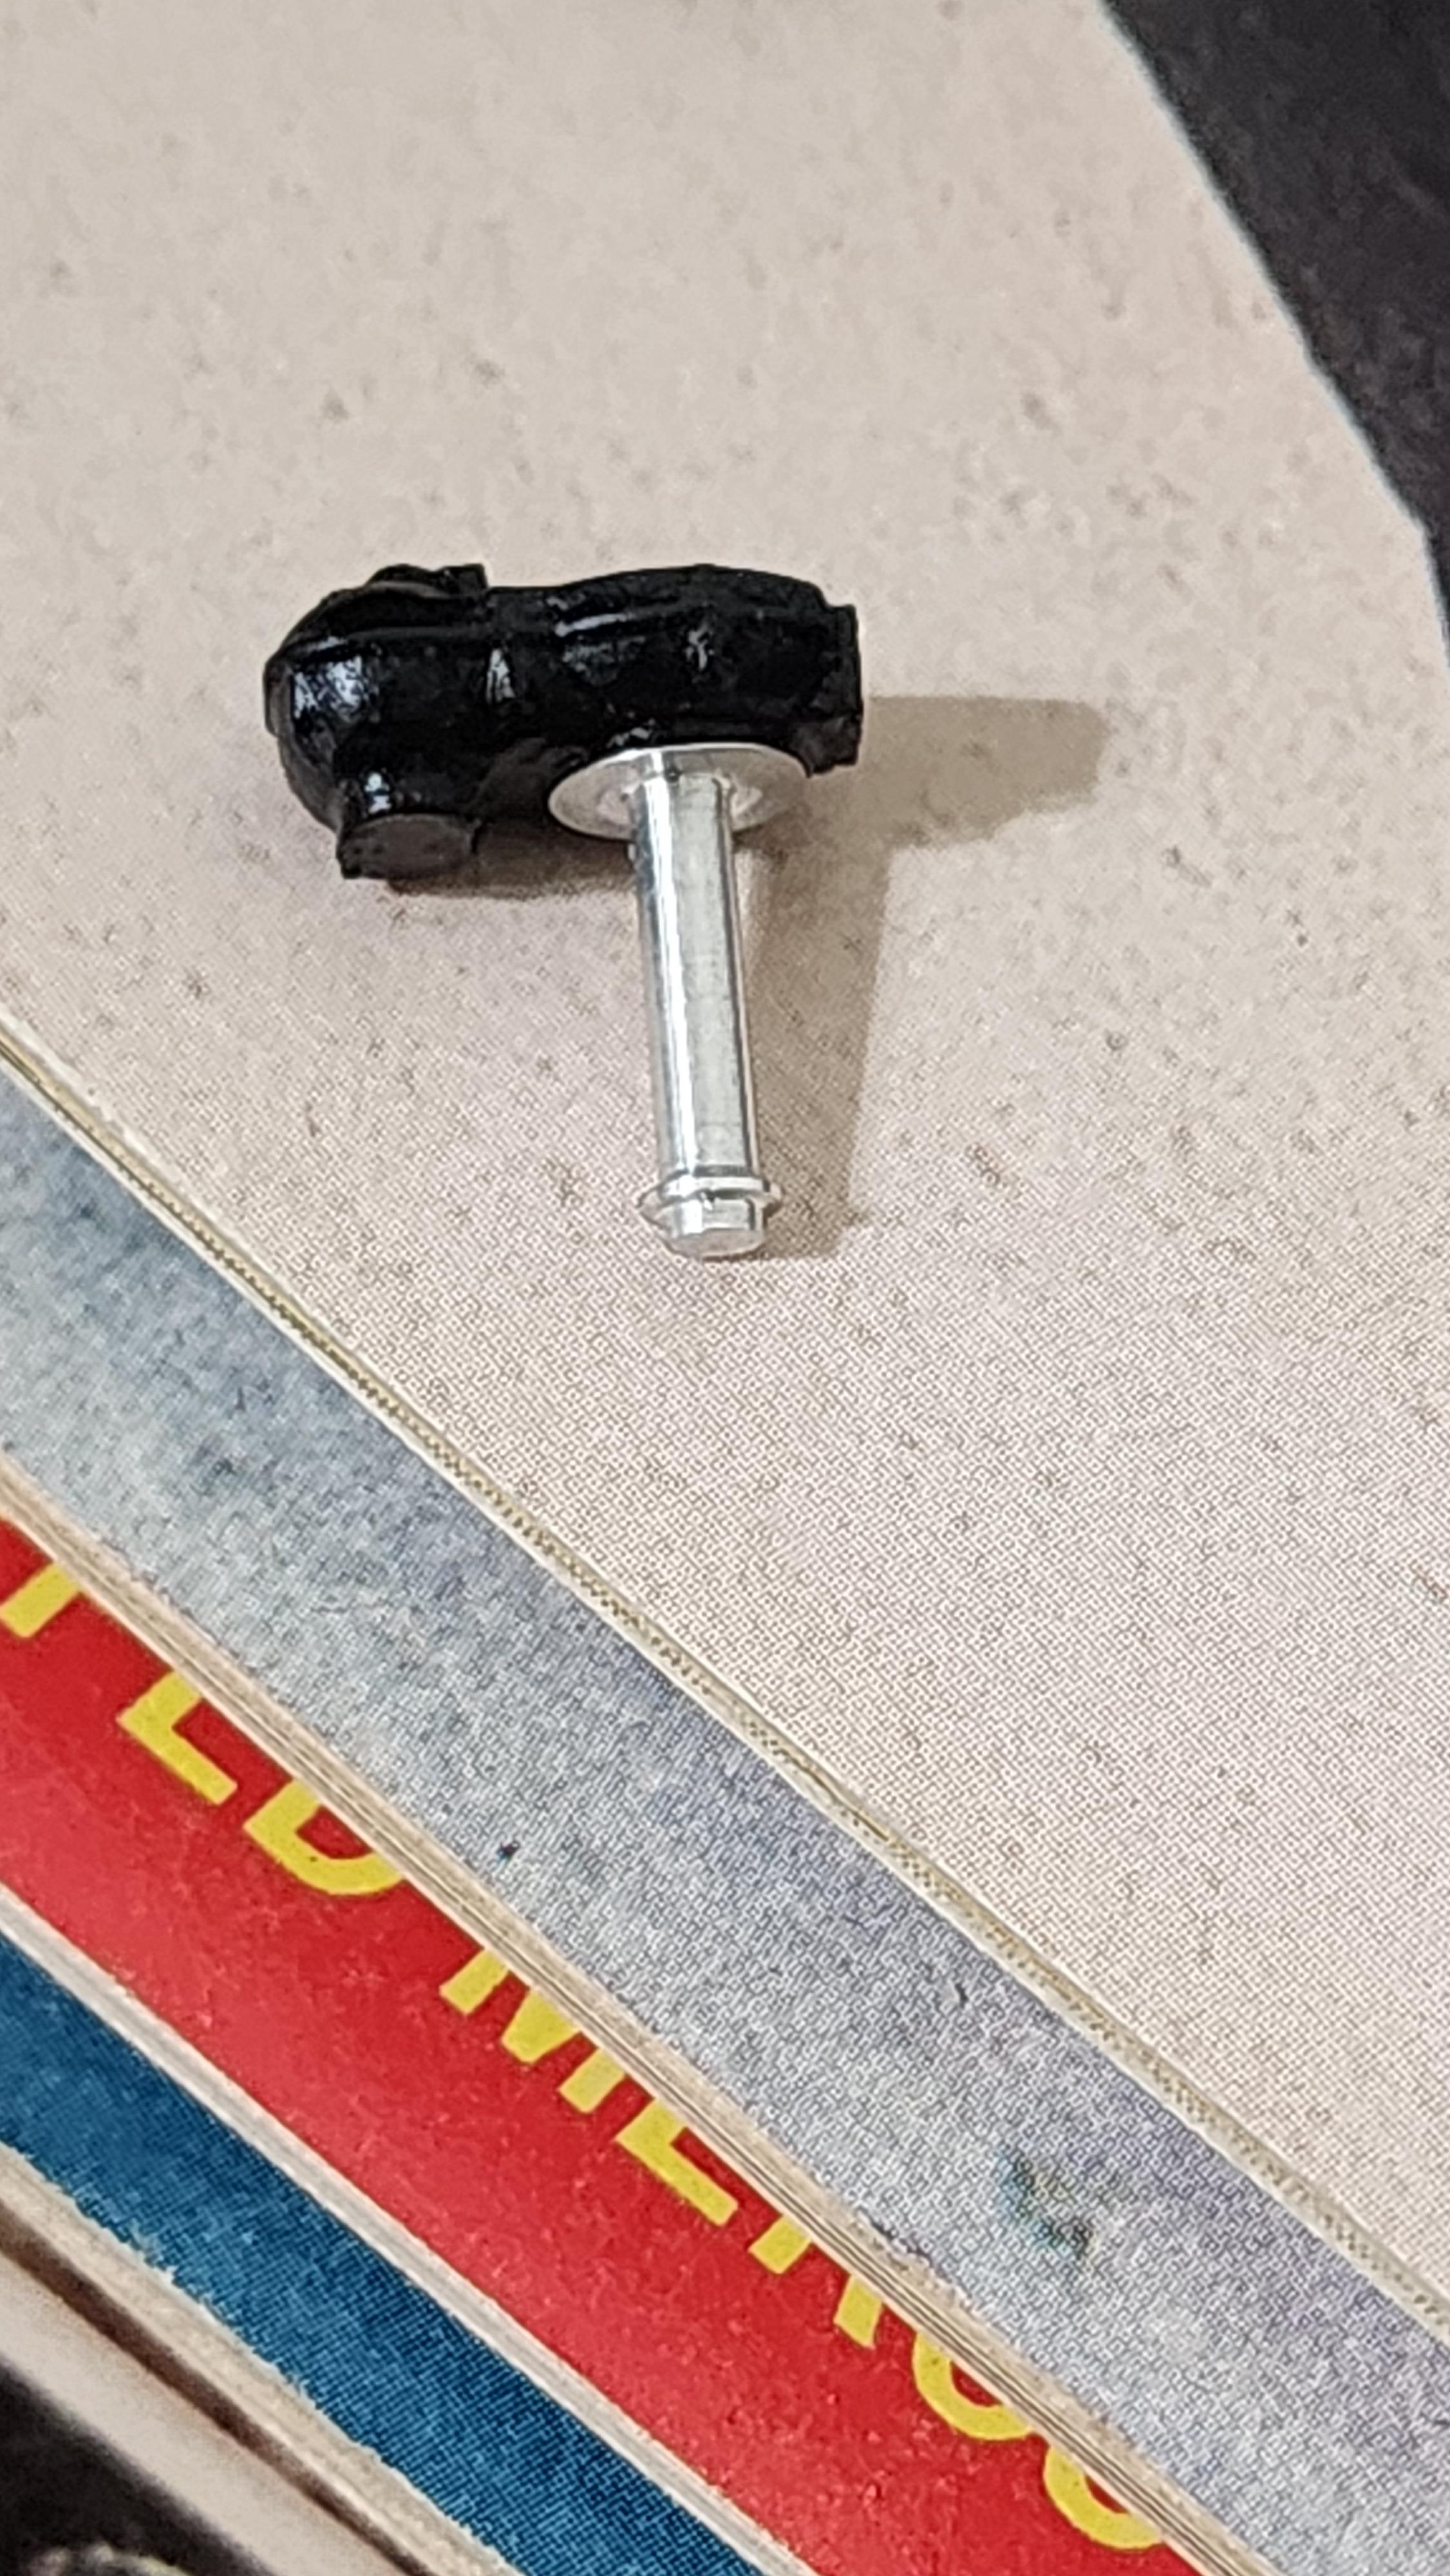
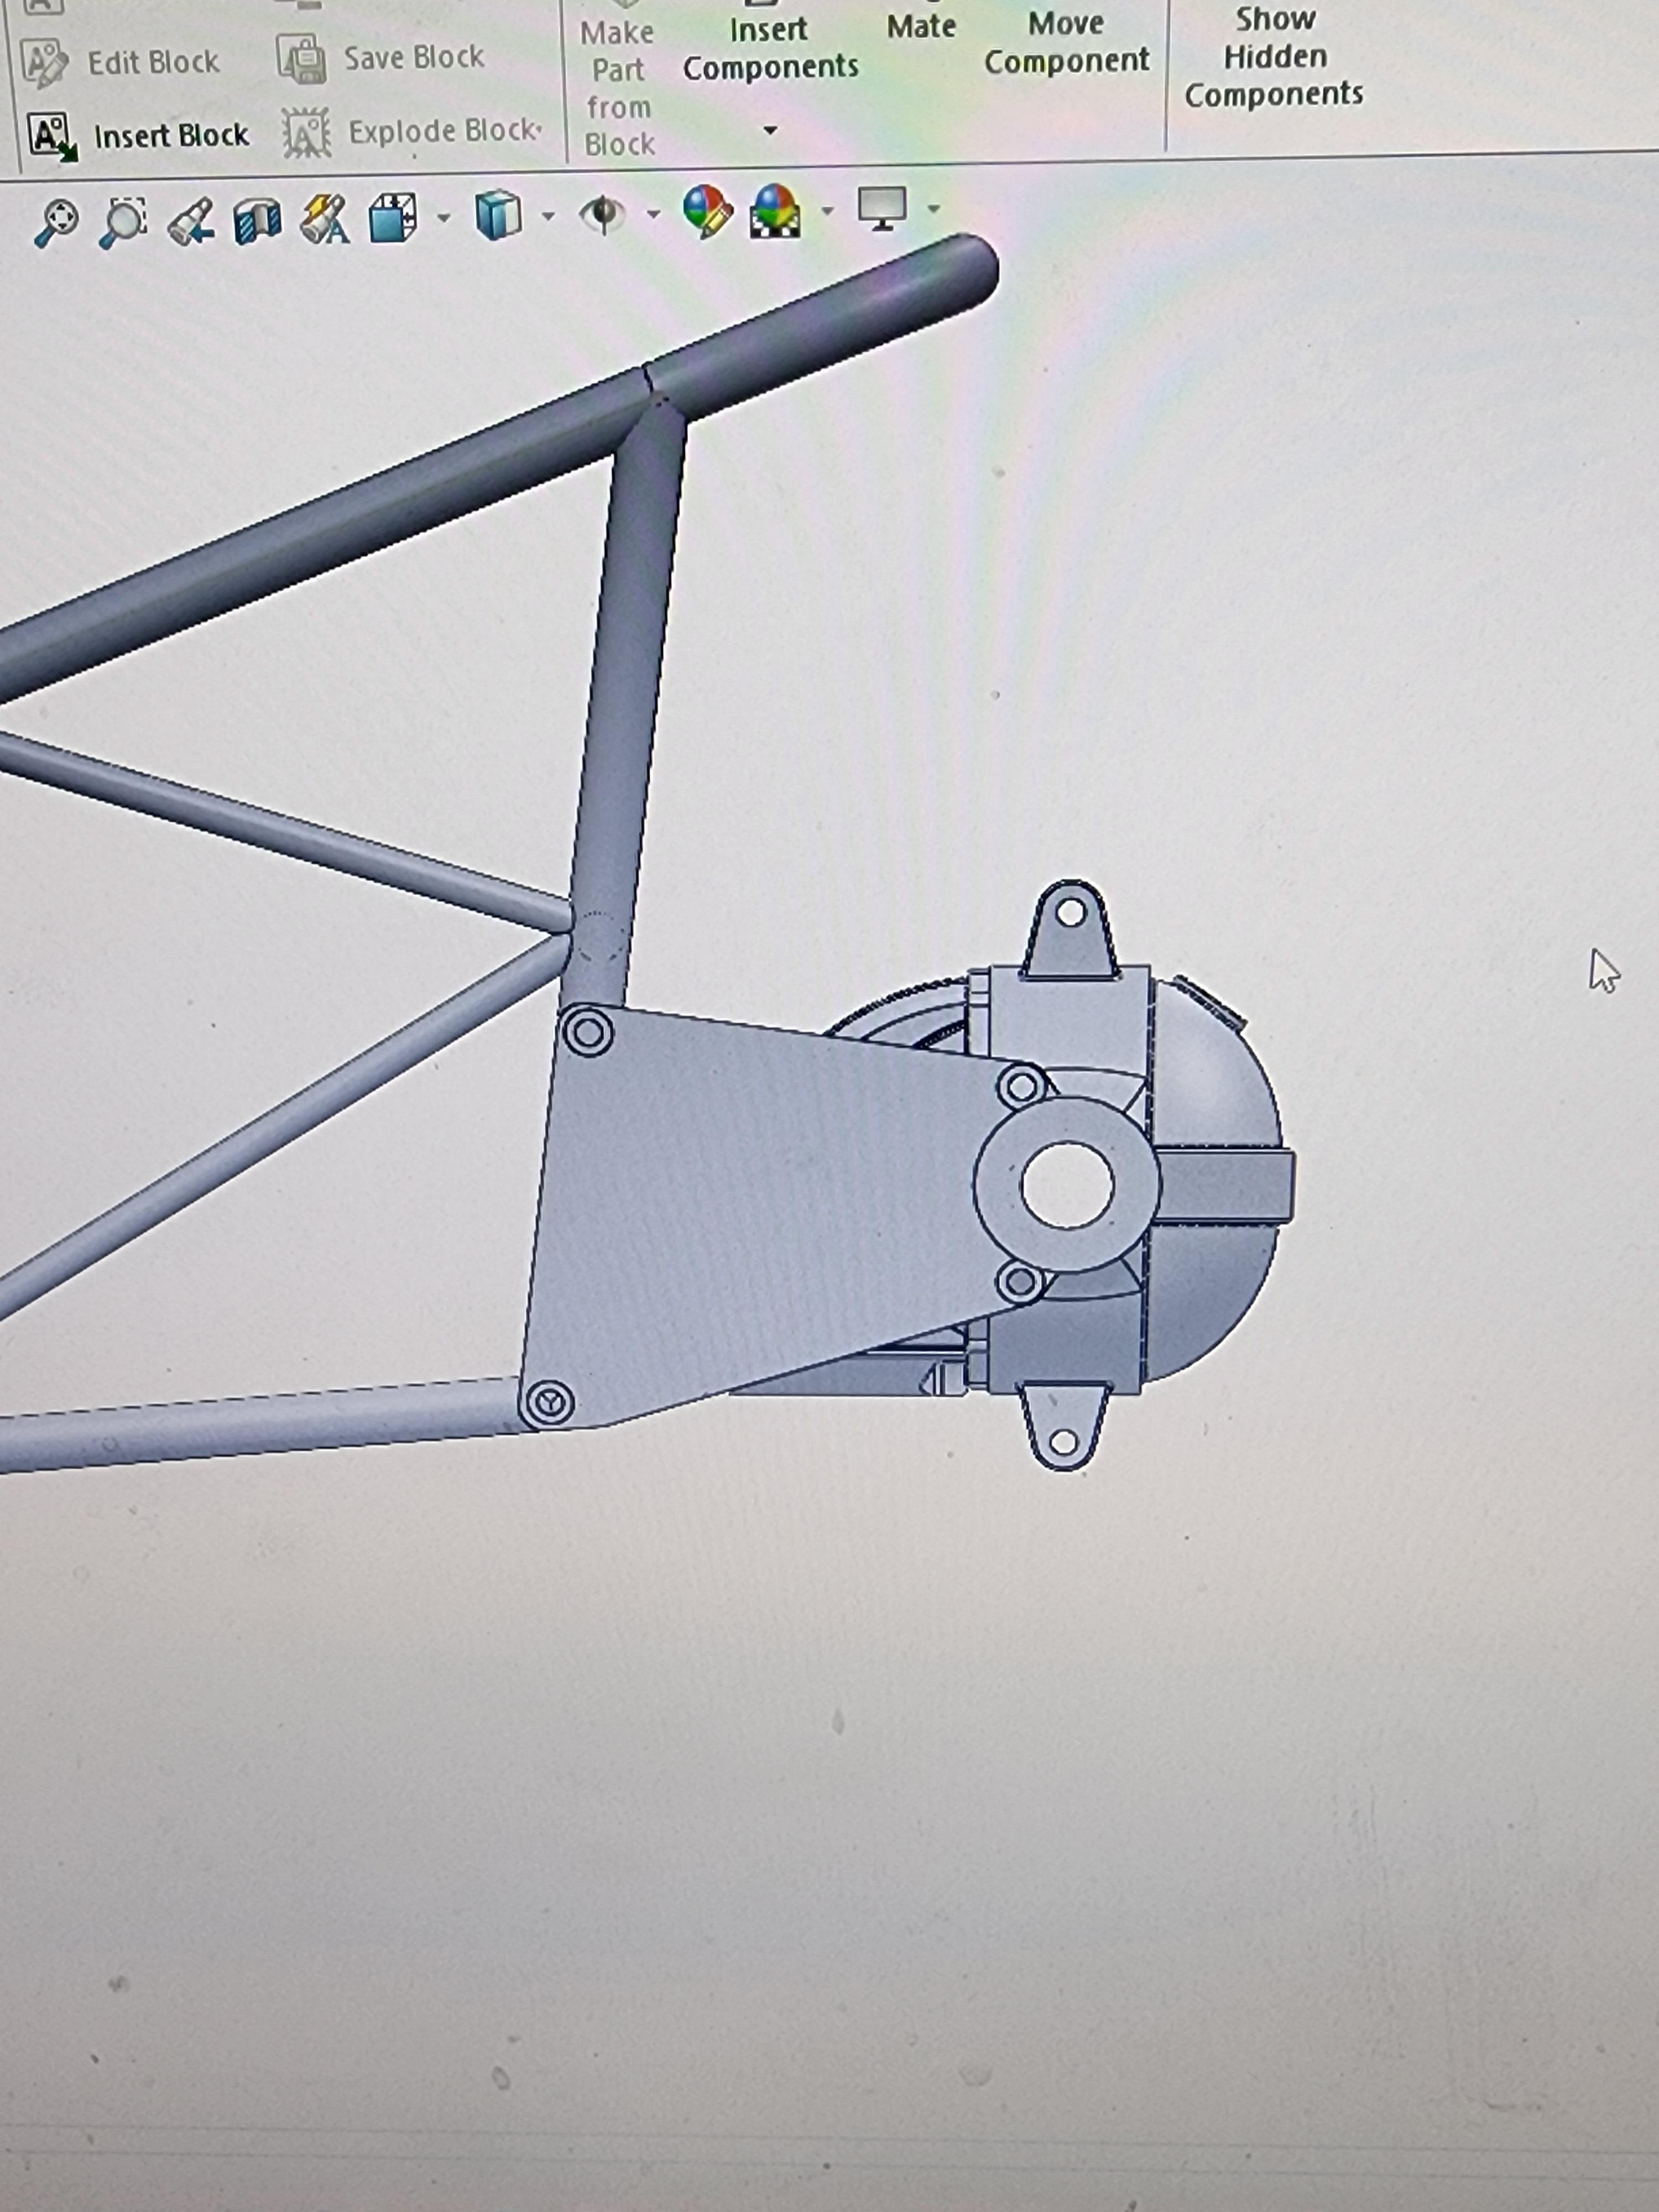
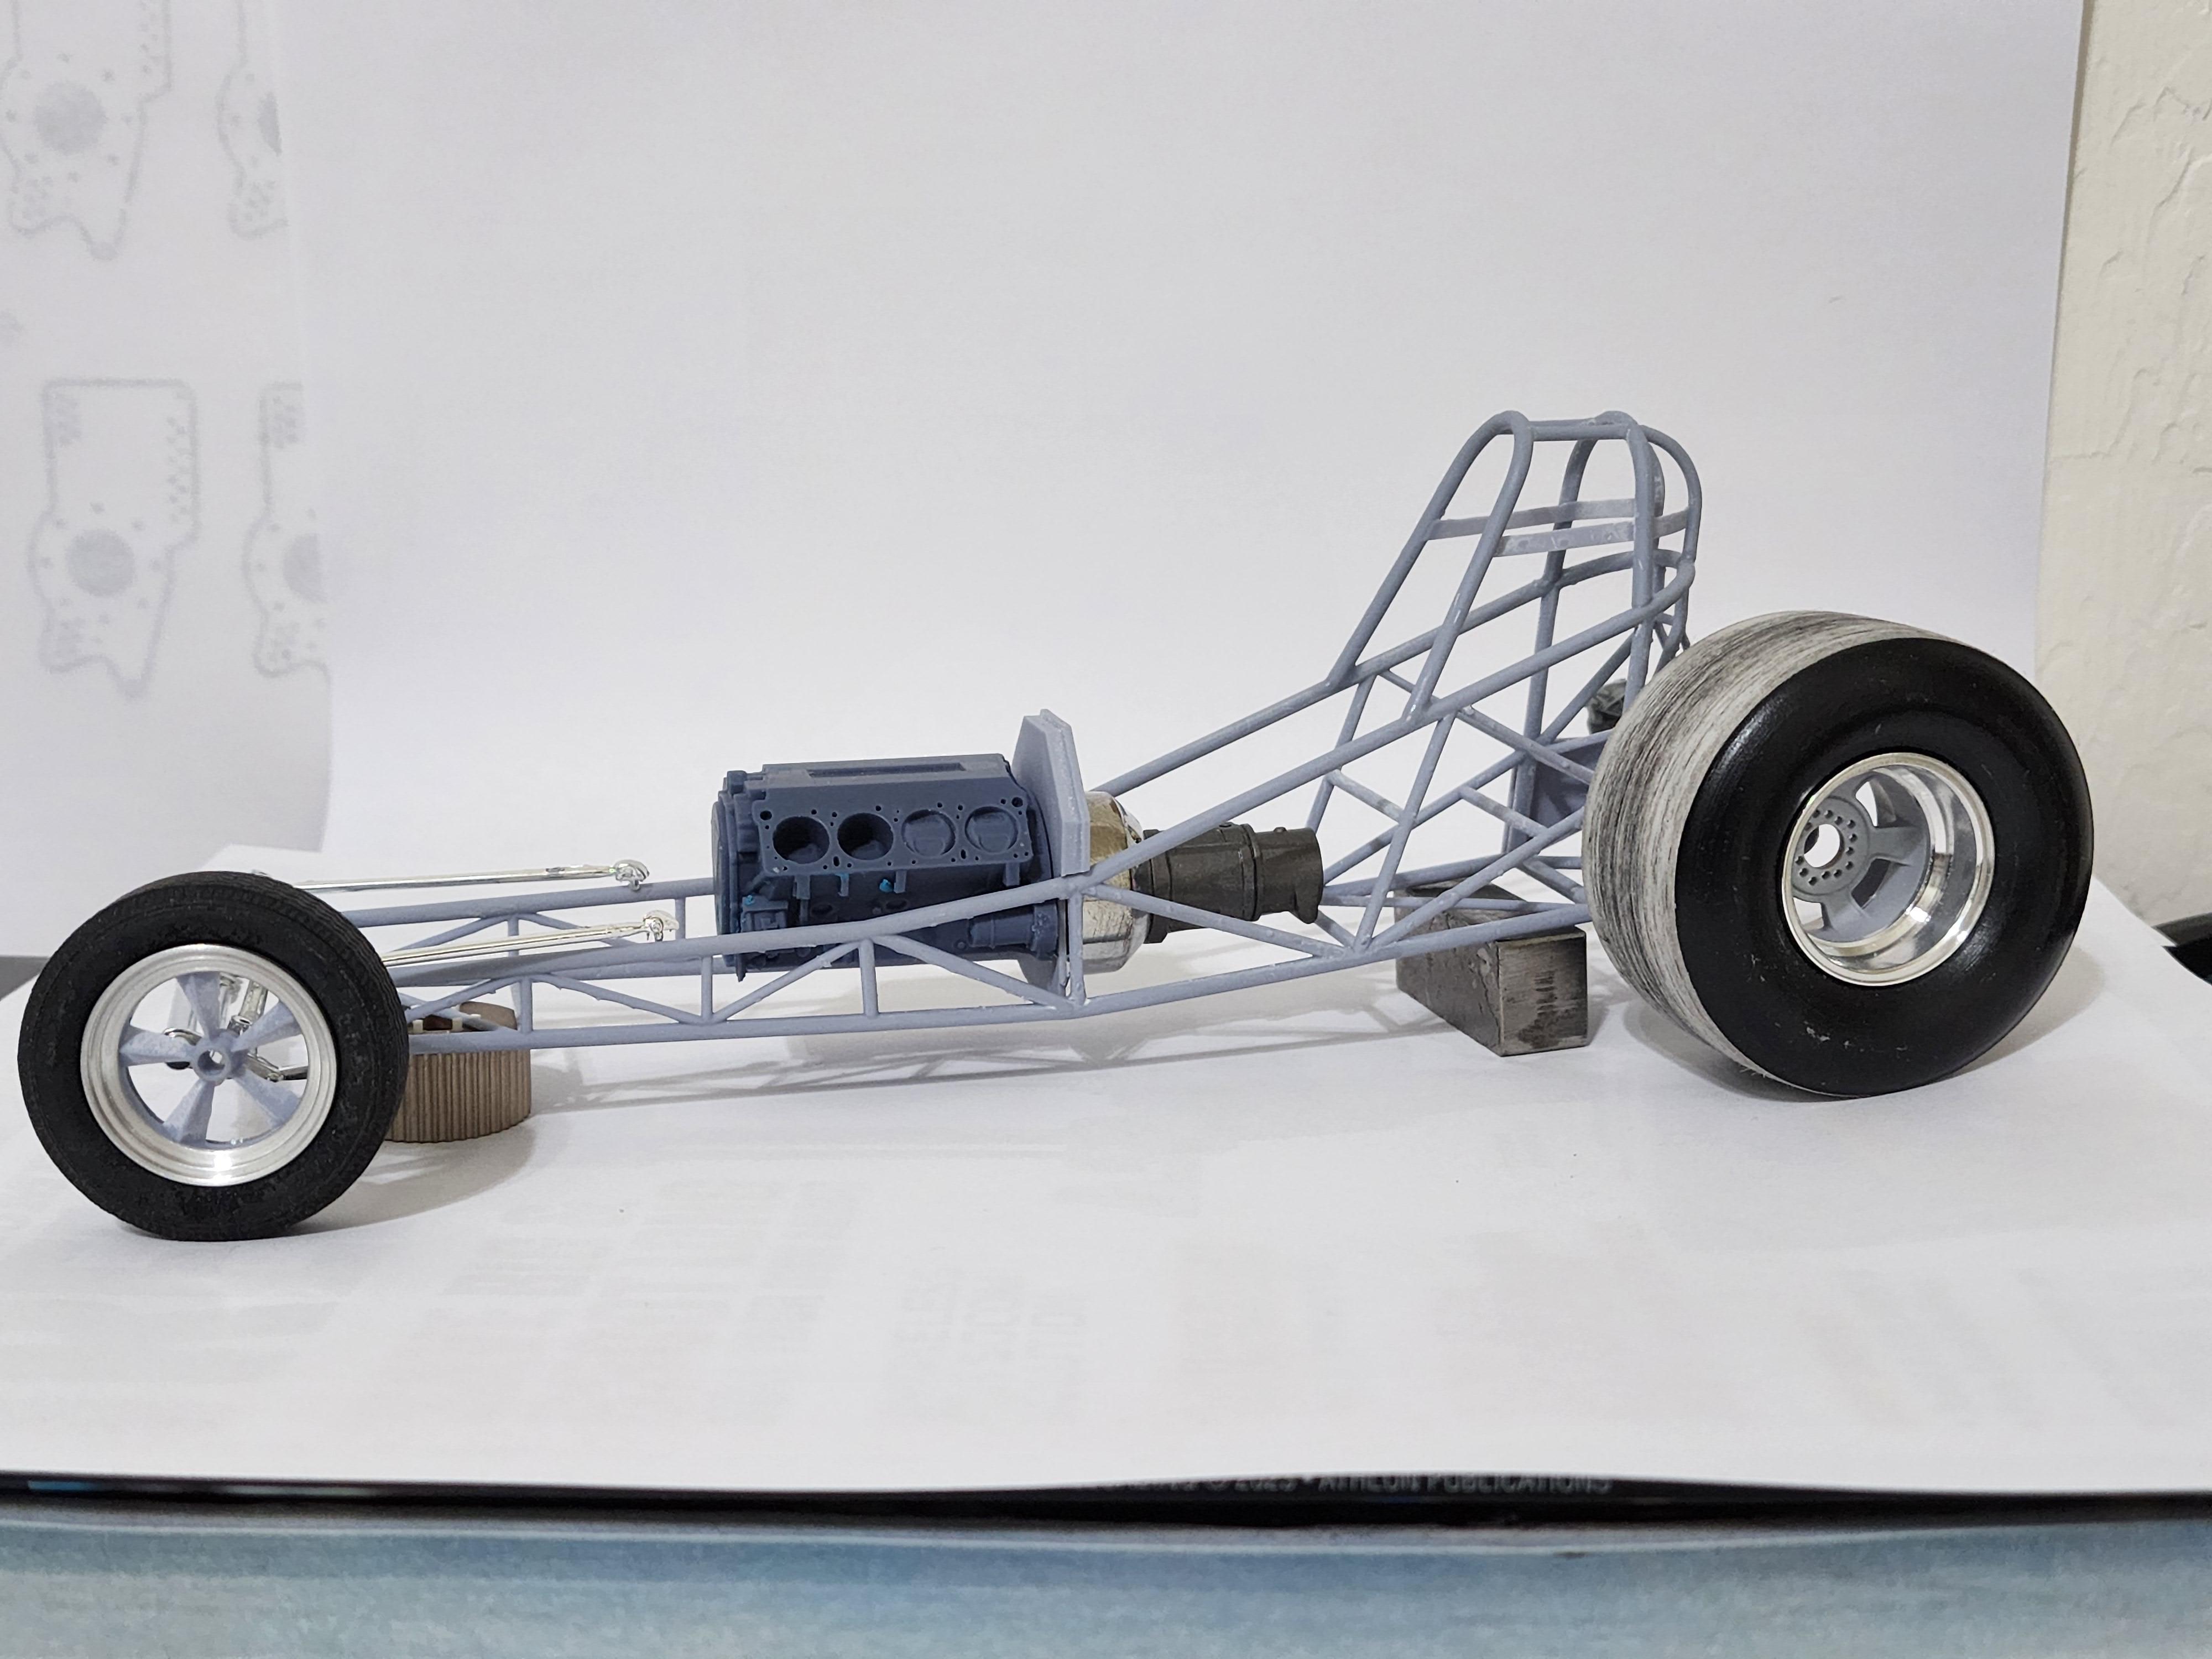
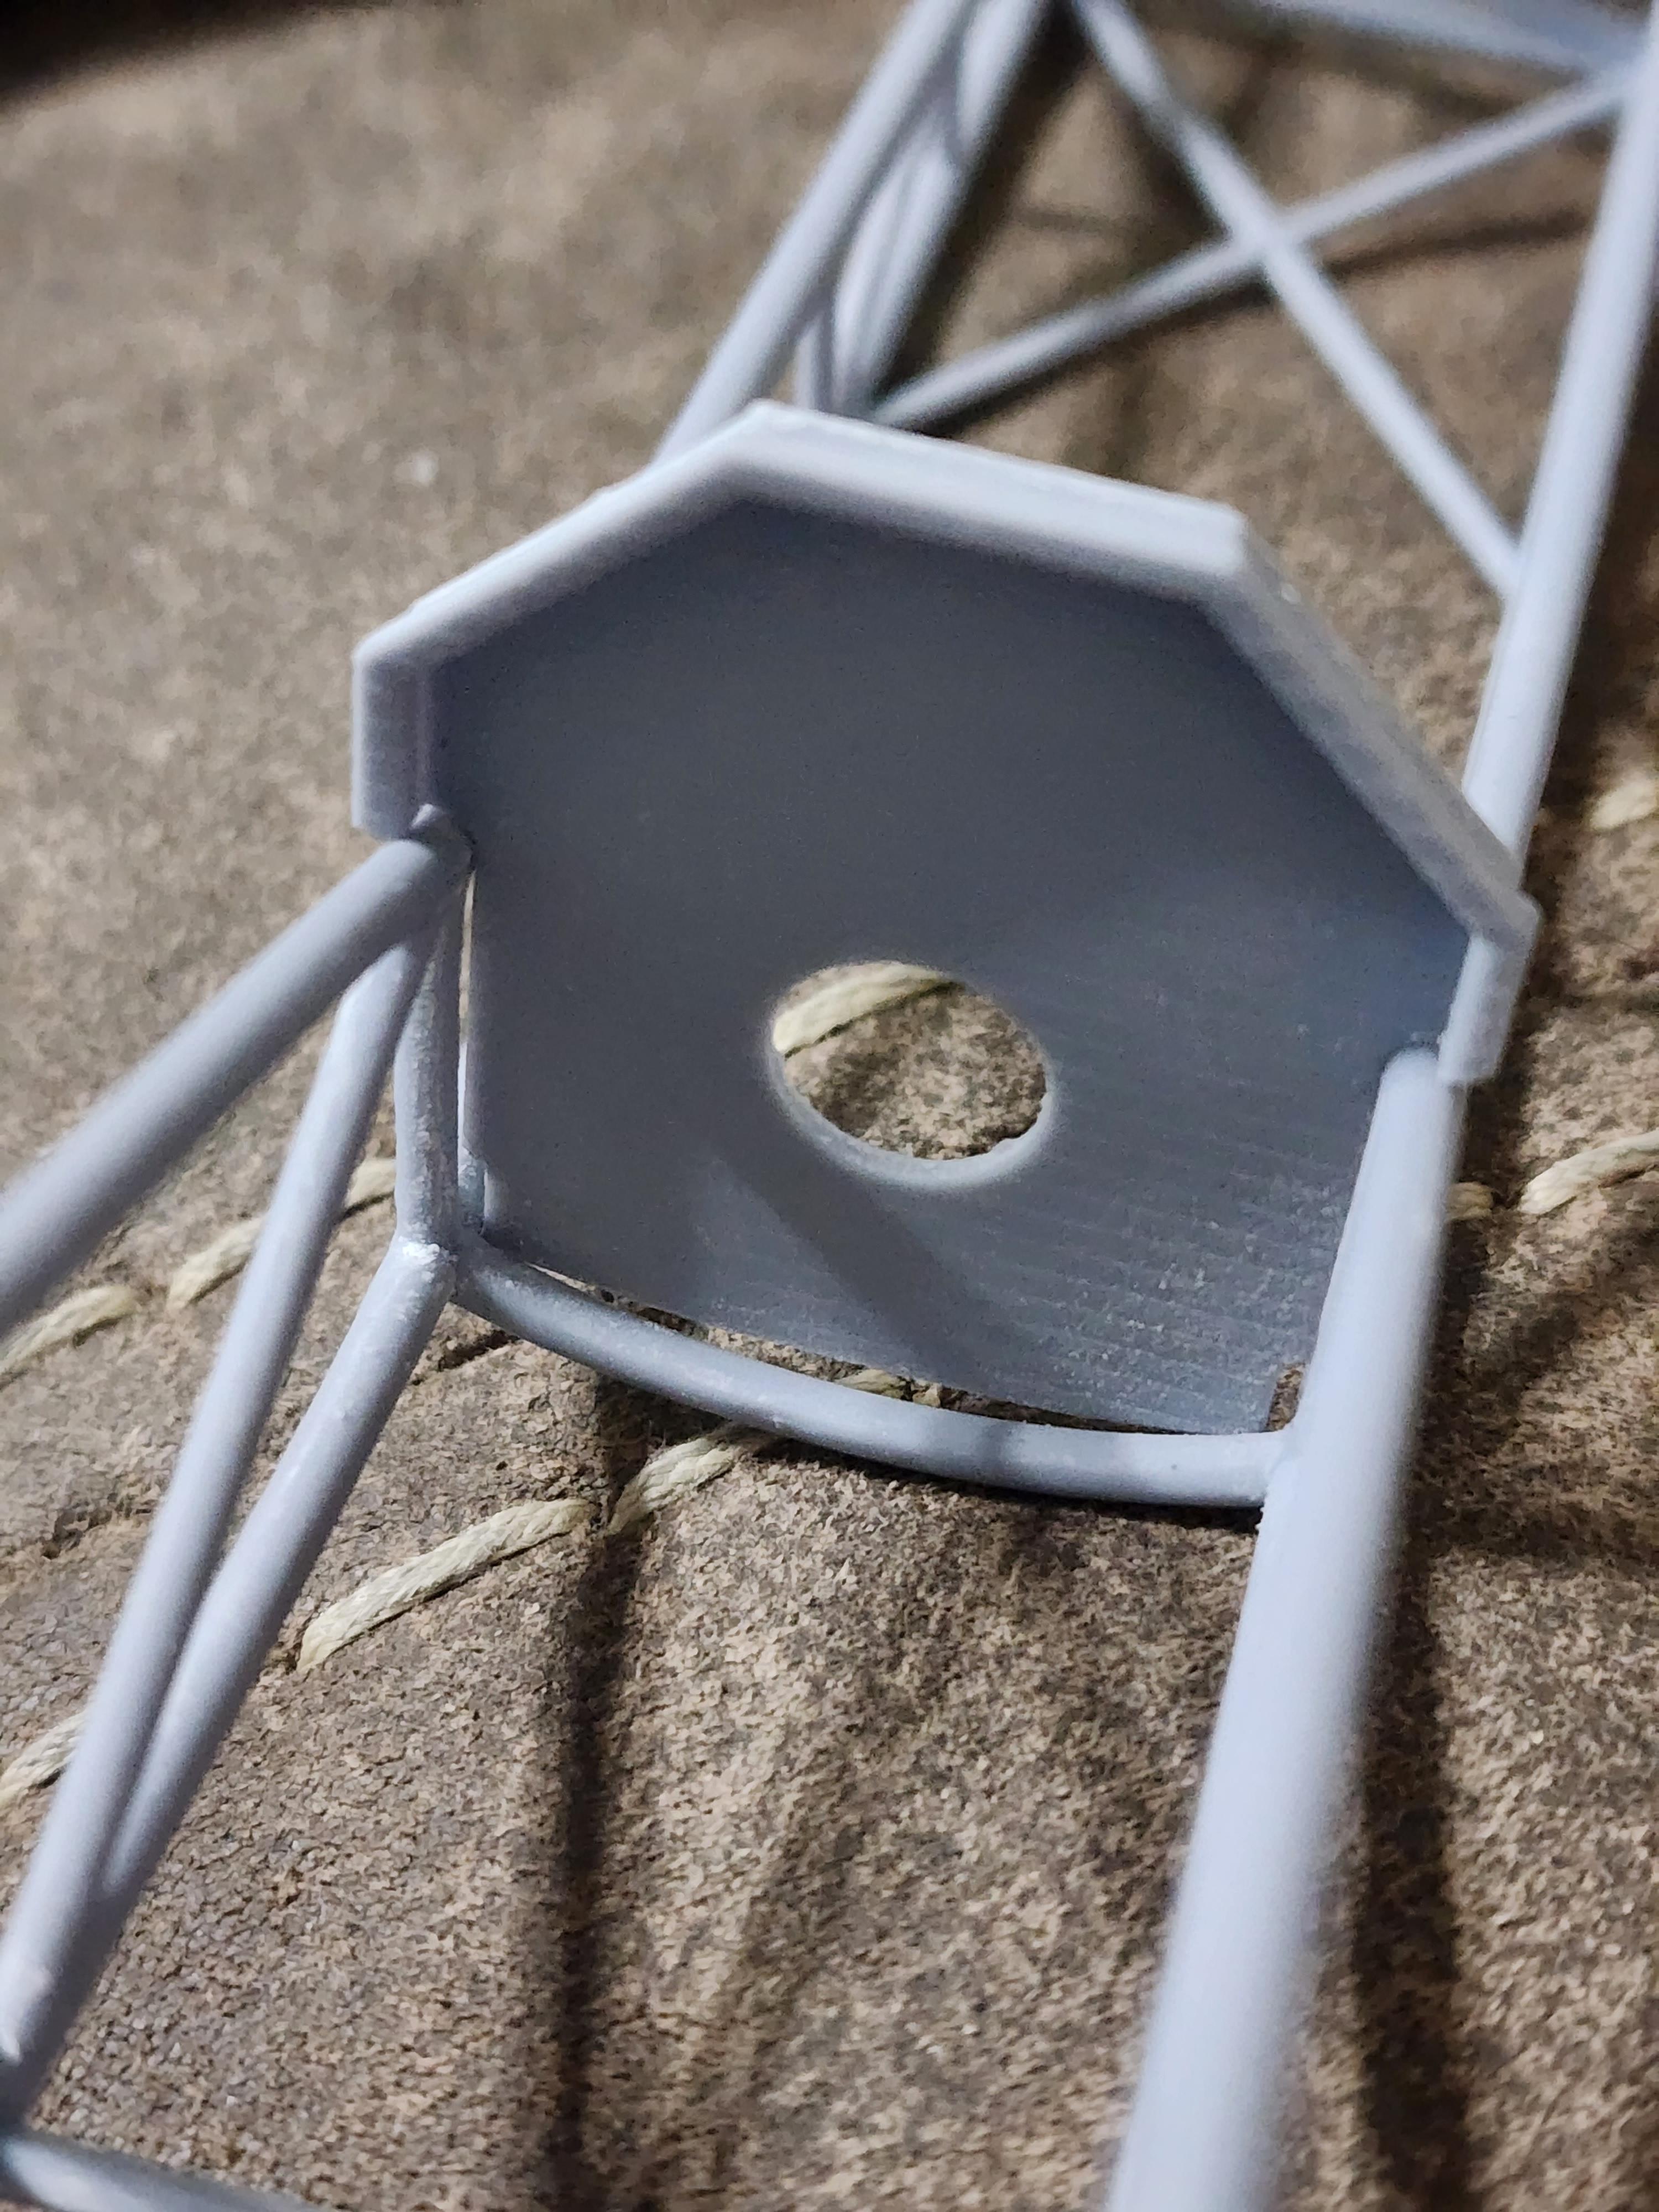
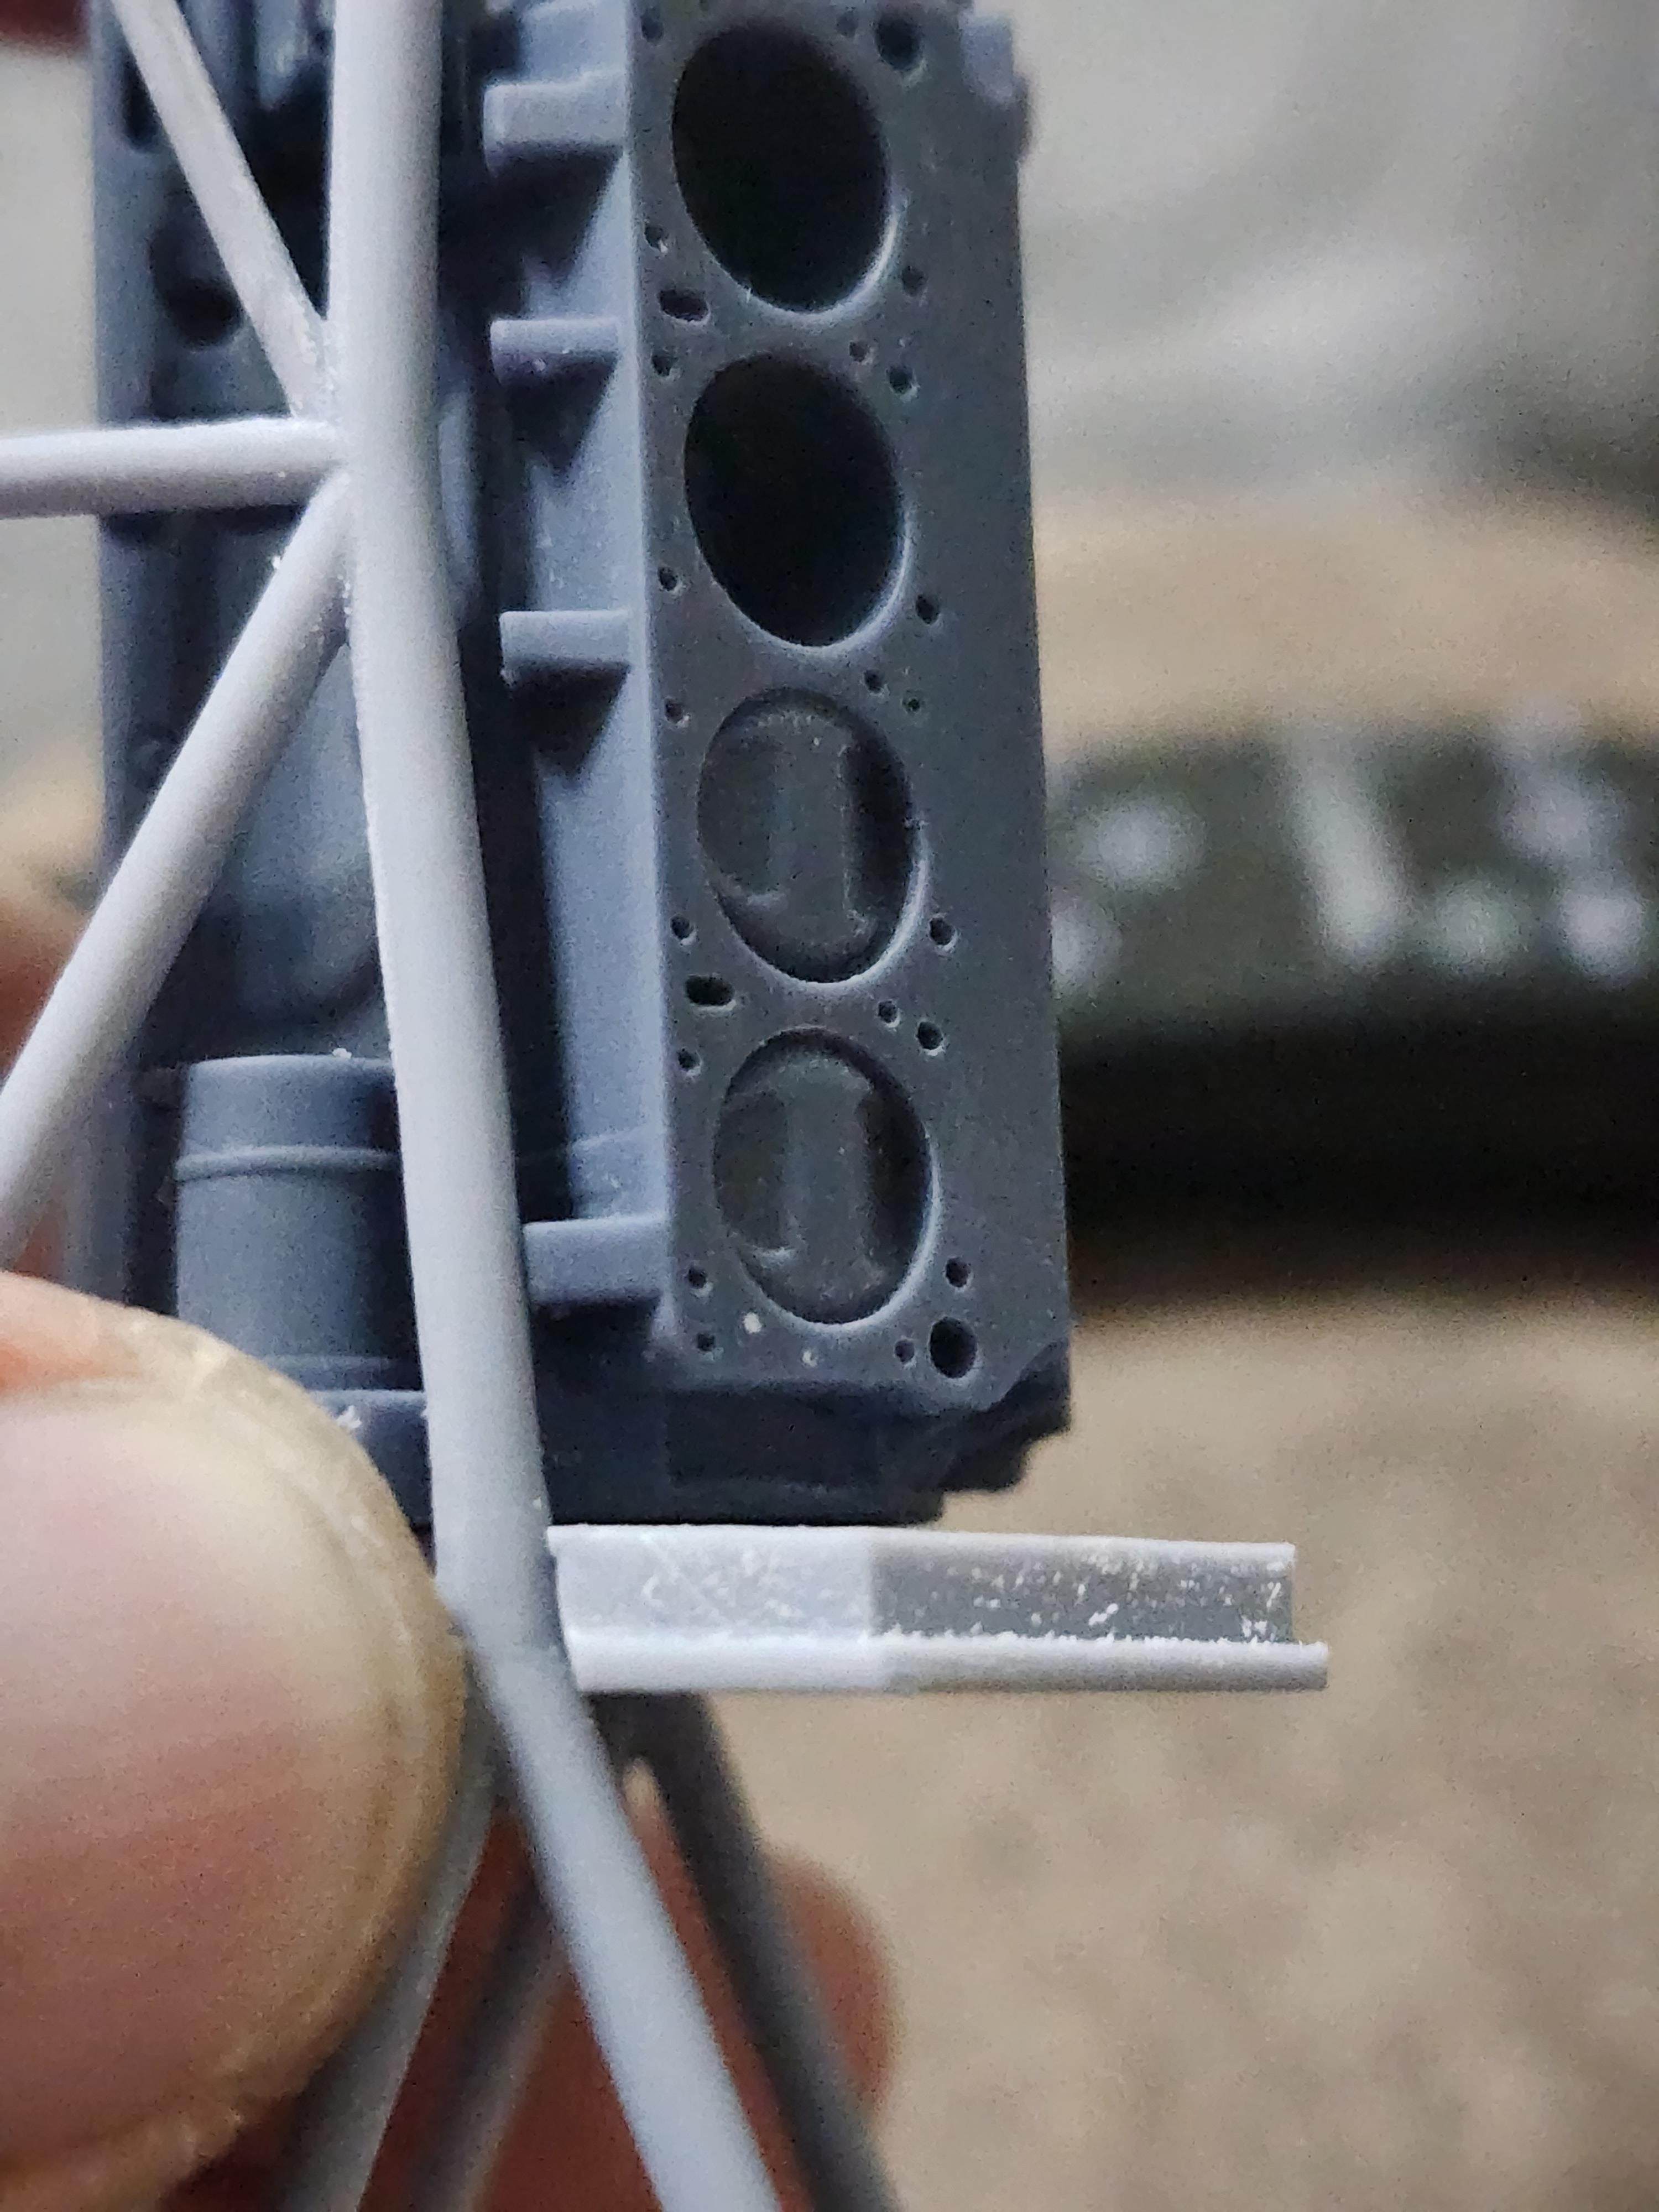
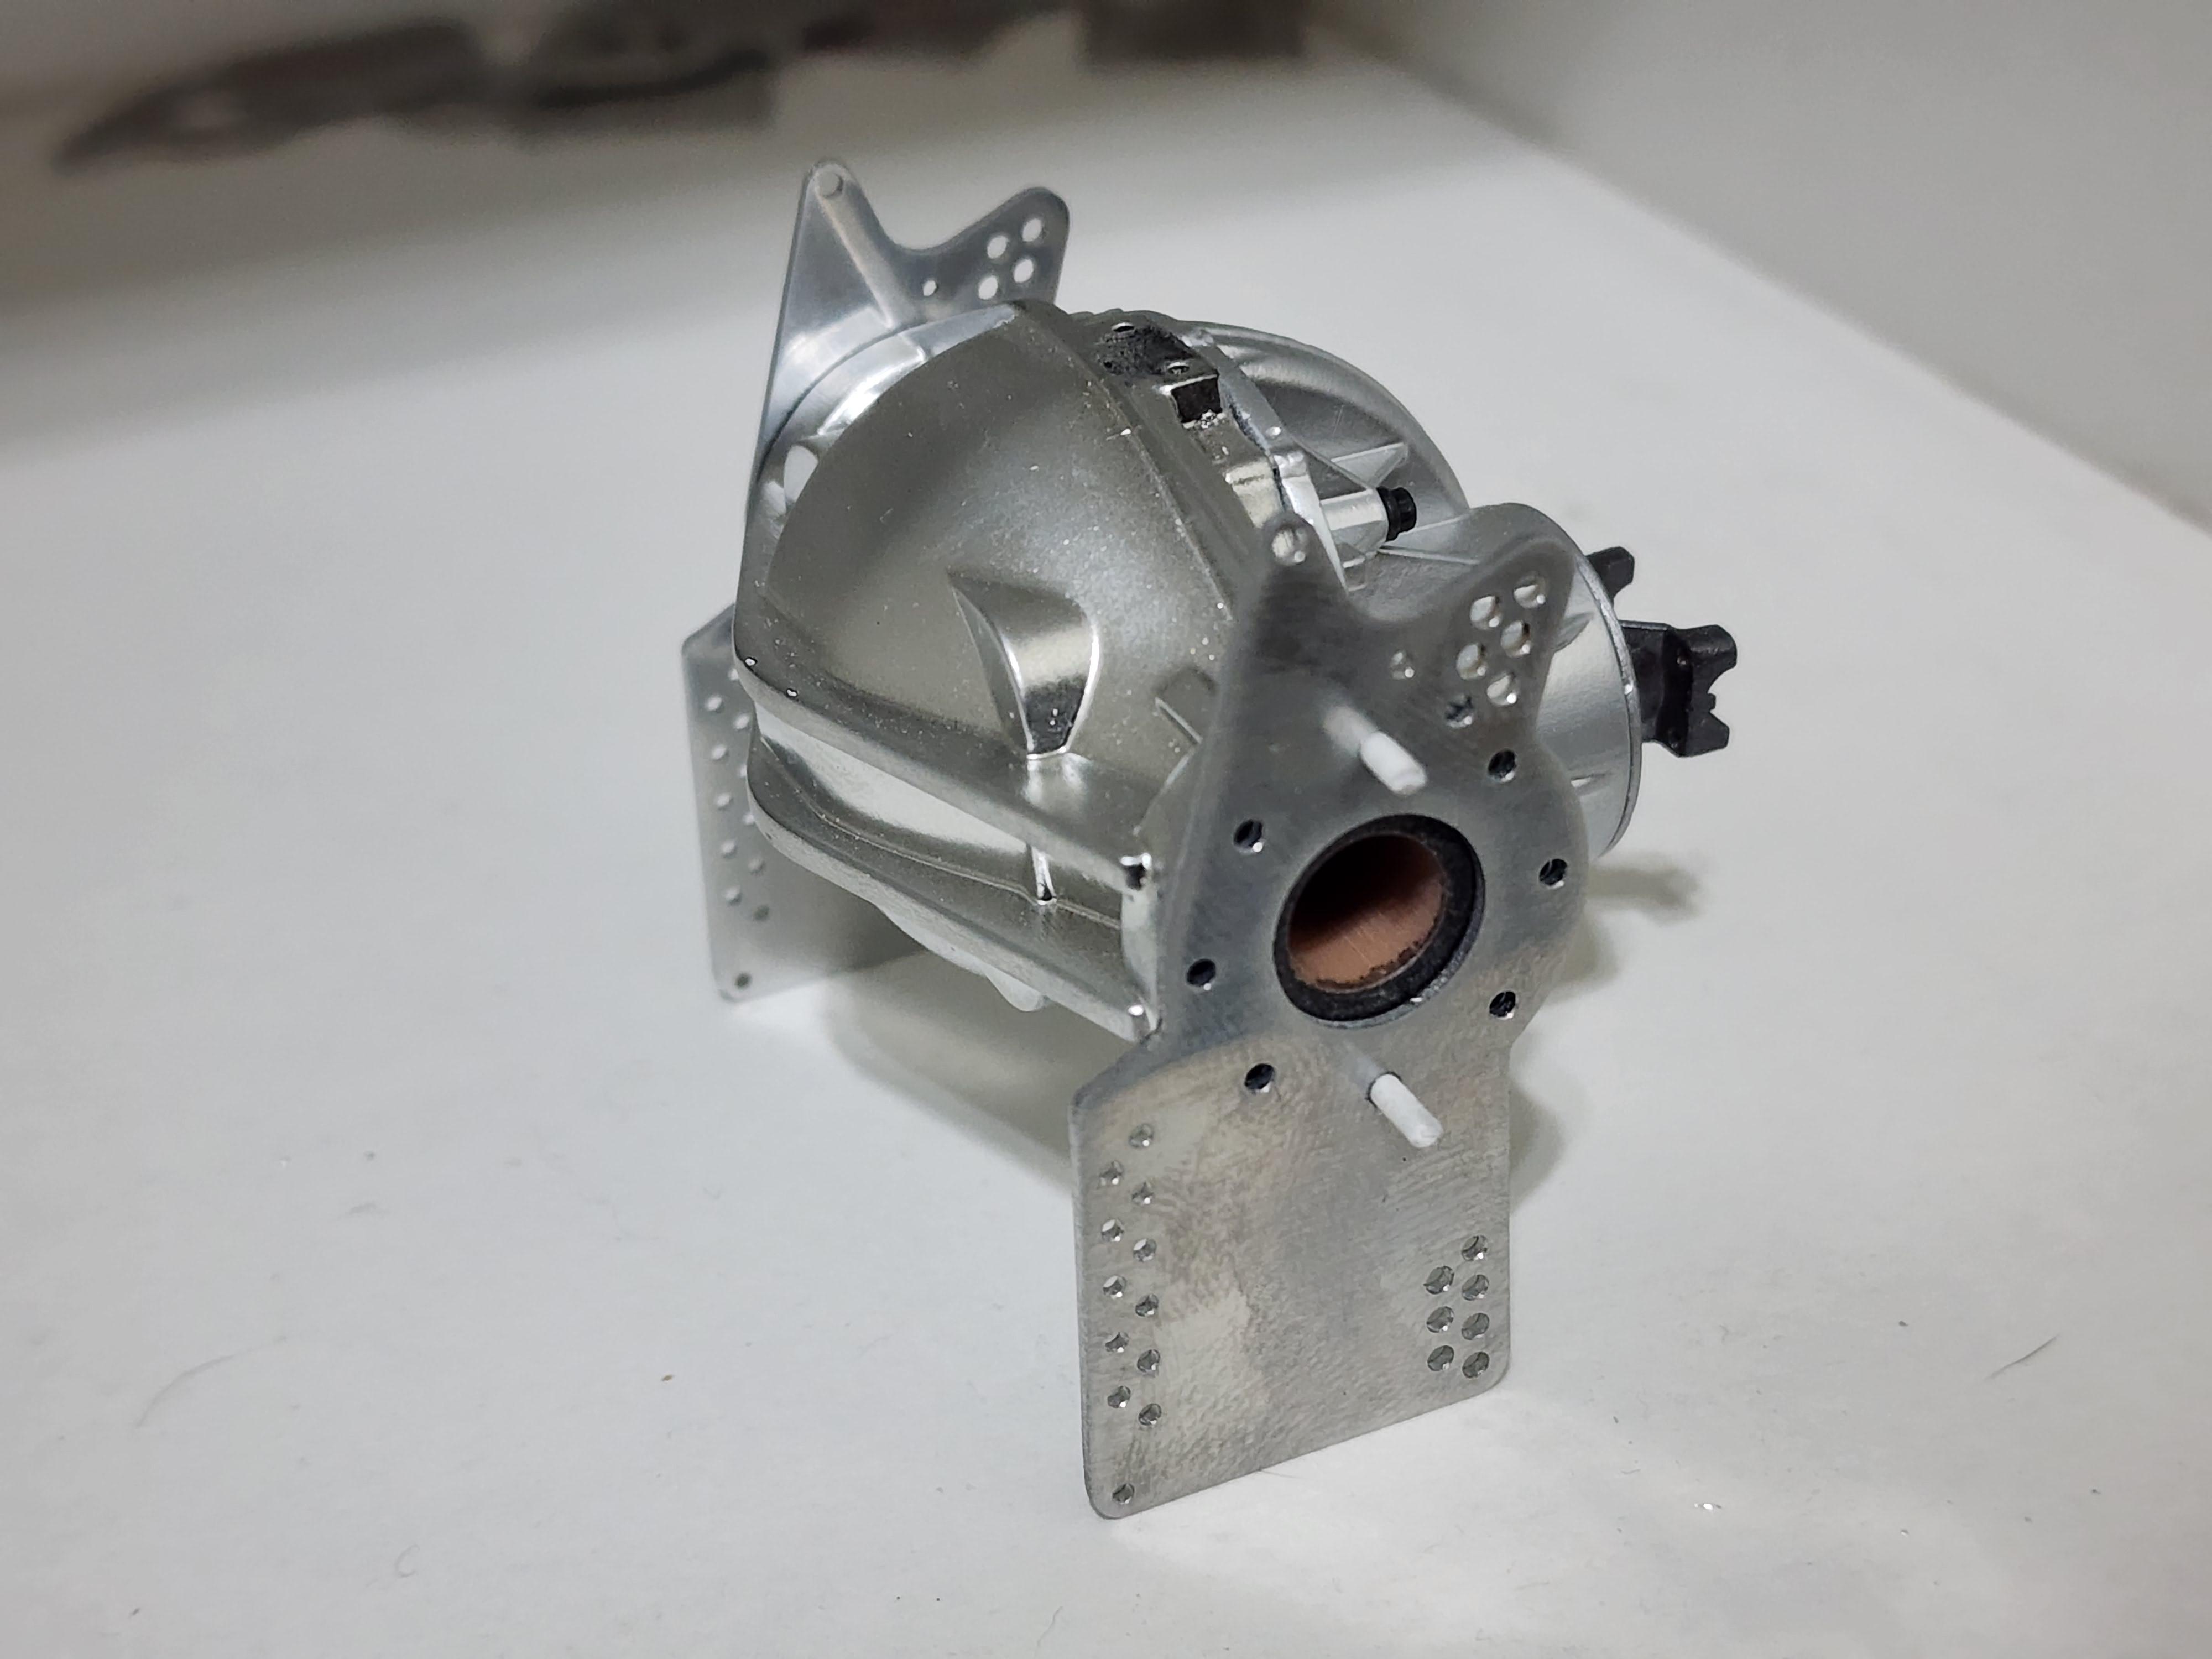
Some might think this thing has been forgotten but nope.... Working on the Penske shocks to 4 link mounting. Have some pieces I need to machine to make it look proper but it's otherwise exactly what I was looking to do!
-
-
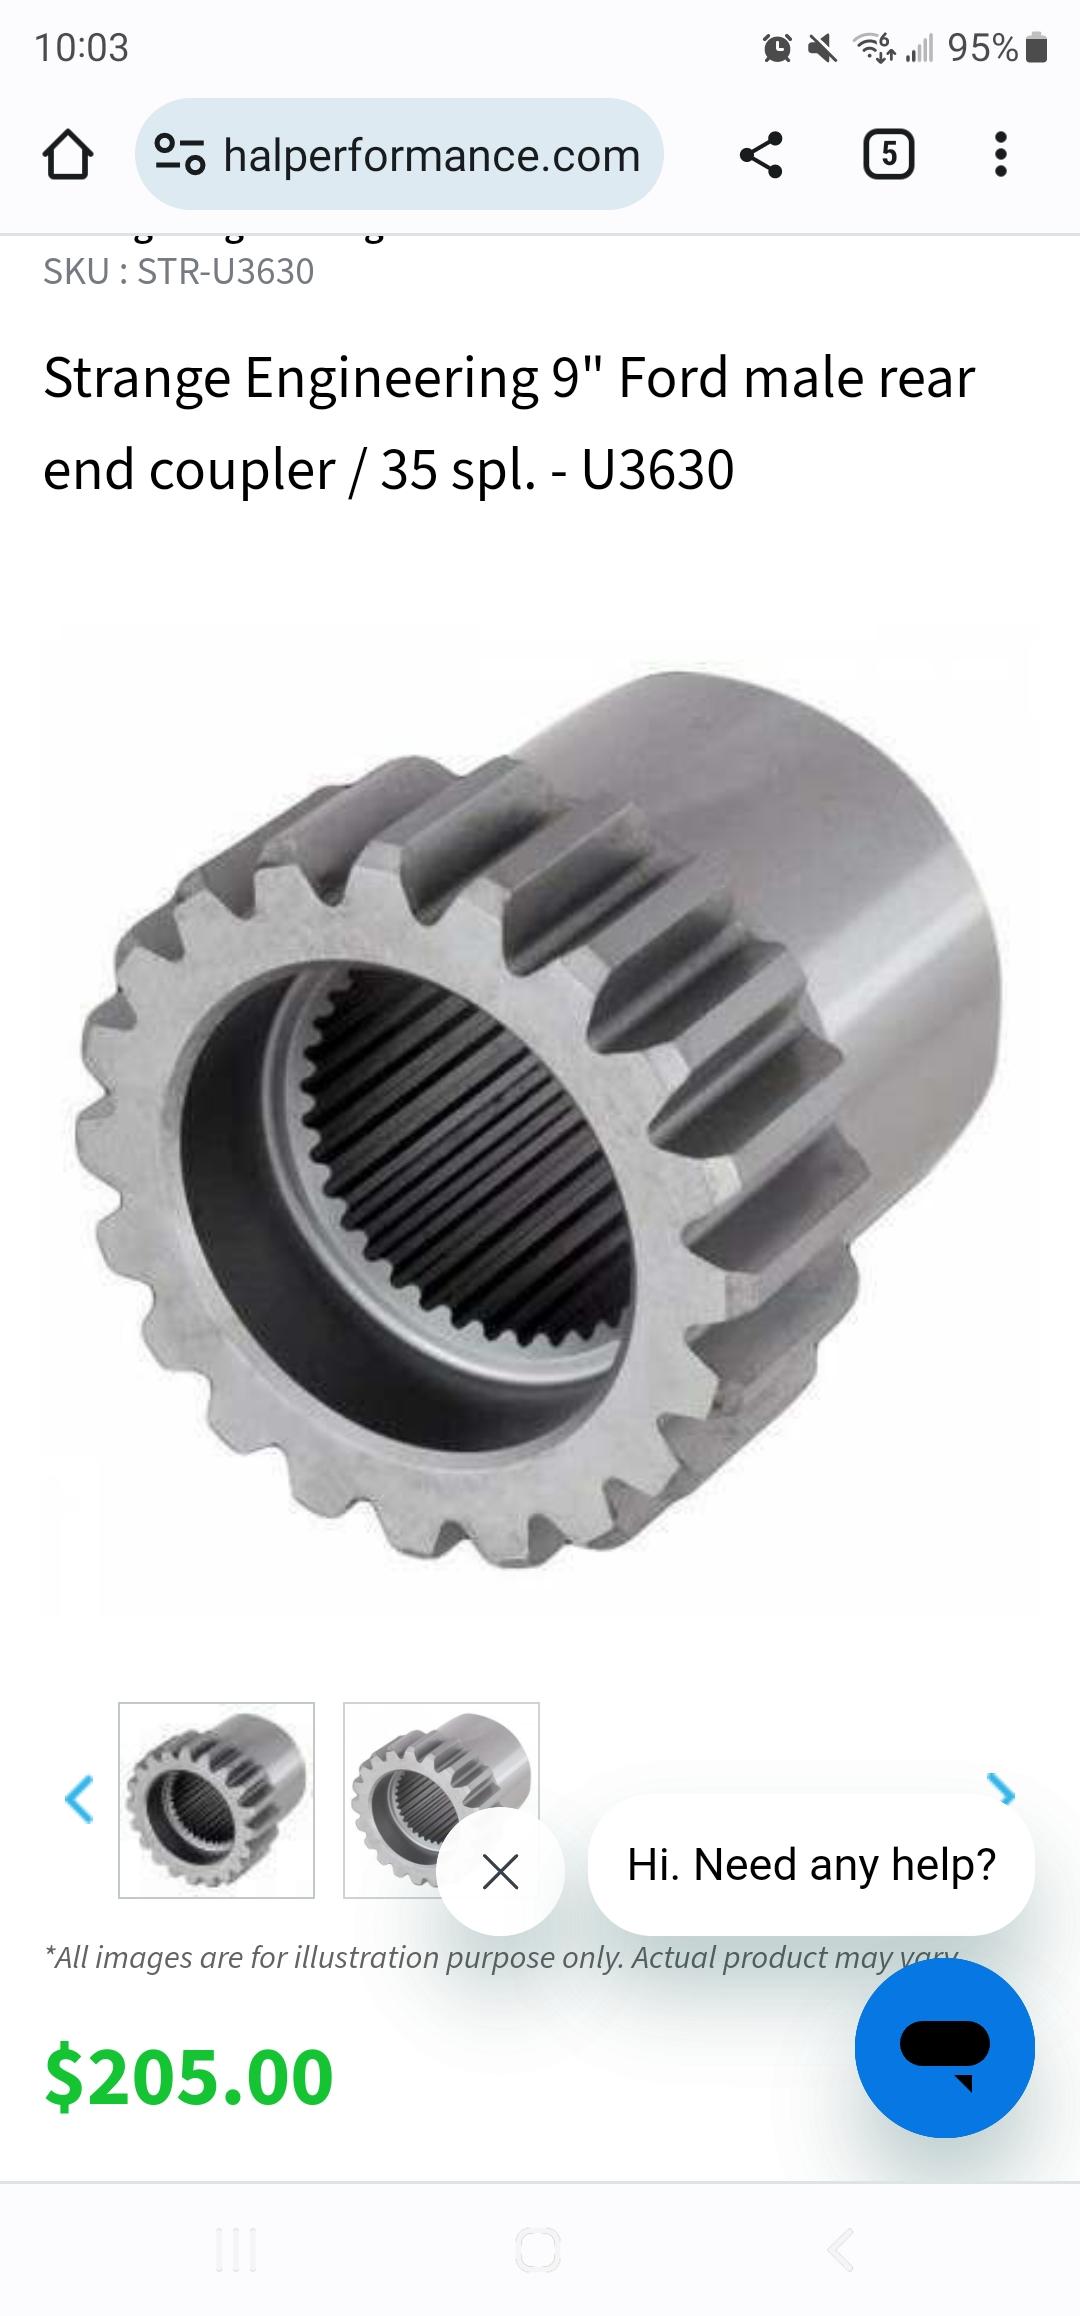
They can be either male or female. We ran a male on the Lenco altered we ran in comp Elim when I worked there.
-
69 pro mod chevelle, chassis started mock ups
mr68gts replied to mr68gts's topic in WIP: Drag Racing Models
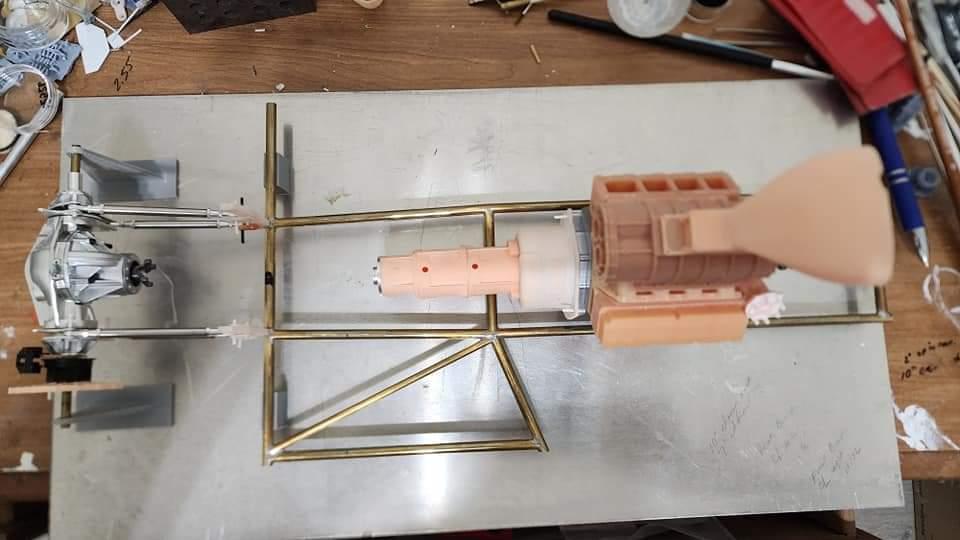
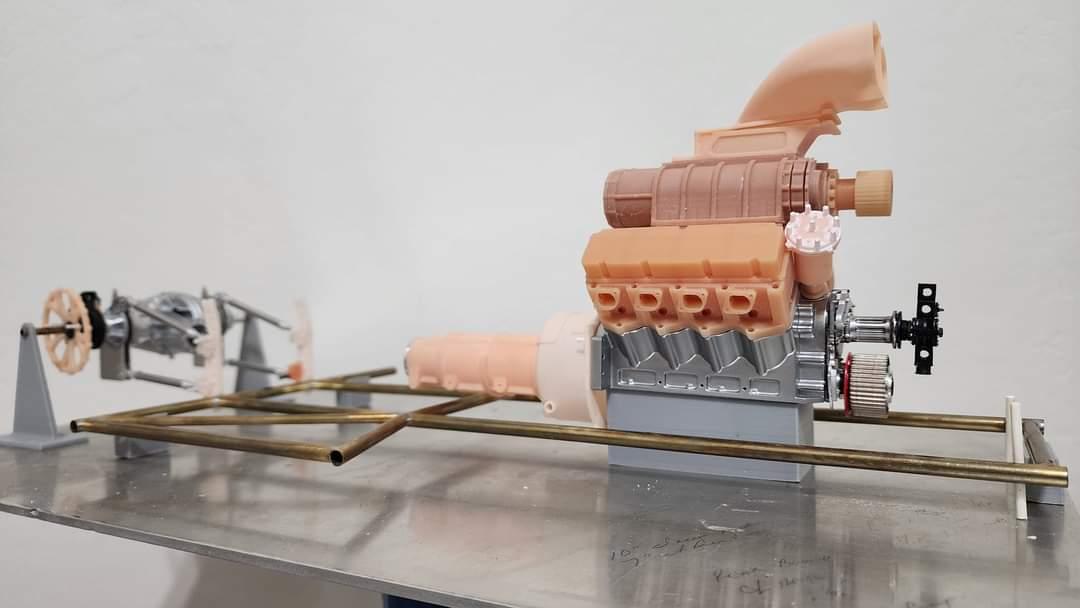
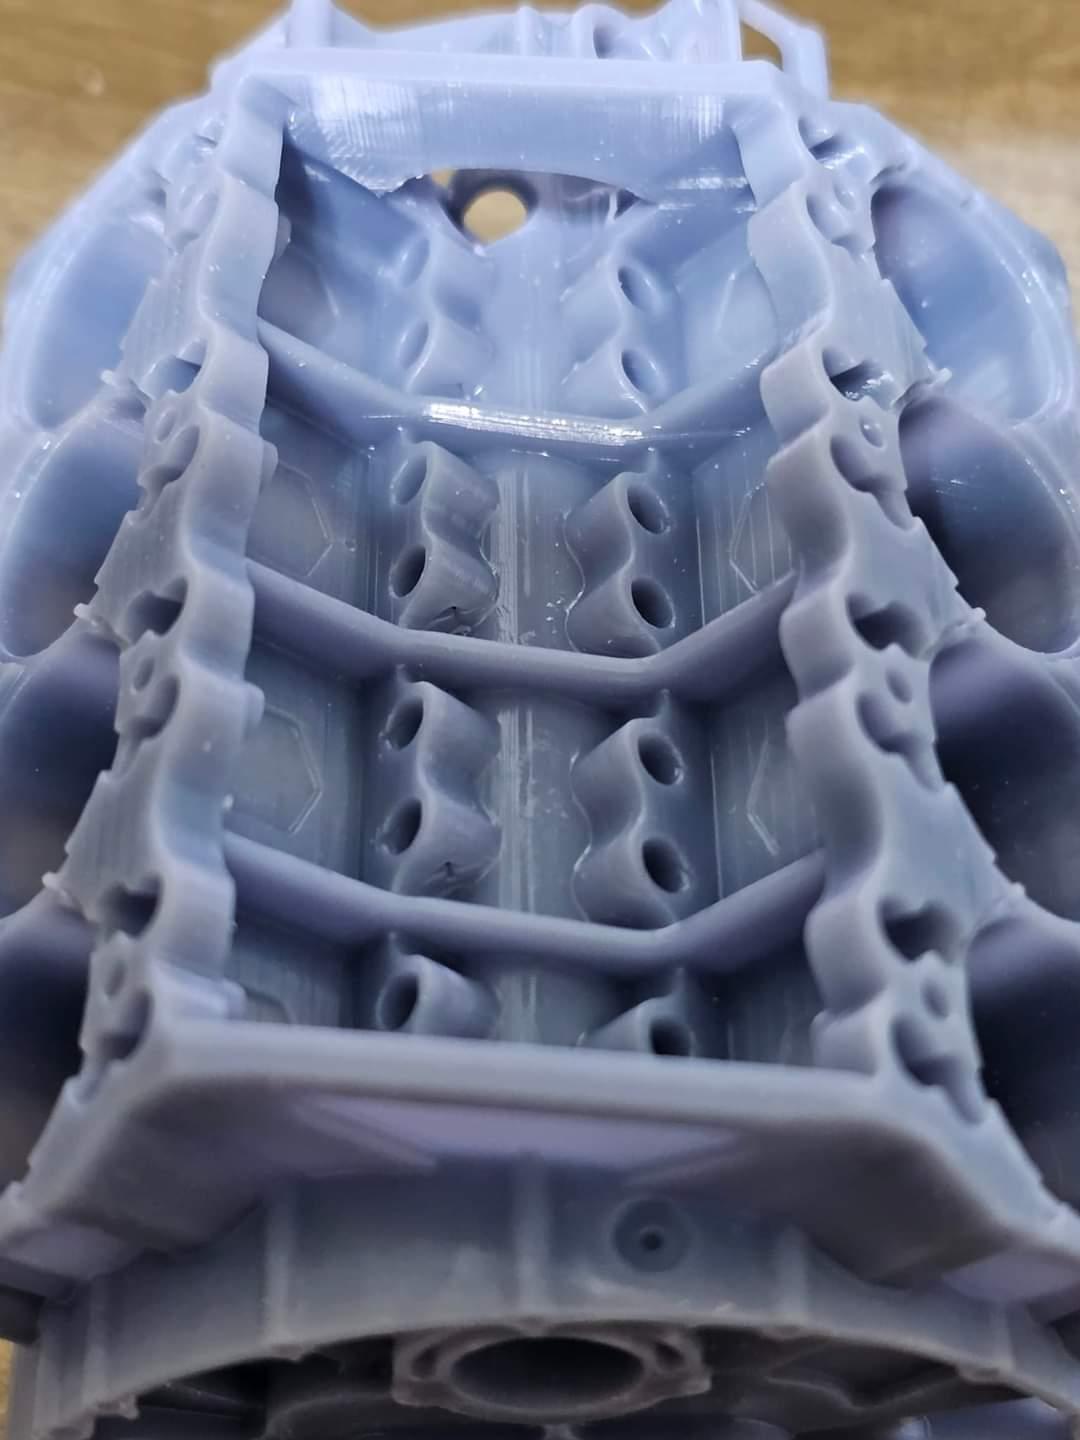
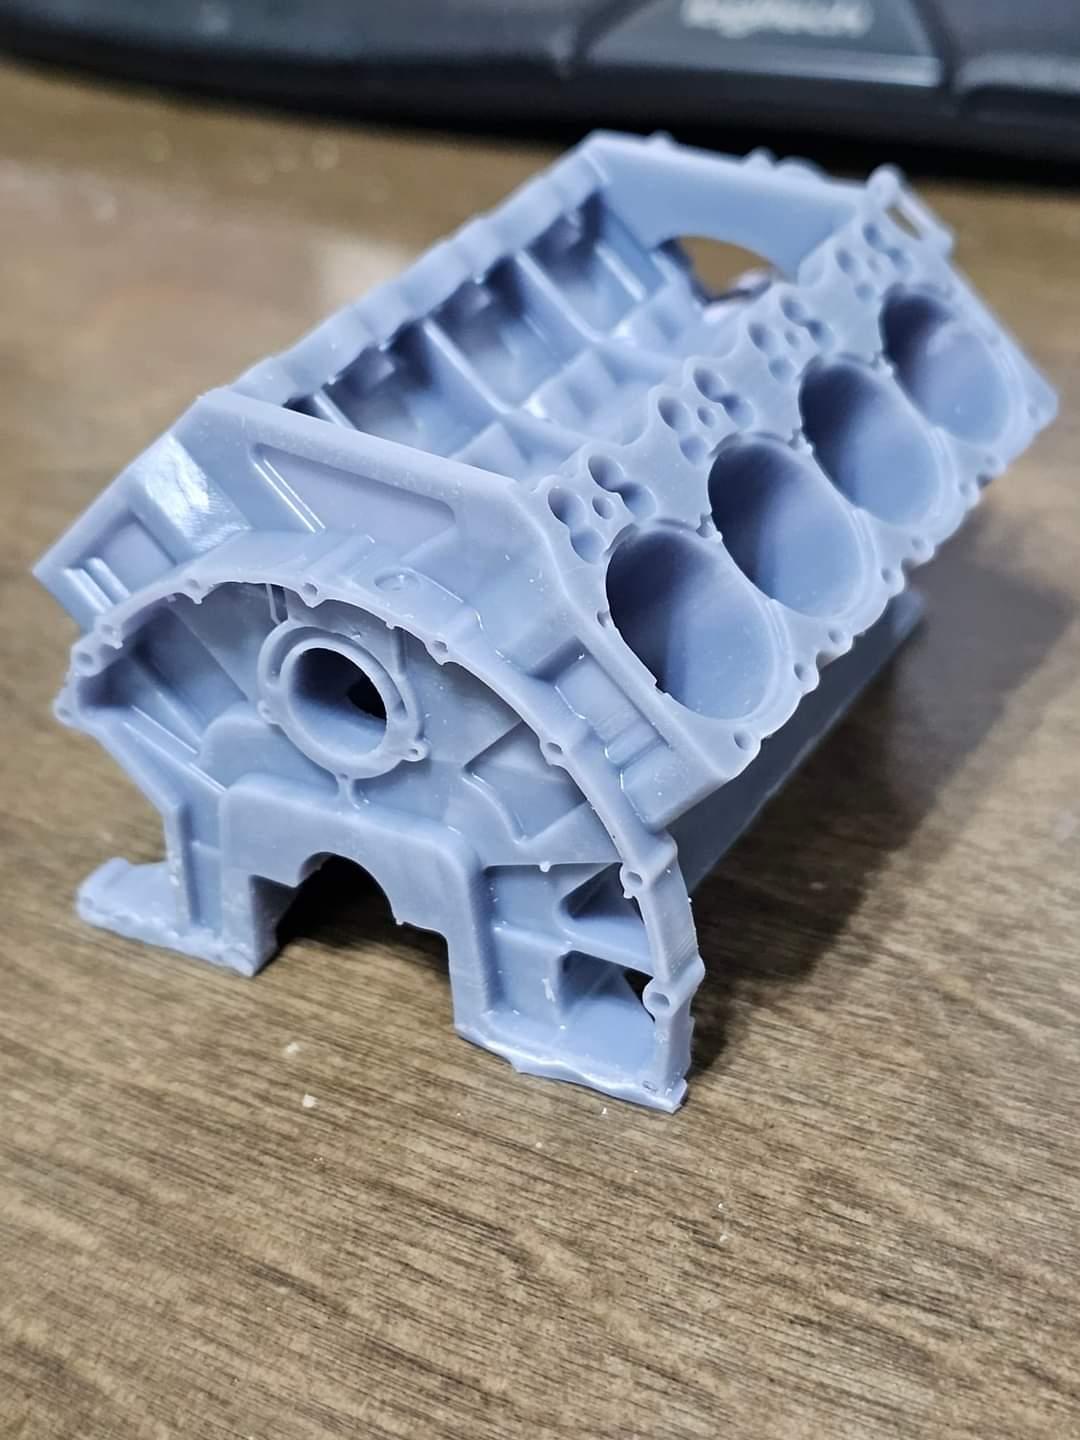
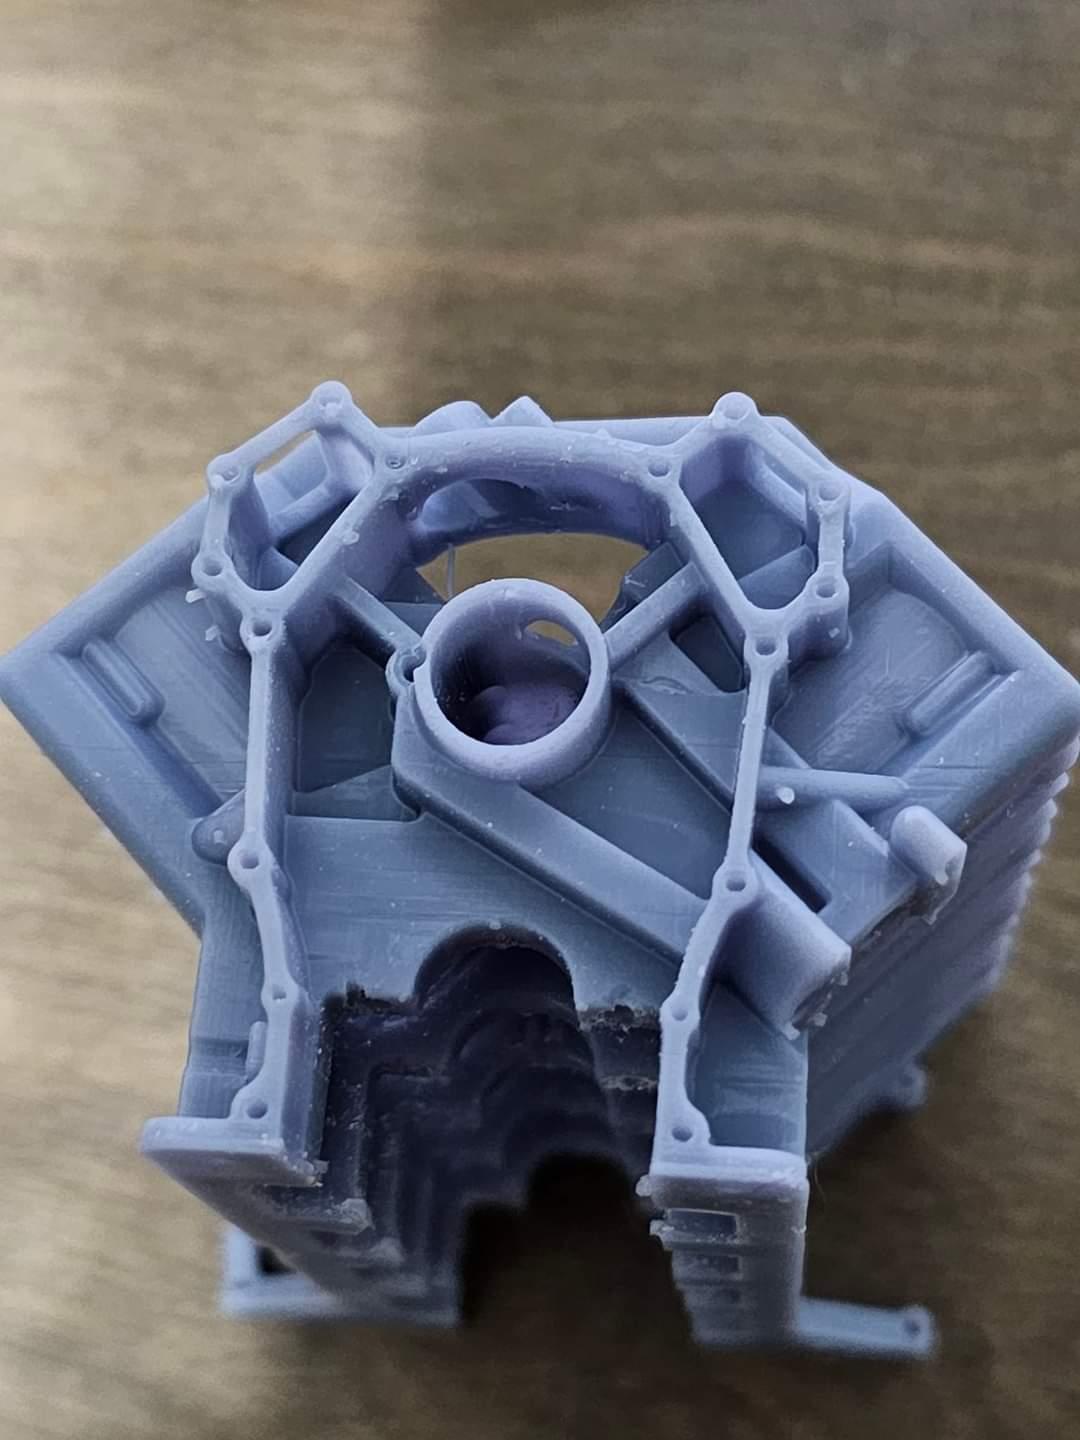
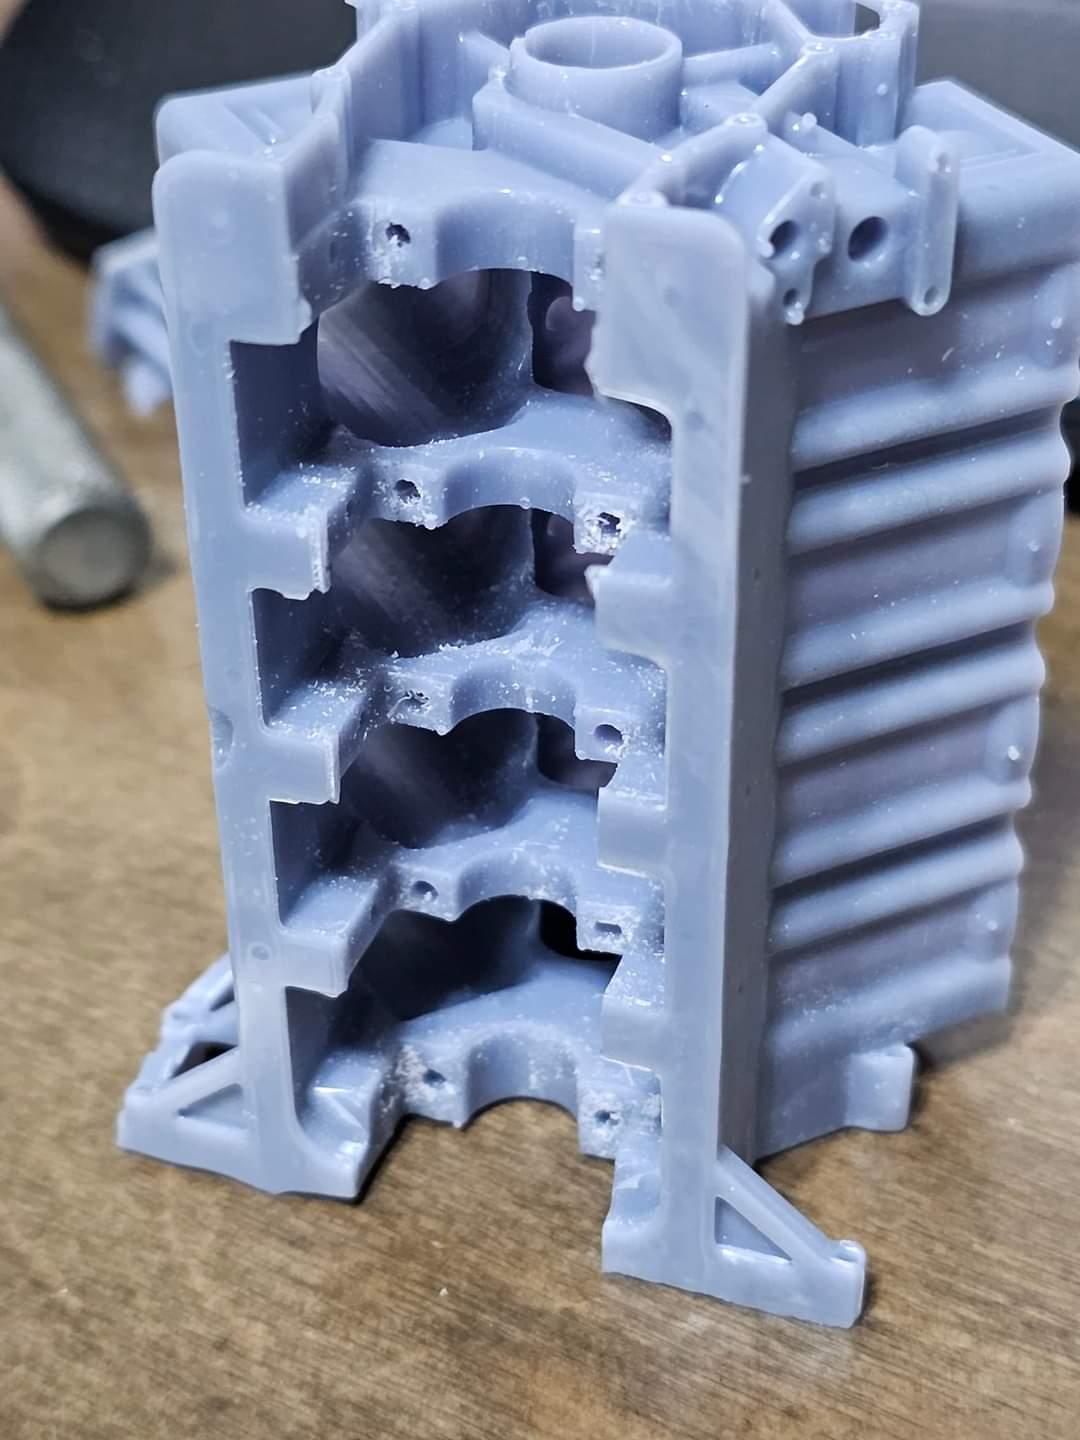
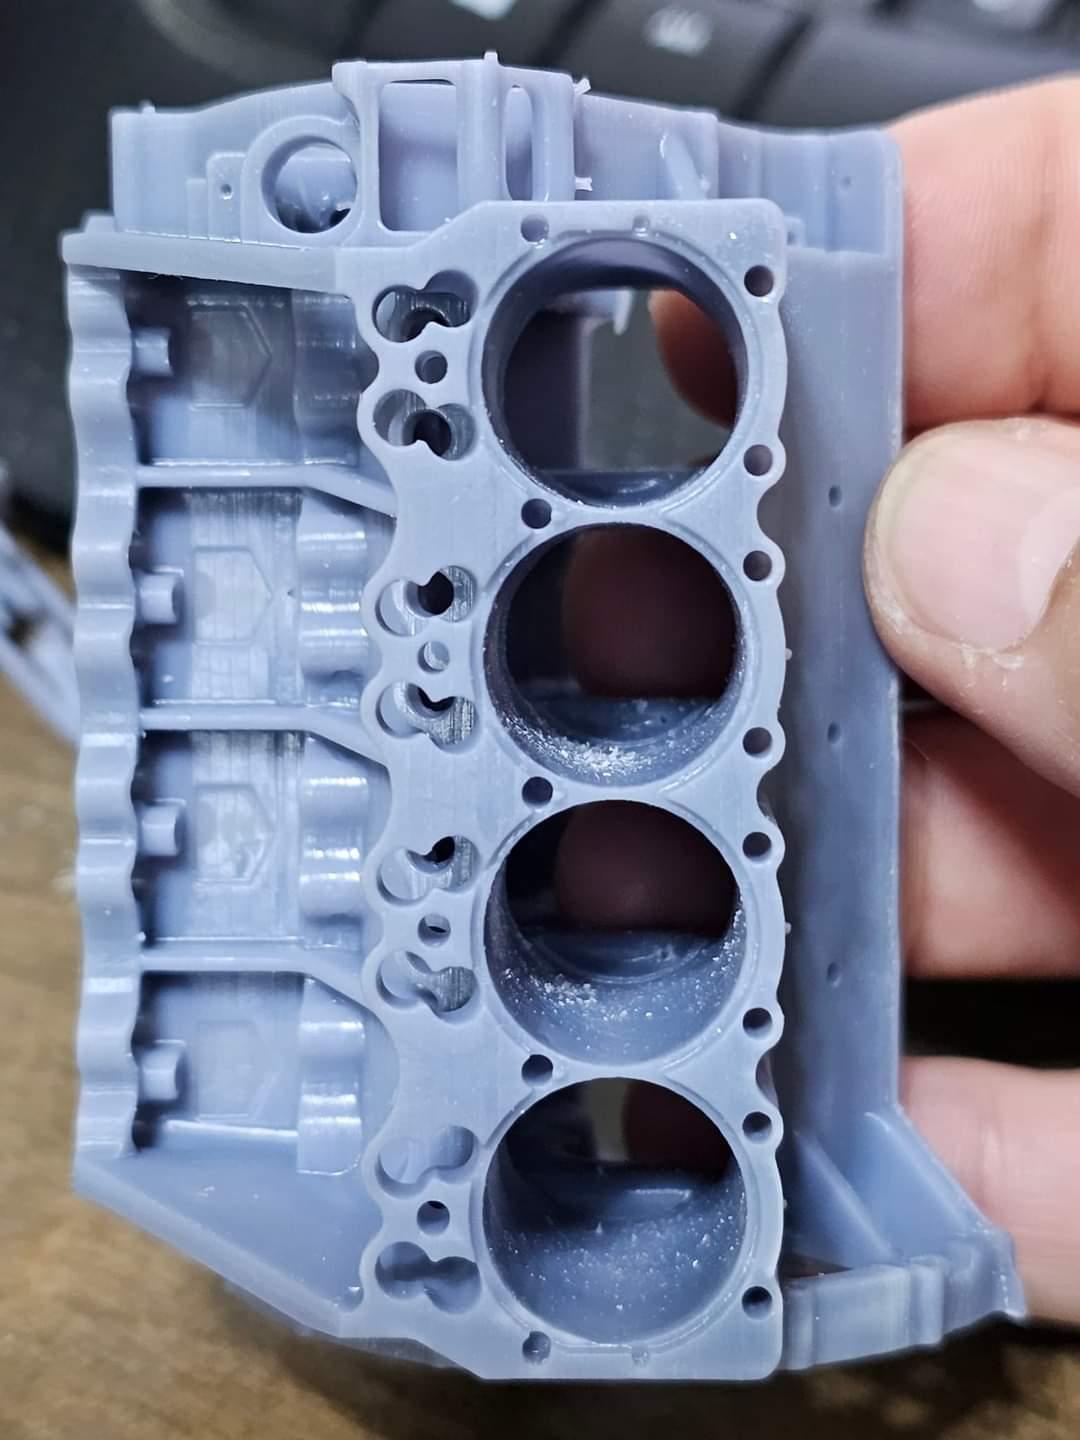
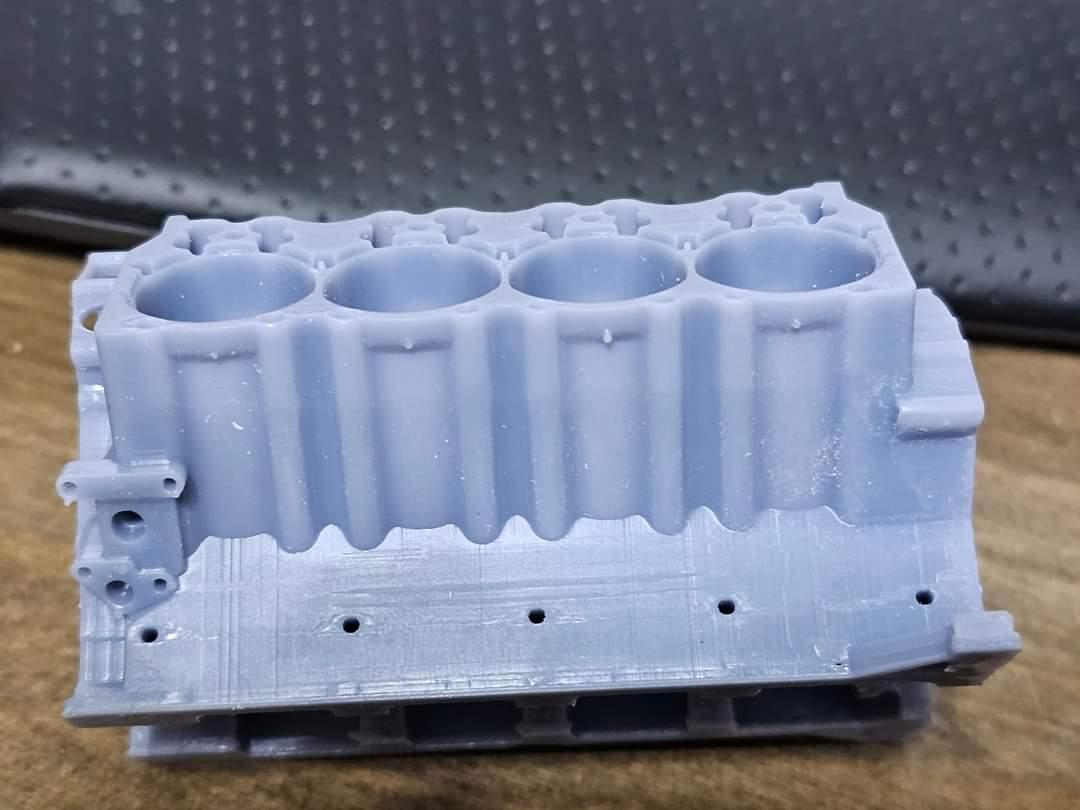
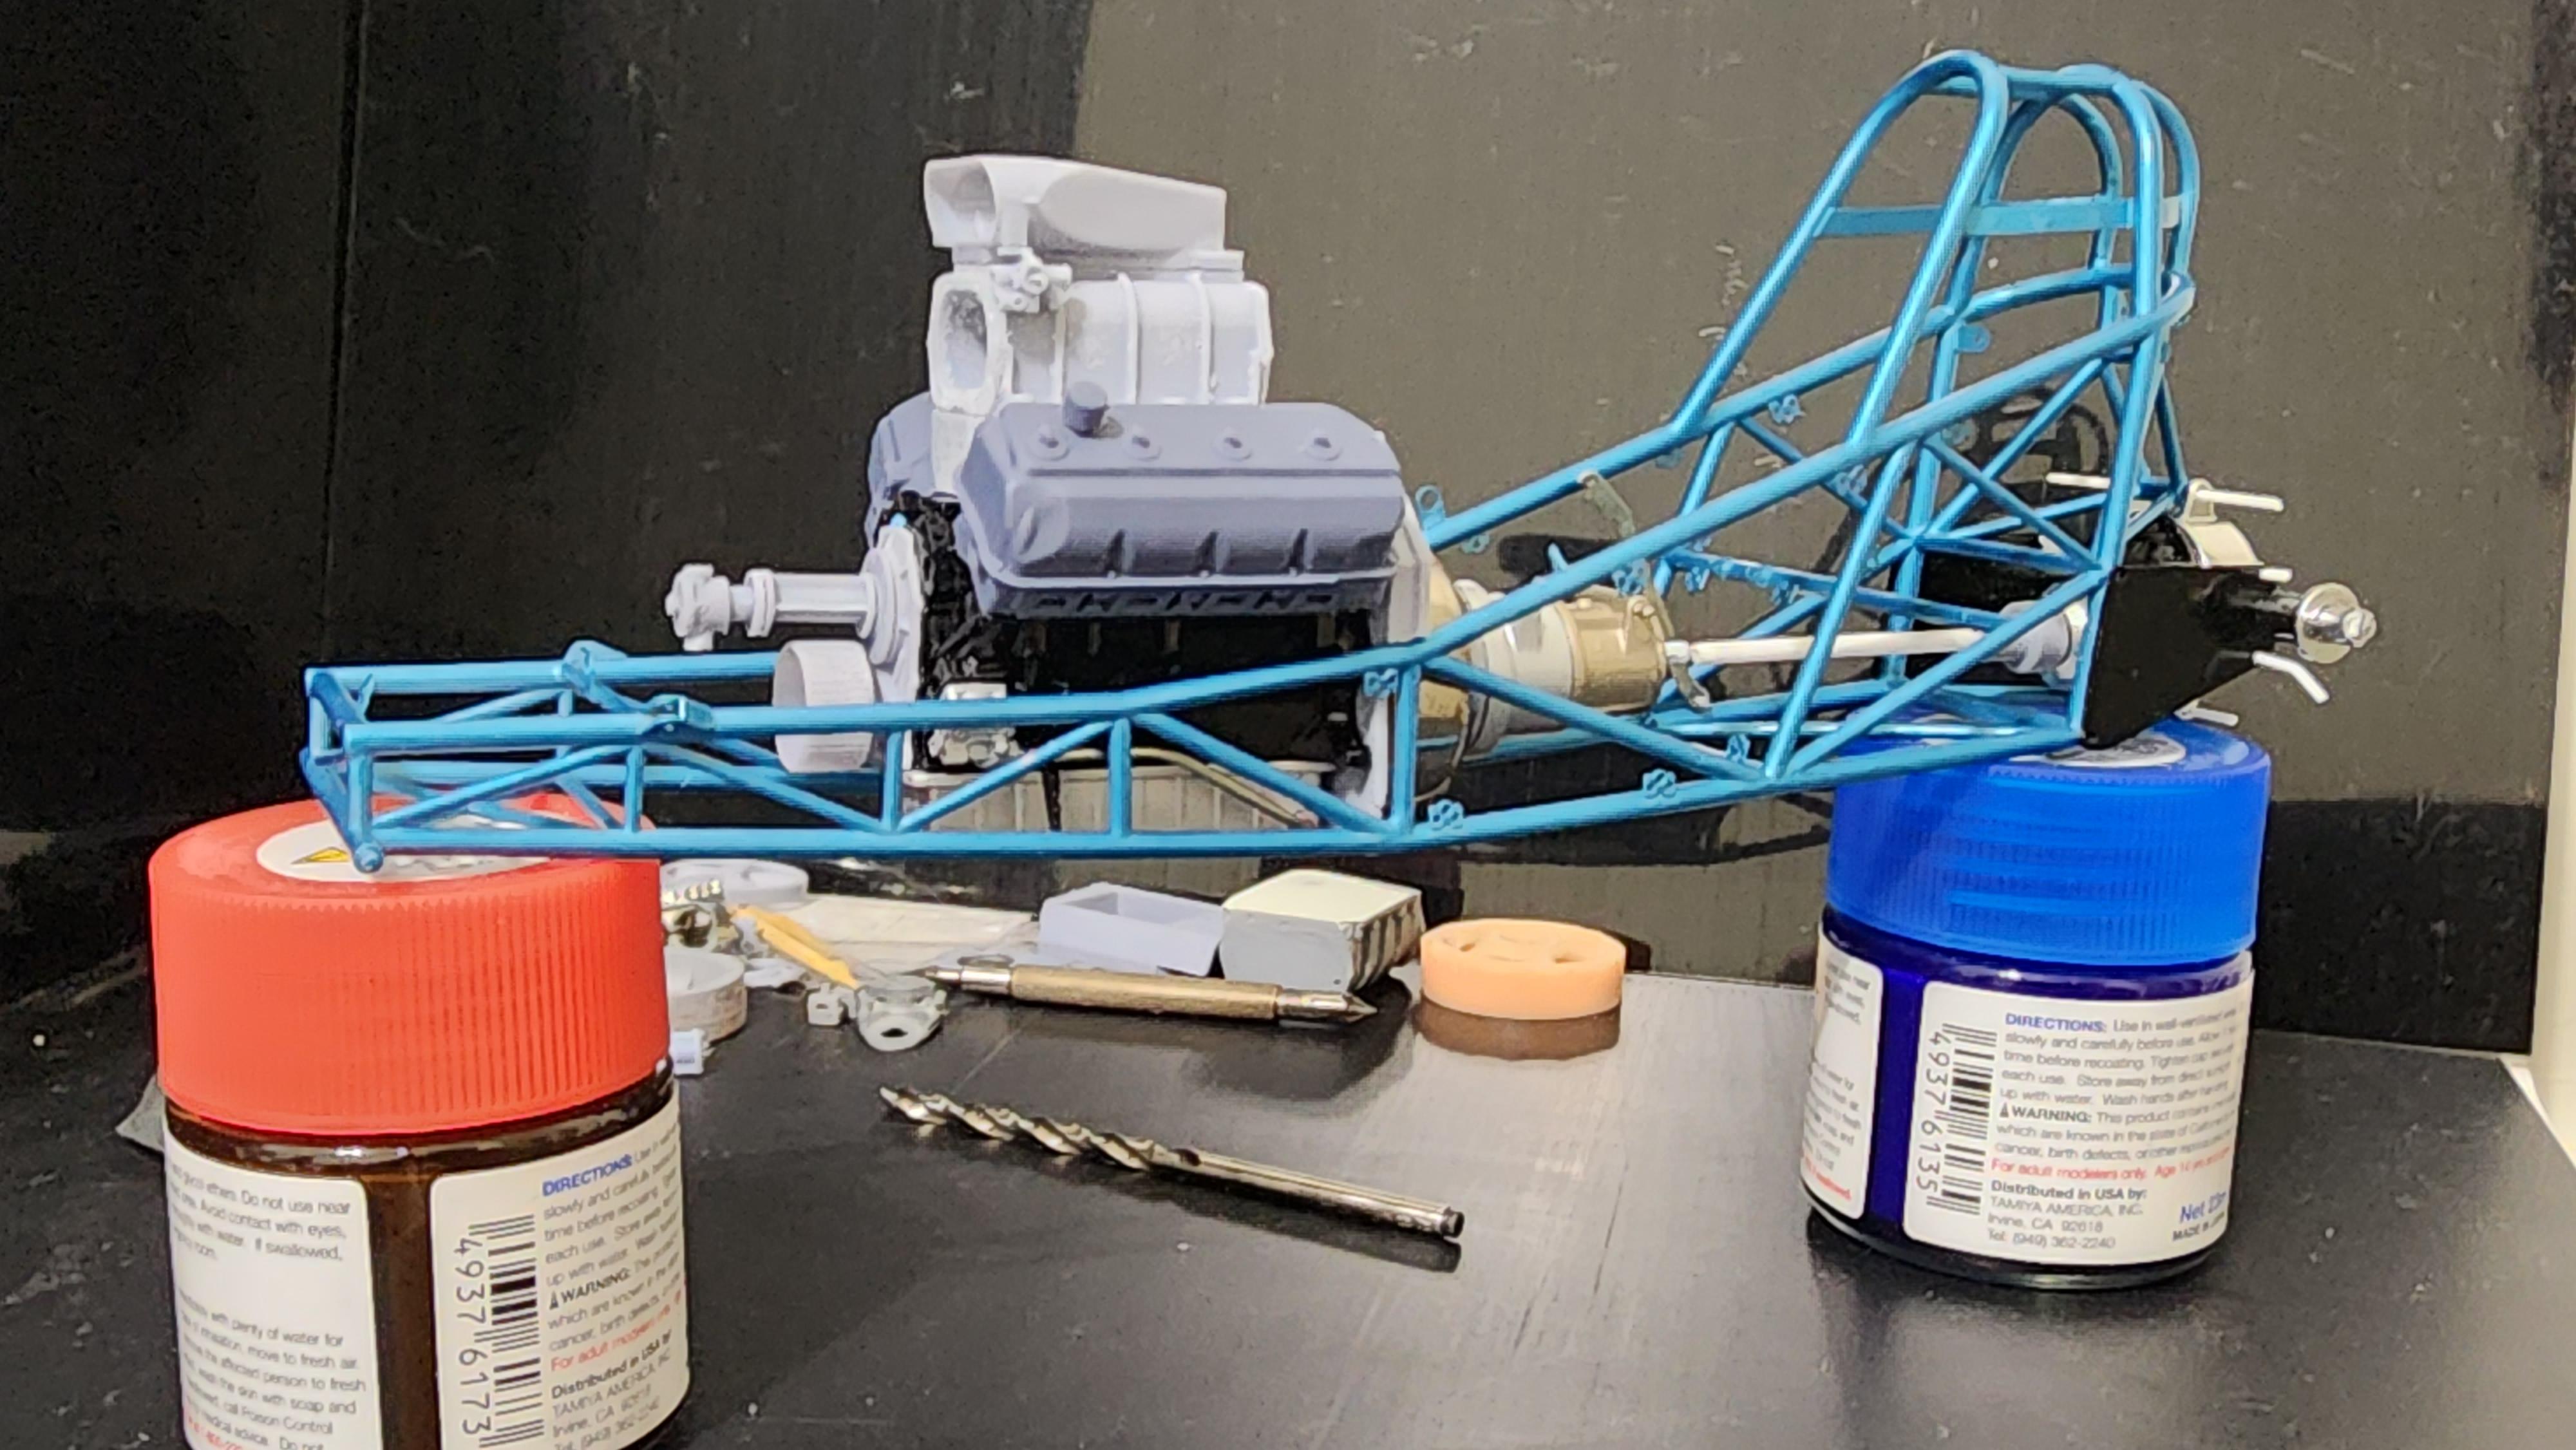
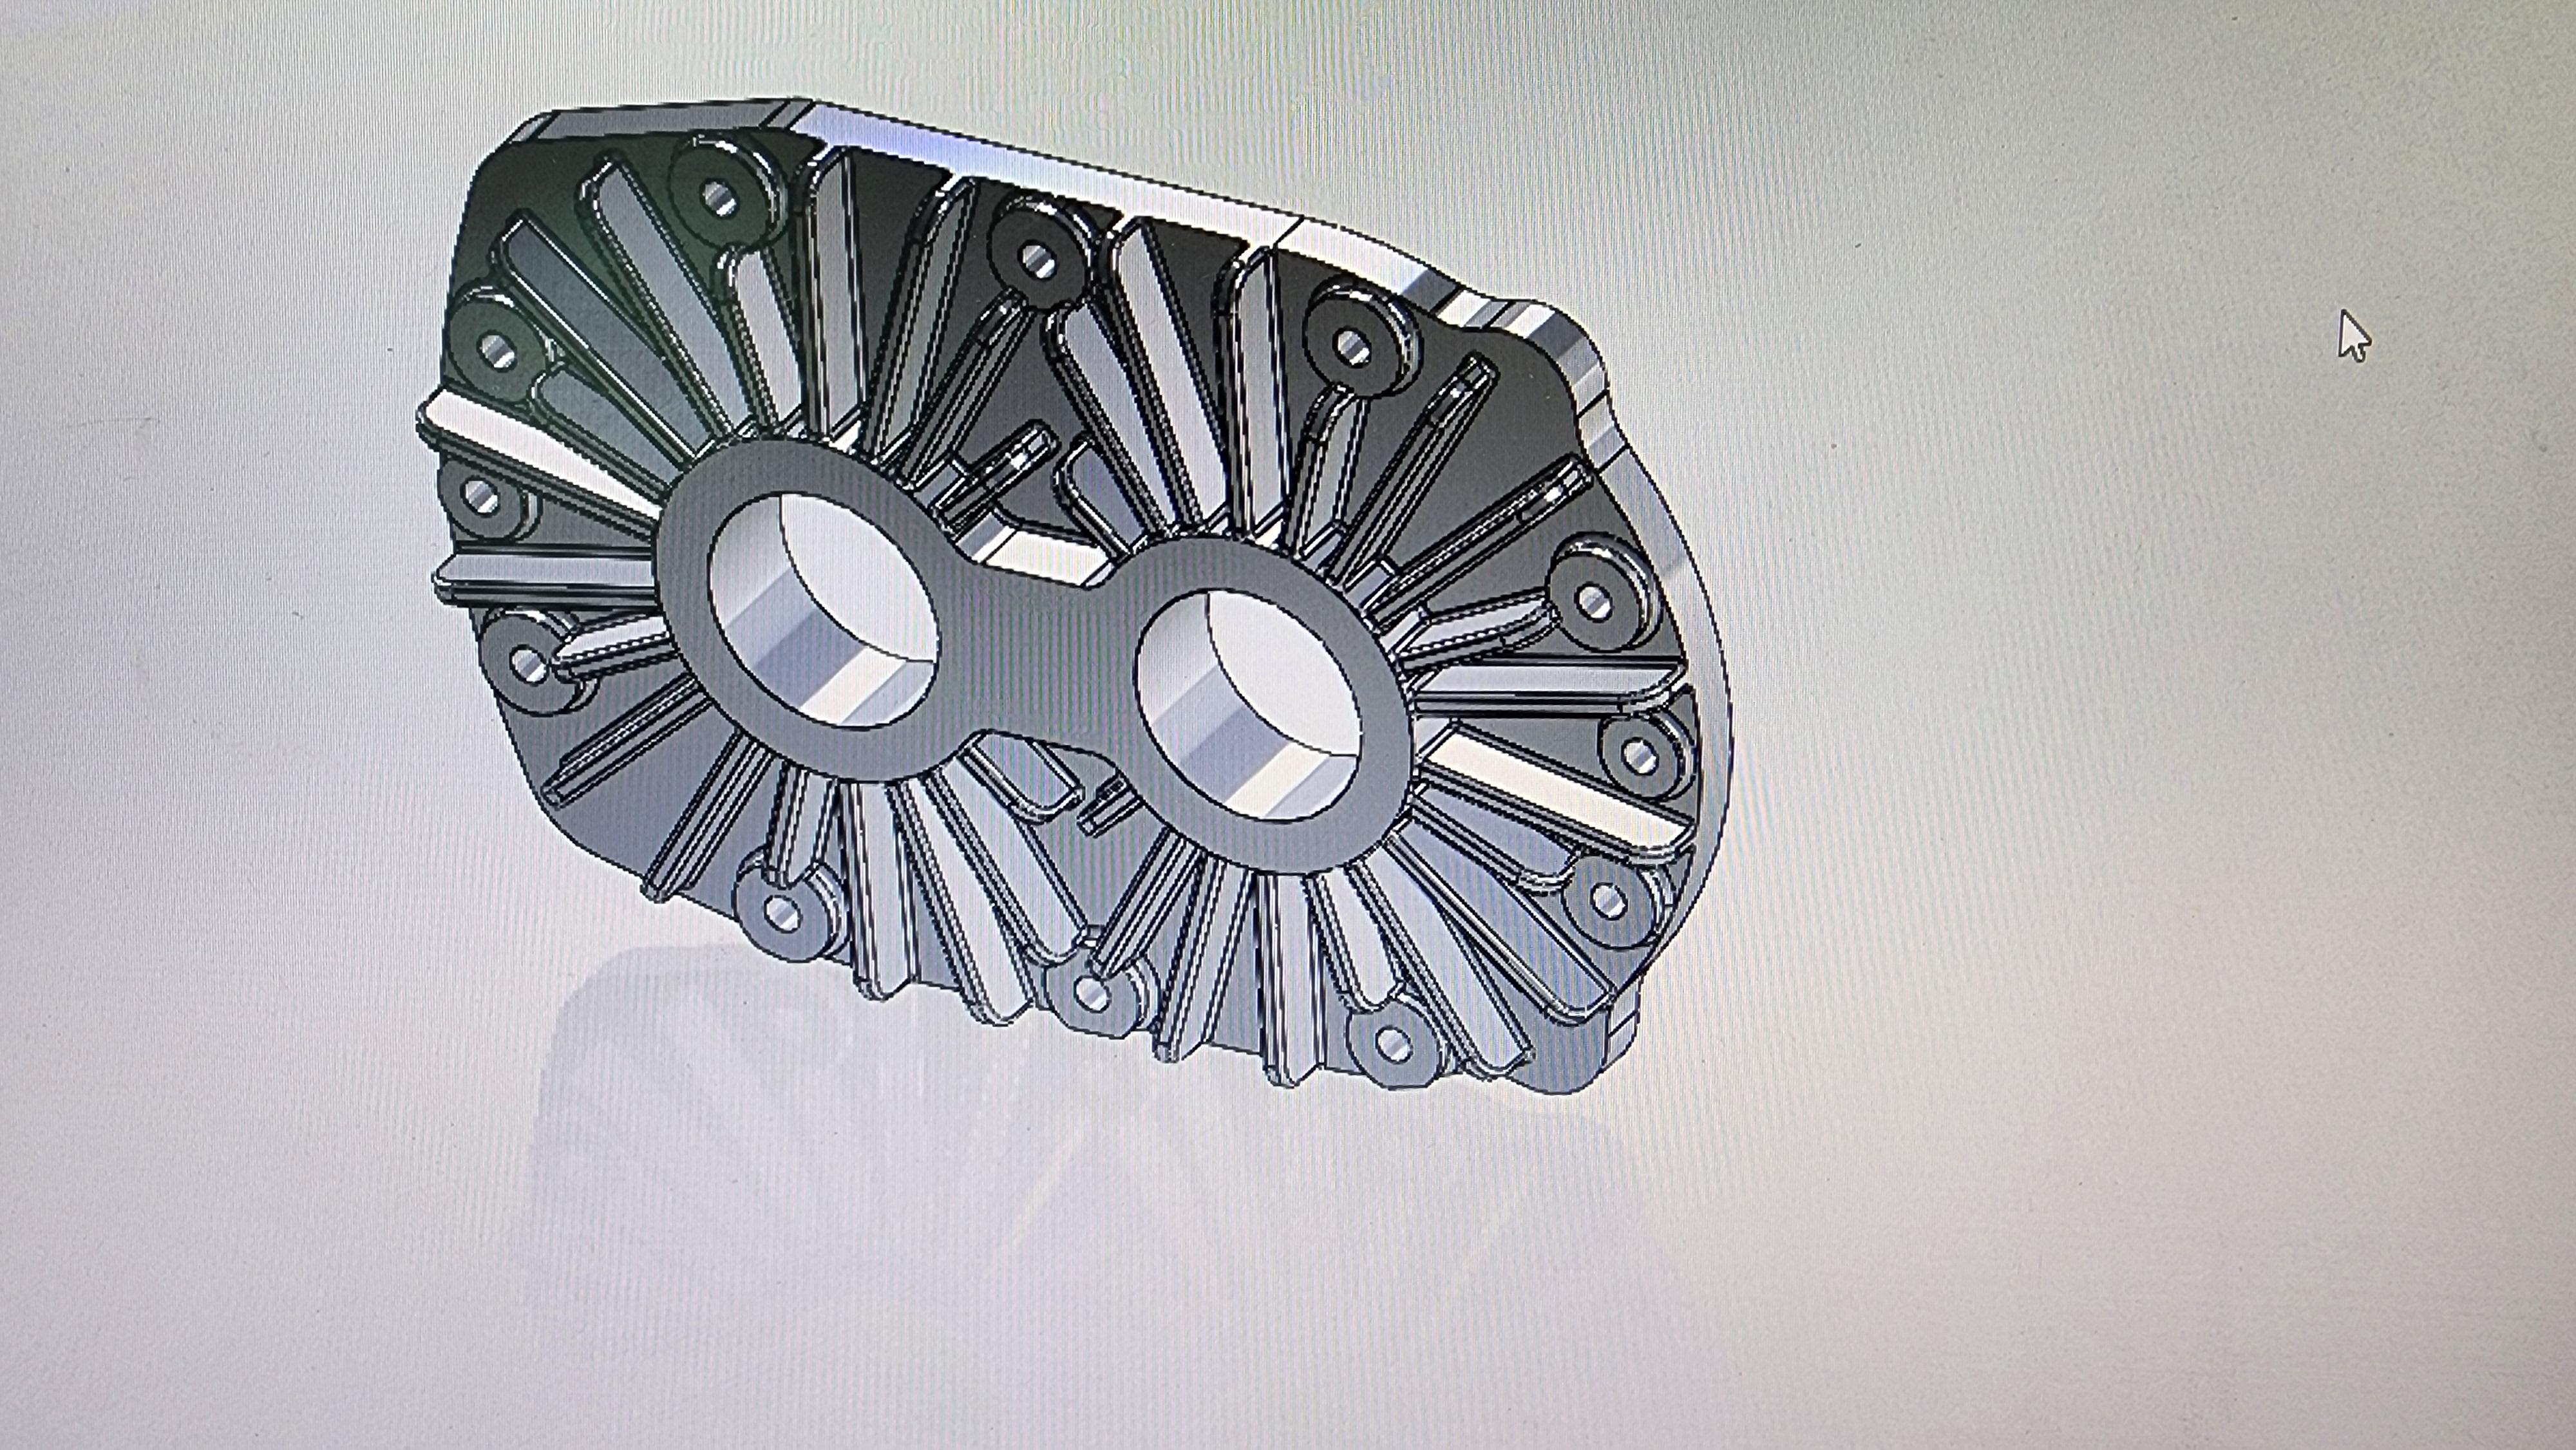
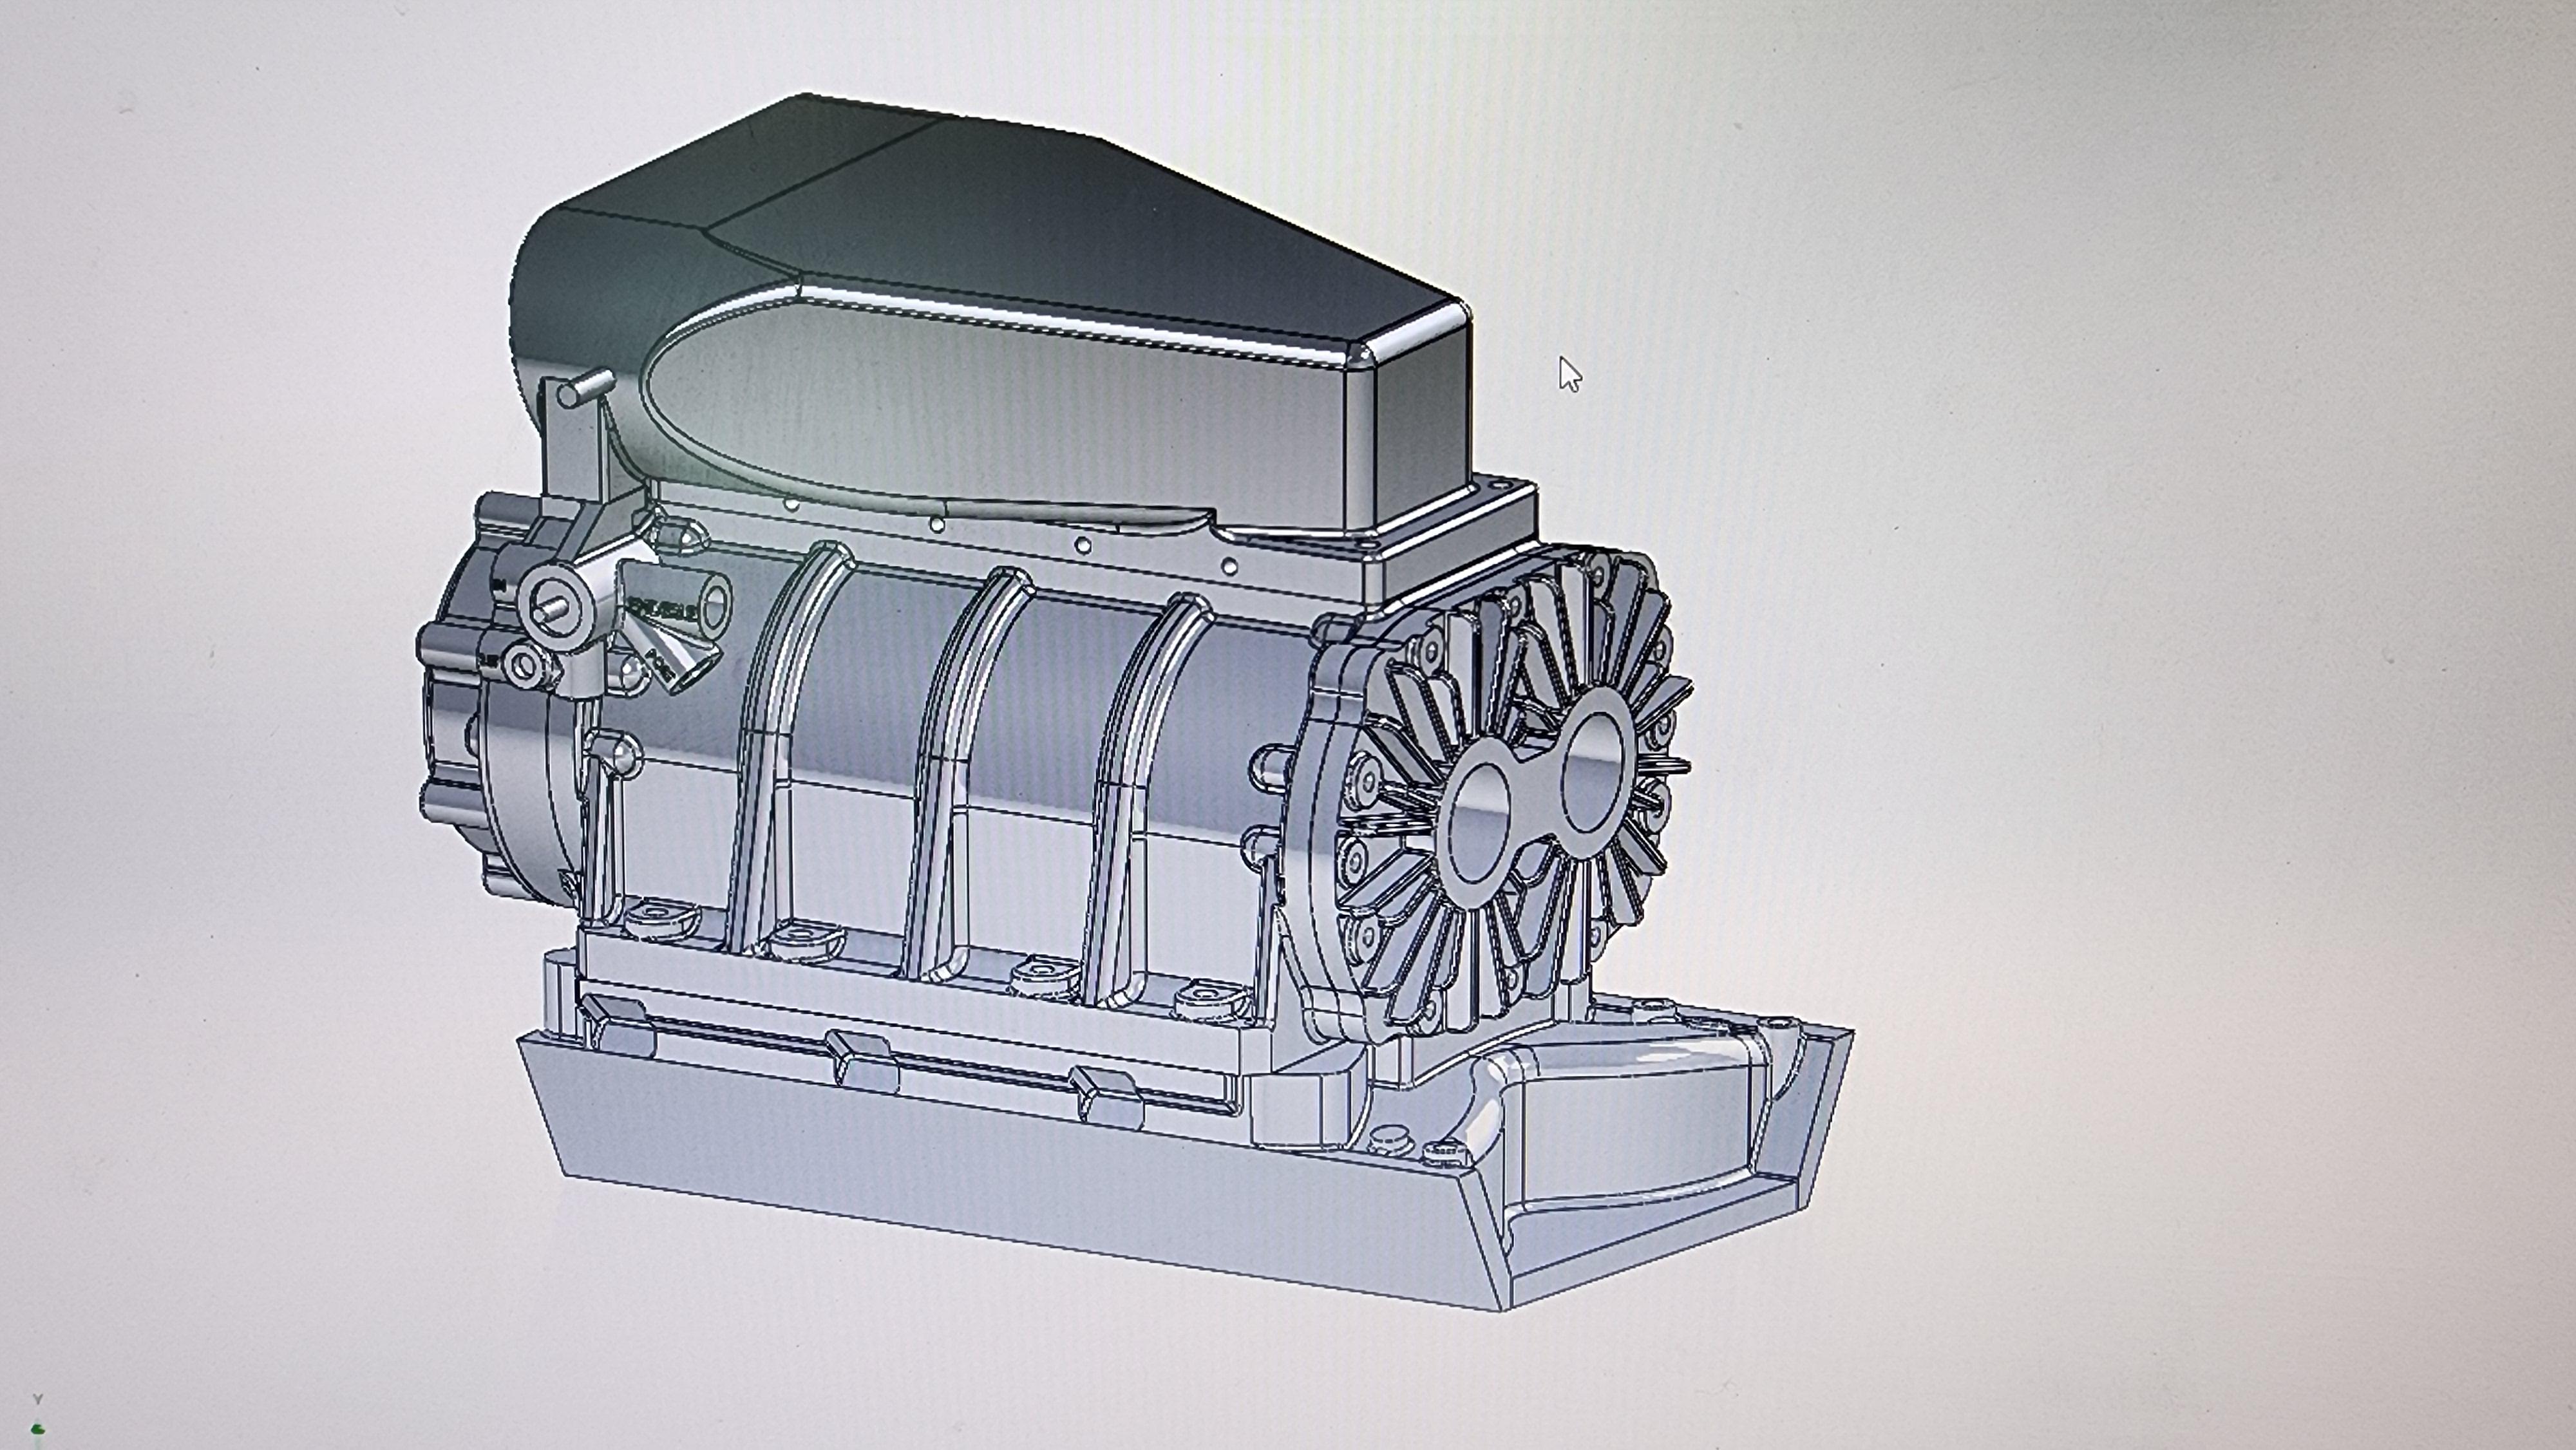
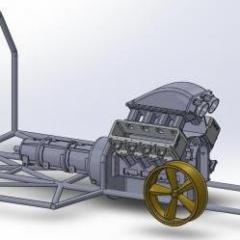
I've gotten the chassis back on the "jig" so I can start to continue on with this monstrosity. I need to update a few files but I can still plug away in my free time between this and Radici & Wise Vega FC now that the madness has settled down a bit around here. Now to find the model room again....lol And while this model will stay 481x powered, I did add this to my list of files thanks to Dave! Who knows what will happen down the road! Meet the 1 cubic inch BAE Hemi! (in 1/8 scale!) Still working on the rest of the files for it but I have a start anyway!
-
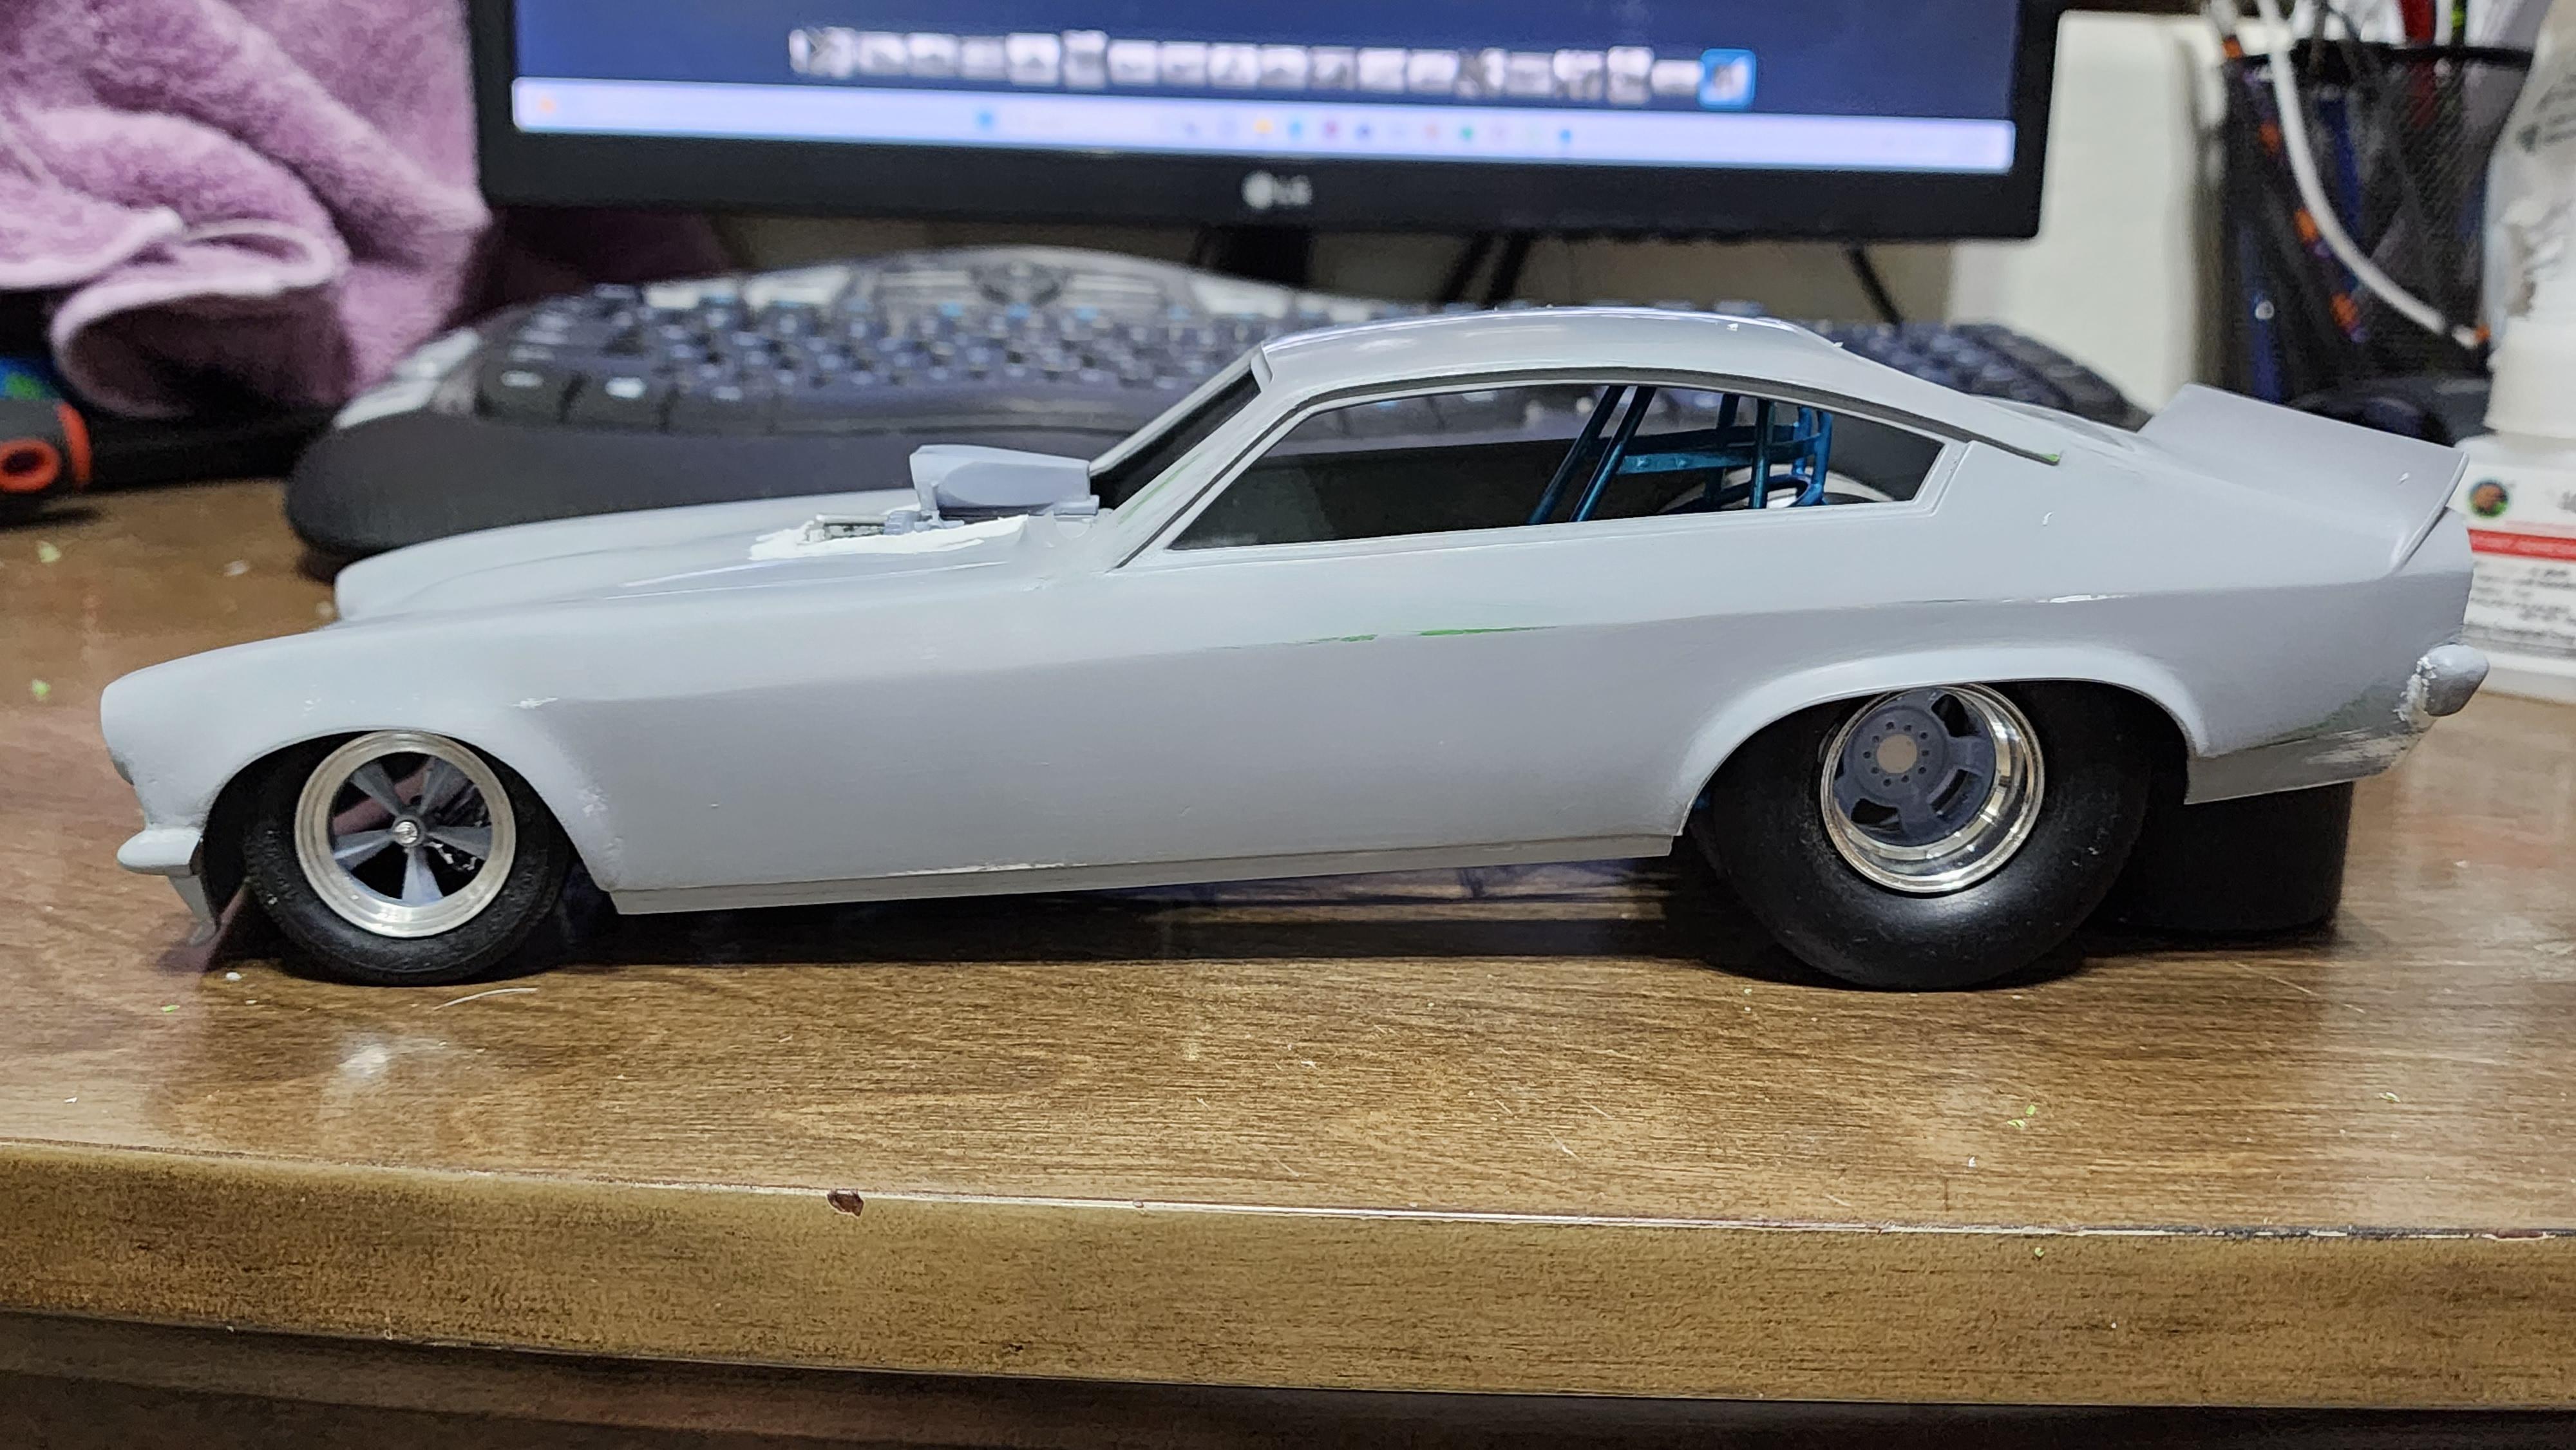
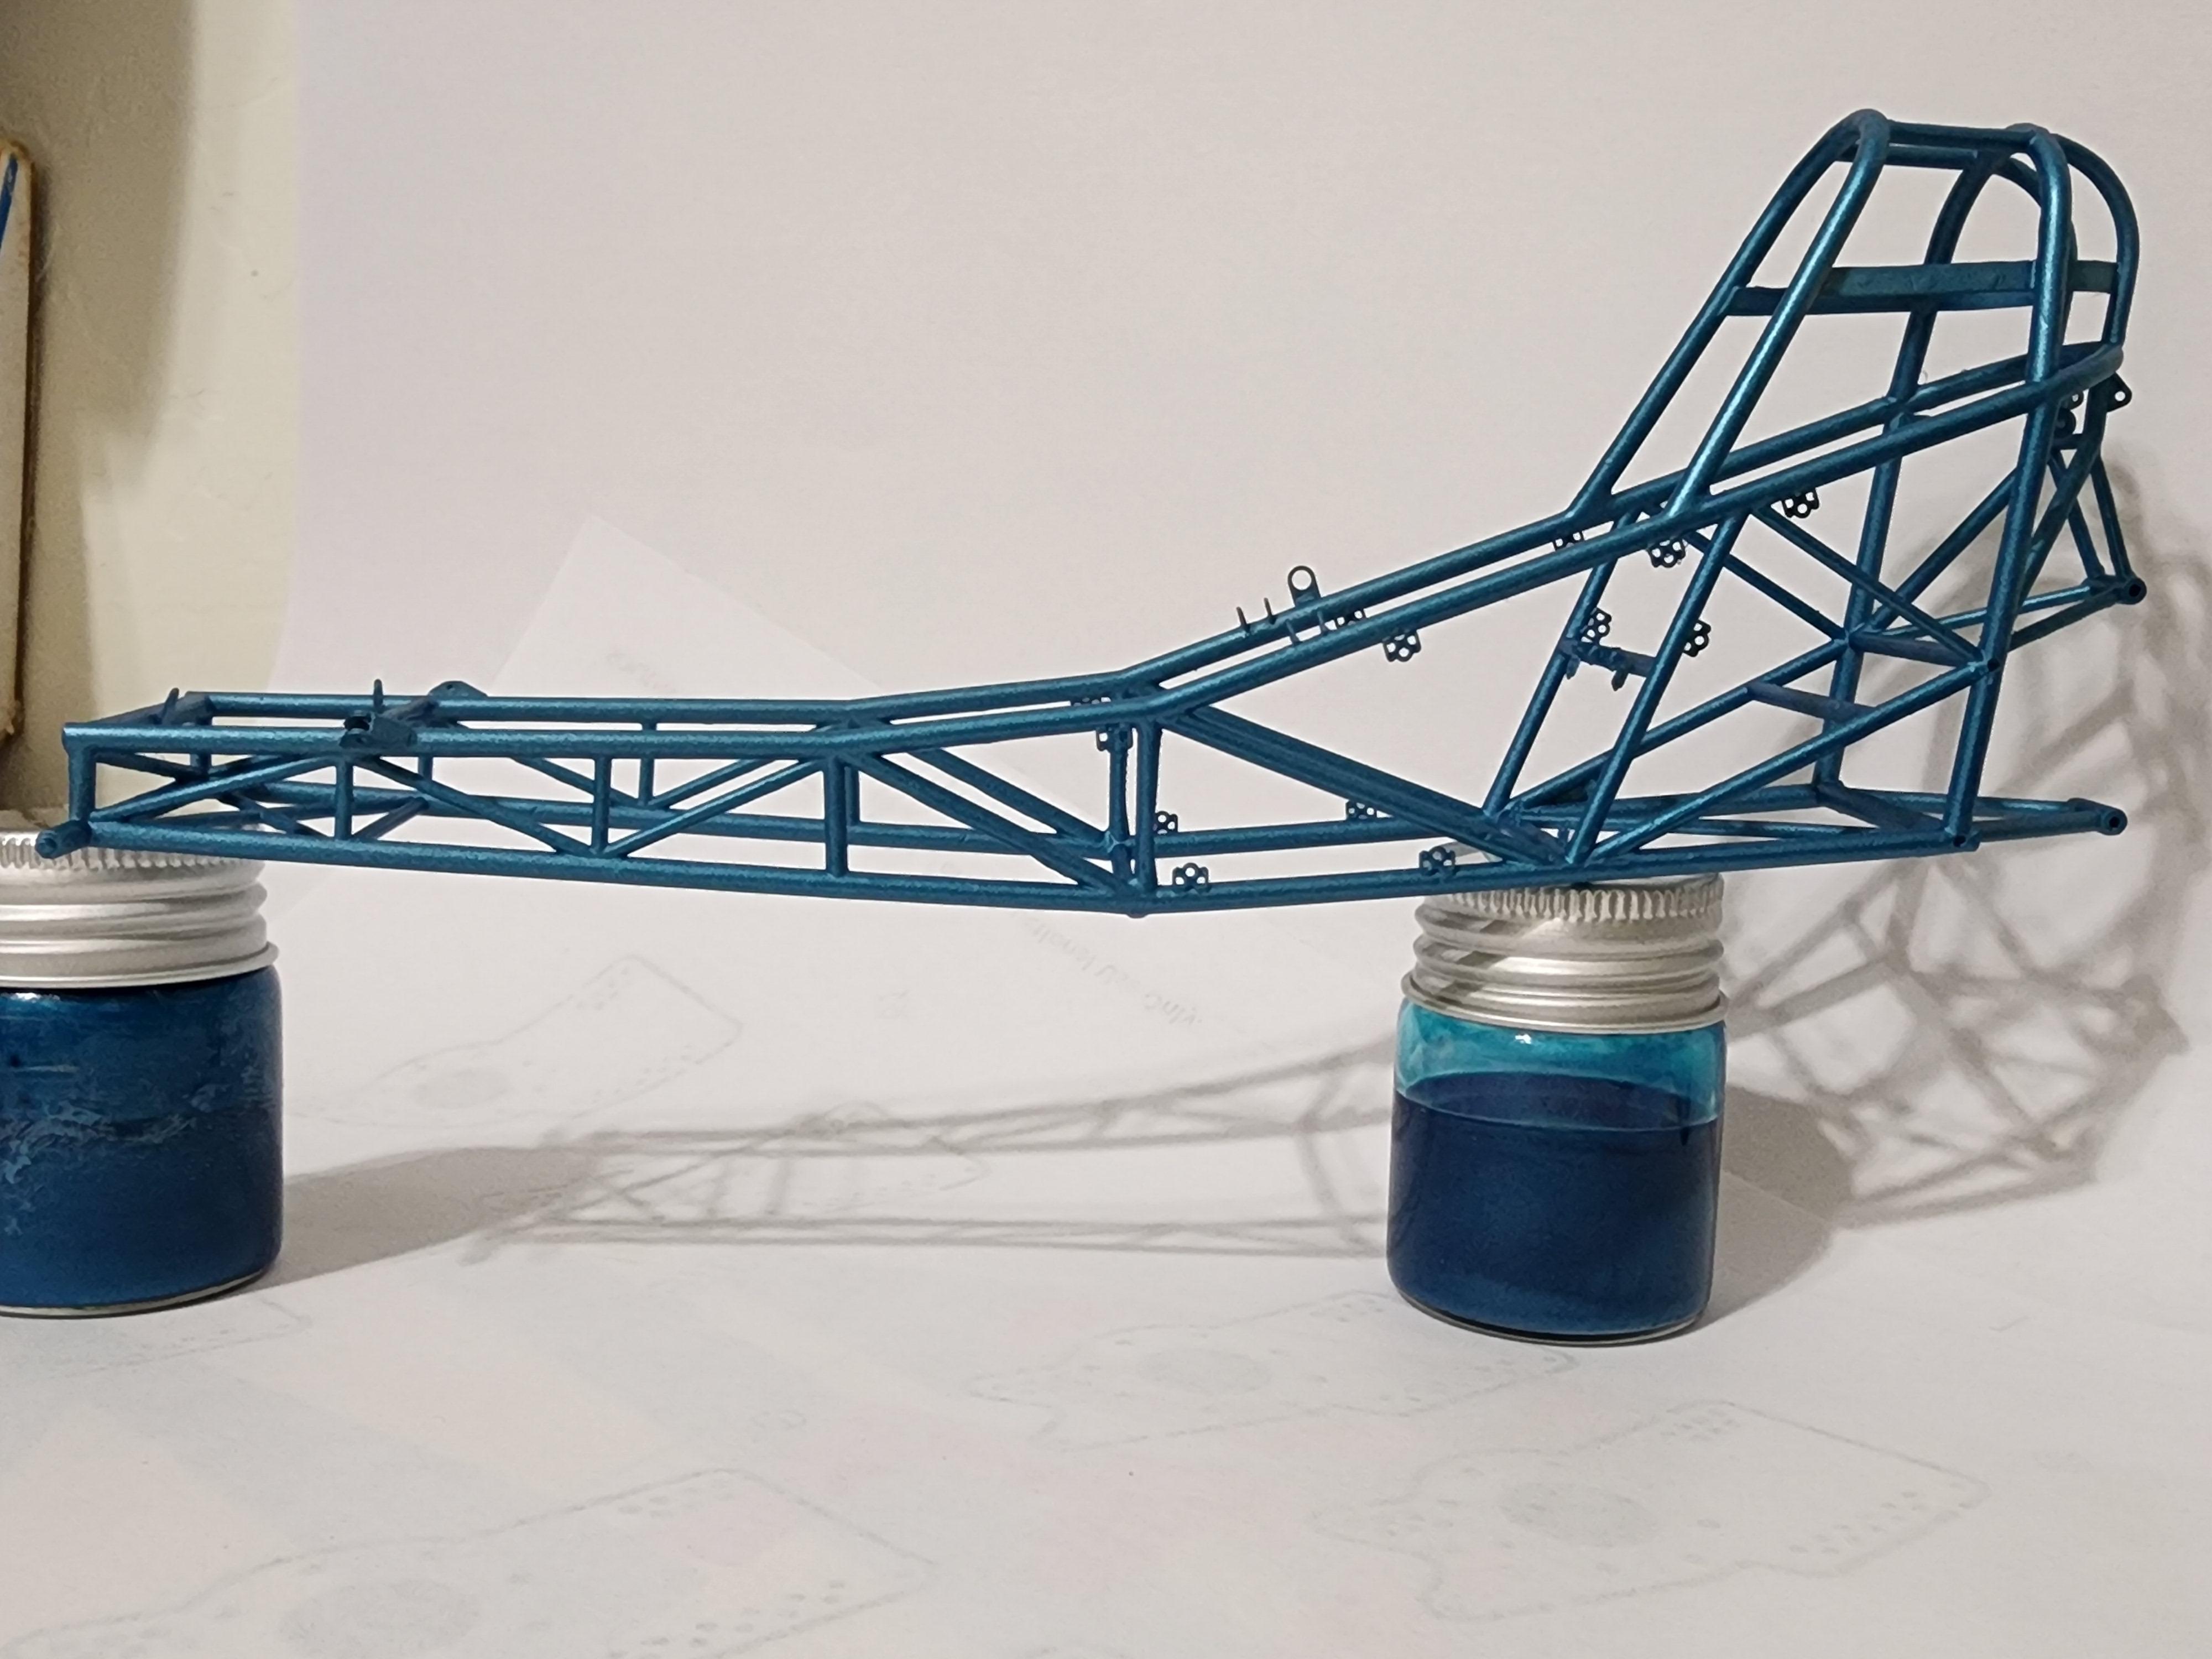
Some. The body is ready for paint, just need to make it to the paint shop and get some. I do need to change the color of the chassis as it's too blue from all the research I've found online. For now it's been sitting in the display cabinet on wheels though awaiting me to get un busy enough to paint the body. Paul
-
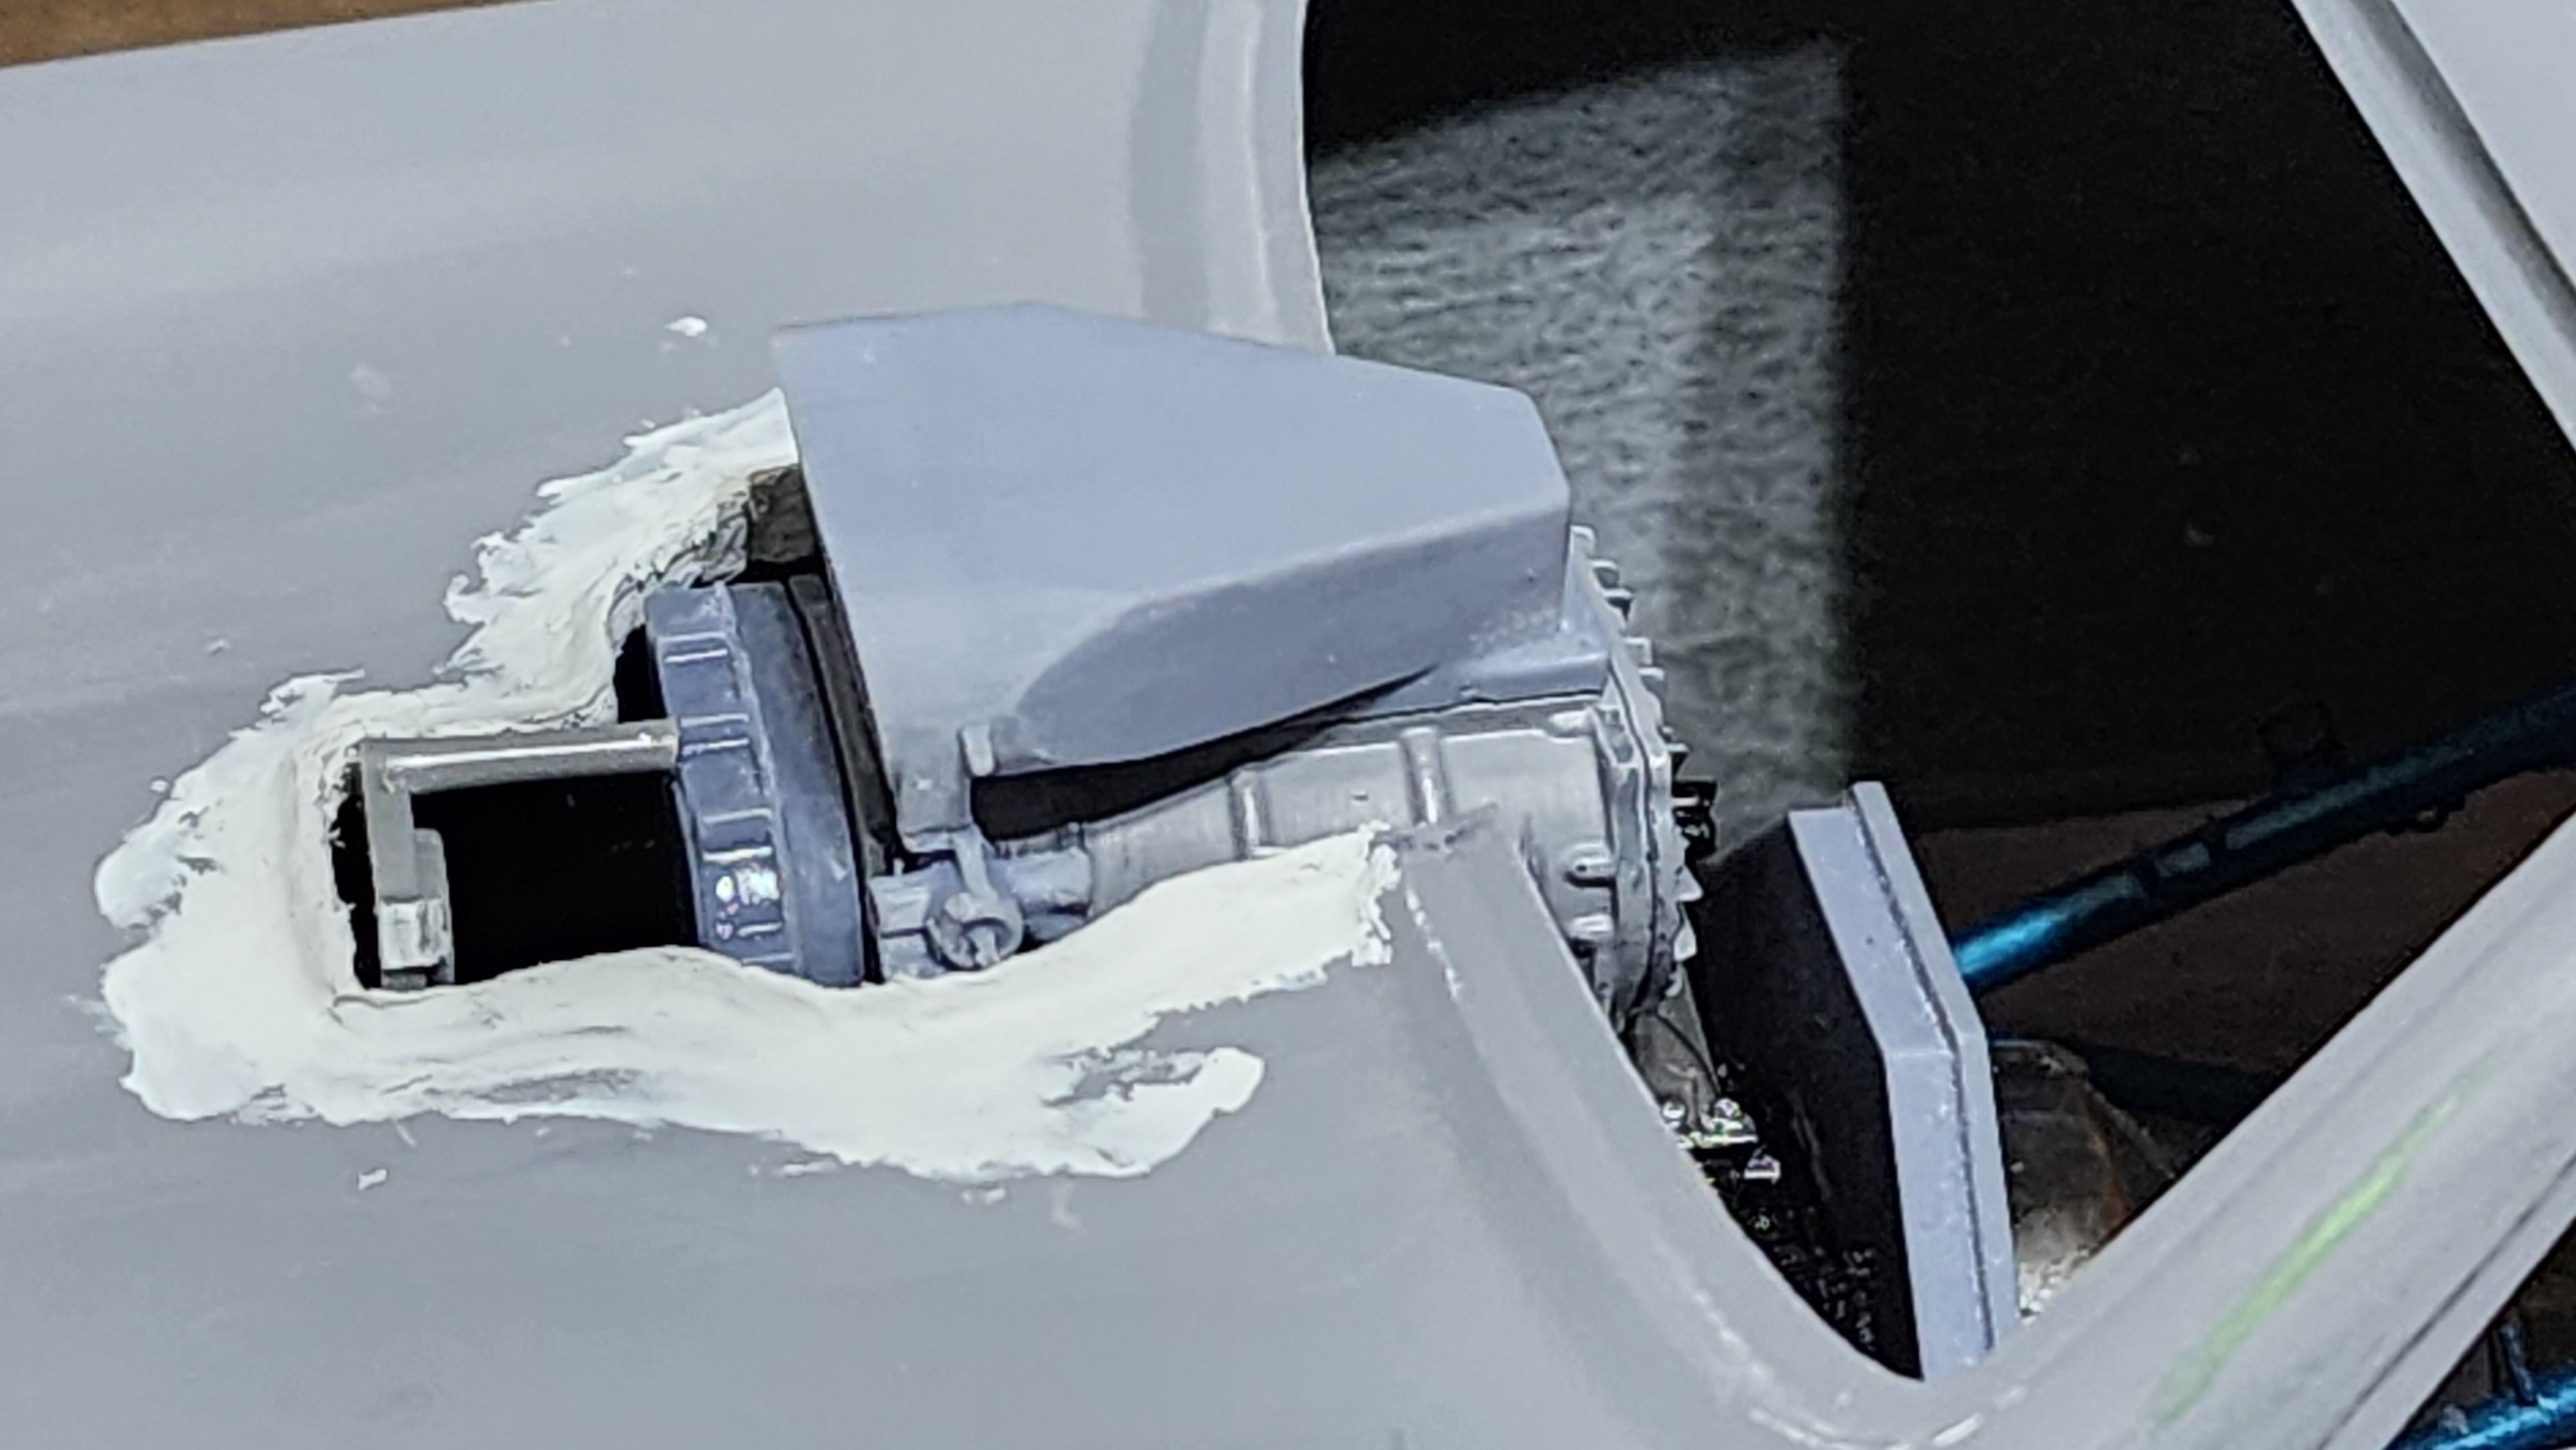
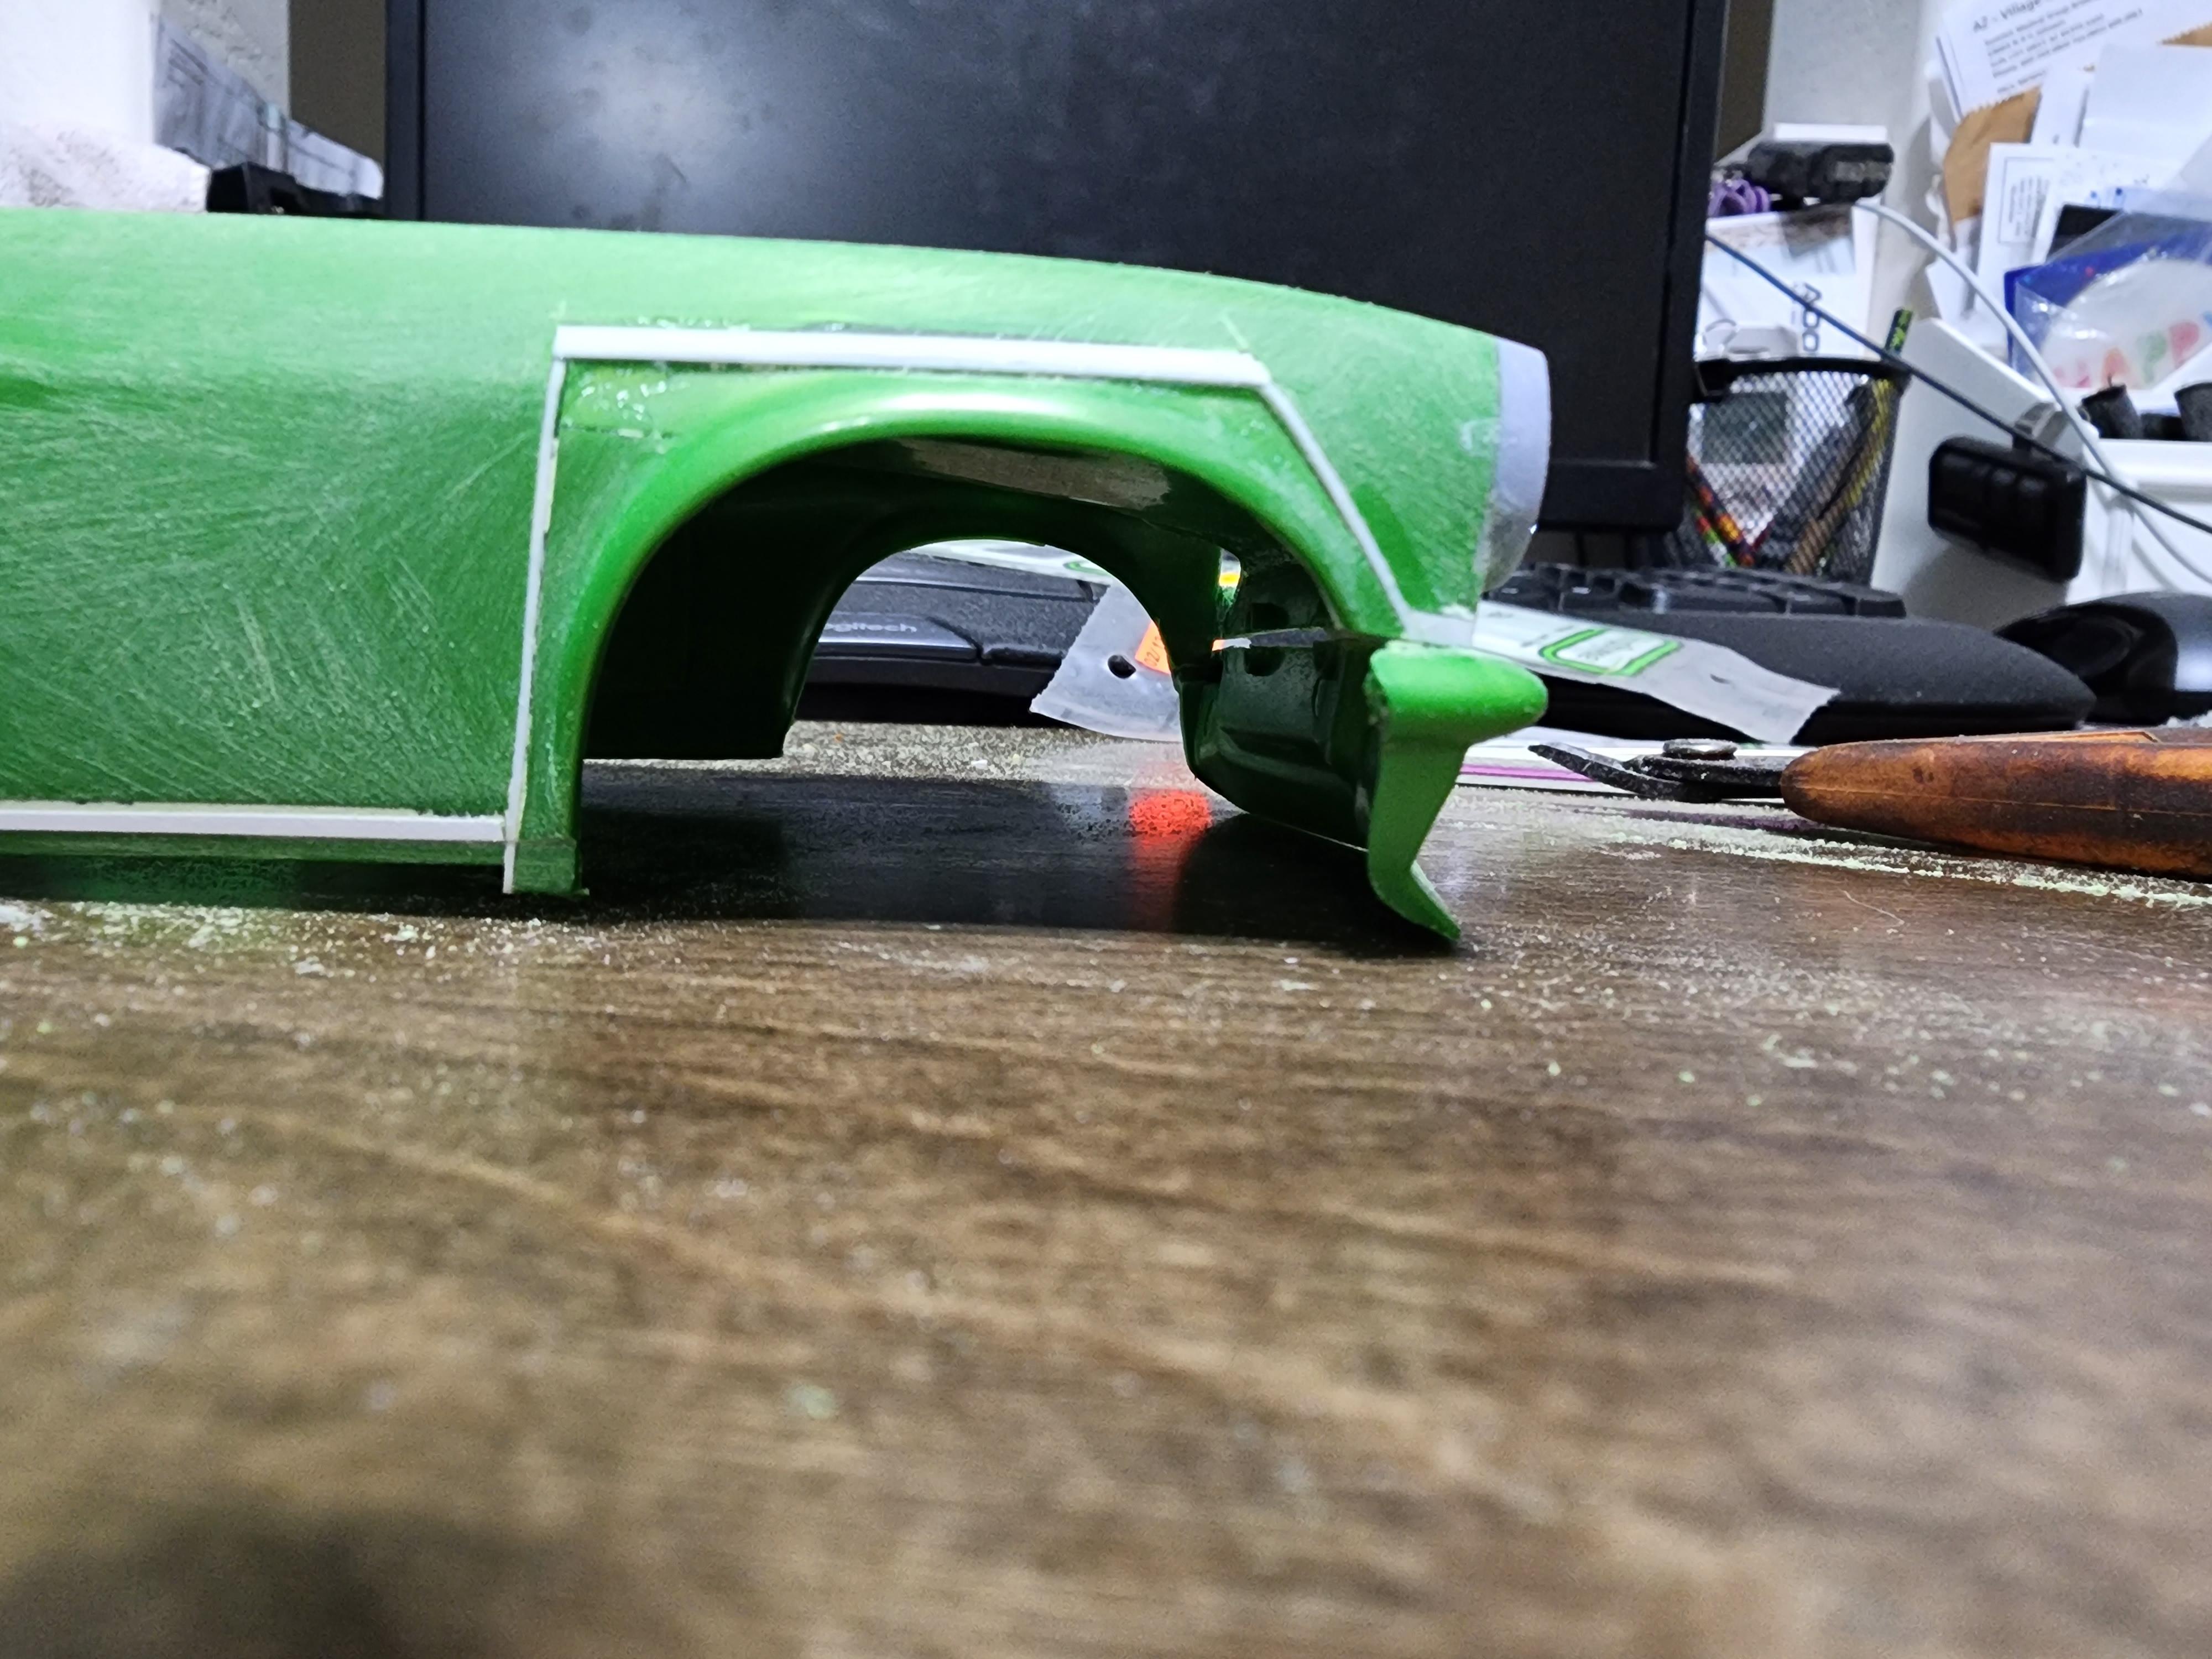
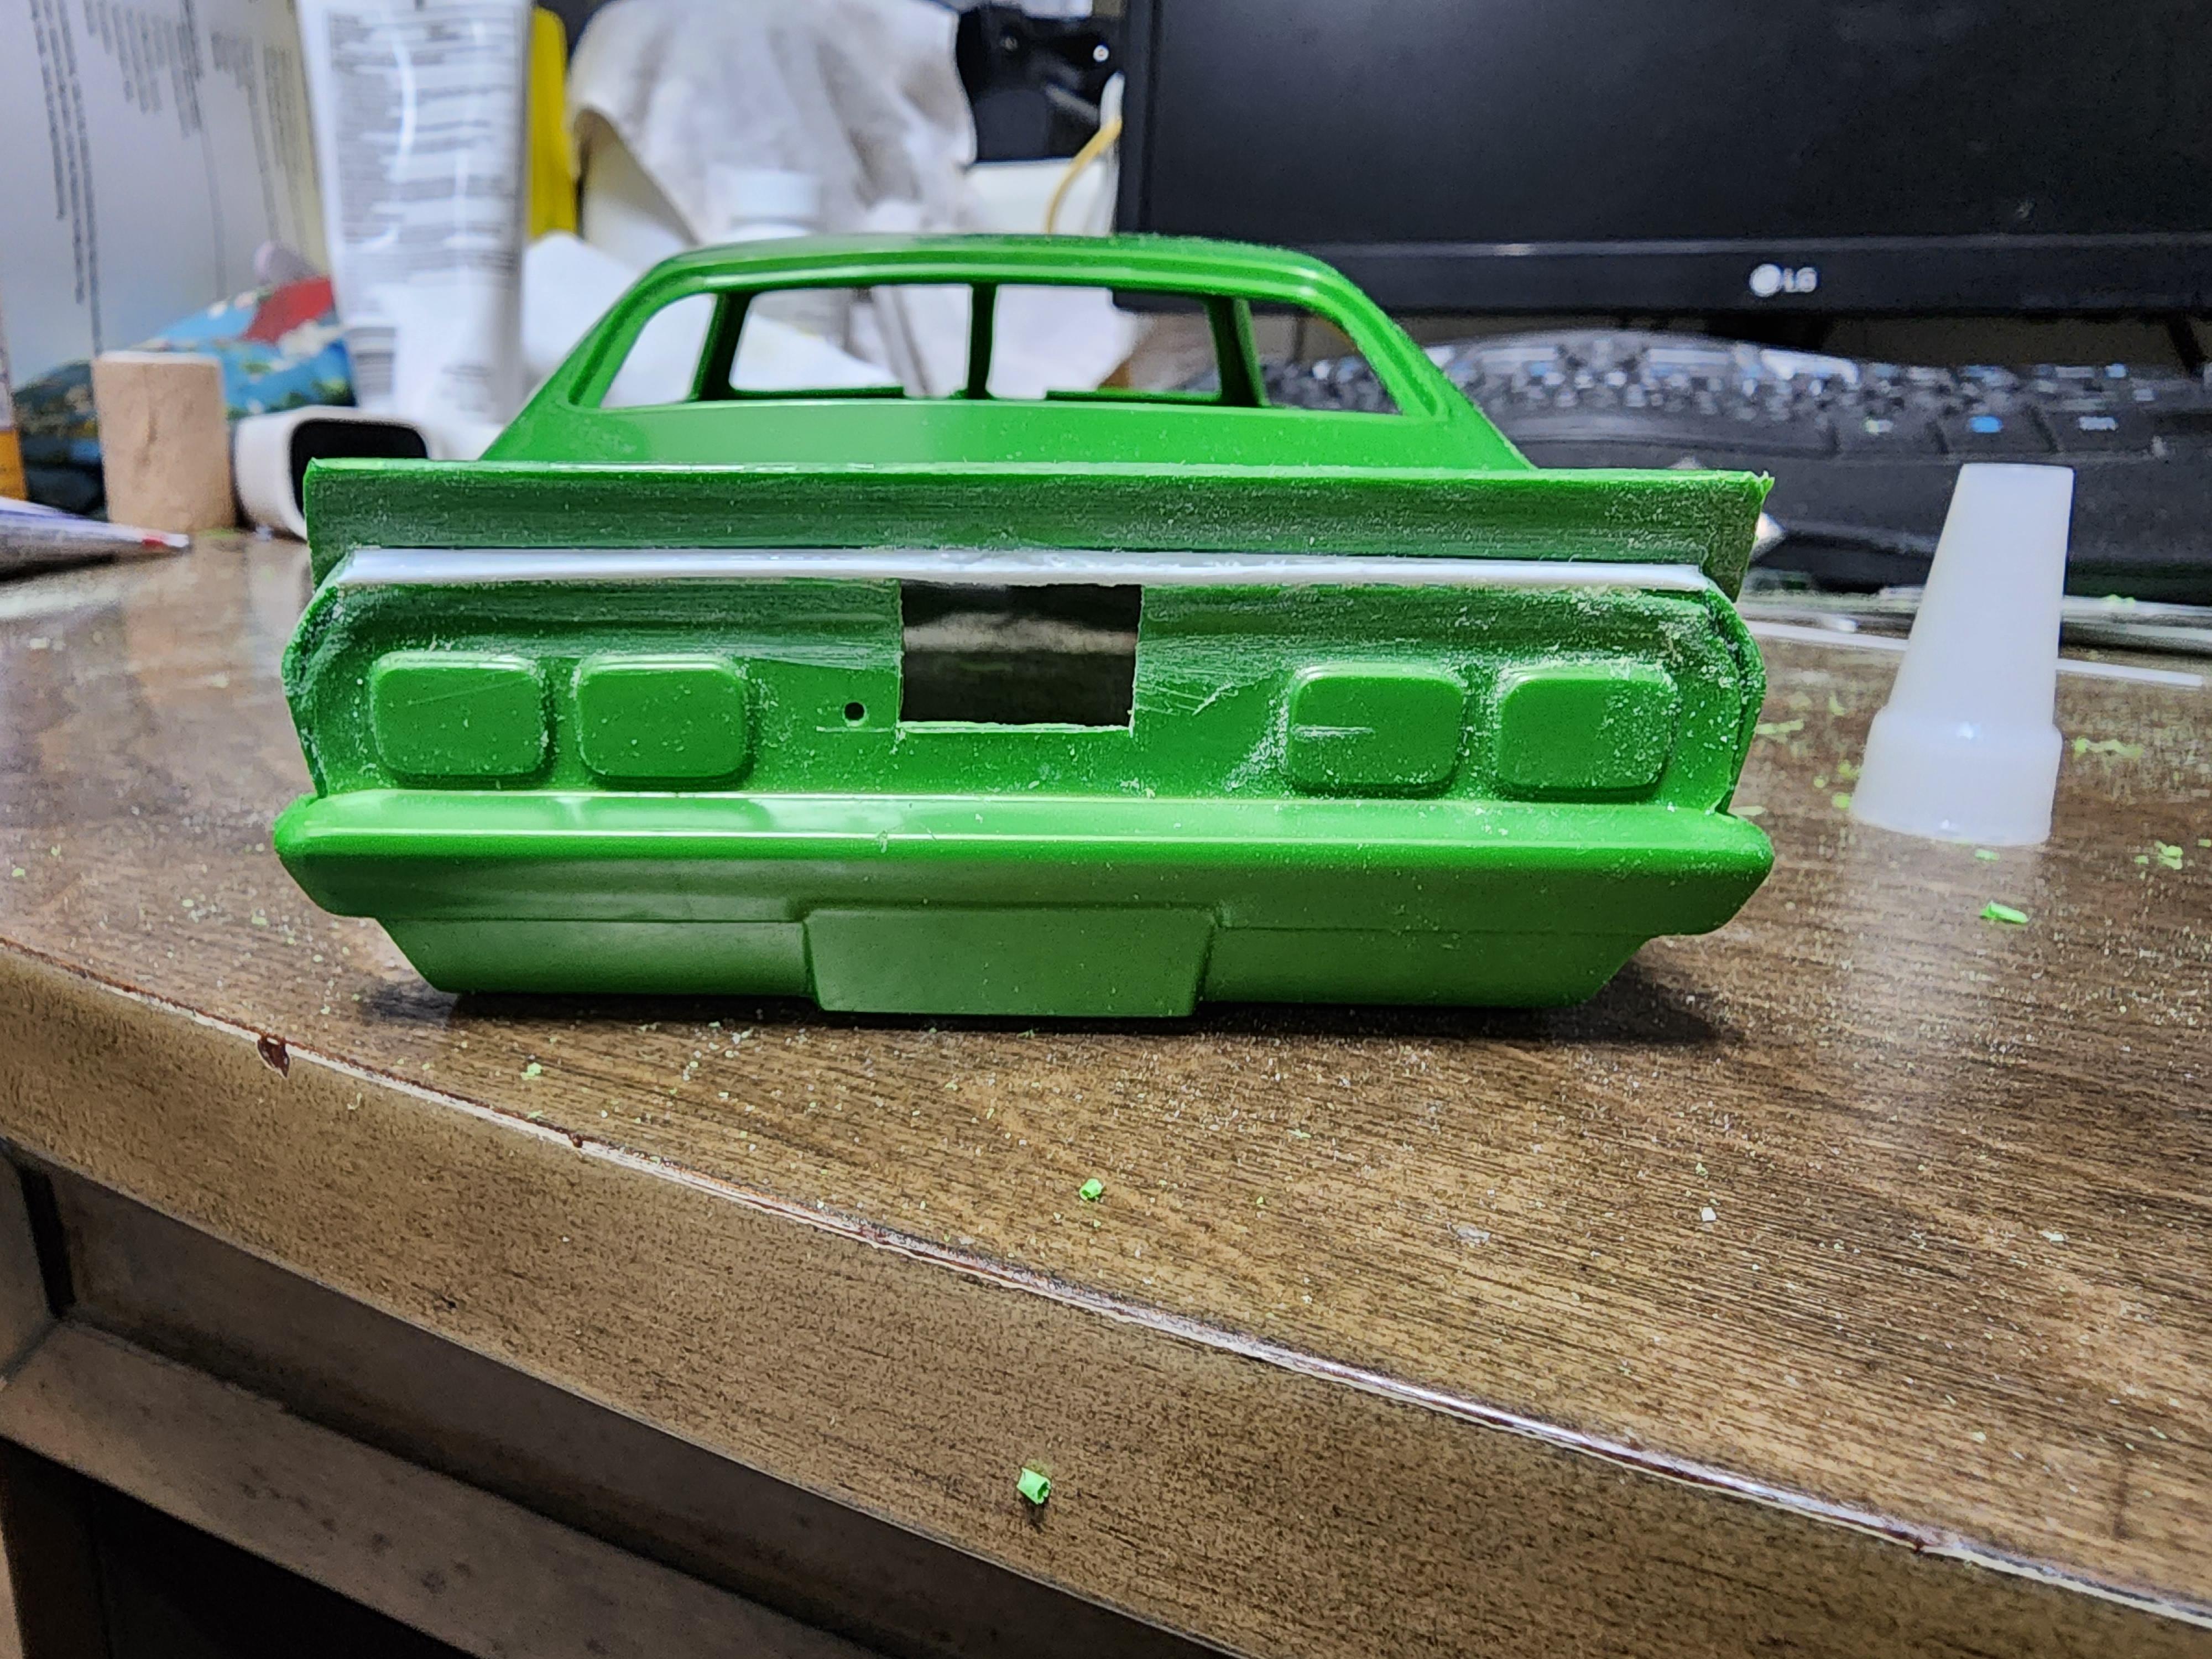
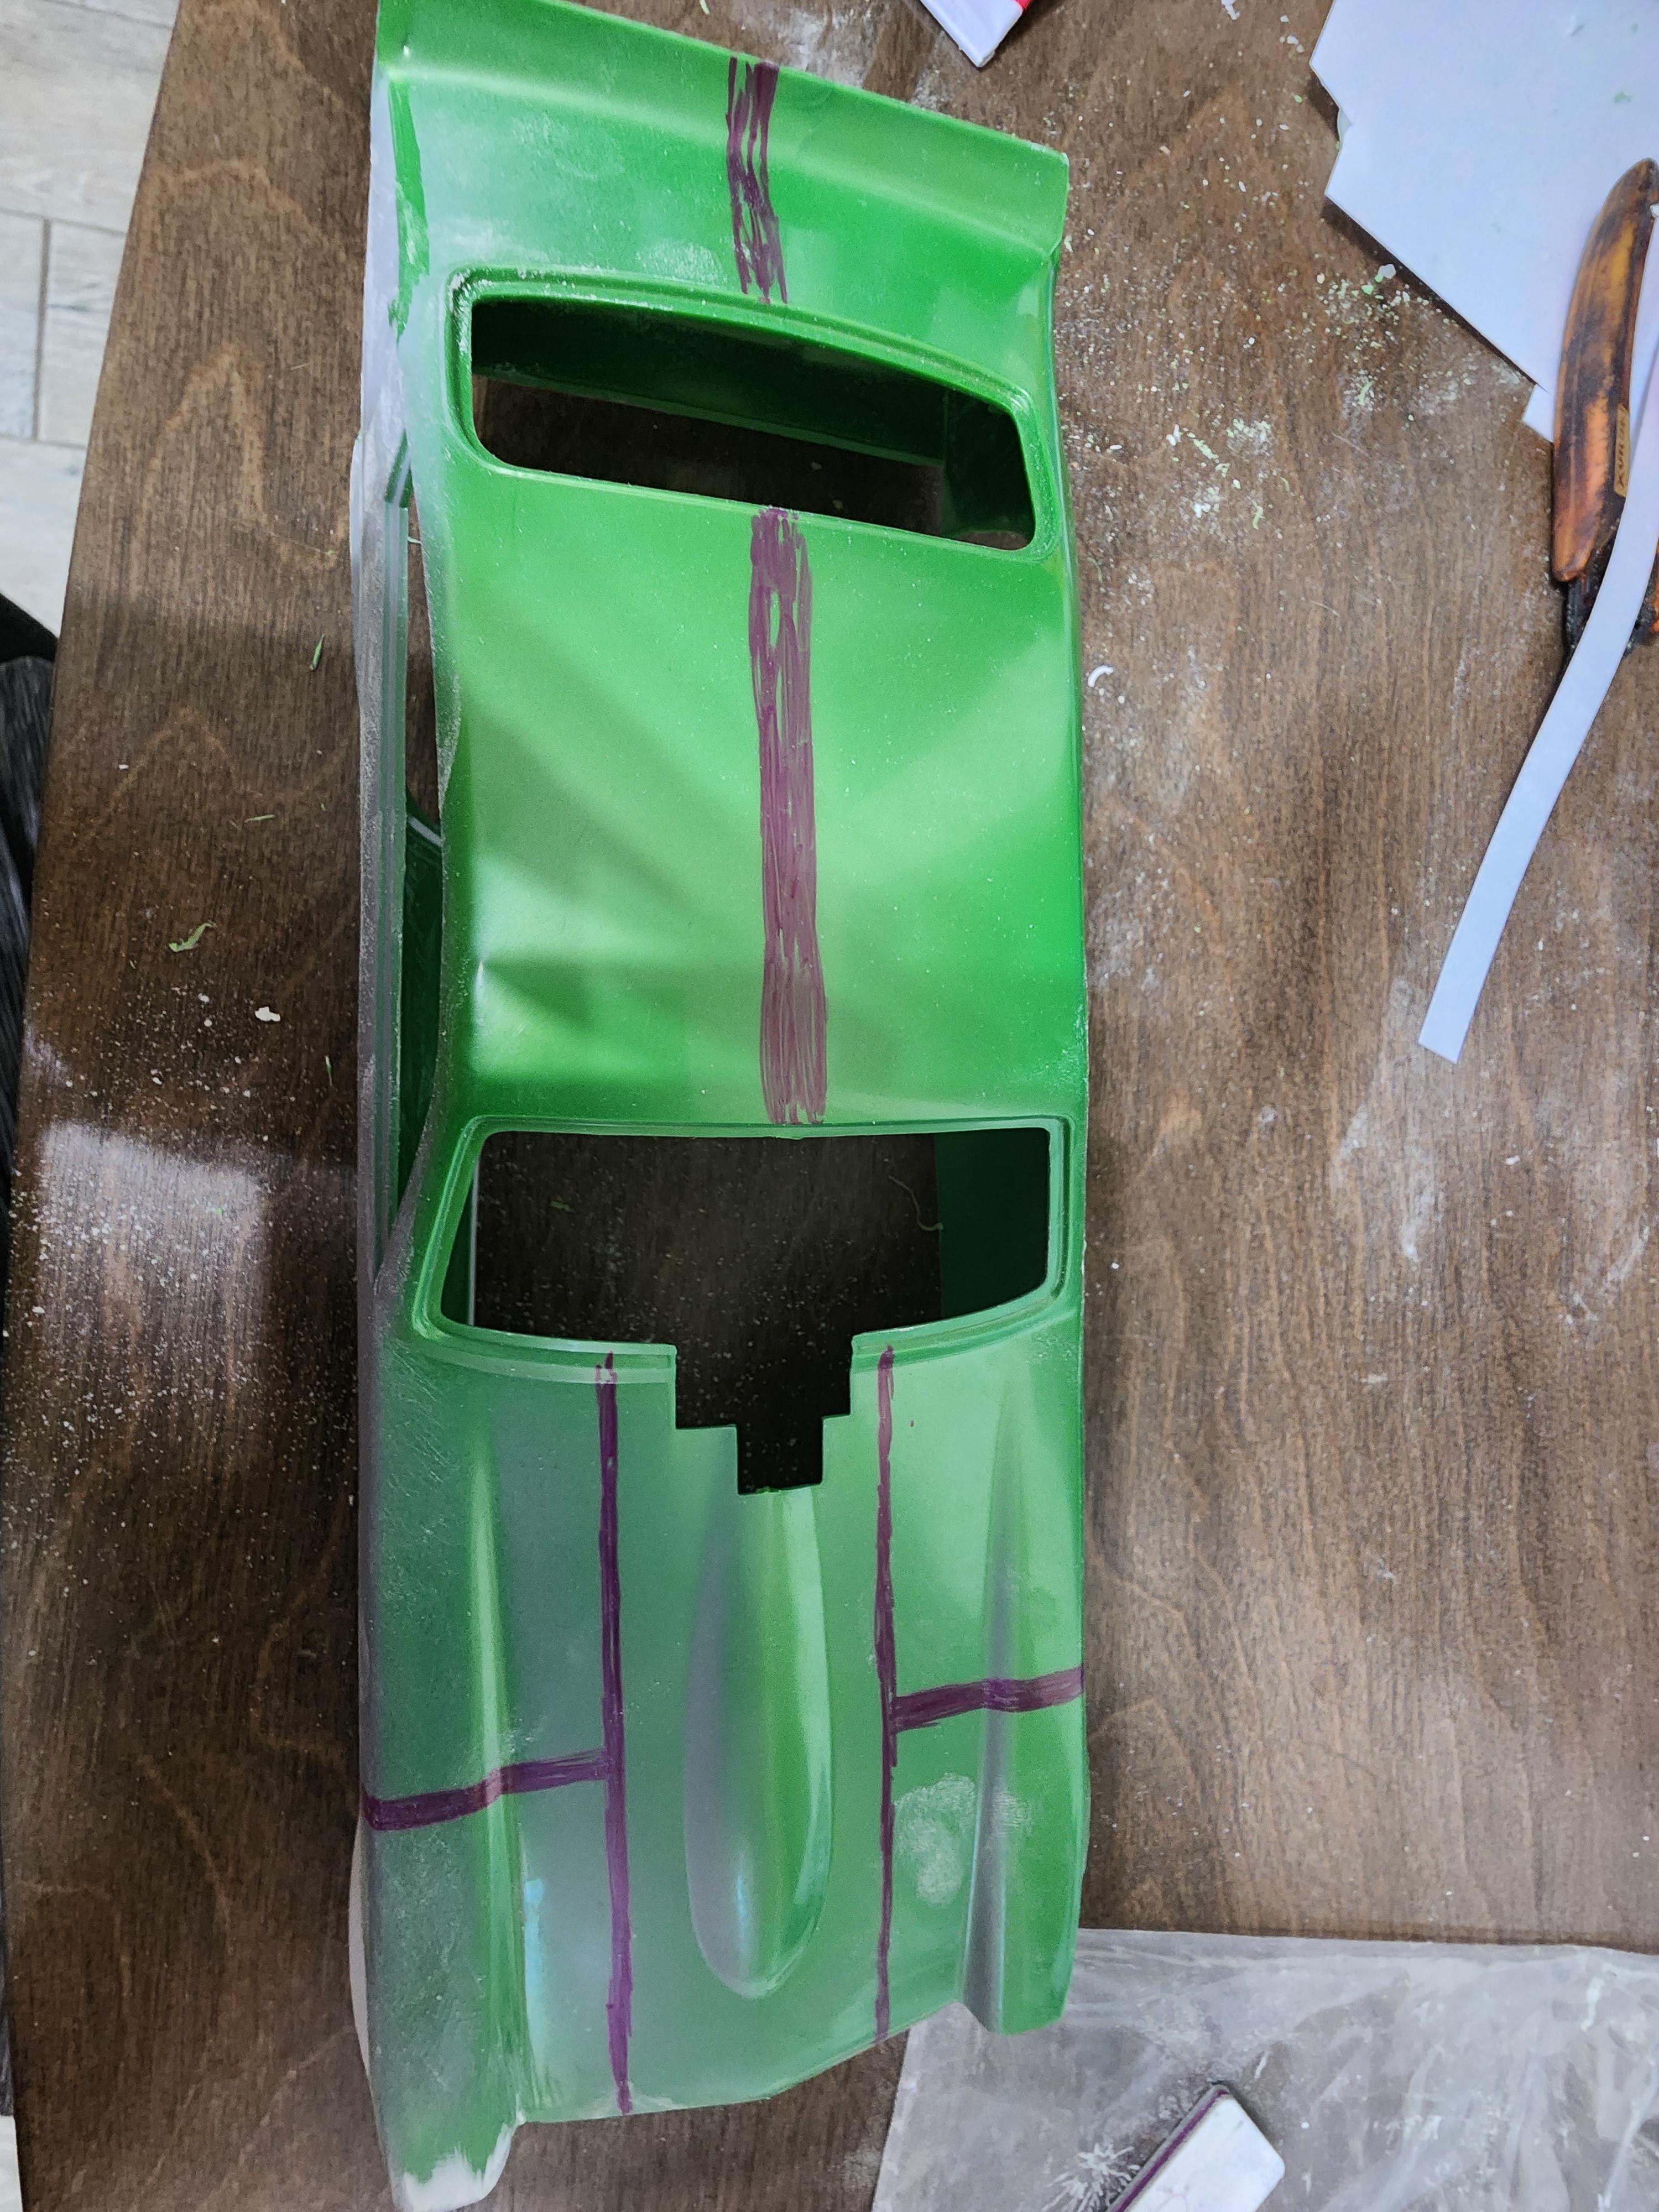
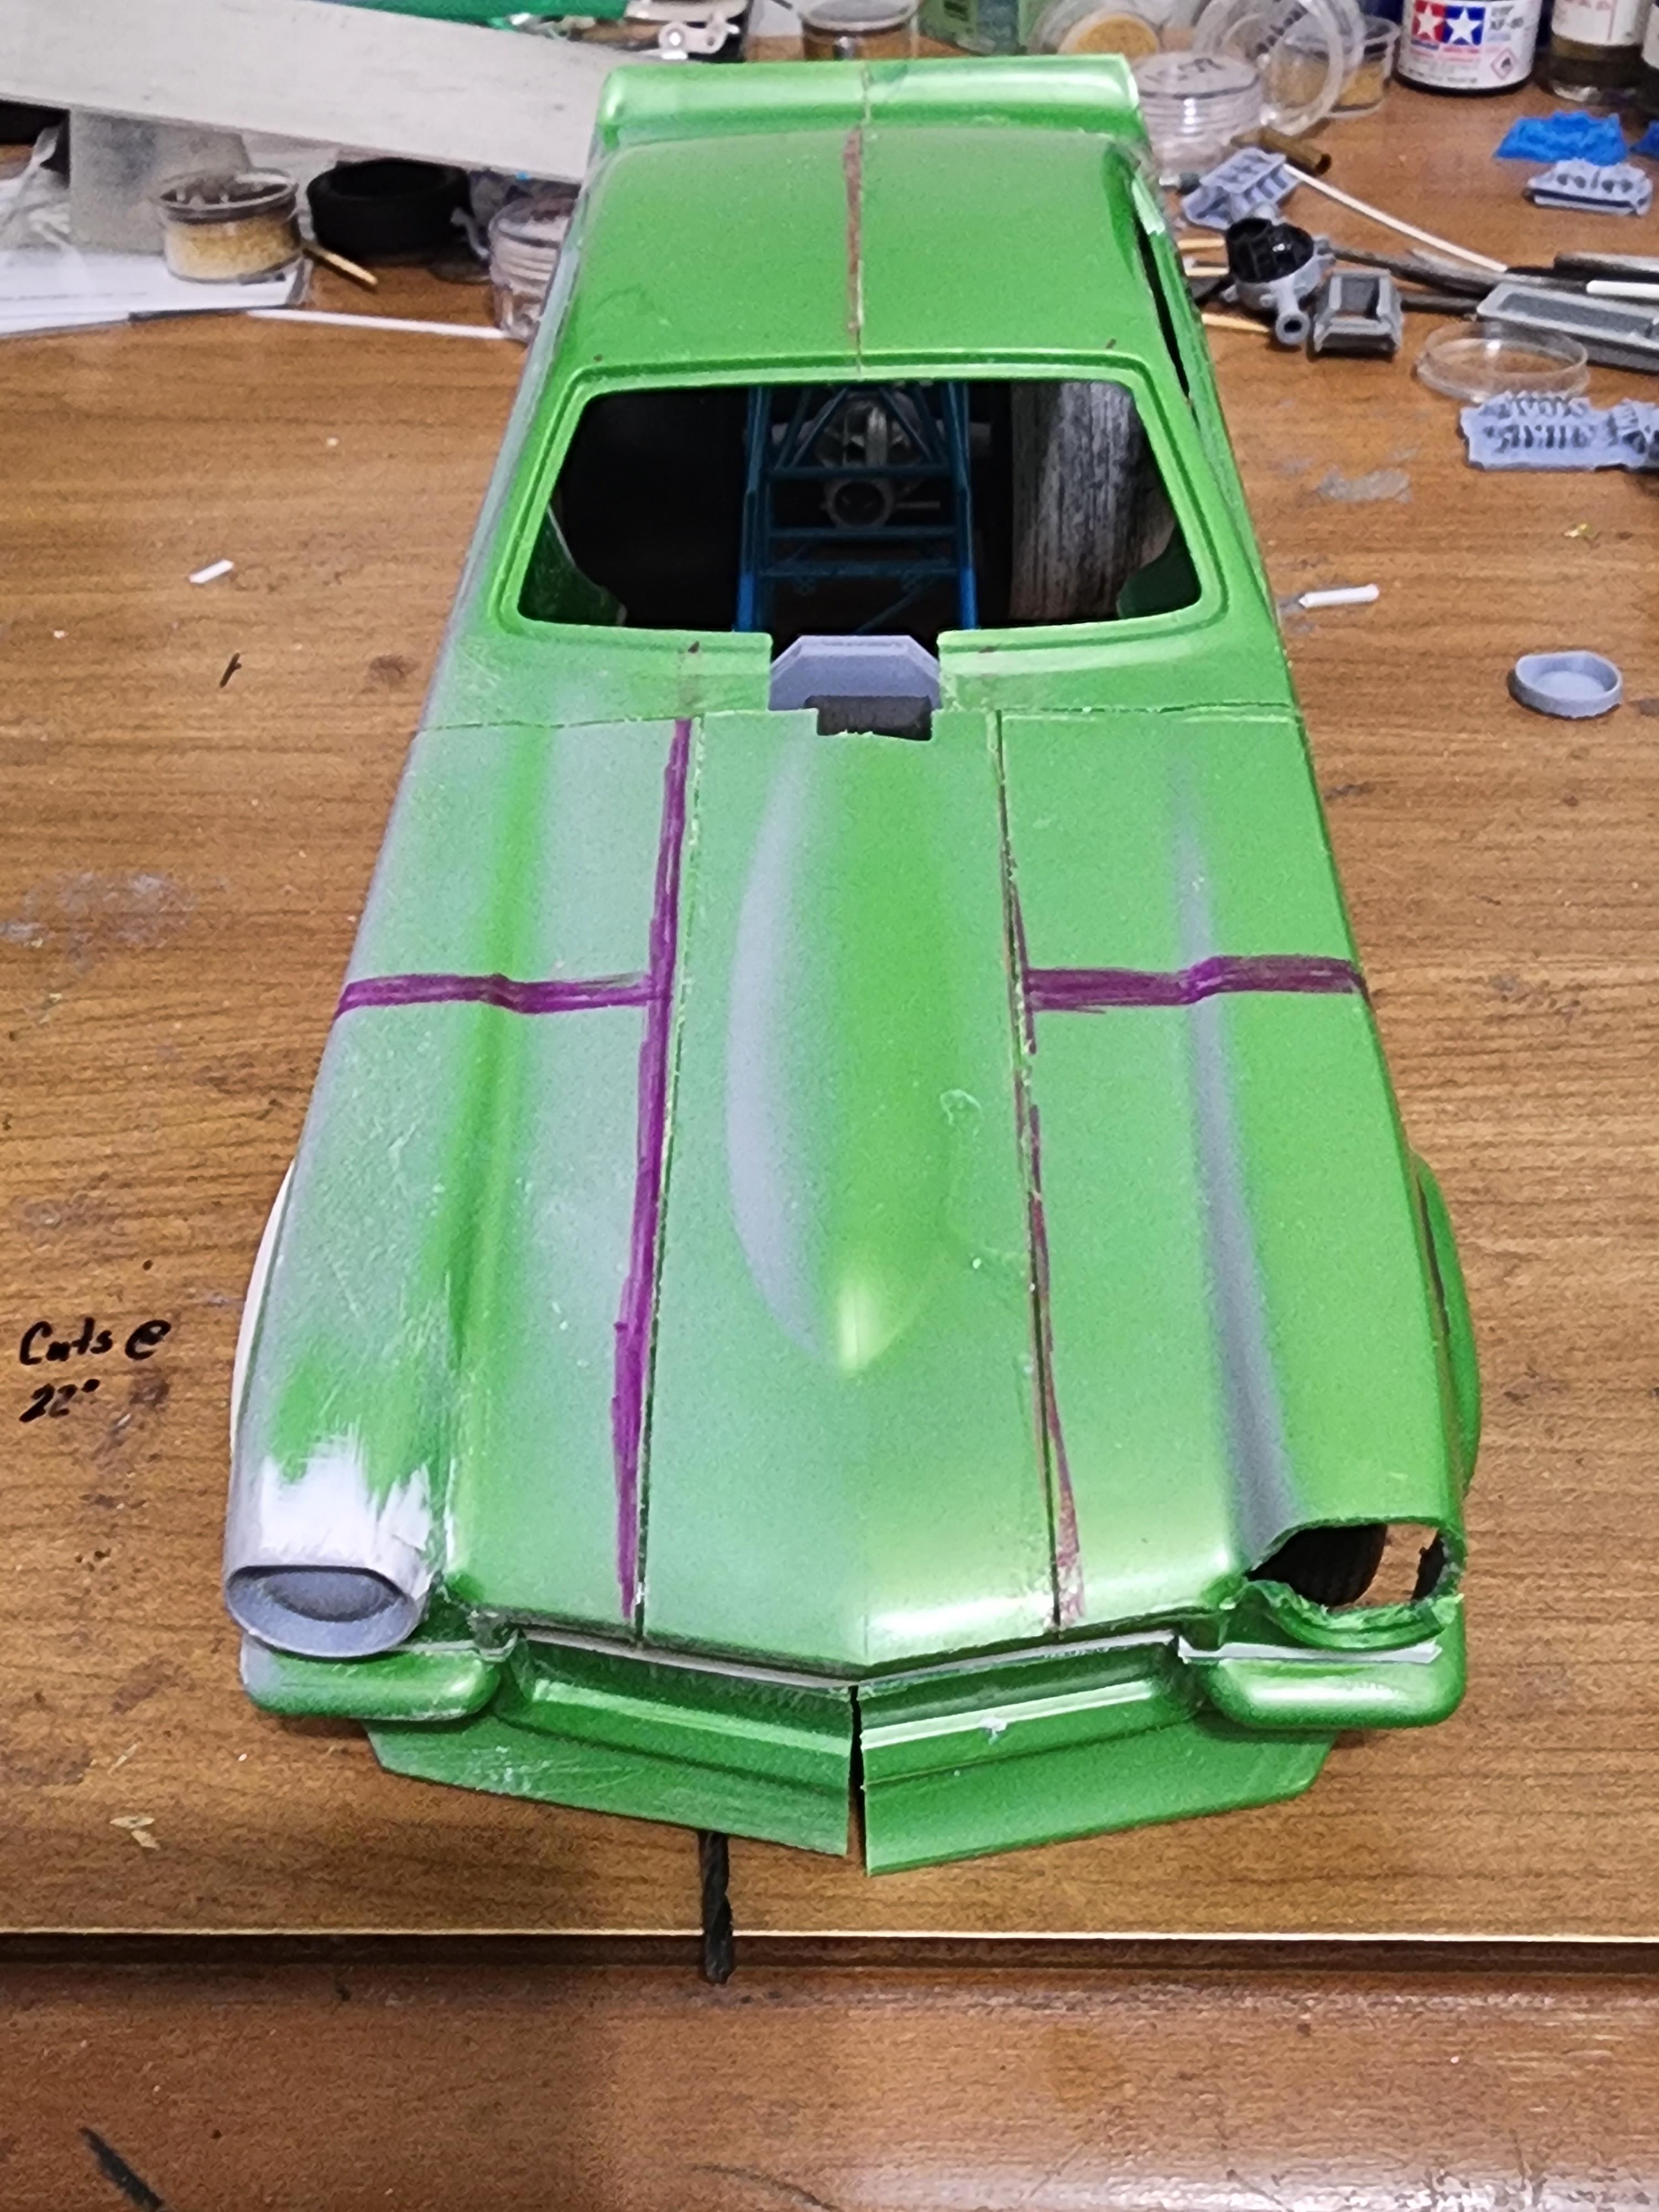
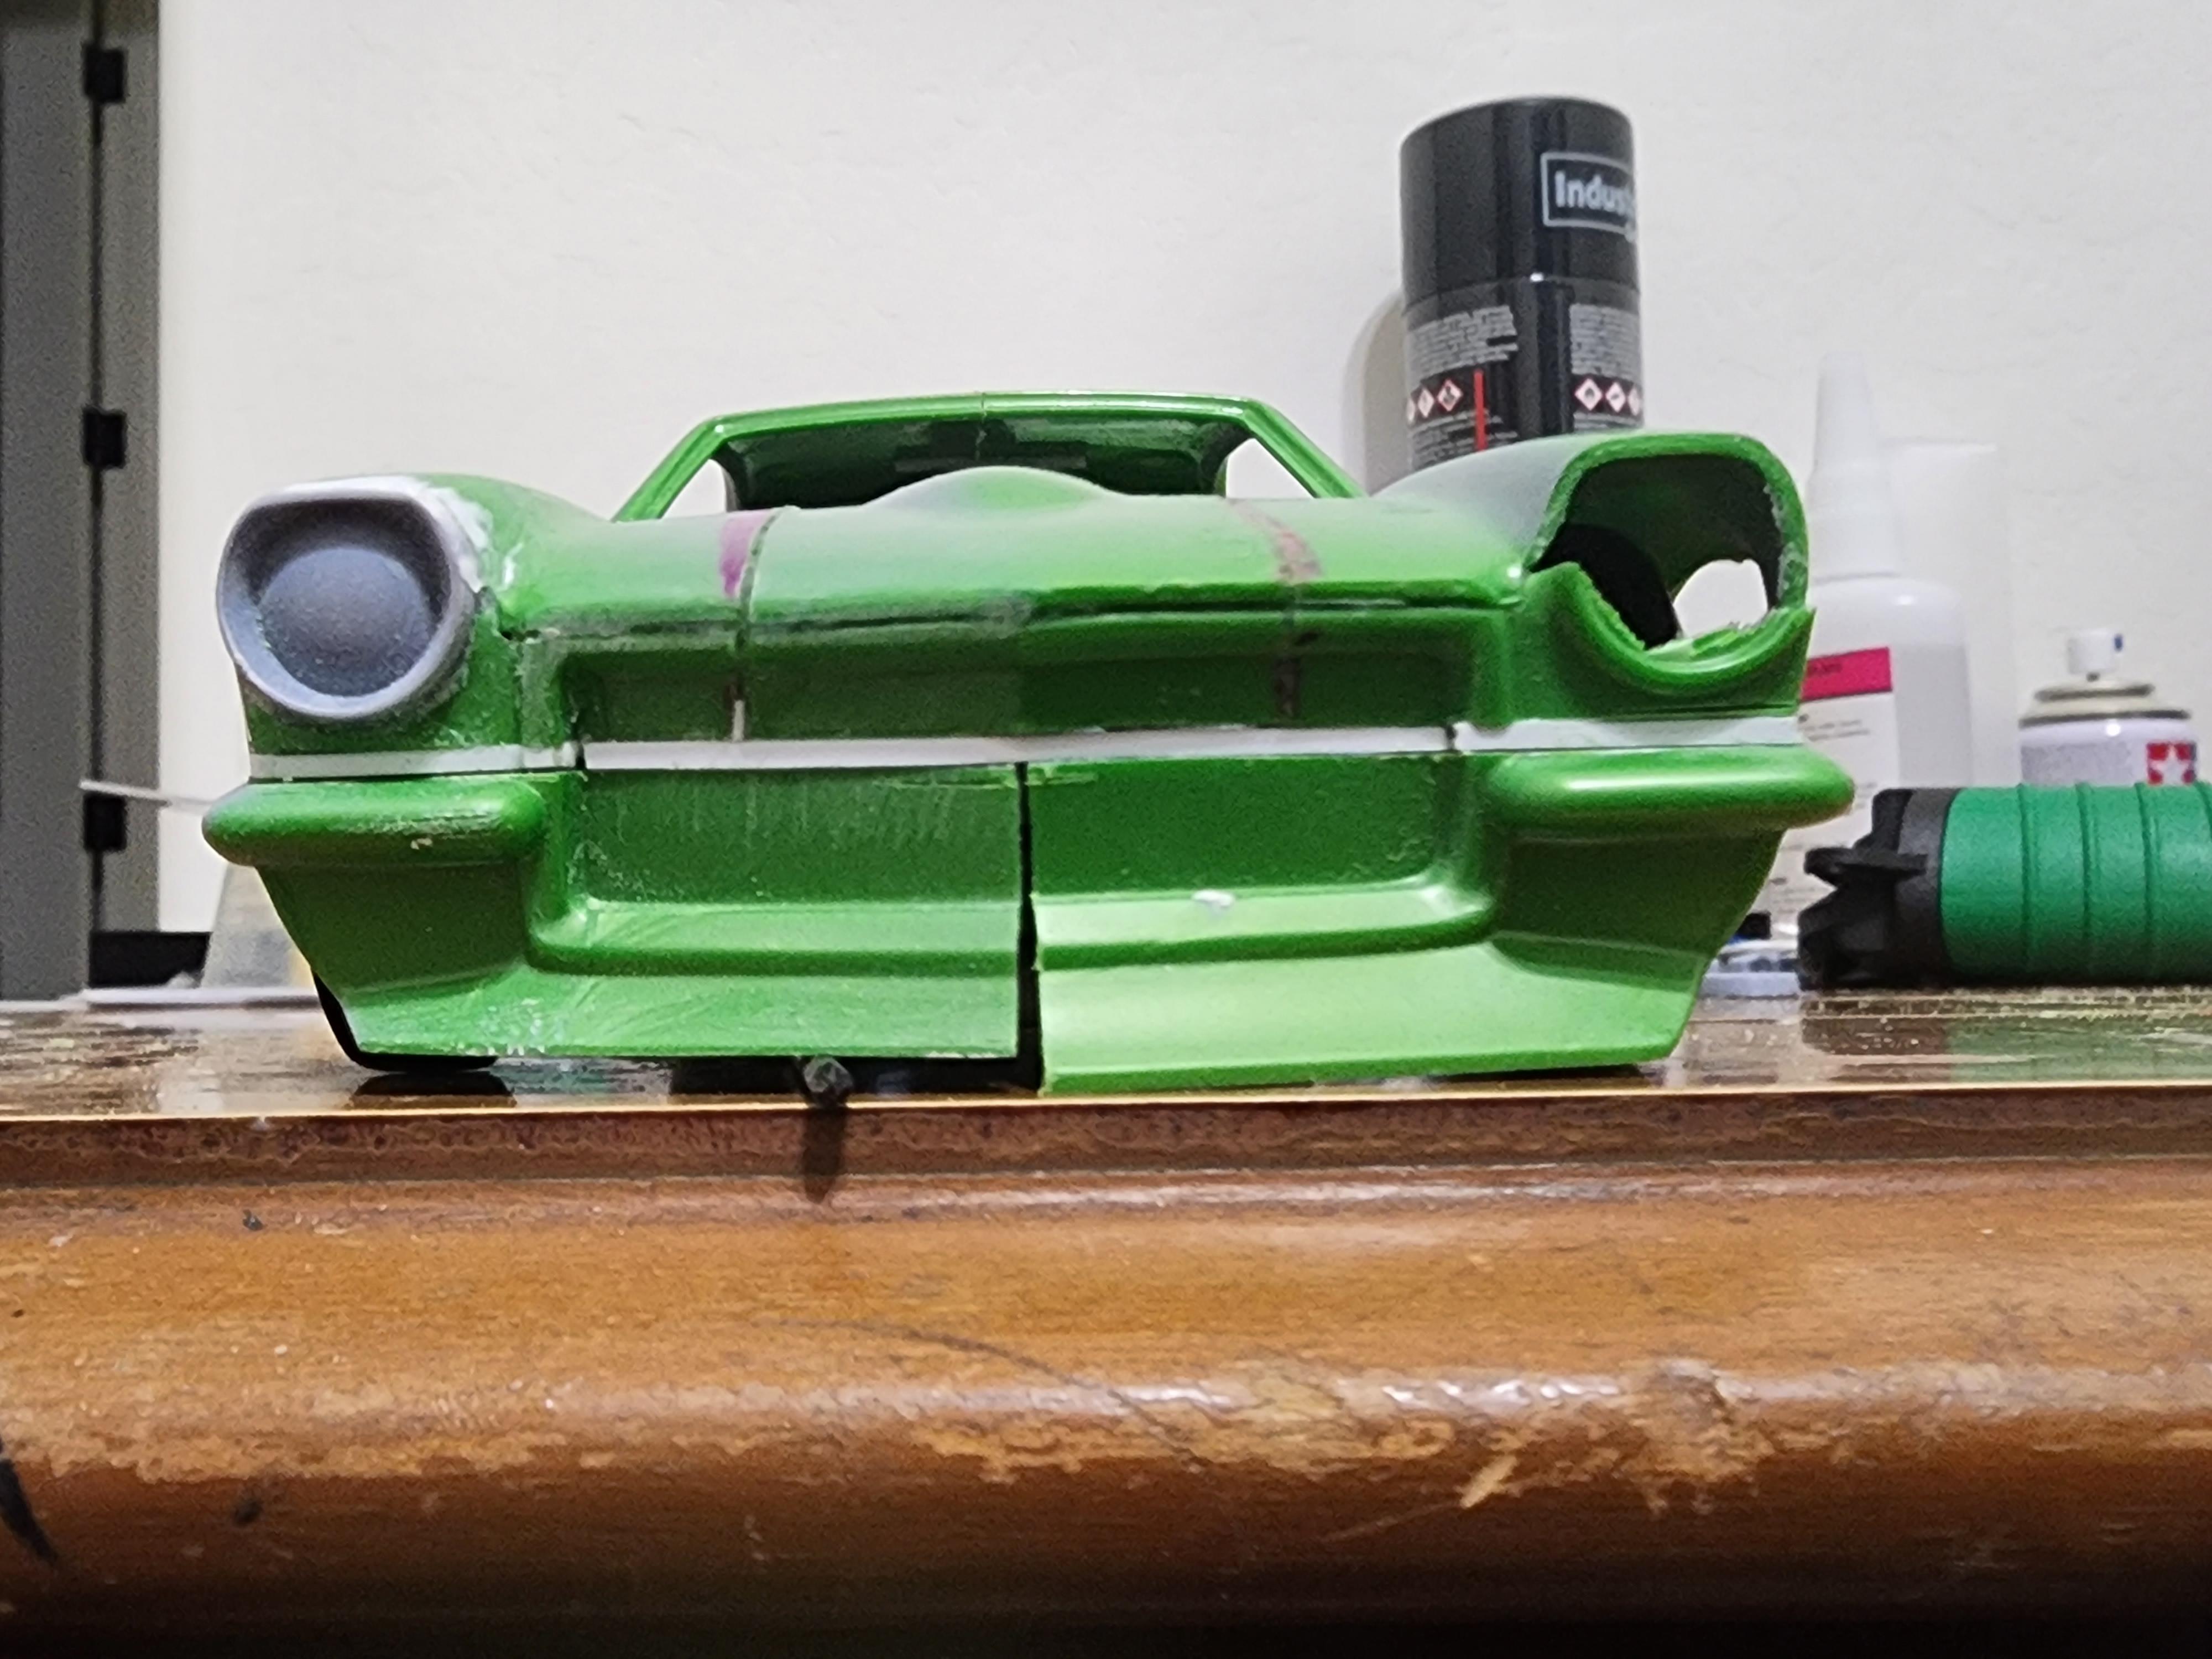
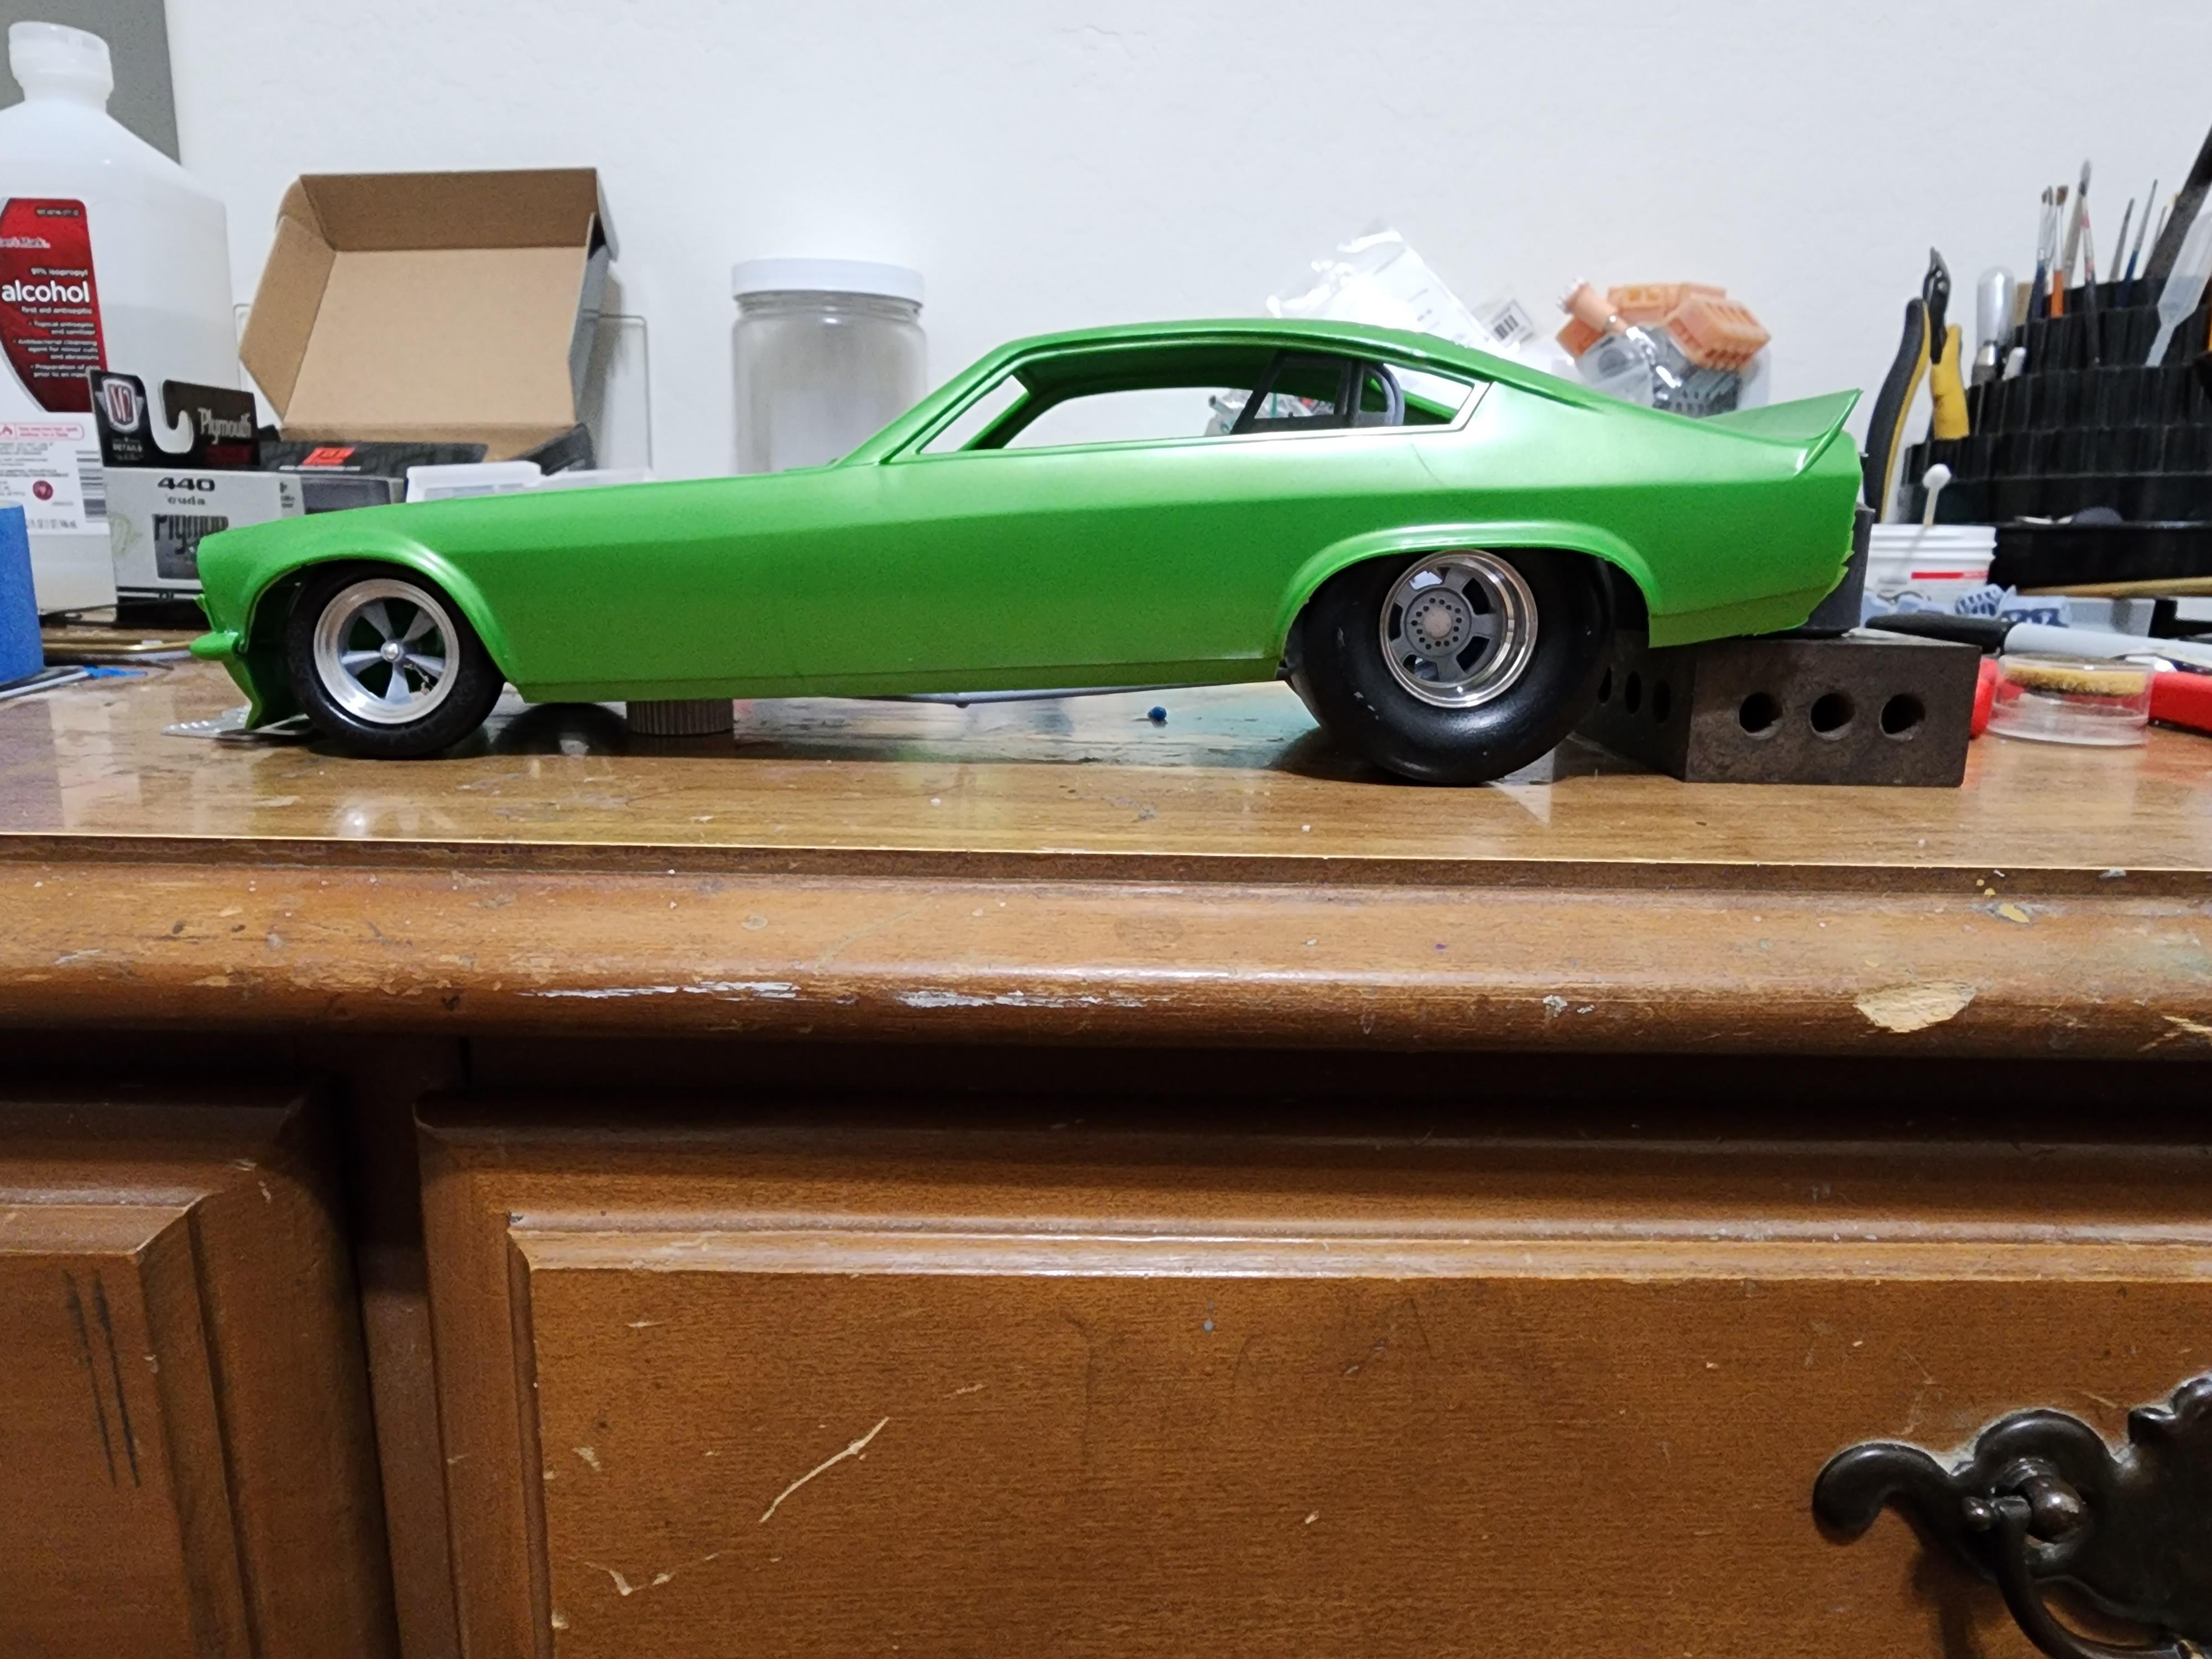
Thankyou everyone for the comments. I've still been plugging away at this thing. Most of the time has been spent on the body work. It's getting close to being able to be painted. I did crack one of the glue joints in handling the body so I repaired that and moved on. A couple minor details added that were missed. Also I've since added the support for the windshield around the blower hole and made the firewall in .023 thick aluminum and cut the new windshield. (body was narrowed so the kit part was of no use lol) Paul
-
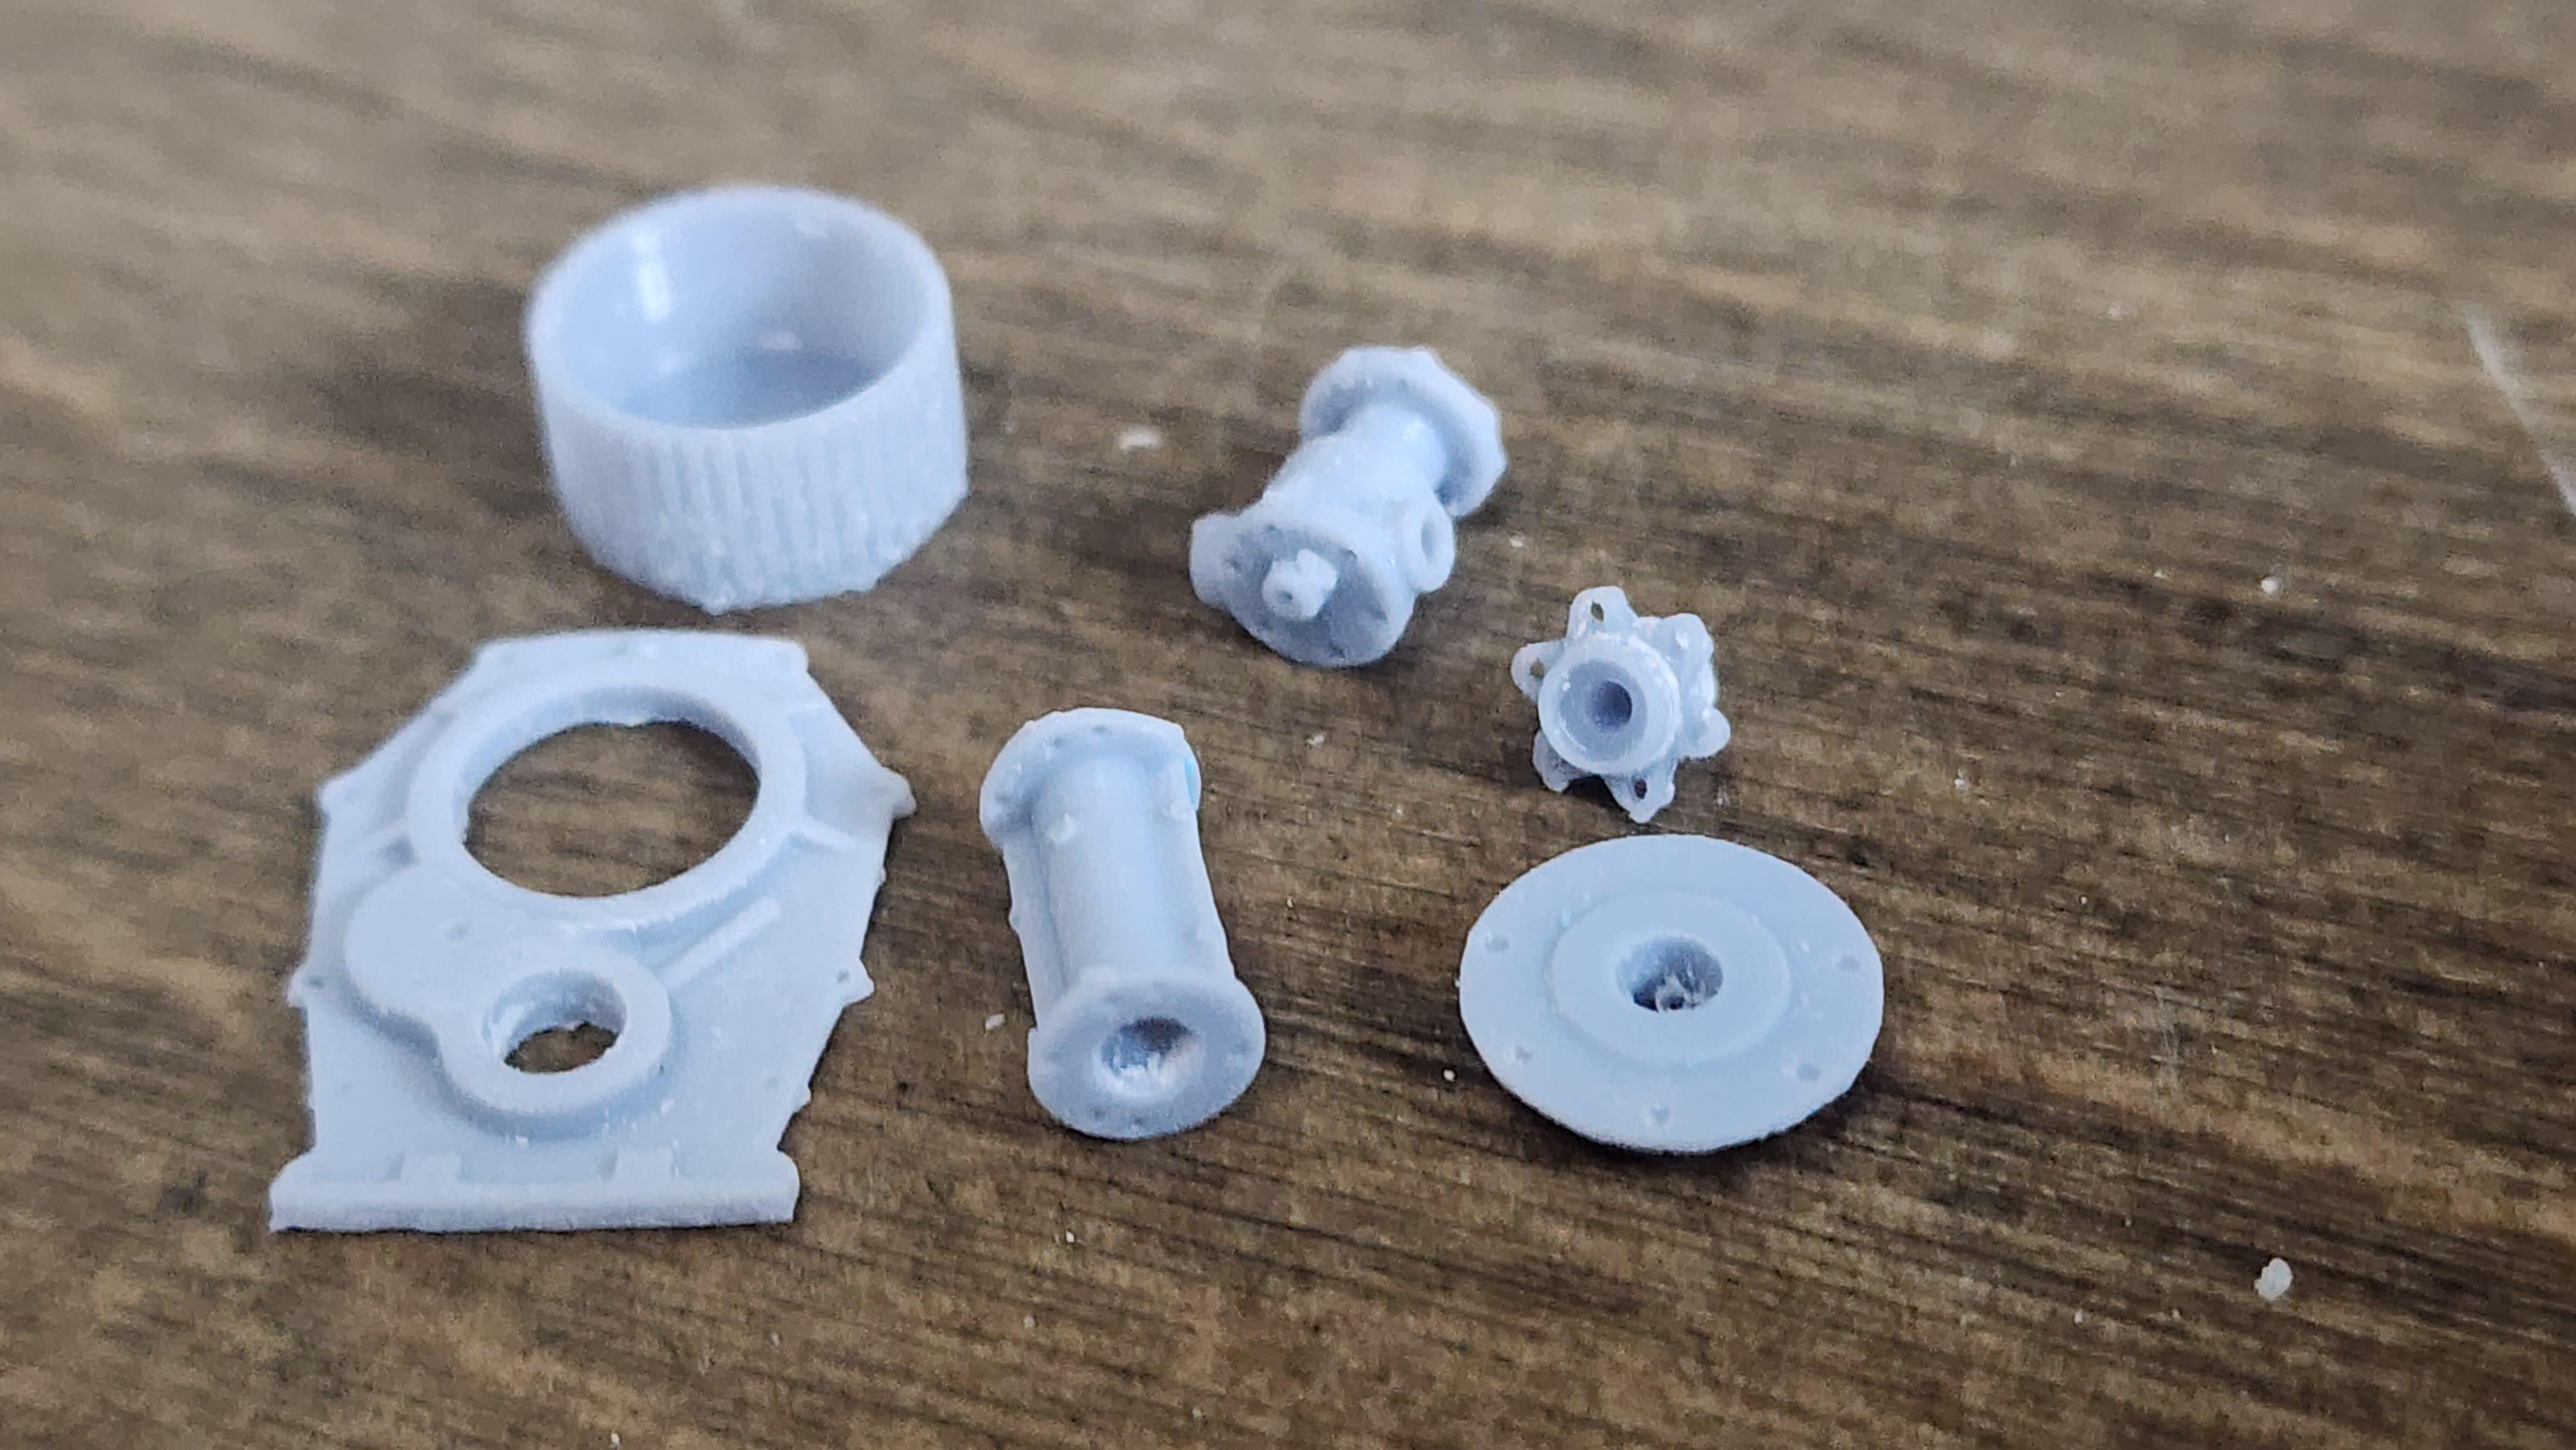
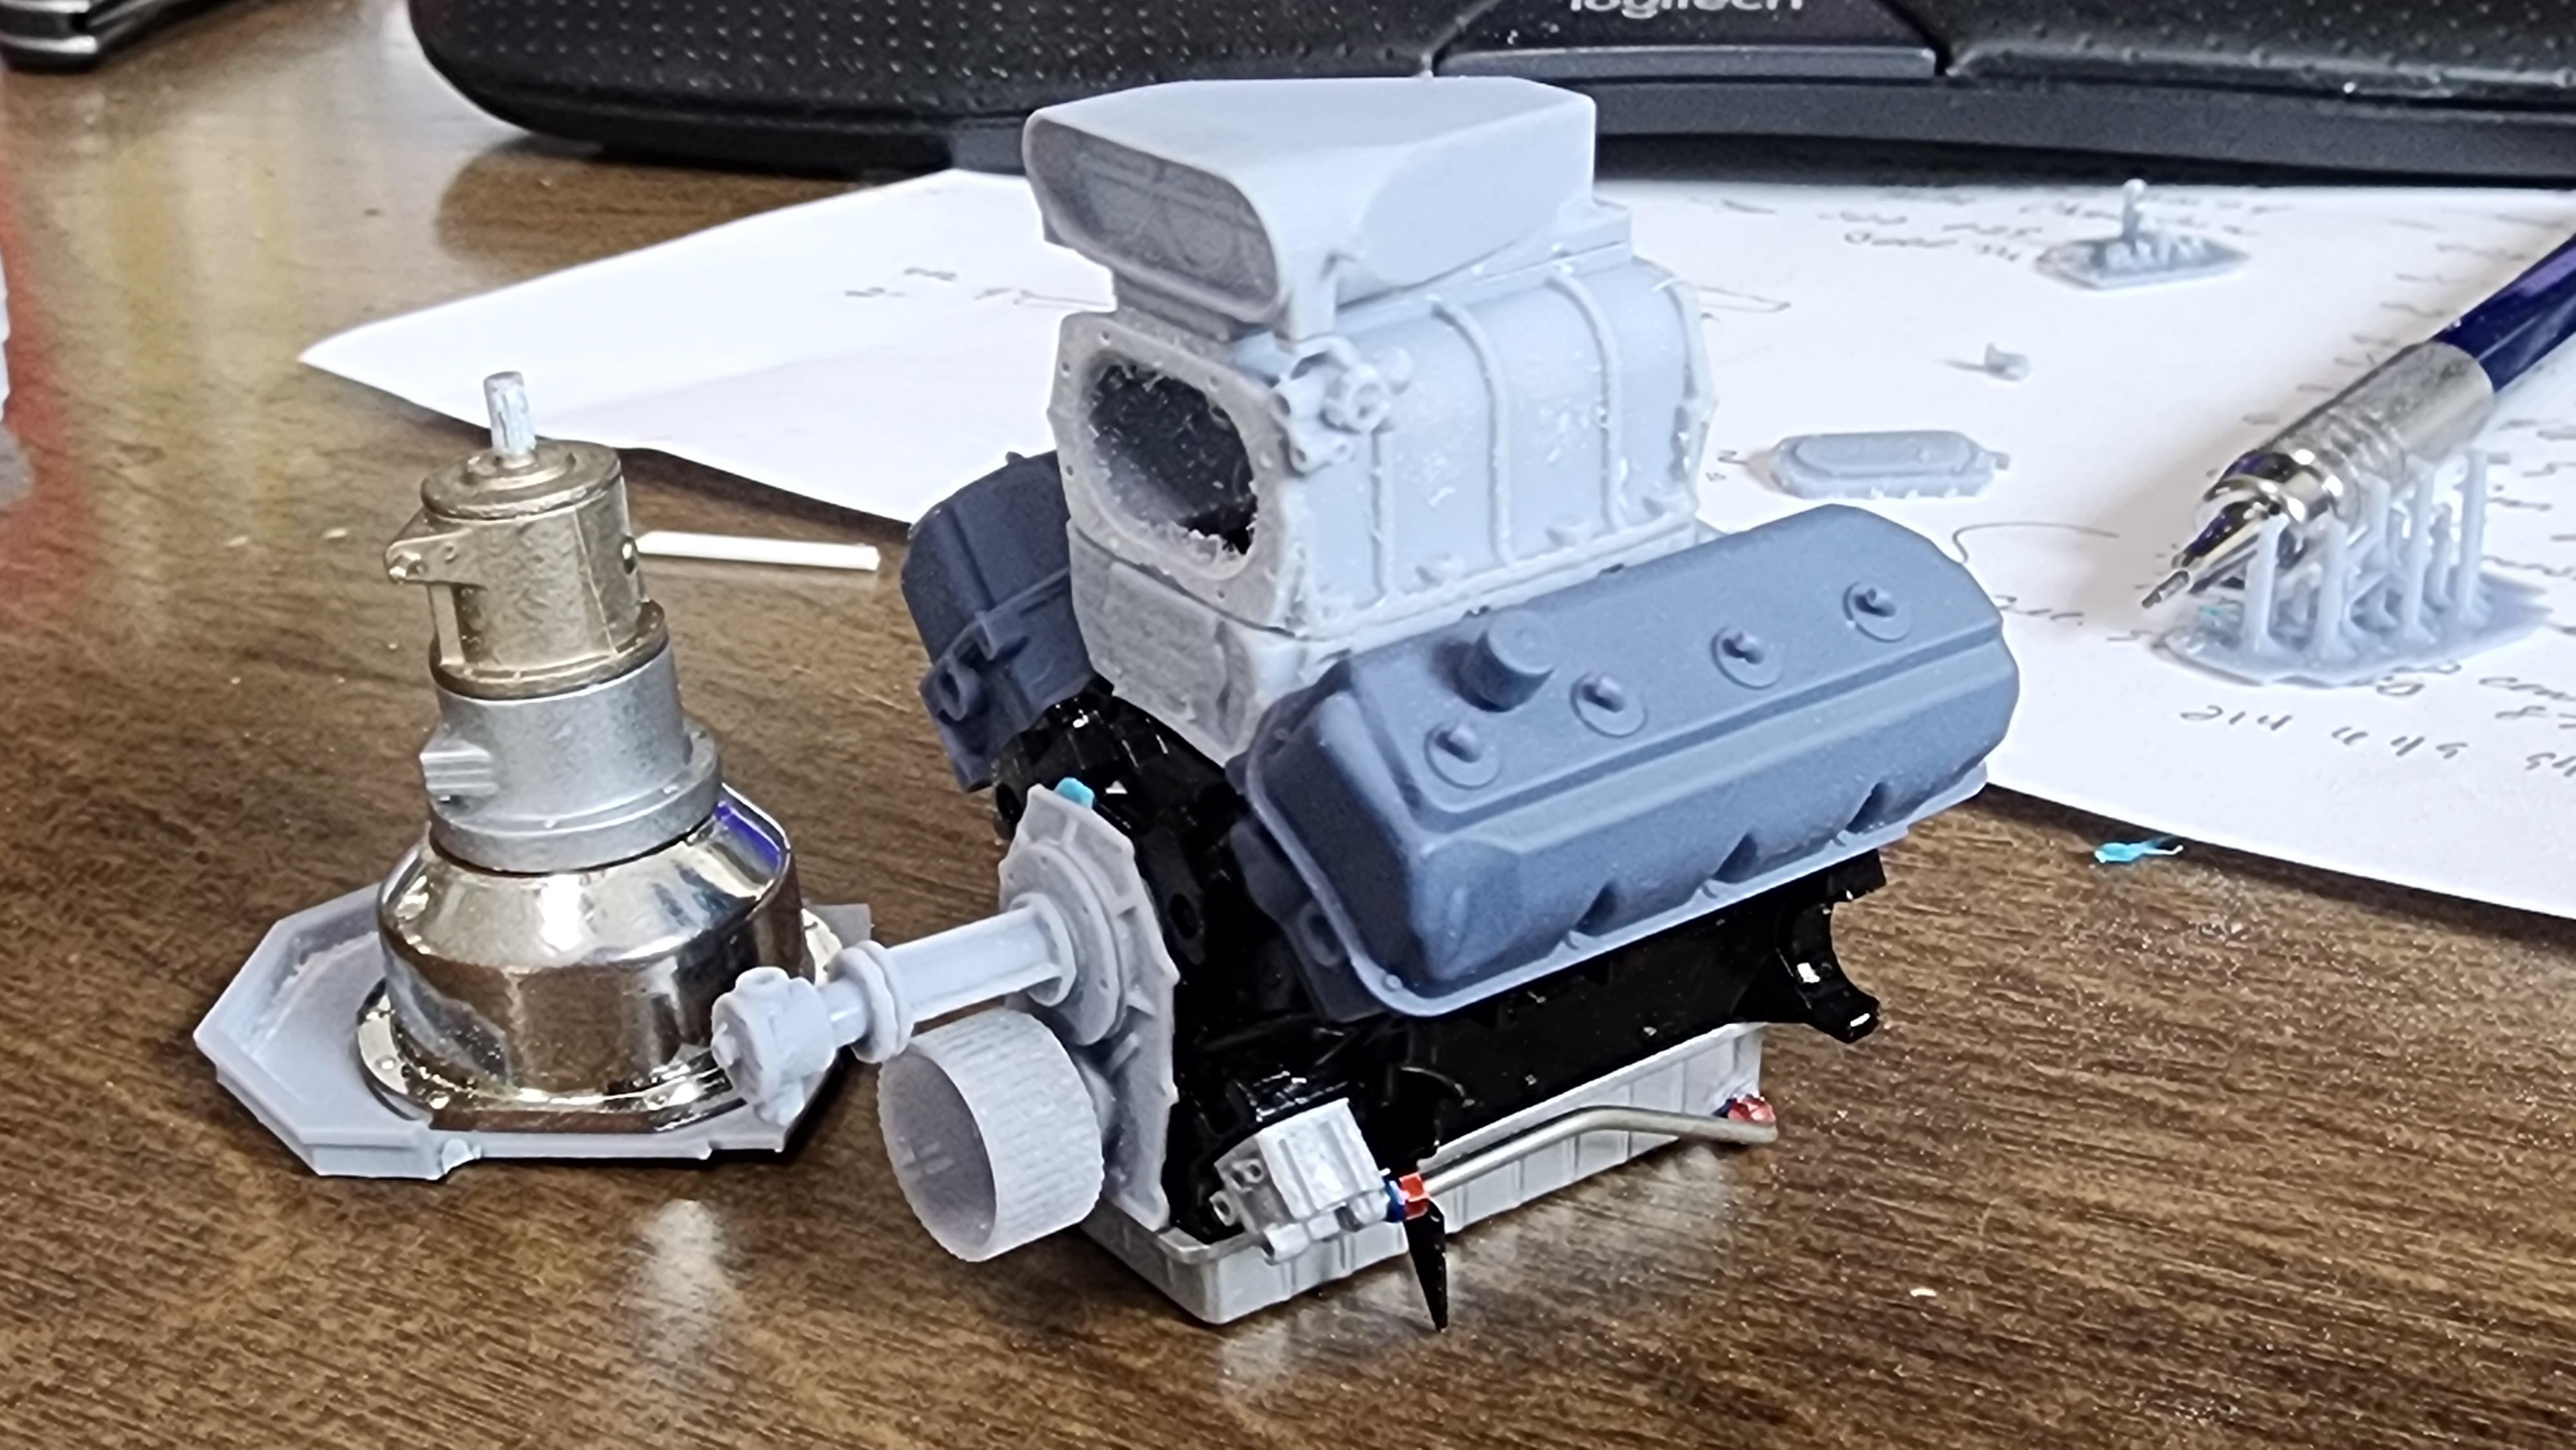
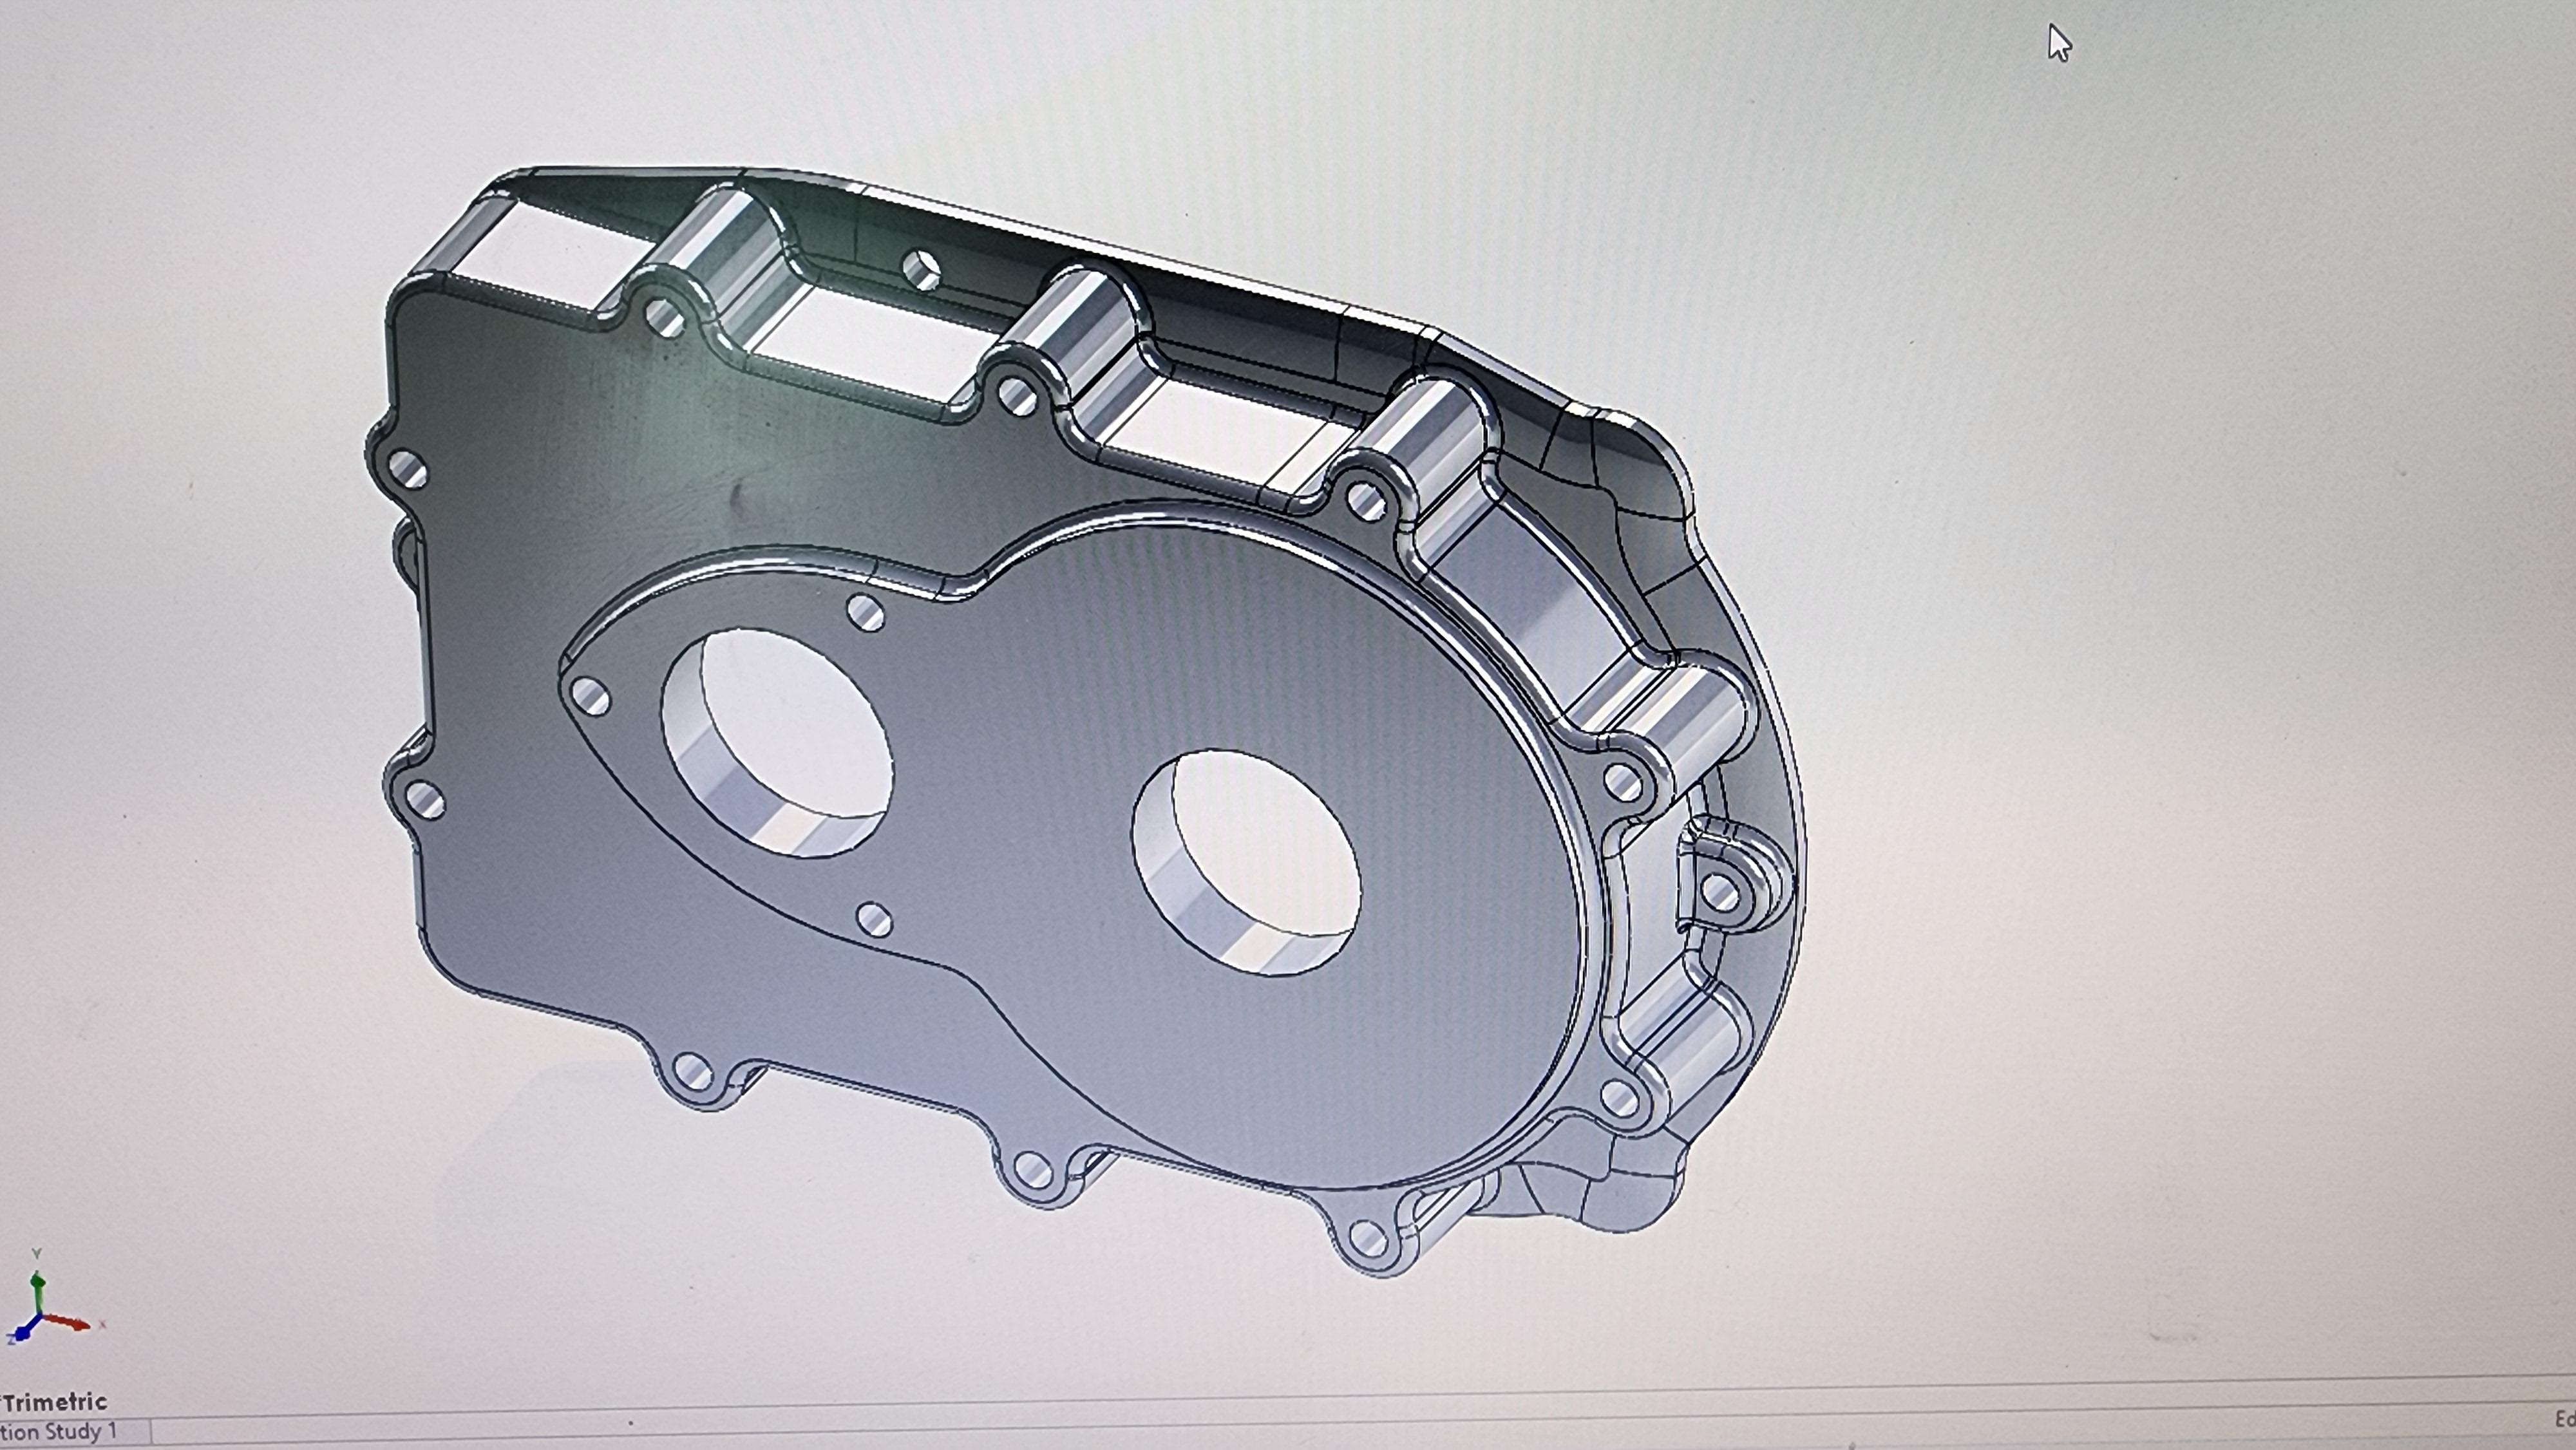
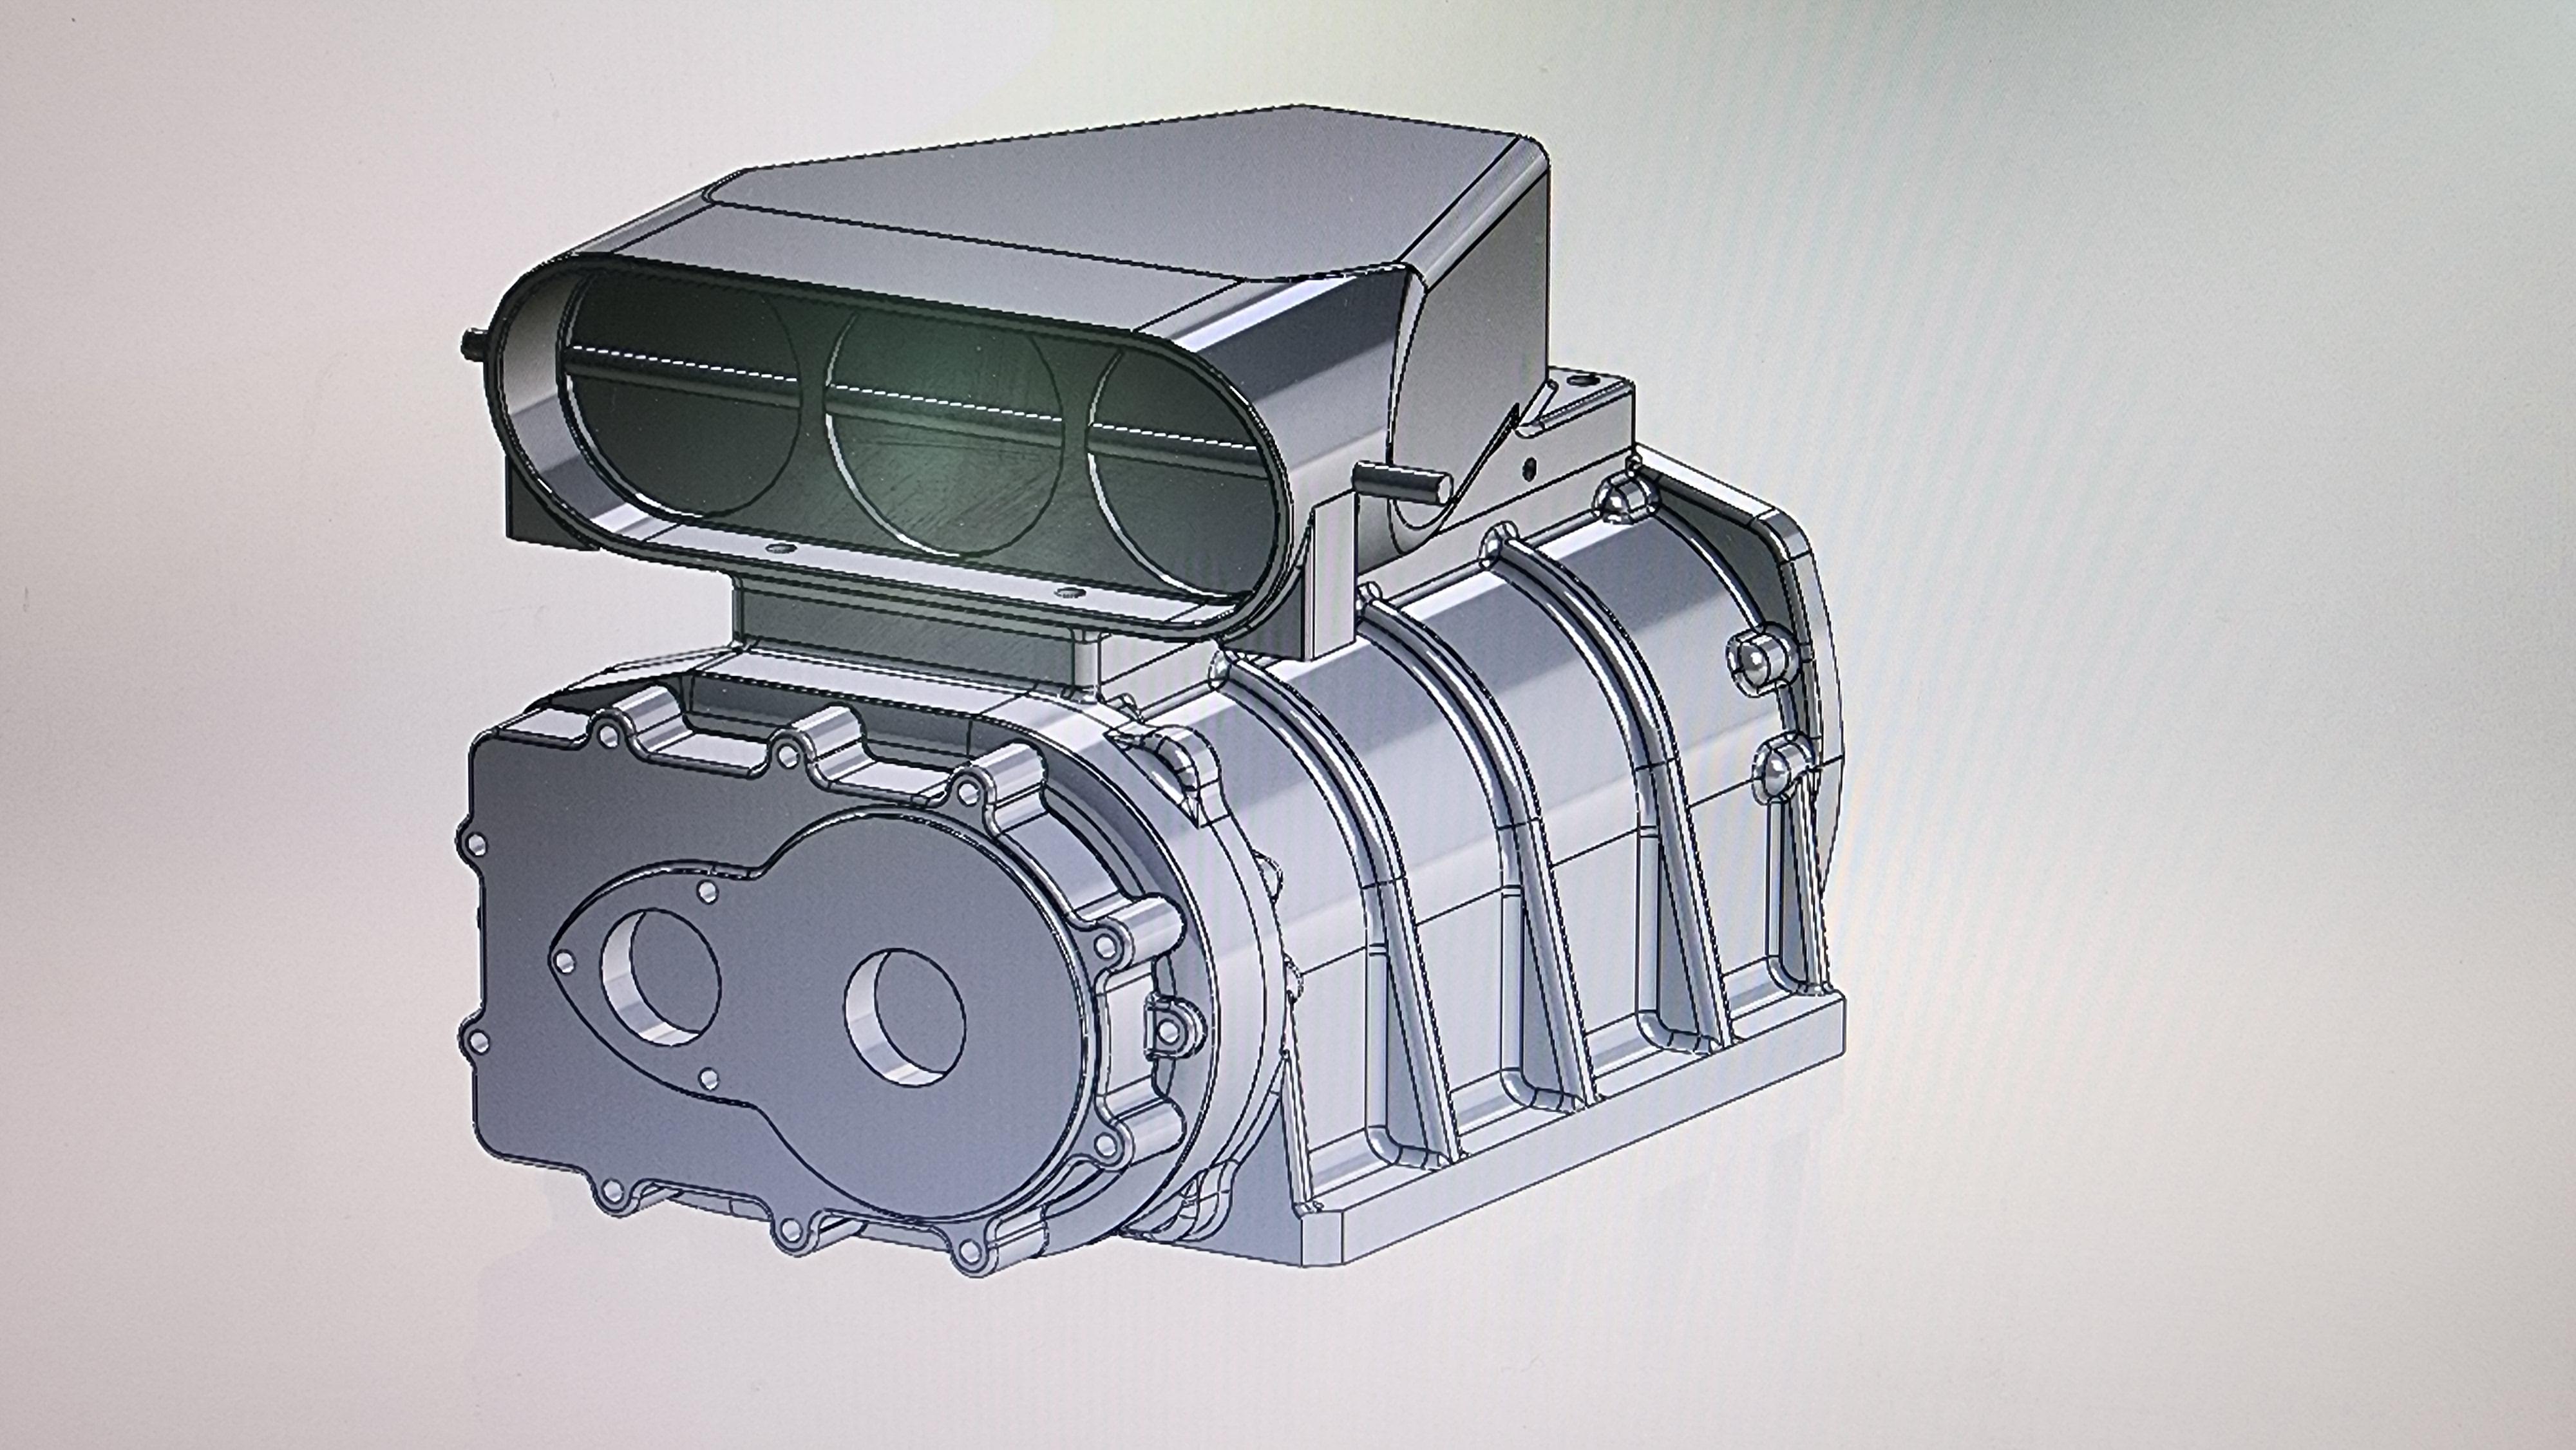
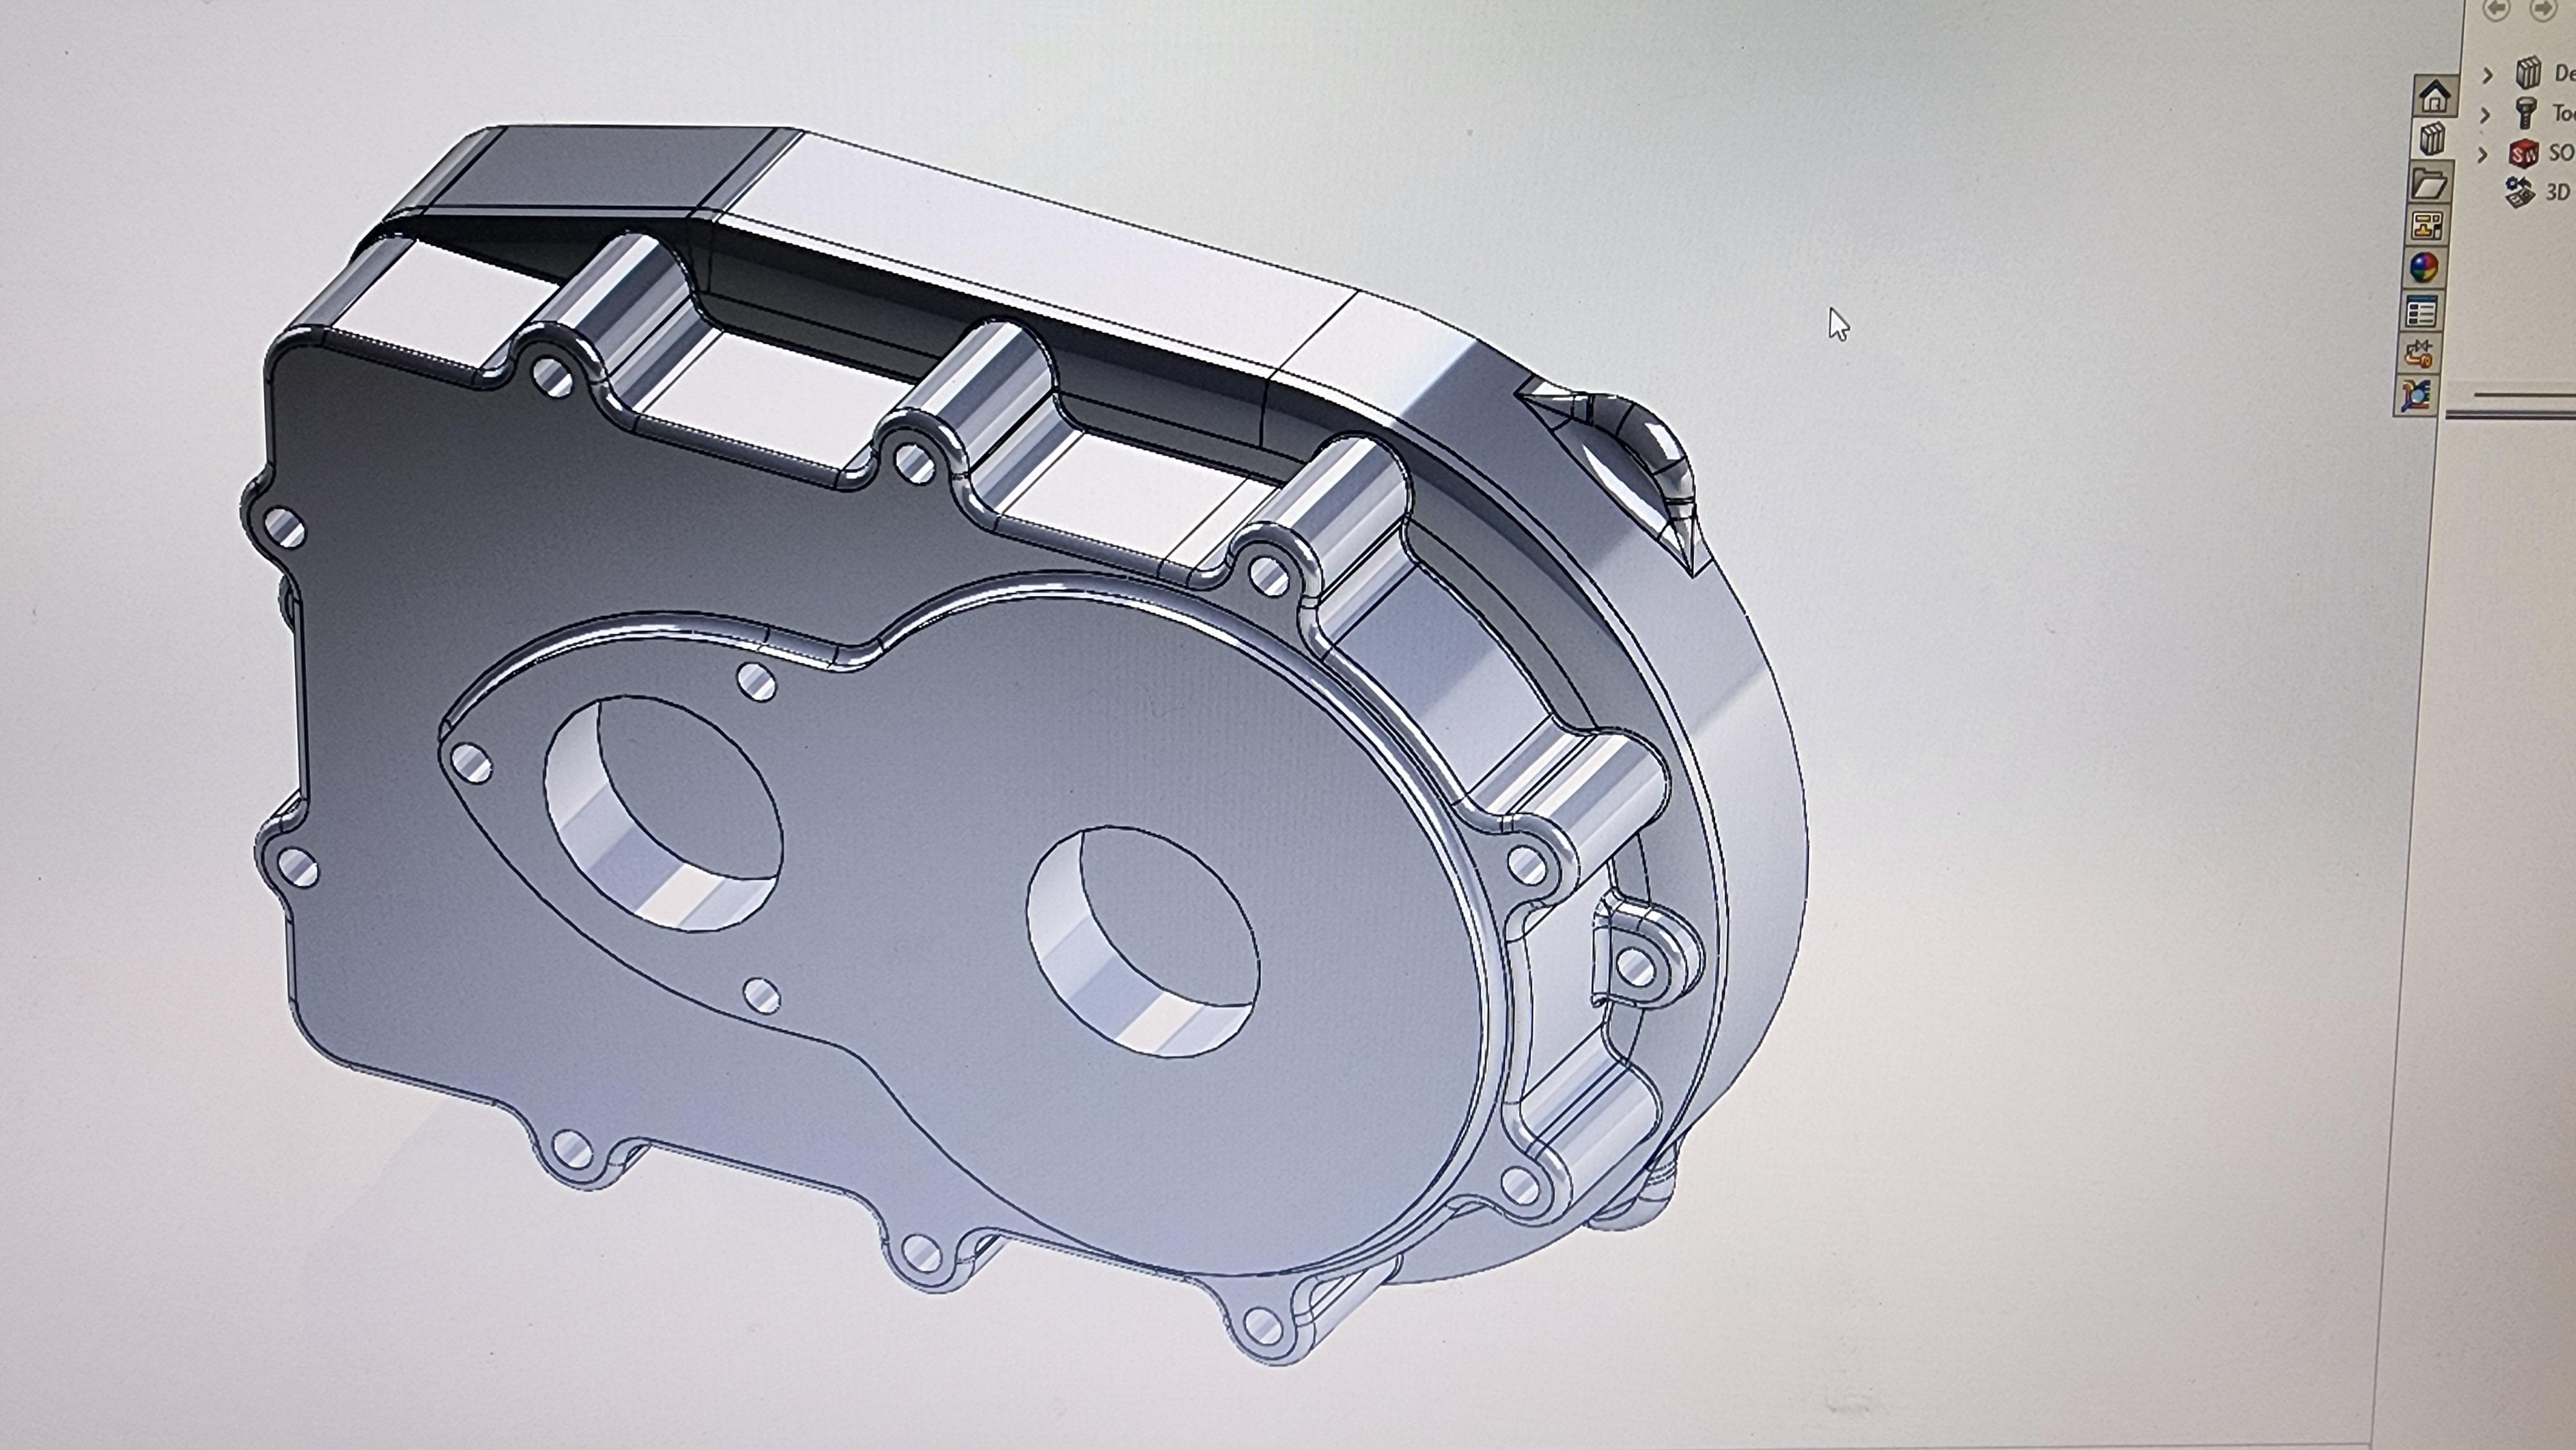
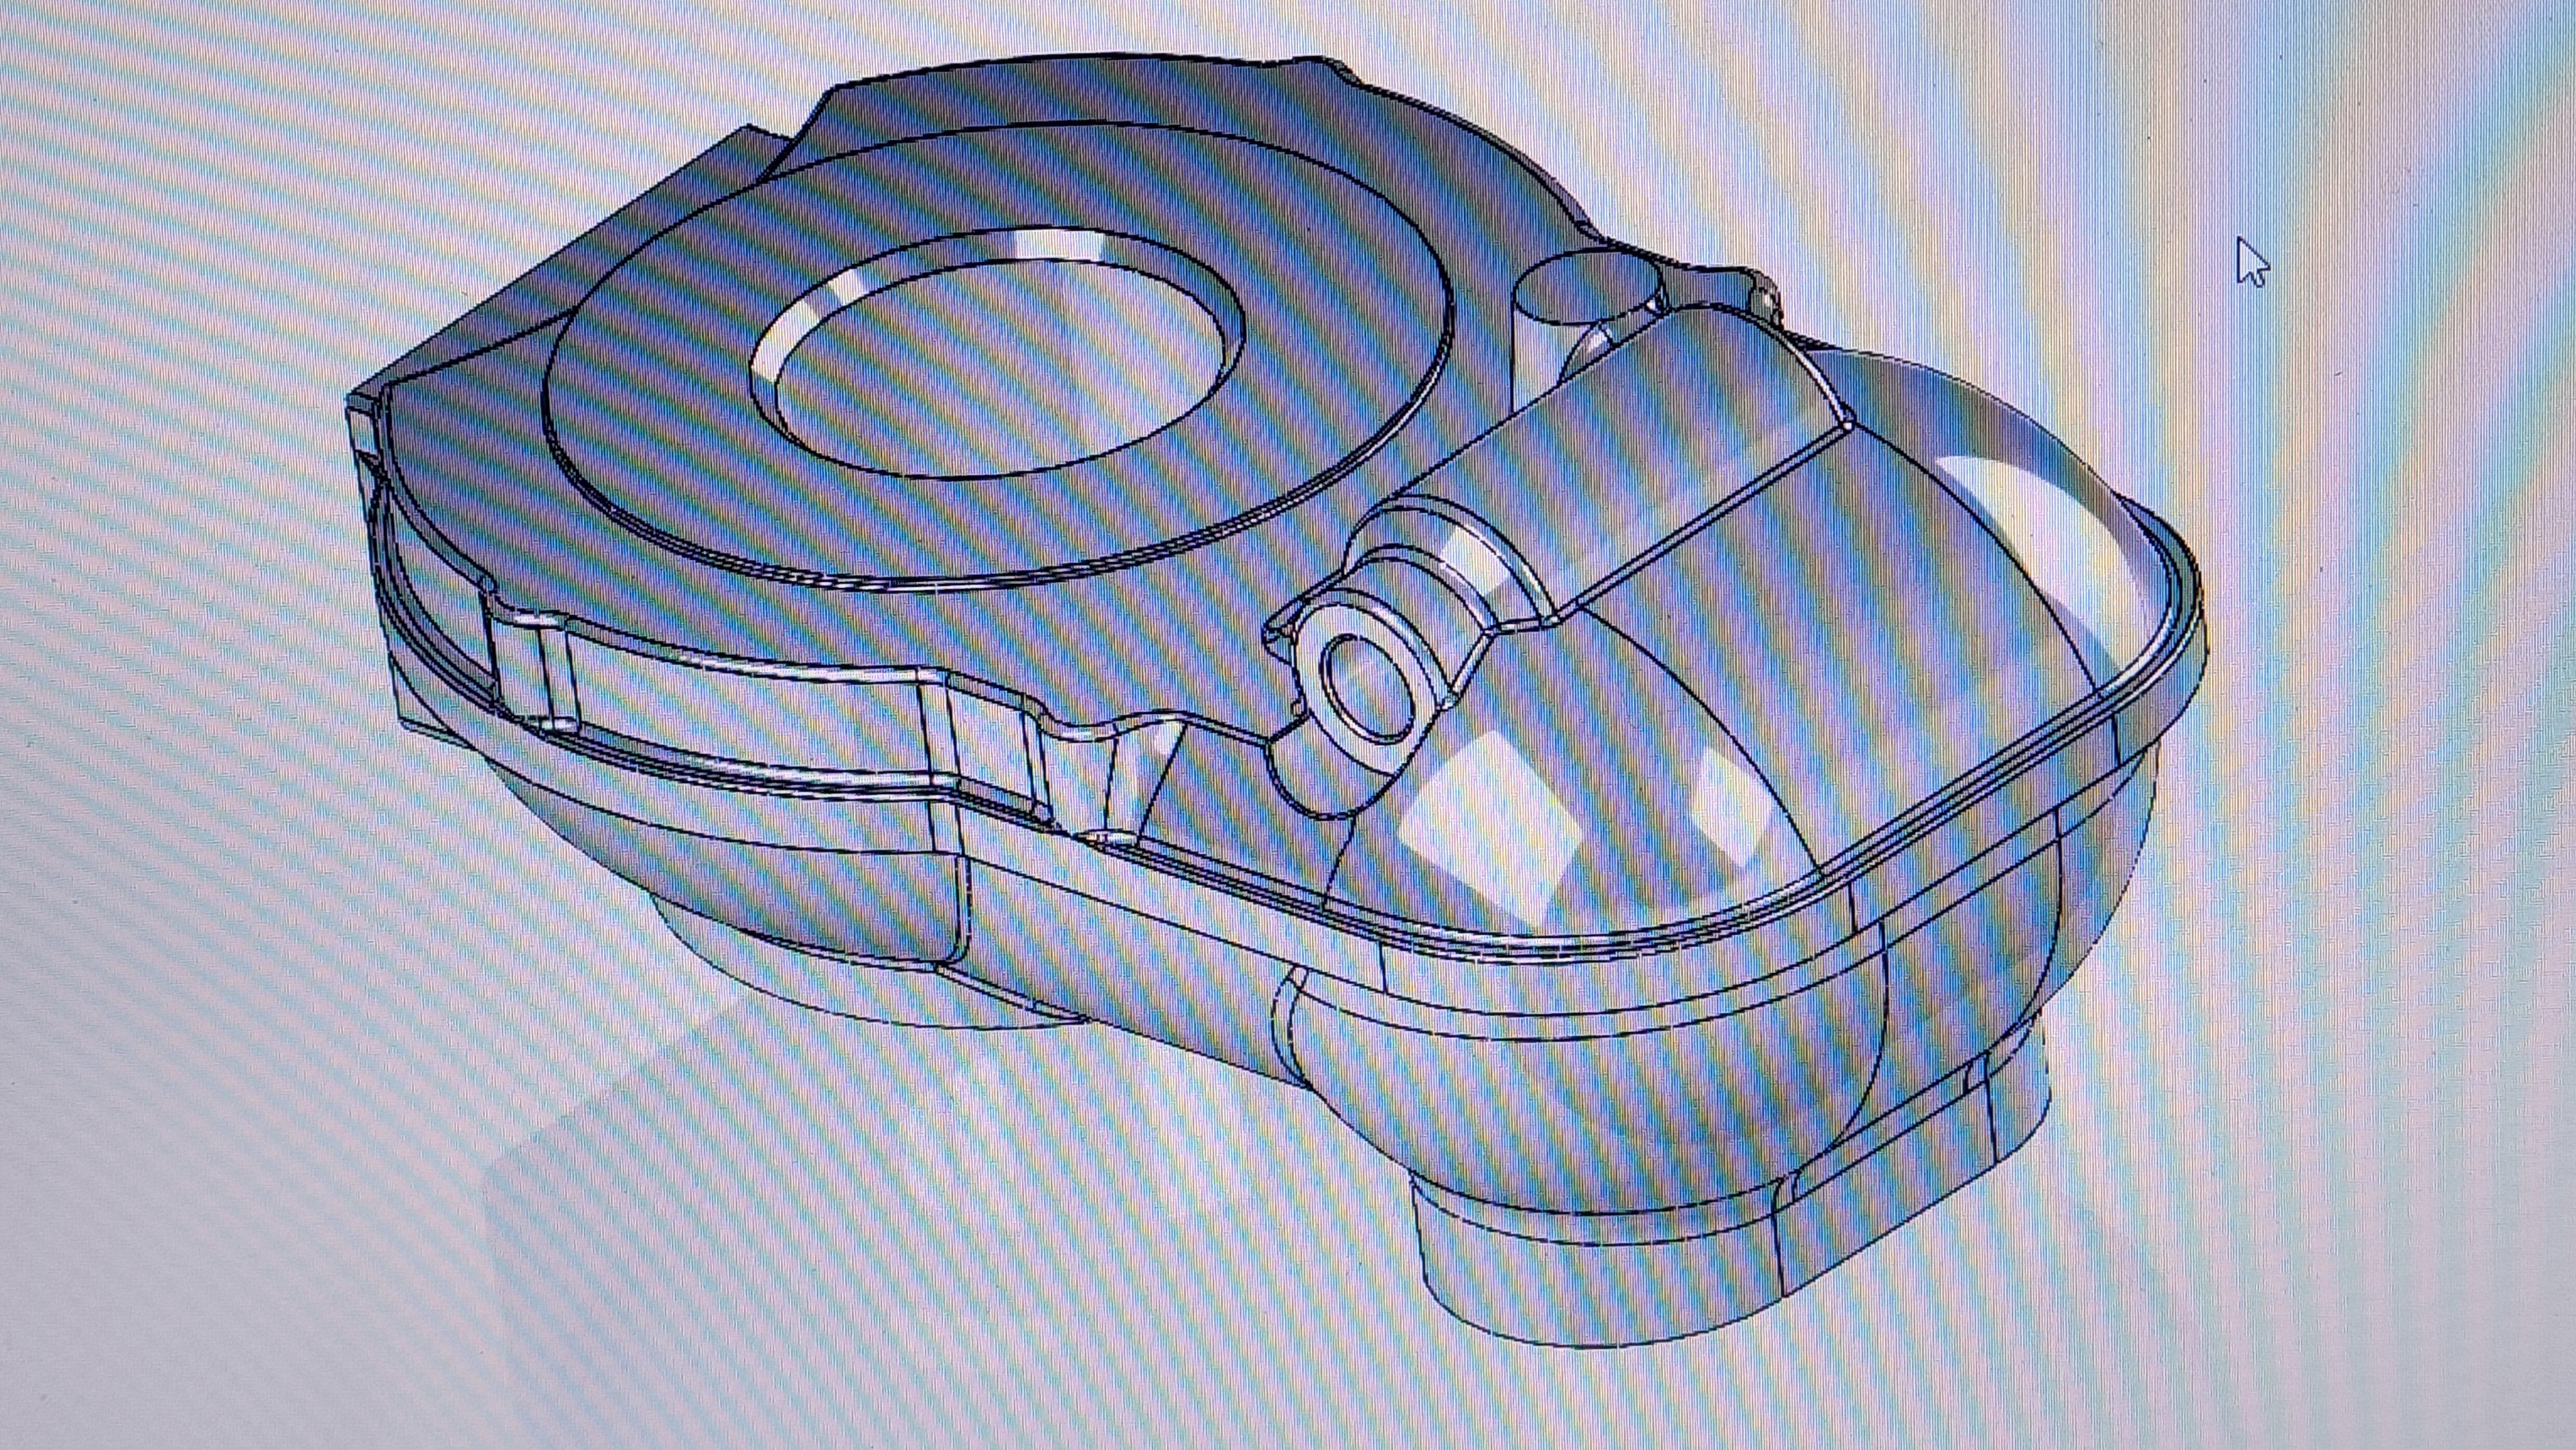
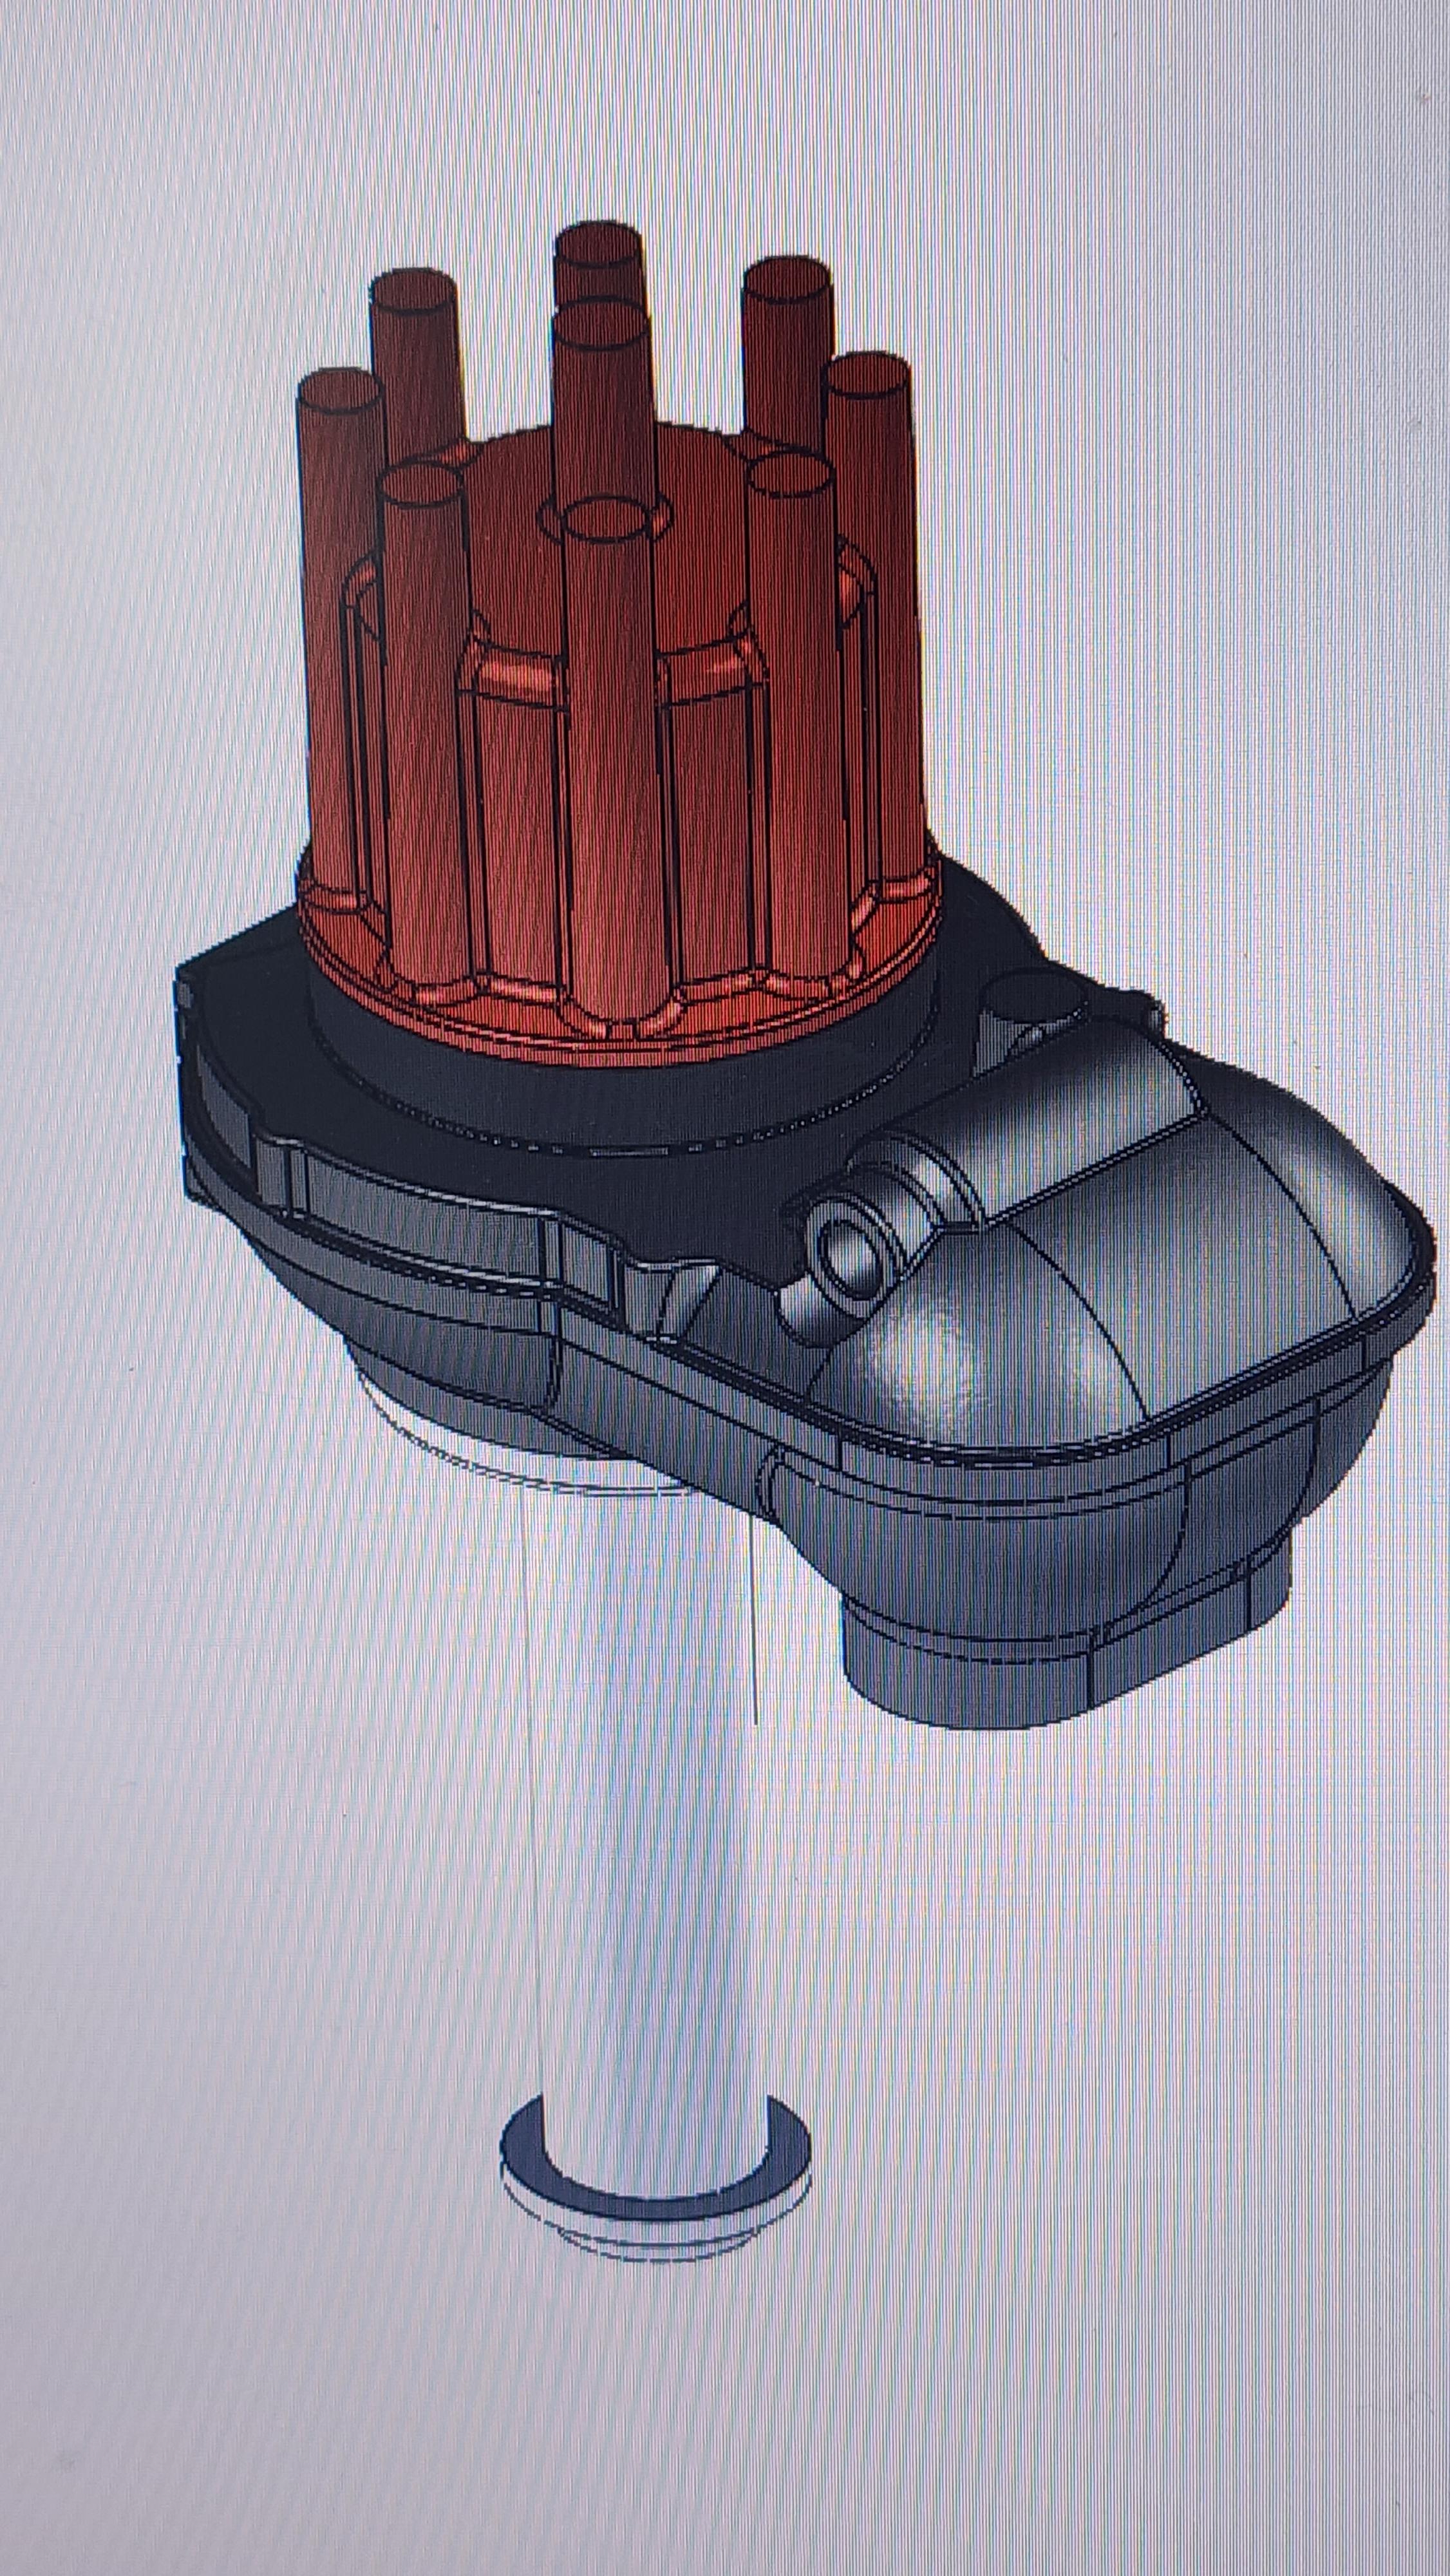
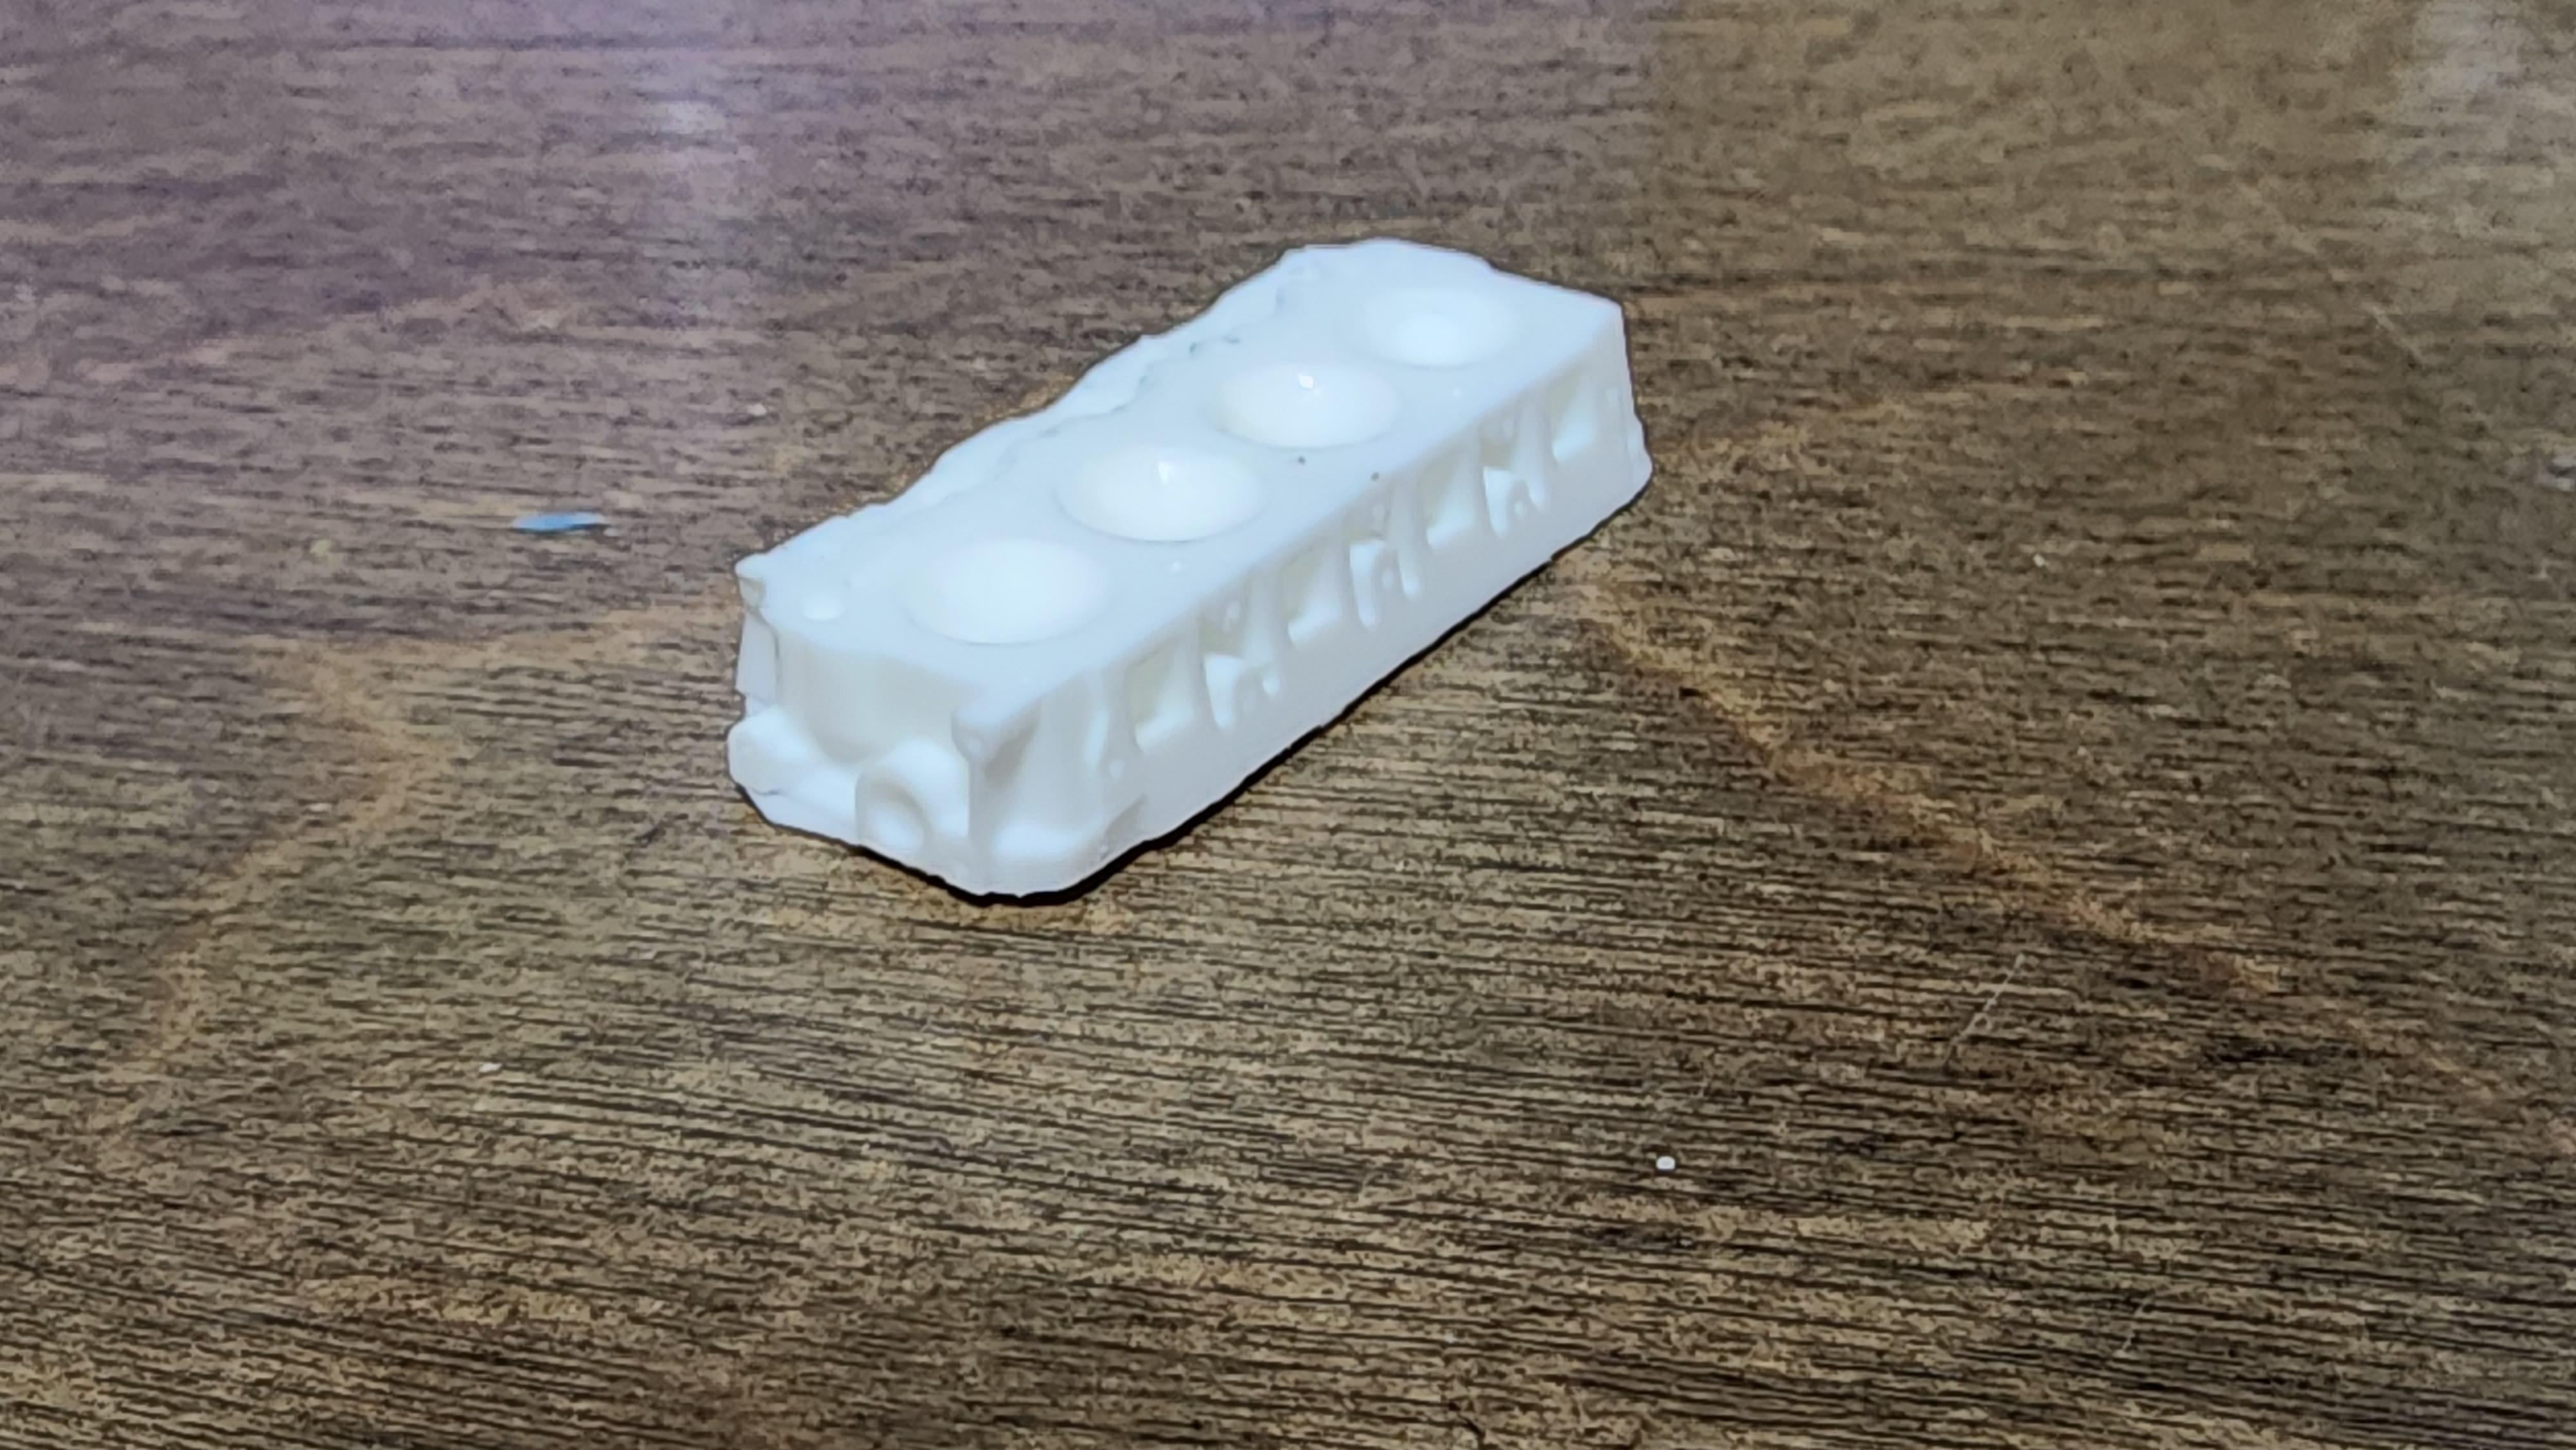
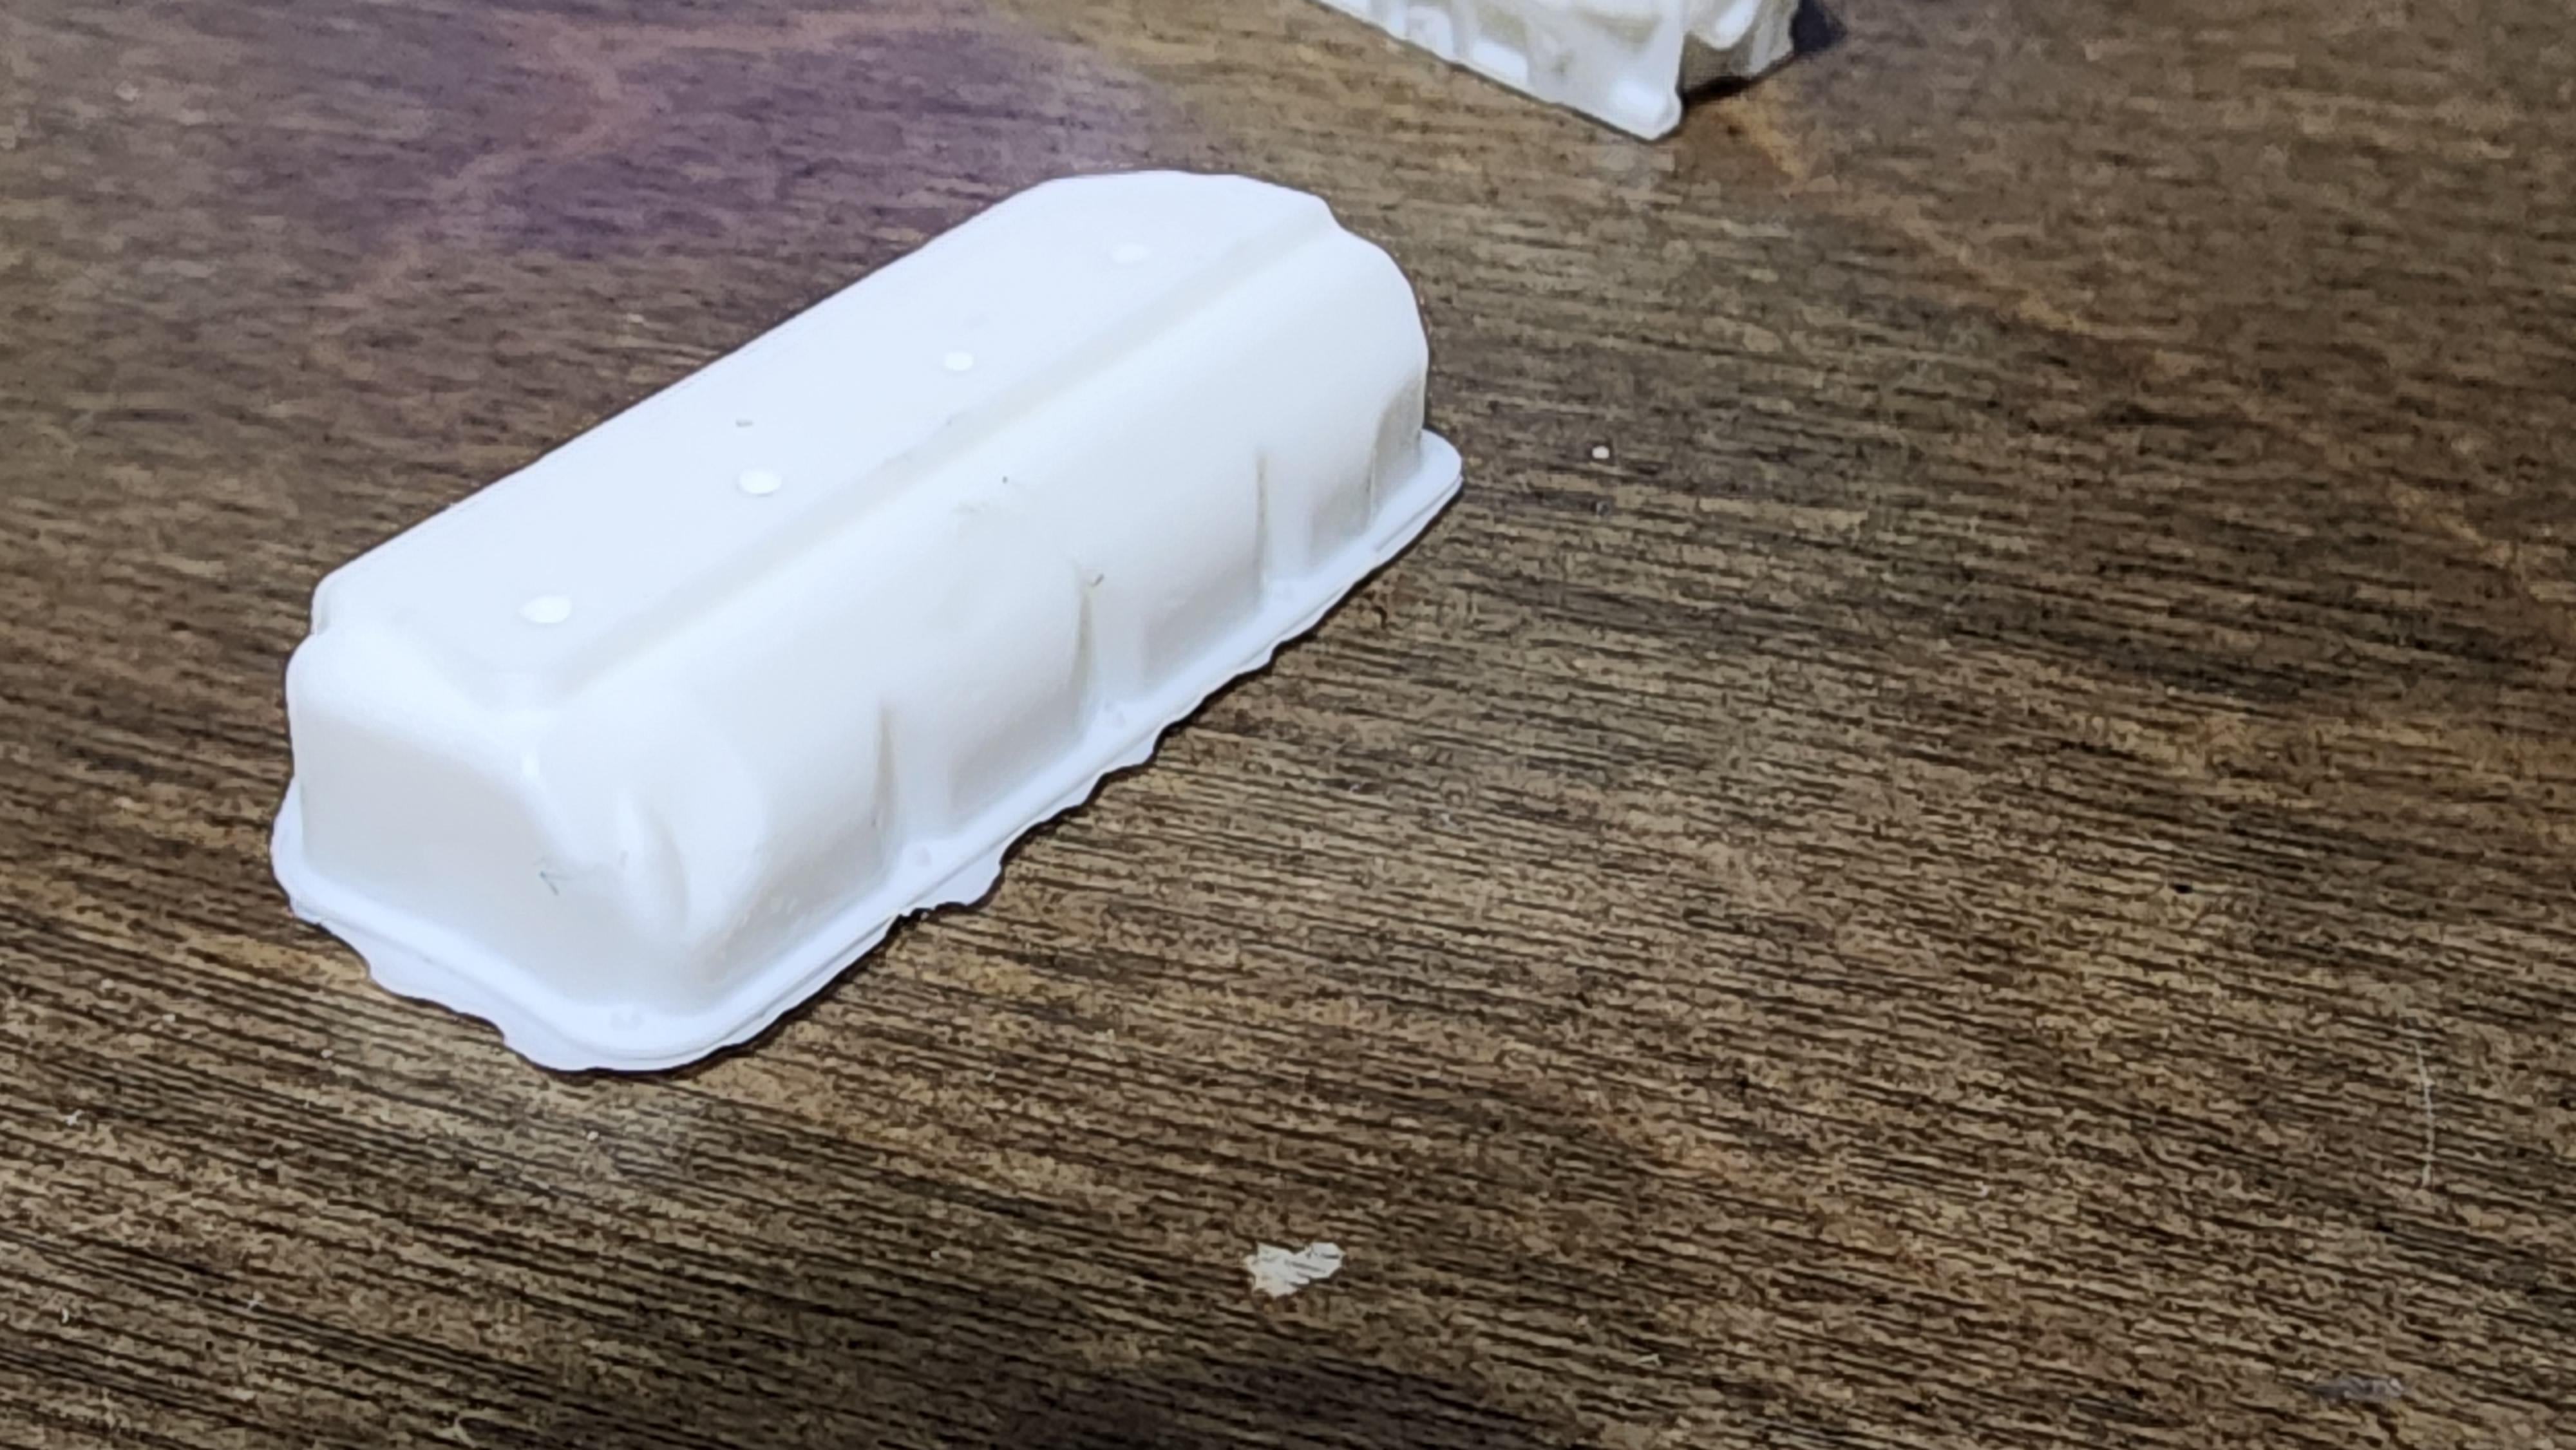
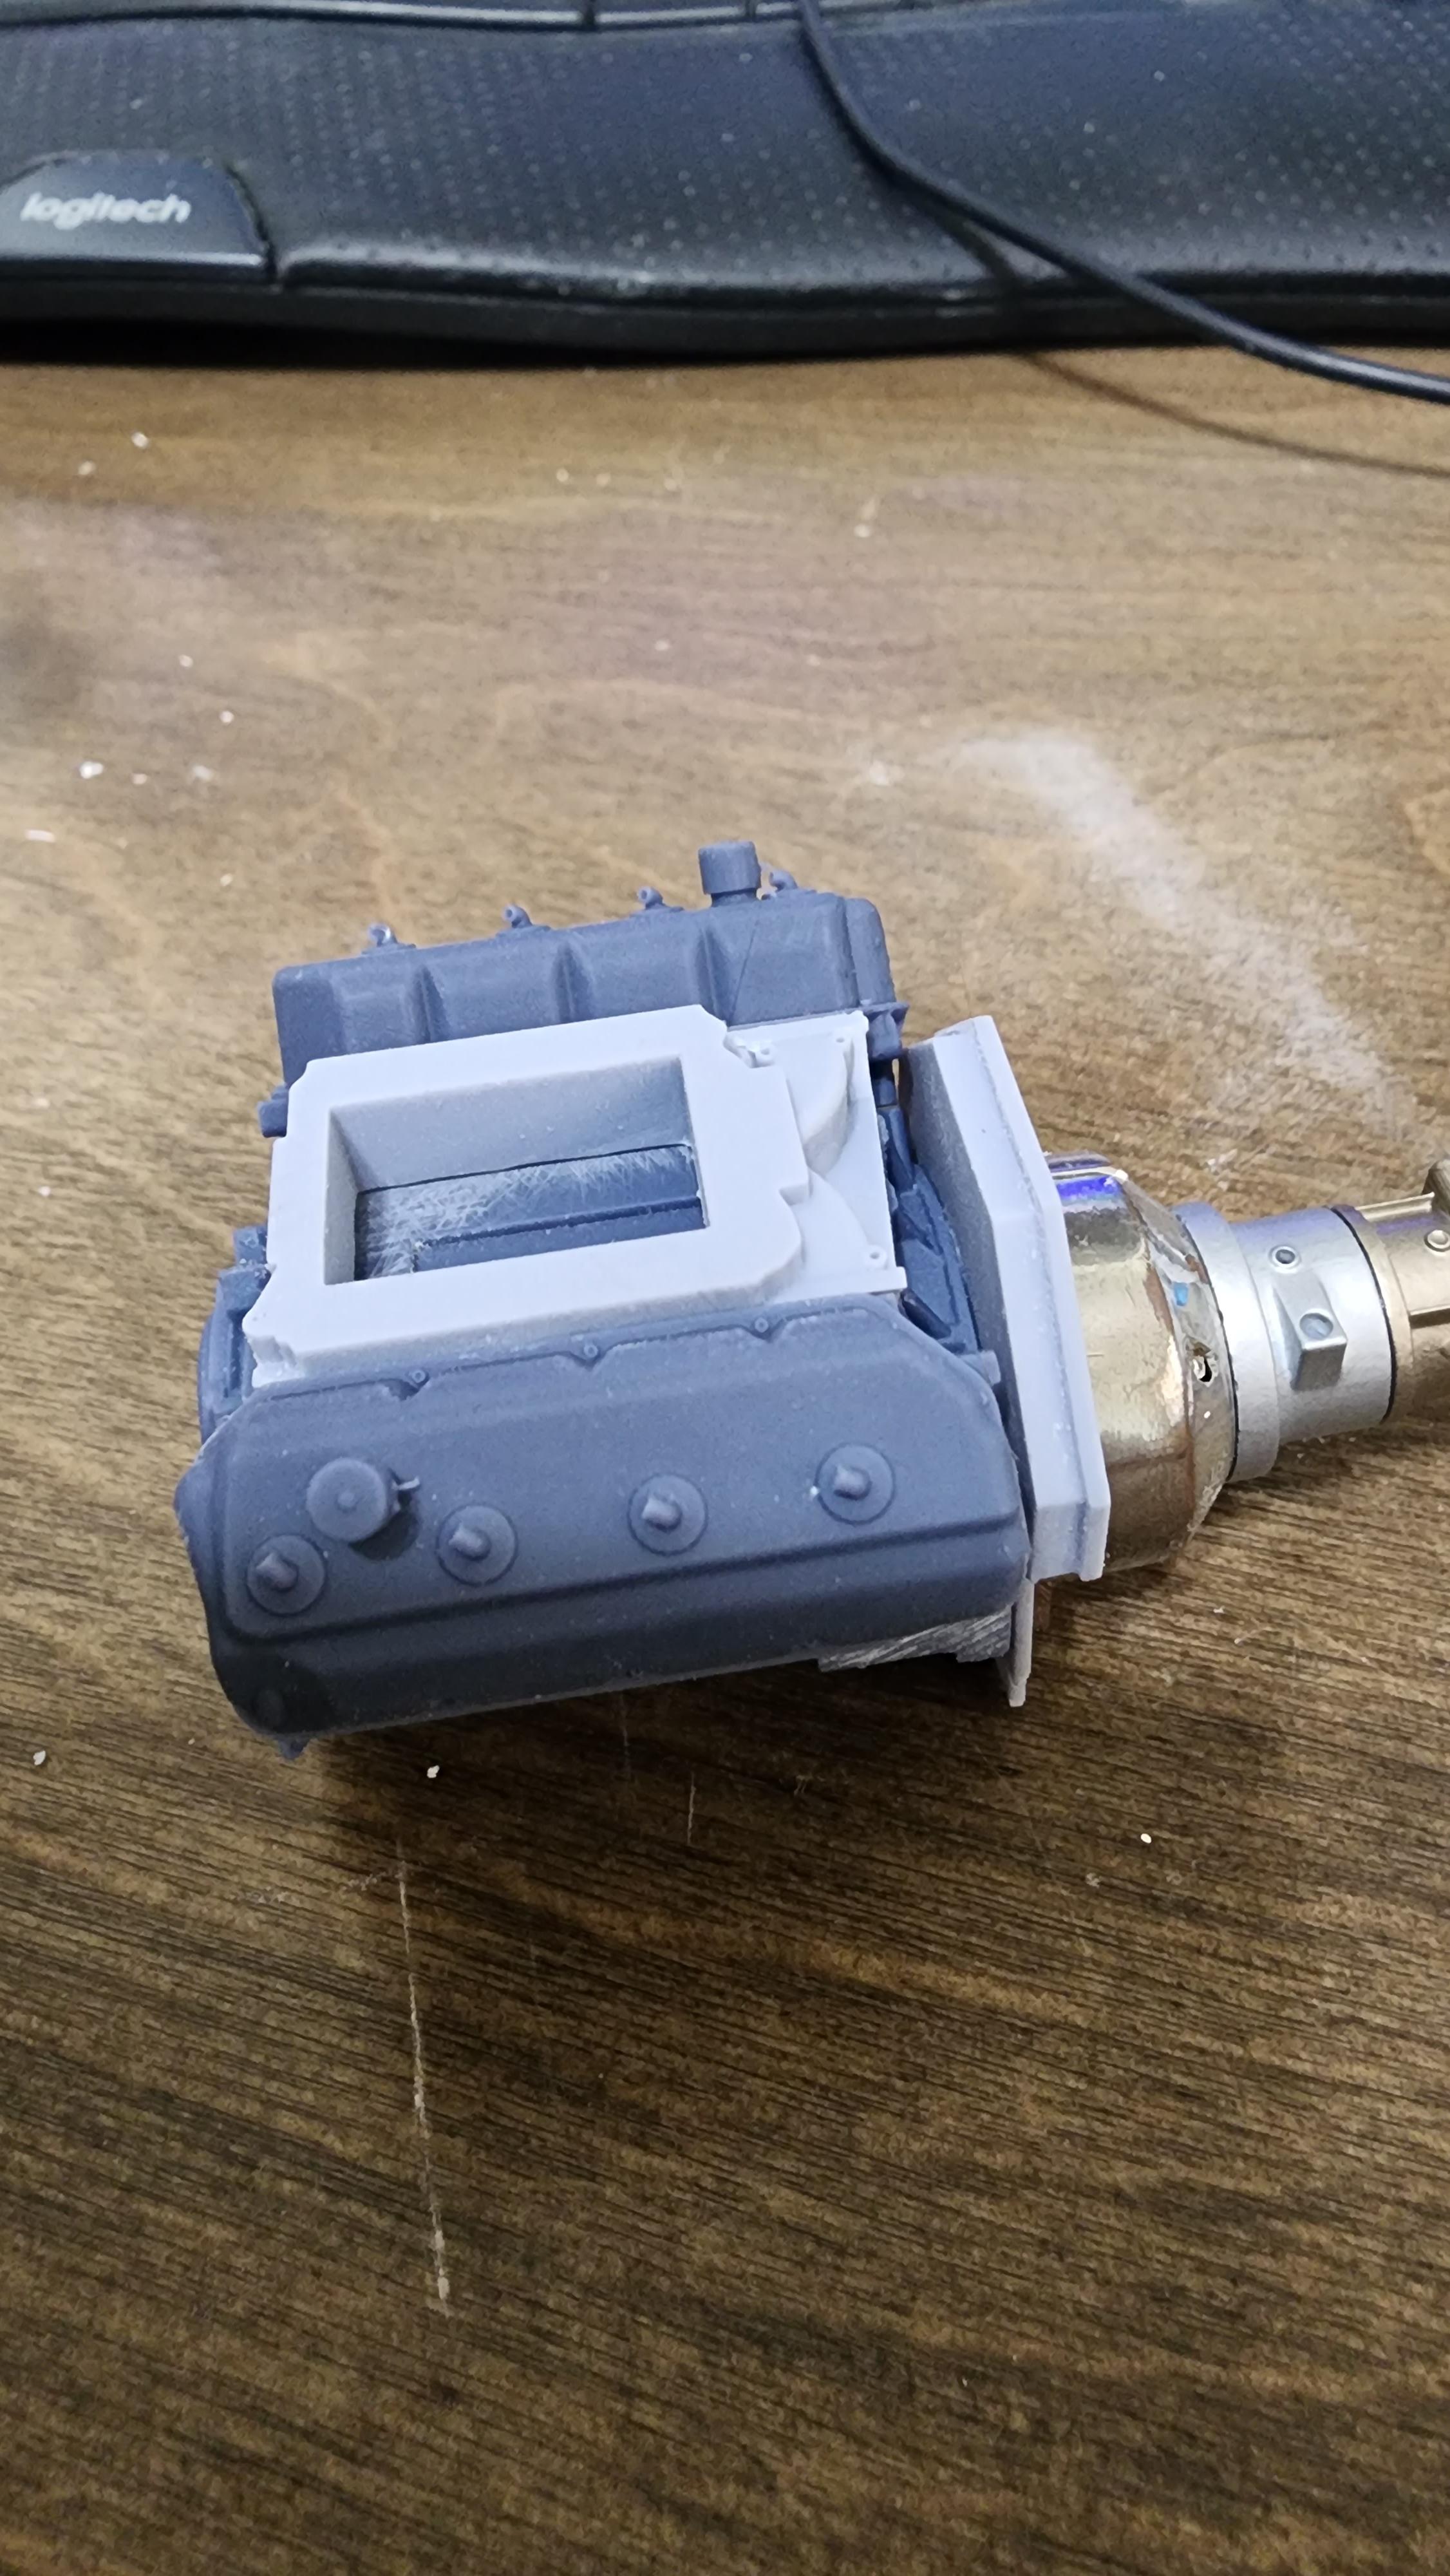
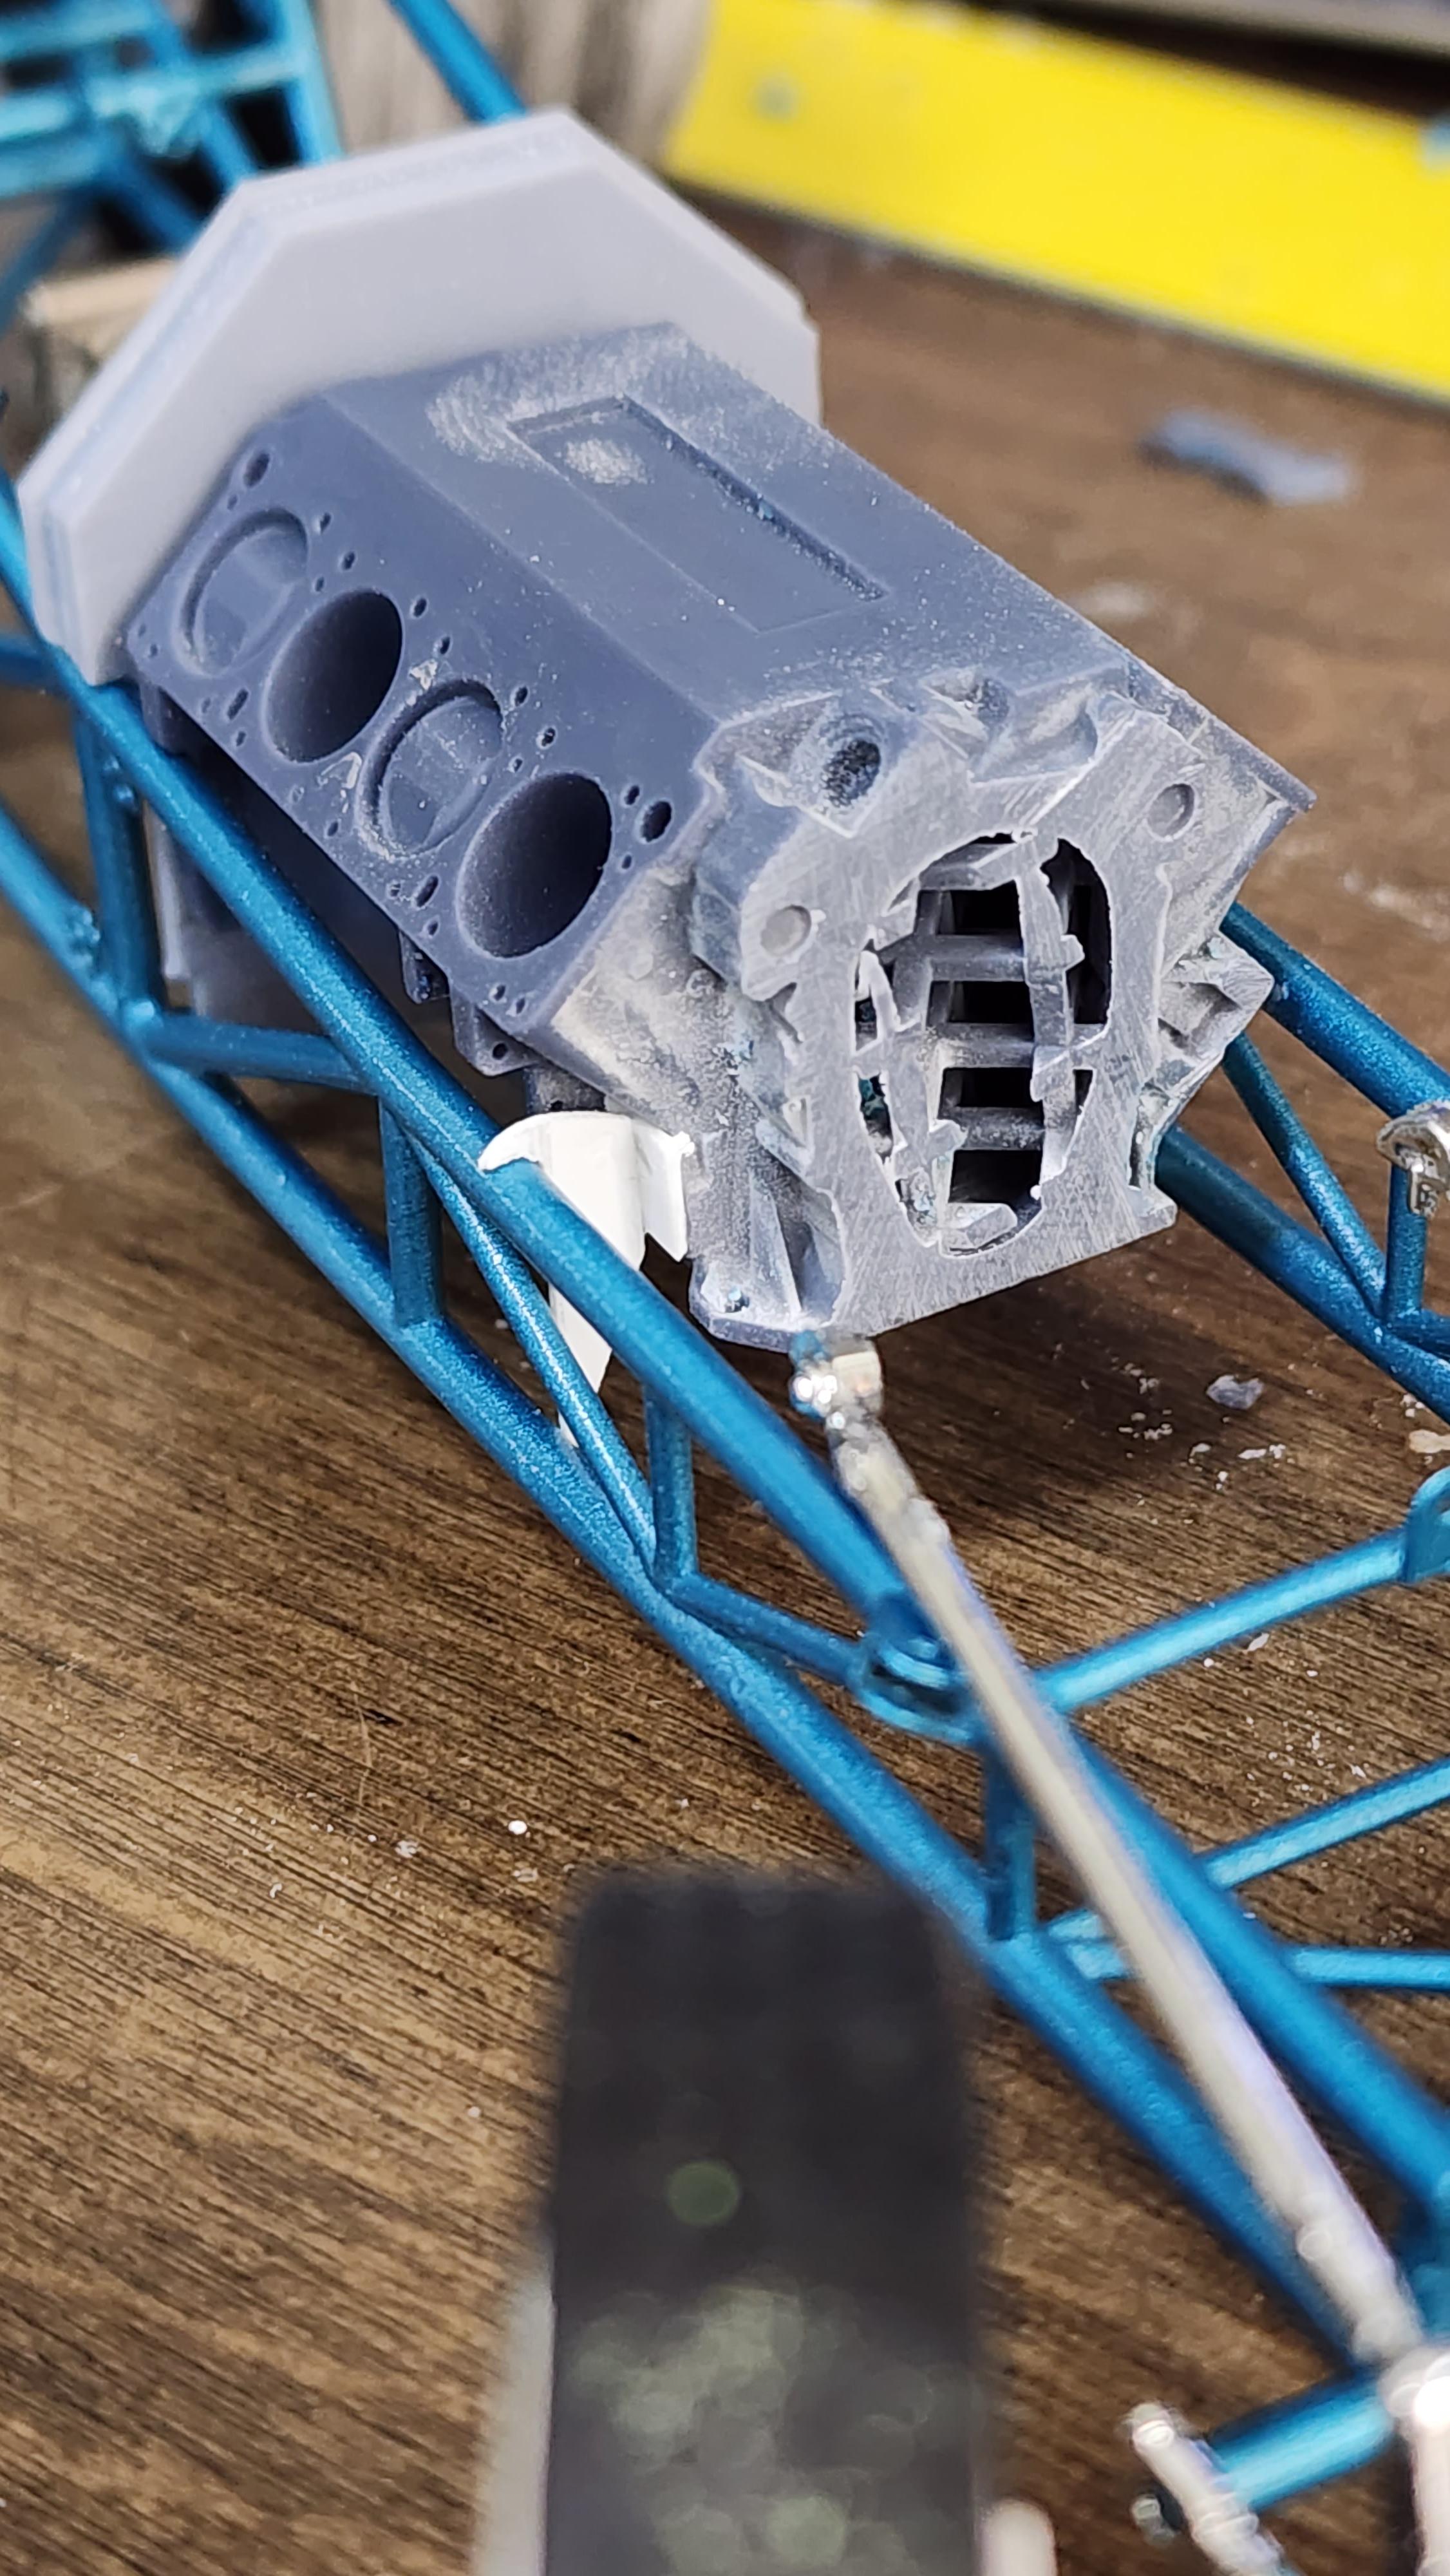
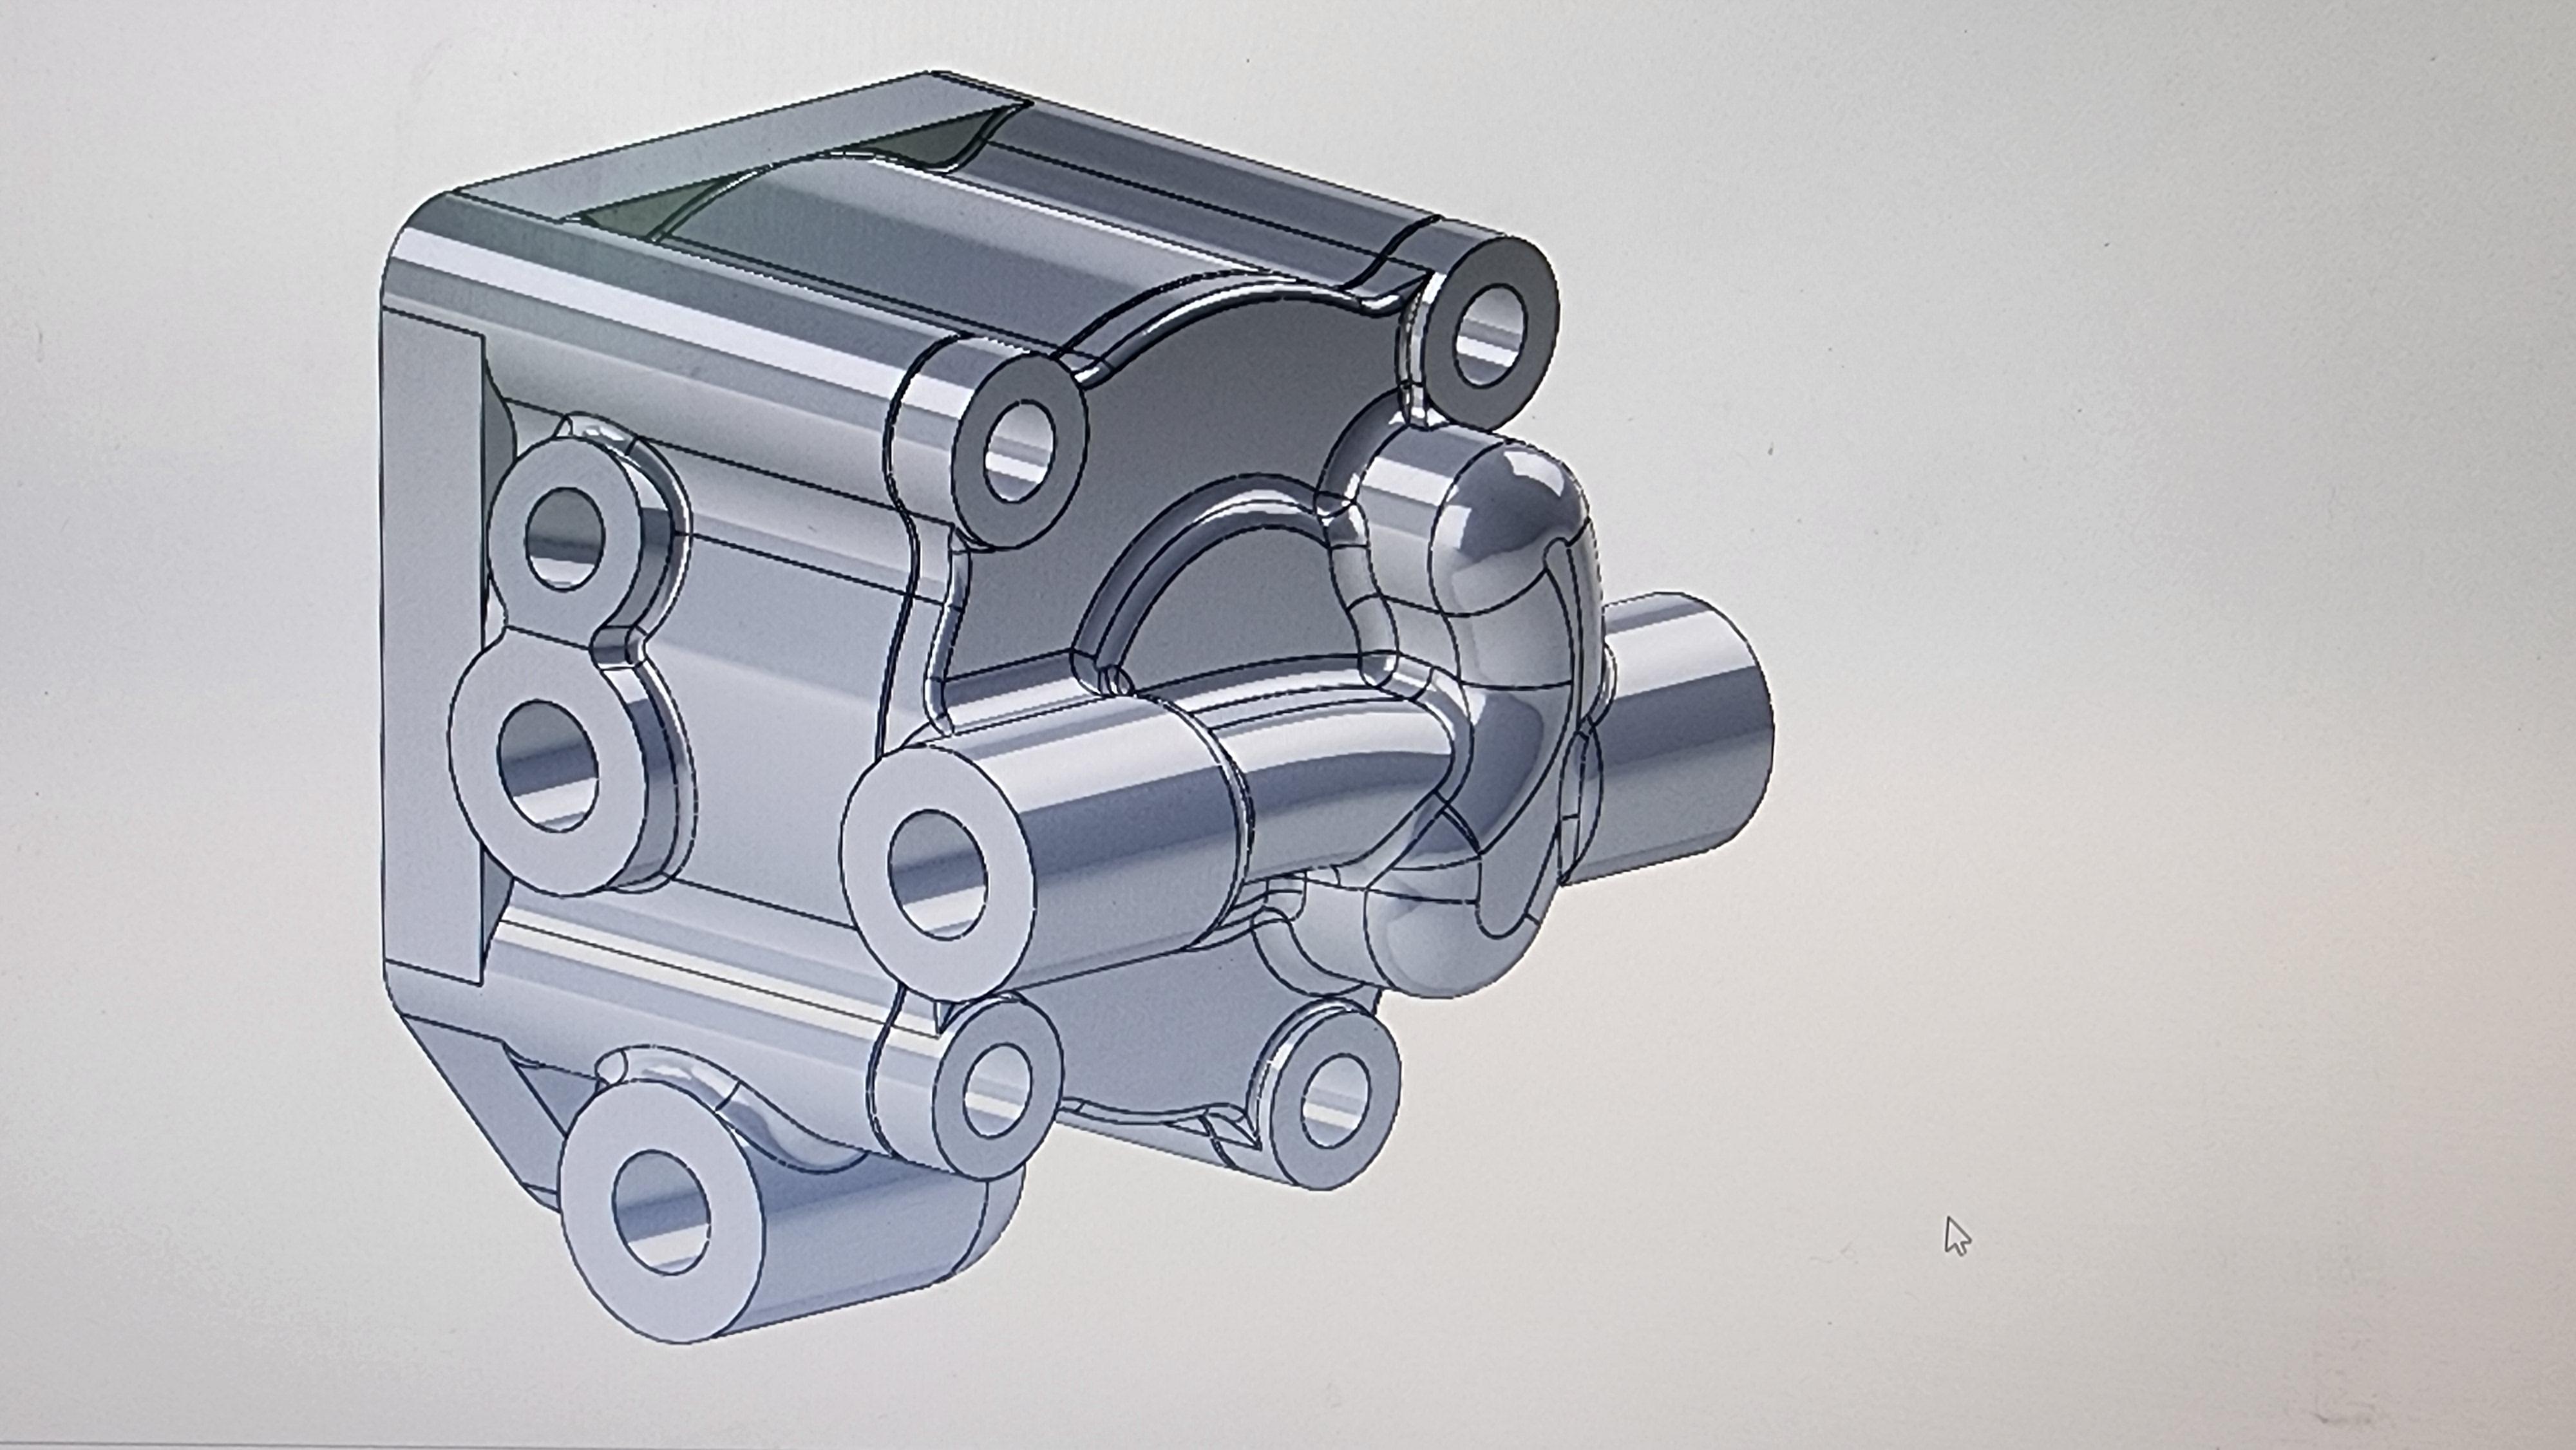
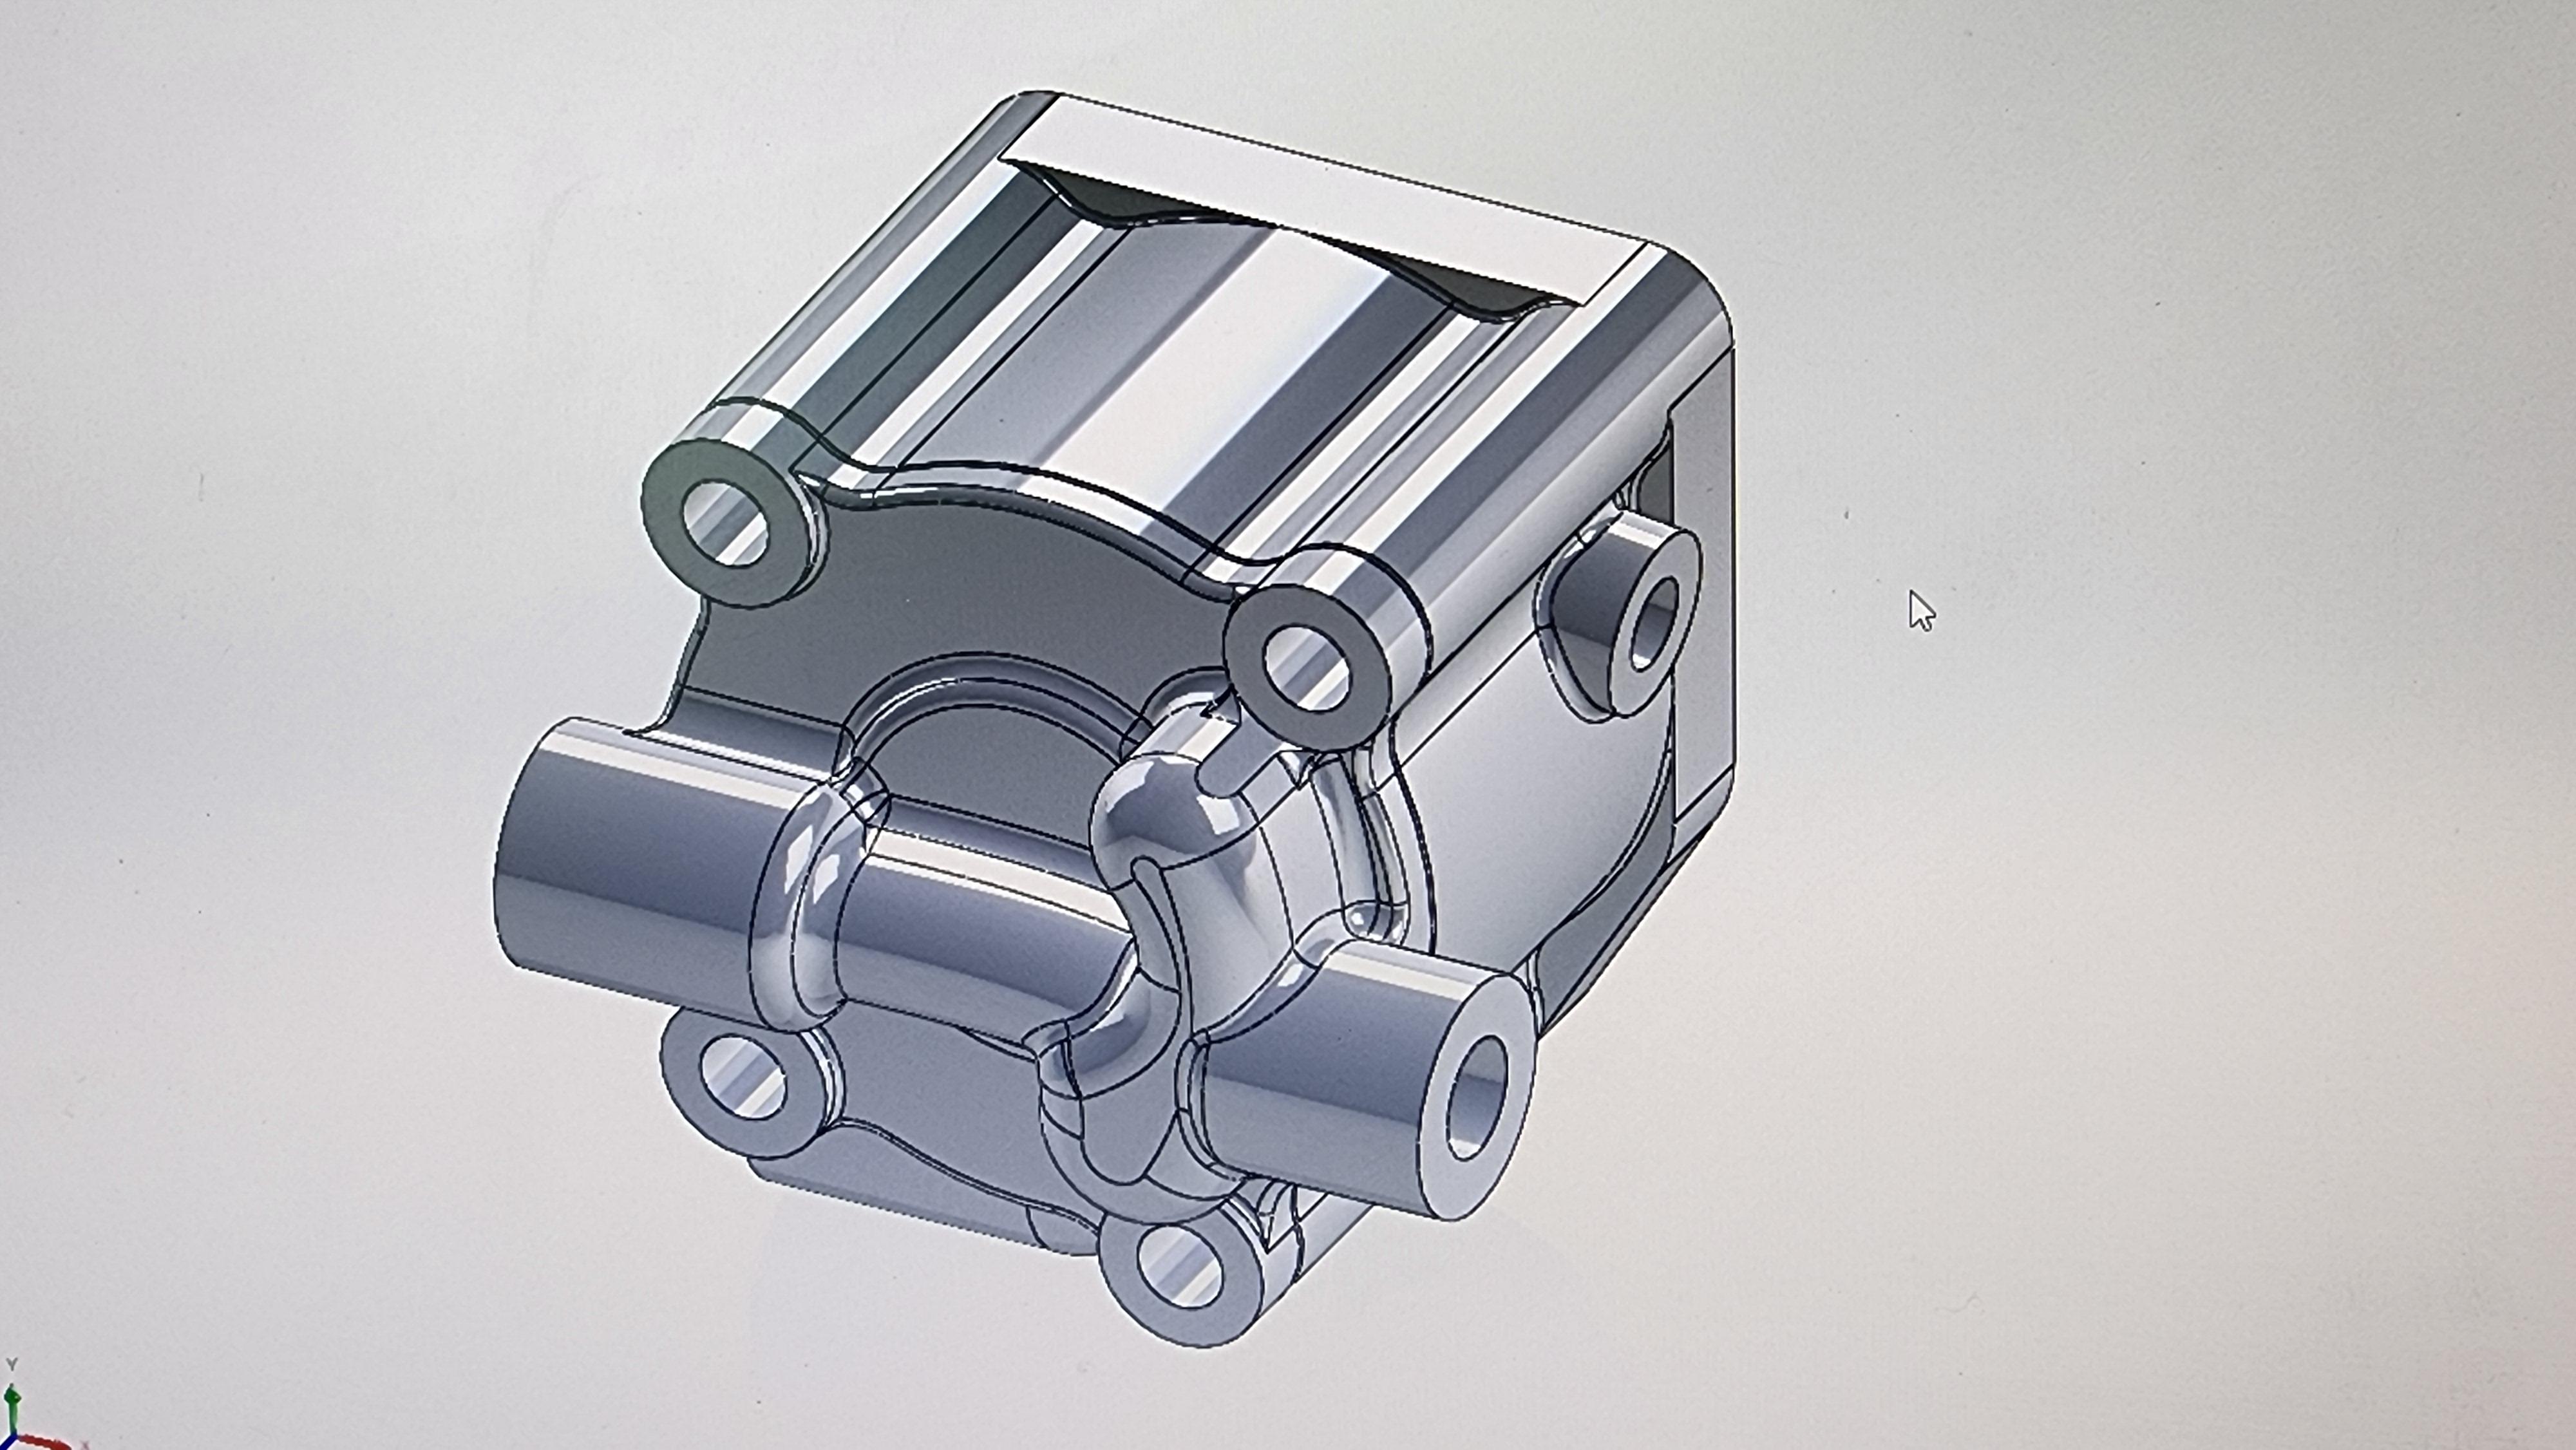
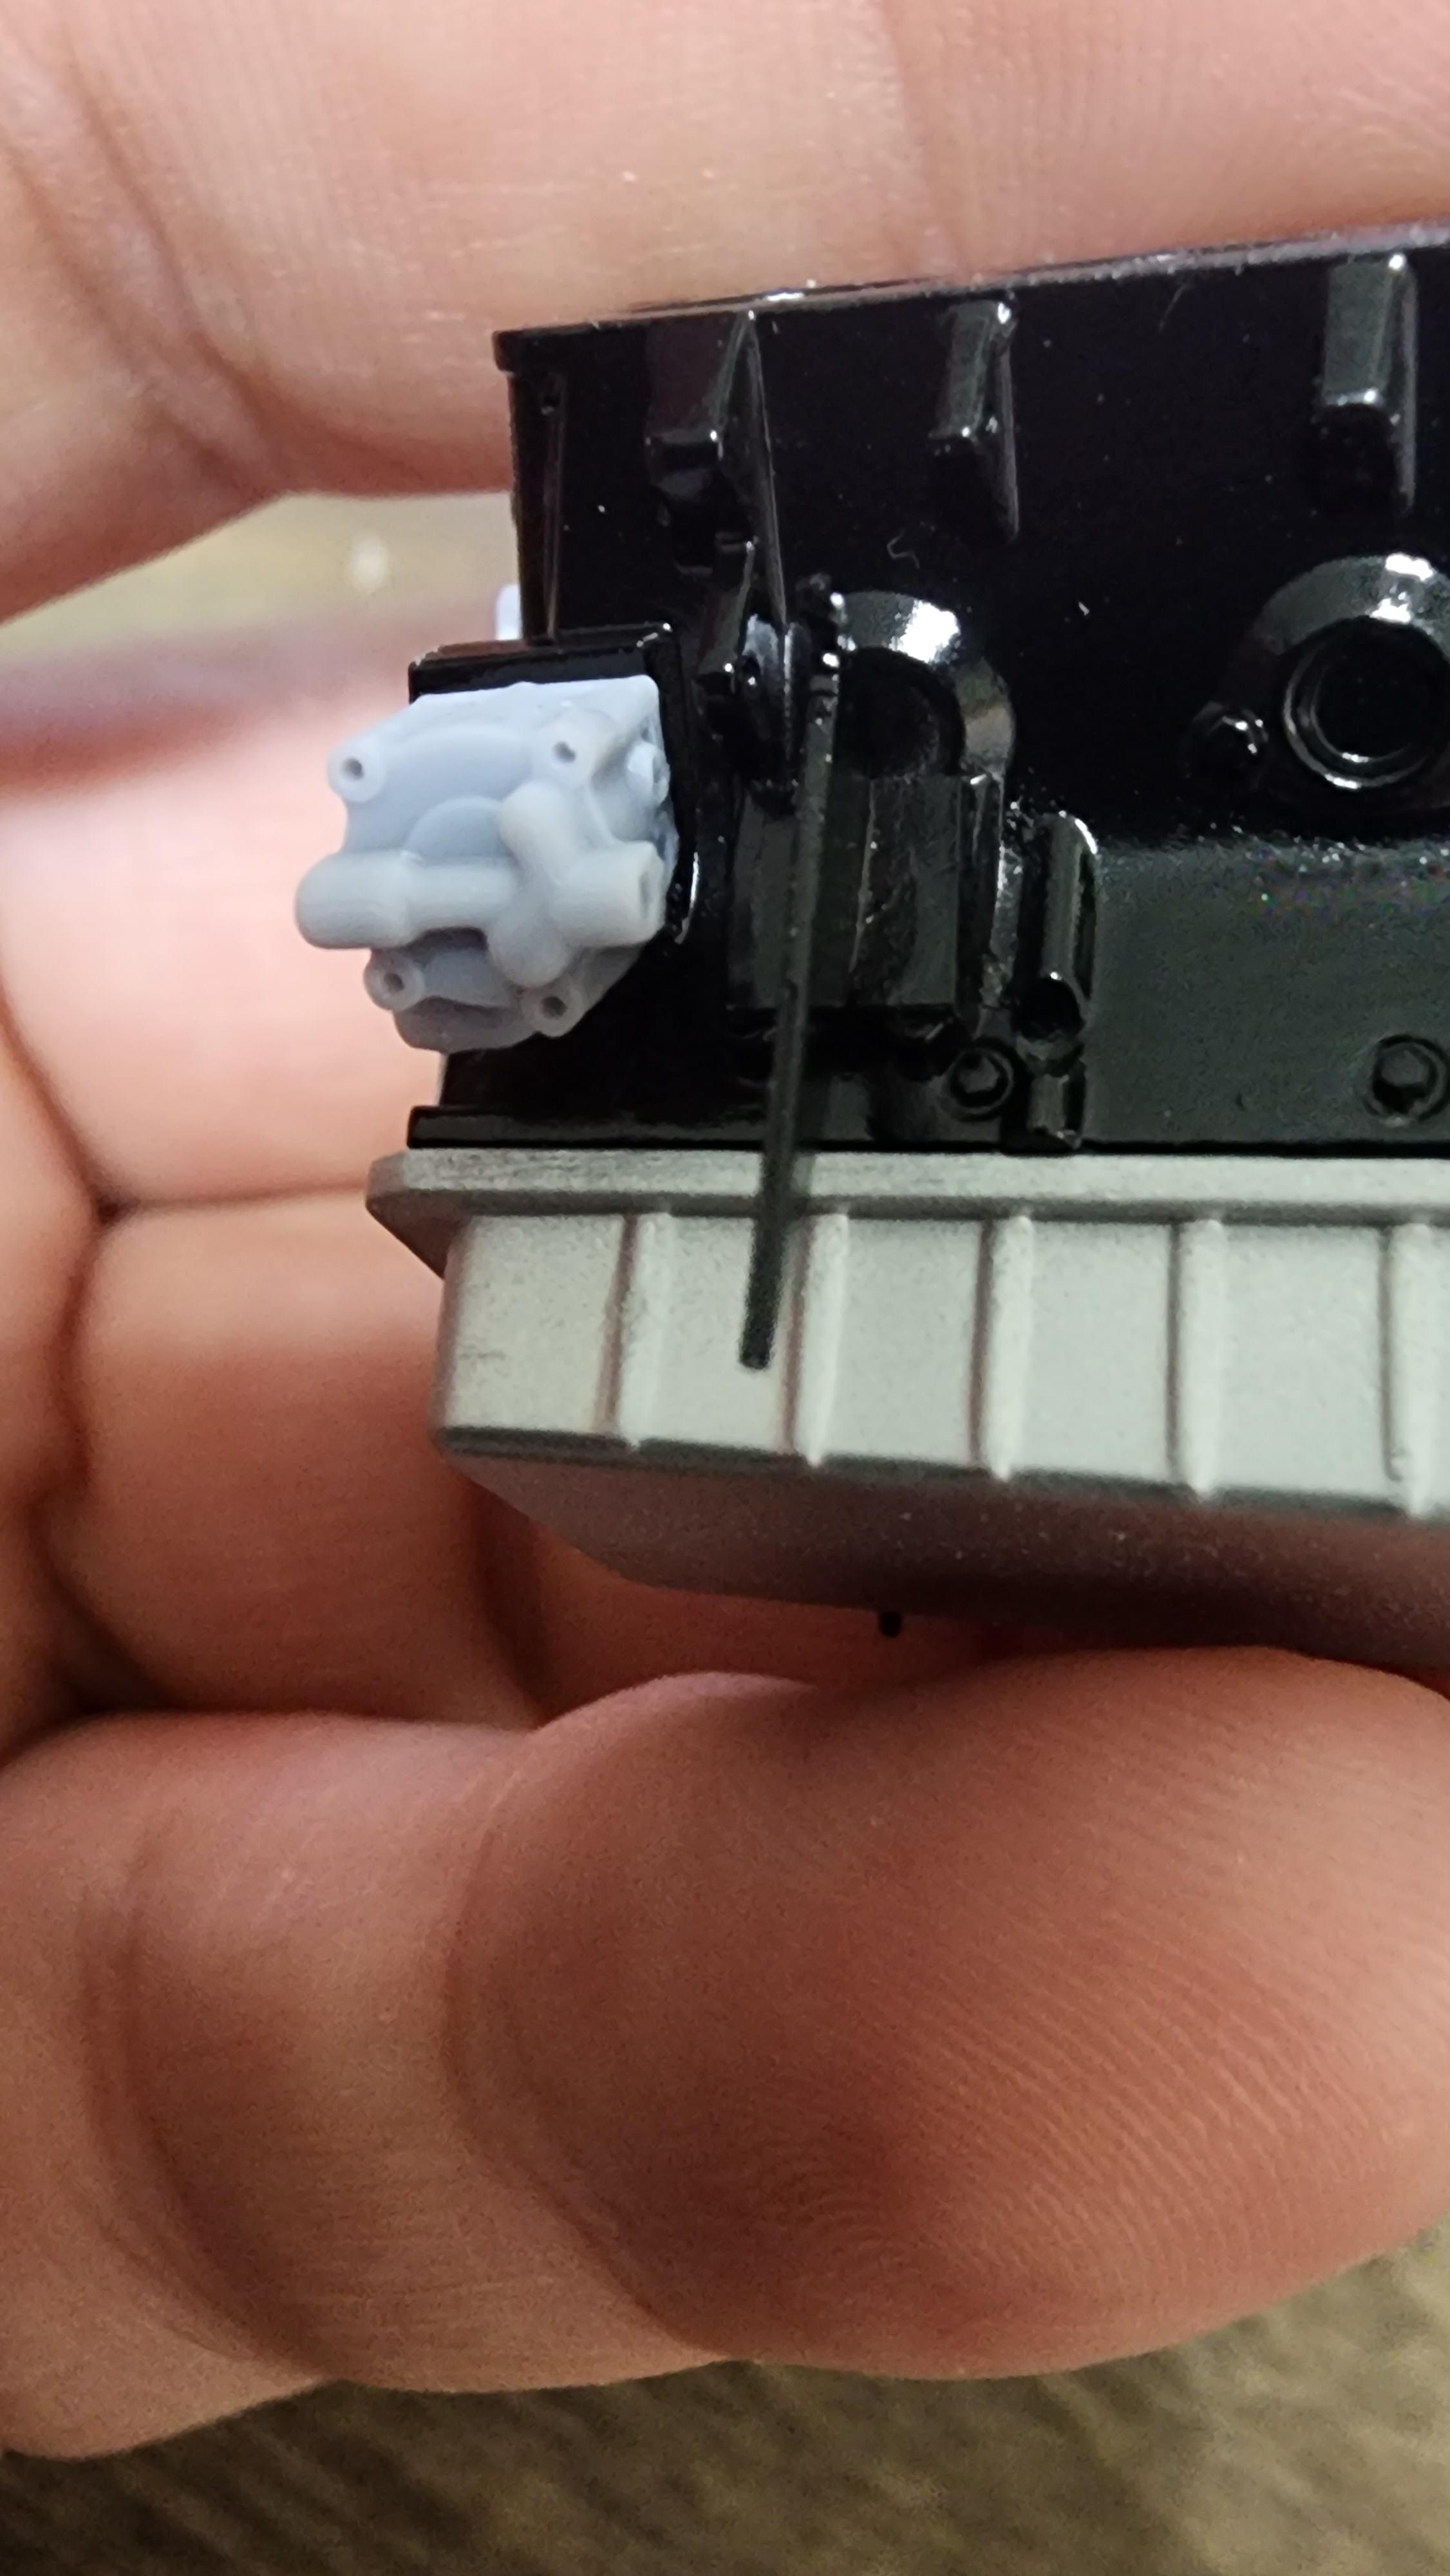
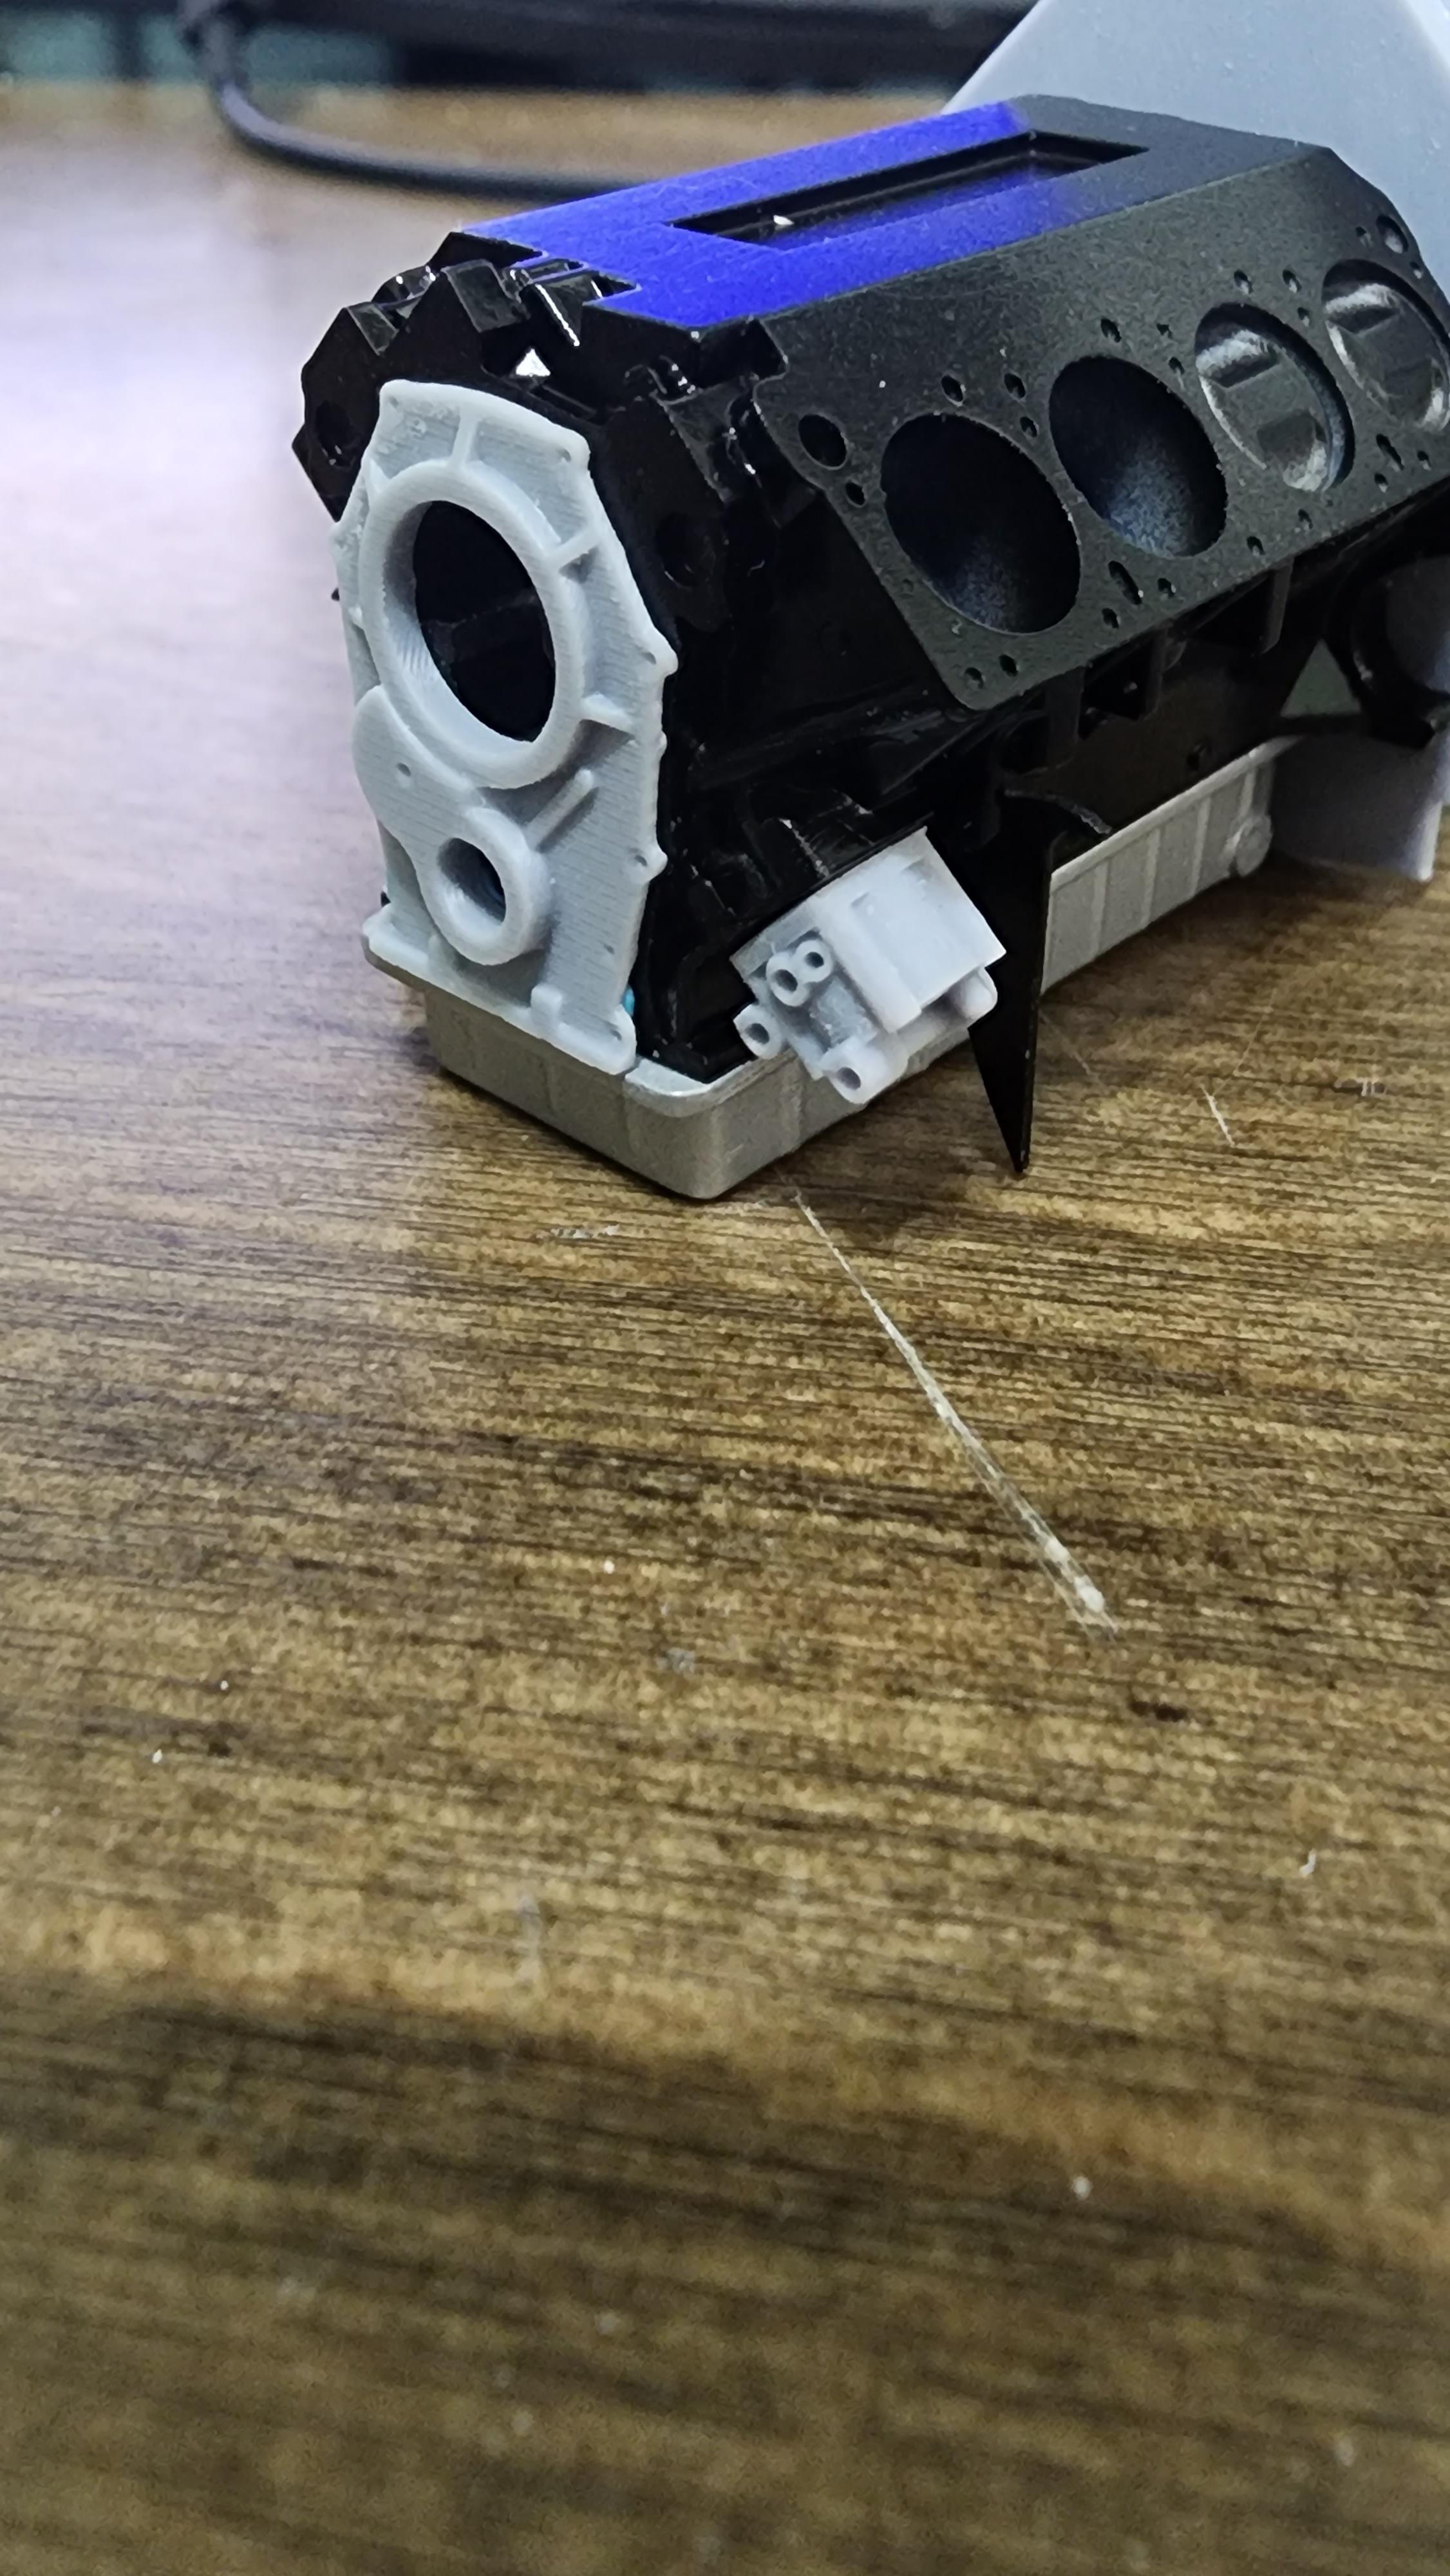
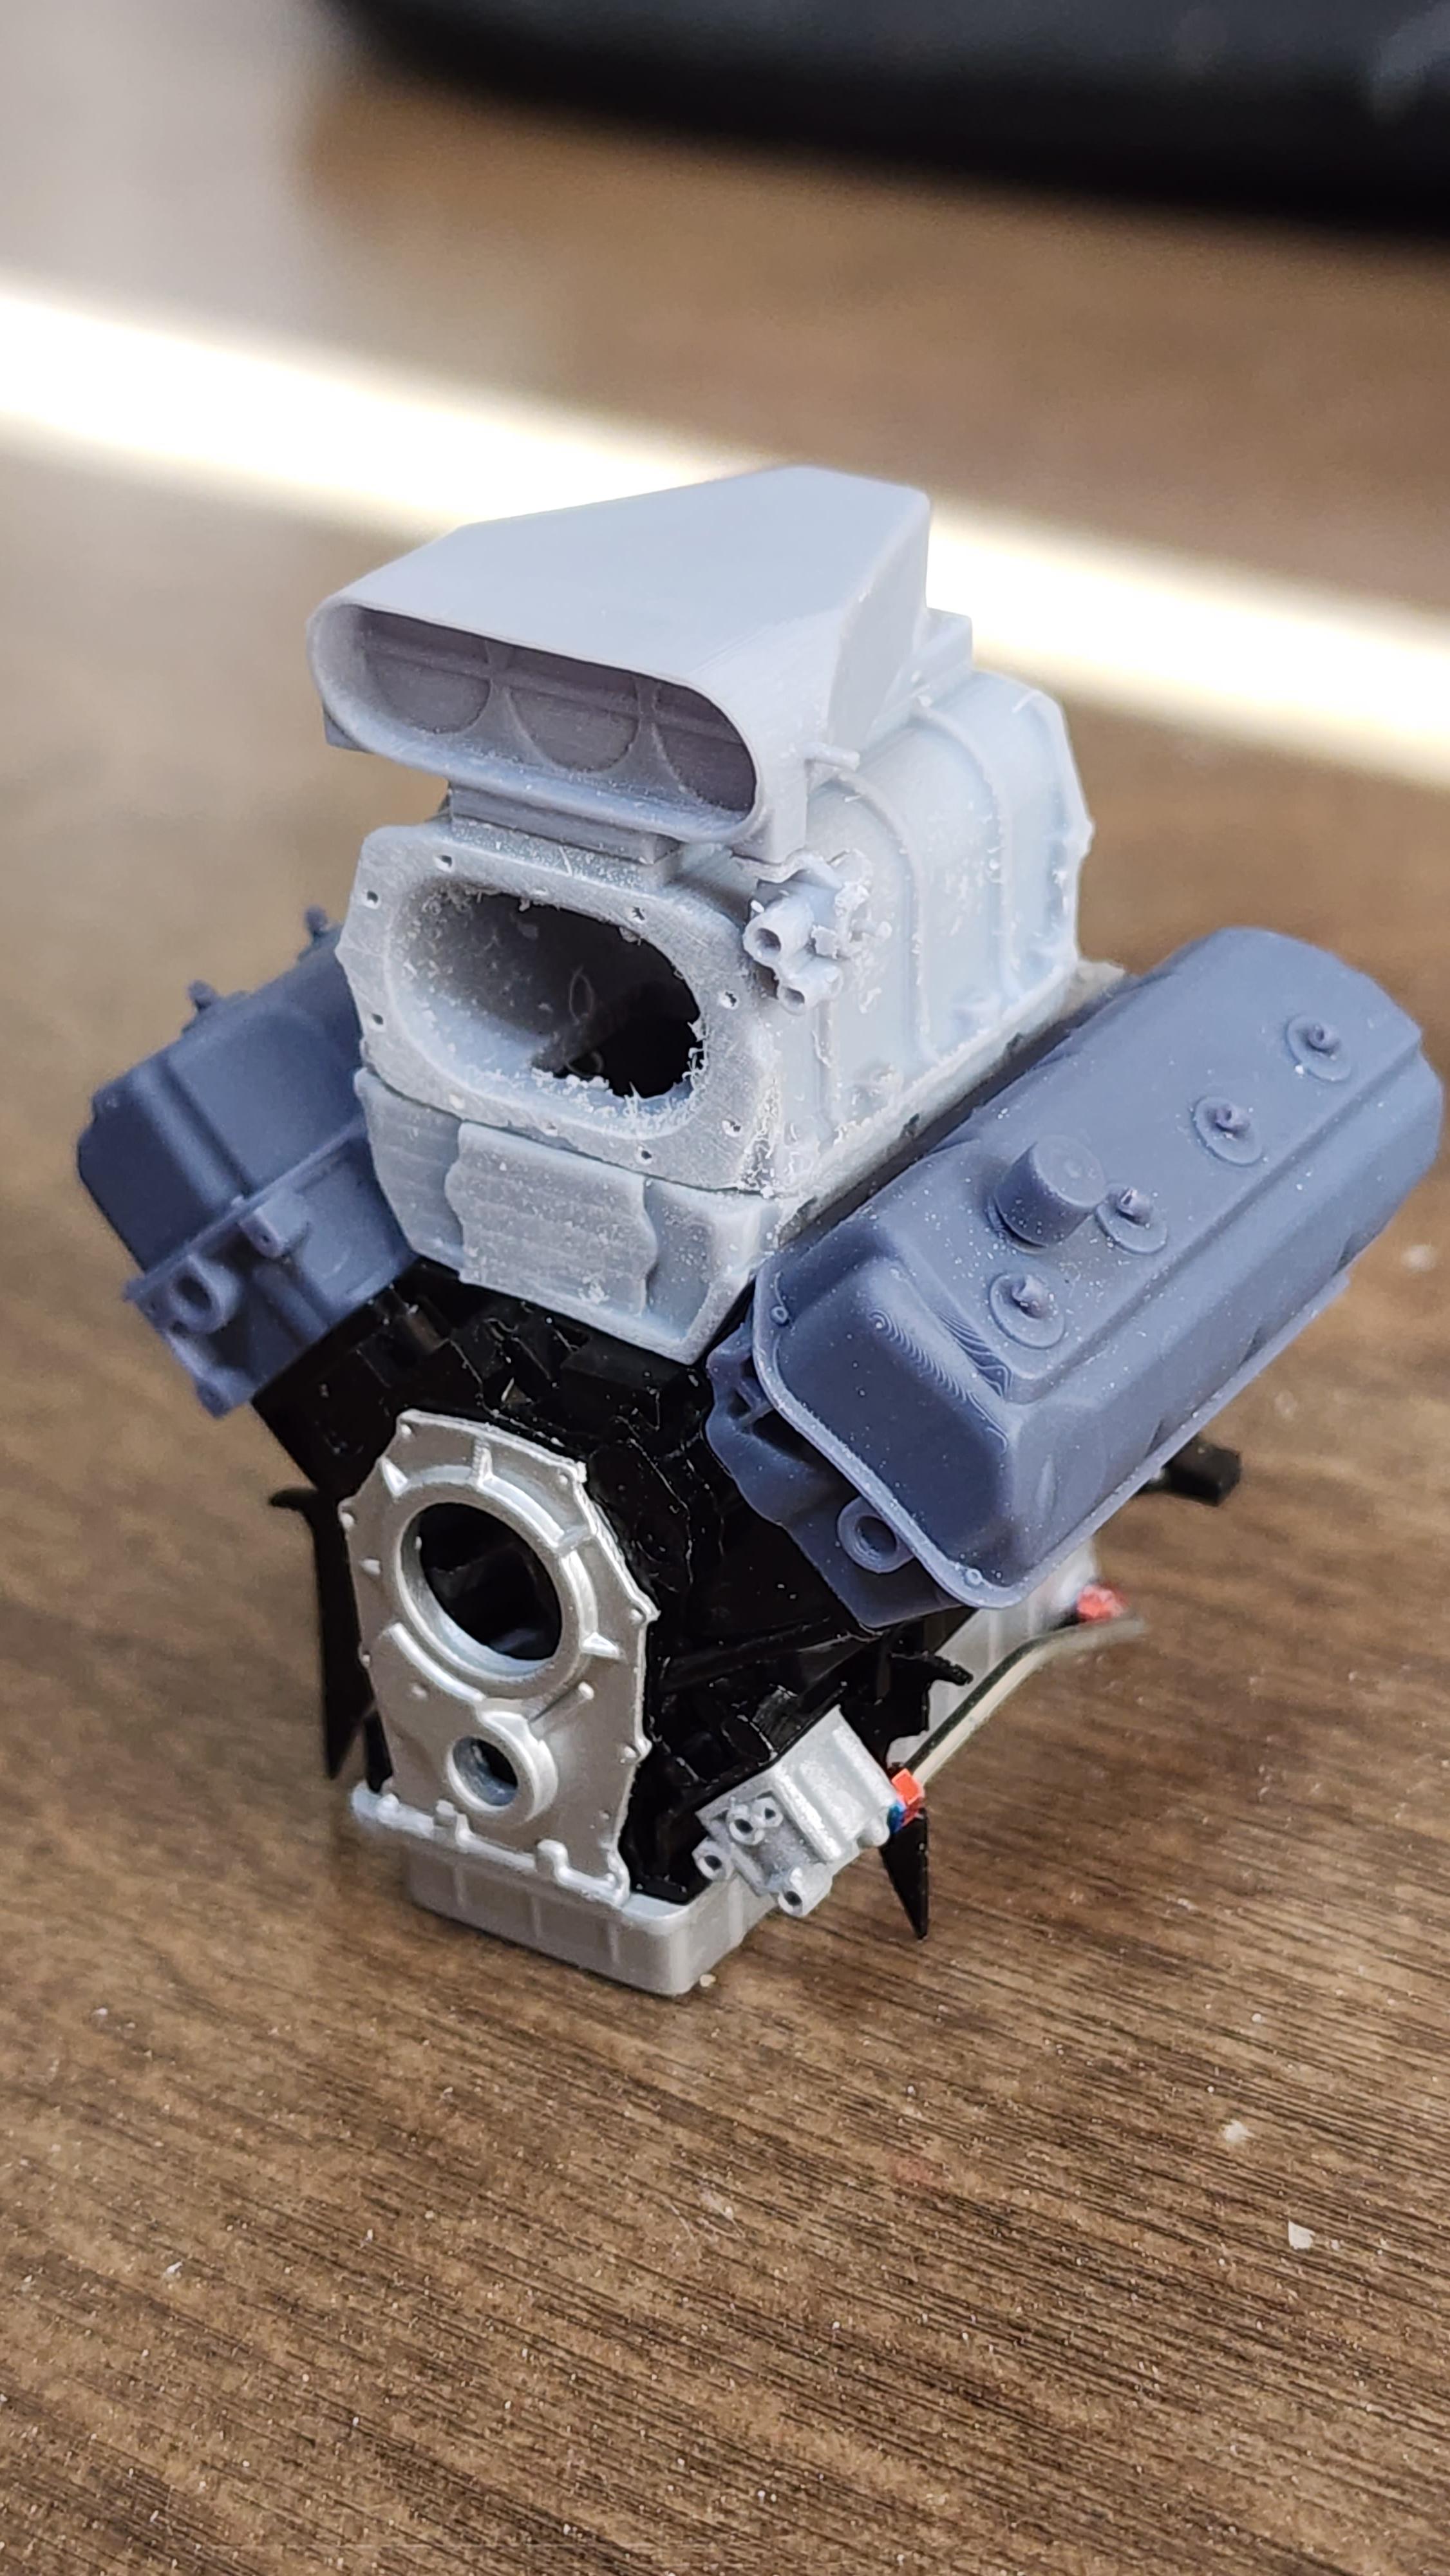
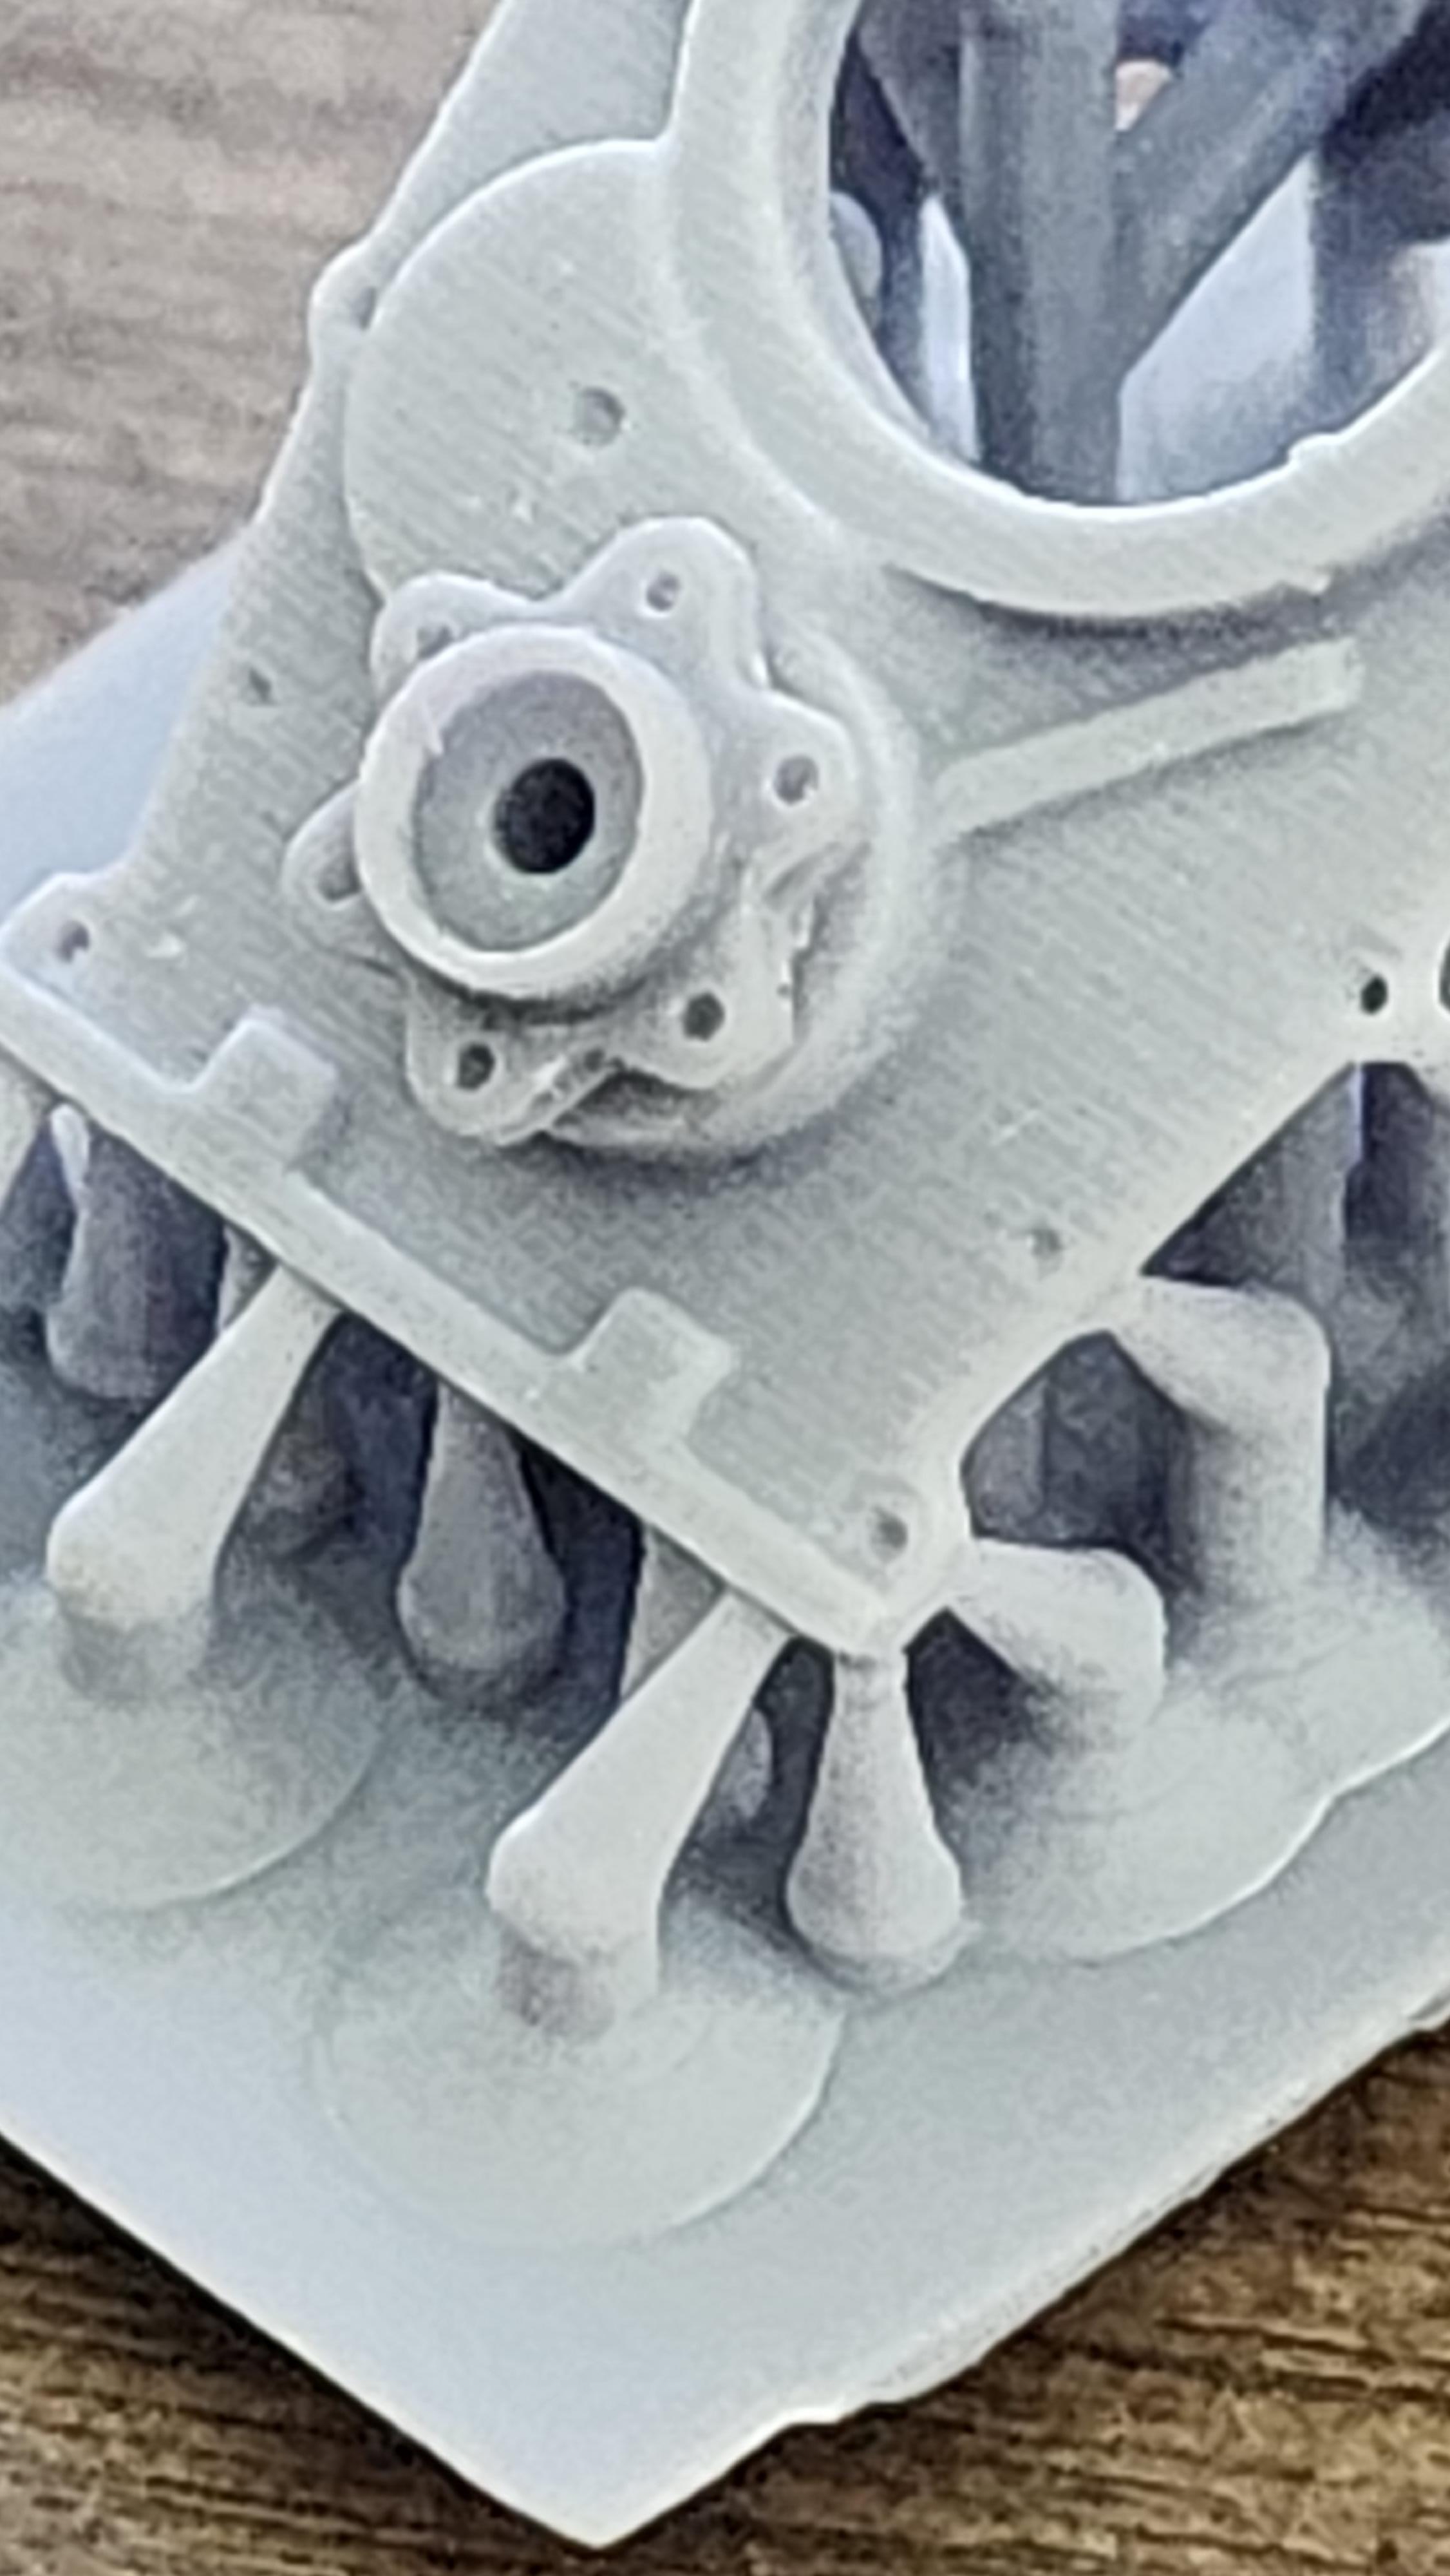
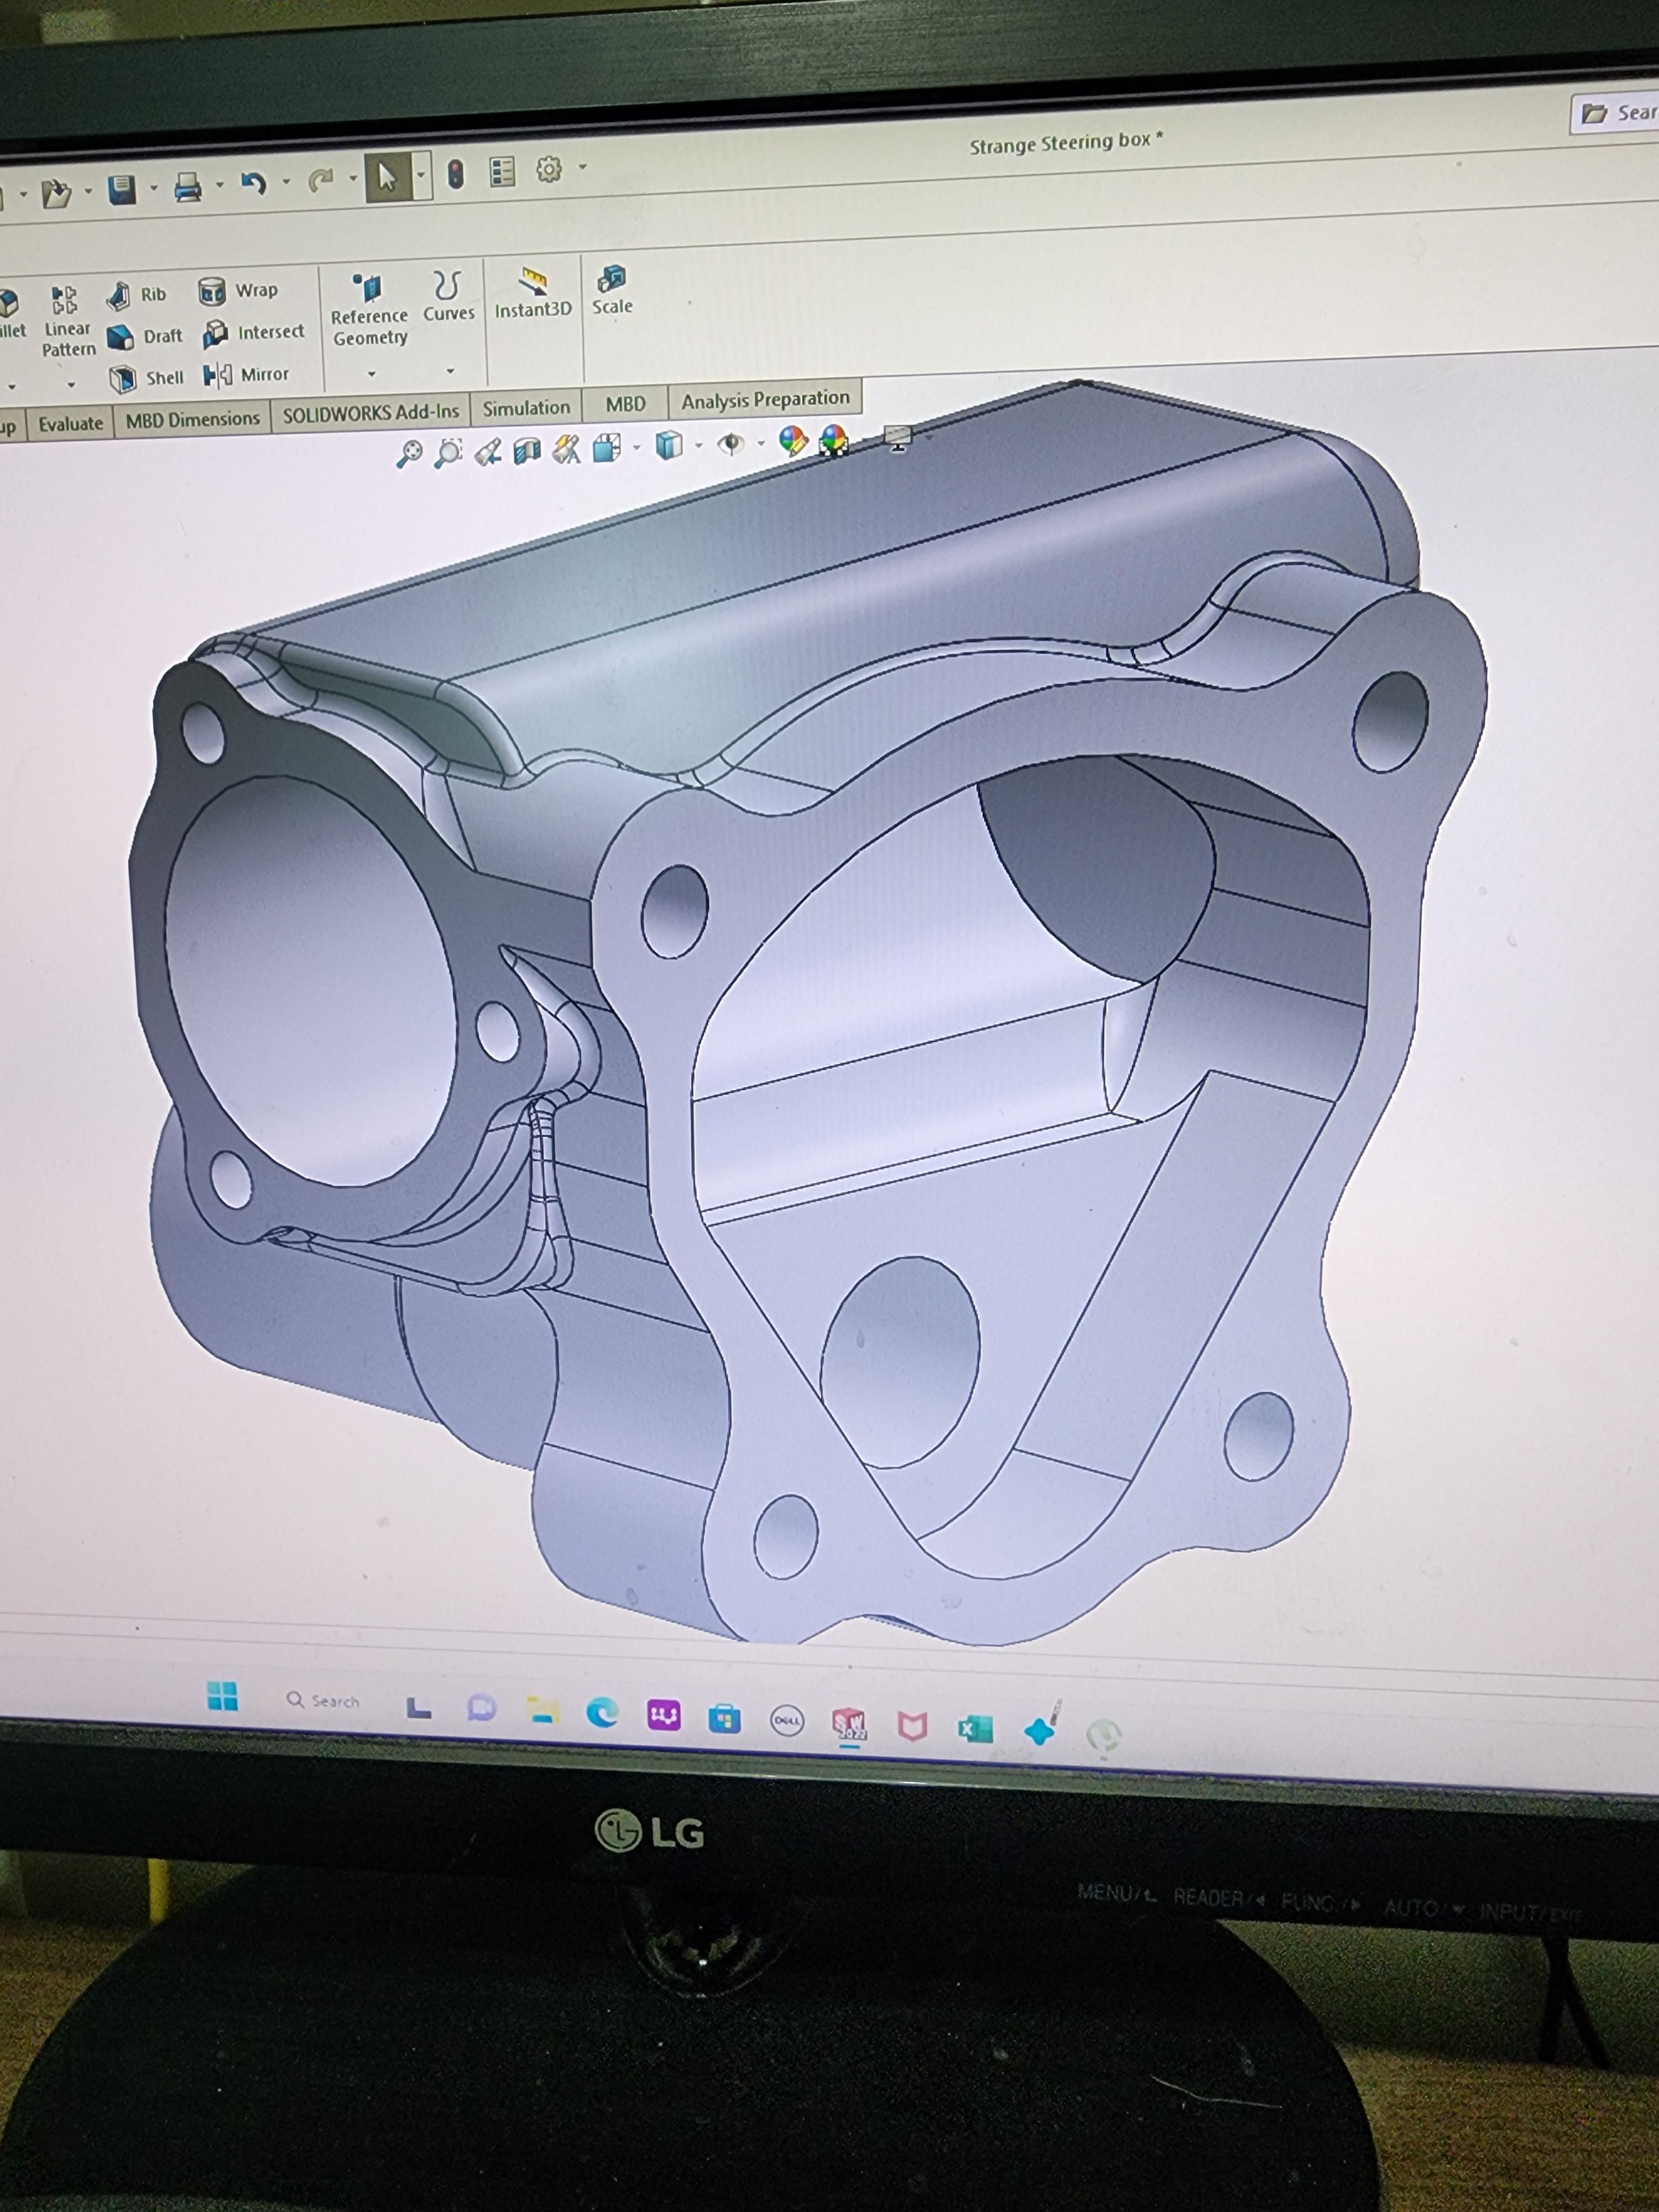
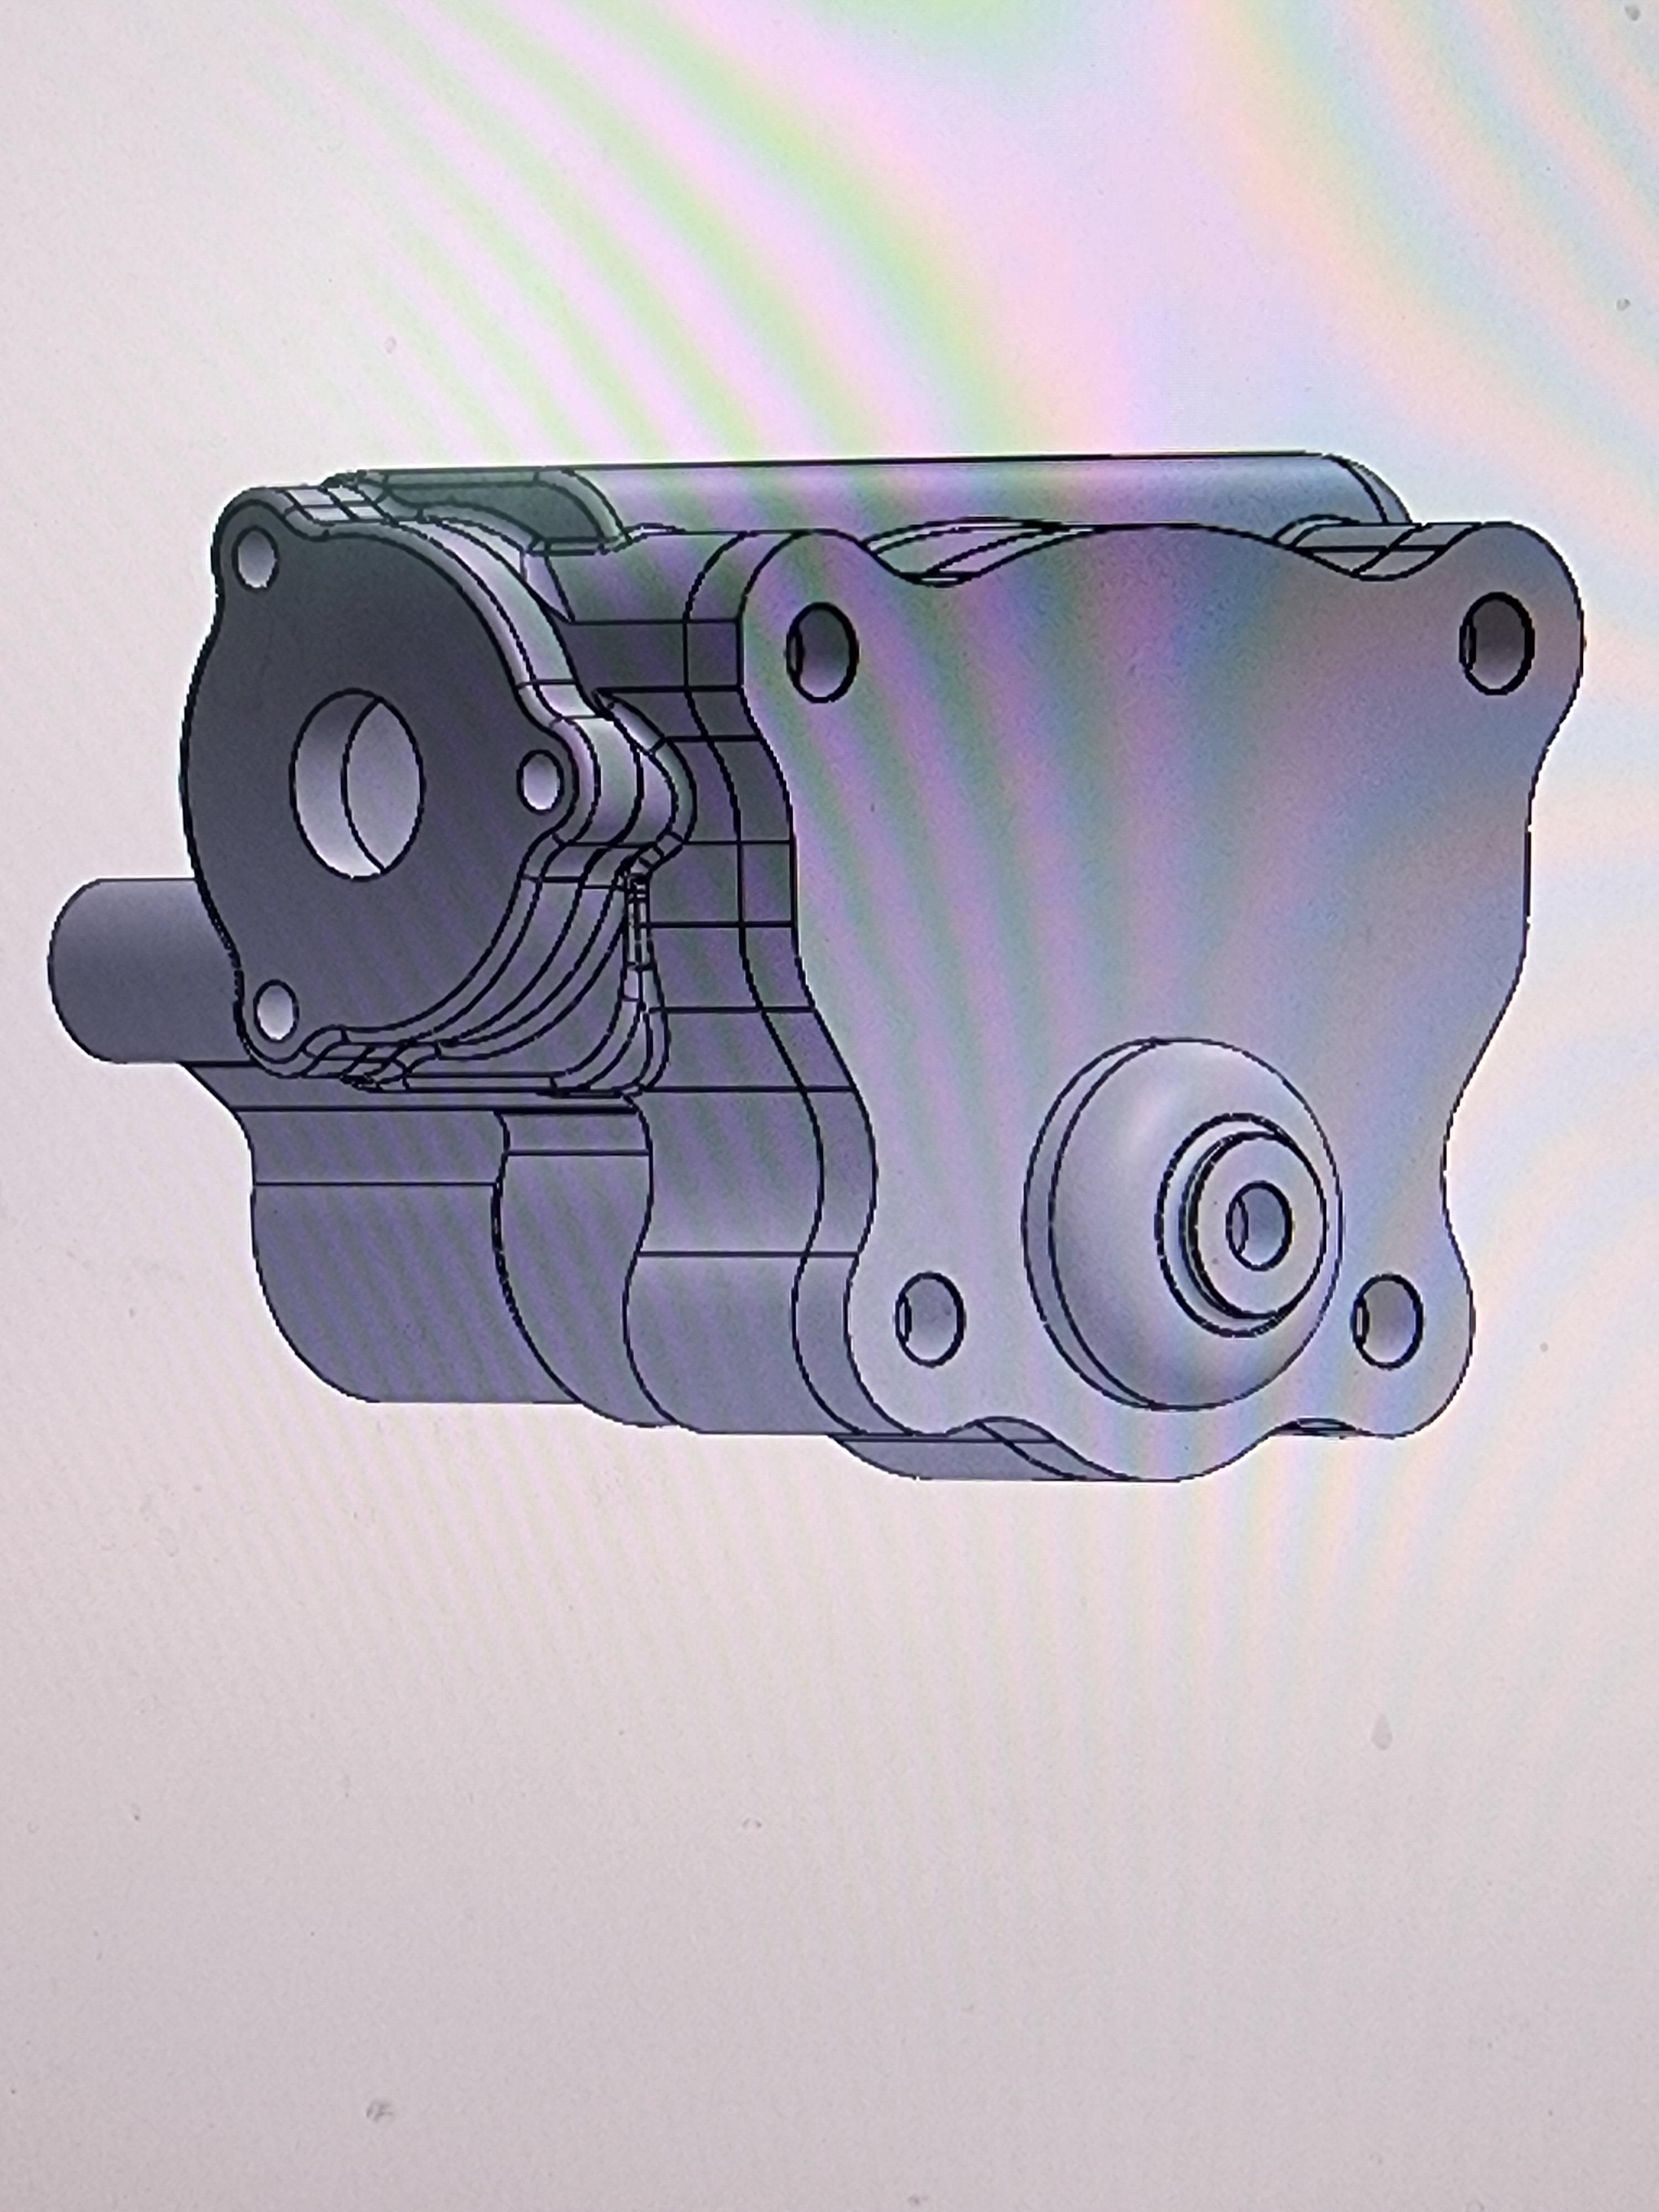
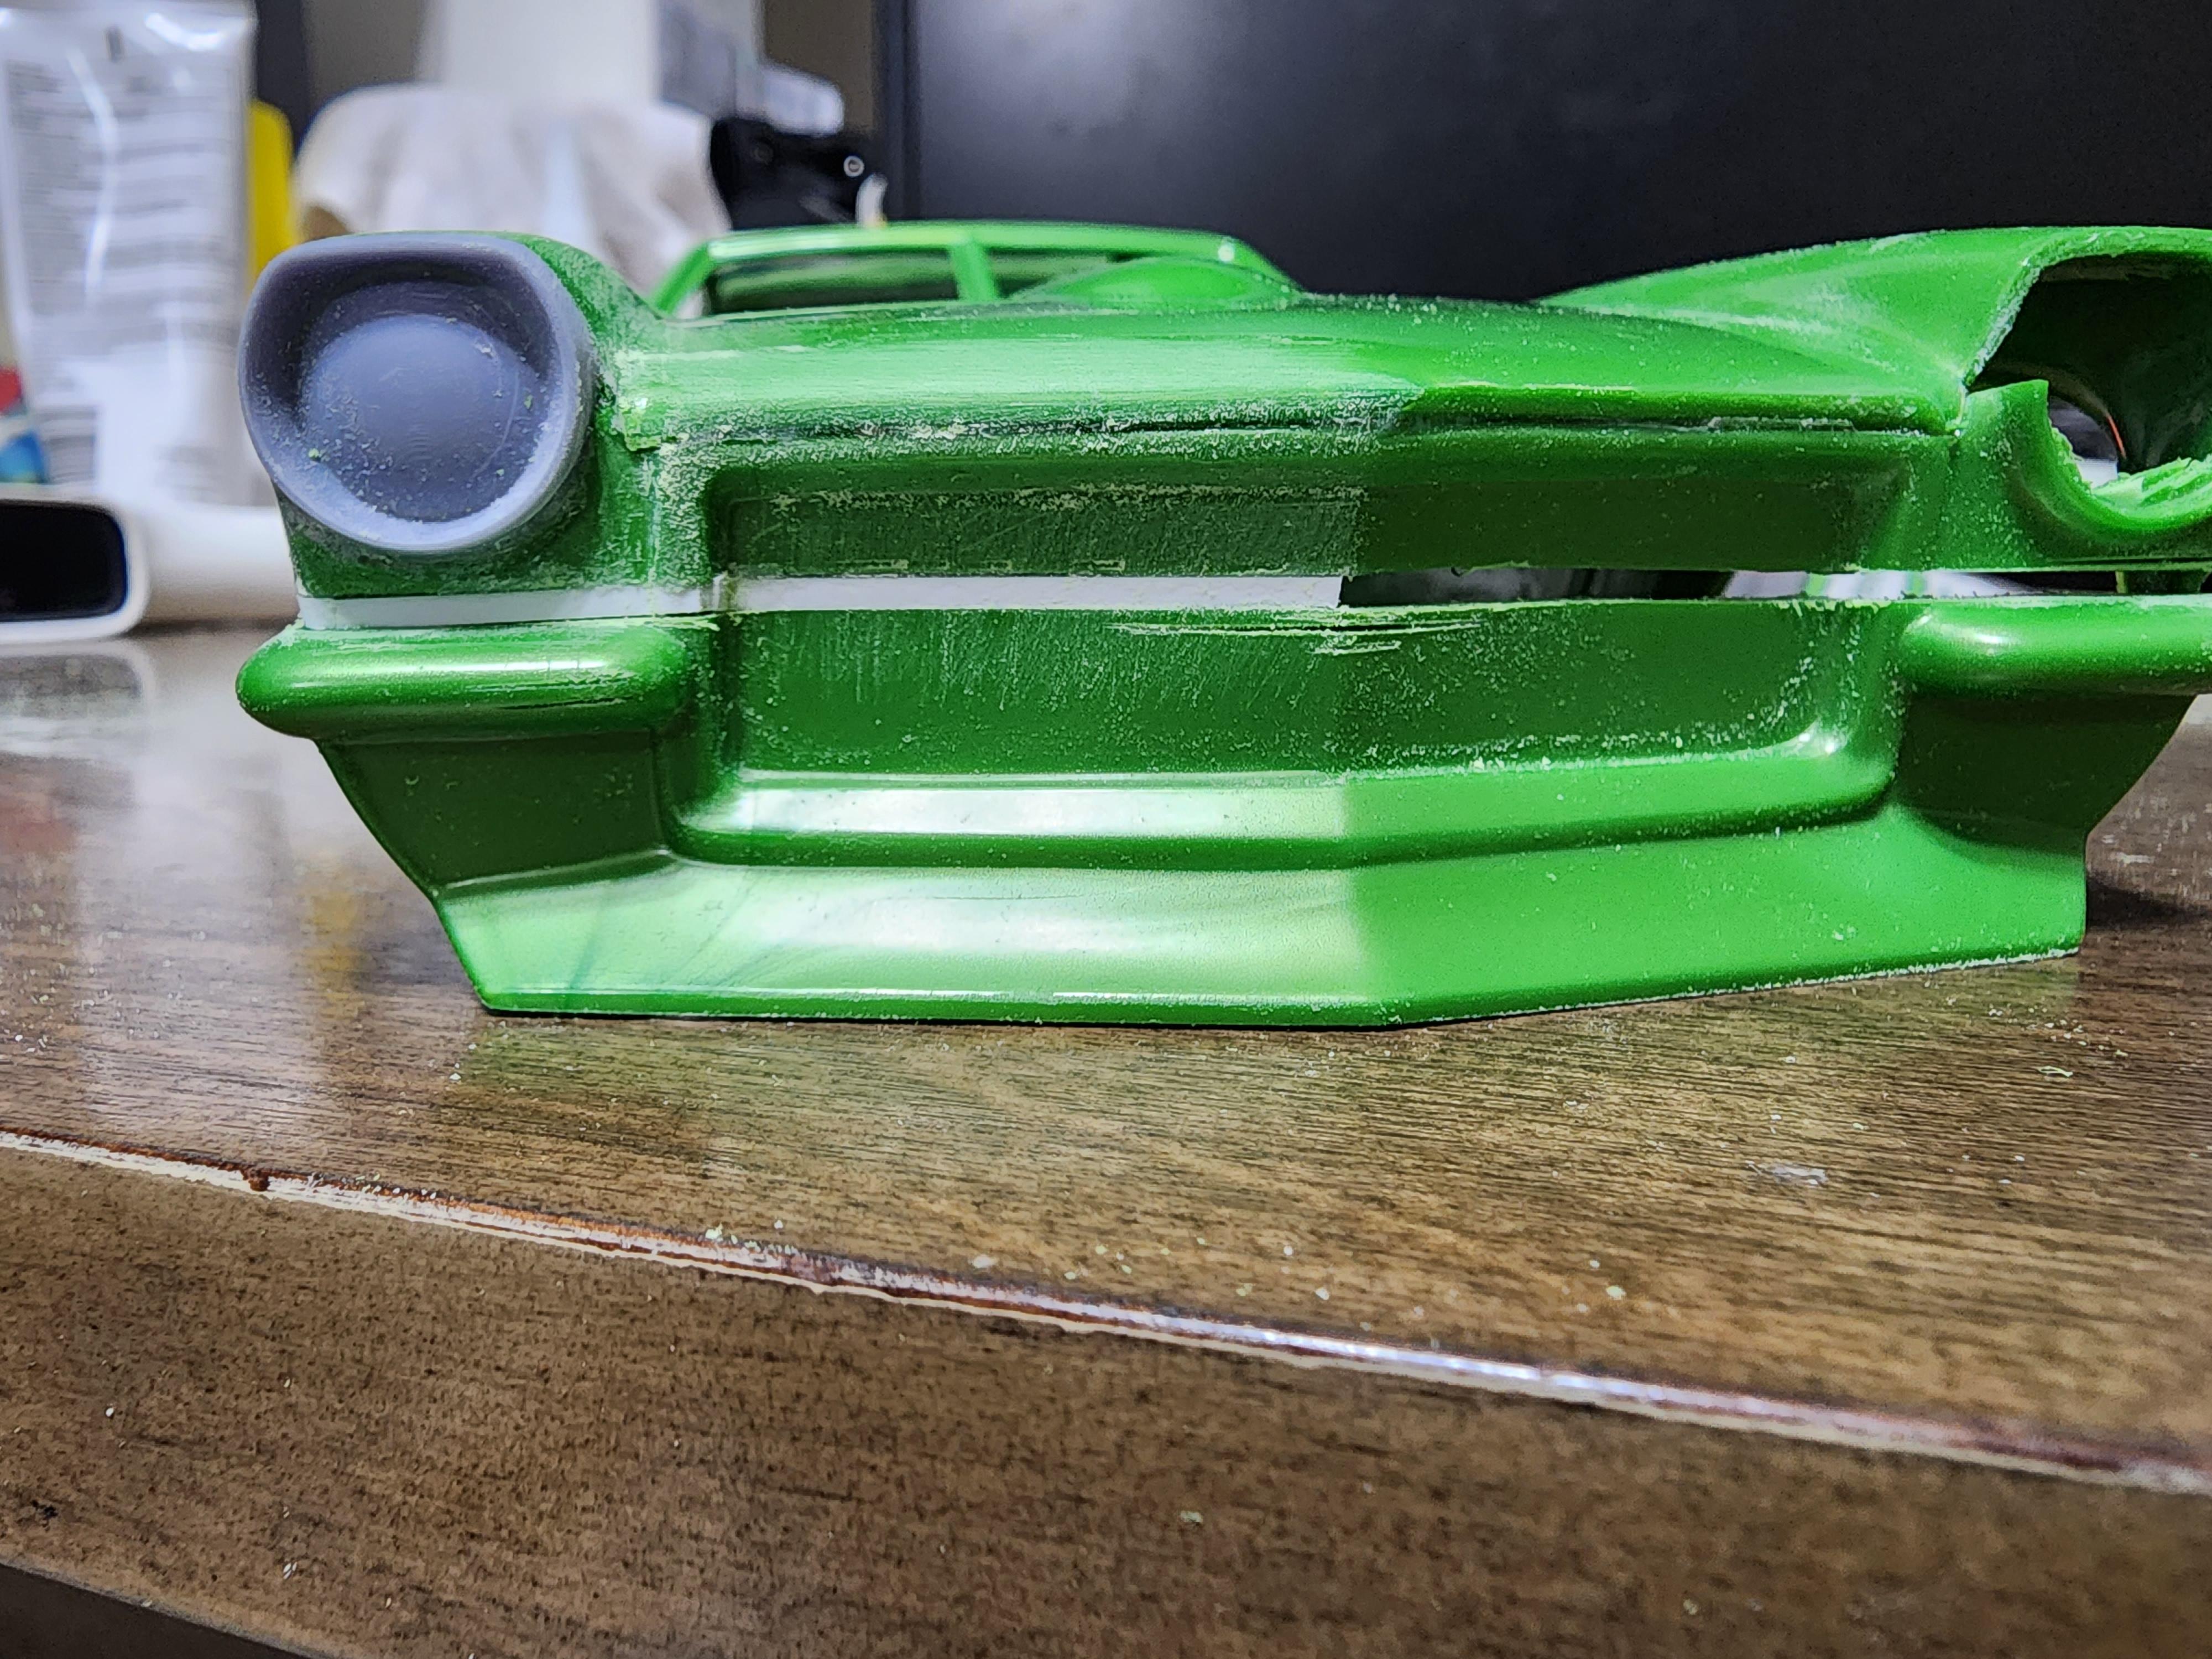
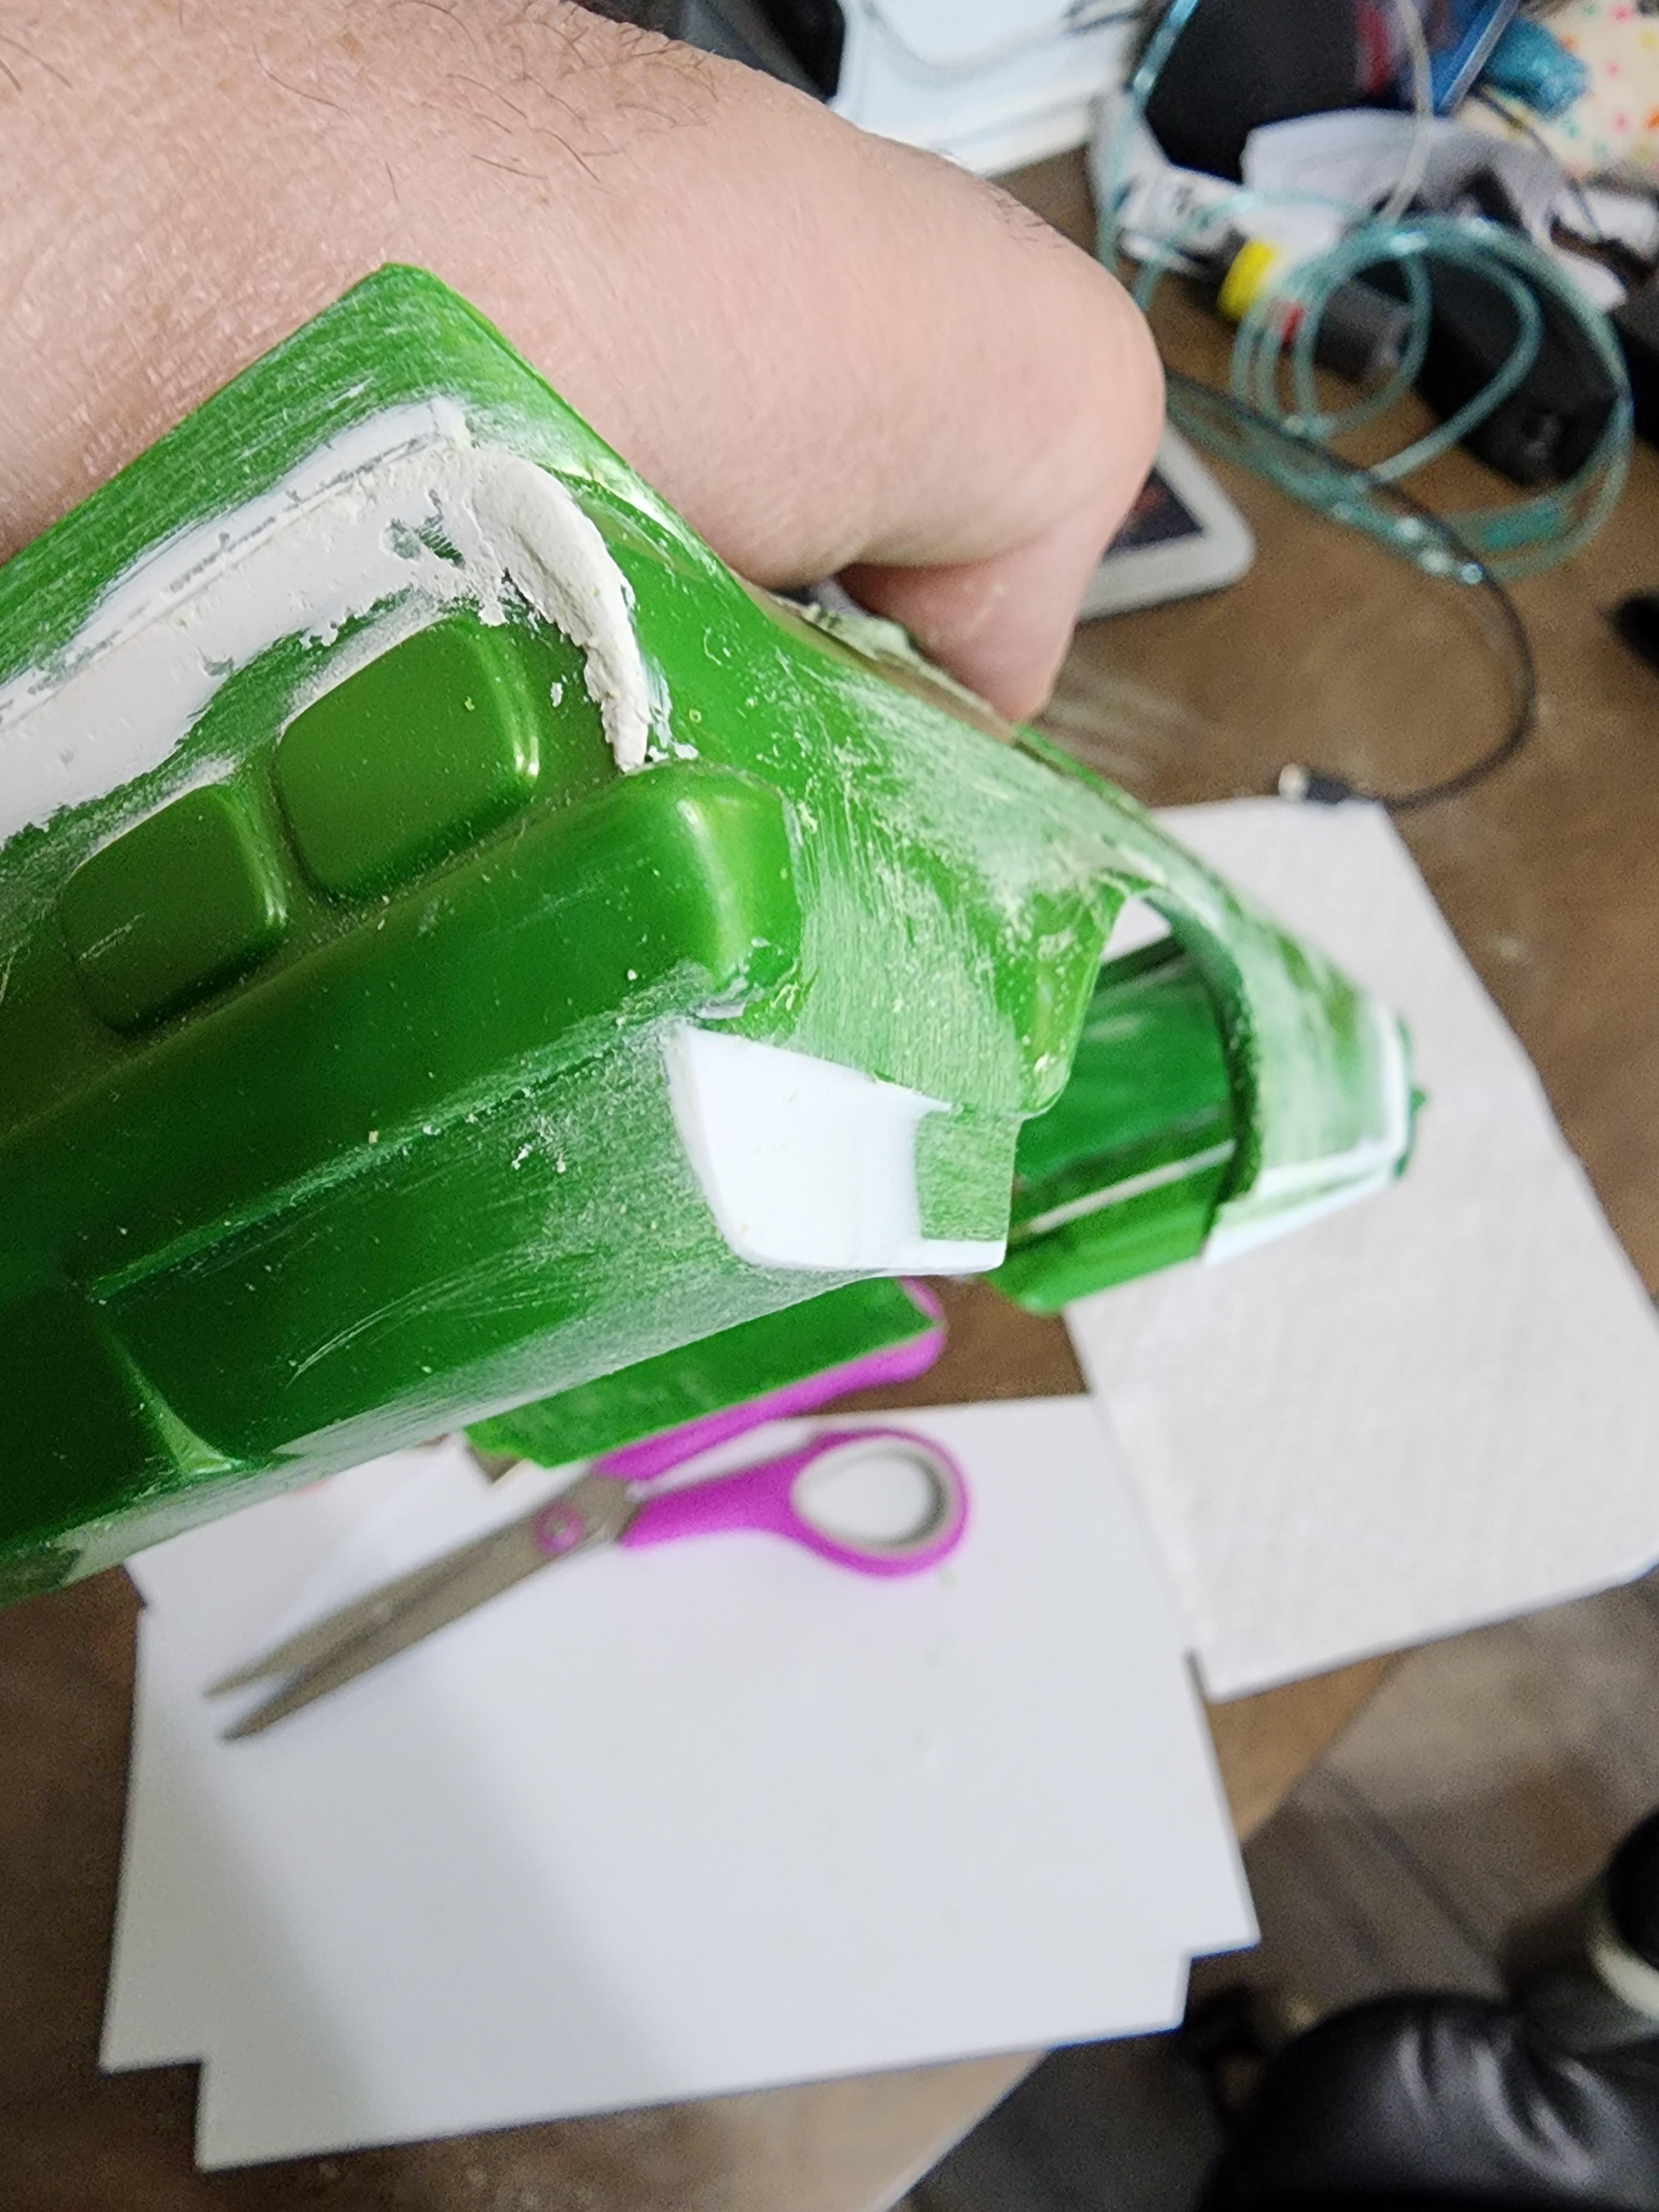
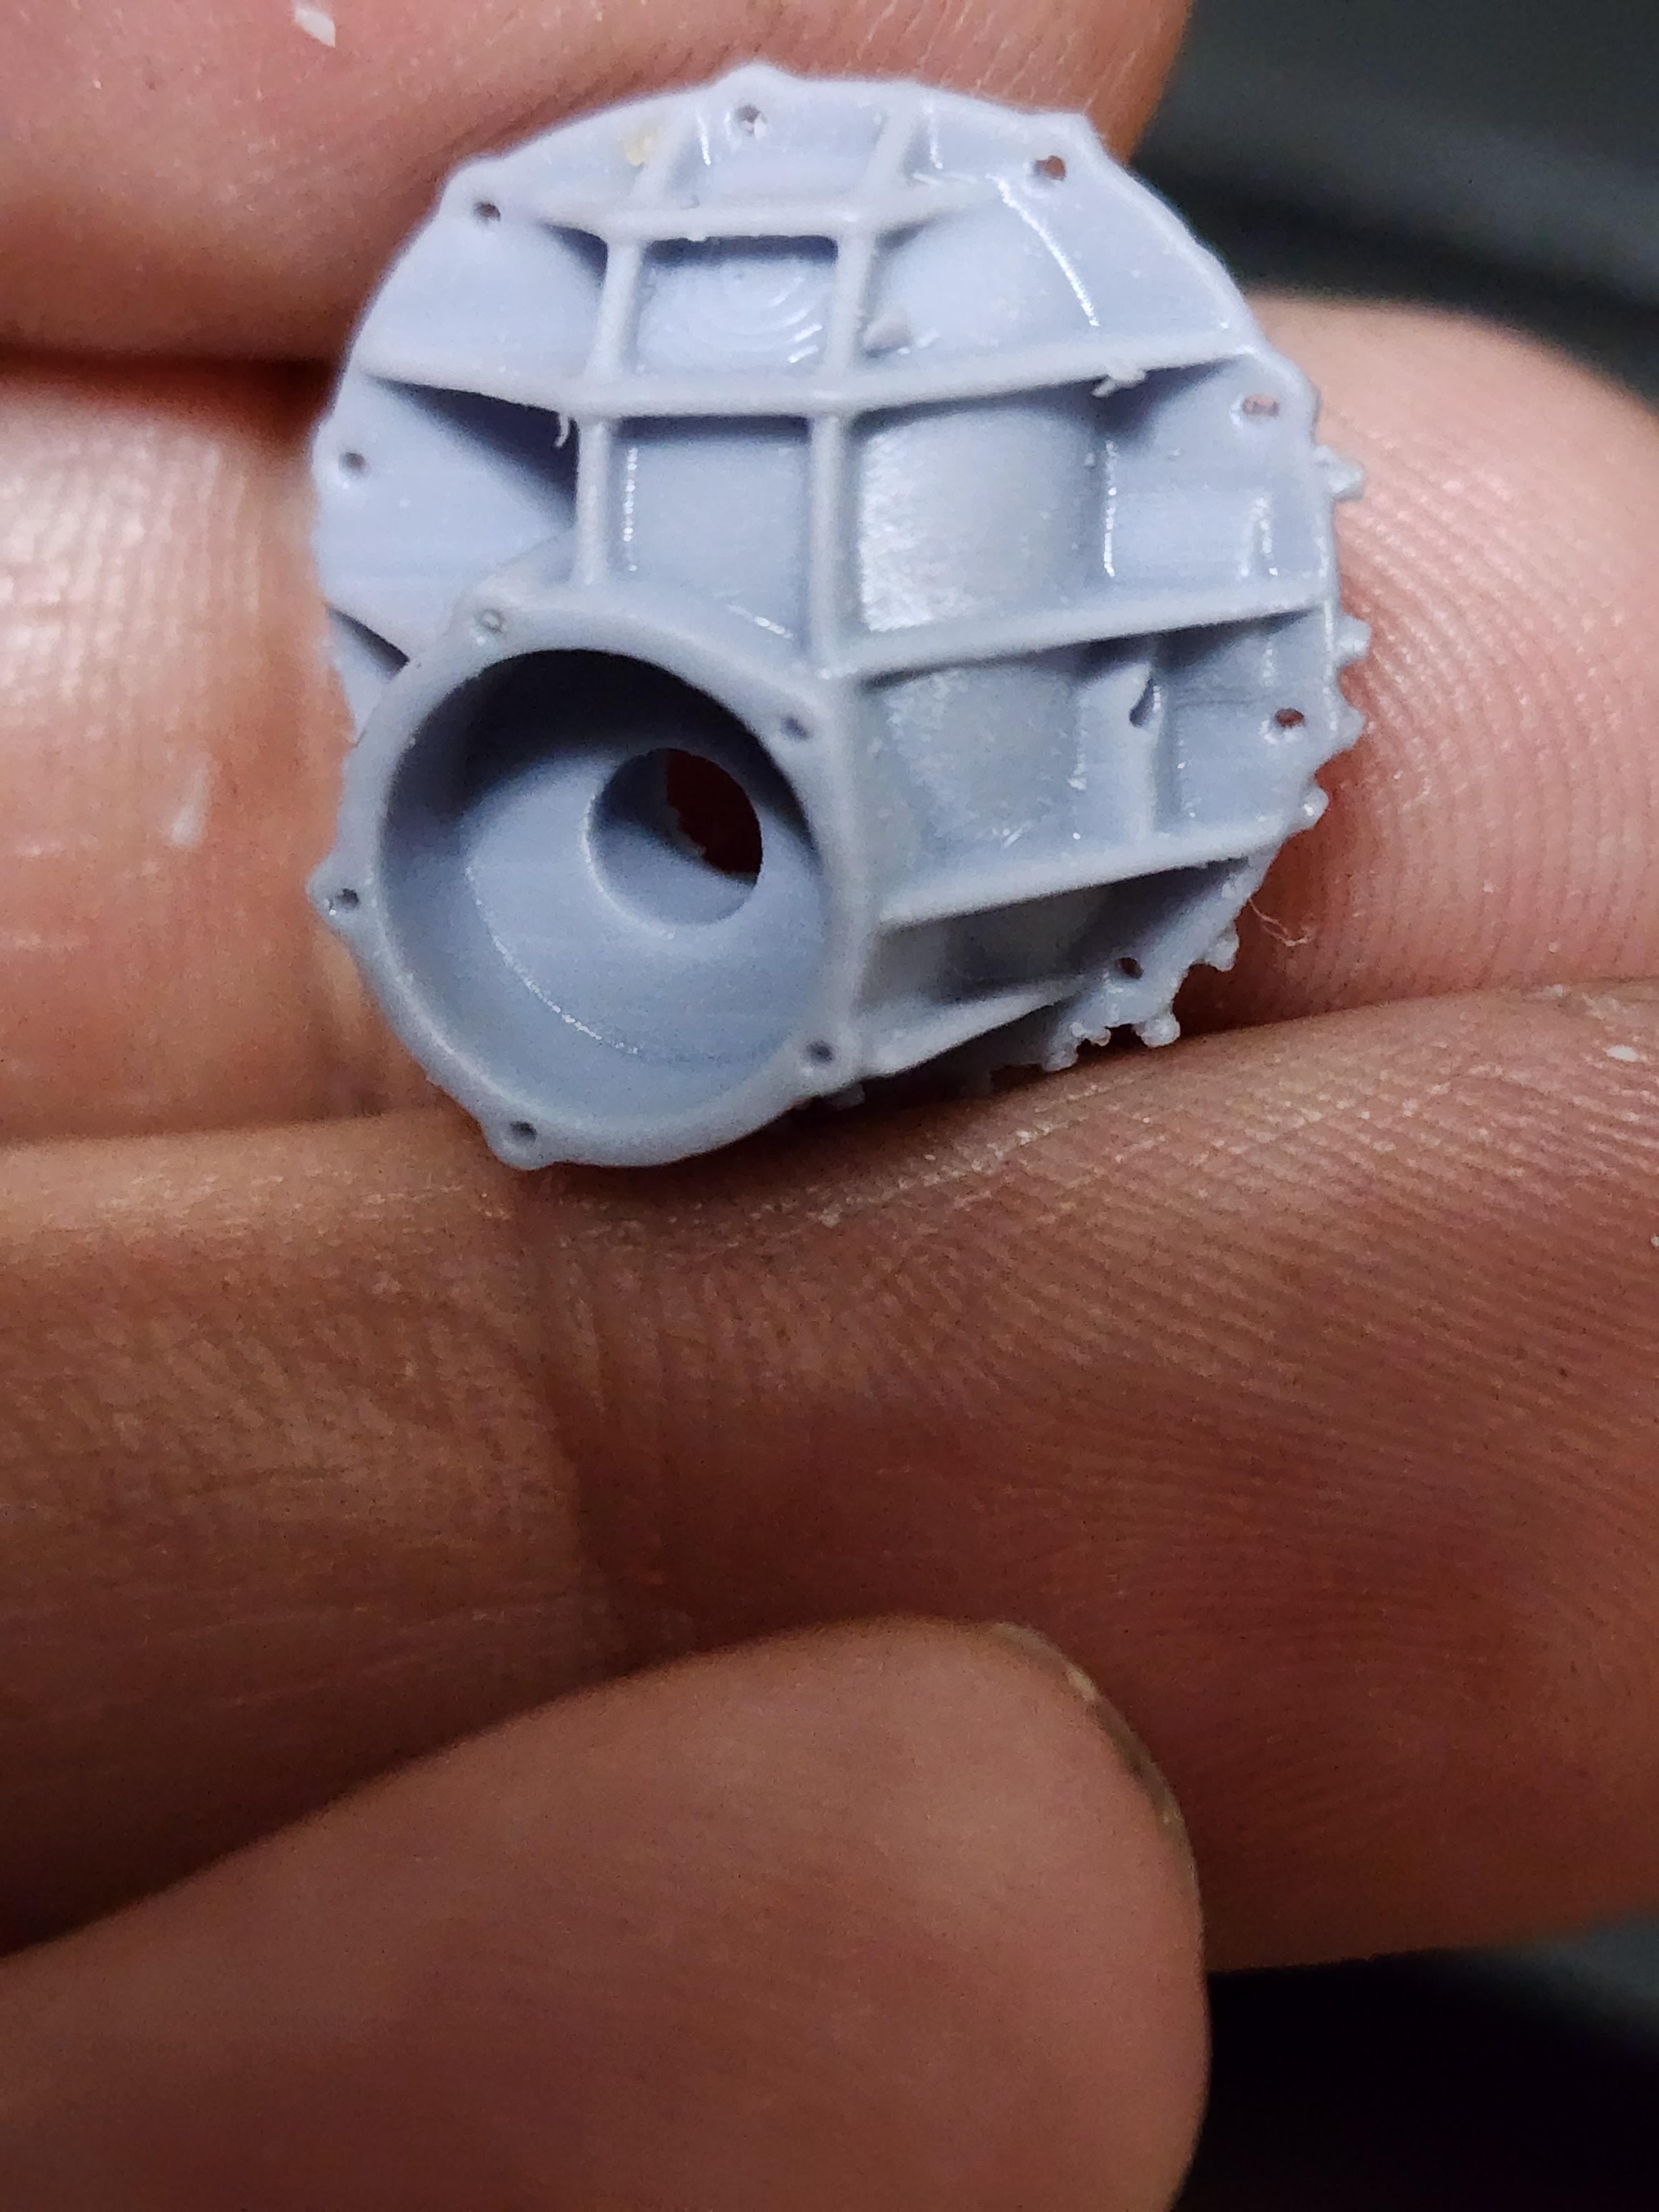
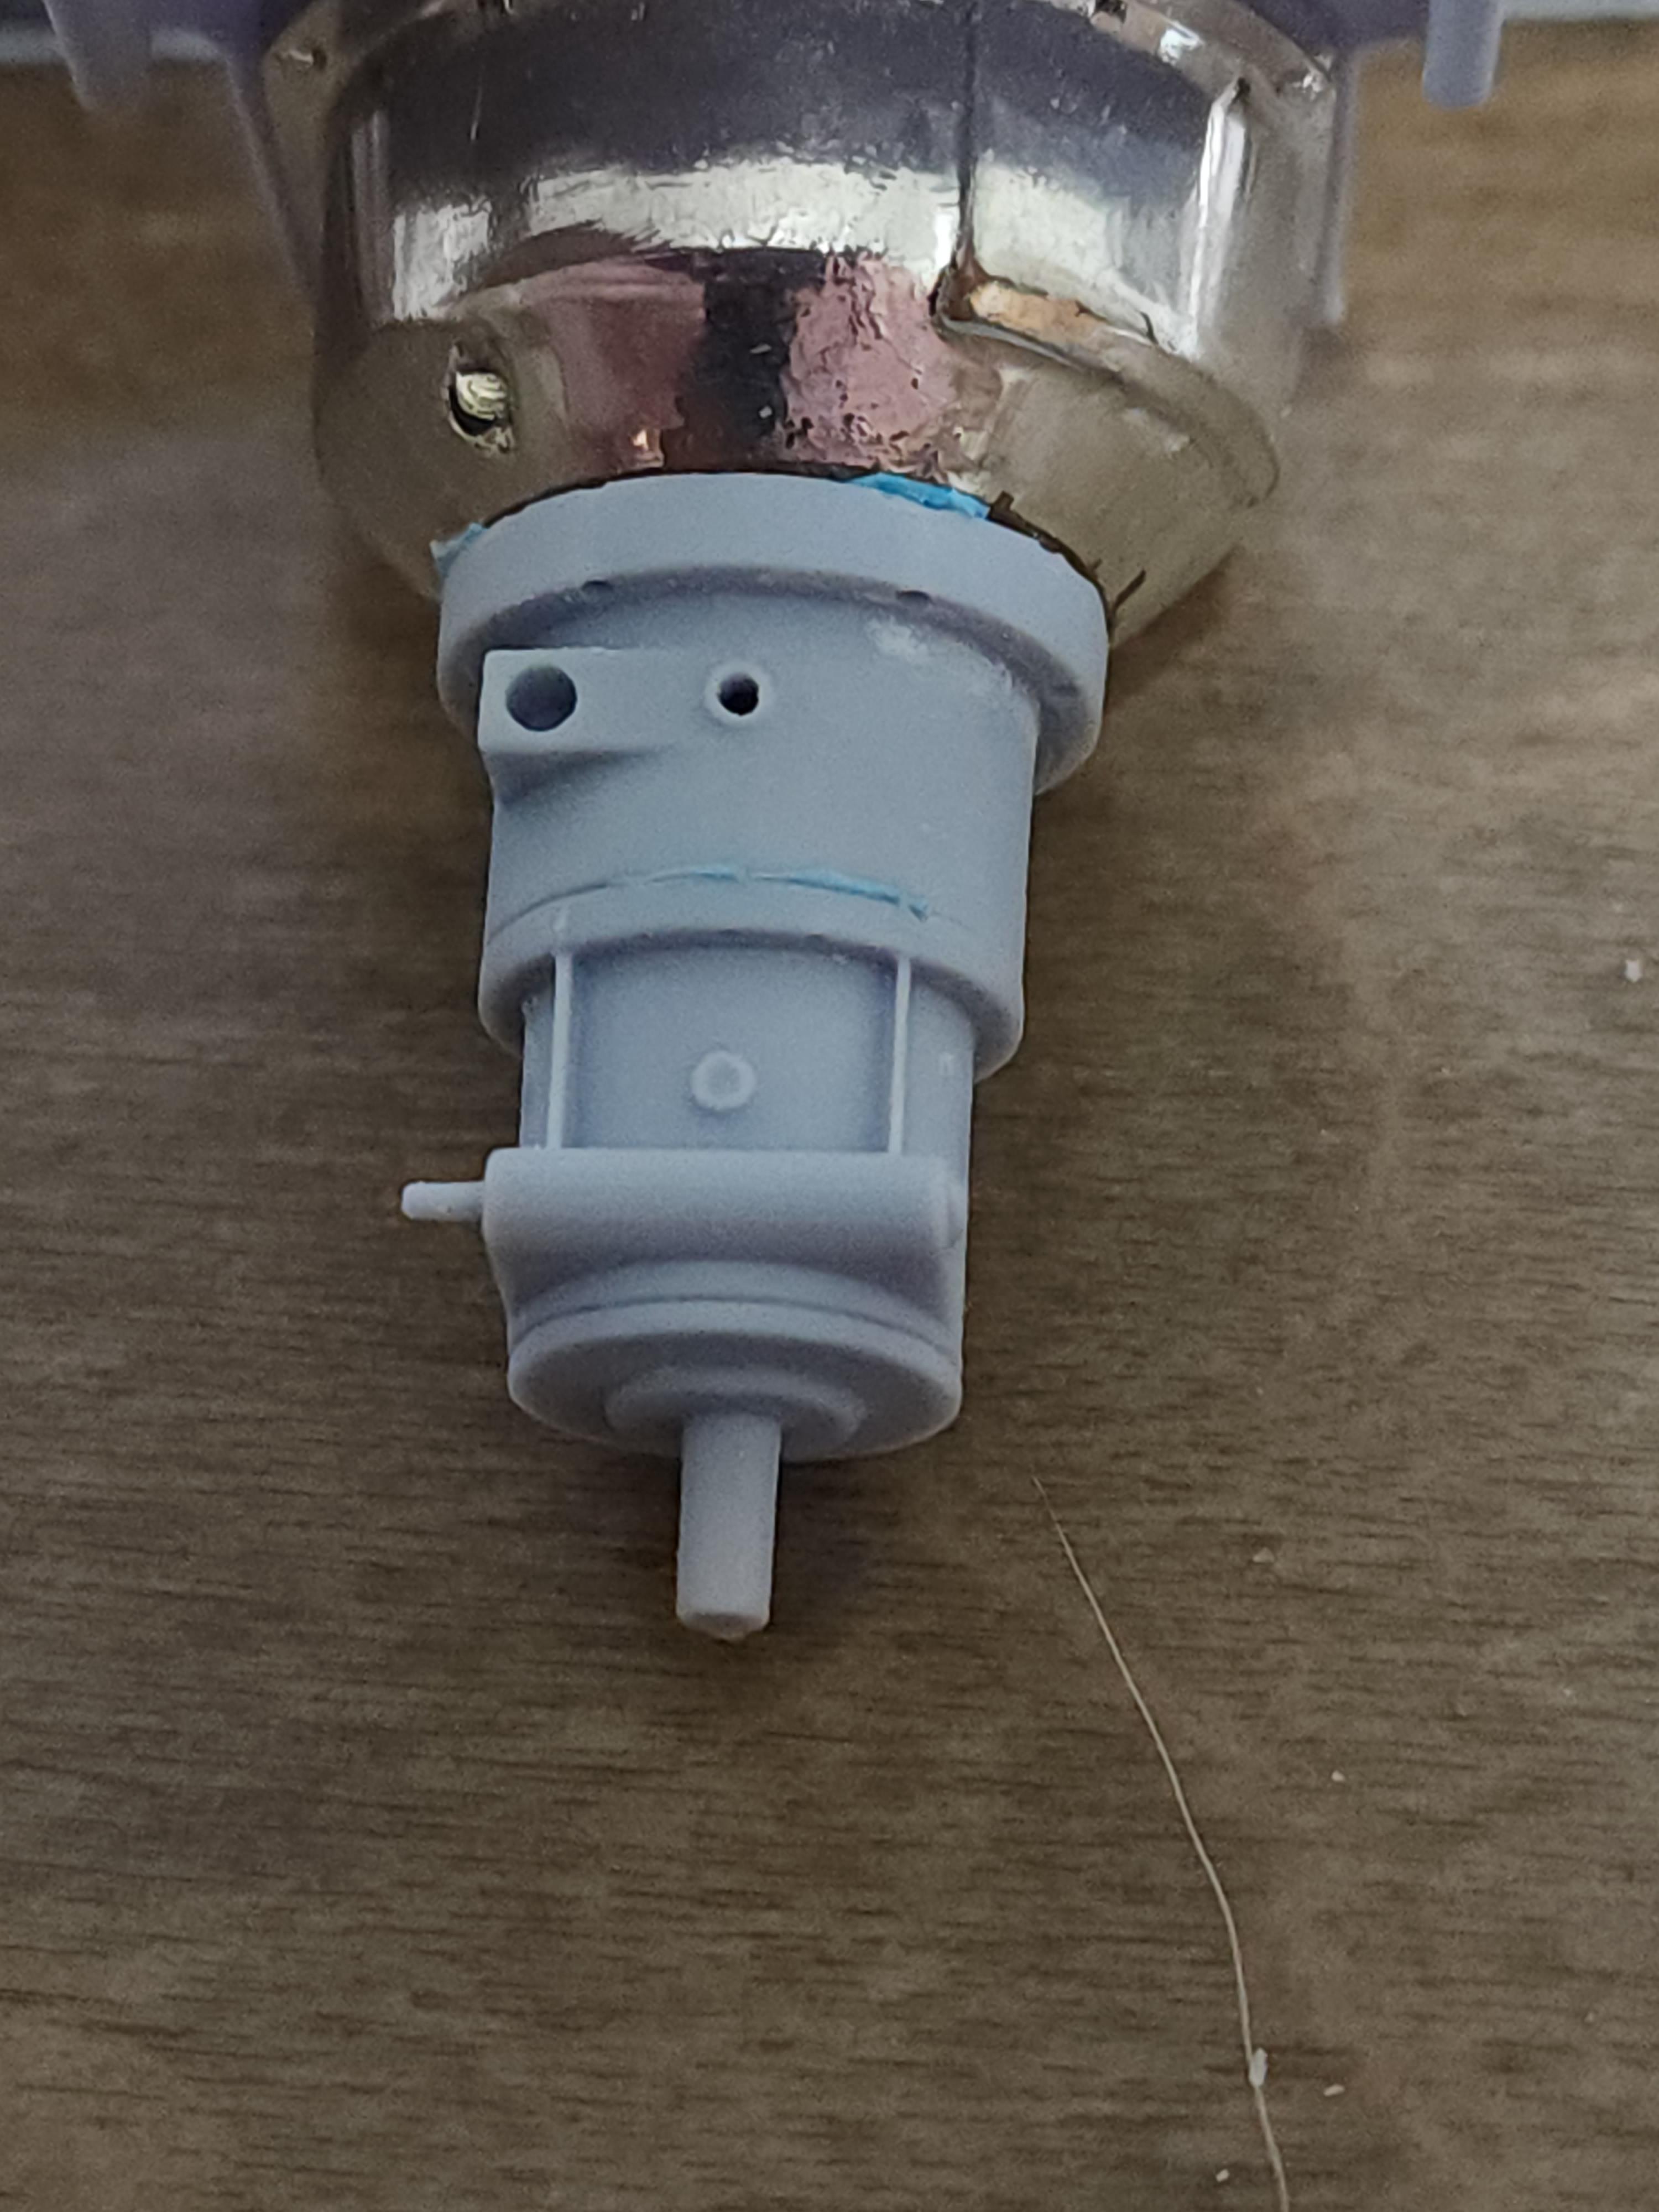
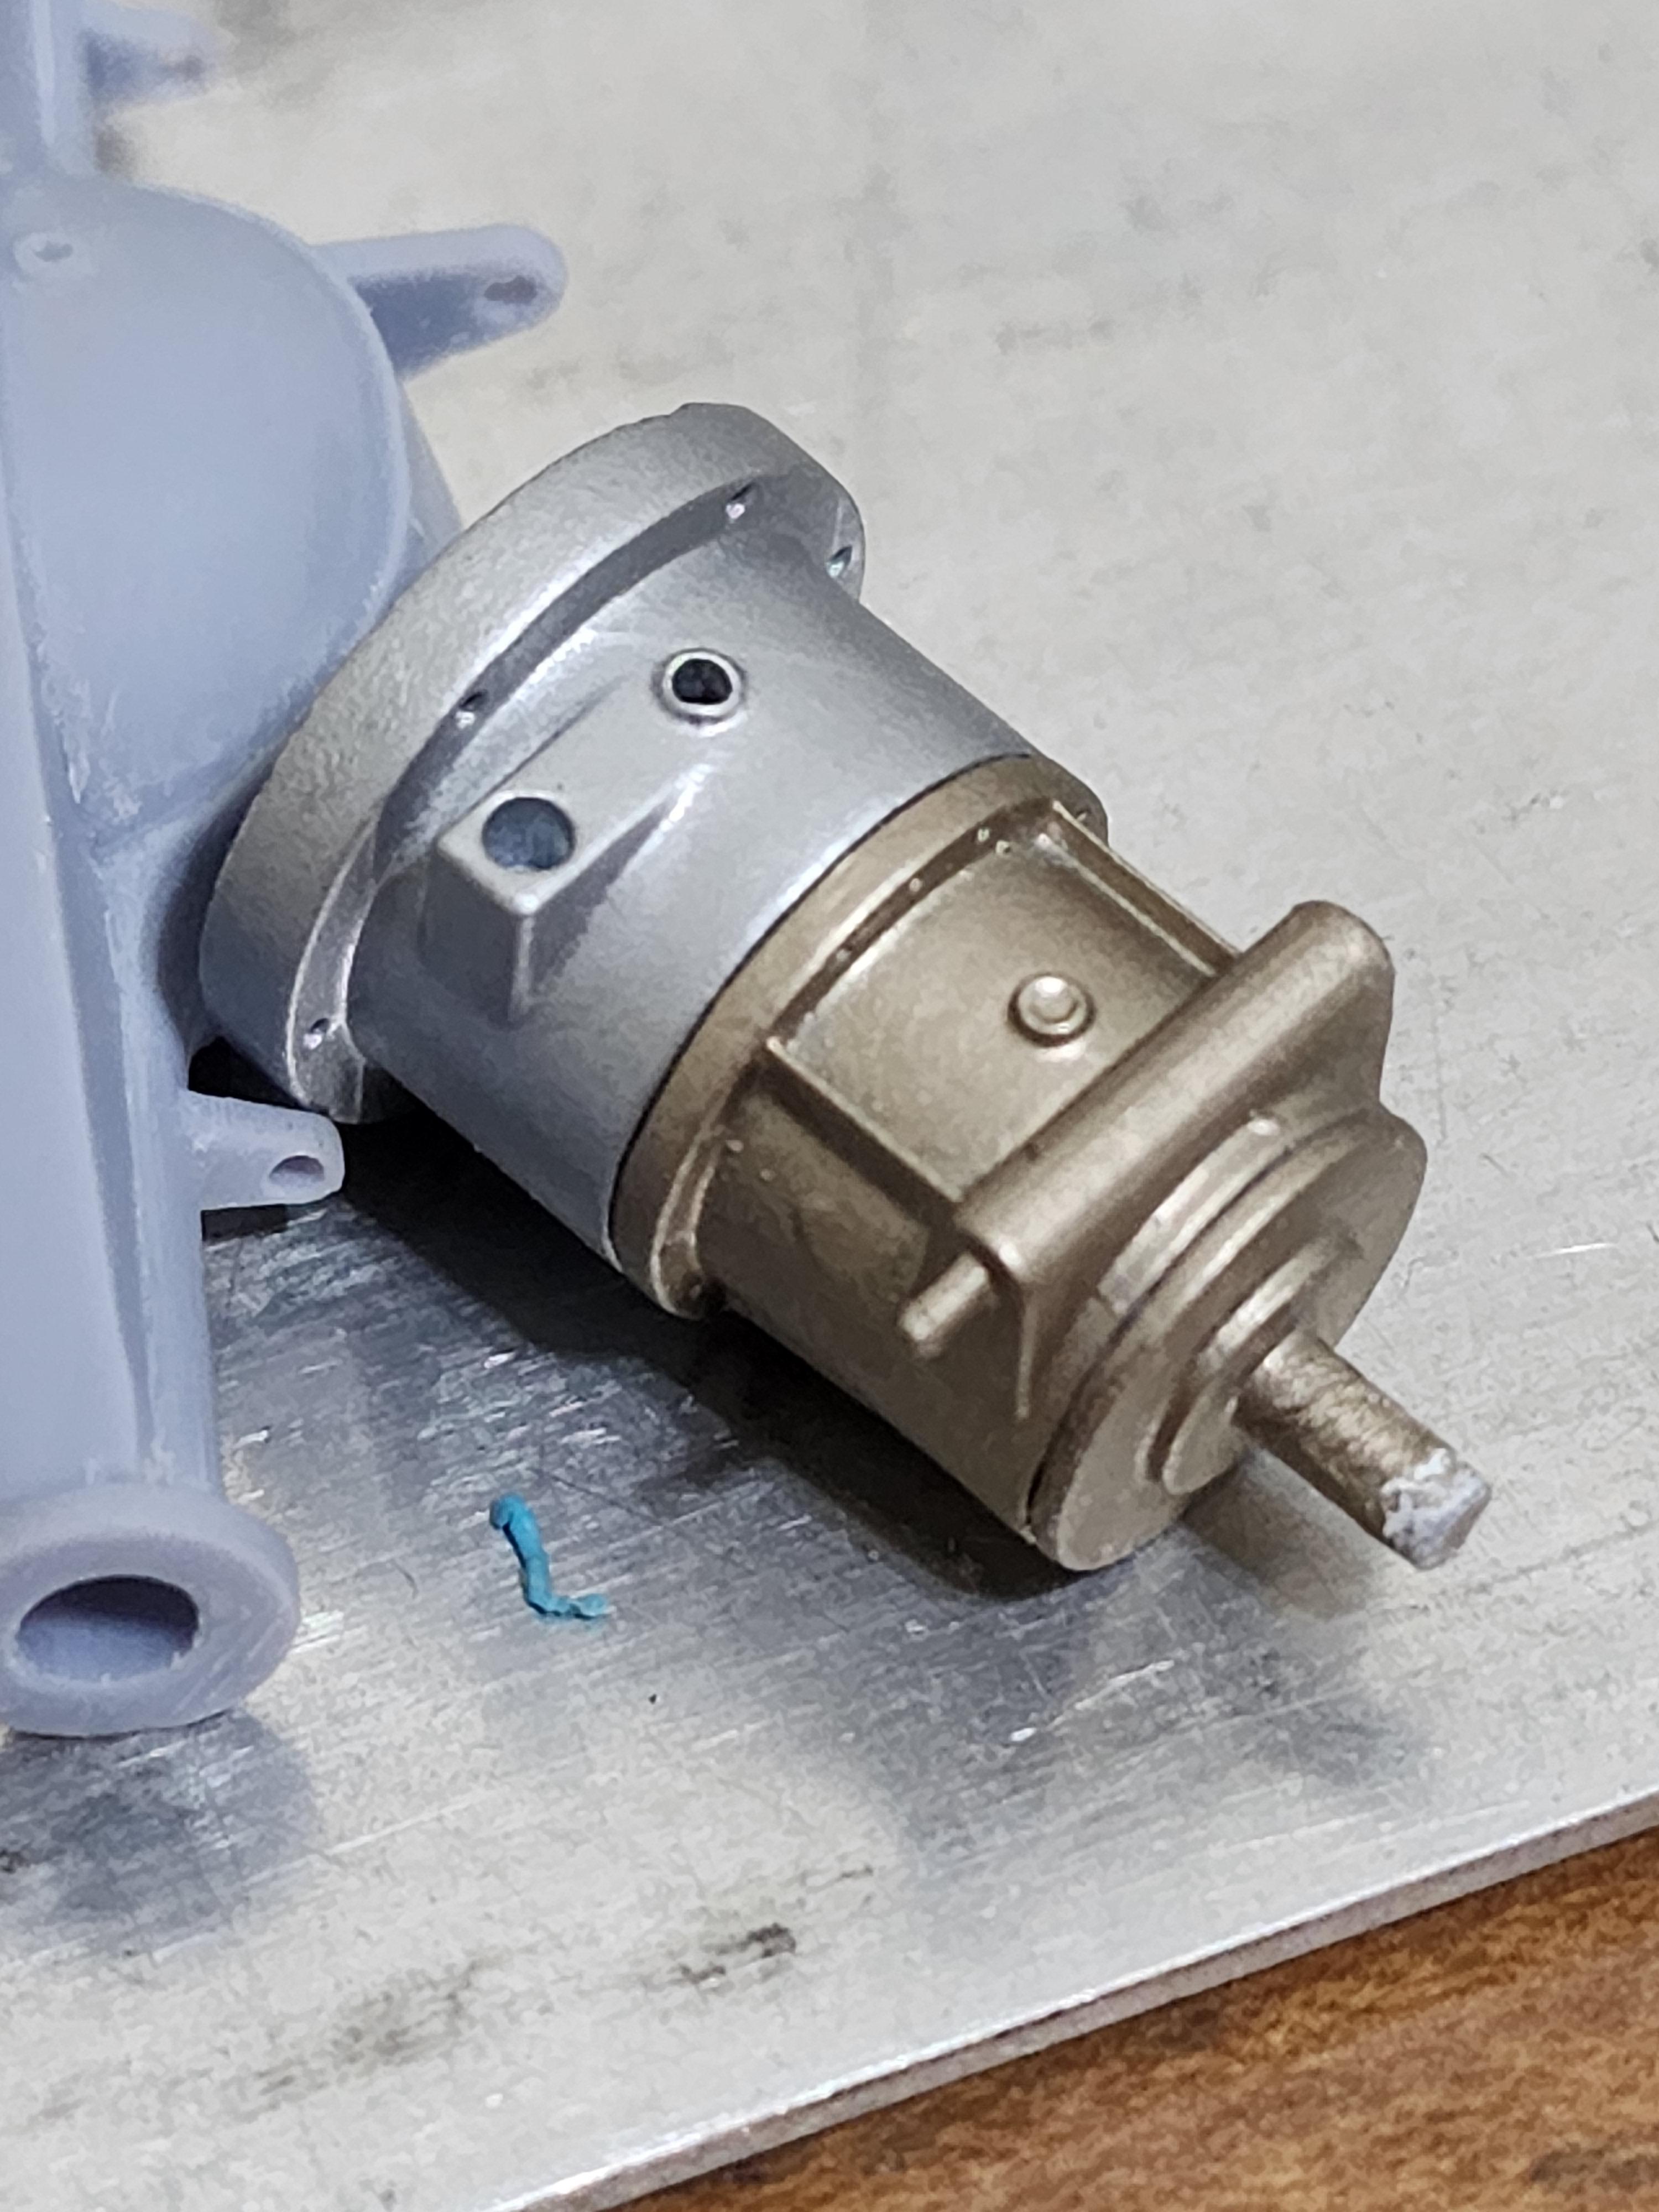
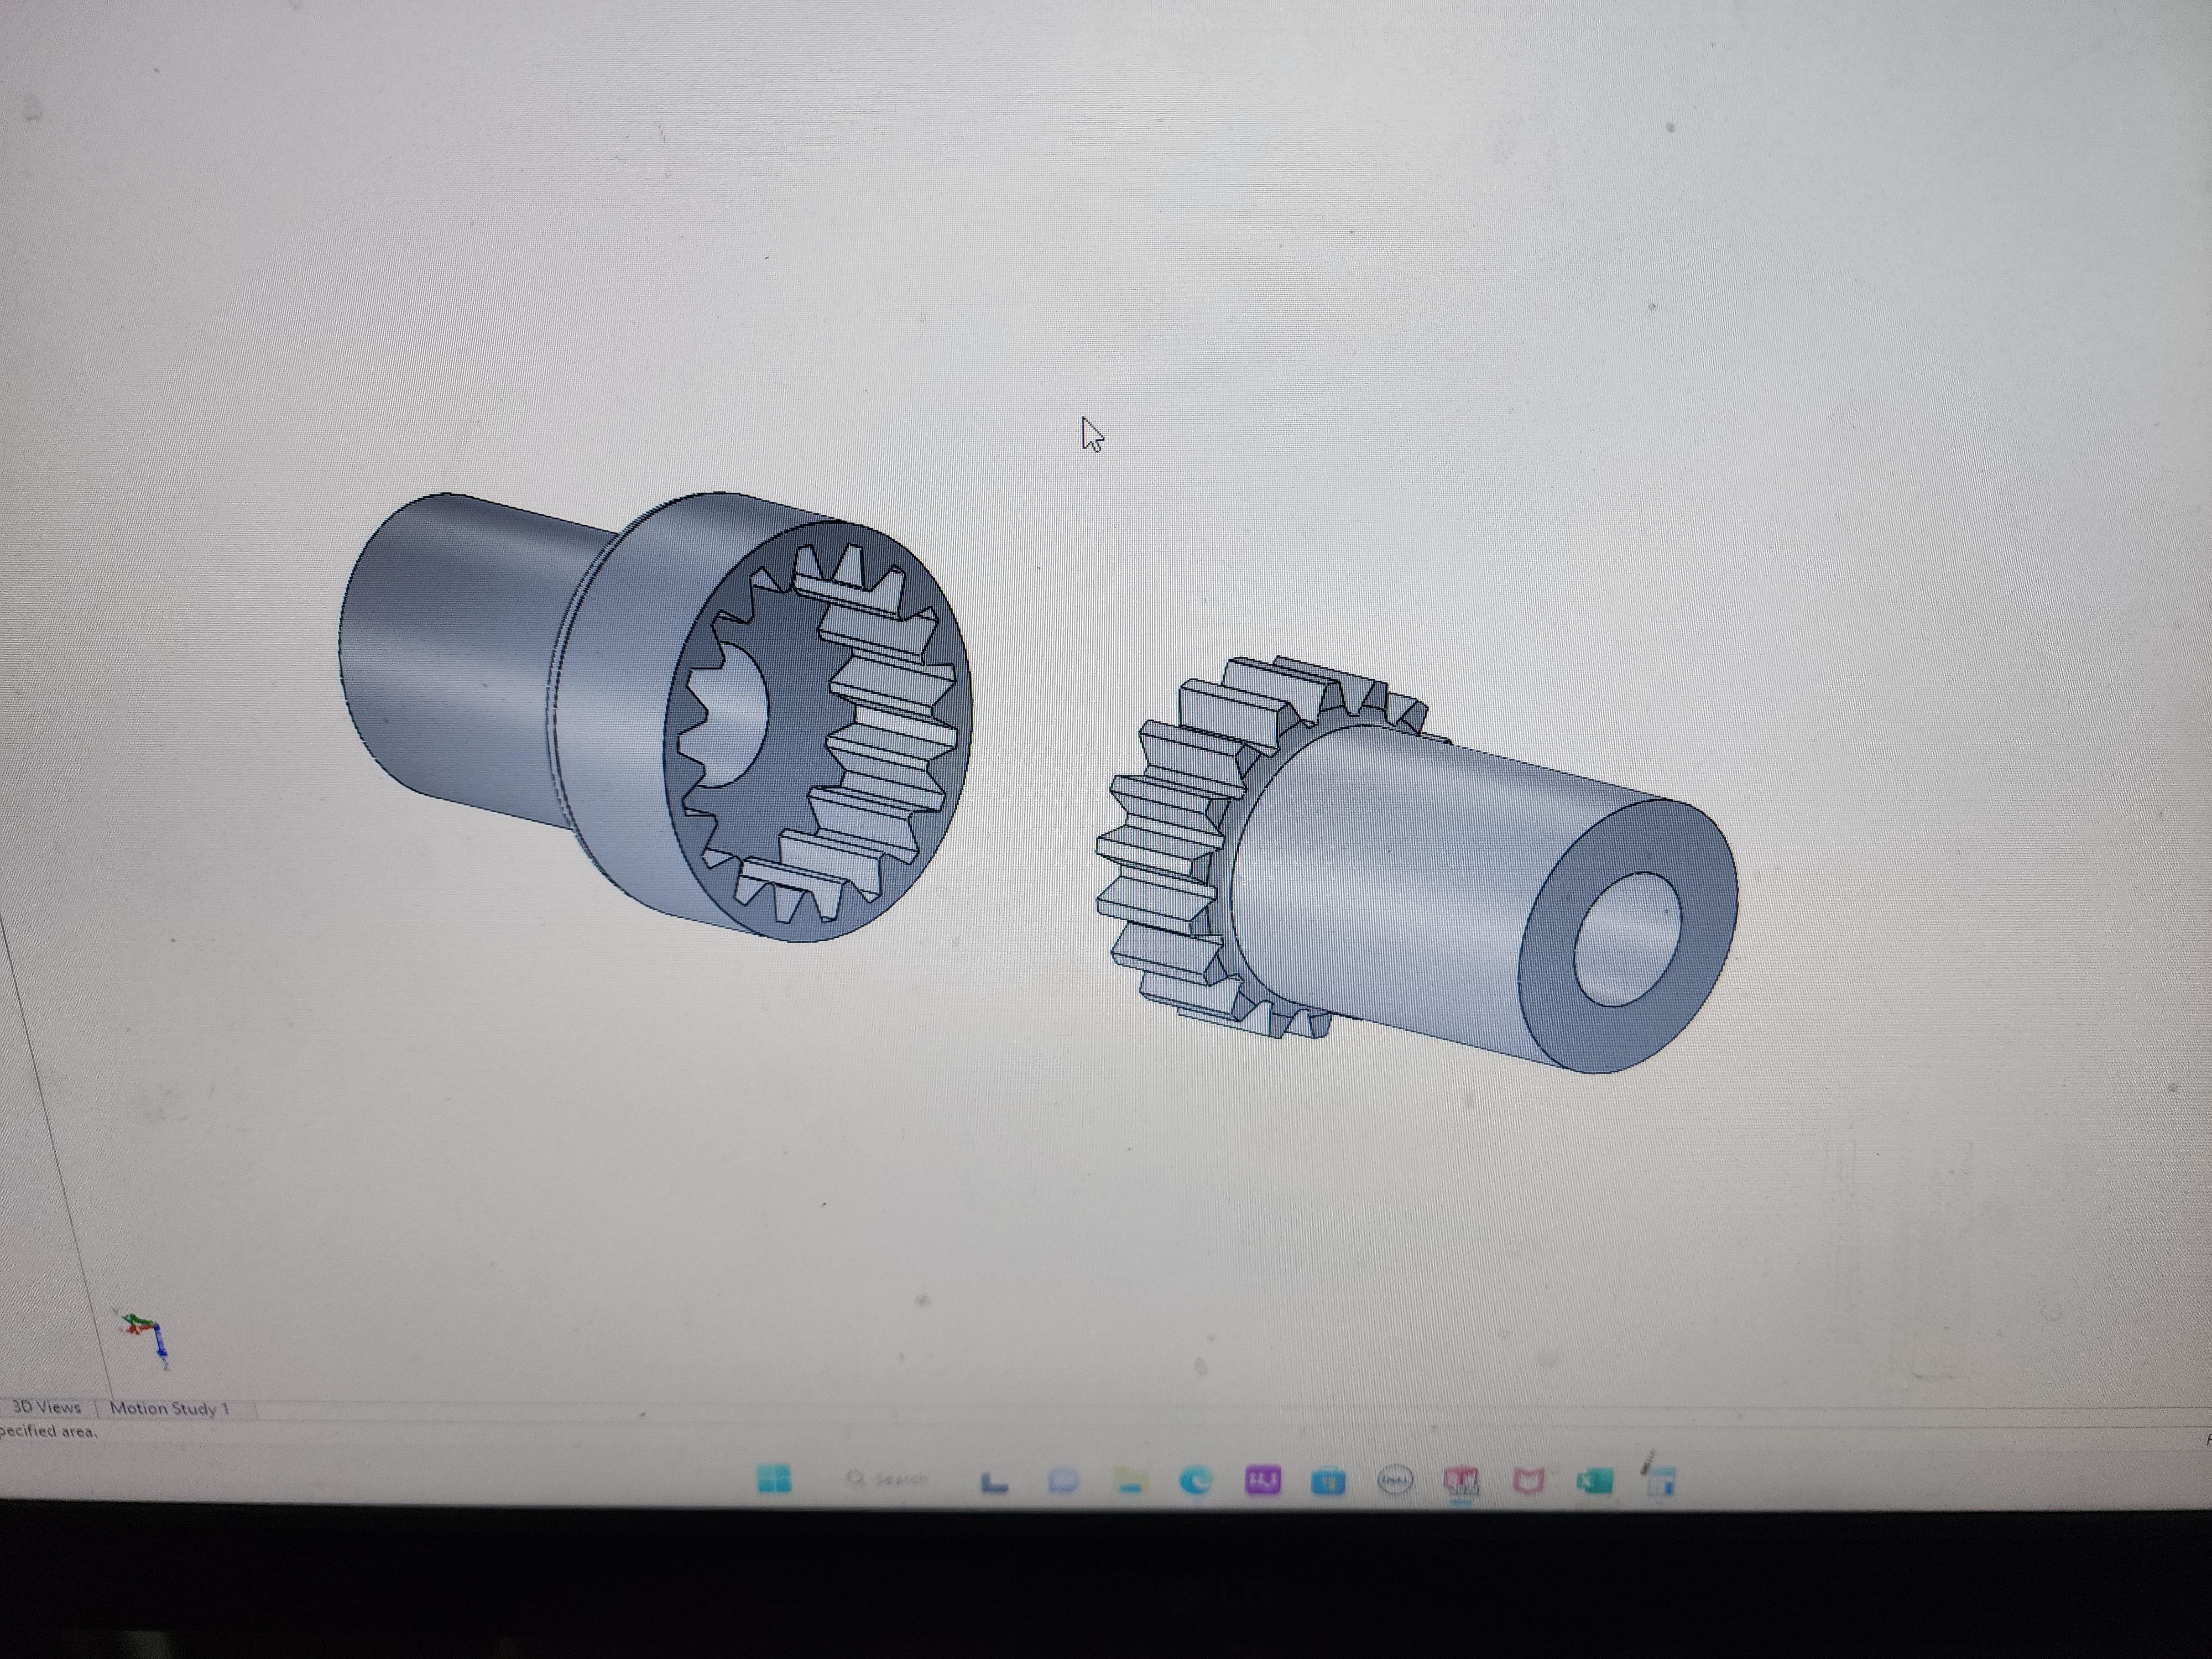
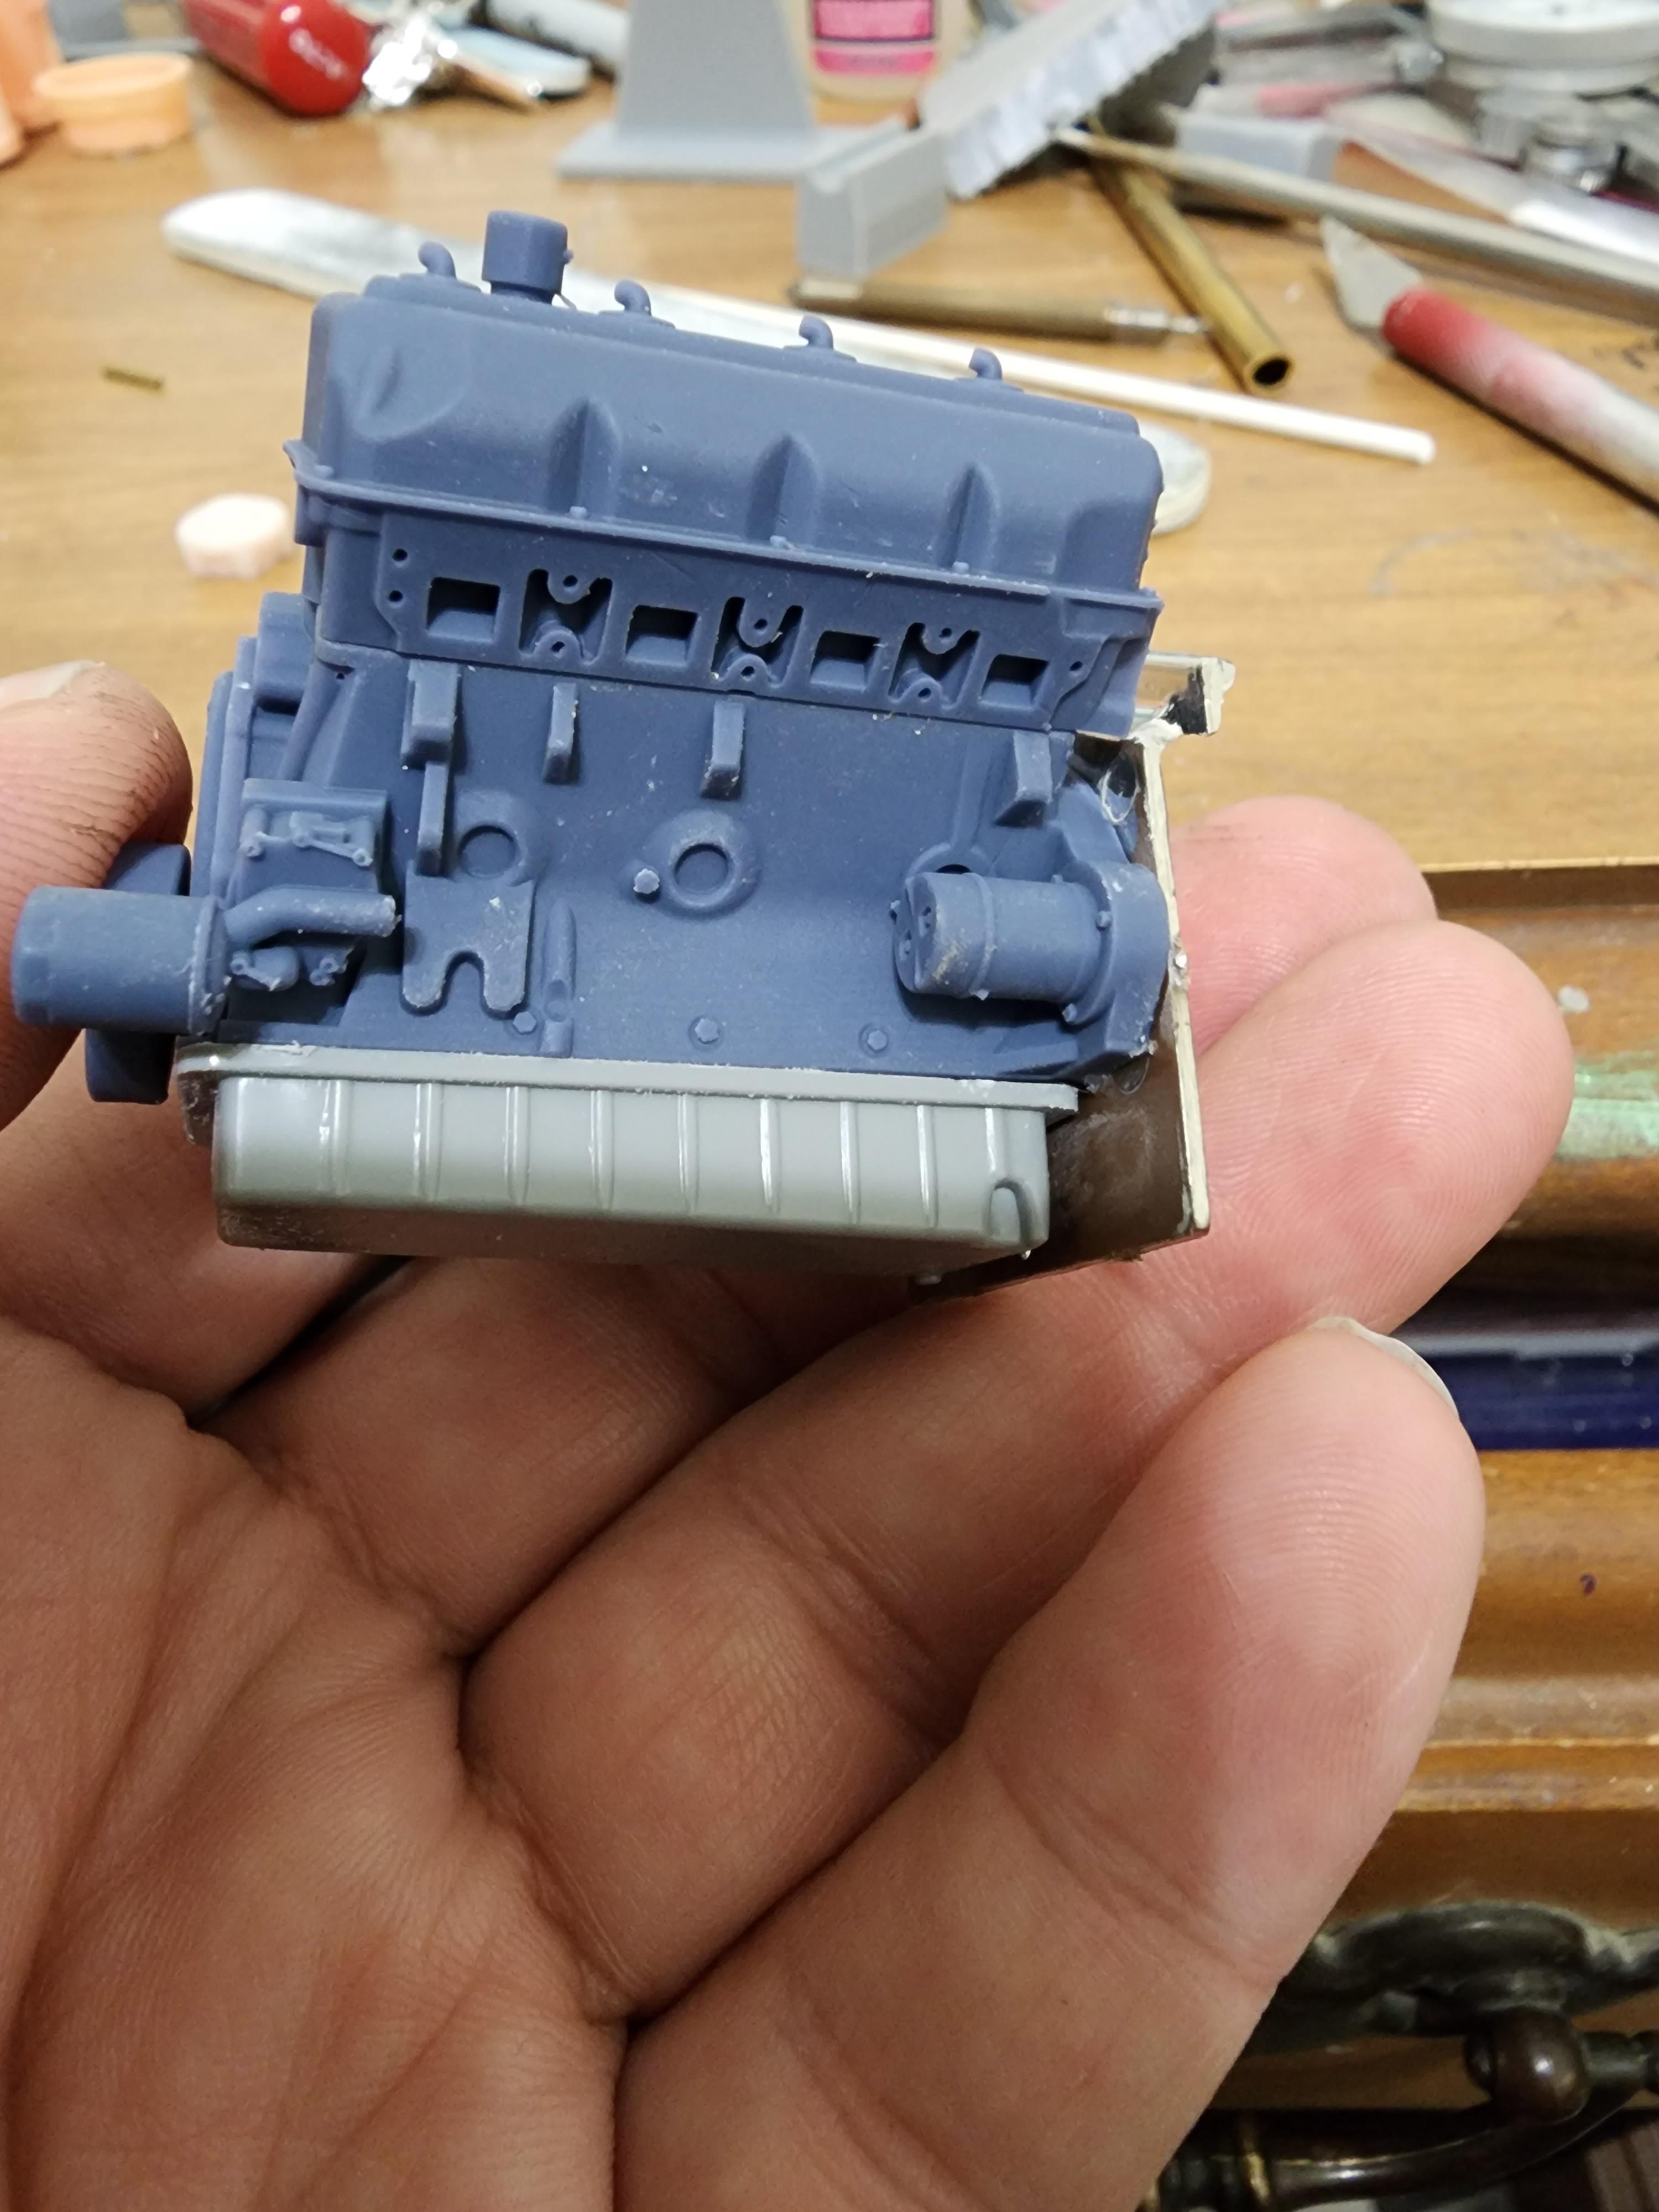
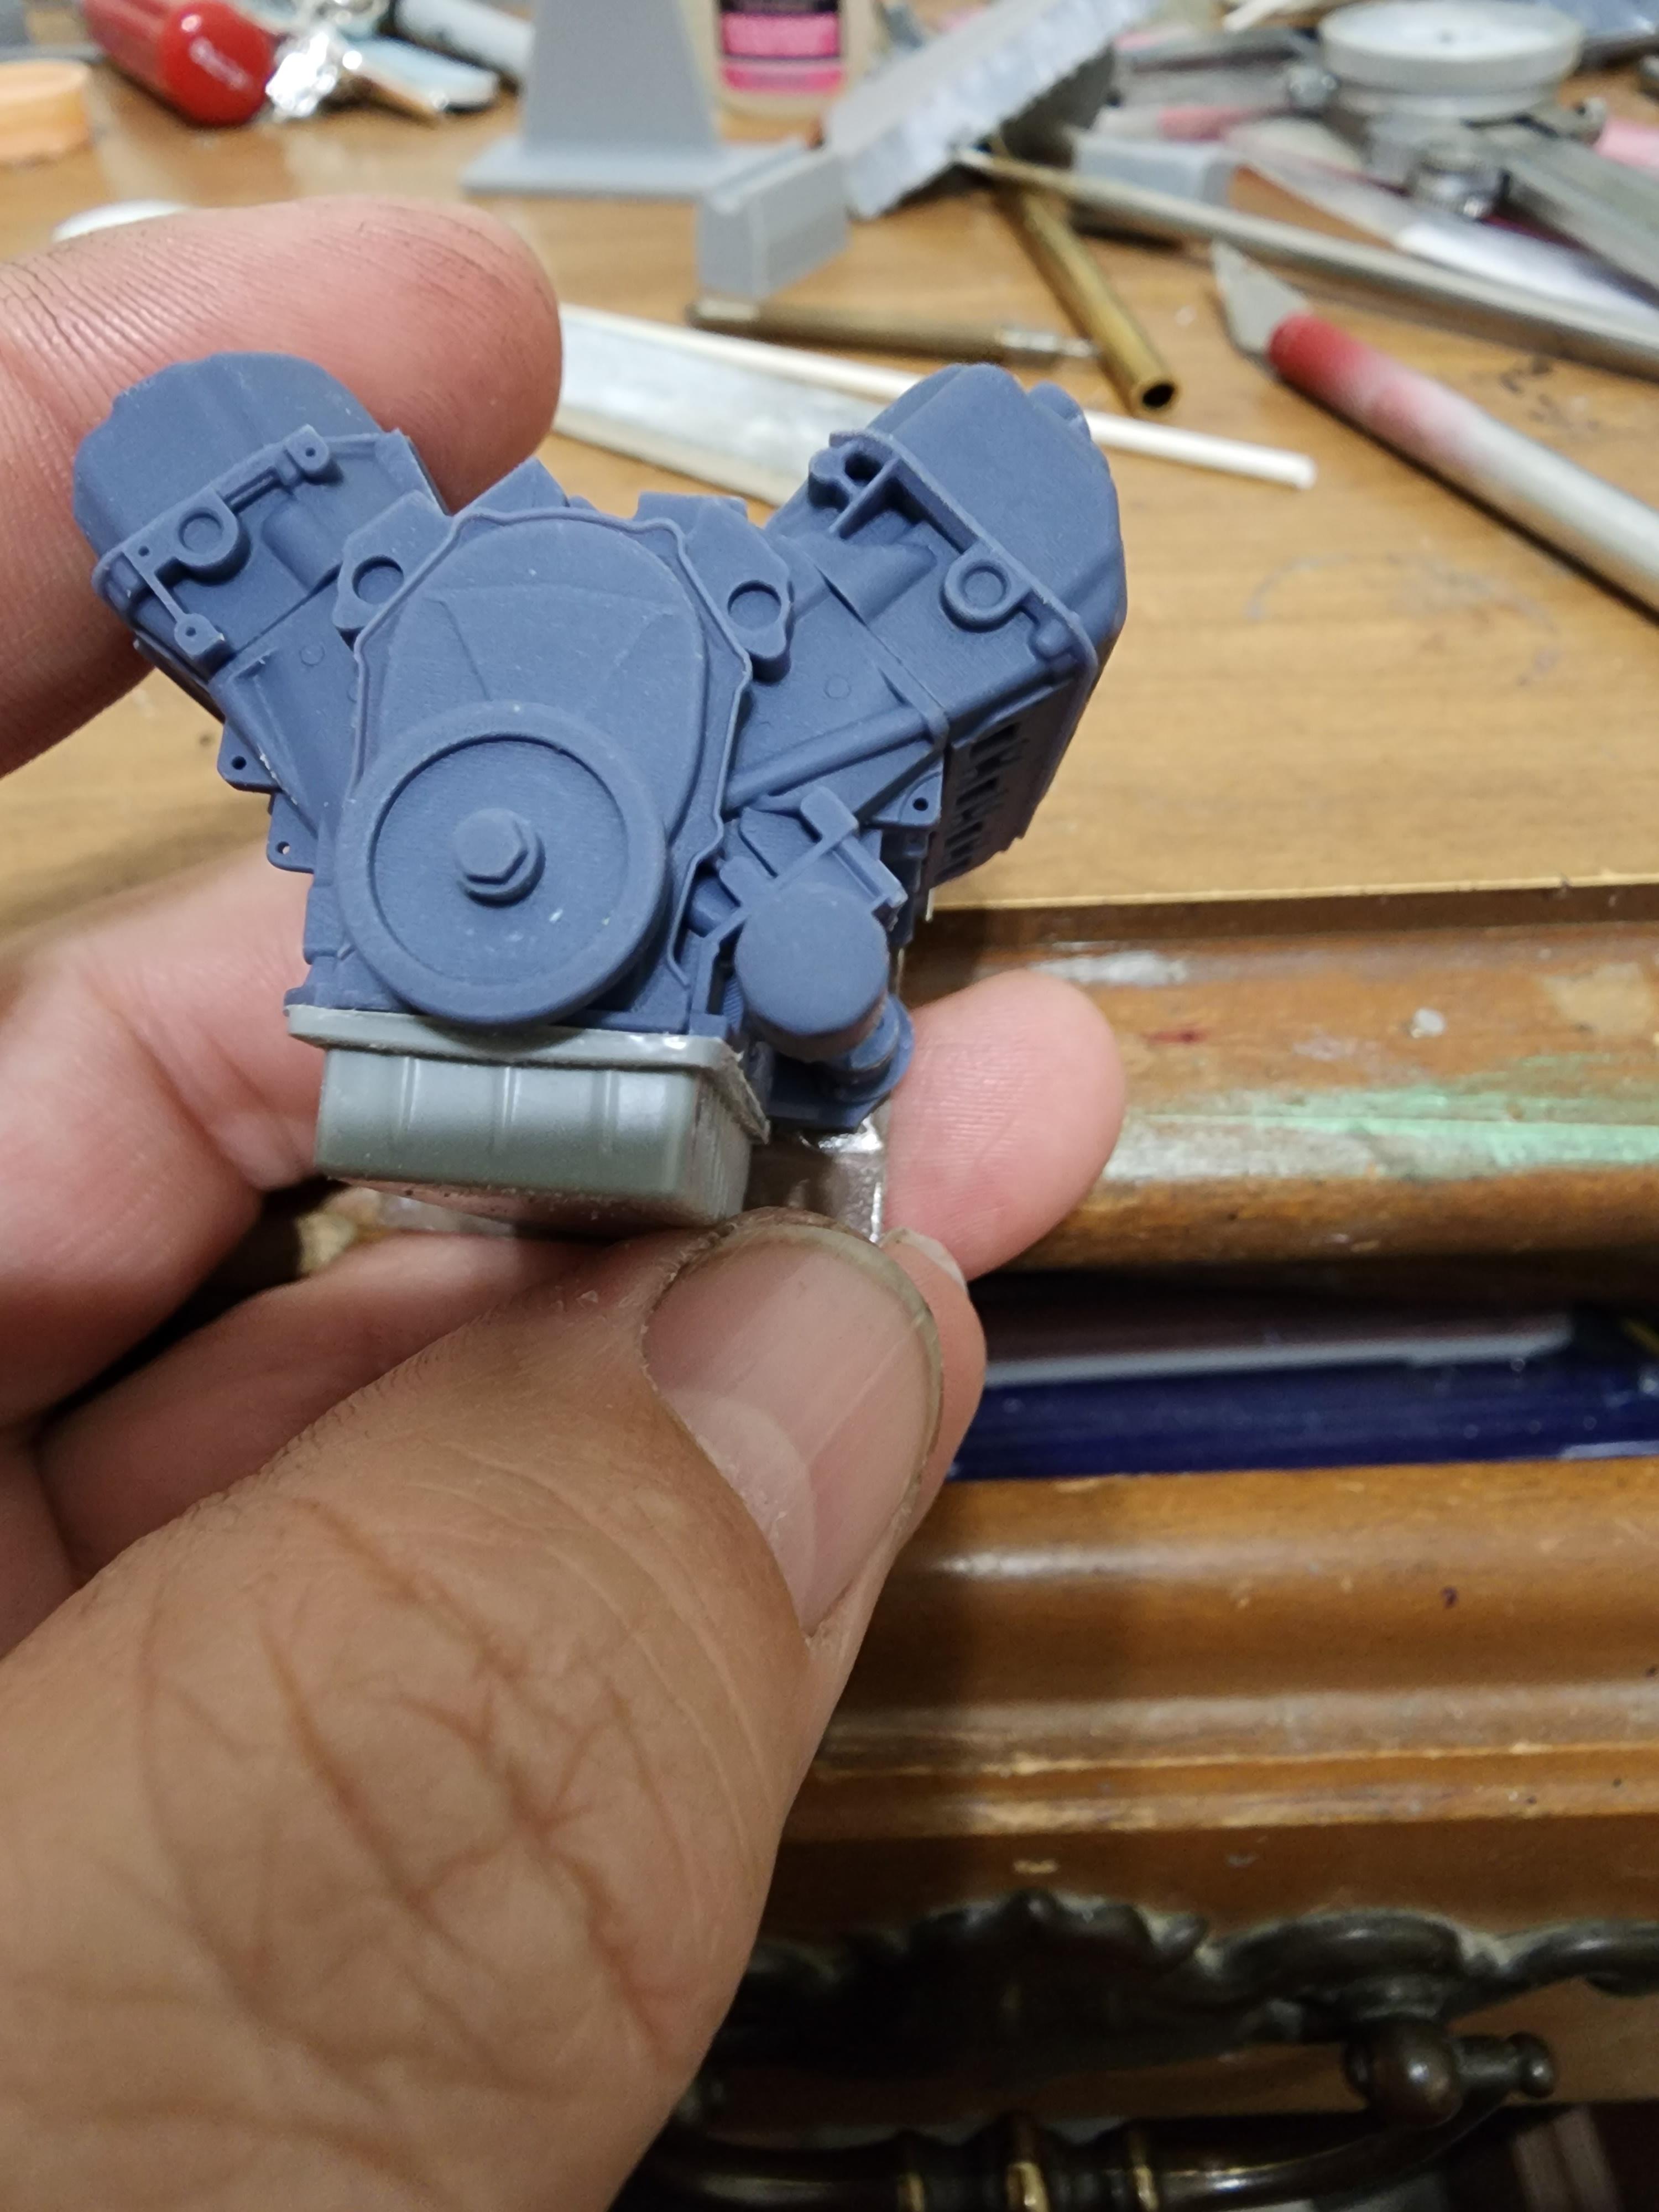
Chris sobak provided me with a supercharger but it turned out I needed yet a different style case so a new one was put in cad and printed. The magneto in the kit was wrong so a new one made from a print I found was in order. I've discussed with Cirello what cap his dad used on these mags and will still have to model one up once I order the correct cap. I had to cut apart the Texas 3d hemi heads from the valve covers and cast them in resin for personal use. This way I don't have to mask either the head or valve cover to paint the pieces. Last part if the body mods is putting a lip around the hole in the body for the supercharger. There's still much to do but the body is close to paint. The inside will be getting cover in China silk. This does 2 things. 1) it strengthens all the joints, 2) it makes it look like fiberglass from the inside! I still need to cad a seat and print it for the chassis, soldier up a rear tree that attaches to the chassis. This supports and locates the rear of the body and provides a pivot point. I also need print the front axle that is already been done up on the computer. All said and done, the only parts from the kit are the body, oil pan, and bell housing! This concludes this for now and is up to date as of today. Paul
-
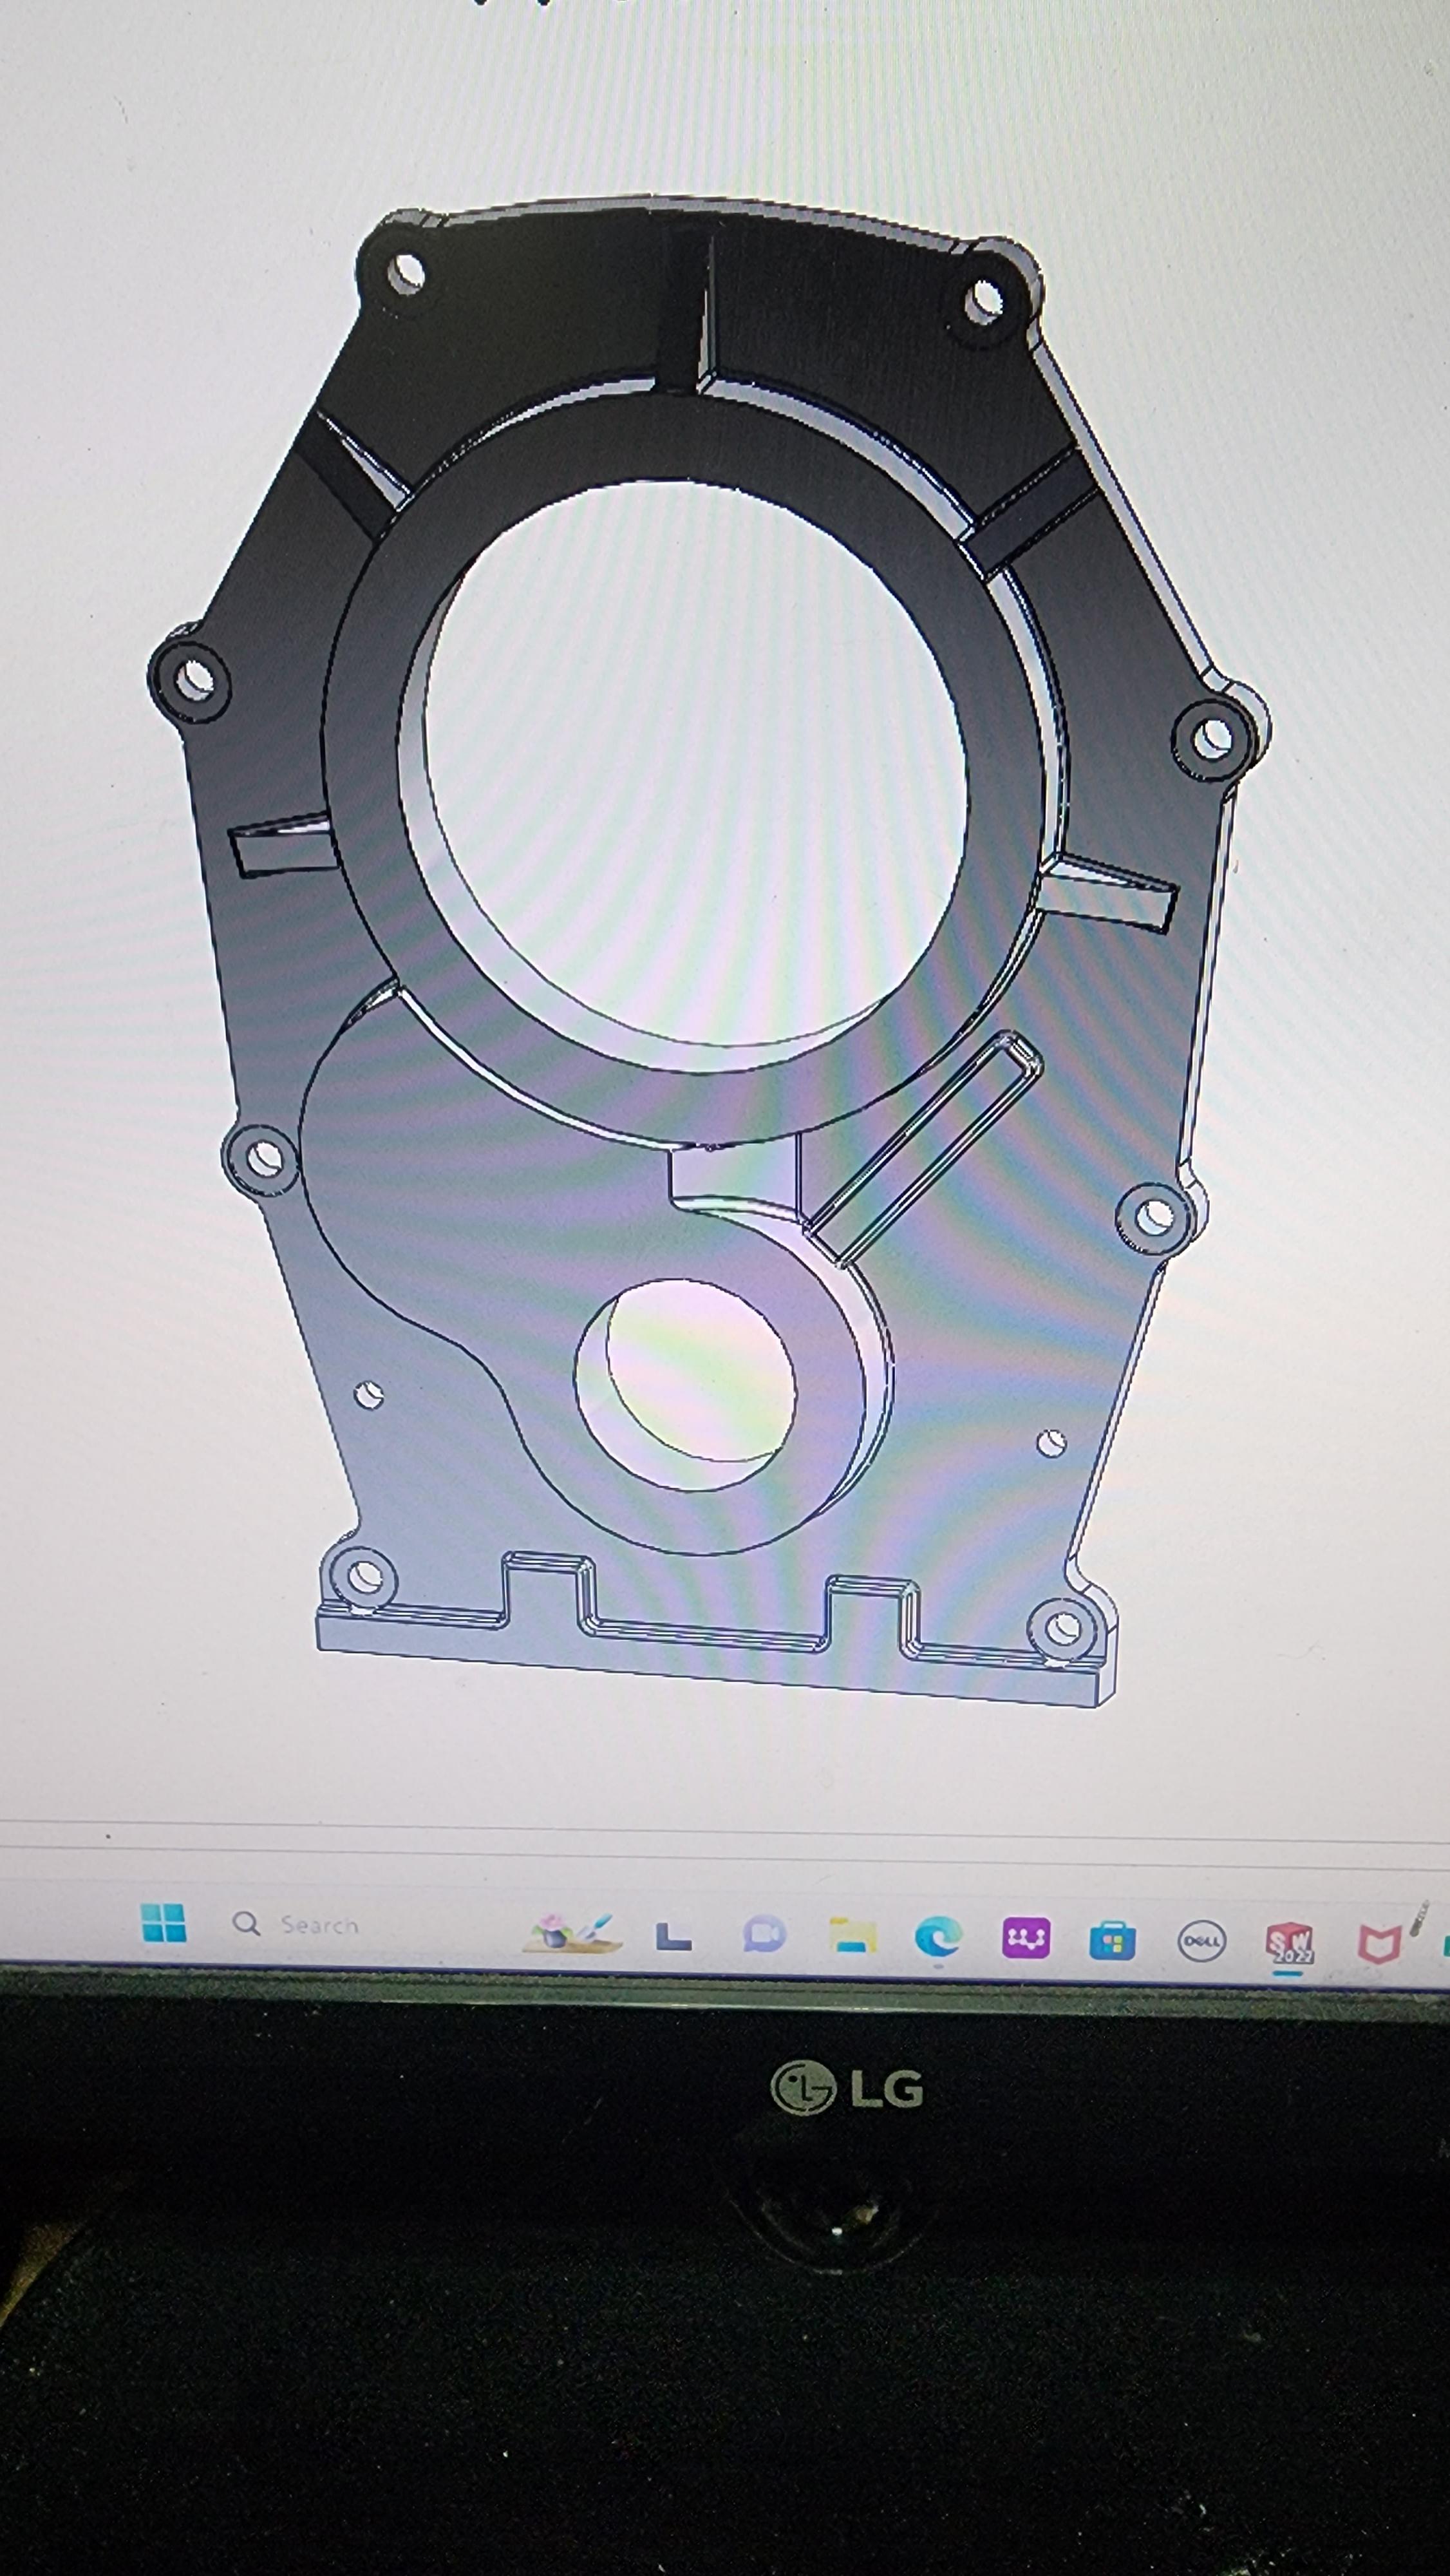
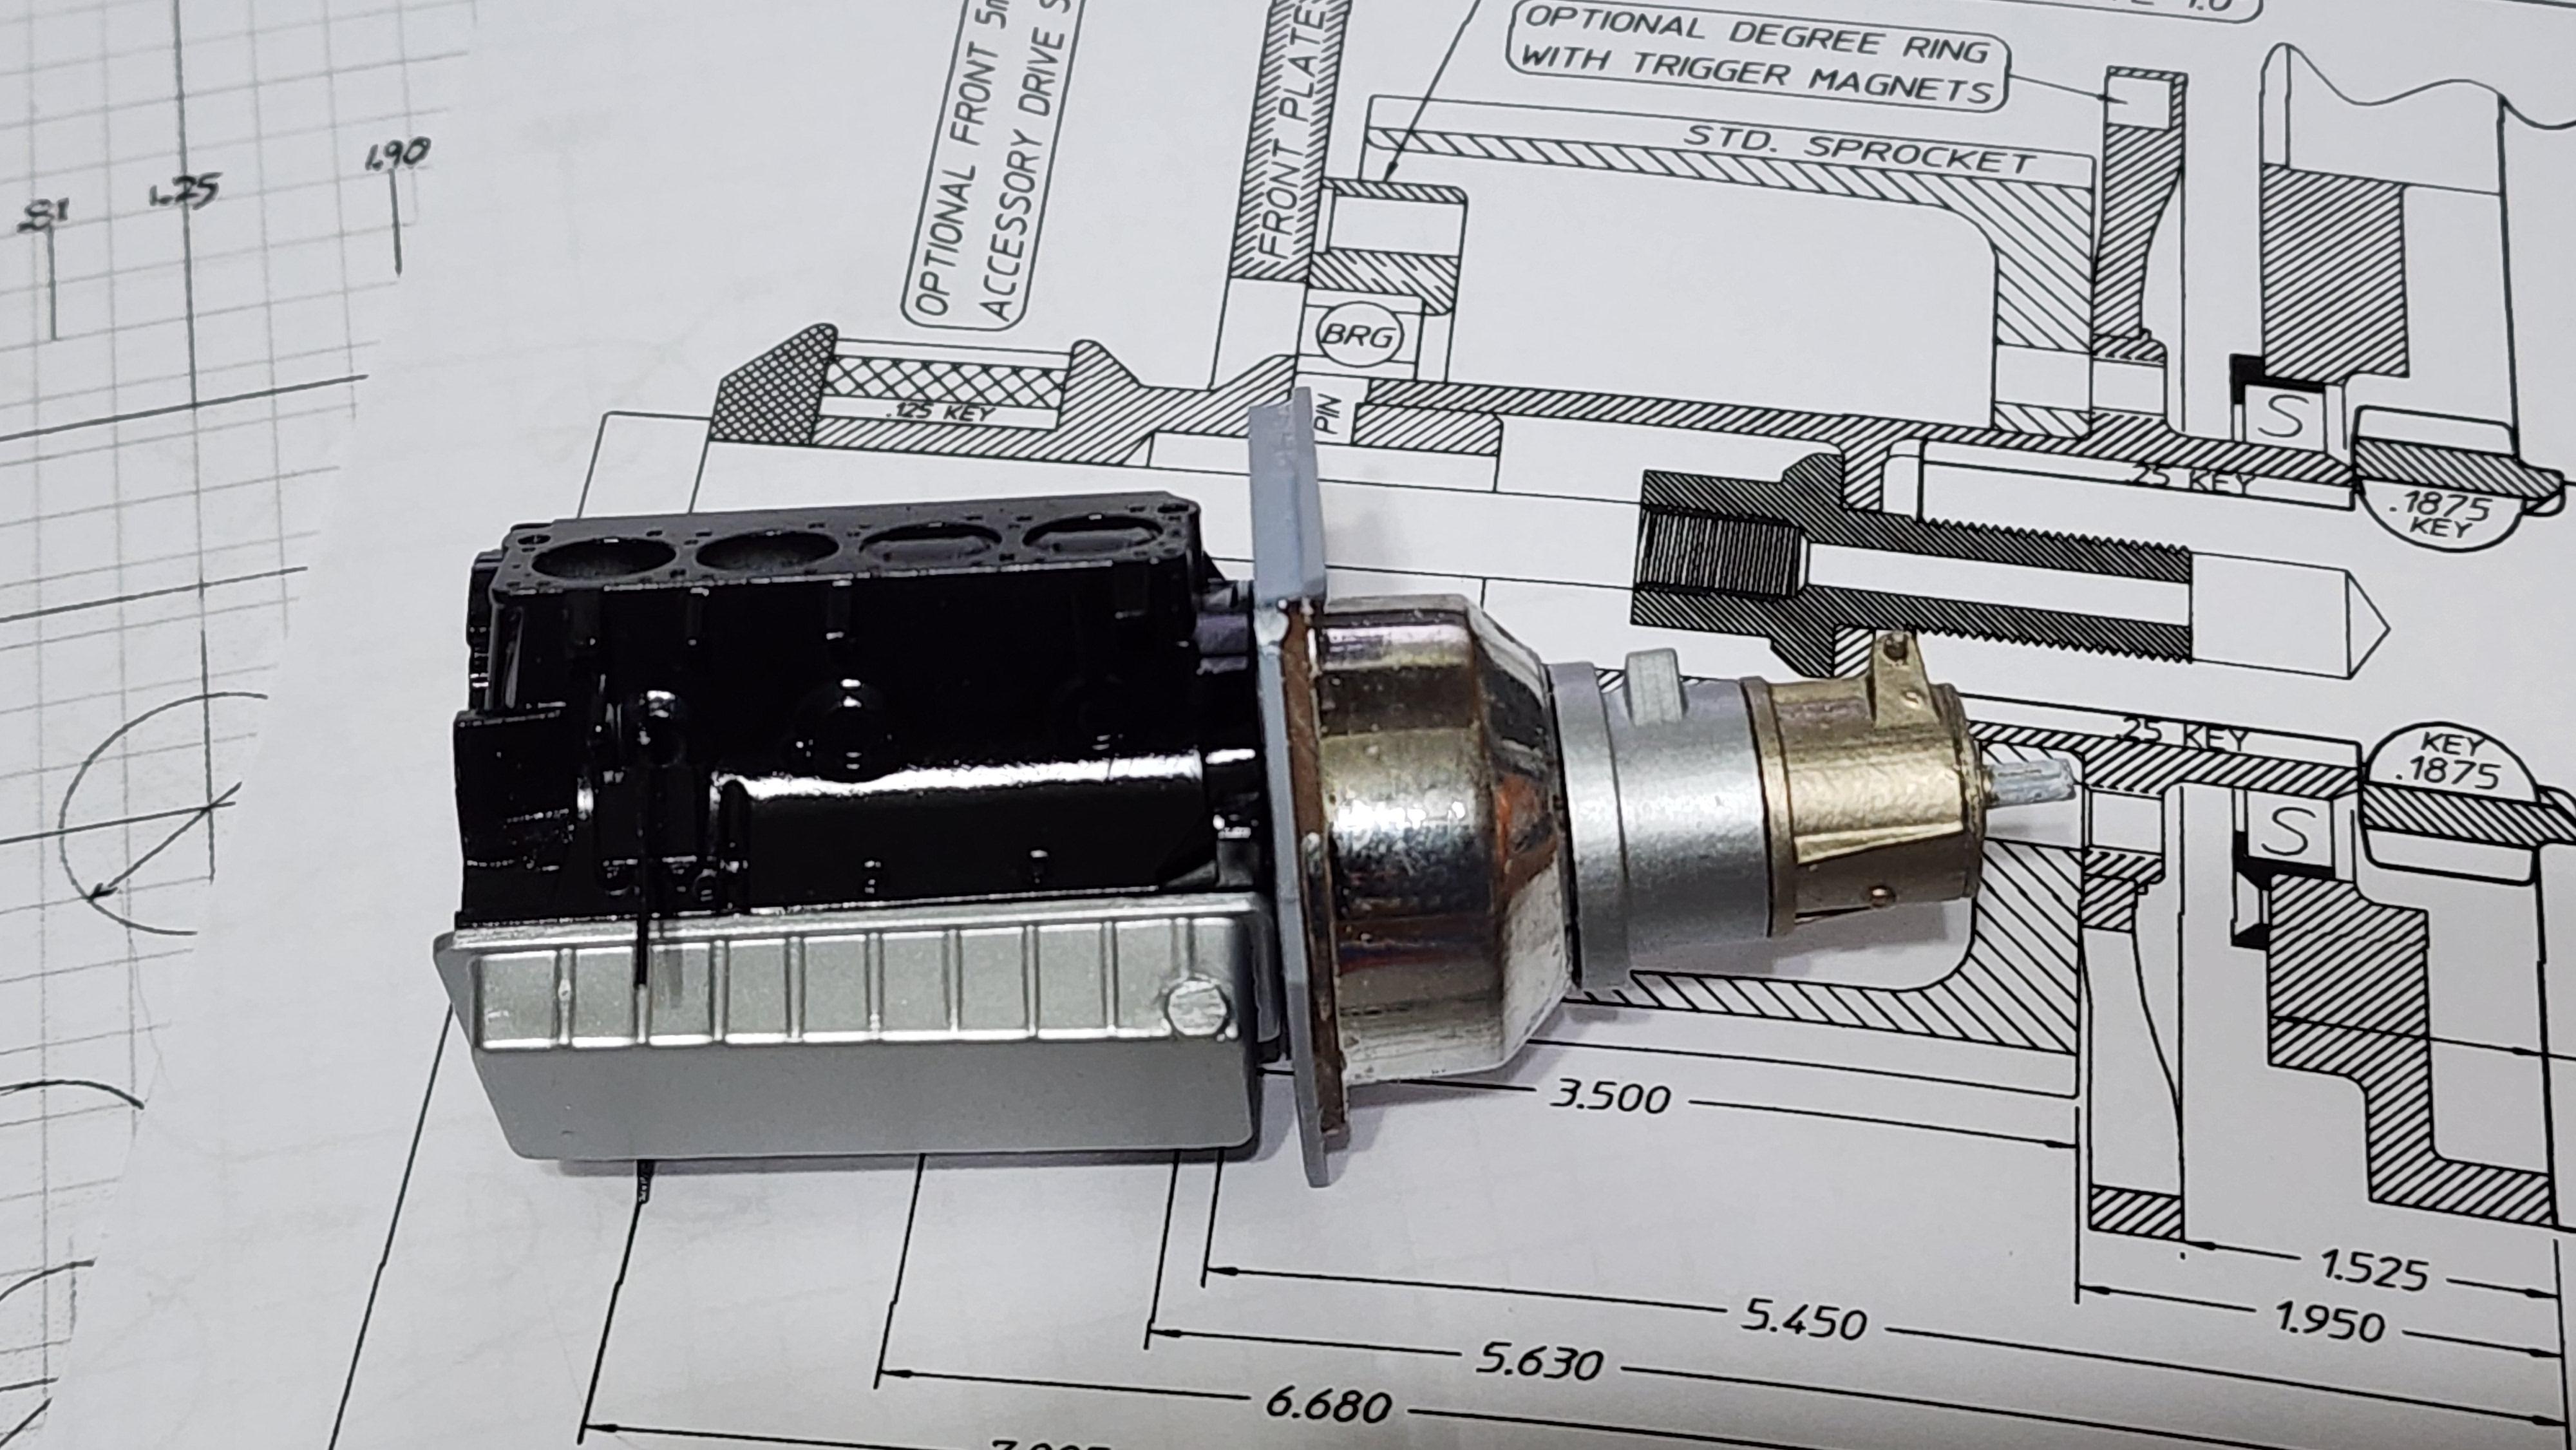
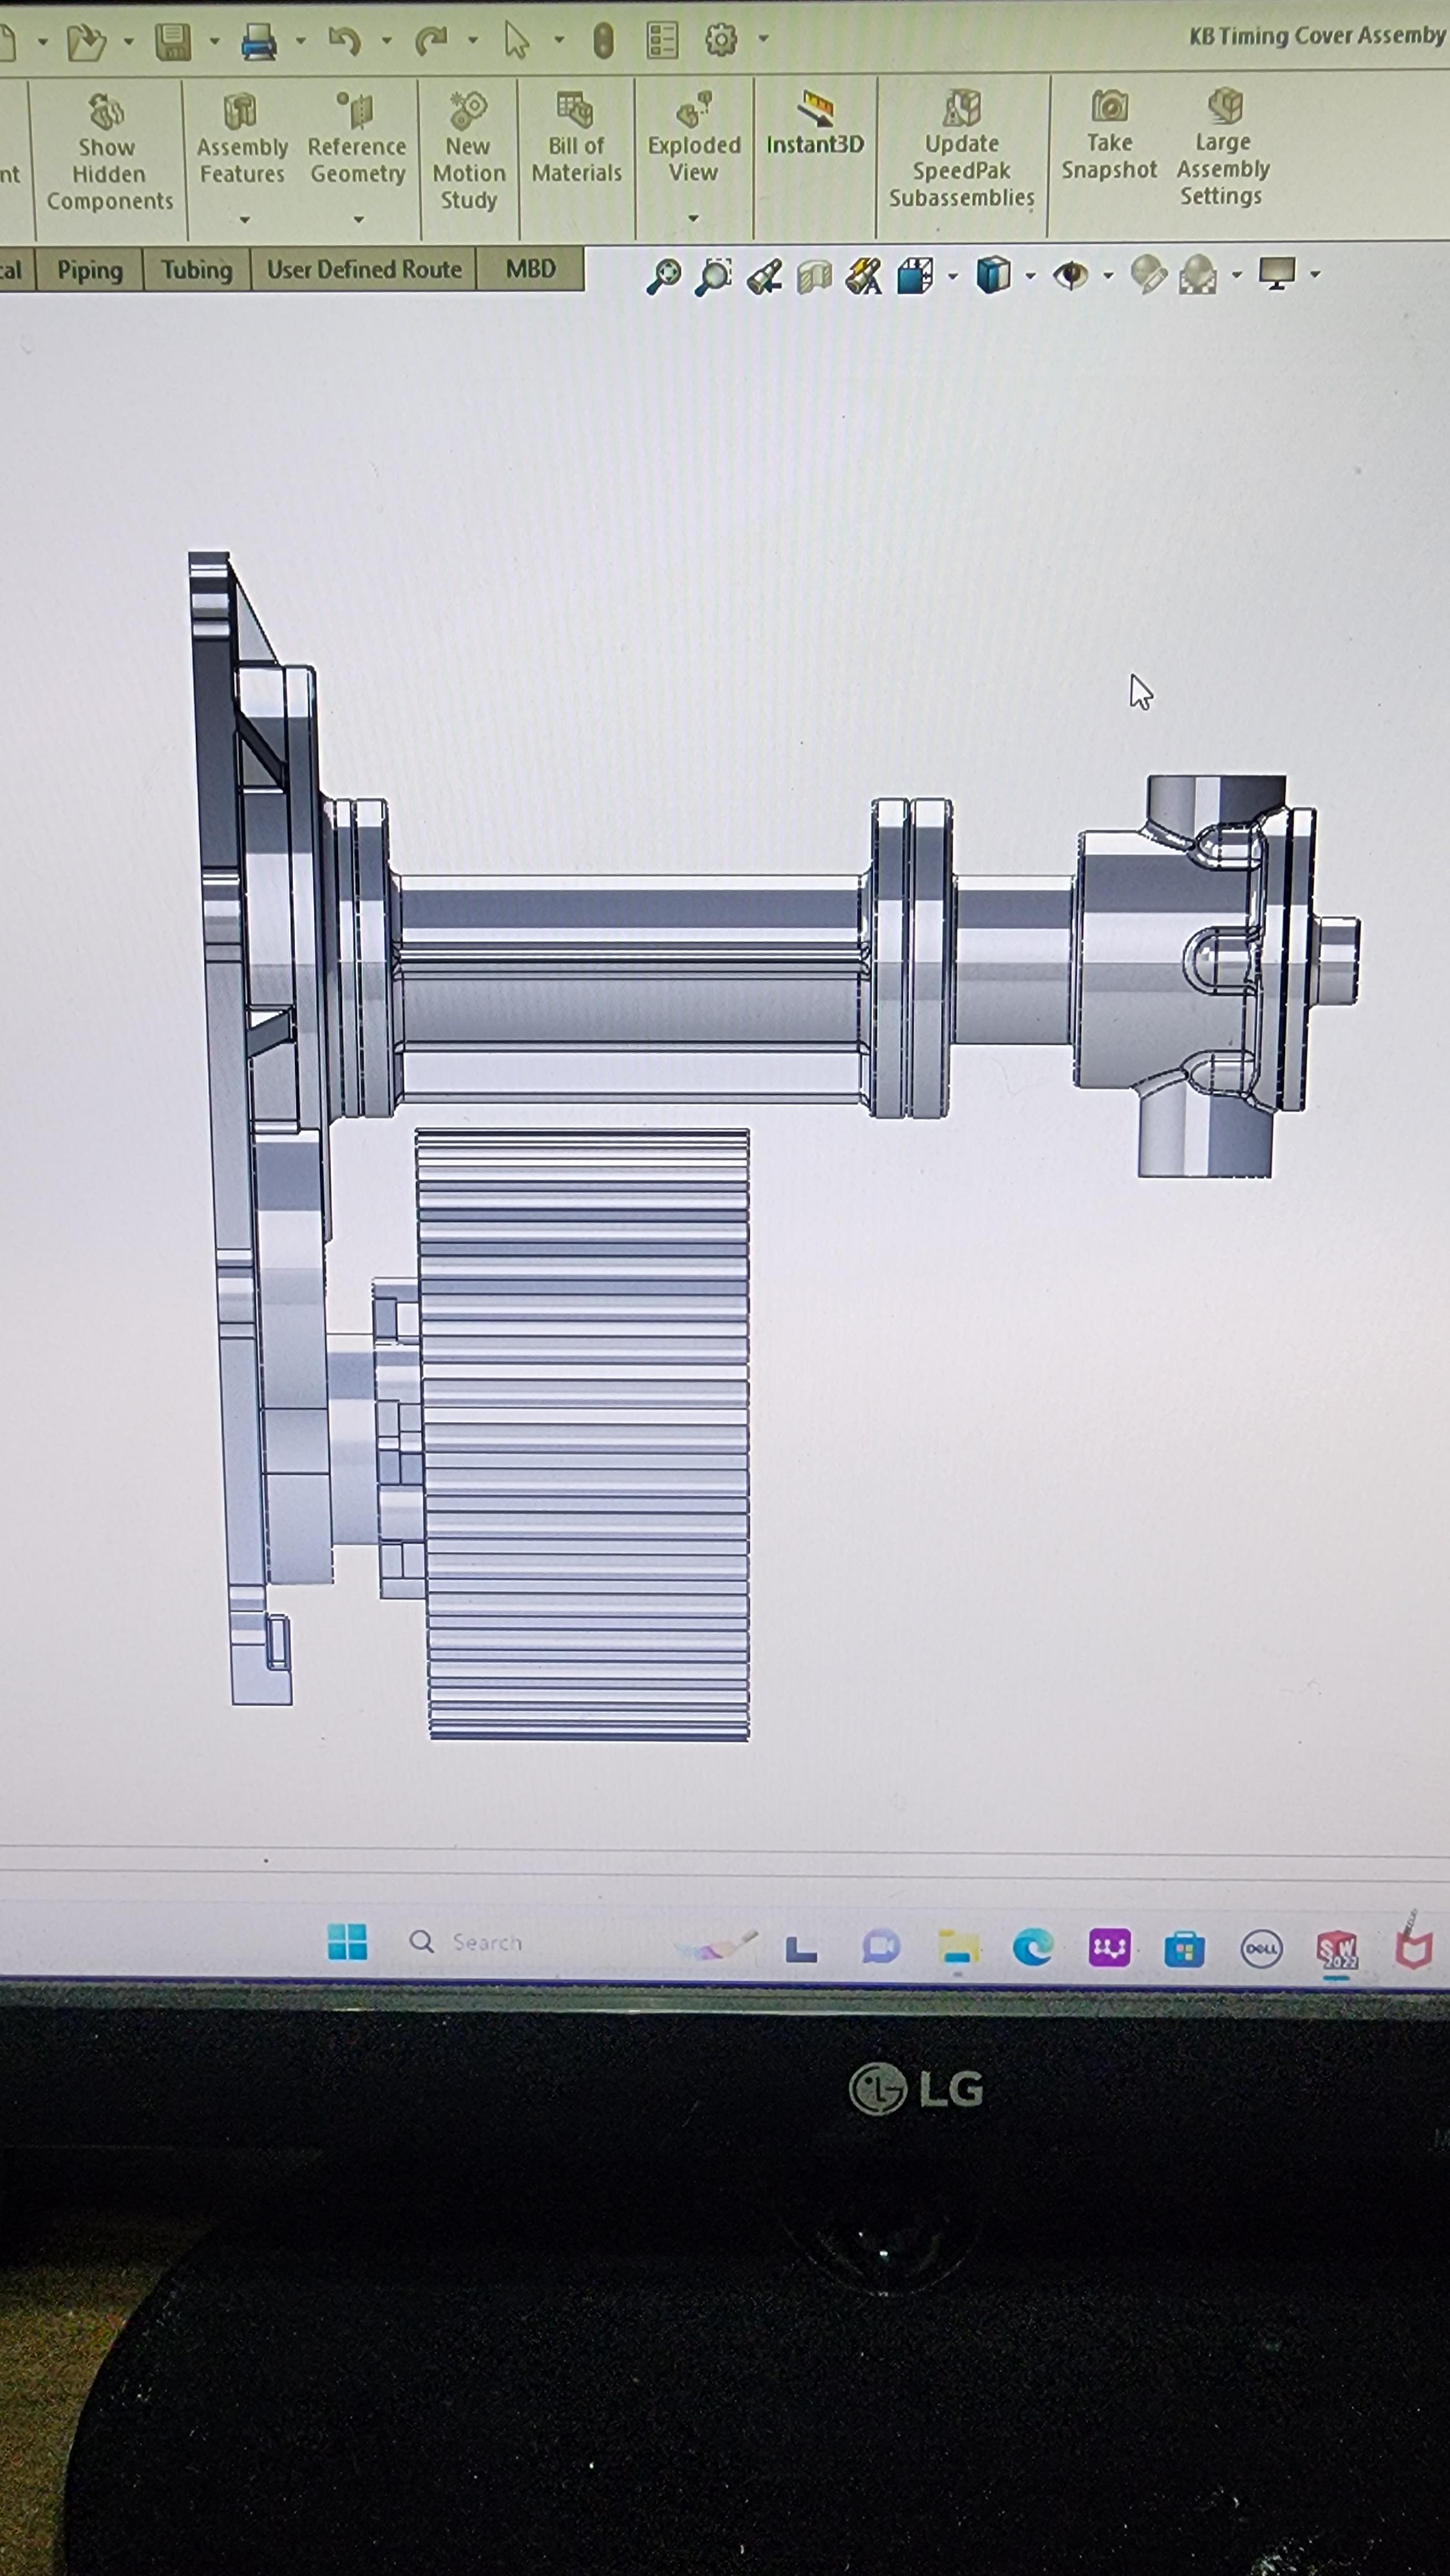
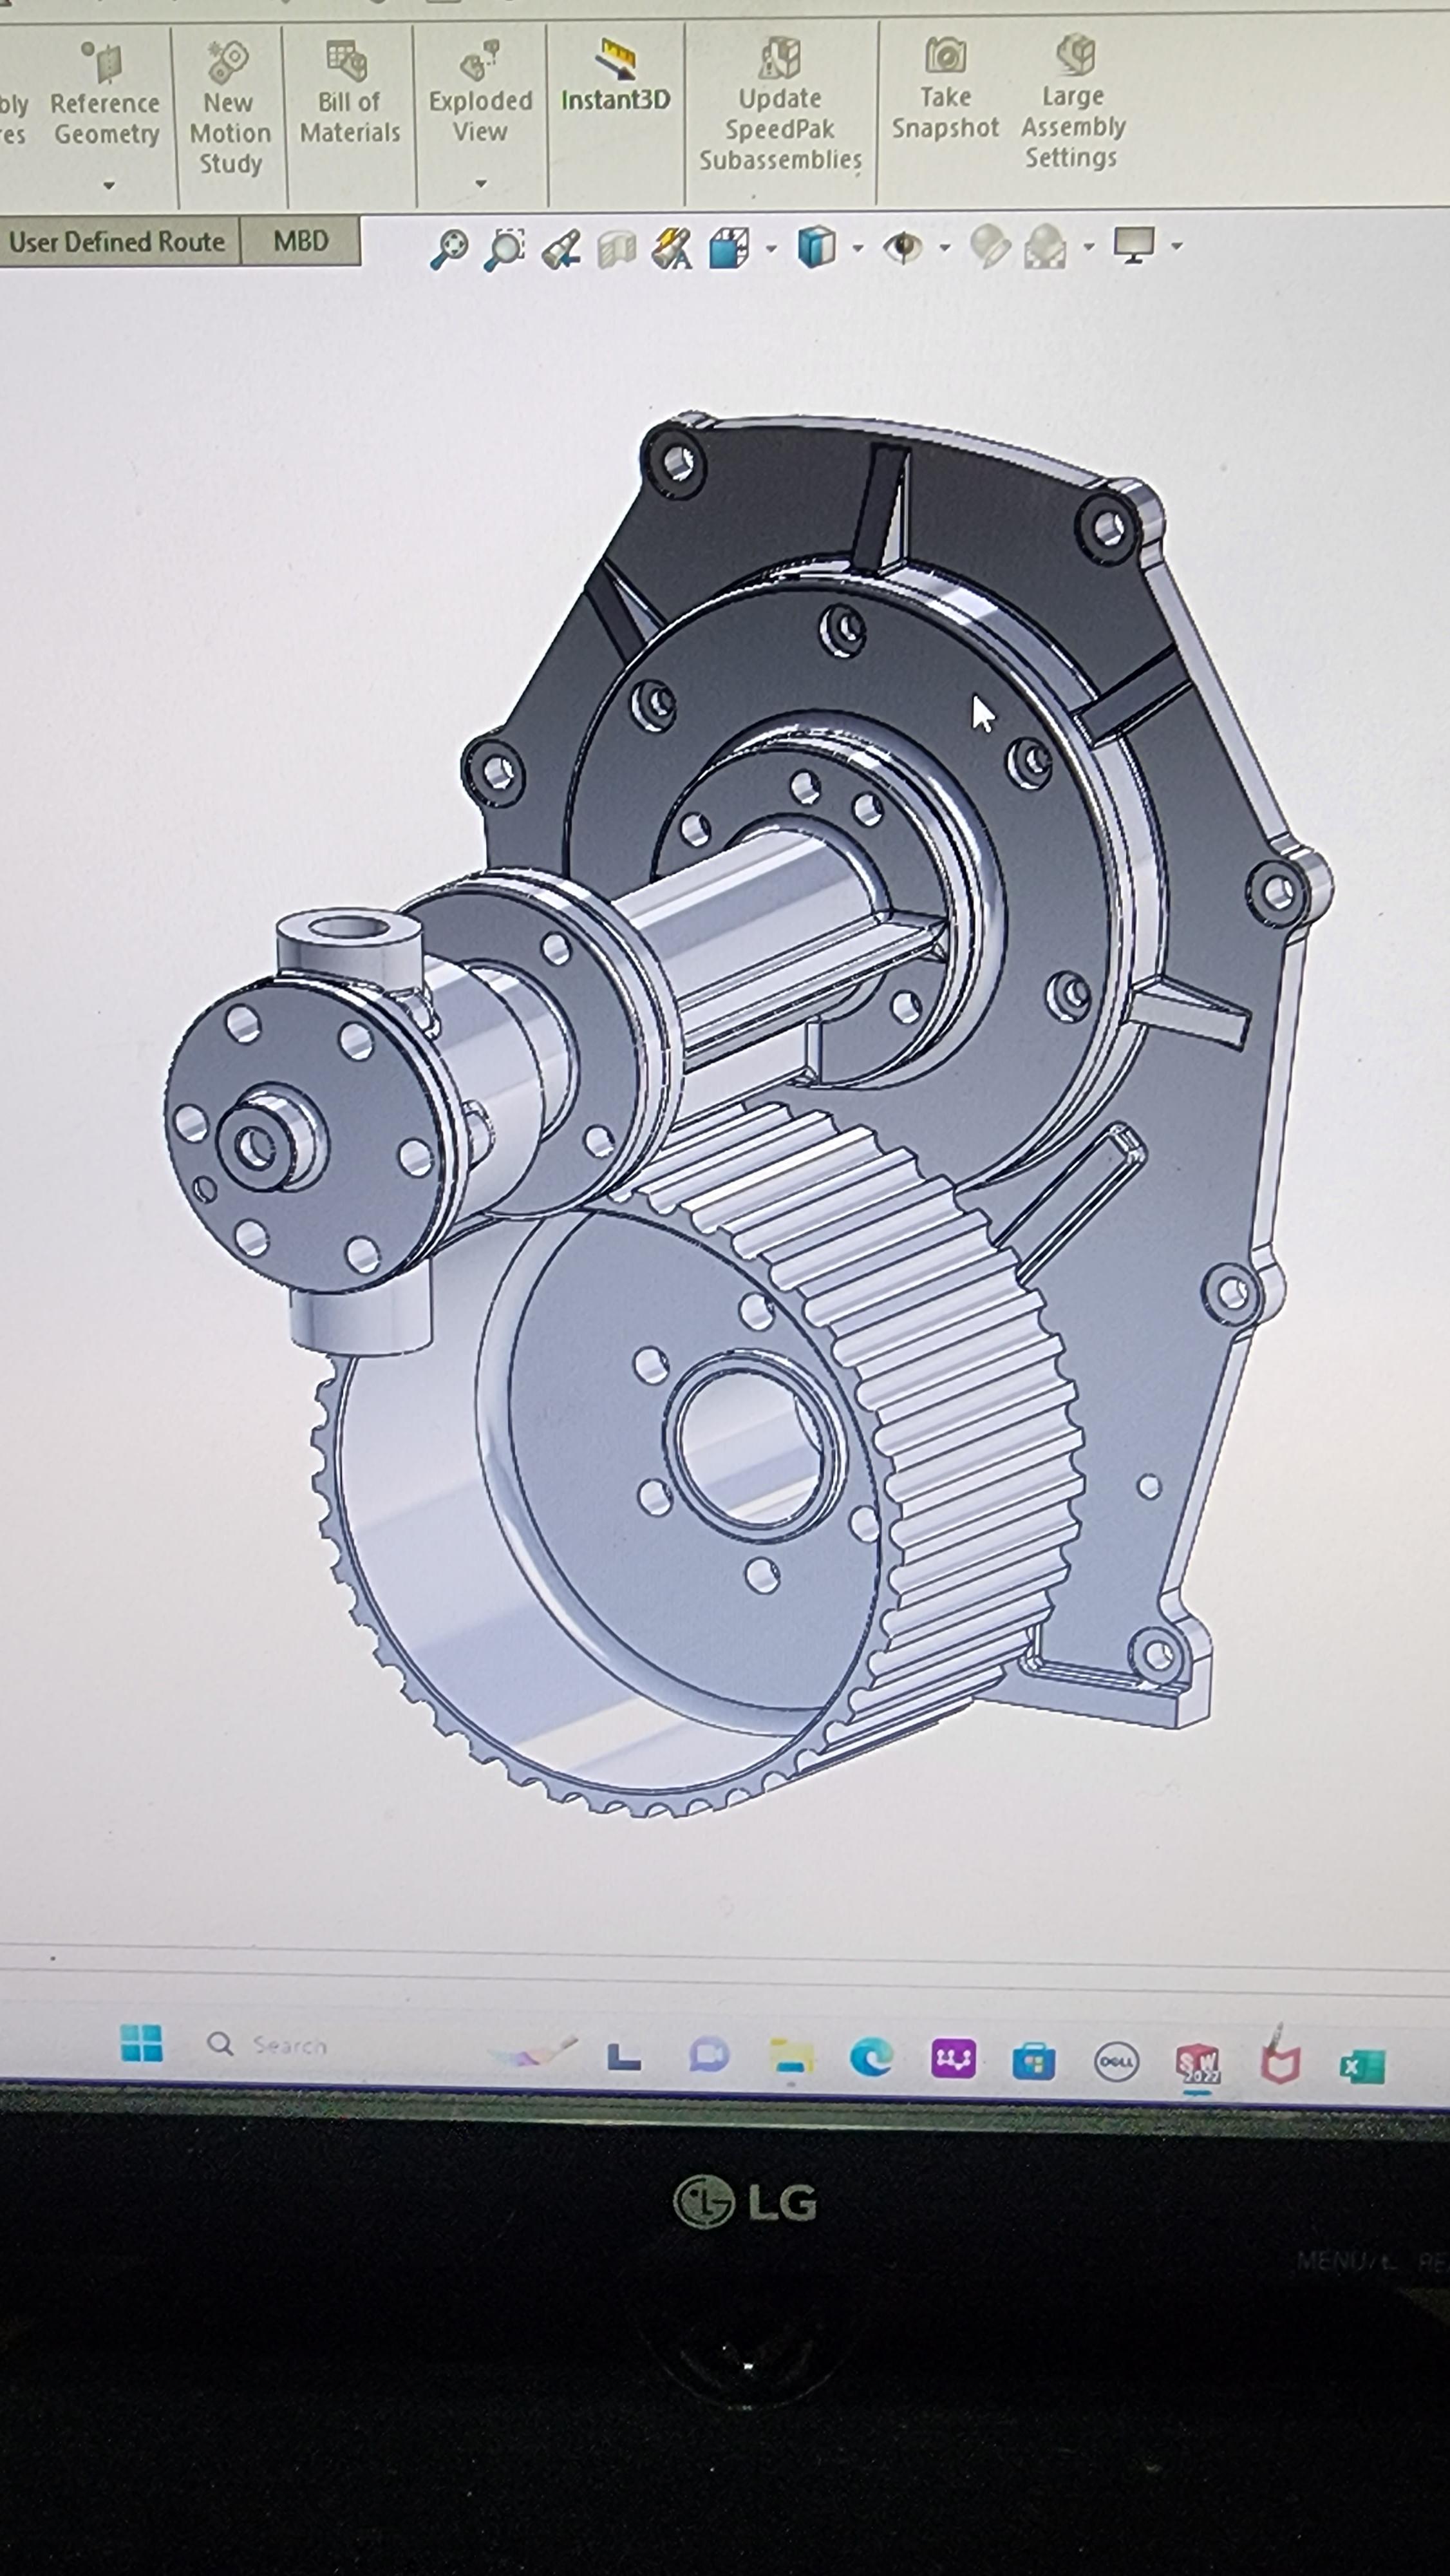
I had to cut up the Texas 3d engine some as it had parts that didn't represent the one I'm building. All new front cover and drive parts are done ready to go. This also required a supercharger manifold as the engine one came carburated at the time.
-
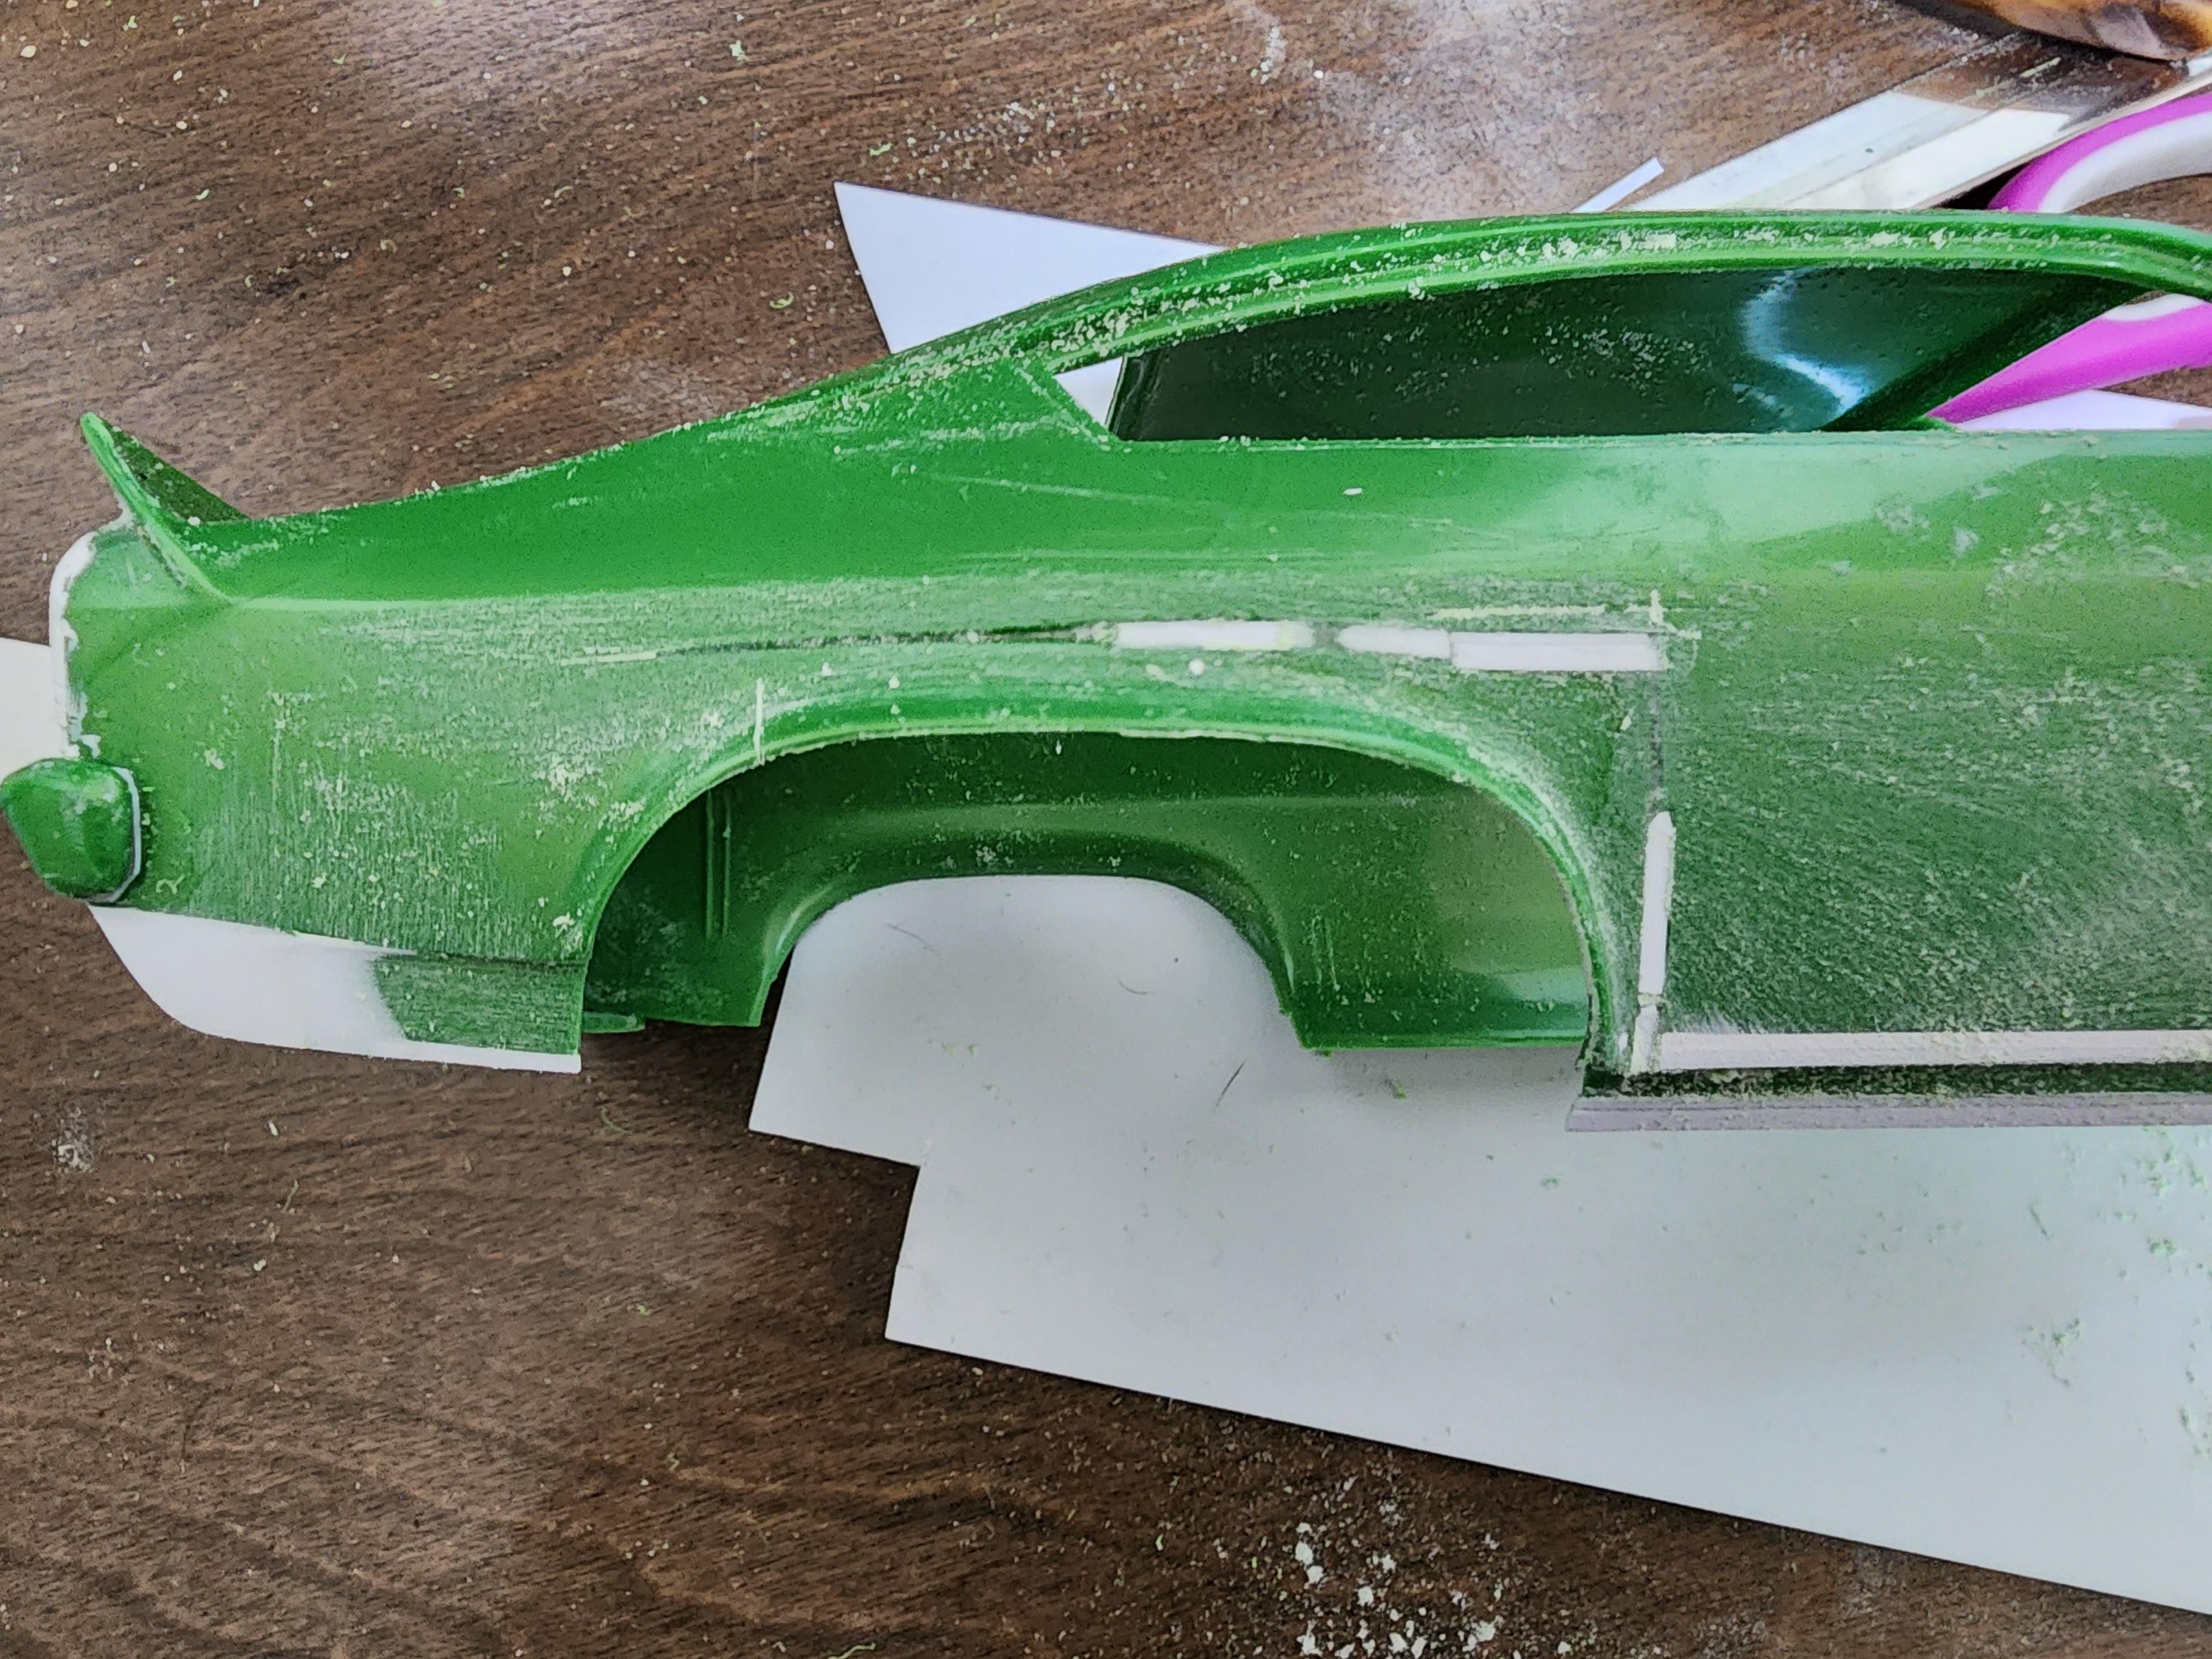
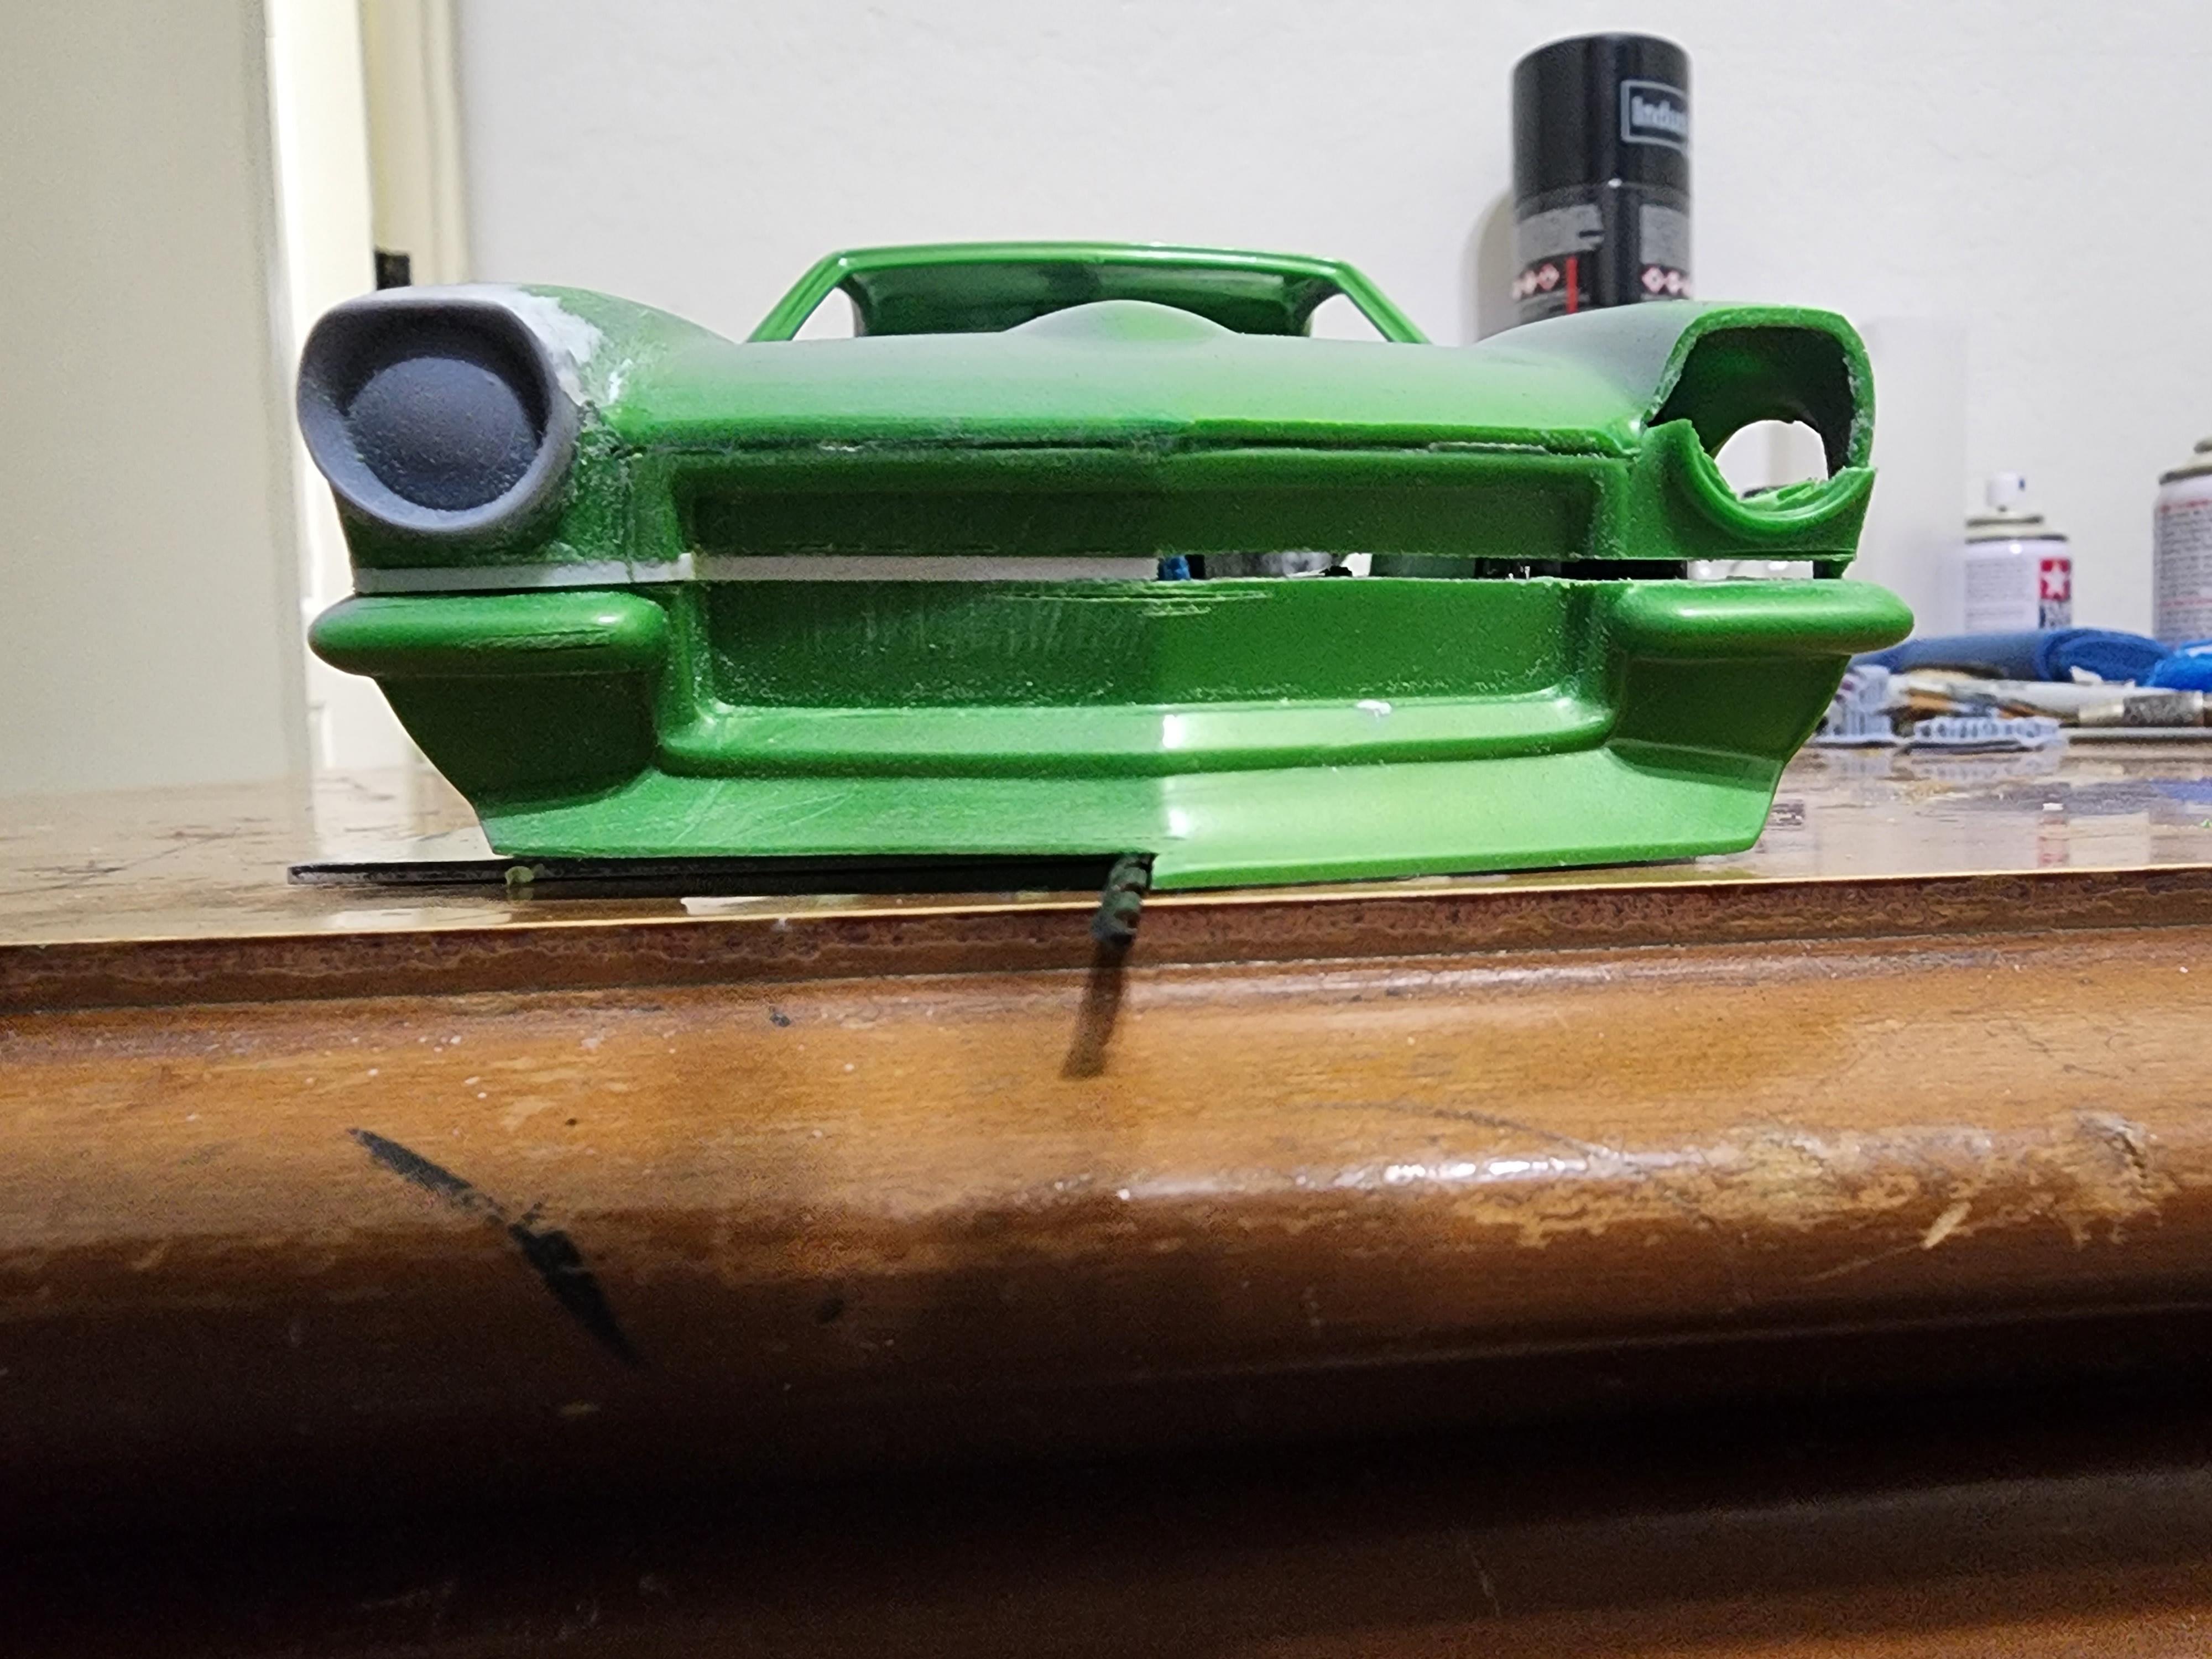
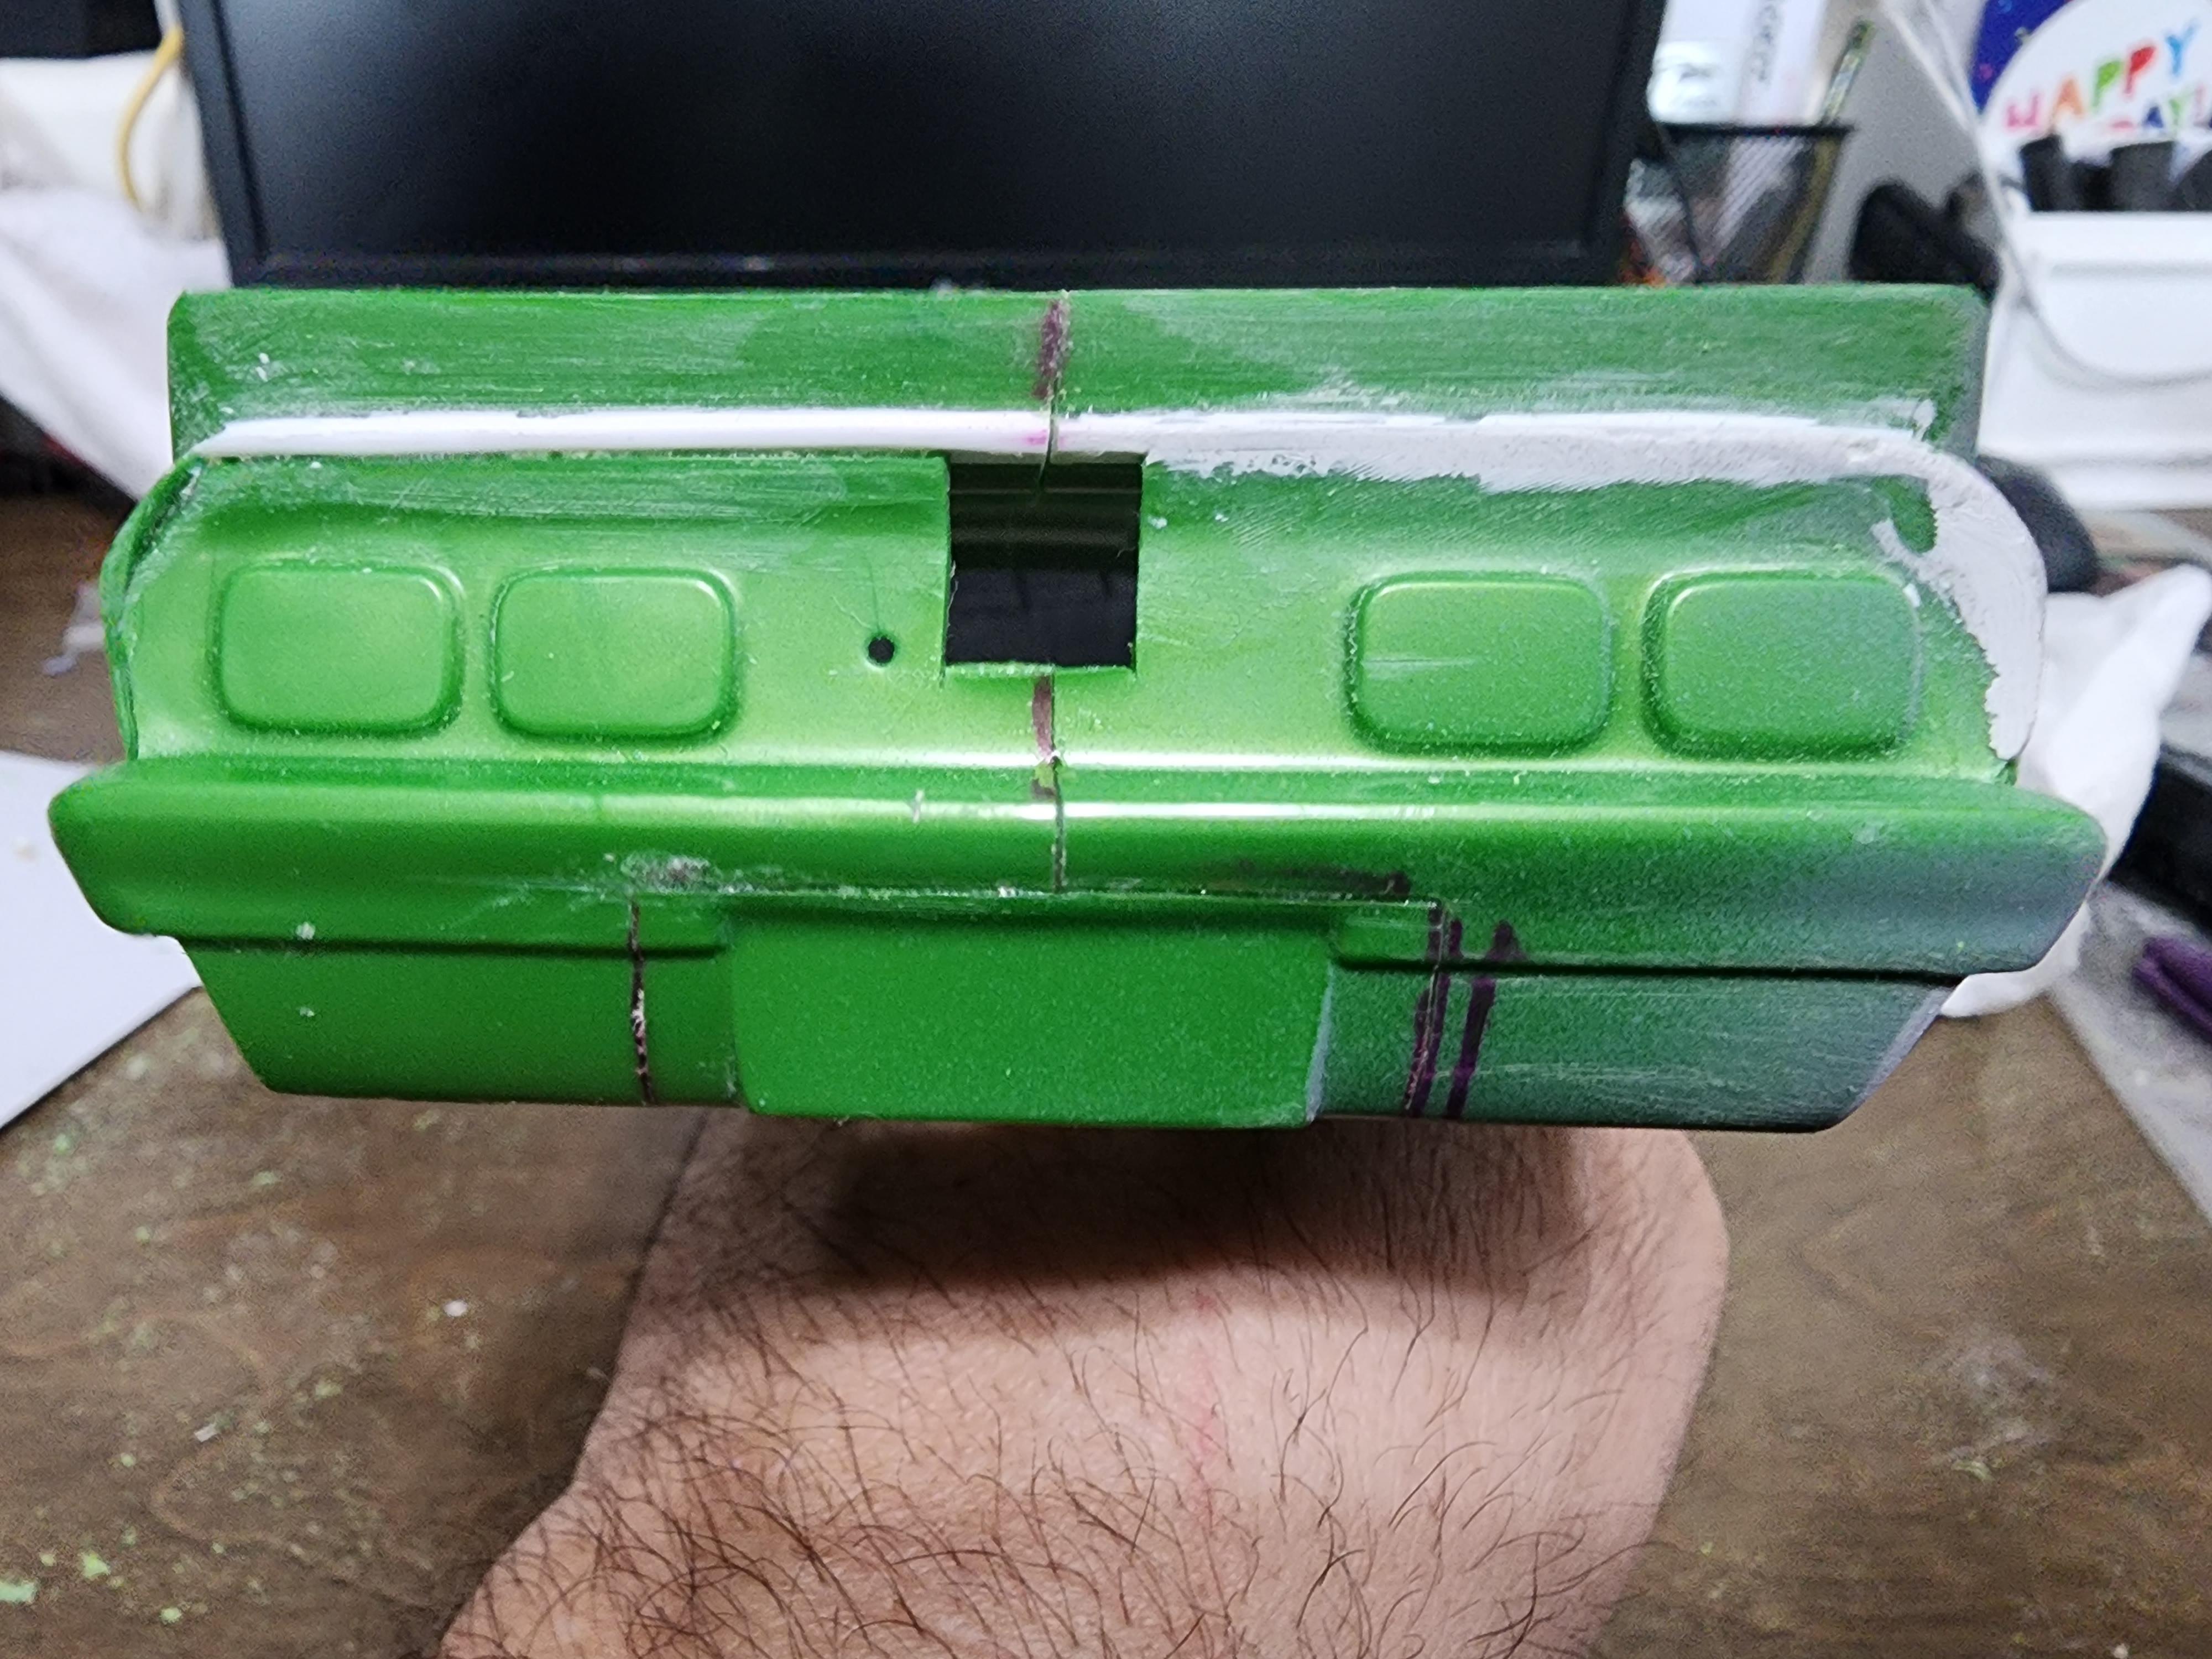
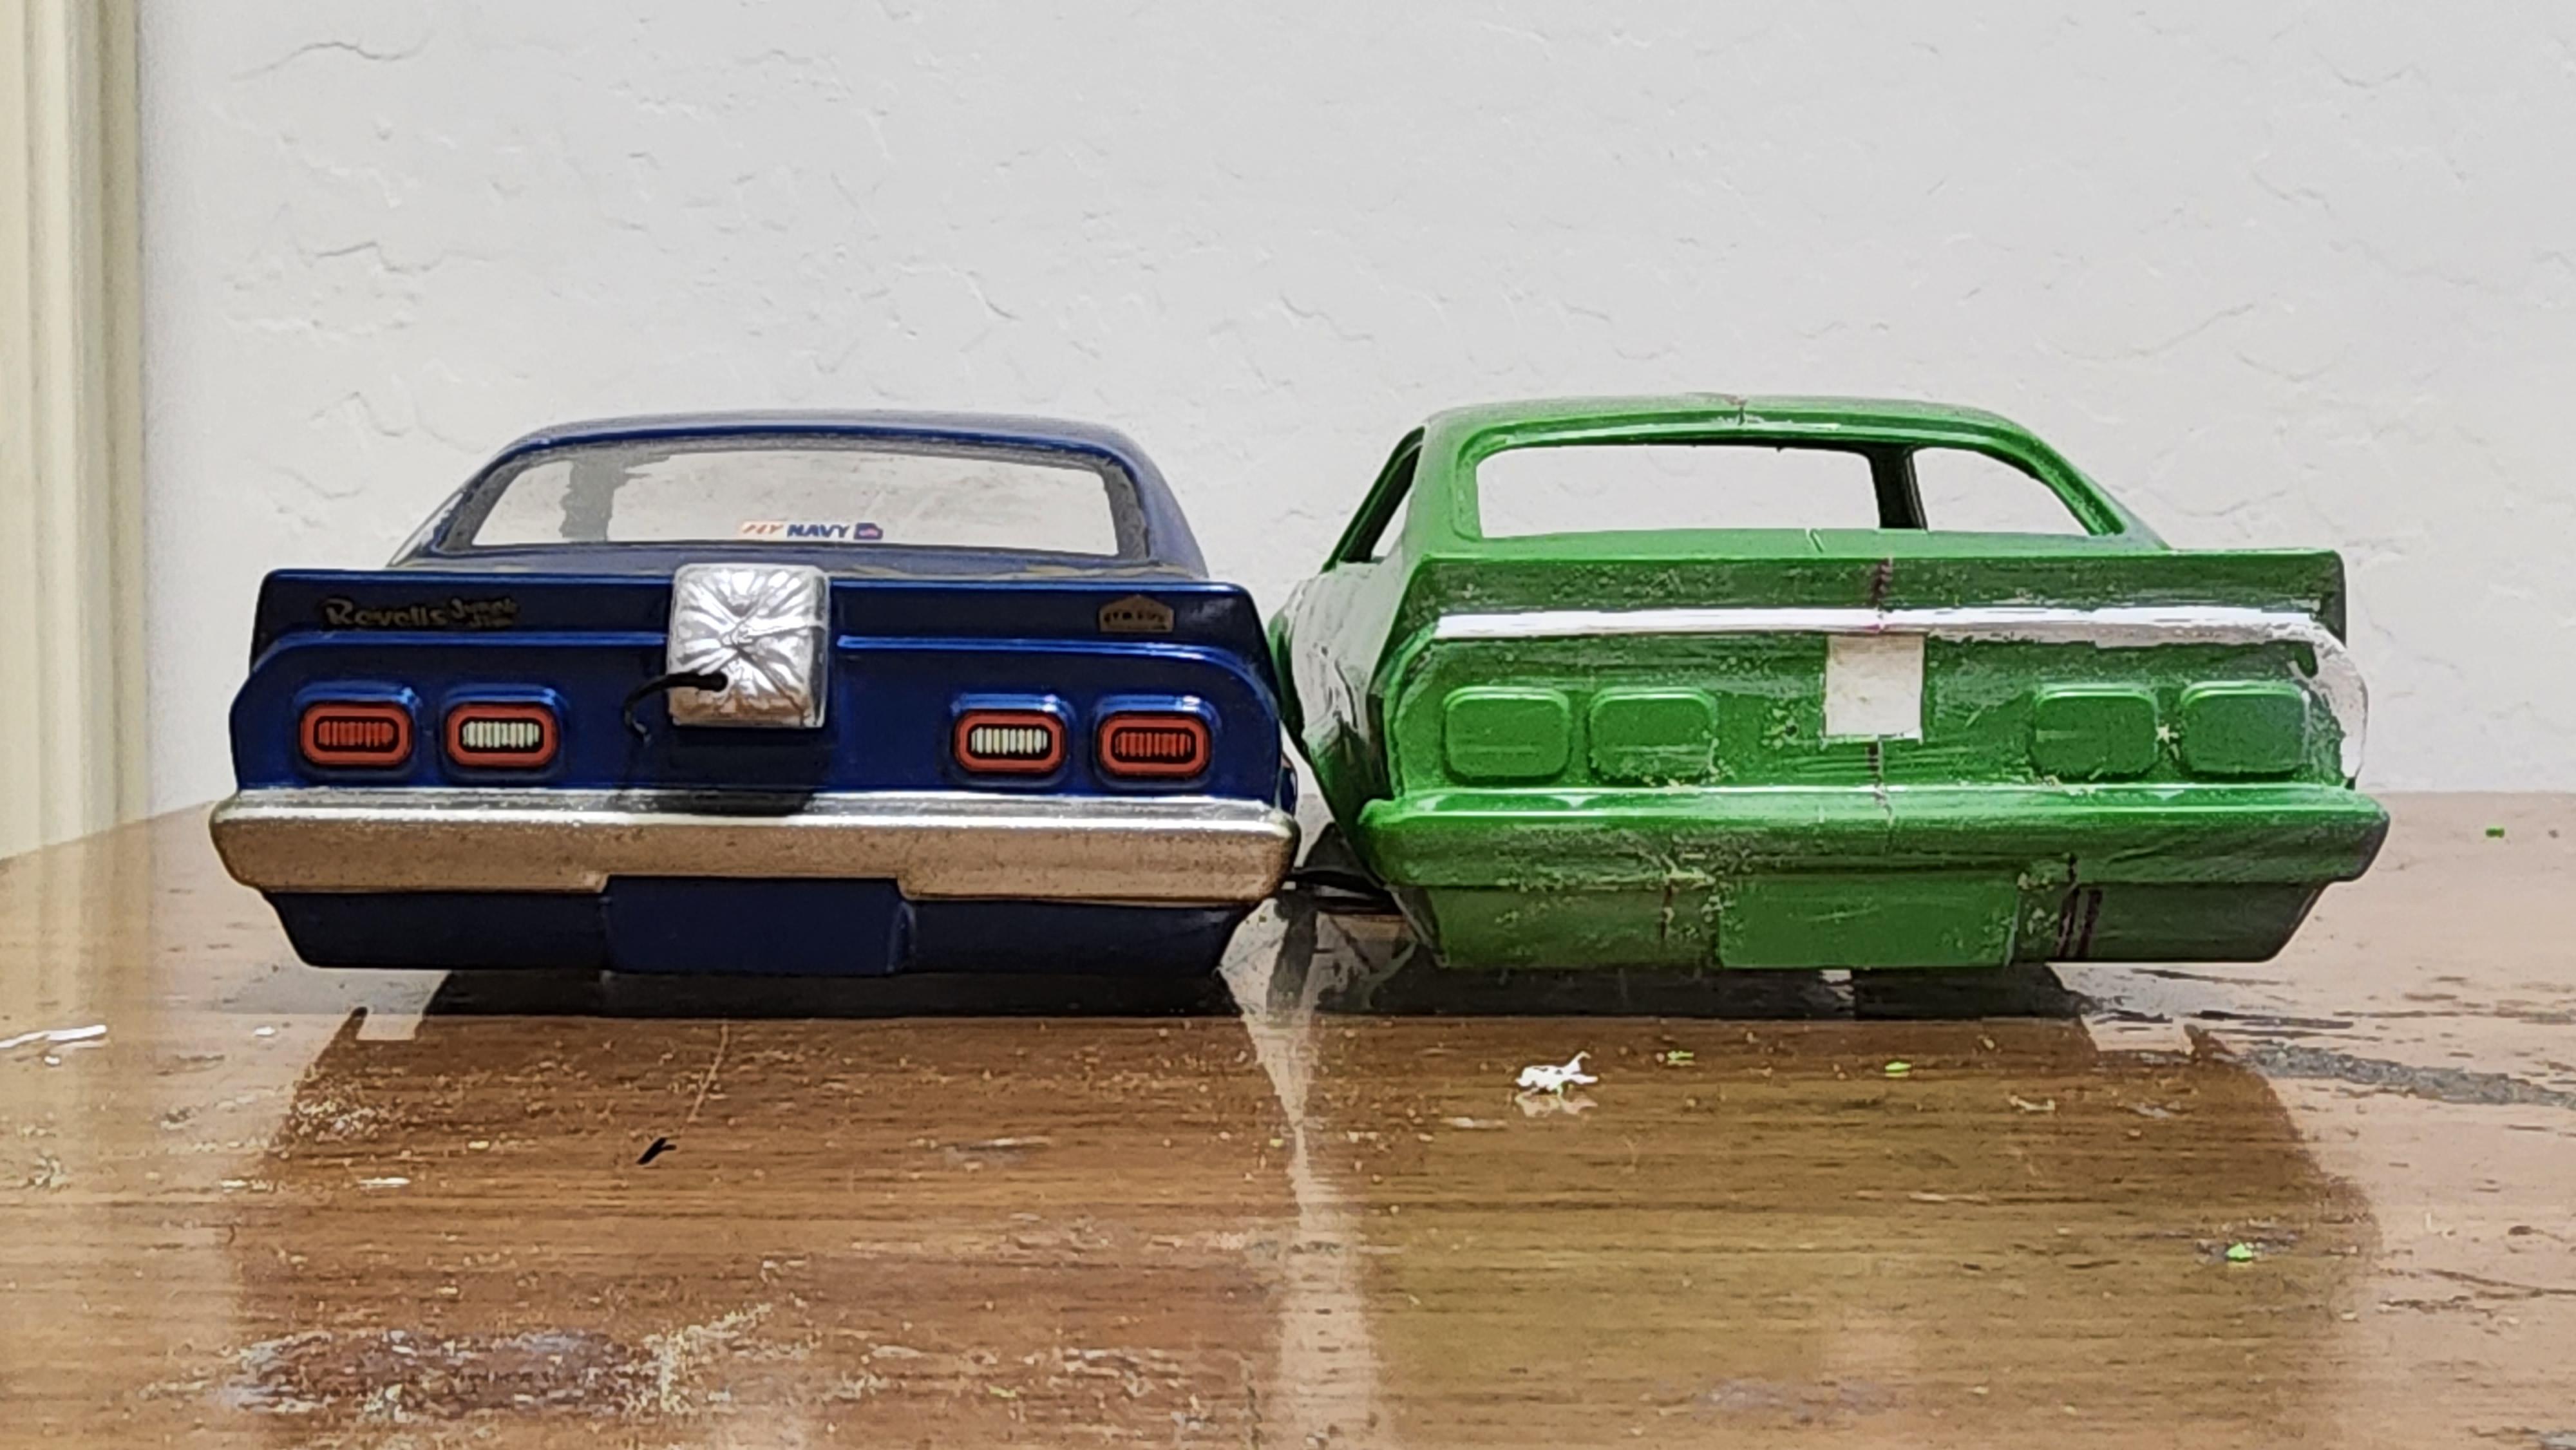
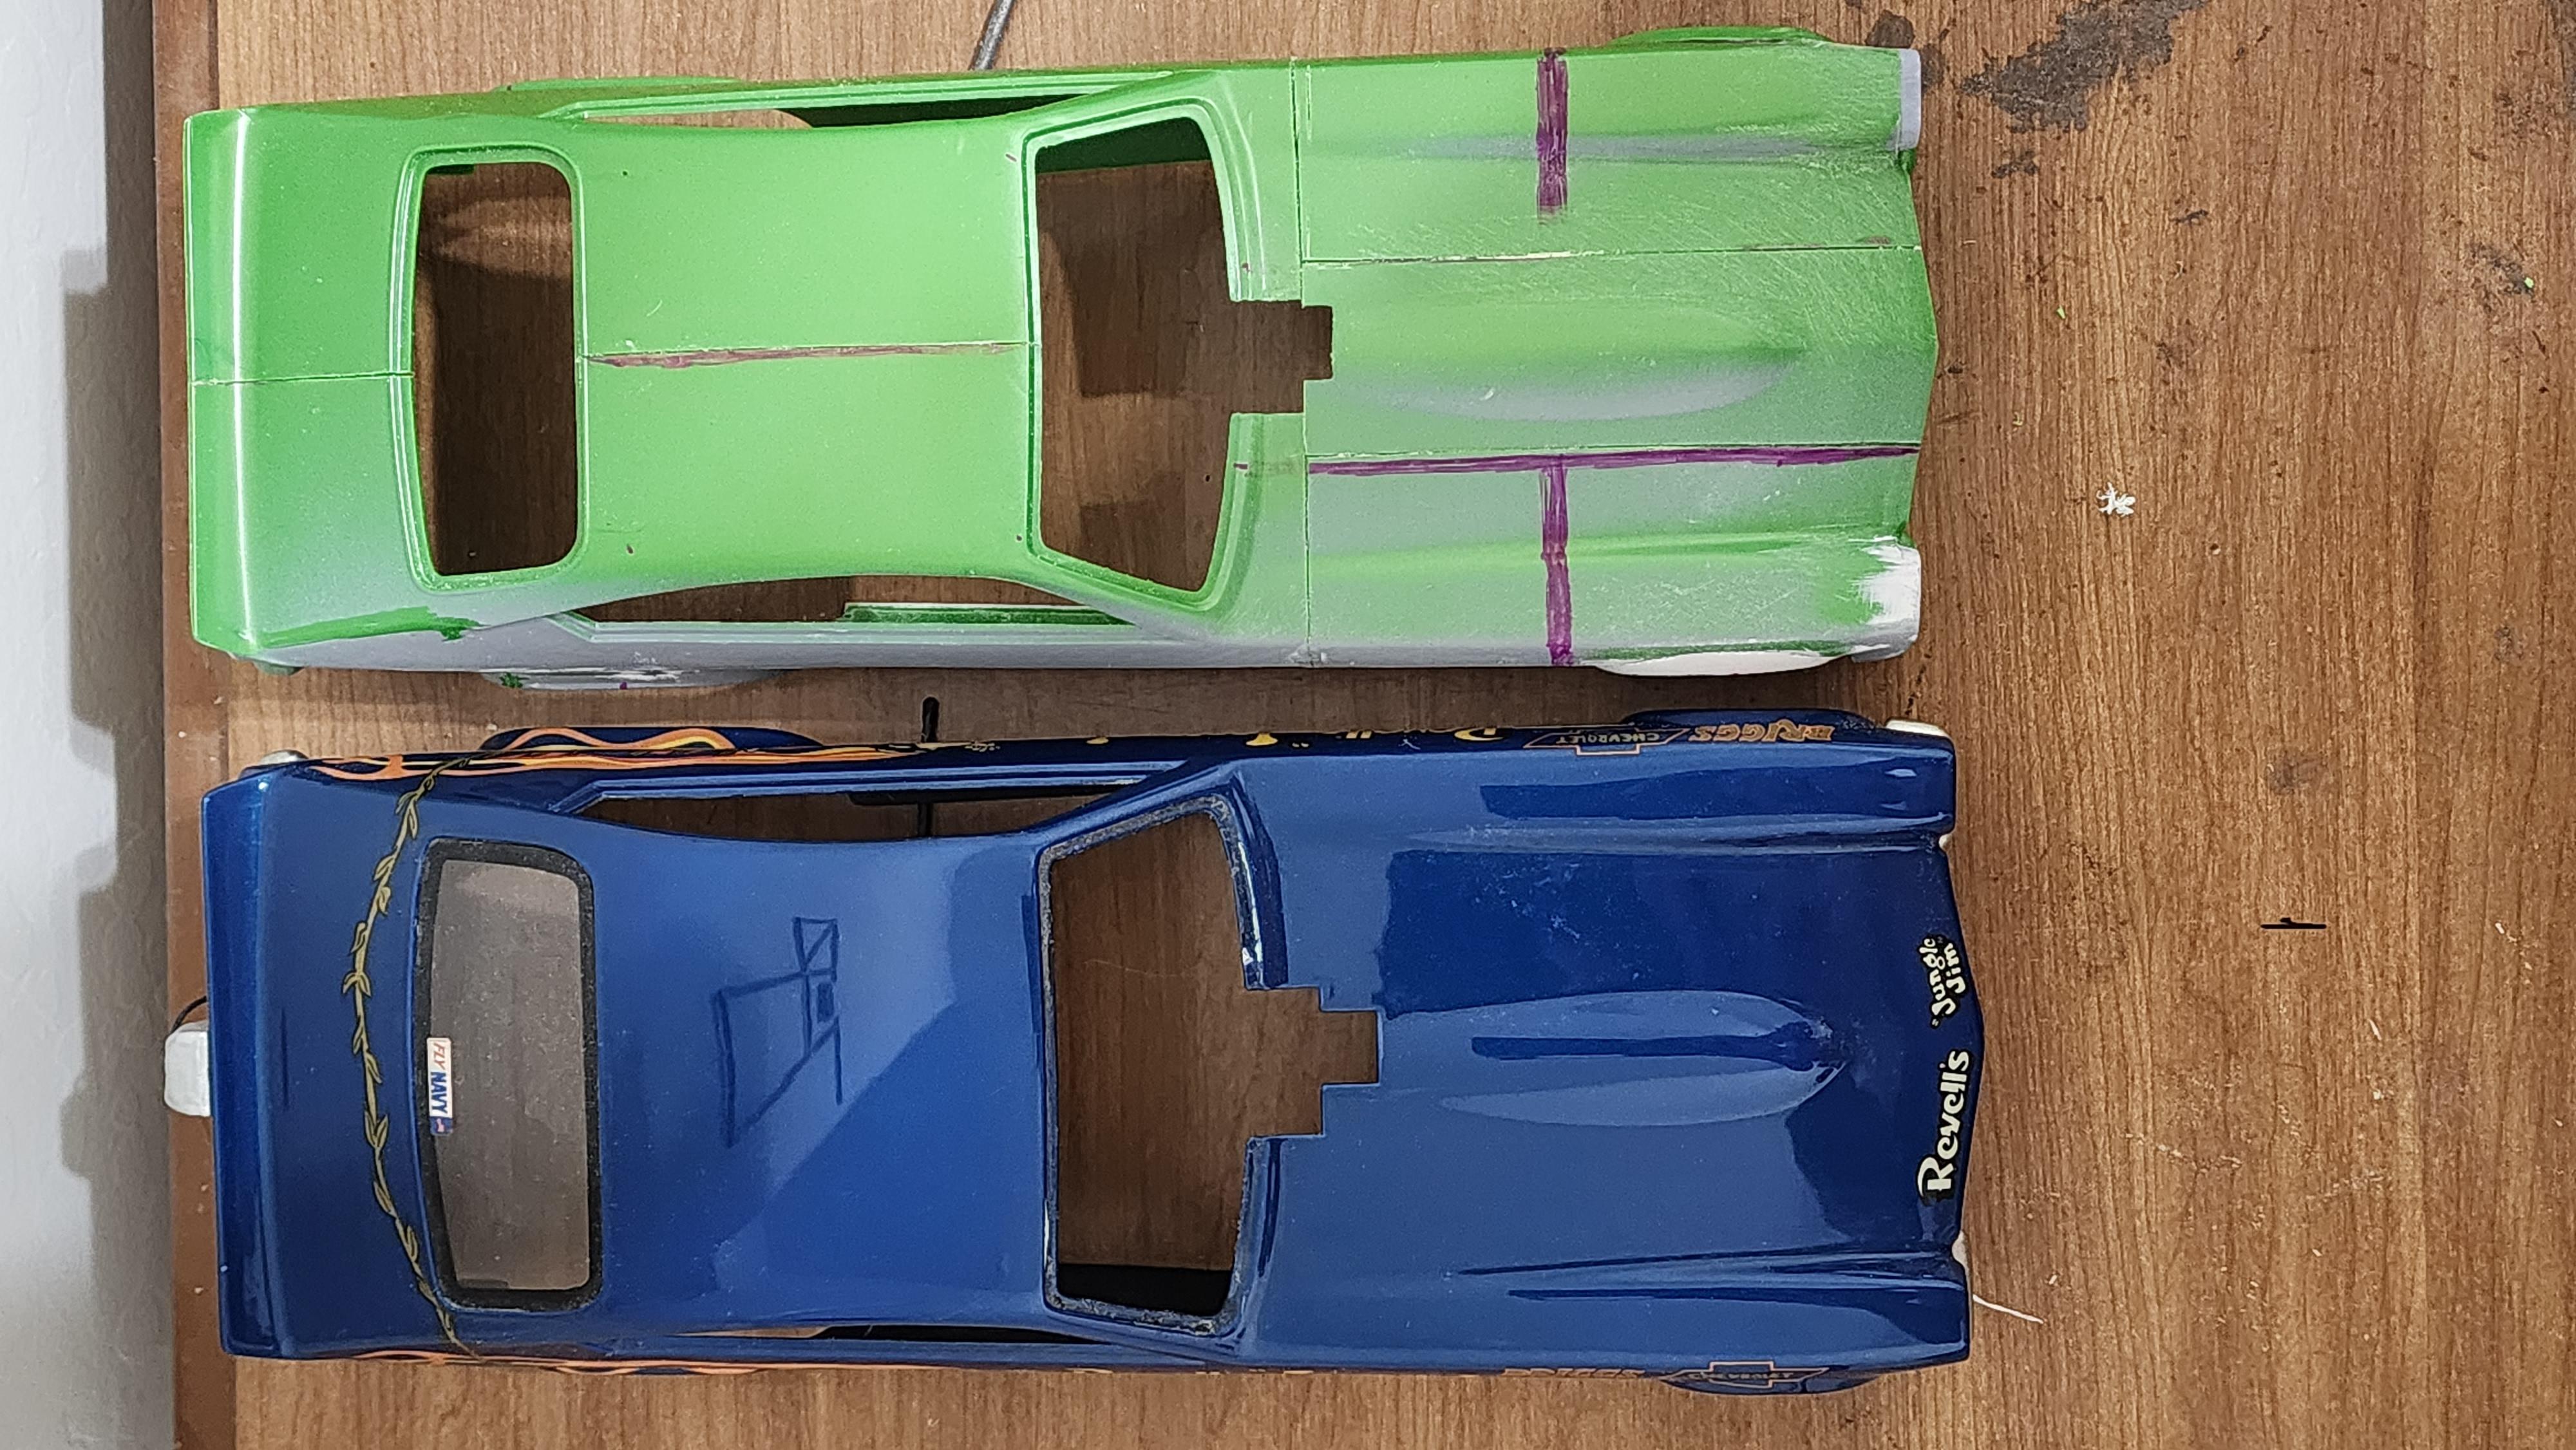
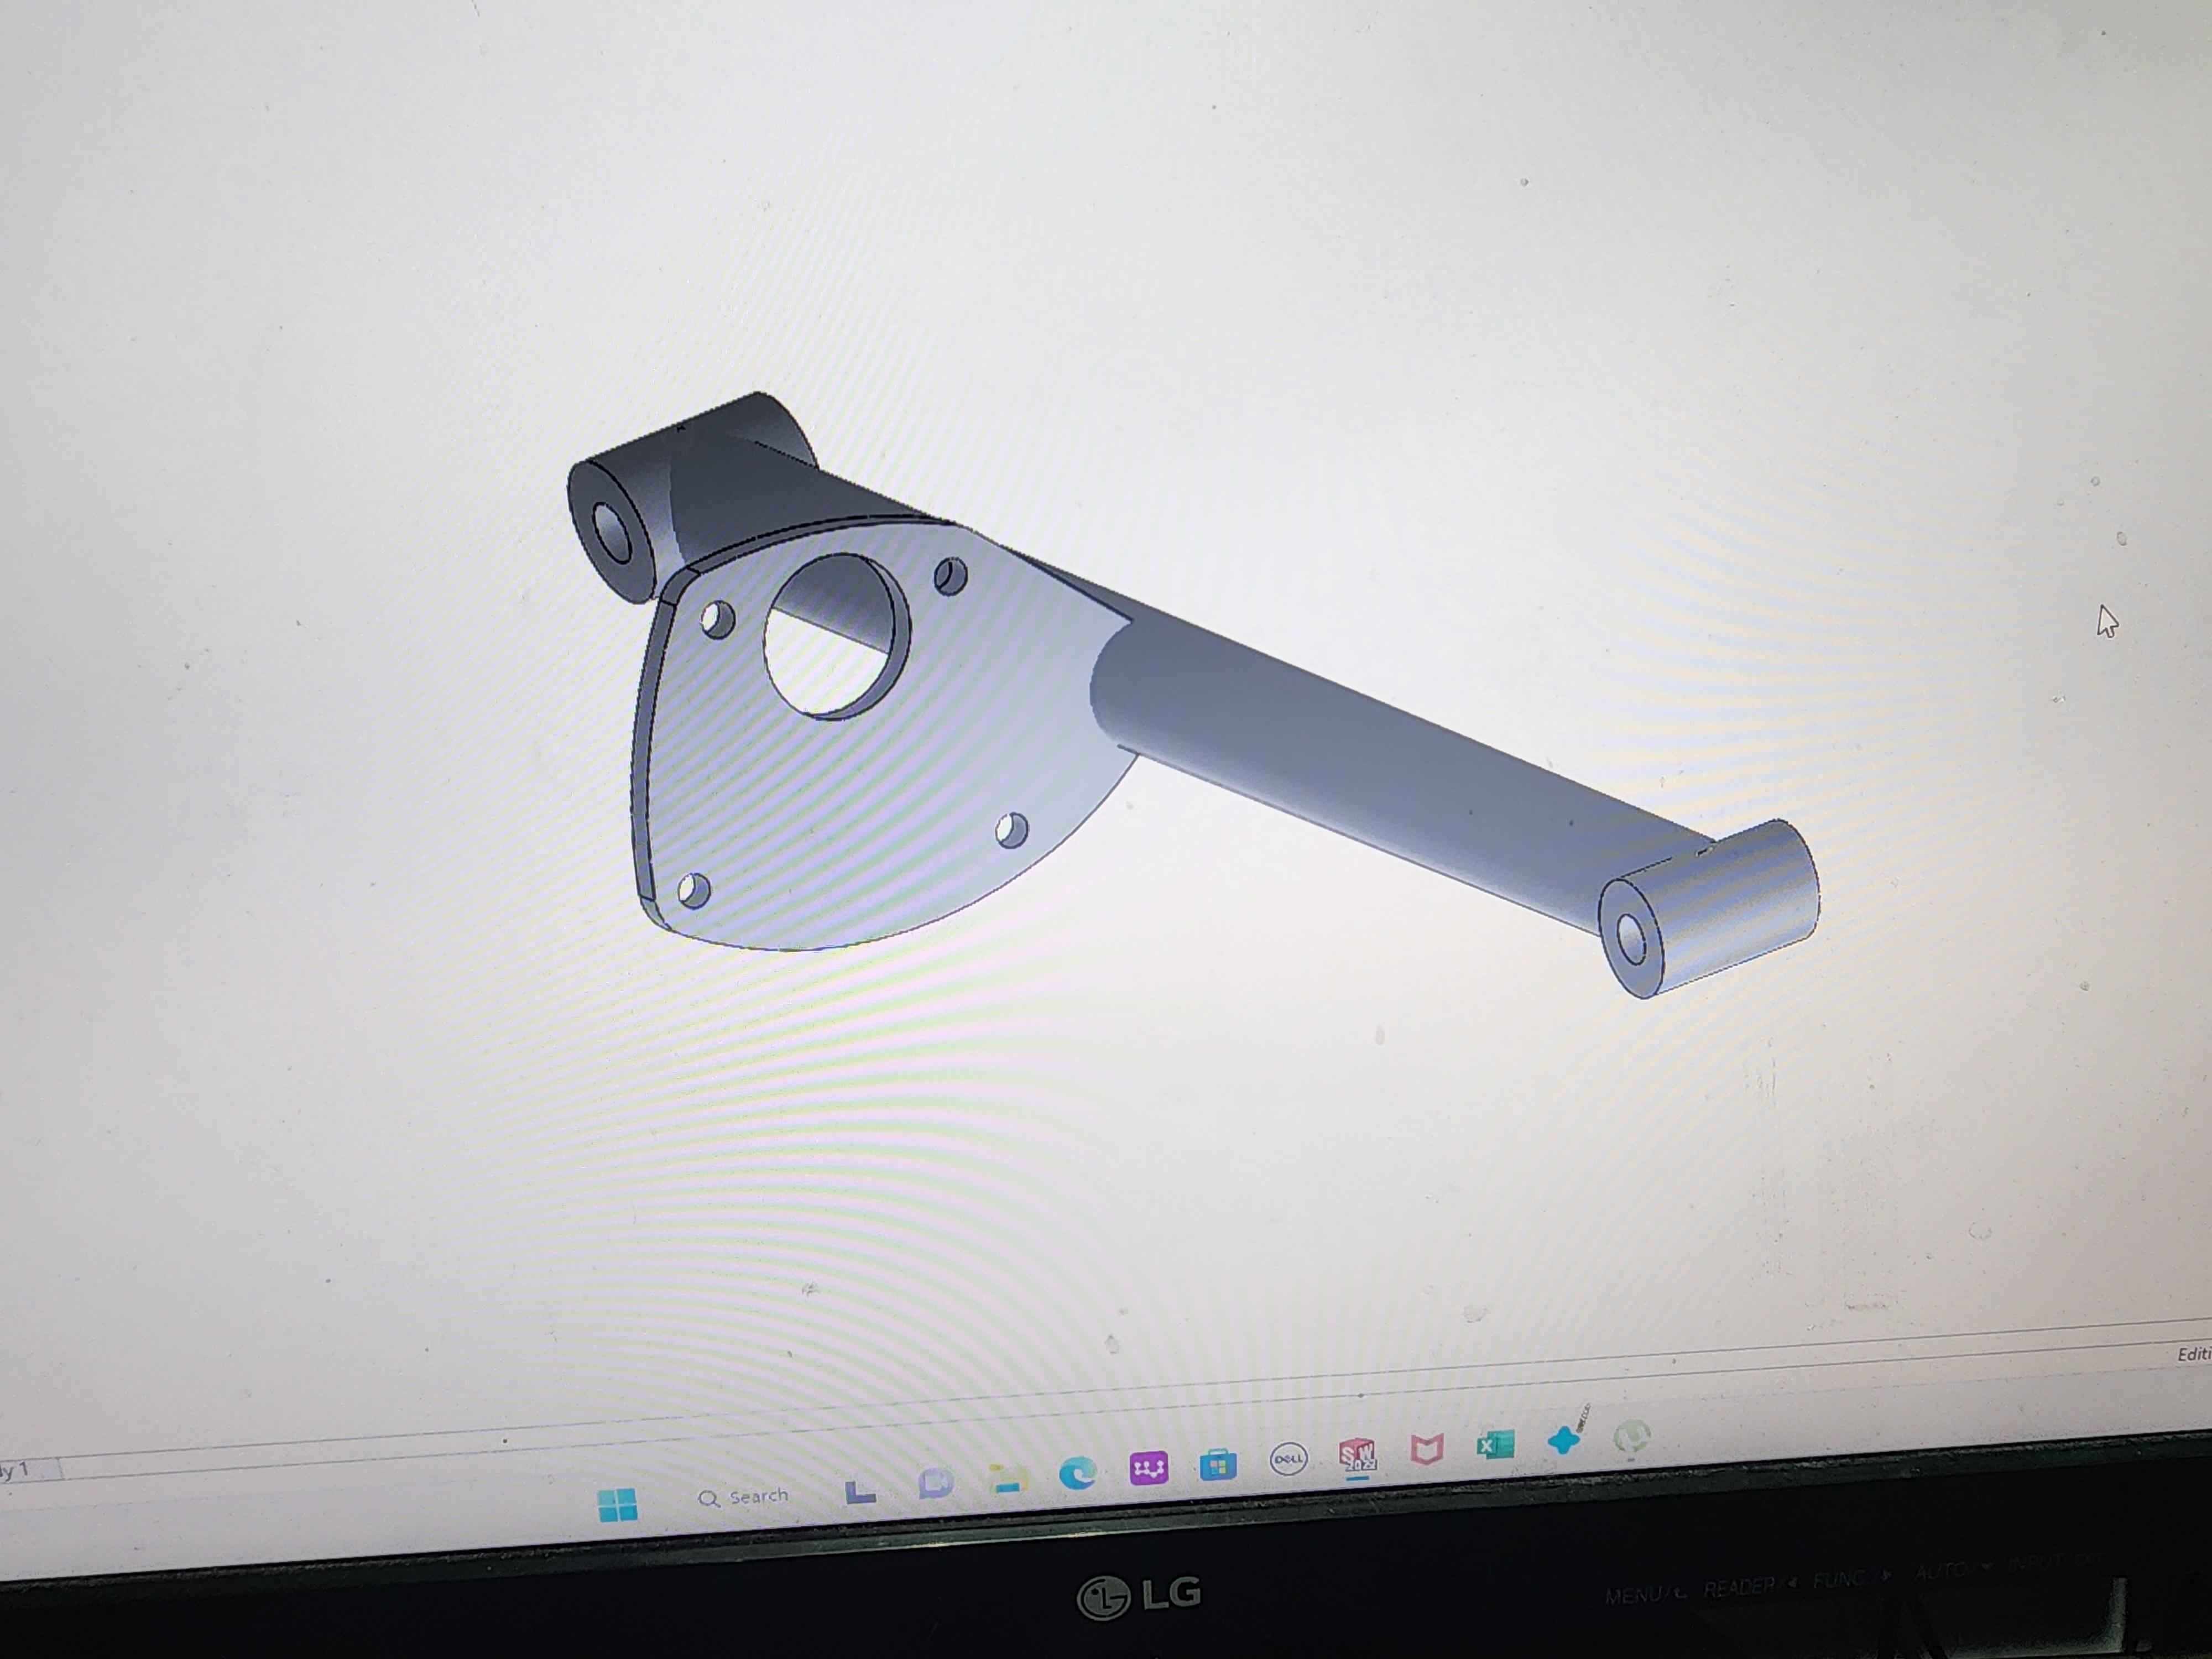
New steering box was in order to replace the kit blob. The highly modified body. It cut into 14 pieces and glued back together! I have a rotory engraver so I put it to use. This will be on display with the model when it's taken to shows or where ever.
-
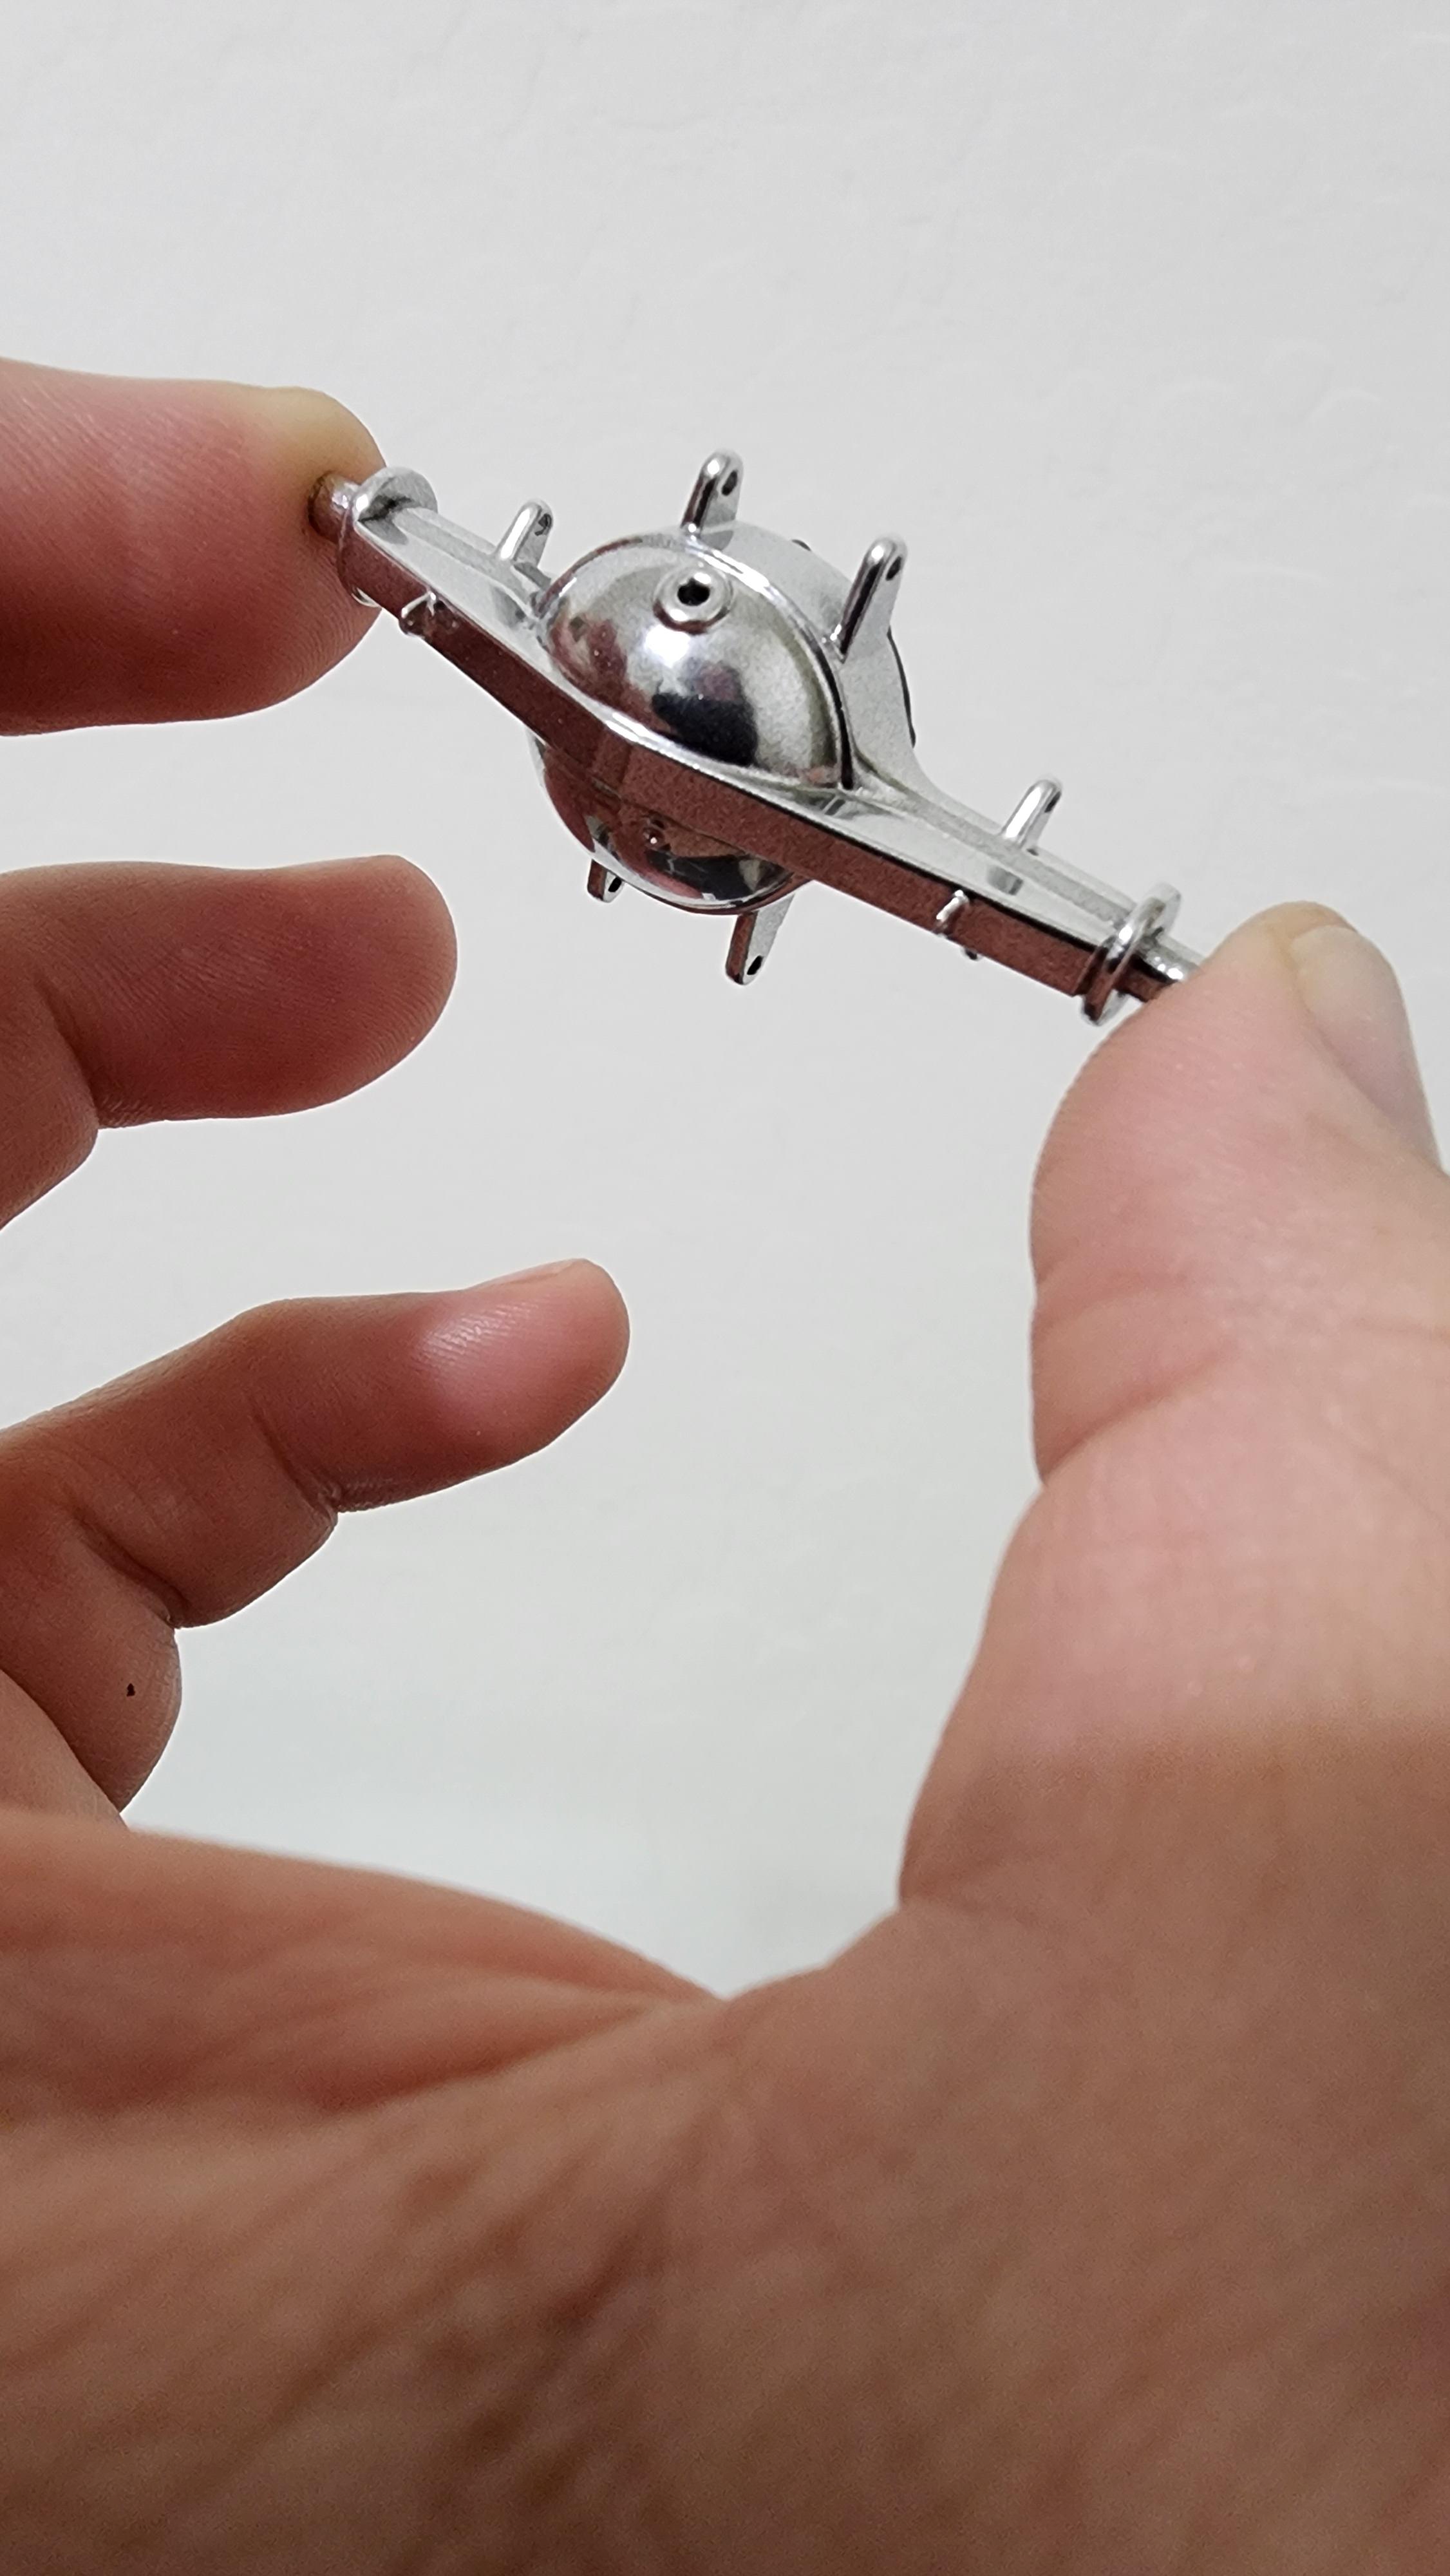
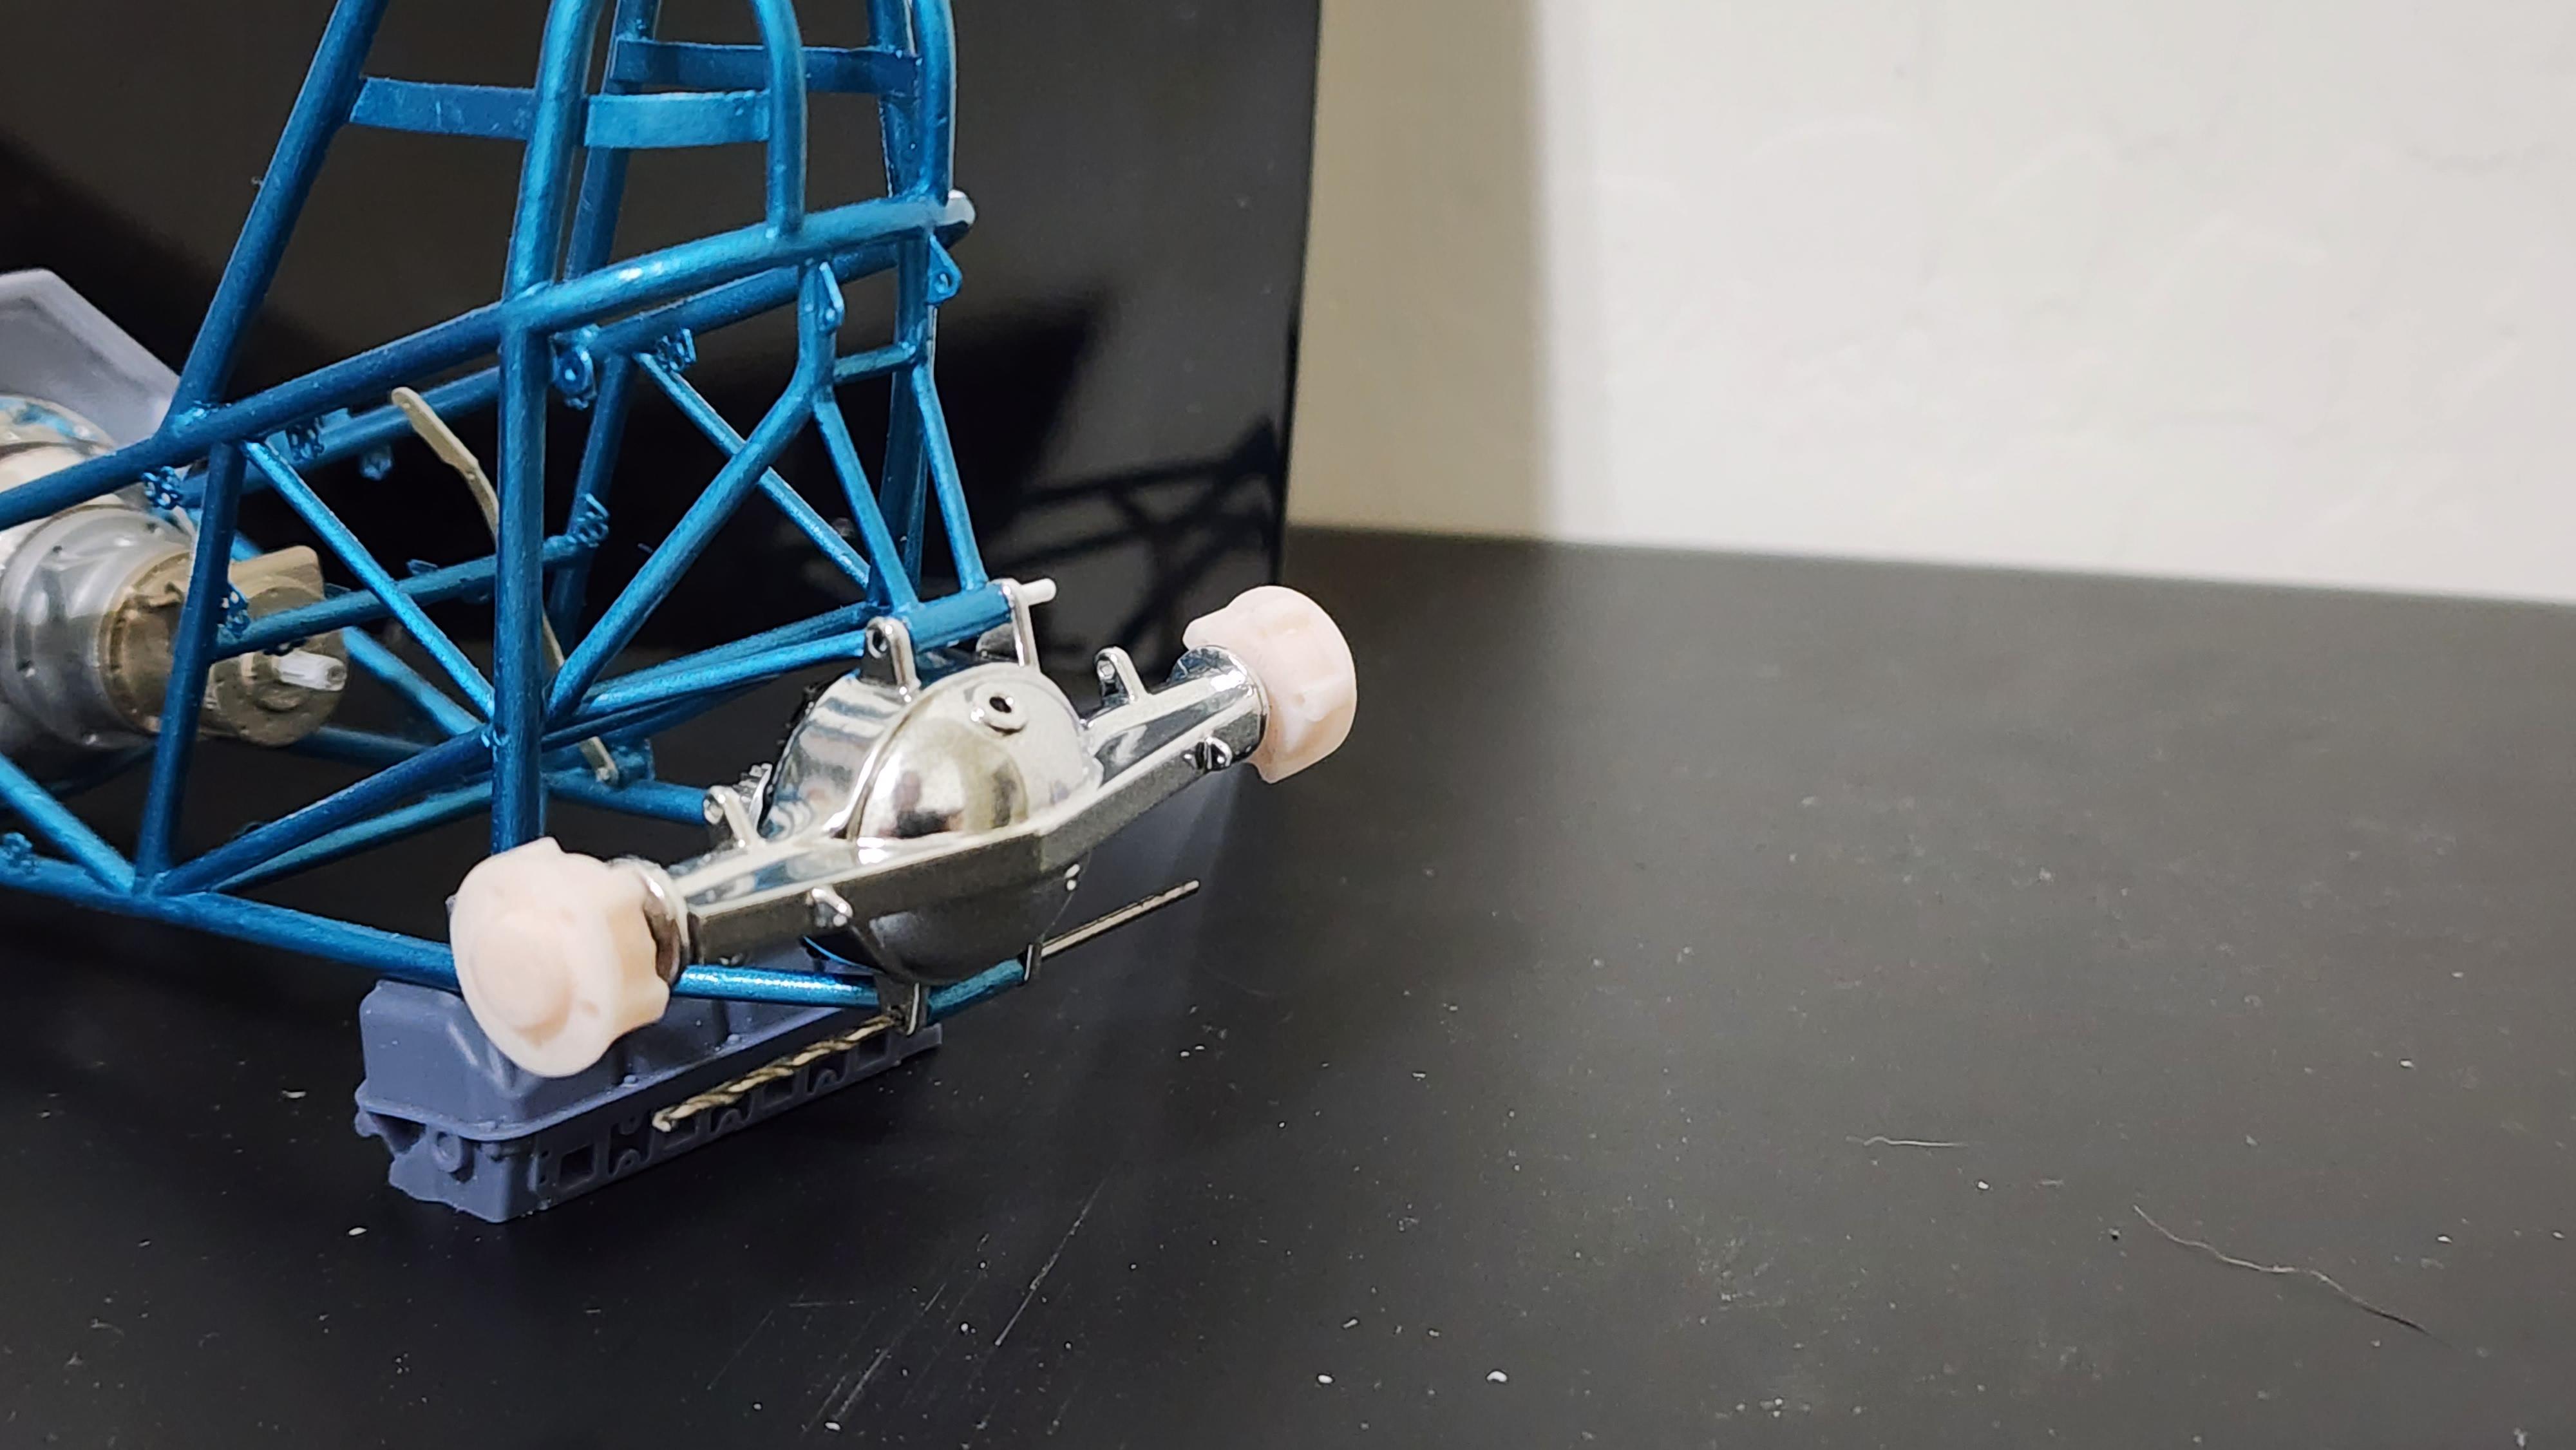
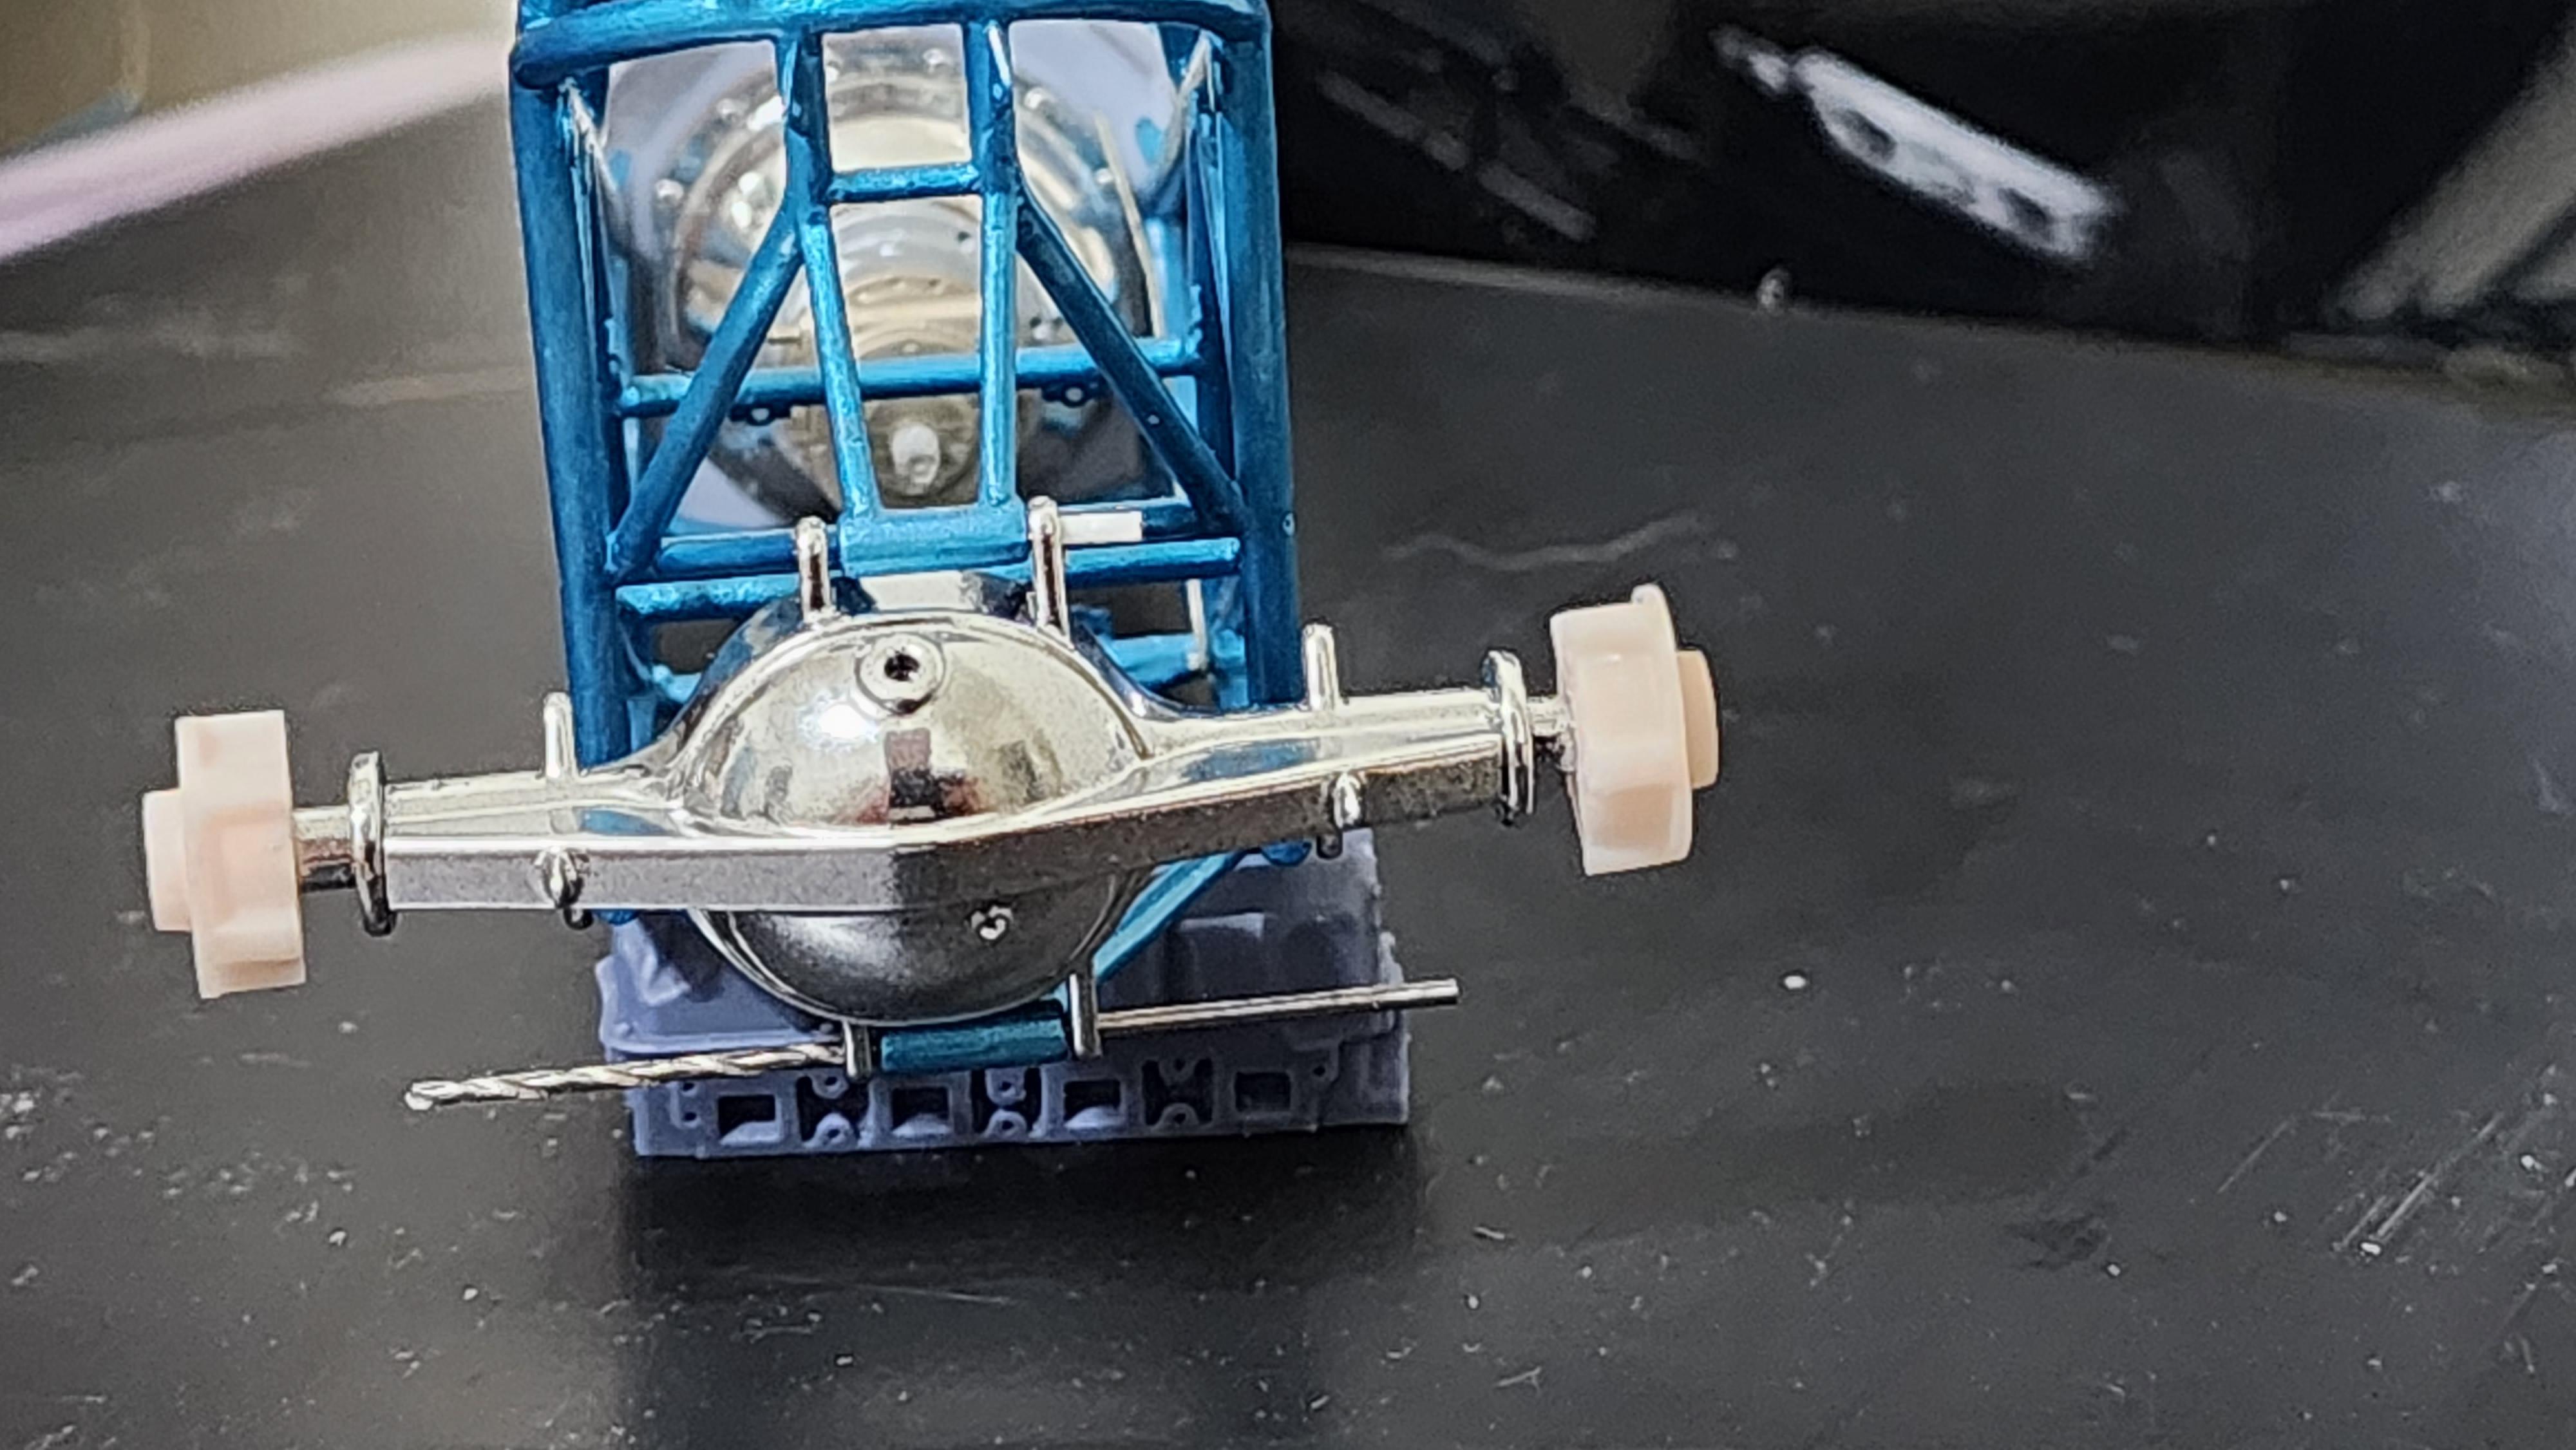
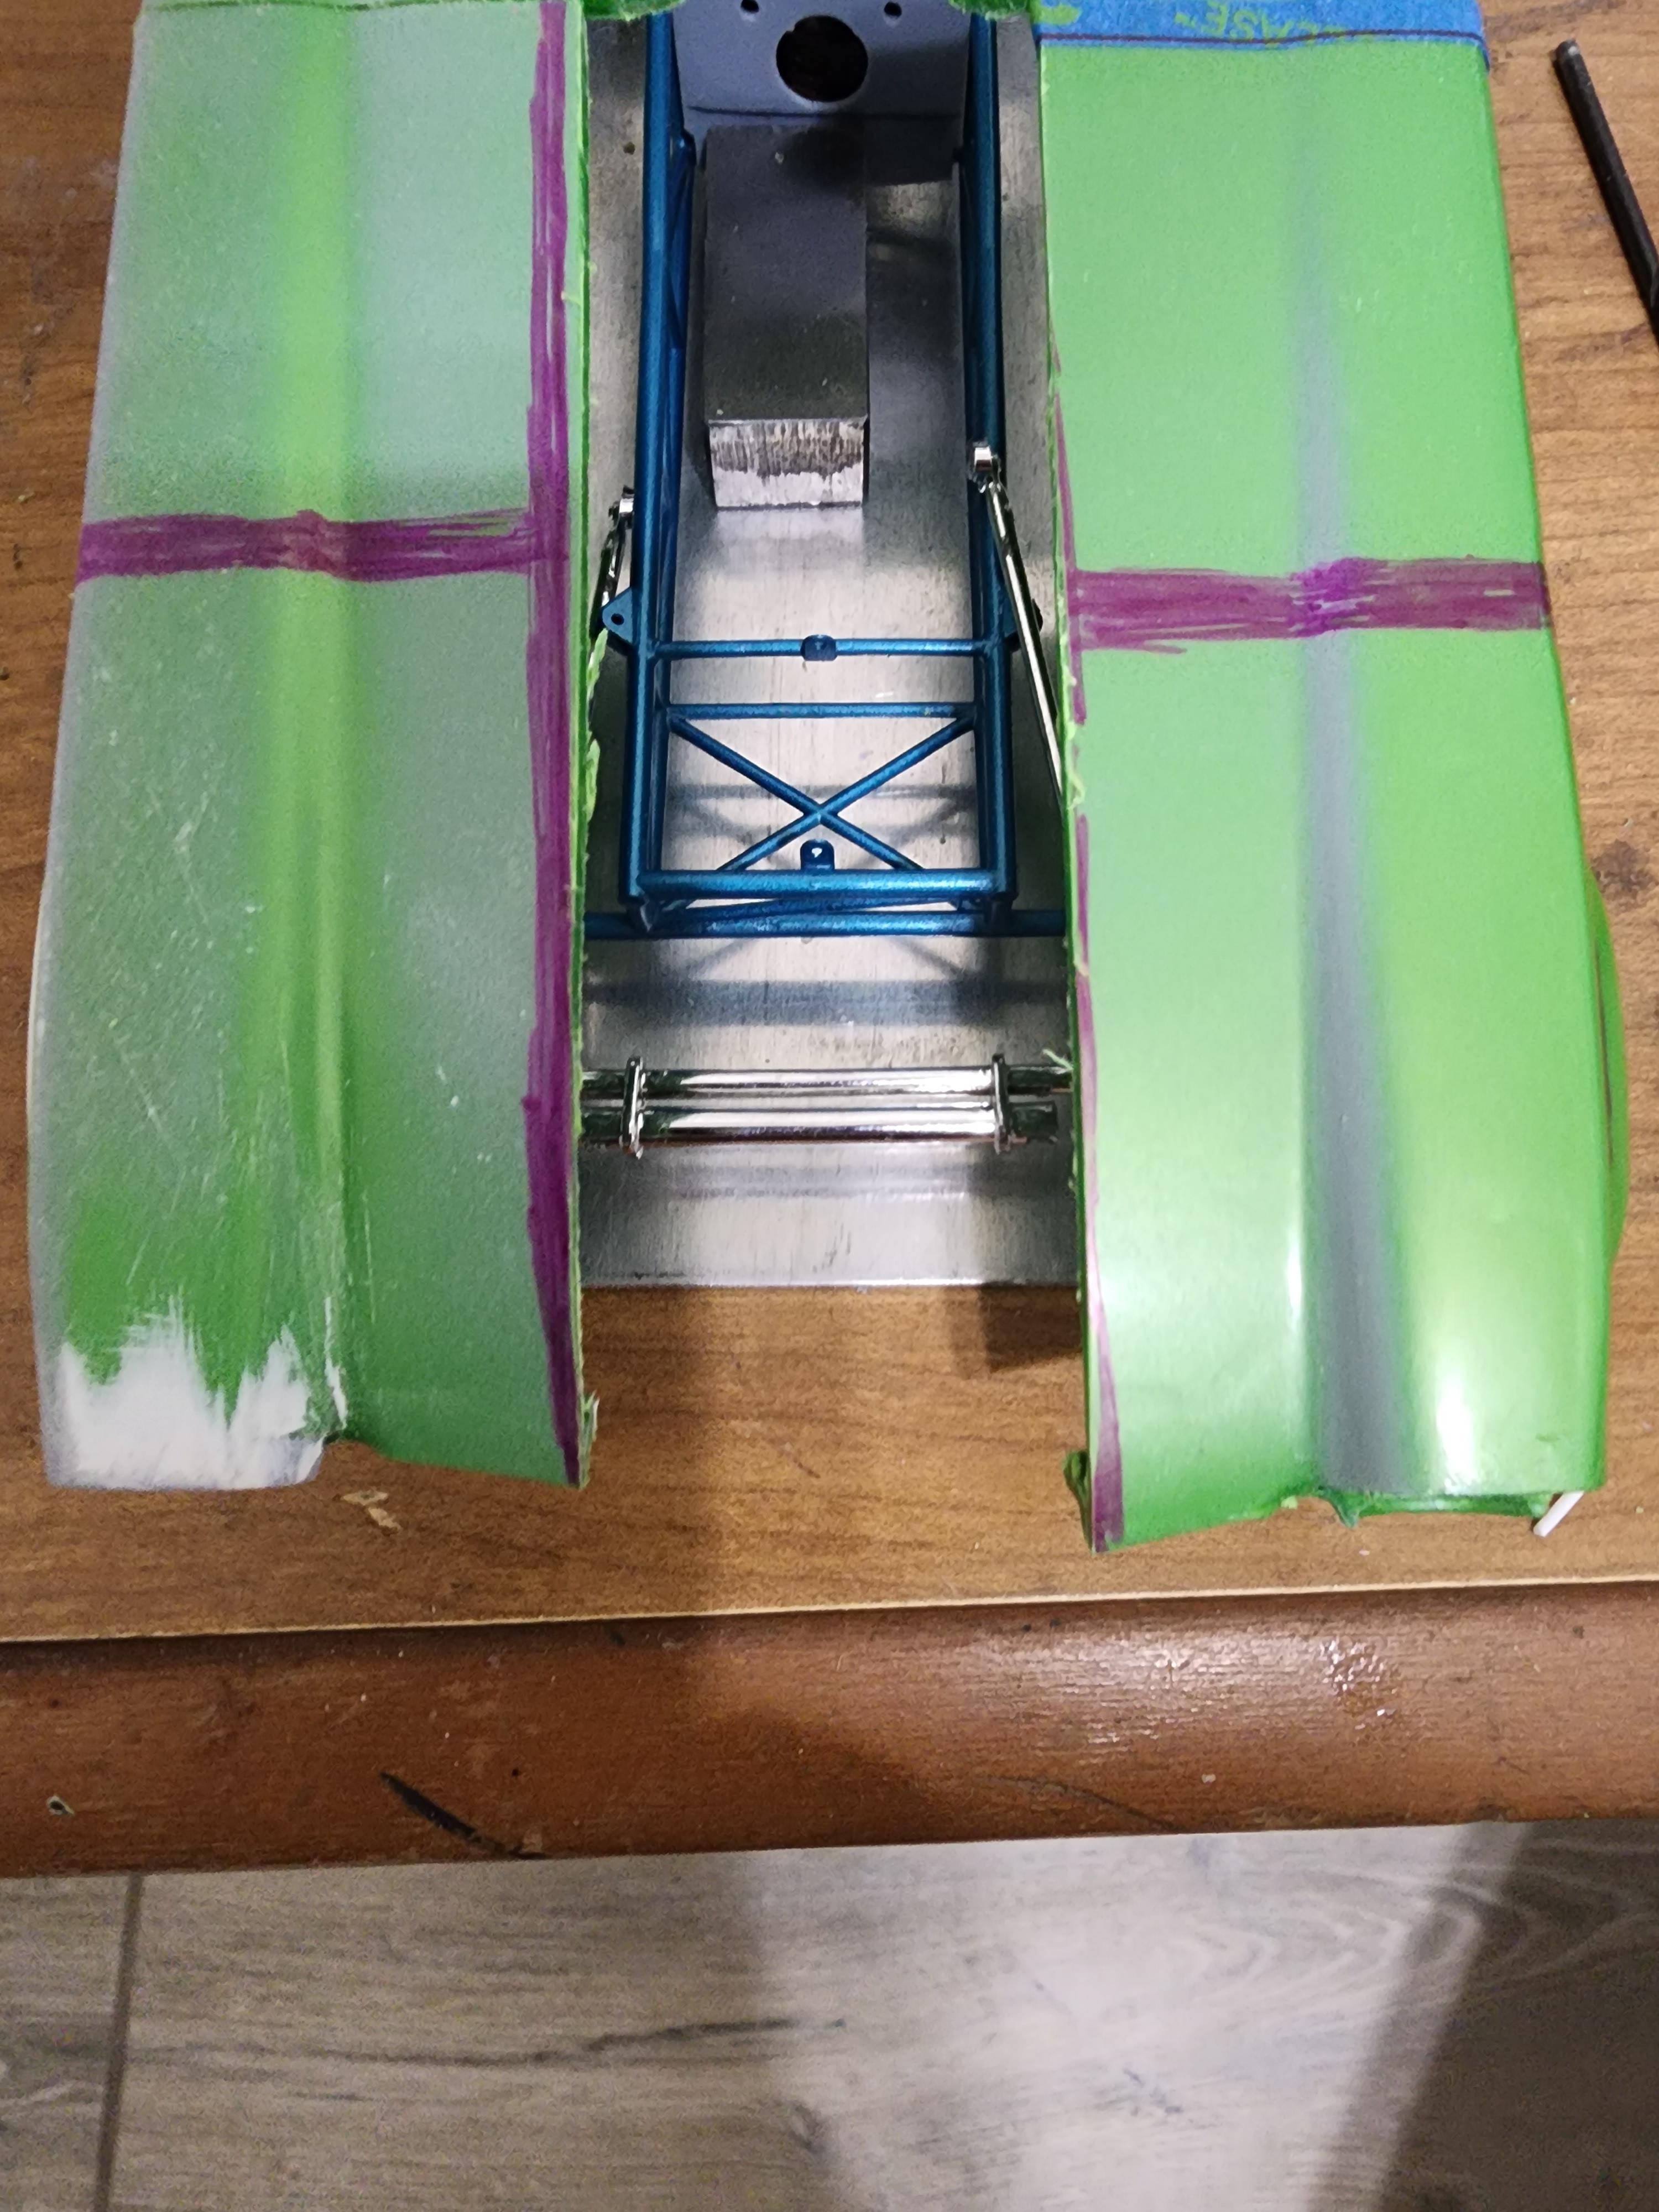
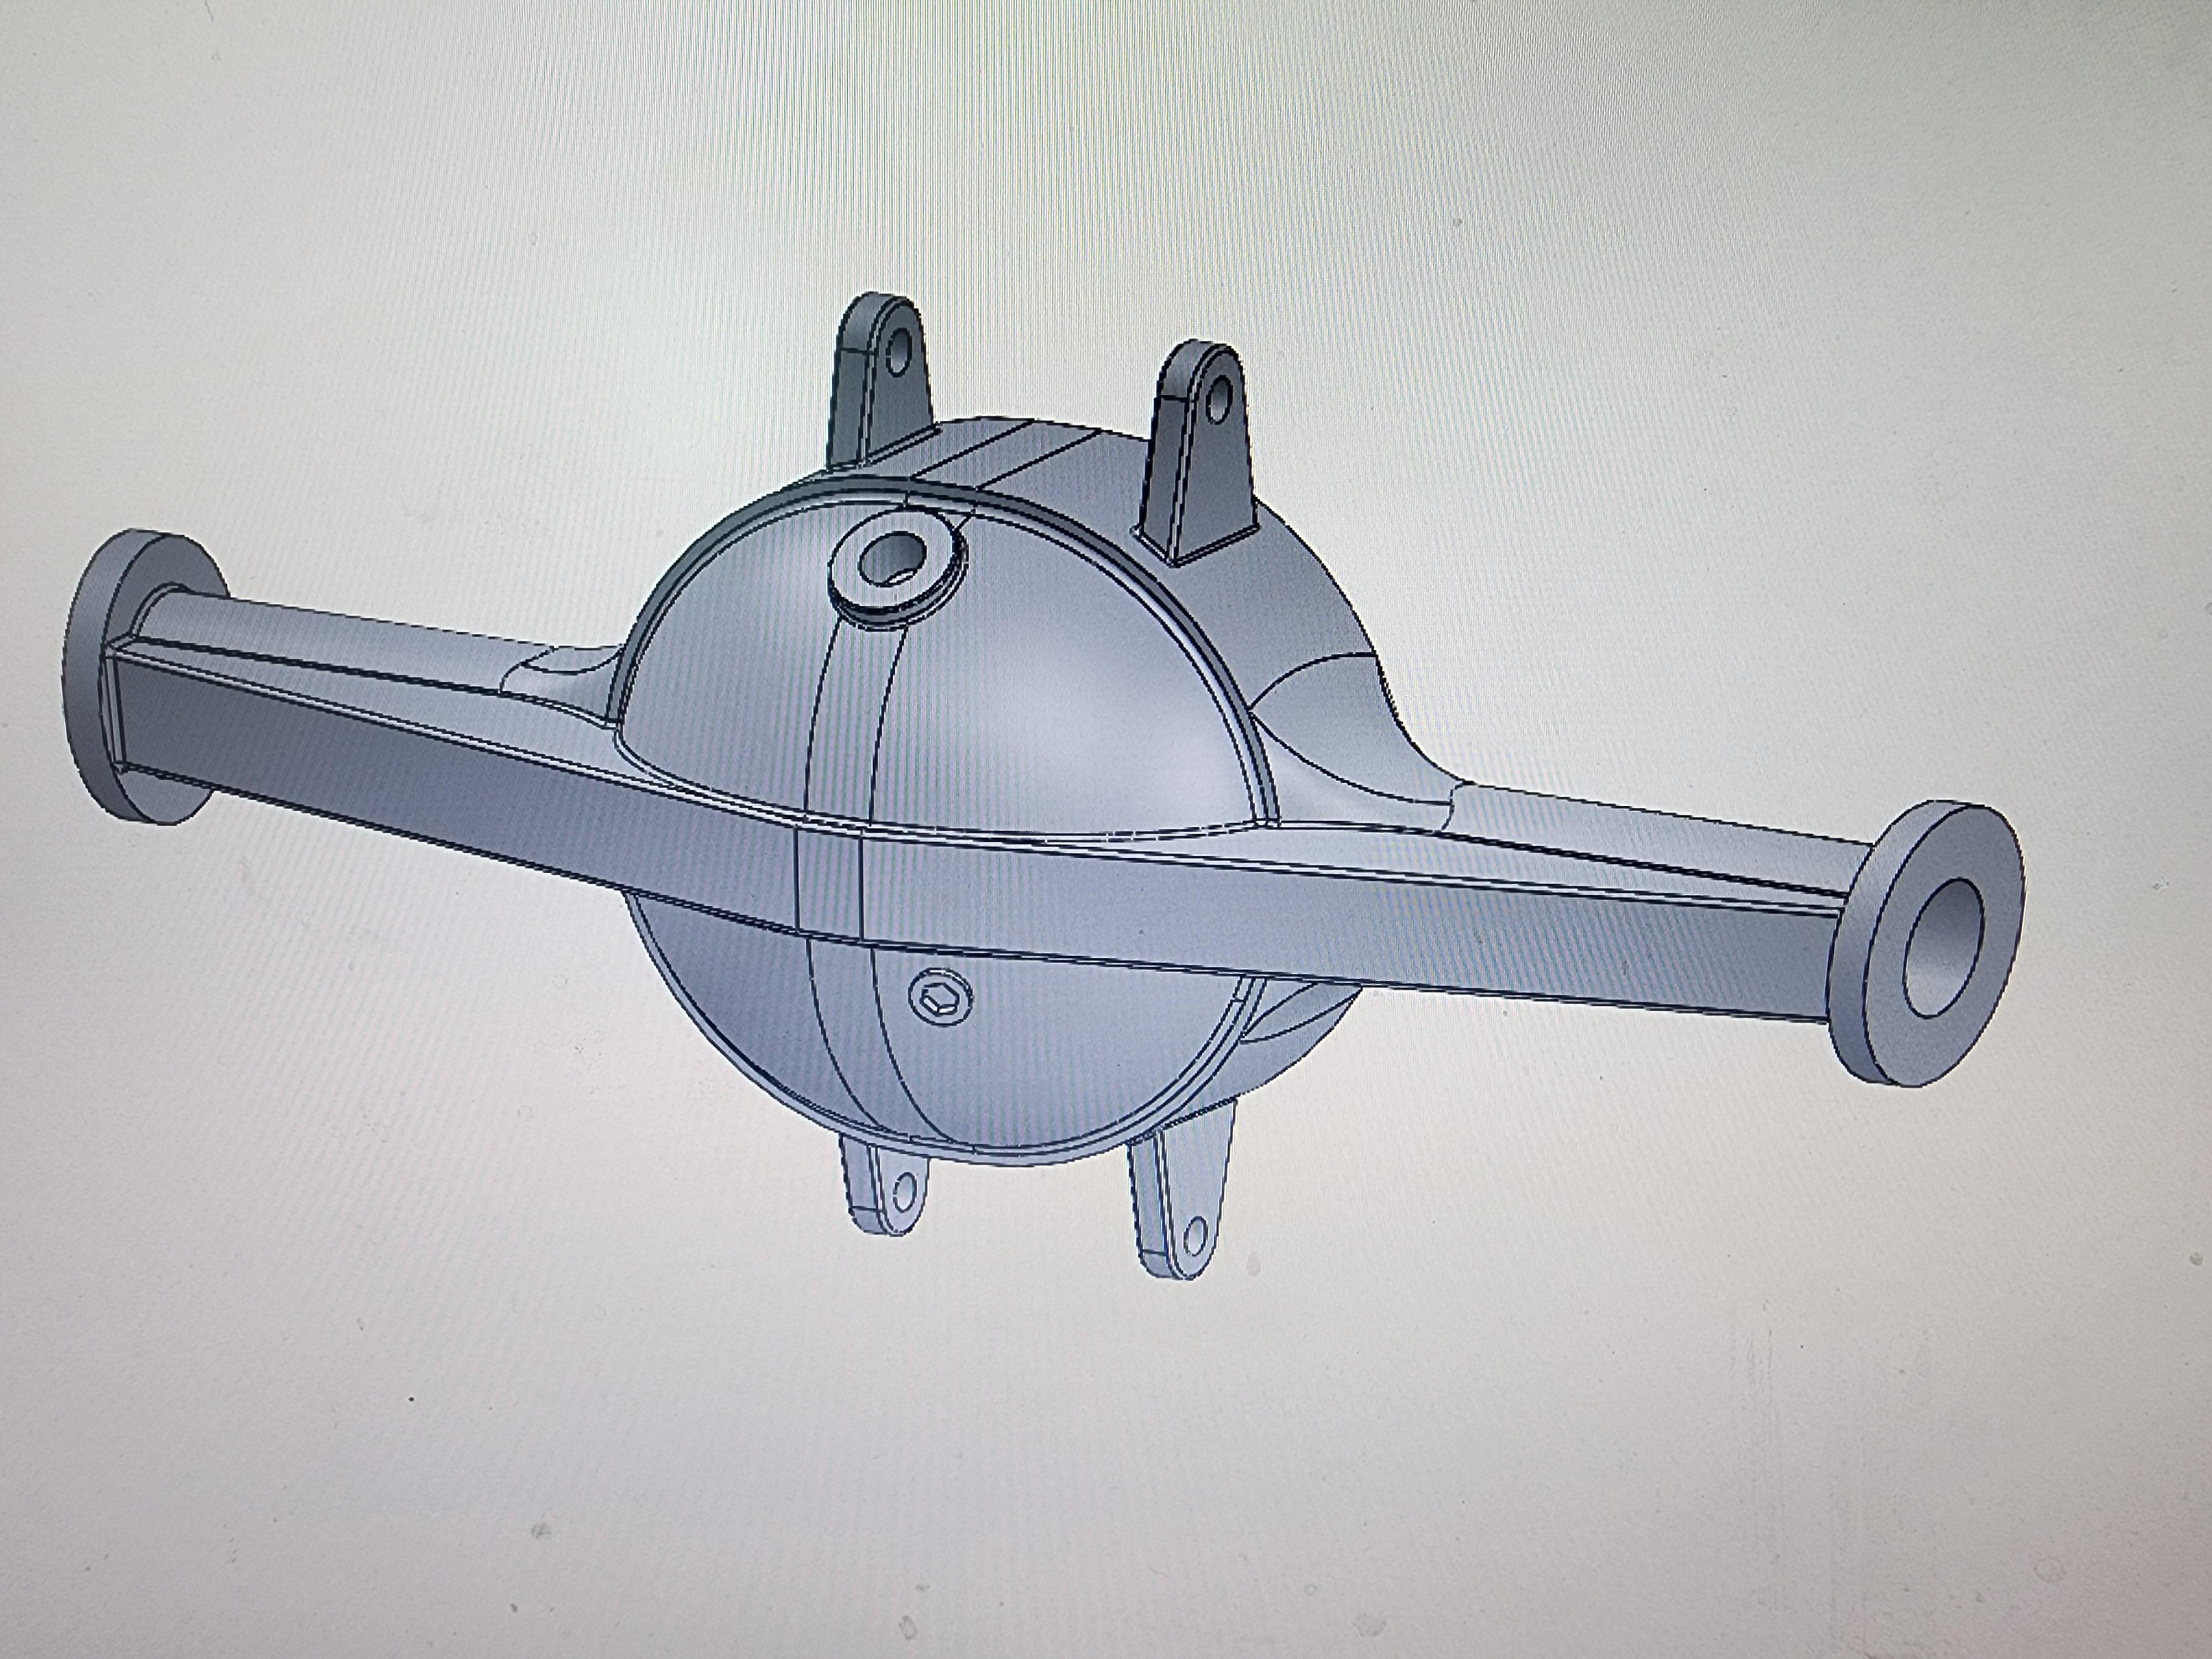
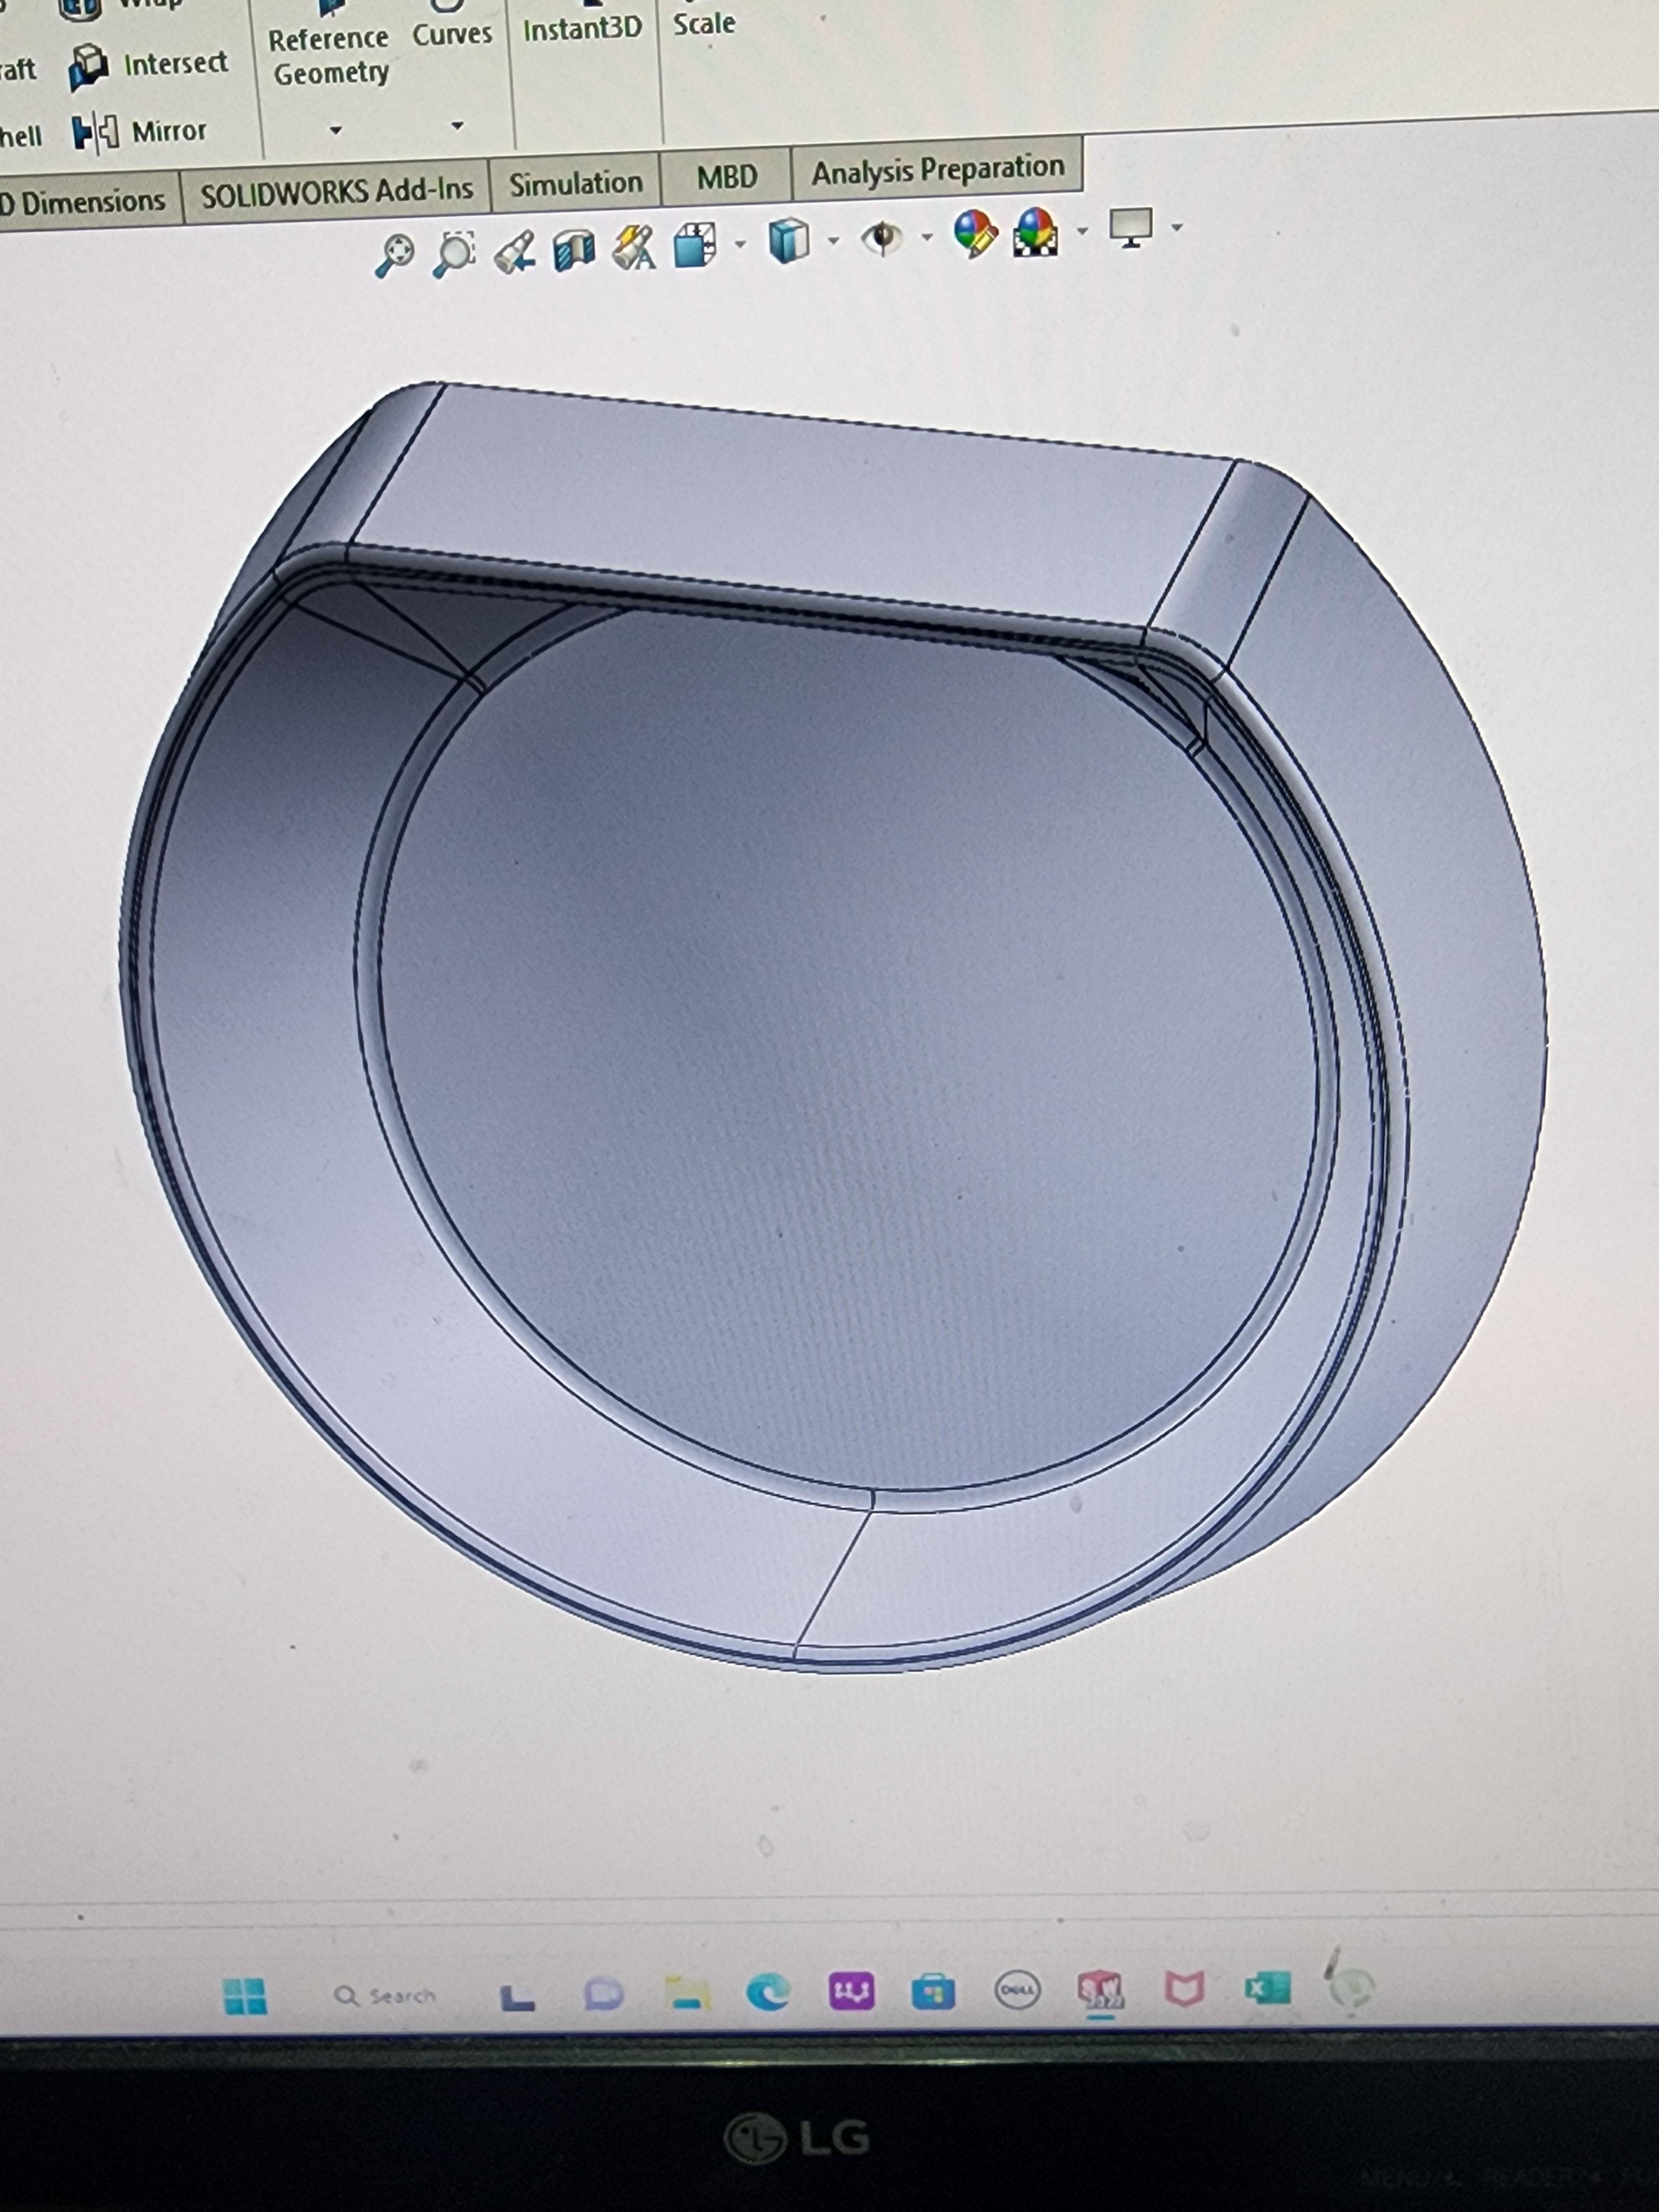
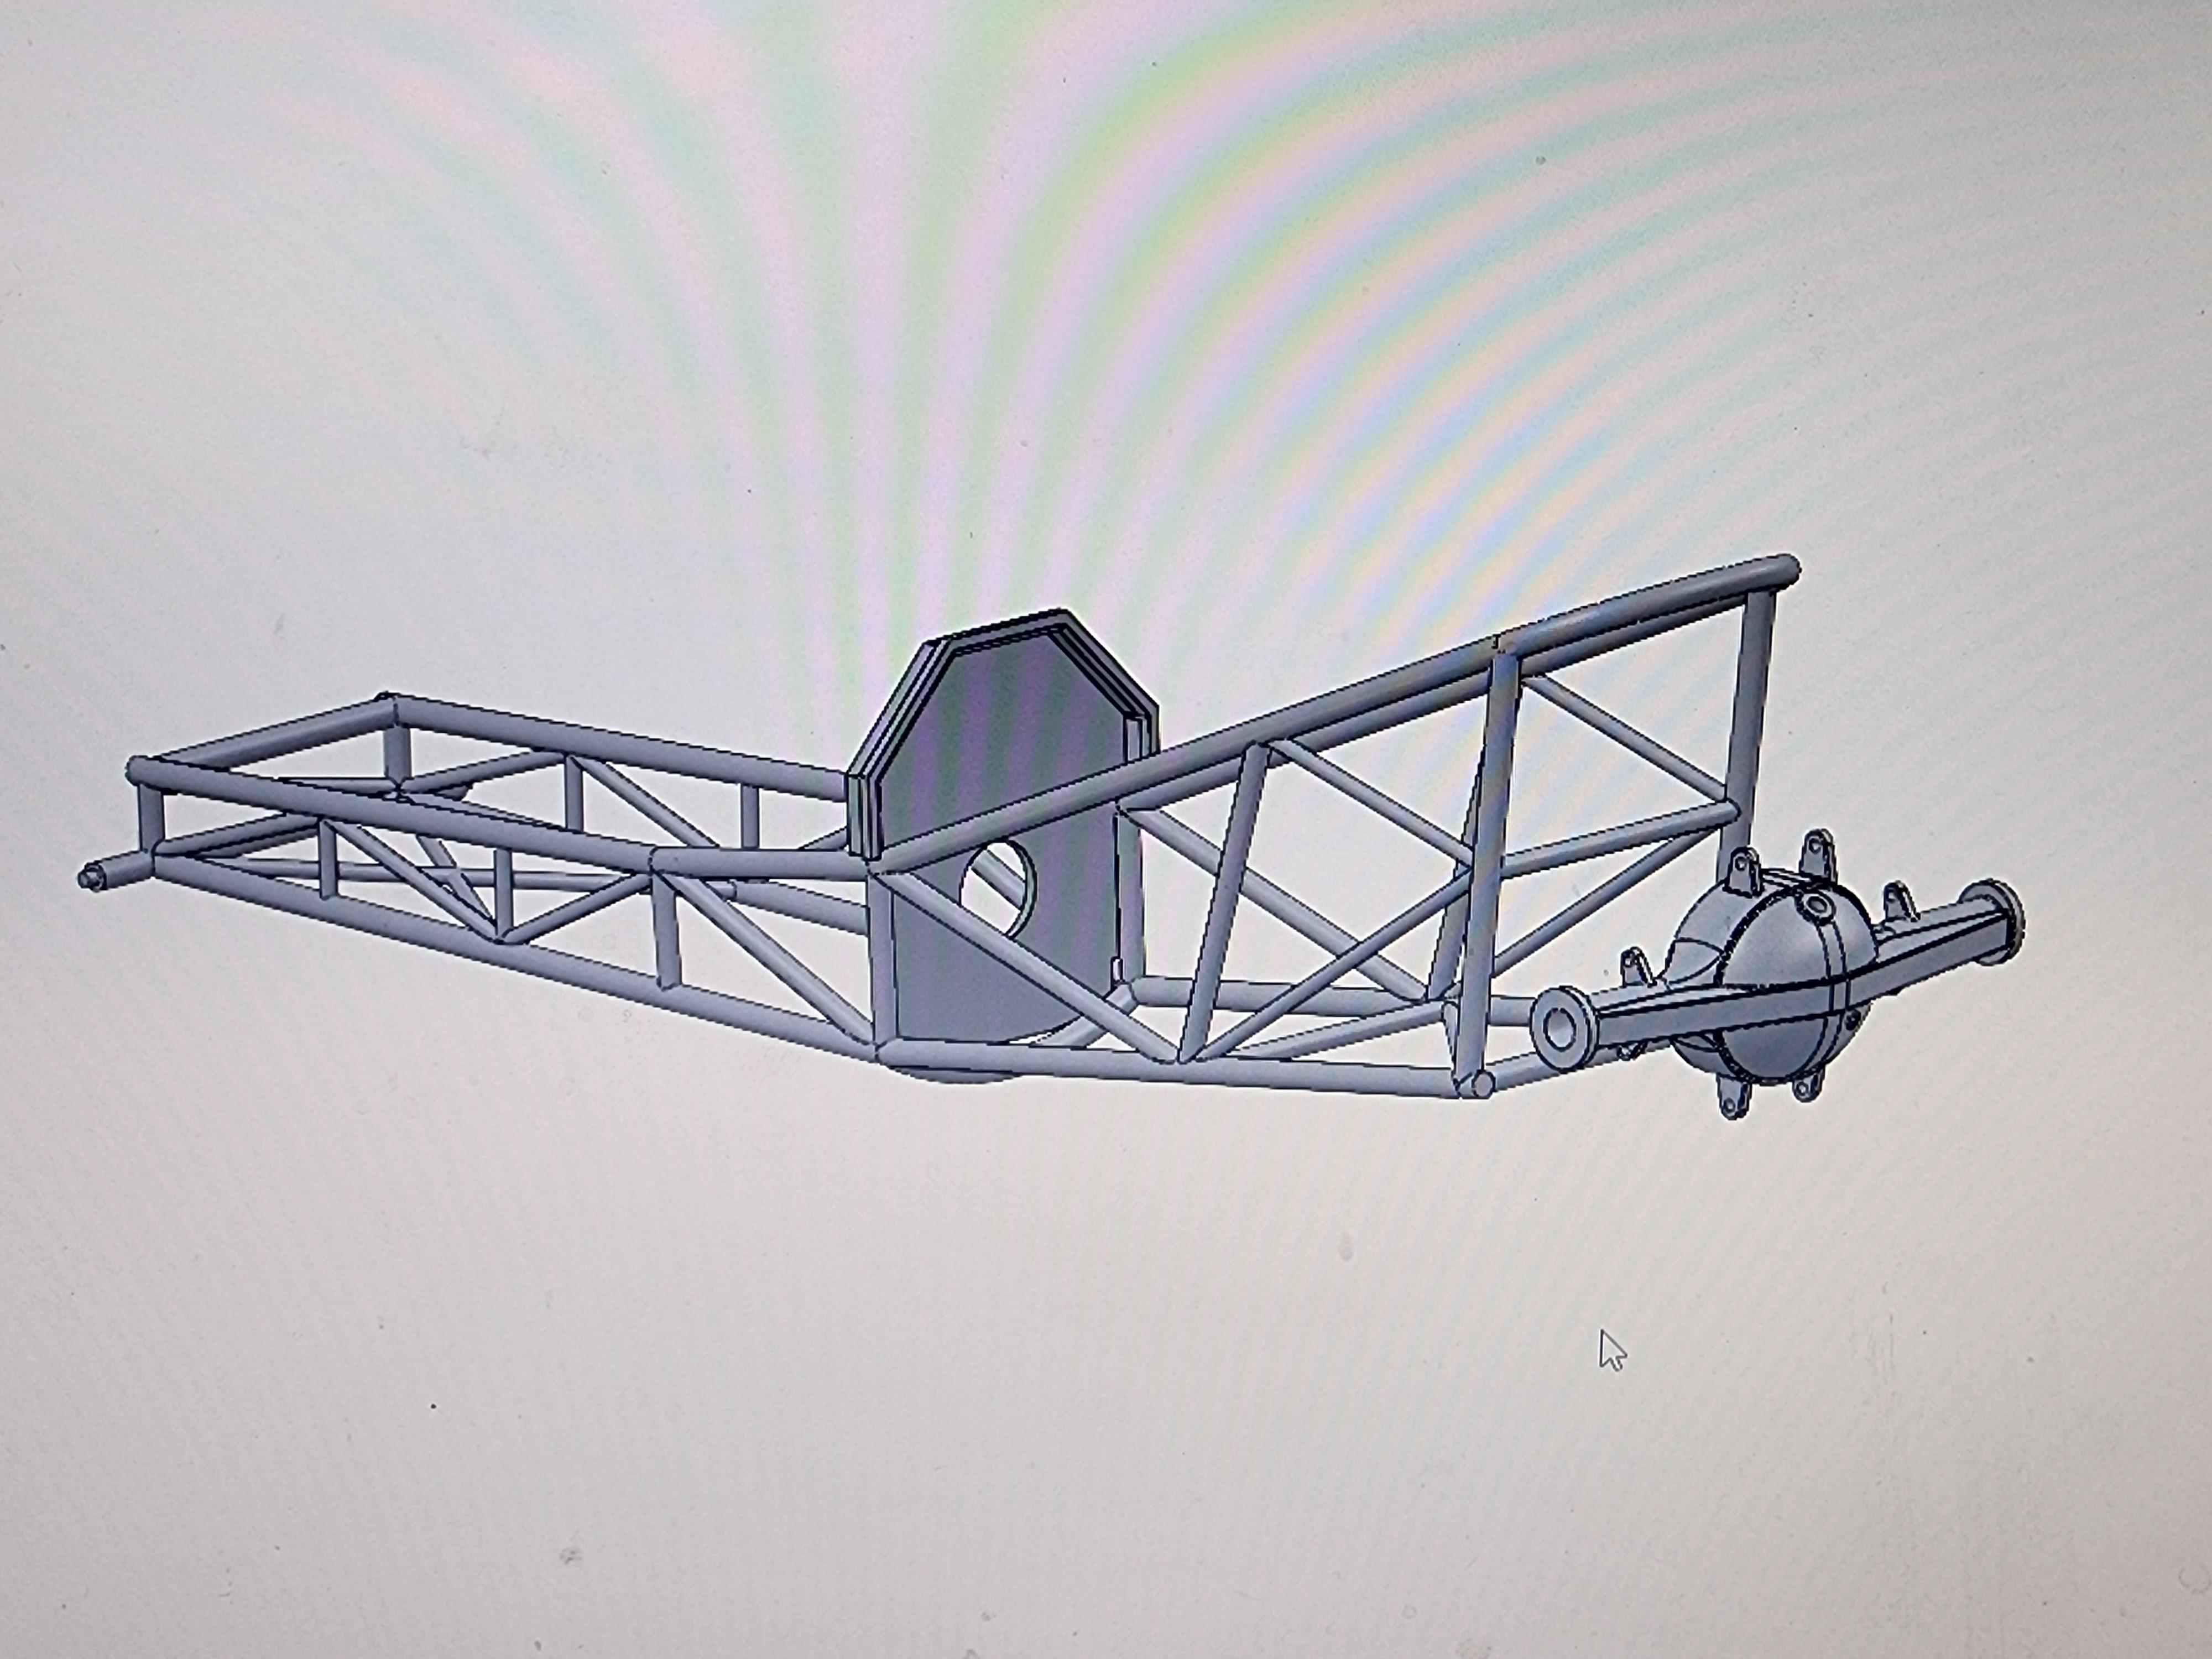
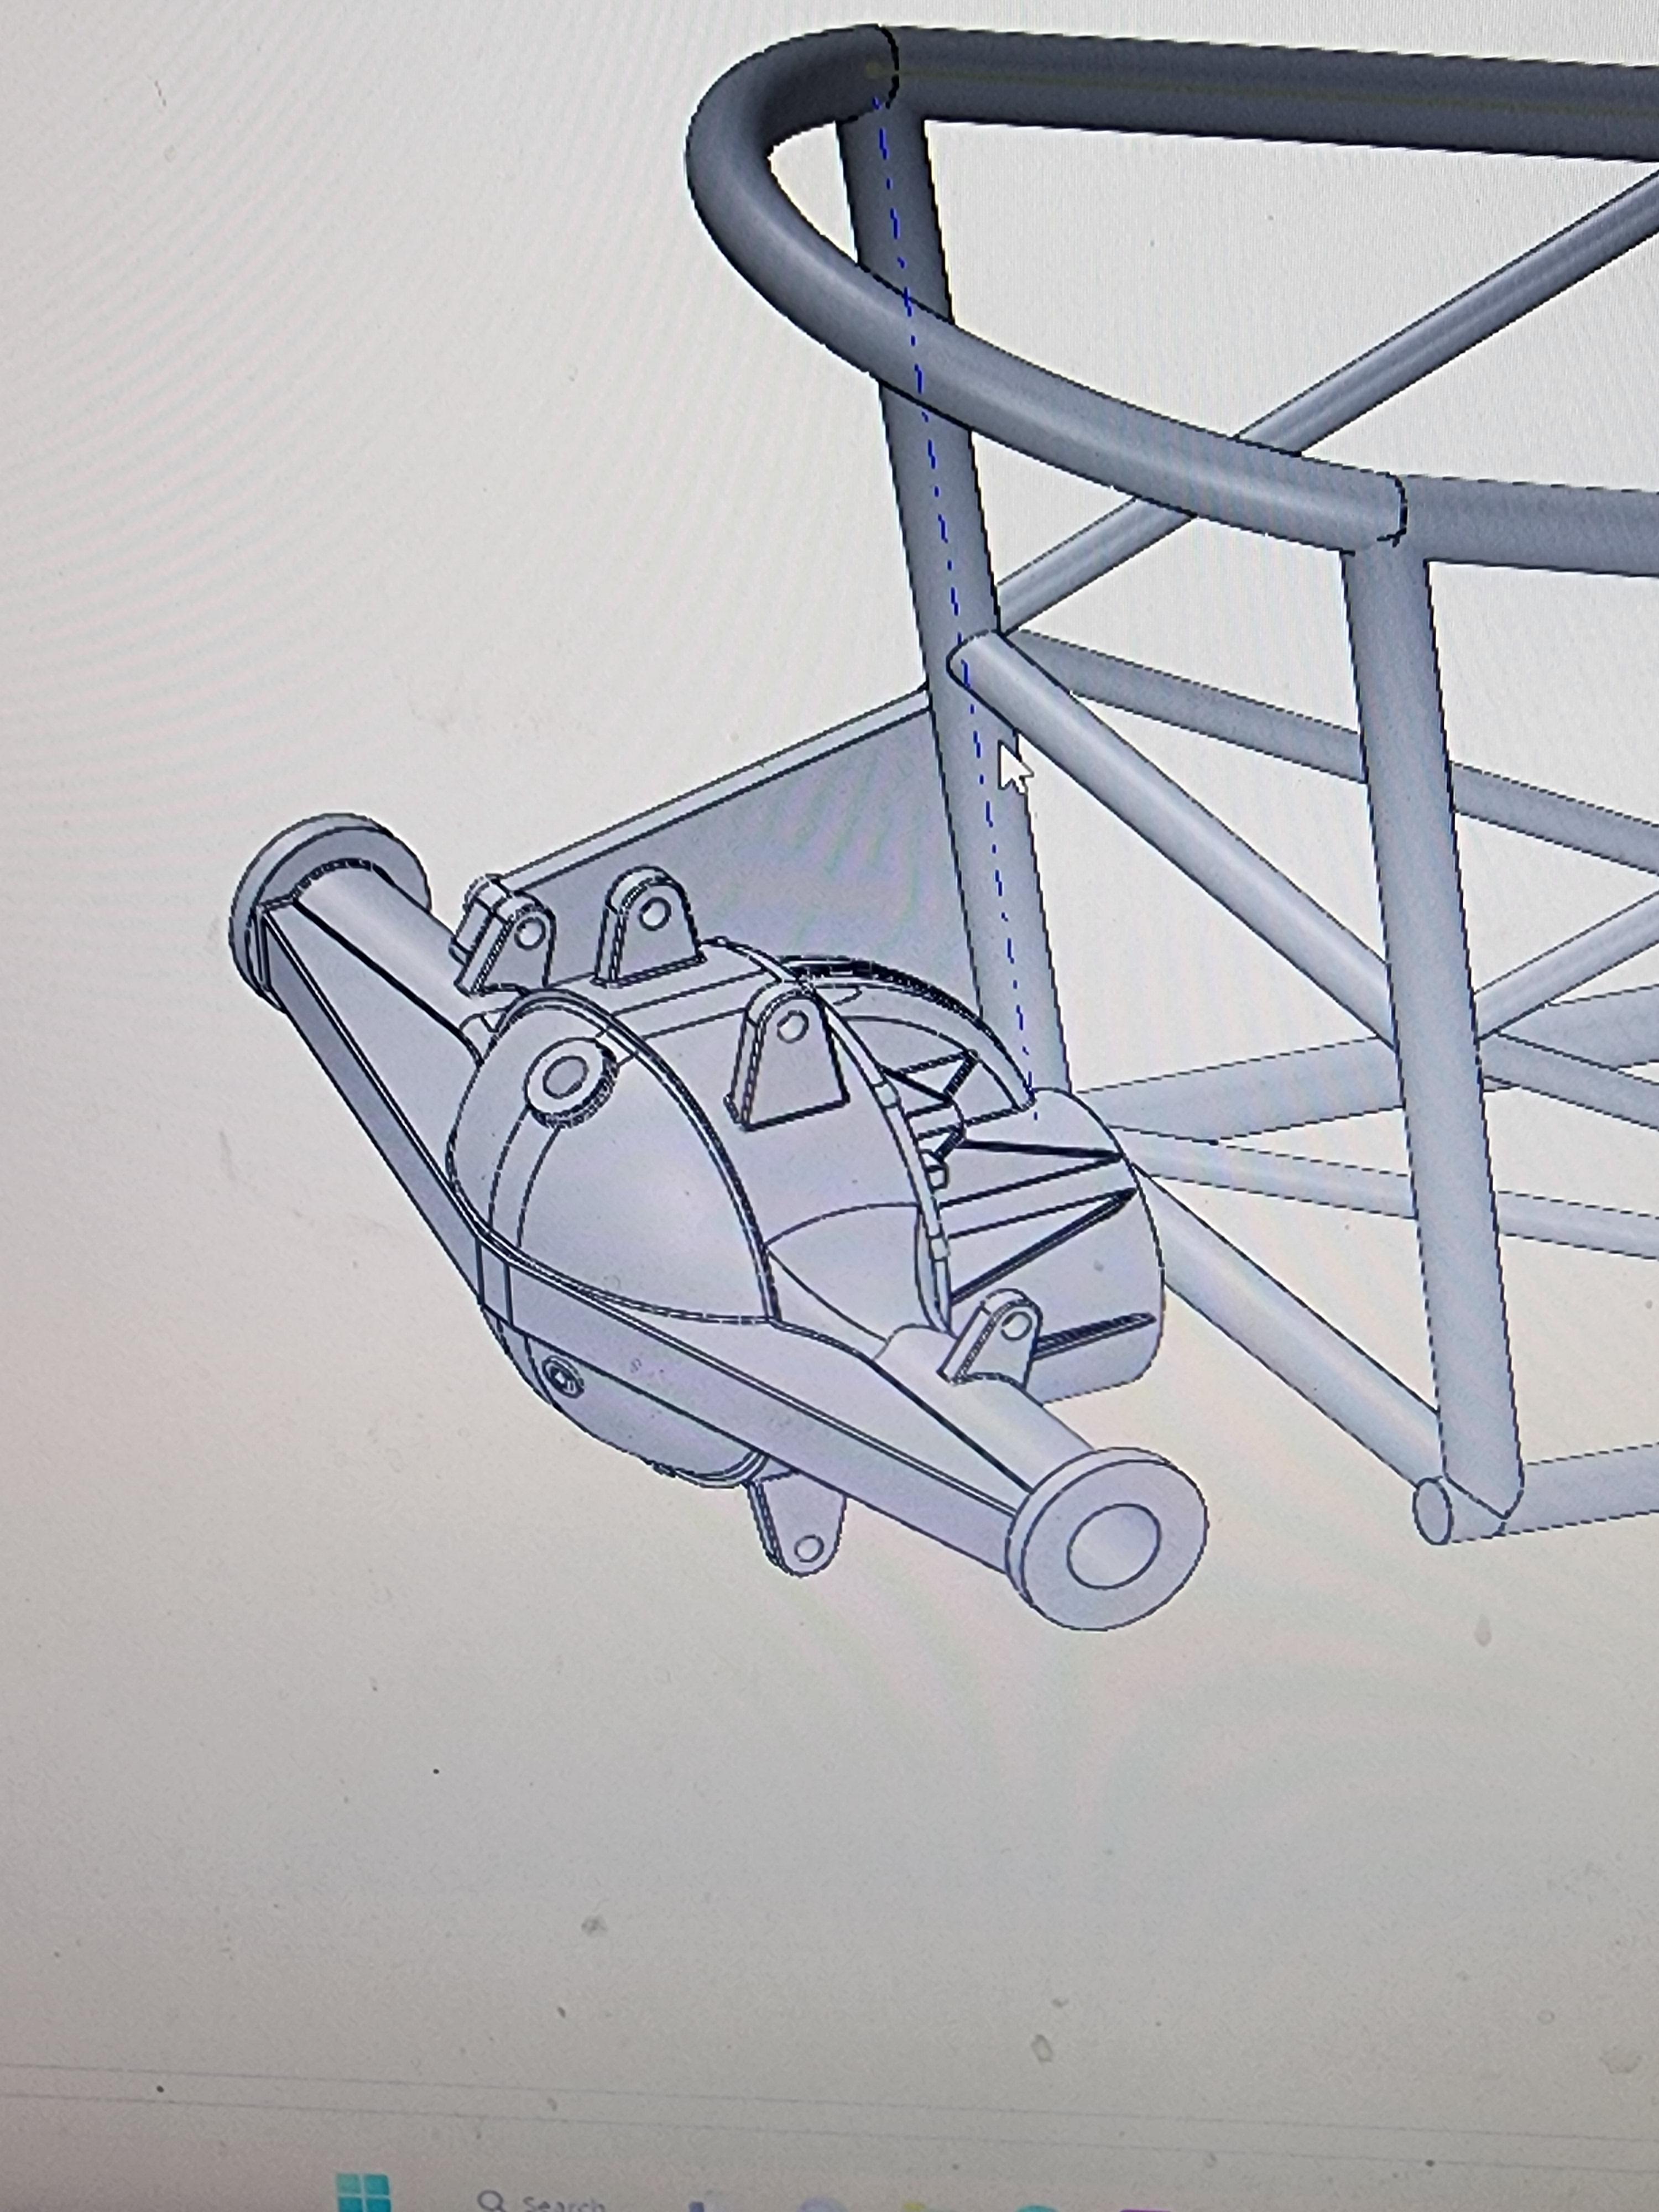
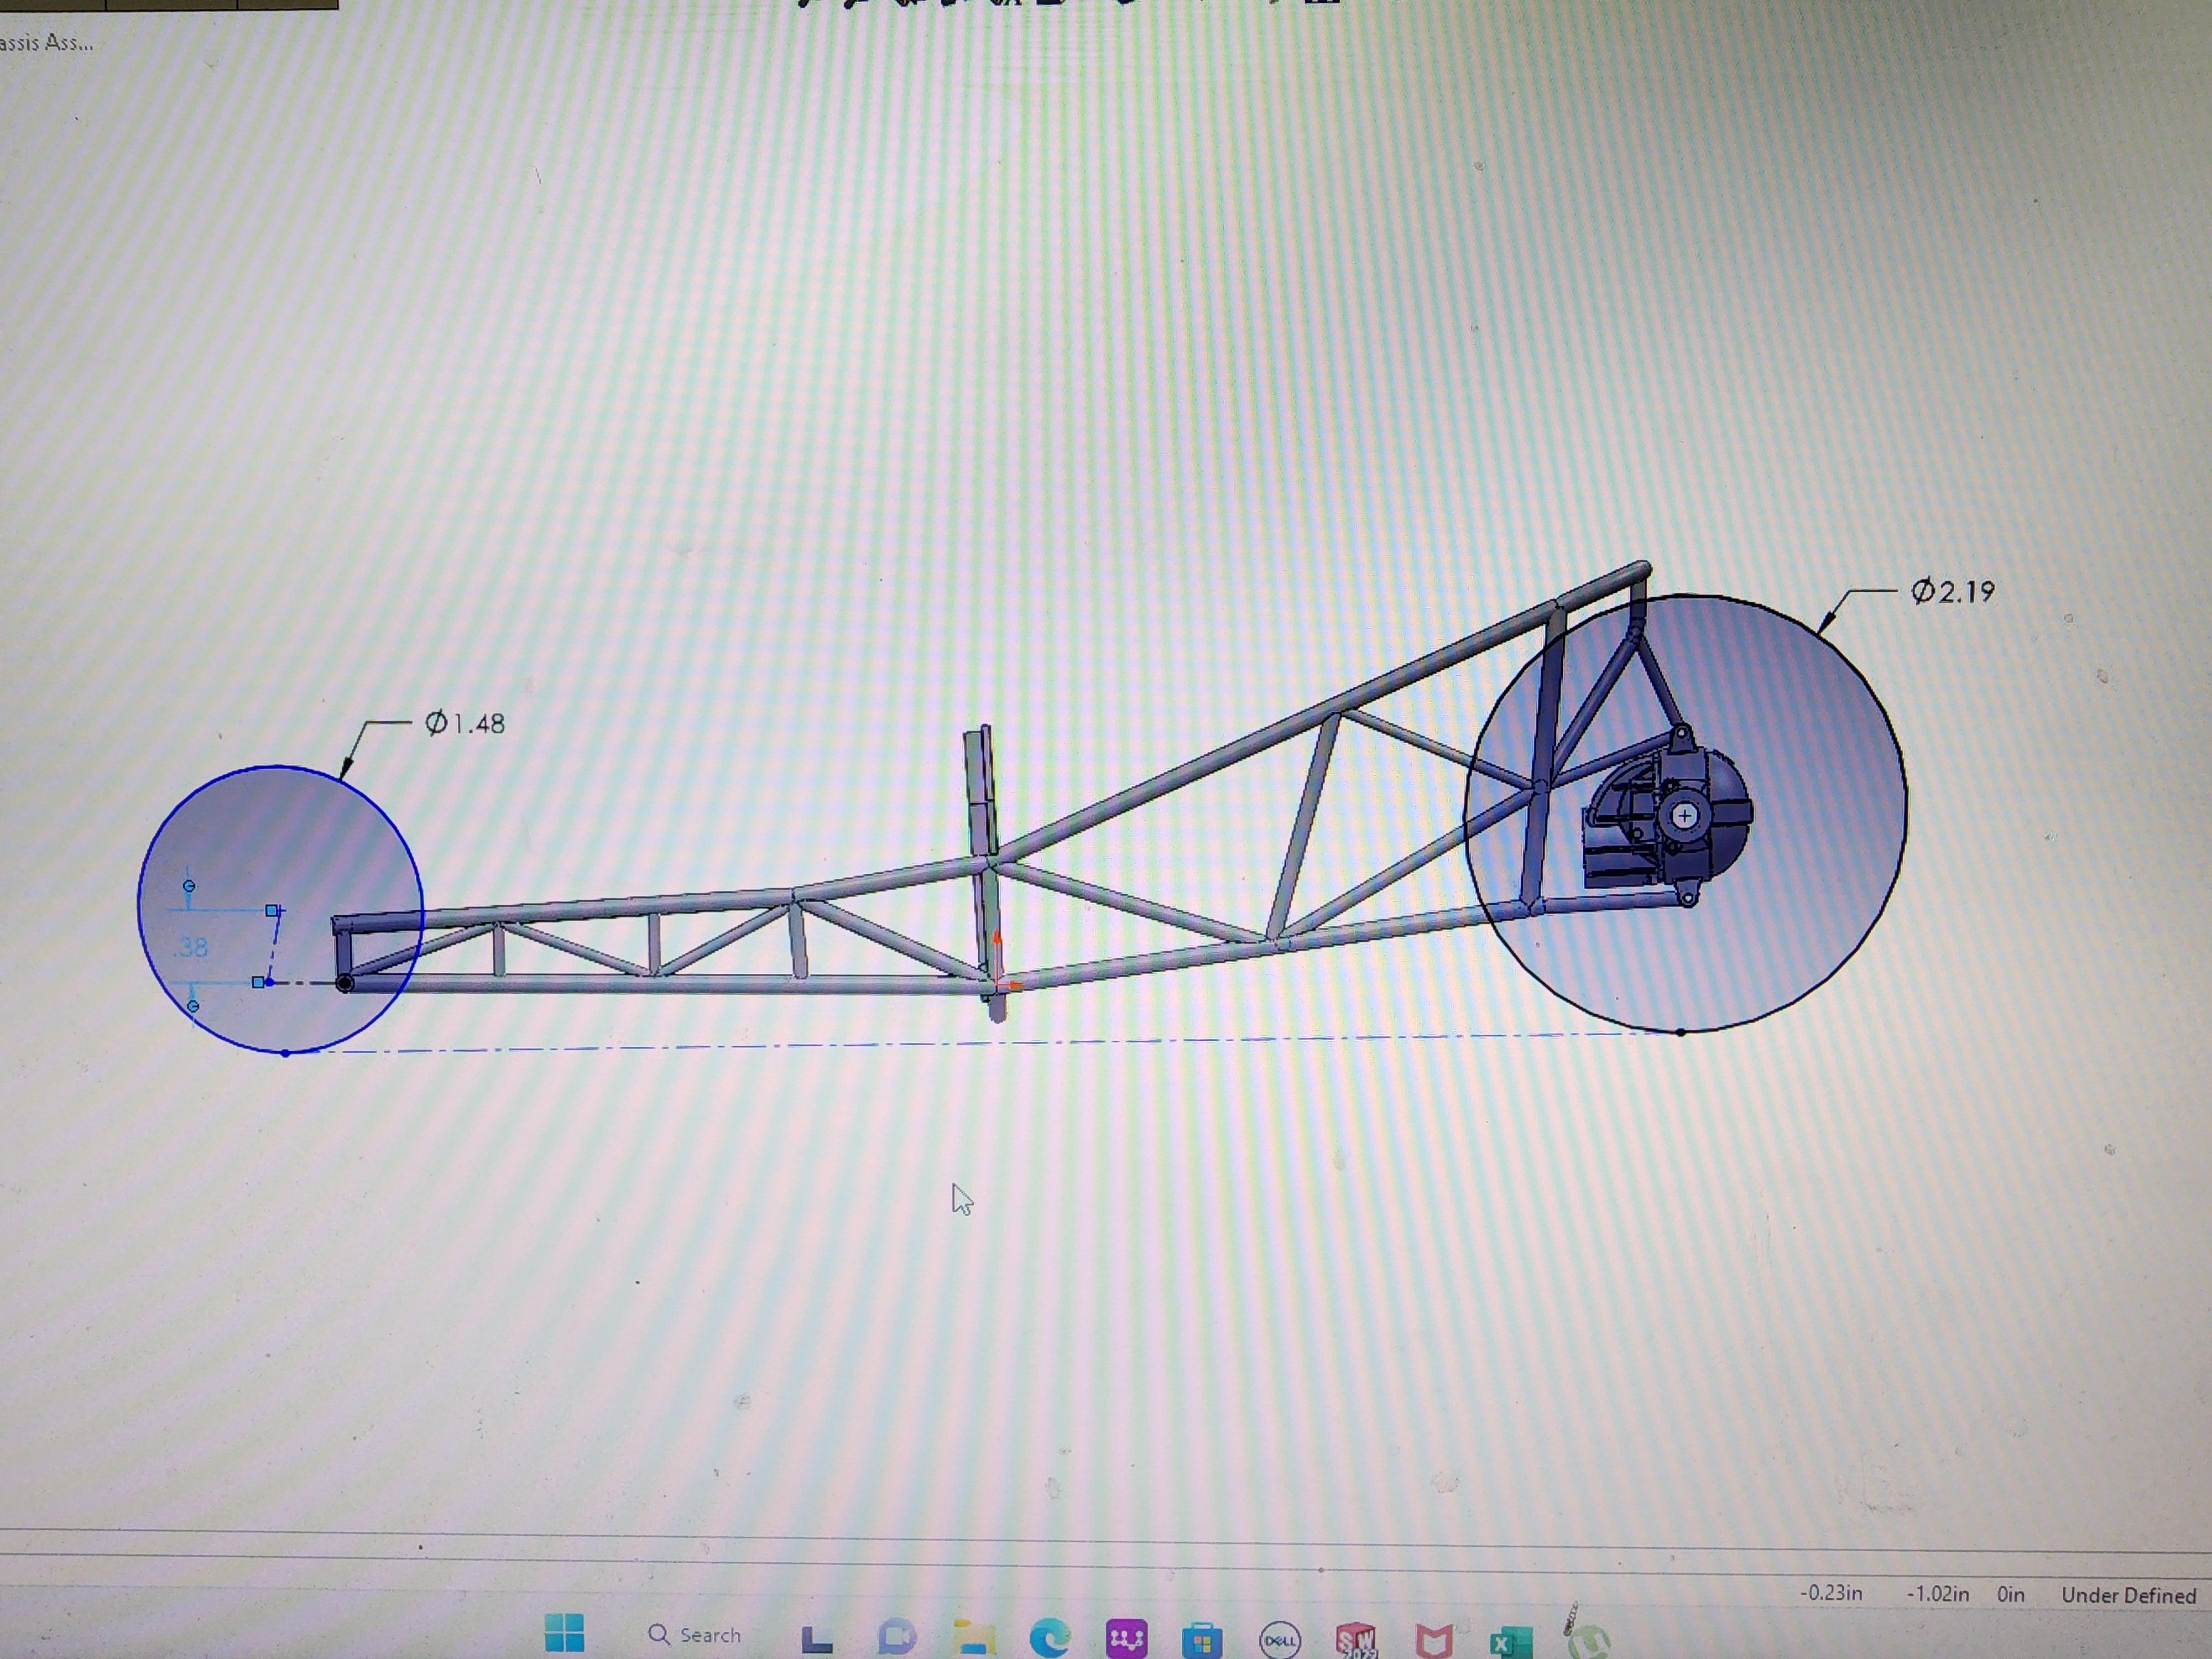
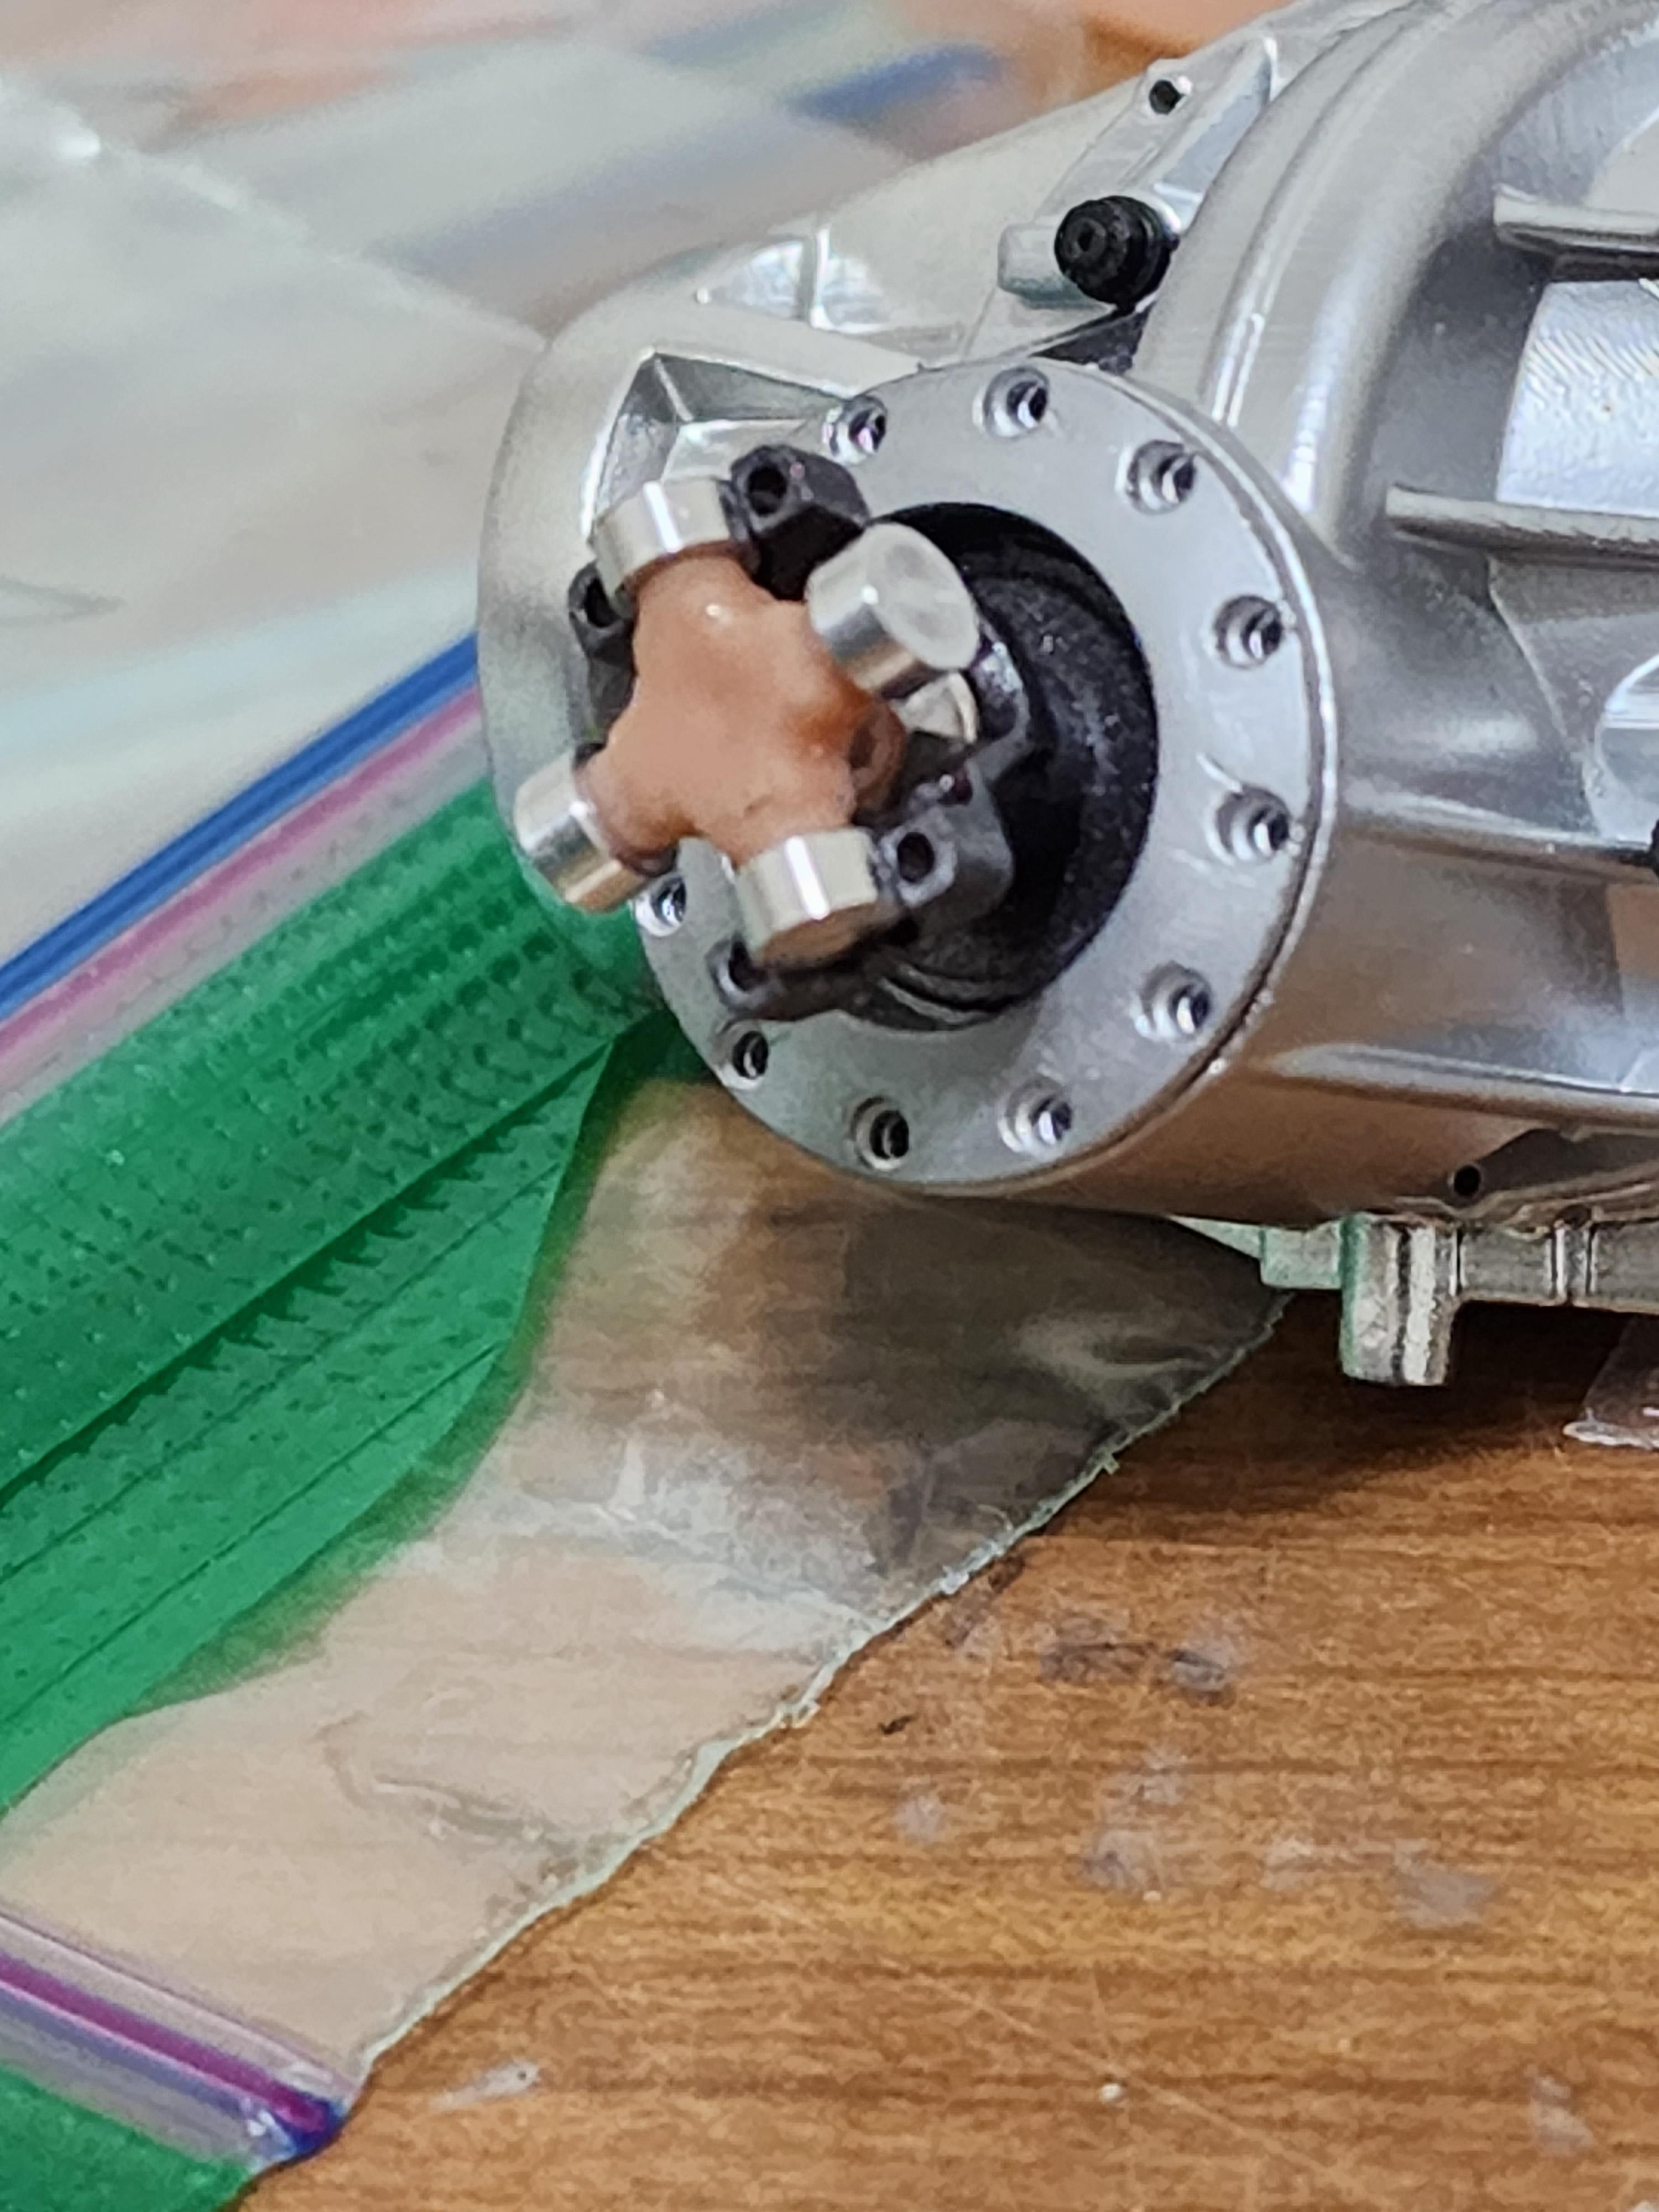
Mocked up either the body, you can see how far our of whack the body is on the new chassis. 9 inch pumpkin supplied fromm good friend in NZ, he also supplied me with the barrel valve. Initially thought to have a 2 spd lenco, I soon realized that it wasn't a 2 spd but an overdrive unit. Back to the cad box I go...lol Working couplers for the rear end housing. This car ran a right side steer so it took a special mount to flip the box. Amd the chassis in paint with all the photo etch tab work done thanks to Futurattraction parts!
-
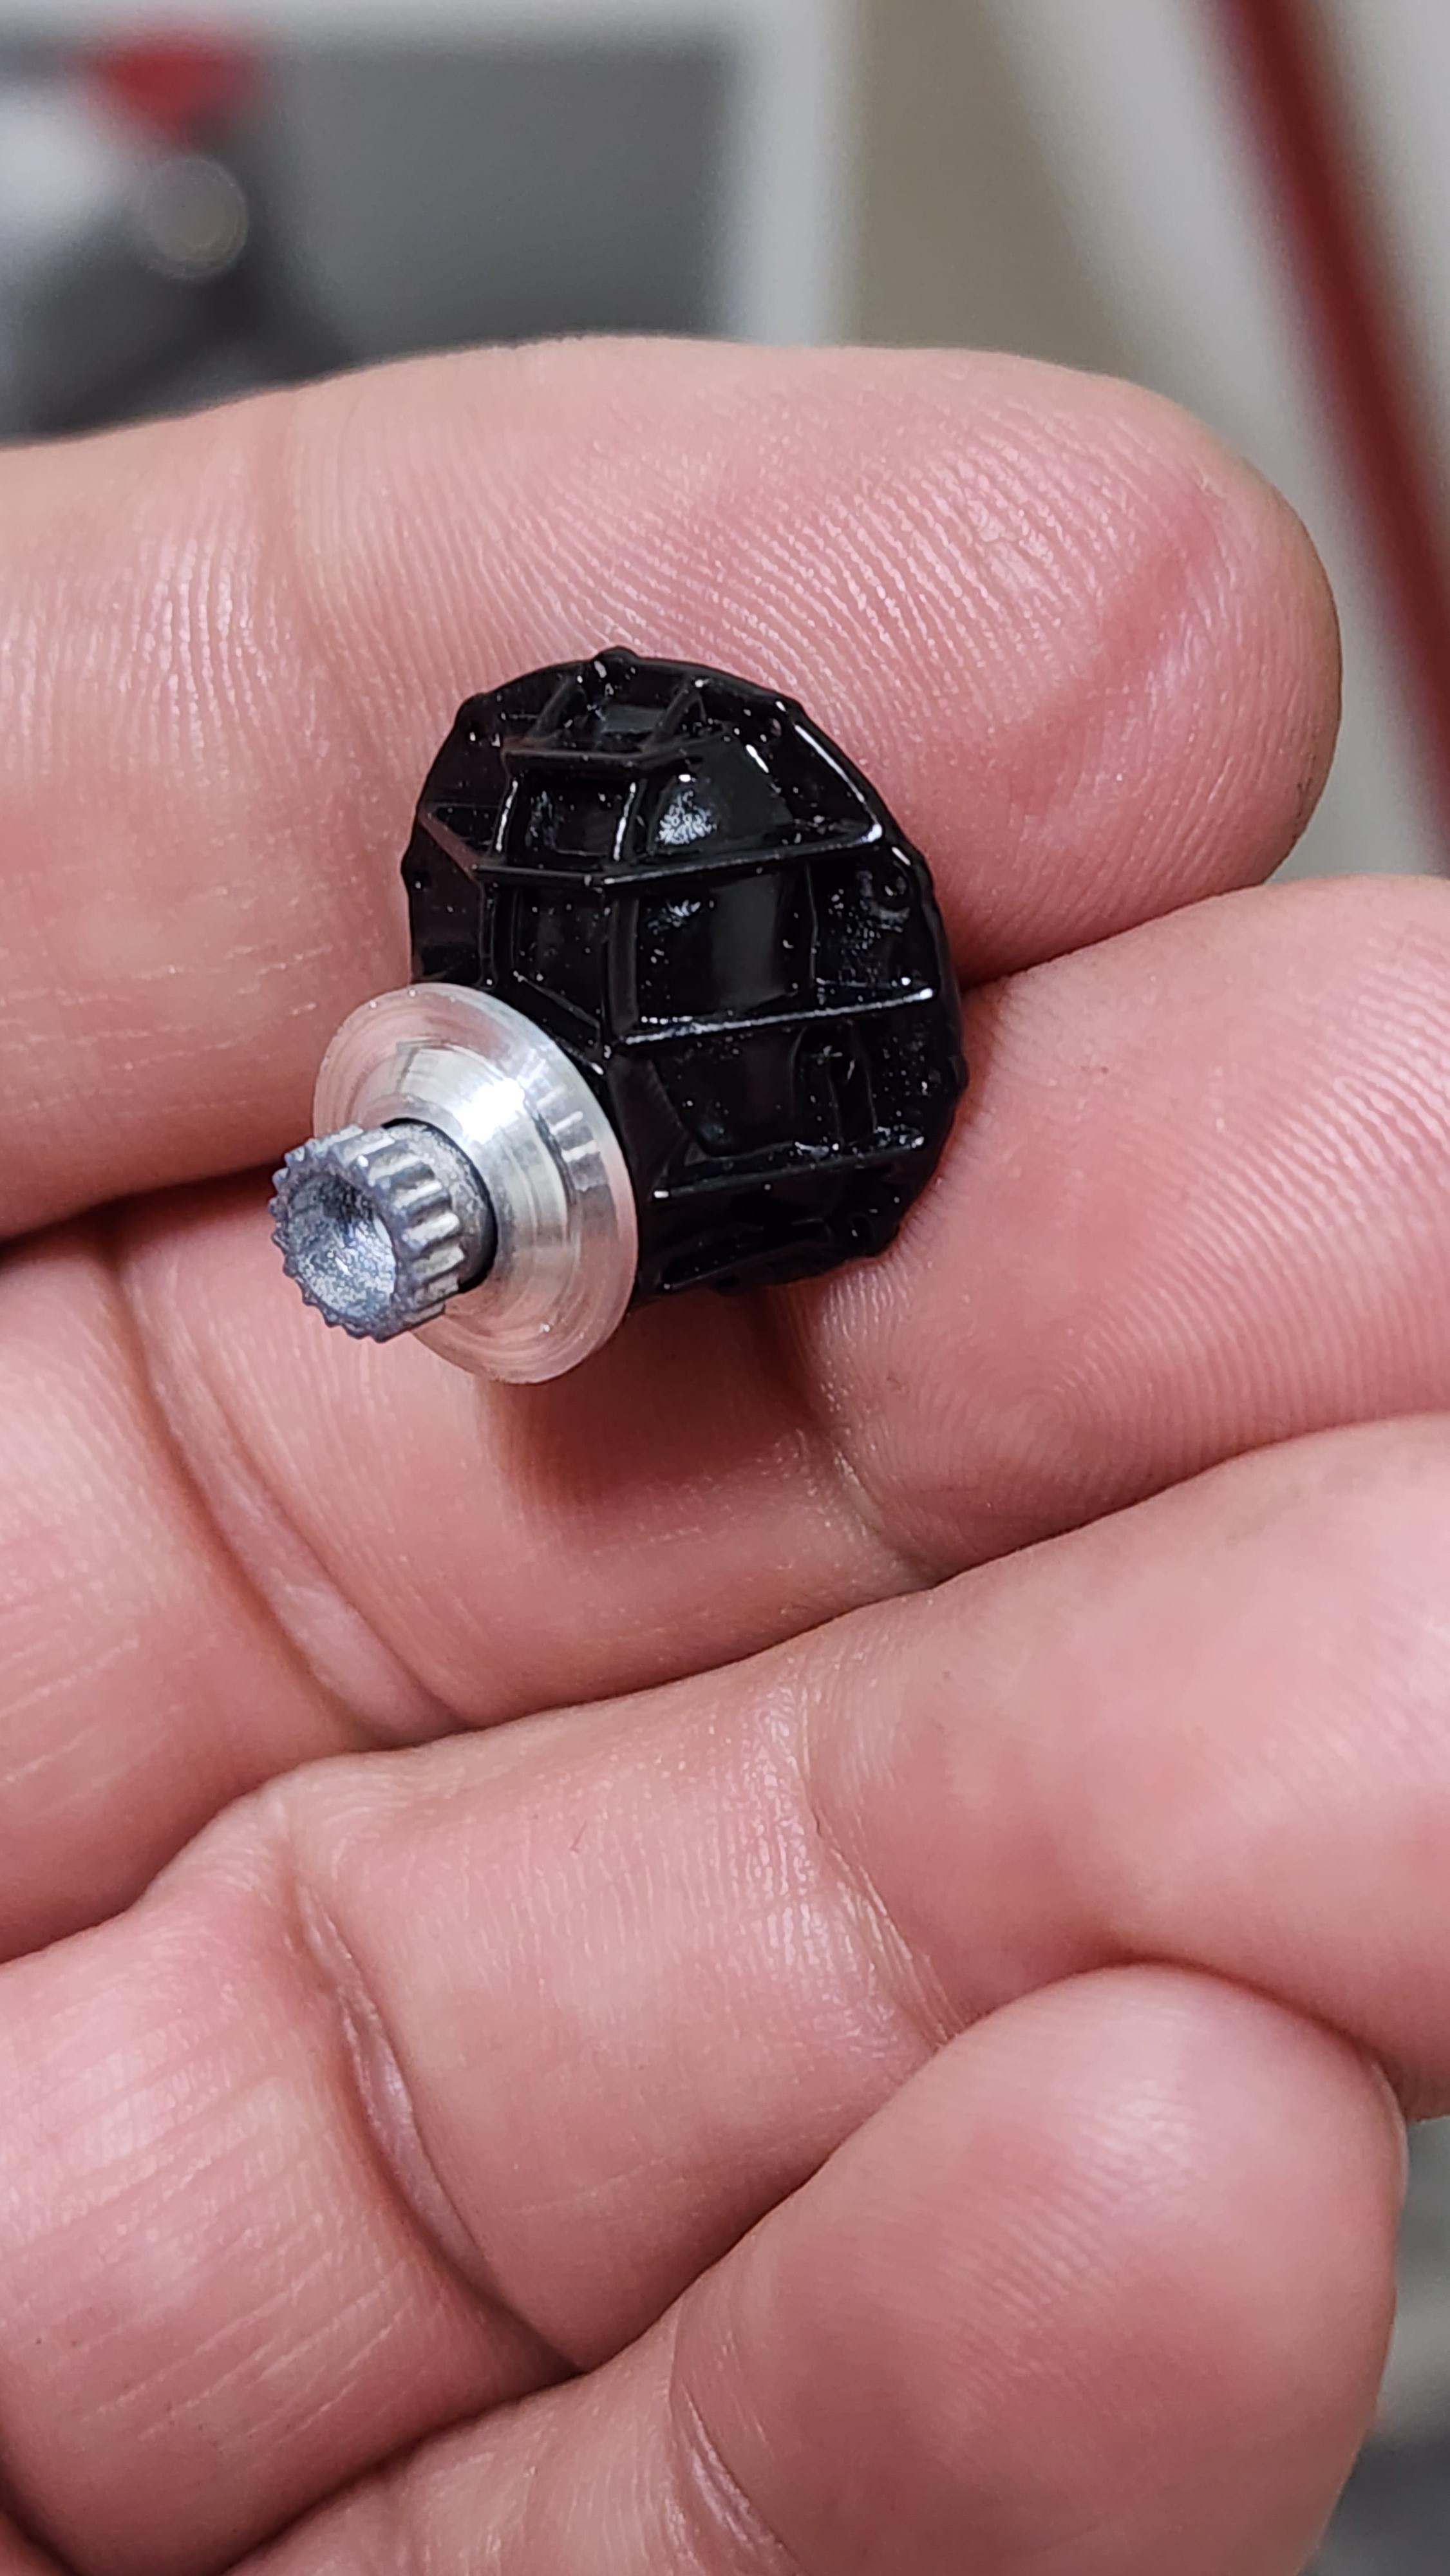
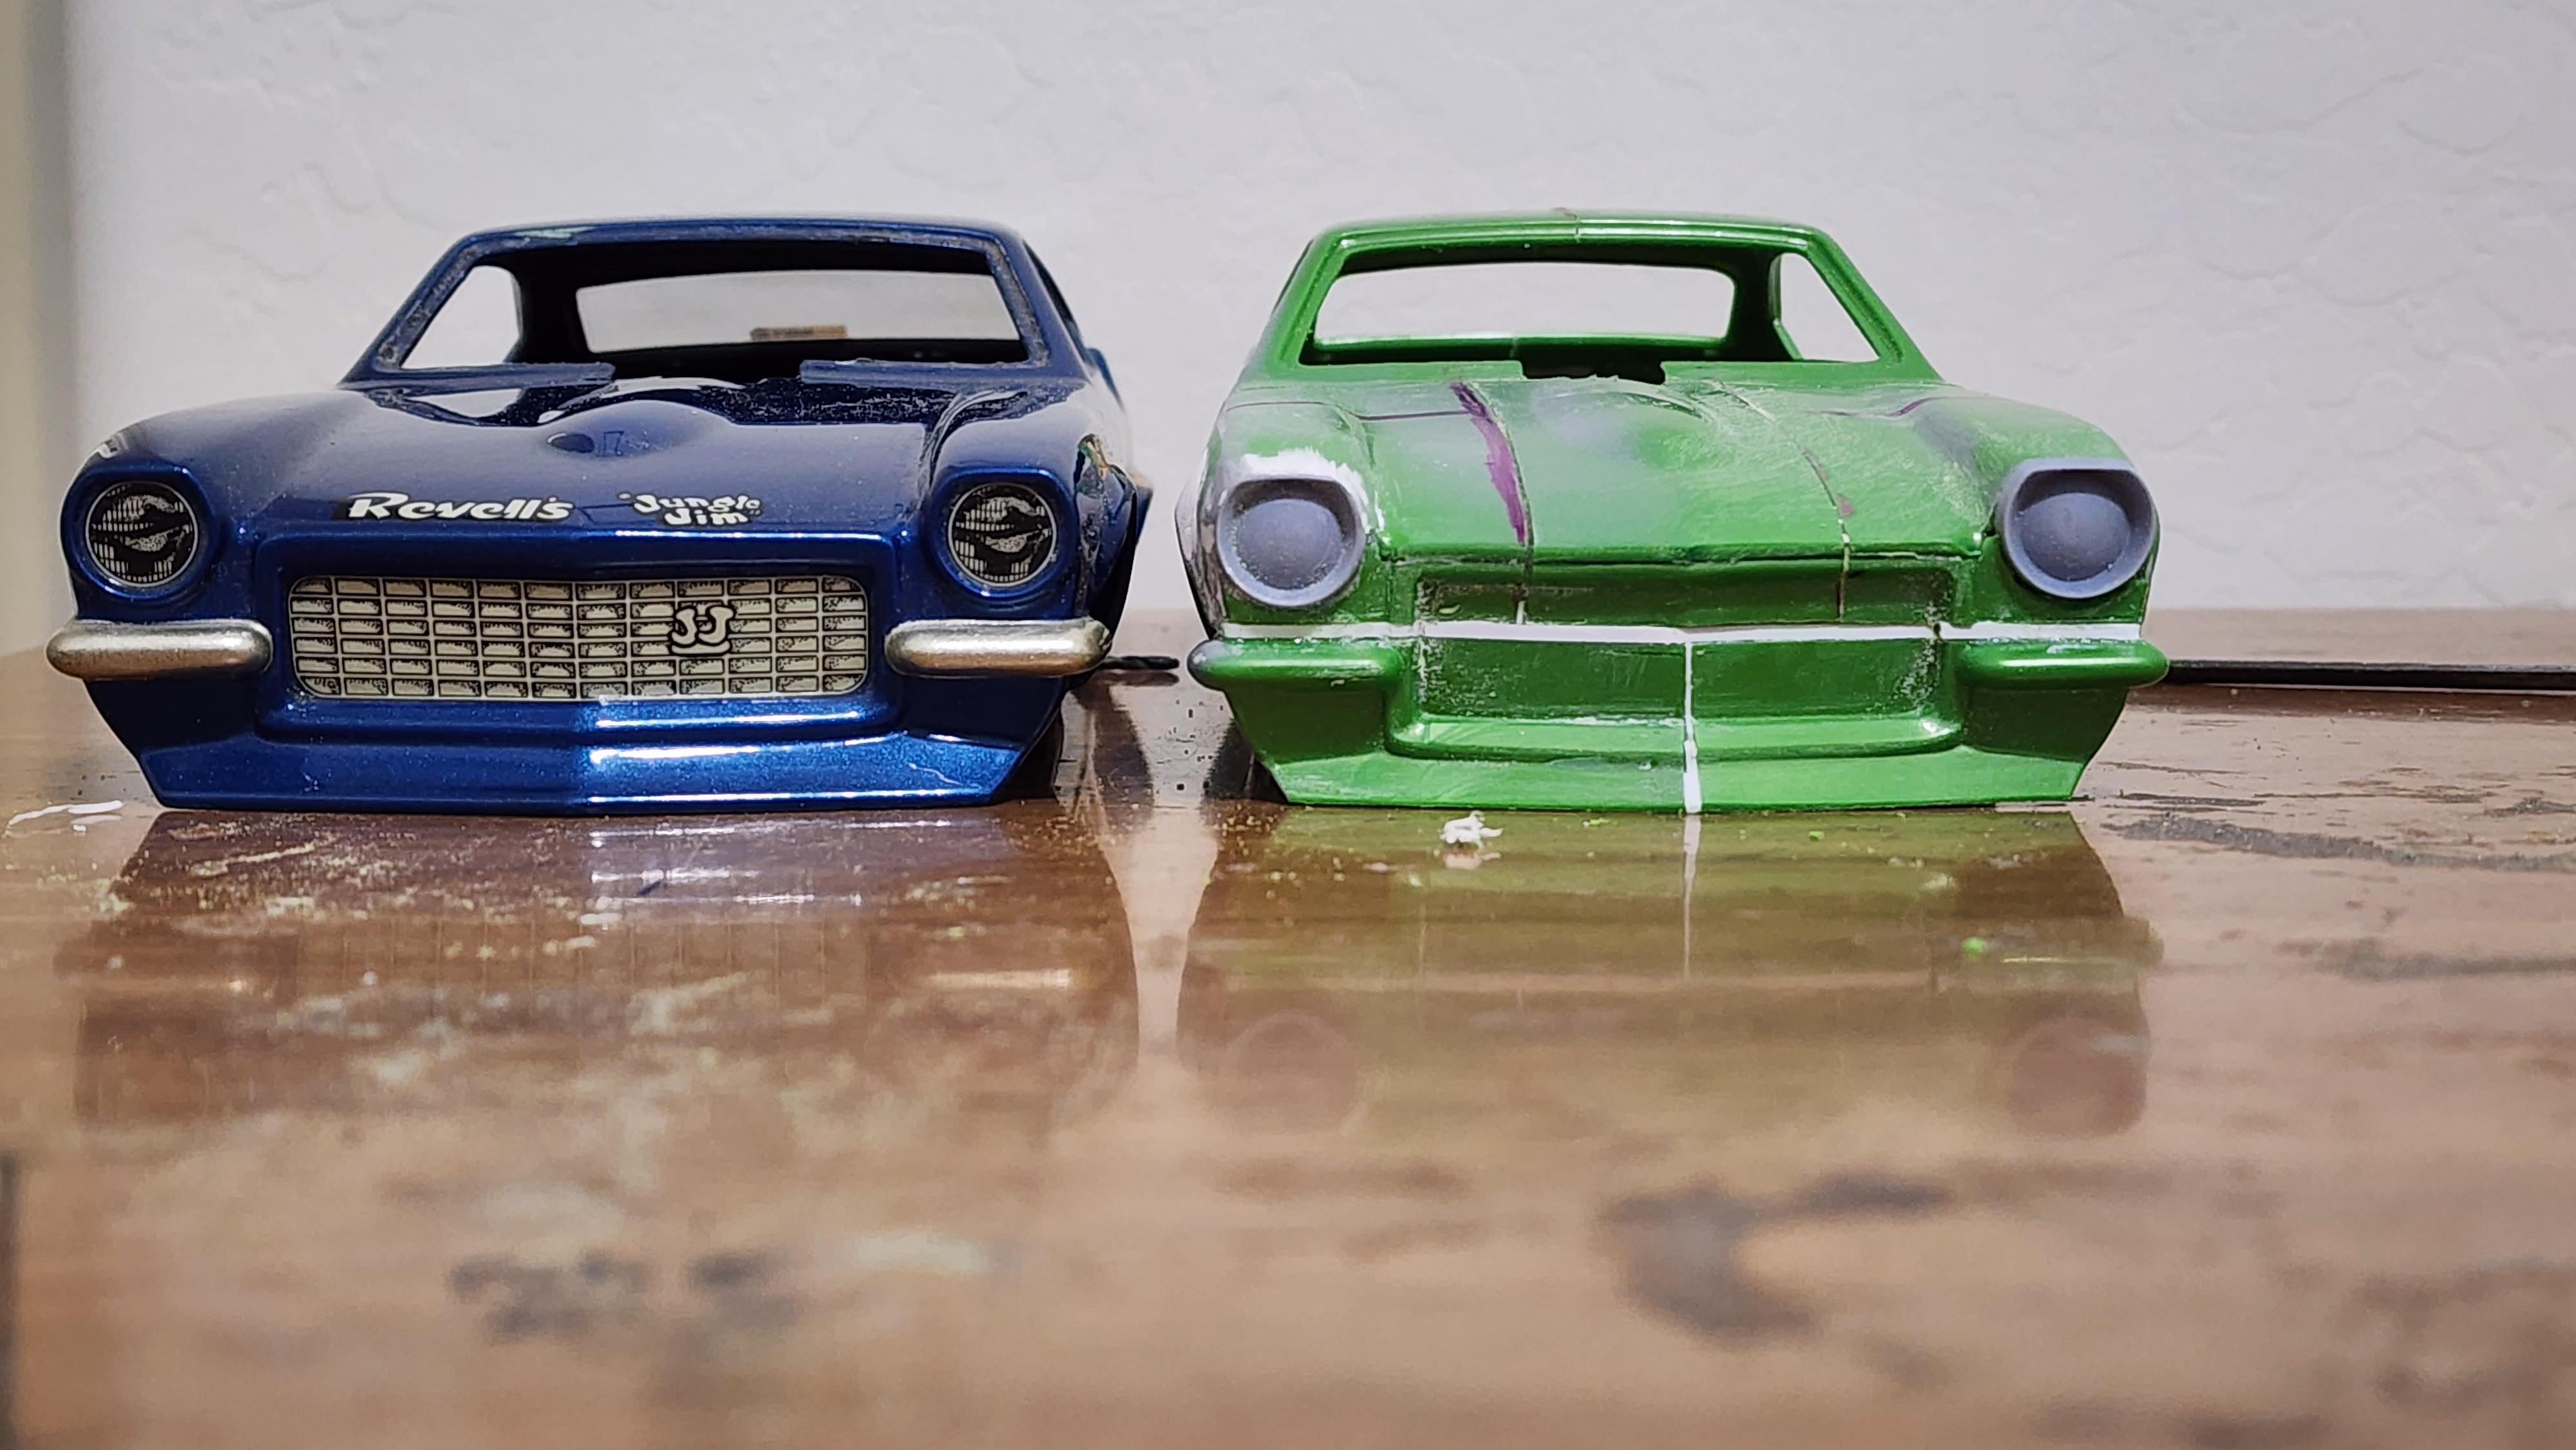
The rear end is wrong in both kits for what I needed so it also got put in cad and printed. New head light buckets to correct the ones in the kit. (The kit body is a different body than what was ran in this car ) Brakes from the Aurora chassis kit are a match so they will be used on the rear end housing. Basic mock ups of the chassis.
-
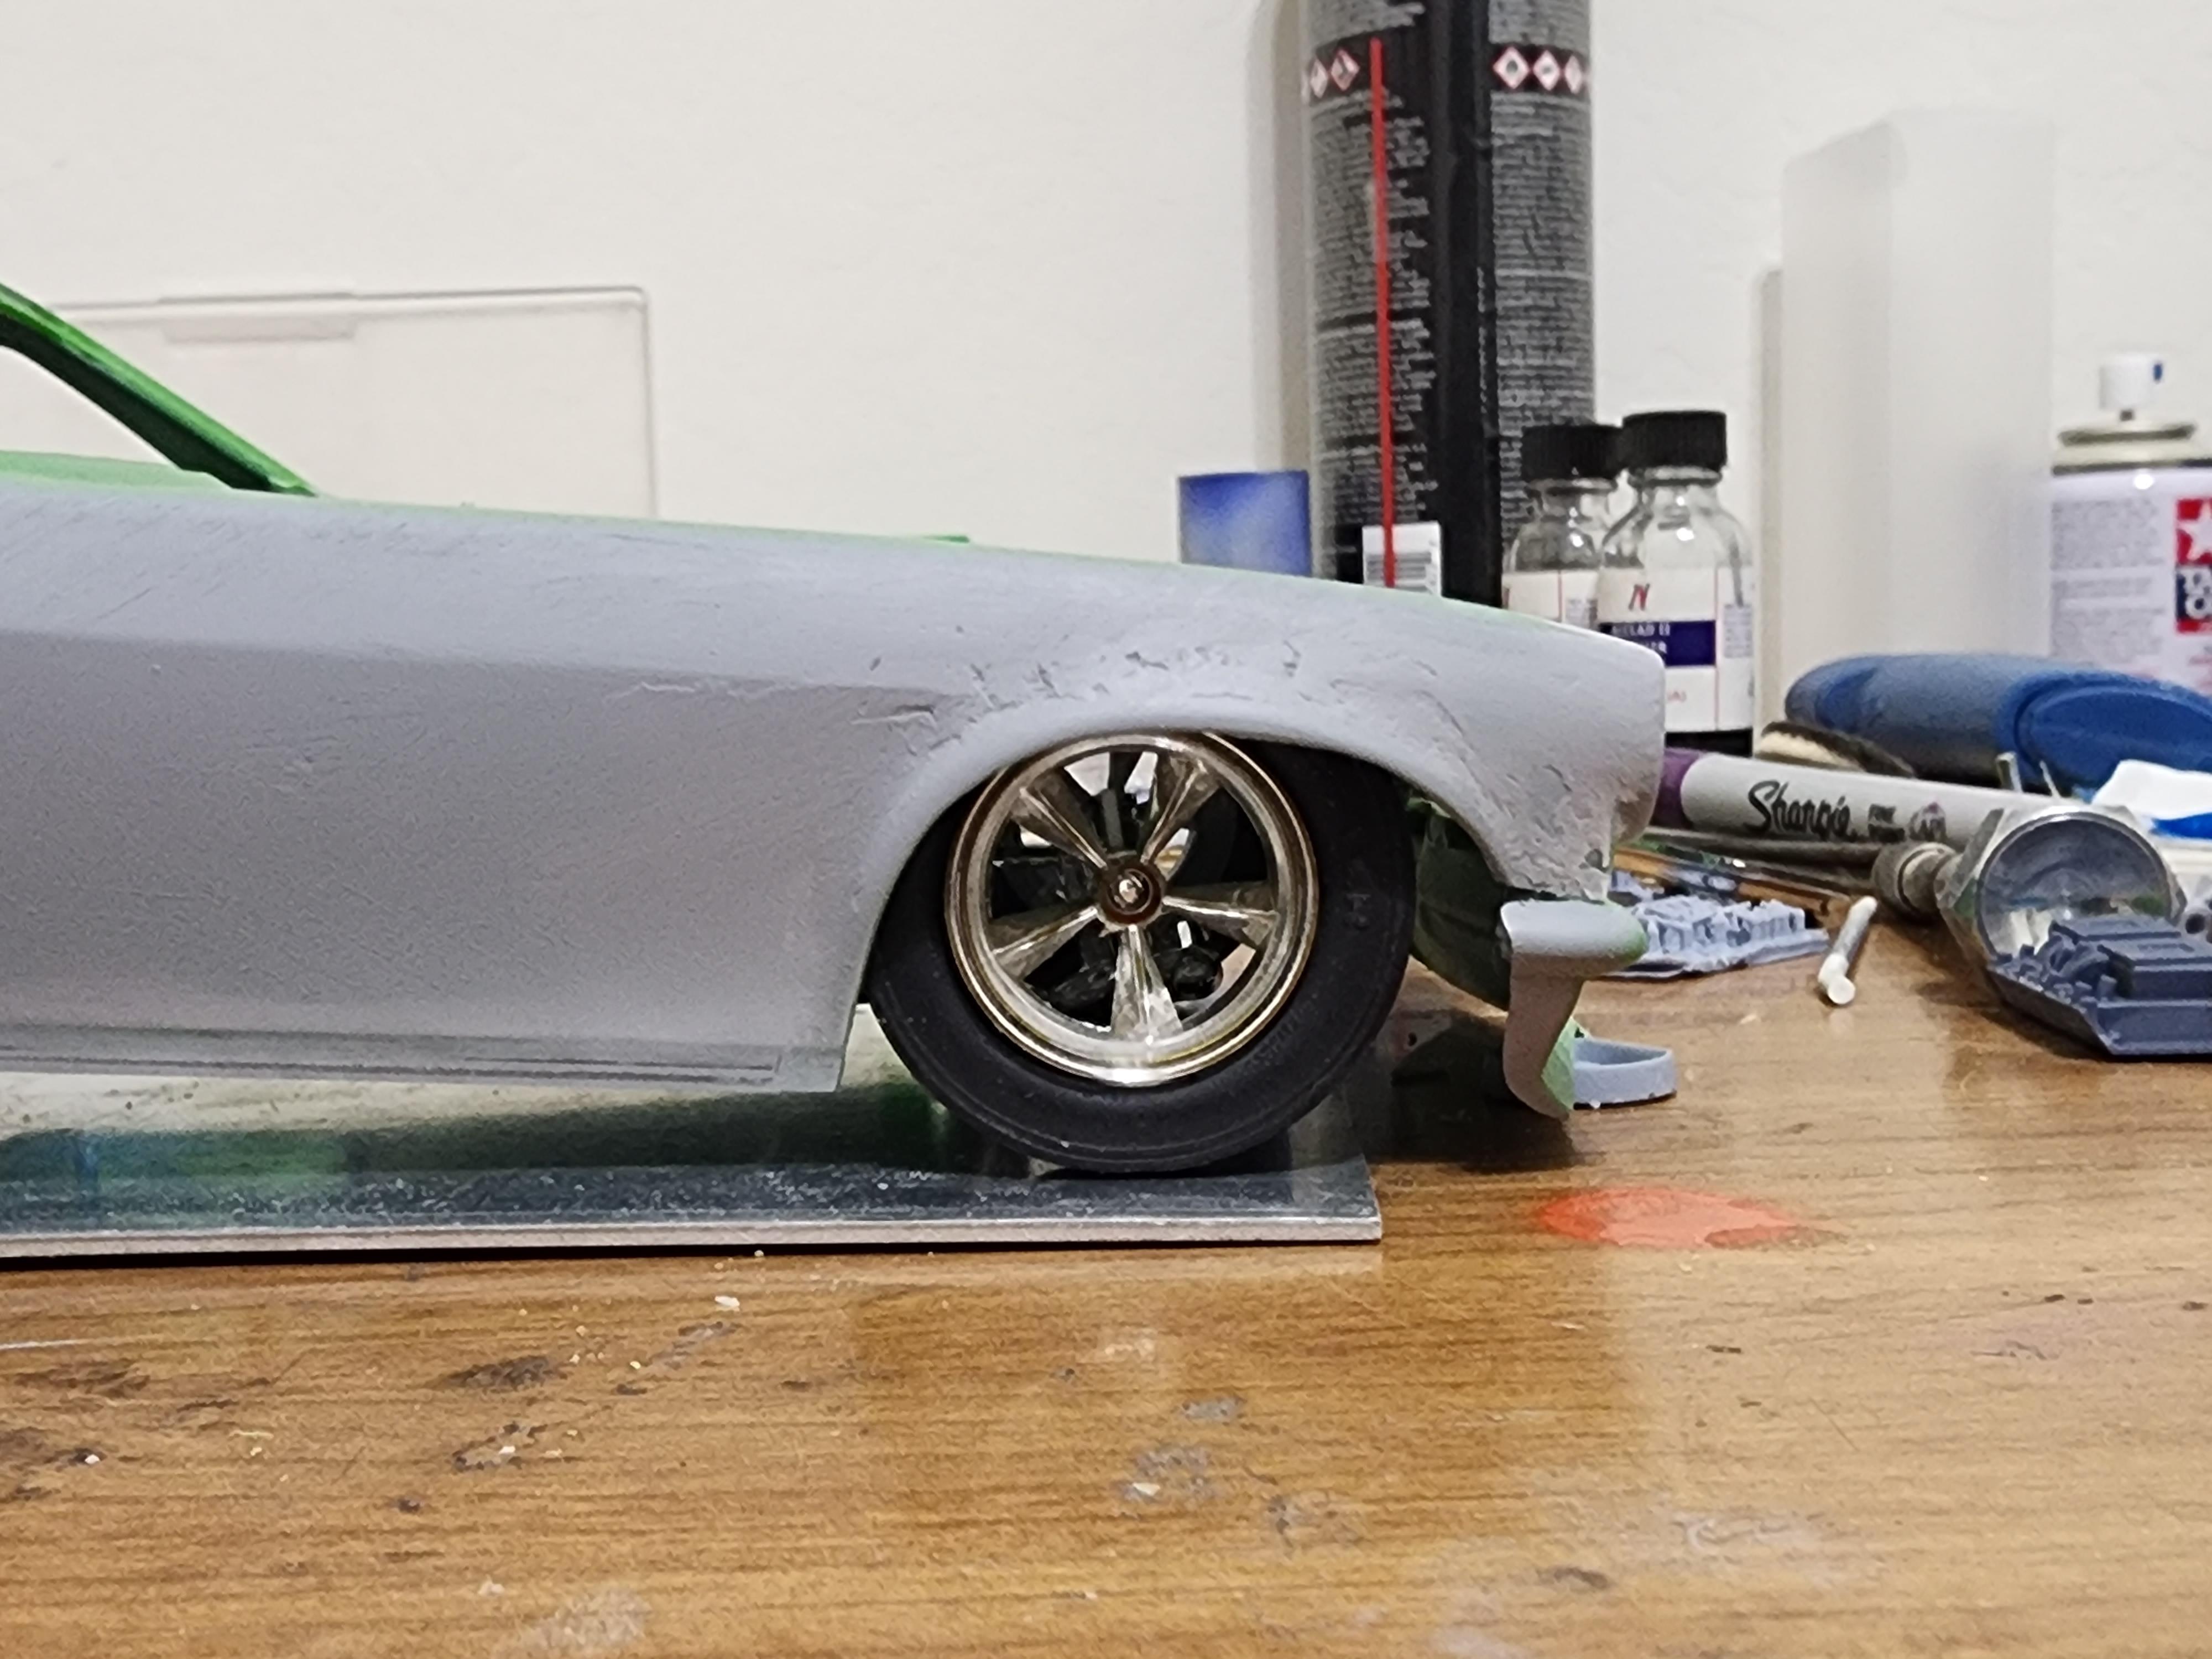
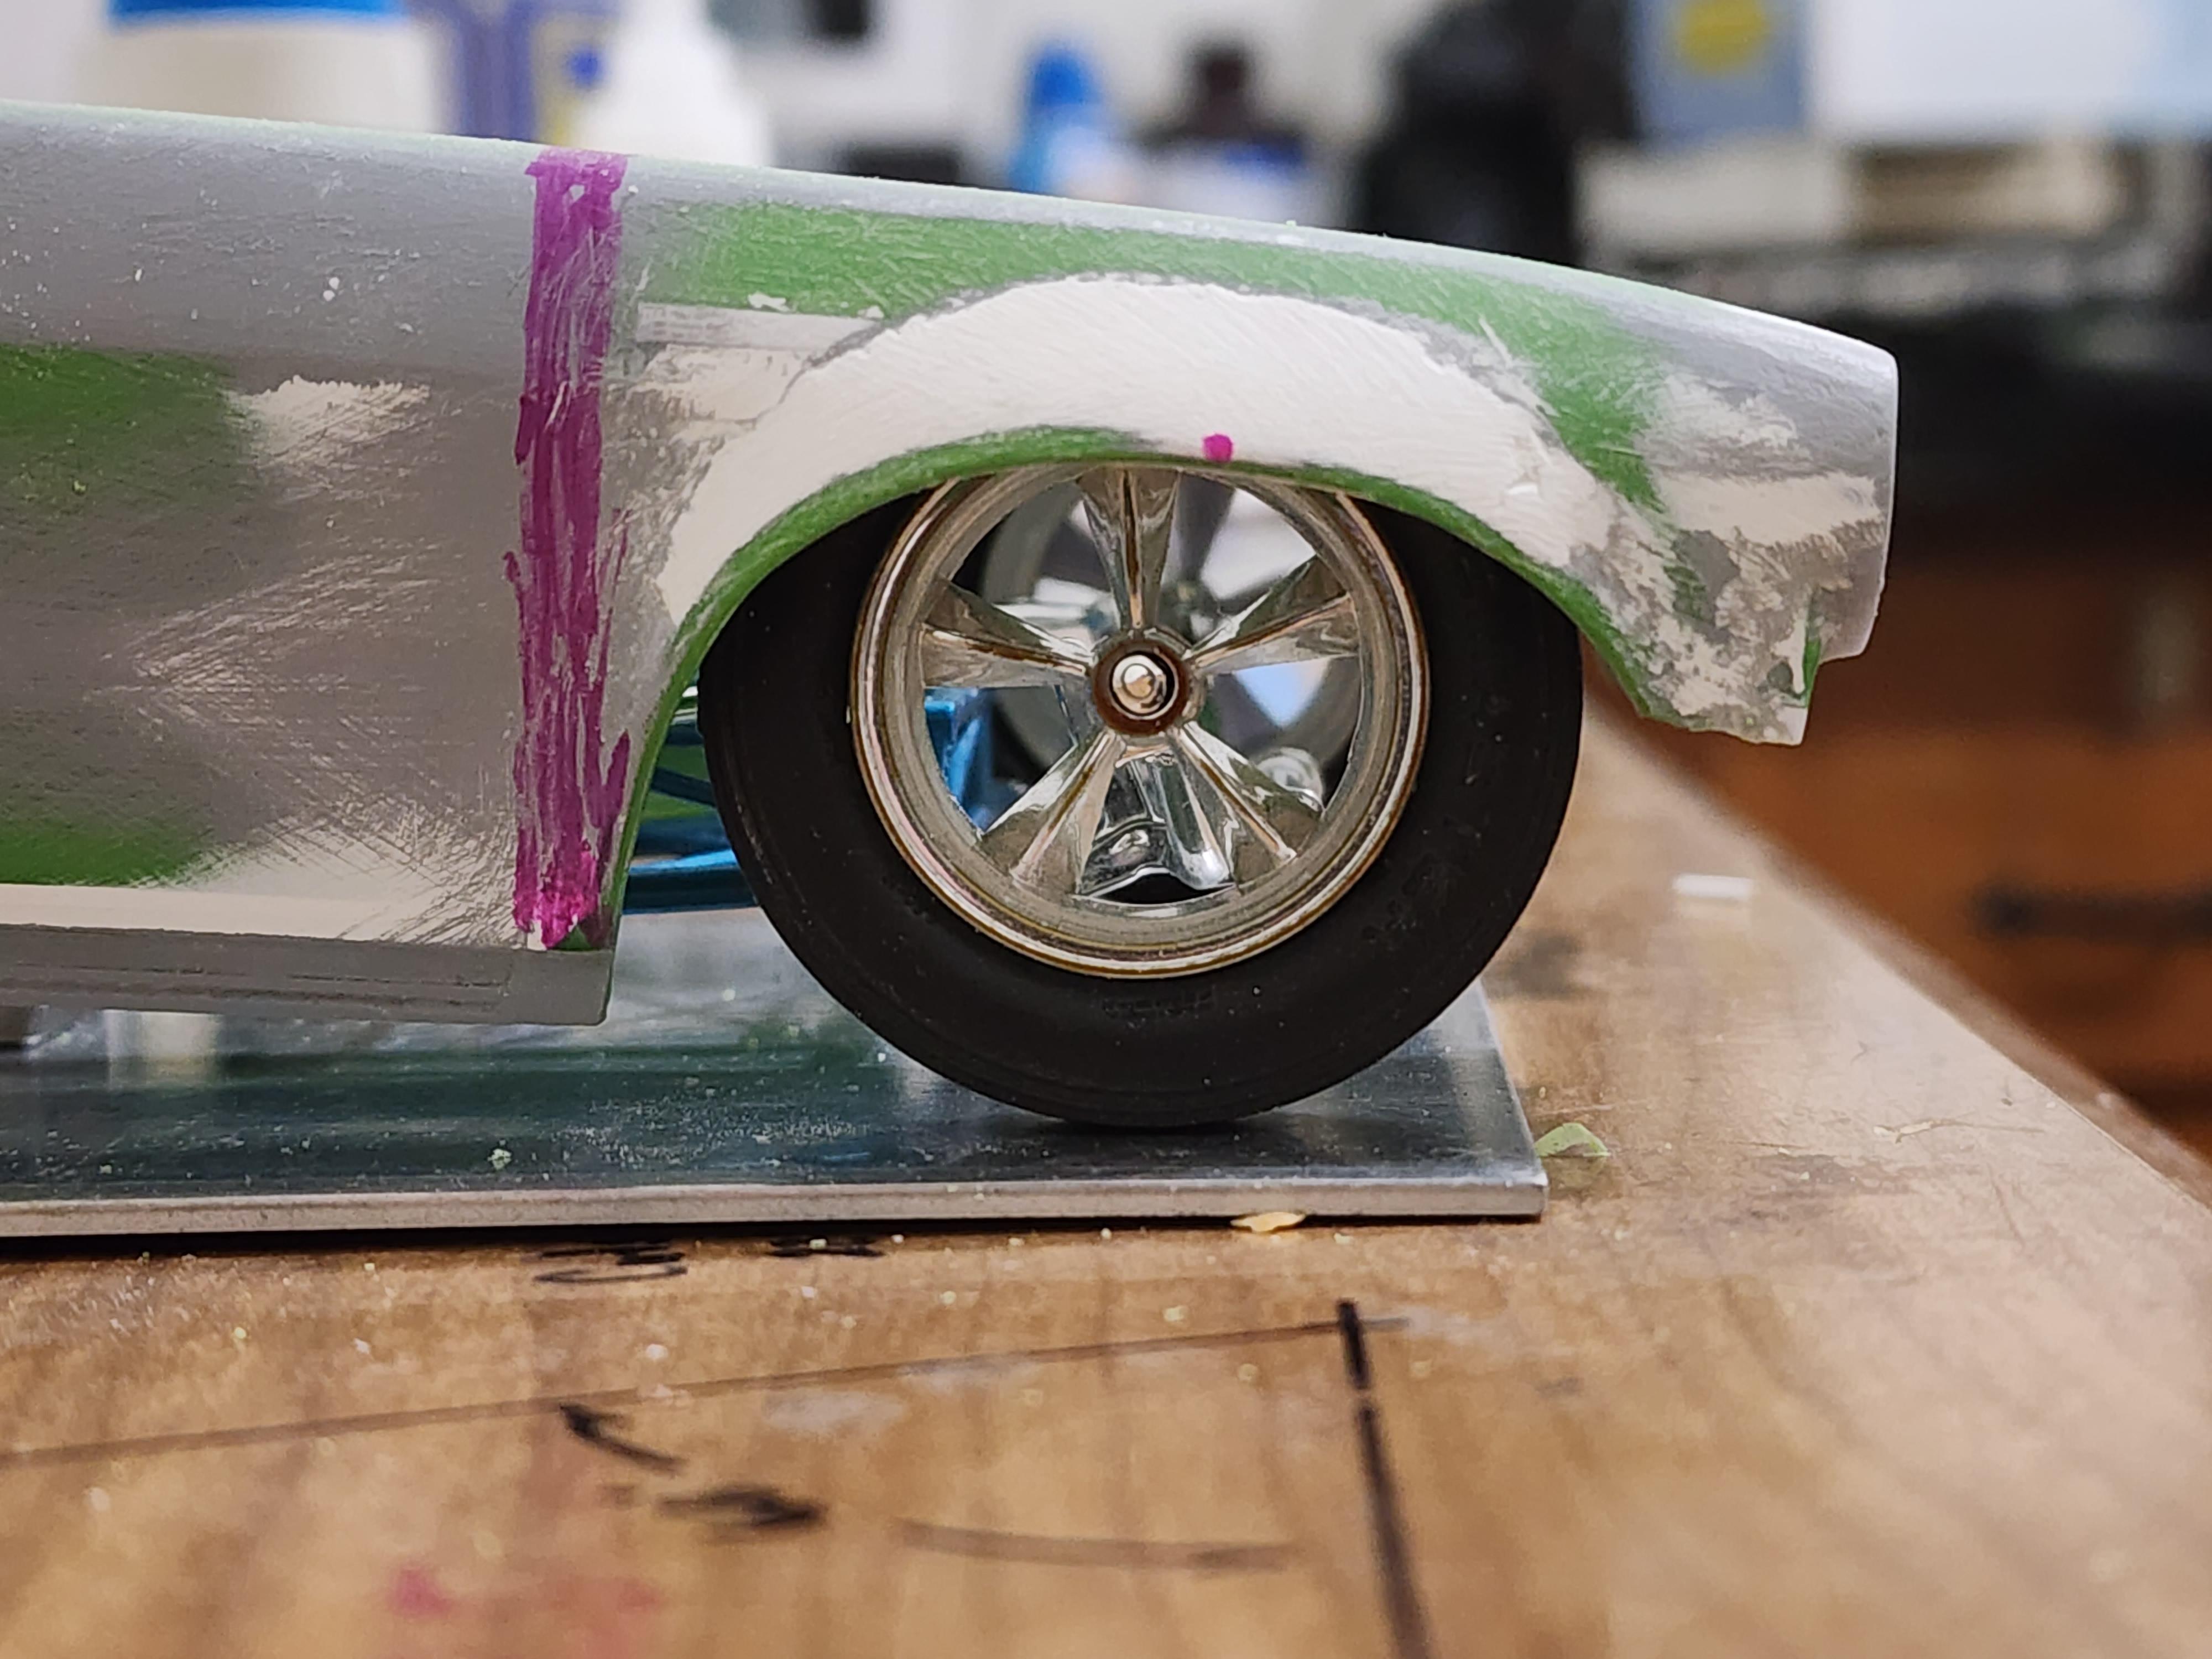
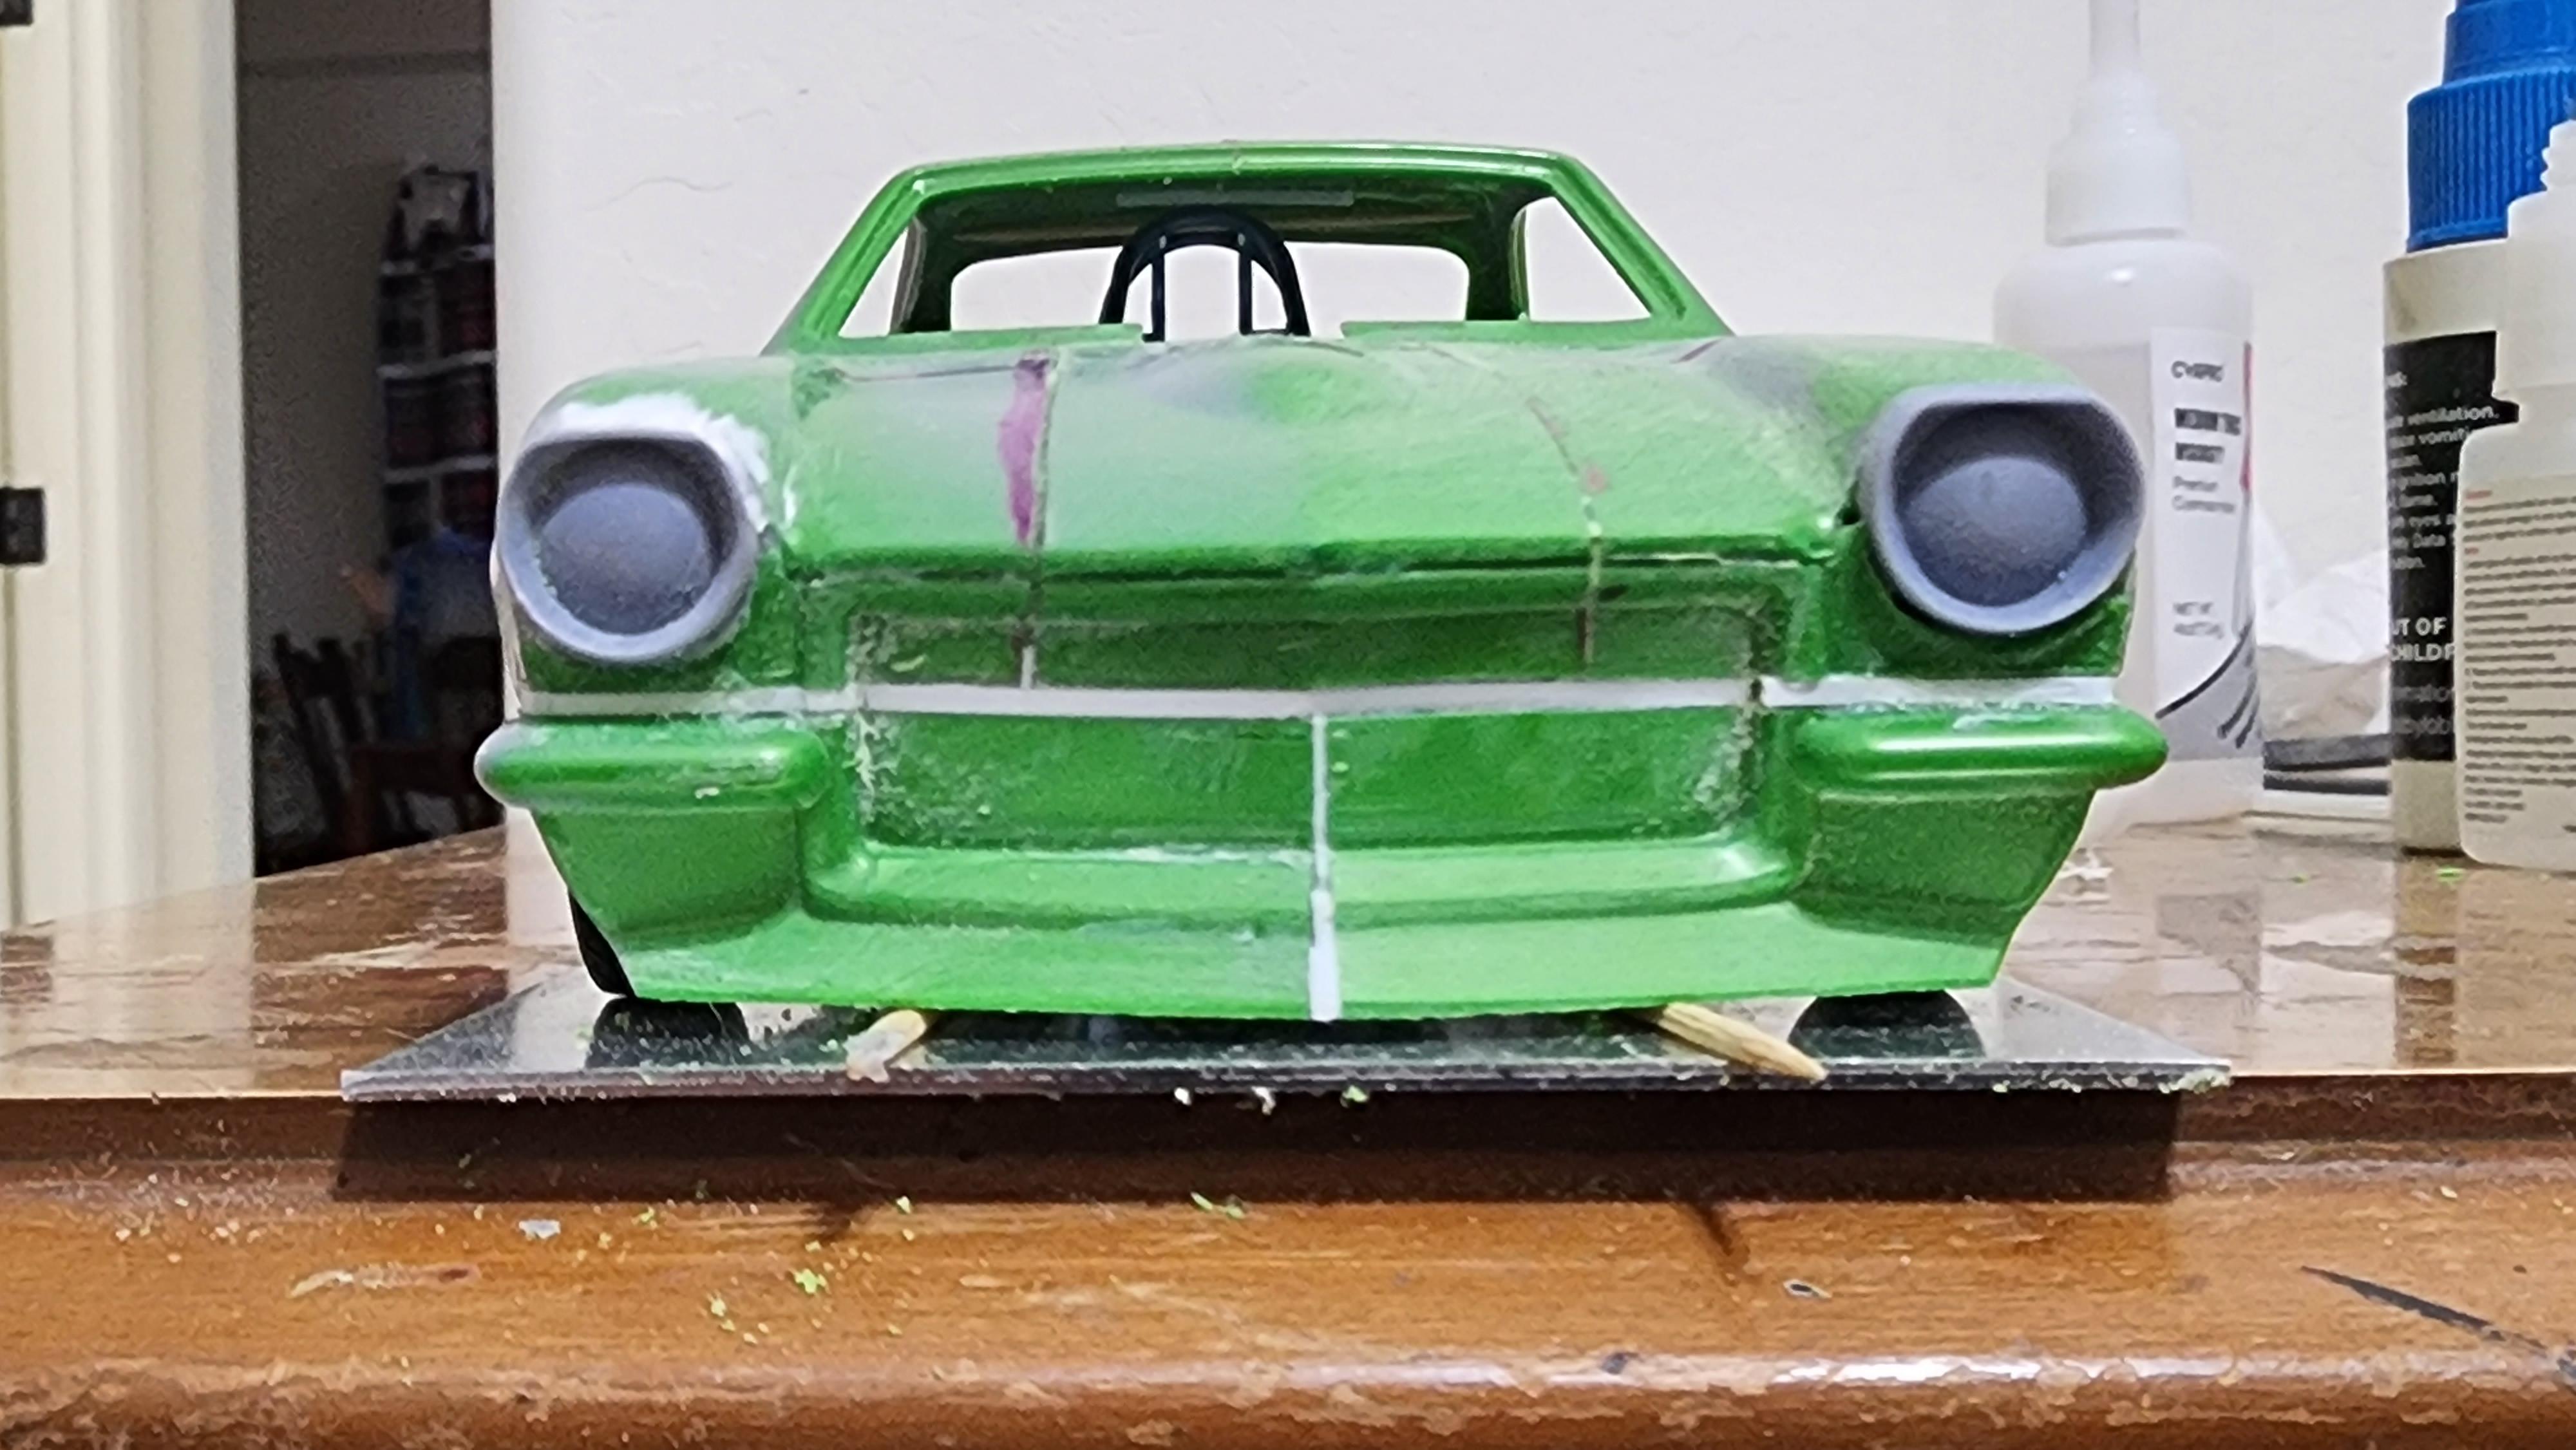
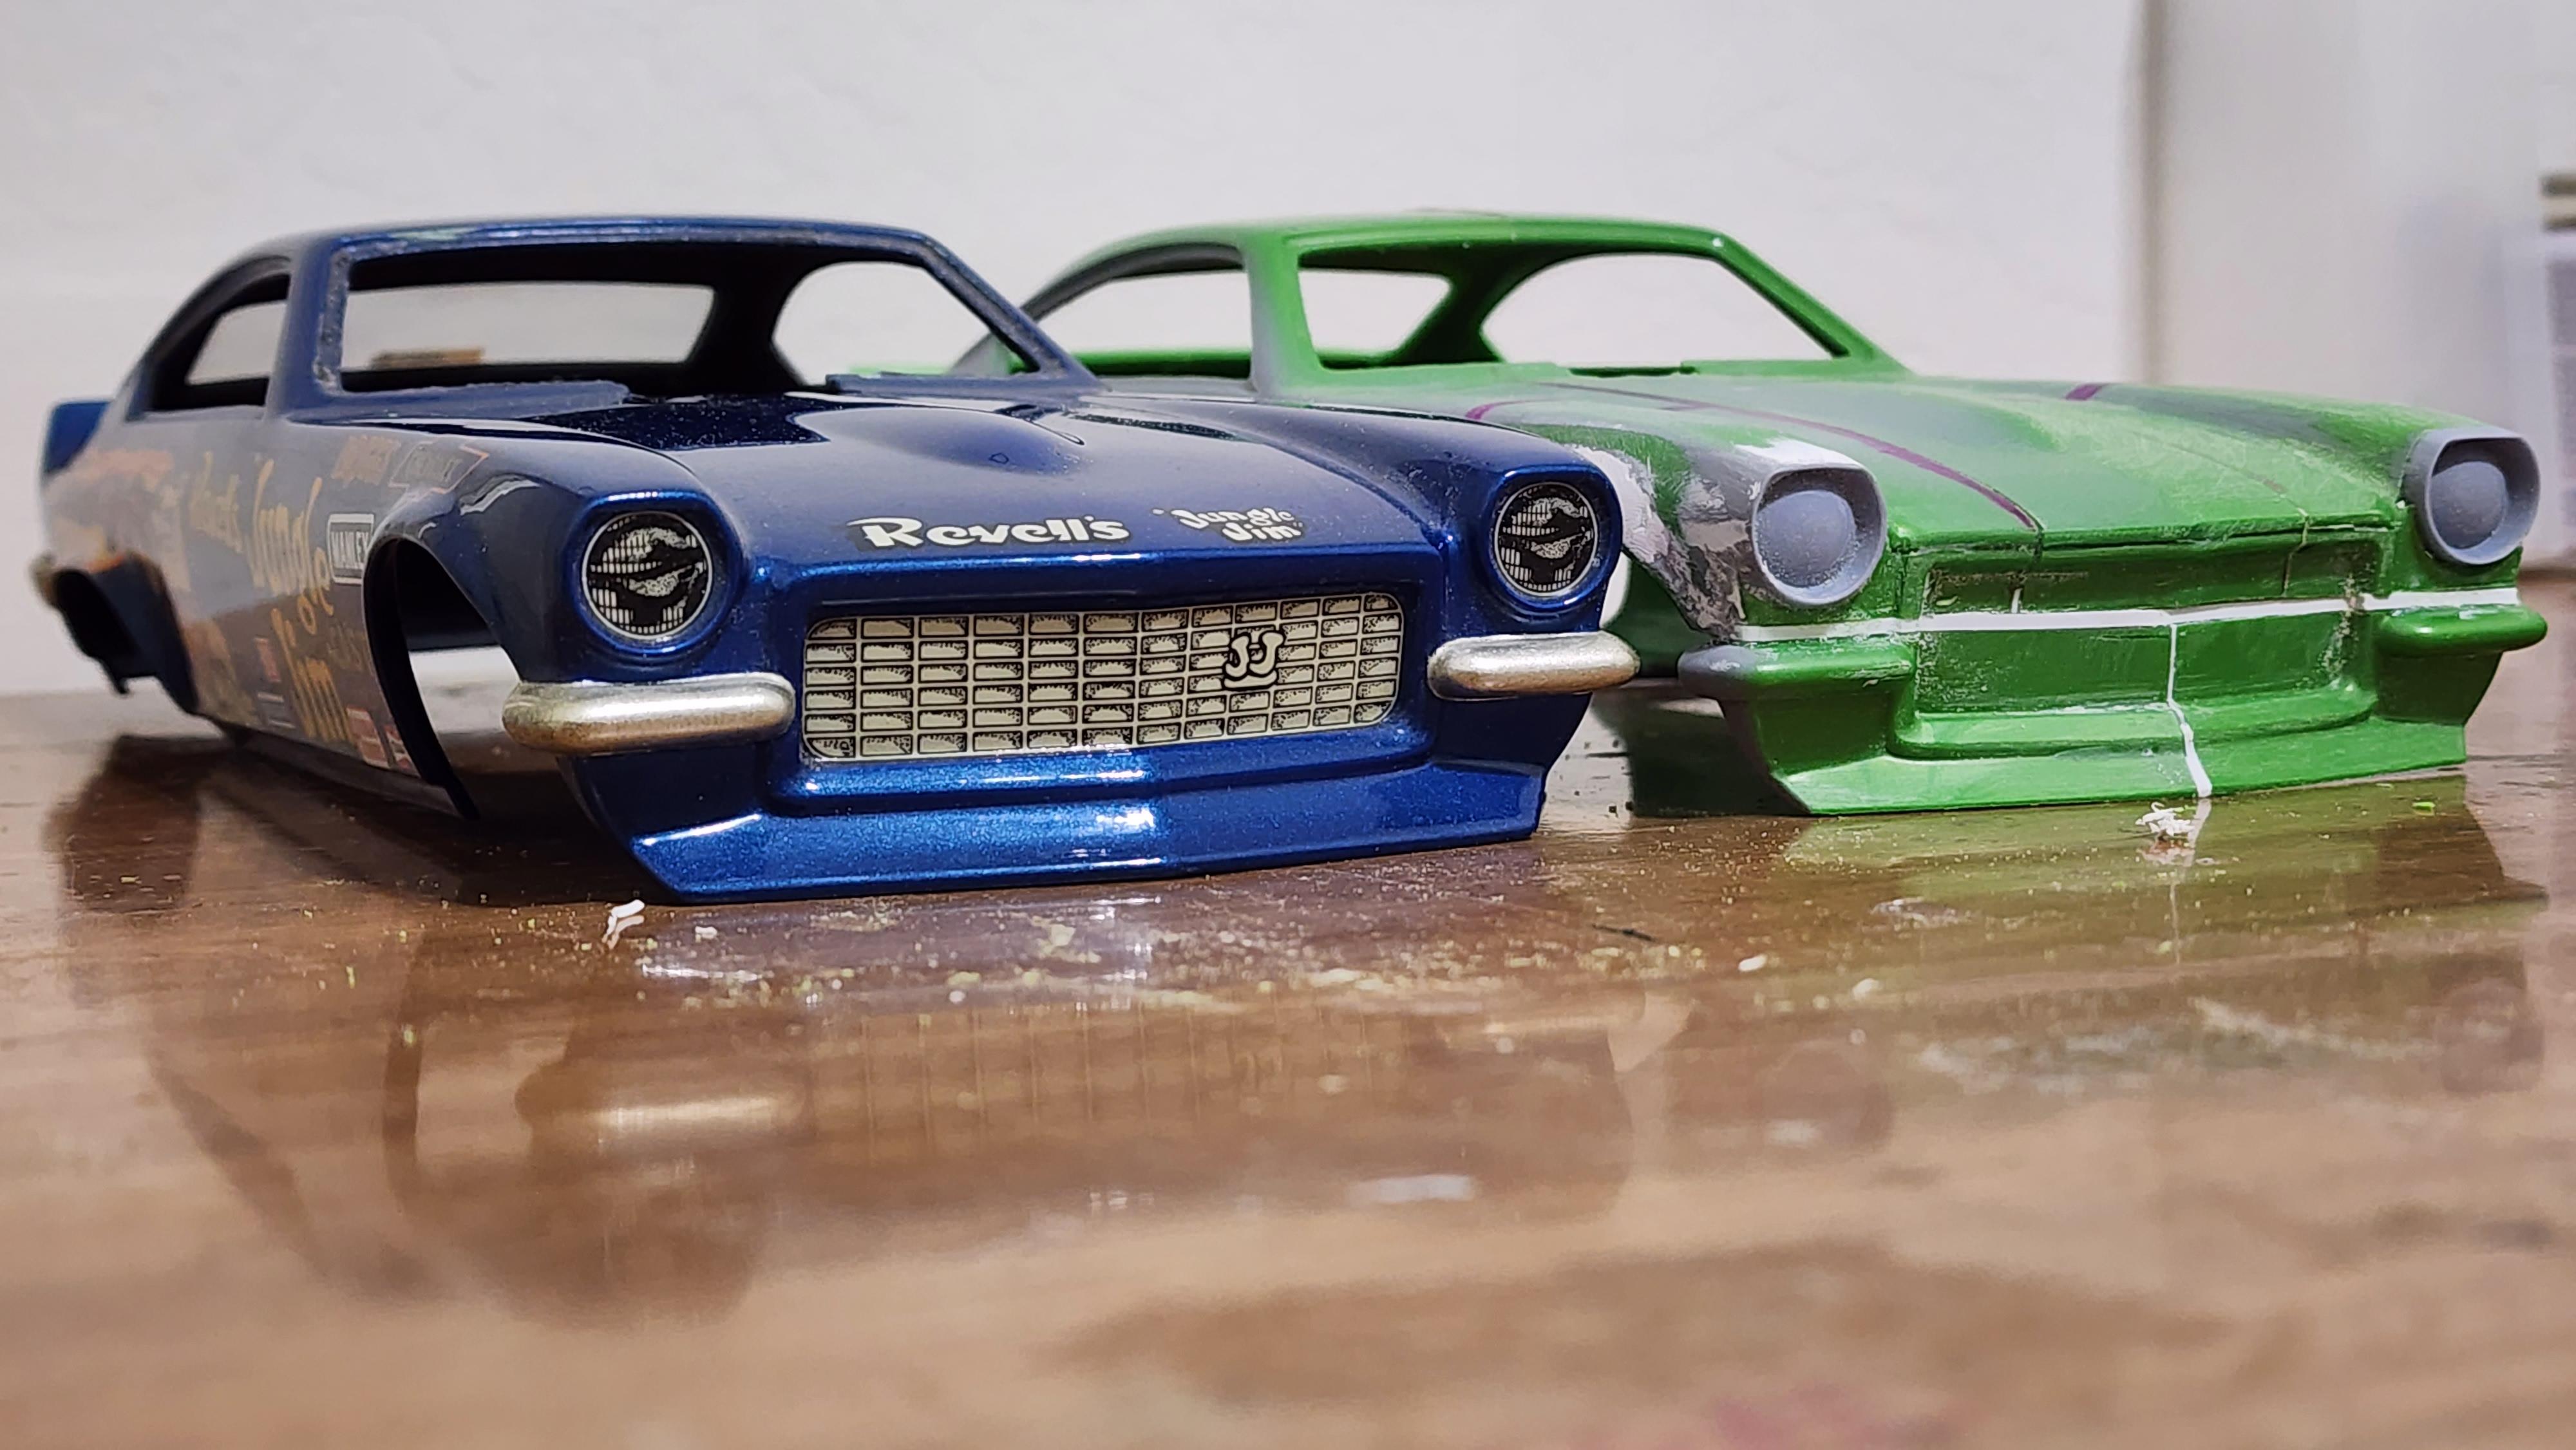
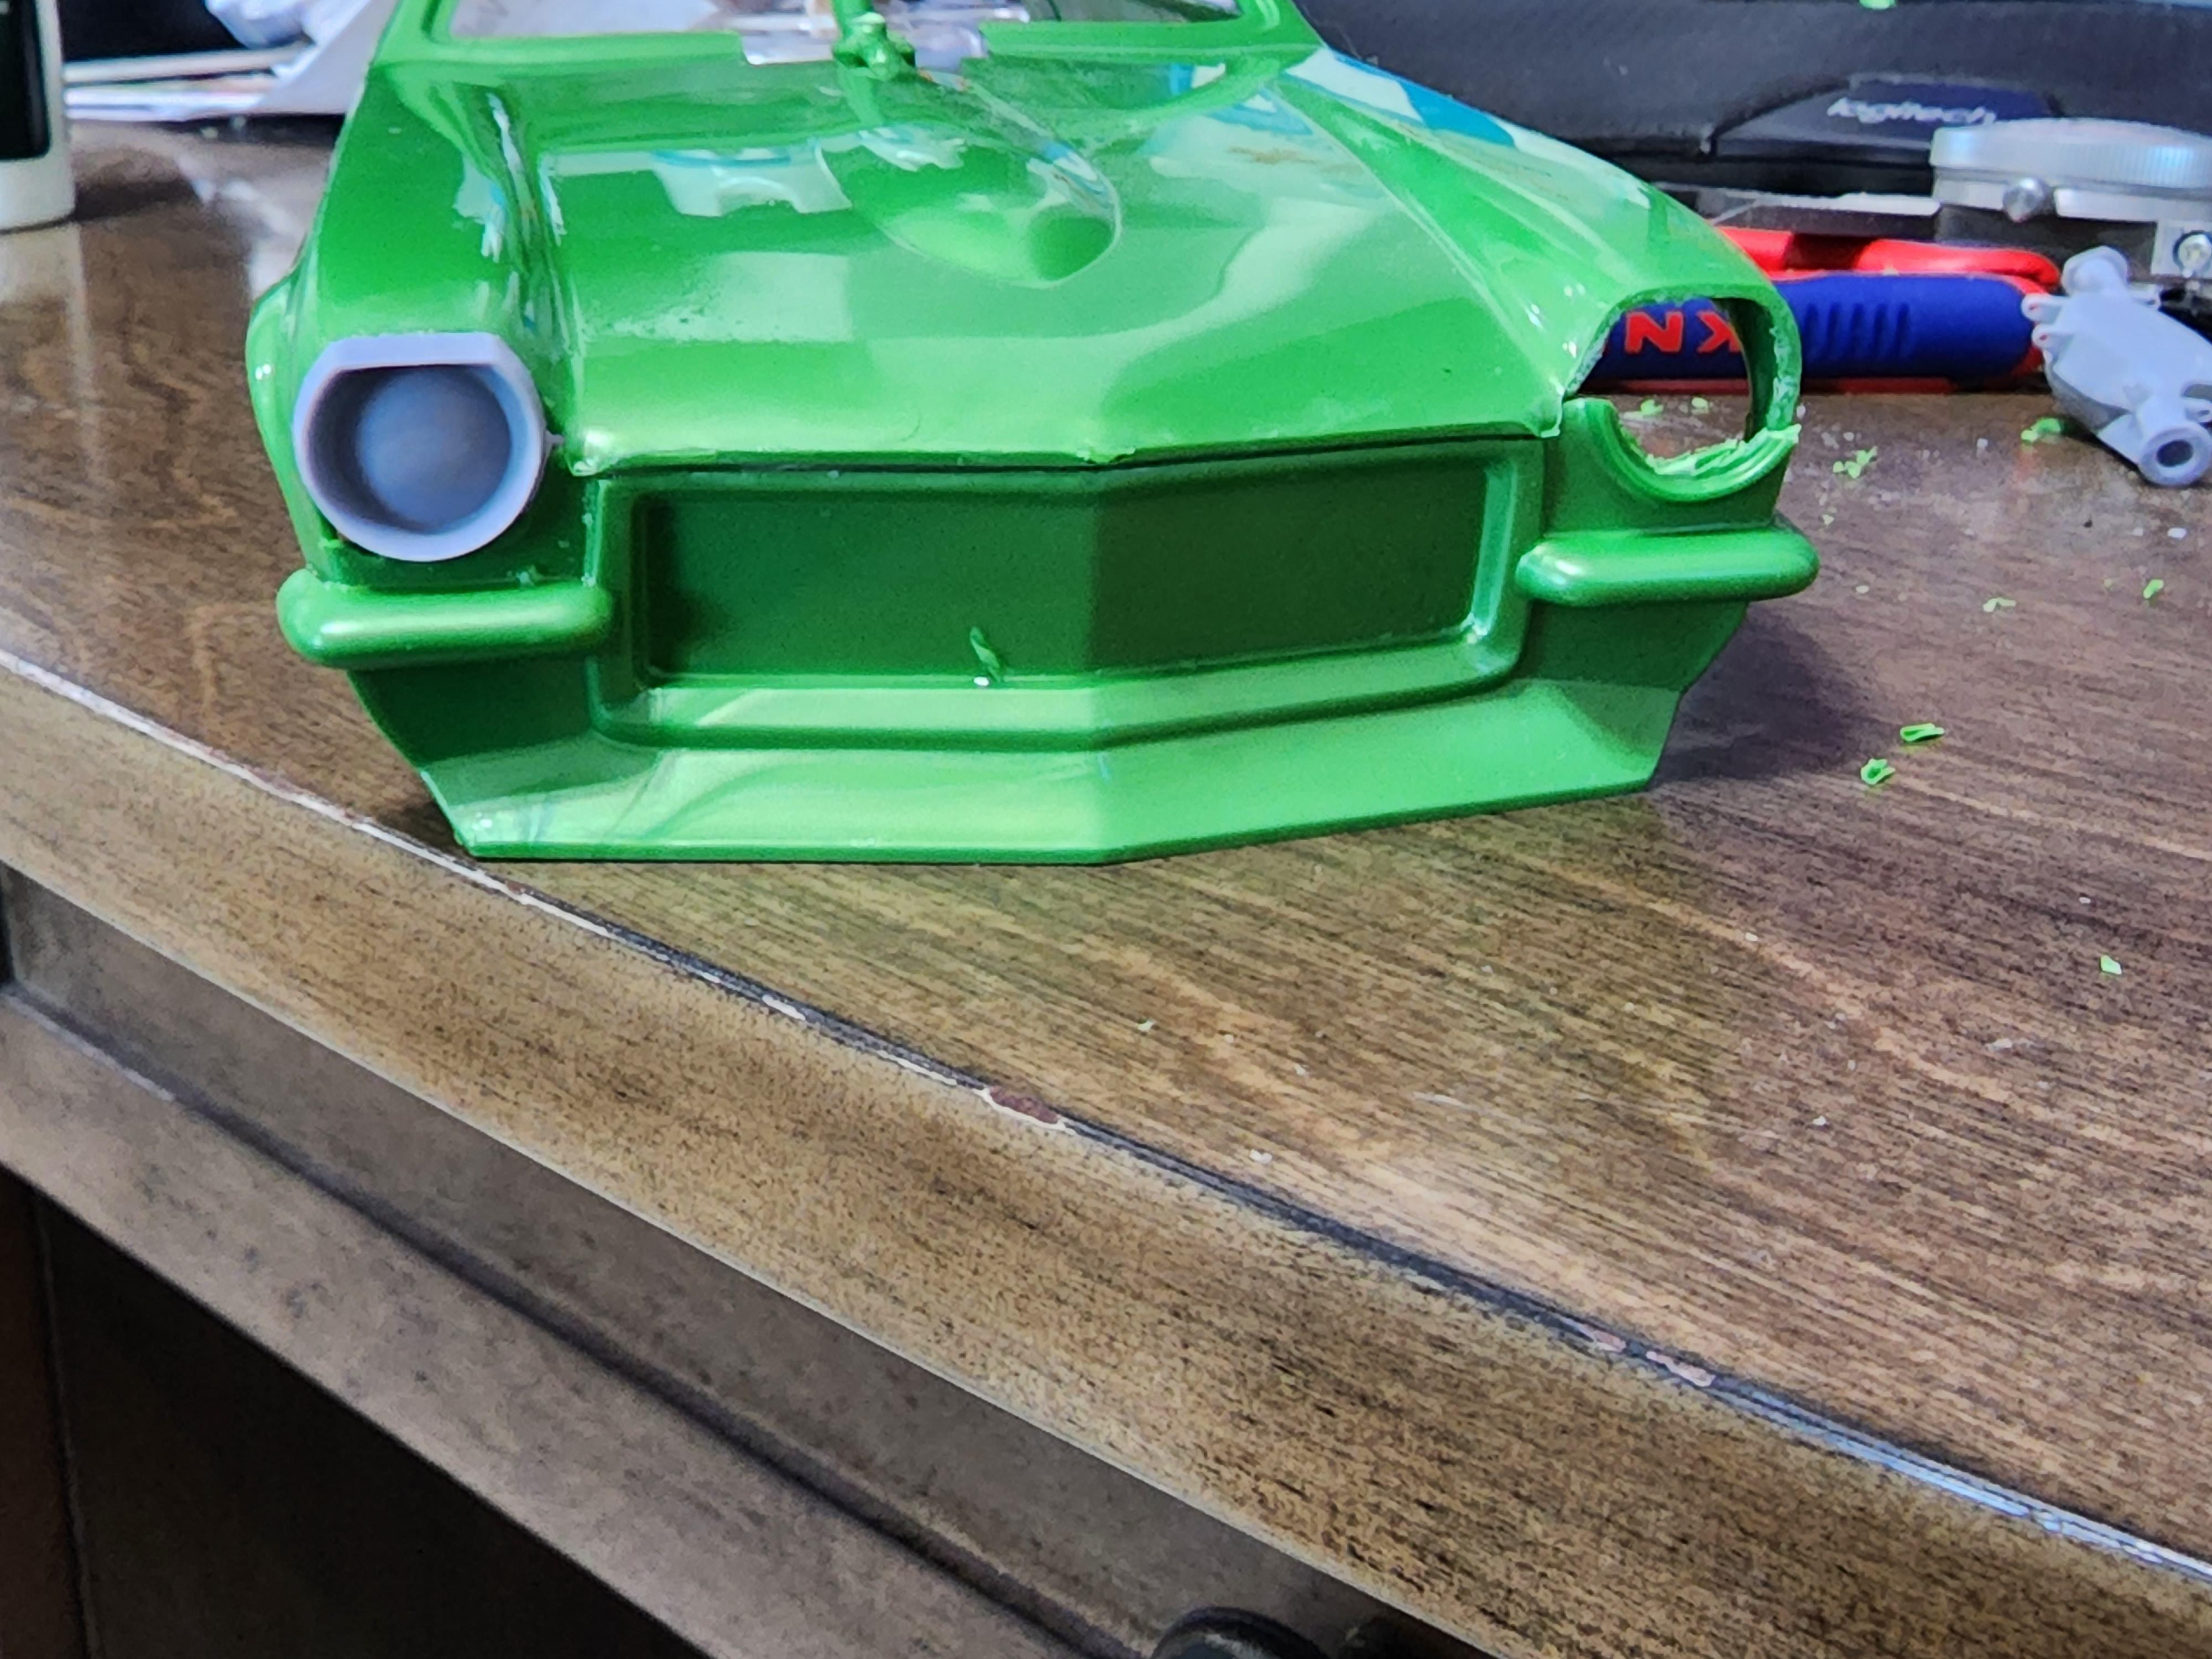
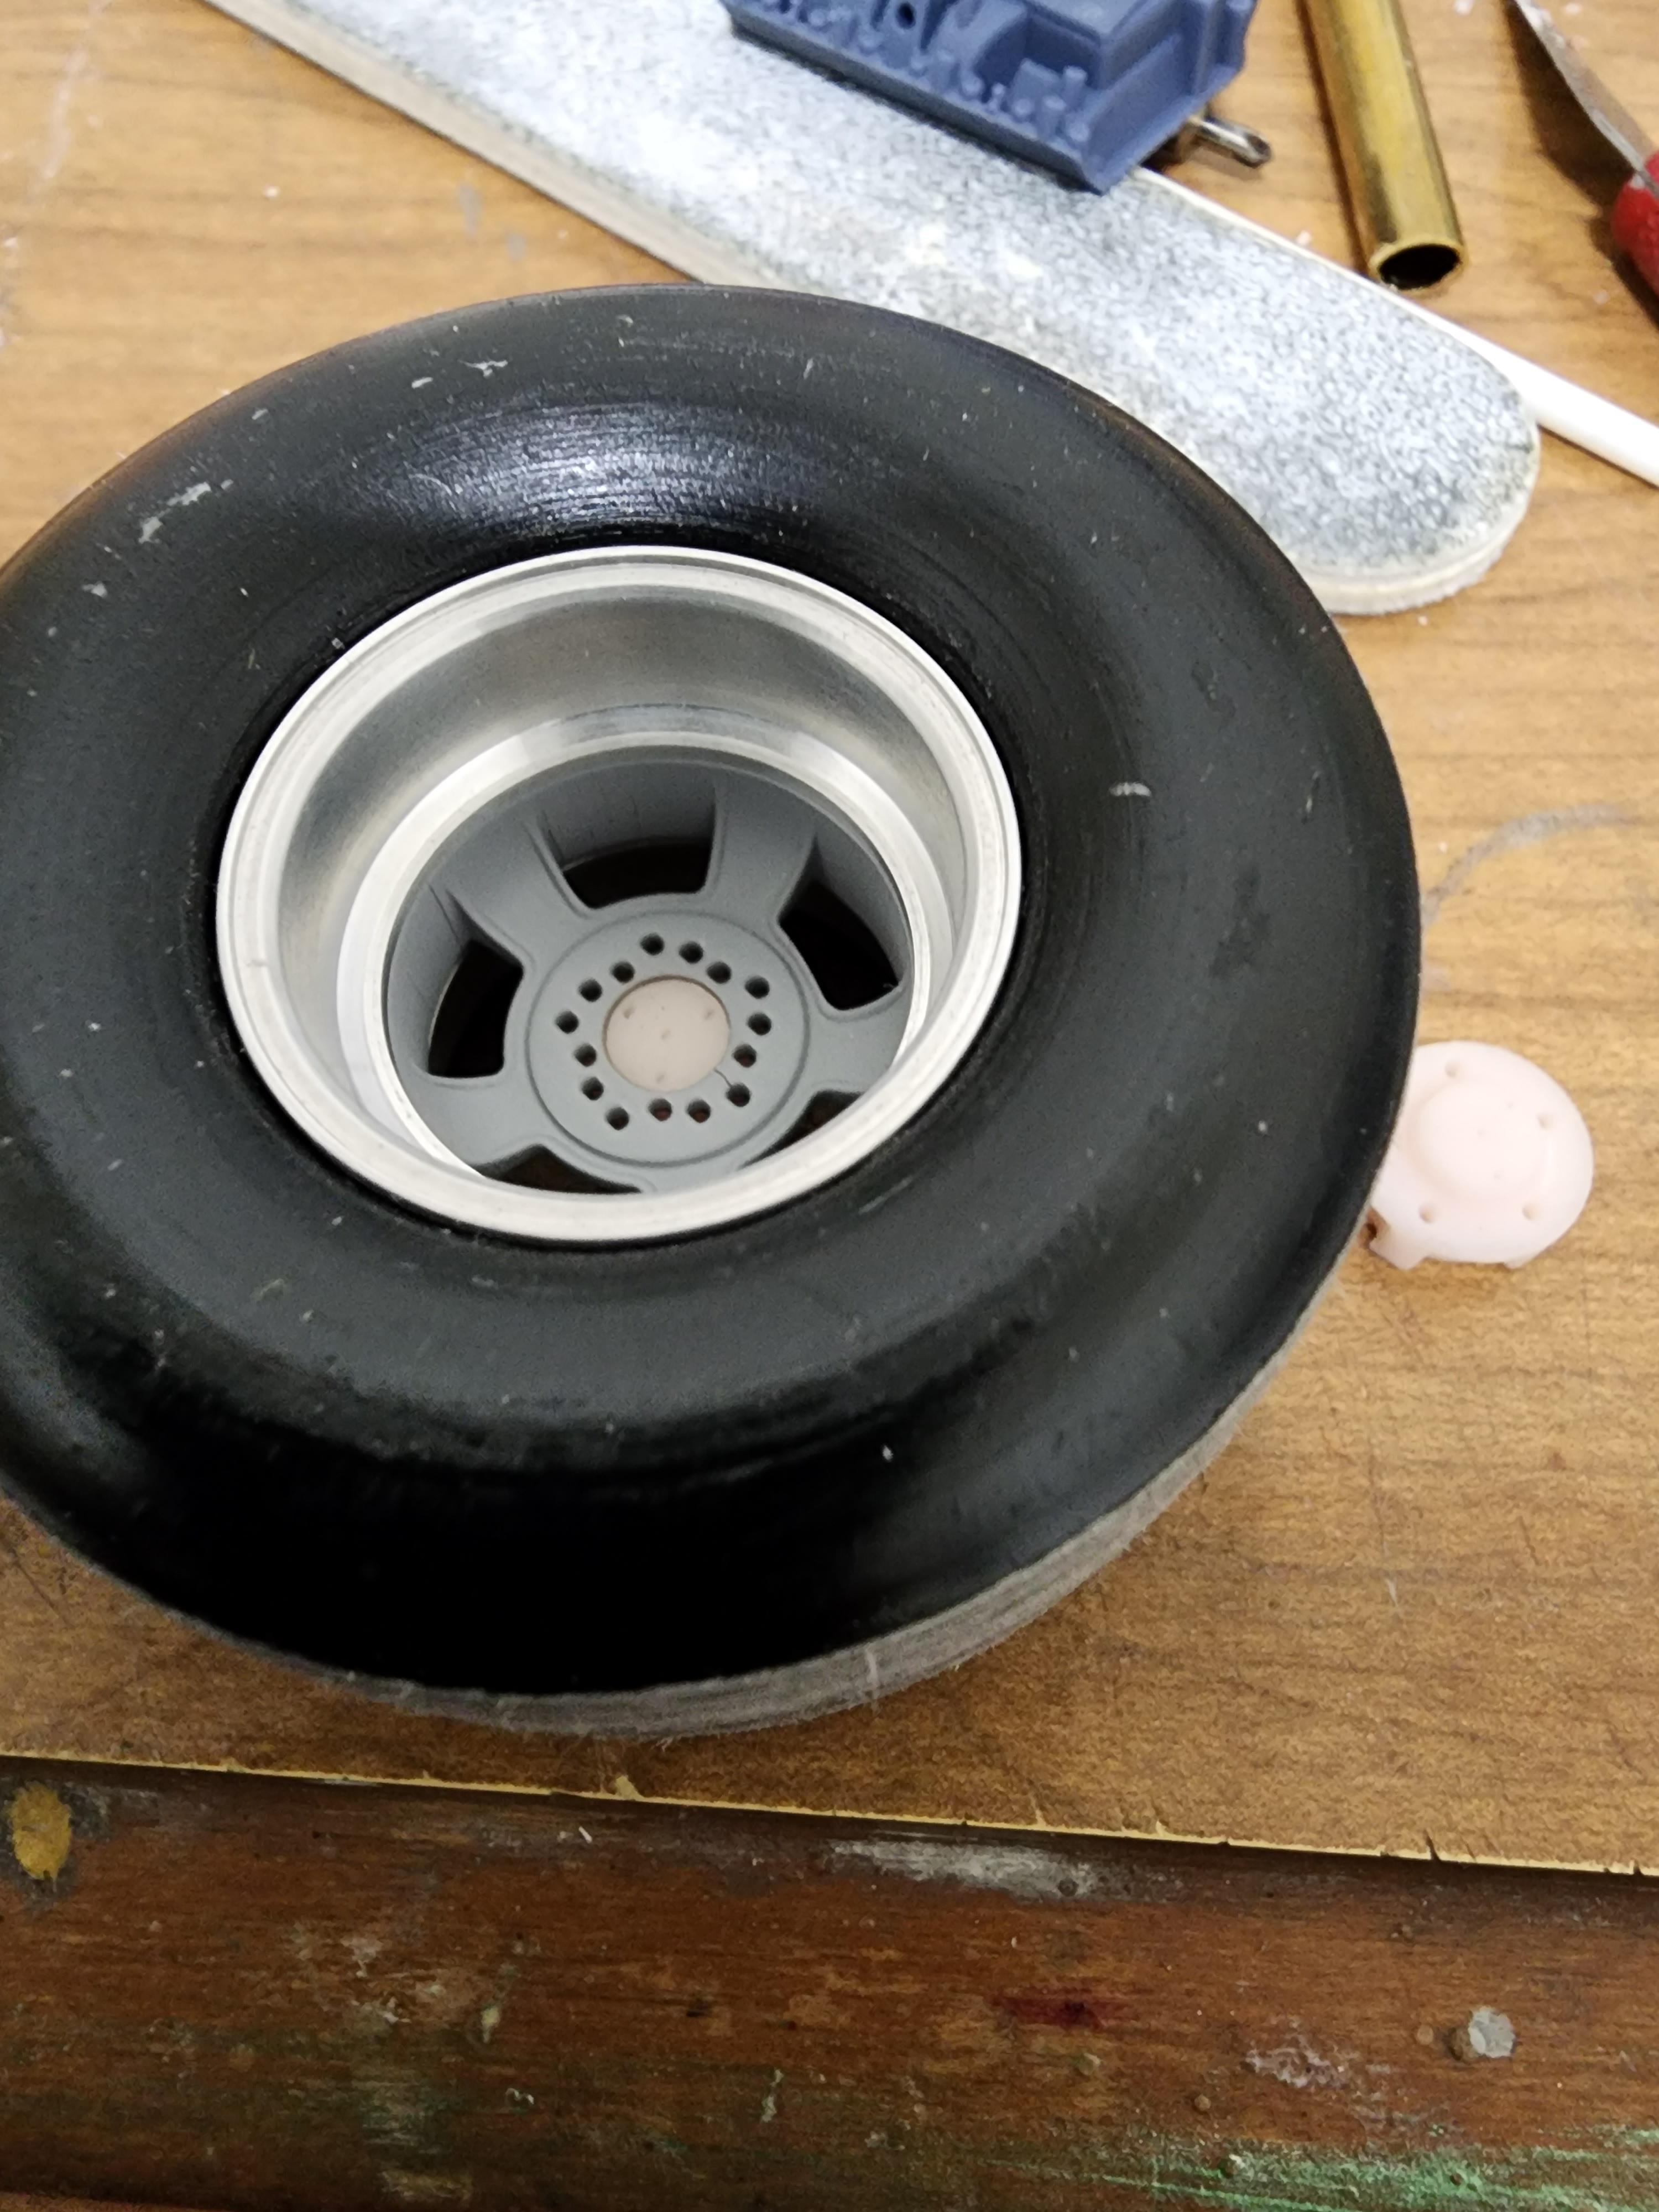
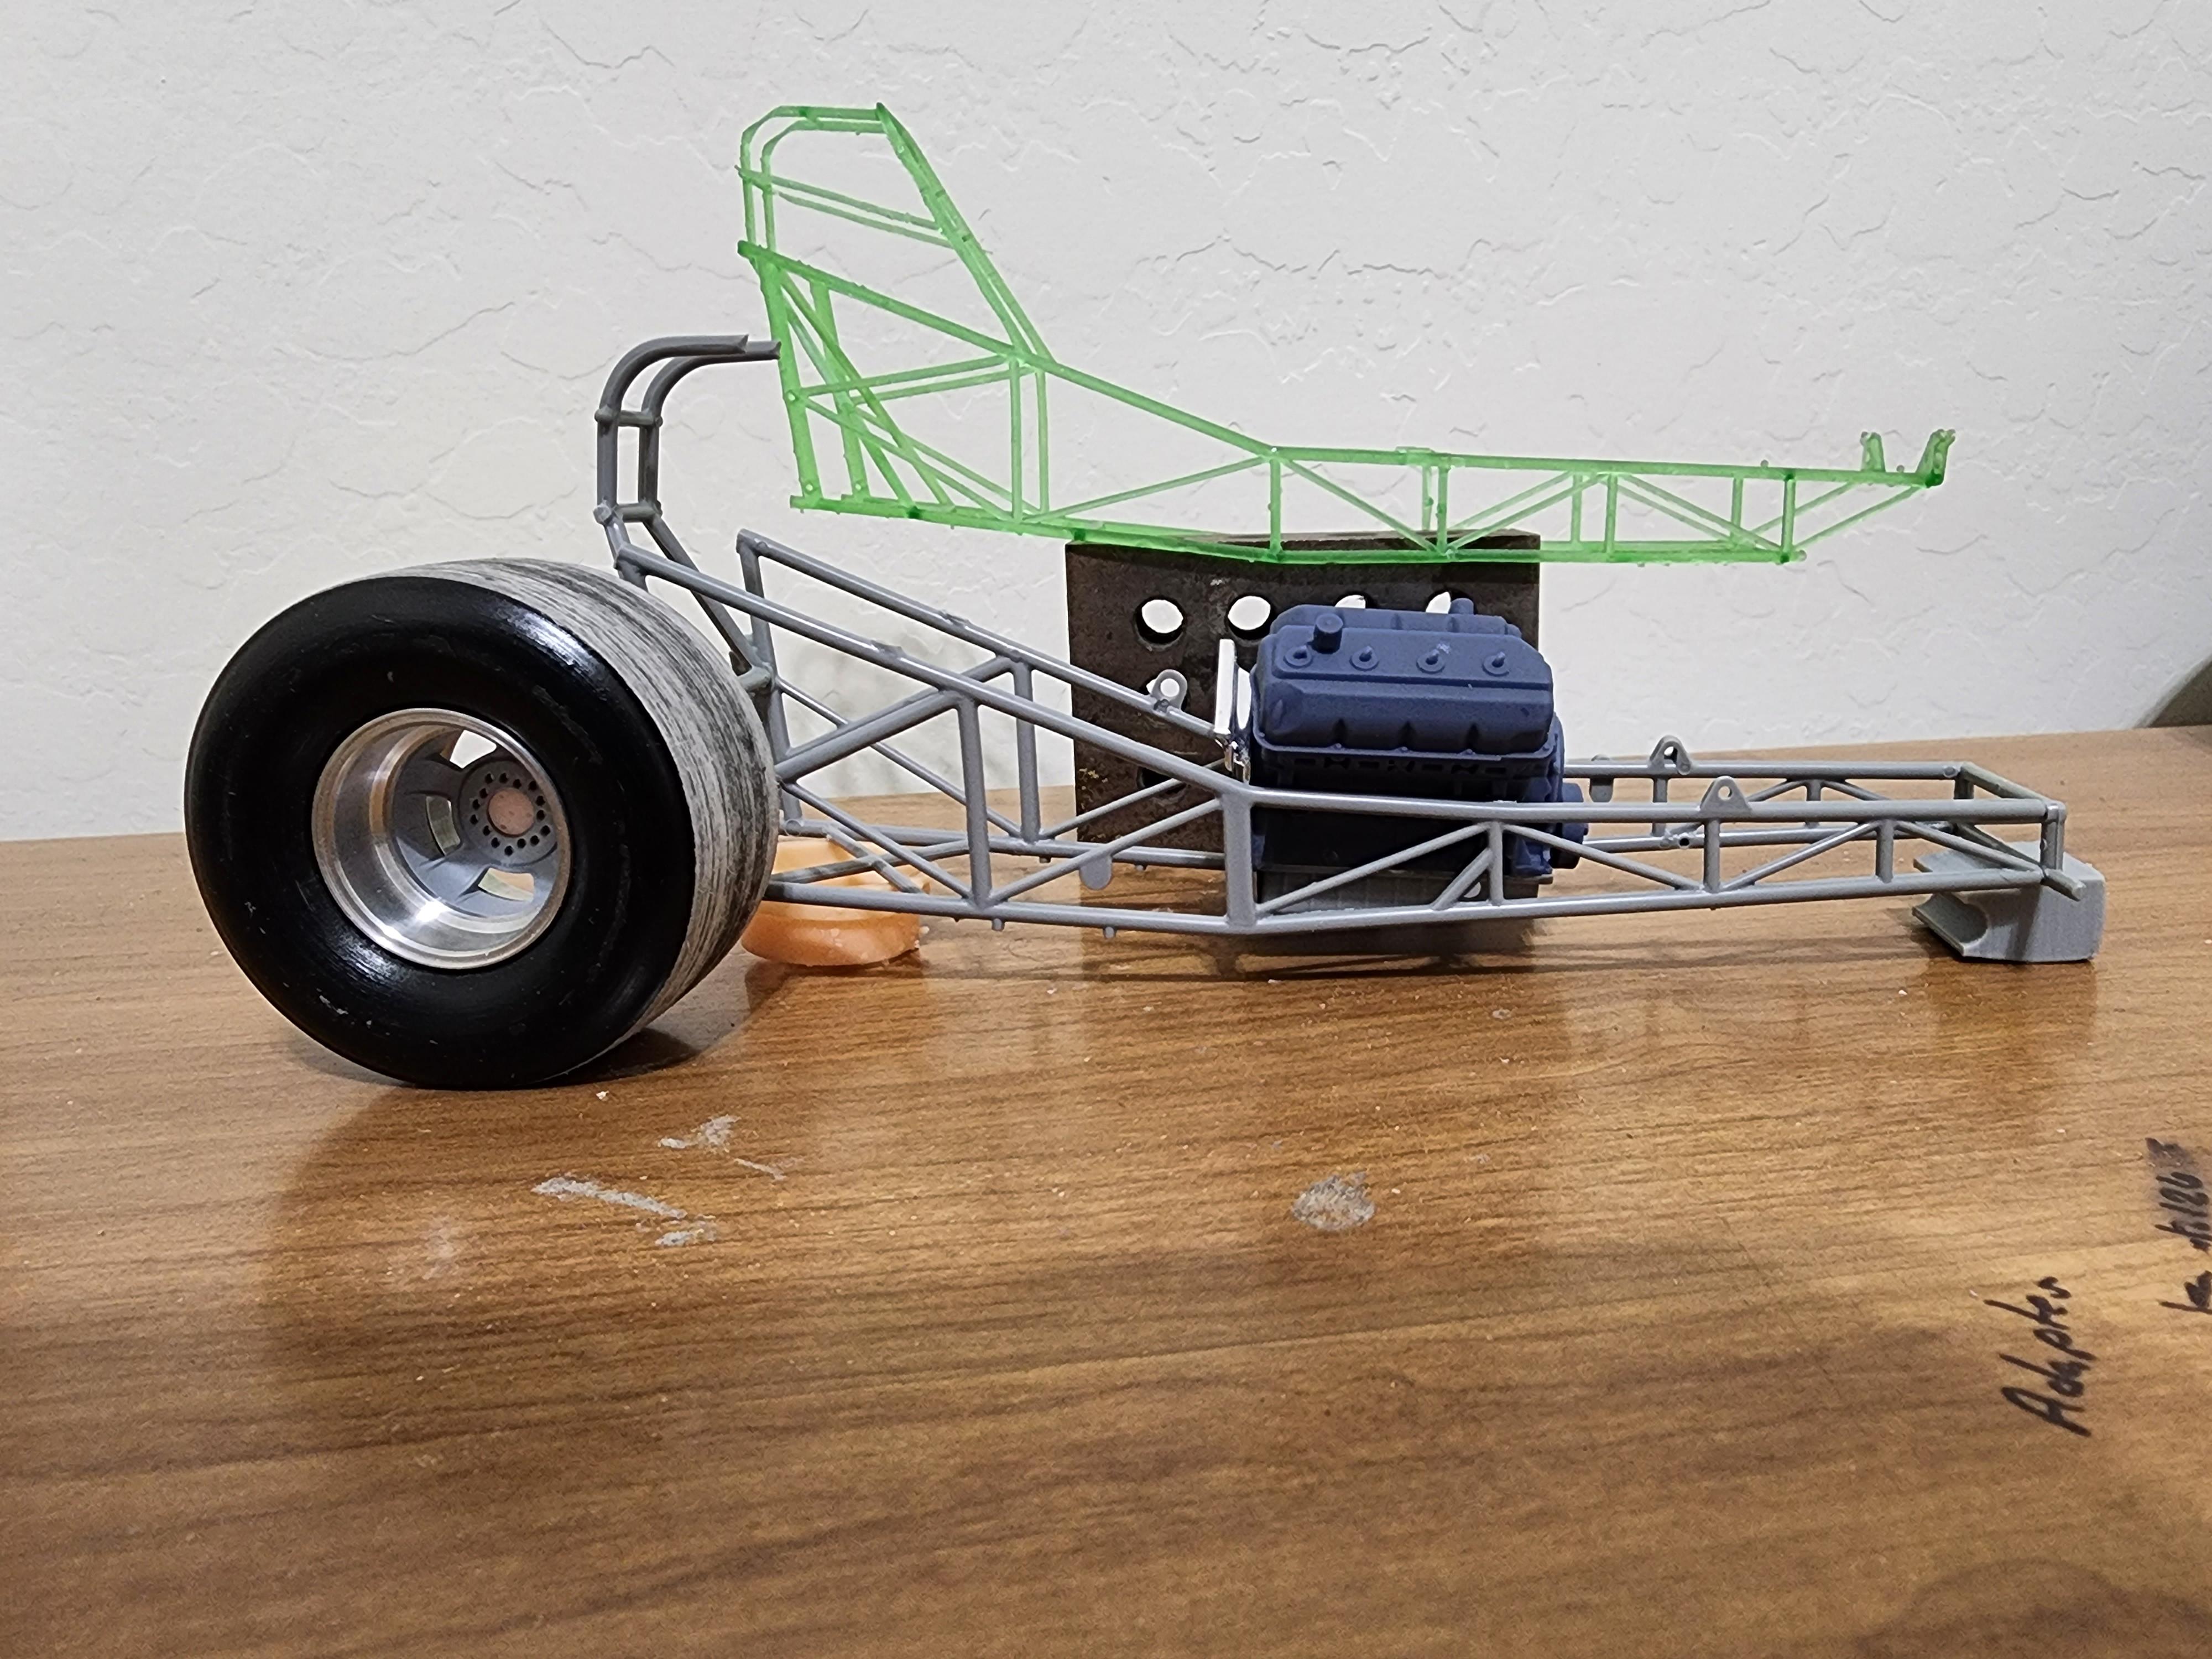
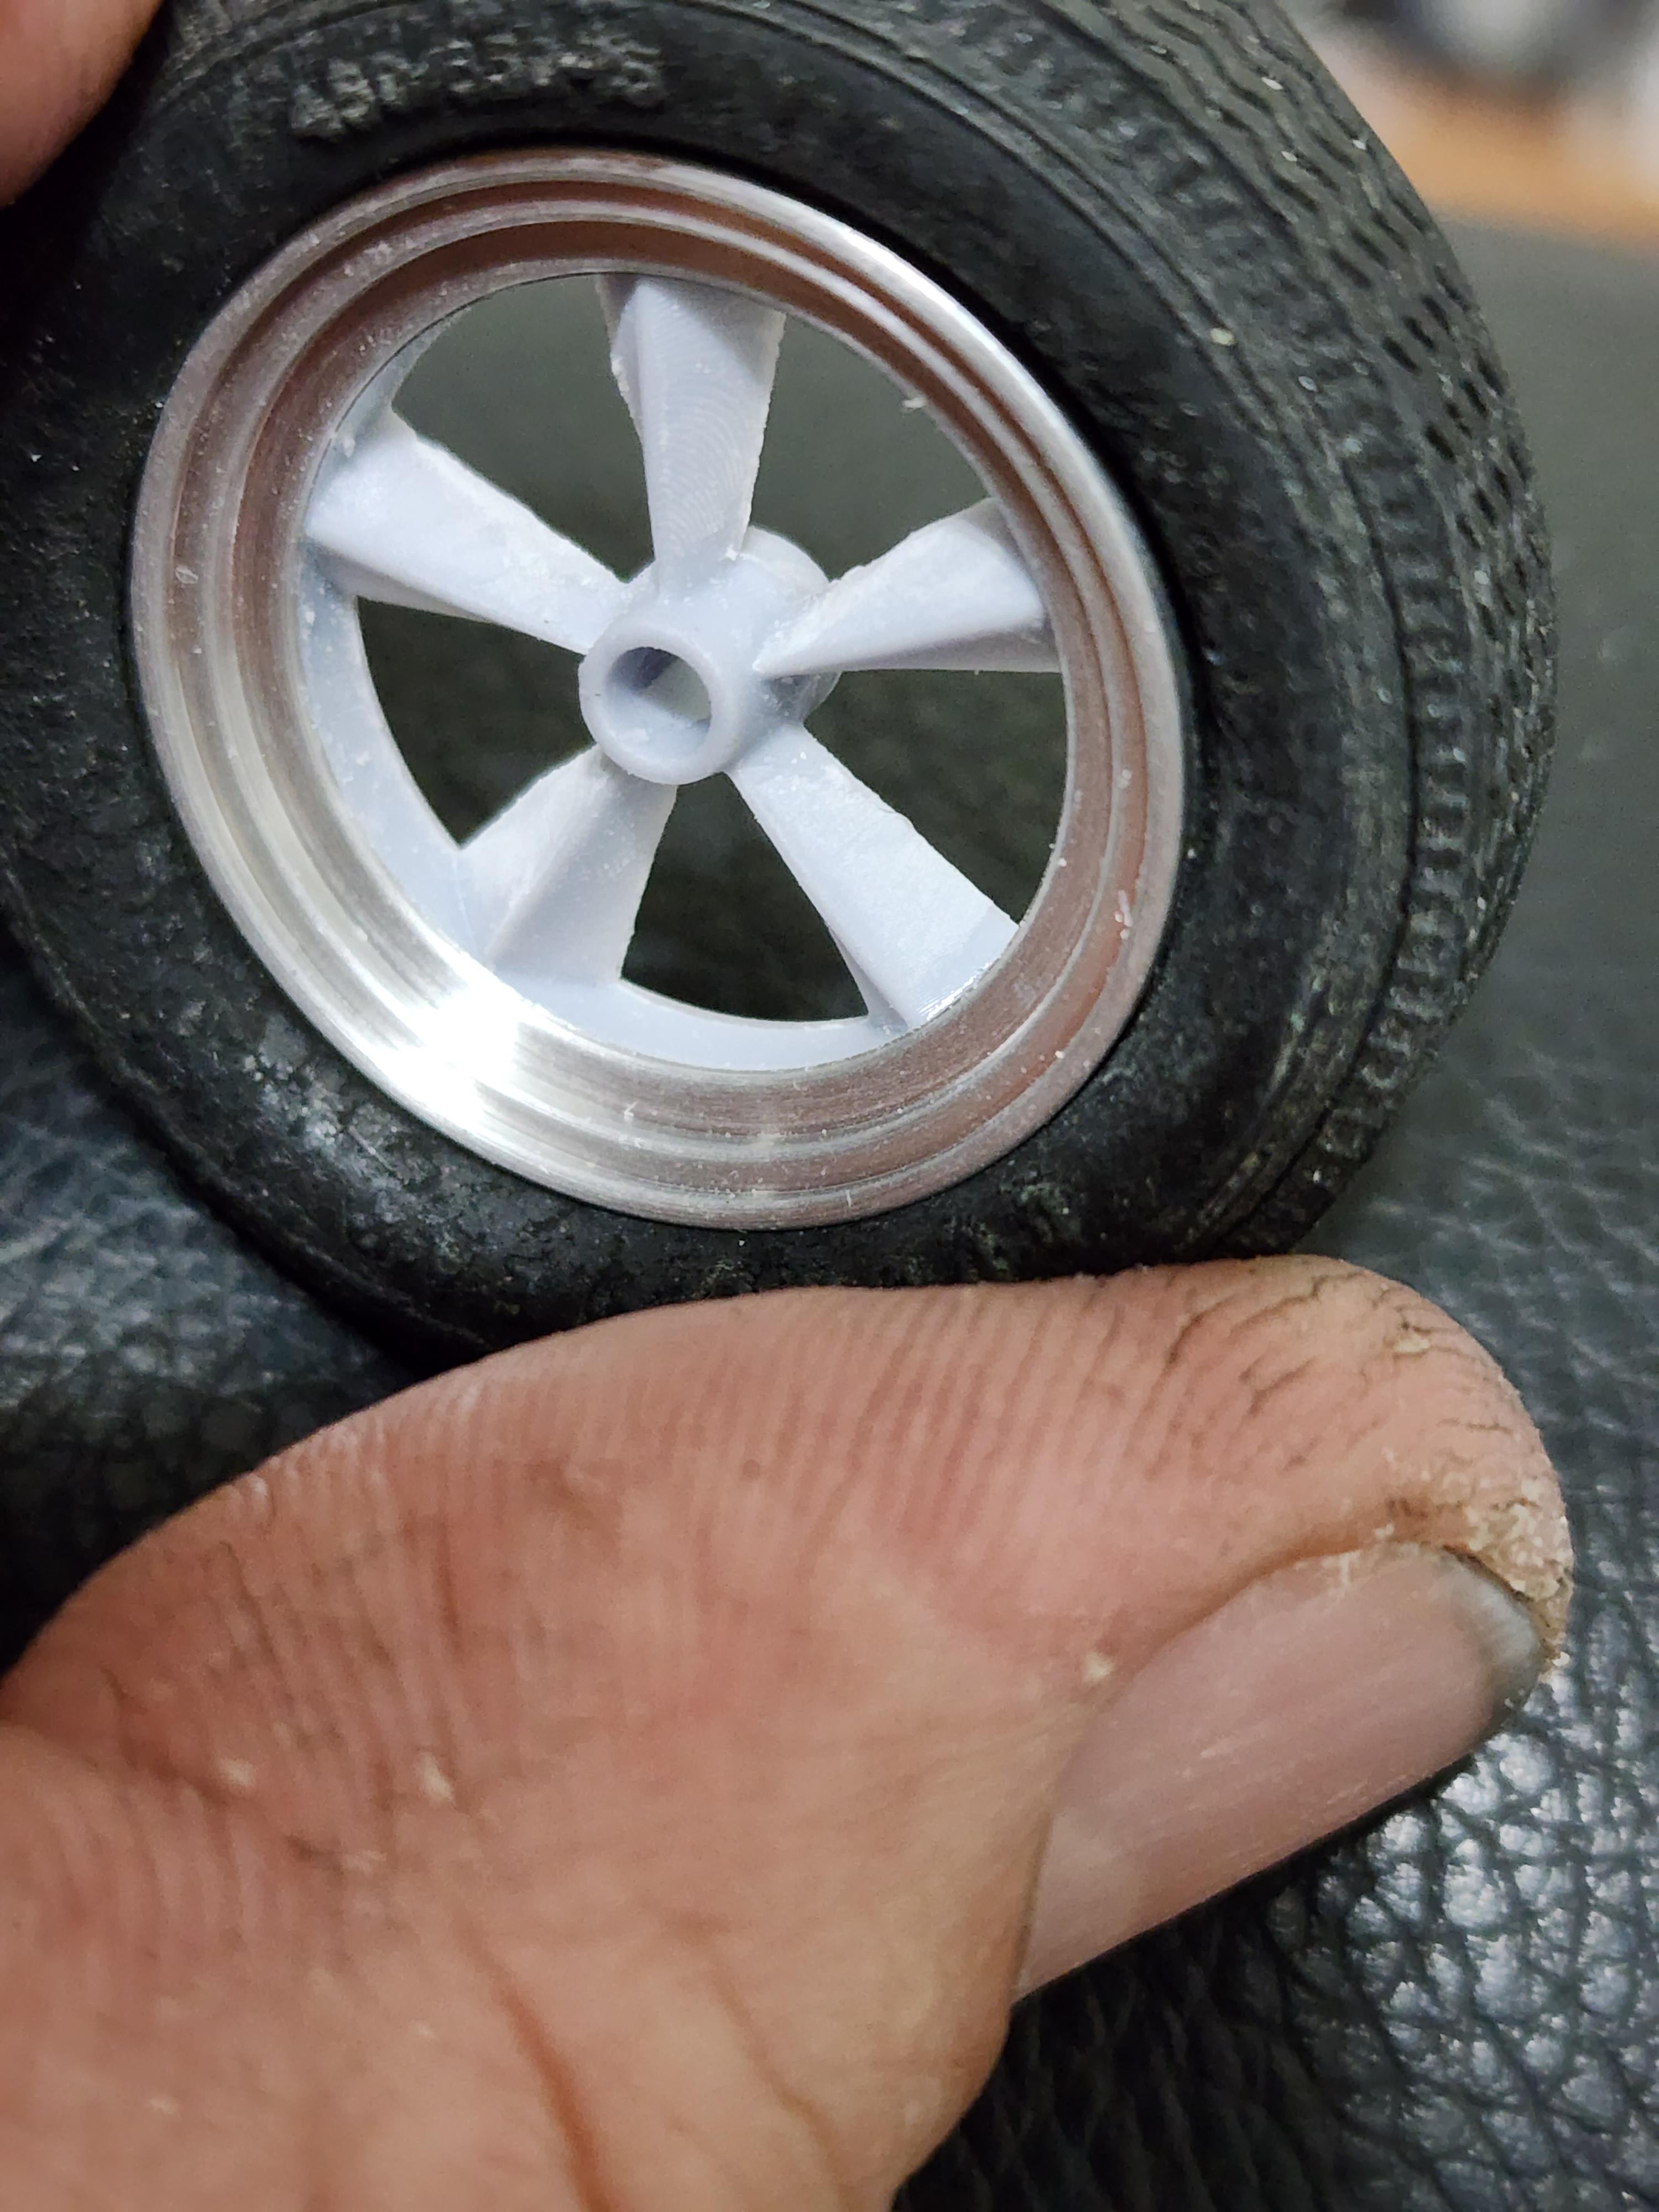
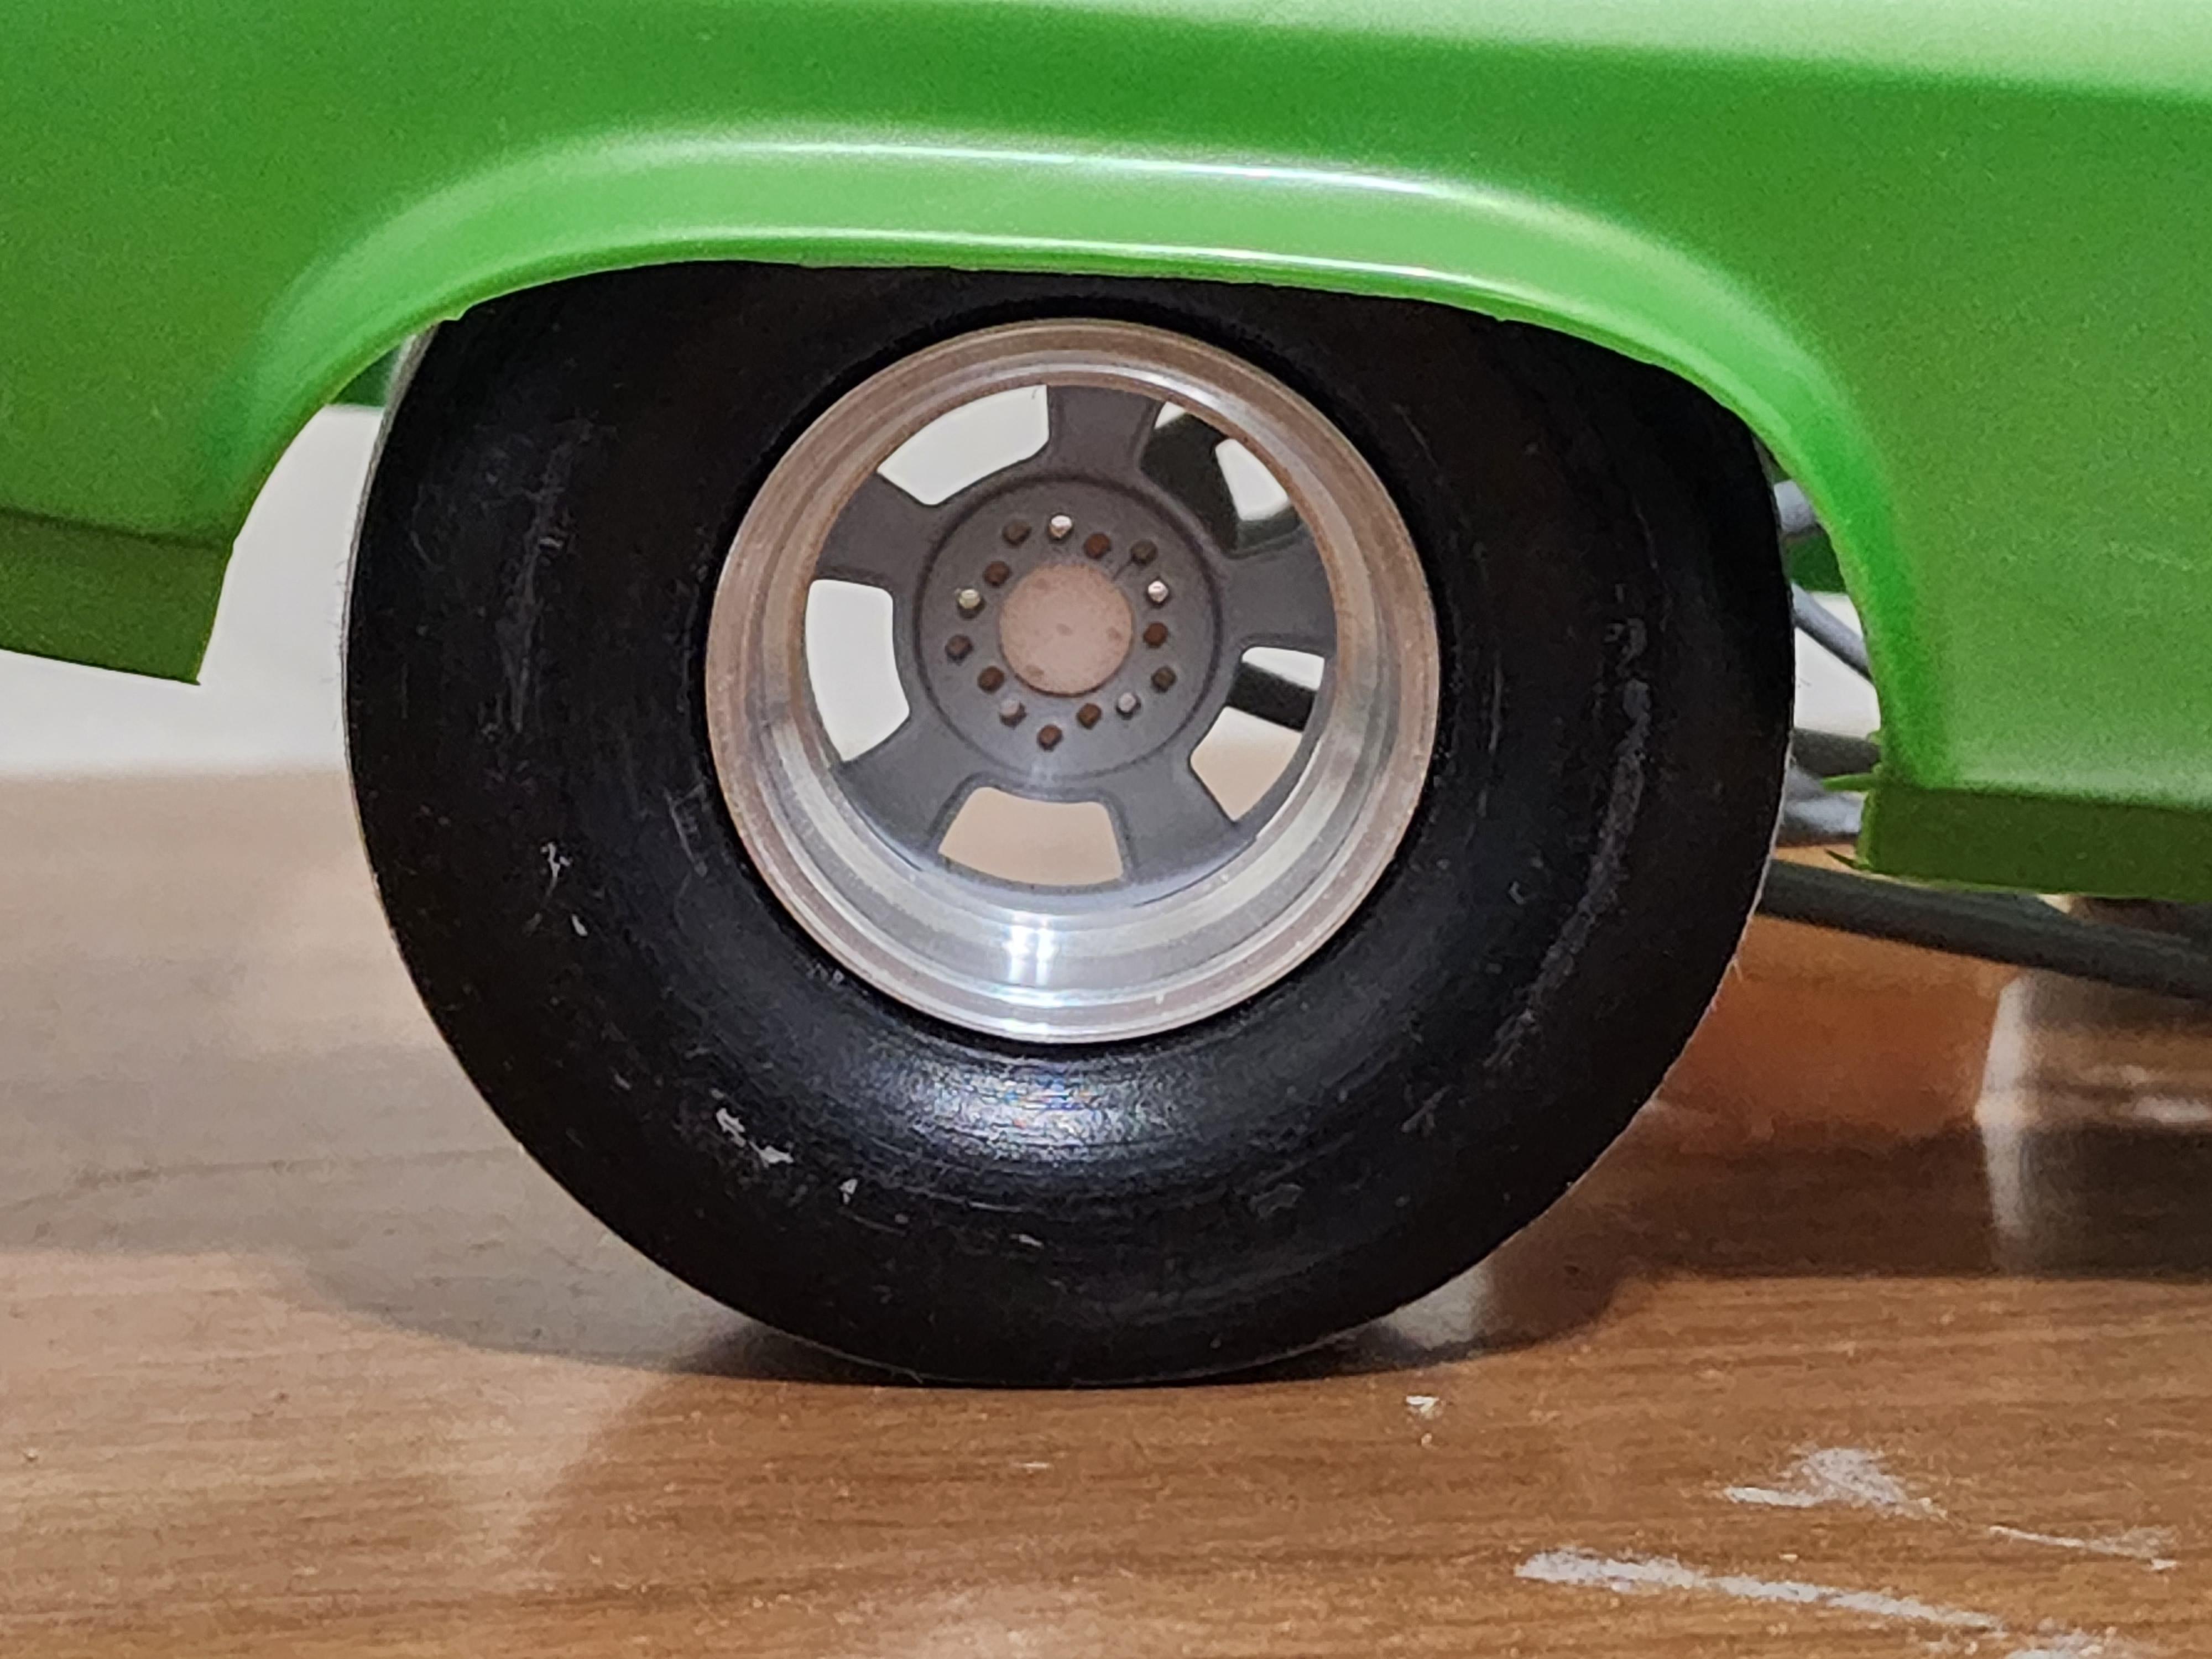
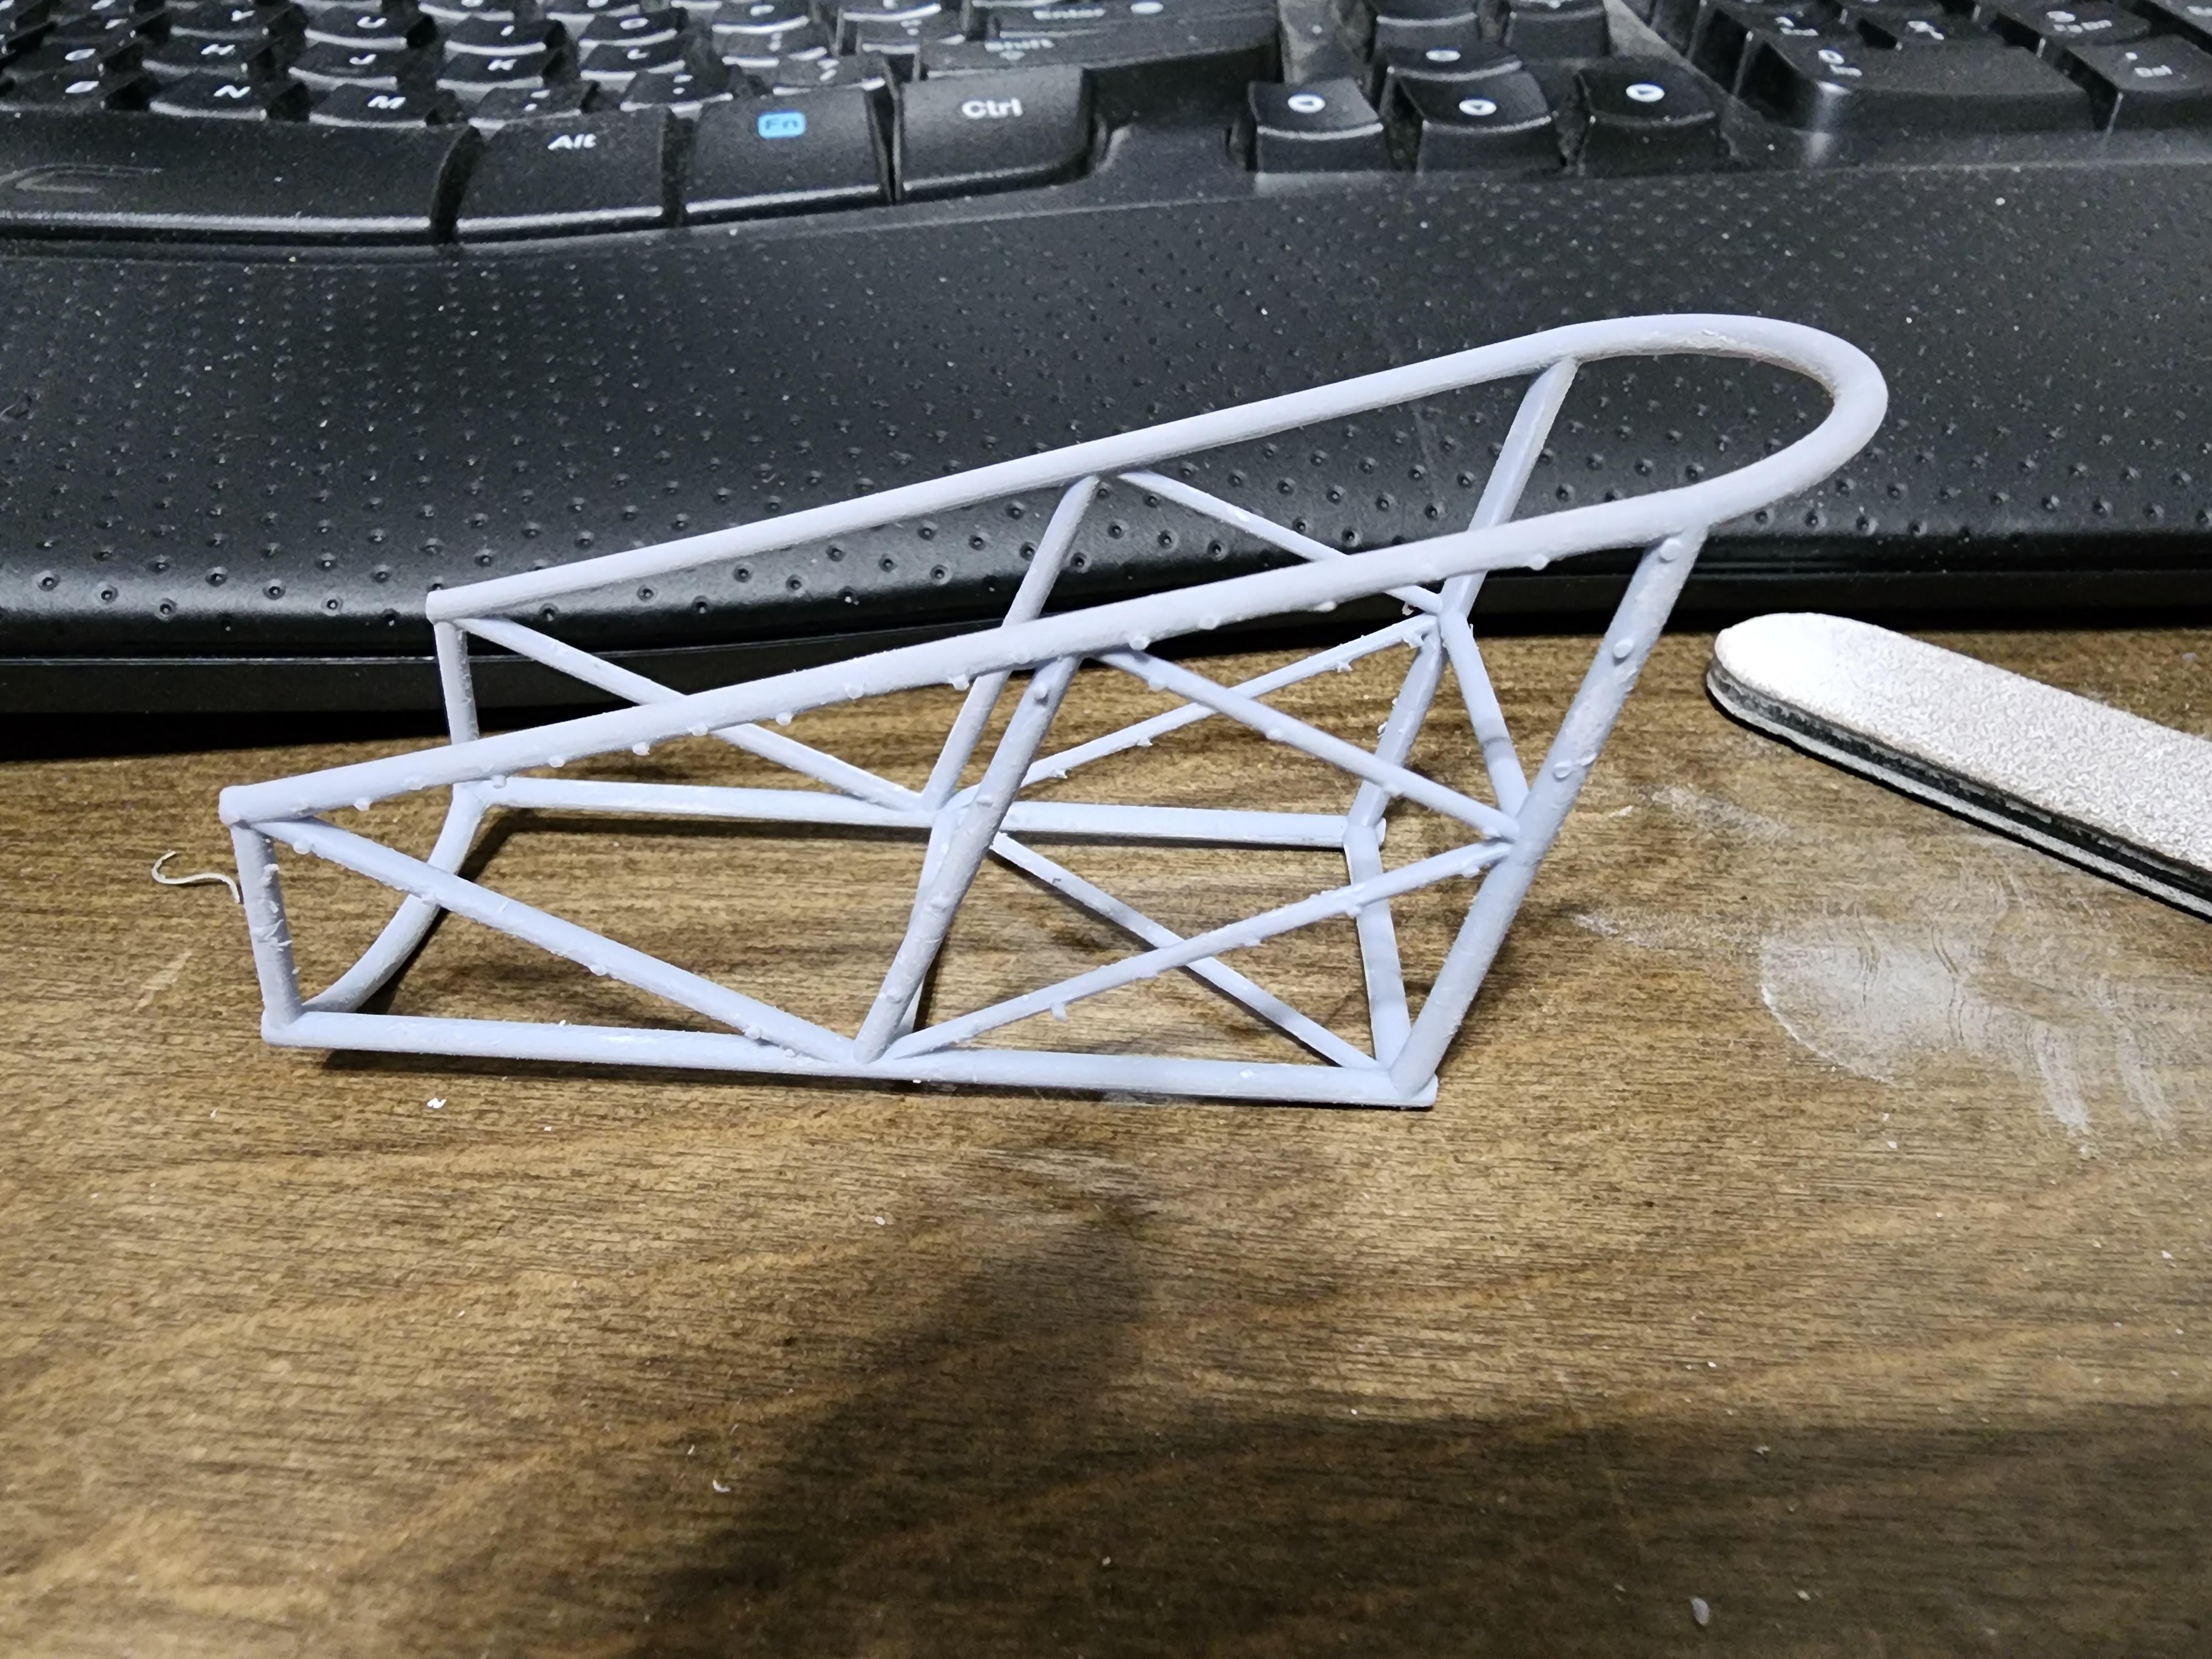
So I started this project back in January of the Radici and Wise car. Using Tom West's excellent photos I've been recreating this in scale. Starting with an Atlantis Green Elephant as a base kit. The wheels and tires are a collaborative effort between Jeff Farris and I. Engine was sourced from Texas 3d in 16th scale. What started with modifying the kit chassis turned into a whole new 3d printed chassis. Using the Aurora chassis kit, much of its dimensions got me where I needed to be. The green chassis in the back ground is a Logghe stage IV with coil over front.
-
69 pro mod chevelle, chassis started mock ups
mr68gts replied to mr68gts's topic in WIP: Drag Racing Models
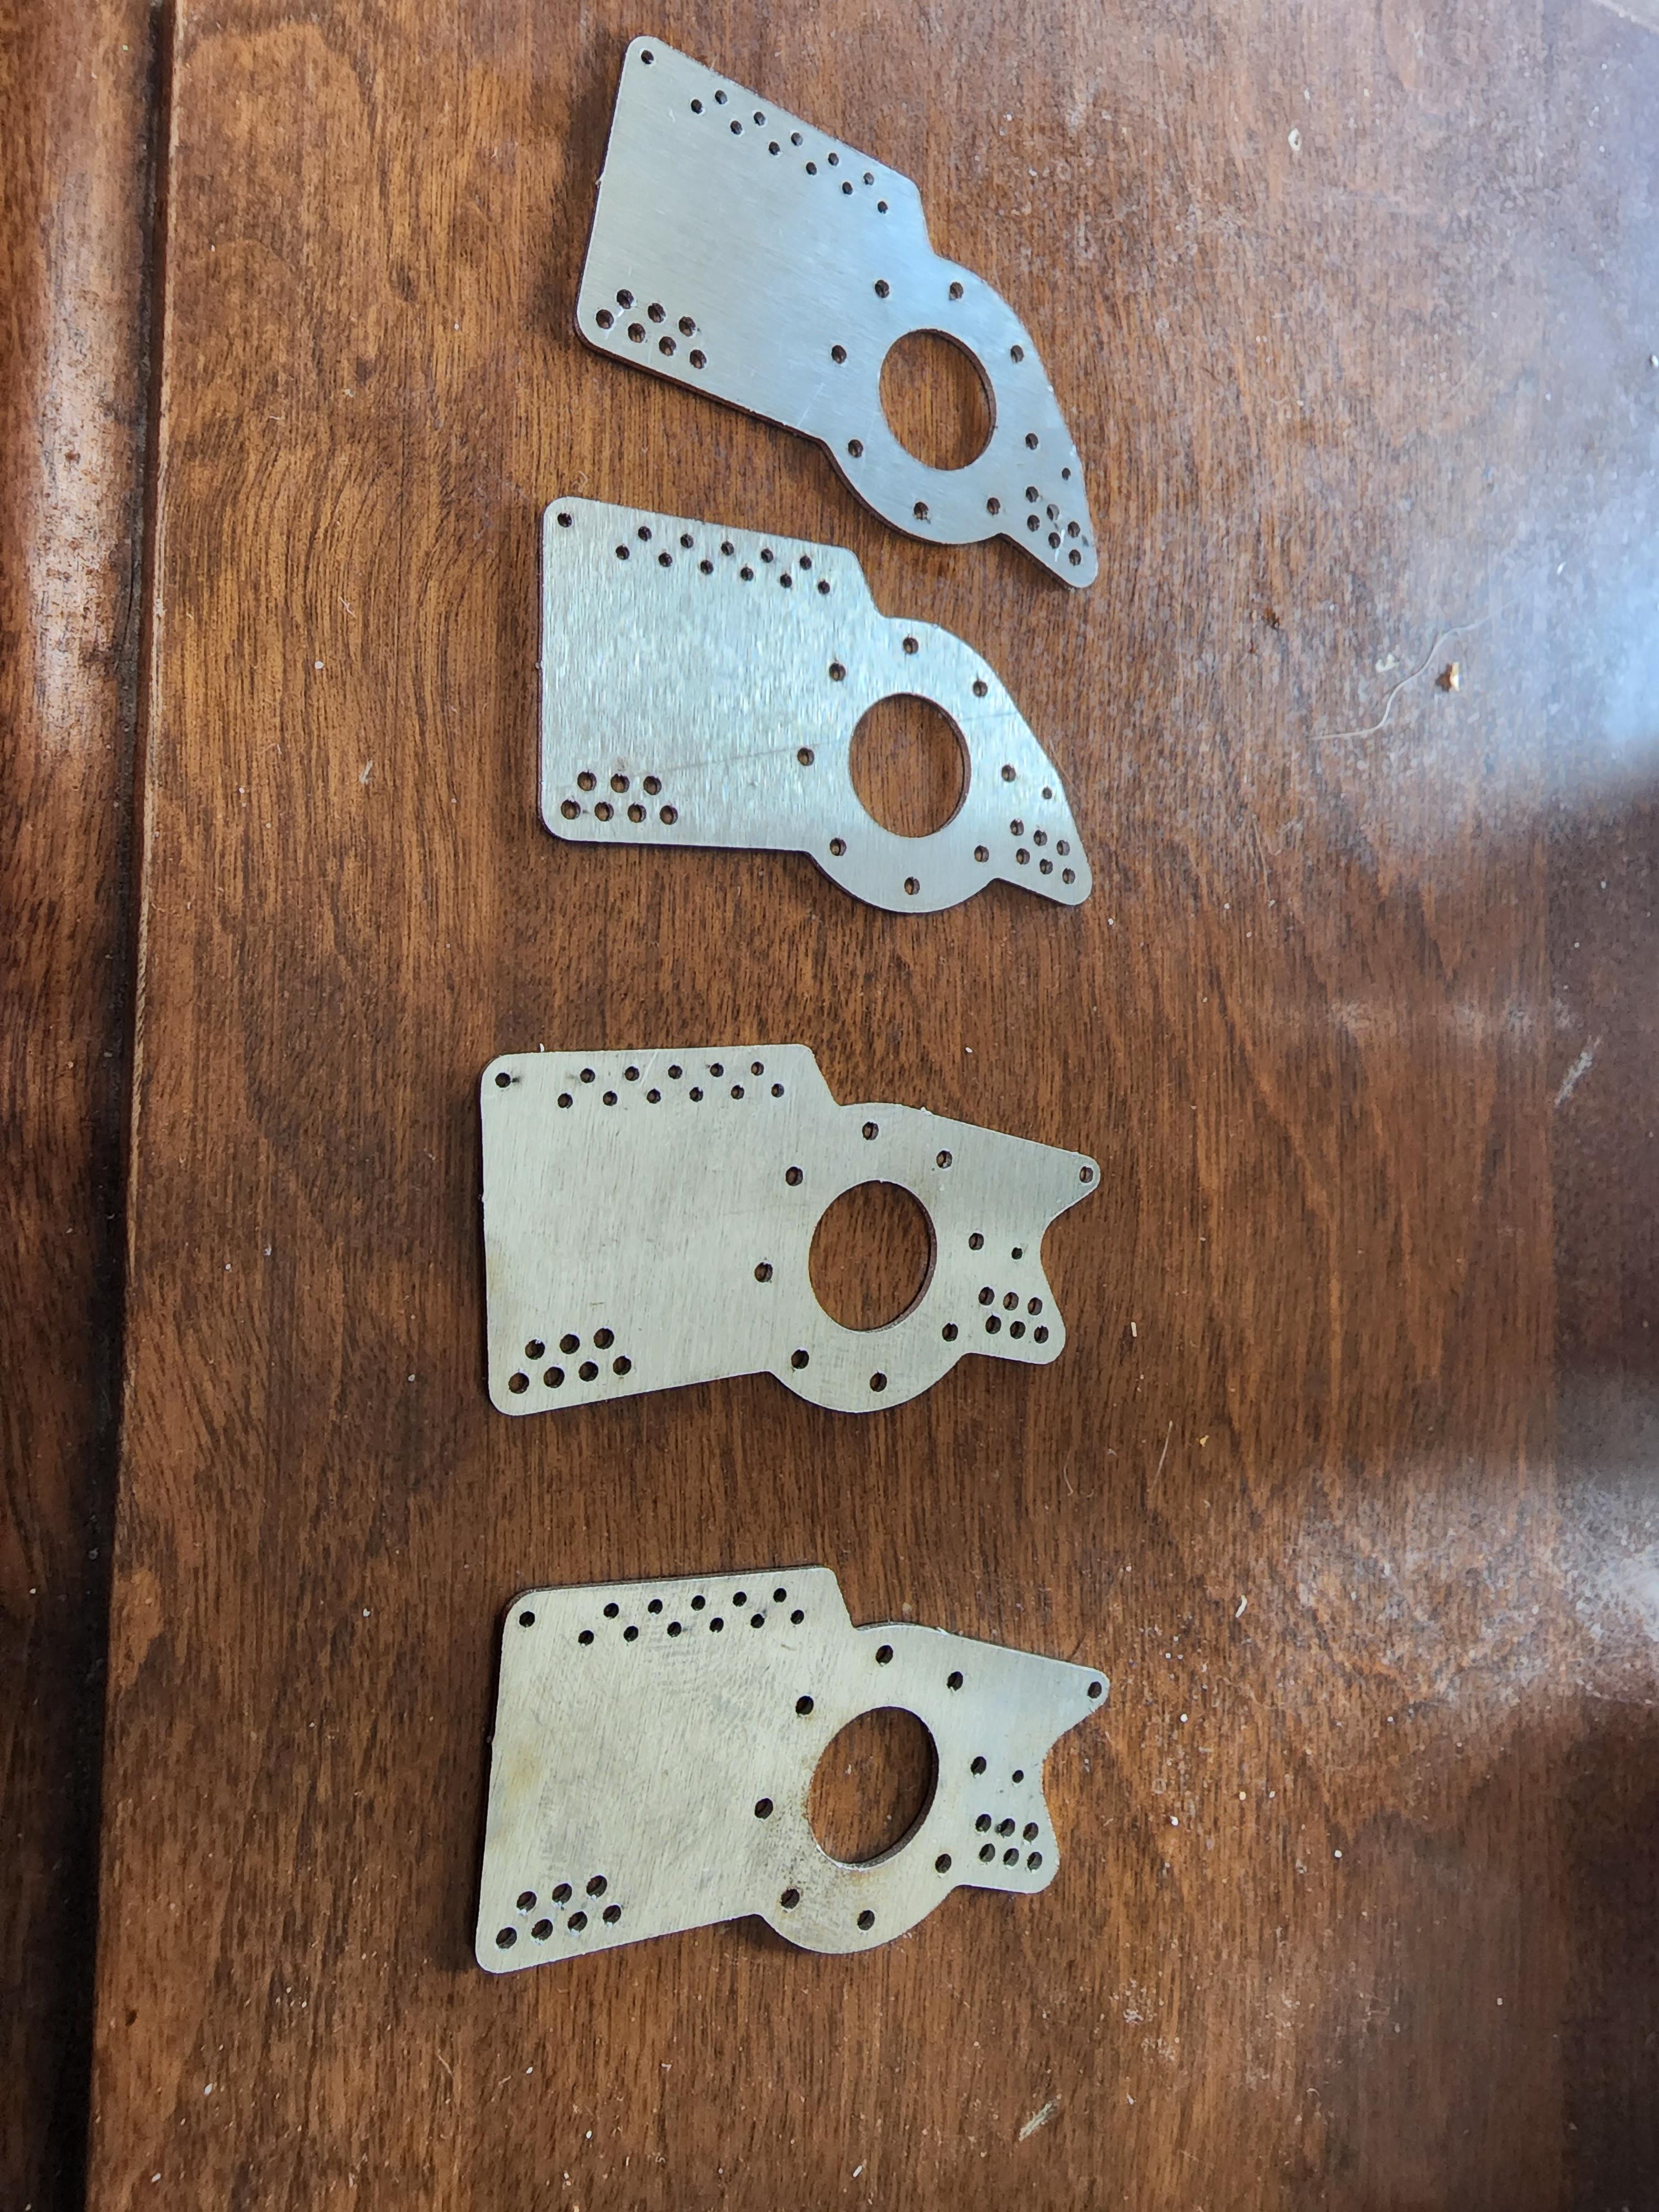
Tim, Nice to see you back! So, the plates were cut by a company called Sendcutsend.com. I found them through a facebook add of all places! Thought why not since they are U.S. based so I converted my file over to a DXF and sent them the file. A week and a half later, I had plates at my doorstep. They offer laser cutting services and some other services also. (Bending, PEM inserts, anodizing ect) Posts are gonna be a bit on this as I'm in the middle of trying to finish something up for GSL. There's no way this thing was gonna make it so I set it aside. Now I may not be able to attend GSL either. My wifes health is bad enough that she still cant travel real well in the truck. Its hard for her to climb up in it so if she cant get better by then where she can get in it easier then we stay home. Chris is willing to take my model up, provided I can actually finish it! Paul -
69 pro mod chevelle, chassis started mock ups
mr68gts replied to mr68gts's topic in WIP: Drag Racing Models
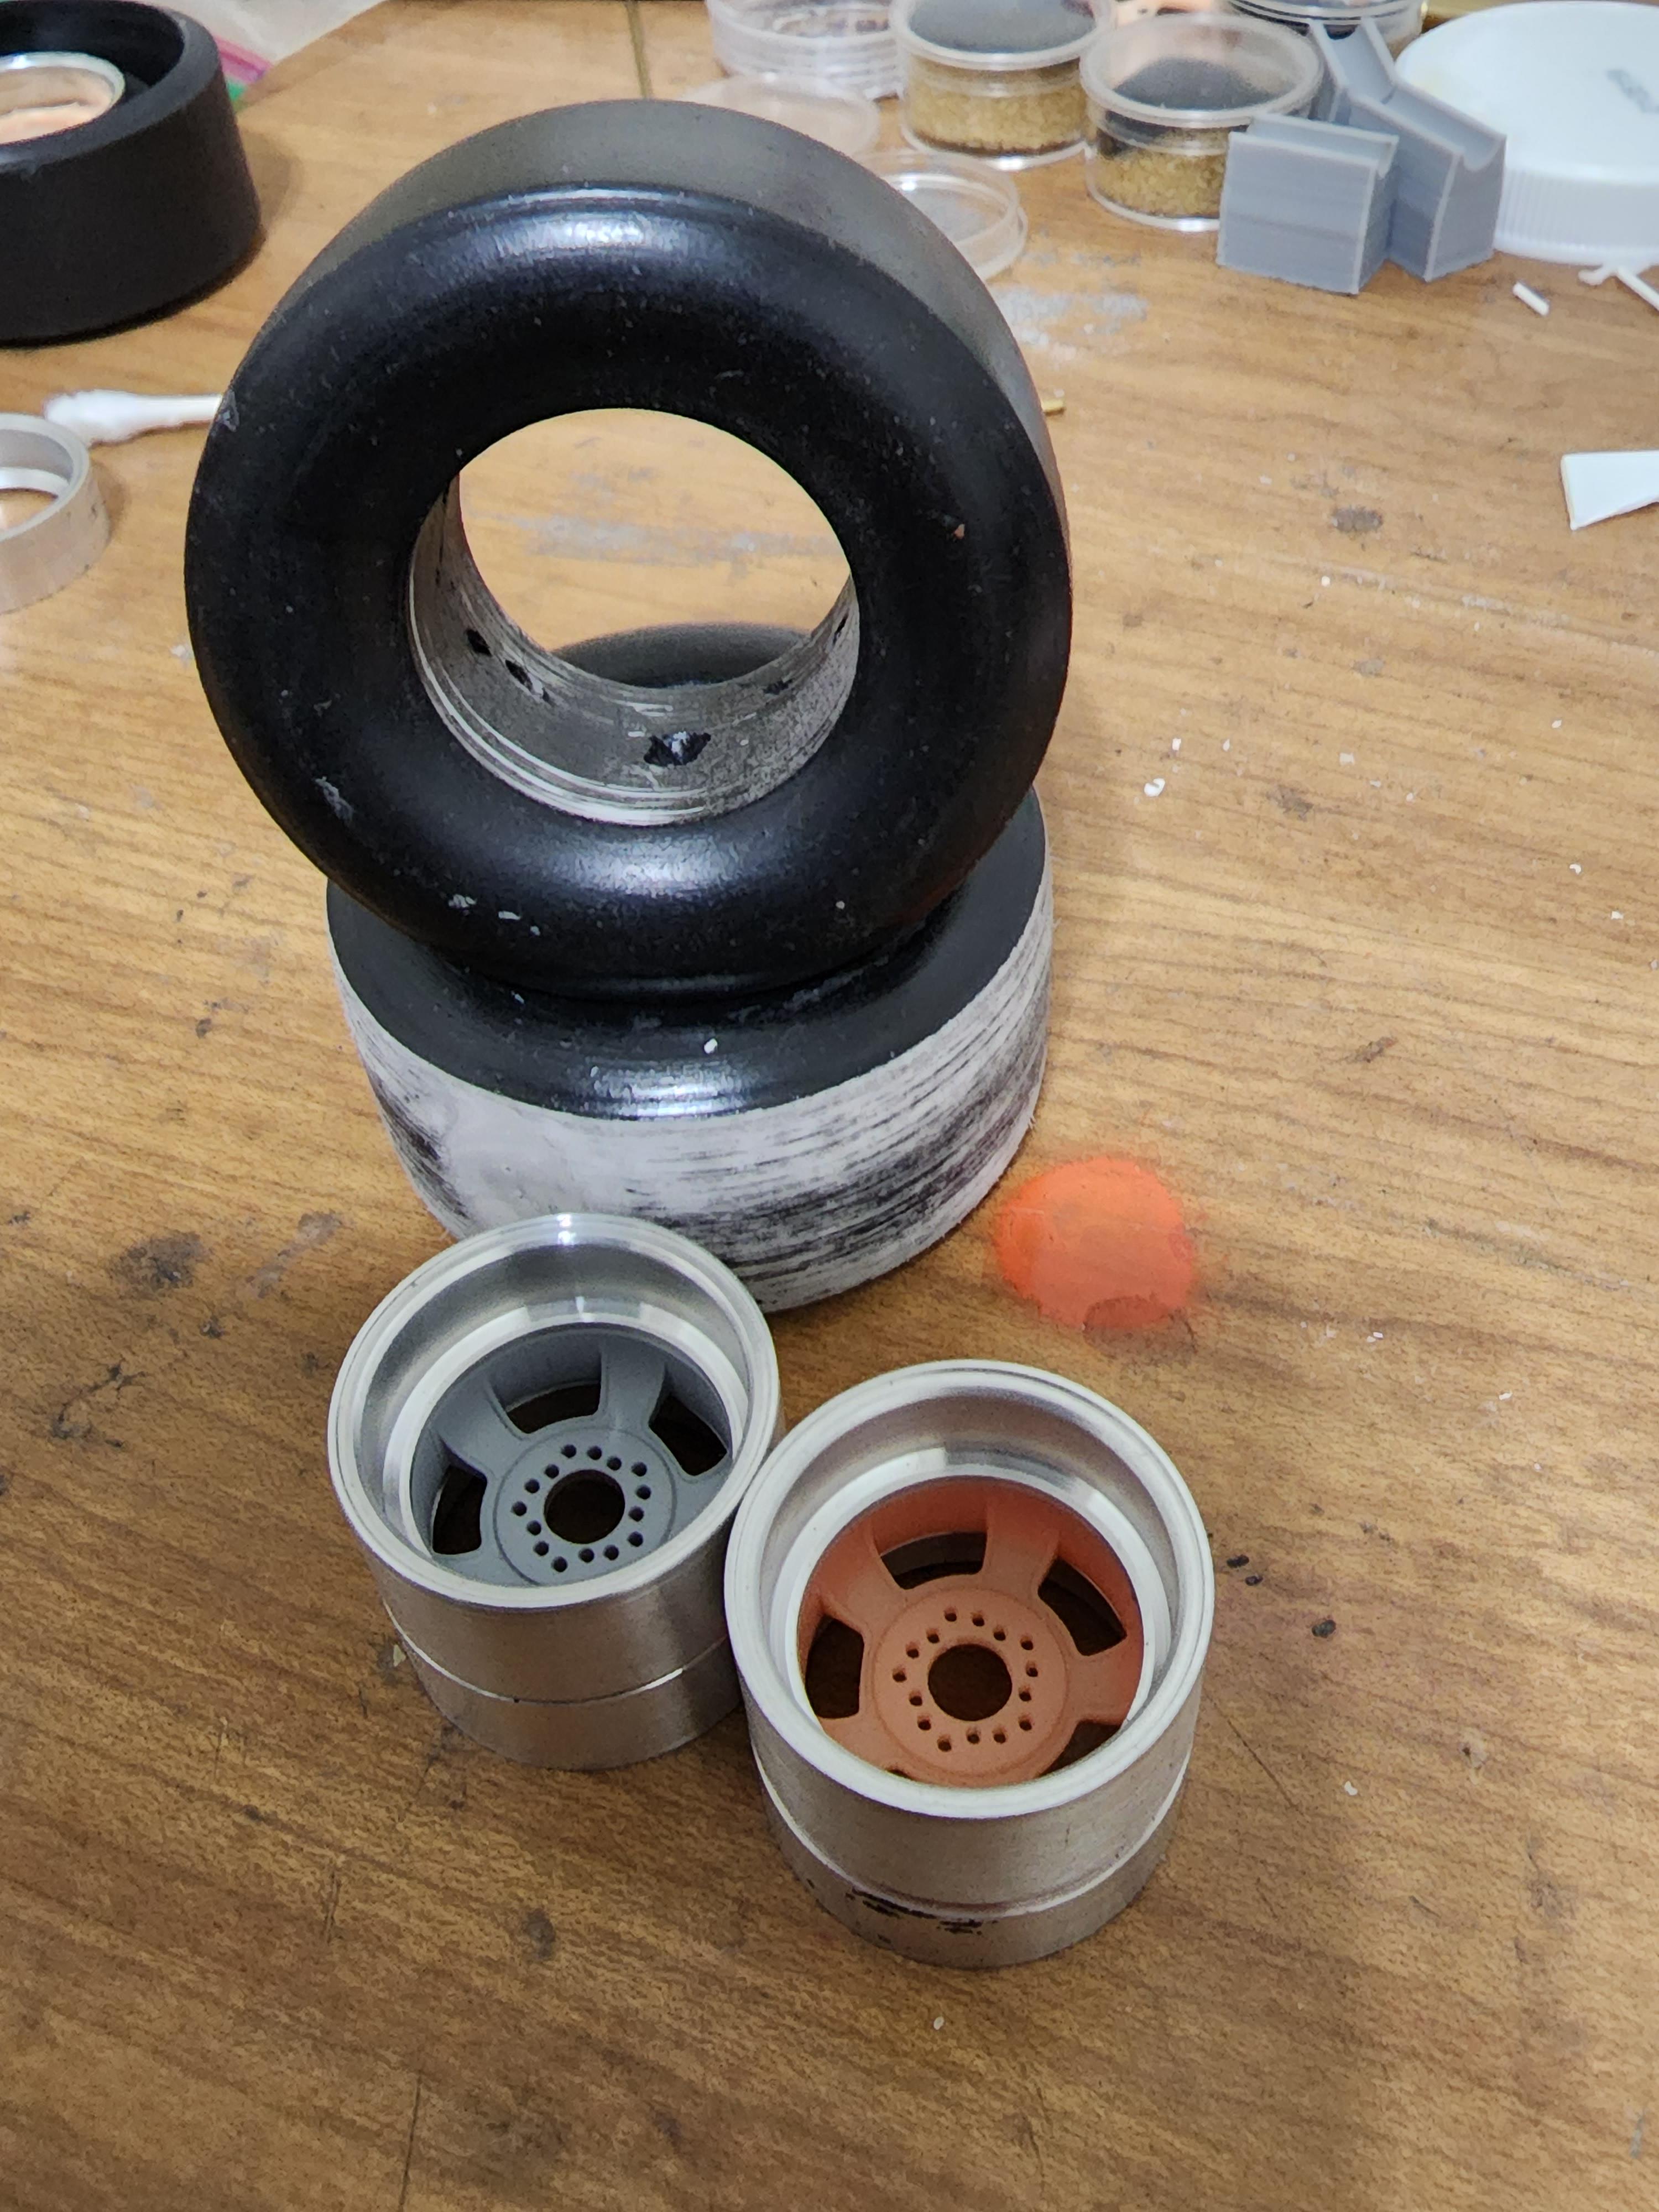
Thank you everyone for the comments Little tiny update.... I will use every available technique I can to make this the most accurate promod! Sent files out to have them laser cut. Parts came back perfect! The 4 link brackets for the rear end are now in 6061 aluminum! With these finished ( once I polish them) I can continue on with the rear end!
-
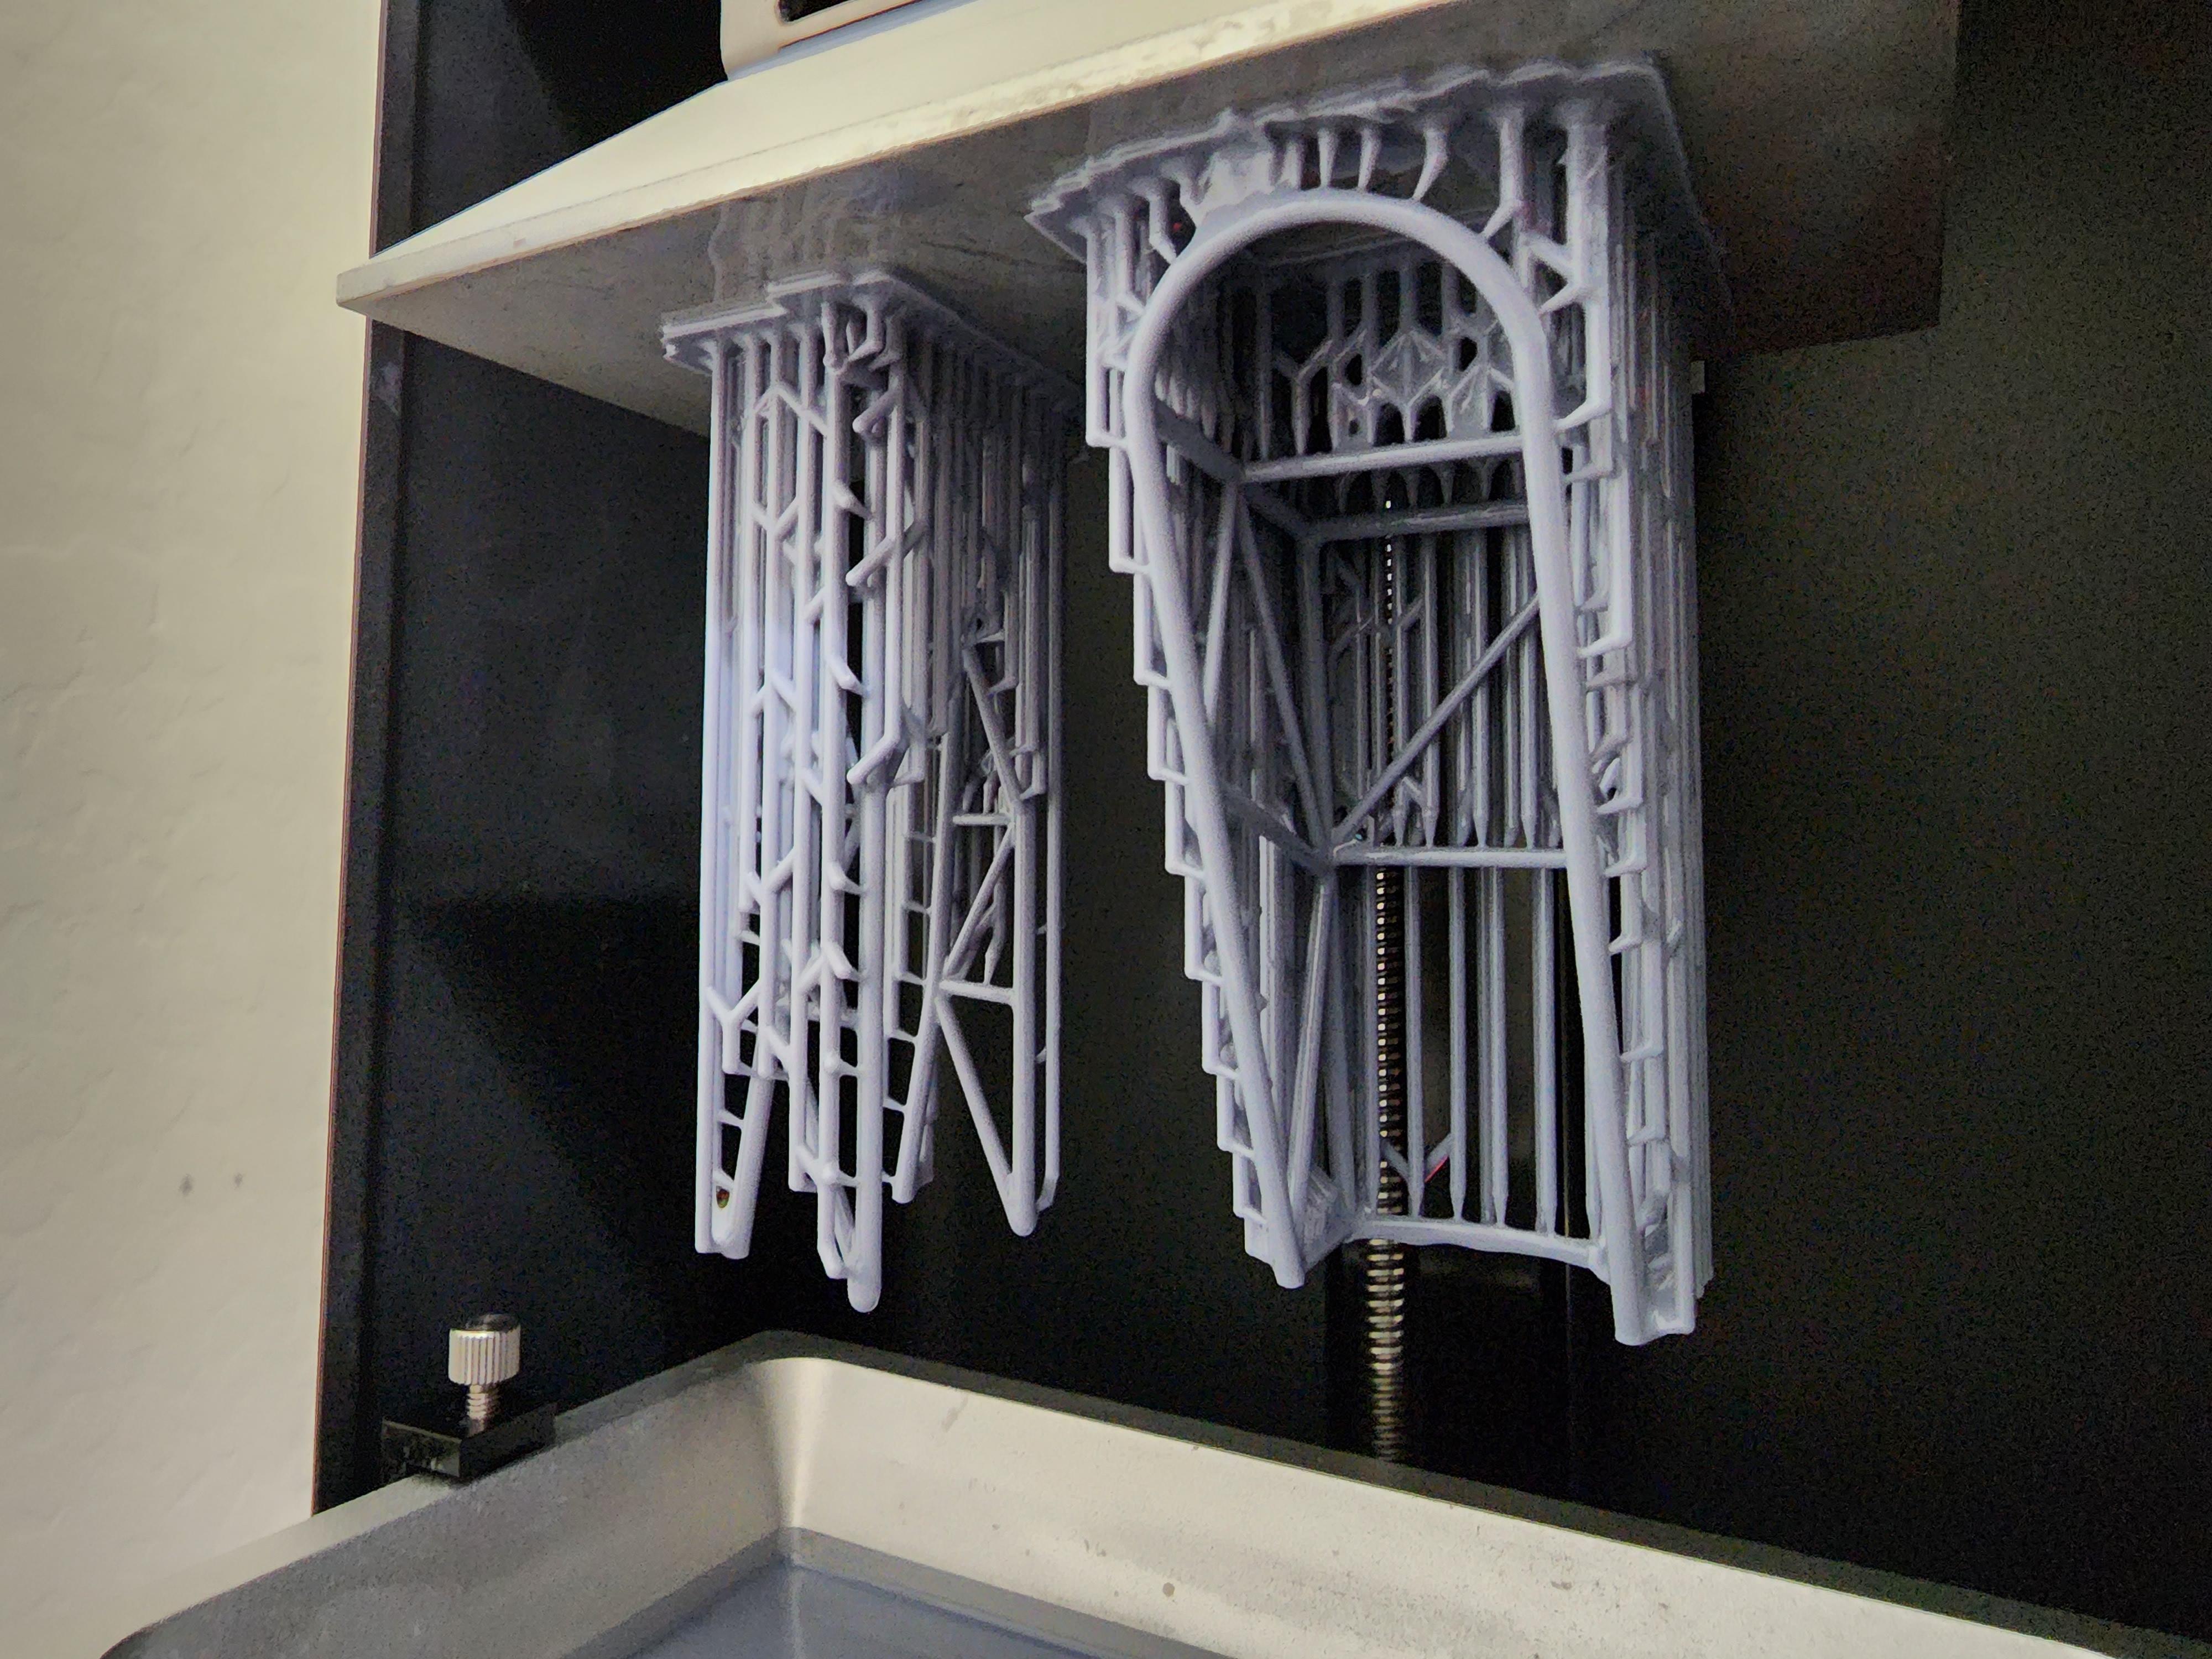
You can change all the settings for your supports within Chitubox. I use heavy support on everything but I've modified my settings for what I need since my parts are larger in nature than 25th scale. (16th up to 1/8) If it's breaking at the main portion of the support then increase the diameter of it. Also exposure time plays a part in this. You can also move the part on a differnent part of the plate and see if it'll print there, which usually indicate a FEP problem. Paul
-
spectacular work Ian! Wanna build my chassis? 😁 Paul
-
Stellar work as usual Dave! Definitely setting the bar high with this one! Paul
-
69 pro mod chevelle, chassis started mock ups
mr68gts replied to mr68gts's topic in WIP: Drag Racing Models
Thank you sir! To see it at this point mocked up has got me motivated! I can't believe it's shear size though! It's SO big....😆 -
69 pro mod chevelle, chassis started mock ups
mr68gts replied to mr68gts's topic in WIP: Drag Racing Models
Last mock up for a while..... Currently working on chassis fixtures that will set ride heights for the chassis and all the suspension parts to properly locate them
-
69 pro mod chevelle, chassis started mock ups
mr68gts replied to mr68gts's topic in WIP: Drag Racing Models
Ok chassis progress......it all starts here!
-
69 pro mod chevelle, chassis started mock ups
mr68gts replied to mr68gts's topic in WIP: Drag Racing Models
Thank you everyone! -
69 pro mod chevelle, chassis started mock ups
mr68gts replied to mr68gts's topic in WIP: Drag Racing Models
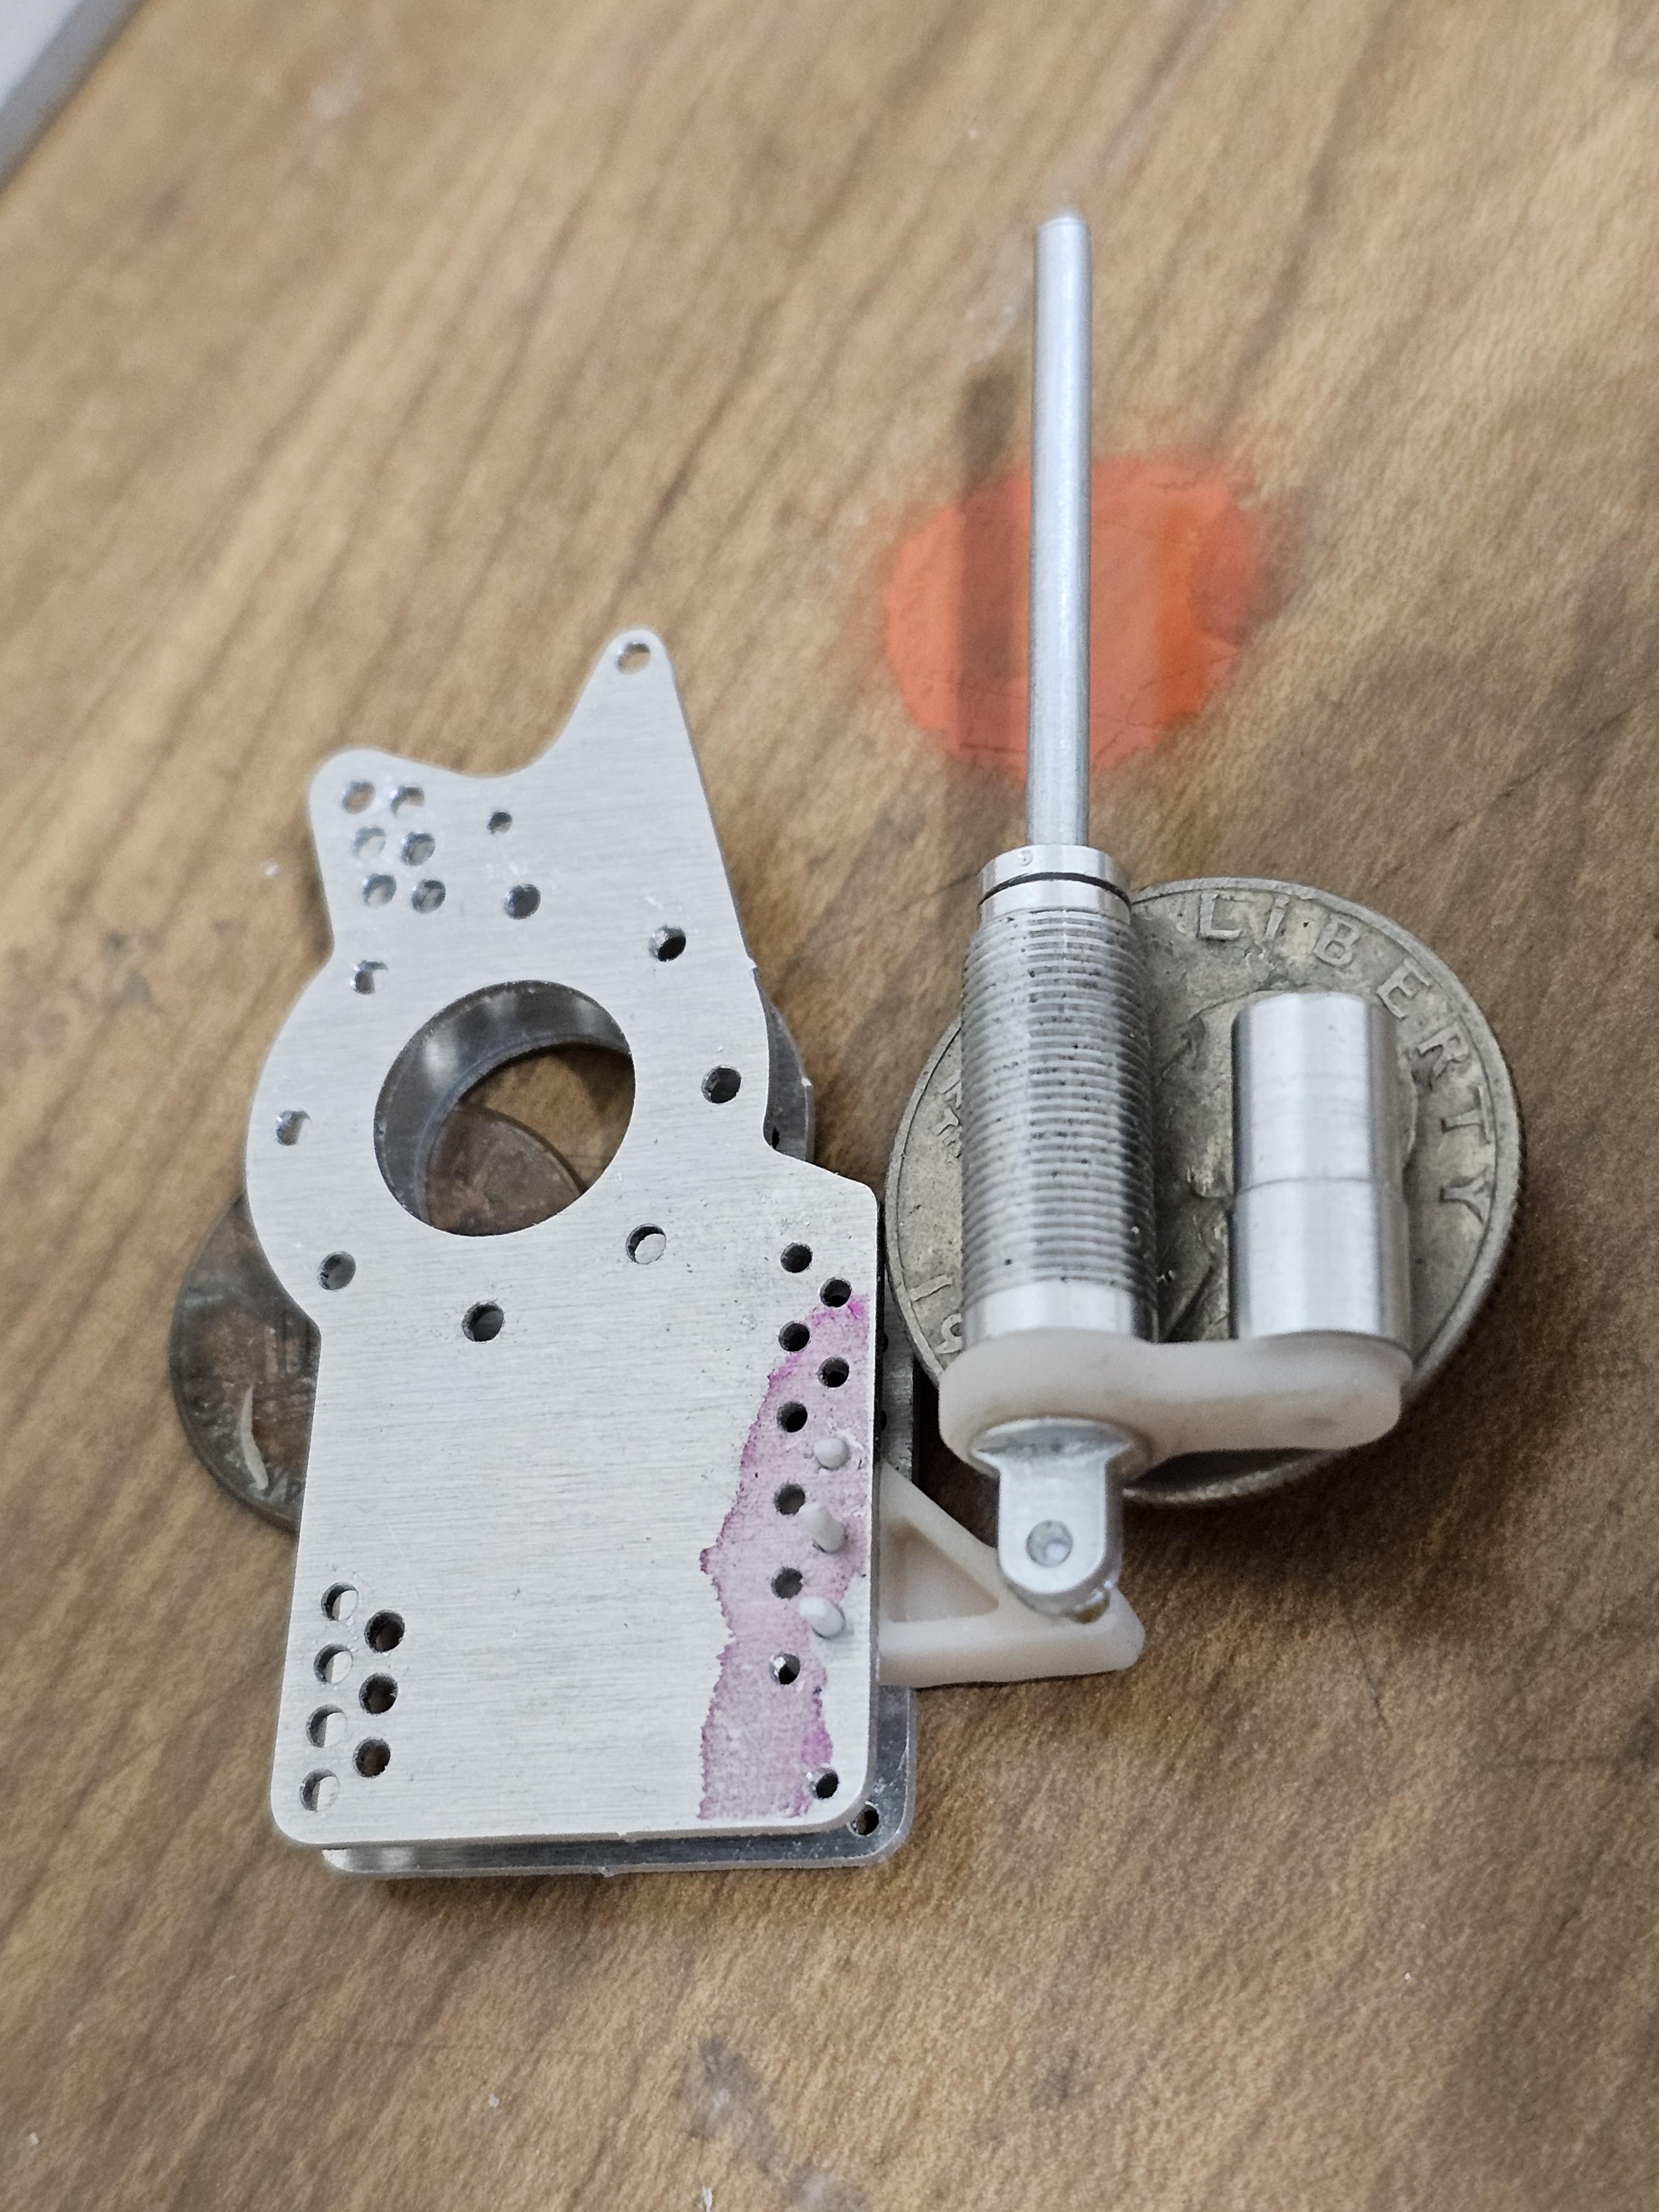
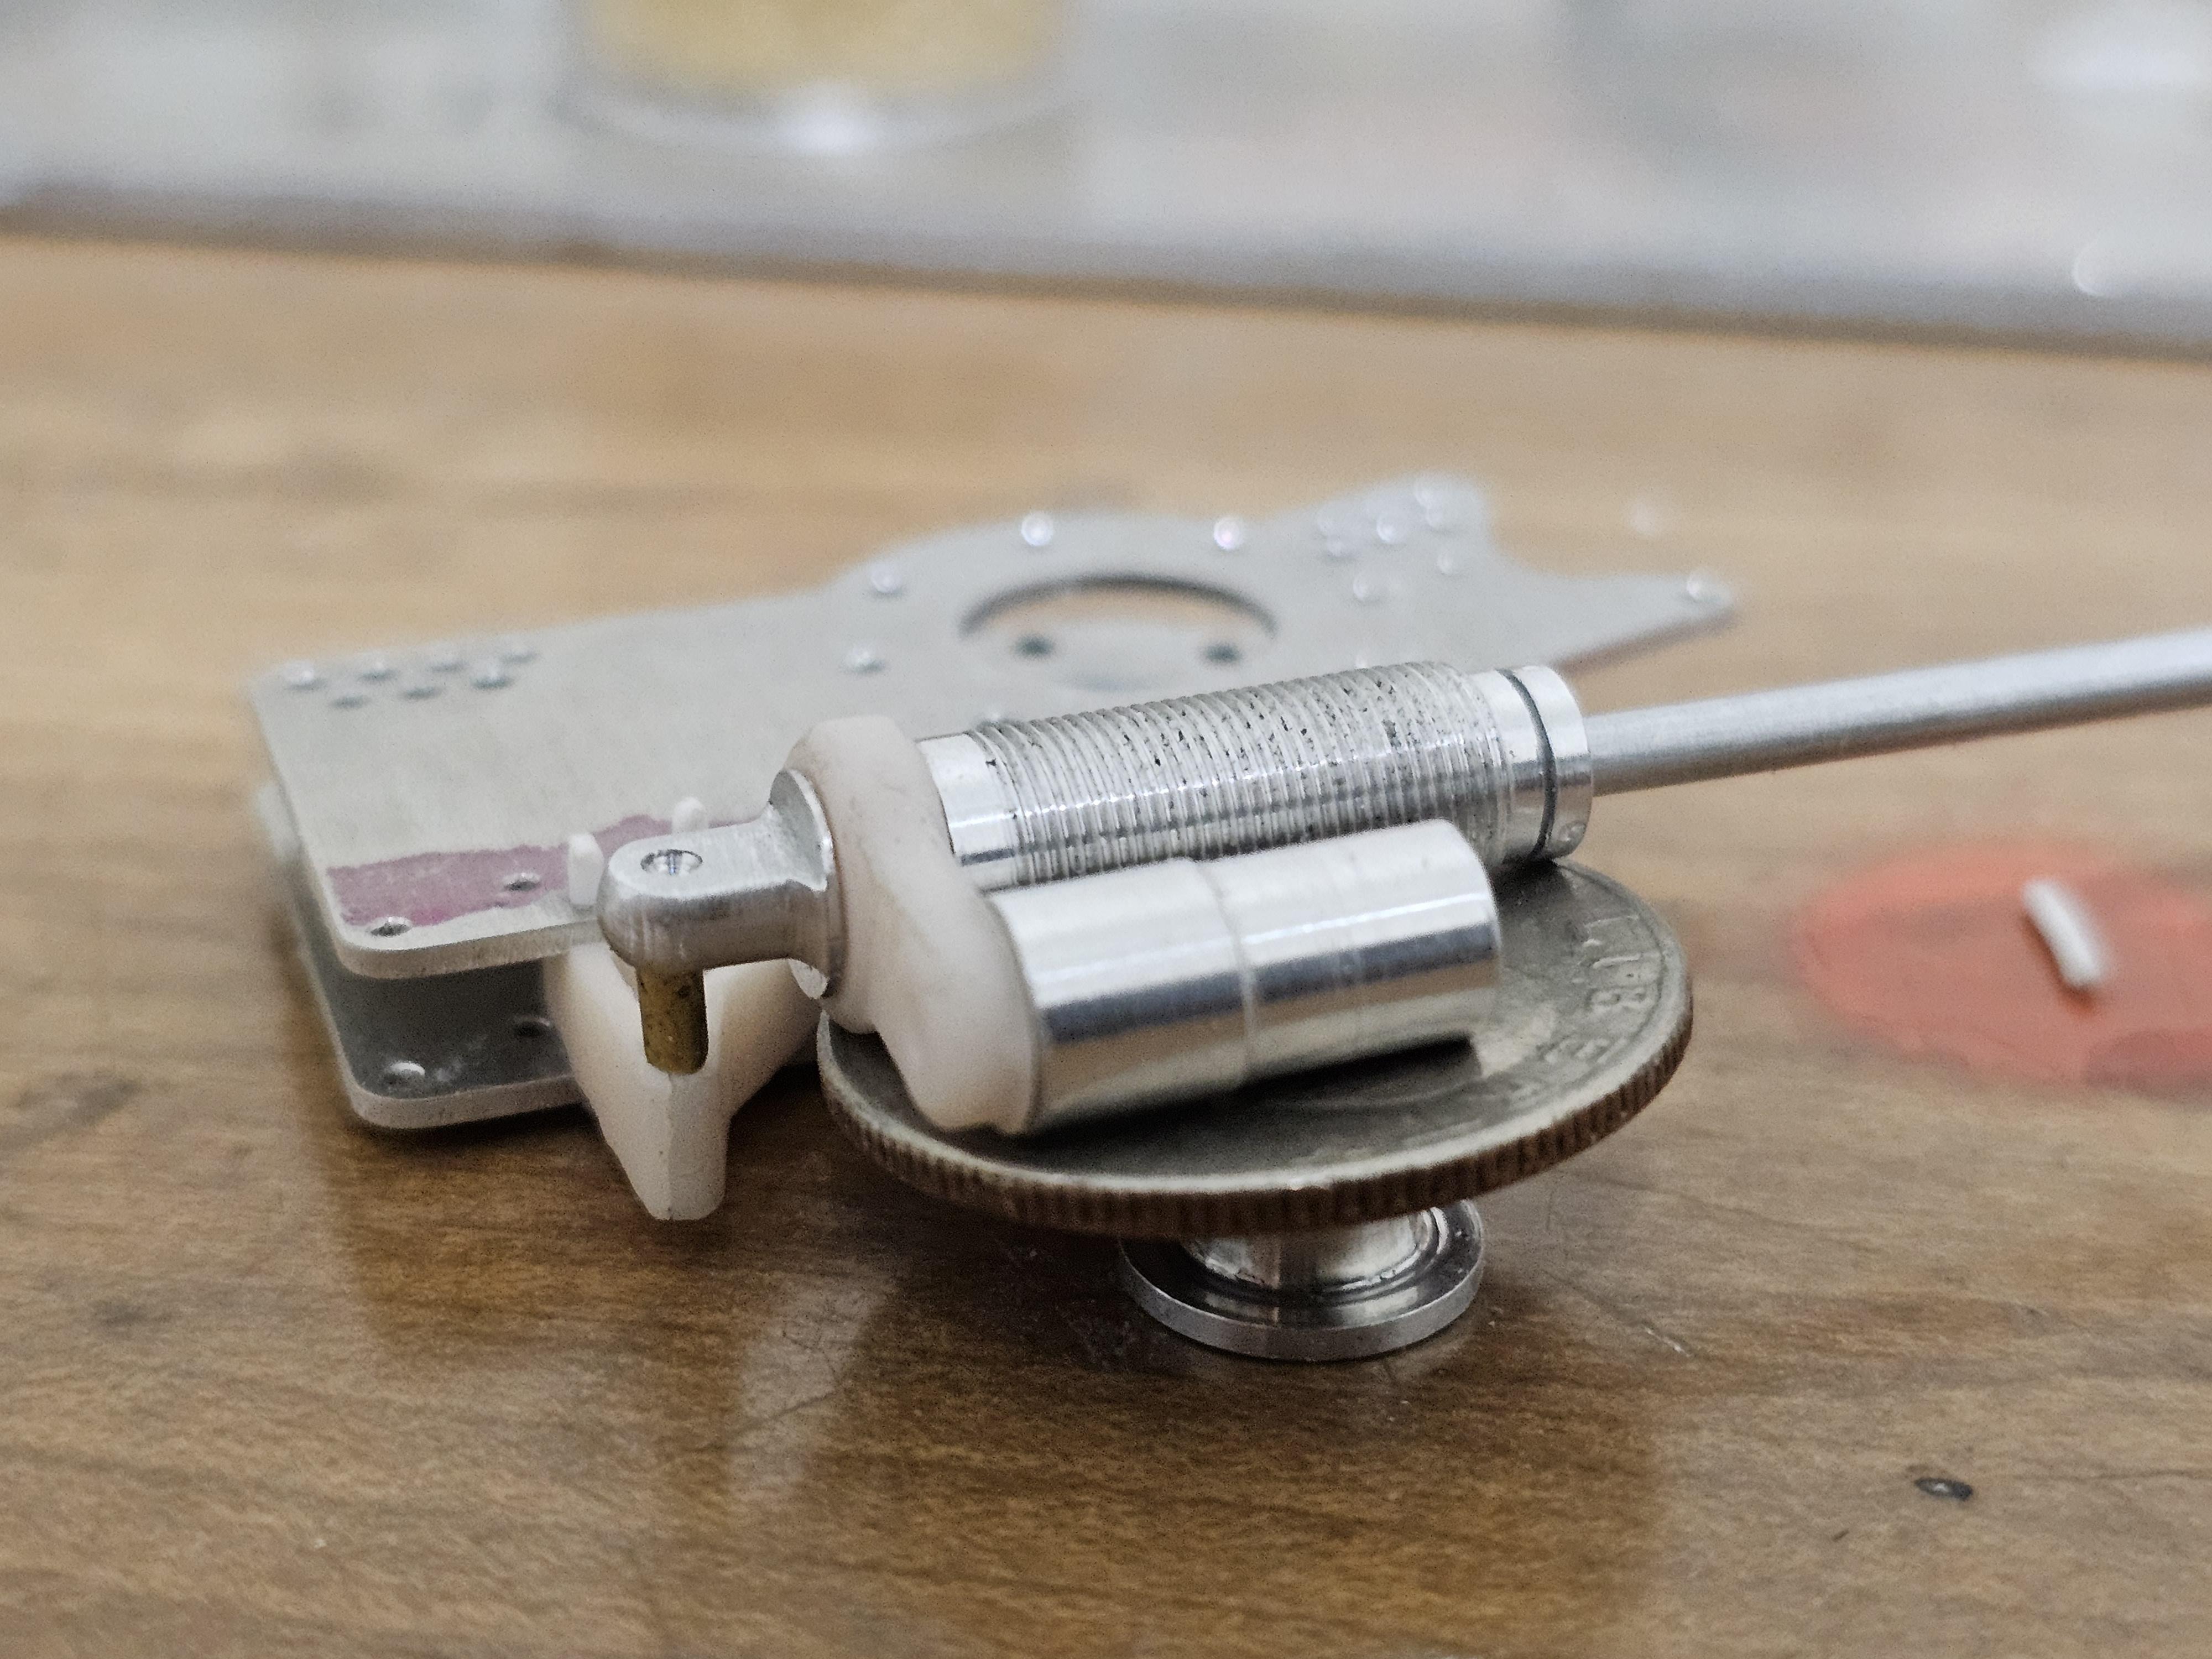
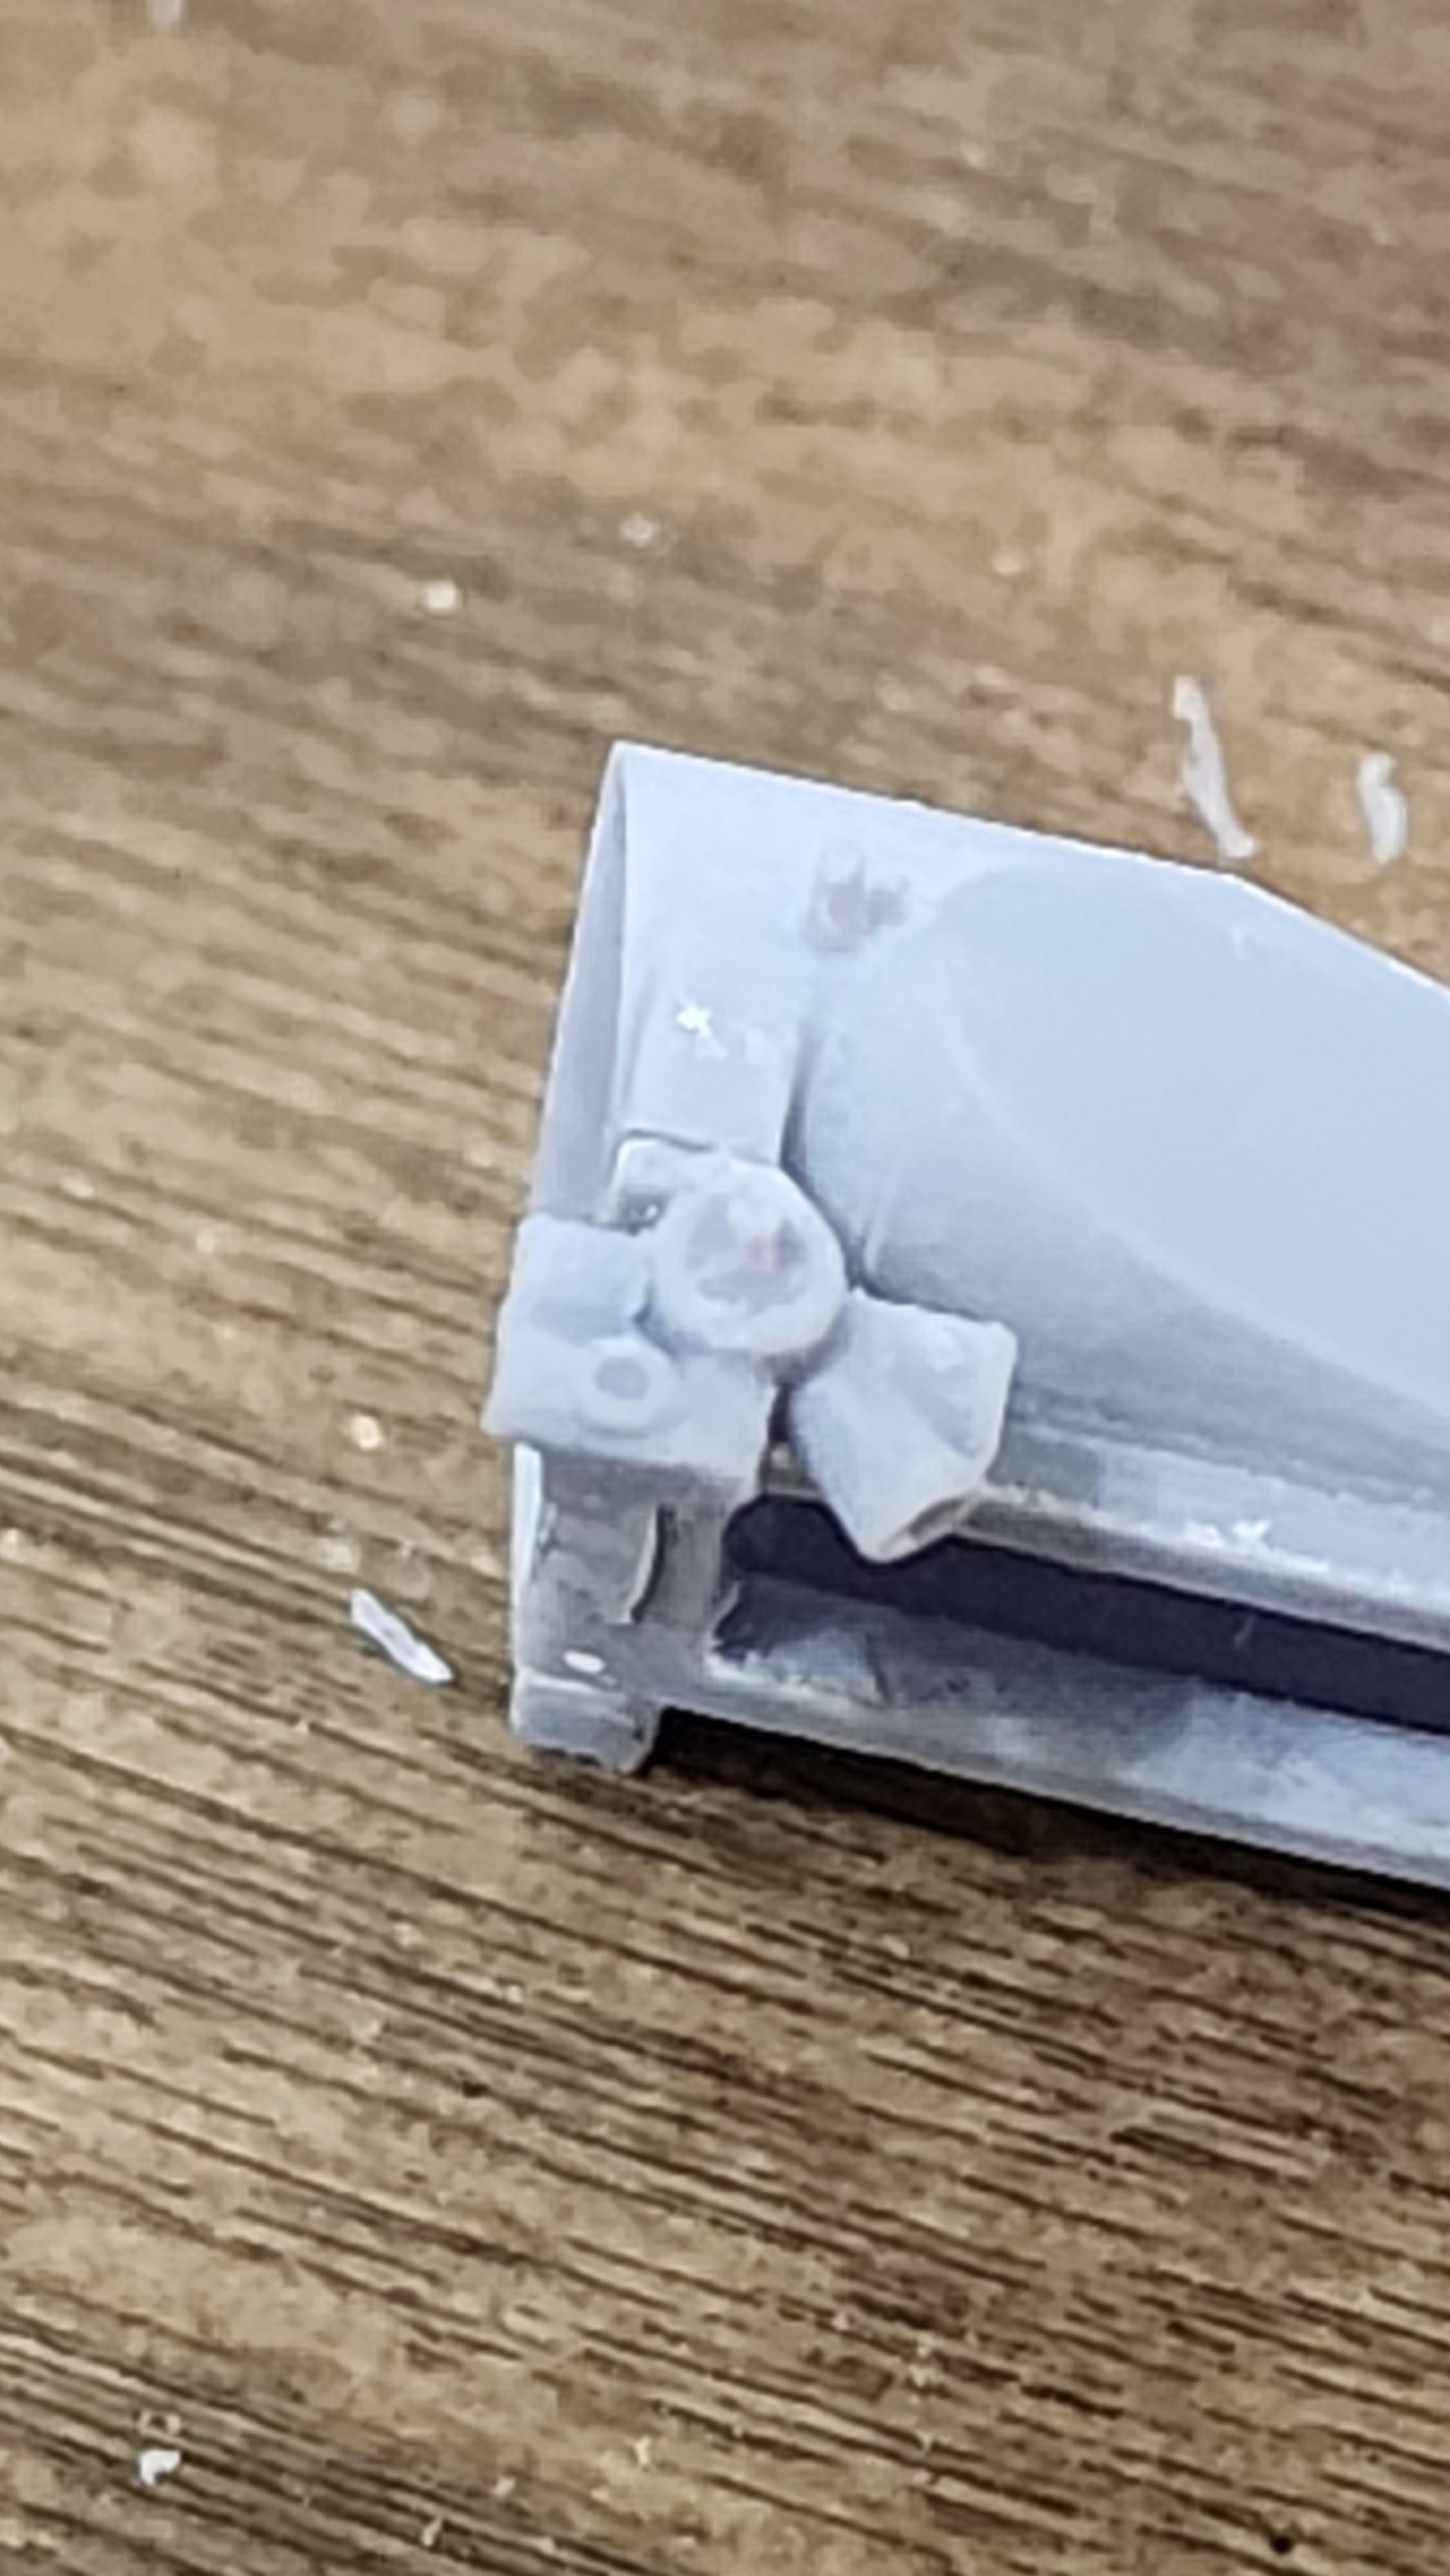
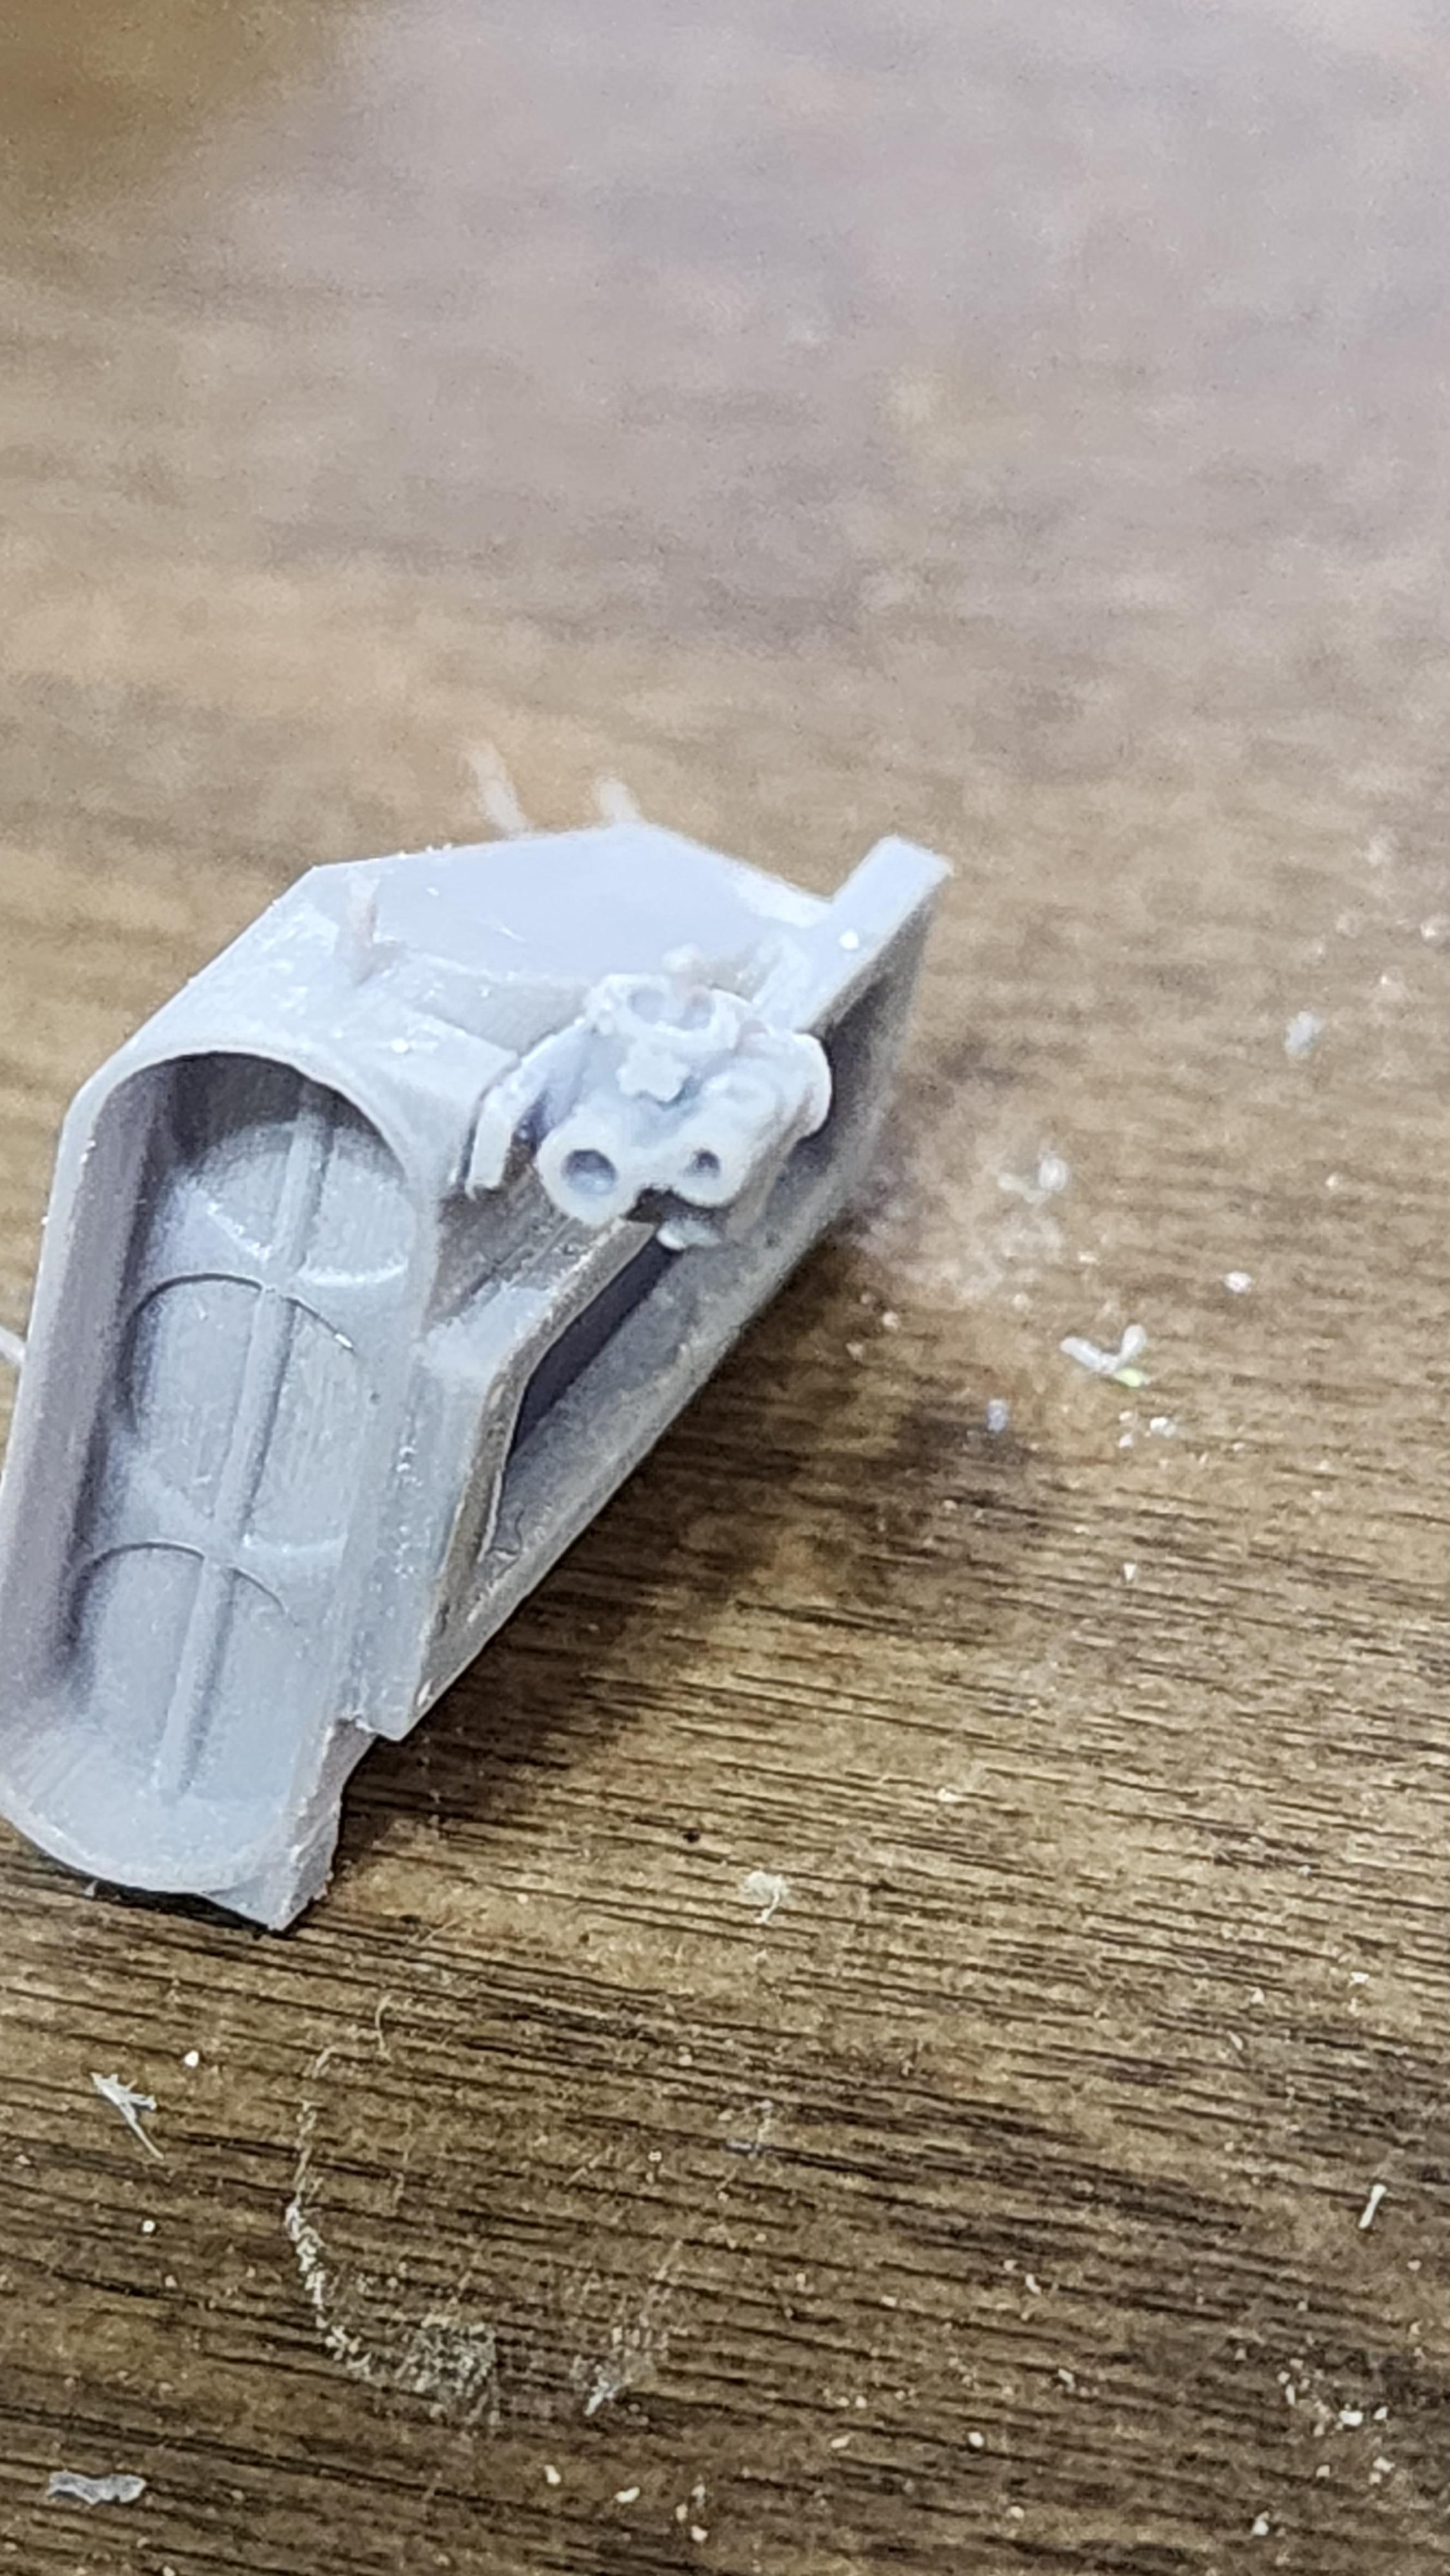
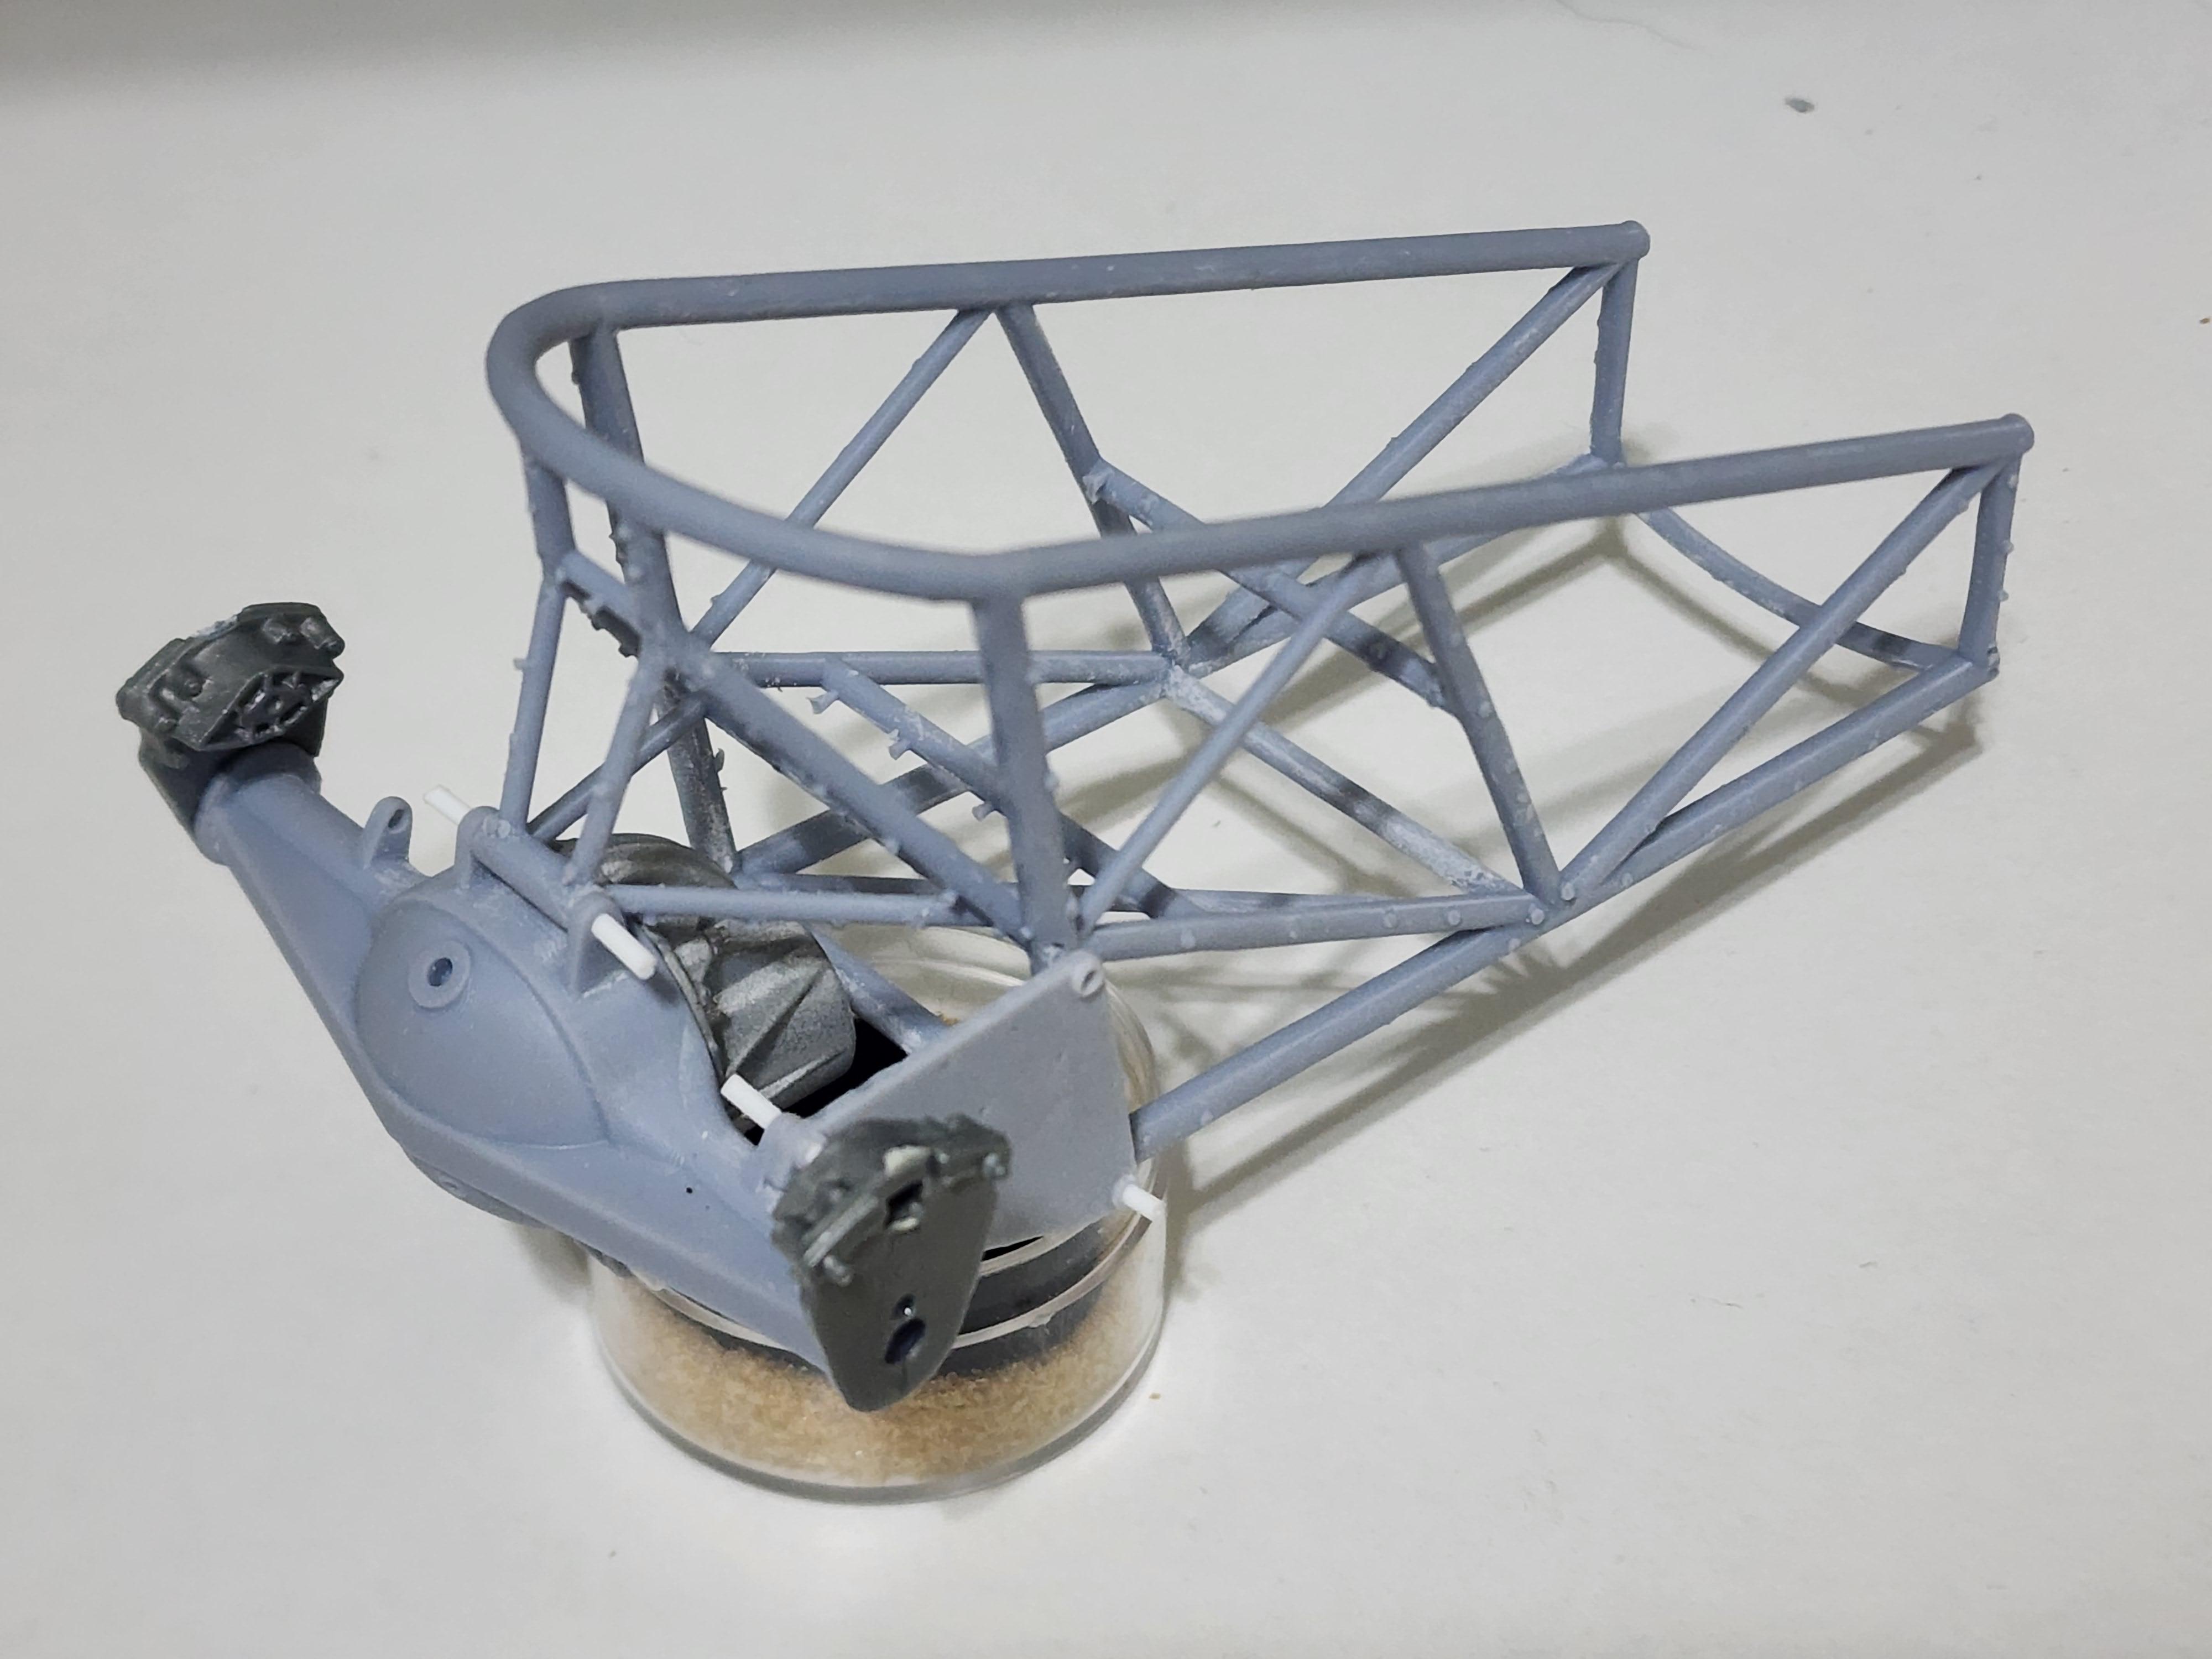
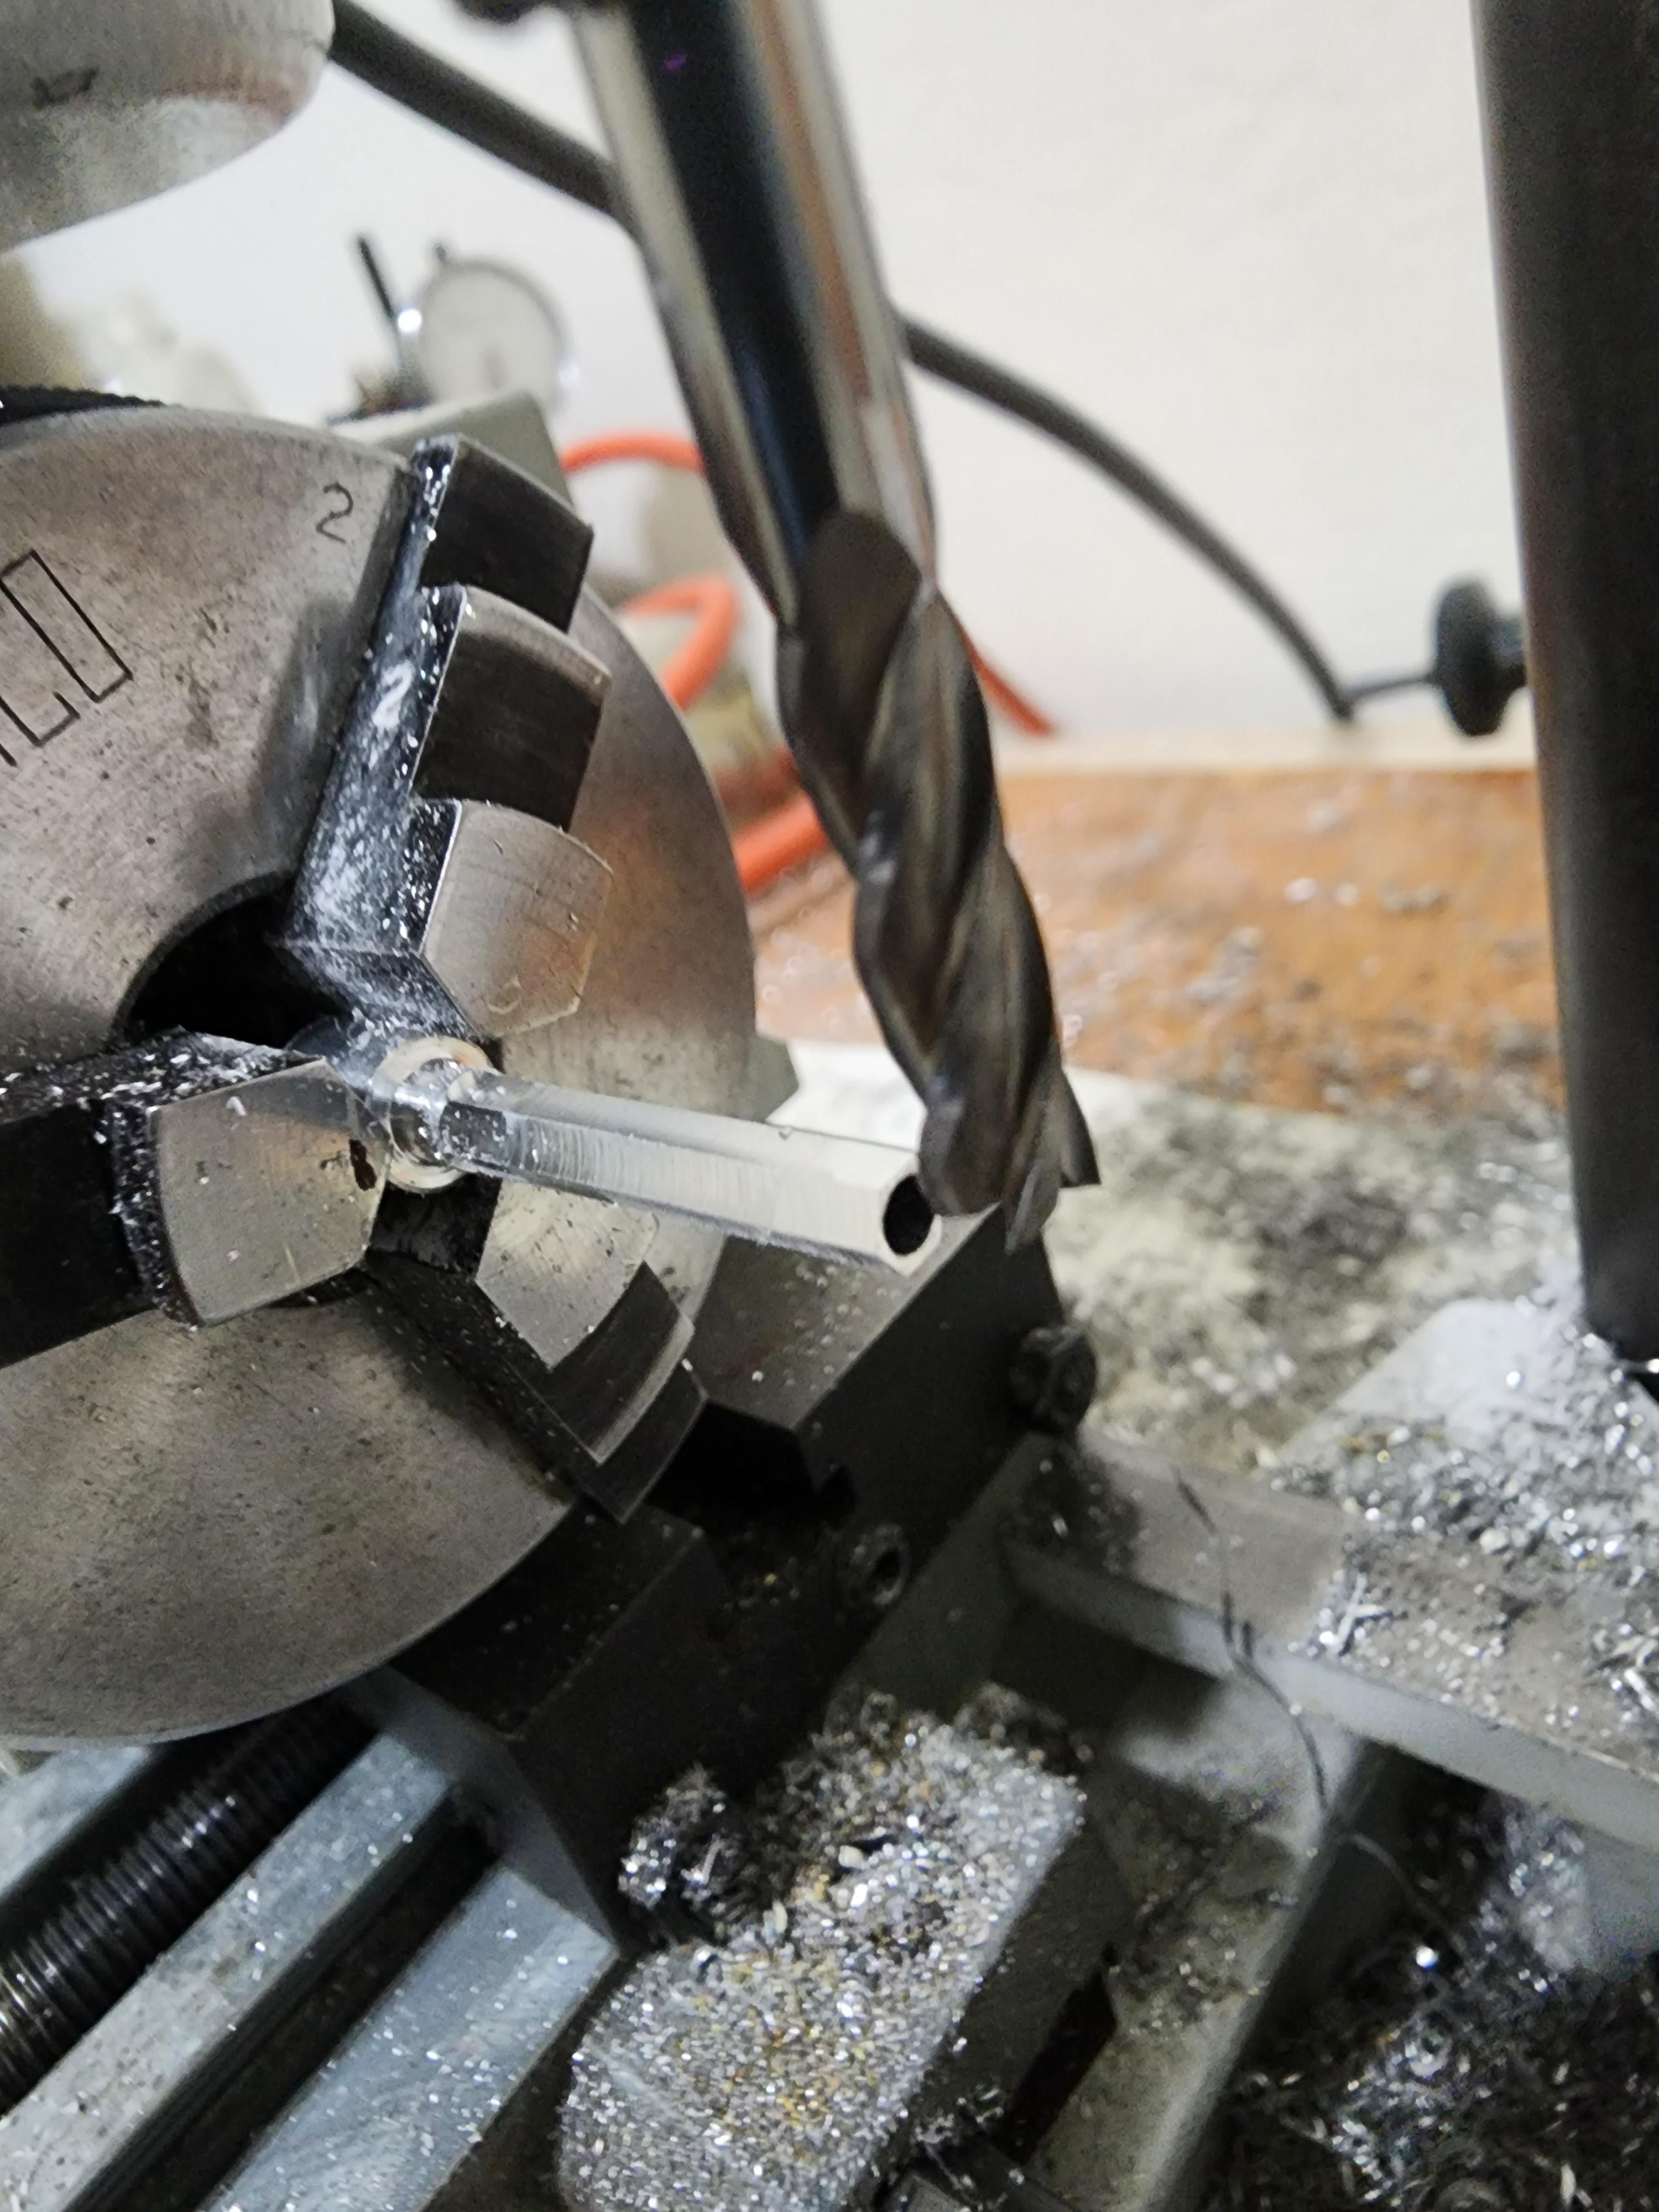
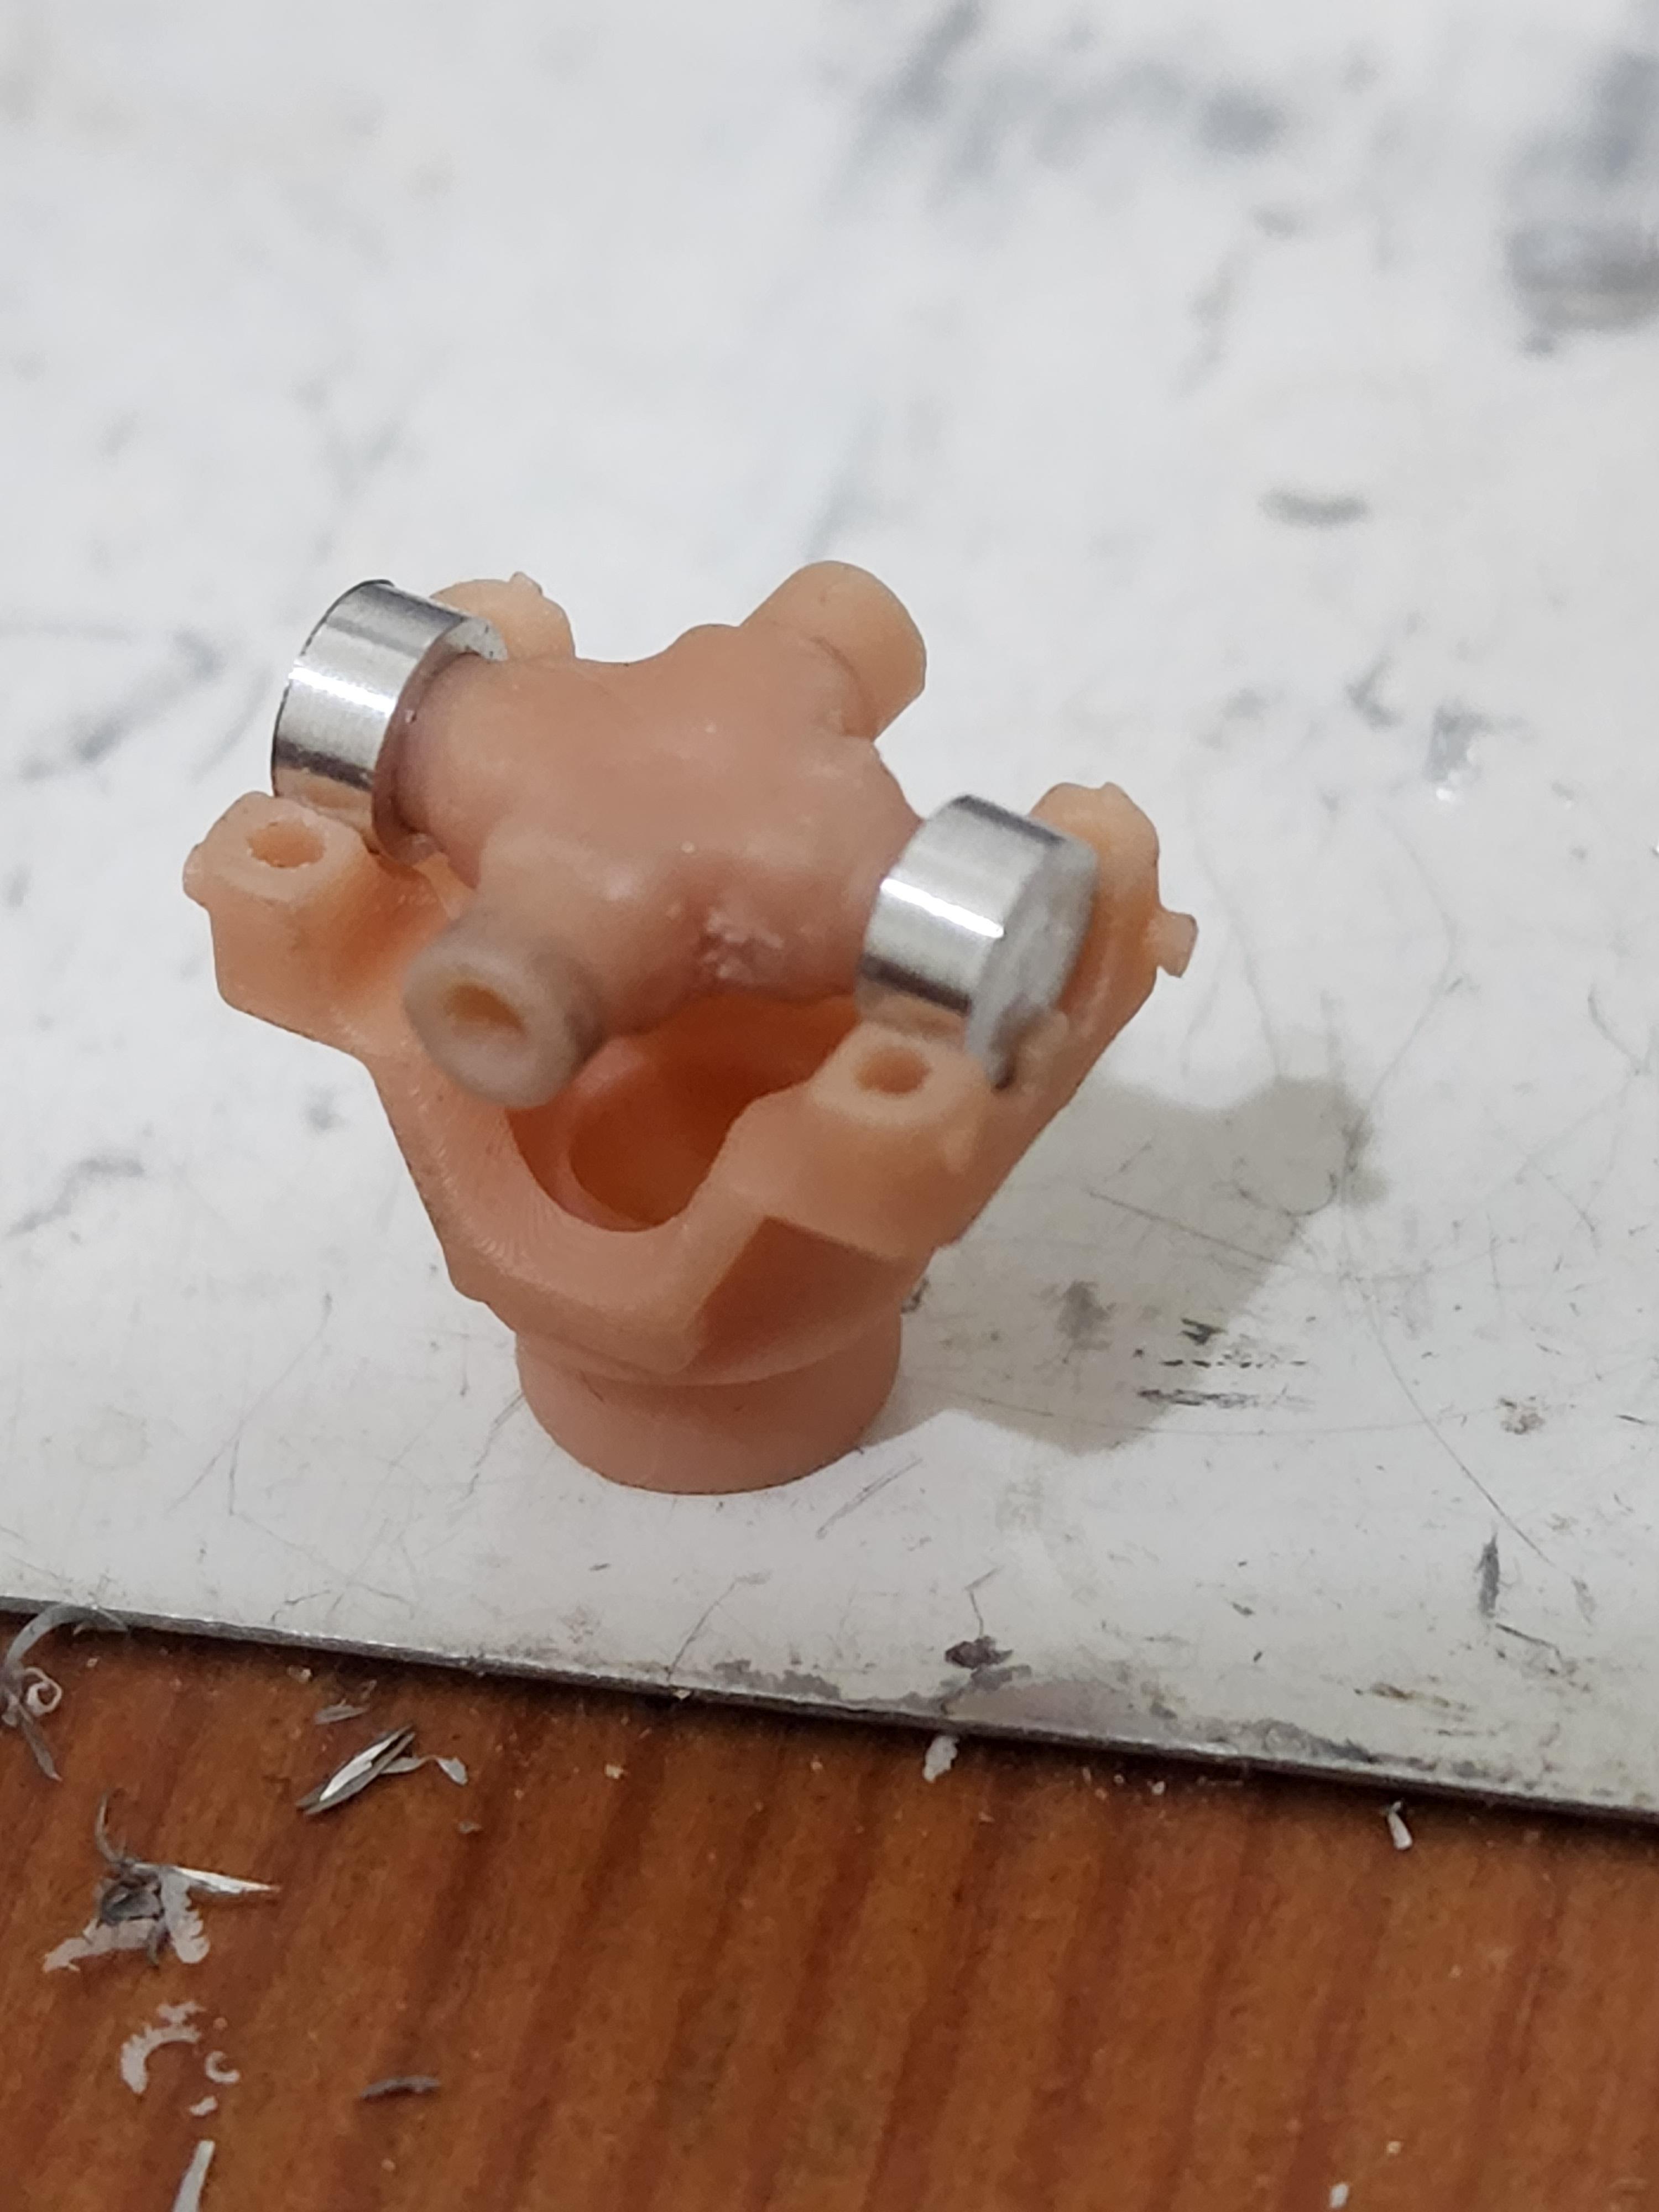
Been ever so slowly plugging away on the rear end section of this thing. Still need to make the wishbone for it and machine the nuts for thw heims. Most of the penske shock parts are done now. Also made the u joint bearing caps. Next major hurdle is going to be either trying to photo etch the 4 link brackets in stainless or having my co worker cut them on his Lazer cutter.