BDSchindler
-
Posts
473 -
Joined
-
Last visited
Content Type
Profiles
Forums
Events
Gallery
Everything posted by BDSchindler
-
Thanks Dave! Reply sent!
-
So, I am moving and while the USPS will automatically forward my mail, how do I officially Change my mailing address? I sent a PM to Gregg but did not receive a response yet. BTW...moving sucks! Took me longer to pack up my assorted modeling stuff (kits, tools, parts...OMG parts! Not to mention all of the paints and so forth) than it did to pack the rest of the house that we have been in for 27 years!
-
Rec'd the last one that Spotlight had just the other day. We are in the process of moving so it will be a while until I get to this one but it right up my alley. After looking through the box, I was pretty impressed and can see myself getting 1 or 2 more.
-
I agree with the GREX...I have the same one with a variety of needle sizes. I also have the Fan Spray which is great for bodies. I also have 2 master airbrushes and a Black Widow from Harbor Freight (pistol grip) that I have not used yet. I also have a pistol grip one that I bought from MicroMark that I DON'T recommend!
-
Another great book is this one by Trevor LeGate. I has LOTS of schematics and diagrams in it that will help even a novice builder... GT40 Trevor LeGate

-
Farm Floater Truck 1/24th scale
BDSchindler replied to Randy D's topic in WIP: Model Trucks: Big Rigs and Heavy Equipment
I have got to learn how to solder like this...words escape me, Randy -
I was a 1/18th scale collector for a number of years but after running out of room (at an alarming rate) I ended up selling them all and turned my sights on 1/24th scale. I became very good friends with known master modelers that were also the head designers for Franklin Mint (George Bojaciuk) and Danbury Mint (Rick Hanmore/Doug Whyte). I was much happier as a 1/24th scale collector over 1/18th but that's just my opinion. Diecast also suffer from impurities in the Zamak (pot metal that diecast are molded in) that causes paint to eventually peel off the bodies down the road. I wrote for Toy Cars and Models Magazine (aka TC&M) as well as the mis-managed The Car Room Magazine (TCRM) for several years focusing on 1/24th scale diecast and had amassed a collection of some 3,000+ models between those 2 manufactures as well as a host of others like GMP, Lanes, RSC, 1320, Icons Inc, Revell-Monogram (Yes, they did several different lines of diecast in 1/20th and 1/24th scales) Maisto, Burago and more. More to your point, there is no "Collector's Guide" to FM or DM products. If you were to collect FM diecast, I'd advise going more for the older models. Somewhere around the late 1990's/early 2000, FM lost their sight after George Bojaciuk left FM and the attention to detail went into the toilet. The older FM models hold their value while newer ones (the last I referenced) were worth less then 1/2 their retail price. DM, on the other hand not only stayed tight with the detail (which was phenomenal for massed produced diecast) their collector value stays way higher than what their retail price originally was. I have no more Brochures as I gave them all to a local collector and have sold a majority of my collection off. Now, I much prefer building over just buying and putting a diecast model on display.
-
Farm Floater Truck 1/24th scale
BDSchindler replied to Randy D's topic in WIP: Model Trucks: Big Rigs and Heavy Equipment
WOW...just, WOW! -
Farm Floater Truck 1/24th scale
BDSchindler replied to Randy D's topic in WIP: Model Trucks: Big Rigs and Heavy Equipment
Holy C R A P !!!! Outstanding, you are my new hero, Randy! -
Thanks guys...super appreciated!
-
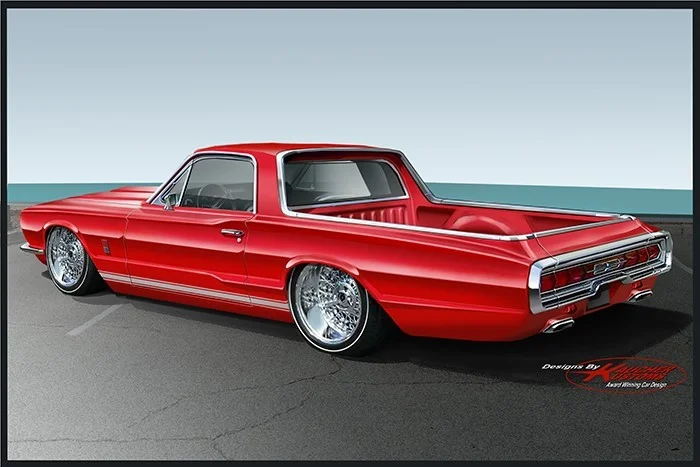
The inspiration came from Kaucher Kustoms. Specifically...this image but they used a more modern Ranchero...
-
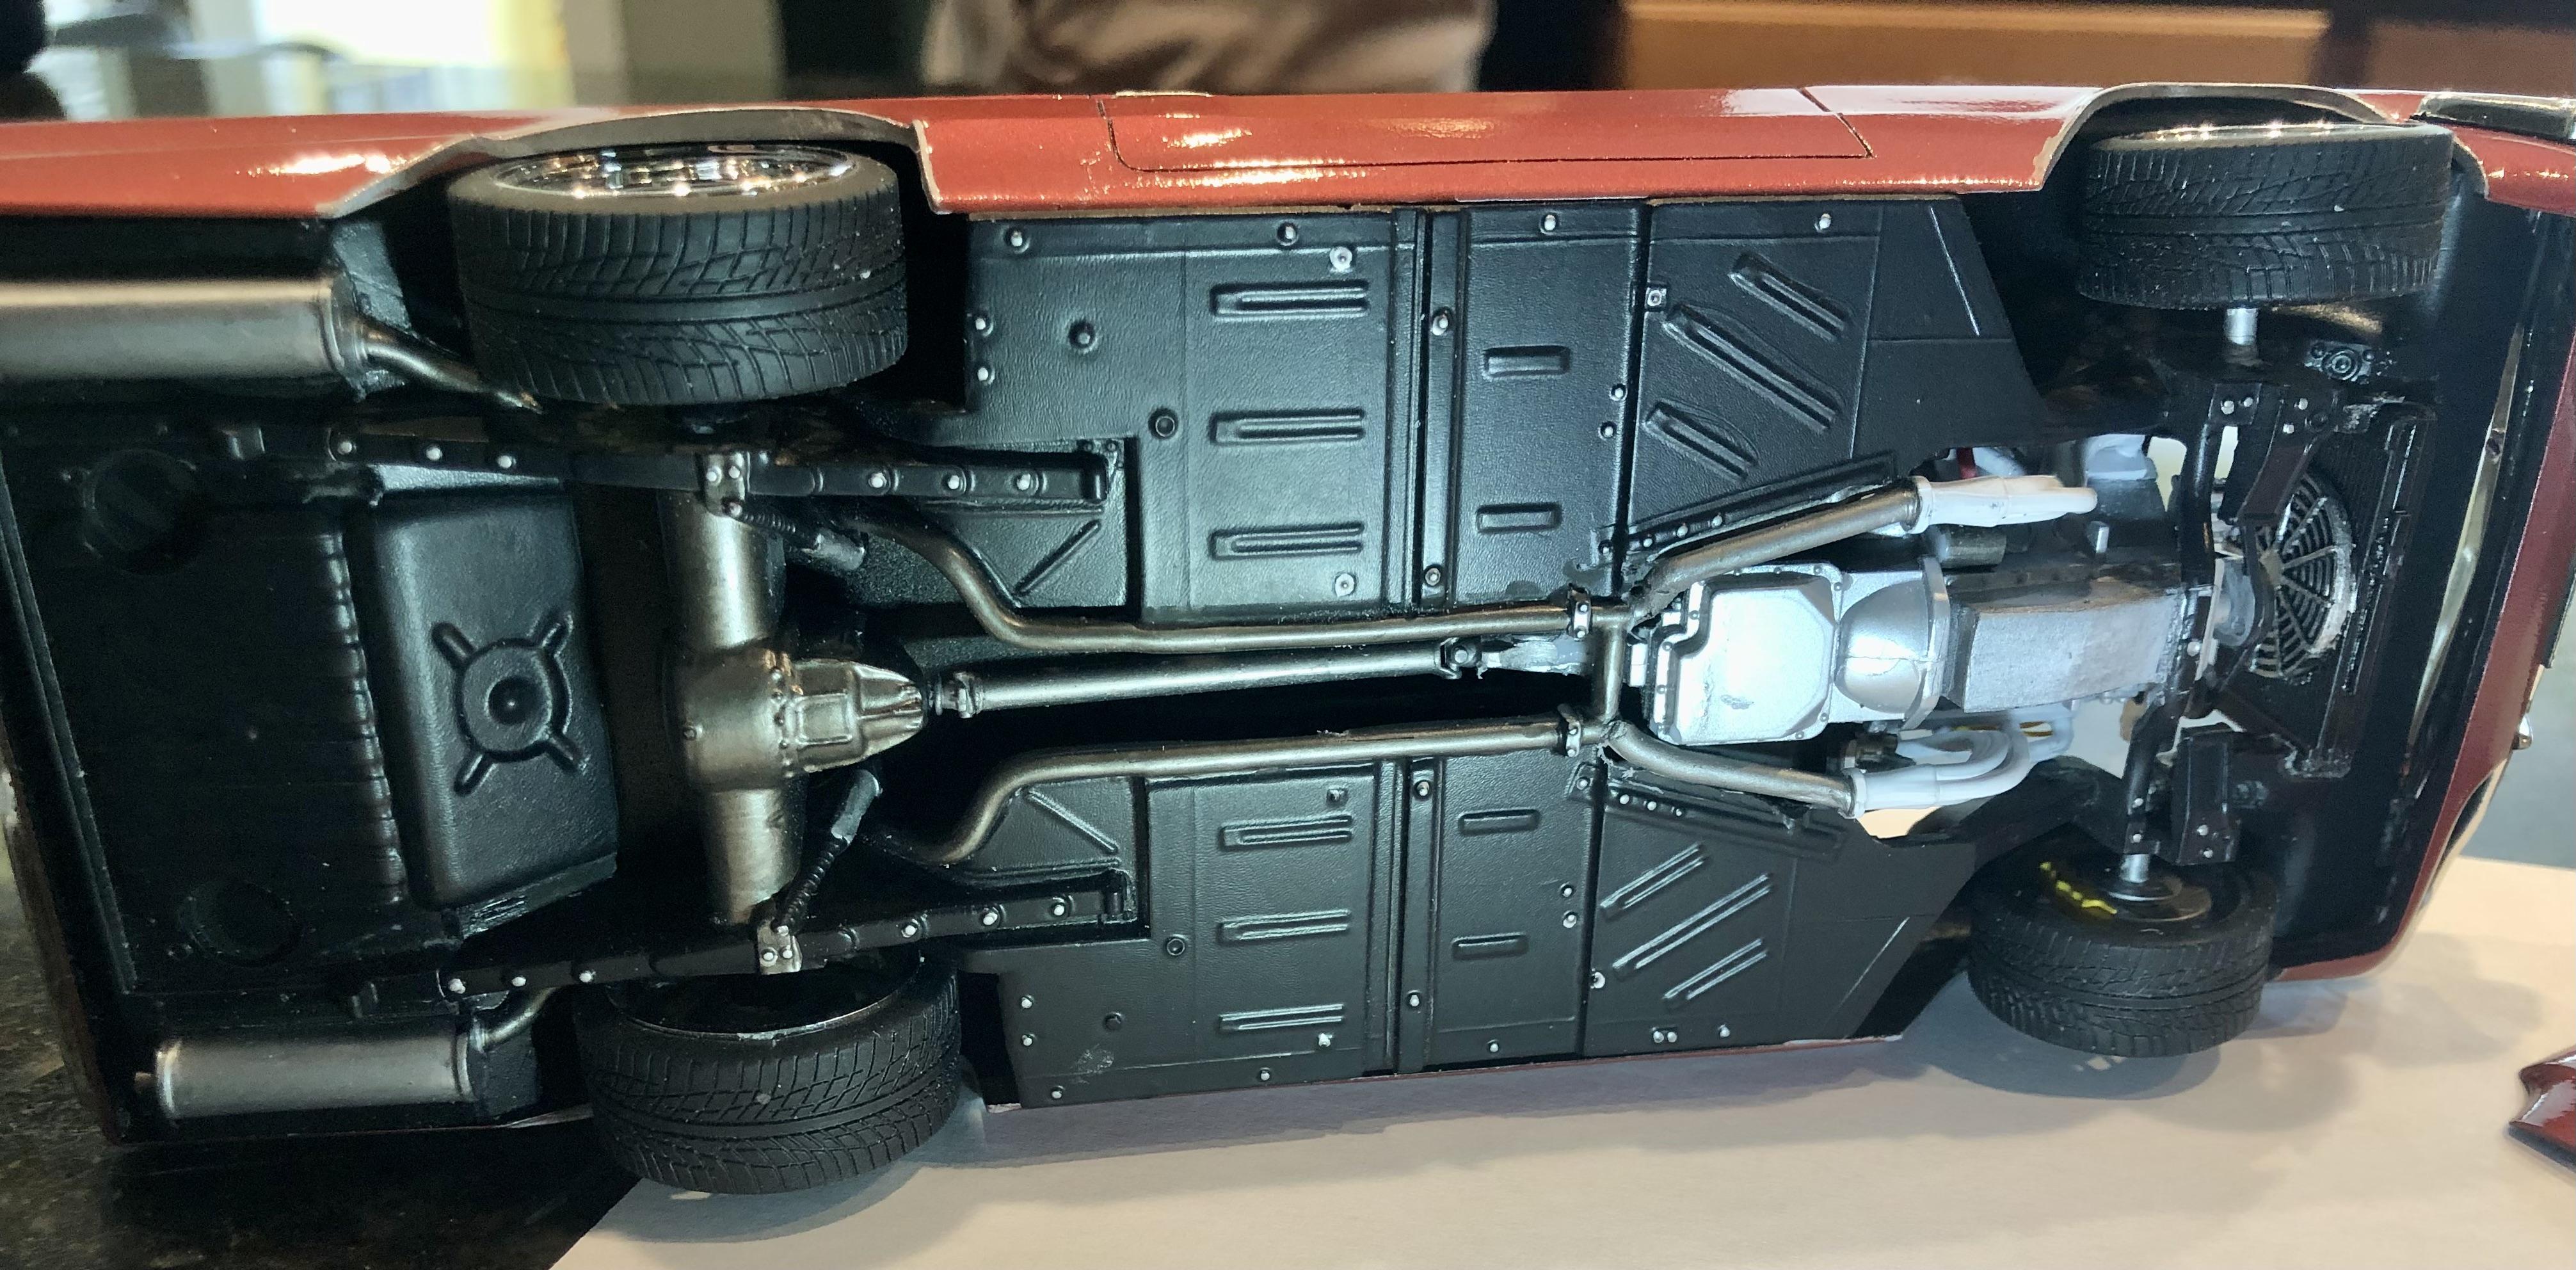
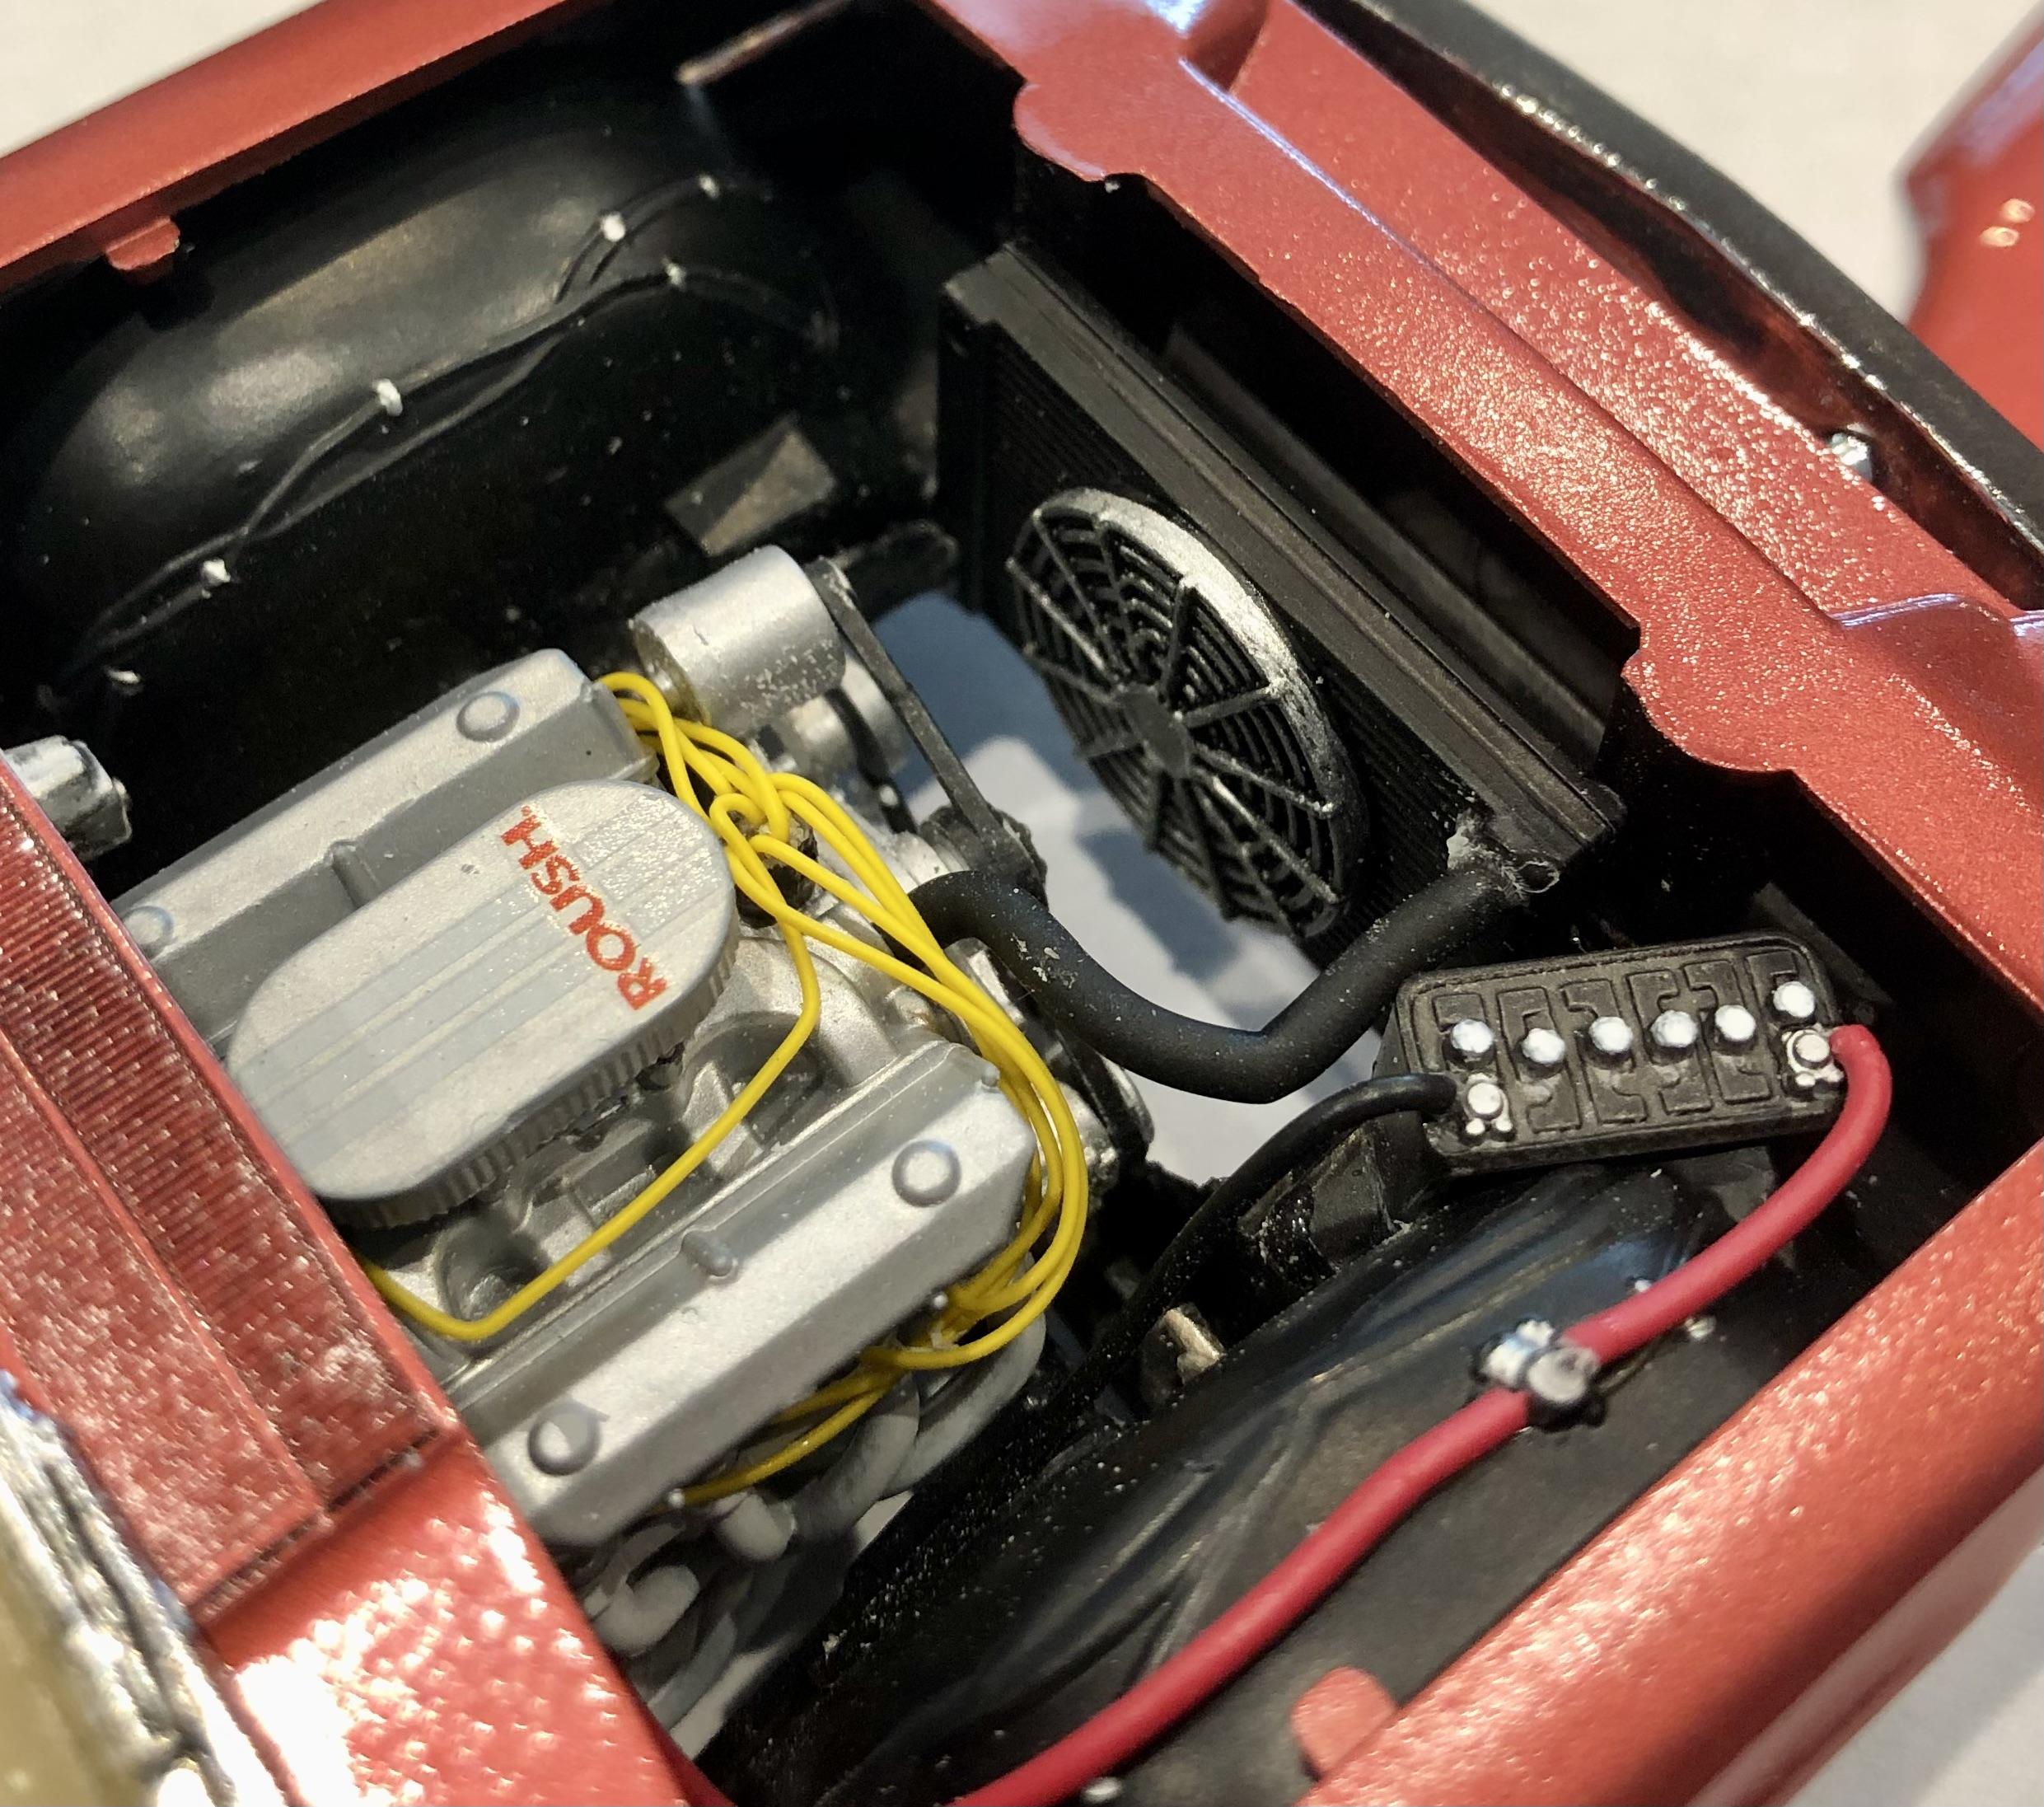
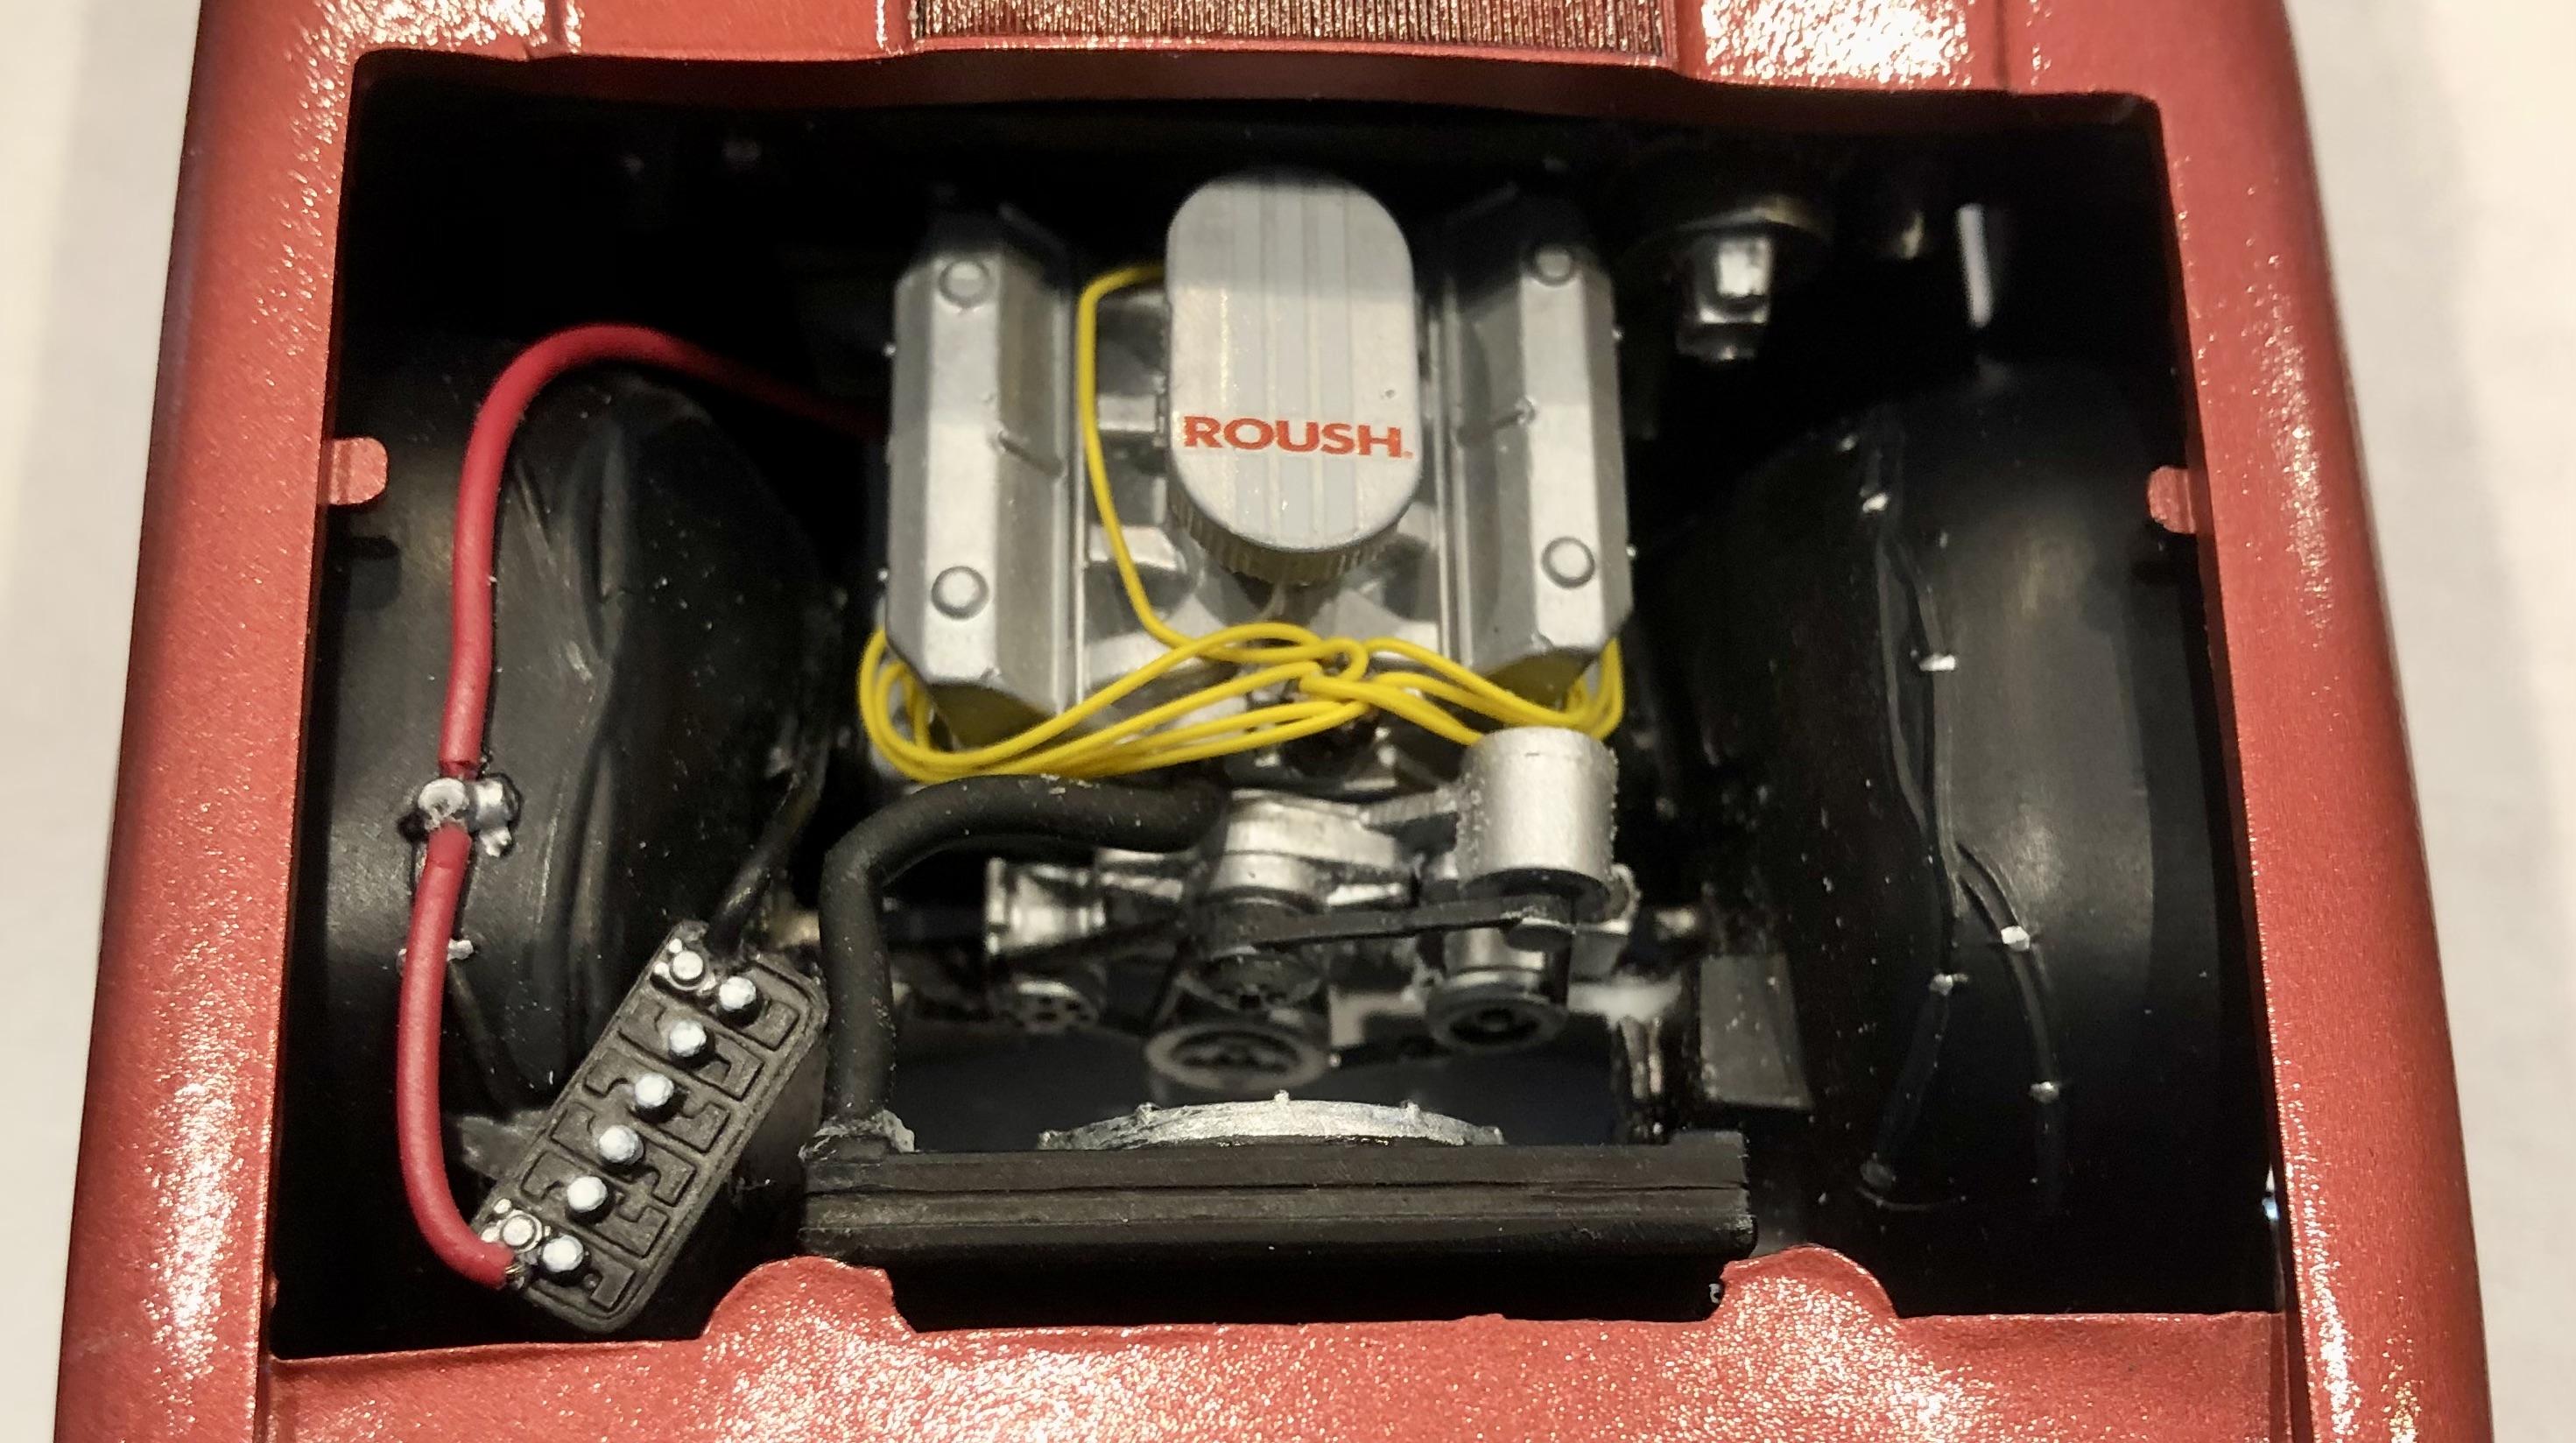
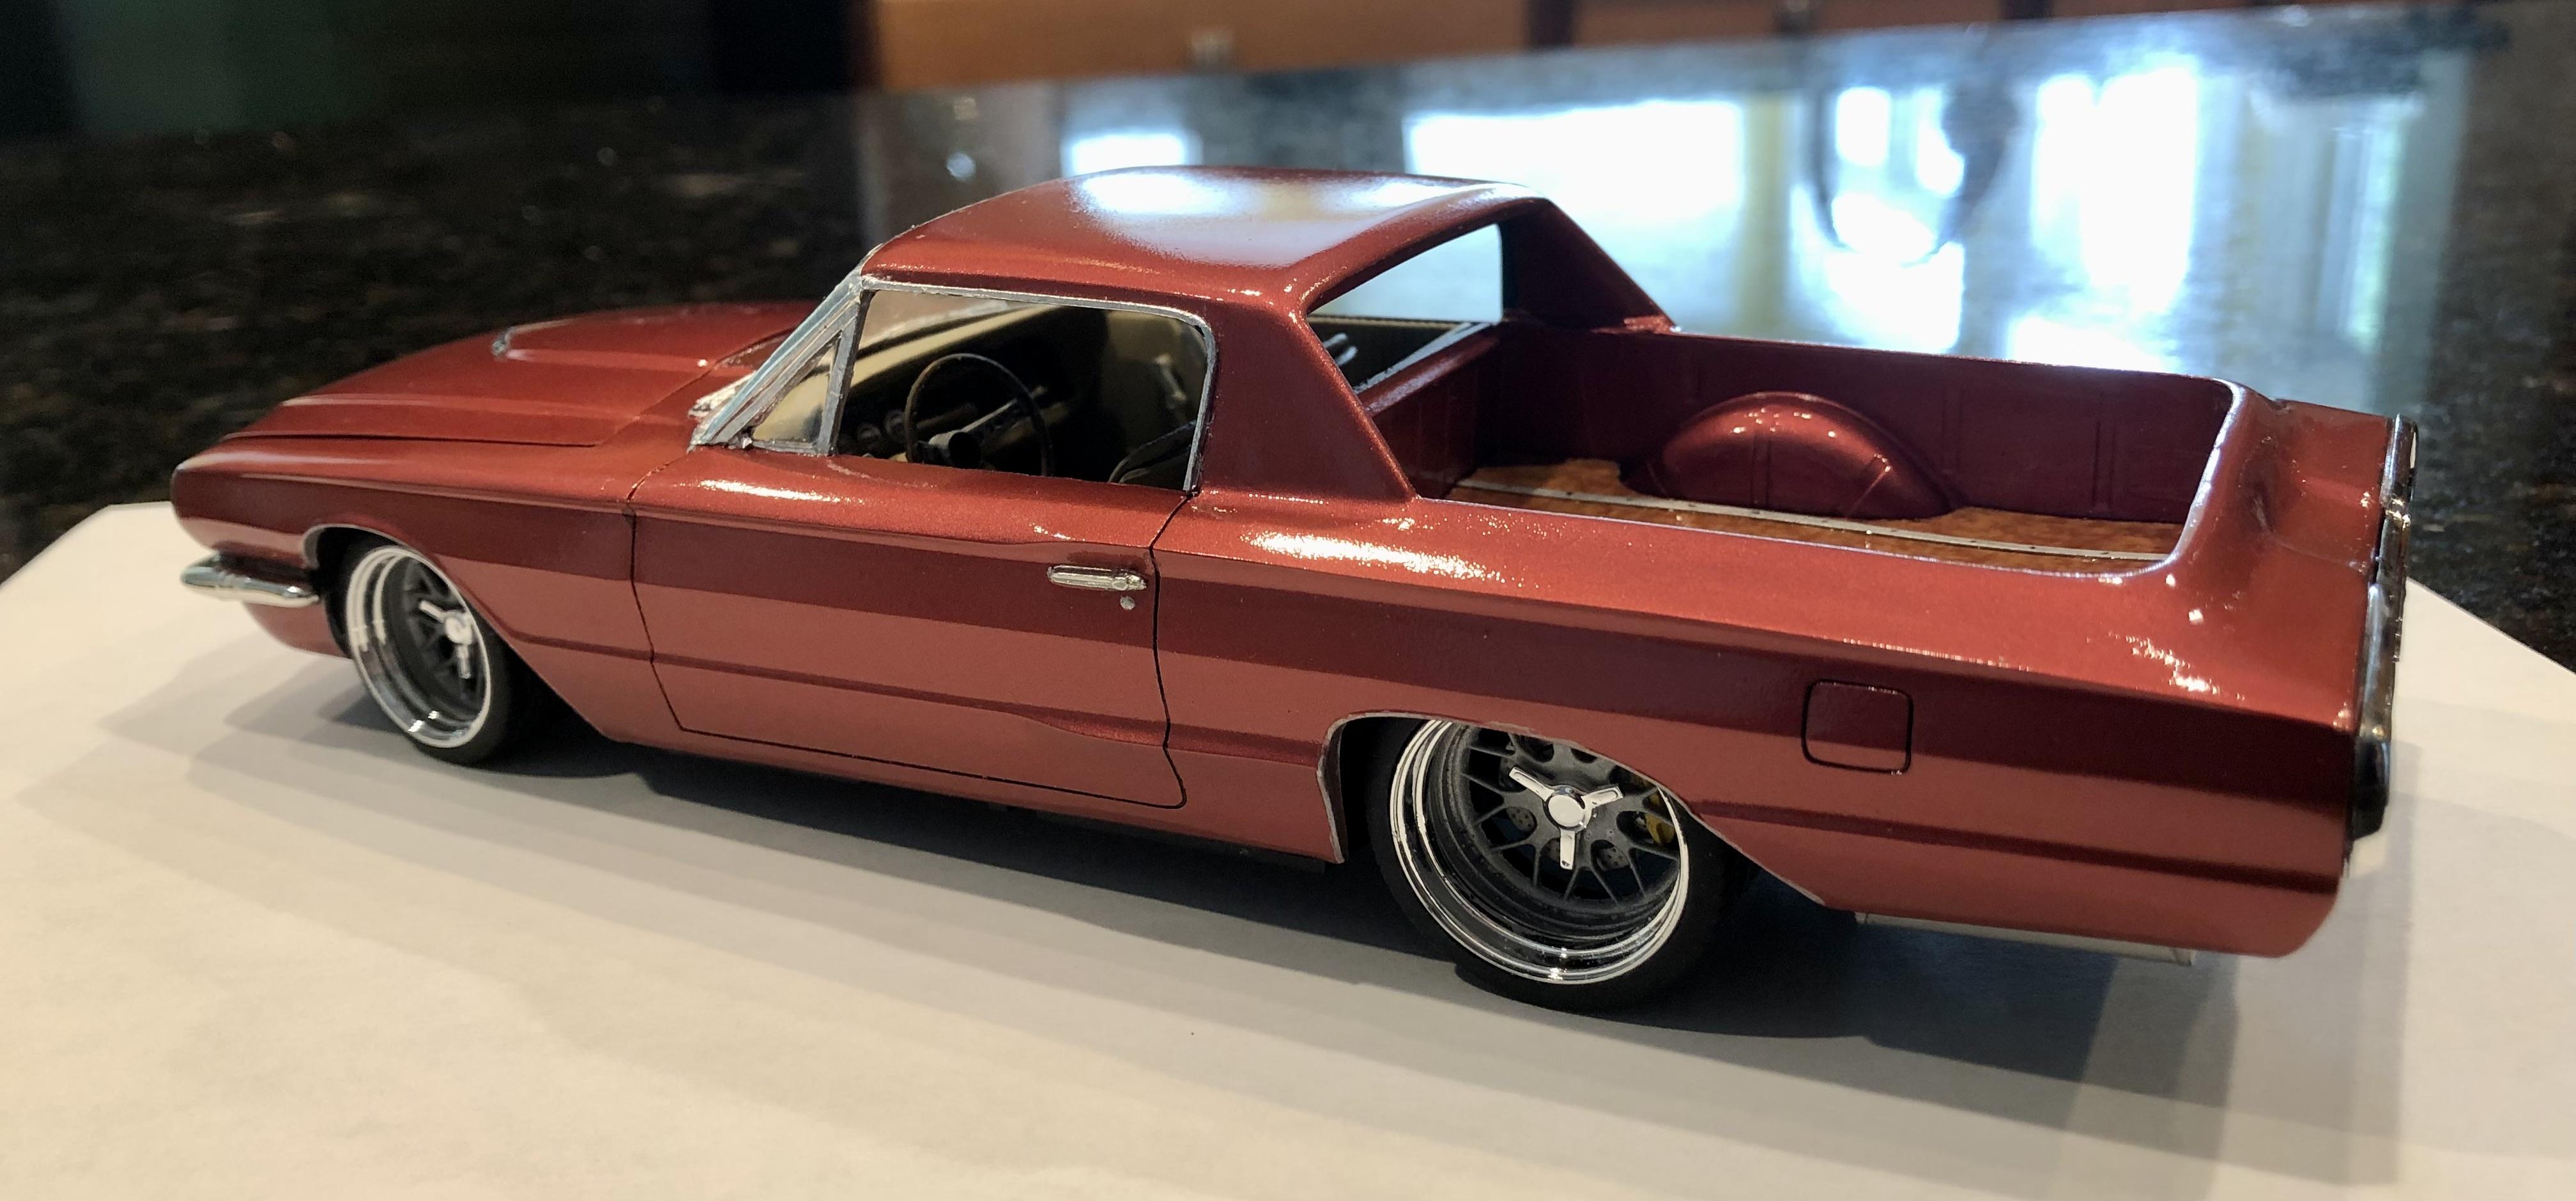
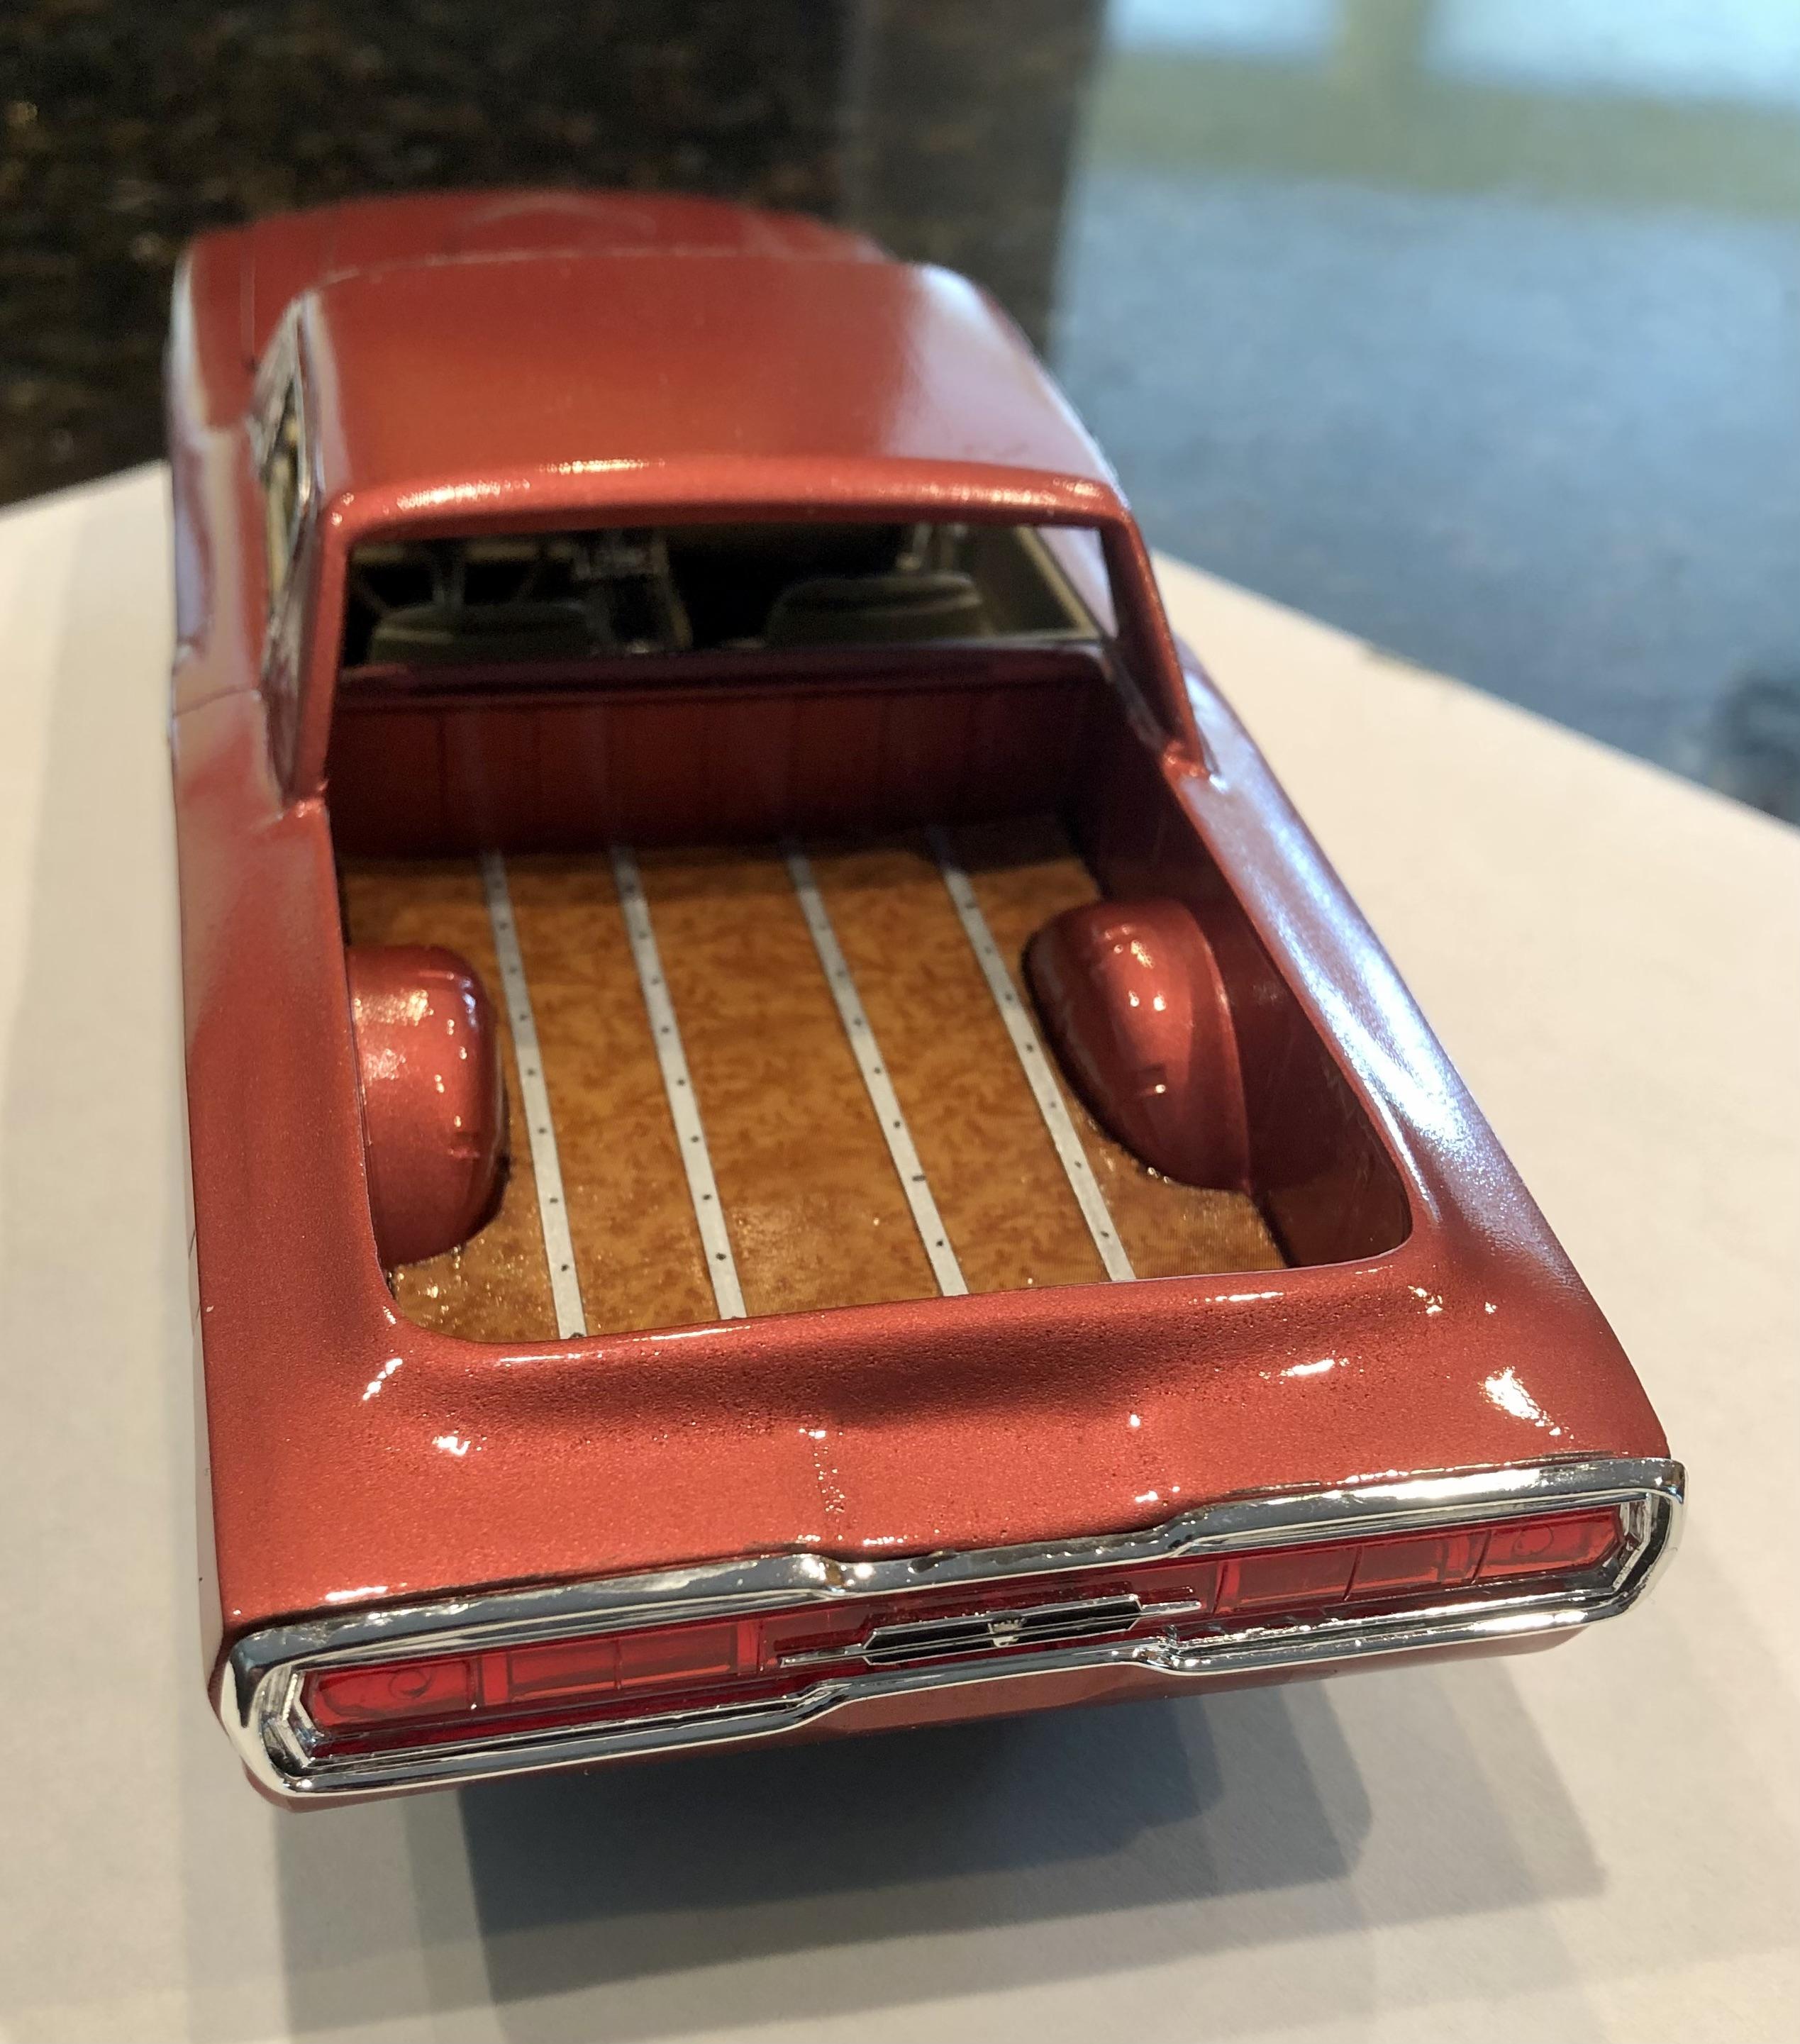
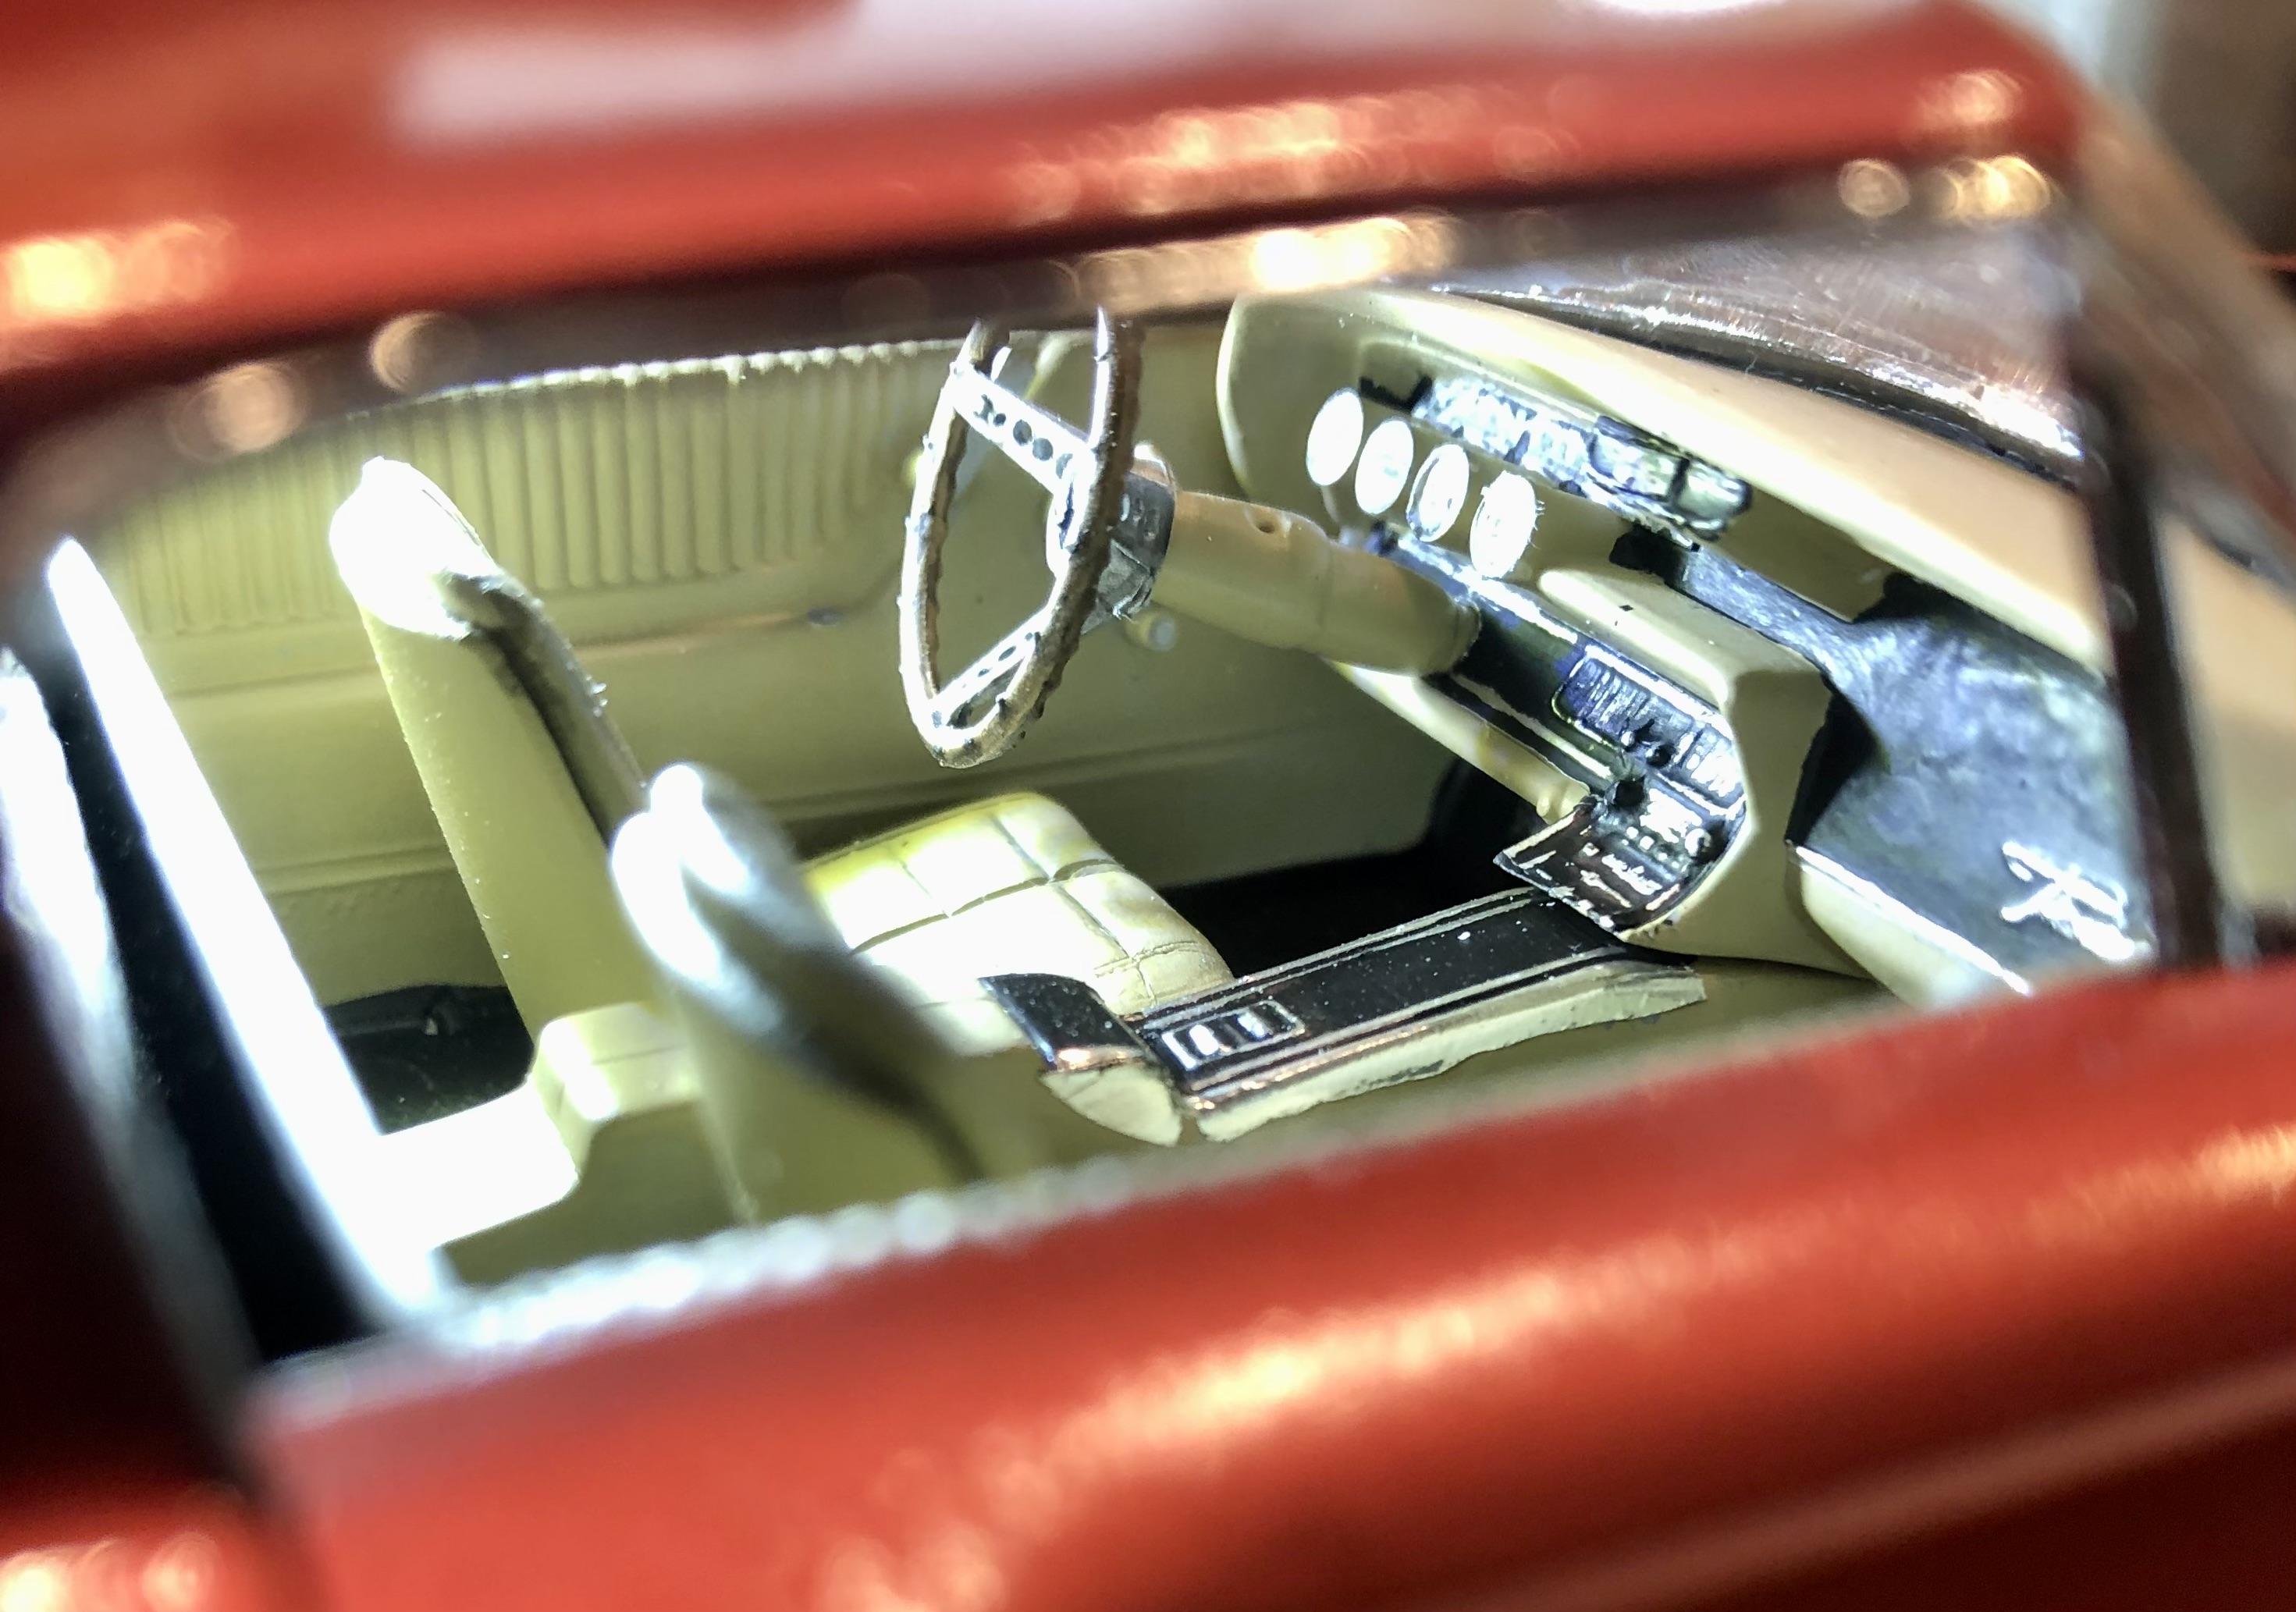
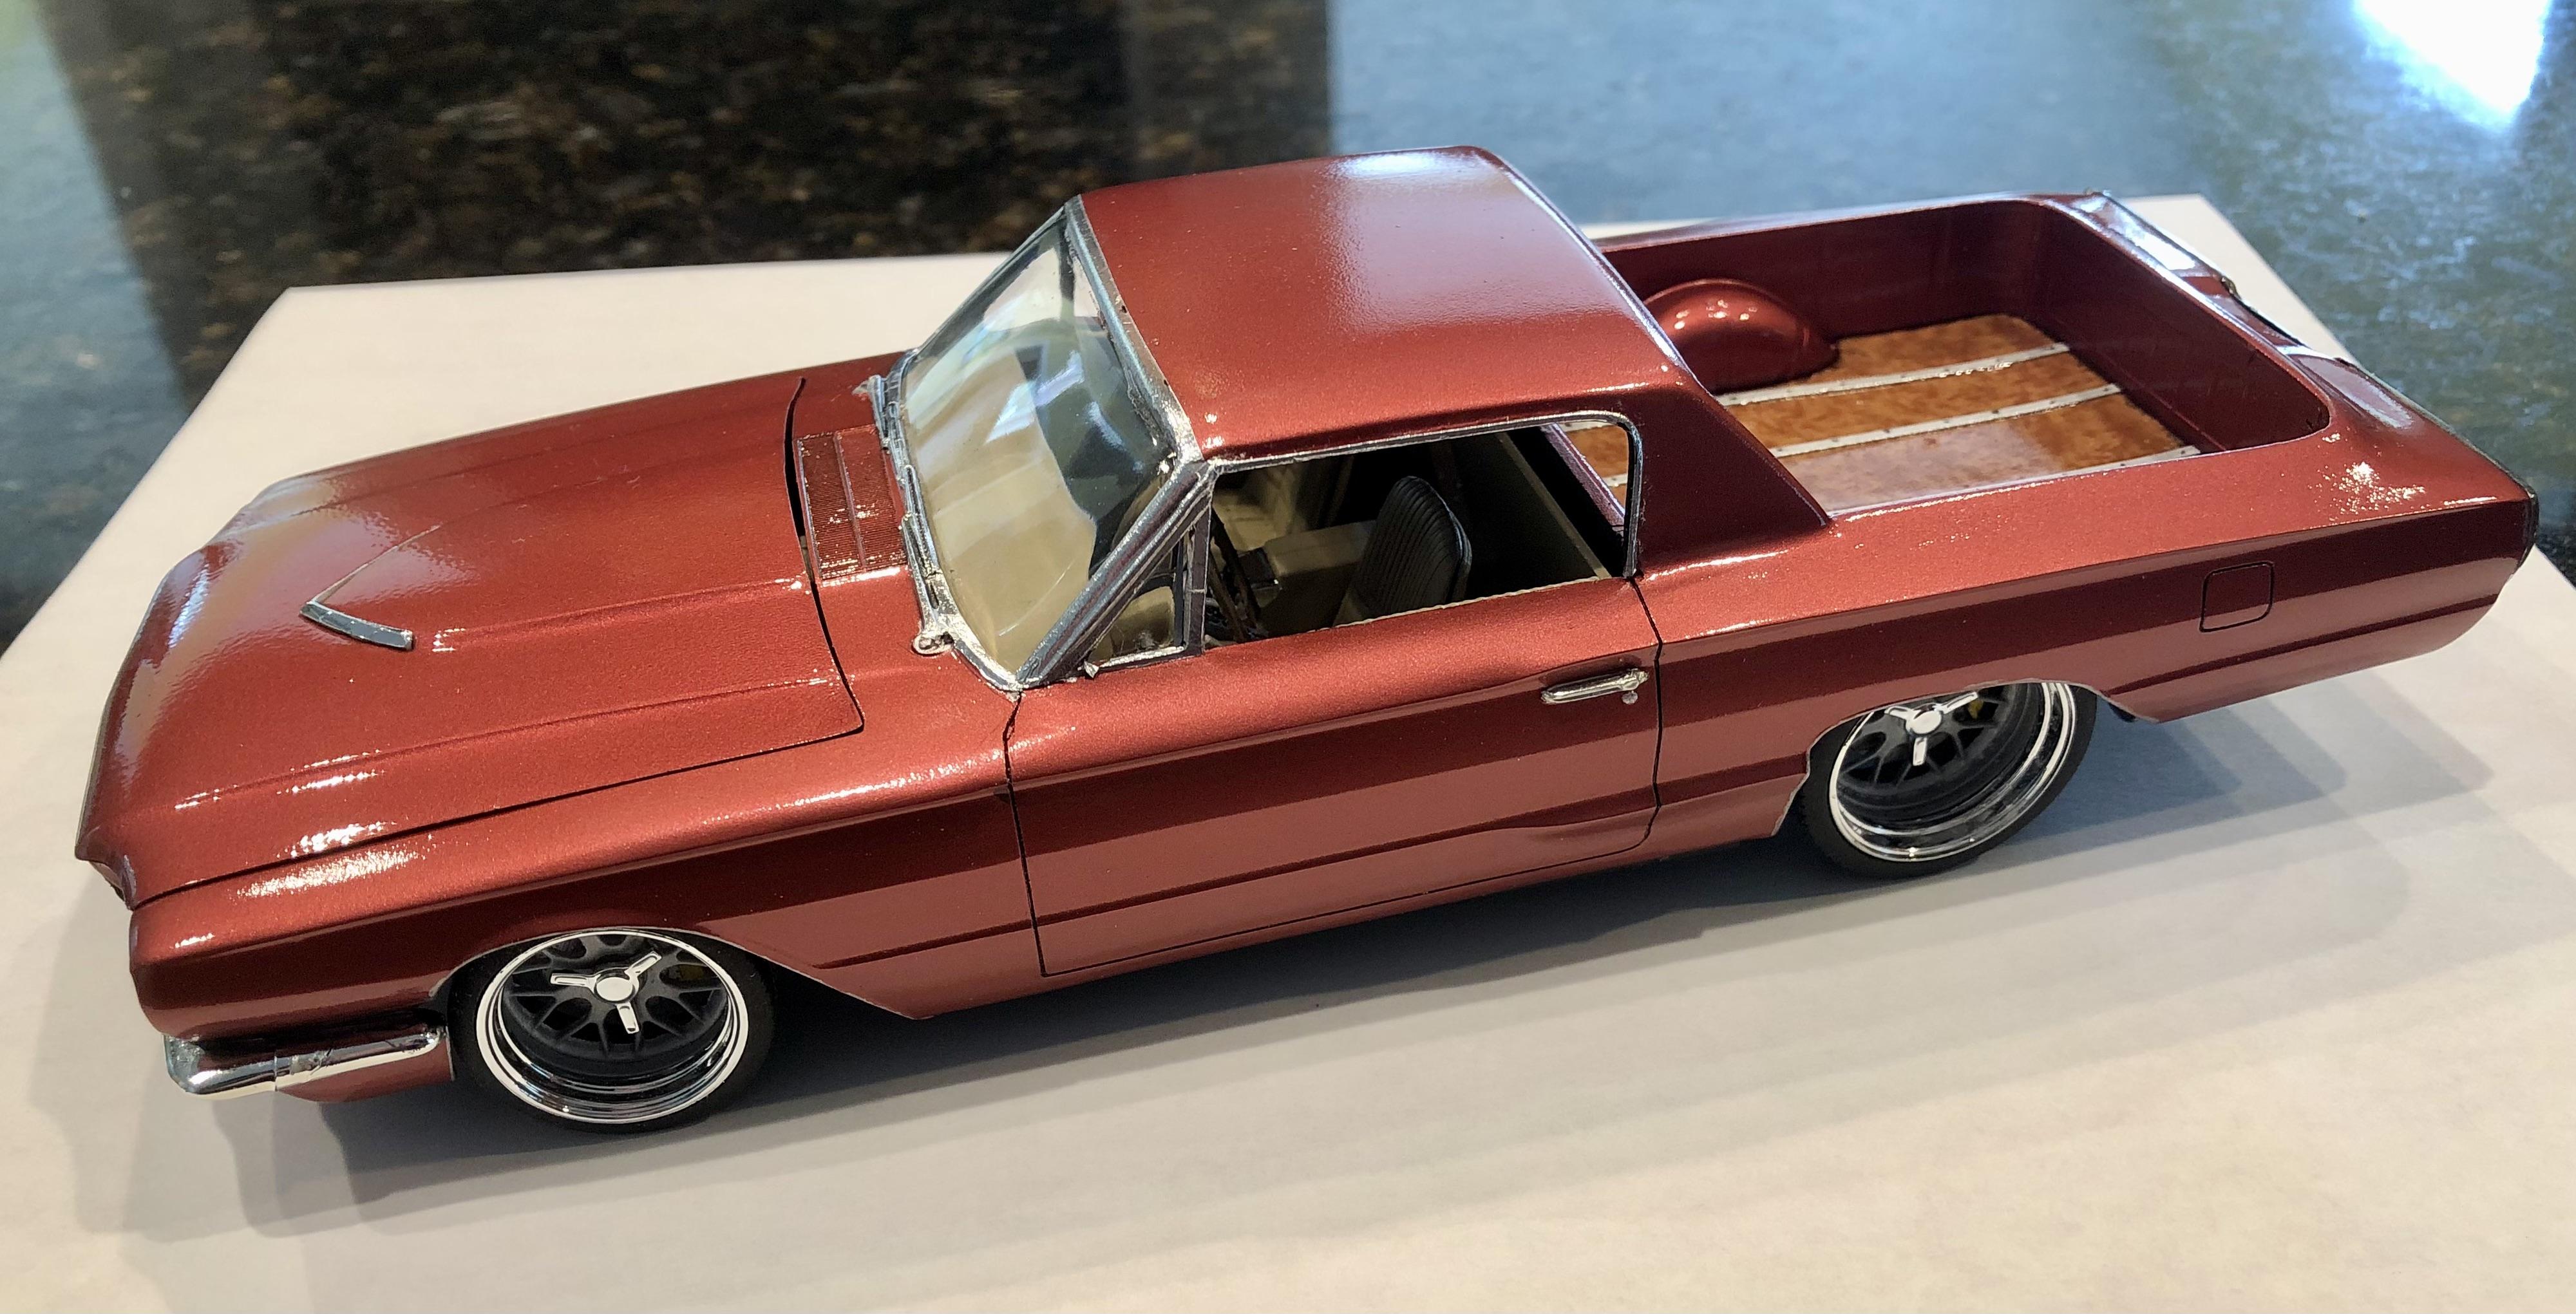
Thanks guys...for the most part, the interior is stock just cut off so it's only a 2 seater. Original design used the 60 Falcon Ranchero roof but I didn't like it. So I used the Thunderbird roof, sanded off the "vinyl" texture, cut it to fit and integrated into the body. For the chassis, I absolutely hated the OLD-School 60's model car tooling of a one piece chassis. So I got out the Dremel and started removing a ton of material opening up the chassis quite a bit over the original. Roush Engine came from the Chip Foose custom Ford pickup and custom made the exhaust from the headers that leads to the molded in chassis exhaust. Radiator was a parts-box unknown origin. Wheel/Tires are from Steve "Z" Zimmerman. Wooden bed is a plastic sheet using a wood grain decal and plastic strips then glued into place. Paint is Splash Paint but it kinda orange-peeled on me. I tried wet sanding but was more afraid of burning through it like I have done too many times before. So I just used Splashes 2K clear and called it a day. Overall, I like it but once we made the decision to move, I wanted this and "Thriller" done before the move since I am not sure when I will be back at the bench again at the new house. Well, I'll need to build the bench and hobby room out the way I want it first...lot's of planning, designing and organizing to expedite packing and unpacking are yet to come!
-
Well, it’s finally done…the hybrid of a 66 Thunderbird with the bed of a 60 Ranchero. Fun build but I wish I had taken a bit more time with it. I kinda pushed getting it done as we are packing the house and moving. There’s no telling when I’ll get back to the bench so I really wanted this outta the way. Stock chassis that I removed a lot of material from then attempted detail painting. Engine came from a Foose Ford Pickup, wheels are “Z” wheels. Enjoy…I’ll comment further later tonite
- 22 replies
-
- 17
-

-
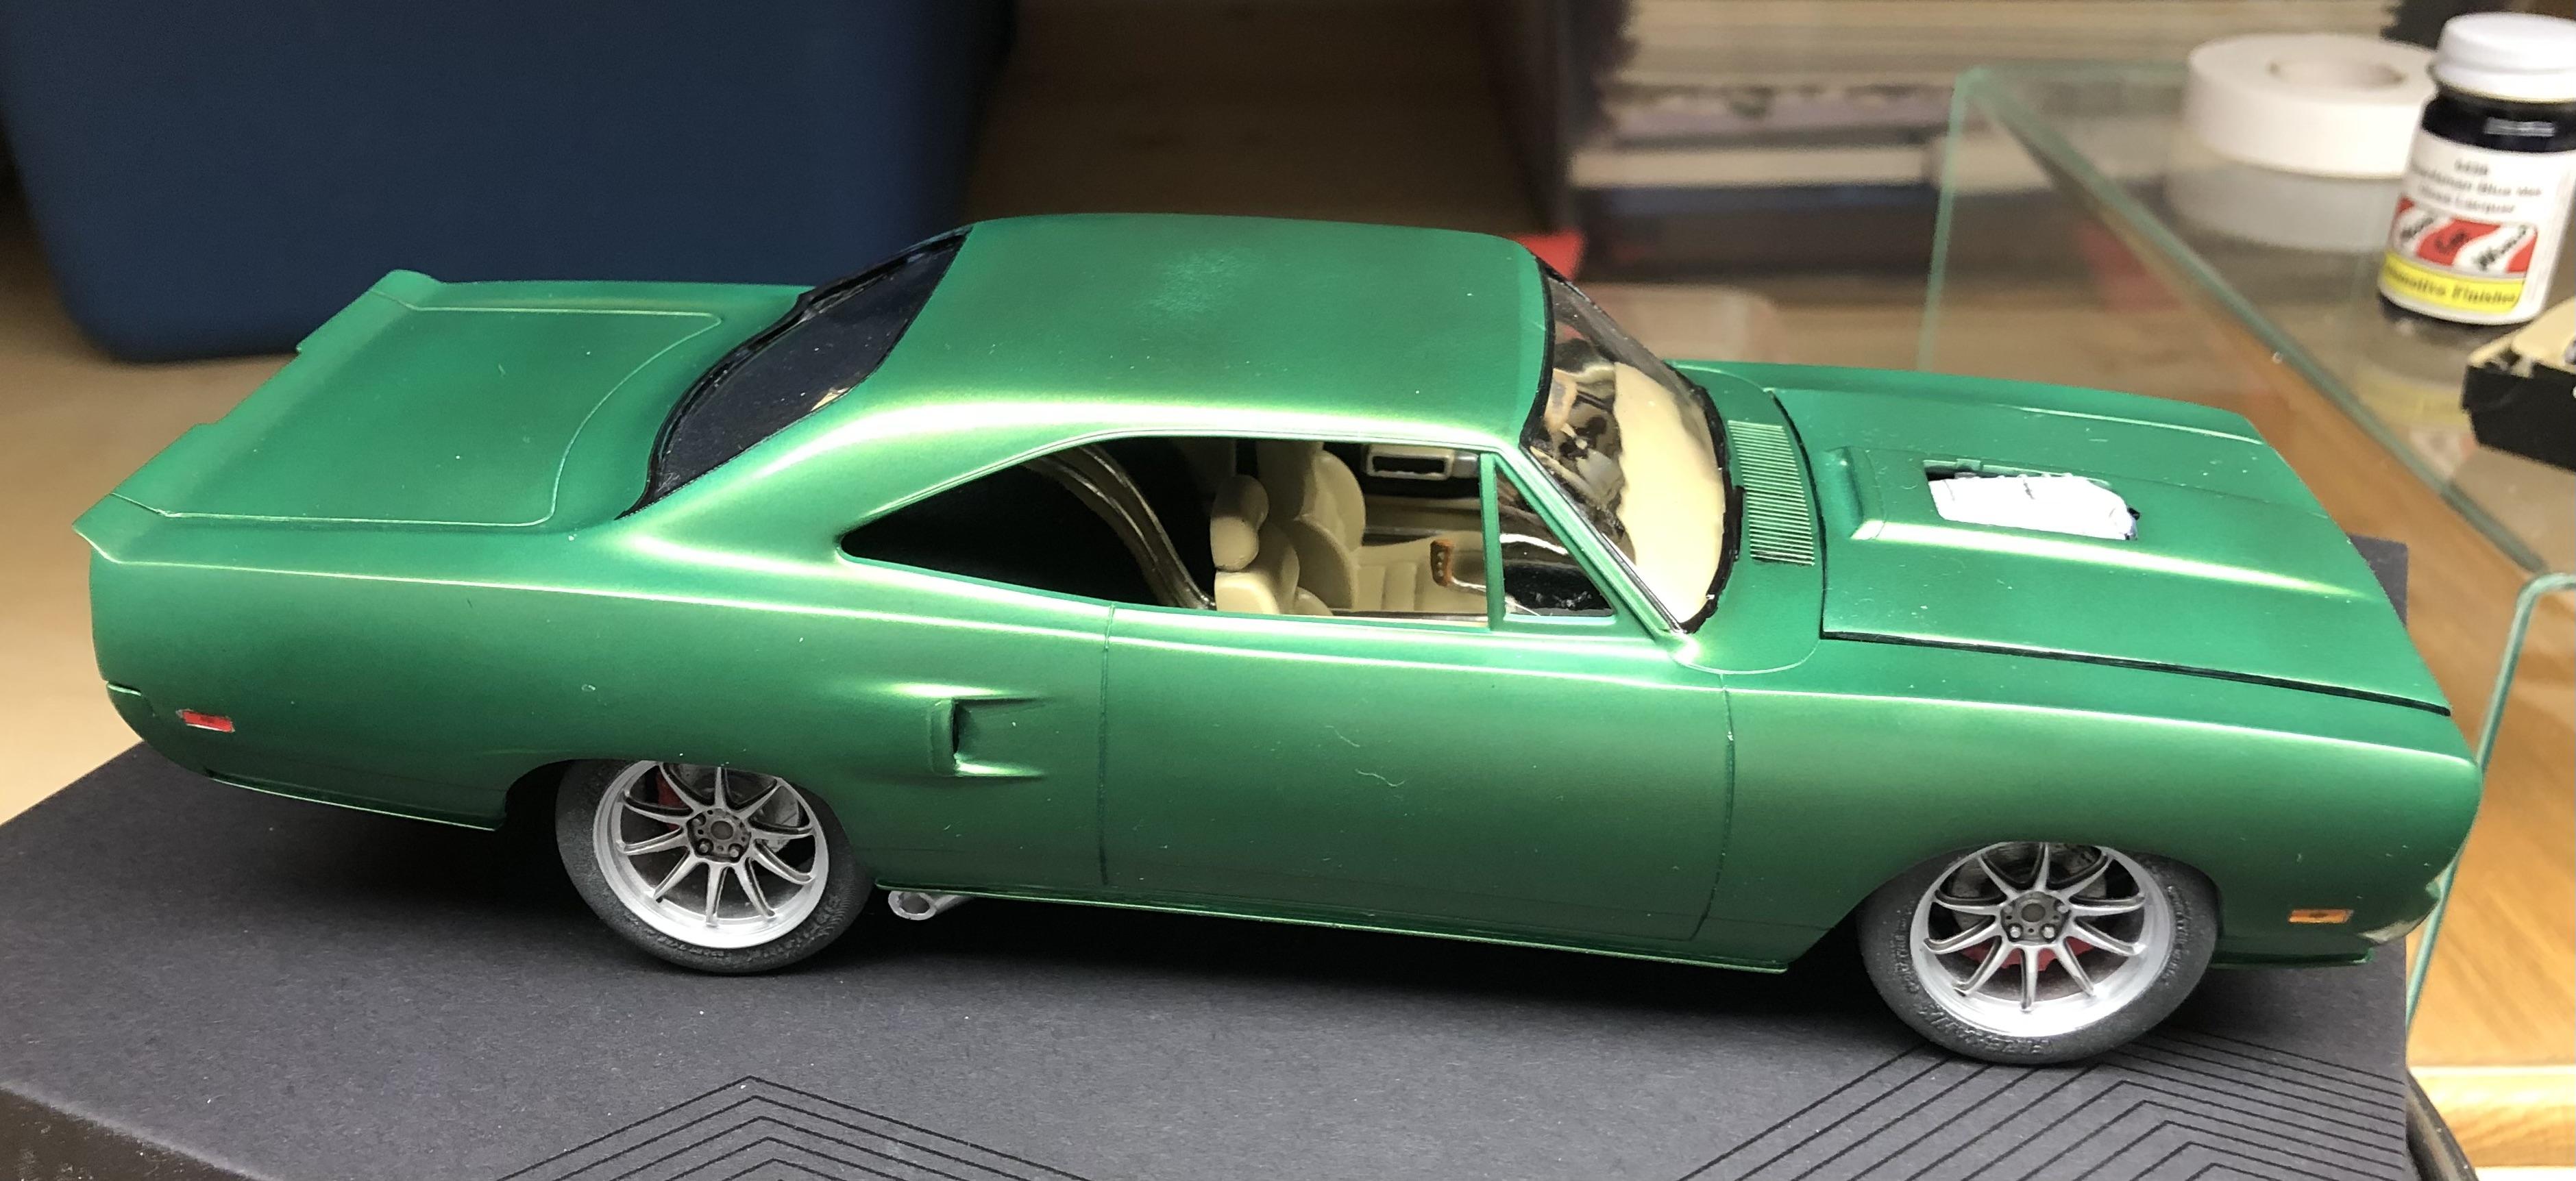
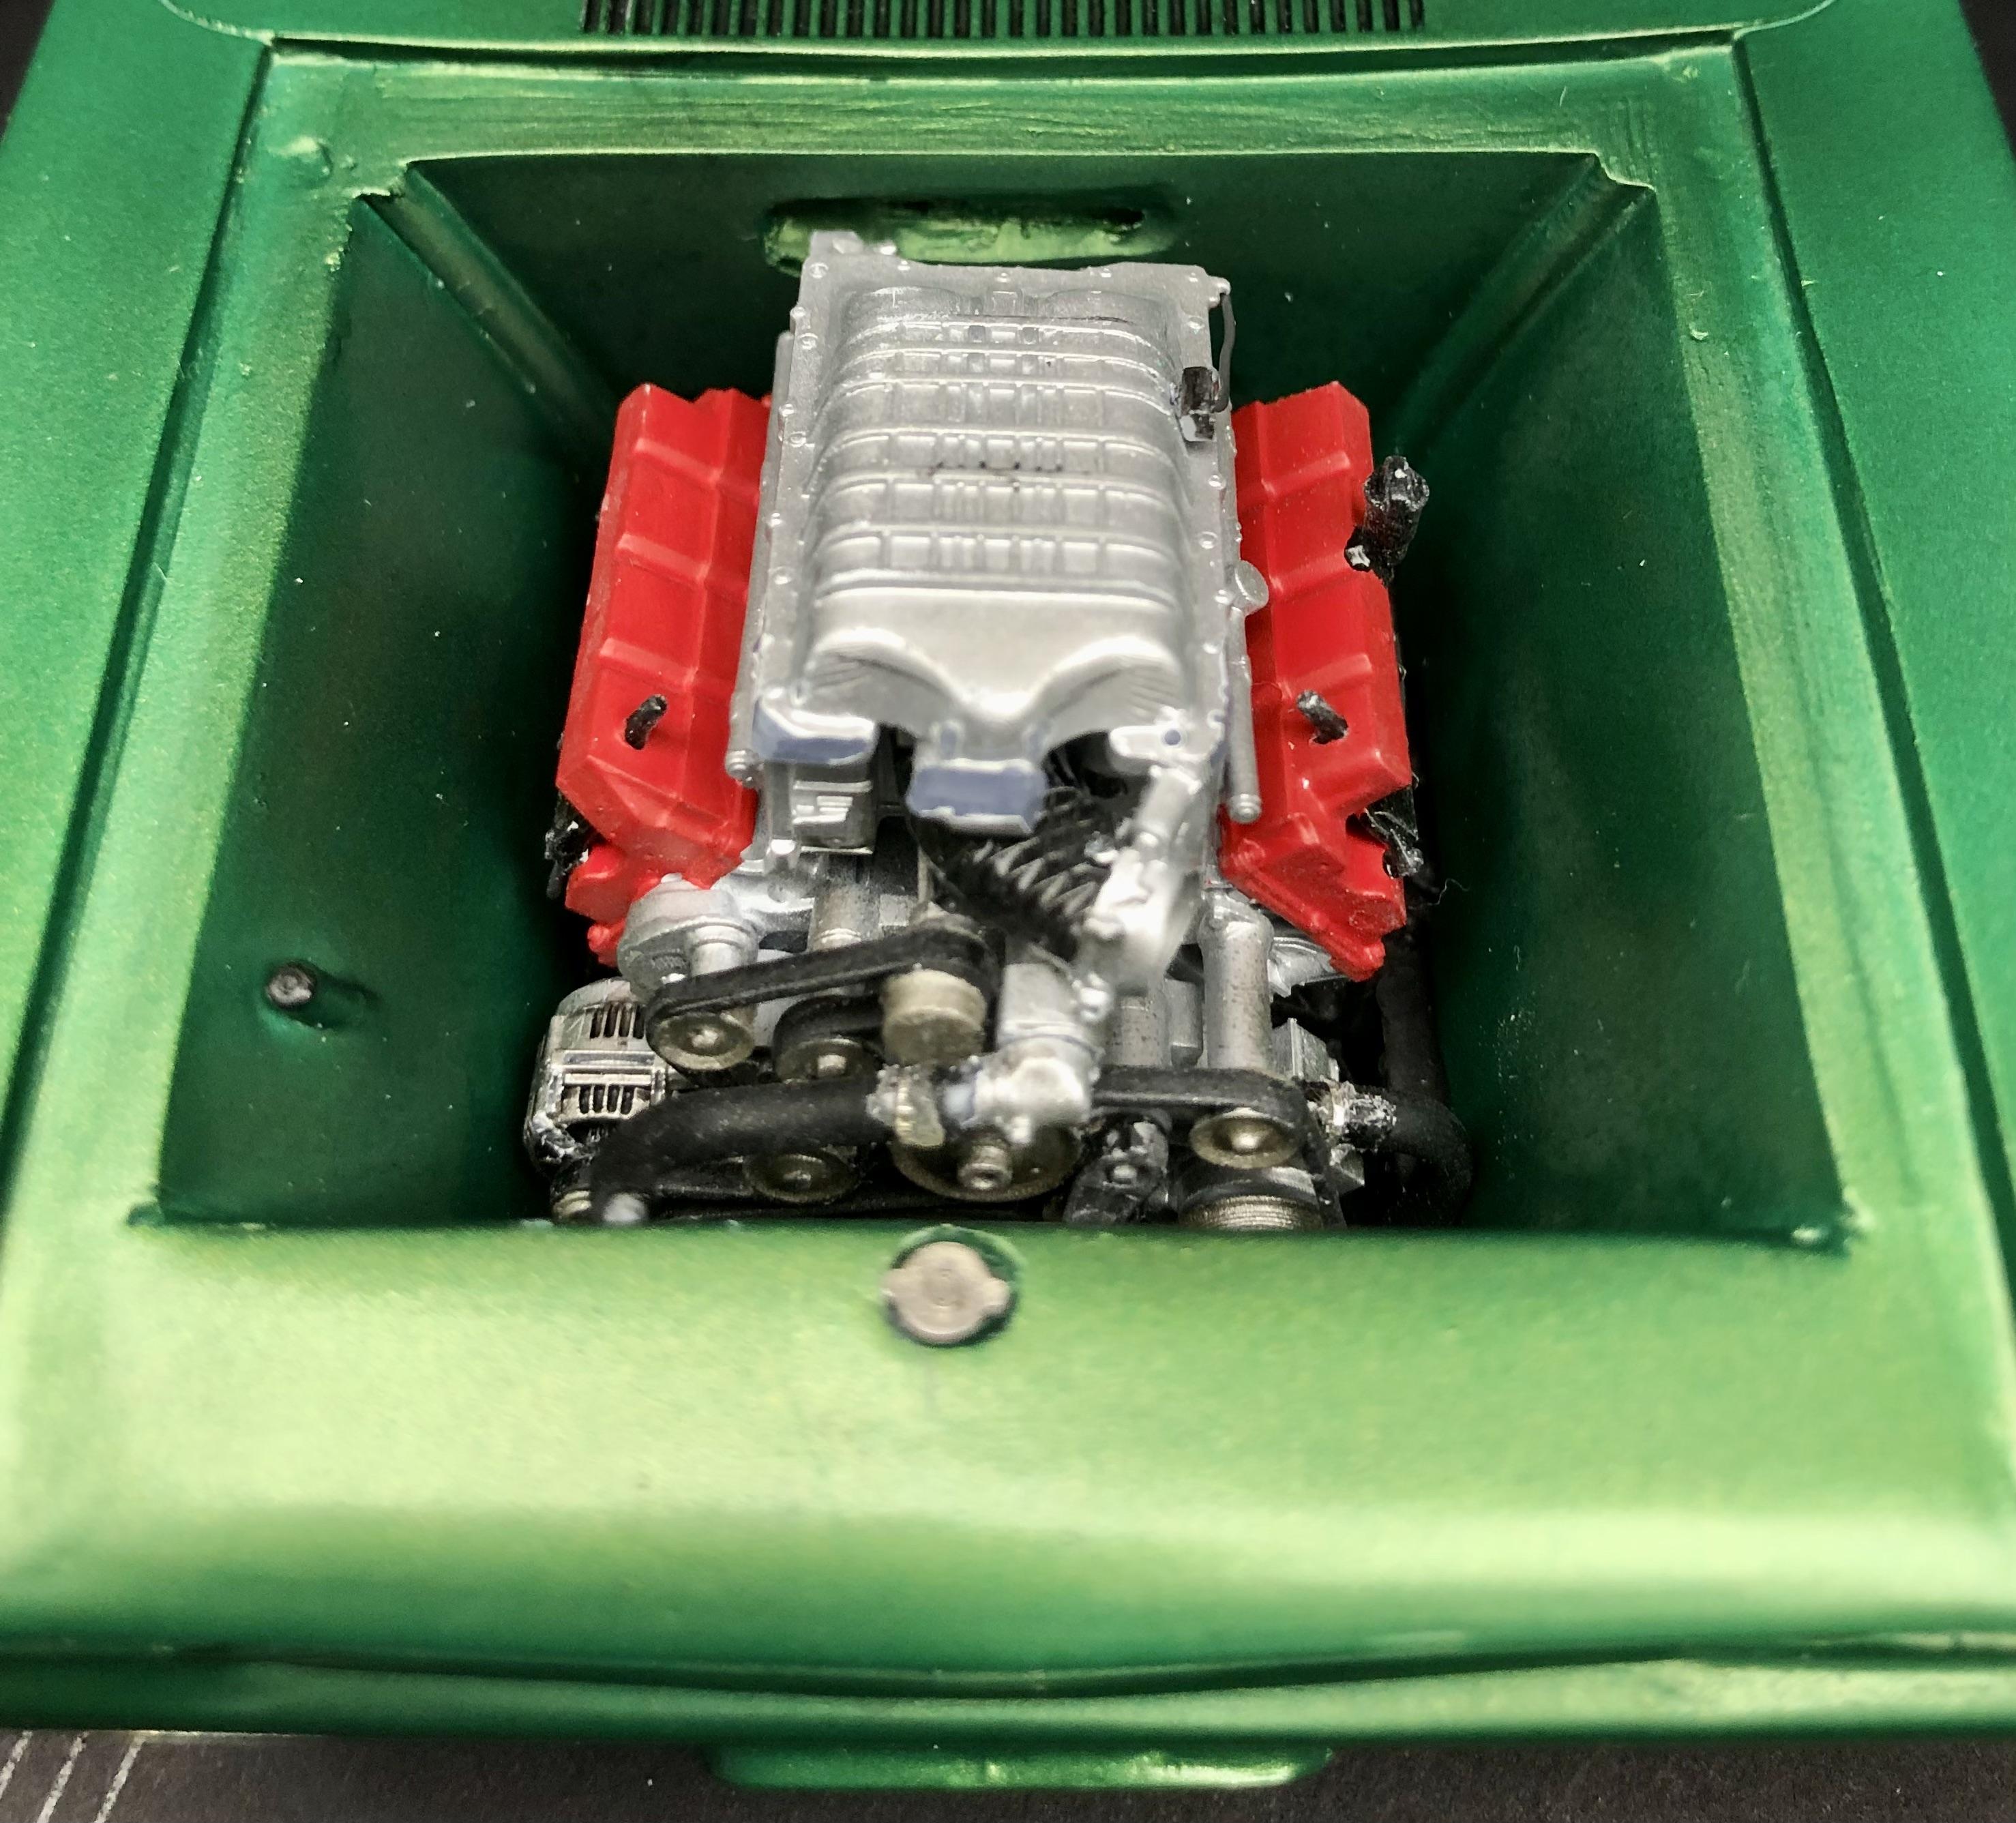
In retrospect, I should have put a tall scoop on it which would have allowed the engine to sit a tad taller in the engine bay thus solving that issue but once the paint was on it for the final time, I said no and left it alone.
-
Thanks guys...just gotta keep pressing forward and trying harder.
-
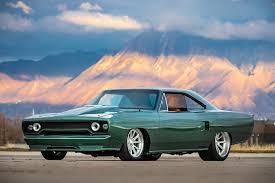
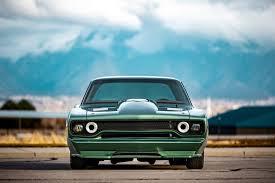
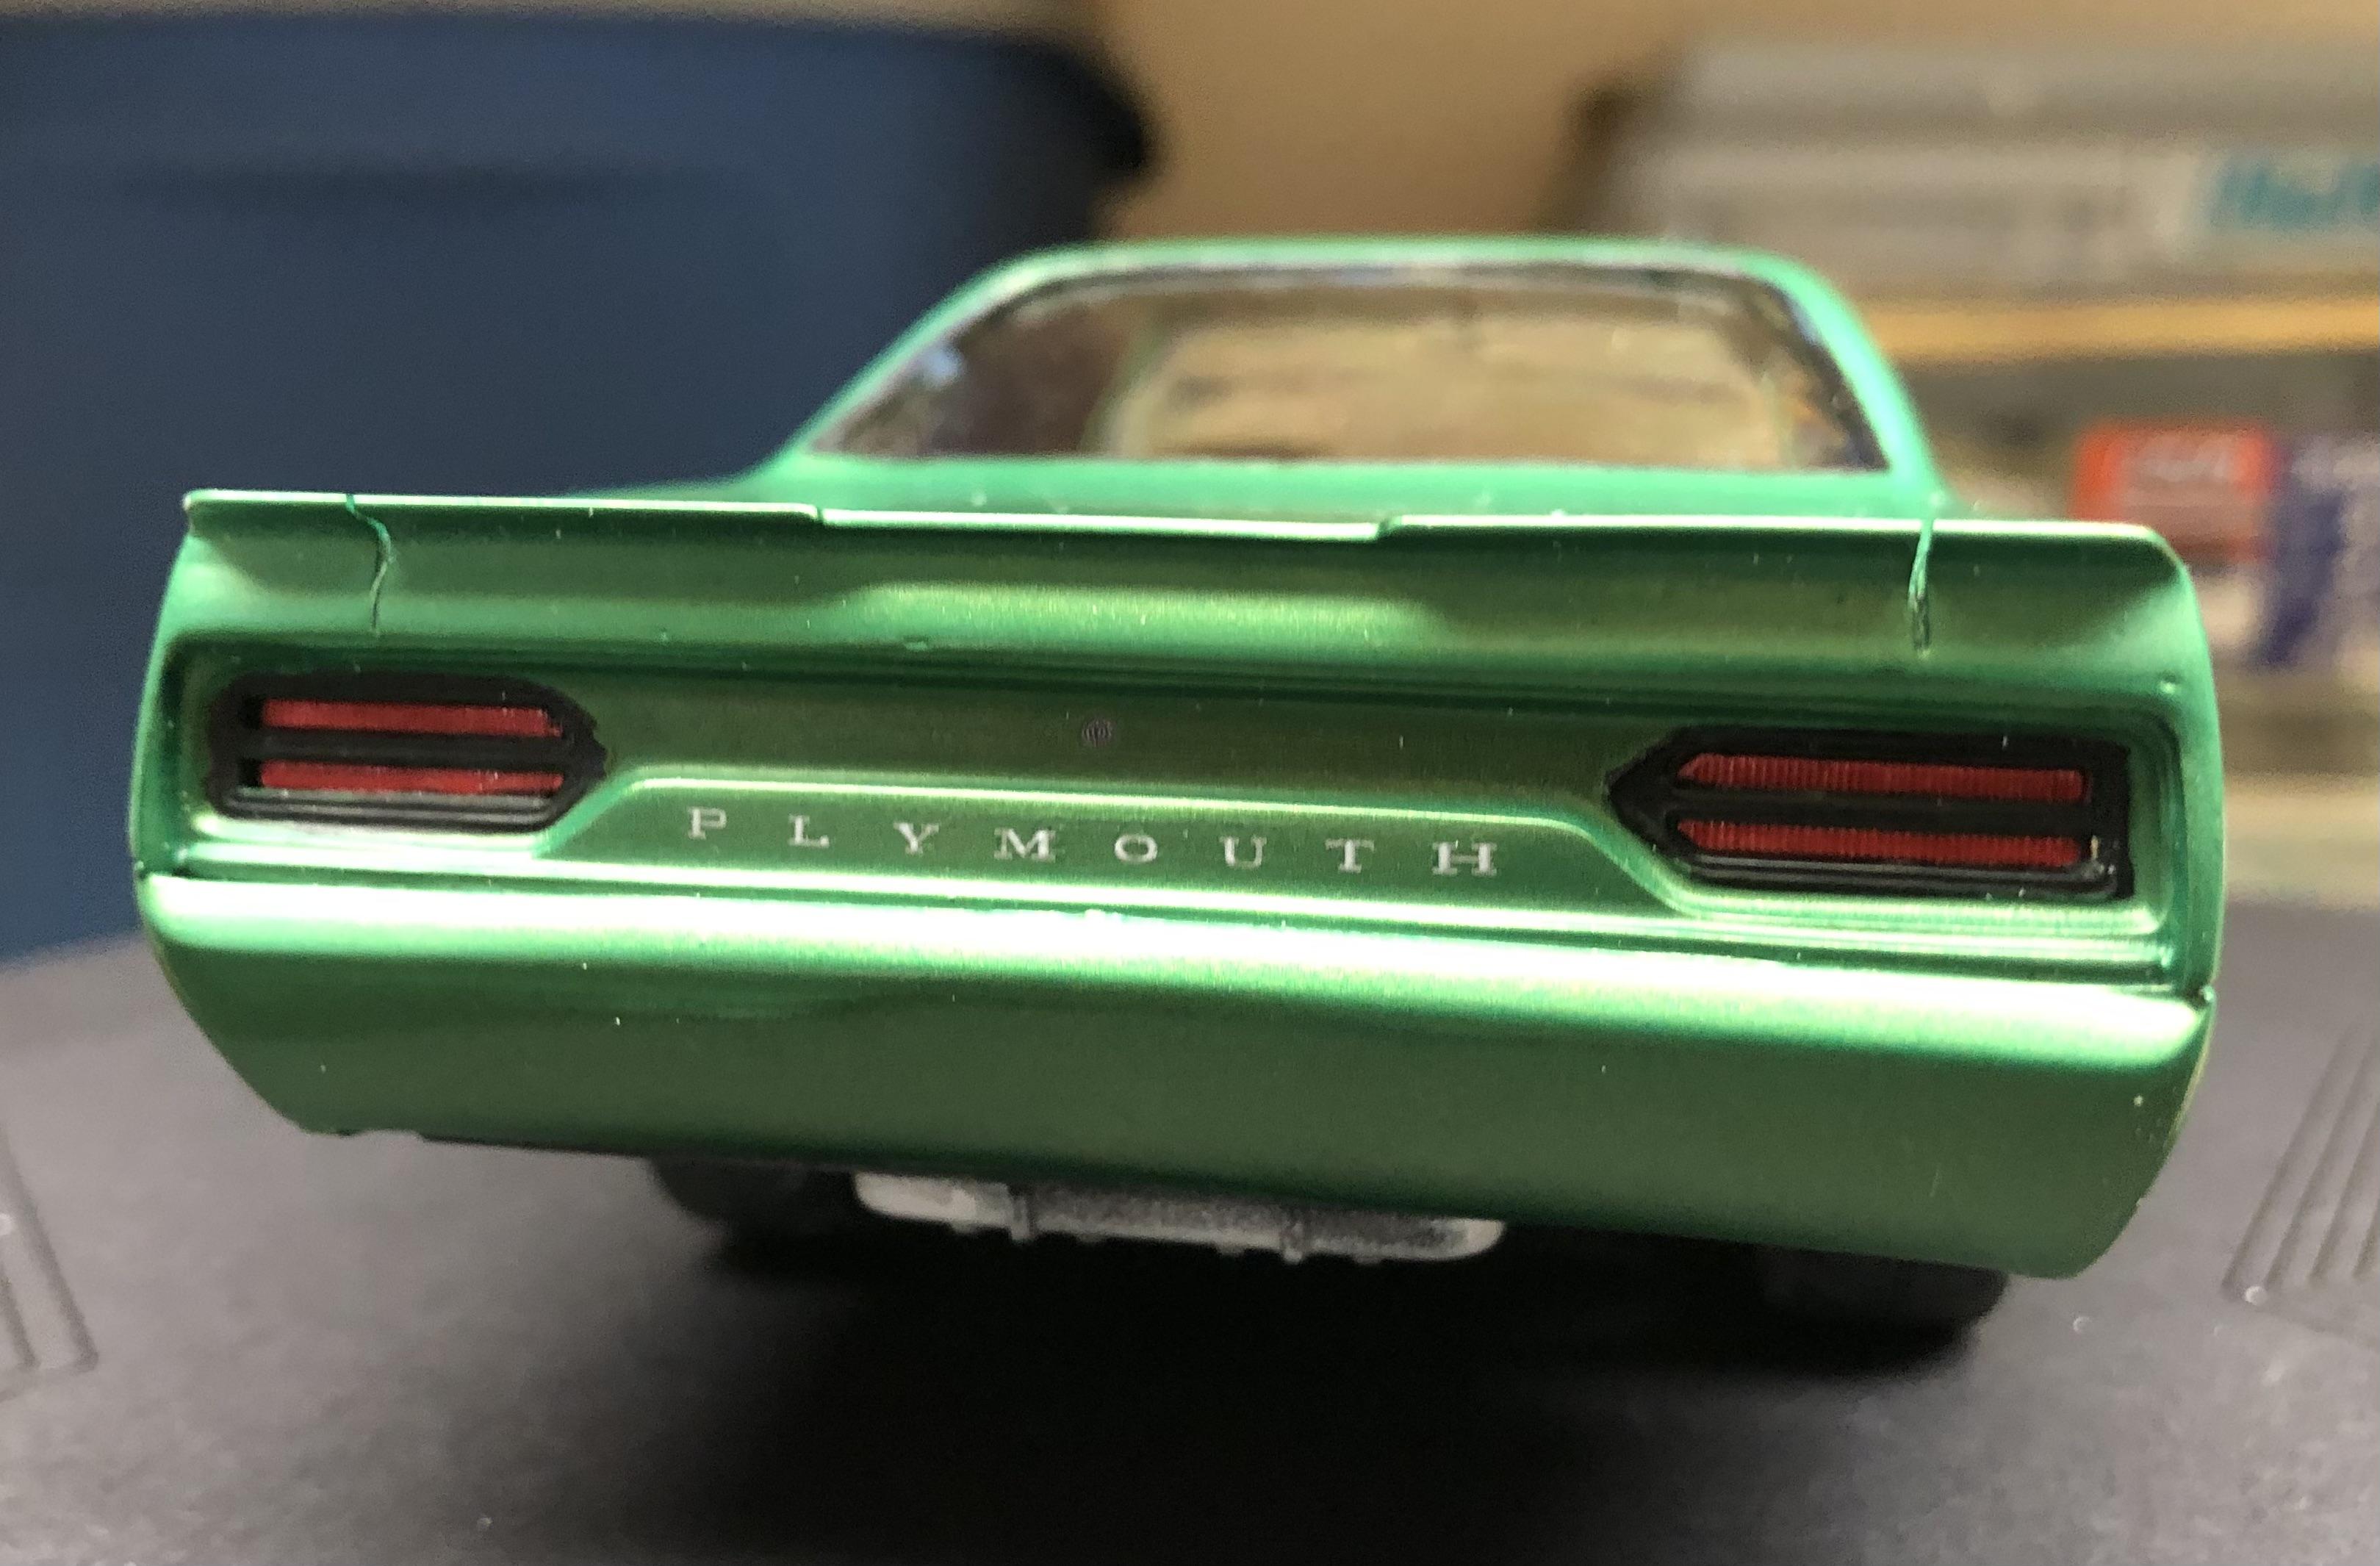
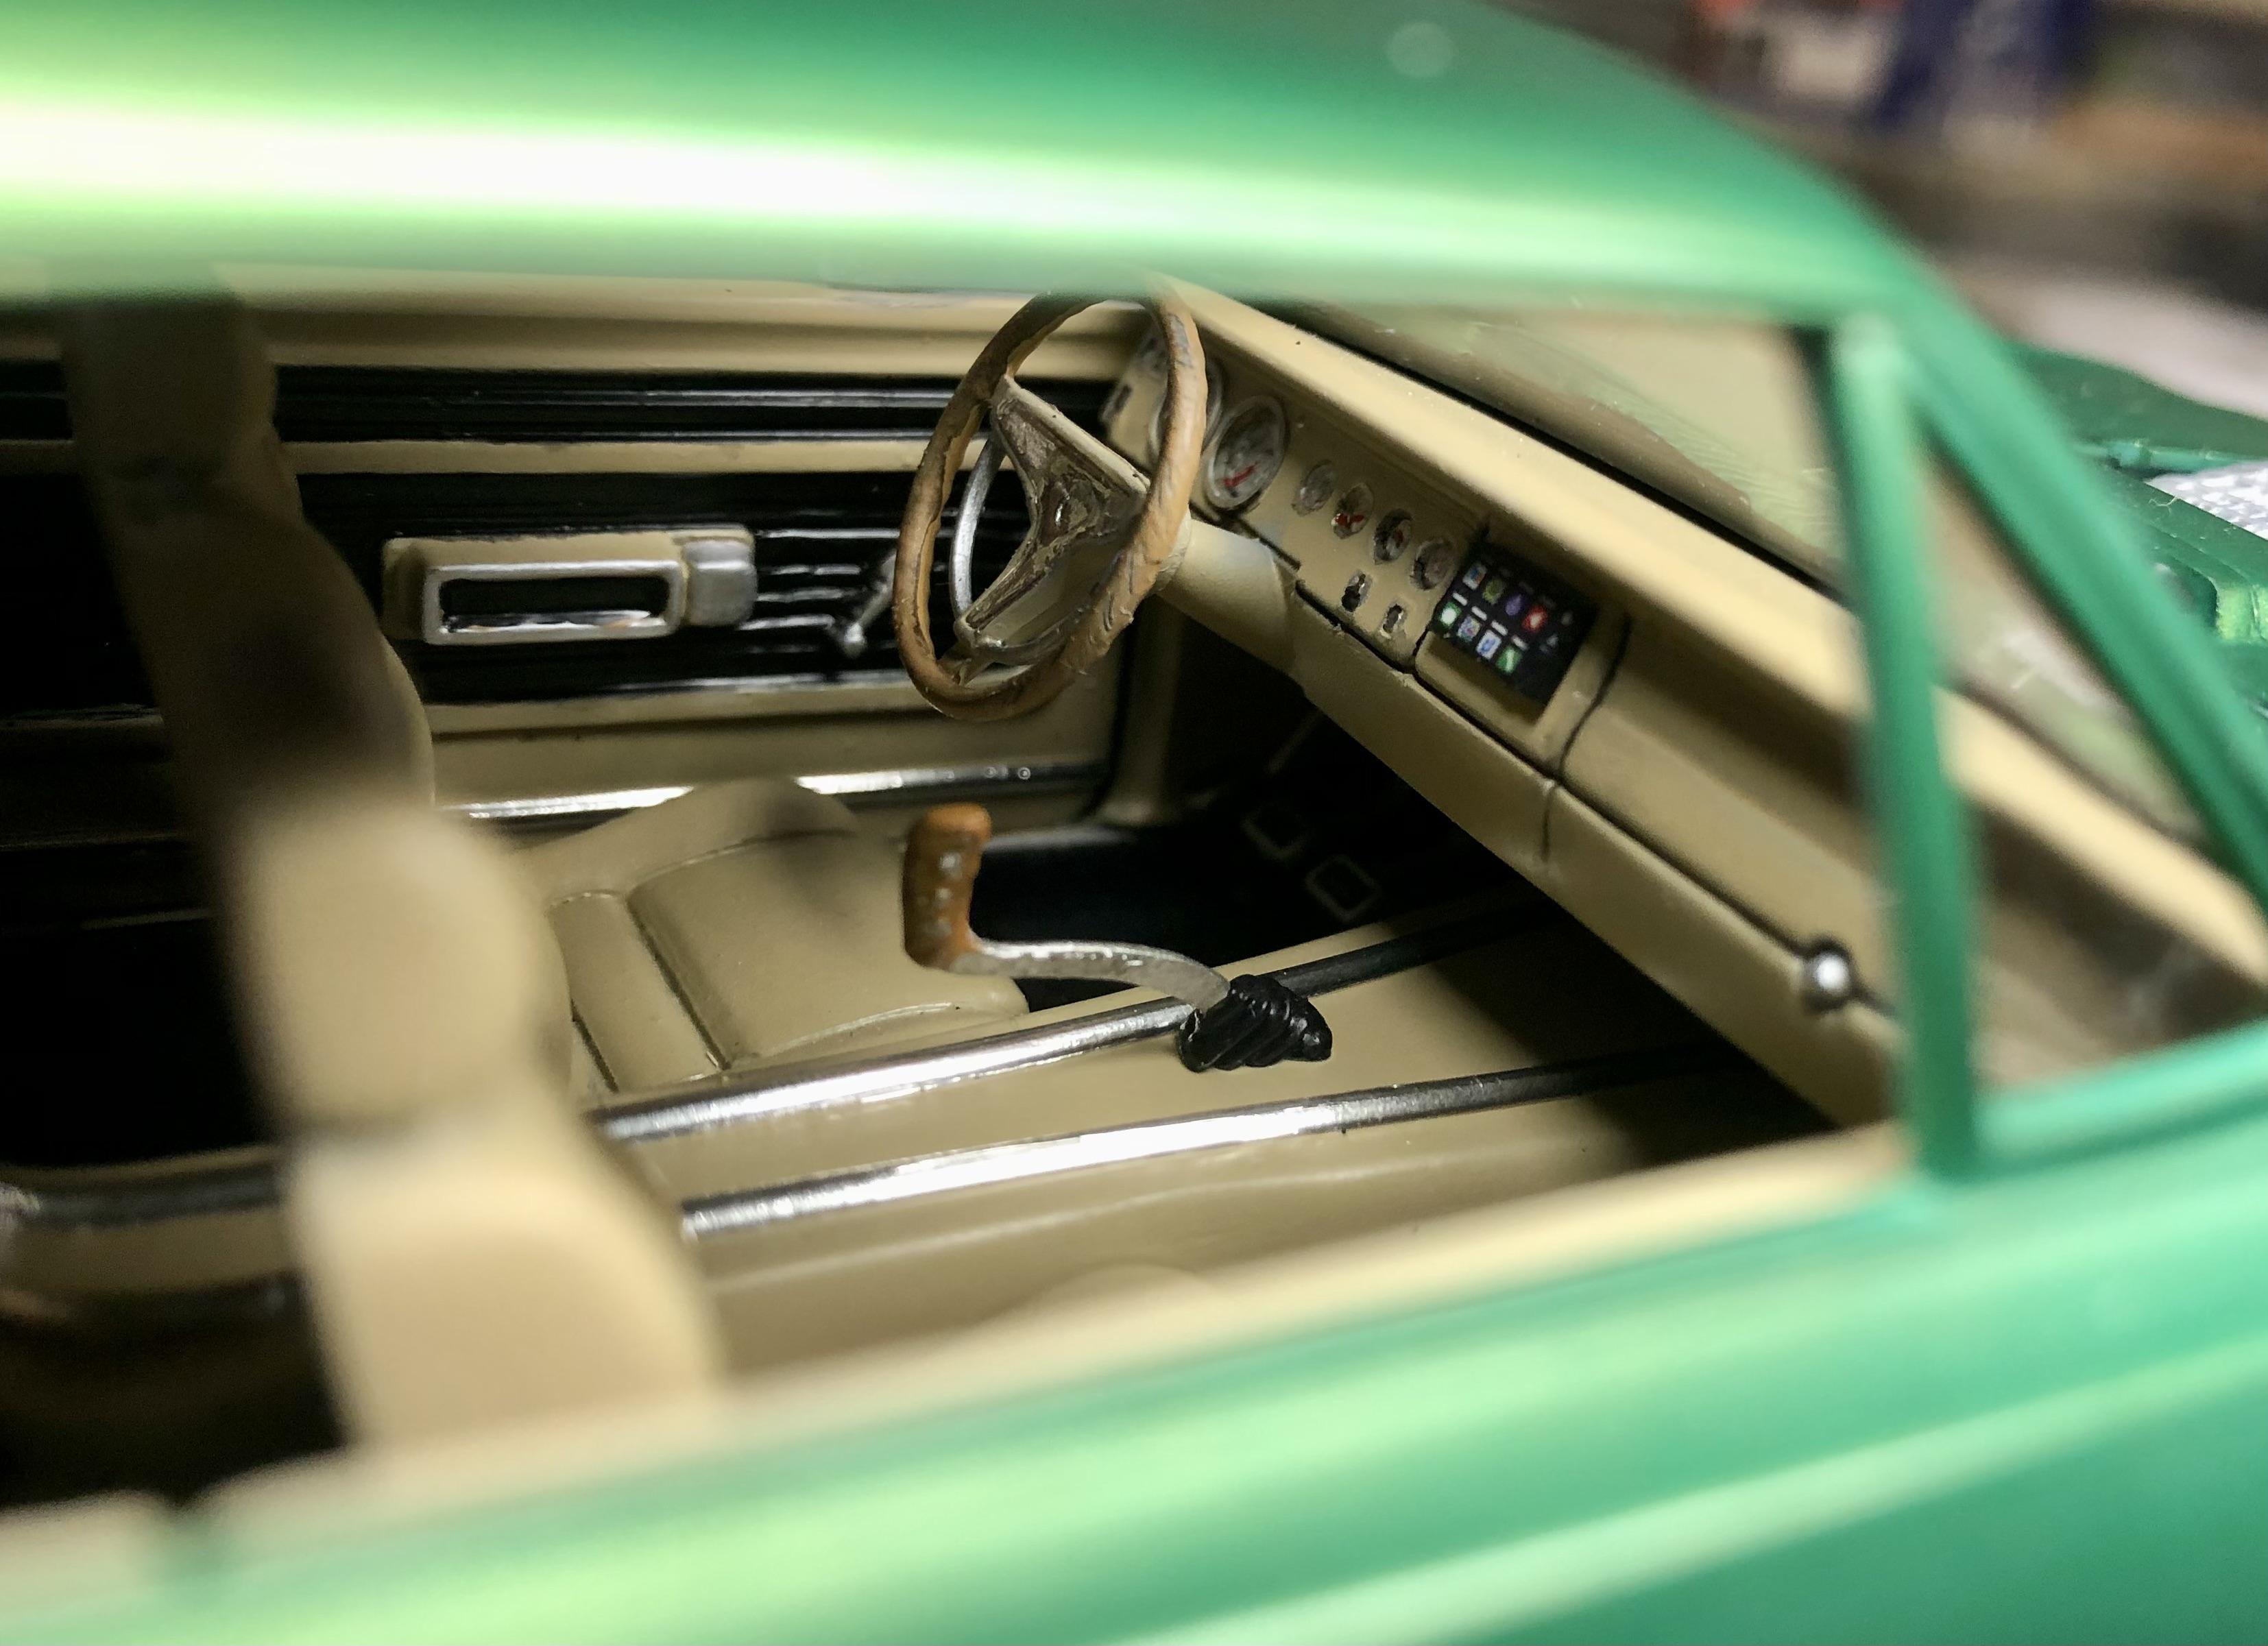
So, I saw this car over a year ago as a cover car of sorts for Amsoil motor oil and fell in love with it… so using this as inspiration, I embarked on a venture to recreate this in scale…and hit my issues along the way but I’m calling it done. Overall, it was fun but not my best work. The hood doesn’t fit well and it’s held up by the engine. The paint gave me fits, as well, but calling it done. So hear it is based off the Revell 70 Road Runner…
- 10 replies
-
- 16
-
-
yeah, i bought the sander from a local seller and love it. I'm assuming you got these from Hobbyist Haven?
-
I'm sure this has been asked before but I'll ask it anyway...has anyone ever purchased from Hobbyist Haven and if so, how was your experience? I'm considering it but they are outside of the US and after 50 years of working in Information Technology, I have seen too many things get hacked that I am a little bit leary of dealing with a company outside the US that I personally have never dealt with. There will be those that flame me for asking (which is not needed or asked for) and those that will understand...all I want to know is if they are legit and is their customer service good or not if an issue arises. Thanks in advance!
-
Marvel's Hydra coupe 1/12 scale full scratch build
BDSchindler replied to François's topic in WIP: Model Cars
Question about the leather you're using. Are you thinning the thickness of the leather before adhering it to the seats? I would assume so given you are able to work it into the pleats of the cushion but man...that must be paper thin on the backside of the leather. Fantastic work, by the way...loving what you are doing and very inspiring. -
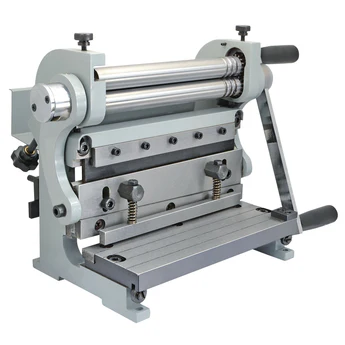
to be honest...I don't know! LOL! I just ordered it and hasn't been rec'd as of yet...but according to the MicroMark site, "only takes up 16"x7"x10.5" benchtop space". I have the perfect tool stand to mount it to. I have been on the fence for over a year on spending the money on it but a friend of mine swears by it as it works equally as well for plastic as it does metal. So when MicroMark offered it in their Memorial Day sale at roughly $58 off, I pulled the trigger! Once I get it and get a chance to play with it, I will post a review in the Tips and Tricks section.
- 39,176 replies
-
- 1
-
-
- johan
- glue bombs
- (and 1 more)
-
How do you like it? Considering one and love DSPIAE tools!
- 39,176 replies
-
- 1
-
-
- johan
- glue bombs
- (and 1 more)
-
Well...not a model kit but a tool that can be used for plastic as well as metal...Bender-Brake-shear tool. I've been wrestling with buying this for a long time and just figure...screw it! The most recent kit I got was Tamiya's Datsun 240Z that will be built as the American version...
- 39,176 replies
-
- 8
-
-
- johan
- glue bombs
- (and 1 more)
-
Love it!
-
Making some Freaking Tiny Hinges!
BDSchindler replied to NOBLNG's topic in Tips, Tricks, and Tutorials
Outstanding! -
BMF-ish “Mirror Chrome” by TFI (Japan)
BDSchindler replied to BDSchindler's topic in Tips, Tricks, and Tutorials
No it wasn't partially used foil...I removed it from the package and used the portion that you see missing. I placed those 2 together for the shot AFTER I used it. I wouldn't go making blind statements based on assumptions, Pete.