pcm1977
-
Posts
146 -
Joined
-
Last visited
Content Type
Profiles
Forums
Events
Gallery
Everything posted by pcm1977
-
Gloss Custom Transparent Black Issues
pcm1977 posted a topic in Model Building Questions and Answers
I purchased a spray can of Testors Gloss Custom Transparent Black and was attempting to create tinted windows. My first attempt on some clear taillight covers from the junk box came out great after two light coats. However when I tried some car windows the results were not nearly as good. I laid down the first thin coat perfectly, however I wanted a slightly darker tint, so just like the taillights I put a second thin coat on. It looked fine going down, but when I went back to see how it turned out... well it looks all spotty now. Is there anything I can do to fix this? What did I do wrong, so I don't make the same mistake again?? Thanks
-
-
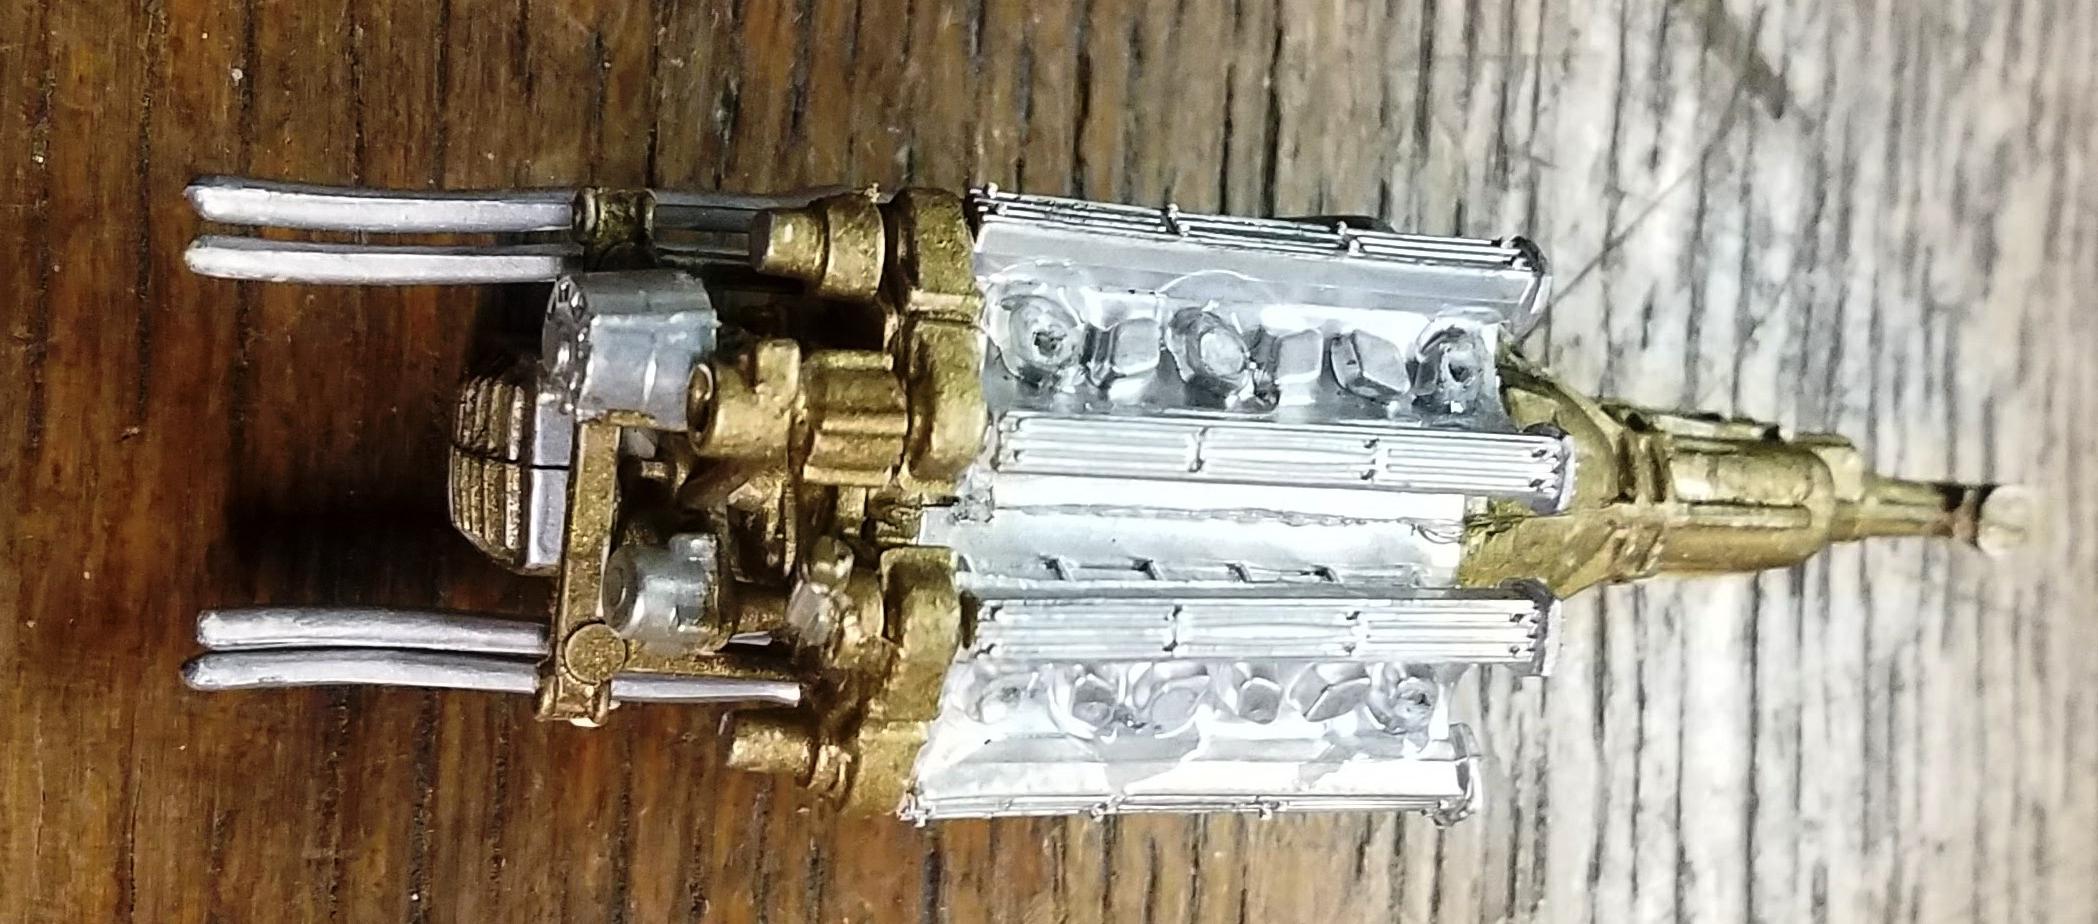
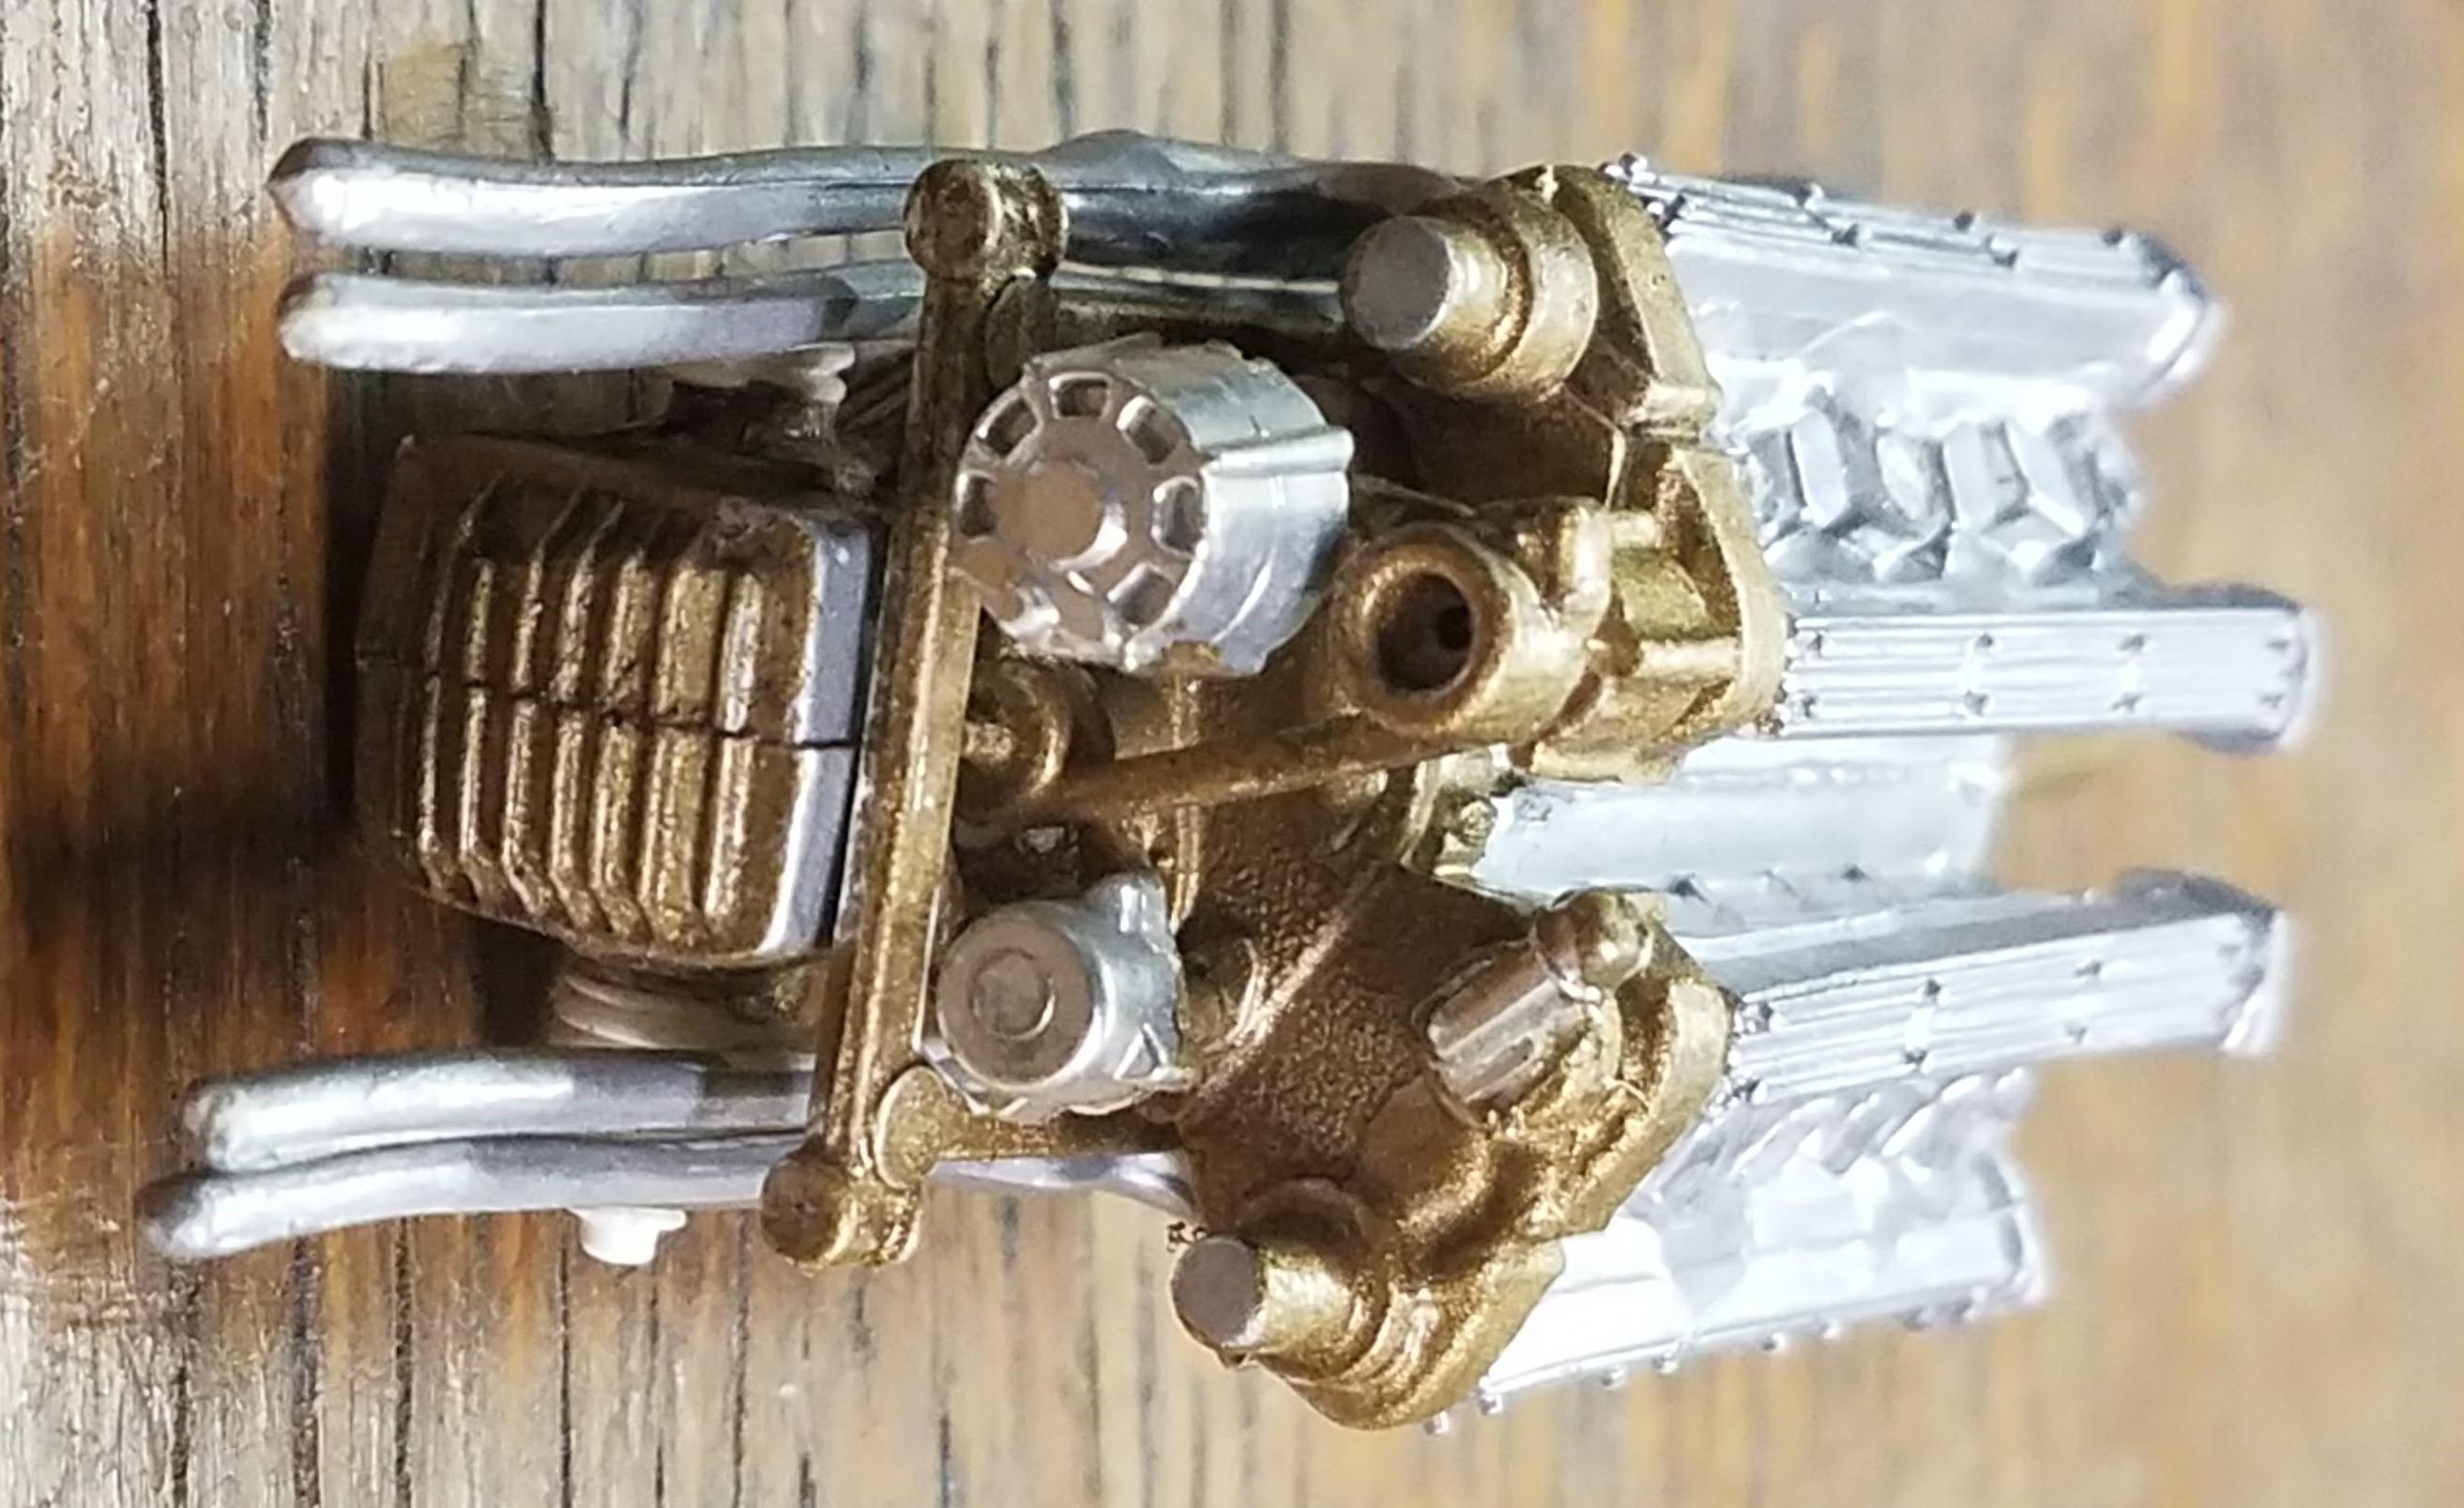
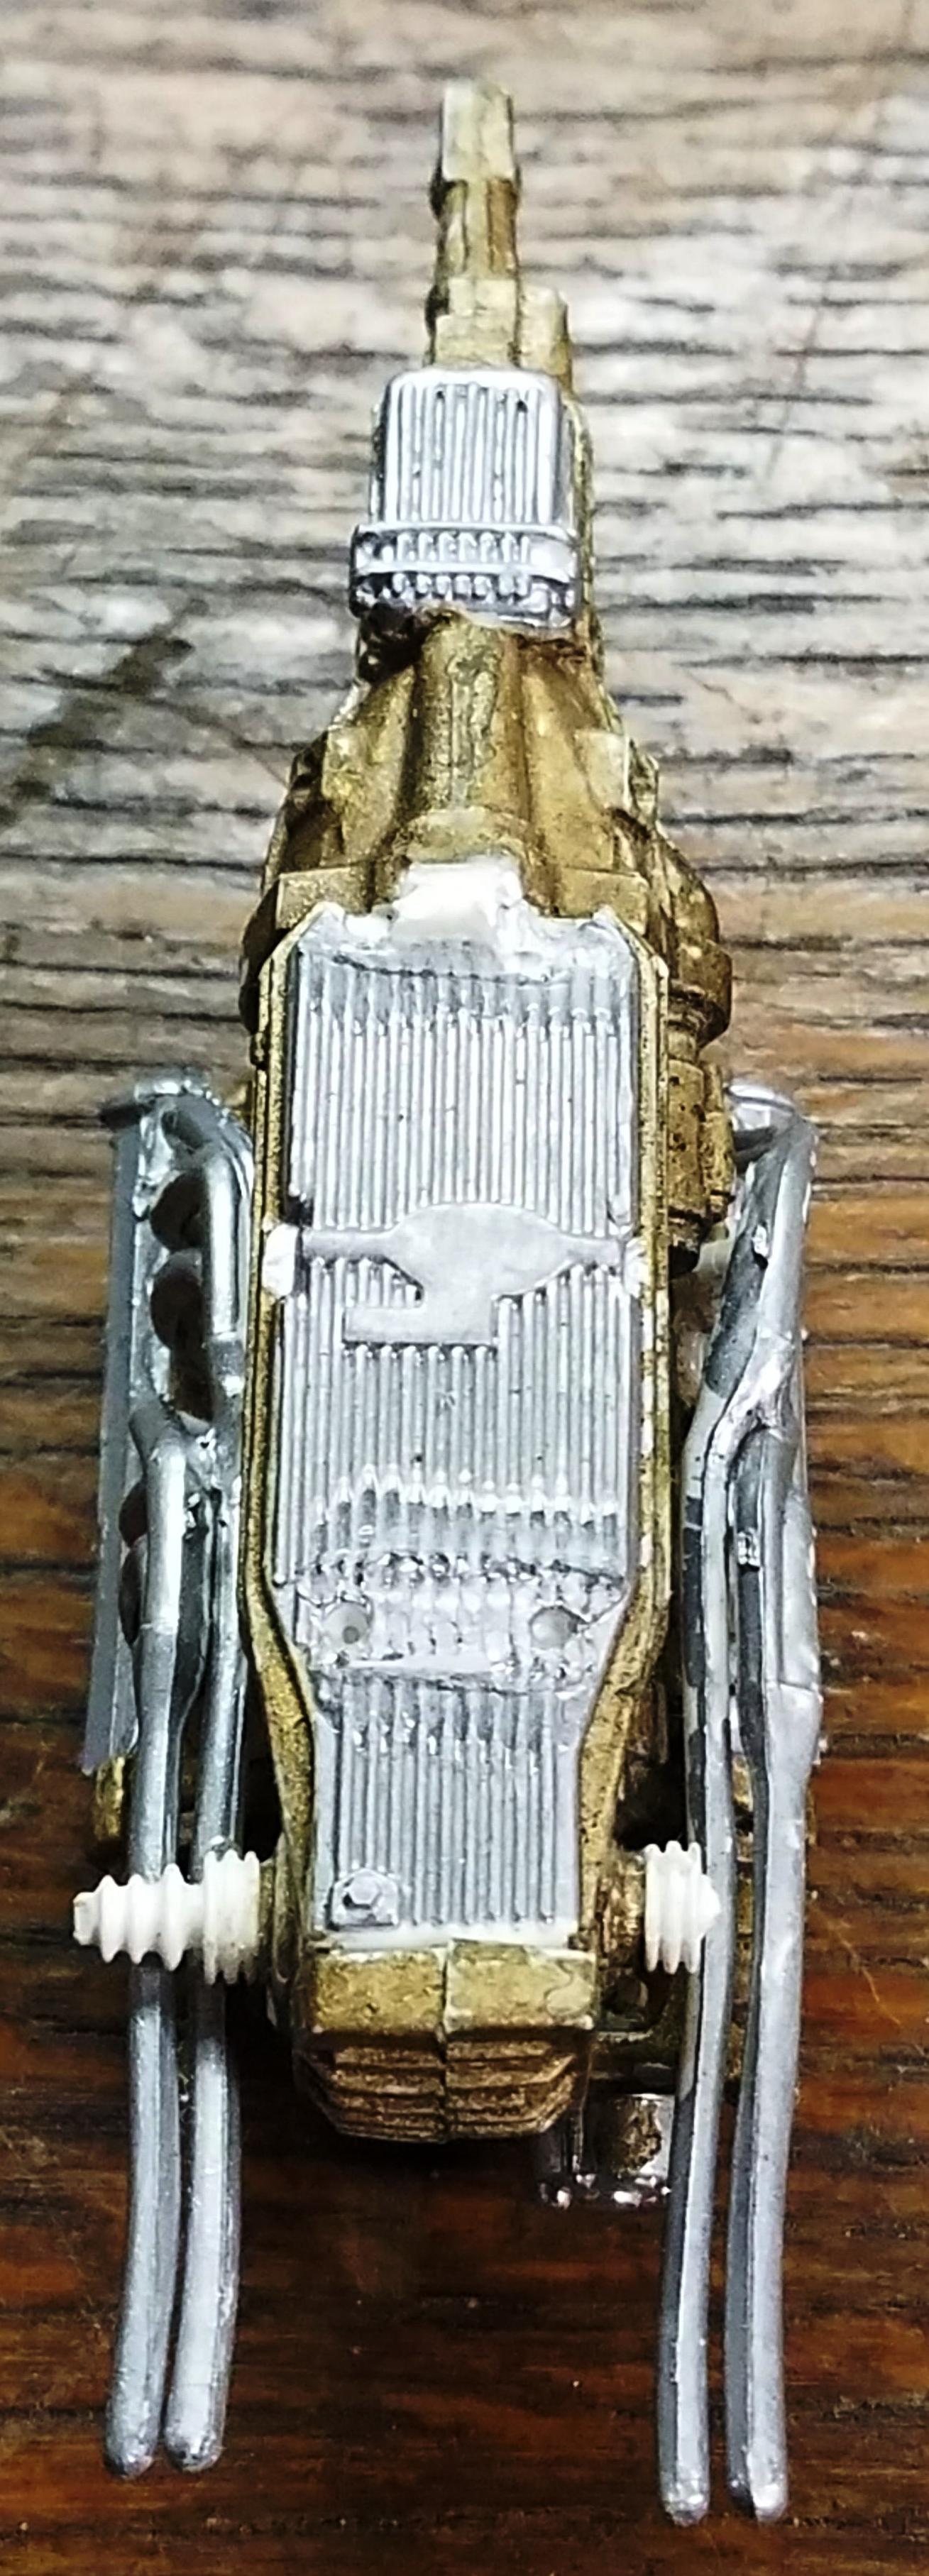
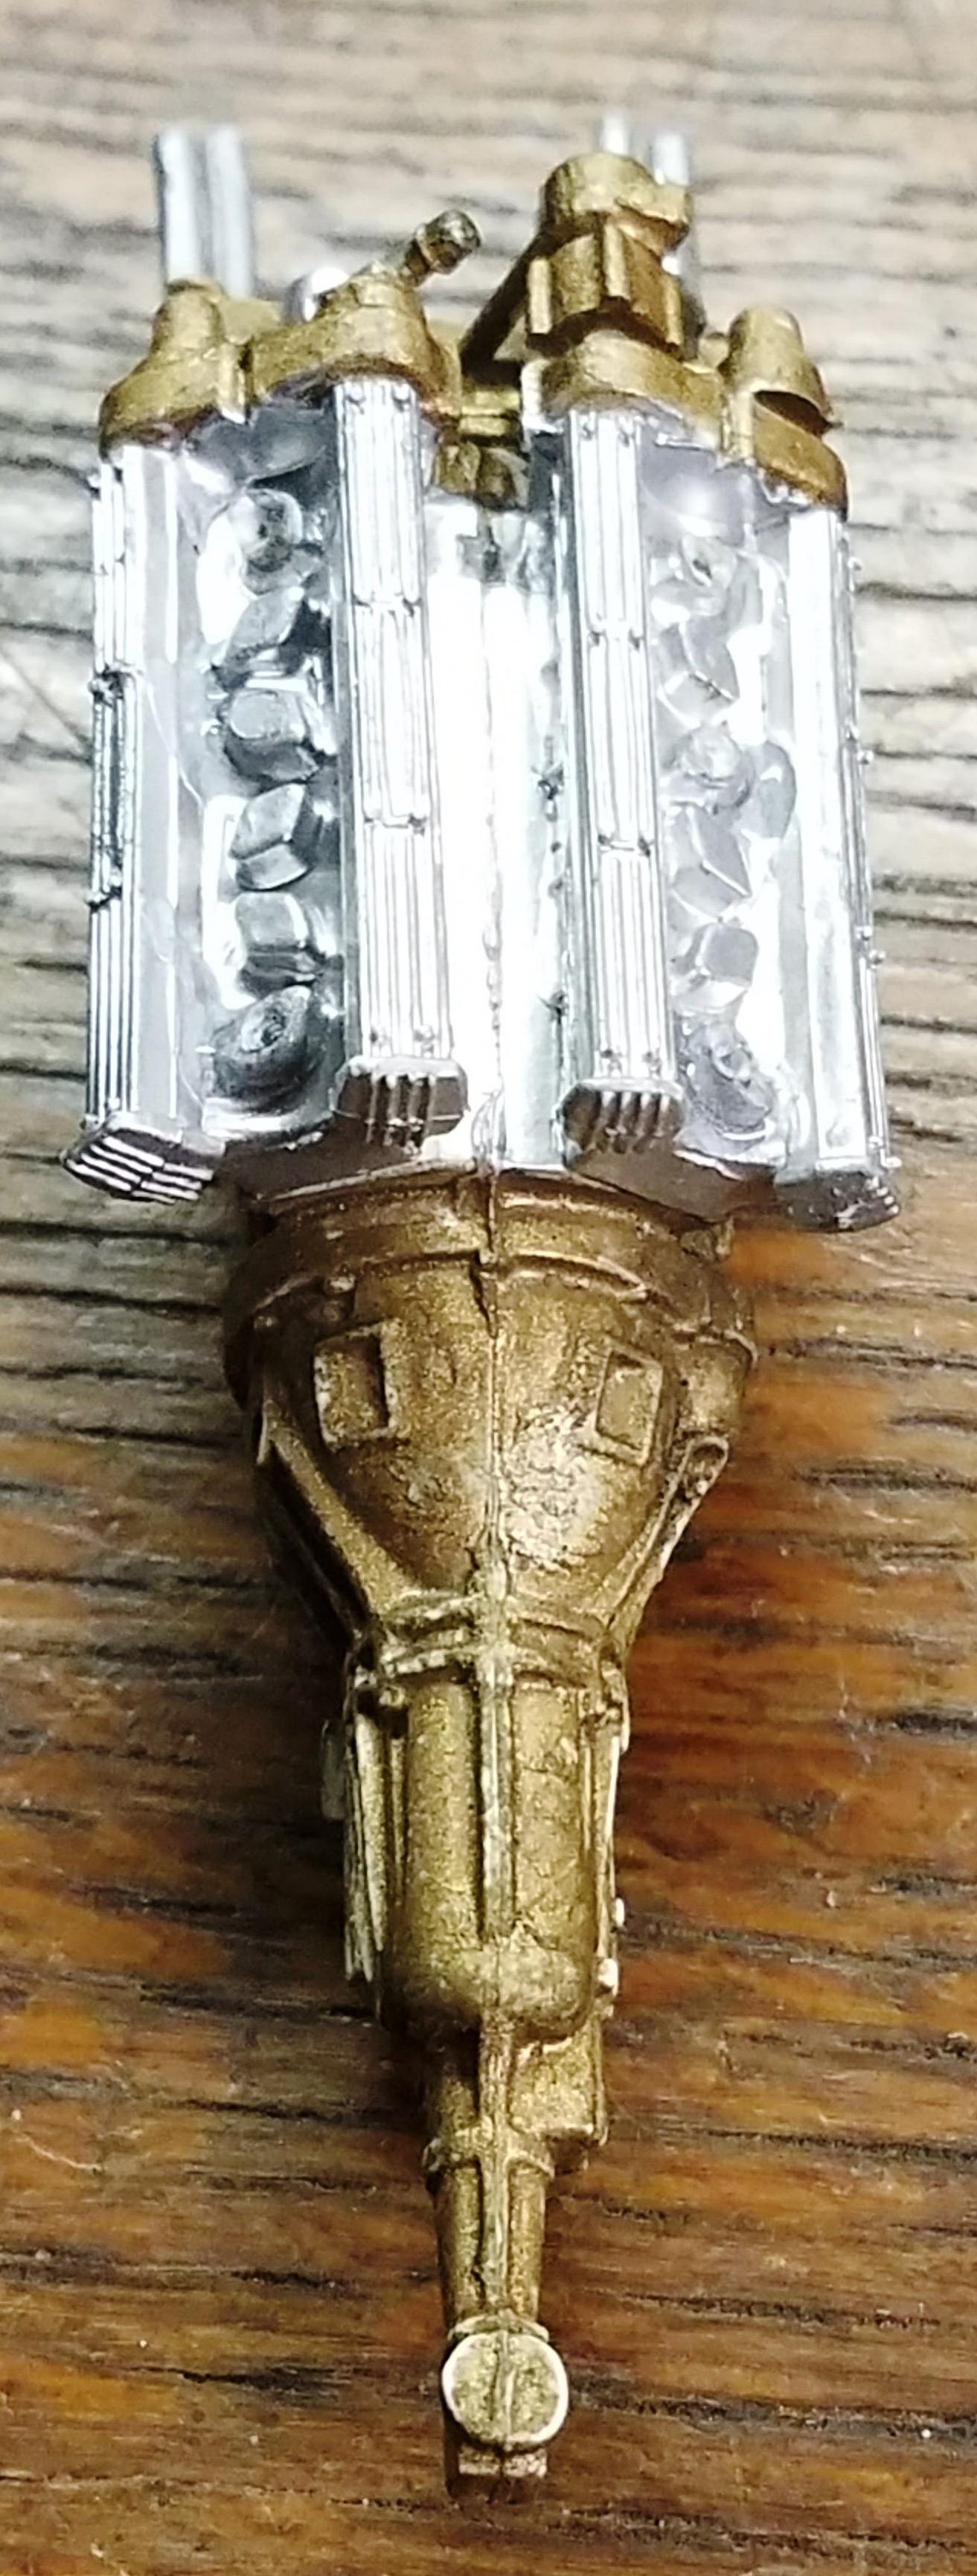
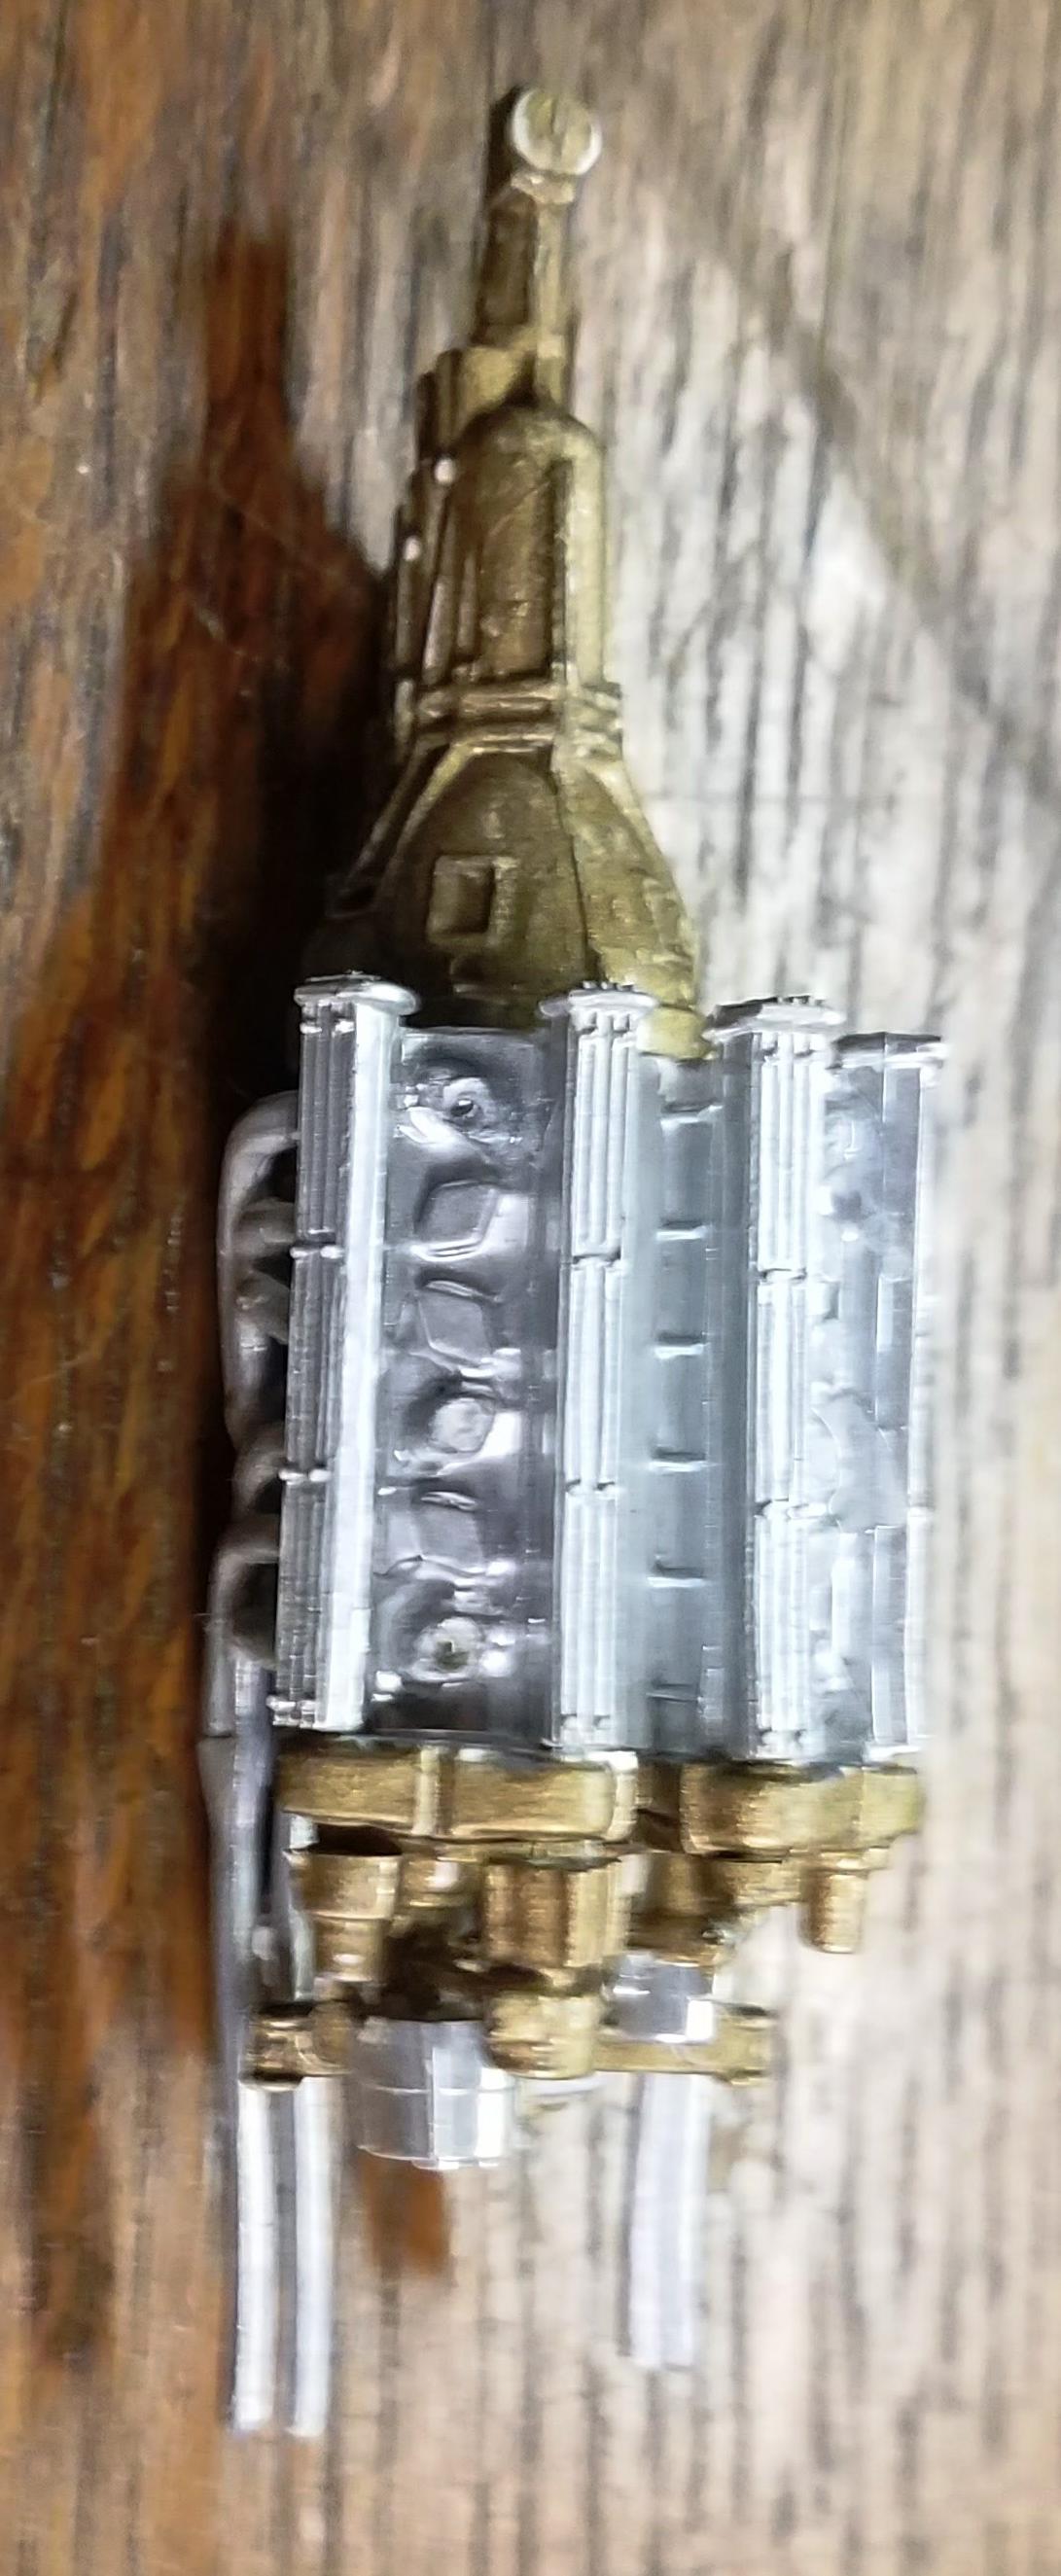
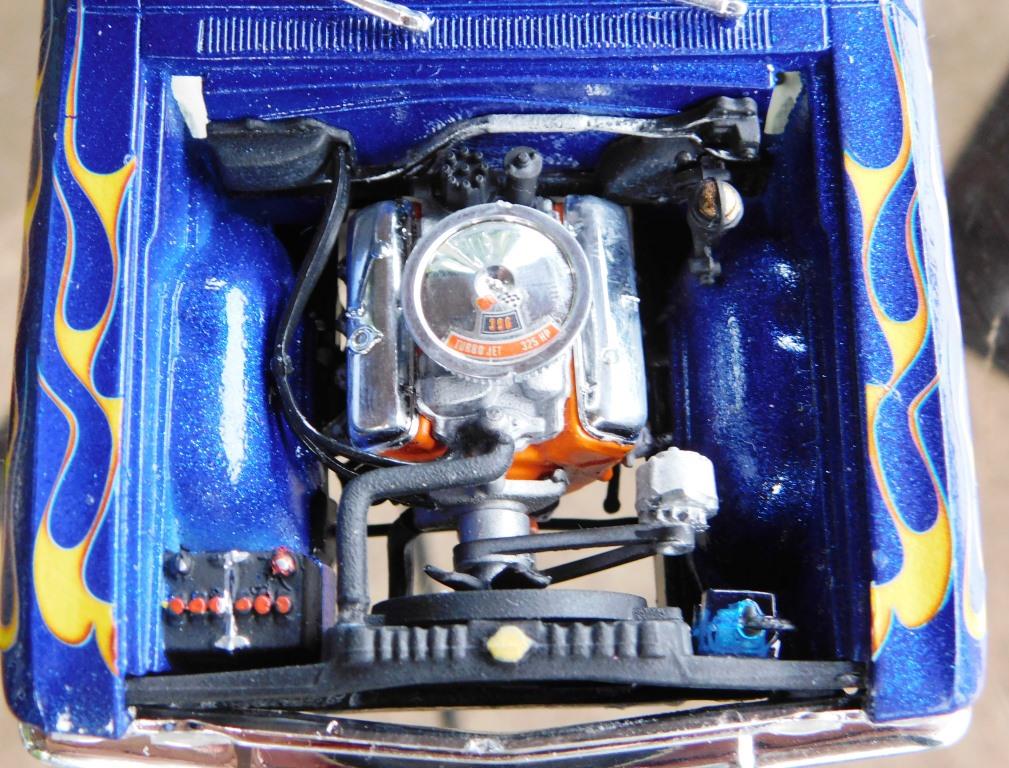
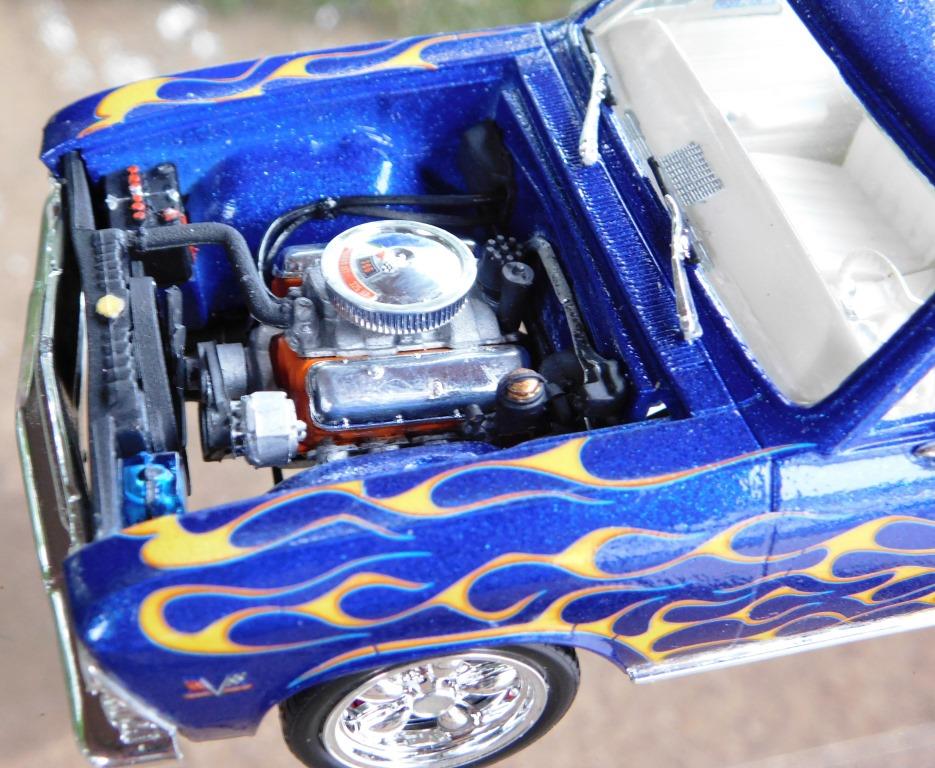
Nice truck 1320wayne, do you happen to have any more pictures of the engine. i was looking into making something like this myself. Thanks
-
Thanks Can-Con, hope I can find the rest of the pieces.
-
Hello: My son recently pulled an engine from a older junked Lamborghini. I was considering on using this engine in another model, but I have no idea how complete the engine is and if there are any parts missing. Below are the pictures I took of the engine. Any help would be beneficial, thank you.
-
That heater is really cool. Like your use of the straw for the flue.
-
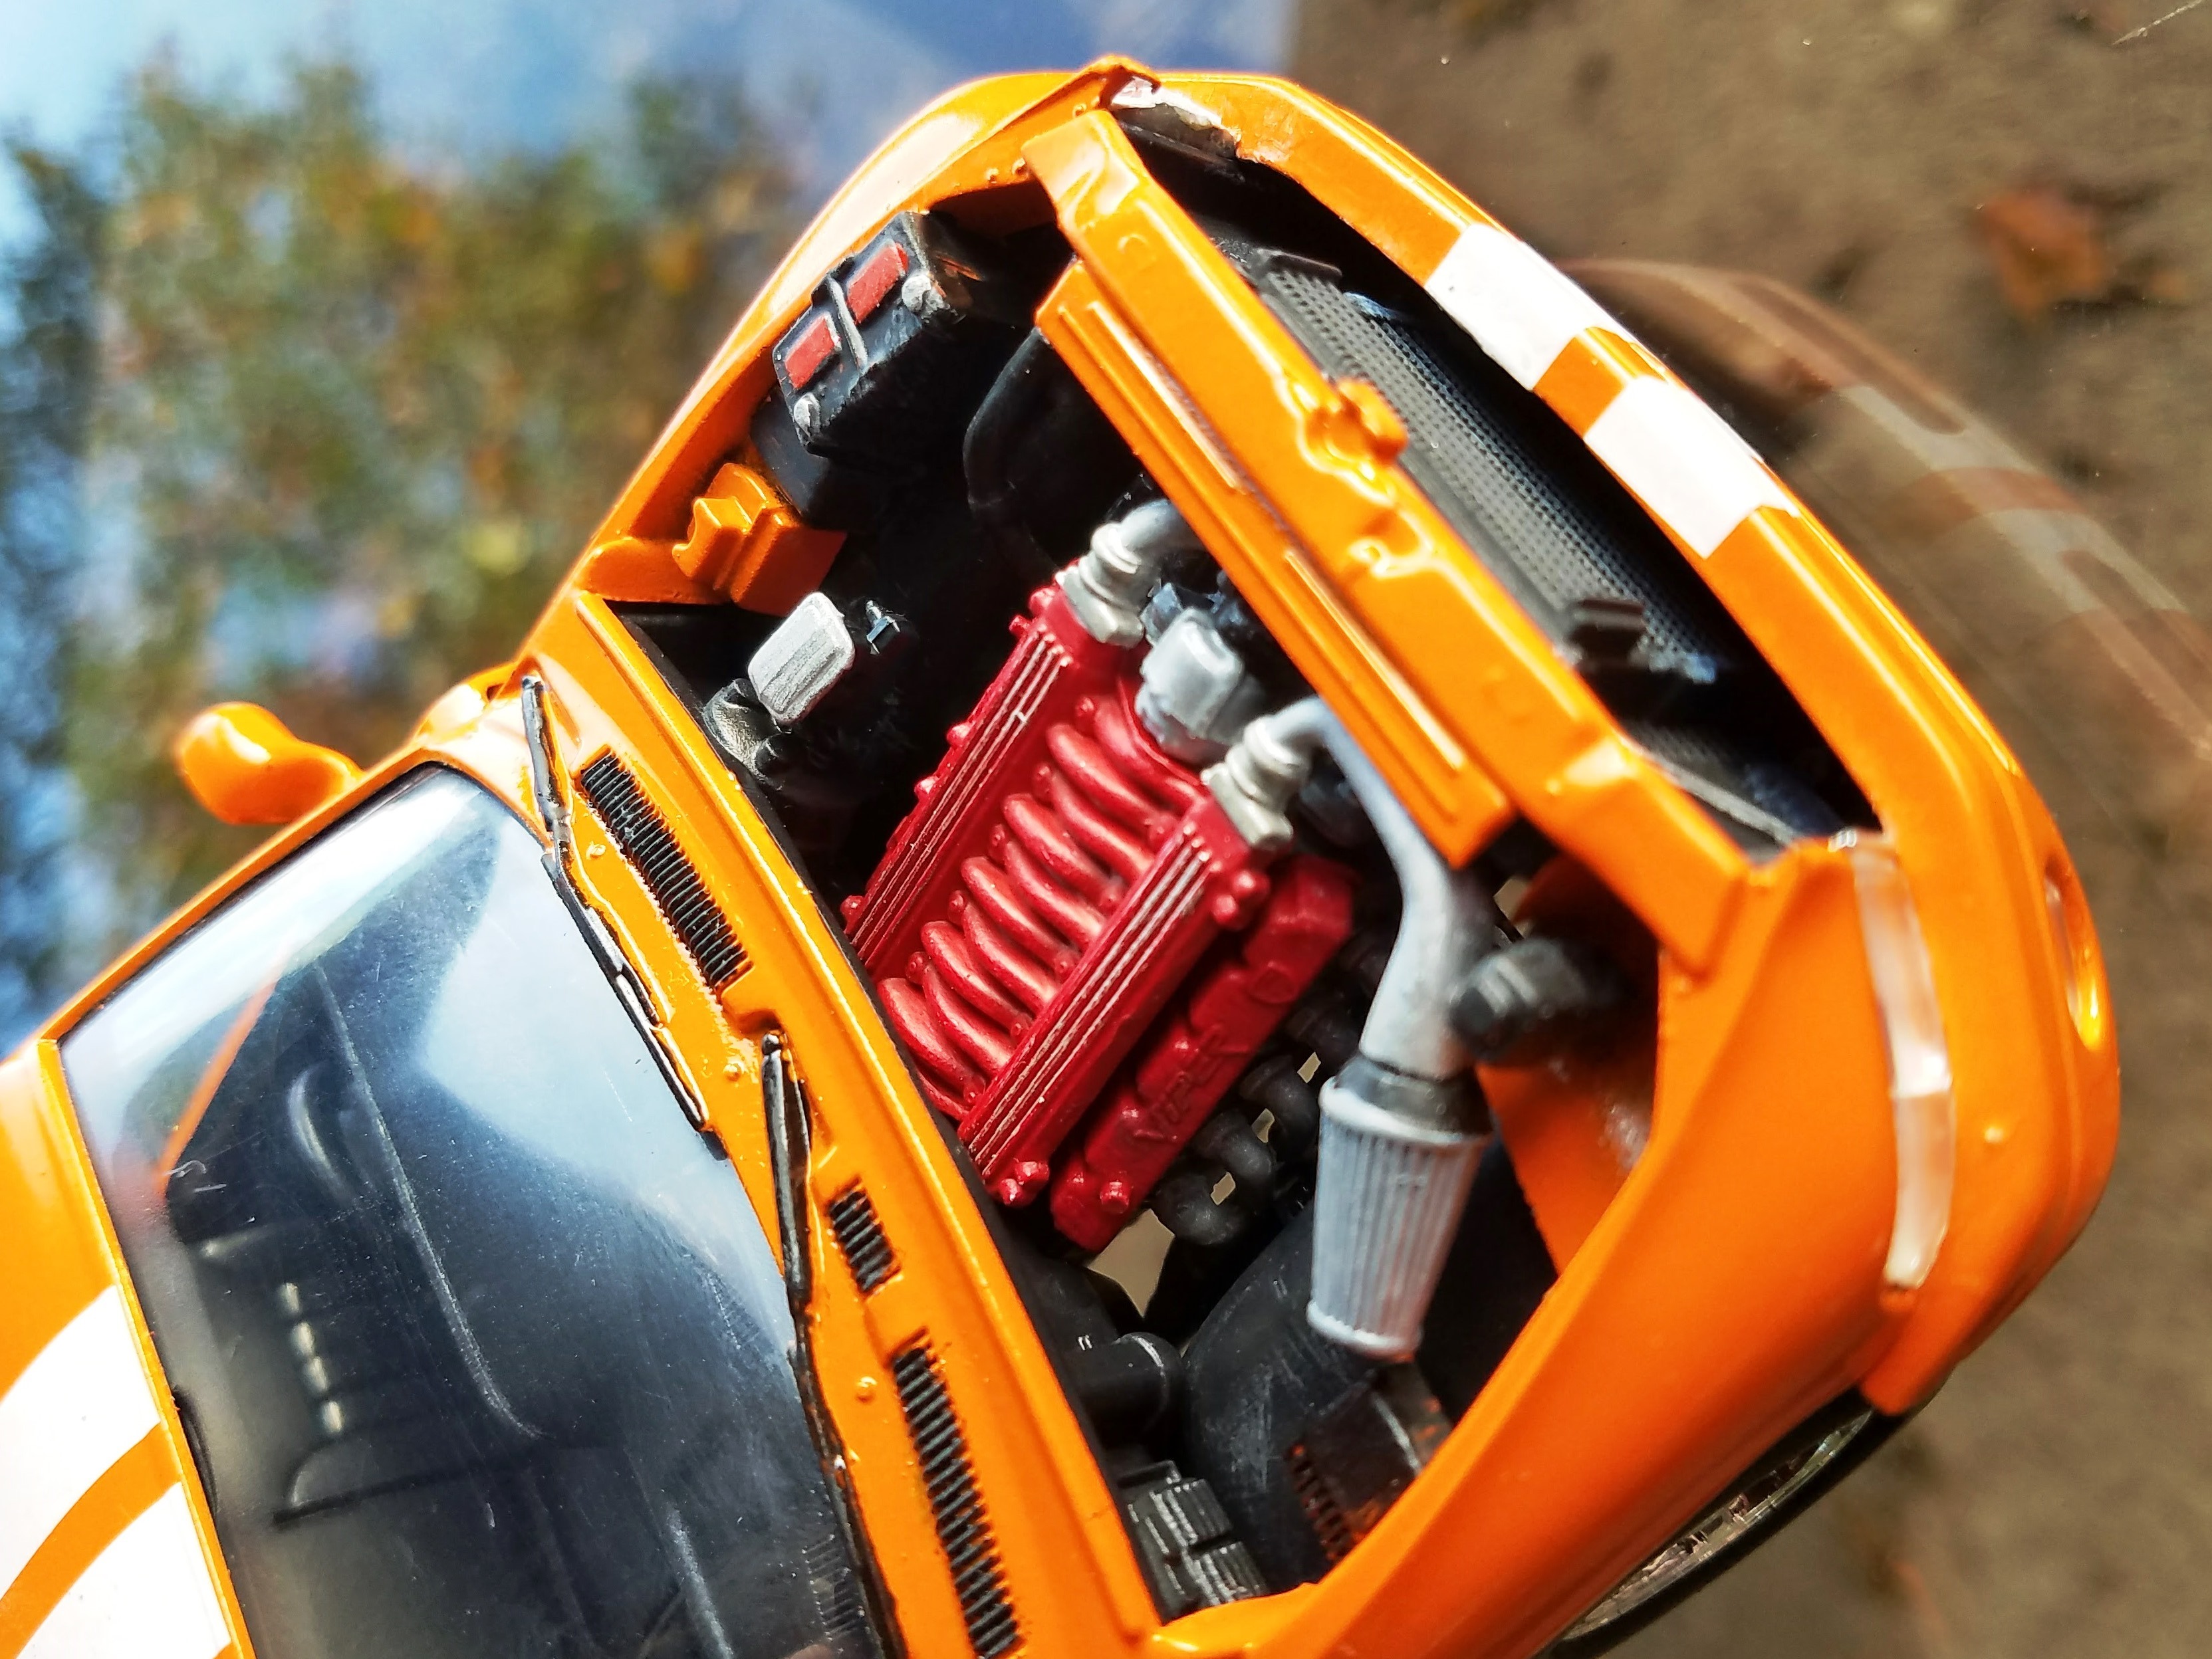
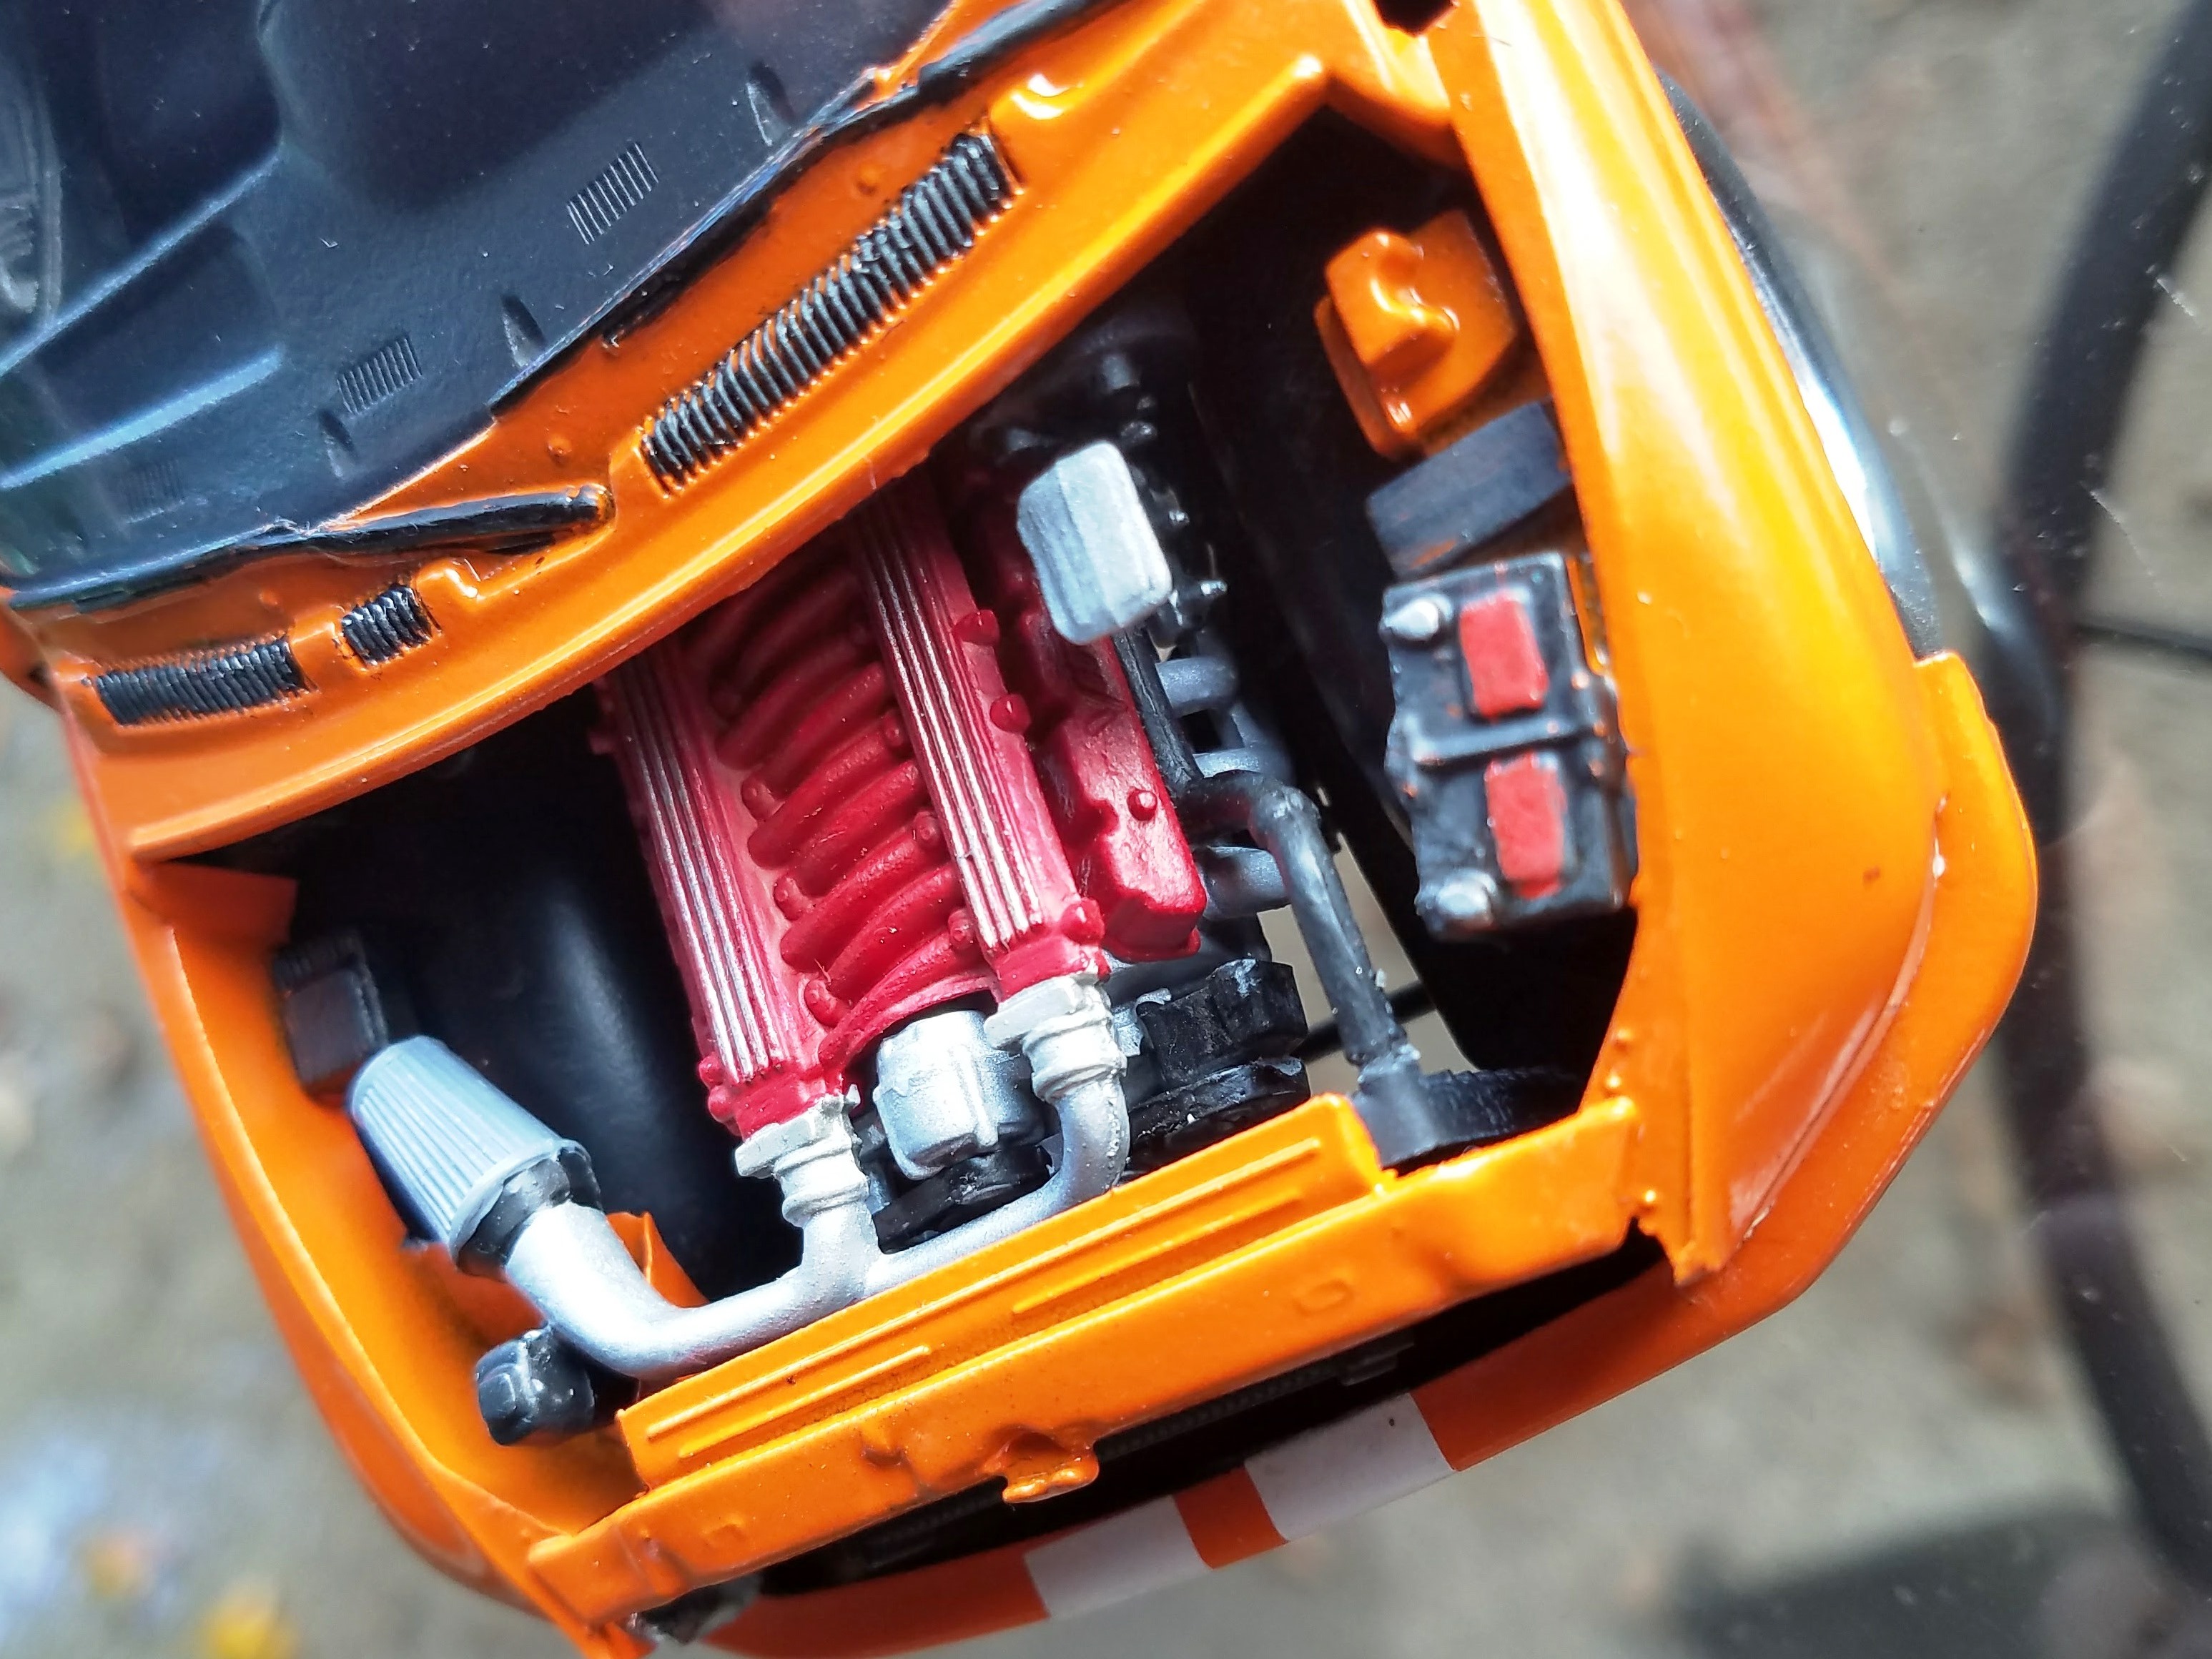
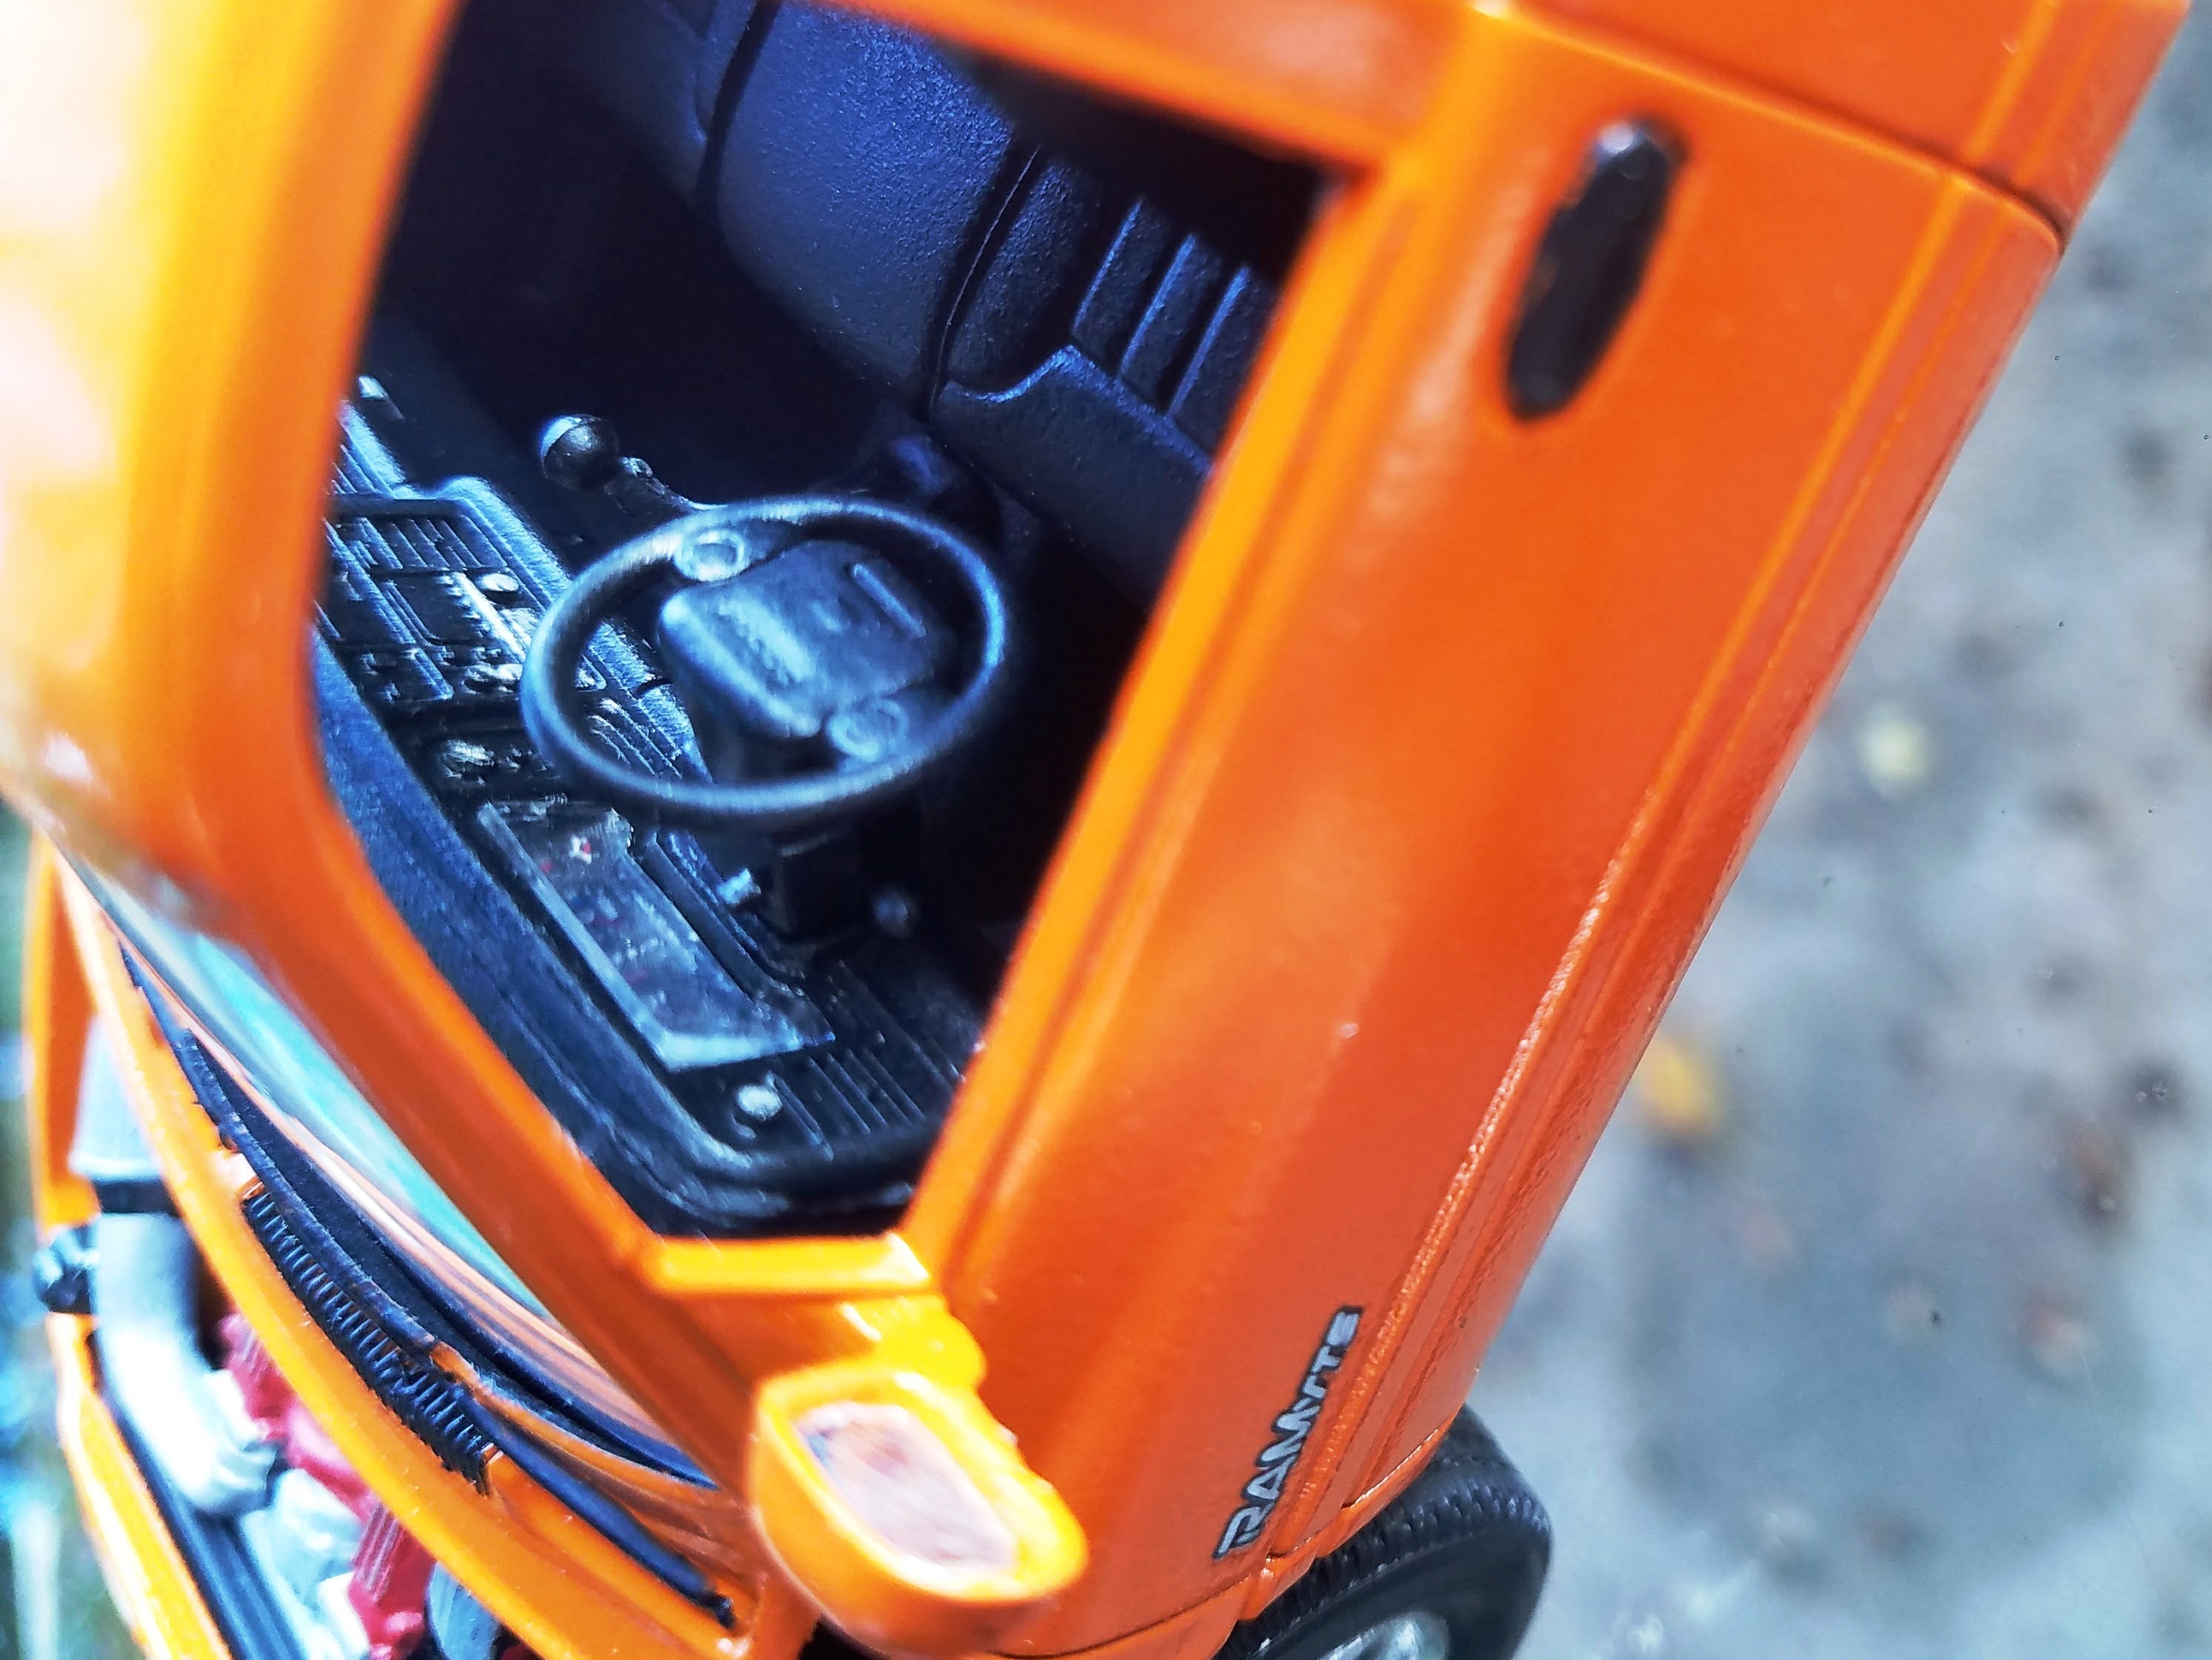
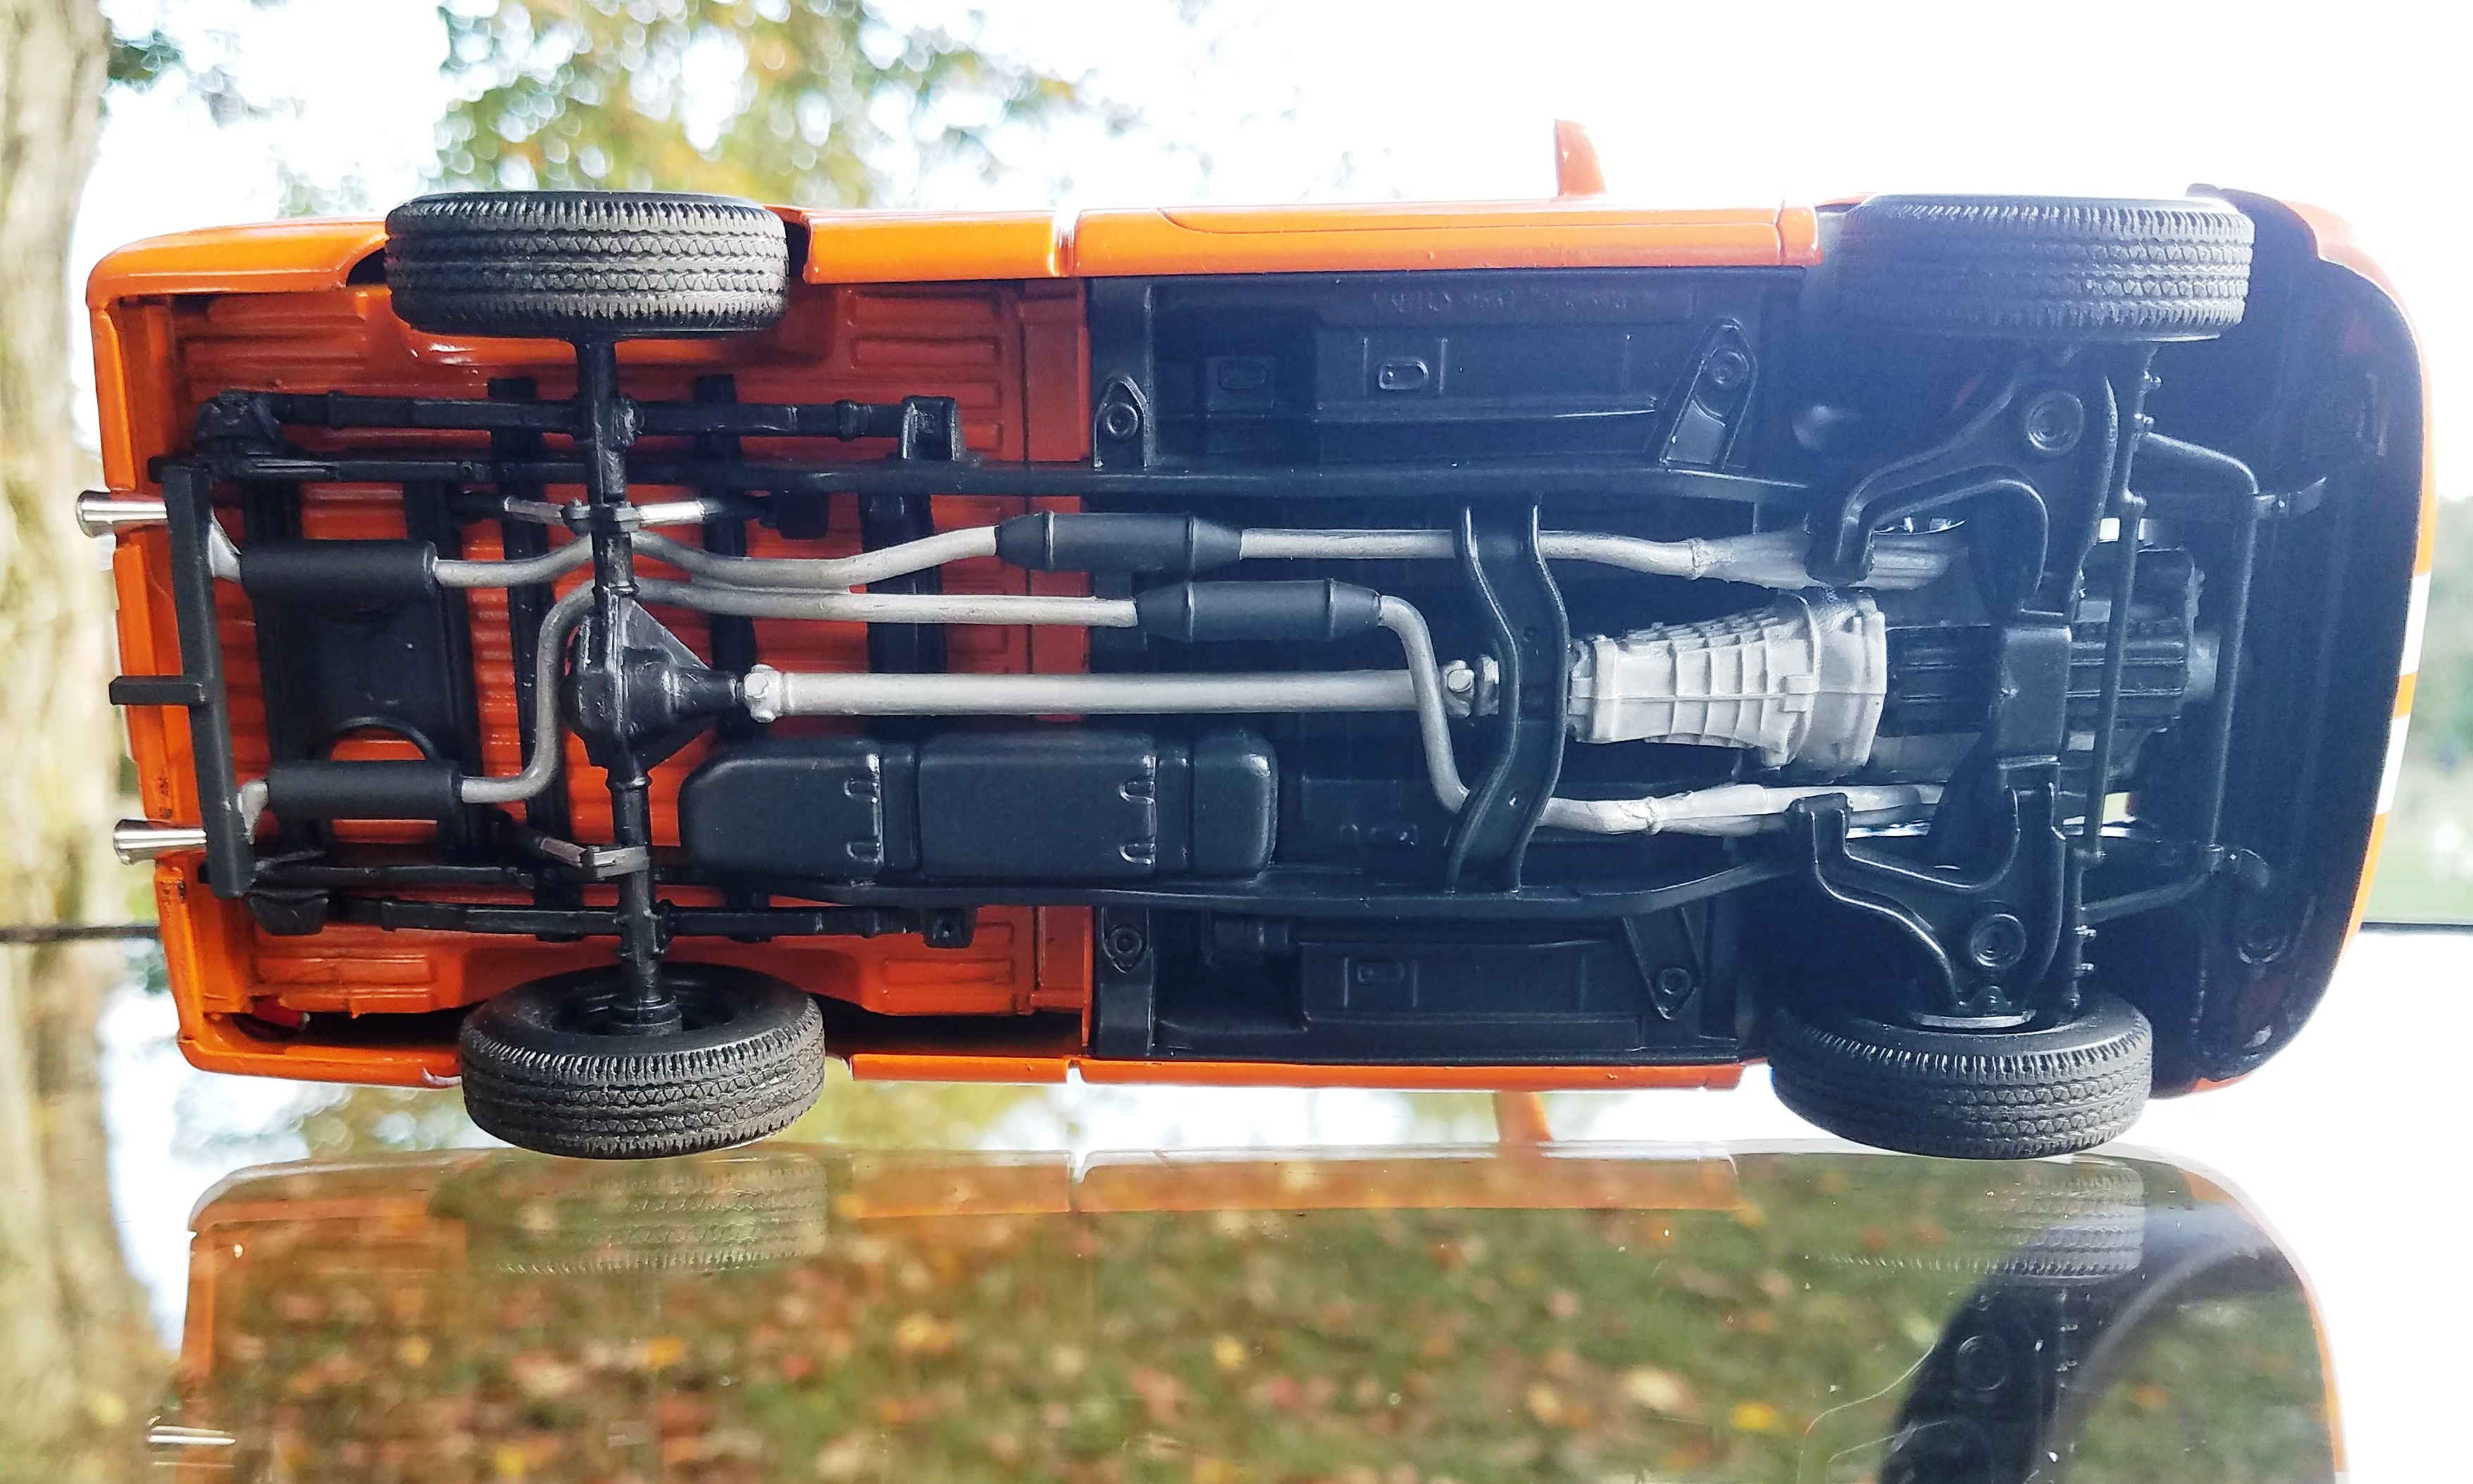
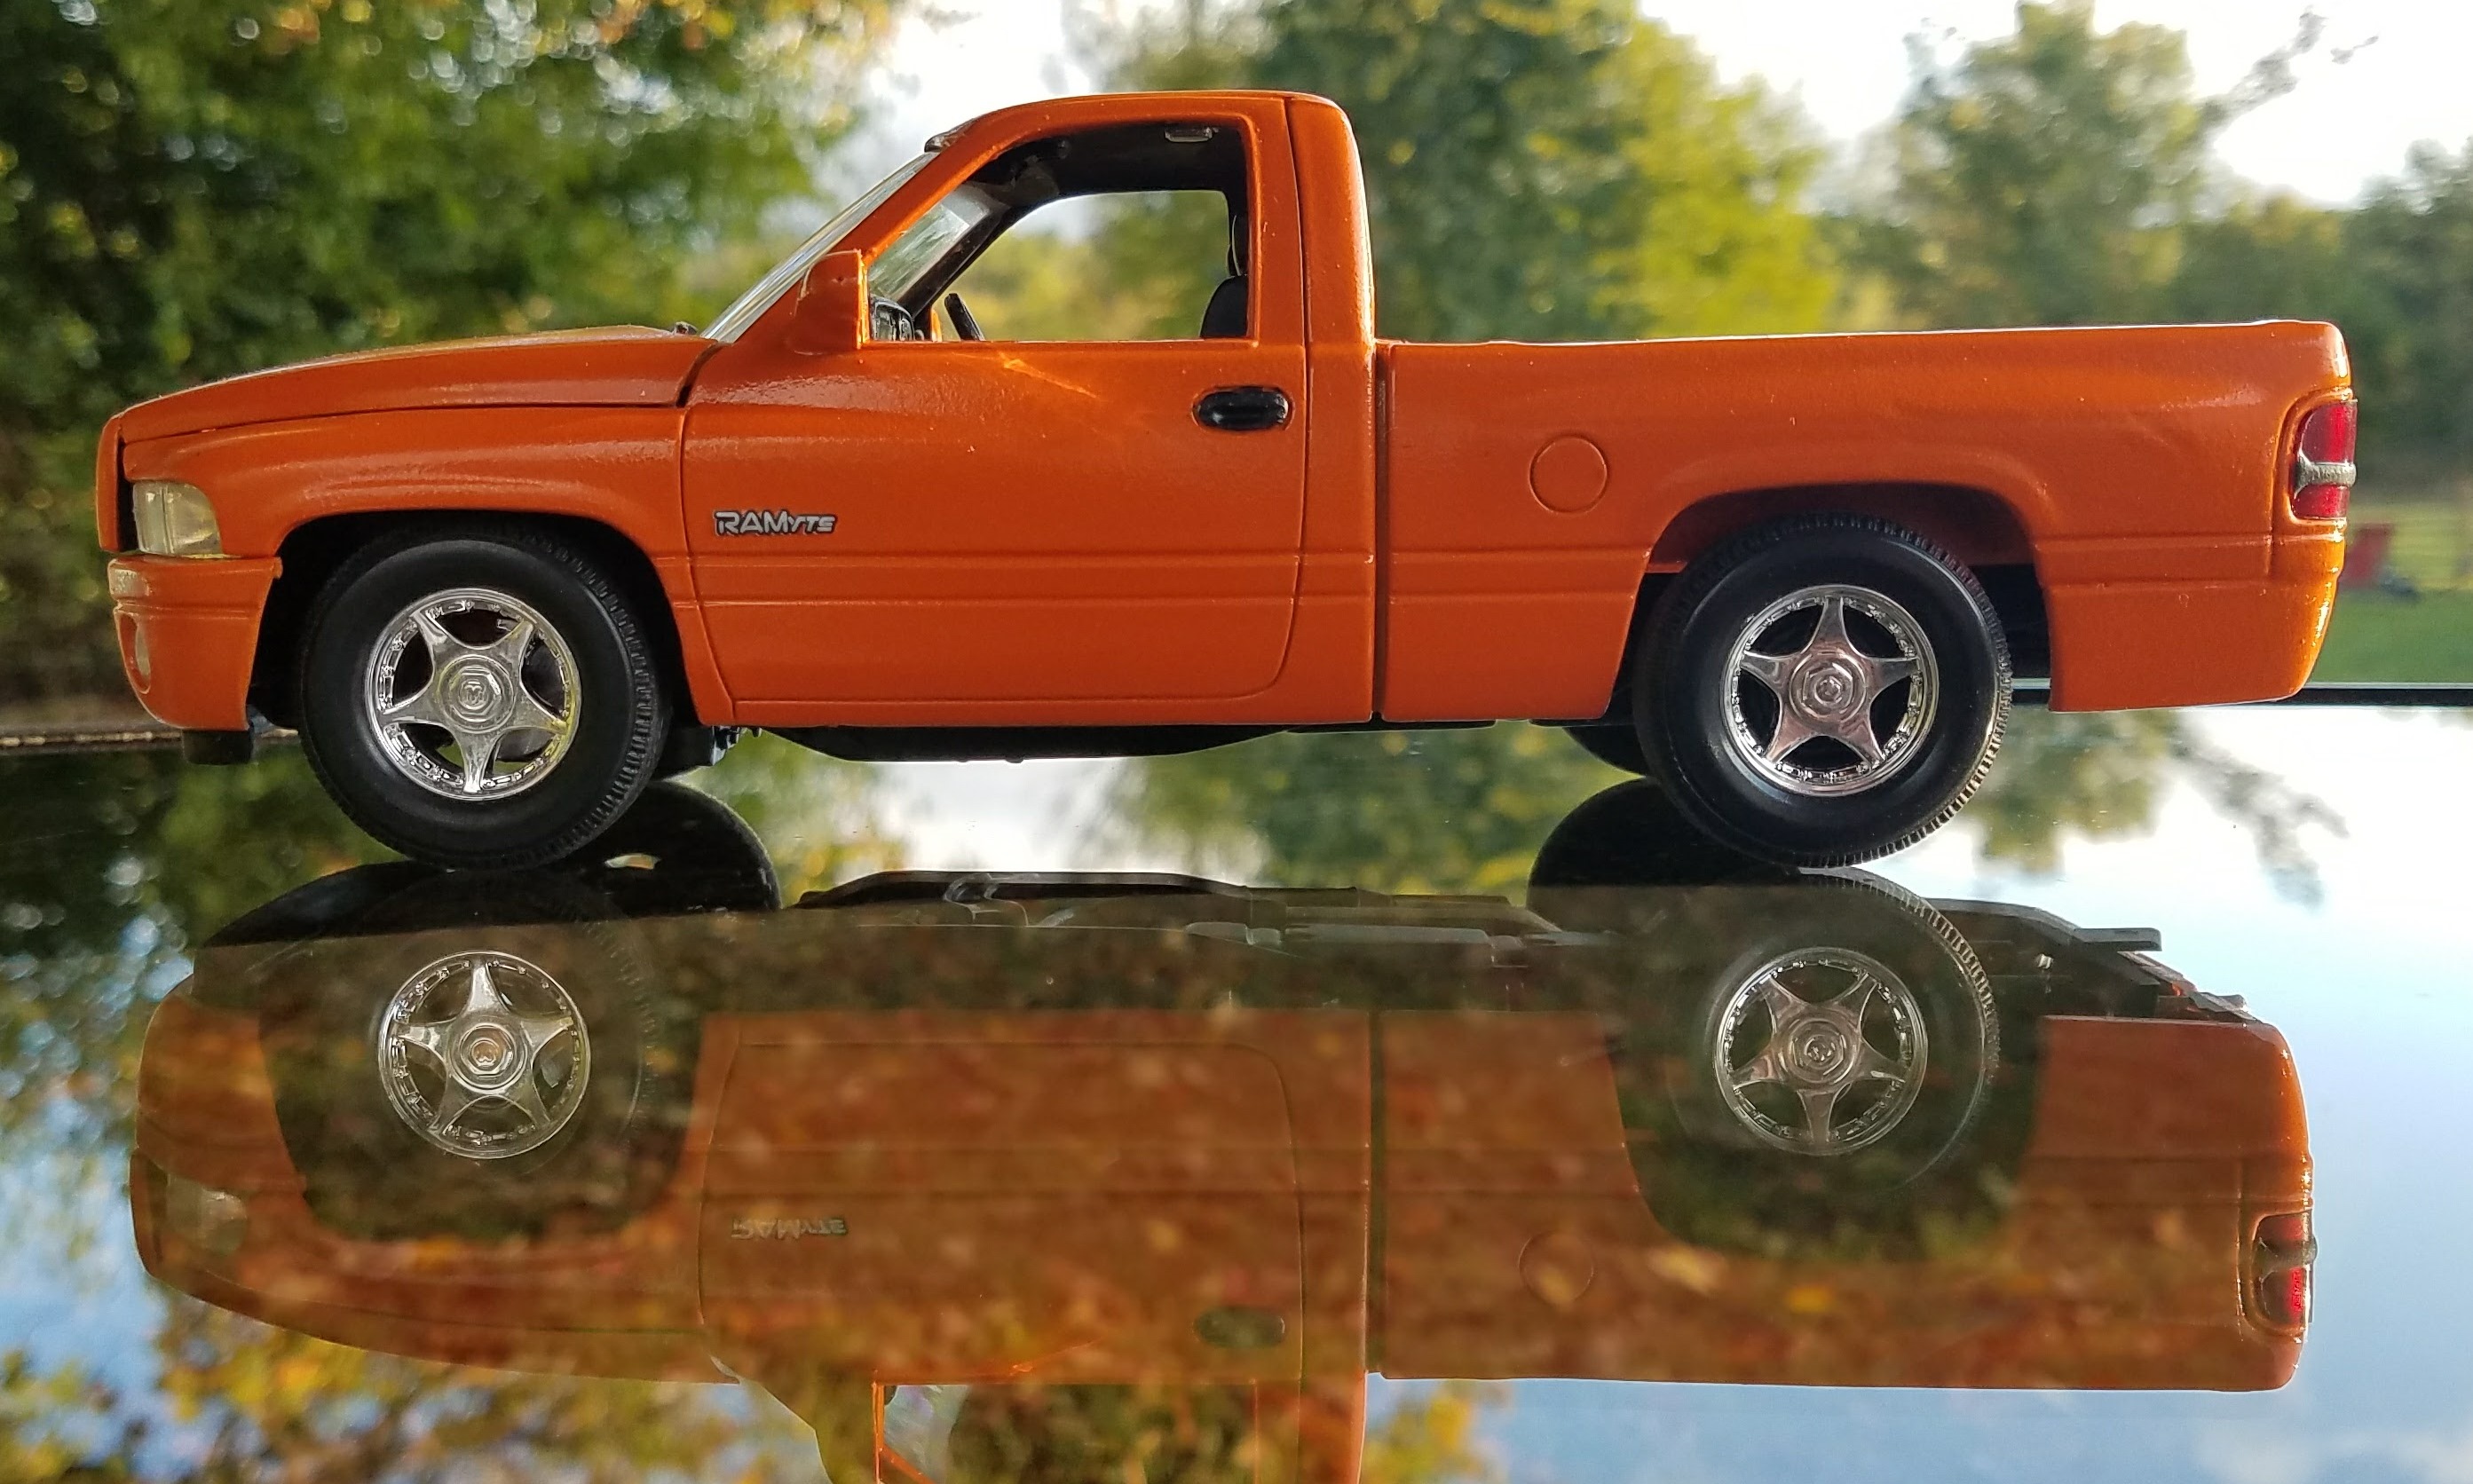
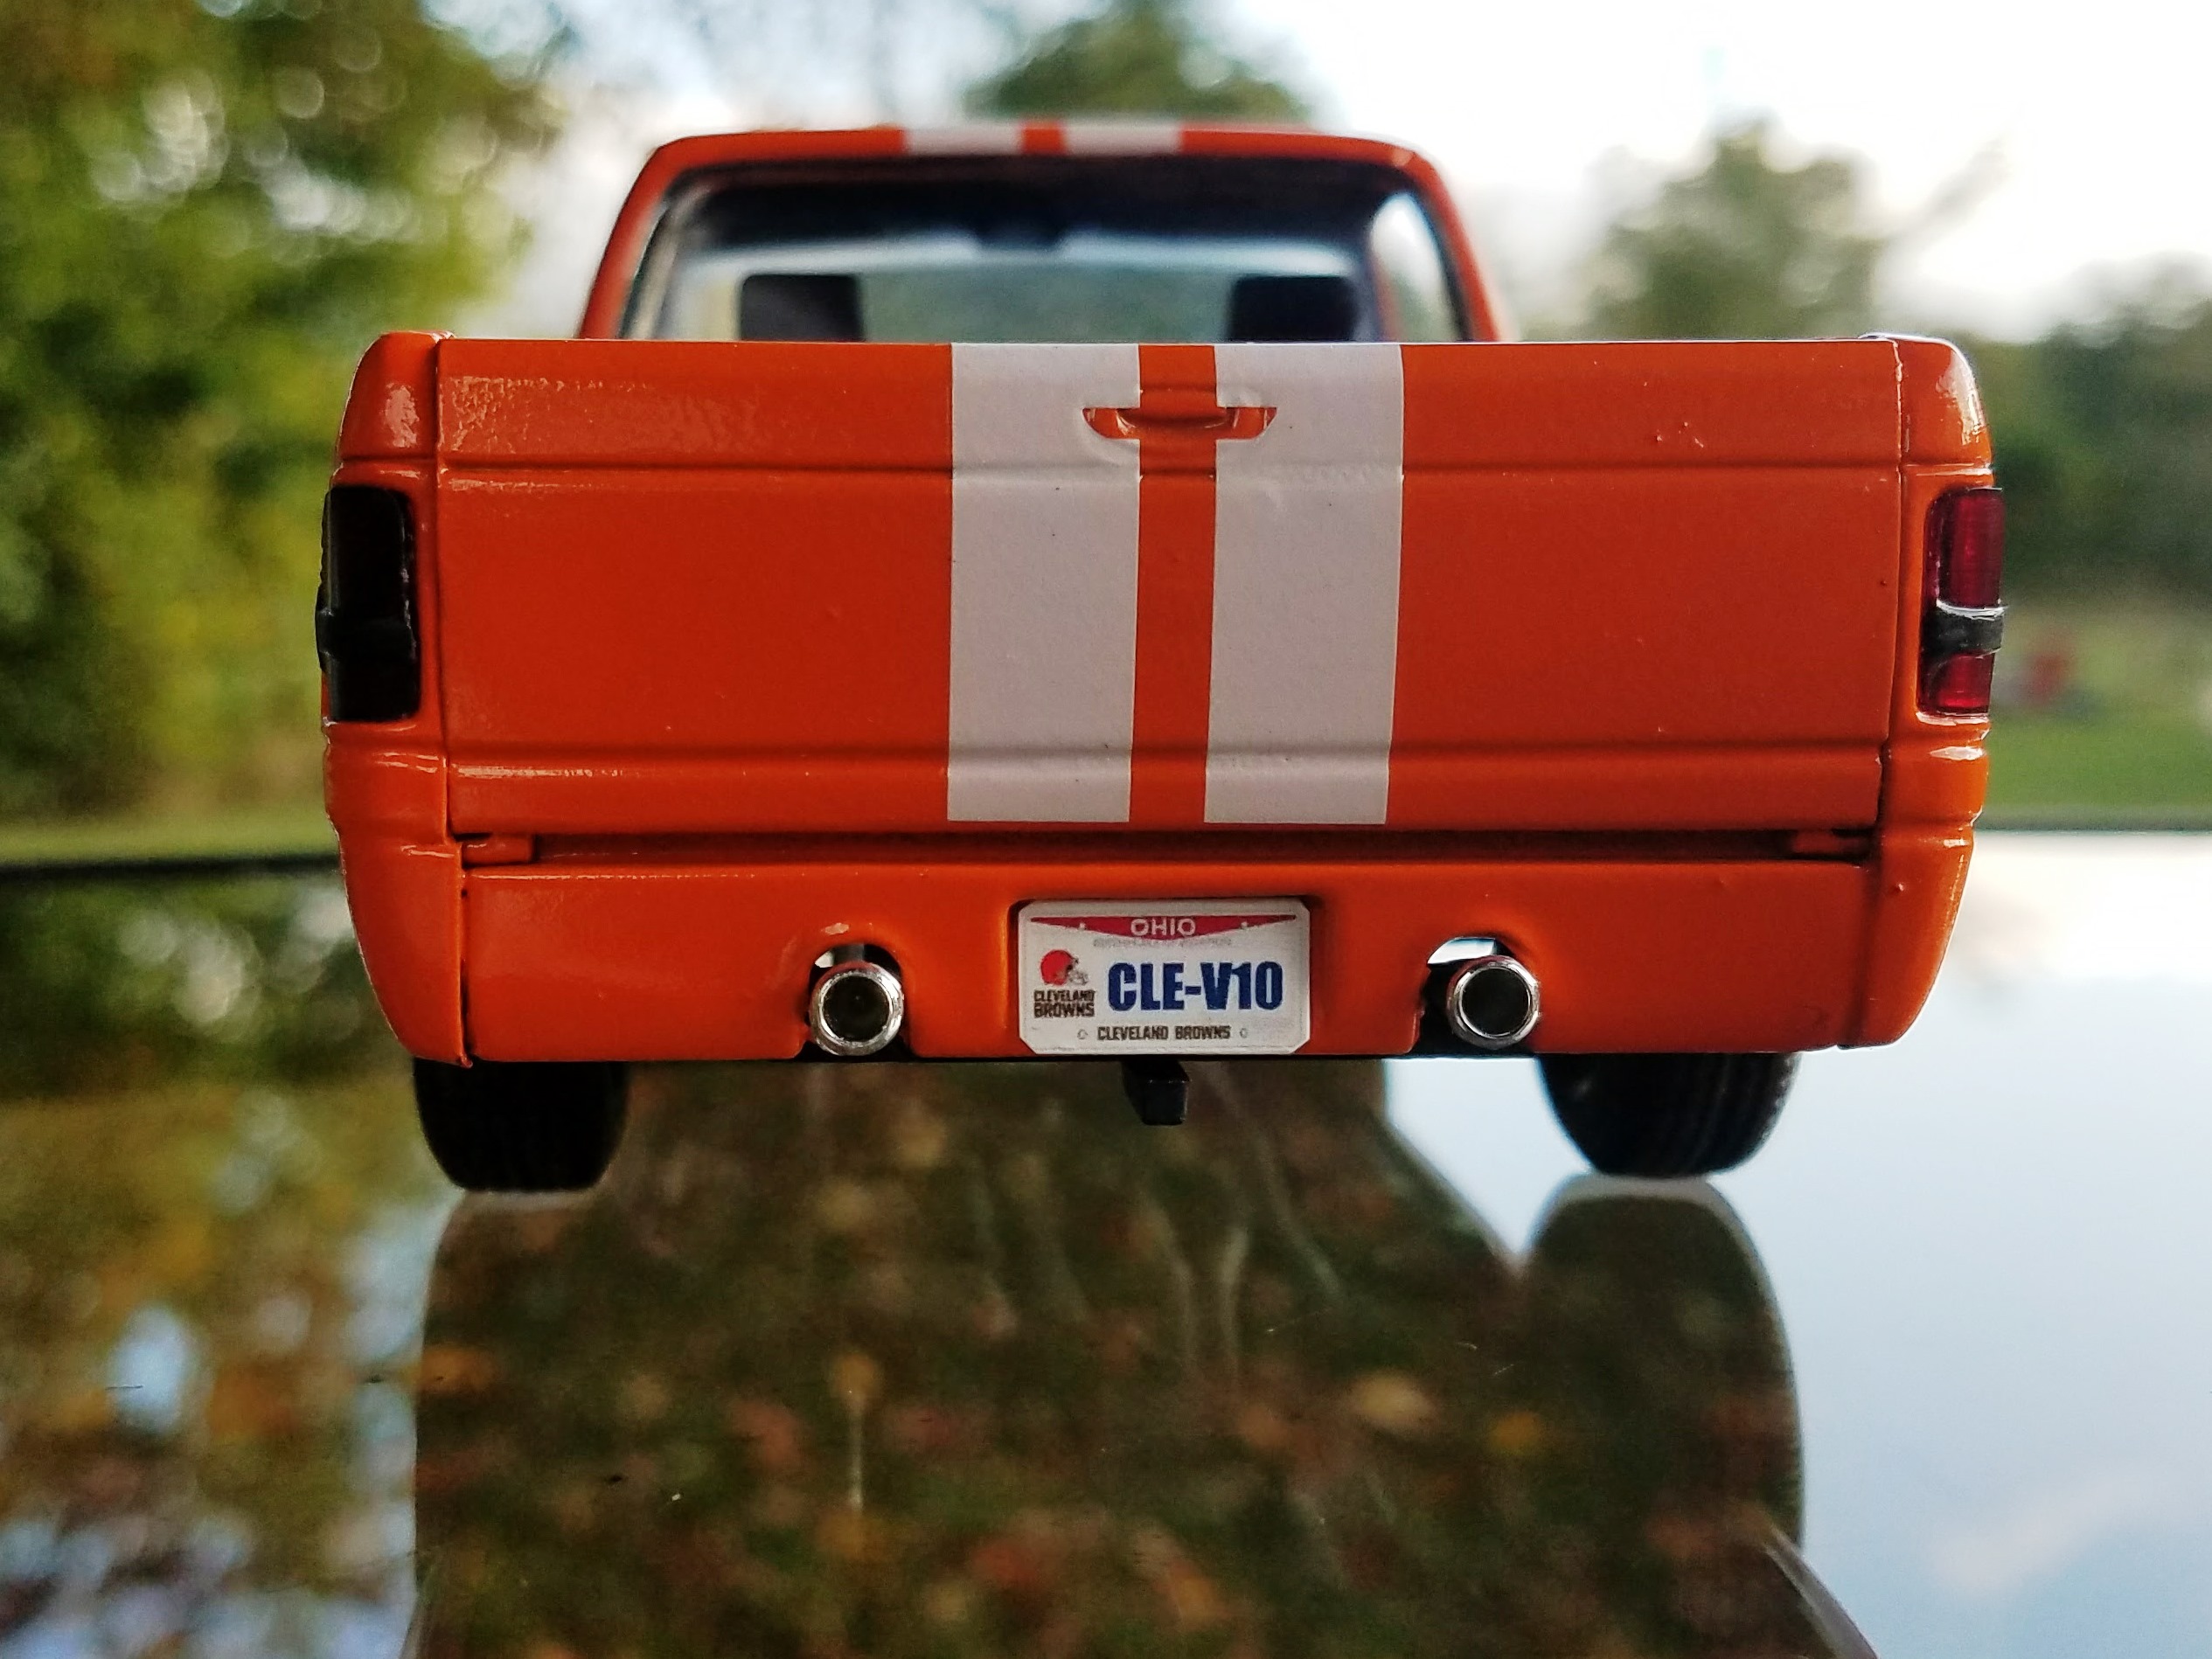
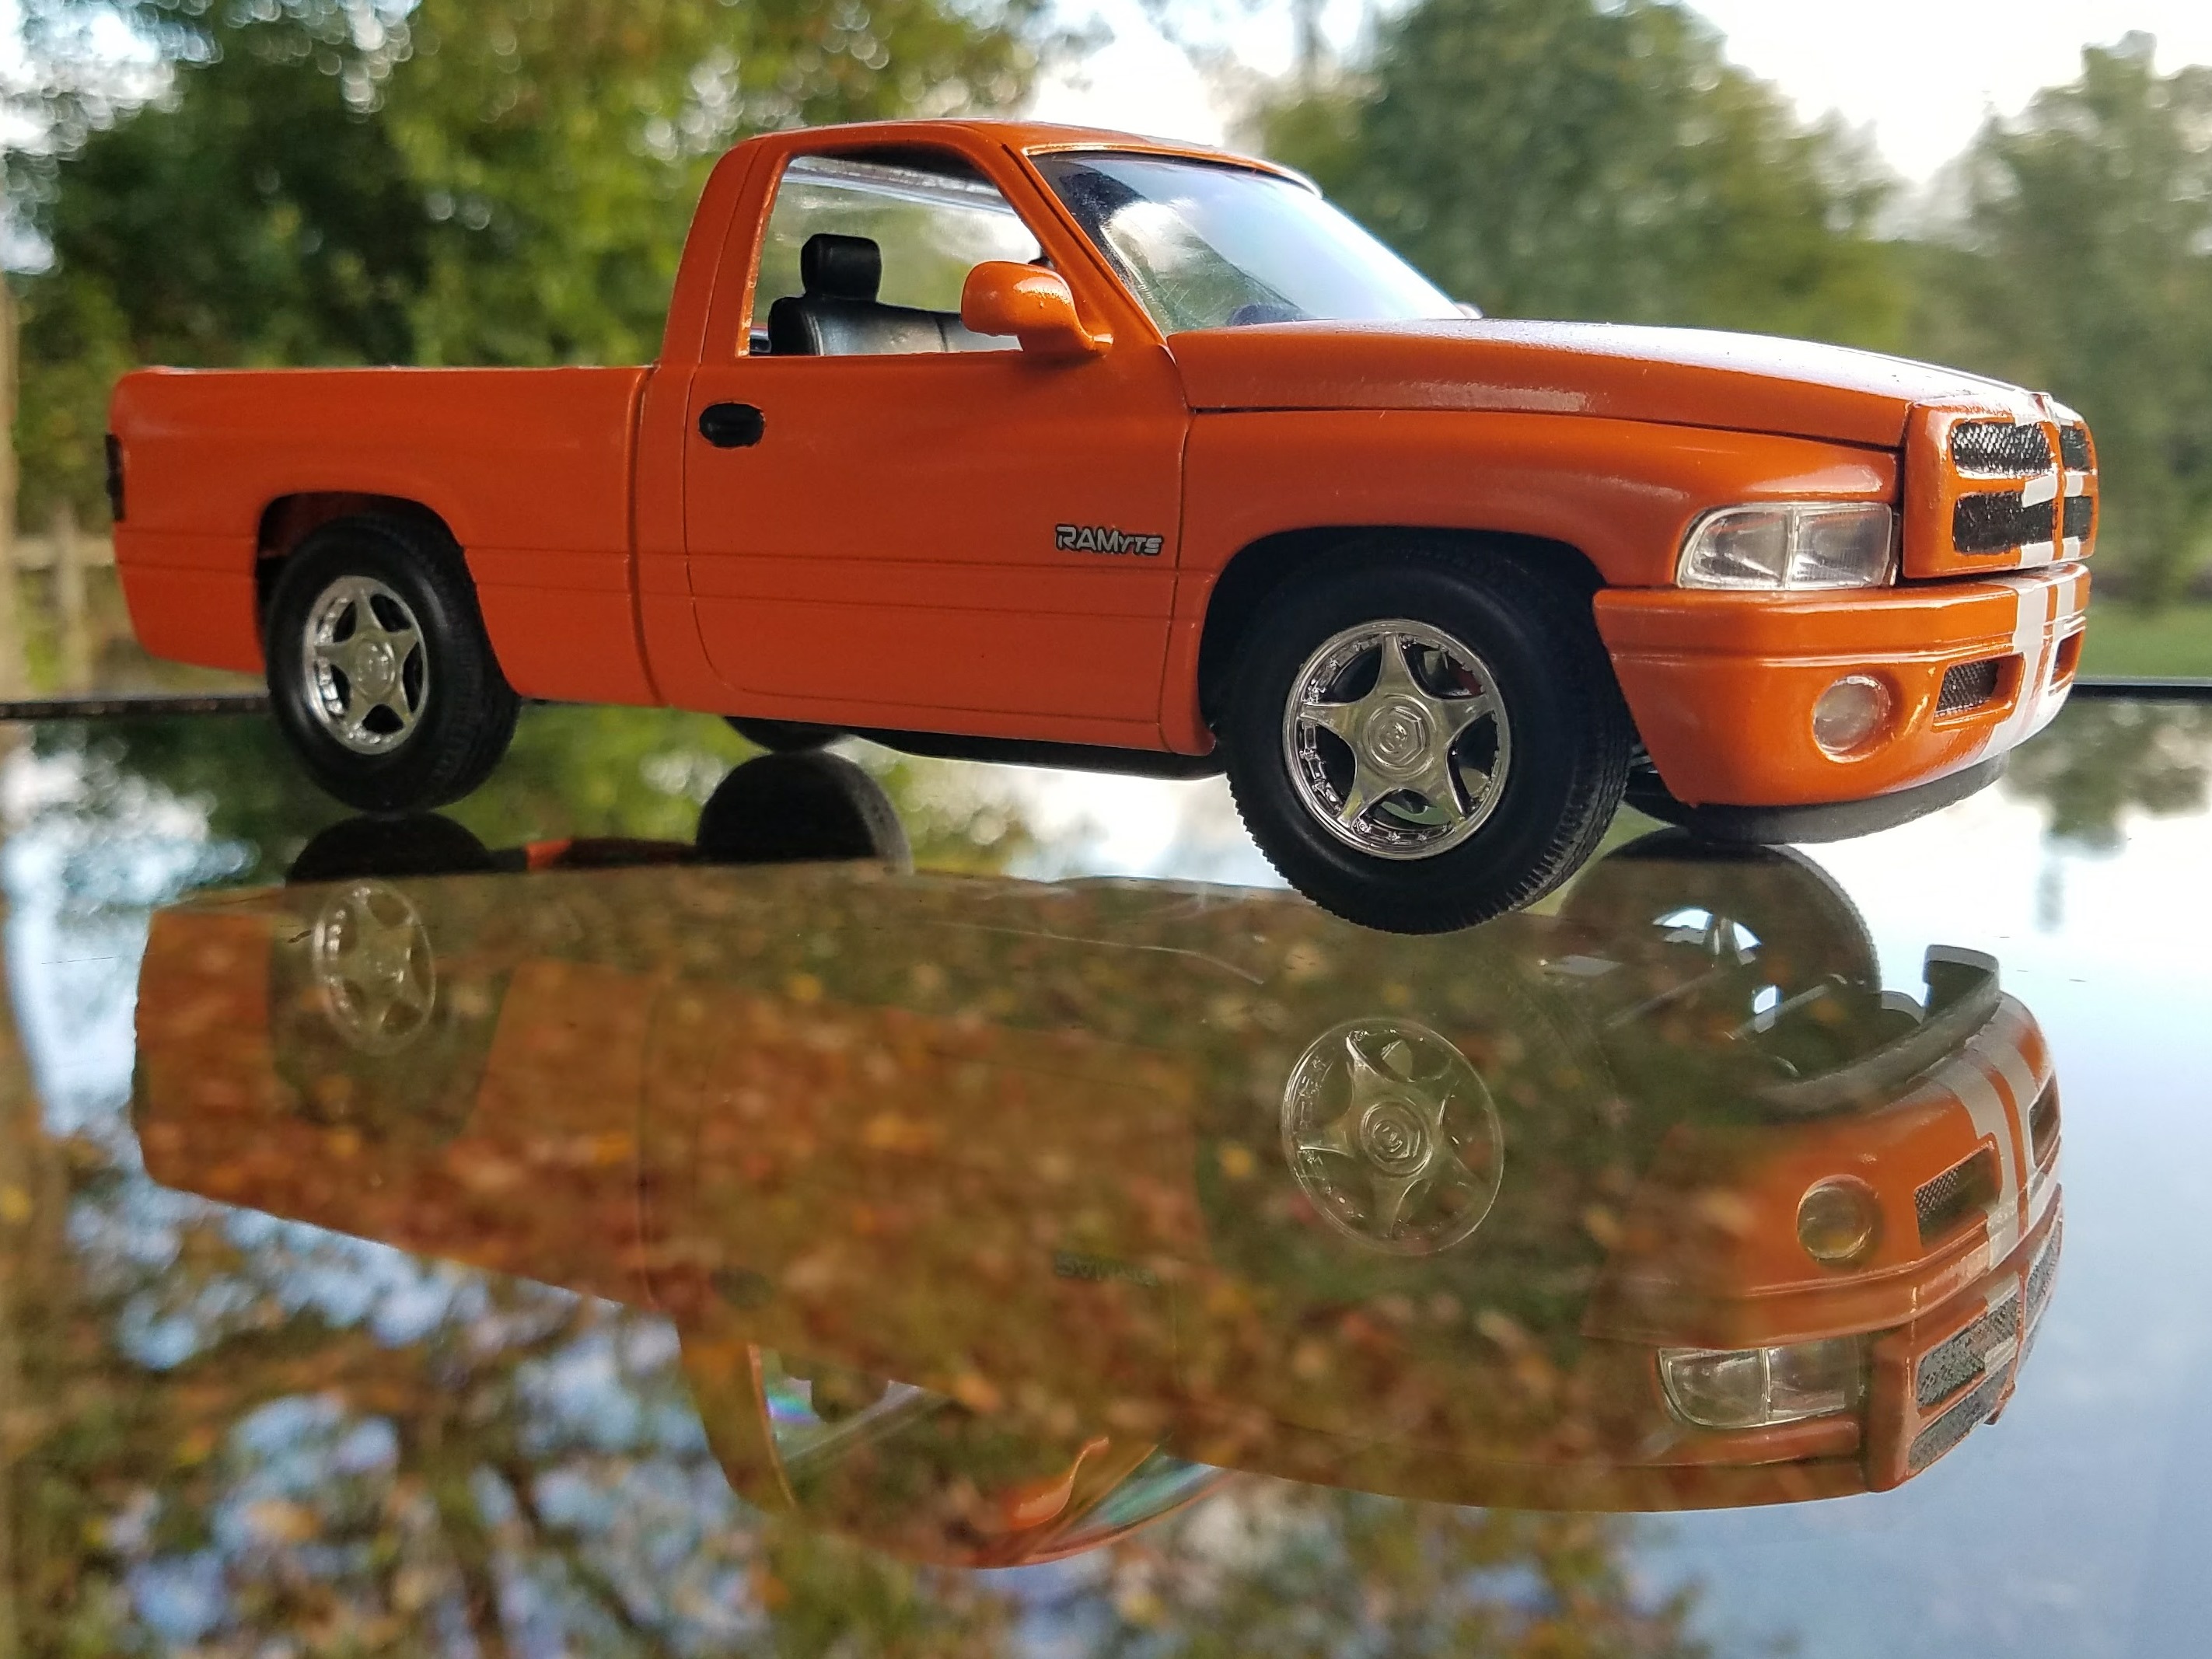
Cleveland Browns Ram VTS
pcm1977 replied to pcm1977's topic in Model Trucks: Pickups, Vans, SUVs, Light Commercial
Thanks -
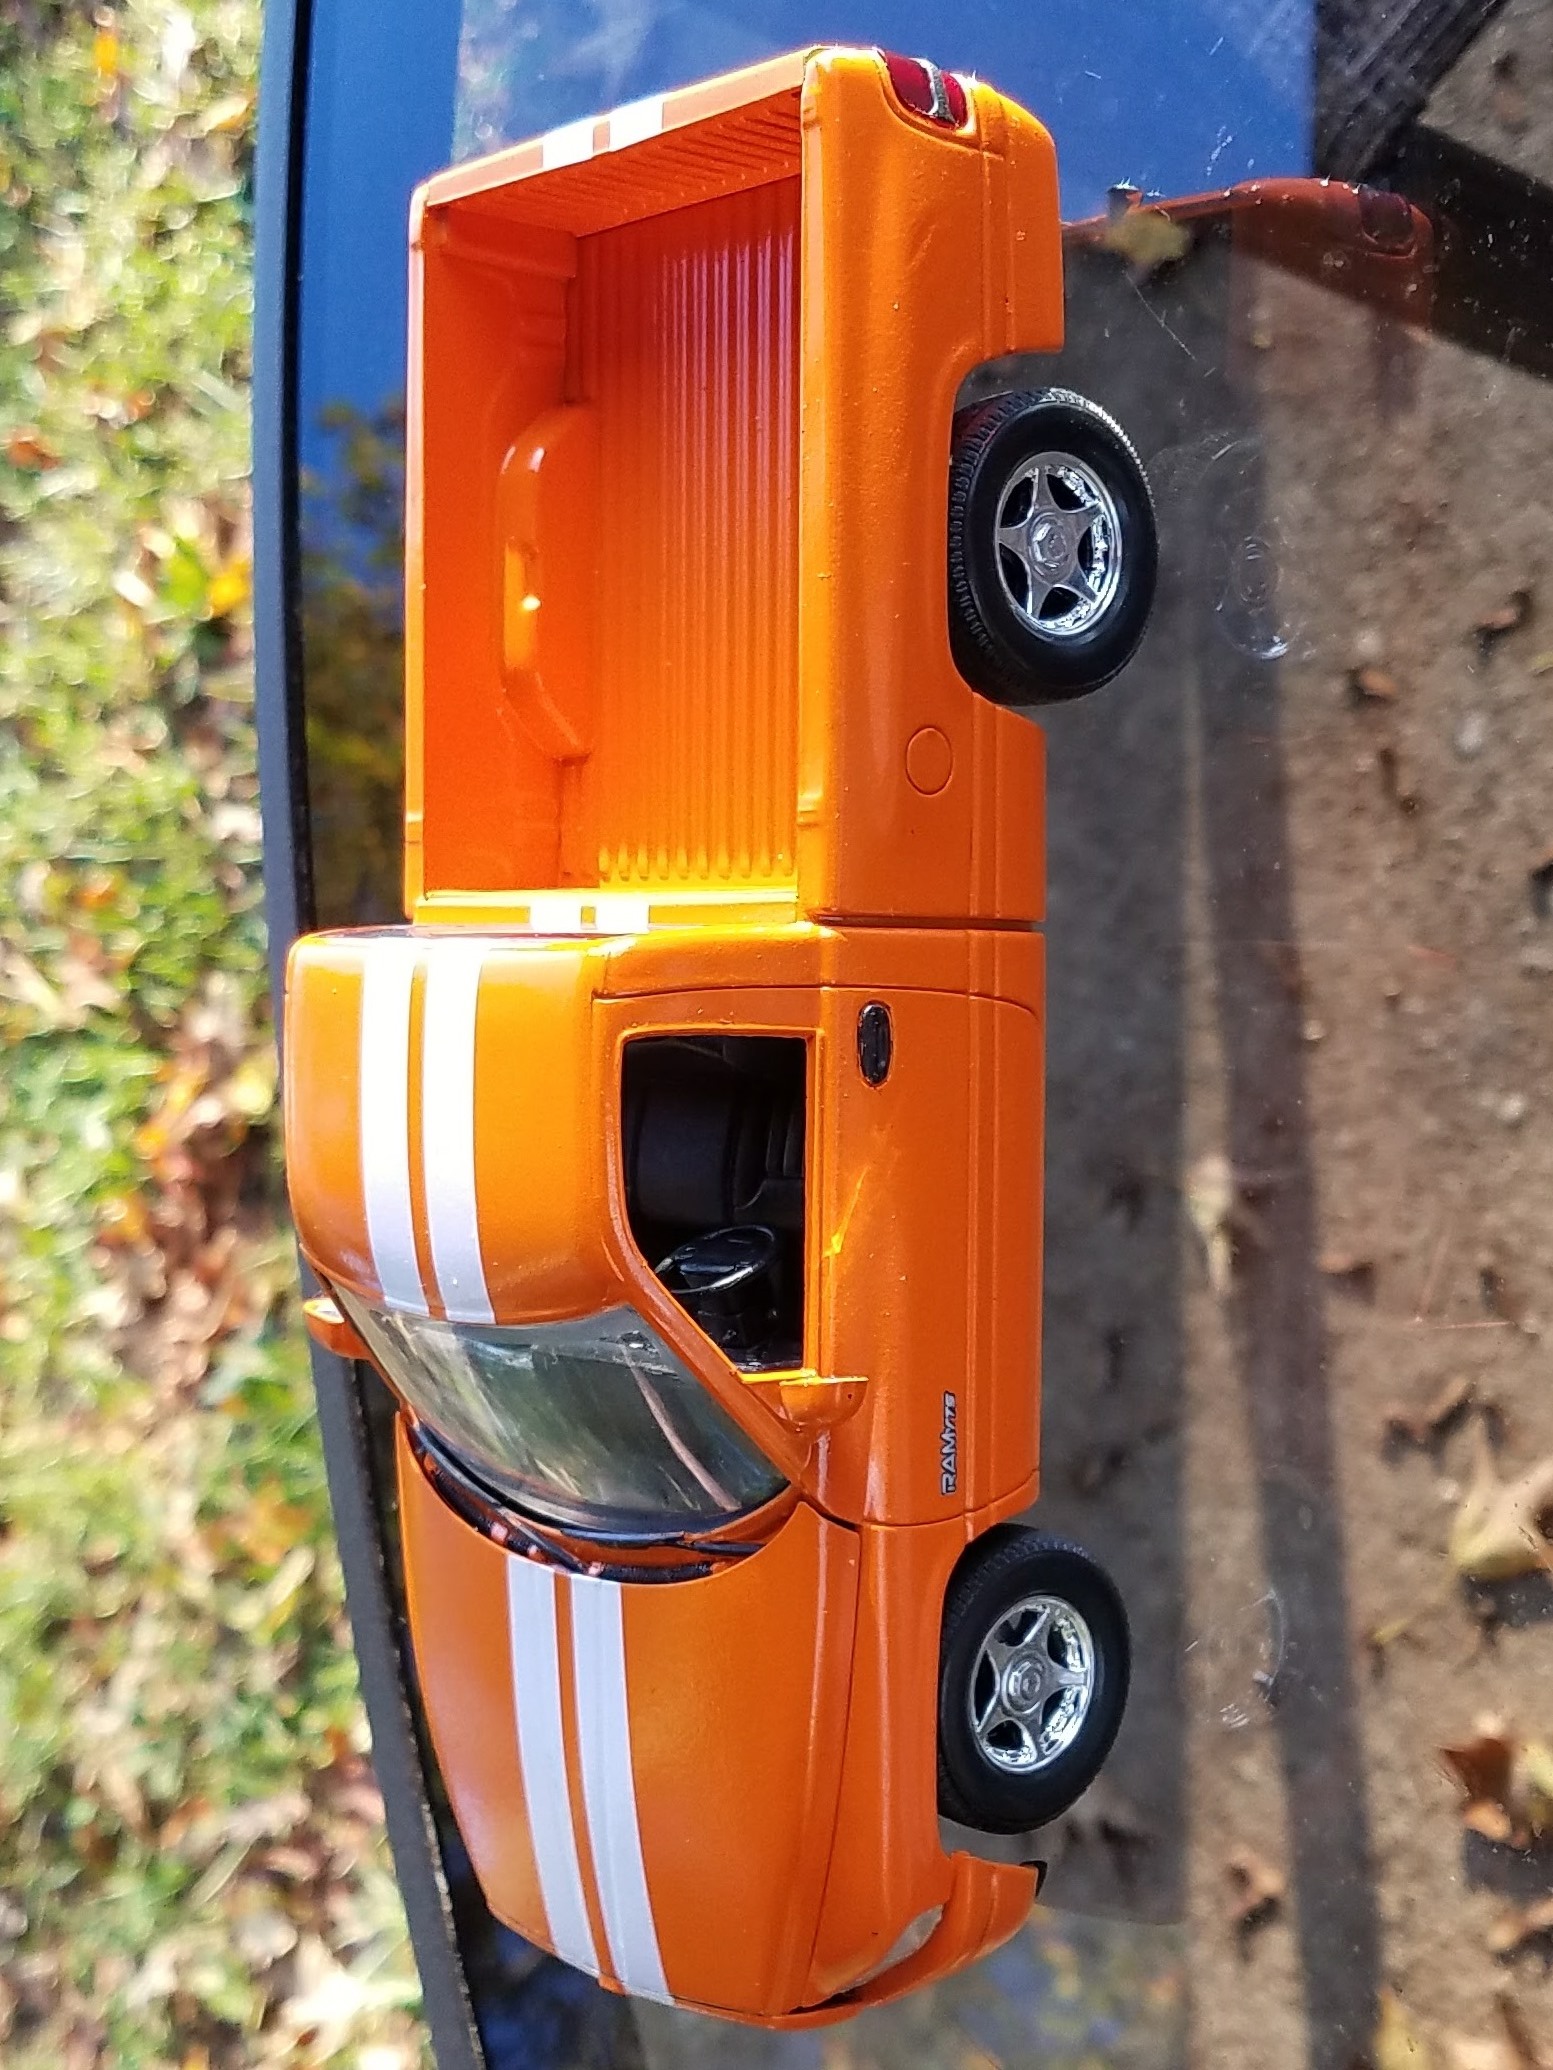
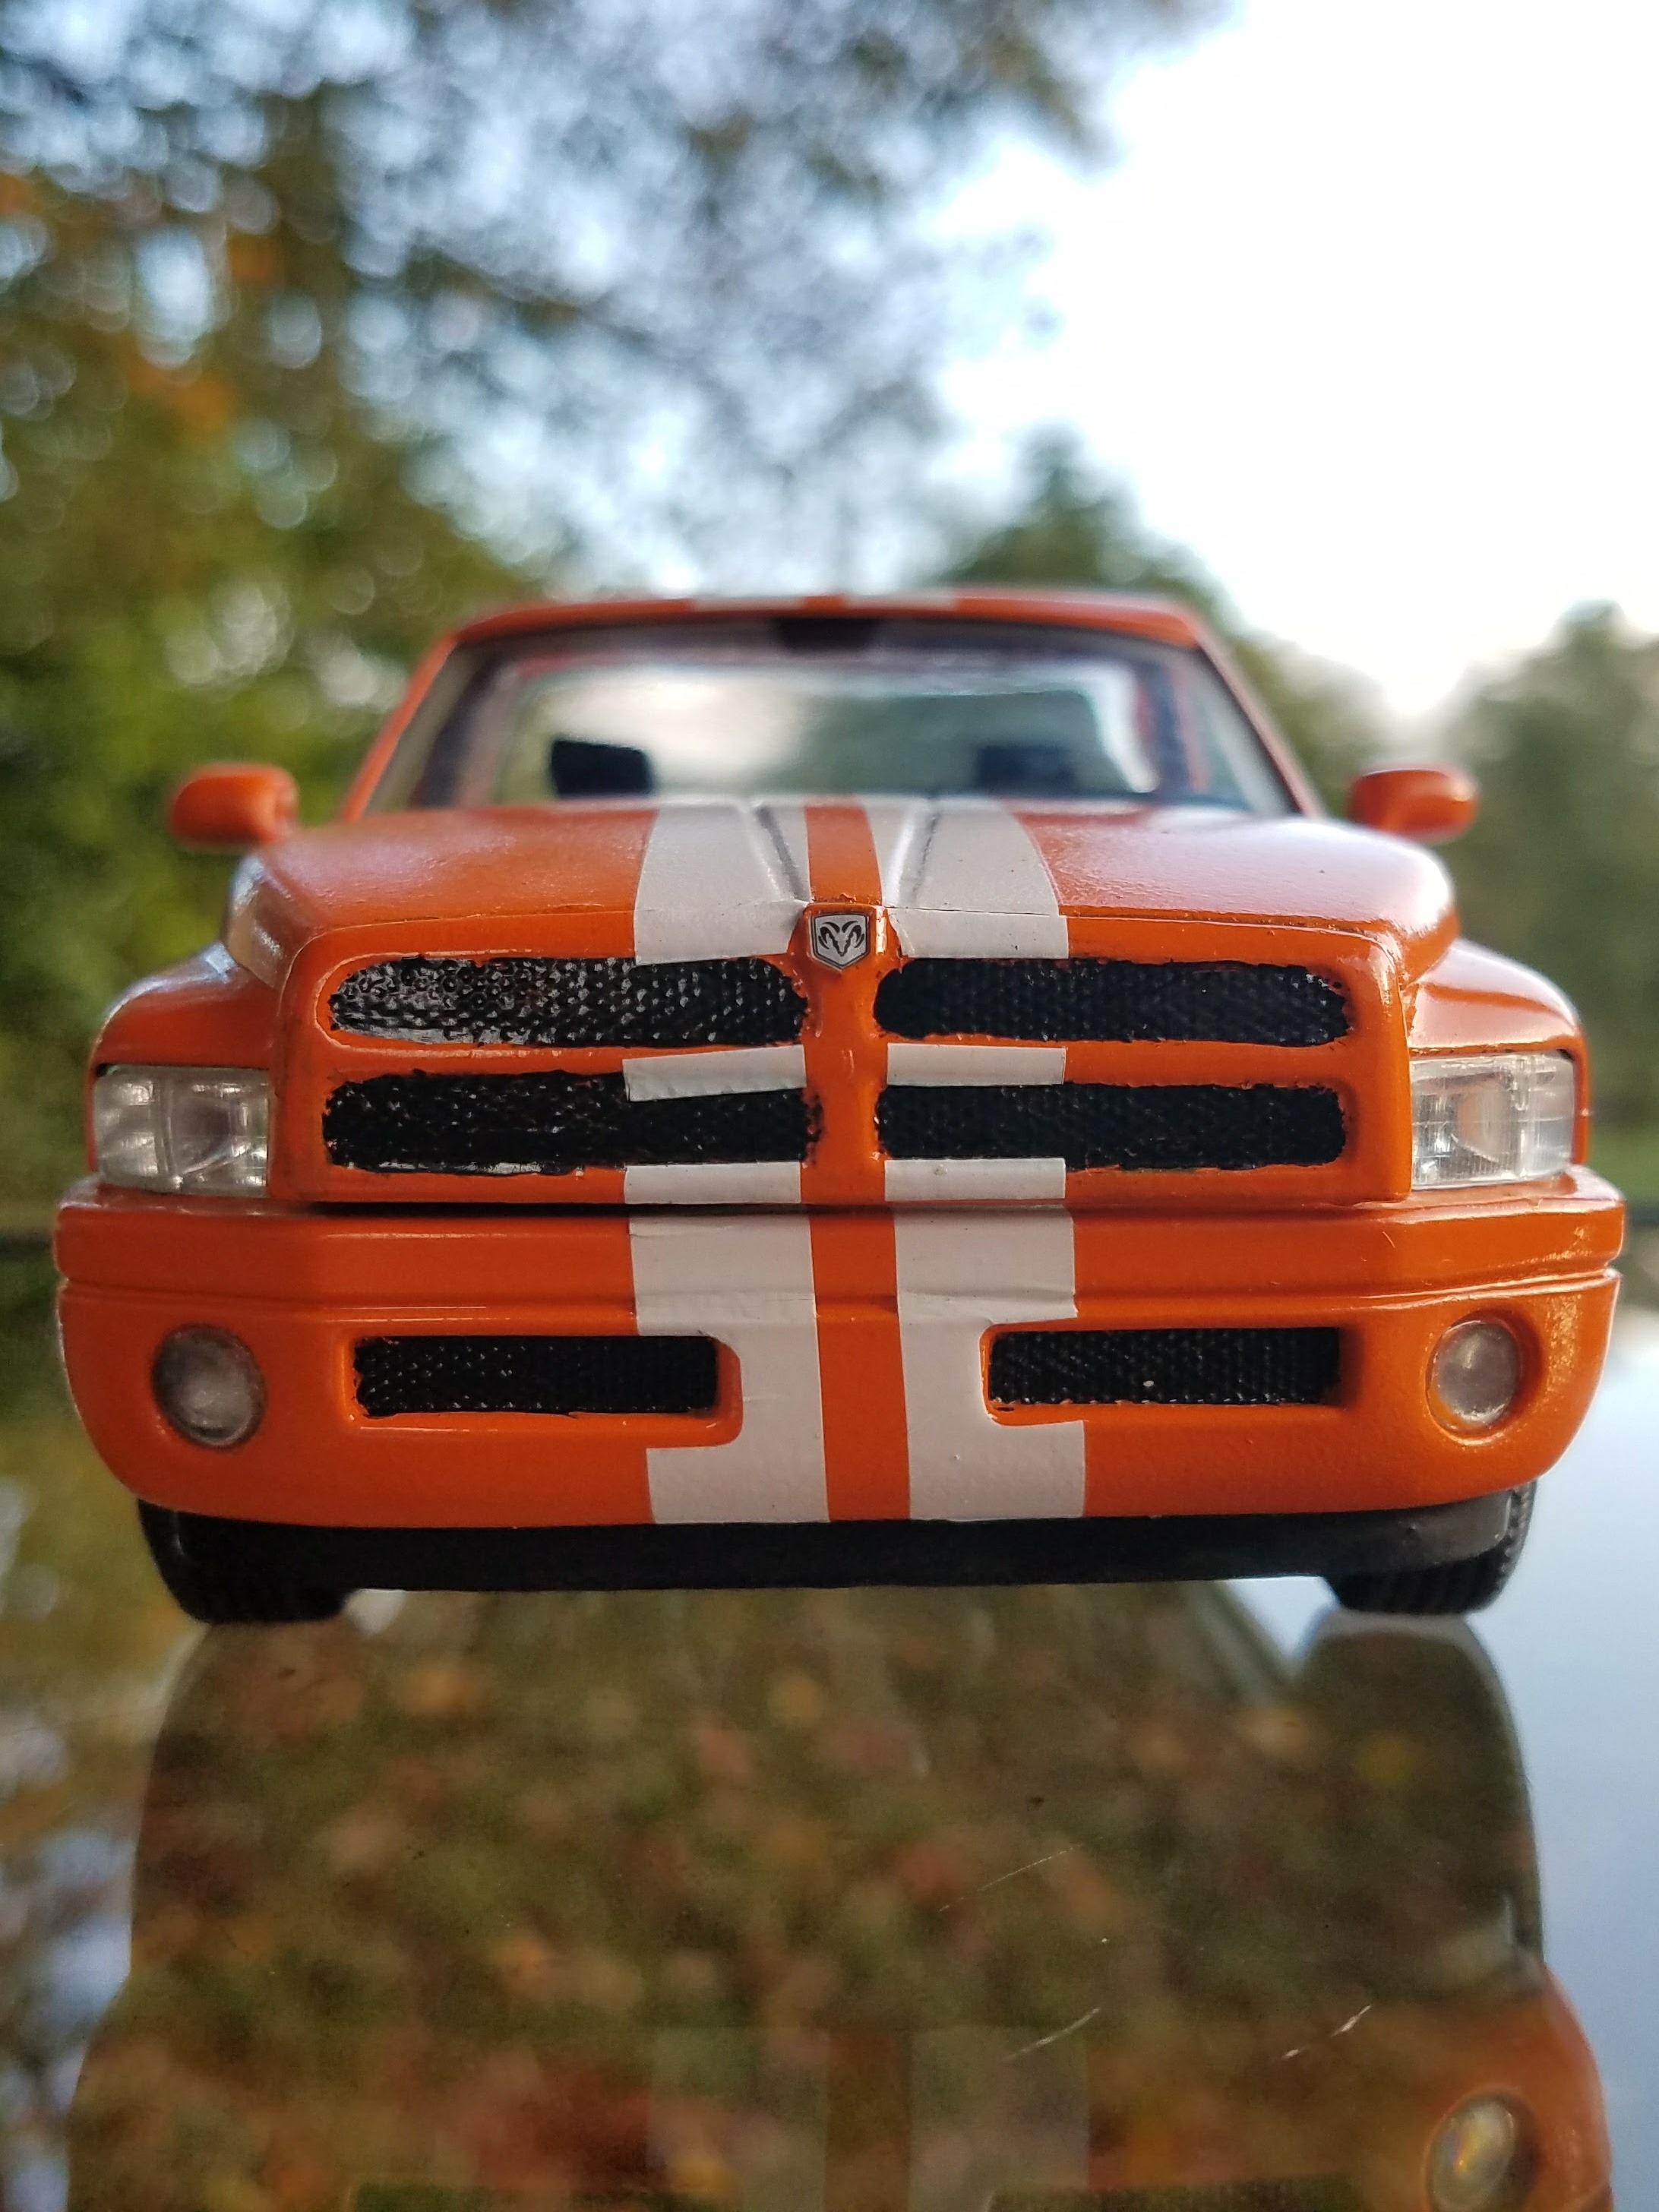
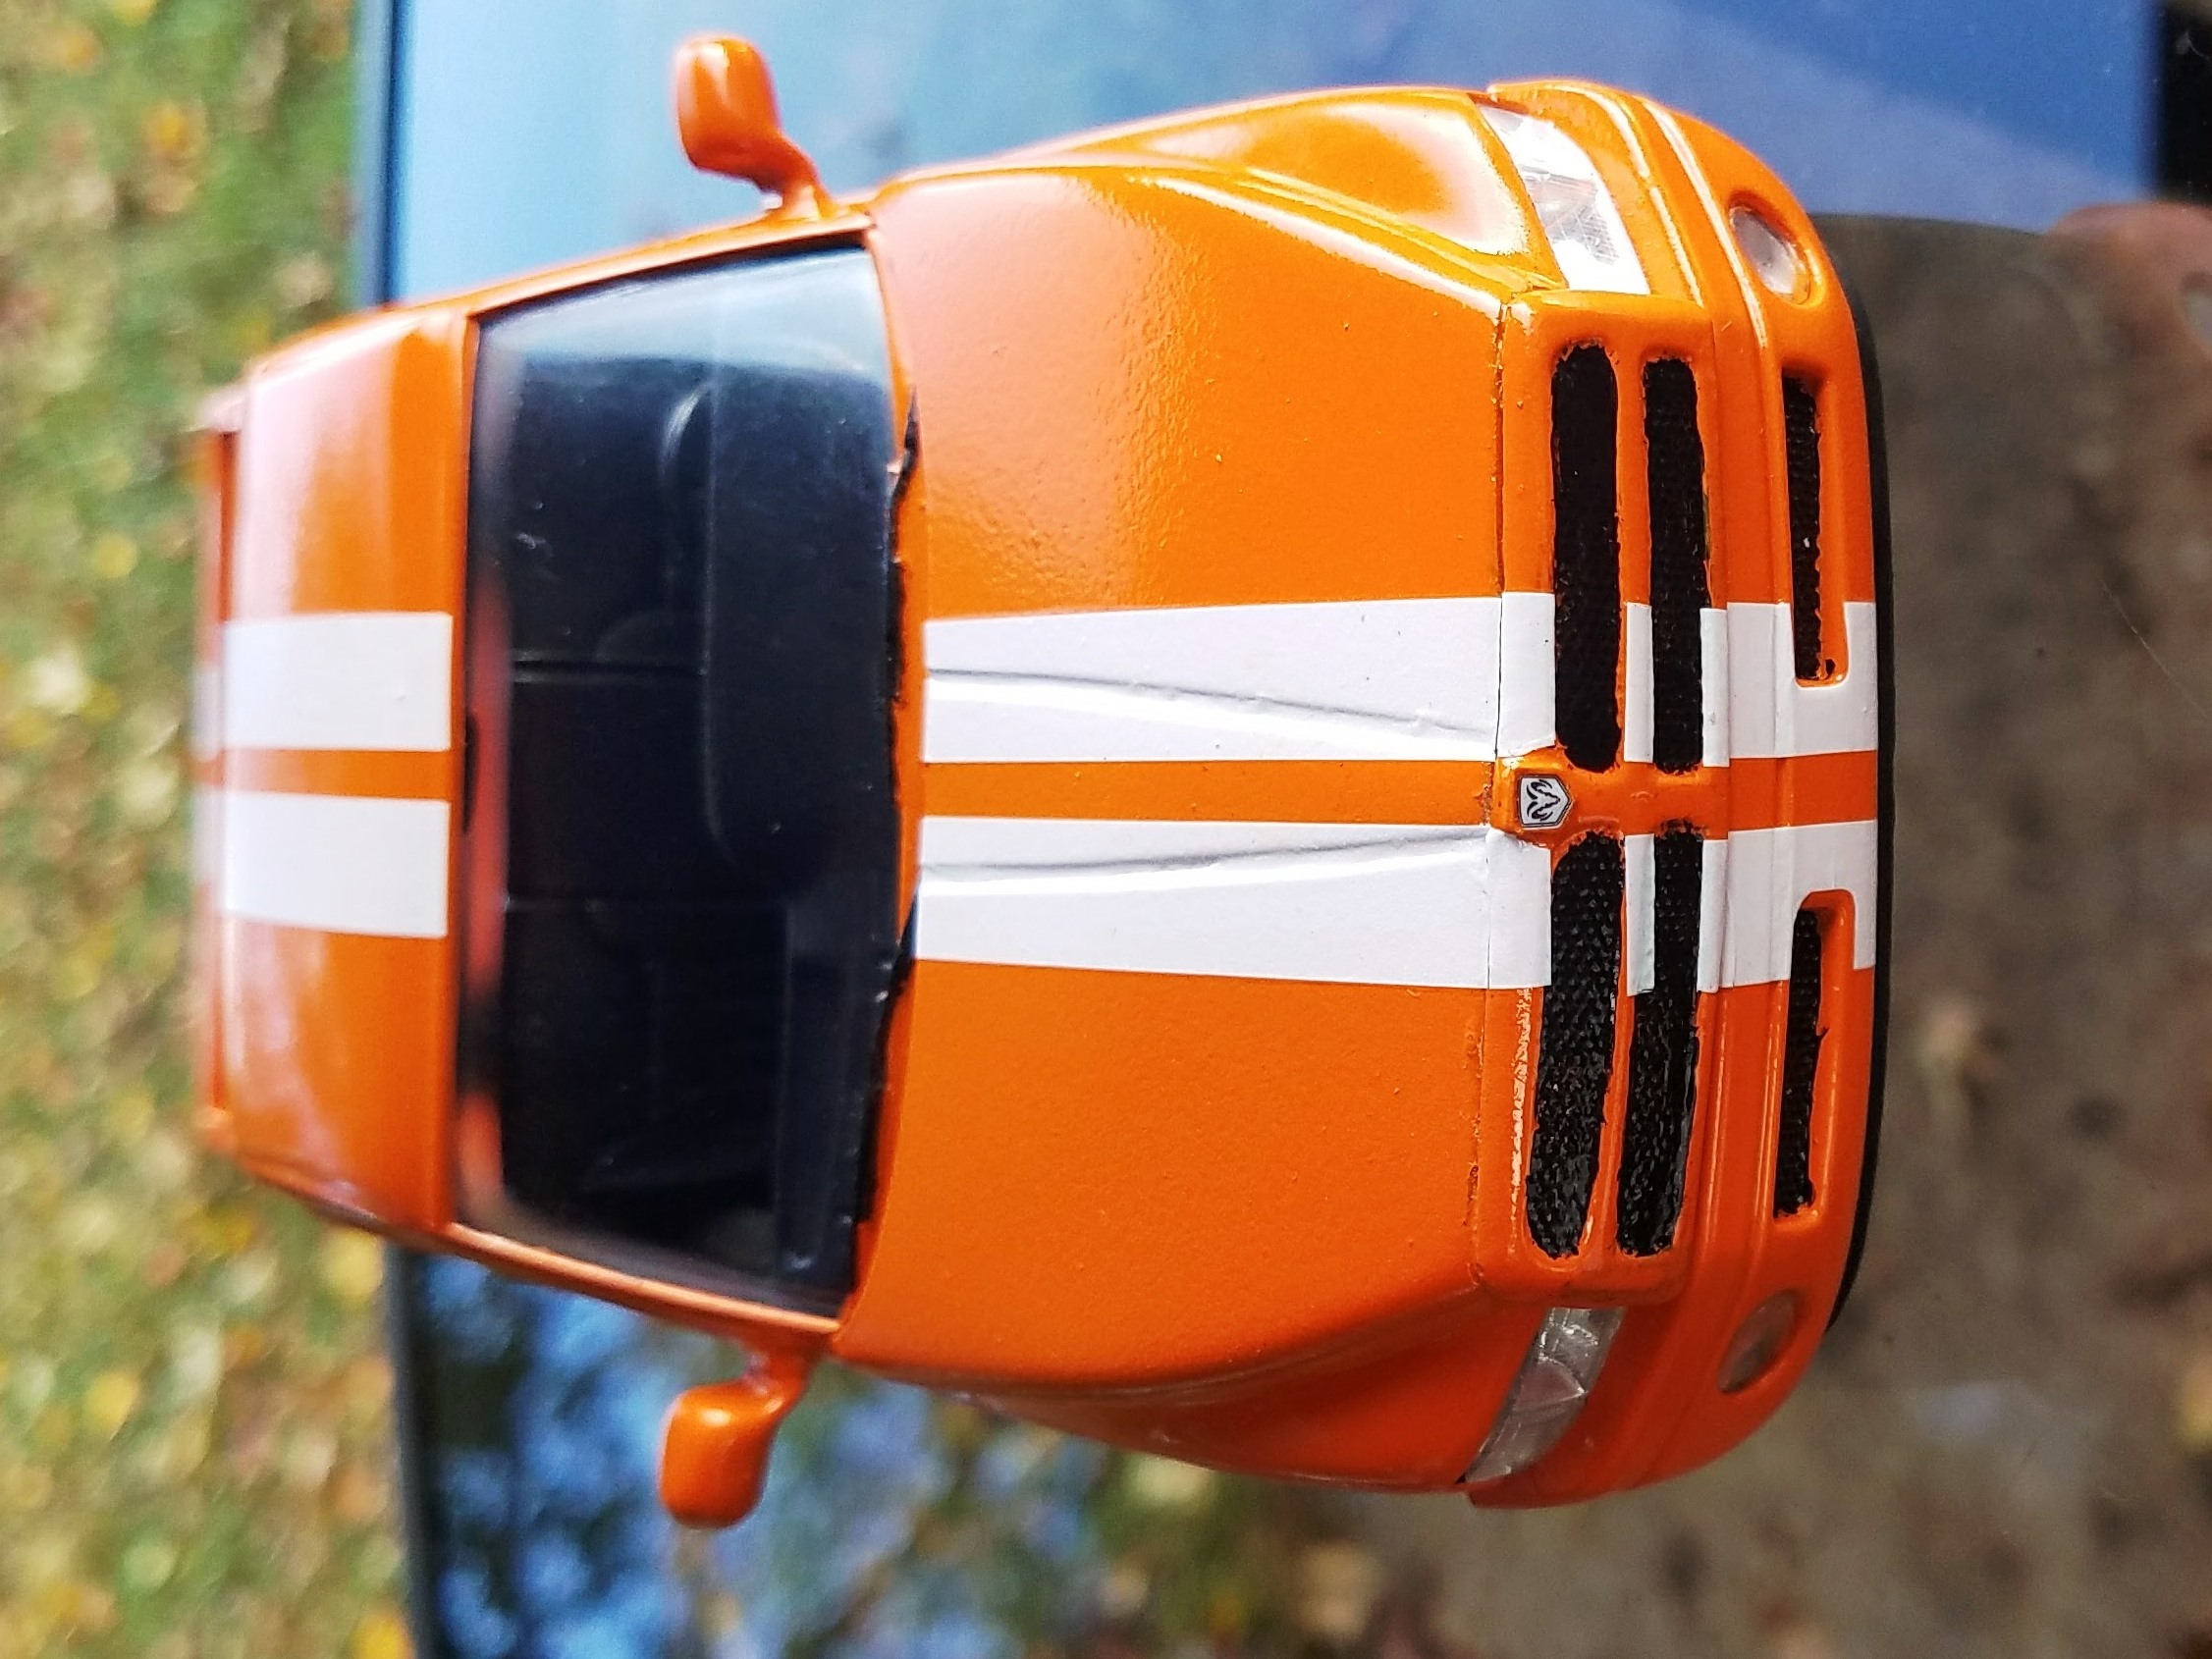
Got one of these kits at Ollie's and wanted something that was pretty straight forward with no modifications. I had this orange paint sitting around and decided to use it. Once I got the white stripes on I looked at it and thought boy that looks like a Cleveland Browns truck. The only thing missing from the paint job is the real browns helmet has a thin brown strip on the outside of each of the white strip. I thought it still looked very Brownish and still put a custom plate on it. Did not notice how the hood was sitting till after I looked at the photo. I screwed the front decal up a bit.
-
Lonestar 'updated 9/23'
pcm1977 replied to tbill's topic in Model Trucks: Big Rigs and Heavy Equipment
Awesome truck and trailer -
Ollie's strike again
pcm1977 replied to GLMFAA1's topic in General Automotive Talk (Trucks and Cars)
Went to my local Ollie's last night (North Olmsted, OH) . What an incredible disappointment. Their "model blowout" was not anything spectacular. They had a big sign and a display packed with Lindburg Ford Police Crown Vics, AMT Snap It Bigfoot and Nestle Crunch monster trucks. We went back to the toy section and they still had the some Snap PT Cruisers, 1999 Ford Mustangs and a bunch of dinosaurs. My son dug around for a minute and found a Dodge Ram VTS. I picked up a Lindburg North Atlantic fishing trawler (it looks fun). Not really worth my time at all...at least my son and I got to go out to dinner. -
Ollie's strike again
pcm1977 replied to GLMFAA1's topic in General Automotive Talk (Trucks and Cars)
Just got an Ollie's ad this morning with more models. -
Thanks guys, I spent a lot of time on this one. For some reason I wanted to get it perfect.
-
Yes those rimes came with the kit. The brakes are chromed and have decals with the holes.
-
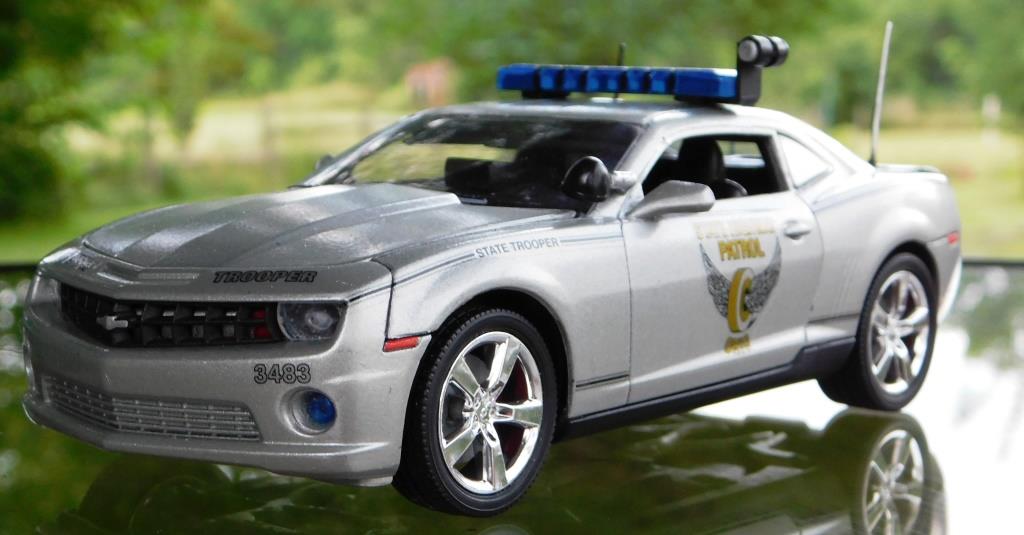
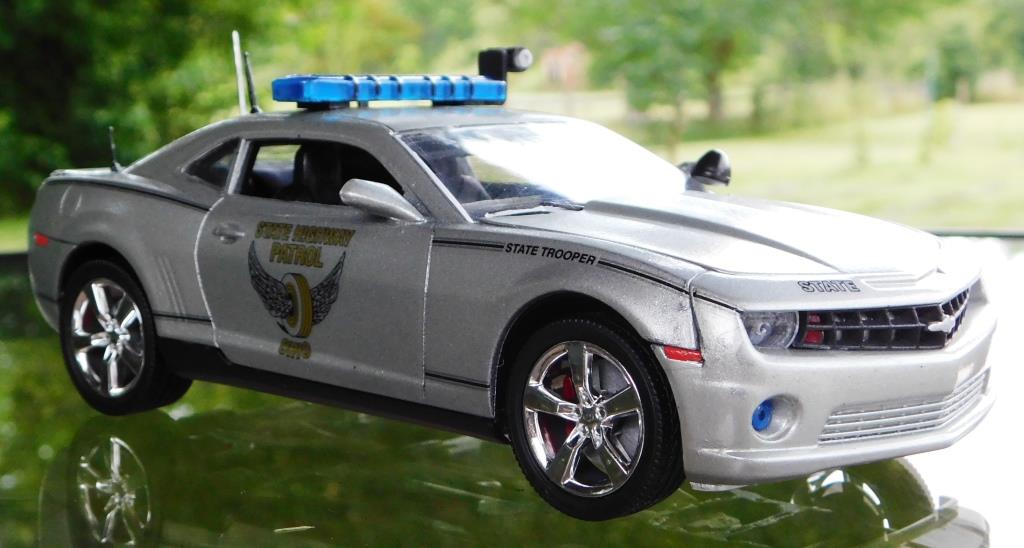
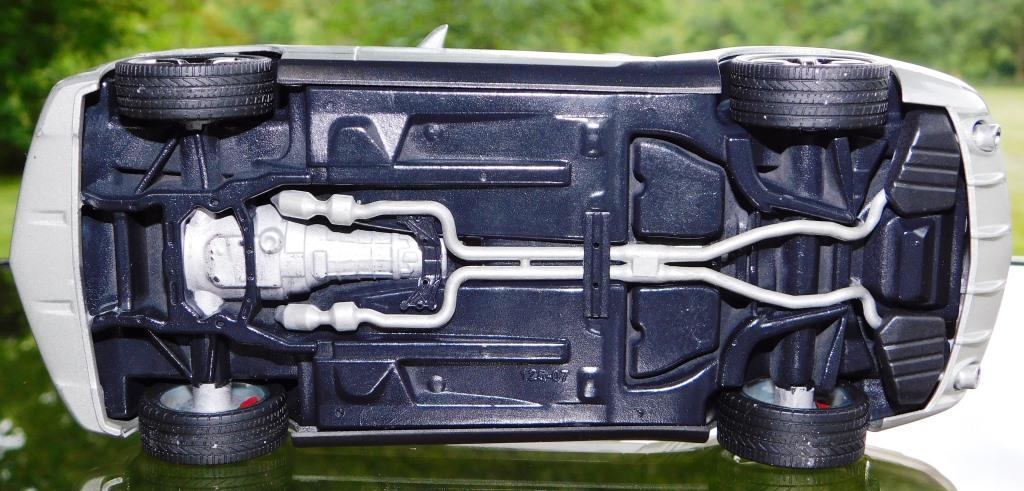
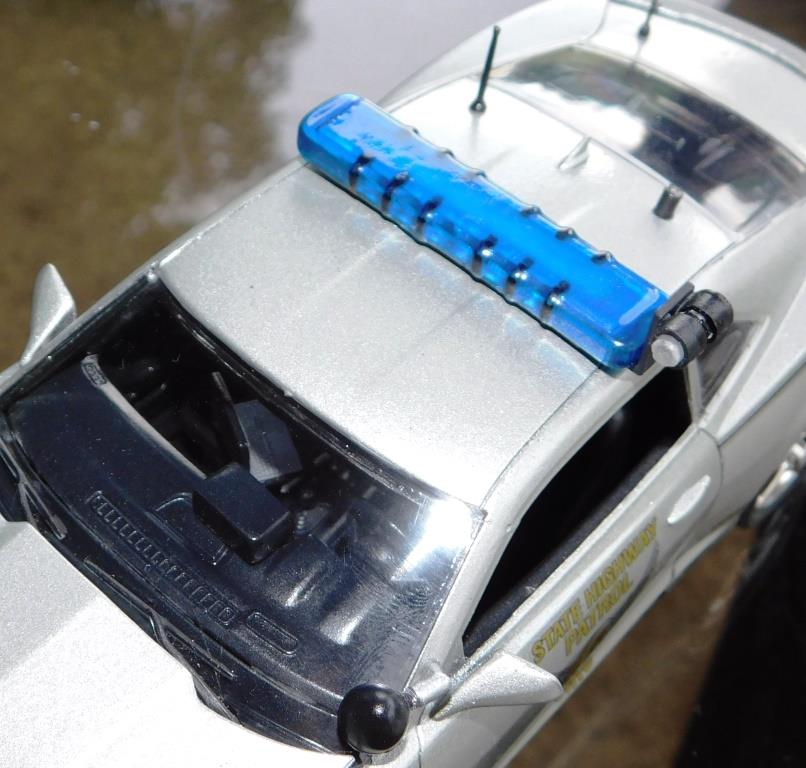
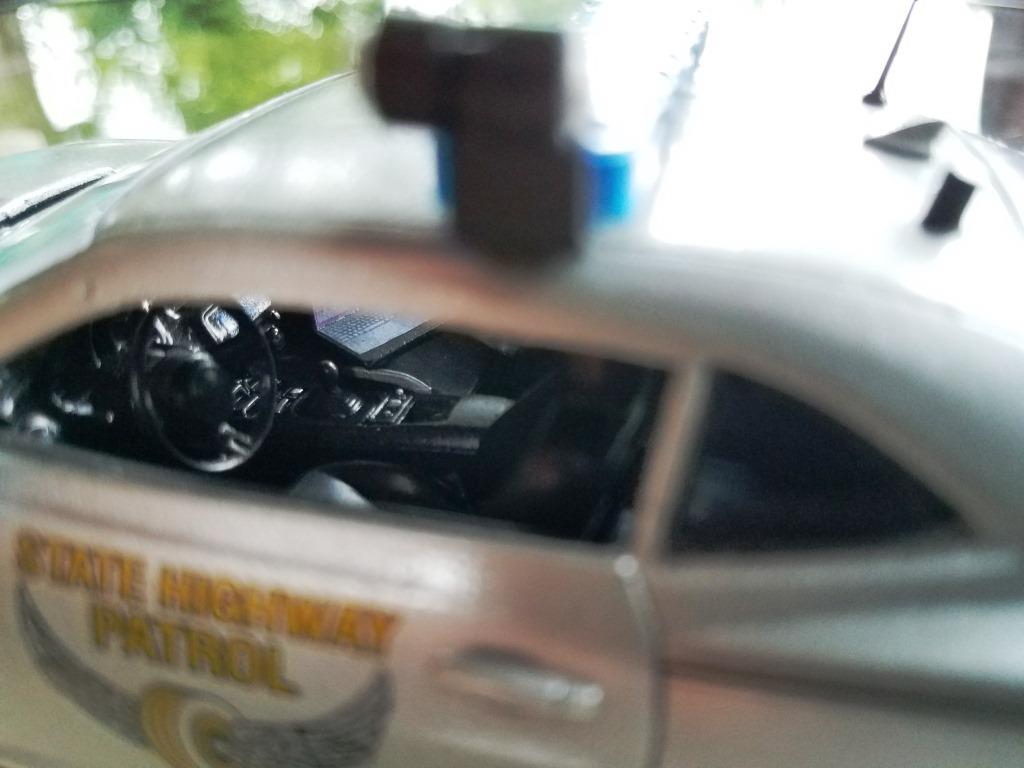
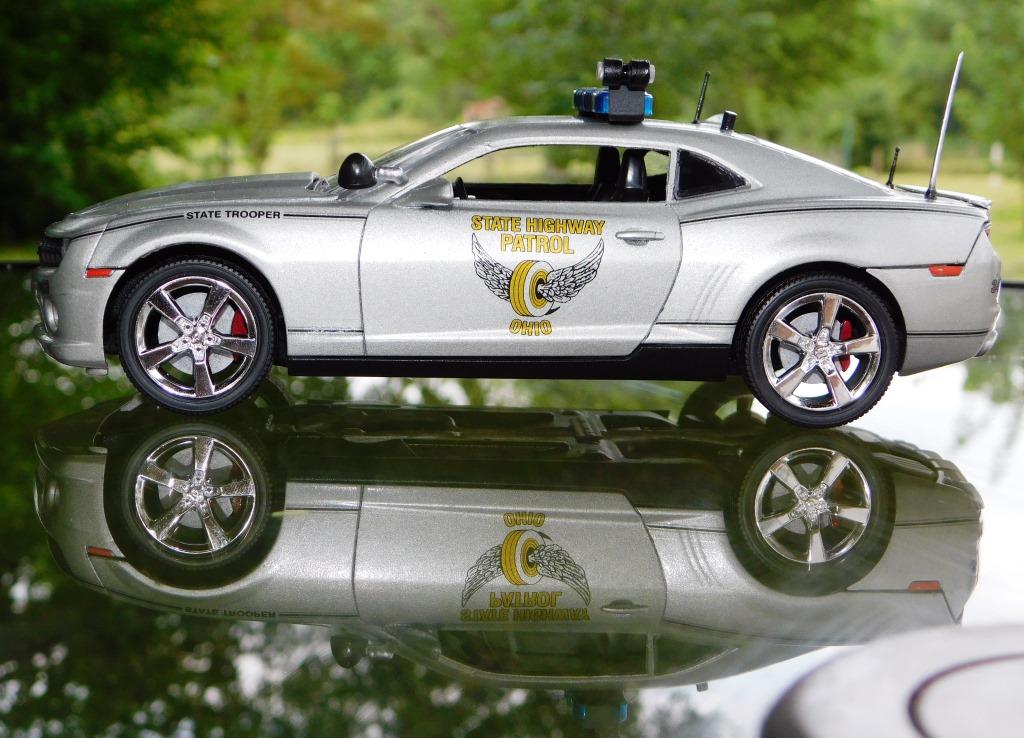
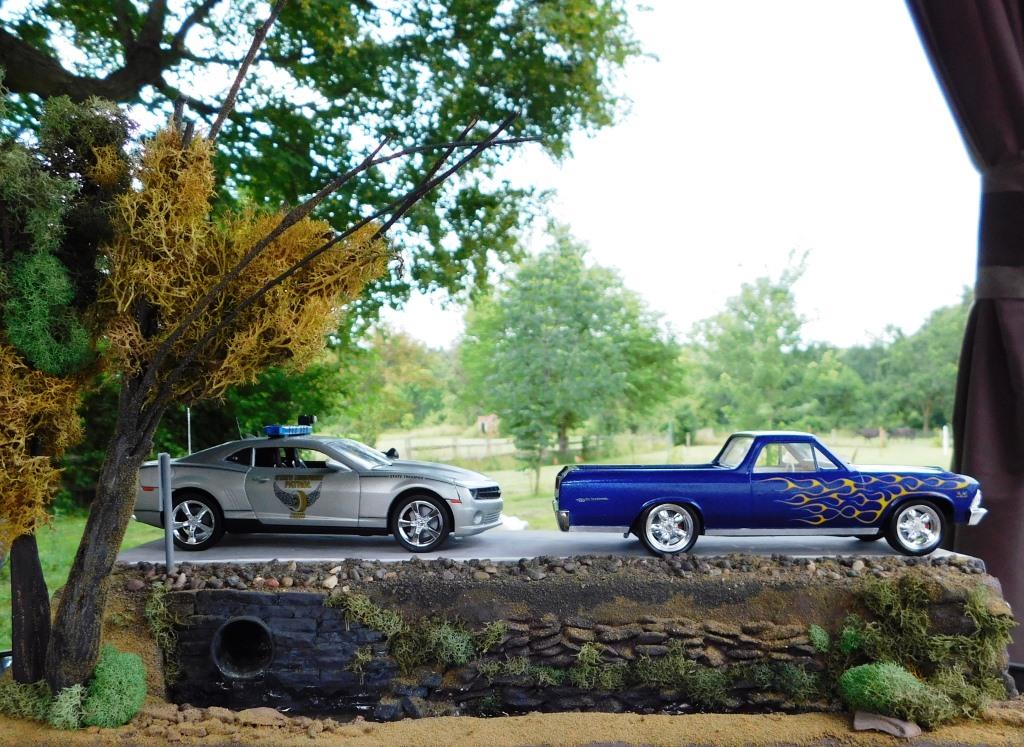
This is my recently completed 2010 Ohio State Highway Patrol Chevy Camaro. Posting with more pictures (Here)
-
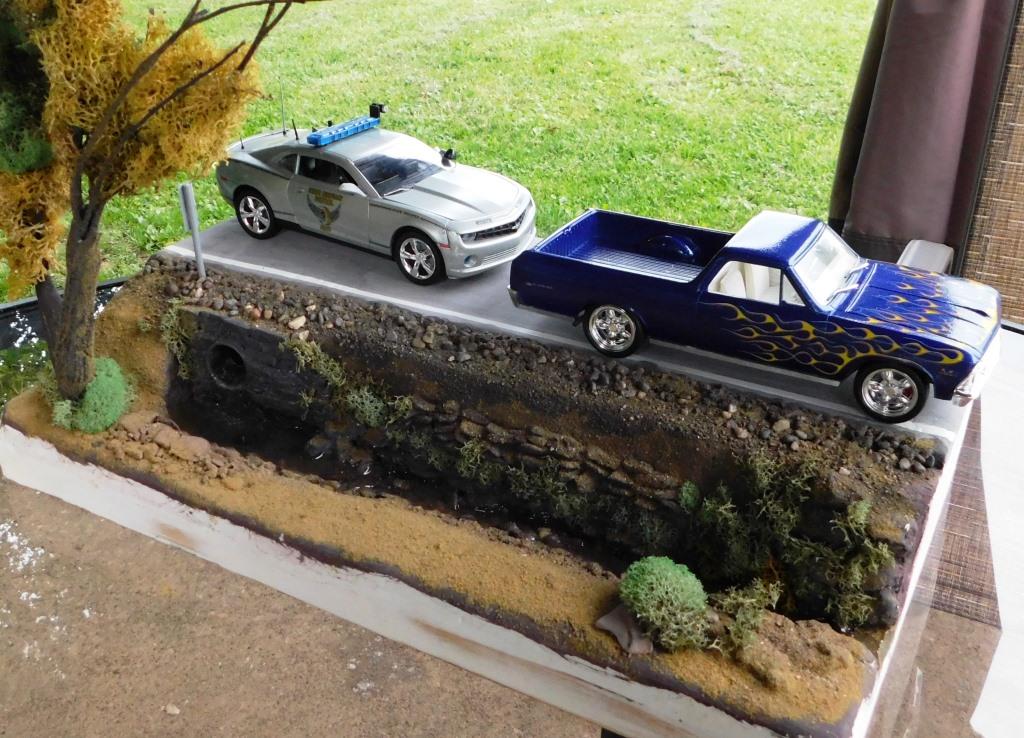
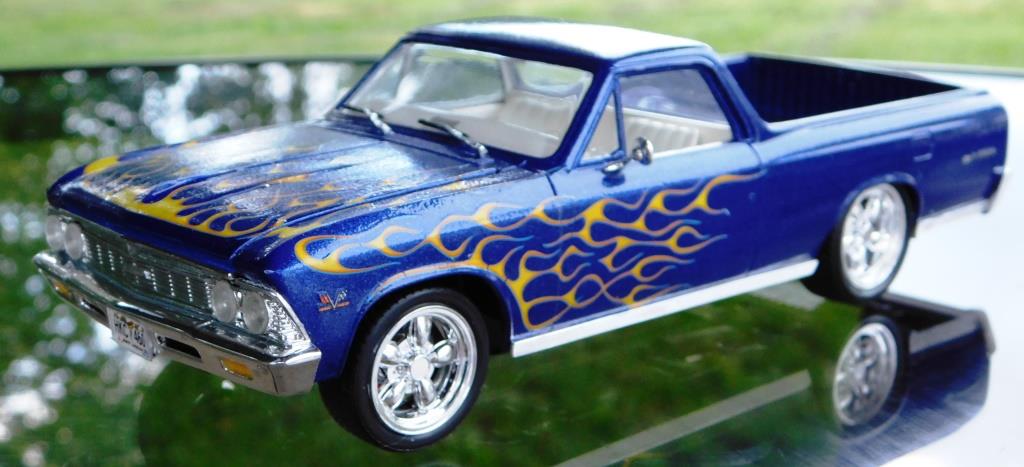
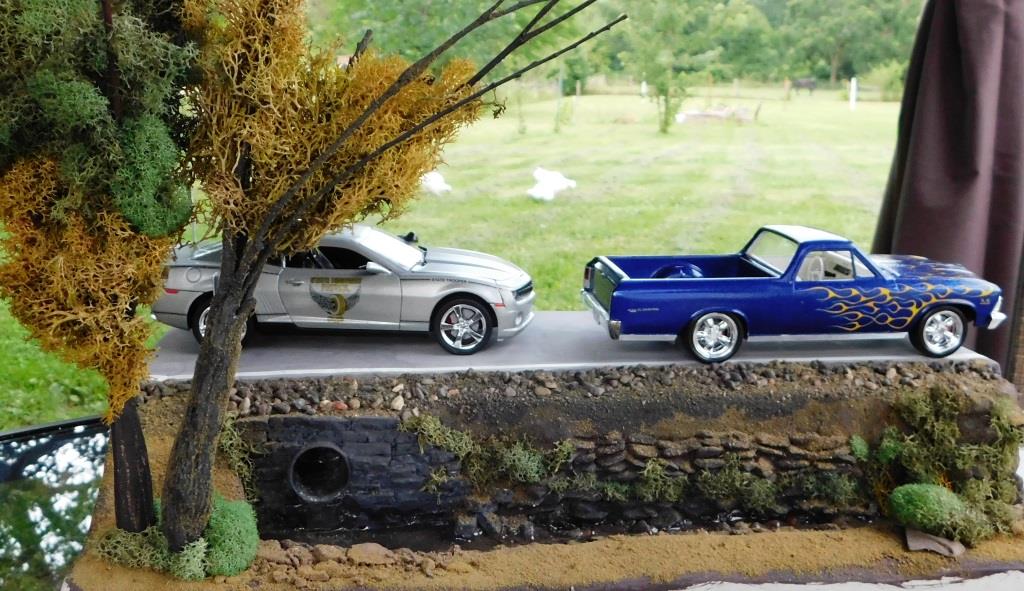
Got this 2010 Chevy AMT Showroom Replicas Camaro kit from eBay a long time ago and final had a cool idea. I ordered the decals from Bill Bozo and painted the car with German Silver metalic. The decals are top notch and well worth the almost month long wait. Took some artistic license in placing the decals on the front. The words could not be placed together as they are in the Chargers because of the vent on the front. Took a bit of artistic license with the blue interior tail lights. Found a "Call #677" plate and scaled it down. The two antennas on the drivers side are custom built, while the ones on the passenger side I found in a box or spare parts. You can see the radar display mounted to the dash behind the windshield. The radar itself is made from various sizes of styrene with pieces of clear sprue in each end. The spotlight is made from a head light from a '29 Ford Roadster. I made the computer out of a piece of styrene in which I printed a screen and keyboard then attached it to a piece of round styrene and attached it to the center console. Hard to see in this picture, but there is a custom CB radio in the center console, just in front of the cup holder. Caught some young whipper snappers out driving their '66 El Camino on the back roads. Thank you for looking.
-
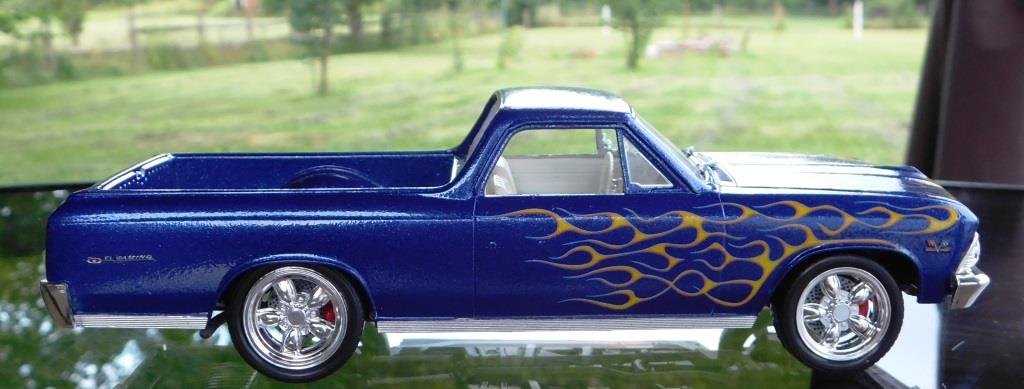
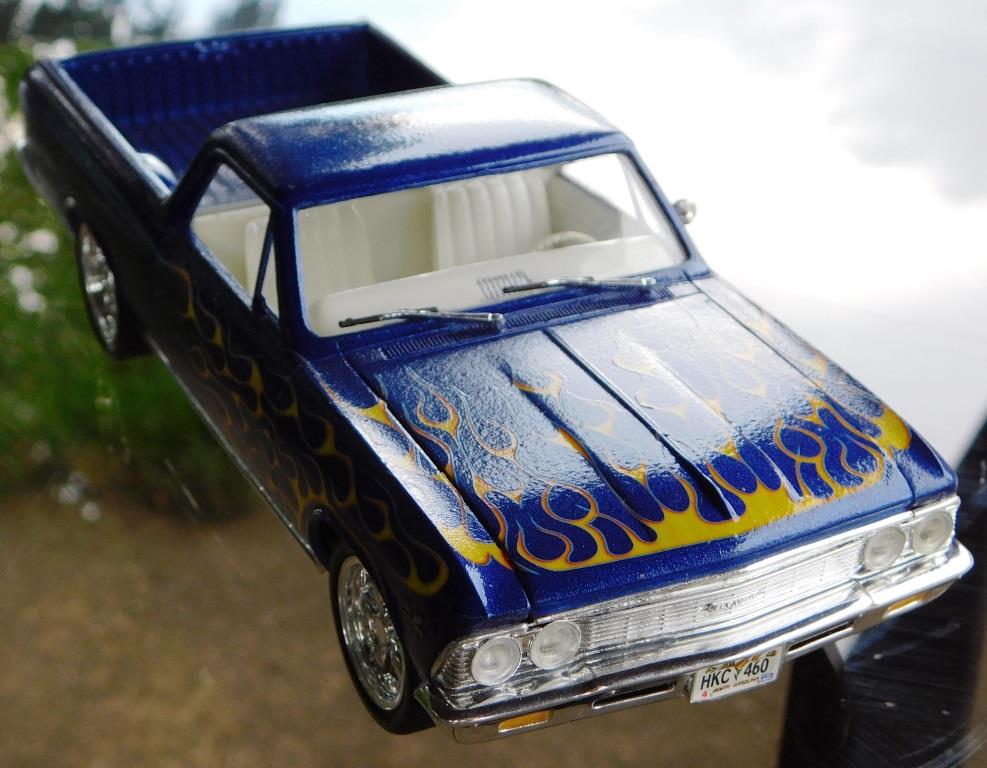
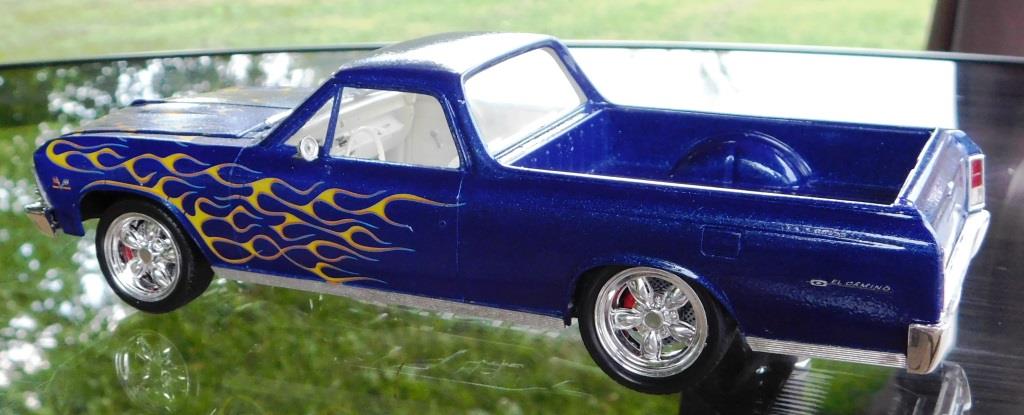
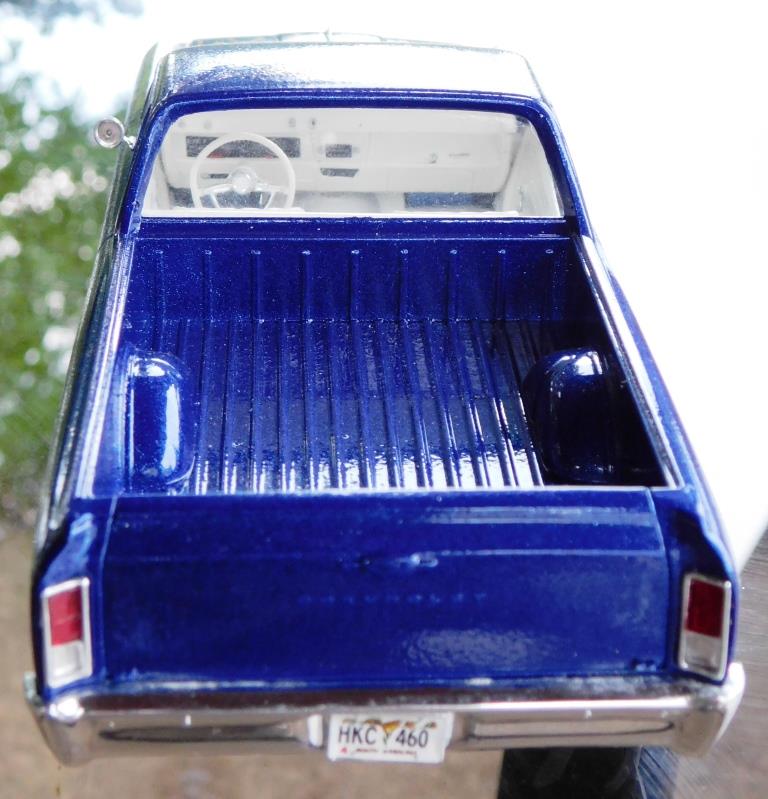
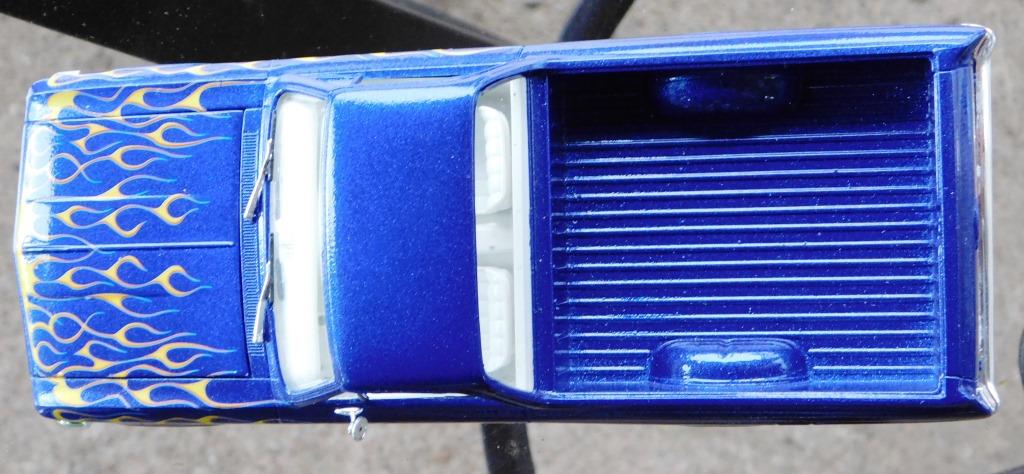
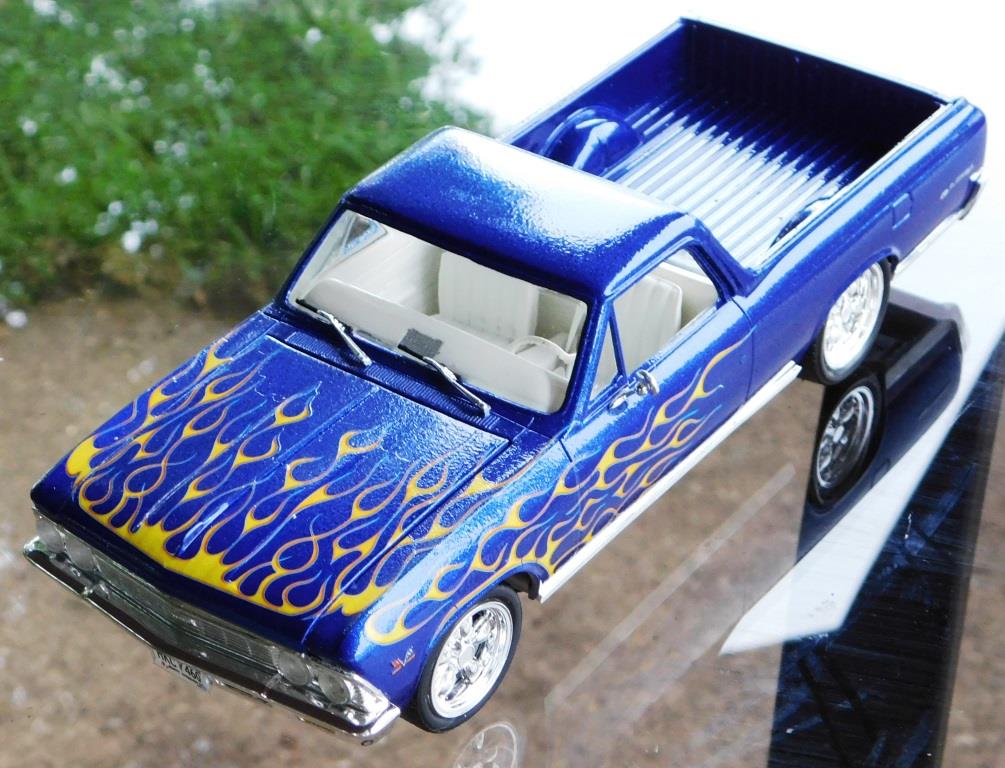
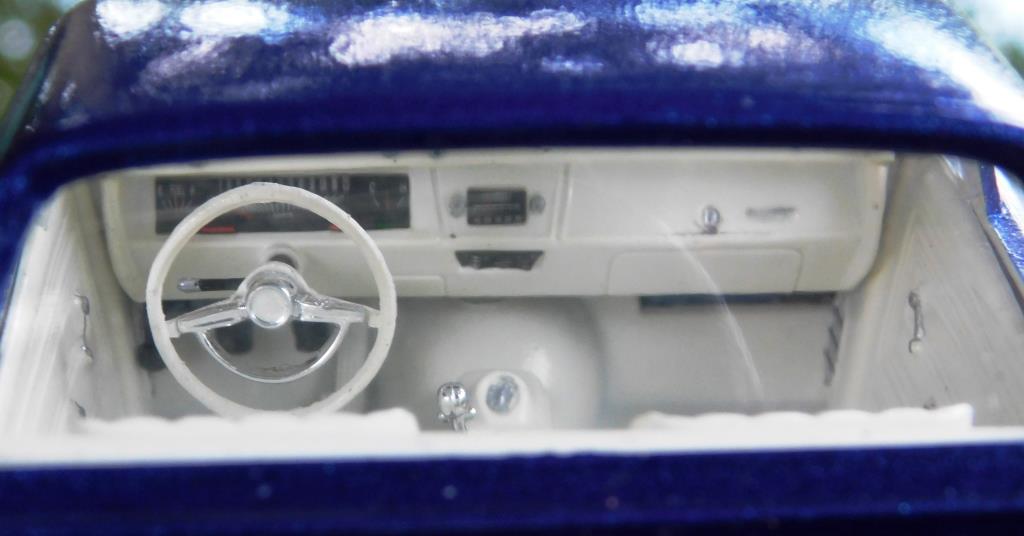
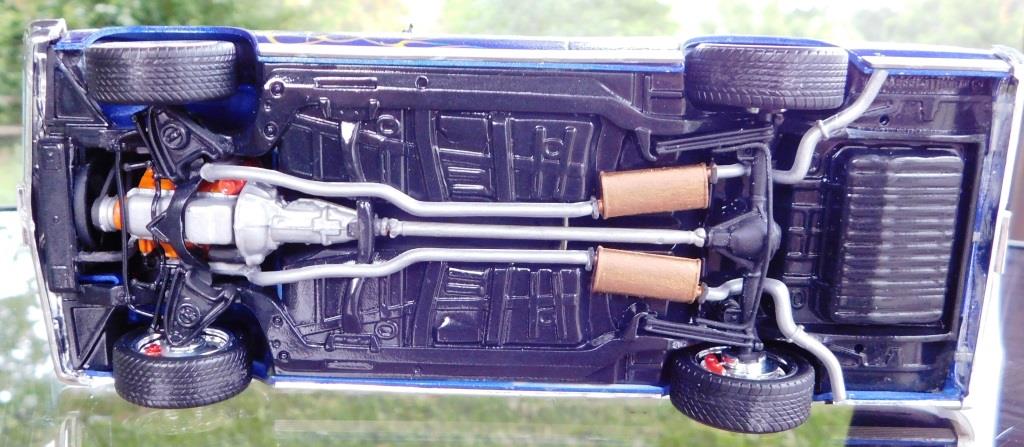
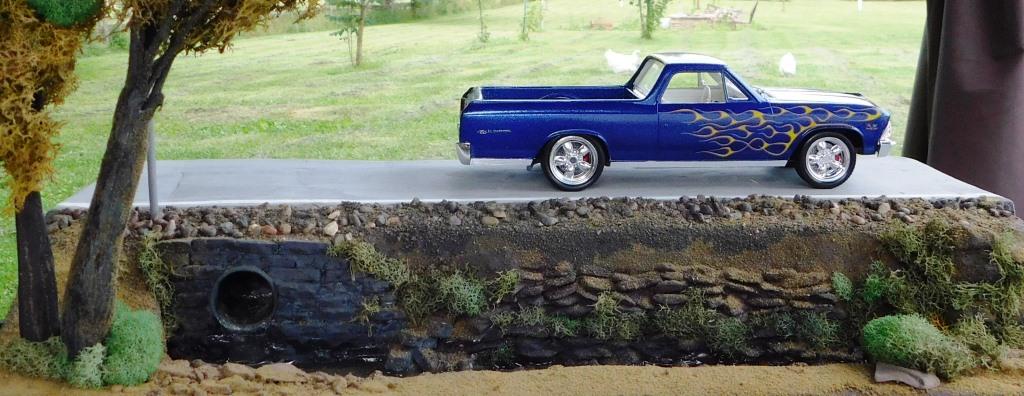
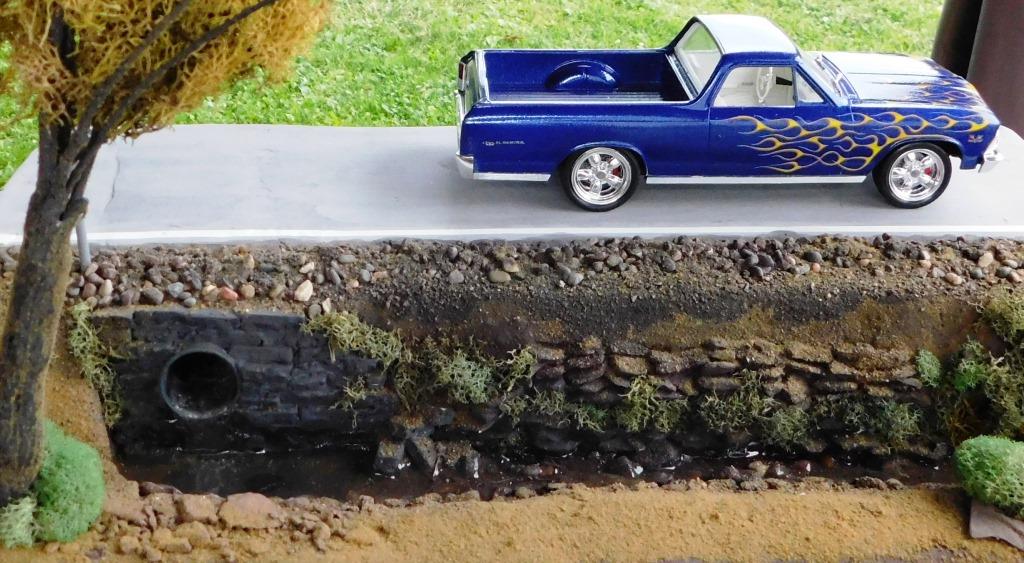
I saw this kit on sale at my local drug store. Right away I knew what I was going to do before I even made it to the check out. The body is painted with Testors star spangled blue and the interior is a simple white. The kit is pretty much stock except lowered the suspension a bit, but once I got done you can not tell much. Took the car out for a drive on the road and apparently enjoyed the 396 too much and was caught. Thanks for looking.
-
Ollie's strike again
pcm1977 replied to GLMFAA1's topic in General Automotive Talk (Trucks and Cars)
Just got the newest Ollie's flyer for my area (North Olmsted, Oh) for May 3rd and they have more models on page 6. "One of Ollie's Largest Model Buyouts Ever!" Guess what I need to do some night this week.
-
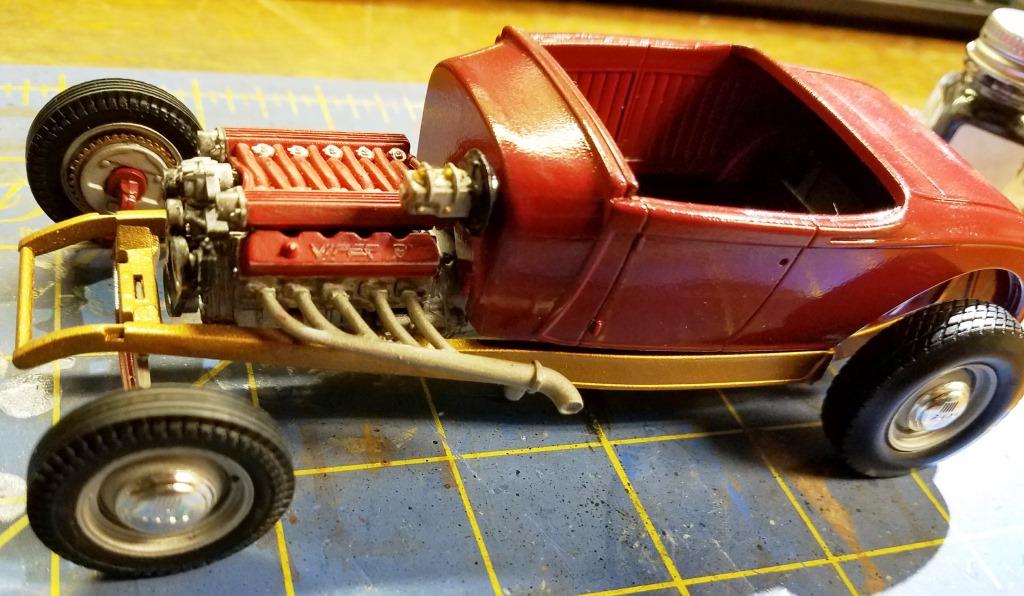
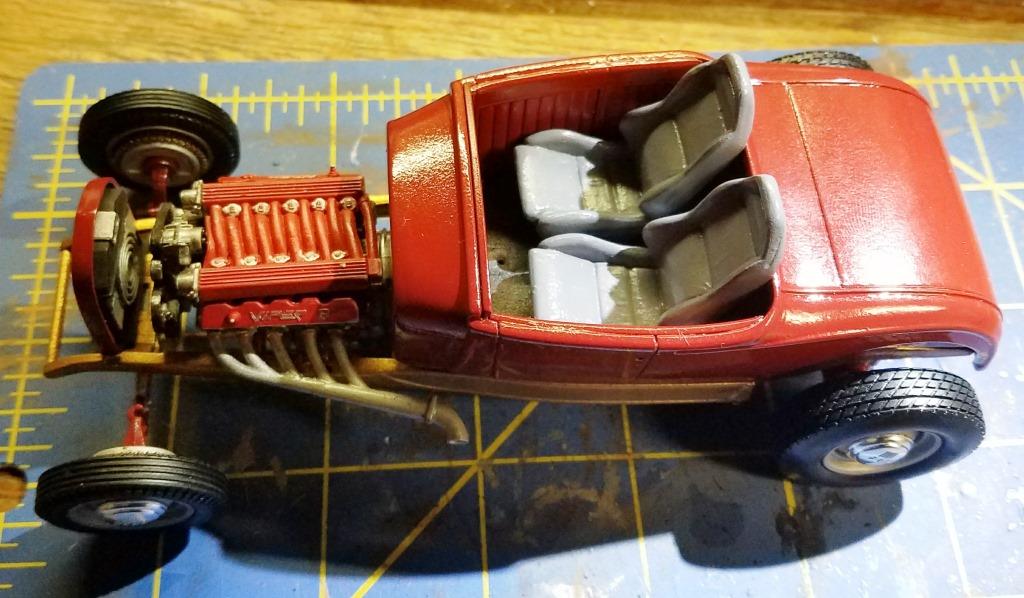
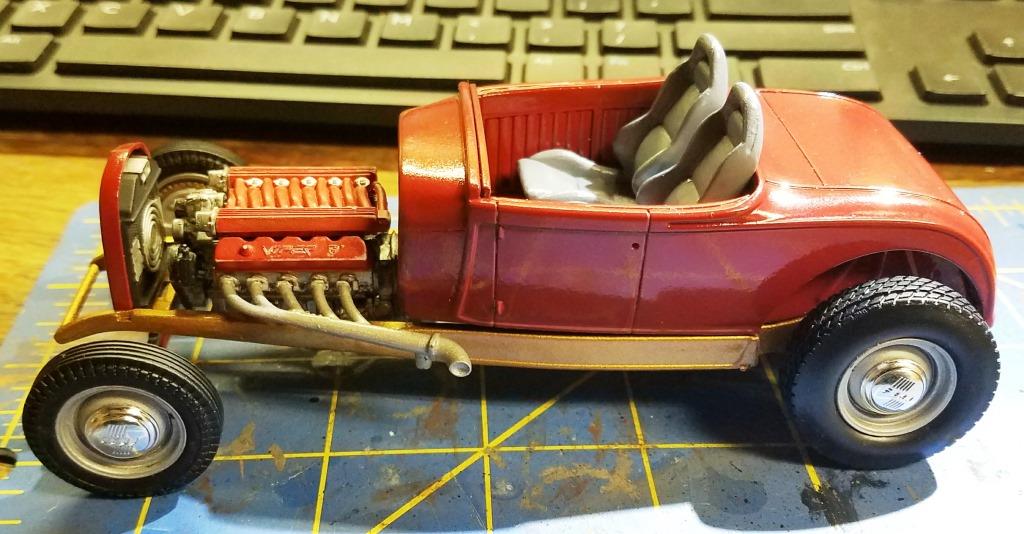
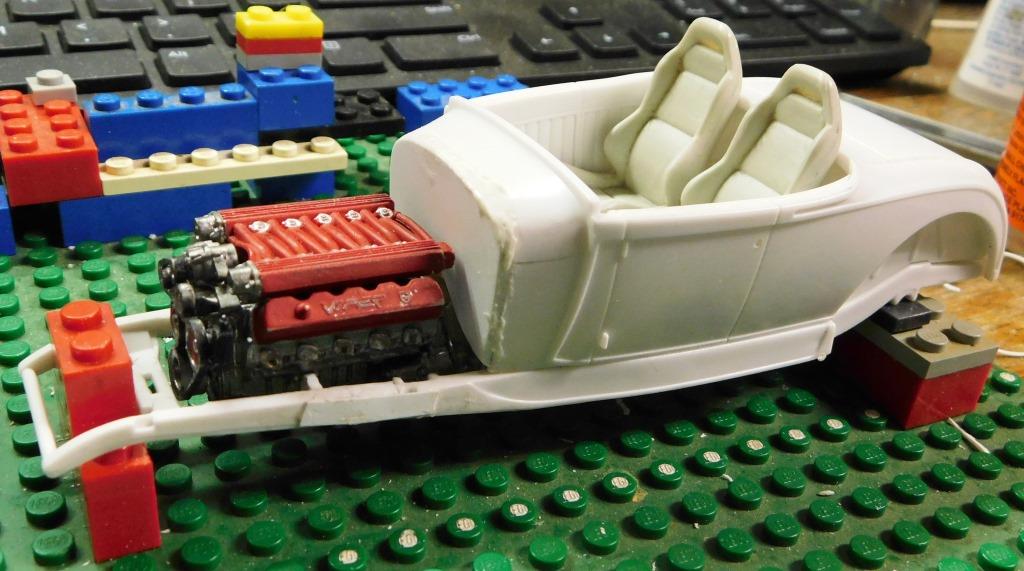
I worked a bit on this one this past weekend. Have no been getting to much done due to an out of town week-long vacation and my wrist bothering me. I attached the exhaust to the engine and placed it in the frame to measure it up for the extensions I will need to add before the muffler. I could have just bent up some styrene, but I have not had too much luck with bending the stuff lately, so I just added to the existing and painted it (in the dehydrator currently). Below are some pictures of the engine with exhaust in the frame with the body sitting on top. Hopefully I will get to more this evening. Mr. Metallic and Jantrix: Thank you for your input, but I think once the windshield is put on it helps take away from the height of the seats and the look fine. I don't look at the car being a '29 with a Viper engine. I look at it as being something that would happen if a '29 Ford and a 90's Viper spent too much time alone in the garage together . Thanks for looking/following.
-
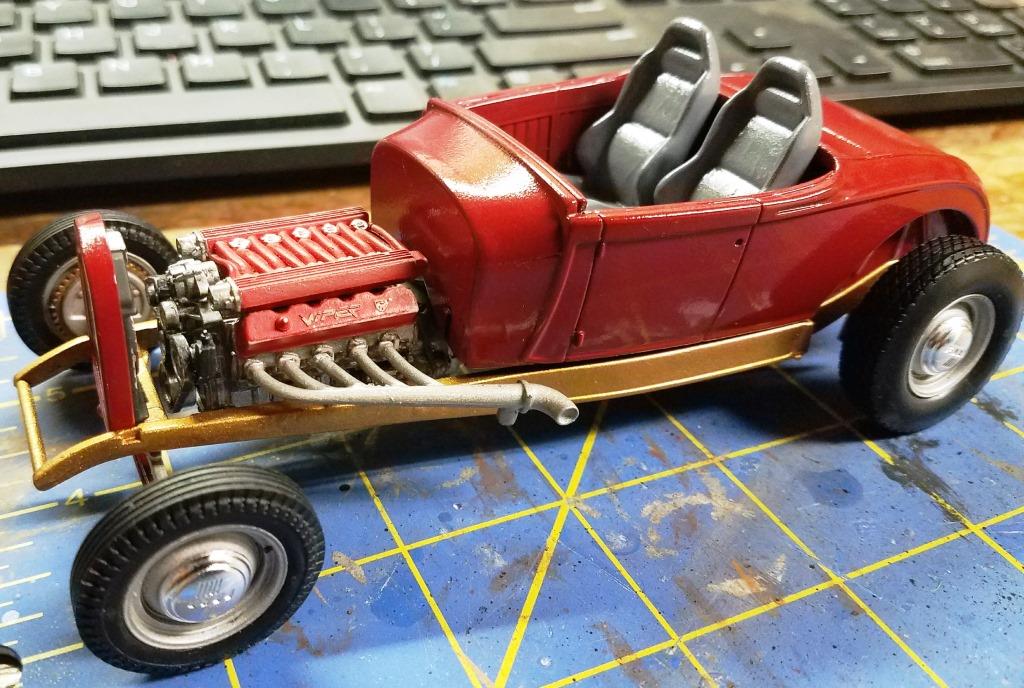
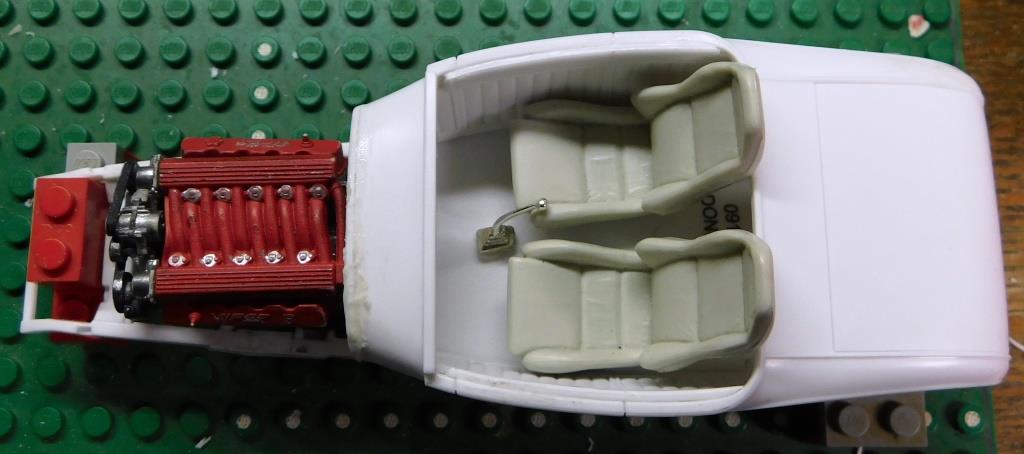
Worked on painting some little pieces on this one tonight. Just about ready for some assembly. While I was waiting for stuff to dry and free up space in my dehydrator. I mocked stuff up... again. I placed the wheels on (no glue) to get an idea if the engine would clear the ground. Please don't mind the crooked wheels. I was also looking at the engine and could not wrap my head around how the exhaust fits, so I put a drop of glue on one of the flanges and placed the header loosely on the engine. This is a look from the top without the body on I also wanted to add a little bit to the steering wheel and I came up with this idea that the center of it could be blue like the arc reactor on Iron Man's chest. I also was looking at the plain looking grey seats I thought that they needed something also. So I figured maybe a small Iron Man face as if it was embroidered in the seat. I have some decal paper and was looking at using one of the two below. Thank you for looking/following.
-
Worked some more this evening. Spent some time attaching wires and boots to the coils. After a bit of cussing and wanting to put some tweezers through the wall, because I kept getting glue on them. I painted the seats a couple of nights ago and decided to take another look at the whole thing together. I mocked the engine, frame, grill, windshield, wheels and seats. I was struggling with the grill staying upright. I was looking over these pictures and I kind of like the grill tilted back a bit. Thank you for looking/following.
-
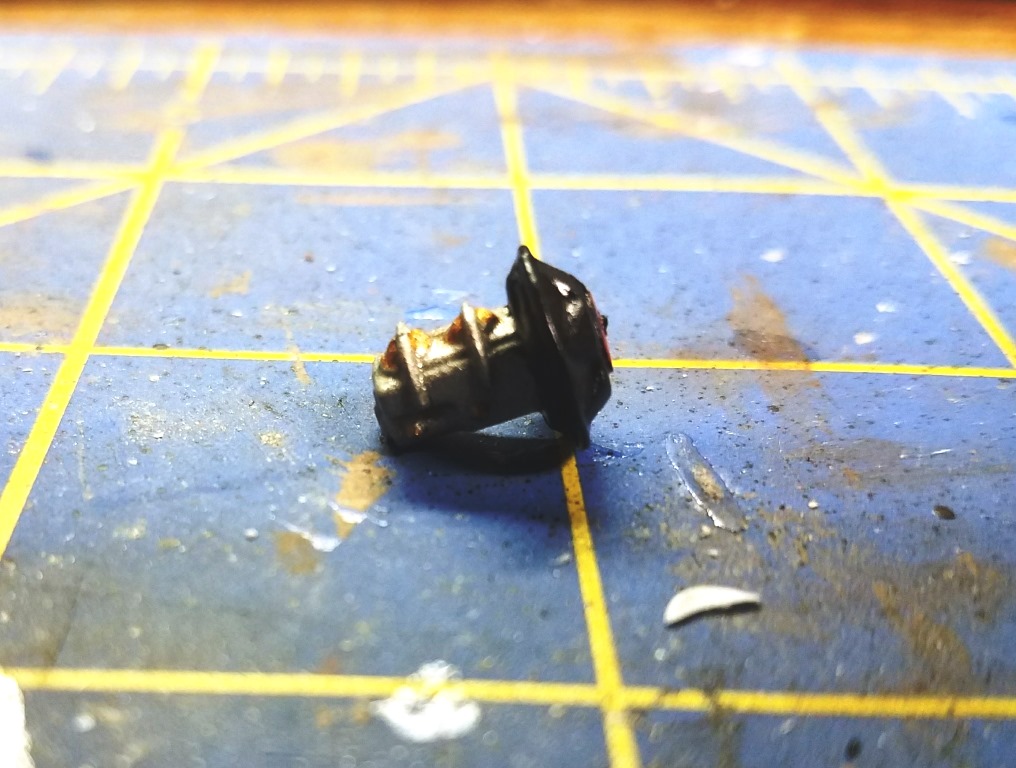
Got a little work on this tonight. Test fitted the bottom of the body to the frame and installed the gas tank and battery box. The engine looks like it sits in the correct spot from the side Some of the painted parts. The body is panted, but when I took the picture I noticed the uneven clear coat, so it got a light sanding and another clear coat. Looks better now and will spend the night drying. The finished brake booster. I finished both rear shocks this evening. They both are functioning shocks. Thank you for looking/following.
-
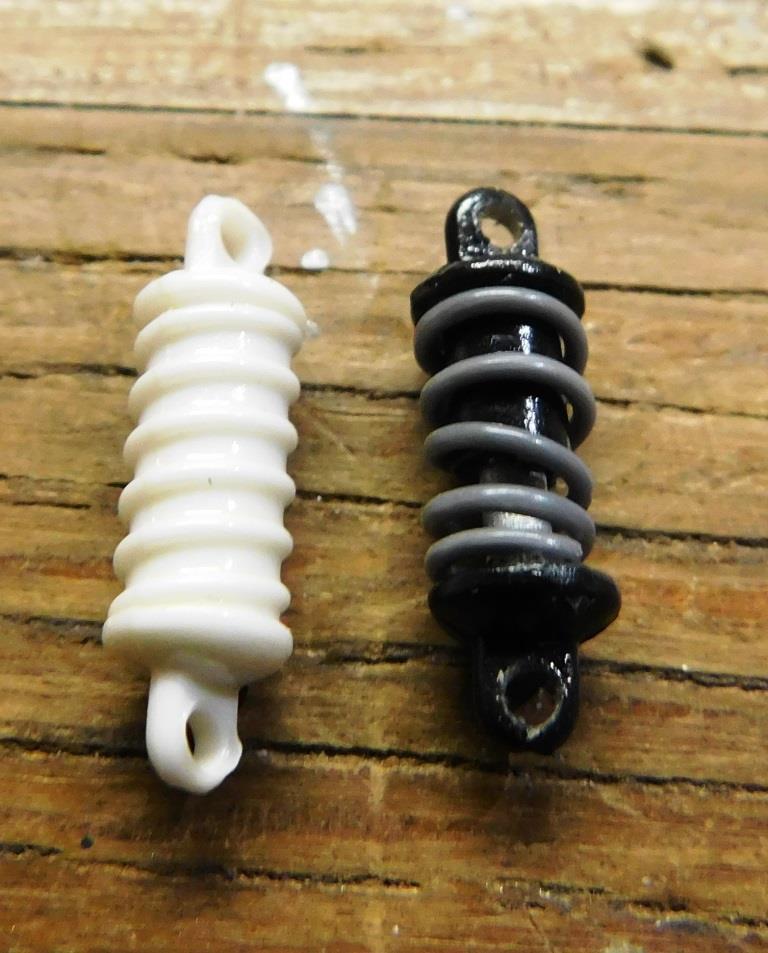
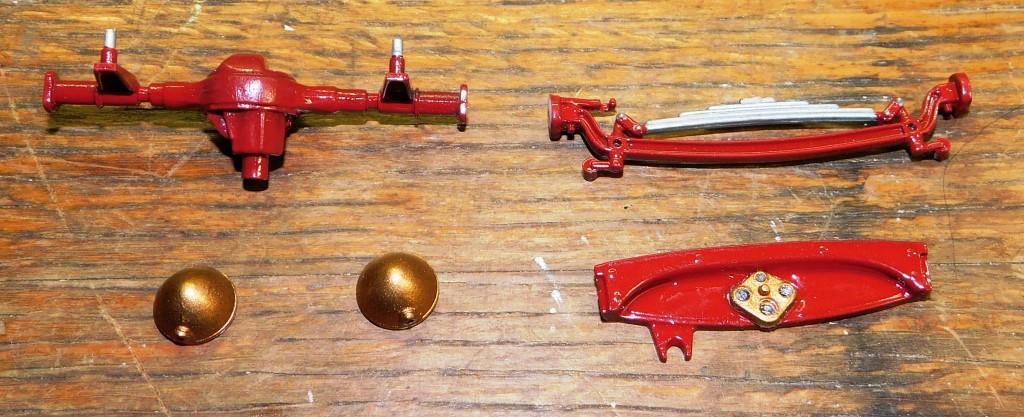
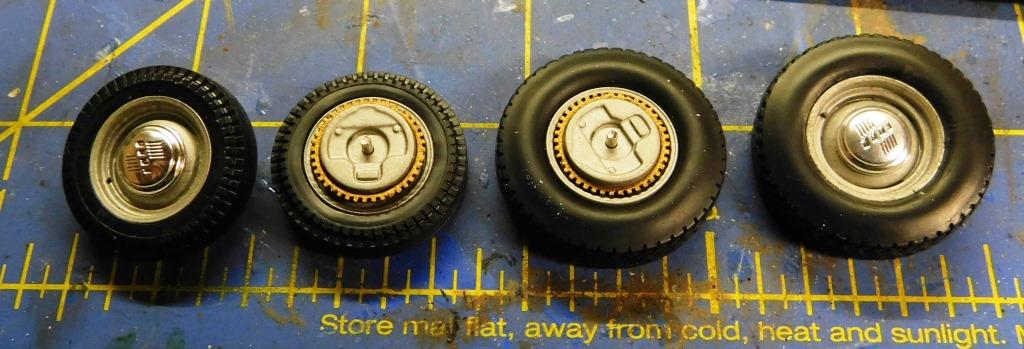
Worked a bit more on this one this evening. I have been fighting a bad cold for a week and my life was either spent at work or on the couch. I finally got the headers done. If you guys remember I took the headers from the '29 and added a piece of styrene to the space in the middle to create another pipe. I think they look pretty good now that I have them painted with a flat steel color. I figure I will paint the rest of the exhaust the same color. I got the tires and wheels with the brakes painted and together. I decided that flat steel was the way to go with these too and put the kits moon caps on them. A couple more pieces painted up. Axles, dashboard and headlights. The headlights are the gold color that I am going to paint the frame and some other small parts. The last thing I got to tonight was one of the rear coil over shocks. Since these are very visible I wanted to add some detail to them, but I was having difficulty painting up the ones that came with the kit to my liking. So I decided to simply make some out of rod styrene and wire. The biggest issue I had was the ends of the shock. I decided since I would not be using the ones that came with the kit, Cutting off the ends and gluing the styrene rods to them to create each side of the shock. Then I simple slipped the coiled wire over the larger side and put a small drip of glue on the end of the wire on each end. After the glue on the wire is dry the shock should have a little bit of adjustment to them so they will fit as good as the originals. Just need to touch up the paint (did not notice till I was posting picture). I have a simple question at this point hoping that someone has an answer for me. Since I cut the body back and I redid the firewall, there does not seem to have a lot of detail on it. I was thinking that maybe I could and a brake booster to the firewall engine side of the firewall to dress up the blank space a bit. I mean if I had one of these engines in a rod like this I would want as much help as possible to come to a stop. I found one in my junk box and started touching the paint on it up. I know that a real rod like this would not have had one, but would it be possible that after the modifications similar to the ones I am doing, something like this might have been added? Thanks
-
Show Me Some Hearses!
pcm1977 replied to Swifster's topic in Model Trucks: Pickups, Vans, SUVs, Light Commercial
Nice looking hearse Ken. That's how I want to go out. -
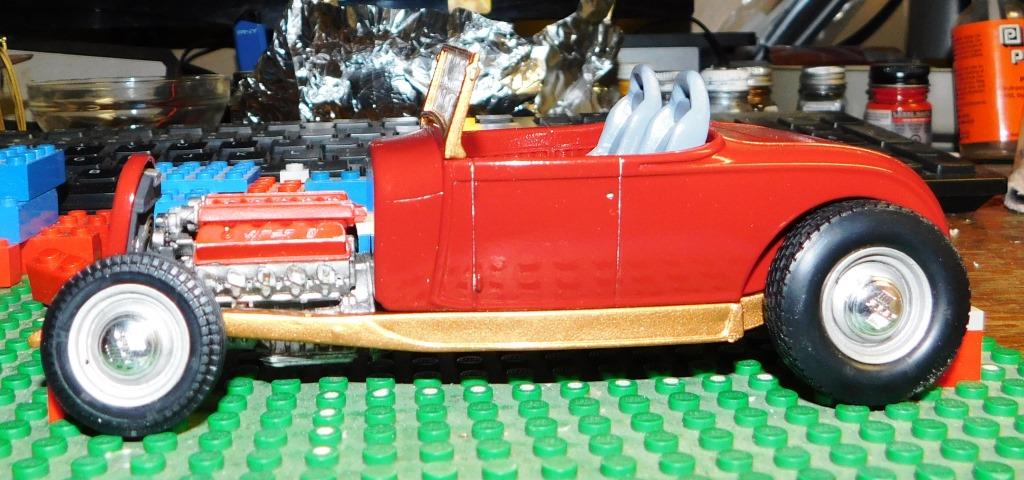
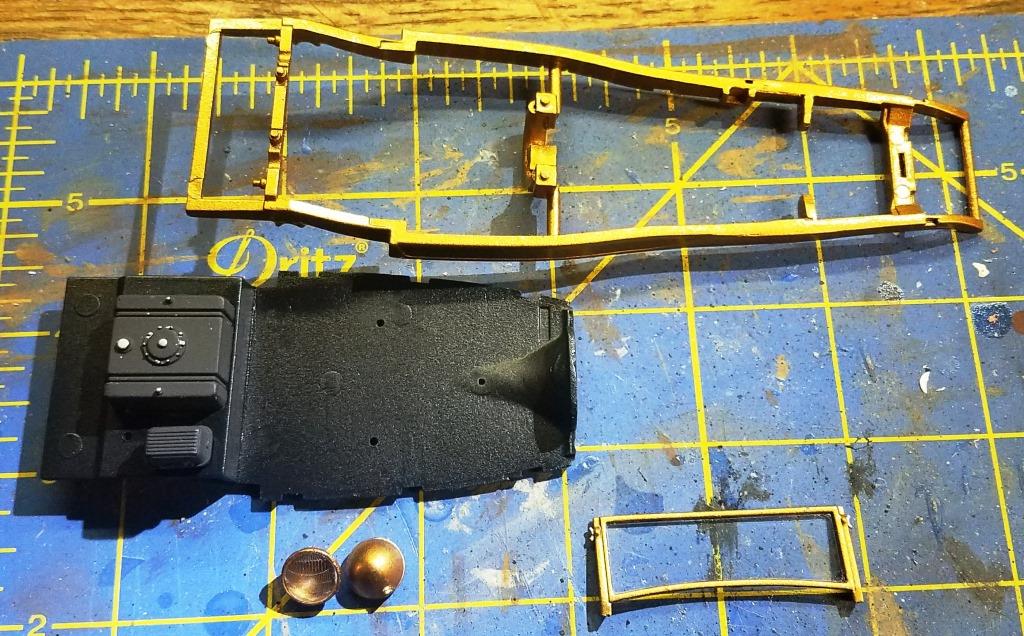
So I have made a bit of progress over the past couple of days. I had to reinforce the frame in the cut location some more. I added some very thin pieces of styrene on both sides of the frame and will sand them down to blend them in once the glue dries for a day or two. I also added some styrene to the tops of the engine mounts and raised the transmission mount in a attempt to raise the engine up some more. This however had and adverse effect on the fit with the firewall. After numerous attempts at trying to modify the firewall I finally gave up and cut the body back slightly and added a vertical piece of thick styrene and began to blend it in to the body. Maybe I will put some bare metal foil on the new firewall. New Height I was pleasantly surprised when I gave the seats out of the Viper a try in the body and they fit. I was so excited, because I want to use these so bad. I also mocked up a stick from the junk box and I am liking the look. The other thing I worked on was the paint colors. After some research I discovered that the Iron Man red from the movies is rustoleum colonial red and the gold is a gold metallic I had sitting around. I put a clear coat on the metallic and it dulled it down a bit making it perfect. The rims and some other small pieces will be painted flat steel. Thanks for looking/watching.
-
Thanks for the compliments everyone. I really appreciate them all.