DoctorLarry
-
Posts
1,135 -
Joined
-
Last visited
Content Type
Profiles
Forums
Events
Gallery
Everything posted by DoctorLarry
-
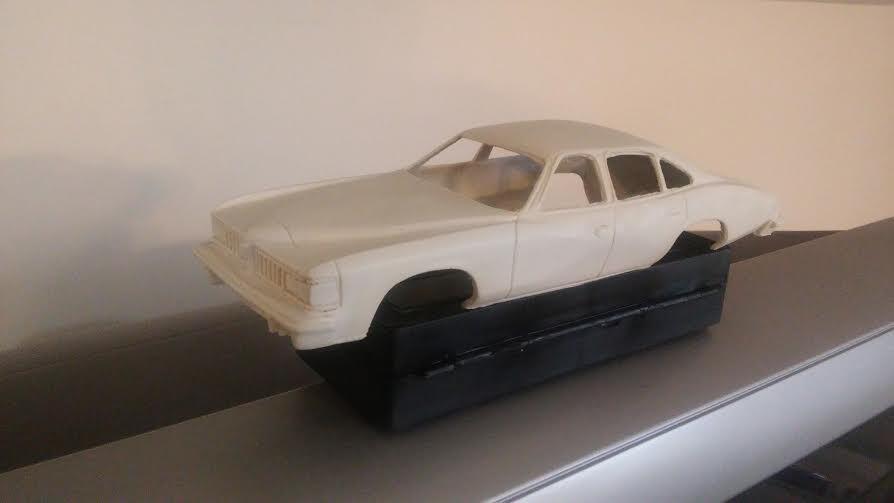
Finished the bumpers and shot some paint. Needs to be wet sanded and re-shot, but It should be ready for casting next week.

-
Salvino's decals?
-
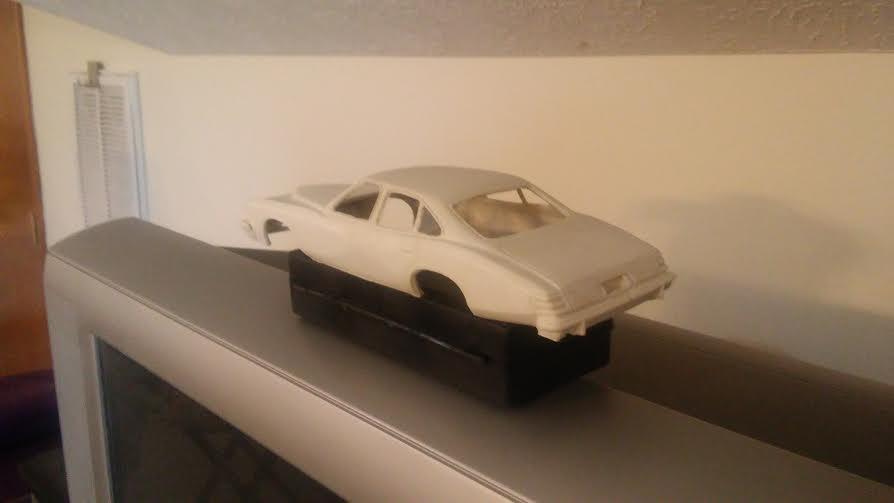
Mine is almost done. Tweaking at both ends and almost ready to cast.
-
You beat me to it! Looks great.
-
Anyone Recognize This?
DoctorLarry replied to DoctorLarry's topic in WIP: Stock Cars (NASCAR, Super Stock, Late Model, etc.)
Not yet. -
Anyone Recognize This?
DoctorLarry replied to DoctorLarry's topic in WIP: Stock Cars (NASCAR, Super Stock, Late Model, etc.)
Sent their email address an email. Probably a strange request but will see if they answer. Thanks for the link. -
Anyone Recognize This?
DoctorLarry replied to DoctorLarry's topic in WIP: Stock Cars (NASCAR, Super Stock, Late Model, etc.)
My latest fixation-77 Buick Century/regal NASCAR racers. I need to stay off the Petersen Archives web site! -
Anyone Recognize This?
DoctorLarry replied to DoctorLarry's topic in WIP: Stock Cars (NASCAR, Super Stock, Late Model, etc.)
You're the man! From what I read he only ran 3 races and the daisy Shop was owned by his wife. Now If I could find more pictures and someone to do the decals... -
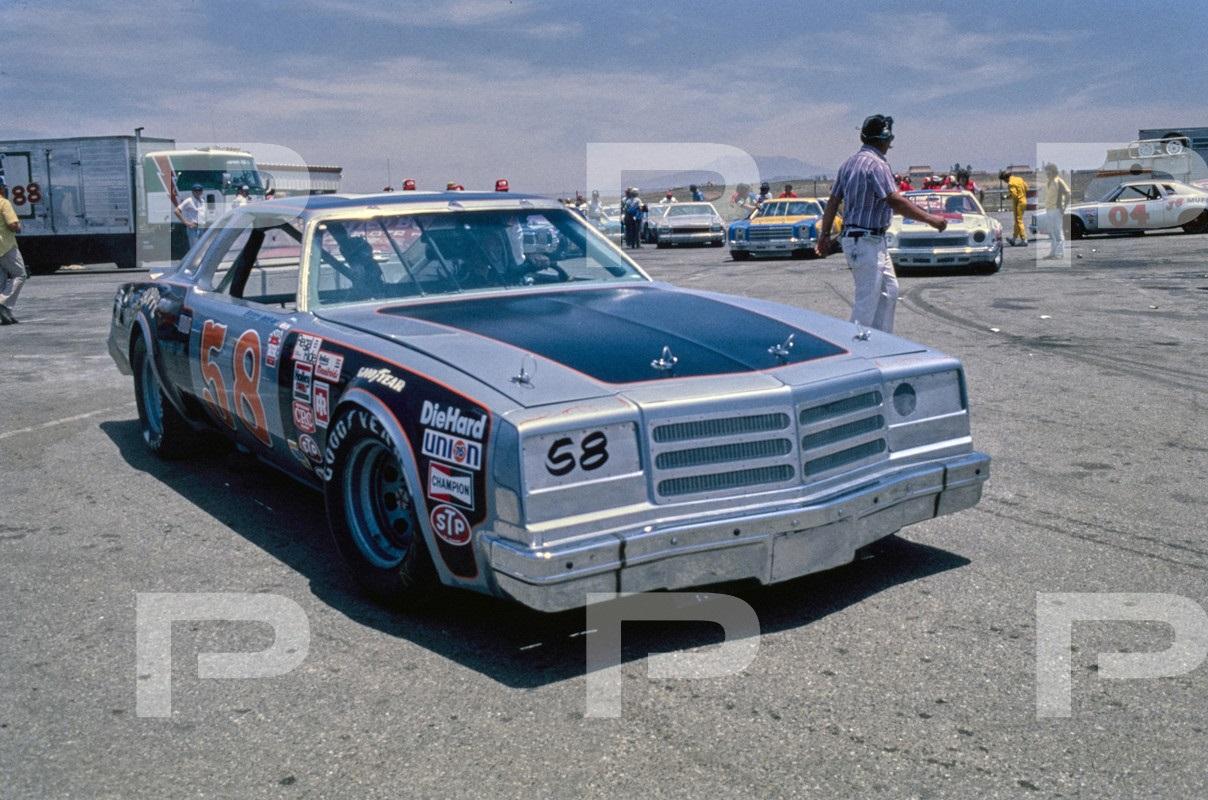
I found this in the Petersen Archives, which are a treasure trove of nice photos, free to download. I think it is at a NAPA 400 and I think from what I can find on the web it is Rocky Moran. Anybody know?
-
Another cool vintage build-who did the decals?
-
Does anyone here have people that they use to do custom decal work or anyone who does it themselves? Thanks!
-
1968 Shelby Green Hornet-----Update! 8/4/18
DoctorLarry replied to MrObsessive's topic in WIP: Model Cars
I saw the same article today-lots of good pictures, especially of the rear end. -
77 Pontiac LeMans Sedan-Calling Buford T.
DoctorLarry replied to DoctorLarry's topic in WIP: Model Cars
They did.
-
Do the tires come with the gold lines or is that a decal?
-
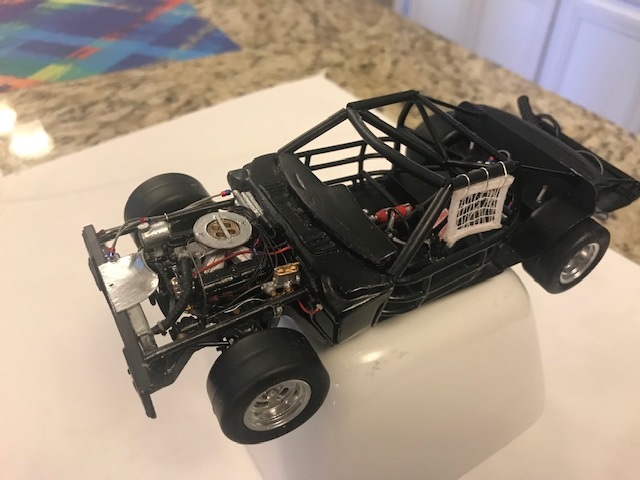
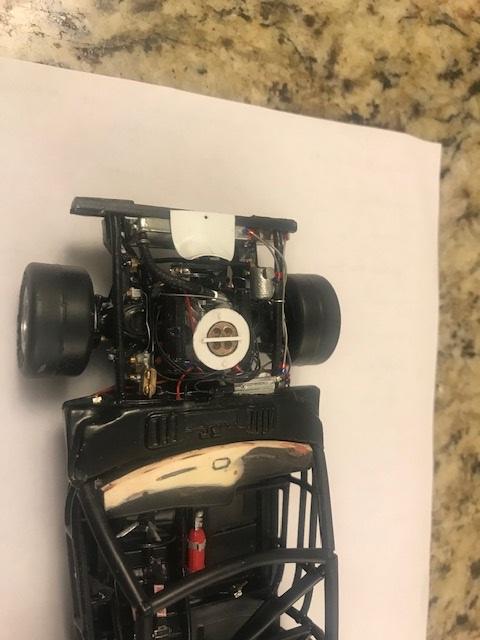
Under the skin:
-
Thanks! I felt it was worth it.
-
Thanks for the compliment!
-
Thanks for all the help and the heads up on the decals. They are very nice! Tire decals are a pain, though.
-
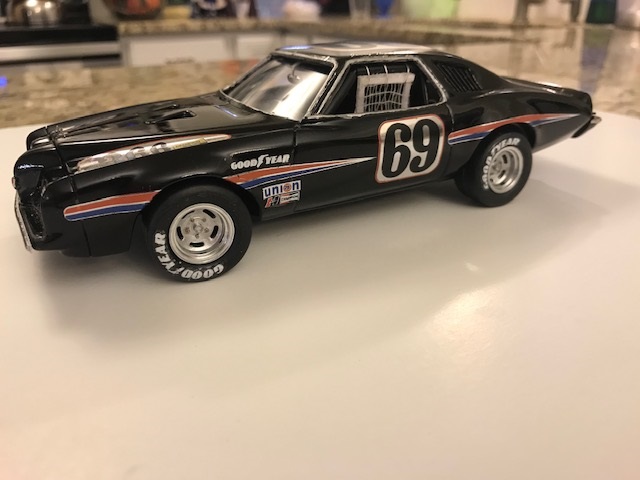
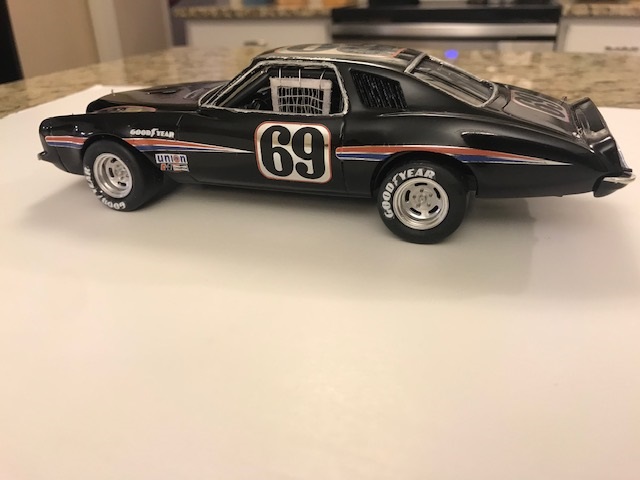
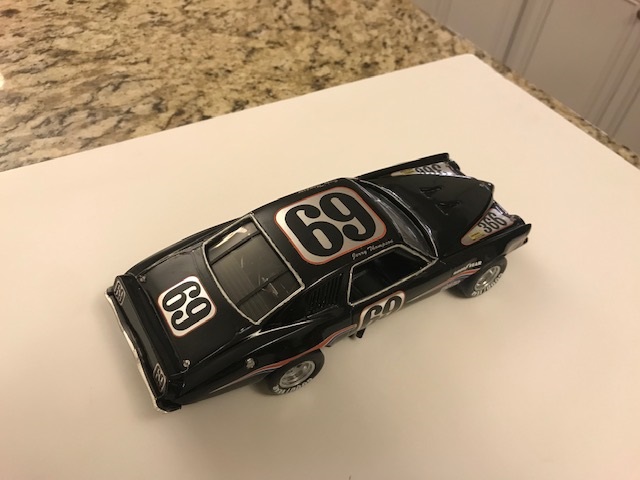
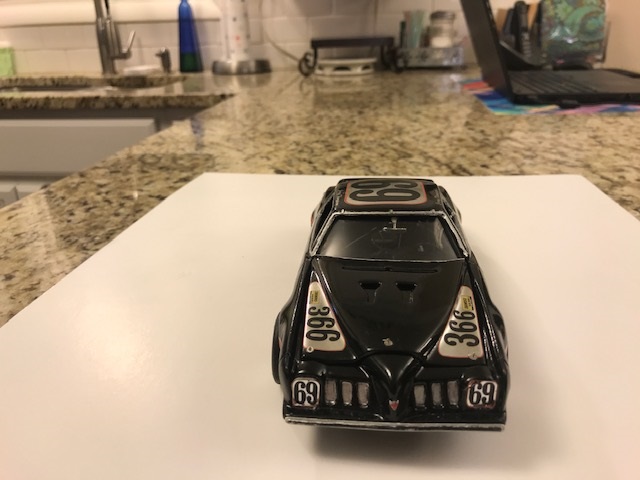
Here is the final product. My own resin body, chassis from Revell 66 GTO, various resin parts, Monogram 1/24 tires, parts from a Bill Elliot Thunderbird and a UNO Buick Regal, Speedway decals (killer) and scratch built everything. Model Master black lacquer and Wet Look Clear. Thanks to Harry Quackenboss for the tip on the Petersen Archives and Yellowsportwagon (Tim) for guidance along the way. Most things came out okay but there are mistakes but overall I am happy.
-
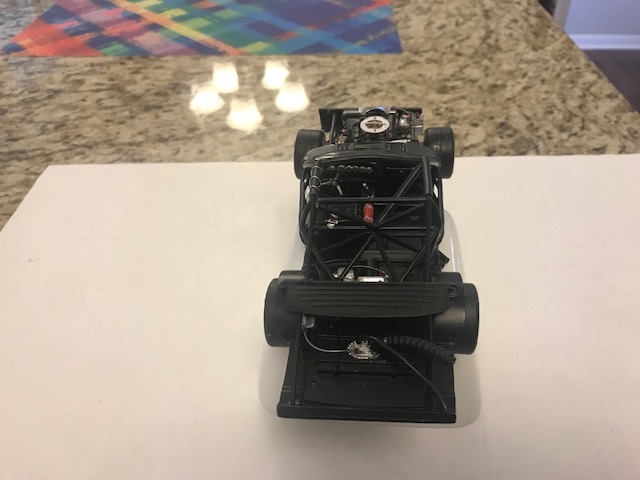
Final Stages: Chassis done. I added the fuel fill and vent lines, chassis jacks, exhaust and trunk fill panel. Made a window net from gauze bandage and ribbon and added the hold down seat belt. Touched up the paint and it is ready for the body.
-
Getting near (I hope) to the end on this one. I got some Molotow chrome on the window moldings, added the glass retaining straps and clips to the windows and put the trunk lid pins and clips in. On the chassis I finally finished the 180 degree headers and am mocking up the tail pipes. Made the shroud and carb plate for the hood. There are a few more details to work out then clean and detail the body with decals. Then on to a hopefully shorter build next.
-
Tim, what did you use for wheel weights?
-
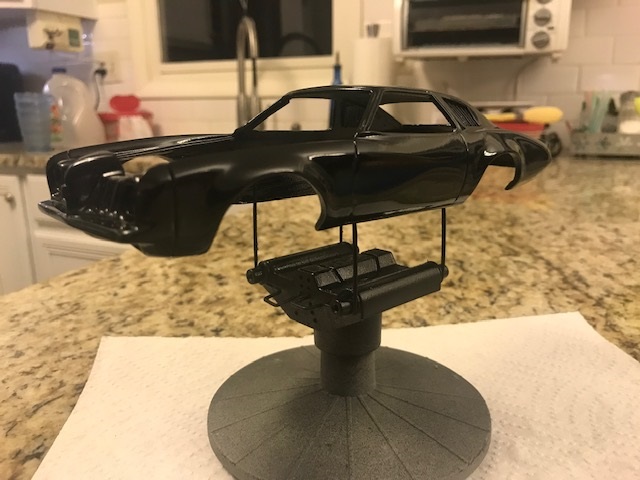
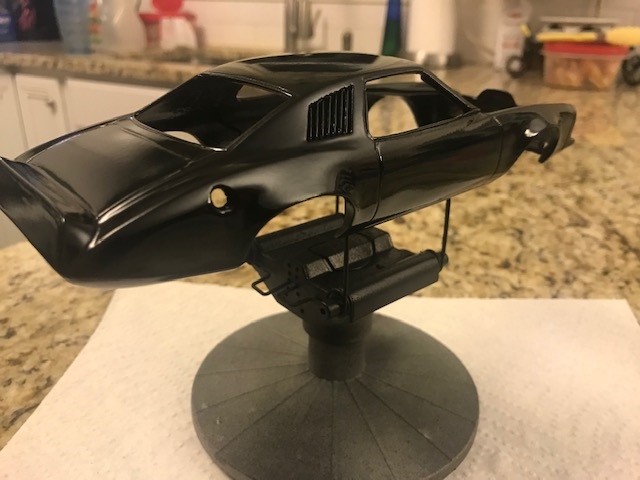
Began final work on this project. I got the body smoothed out and primed. Shot it with Dupli Color auto paint but was not happy with the finish so I re-shot it with Model Master black lacquer. I have a couple of things to finish on the chassis and finish the underside of the hood. After it cures a little I will wet sand and buff then Molotow and decals. Then on to the Minter Firebird.
-
I think it was actually the 1973 NASCAR Rule Book.
-
I could not find a copy. The pages were on Cotton Owens' web site. He had a few pages. I looked on EBAY but could not find the actual manual.