DoctorLarry
-
Posts
1,135 -
Joined
-
Last visited
Content Type
Profiles
Forums
Events
Gallery
Everything posted by DoctorLarry
-
Check your local Hobby Lobby in the beading section. You can make pretty realistic braided lines with it. The wire comes in fine, medium and heavy. Fine for braided brake hoses, medium for fuel, heavy for oil lines. Detail Master also sells braid in different sizes. Hobby Lobby has larger blue and red beads that I use fro the braided radiator hose ends in my Century Project. The middle photo is my Adams Grand Am project. They used rubber hoses for the radiator. To get the ribbing, I used wire with a stretched out spring around it and then put heat shrink tubing over that. After it is shrunk, it looks great and is bendable because of the wire core. Look at the Drag Racing Forum. There is a sticky on braided sizes in scale and some of those folks can really detail an engine. The hose clamps are Detail Master I think but they are a pain to ses.

-
Clear Over Decals
DoctorLarry replied to DoctorLarry's topic in WIP: Stock Cars (NASCAR, Super Stock, Late Model, etc.)
Regular decals were fine, The foil 28 on the doors did not like it. I found another set of decals on EBAY and ordered them. I'll just use the door decals and not clear them. I may experiment with acrylic rather than lacquer clear. It may not cause the same issues. -
Clear Over Decals
DoctorLarry replied to DoctorLarry's topic in WIP: Stock Cars (NASCAR, Super Stock, Late Model, etc.)
Tried the Tamiya Mist. Regular decals no sweat but the foil decals crazed a little. Oh Well. Try to find another decal set on EBAY. -
Clear Over Decals
DoctorLarry replied to DoctorLarry's topic in WIP: Stock Cars (NASCAR, Super Stock, Late Model, etc.)
My kids are grown even though one still live here. I just worry about my wife's "cleaning frenzies". Things disappear... -
Clear Over Decals
DoctorLarry replied to DoctorLarry's topic in WIP: Stock Cars (NASCAR, Super Stock, Late Model, etc.)
Thanks, Tim I too have painted my share of cars and motorcycles but was not considering the solvent reaction to the underlying paint. I was more concerned about solvent reaction with the decal film itself. I use lacquer on these models because it dries quickly and can still be color sanded and buffed even though it does not last like a catalyzed finish will. It will dull out over time and as you noted with the putties, since it dries by evaporation rather than chemical cross-linking it shrinks as the solvents evaporate. Since I have already decaled the car, I may try the floor finish route or just leave it alone. -
I think some of you have posted that you clear over decals. Is that the case or will a lacquer-based clear lift the decals or cause them to distort?
-
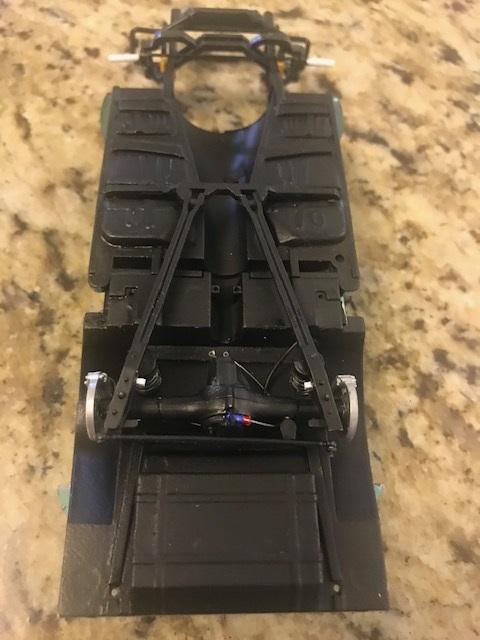
Most accurate way to do cars of this vintage. Stock frame, mostly stock floor pans, "Galaxie" front clip and Chevy truck arm rear. Frankenstein's NASCAR monster chassis!
-
Yes. it was gummy and soft. I sanded and scraped to no avail and the color was just wrong. So even though the paint was slick, it went into the strip tank. I hope to put the silver on my Cutlass tonight and decal it.
-
Paint did not suit me. It was too far off and the resin on the nose was doing funky things so it went into the purple pond. Start from scratch.
-
Salvinos Baker Olds
DoctorLarry replied to DoctorLarry's topic in WIP: Stock Cars (NASCAR, Super Stock, Late Model, etc.)
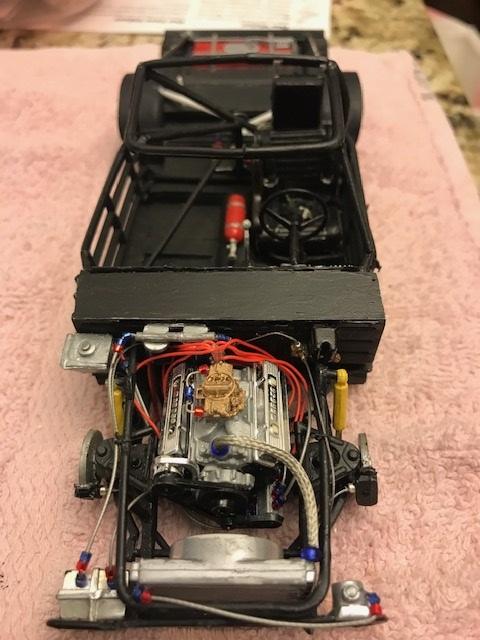
Chassis is progressing. I hate enamel paint because it takes forever to dry. Wiring and plumbing is progressing and still have to plumb the brake lines. Black body paint is curing. I need to spray the silver now.
-
6 Valvoline Thunderbird
DoctorLarry replied to Scalper's topic in WIP: Stock Cars (NASCAR, Super Stock, Late Model, etc.)
Looks good! Thanks for the tip. -
6 Valvoline Thunderbird
DoctorLarry replied to Scalper's topic in WIP: Stock Cars (NASCAR, Super Stock, Late Model, etc.)
Looks fine to me. How did you get the air filter to look more realistic? -
Salvinos Baker Olds
DoctorLarry replied to DoctorLarry's topic in WIP: Stock Cars (NASCAR, Super Stock, Late Model, etc.)
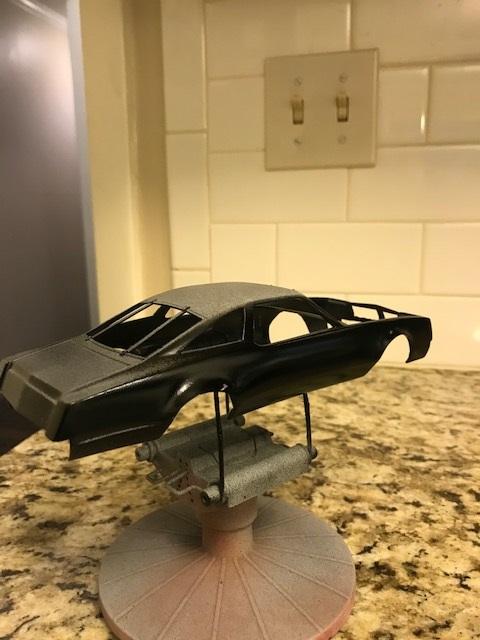
Black paint on the body. I have to let it dry before the silver:
-
Thank goodness for the Petersen archives. If you have not been there yet, you should but beware-you can get lost in the photos.
-
Salvinos Baker Olds
DoctorLarry replied to DoctorLarry's topic in WIP: Stock Cars (NASCAR, Super Stock, Late Model, etc.)
I know. I used the same techniques I used on the Buick and followed your lead on the fender flares. -
Salvinos Baker Olds
DoctorLarry replied to DoctorLarry's topic in WIP: Stock Cars (NASCAR, Super Stock, Late Model, etc.)
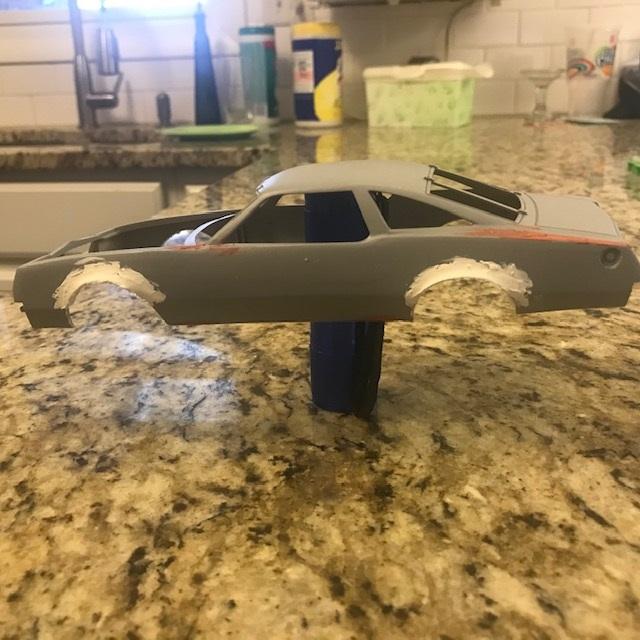
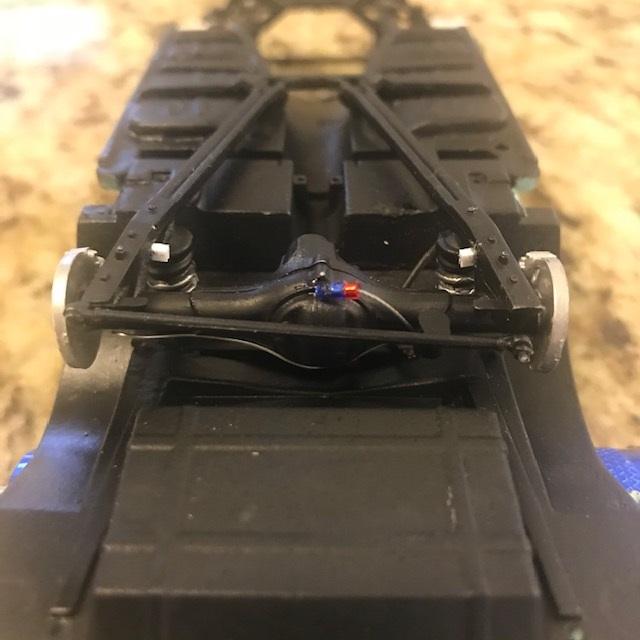
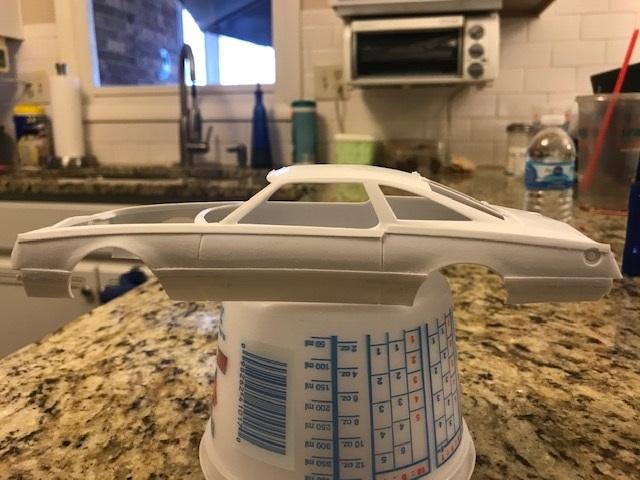
Body work is almost done. New body lines in the lower body in place along with the upper body lines. I put some flares into the existing wheel wells and just need to finish them and it is ready for paint. Basic frame assembly is doe using the Salvino's "upgrade kit". Looks better than the torsion bar setup. Rear end is from the TBird. Seat is parts box. I need to add the rear shocks yet. Plumbing on the rear is pretty much done. Now on to wiring and plumbing the rest, installing the cage and engine.
-
Salvinos Baker Olds
DoctorLarry replied to DoctorLarry's topic in WIP: Stock Cars (NASCAR, Super Stock, Late Model, etc.)
Spring break is a lovely thing. Started on the body of the Olds. It needs a body line 1/2" up from the rocker and then along the top edges of the sides. I started with .015X.100 Evergreen and then Tamiya white putty.
-
Salvinos Baker Olds
DoctorLarry replied to DoctorLarry's topic in WIP: Stock Cars (NASCAR, Super Stock, Late Model, etc.)
Got the frame and cage done. Rear suspension is set. I need some tweaking on the front end and it will be done. The body needs character lines put in but that is similar to the Century project (the real cars used the same doors). However, the engine in the kit is beyond lame. It has zero detail and the transmission looks like scale wise it came out of a dump truck. So I am going to use the engine out of an AMT 90's NASCAR Cutlass. It has great detail and it can be easily wired and plumbed.
-
Salvinos Baker Olds
DoctorLarry replied to DoctorLarry's topic in WIP: Stock Cars (NASCAR, Super Stock, Late Model, etc.)
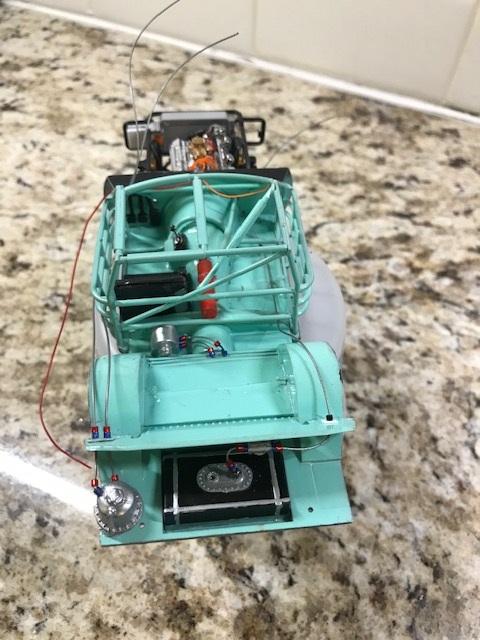
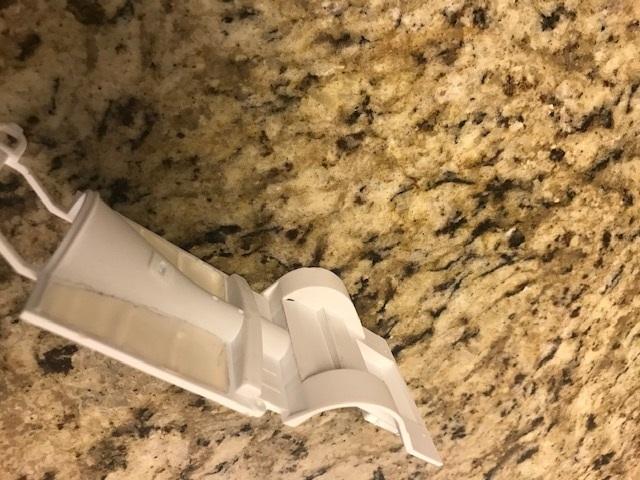
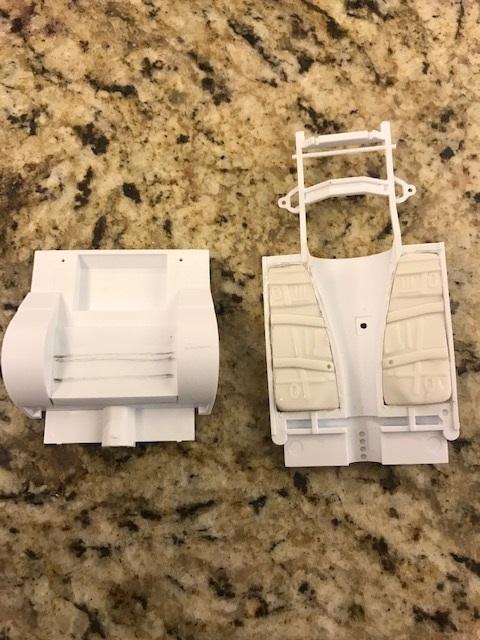
Did some more work on this. The real car has a tunnel mount for the shifter. Added that. The roll cage on the 1-1 has no middle brace and has a diagonal running bottom to top so I cut out the middle brace and added that. I added a mounting area and tunneled the floor pans for the truck arm so it sits right. Finished the kickup. On the real car the puke tank for the radiator is on the firewall. That came from the T Bird. There is also a sheet of aluminum covering things on the driver's side. I added that as well. The kit seat is the wrong style and way too tall for the real car. I found one in the parts box. I also added the floor brace to the cage that runs over the trans tunnel. On the real car the battery mounts behind the driver seat so I need a box there for the battery. The floor pans, cage and front frame are ready for primer.
-
Tim: Would you repaint or decal it as is?
-
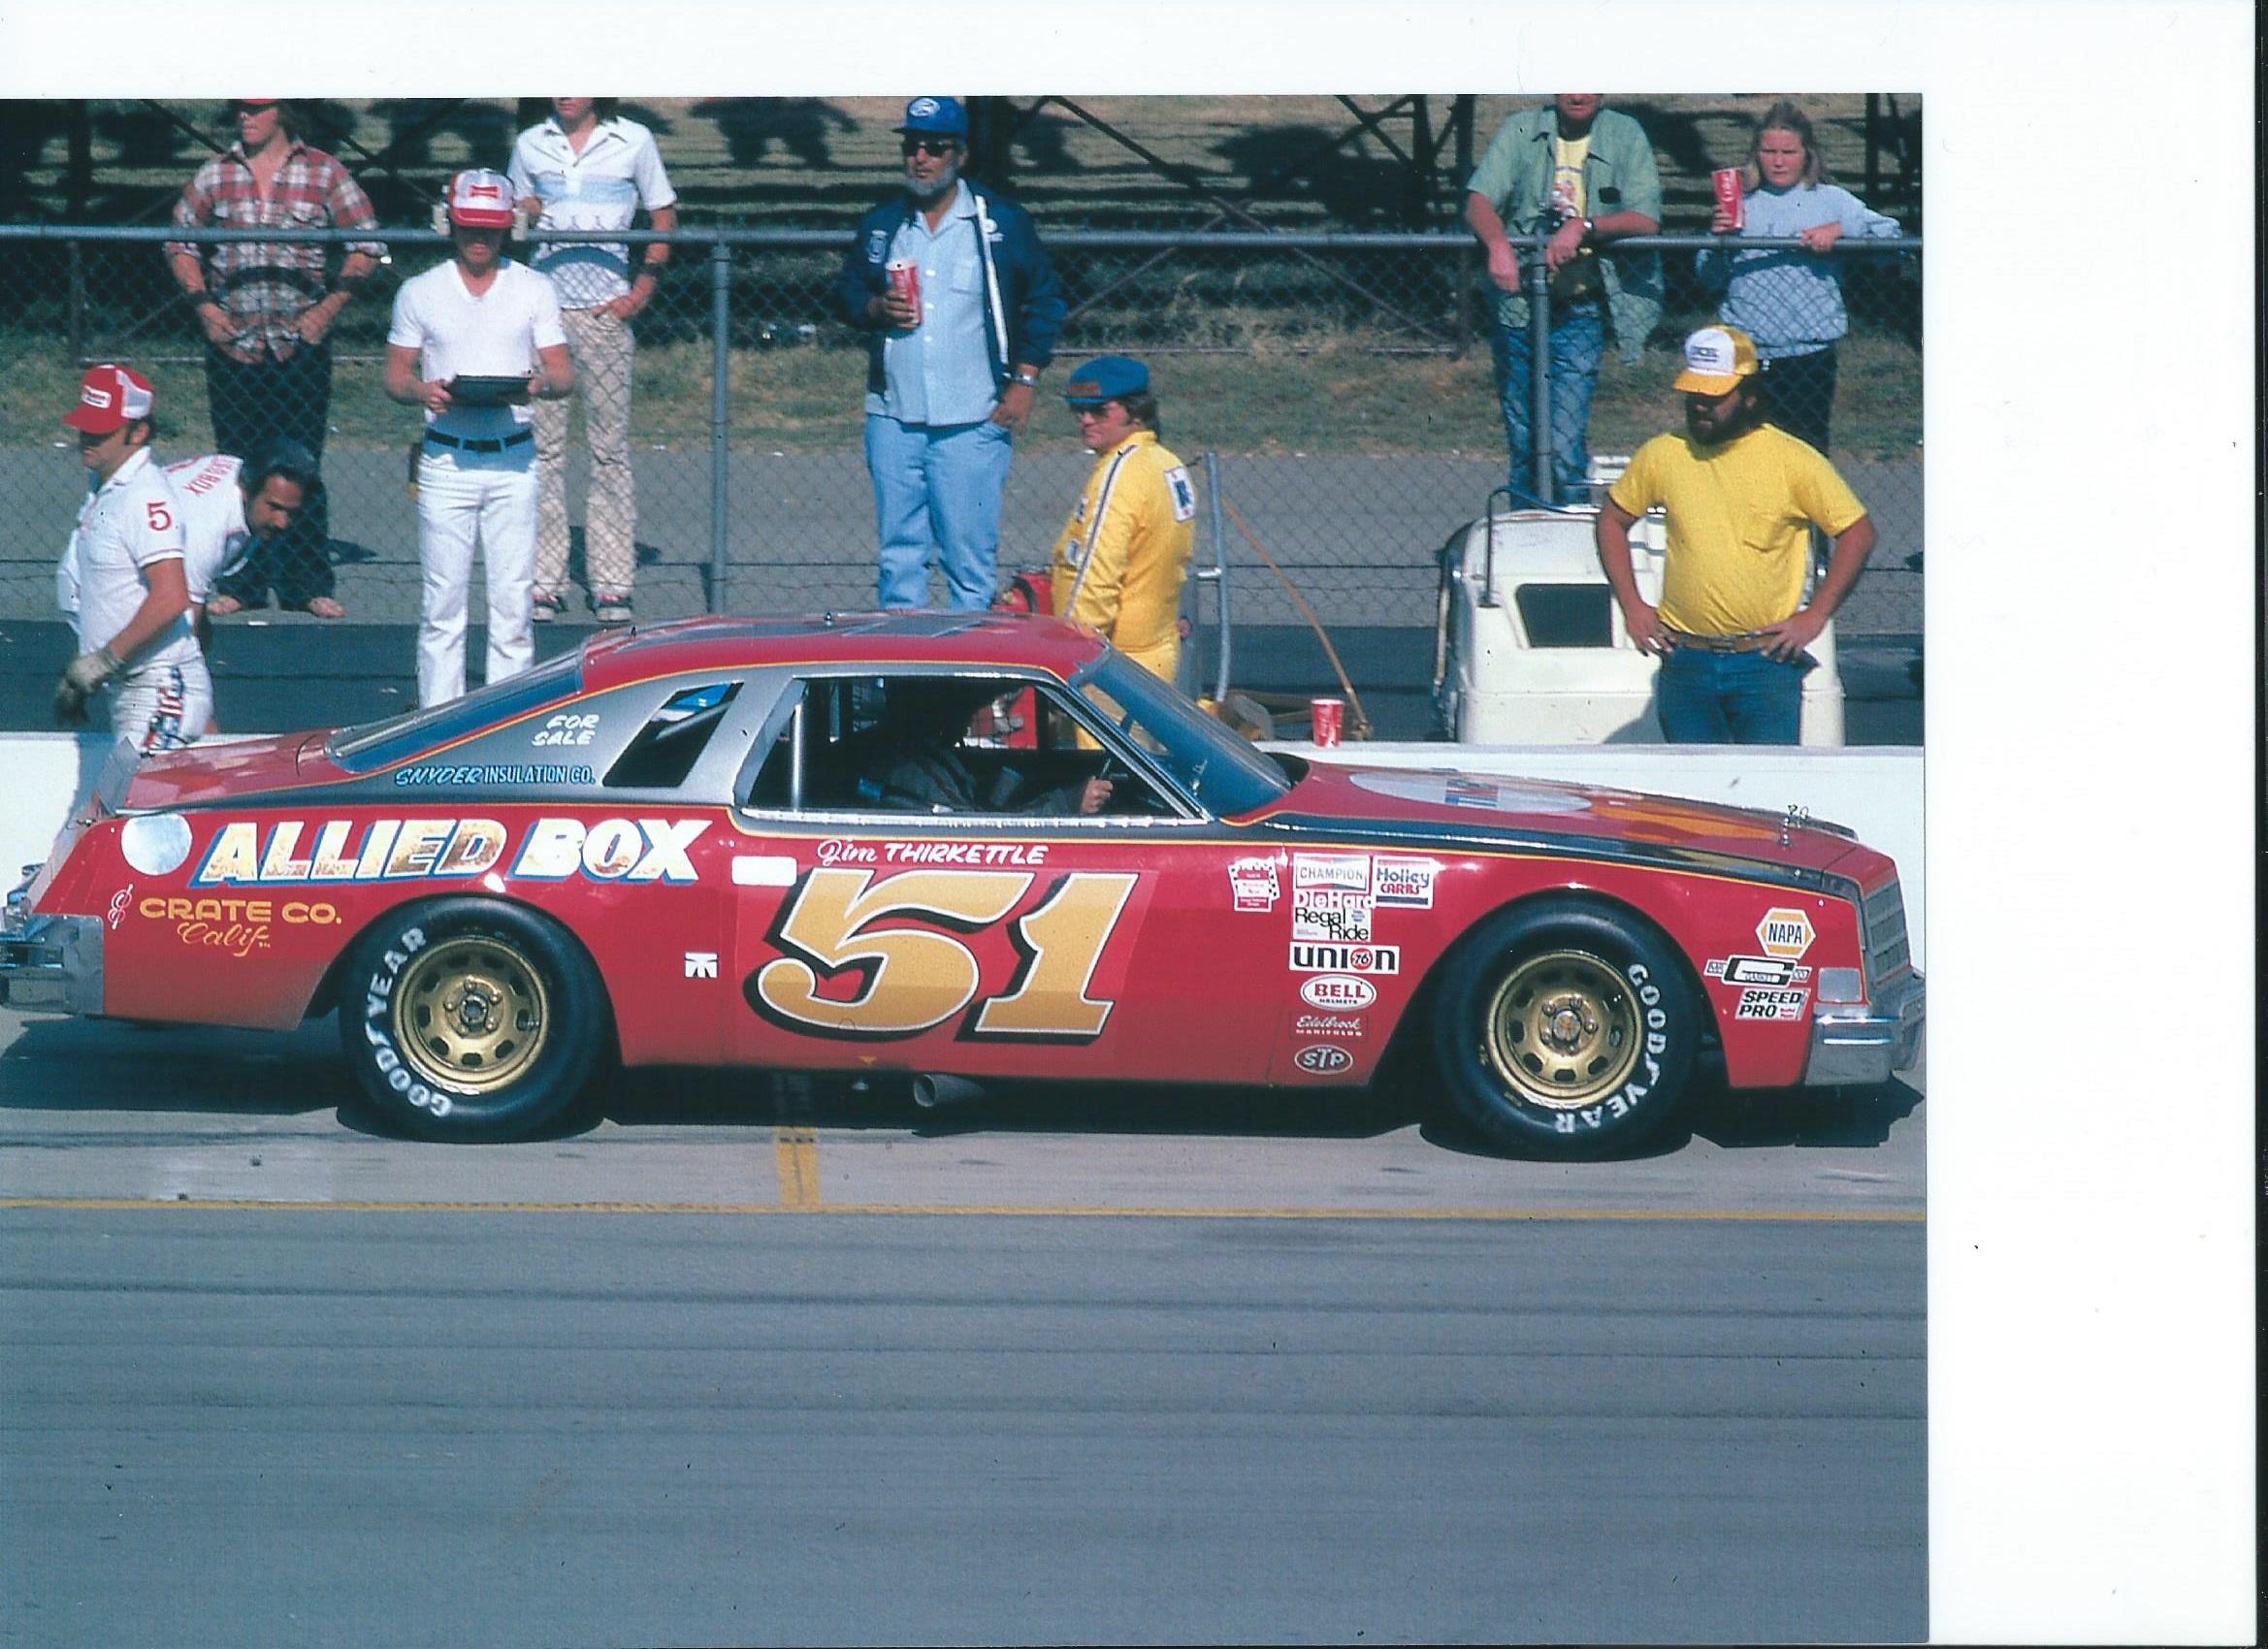
The gray is pretty close. It is the orange that is off. This was a hi resolution picture. The Allied Box and the 51 are gold. The Allied Box was probably gold leaf on the car and the 51 is gold paint.
-
Got the decal sheet from Speedway. Very impressive work! Now I need to figure out the paint color and decide if I want to start all over or go with what I have.
-
Salvinos Baker Olds
DoctorLarry replied to DoctorLarry's topic in WIP: Stock Cars (NASCAR, Super Stock, Late Model, etc.)
I always try to soften the blow, Chuck! I re-did the kickup area and glued the two chassis halves together (instructions say not to do that) The truck arm is sitting approximately where it should. I need to work on the floor pans a little and check ride height. Then box the "frame" area around the perimeter and body work the area. Then check spring and double shock placement.
-
Salvinos Baker Olds
DoctorLarry replied to DoctorLarry's topic in WIP: Stock Cars (NASCAR, Super Stock, Late Model, etc.)
Chassis length is still stock. I just cut the floor pans out and the rear kickup. I will need some more room for the truck arms but will cut that out later. I haven't decided if I will graft the T Bird front frame on yet or use the Salvino's one. It is less bothersome than the rear suspension so I may confine the mods to floors and rear suspension. -
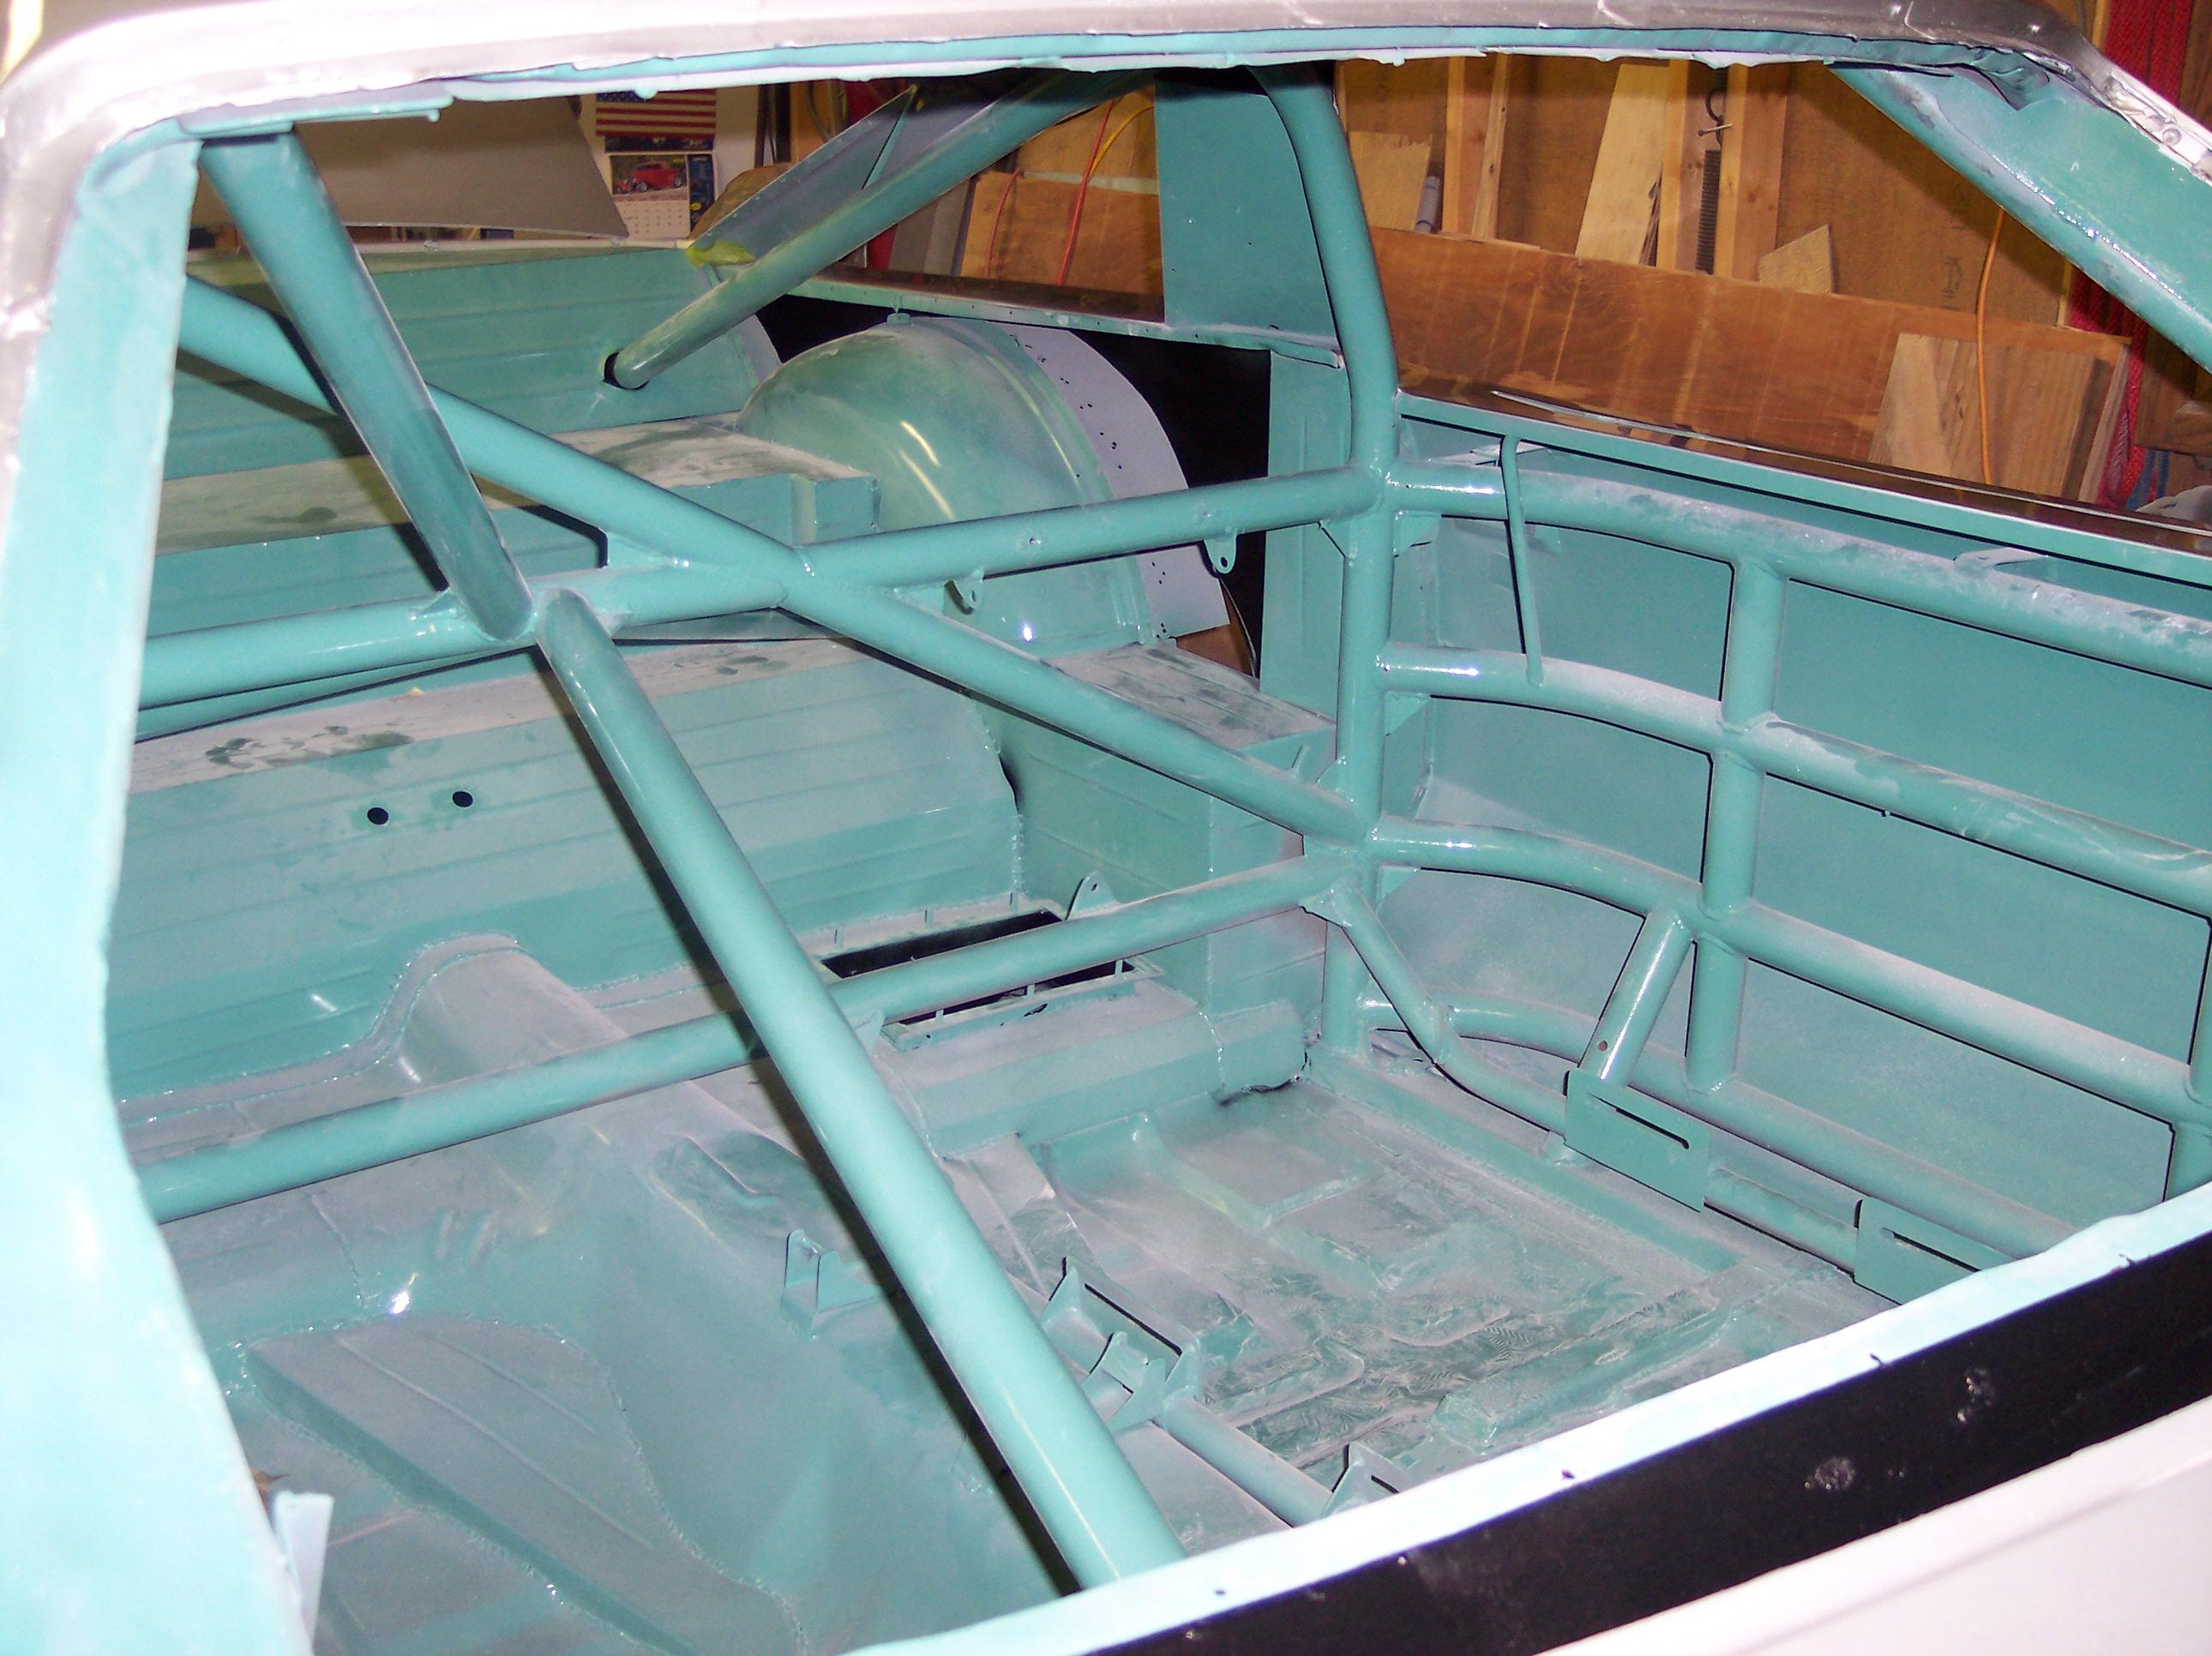
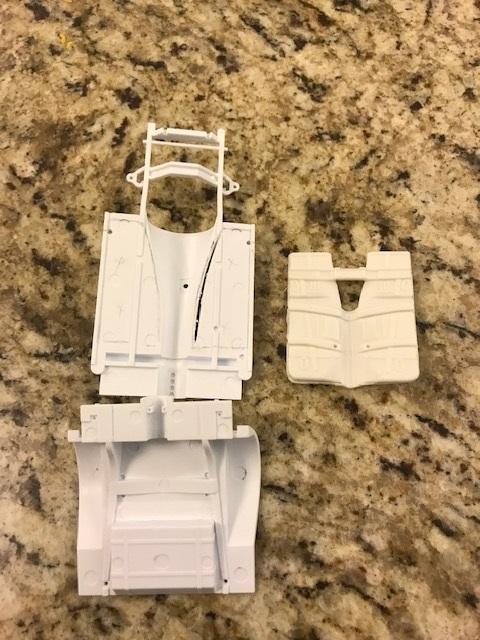
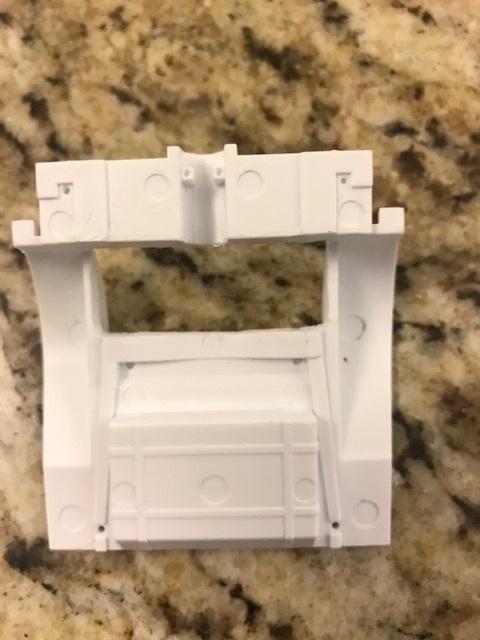
As many have pointed out, The Salvinos Olds has a few minor errors. A great build up was featured In Scale Auto magazine, and he noted wrong chassis, lack of detail in the engine, body lines etc. I bought 1 and got another for Christmas and since I can't leave well enough alone, I thought I could tweak things a bit. Rhine Built's web site has 20 or so photos of the restoration of the Baker Olds and so it is a fantastic reference source. I figured I would start with the chassis. It should have a full frame, a Galaxie front clip, stock floor pans and a Chevy truck arm rear suspension. A derelict 66 GTO donated the floor pans and the trusty T Bird will donate the truck arms. The rear kick up is also all wrong so I cut it out and will rebuild it. Cage is probably wrong too so it will get tweaked as well. This photo shows the rear kickup and battery box in the real car. The second one shows the stock floor pans when they got the car shell in.