Gt fan
-
Posts
748 -
Joined
-
Last visited
Content Type
Profiles
Forums
Events
Gallery
Everything posted by Gt fan
-
You need the wing mounts out of a porsche gt3 that was done by fujumi. They are the same ones. Great job on your build.
-
You should do the wheels black with a thin blue line . Like a redline .
-
Thank you !! They were fun to build. I wish there was a 1/24th version of the car.
-
That looks great!! I did the red version of that car.
-
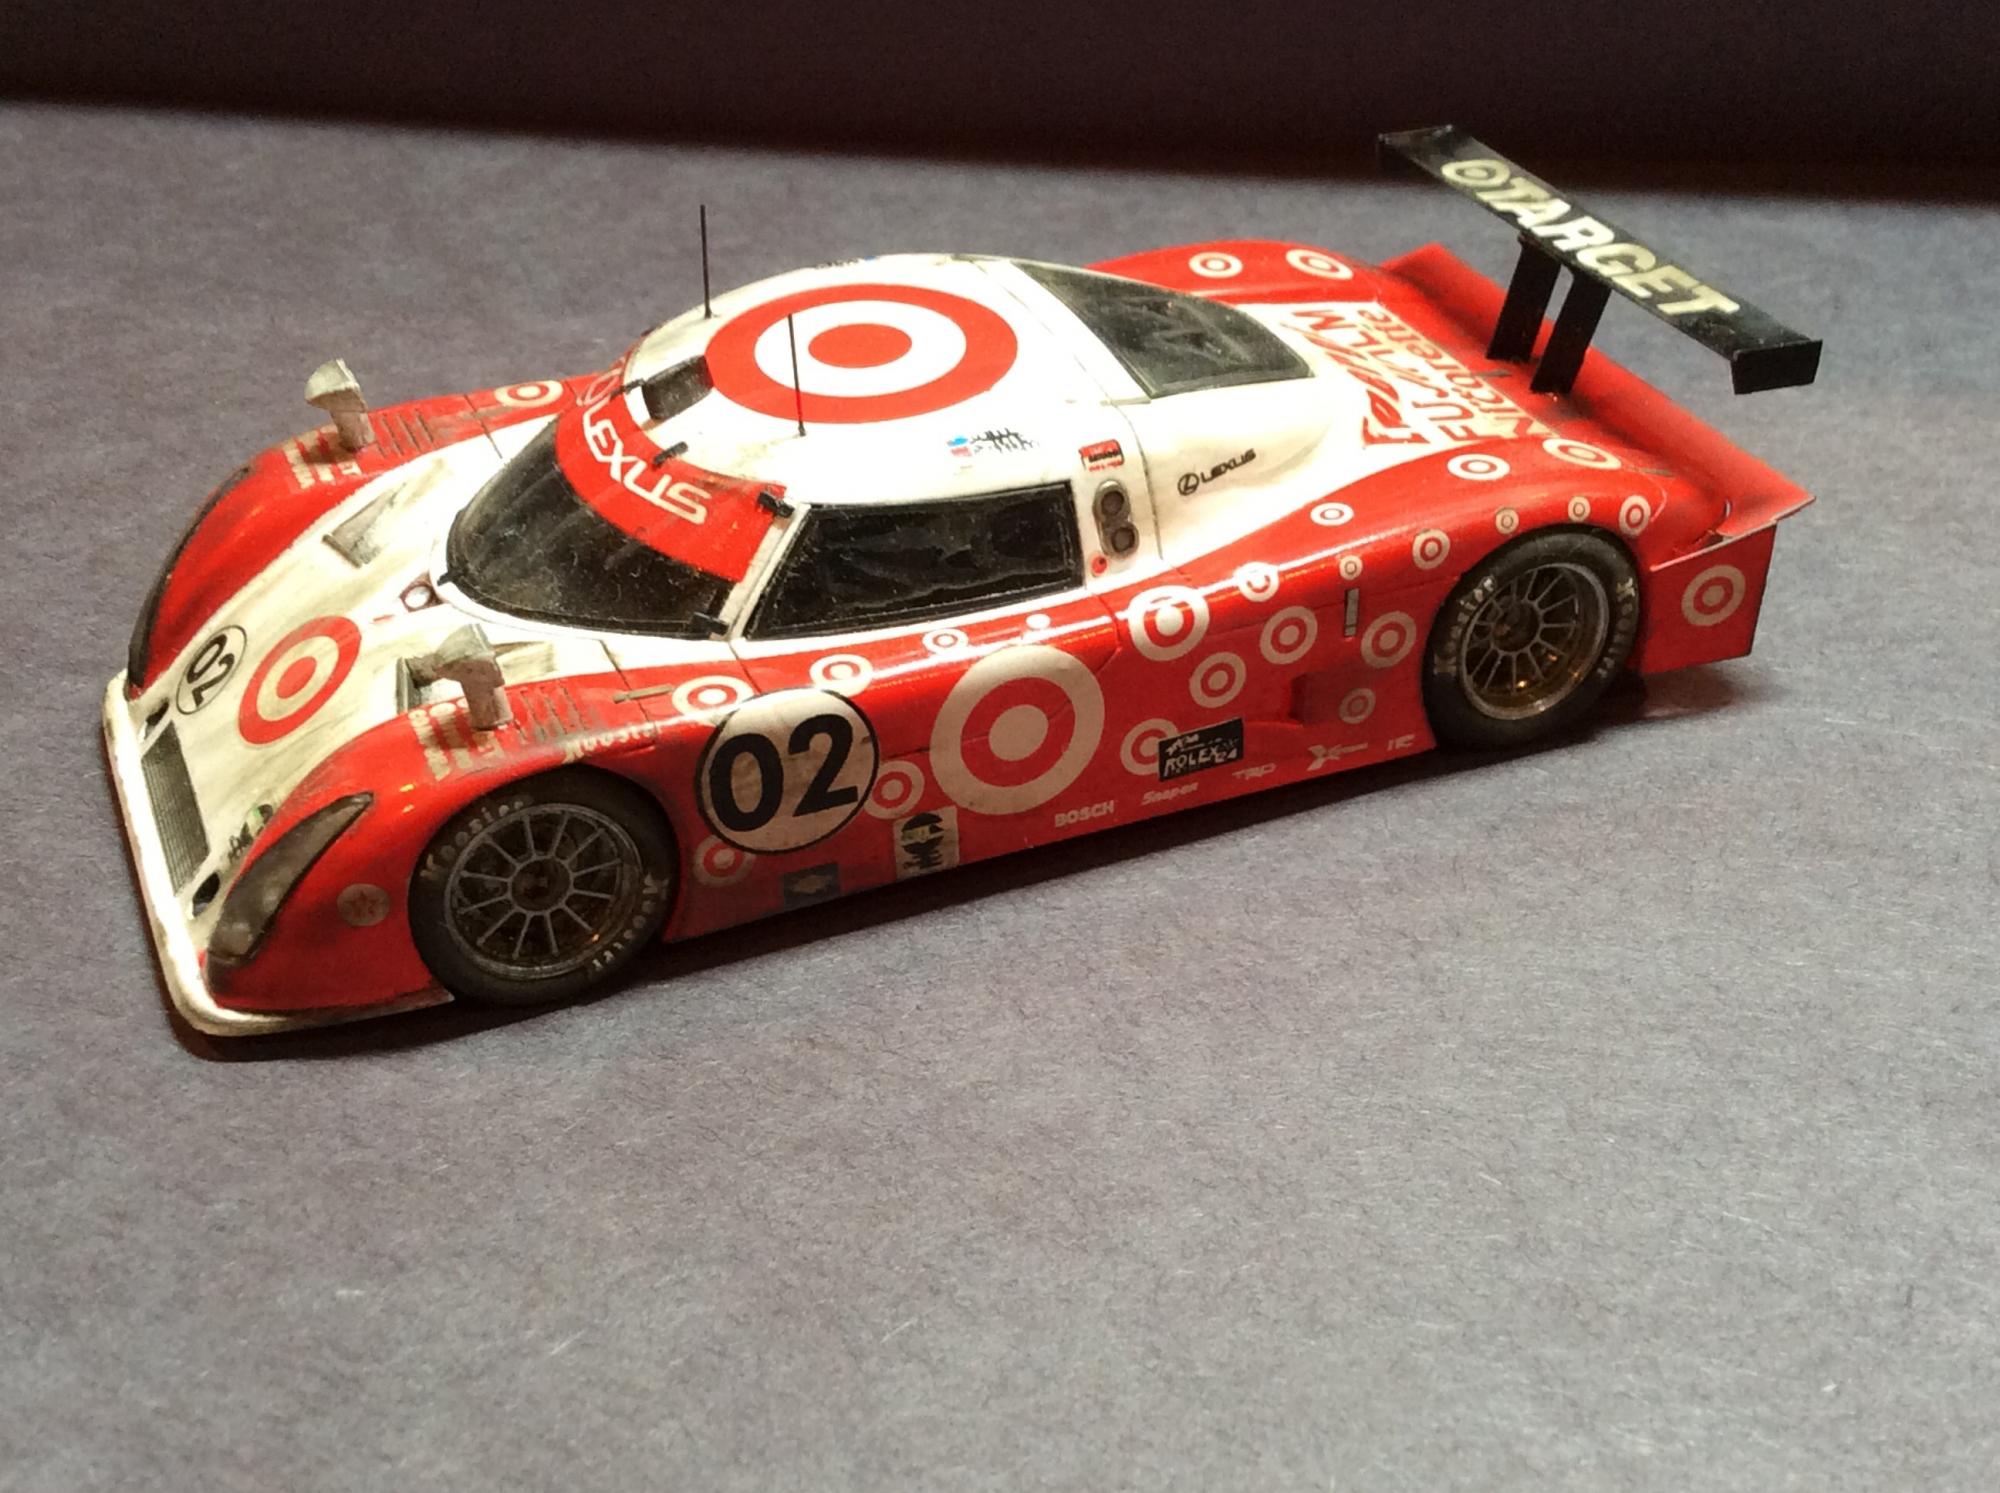
They are water release transfer, like some of the Tamiya kits. There is a small thin sheet attached to the cardboard stock . Cut out the logo , wet the tire with a Q-tip, lay down the transfer and wet the release paper with the Q-tip the logo will lift off on to the tire. I just lightly give it a touch of decal set after it starts to dry. I took out the threaded tires and replaced them with slicks. I hope this helps you out.
-
Thanks guys!!! I'll post some more over the weekend. Cheers
-
I'm back to work on trying to finish up my challenge car. The chassis is just about done ,only a few things to add to the motor. The decals are a bit on the thick side and need a BUNCH of decal set to get them to wrap around the nose. Hope too have this done by the weekend and on too something else.

-
Looking really good Jay..
-
I wish target sold kits like these, I would shop there more often!
-
Yes full resin kits. With photo-etched wheels and details
-
Retire to get out of your contract ... Wait a year and come back to race in a nice red car that has a seat after kimmi leaves ???? It will be interesting to see who they pair up with Lewis... Bring Alonso back ,,, he won't put up with Lewis's BLAH_BLAH_BLAH_BLAH.
-
Very nice work.
-
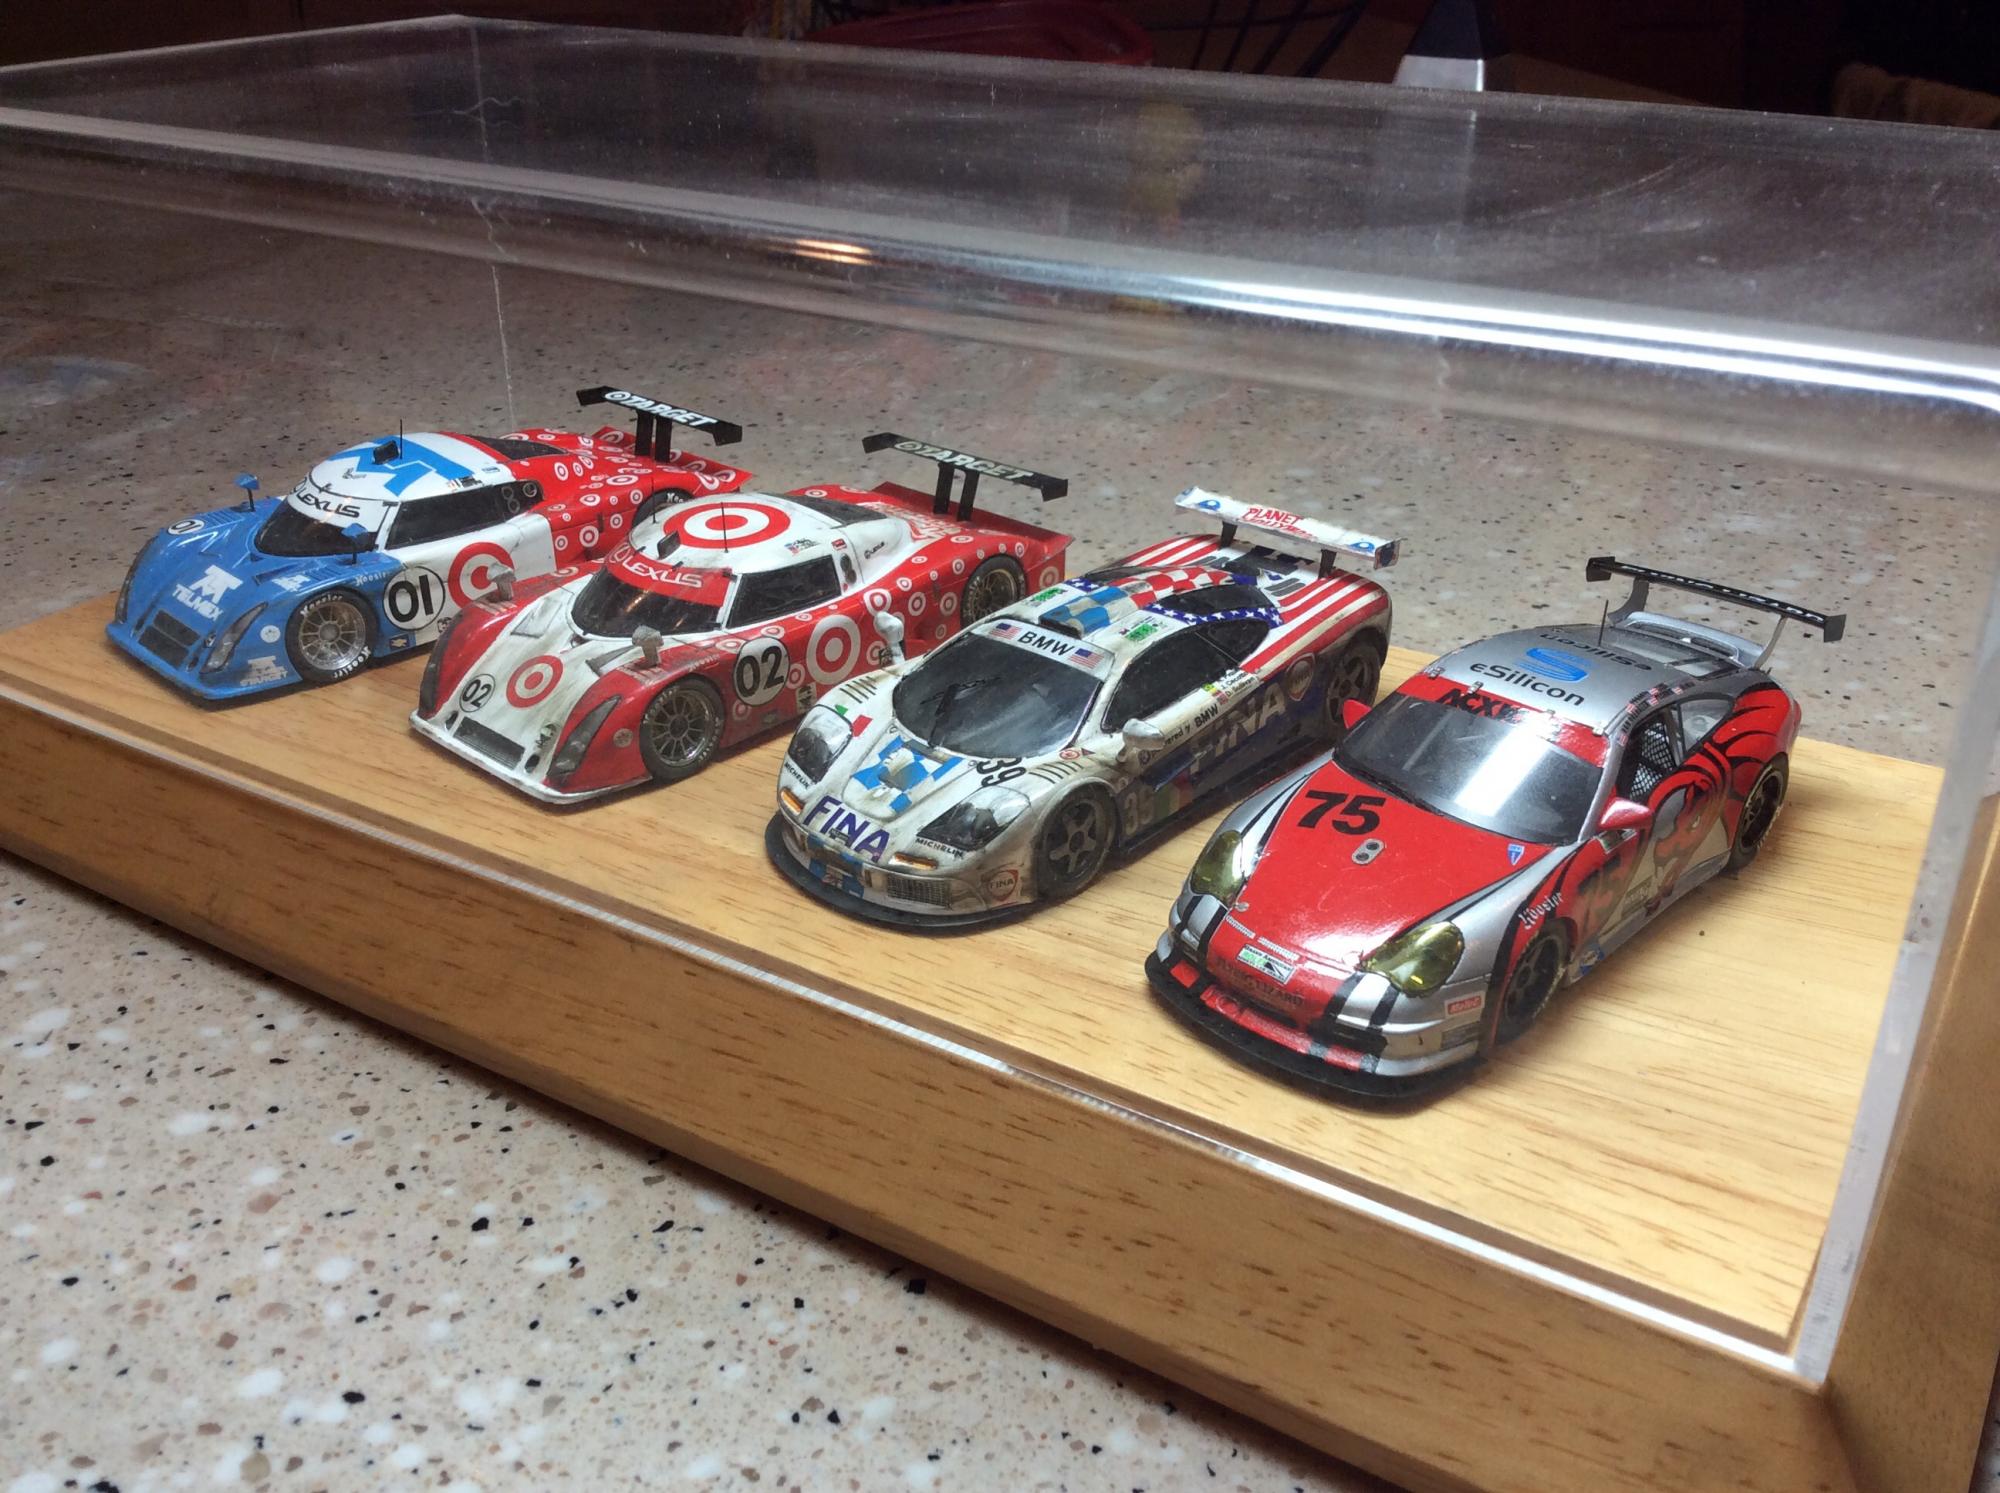
Here are a few pics of a few more of my 43rd builds. Mclaren was built post race, as I like weathered race cars. As usual the paints are Tamiya . The weathering on the Mclaren is done with the Tamiya weathering kits. The flying lizard Porsche is one of the early cars they raced. All red on the car is a decal. The stripes on the Mclaren fell apart when they hit the water and had to be pieced back together. Both kits are PMA.
-
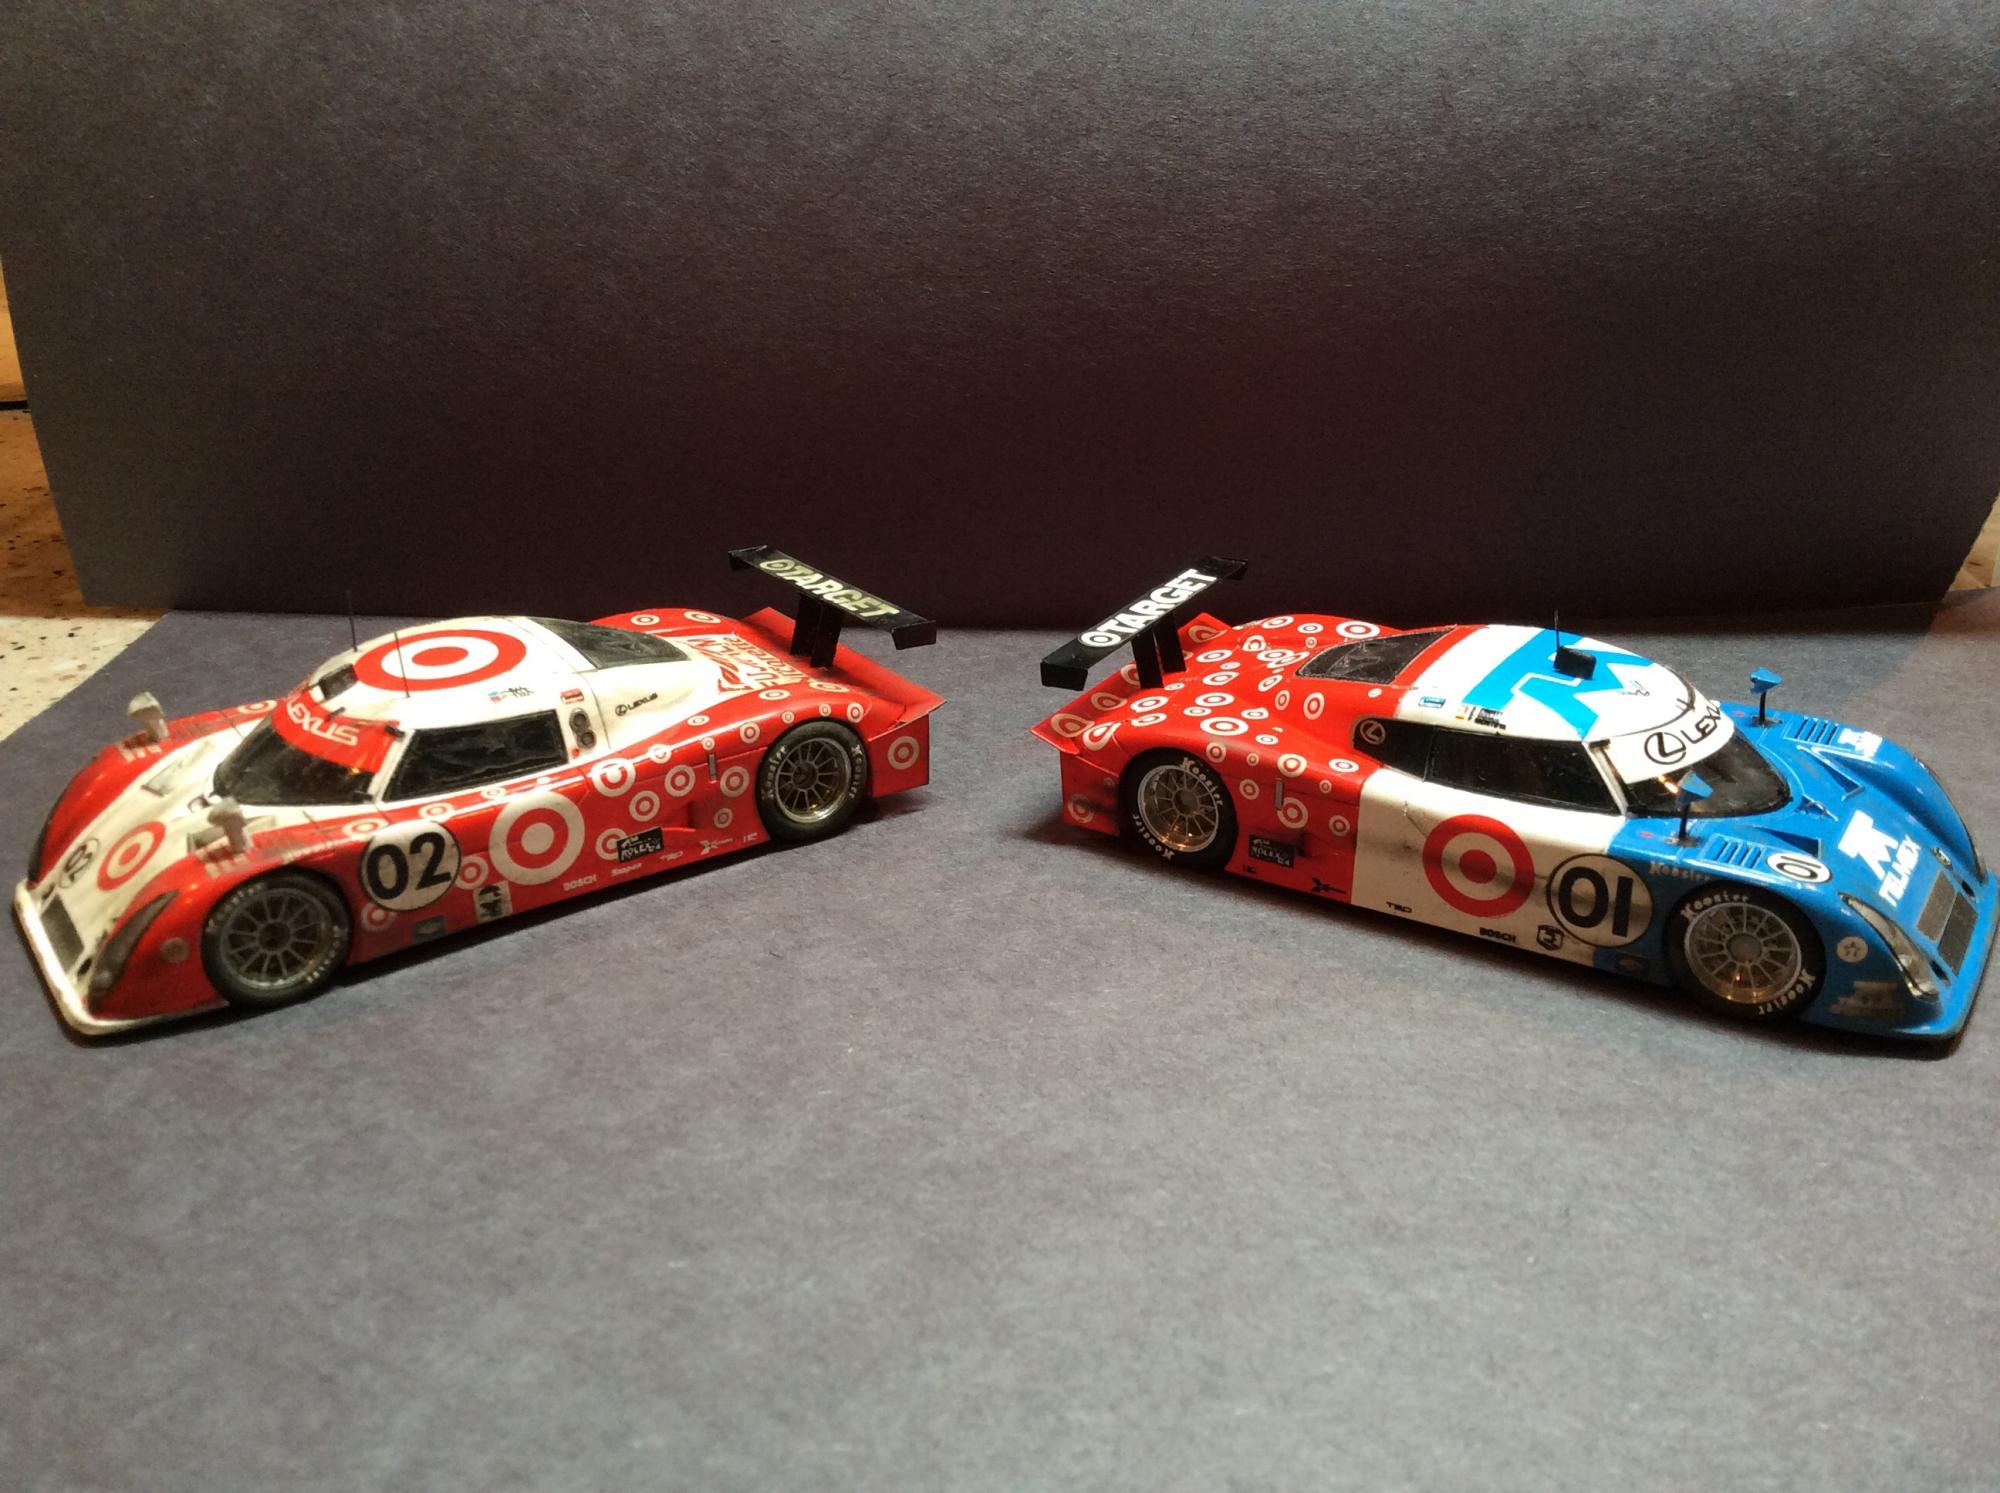
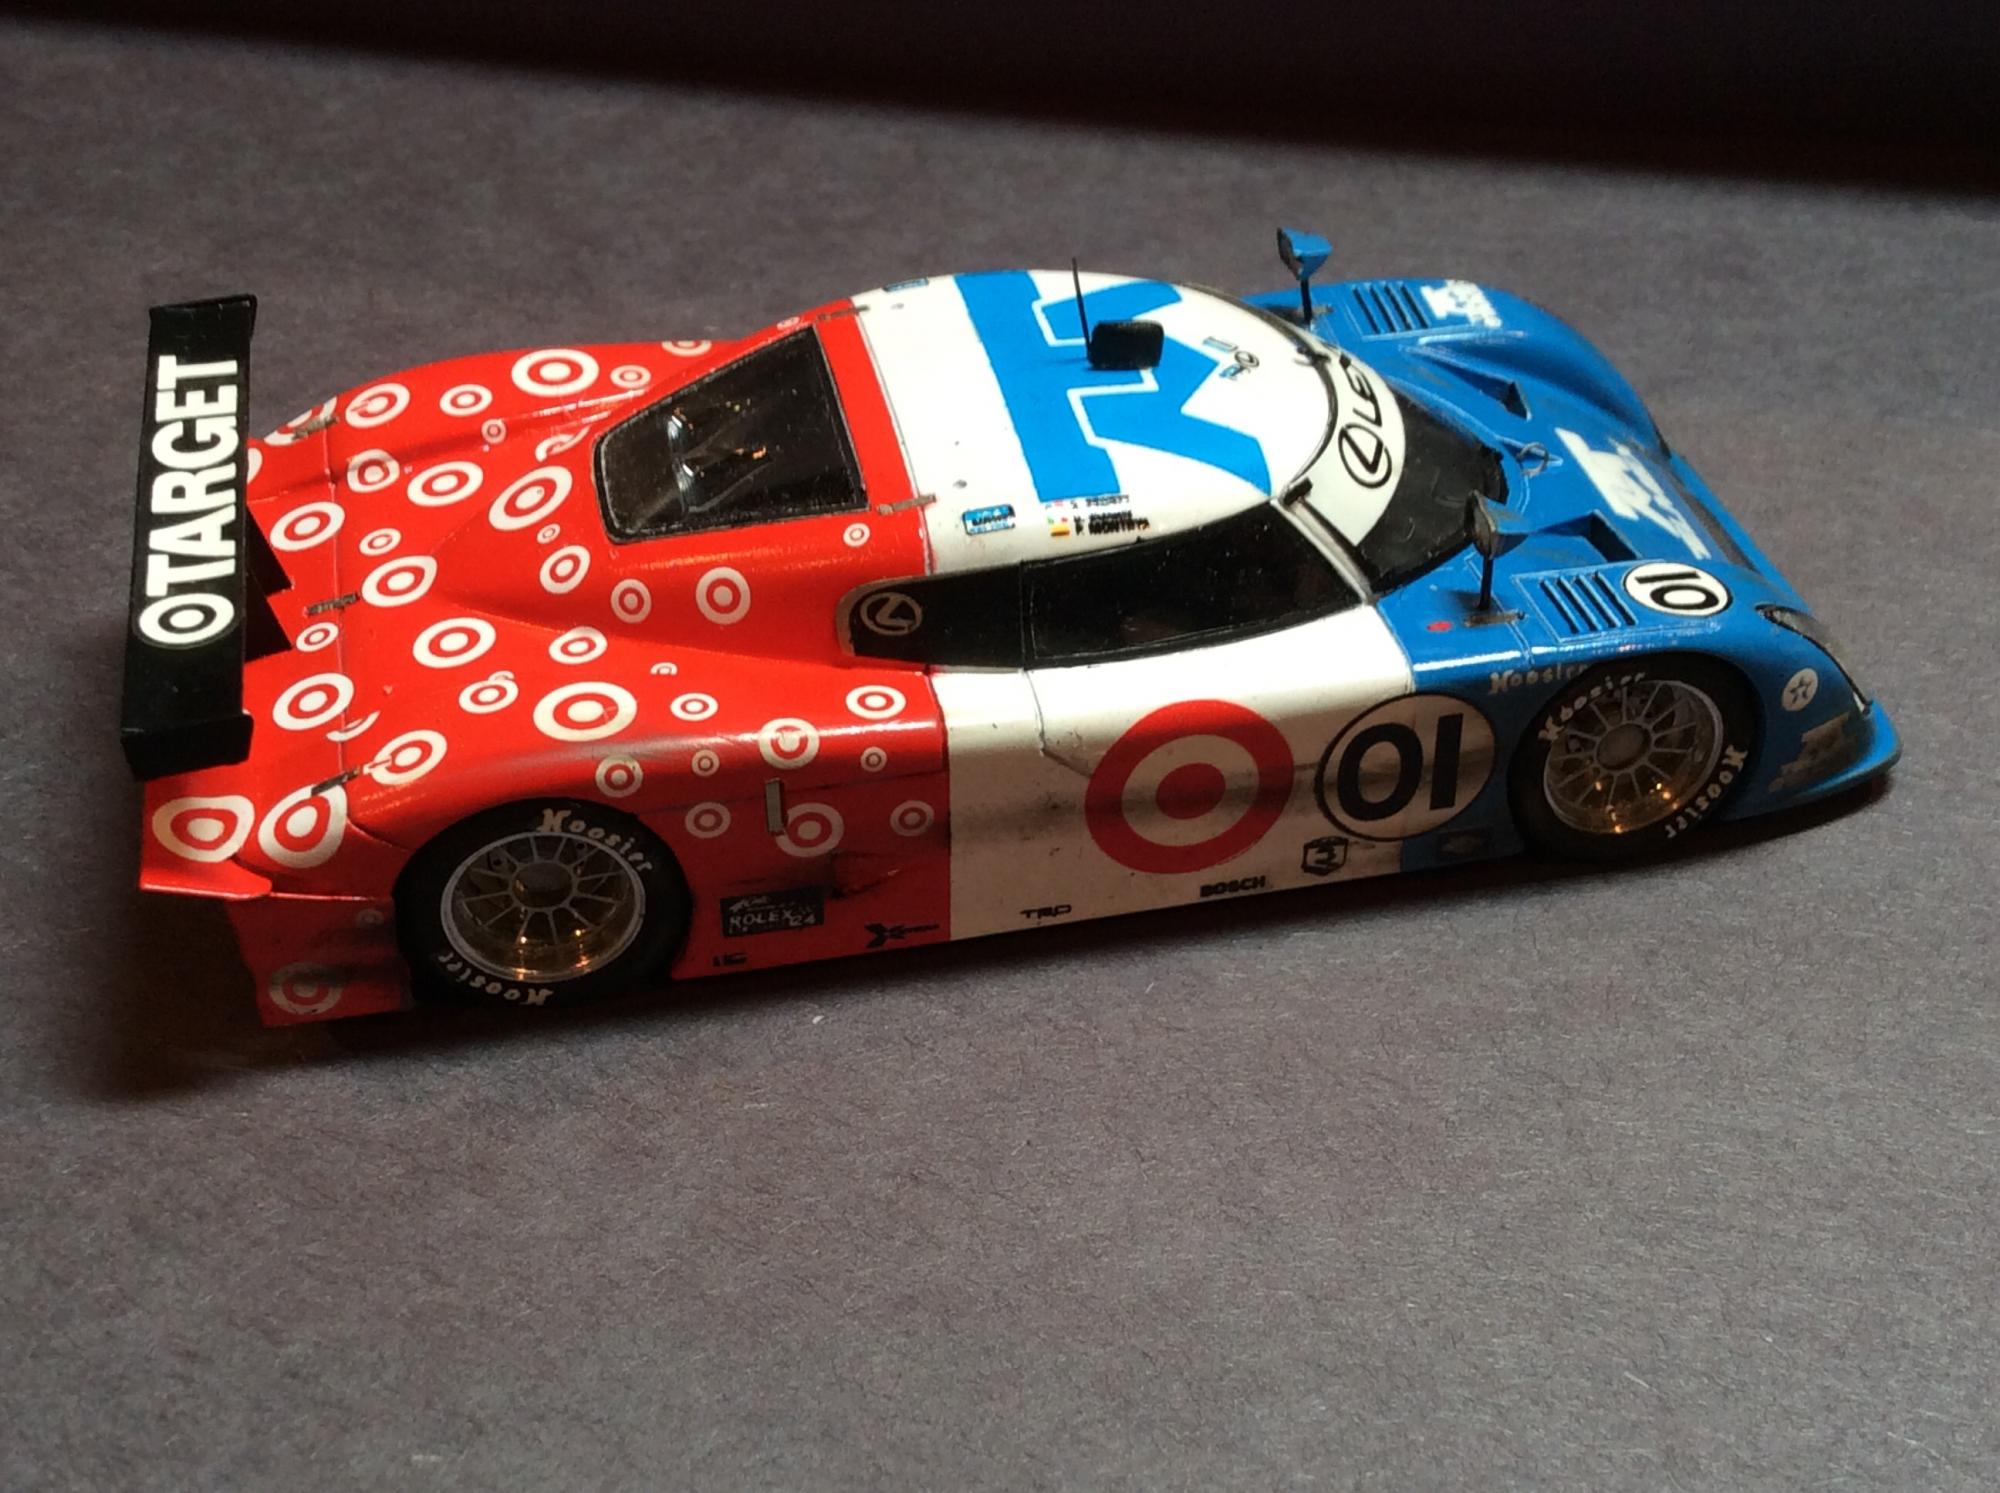
Here are a few pics of some 1/43rd cars I did over the thanksgiving holiday. They are all by PMA. The kits are pretty well detailed for there size . Both cars were done with tamiya paints . All the little target logos are separate logos.
-
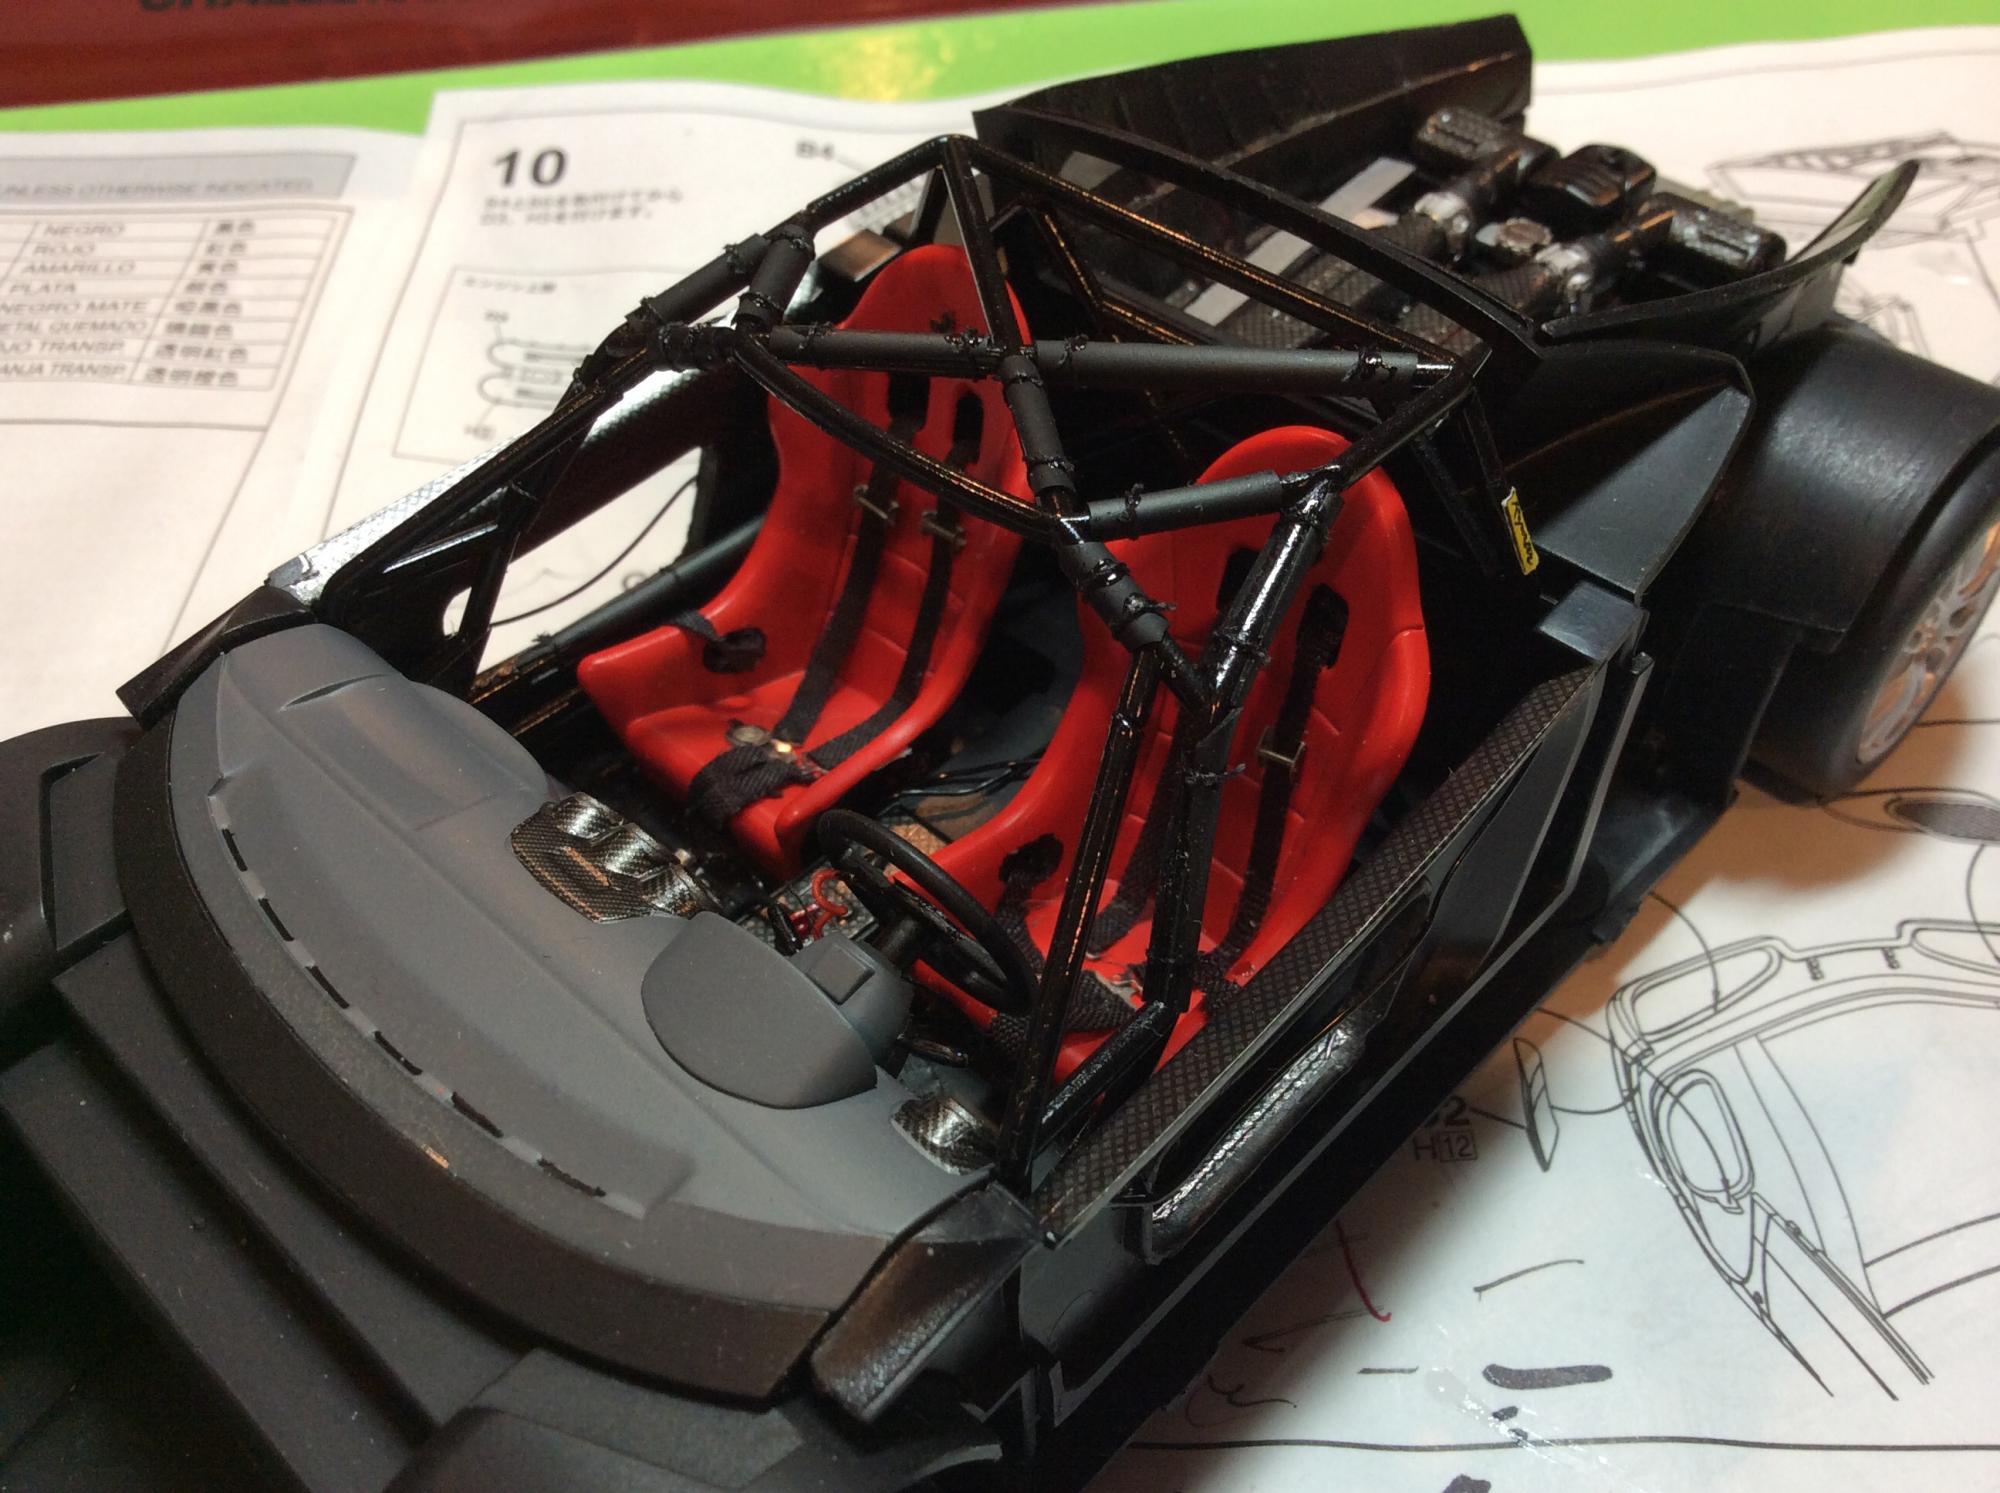
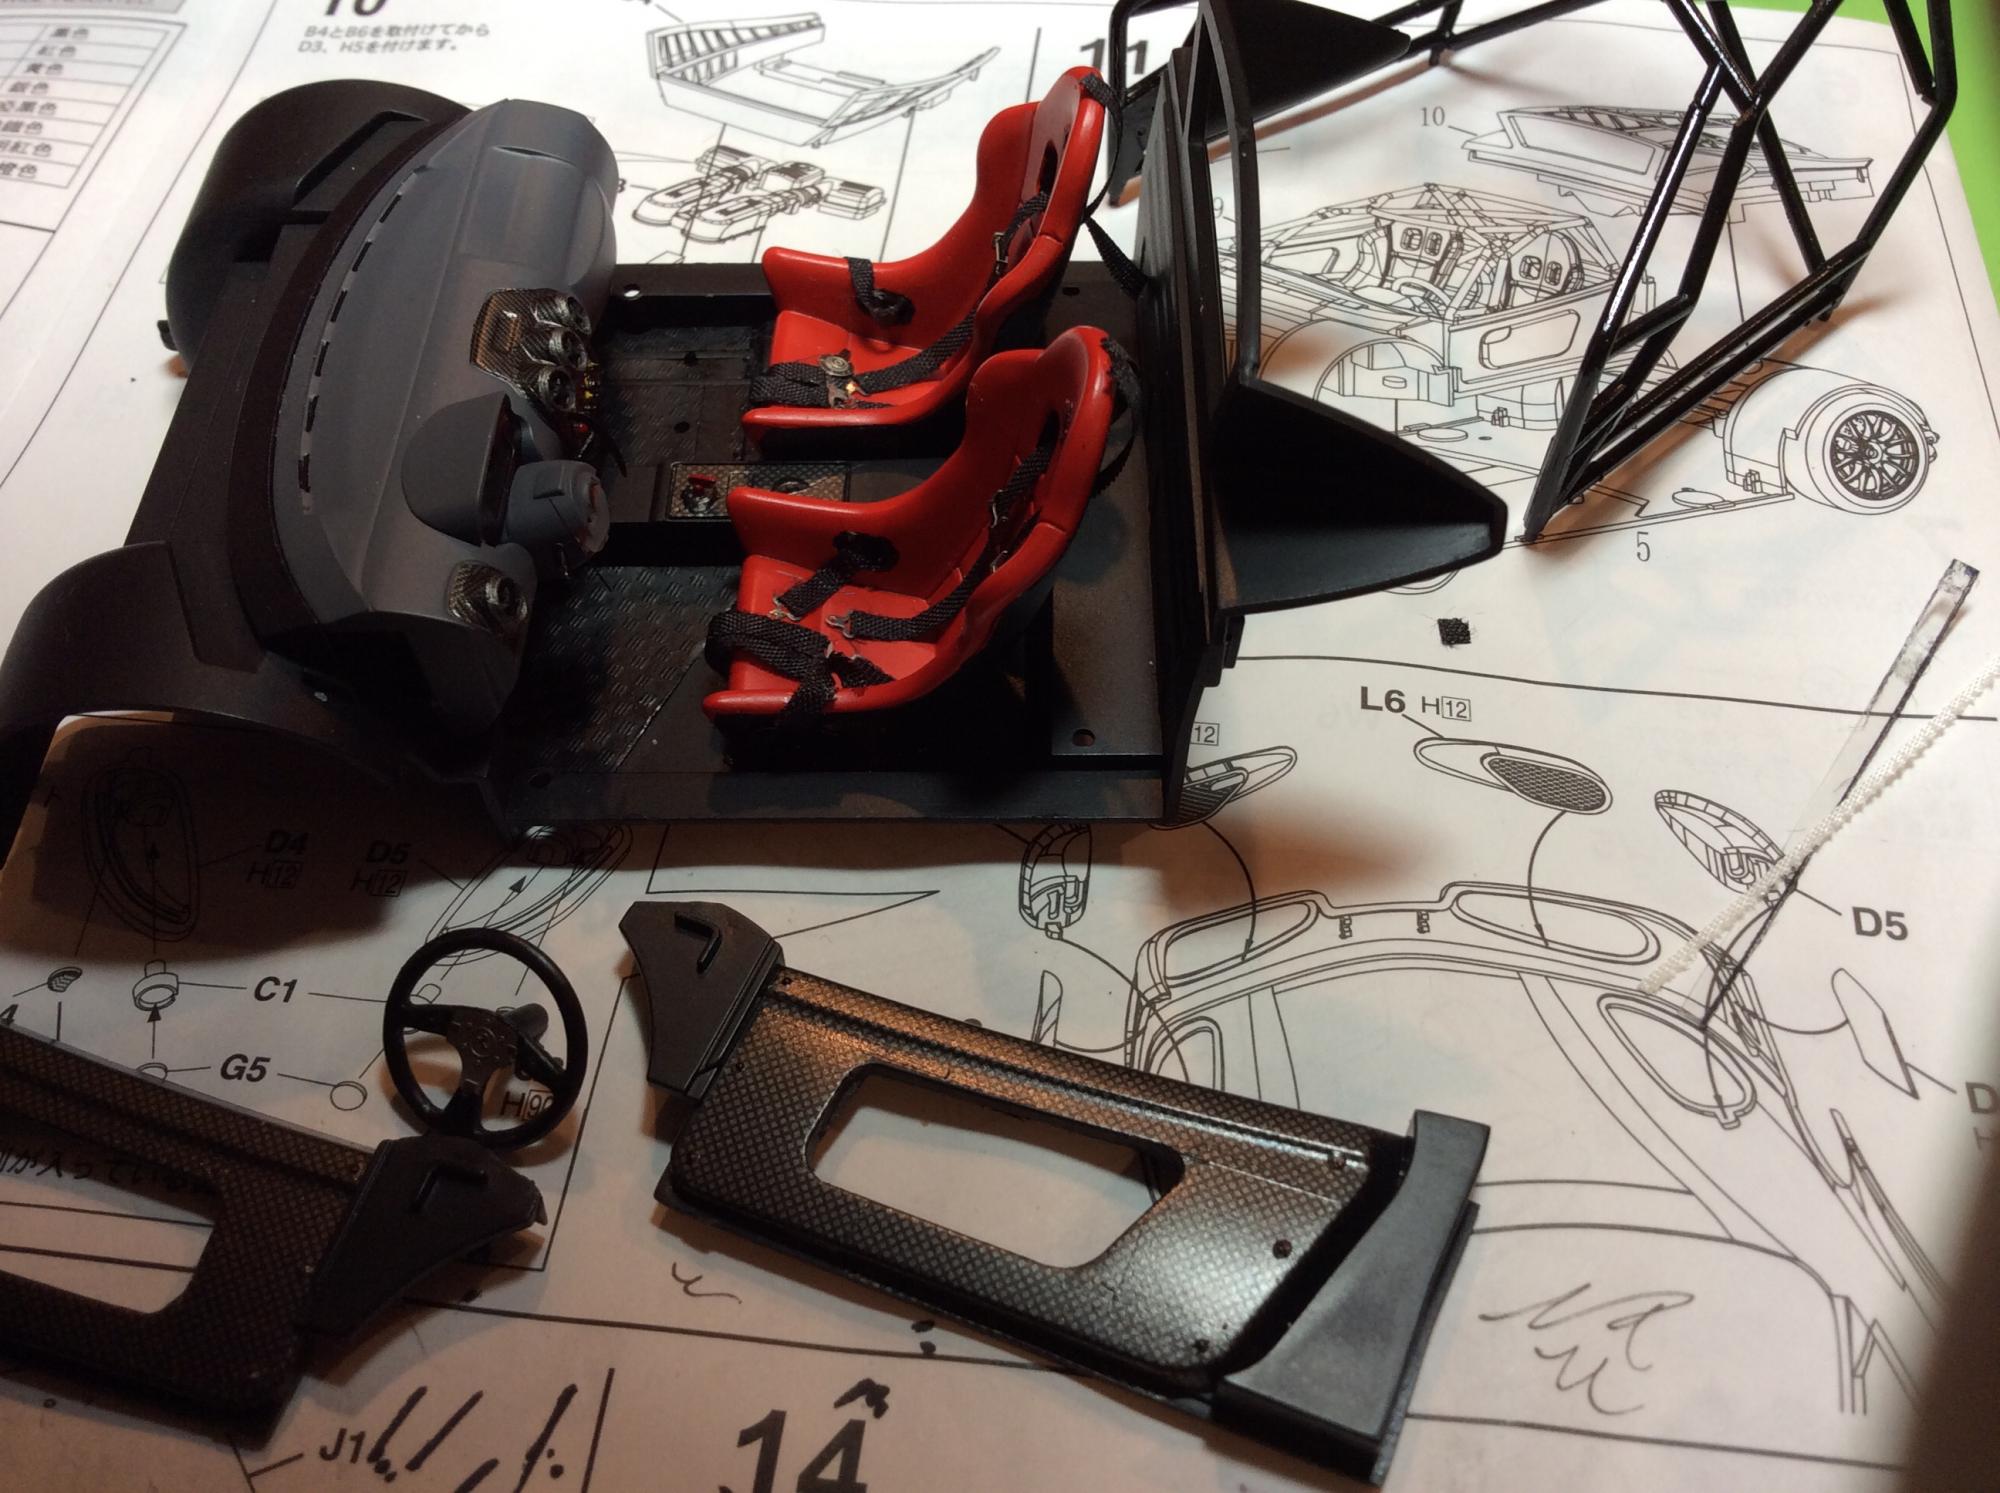
Here is the interior all padded up. I made this kit with the passenger seat. As some cars have both in them. One for the instructor. Hoses on the seats are from the detail kit, as with the seatbelt hardware. The door panels centers were cut out and the pull handles added. Bolt heads just need to be touched in.
-
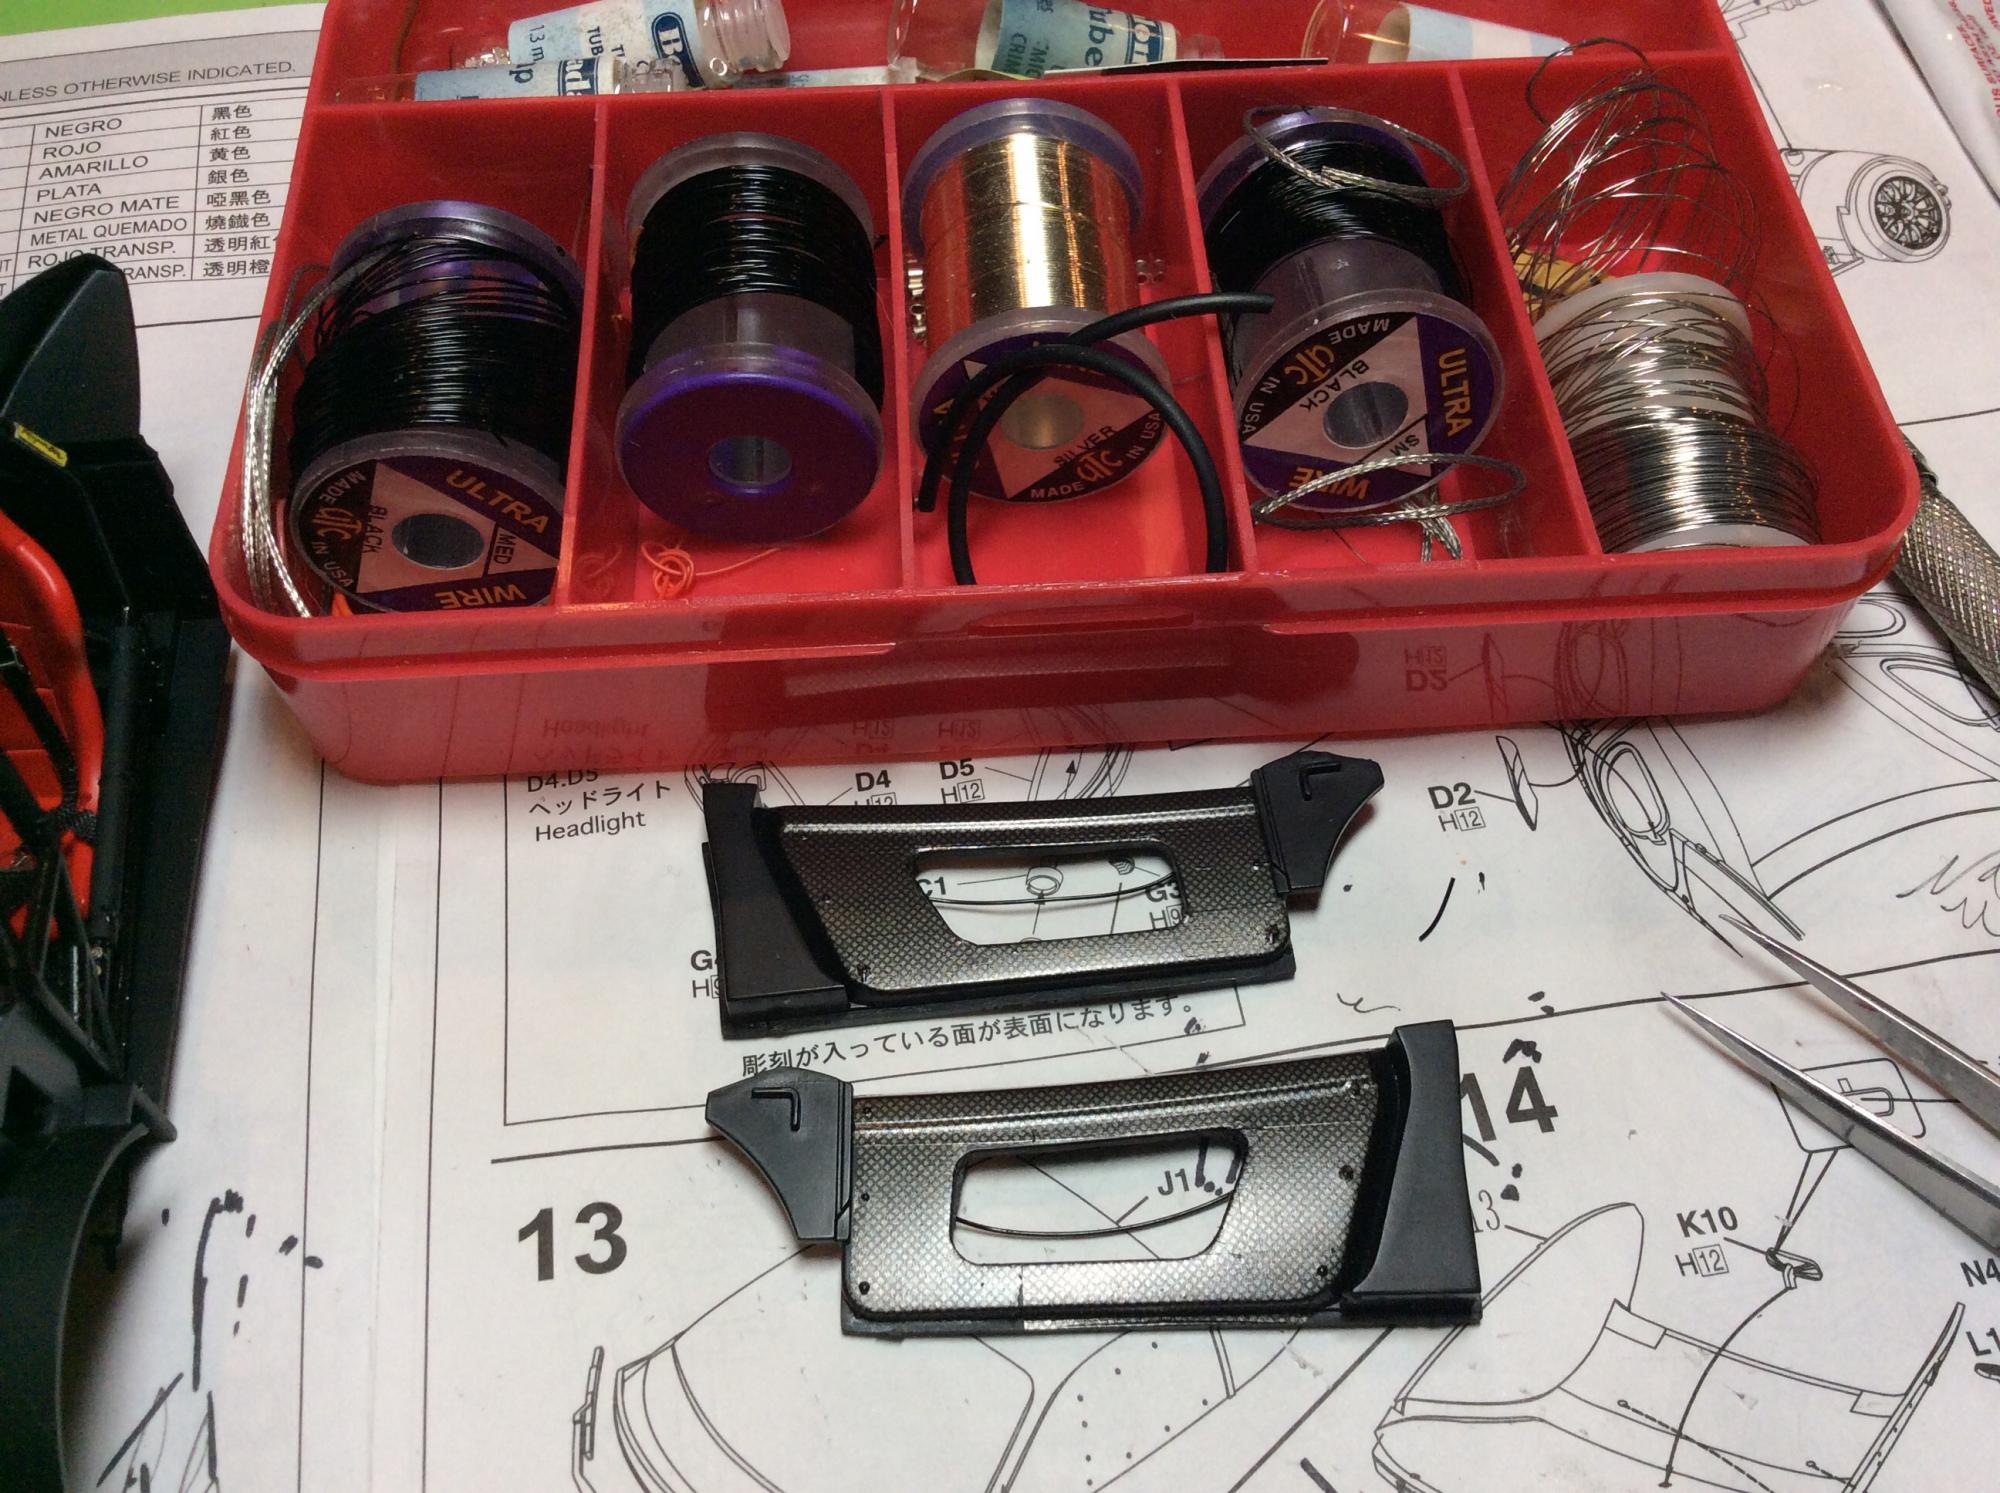
The hobby design kit is hd02-0105 for fujimi
-
There are some detail kits for the car from different companies. The Hobby Design gives you the most for the money
-
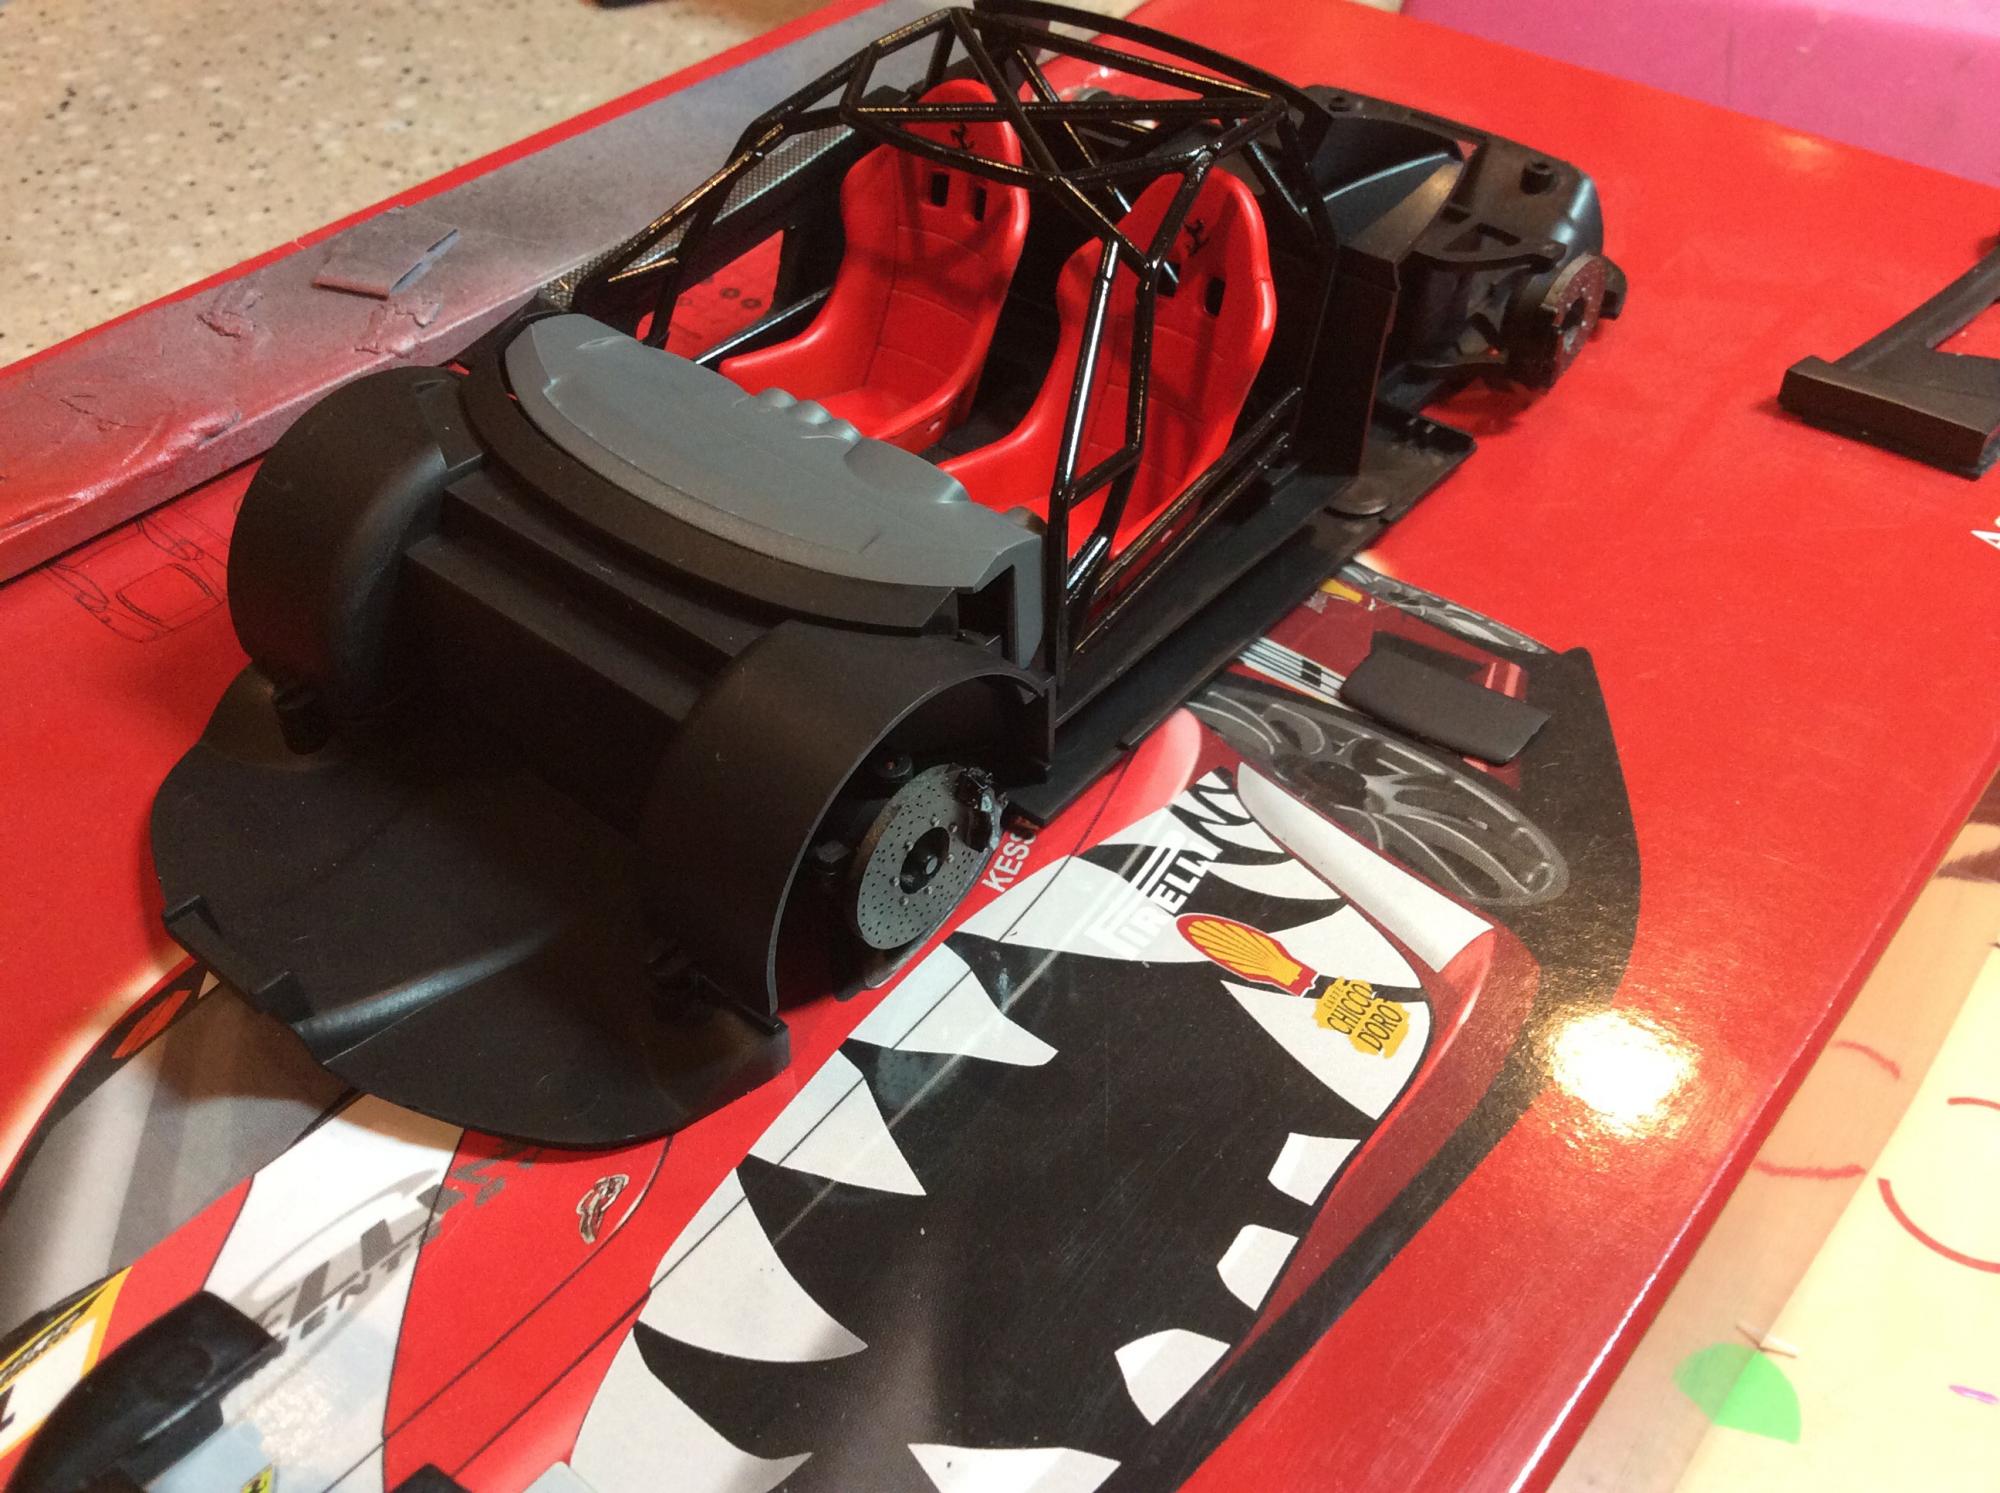
No fit issues. This kit sits lower than the street car. The rotors are driller a bit more than a wash added. I have a bunch of the challenge car kits. The black car is the hard one to find. There a fun build and you can make them with any race team logos. I did a Red Bull one for a friend.
-
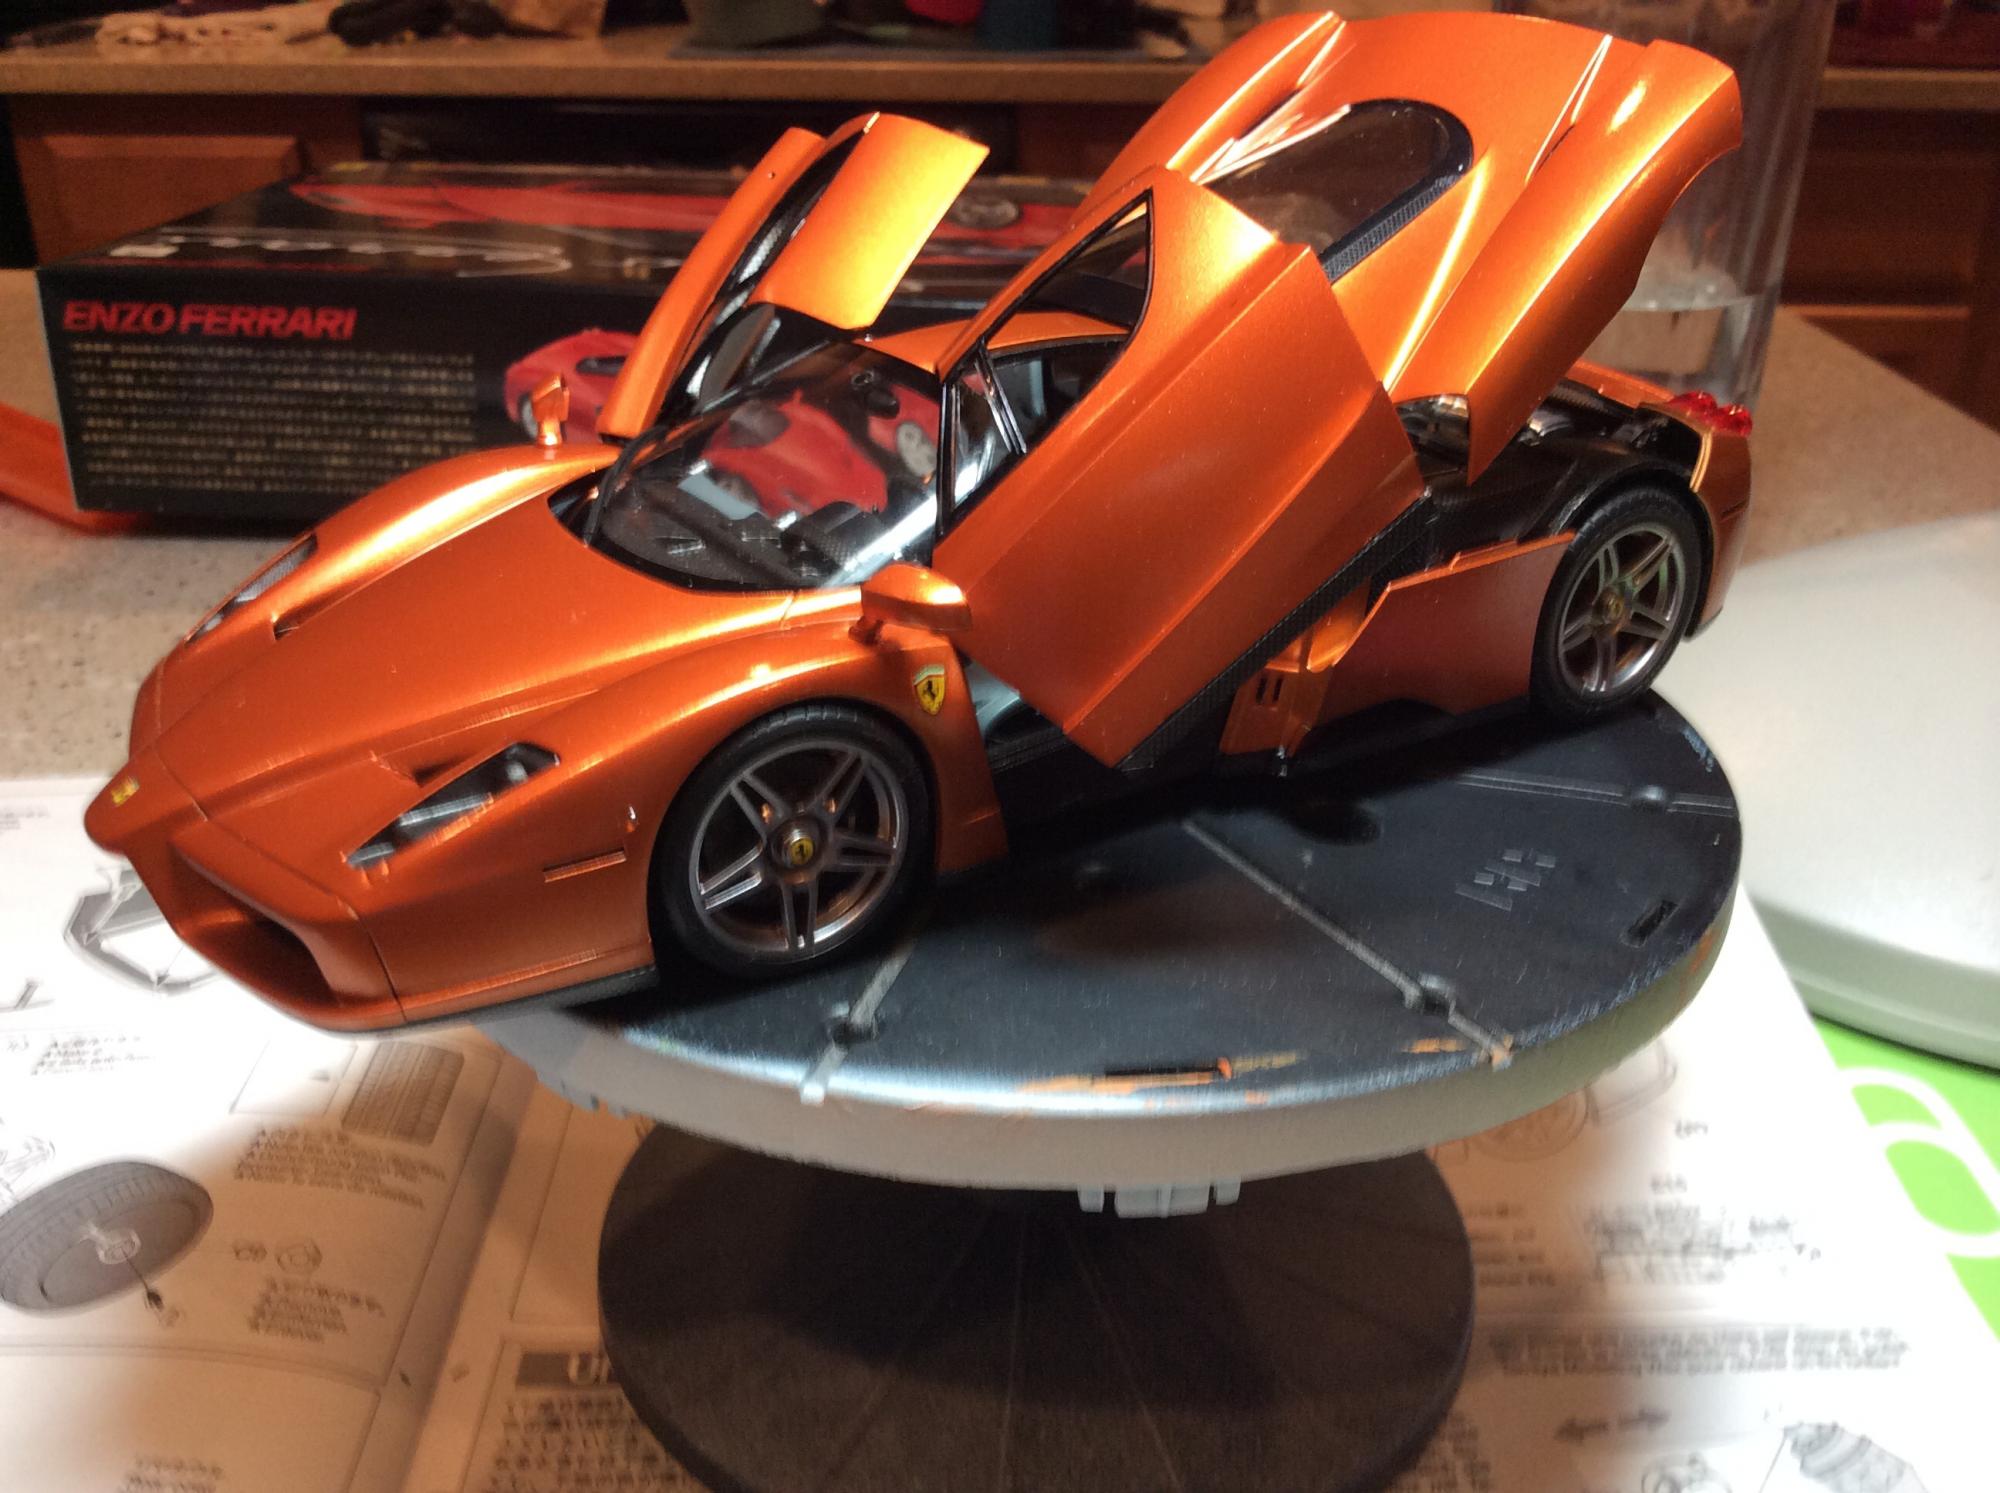
After my orange Enzo I'm back at it. I always liked these kits. Easy to build and with a bit extra they look quite well when done. I started on the interior a few days ago and here is the progress. The door panels have had the centers removed. The belts are Scale Motorsports. I'm using the Hobby Design detail set for this car. It has the "shark teeth design on the nose
-
A great start.. Love the color!!
-
I use a scalpel with a step blade. I get them from my mother-n-law she is a doctor. With some decal set you can just touch it with the blade and it goes right though. On a really tight curve I use the red label decal set or the scale motorsports stuff and a hair dryer . Q-tips work well dipped in decal set as well.
-
These decals cover every inch. The lambo is just decals . It took three sheets to complete. There is no paint on the body at all. The mac is the kit decals.
-
Tamiya paint . Met. Orange with gold under base and racing blue with silver under basebase
-
A hard kit to find in stock. I've been looking to build this one but can't find it.
-
It looks really good.