Gt fan
Members-
Posts
748 -
Joined
-
Last visited
Content Type
Profiles
Forums
Events
Gallery
Everything posted by Gt fan
-
Thanks for the positive vibes.. it’s in the box with the putty drying.. back to the McLaren F1.
-
-
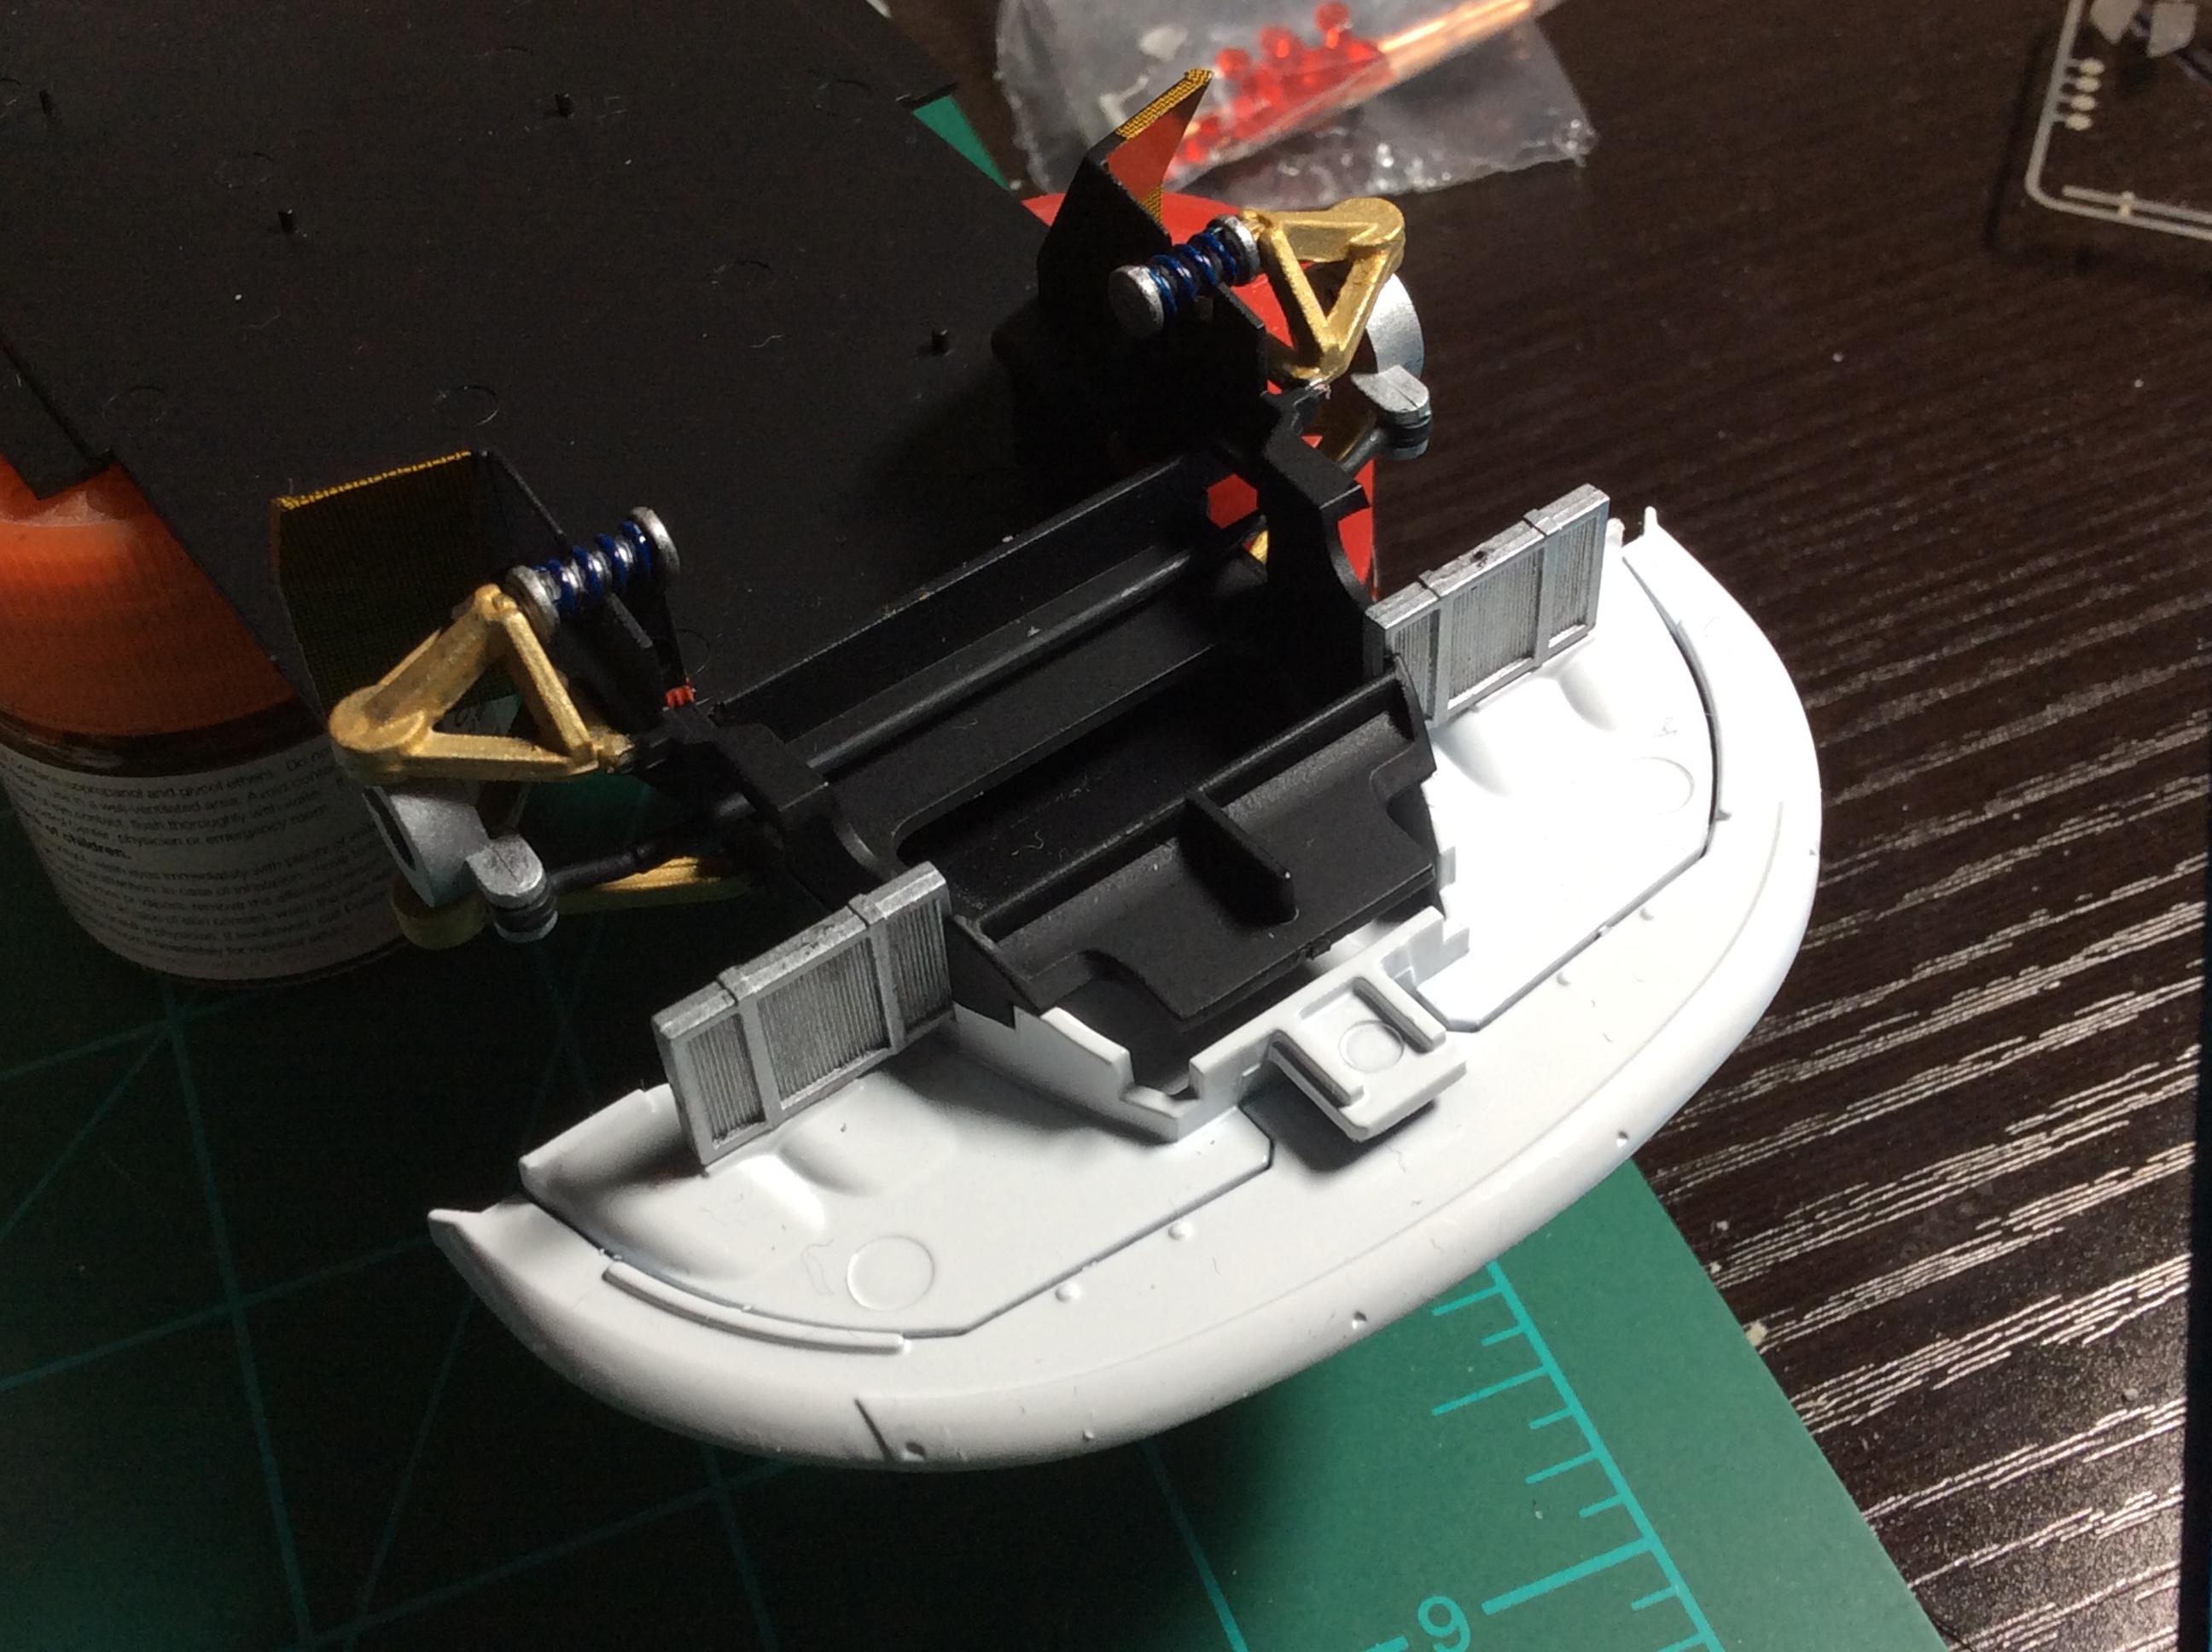
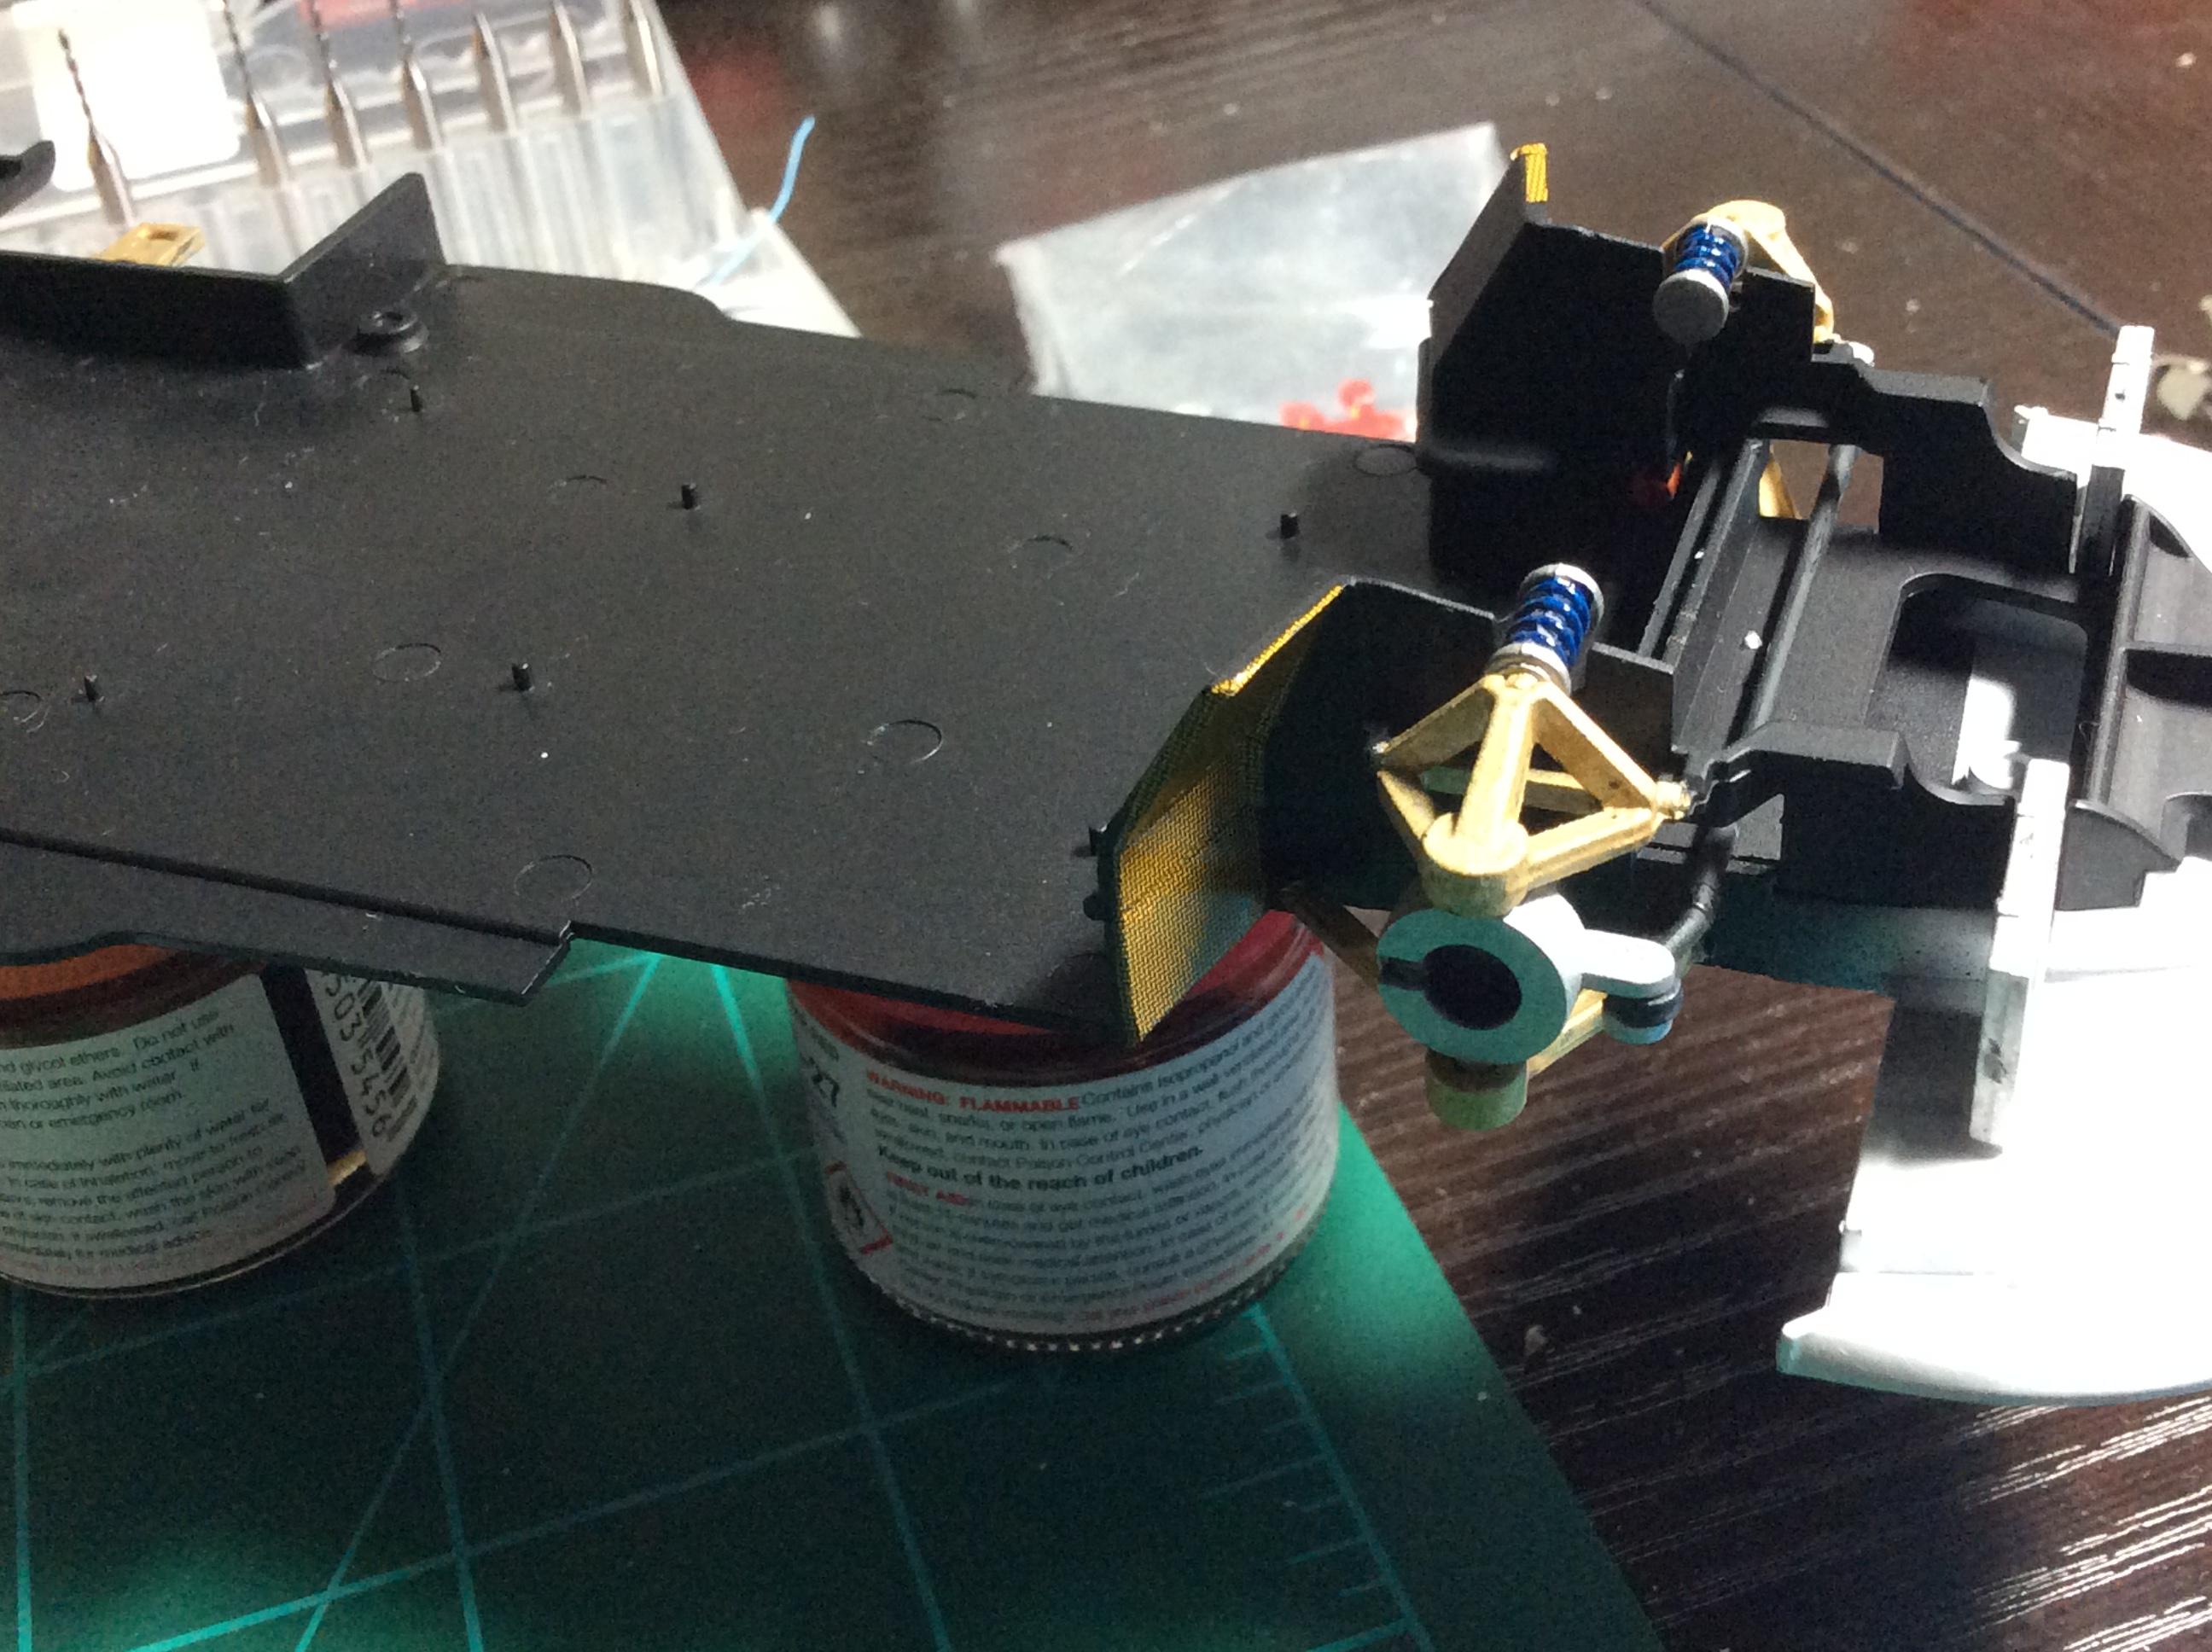
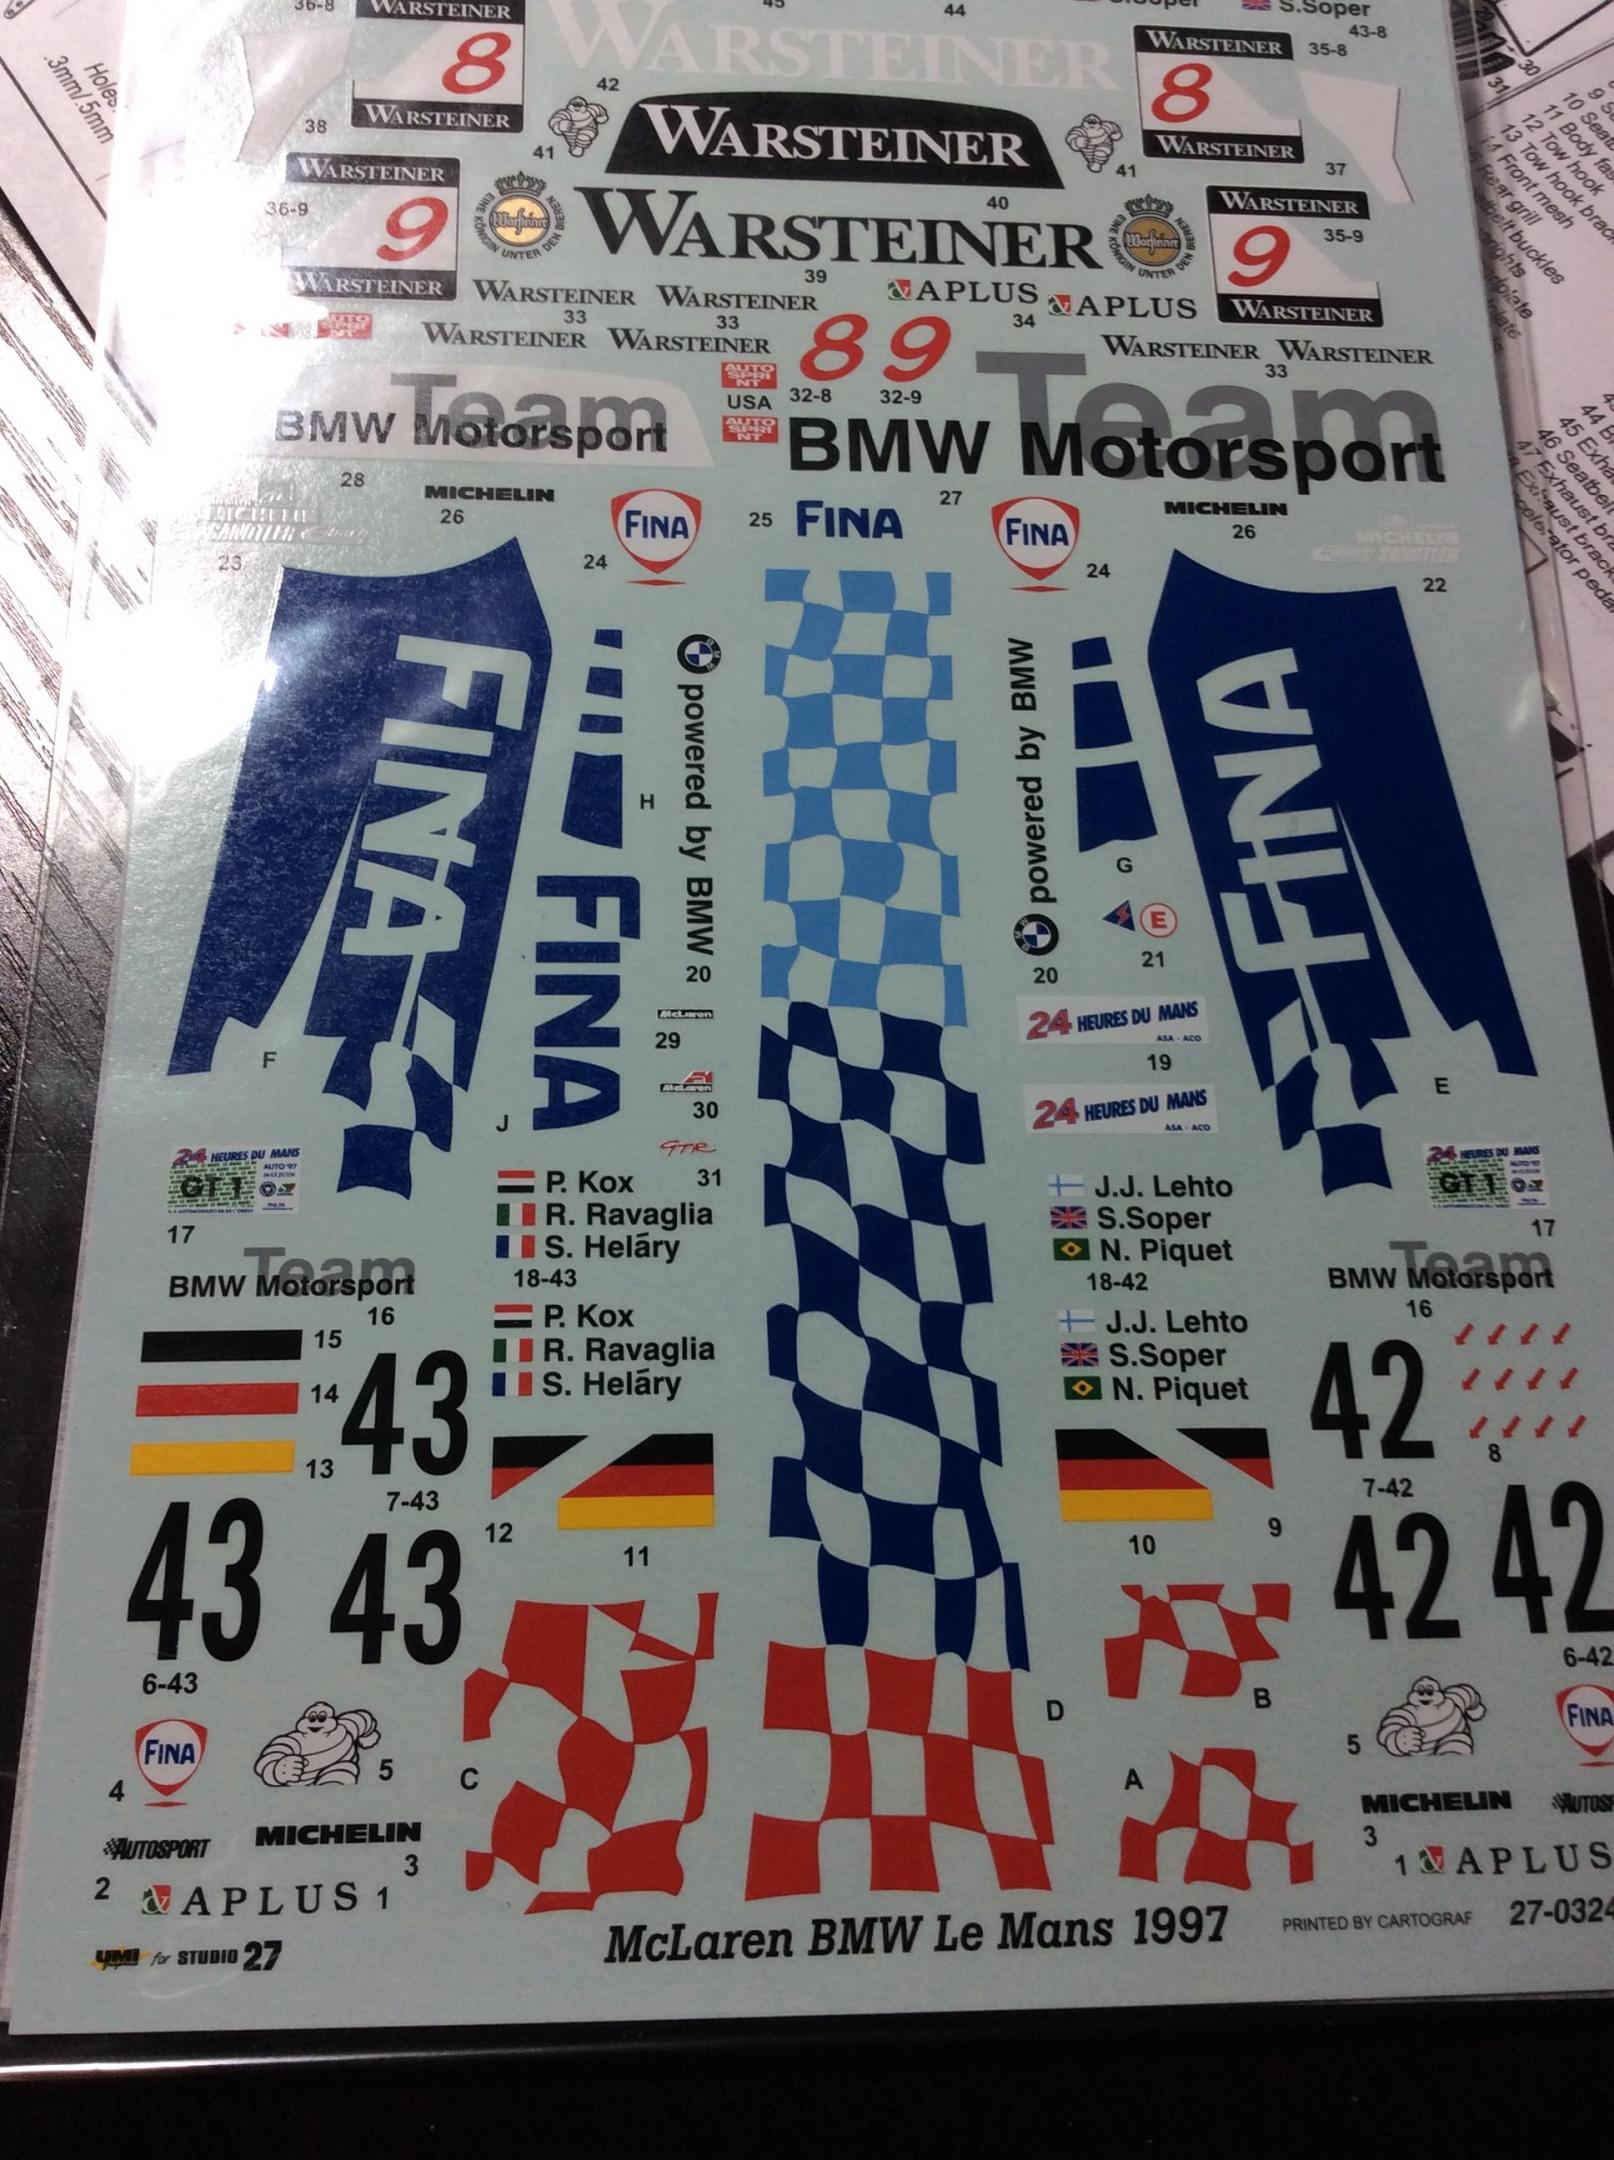
I thought this was gonna be a quick build... haha... was I wrong... this kit ranks up there with some of the worst kits I’ve built. The kit is about 60pcs plus the decals. Which are printed very well. The kit has separate doors that don’t fit at all and can’t be made open. You could rebuild the whole door area and make them look good open.. the doors are to big in some spots and to small in others. I sanded them down and got them very close and filled the seems from the inside with some putty. One whole side of the Bodley had to be sanded down to get it to match the other side. There are a few large sink holes a long the body. On the parts trees, the injector pin marks have to be sanded out of most parts on the body. Rear wing mounting holes on the wrong side of the wing. There is no break details in the kit. These will be sourced from a Tamiya kit. I really haven’t figured out yet if the chassis will fit the body.
-
I stated this one about a year ago and then put it away to get the decals that I wanted for the kit. This is the Aoshima kit. The carbon decals are from ST 27 which are way to shinny and Tamiya fine . Thank lol be using the Scale Motorsports detail set. There carbon sheet only does the outside of the car.
-
Off to a great start. Well done
-
Well done Rich. I know those kits are tricky to do. I like all the detail work you did with the kit. Great job.
-
1/43 Ferrari 360 challenge ( BBR)
Gt fan replied to Gt fan's topic in WIP: Other Racing: Road Racing, Land Speed Racers
I do use clear sometimes. It depends on the car. On the real car the graphics would be a wrap . This one I will probably clear. The decals are a bit flat looking and I think some clear would give it the correct sheen. I can’t wait to see the 250. -
-
1/43 Ferrari 360 challenge ( BBR)
Gt fan replied to Gt fan's topic in WIP: Other Racing: Road Racing, Land Speed Racers
I built one of those. They build really well. Nice JPS kit -
1/43 Ferrari 360 challenge ( BBR)
Gt fan replied to Gt fan's topic in WIP: Other Racing: Road Racing, Land Speed Racers
-
1/43 Ferrari 360 challenge ( BBR)
Gt fan replied to Gt fan's topic in WIP: Other Racing: Road Racing, Land Speed Racers
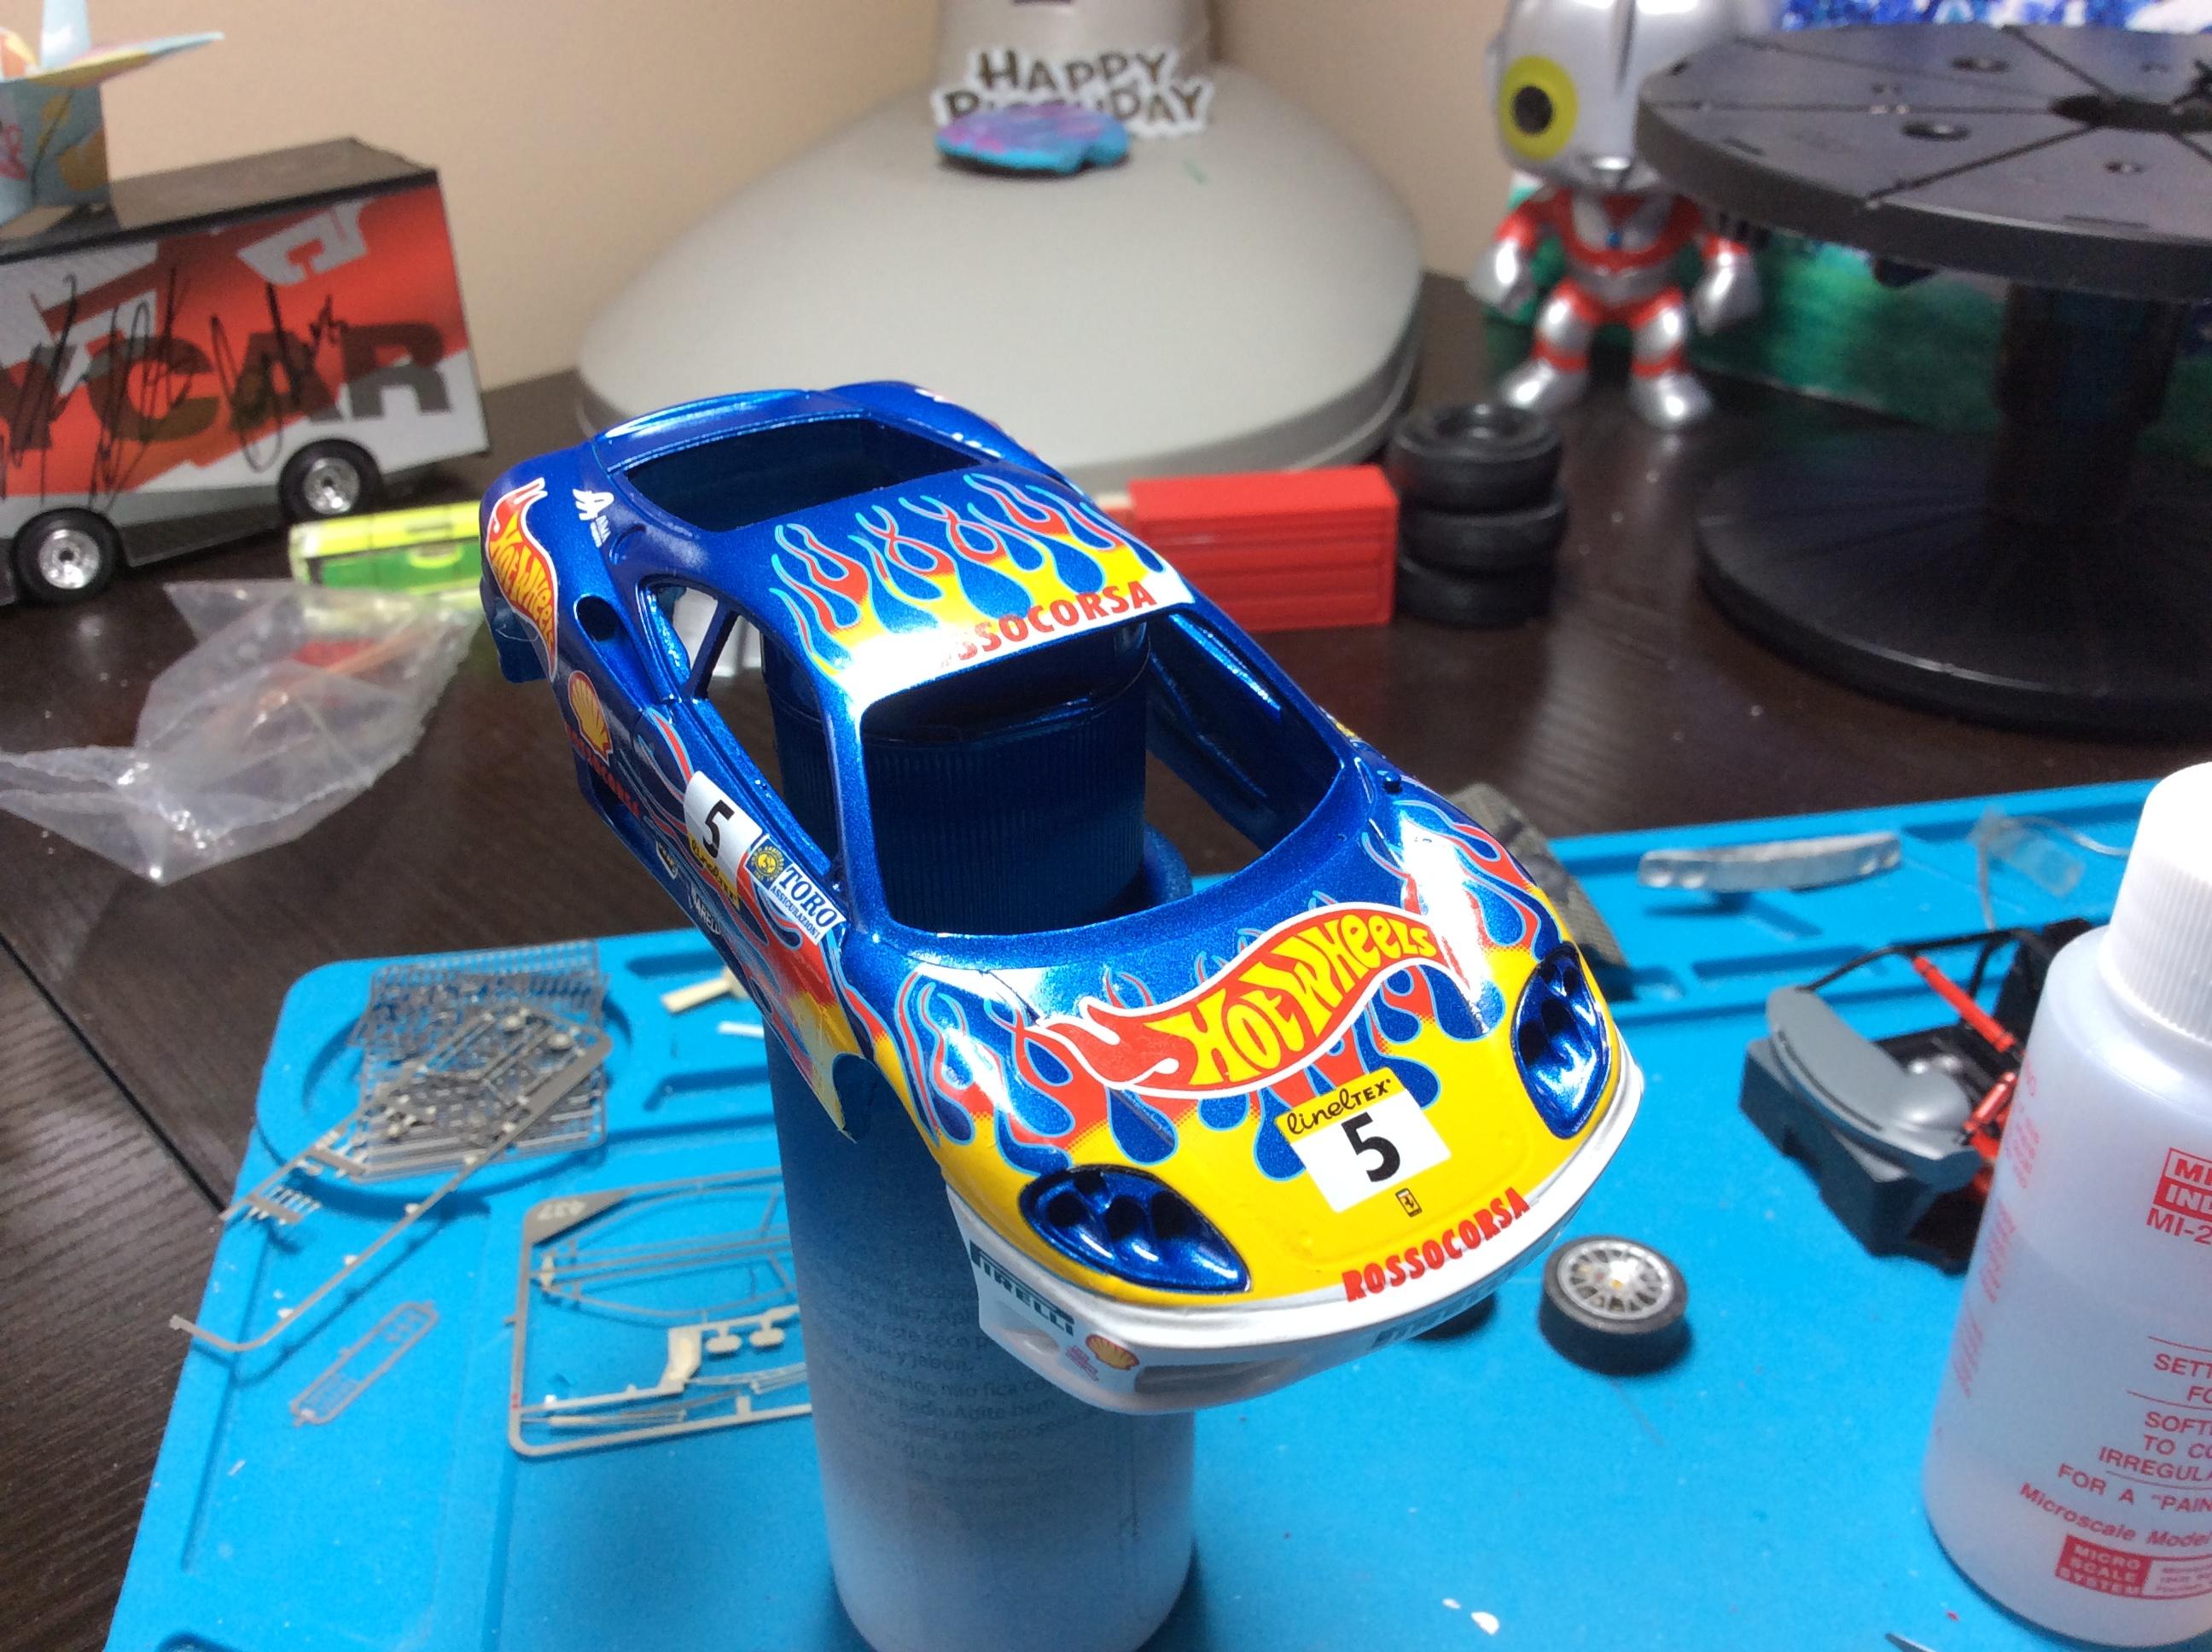
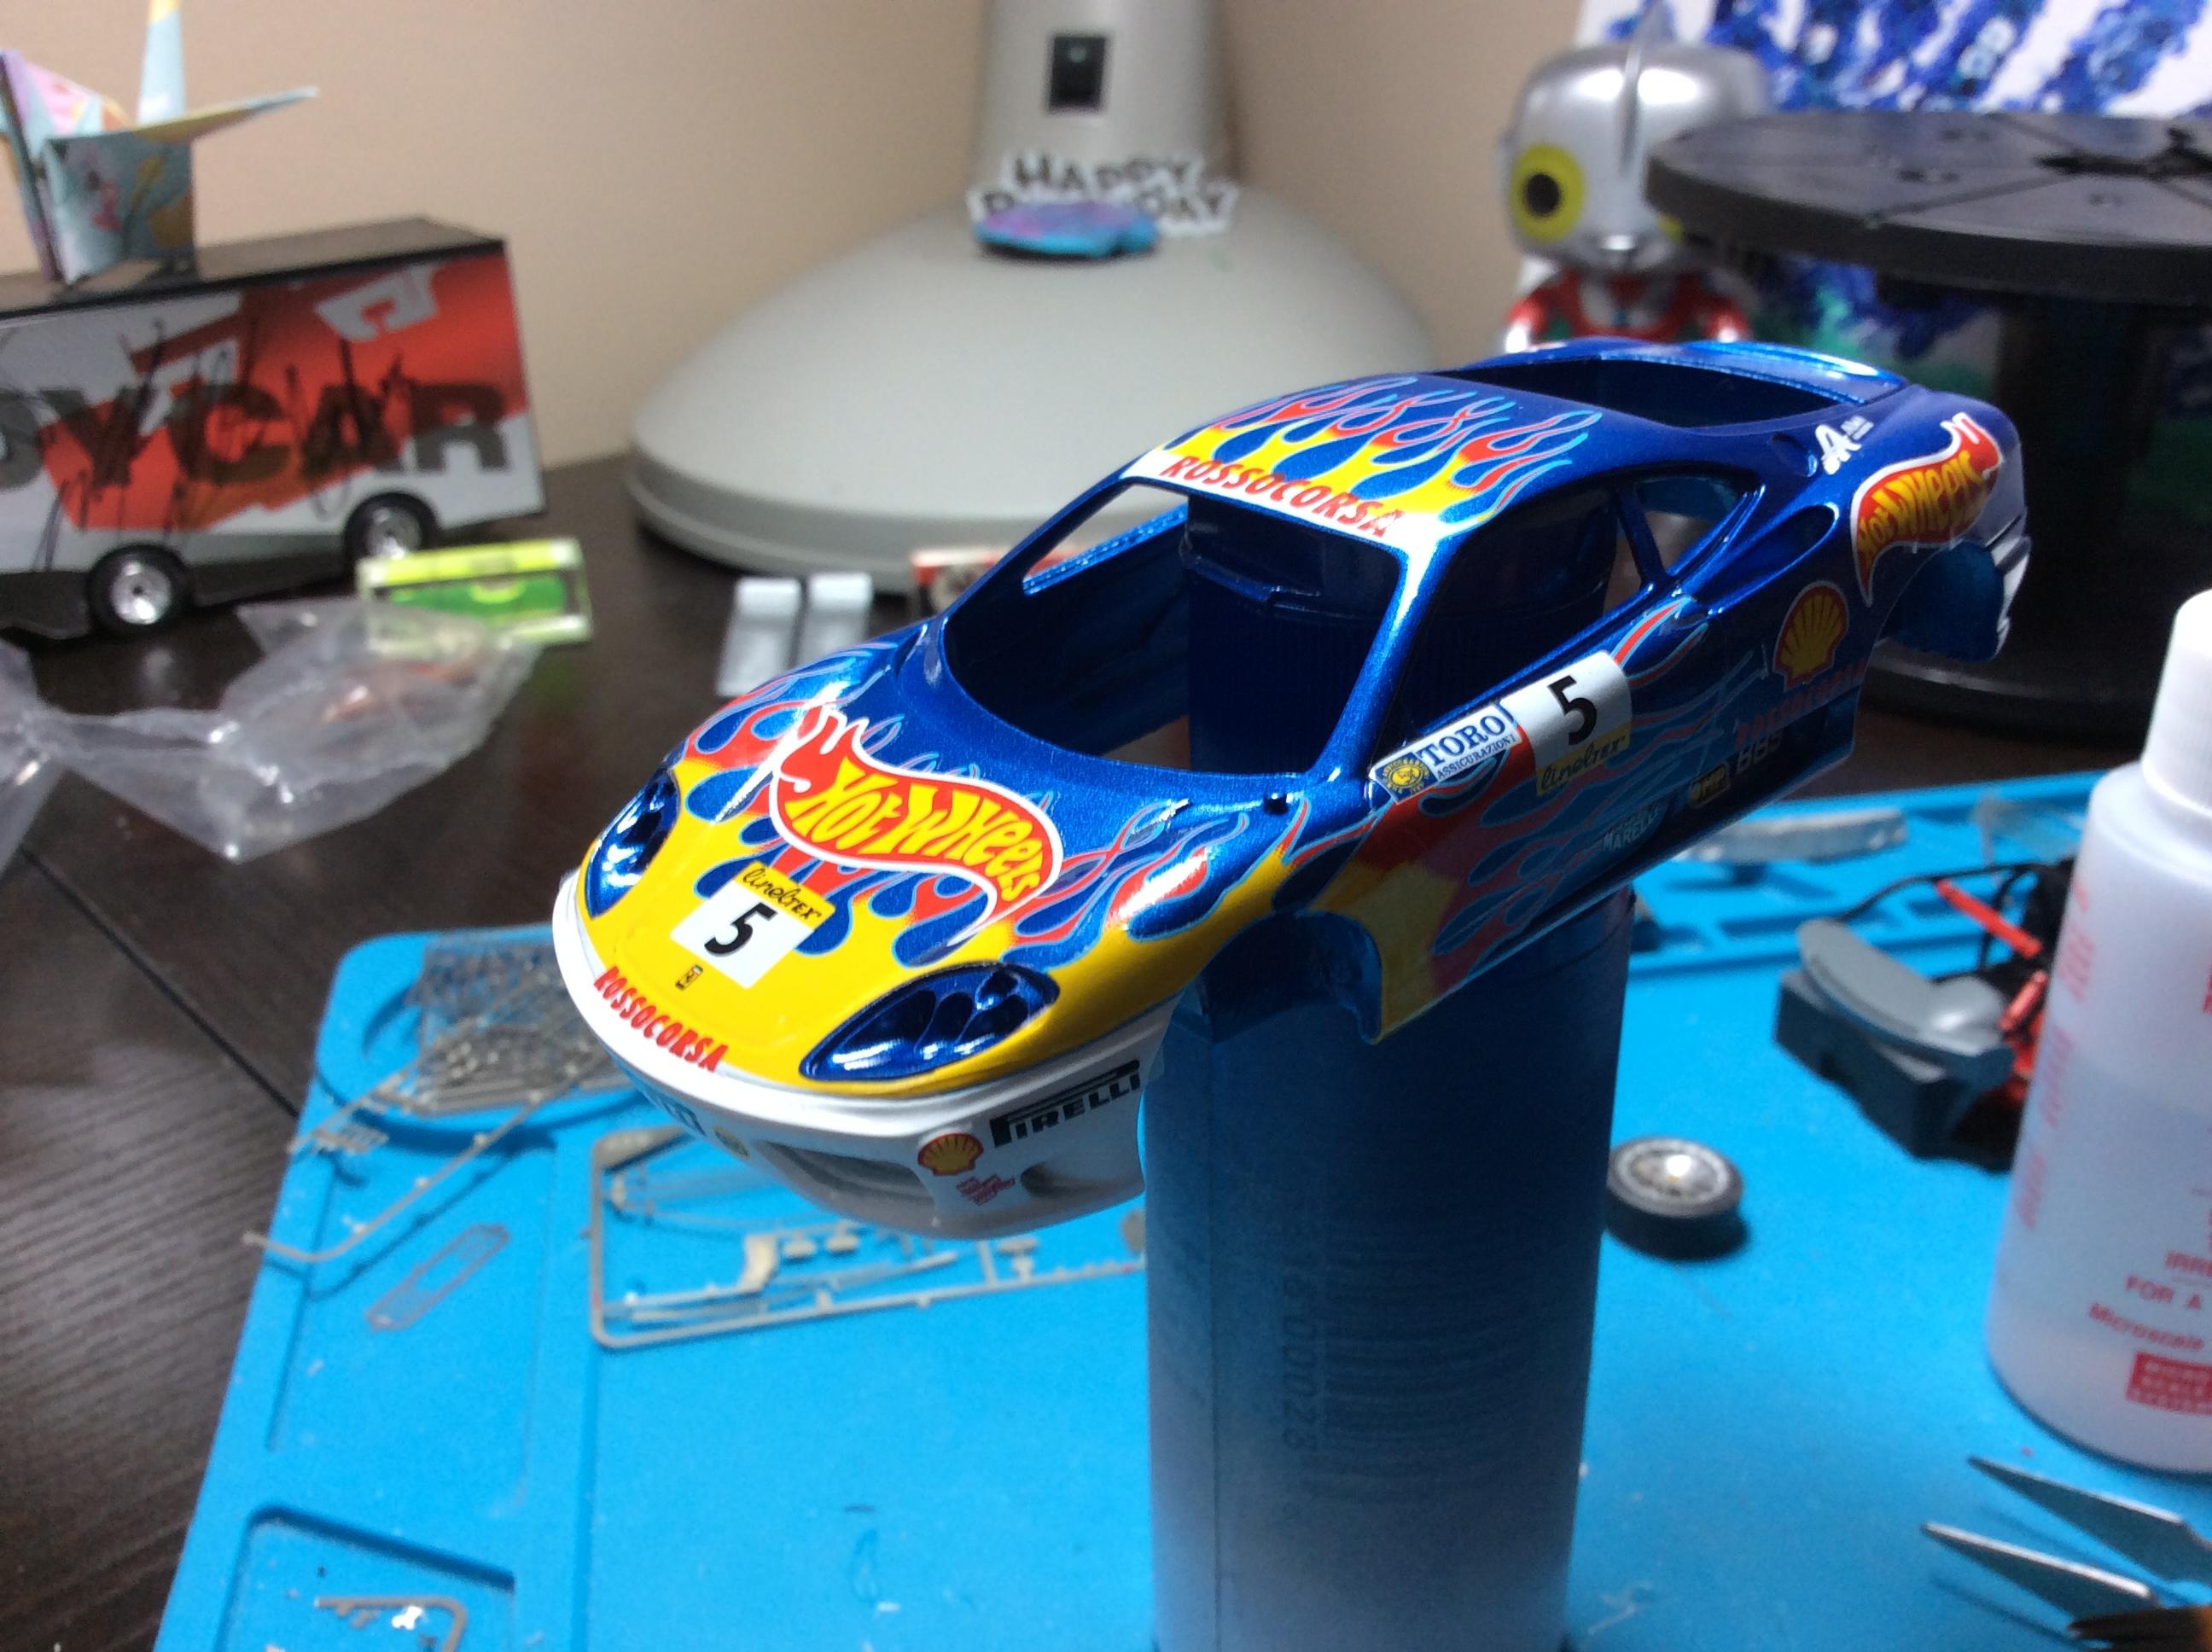
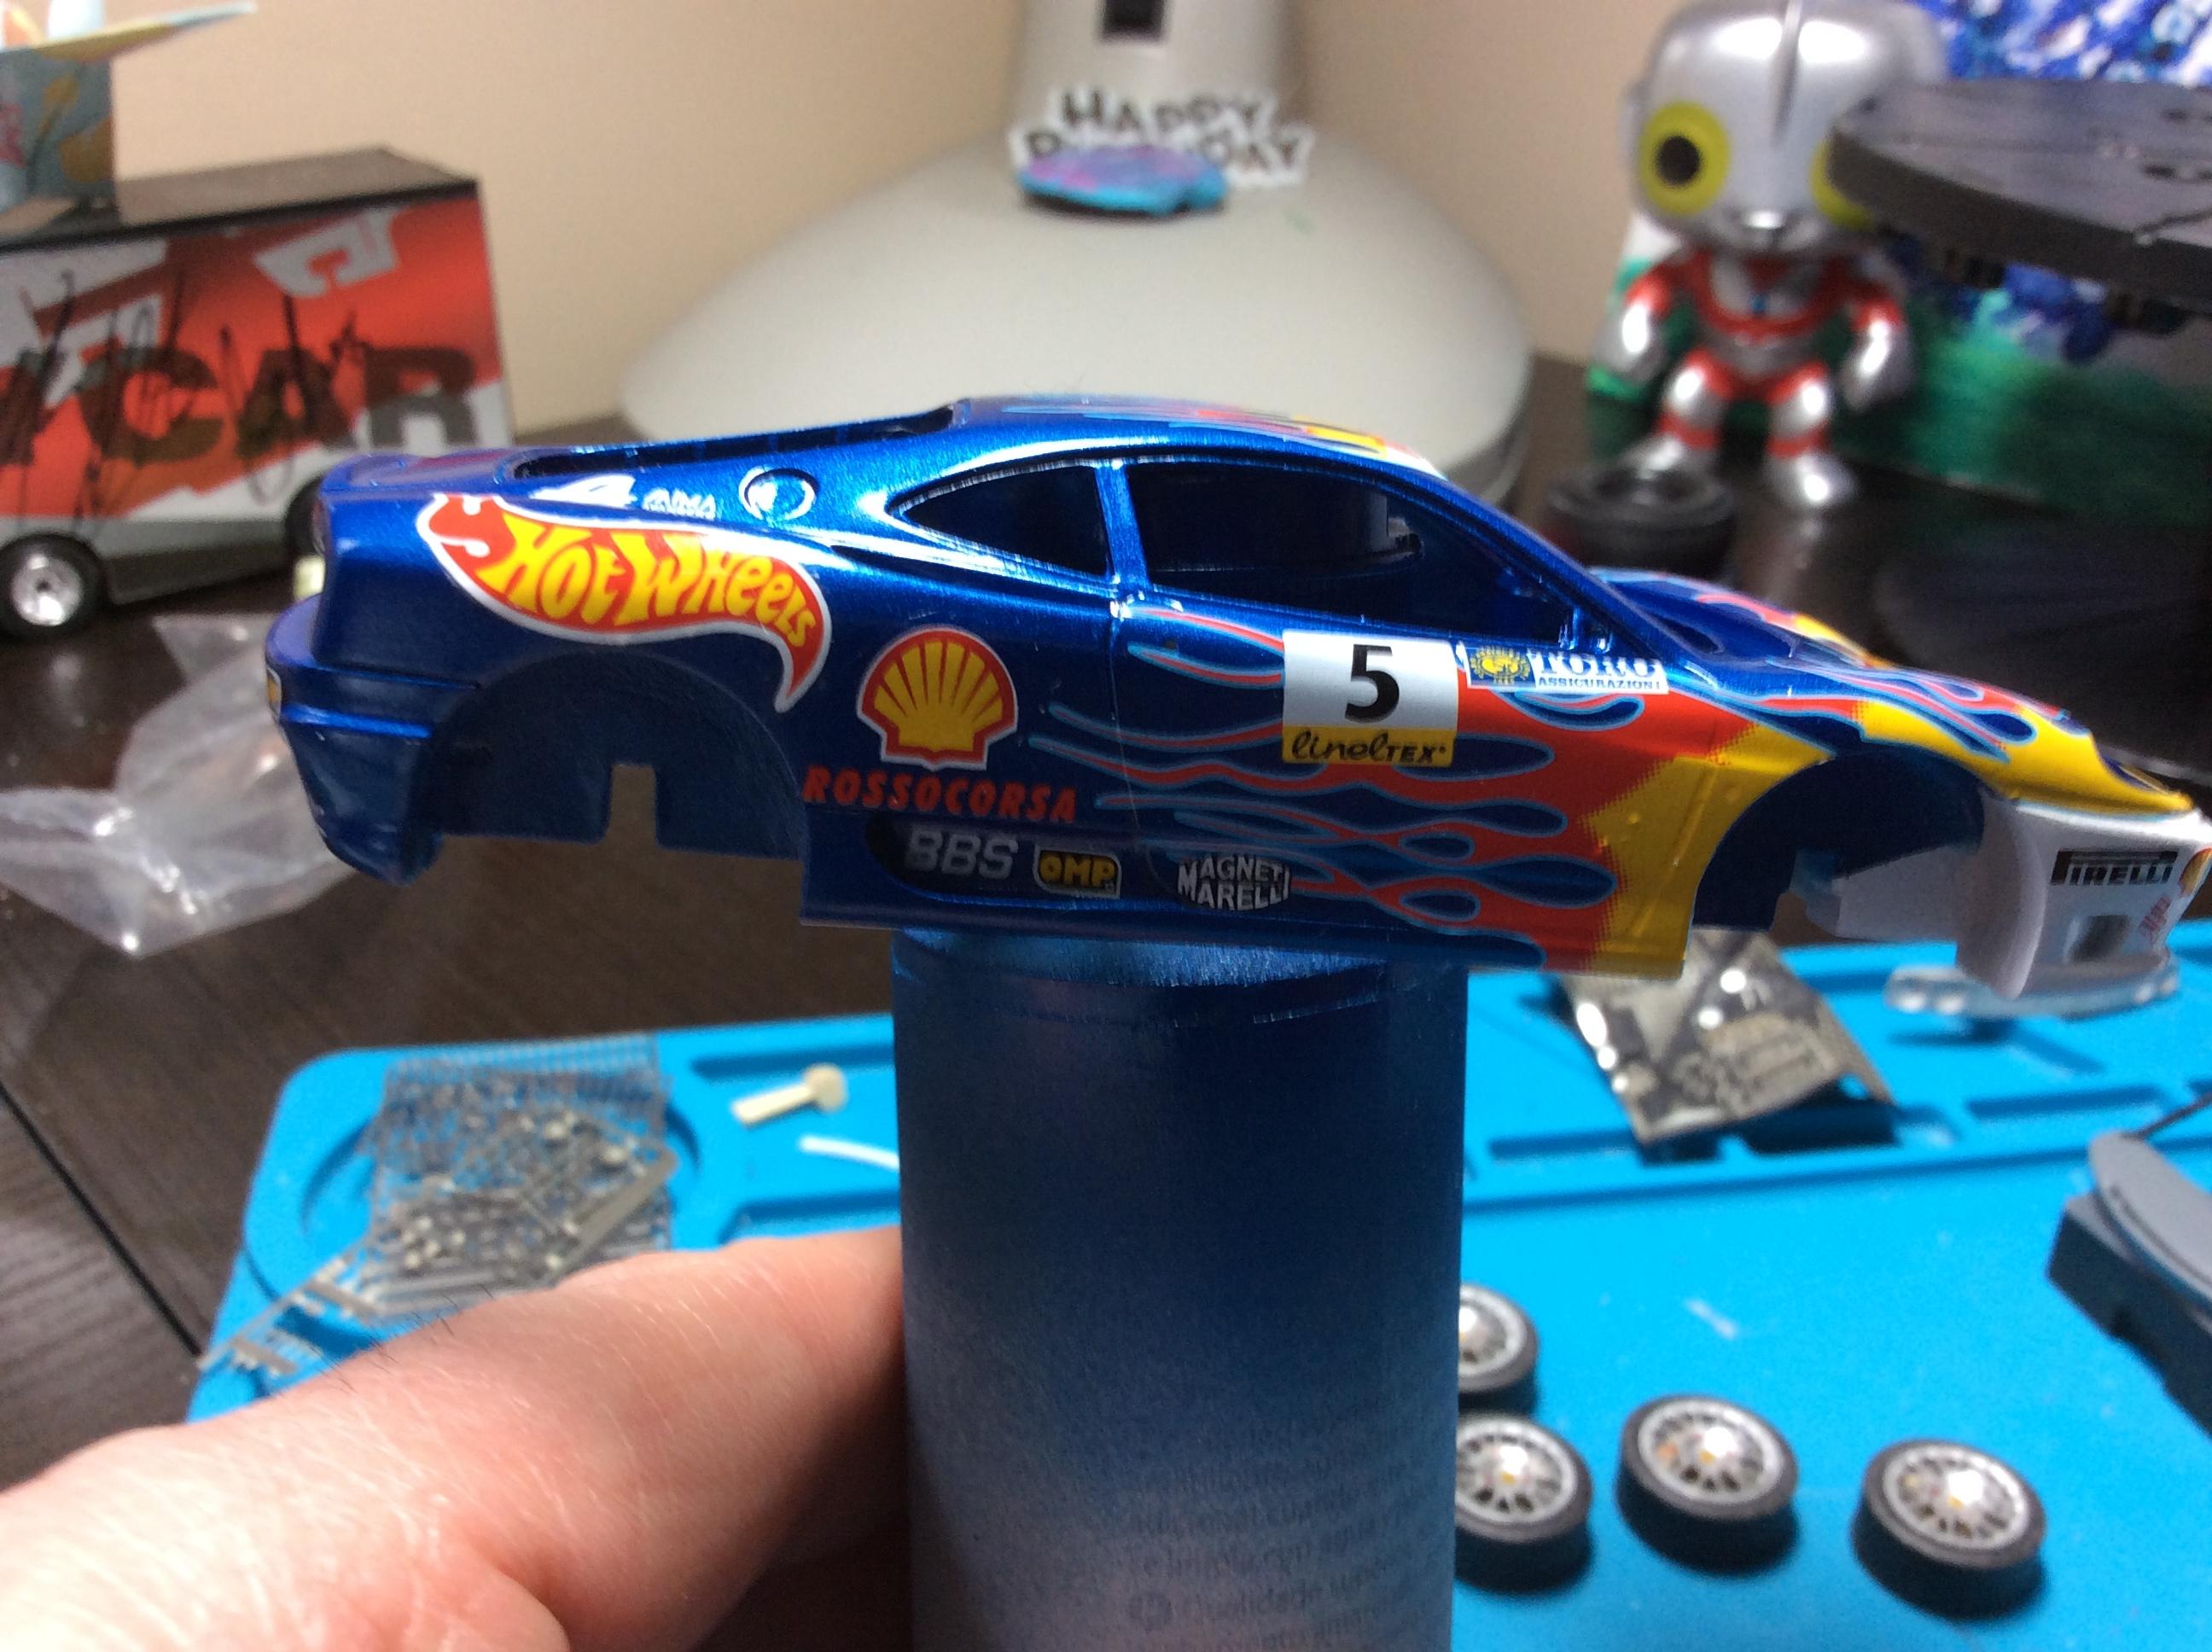
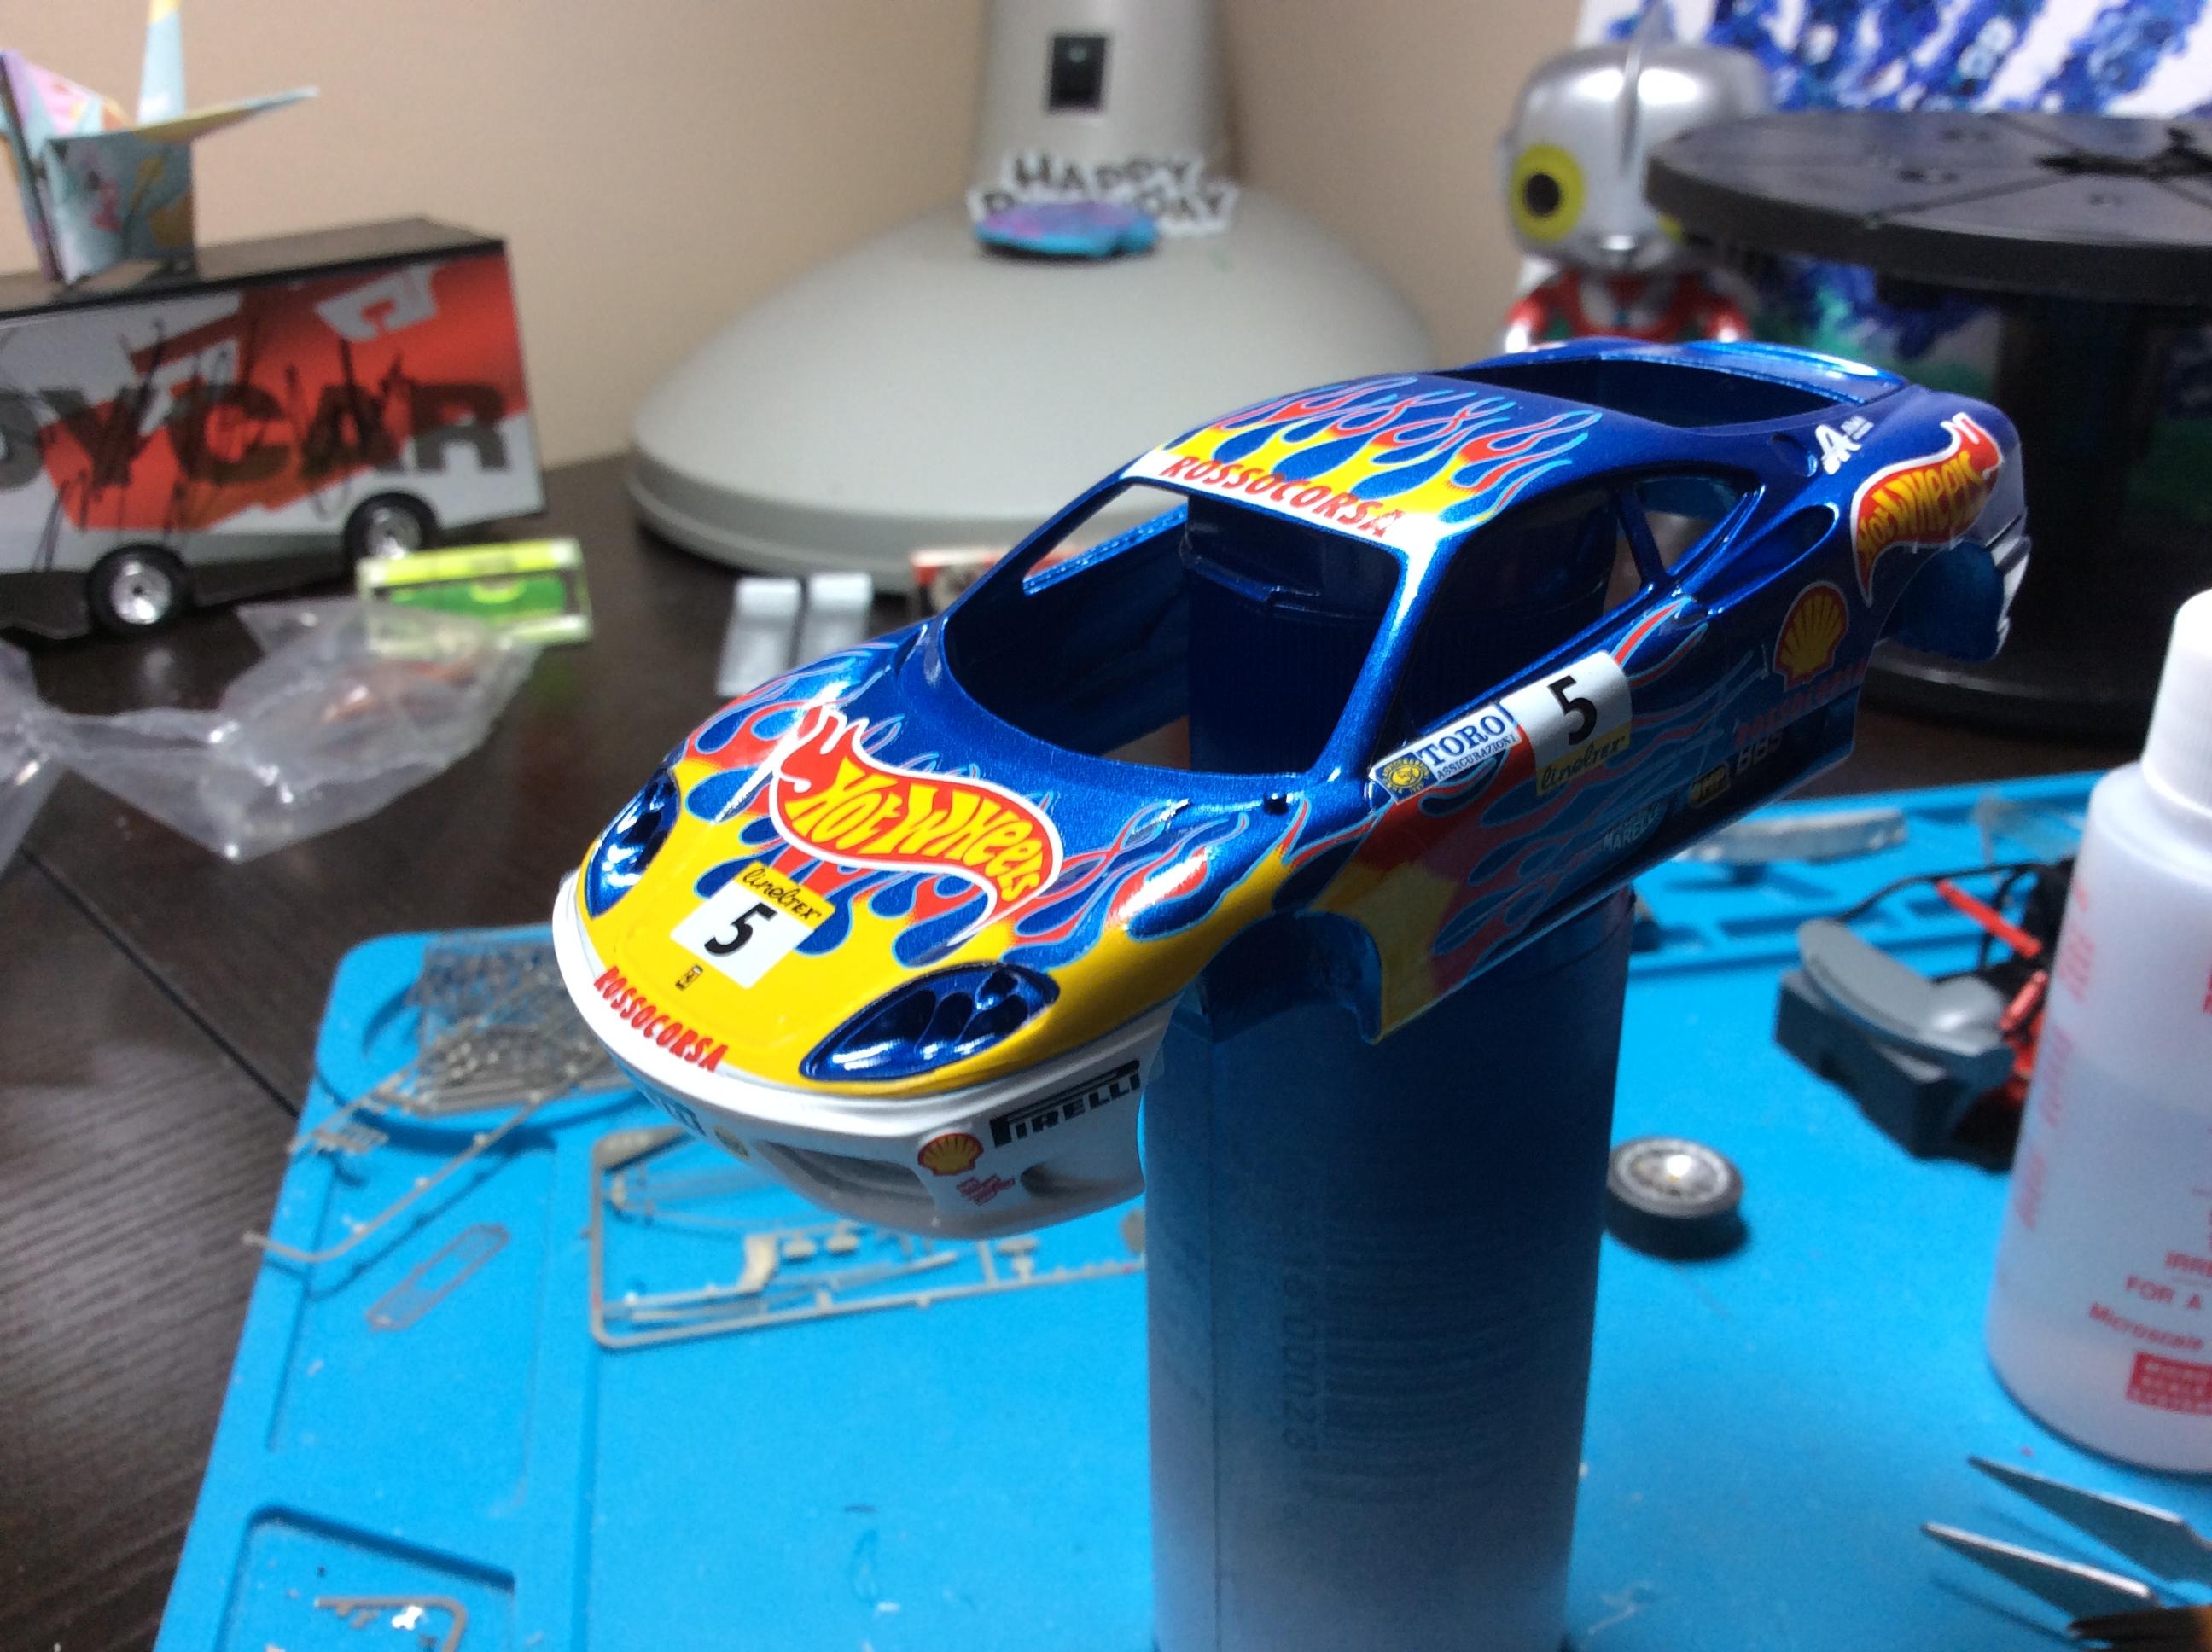
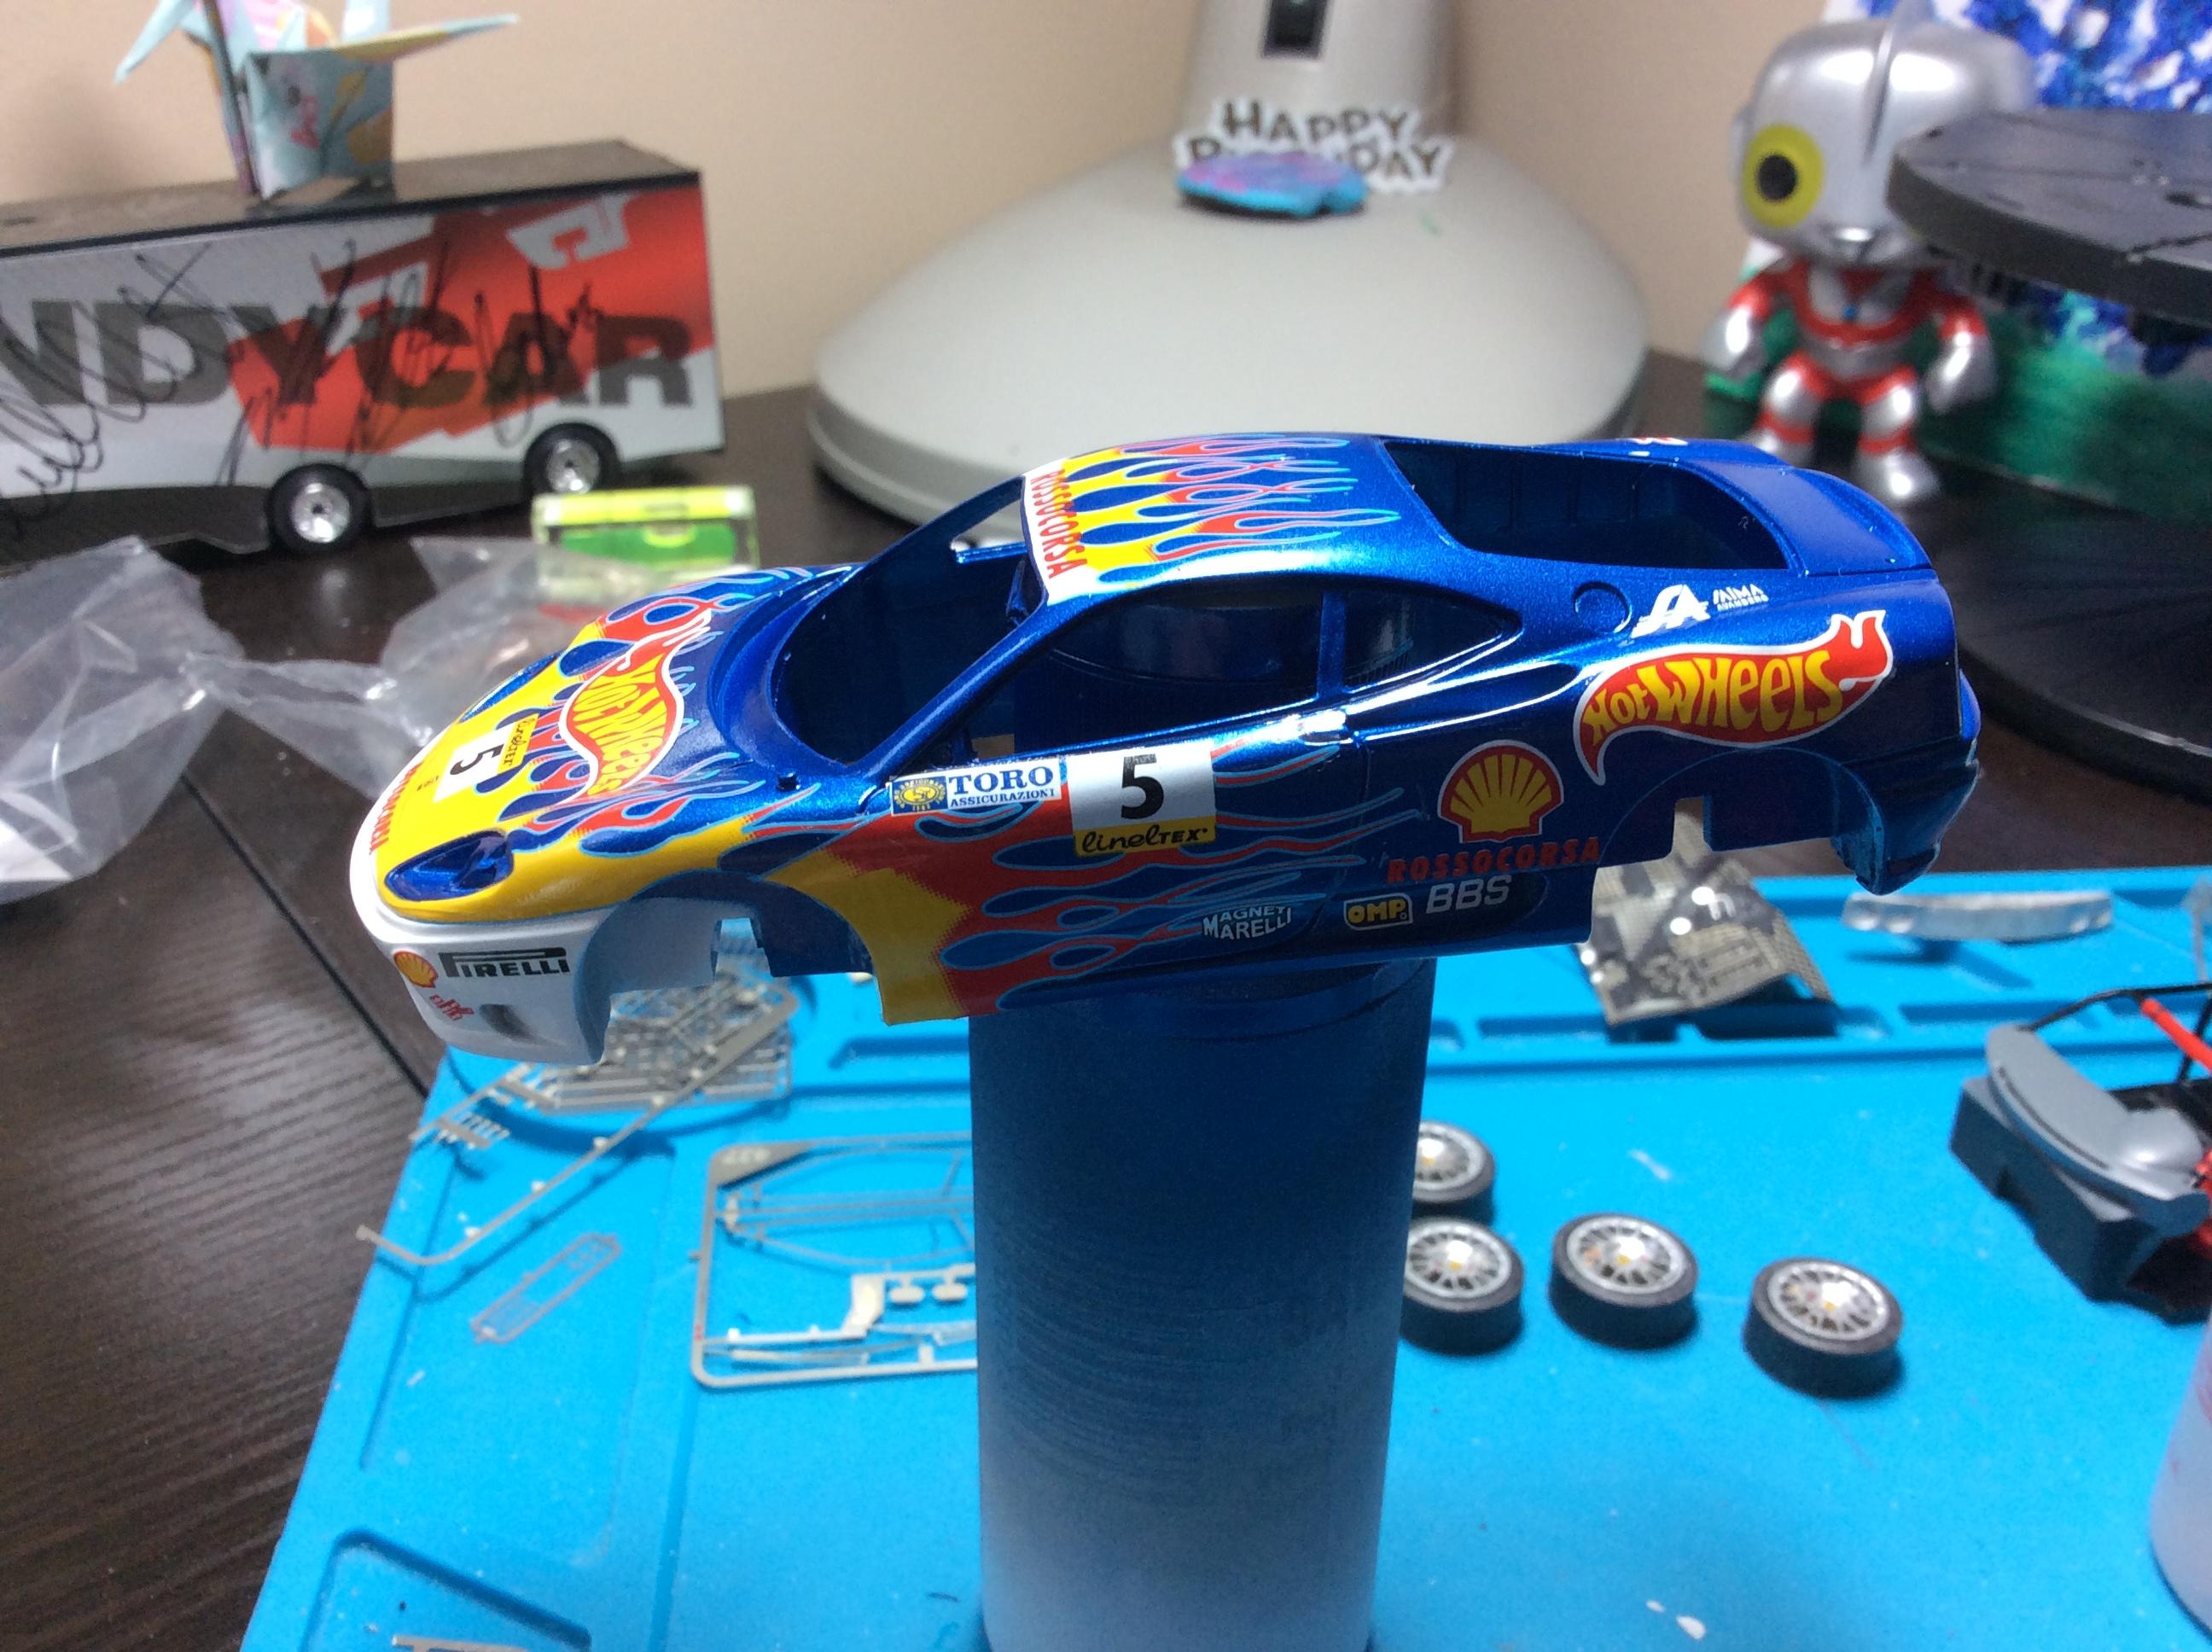
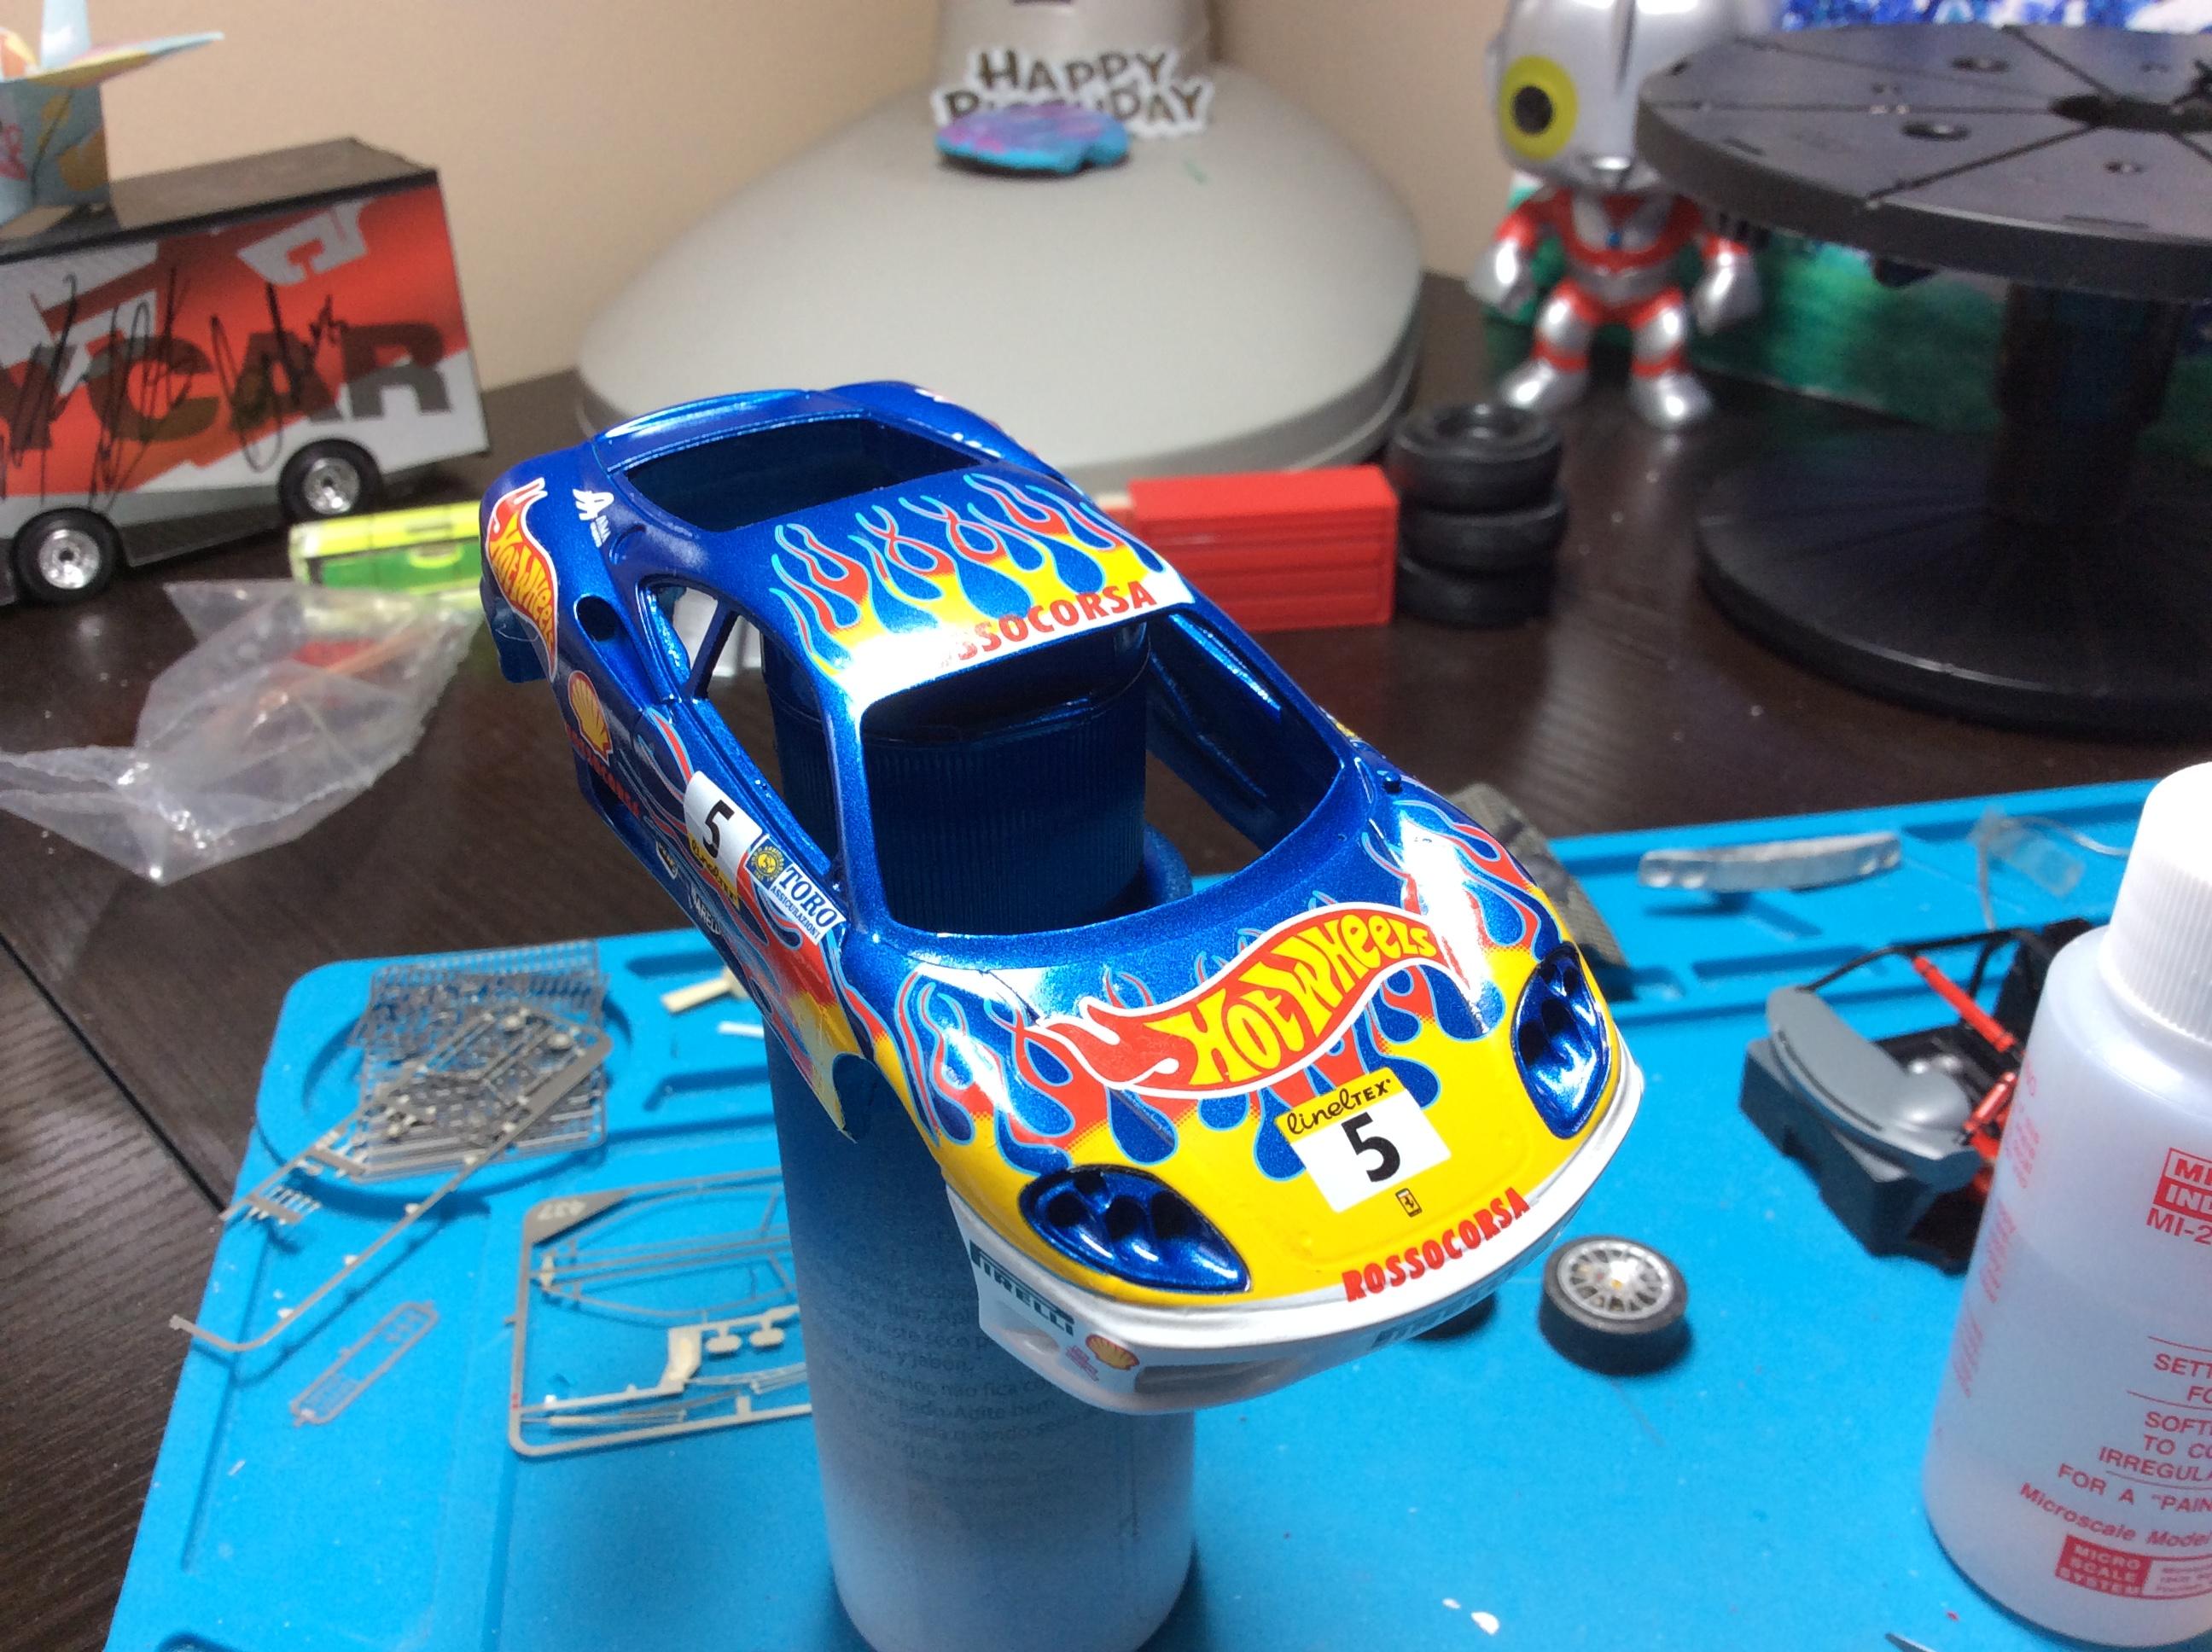
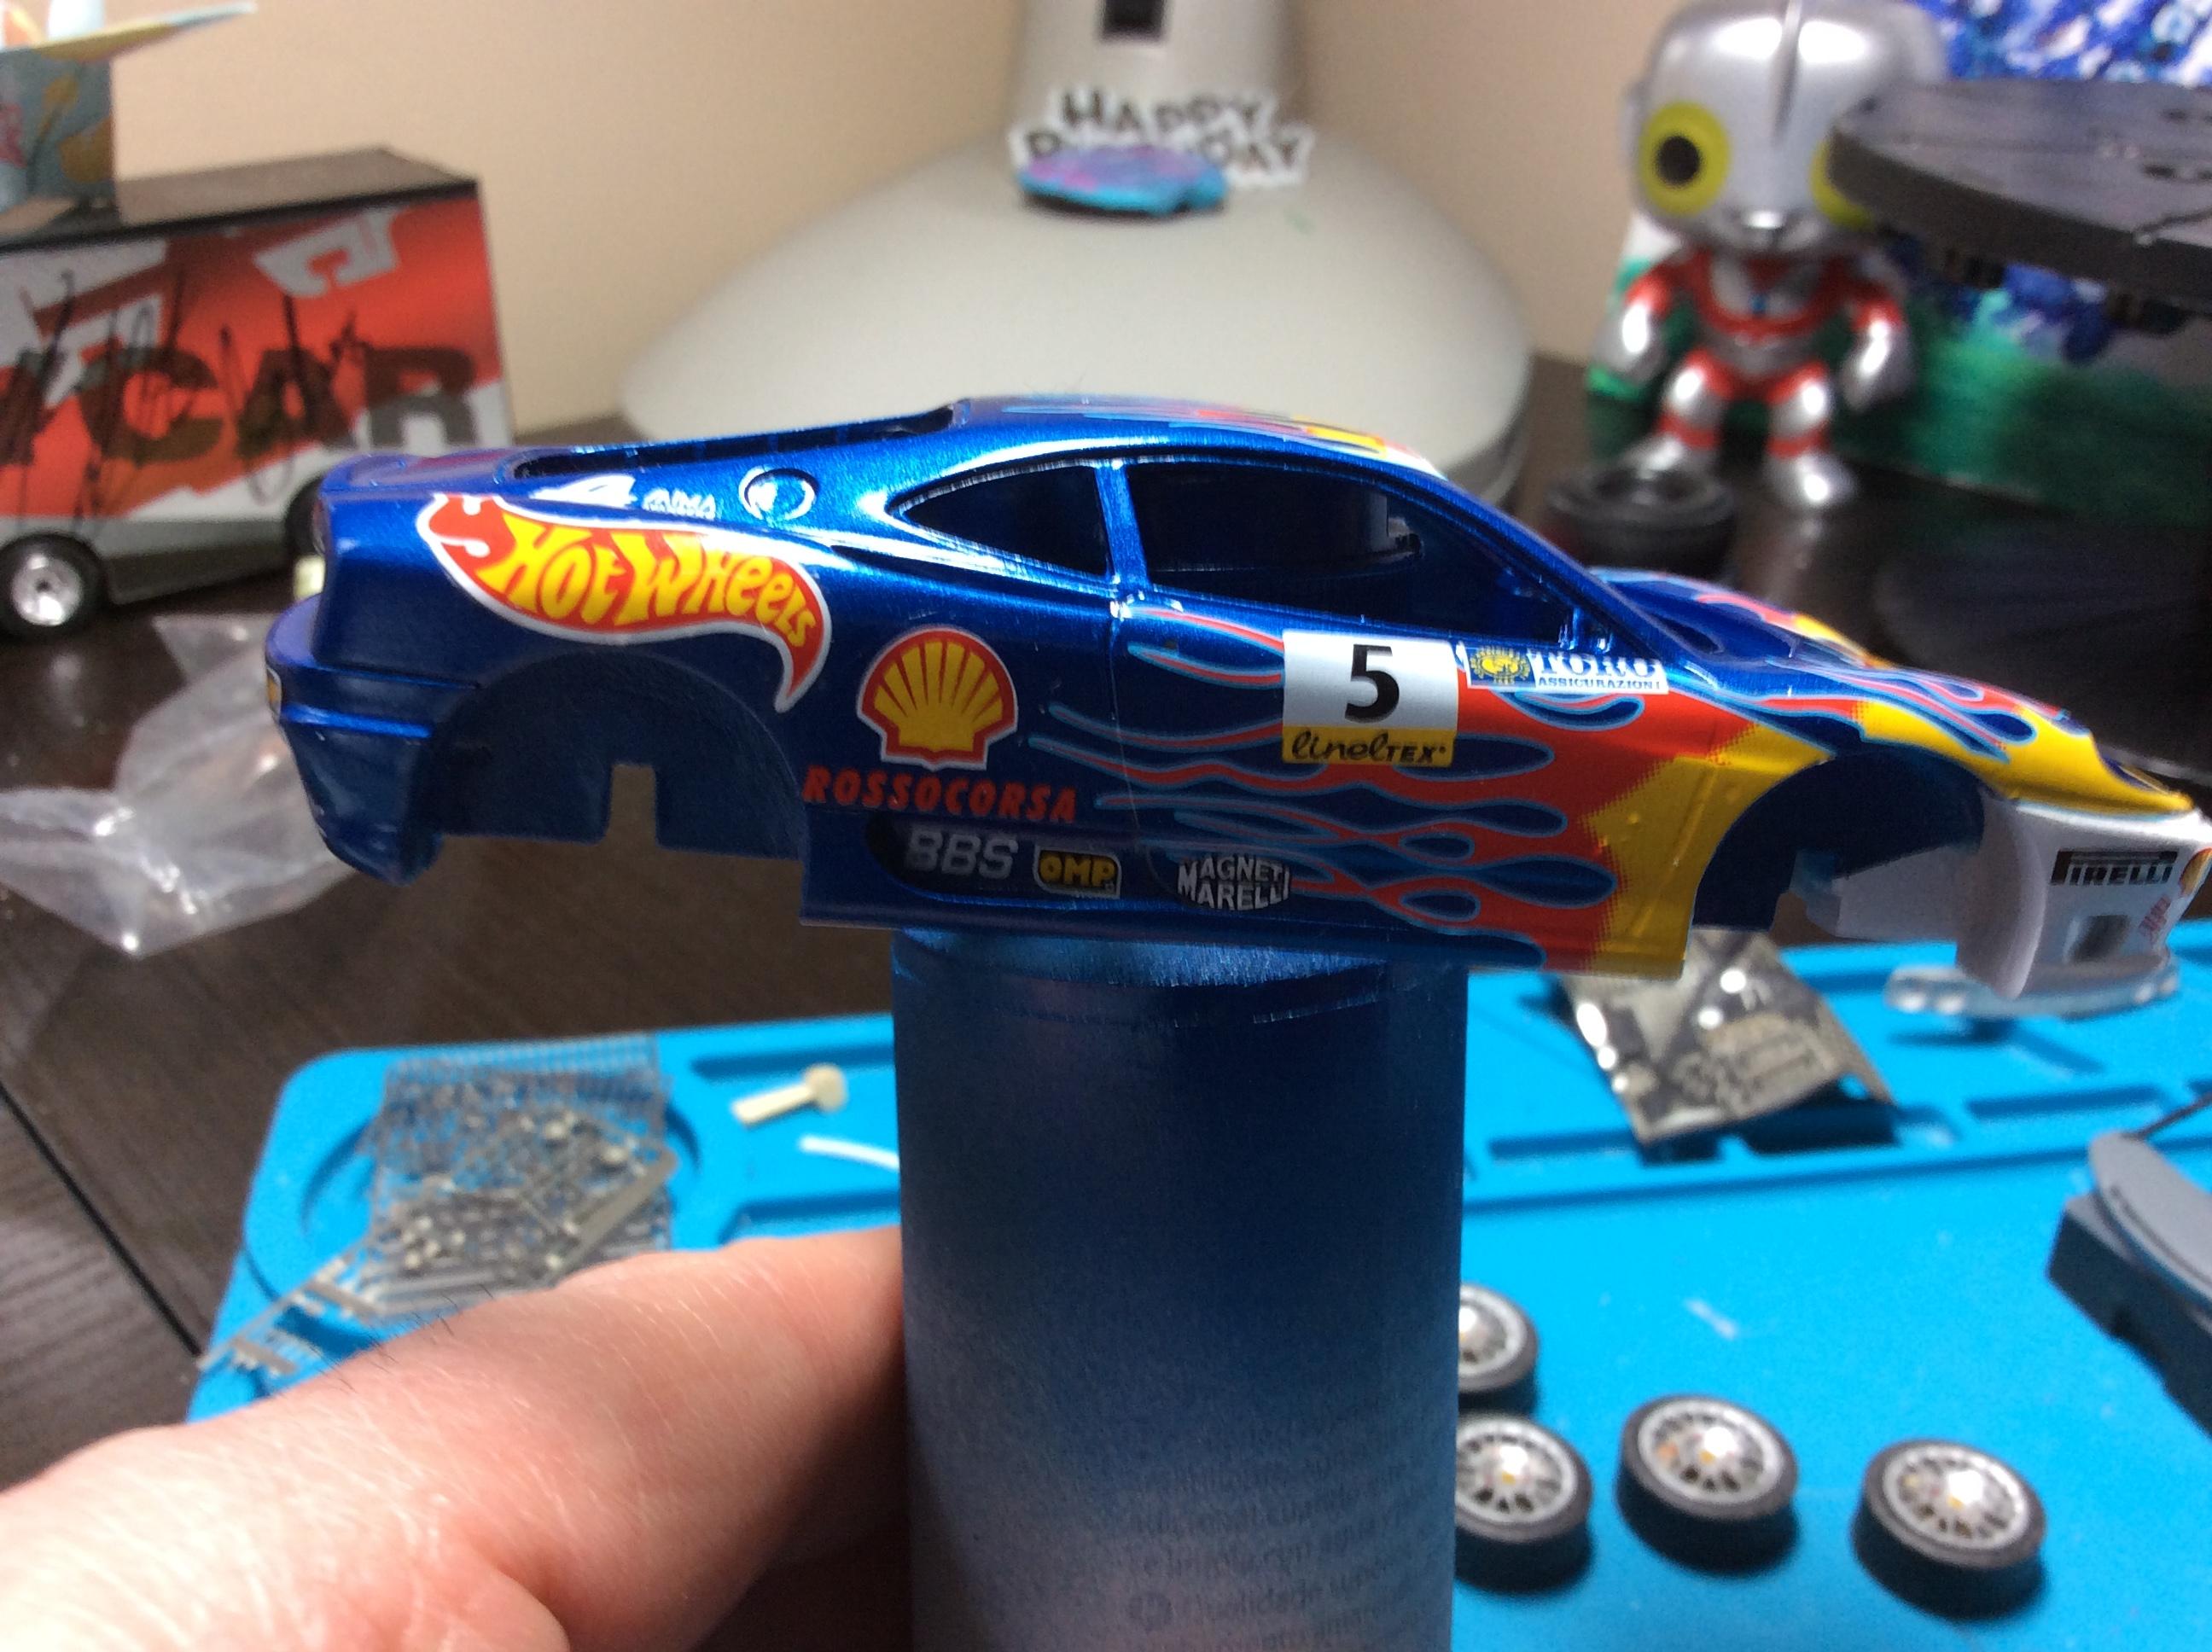
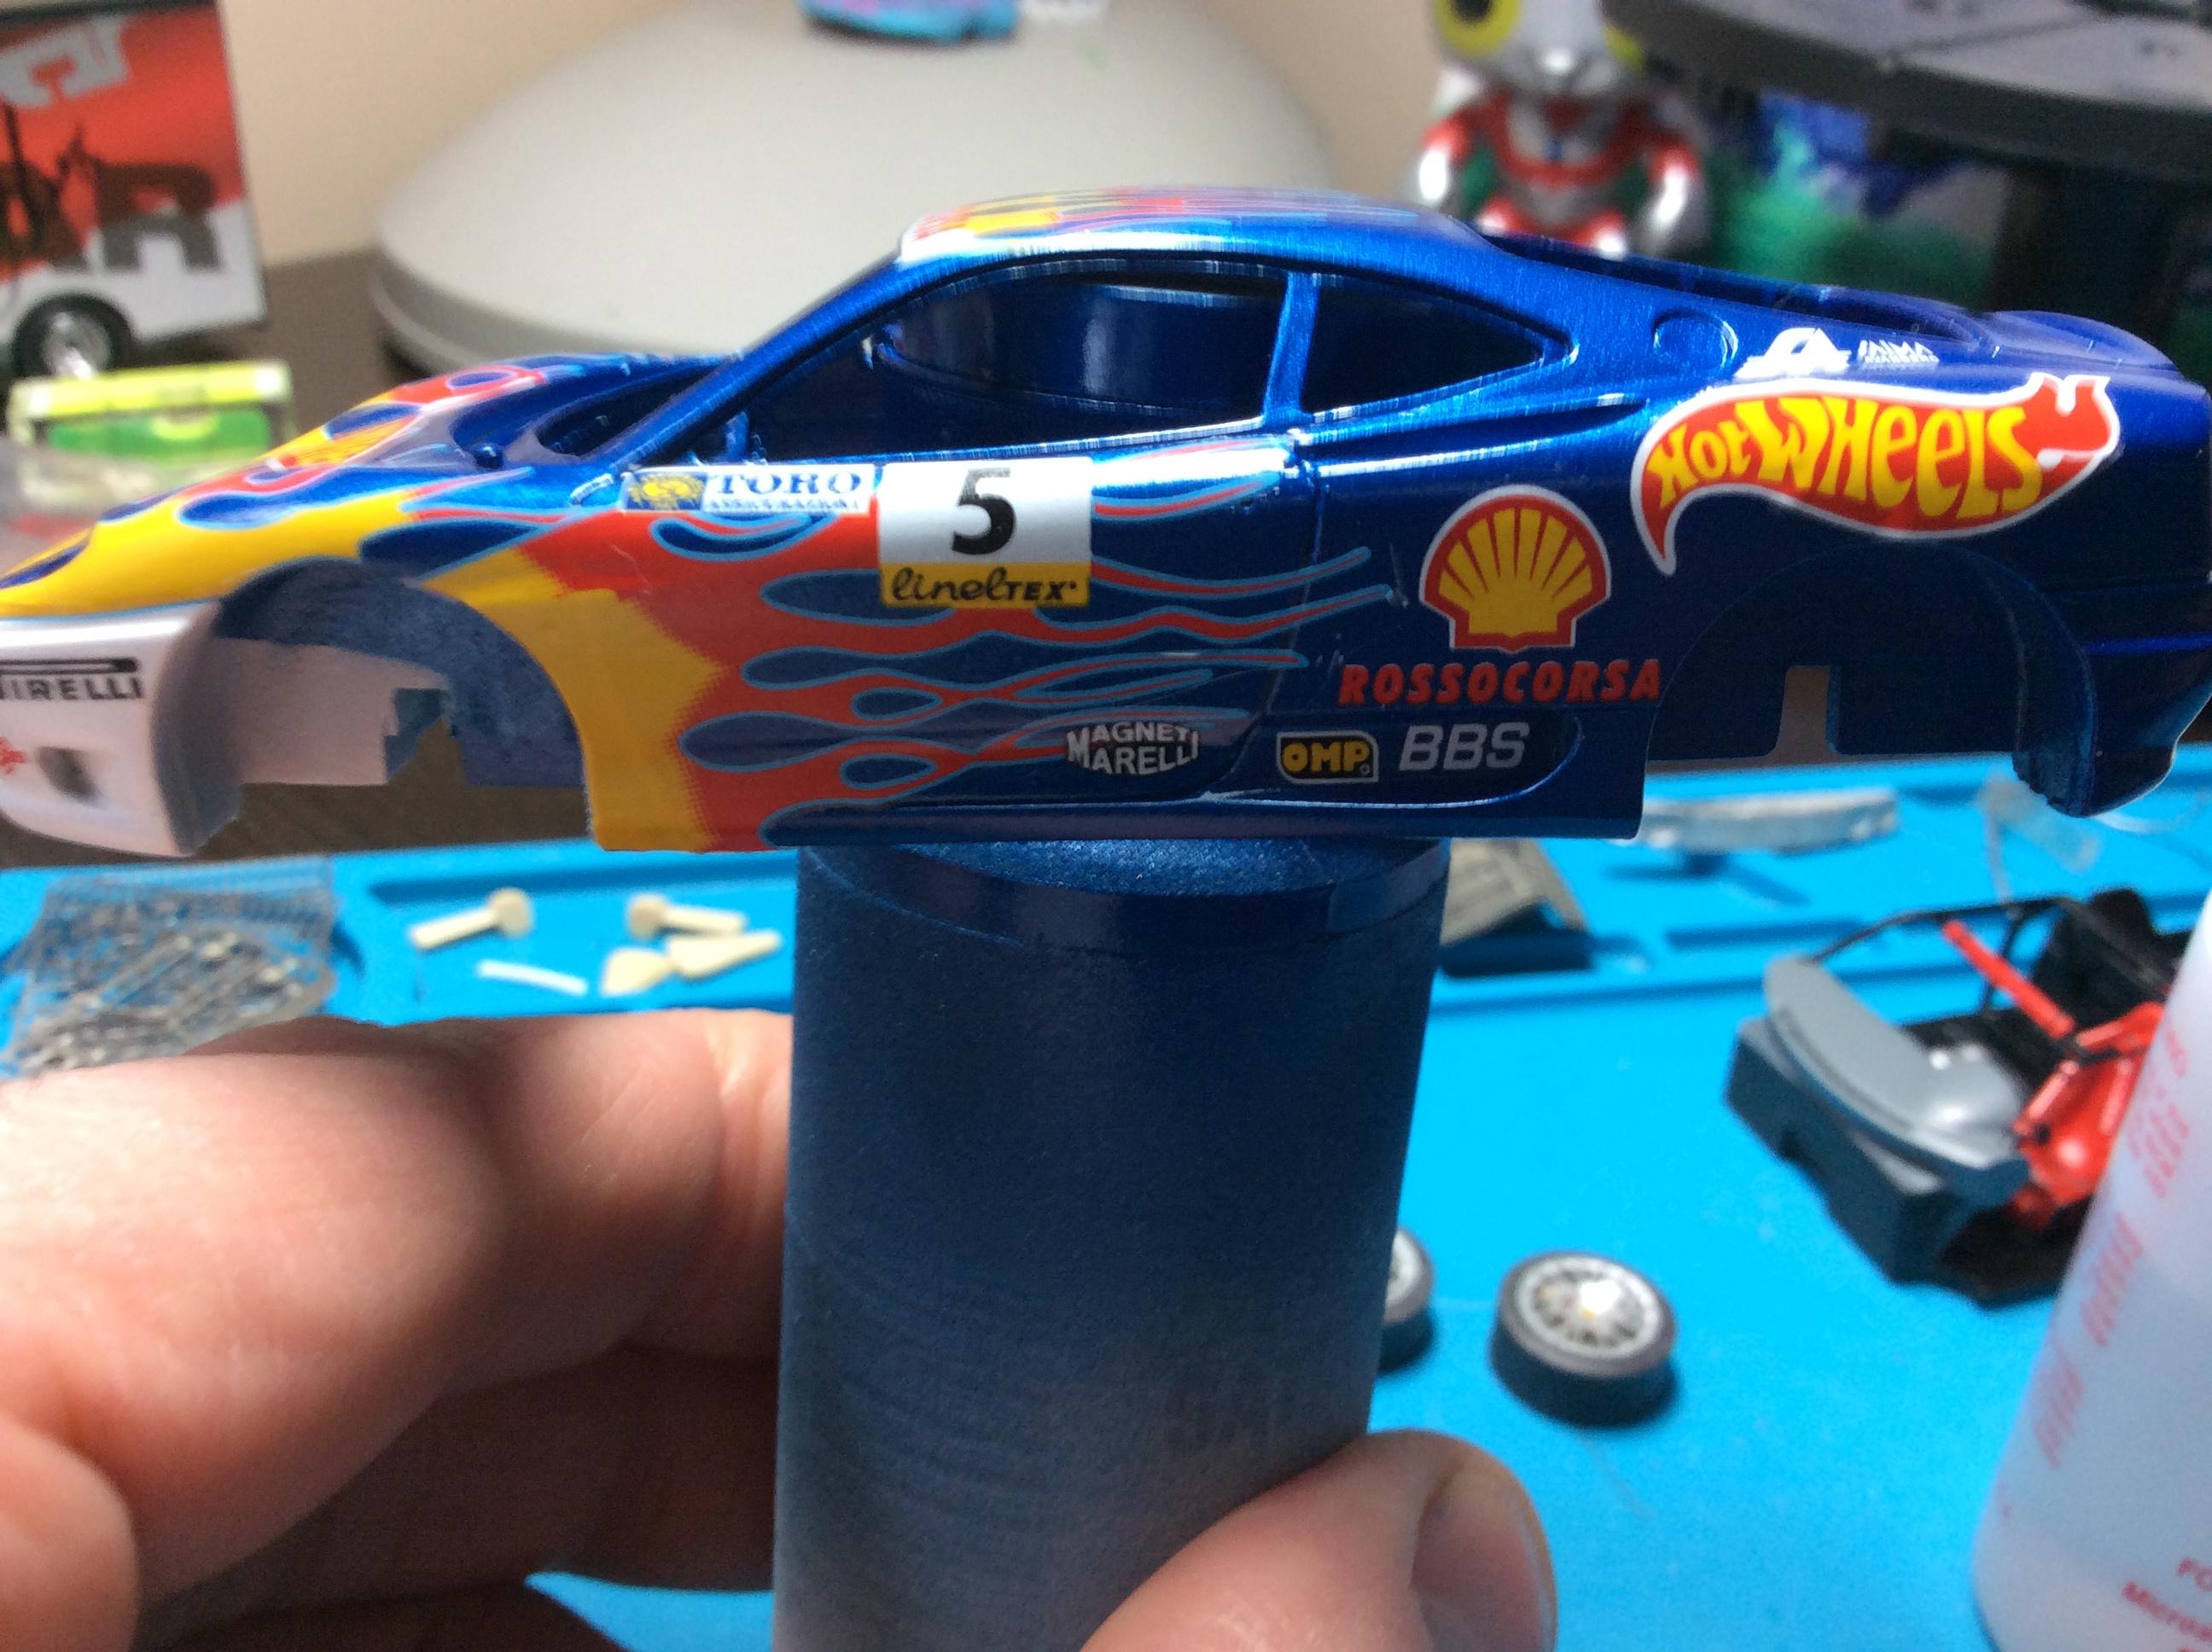
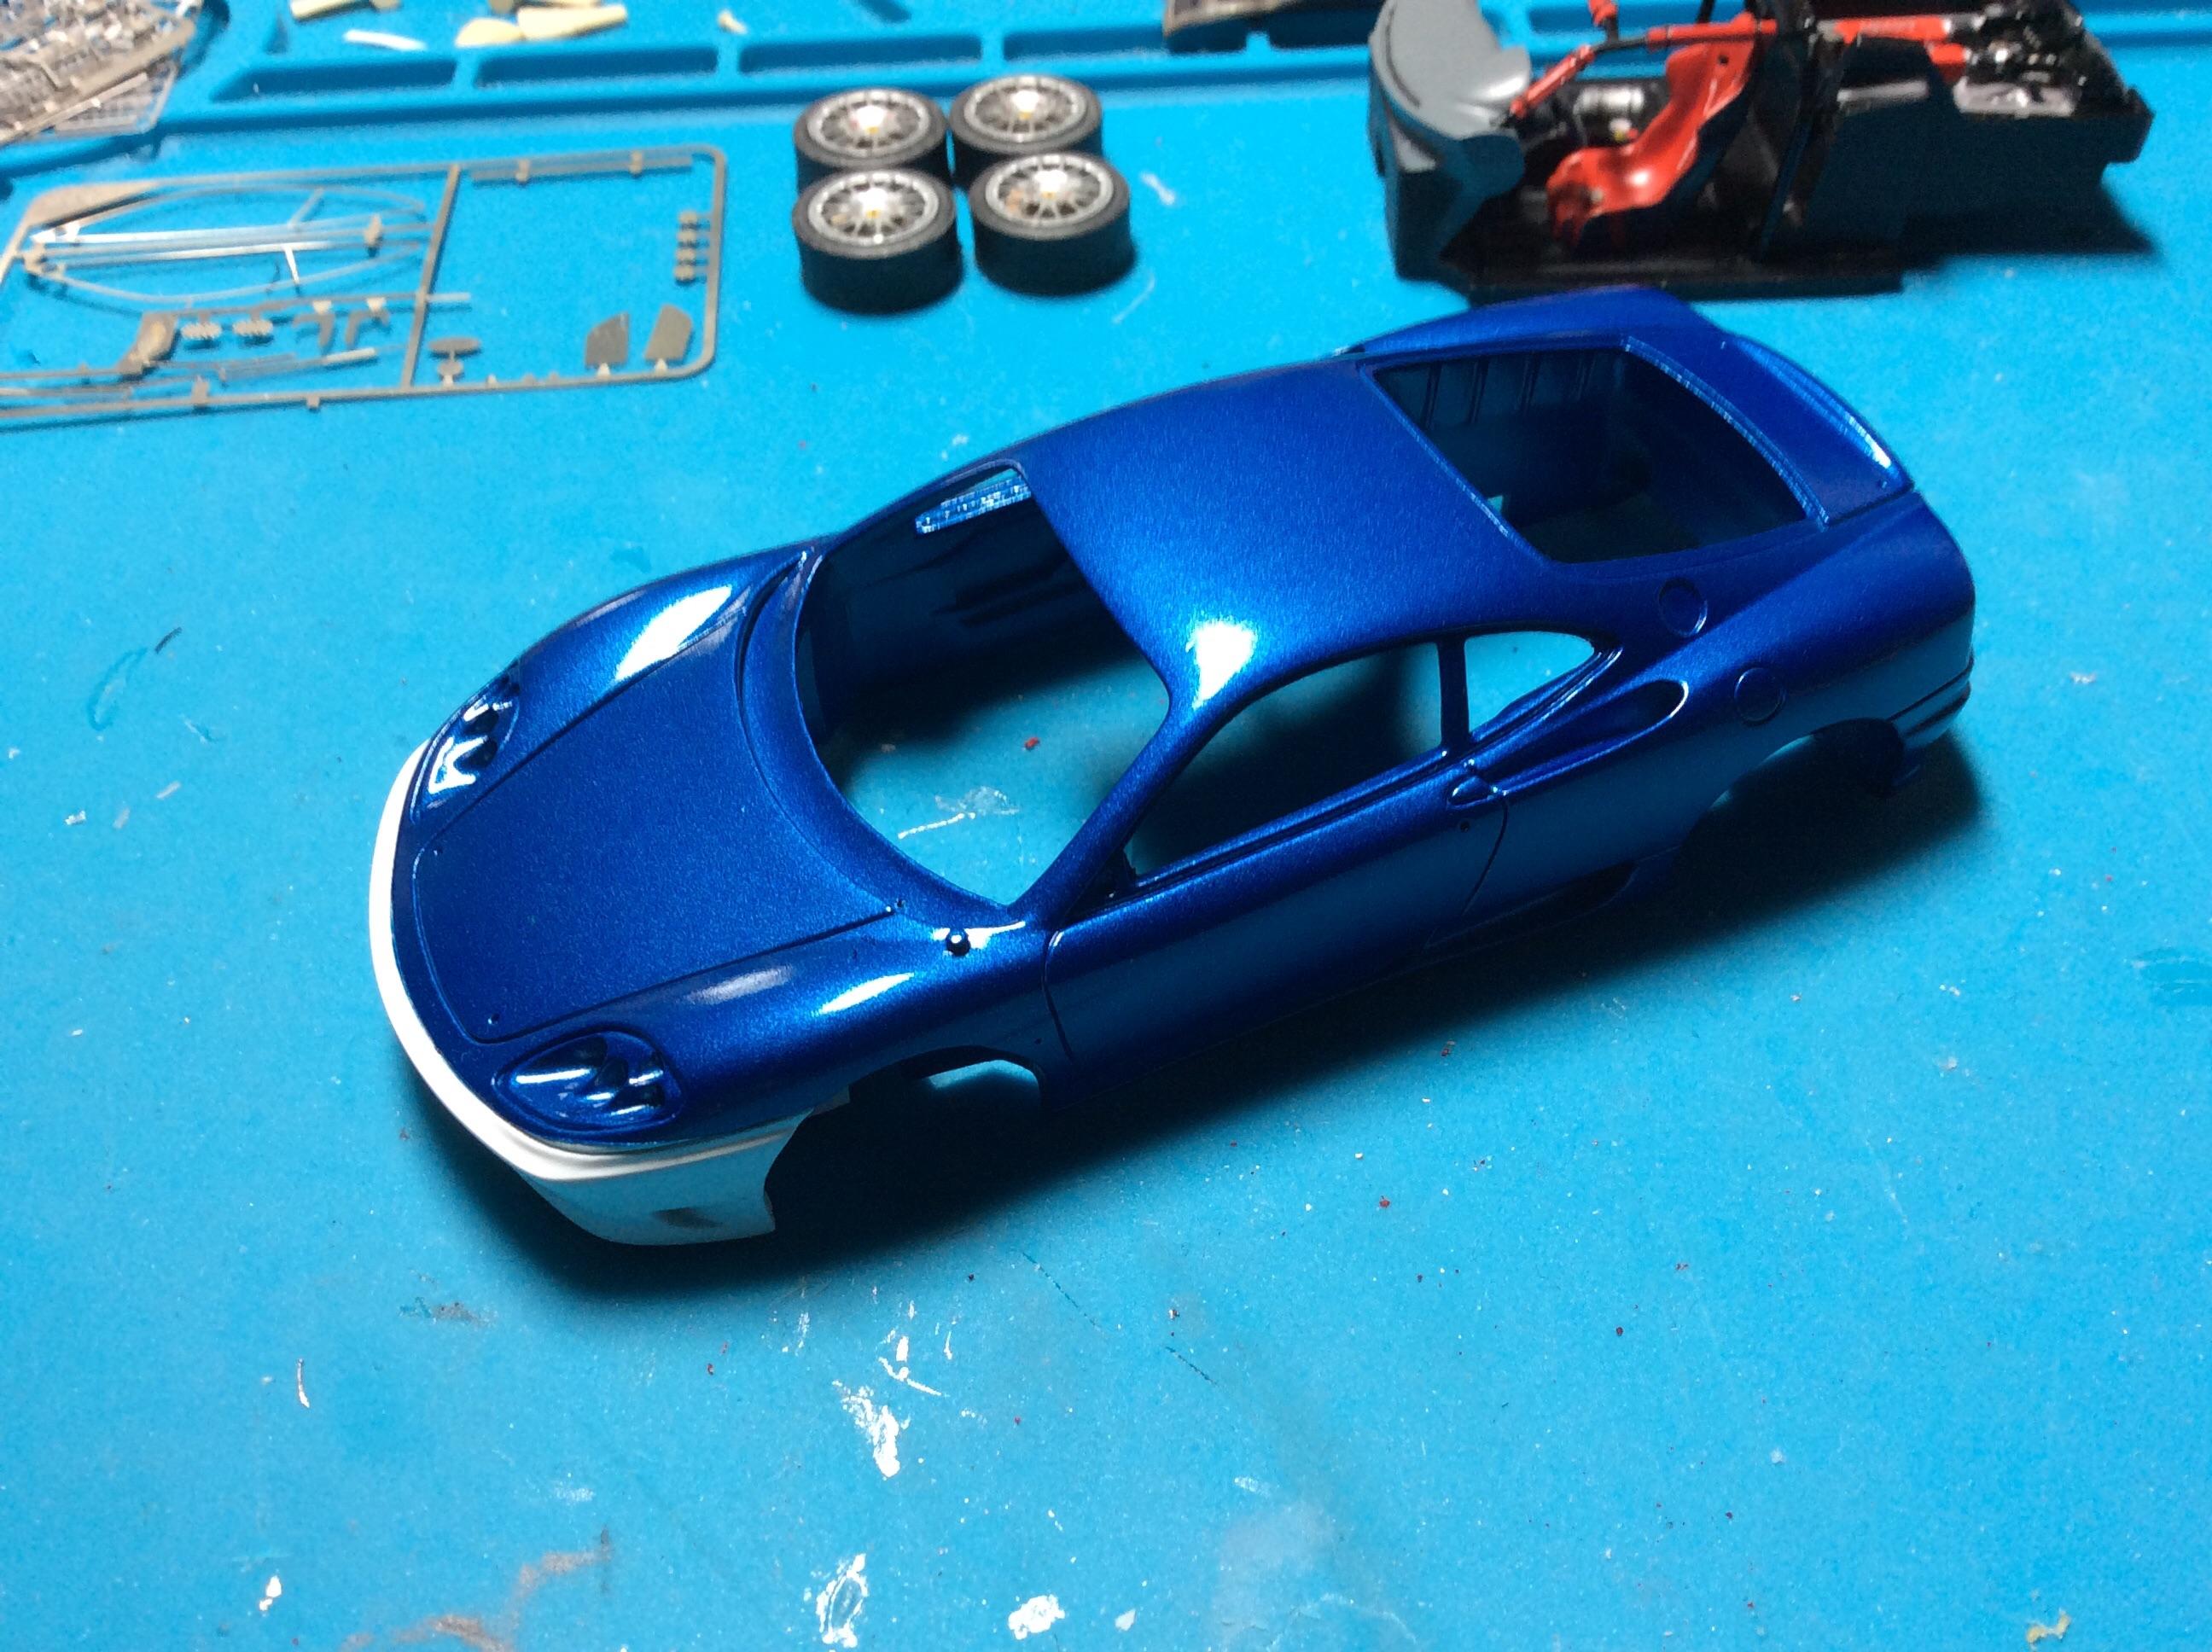
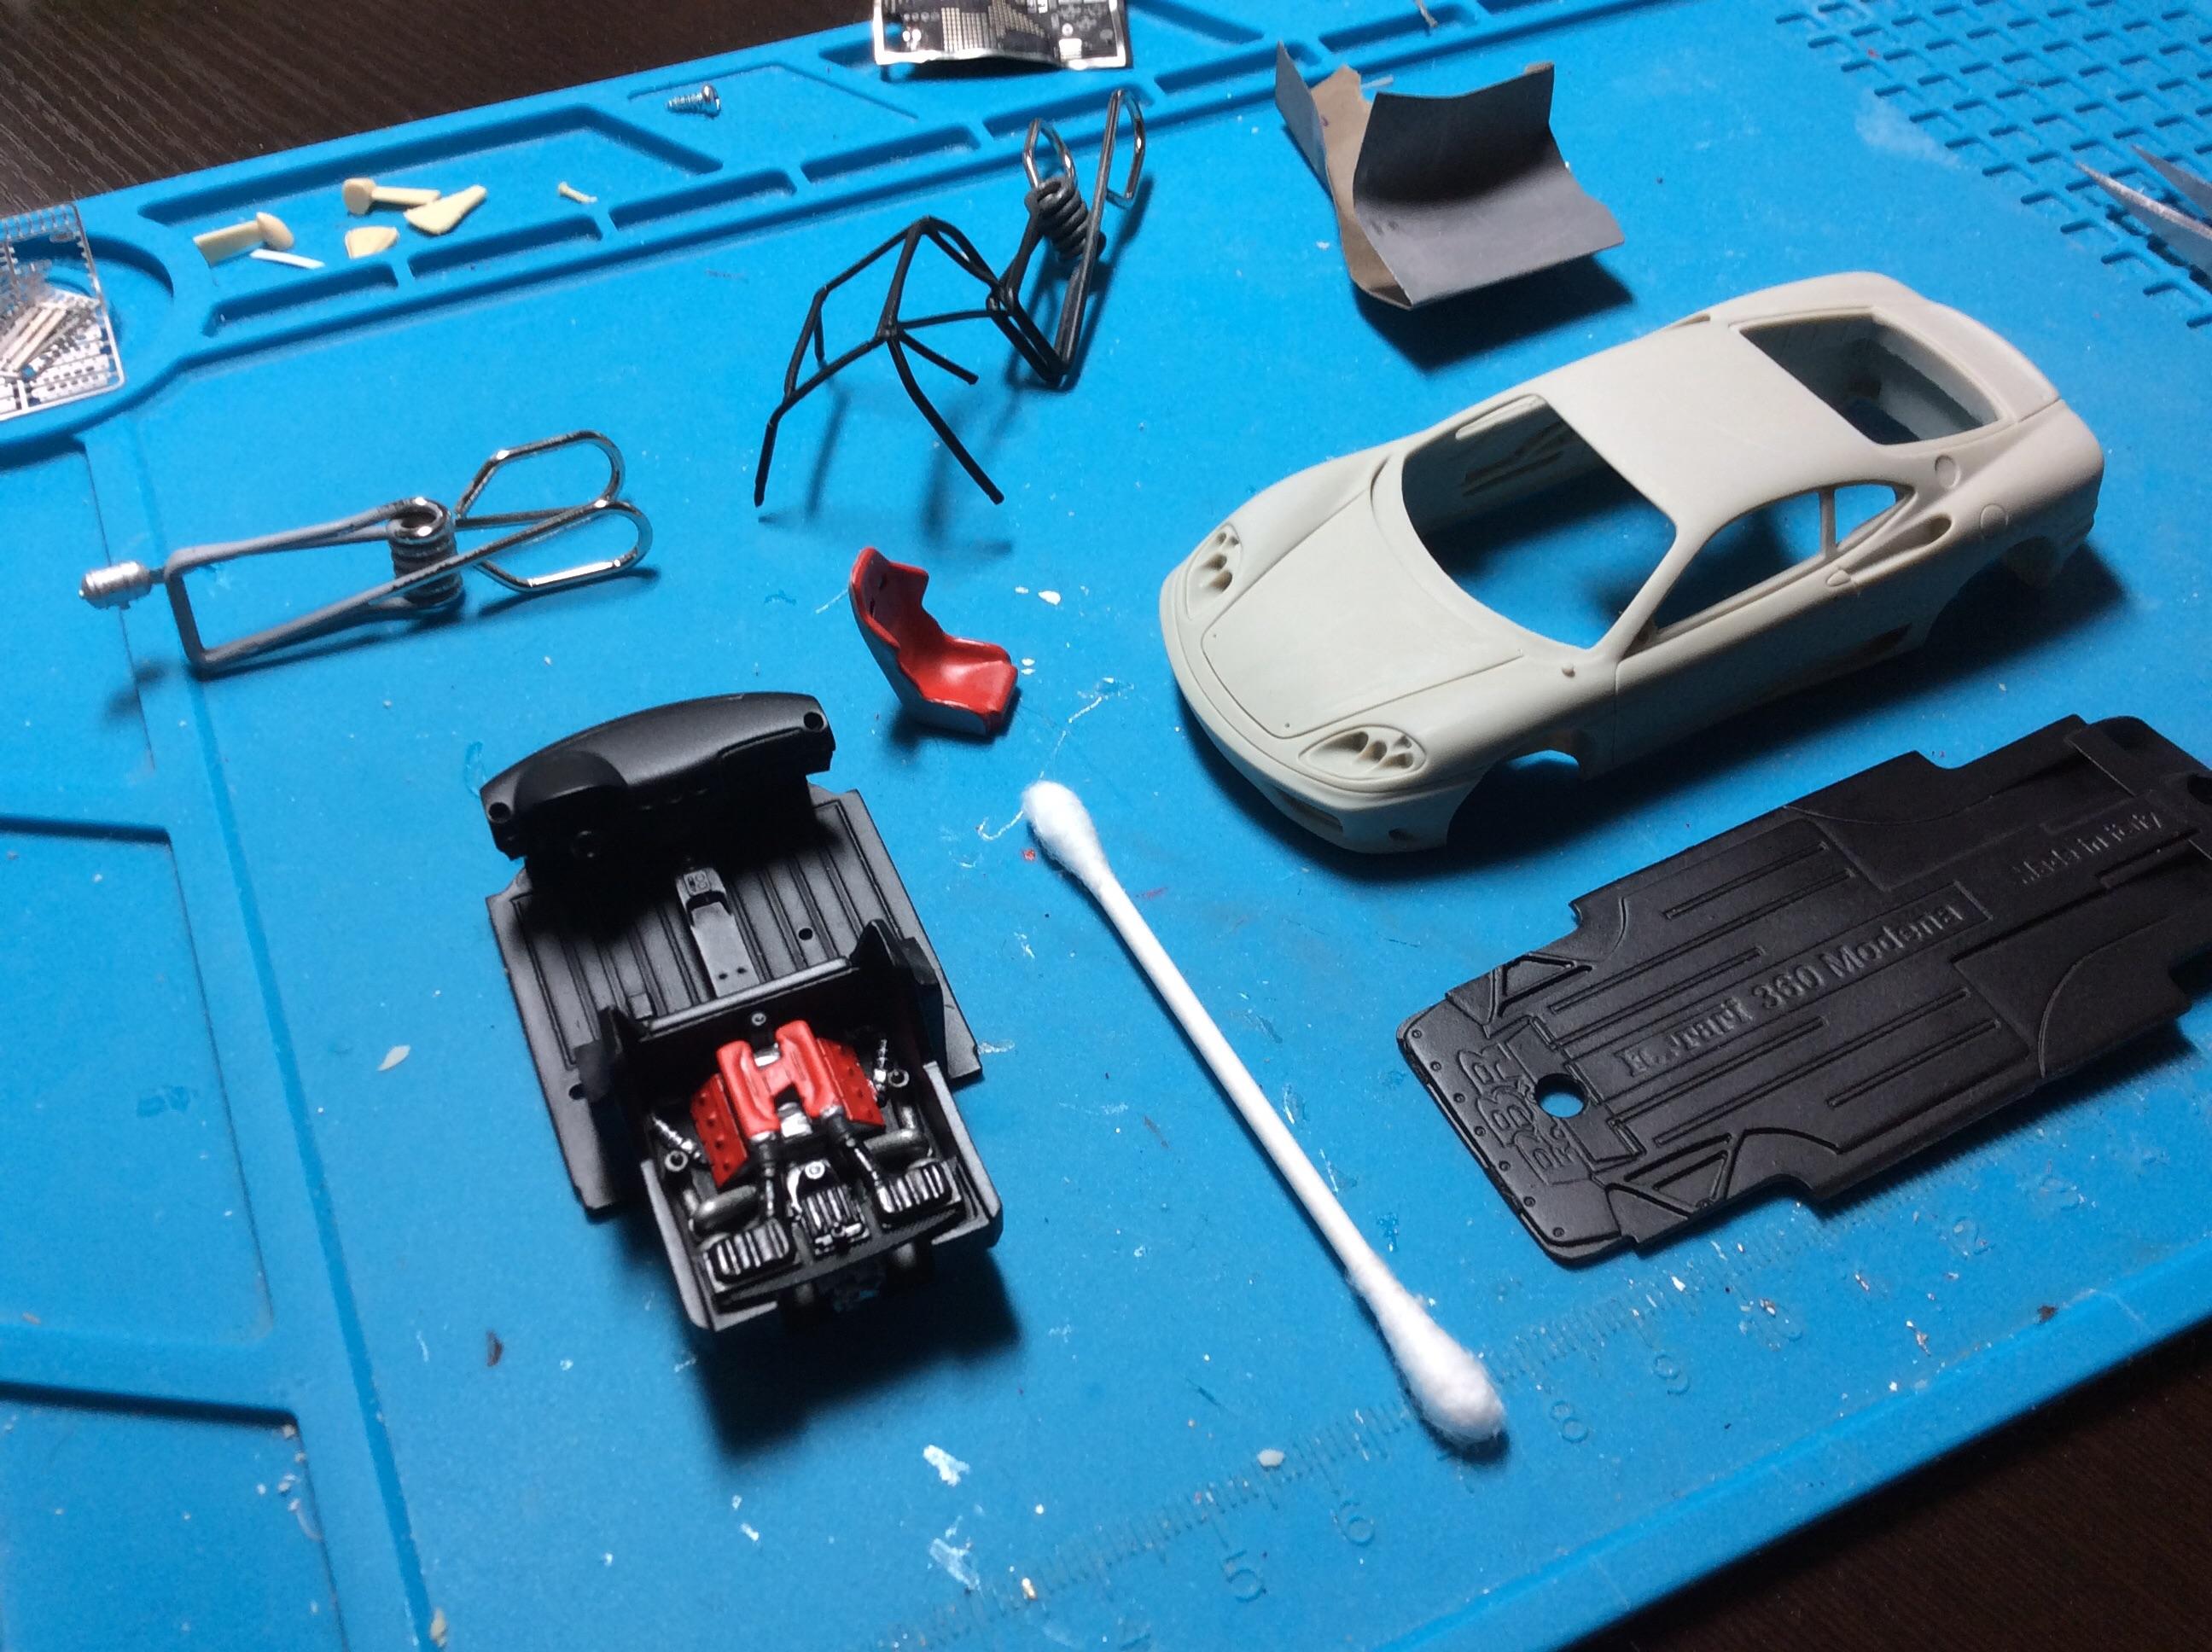
The interior is now complete and the wheels. The body is painted ready for decals. Thanks for looking -
-
Well done.. nice choice of decals
-
Mercedes-AMG GT3
Gt fan replied to harti20's topic in WIP: Other Racing: Road Racing, Land Speed Racers
Great start .. such a good kit. -
1/43 Ferrari 360 challenge ( BBR)
Gt fan replied to Gt fan's topic in WIP: Other Racing: Road Racing, Land Speed Racers
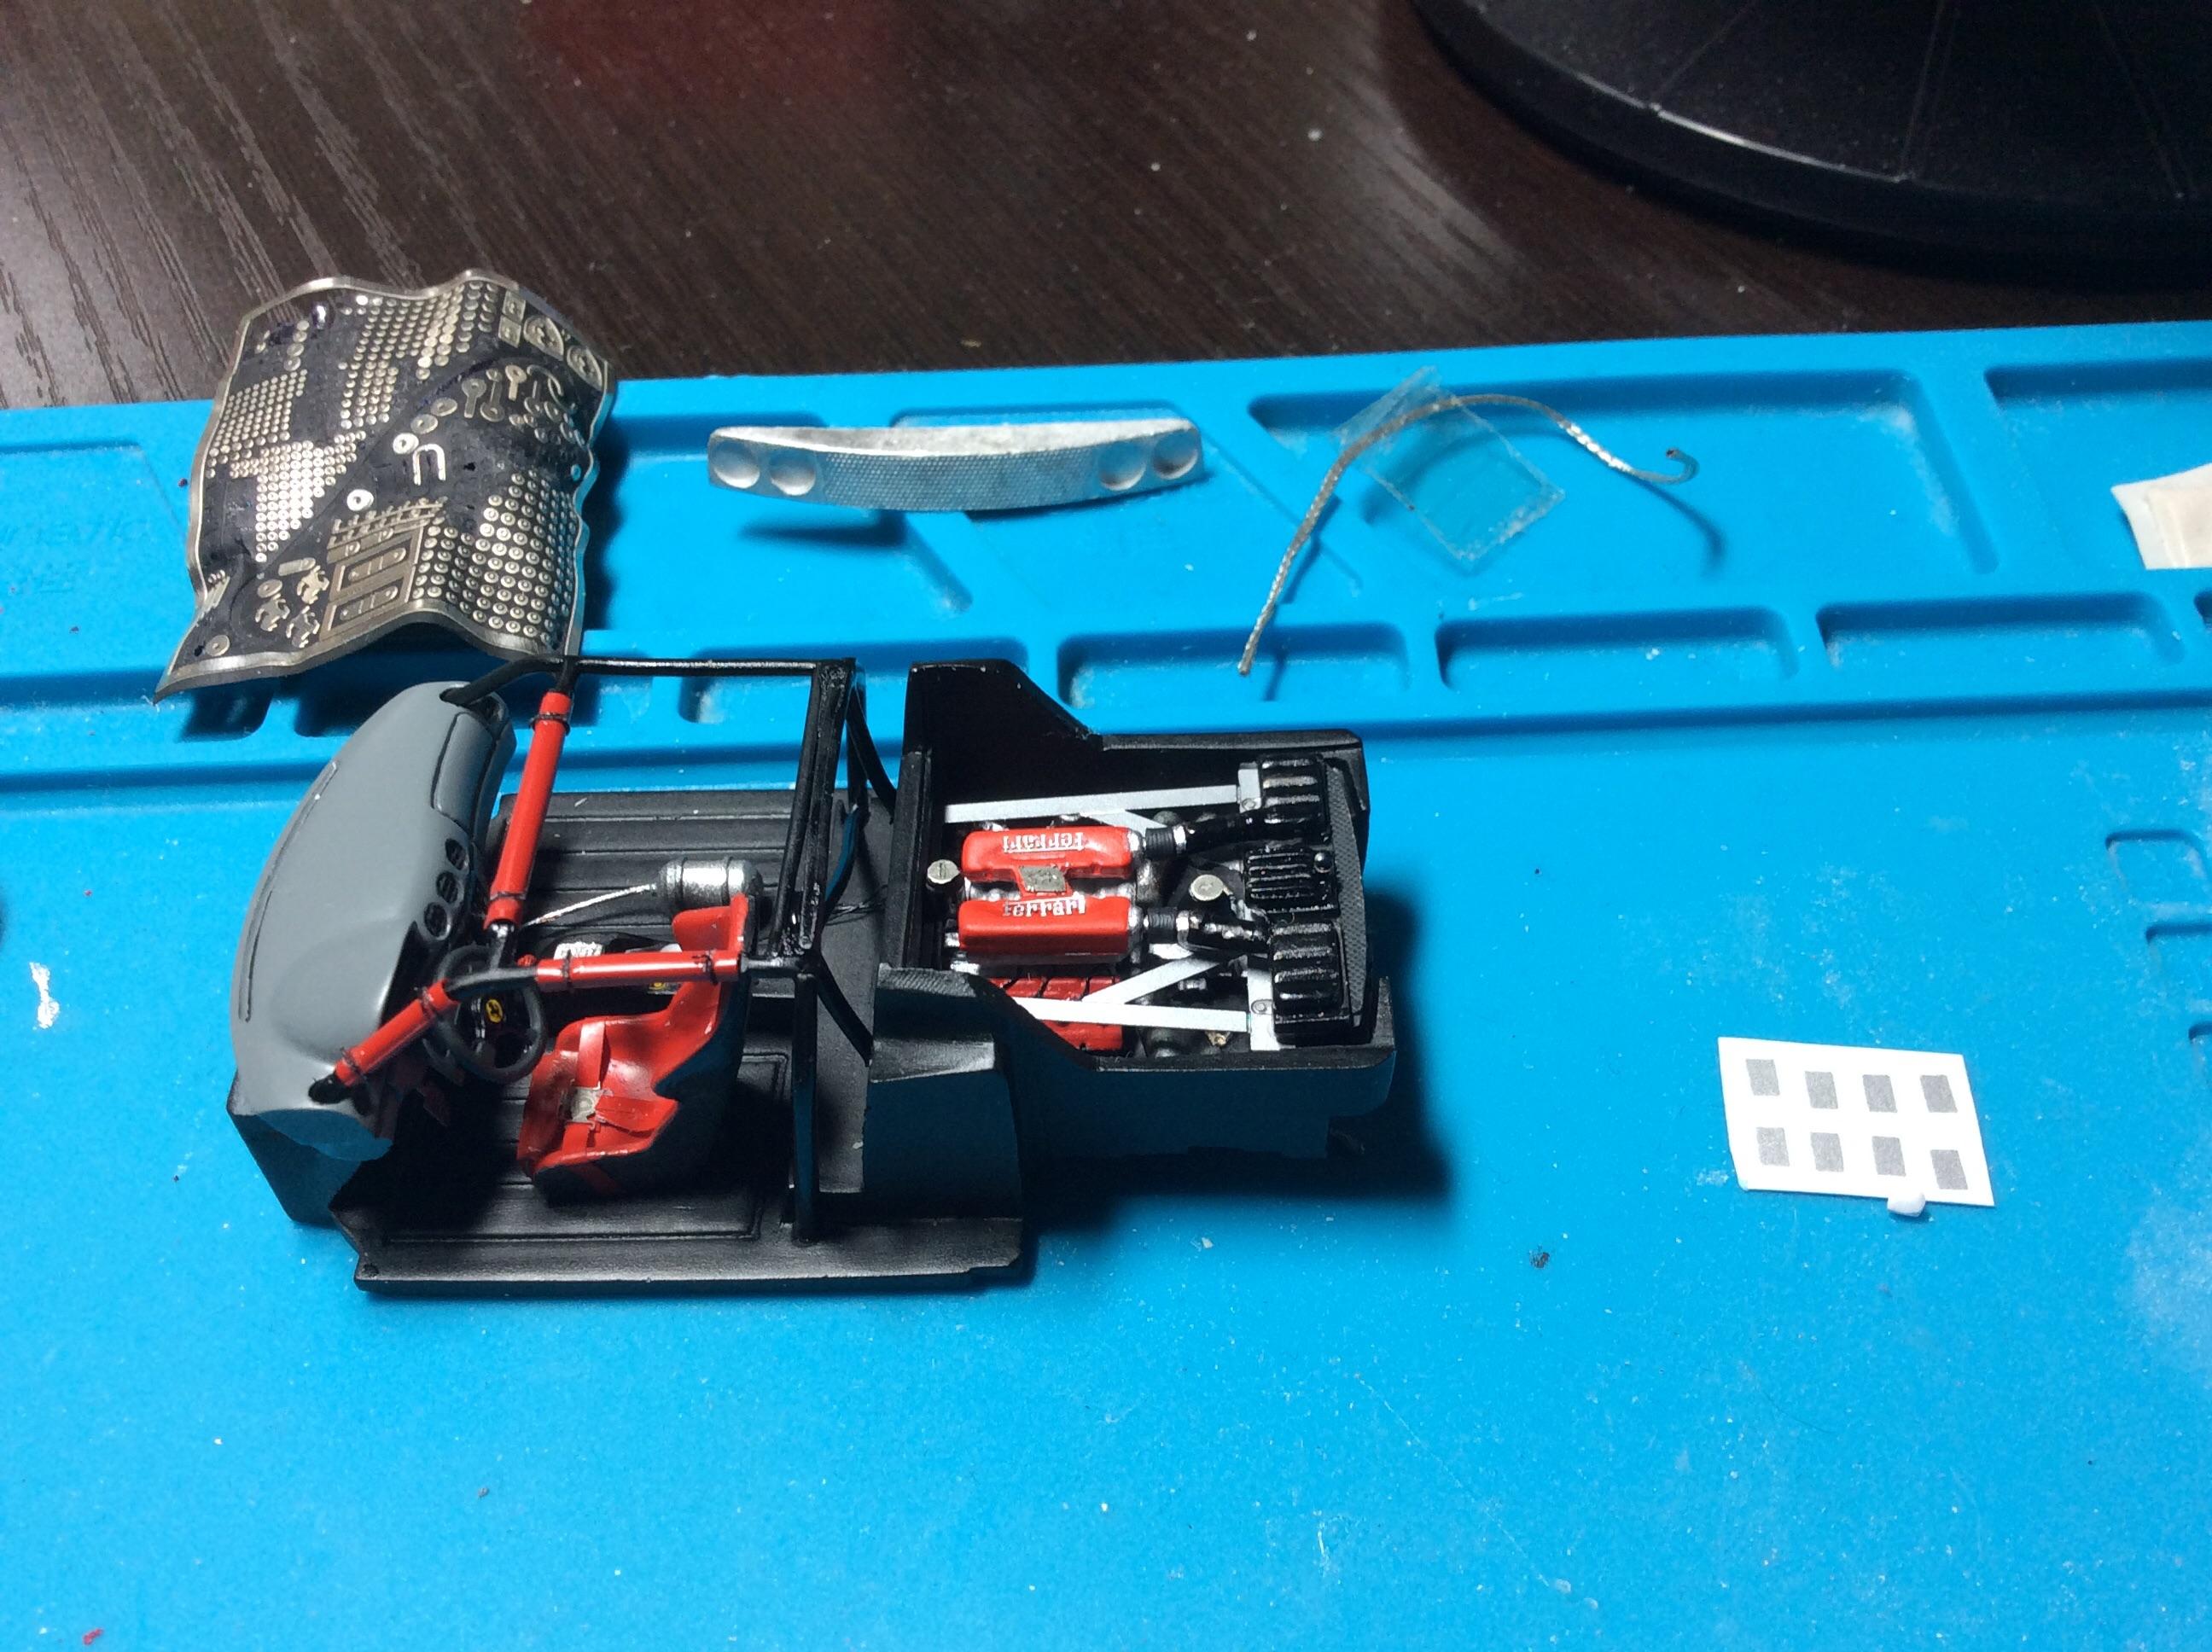
Interior is just about done. Tie wraps are made with very thin wire. Just have to add the Ferrari logos to the intake. -
Well done.. the carbon work and paint work are on point.
-
1/43 Ferrari 360 challenge ( BBR)
Gt fan replied to Gt fan's topic in WIP: Other Racing: Road Racing, Land Speed Racers
I didn’t like the way the engine looked so I added plug wires . I also added some roll bar padding as well. Wire is .0075 in thickness. -
1/43 Ferrari 360 challenge ( BBR)
Gt fan replied to Gt fan's topic in WIP: Other Racing: Road Racing, Land Speed Racers
-
Looking really good.. I always liked that car.. I started another 43rd kit. BBR 360 Ferrari Challenge car from 2001. It’s also posted on the workbench as well. Detail painting has begun
-
1/43 Ferrari 360 challenge ( BBR)
Gt fan replied to Gt fan's topic in WIP: Other Racing: Road Racing, Land Speed Racers
Got some painting done yesterday. Not much else to do... hope to get the body painted today. Thanks for looking. -
That looks really good. Well done.
-
-
Thank you the PMA is the Provence Miniatures kits. I think it was PMA first then they were bought out by someone.
-
Another GT40 MKI on the table
Gt fan replied to vamach1's topic in WIP: Other Racing: Road Racing, Land Speed Racers
Off to a great start. Can’t wait to see the end result Rex.
