Ferbz
-
Posts
508 -
Joined
-
Last visited
Content Type
Profiles
Forums
Events
Gallery
Everything posted by Ferbz
-
Thanks so much! This is one the rare builds for me where all my wacky idea(s) came together nicely 🤪
-
I'm so glad you like it! Don't feel bad.....I find that exact replicas are hard to build. The pressure to get all the details as accurate as possible can be tough to navigate. Oh man, I would love to see a 51 chevy version! 😁👍
-
Thanks for following along! And it took me less than a year to finish which is a new record for me 🤪 lol
-
Thanks man!🙂
-
Yes, that's very cool!😎 The historical eras of hot rodding, custom car building, drag racing is fascinating to me. It's very satisfying to pull from history and add our own creativity and spin to things👍
-
Thanks so much! Not all my ideas work out lol but this build came together pretty well!
-
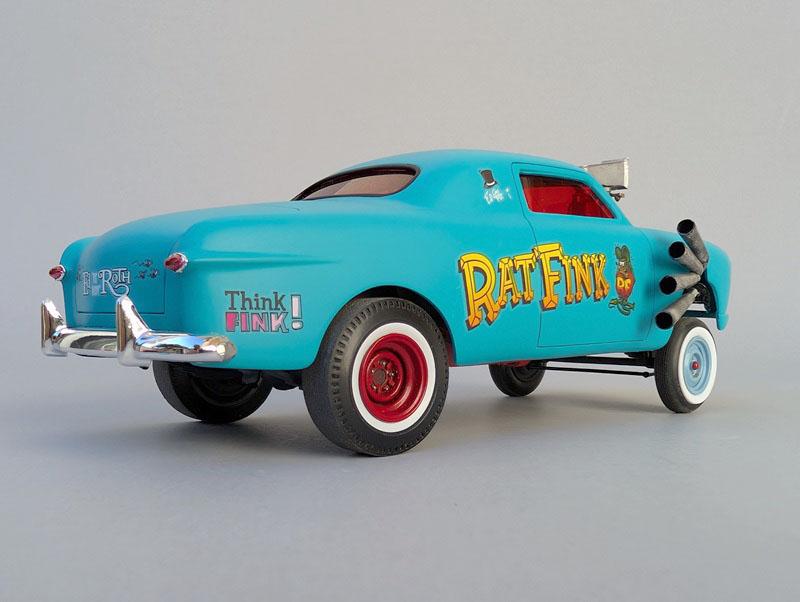
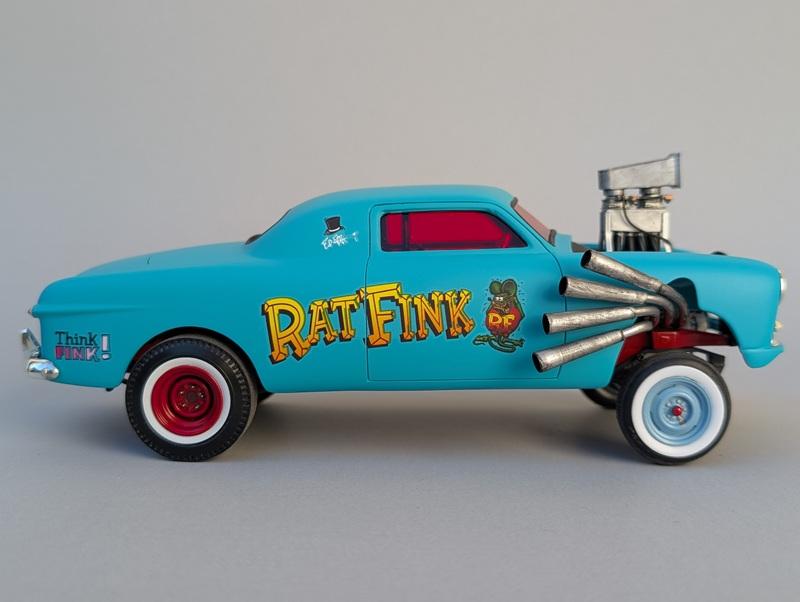
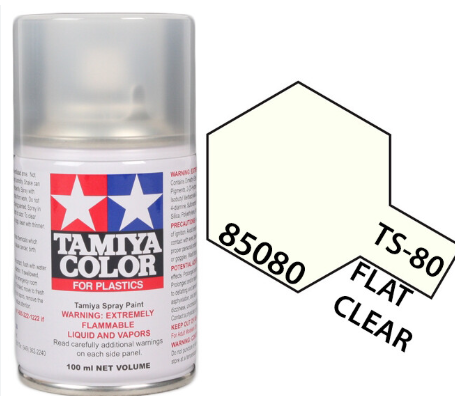
Thanks! Yeah It's a pretty close match to the original 1:1 car's blue primer. The color is Tamiya Coral Blue (TS-41) with Tamiya Flat Clear on top (TS-80)👍
-
Thanks so much!👍
-
Thanks! I usually build traditional customs so it was a nice to take a break from my usual subject matter and get a little 'wild and crazy' 🤪
-
Thanks very much!
-
I'm so glad you do! When I first came up with the idea for this build, I did wonder if some folks were going to feel like I might be treading on hallowed ground. The original 1:1 High and Mighty Plymouth is such a significant car in the history of drag racing that maybe it wasn't cool to make an inspired version of it? Well I threw caution to the wind and did it anyway cuz it was just too fun of an idea! 🤪👍
-
Thanks! And thanks for following along! 😉 My imagination just fired up once I discovered the 1:1 car and it's significance. It's just such a crazy/cool car 😎
-
Thanks man! 😎👍
-
Thanks! 😁👍
-
Thanks! This build was quite a bit of fun 😉👍
-
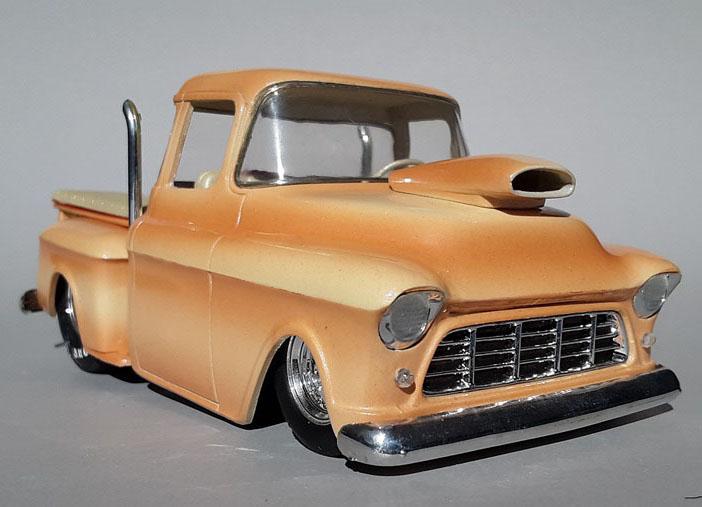
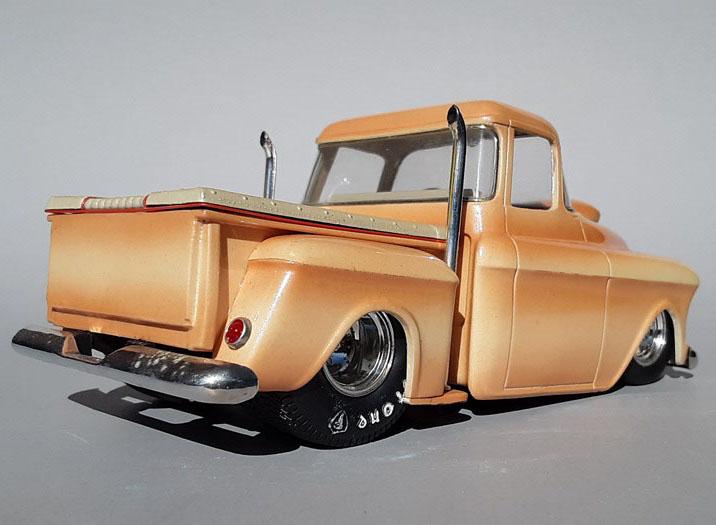
Thanks man! Once I got inspired, I had a pretty clear idea of what I wanted to try to accomplish. This build has a sense of humor which was a nice break from my usual 'serious' custom subjects where I'm exploring design ideas. I did take a break like this once before many years ago when I got inspired by looking at lots of Dave Deal's cartoon artwork. I was looking at my 55 Chevy pickup model and wondered how Dave Deal might've drawn it and proceeded to cut it up and glue it back together:

-
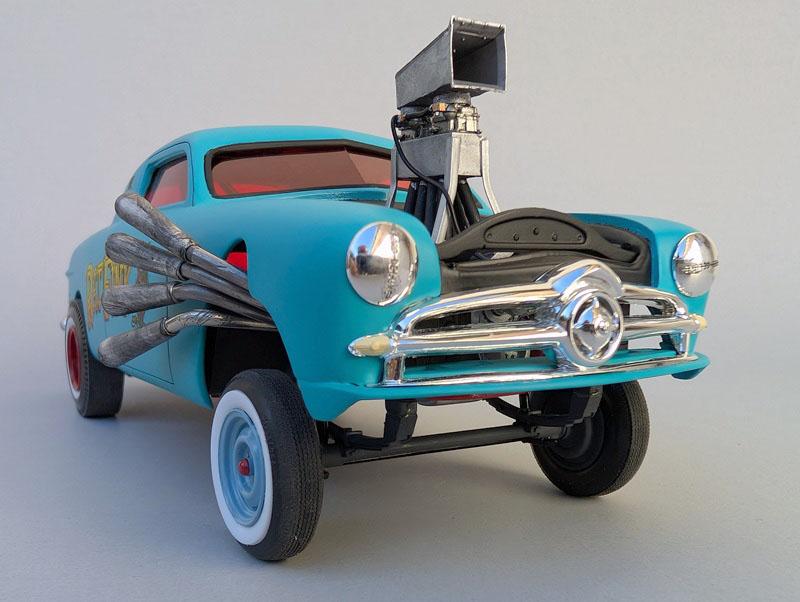
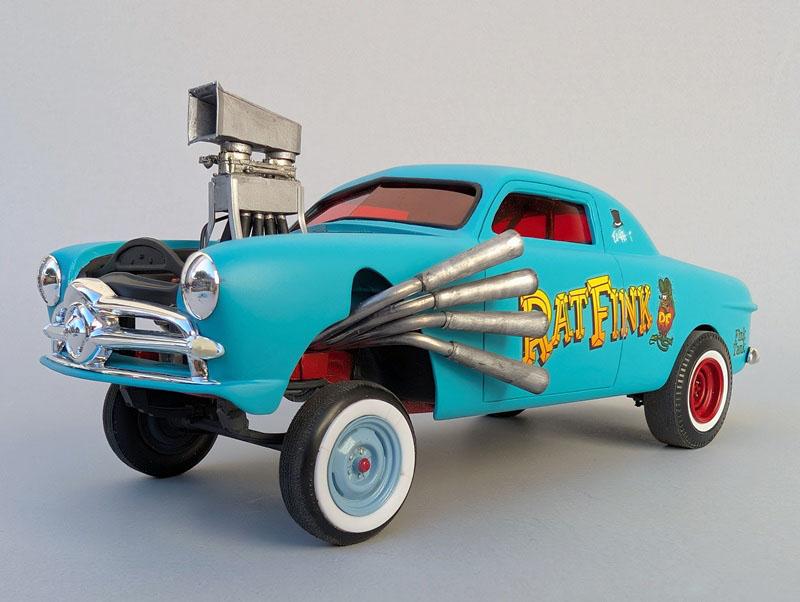
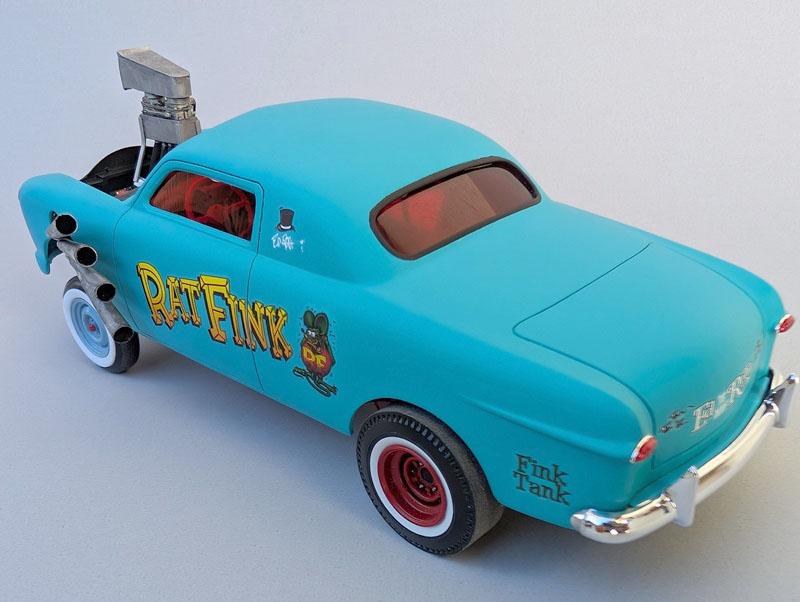
I'm calling this build done! I've posted more pics in the finished Drag Cars channel, but here's a pic to show how it turned out. @Quiet Eric I regret not getting the Tamiya Smoke in time to try it, but I'll use it on my next build for sure!
-
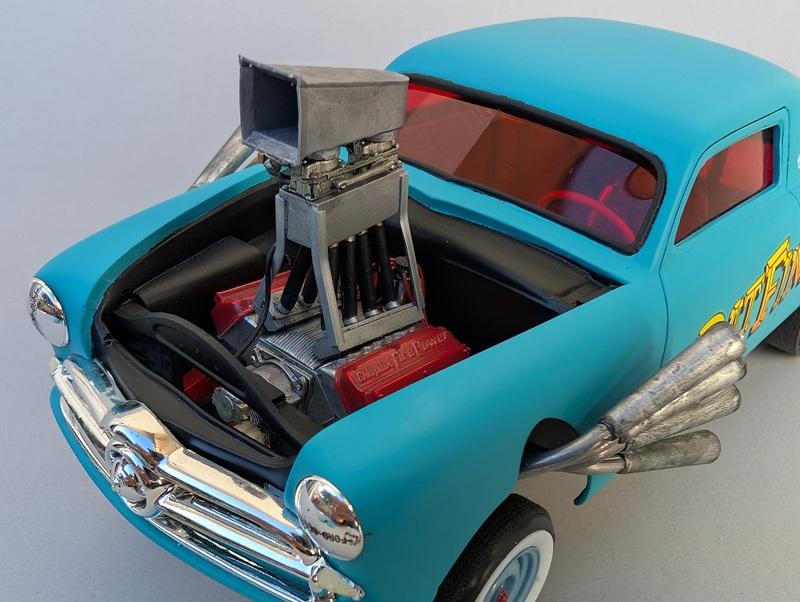
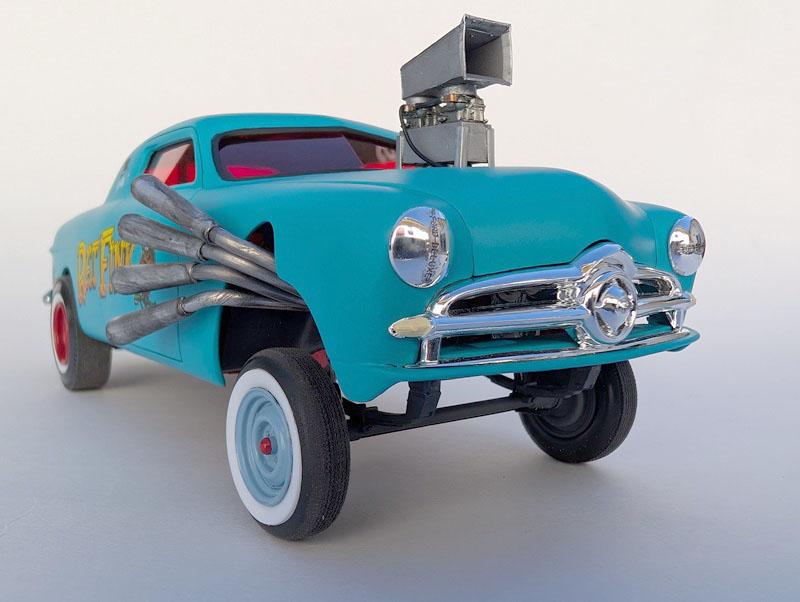
My High and Mighty inspired 49 Ford model project is finally done! I've documented the build progress in the WIP channel if you want to see how it came together. Admittedly, I dont normally build drag cars as my favorite topic is traditional customs, but I learned about the famous 1:1 Plymouth and I got a whacky idea: 'What would a shoebox Ford version look like?' And what if Ed Roth somehow got involved? 🤪 Needless to say, I got inspired, started in earnest and came up with this fictional back story: In a different parallel universe, Ed Roth saw and appreciated what the Ramchargers team was doing with their experimental Plymouth. On a test run at the drag strip, they crashed it and banged up the body and was in need of a replacement body fast. Ed offered to give them a 49 Ford coupe body he had with one catch: they had to agree to let him promote his Rat Fink branding on the car. They agreed, and the rest was history! (alternate fictional history that is) 😁
- 37 replies
-
- 11
-

-
Wow what a nice touch! That really removes that 'toy-like' look the kit chrome tends to have. Thanks for the tip 😉 I hope to have some ordered in time for this build.
-
Tamiya Smoke? I might just give that a try! Any chance you could post a before and after so I can see the effect?
-
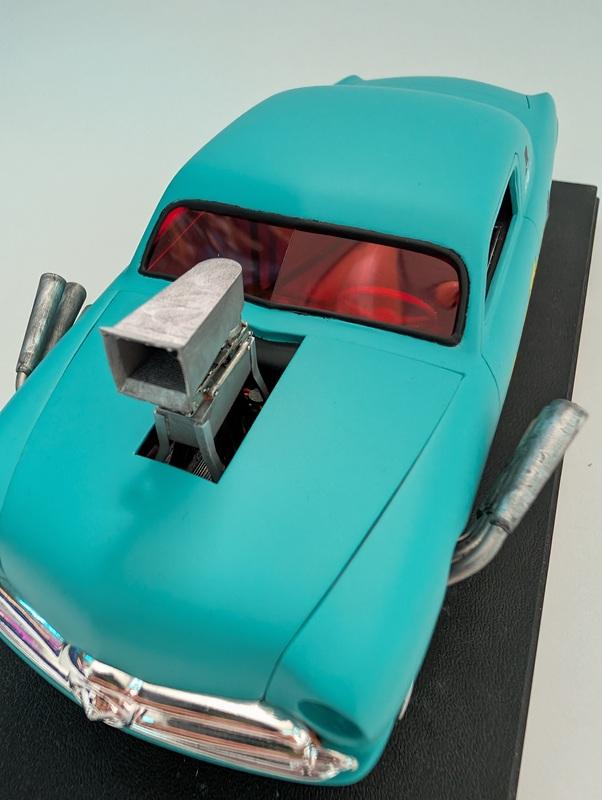
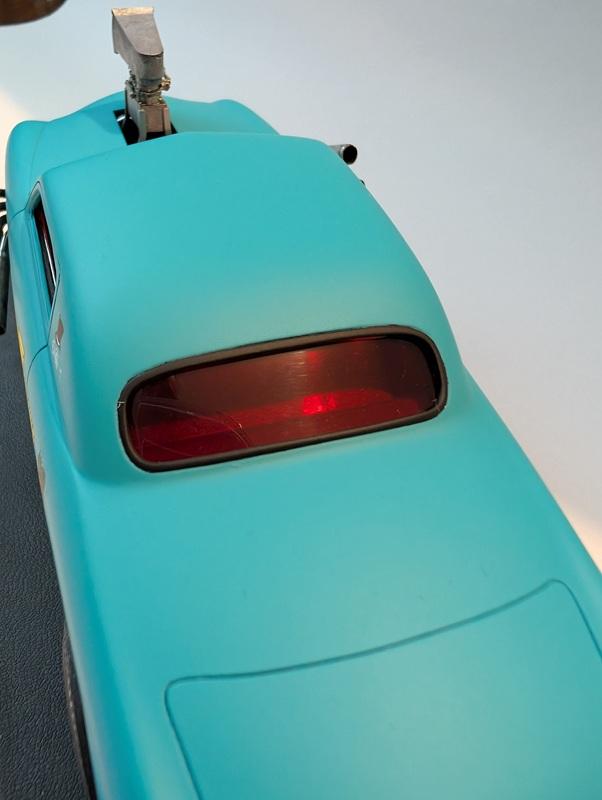
An update: I've sprayed the engine bay and front/rear window trim with matte black, and a flat clear over the color coat to copy that weird blue-ish primer on the 1:1 car. I used some old BMF to mask the matte black...what a mistake that was lol Some of the edges did not come out as clean as I had hoped. Maybe old drag cars didnt always have super nice fit and finish paint details?🤪 Final assembly has begun! I've glued the red tinted rear window and front windshield glass into place. I think the two separate windshield pieces butted together in the center looks pretty good. Slowly creeping to the finish line on this thing! Q: Anybody have any advice on how to make chrome look NOT so new? I dont want the grill and rear bumper to look completely ratted out. I just want them to look just a little aged:
-
Tamiya Flat Clear Lacquer lightens the undercoat?
Ferbz replied to Ferbz's topic in Model Building Questions and Answers
Ah, very good info👍 Thanks! -
Hey gang, I've had lots of experience with many brands of rattle cans but am relatively new to using Tamiya spray can lacquers. They are pricey for the small amount of paint that you get in those tiny cans, but I've discovered that the quality is worth the cost 😉 My question: I recently used the Flat Clear lacquer (TS-80) for the first time and it could be just me, but it seemed to subtly lighten the Coral Blue (TS-41) I sprayed it over. I started with two light coats then one final medium coat. I don't mind the effect as it adds to the theme of my current build, but has anyone notice a similar thing with it?
-
Thanks! The original 1:1 car has a very distinct vibe that I wanted to mimic in the form of a 49 shoebox ford. This build will have decals that will help tell an imaginary tale about my version that I have brewing in my head.....stay tuned! 😉
-
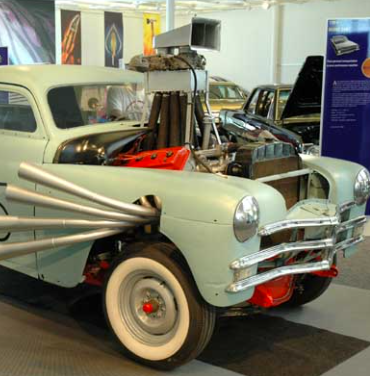
Good eye there 👍 Unfortunately, the entire intake (except for the angle brackets, carbs, scoop) is a single 3D printed piece. The 3D piece is also based on how the engine is angled (quite extremely now that I'm looking at it) on the original 1:1 car, shown here from a pic I grabbed from the interwebbages: