Ferbz
-
Posts
508 -
Joined
-
Last visited
Content Type
Profiles
Forums
Events
Gallery
Everything posted by Ferbz
-
Thank you! I always wanted to try my hand at building a 59 Impala or Camino custom. So many ideas....so little time lol
-
Thank you!
-
Thanks man! ?
-
Thanks! The half rounds are a bit tricky to line up! I cut them all to length the best I can first. I sand/file all the ends so that they have that 'sewn down' look before gluing them into place. Inevitably, they are not all exactly the same and the edges need some finetuning with an xacto and file after they're all glued down. Once that is done and the interior pieces are painted, the spark plug wire is then glued down along the edge which hides some of the inconsistency. It's still not perfect lol but I find that it's tough to see everything clearly inside the car anyway so it usually works out ok to my eyes ?
-
Thank you! On to the next one.... ?
-
Thanks for the kind words! My posts are usually far and few between because my builds are usually pretty involved......and the fact that I'm such a slow builder certainly doesn't help! lol
-
Thank you! I have no shortage of ideas/concepts, and I put my best effort into each build. But things rarely go as planned or as smoothly as I'd like so execution is usually hit or miss lol
-
Thank you!
-
Thanks! Early customs are my favorite subject matter. I had not planned on having those scallops. They were added to hide a painting flaw on the right fender lol ?
-
Thanks! It's got it's problems trust me! lol You just can't see them in these pics ?
-
Thanks! ??
-
Thanks! In my opinion the 59 El Camino and Impala are already so space age-y they only need the right 'nip and tucks' here and there to make them really slick ?
-
Thanks man! I love all types of cars, but traditional customs are my favorite. I have tons of ideas that I'd like to make in scale.......if I only had the time to make them! lol Customs take a long time to build at least for me ?
-
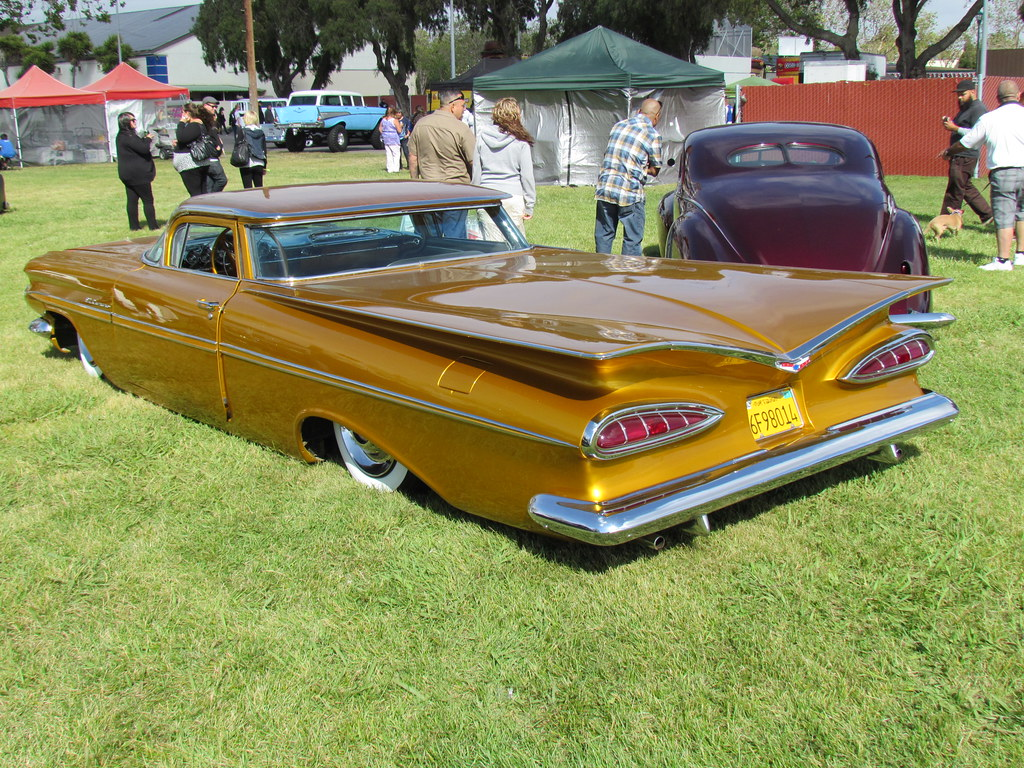
Thanks! It all started when I discovered Paul Cepeda's 1:1 59 El Camino. Beautiful car with a chopped top and Impala tailgate/bed cover. I thought it was so cool it inspired me to build my own scale custom. (pic grabbed from the internet):

-
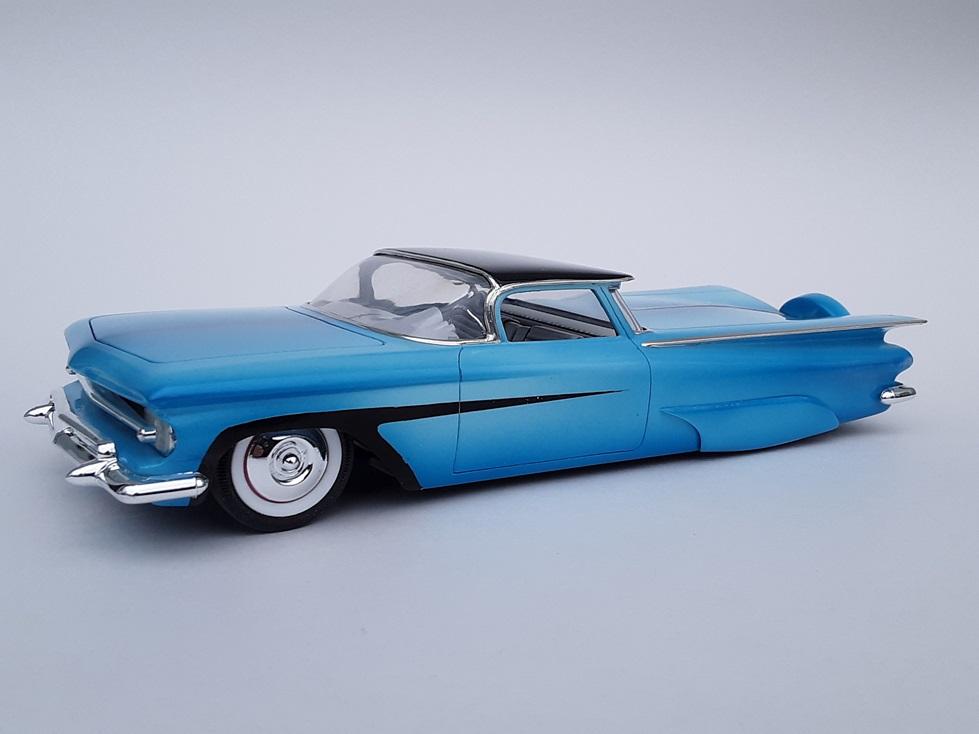
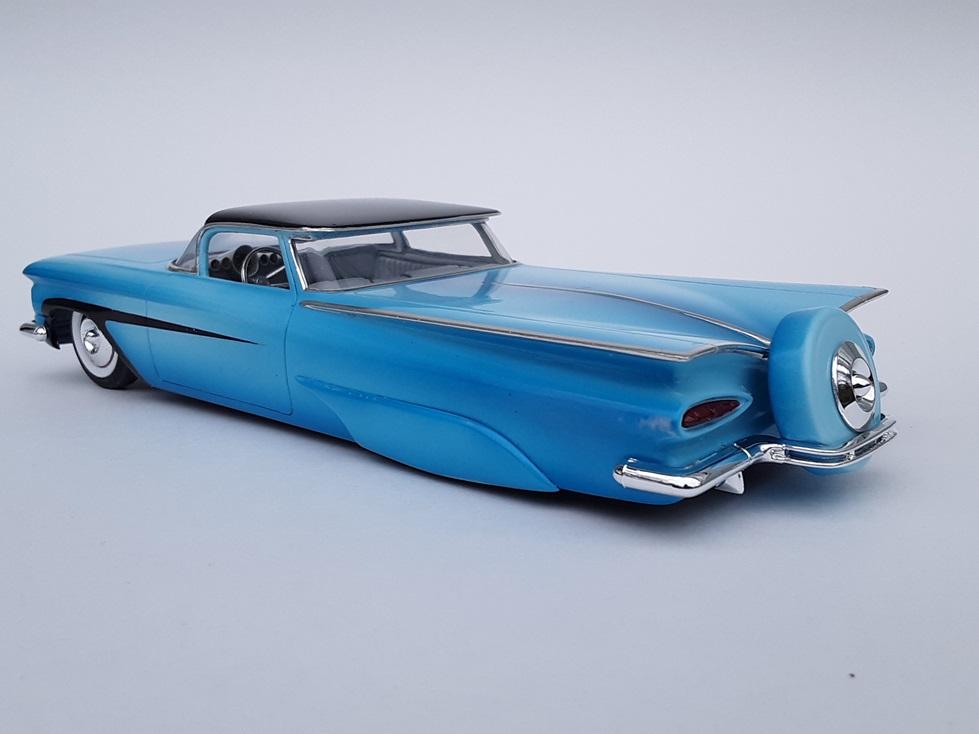
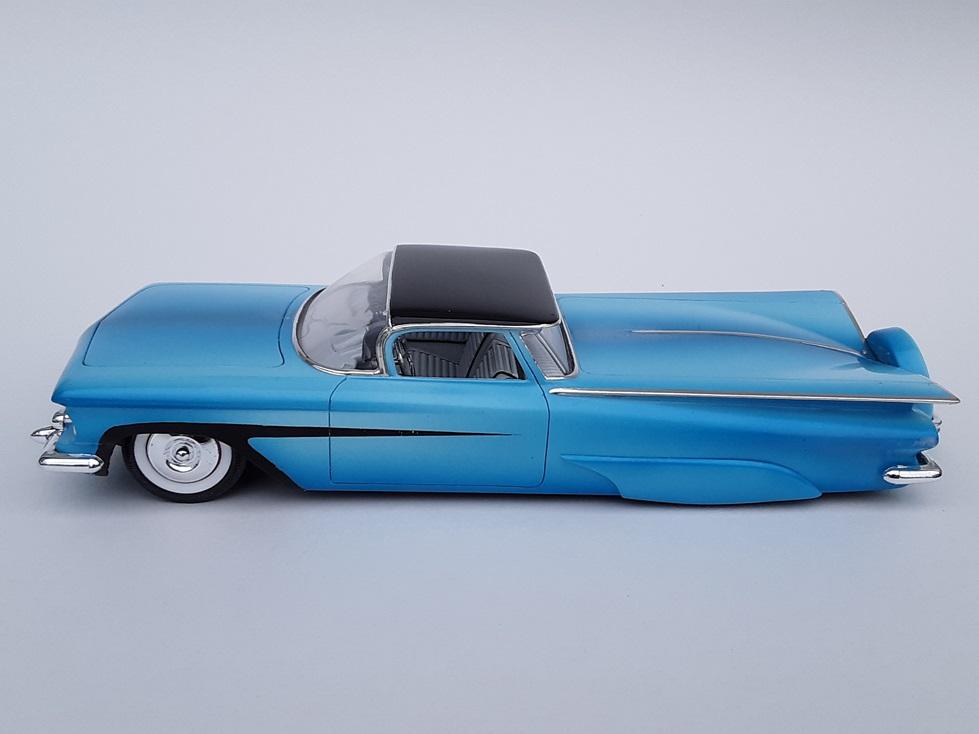
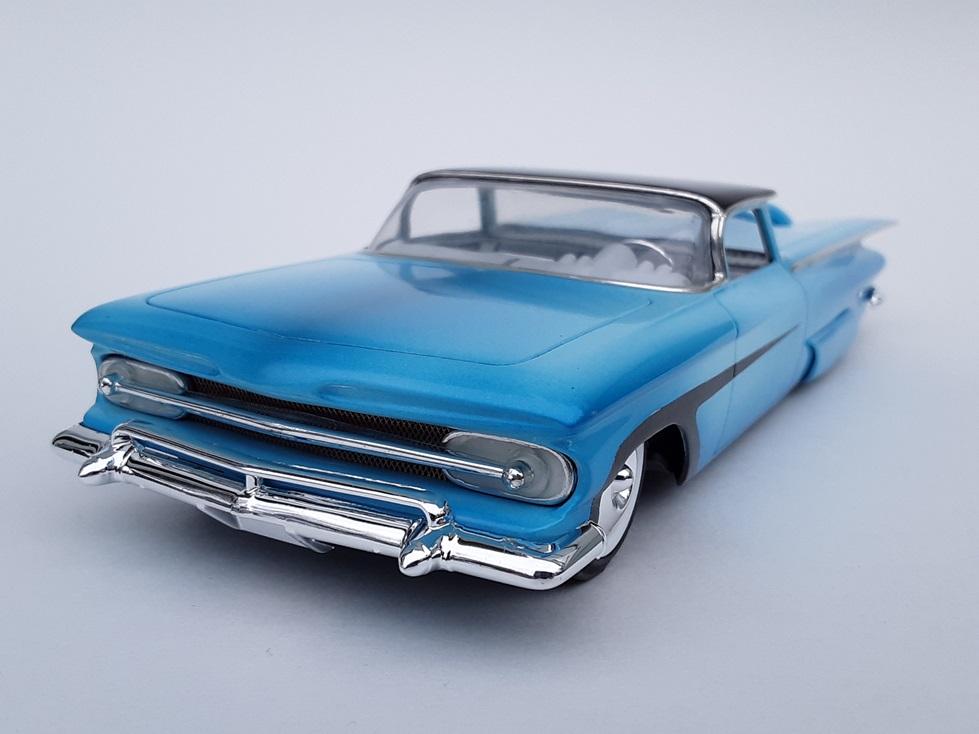
Here is my latest completed build: This AMT 59 El Camino was chopped, the body was shaved, the bed was filled with sheet styrene and a Revell 59 Impala tailgate was grafted in. The Revell Impala rear bumper and continental kit was also added. Out front the hood nostrils were molded in and the hood was pancaked with rounded corners. Frosted headlight panels were scratch built and a Chezoom grill bar was added. The Revell 59 Impala front gravel pan was grafted on in order to mount the Impala front bumper. One small but impactful mod is that the front fender character lines were extended into the doors. (Why the Chevy factory stopped them at the door gap puzzles me) ? Bubble skirts from the old AMT 49 Ford were used to good effect at the rear quarters. Interior seat/panel detail was sanded smooth and tuck and roll was made made from quarter round rod, and black piping was made using plug wire. Paint is blue nail polish blends over light blue lacquer base with straight black lacquer on the top. The front wheel opening scallops are made using black BMF. Progress pics and comments are documented in the WIP forum:
- 81 replies
-
- 17
-

-
Love this! Bodywork is super clean and paint is superb! Would love to see how you scratch built that interior ?
-
Thank you! It's not without it's hiccups (like most of my builds lol) but it's a build that actually translated pretty well from how I imagined it in my head ?
-
Nicely done! Super clean bodywork and modifications. Where did that rear window come from?
-
Ha! Thanks! I have a few builds that have made it into the magazines, but they will be older builds during the days I lived in CA and attended the many model shows out there ?
-
Kustom pickup
Ferbz replied to Rocking Rodney Rat's topic in WIP: Model Trucks: Pickups, Vans, SUVs, Light Commercial
I absolutely love everything about this build! Simply bitchin'......! ? -
Phenomenal build! I've had have a soft spot for Ghias since my Cal Look VW days back in the late 80s. I'd like to someday build a scale Cal Look Ghia so I can get it out of my system ? Very nice job!
-
Thanks! Yes indeed ? That whole 'Larry Watson era' sparked custom painting trends that we still see today! Traditional custom paint and body modifications are my favorite model subjects. As a result, I've spent lots of time and energy studying and iterating on ideas I'd like to see in scale and in 1:1 ?
-
Here's another one of my favorite paint jobs that didnt blow up on me lol My customized AMT 57 Chrysler was built many years ago painted primarily with Plastikote nitrocellulose spray can lacquers. The basecoat is Plastikote's Metallic Gold. The panel pattern was masked off then Black fogging was airbrushed on. Plastikote's Candy Apple Red was sprayed next then the masking was removed. I then airbrushed a couple coats of decanted Plastikote Clear with some gold powder pearl mixed into it. Final clear coats were sprayed straight from the can then wet sanded/polished. As far as I can tell, Plastikote no longer makes their line of nitrocellulose spray can paints which I sorely miss!
- 917 replies
-
- 11
-
-
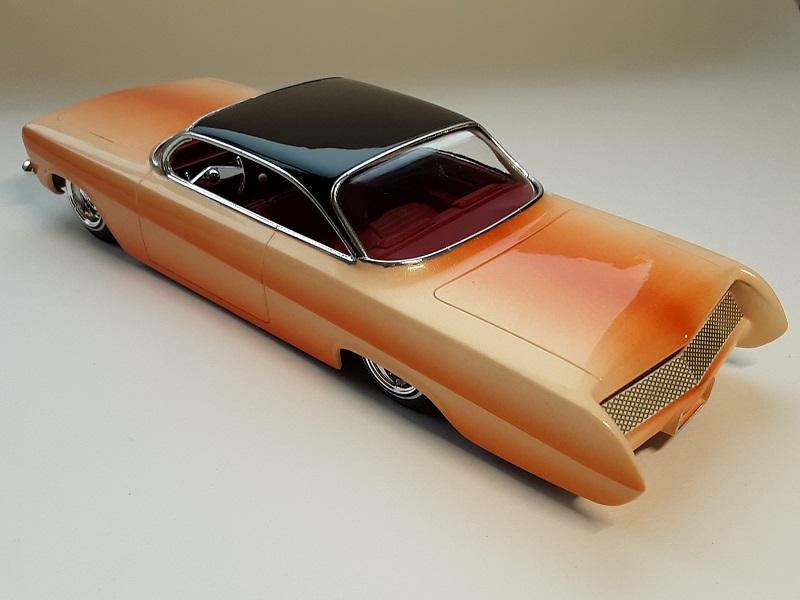
Here is one of the rare occasions that I'm actually happy with the way the paint scheme turned out on this personal project lol Chopped/customized 62 Belair bubbletop. Exterior paint is lacquer, gloss black on top and candy tangerine fades over slightly orange tinted white pearl:
- 917 replies
-
- 21
-
-
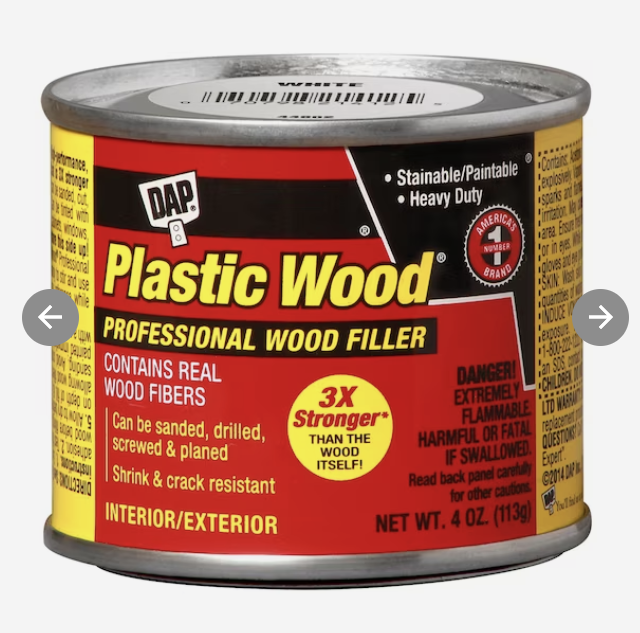
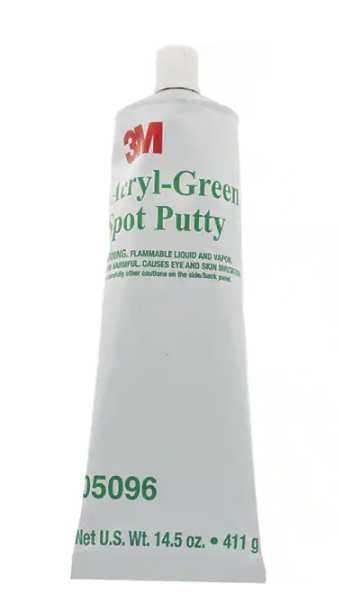
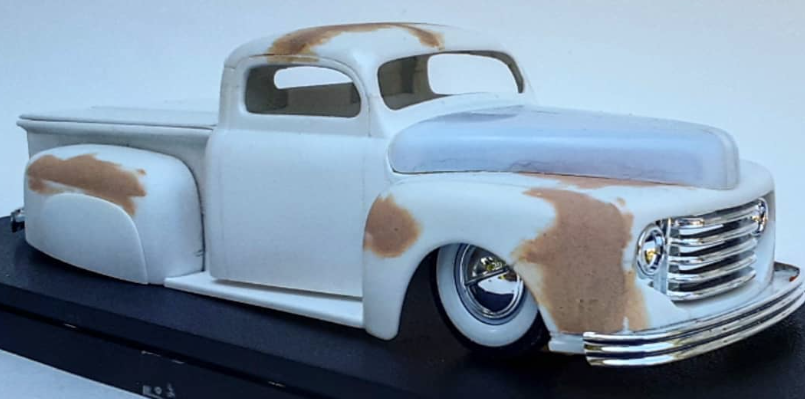
Is it ok that I show how I use these here? This 50 ford pickup custom had quite a few body mods where I first used Plastic Wood to fill things like fender lines and other low areas, or locations that need shaping. I sanded the Plastic Wood to shape then an initial coat of light primer revealed pinholes and sand scratches which were then filled with 3M spot putty. Another coat of primer and sanding shows any areas needing further putty/primer fine tuning so that final primer and wet sanding can begin. After final primer and wet sanding the final paintjob covers it all up. This may seem a bit painstaking and rigorous but after years of trial and error, this is how I use Plastic Wood and 3M spot putty to get the custom body work as straight as I can for the paintwork without it ever ghosting thru or cracking, etc. Hope this helps!