Joe Handley
-
Posts
8,933 -
Joined
-
Last visited
Content Type
Profiles
Forums
Events
Gallery
Everything posted by Joe Handley
-
Looks good so far, I makes me want to finish my pre-painted Polar Lights issue of this kit now to display with that Pantera/GT kit bash I’m working on!
-
My parents had a F8 Green ‘70 R/T that was a 440 6-Pack, 4 Speed car that had the Super Track Pack package, which was mandatory on stick shift 6-Pack and Hemi Cars and Dad had ordered it with the Dog Dish wheels and body color Steelies, so it would be possible! There are resin wheels and hub caps out there that would work plus the CHP reissue of the Monaco has those newly tooled narrow wheels, tires, and caps that might also work!
-
Thanks David! I need to make tit to a hobby shop that has a better selection of Sci-Fi spacecraft than Hobby Lobby does as I’m stick on what to do for propulsion and can’t really plan an interior when I don’t know what’s going to happen under the car yet. I have decided that the openings in the fenders would make great steering thruster ports, been debating about looking for some AMT Parts Pack Injector Stacks for that job though. I even thought that either sticking a figure or two with it as a display once done would be fun too. Maybe look for a figure that might look like a young Ed Roth from when he was in the military and an appropriately sized figure of the alien Paul from the movie of that name with the working title/name of “Earthlings built my Spaceship” since I seem to remember seeing somewhere Roth claimed he was at one time on UFO lookout in an Alaskan AFB and in the movie story line, Paul is one of the Roswell, NM crash aliens and IIRC, the only survivor of the crash, basically a “What If” build around the claim and that movie since the time periods line up surprisingly well. The other though was one with Ferb and Vanessa from “Phineas and Ferb” and calling it “My Ride from Outter Space” loosely based on the “The Chronicles of Meep episode where Ferb “fixed” Meep’s shuttle after it crashed to Earth then took it for a test drive montage that became the video clip below. https://www.youtube.com/watch?v=pbugHkuFsTg
-
Thanks, there is going to be more work done, I may try to finish most of the Pantera and the Tradesman body for my Lunchbox, I need time to do some more planning on things for it, plus I still plan on doing an EV conversion on it and still haven’t decided what to do for the chassis yet.
-
Thanks, I’m about ready to get it into primer, think the flares might be close to ready!
-
I have one of the glow in the dark kits I was going to build with the ‘70 Coronet kit, which I also have, for the chassis and drivetrain donor. Just don’t know what I can do to make it look better.
-
 I’m planning to keep the Clod relatively tame, my 2wd Stampede will be the bonkers MT of my fleet? I’ve only been tweaking it for 22 years now………?
 -
They do, but I also noticed the altitude difference in the two chassis as well. I noticed when posting these pics that the GT Chassis sits a lot lower than the Pantera’s does, despite the taller rolling stock on top of it, which seems to exaggerate the difference in tire size too.
-
A few update pics, got started on the fender flares tonight!, even threw the original chassis plate and rolling stock under it just to see how much I’ve changed.
-
Yeah., pretty much
-
Between the time that R2 brought out the General Lee Snap Kit and Warner Brothers stopped licensing DoH products, I often said that if you wanted to build a General Lee, go with the snapper or or get/make the parts to make the Revell Charger a General Lee, both are far better options at this point.
-
Thanks David! The Clod is 1/10 while the Lunchbox is 1/12 and both have been around, off and on, since the late 80’s.
-
Ok, brought the body inside, looks like there will be some minor tweaking needed with the roof insert and then need to wet sand the areas that still had imperfections from where I cleaned up the mold lines, plus they show where I had to mod this body for the AMPro Lenses too.
-
Alright, shot the primer on the roof, hood, and fenders tonight, looks like minimal work will be needed on the roof!

-
That’s what I was thinking as well. Quick edit, got the roof and front clip in the Duplicolor Filler Primer and it looks pretty close! Somehow it also no longer looks like a Shorty B-Van and more like the long WB without the extra long rump
-
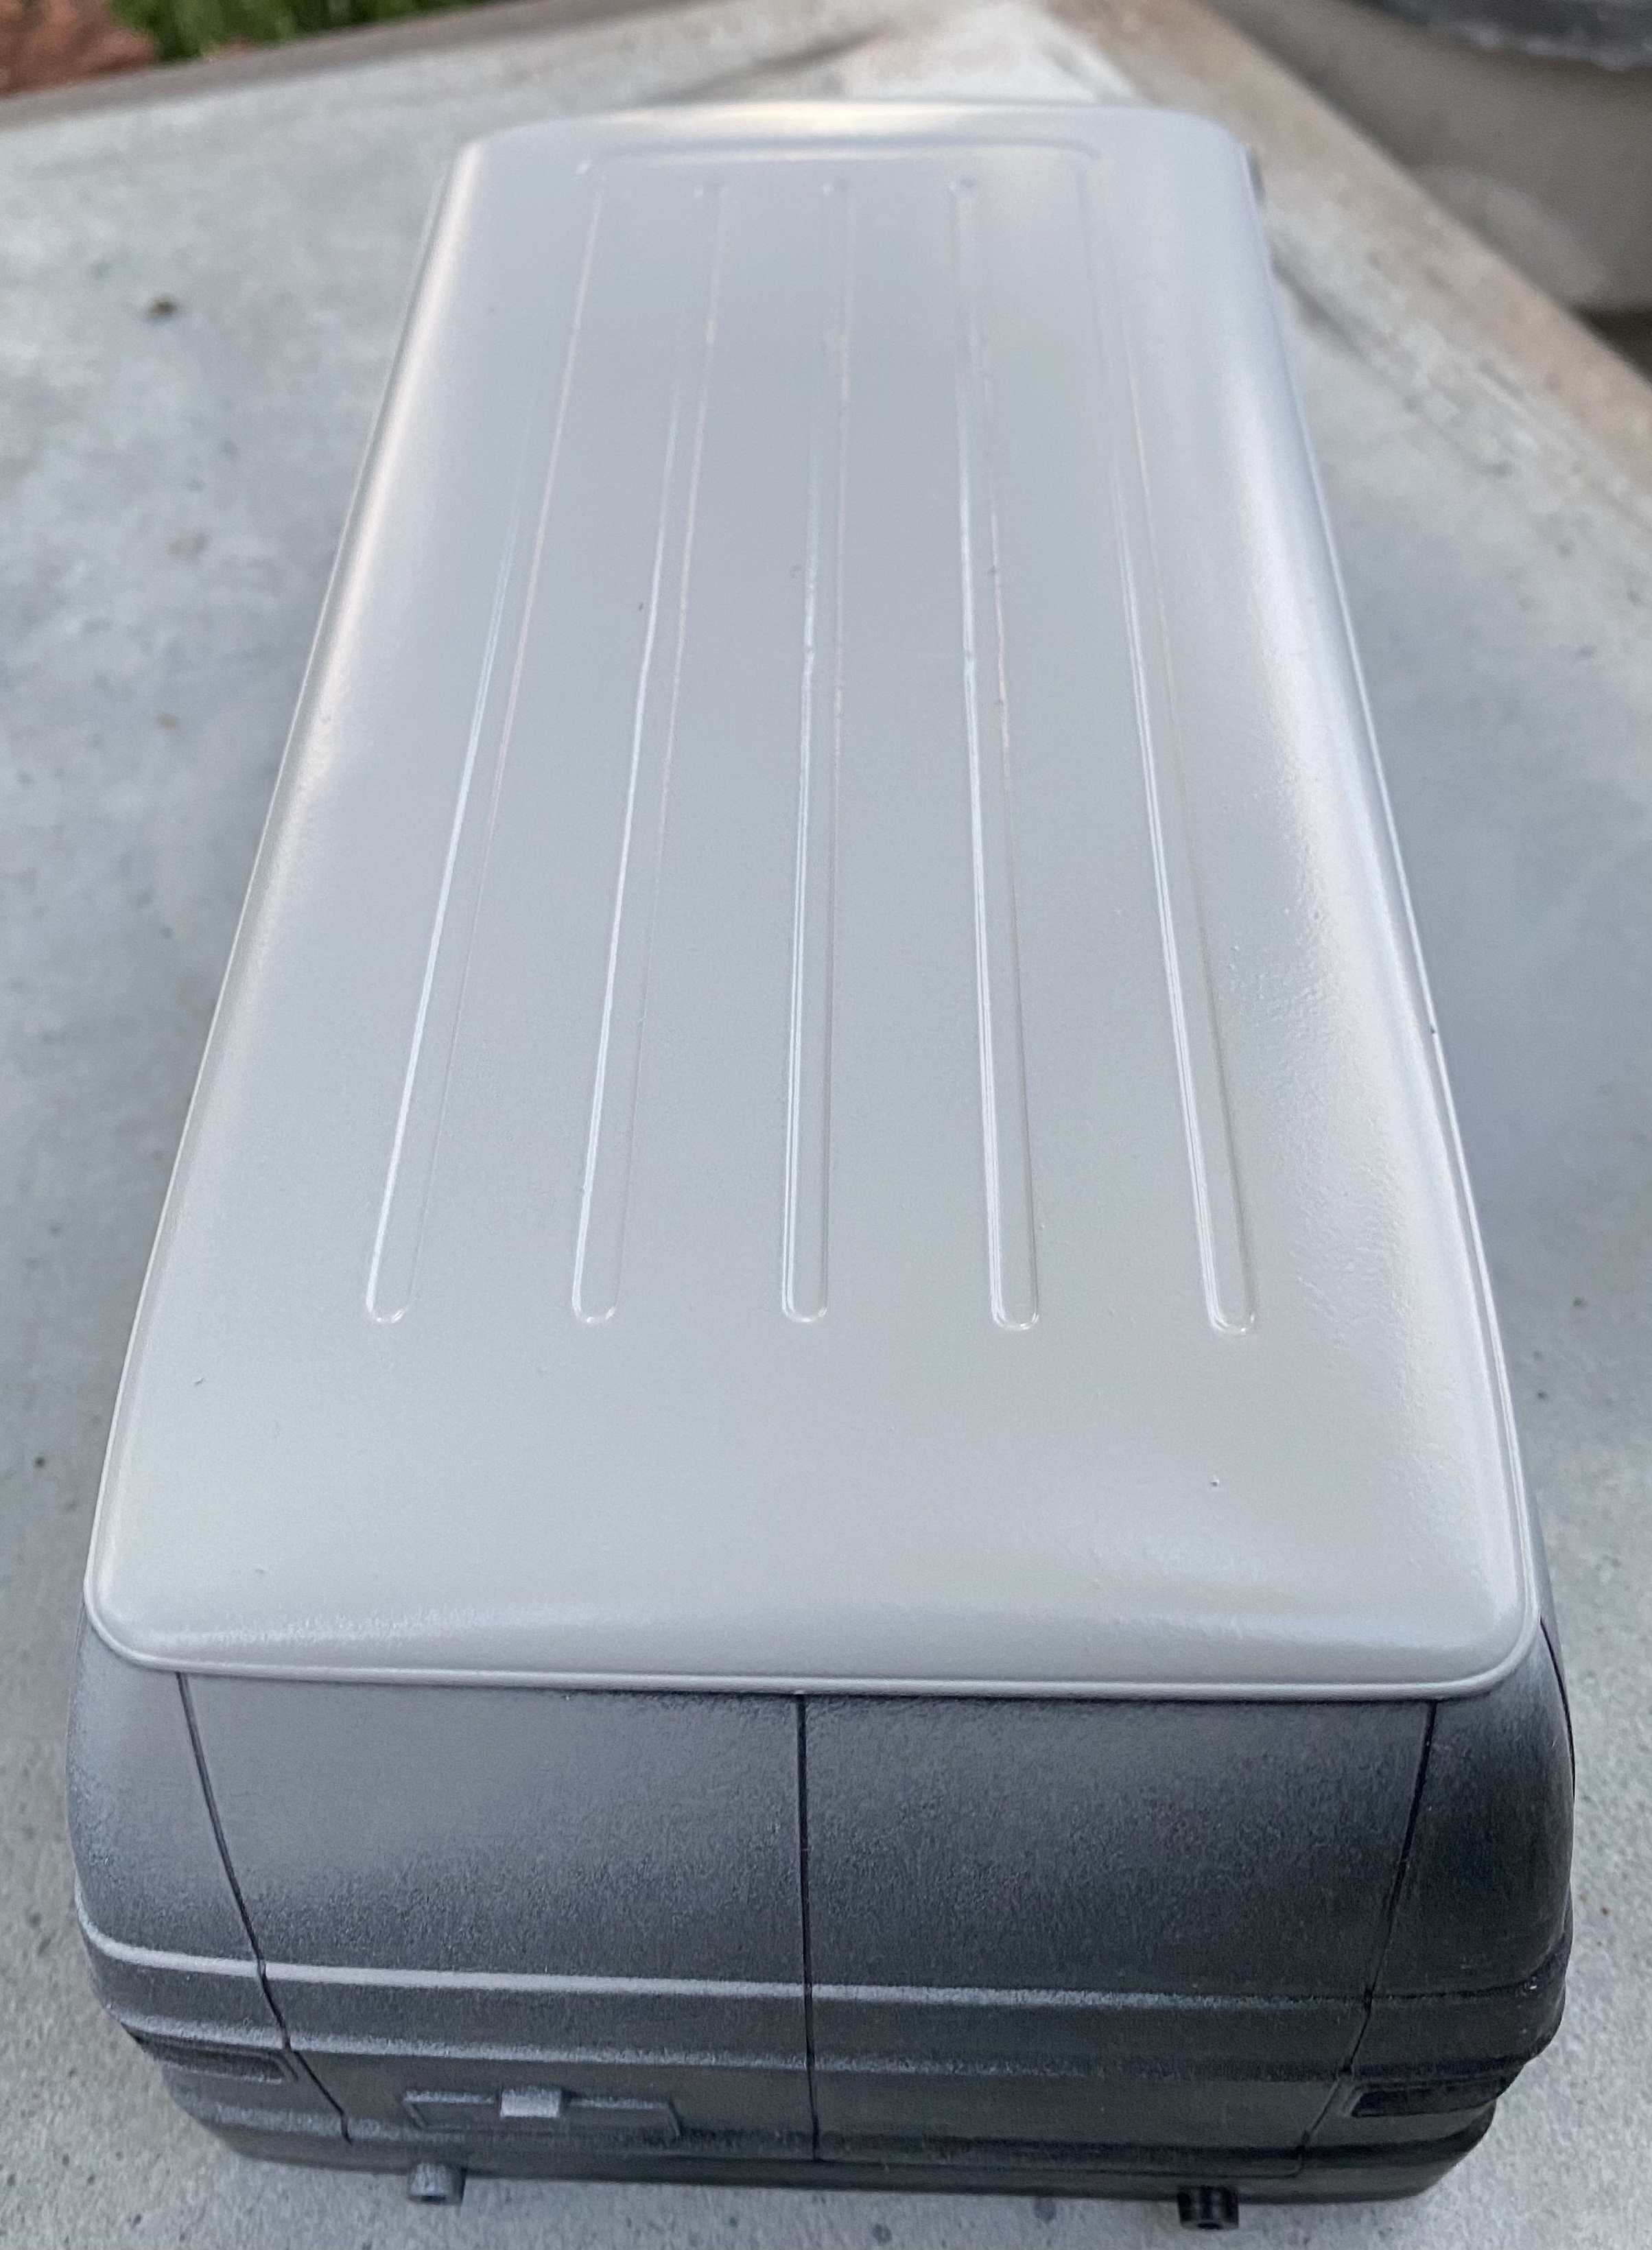
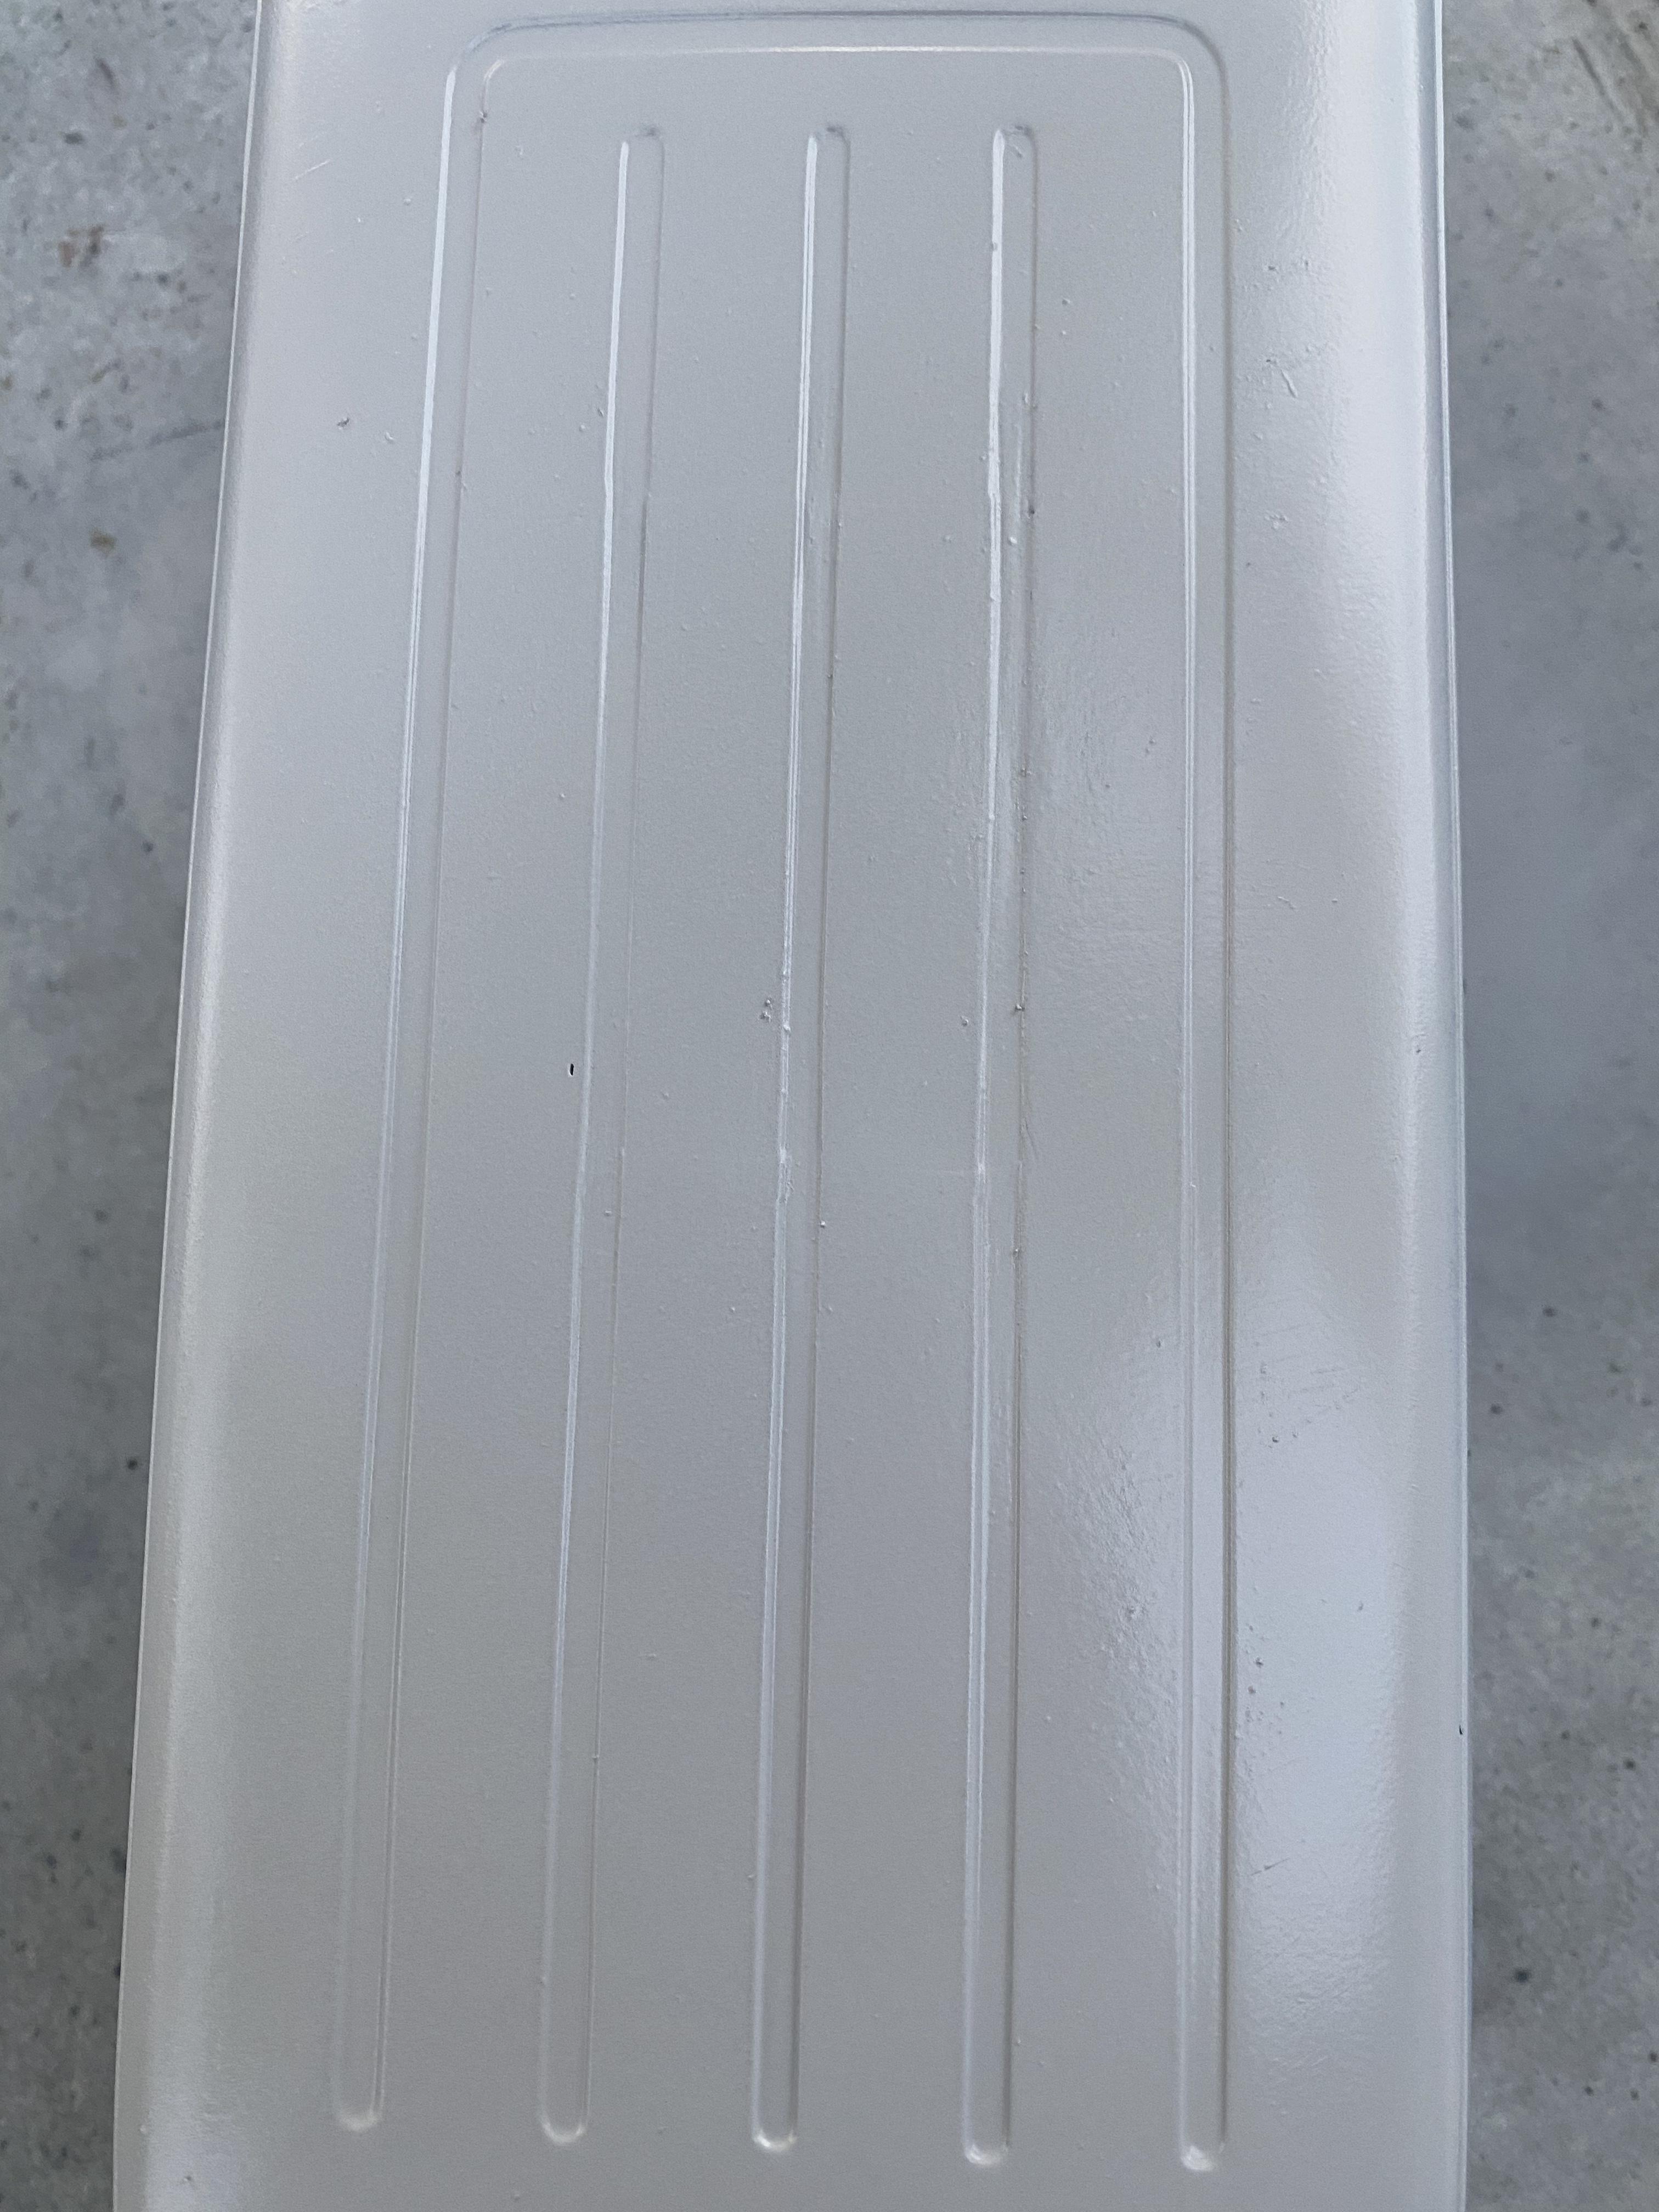
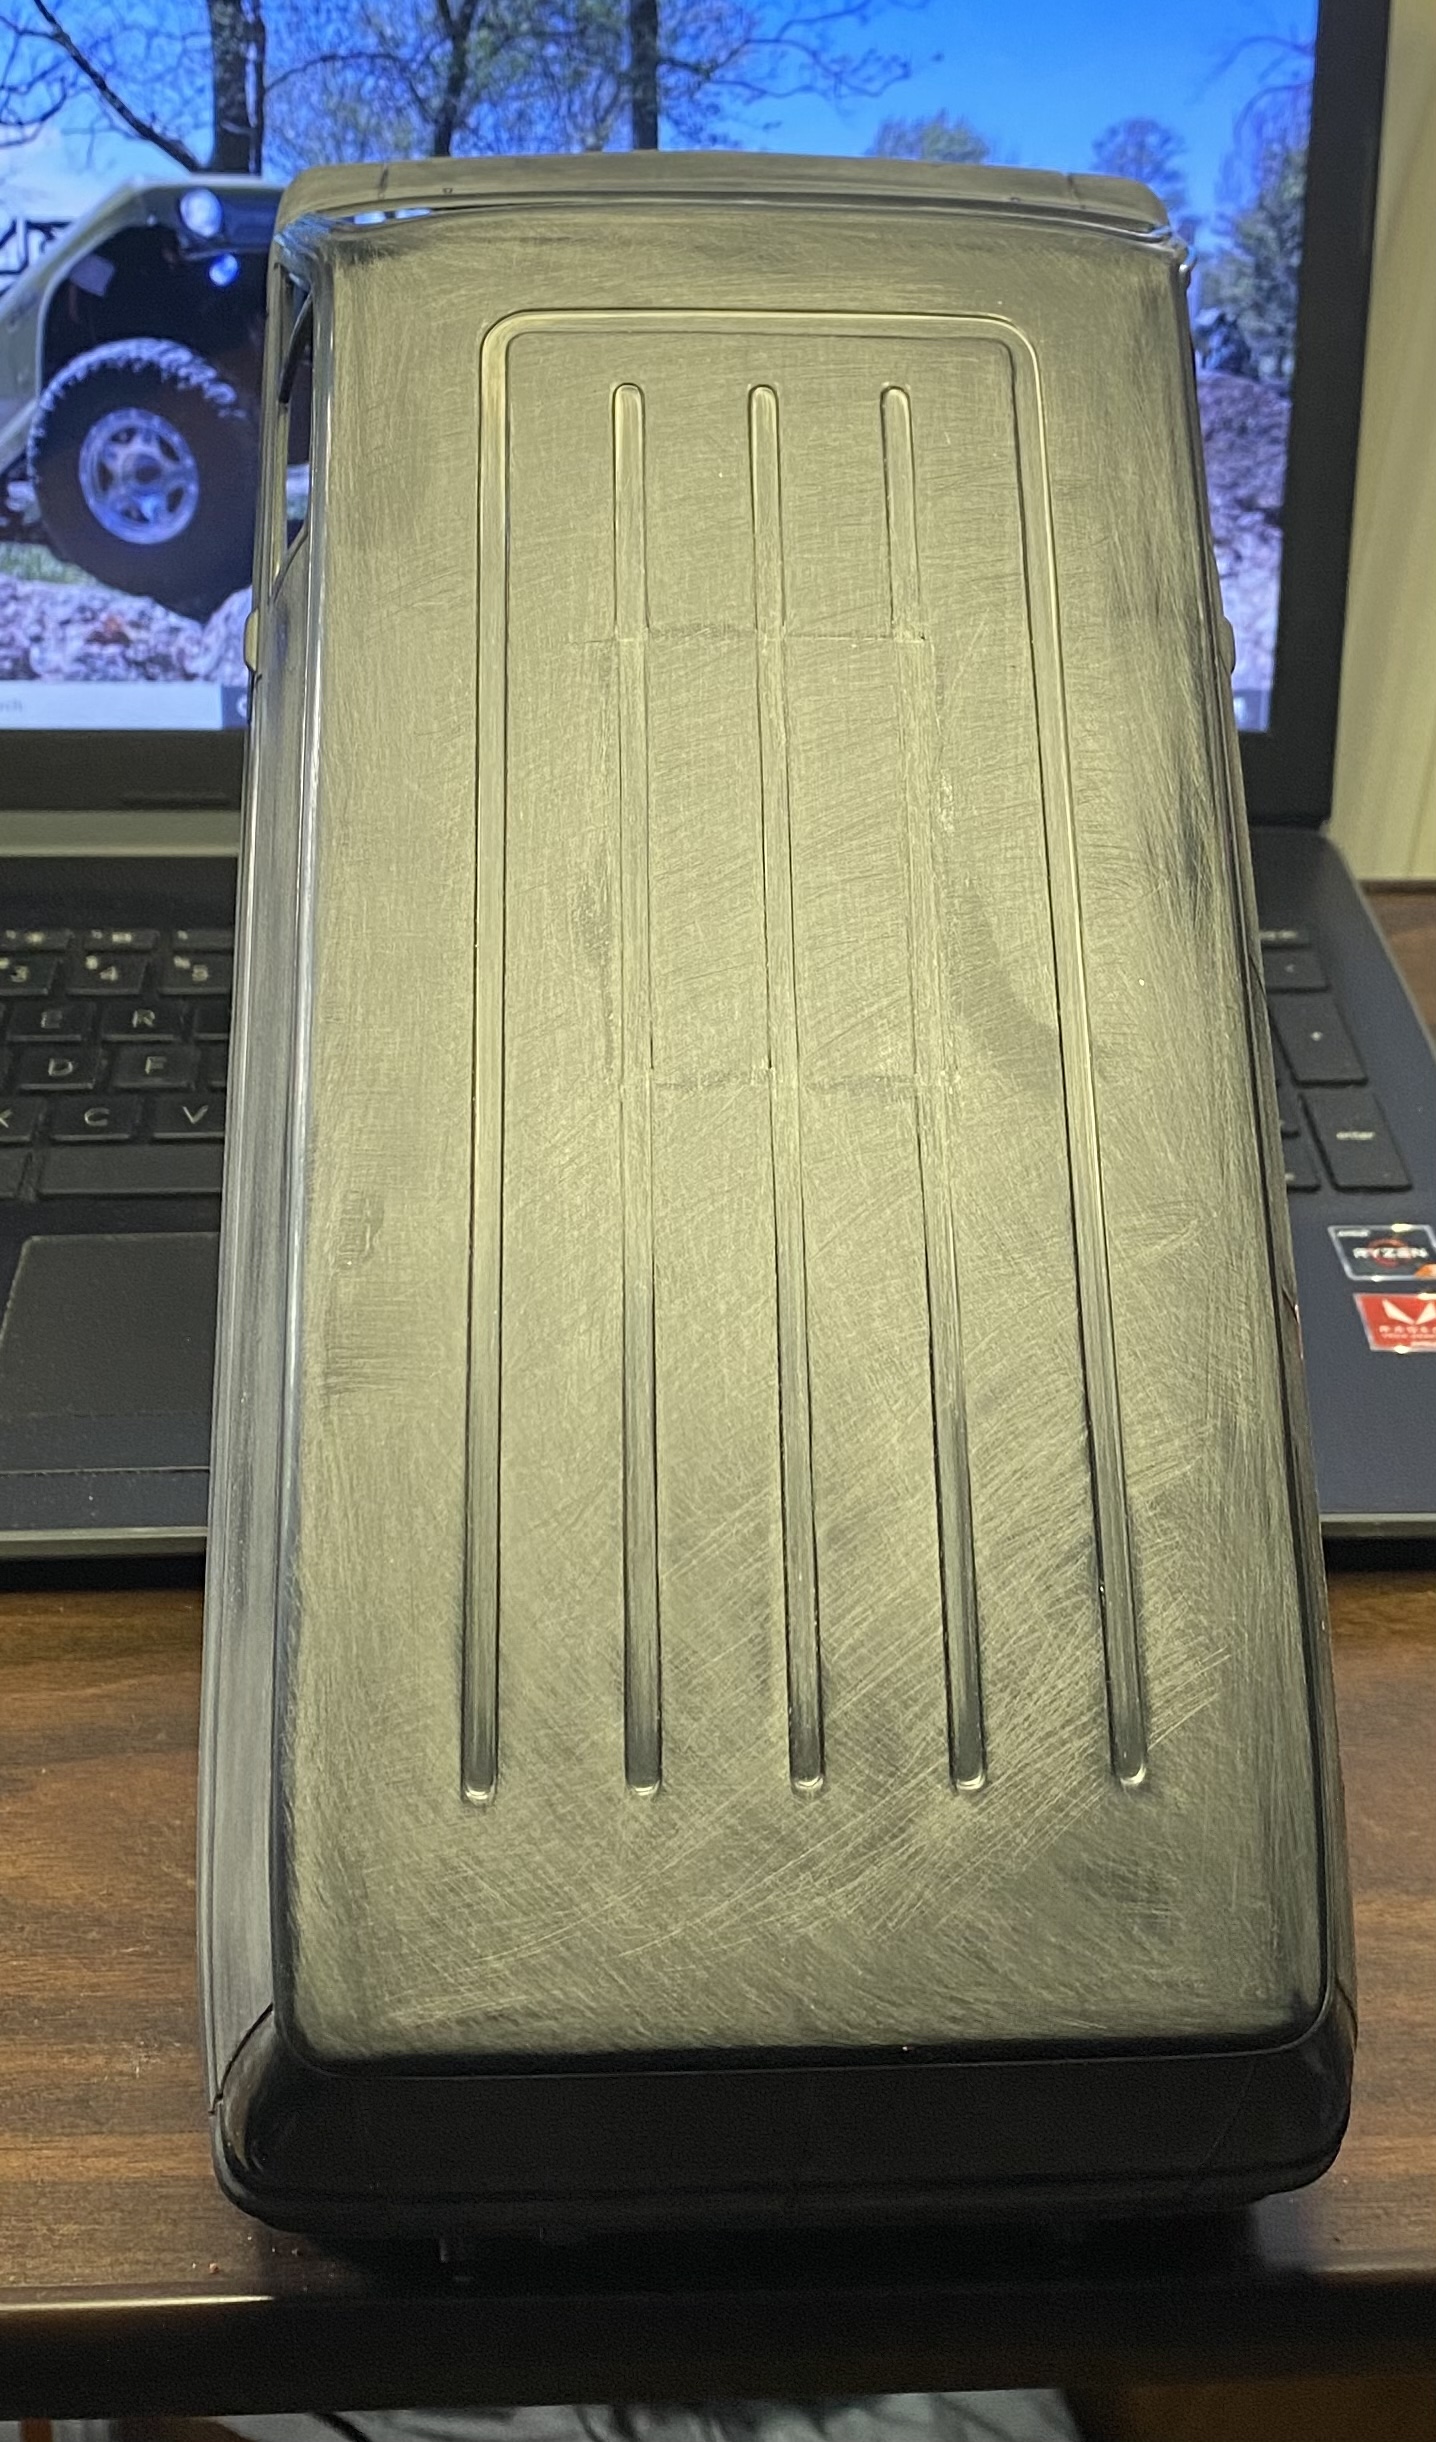
Well, over the last 3 days I took a New in Bag Tamiya Lunchbox Black Edition body and modified it to accept 3D printed tail and side marker lights, filled in the openings in the roof for a period roof vent and the antenna from the old AM/FM transmitter days with chunks taken from another Lb BE body and got it scuffed up and mold lines cleaned off and ready for finishing work! From this To this………. To this…….. Over the last 3 days! I’m not sure, but does anybody else think I may just need primer and can skip any body filler?
-
Ok, the body work is done, not sure if I’m going to do any body filler or just go straight to some Duplicolor Filler Primer then do any corrections and filling from there after sanding it. I did not expect it to come out that good?
-
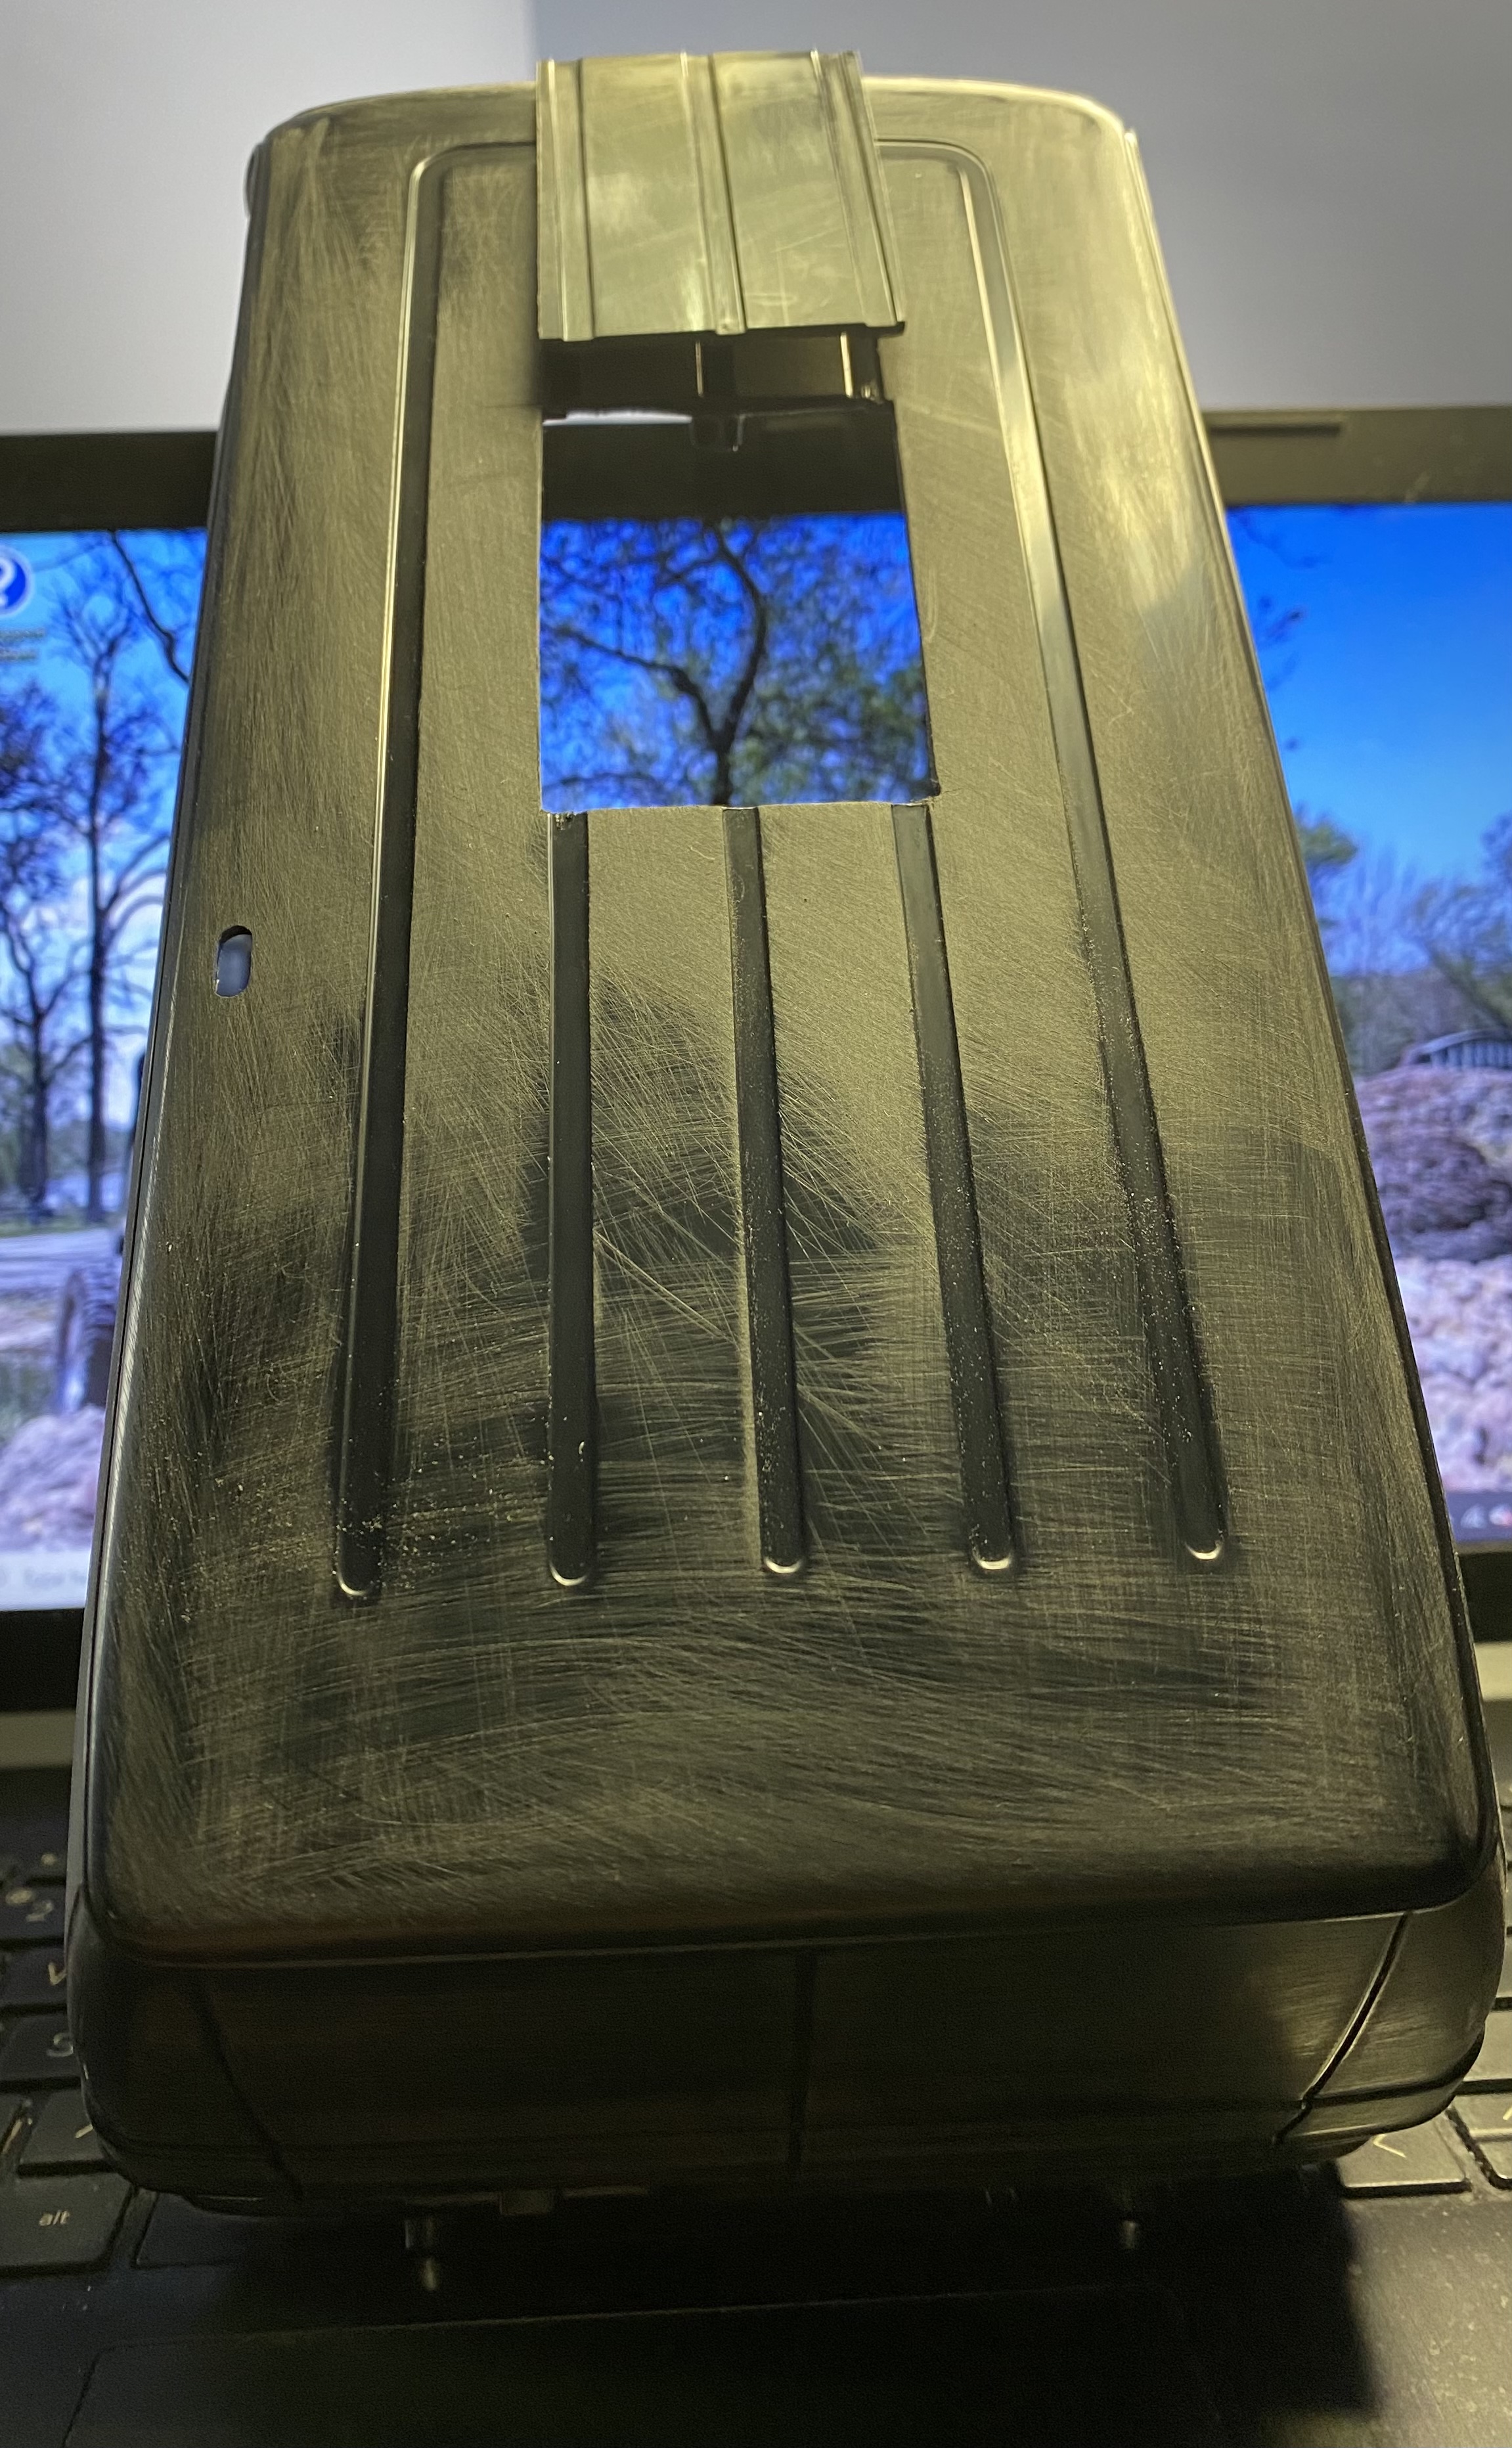
Filled in the roof vent and antenna holes, have them held in place with Plastic Weld for now be will put in some Bob Smith Foam Safe CA in the gaps for added bonding. Once that is good and solid, I’ll probably do some filling with Bondic then do the final filler with some 2 part “icing” type automotive filler.
-
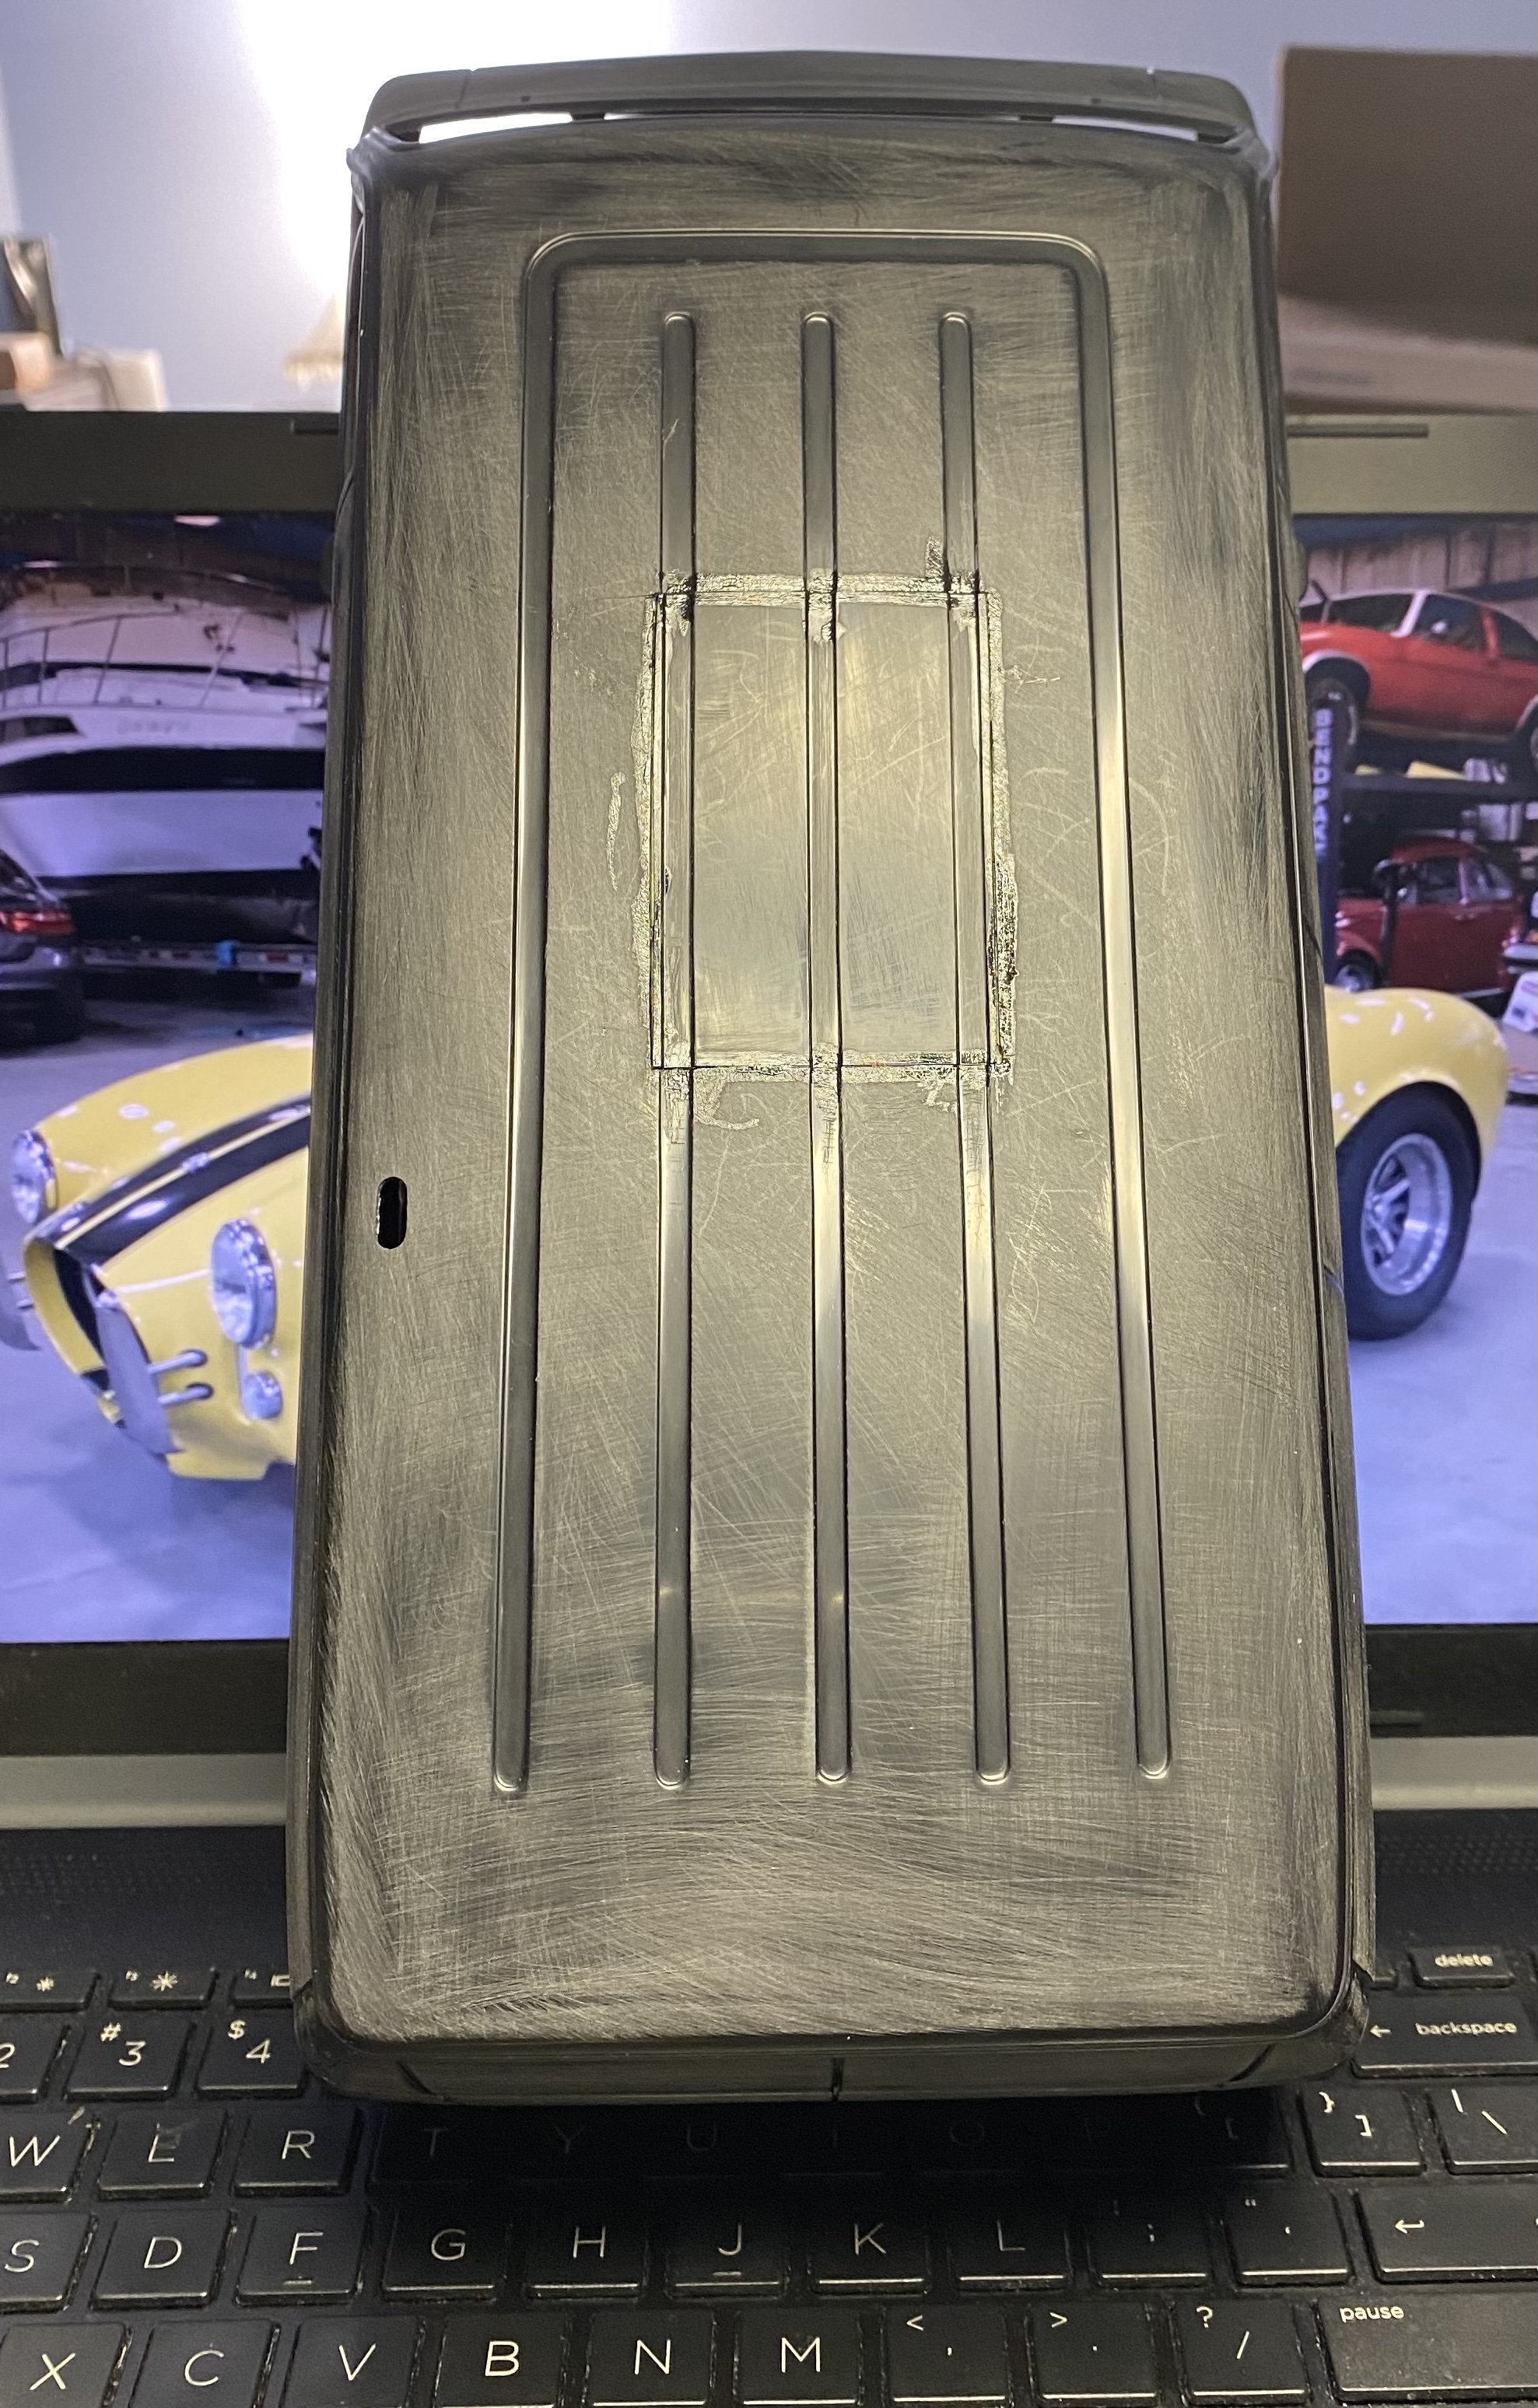
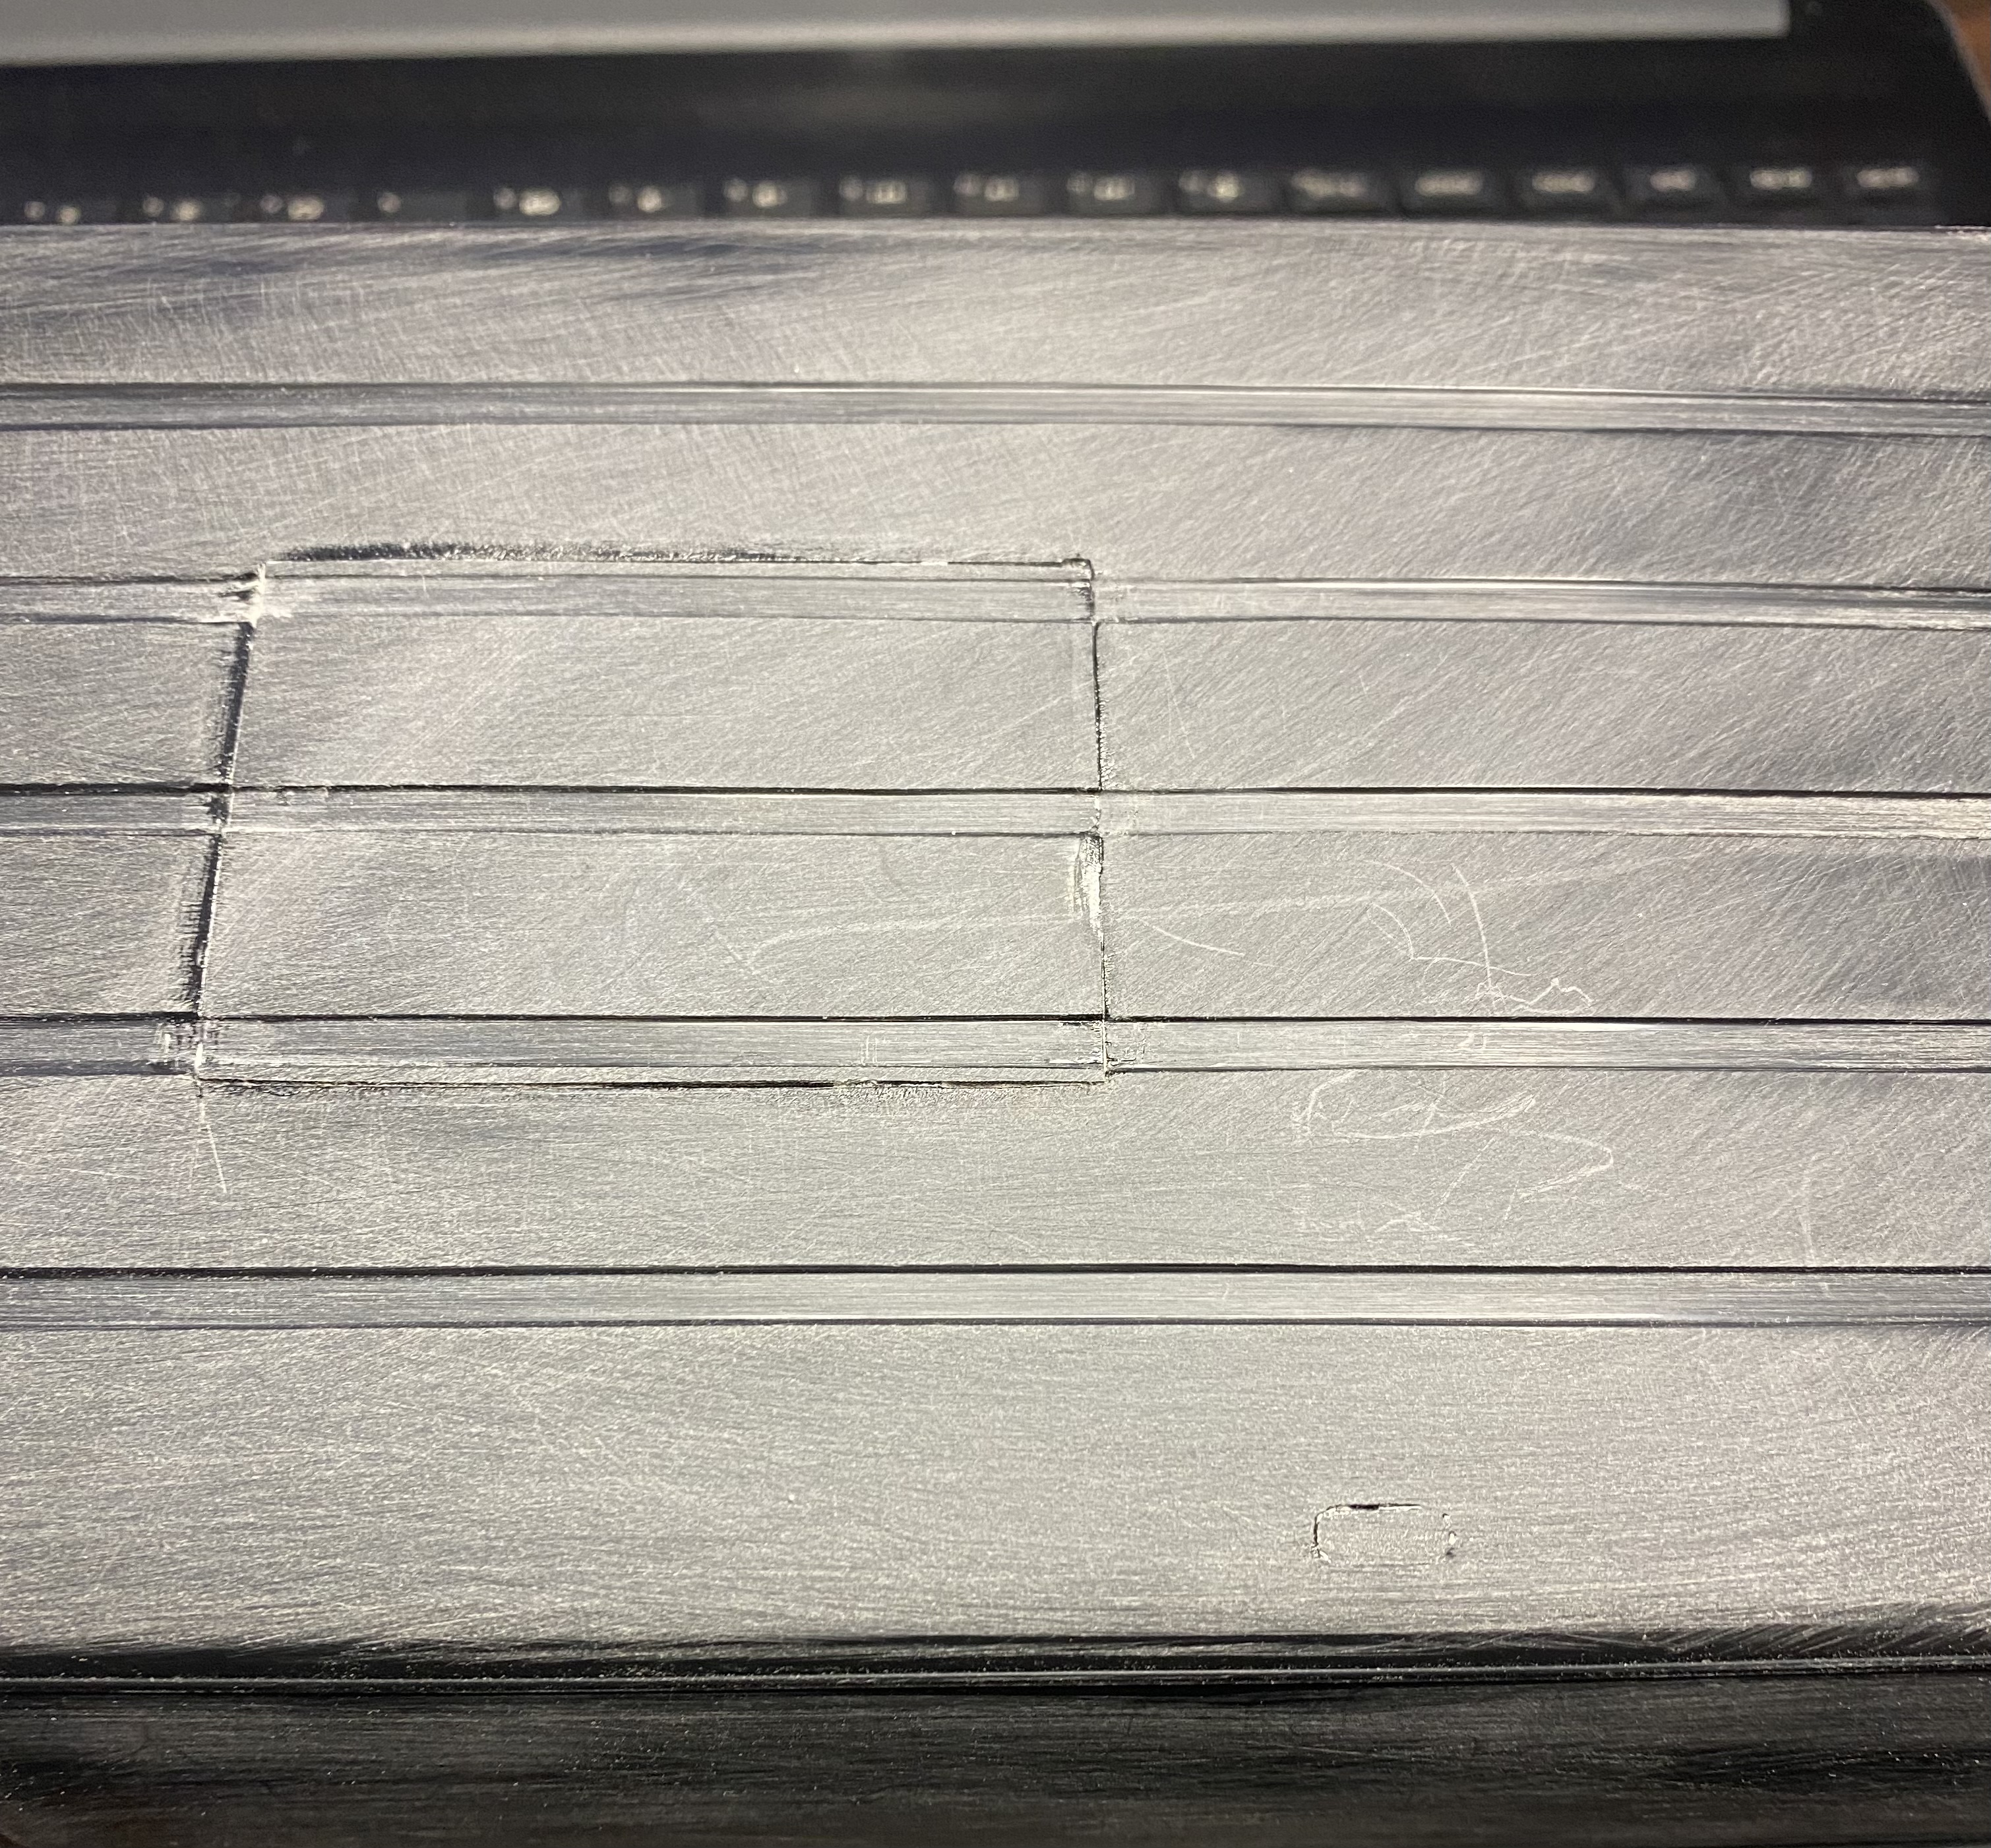
I’ll finish fitting it later, but I have the patch panel cut out the old body and the hole in the new body opened up a bit larger than it was, just need to sand the two to match and cement them together! Found I still have some Plastruct Plastic Weld that will get used for that purpose, same when I go to fill the antenna hole too.
-
Thanks Alan, it was just something I decided to mess with and kinda liked the look, especially with the custom extensions included with the fully optioned version of these kits. I'm even doing this with a couple of the Revell '57 Chevy Snap Tite kits I decided to mix together then fill the gap between the lights with the Bondic resin as well, that however, is getting turned into a sci-fi-ish flying car with all the work that's received
-
Huh, that'd a pretty good idea too, the shape is close enough that it would probably work pretty good to!, just don't have any '56 Ford kits to rob from for that.
-
Thanks Ray!
-
The two different hoods were related to a different, blue plastic kit I bought shortly after R2 bought the rights and everything from RC2, only to find all the custom goodies were left out on that version of the kit, The hood was a left over from that one and since that and the Pepper Shaker are basically from the same tooling, I just used the blue hood as a placeholder until I could do the same mods to the PS kit hood and then later divided it to give it the "pancaked" look. The flipped light inserts were just to try a custom treatment I've never seen on a '57 Chevy before and kind like, and the fins are to change the look of the car, same with the filling I did at the C-Pillar to change the shape of that, the goal is to make it barely look like the '57 Chevy it's built from.
-
Thanks Carl!