MrBuick
-
Posts
496 -
Joined
-
Last visited
Content Type
Profiles
Forums
Events
Gallery
Everything posted by MrBuick
-
nascarlo attempt, need a chassis!
MrBuick replied to buggin' out's topic in Model Building Questions and Answers
The Nascar body is a Monte Carlo...I would think any Nascar kit should work though, considering you're going to have to heavily modify the cage if you want to match the 1:1 closely. http://www.ebay.com/itm/MONOGRAM-1-24-scale-No-2447-DALE-EARNHARDT-3-GOODWRENCH-Monte-Carlo-Sealed-/141915086763?hash=item210acc5fab:g:O~IAAOxydlFSqgxl -
Bare Metal Foil Problems
MrBuick replied to 69NovaYenko's topic in Model Building Questions and Answers
I've heard keeping BMF in the refrigerator can help keep it "fresh" longer...any truth to that? I'm about to order some and try it out. -
Thanks for the tips guys! I'm gonna do one more pass with the wash to fill in the slots a little better, and I think they should be done.
-
That's a really good idea...I'll have to try that sometime.
-
Depends on how much sanding/polishing is required to smooth it out. If it chews down to/close to the primer in some areas obviously you'll want to add another coat, or you may not have to. Last one I did didn't need anything other than the clear.
-
This is awesome...love that nailhead!
-
I got mine here http://www.micromark.com/micro-mesh-finishing-kit,7601.html. Revell makes the same product and it can be found a little cheaper...I'm sure it's just as good. http://www.ebay.com/itm/like/111695372580?ul_noapp=true&chn=ps&lpid=82 http://www.ebay.com/itm/like/391151270194?ul_noapp=true&chn=ps&lpid=82
-
I'm not going to claim to have perfected it, as I'm still in the learning process, but my last and current builds are coming along very well with some tips I've learned around here and on Youtube. I use Micro Mesh polishing abrasives, but those are similar to what you use...I'm pretty sure I know what you're talking about. Anyway, I wet mine completely in warm soap water (in a small bowl with like 2-3 drops of Ivory dish soap). I also dip my finger in the soapy water and spread some on the model in the area that I'm about to polish...this helps keep it lubricated. Then, I just start with the 3200 Grit and work up to 12000 grit. One thing I learned from someone else was to polish in varying directions with each grit...so if you go North-South with 3200, then go East-West with the 3600 (or whatever your next grit is). This helps to keep small scratches from forming. Also, probably the most important thing is to not apply pressure...let the paper do the work. The latest thing I've started to figure out is the more prep-work you do, the less polishing/sanding is required...that's why I opened my thread looking for tips on prepping AFTER the primer coat. I would highly recommend you try the Comet method first...I just spent about 20 minutes on a primer coat tonight, and it worked wonders, and supposedly it's supposed to work just as well with the top coat. The up-side to trying it before color sanding, is as far as I can tell, the worst-case scenario is you waste a little time...there's really no way to mess anything up using that method. All of that being said, it may be hard to get a mirror-smooth finish if you didn't prep the primer first. This video was very helpful to me when I started caring more about higher quality paint jobs. https://www.youtube.com/watch?v=sW_e9WOMO6s
-
Judging from your pictures, it doesn't look so bad that it can't be easily fixed. In my admittedly limited experience it can easily be corrected by color sanding/buffing. It may have happened due to the primer coat not being prepped properly. I just opened a thread in the Model Q&A section regarding that...so far I've learned it's best to prep the primer coat before painting so you have a smooth to the touch finish on your primer coat, then apply your top coat. At this point, I would try some color sanding or an abrasive cleaner like Comet. That was another suggestion I received in my thread; use Comet powder mixed with warm water and apply it with a toothbrush...the abrasive-ness of the cleaner can smooth out the paint. I think the top came out looking okay because it's already textured, and it looks like a matte coat, which doesn't show imperfections nearly as bad.
-
Should Primer be 'Smooth as Glass' Before Topcoat?
MrBuick replied to MrBuick's topic in Model Building Questions and Answers
Do you mix the Comet with water or just use the dry powder? Doesn't it have bleach? That won't harm anything? -
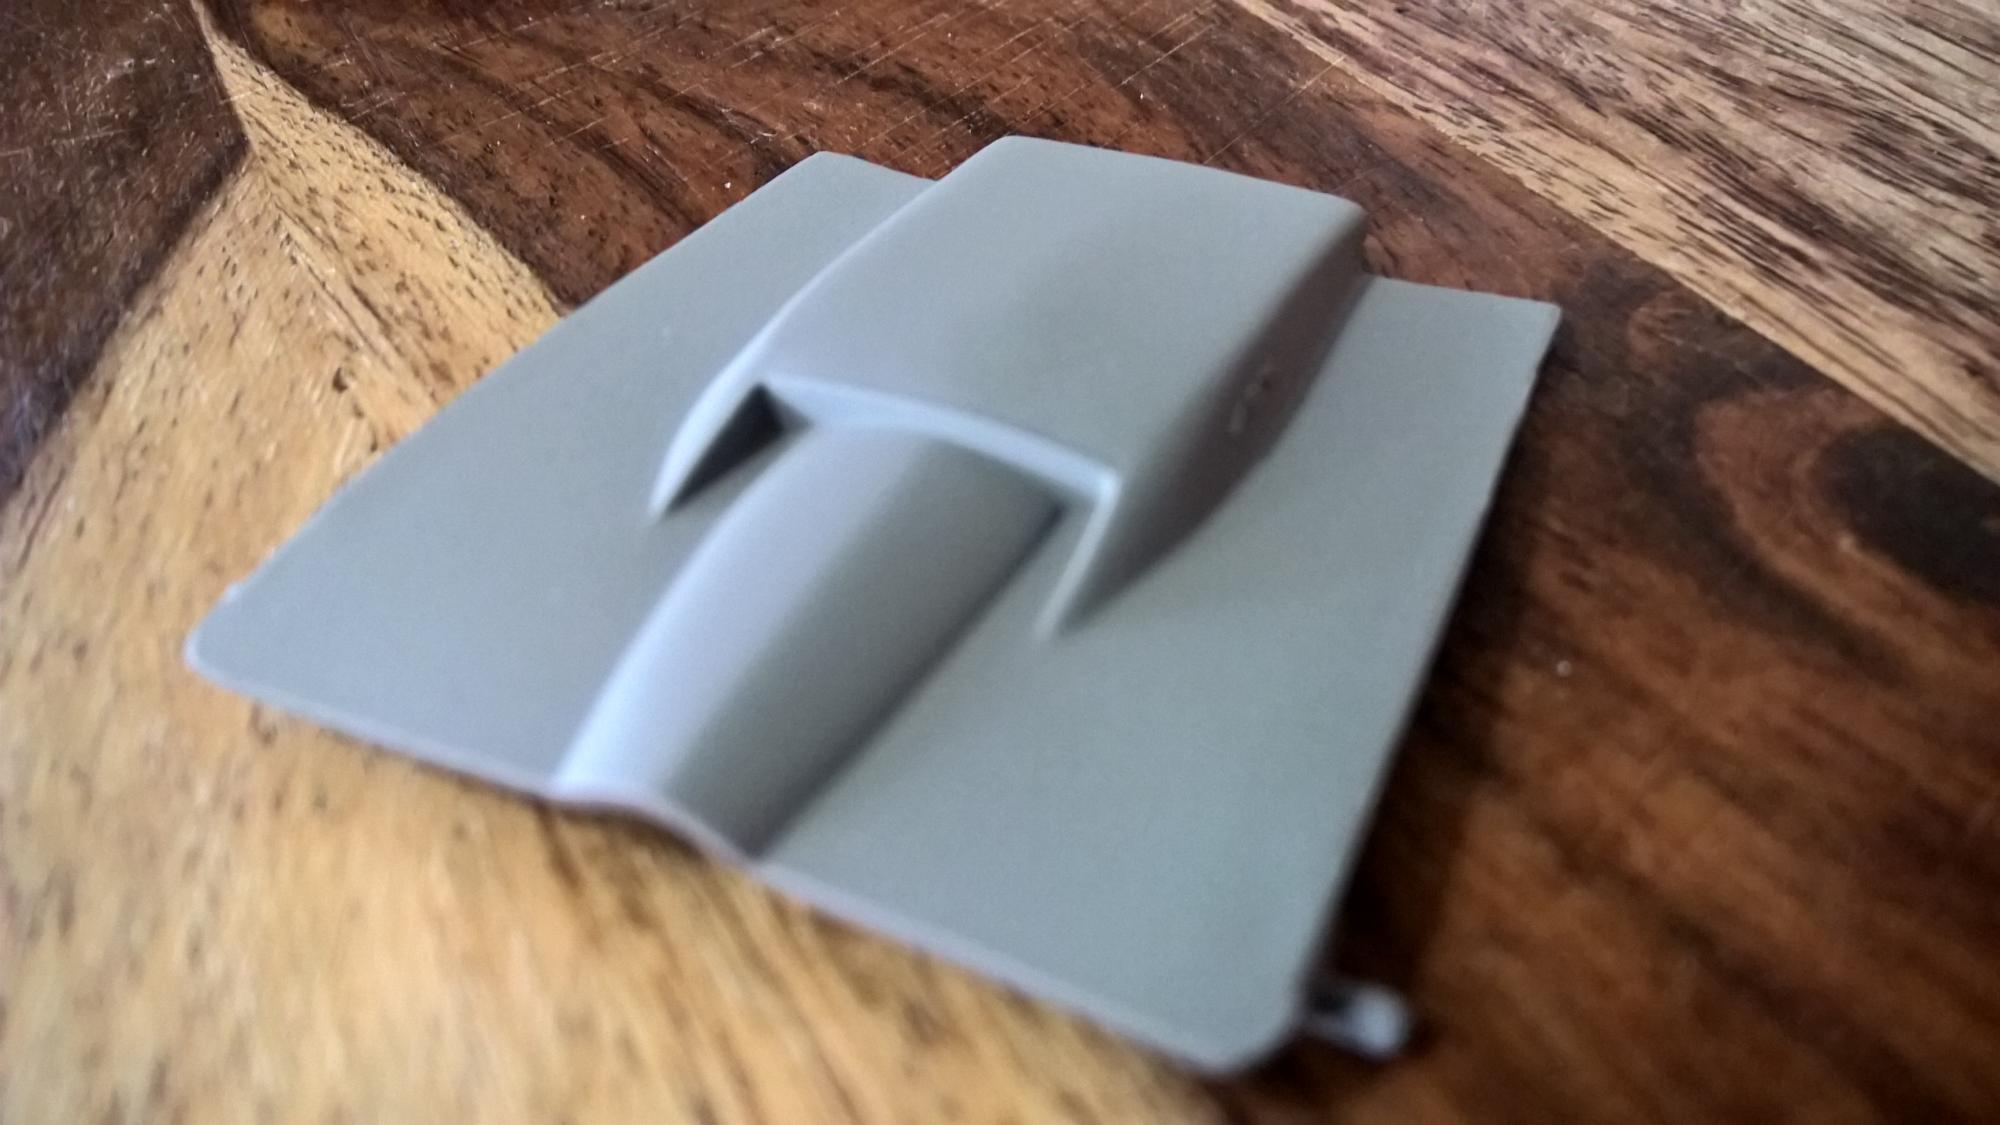
As the the title says, I'm wondering how smooth the Primer coat should be before applying the top coat...I've heard varying opinions on this, from people who just prime and paint to people who spend as long buffing/perfecting the primer before they paint...just wanting to hear some opinions. The primer I shoot goes on pretty smoothly and doesn't really have a noticeable orange-peel, but does have a slightly rough feel (like fine-grit sandpaper). I've also seen someone suggesting using comet and a toothbrush rather than sandpaper...just looking for some opinions and tips to get the best final finish. I don't know how well you can tell from the photo...this is a primed hood otherwise untouched...just trying to give you an idea of how it looks before doing any possibly necessary prep work.

-
Thanks for the suggestions...I may get some BMF, find a tutorial, and try my hand at it. It'll be another first for me, but this seems like maybe an easier place to start than window trim. Thanks for the pictures btw...looks great!
-
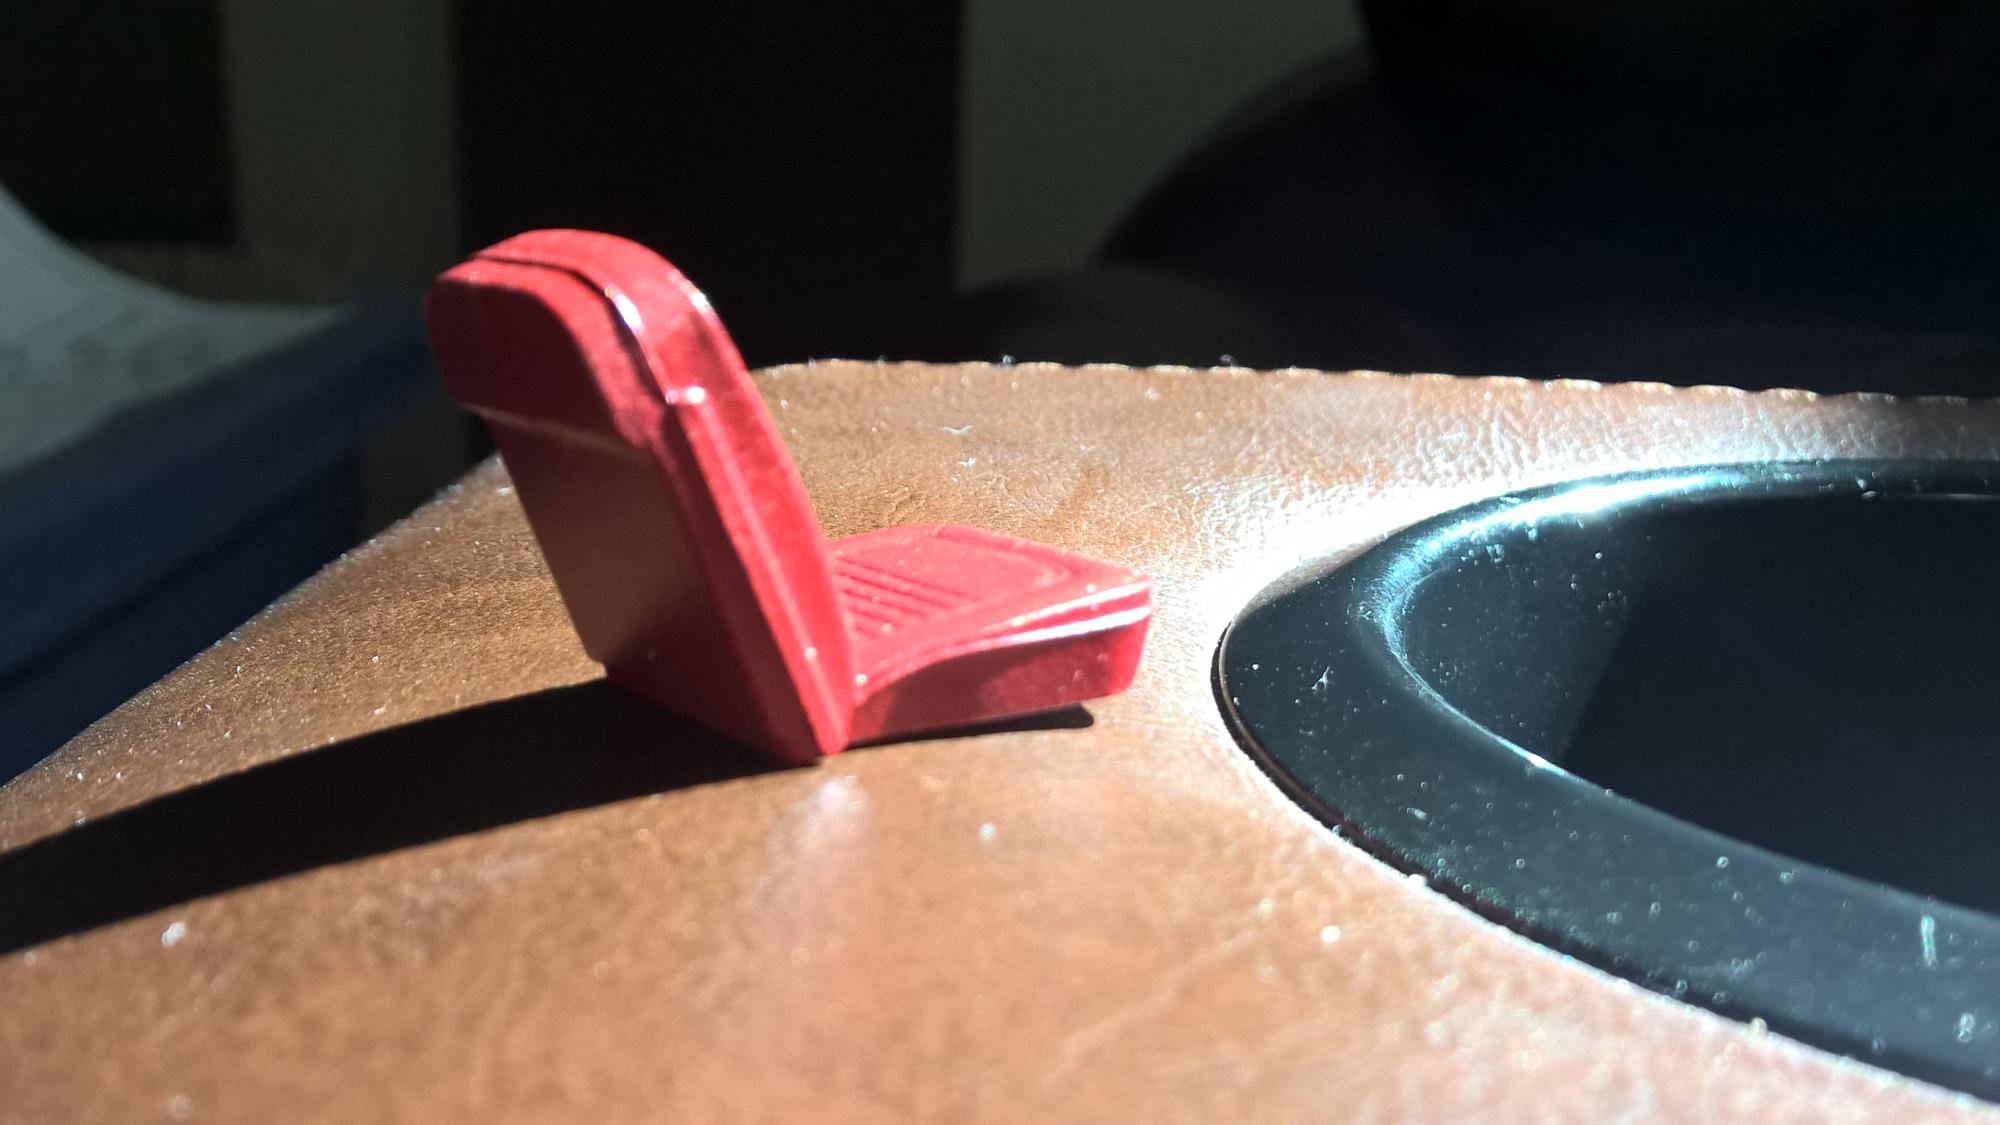
This seat is for a '67 Vette that I'm working on. I still need to paint the trim on the seat, and after looking at it, I really think I should have done it before I glued the seat halves together, as I don't know that I've developed a steady enough hand to paint the trim across the top of the seat without smearing. Before I just pry it apart, I wanted so get some suggestions. Is there anything that will dissolve the glue, or make it easier to "break" without damaging the seat? I use Testor Red bottle liquid cement. I don't care if it takes the paint off too...I'm banking on the fact that I'm probably going to end up needing to strip the paint and start completely over. Also, what are some suggestions for favorite paint strippers? I've read some of the paint stripping thread, and right now I'm planning on either using brake fluid (I already have some and it's pretty cheap to get in bulk), or I thought about trying Mineral Spirits. Thoughts or suggestions? What I'm working with: Idea of what the trim should look like: Glue I use, for reference (in case it matters):
-
Yeah, the HEMI thing is kinda weird...I'm not really sure why they included valve covers and nothing else needed to complete a HEMI, and there's definitely not a slant 6. I don't see any way to do anything other than the 383 without some serious surgery somewhere.
-
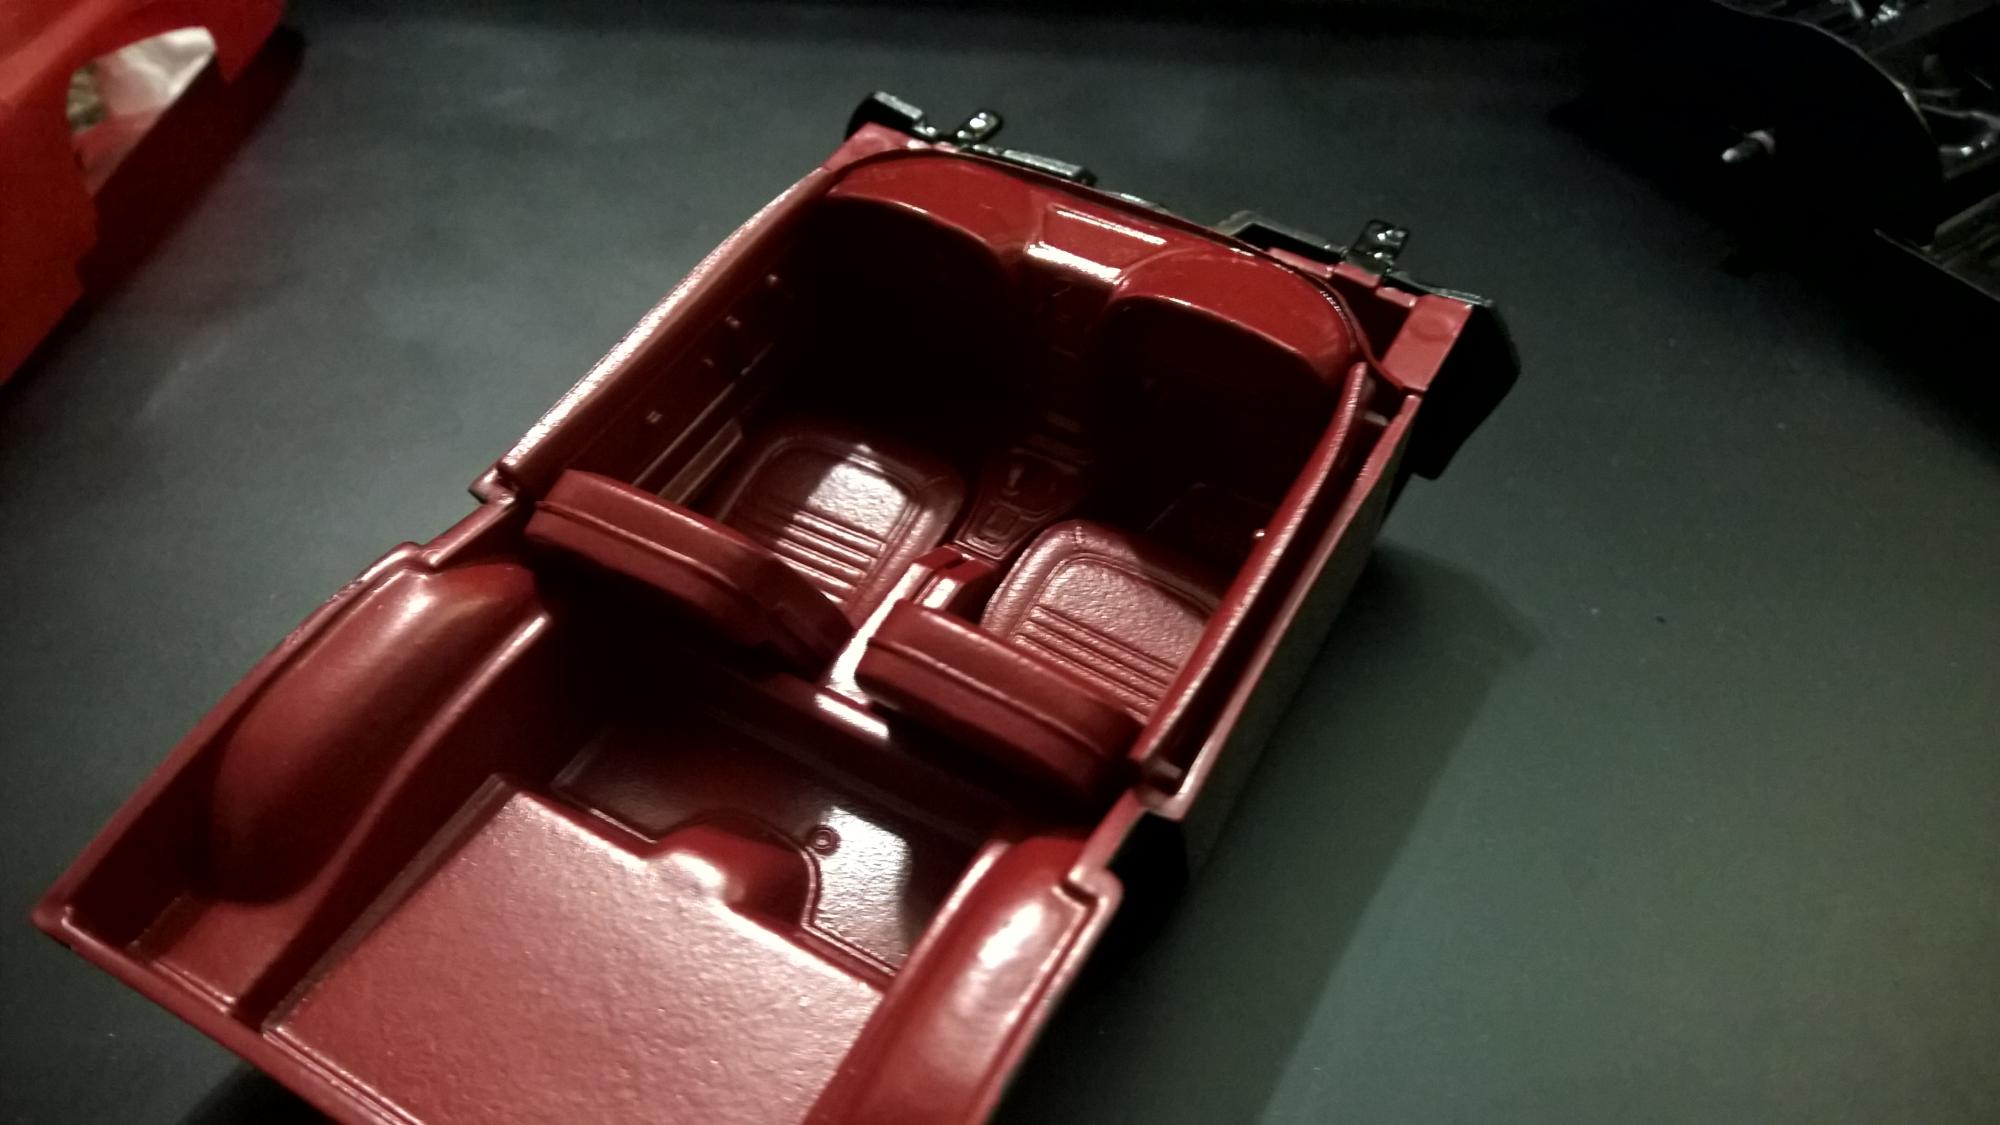
I didn't plan on doing a workbench topic, but I'm happy with the way this is coming along and wanted to share. Engine, chassis and interior work started...I haven't done anything with the body yet at all. Finished product will be black with a red hood decal. Engine mocked on chassis. Interior mock-up. Still need to detail paint trim and dash. Didn't like it when I had it bright red, so I toned down the red a bit. Dash will stay glossy, I hit the rest with a lustless clear to remove the shine.
-
I did fail to research first because I didn't even think about it...I'd never seen a kit molded like this aside from a snap kit, and the other "retro sticker" kits I have must be newer and have separate detail pieces. Unfortunately, this kit was ordered online, so I didn't have a chance to look at the bottom. I've calmed down a lot though...I still don't love it, but it is what it is. The biggest annoyance for me was the shock, and the fact that now the kit isn't going to really lend itself to what my original plan was, but I think I'll just build it box stock and practice honing my painting skills.
-
What a beautiful Buick!
-
It's coming together great! I like the exhaust, looks 1000% better than the weird stock quad pipes (I think they seem out of place on a vehicle like this).
-
Nope...still no reverse lights. However, after looking closely at a 1:1, it seems like it'd be easy enough to scratch-build some or kit-bash something that'd look close enough. I consider myself much less skilled than most people here judging by the other builds I've seen, but I think even I could make something work pretty easily that'd look as good as anything they would have included.
-
Yeah, you can build it completely stock. I'll check on that when I get home and let you know.
-
There are clear lenses for the custom grille, and the tail light treatment comes in a non-plated piece that installs over the tail light...the light installs onto the body, then the trim piece installs on top of it.
-
Oh, re-he-heally? I'm gonna have to try that!
-
70 ford grand torino
MrBuick replied to bubbaman's topic in General Automotive Talk (Trucks and Cars)
I've got a Revell '70 Torino GT in the build queue...haven't started it yet, but it looks like it'll build up nicely. -
I'm a huge fan of old Buicks...I like the Apollo because it's basically a lesser-known Nova, and the GSX is just an awesome and rare car. The thumbnail photo isn't mine, it's just an Apollo that I'm inspired by. I've got two '73's in the garage (one donor) that I picked up at a salvage yard...I'm in the middle of bringing one to life.
-
Many people put at least one coat of clear over the body decals, which helps seal them in and prevent them from coming off during handling. Also, I had the same problem with paint for a bit...I now wear medical gloves when building...no more oil from my fingers getting on the finished product during heavy handling = no more paint rubbing off.