-
Posts
496 -
Joined
-
Last visited
Content Type
Profiles
Forums
Events
Gallery
Everything posted by MrBuick
-
I've apparently developed a habit of working on about 4 builds at a time. I'll do some work on one, then move to another, then work my way around and back to the original. I'm really trying to take my time and be more tedious with paint and detailing, so I think that's why I developed the habit. For instance, I'll shoot primer on a body for one build, and while I'm waiting on it to dry or in between color sanding coats, I'll assemble and engine or chassis for another kit, or start prepping a body, or sometimes just inventory parts and start writing down ideas/plans for a future build.
-
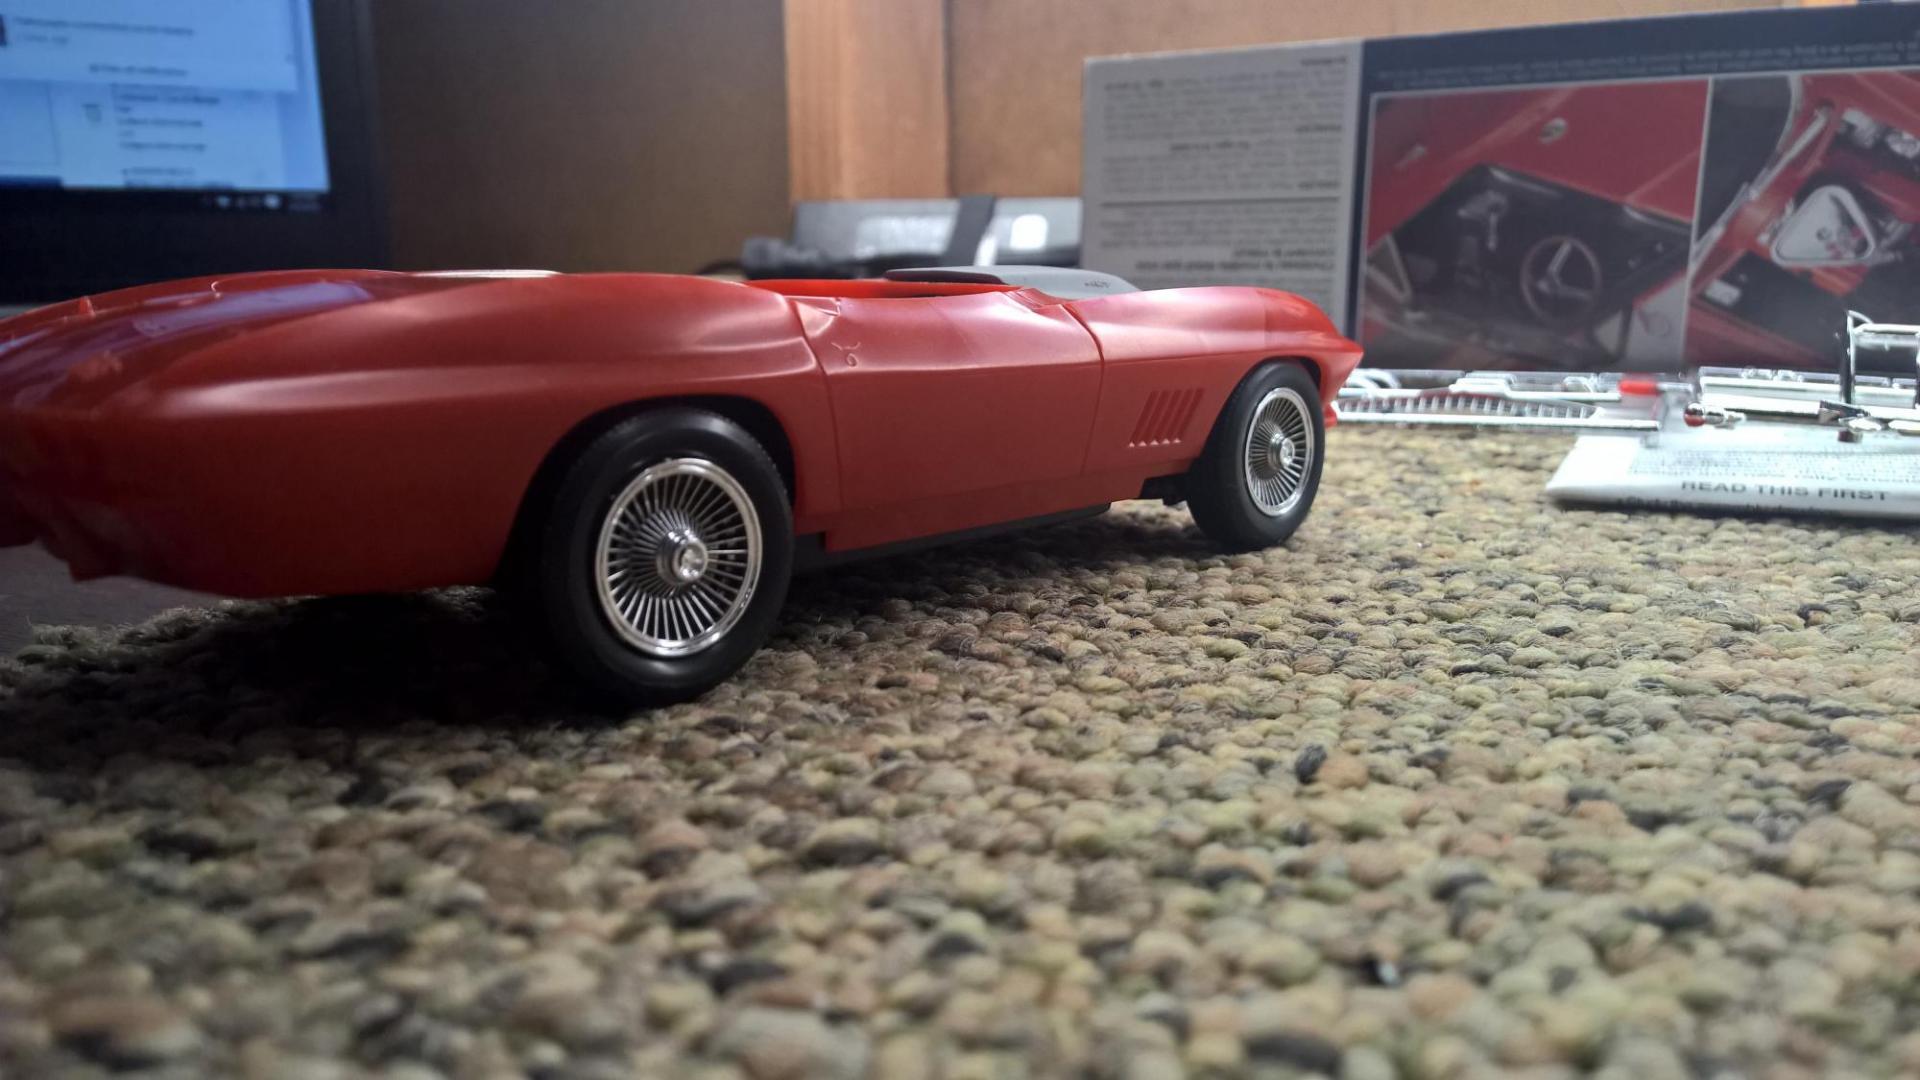
Left work a little early and made a little progress this afternoon. Second coat of primer applied and lightly wet sanded (still need to sand a bit more before applying final primer coat). Mocked up on chassis.
-
Being somewhat new to the hobby and lacking many of the skills that a lot of you around the boards possess, I want to add a few of my thoughts from the point-of-view of an entry level hobbyist, not only on how to build a better model (for yourself), but also how to enjoy the hobby more thoroughly. 1) Don't get discouraged. I'm working on a model right now that I'm extremely pleased with the results of so far, but then I'll look around the boards and mine doesn't even begin to compare to many of the builds posted. It was discouraging at first and I didn't even want to post progress pictures, but then I looked at how it's coming along vs. my first build, and I realized I've come a long way, even if I have a long way yet to go. 2) I've learned this one the hard way...Don't try to learn too much too quickly. With the exceptional assistance other users around this forum and others are willing to provide, it's easy to get overwhelmed by all of the skills you need to develop to build that realistic looking model. Part cleanup and preparation, body preparation, painting, detail painting, detailing accessories (engine wiring, etc), the list goes on-and-on, and it's easy to get caught up in the builds the more experienced builders have going on and want to replicate those. But, you really need to hone one skill at a time. Become as good as you can at simply assembling a box-stock model first, then try to get the highest quality paint possible with that box stock model, then start focusing on the small details (do this in whatever order you prefer), just avoid trying to do it all at once...you'll just overwhelm yourself and the hobby will cease to be any fun at all. 3) Don't assume you have to do something just because someone else does it. Many of the guys around here compete in contests or have more time to dedicate to the hobby than you may (retired folks ). Don't assume just because they spend months or years building a single model to perfection that you must do the same. Find that point where you're happy with your builds and stay there until you have a desire to learn more. There's no reason that you should stress over building a competition-winning model if you aren't wanting to win competitions. That being said, don't let the fact that you aren't competing in competitions stop you from building a prize-winning model either if that's what you want to do...the point is, be sure to have fun and do what makes you happy, not what someone else thinks you should do. 4) Take criticism from other builders with grace...I've discovered that around here and other forums that focus on this hobby, there aren't many (if any) trolls that are just there to be immature. If someone around here criticizes your build, they aren't doing it to be hateful, they just want to help, but there's only one way to say, "you should have done _______, what you did doesn't look good." 5) Don't be afraid to ask for help. As cliché as it is, there really is no such thing as a stupid question. Knowledge that more experienced builders take for granted may completely elude you, but you can bet on the fact that they're willing and eager to share...you just have to ask. 5) Don't assume just because you're new to the hobby you have nothing to offer. Sure, many people here have more experience than you do, however, that doesn't make your opinions or the experience you do have invalid. You should contribute as much as you can, even if you think someone else might have a better answer...you'll learn more and build rapport with other members quicker.
-
Is there any documentation that says these are "explosion proof?" From what I can tell (briefly searching for an explosion proof fan by itself) there's no way these are at this price point, which begs the question, what makes this any better\safer than a home made booth with a decent blower fan such as a Grainger? I mean, it's clearly a professionally built booth, no doubt about that, but I think it'd be easy enough to build a similar booth out of plywood following this same design for a fraction of the price, and since (at least in my case) the booth would be stationary, sheet metal isn't going to offer any longevity benefit over plywood. I ask because I'm planning to build a booth and get ideas of why people chose the booth they use. I'm not opposed to spending some money on a good booth, but if I can build something myself cheaper that's what I'm gonna do. However, if these Pace booth's are actually safer, that may be the route I go instead.
-
Thanks Mark...looking forward to more trades with you in the future!
-
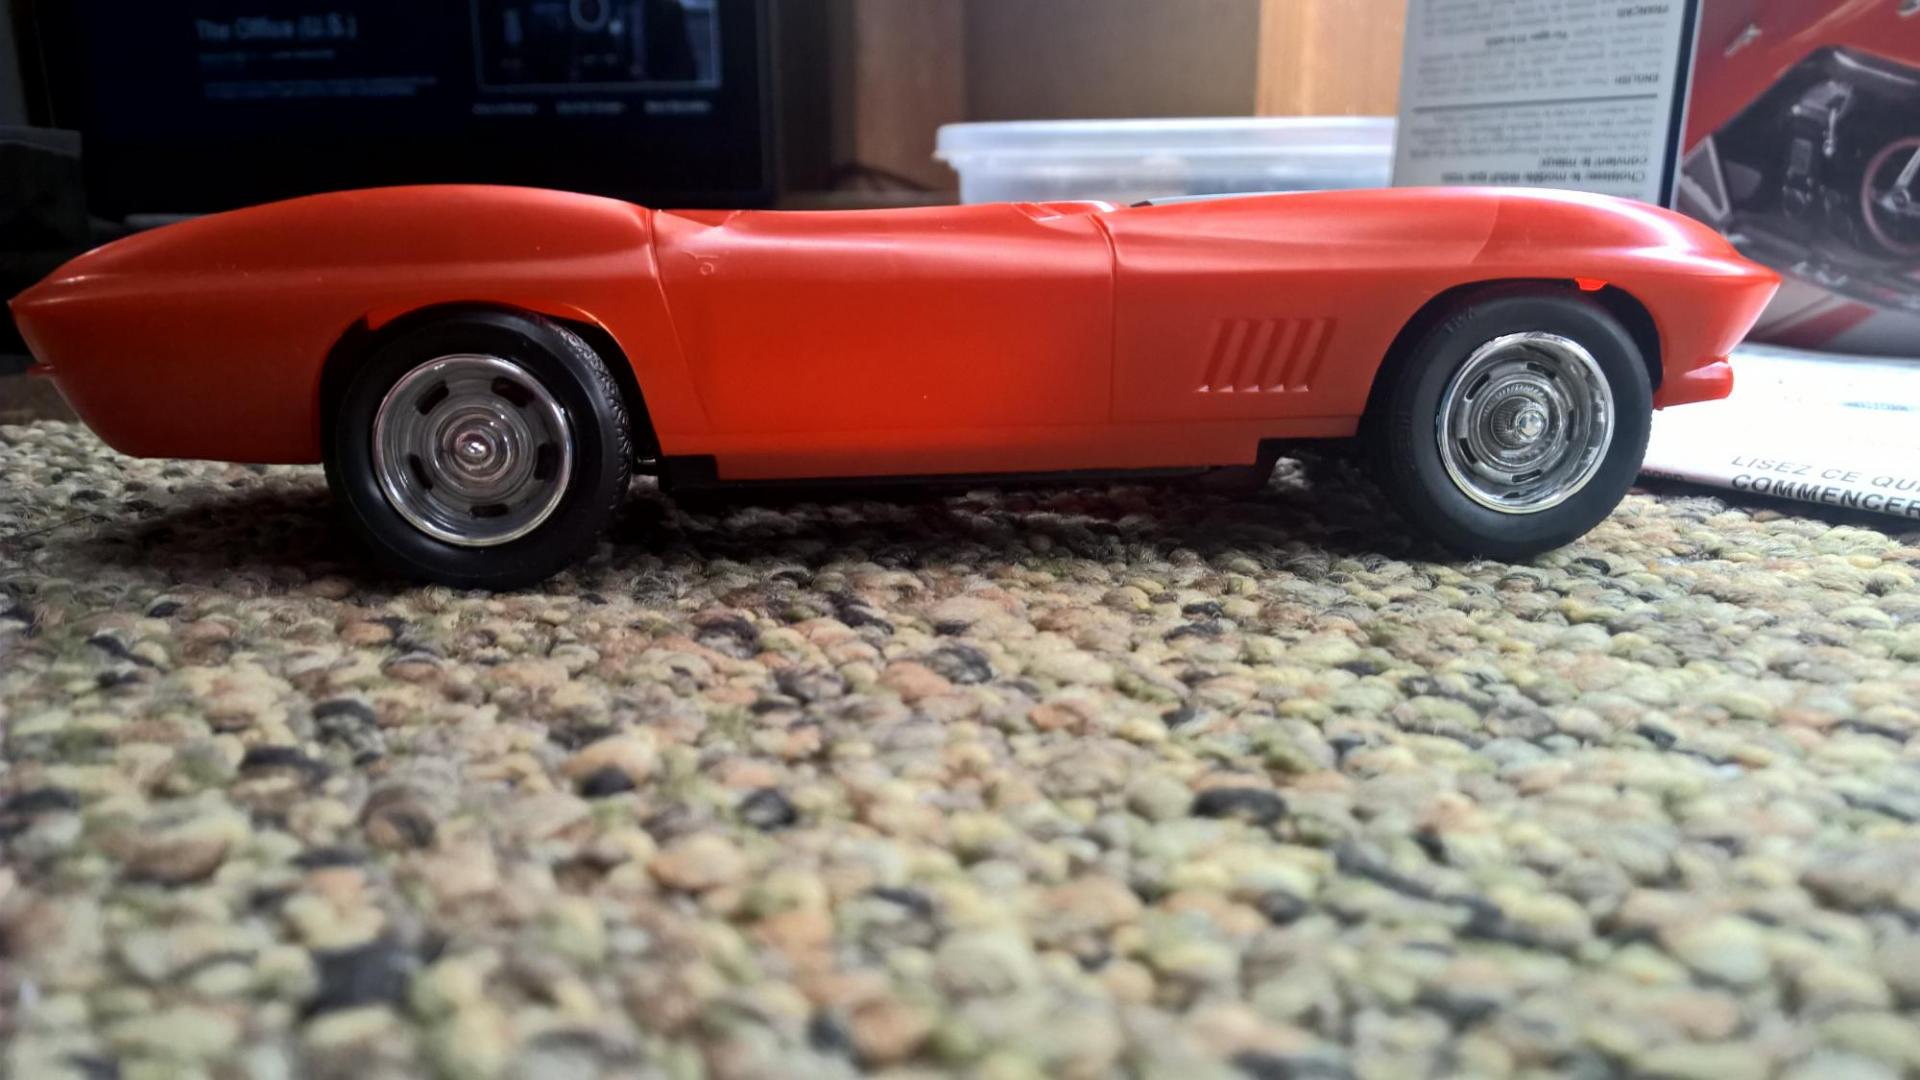
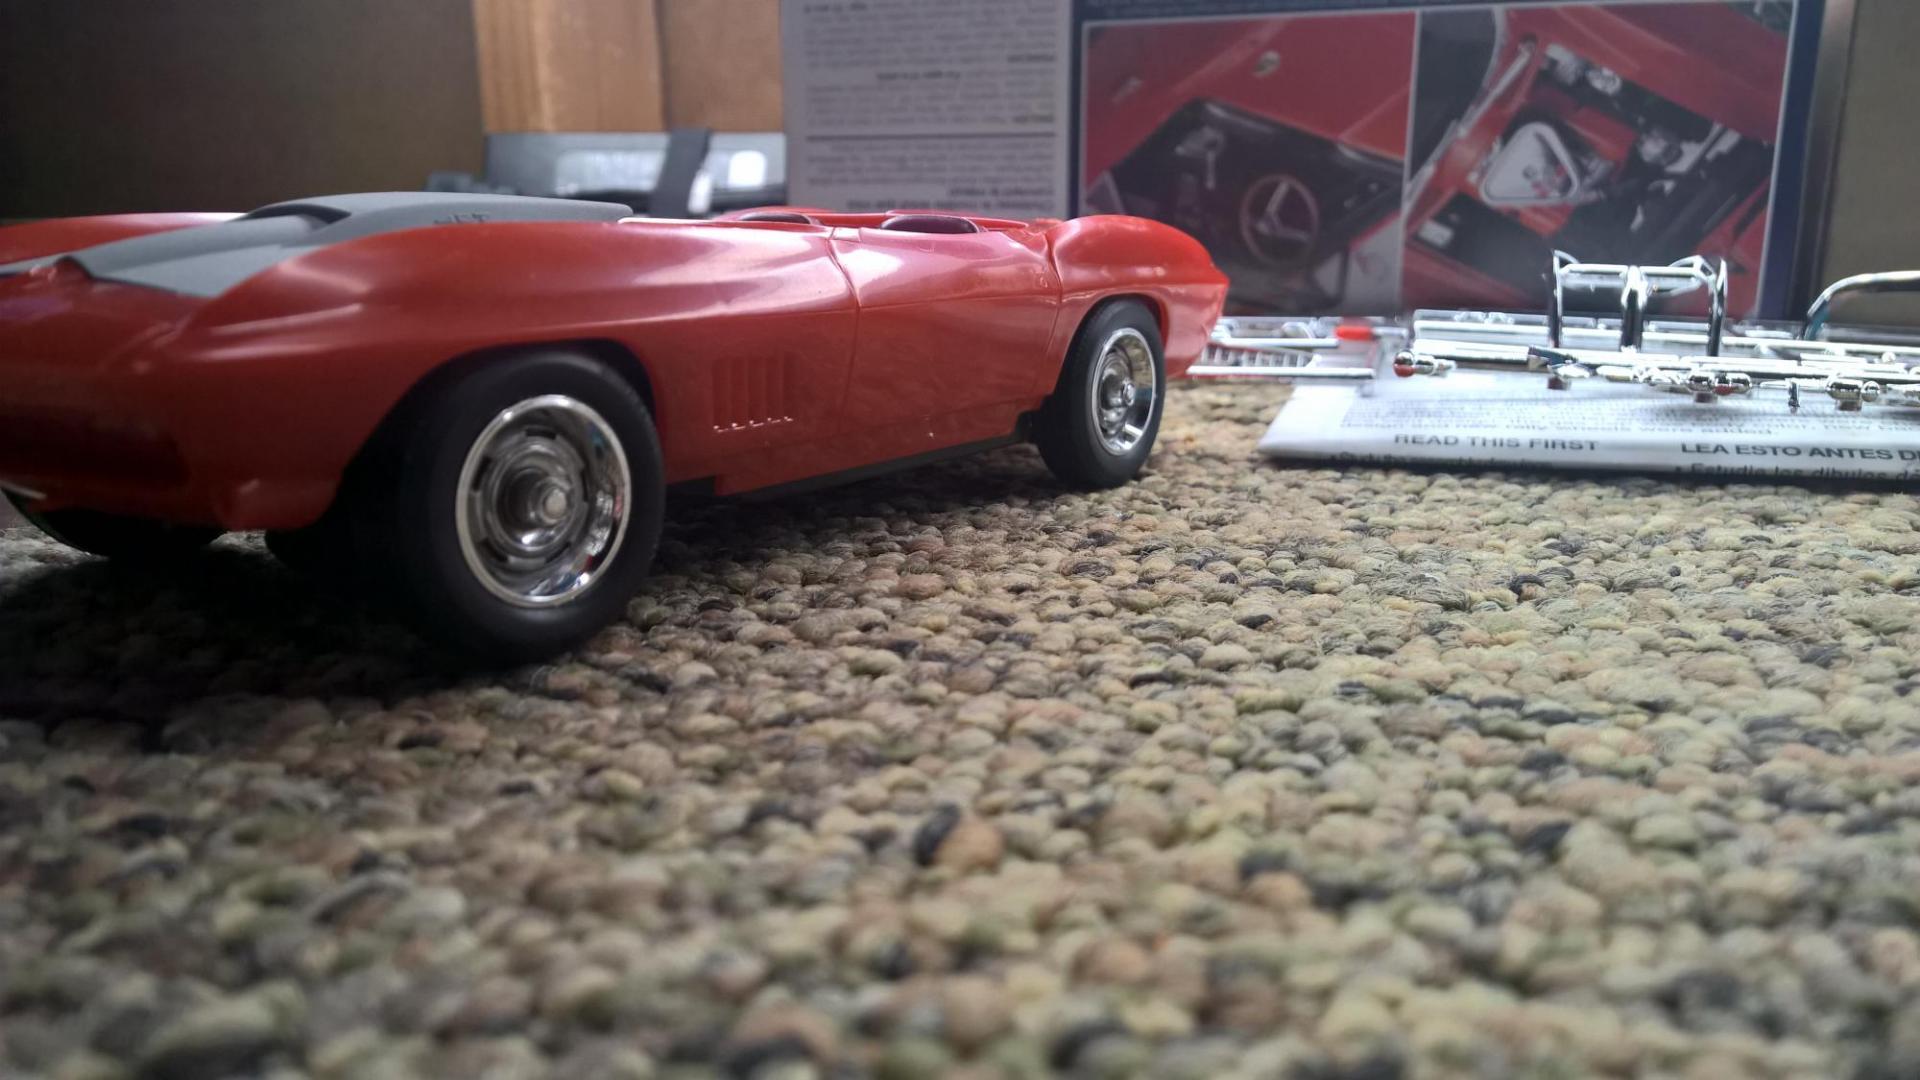
So I took some short cap wheels from a '67 Chevelle kit, but I'm not sure I like the look as much as the other rally wheel (if you can see the red behind the short cap wheel, it's just because I haven't painted the wheel back yet. Thoughts?
-
Yeah, I may go at it with a finer grit paper at some point.
-
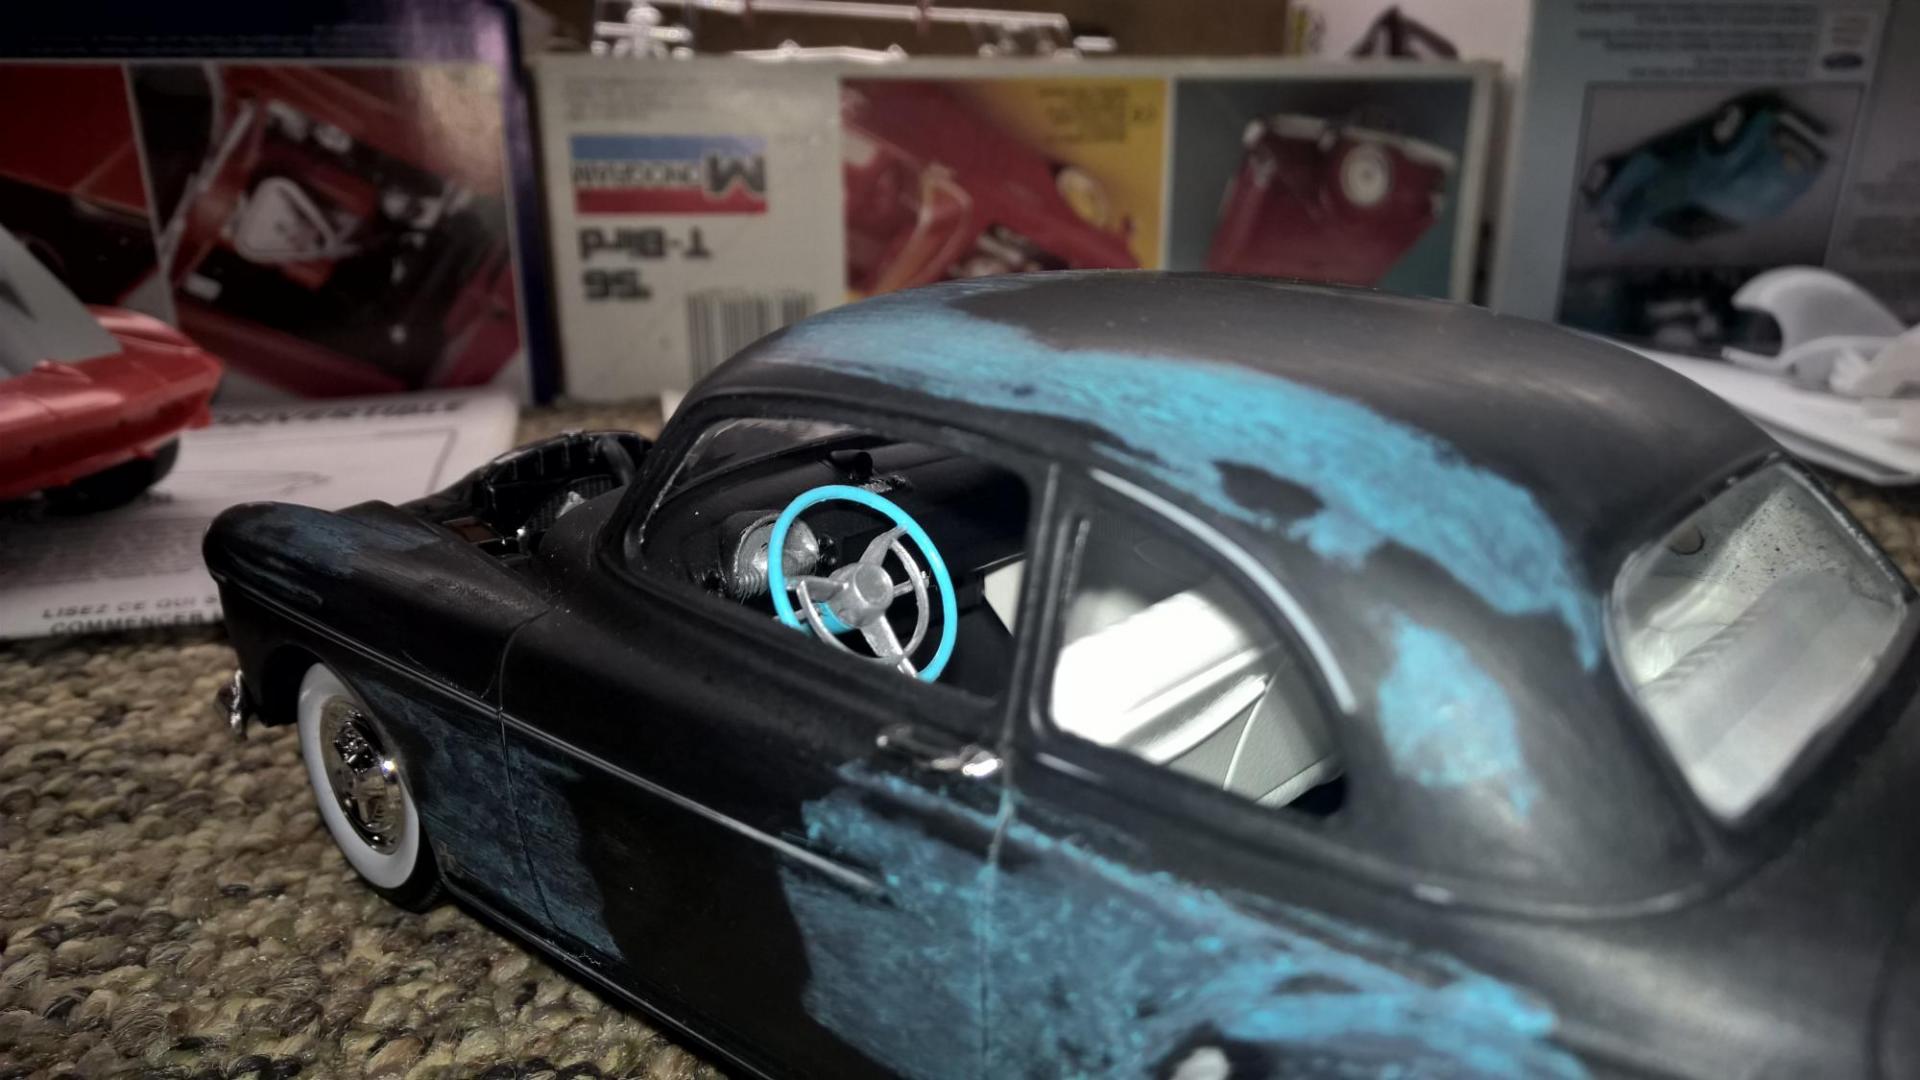
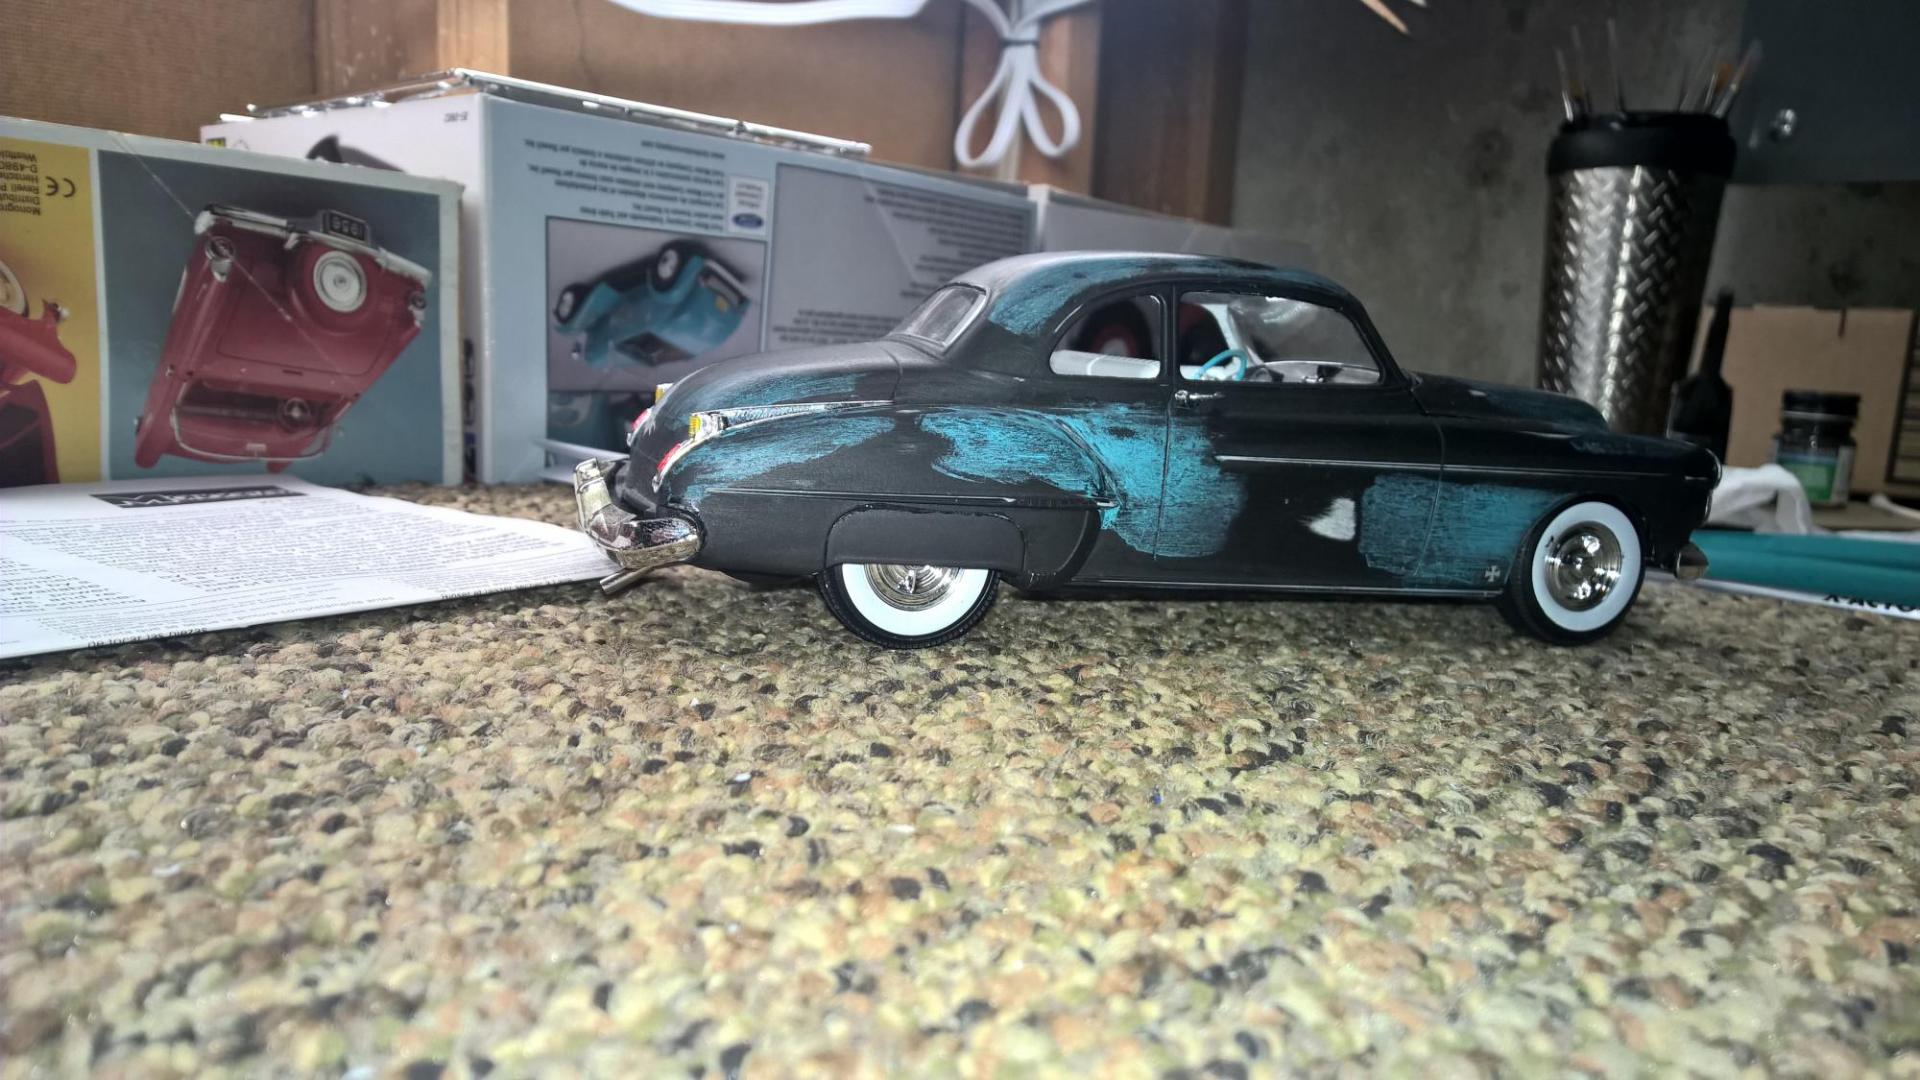
I'll get a few better pictures outside tomorrow if it's not cloudy again so you can really see the effect...I think it's pretty neat.
-
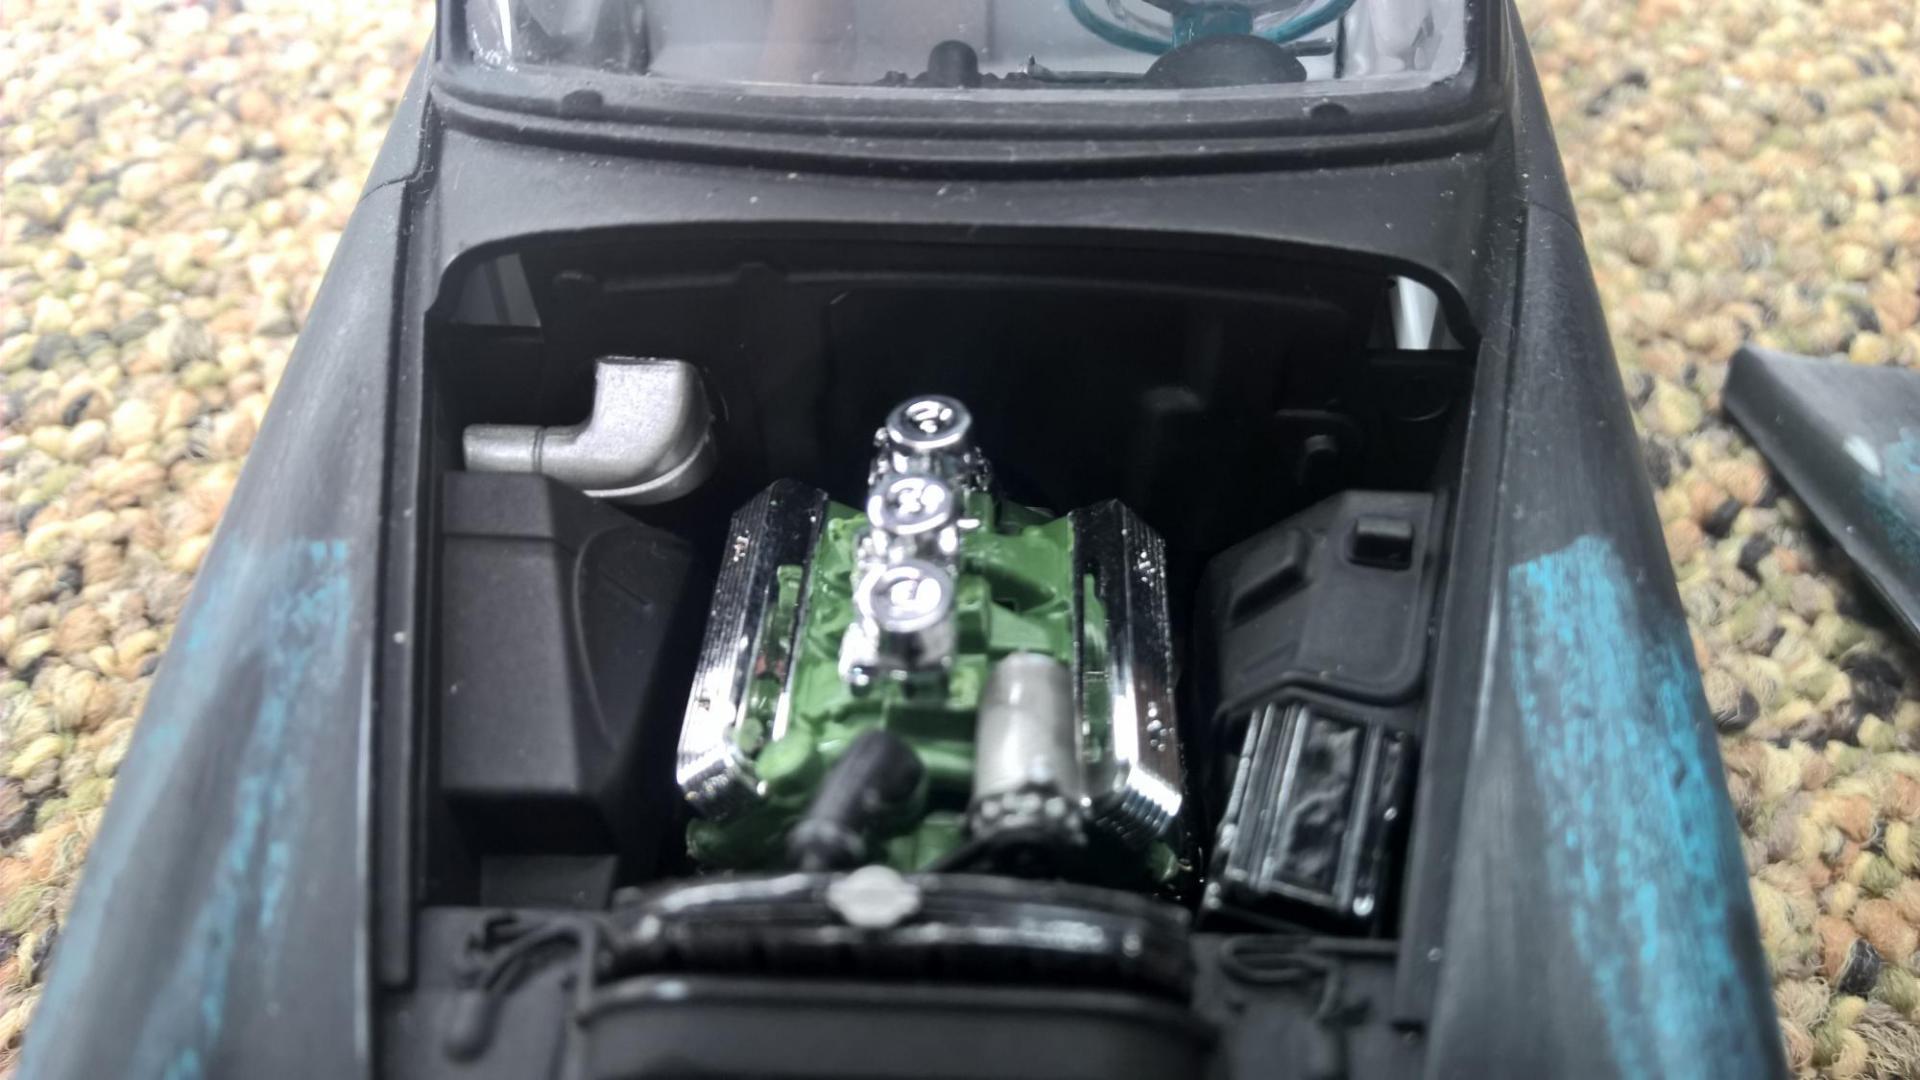
I laid the base coat (black primer) and waited for it to completely dry, then brushed the teal over the top in the areas I wanted to fade. I waited until it was tacky, then sprayed primer over the top. After the primer dried, I used sandpaper to create the effect. Since the primer was sprayed over the teal when it was still tacky, the teal didn't dry, so the colors blended together rather than just sanding through the black and showing the teal. It's actually something that I did by accident on a test body, but I liked the resulting effect, so I carried it over to this build.
-
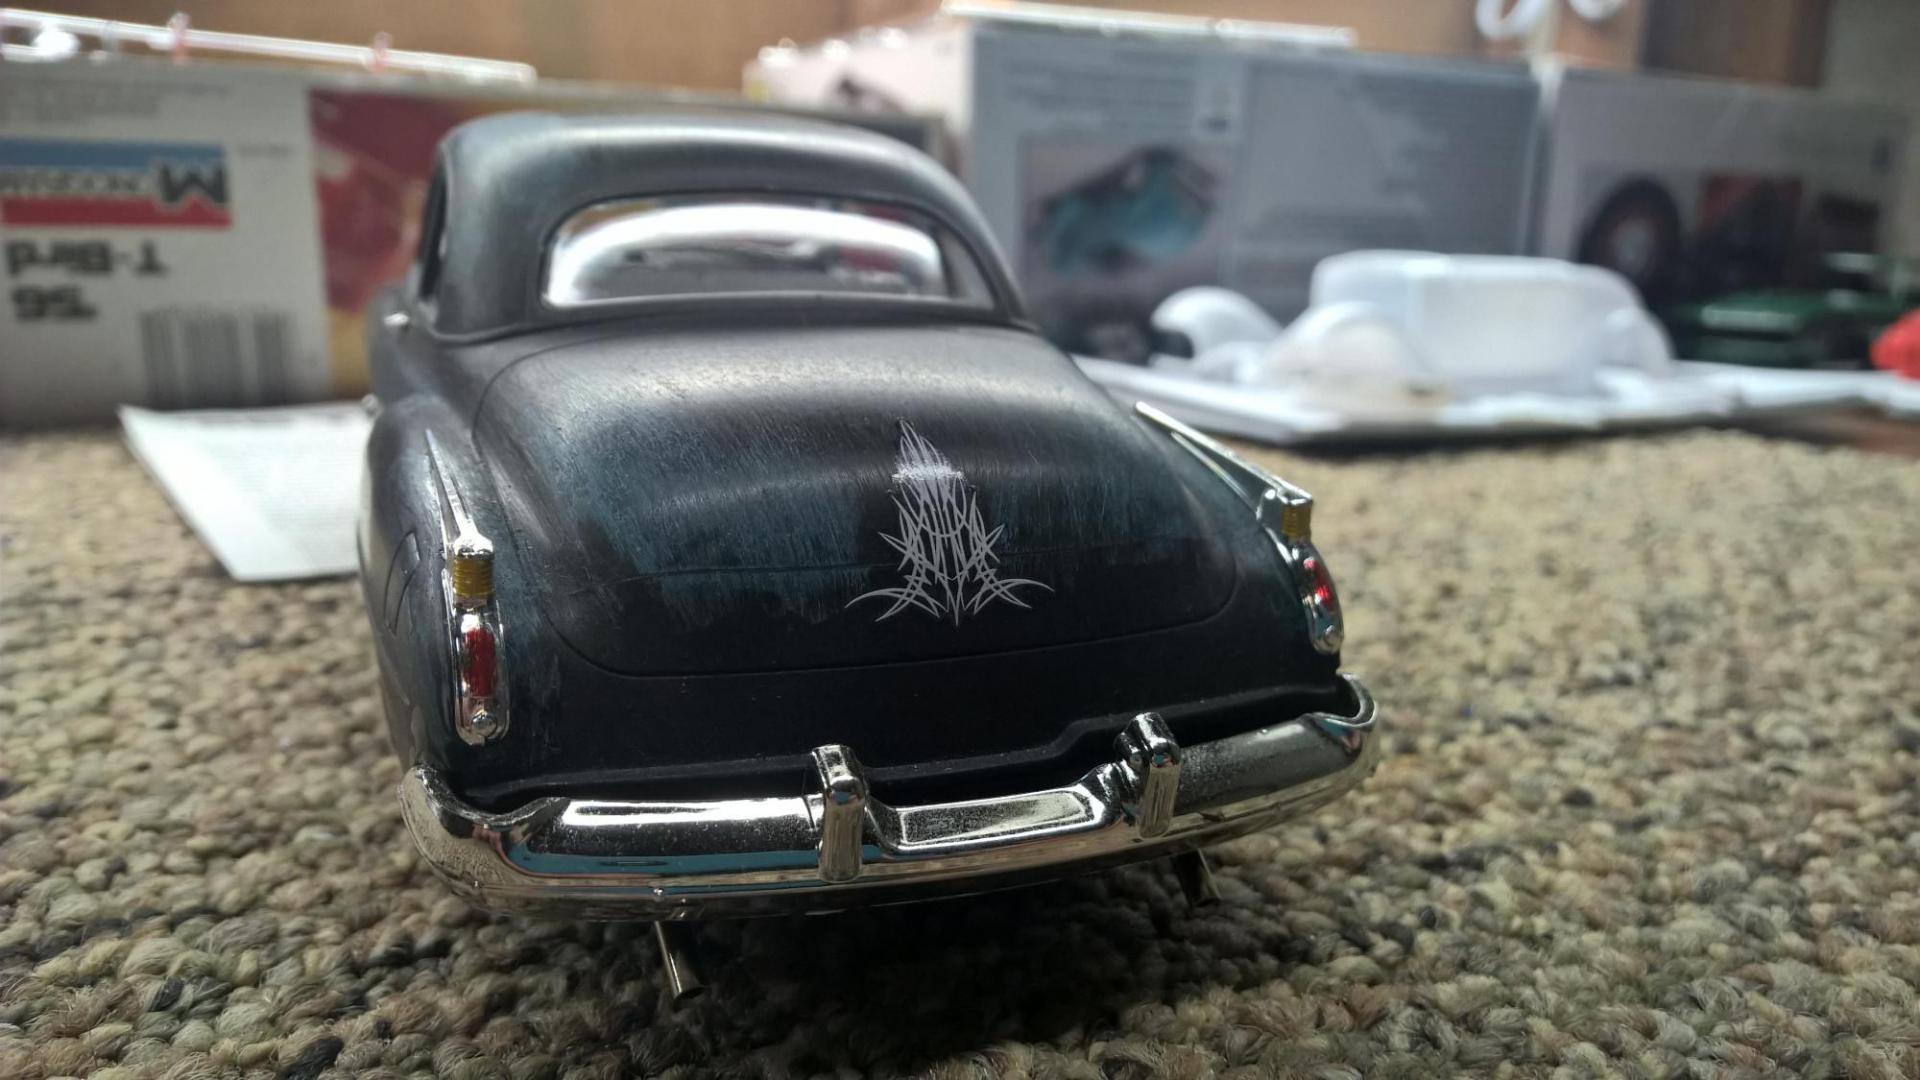
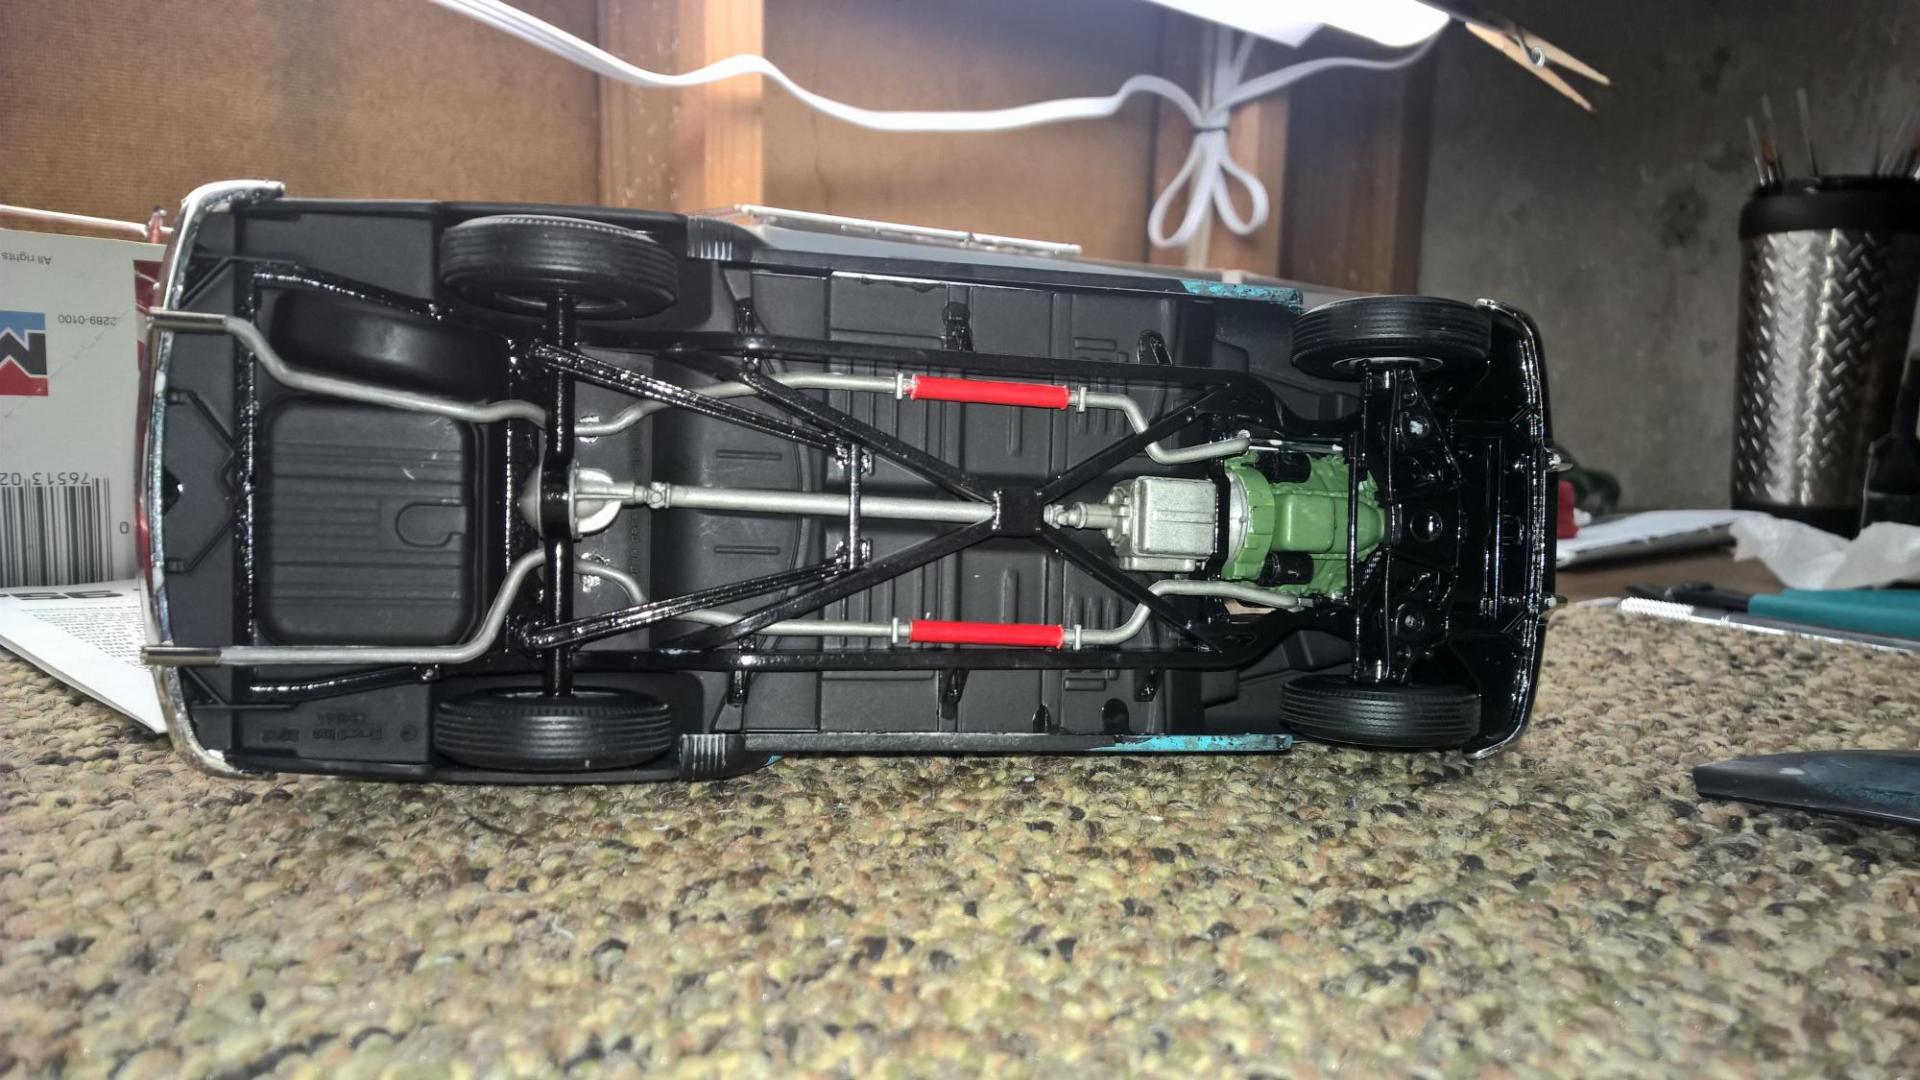
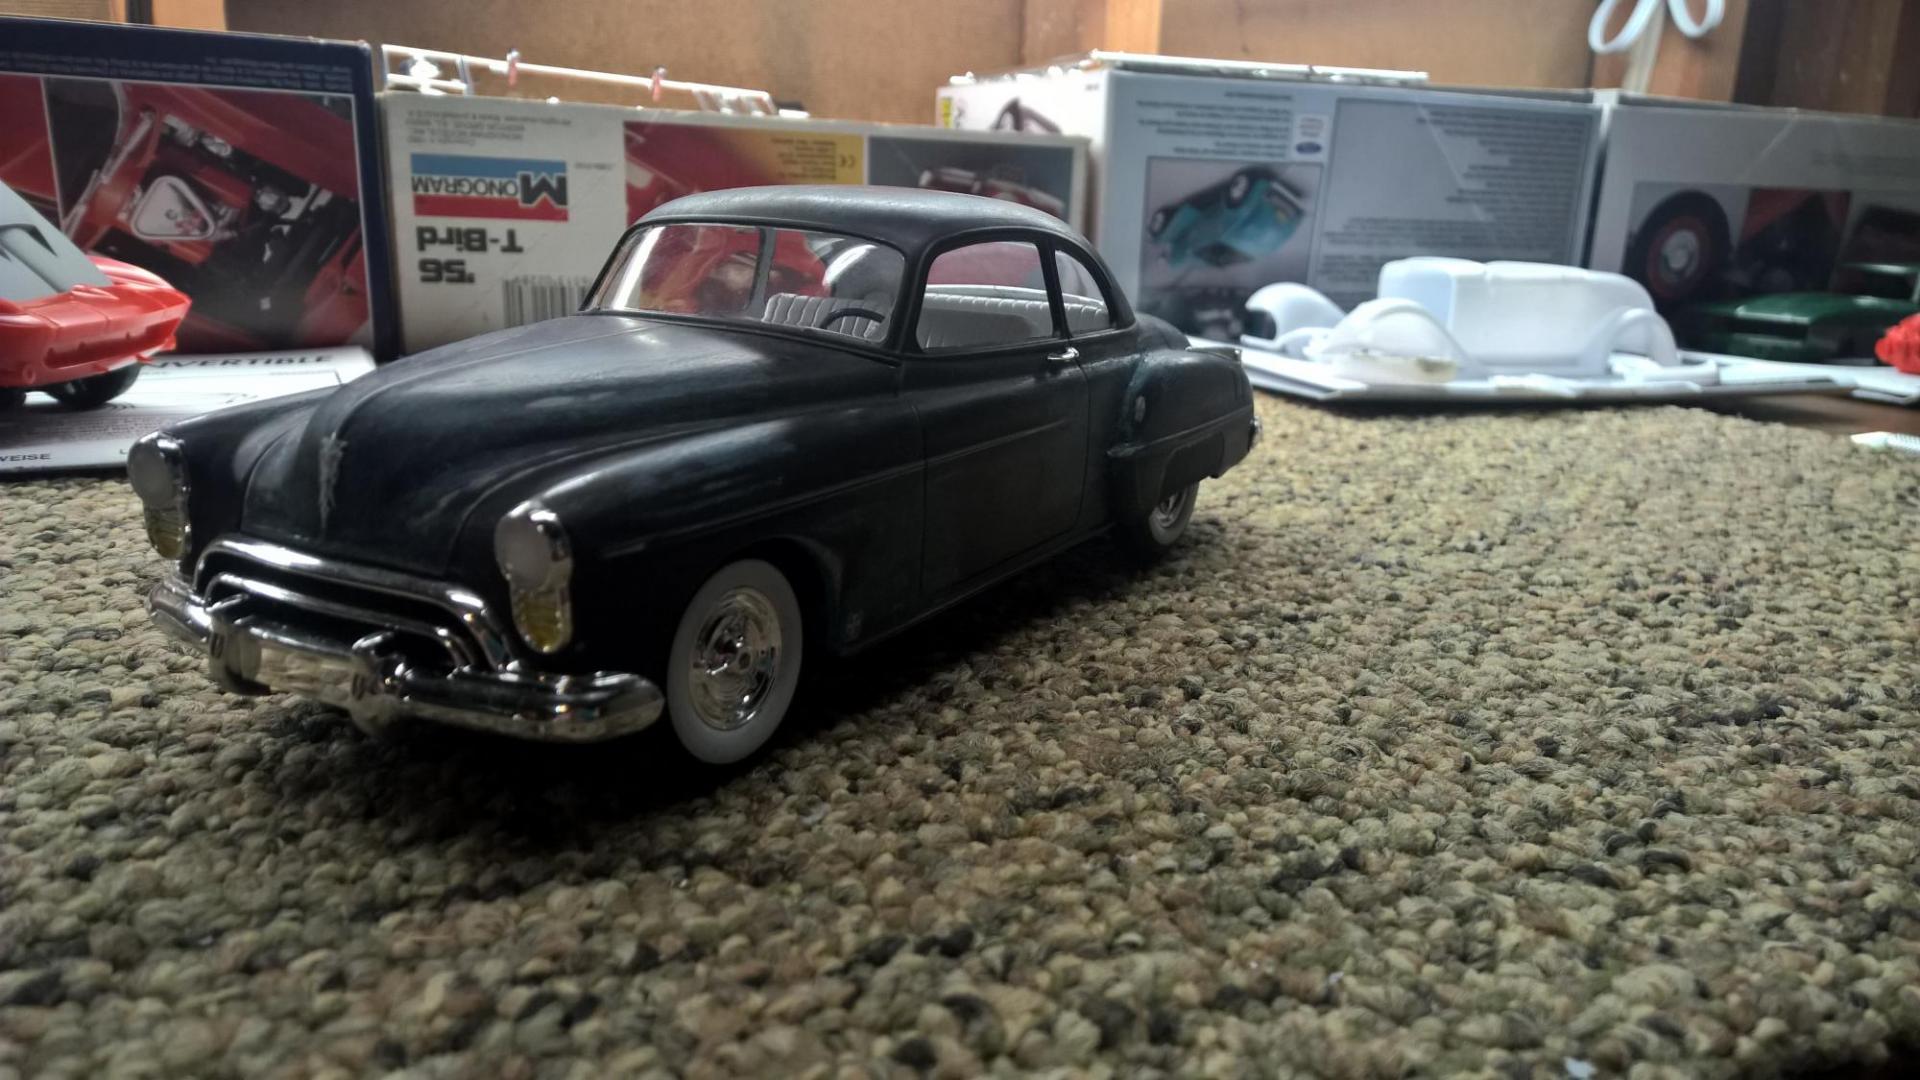
As I took these pictures I noticed that I need to finish up a few small details (add mirrors, rear side glass, wipers), but for the most part it's complete. Decided to try a different type of "old" look with the paint. Deliberately sagged the rear bumper to attempt to give it some history.
-
Thanks for the input. The rally's in the picture are from a '69 Camaro, but after doing some image searching I see what you're talking about with the center cap. I think I actually have the Revell '67 Chevelle kit, so I'll have to check the wheels in that kit and throw those on (I do think I like the rally's better).
-
I can't decide which wheels I want to use. At first I thought I was set on the Rally's, but I kind of like the stock wheels as well. What do you think?
-
Hey guys, I have a future build planned of a '66 GT500h that I want to try to do a "barn find" build with. I'm comfortable with the process of weathering the paint, but I need to know how to weather the decals...I want stripes, but I don't want an old paint job with fresh stripes. Any tips on how to weather decals would be appreciated....please be as detailed as possible. Thanks!
-
Looking forward to seeing this completed...good choice of a car to replicate...I've always like all the Galpin Gassers.
-
Nice build, personally I think '65 is the best year for the Riviera.
-
Classic Detroit Iron and Modern Import - Two Fast & Furious Builds
MrBuick replied to spencer1984's topic in Model Cars
Very nice, I love that Galaxy. -
Nice build! I picked one of these kits up the other day for $8. Looks like a fun build.
-
Looking good...I always like a good two tone paint job.
-
Rustoleum...I pick it up at Home Depot.
-
Finally getting a dedicated workspace put together for modeling...I had one setup briefly early last year, but I just bought a new house and I'm just getting around to setting one up here. Still need to wire a few electrical outlets in so I can get rid of the extension cords, but it should provide ample space for building (I've been using the top of a plastic moving tub as my "temporary" workspace for the last year).
-

A Couple of Pics of the Eleanor Conversion Kit
MrBuick replied to oldcarfan's topic in Car Aftermarket / Resin / 3D Printed
Okay, thanks! -

A Couple of Pics of the Eleanor Conversion Kit
MrBuick replied to oldcarfan's topic in Car Aftermarket / Resin / 3D Printed
I just got mine today...looks great. I'm gonna start sourcing some parts, but I'm not going for a 1:1 replica...just kind of an "inspired by." Has anyone had any luck finding the GT-500 decals from Firebird? I don't see them on their site.


