Anglia105E
-
Posts
3,487 -
Joined
-
Last visited
Content Type
Profiles
Forums
Events
Gallery
Everything posted by Anglia105E
-
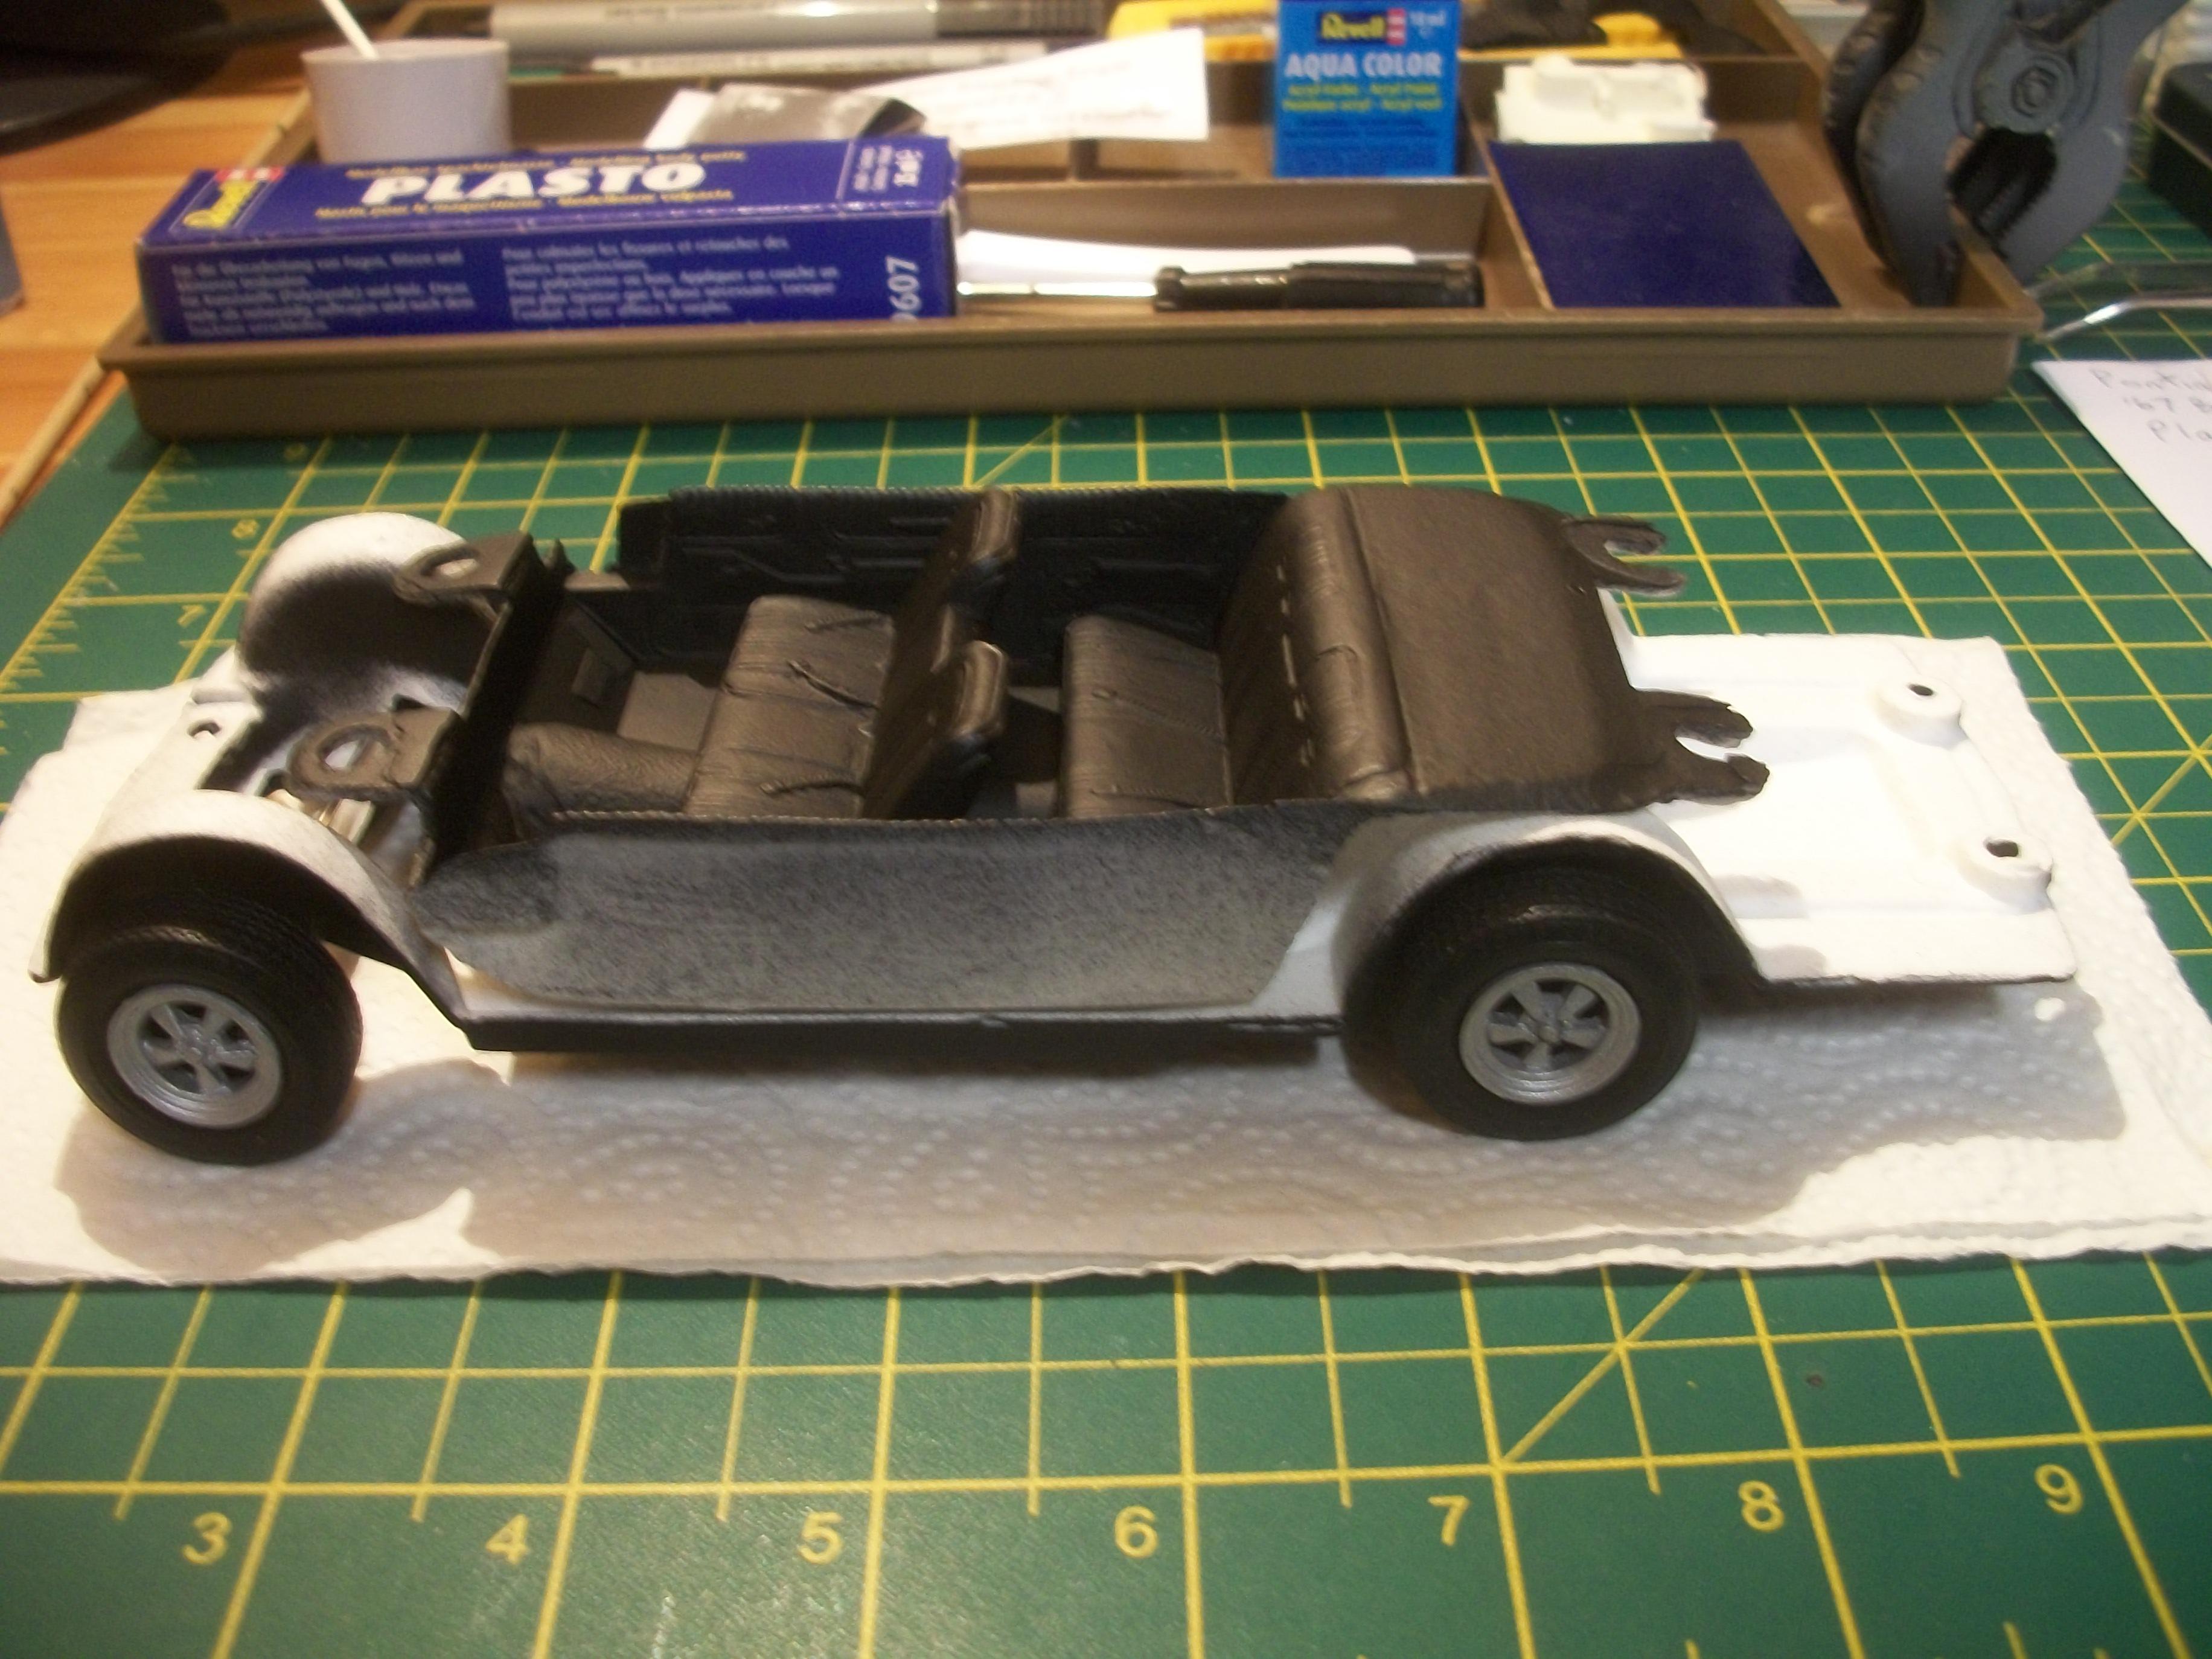
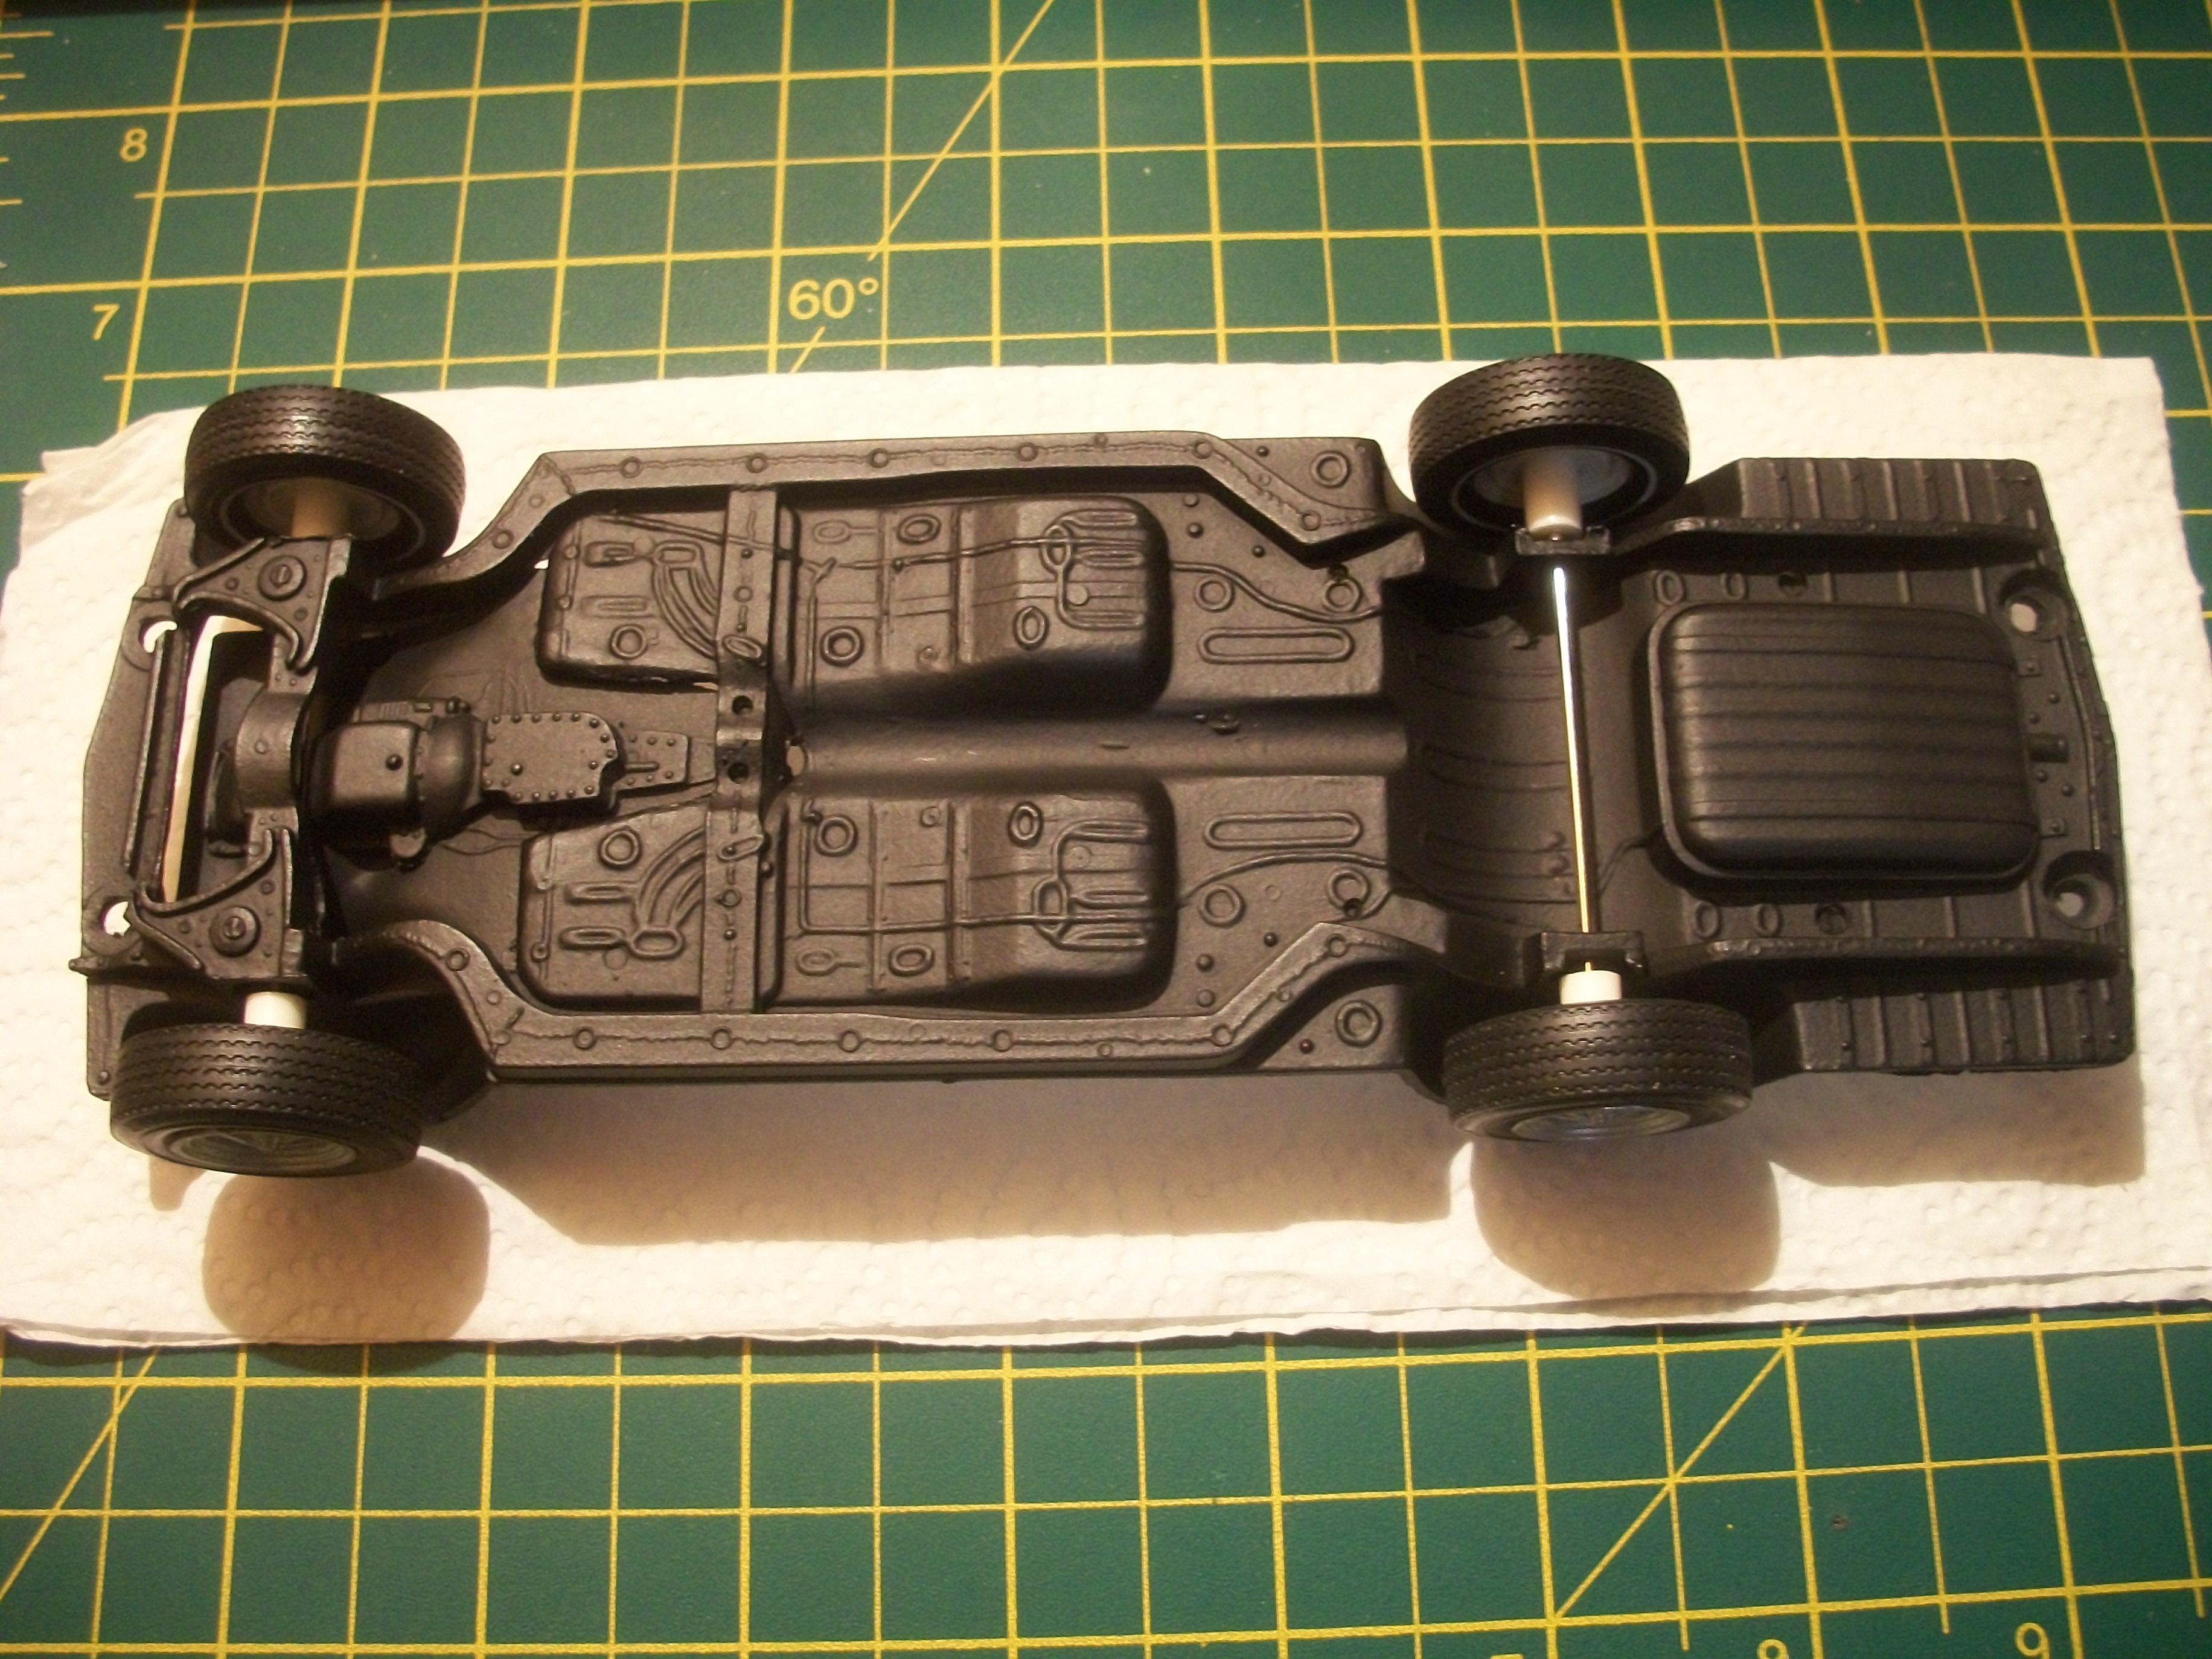
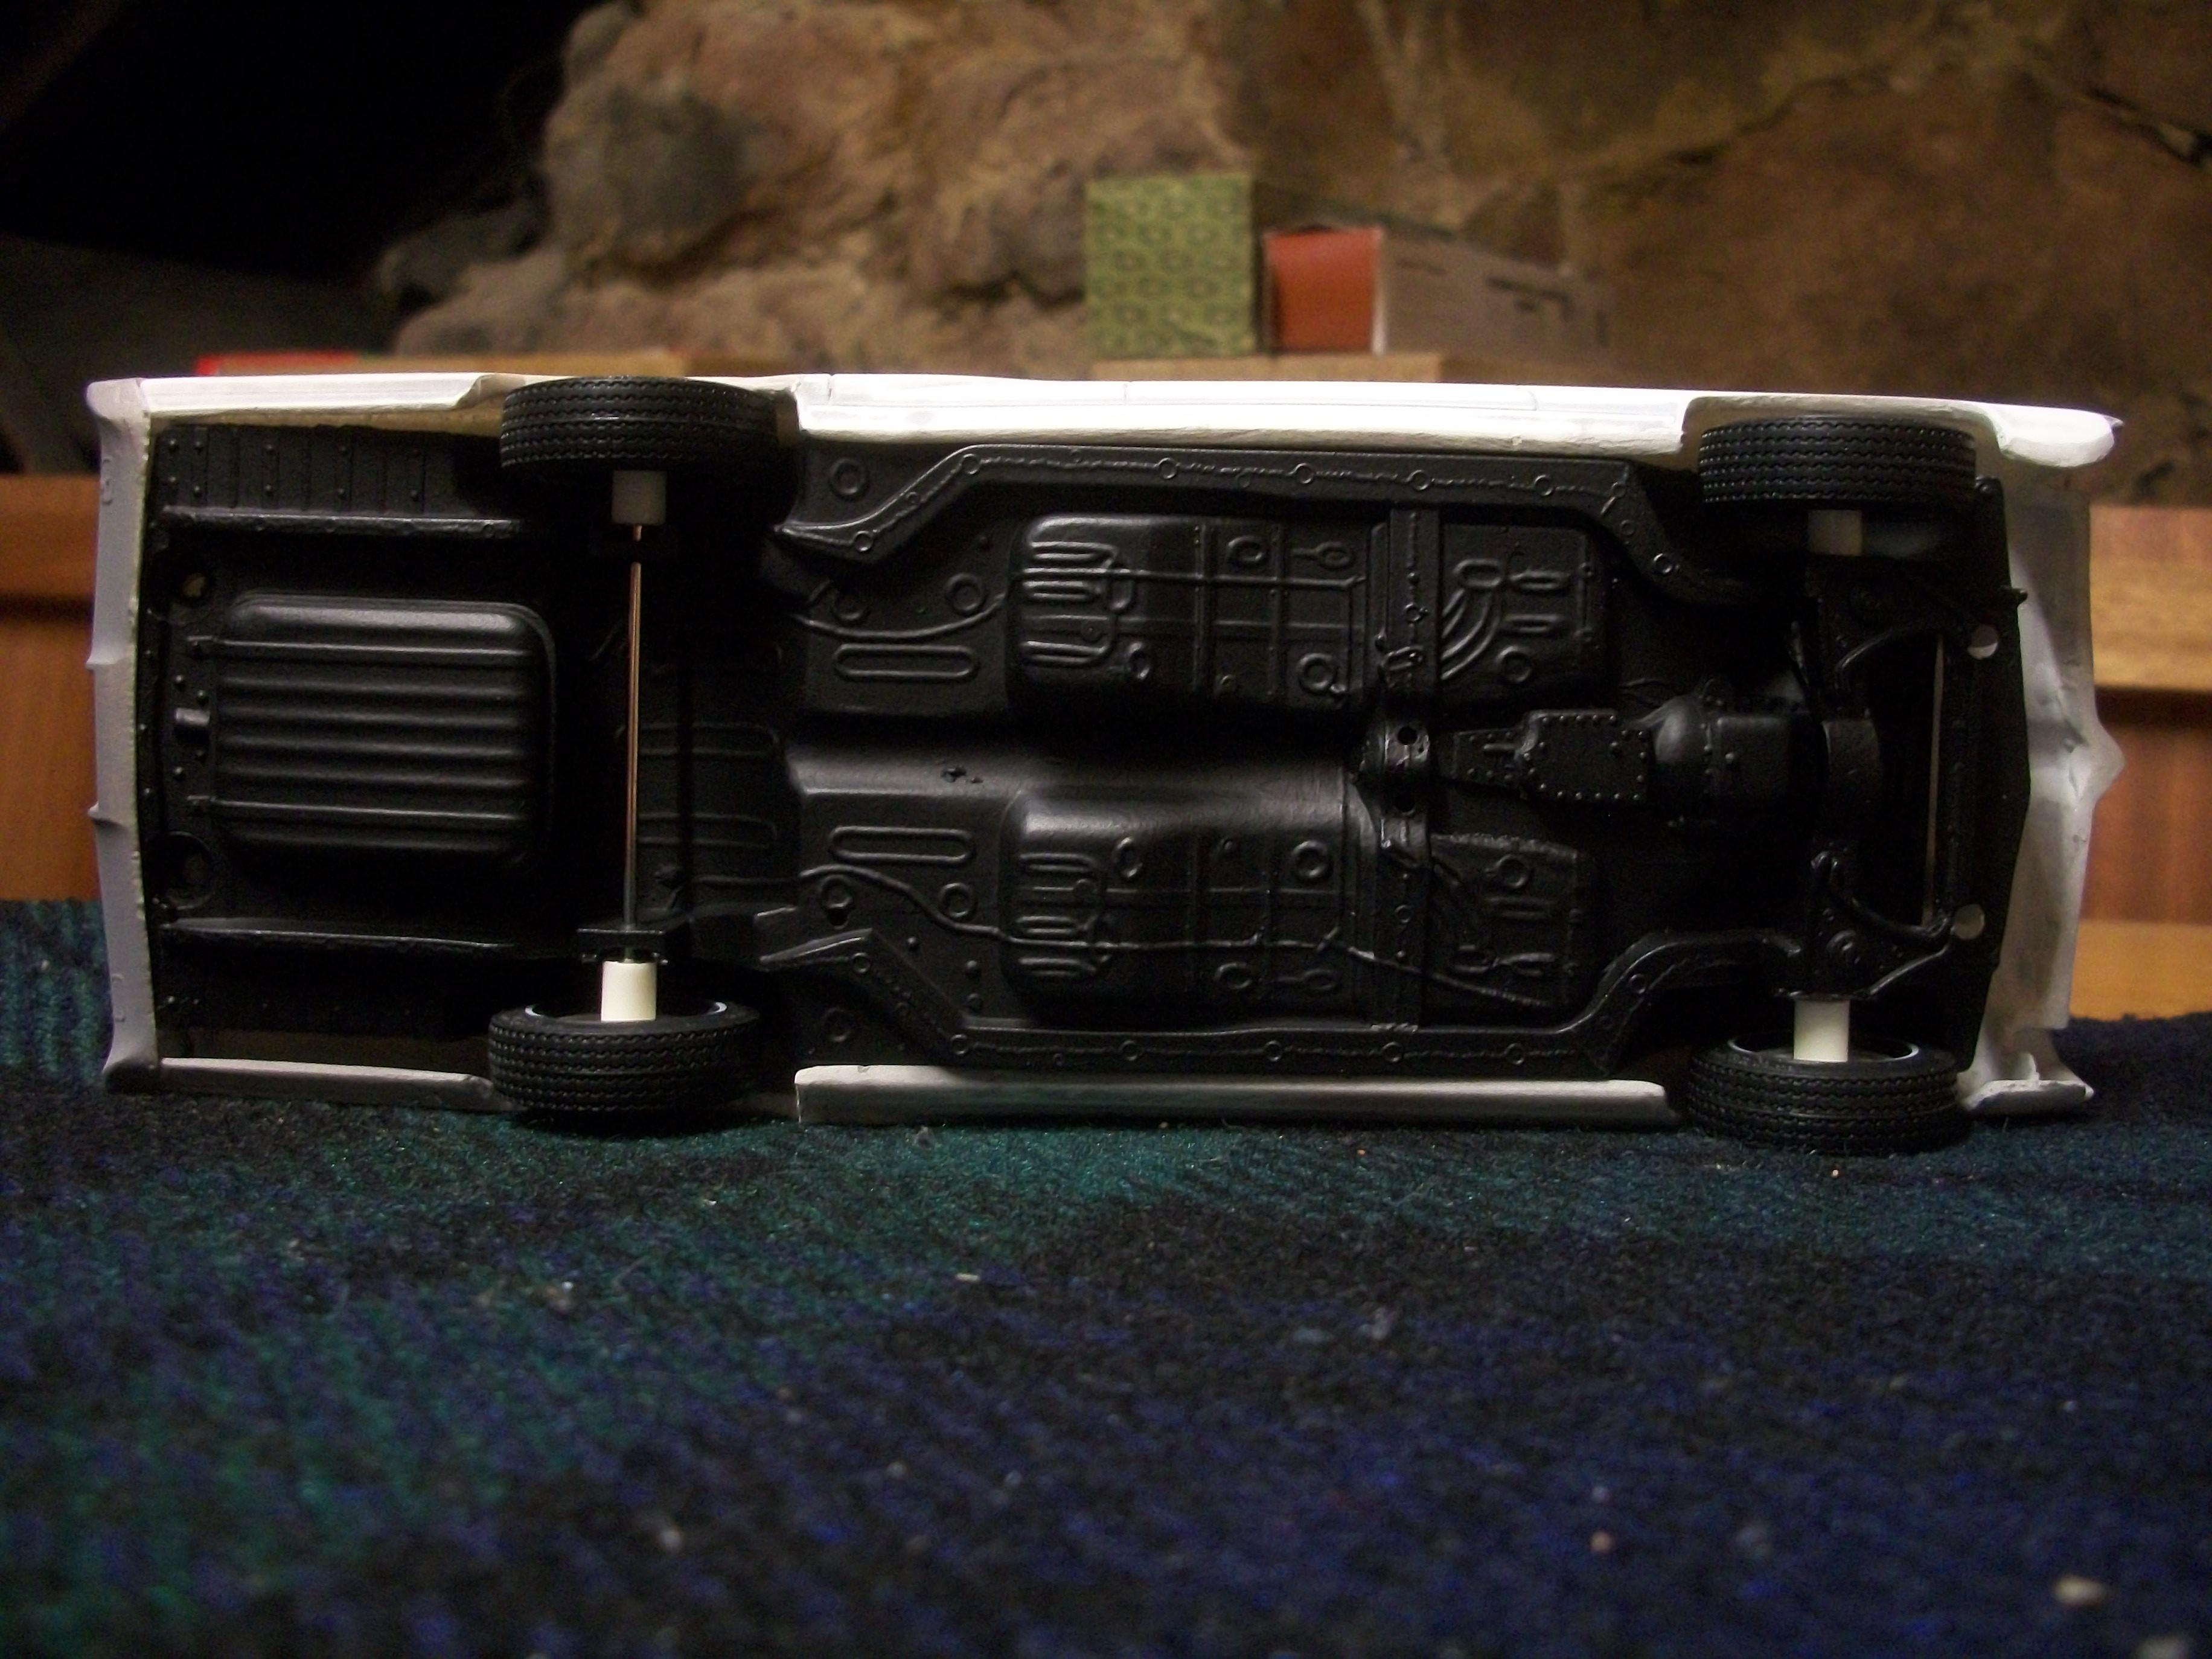
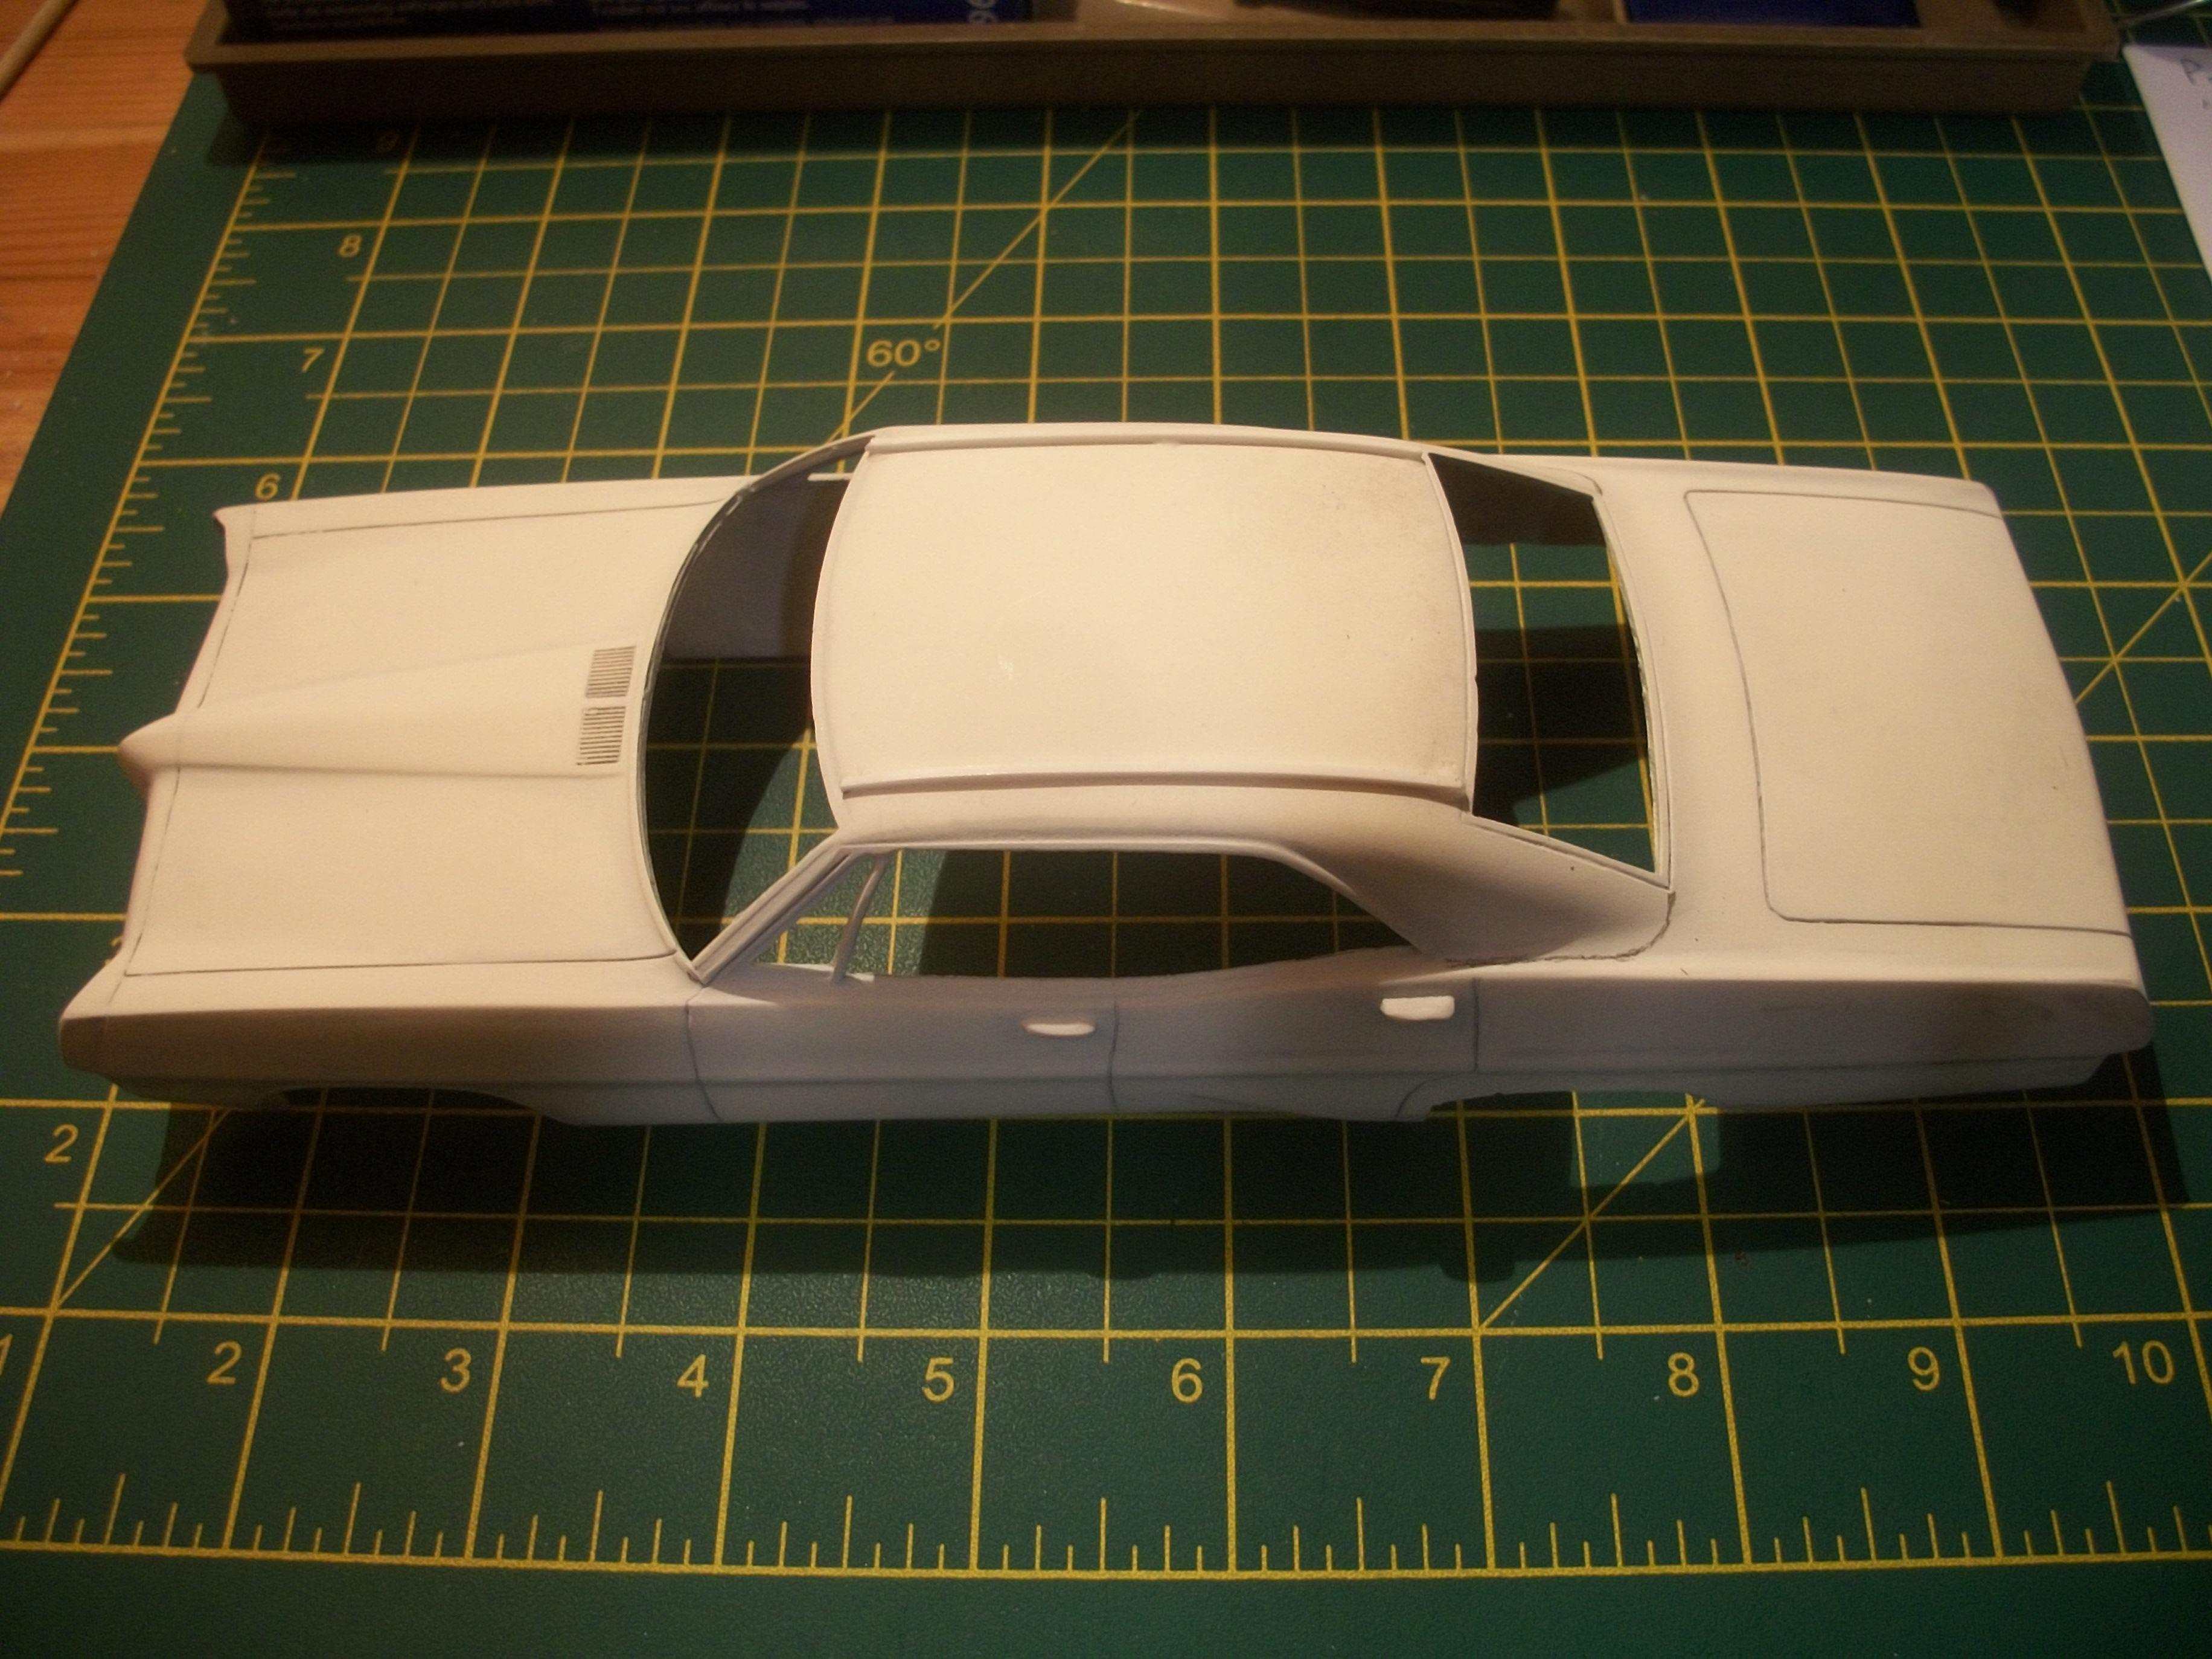
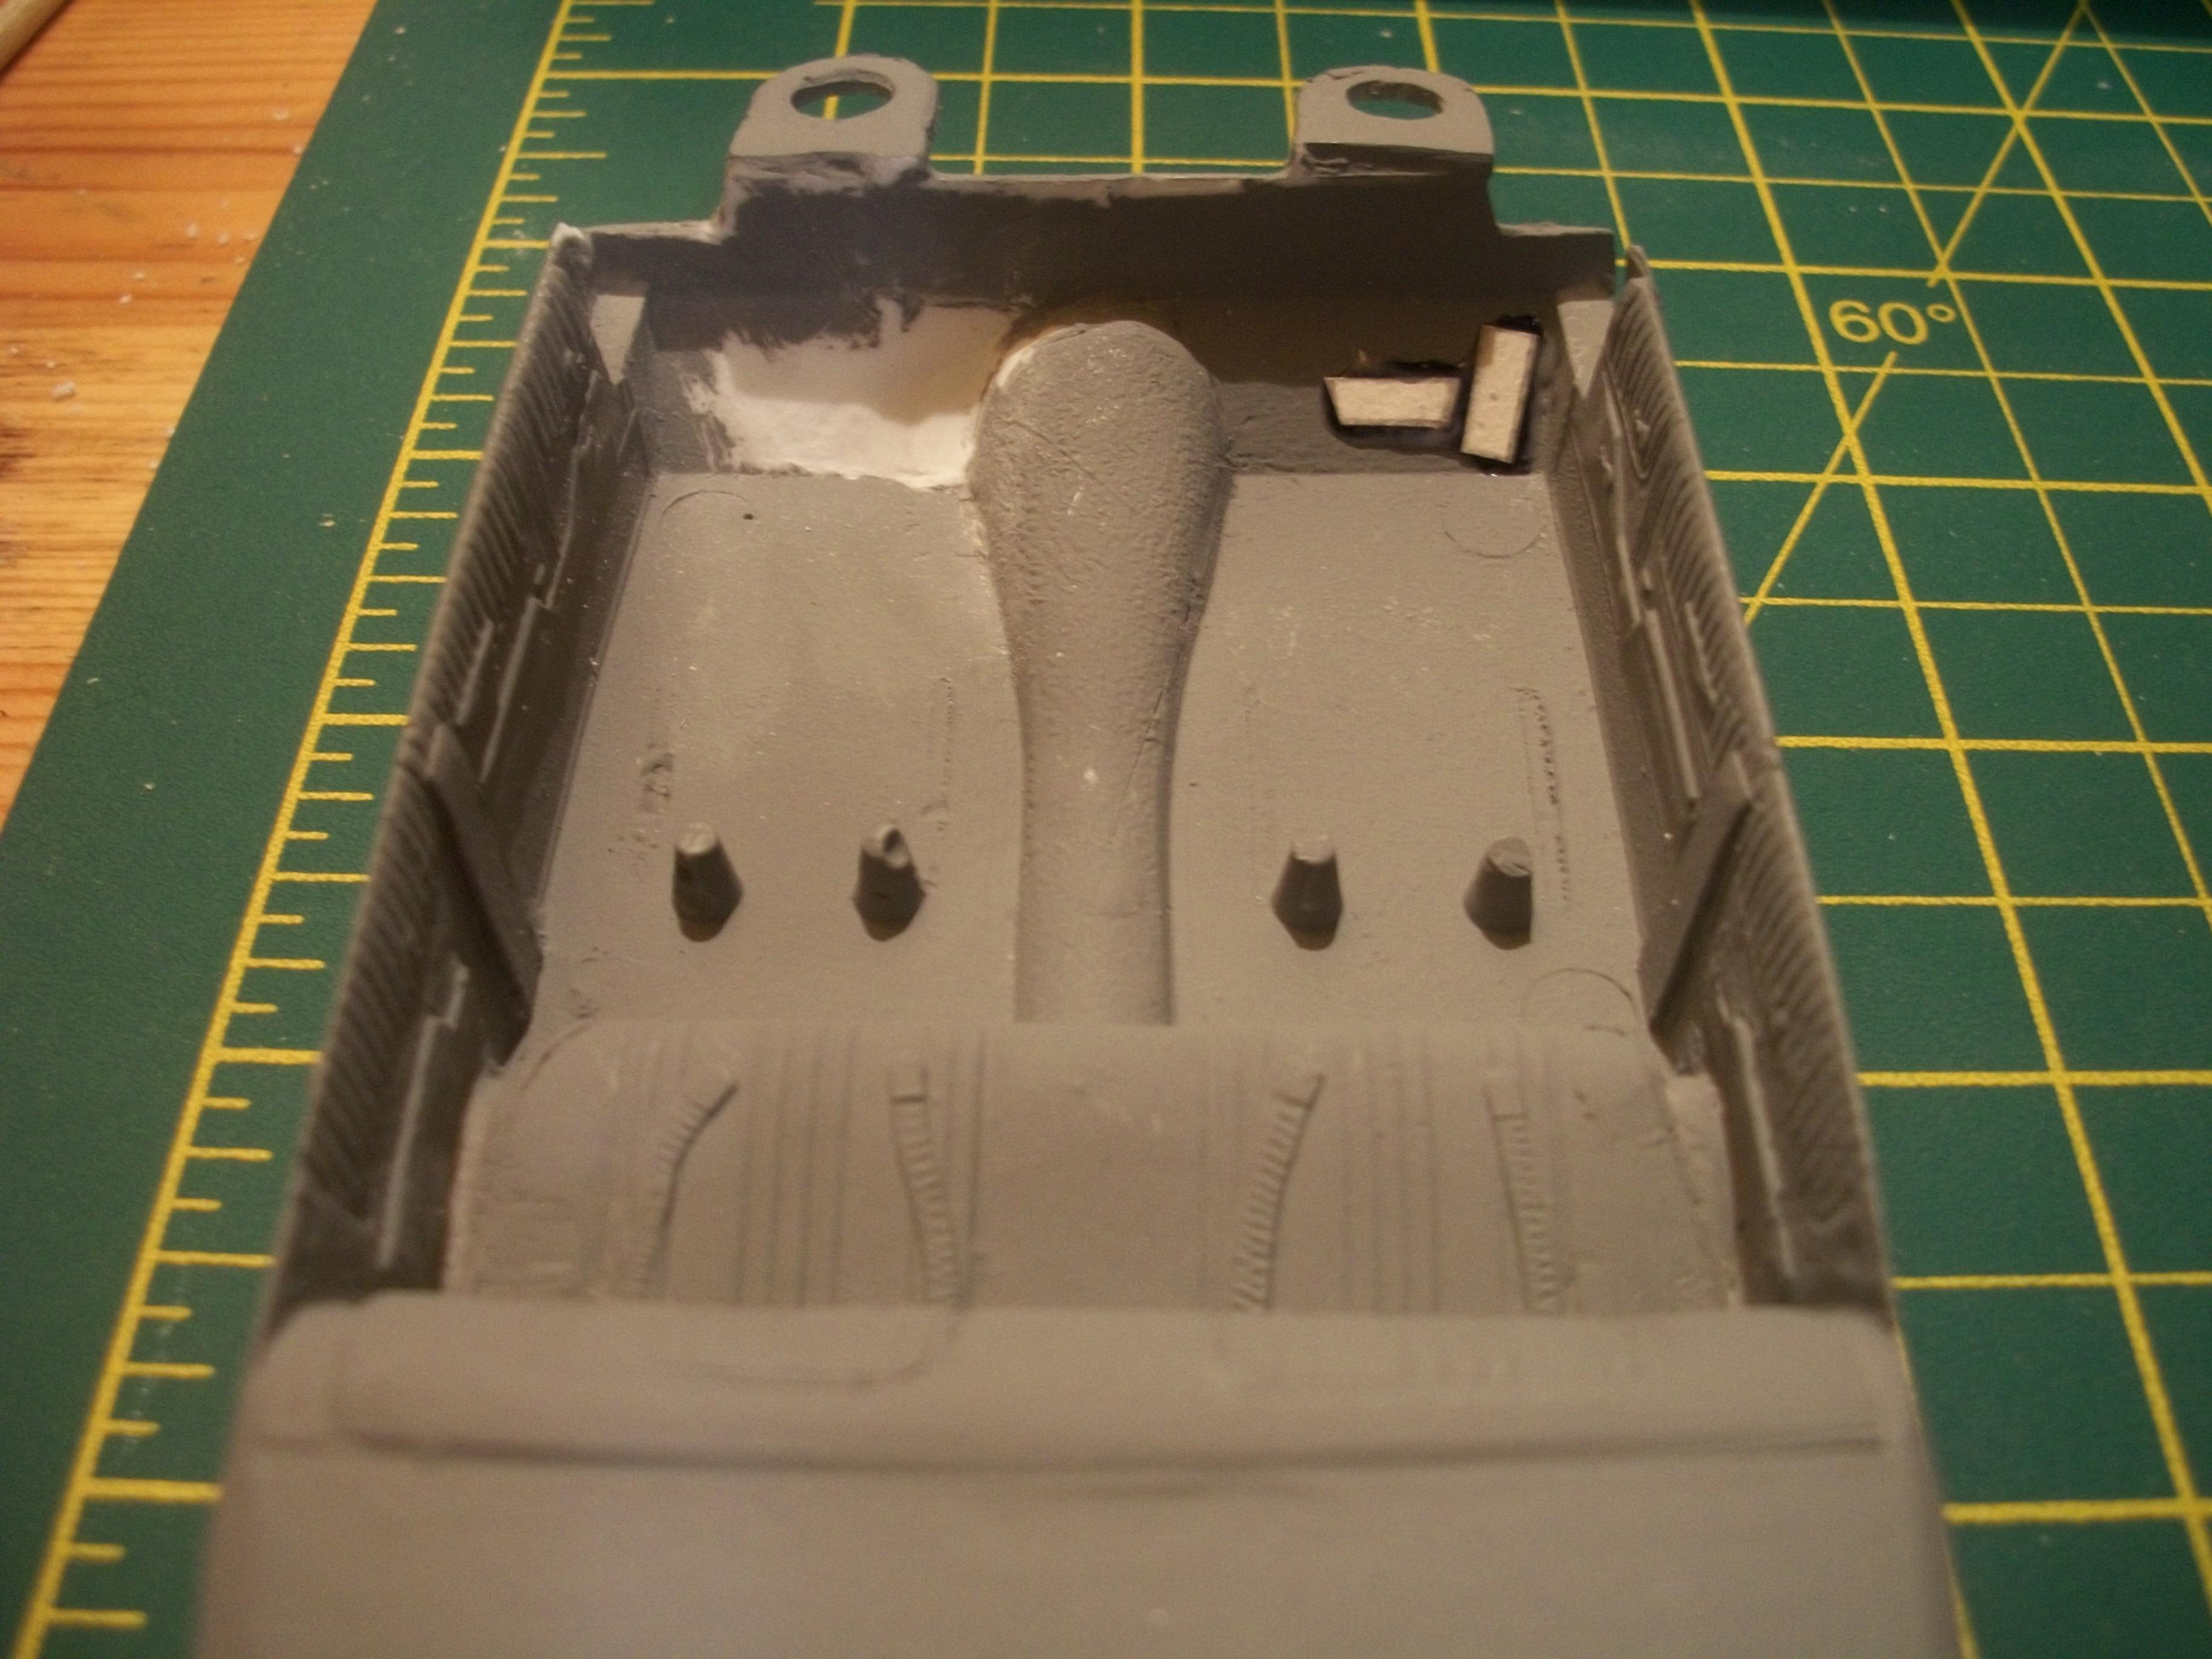
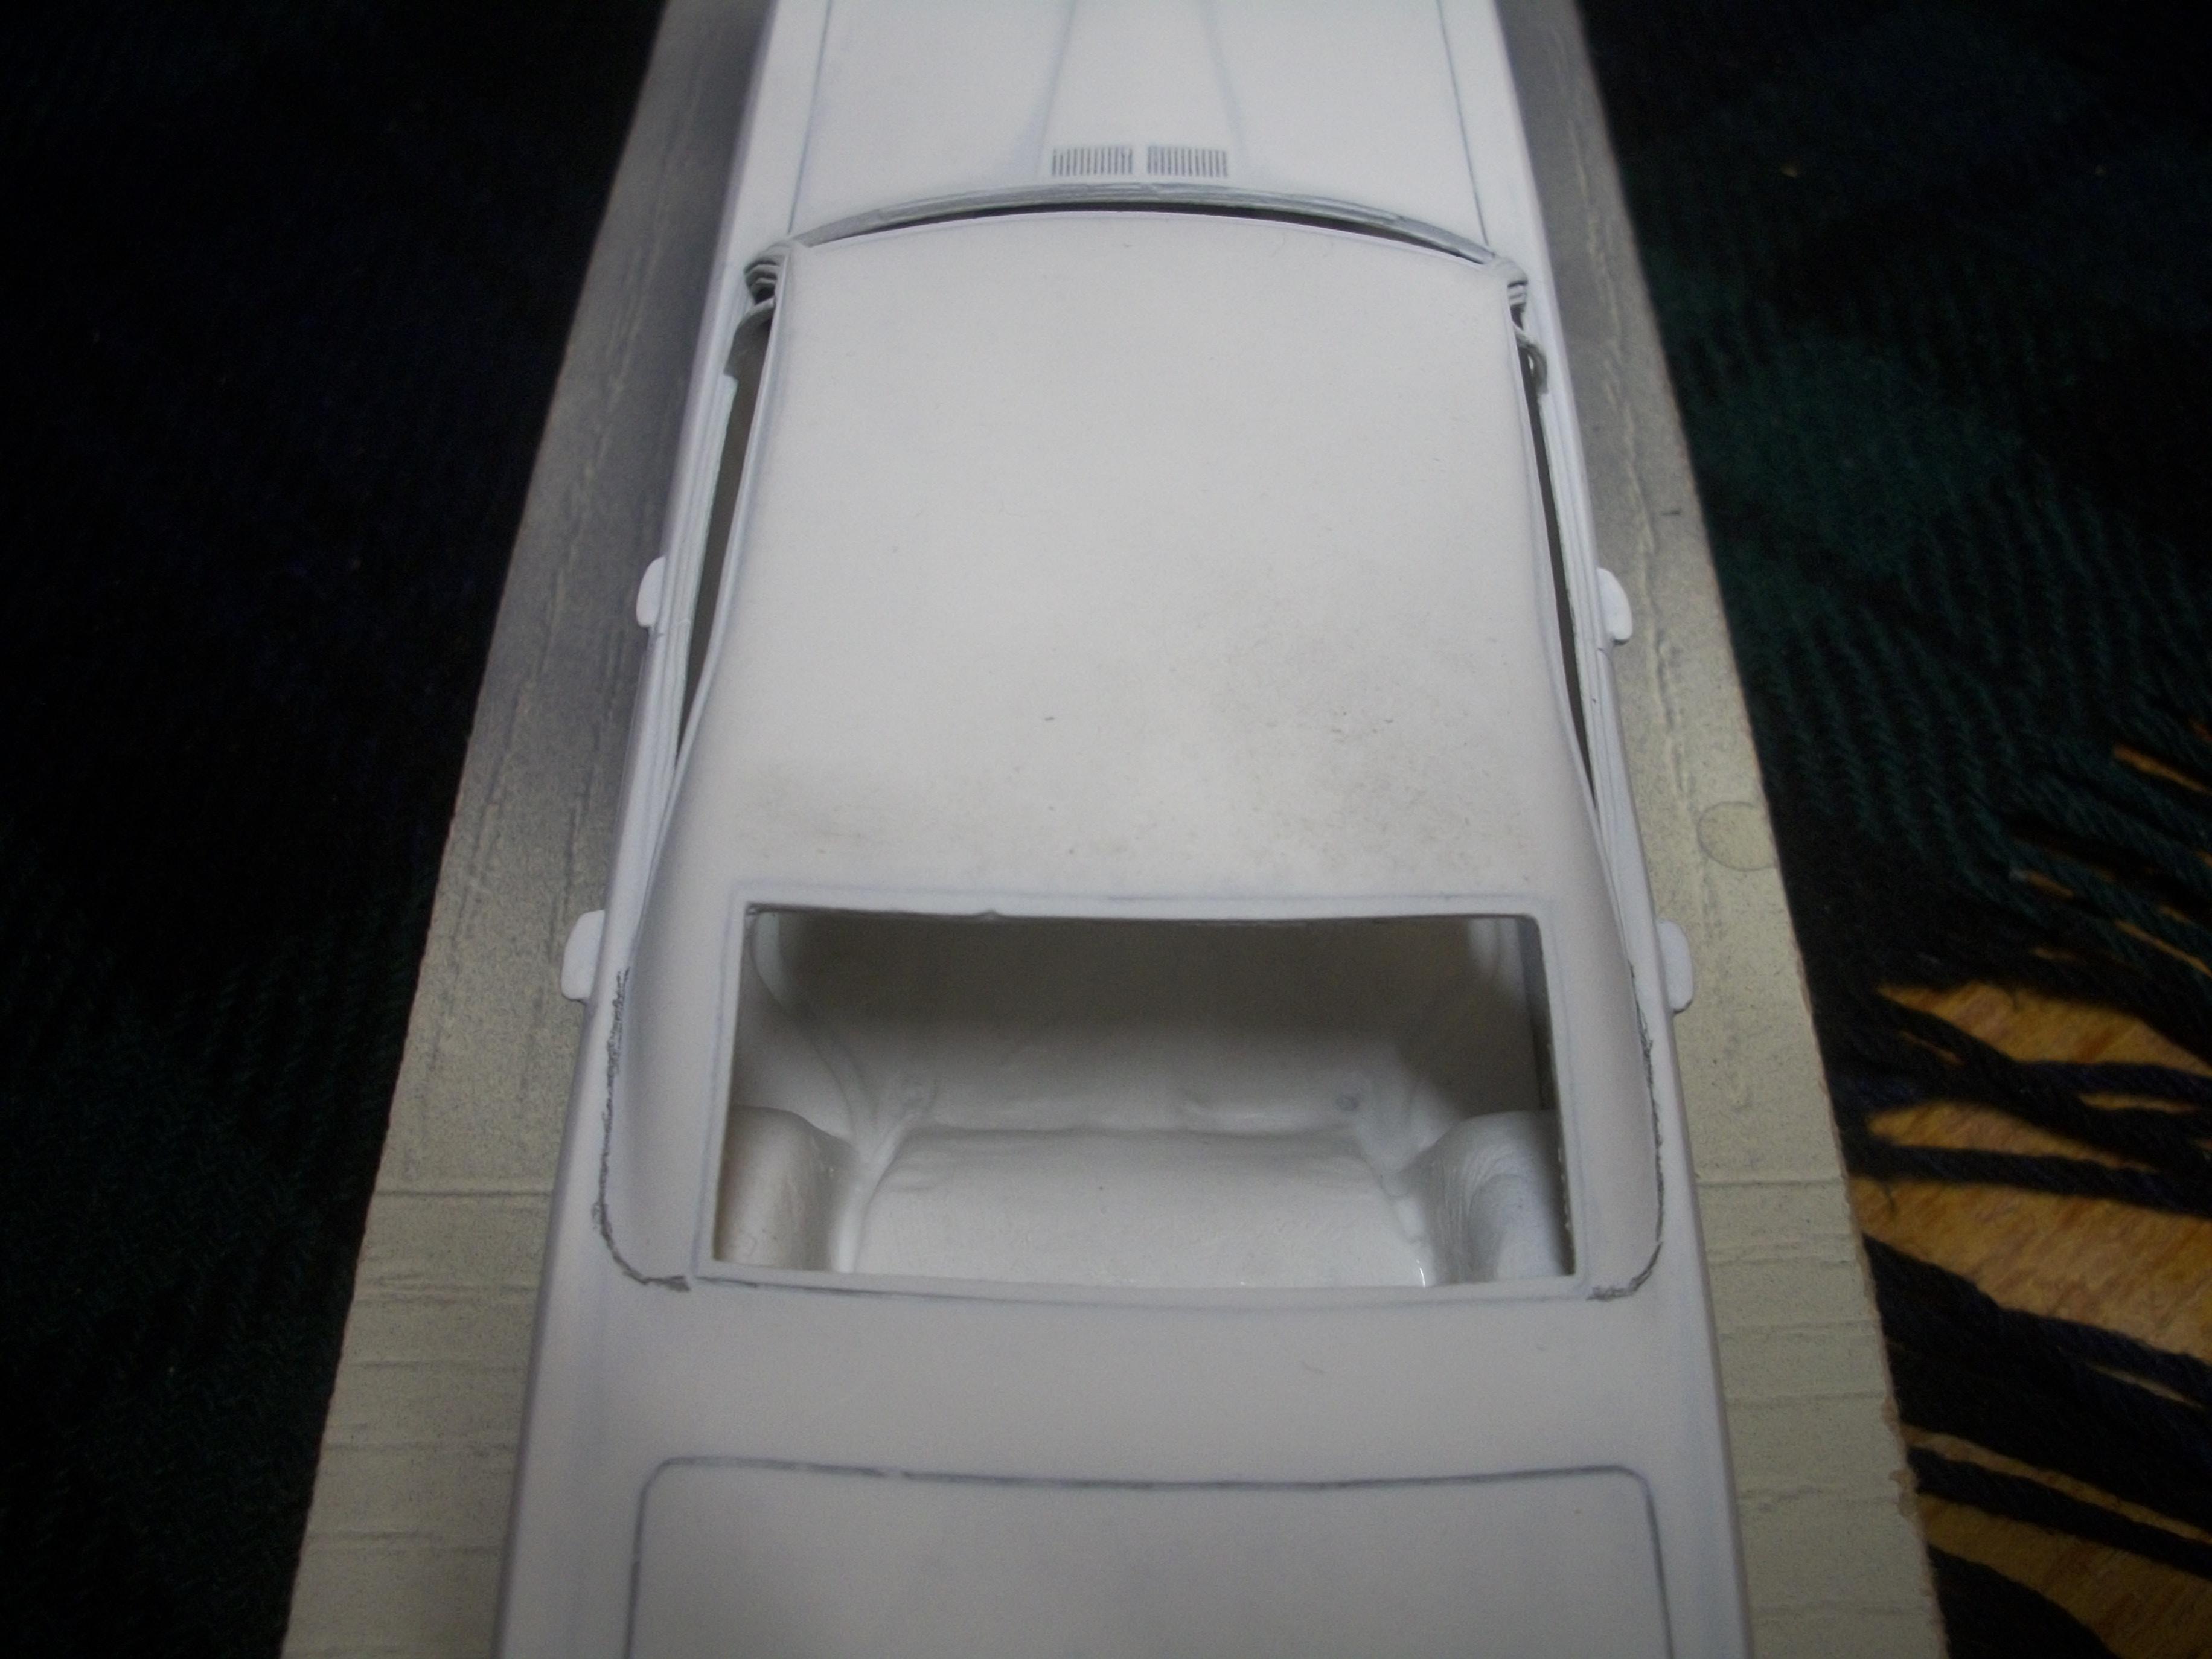
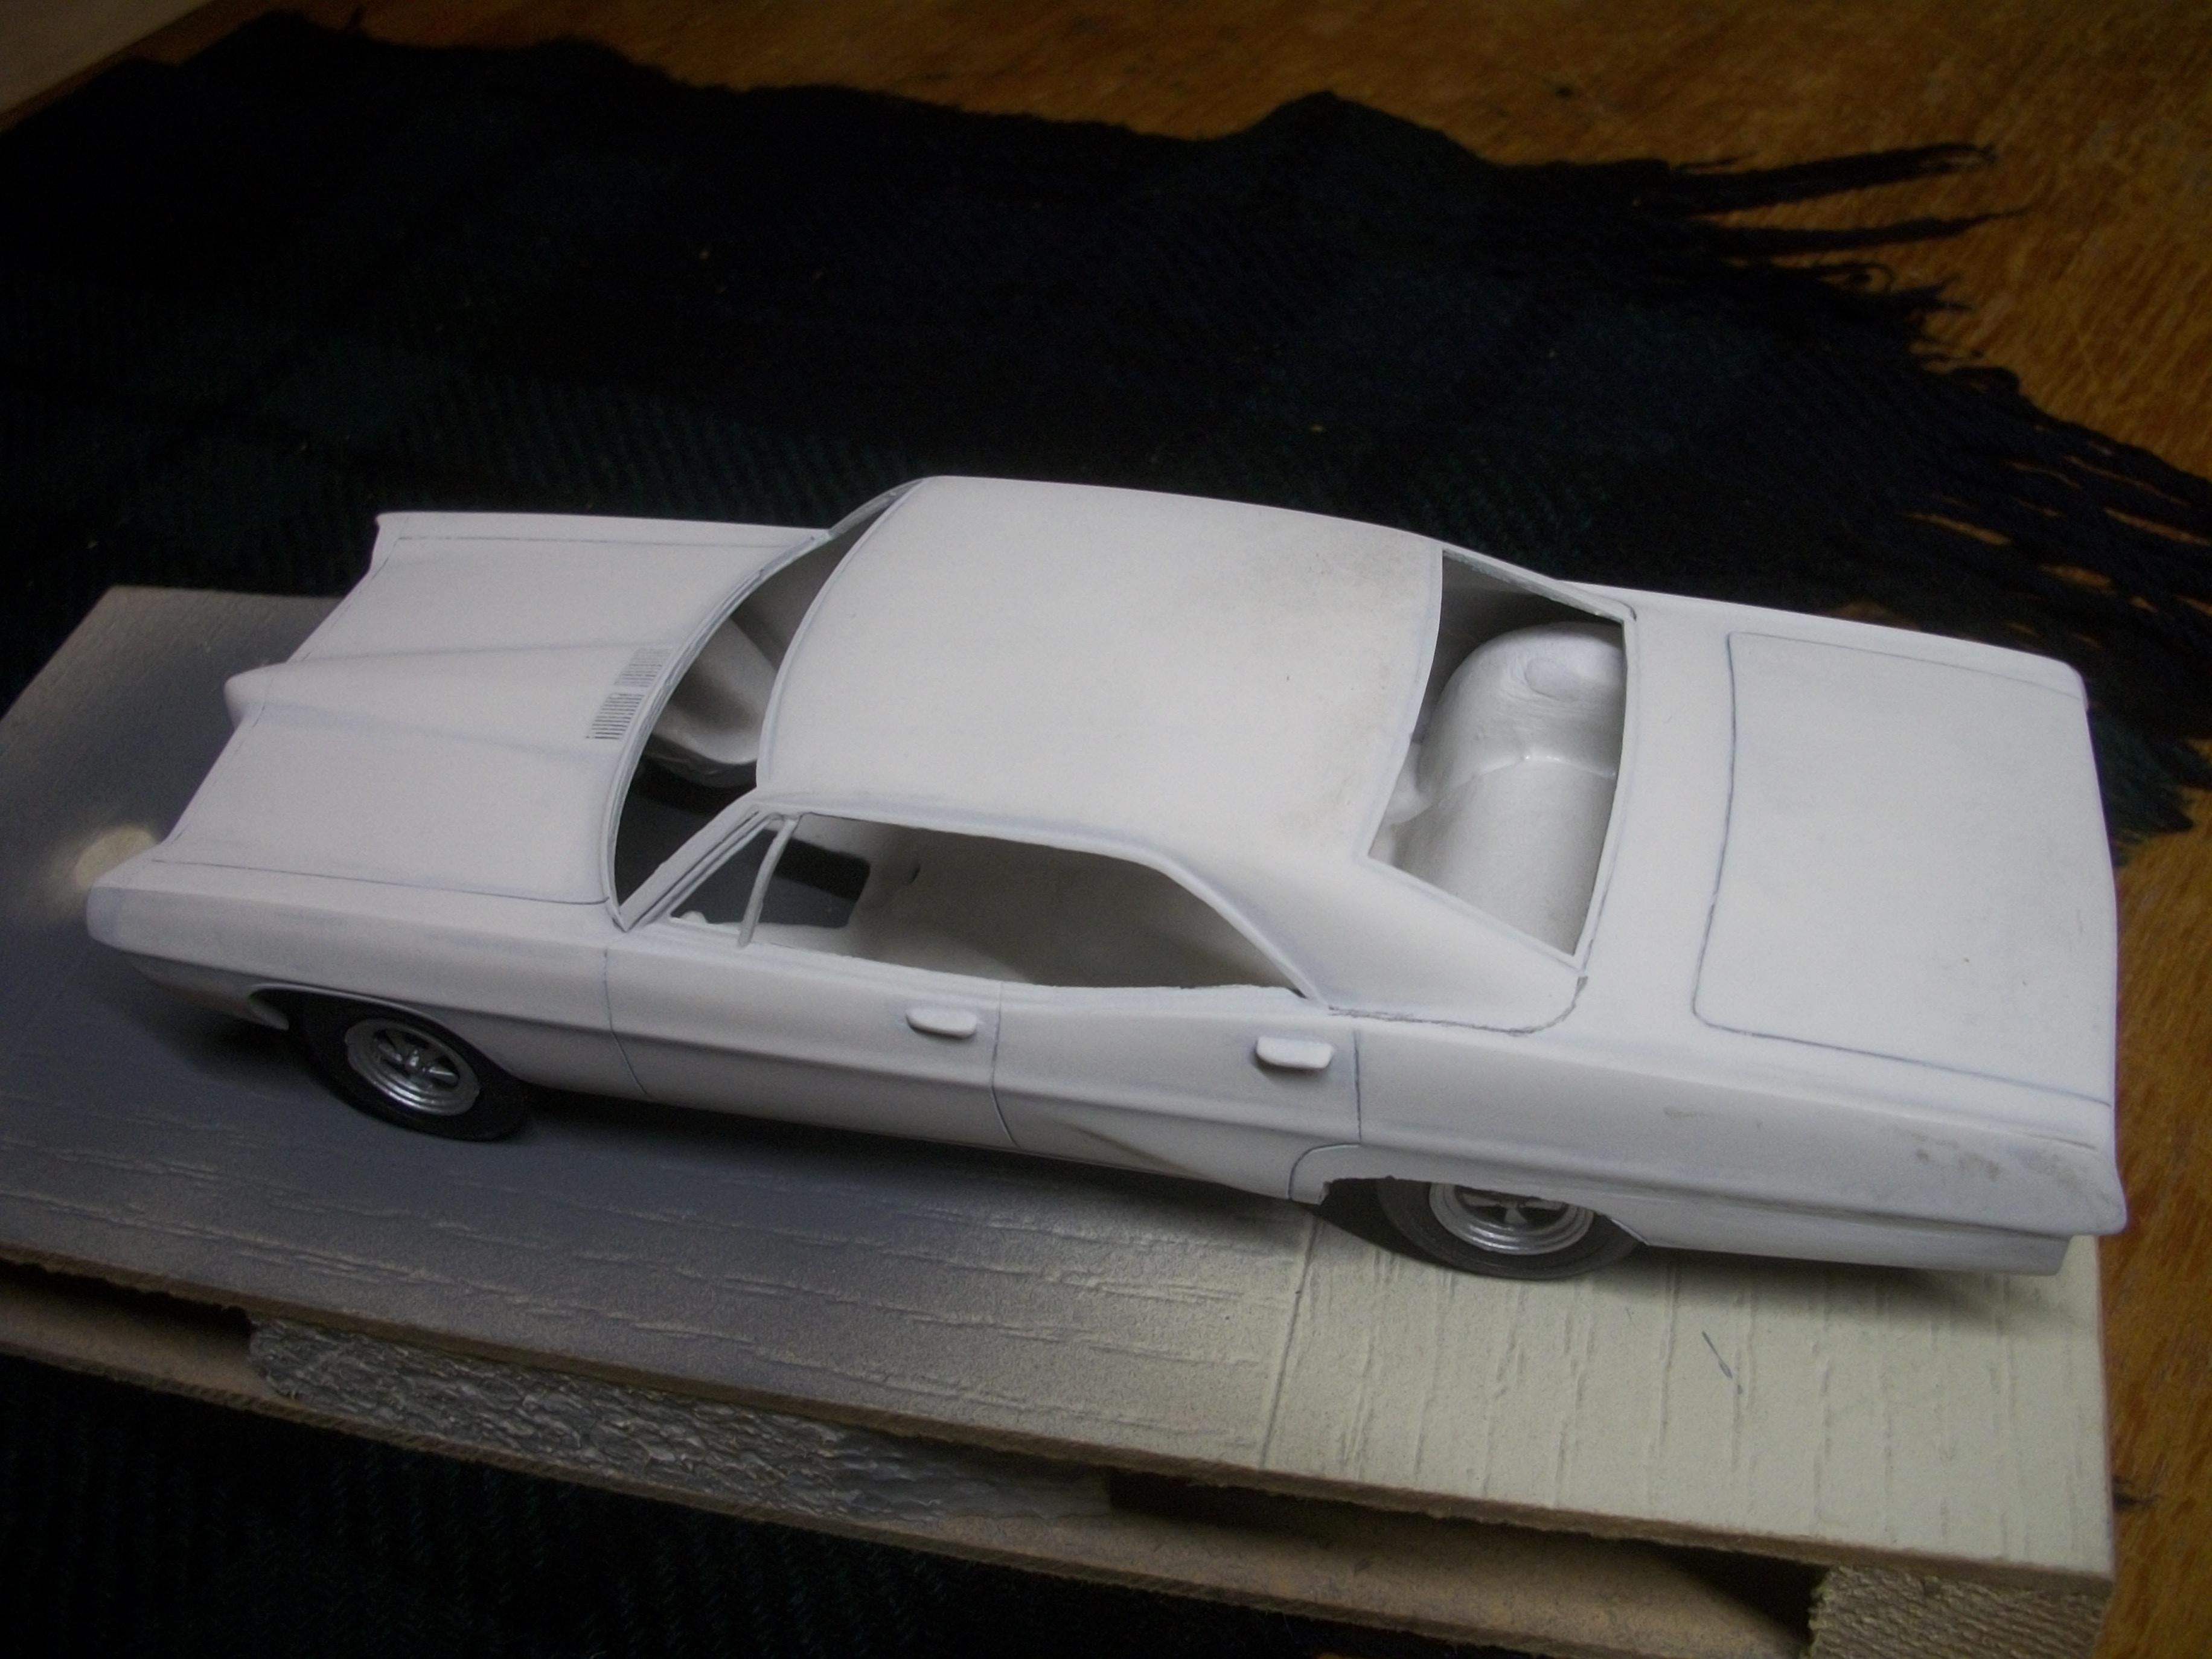
The chassis underside, the lower part of the engine, the interior tub and the front seats all had a coating of rubberised black applied today. This is one coat of rubberised black over grey primer. Following photos show the test fitting of chassis, interior tub and body. Within a couple of days there will be some testing of the Buick Cameo Cream top coat, over the roof area, which has white primer applied previously. The roof area will have the vinyl roof textured coating applied later, so the Buick Cameo Cream will not be visible in that area. I have realised that the two strips of styrene rod need to be filed down, as they are standing much too prominent from the roof. David

-
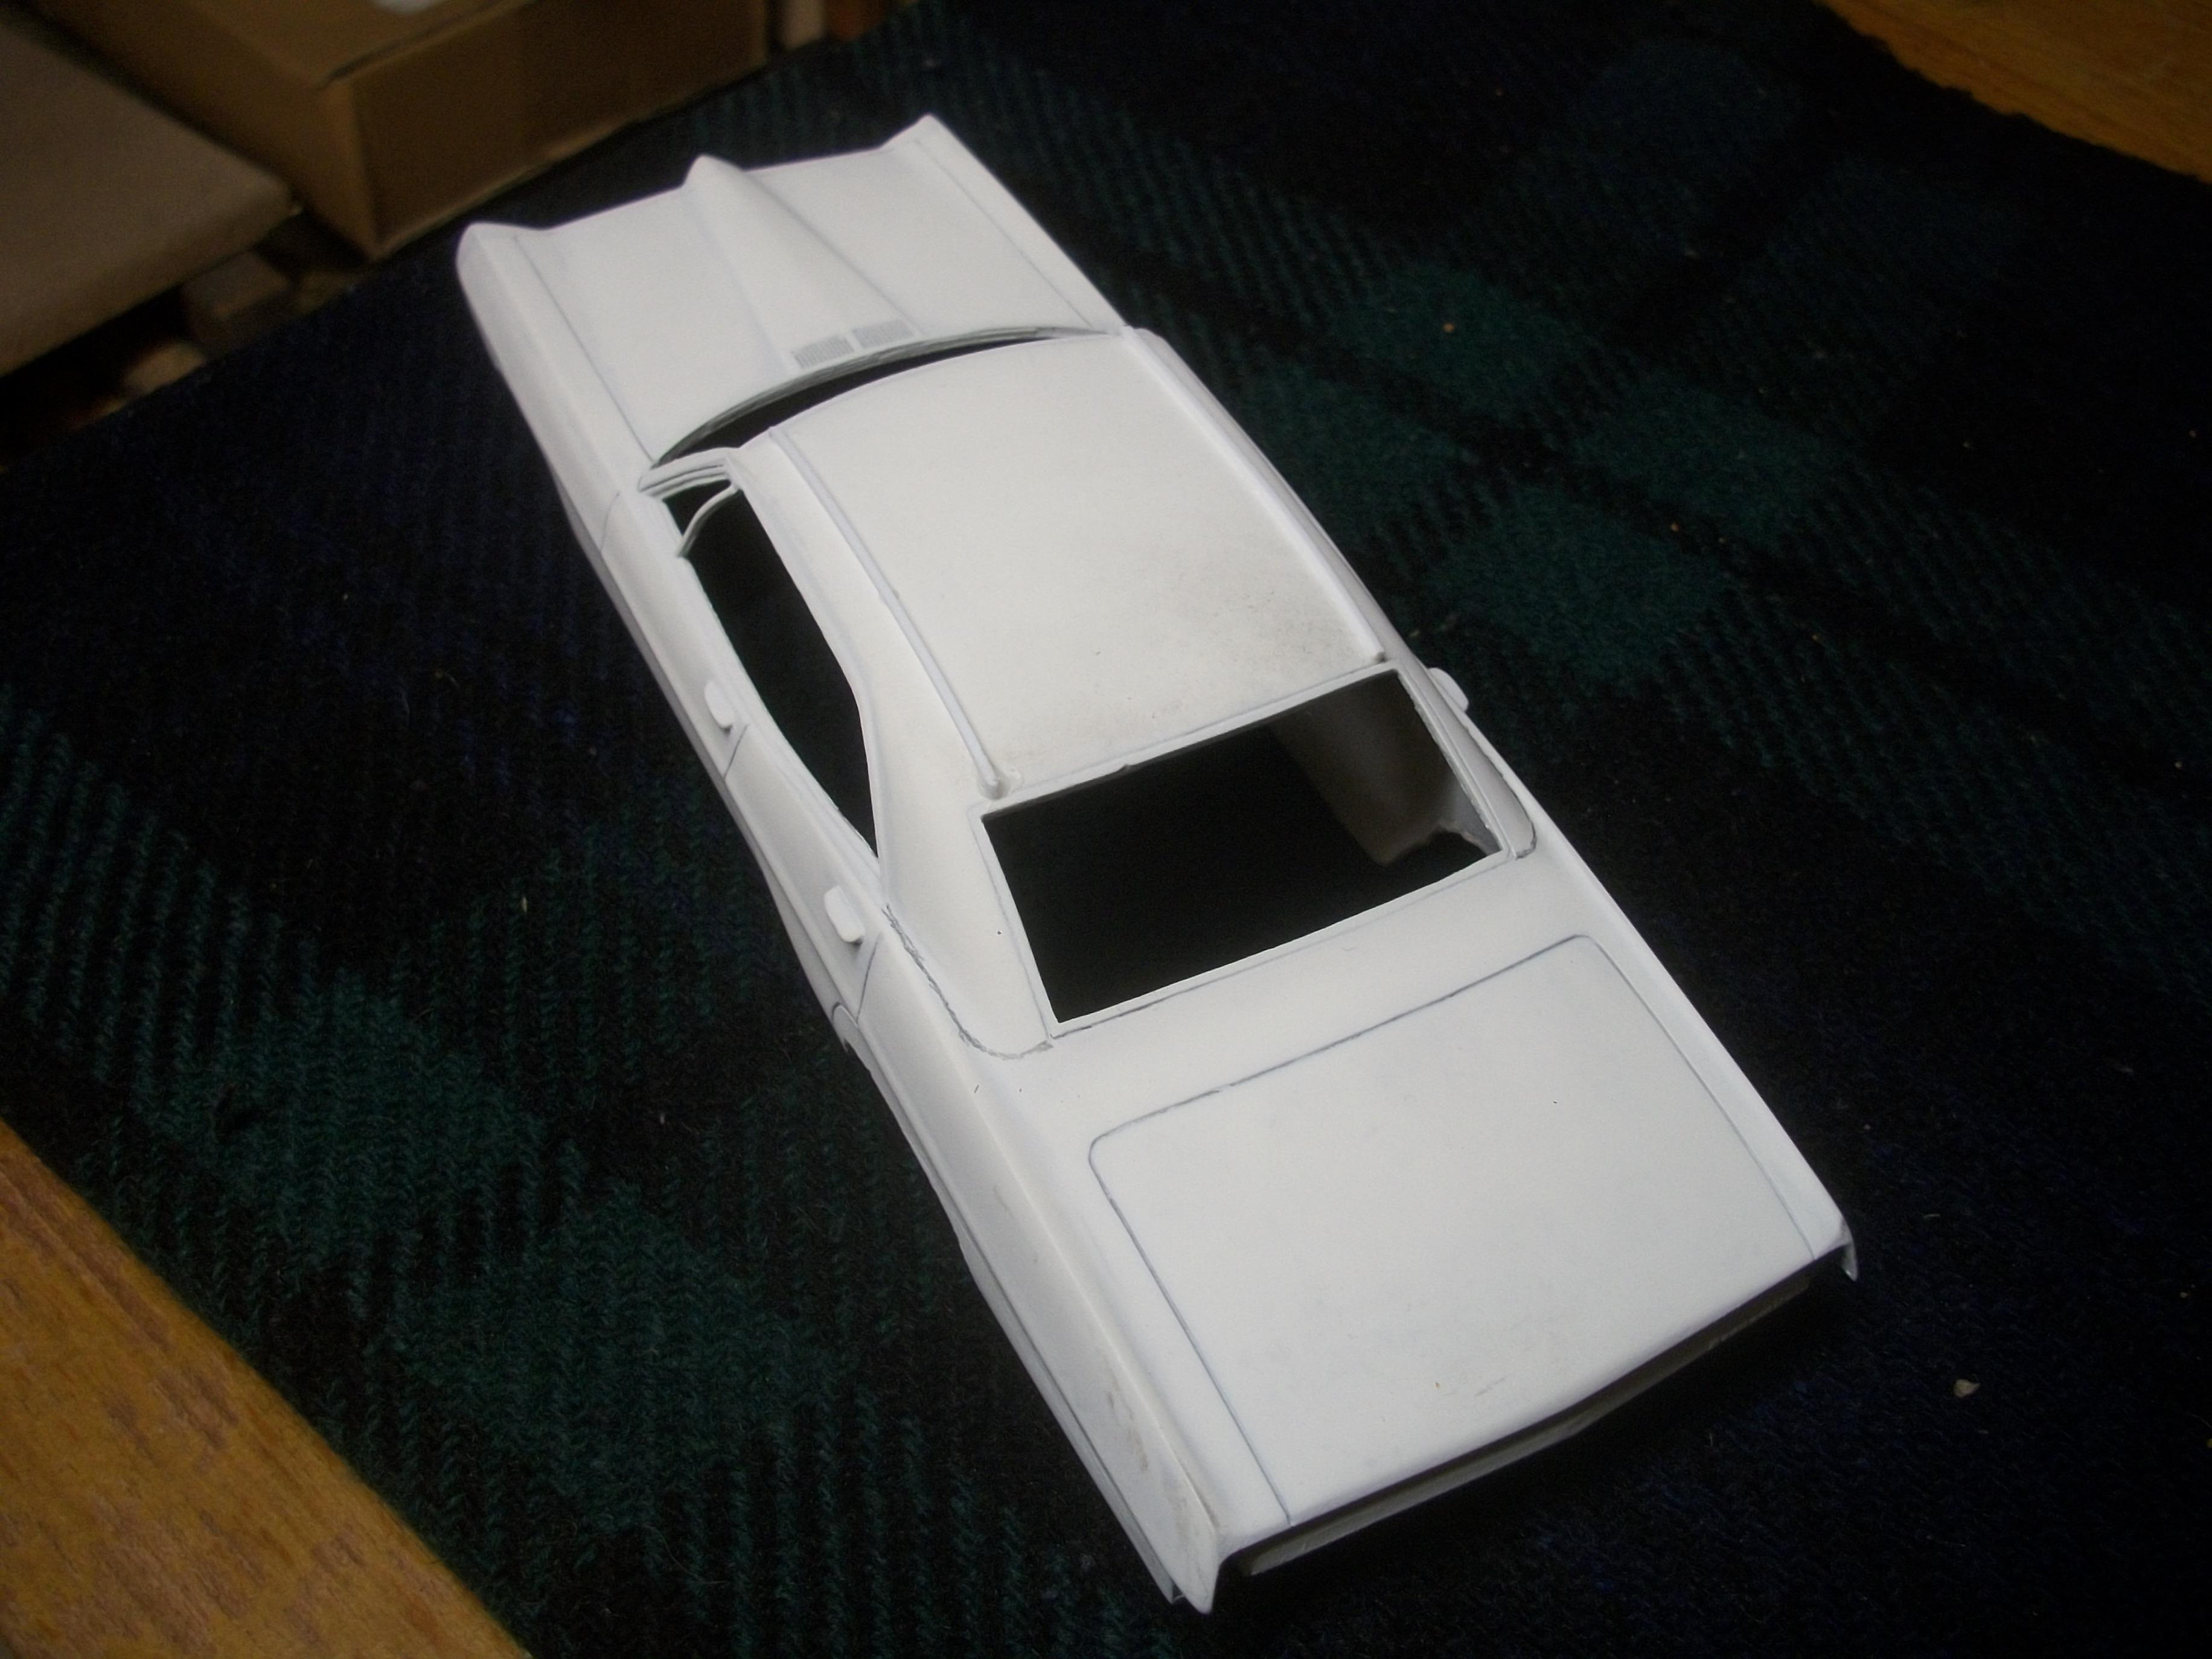
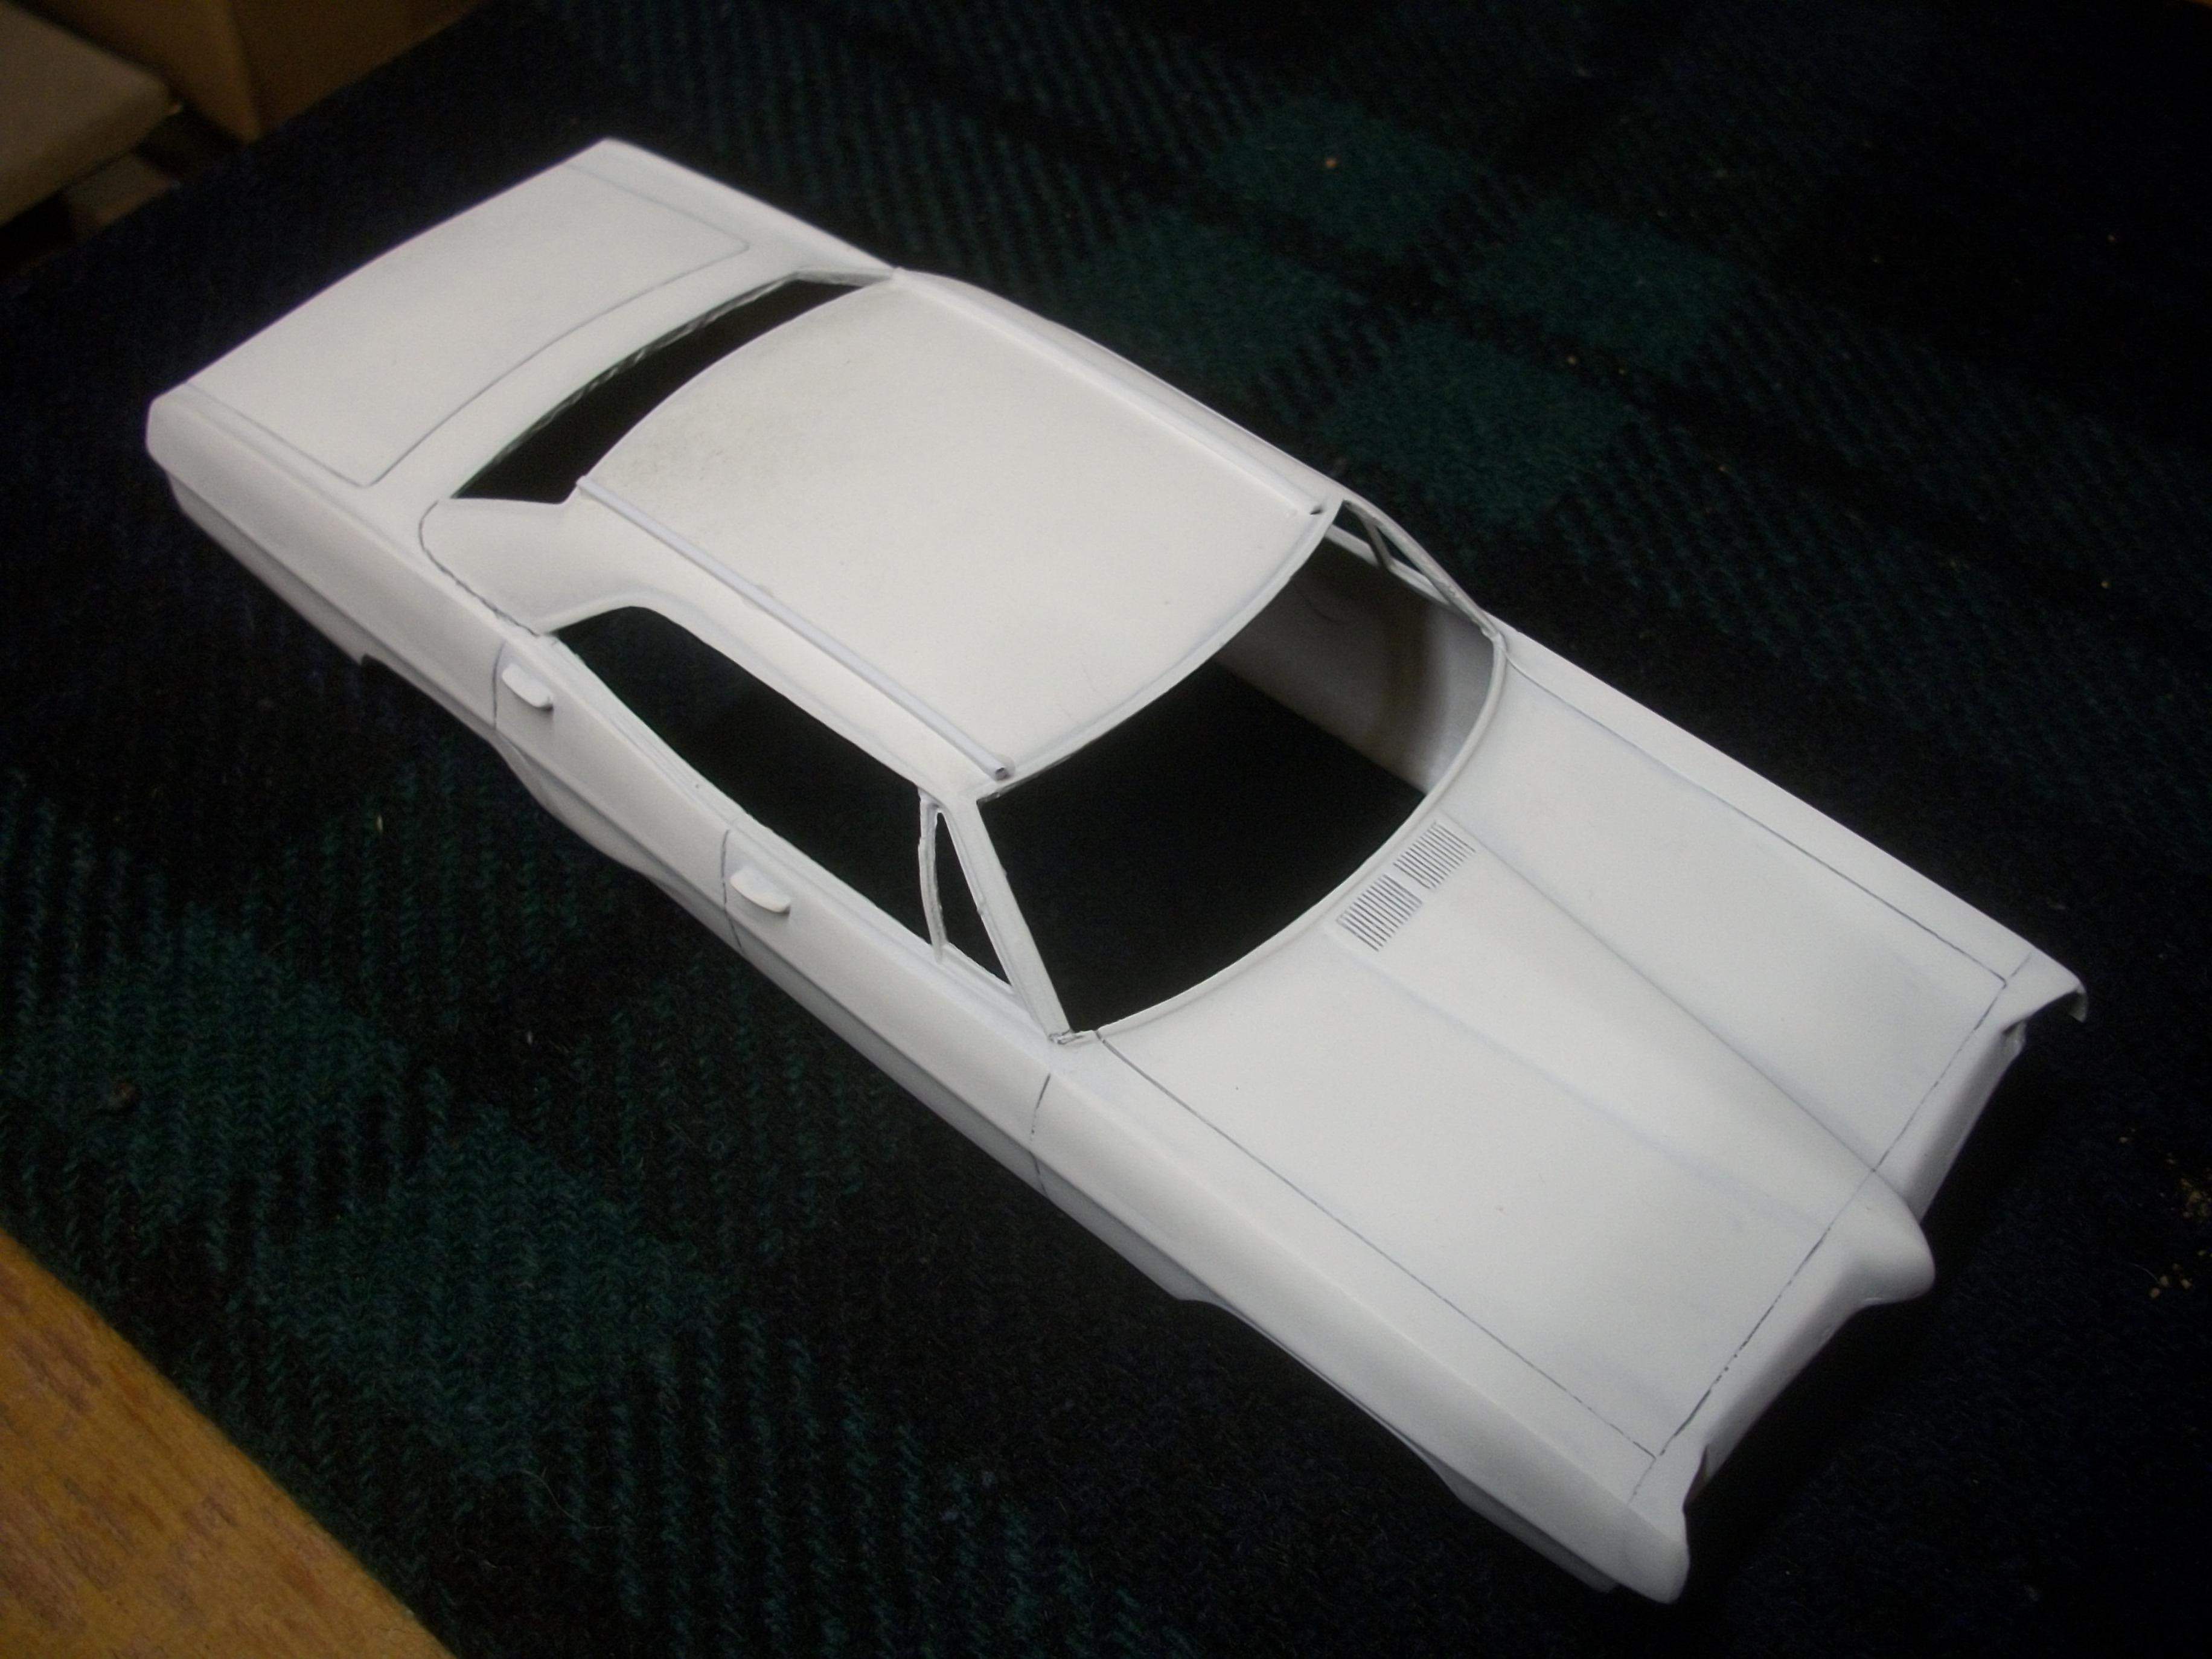
Carefully measured and fitted two strips of 1 mm styrene rod along each side of the roof, and these represent the seams of the vinyl roof fabric. Once the roof area is coated with the Rubberised Black textured surface, the seams should blend in reasonably well..... hopefully! David
-
Thanks for your comment, Stu...... and no way am I going to pay $52.60 shipping for a small part. Shame really, because the front bumper kit would be just what I need. David
-
Thanks for the links, Chris...... but as Stu is pointing out, the shipping cost of $52.60 is way too expensive for me here in England. Shame really, because the front bumper kit is very interesting..... and it would be just what I need. David
-
Thank you, Tom..... so pleased to hear that you have an interest in this project, and I shall try to keep it interesting. The Bonneville to Parisienne build is attracting comments and suggestions from United States, Canada, Australia and UK..... including two MCM members who are sending small parts in the post from Canada and Australia. I am enjoying this build more than any so far and I'm not sure why that is so ? Maybe it's because I want the resulting model to be something special. It is a real shame that I only have one photograph of the real car that I owned back in 1977, and it's not a good photo either. My memory is also a bit rusty after 42 years ! David
-
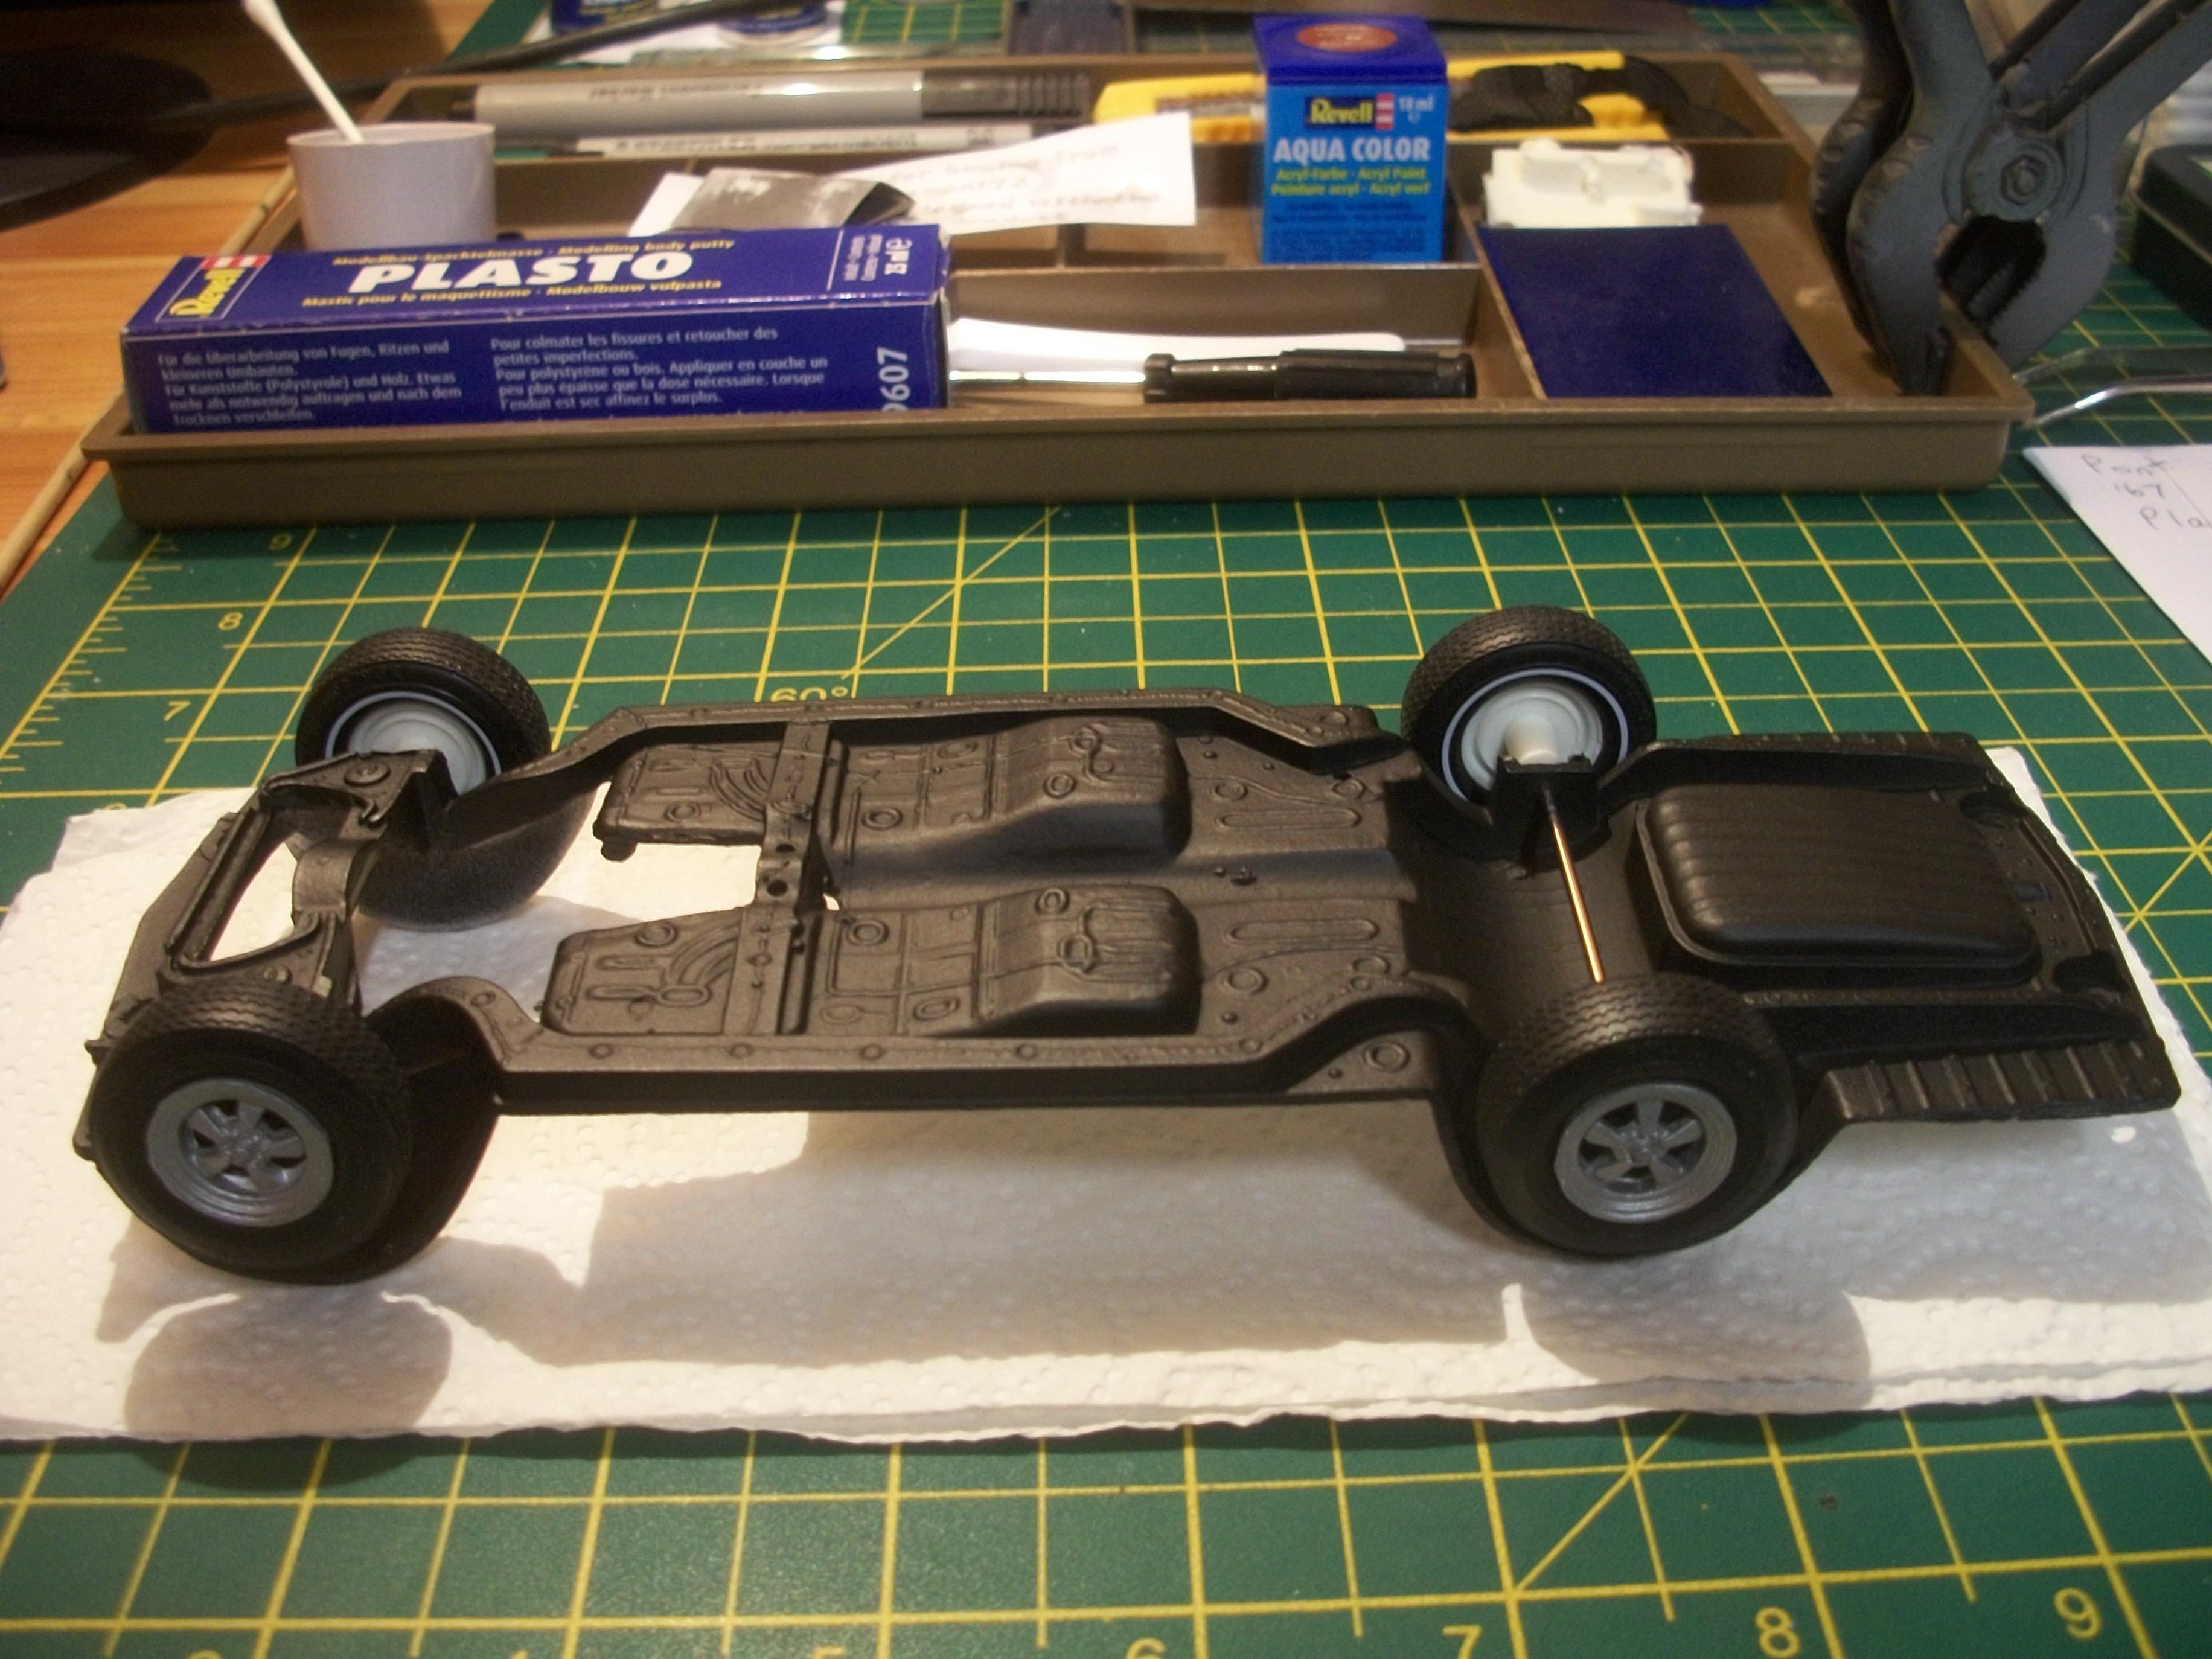
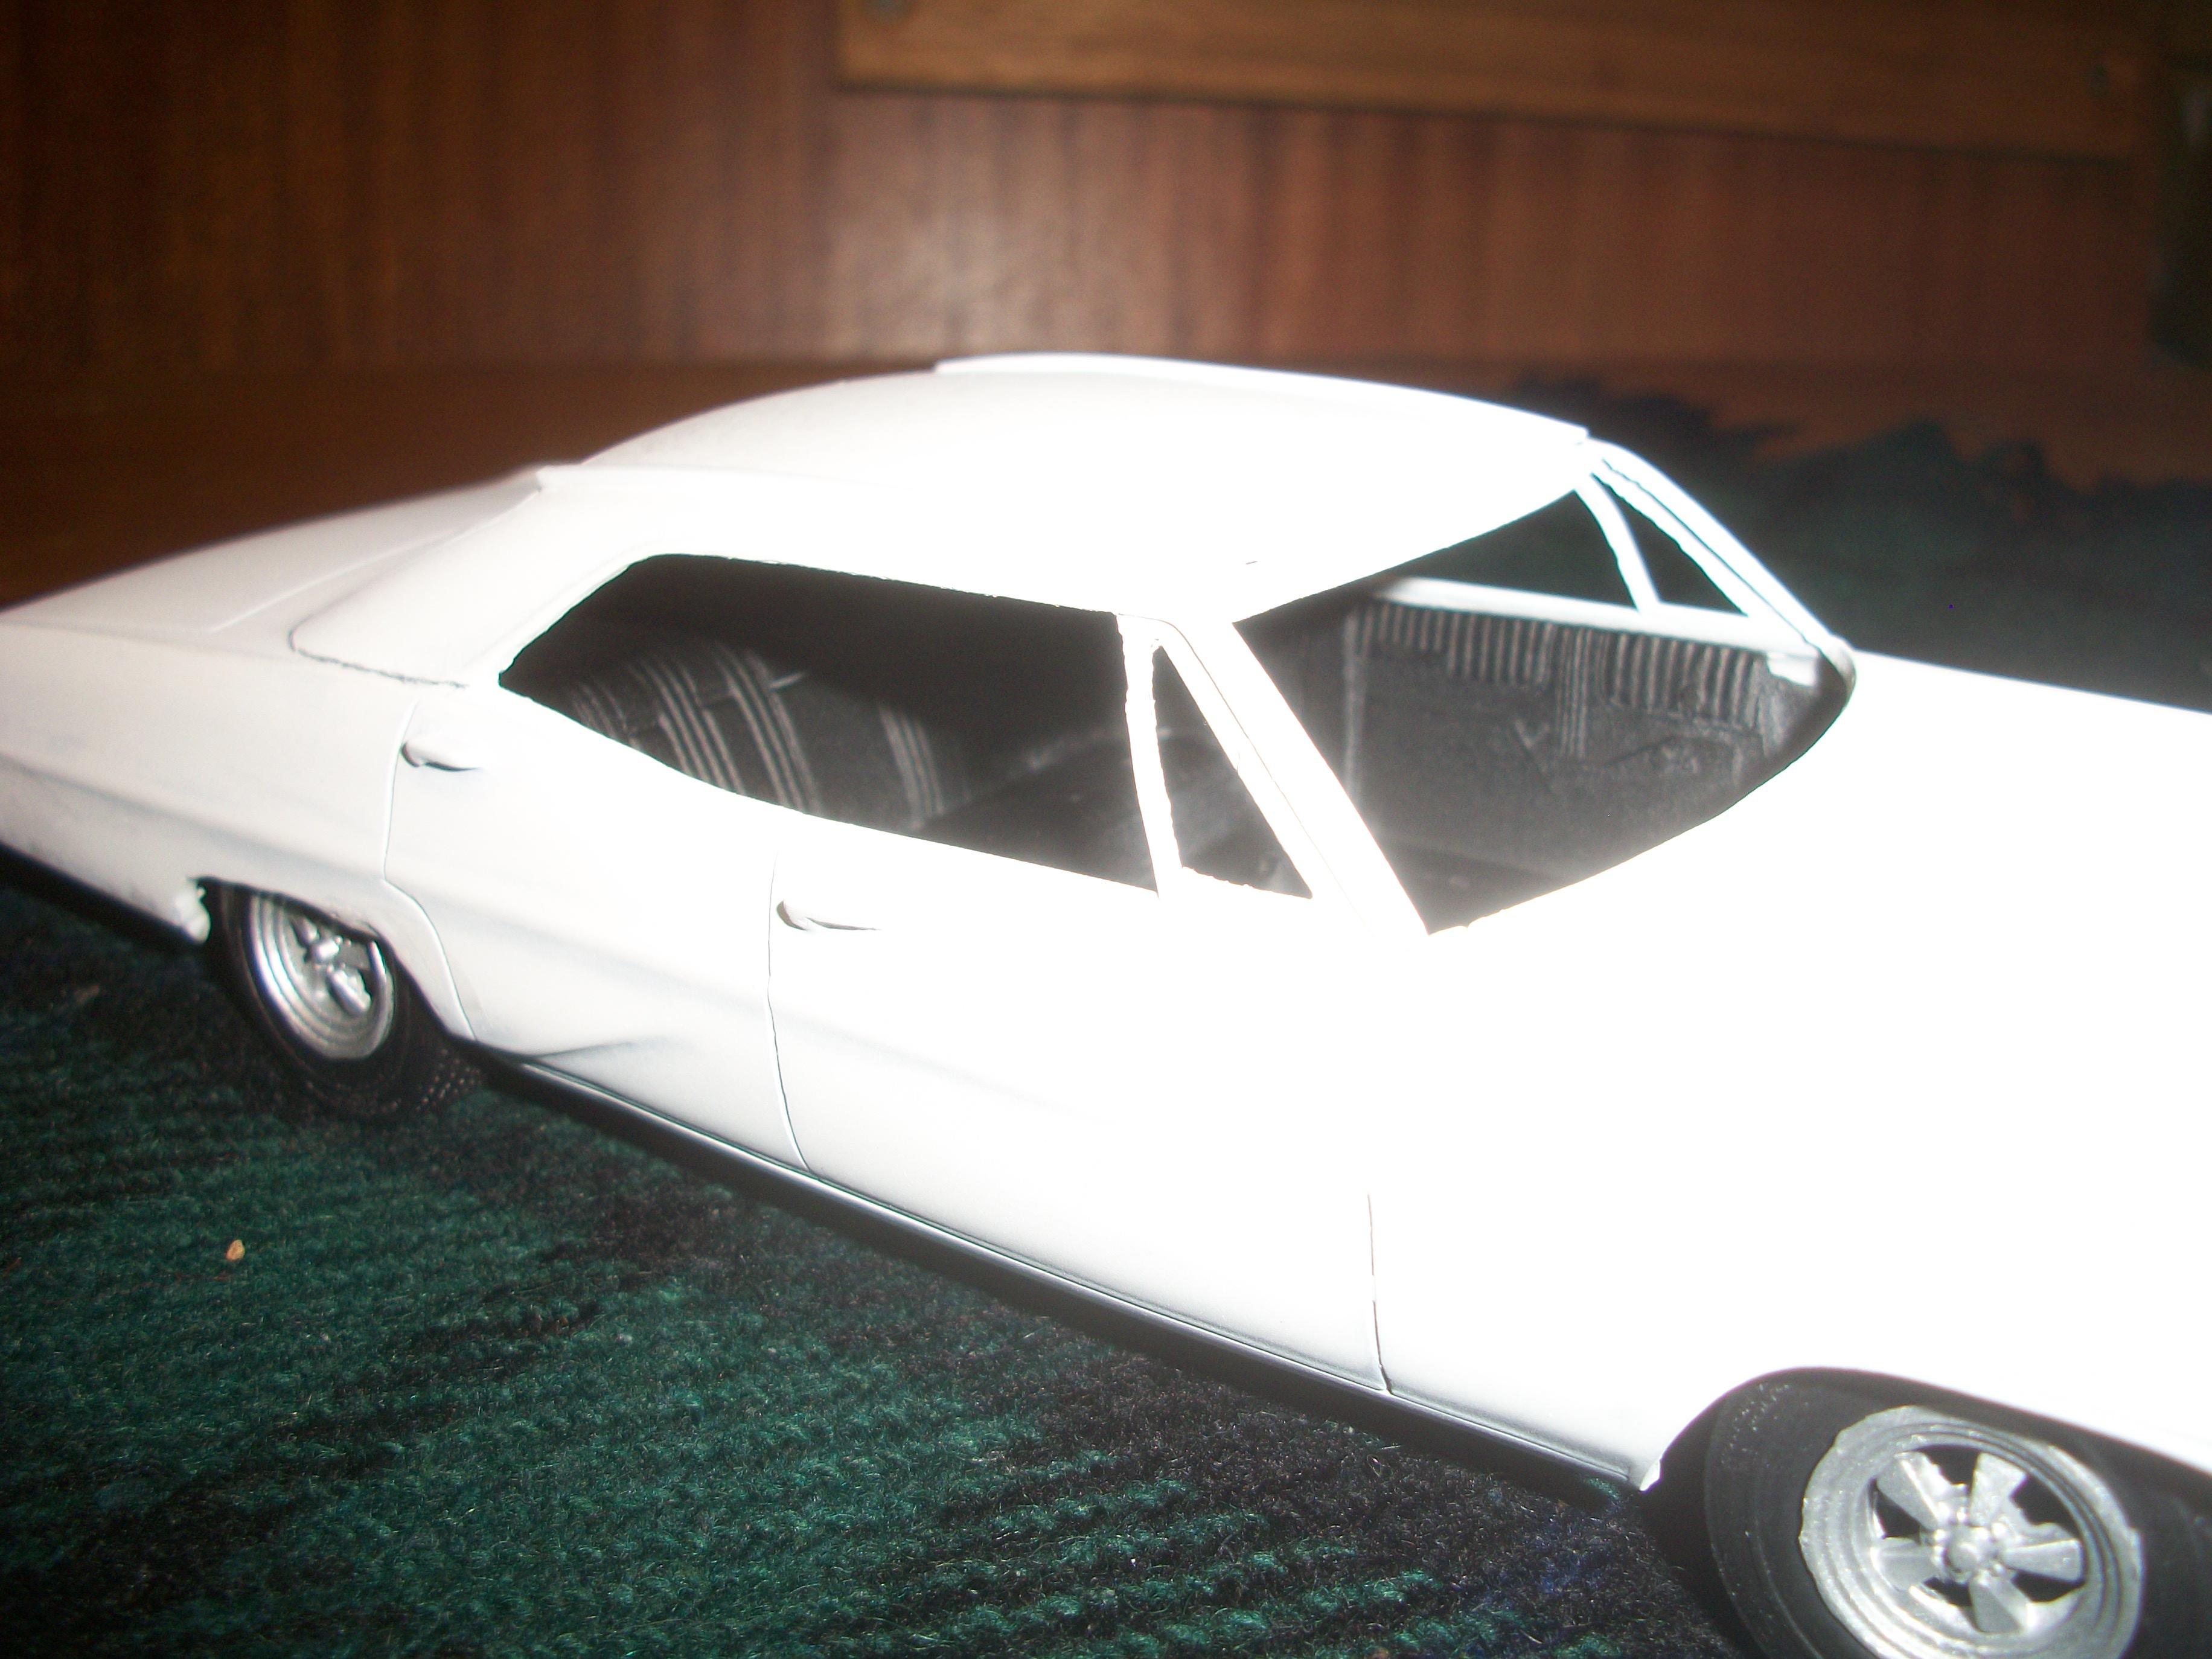
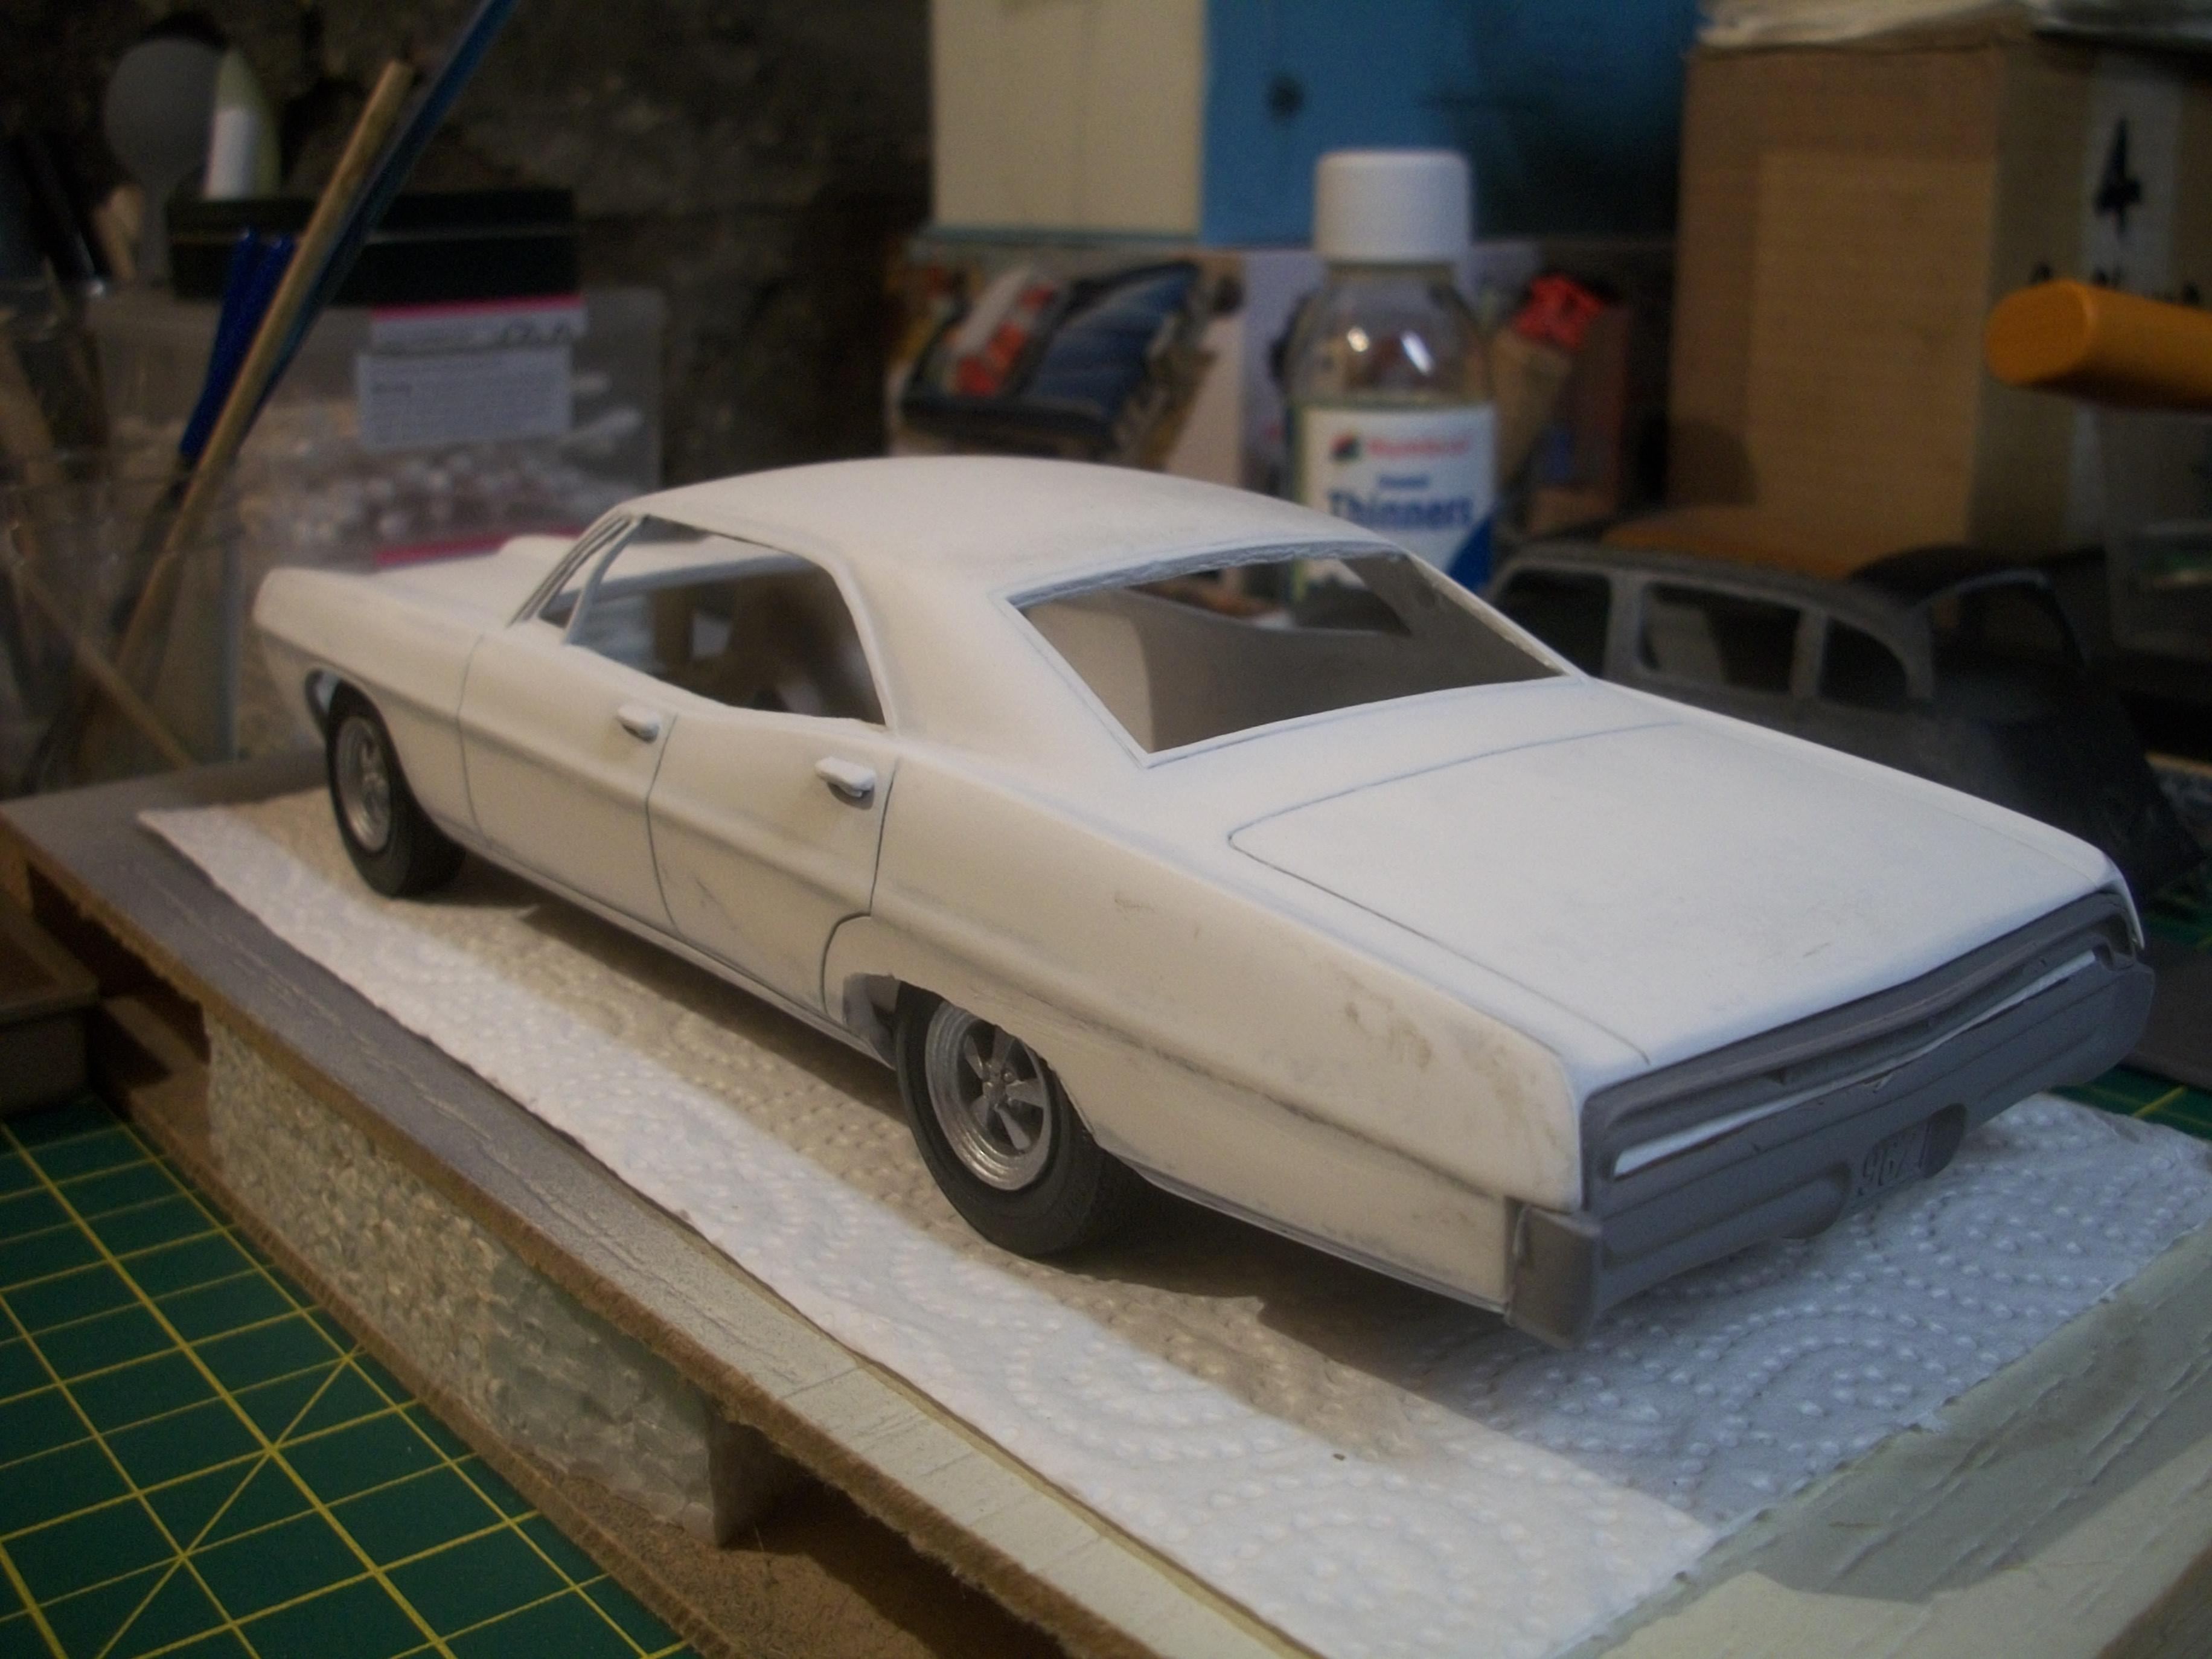
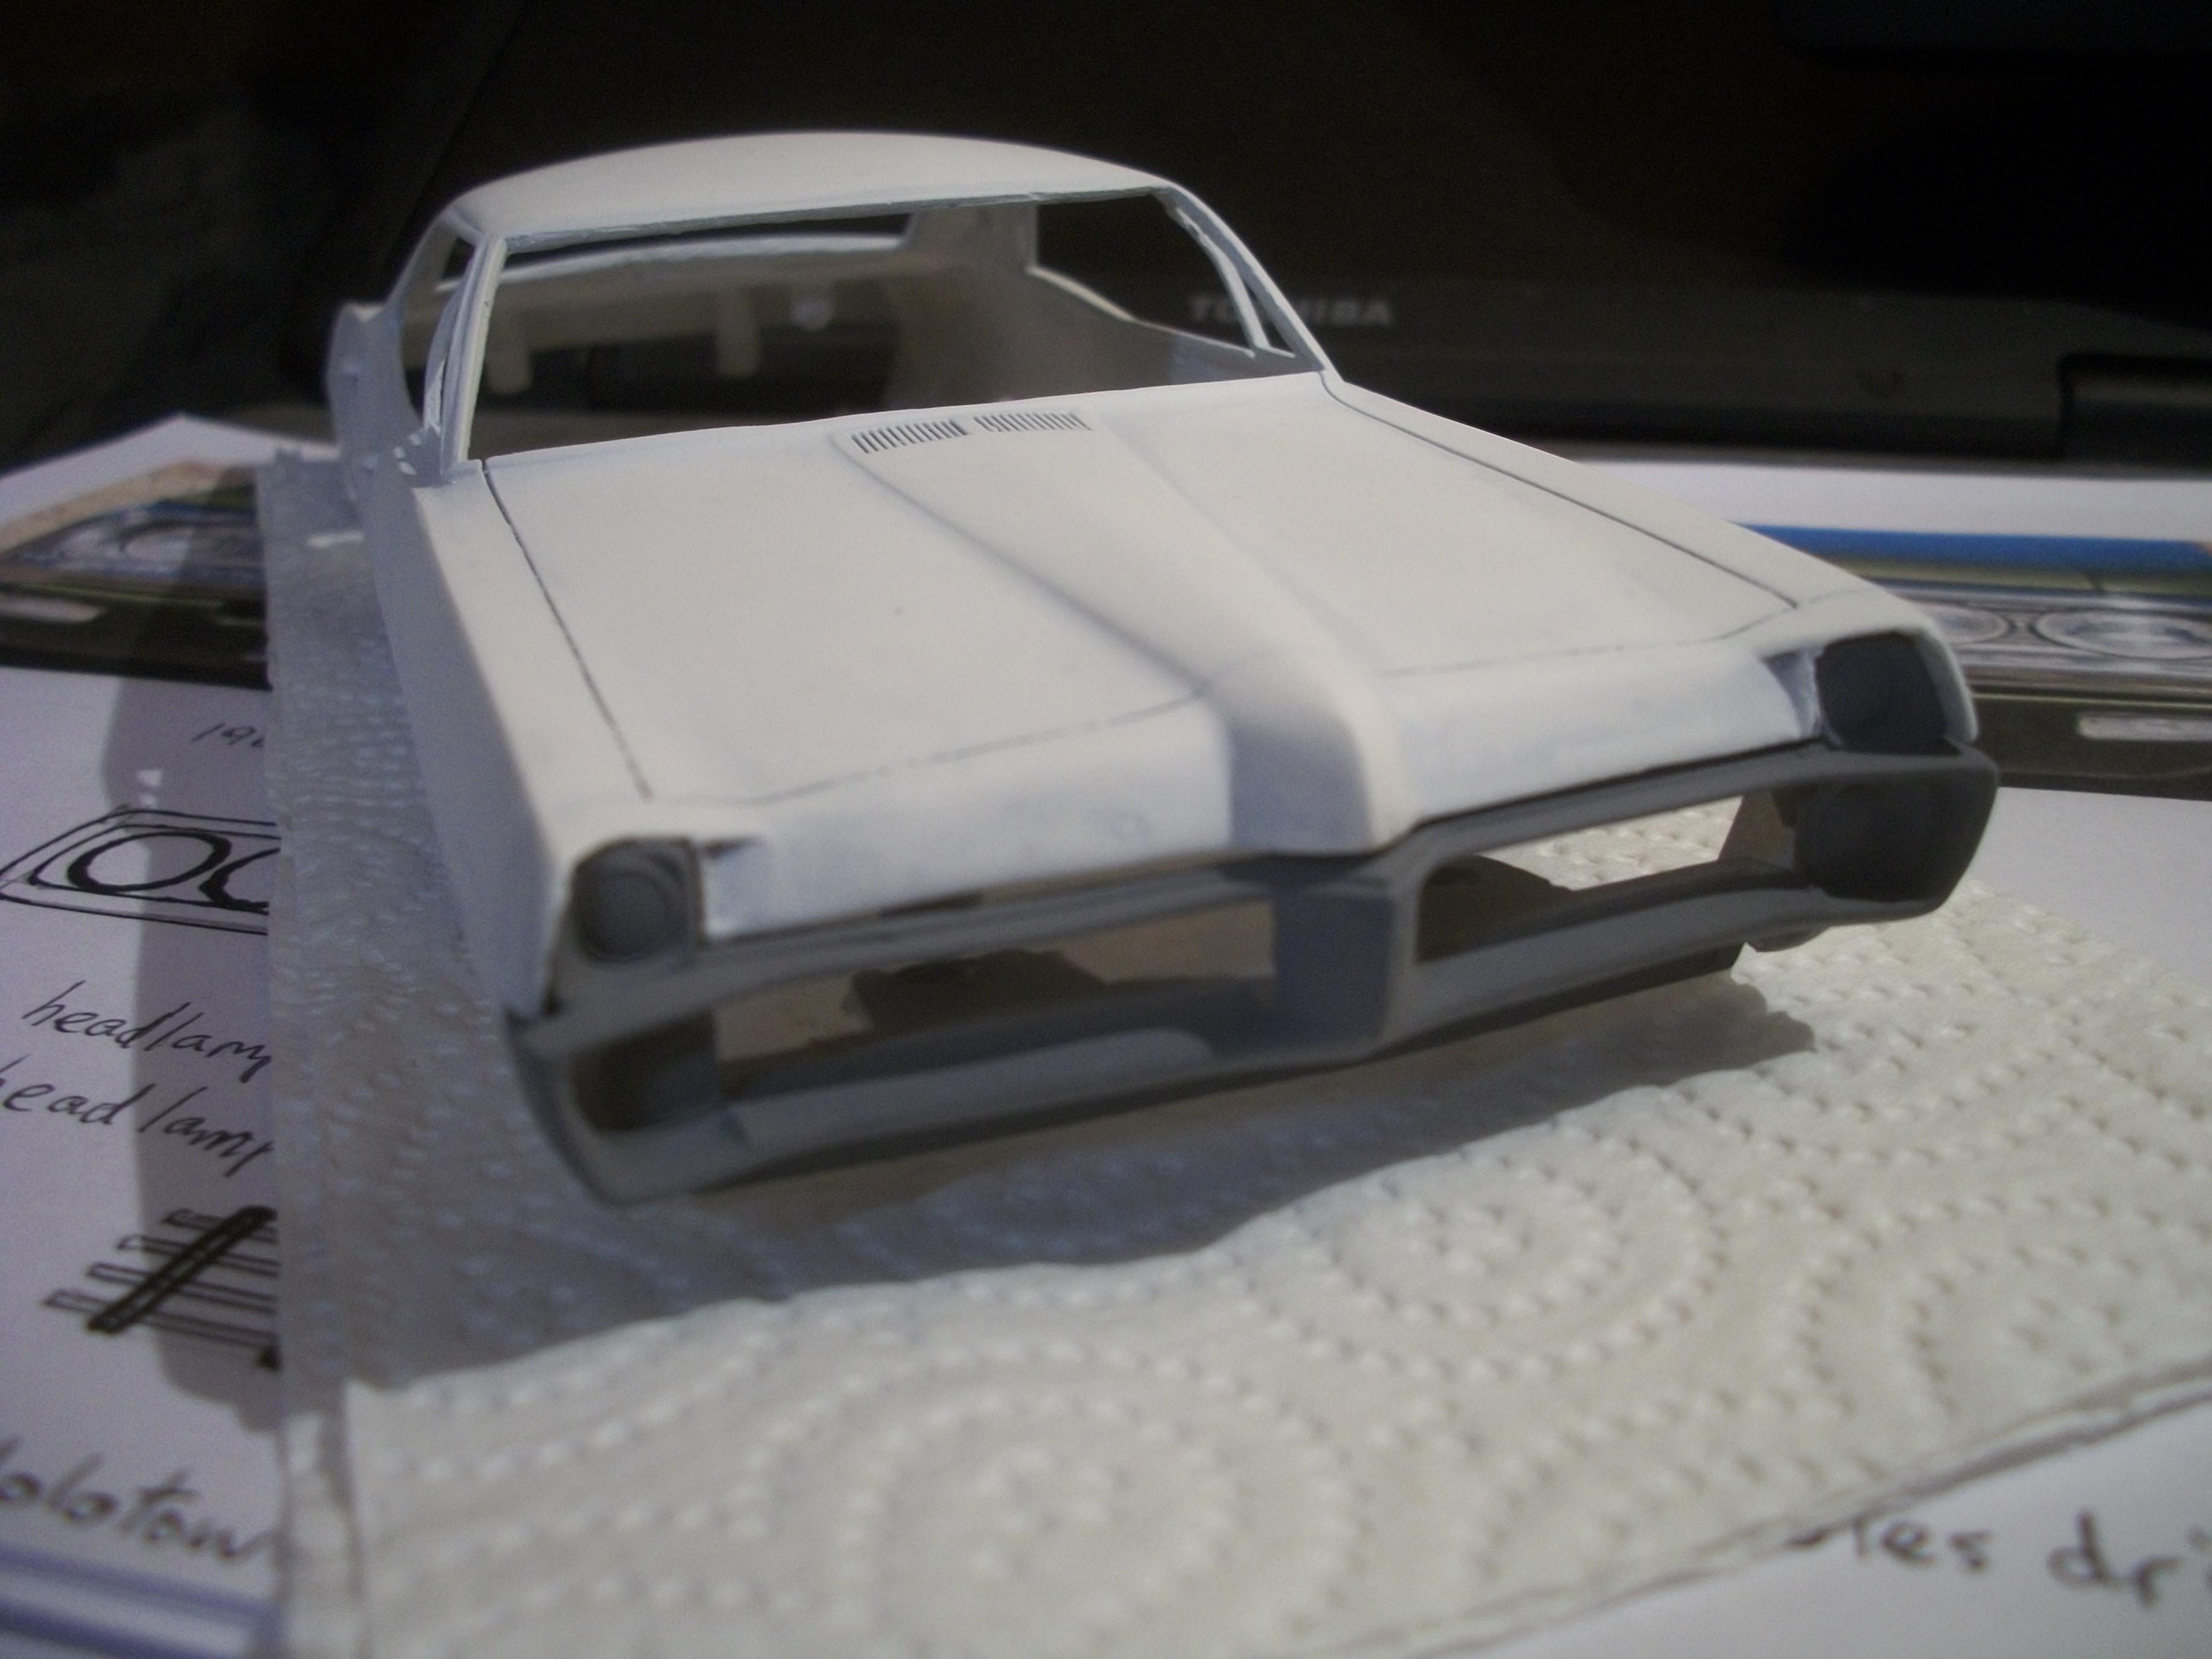
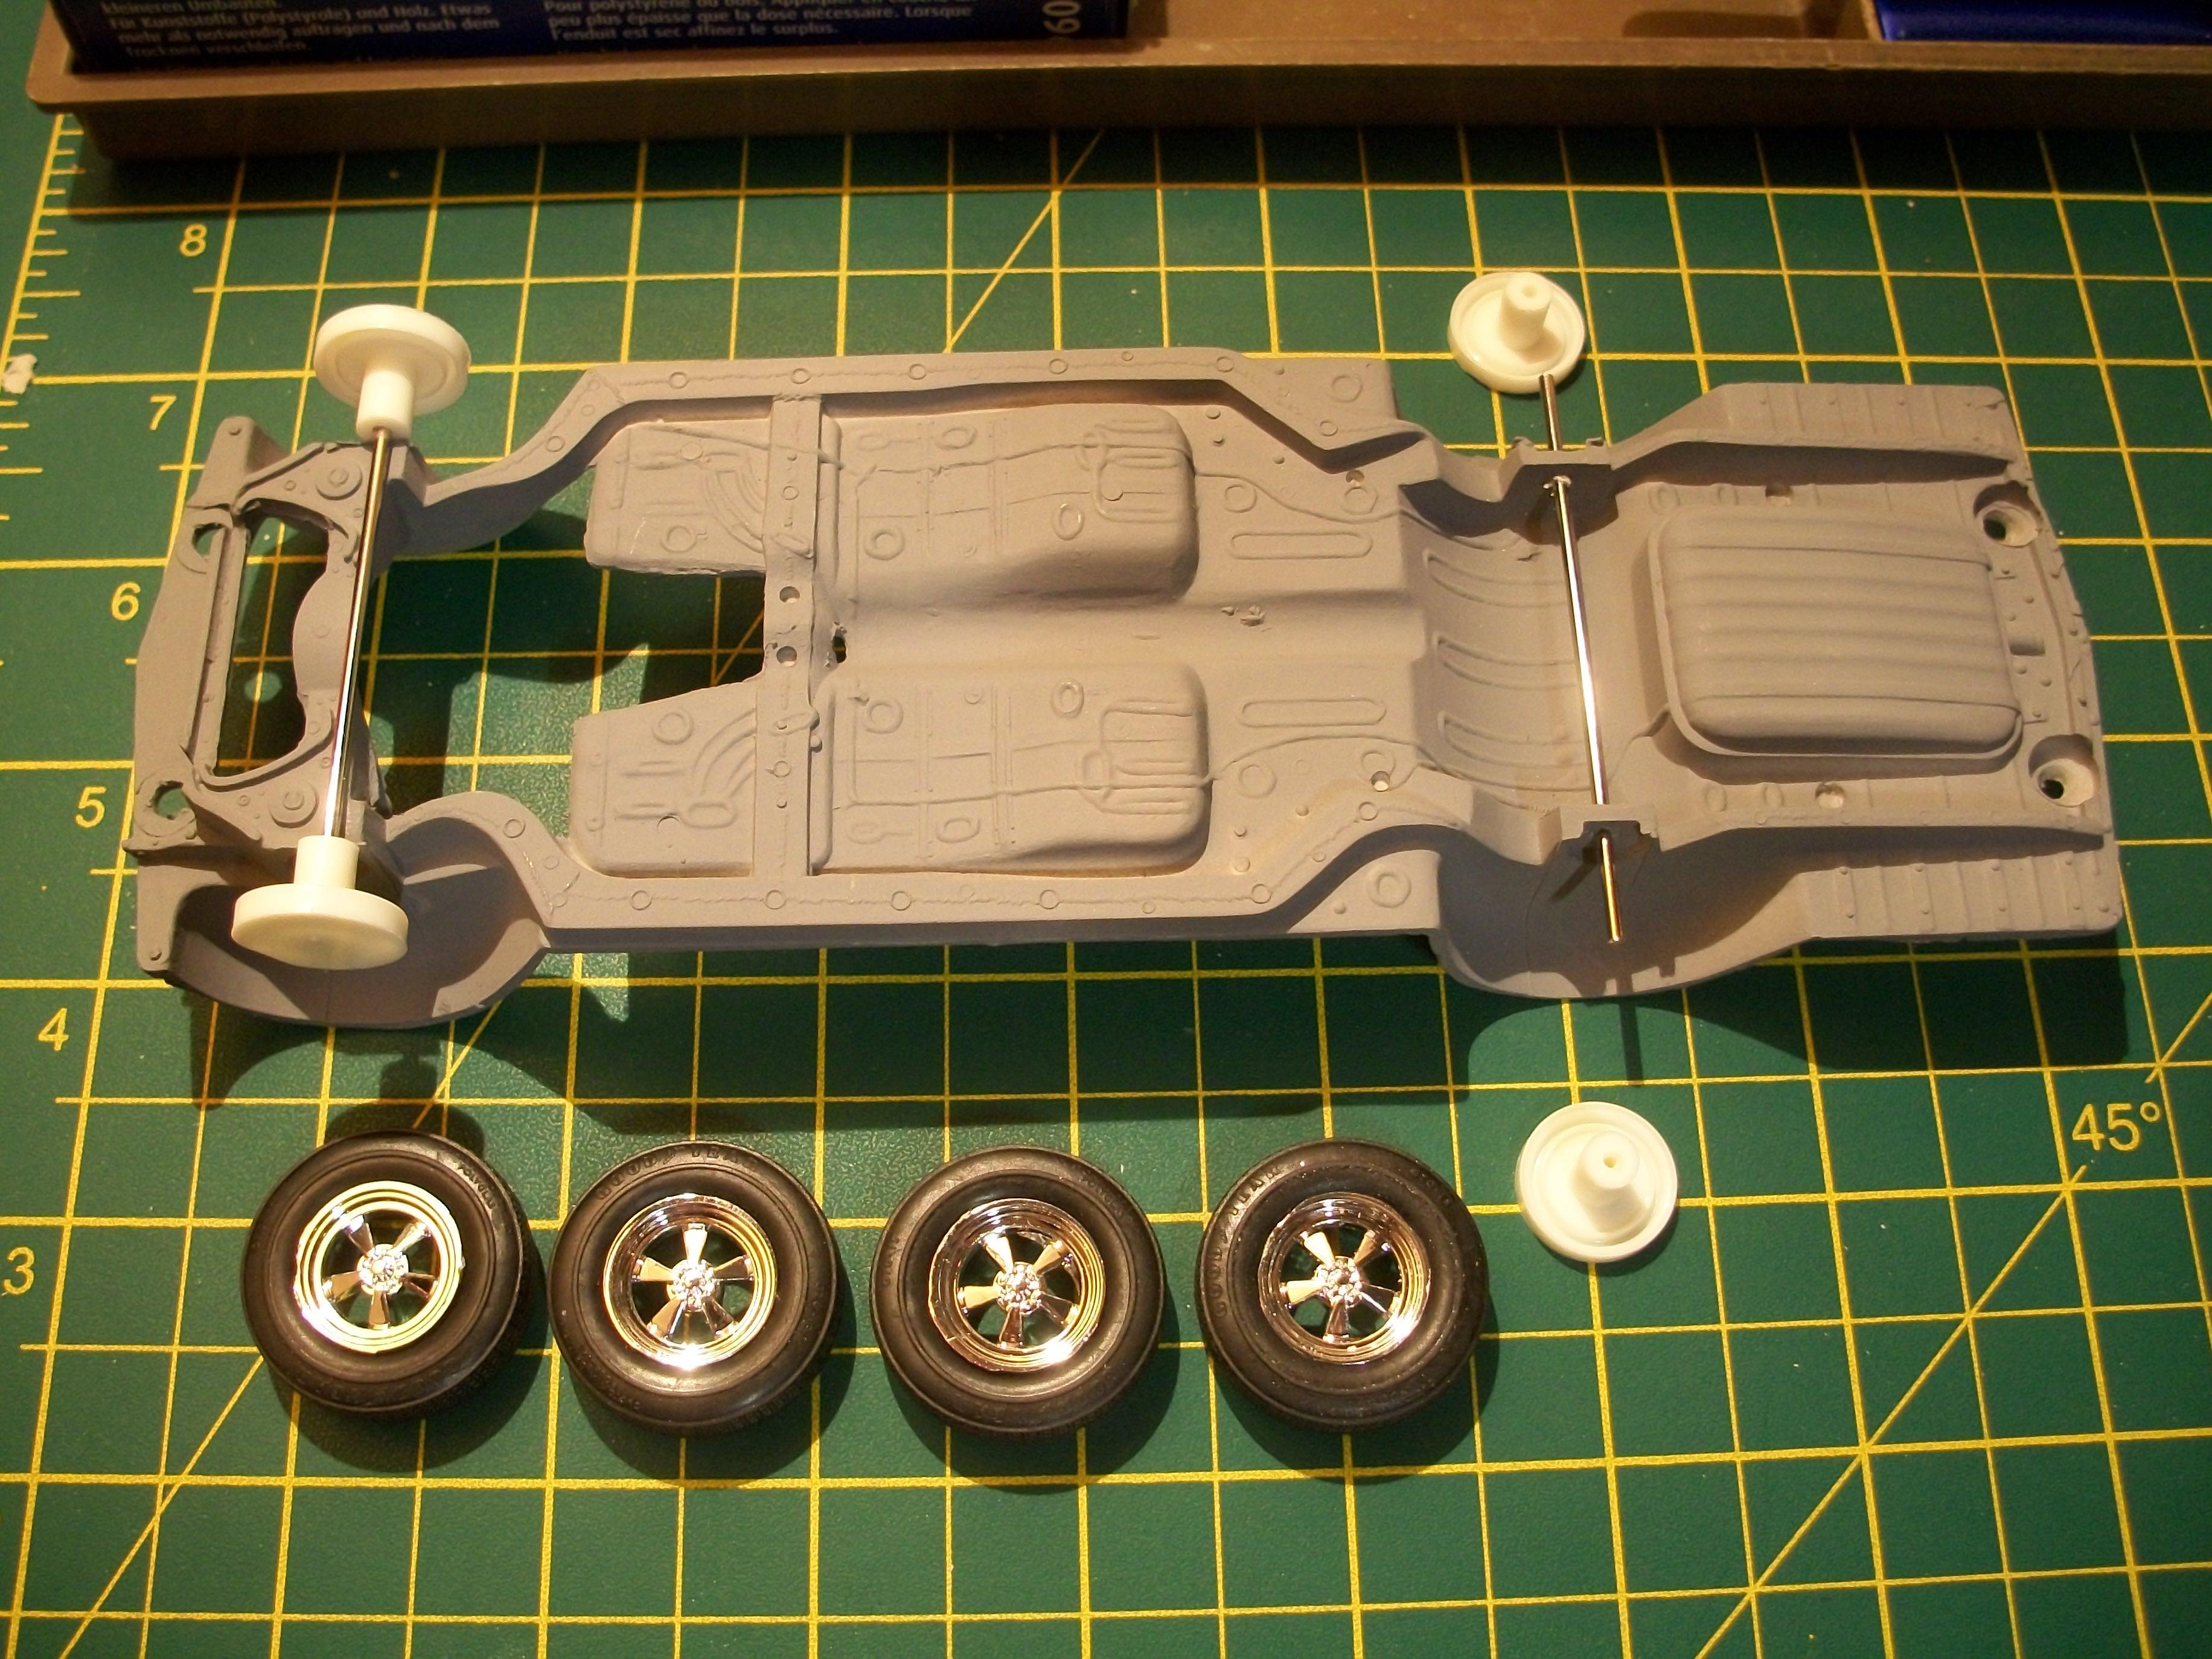
The metal axles, road wheel inner and outer halves, tyres are seen here being test fitted to the chassis, and the body is a test fit also with the chassis. Accelerator and brake pedals are in place on the right hand side of the floor, ready for the interior tub and seats to be given a coat of rubberised black, before further detailing later. This is the proposed plan for the vinyl roof..... once the front grille parts have arrived from Australia, the front end of the the model car will be modified and assembled. Then the entire body will be given two coats of Buick Cameo Cream, including the roof area. Two strips of 1 mm styrene rod will be super glued in place along both sides of the roof to represent the seams of the vinyl roof. One coat of rubberised black will be applied to the whole of the roof area, including the rear C posts and the A posts at the edges of the windshield, with the rest of the body masked off. Later, there will be one thin coat of airbrushed brown acrylic paint applied over the rubberised black textured coating. Chrome work will be some BMF and some Molotow liquid chrome pen. David
-
I presume that you like the Jaguar MK V, Pat ? There is something about the car that appeals to me, and so I wanted to have a soft top version as well as the hardtop. As you know, the early 1950's period is of particular interest to me, for the Jaguar, Rolls-Royce and Bentley motor cars. David
-
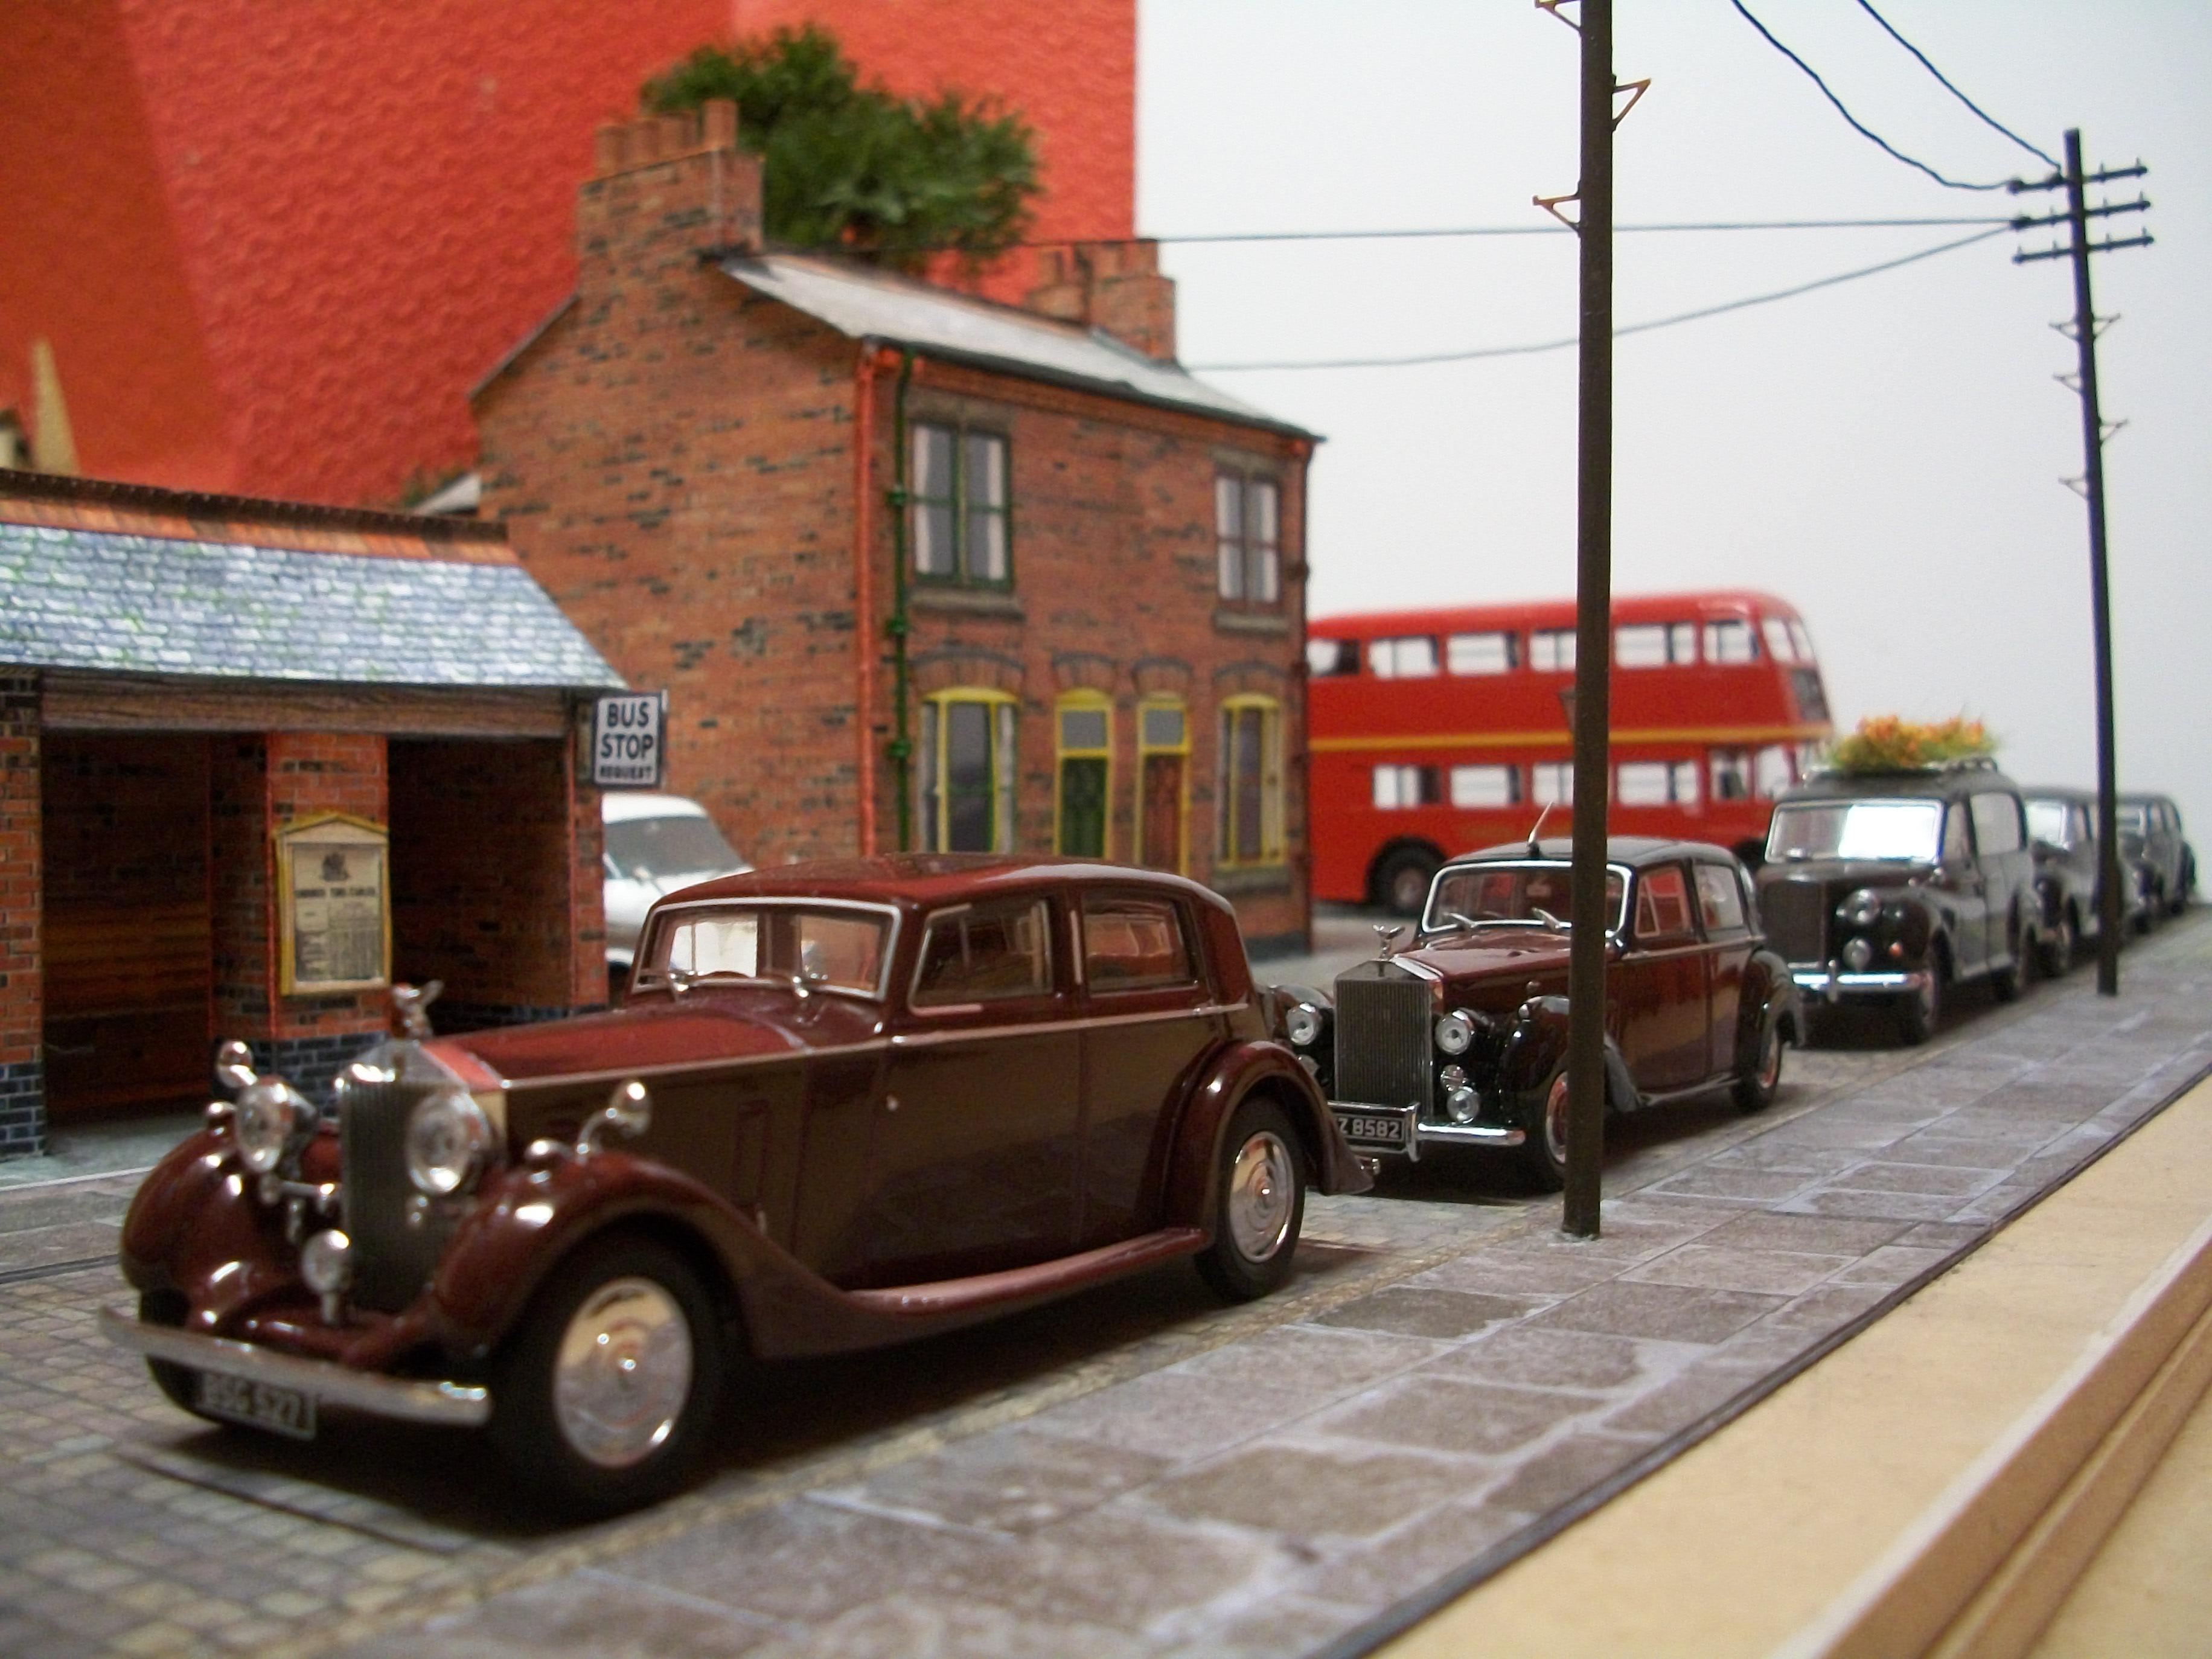
Pleased to hear that you like what is going on here, Tom...... this is the 1:43 scale Victorian Houses diorama, which is more or less completed, The one previous to this is the 1:43 scale Hooper & Co coachbuilders showrooms diorama, which has been sold to a gentleman from Paris, France and the very first one that I built is a 1:24 scale Hooper & Co coachbuilders showrooms diorama. Sometime between now and June 2020 the fourth diorama will be built hopefully, which is going to be a 1:43 scale diorama of the Hooper factory as it was in 1959, located at Western Avenue, Park Royal, Acton, London. I am trying to keep the photography interesting, and more model cars are being bought and built, in both scales, 1:24 and 1:43. David
-
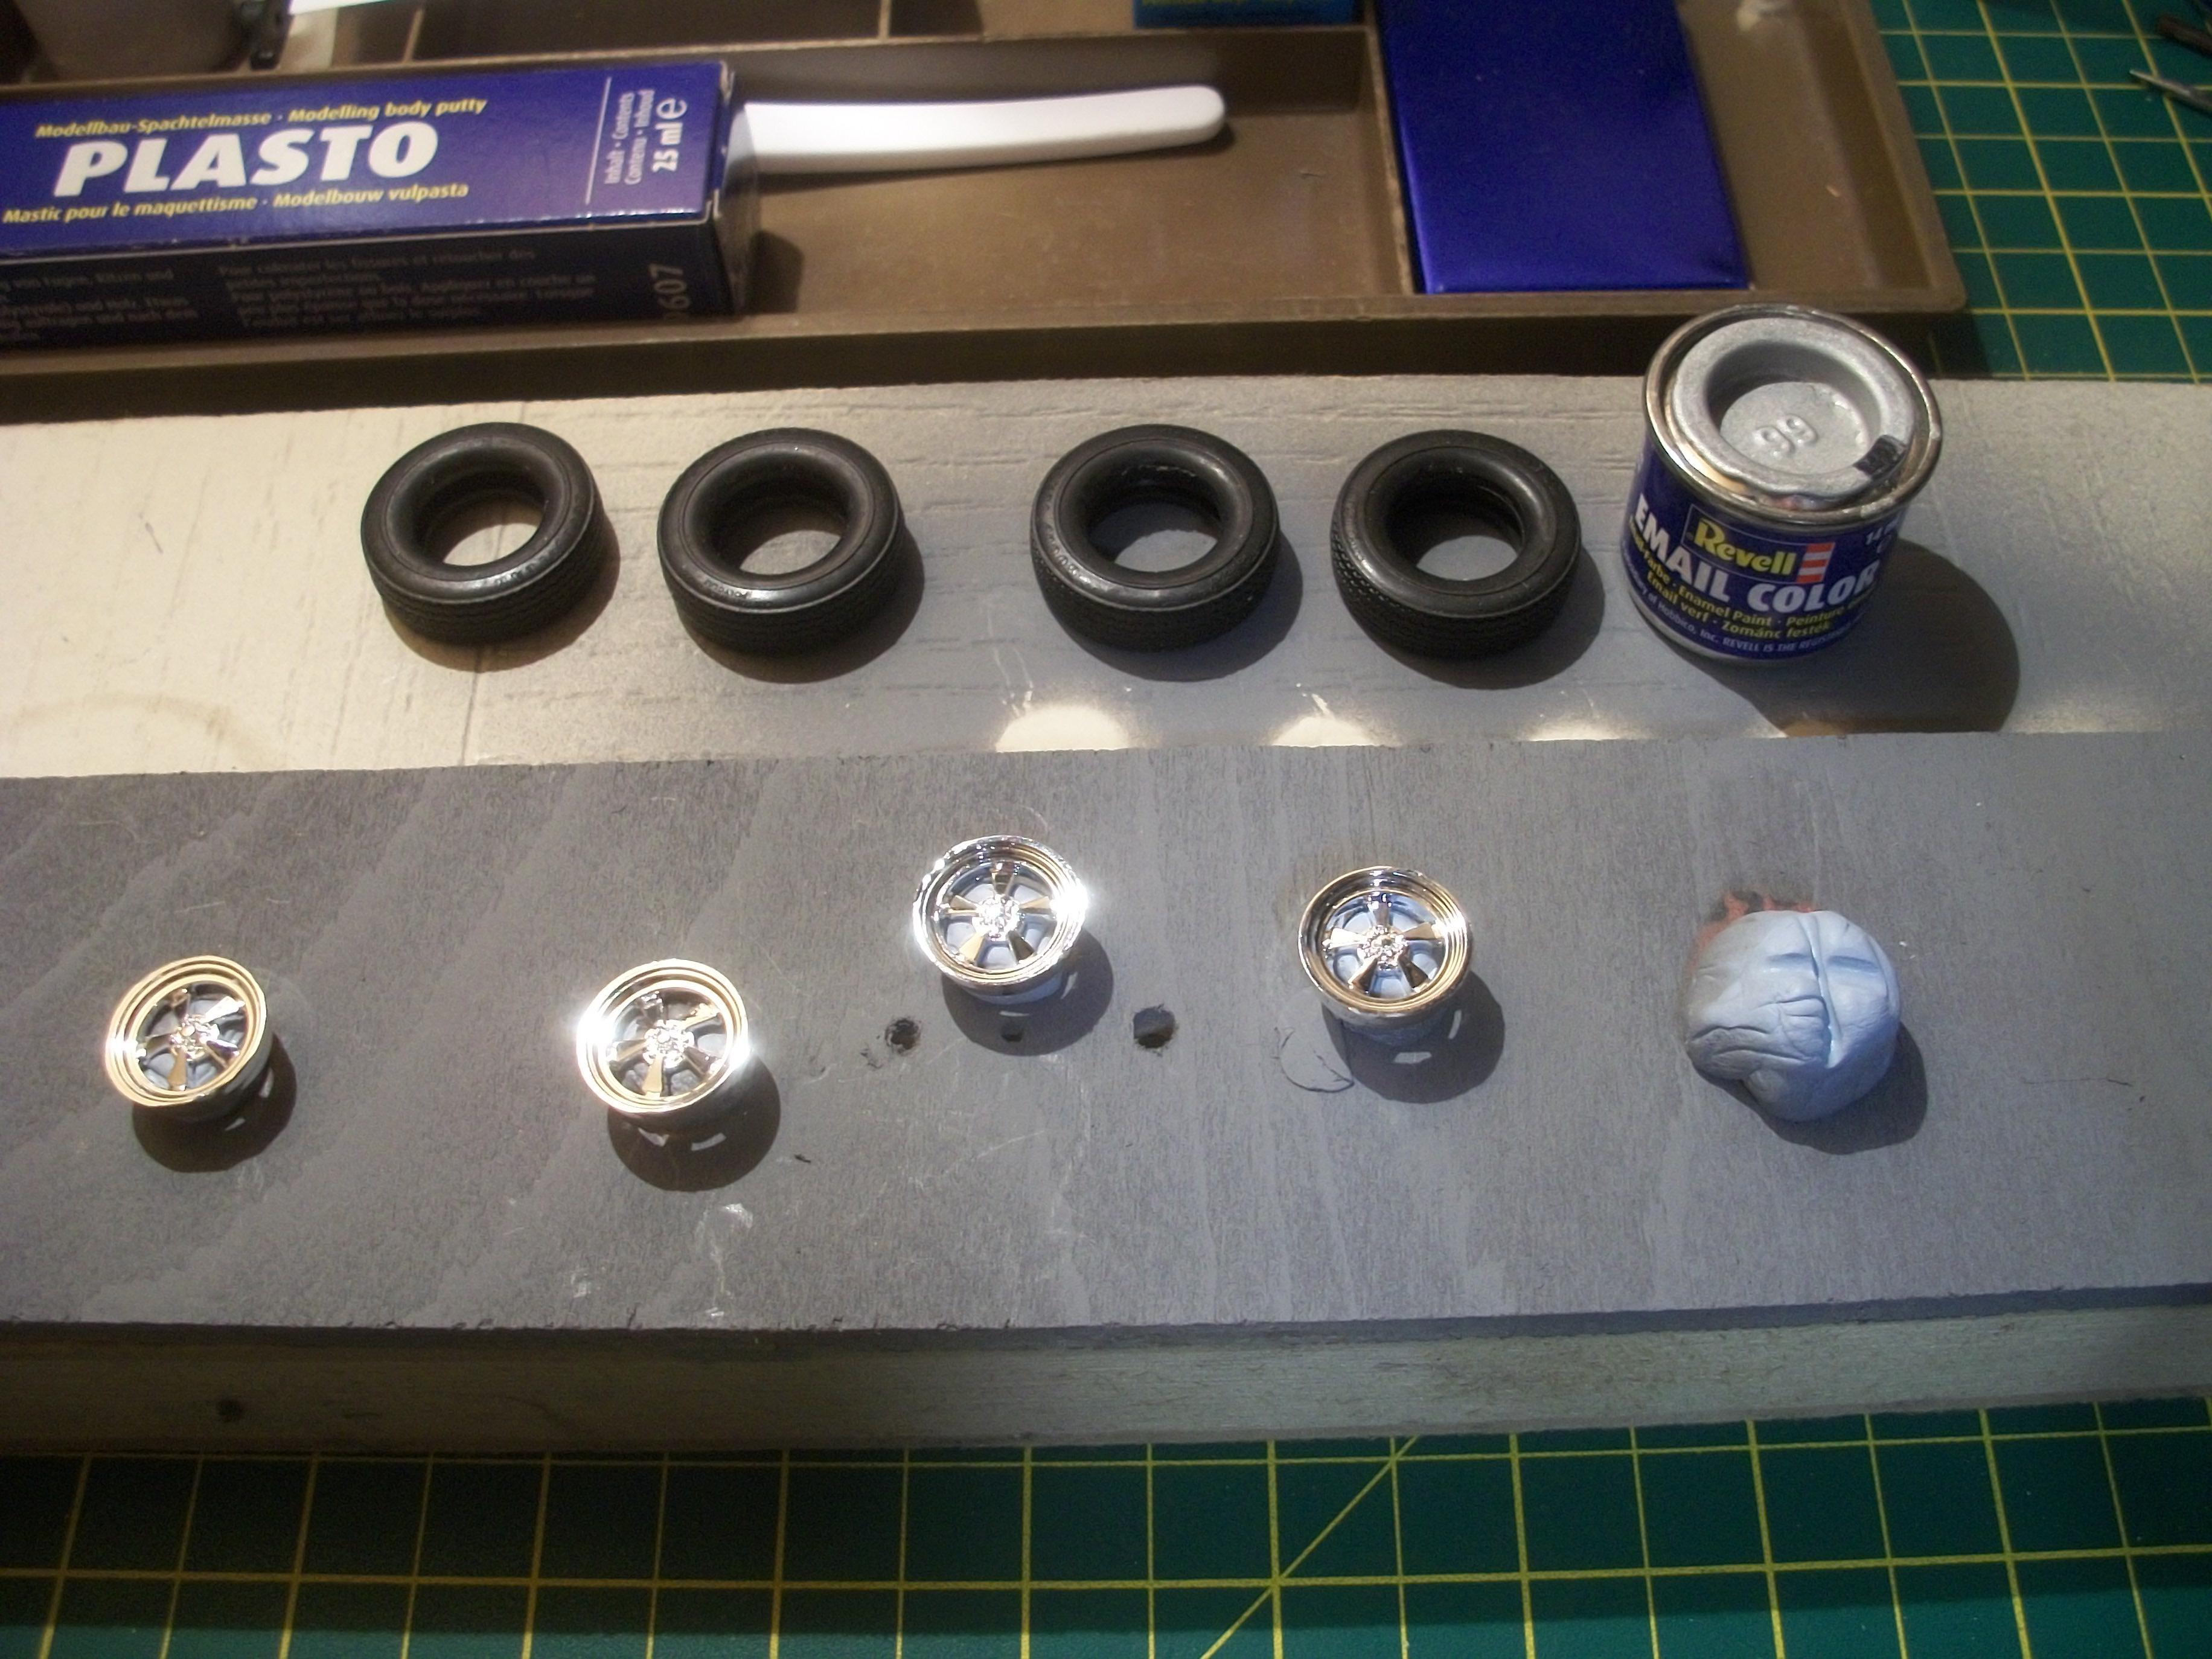
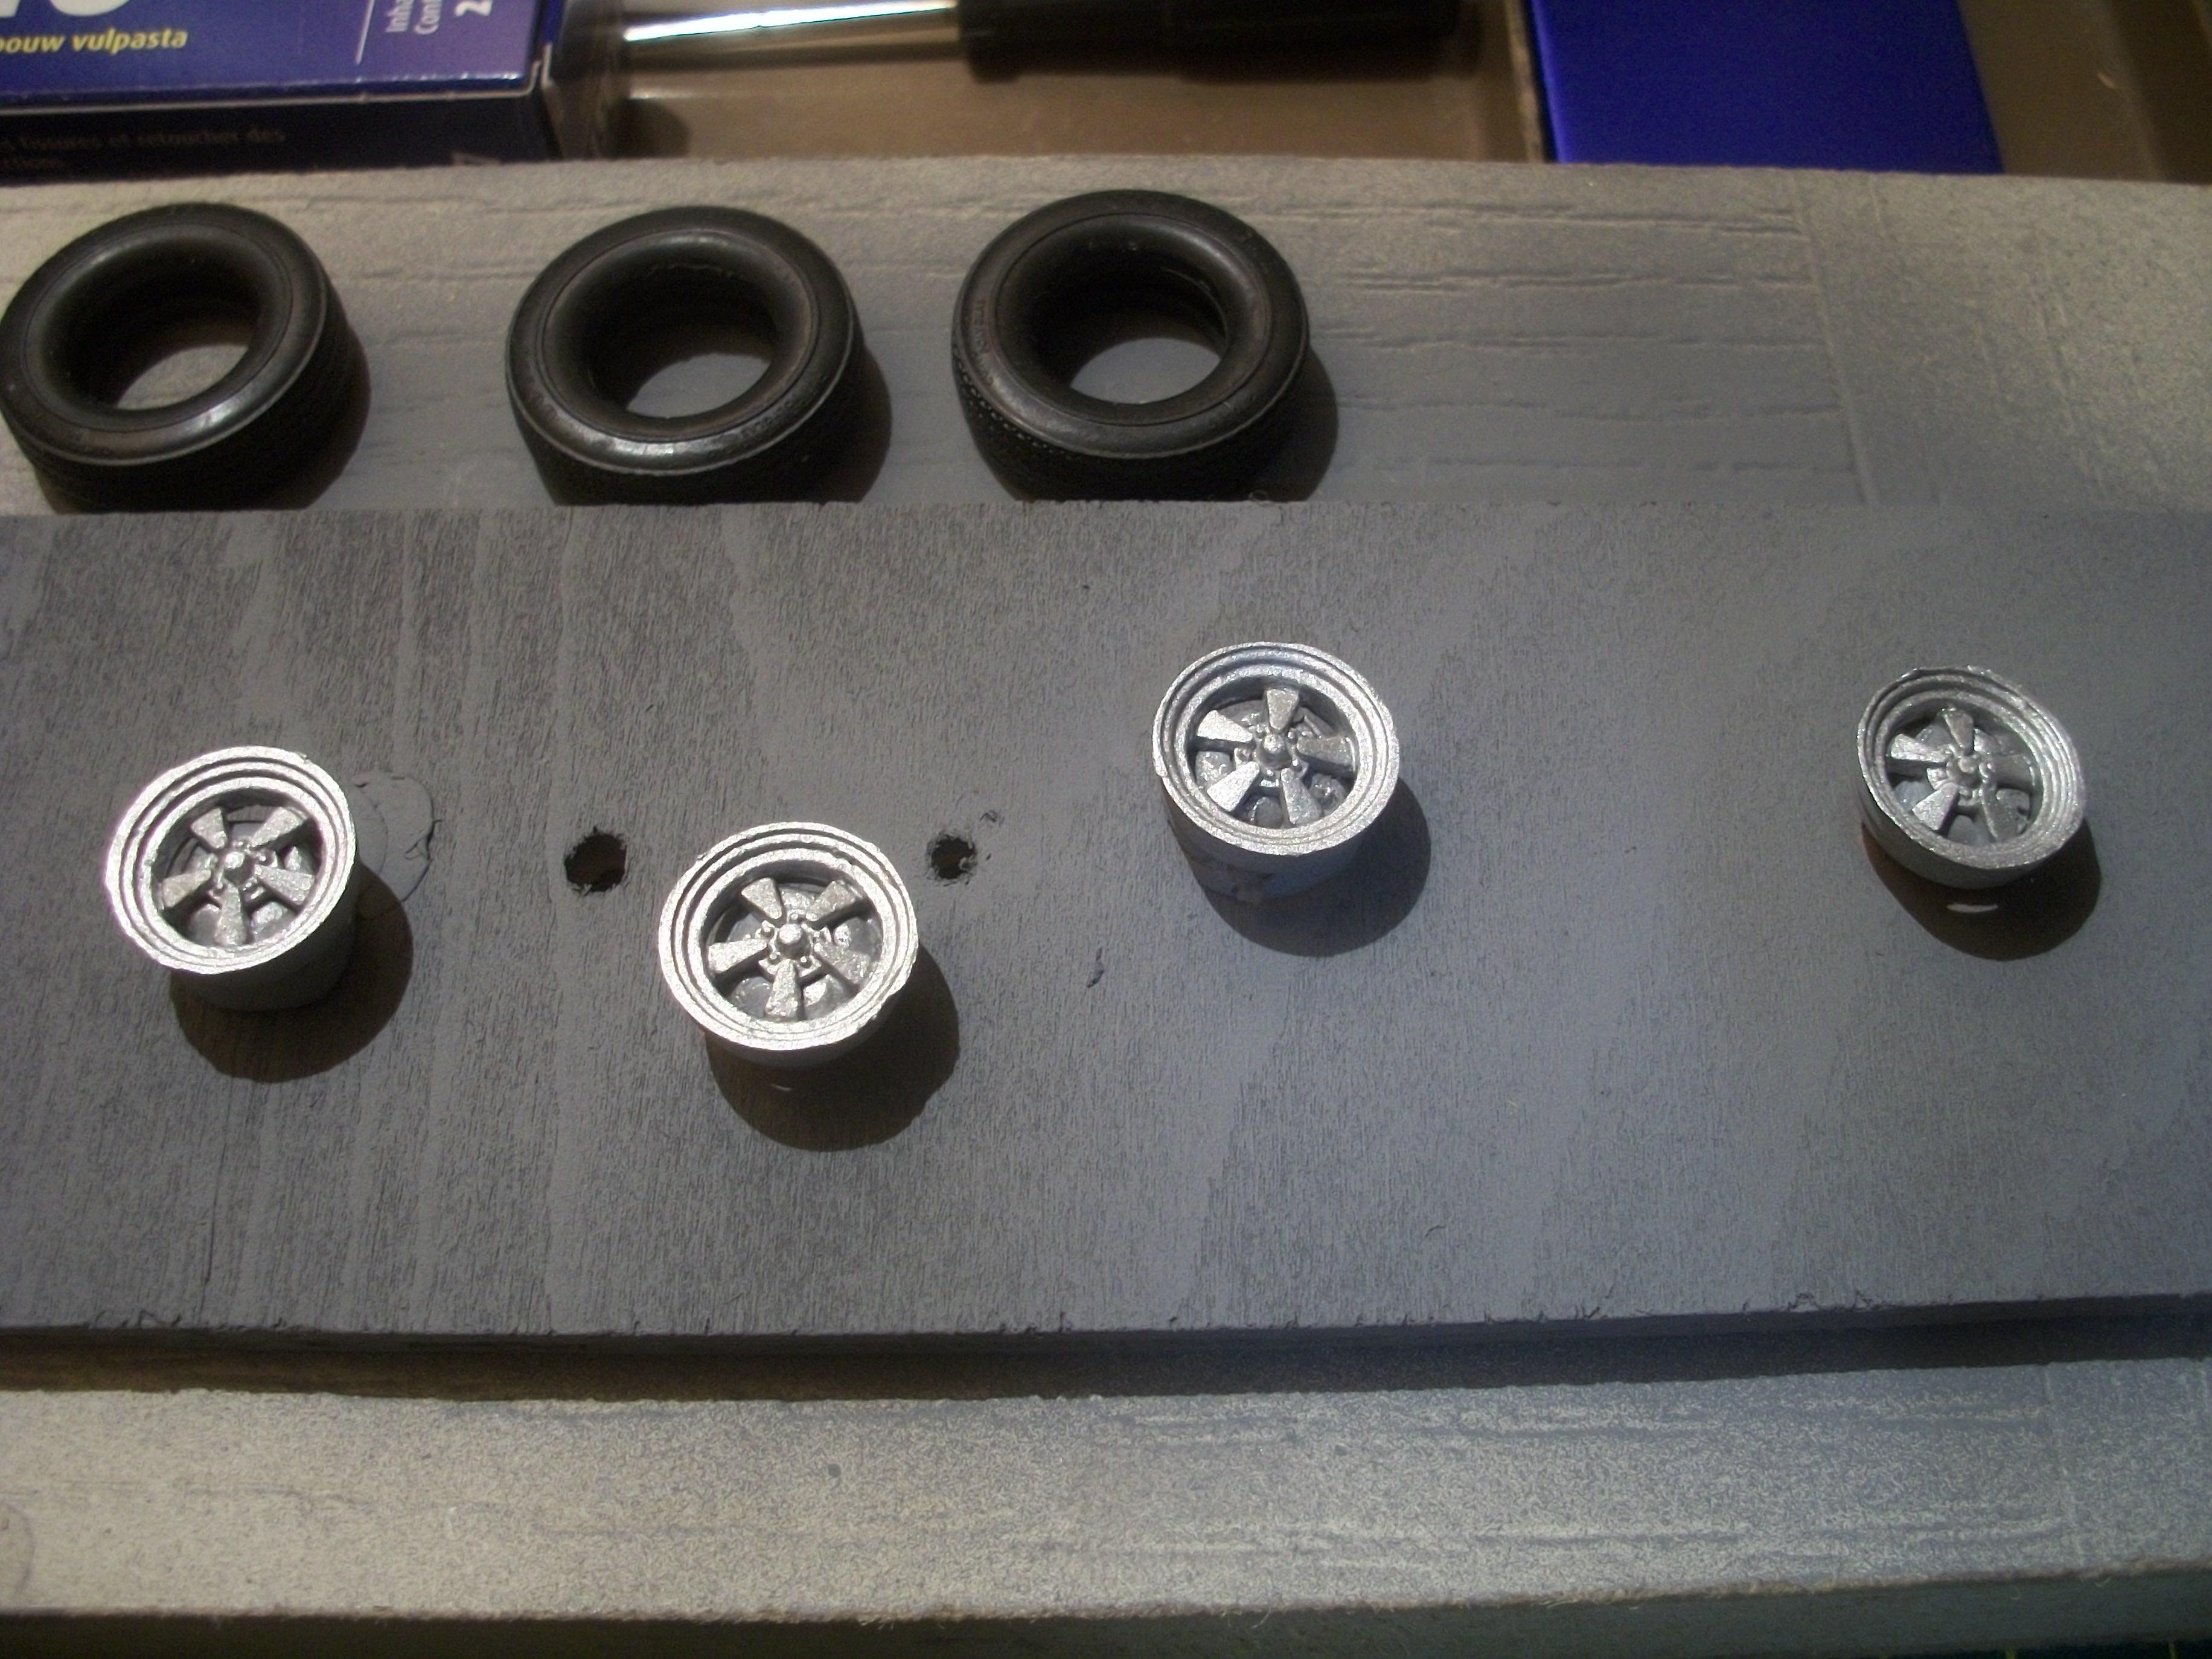
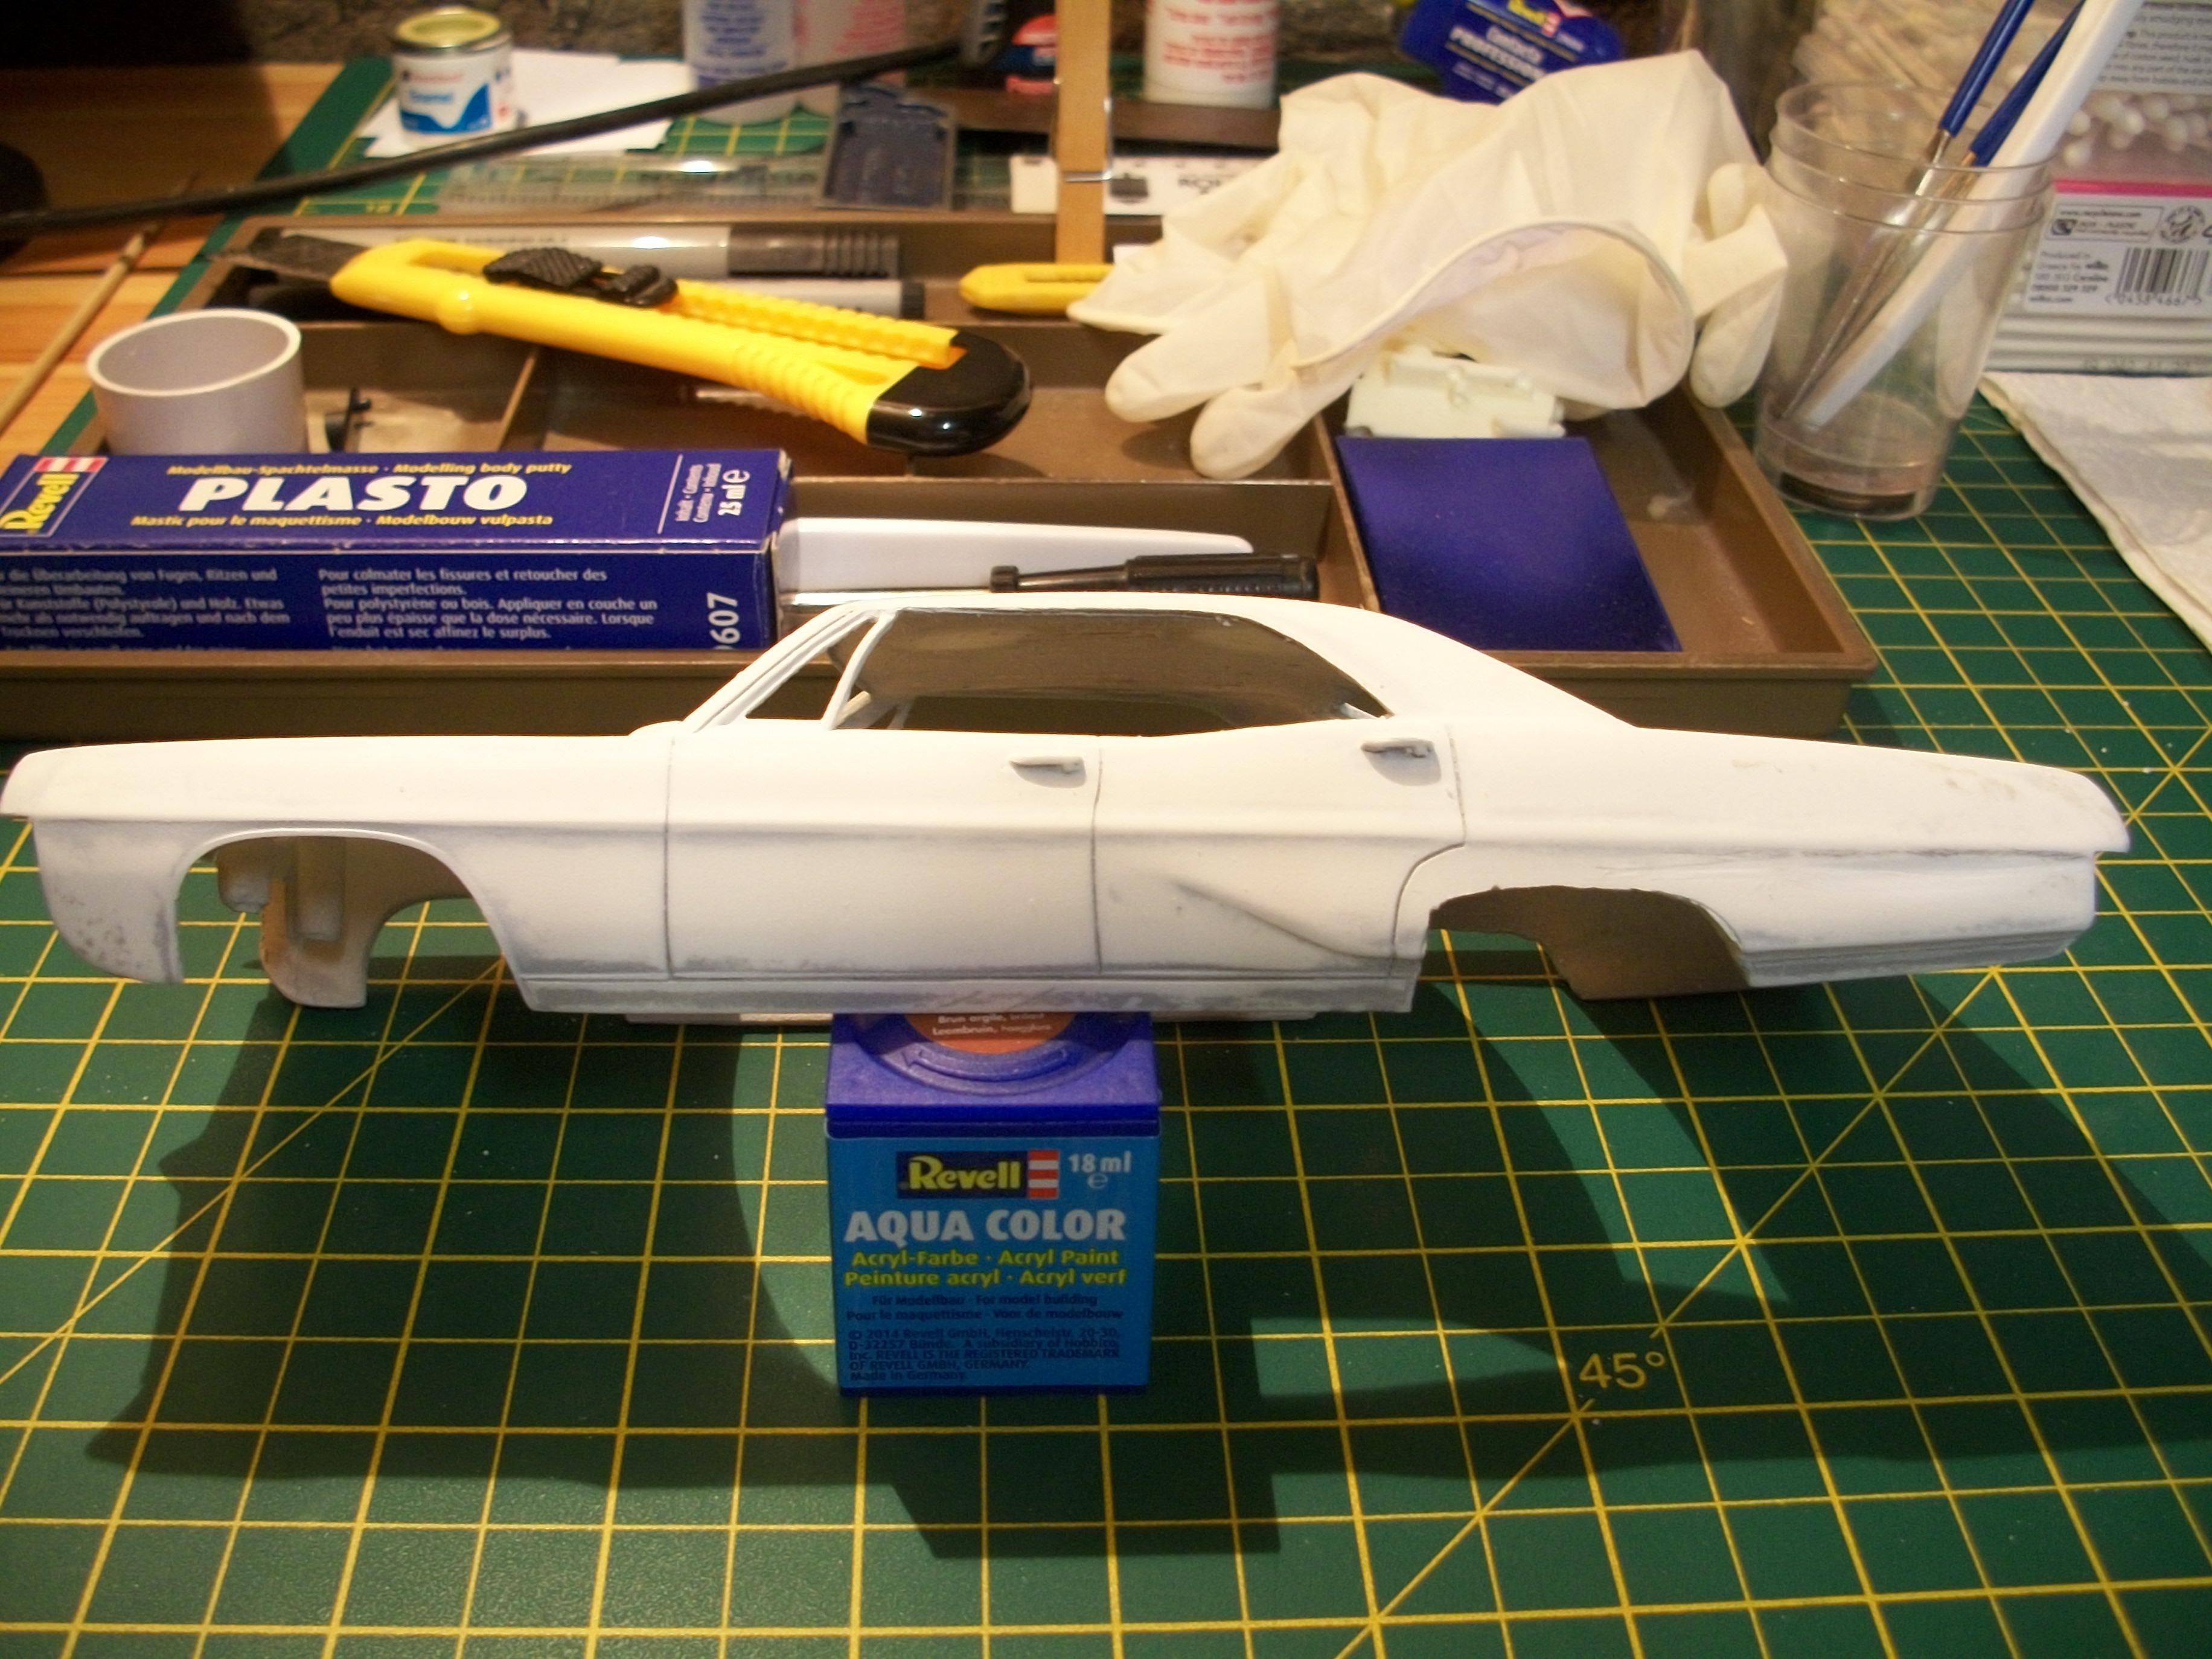
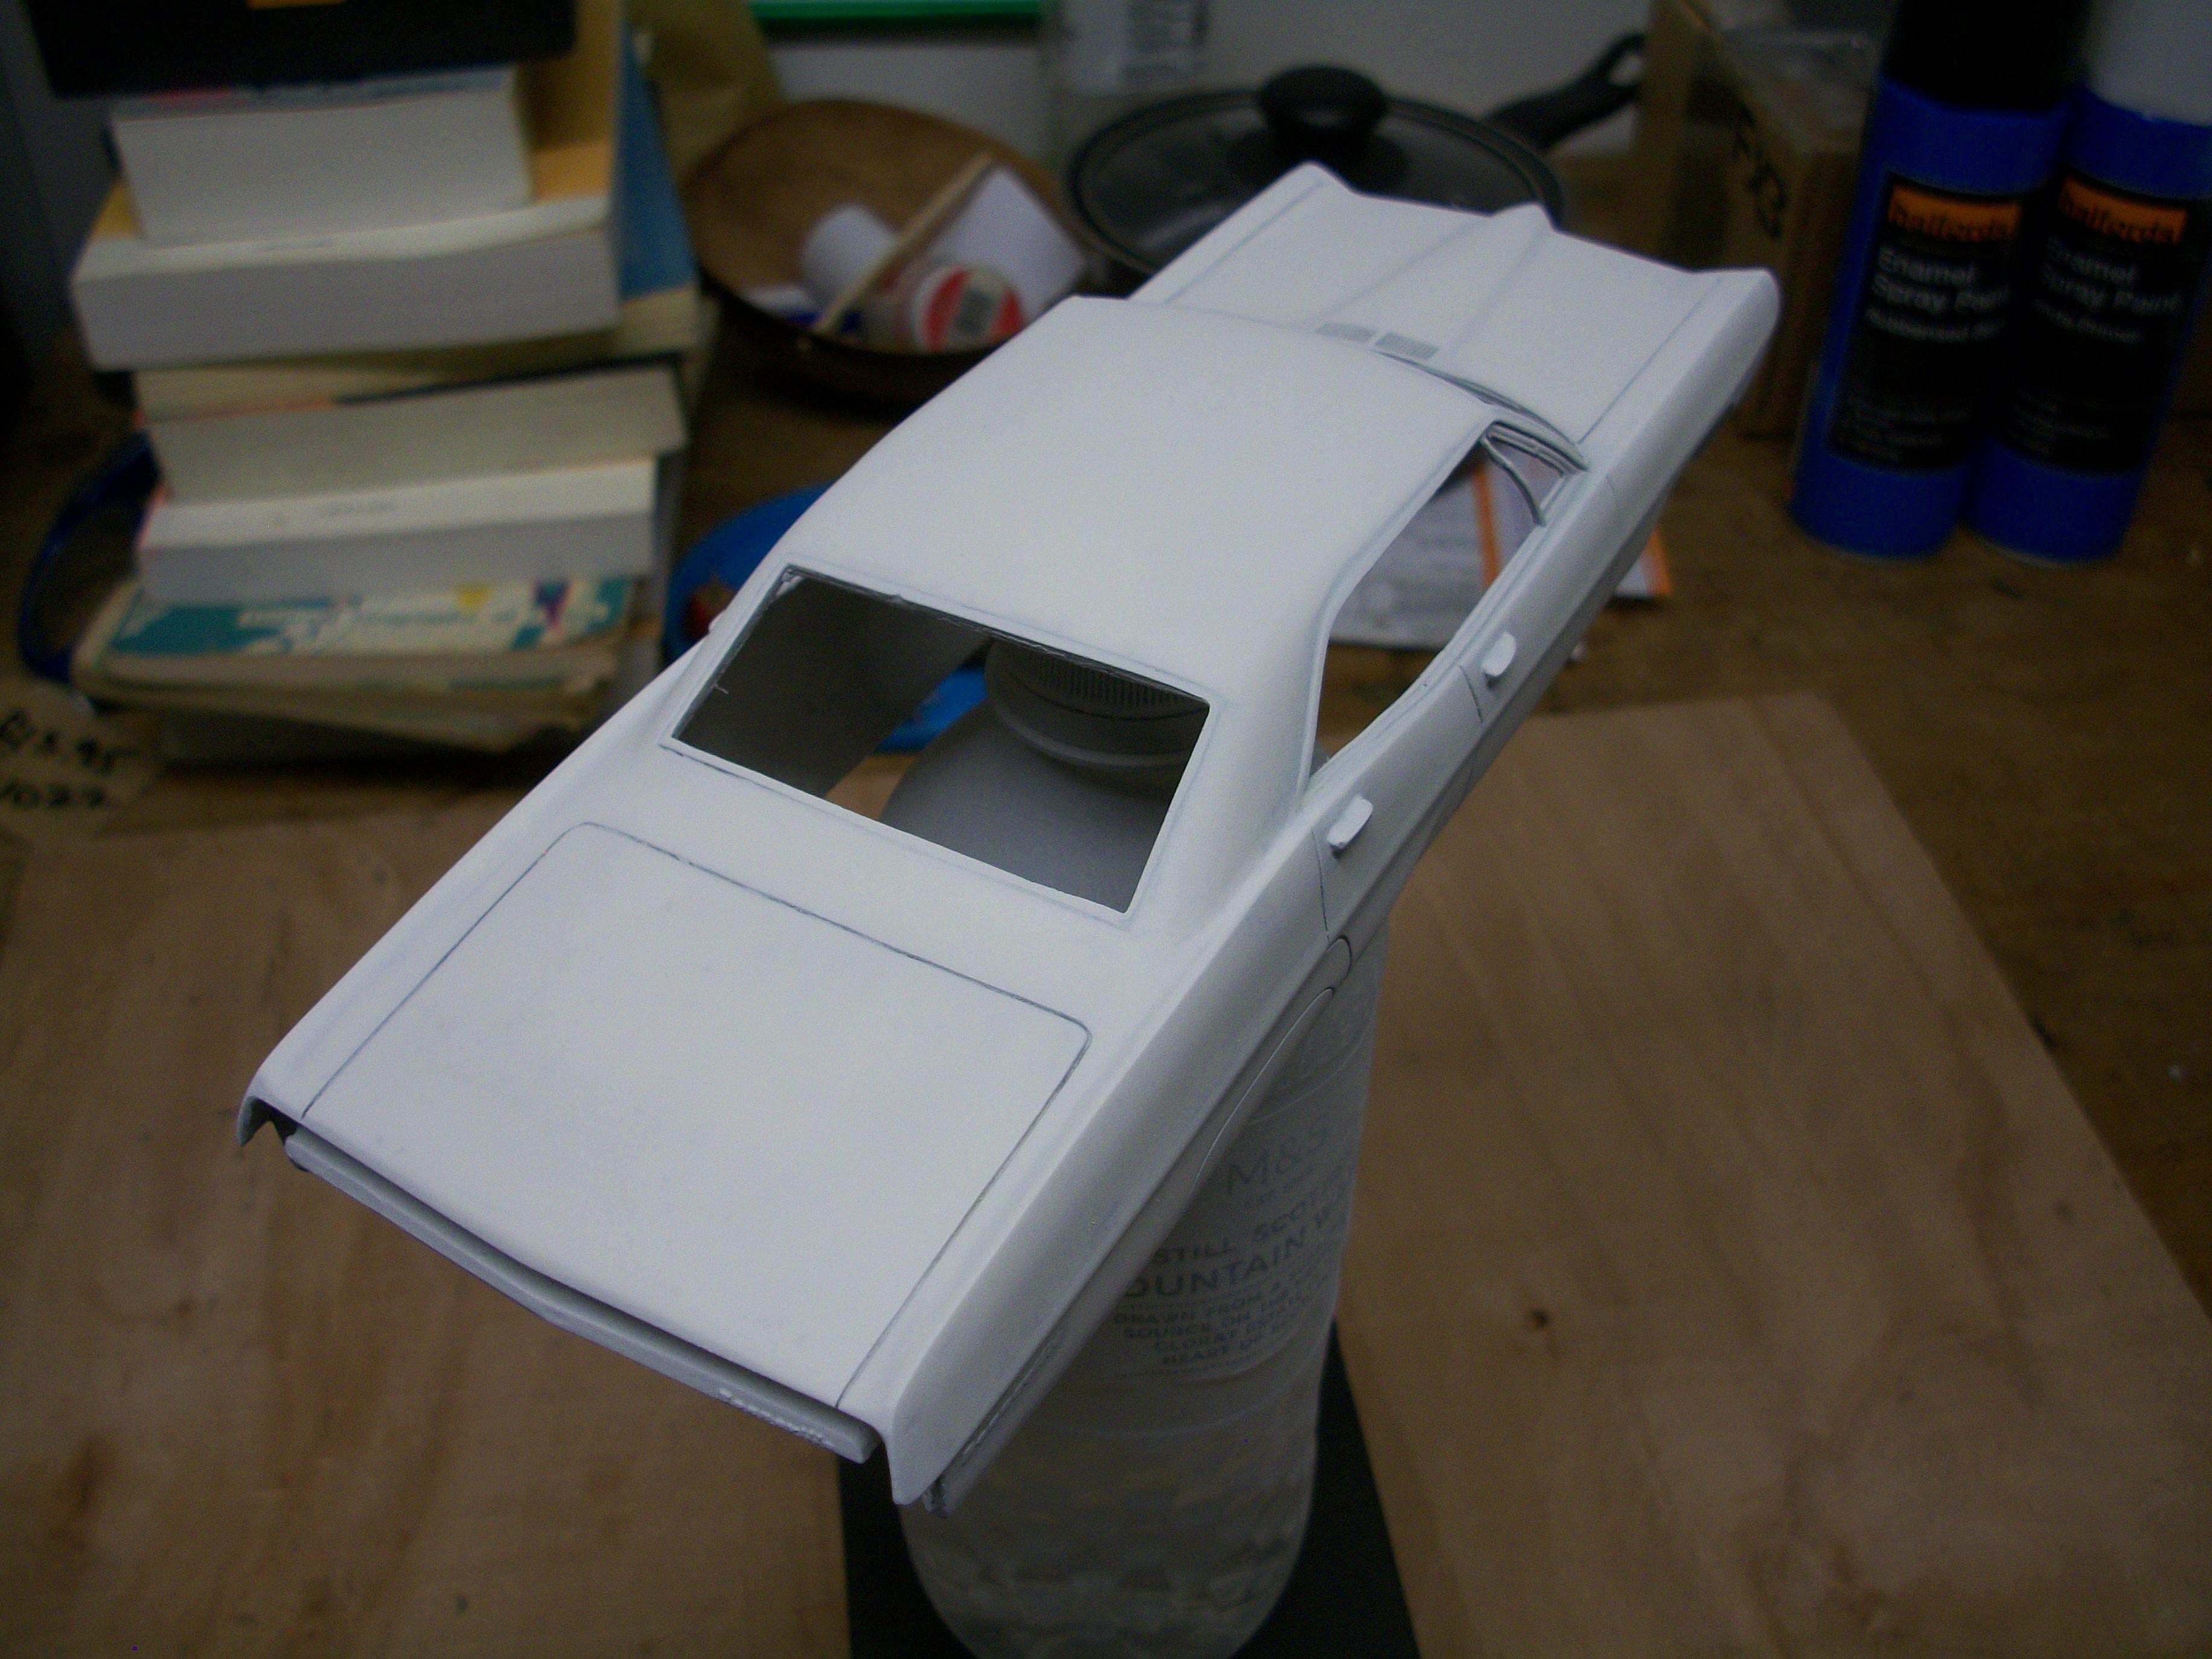
The road wheels on the full size Parisienne that I once owned were not chrome plated, as I remember. Today I gave the wheels a coat of grey primer and brush painted them using Revell Aluminium, as I didn't want to paint directly onto the chrome. Test fitted the rear body panel and also the front body panel. I shall probably use the lower half of the front panel, but at the moment I am awaiting grille parts that are in the post from Australia, thanks to a kind fellow MCM member. The windscreen included with the '67 Bonneville resin kit has a horrible dent at the centre top edge, so I am going to use the screen from the '70 Bonneville kit, which is a surprisingly good fit. Marked the location for the RHD foot pedals and removed the LHD foot pedals with a diamond file. I should be able to cut out the brake and accelerator pedals from thin styrene and super glue in place. David
-
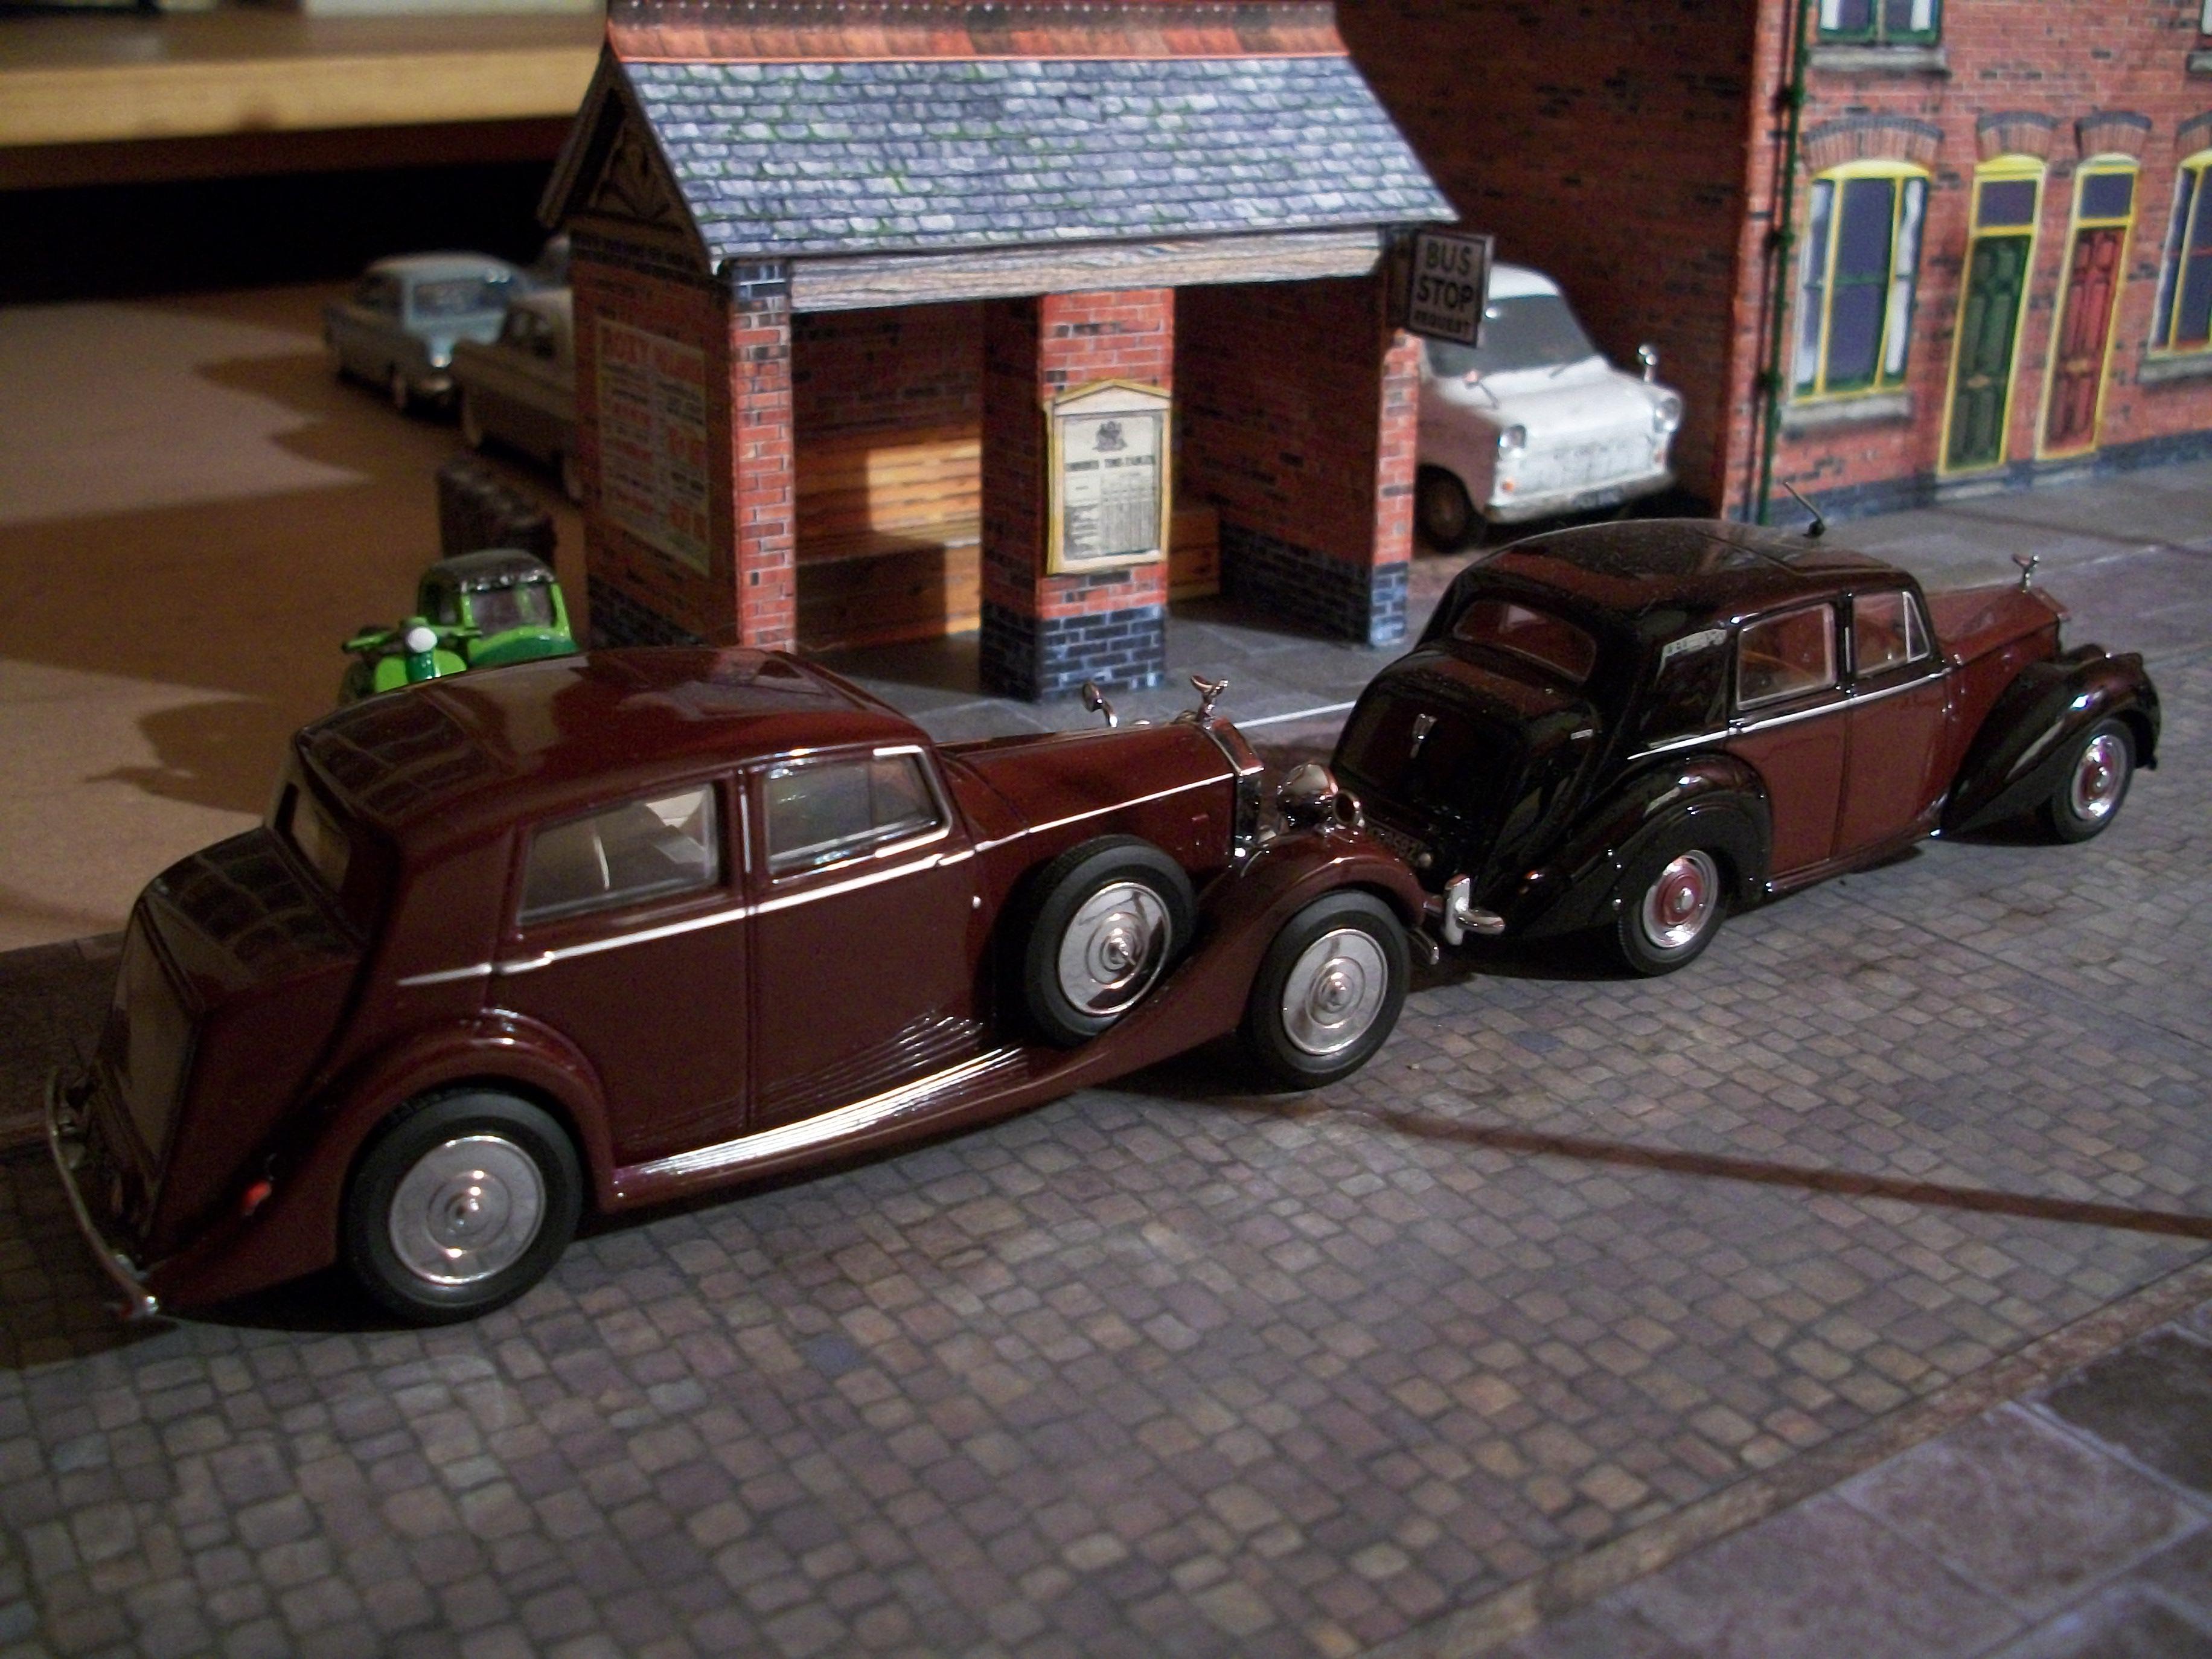
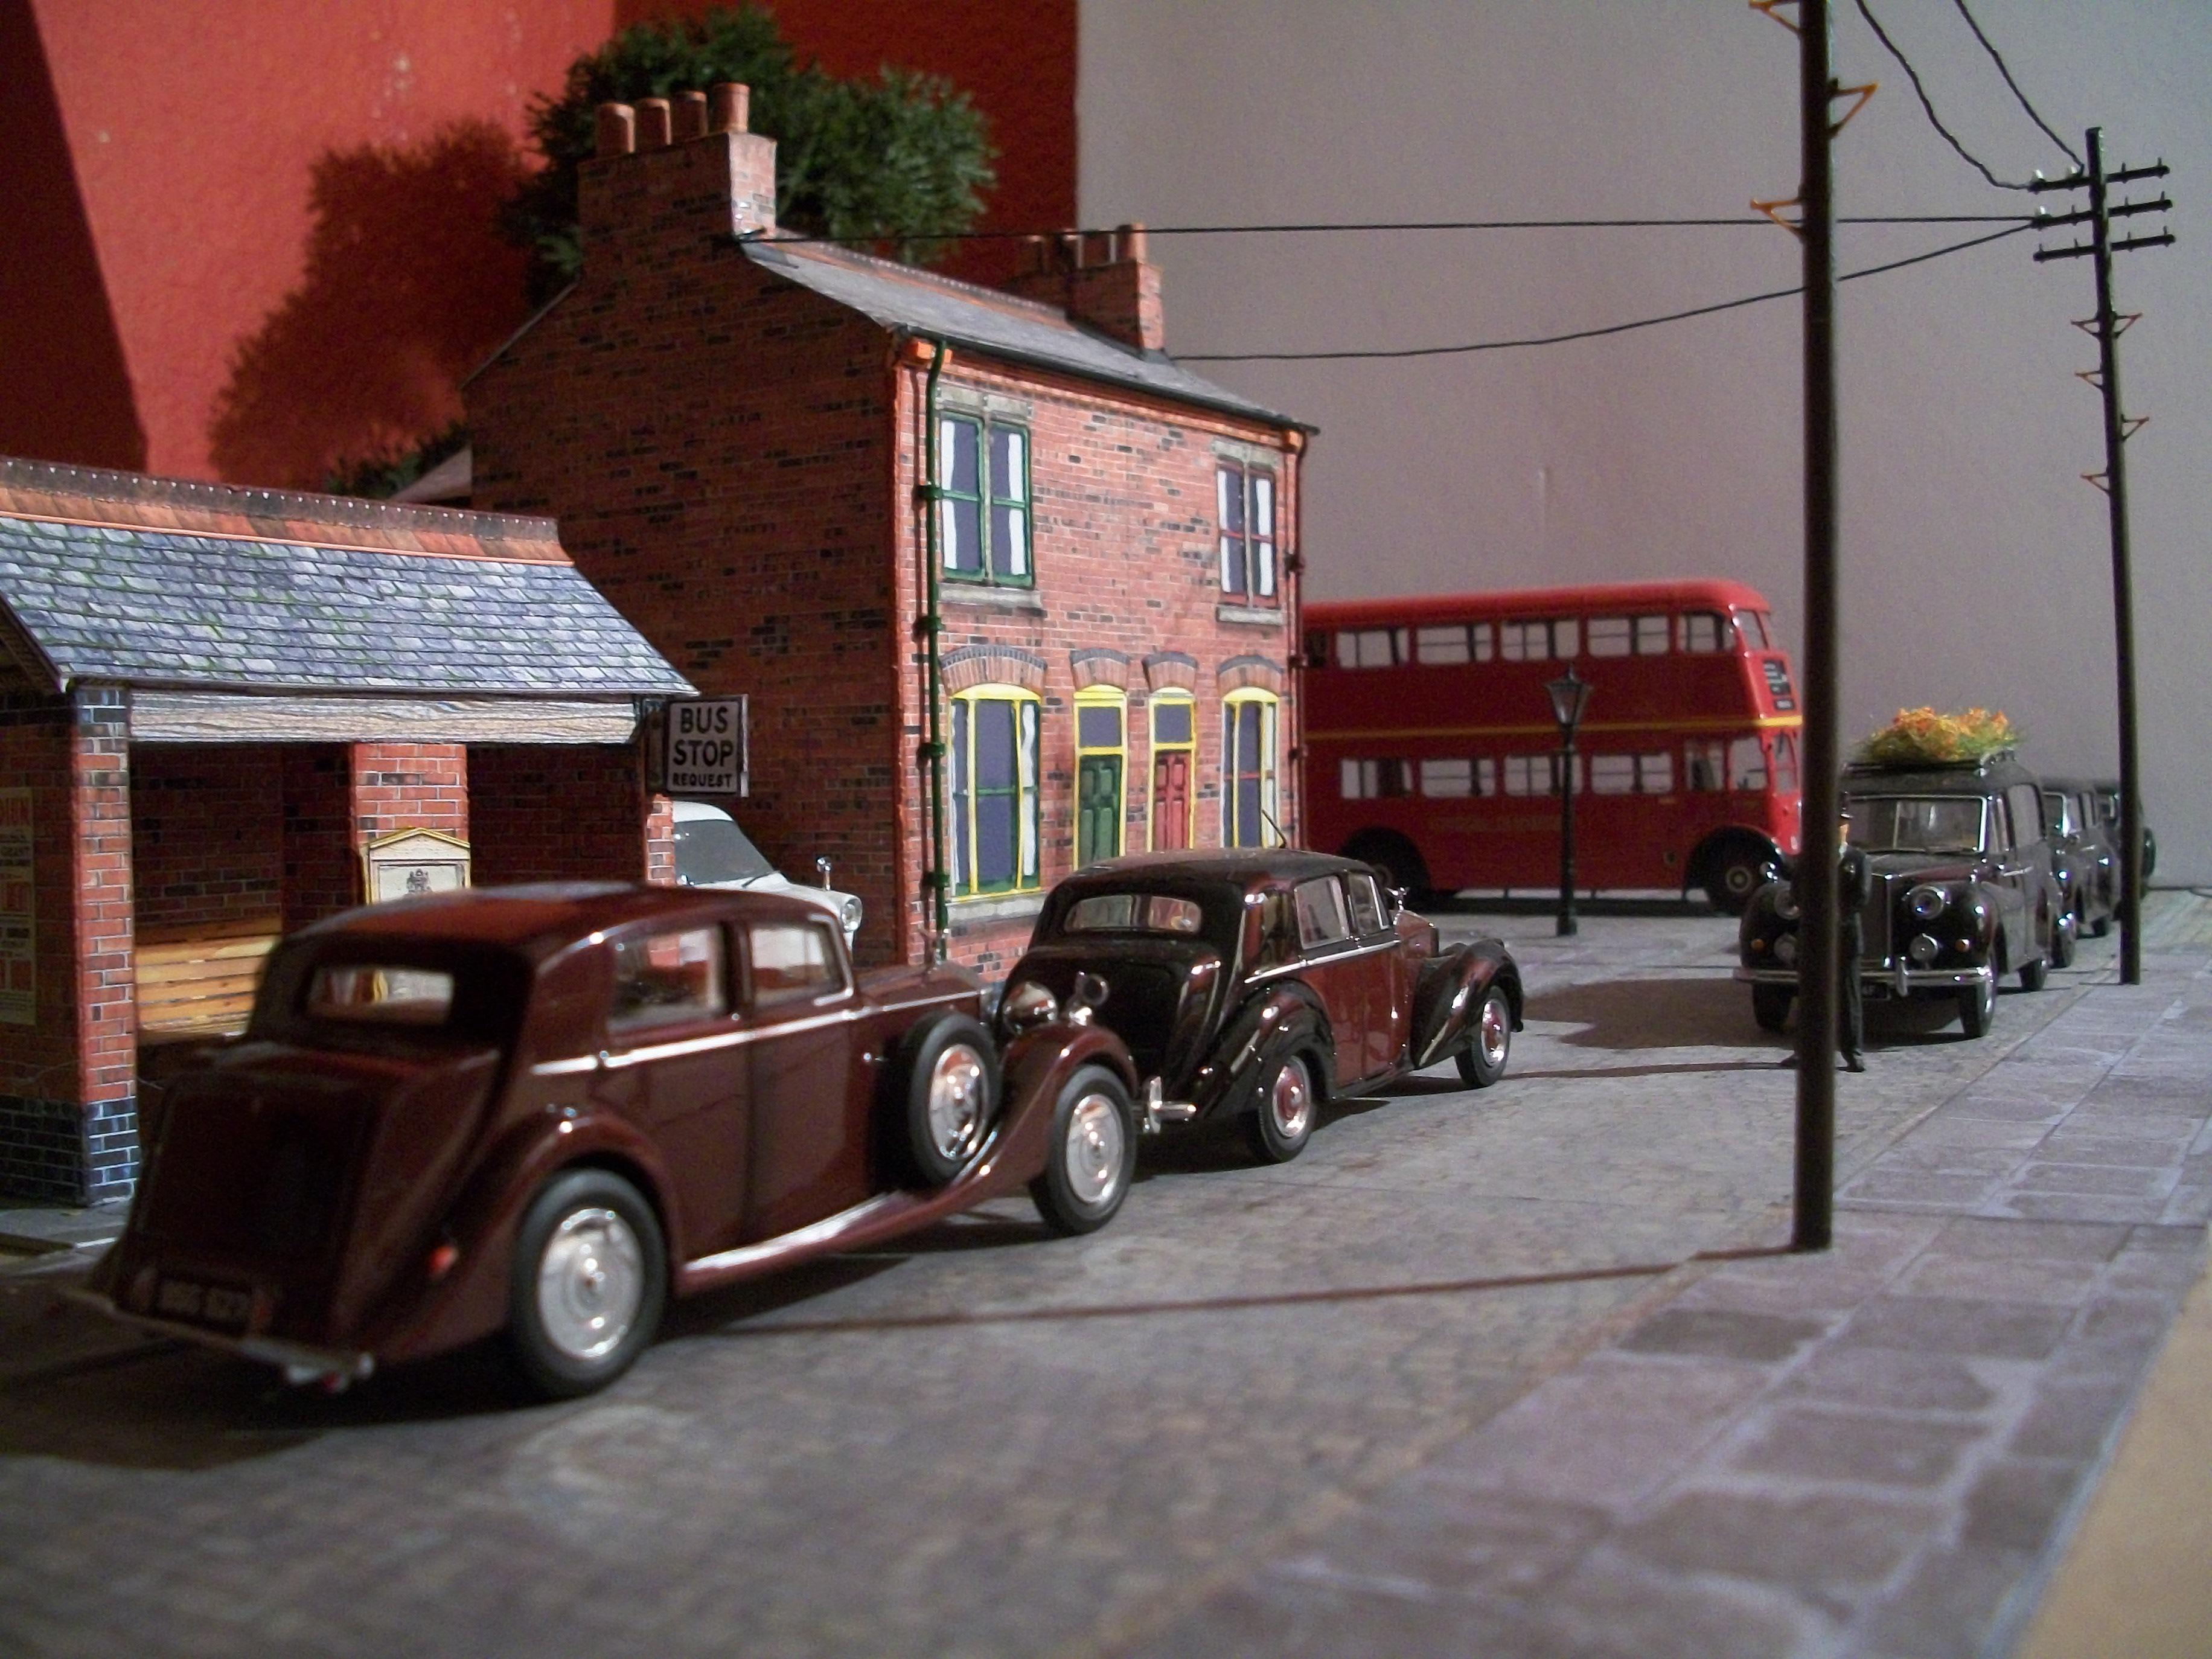
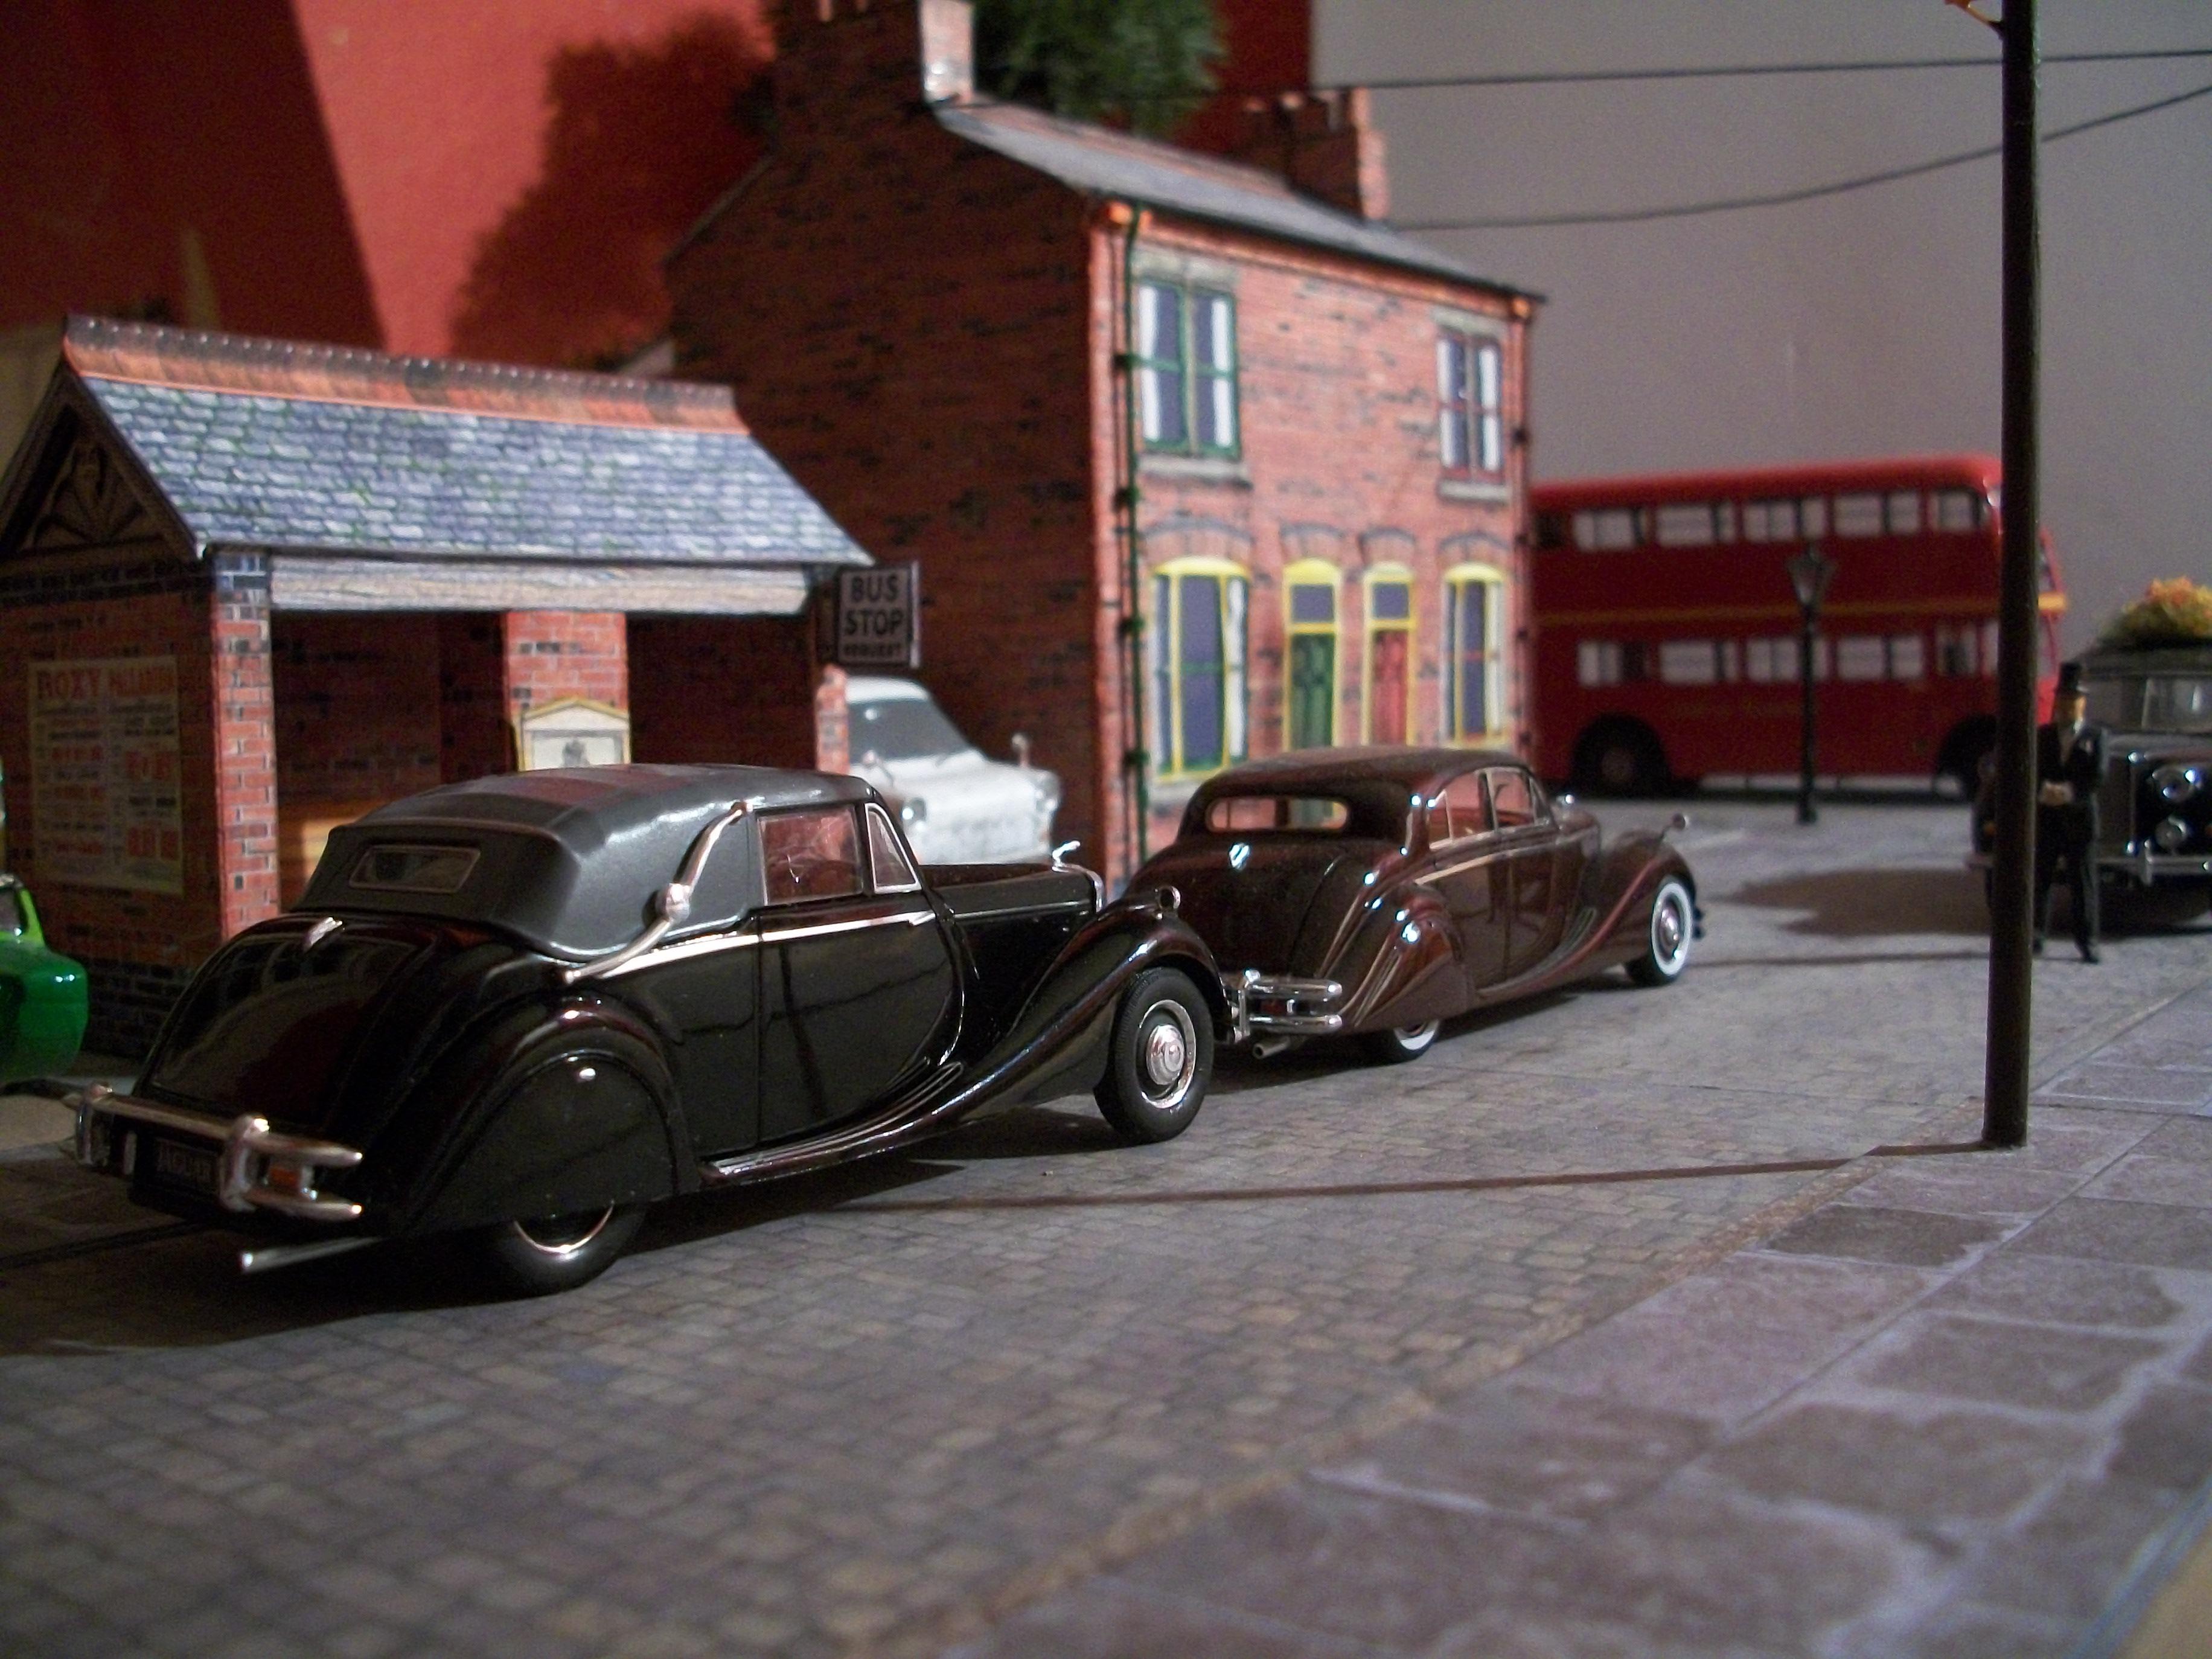
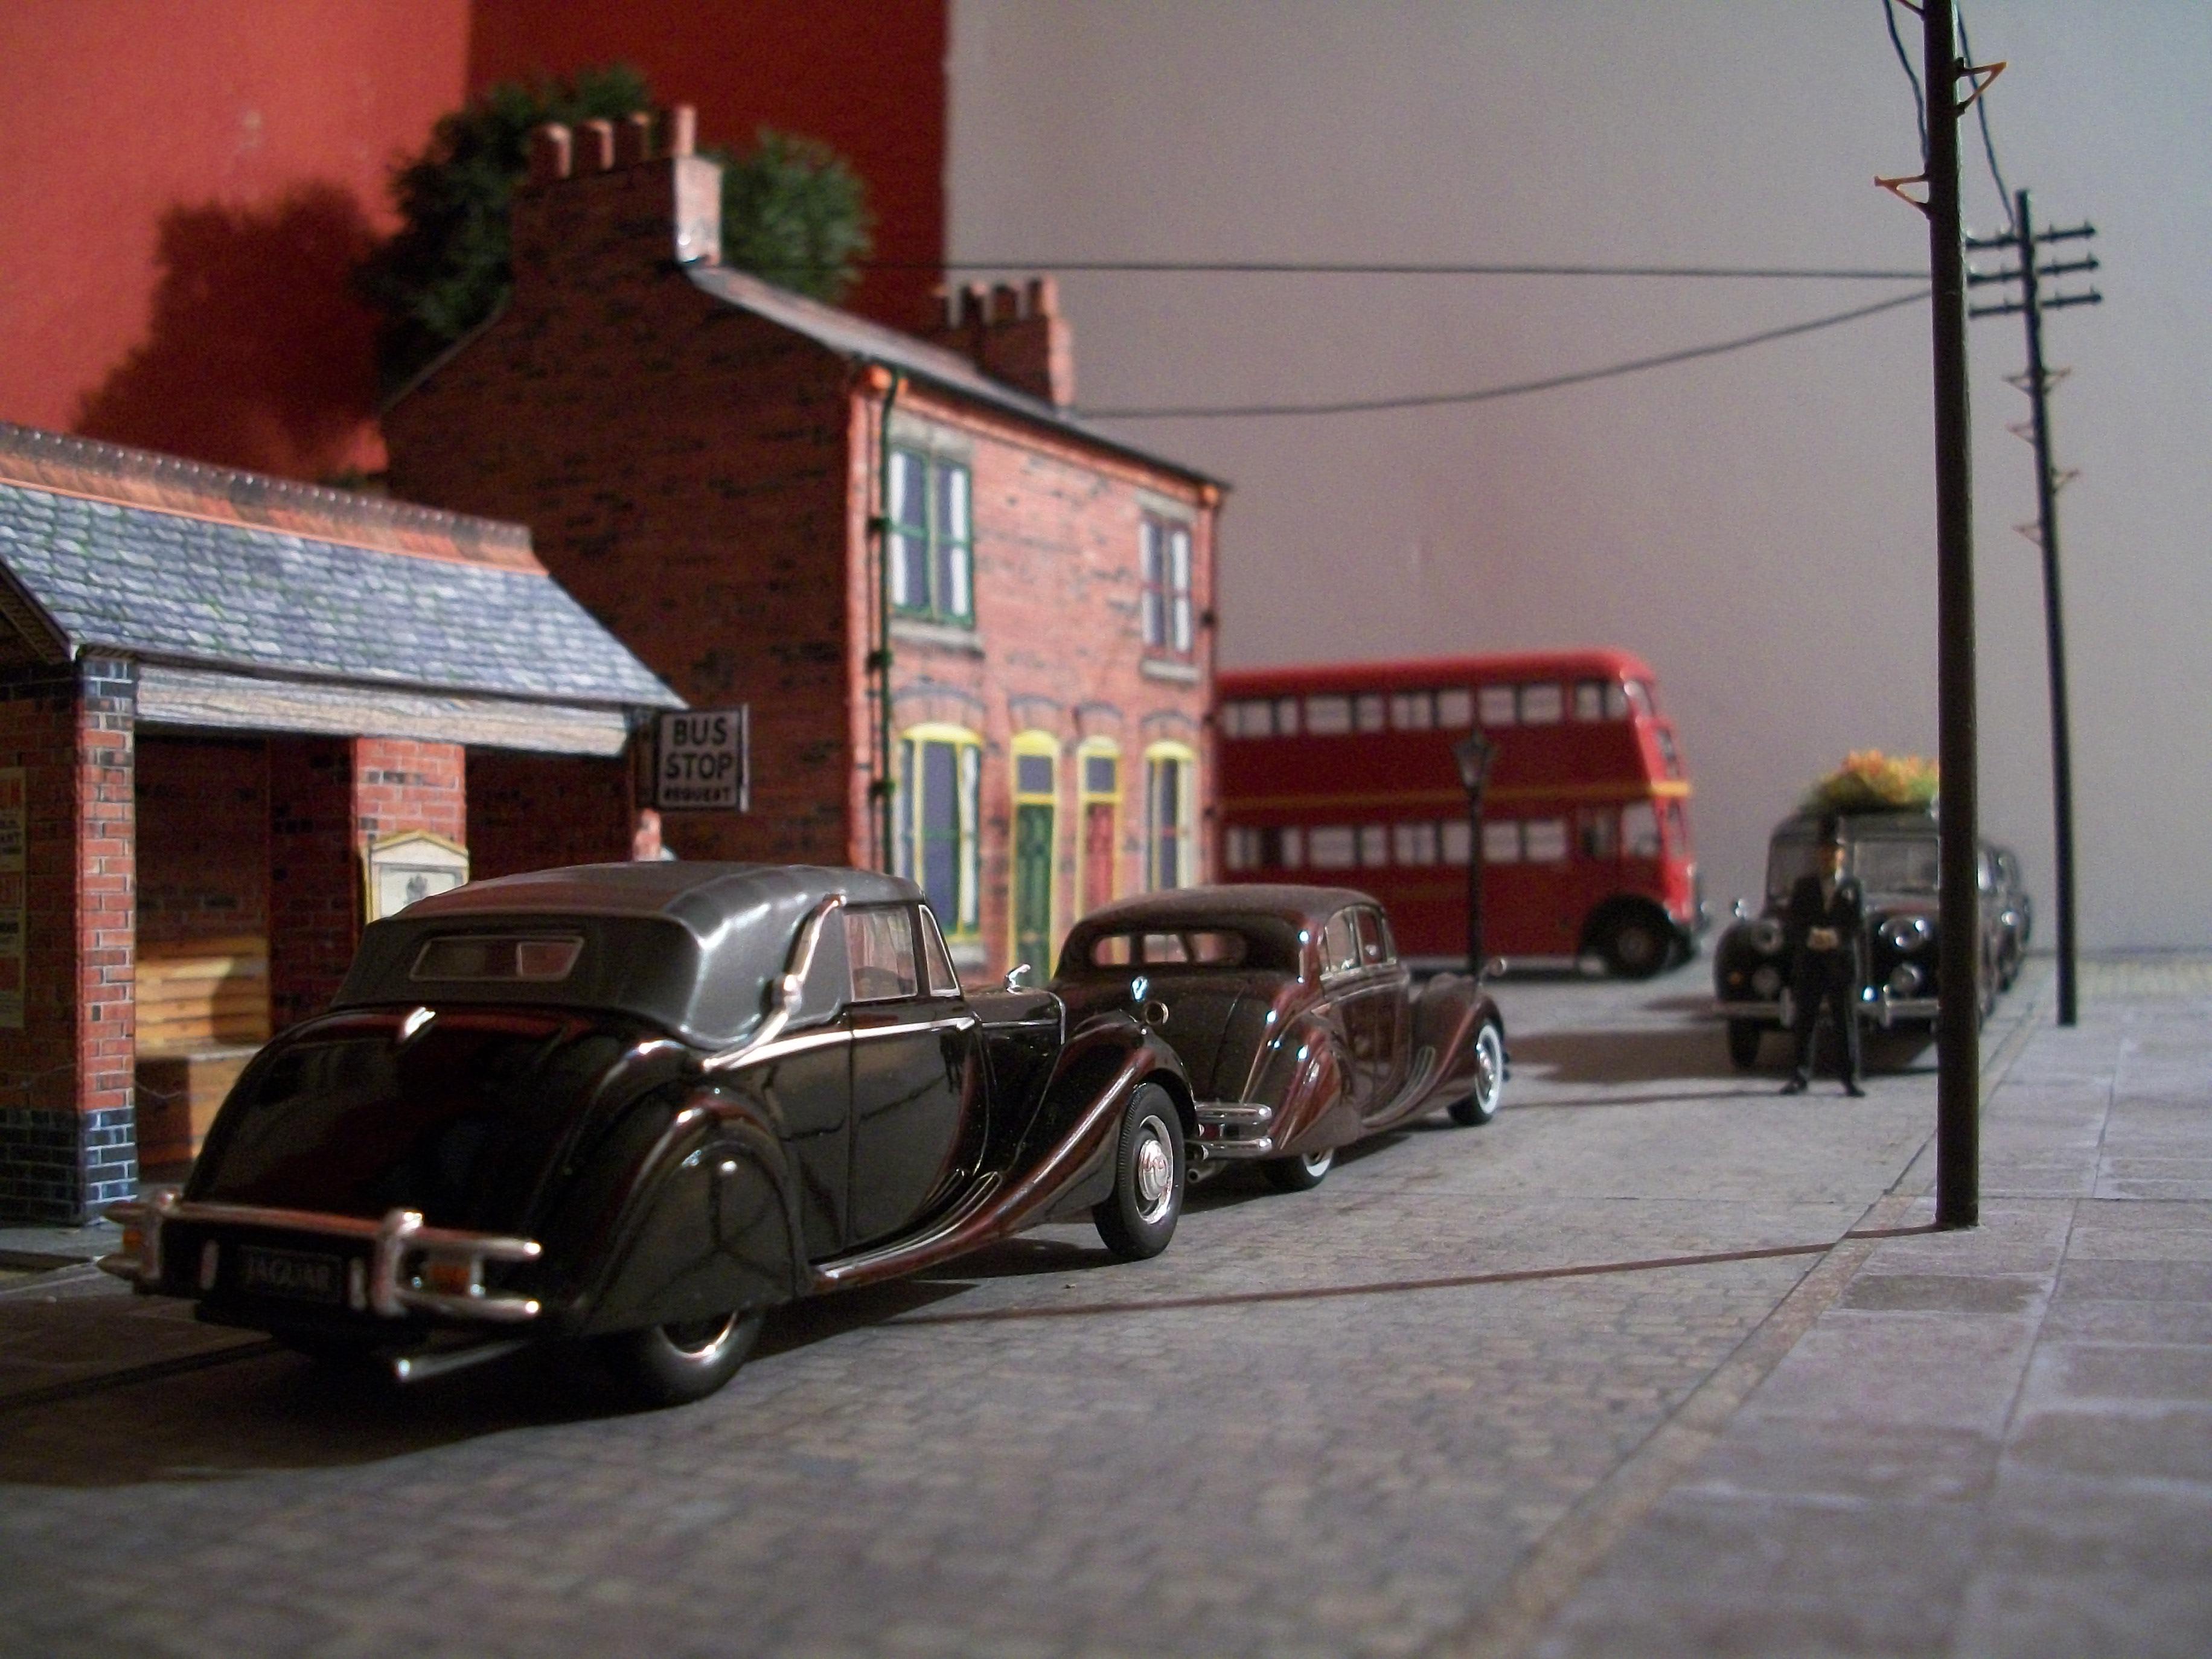
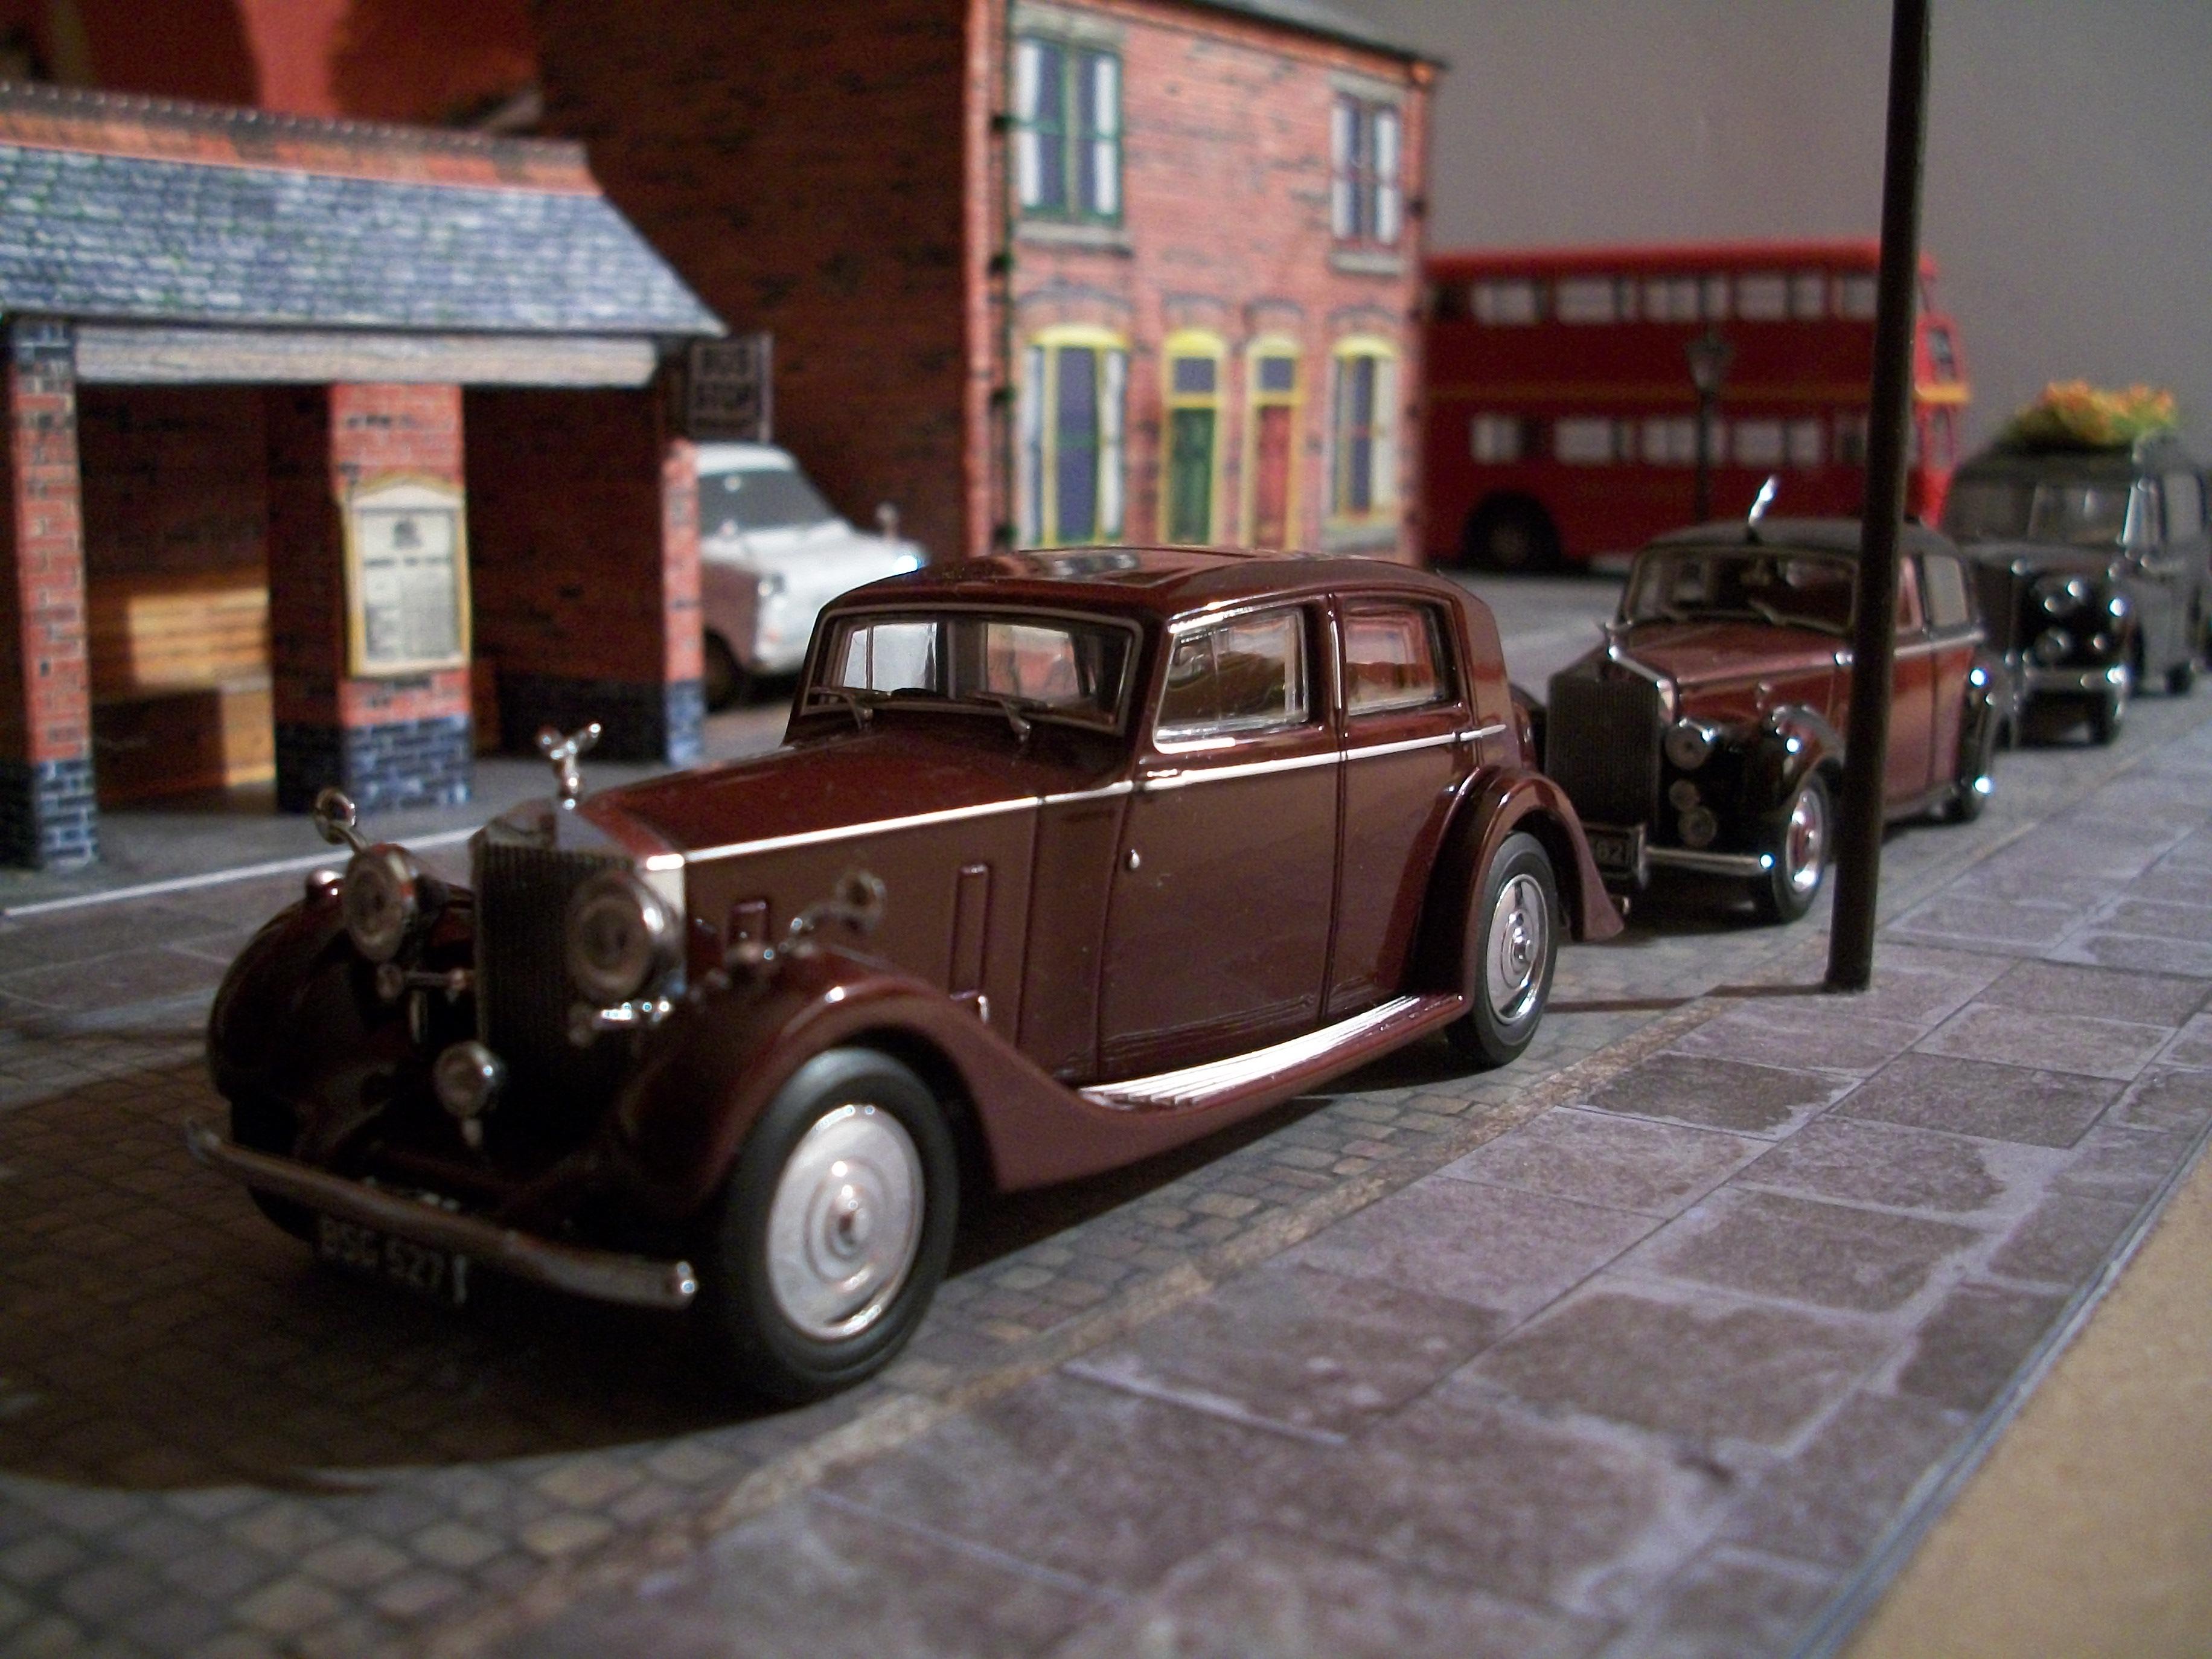
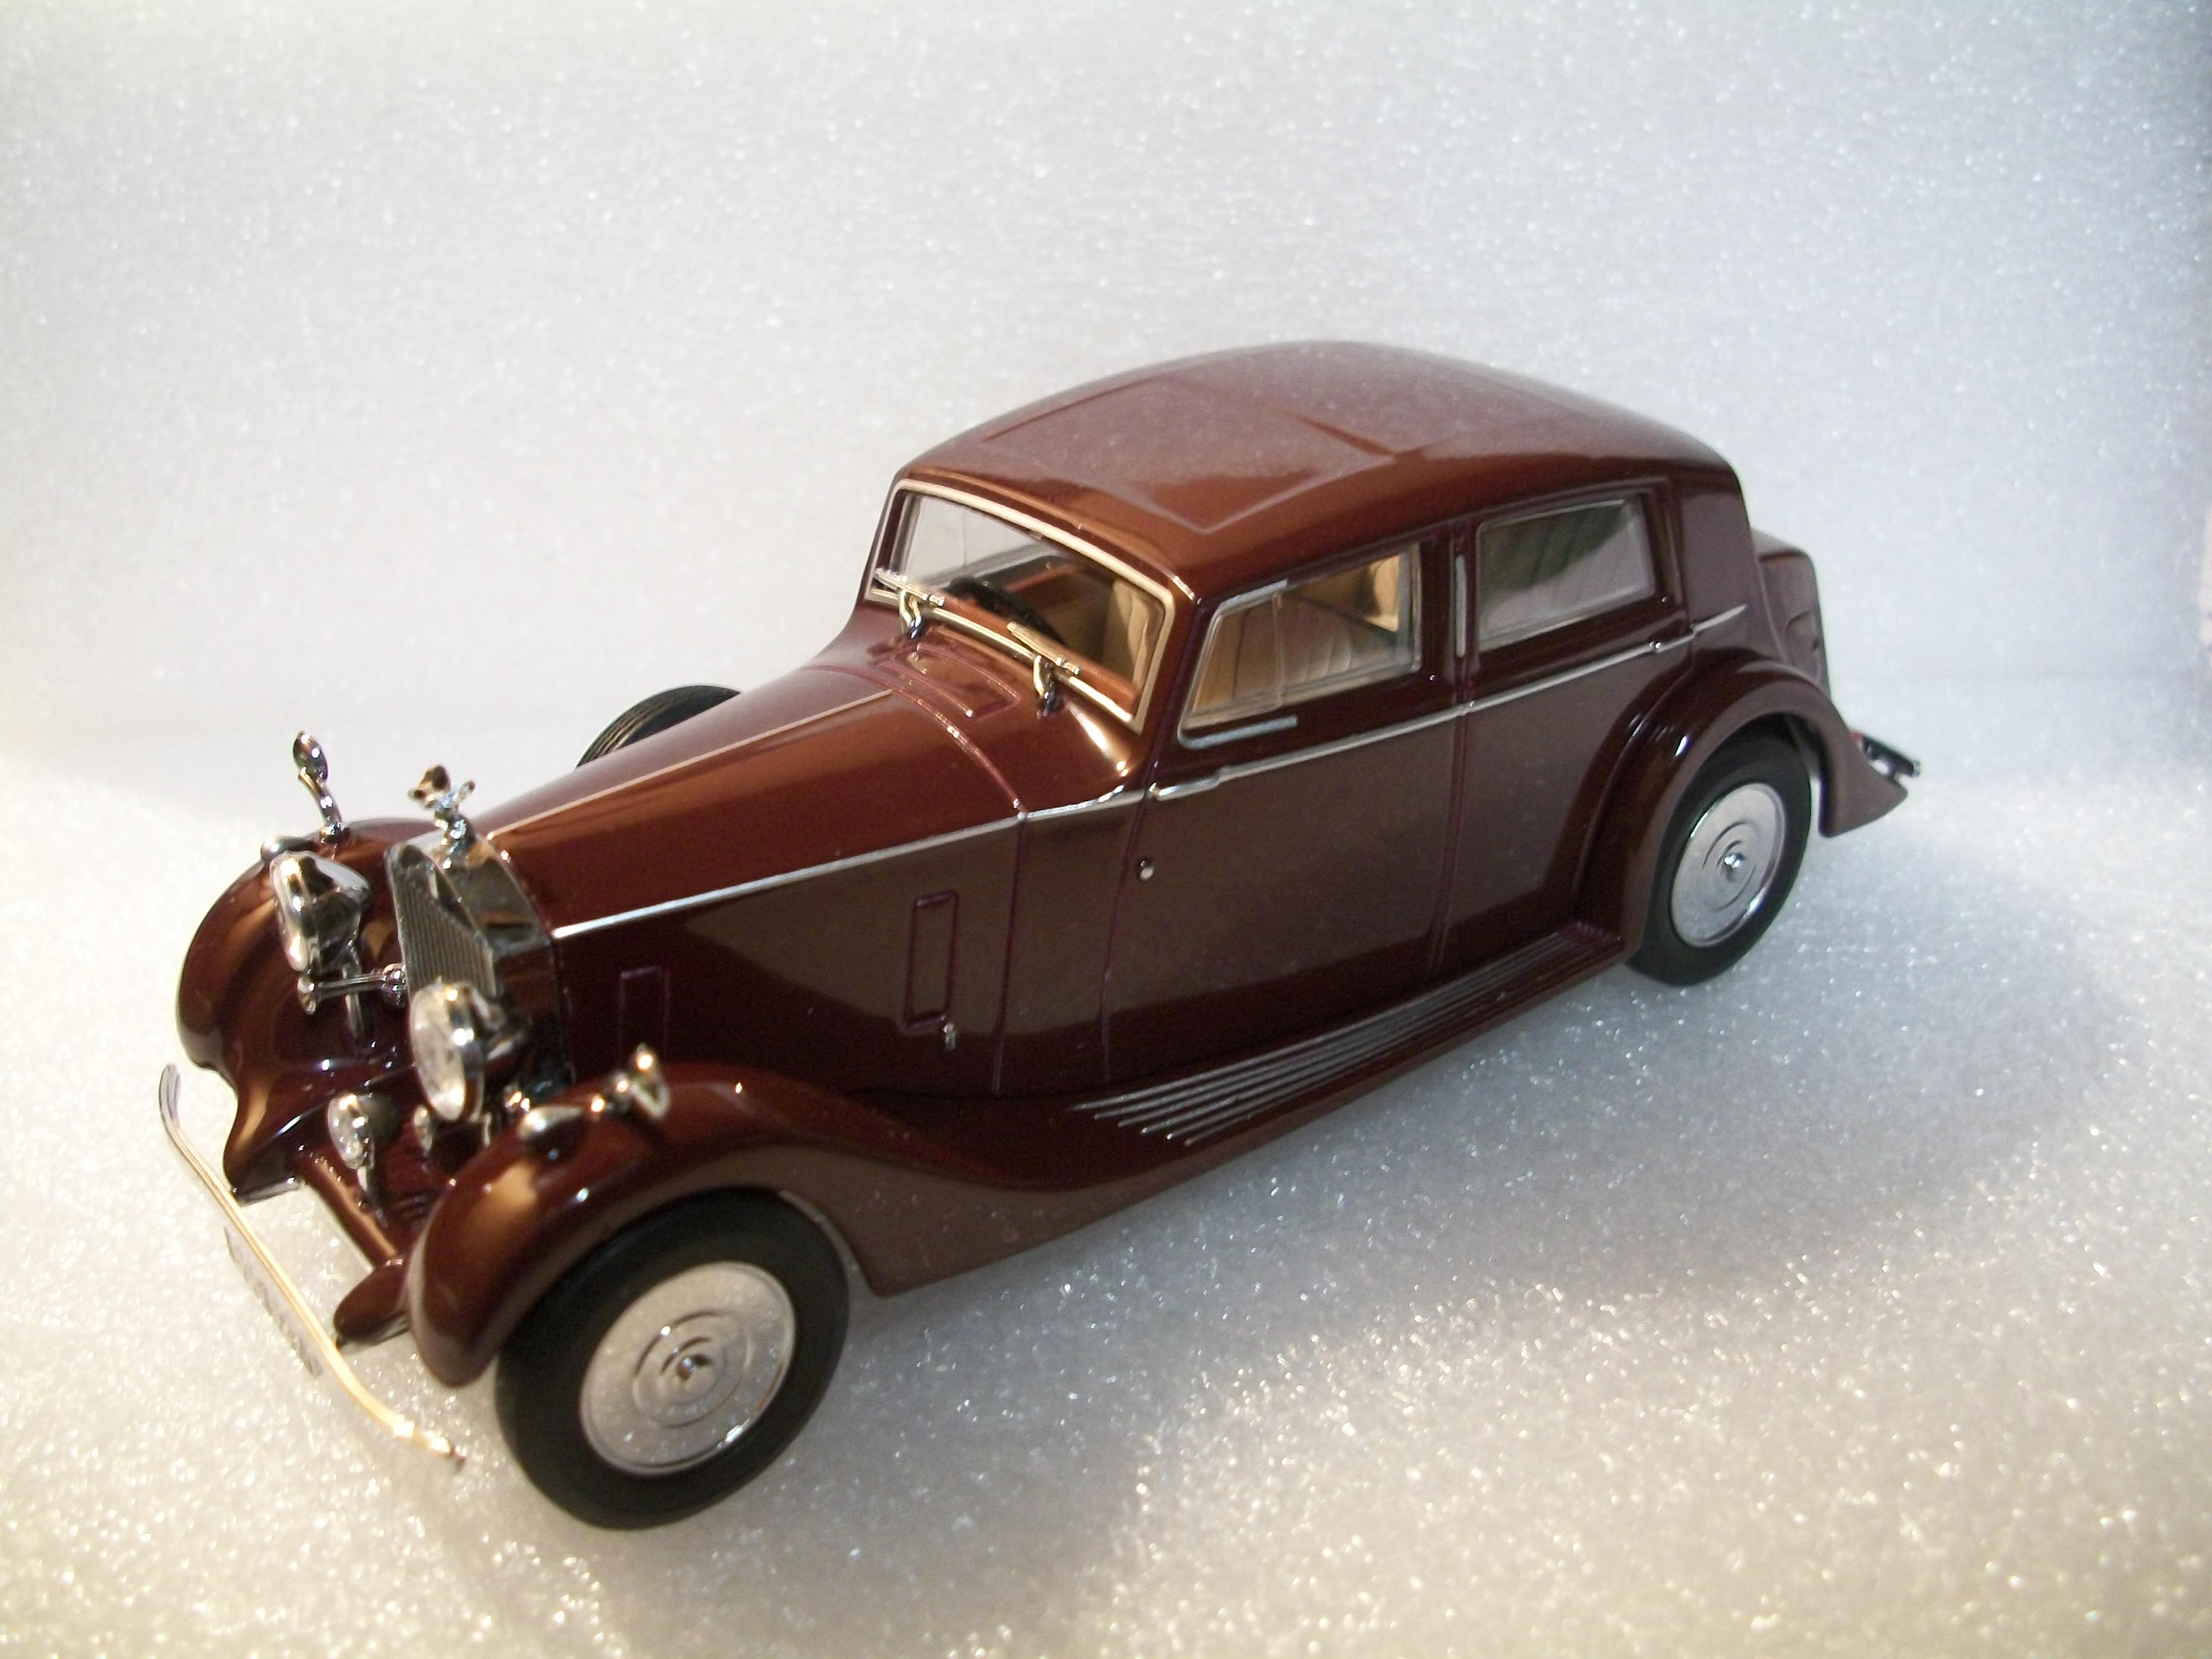
Here are a few photos, after a lengthy period of inactivity on the diorama front at least, showing a second Jaguar MK V motor car in 1:43 scale. This one is a soft top finished in black and I think it compliments the hard top version finished in brown quite nicely. Also, there is a Rolls-Royce 25/30 HP Thrupp & Maberley which is finished in burgundy, and this has been photographed alongside a Rolls-Royce Silver Dawn, which is finished in black and maroon. These two cars are similar in many ways, but there are some subtle differences between the two. David
-
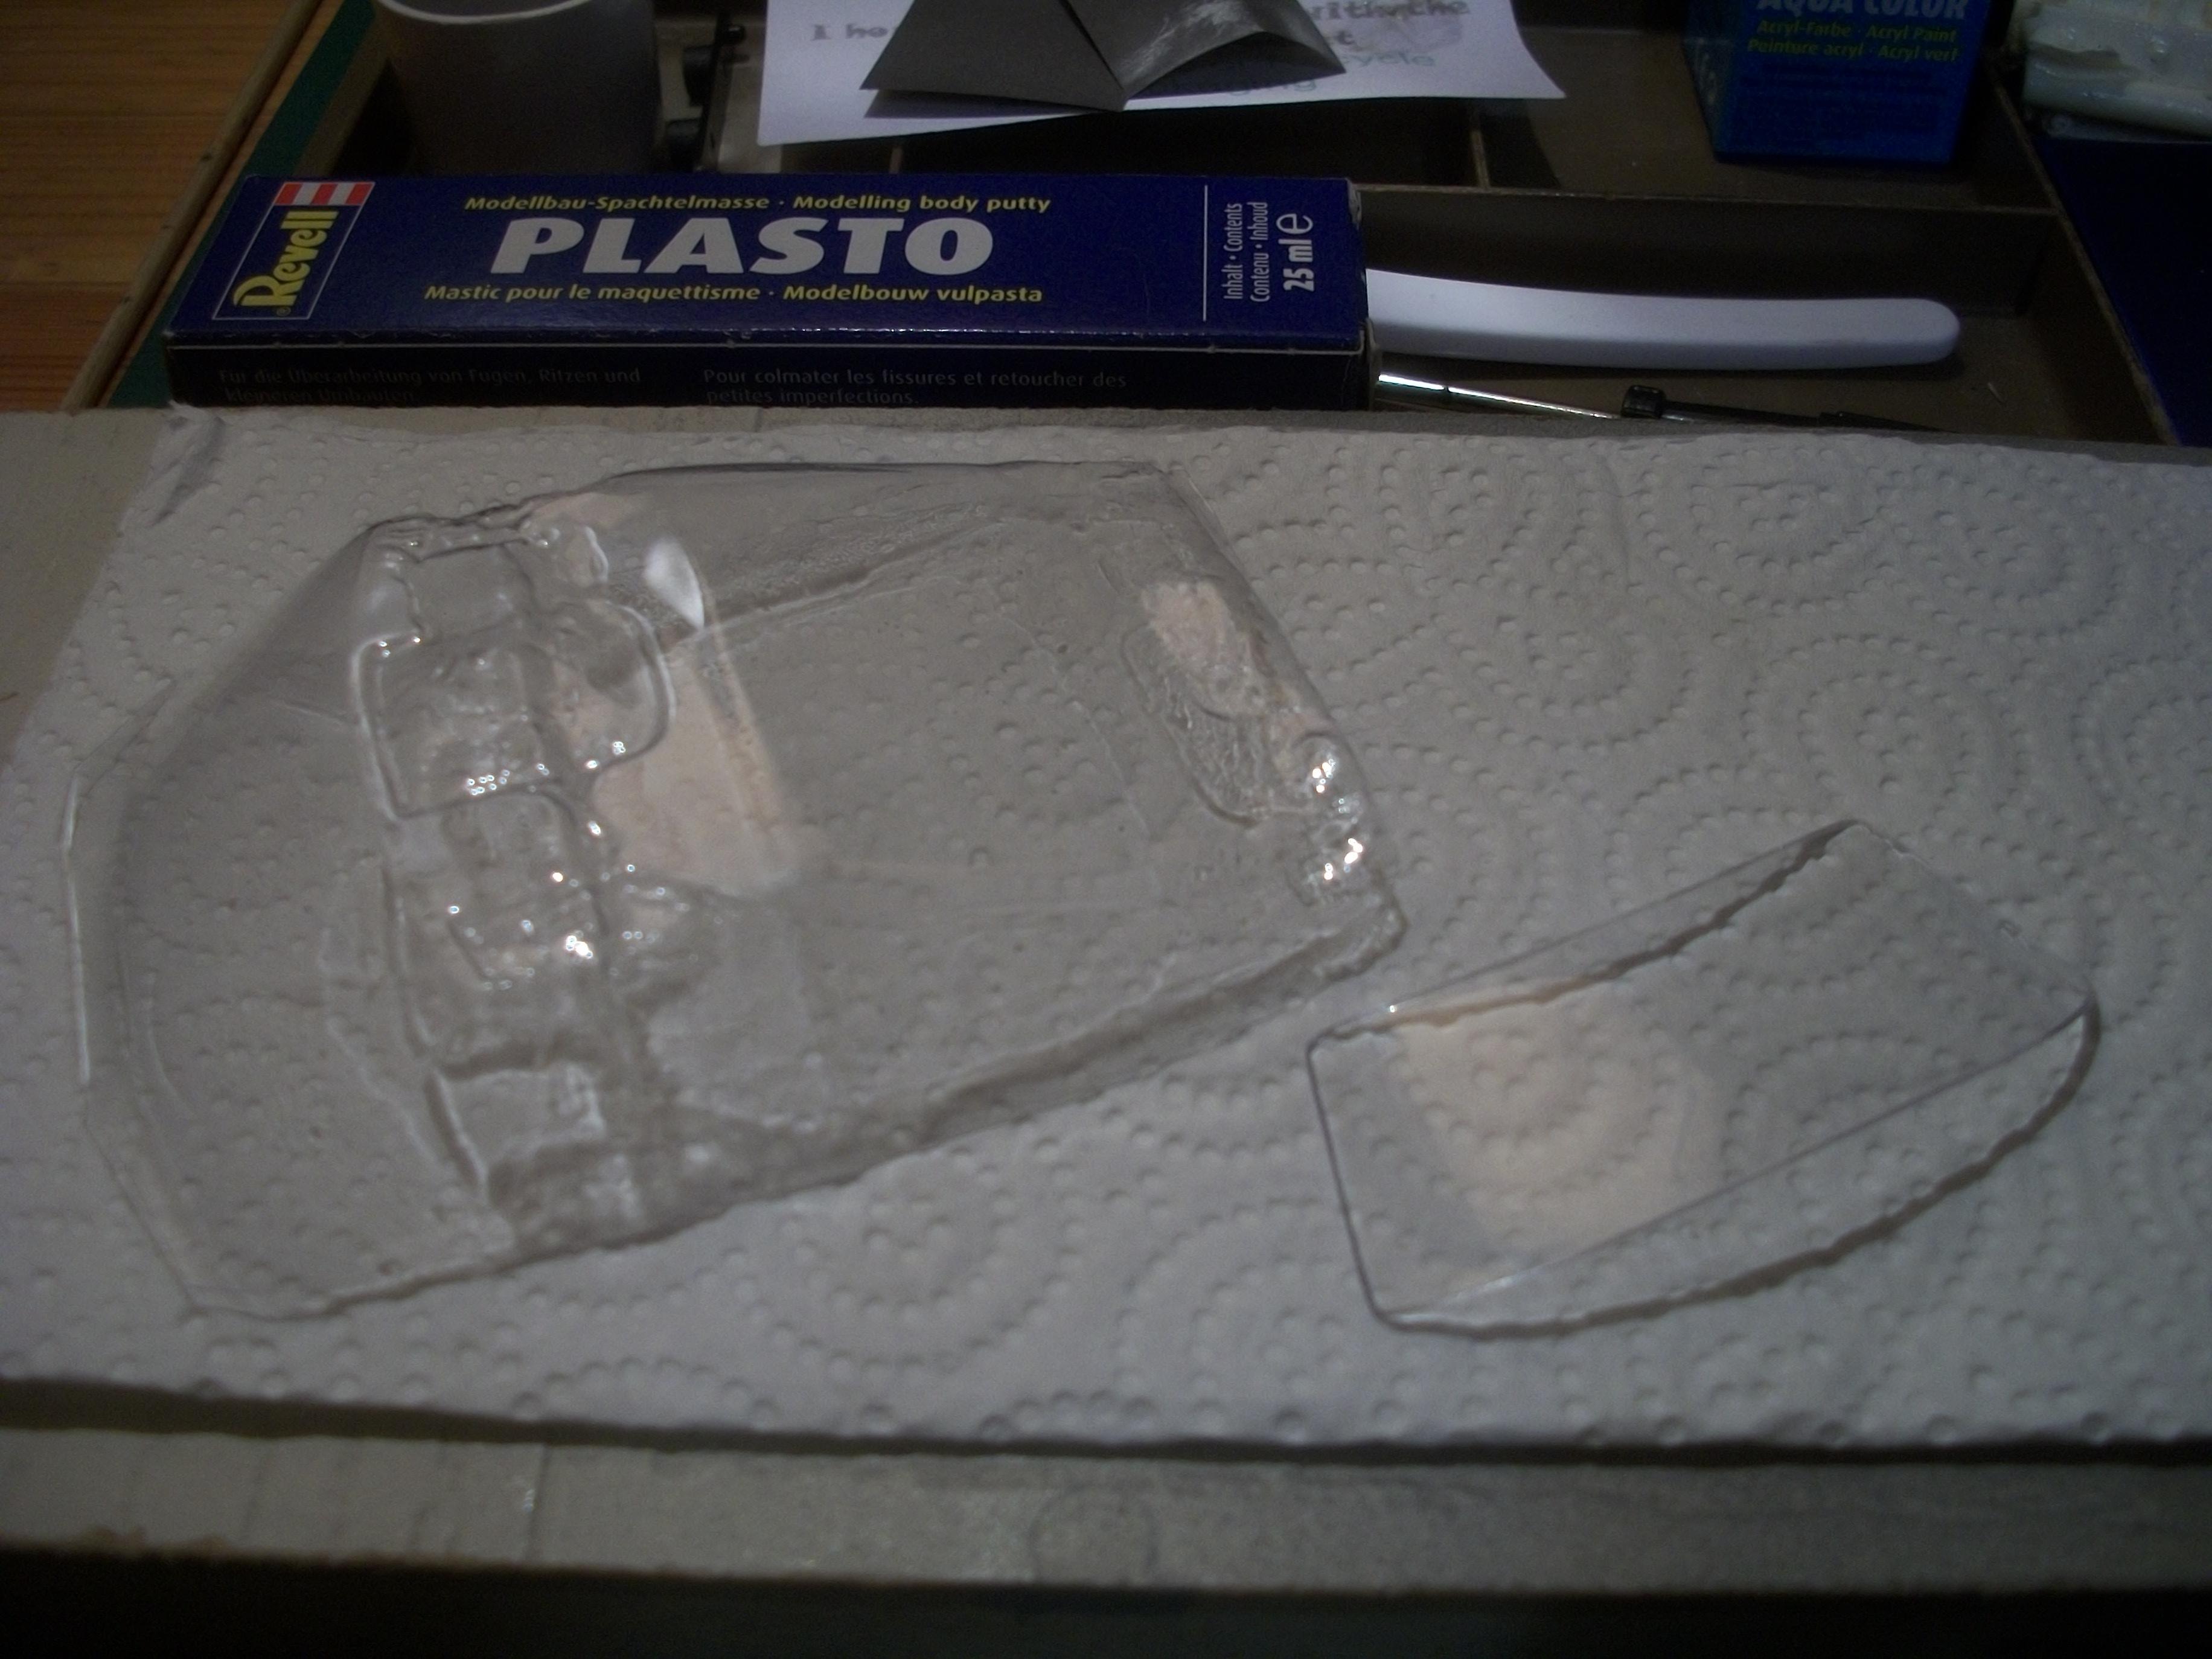
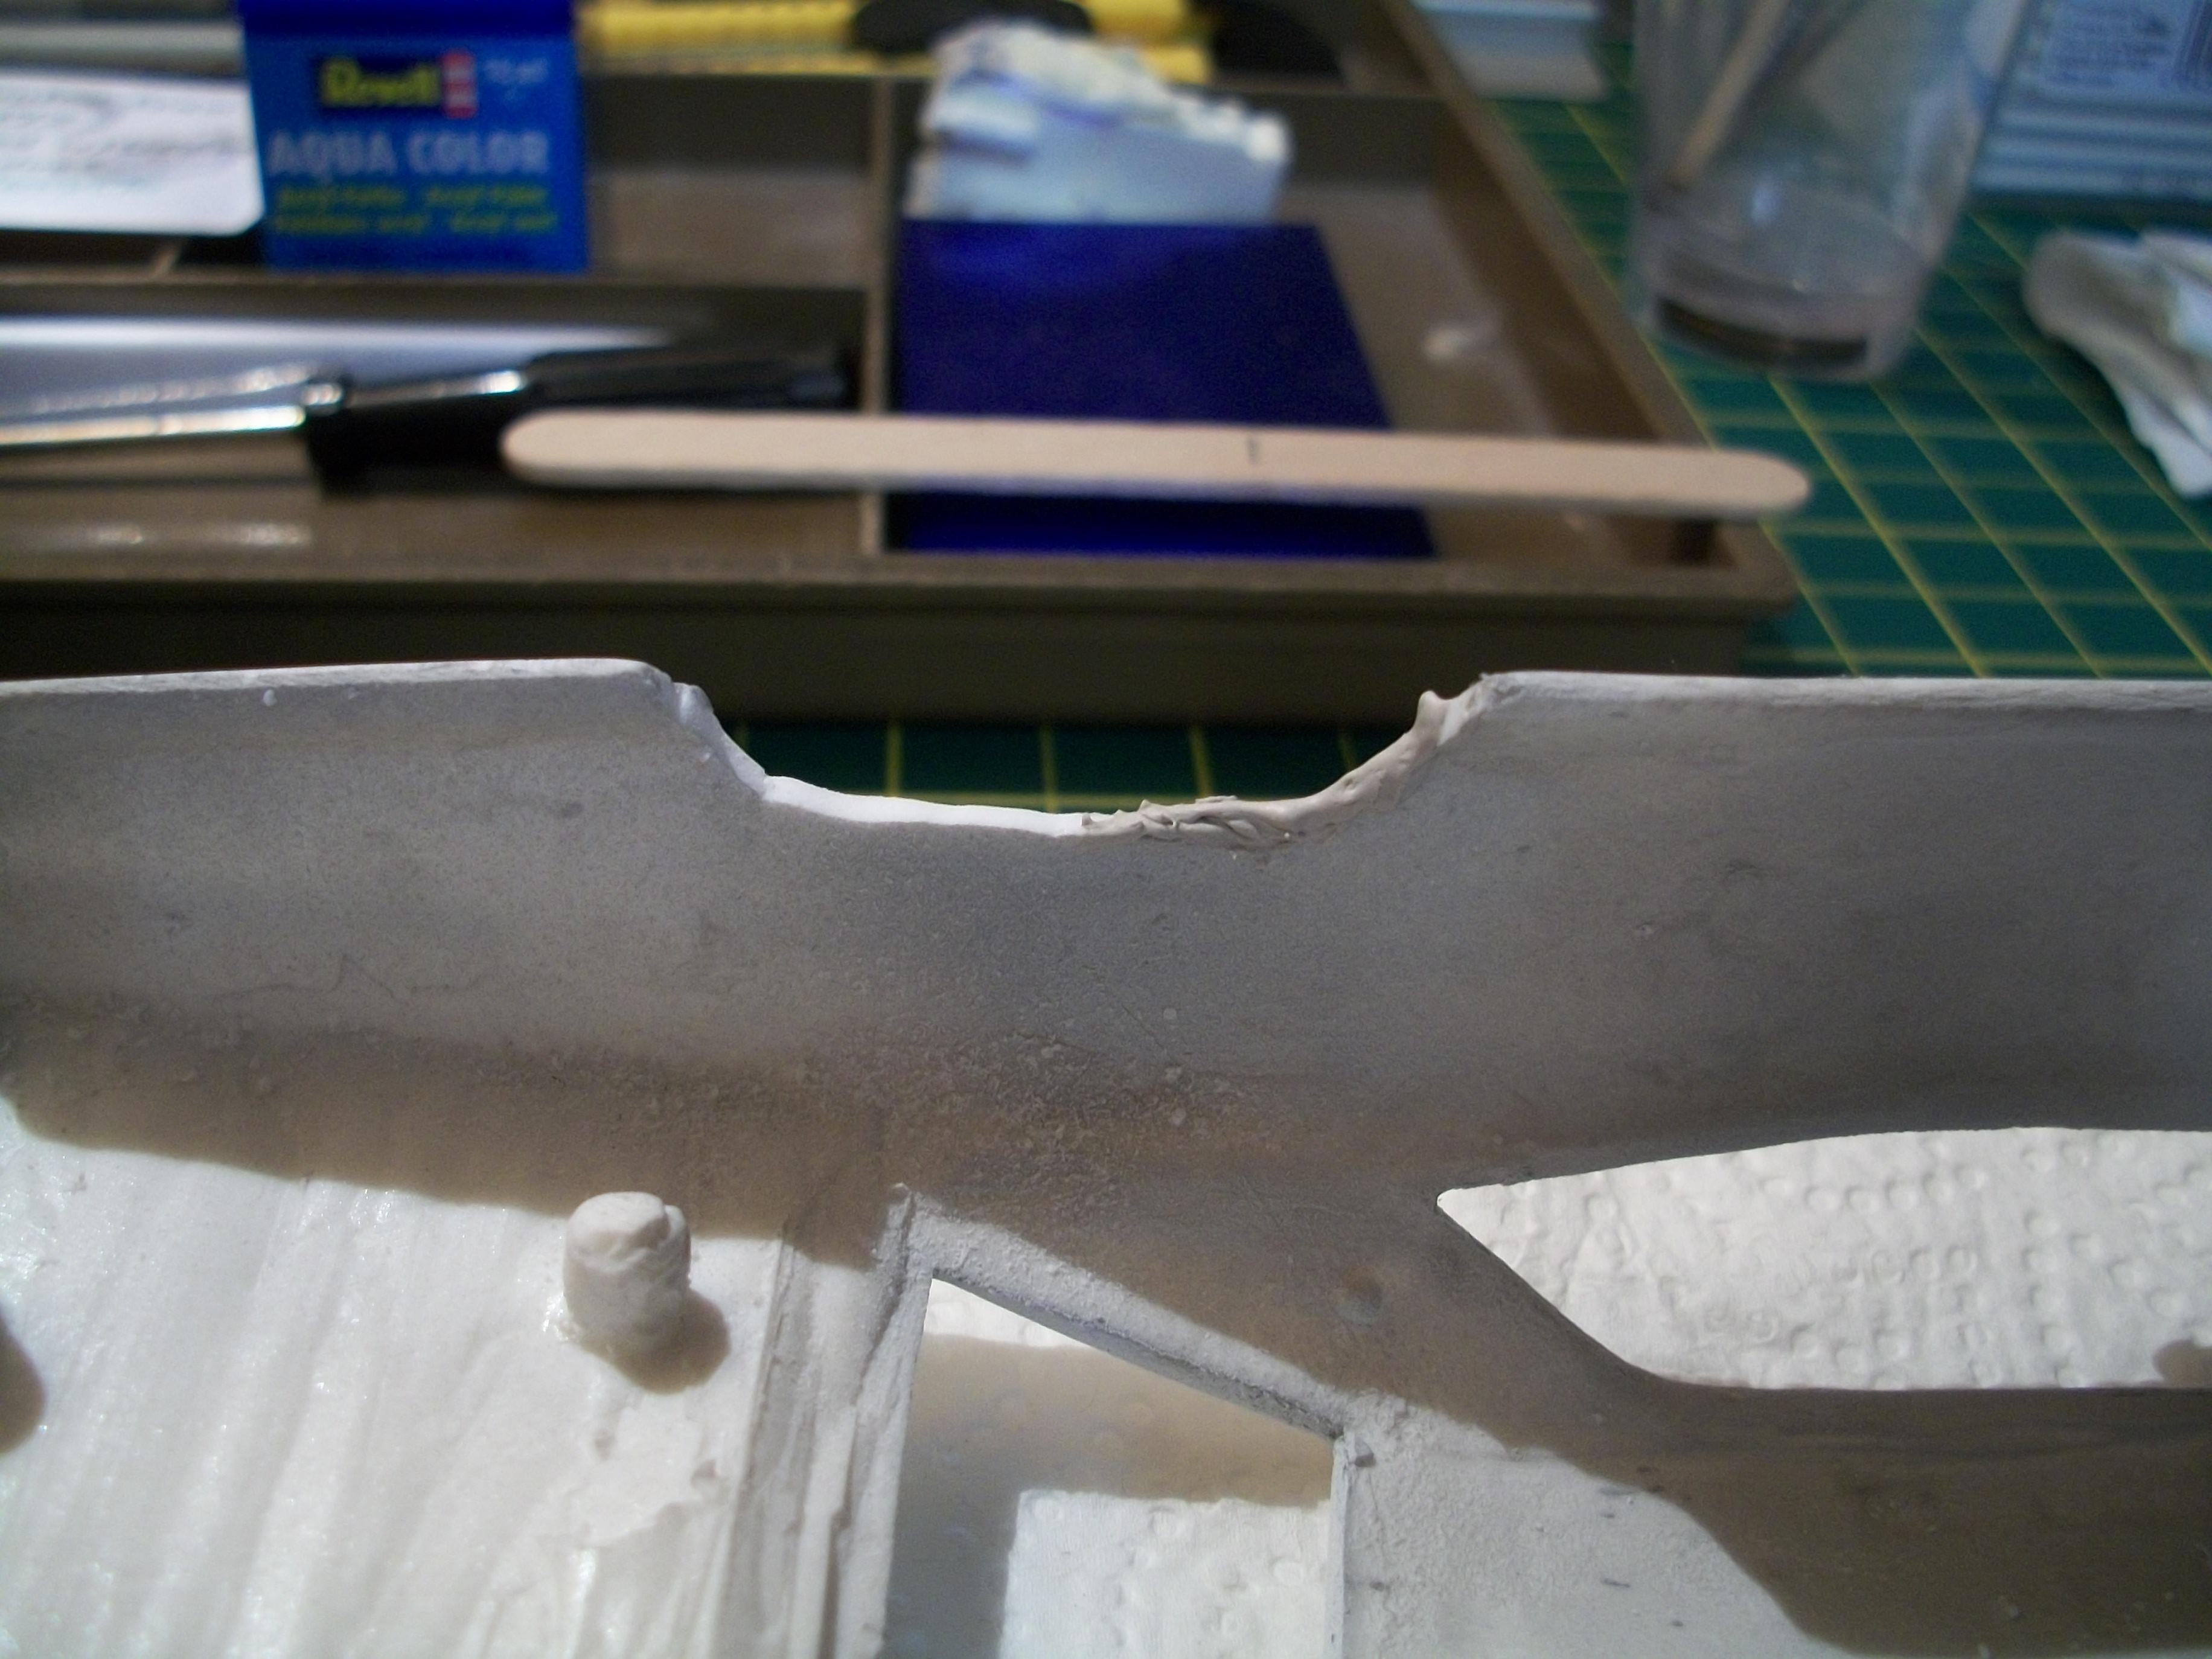
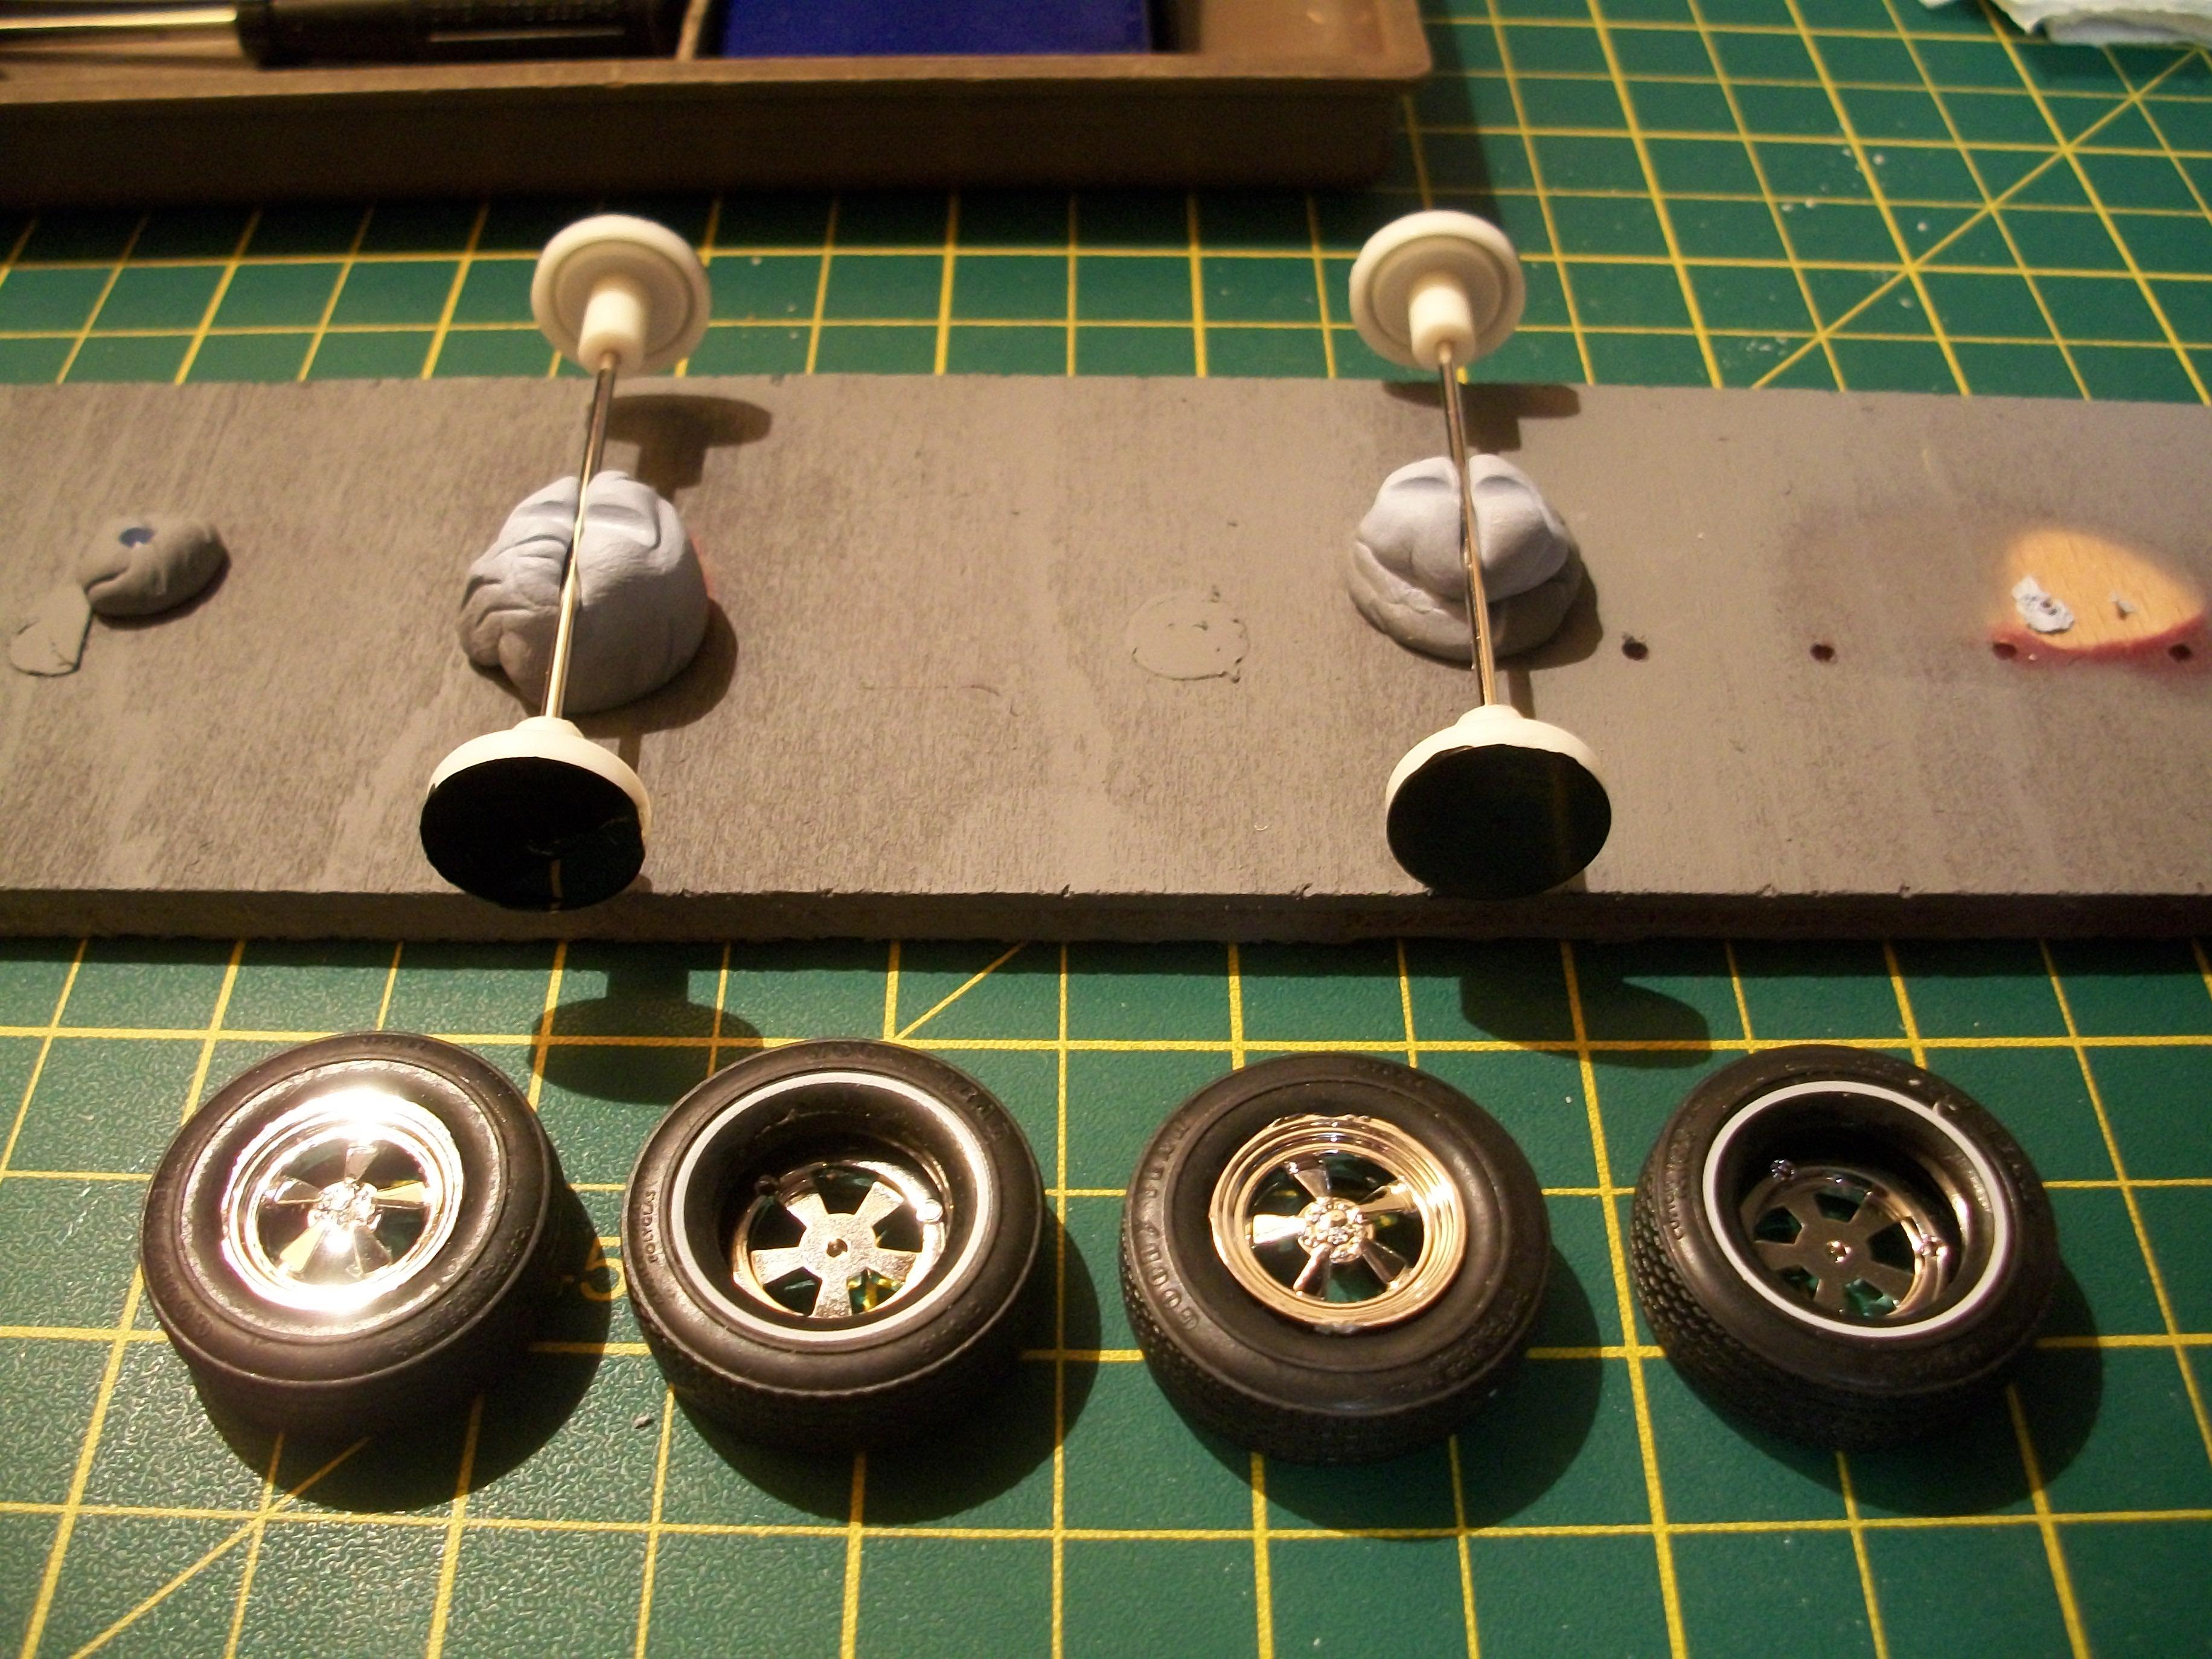
Using Revell Plasto modelling body putty to fill a small section of one rear wheel arch that was not quite true to shape. Also, preparing the inner and outer road wheels, enlarging the holes for the axles and test fitting the metal axles to the chassis mountings. Painted the outer faces of the inner wheel halves with Humbrol Satin Black, where they will be visible through the outer wheel halves. David
-
Here are two 1:43 scale diecast model cars that I picked up today....... one is a Jaguar MK V DHC by IXO in black with grey top, and the other car is a Rolls-Royce 25/30 HP Thrupp & Maberley by Oxford Diecast in Burgundy..... hope you like ! David
-
 Here are two 1:43 scale diecast model cars that I picked up today....... one is a Jaguar MK V DHC by IXO in black with grey top, and the other car is a Rolls-Royce 25/30 HP Thrupp & Maberley by Oxford Diecast in Burgundy..... hope you like ! David
-
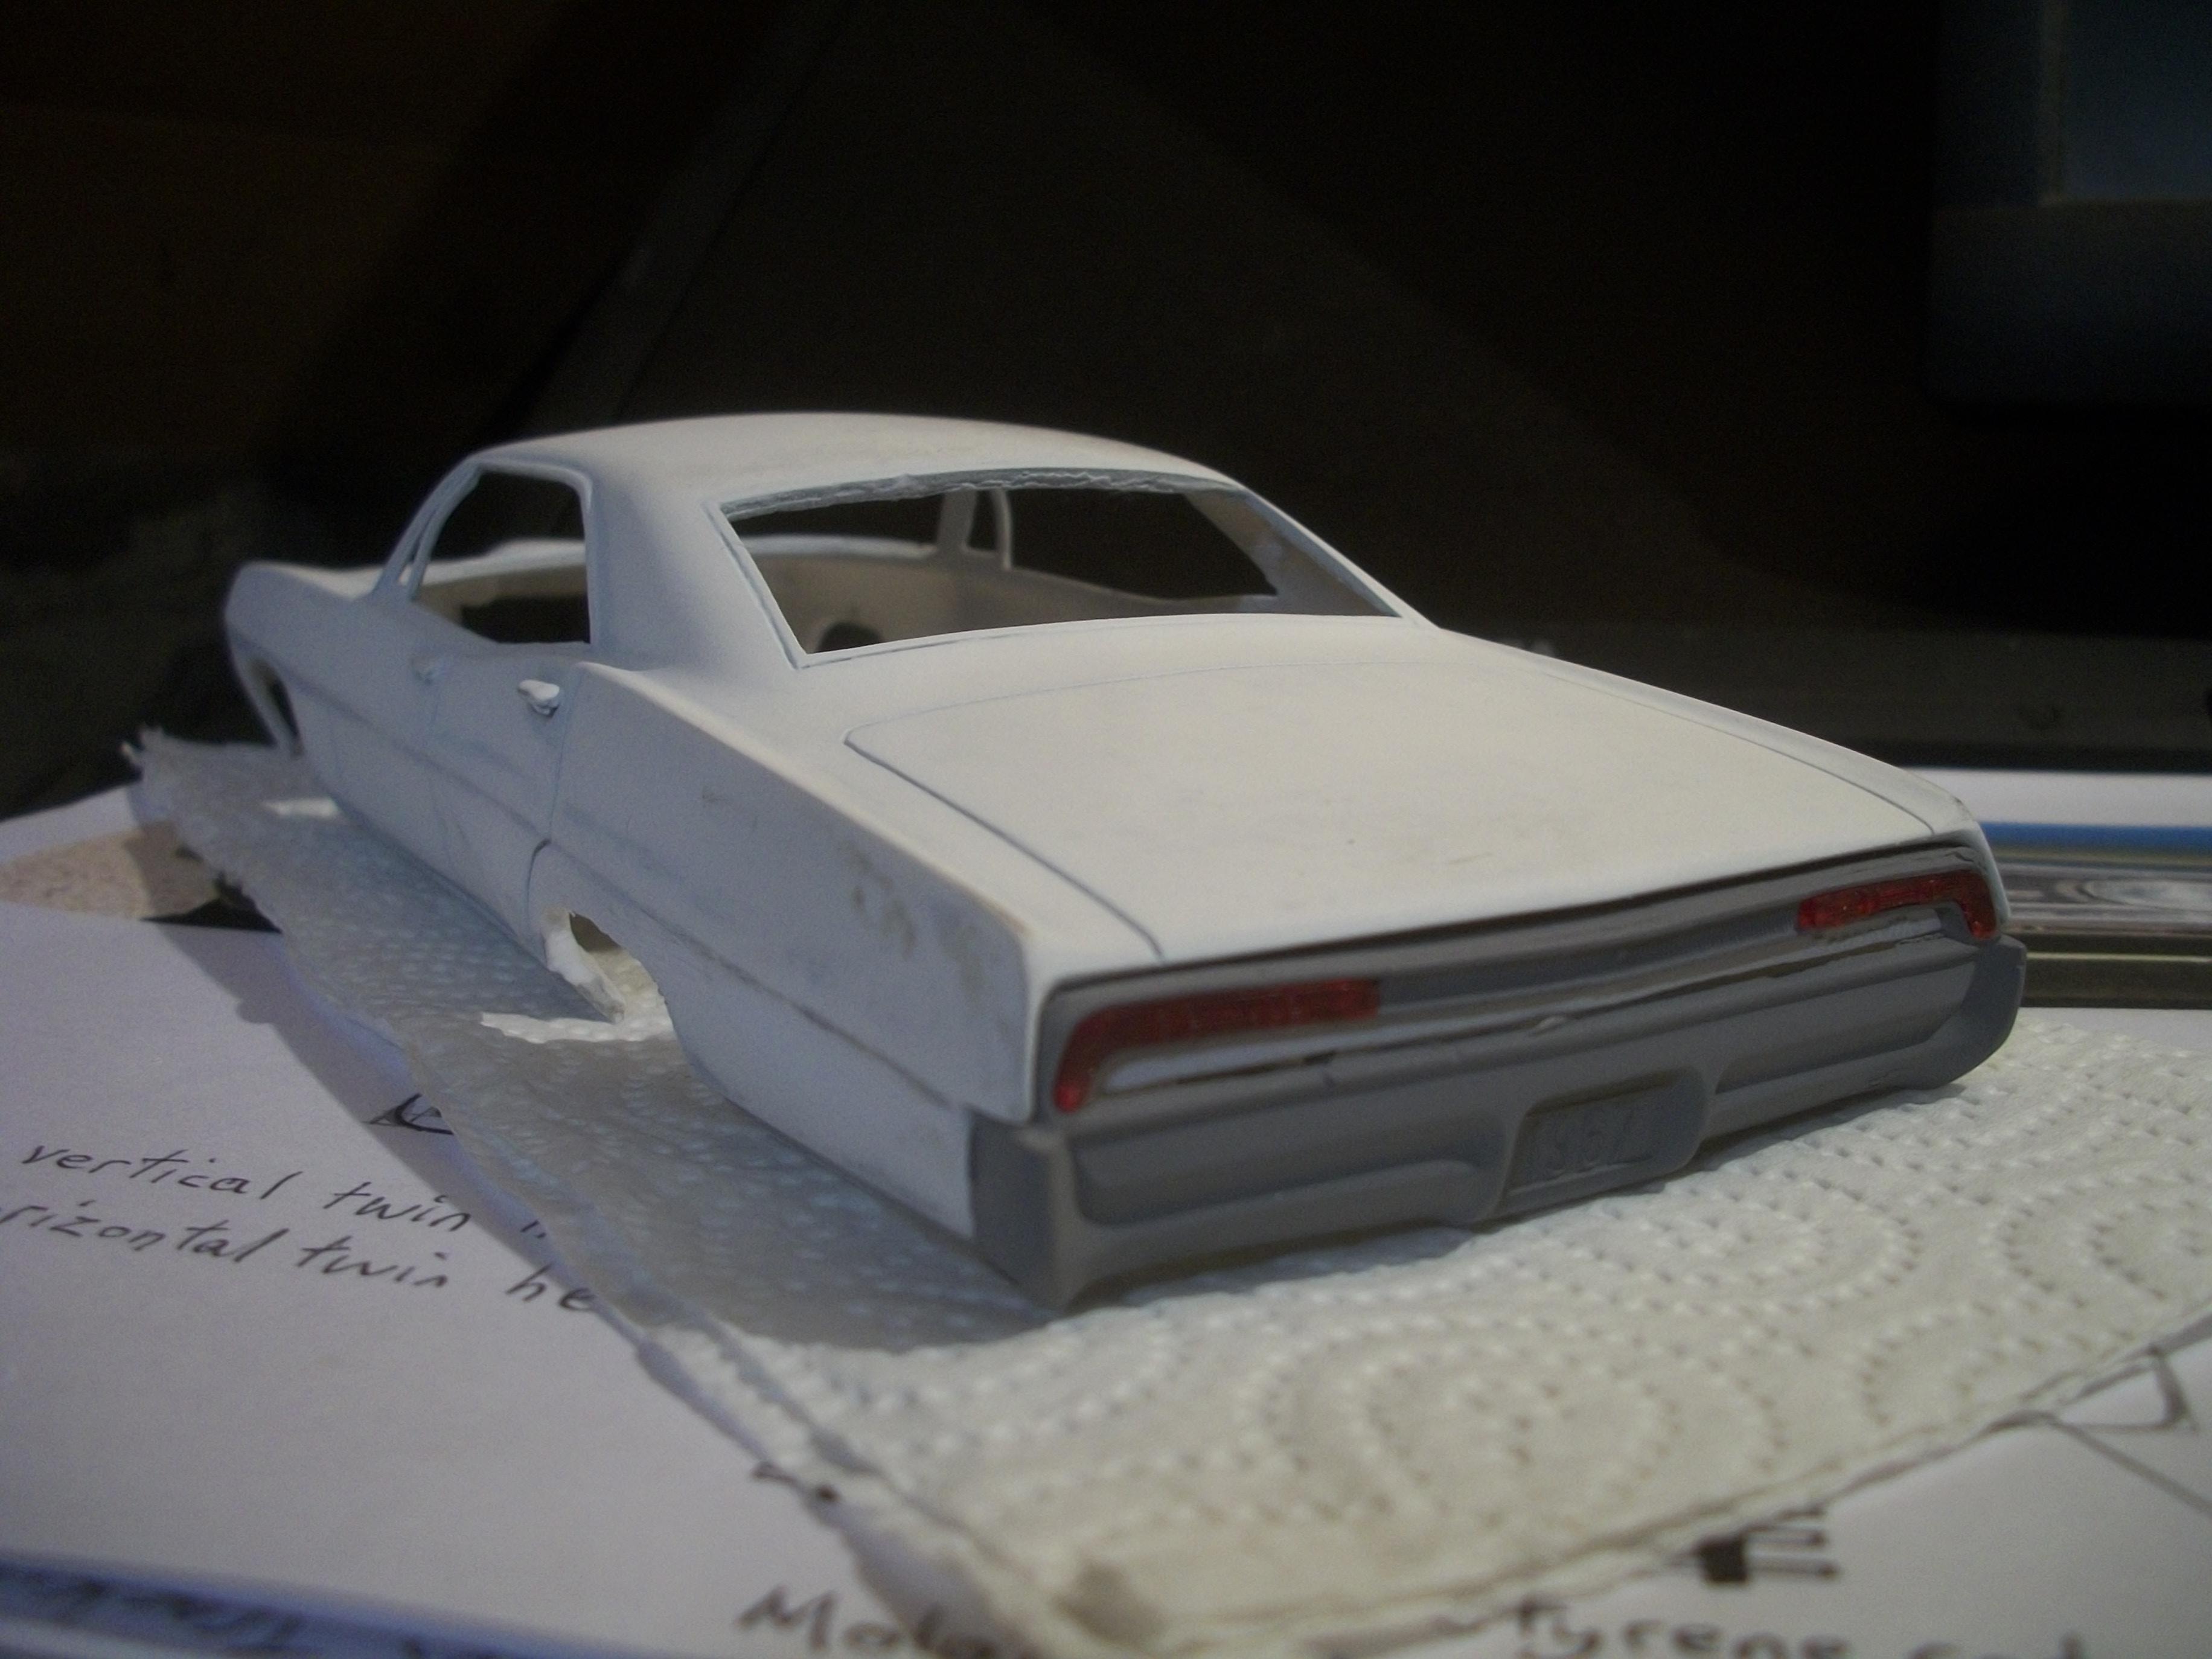
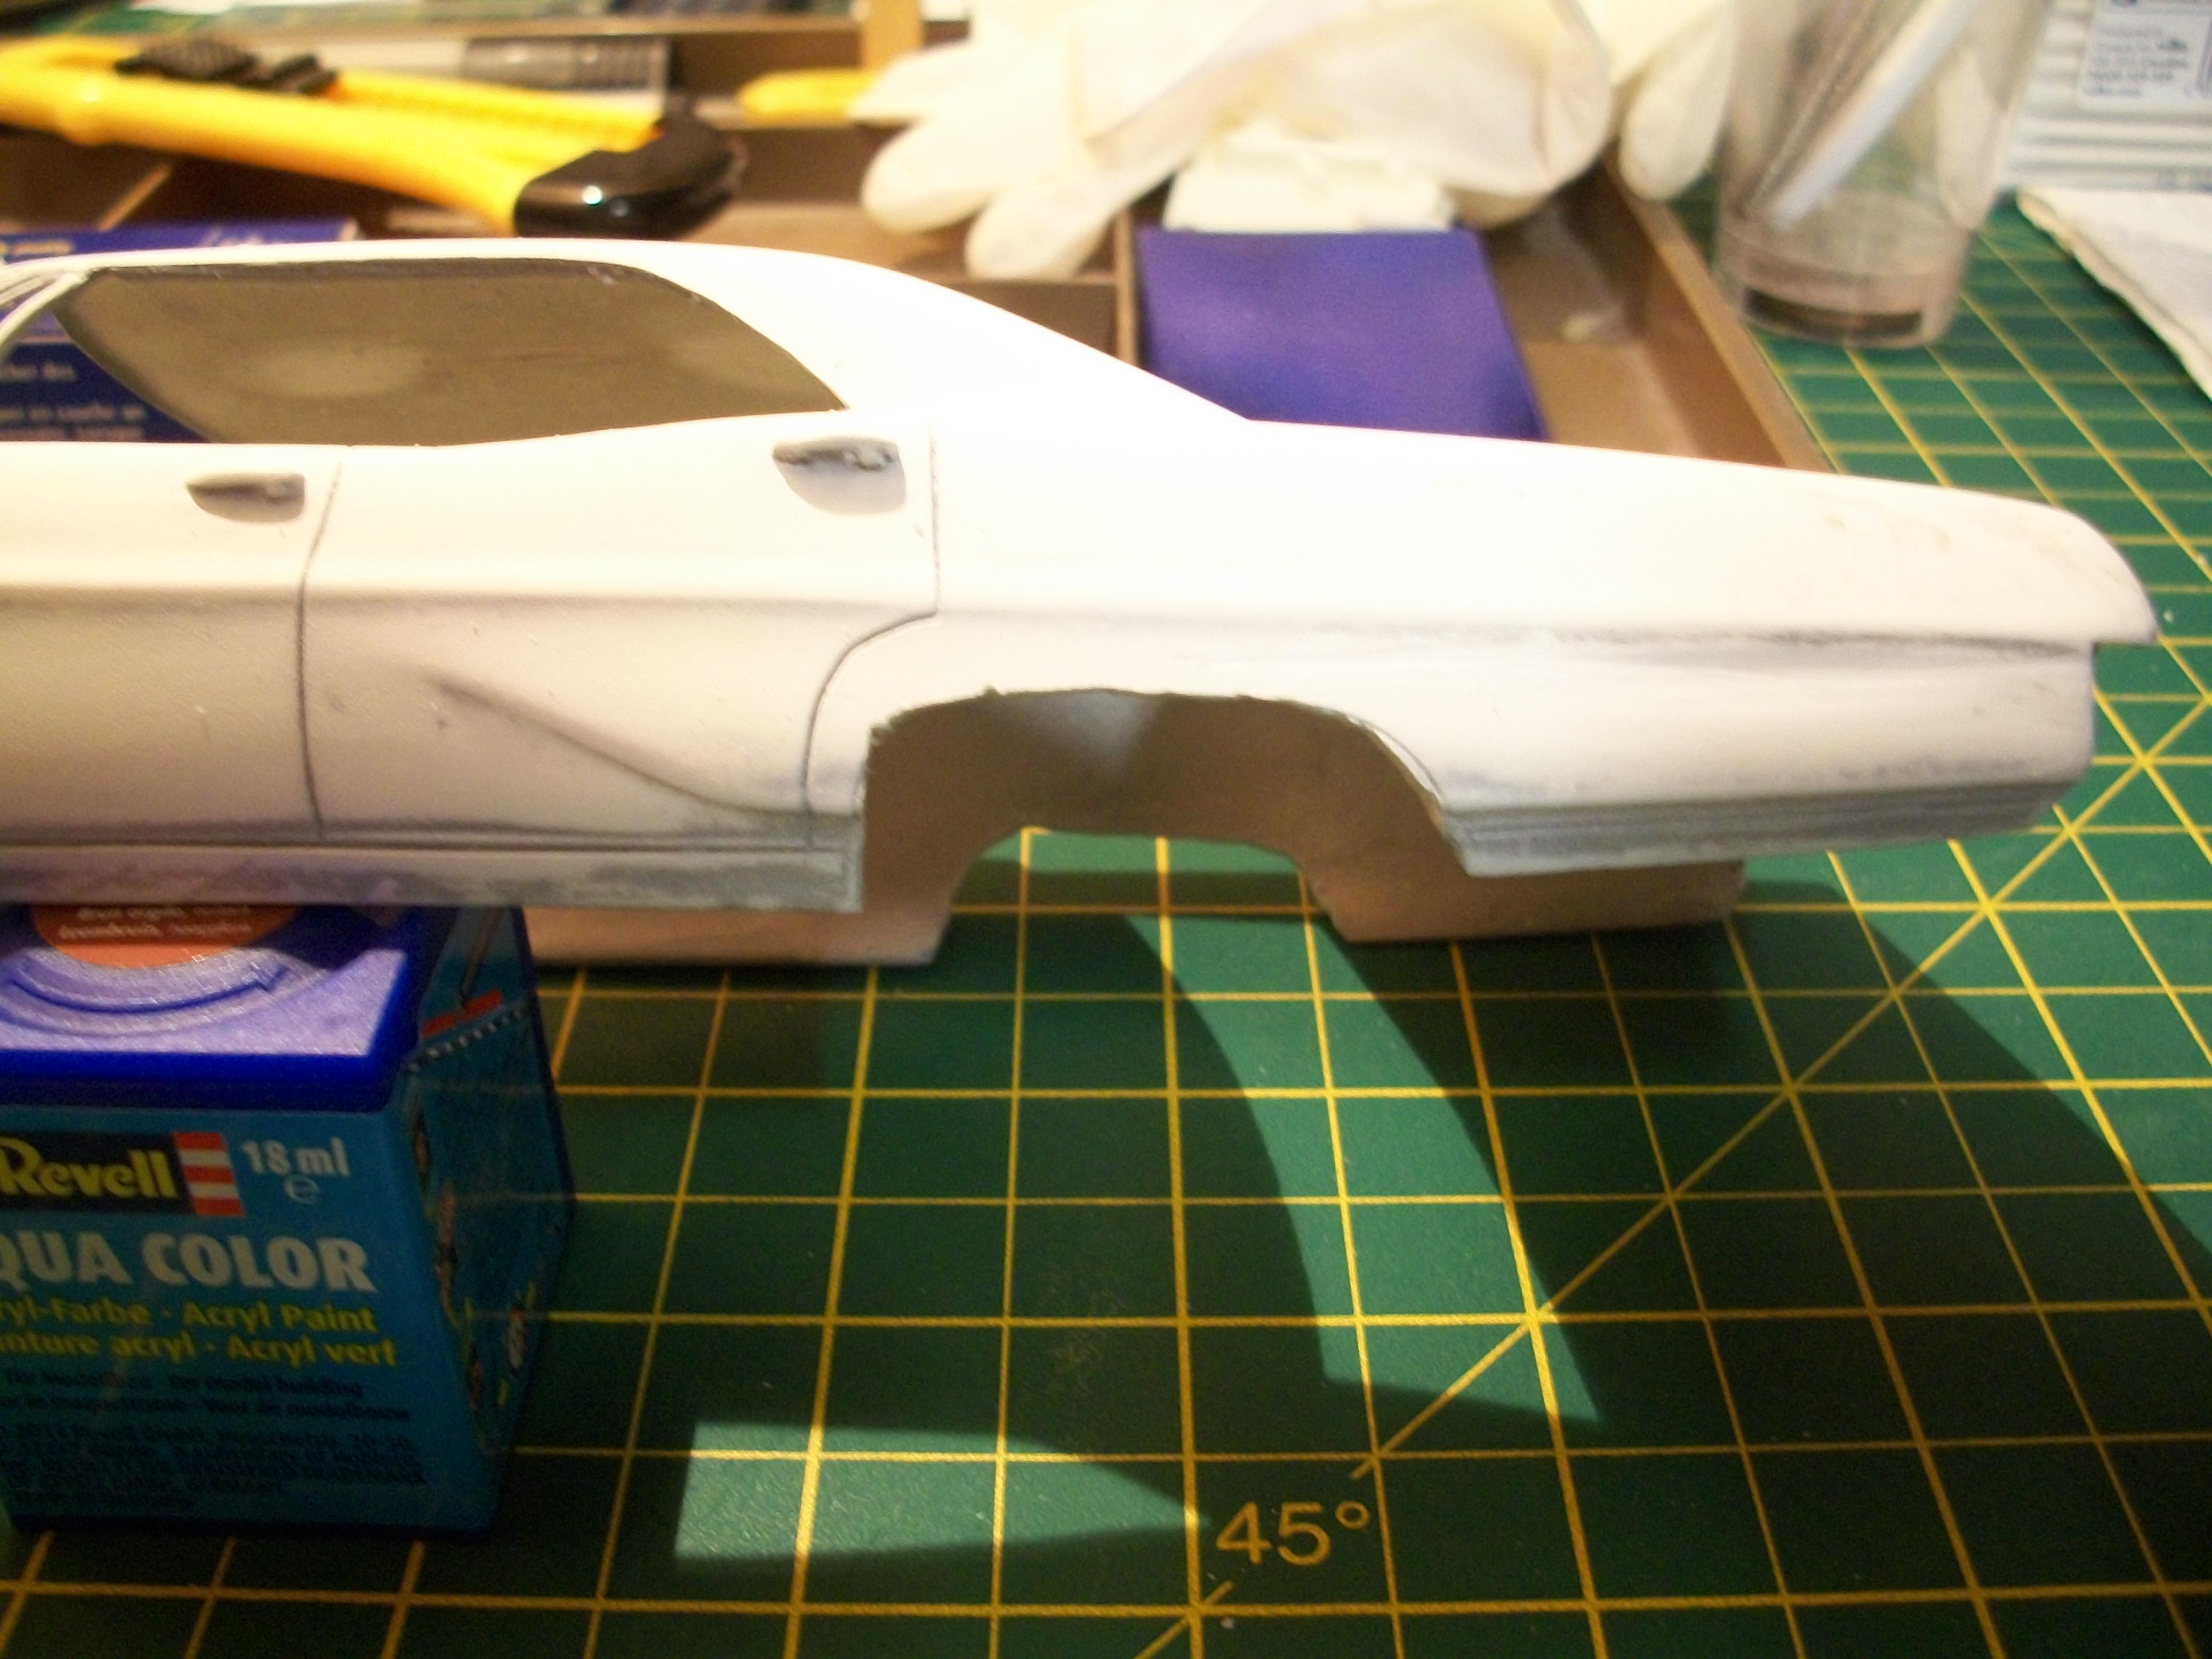
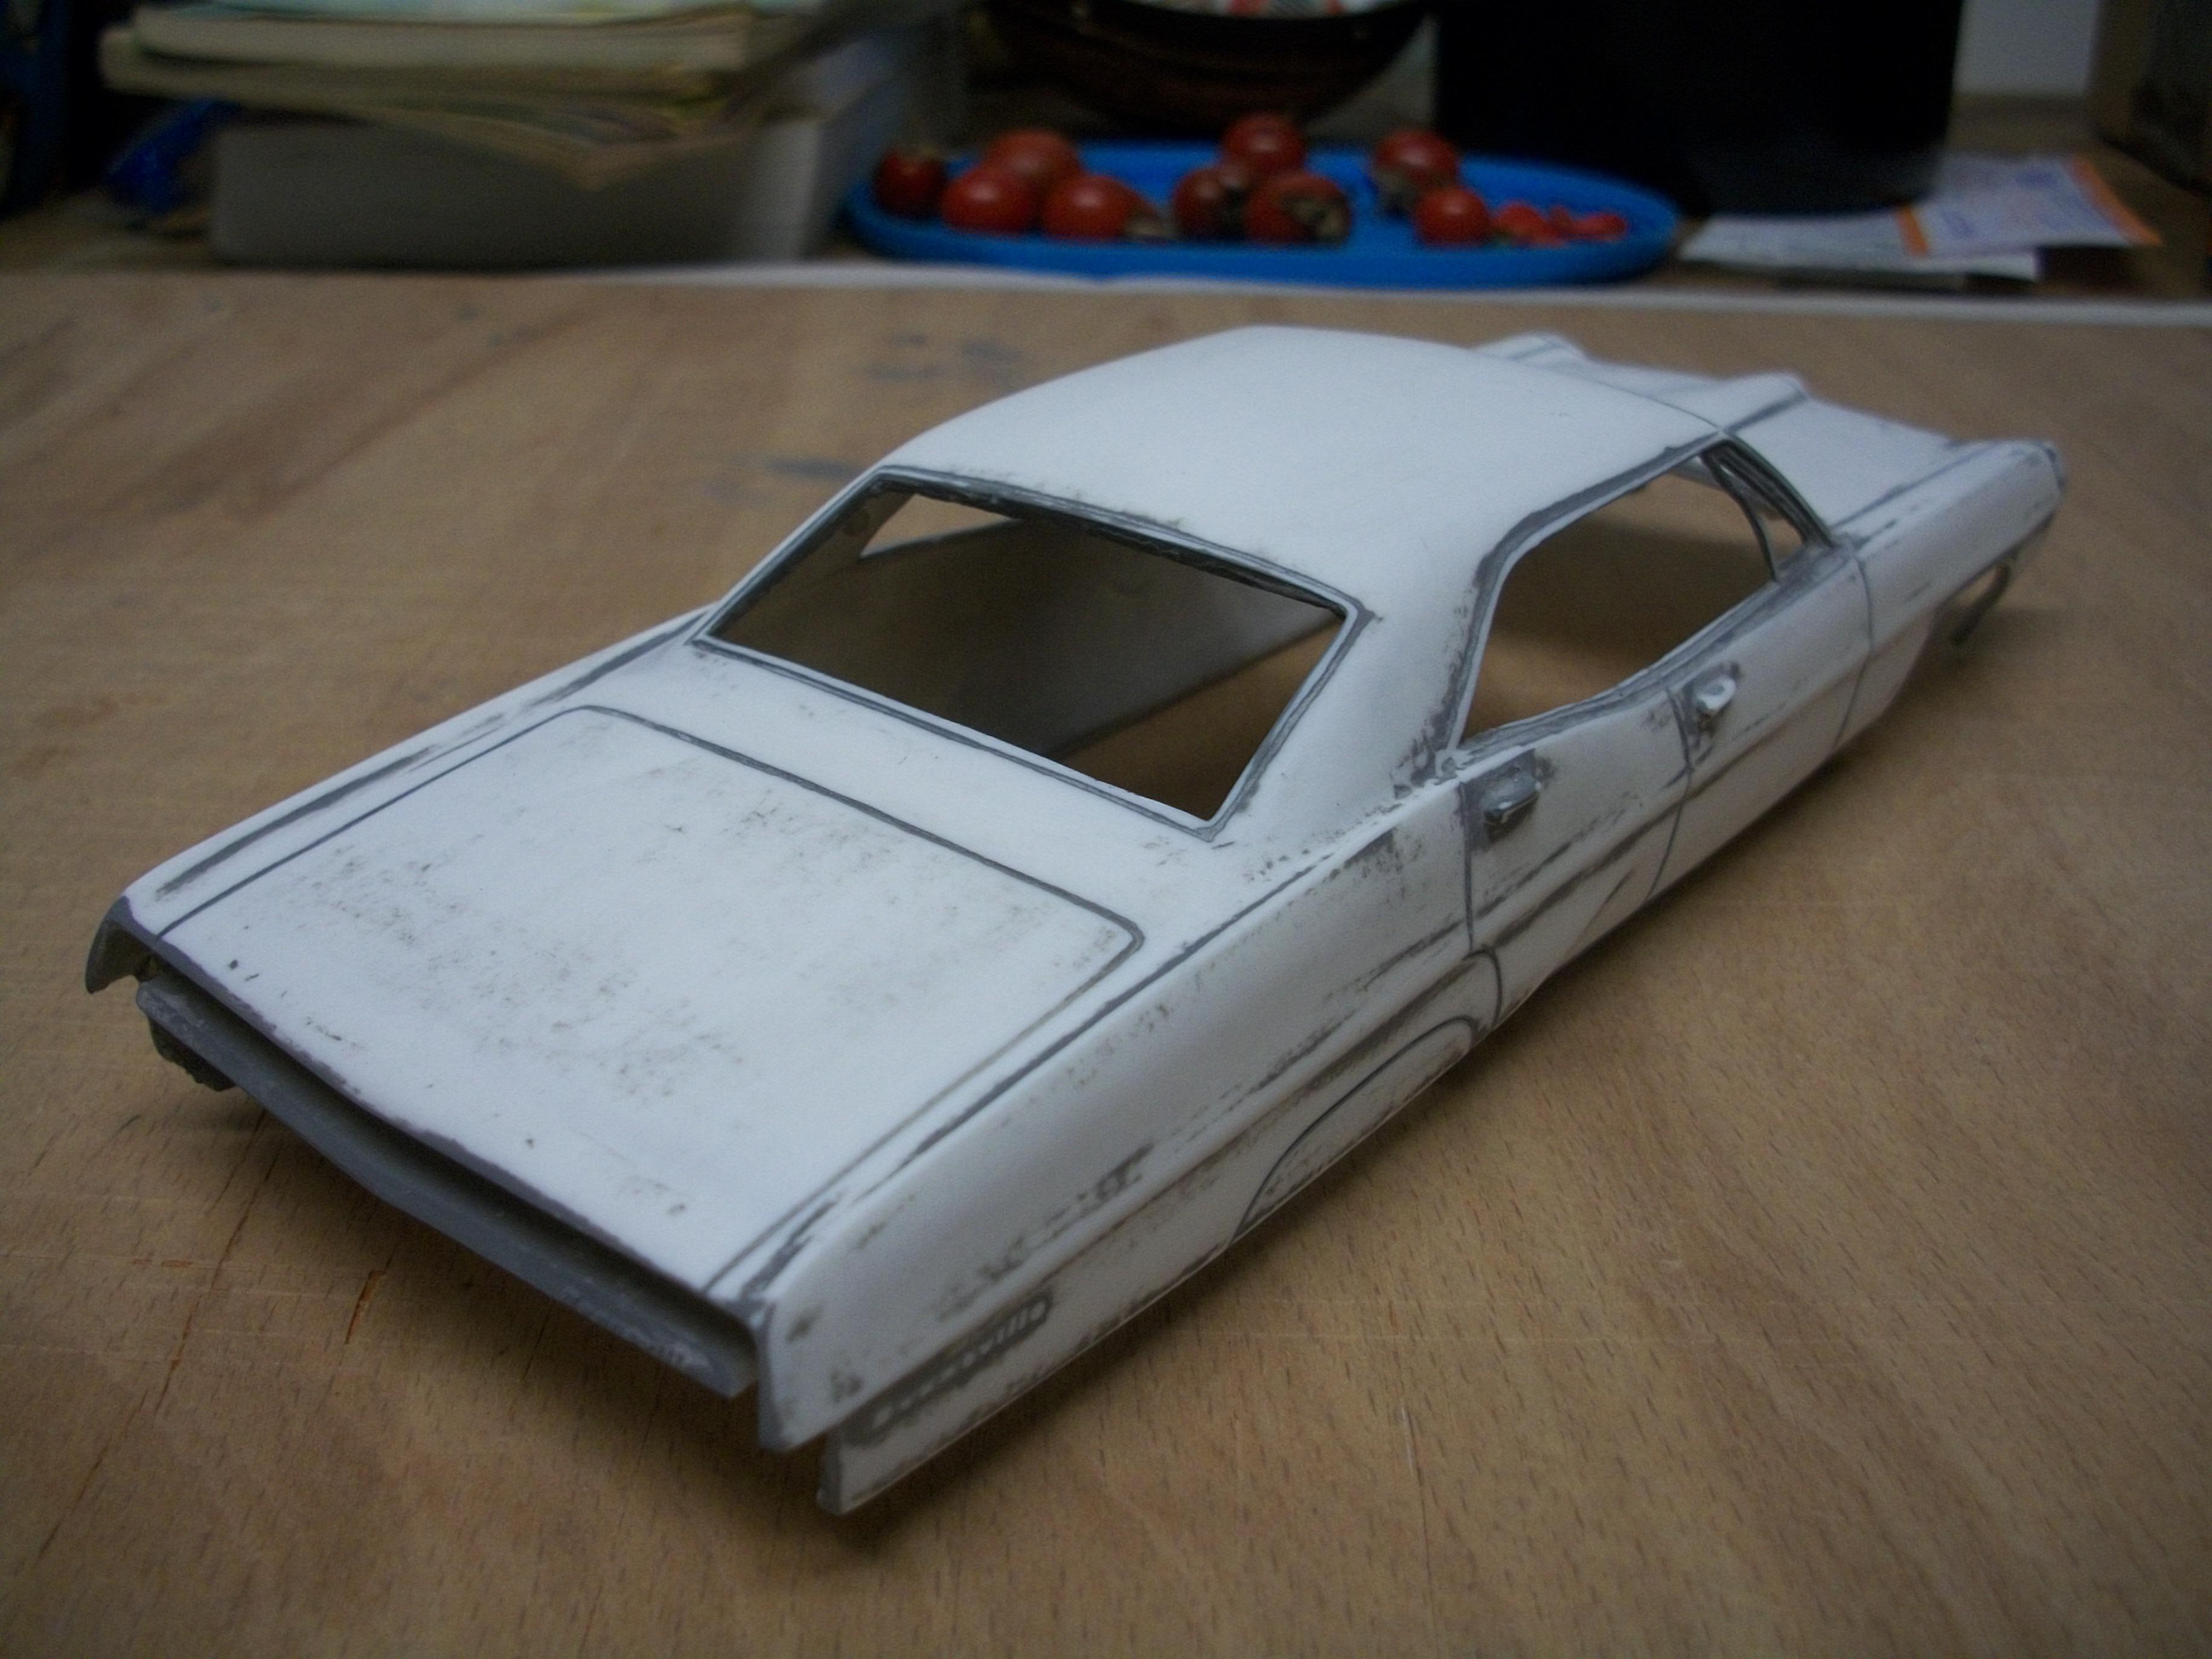
Here we have the removal of the rear wheel arches, and they do need tidying up by smoothing out the curves. David
-
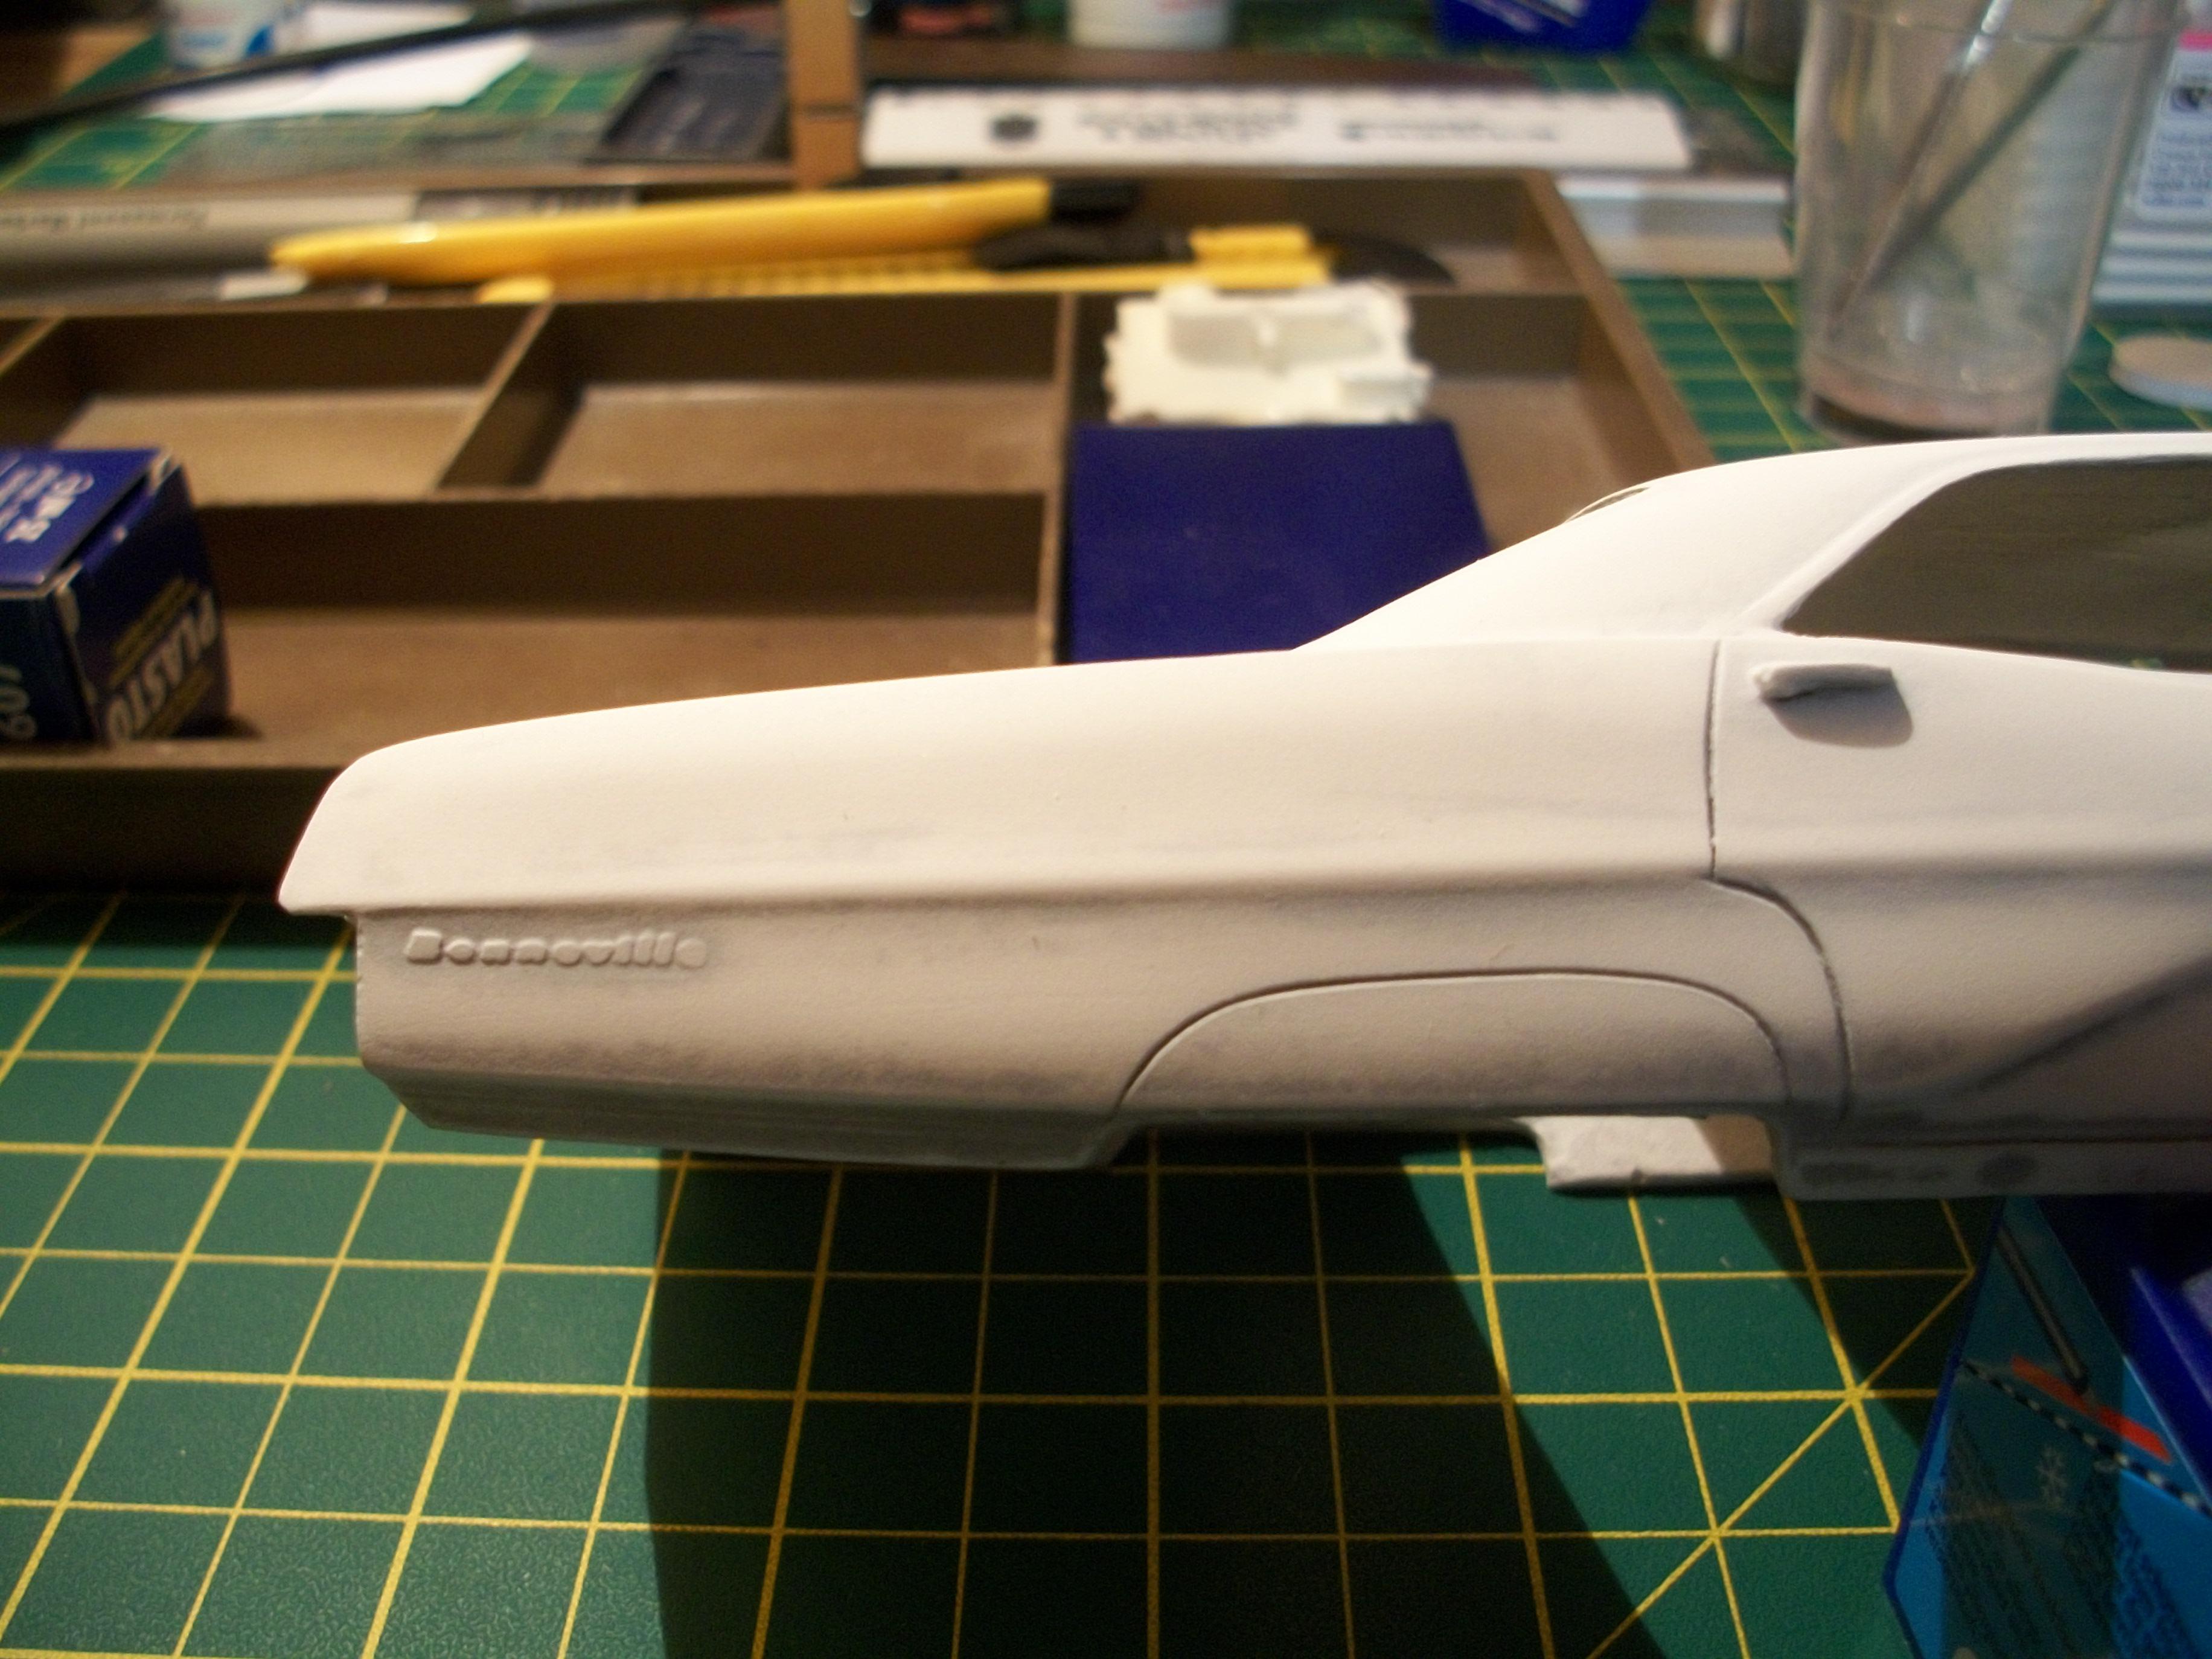
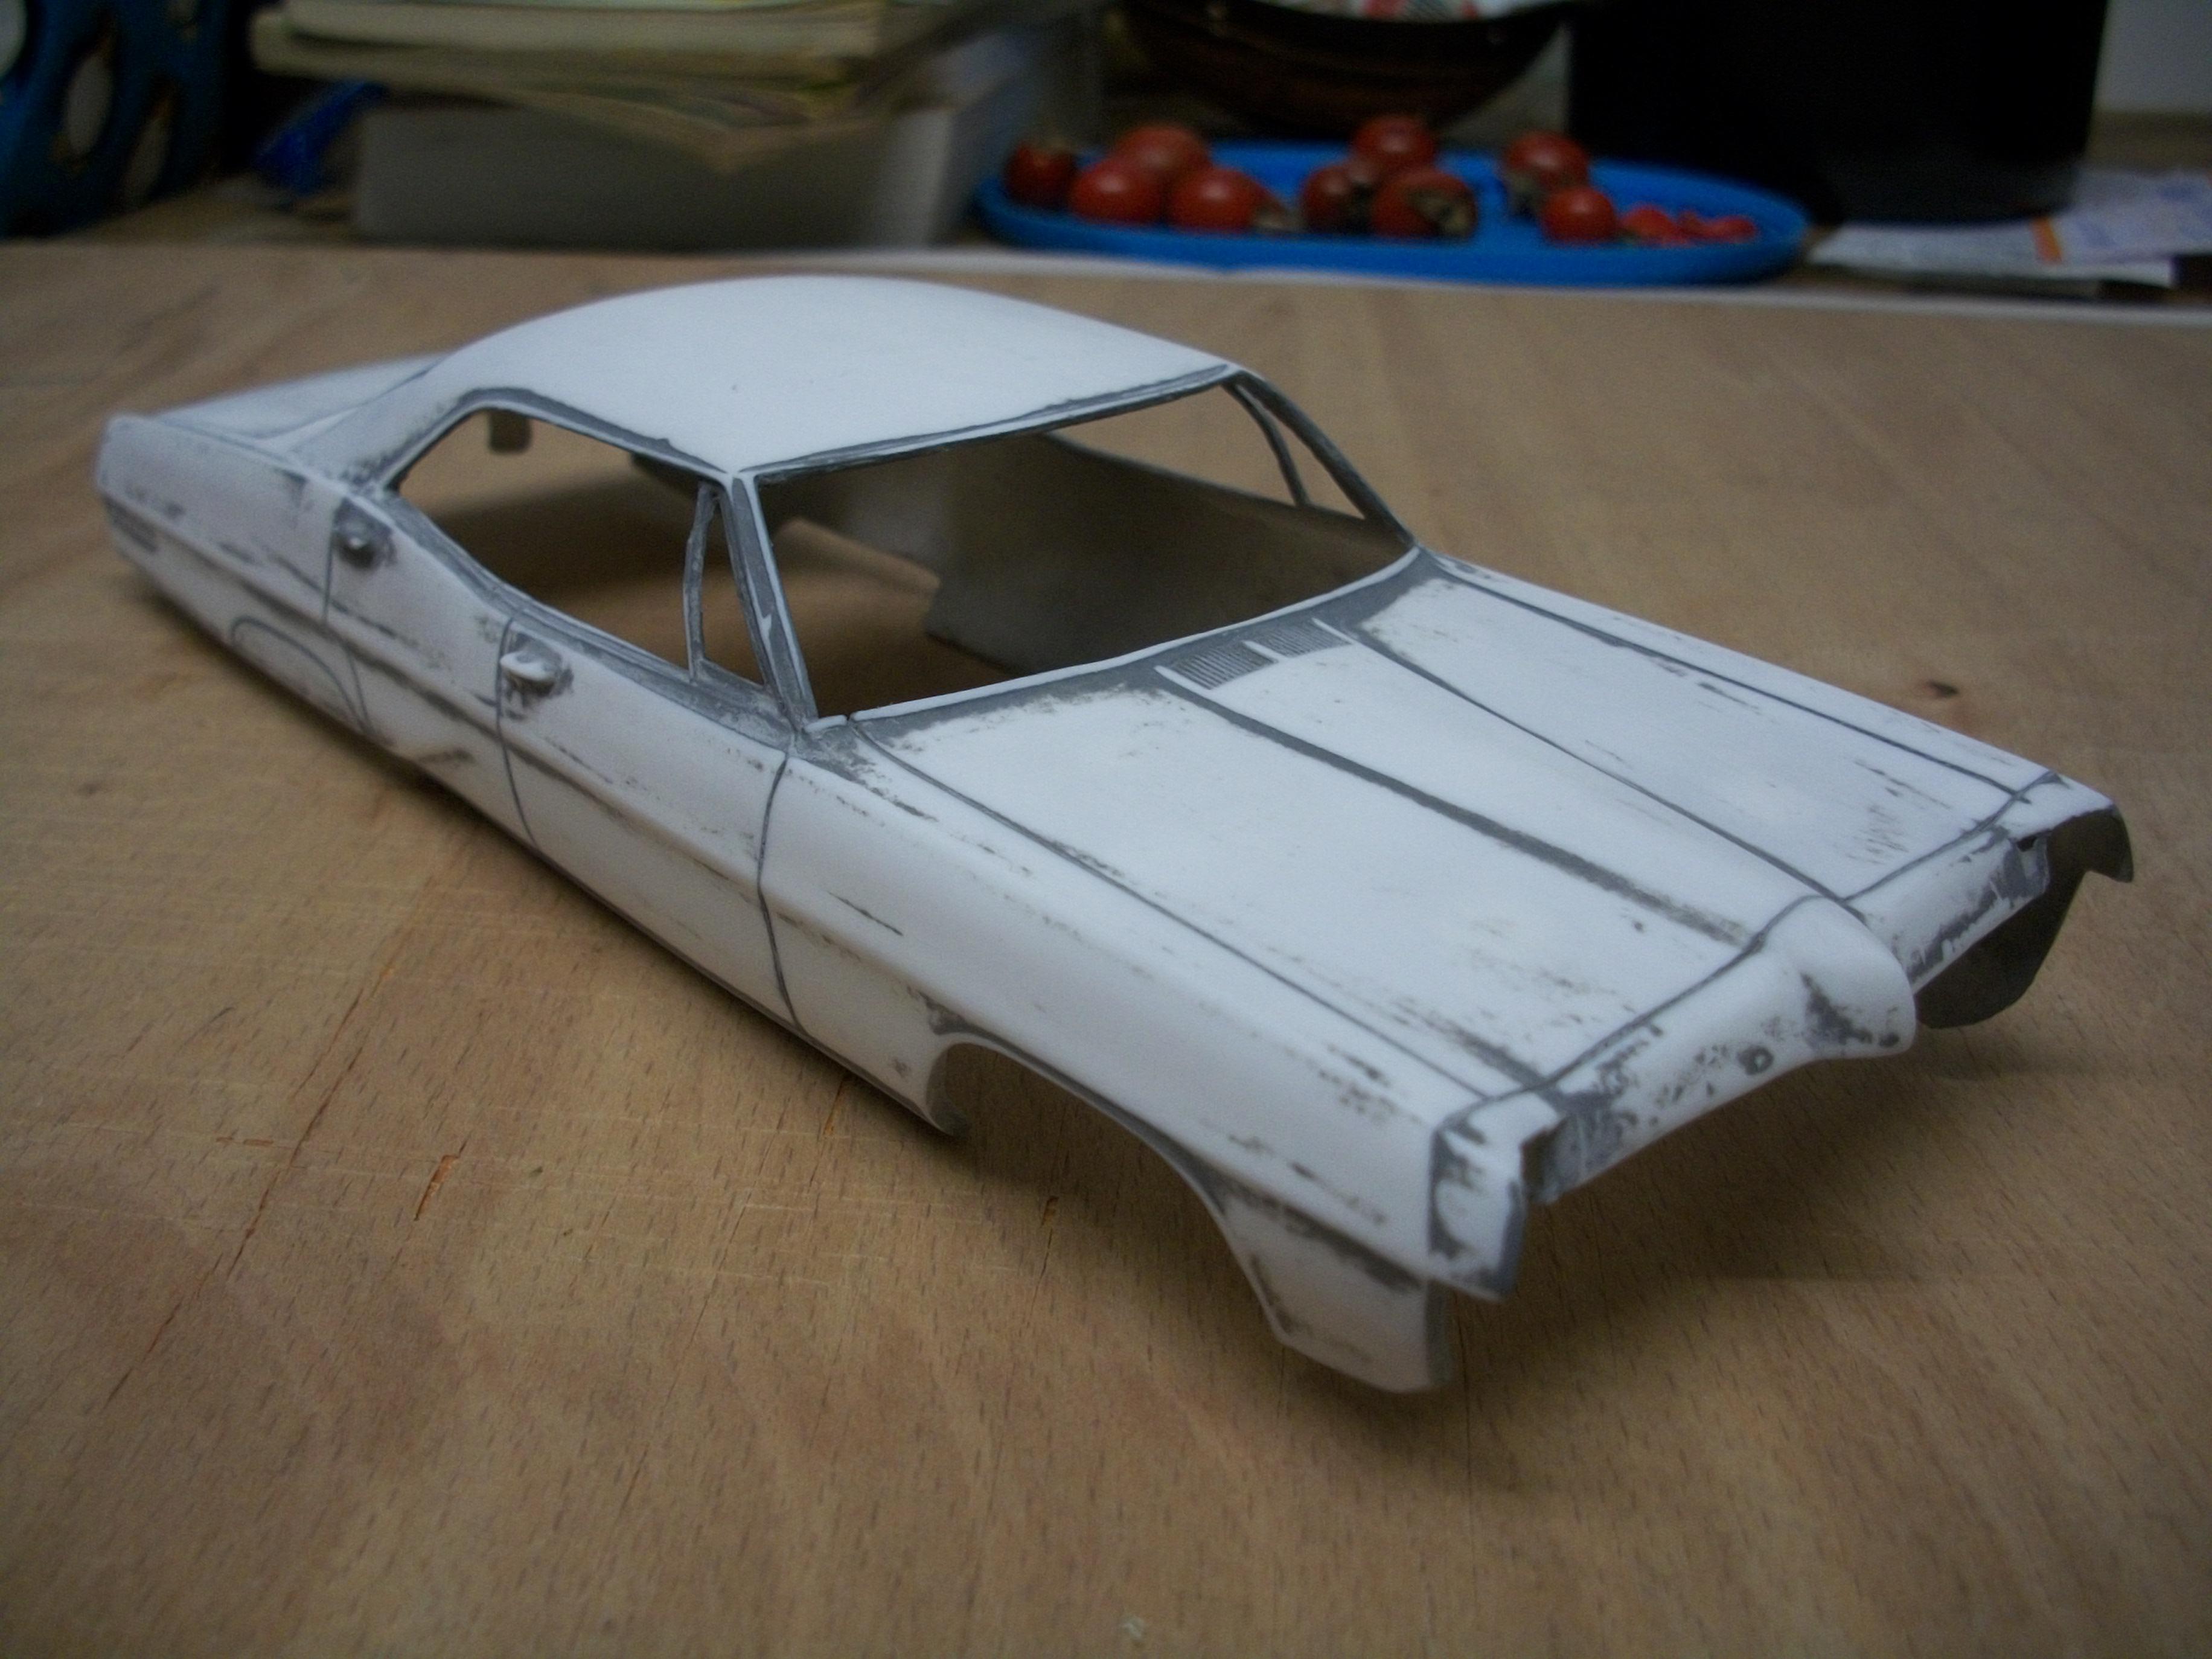
Removed the ' Bonneville ' scripts on both of the rear fenders, using an Italeri mini diamond file. This has worked well, leaving a visible white primer coating. A local model builder has advised me to airbrush the brown acrylic over the rubberised black for the vinyl roof. Next part of the Pontiac Parisienne build is to remove the rear wheel arch ' spats ', which as members will know, are correct for the Bonneville but not for the Parisienne. Having removed the ' Bonneville ' scripts, I am not sure how to produce the ' Parisienne ' scripts...... ? David
-
Loving those aluminium rims, Mark..... and disc brake calipers...... with disc brake pads fitted......now I have to go lie down for a moment. David
-
Trent..... I like to use Meguiars Carnauba Wax polish and it usually produces a very good quality finish. David
-
Nicely done '69 Dodge Charger, you have there Trent.......... I really like the interior work you've done, and especially the wood effect dashboard. The engine detail is superb and I can see why you are so pleased with the exterior paint finish...... excellent job! David
-
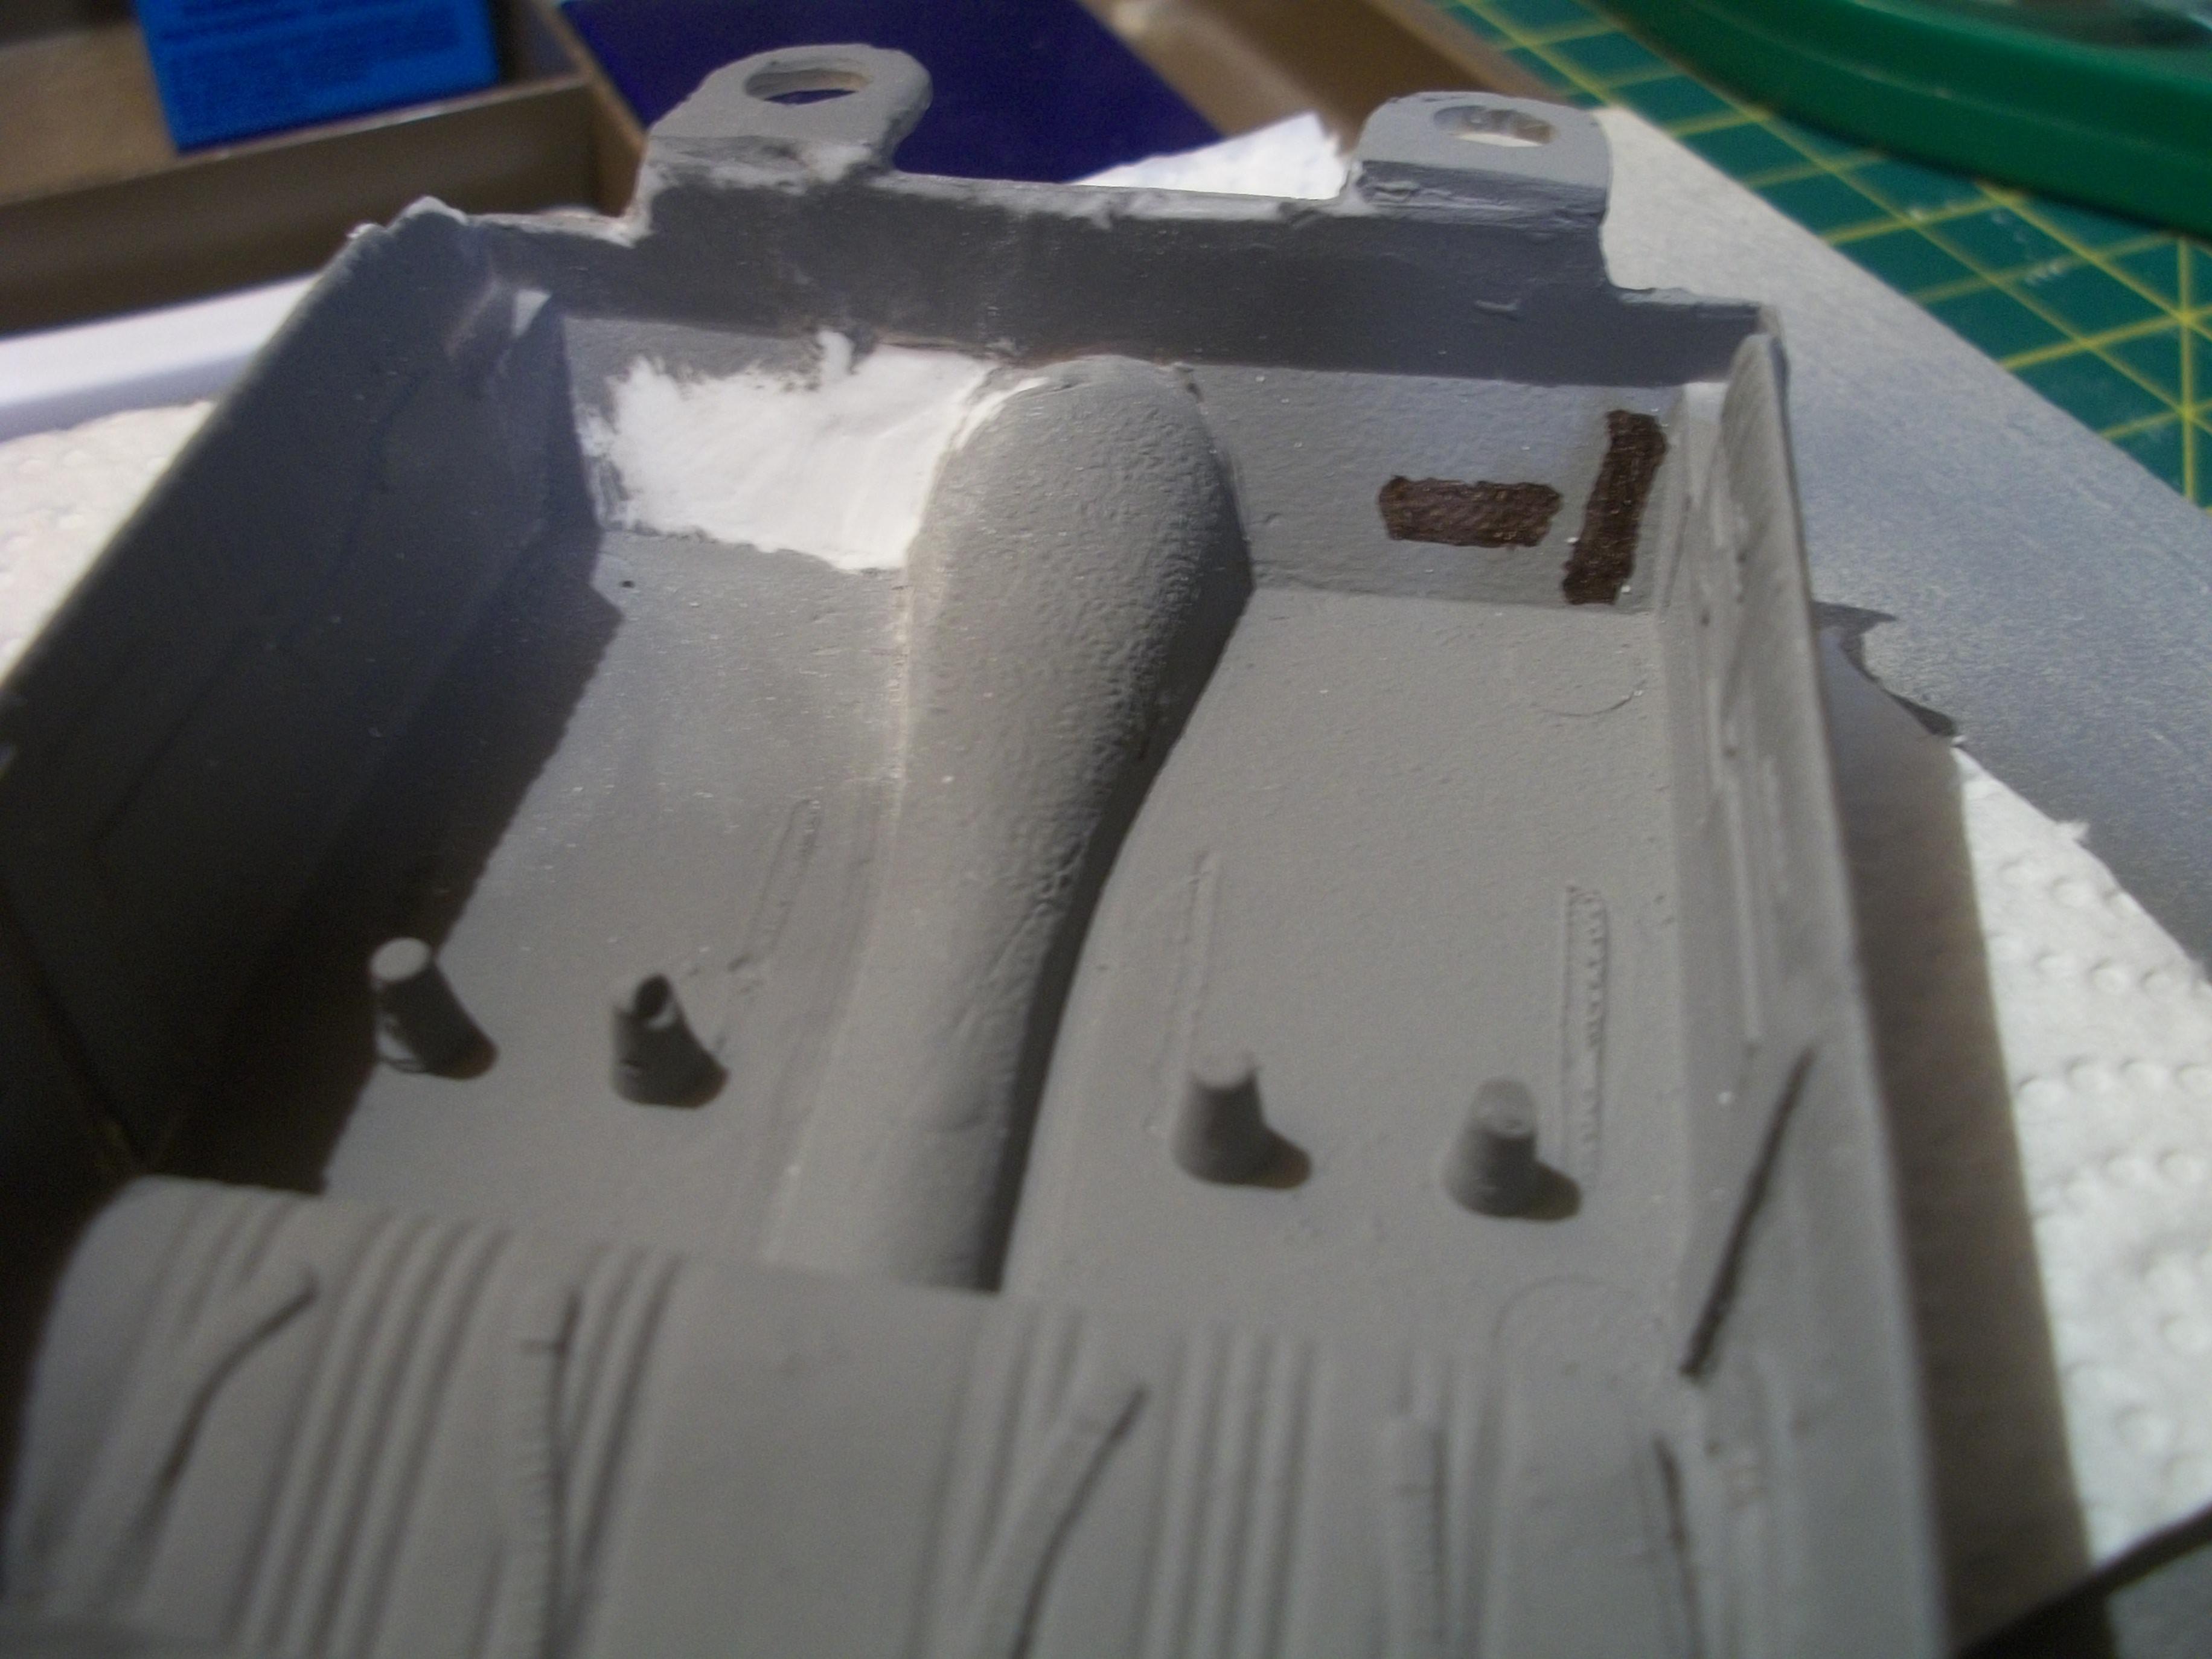
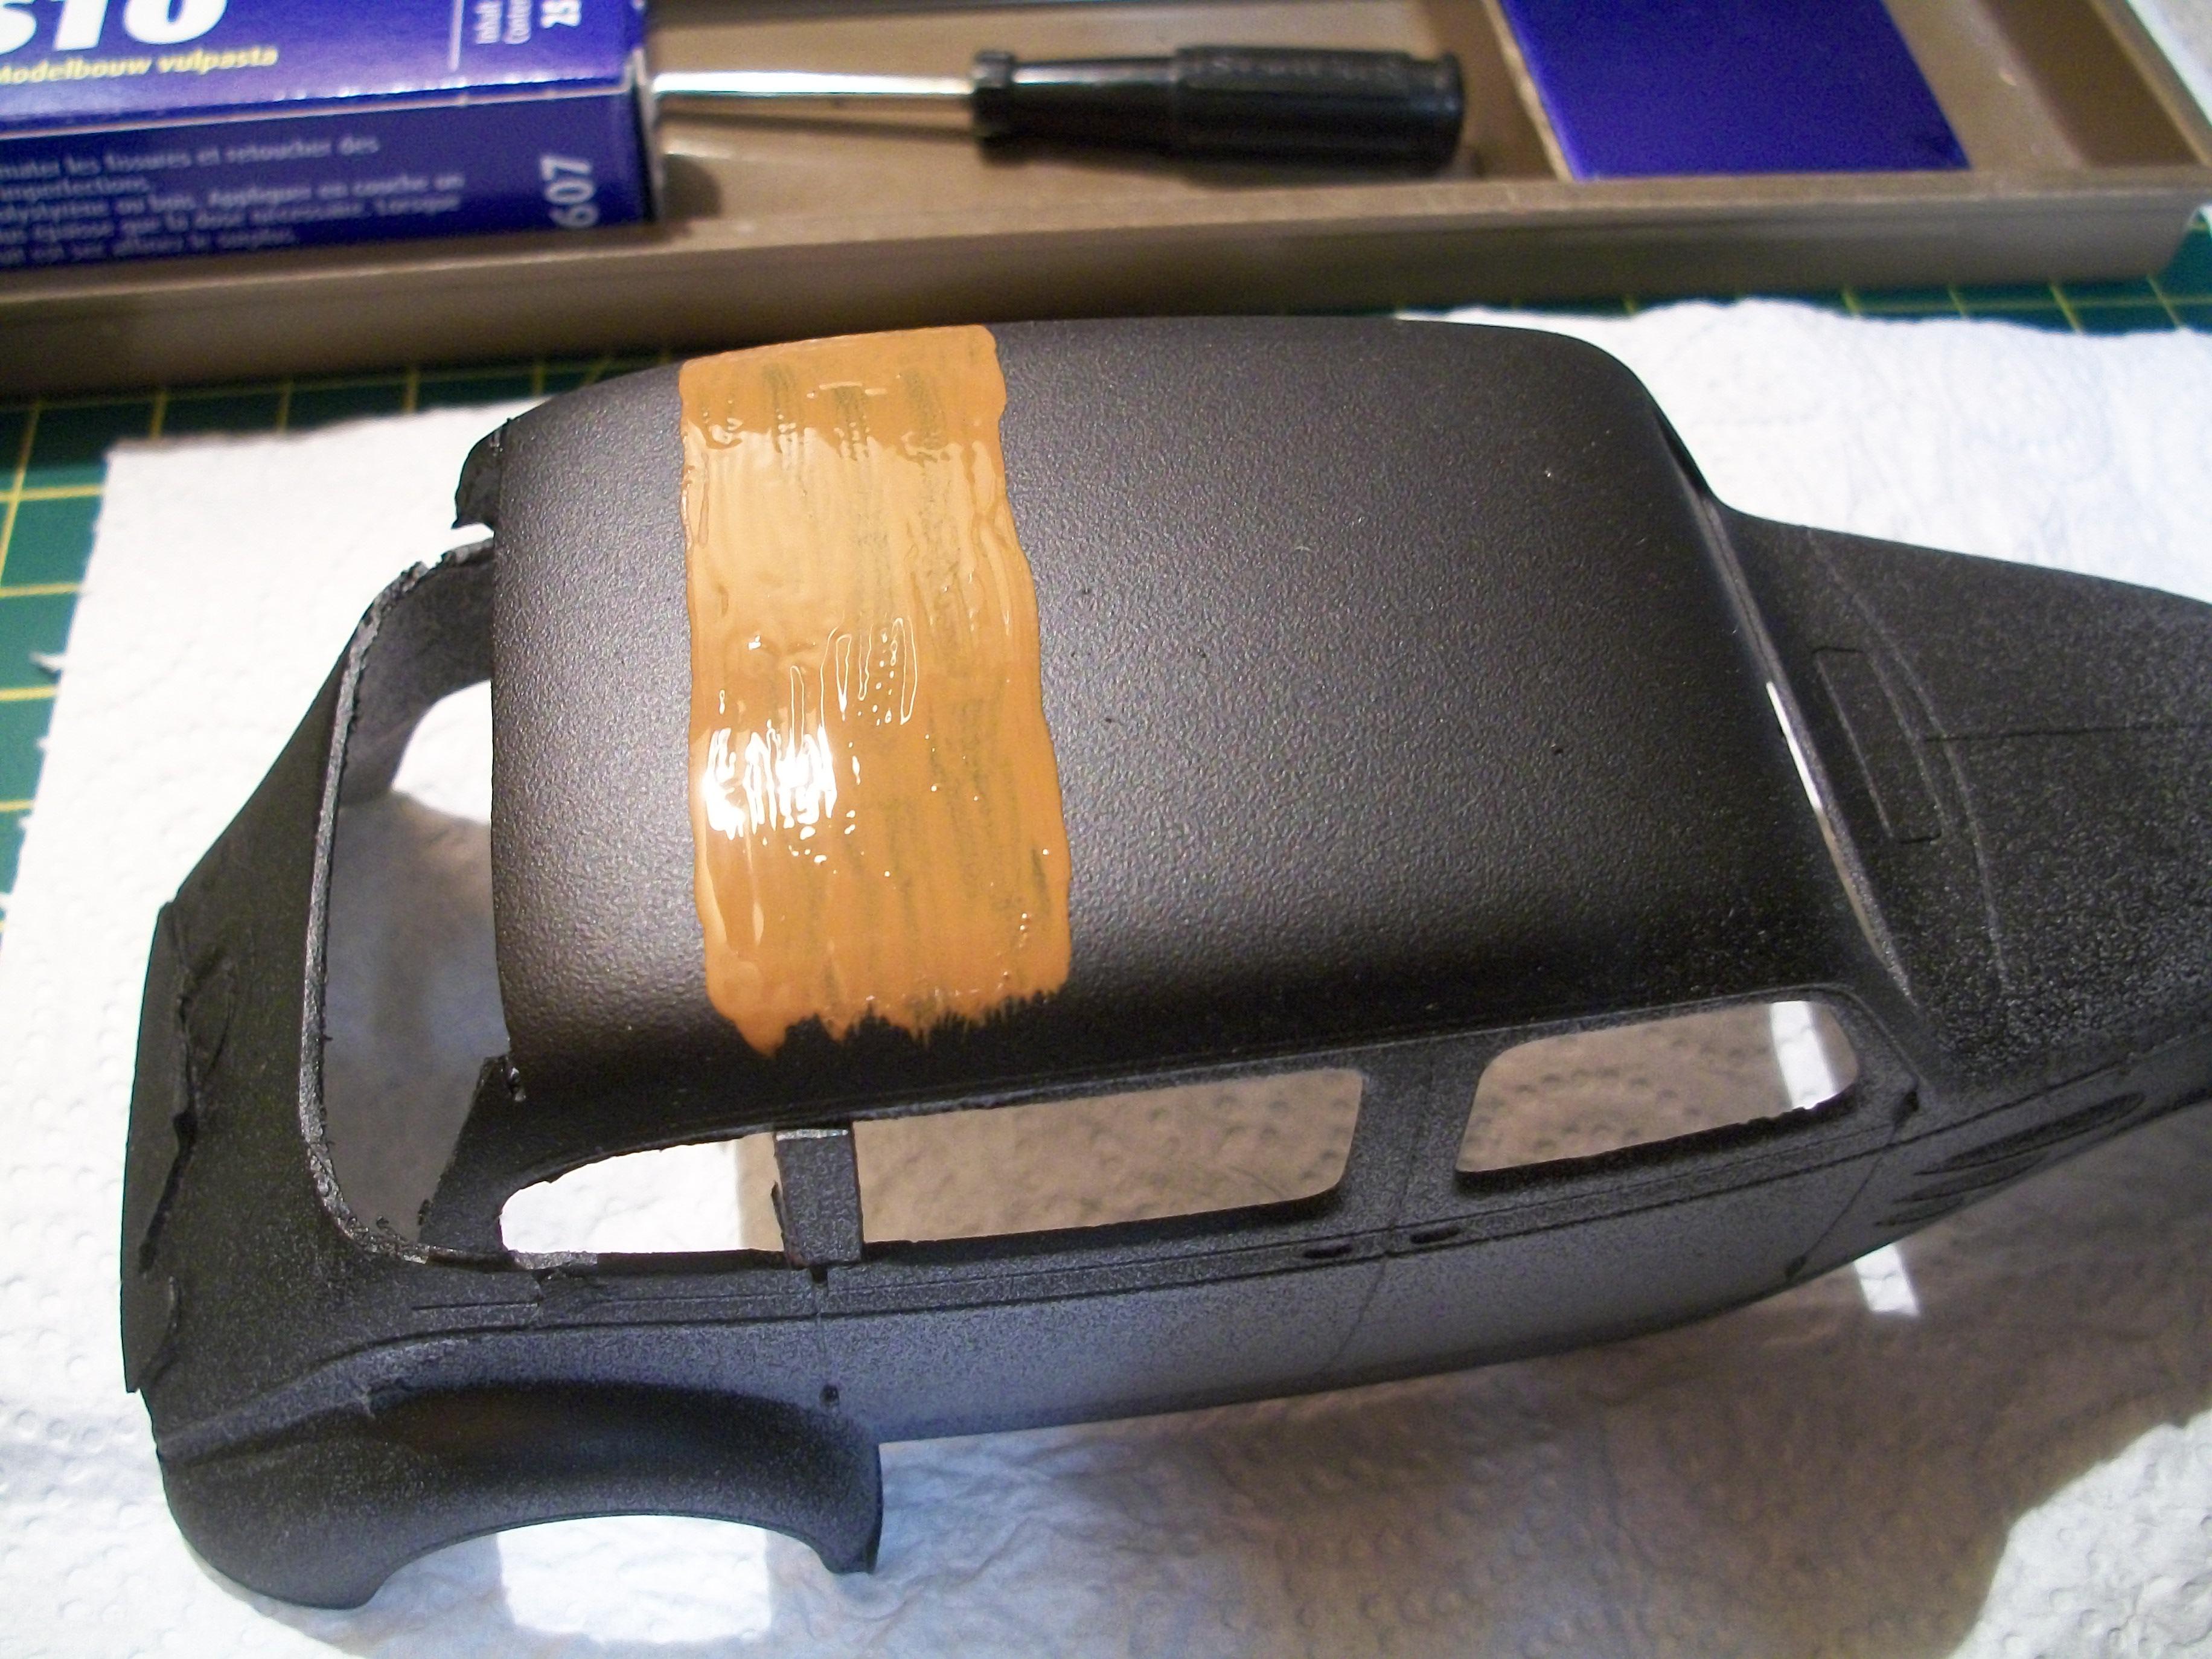
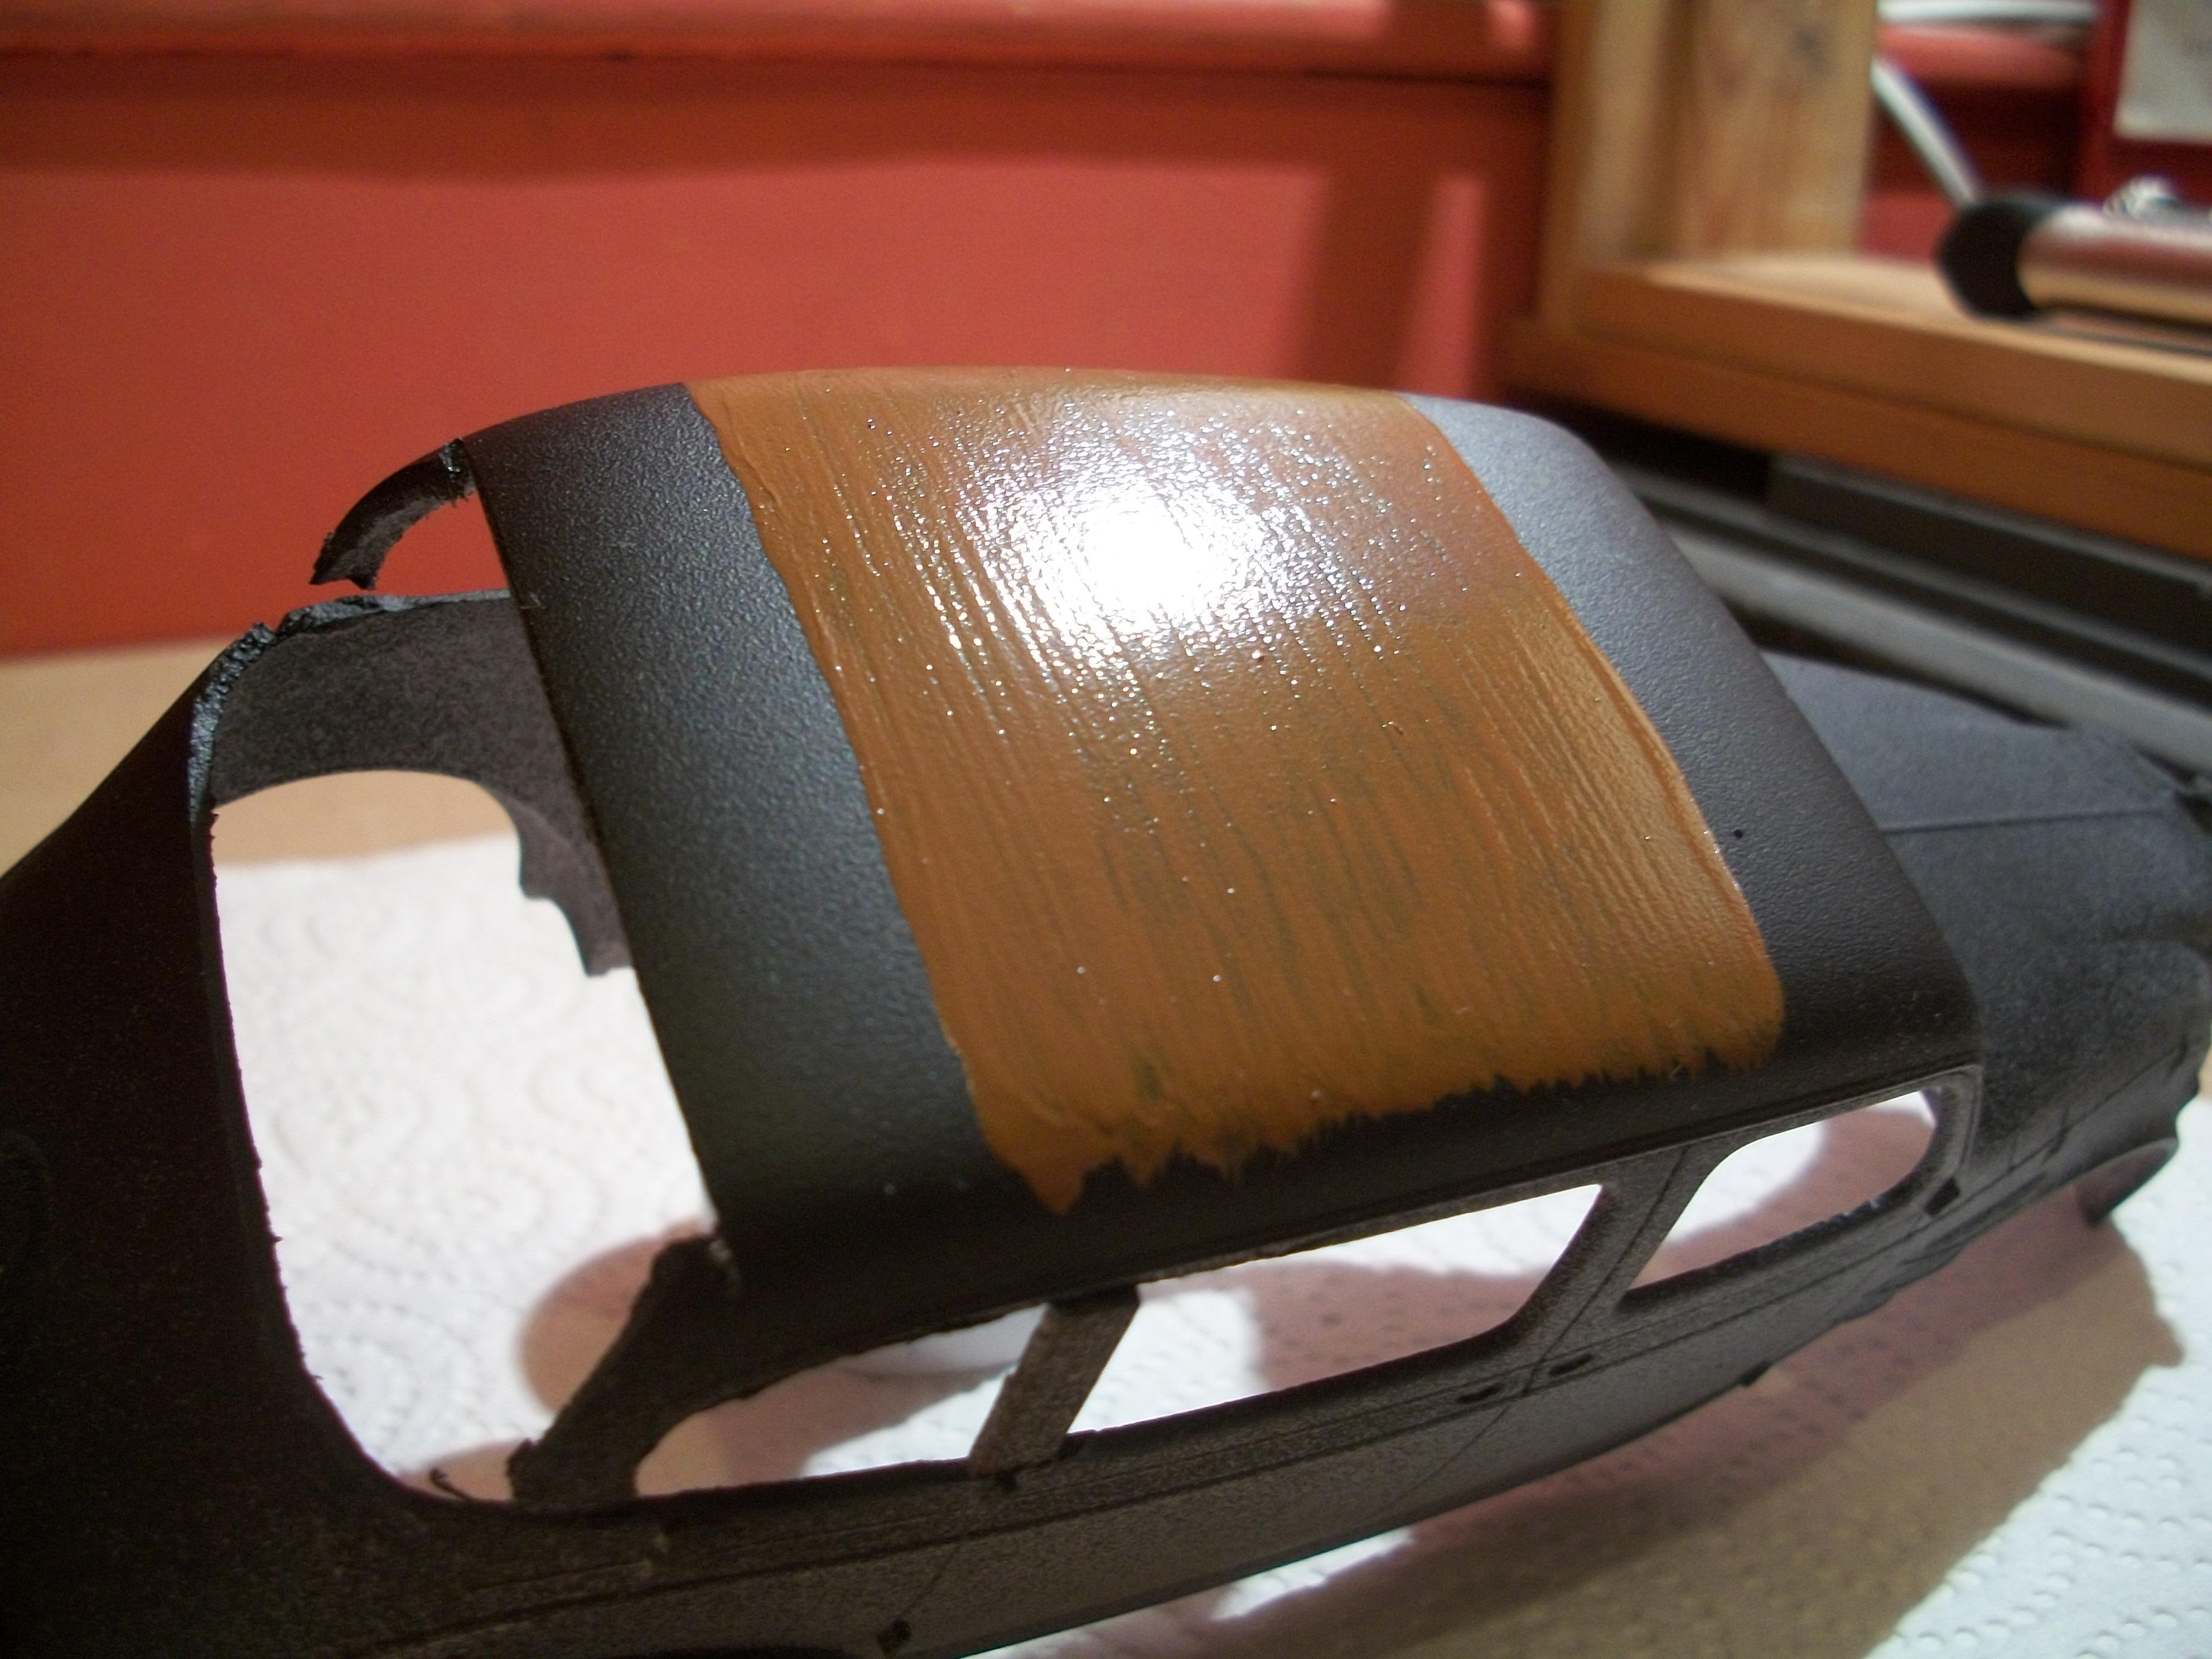
Two photos taken after applying a single coat of the Mud Brown, over the rubberised black undercoat. I have probably put the brown paint on too thickly, and there are brush streaks all over it. Maybe I should have used rattle can or airbrush brown, instead of applying by brush? When I examined the Revell Aqua Color container, under a magnifying glass, the tiny print that I could not read without a magnifying glass says ' Gloss '.... when I thought I was going to be using Matt. ( could apply some satin varnish or matt varnish over the gloss finish if it works ). Not convinced this test will produce a good vinyl roof effect, but I will see how it dries, and maybe some further wet sanding might help ? David
-
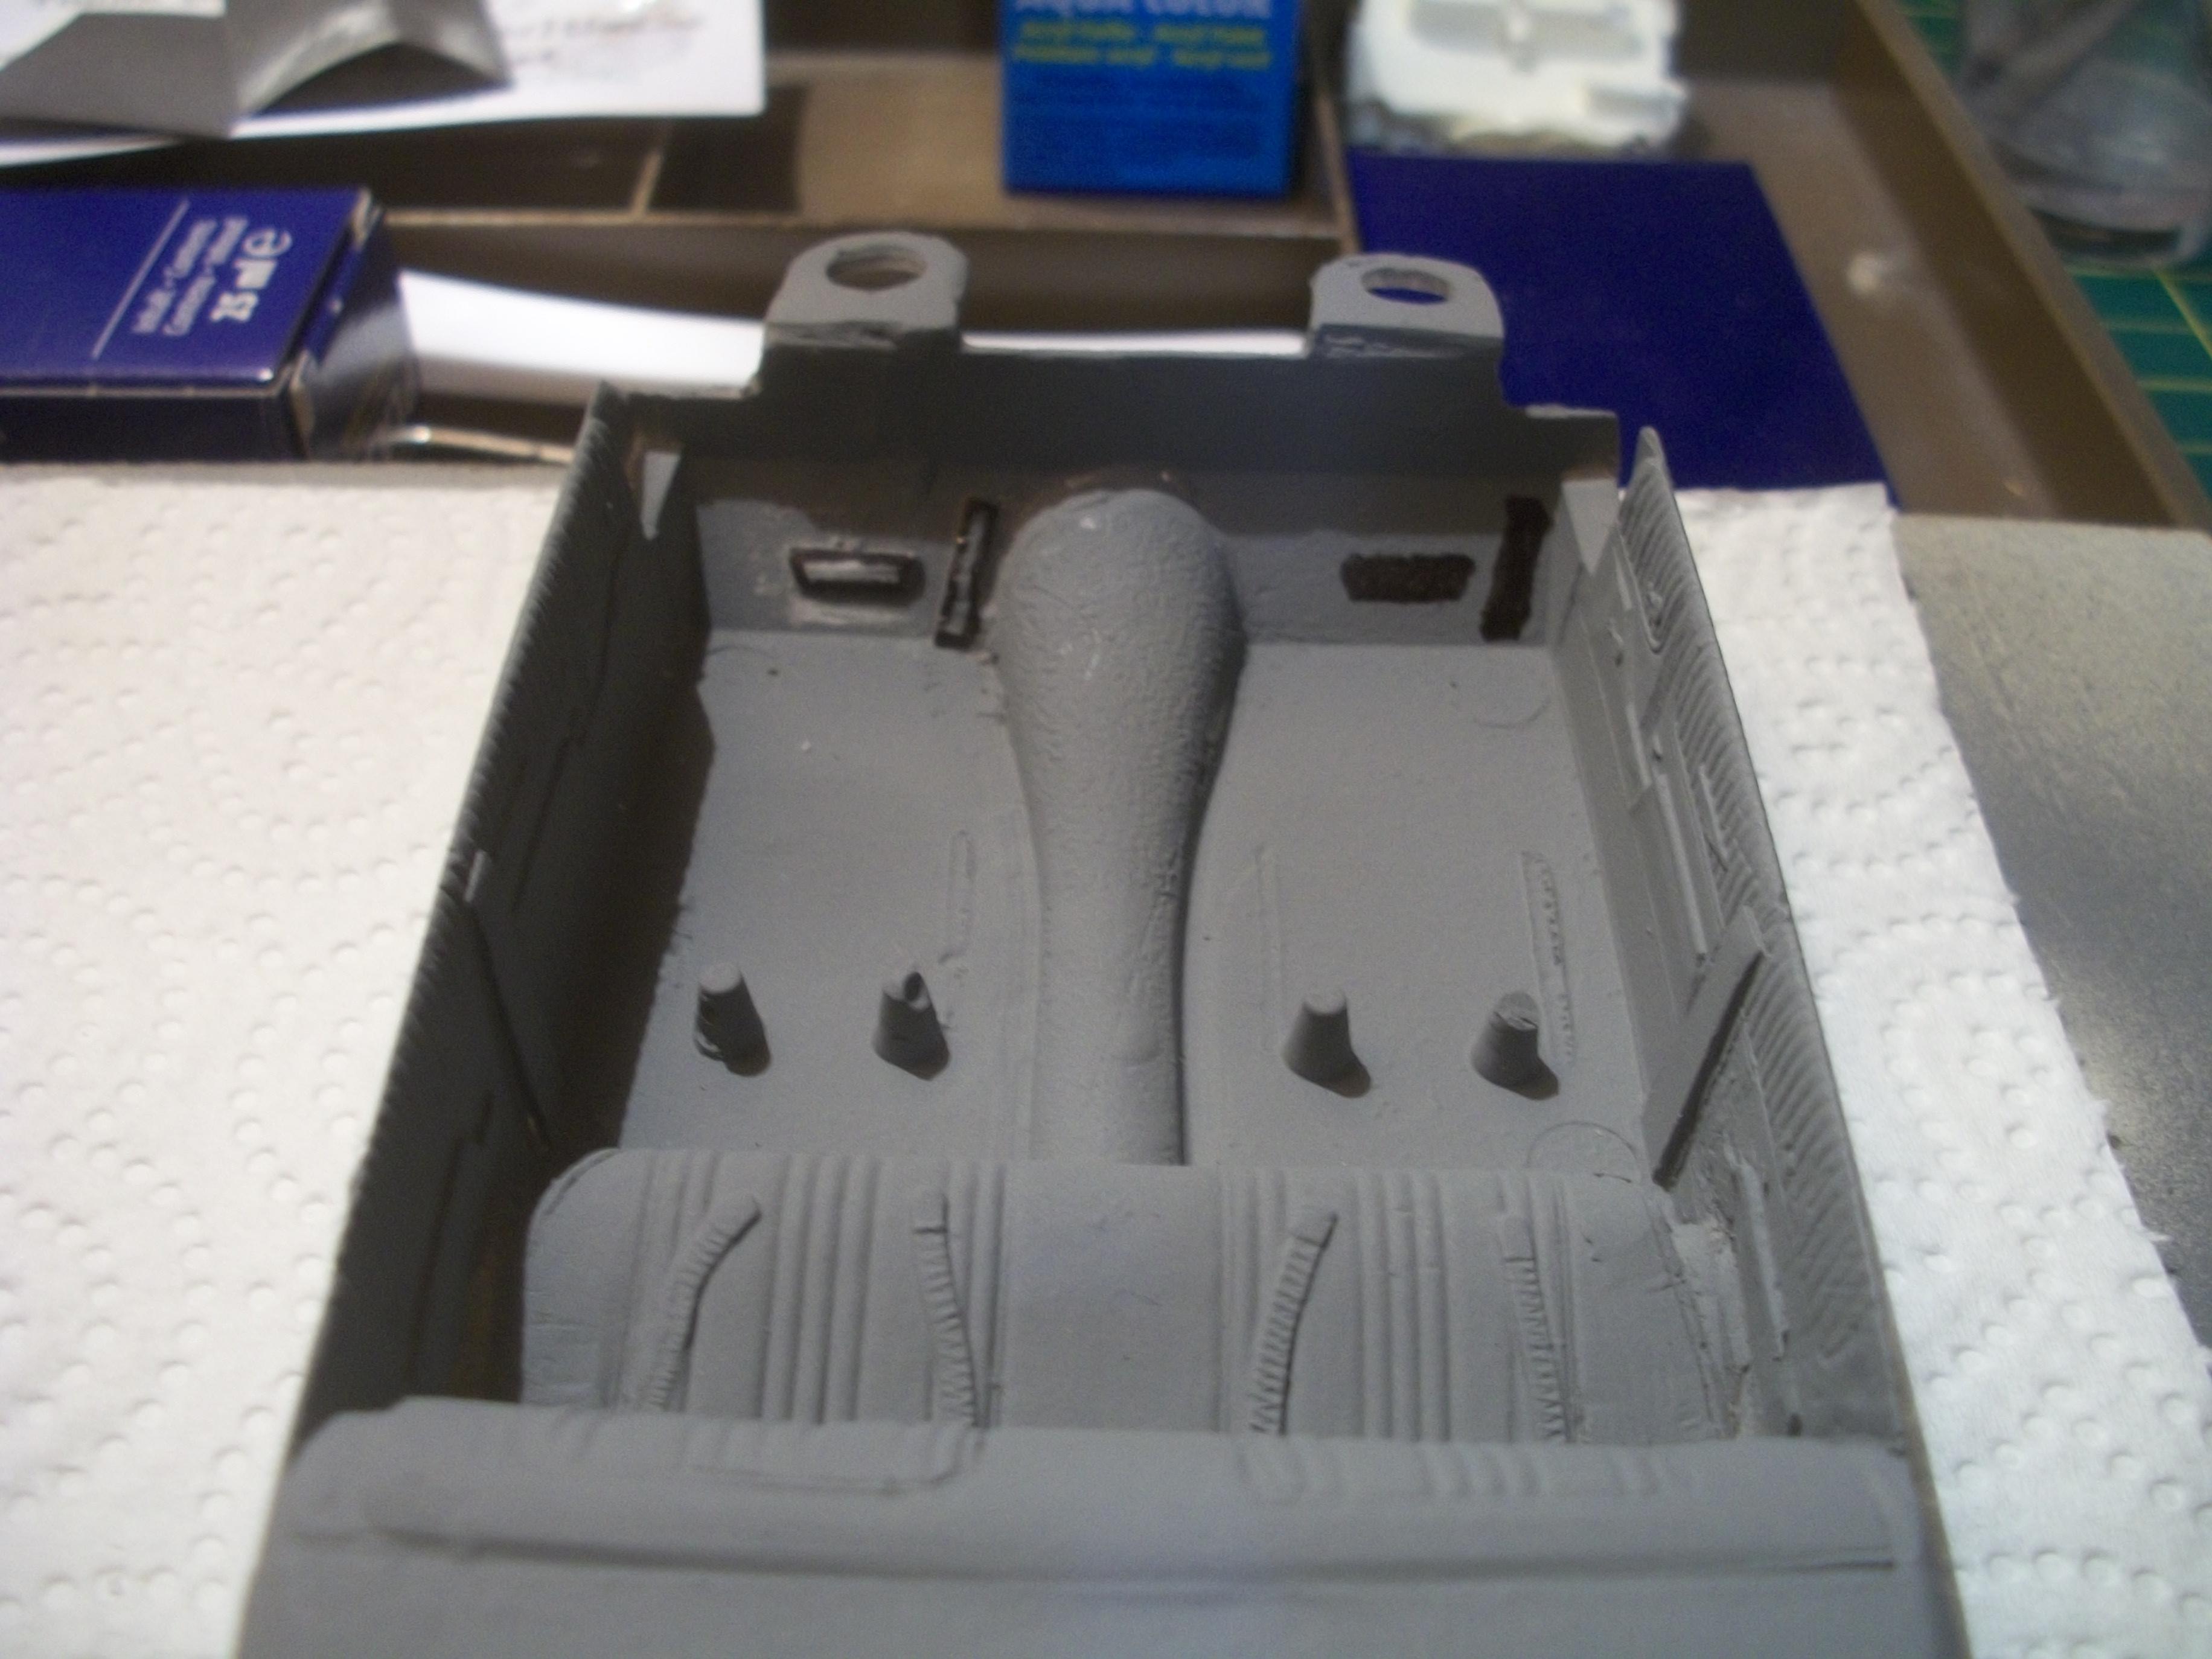
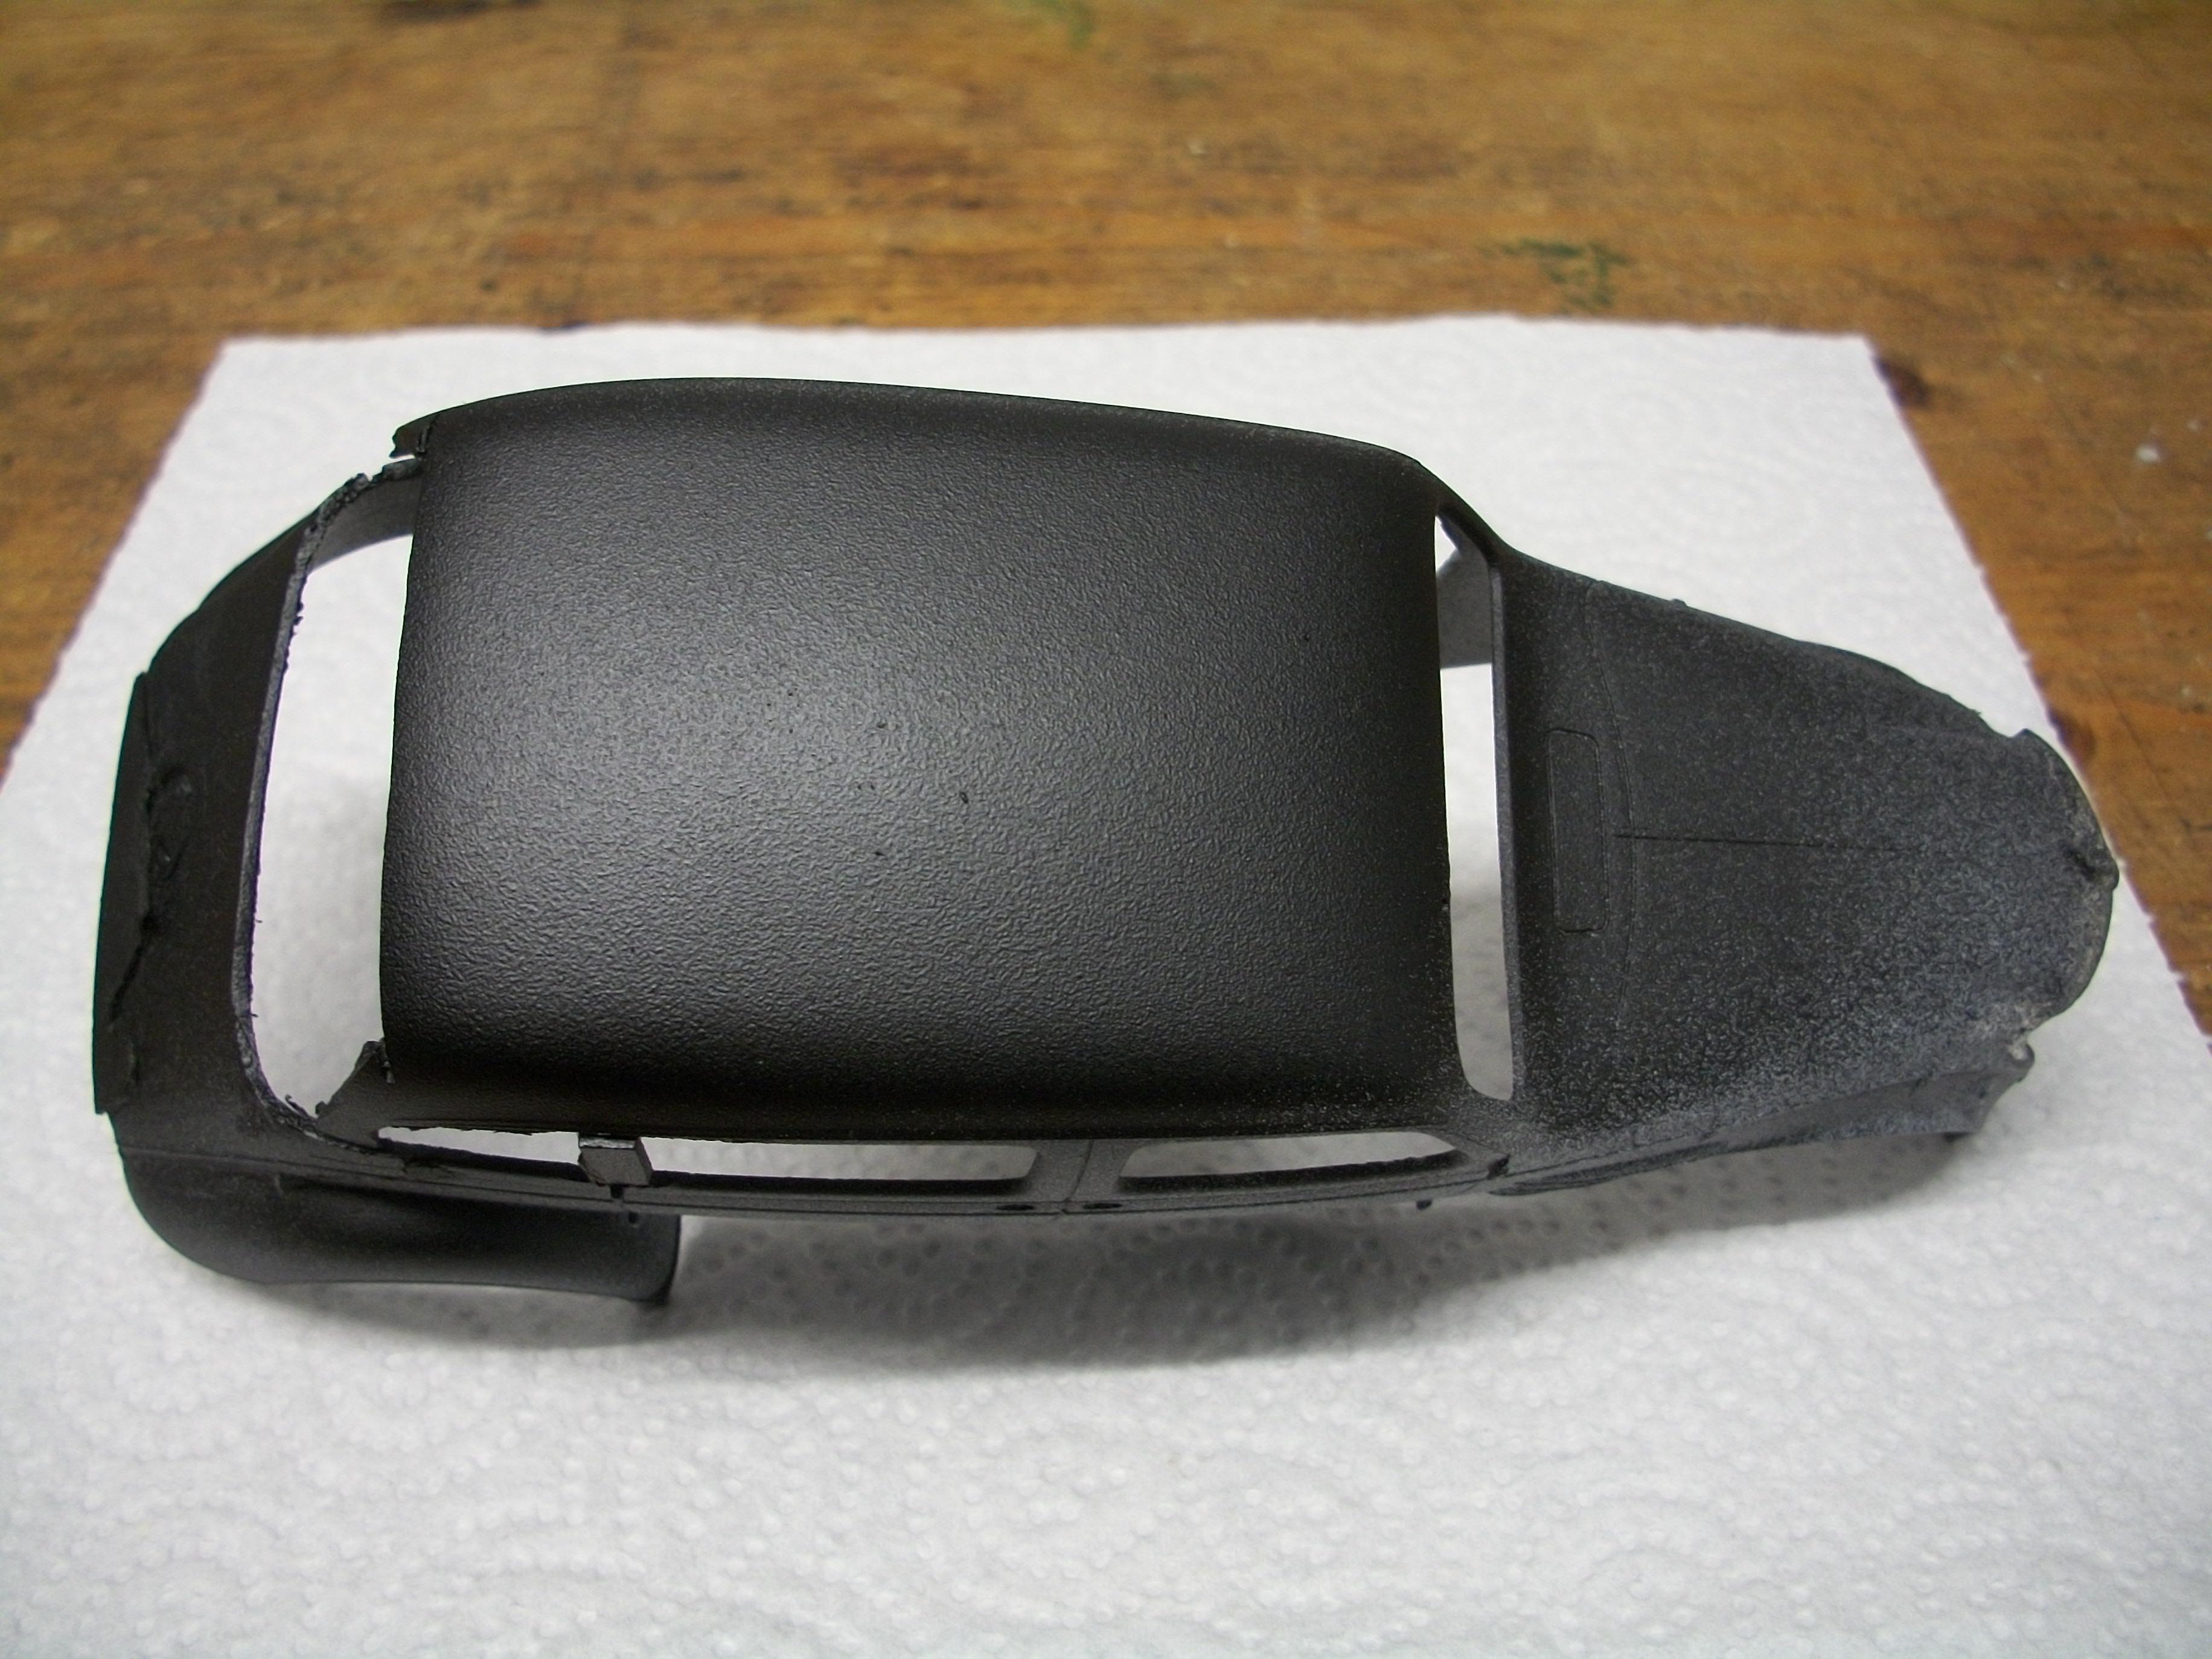
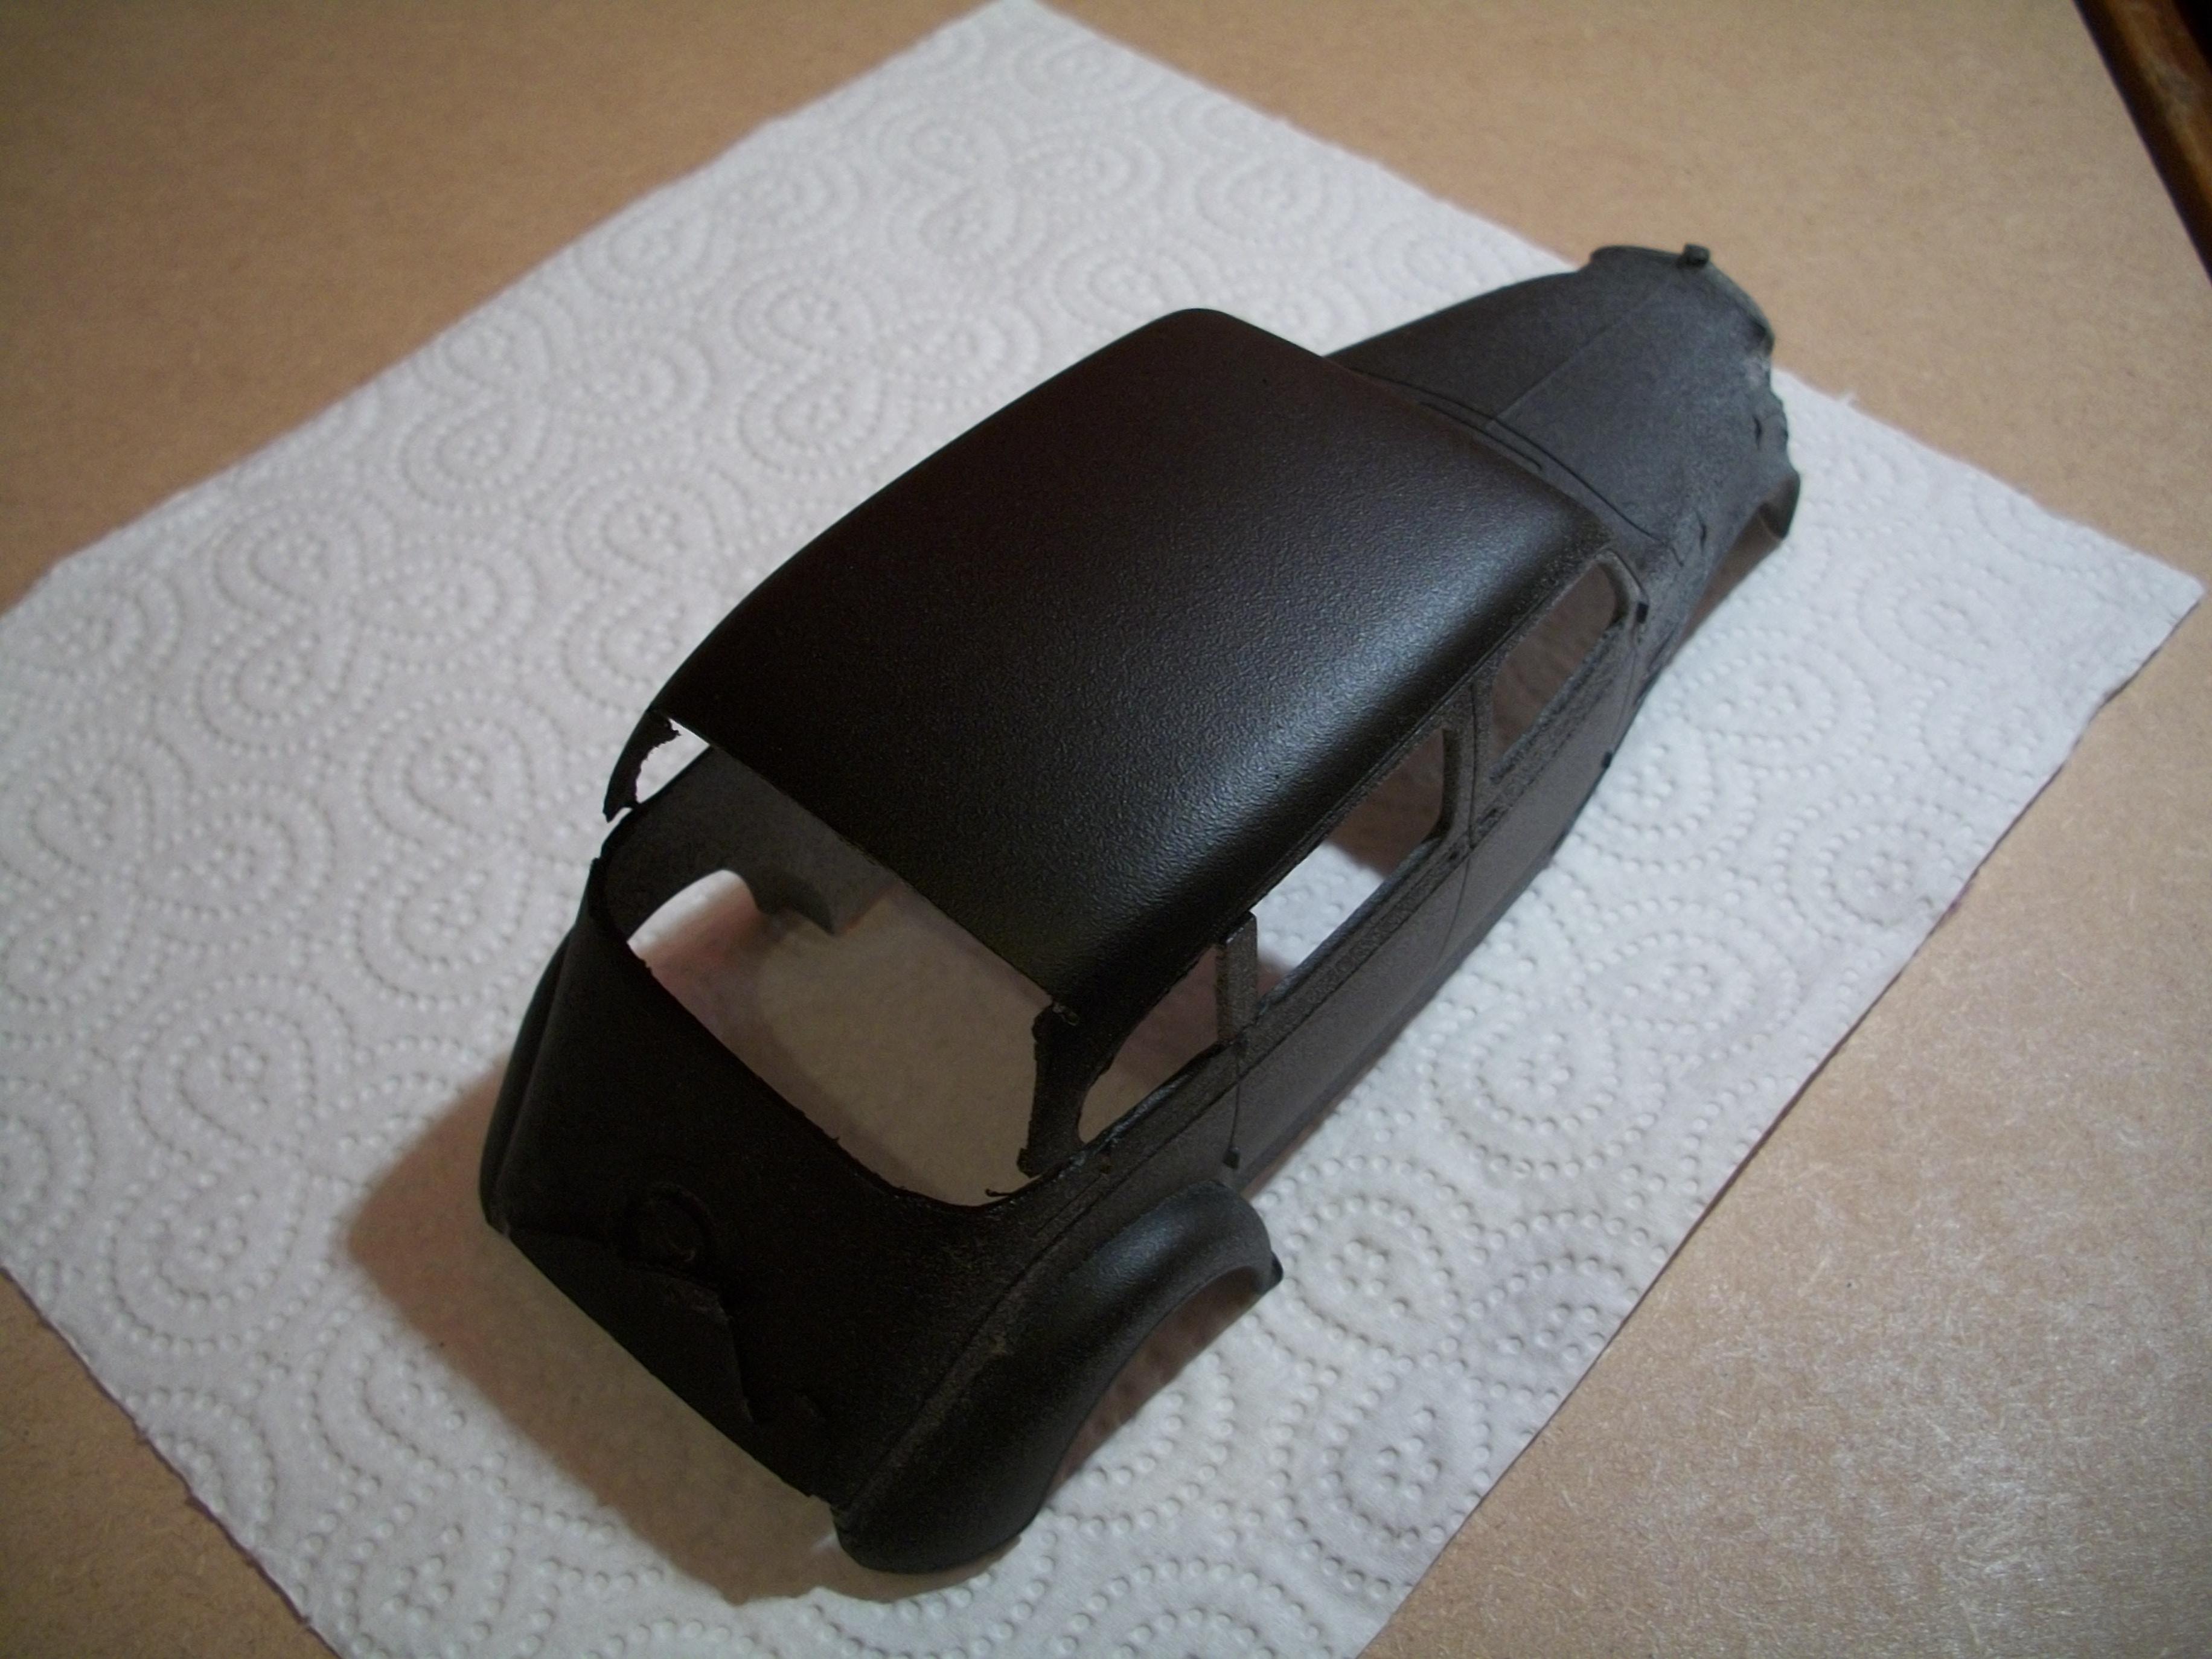
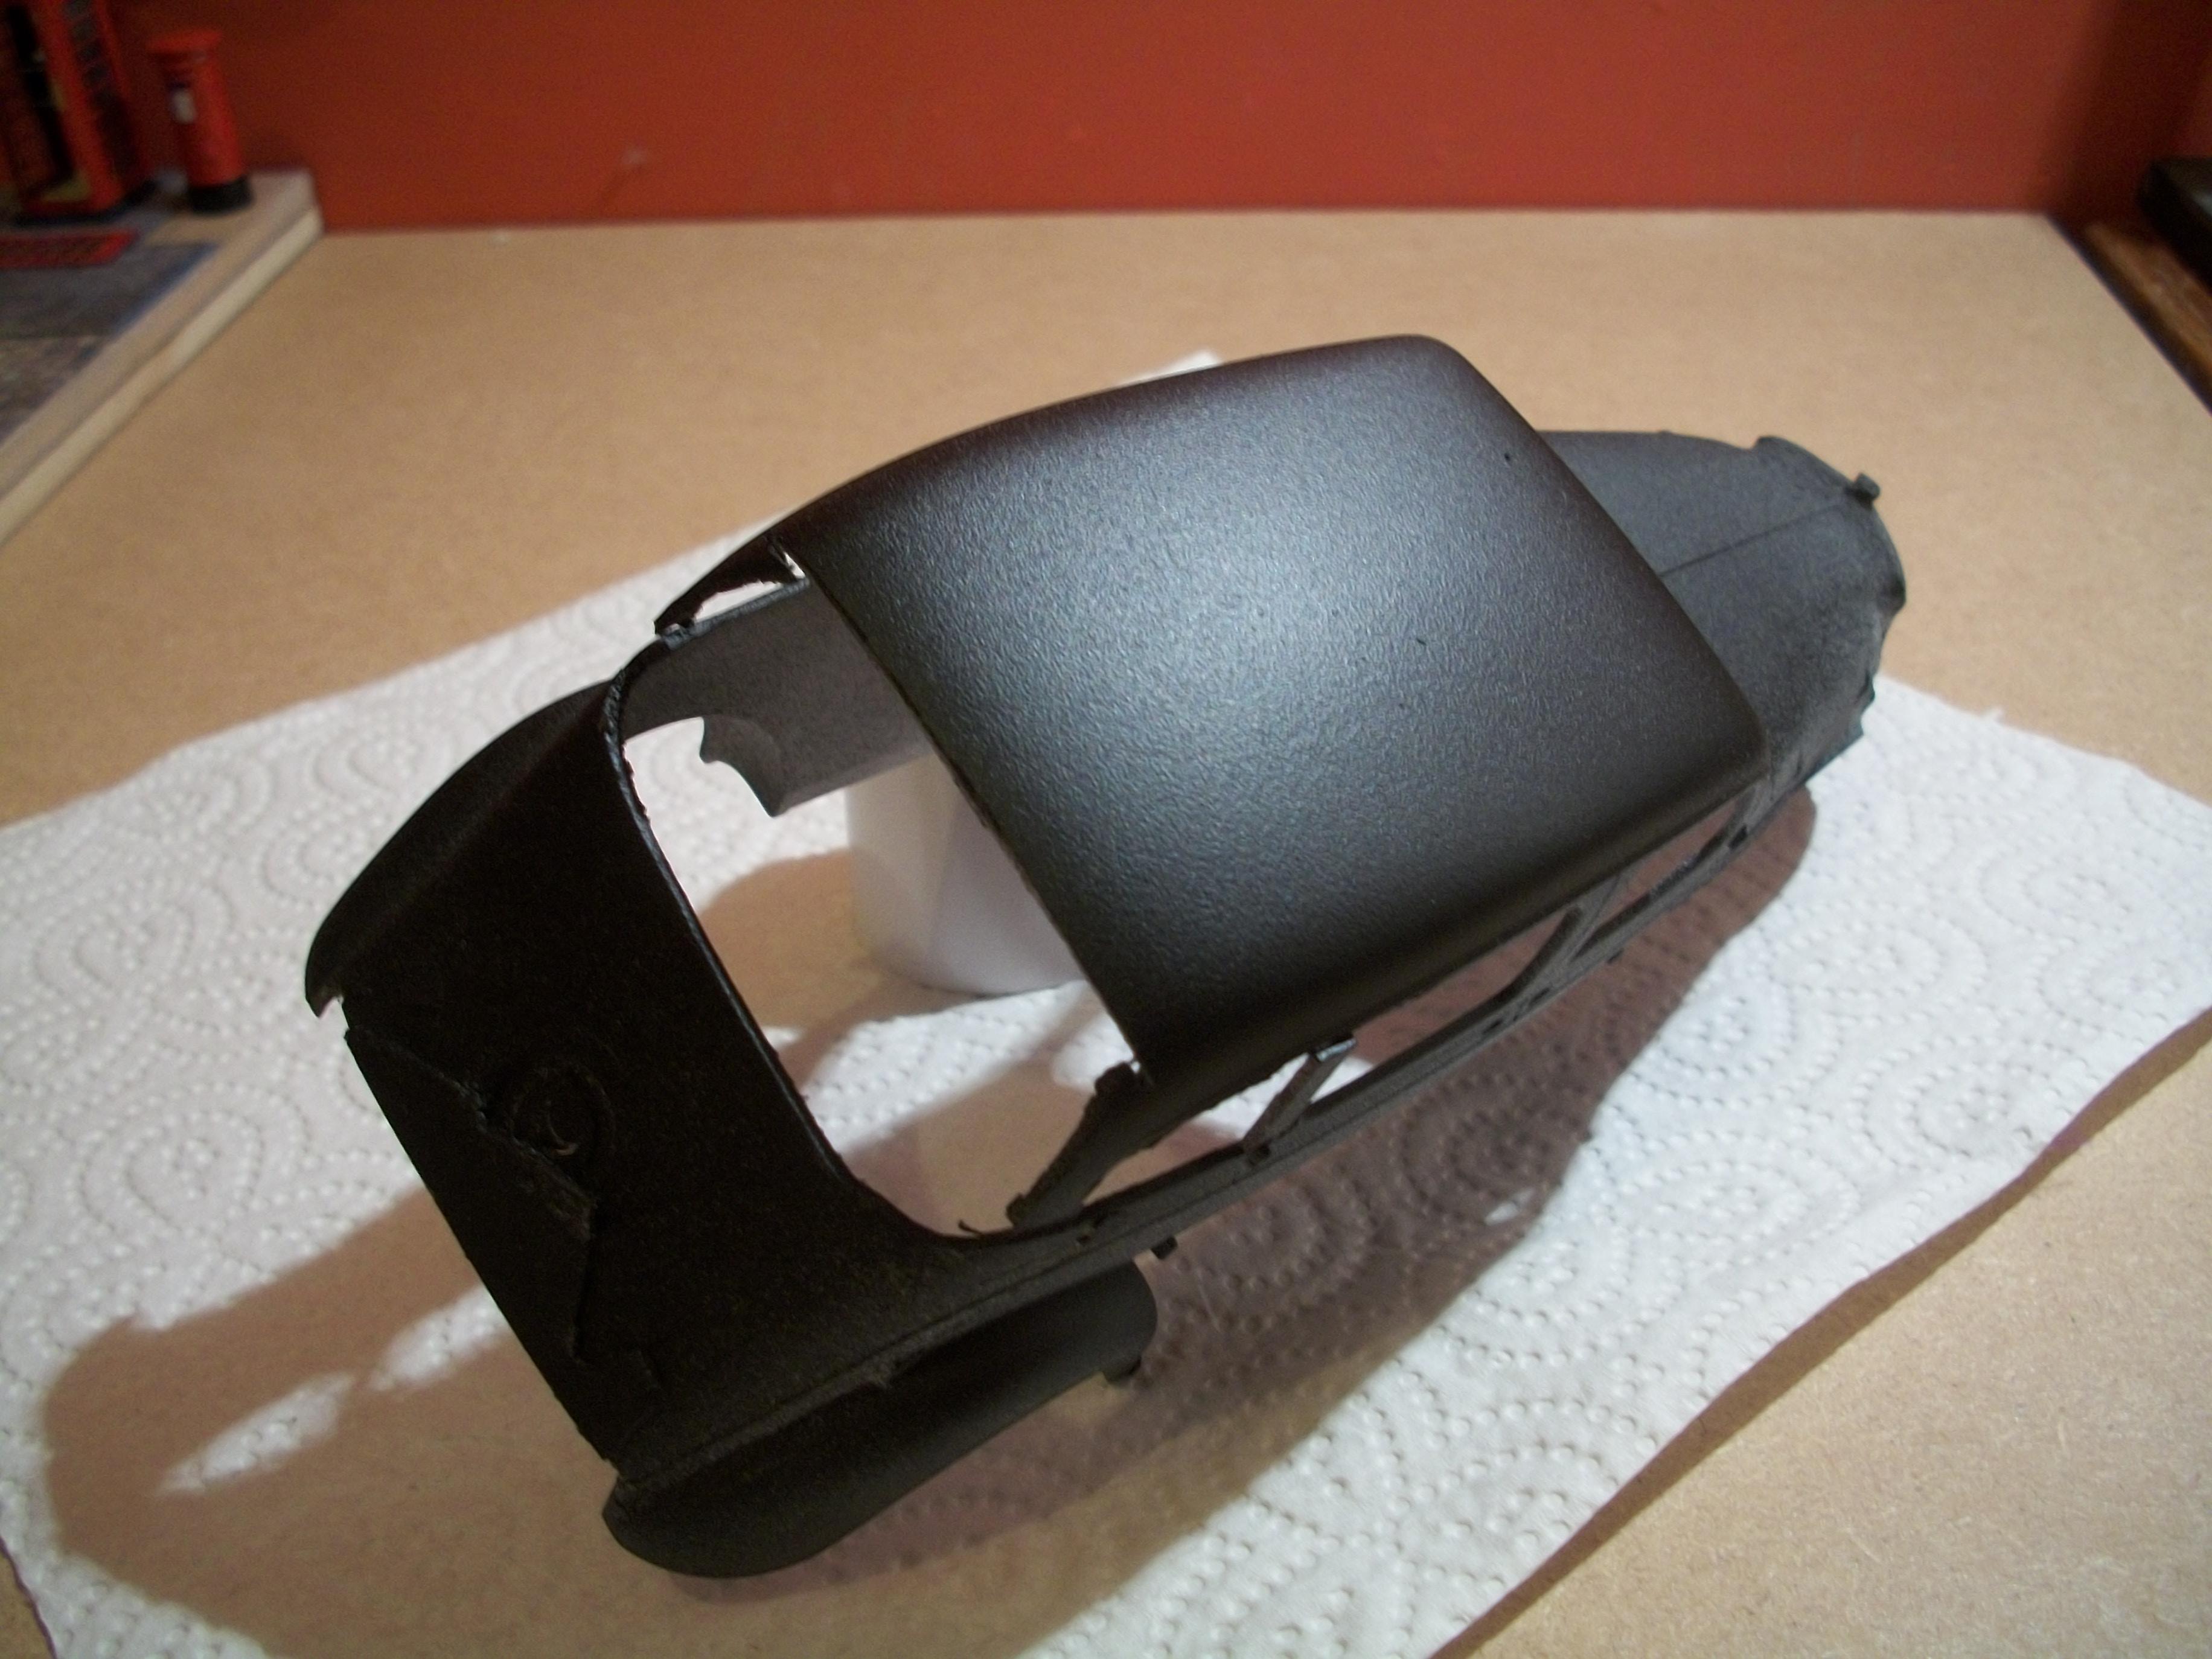
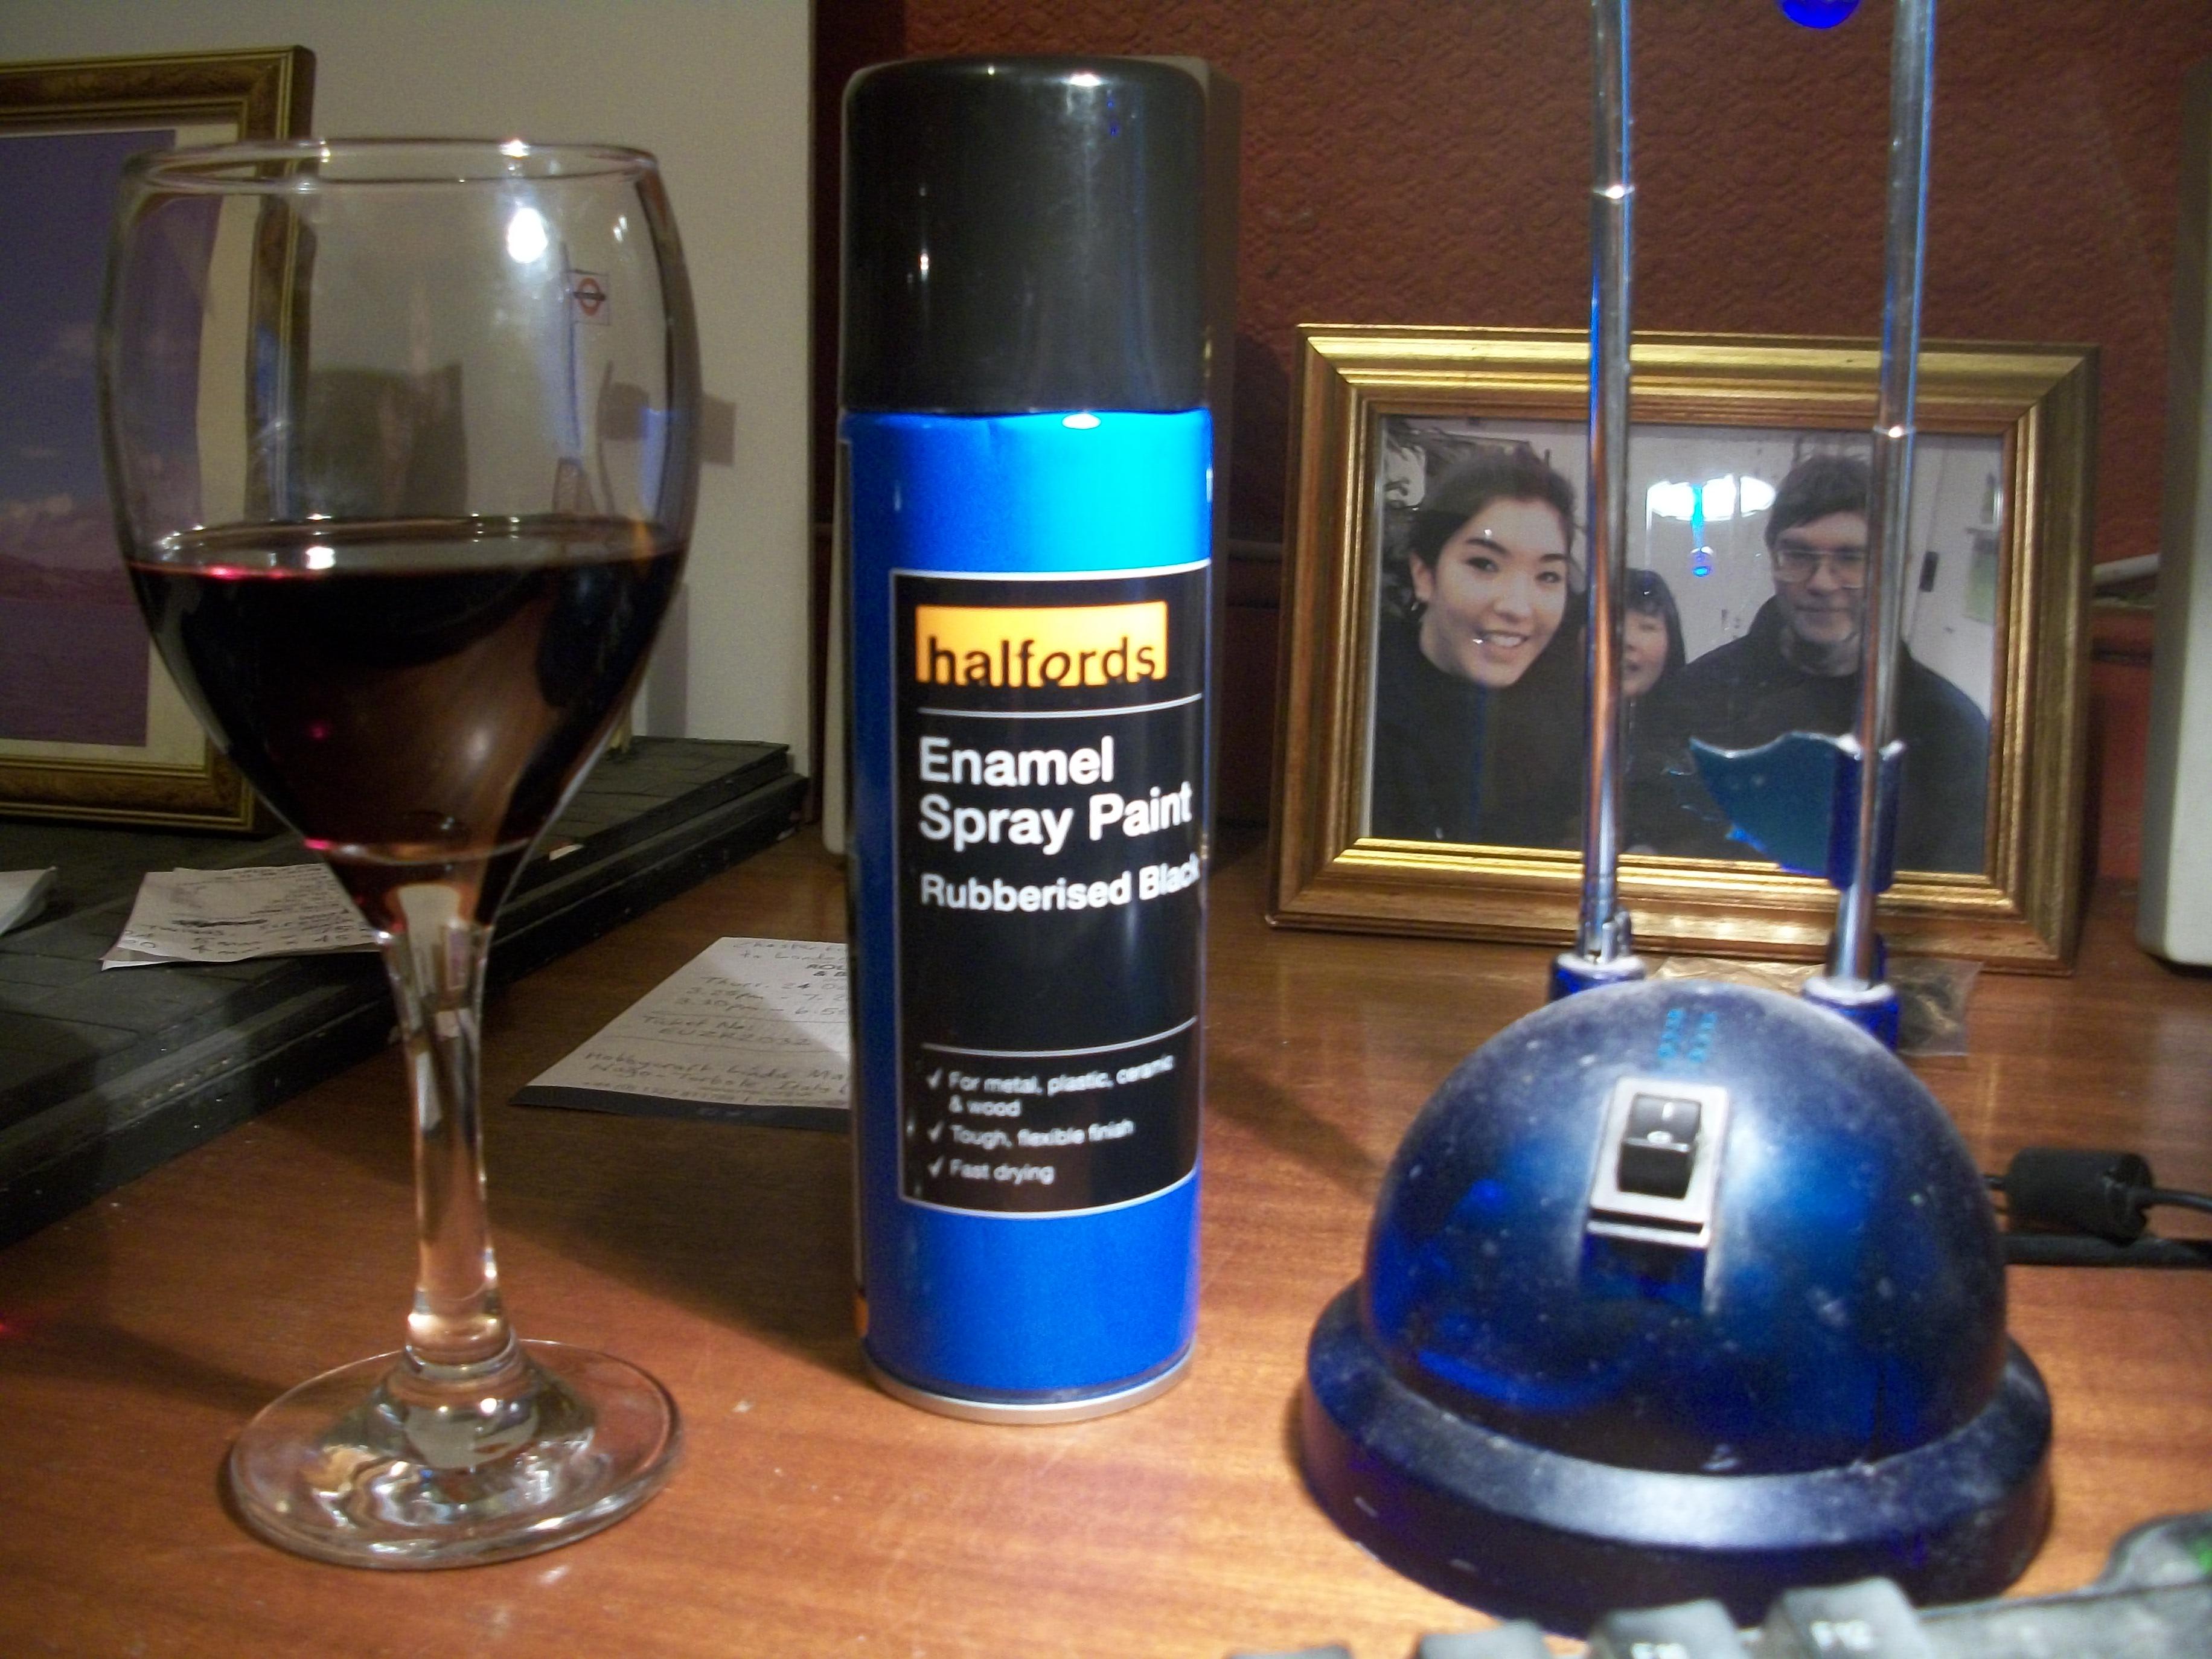
The following three photos show the roof of the Tamiya Toyoda, now that the surface has been lightly sprayed with two coats of the Halfords Rubberised Black Enamel Paint, with 30 minutes allowed before applying the second coat of this product. The surface looks quite promising, so I shall continue the test by applying Revell Aqua Color acrylic paint, in Mud Brown colour. It will be interesting to see how the top coat reacts with the rubberised black coating underneath. Temperature here in UK is currently between 6 degrees C and 10 degrees C during the daytime, and dropping to between 2 degrees C and 4 degrees C at night time, so not ideal for paint spraying. The brown colour will be brushed on, of course. David
-
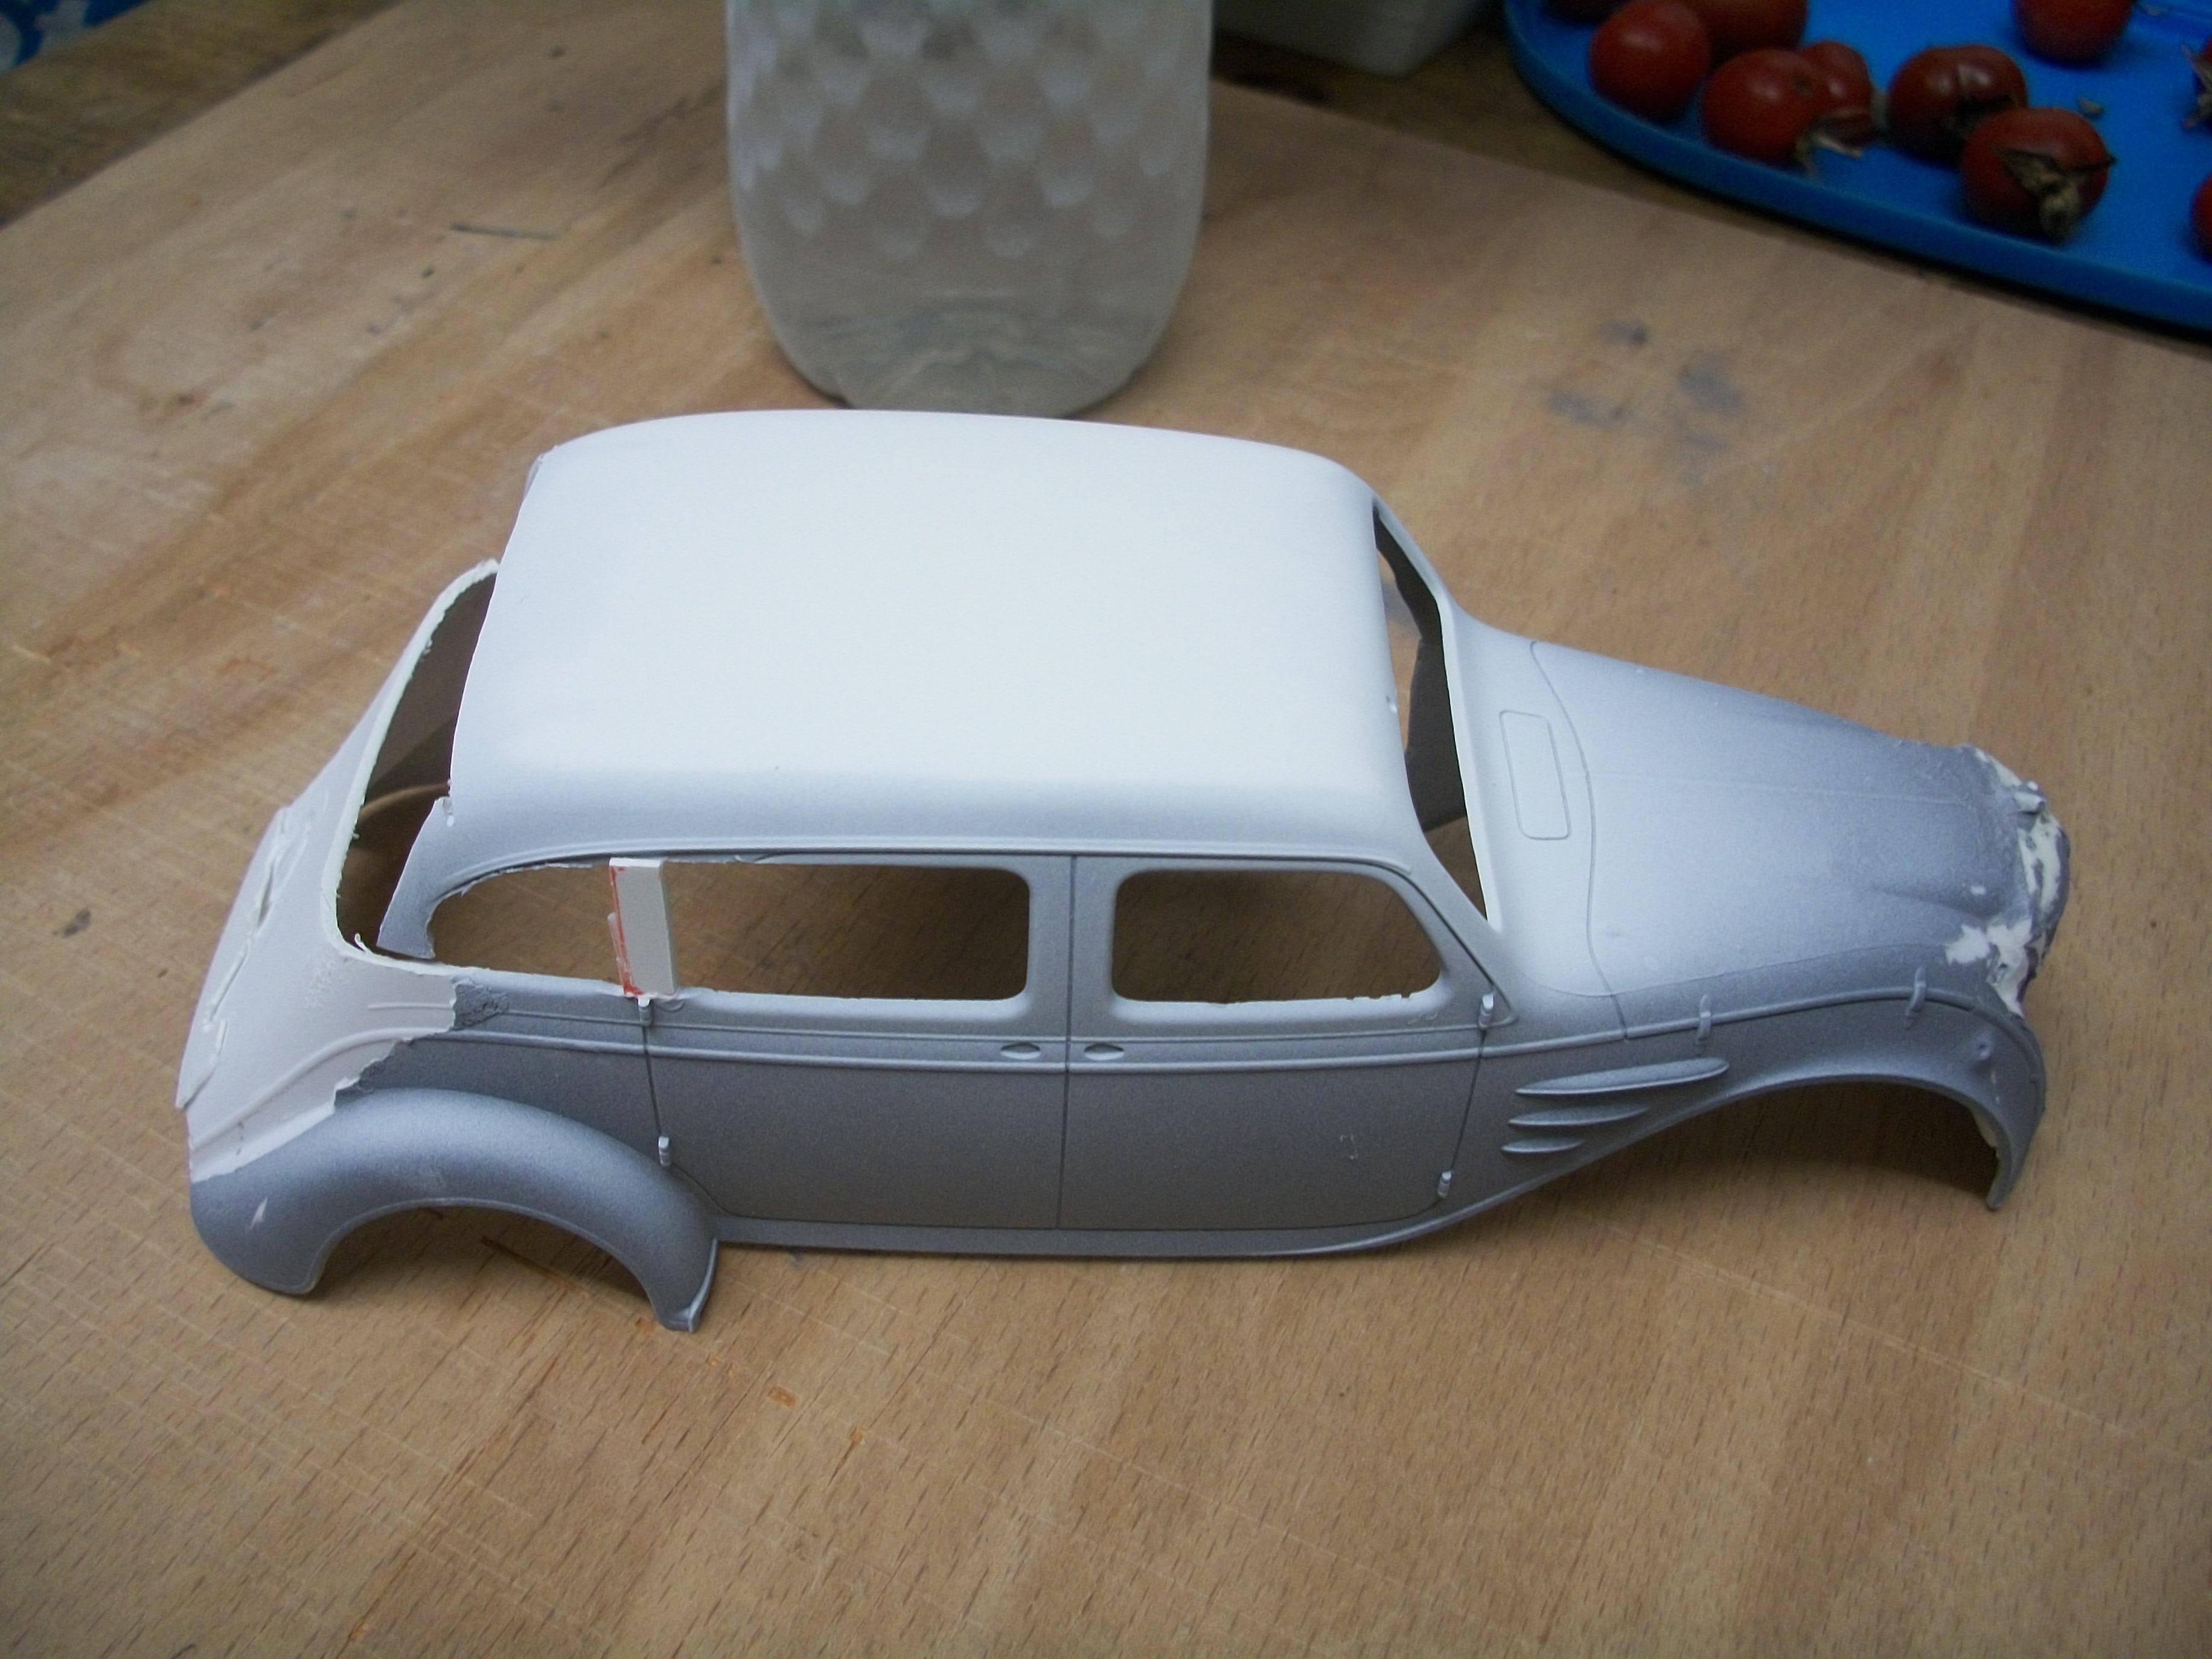
Today was wet sanding the '67 Pontiac Bonneville 4-door resin body shell, which was previously coated with grey primer. Decided to use white primer for the Buick Cameo Cream top coat, because this will be a pale yellow. Also, using a Tamiya Toyoda body shell from a failed project in order to test the rubberised black textured paint that I am hoping will create a vinyl roof effect. Applied two coats of white primer to both the Toyoda and the Bonneville, and testing of the rubberised black will proceed tomorrow. David
-
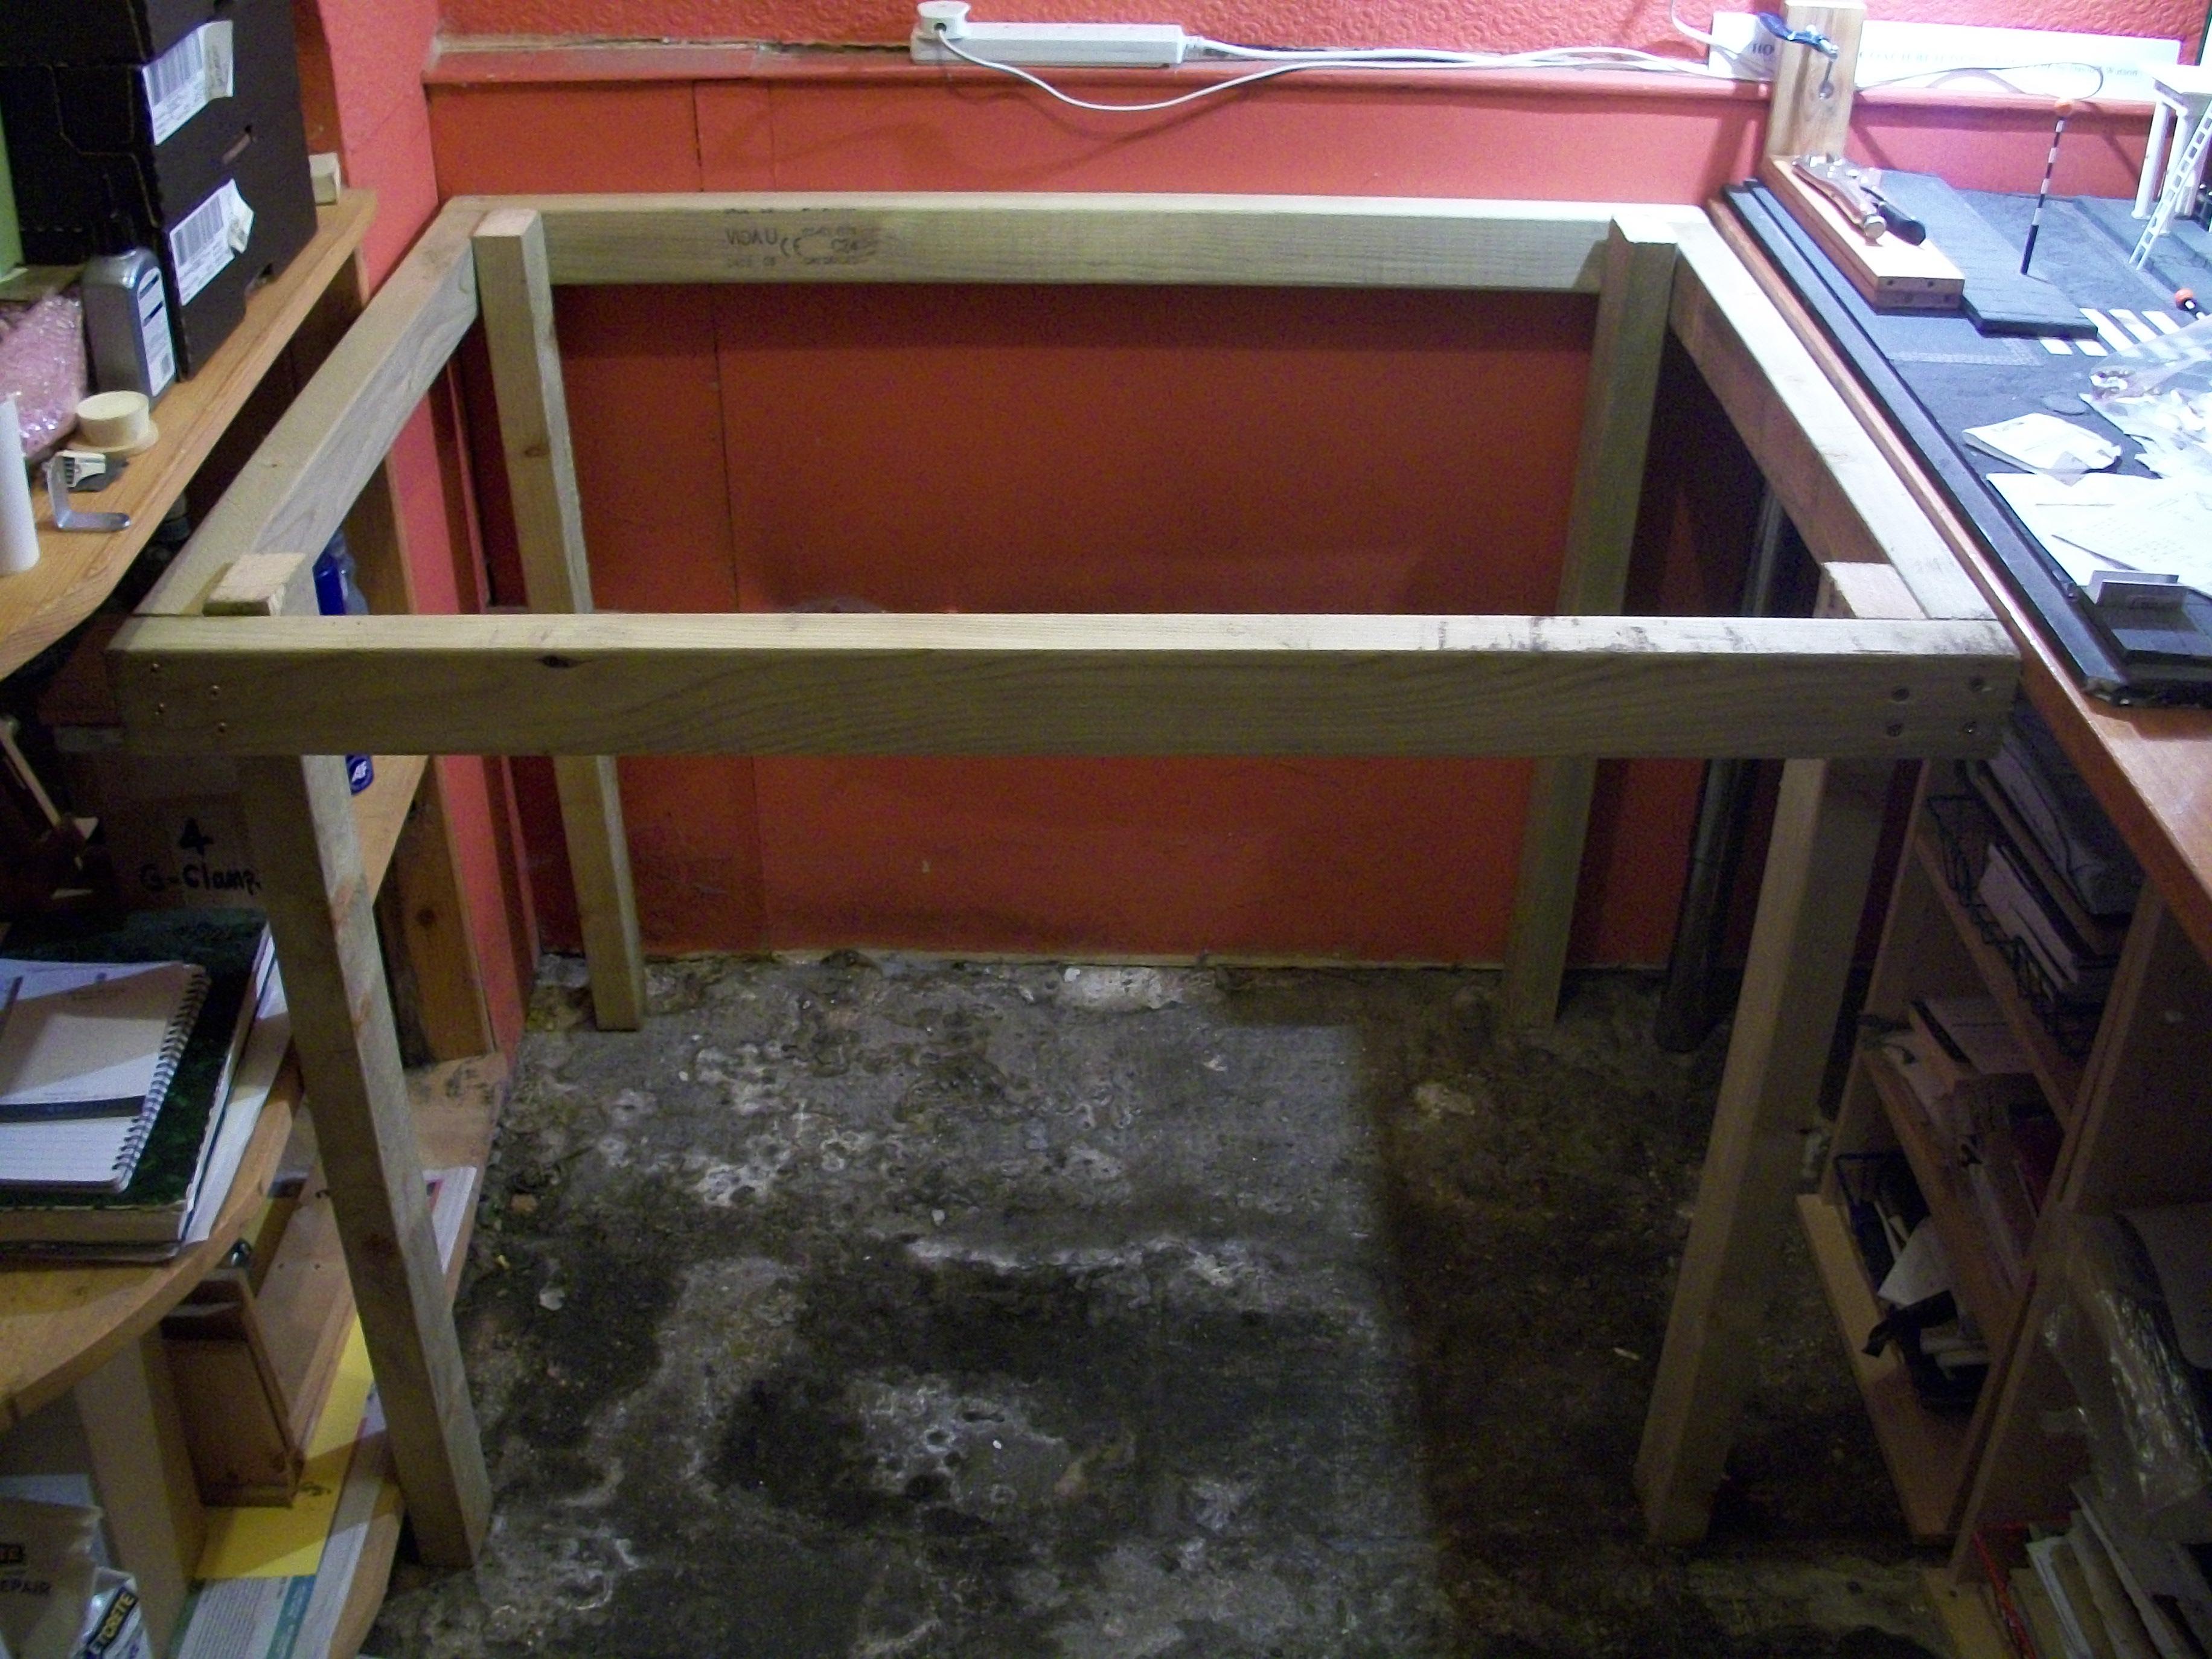
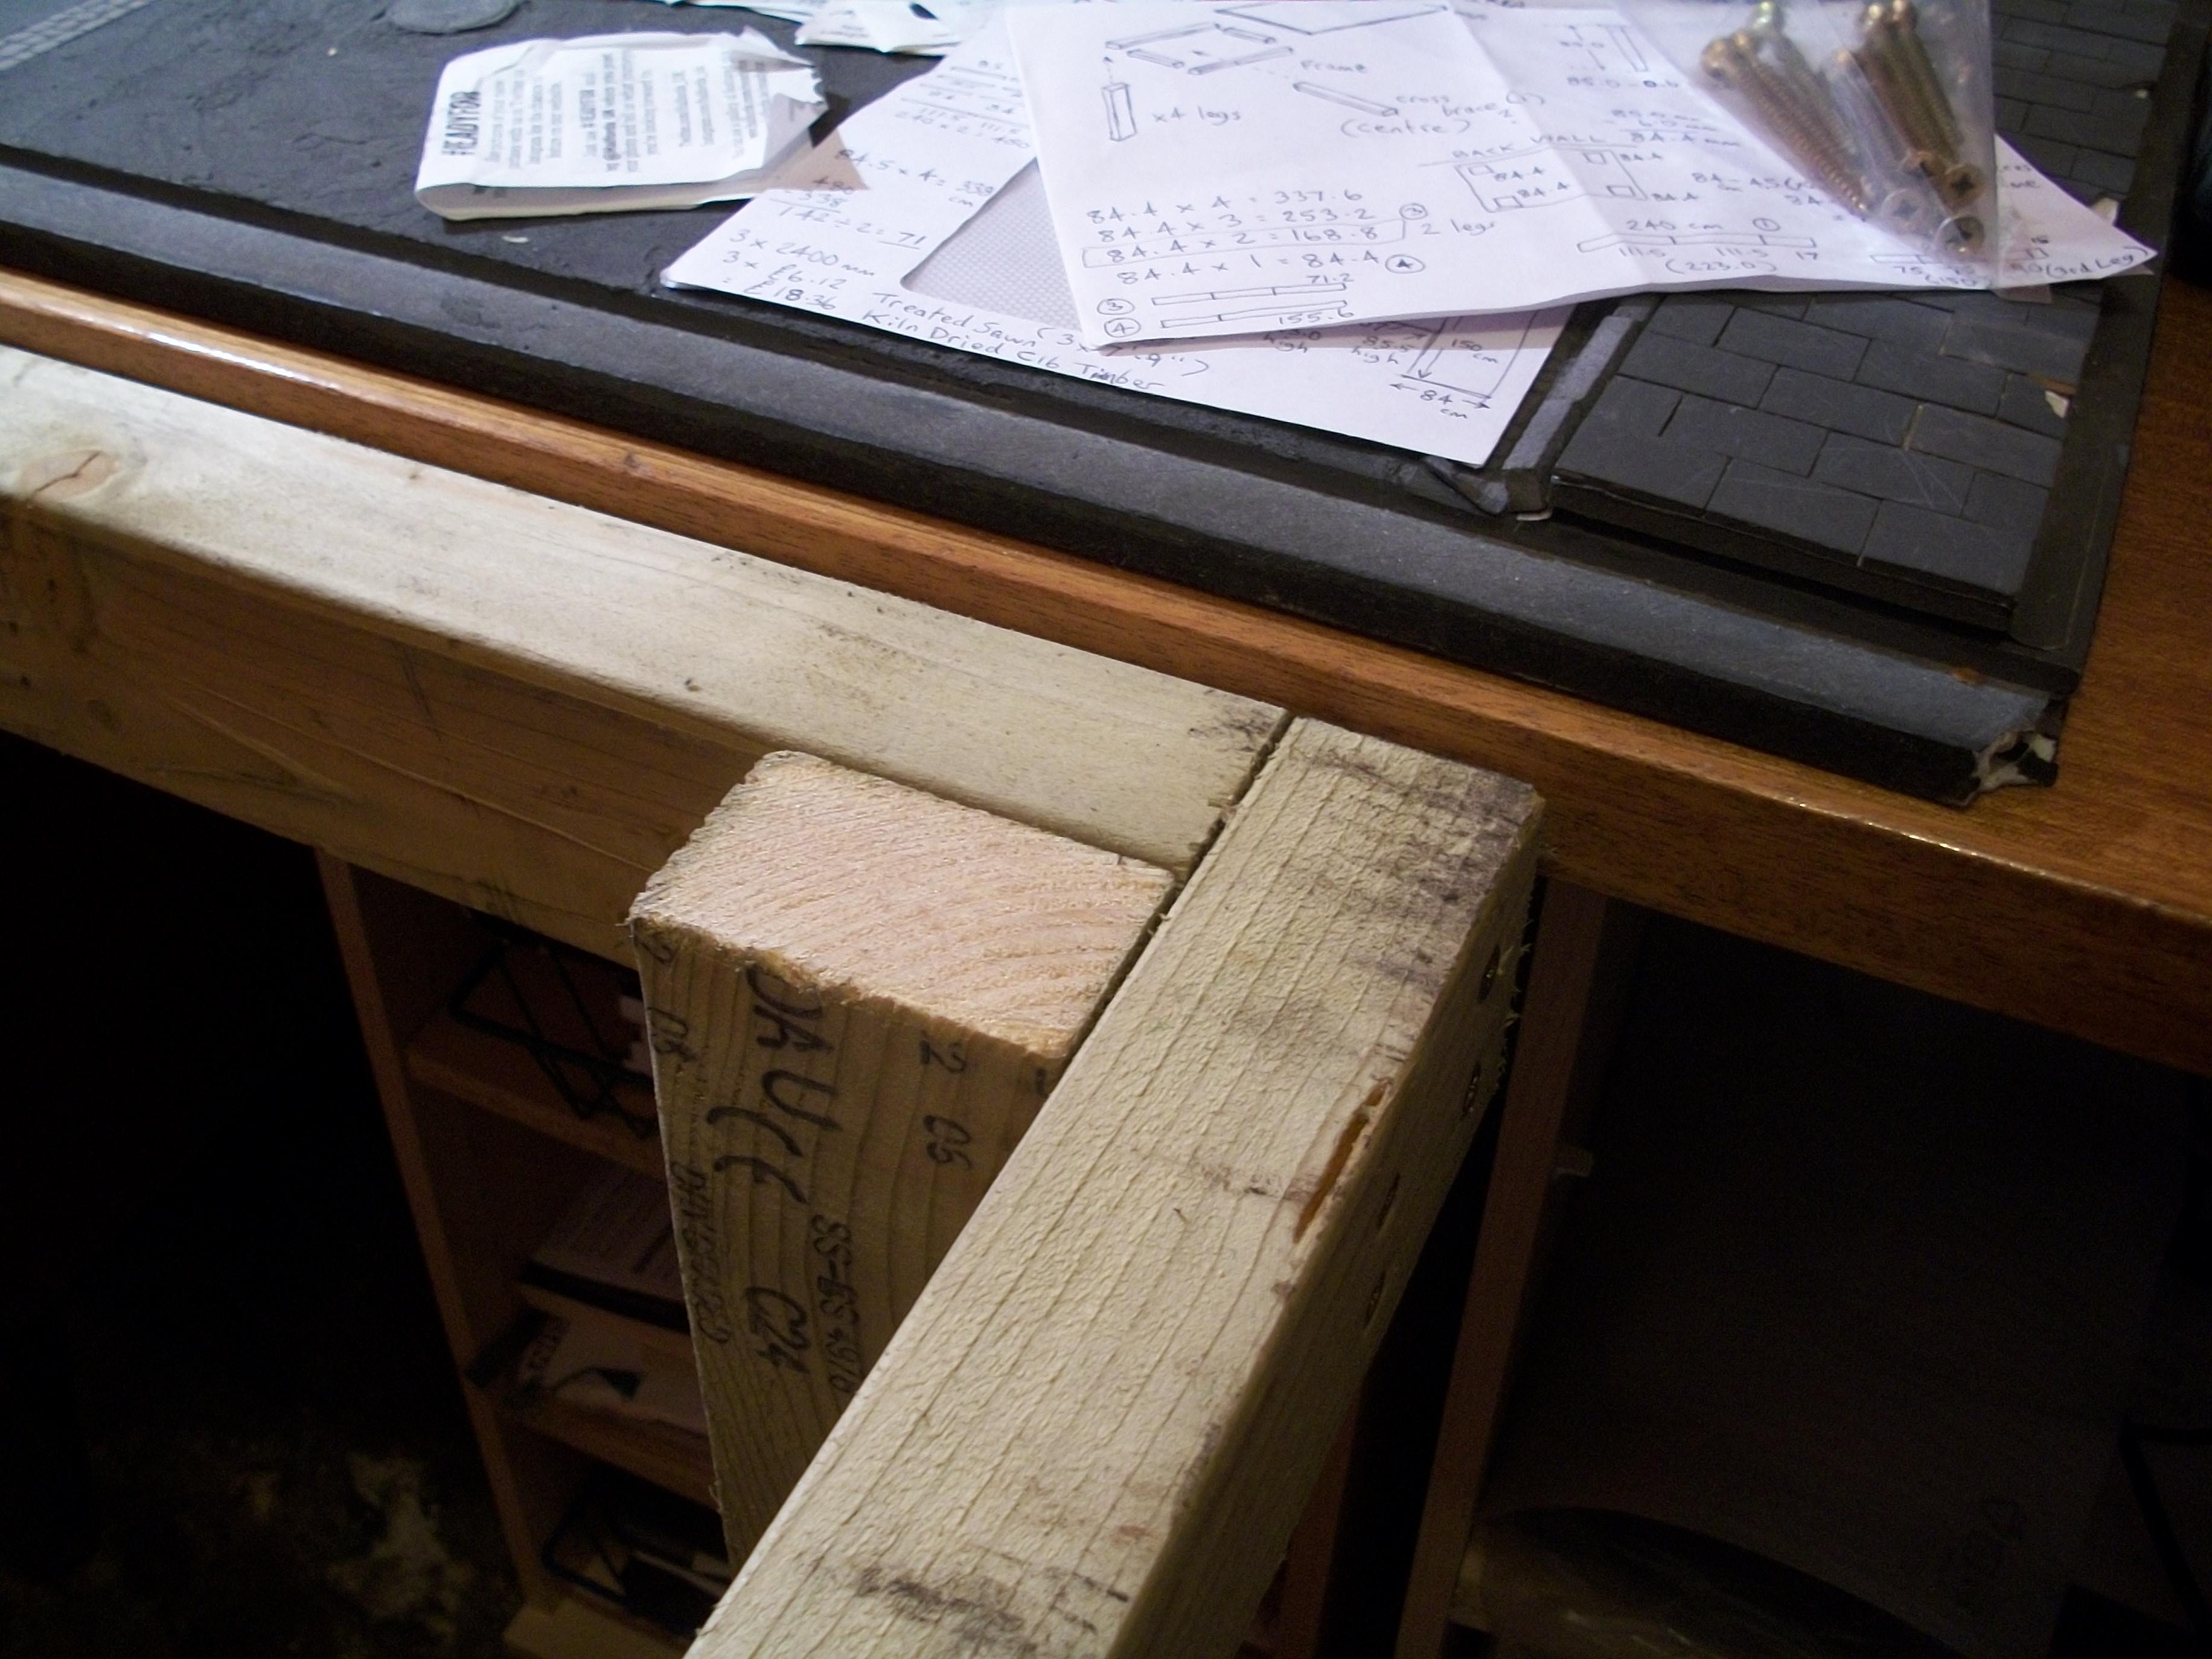
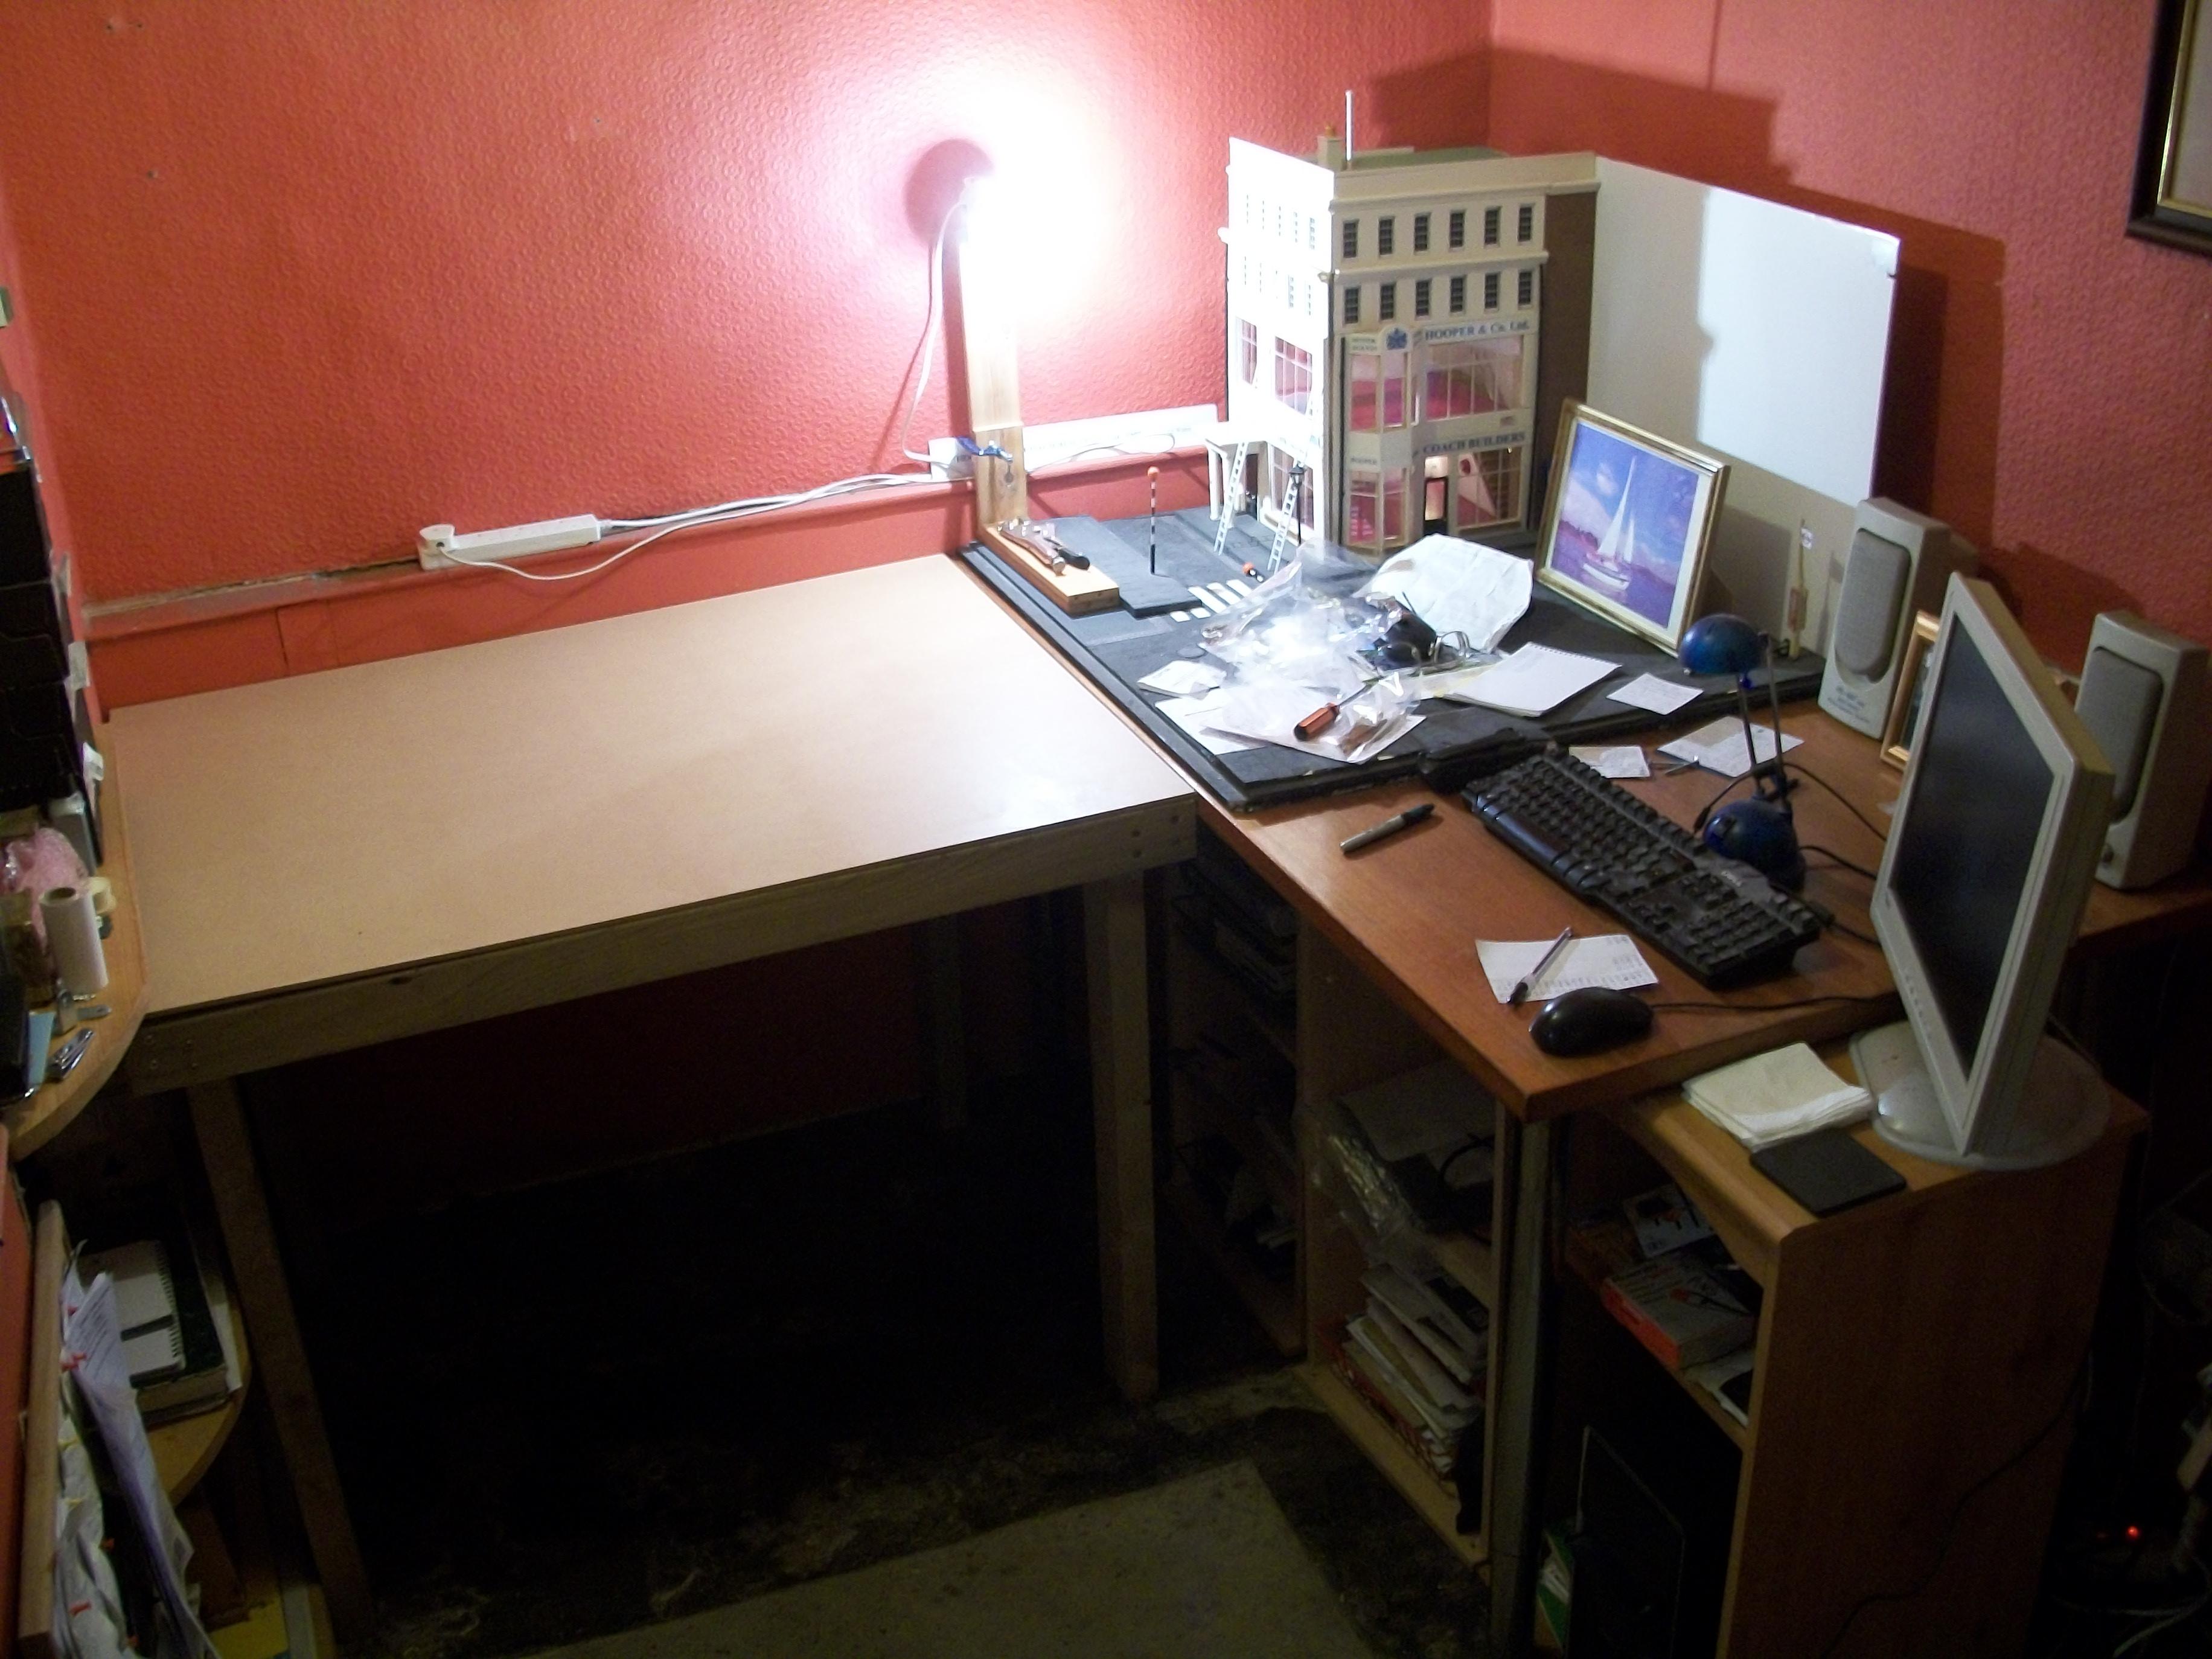
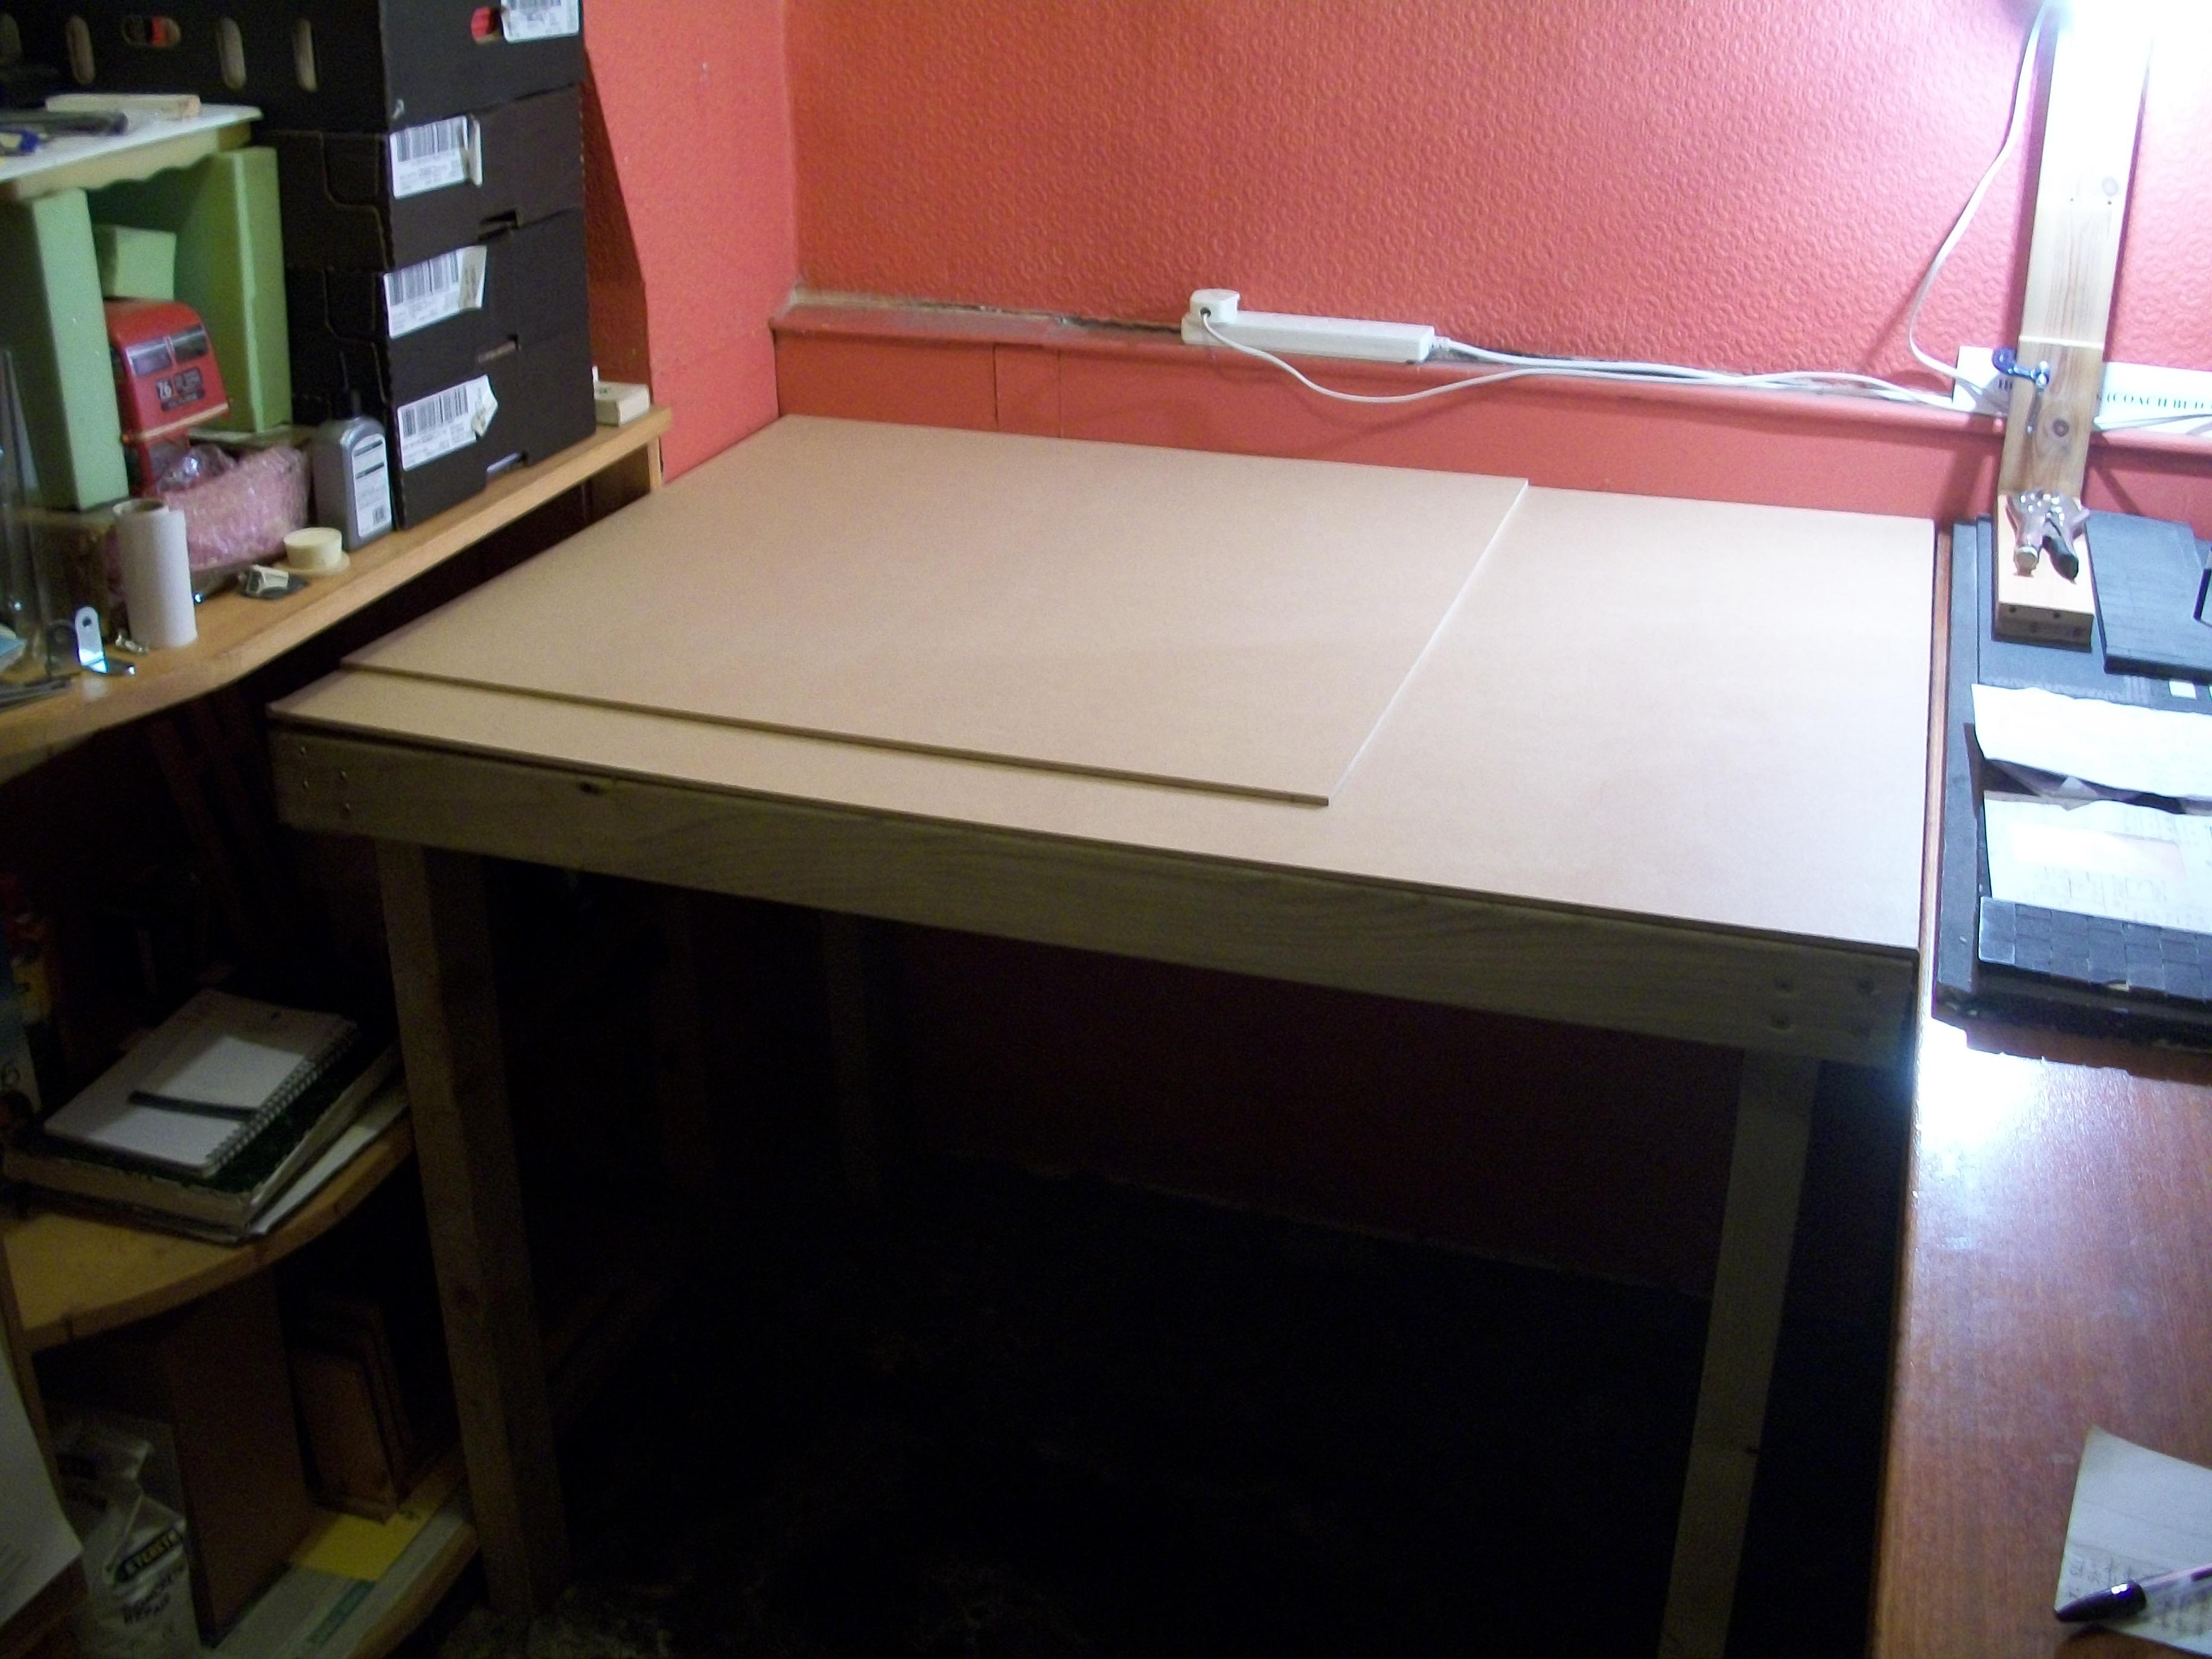
I got some Rubberised Black enamel paint in 300 ml aerosol today, and I shall try this out for the vinyl roof textured effect on the Parisienne build. This was after watching a YouTube video of a guy in America demonstrating how to create a vinyl roof texture using a rubberised undercoat product. If this is successful, I have some Revell Aqua Colour Acrylic Mud Brown, which is very close to the colour that I remember the brown vinyl roof on my full size Parisienne. Just been working on making a worktop in my diorama room / office these last few days, after following a video of a guy making a workbench. I followed his method almost exactly, and the joinery turned out surprisingly well ( for me ). Saturday should be my first full day building the Pontiac Parisienne in 1:25 scale, so looking forward to this break from DIY home improvements ! David
-
Nice looking Escort MK1 that you have there, Patrick..... and I can PM you the email address for Andy Swindlehurst that Geoff Brown sent me, if you want it? The 1960 Ford Anglia 105E that I used to own was a road car, but my second Anglia which was a 1959 car costing all of £15.00, was driven as a rally car in local Midlands rallies. I wasn't able to keep up with the Lotus Cortinas and the Escort twin-cams, but it was really fun driving all the same. The Anglia became stuck in a shallow river during one event, after I turned downstream at a ford instead of taking the road..... following my navigator's instructions! That was a plucky little car which unfortunately ended it's days when I drove into a railway bridge at 70 mph during a night rally event. The car was written off, and I spent 4 days in hospital in a coma. Came out of it without any lasting effects thankfully, apart from my stupidity, which still prevails! David
-
Okay, Mike...... I should be able to centre the wheels in their openings, in order to get the stance right of course. I don't mind if the dashboard that you have is not converted to RHD, and the only way I would be able to get hold of a Chevy dashboard part would be to purchase a '65 or '66 Chevy kit, which would have to be from USA because we can't pick them up here in UK. David
-
Forgot to mention, Mike..... the '67 Bonneville resin kit chassis is the one in grey primer, and the MPC '70 Bonneville chassis is the white styrene one. David