Anglia105E
-
Posts
3,487 -
Joined
-
Last visited
Content Type
Profiles
Forums
Events
Gallery
Everything posted by Anglia105E
-
The old paint brush method for the grass seems to be working quite well, JC....... What will you use to colour the grass.... acrylic paint maybe? David
-
That's it ! ......... You build the models, Yordan does the grassy watery stuff and I photograph the finished project with some creative lighting...... teamwork! David
-
I would suggest that maybe you could line up your 12" x 24" section of roadway with a real section of road, and then use the forced perspective technique to create the illusion of your road continuing into the far distance. This is quite tricky to do....... as I found when I tried it out this last Summer. The true master of this clever photographic technique was the great Michael Paul Smith, of Elgin Park fame...... he really had a feel for this. Your 1:16 scale truck is exceptionally well built, and I am most impressed that this truck is almost entirely scratch built. David
-
Thanks, Yordan...... I am following your work closely, because grass and water have not featured in my dioramas so far. You clearly have a feel for those diorama features, which I can learn from by observing. David
-
Looks great outdoors, JC........ the front entrance to the building, the truck and the fountain are all very well done. You must be pleased with this one. David
-
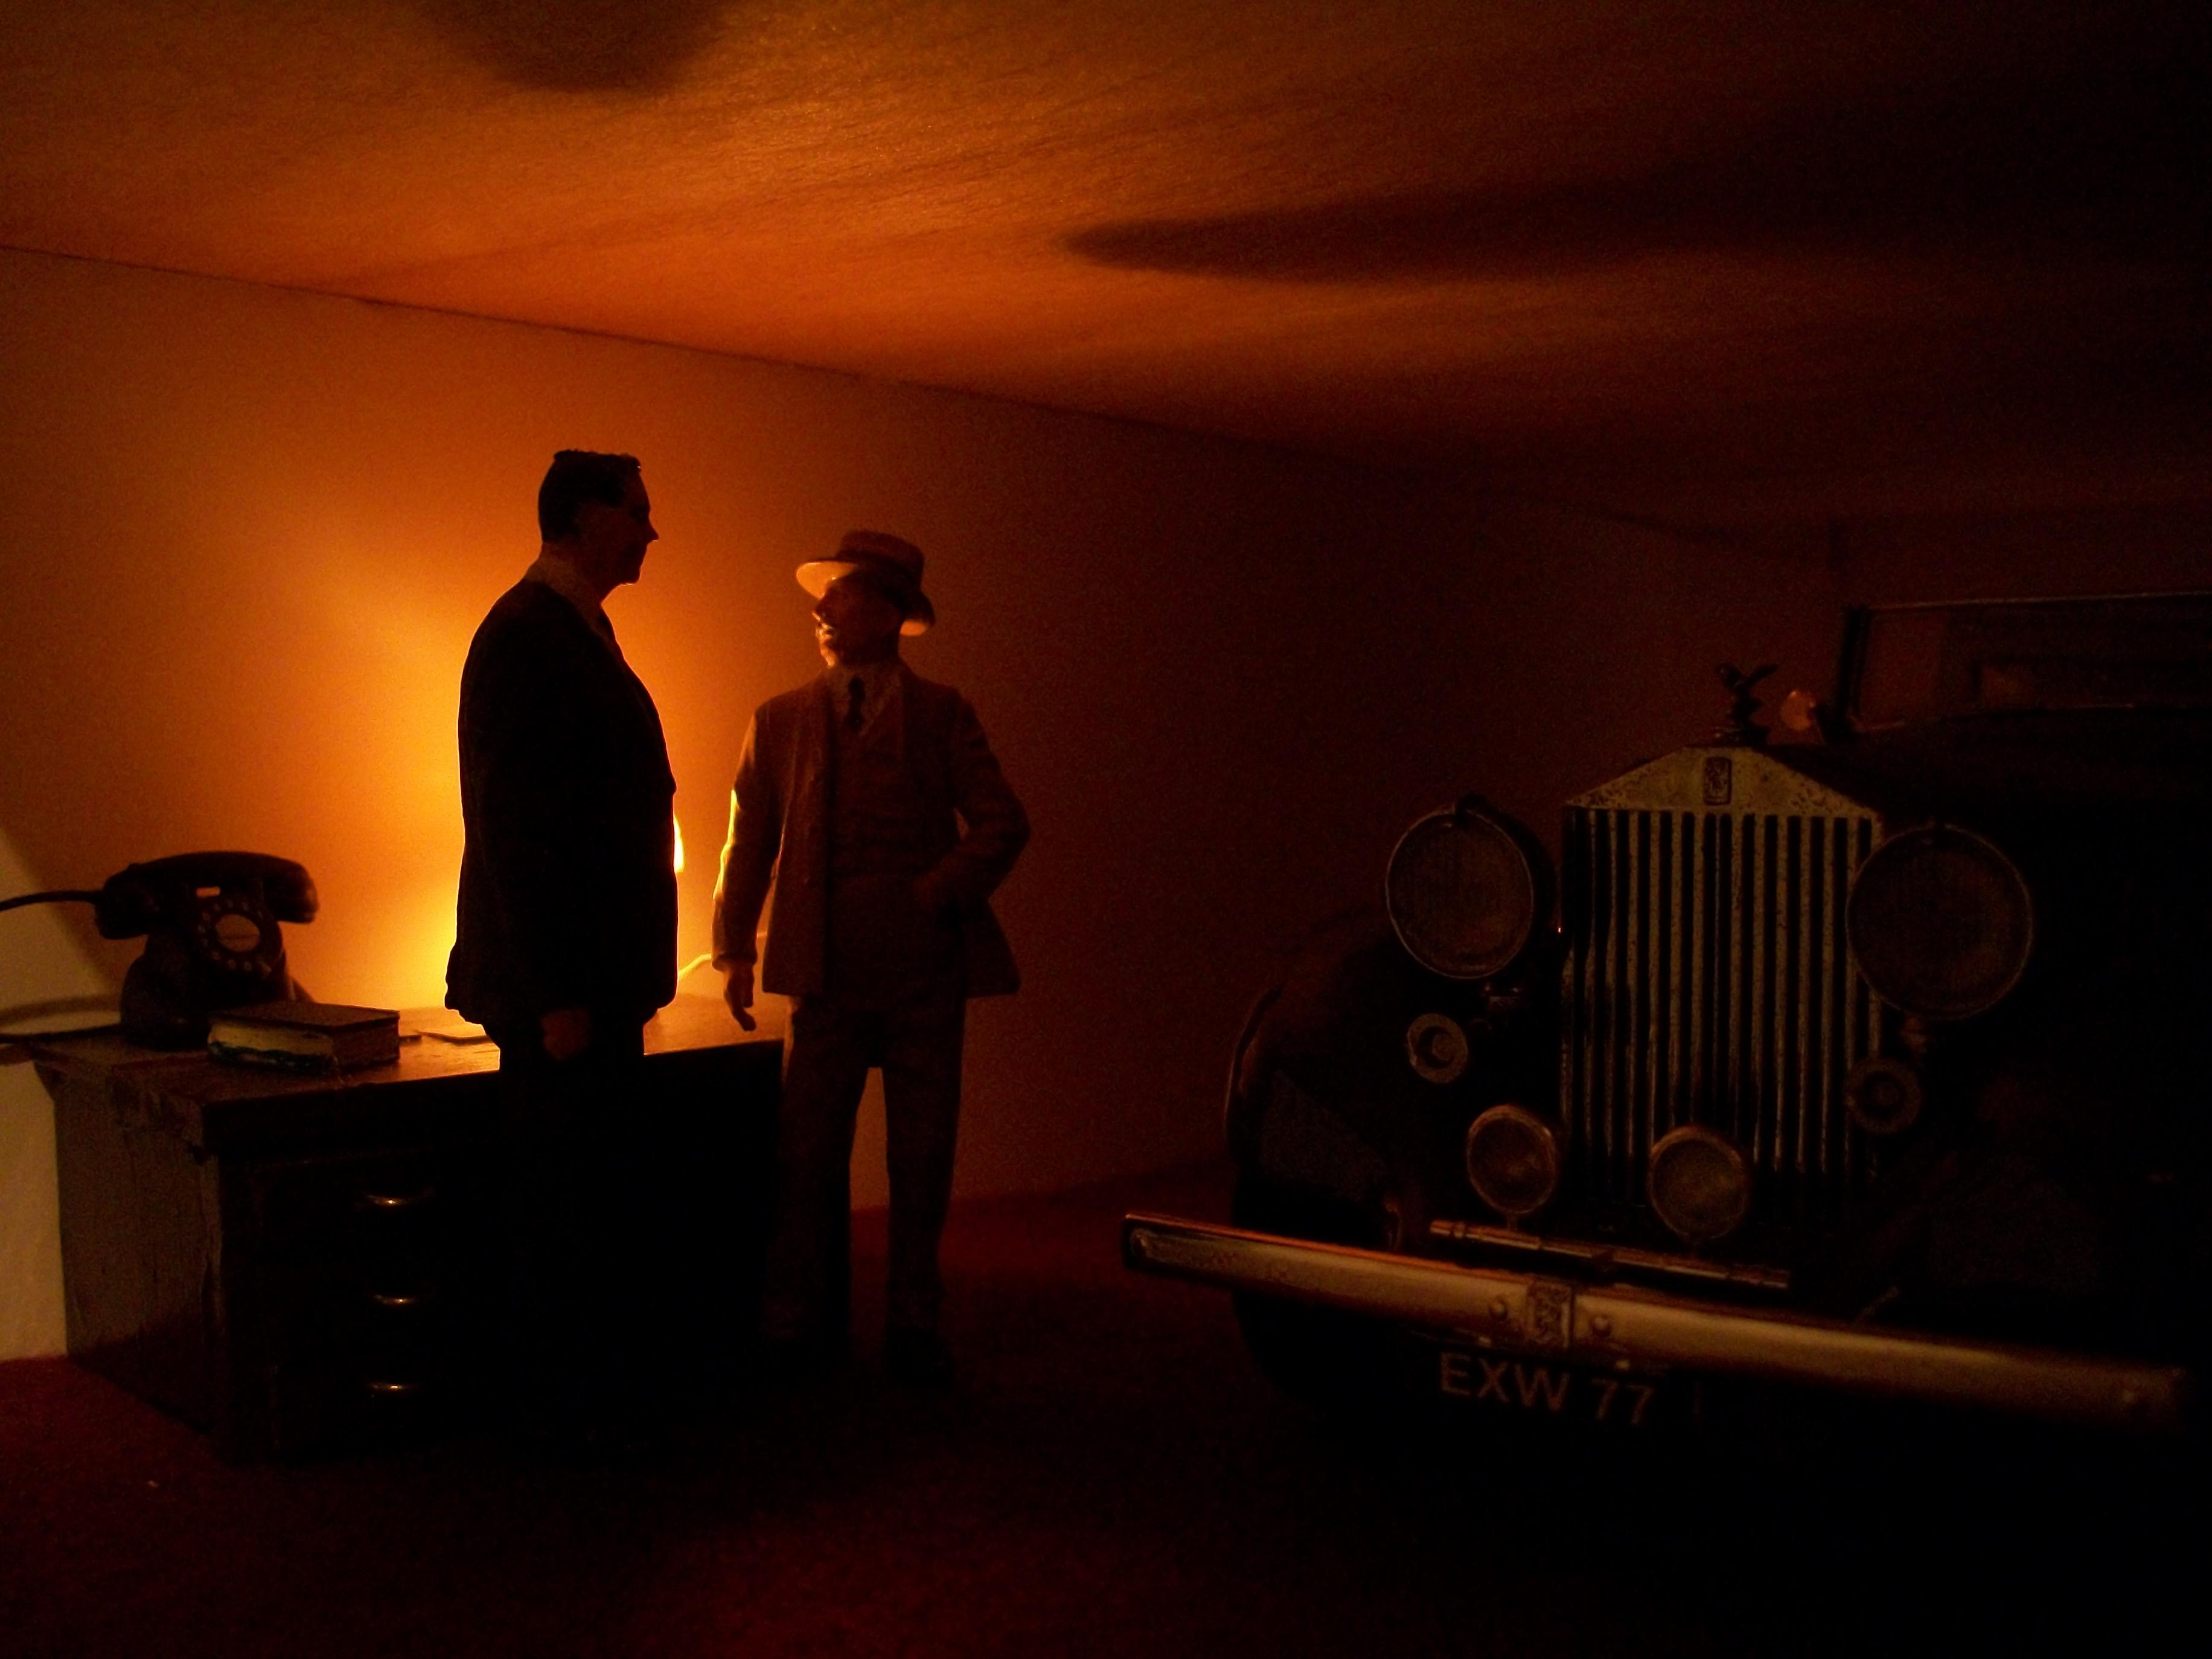
Thank you, JC...... there were many shots taken in this most recent photo shoot, and using different combinations of lighting. The red washed pic has only the table lamp inside the 1:24 scale building and the overhead light in my study room, which is a low energy bulb. Normally the overhead light would be switched off while I use 100 watt daylight bulbs mainly. David
-
I agree with Noel...... to say that you should only think about adding figures if you are confident to make them look real..... when they come out ' doll like ' you run the risk of making the whole diorama look toy like, and all your good work gets messed up. David
-
Yes, good nick is okay....... I would be happy with it in good nick.
-
Good to see that you are trying to look on the bright side of all this, Randy....... which is never easy. Currently, I am waiting for a package to be delivered from USA, which is a '67 Bonneville 4-door Resin Kit from a guy in Chicago...... I am happy that the seller will have packed the kit properly, and I have every reason to believe that the USPS will do a good job of shipping the package across the Atlantic, but it's what happens to it when the UK carrier gets hold of it that worries me. They will take longer to get the package from the point at which it arrived from America than it took to cross the vast ocean, and it is far too common for them to smash the package about between delivery depot's. I just hope this delivery reaches me with no mishaps, because it has cost me a lot of dollars ! David
-
You will enjoy building the kit, and especially if it is your first ever kit. There is something about assembling a bunch of parts out of the box, and seeing the model become an accurate replica of the real thing..... once you start, you cannot stop! David
-
I can see that you have been busy, Yordan..... nicely done, too...... will there be a vehicle on this country road, or would that spoil the peace and tranquillity? David
-
Very sad indeed, Randy....... I hate it when stuff arrives damaged. Most Ebay deliveries are fine, but every so often a bad one comes in. I always photograph each unpacking of the box from start to finish, so that as soon as something does not look right, I have the evidence to show the seller. Not always the seller's fault, of course, and quite often it has been the carrier who is at fault. When I see the package that has one corner smashed in badly, my heart sinks before I even open it up. Usually, and as you have found here, the problem is when the seller has not given the model or models sufficient protection with bubble-wrap, packing pellets, pieces of foam and package within a package type precaution. Sometimes, getting the seller to accept that he is at fault, is the first hurdle to get over, and there have been cases where I don't want to return the damaged model car for a full refund, because I would rather repair the car and accept a partial refund. David
-
Absolutely fascinating, Bruce..... and I have to admit, that I don't know much about Indy cars, but your build is very interesting. You are doing a great job with what appears to be a very difficult kit. This will turn out well I think, and it will live up to your expectations. You must be enjoying this one! David
-
Very well done, JonRodig........... and I like the videos too. You certainly know your water effects! David
-
Excellent work so far, Pat....... that is not an easy project, so good luck with it....... clear thinking on your part will prevail, I am sure ! David
-
Cheers, Pat........ David
-
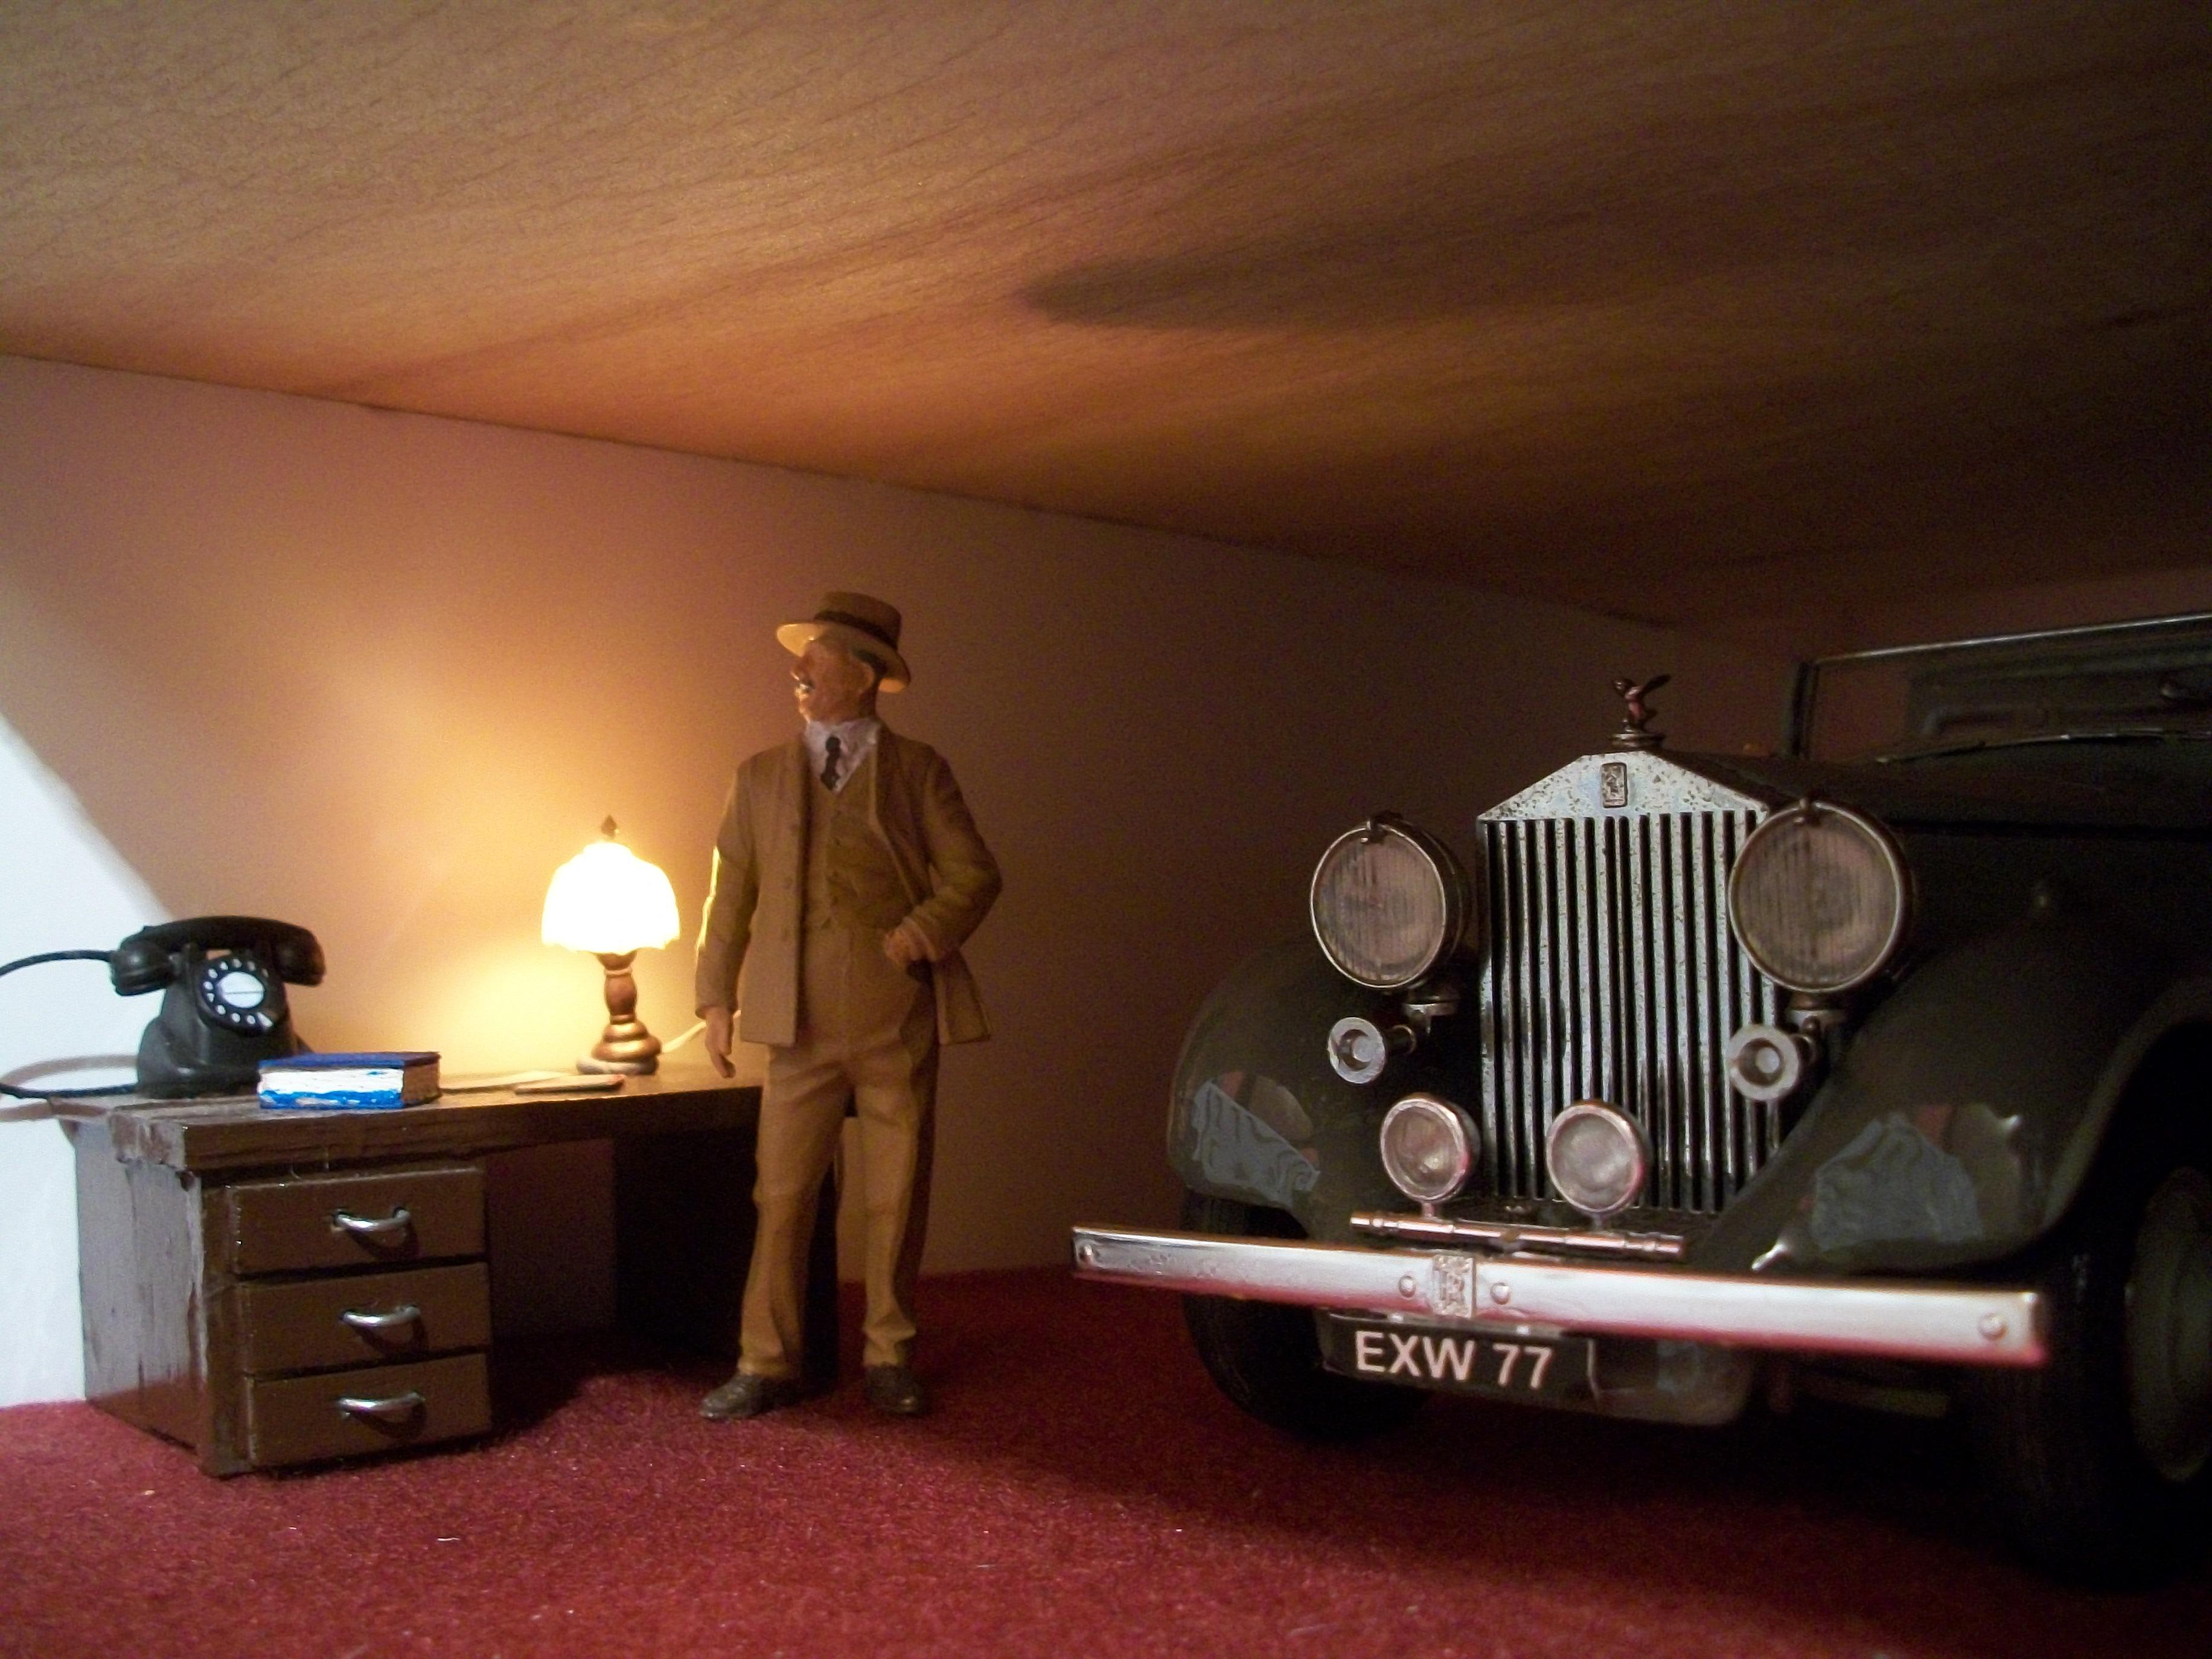
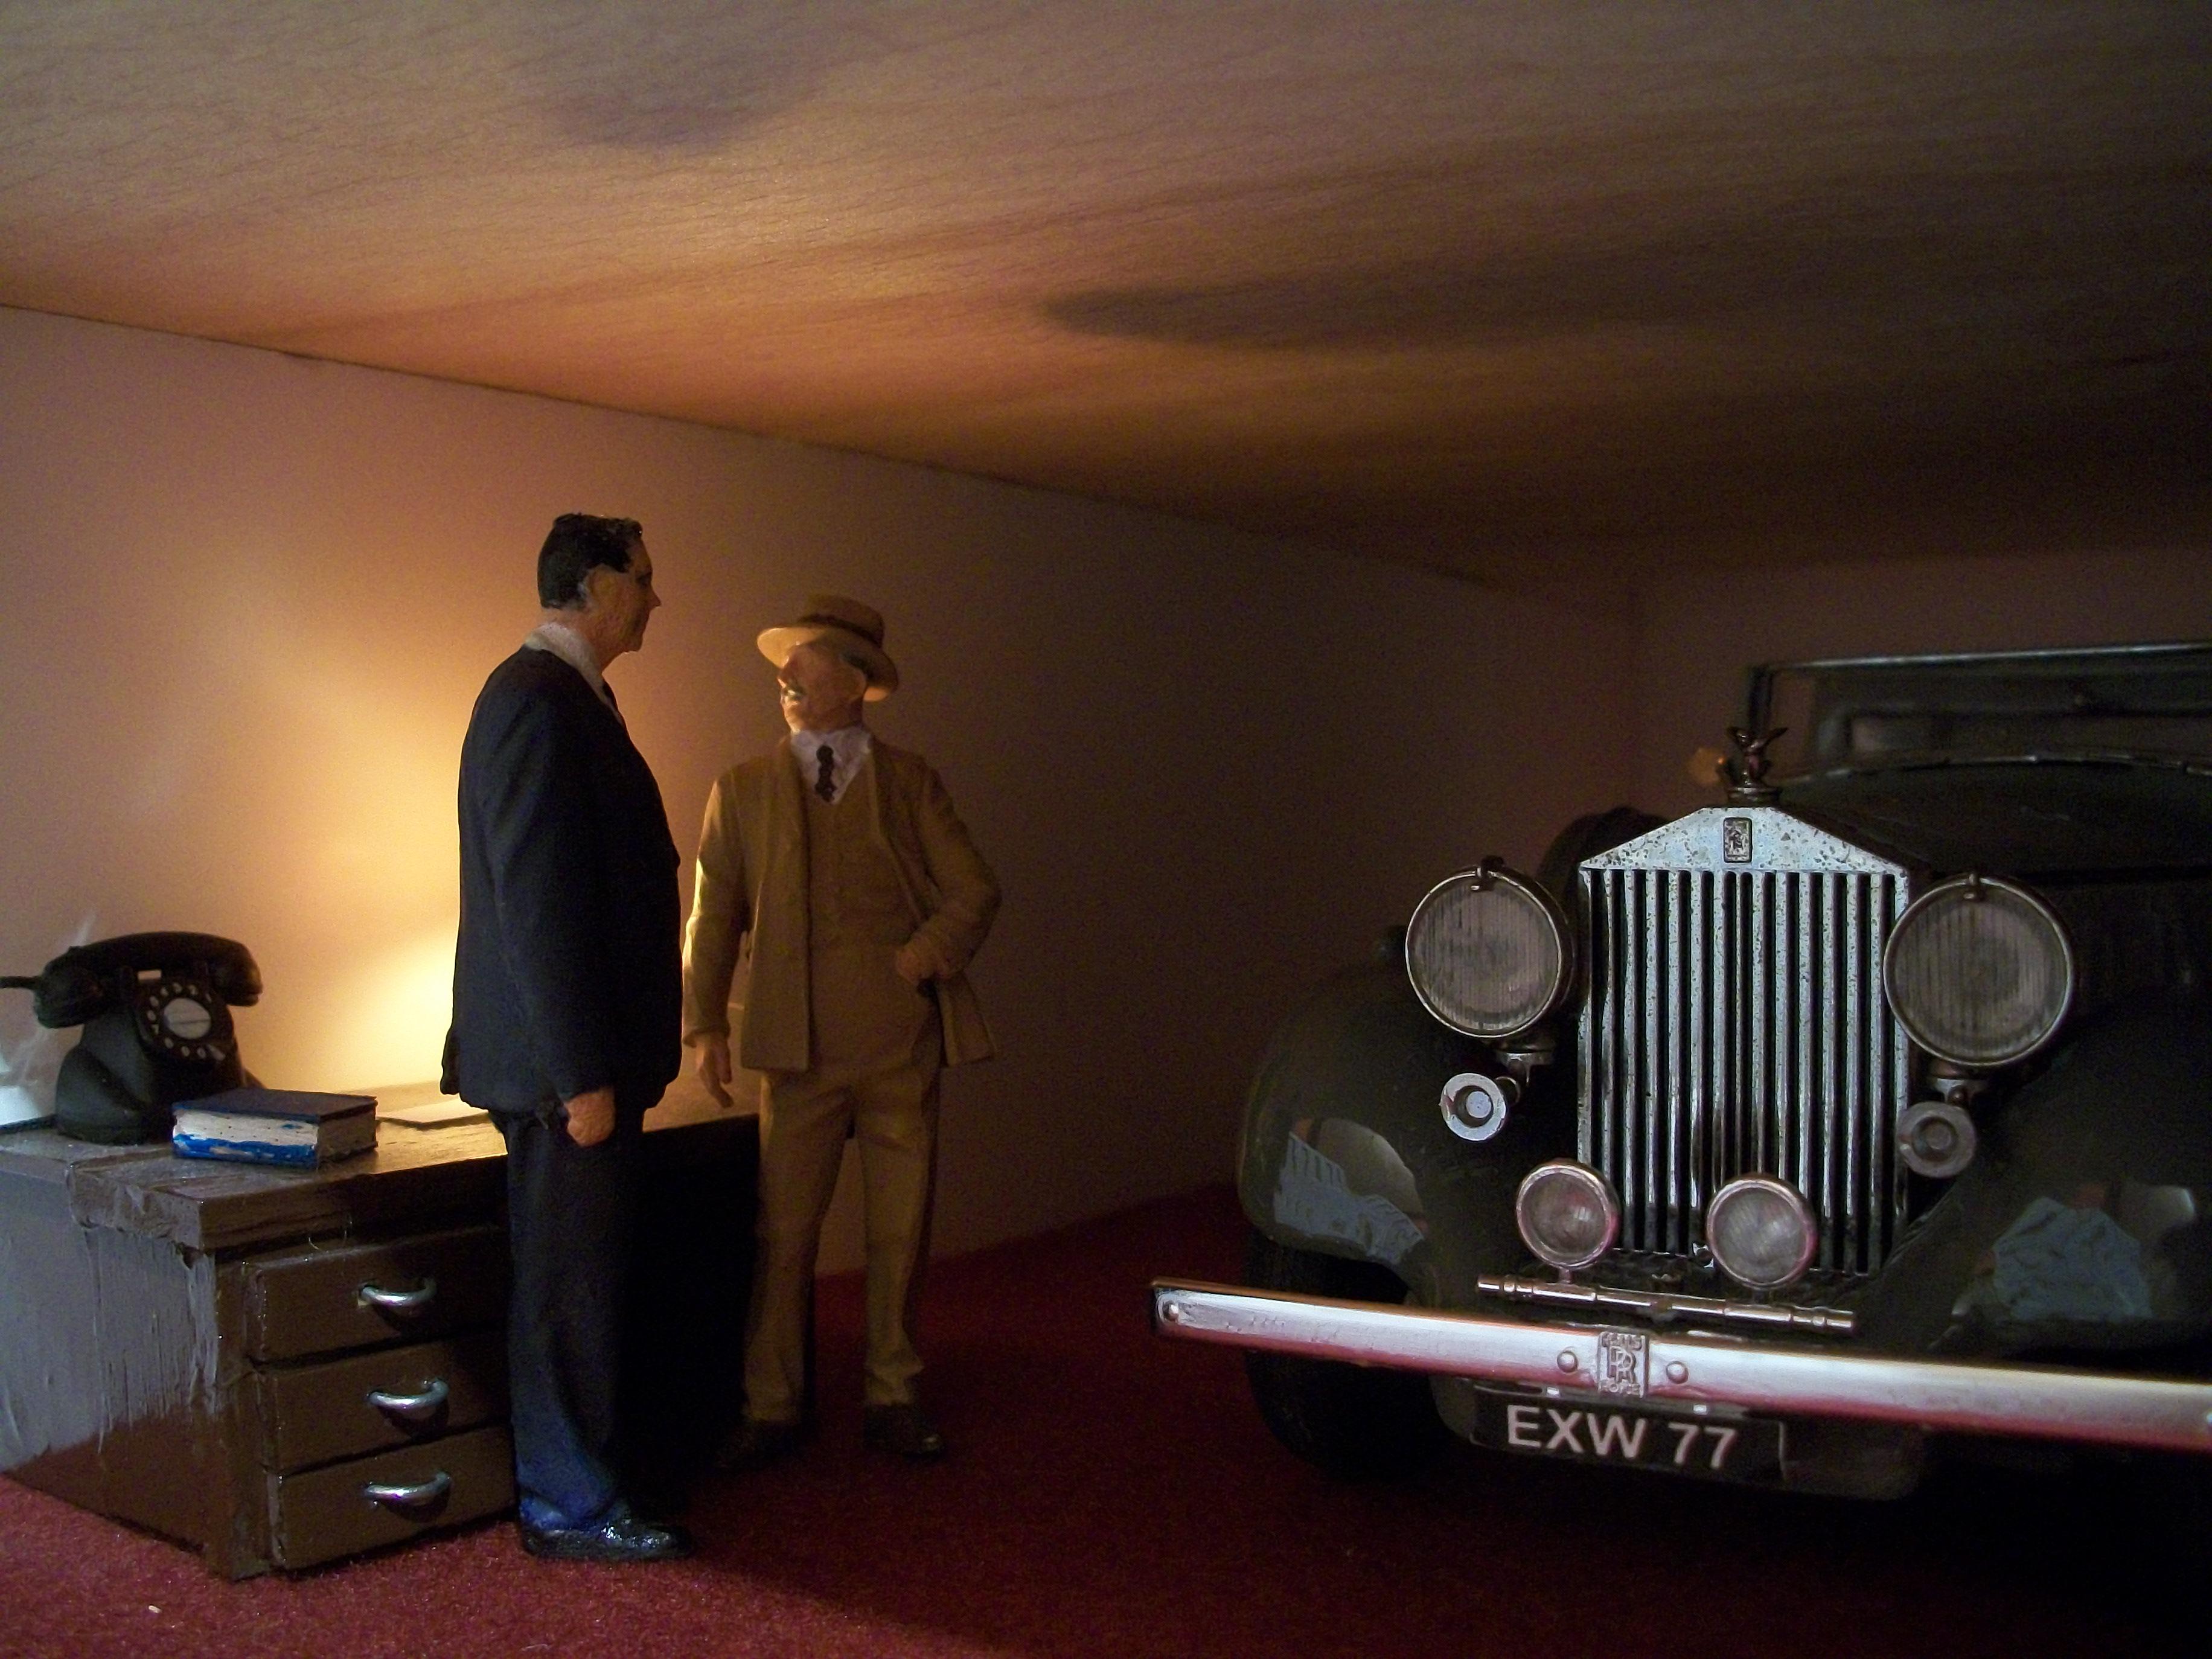
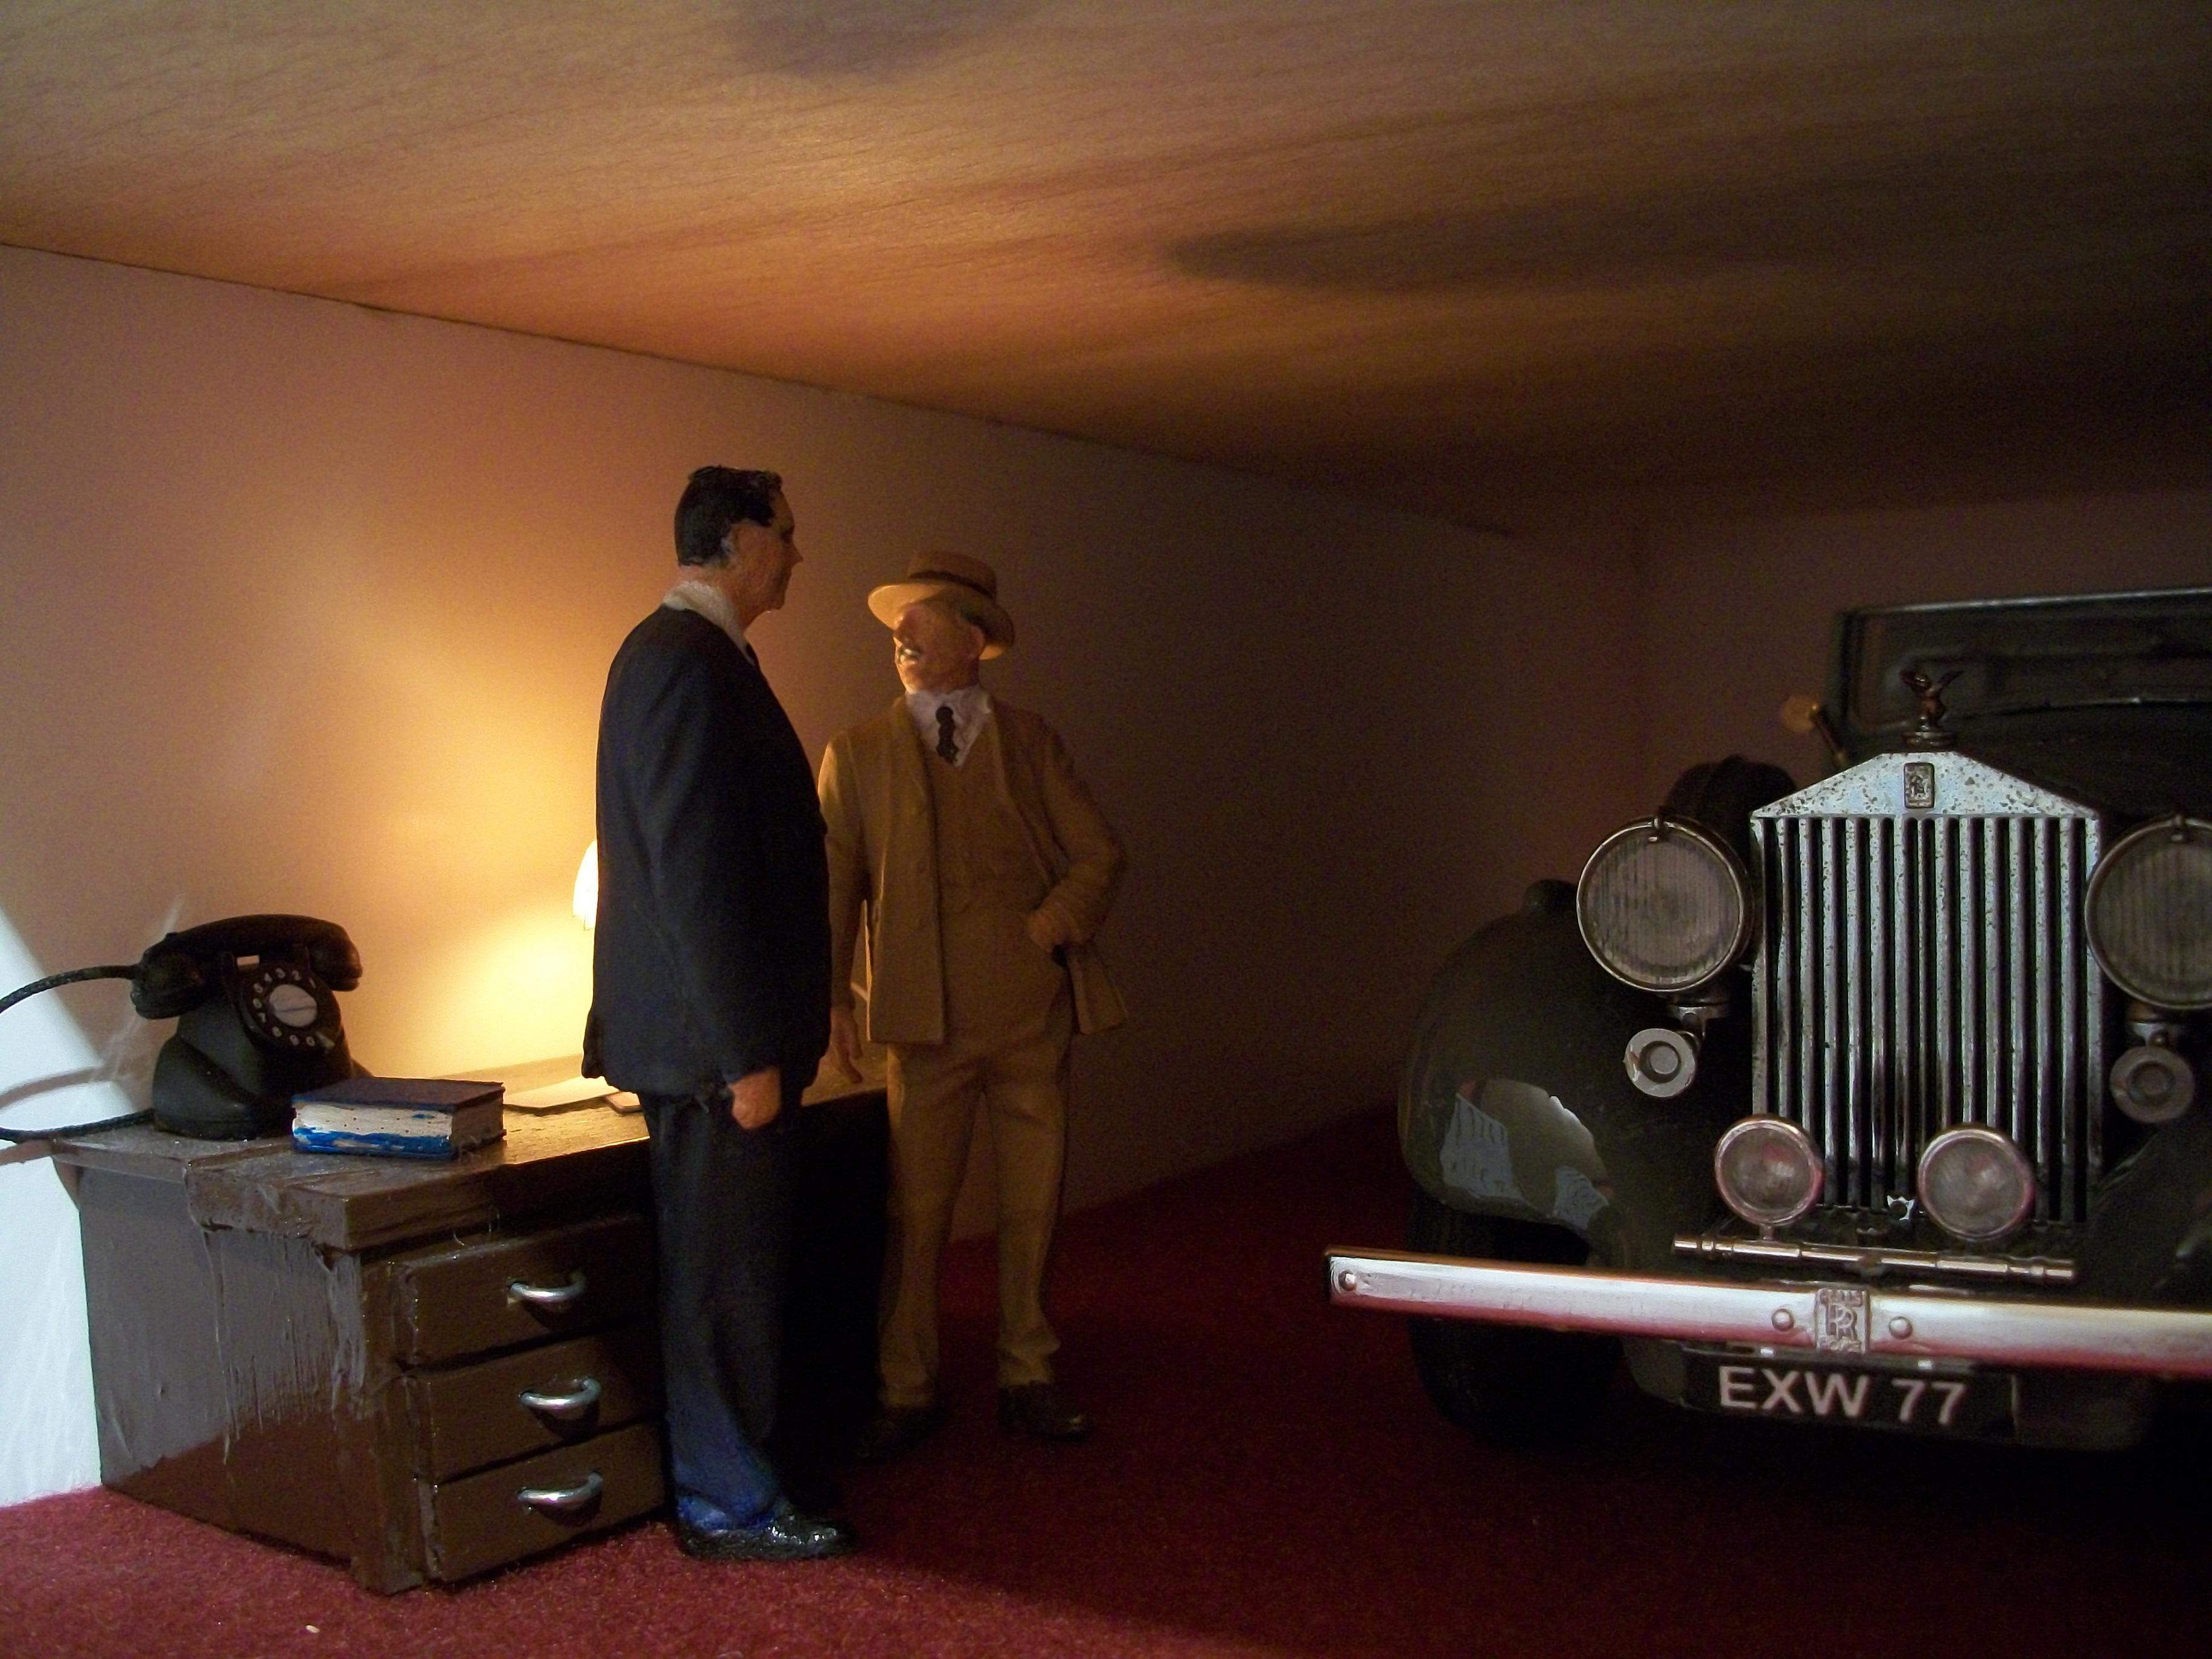
Here we see that it is quite late in the day at Hooper & Co.......... a gentleman is standing beside the office desk, waiting to speak to Mr Rivers regarding the Rolls-Royce Phantom III that is just visible to the right. The exquisite Tiffany lampshade is casting long shadows across the ceiling from the soft light. Later, Mr Rivers enters the room and the two men discuss this fine motor car, standing on the plush crimson carpet. Perhaps Mr Rivers will offer the gentleman a box of cigars, from which to select a complimentary smoke. They have no need to hurry this conversation........ the right decision can be made at their leisure. David

-
That is a better shade of green for your Lotus 7, Justin....... I have one of these Tamiya kits of the Lotus 7 that I haven't built yet, but I used the wheels and tyres for a Ford Anglia 105E build in resin. Like all Tamiya kits in 1:24 scale, you should find that it makes a nice model when completed. and the Vallejo paints are a good choice. Good luck! David
-
I am also intrigued by the claim " He says he can make American Models in any scale! "........ if he can 3D print the 1950 Nash Ambassador, then I guess he can! David
-
I am awaiting the arrival of a resin kit from the USA, which is a '67 Pontiac Bonneville 4-door in 1:24 scale. When this arrives here in UK, it will hopefully be converted into a '68 Pontiac Parisienne 4-door if I can build on the inspiration that I get from following your excellent work, Mark. David
-
Okay thanks, Steve..... I see how the overall length extends to 7 inches, which I will take into account when work commences. I notice the Grande Parisienne has covered in headlamps as part of the front grille design, and also the rear wheels are partly covered by additional body panels, which we British used to refer to as being ' spats ' during the '50's. Your uncle's Grande Parisienne Brougham must have been quite some motor car in it's day, and rare too. David
-
Cheers, Simon..... and it's good to hear from a Pontiac expert here in England. I am surprised that a Chevy dashboard was used for UK RHD, and not Pontiac. Yes, I would be interested in a scanned copy of the dealer brochure, but don't worry if you can't find it easily, and any photos are always particularly useful. I did have a look at the 1:43 scale Dinky version of the Parisienne, but somehow the roof line did not look right to me. I do build 1:43 scale dioramas and model cars, as well as 1:24 scale dioramas and built kits. I can PM you regarding the brochure and photos, thanks. I will have a look at reidbrand also on Flickr. David
-
Okay, Steve...... so '68 Parisienne wheelbase is 119 inches, and '68 Bonneville wheelbase is 124 inches, so 5 inches shorter. Done the maths, so 5 inches divided by 24 is 0.2 inches.... or 5 inches = 127 mm, divided by 24 is 5.3 mm shorter wheelbase for the Parisienne. The '67 Bonneville wheelbase is also 124 inches, I see. Thanks for those numbers, and of course every millimetre counts when you are building a scale model car accurately..... millimetre perfect, I always say! David
-
Nice build, Matt....... from a simple kit as you say...... just shows what an experienced model builder can do with a very basic kit. David
-
Now that is really impressive, JC...... you have captured the effect of the bow plunging into the swell, and you have used a rather clever technique also. As you say, this was done quickly, and cheaply too. None of my dioramas so far feature rivers or lakes or the sea, so myself I have not yet experimented with water effects, but it is one more aspect of diorama building that I would like to explore at some point. I keep coming back to the idea of rain falling, and wet roads when I am taking photographs of diorama scenes, and there are several ways of achieving the effect of falling rain, including real water of course. David