
Anglia105E
-
Posts
3,487 -
Joined
-
Last visited
Content Type
Profiles
Forums
Events
Gallery
Everything posted by Anglia105E
-
This is the problem, John...... I tell myself that don't need any more 1:43 scale cars in the collection, but then I go on Ebay and have a browse.... and next thing you know, there among the listings is a car that I must have. Your '64 Impala looks really good..... is that a 1:24 scale? The interior detail with the opening doors appears to be especially nice. David
-
Safak.... I do agree with Mike, and the point that he is making about adding figures to the diorama scene, but the risk is that if your figures do not look as real as possible then your diorama will lose some reality. Having said that, I also agree with Mike that you could make some very convincing figures, because you have shown what you can do with the car and the café building. In my experience, the best figures out there are from Shapeways, and although the 3D printed material can be difficult to work with, these figures do paint up nicely if you are careful. David
-
Eric, I just looked up the meaning of ' vicariously ' ........ and I see what you mean. Certainly, this type of work can be very time consuming, and we are not all fortunate enough to be able to organise our precious free time as we would wish. I shall try to keep this topic interesting, and I am always on the lookout for fresh ideas. Currently I am engaged in a loft conversion, as my serious hobby has demanded more floor space than my small house can provide. The property is what we refer to as a Grade II listed Arkwright cottage built in 1886 by Sir Richard Arkwright, for the workers of the first water powered cotton mill in the world. The walls are 2 feet thick granite stone and the pitch of the roof is quite low, so that I can only stand up in the centre of what will become an extra room. I guess however much space you have, it will soon fill up with more scale model cars! David
-
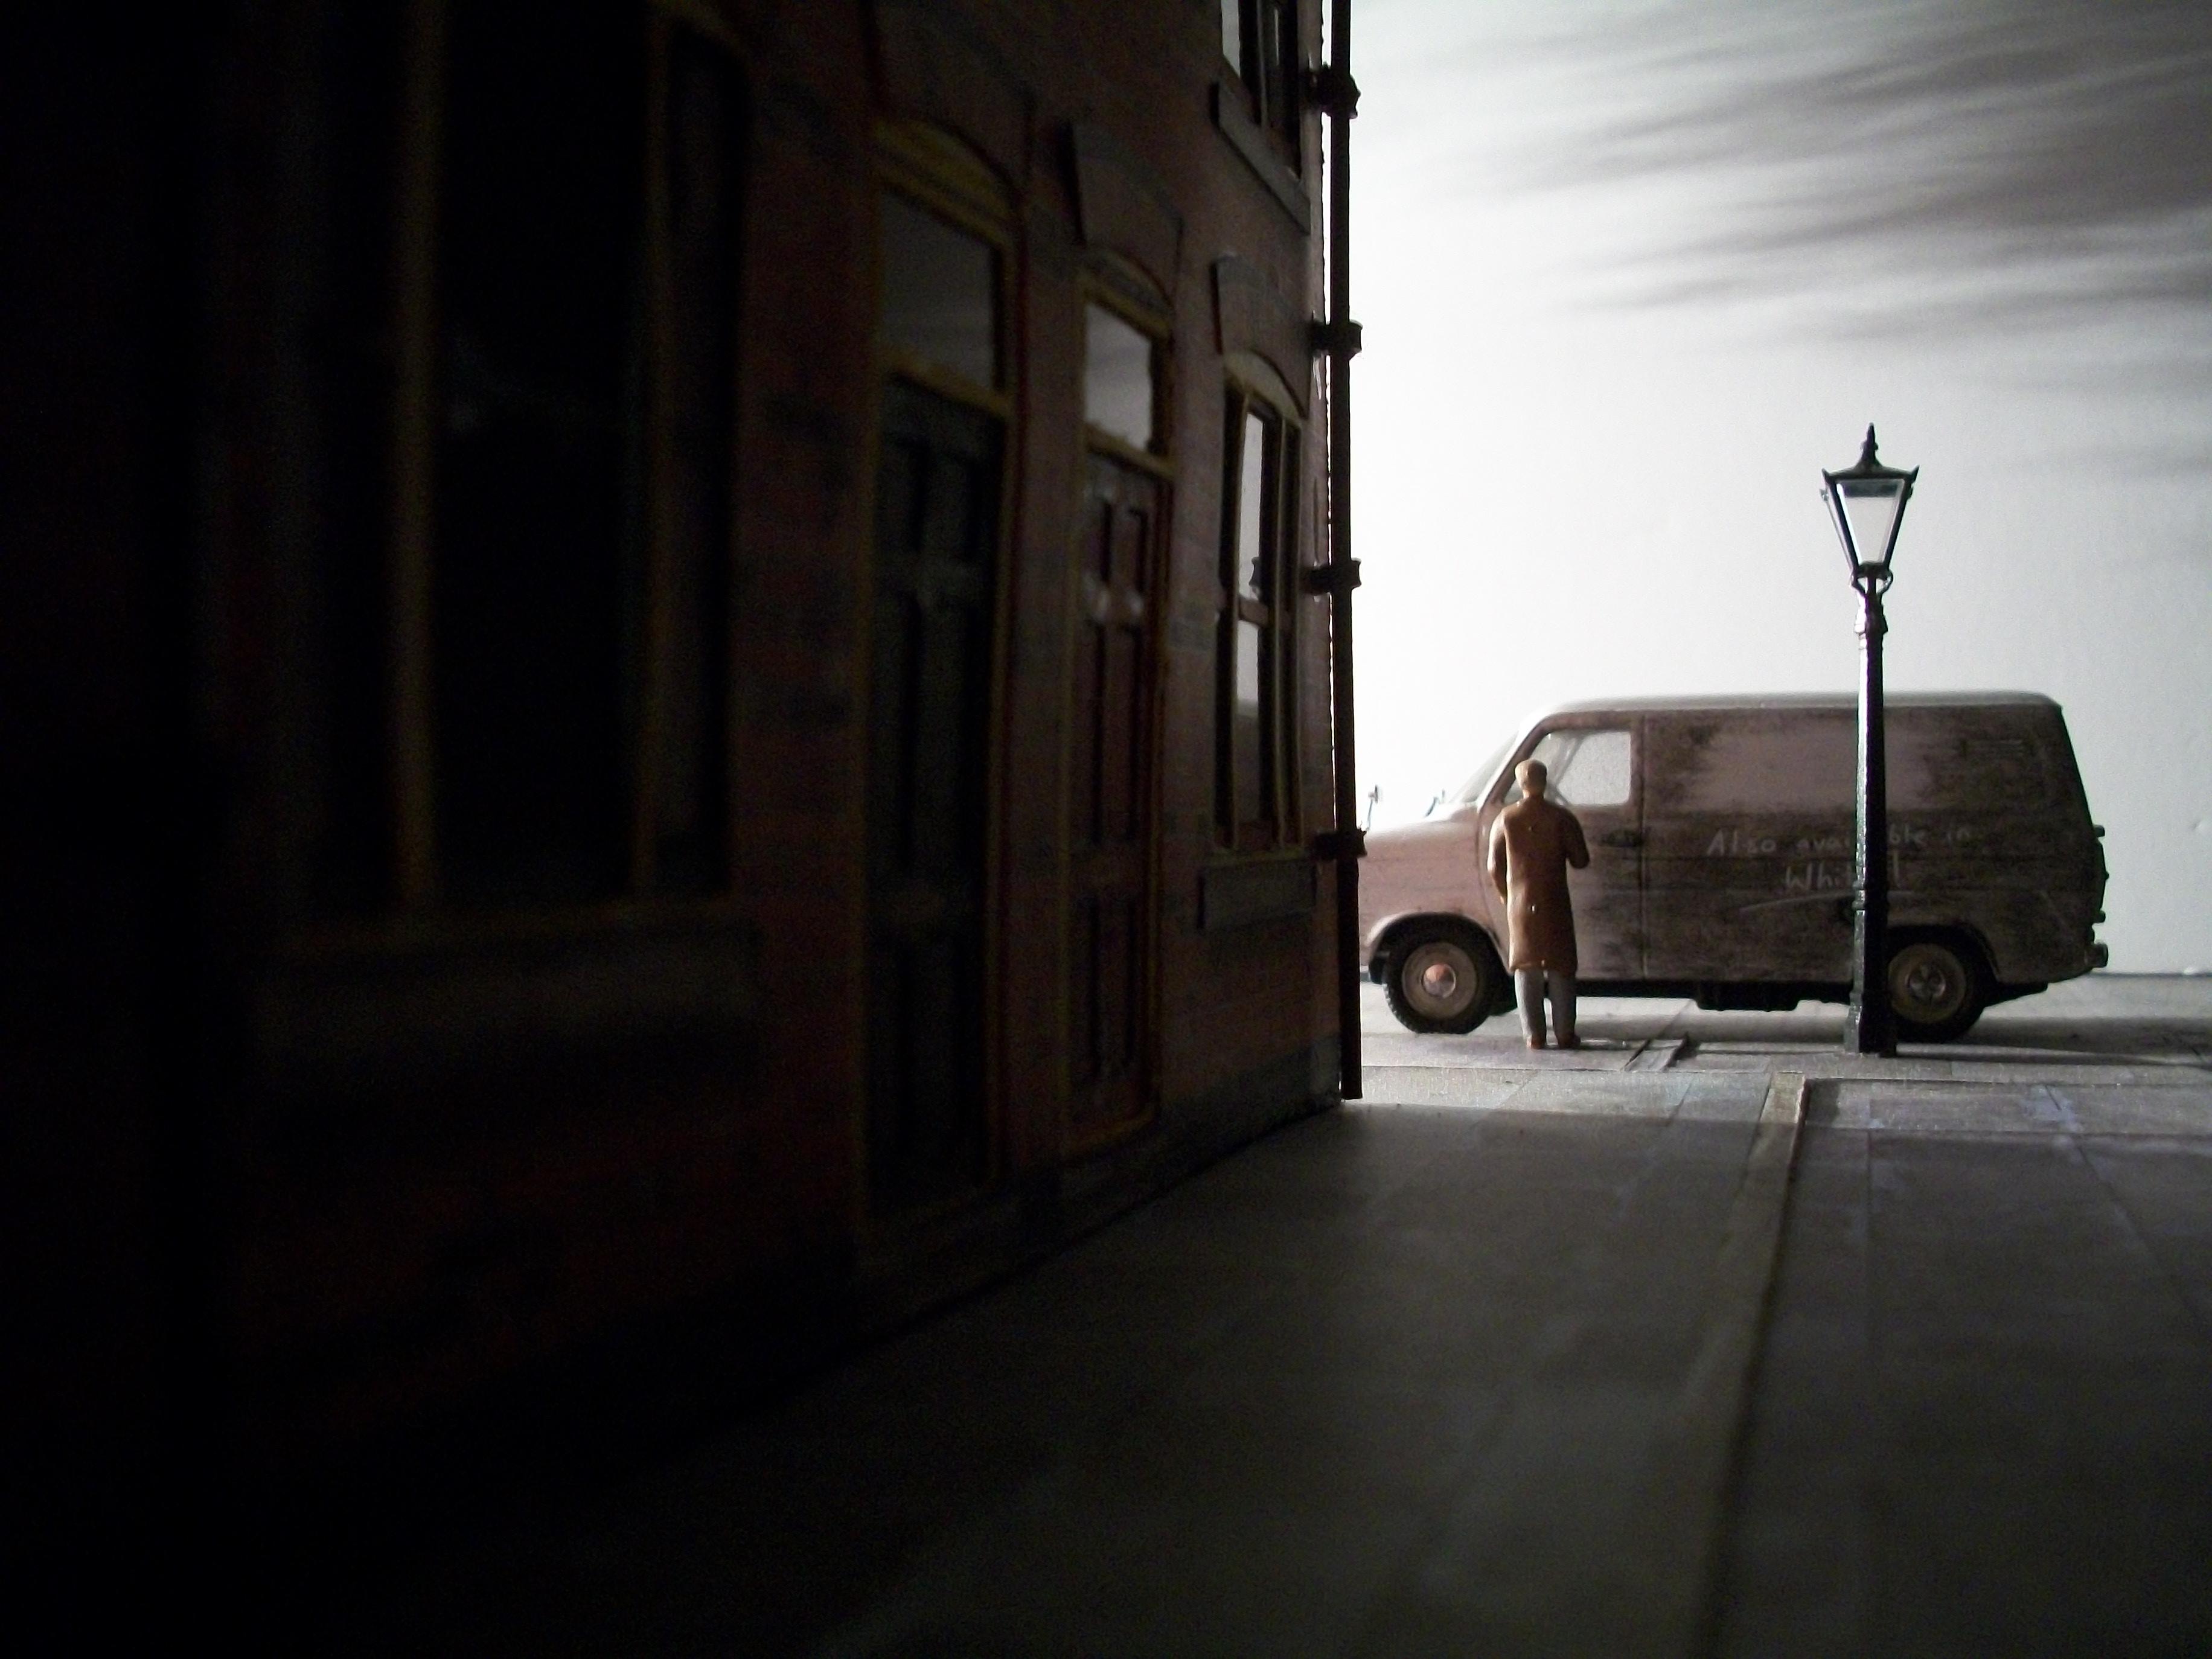
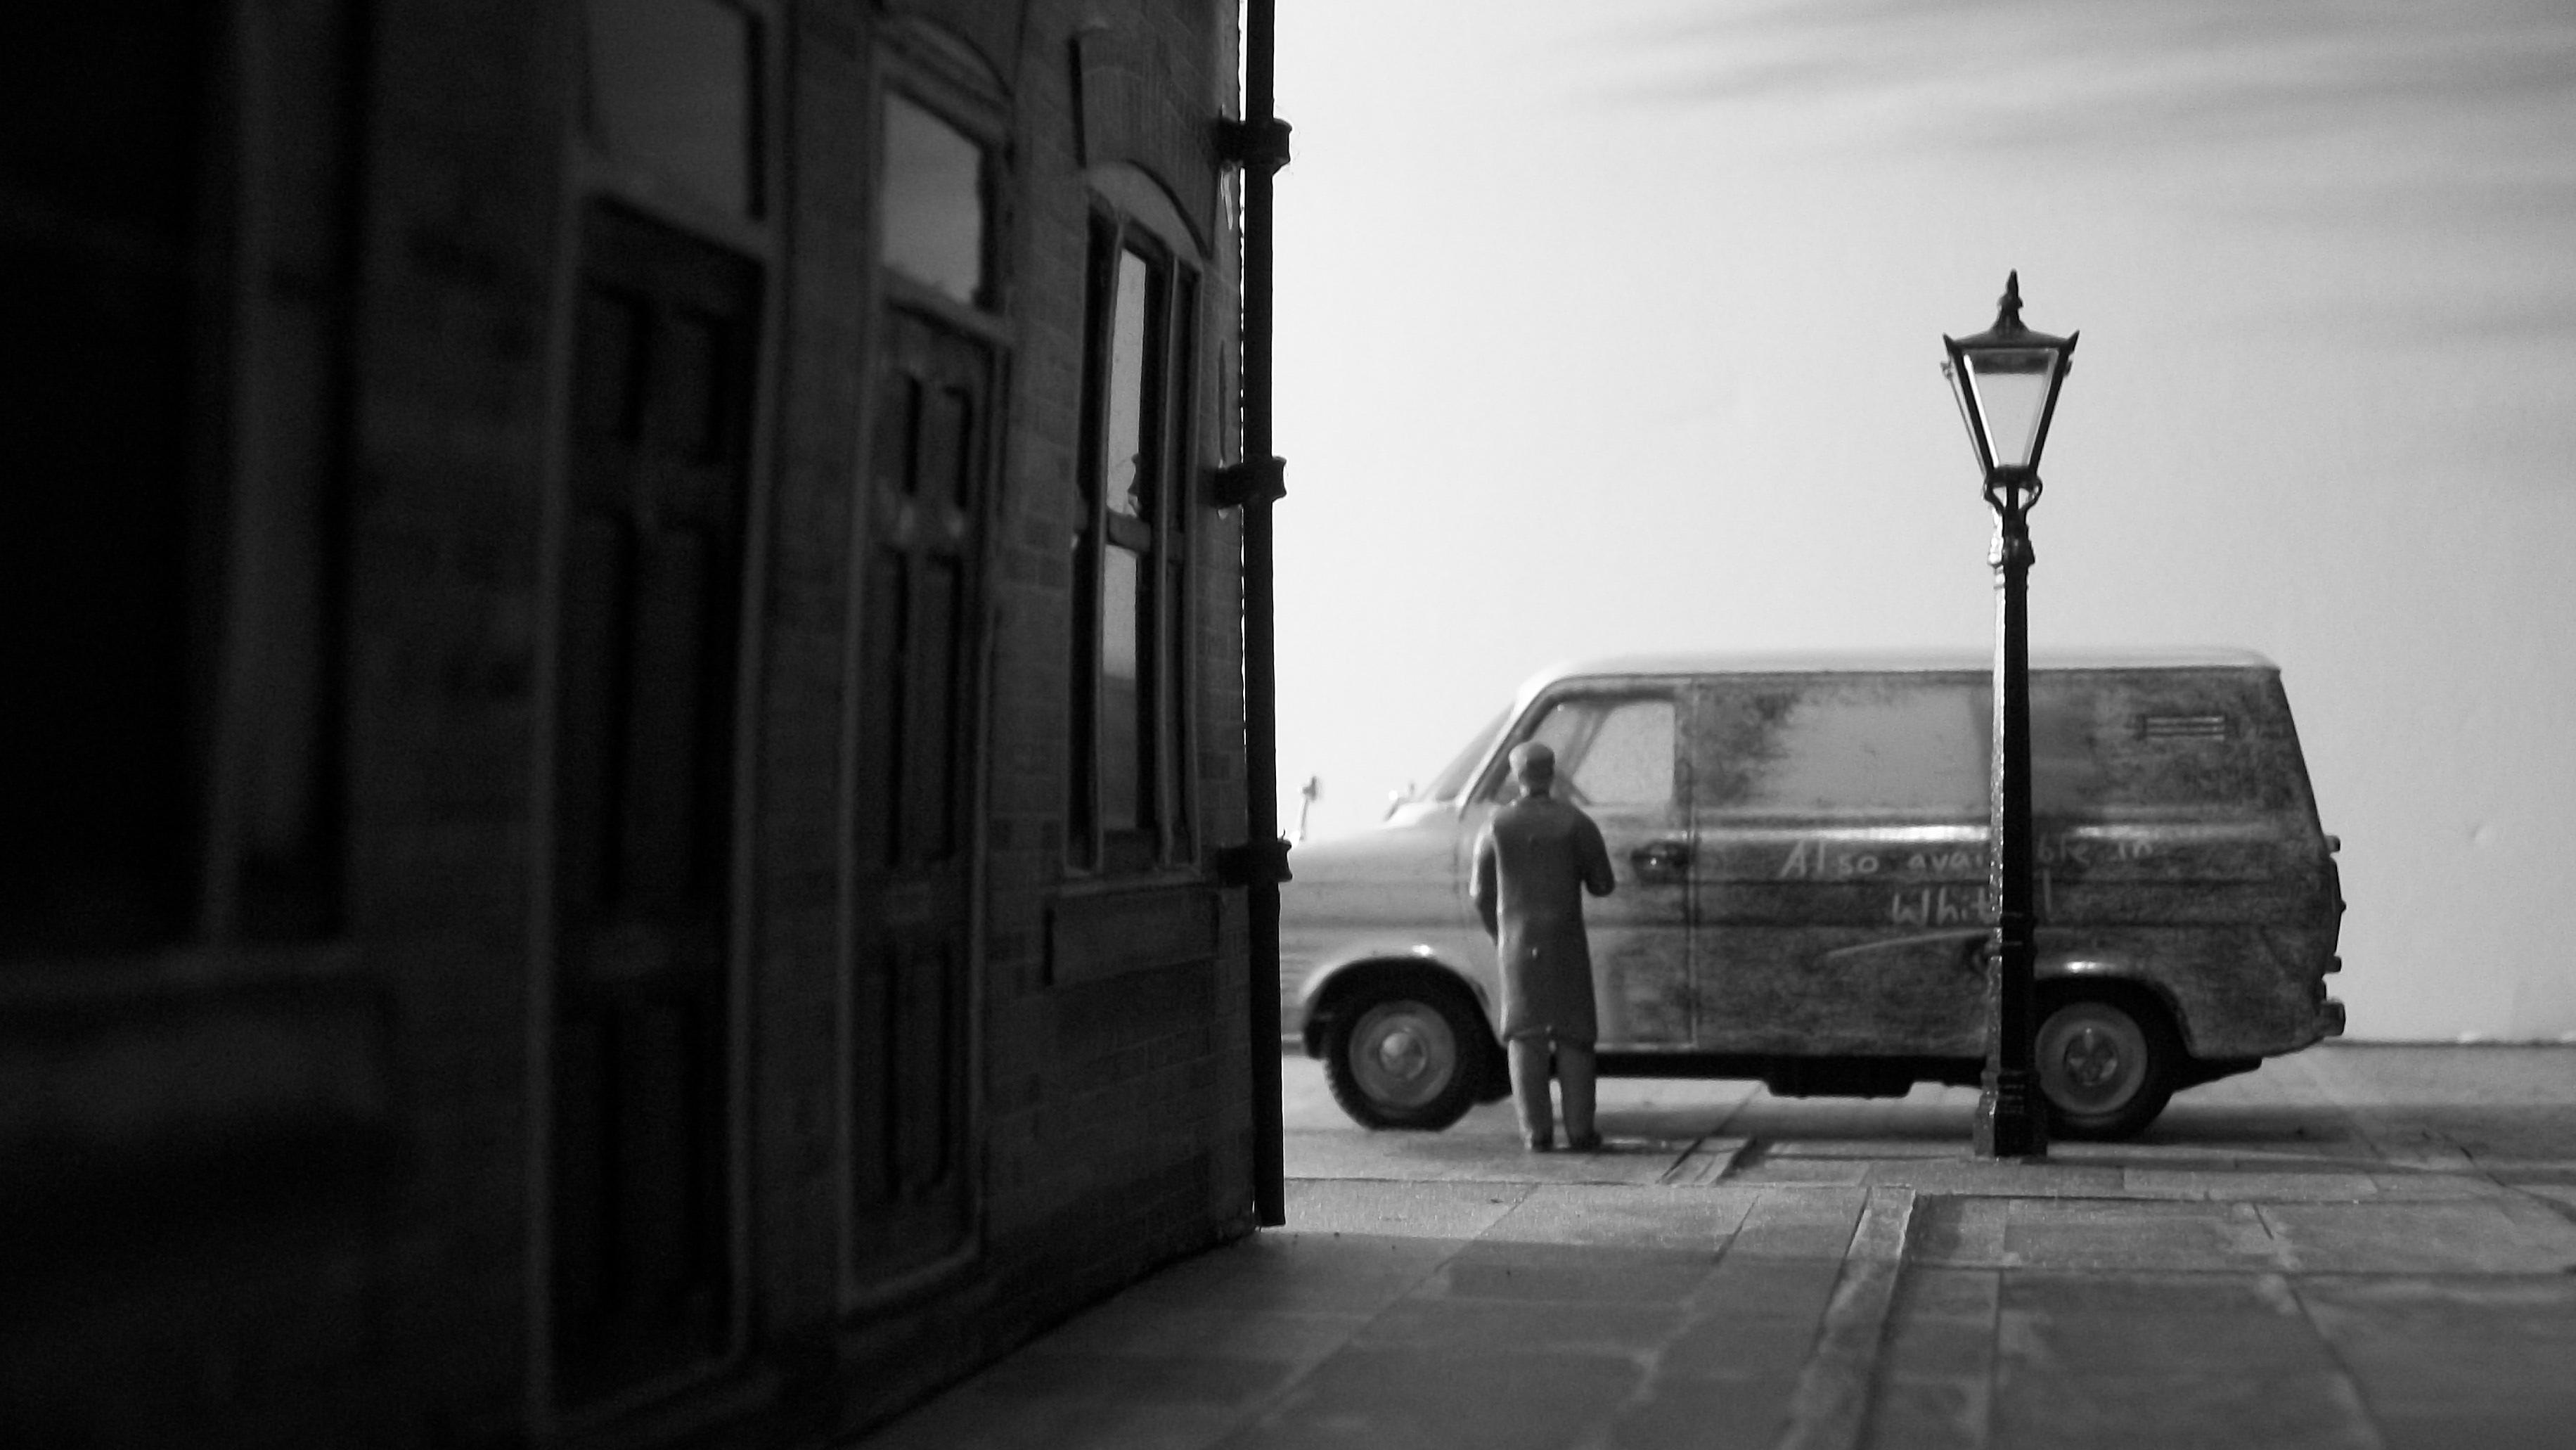
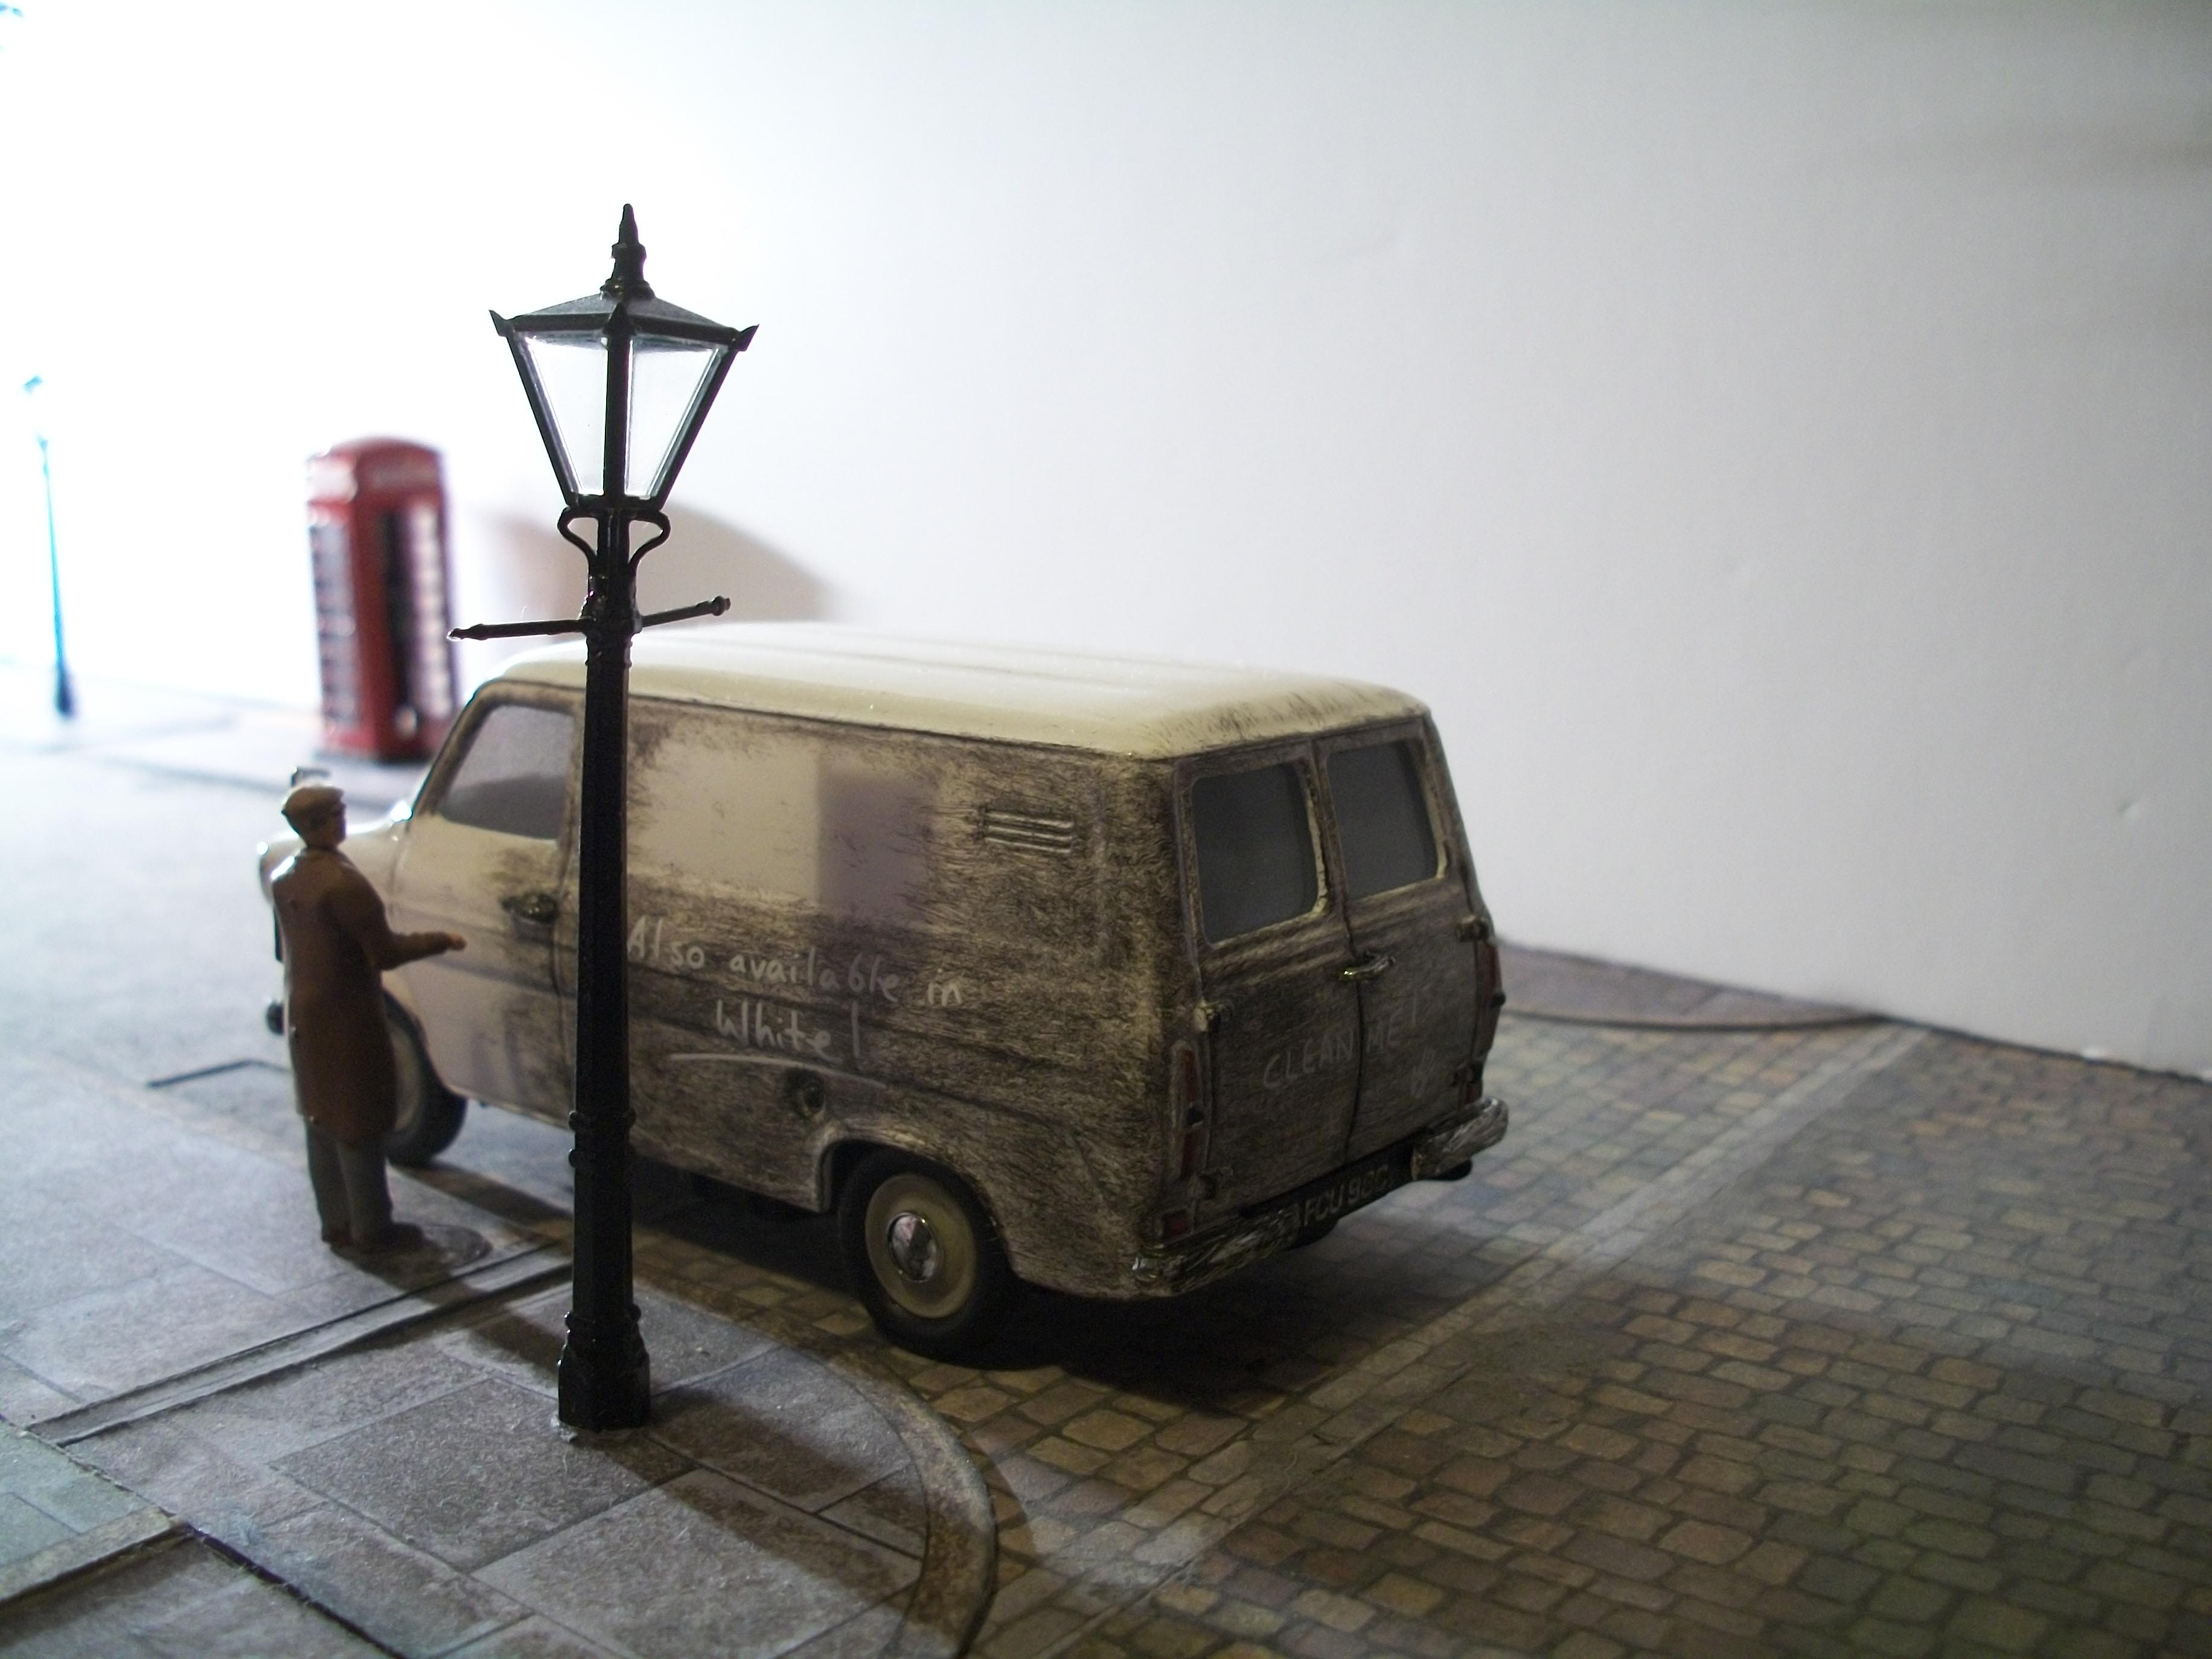
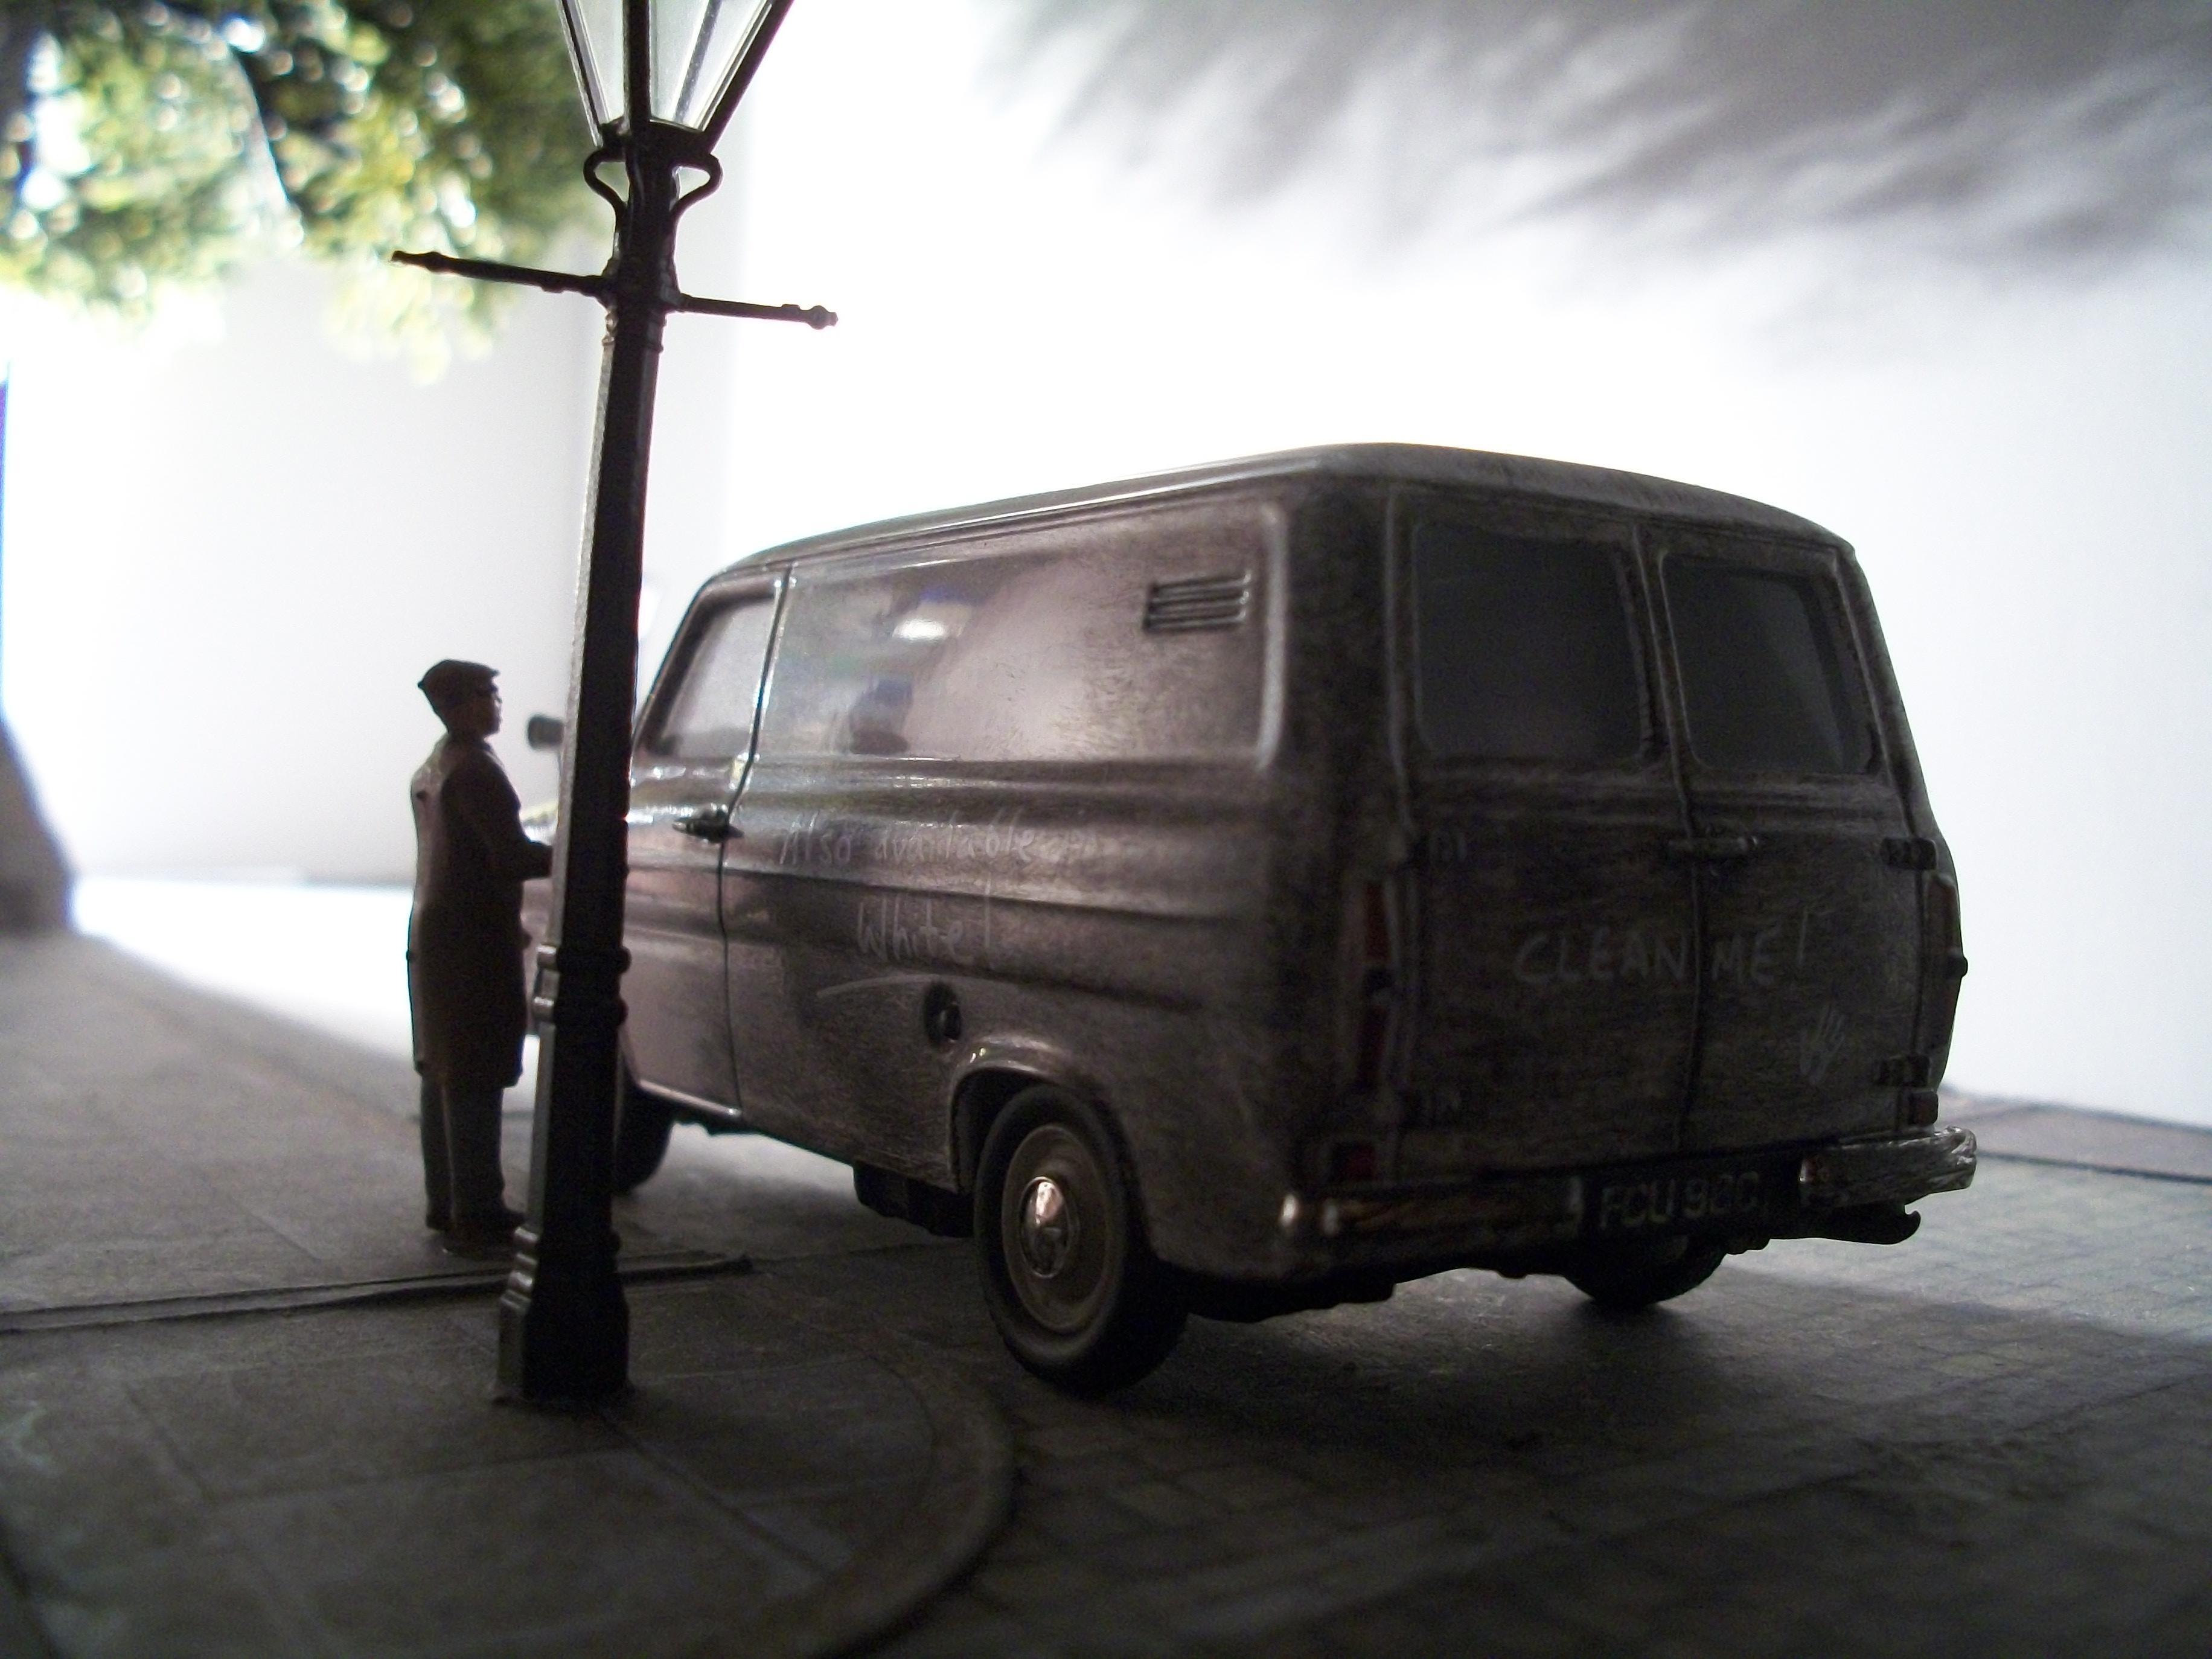
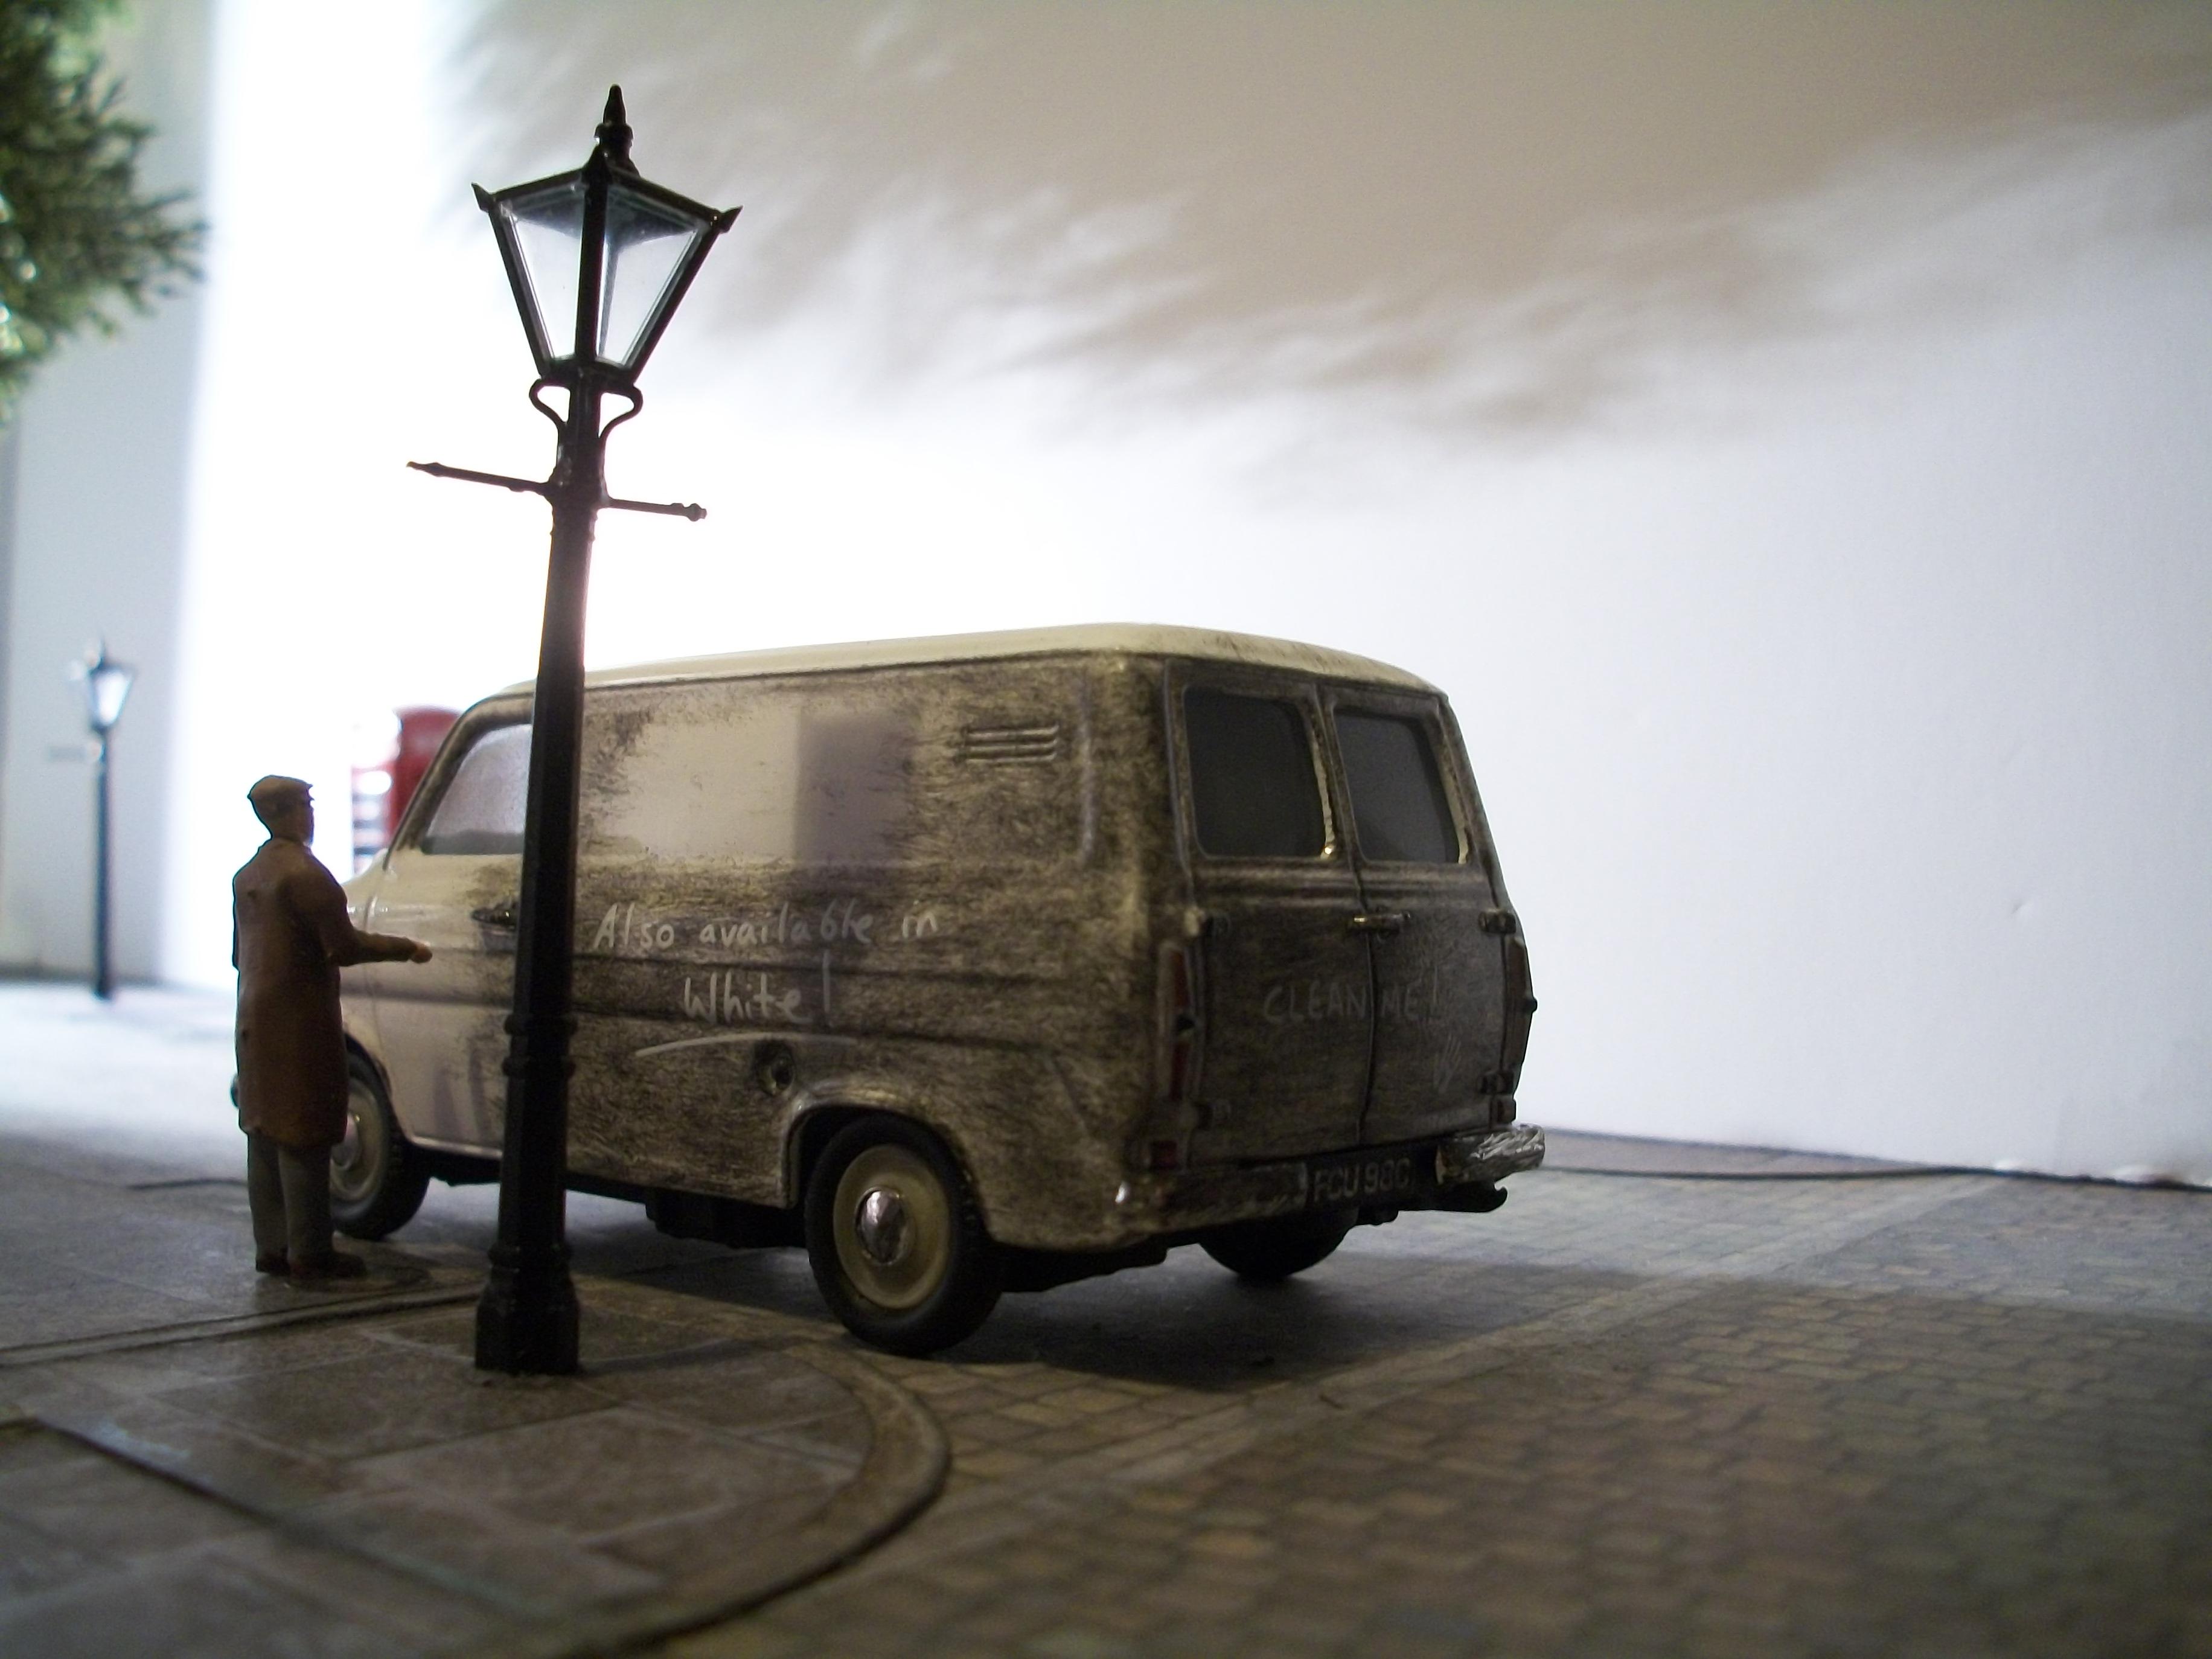
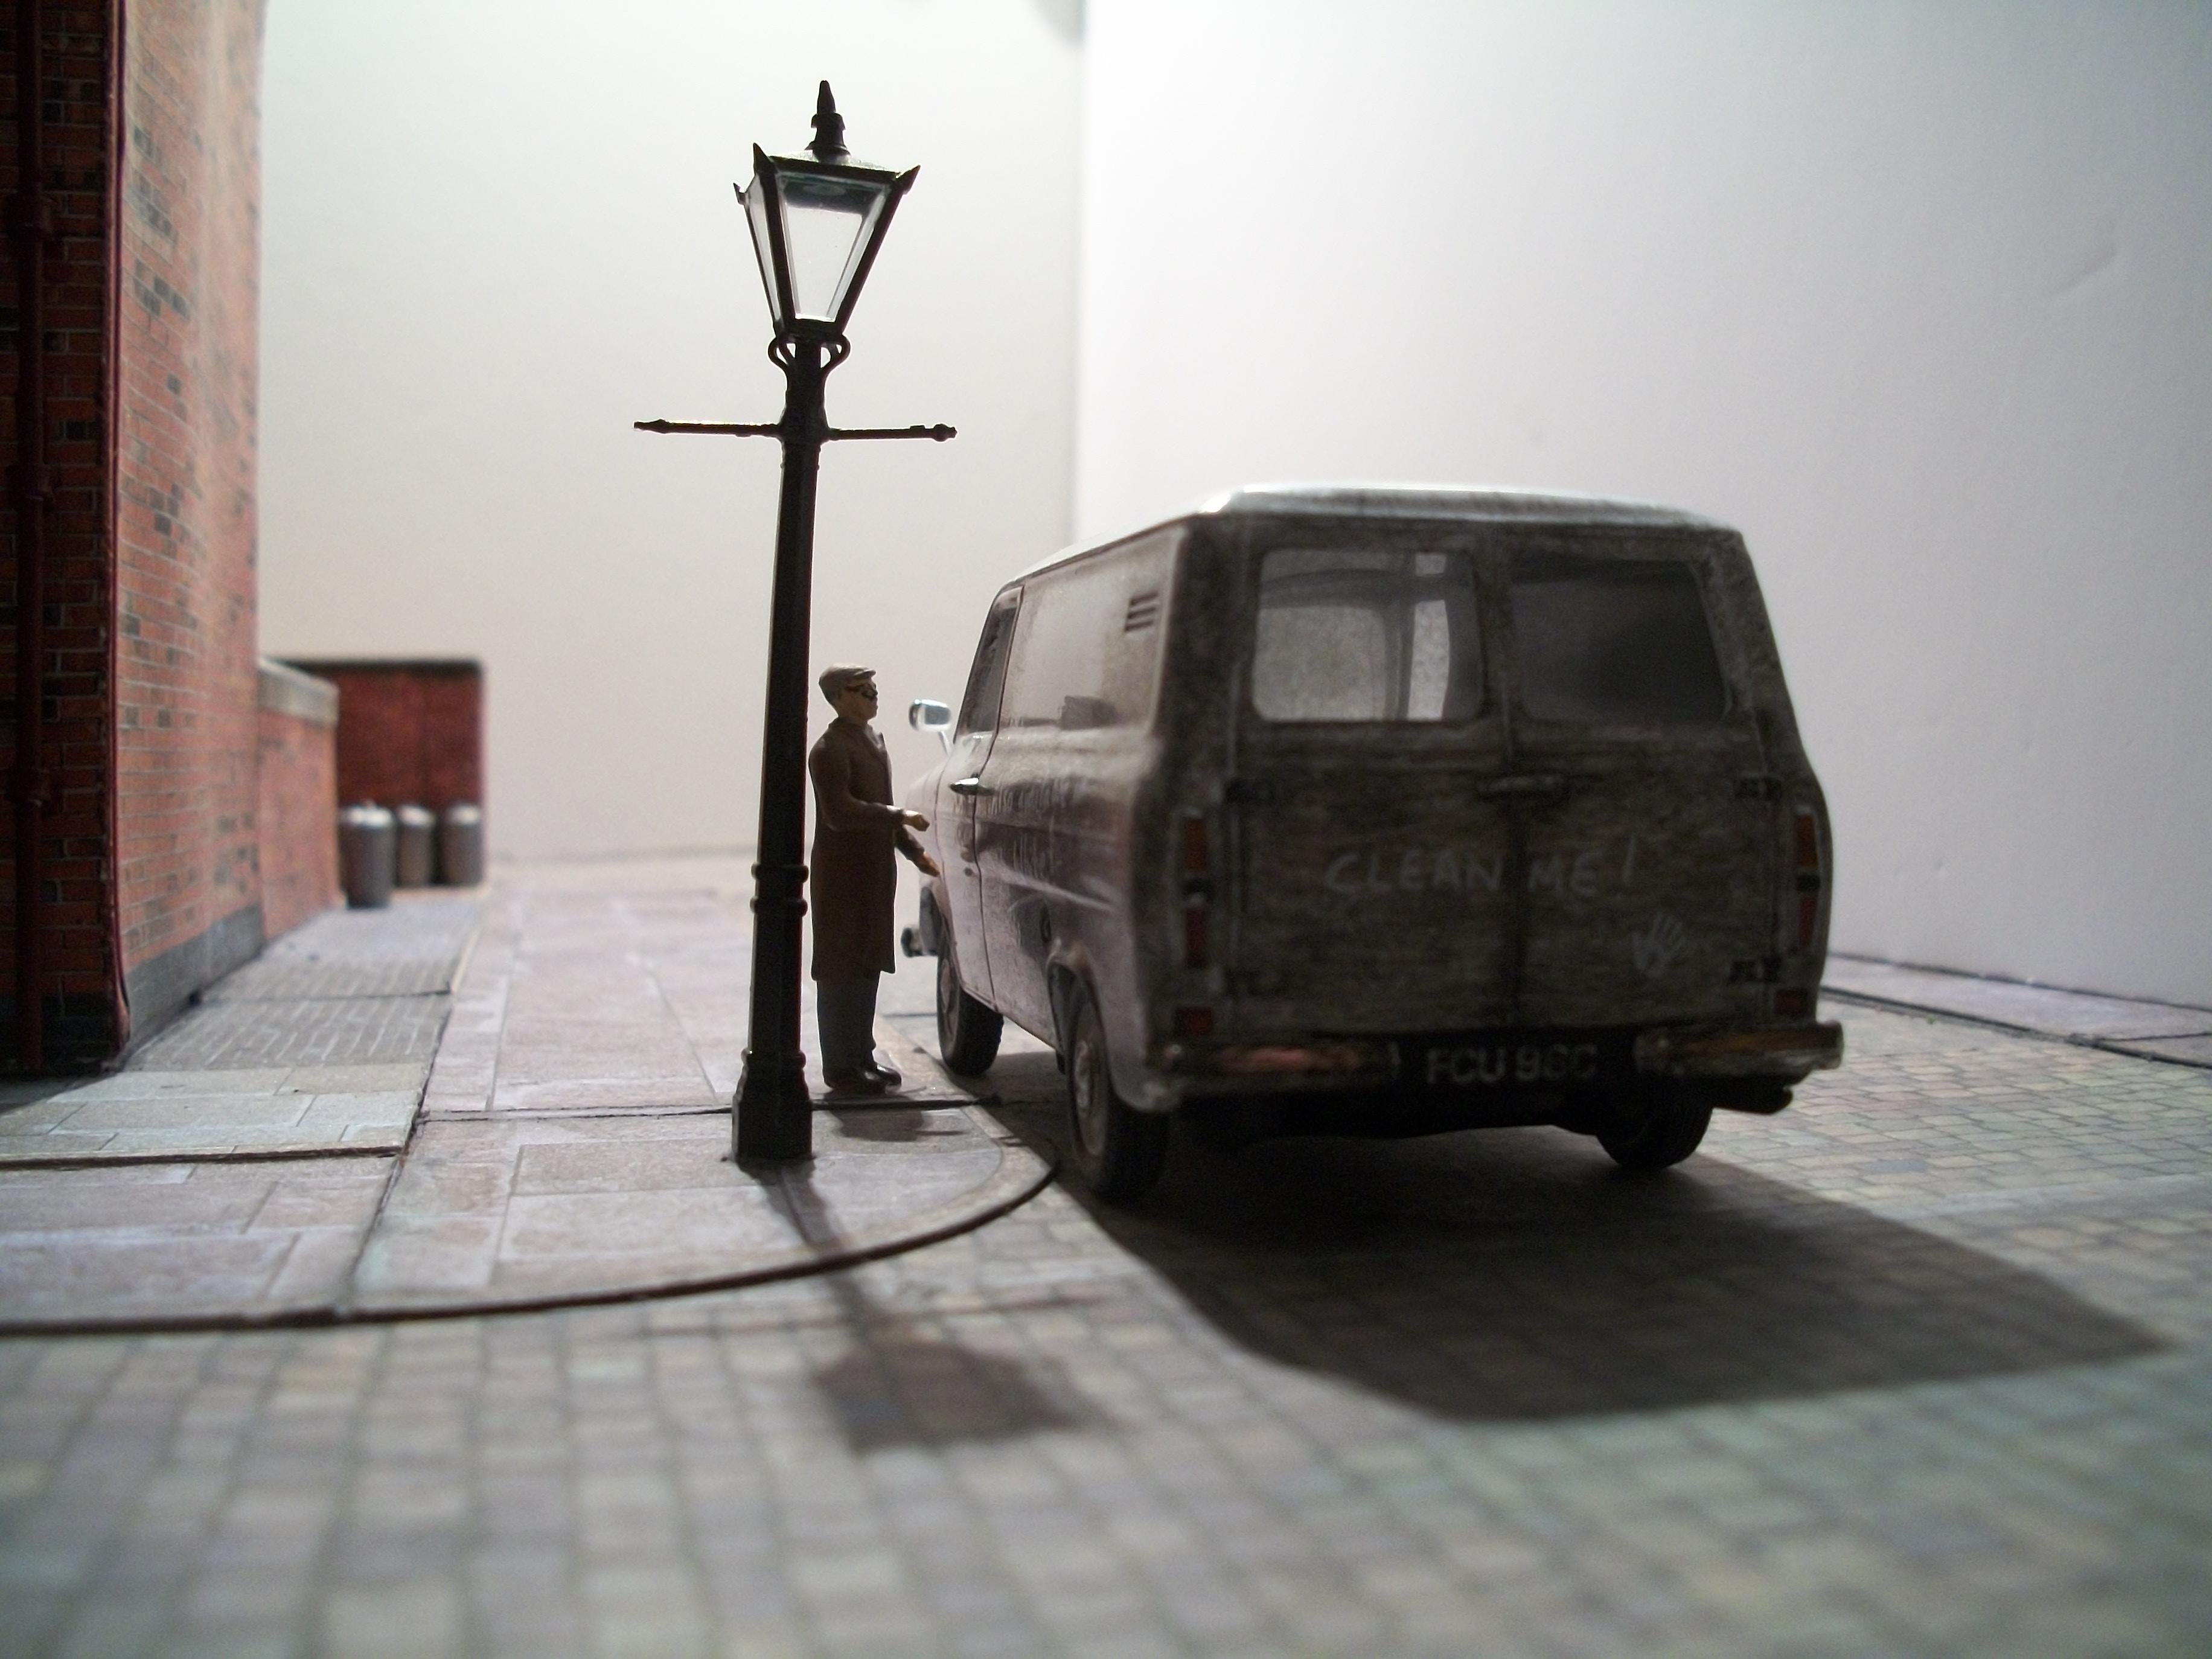
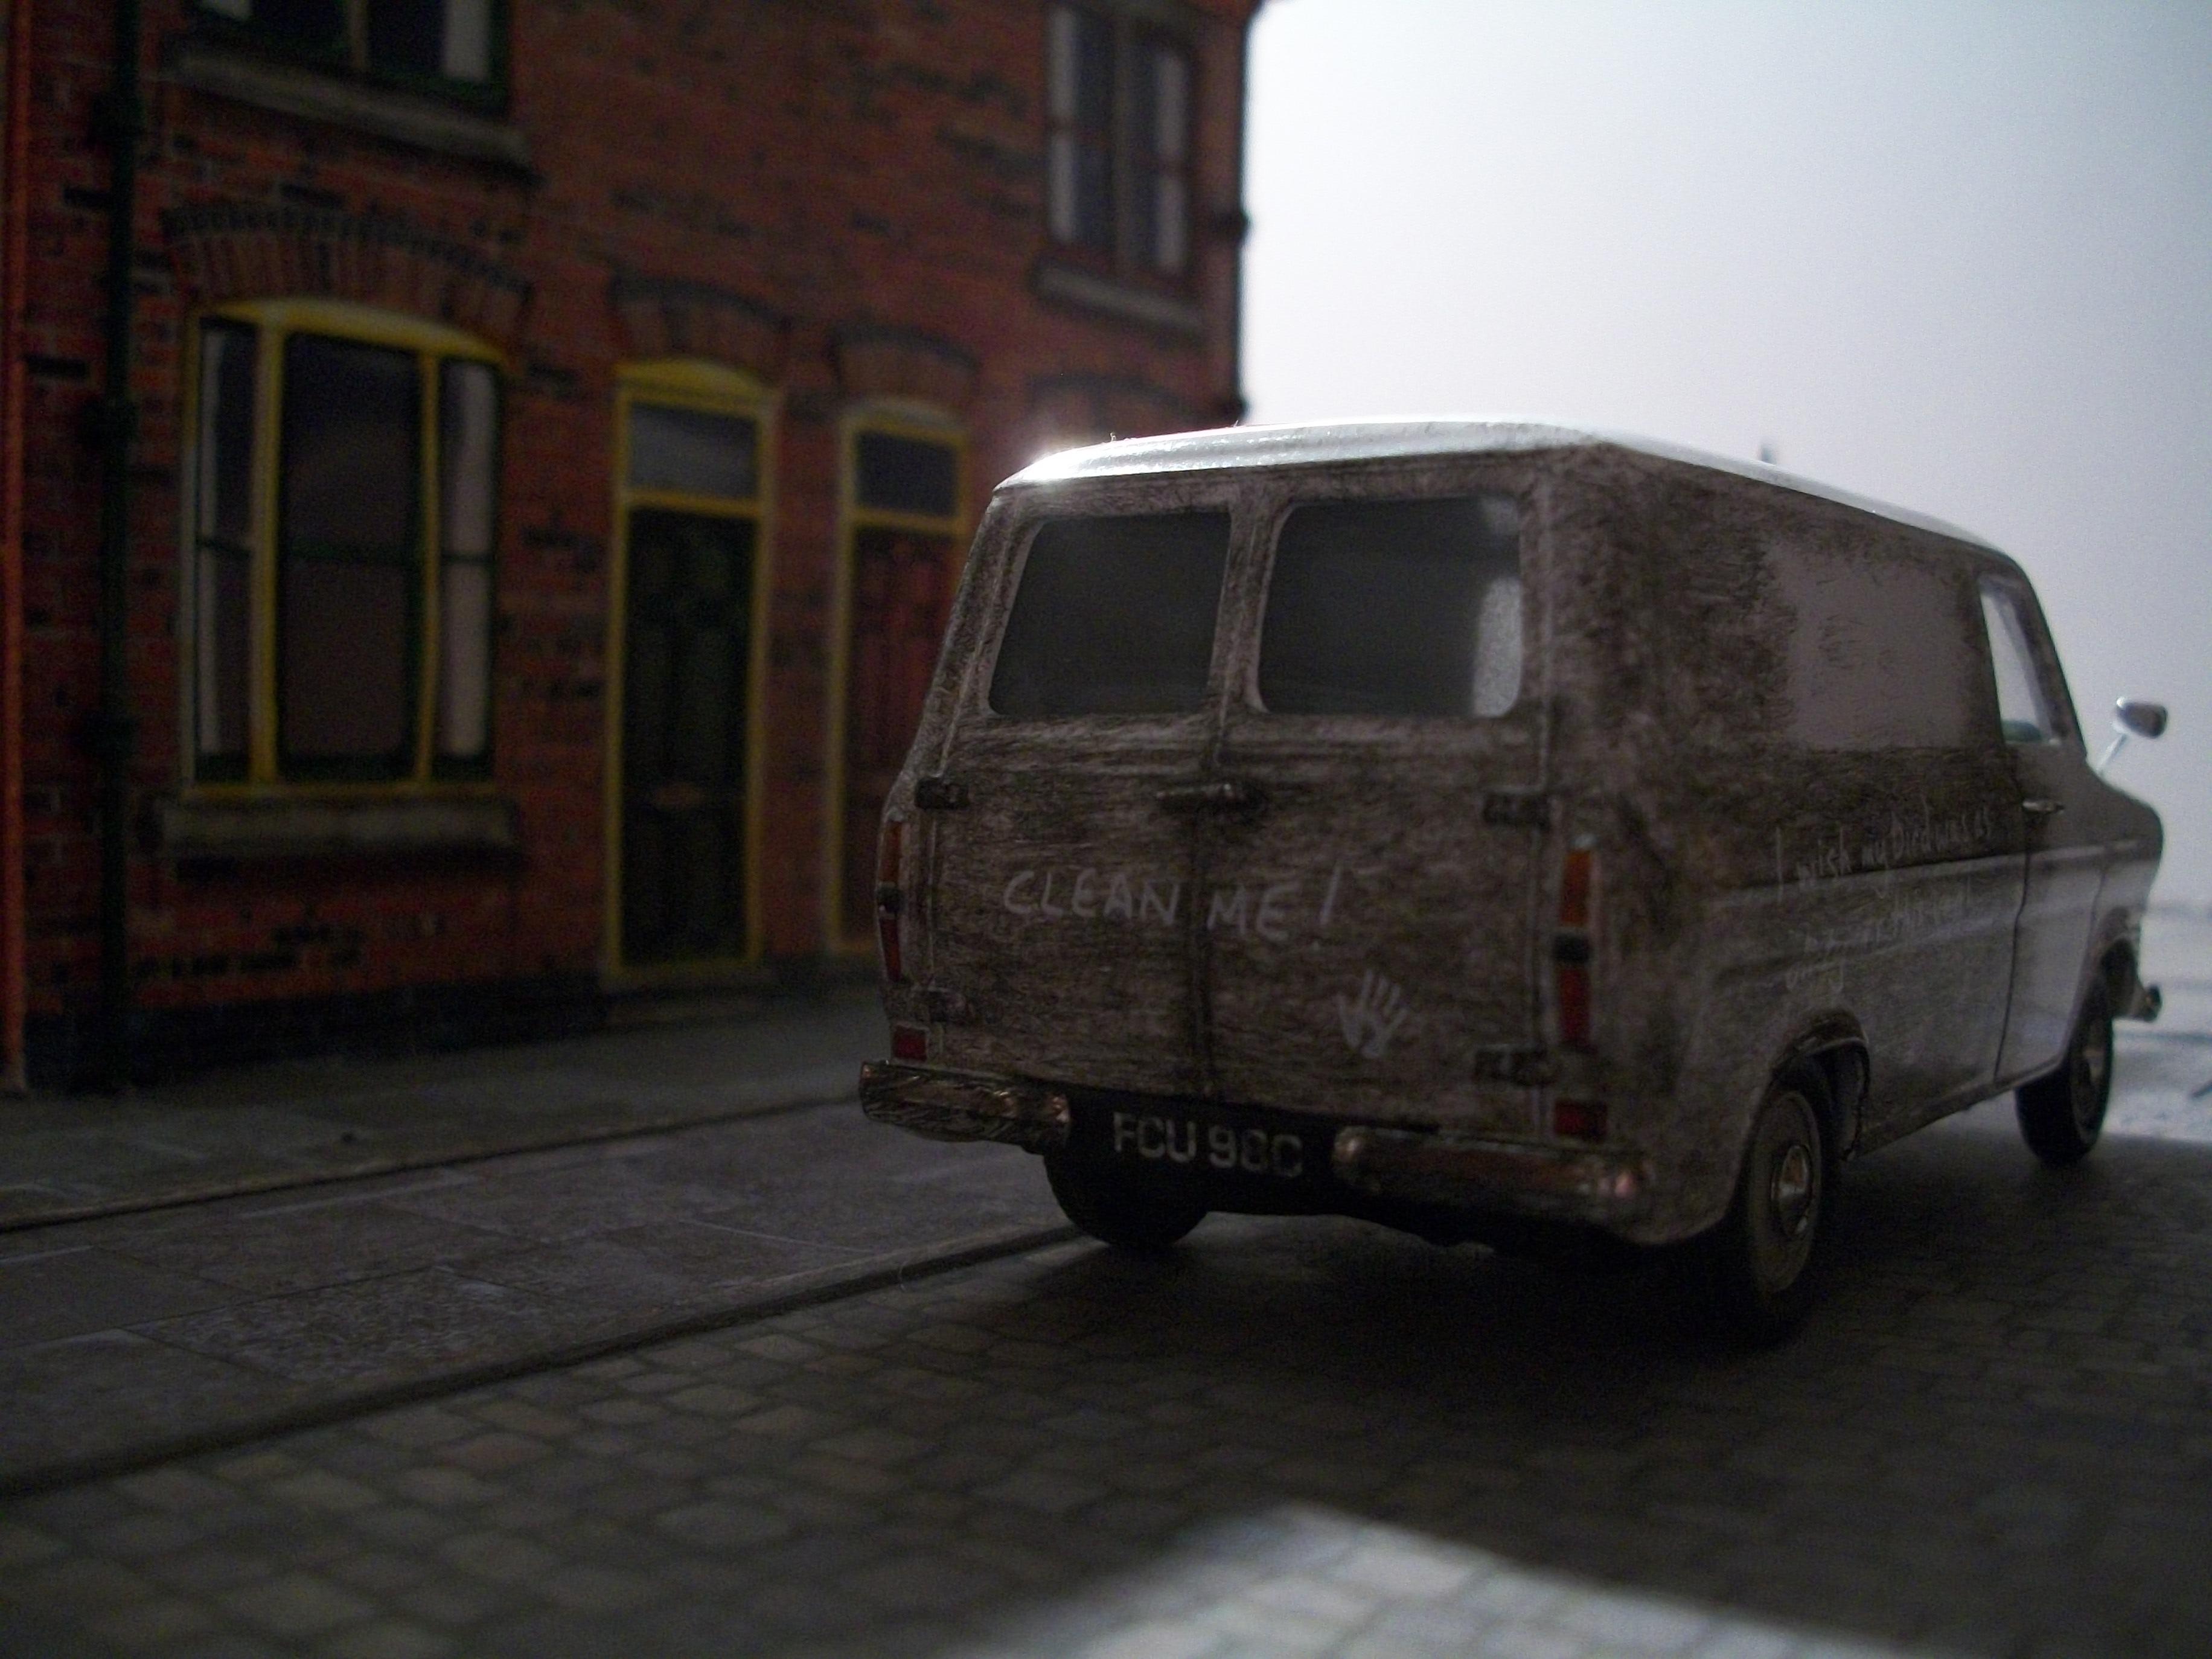
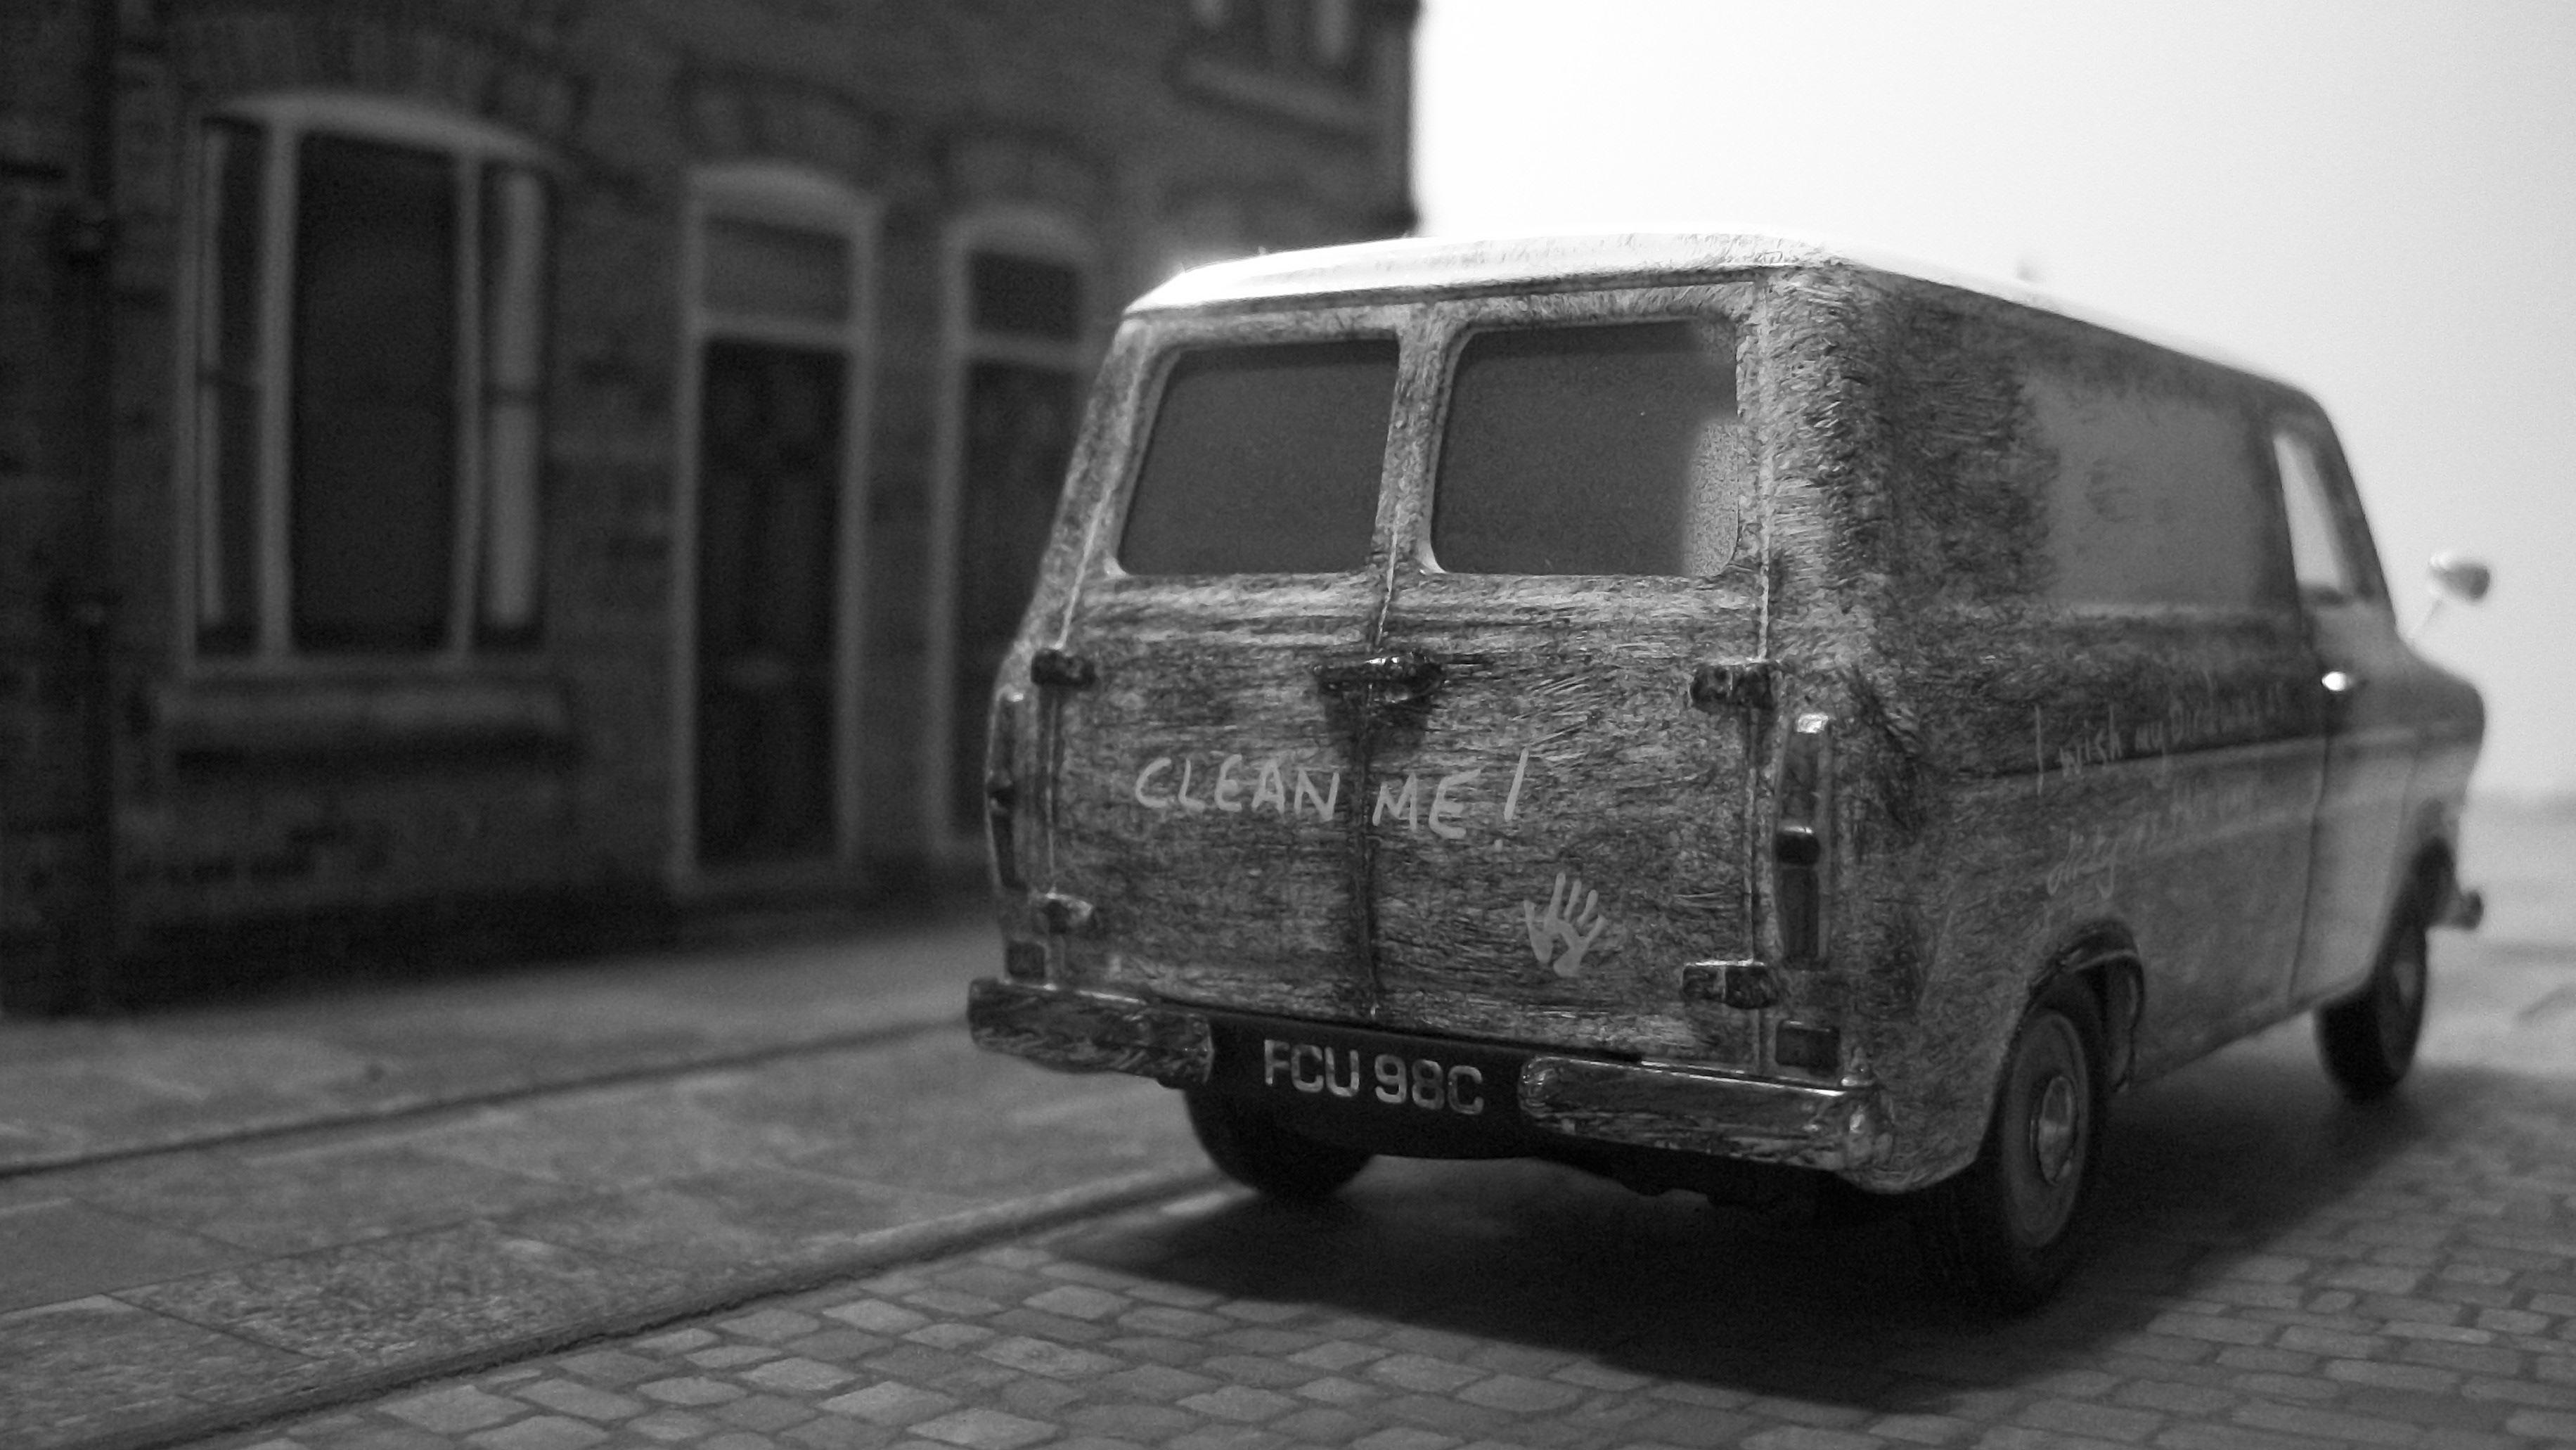
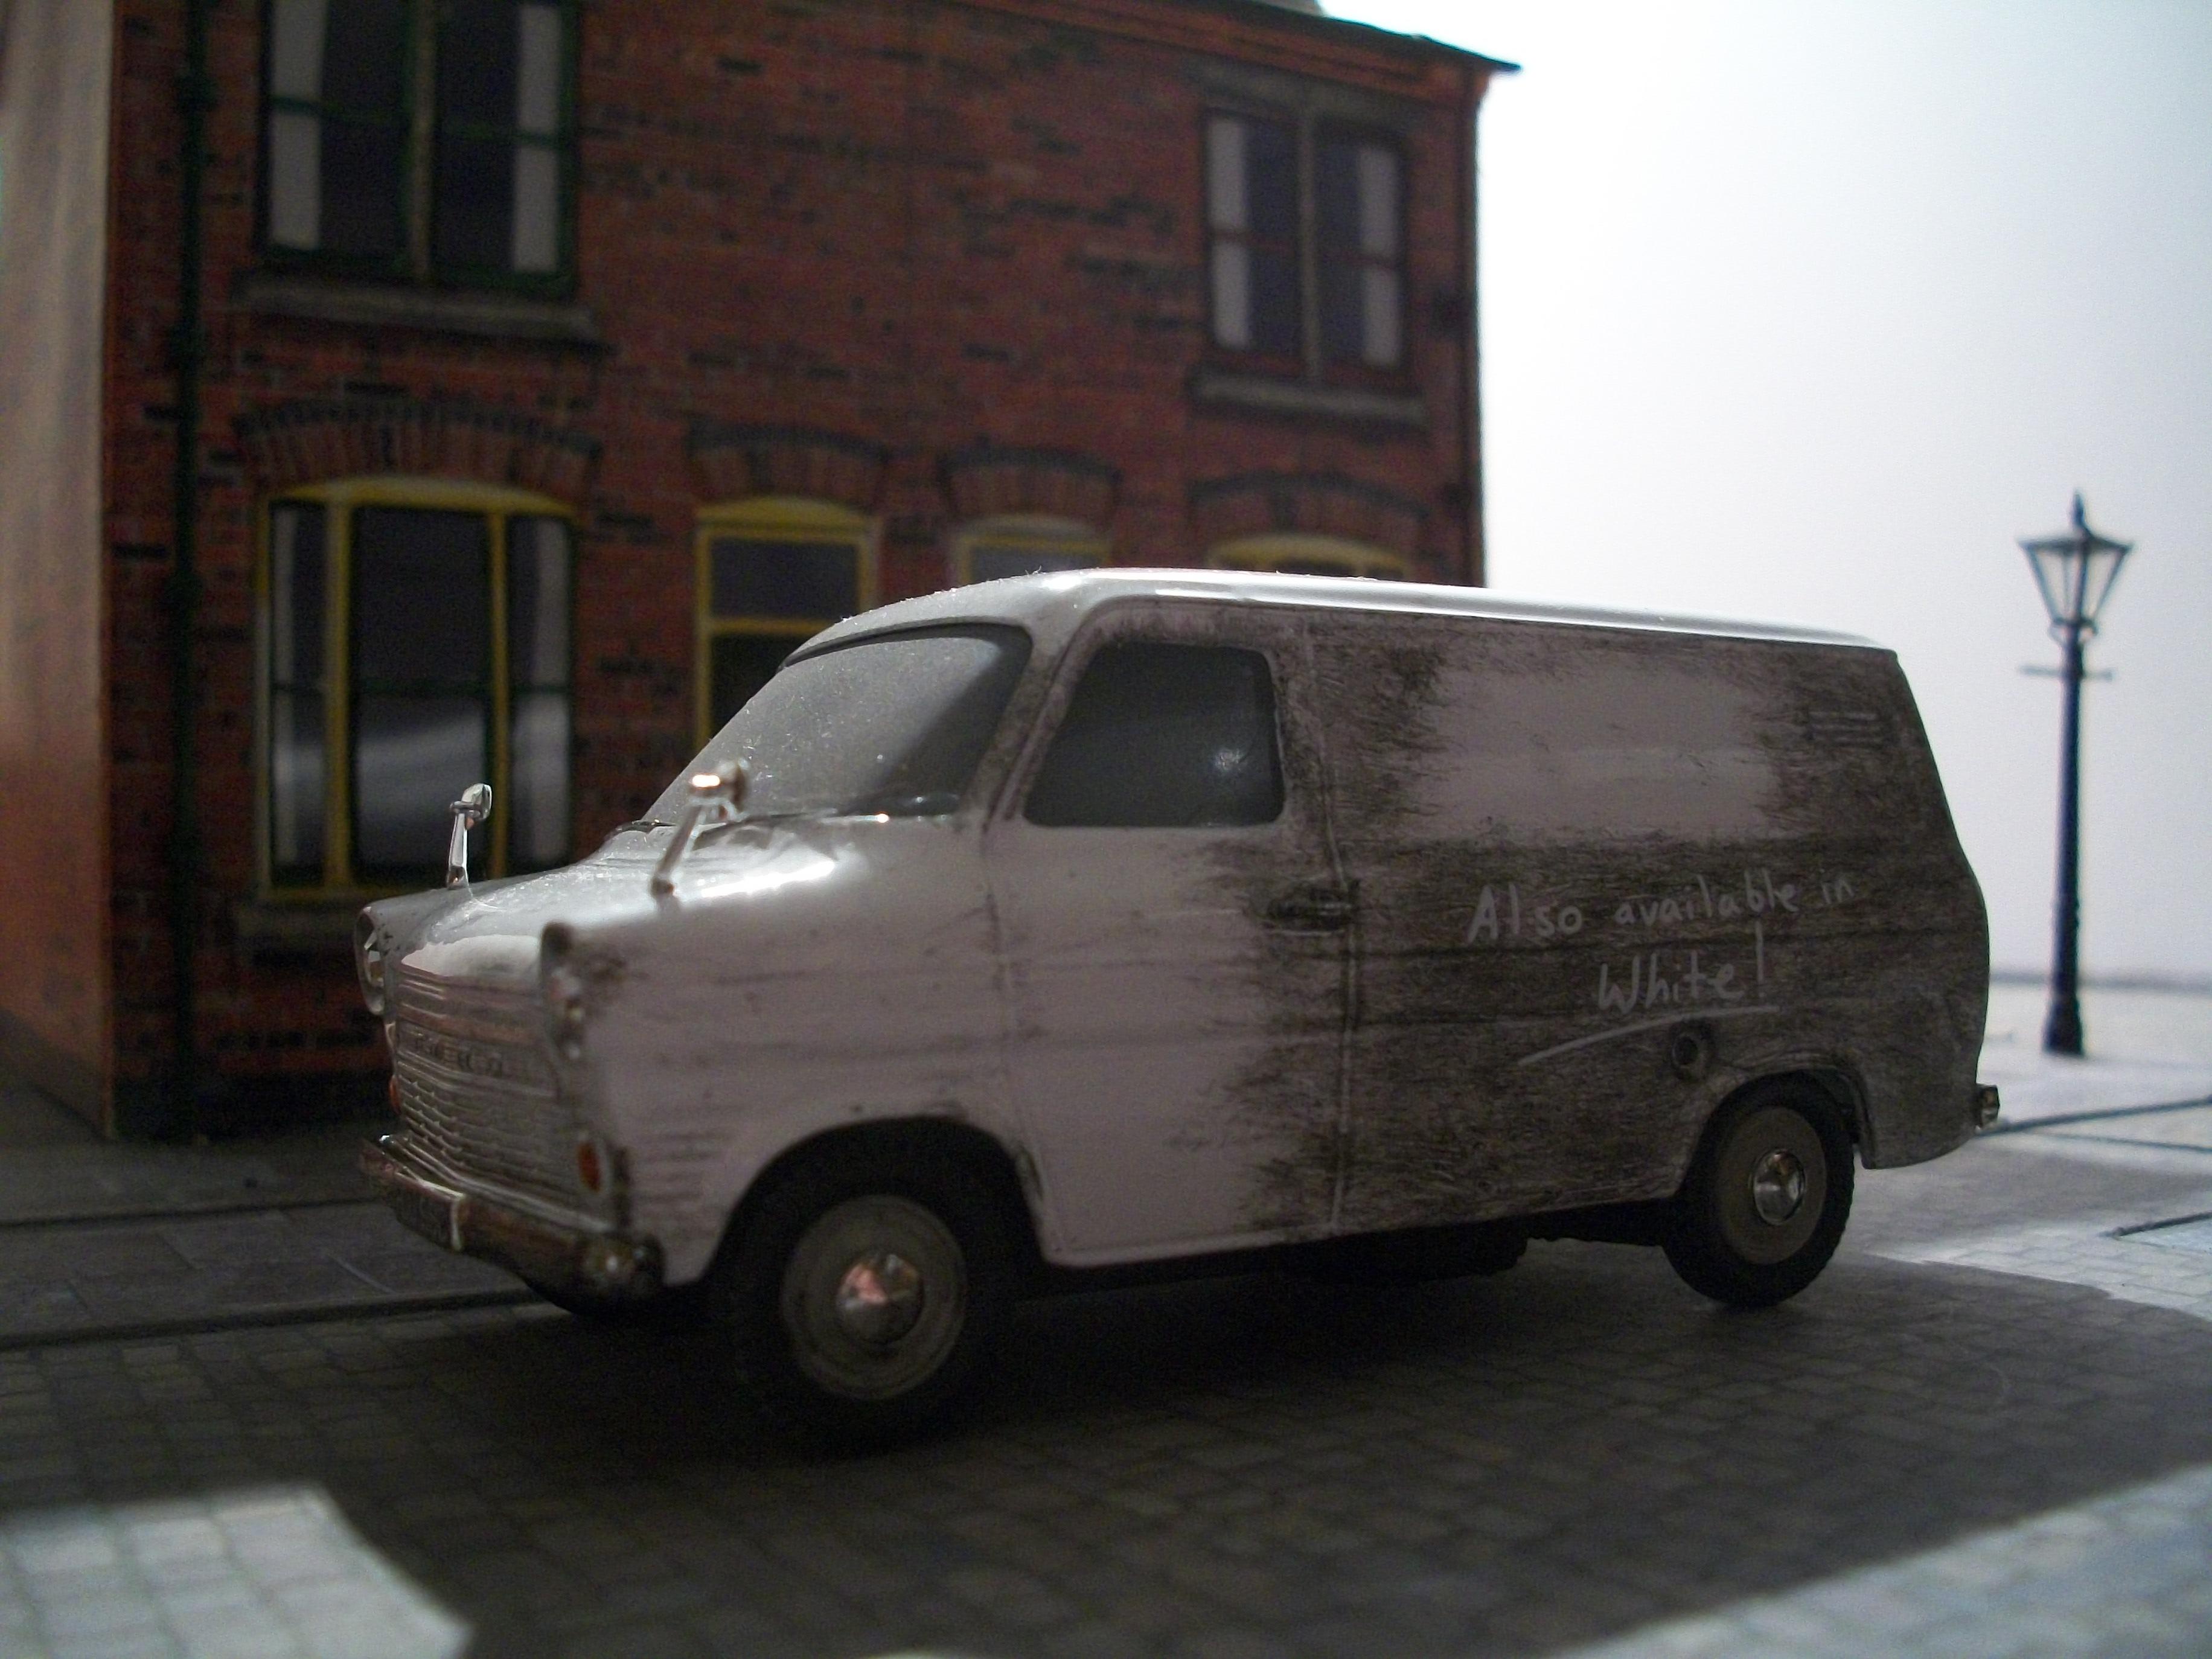
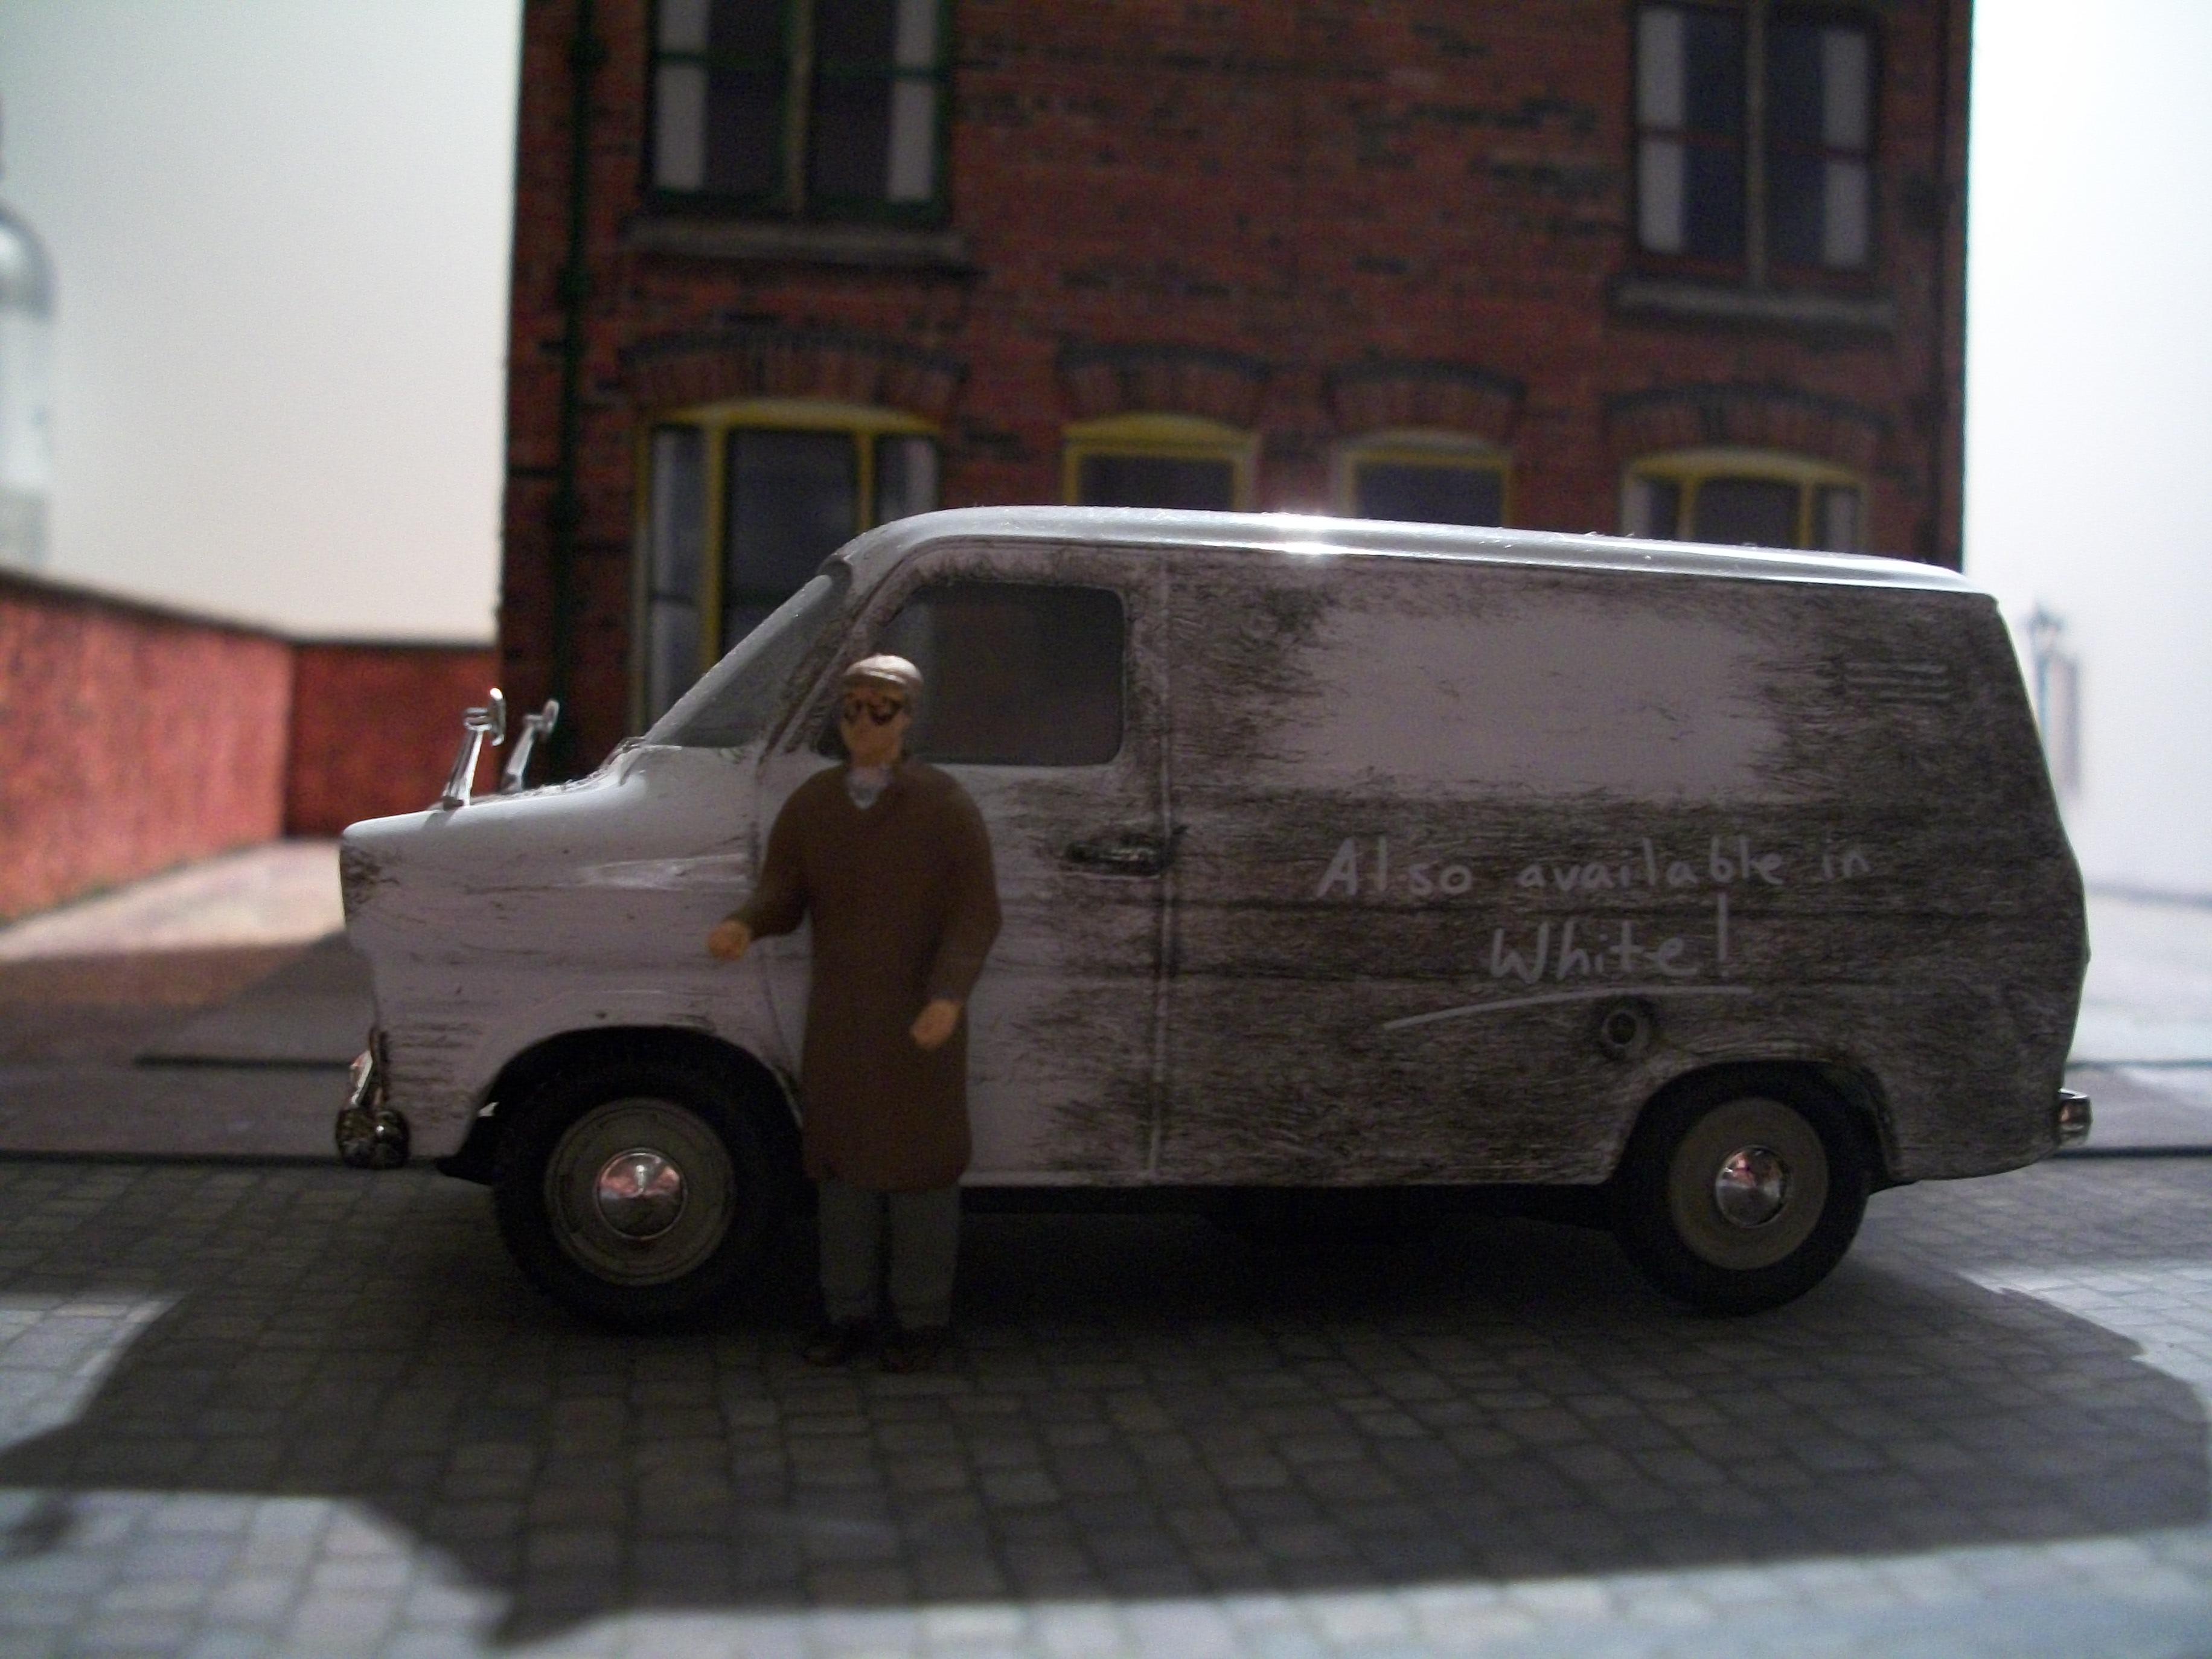
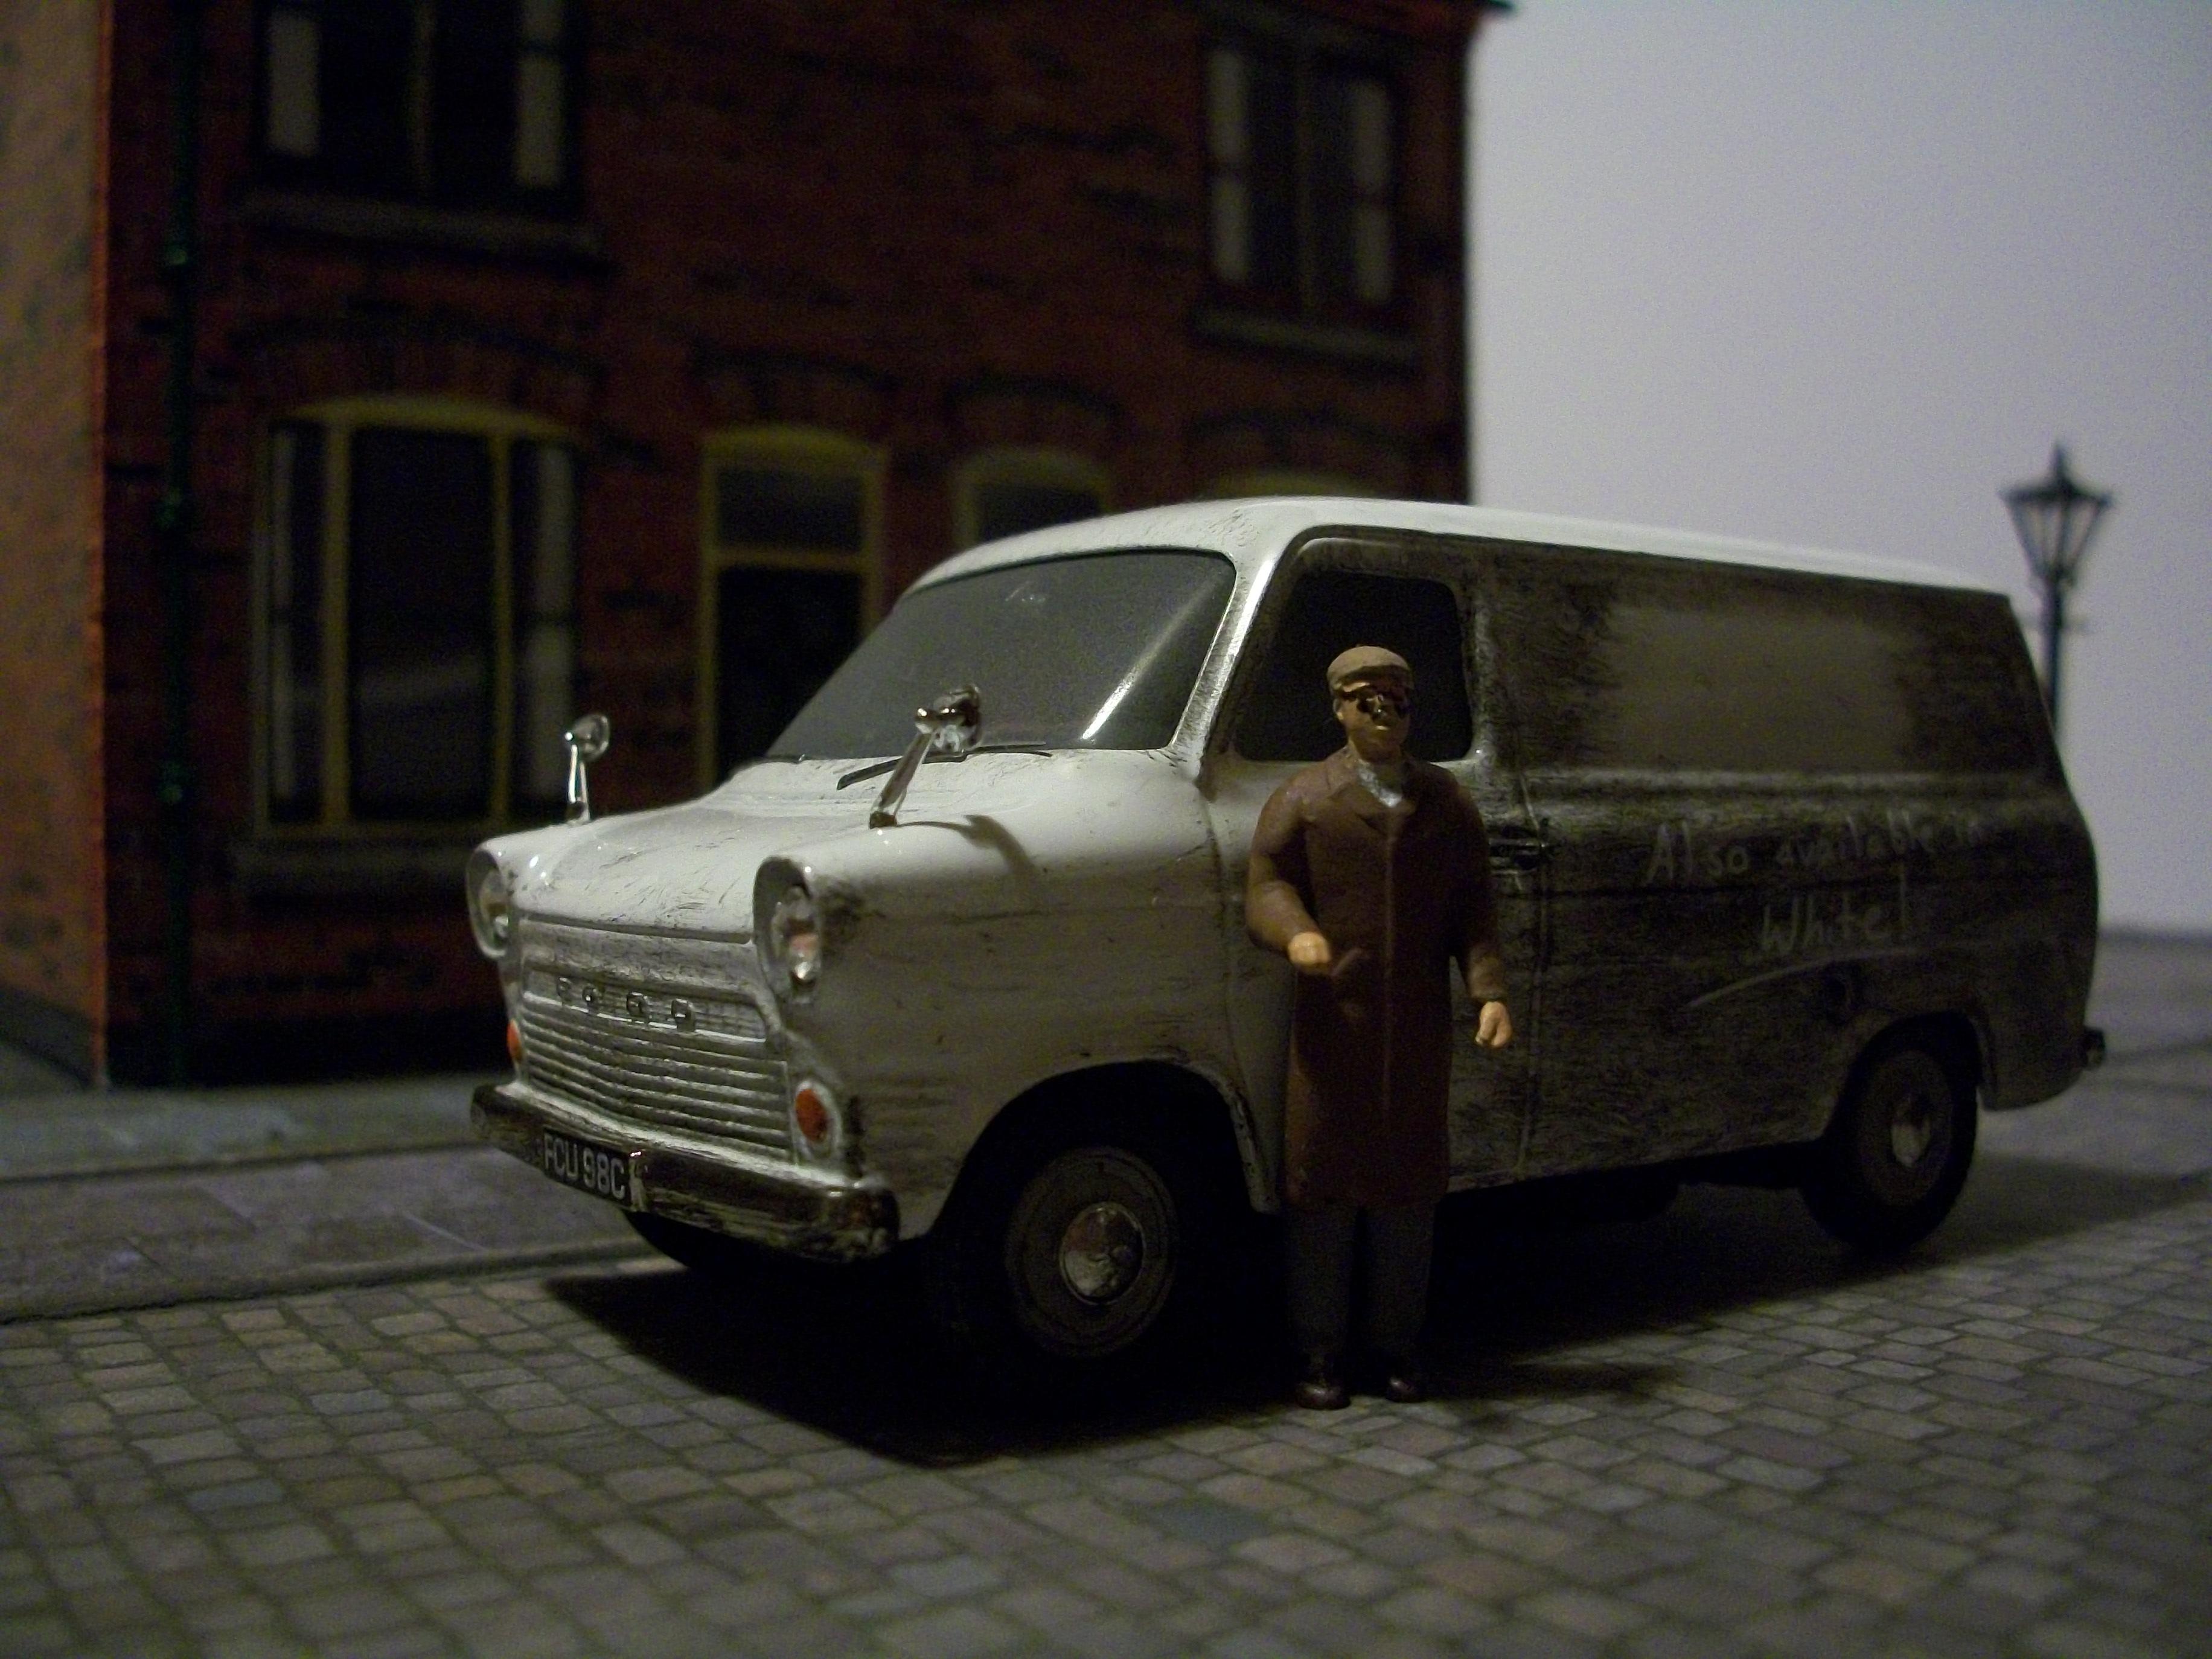
The following photos show the white Ford Transit van on a street corner, with the driver getting ready for his early morning deliveries. David

-
Thanks for your words of encouragement, Eric..... and I realised from the beginning of the build that it would not be easy. This one will get finished.... but not at the moment, as I am building a loft conversion in my property, and also wanting to start work on building my fourth diorama in 1:43 scale. The resin caster for the Anglia 105E is a small company in West Yorkshire, somewhere near Halifax I think, and they listed Escort Mk I and MK II, Morris Minor 1000 saloon and Traveller bodies, Ford Consul MK II, Lotus Cortina 2-door, Mini and all sorts of stuff. I just tried to find the website address for you, but I cannot find it, so they may have gone out of business..... the website is a bit crude and clunky, which initially put me off, but the chap was okay to deal with, and his products are very interesting. I agree that maybe the Air Trax resin body from Finland would also need a fair amount of work, but I understand the quality is far superior to that of the Yorkshire caster...... which is reflected in the much higher price for the Air Trax one. David
-
Thanks for your words of encouragement, Sonny..... and I realised from the beginning of the build that it would not be easy. This one will get finished.... but not at the moment, as I am building a loft conversion in my property, and also wanting to start work on building my fourth diorama in 1:43 scale. The resin caster for the Anglia 105E is a small company in West Yorkshire, somewhere near Halifax I think, and they listed Escort Mk I and MK II, Morris Minor 1000 saloon and Traveller bodies, Ford Consul MK II, Lotus Cortina 2-door, Mini and all sorts of stuff. I just tried to find the website address for you, but I cannot find it, so they may have gone out of business..... the website is a bit crude and clunky, which initially put me off, but the chap was okay to deal with, and his products are very interesting. I agree that maybe the Air Trax resin body from Finland would also need a fair amount of work, but I understand the quality is far superior to that of the Yorkshire caster...... which is reflected in the much higher price for the Air Trax one. David
-
Very nice 1956 Ford Thunderbird, Ludwig...... and actually it looks really nice in pink ! David
-
Thanks a lot for your comments, Peter...... I am discovering ways to photograph the 1:43 scale models, which can appear just as realistic as the 1:24 scale models if they are carefully positioned in the right lighting. I agree, it is so much more satisfying to see the model cars in a realistic diorama setting than to see them in display cases or on glass shelves..... even worse, still in their original boxes, sealed and unopened! David
-
Marvellous work you are doing there, Pico..... and this is quite an unusual Ferrari that you are building. Your skills are clearly at a very high level..... Wow ! David
-
My thoughts exactly, Tim..... I hadn't seen jewelled headlights on diecast models since I was a young boy ( 56 years ago at least ! ) Your Thunderbird looks great, and it's always nice to find something interesting on Ebay...... I keep looking, and things just turn up from time to time. David
-
I am continuing to follow this Lola build, Mark...... with great interest ! David
-
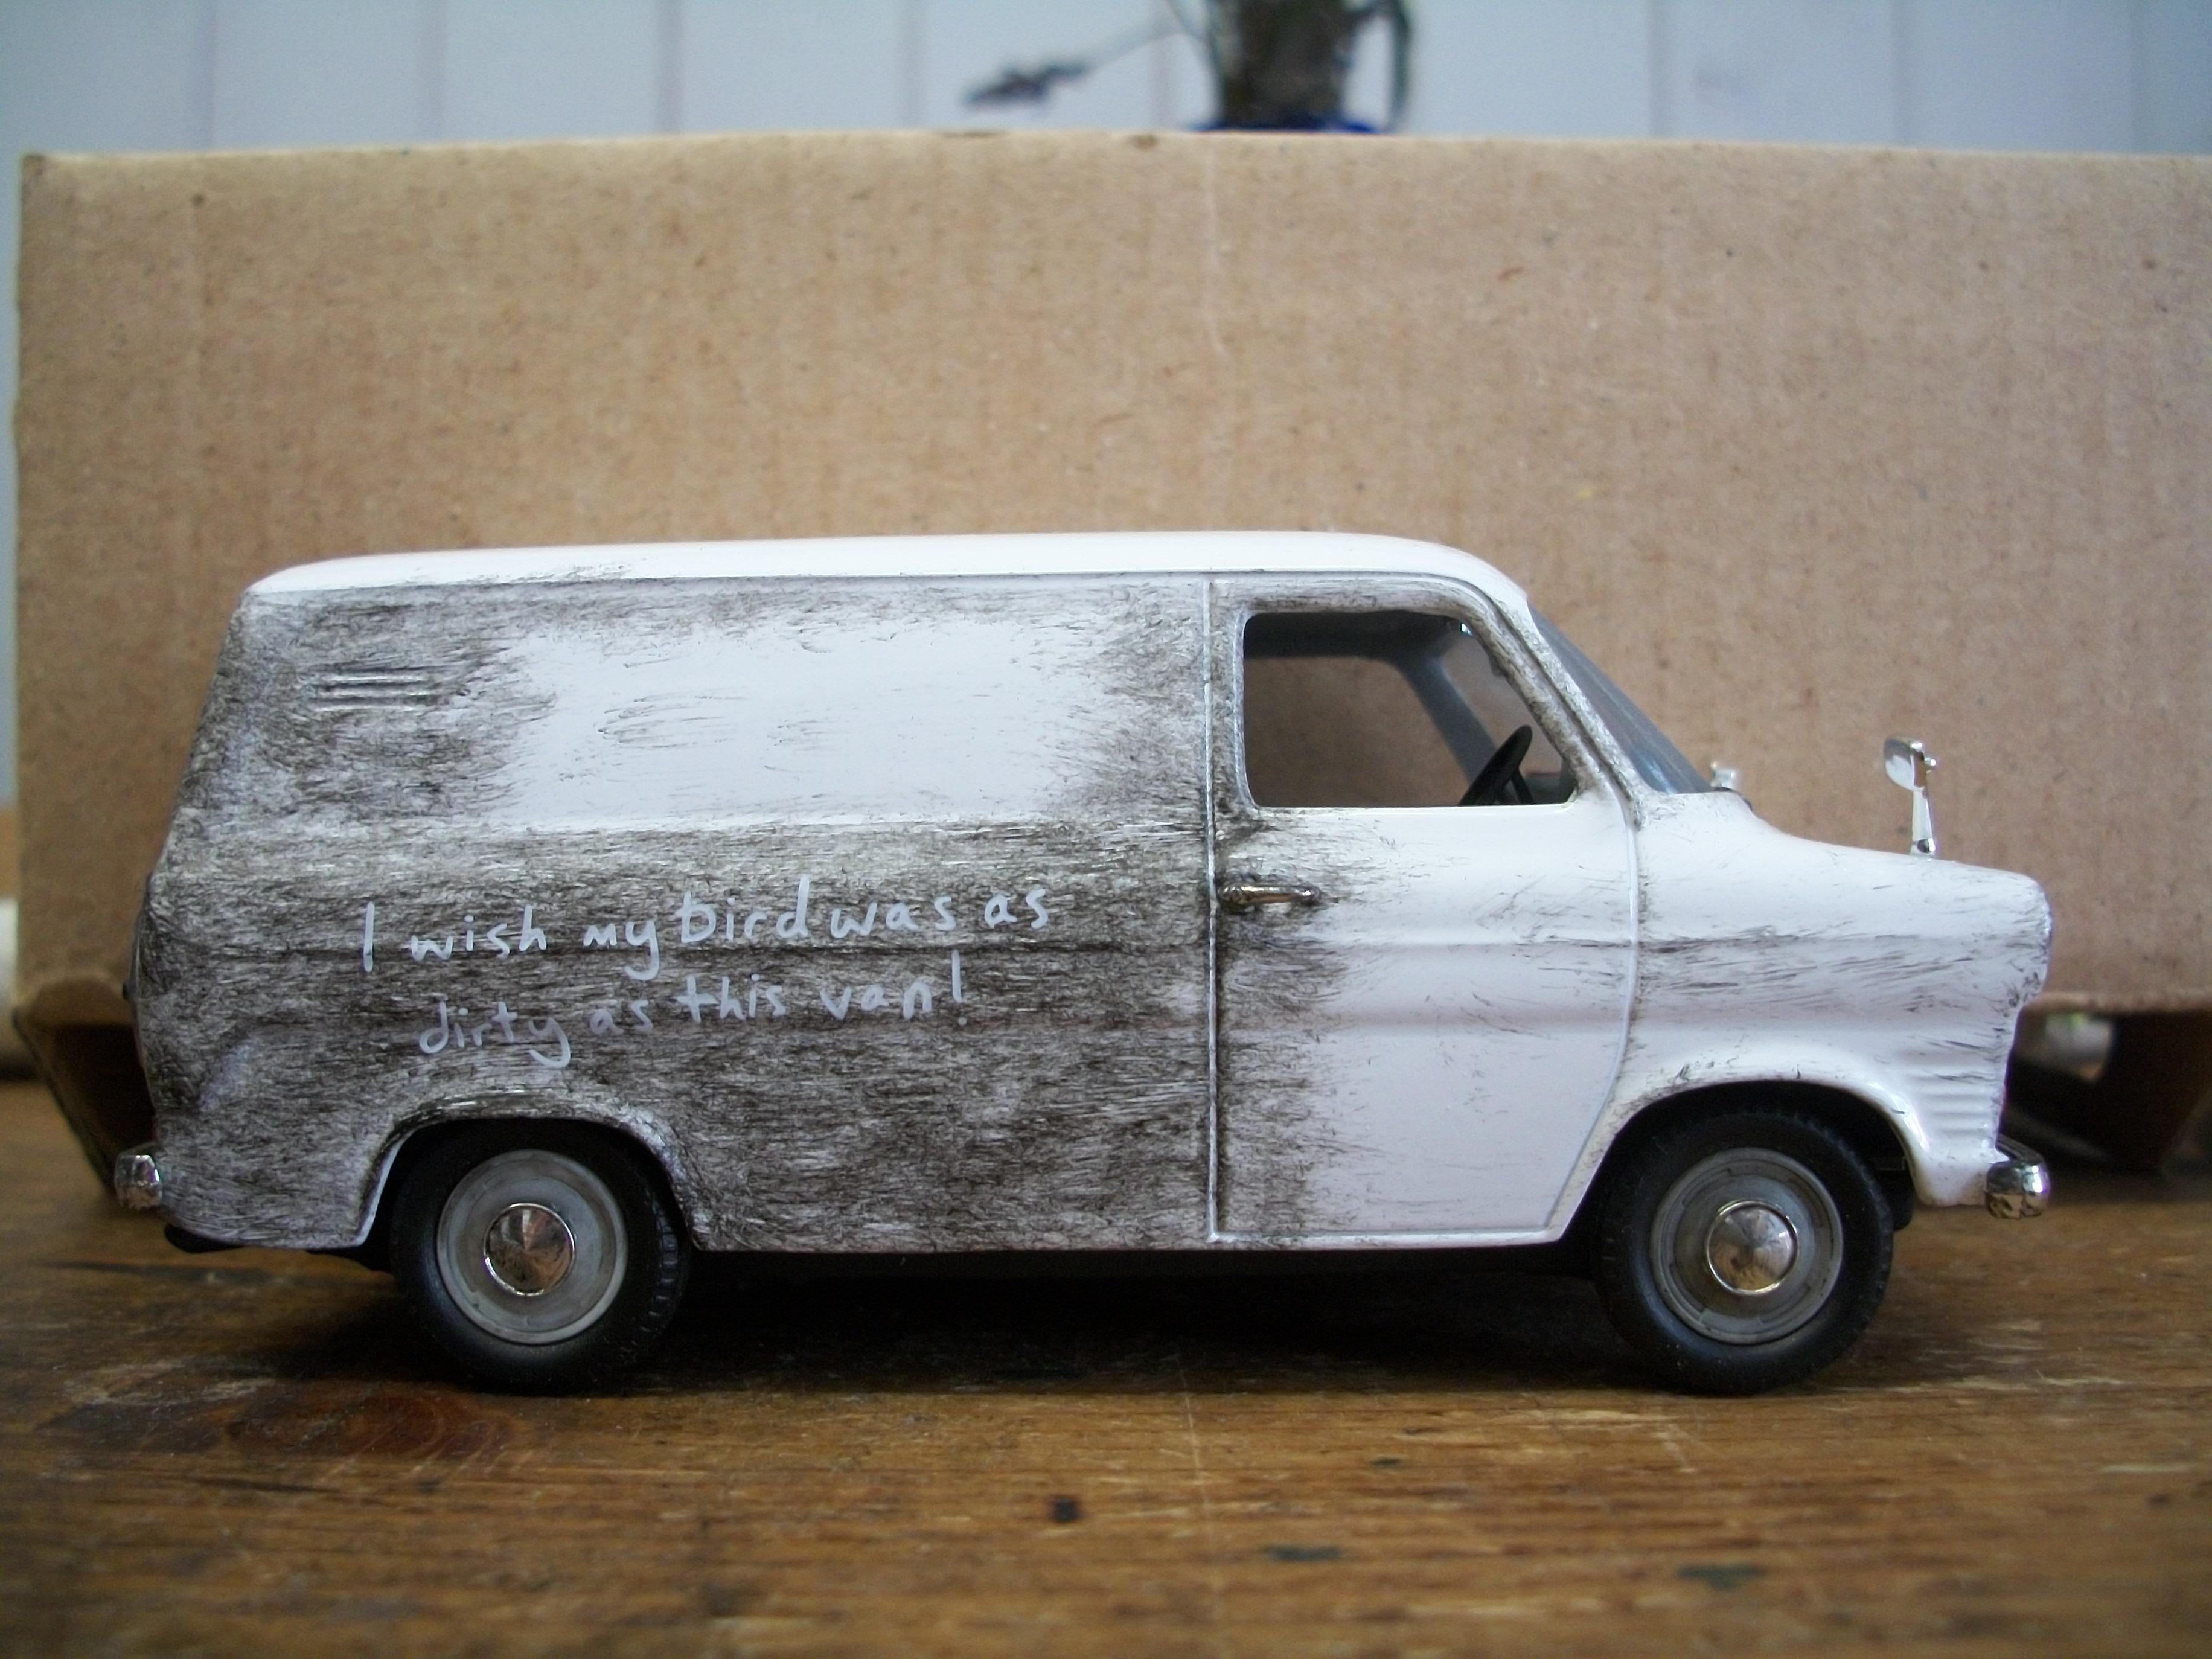
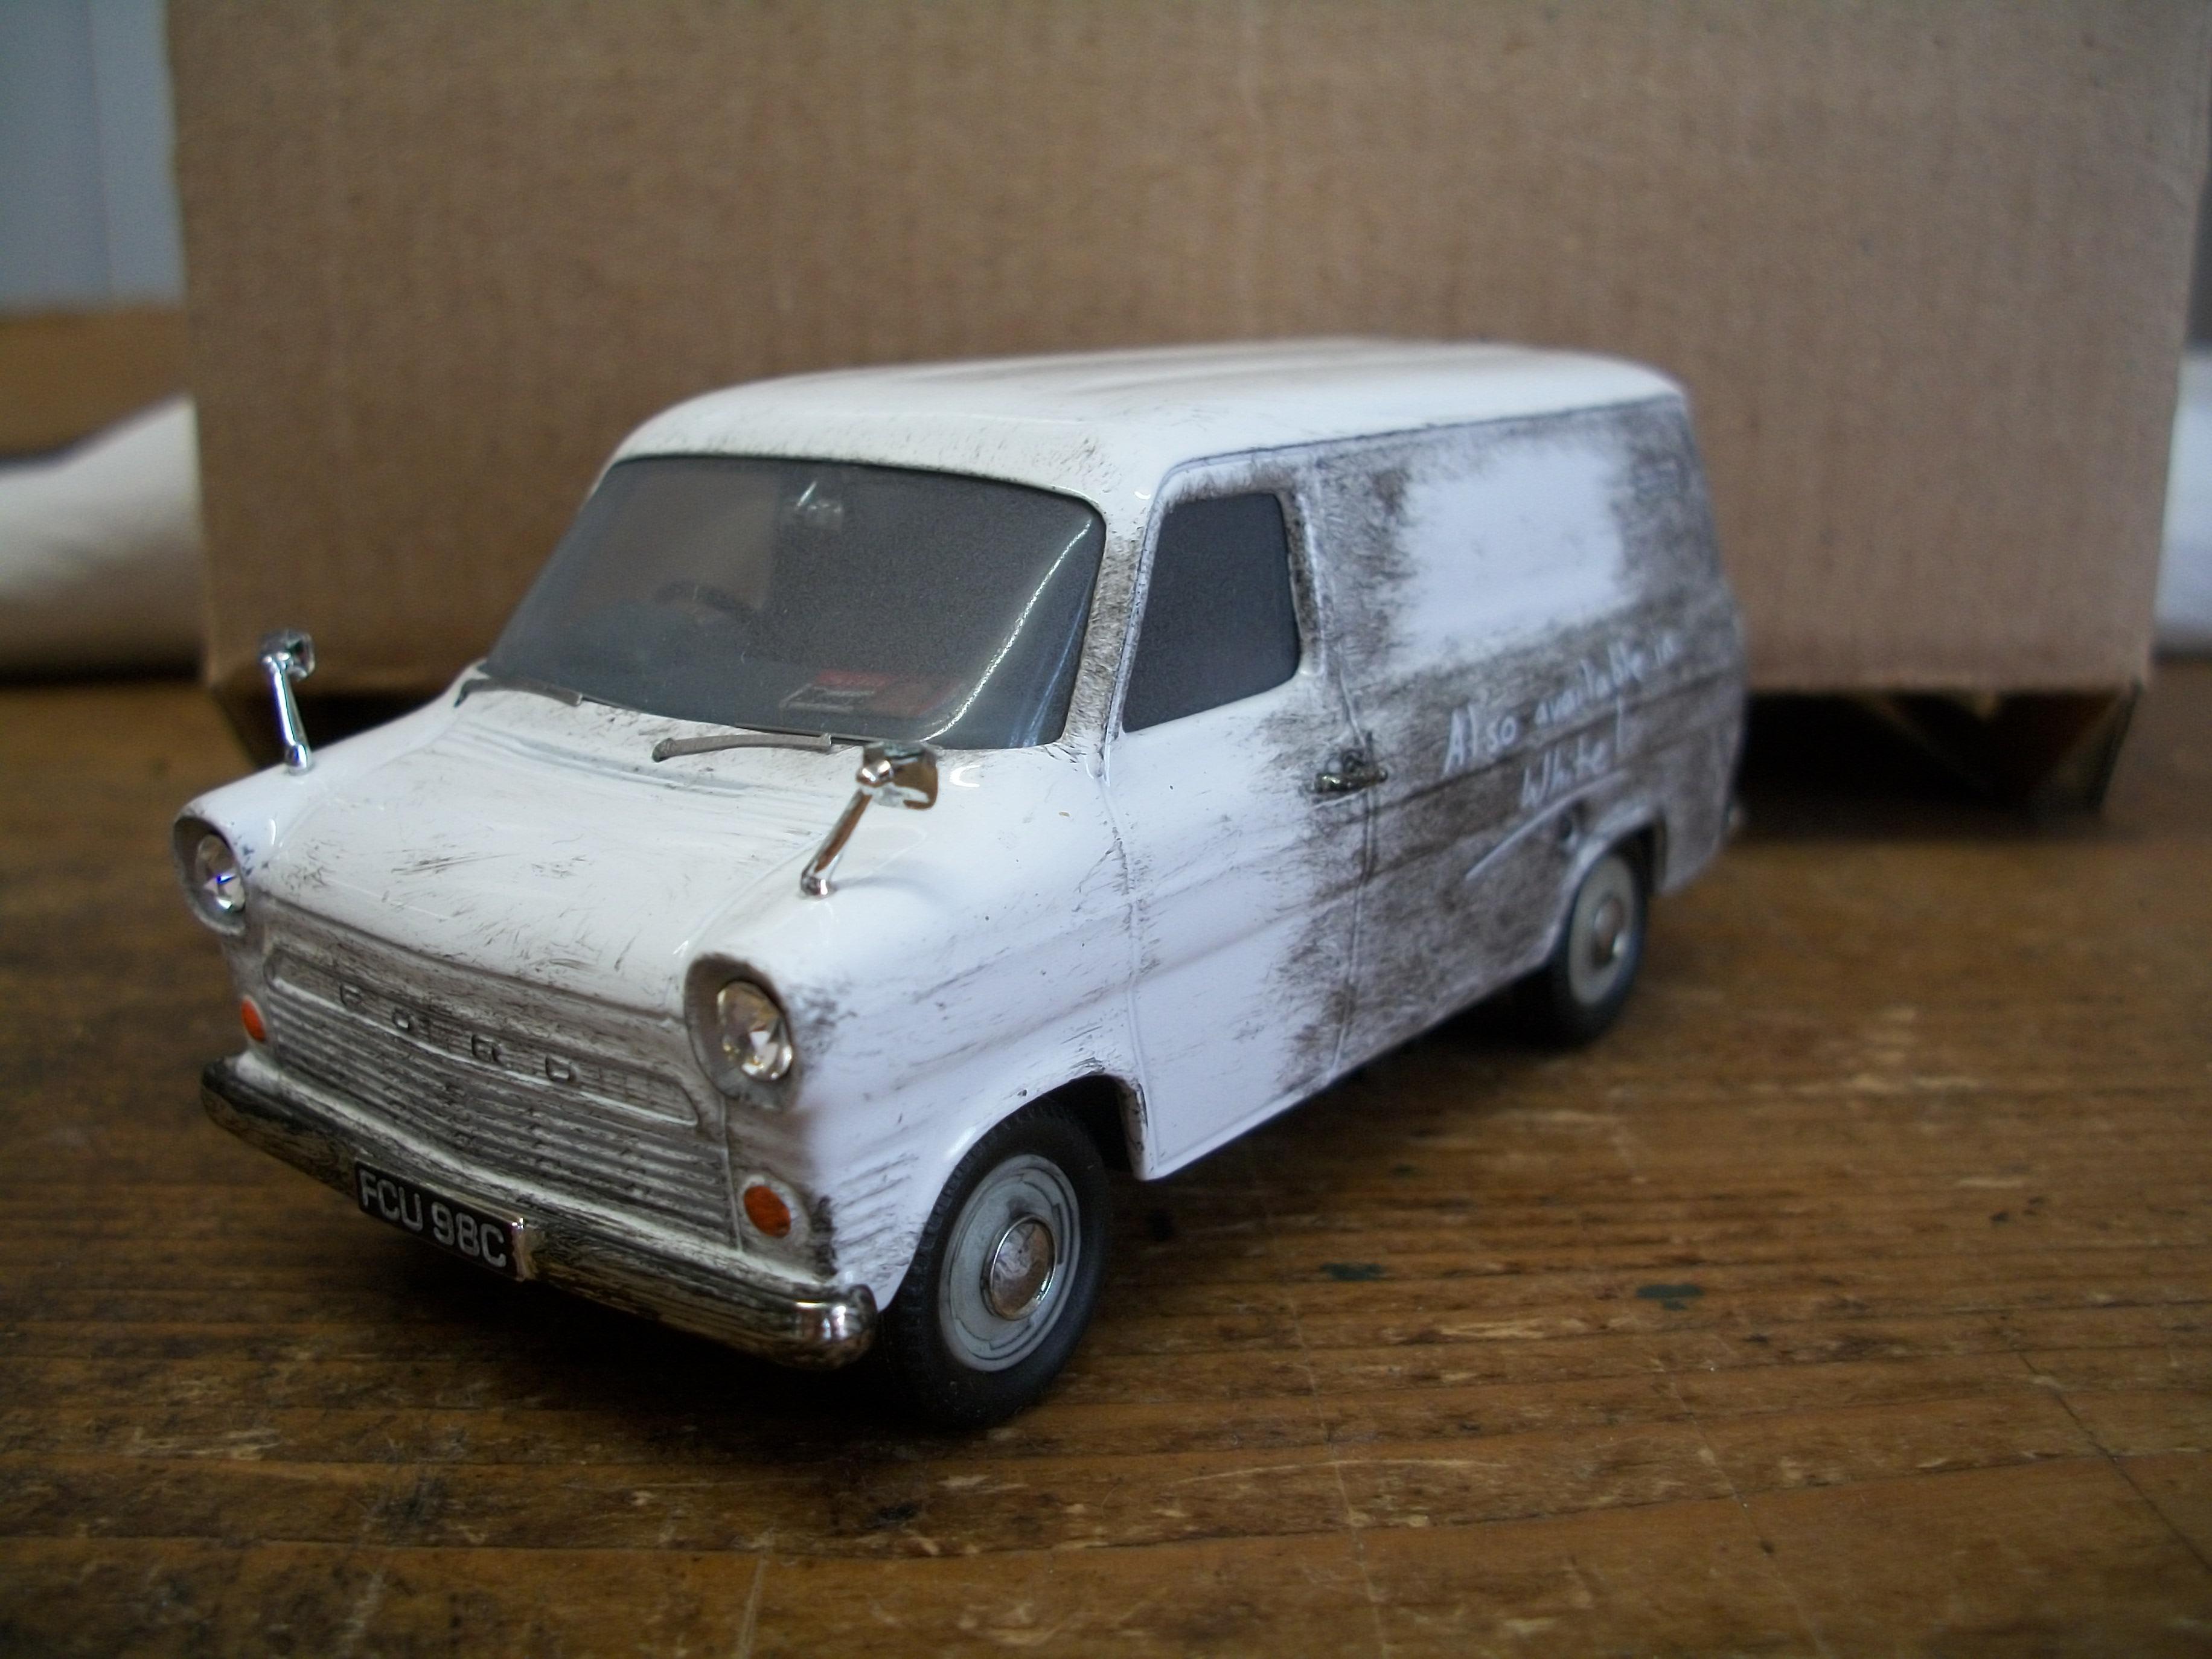
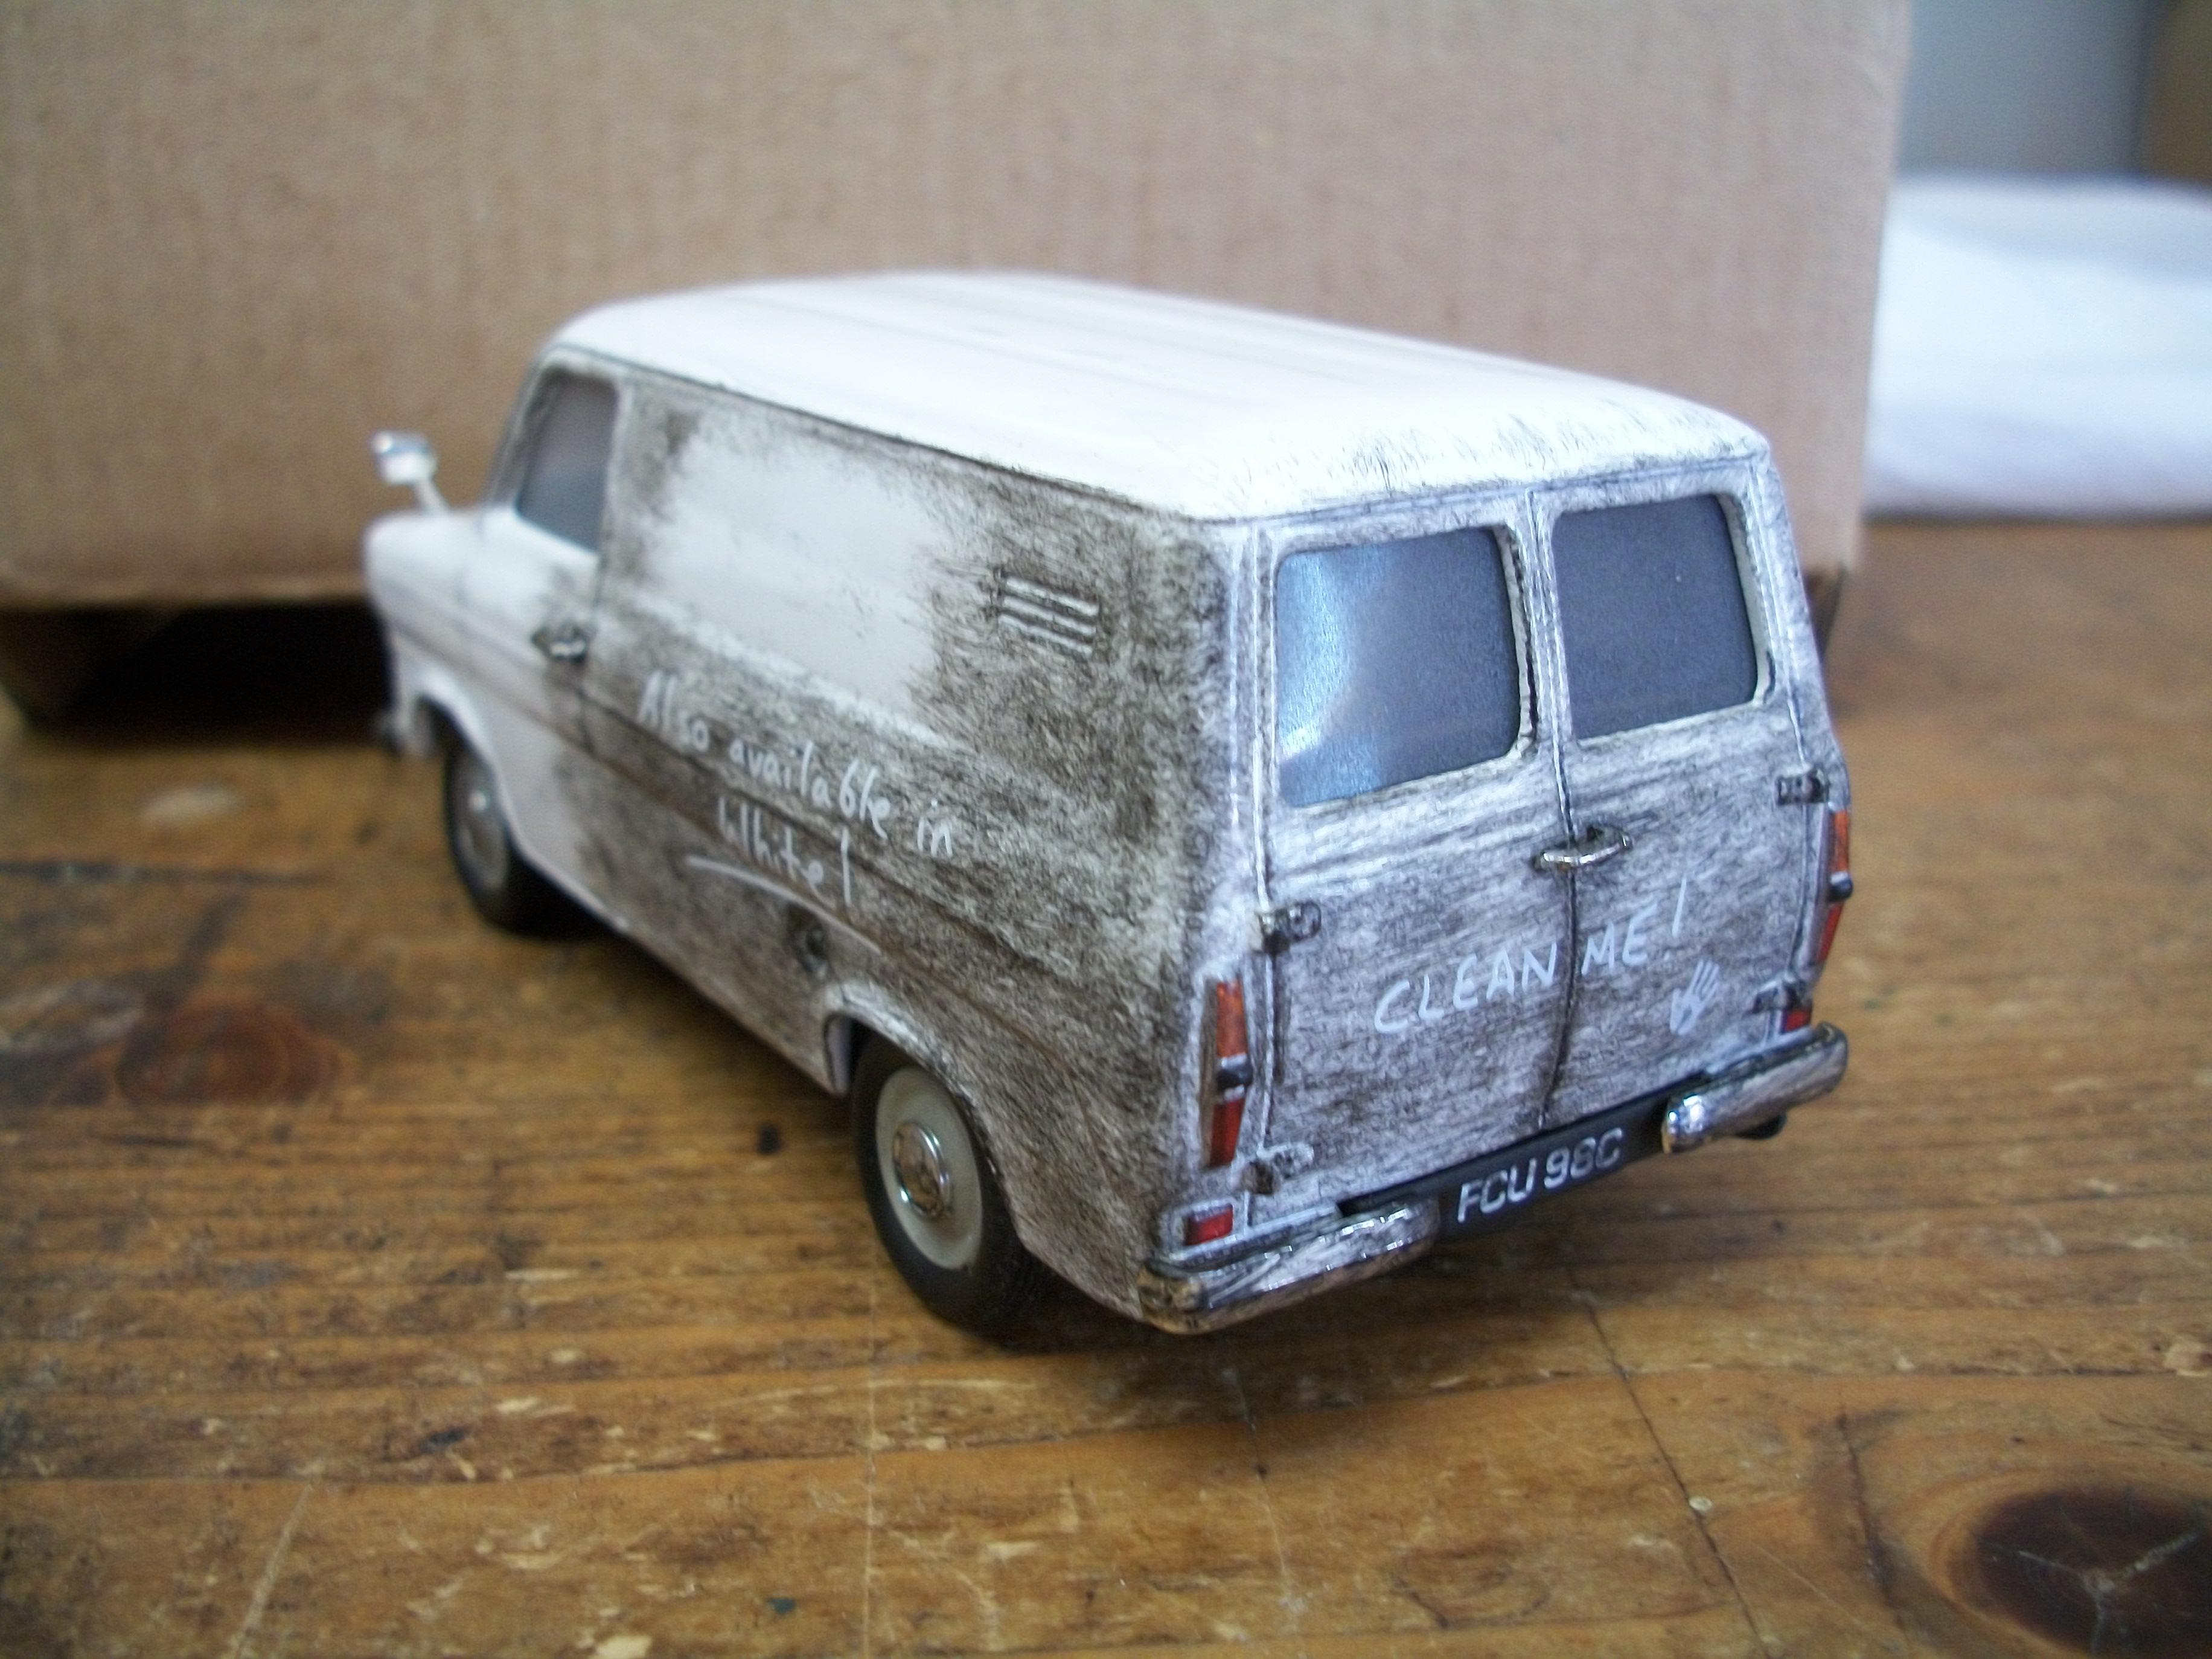
Latest addition to my 1:43 scale diecast collection is this 1965 Ford Transit MK I by Vanguards..... It is the dirty white van that was so typical of the '60's, complete with humorous sign-writing in the layer of dirt. I like it because it is an accurate model of the early Transit van, and it so much more interesting for the diorama than a spotless white showroom example of the vehicle. The model is from the Vanguards ' Hidden Treasures ' range. David
-
New arrival today was this 1:43 scale 1965 Ford Transit MK I van by Vanguards in diecast....... as you can see from the following photos, this is a realistic dirty white van, and as was typical in those days, some comedian has written a few words in the dirt...... such as ' Clean Me ! ' and ' Also available in white ! ' After looking at a Ford Transit model in pristine white, showroom condition, I decided that I preferred the dirty version for my diorama. This is a model from the Vanguards ' Hidden Treasures ' collection. David
-
Of course, Safak...... I can see now that your car is the 1:24 Citroen 2CV Charleston kit..... beautifully built and painted. The more I look at your photos, the more small details I keep seeing. The baseboard for your diorama must be about 12 inches x 12 inches ? ( 30.5 cm x 30.5 cm ) ? David
-
I am liking your little diorama, Safak..... lots of interesting detail, the street lamp works and the fountain is giving out water..... not sure if the Citroen 2CV is a built plastic kit or a diecast model, but it is very good. You have clearly put a lot of work and thought into this diorama, and it is really nice. David
-
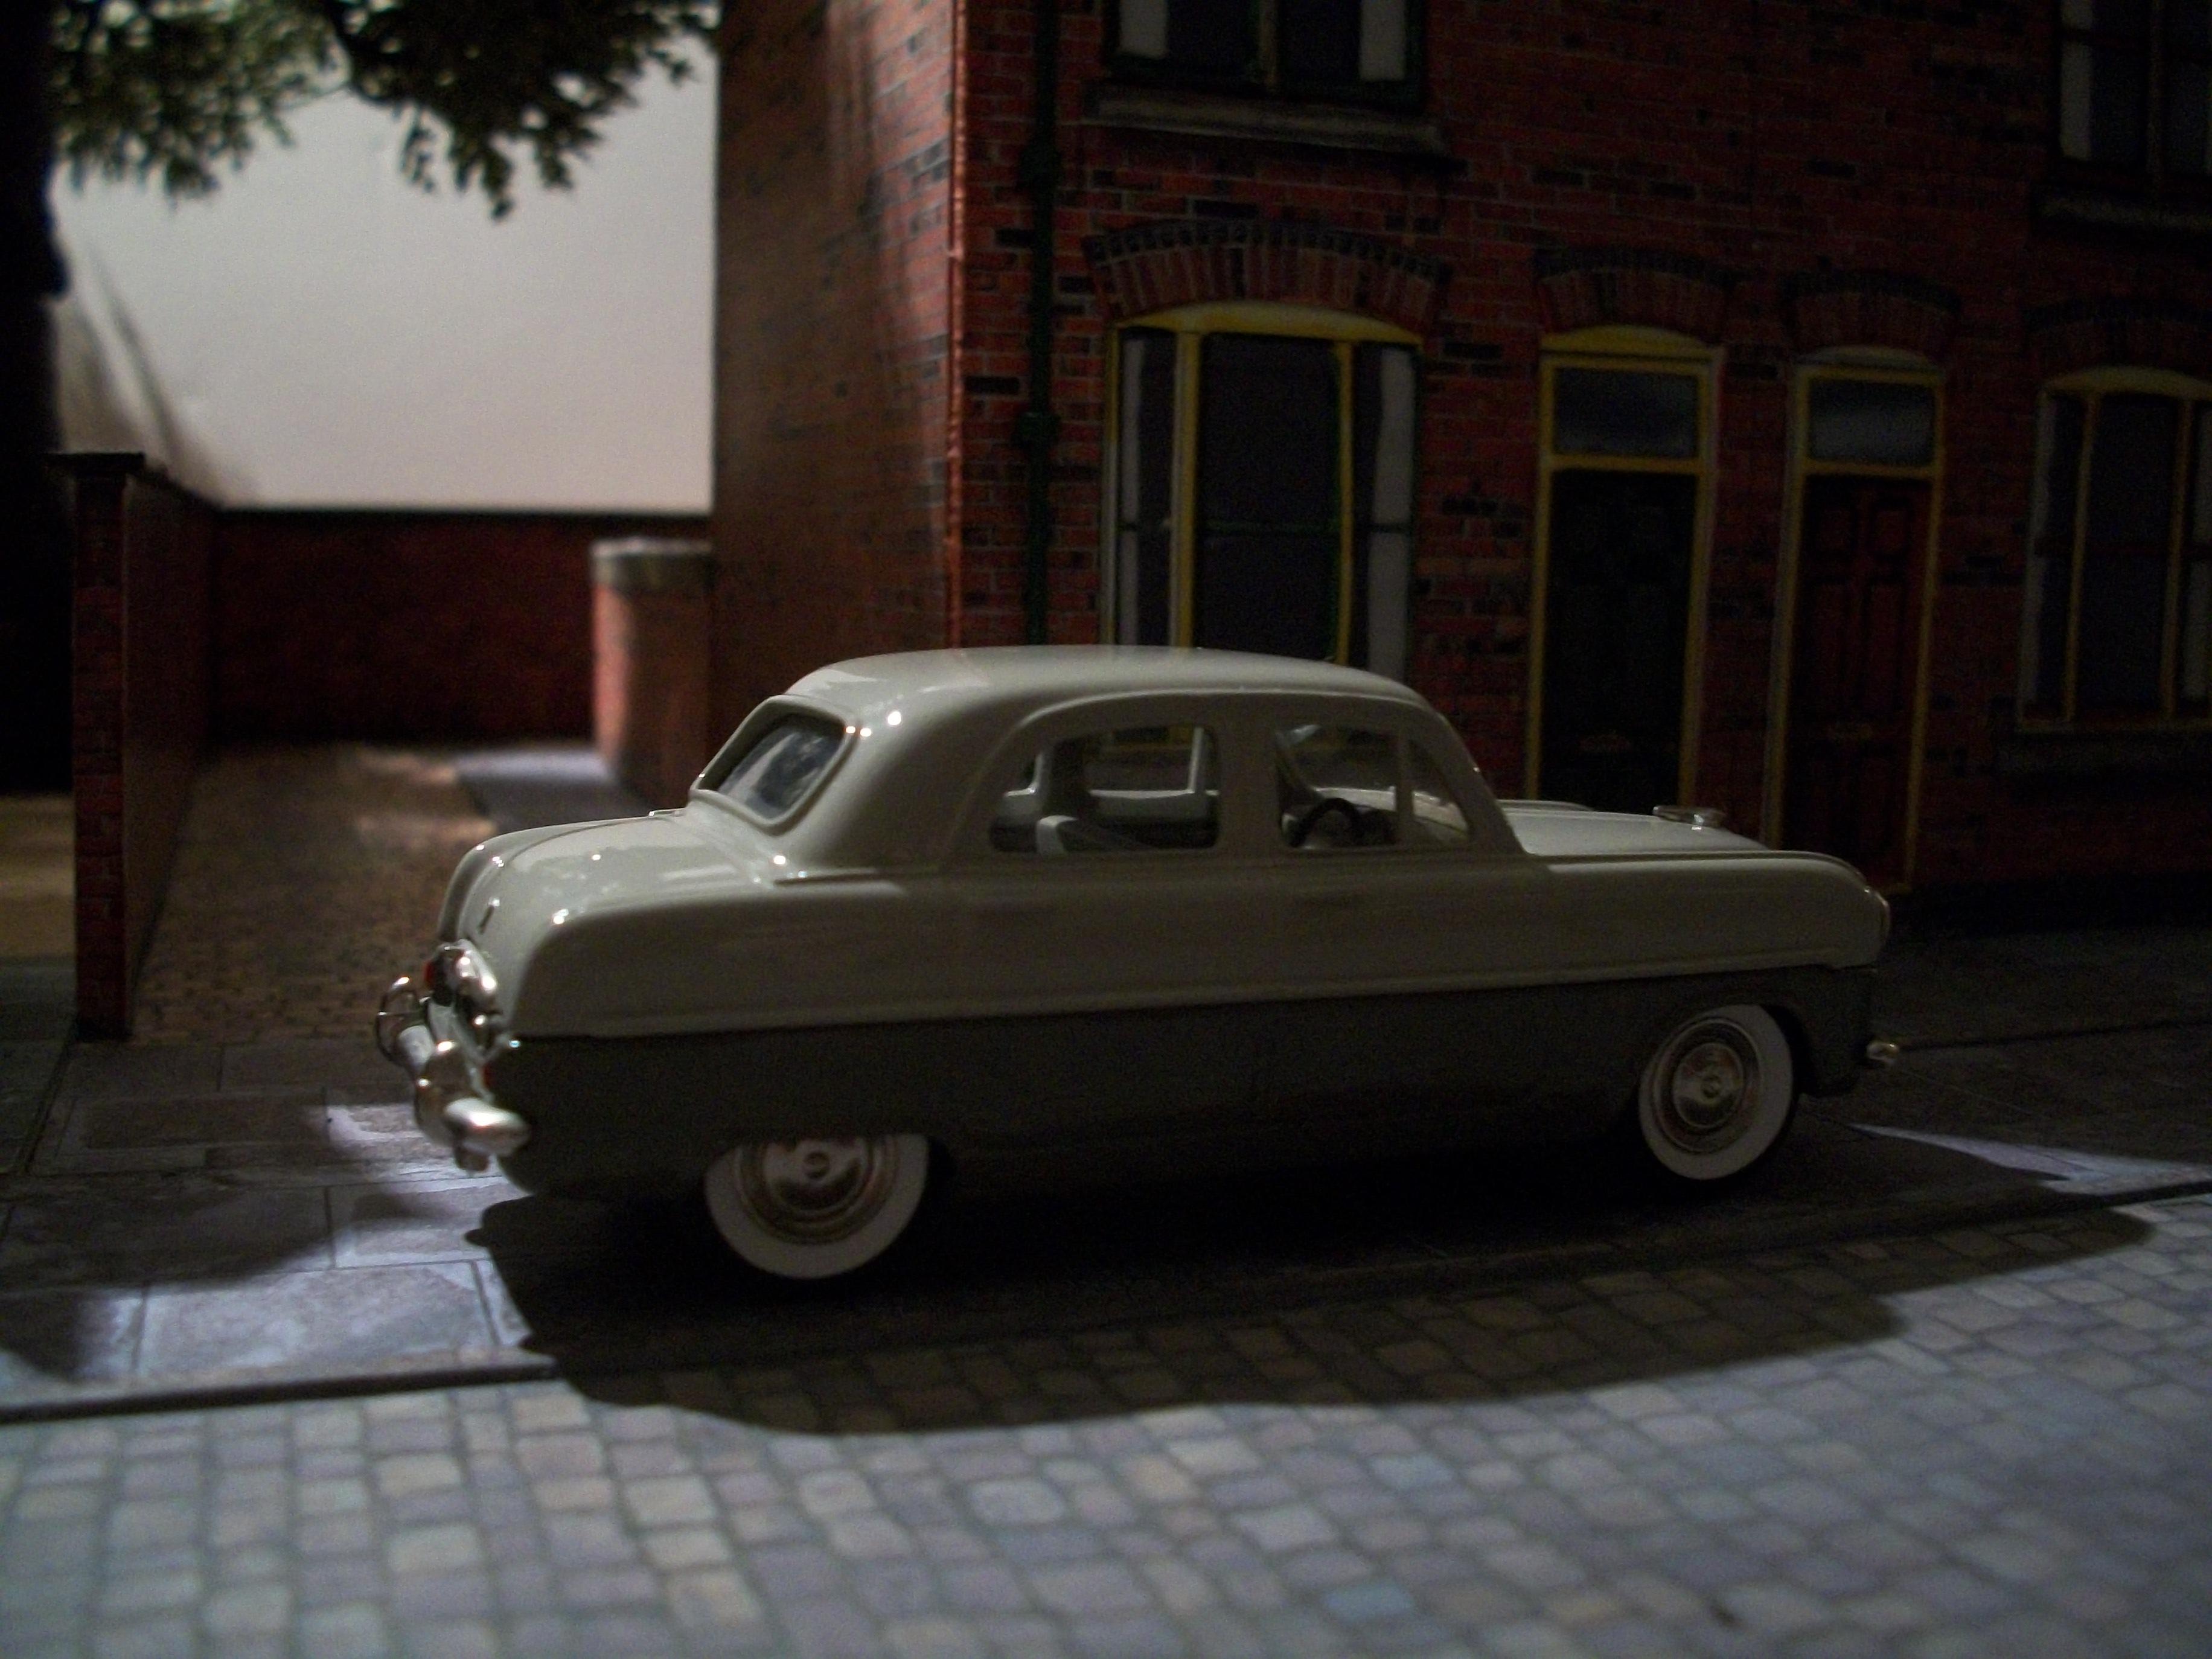
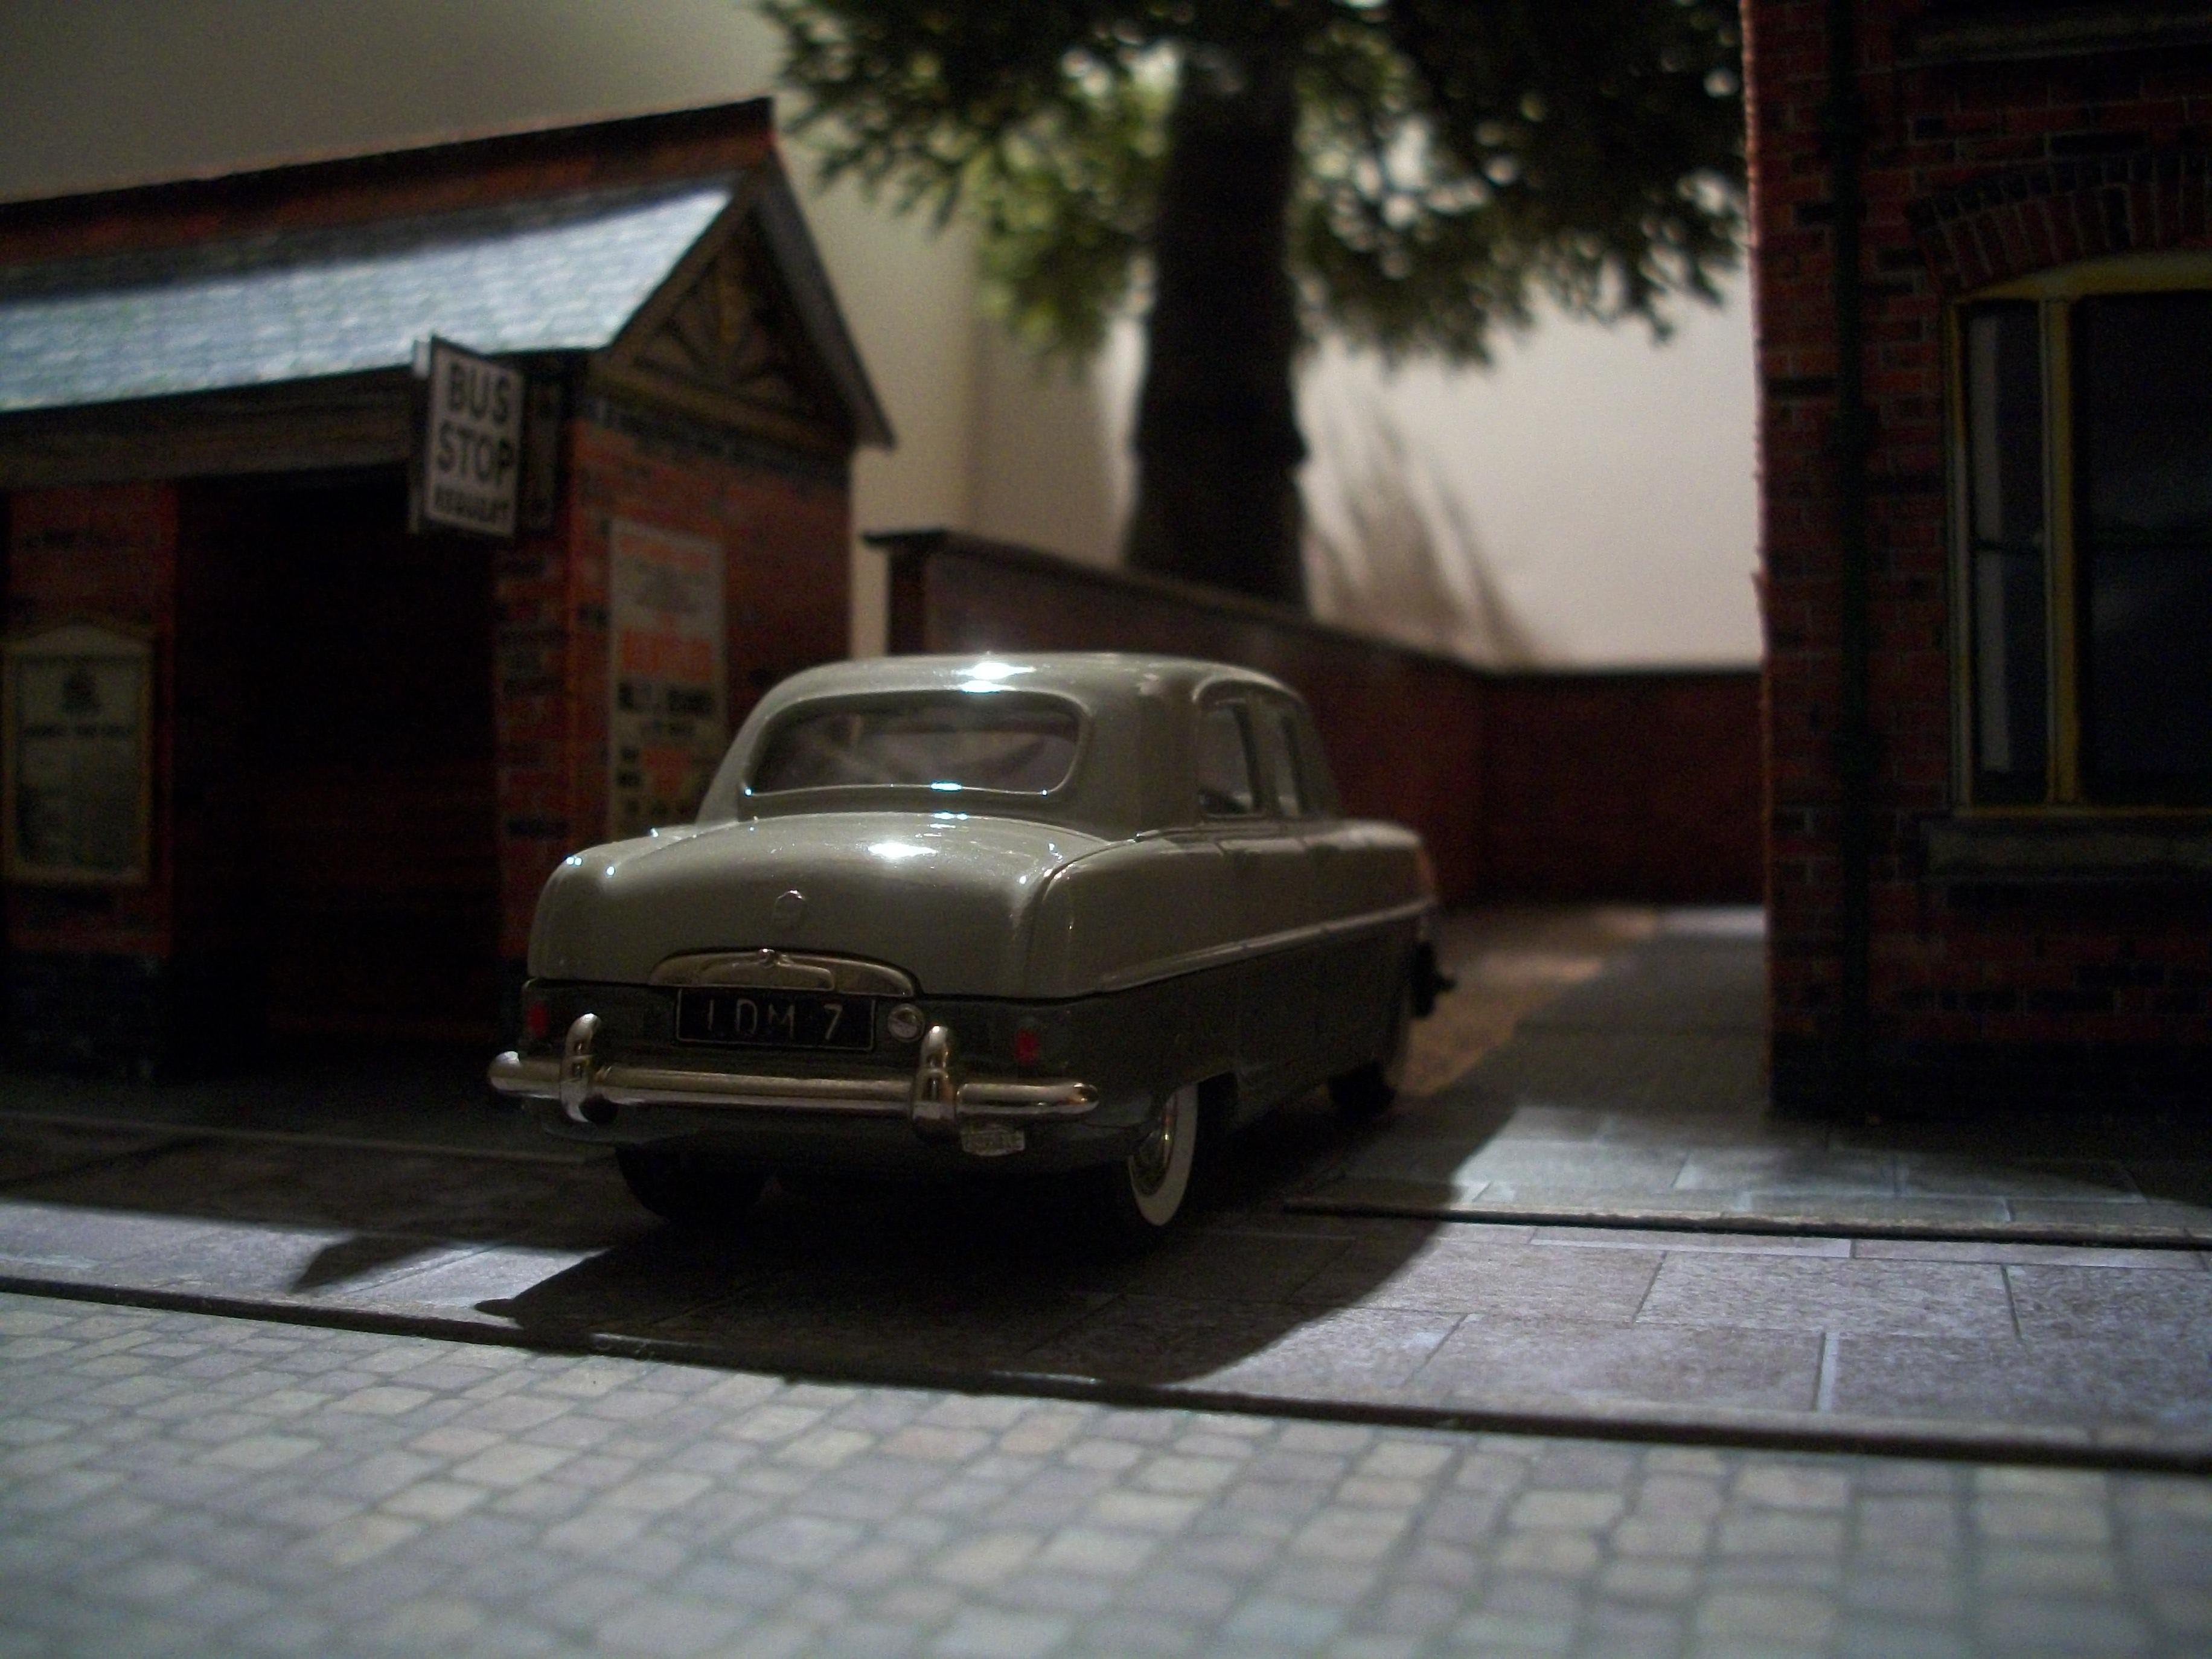
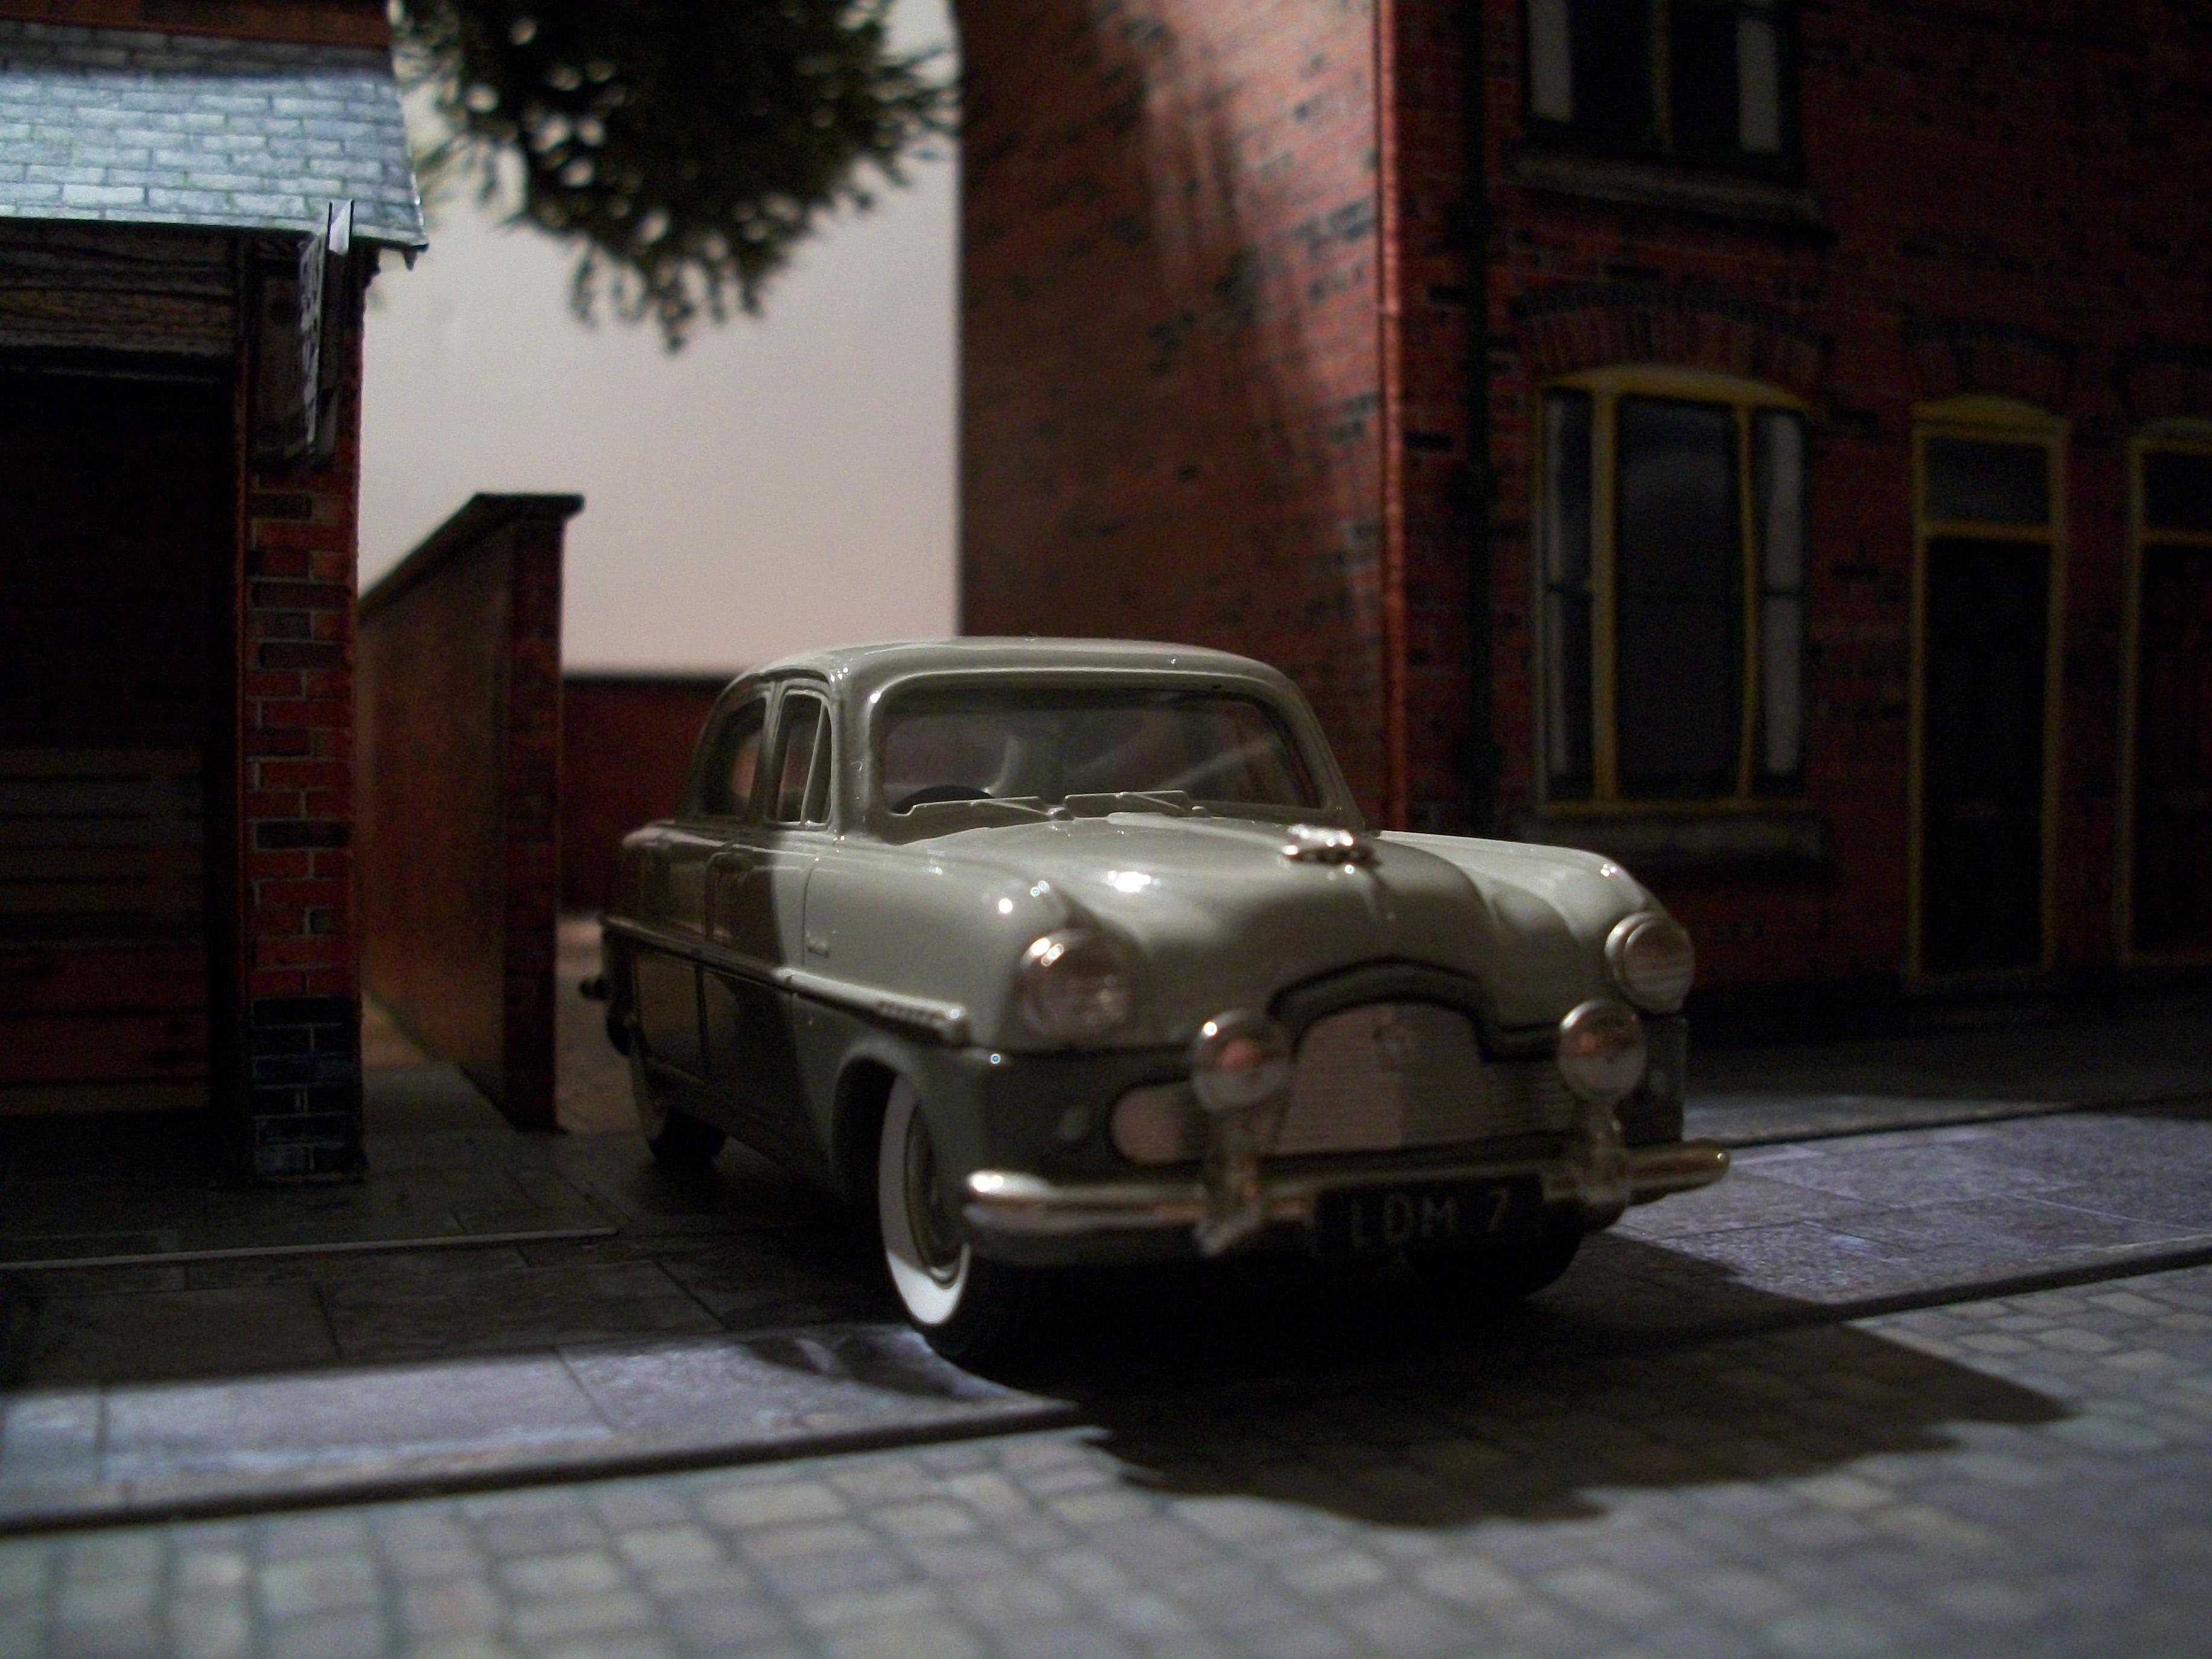
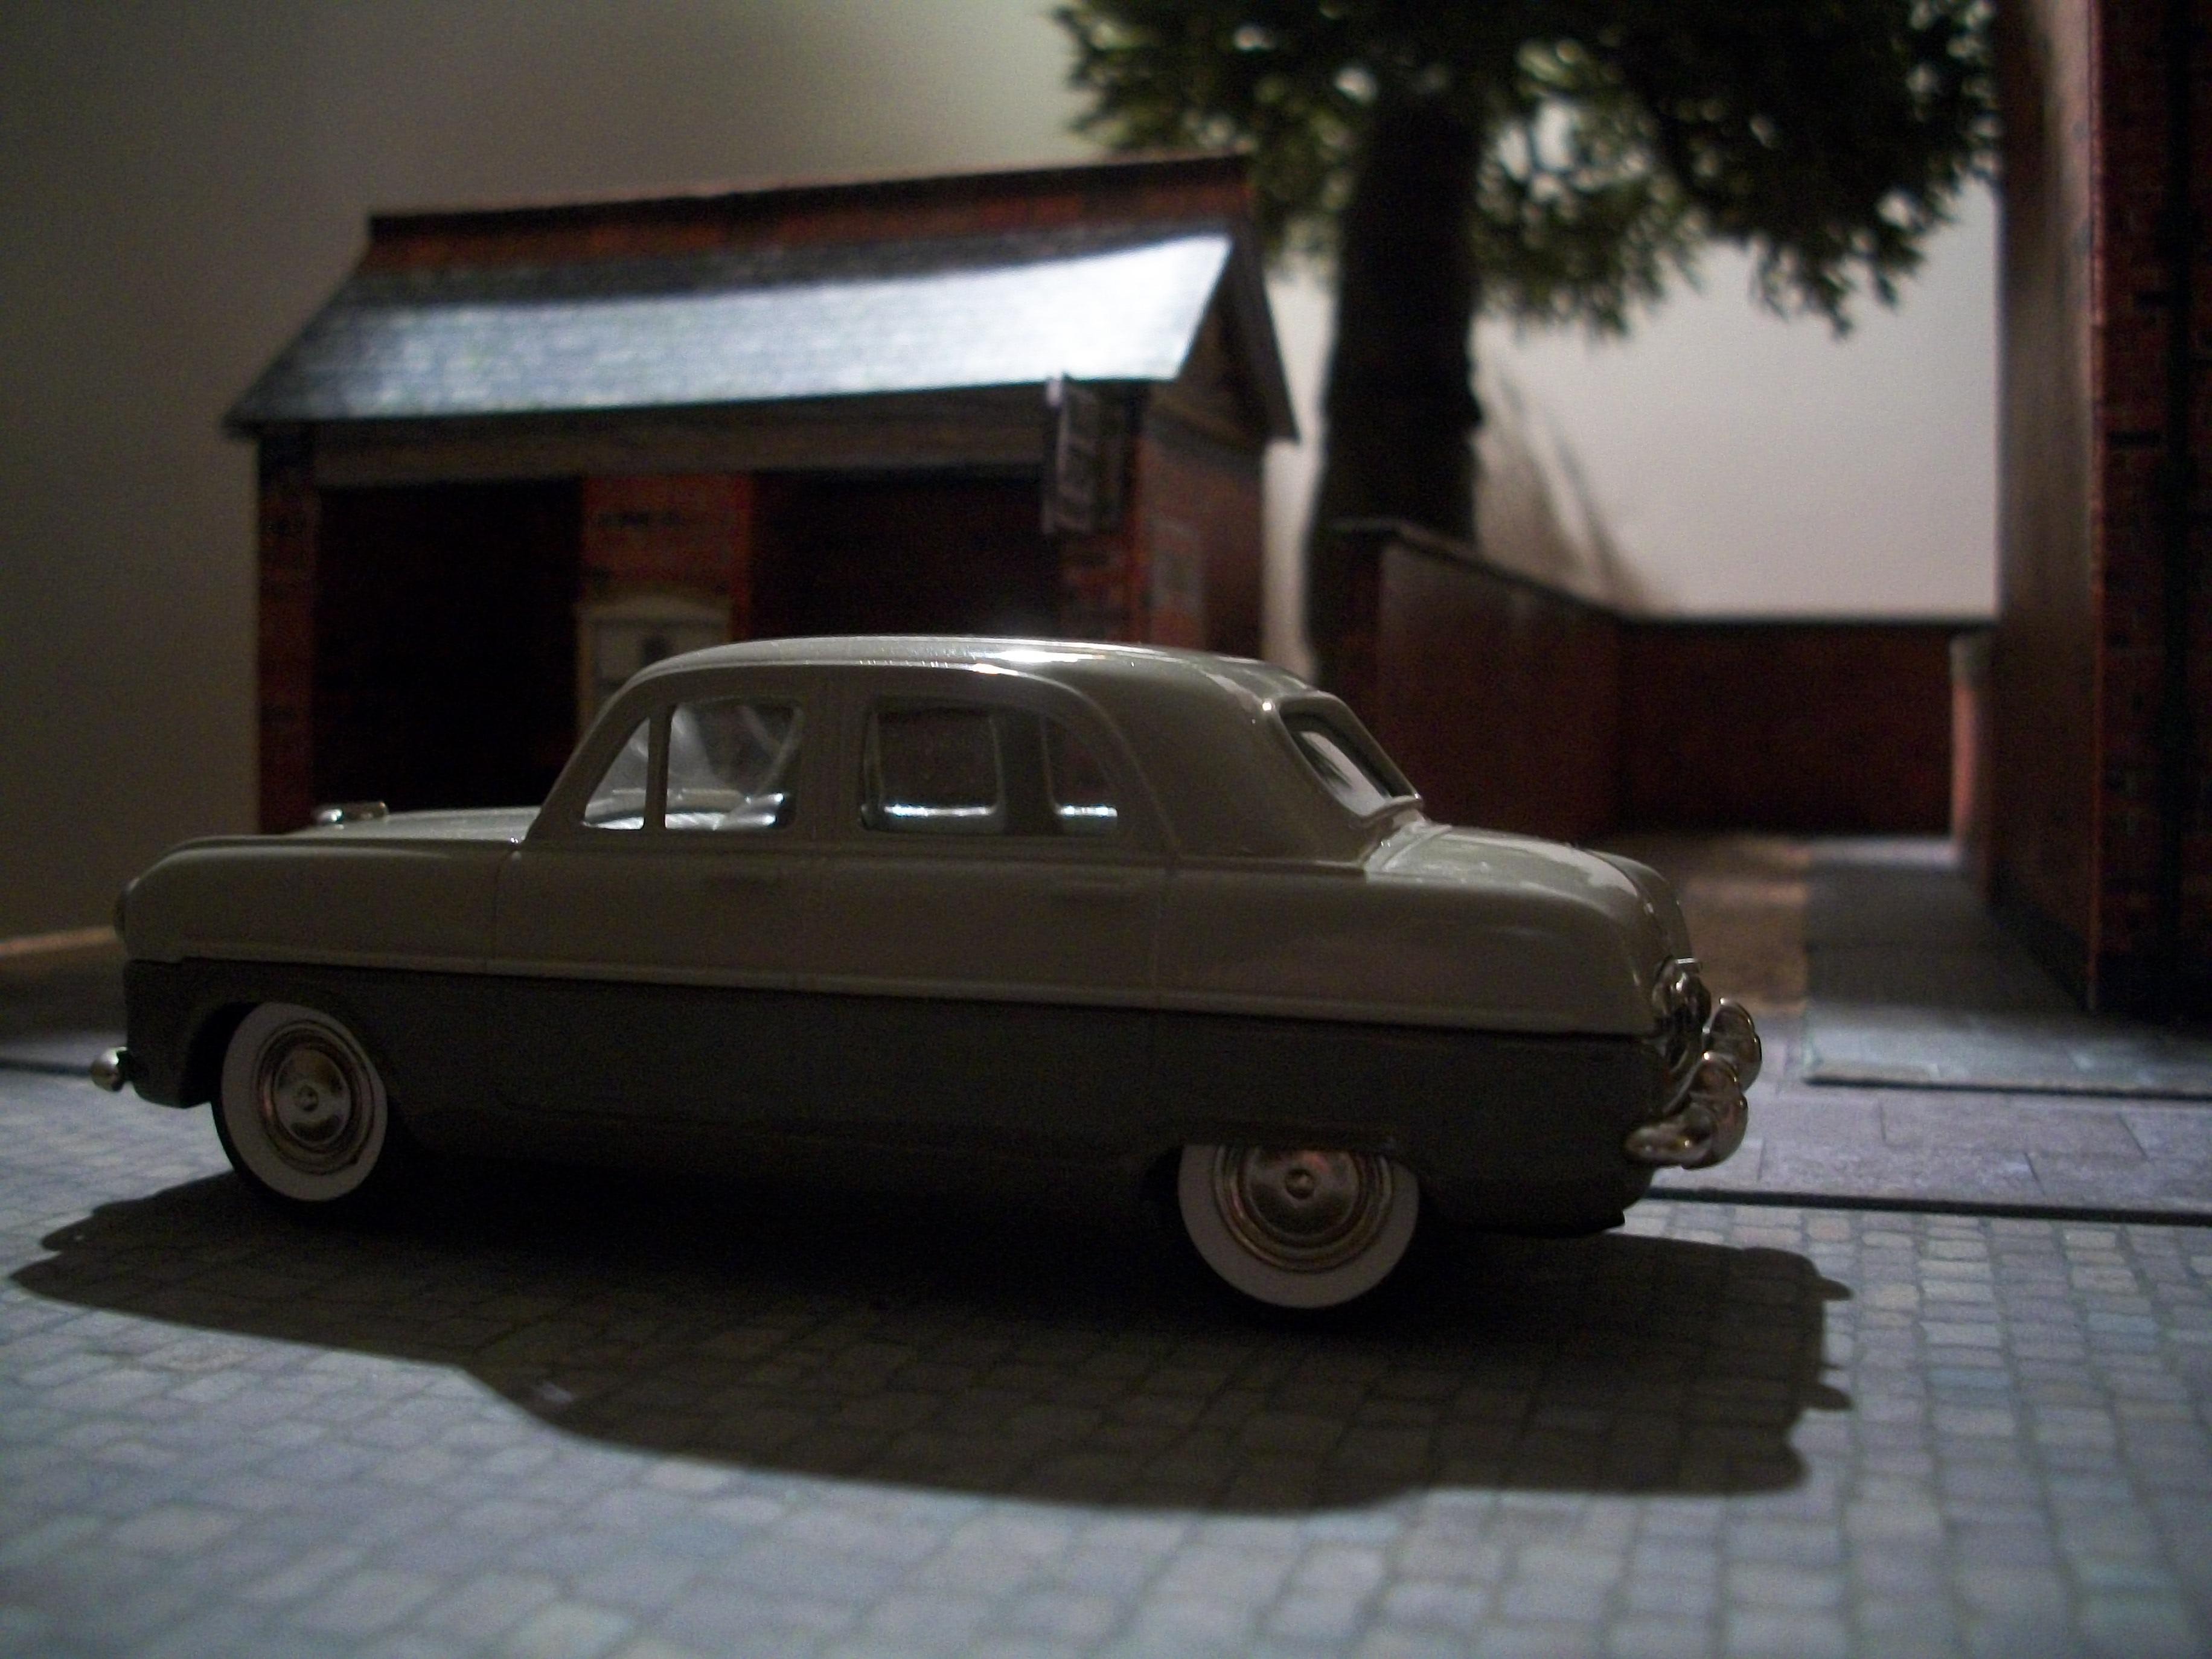
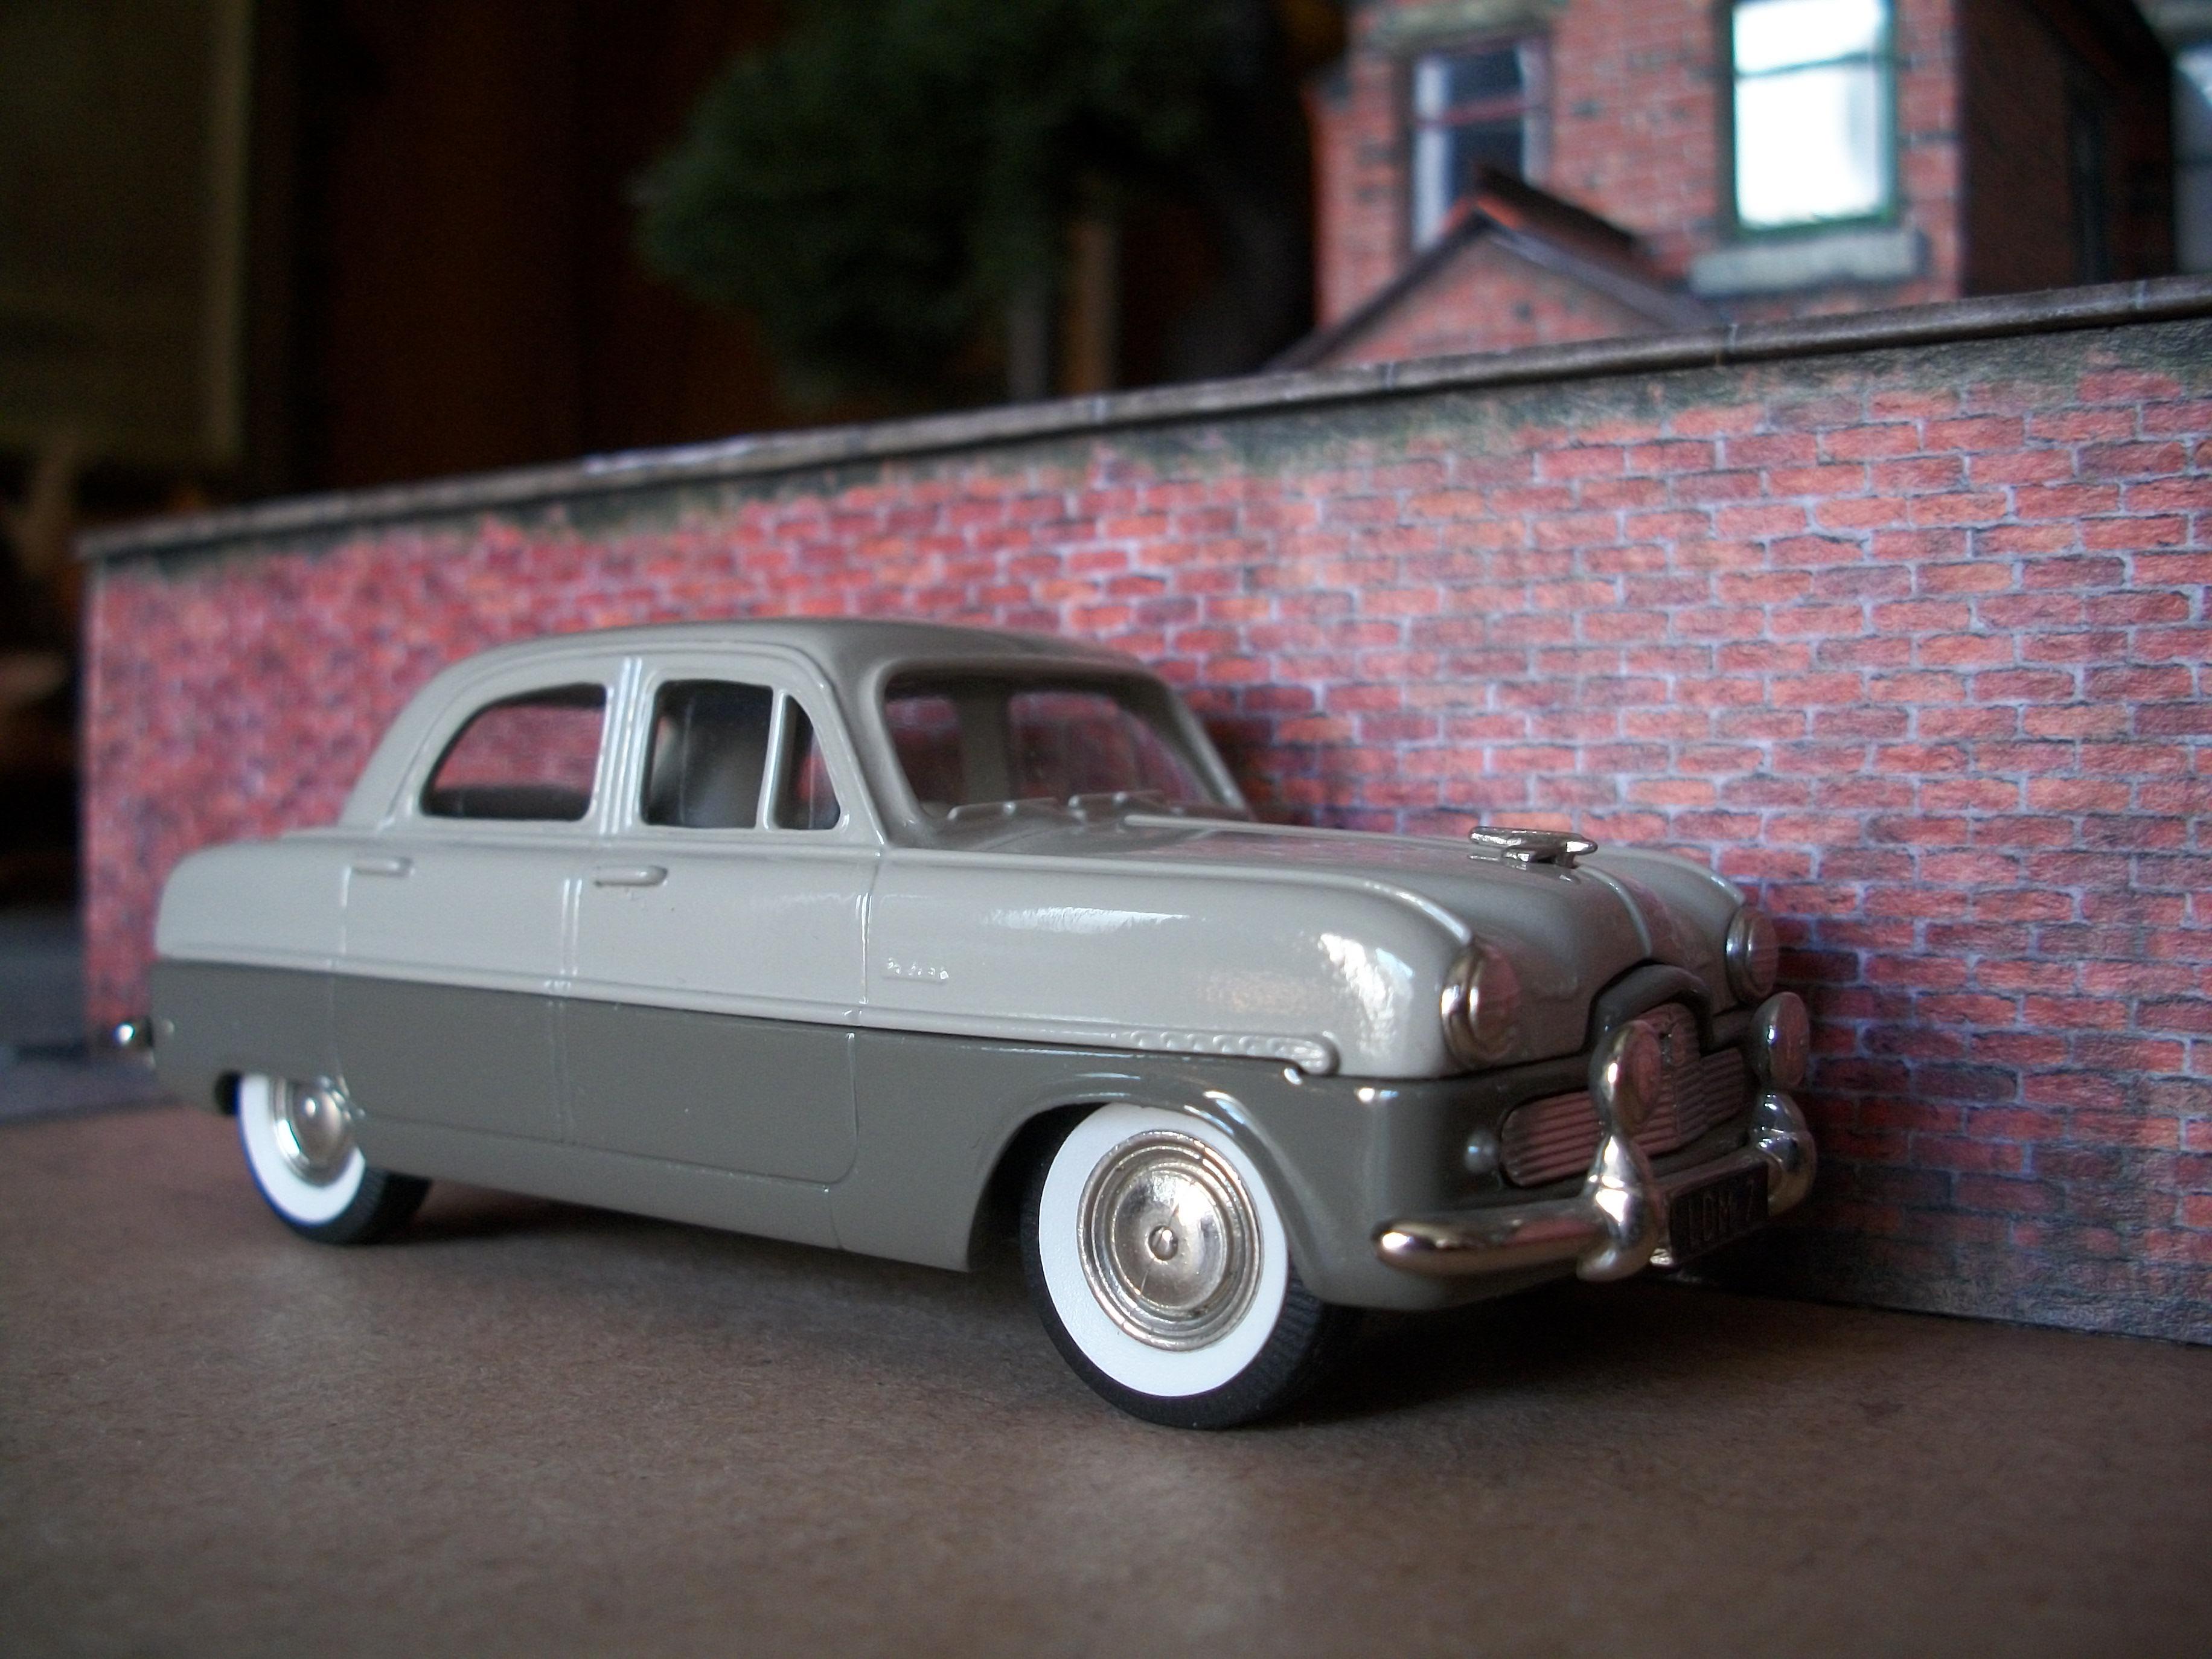
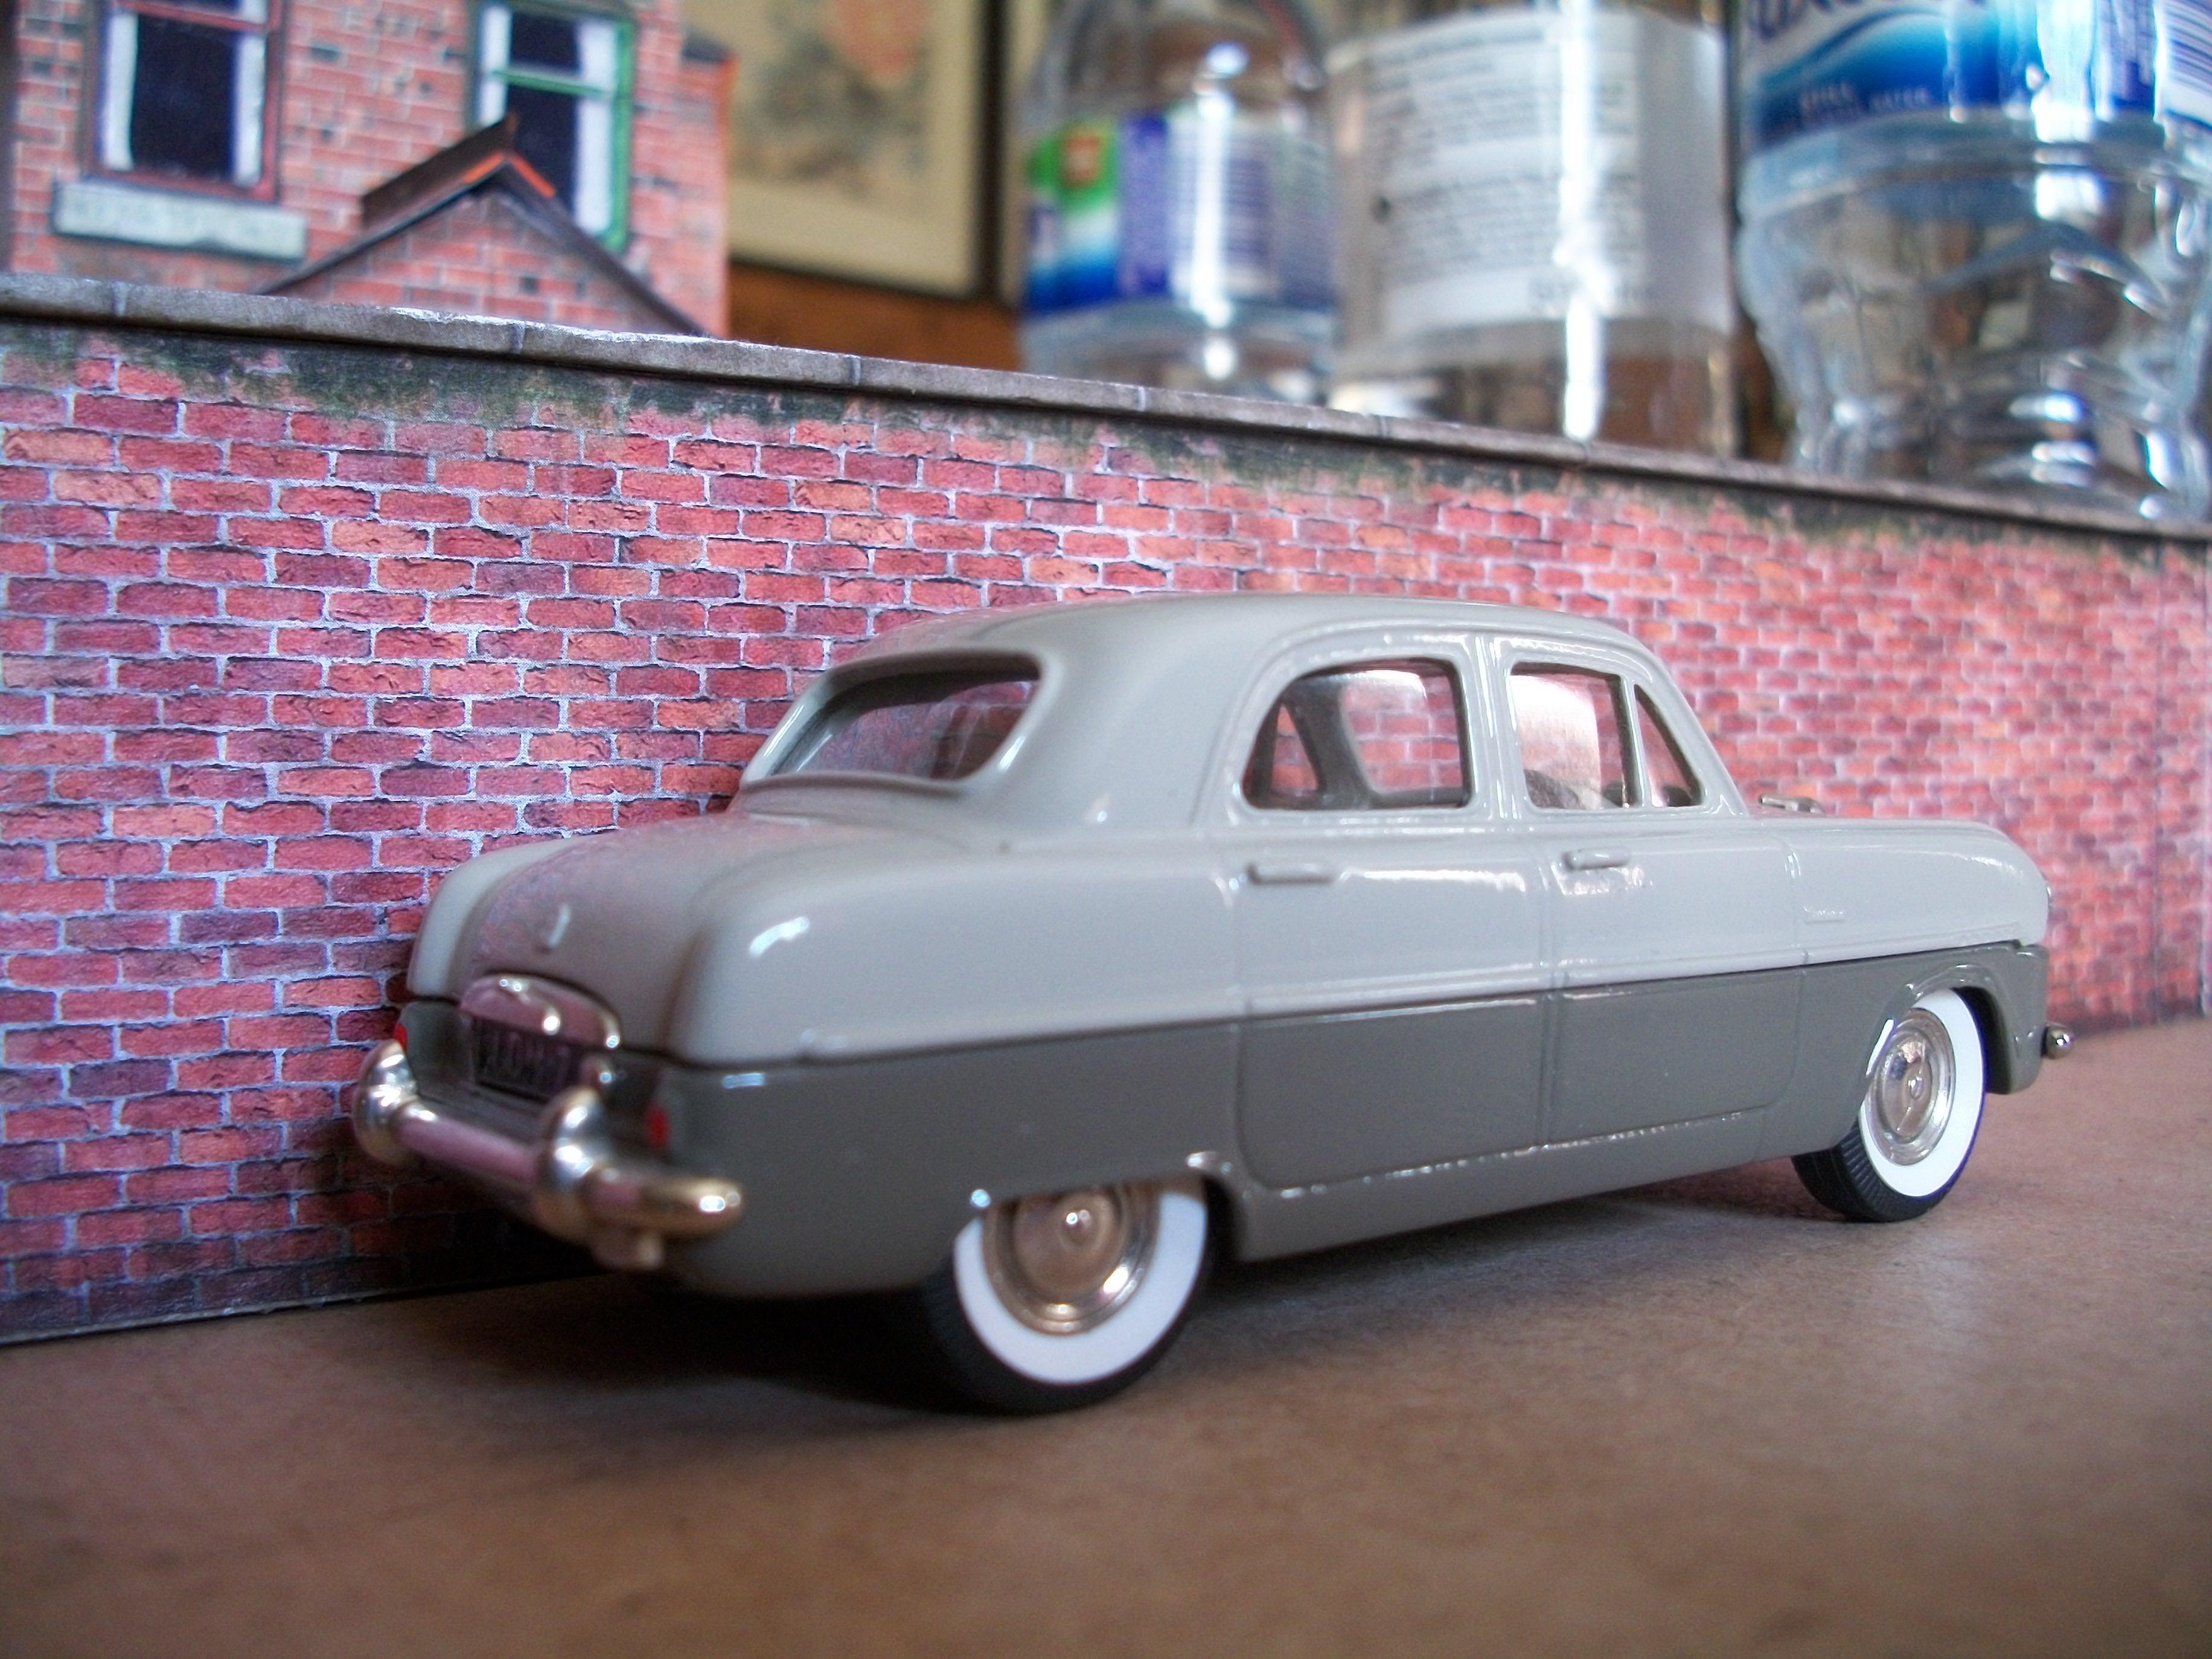
The 1954 Ford Zephyr Zodiac MK I by Lansdowne in 1:43 scale arrived today....... so here are a few photos of the car in a diorama setting. There are some parts of this model that probably need some chrome adding, which is surprising because usually Lansdowne wouldn't miss such details. I am thinking door handles, also the moulding strip that runs the length of the car along the waistline, and the window surrounds. David
-
Welcome Michal, and as others have said on here, you sure picked a difficult kit to start with....... very nice build and really good paint job also. I do like the American cars from the 1950's and this one is a beauty. David
-
I am liking your '50 Oldsmobile build a lot, Randy..... the grey body colour with white roof works really well for this car. I am always impressed when a kit fits together nicely.... well done Revell in the day, and of course well done Randy! David
-
 Thanks for posting this article on the Hasegawa Graduated Windshield Tint, Steve...... and it is a product that I would very much like to try out. Back in the late 1970's I used to own a 1968 Pontiac Parisienne 4-door RHD (Canada) but so far I have not been able to find a kit in either 1:24 or 1:25 scale for the 4-door version of this car. The Pontiac Parisienne was pale yellow with a brown vinyl roof and a green graduated windshield tint along the top edge of the screen. David
 -
Well...... sadly, the time has come for this one to go back in the box for now. As well as not being entirely happy with the result, I am not sure where to go next with the build. Rather than make a mess of things, and allowing some time and space for other aspects of the main project, I shall close off this topic at this stage..... thanks for looking, and surprisingly my original post did rack up over 1,000 replies. David....... over and out
-
Welcome to MCM Forums, Steve....... you will find a huge amount of information and friendly advice on this forum website. Model Cars Magazine is by far the best on the Planet. David
-
Now this is going to be good, Steve...... the truck looks fantastic, and I can't wait to see the diorama build in progress....... ' Duel ' was one of my all time favourite movies, by the way. David
-
I ordered this one the other day, which should arrive by the middle of next week..... it is a 1954 Ford Zephyr Zodiac MK I by Lansdowne in 1:43 scale. Looking closely at the photos of this model tells me that the door handles and the moulding strip along the side of the body should be chrome? Possibly even the window surround mouldings too. David
-
Briiliant idea, Mark to use the Monogram '69 Z/28 Camaro engine to produce moulds and casts in resin, given that the Lola kit engine was made to house an electric motor. Working on the engine for this model car will be just as satisfying for you as working on the car itself. Excellent detail work going on here! David
-
Well, Michael...... I am by no means an expert on this engine, but this has to be the most accurate Ford GT40 engine in 1:24 scale that I have ever seen...... incredible! Also, as a stand alone model it seems a shame to put the engine into a car..... almost. The fact that you are considering building this engine in 1:8 scale is extremely interesting, having seen what you can do in 1:24 scale. David


.jpg.b154c76a8f1ce4996df328d146158978.jpg)
.jpg.94c575033a2b5acb40bfff92e5be866b.jpg)