TonyW
-
Posts
165 -
Joined
-
Last visited
Content Type
Profiles
Forums
Events
Gallery
Everything posted by TonyW
-
A blast from the past. One of MPC's Gangbuster series from the sixties. This is the first one done out of a series that are currently getting built here. Two Lincoln Tourers and a Lincoln Roadster will be joining the Chrysler at some point. Airfix joined the party back in the day, with a boxing of the 1928 Lincoln Touring, and threatened to issue a couple more, but none have surfaced up to now. Anyway, here it is, the 1932 Chrysler Imperial, along with some of the Gangbuster accessories provided. Tamiya light and dark blue metallic sprays used. The dark blue is nearly black, a very nice color. The seats are a Humbrol enamel mix. After I finished this one, I took myself back to the sixties and entered a sponsored competition with it. To my surprise, I got an award! I forgot to bring back a load of kits from the time, but if I go back again I'll pick up a couple of Monogram 1.8 '32 Ford Roadsters.?
-
That's a great looking Ford.
-
That paint job is really fighting you. Don't let it beat you! I'm another Tamiya convert. Their spray paints go on really well. I tried some of their light green on the inner panels of a Revell/Monogram Challenger just to see how the color looked. It went onto bare white plastic like glass. I polished and cleaned the rest of the body and sprayed the bare plastic with a couple of fine coats followed after 20 minutes or so with a single wet coat. I also kept turning the body end over end while the paint gassed off. Hopefully the lack of primer won't come back to bite me later. Here's the result:
-
The paintjob came out really well, judging by the shine along those fenders. Very nice work. You could never loose one of those cars in a car park, could you?
-
That's a good looking Charger for sure. One look at those hubcaps and the movie comes straight to mind.
-
Revell 1968 Dodge Charger R/T 1/25 Scale in Plum Crazy Purple.
TonyW replied to Dragonhawk1066's topic in Model Cars
A beautifully finished model in a stunning color combo. The sit with the bigger back tires looks just about perfect. -
That's a superb looking model. Crisp and clean from nose to tail. I confess to laughing at the glue/decal incident. If you don't pay attention, it's very easy to confuse superglue with glue 'n glaze. Both have very similar bottles. That's all I'm gonna say about the matter. I still wake up screaming about the whole affair.
-
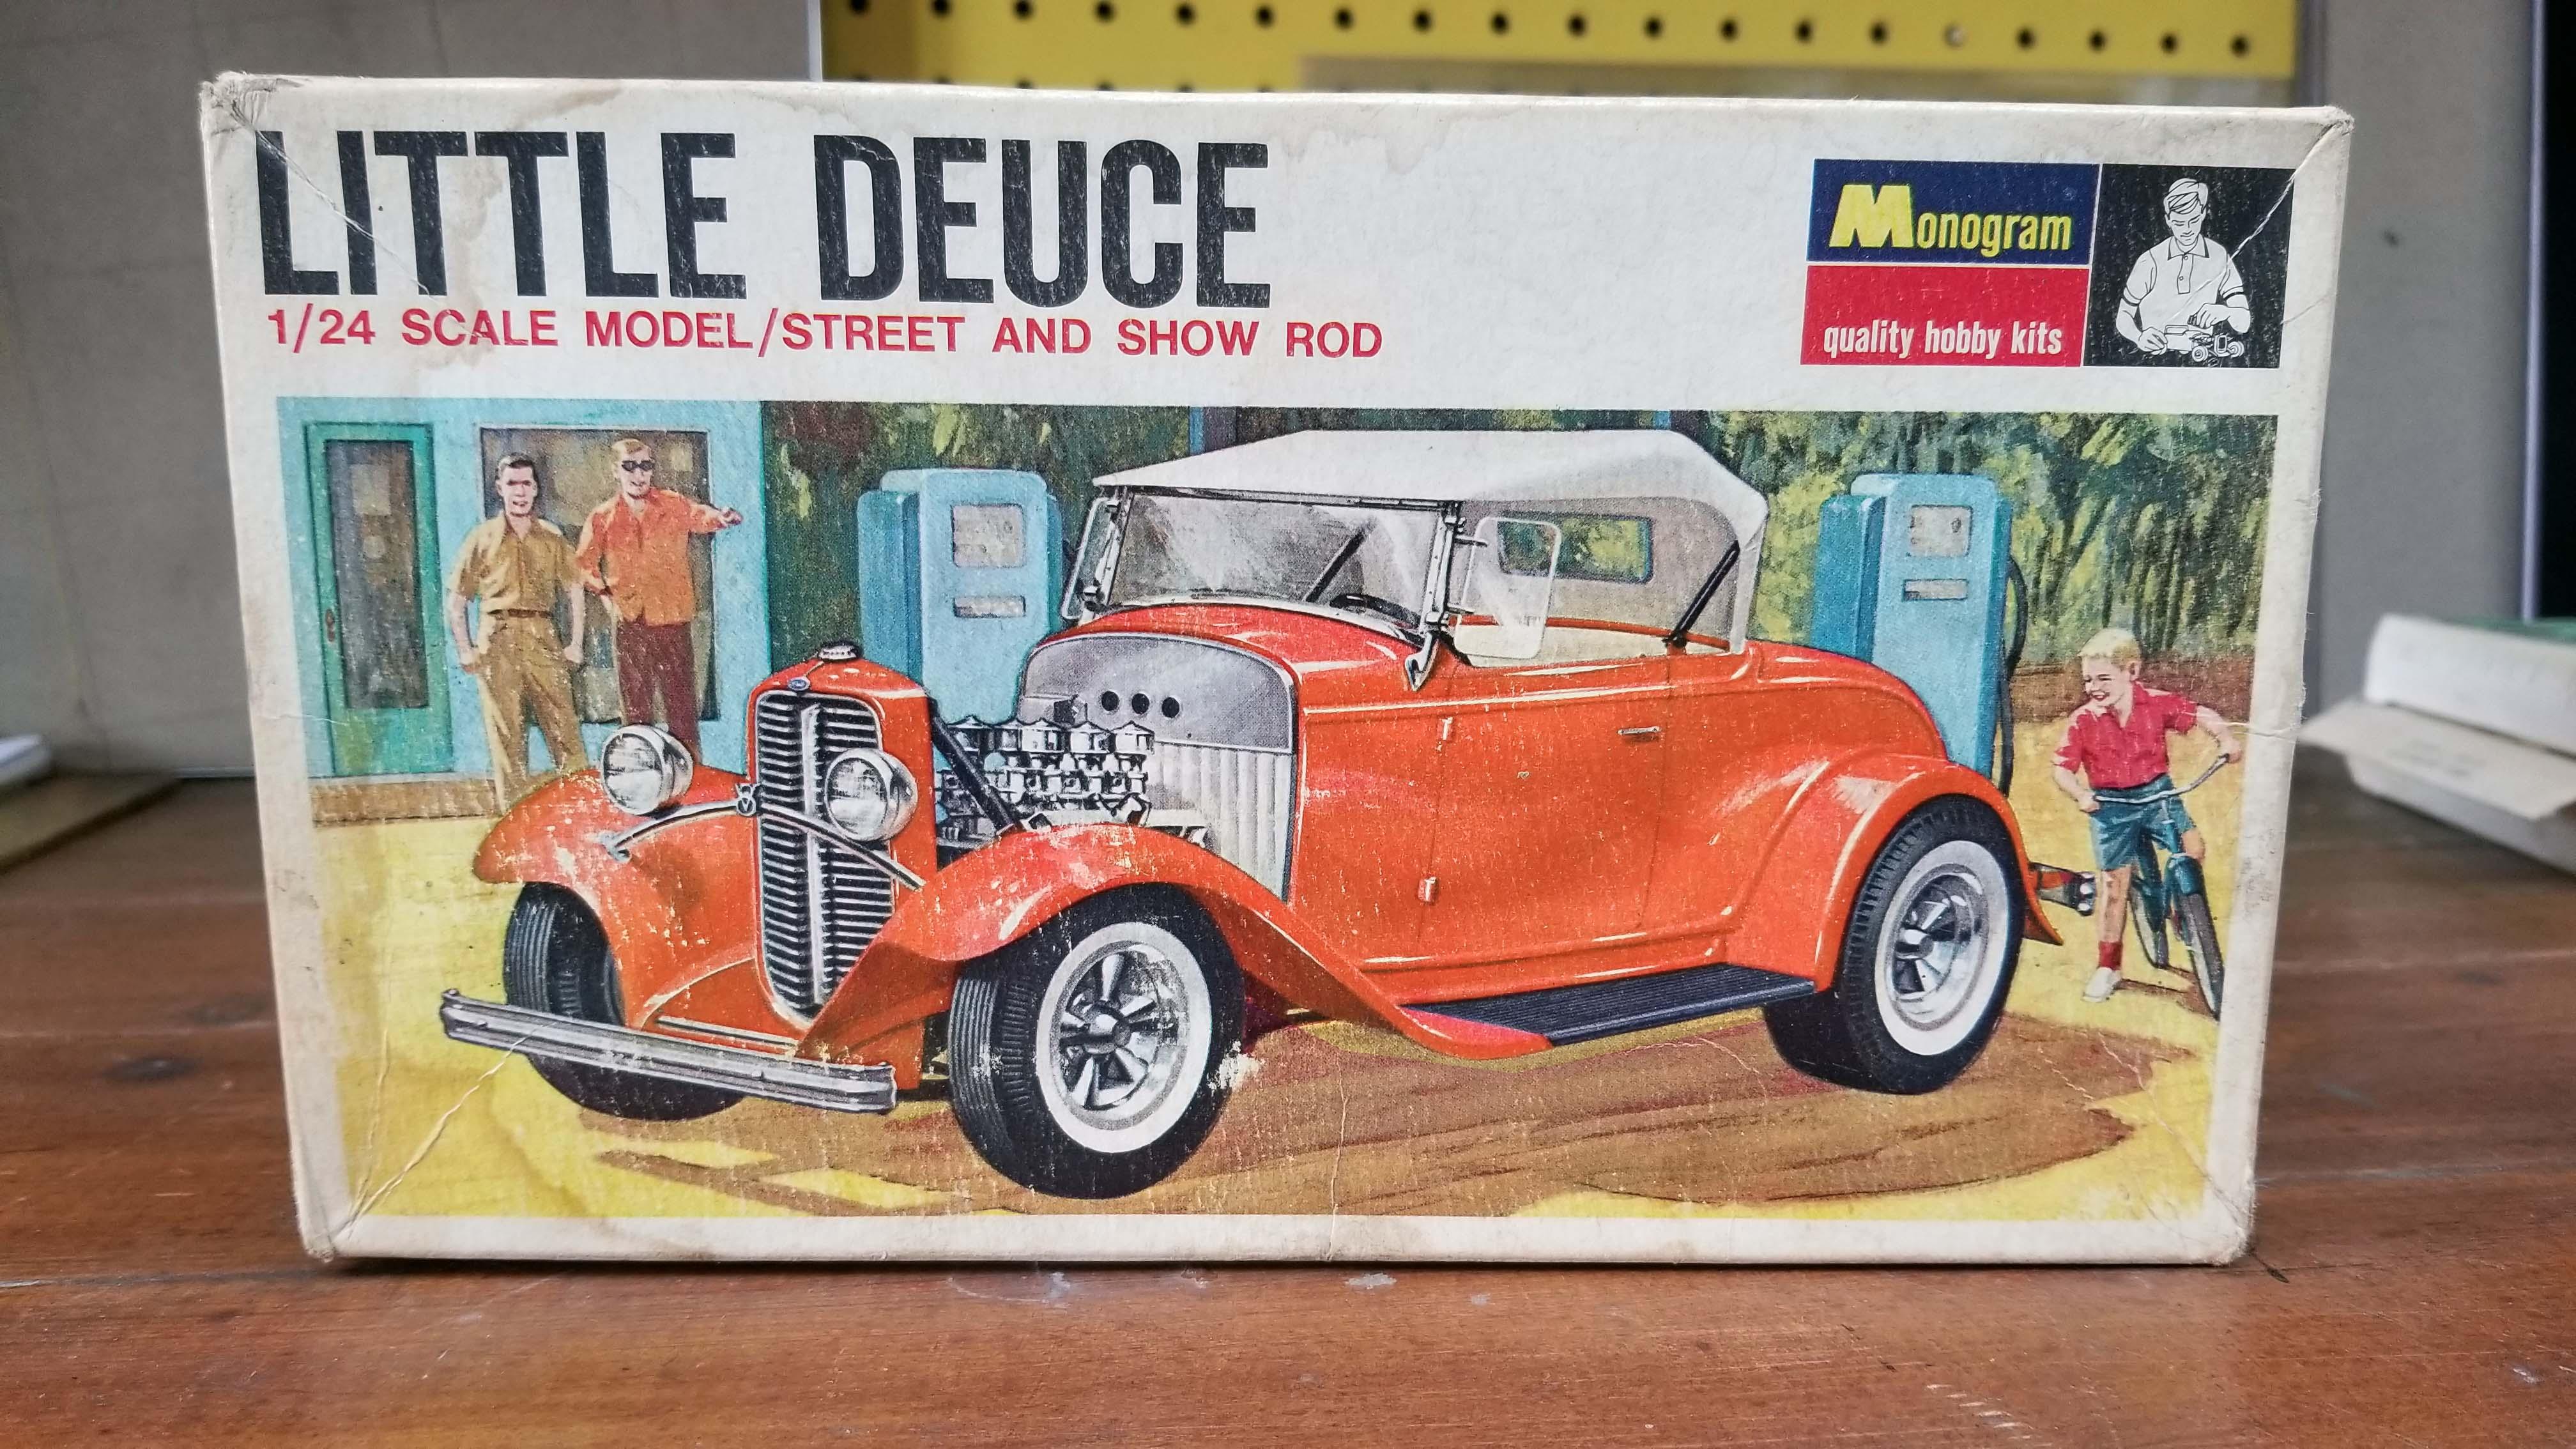
Very nicely done. I'm a big fan of those Monogram releases and you have taken the theme to new heights. Tony. Here's the original box, with the color changed to Orange in Photoshop.

-
Here's how I add a Dow 7 type finish to kit wheels. The Halibrands are from one of the Revell '32 kits. I first coat the wheel with a thin coat of Tamiya spray Champagne Gold followed by a very fine mist of Tamiya Candy Lime Green. I'm happy with the result but a further fine coat of clear yellow might possibly add a bit more to the look.
-
I use decals for my tires. Fireball Model Works for loads of different white letter tires, Indydecals for Firestone gold and Goodyear blue band ones. I sand off any raised letters, add a coat of gloss clear to the sidewall, fit the decal and finish with another coat of clear.
-
Thank you for your kind comments. Tony.
-
Very effective photography indeed. The car looks stunning as well.
-
That's a very good looking build. The Doc would love it. I take it that any mistakes along the way got corrected by going back in time, and not making them in the first place?
-
That is a beautiful build. First class work throughout.
-
That's a good looking car. Nice idea with the canvas top as well. The bumpers are something else! Pure Art Deco/Streamliner.
-
Thank you. The side of the box looked too good to ignore.
-
Good luck Bill, I hope it works well.
-
Hi Rick. The red is Tamiya spray bombs, Italian Red and Candy Red over that, for added depth of color. The white stripes are hand painted with enamel paint, using masking tape as a guide. I've had issues with masking tape leaving slight ridges when I've sprayed stripes before although gently running a new scalpel blade along the edge helps a lot. The big worry I had with this paintjob was the red bleeding through the stripes if I used Tamiya Acrylic for the red and the white. I used white Humbrol Enamel over the red acrylic to try to avoid this. I think it's worked. I have done full paintjobs using enamel in the past and it can be done! As I said above, dust is the big enemy there. Enamels never seem to shine back to the original brushing if you try color sanding them. This MPC Monkeemobile was brush painted with very old Humbrol Gloss Red. The shine is good, there are no brush marks. Unfortunately there are dust specks here and there.
-
Early Humbrol paints are really nice to use. The new stuff isn't the same. Not exactly easy to find in the USA but a bit more accessible for me in the UK. With a touch of thinner added, they flow out very well and it's possible to get a full gloss finish without brush marks. Keeping dust off the paint while it dries is another matter. I put the model under cover as soon as possible after painting but dust still manages to creep in somehow.
-
Thanks. The kit is showing its age a bit now, the mouldings are a bit soft compared with the Revell Boss 302 for instance and the parts count is down on a newer release kit. We have come a long way over the years. It's still an enjoyable kit to build though, and full credit to Round 2 for making it available again. The '67 Ford Mustang fastback, also in a similar box is one I'll be picking up at some point, as I really like the look of that boxing as well.
-
Another Mustang from me, this time it's the Round 2 reissue AMT Shelby GT350. I nearly kept this one unbuilt, the collector in me thinks it's a stunning looking package. Round 2 have made a terrific job of the presentation. I ended up building the thing in the end, but kept it curbside with only a couple of add ons. Hood pins, Cragar SS wheels, resin cast door handles and new windscreen gazing were added.Paint is Tamiya Italian red with candy red over that. Stripes are Humbrol gloss white, hand painted after masking. The kit stripe decals didn't want to co-operate. The Kat from AMT gives it his smile of approval...
-
That '55 looks like Royalty! Perfect sit as well.
-
That Lime Green really pops. The air cleaner orange glows against the green, it very effectively draws your eye to the engine bay.
-
What a good looking build. The colors suit the car to perfection.
-
Love that GTX. The strobe stripes really stand out.