ShakyCraftsman
-
Posts
797 -
Joined
-
Last visited
Content Type
Profiles
Forums
Events
Gallery
Everything posted by ShakyCraftsman
-
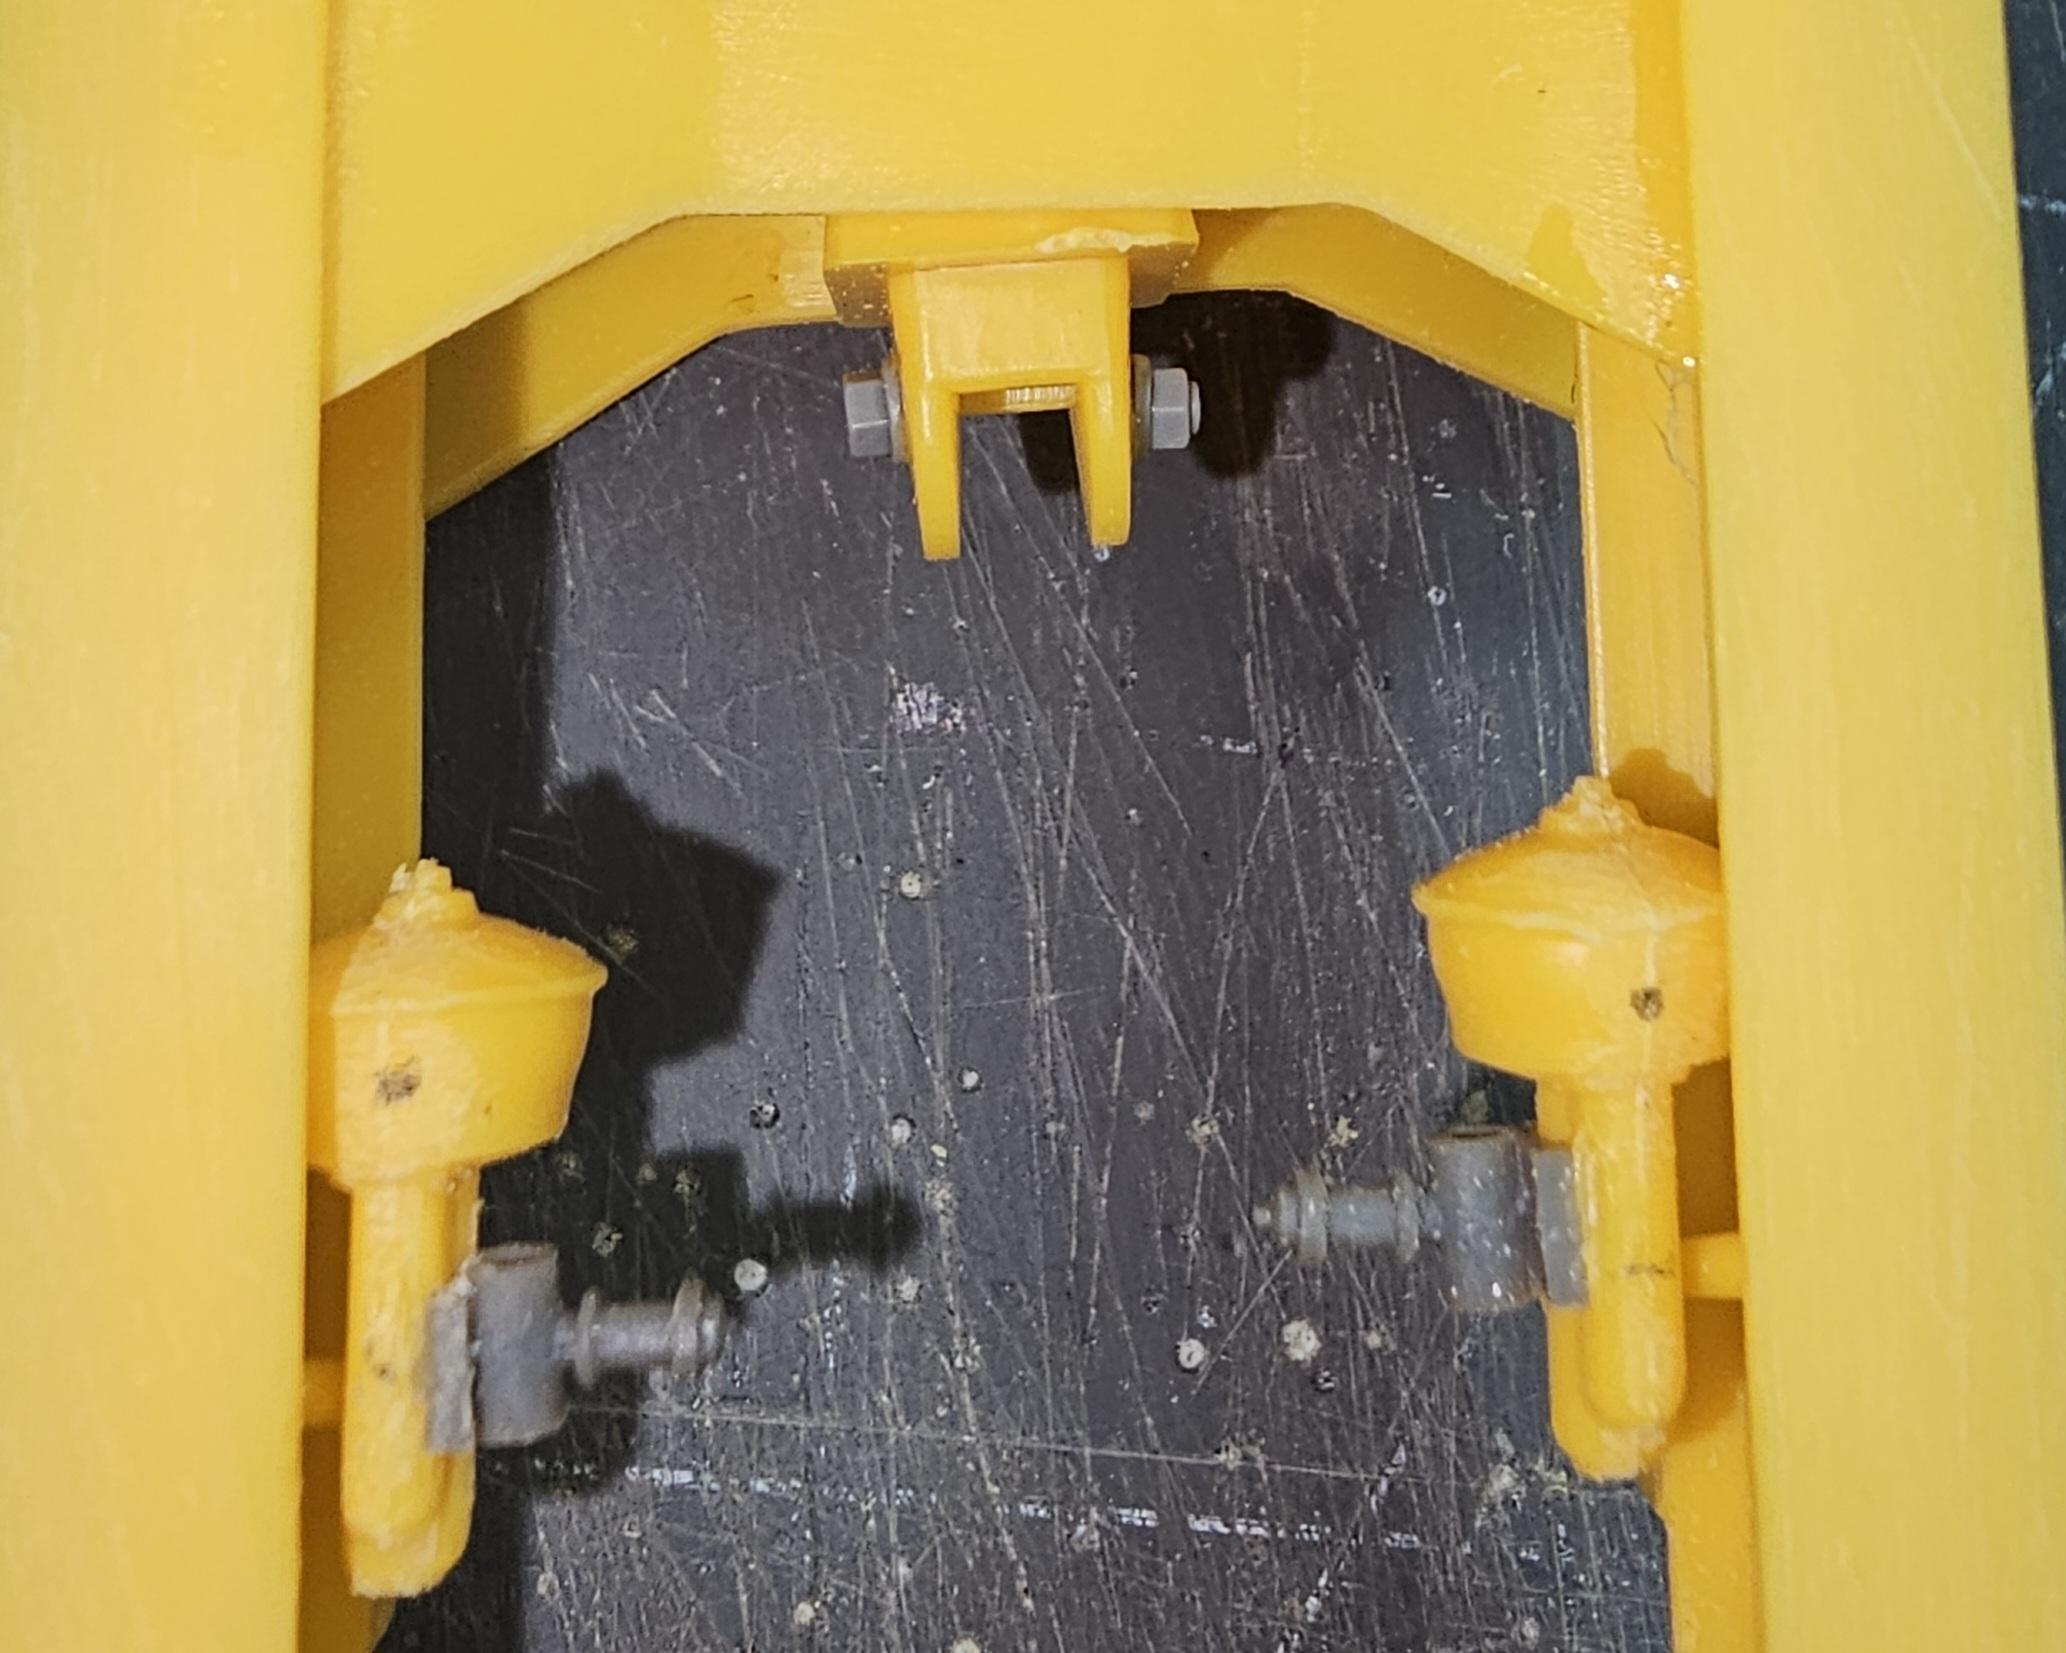
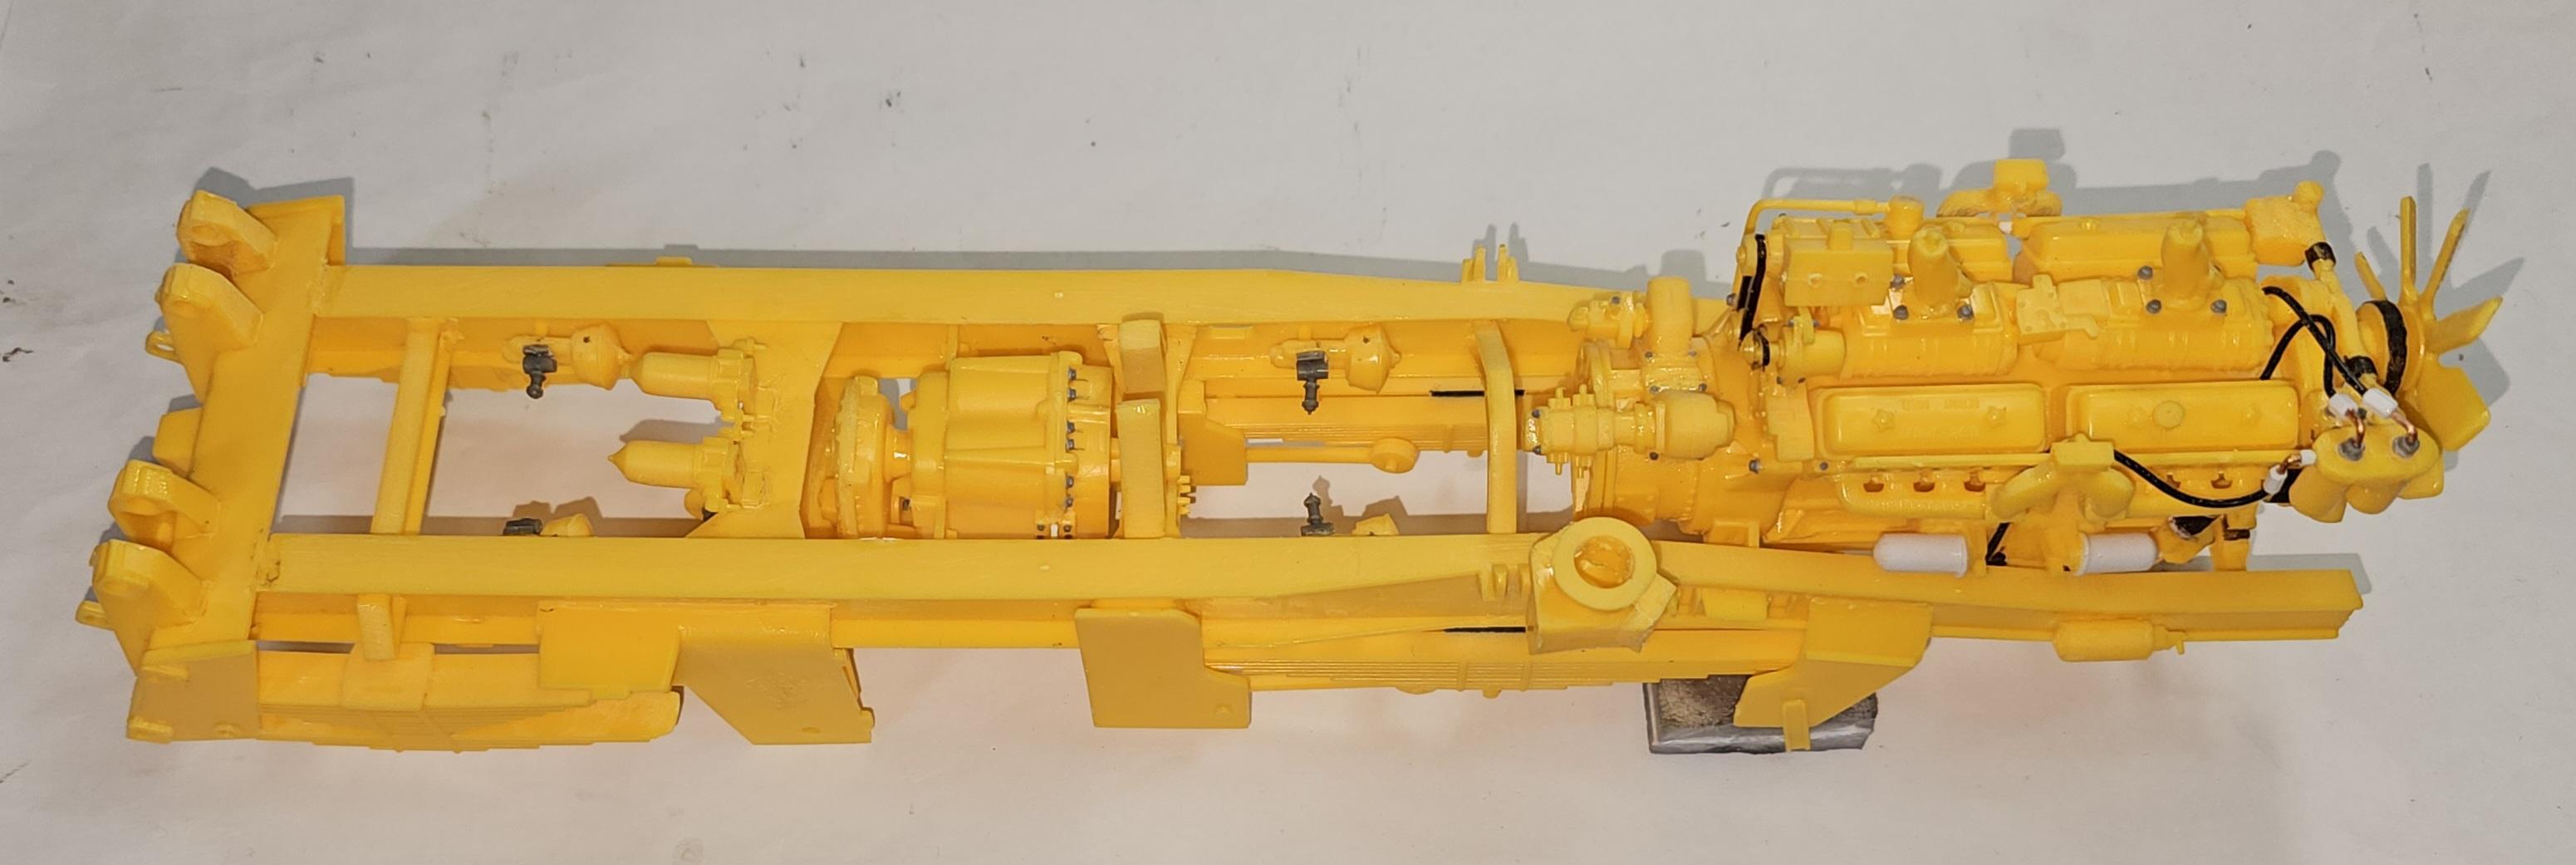
 Hey all I'm back with more updates. I now have the frame pretty much assembled. So here are some pics for you to perose. I had to add these shims to the rear engine mount because the rear oil filter ran into the frame rail. This view shows that even with the shim the filter barely clears the frame top. I added these valves to the brake canisters/chambers. I'm doing this so that it will be easier to plumb the air & hydraulic lines to the brake cans. It's probably not realistic, but Jeff & I haven't been able to find any information on this truck online. What you do find doesn't help much. This view shows the other brake cans. This view shows that the oil filters for the oil coolers are on the sprue #232, they just don't show up on the instructions. This view shows that I filled in the voids in the two hydraulic filters, OCD couldn't live with the holes...lol This view shows the two bolt heads I added to the side of the transmission. Fill and drain plugs. This view shows the bolt heads I added to the track bar pivot for the rear axle. This shows both the bolt and the nut in the track bar pivot. The next three pictures are of the frame assembly. This view shows the engine in place, but not fixed yet. Another view of the engine in the frame. Close up view of the engine in the frame. This was extremely difficult to get the engine in place. I had to cut away a bunch of stuff in order to get the engine in place, but you can't notice the cuts, so all good. Well that's it for this session. Be back soon with more updates. Ron G
-
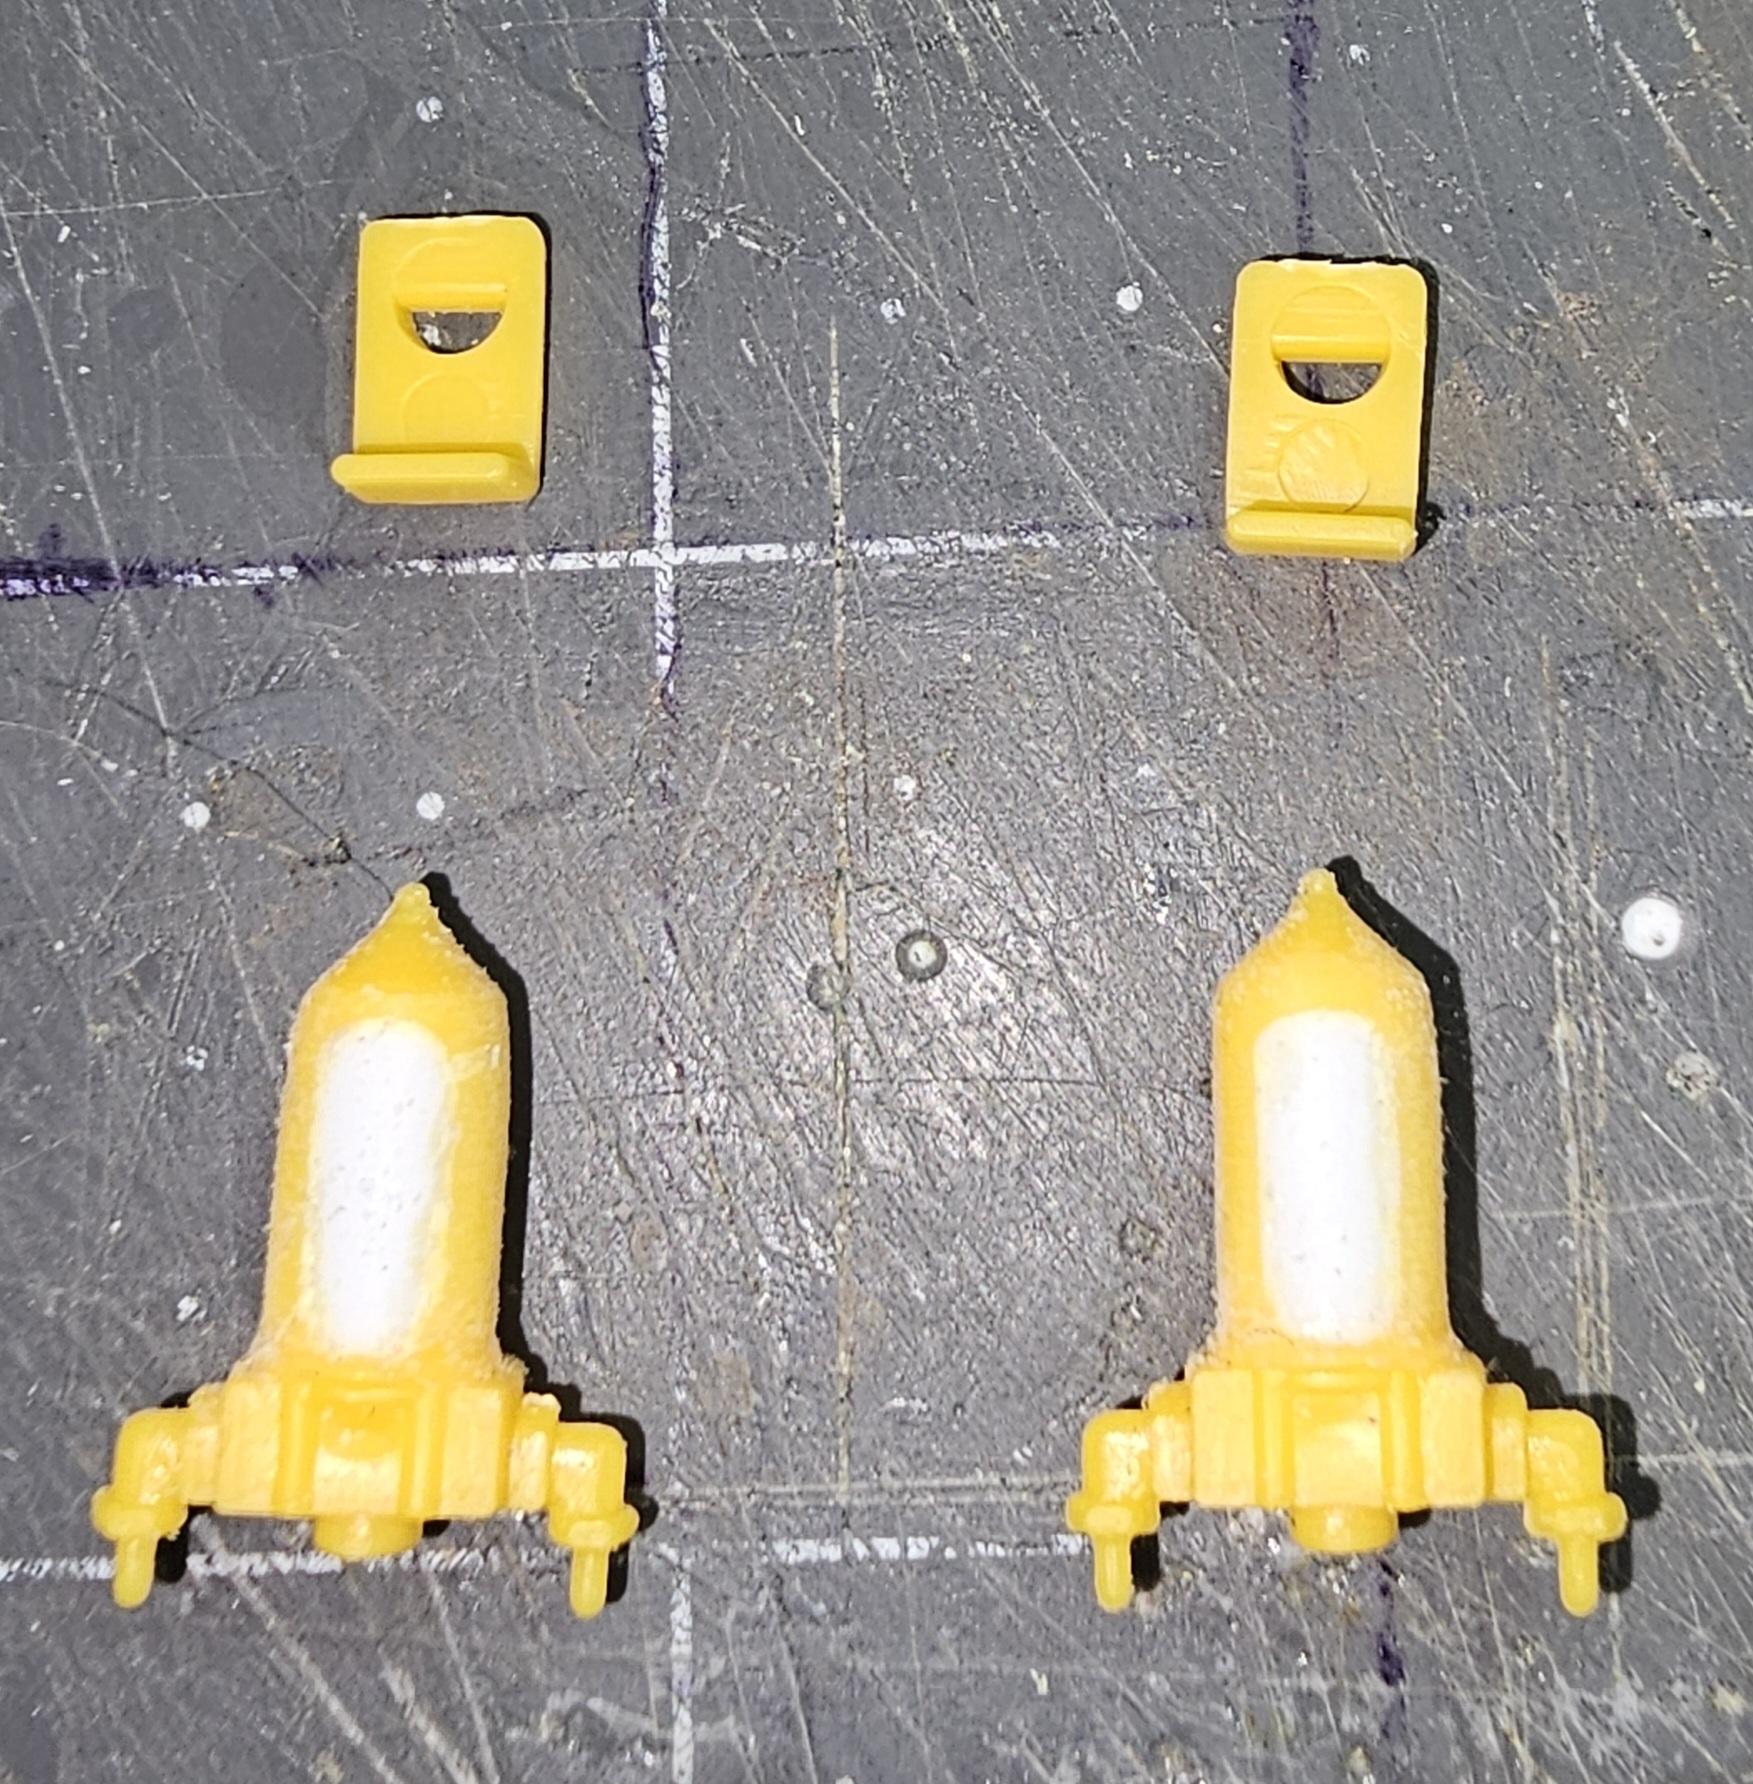
Okay, here we go again. More work done on the Payhauler. I forgot to add this picture last time. Shows the bolt heads added to both sides mounting brackets. I also replaced the rib with more accurate ones. I added a valve stem to the wheel, three more to go. This view shows one of the lift cylinders closed. This view shows the lift cylinder in the open position. This view shows the two steering cylinders and the two lift cylinders painted chrome. This view shows the radiator and the shroud. I added some sprue goo to the push marks on the shroud. This view shows the frame. This view shows the other side of the frame. Well that's it for now be back soon. Ron G
-
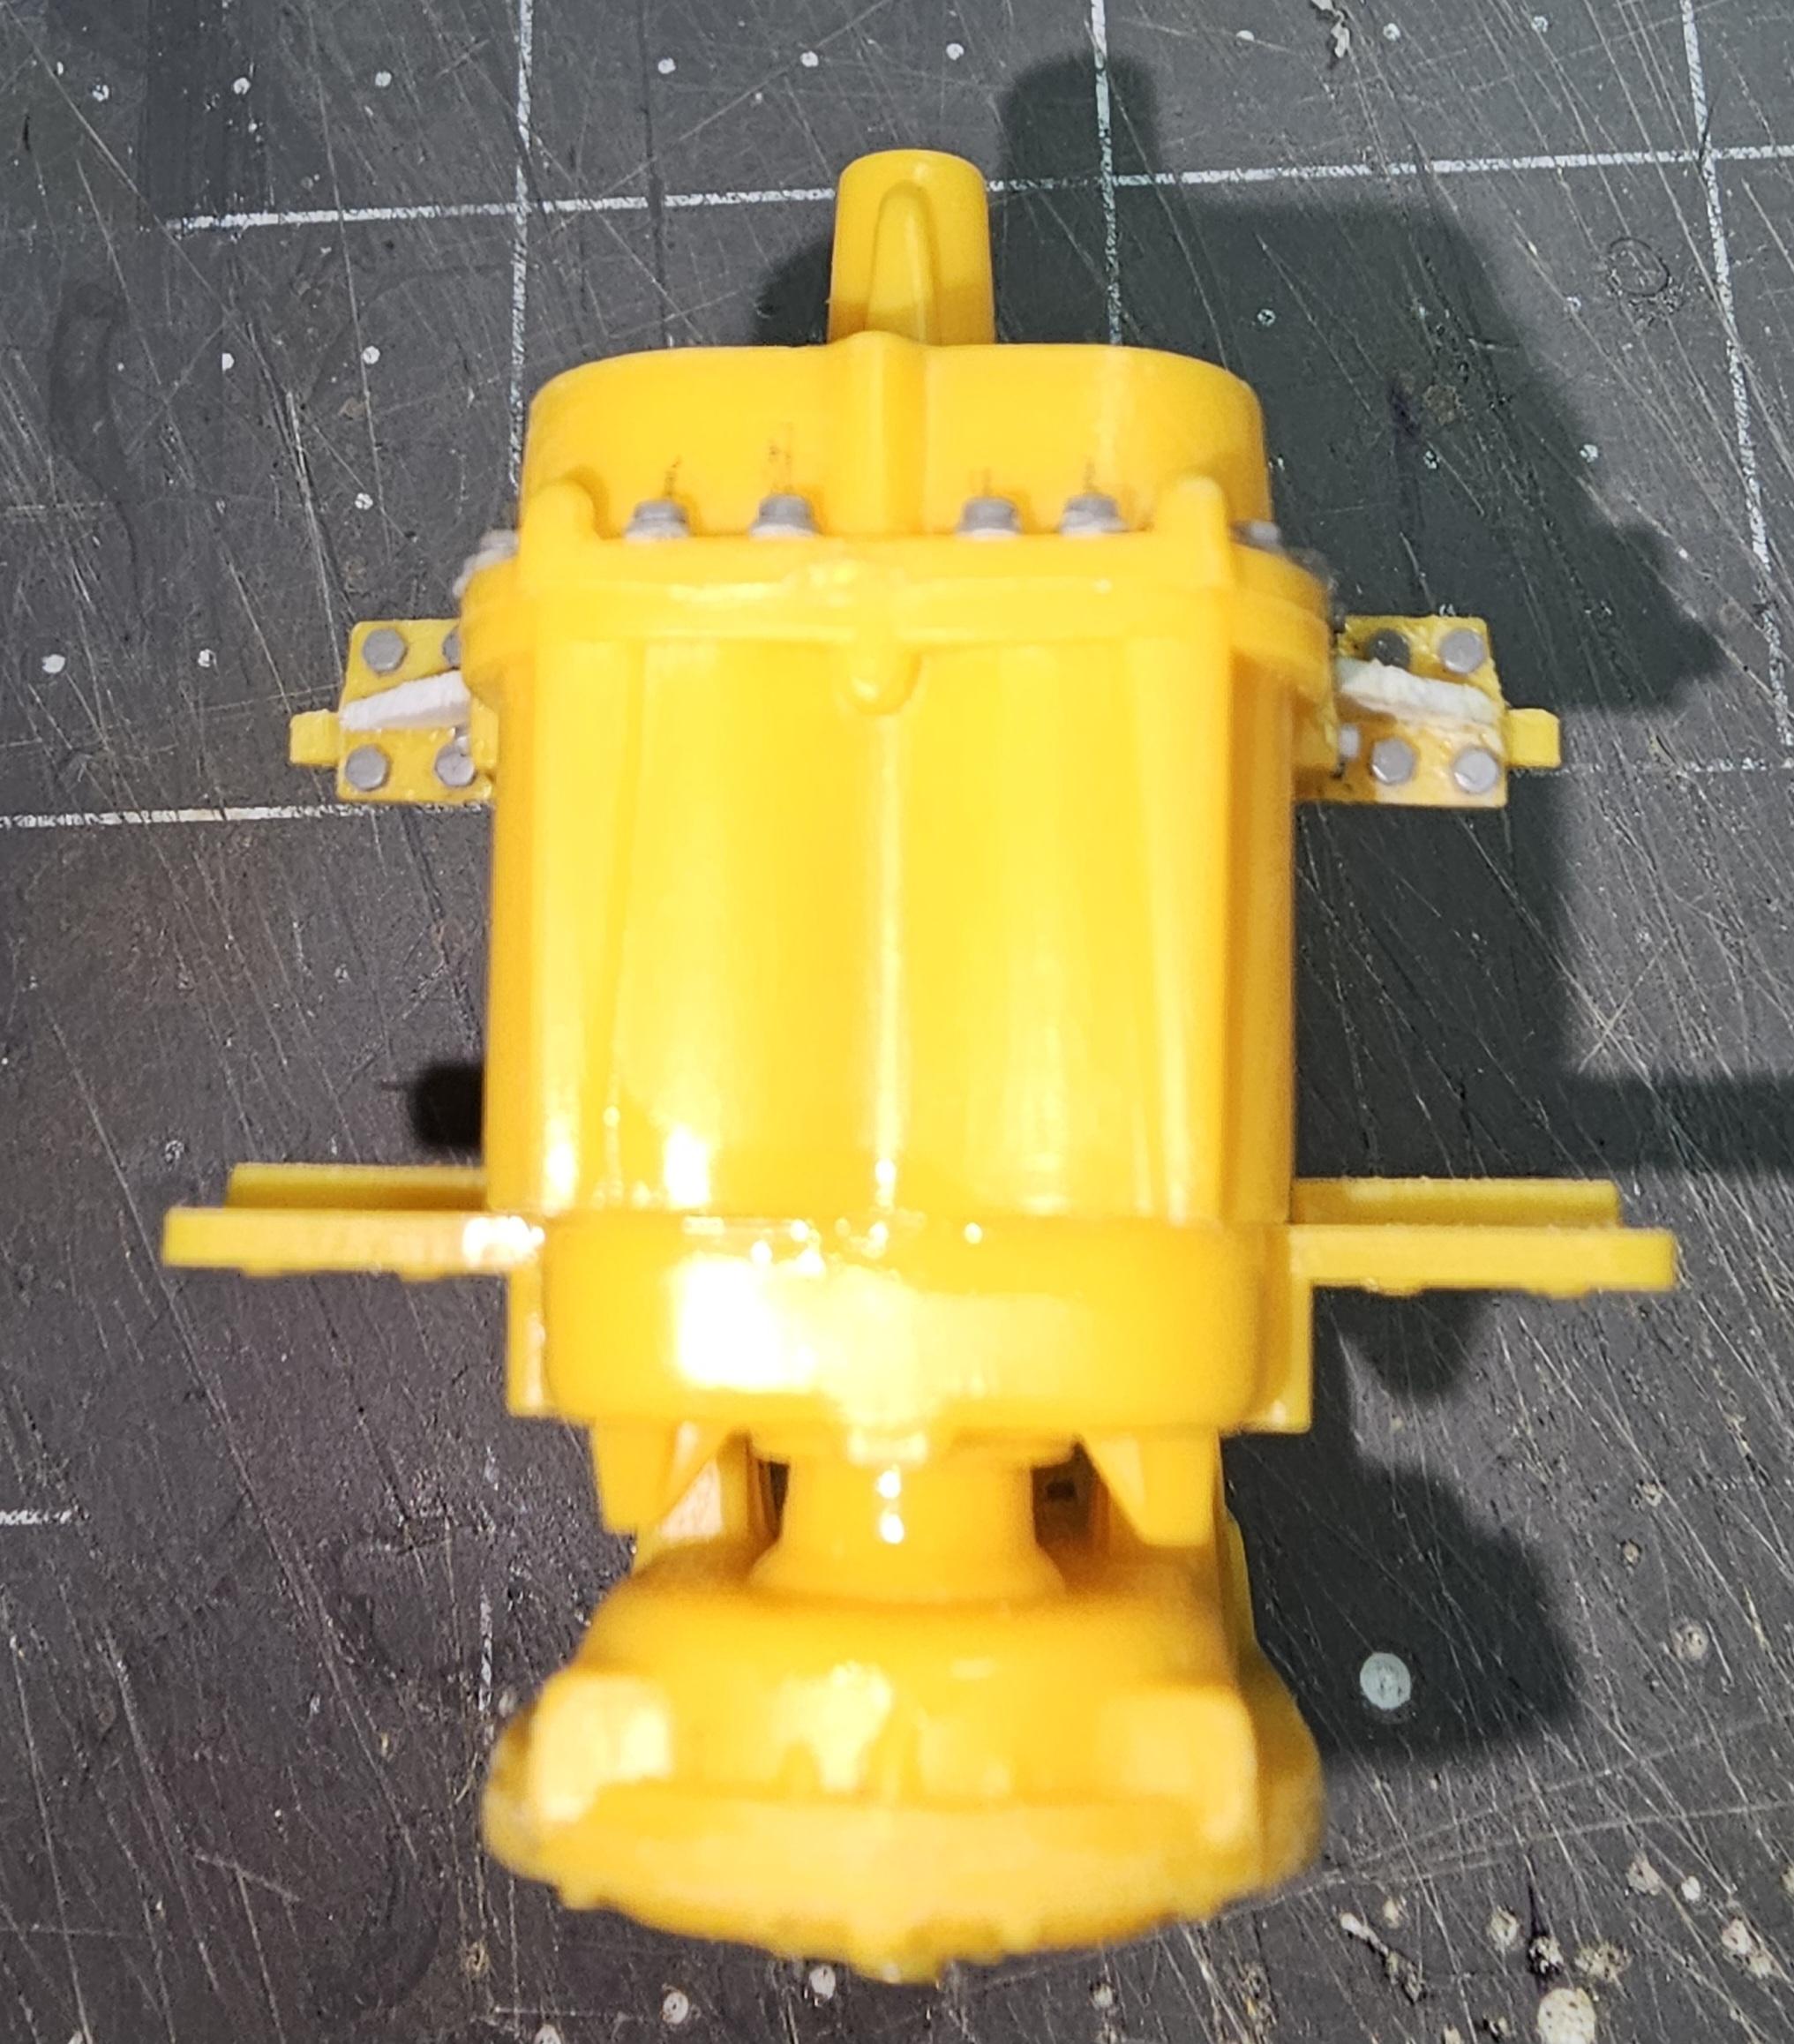
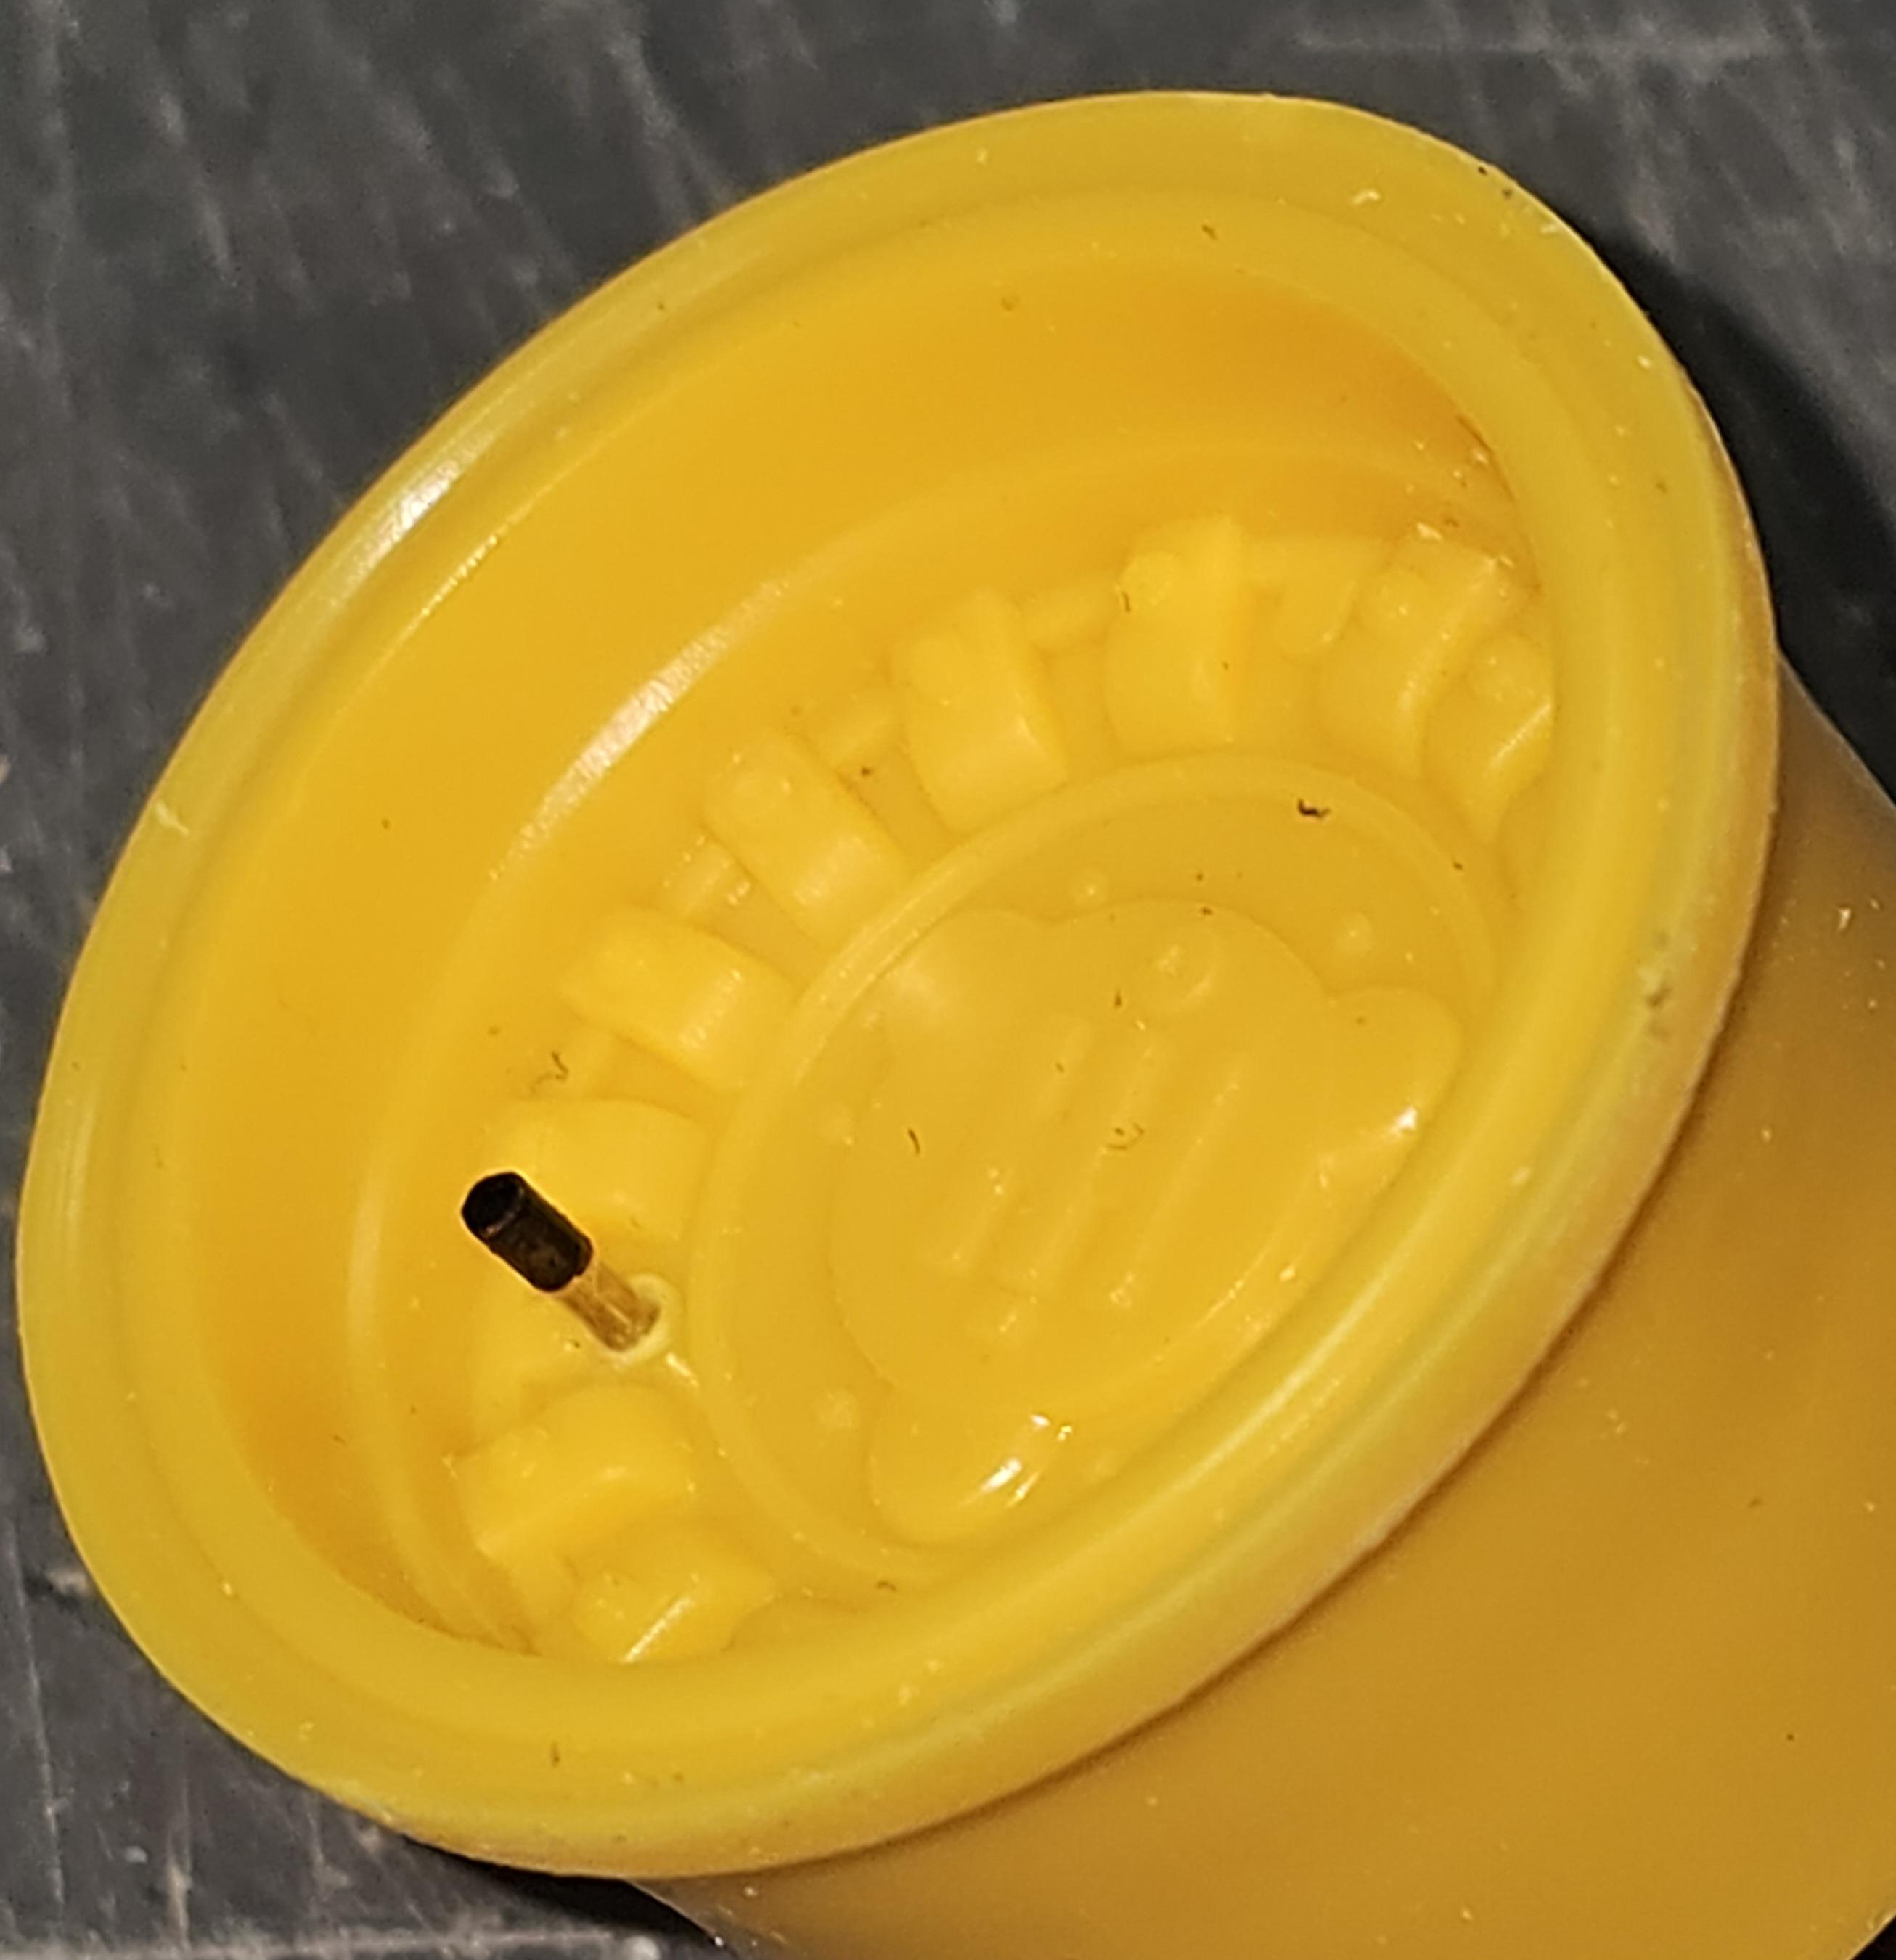
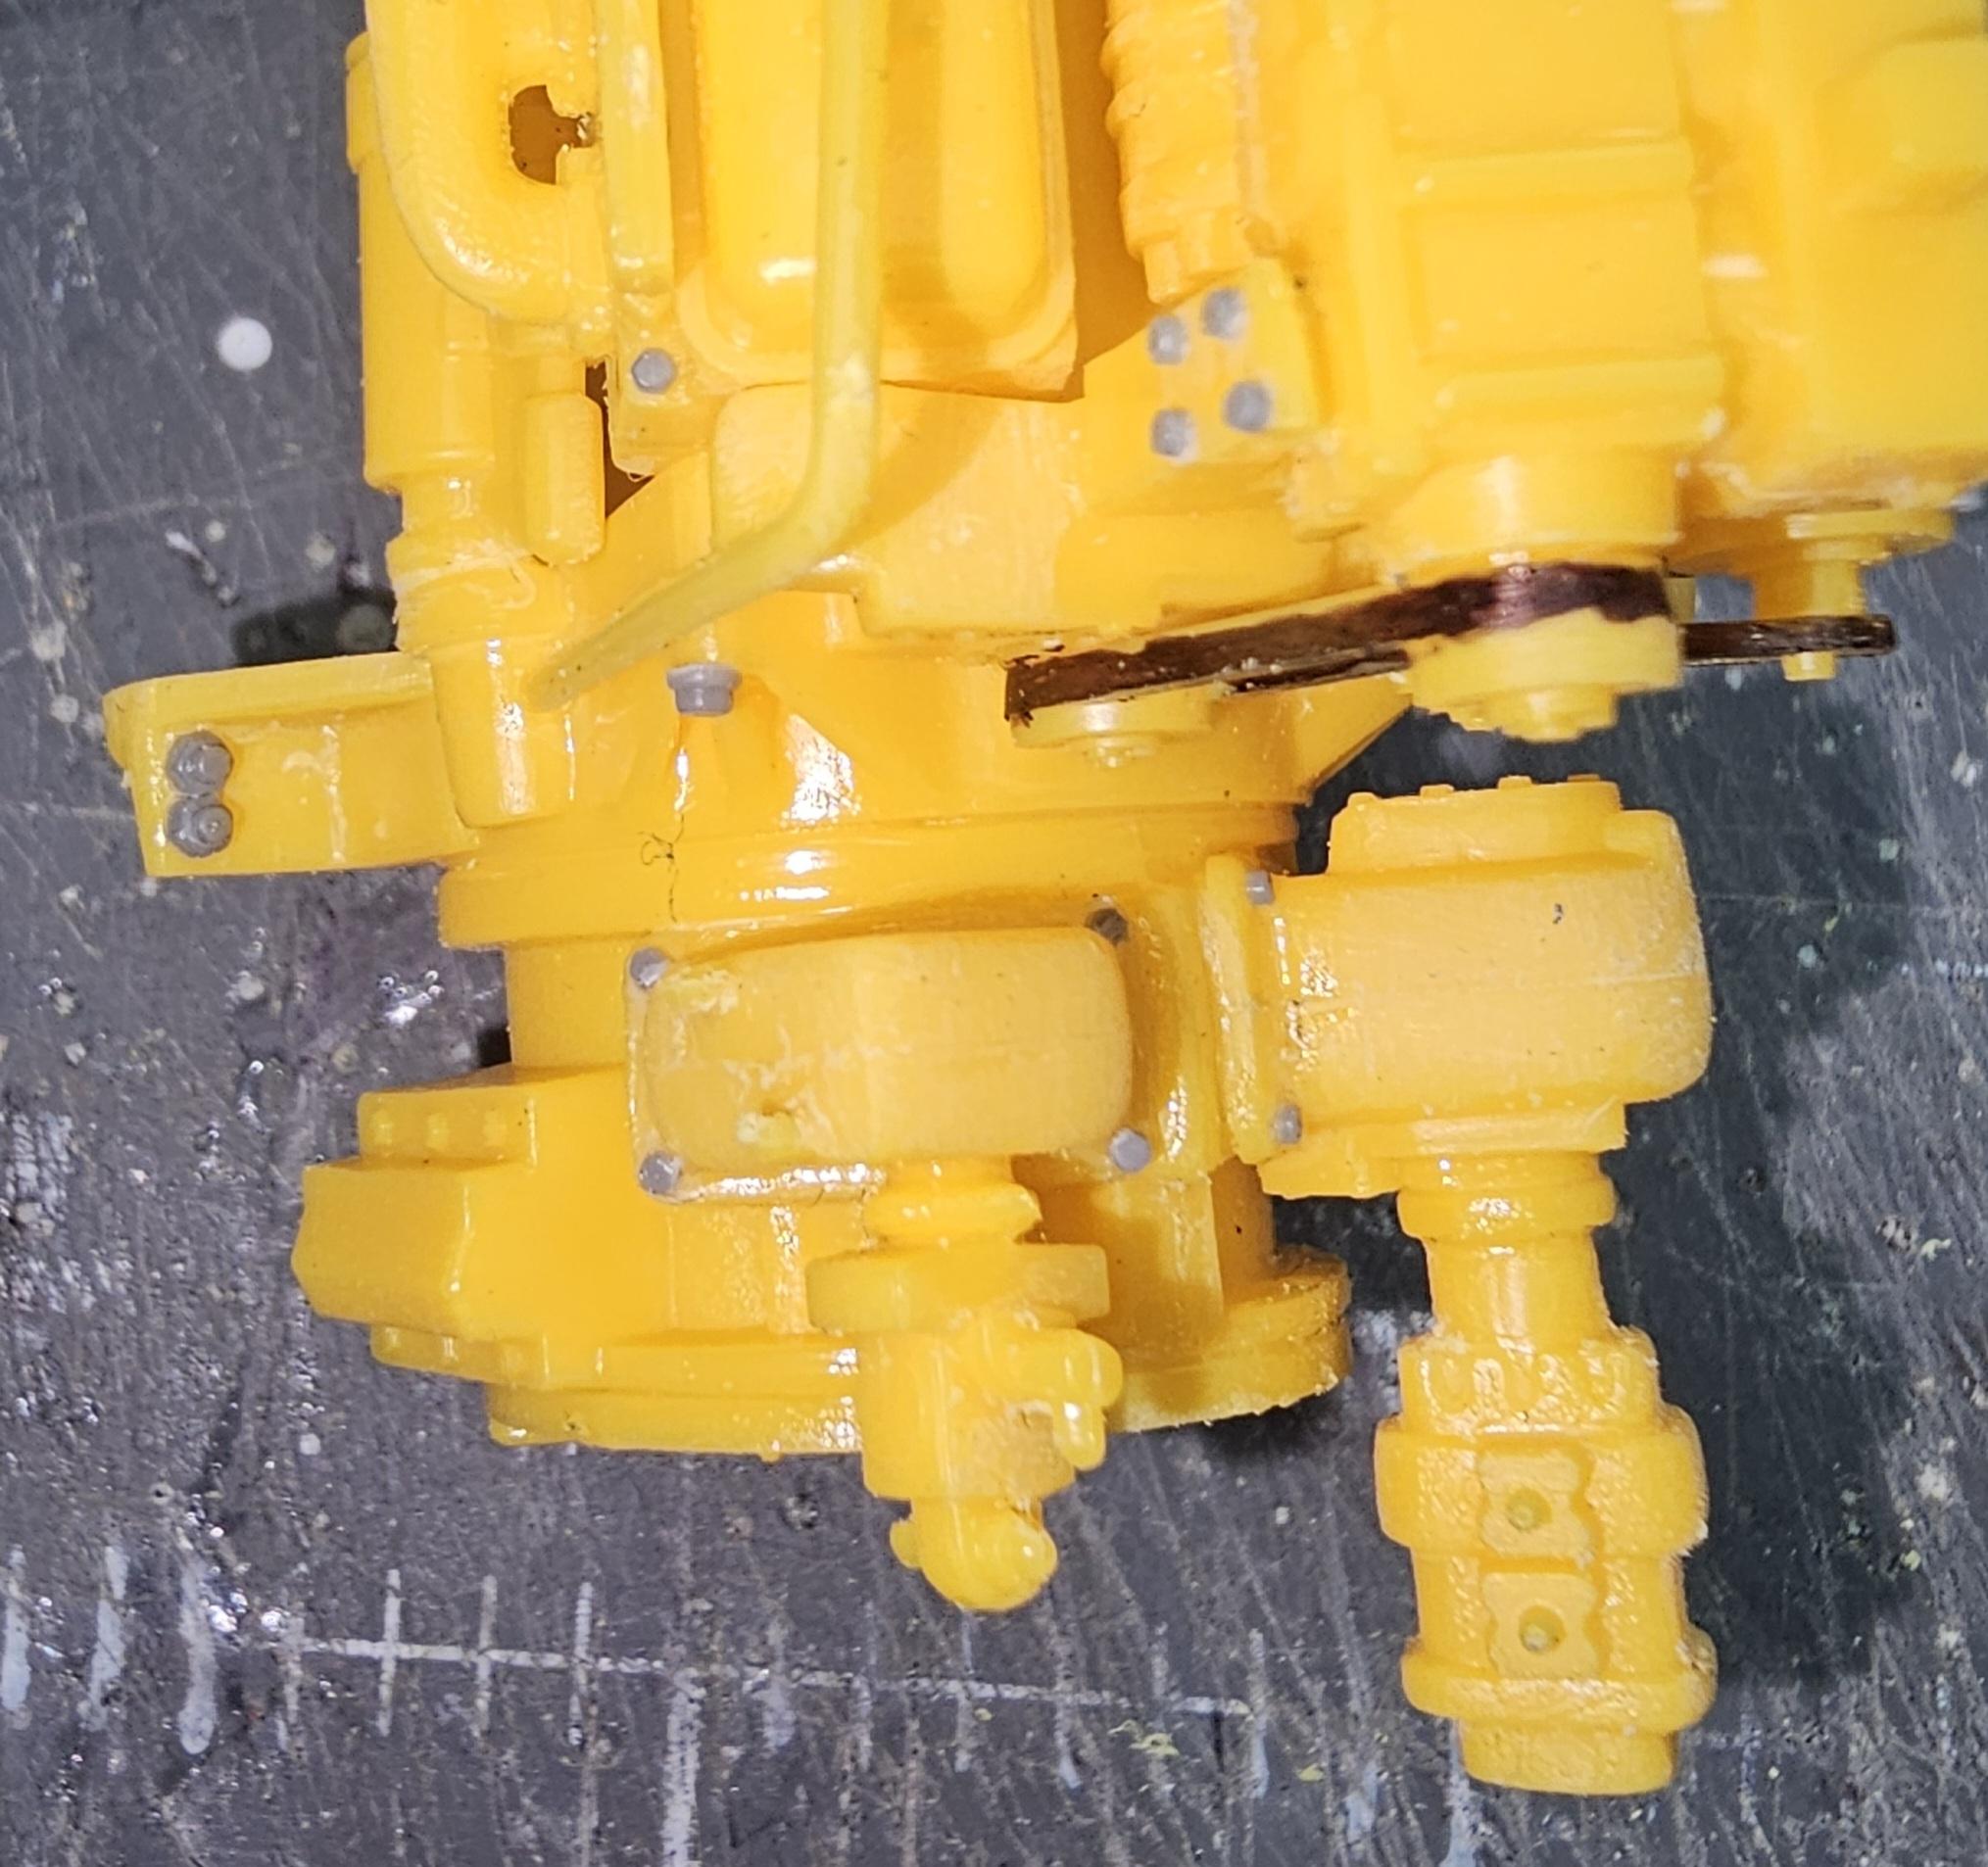
Hey everyone Okay, I got some more done on this big SOB. Here are some pictures for you to look at. This view shows the stock kit fuel tank. This view shows the other side of the stock kit fuel tank. This view shows the left fuel tank that I modified to make the mounting straps more realistic. There made from 0.045" dia. rod. This view shows the right fuel tank. I had to cut and scrape off the kit molded in straps so I could add these. This is a view of both tanks. Another view of the fuel tanks. This view shows the bolt heads I added to the hydraulic tank. This view shows the small nuts & bolts 🔩 I added to the air cleaners mounting straps. Bottom view of the air cleaners. This view shows the bolt heads I added to the transmission housing. Another view of the bolt heads on the transmission. This view shows the 4 bolt heads added to the pump on the right. Well that's it for now be back with more updates soon. Ron G
-
😀😄😁 no one,they actually are different builds, we're just close friends.
-
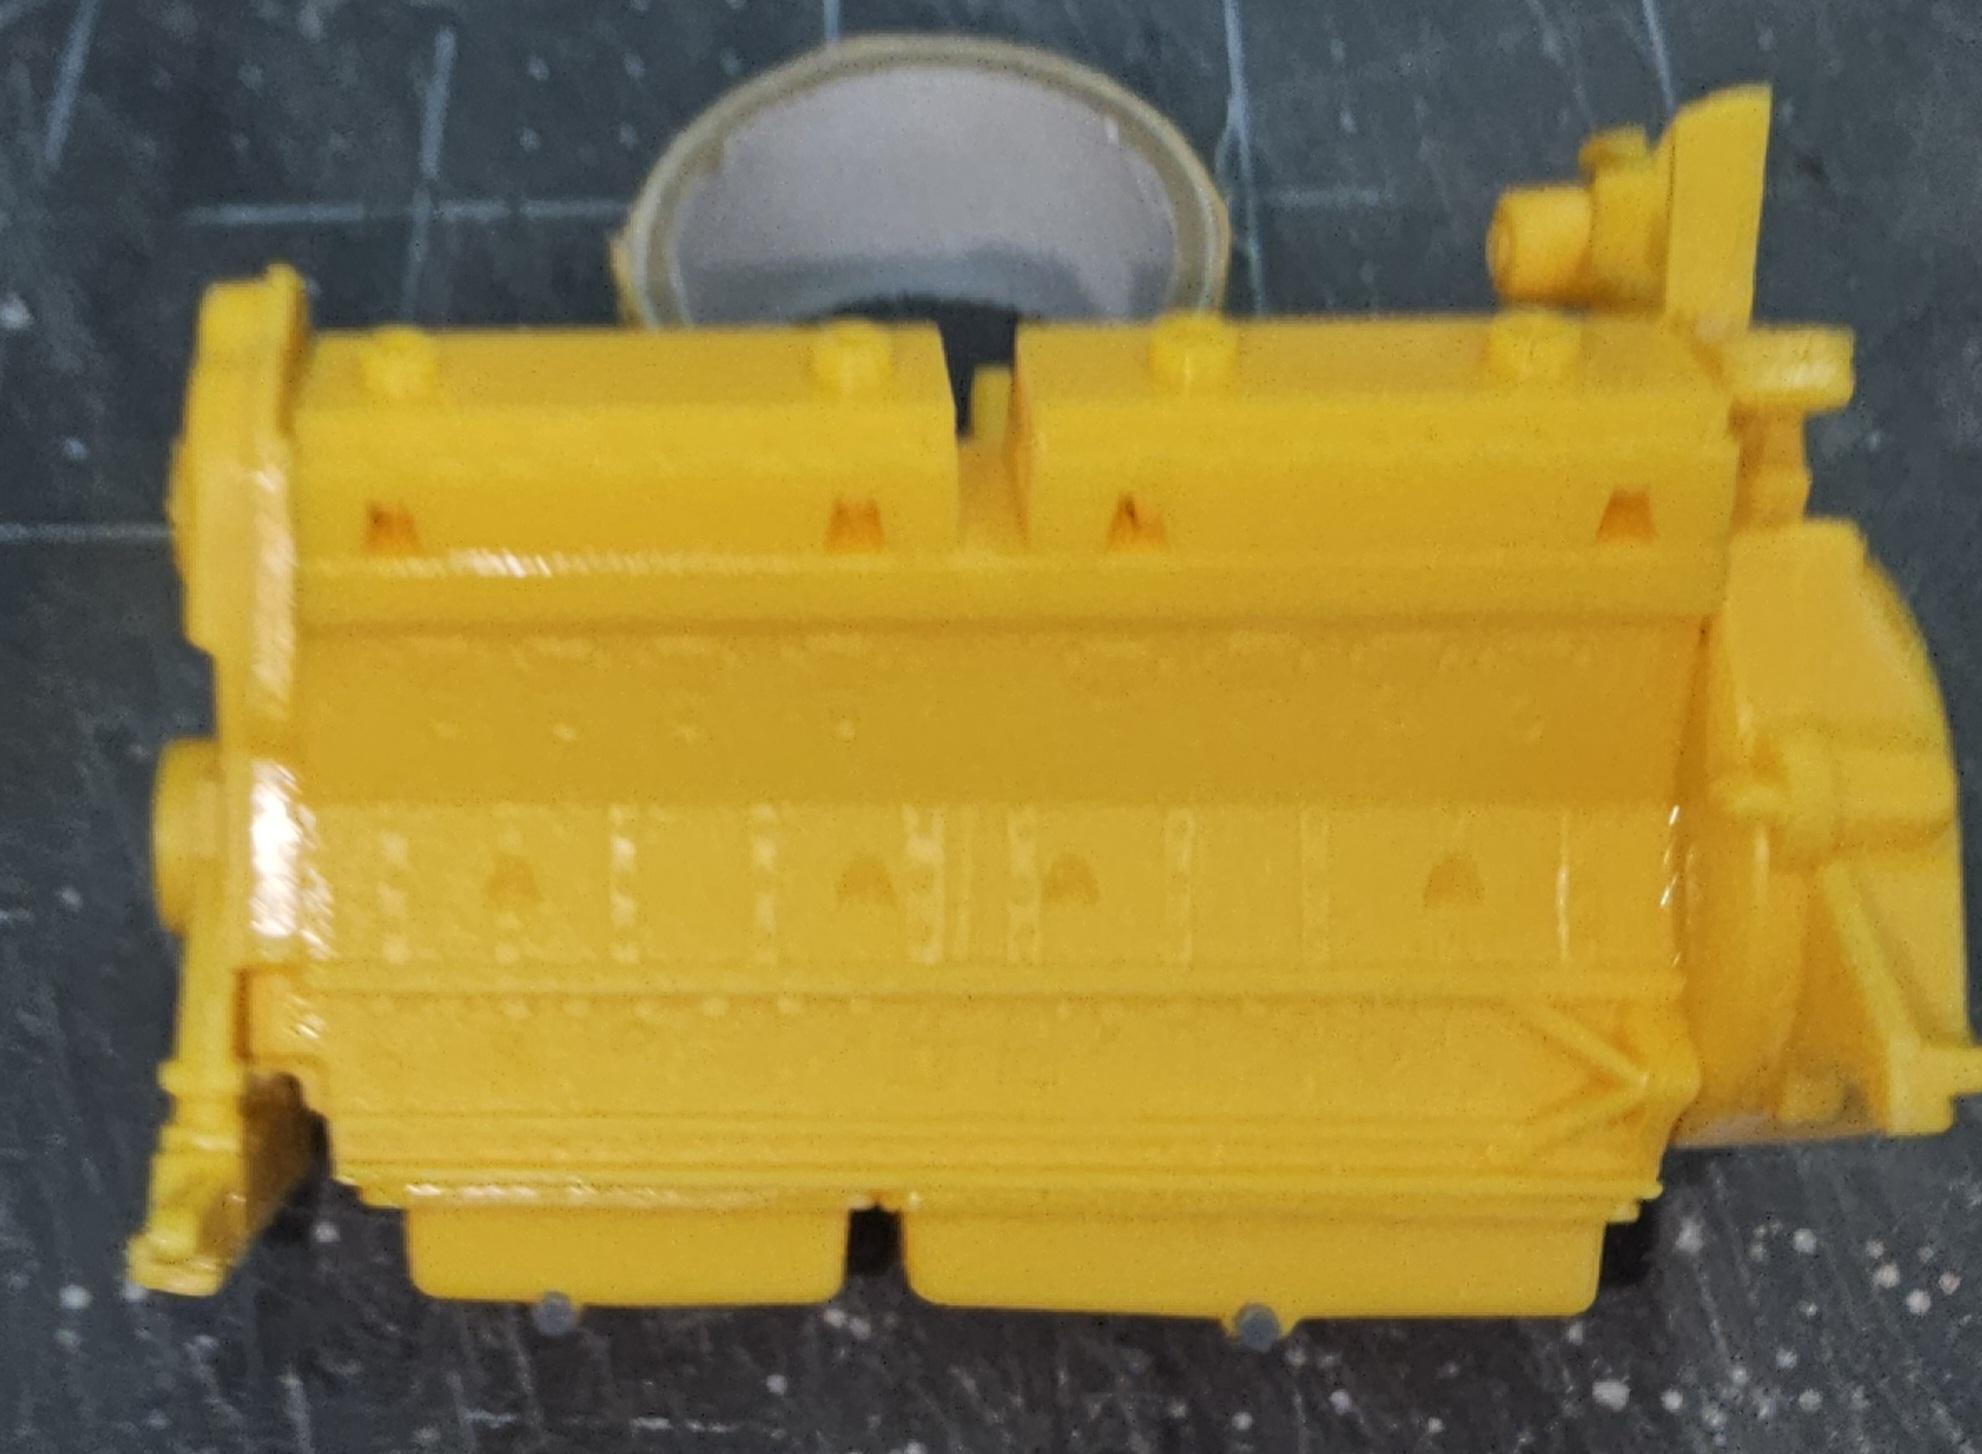
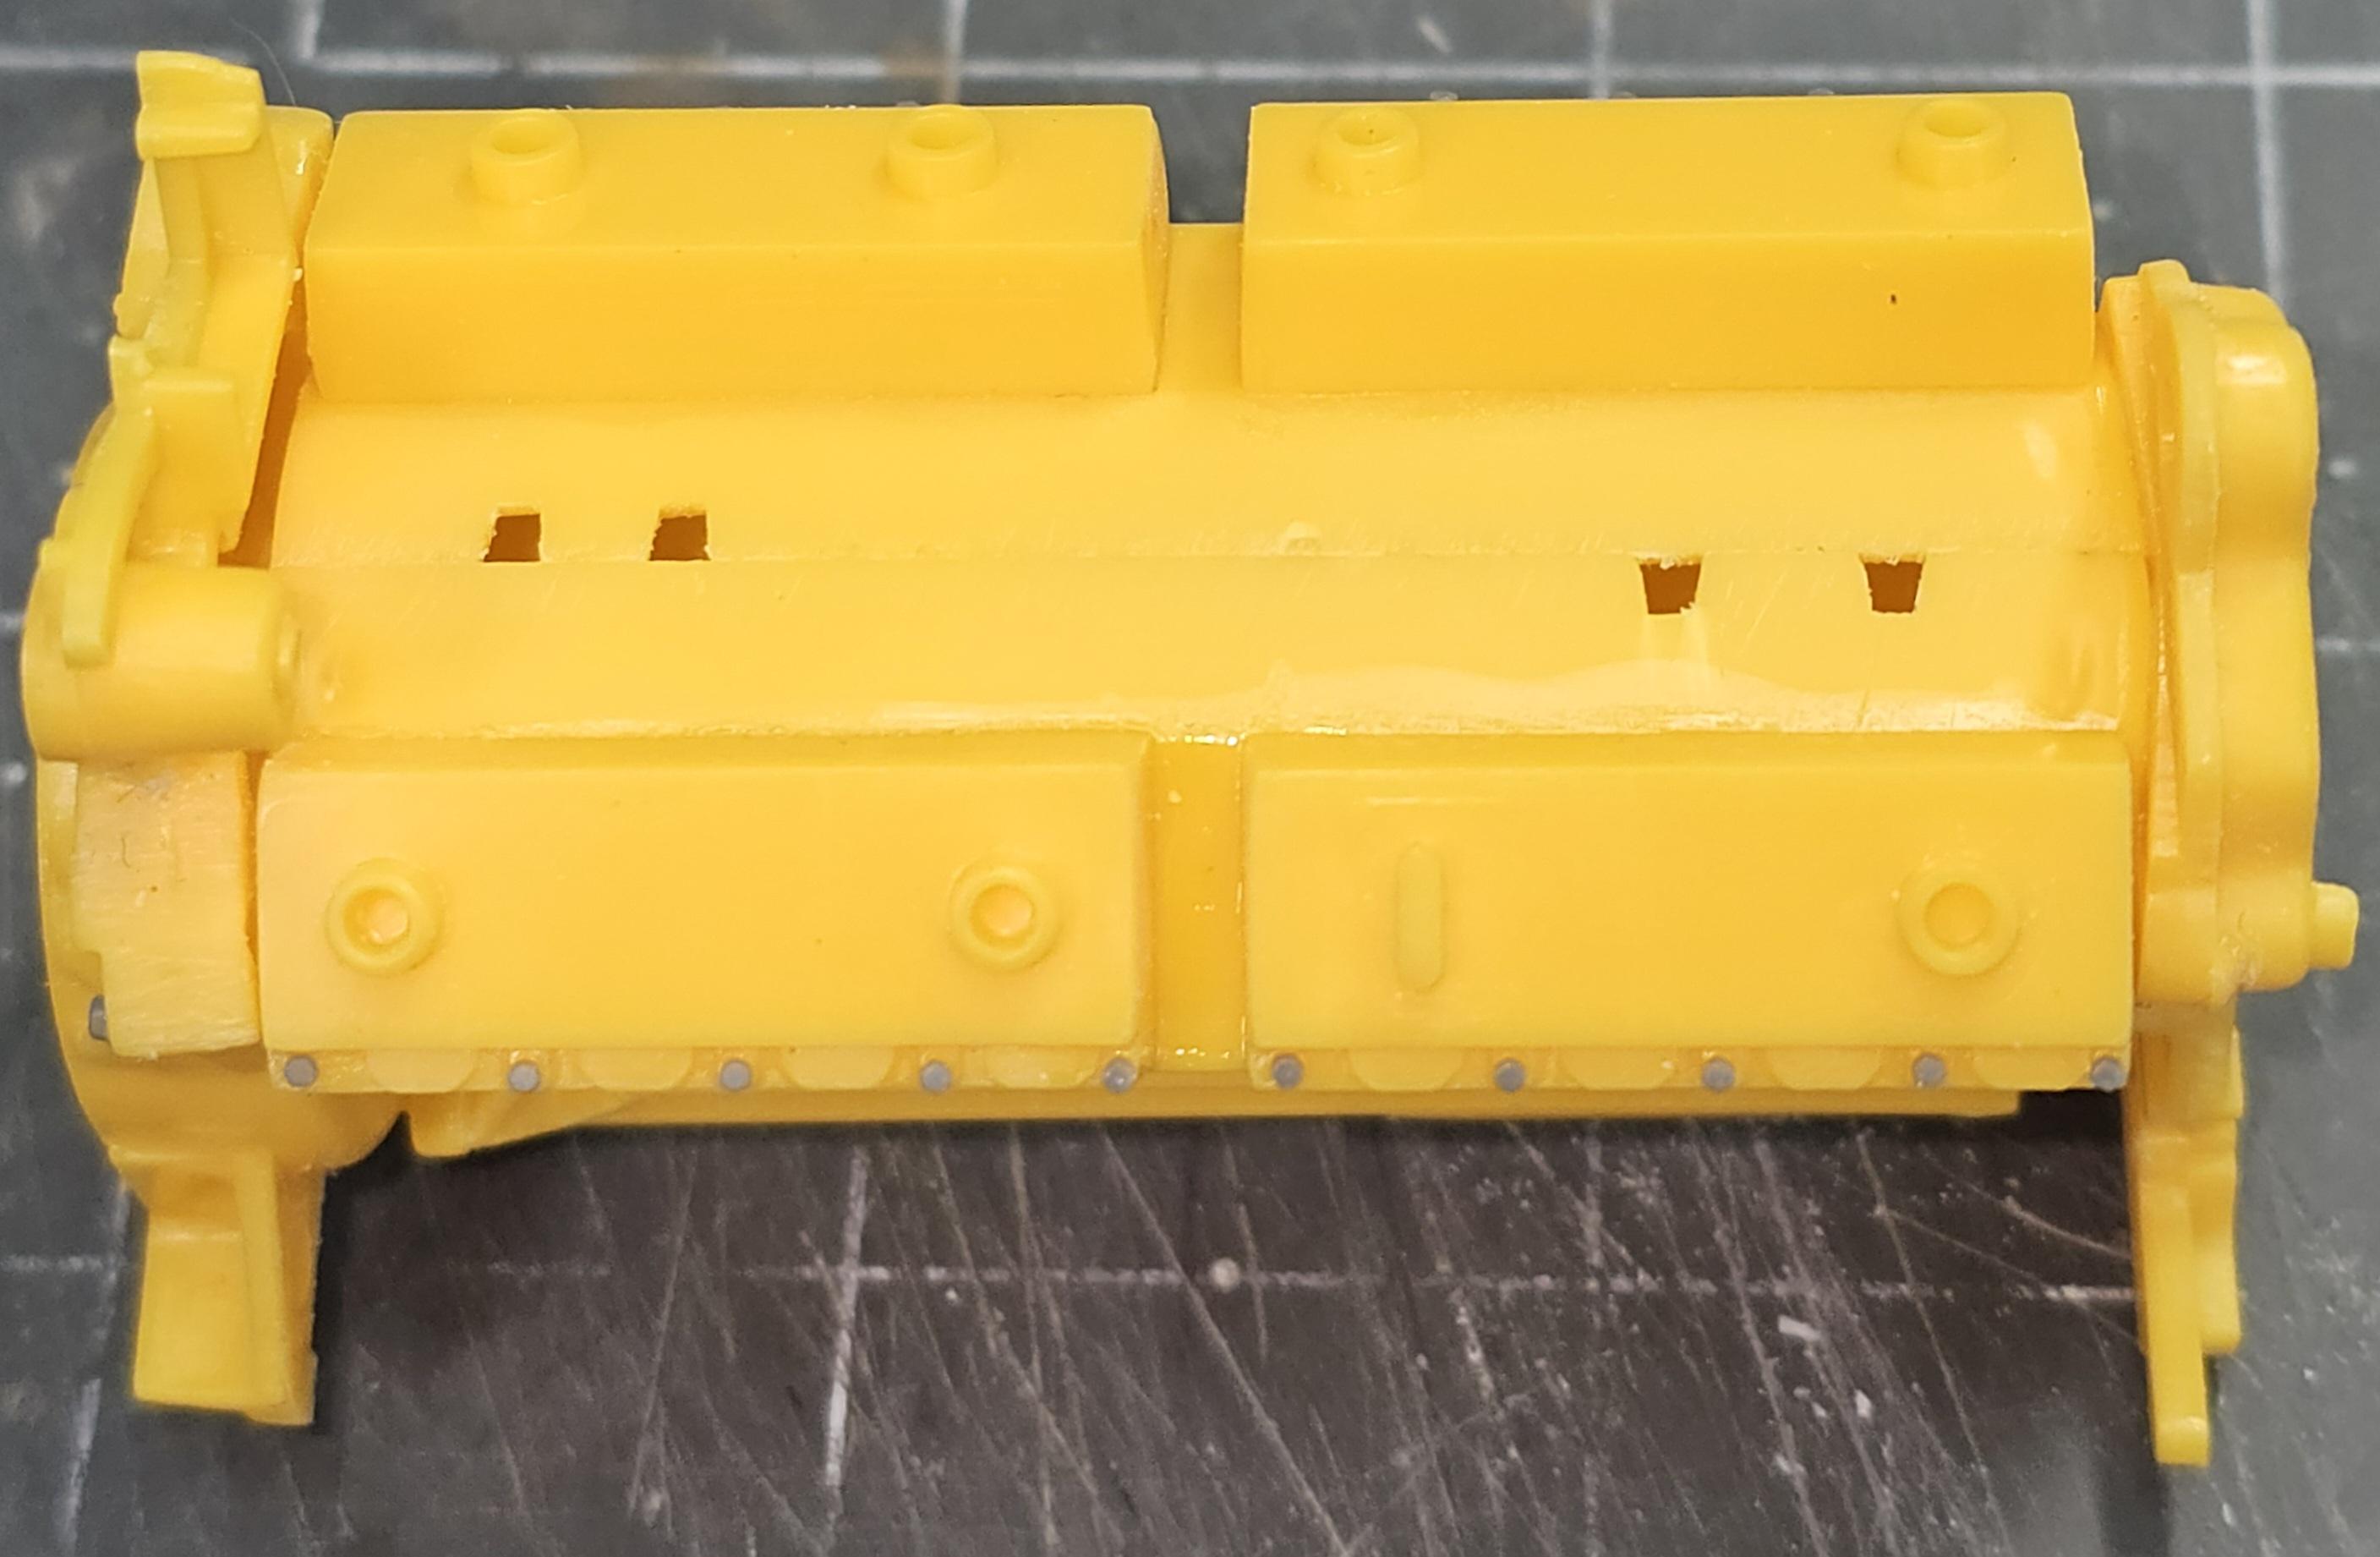
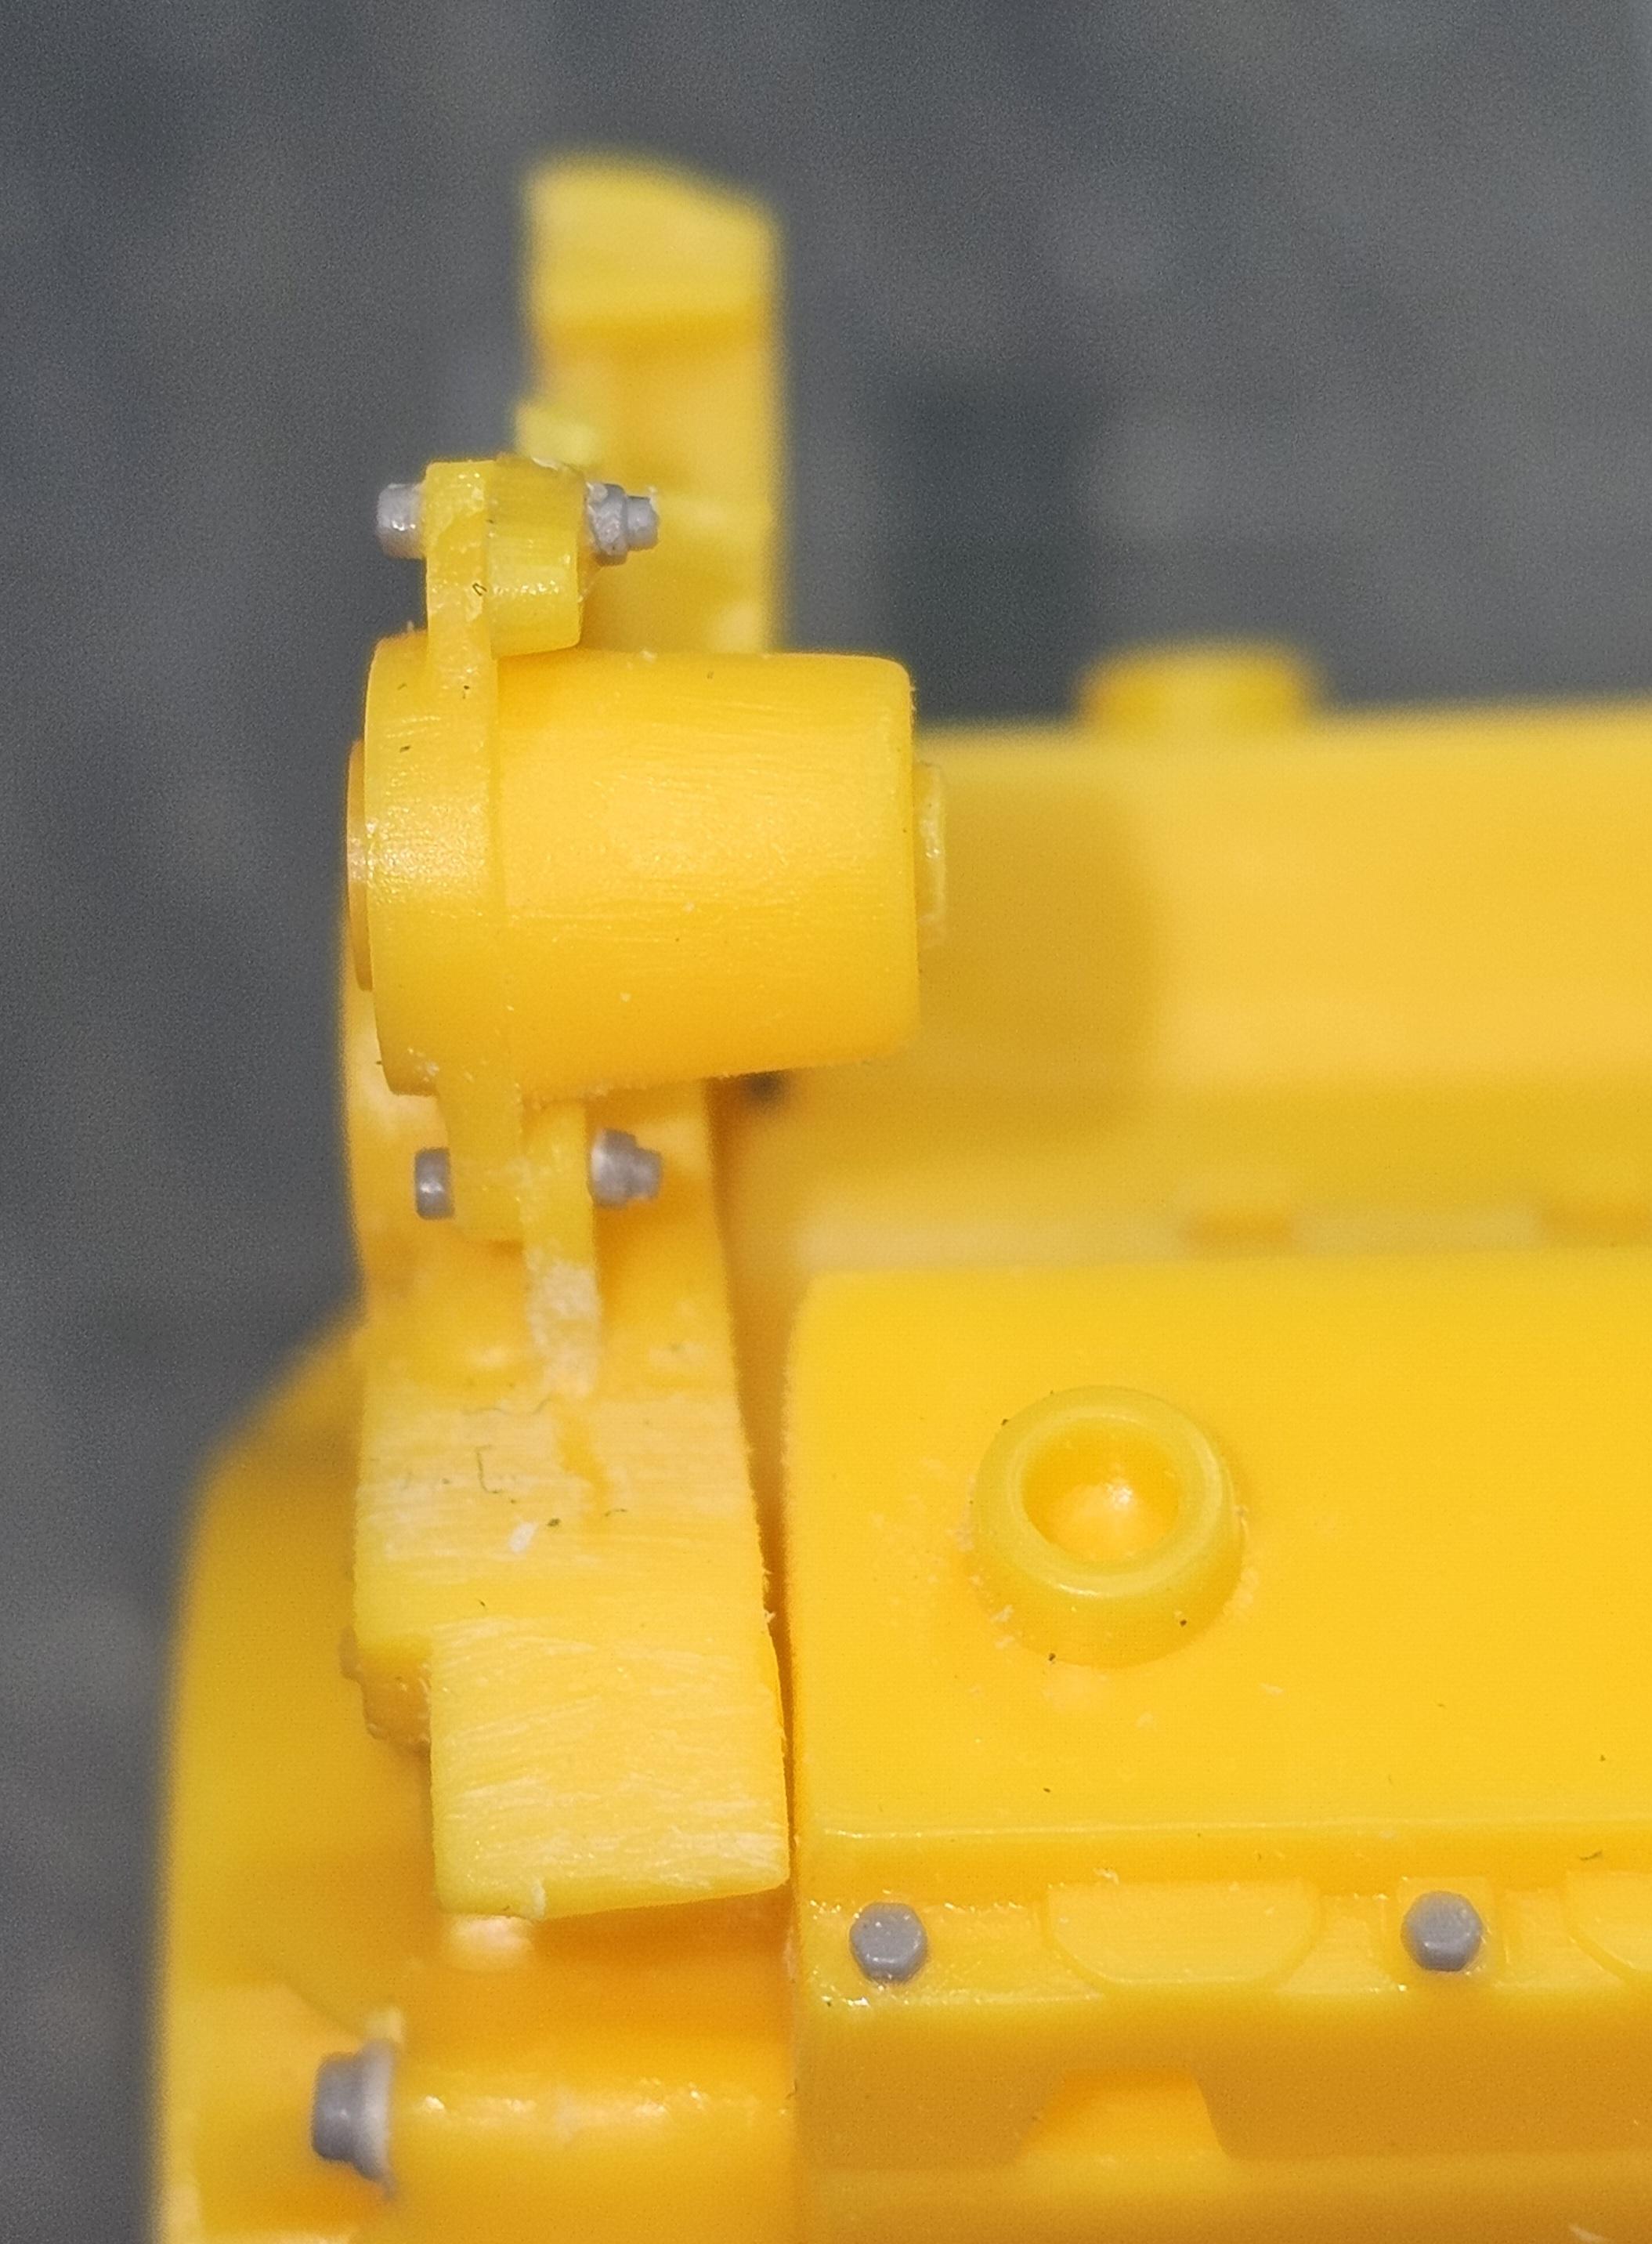
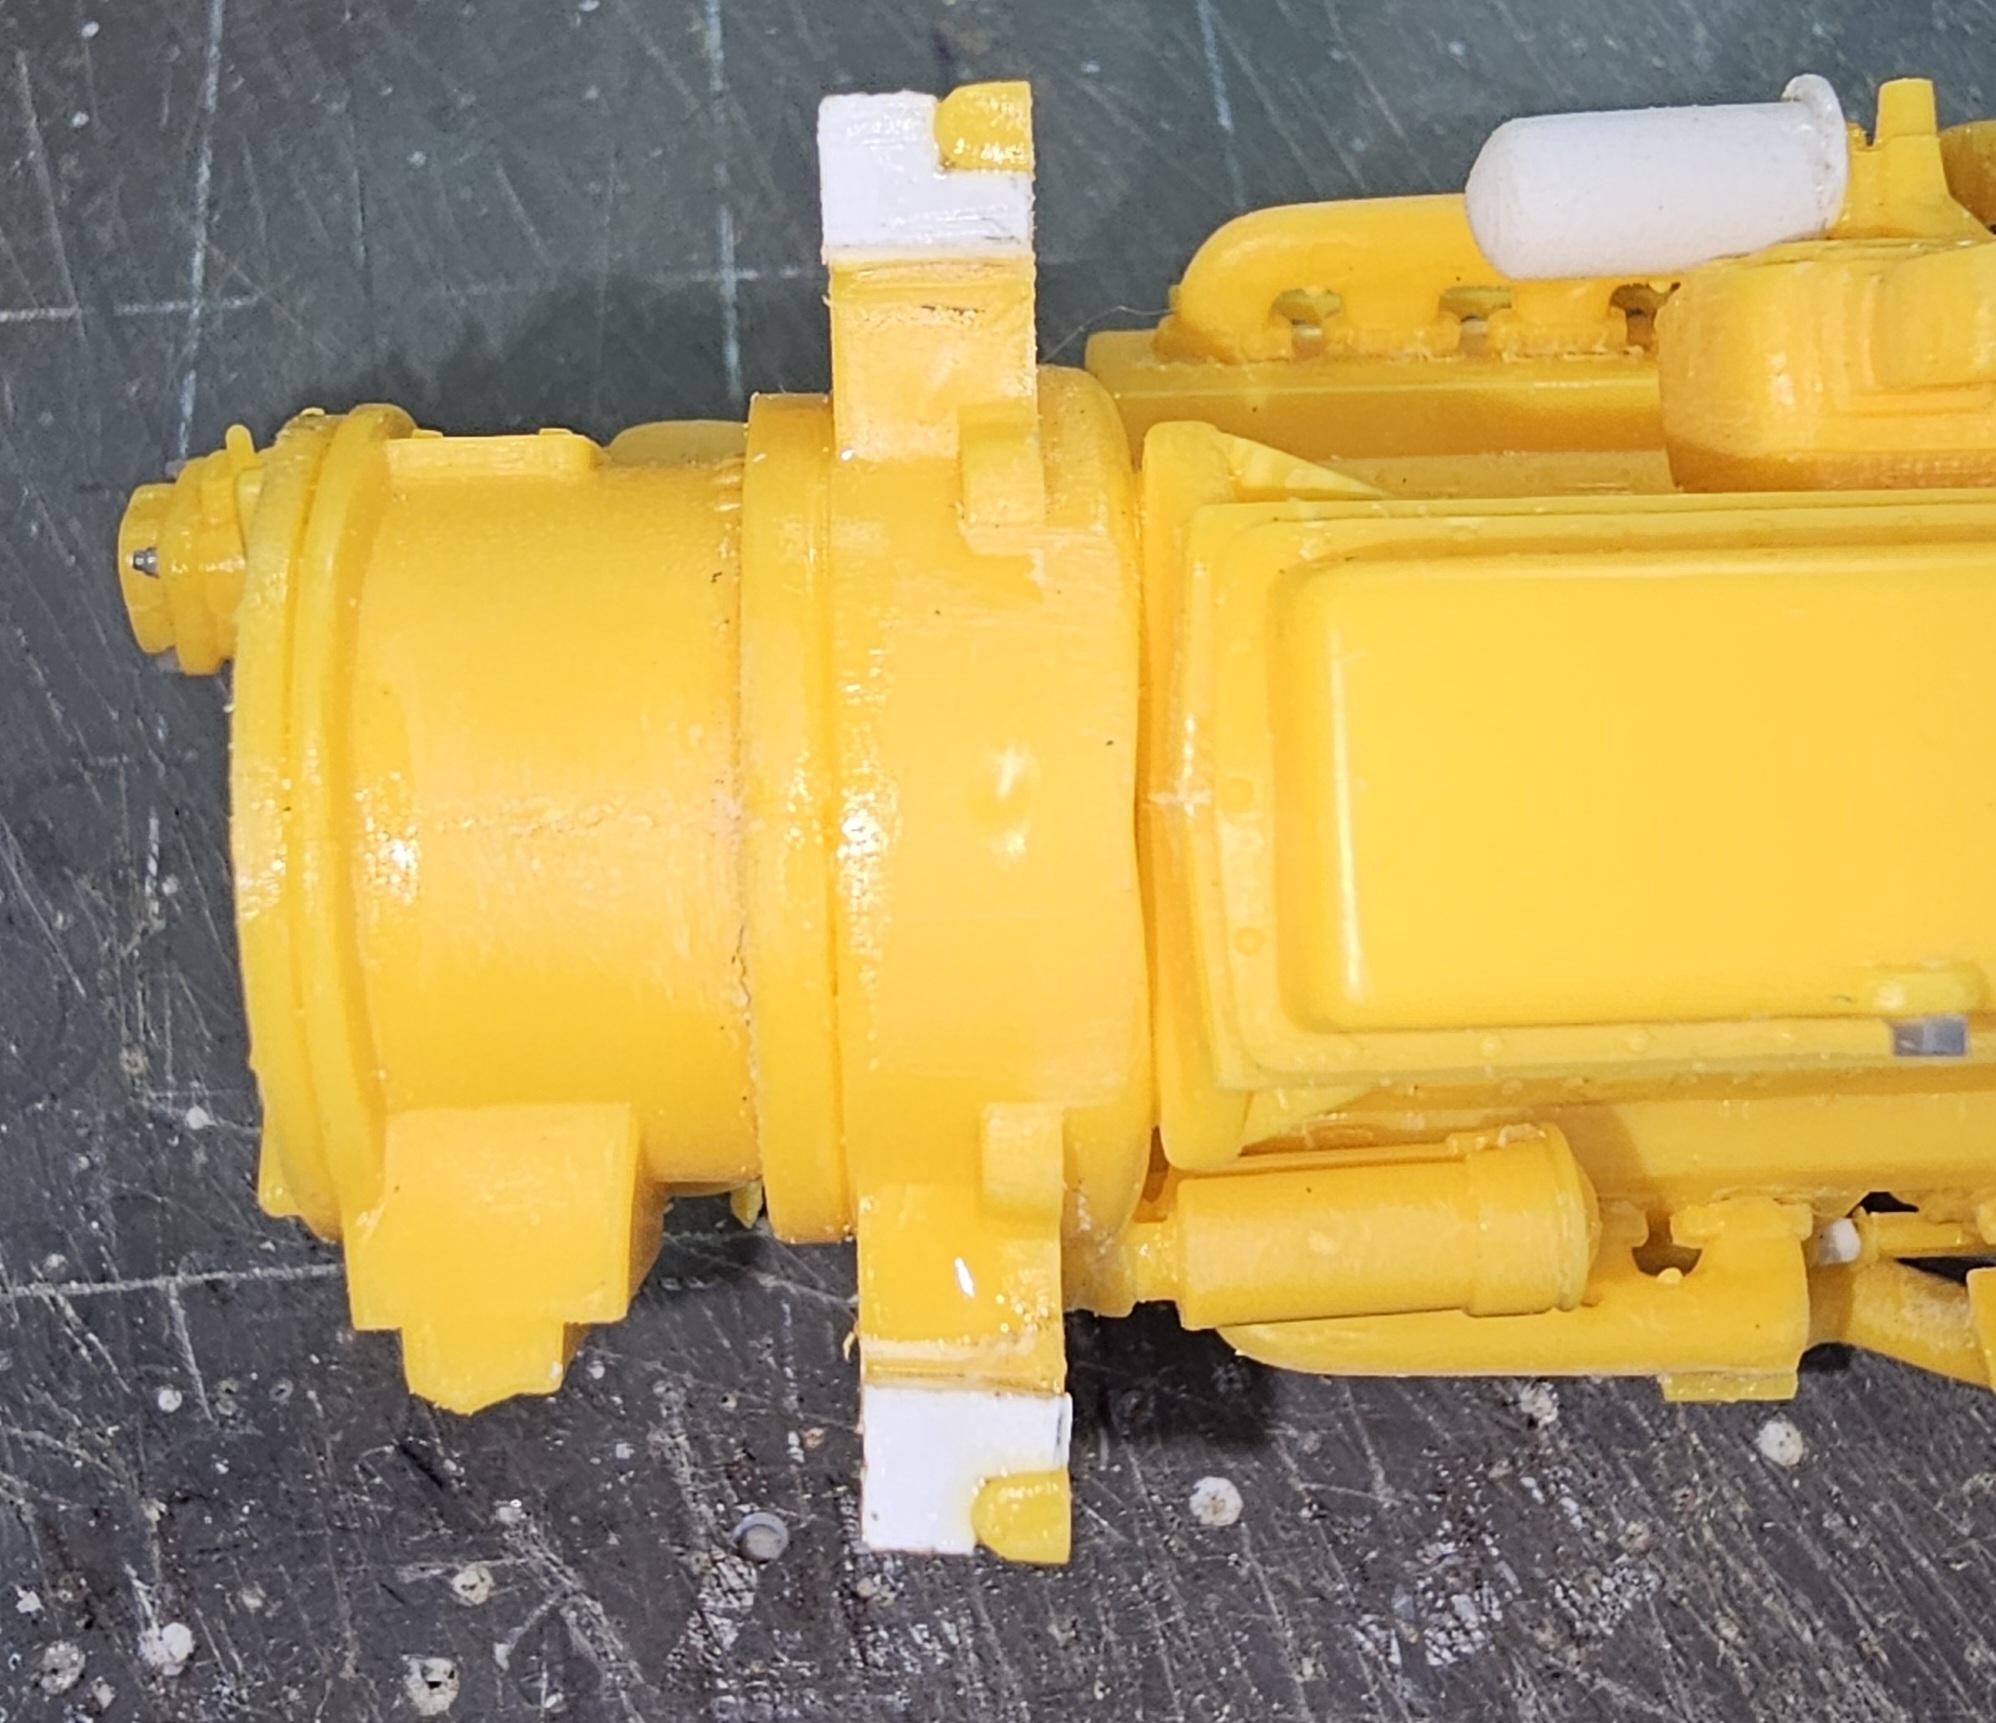
Hey all Got some more done on this big SOB. 😁 I added some more bolt heads and got some more glued together and sanded. I redid the oil coolers on the side of the block by adding some scratch built oil filters and the black hoses (actually masking tape colored with a black sharpie) I will add the hose clamps to it once it is painted. I added the bolt heads and "U" bolts to the tube. I added bolt heads to the part on the left side of the bell housing. I also added bolt heads to the parts on the right side of the bell housing. I got these parts assembled and sanded. I need to add bolt heads to the air cleaners and the hydraulic tank. Well that's it for now be back with more soon. Ron G
-
Hey Cliff You mean all the accessories on the engine that would be take offs? If yes, I wasn't sure, but you got me thinking. I'm going to do that. It will make it look like an authentic reman install. Ron G
-
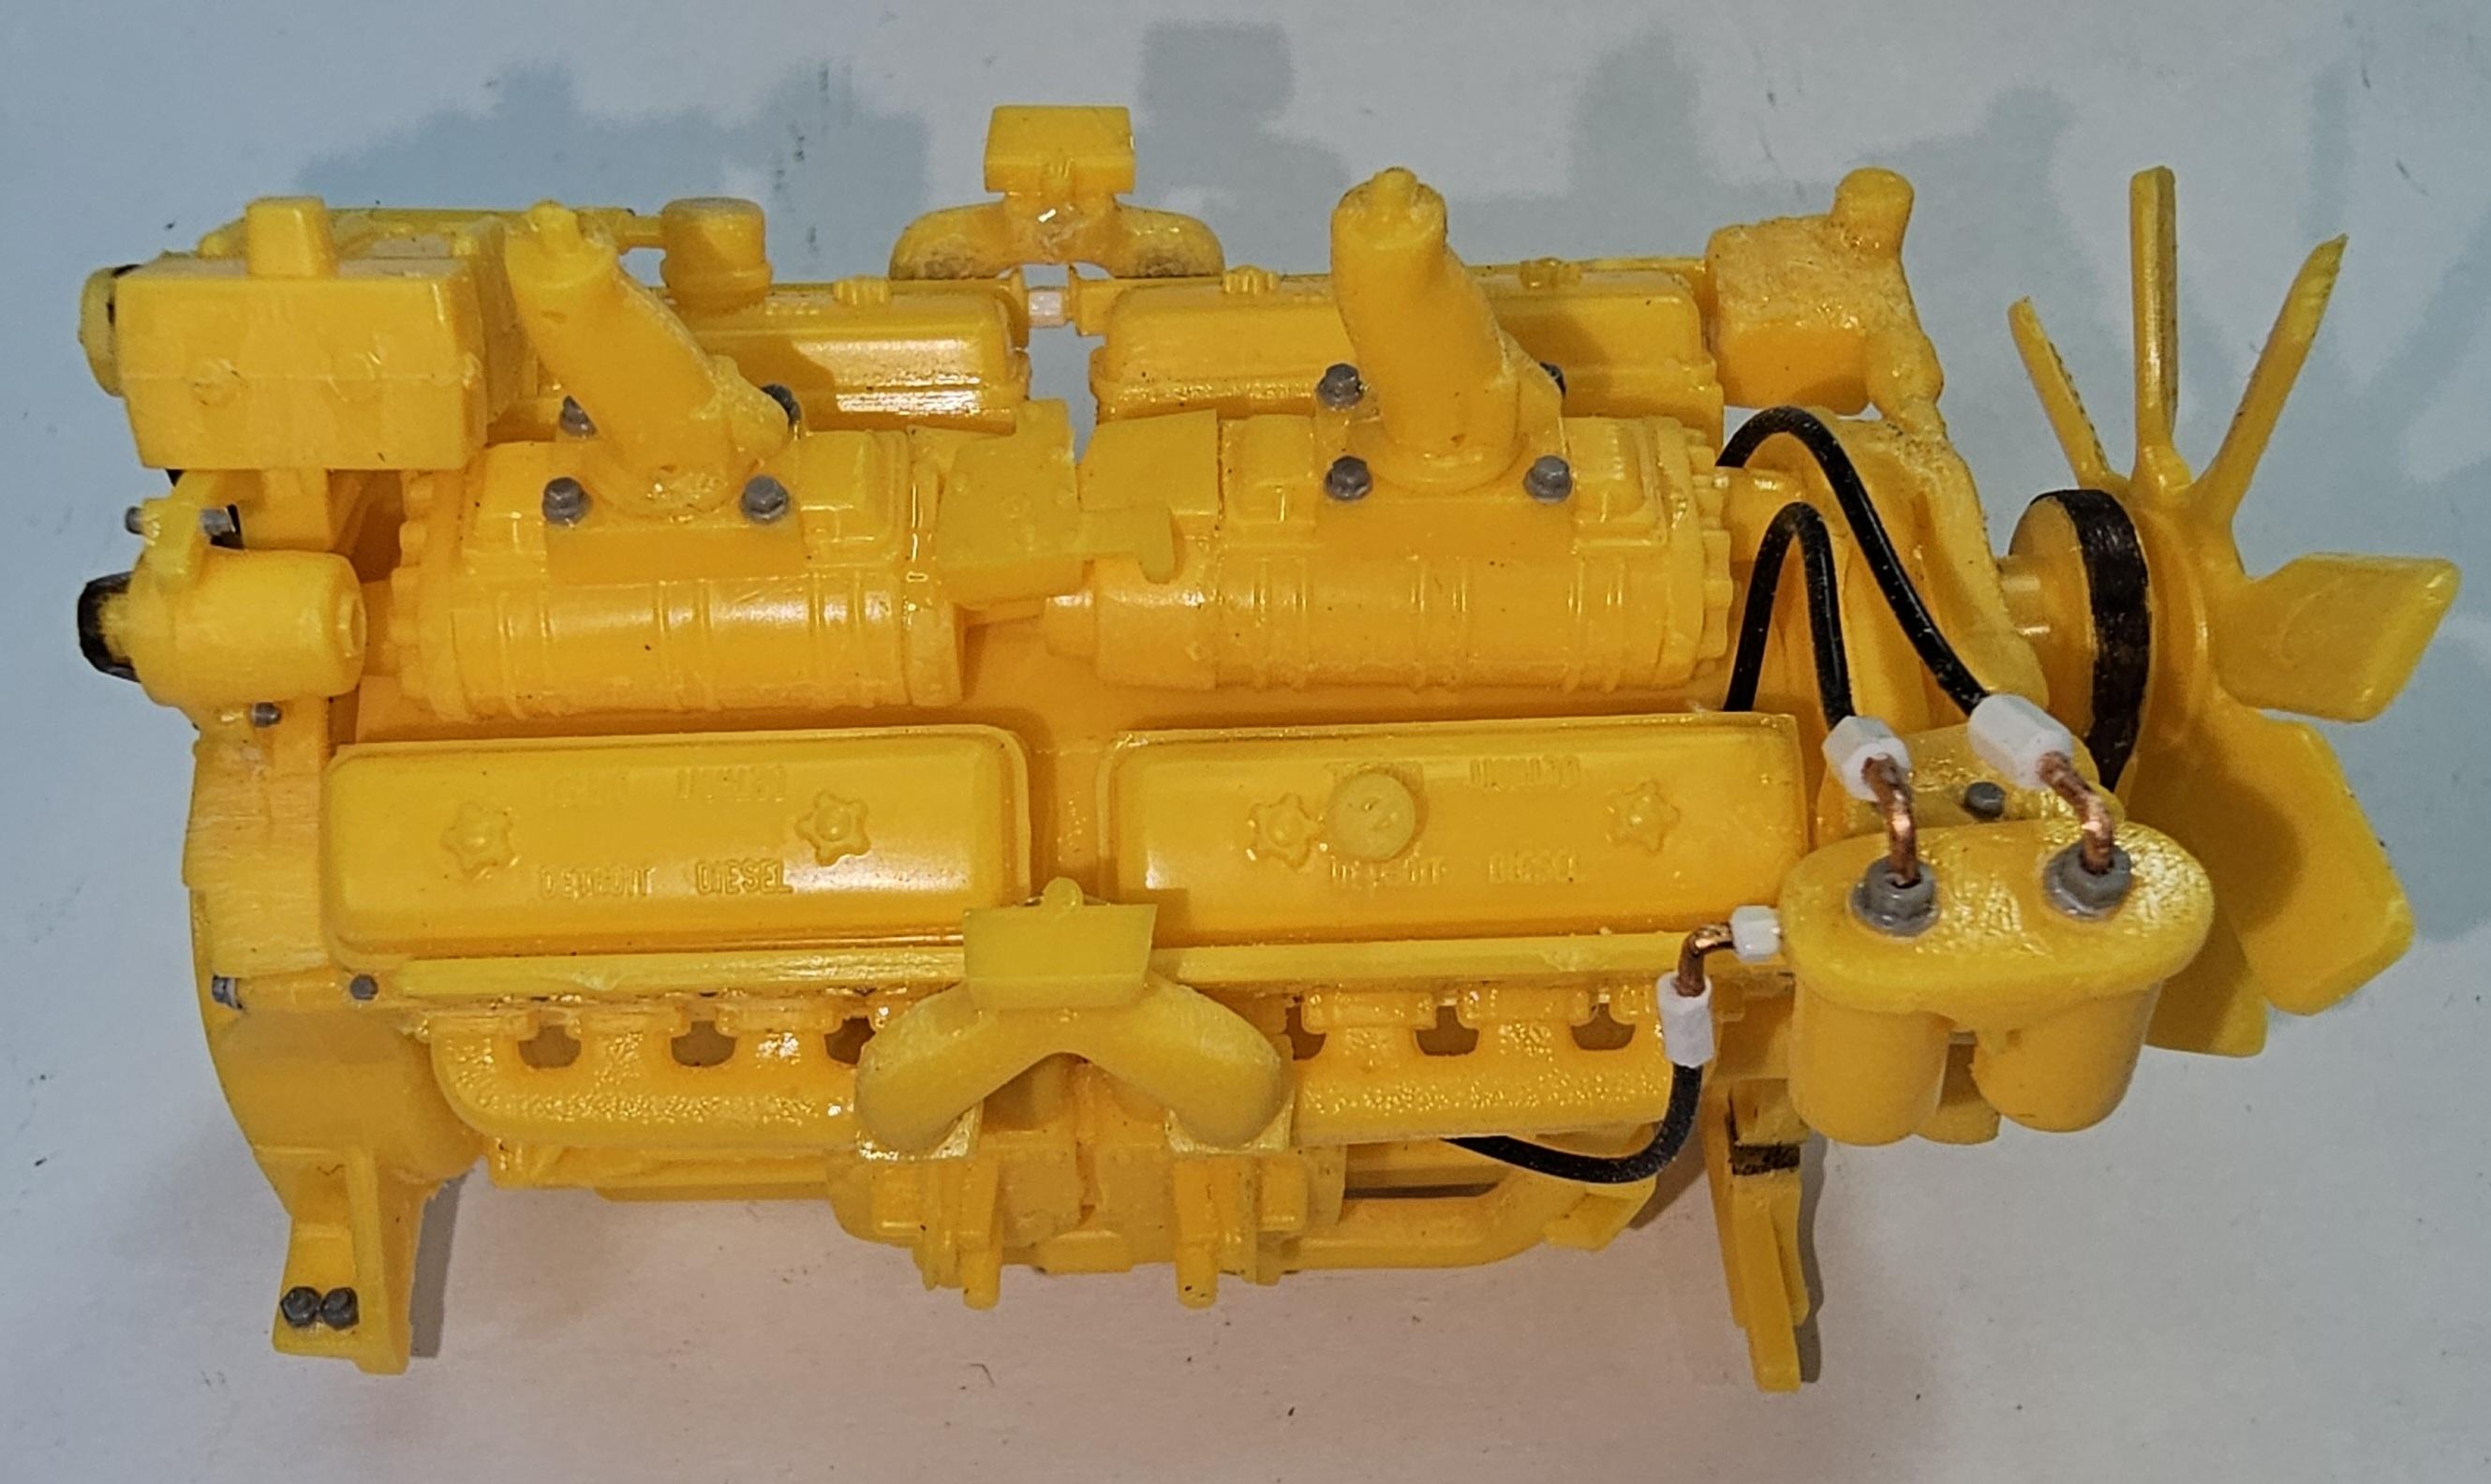
Hey all More work on the Detroit Diesel Series 16V71. Added some more bolt heads and modified the two oil filters at the front of the engine. Overall view of the DD 16V71. This view shows the bolt heads I added to the blower intakes. Also it shows the oil lines going from the filters to the front of the engine block in front of the front blower. This view shows the modified oil filters and the lines & fittings I added. This view shows the bolts I added to the rear engine mount. I had to fix this so that it more accurately represents how it bolts to the frame rails. Well that's it for now be back soon. Ron G
-
I did start a build thread on it awhile back, guess I'll have to update it with the jeep build & the stinger build. My problem is I have about 30 different projects going and it's hard to keep up on all of them. My good Pal Jeff is always on my case to get ONE done...😆 🤣 😂. I will one day, if I dont pass,away from old age first...lol Ron G
-
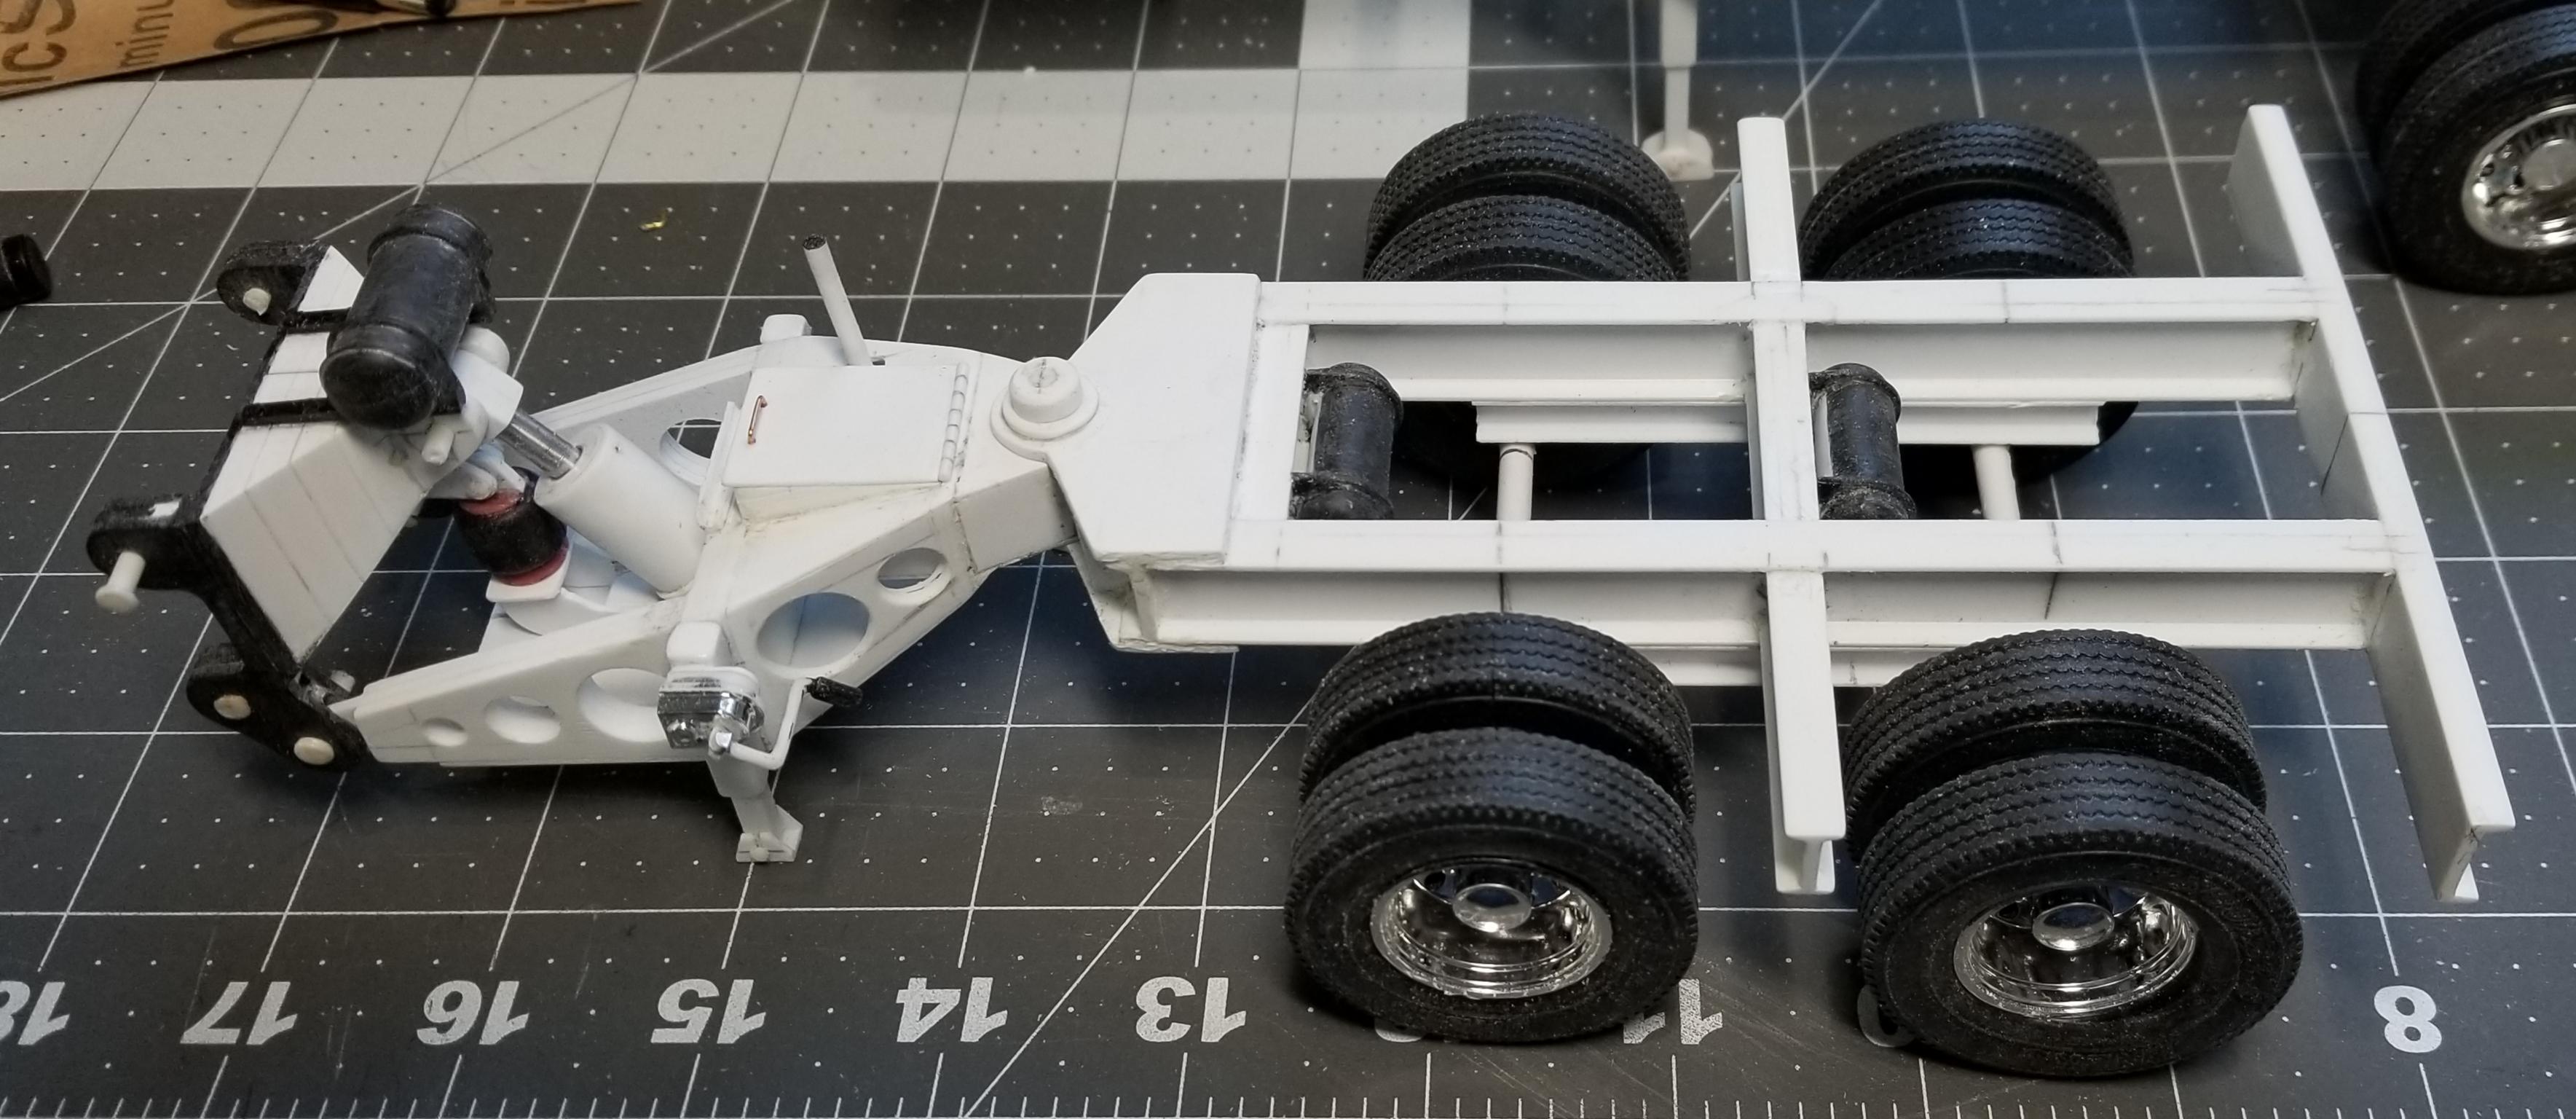
Hey Gary It's not a kit. I scaled it up from a Diecast Masters 1/50 XL Specialized XL120 Lowboy RGN trailer, jeep and stinger. So everything but the wheels/tires, suspension and a few odds & ends are scratch built from Plastsruct "I" beams. I used 5/8", 1/2", 3/8" and sheet stock and strips. I used Mo'luminum suspensions and Moebius wheels and tires. Still needs alot of work. Have to find someone to print me XL Specialized decals for it. Or I will have to use some Talbert decals I have from Model trucking. Ron G
-
Hey Gary He already knew about my lowboy trailer. He's been after me to draw him up plans for one.😁 Ron G
-
Hey Gary There not really that hard to build. Just big and difficult to work on. Alot of repetitive cutting, fitting and gluing, but with your skills it shouldn't be a problem. Ron G
-
Hey Jürgen I have a couple of trucks in the works that could pull it on a lowboy. Also have 2 axle jeep, 3 axle lowboy and 2 axle stinger in the works. And another 3 axle lowboy in the works. Jeep Stinger Lowboy trailer Ron G
-
Hey all It's been awhile since I posted anything. So, my best friend Jeff (Biggu) said I had to post this, probably because he didn't want to go it alone...lol. We decided to do them as build alongs. Okay, I started with the new AMT version of this kit, same as Jeff. We are both doing these as detailed as humanly possible...Ha Ha. So lots of added nuts/bolts, plumbing, weathering, etc. I'm doing mine as one that just recently had the engine replaced. It will be painted (the engine) Detroit Diesel Alpine Green. The rest of the truck will be stock IH paint colors. So here we go, grab a seat up front and get the popcorn 🍿 and beer or pop and follow along. This is the kit. This view shows the two oil pan drain bolts that I added. This view shows the bolts that I replaced with slightly larger ones. This view shows the 10 head bolts that I added. They are 1.0mm meng bolt heads. This veiw shows the other side of the head bolts. Close up view of the head bolts. This view shows the bolts that I added to the alternator bracket. These are 1.0mm meng bolt heads too. Another view of the alternator bolts. This view shows the mounting bolts I added to the mounting brackets. These are 1.8mm meng nuts with shafts. This view shows the two exhaust cross pipes. I added some sprue goo to the voids and I'm waiting for it to dry so I can finish them. We'll that's it for now be back with more soon. Ron G
-
Wow! Jeff those look fantastic and very real. Melt and curl the ends a little for that touch of realism. Ron G
-
And the winner is????? Ron G
-
As far as I know Archer rivets are the only option, and I'm not sure if they are still available. Ron G
-
Great air line work buddy. Love the bolt detail. You are progressing grasshopper!...? ? ? Ron G
-
Hey Jeff How are you going to replace the rivets you sanded off when you rerounded the cab corne?
-
Half are missing
-
If I had a real Pete
ShakyCraftsman replied to Biggu's topic in WIP: Model Trucks: Big Rigs and Heavy Equipment
Hey Jeff Remember I told you the oil pan should be turned around into a rear sump pan? Do you see how close the front axle is to your oil pan, if you hit a bump your going to destroy that fine engine. From your pal Ron G -
Thanks for the tip Gary. Ron G
-
Yeah, if you ever get it!!!!
-
Hey all I've been wondering if any of you have had a problem with Kootenay 3D model parts in Canada? He has some really nice looking stuff for trucks in 1/24-25 and 1/16 scales. My problem is that I placed an order with him in The end of January and I still have not received my order. He sent me a tracking number, finally, after a month and a half. When I look it up it says "number created, not in system yet". This is a pretty crappy way of doing business. Ron G
-
Cat D8H Dozer
ShakyCraftsman replied to Warren D's topic in WIP: Model Trucks: Big Rigs and Heavy Equipment
Sorry, didn't mean to step on your toes?


.jpg.a1b3e87a09bf0d25523a545a65b3f639.jpg)